Big Meats on a Taco

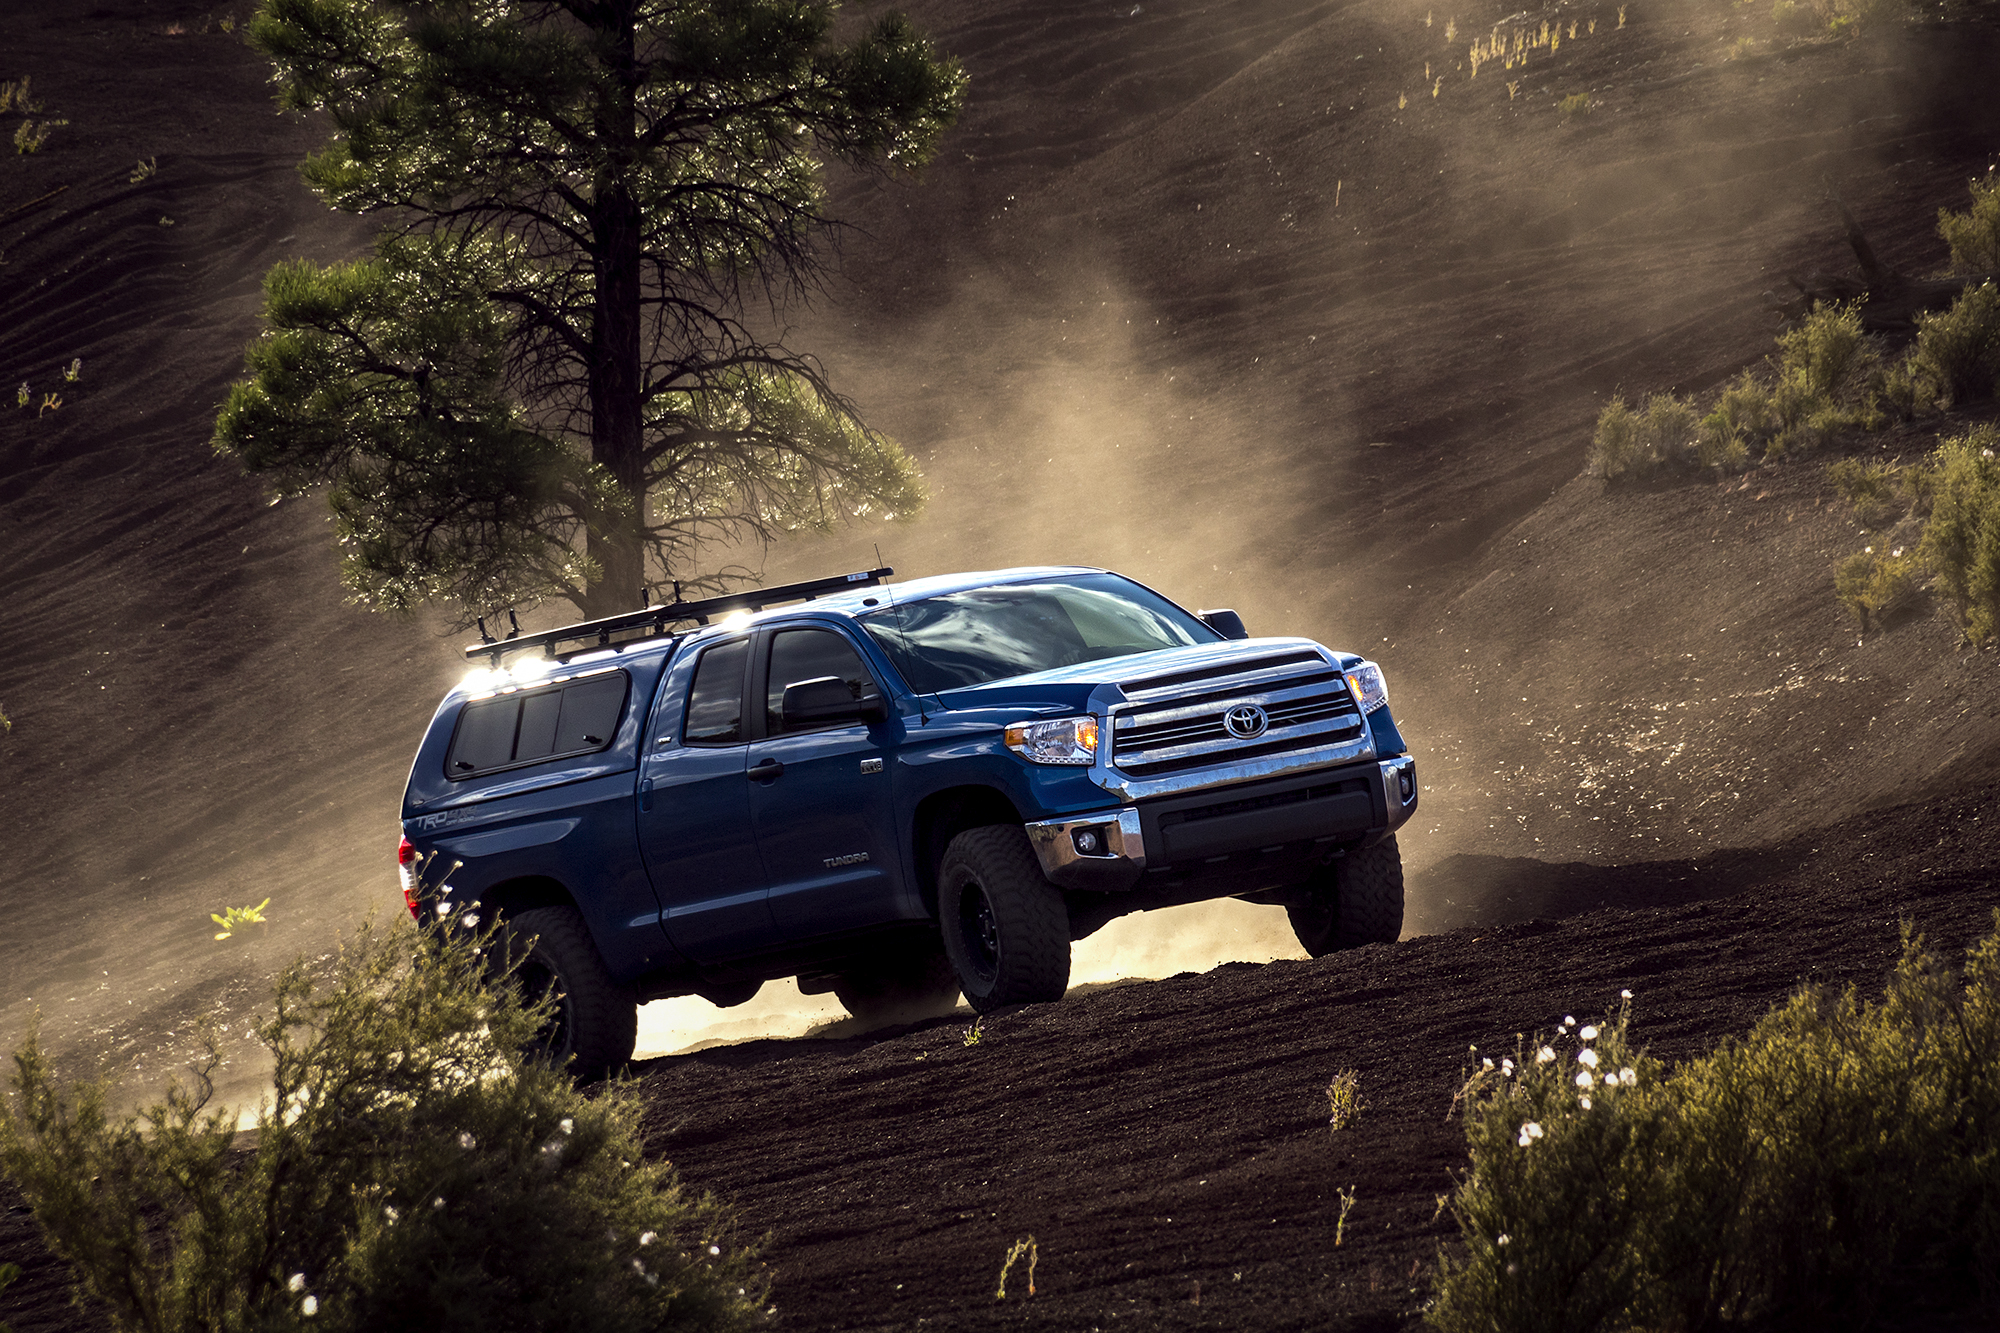
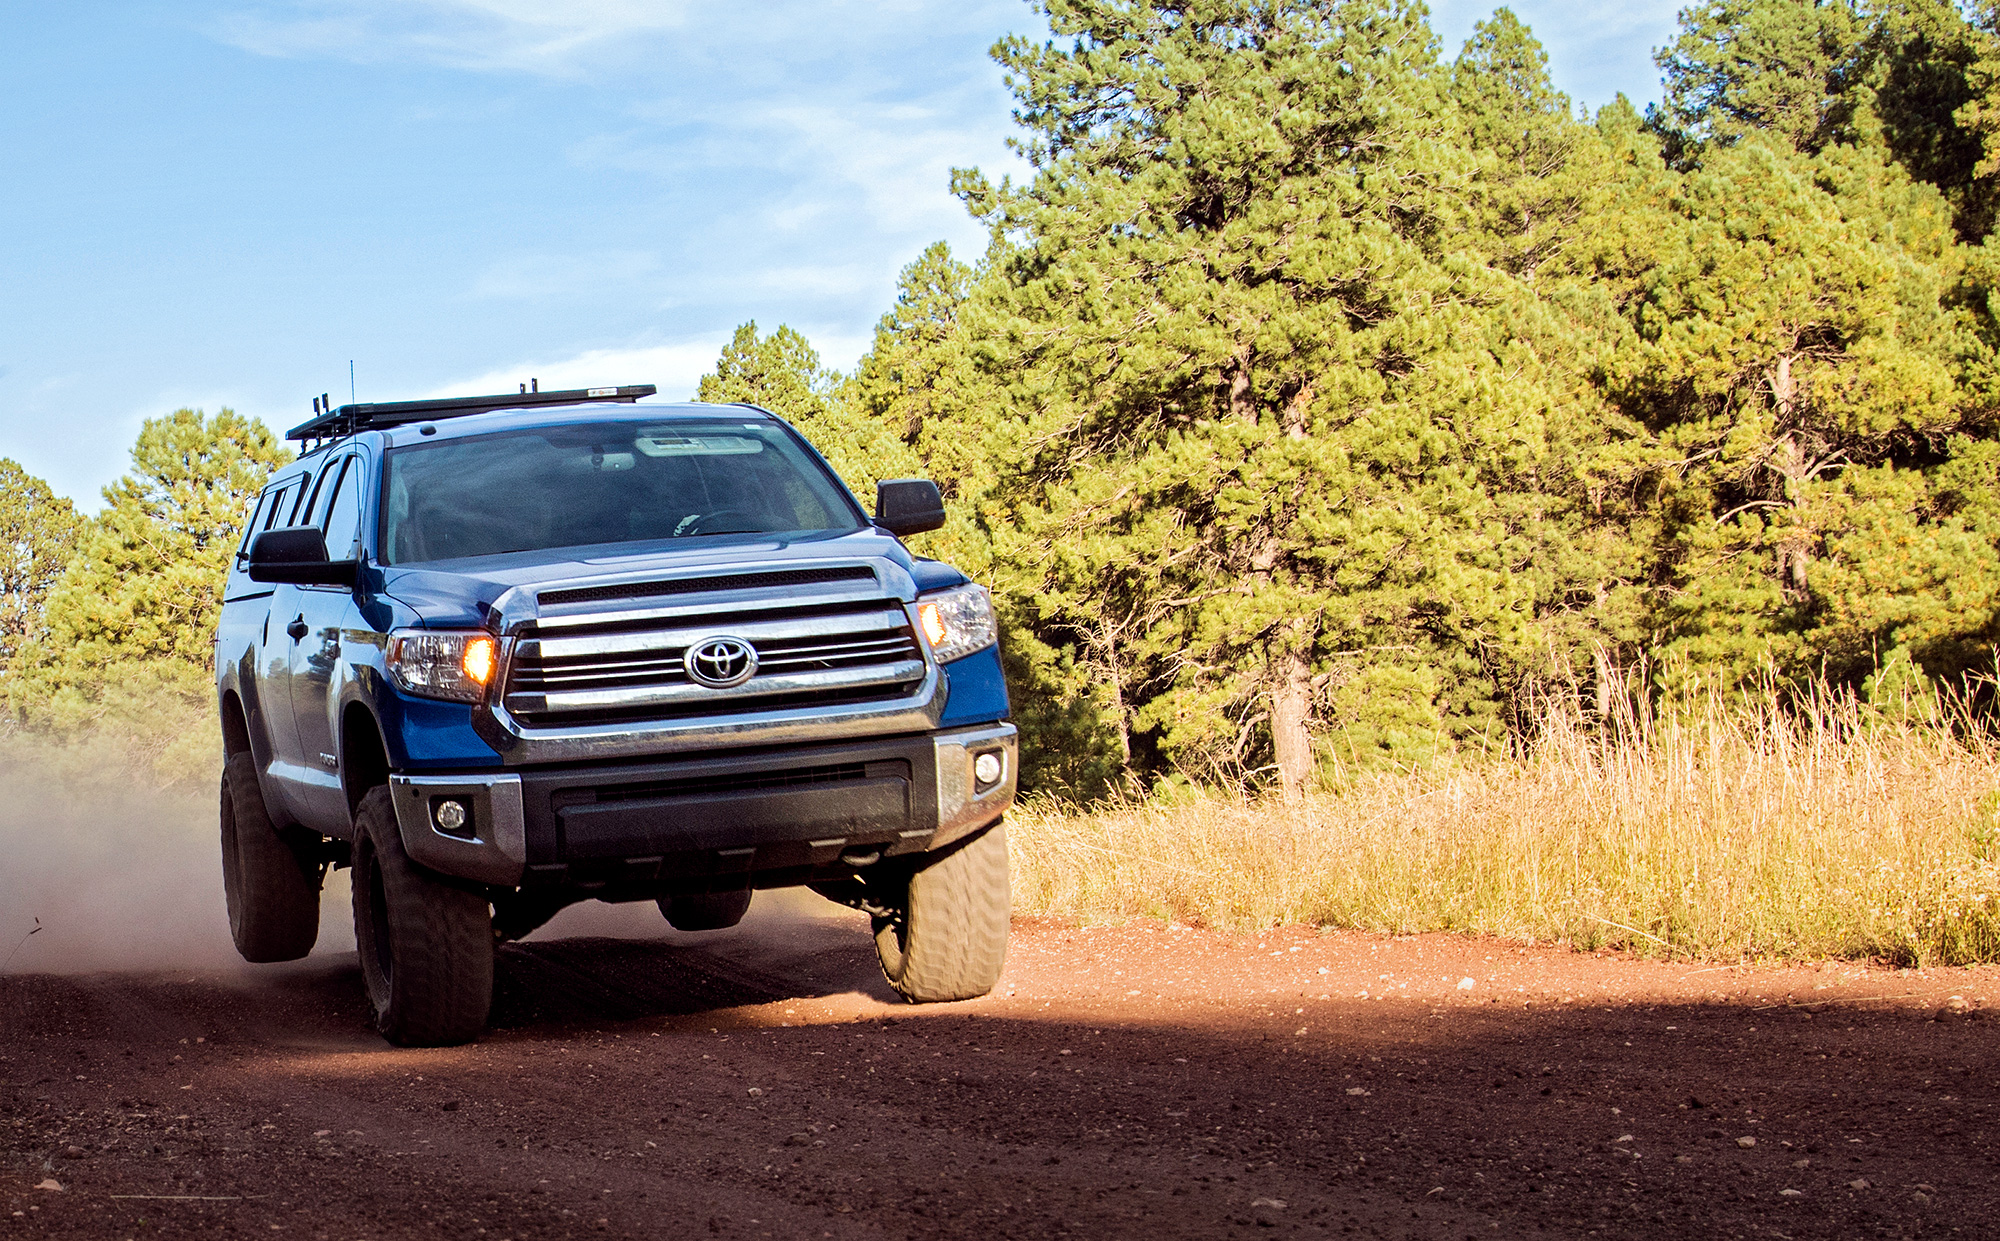
The Toyota Tacoma is one of the most commonly used overland vehicles out there with a huge following worldwide. The reason is simple, they just work and require very little if any in the way of custom fabrication. I have owned my Gen 2 Tacoma for five years and have it setup just right, with one exception. I’d prefer bigger tires. Don’t get me wrong, my 33” Falken Wildpeak MTs have always pulled off exactly what I wanted to and in some occasions more than what others thought possible. With the truck hitting 100,000 miles and parts starting to fail due to sheer mileage the opportunity presented itself to go to 35” tires.

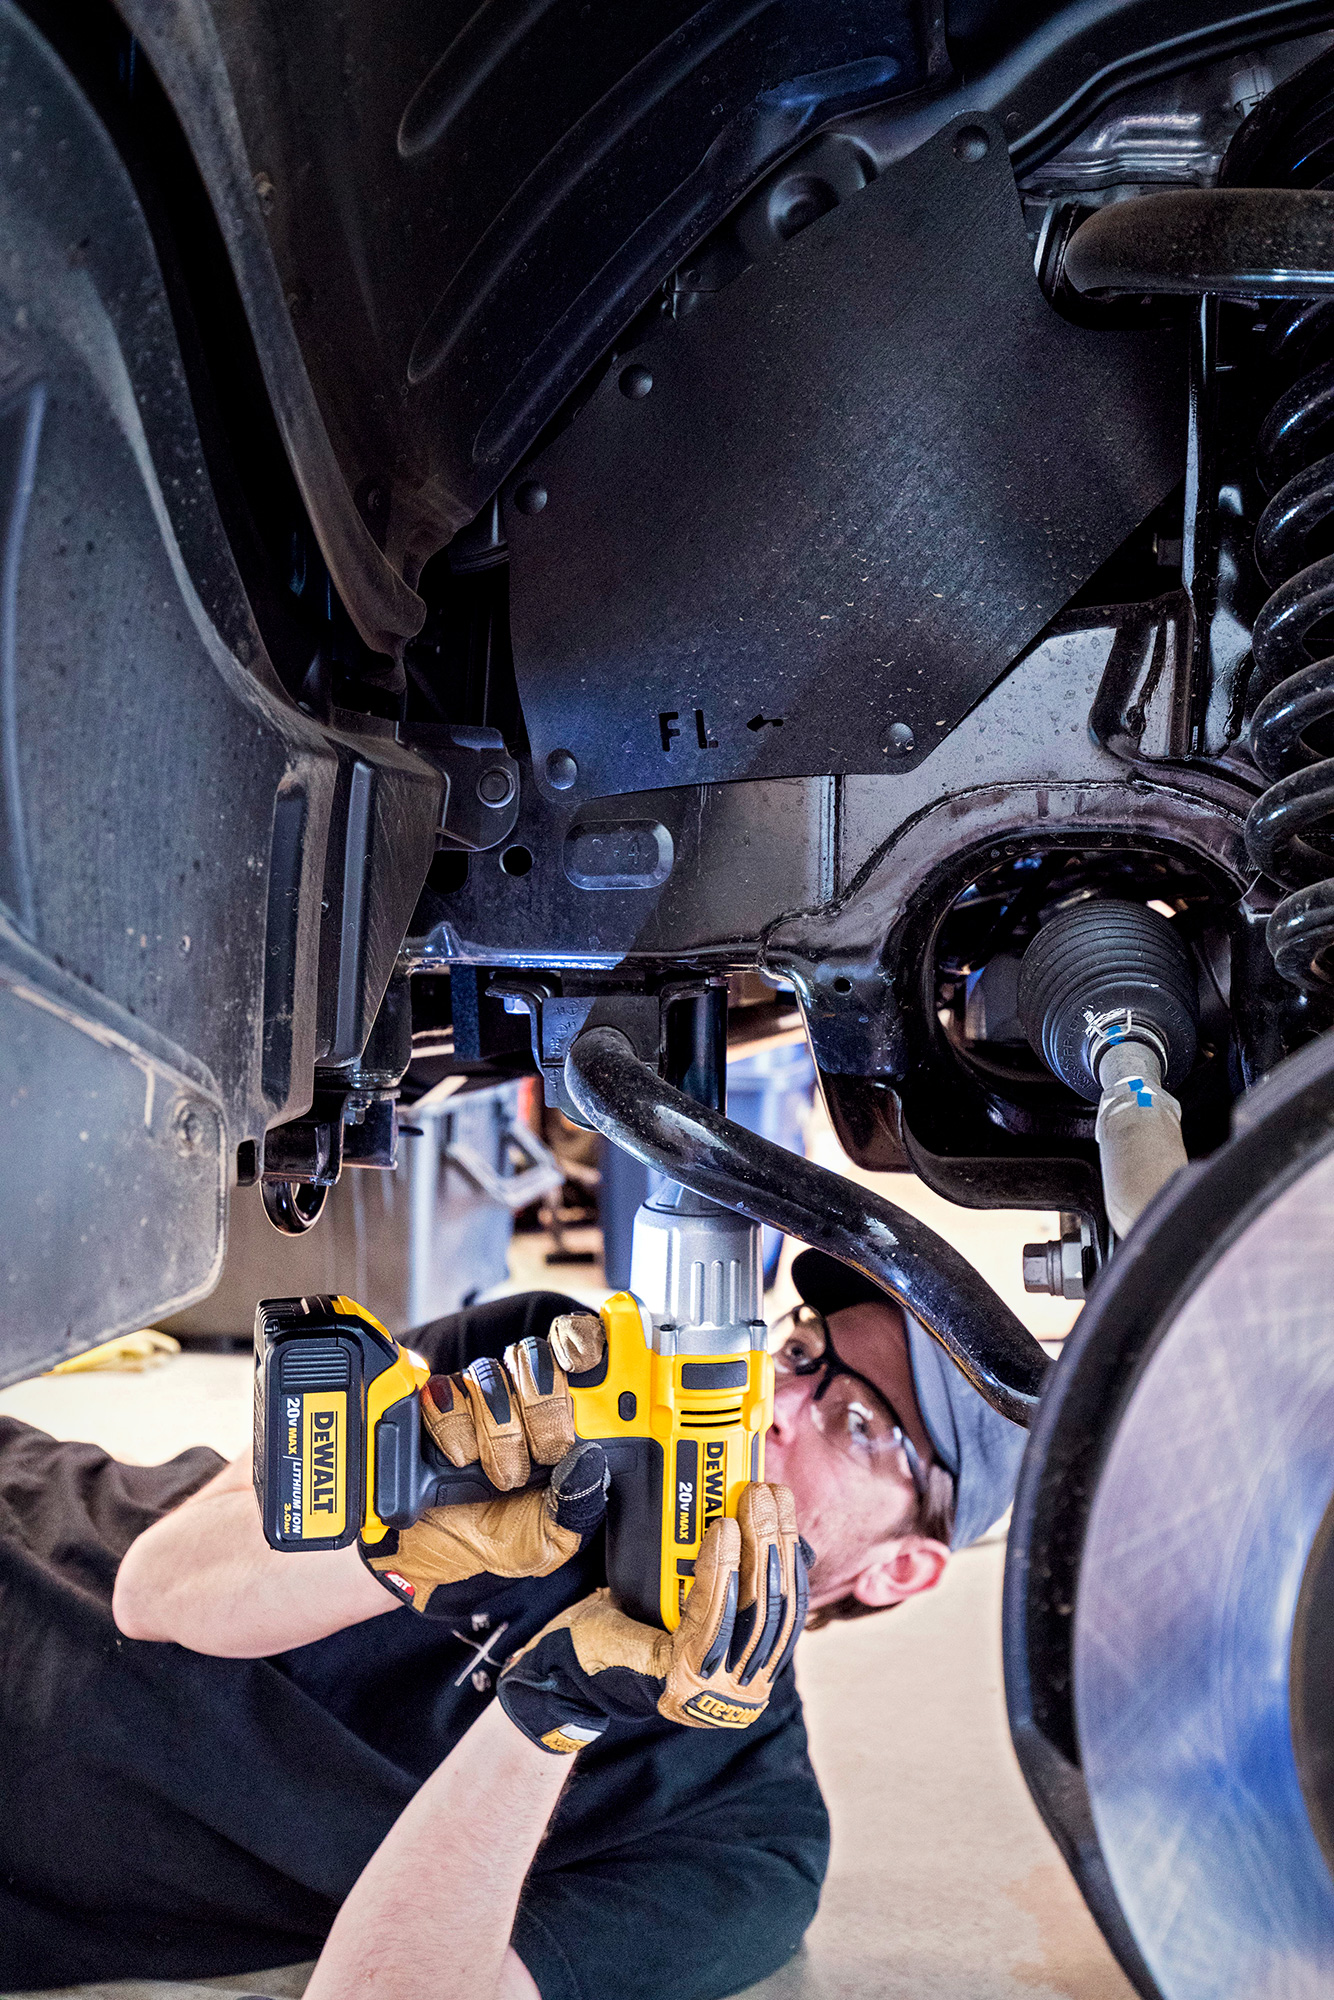
We had just returned from Overland Expo and there were several problems that needed addressing. First, we lacked power because of the sheer weight of the truck, and I averaged a mere 10mpg to Phoenix and from Flagstaff. I had known that my best solution to fix this issue was to re-gear it. Then I noticed that one of my CV axle boots burped grease everywhere. It hadn’t failed but with 100,000 miles on the odometer it was time for some preventative maintenance. With re-gearing and new axles on the table it was a no-brainer to just take it one step further and go to the 35” tires as well.

I did what everyone else does when about to tackle a new project, started surfing the internet in search of all the information I could find. Who else has done it, how did they do it, what worked and what didn’t was what I was after. What I found was that there was a lot of information out there, yet almost none of this info was complete or organized. So I decided it was time to pick the brains of the industry professionals I know. Industry professionals like Eric Hansen of Yotamasters and Tyler Pelfrey of Pelfreybilt. The reason I chose these individuals is because Eric is a wheeler through and through and runs one of the best Toyota specific shops I know of. I approached Tyler because he had already done exactly what I wanted to do and is a good friend whose opinion I trust. If Tyler’s done it you can bet every aspect of the situation was heavily researched and done right, he’s just that meticulous.

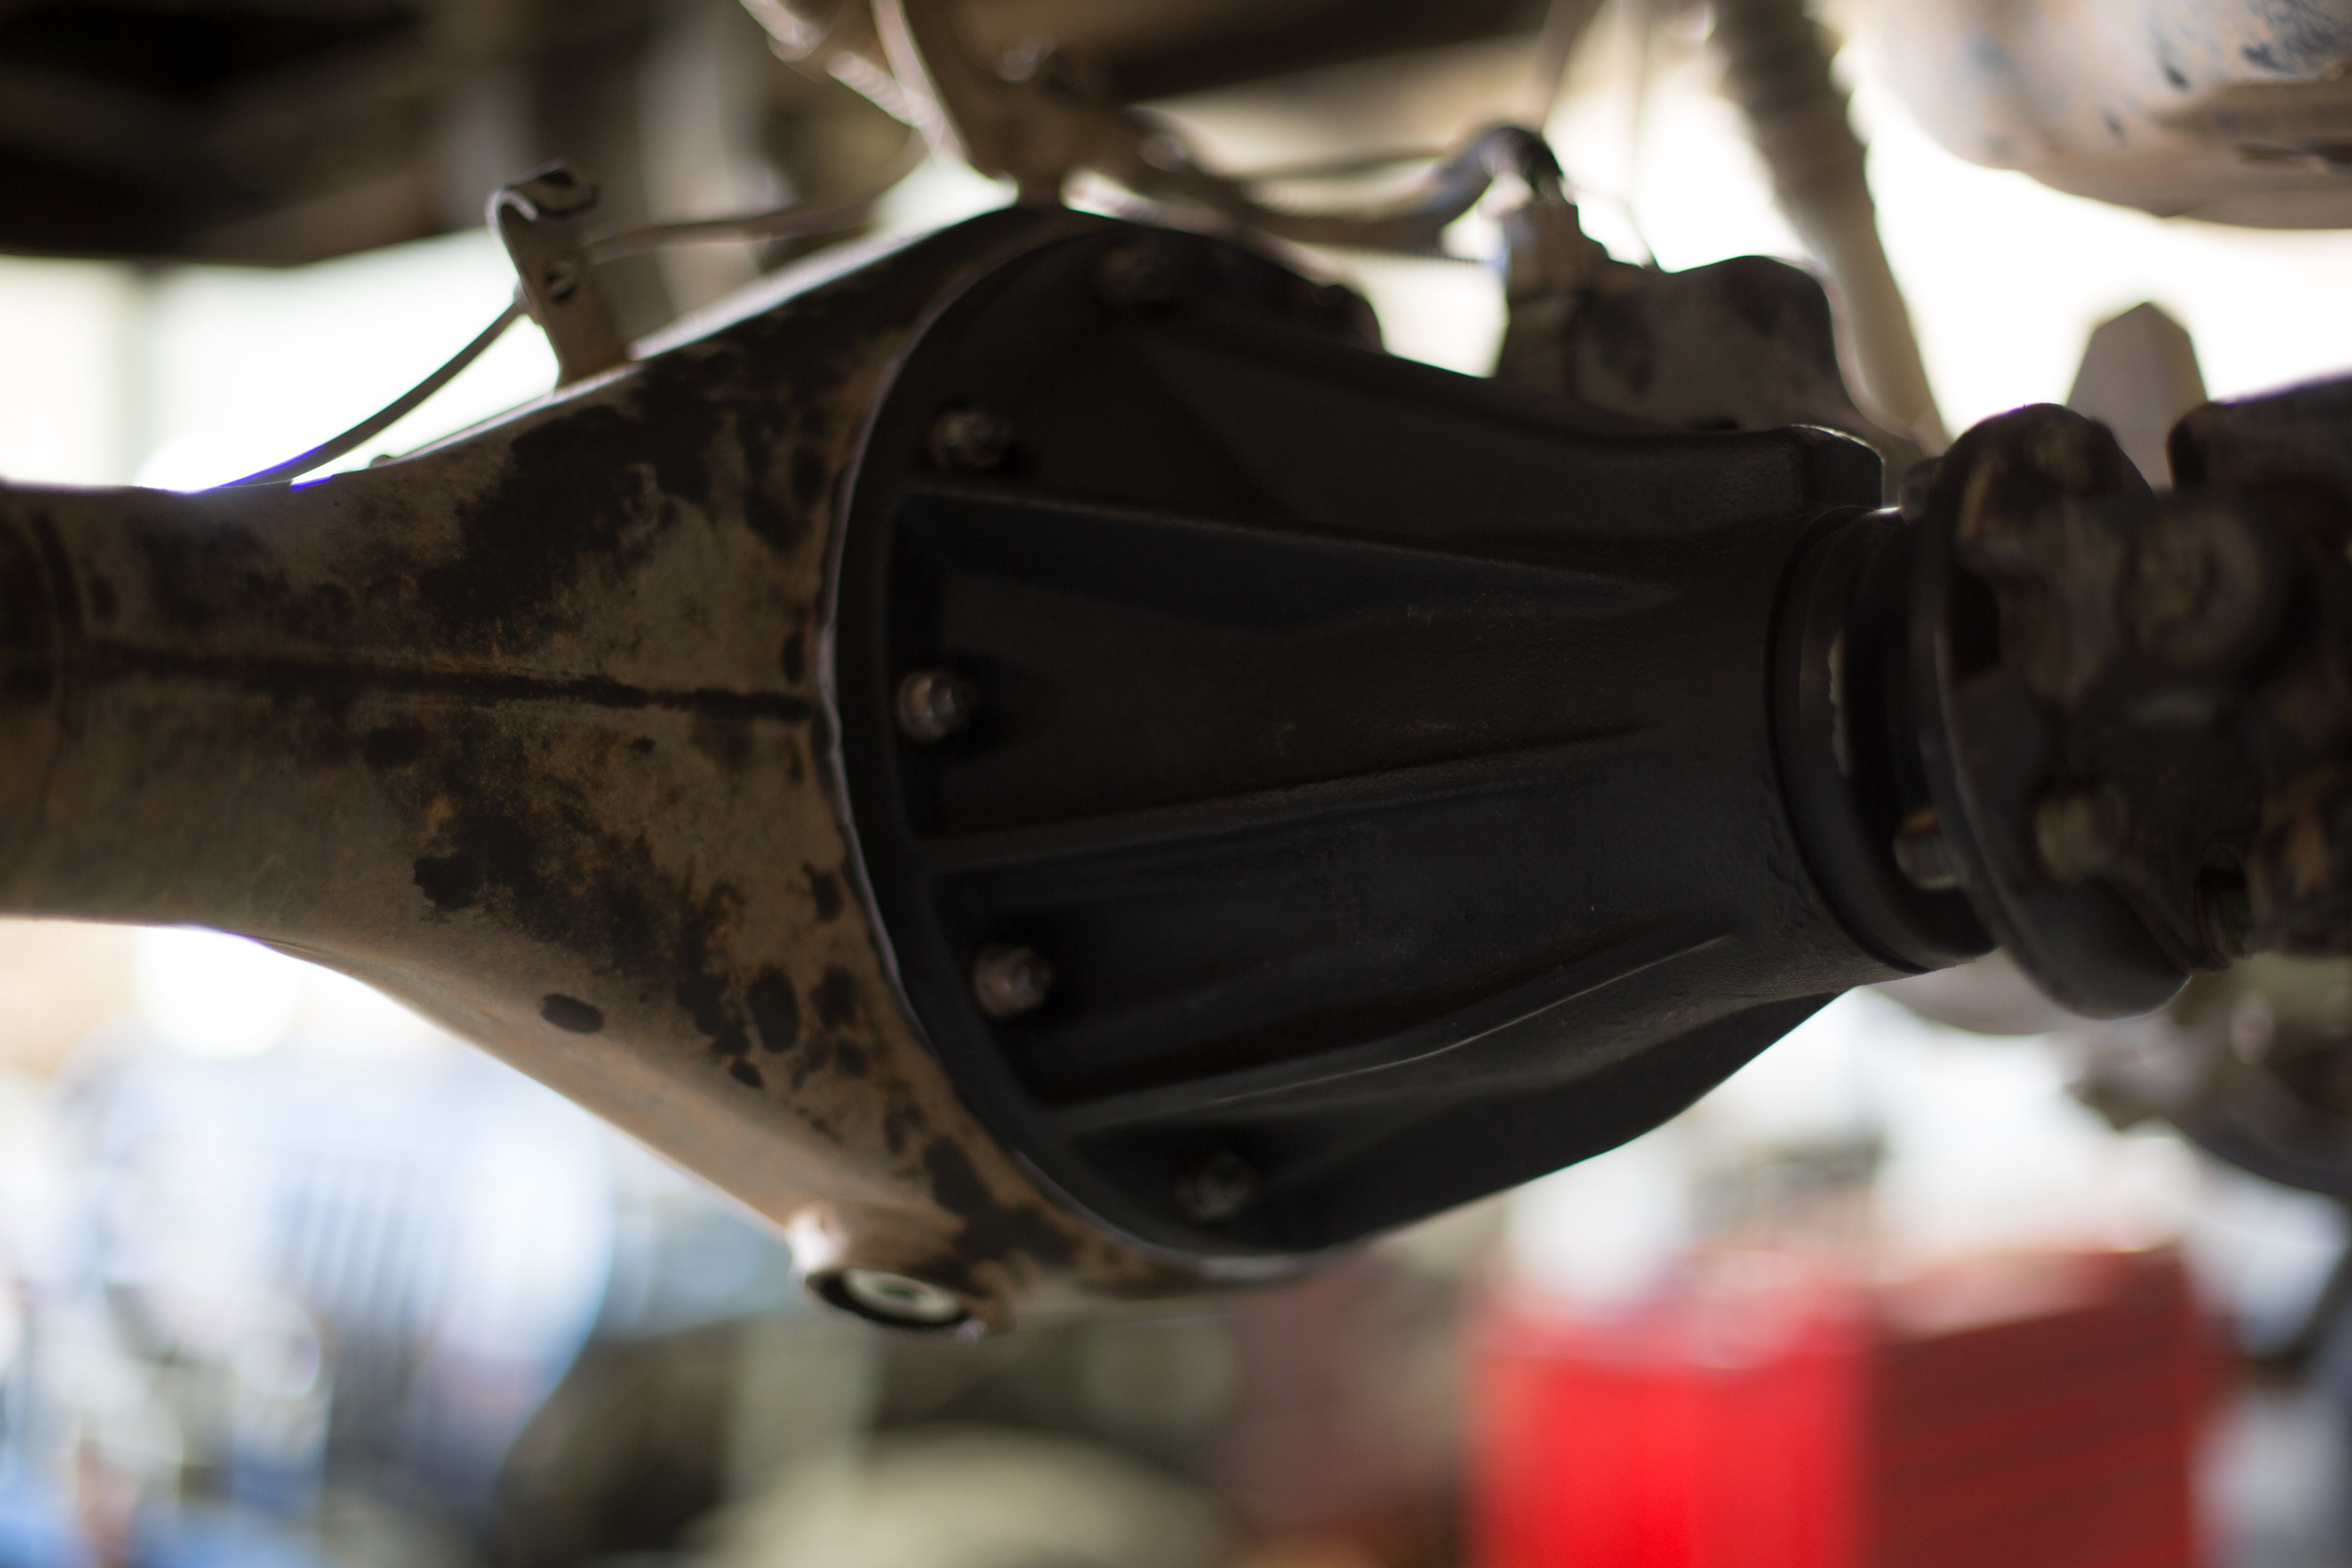
Eric and I had a good conversation about what gears to go with. I posed the question of re gearing with the truck as is with the possible potential of going to 35 inch tires in the future. Eric described the gears like riding a bicycle. Picture riding the bike where you pedal hard to make power or easy to make the same power and your engine is getting winded, re gearing in essence is going to prolong the life of your drivetrain. I asked if we should do 4.56 or 4.88s from the stock 3.70 gears. I told him I average 70-75 on the freeway and rarely if ever drive over 75mph. He explained that the gearing difference between the two was very minimal and that if I didn’t really drive over 75 then he would recommend the 4.88s, if I was more of a lead foot and wasn’t sure if I was going to 35 inch tires than 4.56s would be better. I opted for the 4.88s.

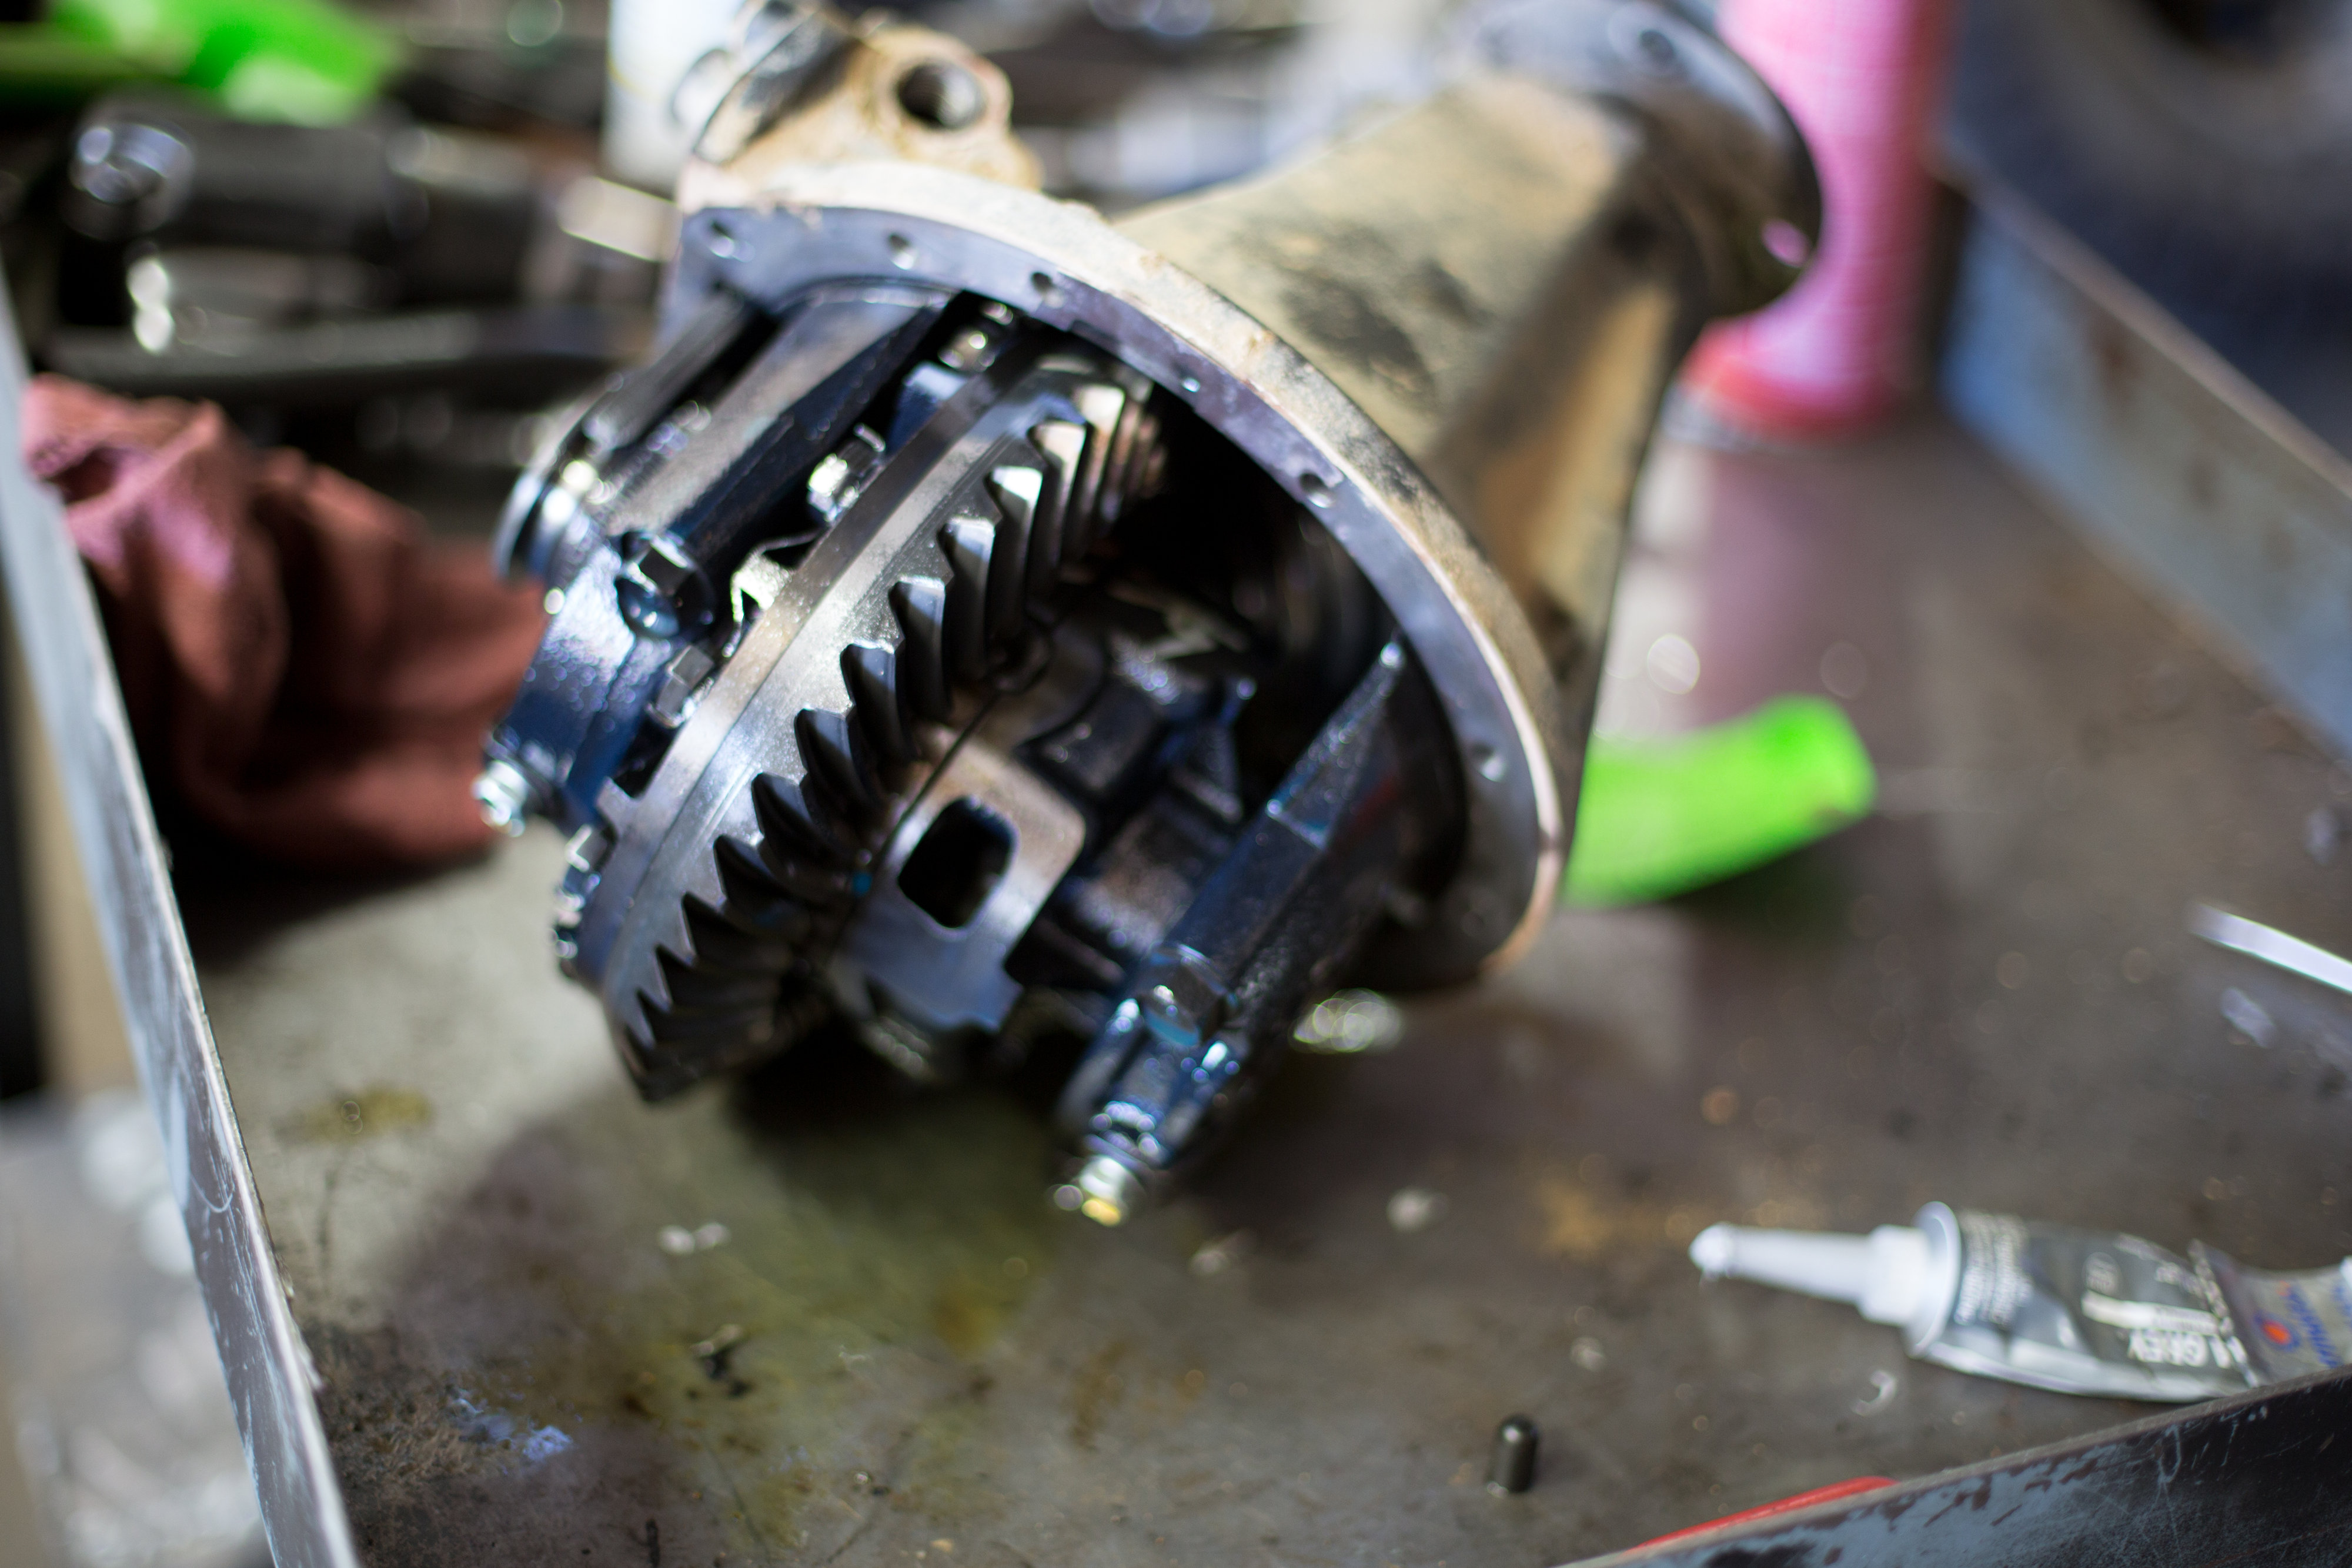
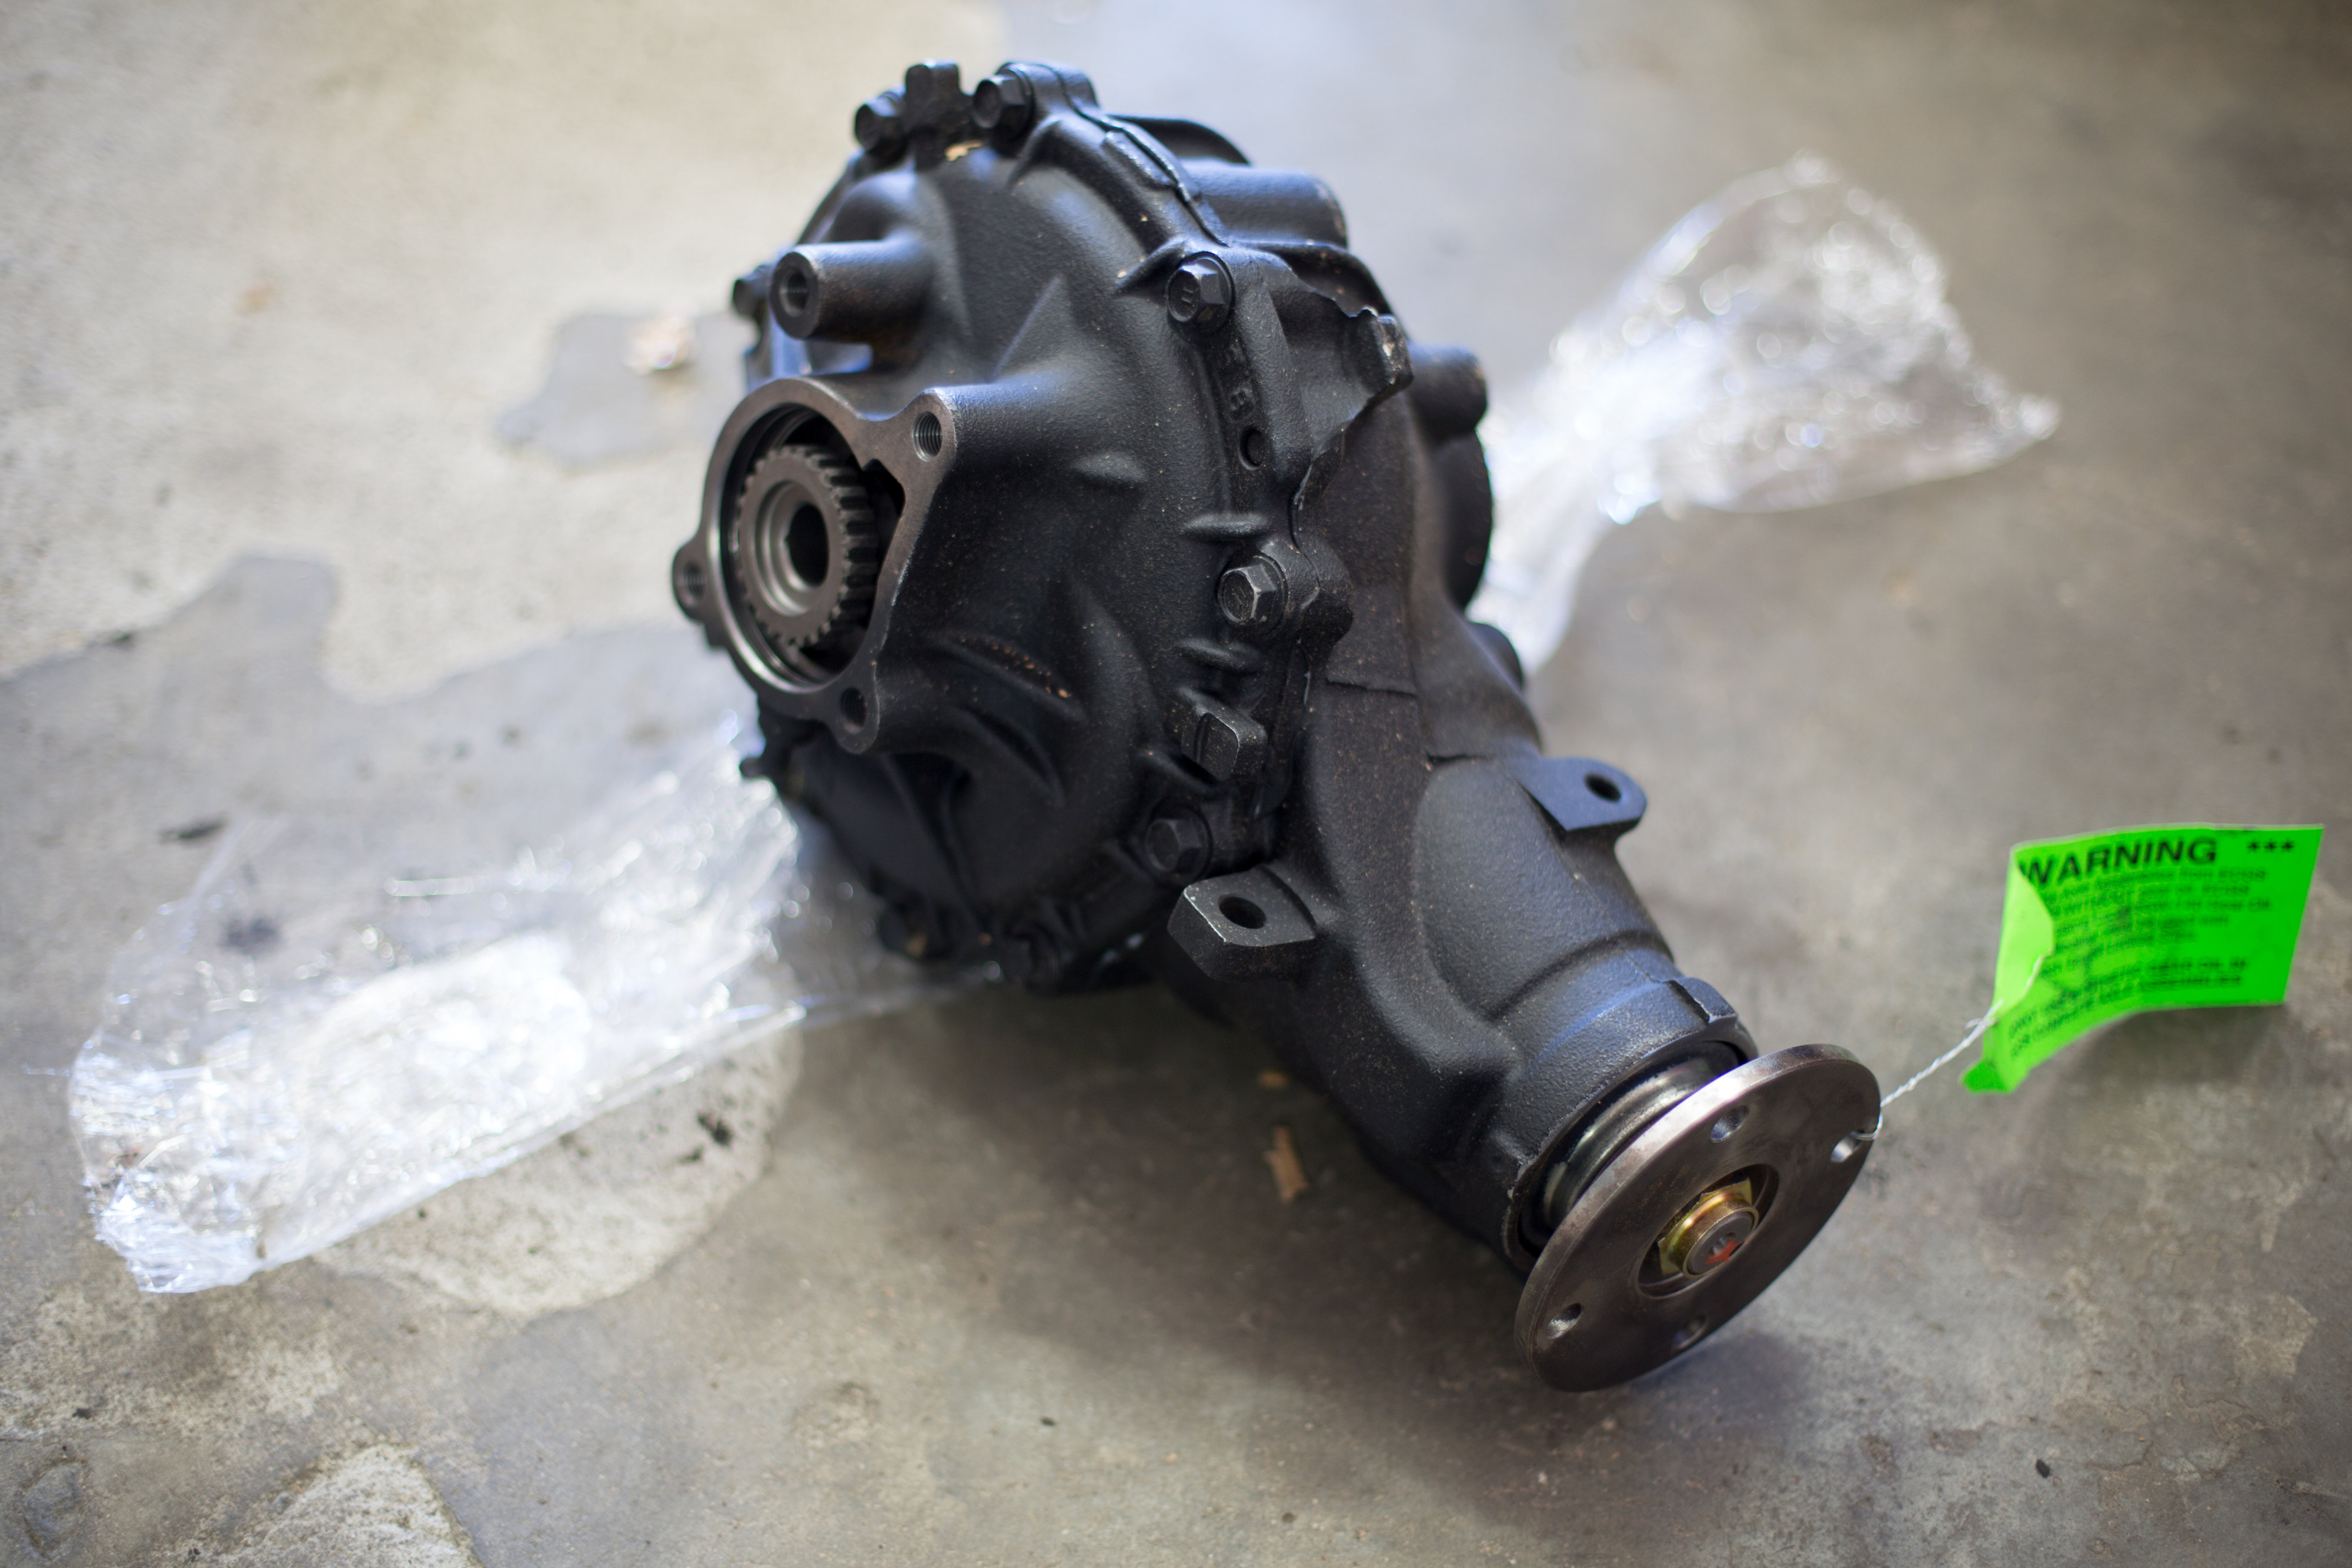
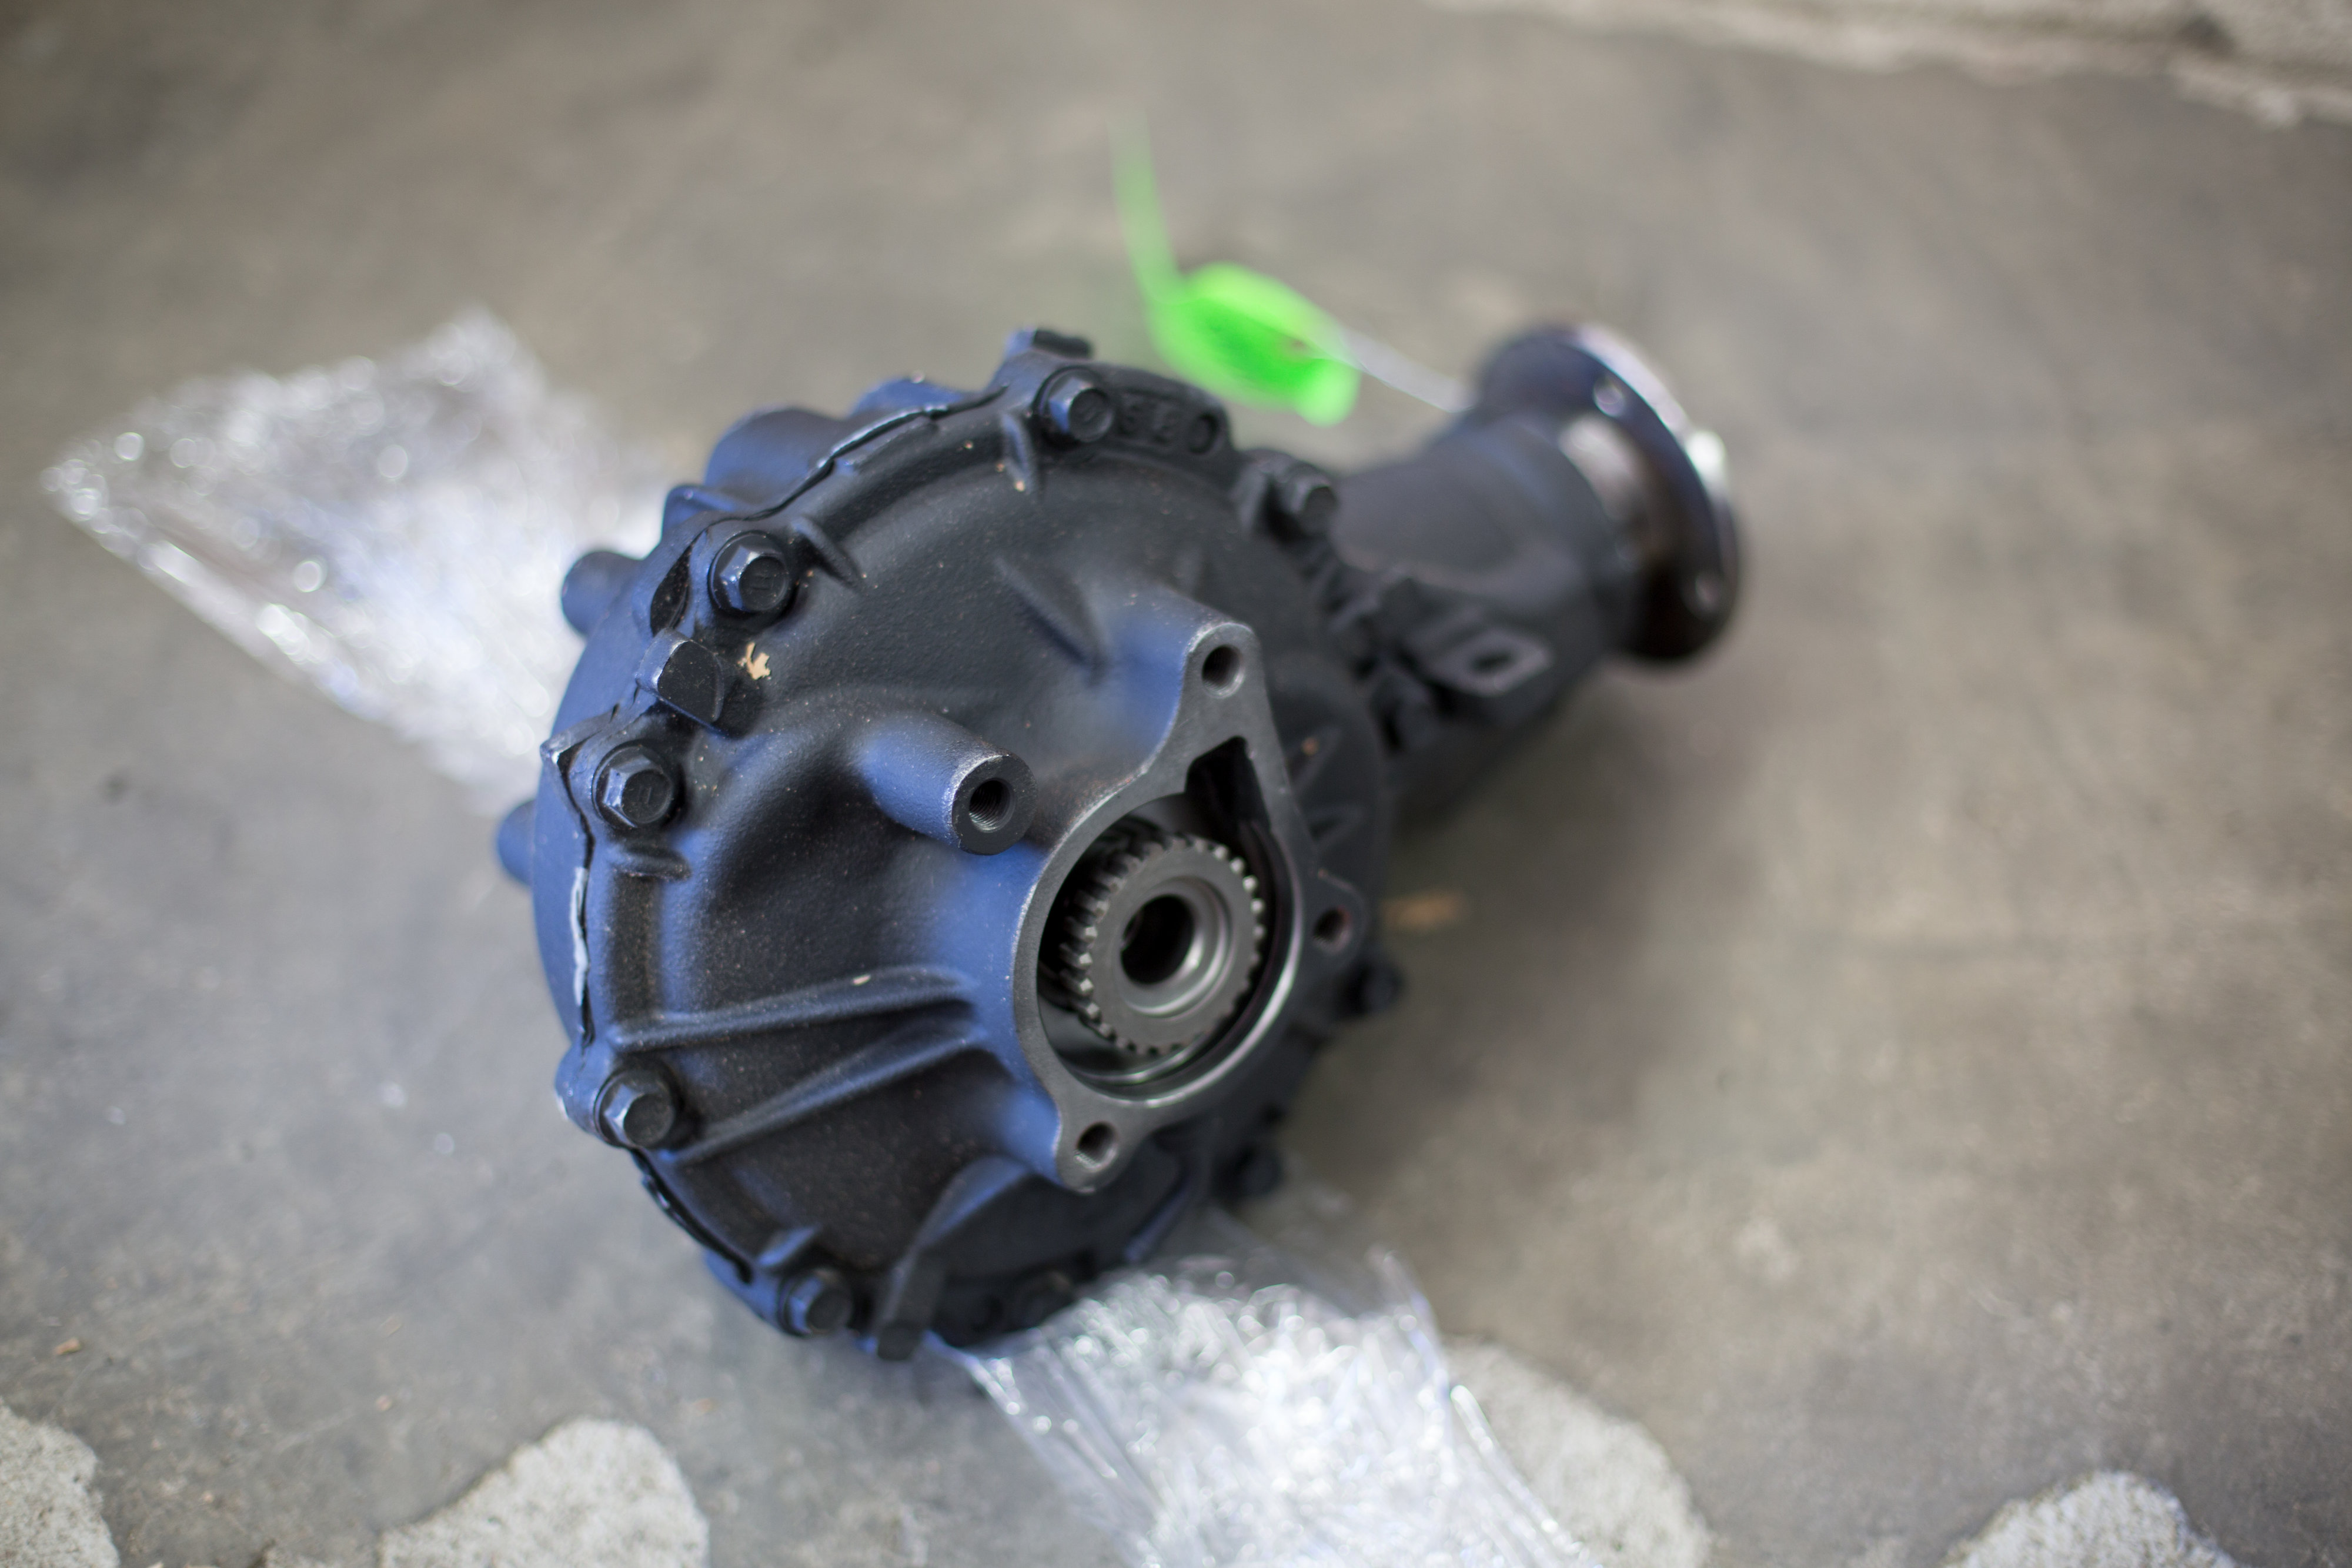
The next phase of the research was what companies parts do I go with? I ended up going to East Coast Gear Supply for their assembled differentials. They had some improvements over the OEM differential setups I wanted plus the idea of just having assembled diffs sent to me and sending my cores right back was extremely appealing. One of the upgrades that East Coast Gear Supply has is a replacement sleeve for the needle bearing in the driver side font clamshell. The needle bearing is known to fail on the Tacoma clamshell, so the upgrade was a must. The process for ordering was simple, I called them up and talked to one of their knowledgeable reps, told them what vehicle I had and answered their questions and viola new diffs were ordered.

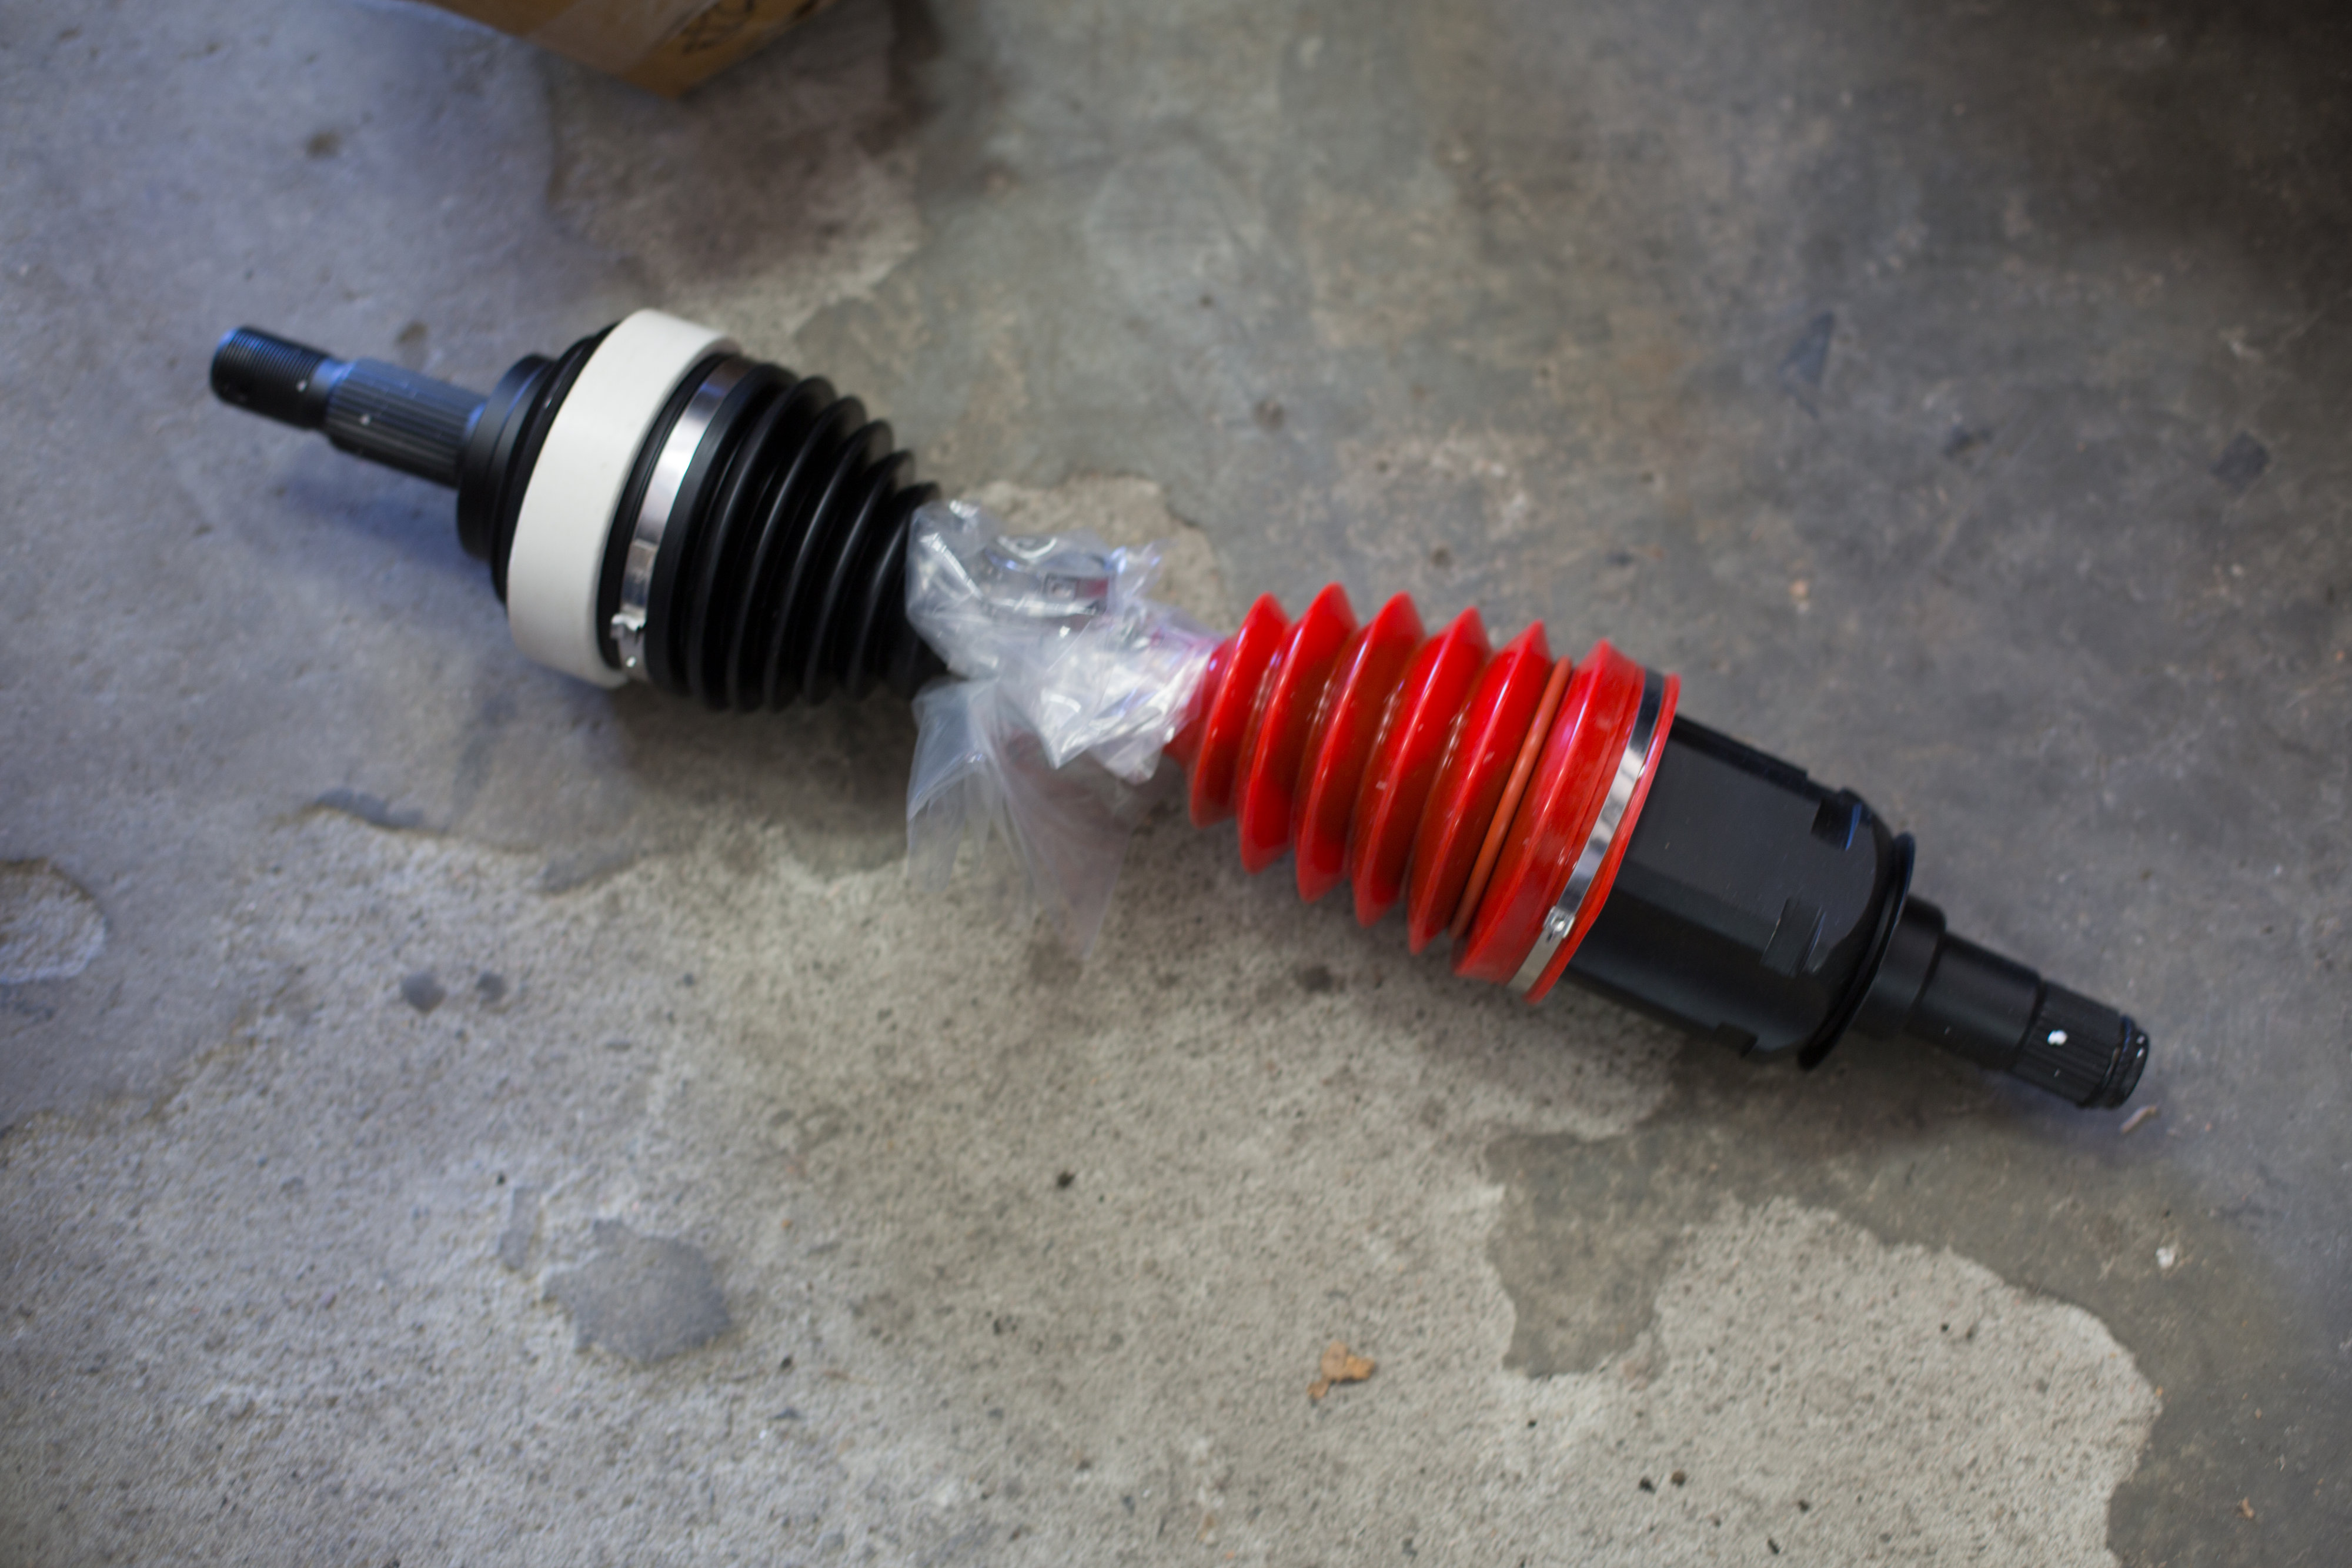
The next item to be ordered were new axles. Most aftermarket axles were not the way to go due to poor quality control. I had great experience with my OEM Toyota CV axles so I wanted to just stick with what was working, that is until I saw the price tag that Toyota was charging. After more googlefu and interwebs reading I found CVJ Axles. They specialized in refurbished OEM Toyota Axles that you could get as stock replacements or with upgrades. I told Stephen at CVJ Axles what I was doing with the truck and he recommended using their high angle boots.

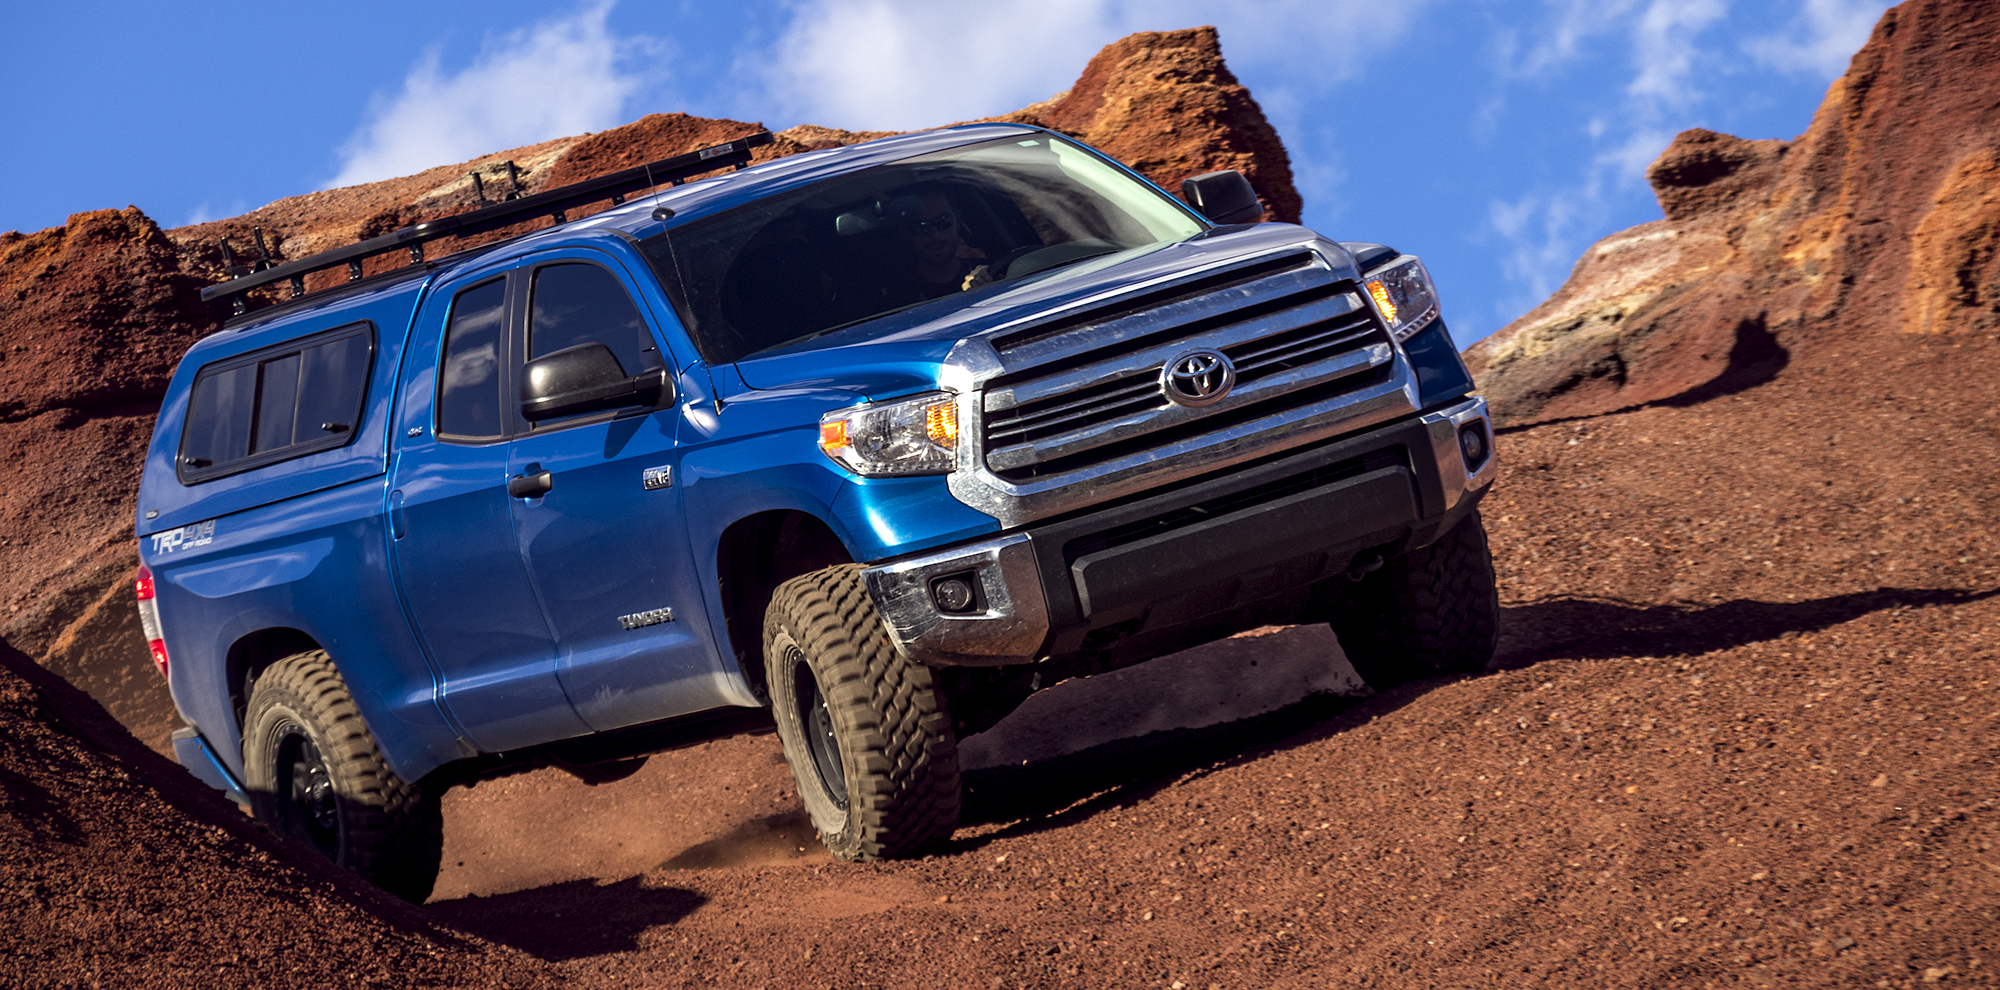
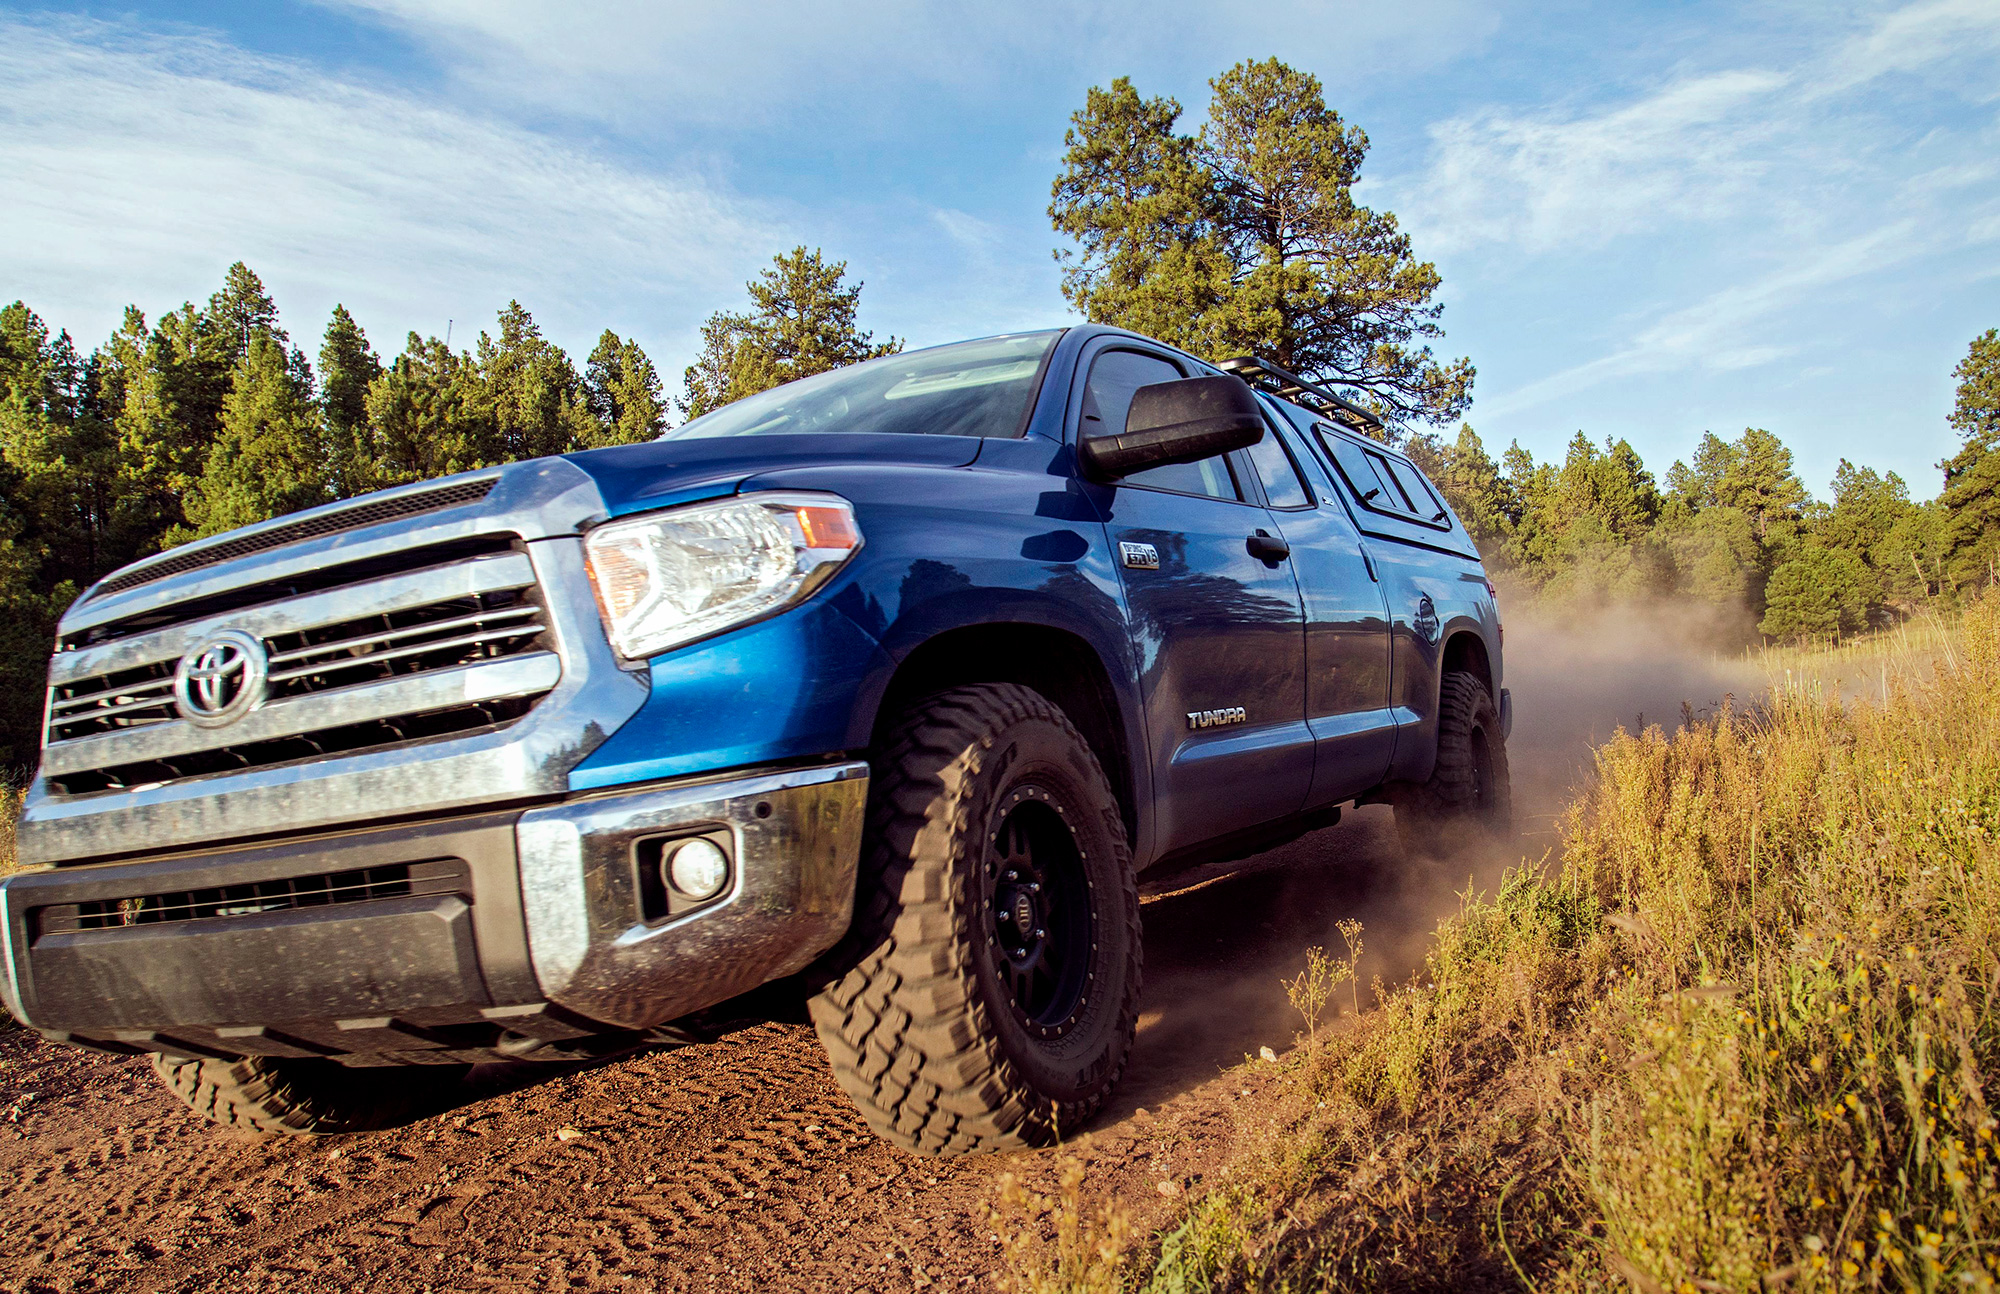
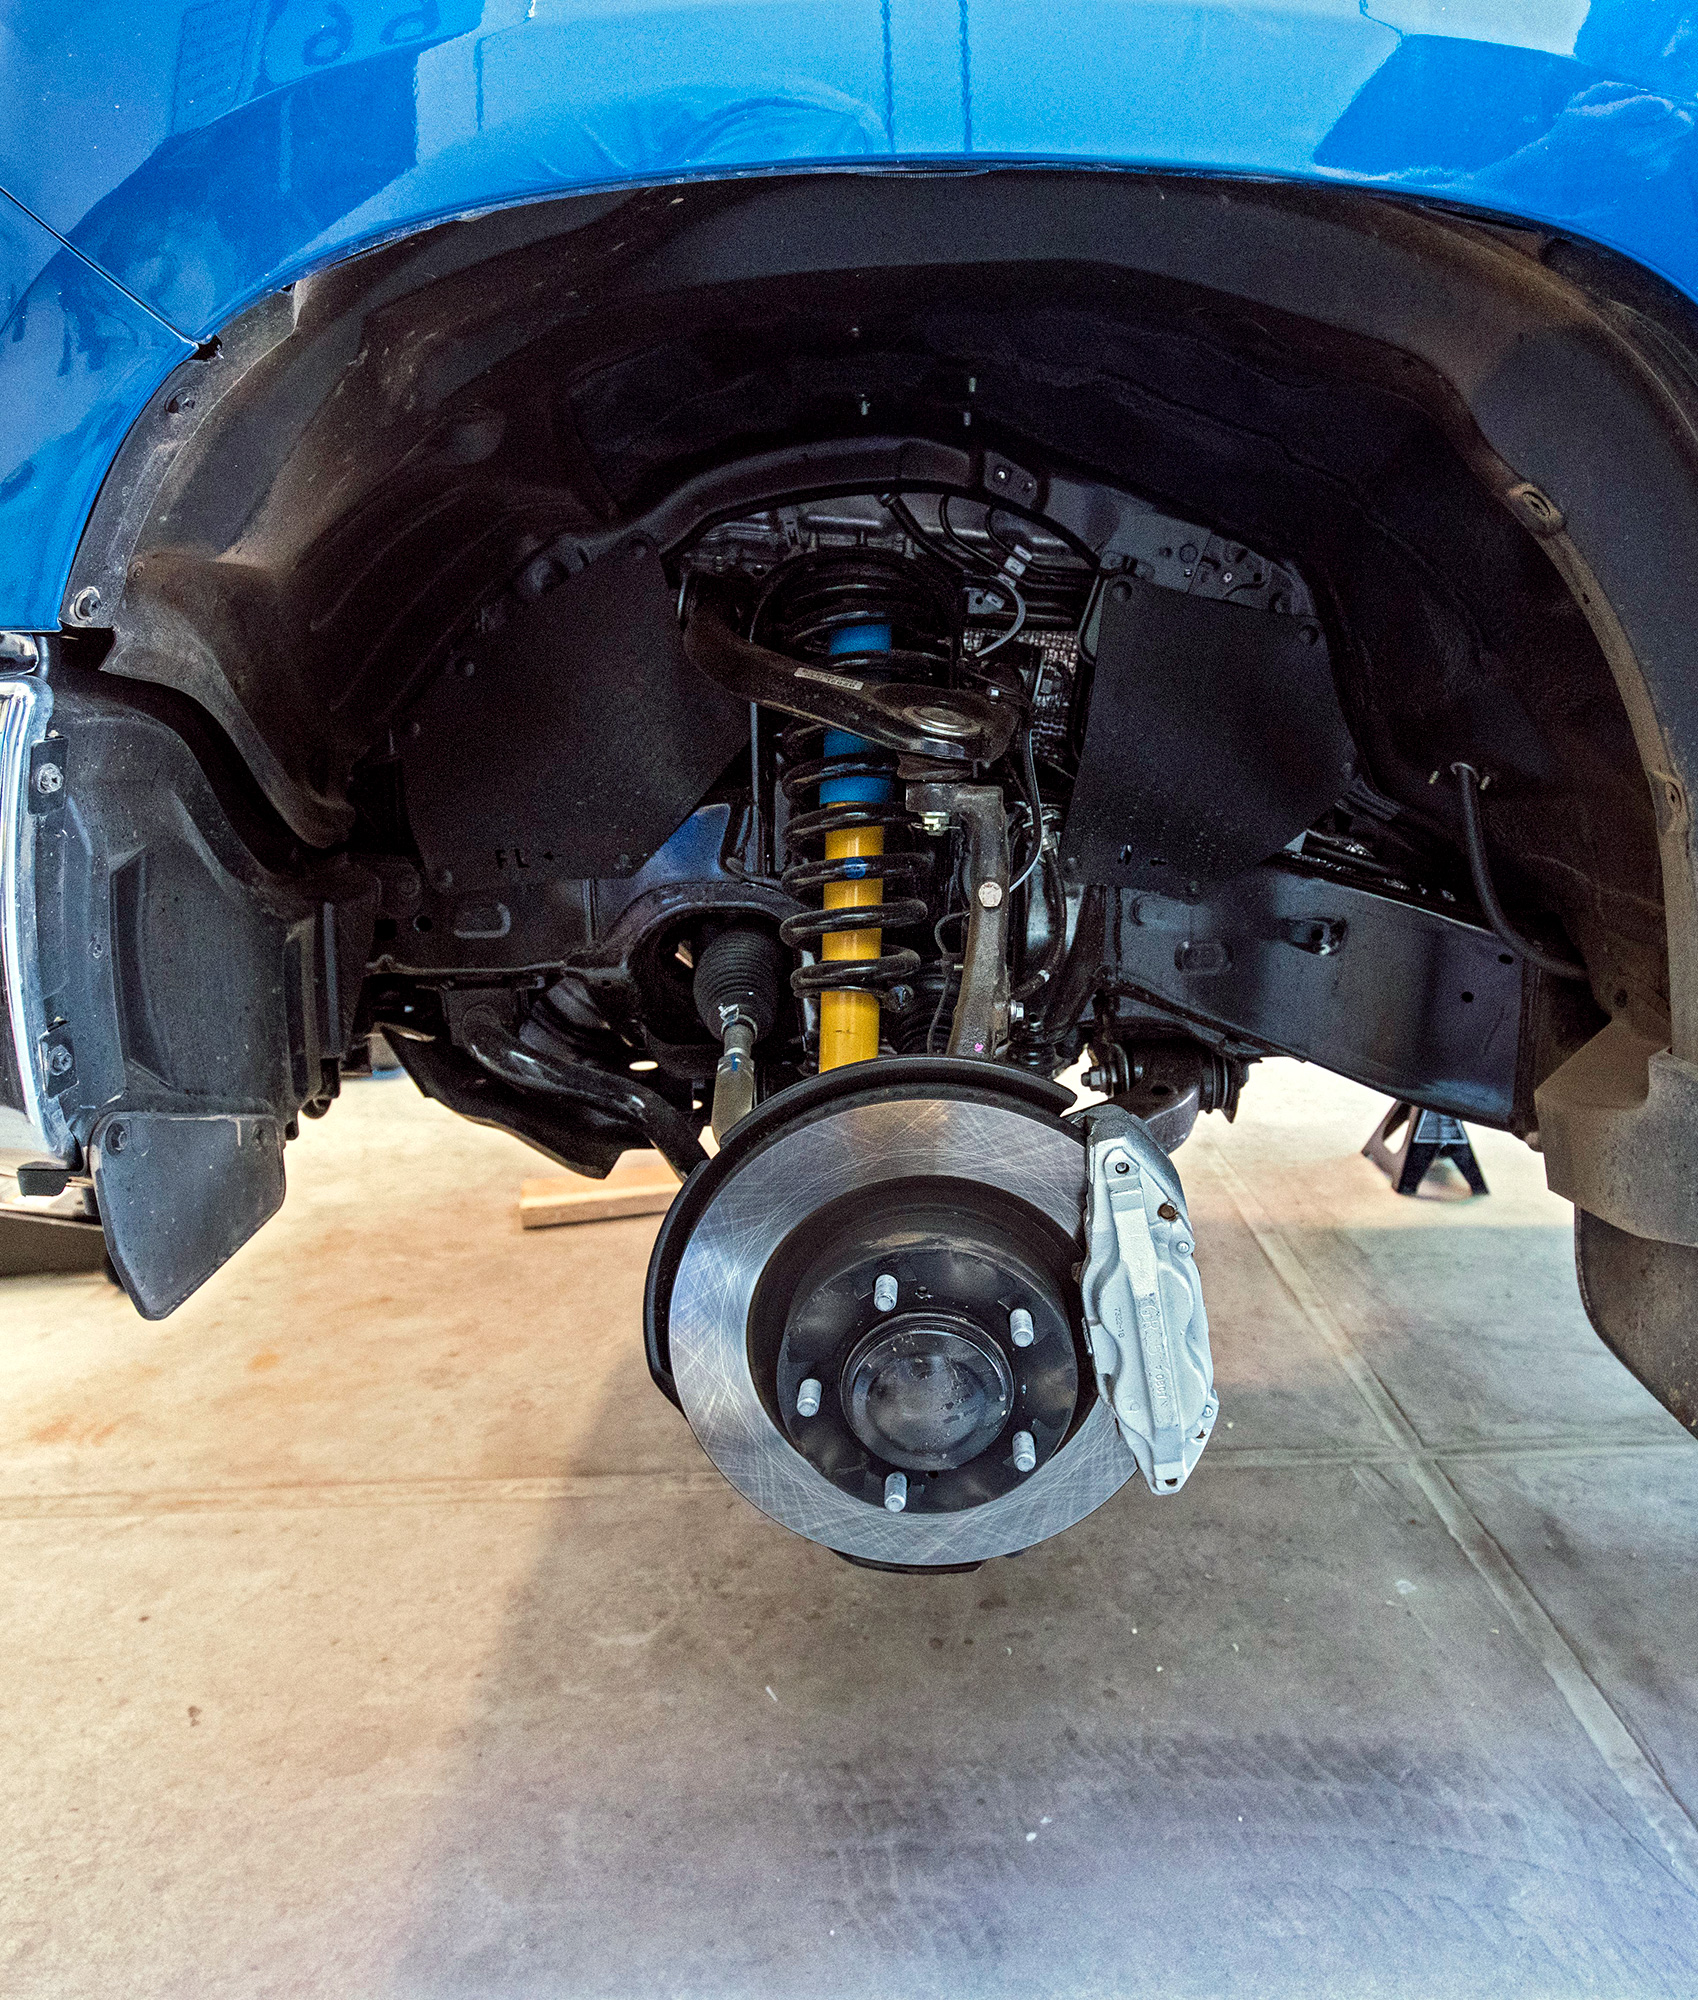
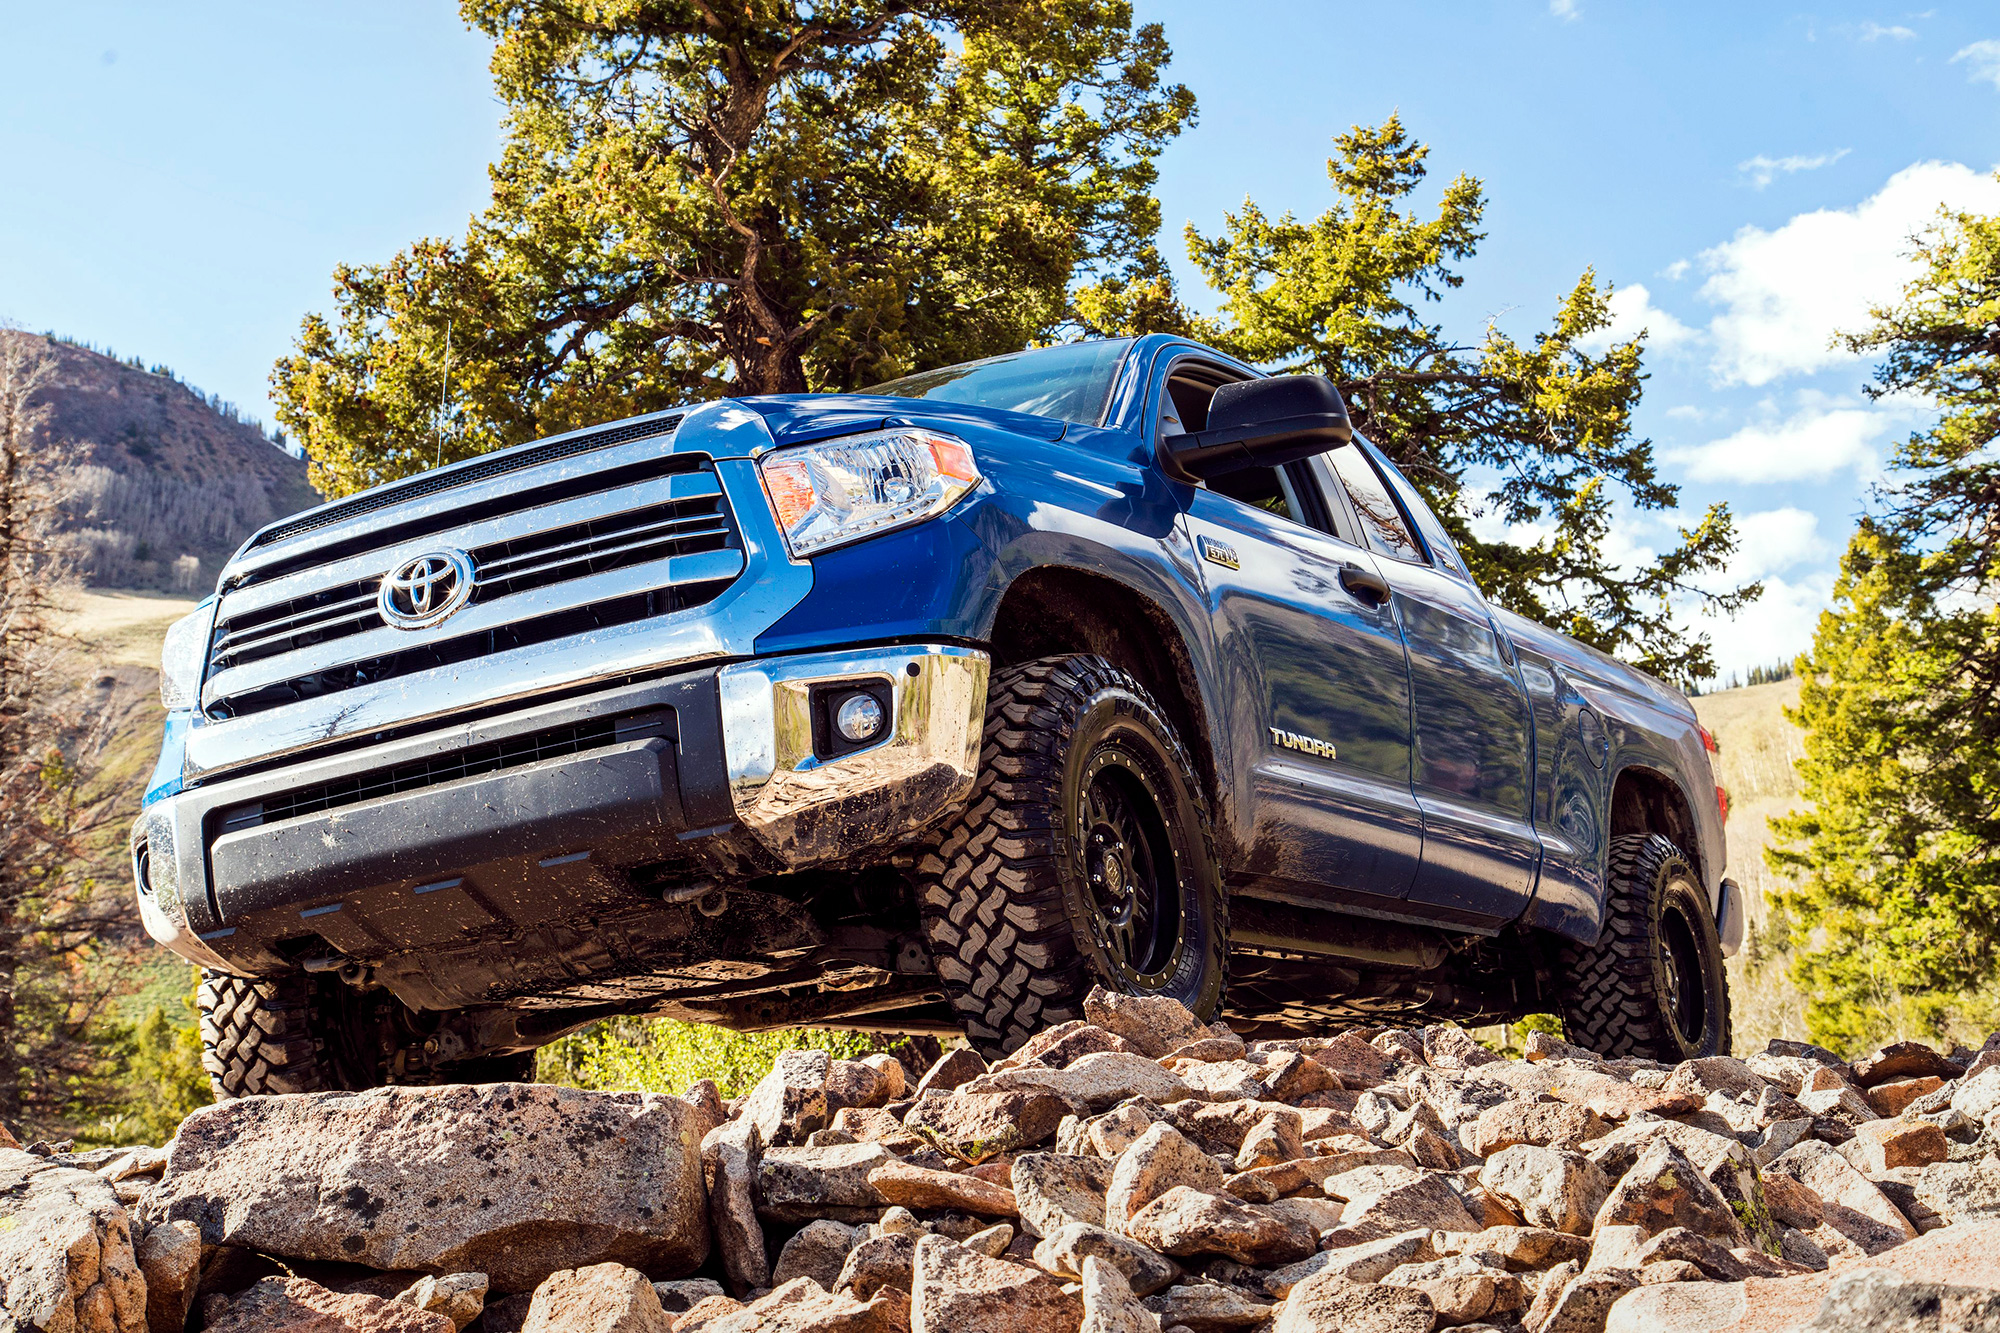
The final step was choosing the tires and what path I would use for clearancing the fenders. I had been running Falken Wildpeak MTs in the 33 (285/75R16) variety for over a year and can honestly say I was blown away by them. I have ran various other brand tires for all kinds of other driving, whether it was desert racing, overlanding or more technical rock work but the Falkens seemed to perform well everywhere to include on road, they where actually quiet for a MT!

I opted to go with the Wildpeak MTs again for the 35” tires (315/75R16) but fitting those big ole meats on the Tacoma would require cutting my fenders first. That was fun!

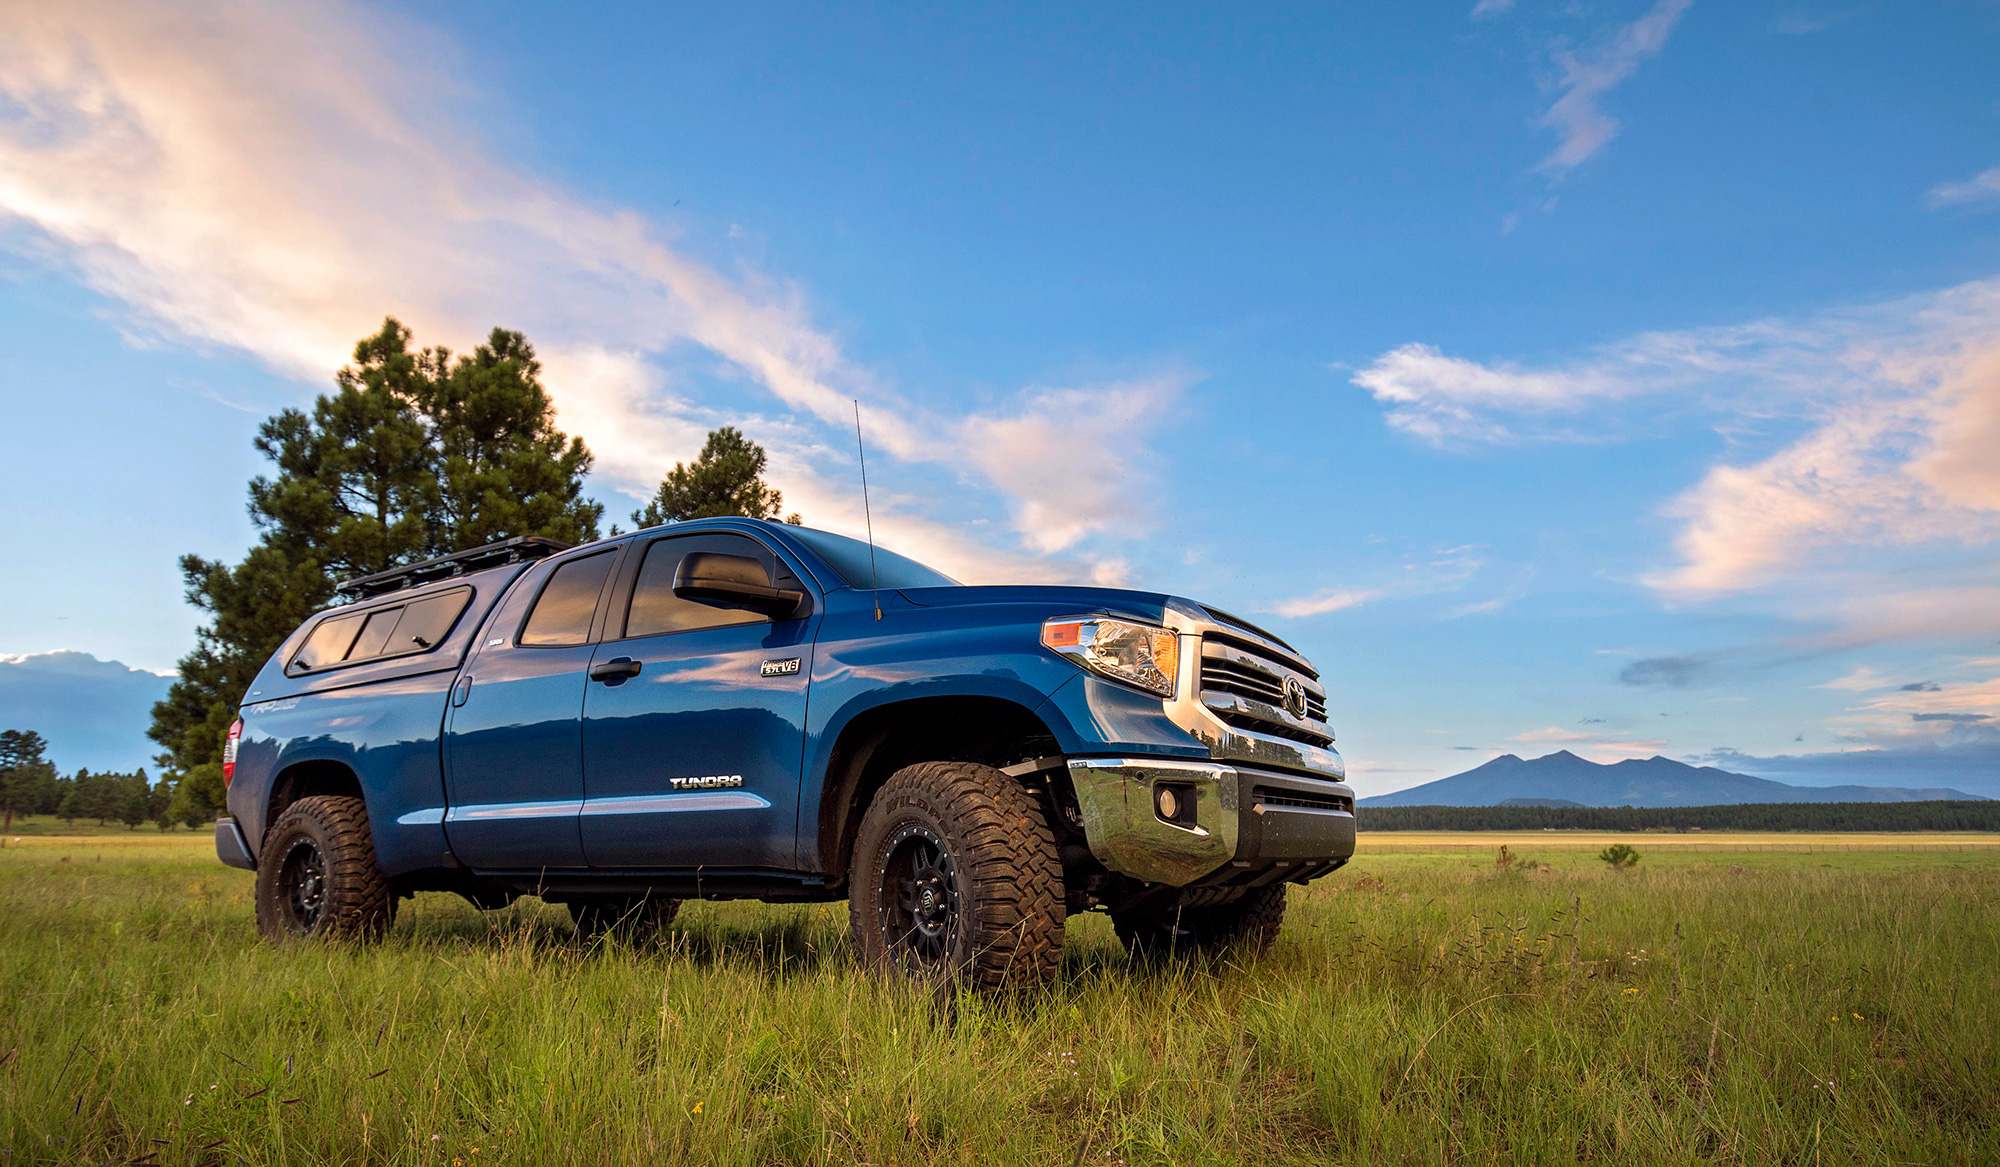
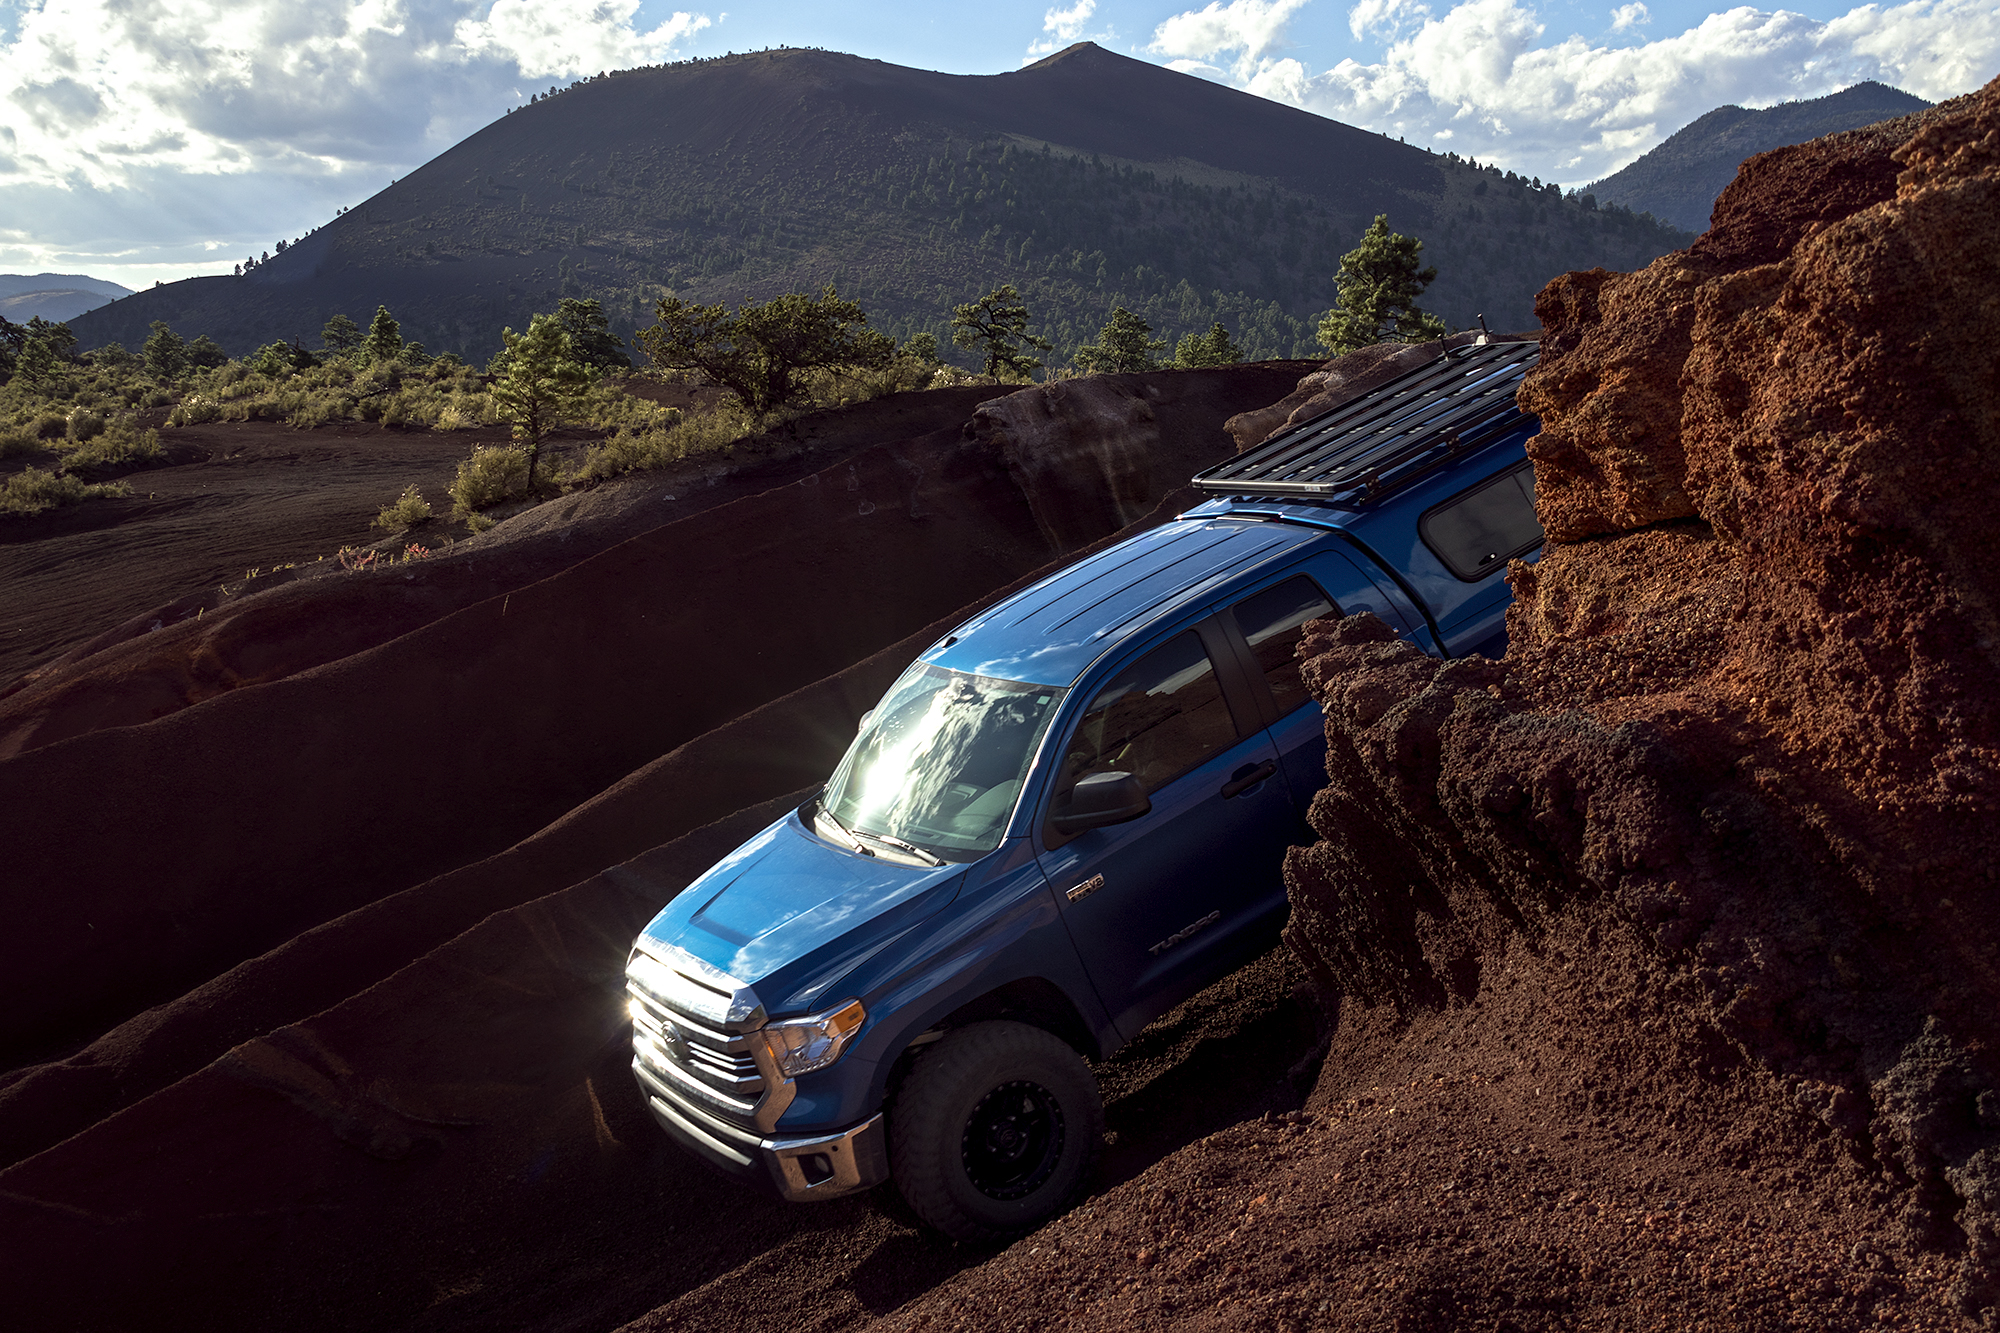
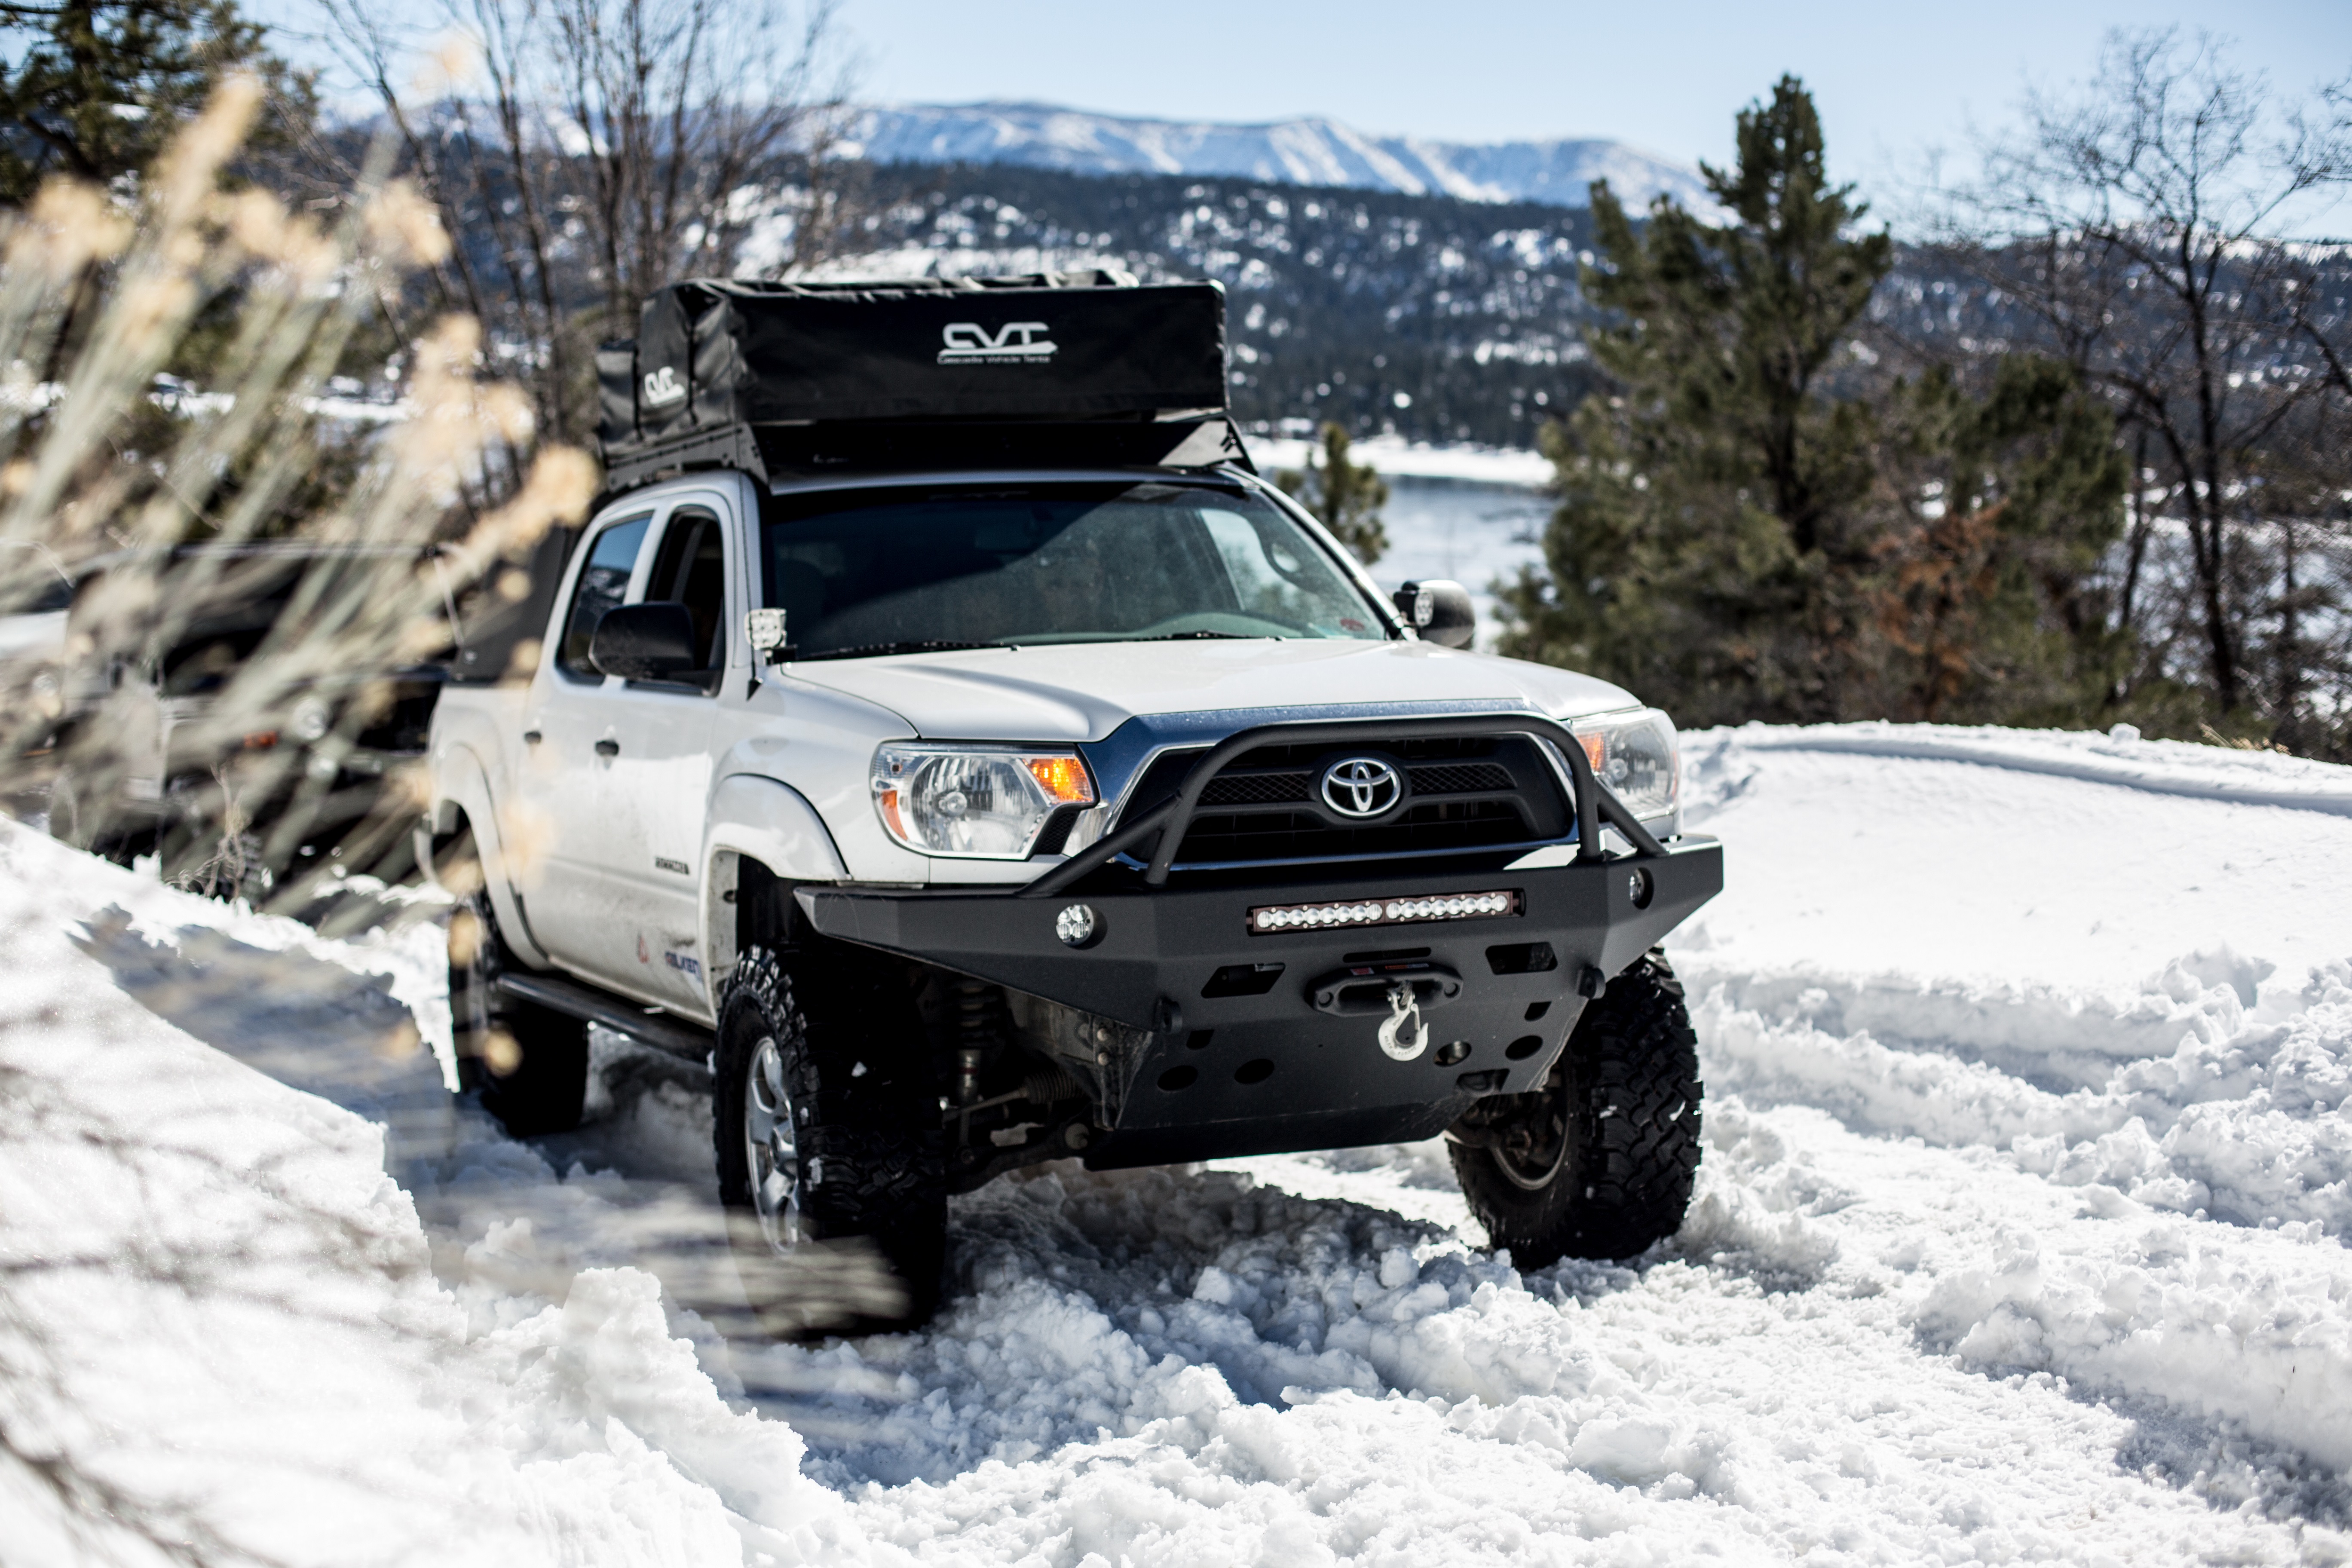
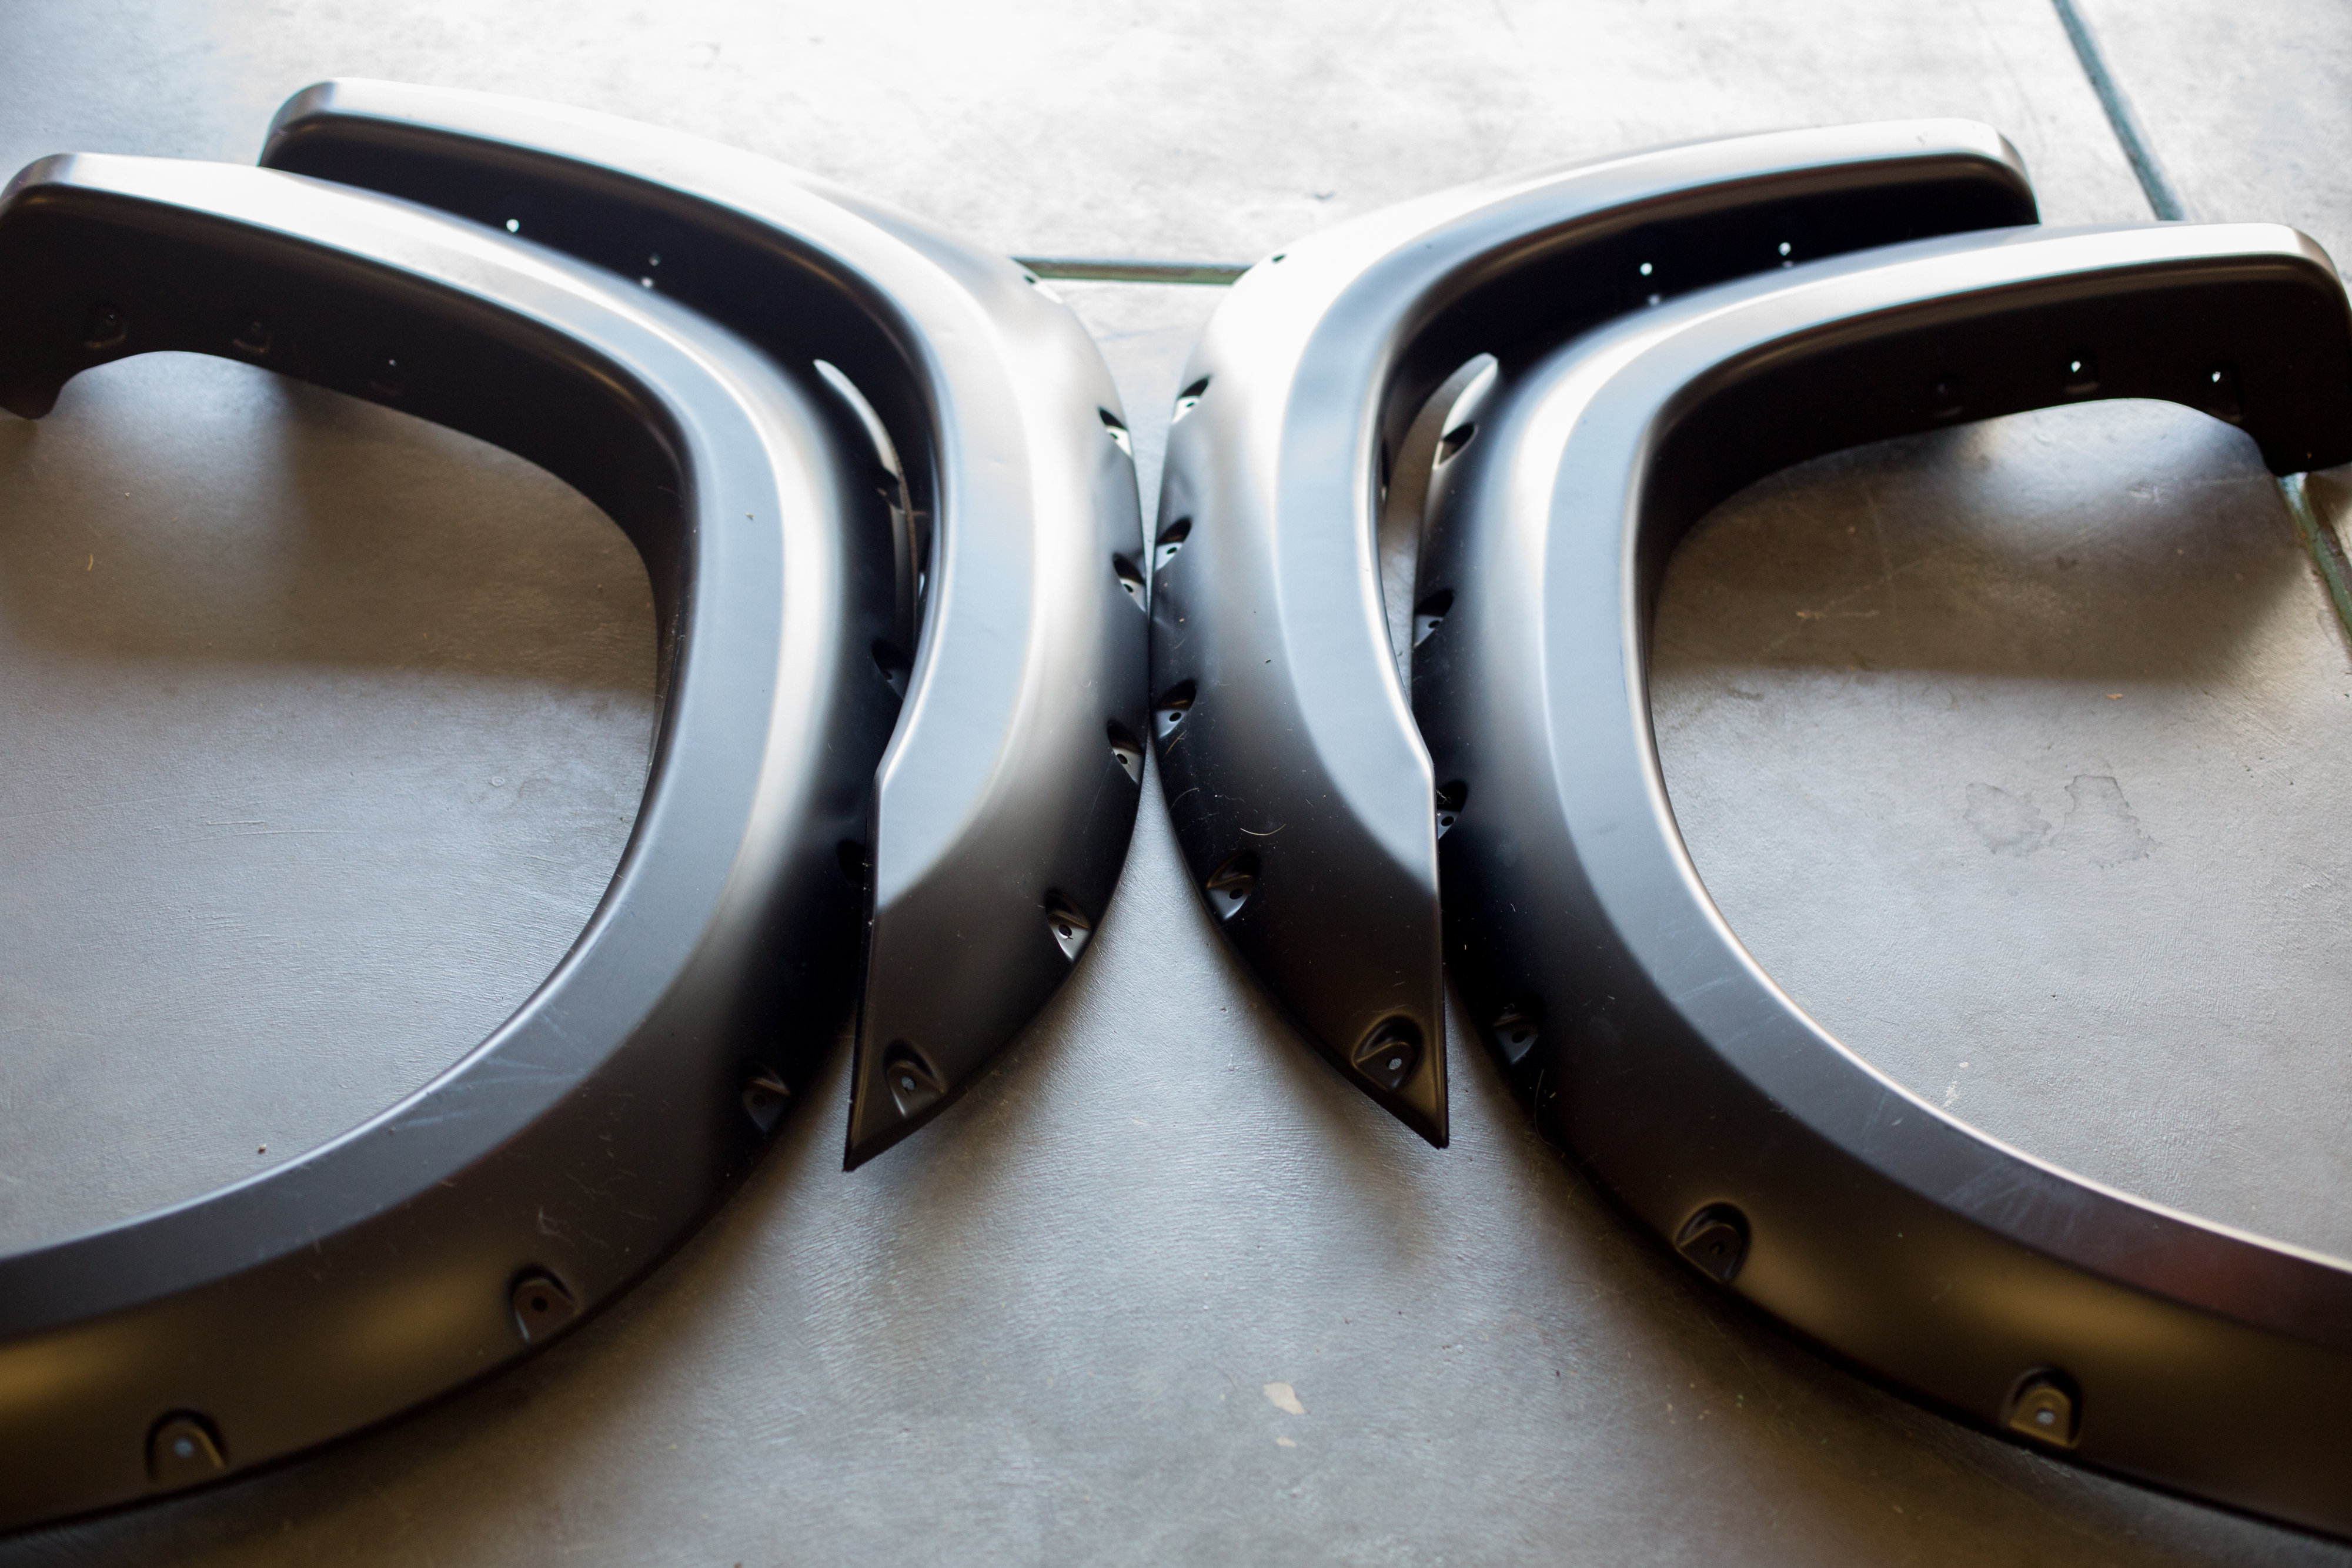
With the fenders neatly trimmed to clear the 35’s, I needed a way to make the truck look good afterwards and that was an easy choice, Bushwacker Fender Flares.

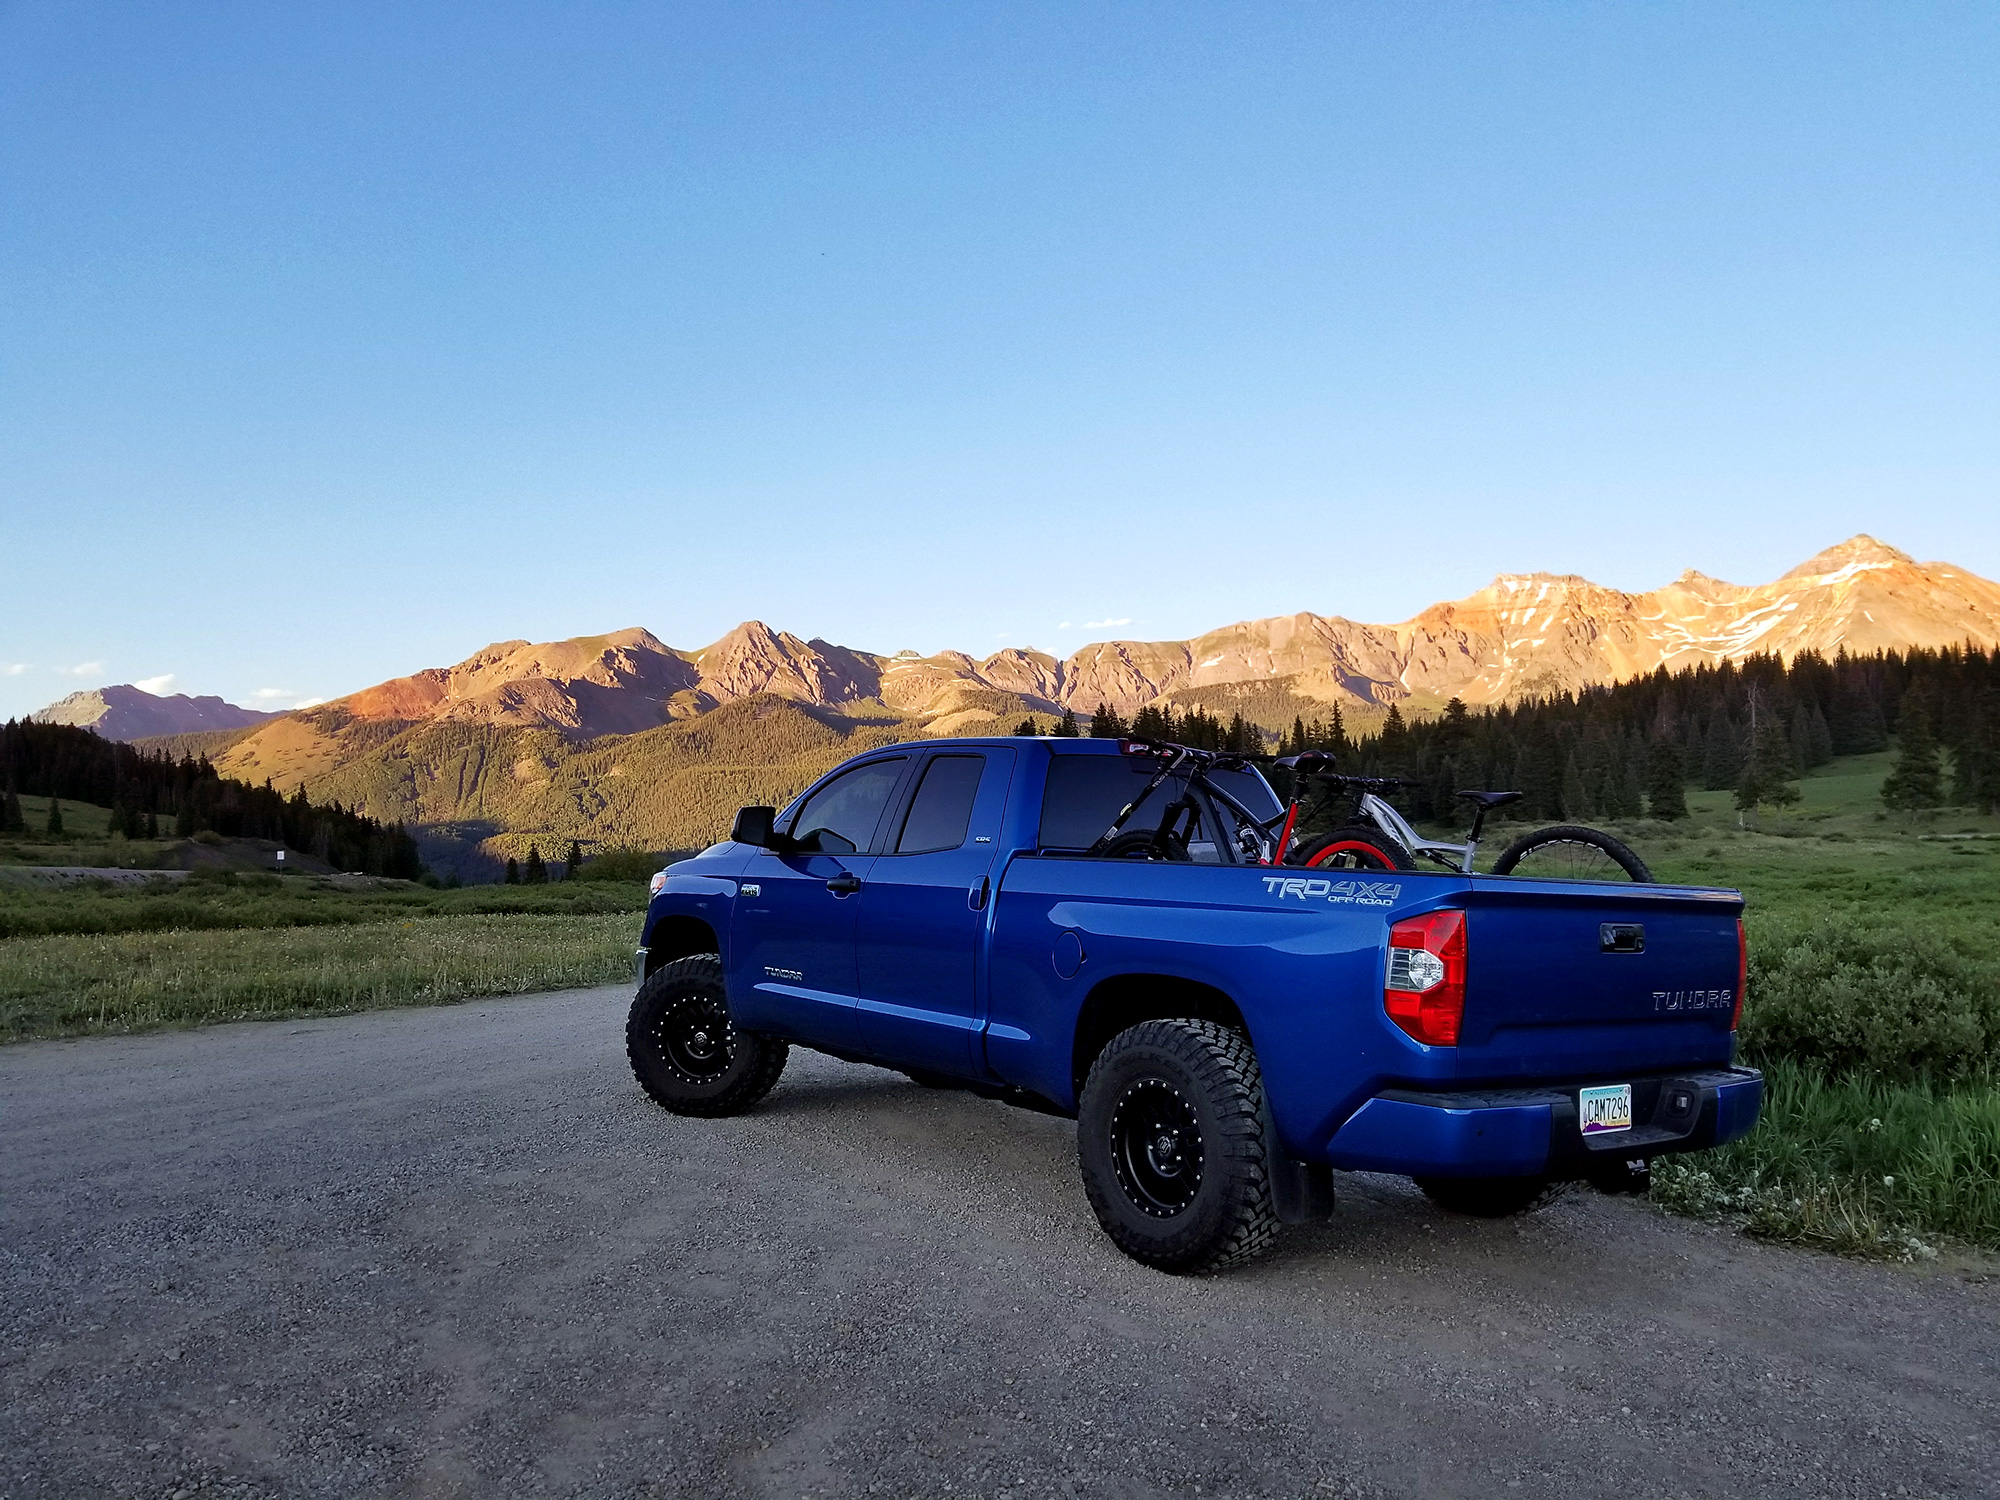
These flares took a while to get all of them on because we were busy actually getting out on trips, but the proof of concept was achieved as it all came together in Colorado on Engineer Pass!

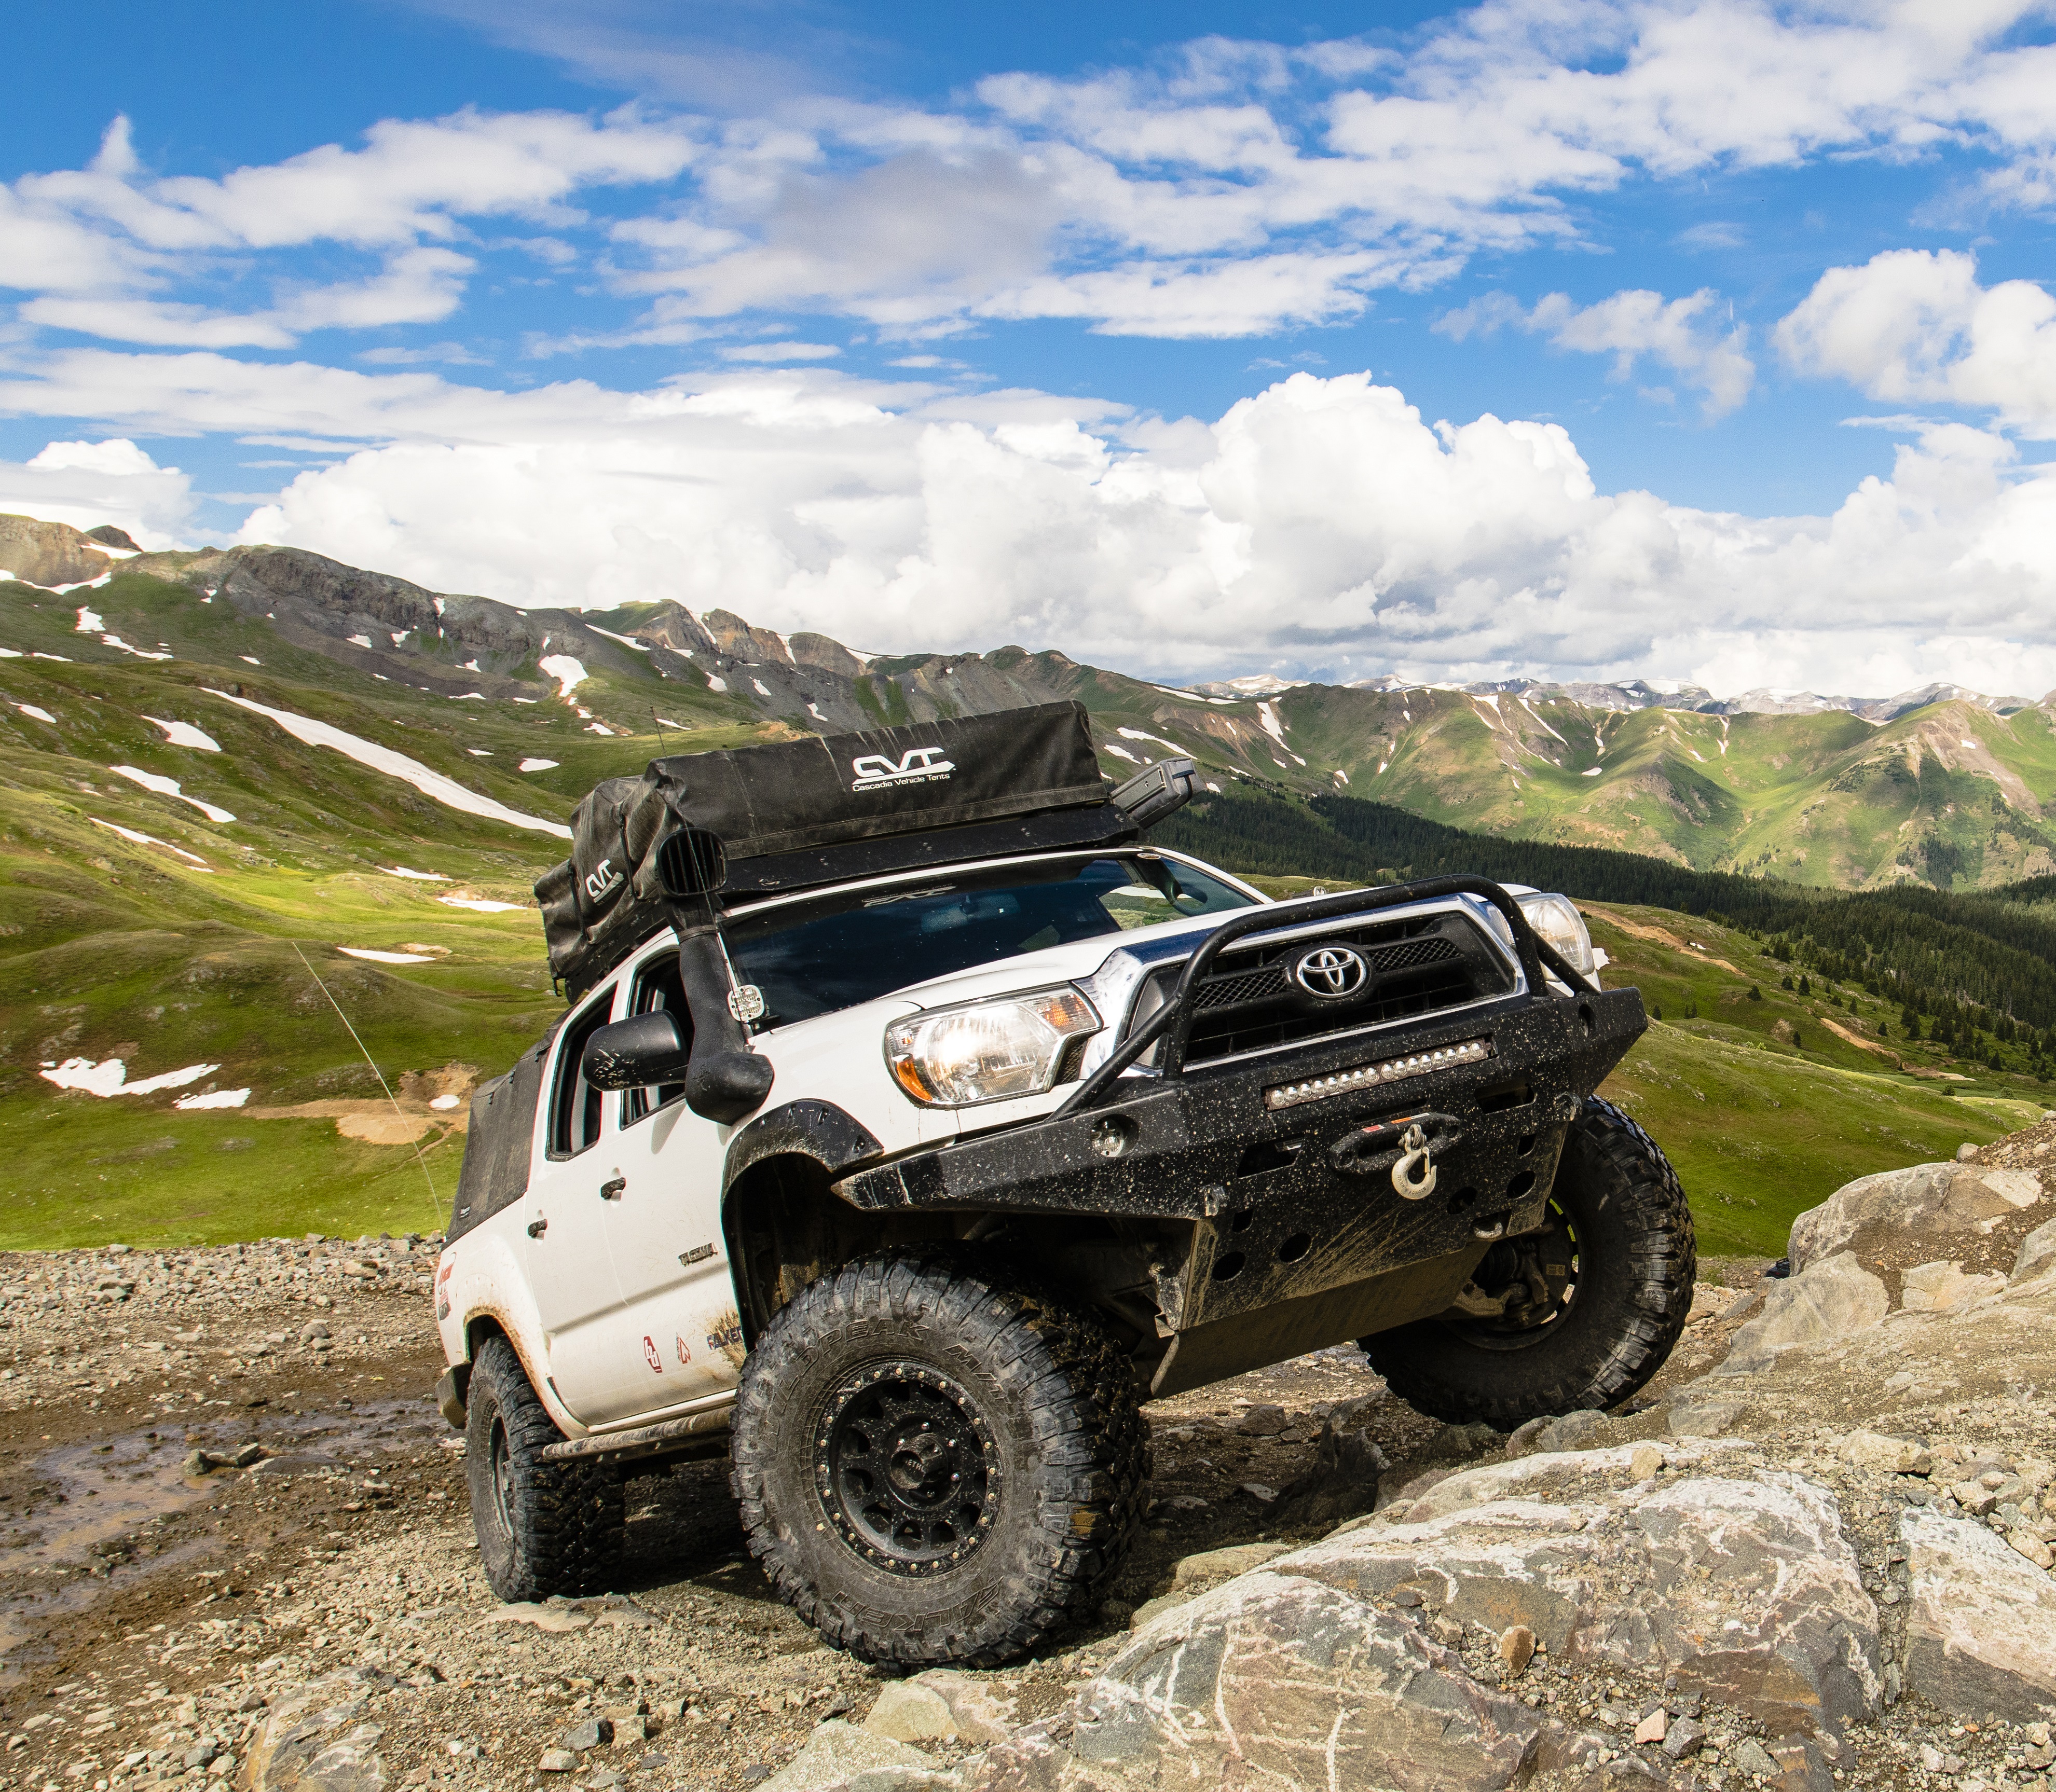
Once all the flares were on it had the fully finished look I was seeking as well as some additional coverage – overall I am very happy with how all of these modifications turned out.

Full build thread on the truck can be found HERE on our Forum at American Adventurist.

Photos by Cifaldi Photography and Chad de Alva.


Full Disclosure: Tires, flares, gears and CV’s were provided at no or reduced cost to Brett or American Adventurist. 


Project Tundra // Suspension

Back in May, I installed some things on Project Tundra and something weird started happening.  I started getting this muscle soreness whenever I would drive the truck, and the problem seemed to be exacerbated by driving on dirt roads—especially when driving in a spirited manner (If I’m being honest, it happened on paved roads too….especially the twisty-windy ones.)  After seeking the help of various medical professionals with no luck, I took my problem to Google.  Rabbit holes were explored; but to no avail.  Months later, I can only conclude that I’m suffering from the thing that I hope has afflicted everyone who drives a vehicle off road:  Soreness of the face from too many Grins Per Mile.  And I put the blame squarely on the Icon Vehicle Dynamics (IVD) suspension for making my face hurt from grinning so much.

Not only has the raw enjoyment of the truck increased by installing IVD suspension, but the real world performance has improved considerably as well.  As a quiver-of-one vehicle, Project Tundra does everything from long hauls on America’s interstate system, to frequent trips on our favorite dirt roads.  Therefore, the truck’s suspension system needs to keep the vehicle rubber side down while dodging exploding semi-truck tires at 80 MPH in Utah, and soak up washboarded dirt roads in Arizona so that passengers can still play Jenga in the back seat.

Off the dealers’ lot, the stock TRD suspension is respectably capable—but there’s certainly room for improvement.  The folks at Icon Vehicle Dynamics have spent hundreds of man-hours developing suspension products specifically for the Toyota Tundra, and all of this R&D time enables them to suggest specific parts based on how you’re going to use your rig, and what you’re going to carry with it.  After talking about the end state of project tundra and how it would be used, IVD came up with a selection of parts that would make the Tundra perform like a magic carpet over a wide range of loads and roads.

PARTS OF THE PUZZLE

We were fortunate to get our hands on Icon’s new 3.0 Series coilovers and billet Upper Control Arms (UCAs) sporting the Icon Delta Joint for the front end of Project Tundra.  The 3.0 coilovers take the proven performance of the 2.5 Series coilovers and turn everything up to 11.  Everything on the 3.0’s is massive, as are the performance gains they provide over monotube shocks in every metric.  You can’t help but call the stock TRD-stickered Bilstein units ‘cute’ when they’re placed side by side with the 3.0 Series coilovers.  Installing a larger coilover assembly requires installing an aftermarket Upper Control Arm (UCA) that will clear the new coilover, yet this also provides real performance gains for suspension performance.

Icon’s Billet UCA’s with the Delta Joint give Project Tundra more wheel travel in the form of droop travel and the Delta Joint is far stronger than the stock ball joint.  Additional droop travel allows the tires to better stay in contact with the ground as the suspension (and thus tire) is what falls into a hole instead of the whole vehicle, keeping the vehicle more level.  The Delta Joint is a new product from IVD that combines the durability of a ball joint with the range of motion of a uni-ball.  The Delta Joint provides the benefits of both types of joints, and I’m quite eager to see how they hold up in the long run.  The UCA’s also allow for camber and caster adjustments, which can be used to help clear larger tires or dial in additional positive caster to tweak handling performance.

OUT BACK

To keep up with the front end, Icon provided us with their leaf expansion pack, hydraulic bump stop system, and VS 2.5 Series PBR Rear shocks with CDCV.  The leaf expansion pack provides ~1.5 inches of lift to the back of the truck and maintains the load carrying capacity without making Project Tundra ride like a dump truck.  The pack is installed between the stock main and overload spring so that factory towing and load characteristics are retained, and lift and comfort are added.  Icon has something spring related on the horizon that will be of great interest to the overland / adventure travel community and we will be updating this article as details emerge.

The hydraulic bump stop system was added to help keep the rear of Project Tundra in control, especially while carrying the additional loads that overland-style travel typically places on a vehicle.  Toyota’s stock bumpstops are about as soft as a lacrosse ball, and they instantly release all of the energy compressed into them right back out which can cause the back to the vehicle to kick or step out.  The bump stops provide bottom out control and are speed sensitive so that they can soak up big hard hits without limiting articulation and slow speed suspension movements.

Rounding out the system are Icon’s 2.5 Series shocks with Vehicle Specific (VS) valving, and the Compression Damping Control Valve (CDCV).  VS valving is the result of spending hours playing with shim-stacks, pistons, and other suspension variables to create a shock tuned specifically to the Toyota Tundra.  The CDCV allows me to dial in the amount of compression dampening we want in all of the shocks on project tundra, so we can crank up the compression for better road handling and big hits, and back it off for a more compliant ride when we’re going slow and doing technical trails.

WHEELS AND TIRES

When combined with Icon’s suspension system, a set of Icon Alloys Six Speed wheels allows project Tundra to clear a true 35 inch tire. These 17 x 8.5 inch wheels were developed with a specific +25mm offset that allows for lock-to-lock steering throughout the range of travel from full stuff to full droop. We wrapped our shiny new Six Speed wheels with Falken Tire MT01’s and A/T3Ws. Keep an eye out for a long term test on their tires, and we’ll be talking all about wheels and tires in a future Project Tundra article.

INSTALL

Installing all of these parts on Project Tundra took two days over the course of a weekend, and with the exception of an air chisel, no real specialized tools were required.  On Saturday, Chazz Layne and I were able to install everything on the front end with no real visits from Mr. Murphy.  You do have to cut a factory bumpstop to clear the new 3.0 Series coilover, and rather than take a corner off as the directions suggest, I opted to cut the whole bumpstop off, so that I could weld the bumpstop back on if I ever needed to in the future.  Likewise, you need to trim the ends of the swaybar, but I just opted to remove mine.  (DISCLAIMER:  AA and IVD can’t be held responsible for what you do to your truck…+LEGAL WORD VOMIT AS NEEDED)  We also had to elongate a hole on the reservoir mounting bracket, but other than that, everything was a bolt on installation easily completed in a leisurely day in the shop while stopping frequently to take photos.

On Sunday, I tackled the back end by myself, and here’s where you’ll need that air chisel I was mentioning.  The factory bump striker plates are riveted to the frame, so you’ll need to grind / chisel these mounts off so you can install the IVD mounts.  Installing the shocks is straightforward and took me maybe five minutes in total.  Installing the leaf expansion pack is also a pretty easy process, especially if you remove the leafs from the truck and use a jack and some planning to help haul your axle around.  With everything installed and properly torqued, the next thing to do is get the truck aligned.

SHAKEDOWN

Backing out of the garage, the difference was obvious, and things only got better from there.  The installation was done the week before Overland Expo West, and over the course of this summer I’ve taken project Tundra all over the Southwest, driving on everything from desert freeways to Colorado passes.  In every type of terrain, at high speeds and at low speeds the suspension has soaked up and confidently handled everything I’ve pointed the truck at.

Even when loaded down with the family and toys for a long weekend of play, the truck still had outstanding handling and performance.  While the addition of cargo weight obviously sags the suspension out just like it would any vehicle, being able to add compression dampening with just a few clicks helps keep the truck’s handling in check when loaded with gear.  Where a monotube shock valved for a lightly loaded truck would blow through it’s travel when saddled with additional weight, the IVD suspension keeps things in in control with a few additional clicks of compression dampening.

IT’S TIME TO REDEFINE ADVENTURE TRAVEL / OVERLANDING SUSPENSION

Just like any other sport or industry, the overlanding / adventure travel industry has its stigmas about what constitutes suspension perfection and about a million other ‘best options.’ Well, stigmas were meant to be broken.  If folks didn’t bother to break the mold and try something new, innovation wouldn’t be a thing, which is why I’m so glad that Icon Vehicle Dynamics is pushing their suspension into our industry.  Call it desert racing suspension or whatever you want, the fact of the matter is IVD’s suspension systems are brilliant for how we use our vehicles.  I’ve logged hundreds of thousands of miles on Australian-made monotube shocks, and while those systems work well and are certainly an upgrade from any stock suspension, they’re not on the same level as Icon suspension.

Going with a top shelf system from Icon Vehicle Daynamics is certainly going to cost more than a monotube shock setup—but this is an upgrade where you get what you pay for.  I know that conventional thinking in the industry would steer folks to stick with the tried and true, but I’m a big fan of tinkering, and trying new things.  Going with ‘desert racing suspension’ has worked out quite well for me and project tundra.  The performance (and safety) gains are night and day, and I don’t see any reason why these components wouldn’t last as long, if not longer with proper maintenance than anything else out there.  And besides, having suspension that can handle the occasional surprise whoop section or occasional airing out of the tires happens to be a hell of a lot of fun.

Full Disclosure: Icon Vehicle Dynamics, Icon Alloys, and Falken Tires generously contributed products for this build at no cost to Chad de Alva or American Adventurist. That said, American Adventurist staff members have been using and abusing IVD products for over a decade with zero trail failures in the some of the harshest terrain in North America.