3D Printing and Vehicle Modification

3D Design for a sPOD SourceLT and Universal Mount

The affordability of 3D printing has changed the way I modify my vehicle. Not long ago if some part didn’t exist that fit my need I had to do without. A lot has changed over the years but how did all this lead me to making my own parts? How did I end up making this?

3D printed Quick Fist Mount

Before 2010 manufacturing my own parts wasn’t a reasonable option.

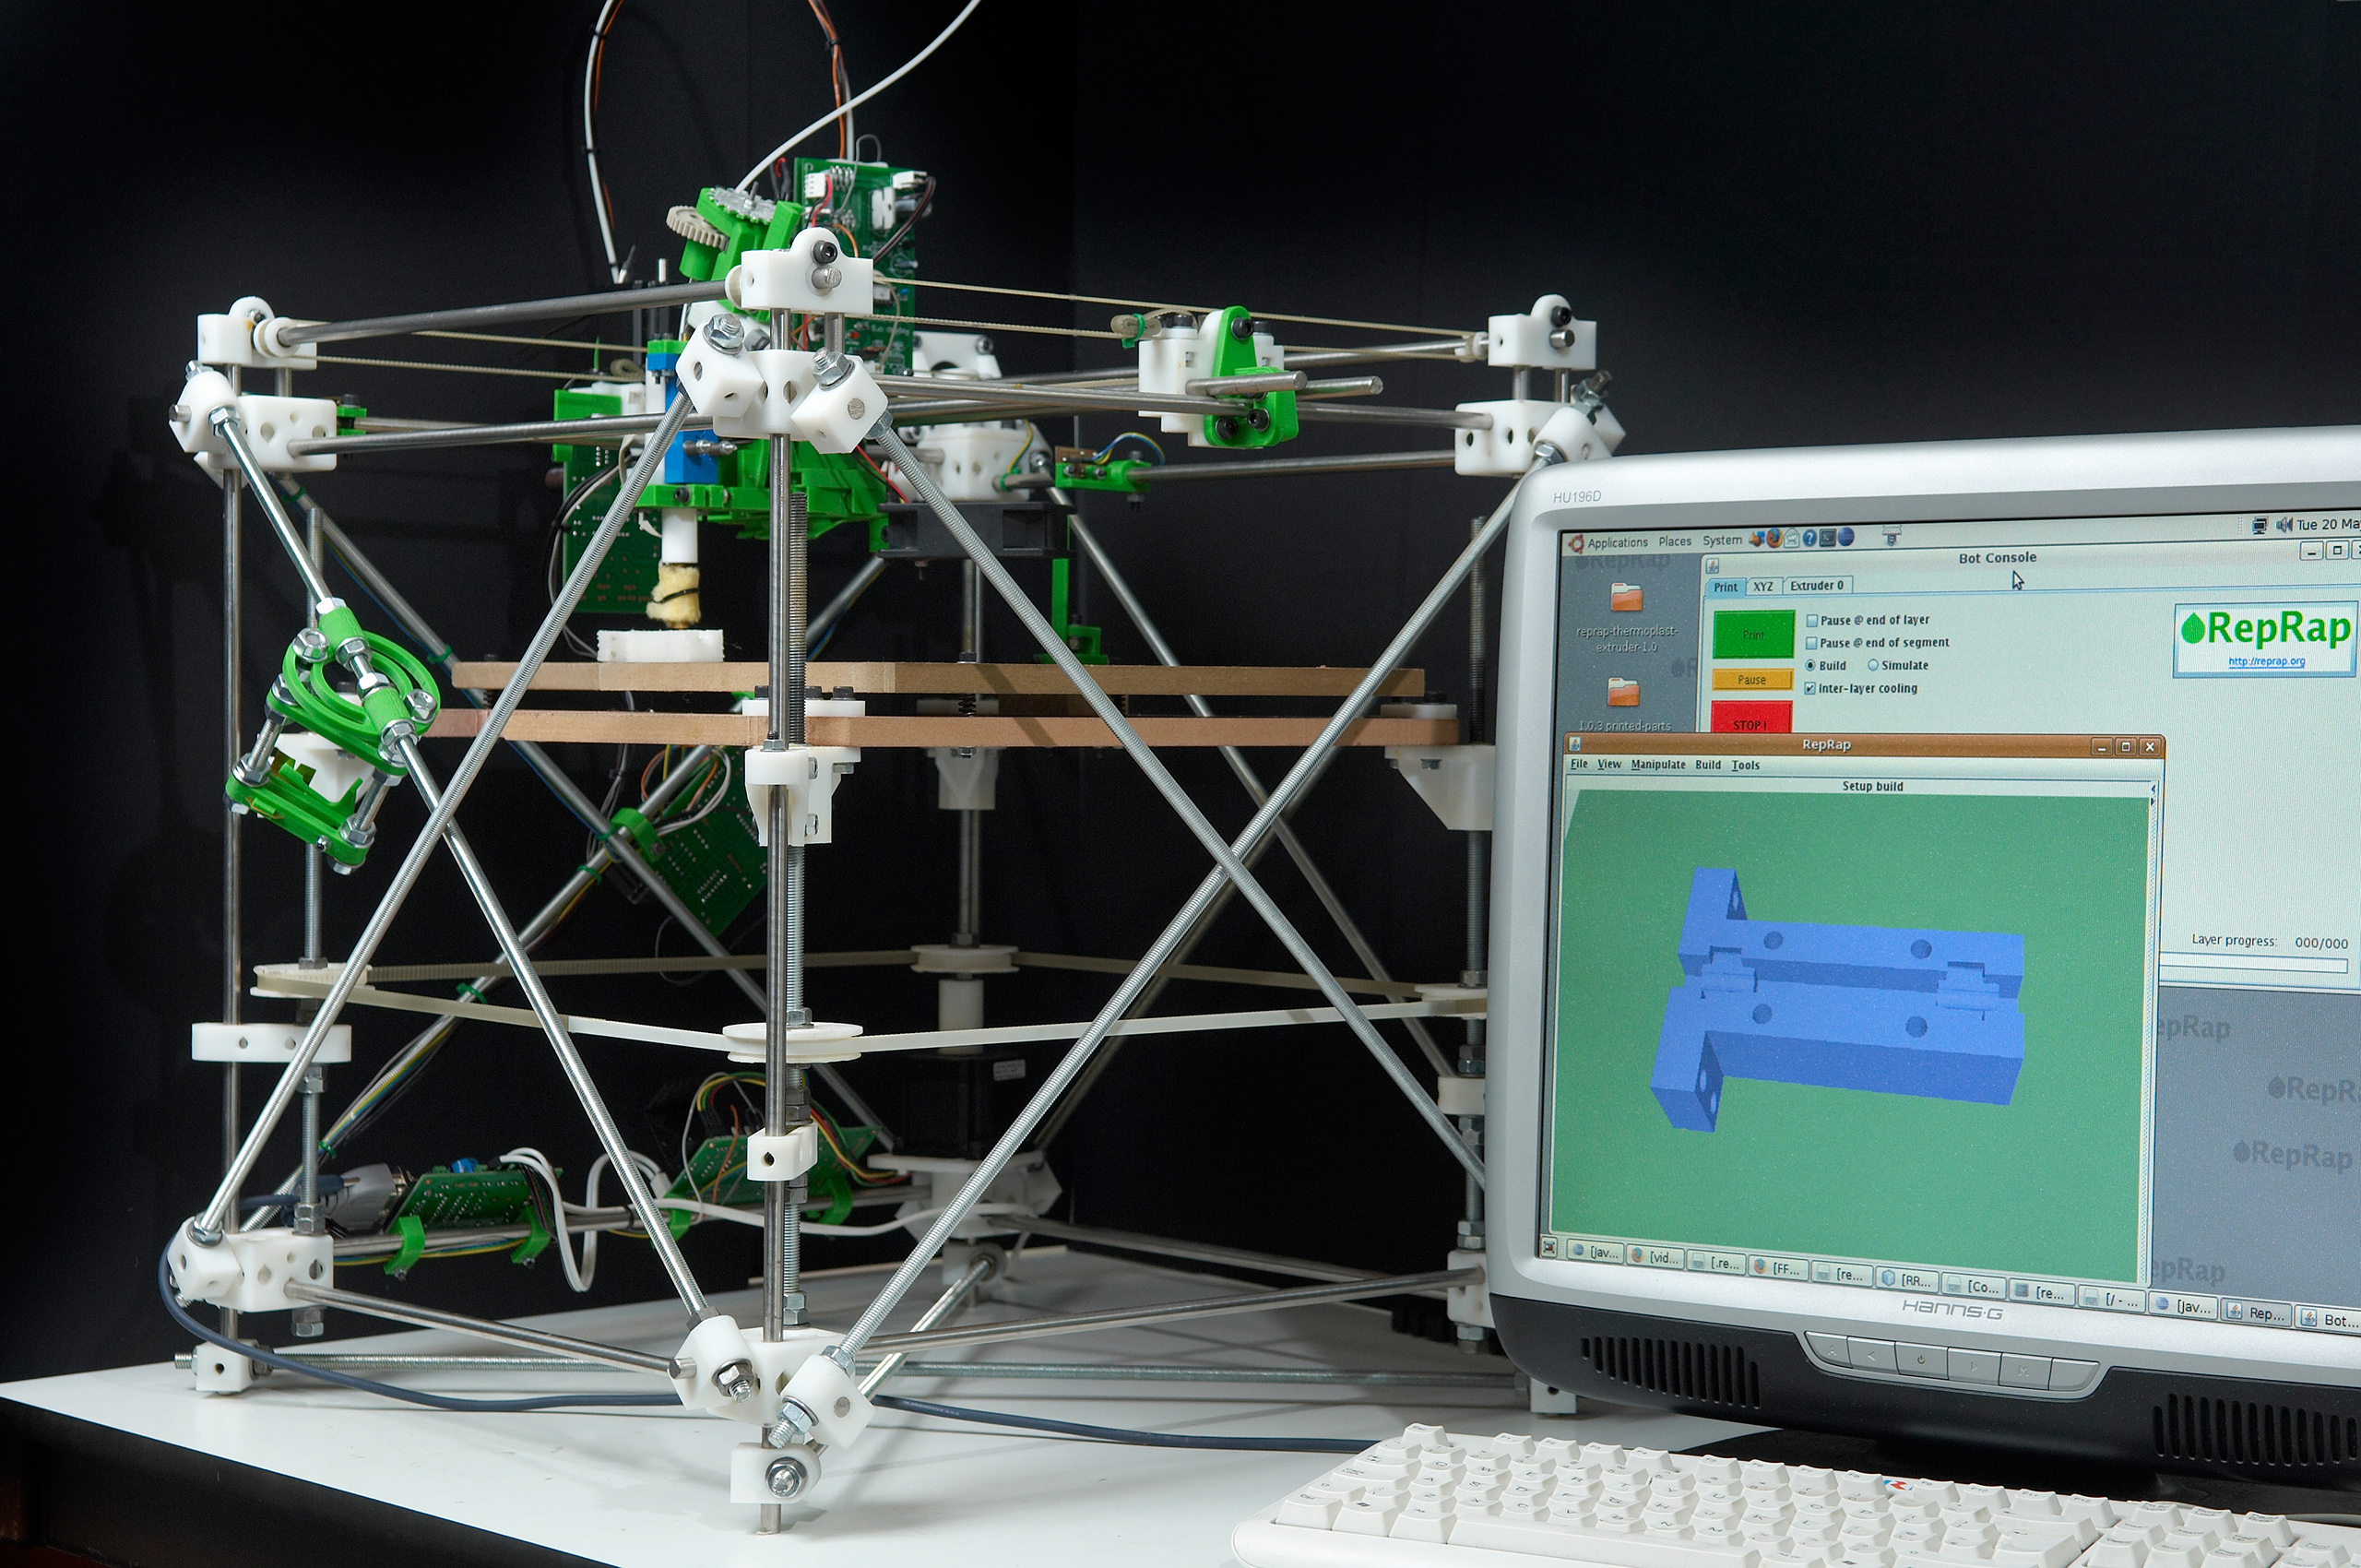
Charles W. Hull invented the stereolithography printer in 1986. In 1987 you could purchase the SLA-1 Original 3D Printer for about $300,000 UDS. The equivalent in 2023 value is just over a million dollars. For the next 20 years 3D printing and rapid prototyping was was out of reach for most people leaving just the traditional manufacturing process.

Between 2004 and 2005 the interest in low cost 3D printers skyrocketed when Dr. Adrian Bowyer, a Senior Lecturer in mechanical engineering at the University of Bath in England, introduced the idea of 3D printers that could self-replicate. The project named RepRap (‘REPlicating RAPid prototyper’) was open source and interest in low cost 3D printing spread worldwide.

Rep Rap Version I: Darwin 3d printer
Source: https://reprap.org/wiki/Darwin

Then the 3D Printing landscape changed in 2009. Charles W. Hull’s patent of stereolithography (SLA) and Stratasys’ patent for fused deposition modeling (FDM) technology expired. New DIY kits became available and competition for the new non-commercial user market drove prices for DIY 3D Printer kits even lower.

2010 and Maker Culture

During the early 2010’s, around the time Formlabs Kickstarter campaign for the FORM 1 began, online 3D printing service companies like Shapeways, Sculpteo, i.materialise, 3D Hubs, etc. moved to capitalize on the growing interest of 3D printing and the emerging market of low production number 3D printing. Offering multiple printing materials and the ability to print larger then a typical DIY 3D Printer. For individuals and small companies who didn’t want to or couldn’t afford to invest in a commercial 3D Printer it offers the capability of rapid prototyping without the upfront cost. By 2018 the 3D printing industry was generating more than $7 billion in revenue.

So here I am

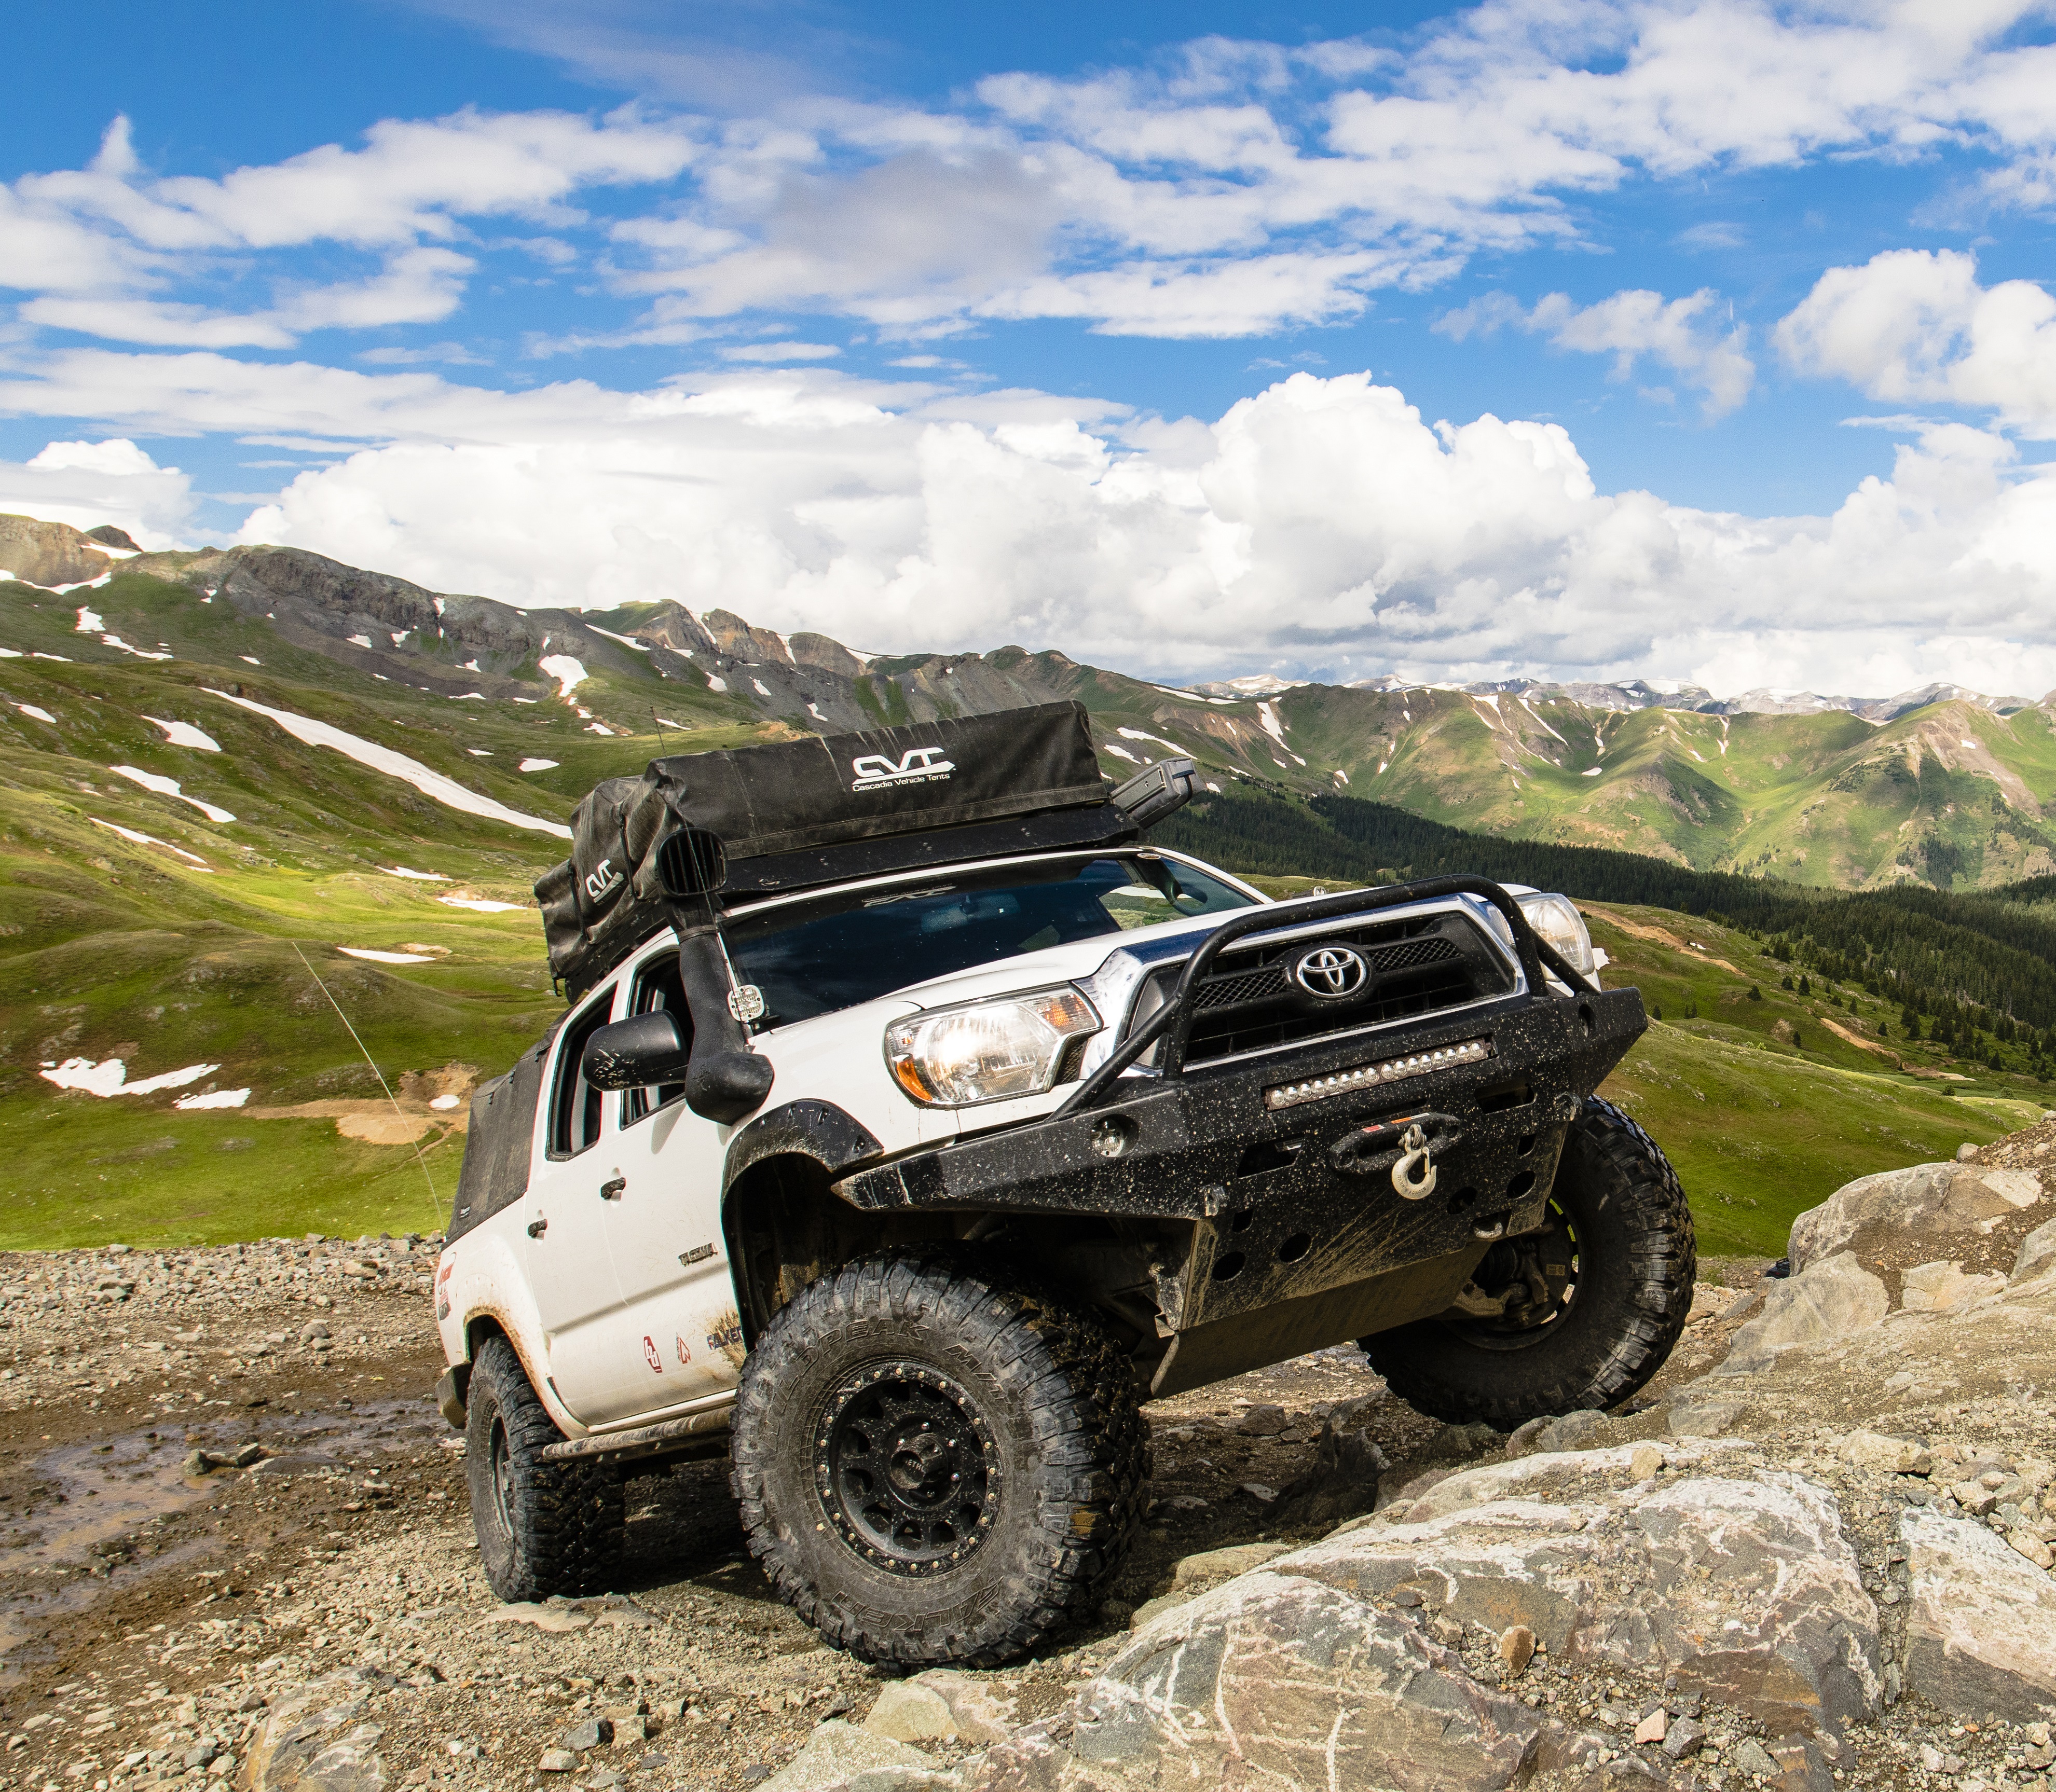
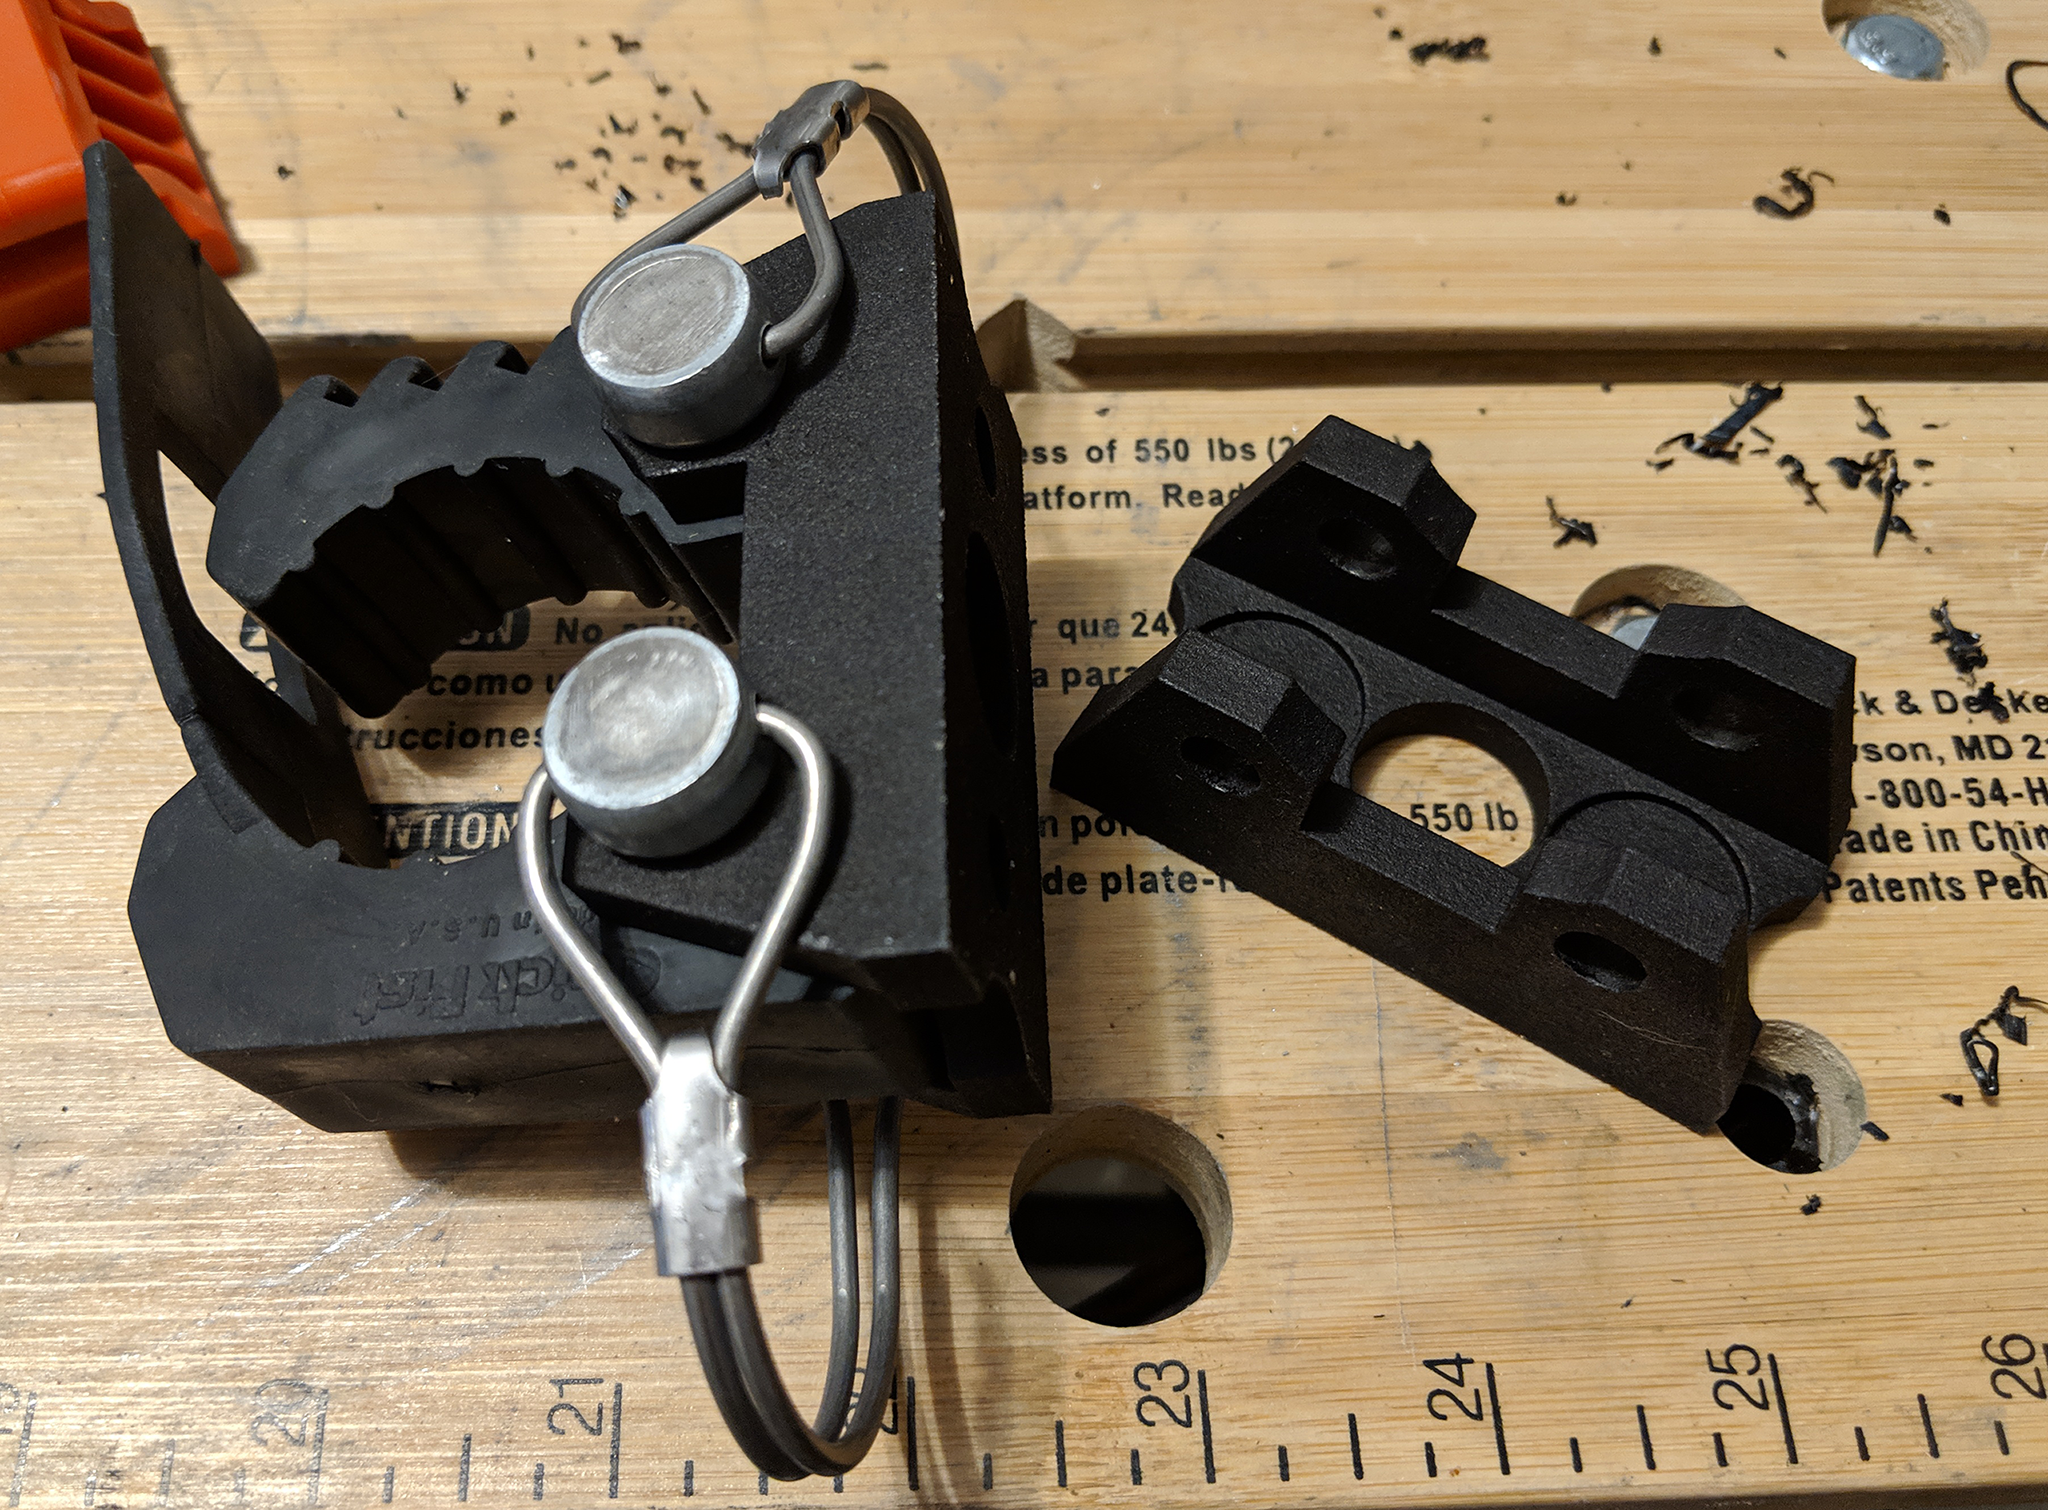
It’s in this environment that I found myself looking for a part that didn’t exist. A Quick Fist mount for a Frontrunner roof rack. Having some CAD experience I was fascinated by the prospect of being able to manufacture my own parts so I dived in.

Not without mistakes of course. There’s an expression “fail fast, fail often” and by that measure my first attempts were an astounding success. If you plan on taking the same dive my advice is to literally start small when using online 3D printing services. You pay as much, if not more, for the volume of the object you wish to print than for the materials. Also invest in a precision measuring tools. Just eyeballing it will get expensive fast.

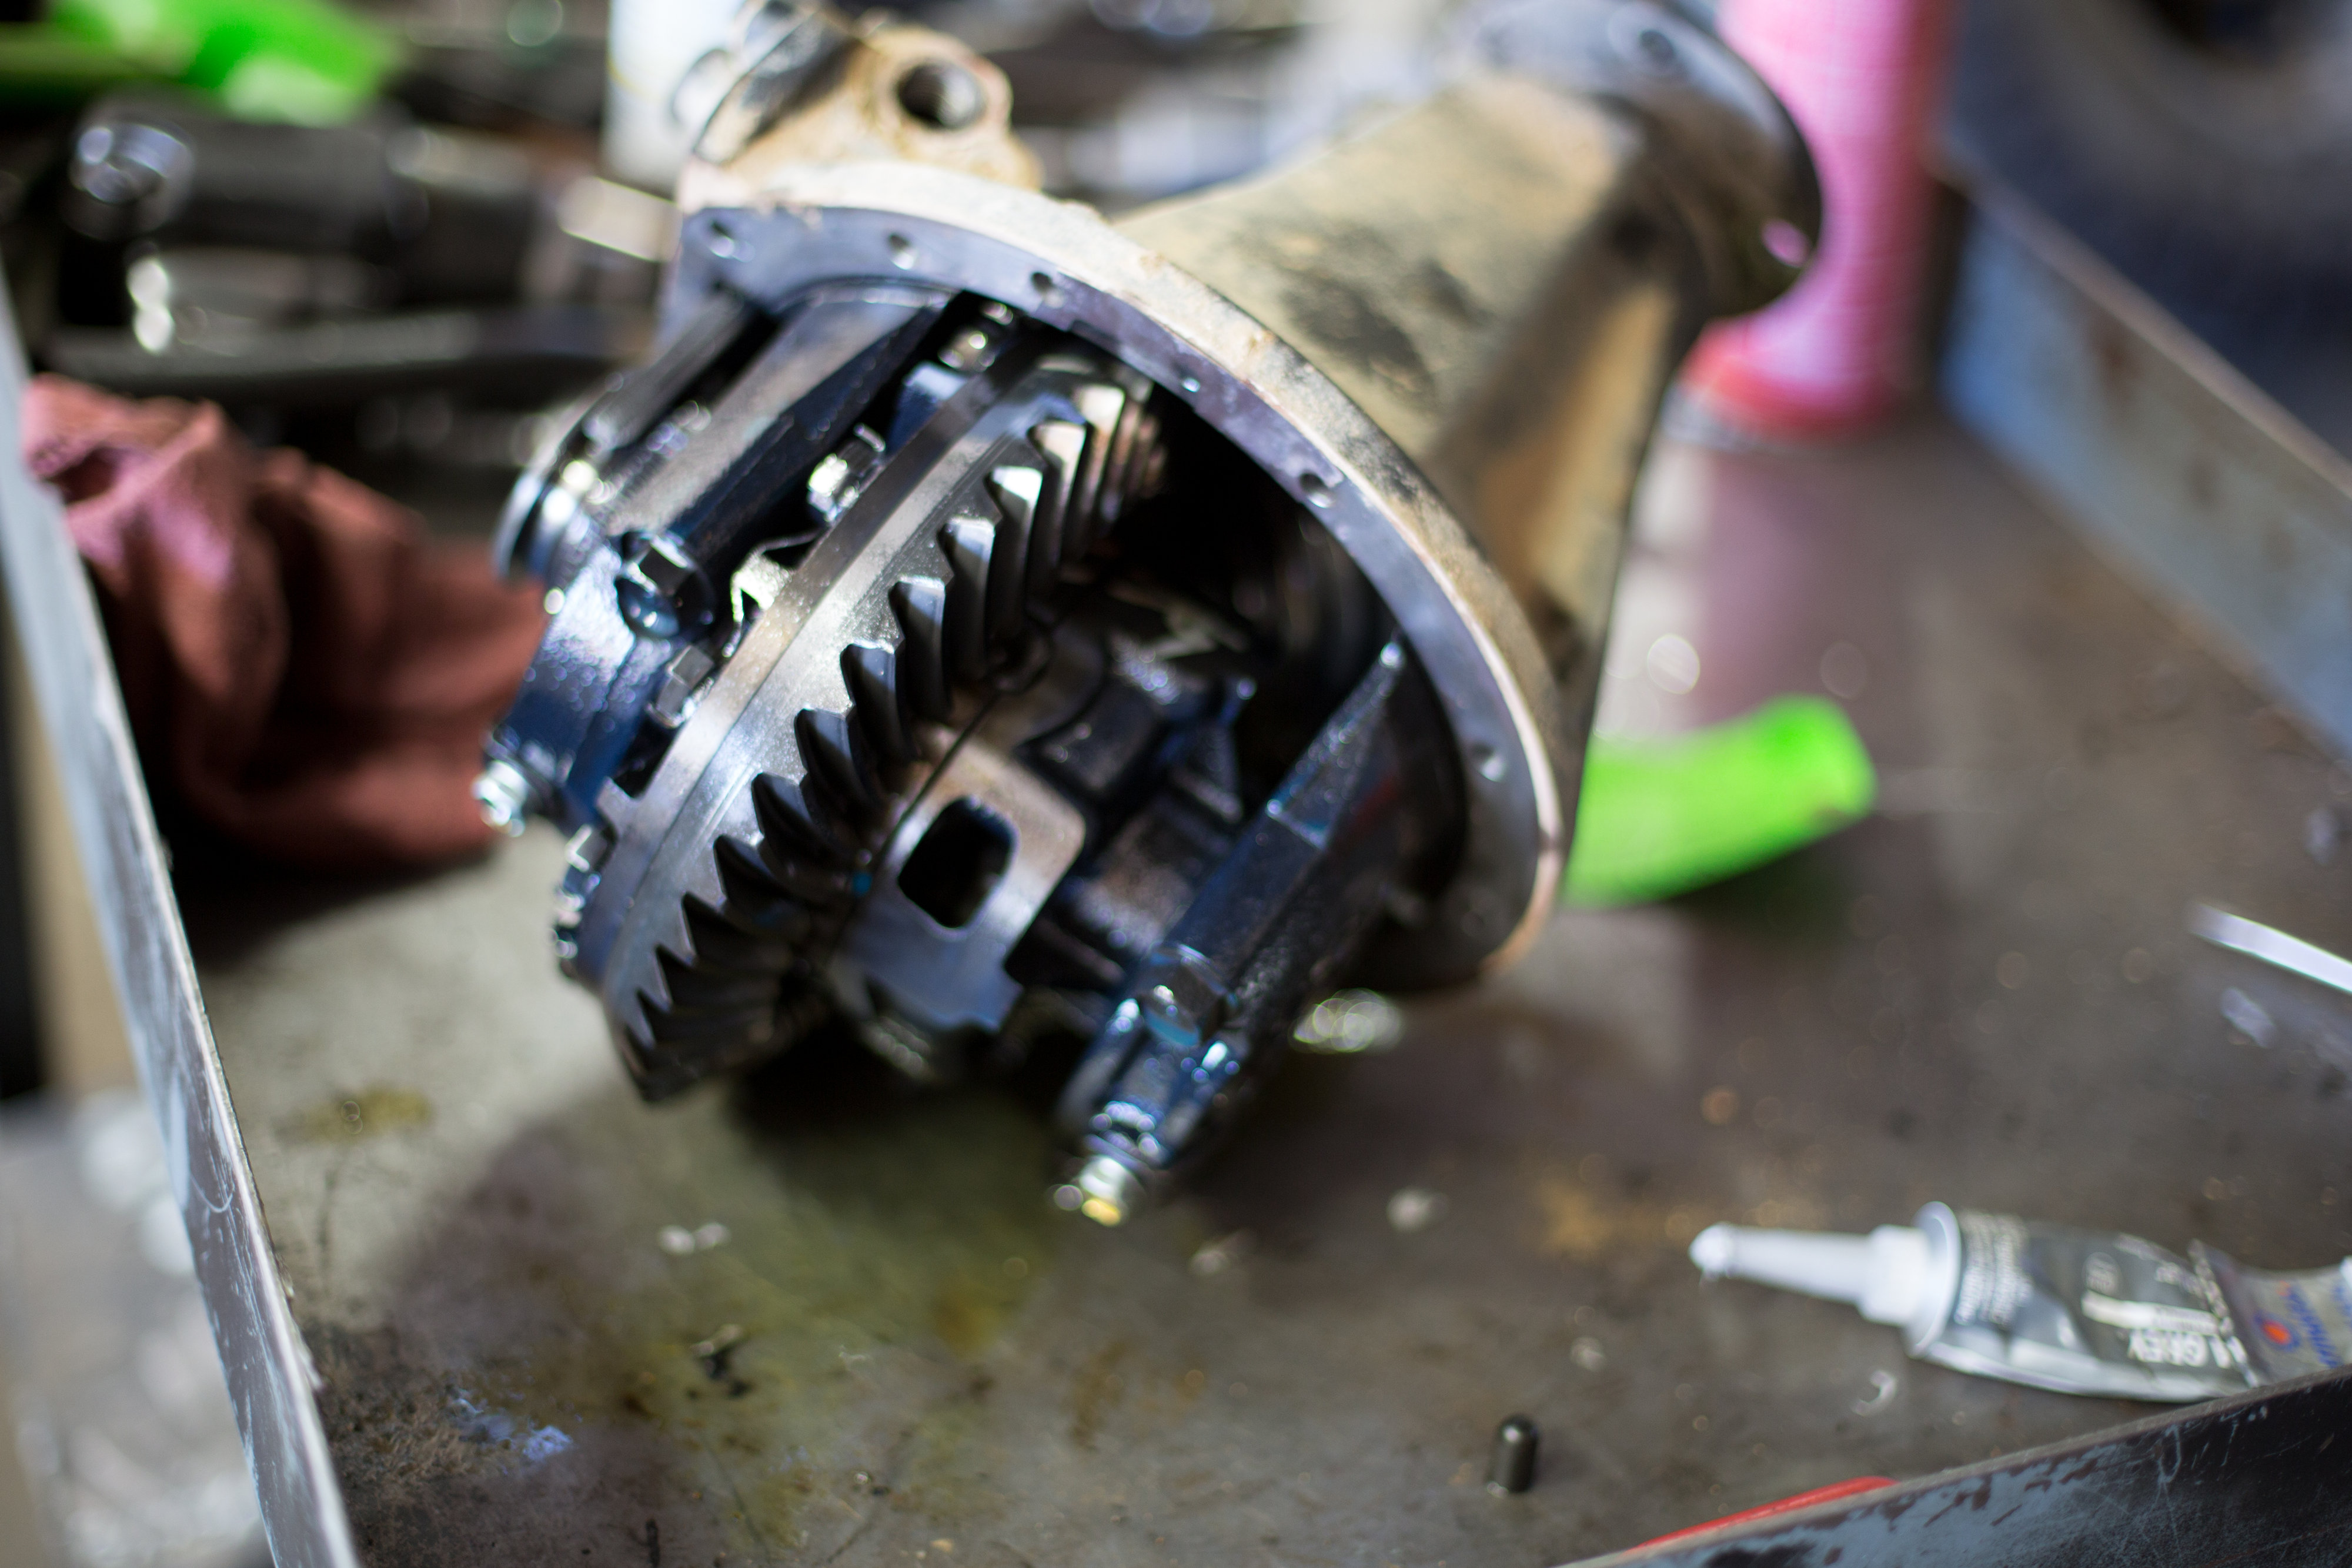
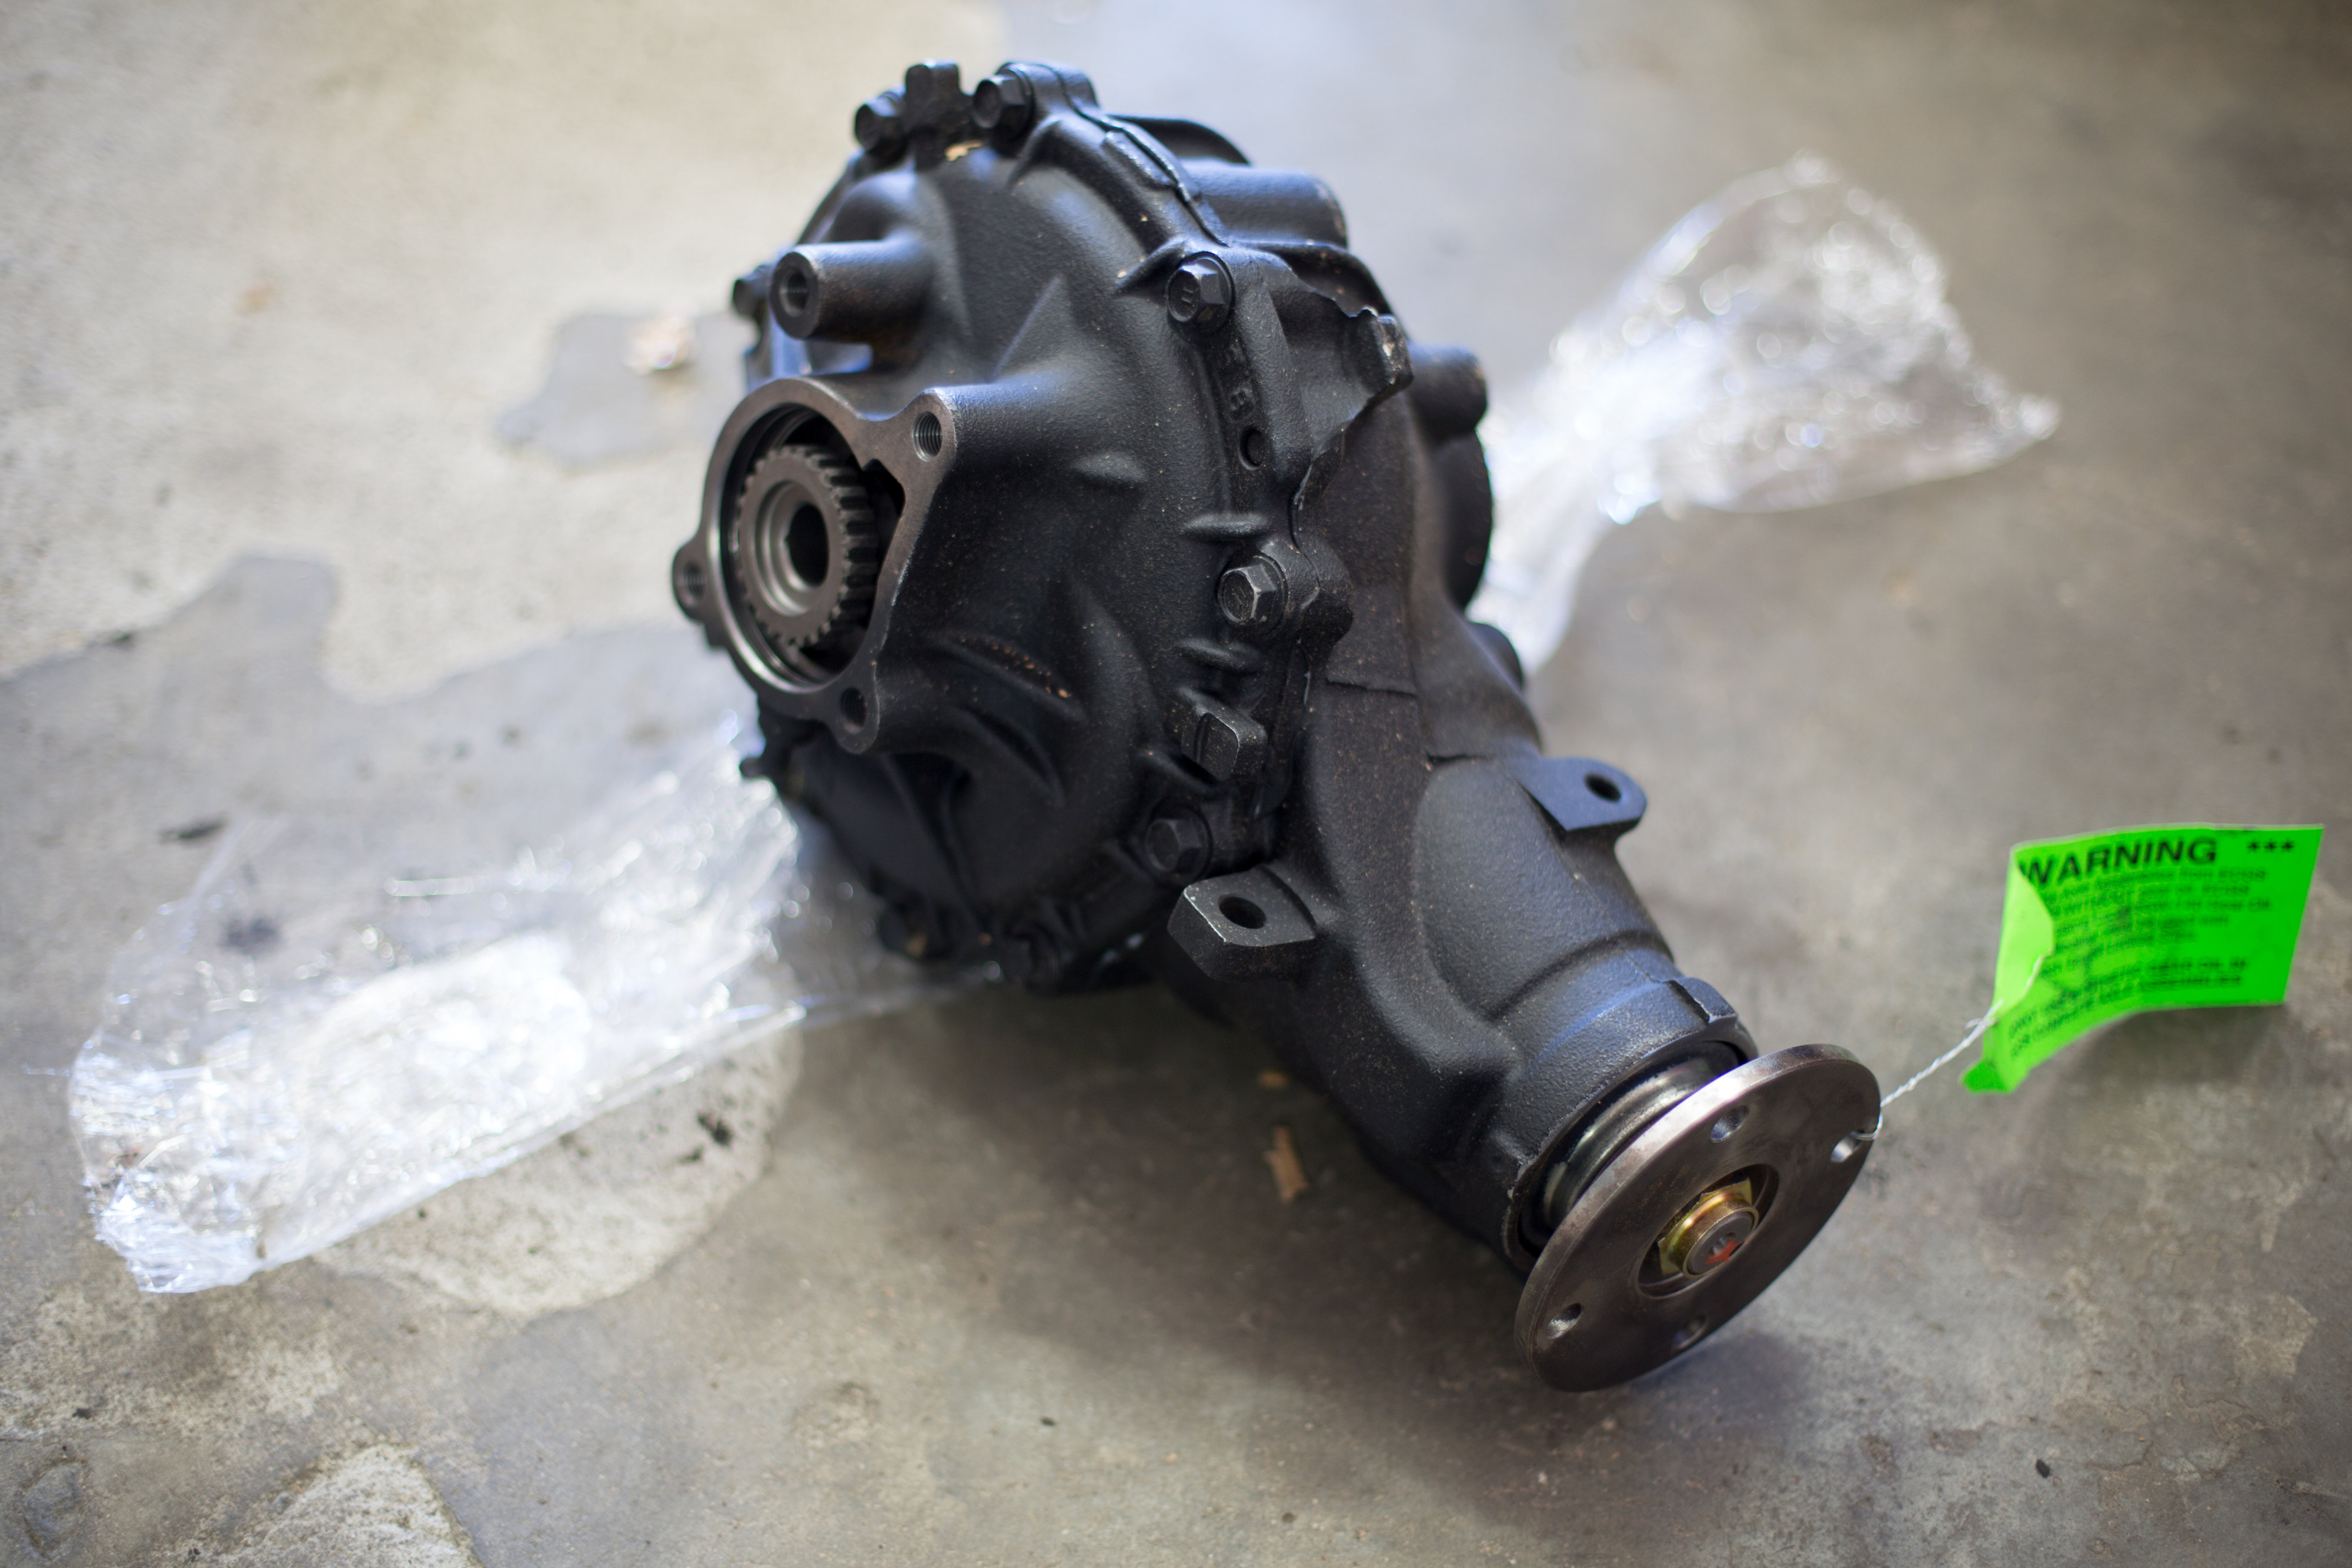
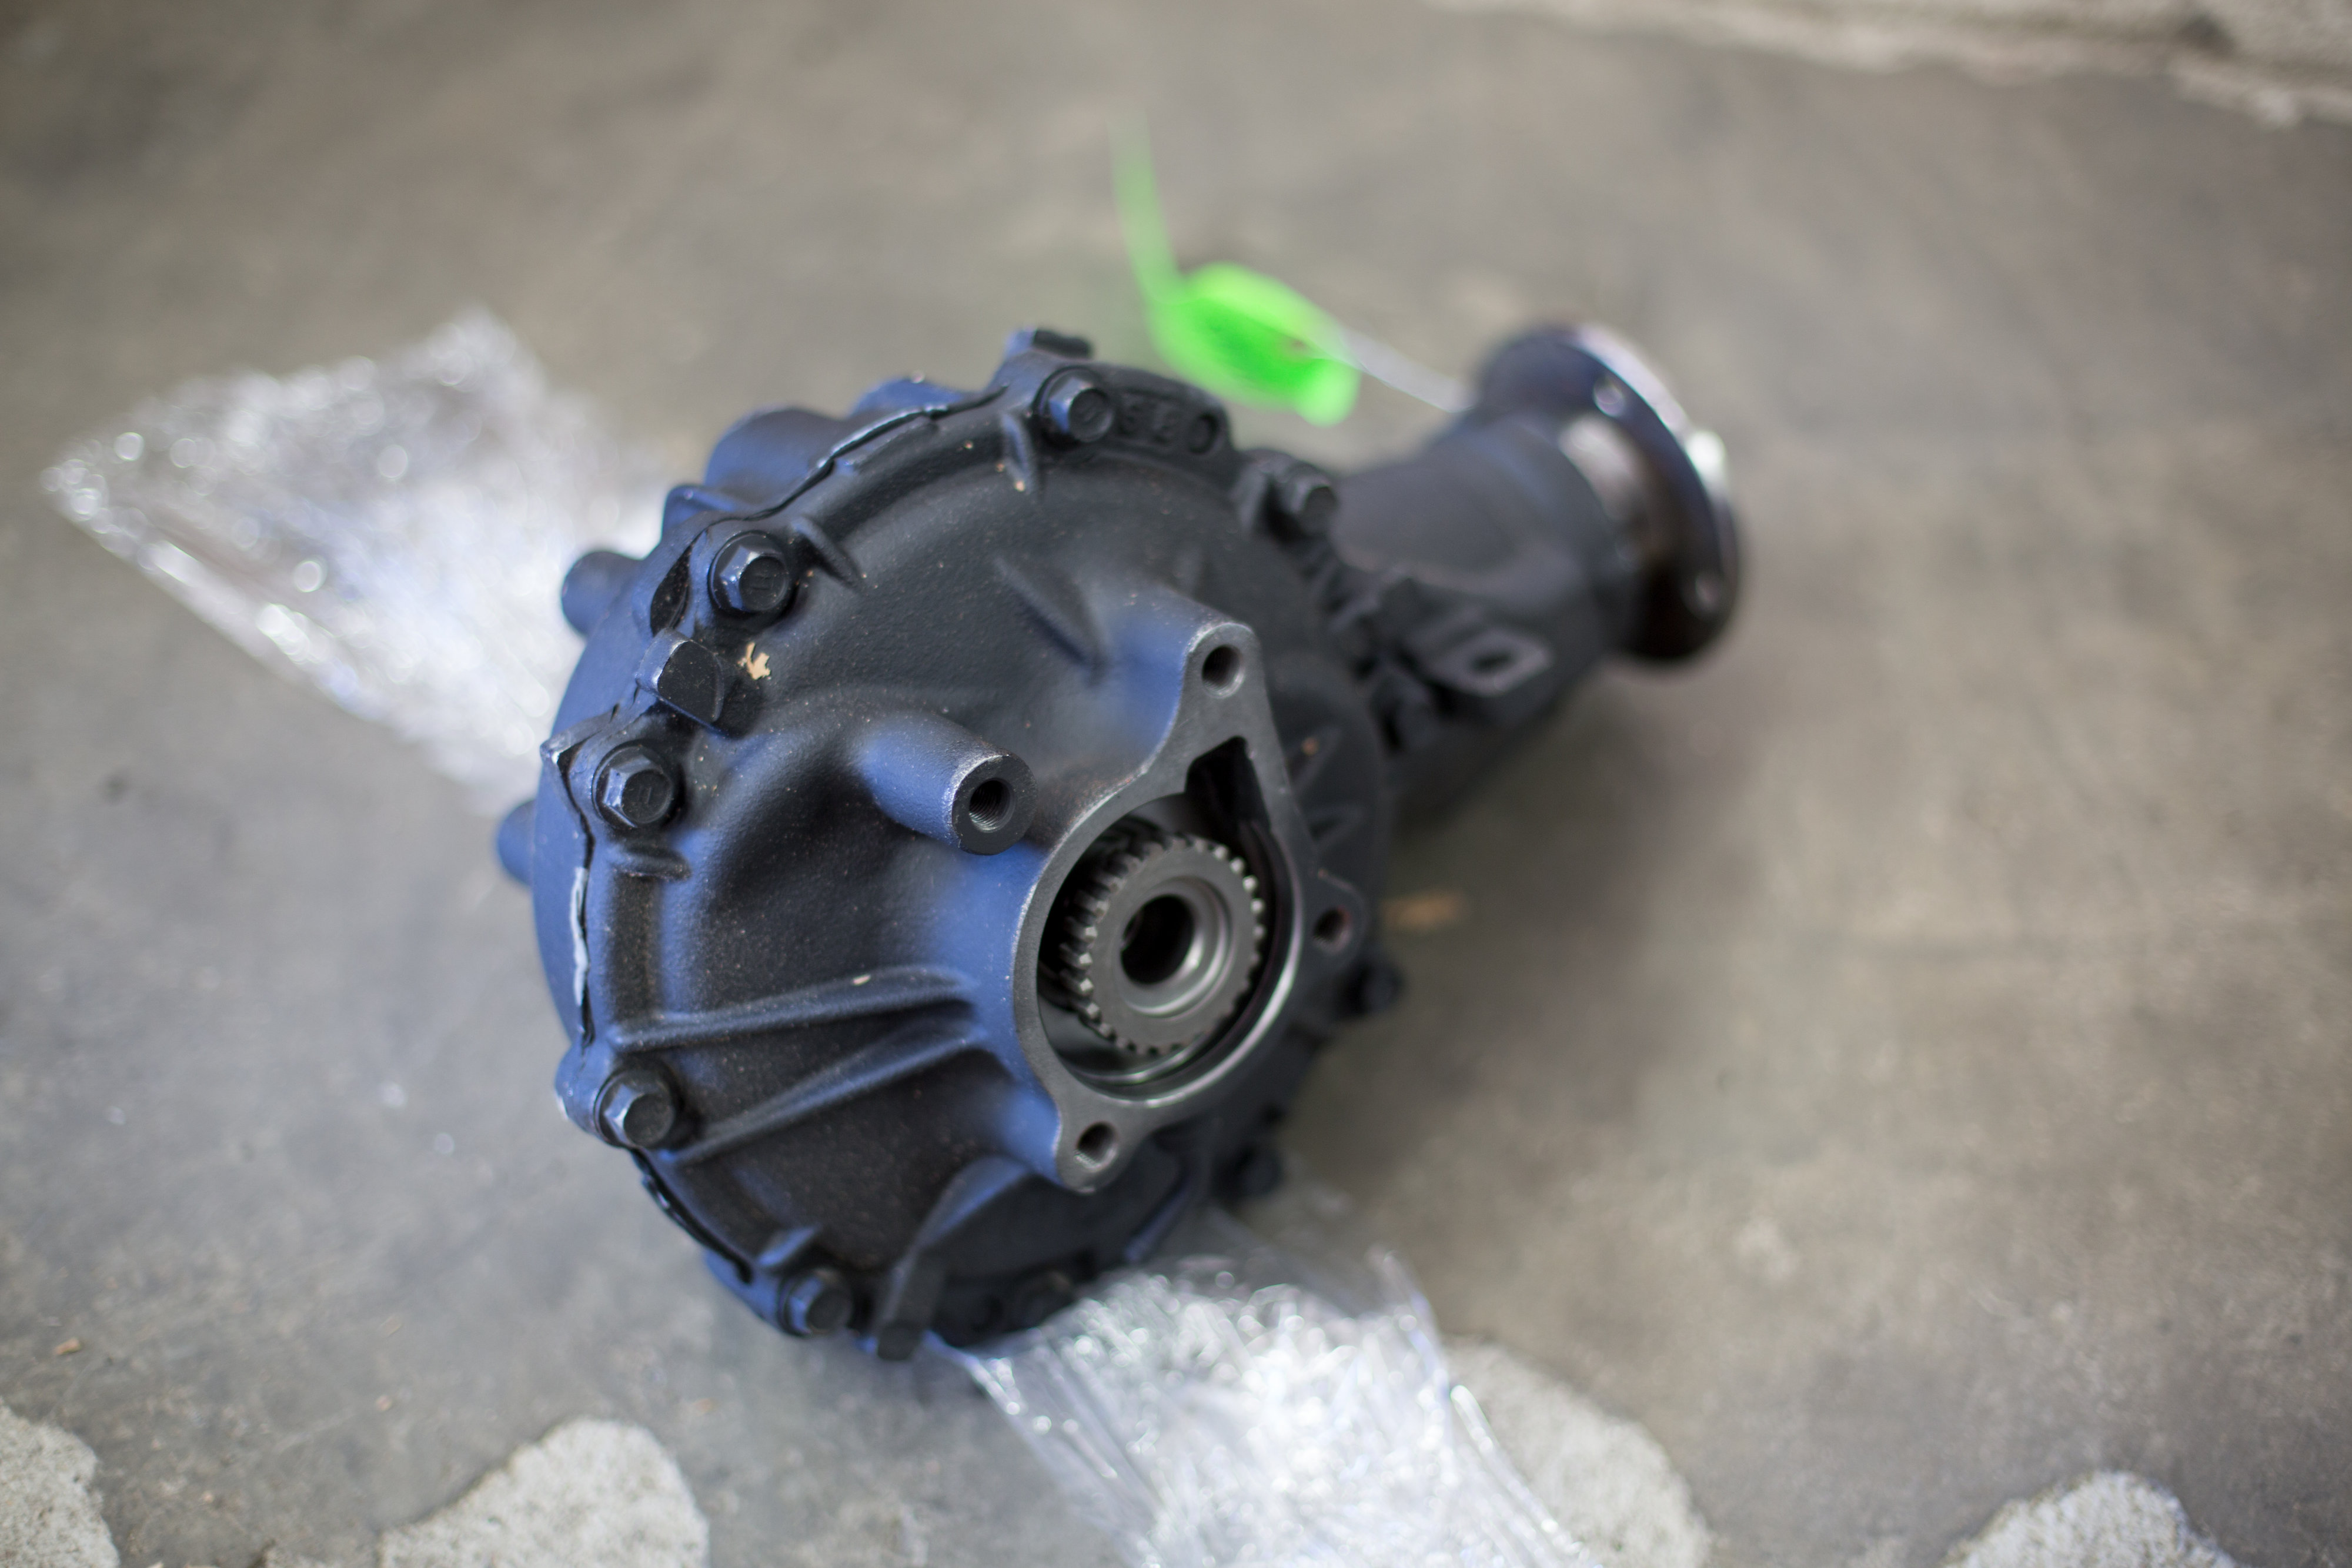
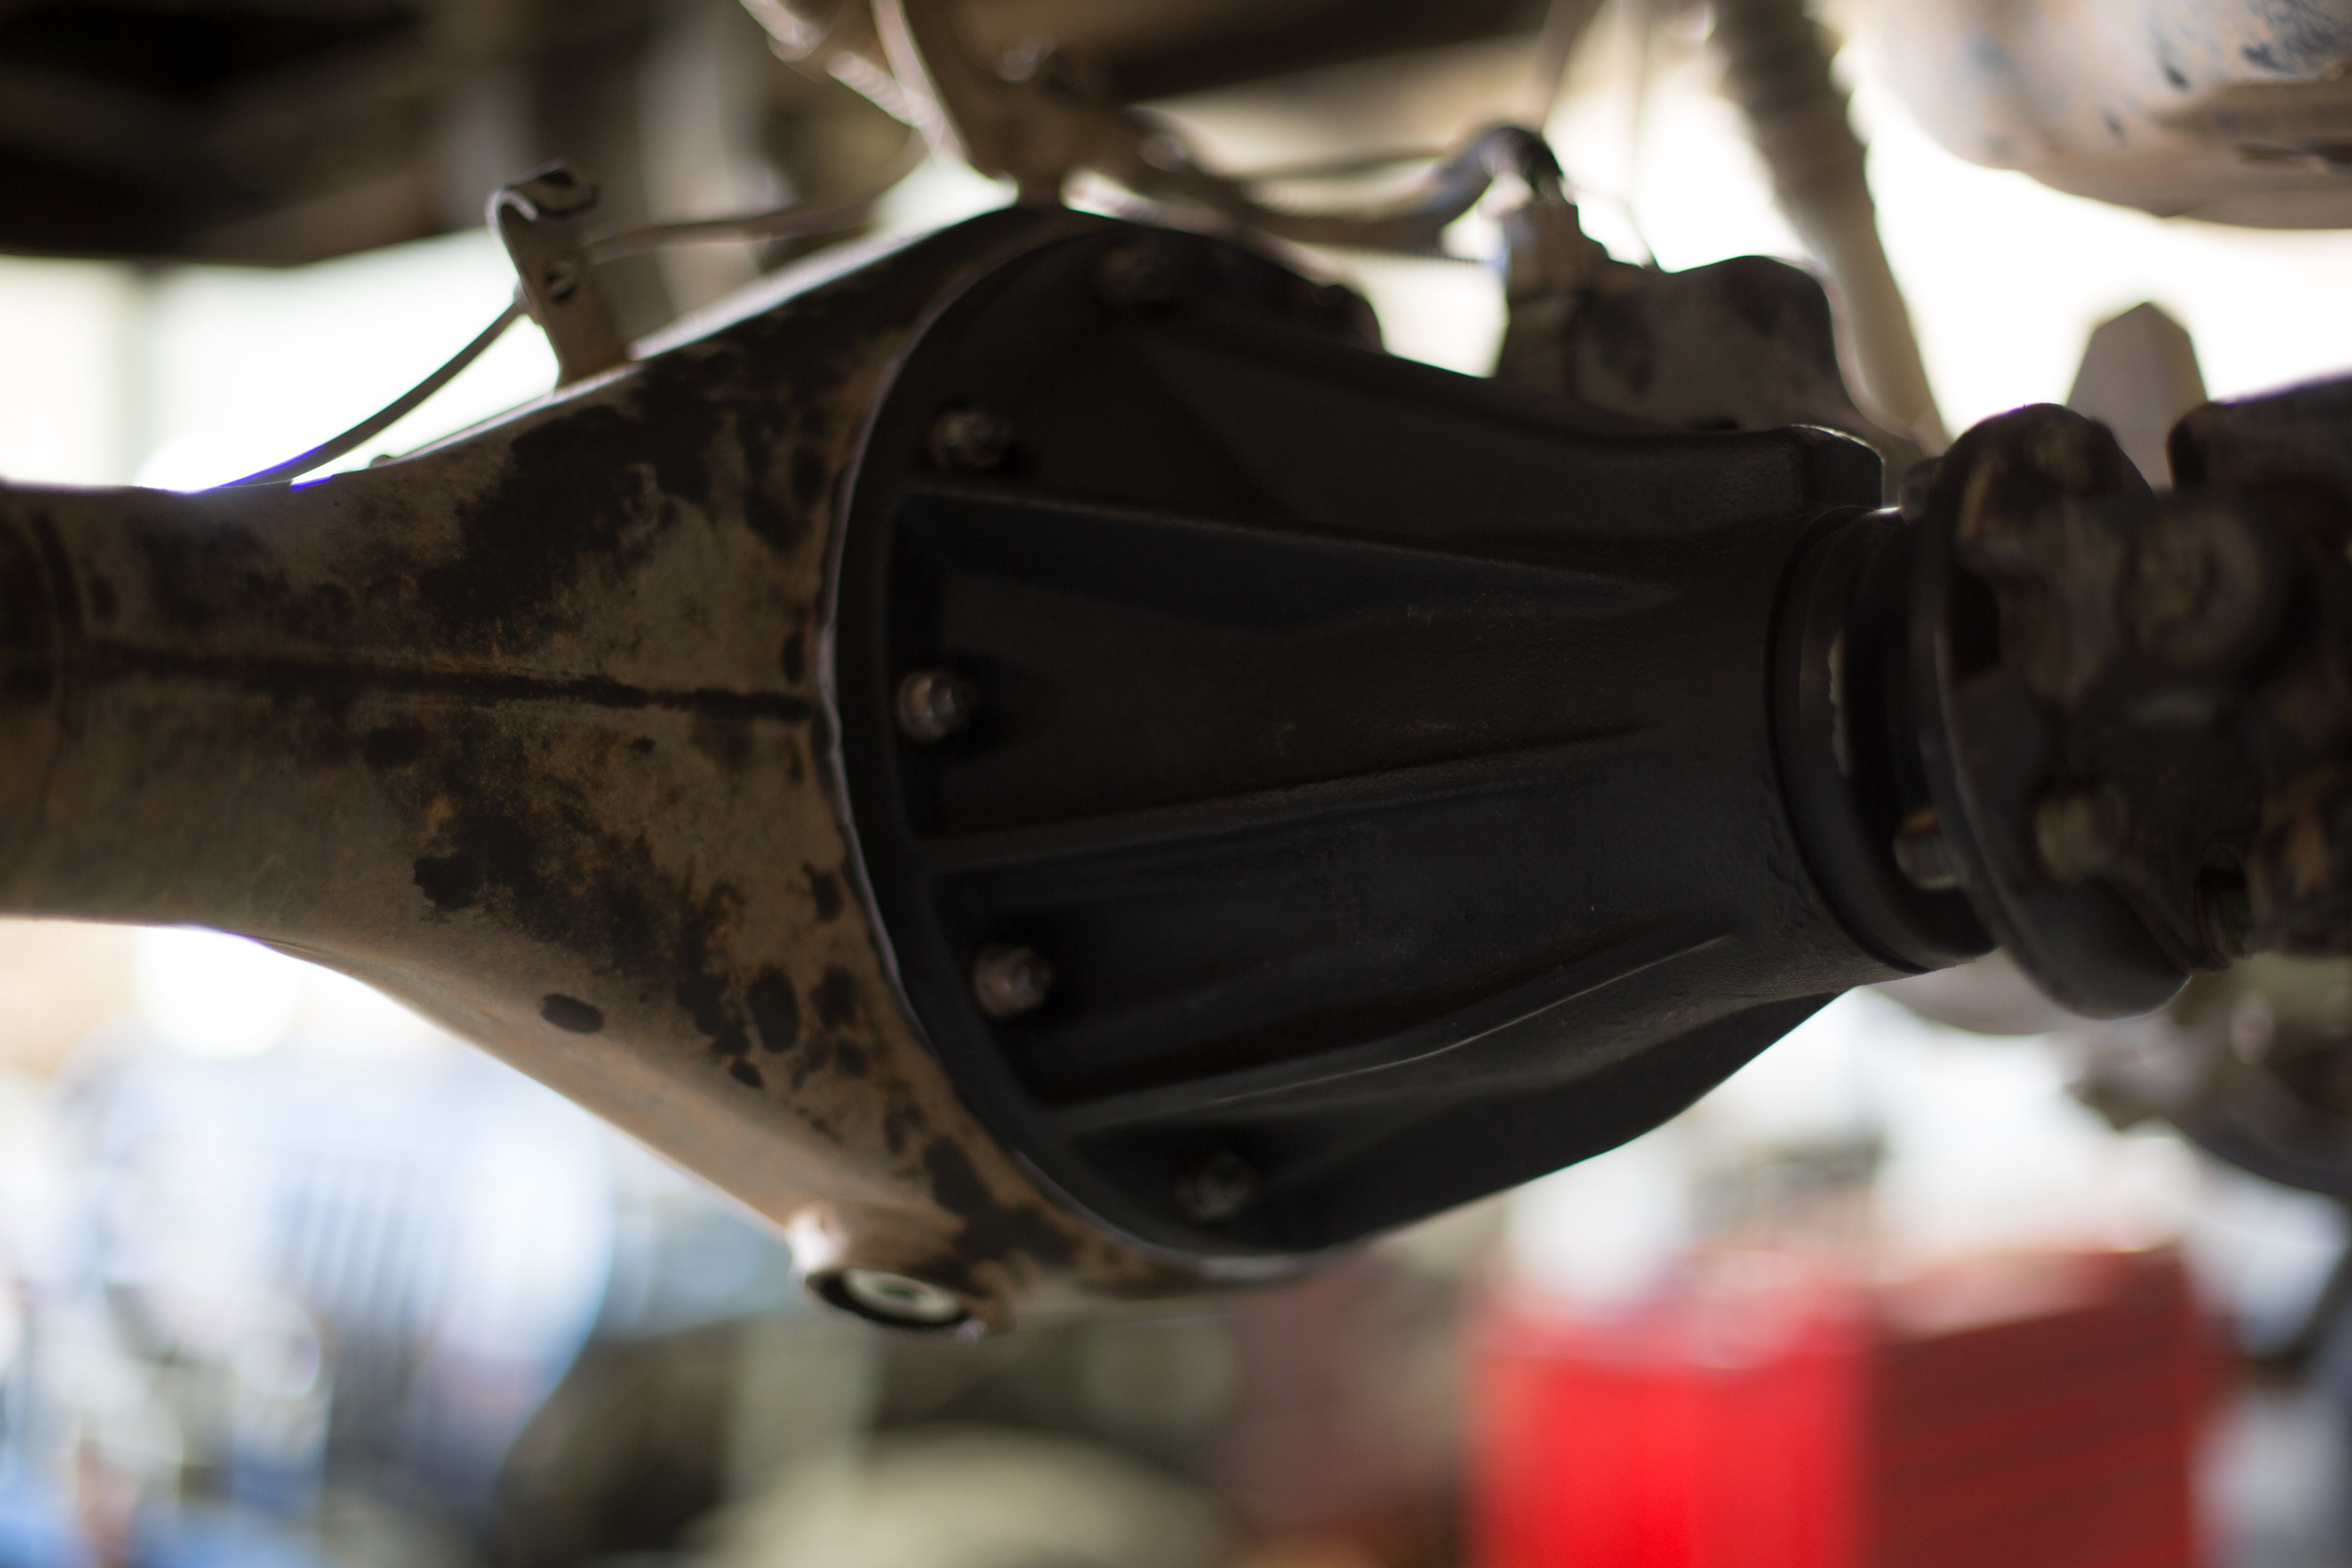
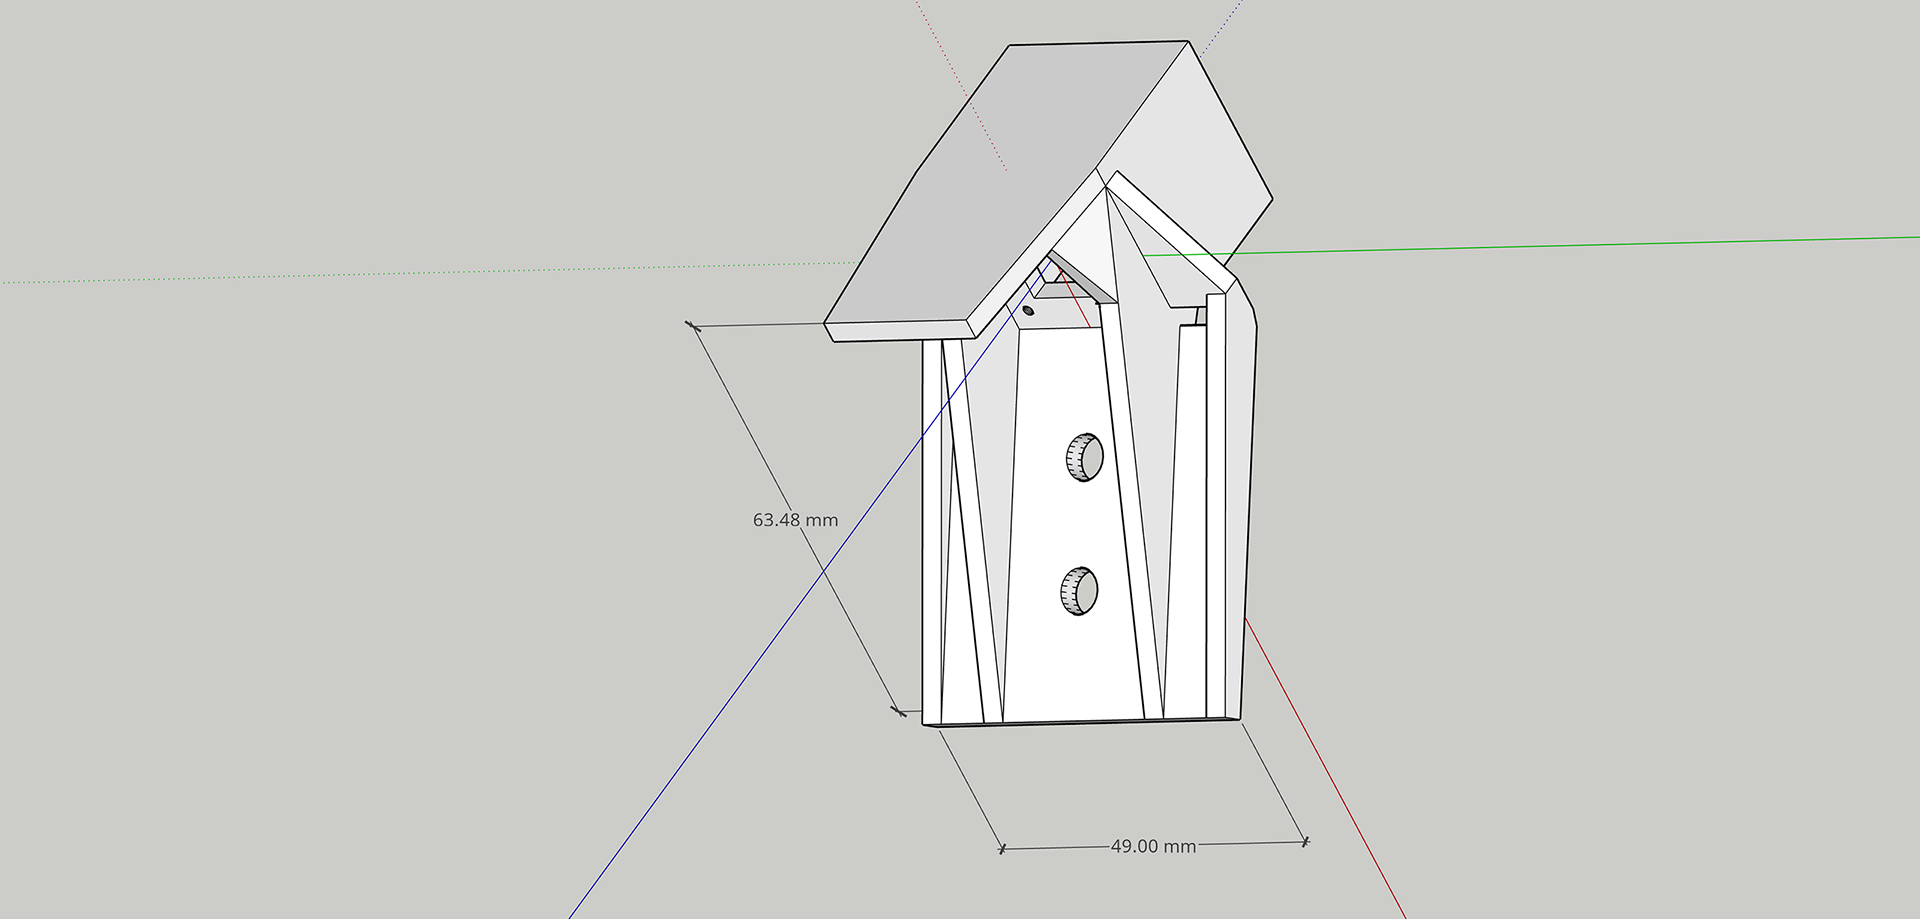
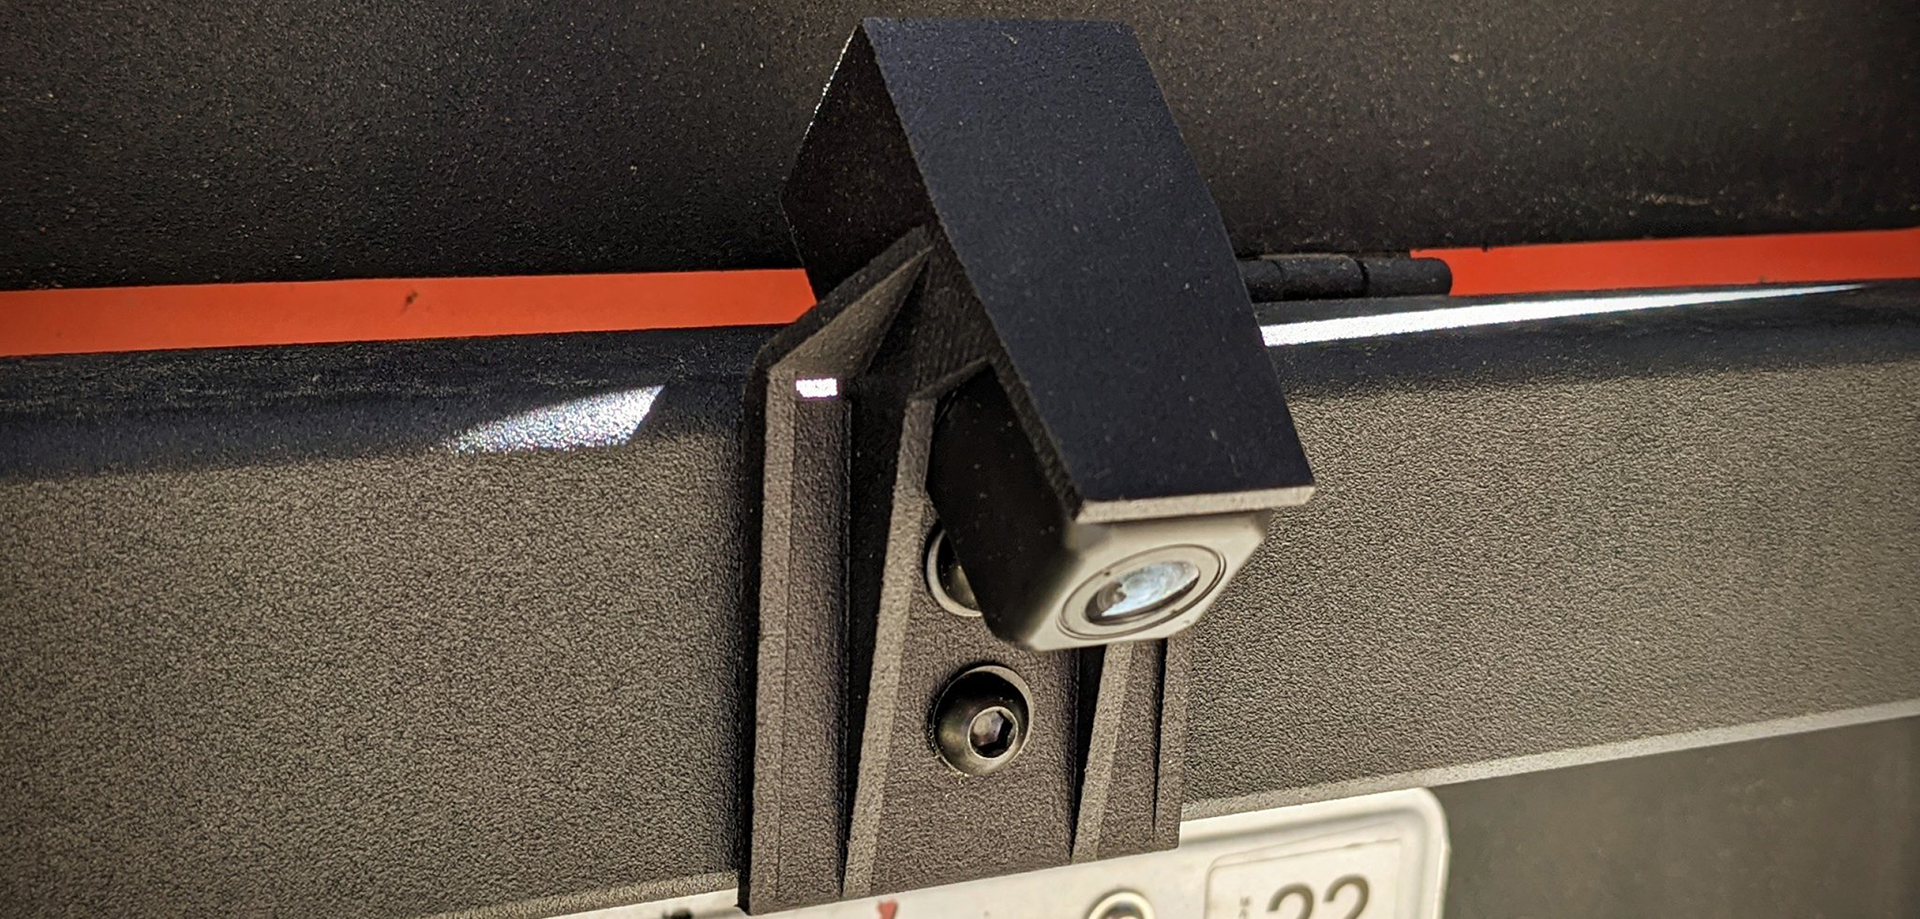
Eventually the incline of the learning curve began to level out. I also found myself in need of another impossible to find part. A relocation kit that worked with the OEM Tacoma backup camera and a custom rear bumper. It took several reprints to get the pitch of the camera correct as well as understanding the tolerances of the materials. Being a relatively small part the experience was worth the cost of the do-overs.

From There to Here by Just Making Stuff

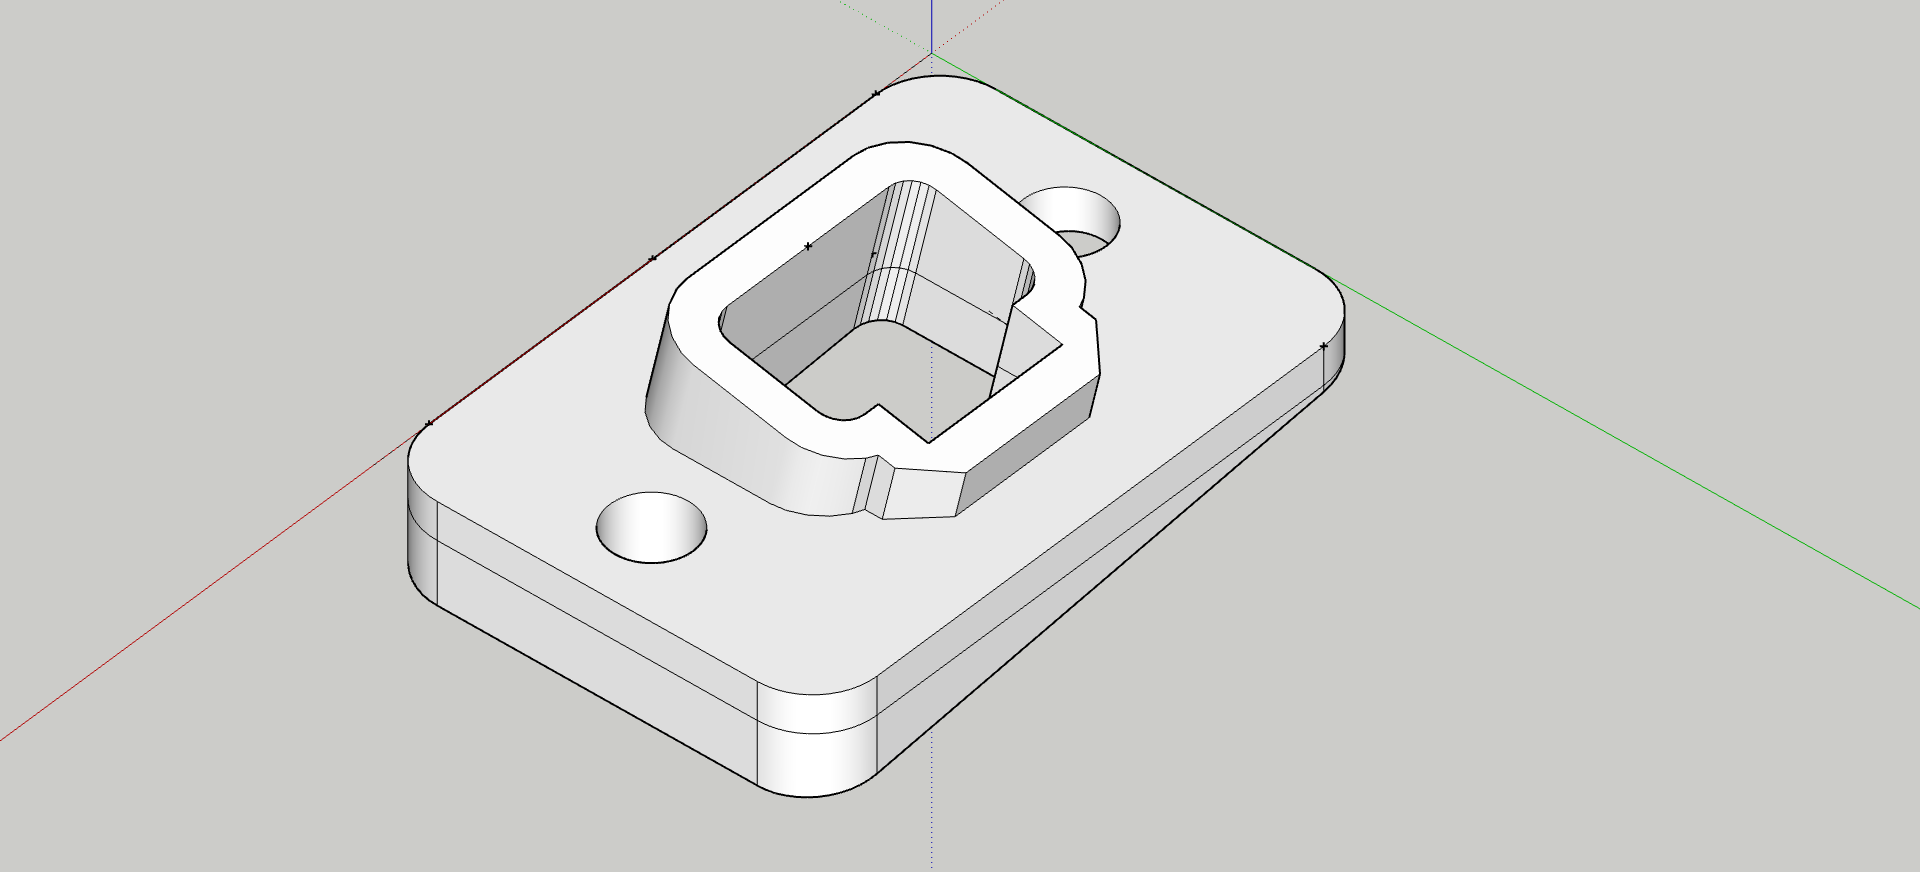
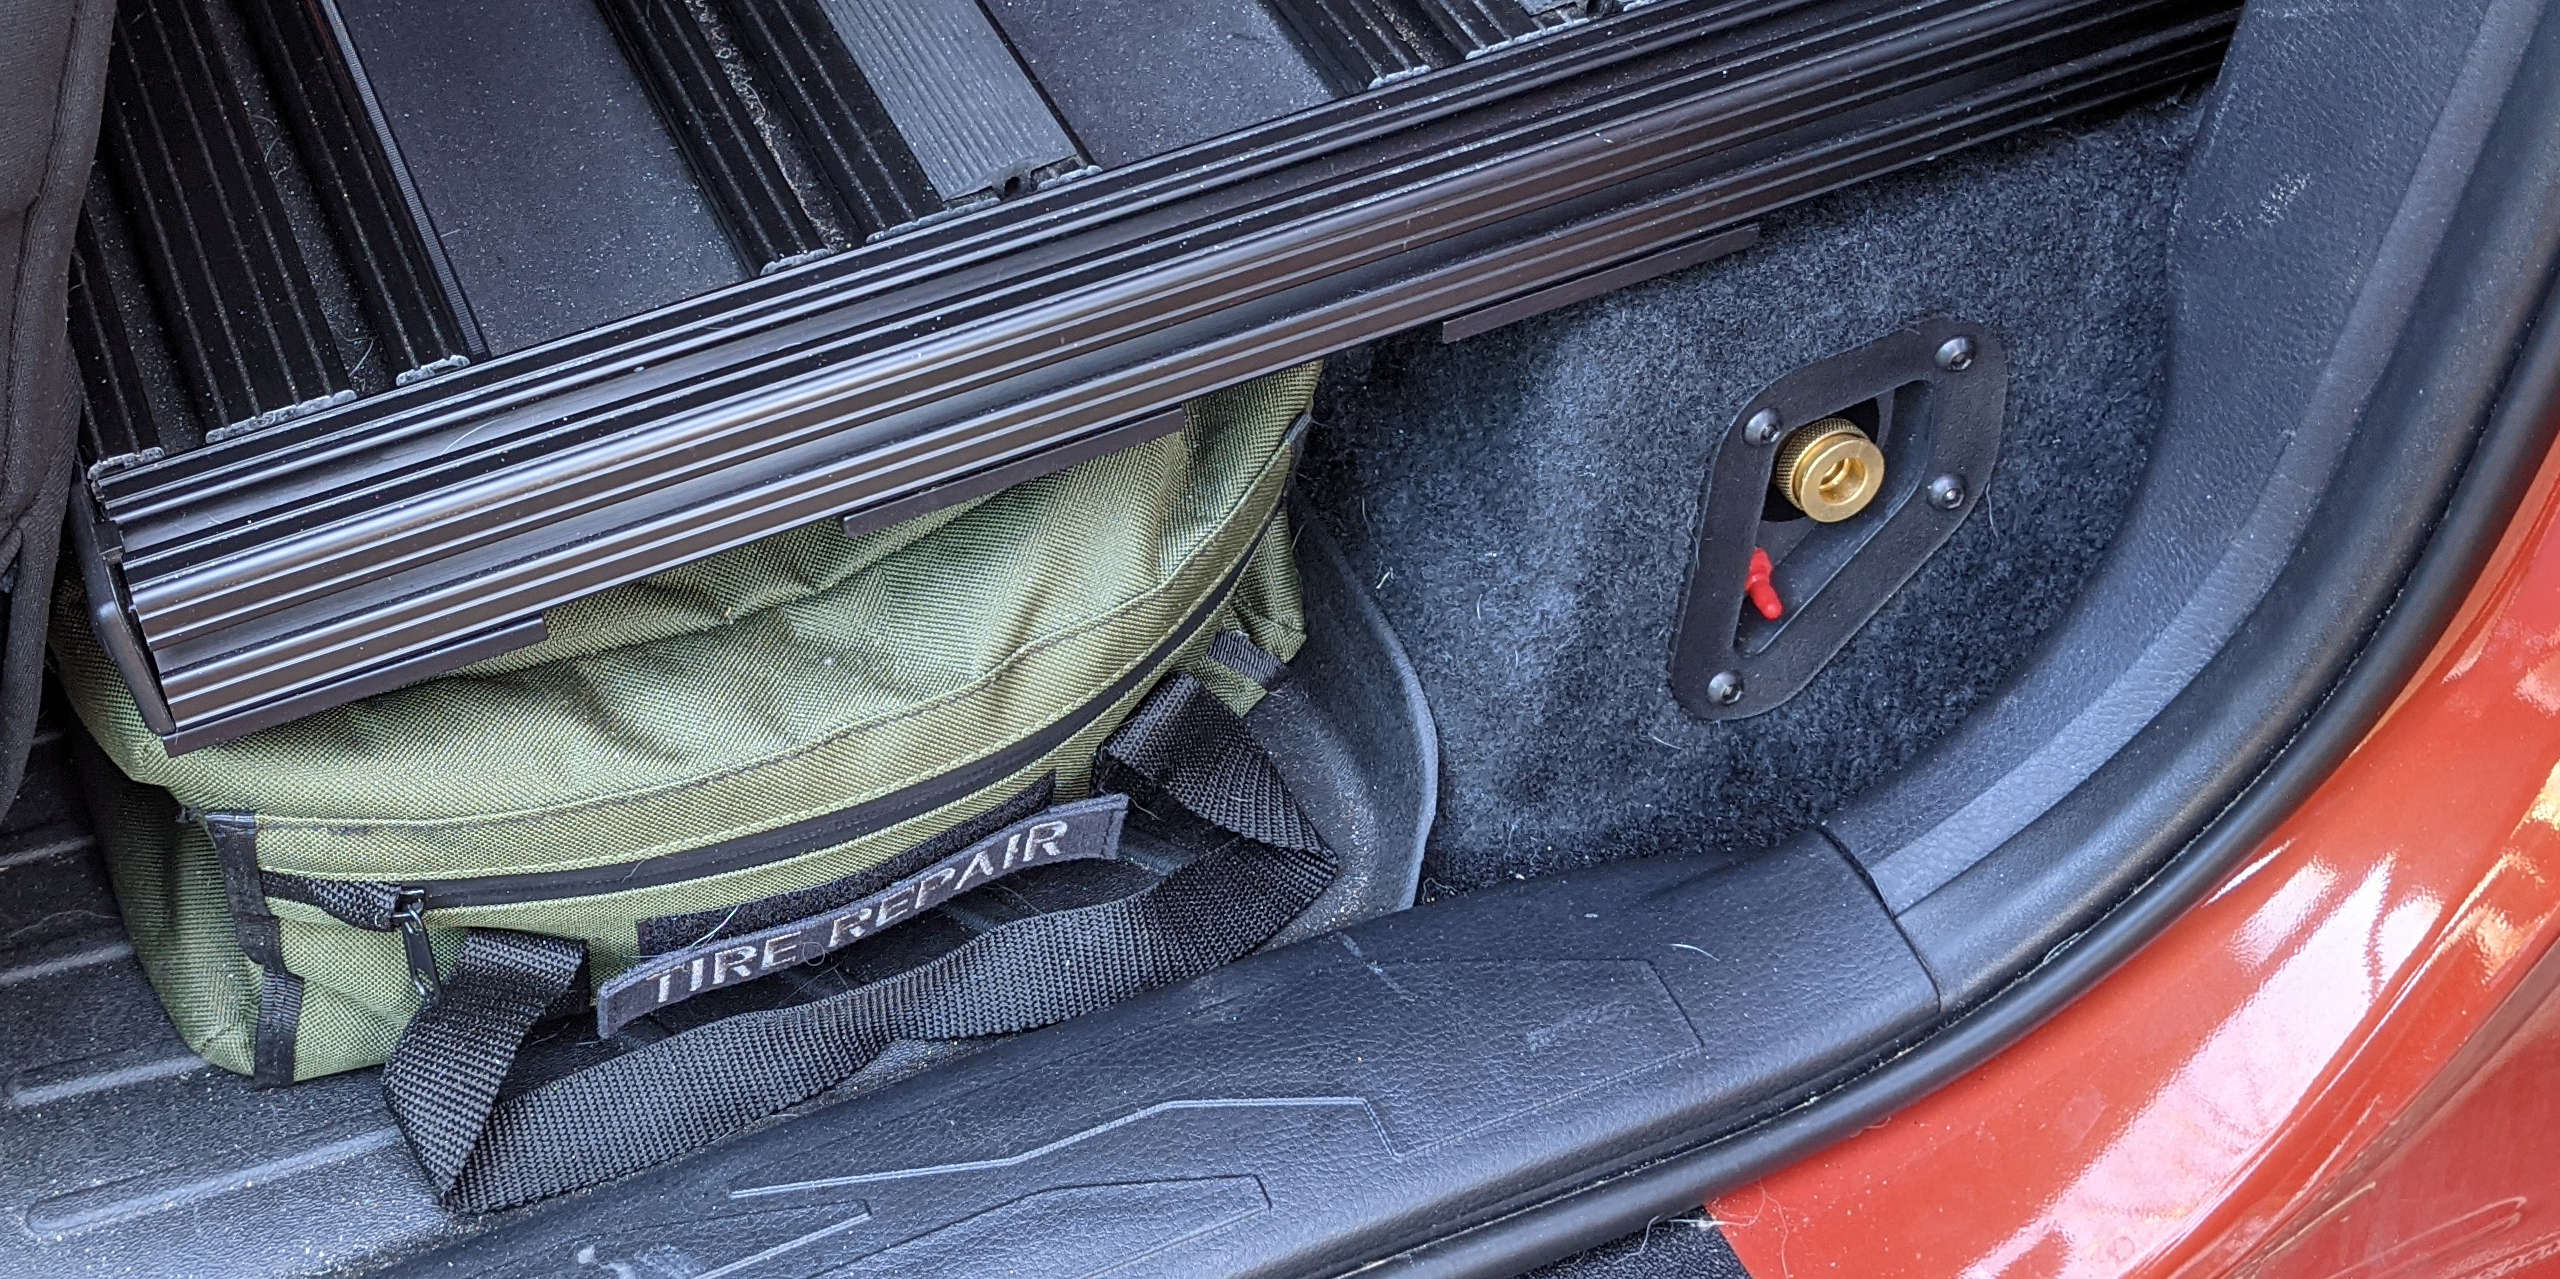
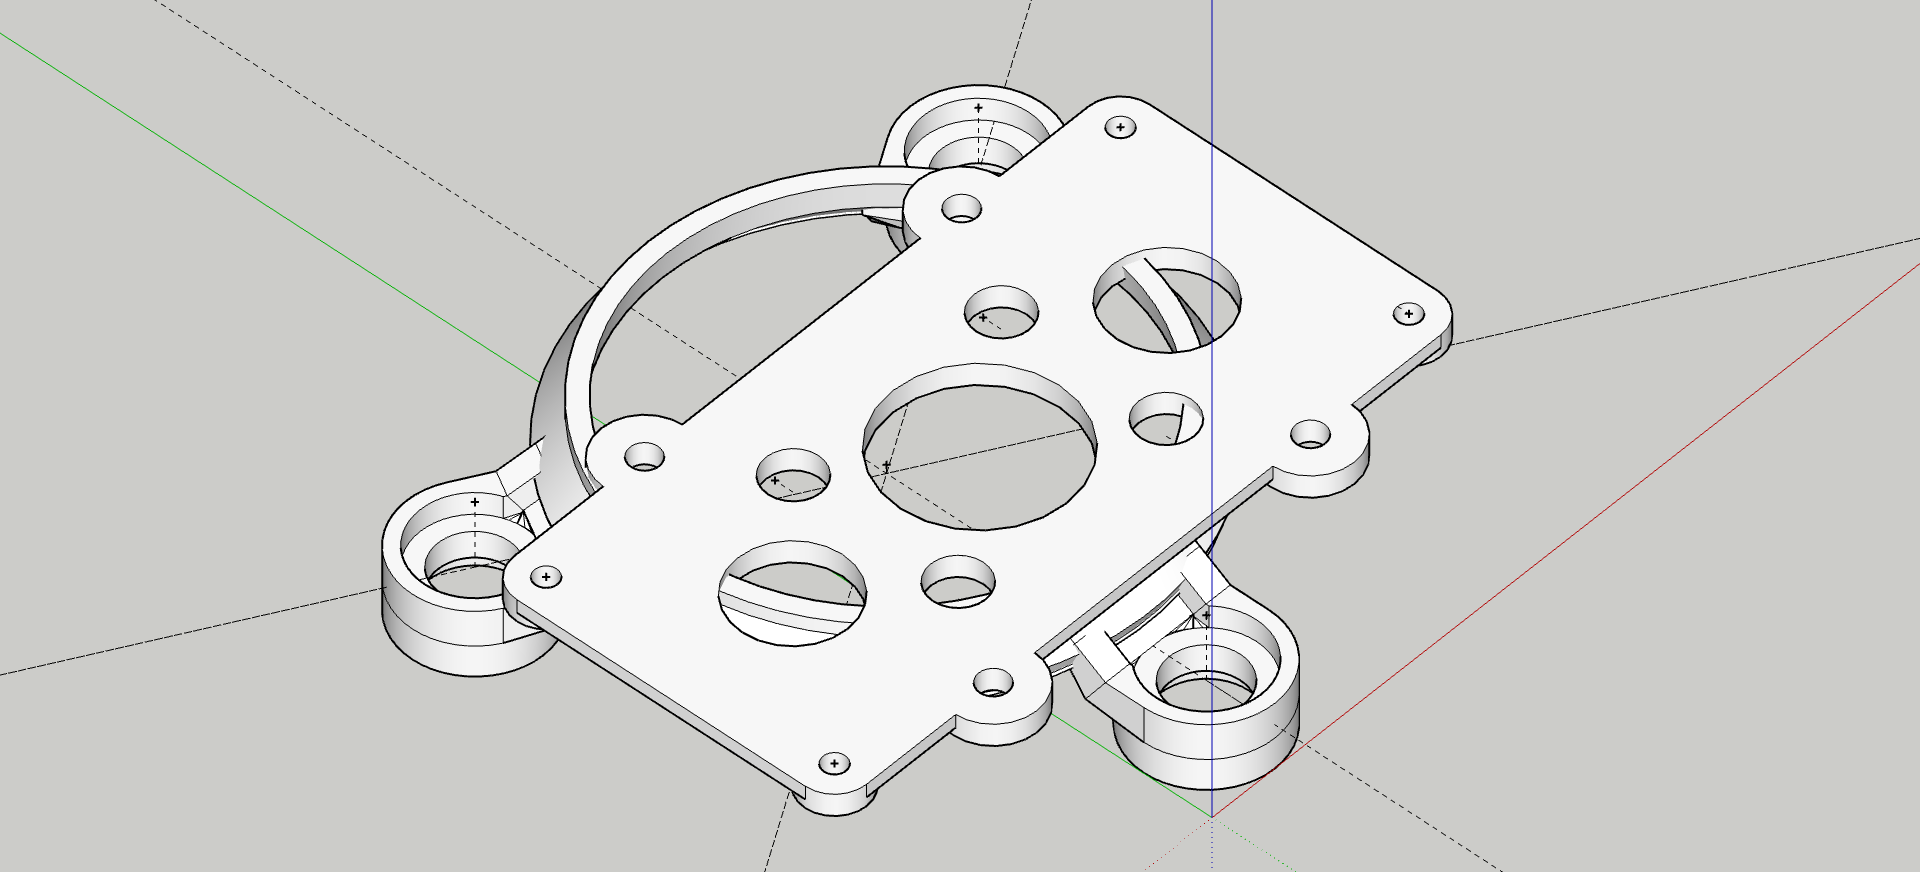
Following is a sampling of the progression of the complexity of the parts I had manufactured. It also highlights a transition into creating parts to address an afterthought to that of being part of the modification from the very start. From filling in a need with a camera relocation mount on a bumper that didn’t have one. To making improvements on something that was satisfactory by cleaning up a solar panel cable pass through for a project that was in progress. To planning the location of a compressor switch and quick disconnect and working the other components in to fit within that design plan.

3D Printer Design of a Toyota Tacoma OEM Backup Camera relocation mount
Toyota Tacoma OEM Backup Camera relocation mount
3D Printer design of the Cascadia 4x4 VSS System / Deutsch connector bracket
Cascadia 4×4 VSS System/Deutsch connector bracket
3D Printer design of the ARB Compressor switch and quick disconnect mount
Tacoma interior ARB Compressor switch and quick disconnect mount
3D Printed mount used to relocating the backup camera to the rear bumper swing arm
Backup camera relocated to the rear bumper swing arm
3D Printed VSS System/Deutsch bracket mounted to the windshield cowl.
VSS System/Deutsch bracket mounted to the windshield cowl
3D Printed ARB Compressor switch and quick disconnect mounted in a Tacoma
ARB Compressor switch and quick disconnect behind the driver’s seat

You need only time to start manufacturing your own parts

3D printing services will vary in costs, materials available, and limitations of the size of the printed object. Online CAD services will vary in the design of the user interface as well as the file formats available for download. Each have their own advantages and disadvantages. Including their location to take advantage of shipping time and/or currency exchange rates.

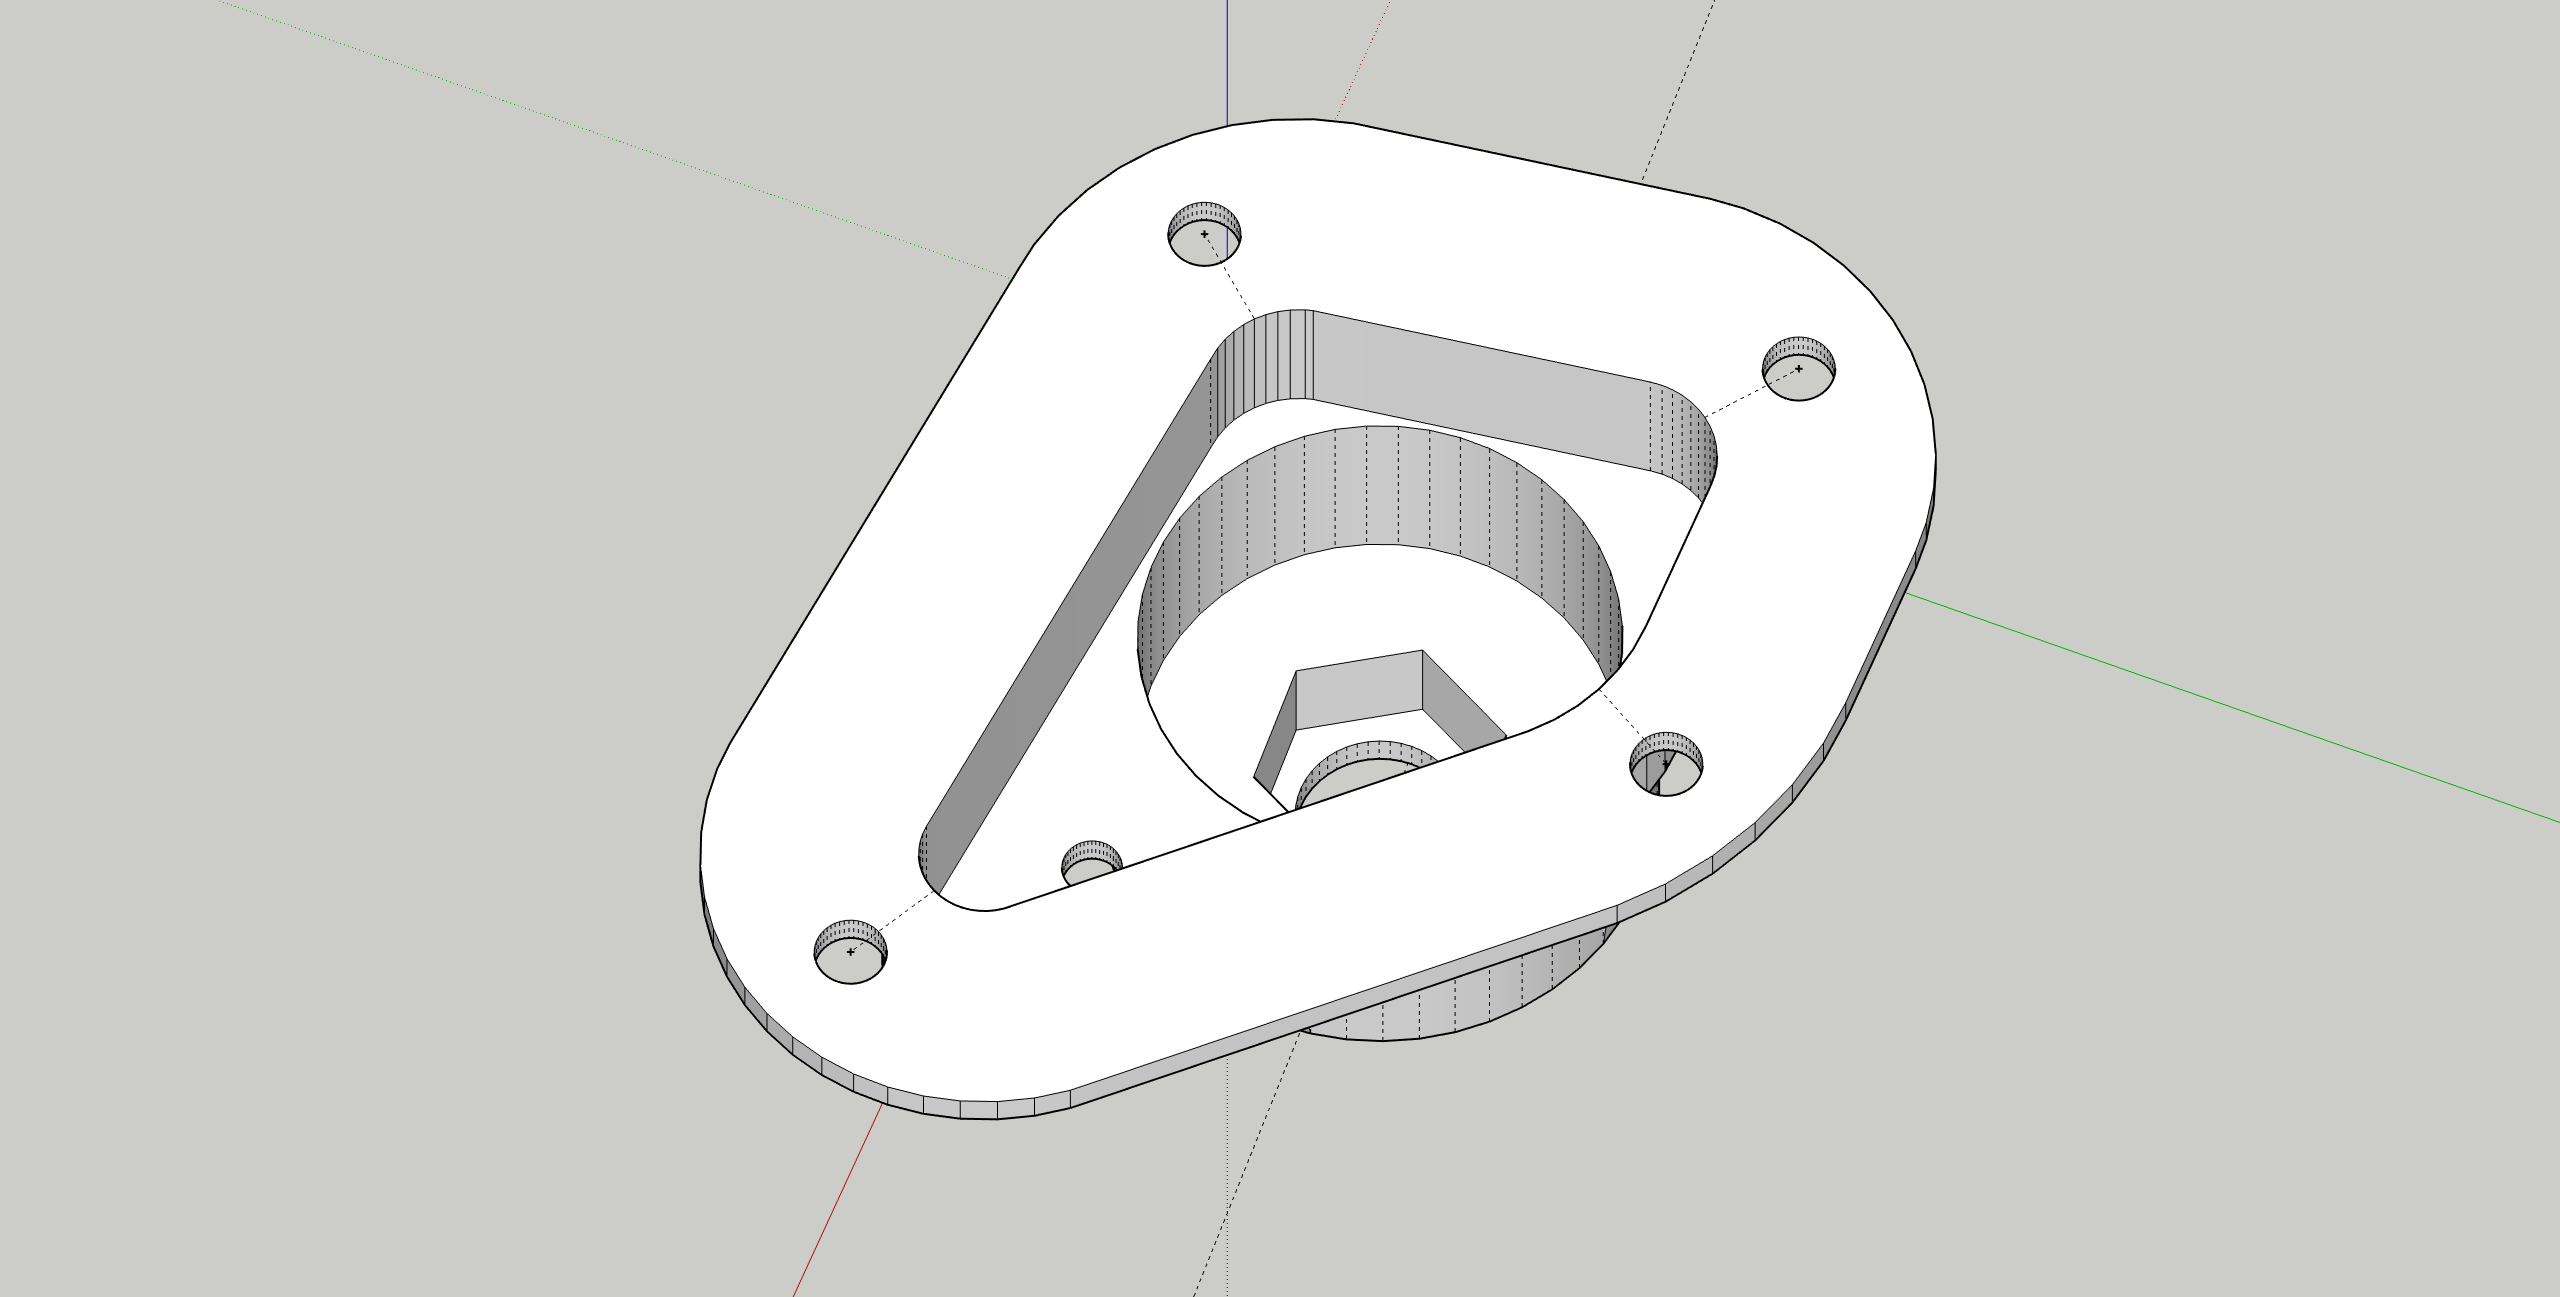
My current project is a sPOD SourceLT / universal mount for the engine bay of a Subaru Crosstrek. I don’t own a 3D Printer or CAD software. It, and everything I’ve designed and had manufactured, exists through using some of the services I’ve listed below. The lists are by far not exhaustive but they will help you get started.

sPOD SourceLT / Universal Mount for the Subaru Crosstrek.

3D Printing Services

Browser-based CAD programs

  • Onshape – Mechanical Engineering / Advanced Product Design
  • SelfCAD – 3D Printing / Beginners
  • Sketchup – Architecture / Product Design
  • TinkerCAD – Beginners / Education
  • Vectary – Product / Graphic Design
  • Fusion360 – Advanced Features / Free for non-commercial use.

I’ve used Sculpteo and Shapeways printing services. Both are similar in printing materials available and in price with Sculpteo being less expensive than Shapeways with some materials. Of the browser-based CAD programs I’ve only used Sketchup. Mostly because I’ve used it since Google acquired (and later sold) the original creator @Last Software and all its quirks are familiar to me.

Further Reading

We want your input

We invite you to participate and constructively contribute. Are you using a different online service that’s not listed here that you want to recommend? Let us and the readers know by joining our community.


FULL DISCLOSURE: The products and services mentioned in this article were paid for by the author.

Big Meats on a Taco

The Toyota Tacoma is one of the most commonly used overland vehicles out there with a huge following worldwide. The reason is simple, they just work and require very little if any in the way of custom fabrication. I have owned my Gen 2 Tacoma for five years and have it setup just right, with one exception. I’d prefer bigger tires. Don’t get me wrong, my 33” Falken Wildpeak MTs have always pulled off exactly what I wanted to and in some occasions more than what others thought possible. With the truck hitting 100,000 miles and parts starting to fail due to sheer mileage the opportunity presented itself to go to 35” tires.

We had just returned from Overland Expo and there were several problems that needed addressing. First, we lacked power because of the sheer weight of the truck, and I averaged a mere 10mpg to Phoenix and from Flagstaff. I had known that my best solution to fix this issue was to re-gear it. Then I noticed that one of my CV axle boots burped grease everywhere. It hadn’t failed but with 100,000 miles on the odometer it was time for some preventative maintenance. With re-gearing and new axles on the table it was a no-brainer to just take it one step further and go to the 35” tires as well.

I did what everyone else does when about to tackle a new project, started surfing the internet in search of all the information I could find. Who else has done it, how did they do it, what worked and what didn’t was what I was after. What I found was that there was a lot of information out there, yet almost none of this info was complete or organized. So I decided it was time to pick the brains of the industry professionals I know. Industry professionals like Eric Hansen of Yotamasters and Tyler Pelfrey of Pelfreybilt. The reason I chose these individuals is because Eric is a wheeler through and through and runs one of the best Toyota specific shops I know of. I approached Tyler because he had already done exactly what I wanted to do and is a good friend whose opinion I trust. If Tyler’s done it you can bet every aspect of the situation was heavily researched and done right, he’s just that meticulous.

Eric and I had a good conversation about what gears to go with. I posed the question of re gearing with the truck as is with the possible potential of going to 35 inch tires in the future. Eric described the gears like riding a bicycle. Picture riding the bike where you pedal hard to make power or easy to make the same power and your engine is getting winded, re gearing in essence is going to prolong the life of your drivetrain. I asked if we should do 4.56 or 4.88s from the stock 3.70 gears. I told him I average 70-75 on the freeway and rarely if ever drive over 75mph. He explained that the gearing difference between the two was very minimal and that if I didn’t really drive over 75 then he would recommend the 4.88s, if I was more of a lead foot and wasn’t sure if I was going to 35 inch tires than 4.56s would be better. I opted for the 4.88s.

The next phase of the research was what companies parts do I go with? I ended up going to East Coast Gear Supply for their assembled differentials. They had some improvements over the OEM differential setups I wanted plus the idea of just having assembled diffs sent to me and sending my cores right back was extremely appealing. One of the upgrades that East Coast Gear Supply has is a replacement sleeve for the needle bearing in the driver side font clamshell. The needle bearing is known to fail on the Tacoma clamshell, so the upgrade was a must. The process for ordering was simple, I called them up and talked to one of their knowledgeable reps, told them what vehicle I had and answered their questions and viola new diffs were ordered.

The next item to be ordered were new axles. Most aftermarket axles were not the way to go due to poor quality control. I had great experience with my OEM Toyota CV axles so I wanted to just stick with what was working, that is until I saw the price tag that Toyota was charging. After more googlefu and interwebs reading I found CVJ Axles. They specialized in refurbished OEM Toyota Axles that you could get as stock replacements or with upgrades. I told Stephen at CVJ Axles what I was doing with the truck and he recommended using their high angle boots.

The final step was choosing the tires and what path I would use for clearancing the fenders. I had been running Falken Wildpeak MTs in the 33 (285/75R16) variety for over a year and can honestly say I was blown away by them. I have ran various other brand tires for all kinds of other driving, whether it was desert racing, overlanding or more technical rock work but the Falkens seemed to perform well everywhere to include on road, they where actually quiet for a MT!

I opted to go with the Wildpeak MTs again for the 35” tires (315/75R16) but fitting those big ole meats on the Tacoma would require cutting my fenders first. That was fun!

With the fenders neatly trimmed to clear the 35’s, I needed a way to make the truck look good afterwards and that was an easy choice, Bushwacker Fender Flares.

These flares took a while to get all of them on because we were busy actually getting out on trips, but the proof of concept was achieved as it all came together in Colorado on Engineer Pass!

Once all the flares were on it had the fully finished look I was seeking as well as some additional coverage – overall I am very happy with how all of these modifications turned out.

Full build thread on the truck can be found HERE on our Forum at American Adventurist.

Photos by Cifaldi Photography and Chad de Alva.


Full Disclosure: Tires, flares, gears and CV’s were provided at no or reduced cost to Brett or American Adventurist.