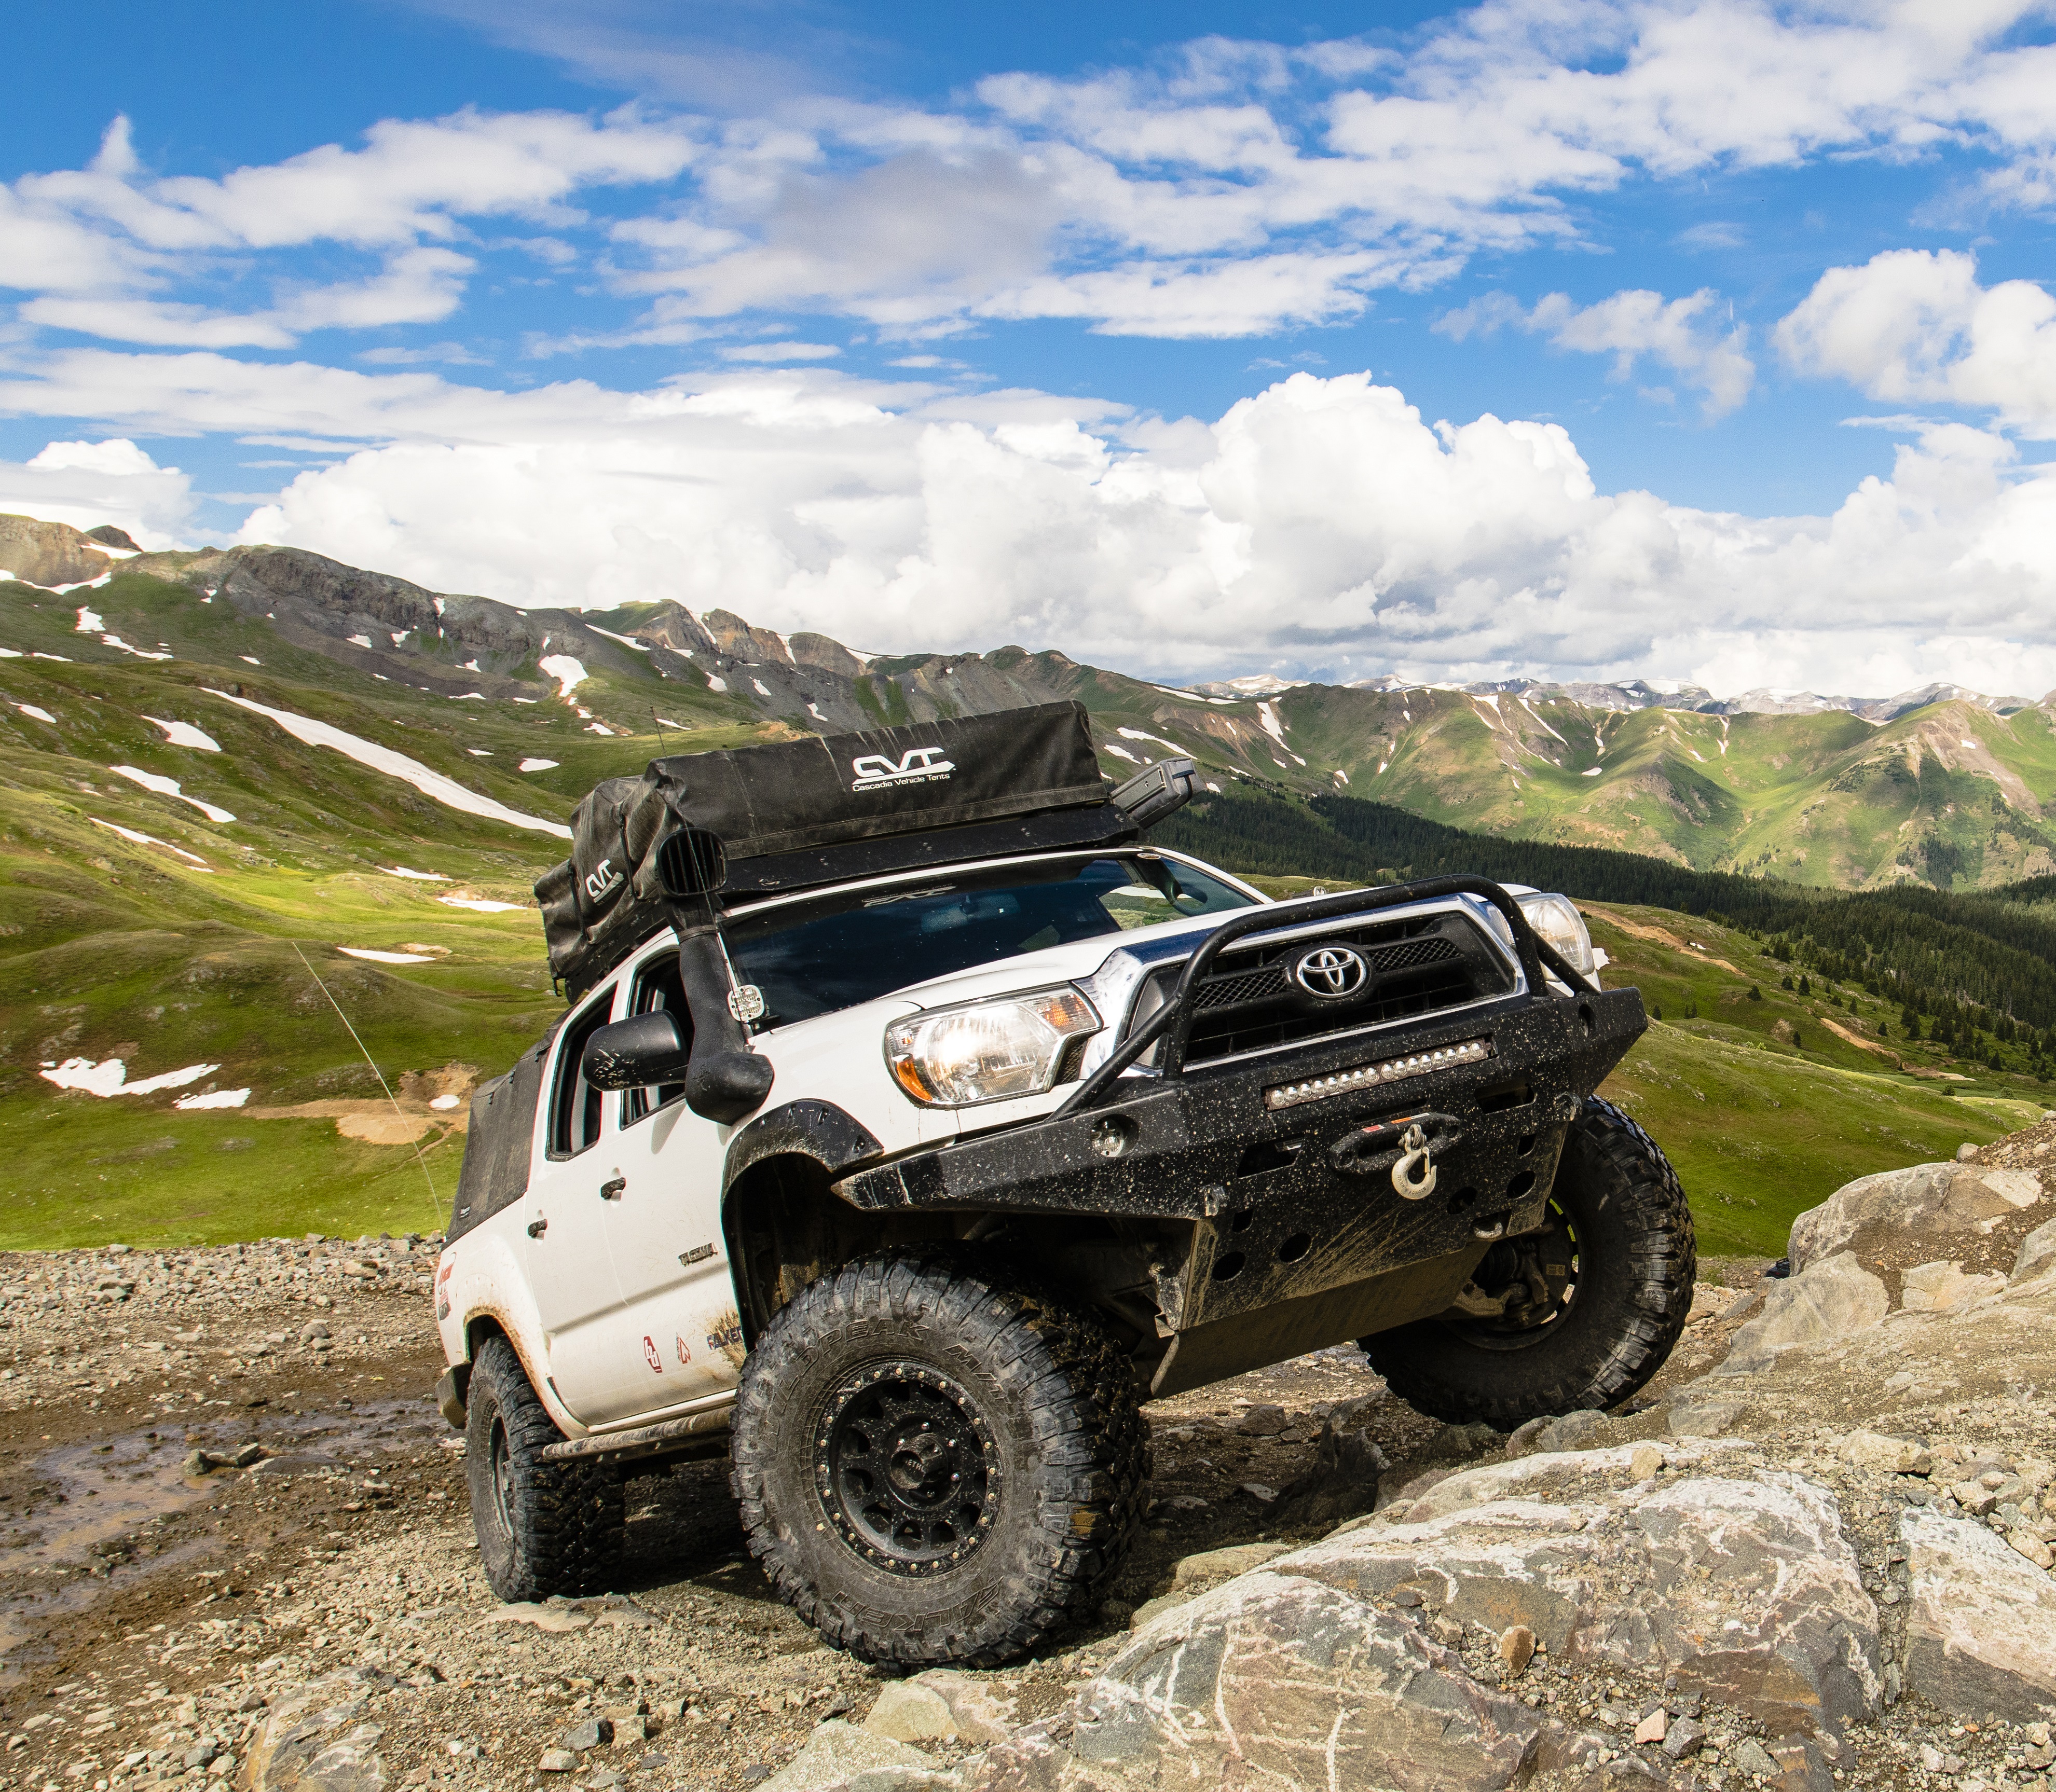
From dirtbike to Timbersled
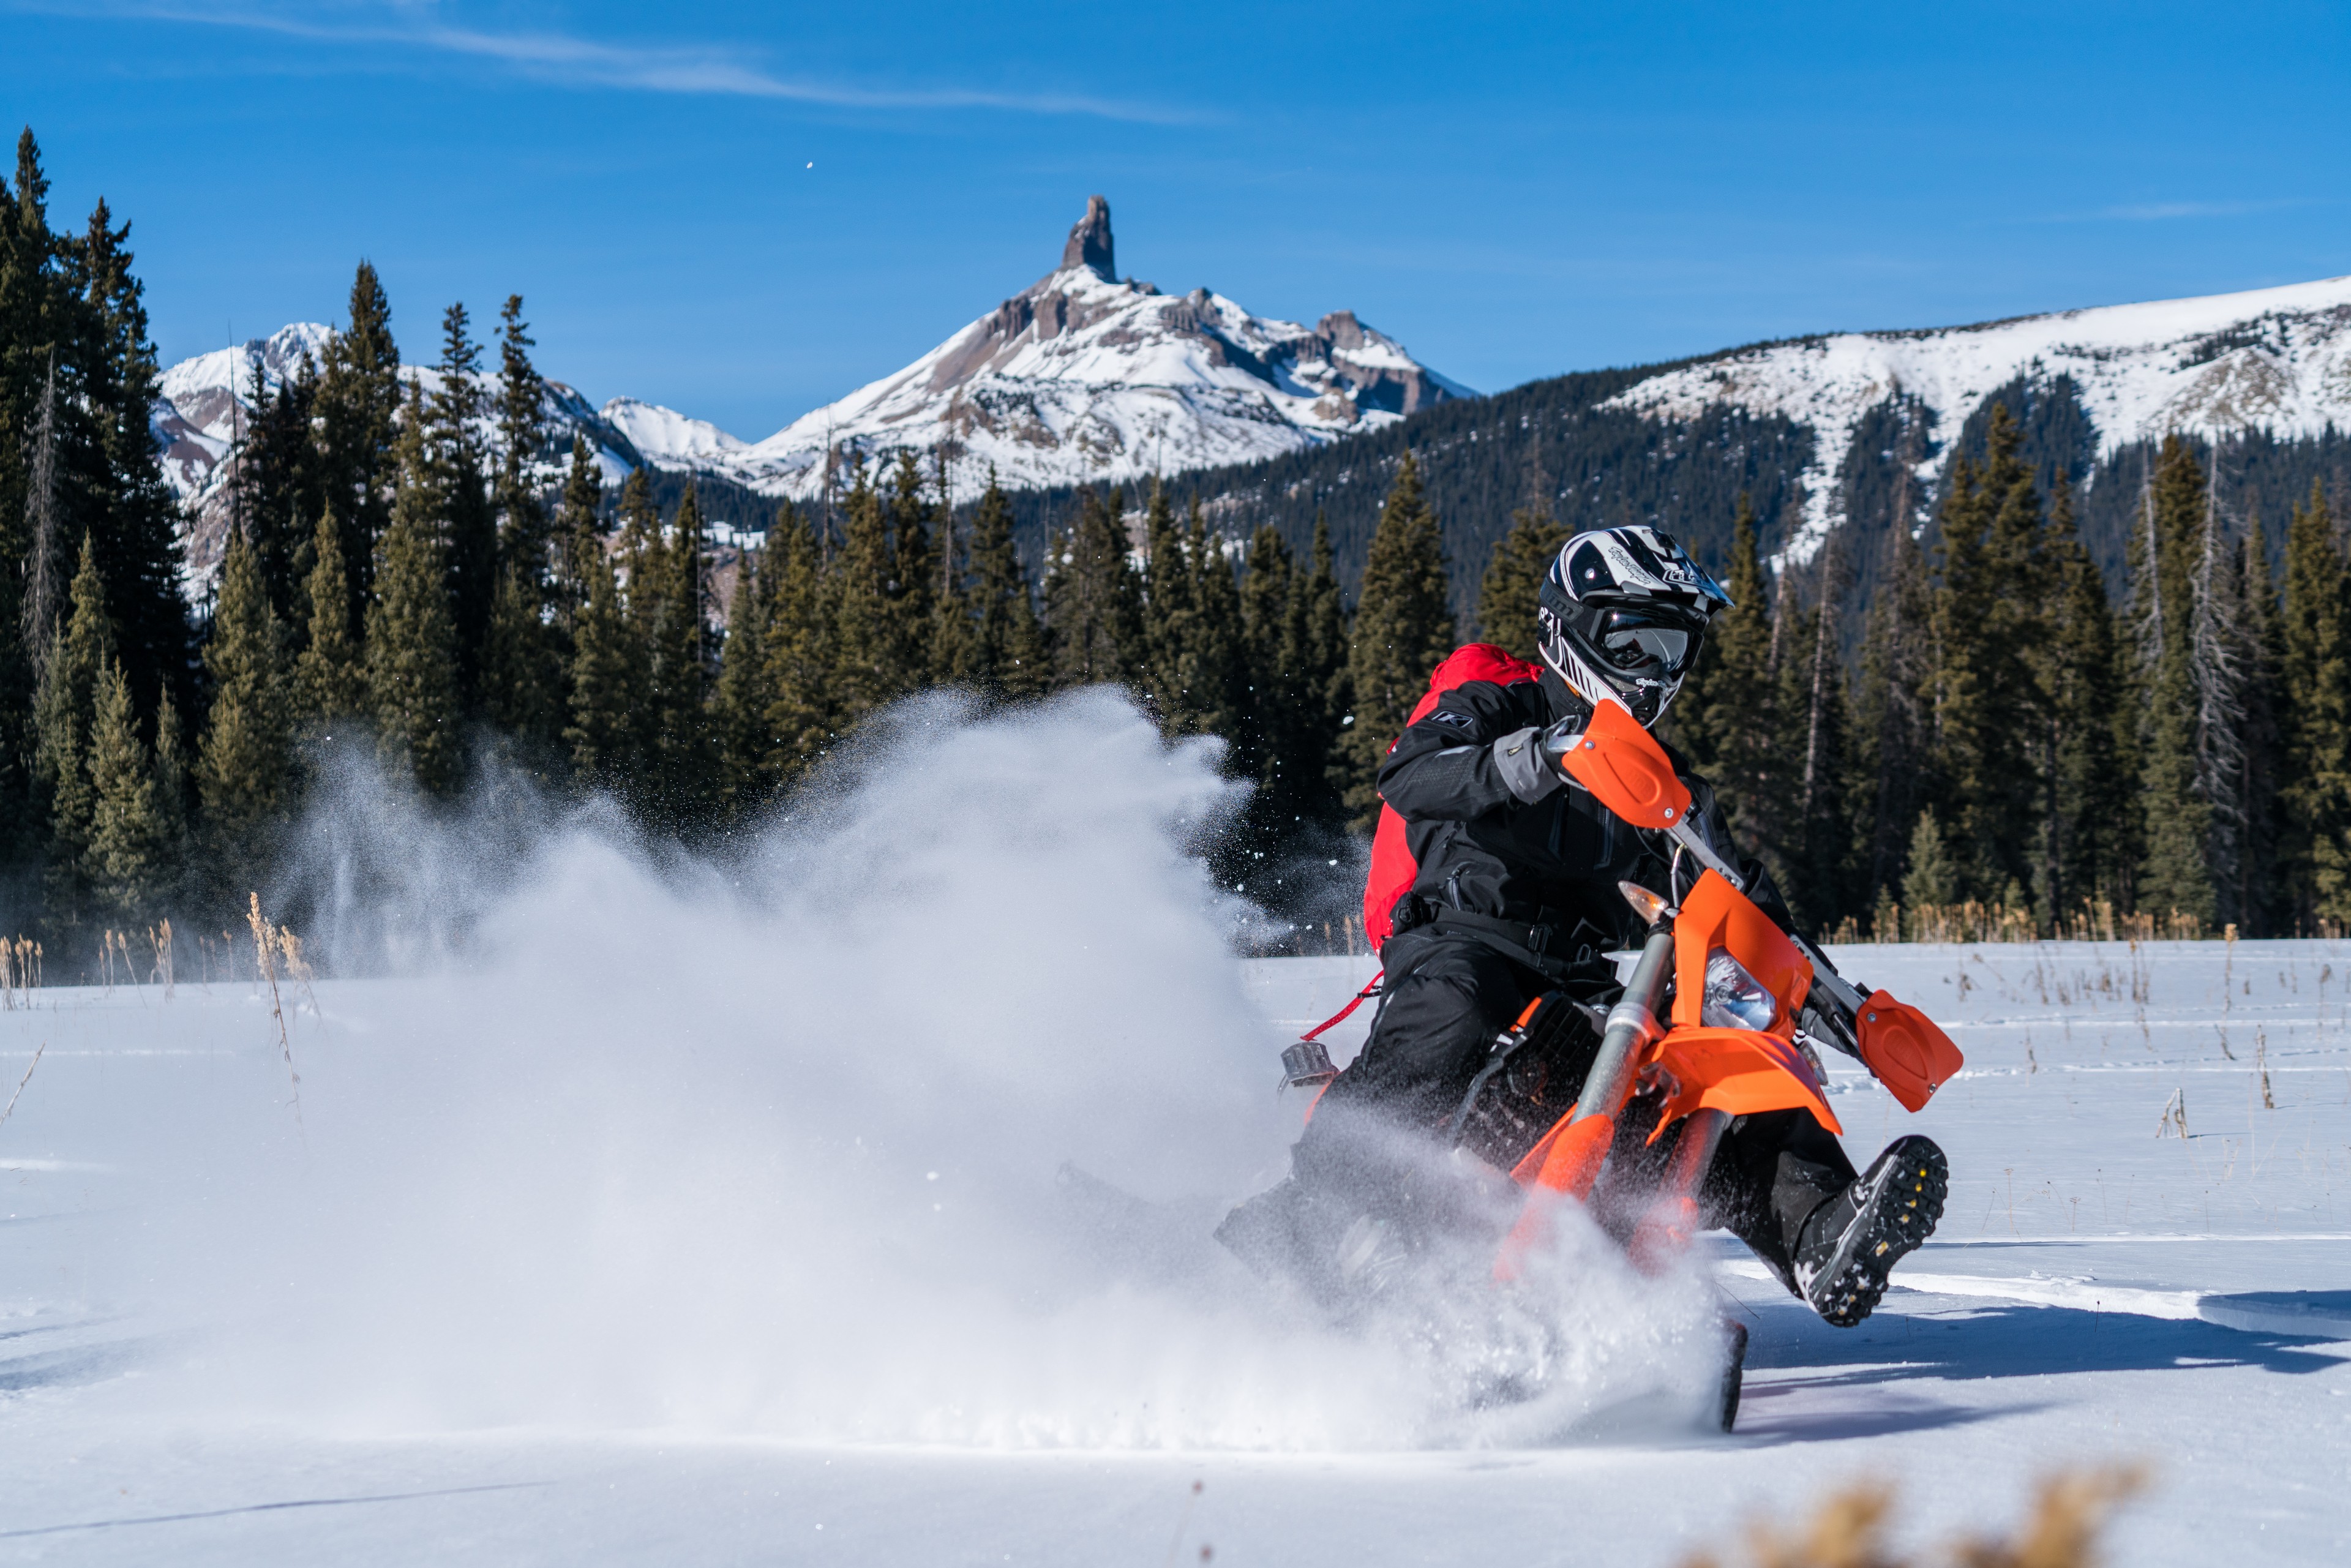
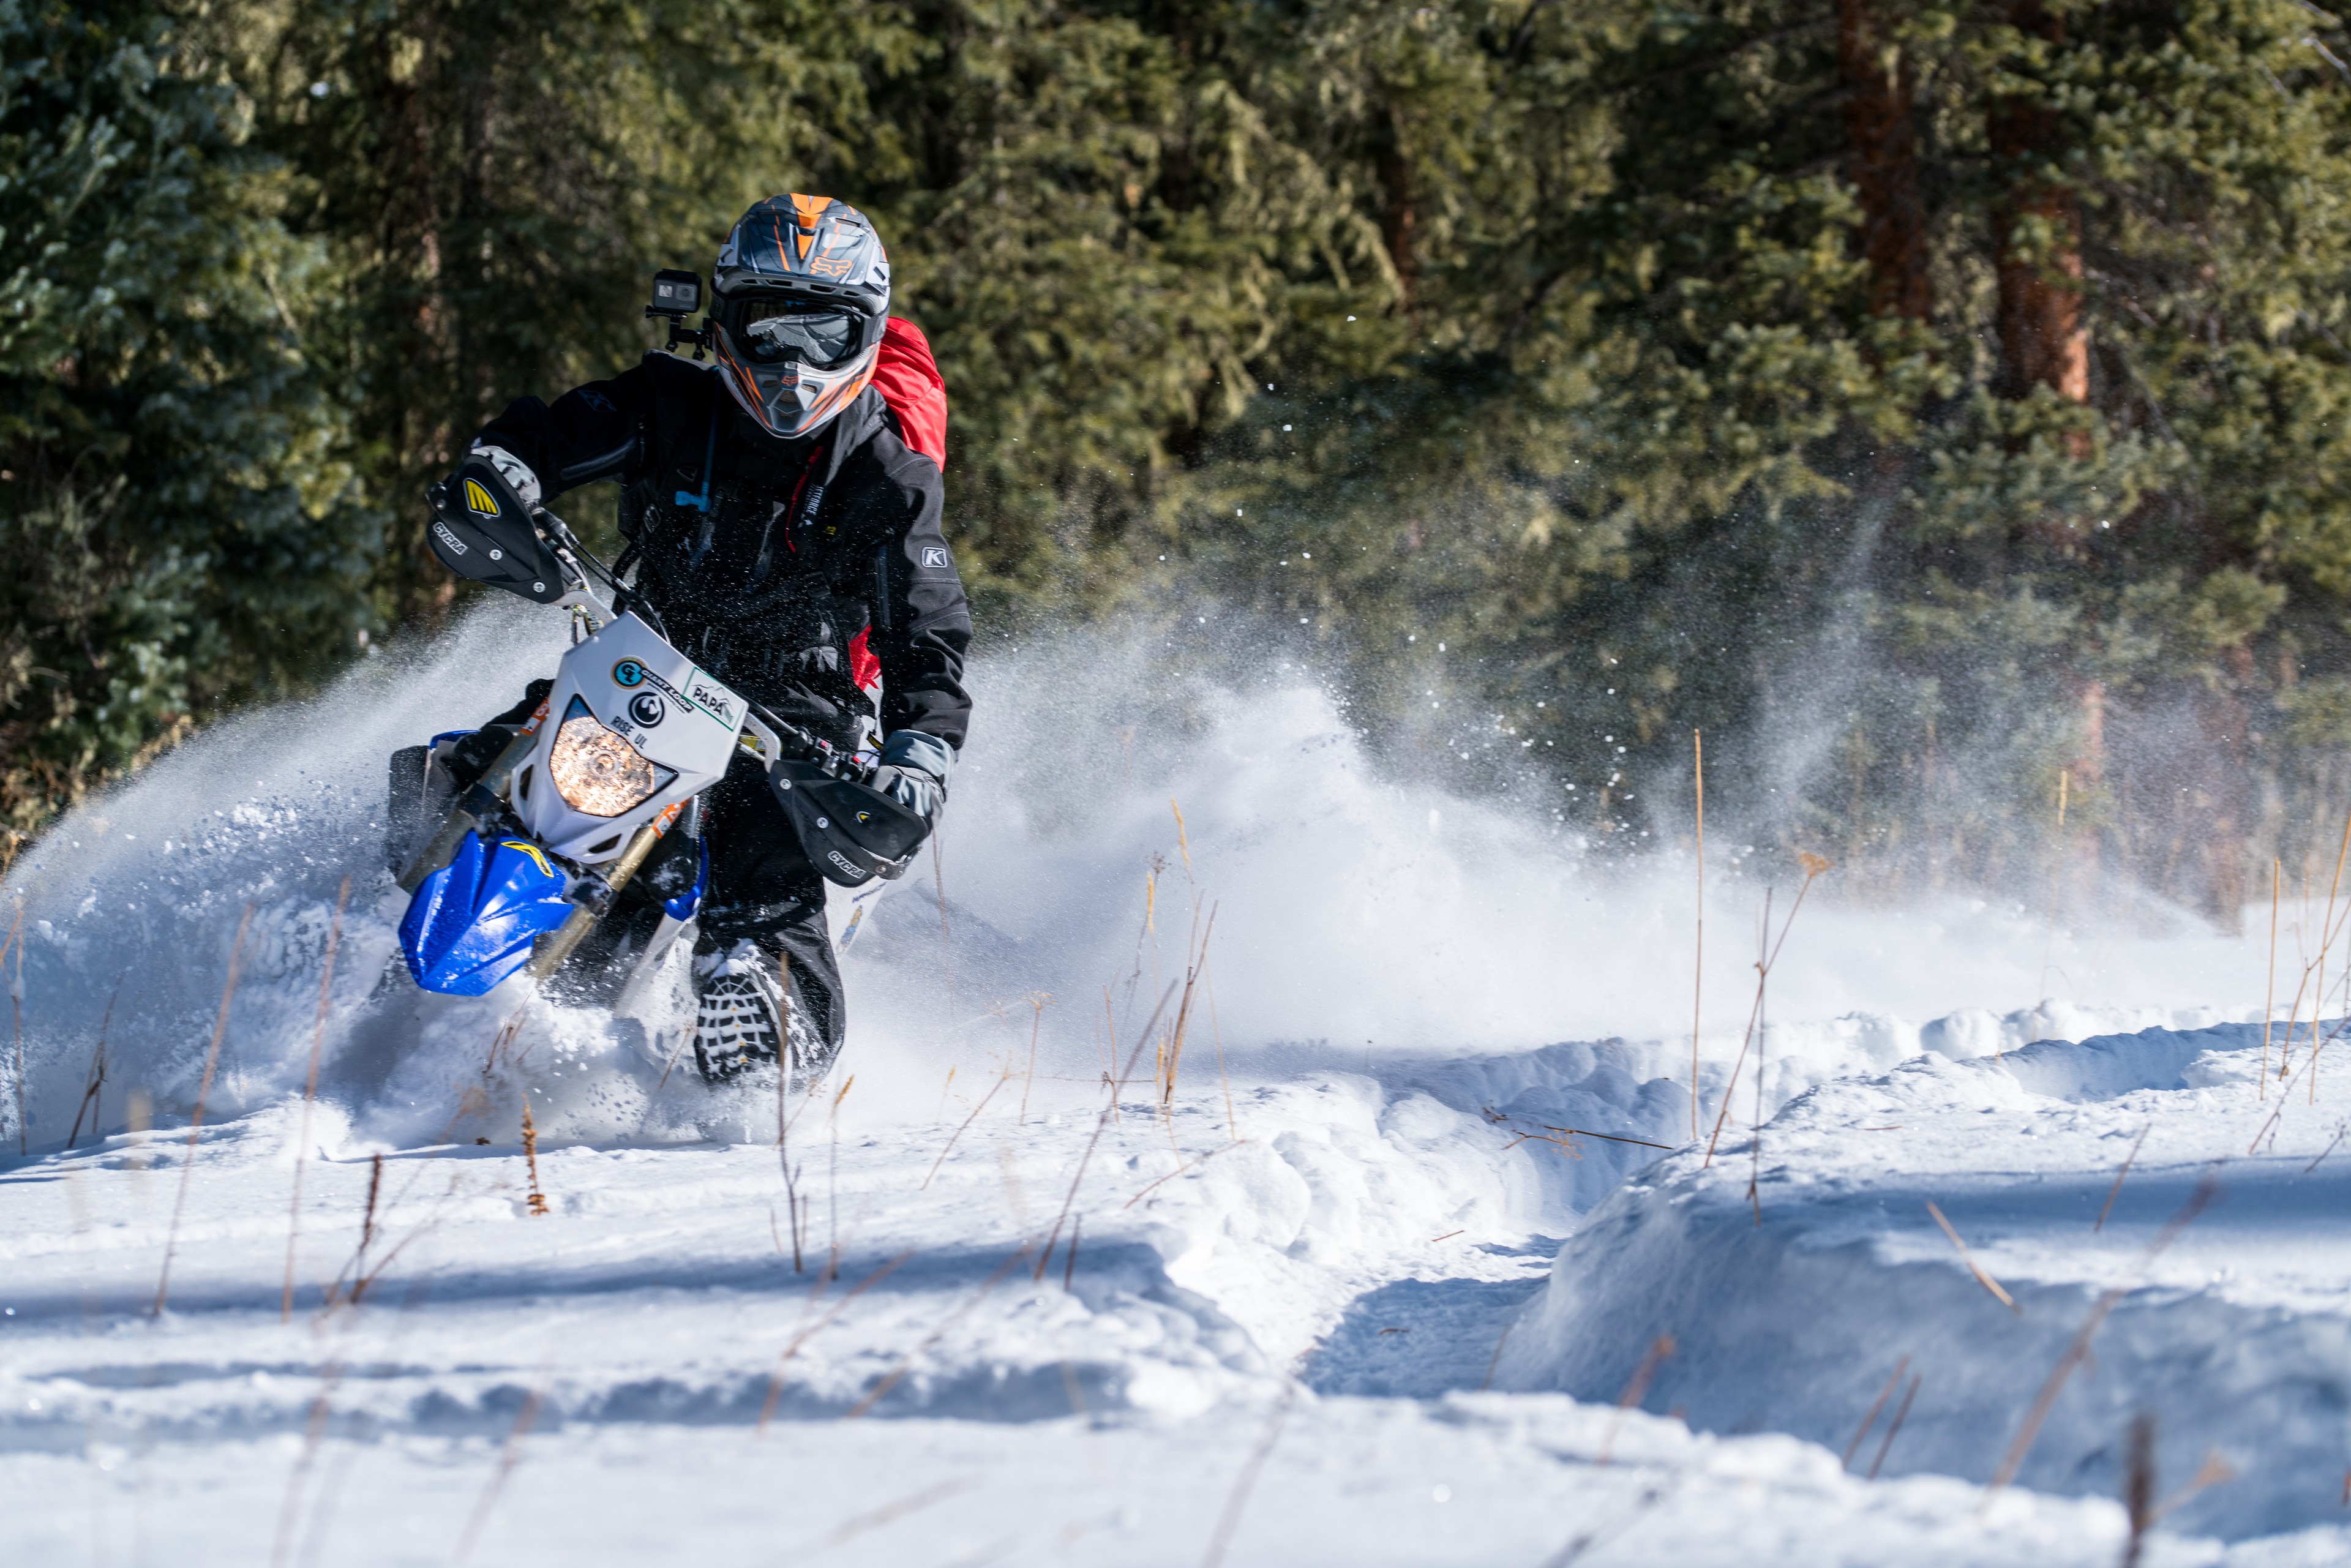
Snowbikes are every bit as fun as they look like on the internet, and then some. We all know that dirtbikes are an absolute hoot to ride, and few things in life are as excellent as a bottomless powder day on your favorite ski resort. So, if you can image what enjoying both of these activities at the same time is like, you’ll have a vague notion of how awesome snowbikes can be. Freeriding in a winter wonderland has never been more free-to-ride, as you can go just about anywhere you want to. And thanks to several companies, getting setup for snowbiking has never been easier. This is the first article in an ongoing project that will show you what it takes to gear up for snowbiking, how to ride safely in the backcountry, and get you inspired to explore a winter world with a snowbike.
Wrench Time
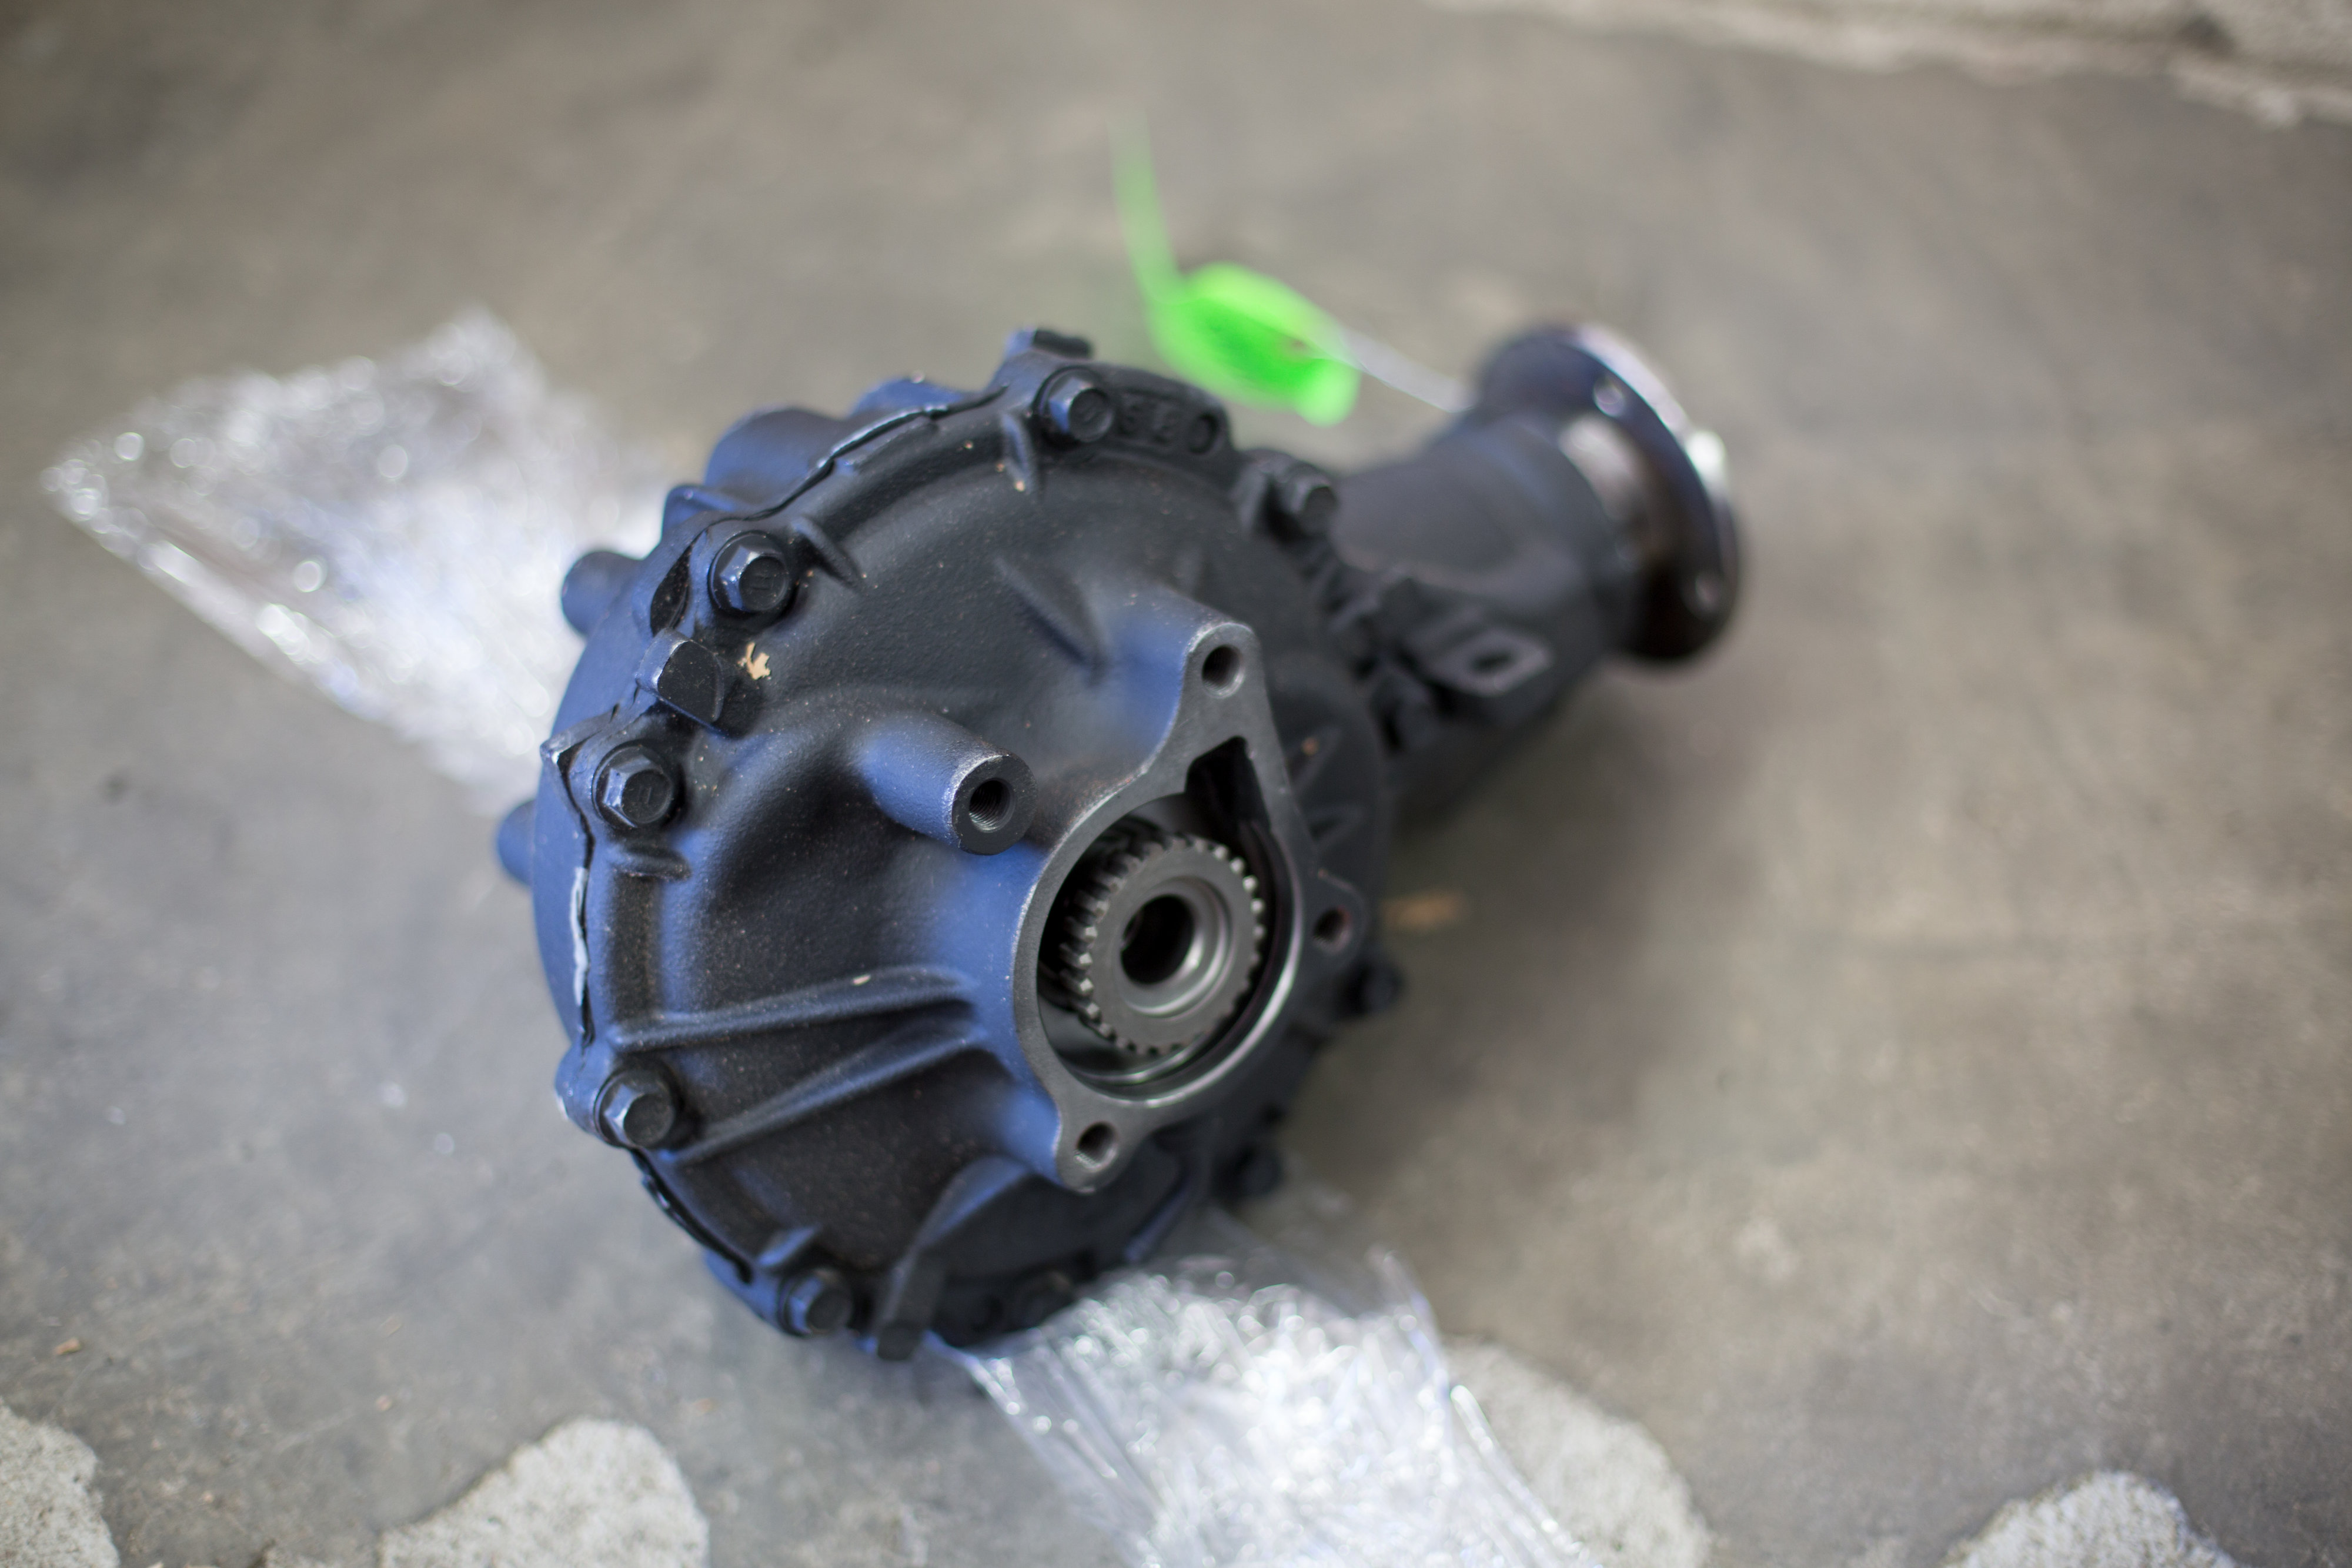
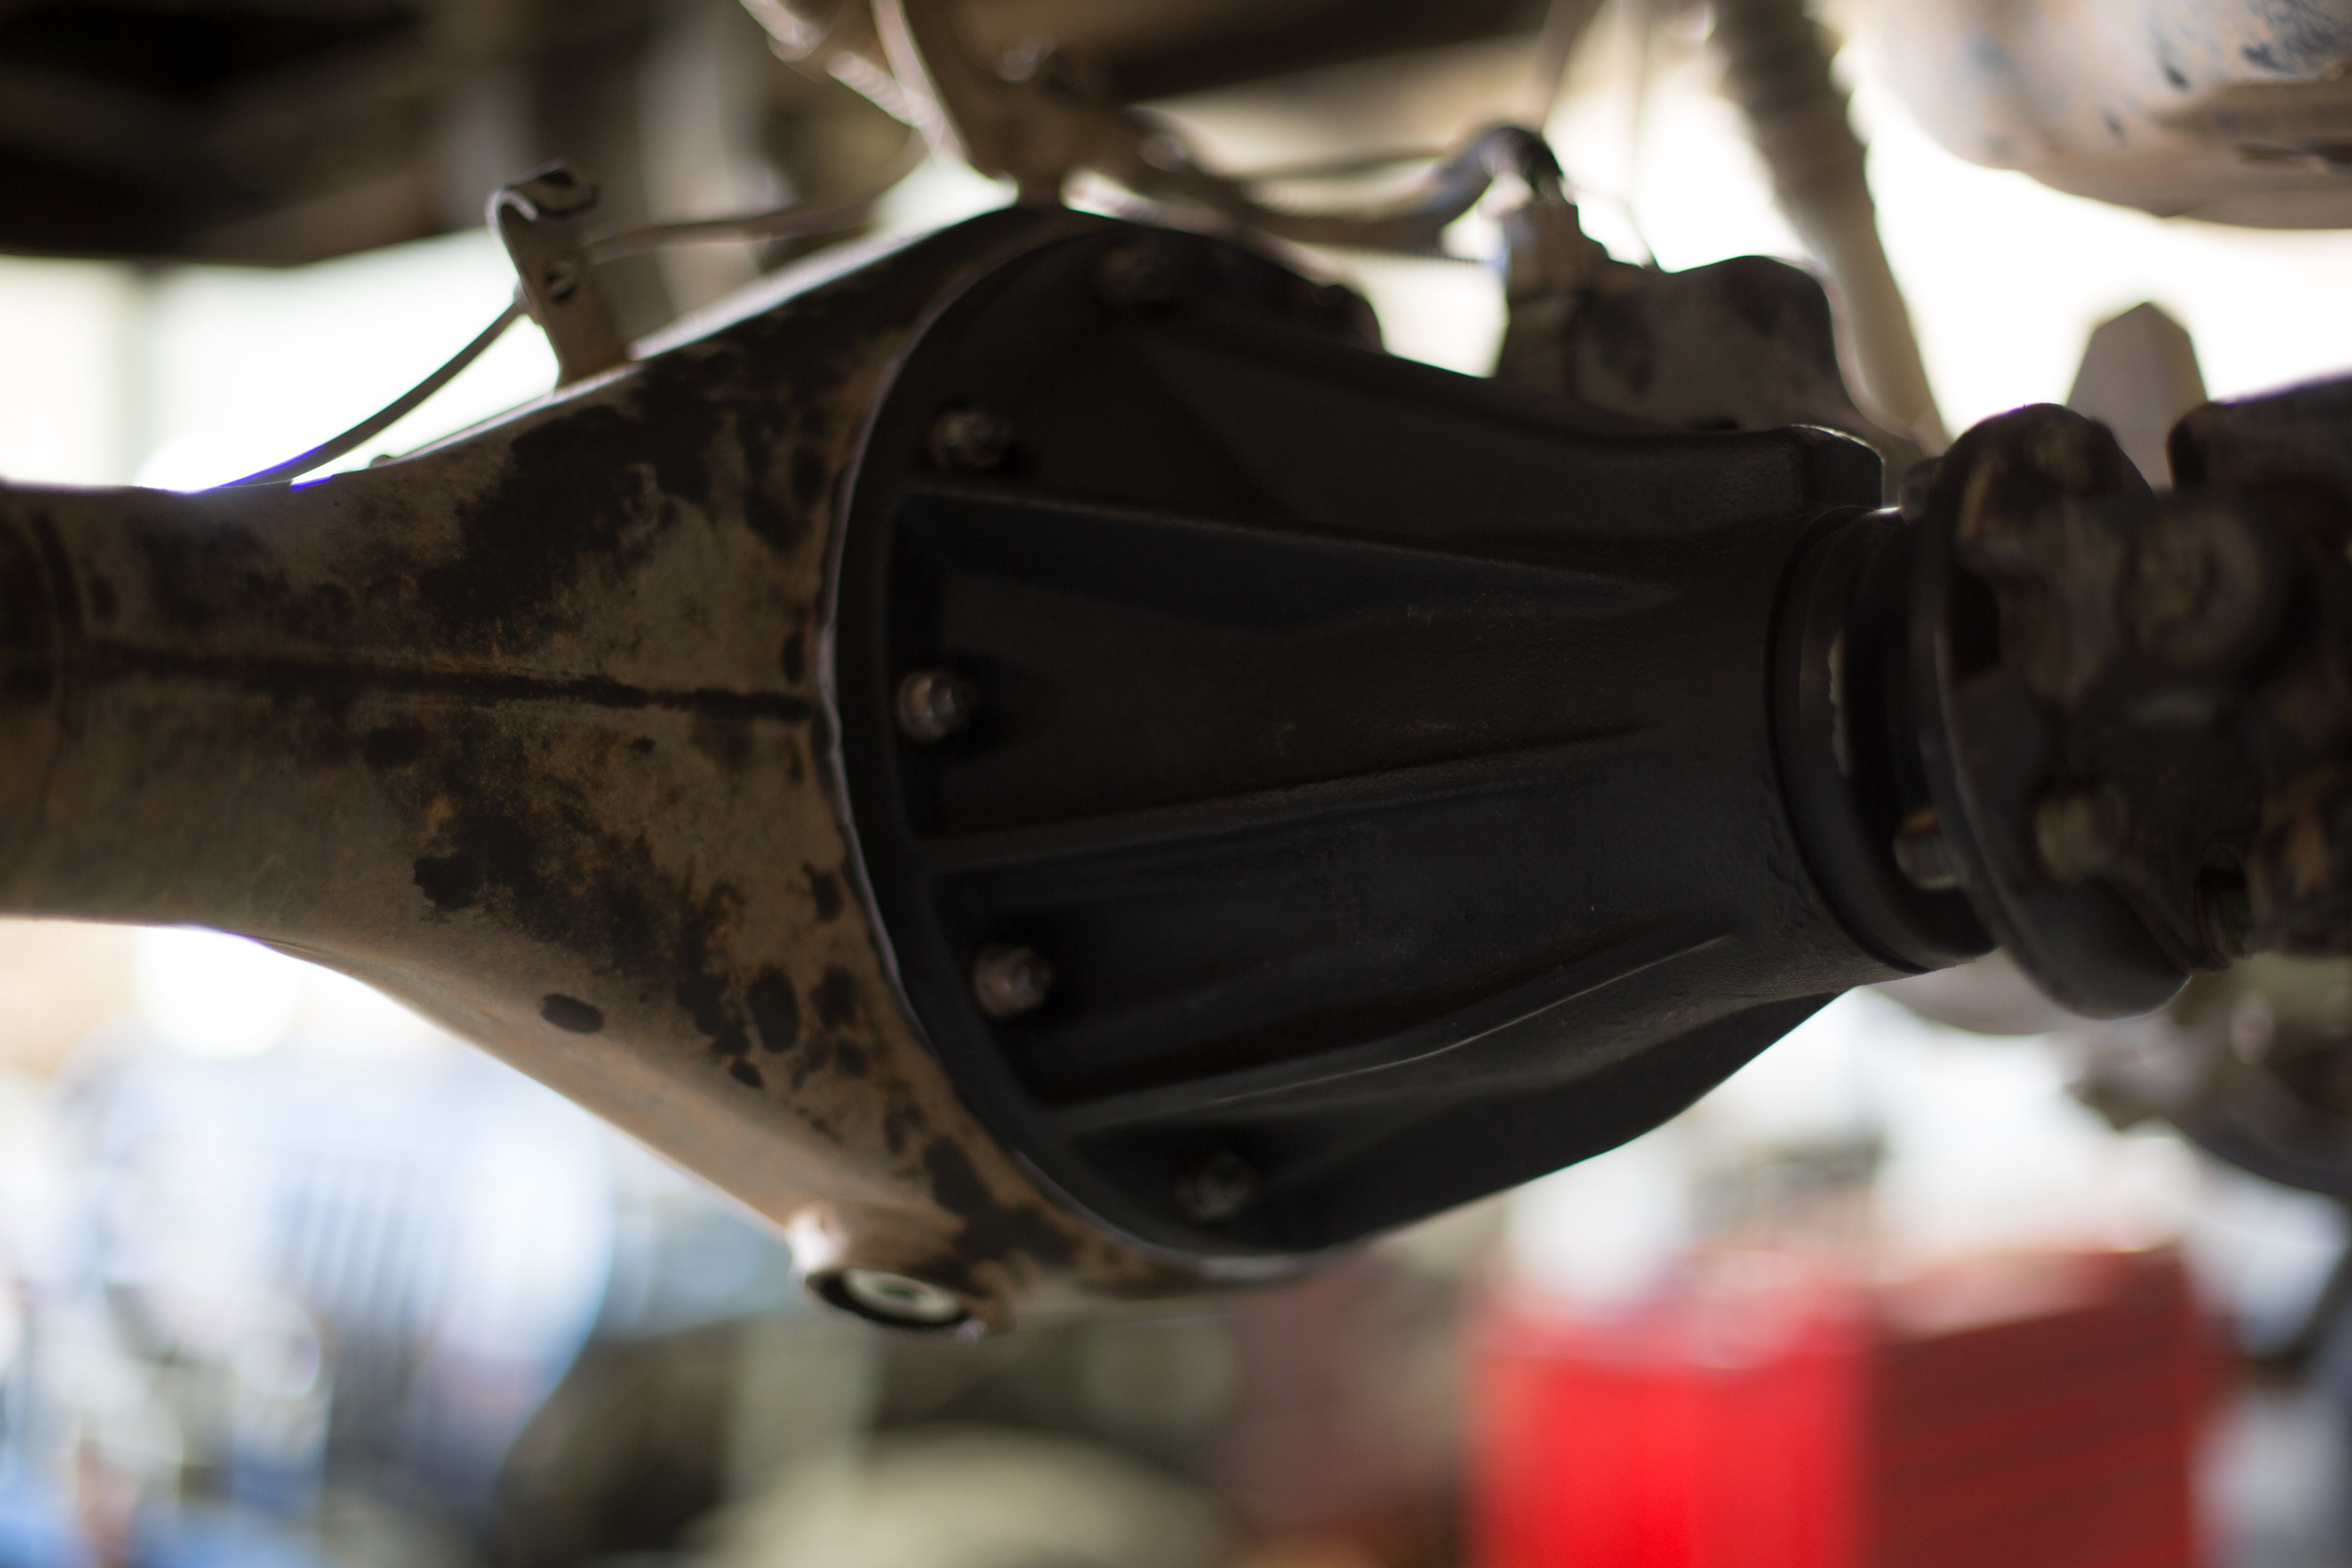
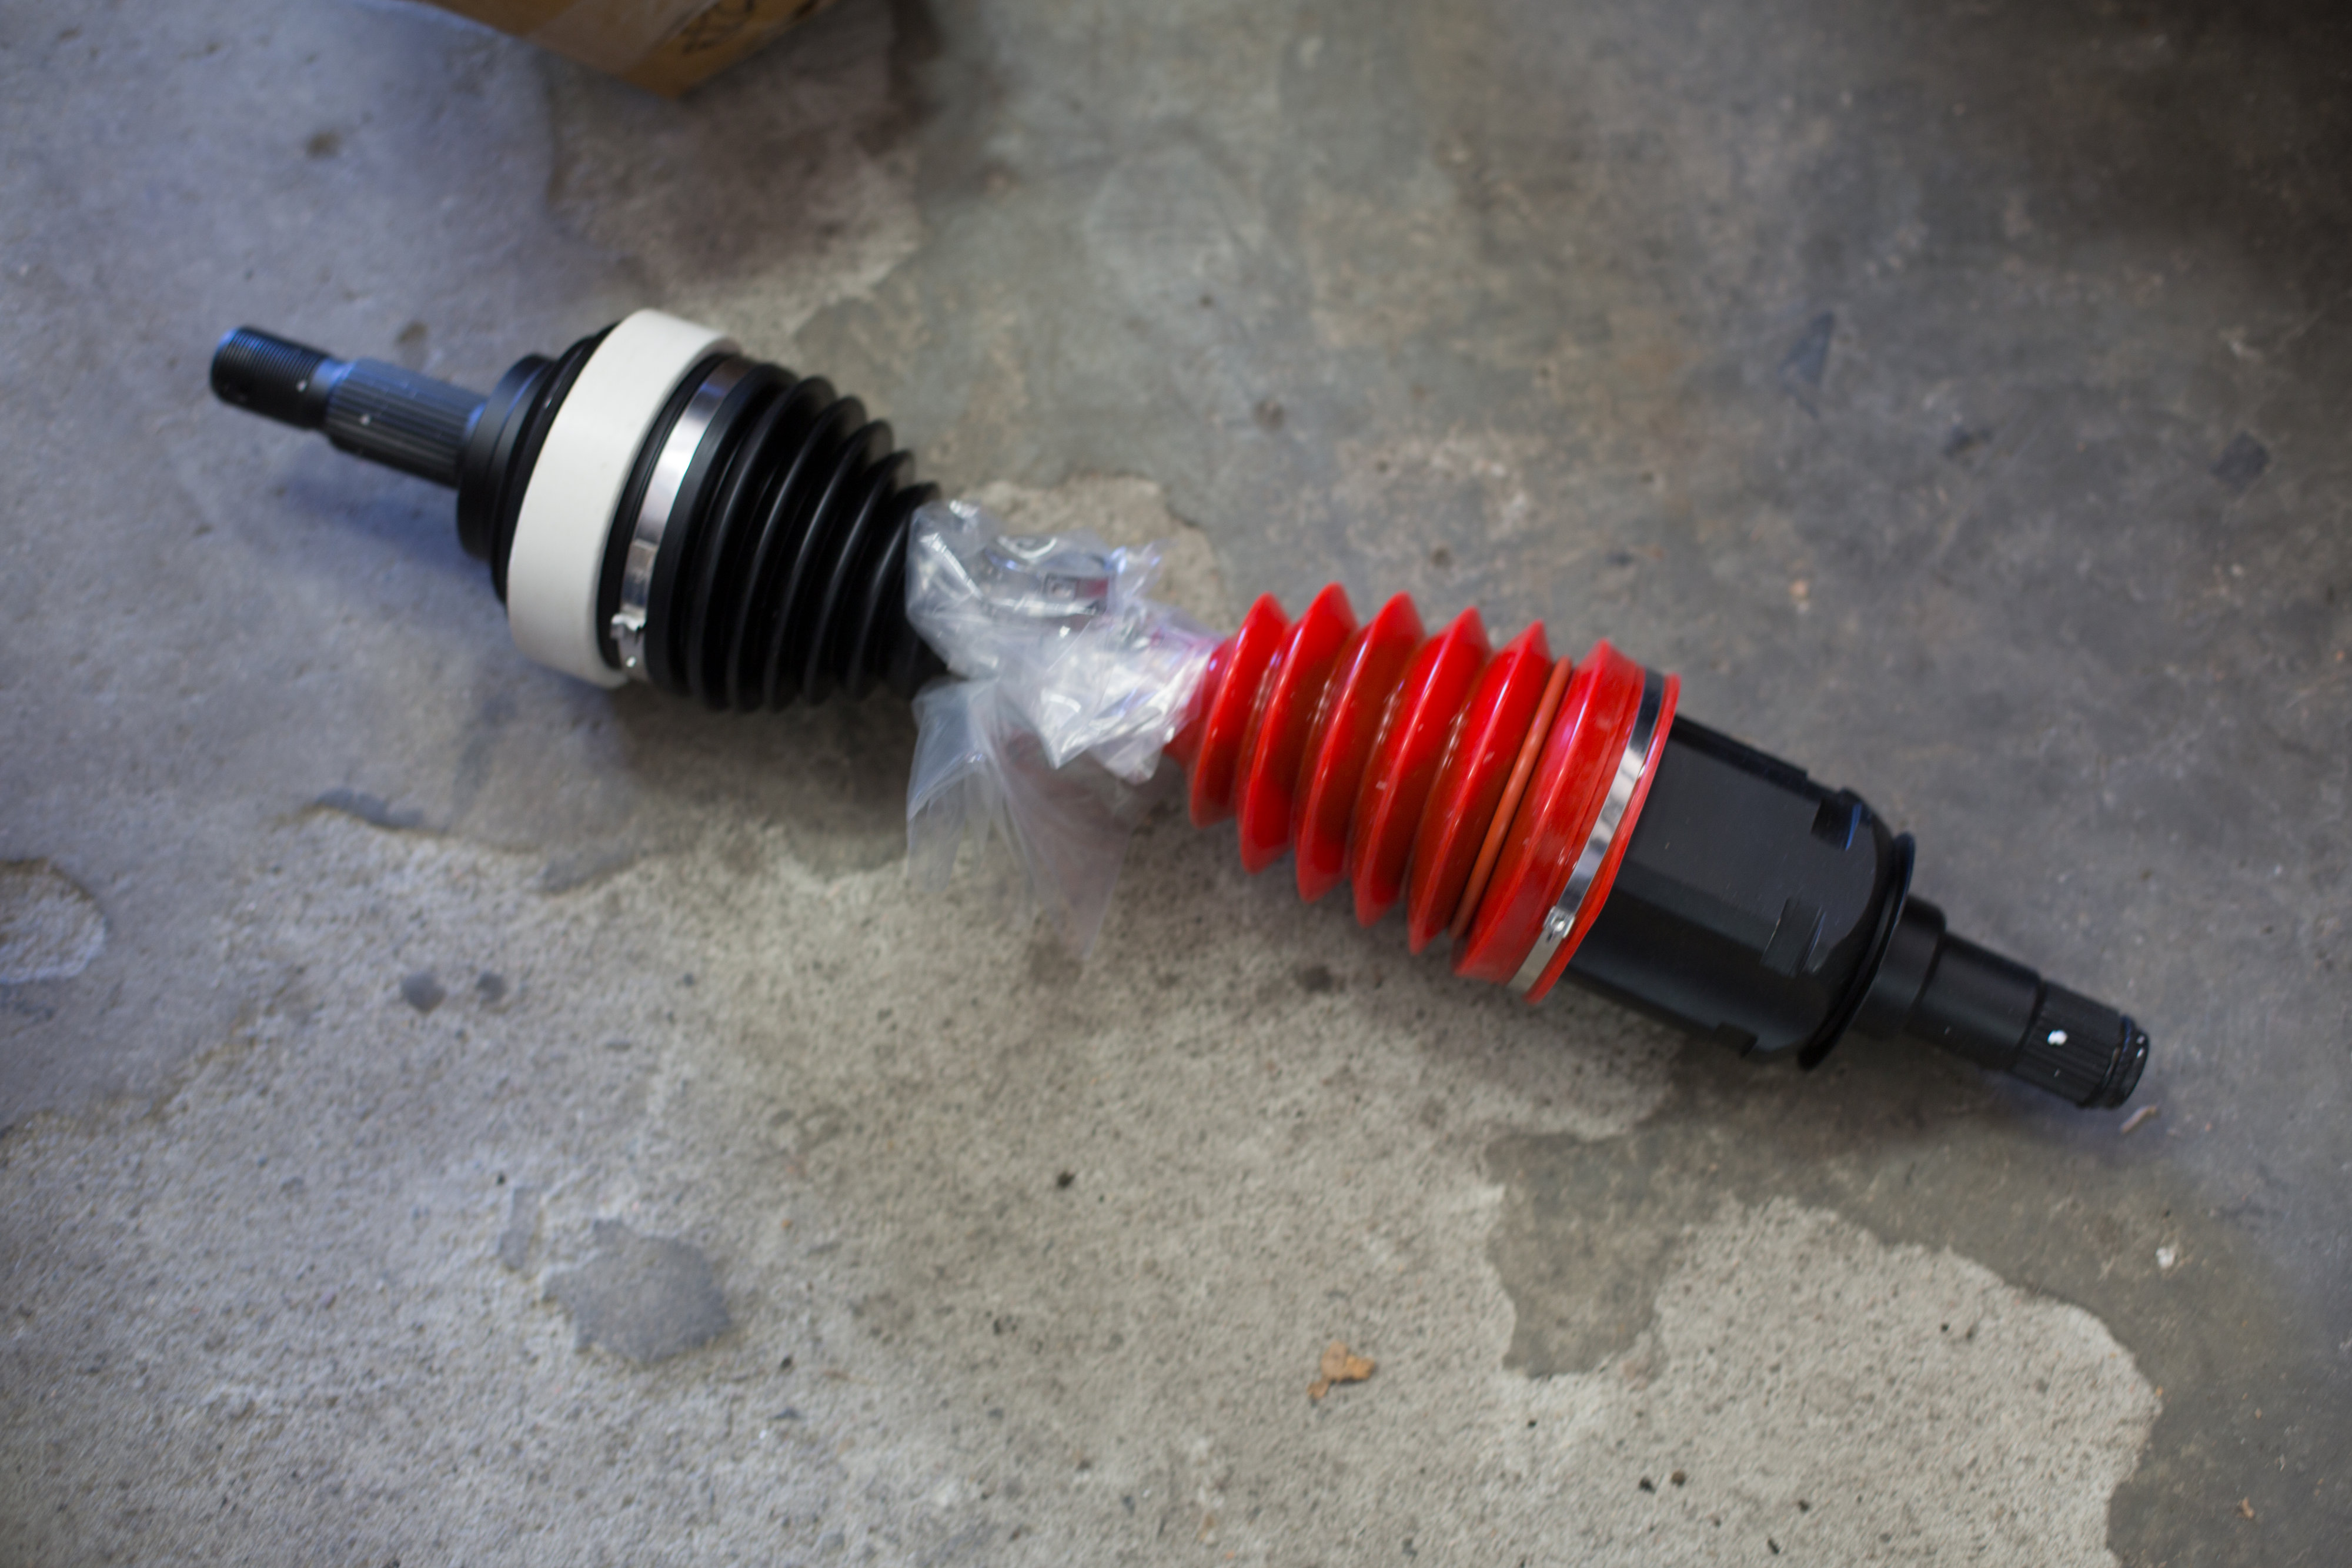
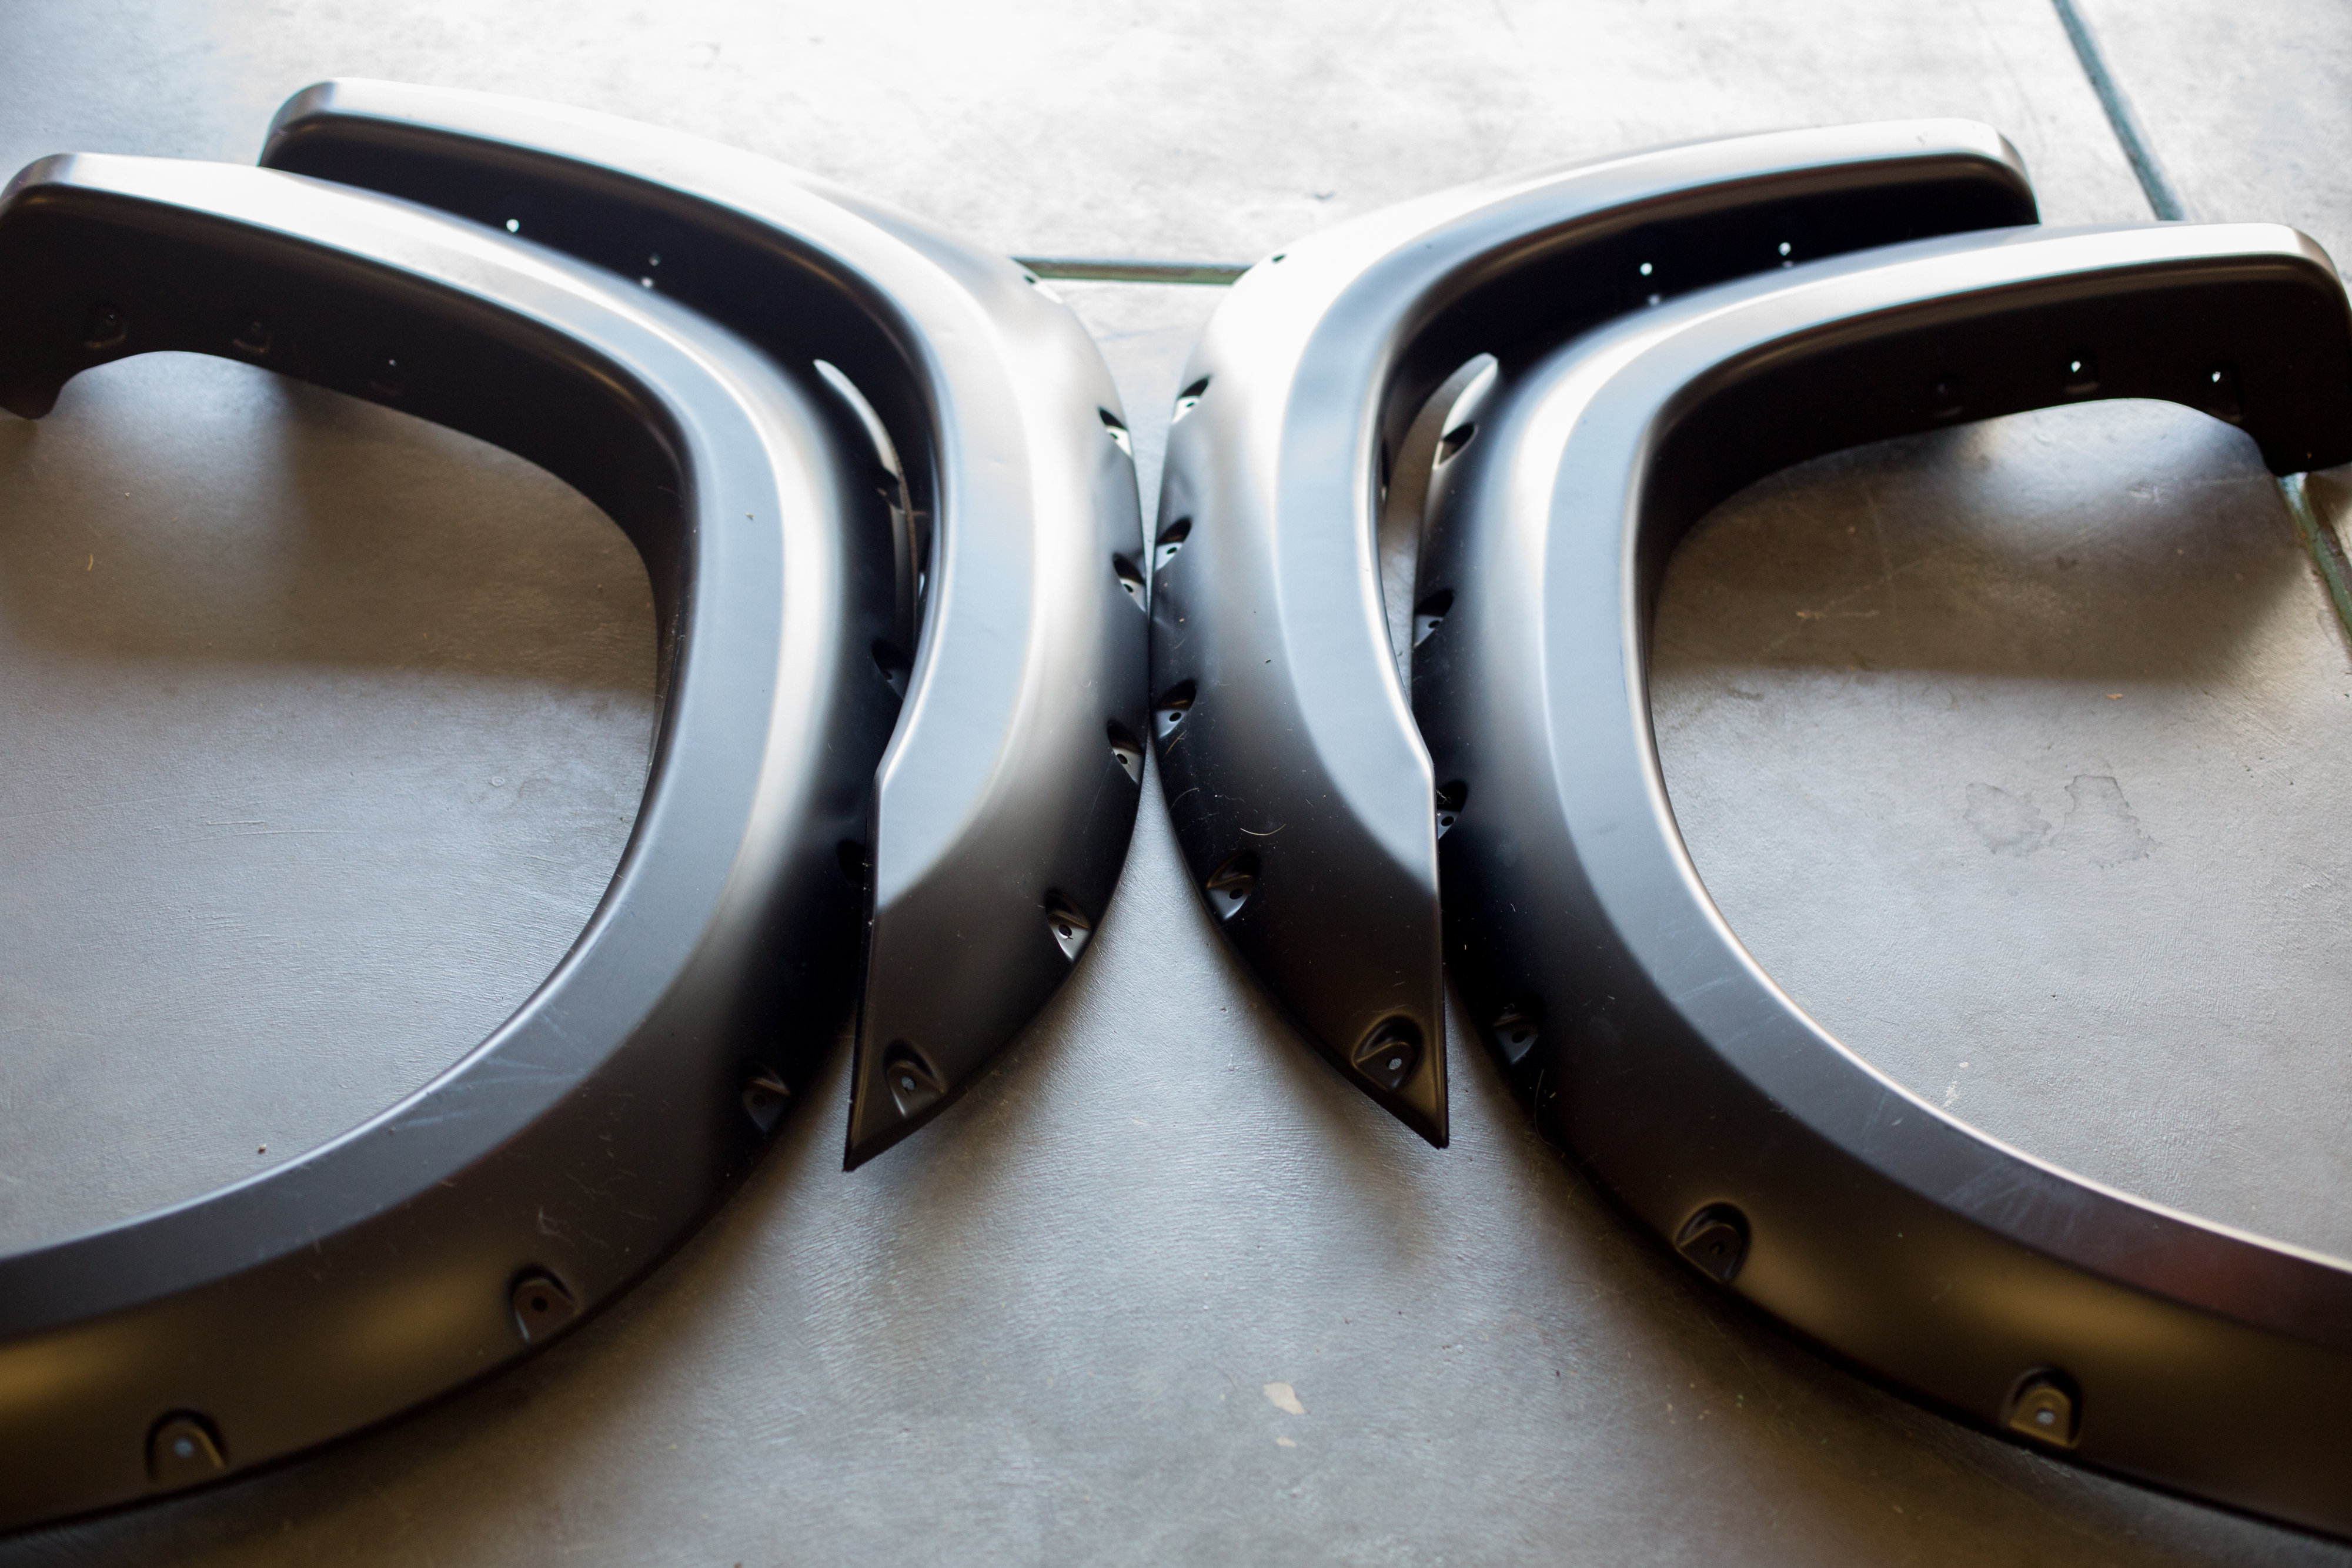
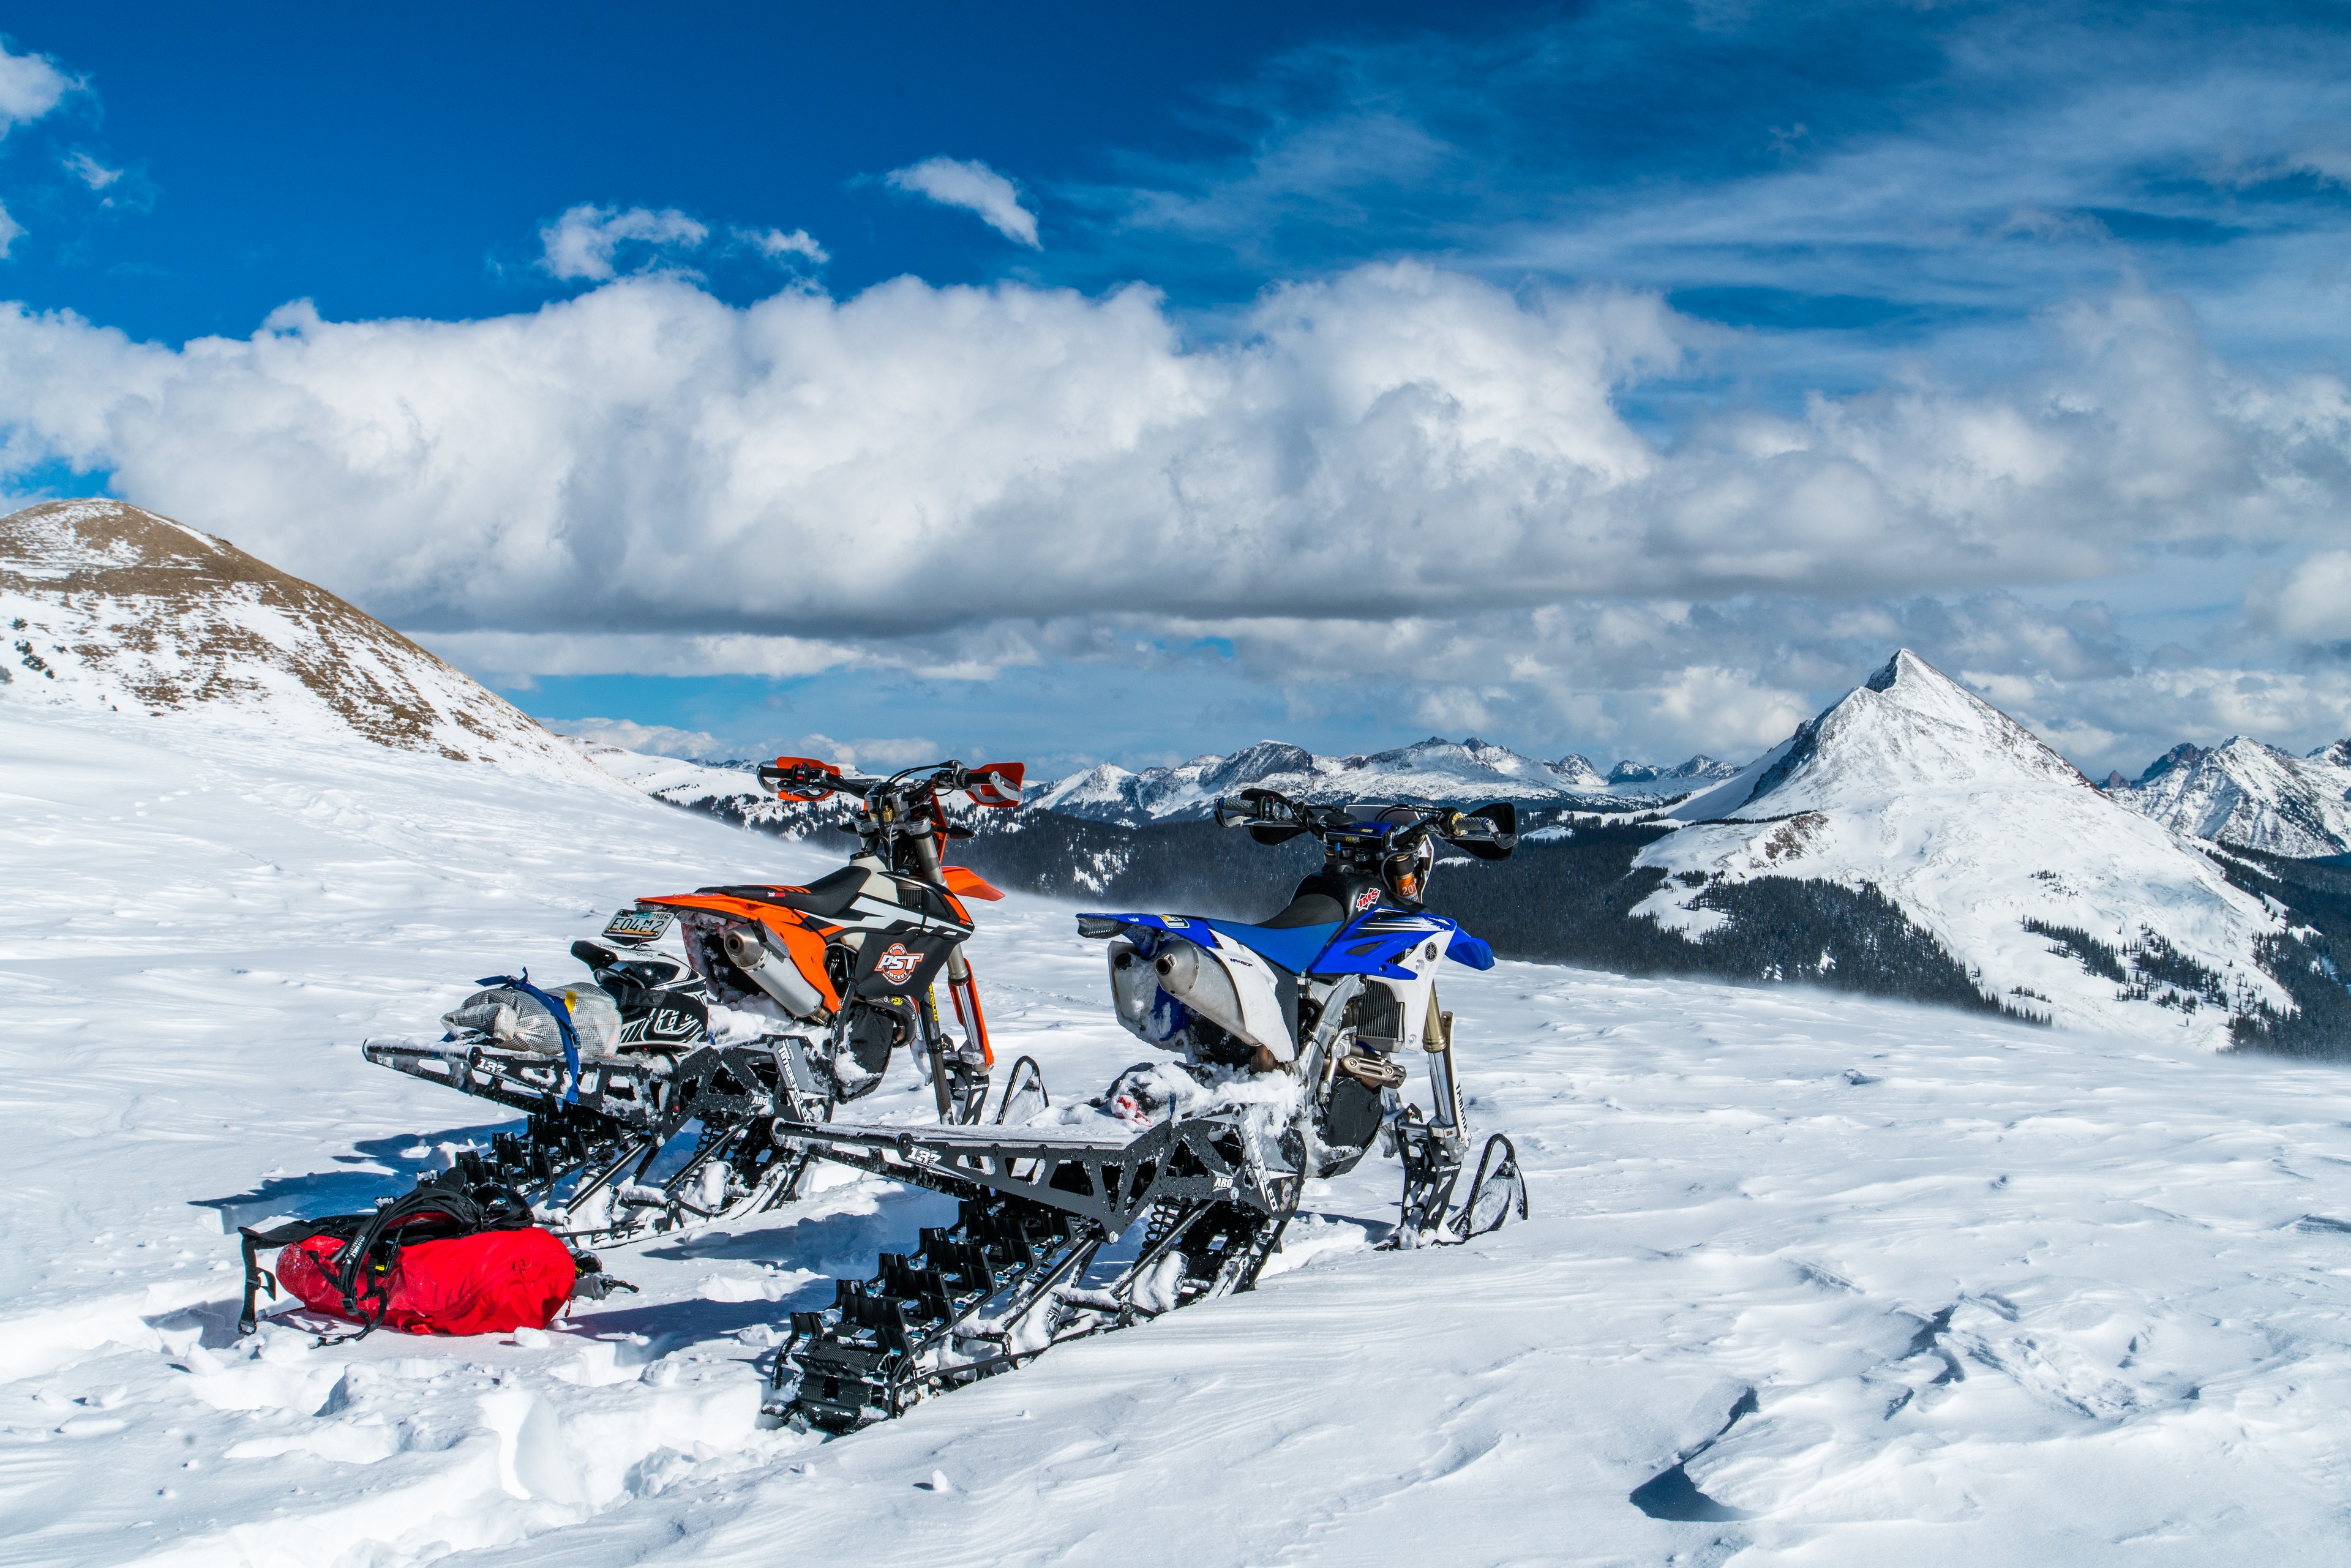
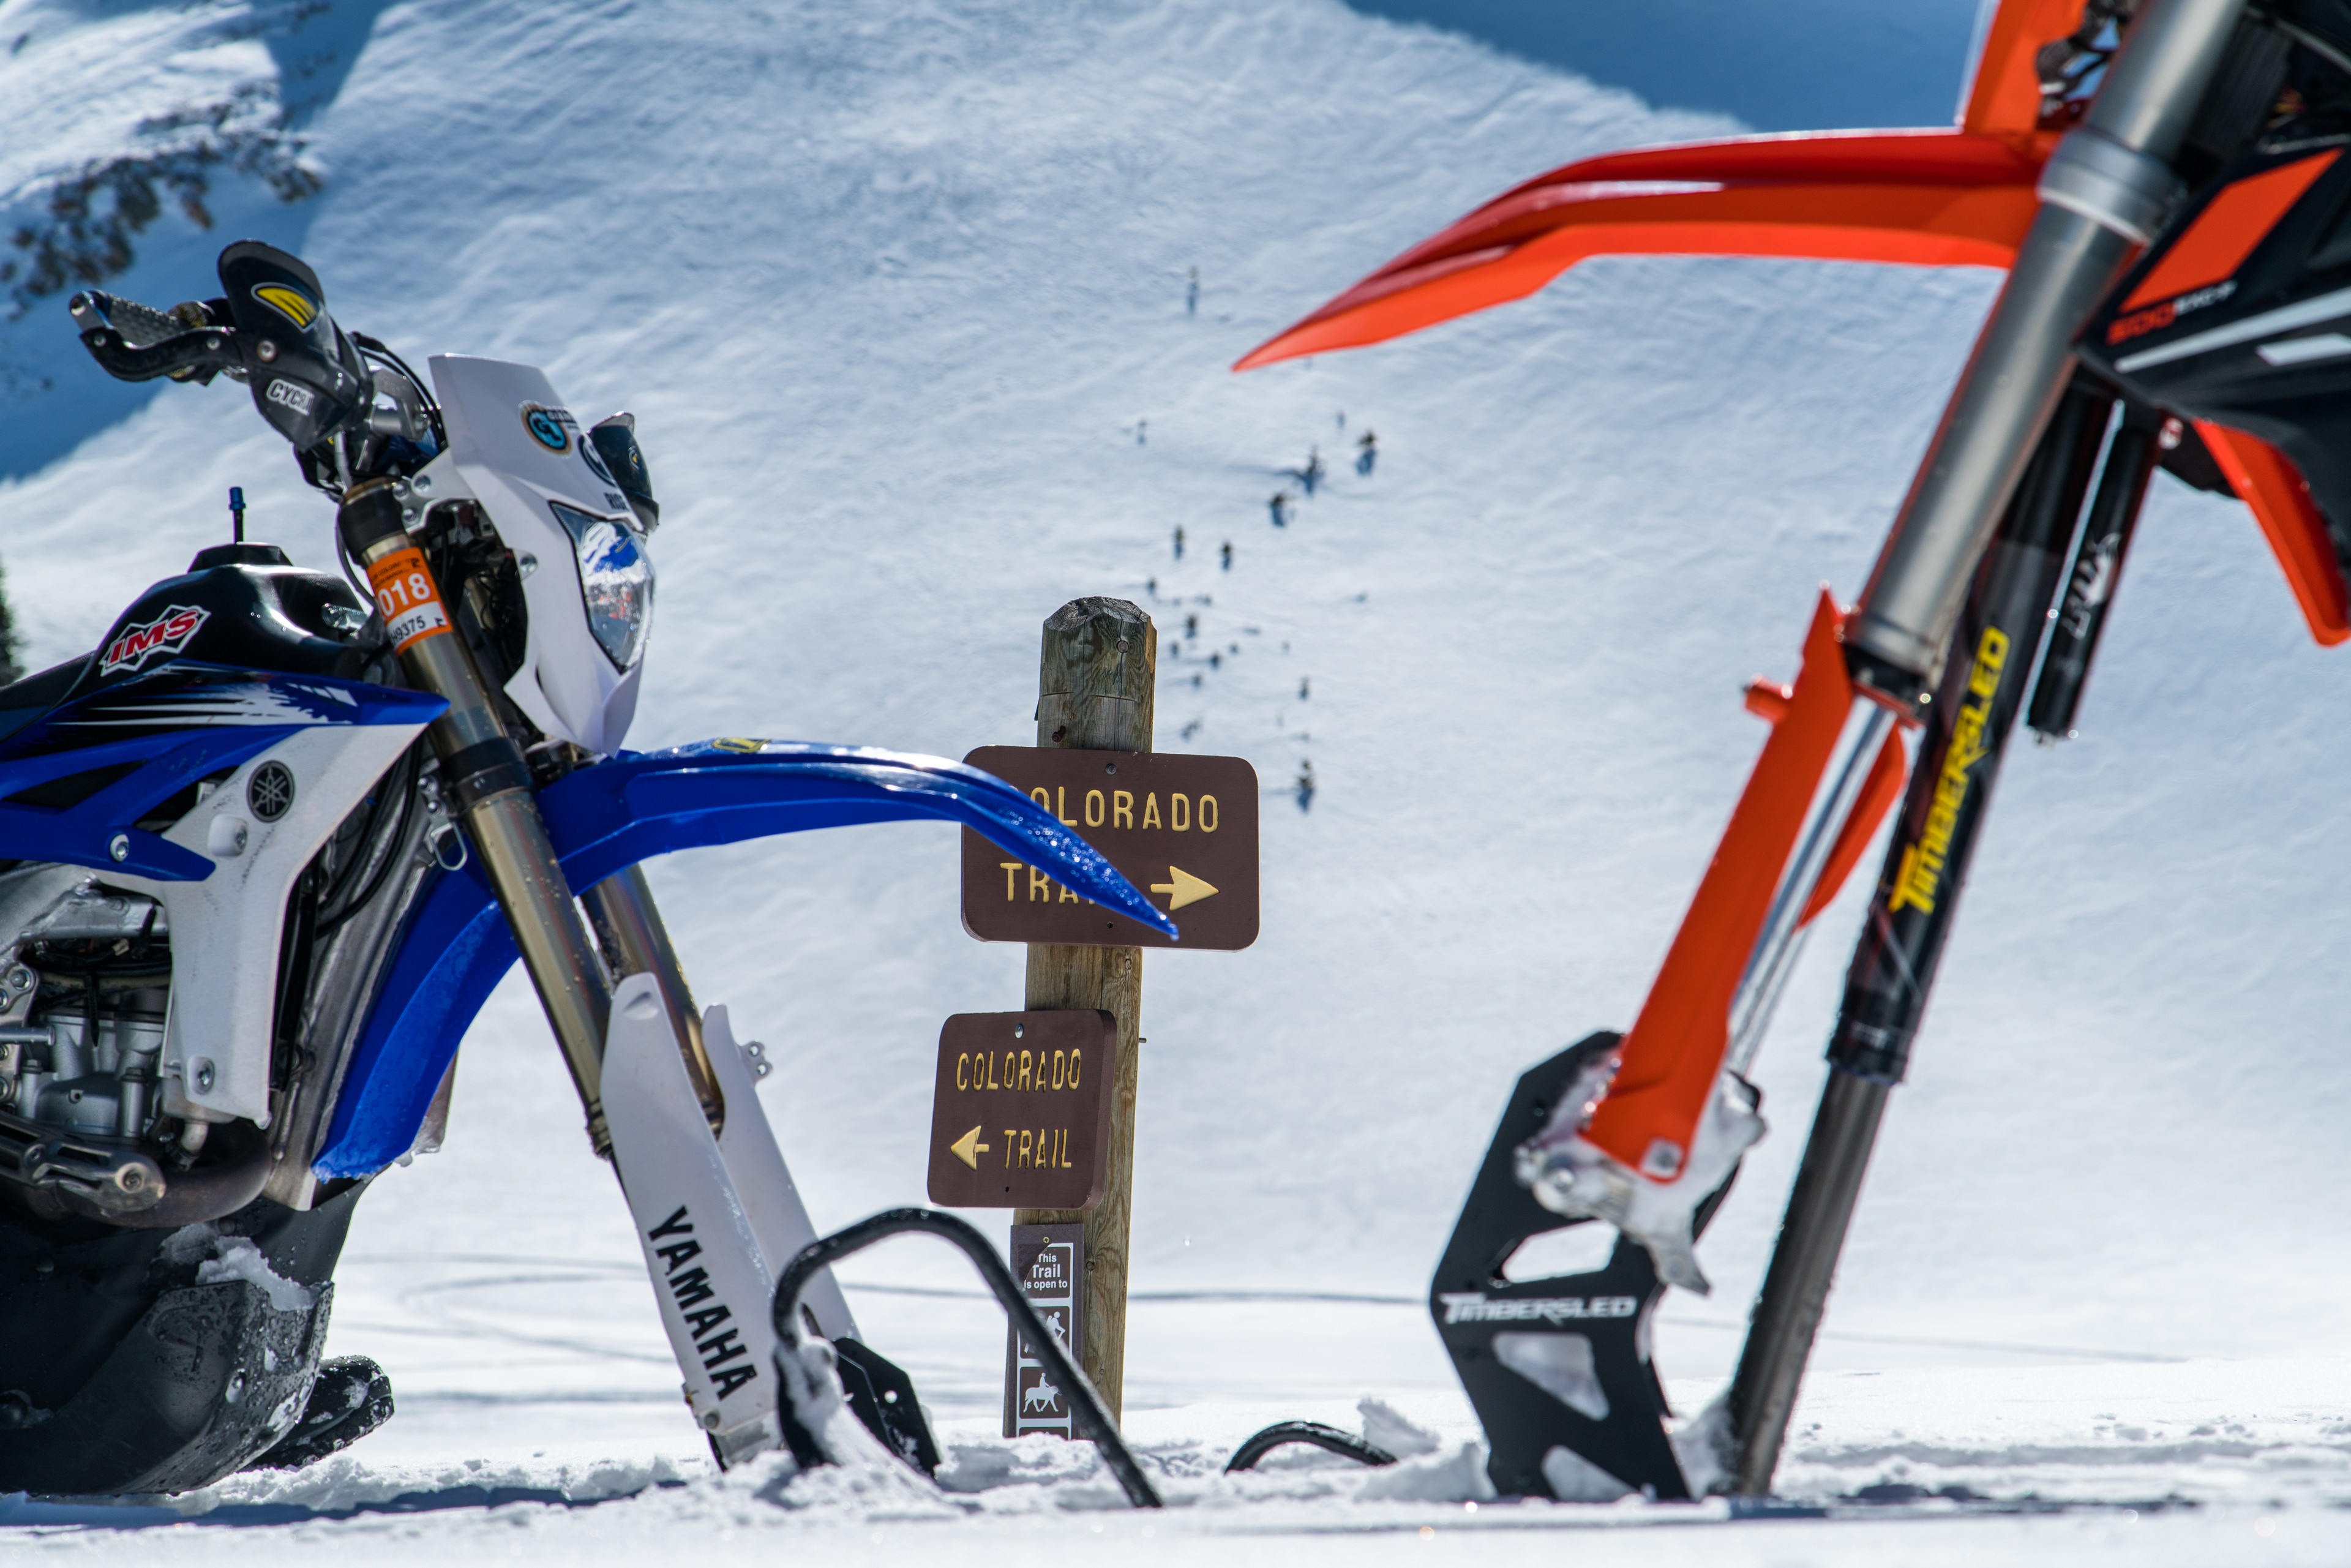
Timbersled’s ARO (pronounced “Arrow”) systems make turning your dirtbike into a snowbike easier than ever before. The days of spending hours cutting airboxes and bleeding brakes have been replaced with a (nearly) bolt-on system that you can install in just a few hours. We installed Timbersled ARO 137 systems on a 2017 KTM 500 EXC-F and a 2012 Yamaha WR450F. Here’s how the process went, going from knobbies to a track and ski.
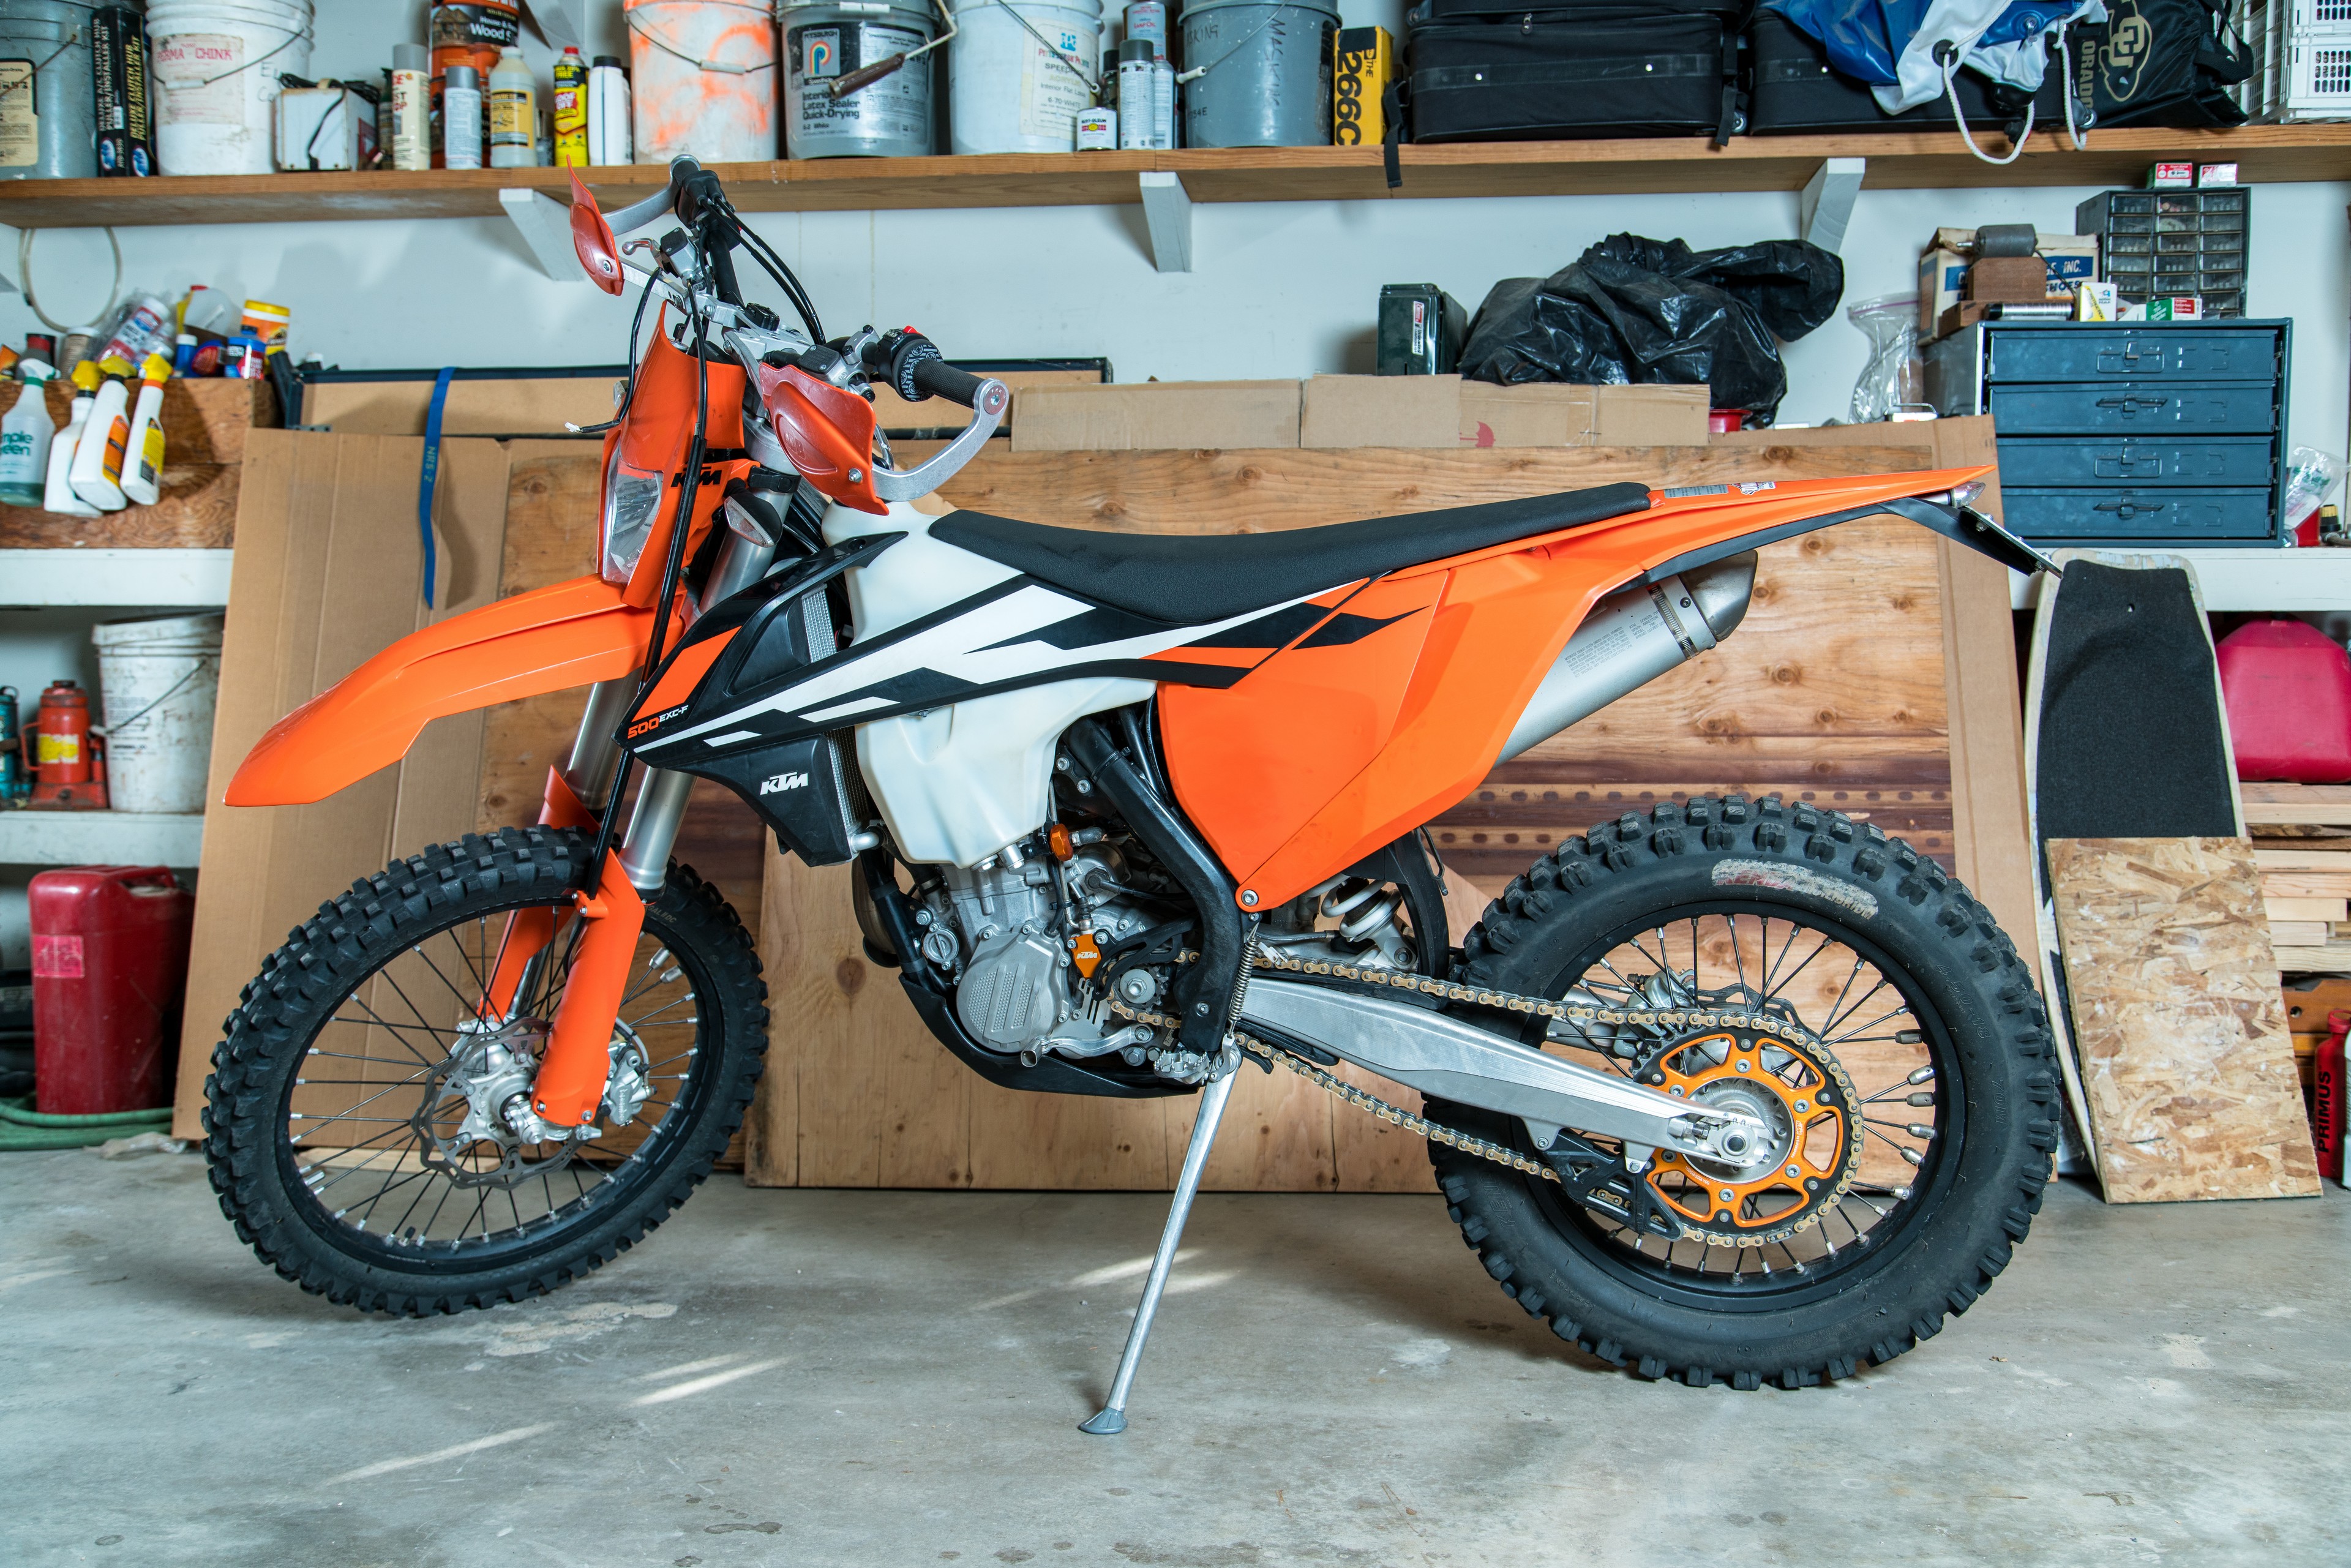

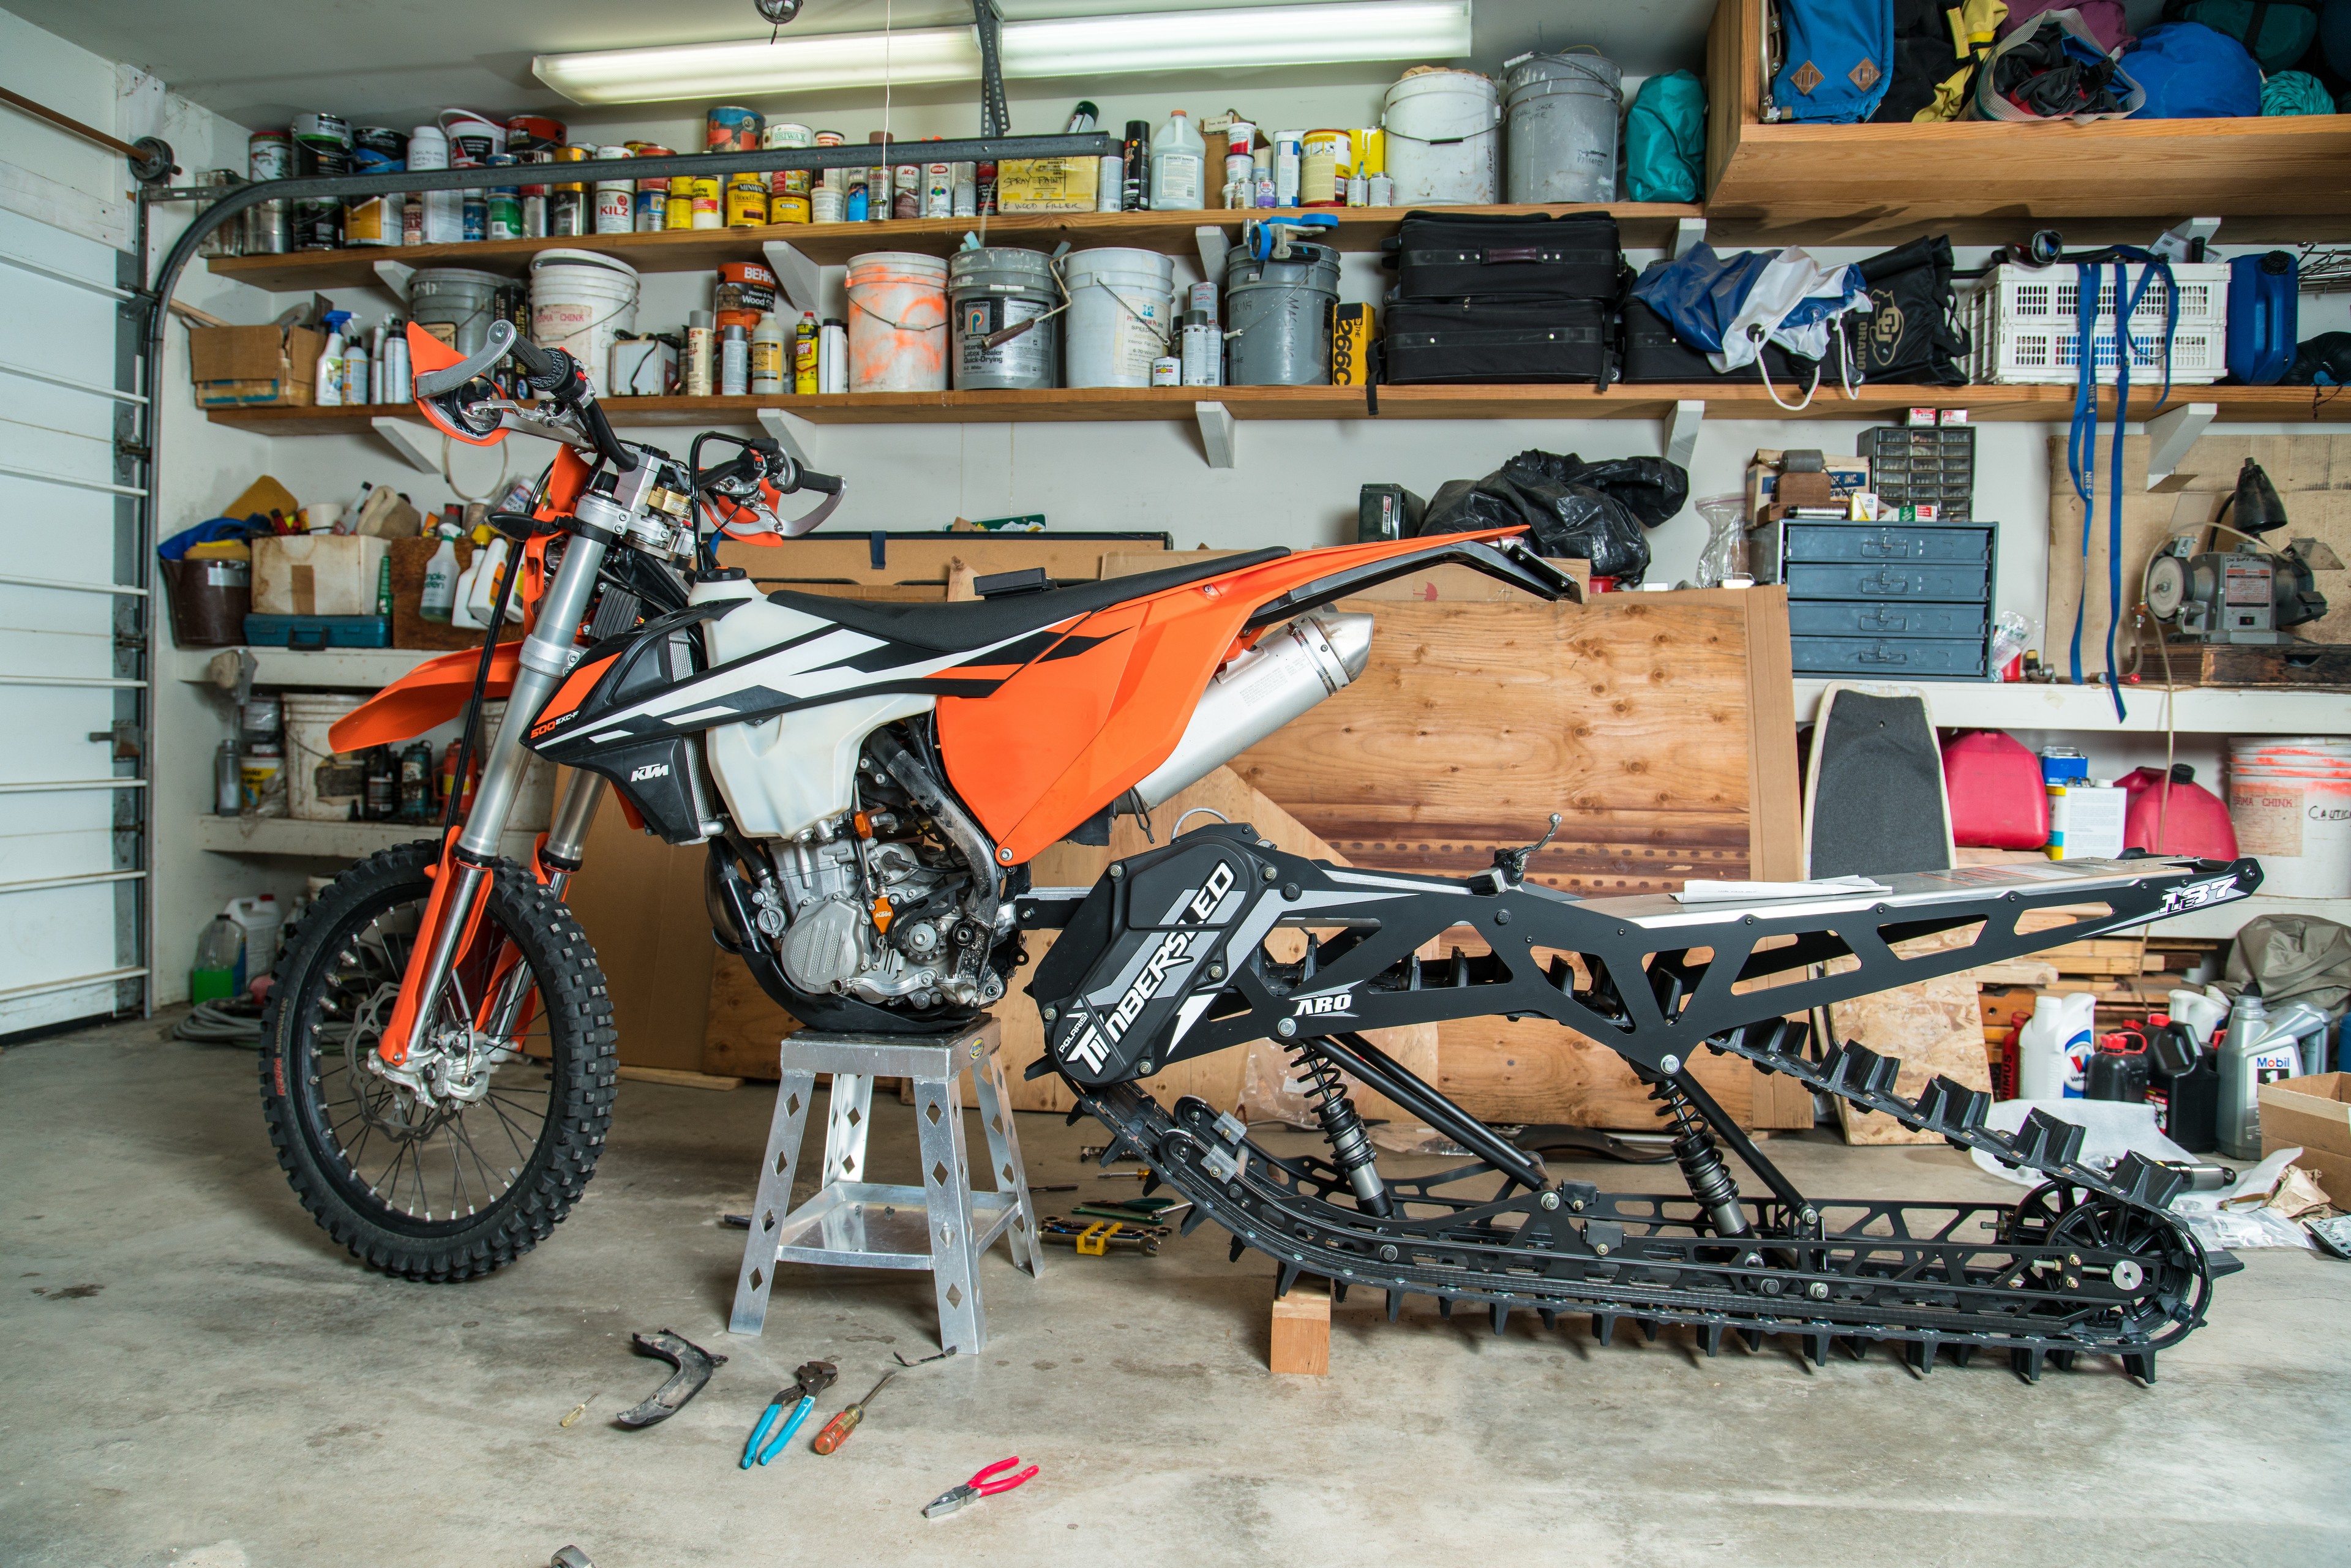
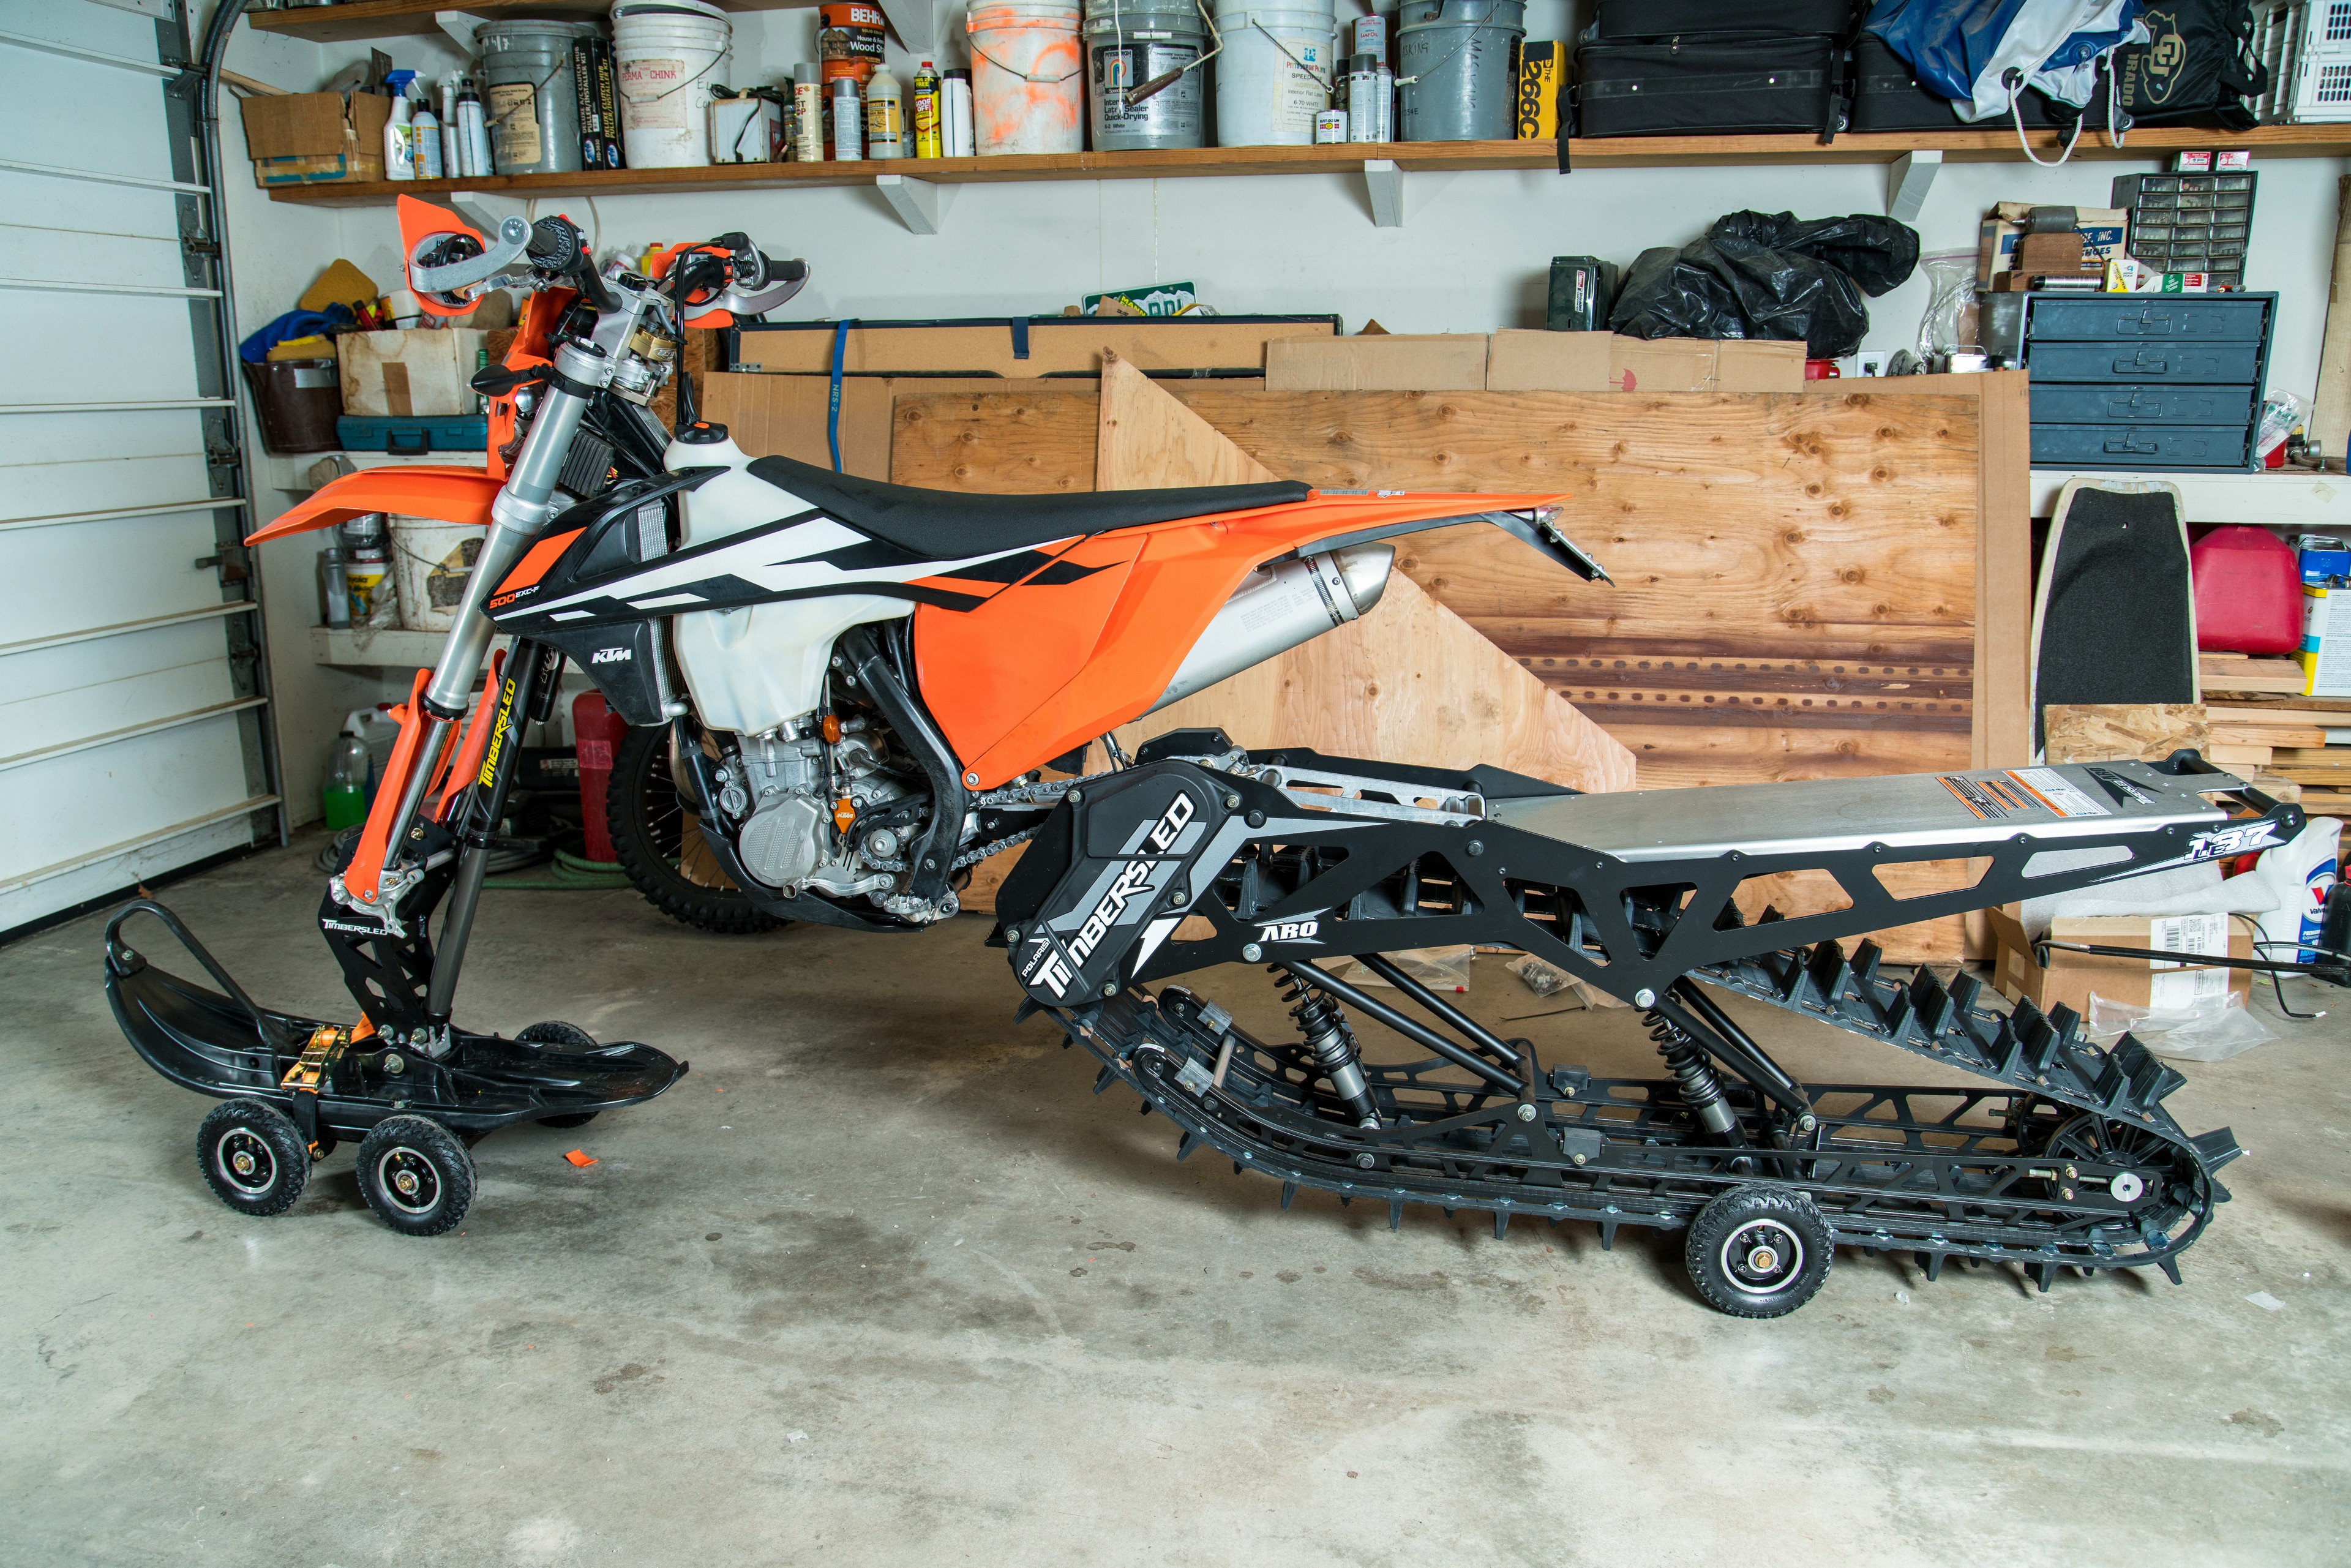
Dirtbikes aren’t designed to operate in snow, so you need to add a couple of things to enable the dirtbike’s motor to run well in a winter environment. Snow is much more effective at cooling than air, so the problem becomes keeping your bike up at operating temperature when you’re bombing around in the powder. The first part you need to add to any dirtbike that’s going to become a snowbike is a thermostat, exactly like what would be found in your car. Thermo-Bob makes thermostat kits for almost every dirtbike that can be turned into a snowbike, and when your engine starts to cool off the Thermo-Bob will cut off coolant flow to your bike’s radiators to help conserve engine heat.
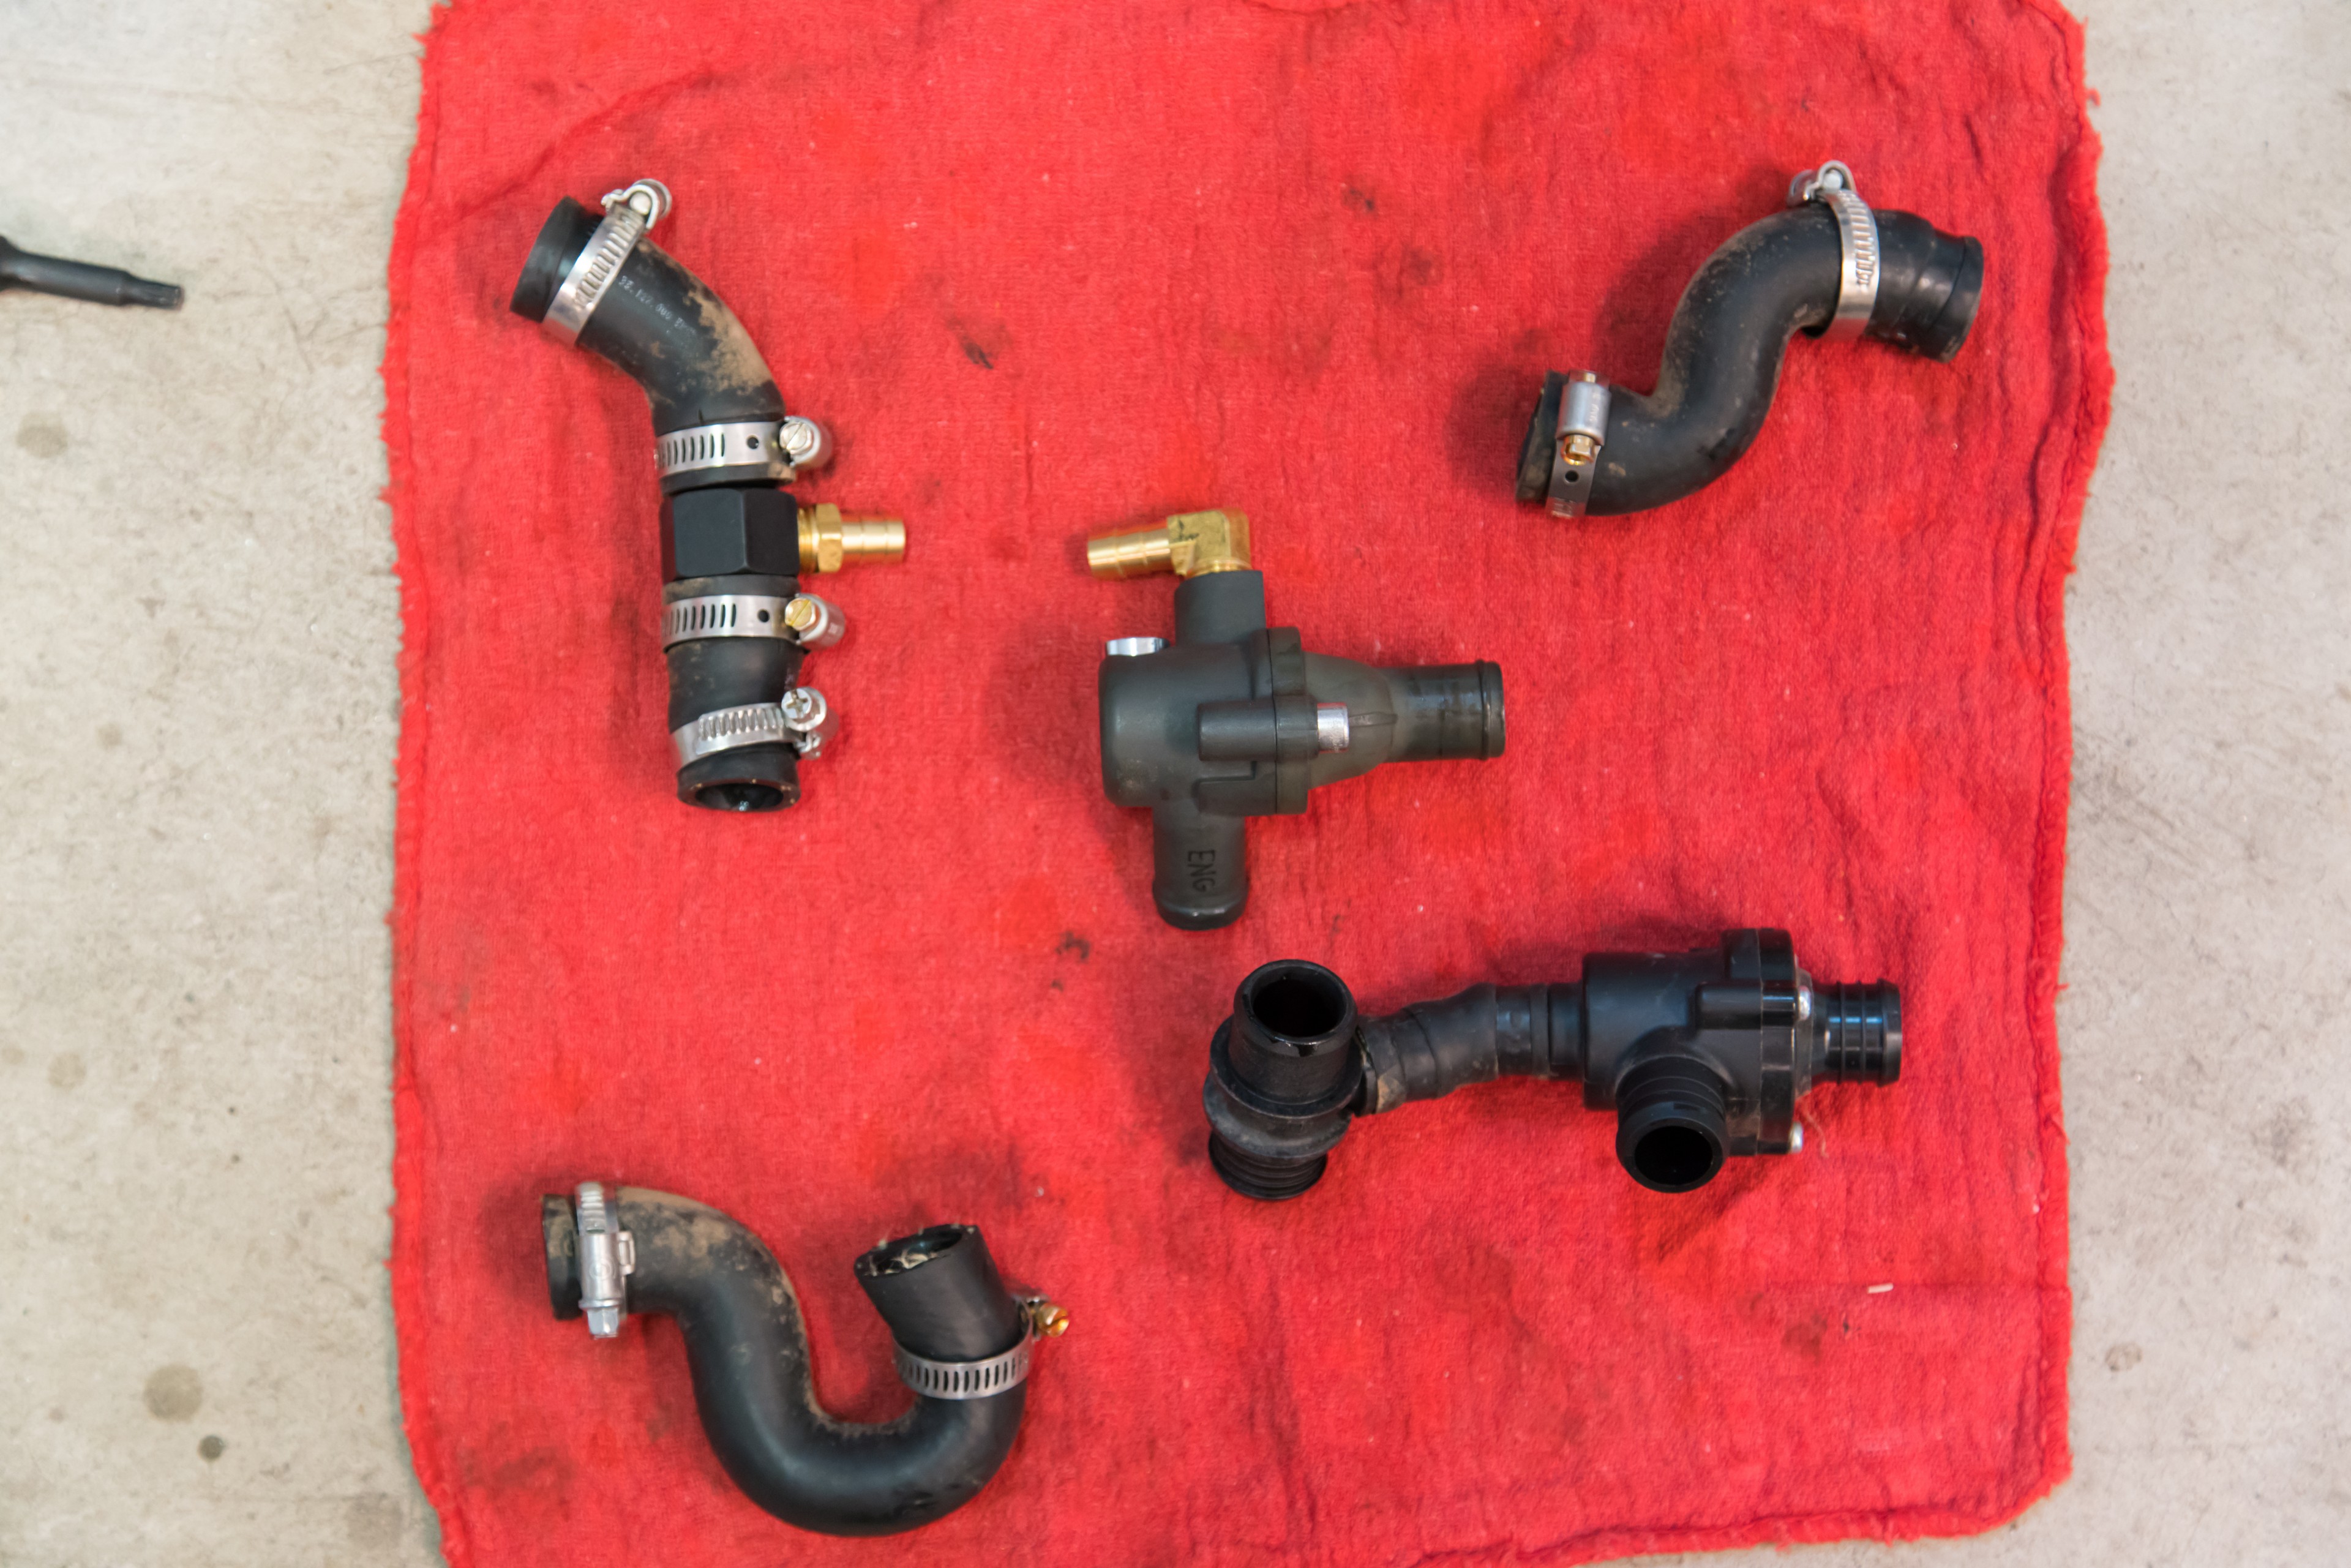
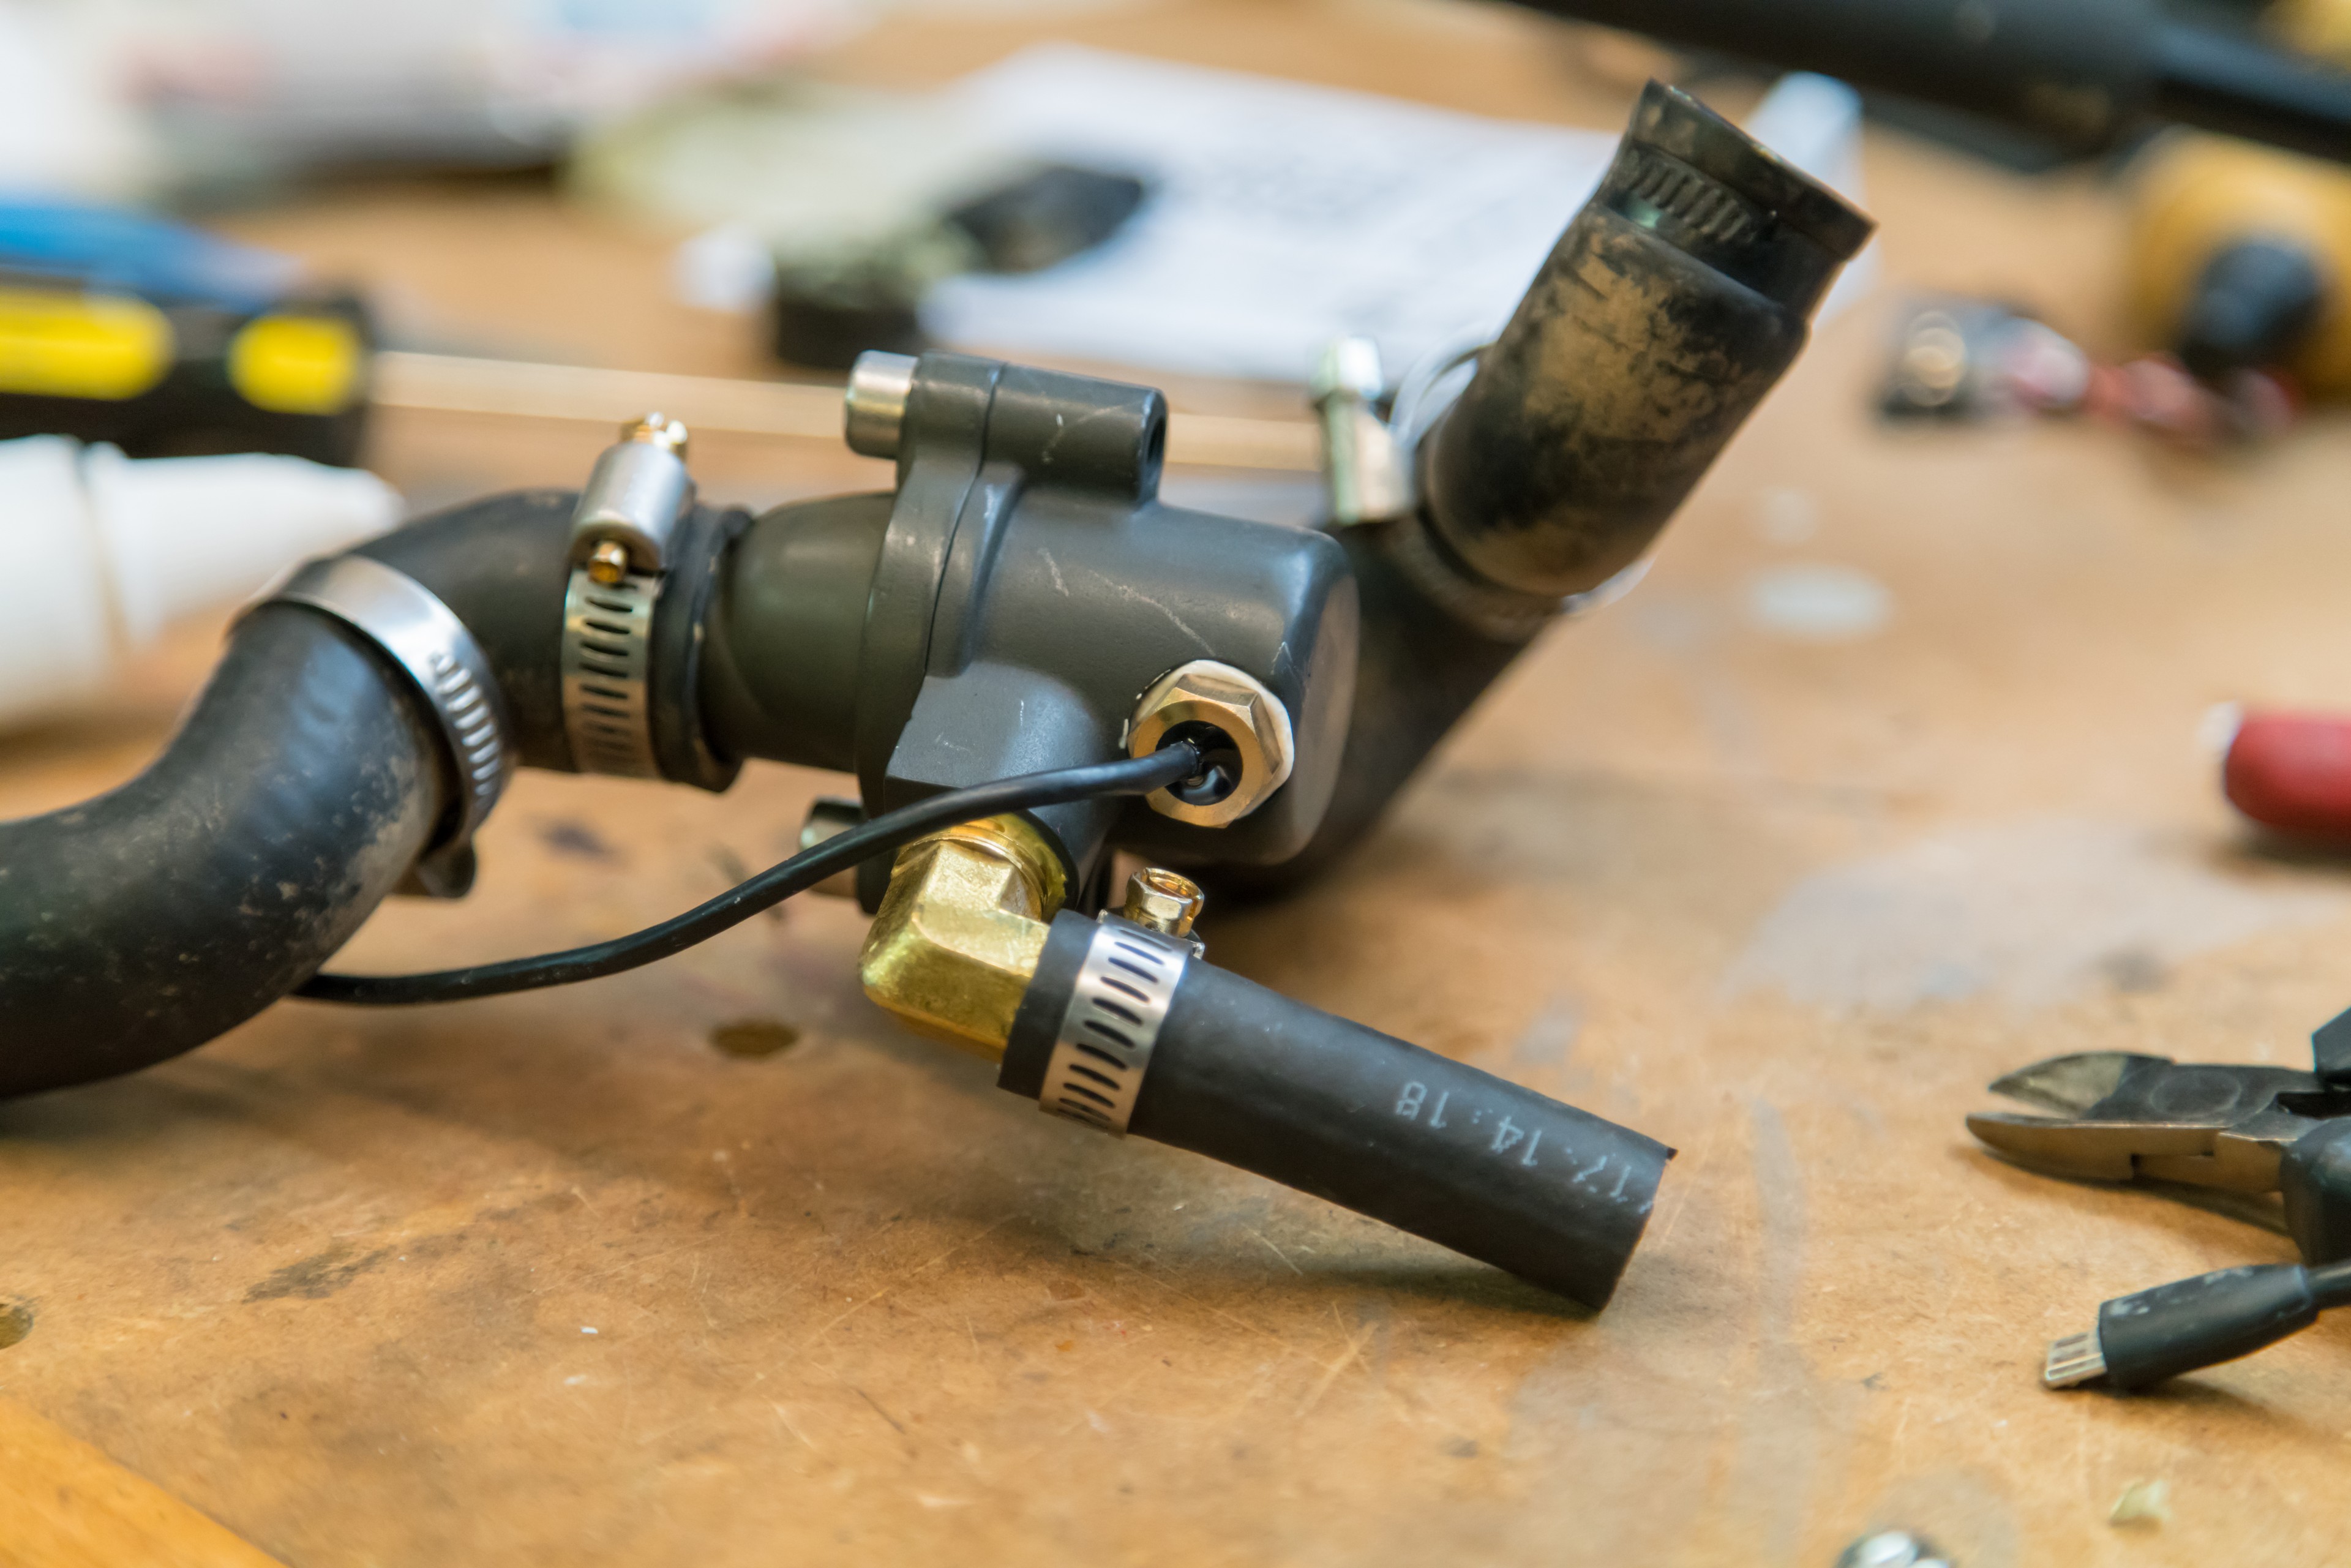
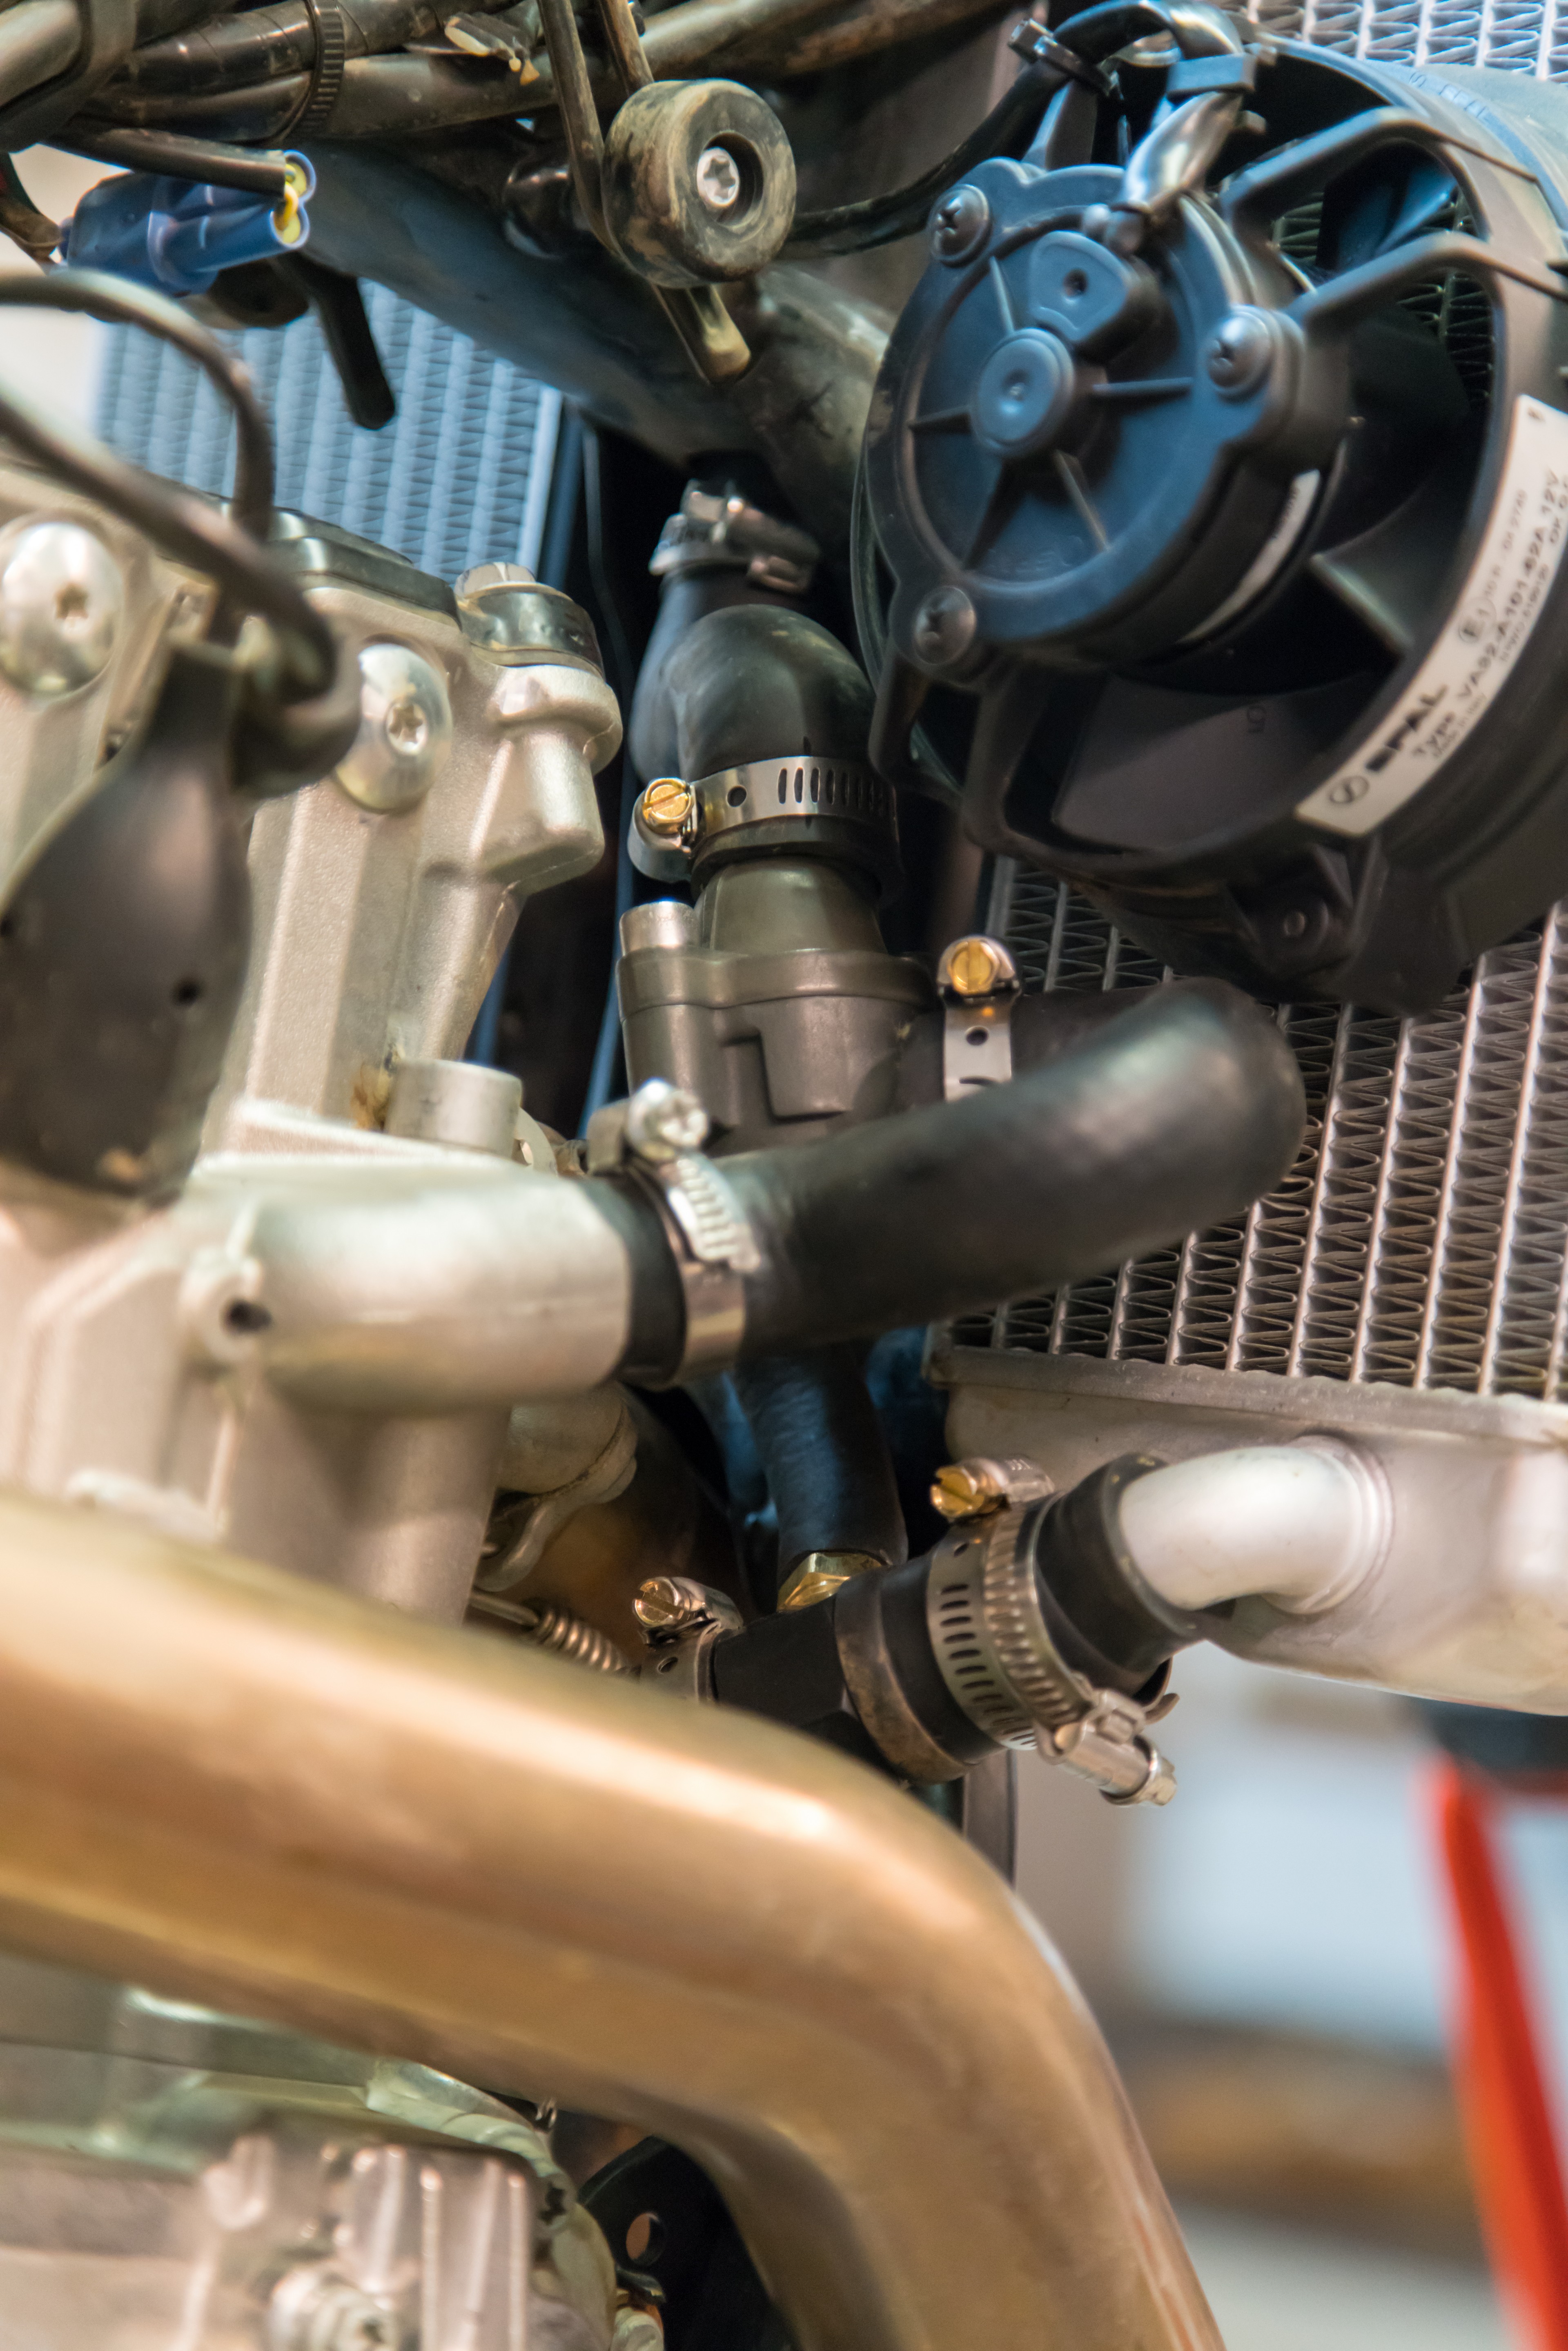
Thermo-Bob installation on both bikes was straightforward and allowed us to install a Trail Tech TTO Temp sensor, so that we could monitor engine temps in real time. Yet even with a Thermo-Bob, snow flying onto your engine can keep the temperatures too low, so we picked up engine jackets from Power Sports Tech (PST) to keep snow off our engines. Just like a ski jacket, the PST Engine jackets can be adjusted and vented to allow air and snow to contact the engine or keep it off depending on riding conditions.

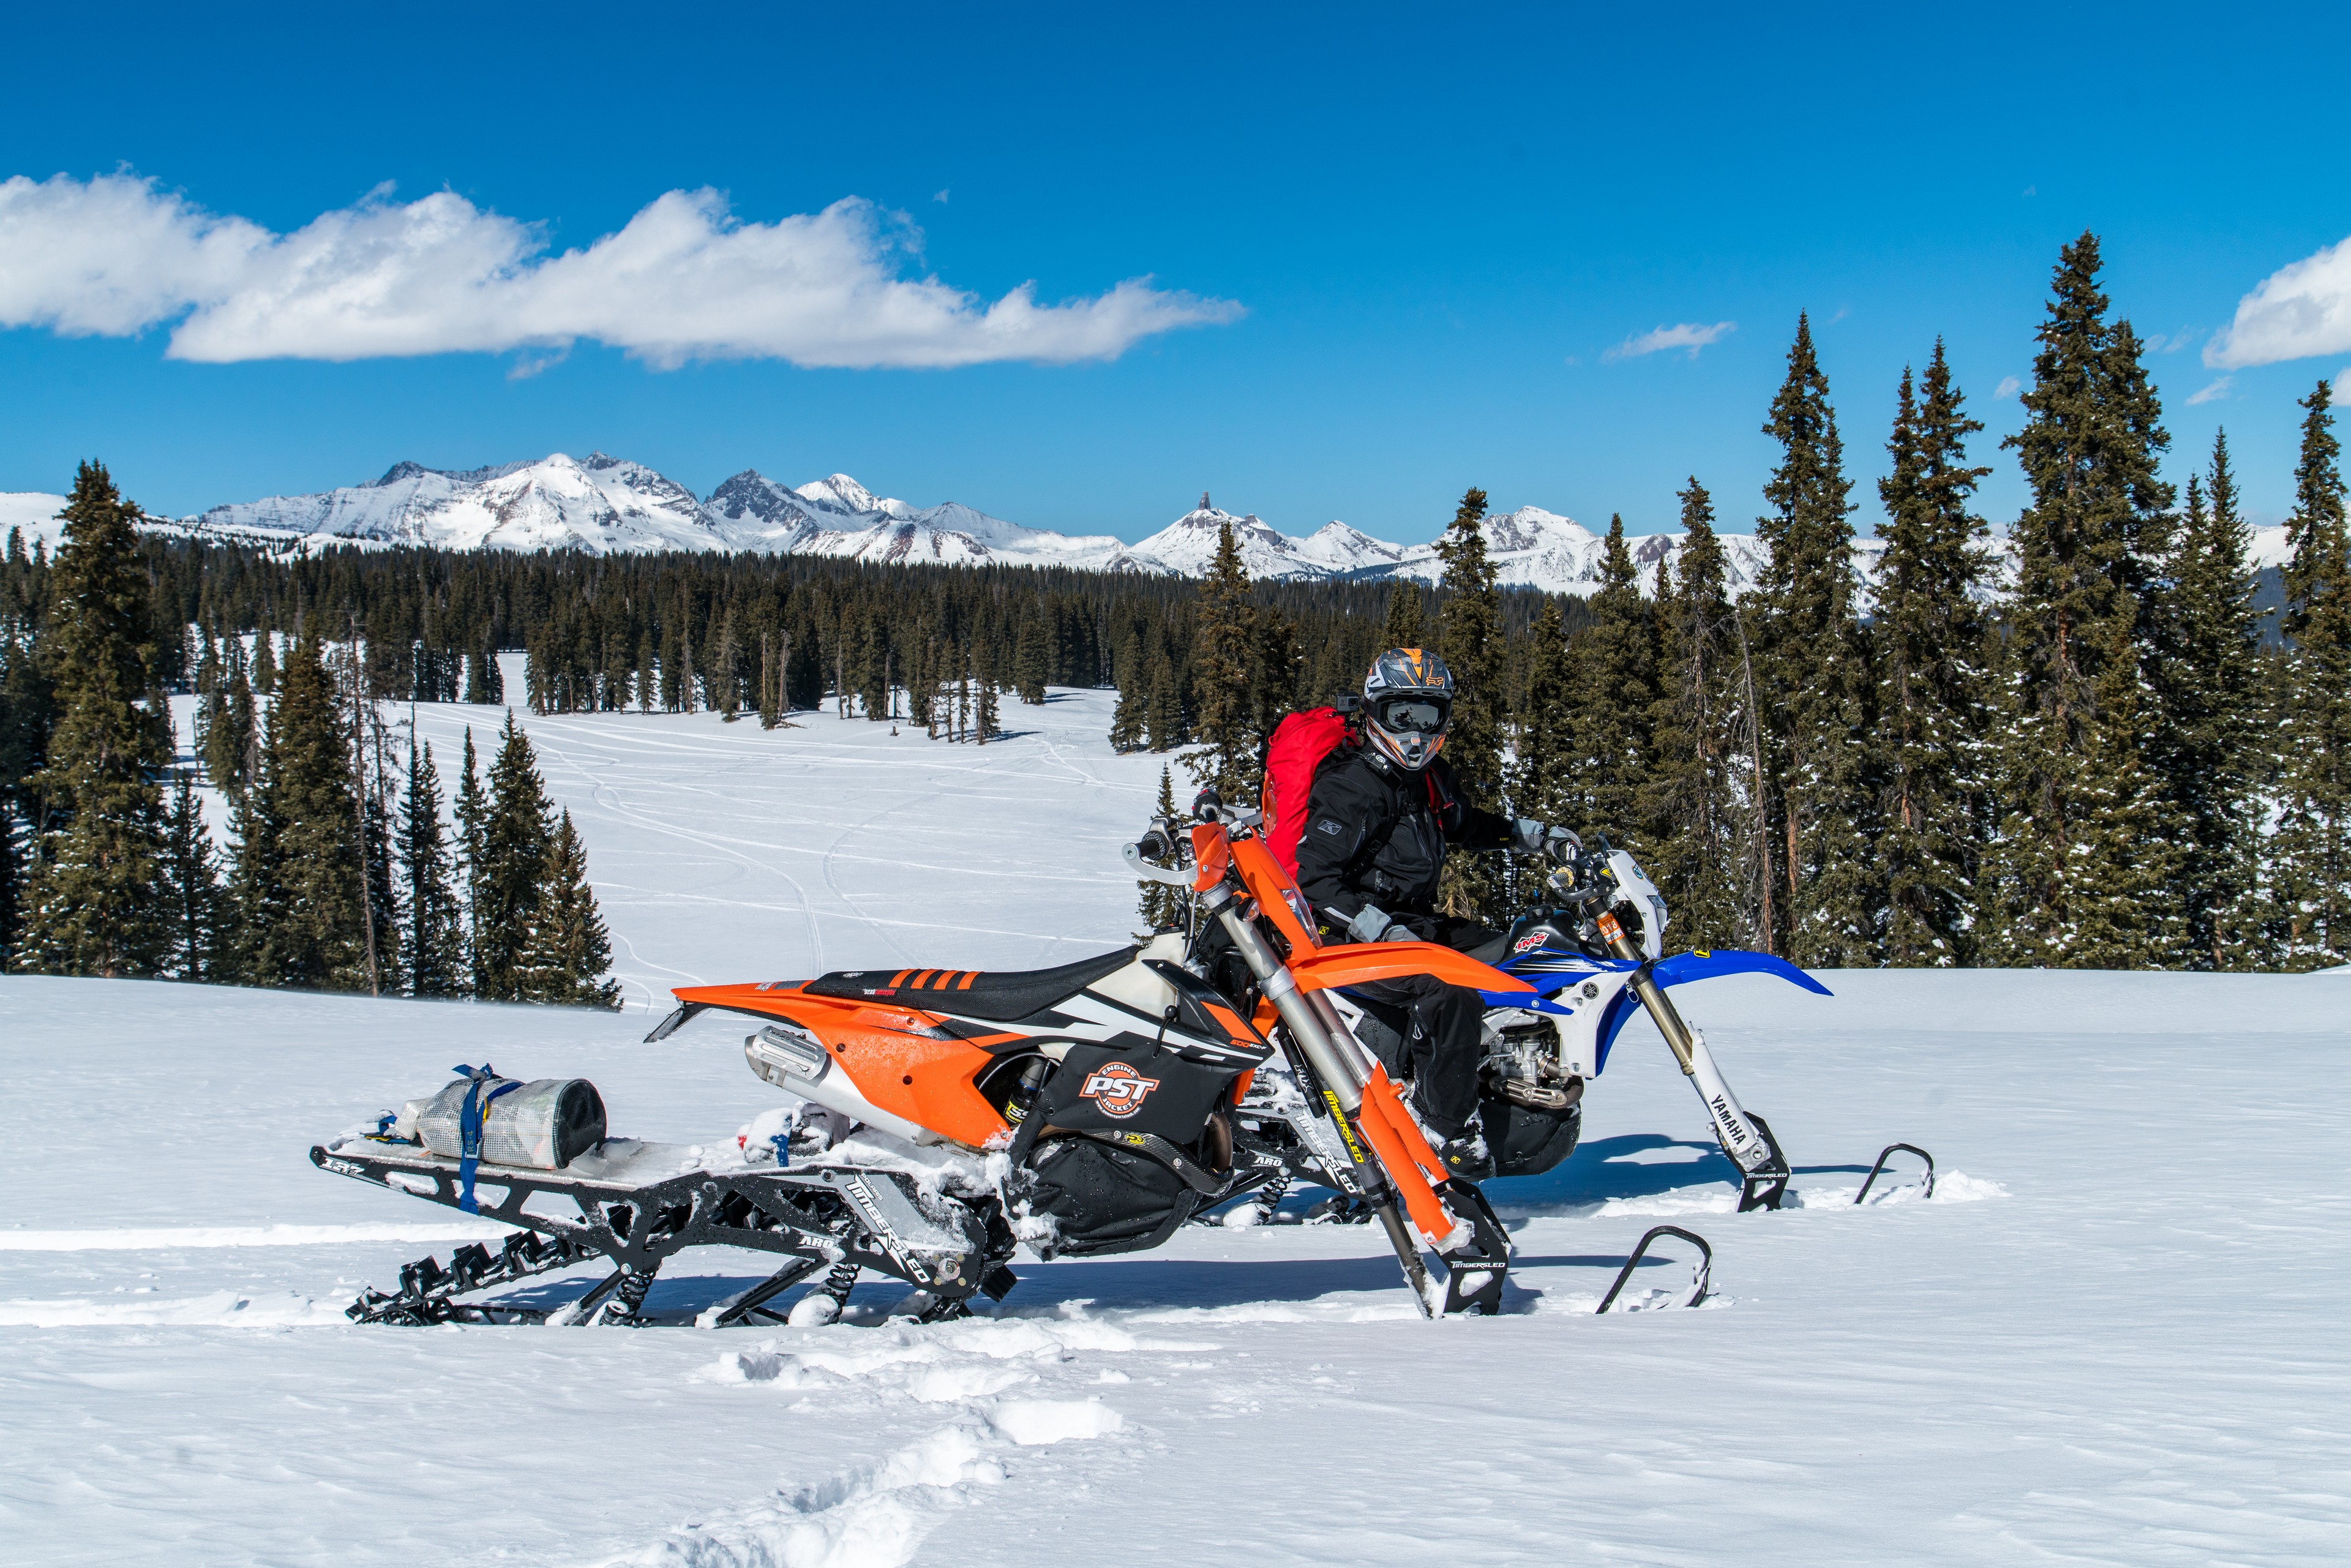
Other than the Thermo-Bob thermostats and the PST Engine Jackets, we switched to 0W-40 Shell Rotella T6 synthetic oil to allow for easer cold starts and to help with lubrication in low temperatures. If your bike doesn’t have a header guard, pick one up to protect your expensive snow pants from melting on a hot header. Converting your dirtbike to a snowbike is also a great excuse to go through your bike and grease everything in addition to performing any maintenance tasks that you may have been putting off. Spending a few bucks on parts is a much better deal than having to walk out of the woods in the dead of winter.
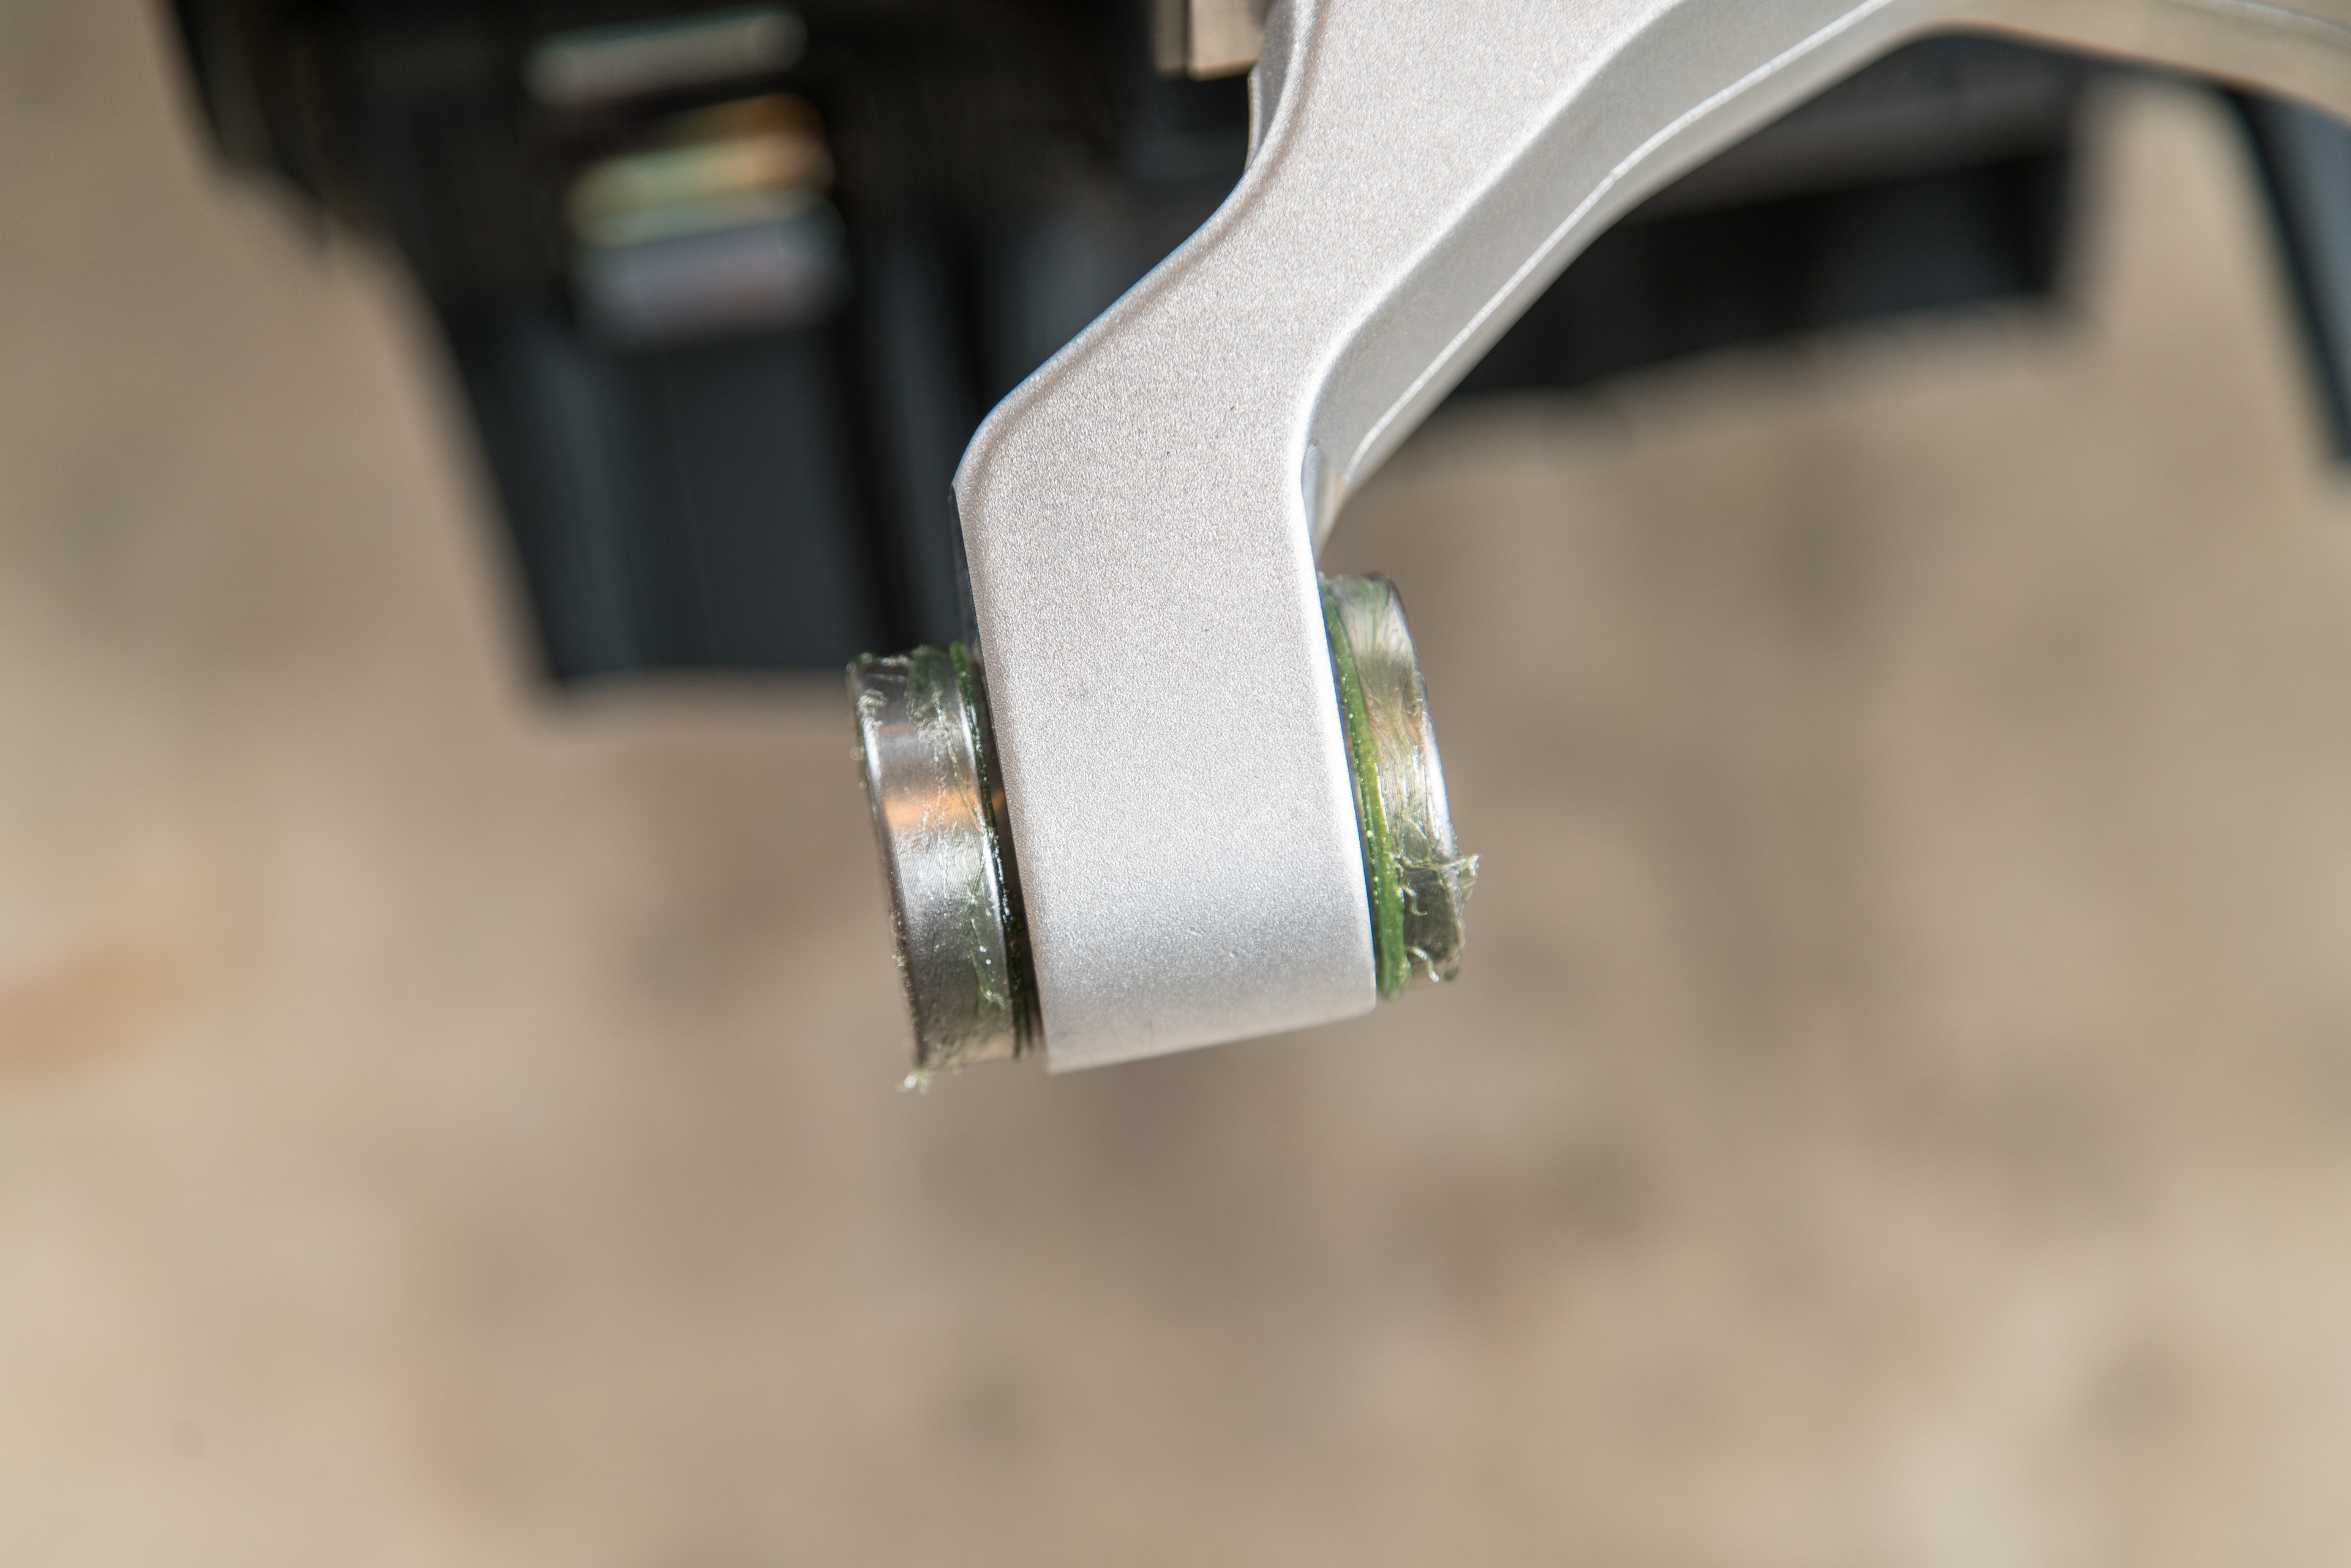

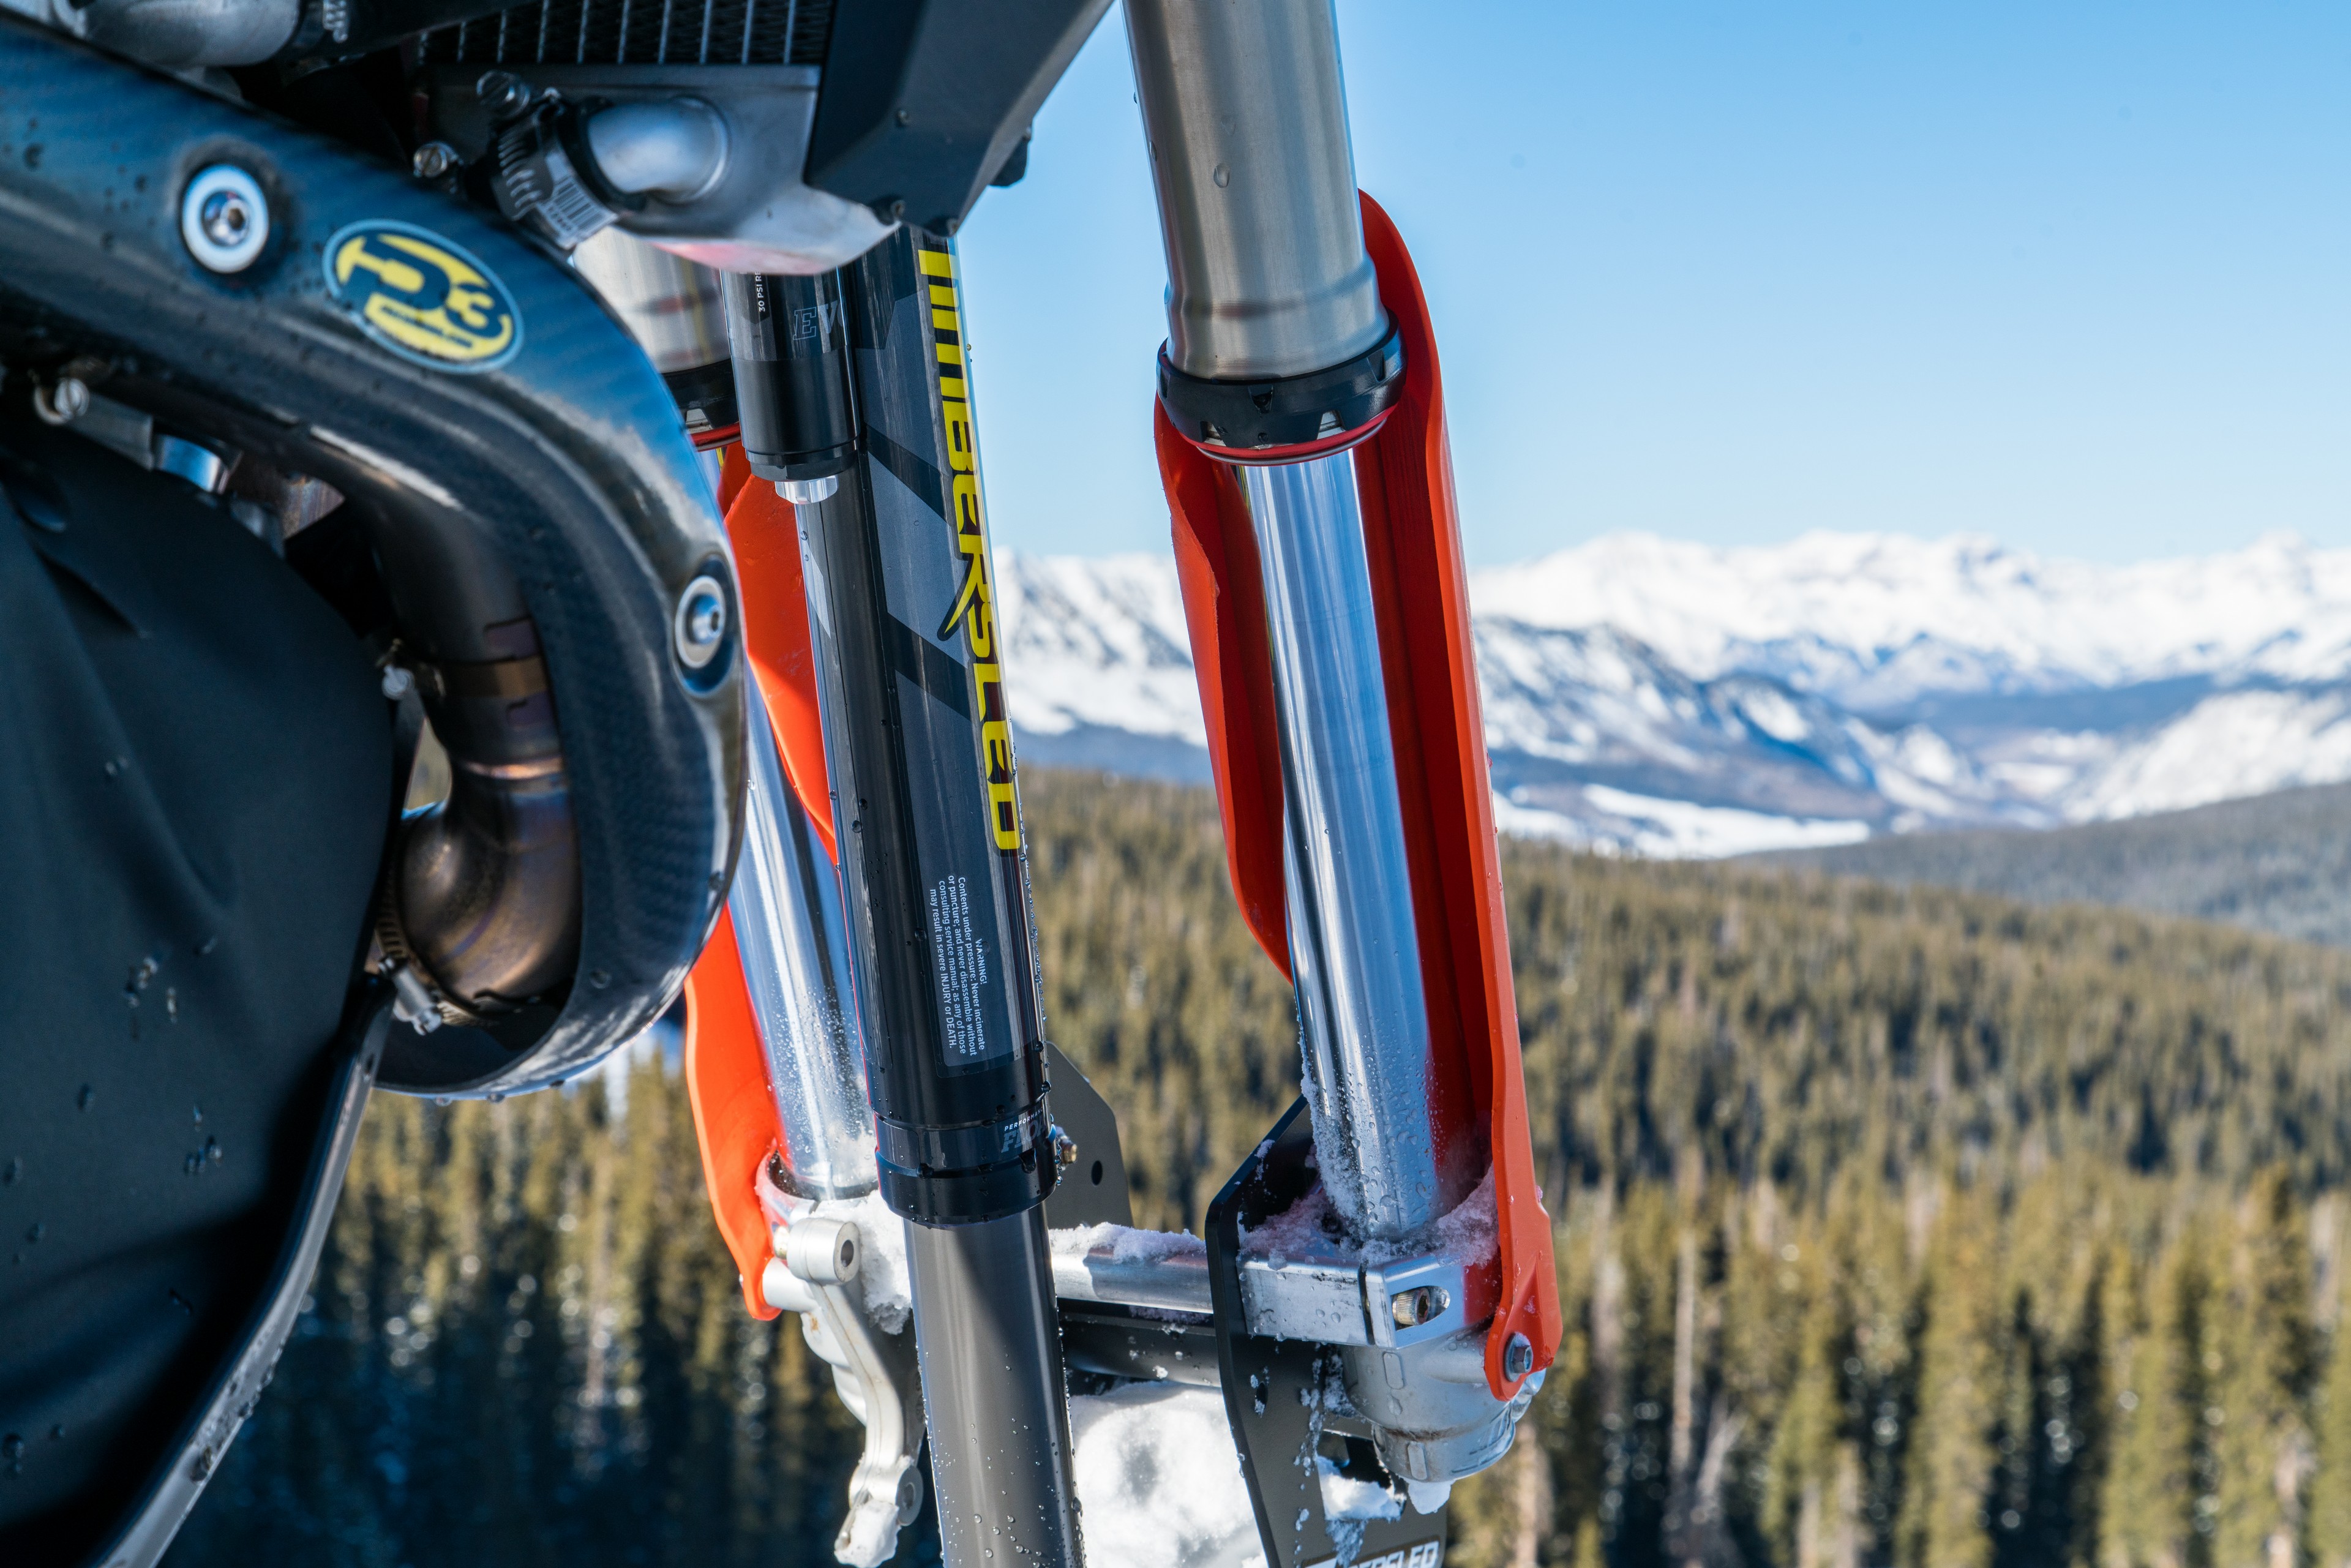
In addition to a Timbersled ARO track system, you’ll also need to get a fit kit, which has specific reducer bushings and other parts for your bike. The Timbersled system also replaces your bike’s rear shock, and we highly recommend the Timbersled Strut System (TSS) which is an airshock that replaces your stock coil unit. Likewise, the Timbersled TRIO is a great alternative to having to sink money into constantly re-valving your forks for snowbiking and then back to dirt settings. Snowbiking places different loads on your fork than dirt does, and the TRIO helps your fork better handles those loads. Like the TSS, the TRIO is an air shock, so you can dial-in the air pressure in to get the exact damping performance you want. A wheel kit will make moving your Timbersled around much easier on dry land, and a snowbike ramp is also a good buy if you’re going to be transporting your snowbike in the back of a truck as we did.
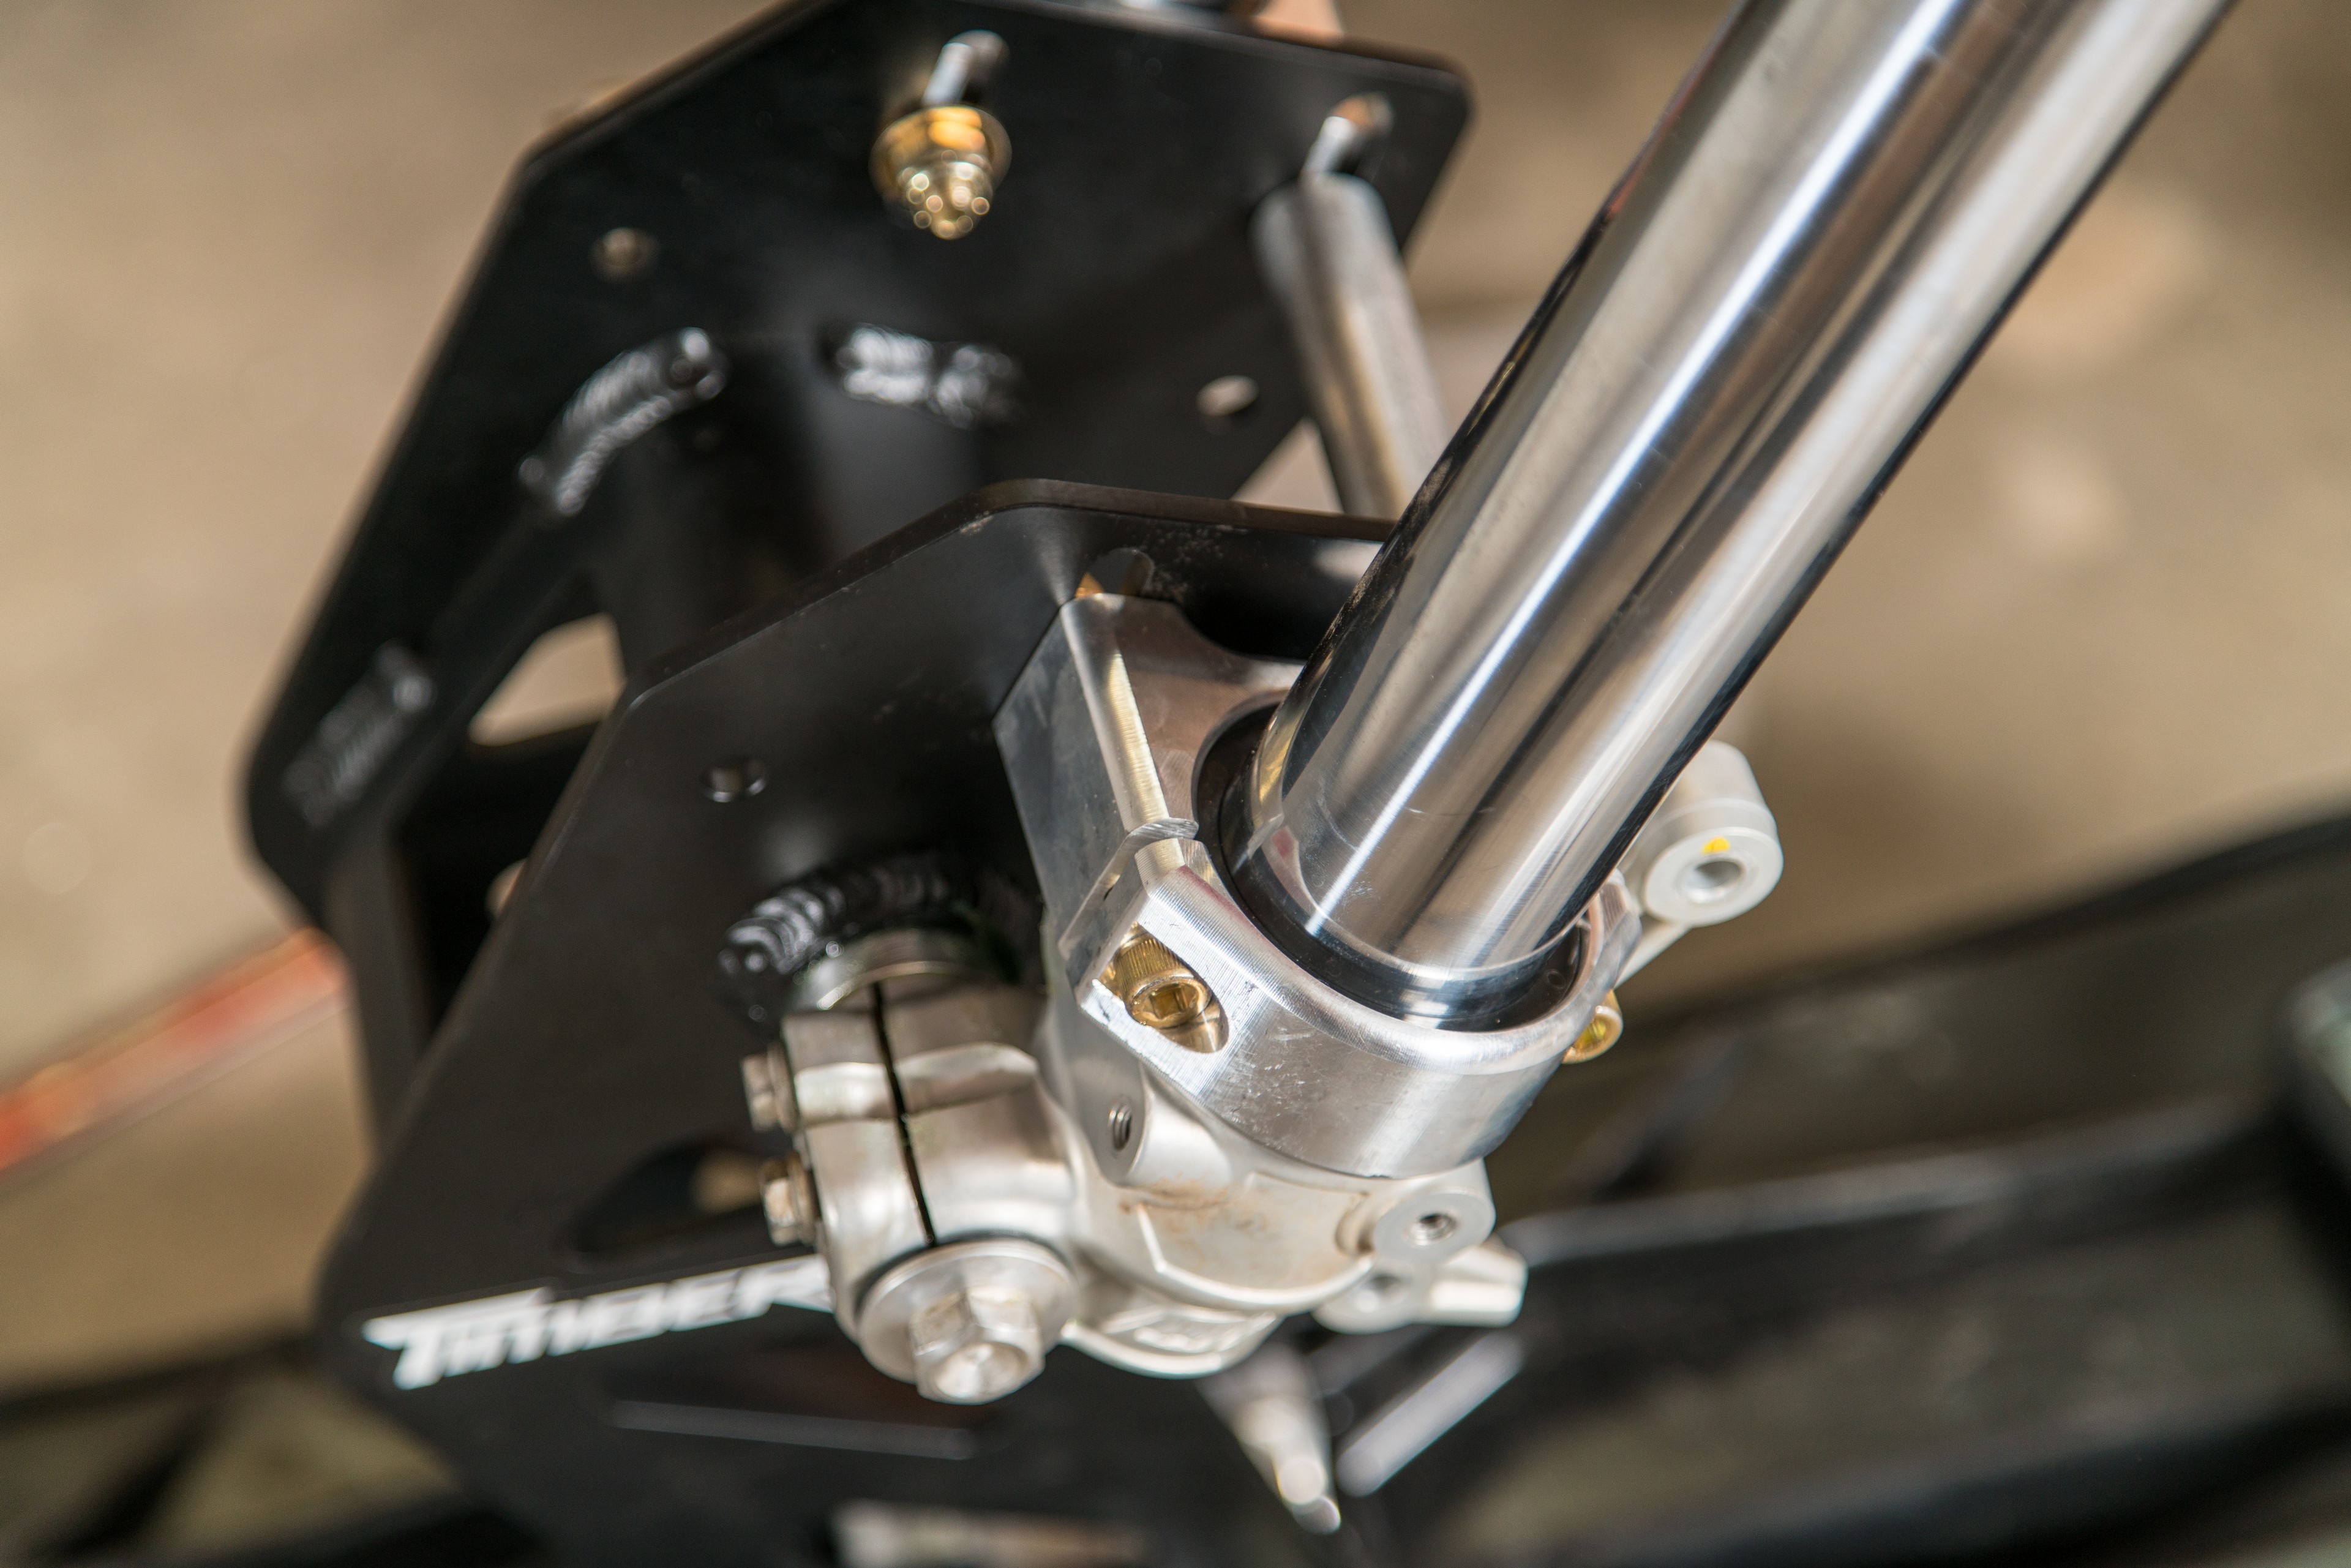
Installing the Timbersled system on your dirtbike will take a few hours for any experienced wrench. We installed the kits on both of our bikes in a single day, working at a leisurely pace and stopping to take photos. Check out the official Timbersled YouTube channel to familiarize yourself with the install process, and look up the part numbers for your specific bike’s reducers before you hit that step in the install process to speed things up. On both of our bikes, the correct reducers were not stamped with any part numbers, but this was a minor snag that was resolved with test-fitting to check for proper clearance and alignment. Use common sense if you run into this problem and don’t sweat the extra parts left over – the fit kits are designed to work with more than one model of bike.
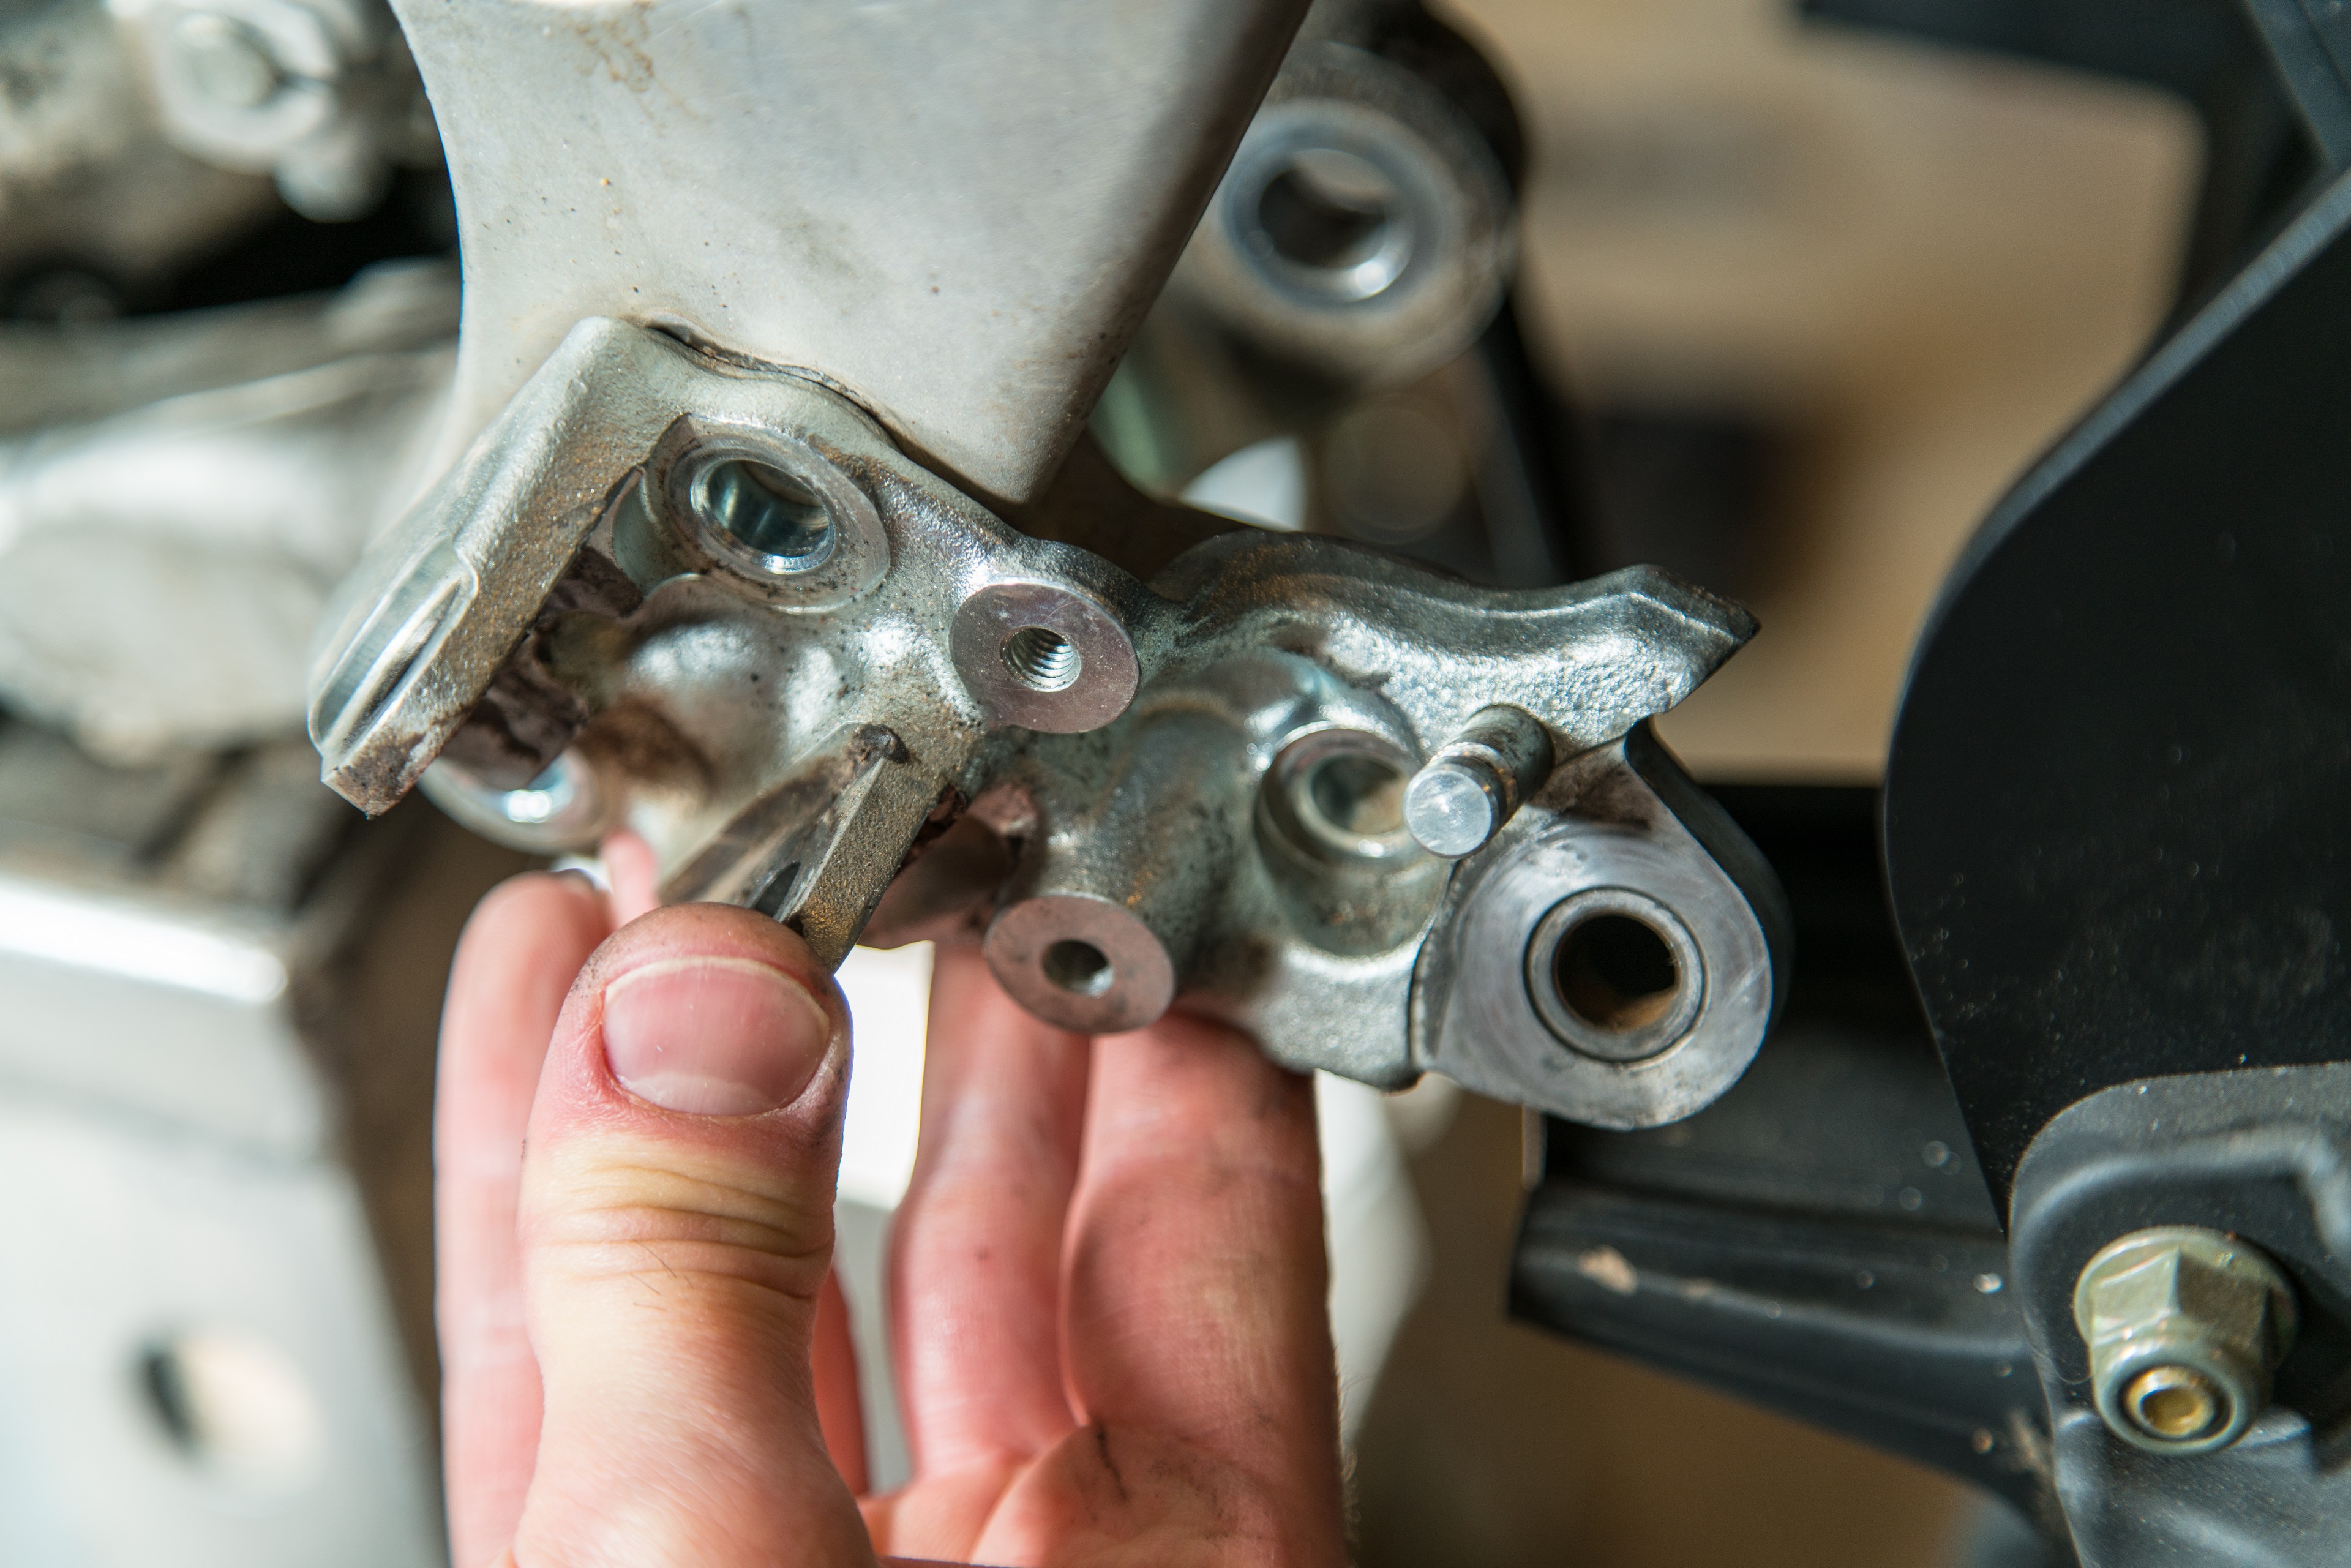
We also had to cut off the kickstand bracket on our WR450F to clear the track, so if you’re working with one of these bikes, pick up a spare before you plan on riding dirt again. Other than that, everything goes together without much hassle, and not having to hack up an expensive airbox or deal with brake fluid makes your time in the shop that much better. The ARO kits make it feasible to ride snow one weekend and dirt the next, with just a few hours of wrench time in between.
Gear For Your Comfort and Safety
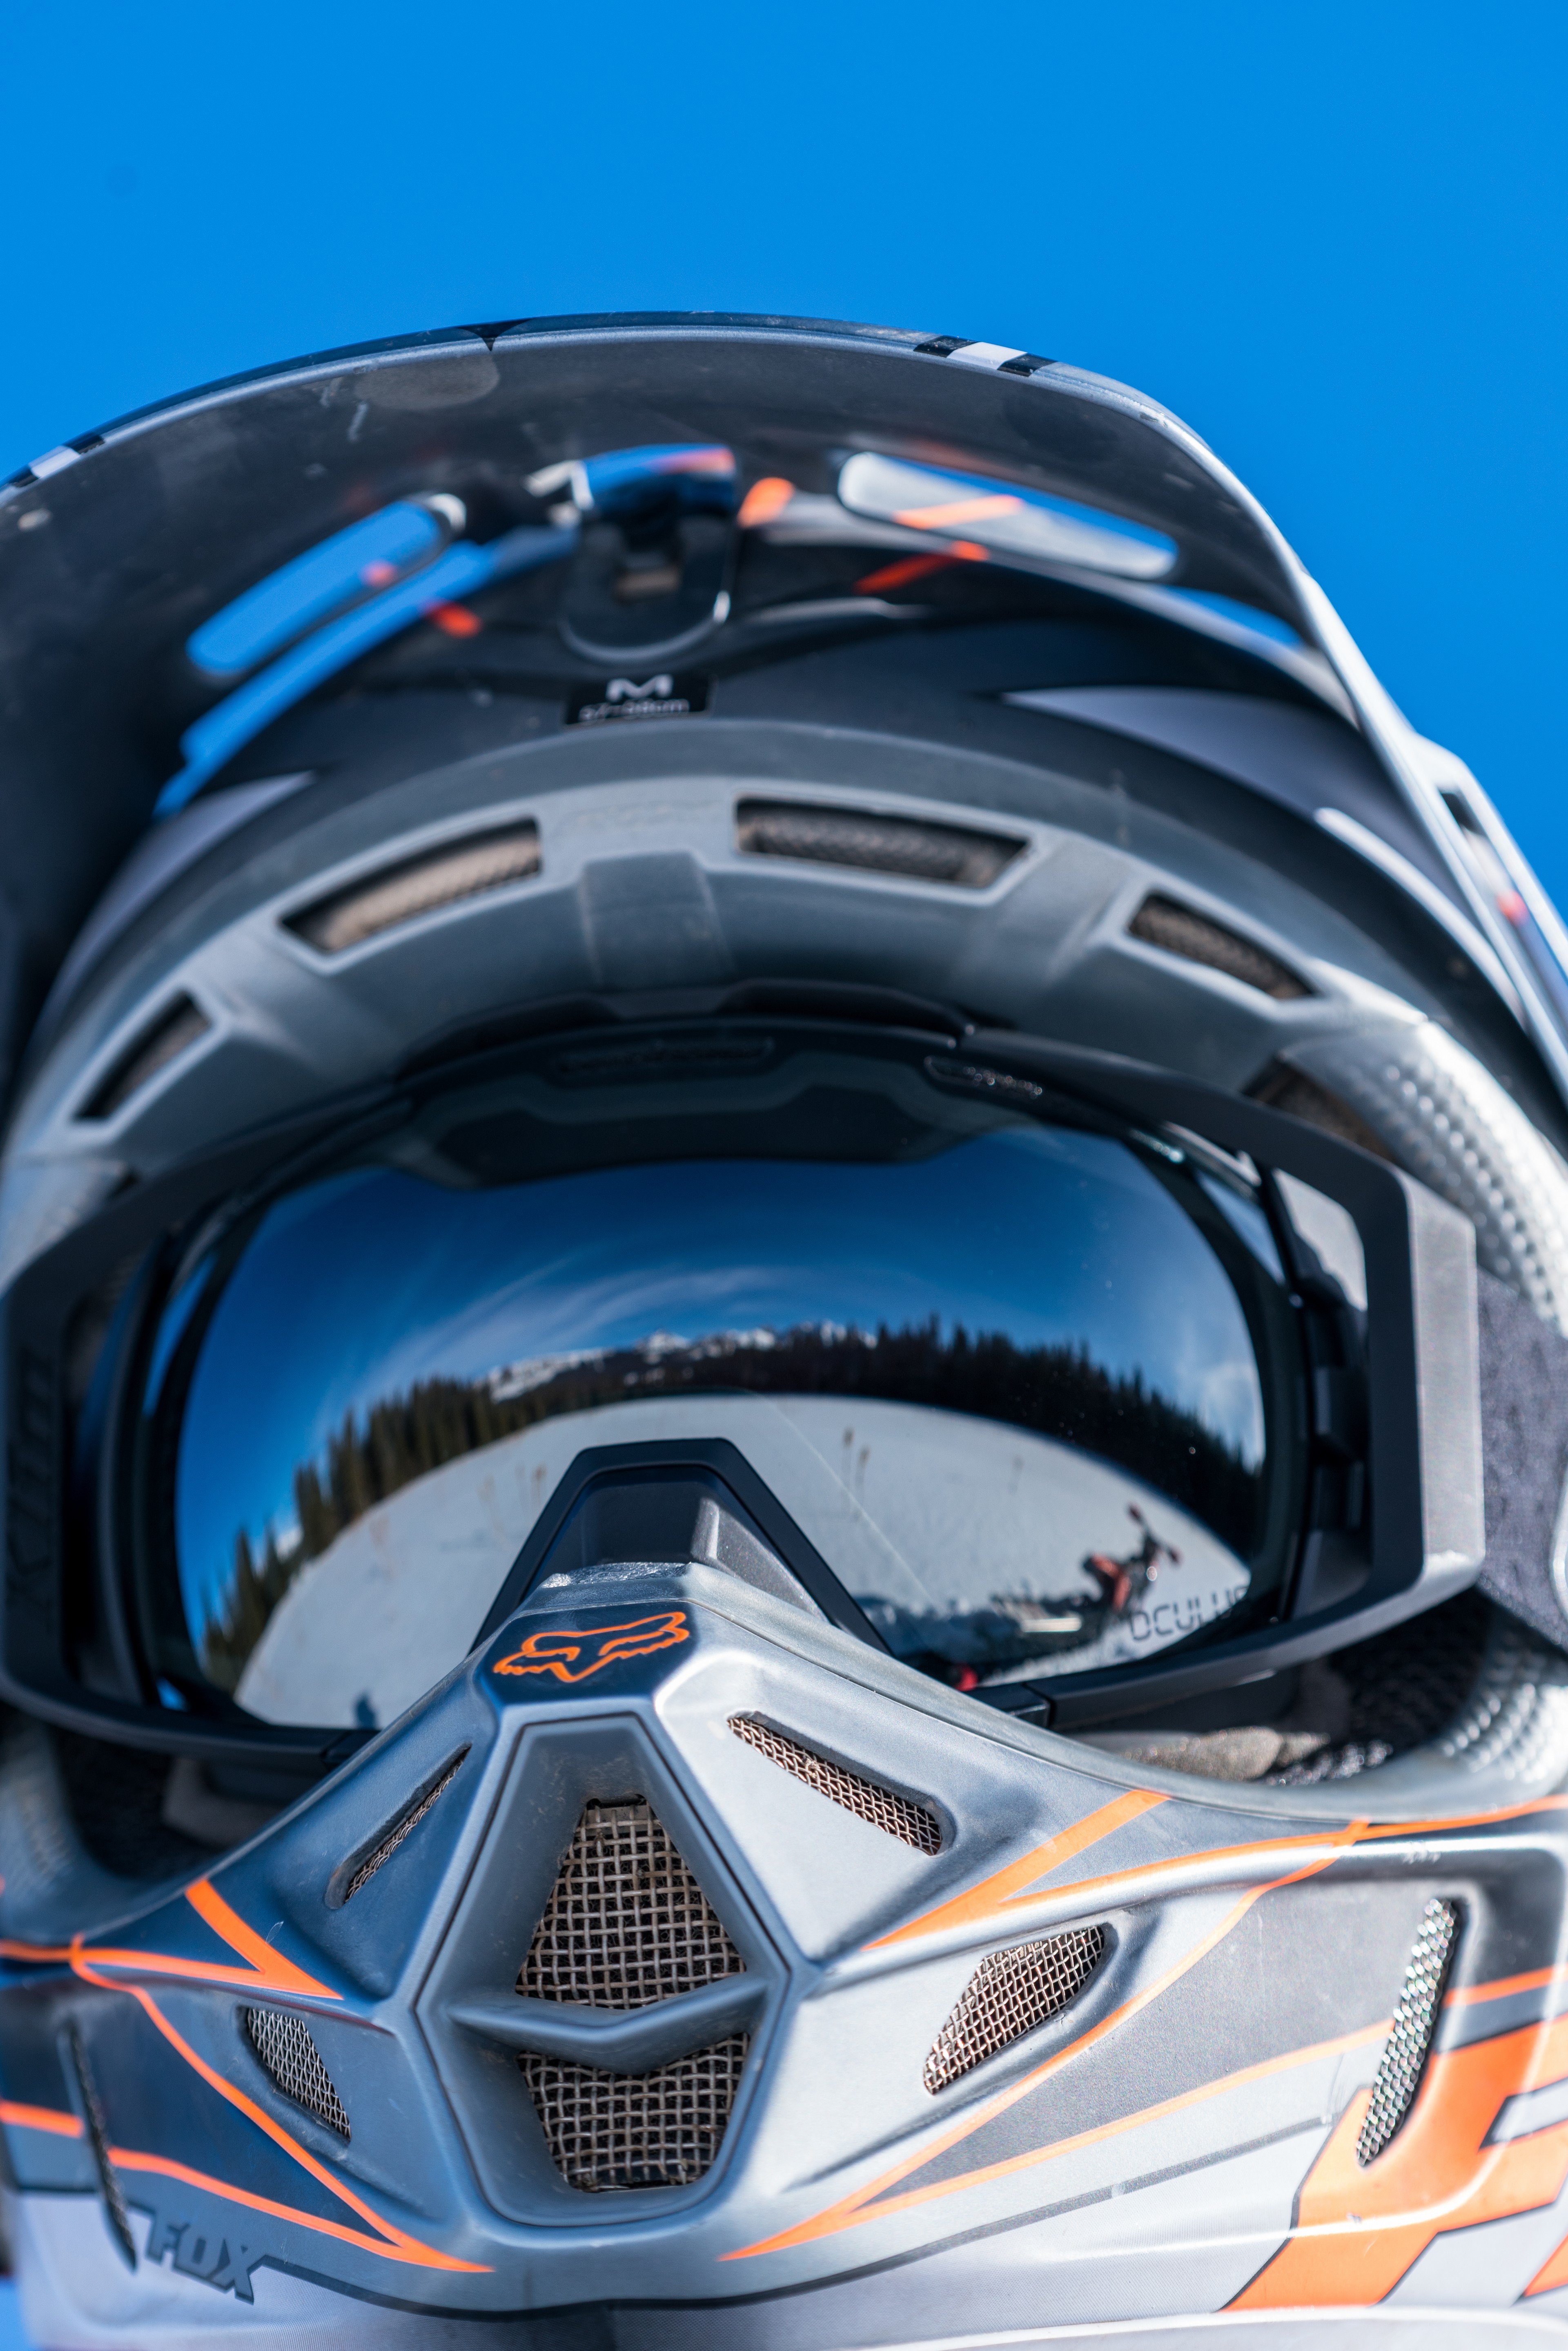
With your snowbike all sorted and ready to ride, you’ll also need to make sure that you’ve got good gear for yourself to stay warm and dry while out riding. Cold and wet can turn into a serious situation fairly quickly, which is why we recommend quality riding gear, such as the Adrenaline GTX BOA boots, Havoc Pants, Valdez Parkas, Togwotee gloves, and Oculus goggles we used from Klim. All this gear worked brilliantly, and kept us warm and dry on bluebird powder days and during obscenely windy blizzards. Riding gear will be covered more in the next article.
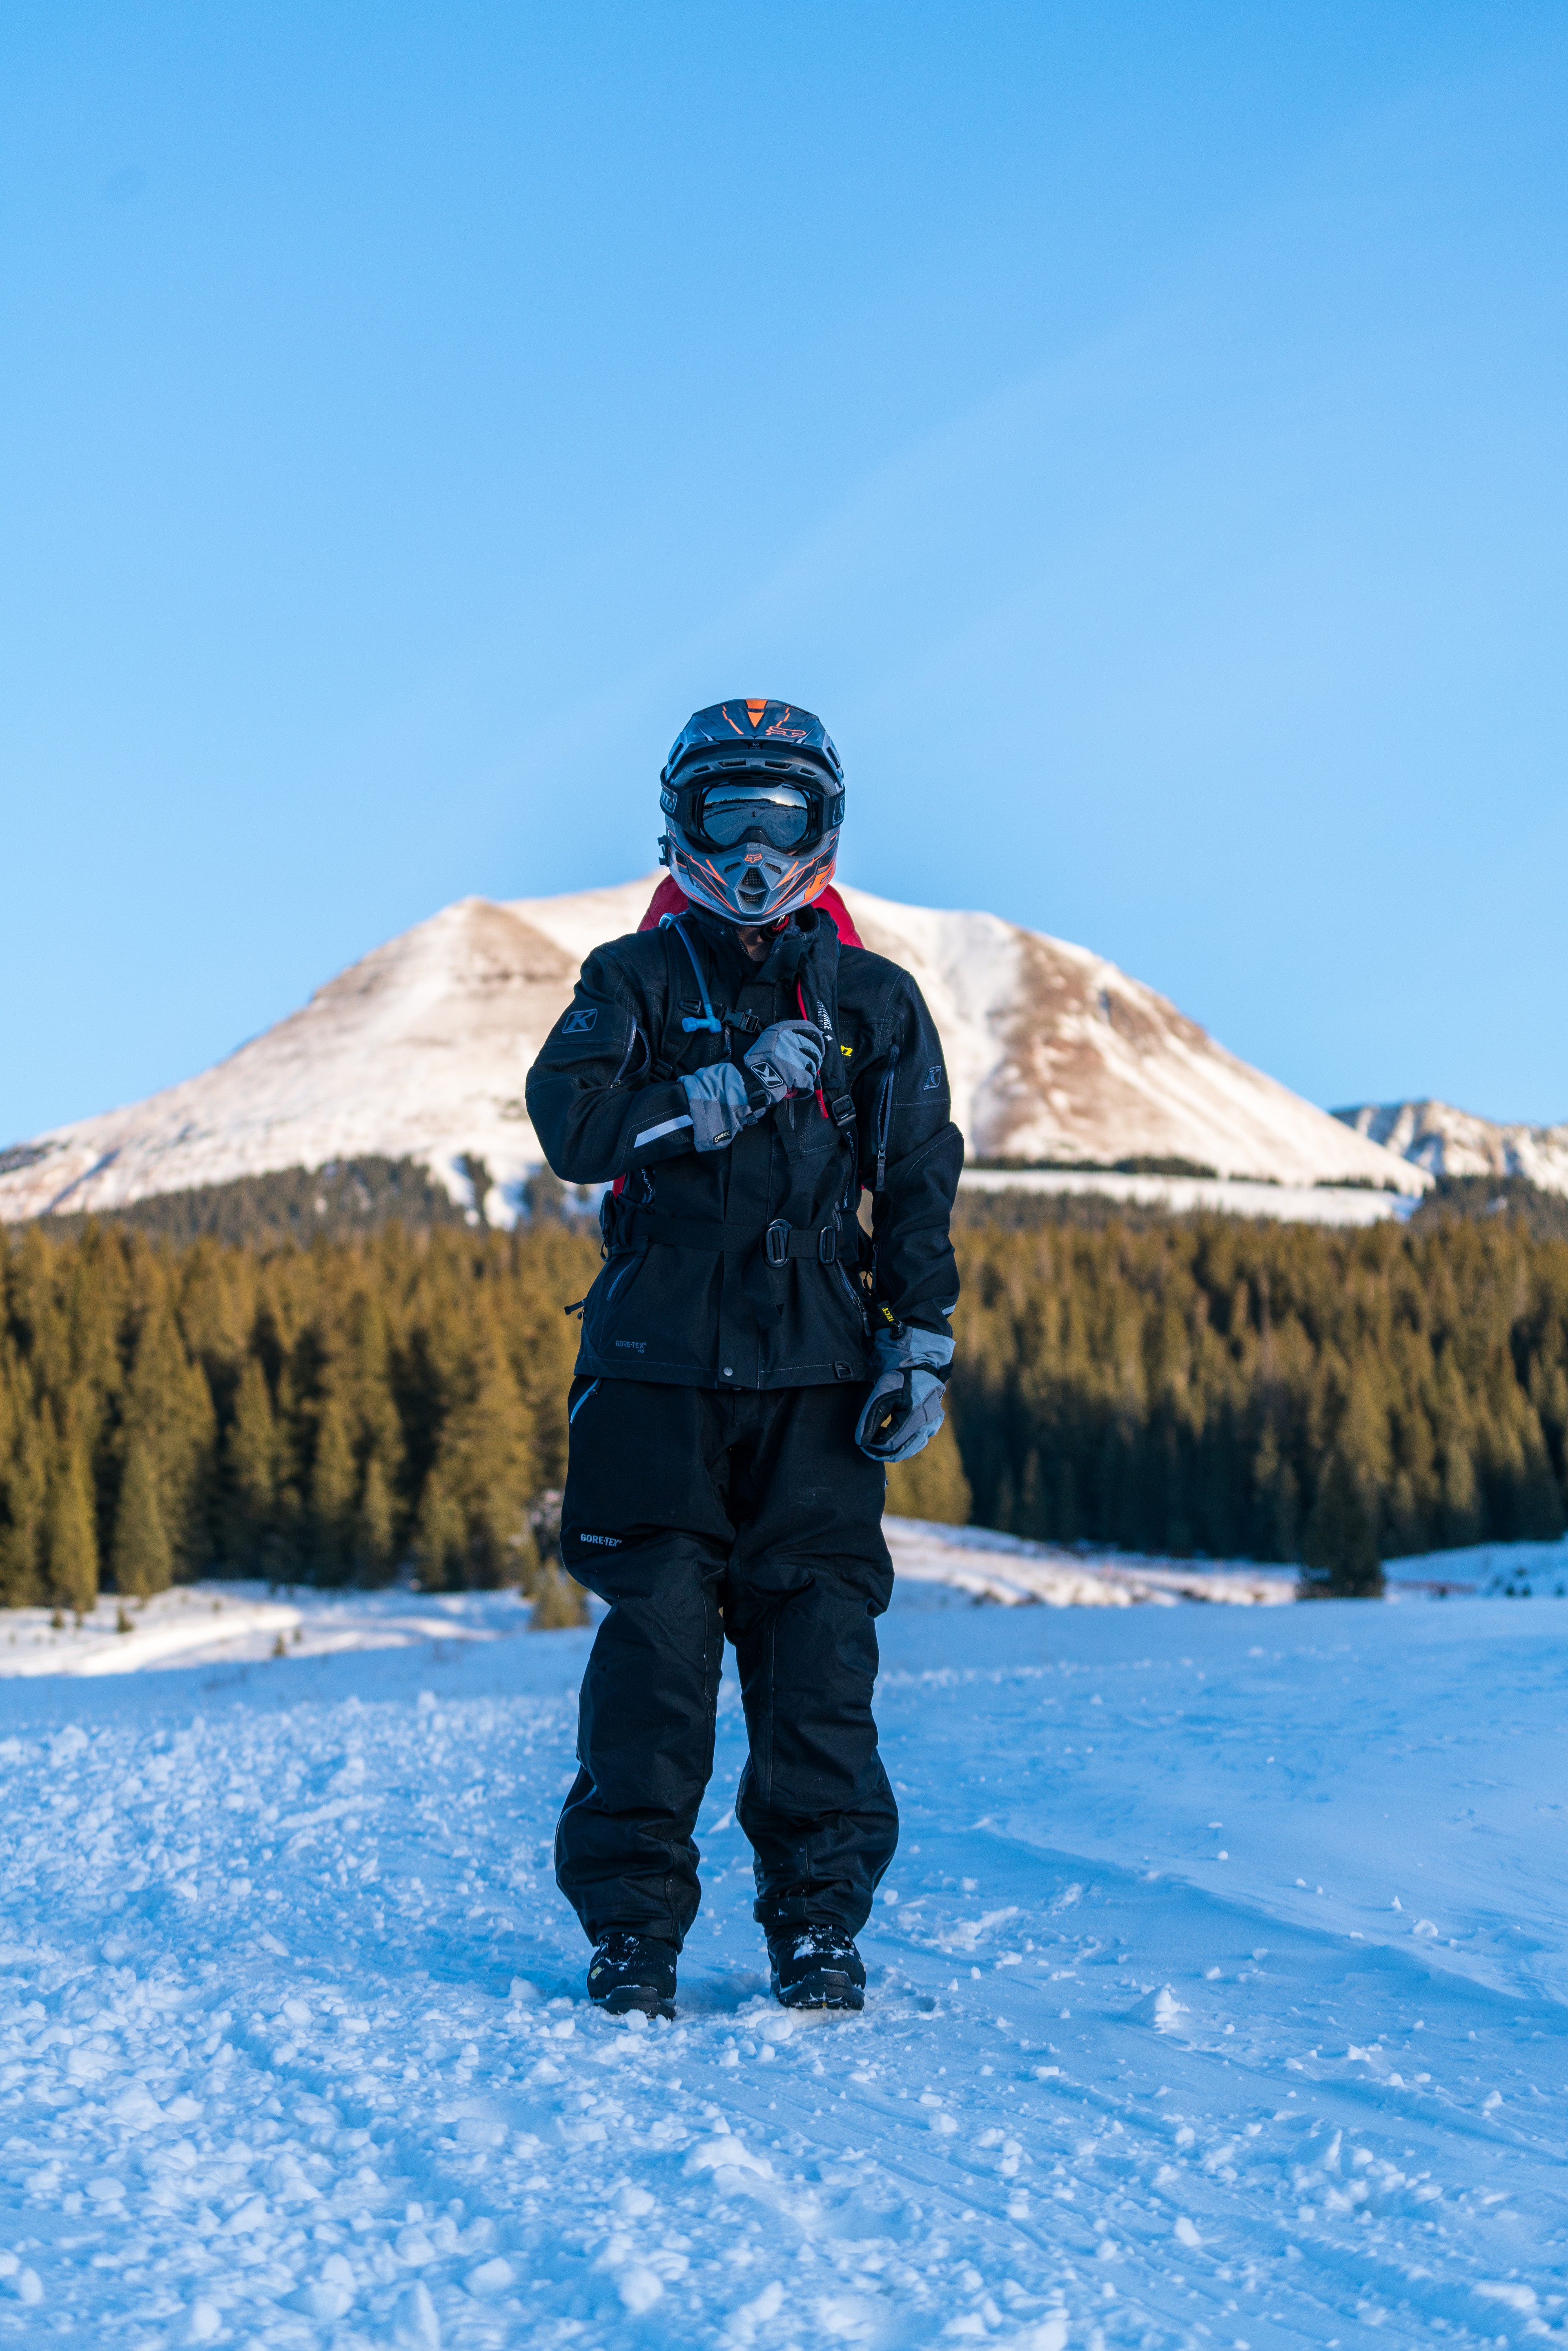


If you’re going to be riding anywhere near avalanche terrain, you absolutely must pack and know how to use avalanche gear: A beacon, probe, and shovel. It’s also worth picking up an airbag backpack, such as the Black Diamond Jetforce Saga 40 which we’ve been using. Airbag backpacks have been shown to reduce the chances of burials in avalanches, potentially protect the wearer from injury, and in the case of the Black diamond Jetforce packs, provide a pocket of breathing air should a burial occur. Jetforce packs use a ducted fan to inflate a 200 liter airbag with atmosphere, unlike other packs that use a CO2 cartridge. We’ll be covering snow safety in depth in the next article.
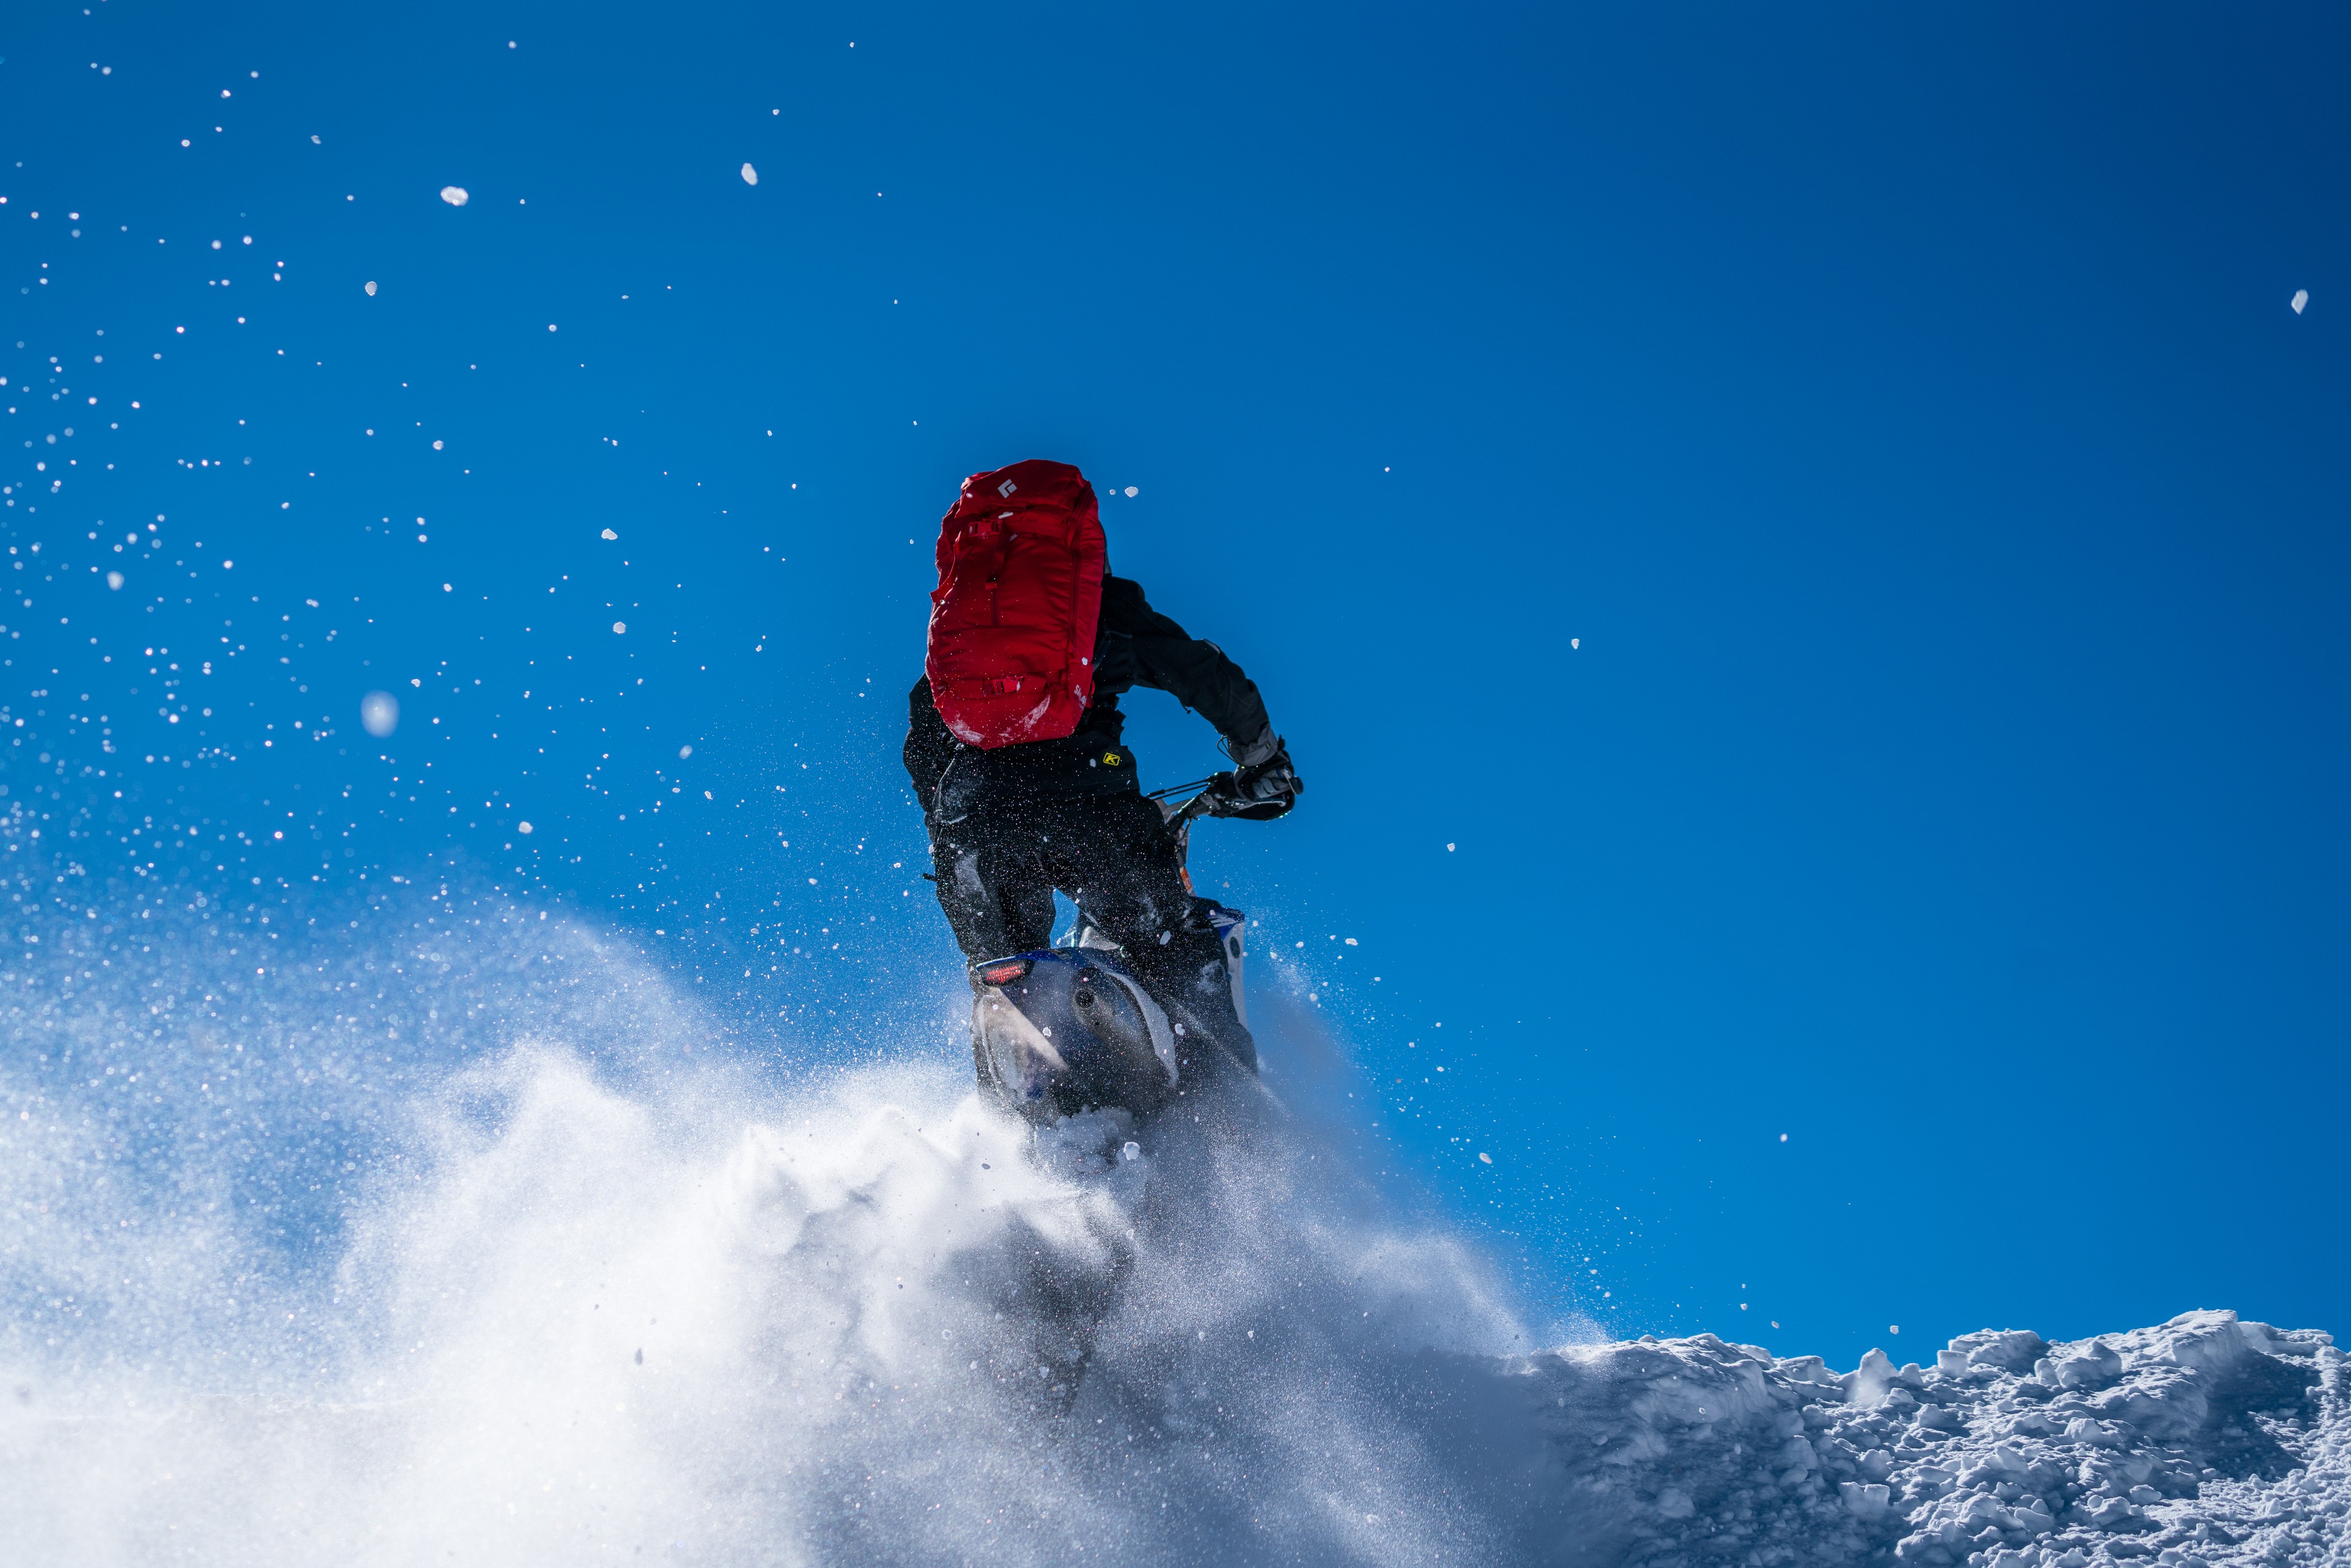
This may all sound like a bunch of work just to be able to ride your dirtbike in the snow, but I’m here to tell you that it is worth every penny and worth every second of your time. A Timbersled allows you to explore a wintry world better than anything else designed to go over-snow. It combines all the best parts of dirt biking with the experience of big mountain powder skiing all without the crowds or the lift lines and at half the price of buying a new mountain snowmobile. A Timbersled system is the key to unlocking a whole new world to ride in.
FULL DISCLOSURE:
Timbersled provided demo units for this series of articles. The motorcycles and all other accessories are owned by the author. Klim provided all of the riding gear used for this project at no cost to the author or American Adventurist. Likewise, Black Diamond provided the Jetforce Packs at no cost to the author or American Adventurist.
