The affordability of 3D printing has changed the way I modify my vehicle. Not long ago if some part didn’t exist that fit my need I had to do without. A lot has changed over the years but how did all this lead me to making my own parts? How did I end up making this?
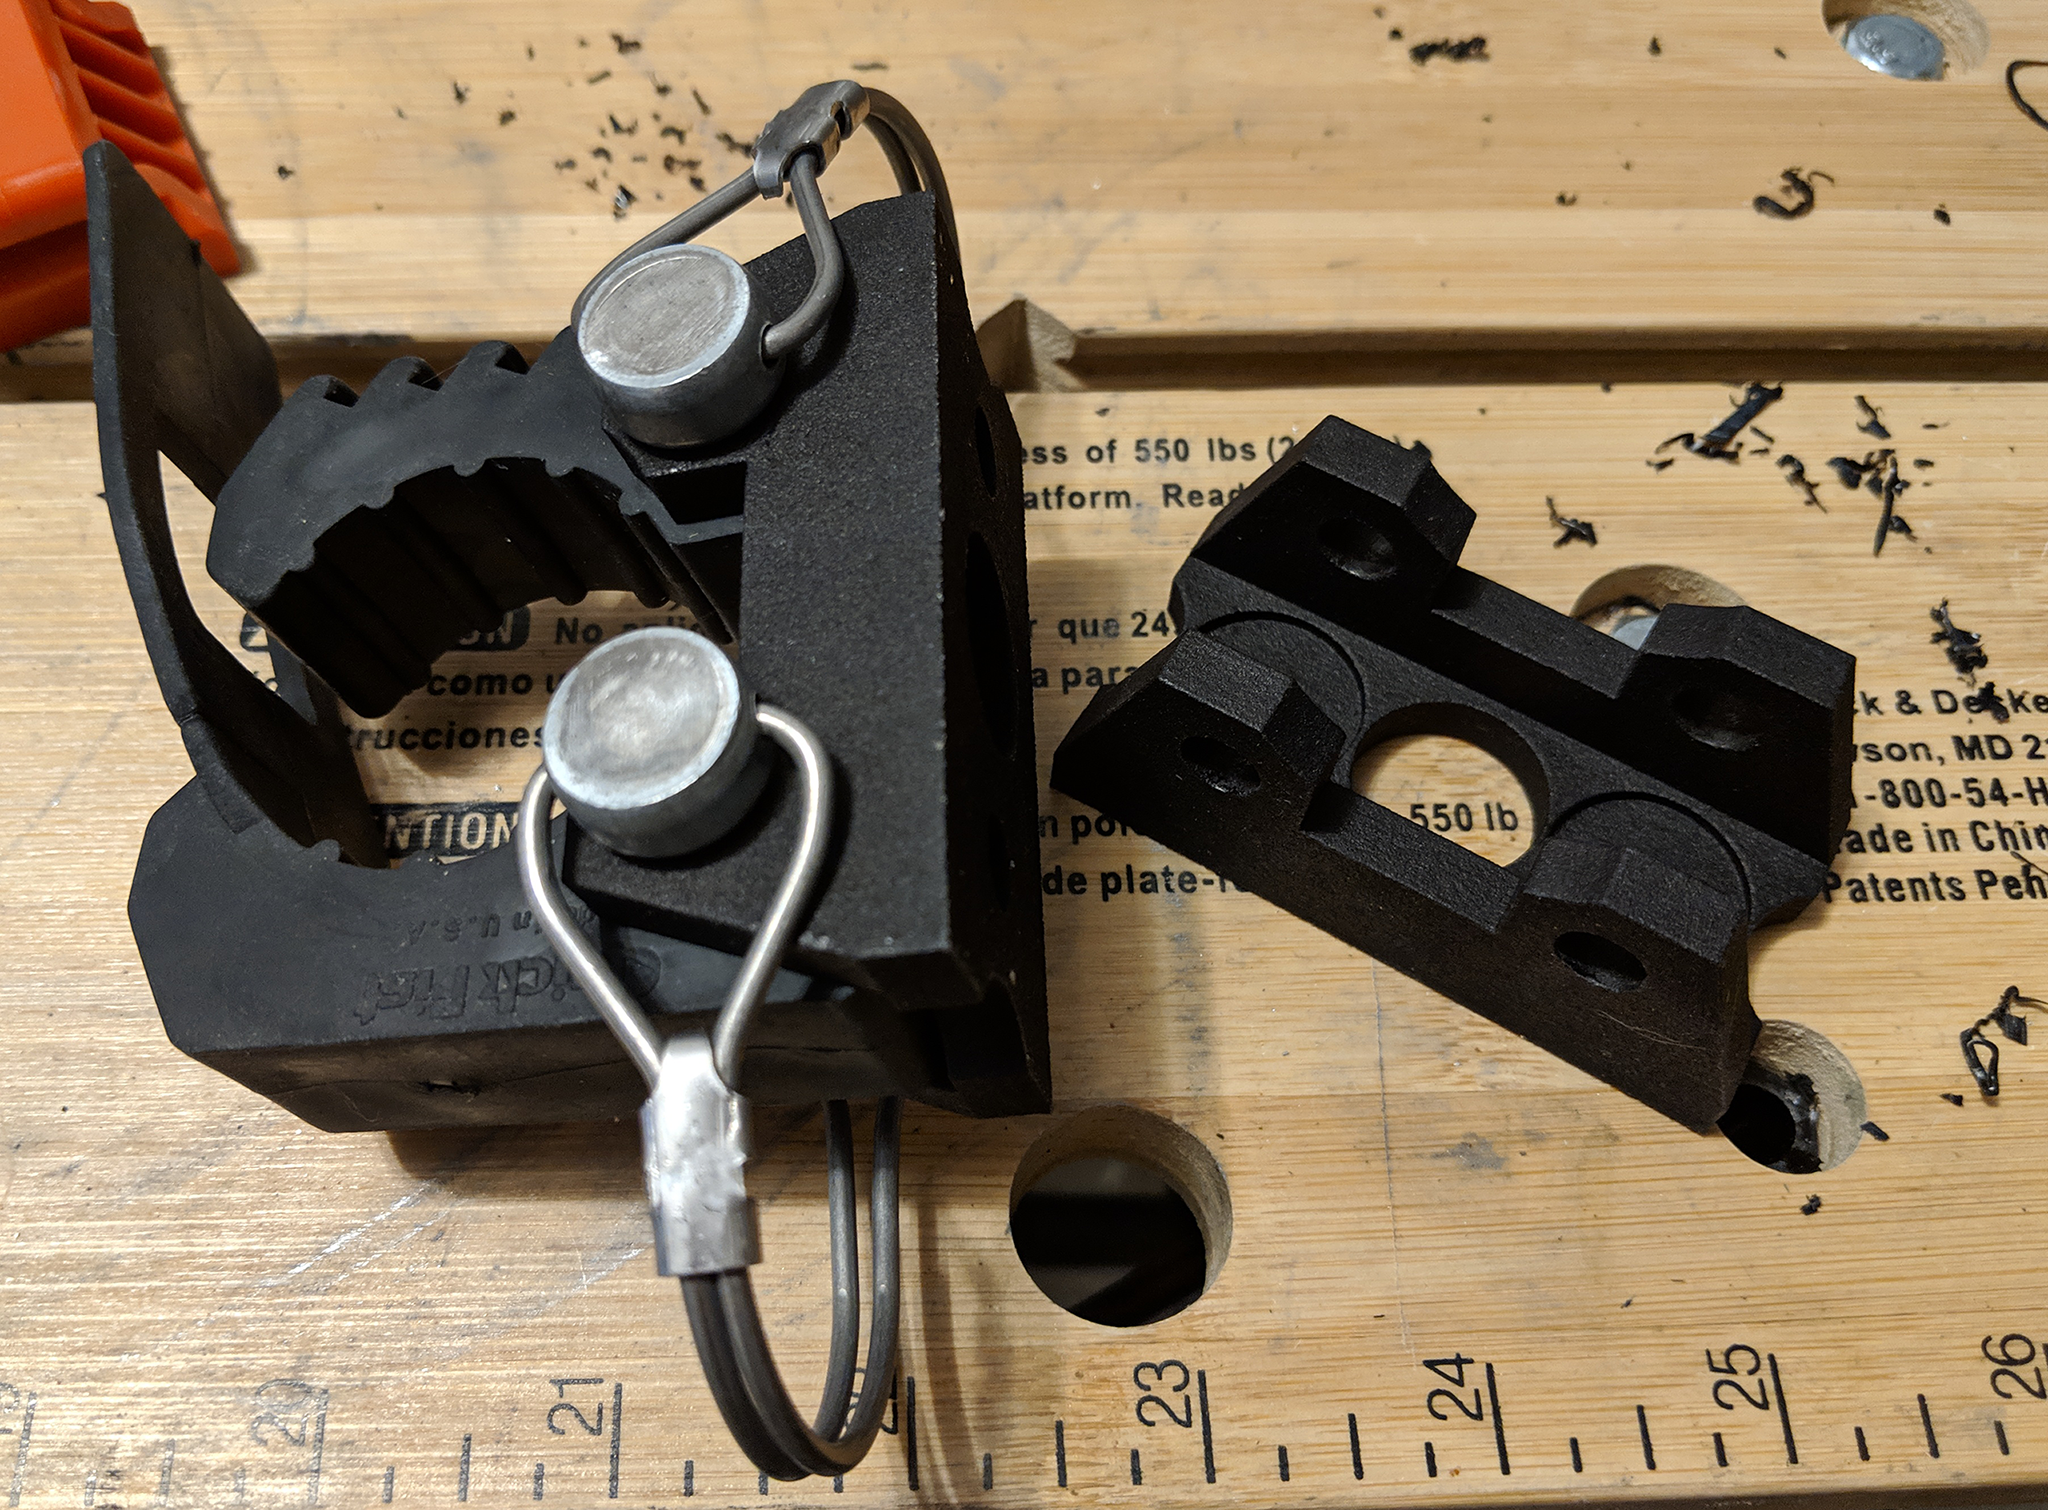
Before 2010 manufacturing my own parts wasn’t a reasonable option.
Charles W. Hull invented the stereolithography printer in 1986. In 1987 you could purchase the SLA-1 Original 3D Printer for about $300,000 UDS. The equivalent in 2023 value is just over a million dollars. For the next 20 years 3D printing and rapid prototyping was was out of reach for most people leaving just the traditional manufacturing process.
Between 2004 and 2005 the interest in low cost 3D printers skyrocketed when Dr. Adrian Bowyer, a Senior Lecturer in mechanical engineering at the University of Bath in England, introduced the idea of 3D printers that could self-replicate. The project named RepRap (‘REPlicating RAPid prototyper’) was open source and interest in low cost 3D printing spread worldwide.
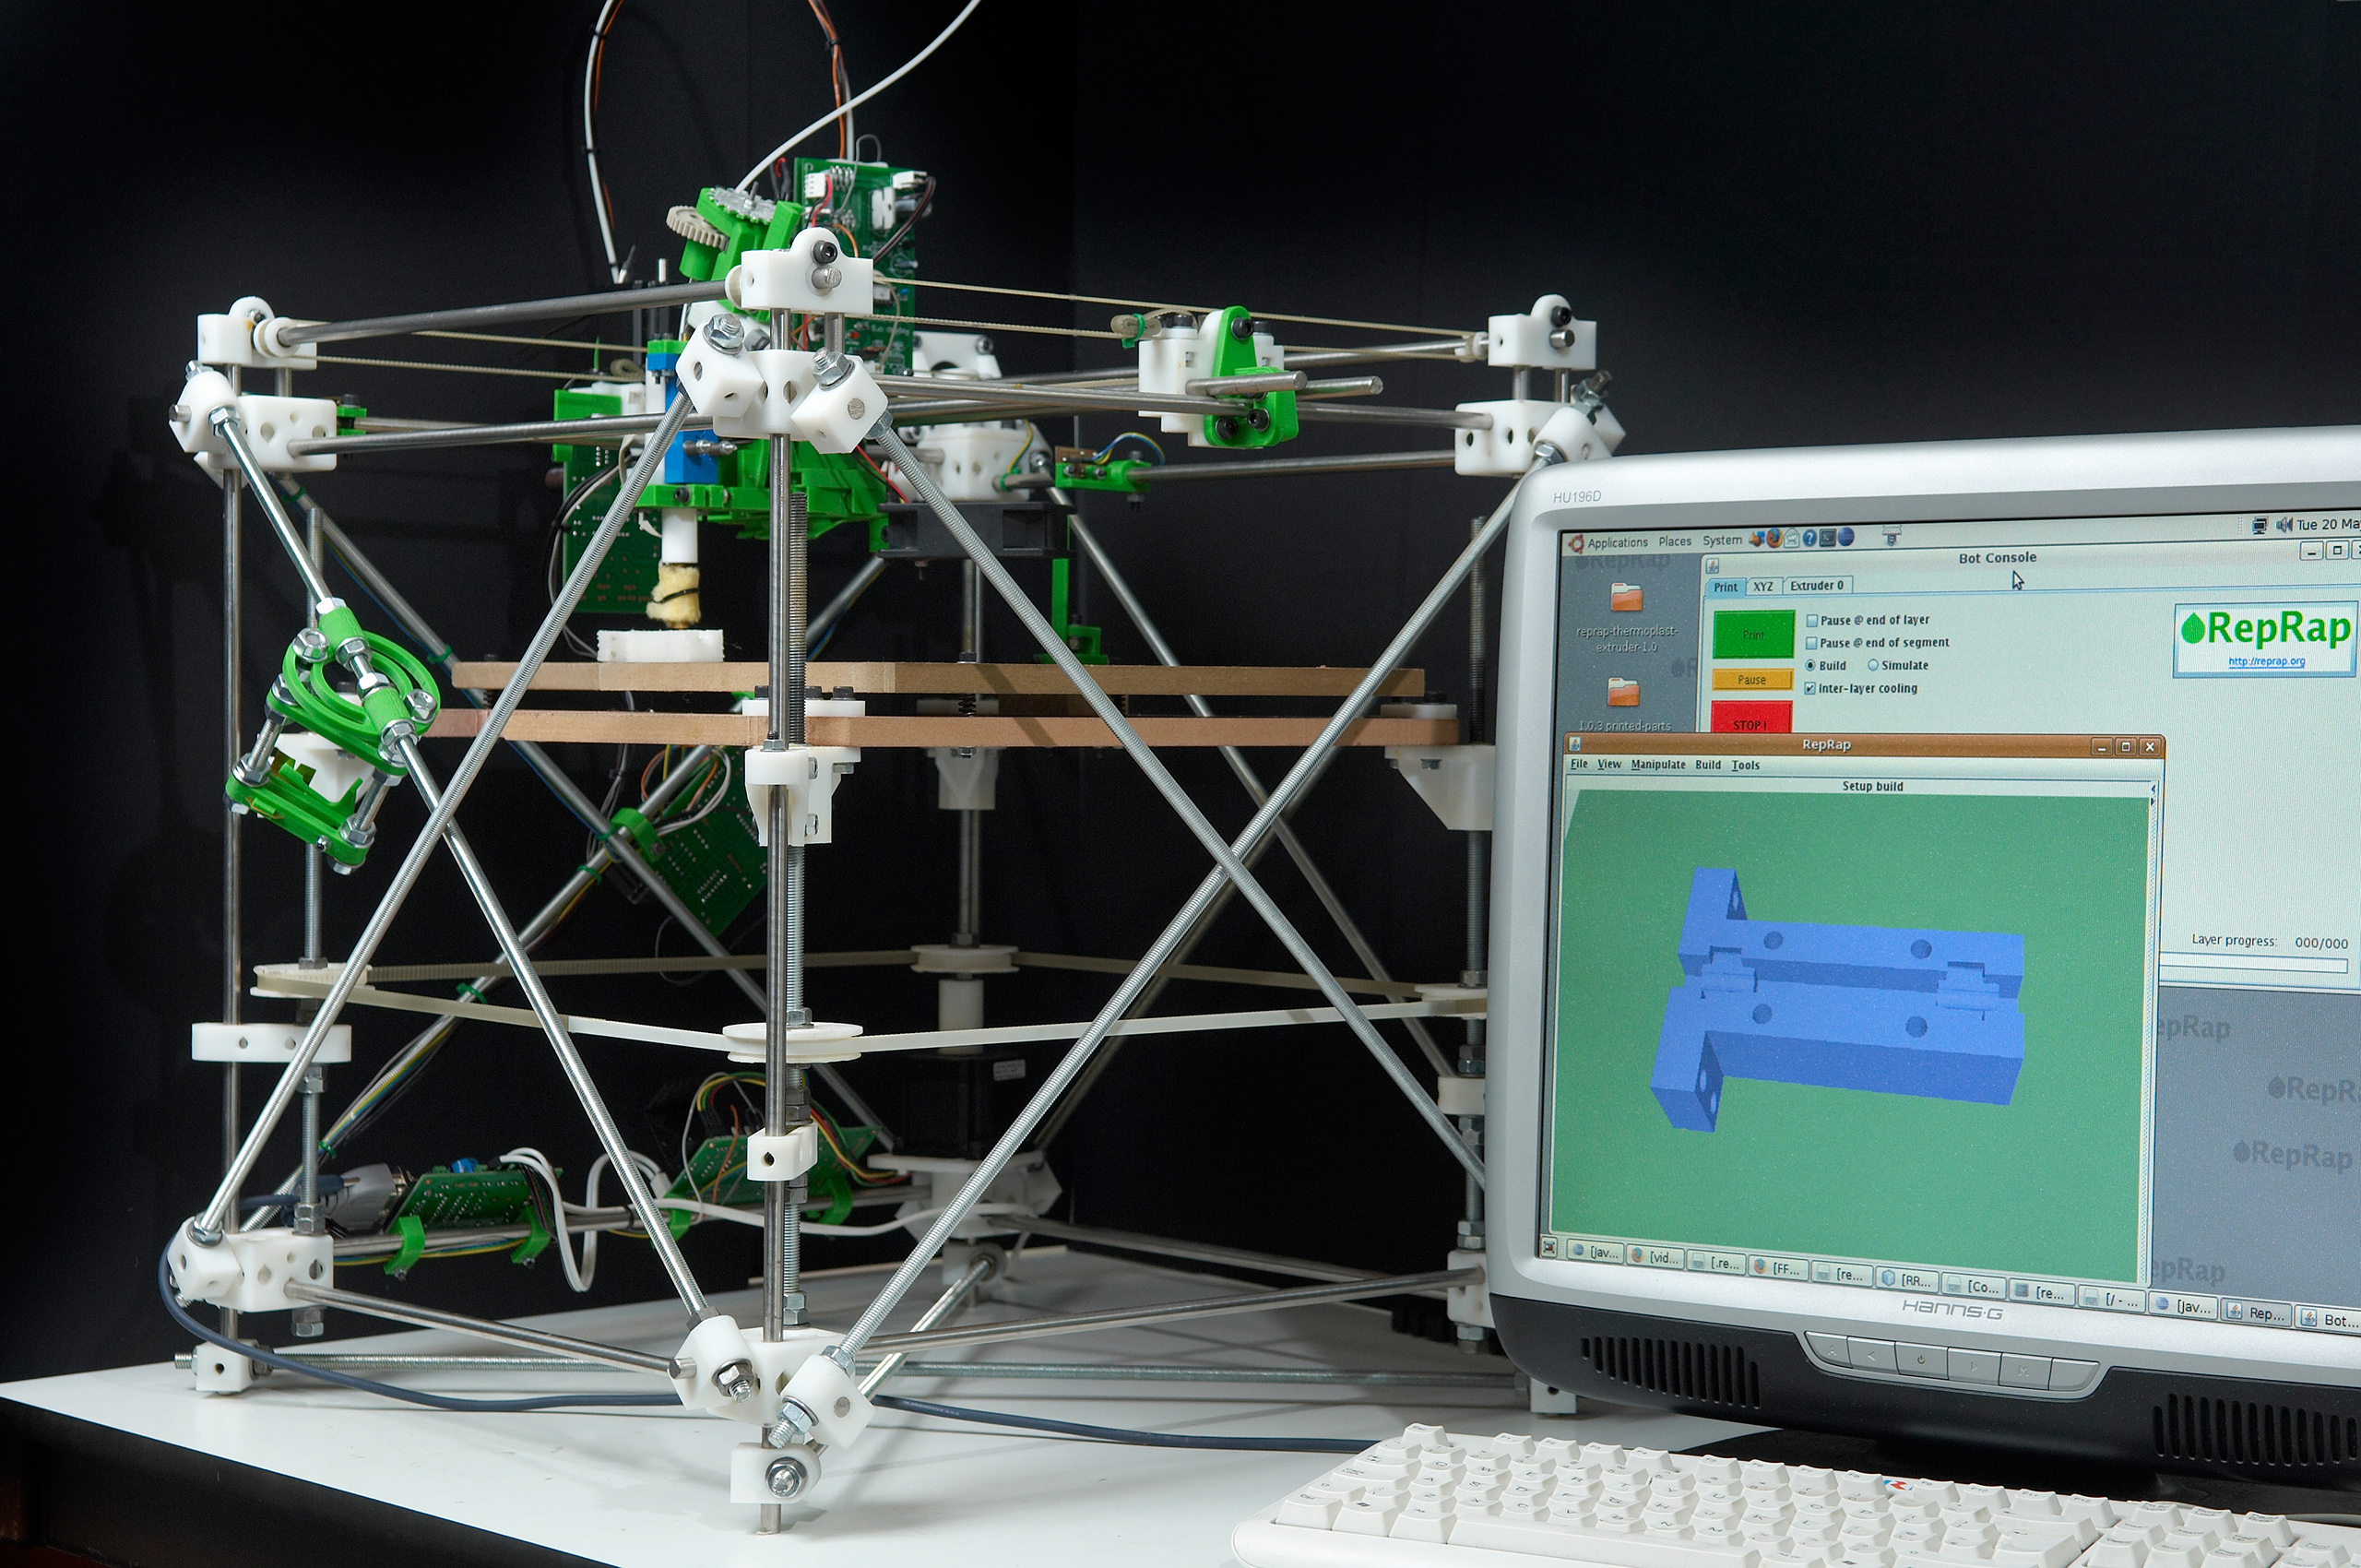
Source: https://reprap.org/wiki/Darwin
Then the 3D Printing landscape changed in 2009. Charles W. Hull’s patent of stereolithography (SLA) and Stratasys’ patent for fused deposition modeling (FDM) technology expired. New DIY kits became available and competition for the new non-commercial user market drove prices for DIY 3D Printer kits even lower.
2010 and Maker Culture
During the early 2010’s, around the time Formlabs Kickstarter campaign for the FORM 1 began, online 3D printing service companies like Shapeways, Sculpteo, i.materialise, 3D Hubs, etc. moved to capitalize on the growing interest of 3D printing and the emerging market of low production number 3D printing. Offering multiple printing materials and the ability to print larger then a typical DIY 3D Printer. For individuals and small companies who didn’t want to or couldn’t afford to invest in a commercial 3D Printer it offers the capability of rapid prototyping without the upfront cost. By 2018 the 3D printing industry was generating more than $7 billion in revenue.
So here I am
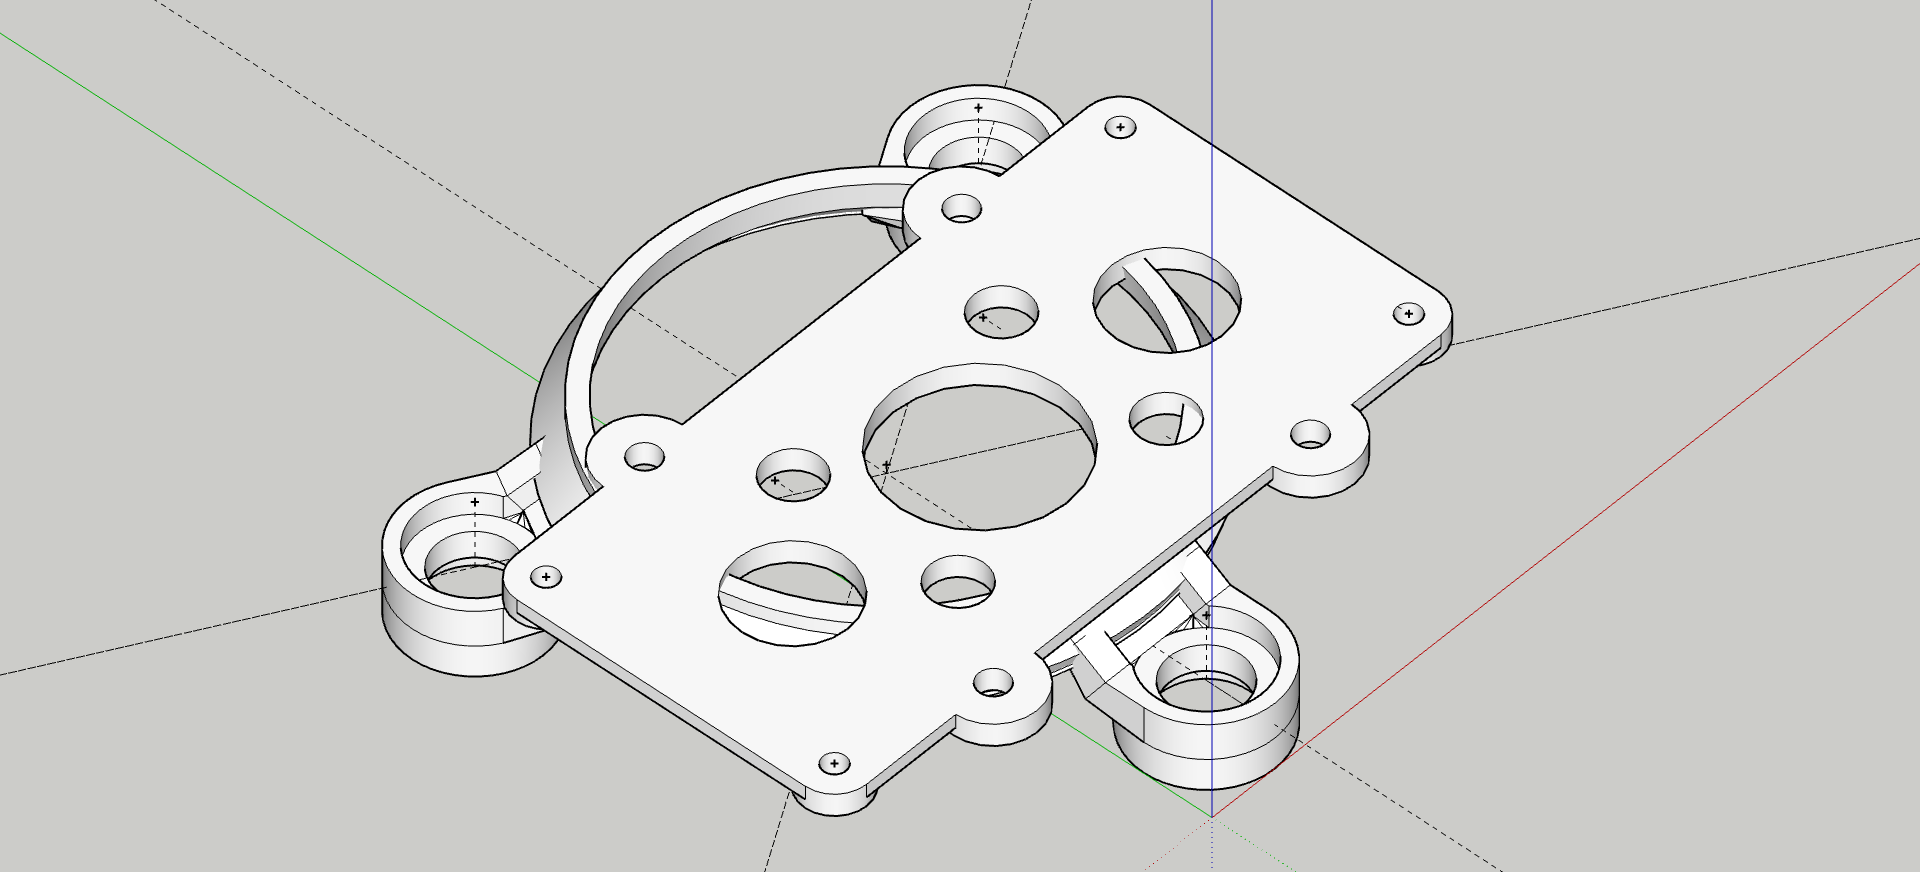
It’s in this environment that I found myself looking for a part that didn’t exist. A Quick Fist mount for a Frontrunner roof rack. Having some CAD experience I was fascinated by the prospect of being able to manufacture my own parts so I dived in.
Not without mistakes of course. There’s an expression “fail fast, fail often” and by that measure my first attempts were an astounding success. If you plan on taking the same dive my advice is to literally start small when using online 3D printing services. You pay as much, if not more, for the volume of the object you wish to print than for the materials. Also invest in a precision measuring tools. Just eyeballing it will get expensive fast.
Eventually the incline of the learning curve began to level out. I also found myself in need of another impossible to find part. A relocation kit that worked with the OEM Tacoma backup camera and a custom rear bumper. It took several reprints to get the pitch of the camera correct as well as understanding the tolerances of the materials. Being a relatively small part the experience was worth the cost of the do-overs.
From There to Here by Just Making Stuff
Following is a sampling of the progression of the complexity of the parts I had manufactured. It also highlights a transition into creating parts to address an afterthought to that of being part of the modification from the very start. From filling in a need with a camera relocation mount on a bumper that didn’t have one. To making improvements on something that was satisfactory by cleaning up a solar panel cable pass through for a project that was in progress. To planning the location of a compressor switch and quick disconnect and working the other components in to fit within that design plan.
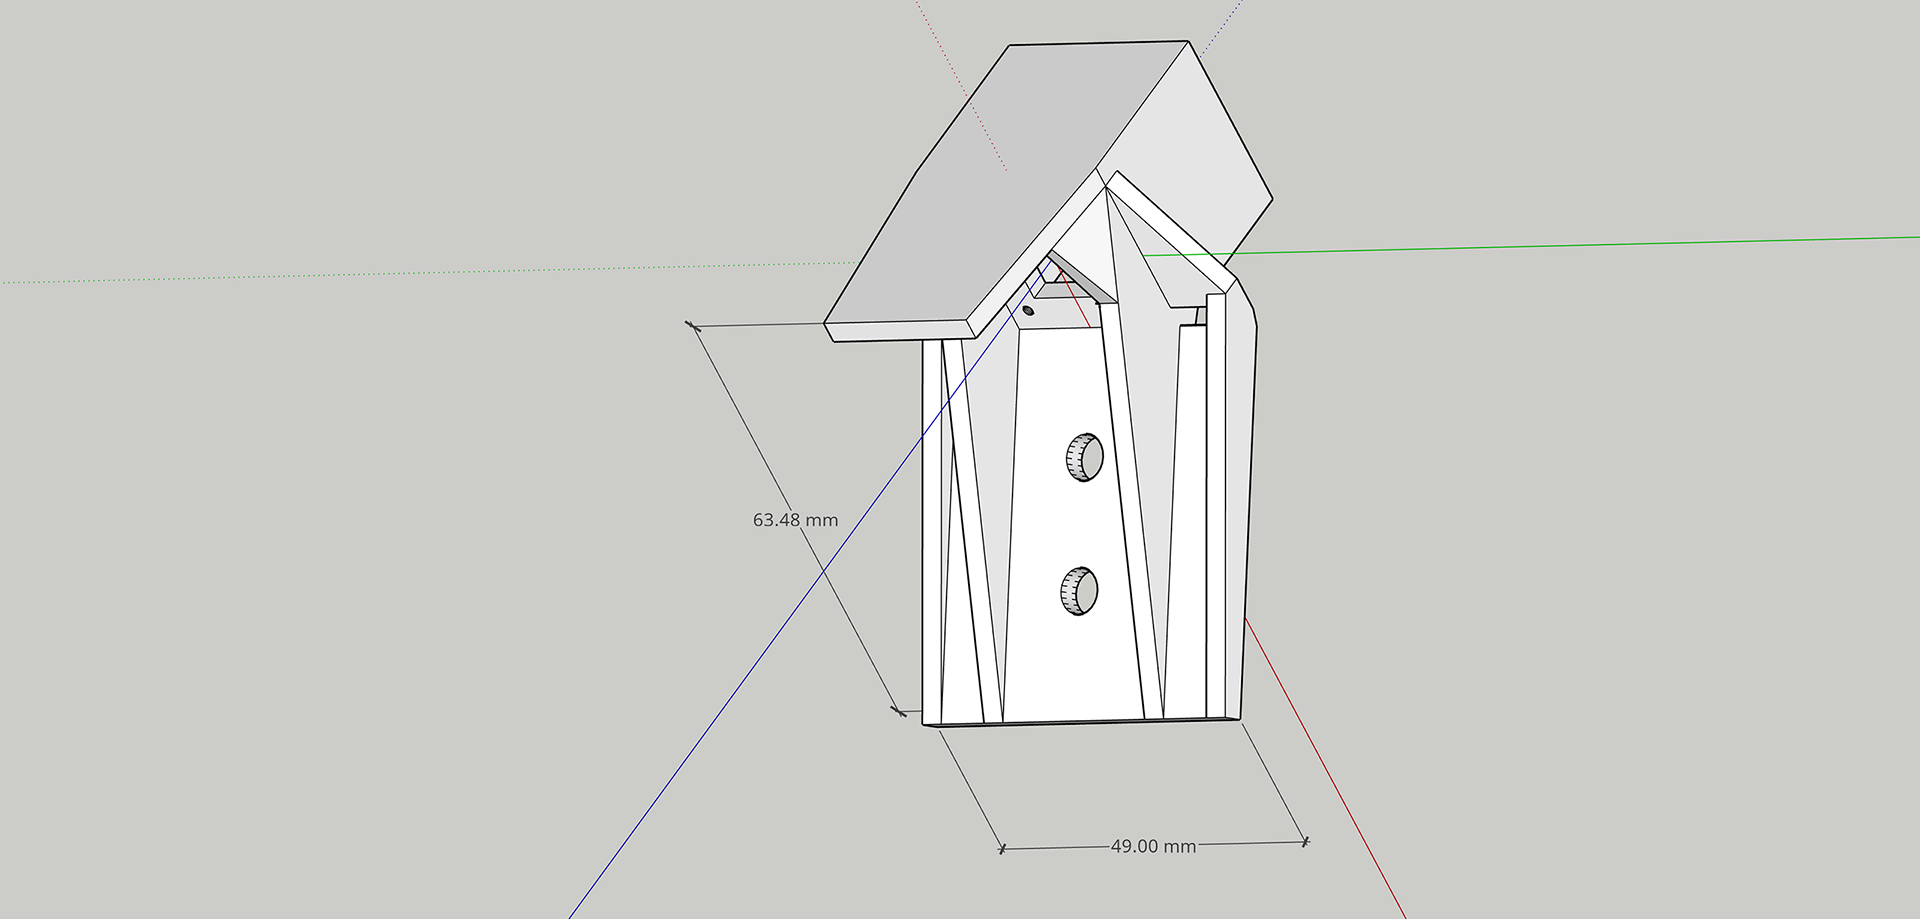
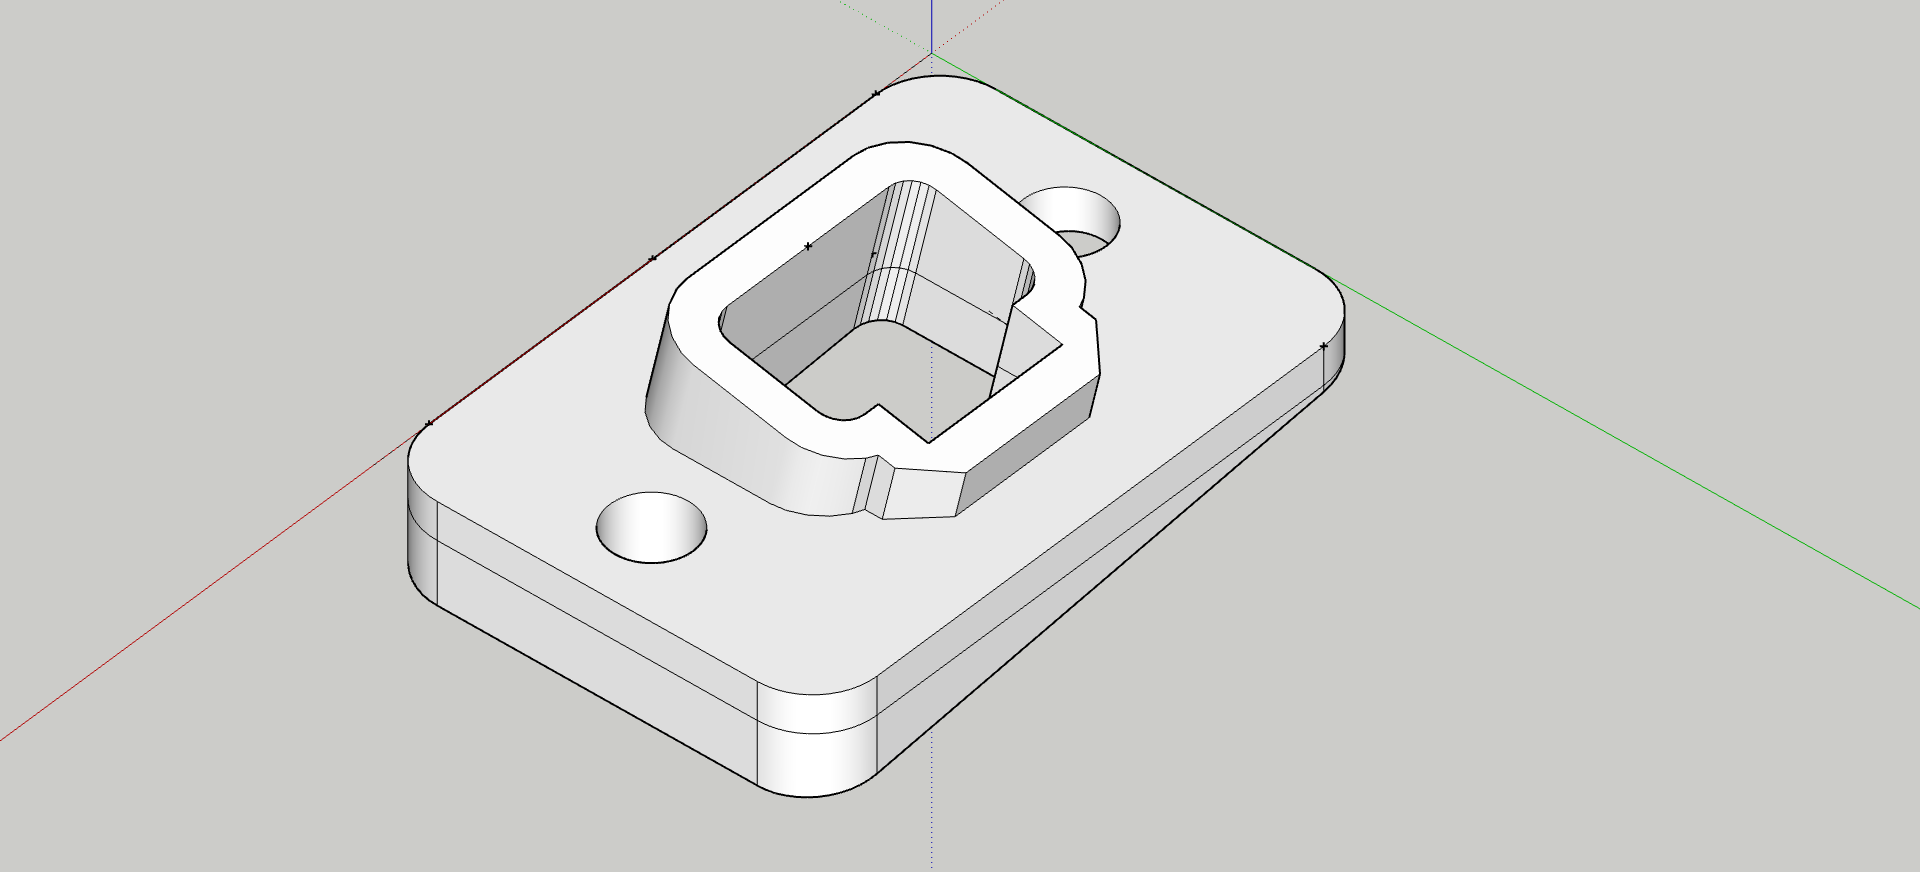
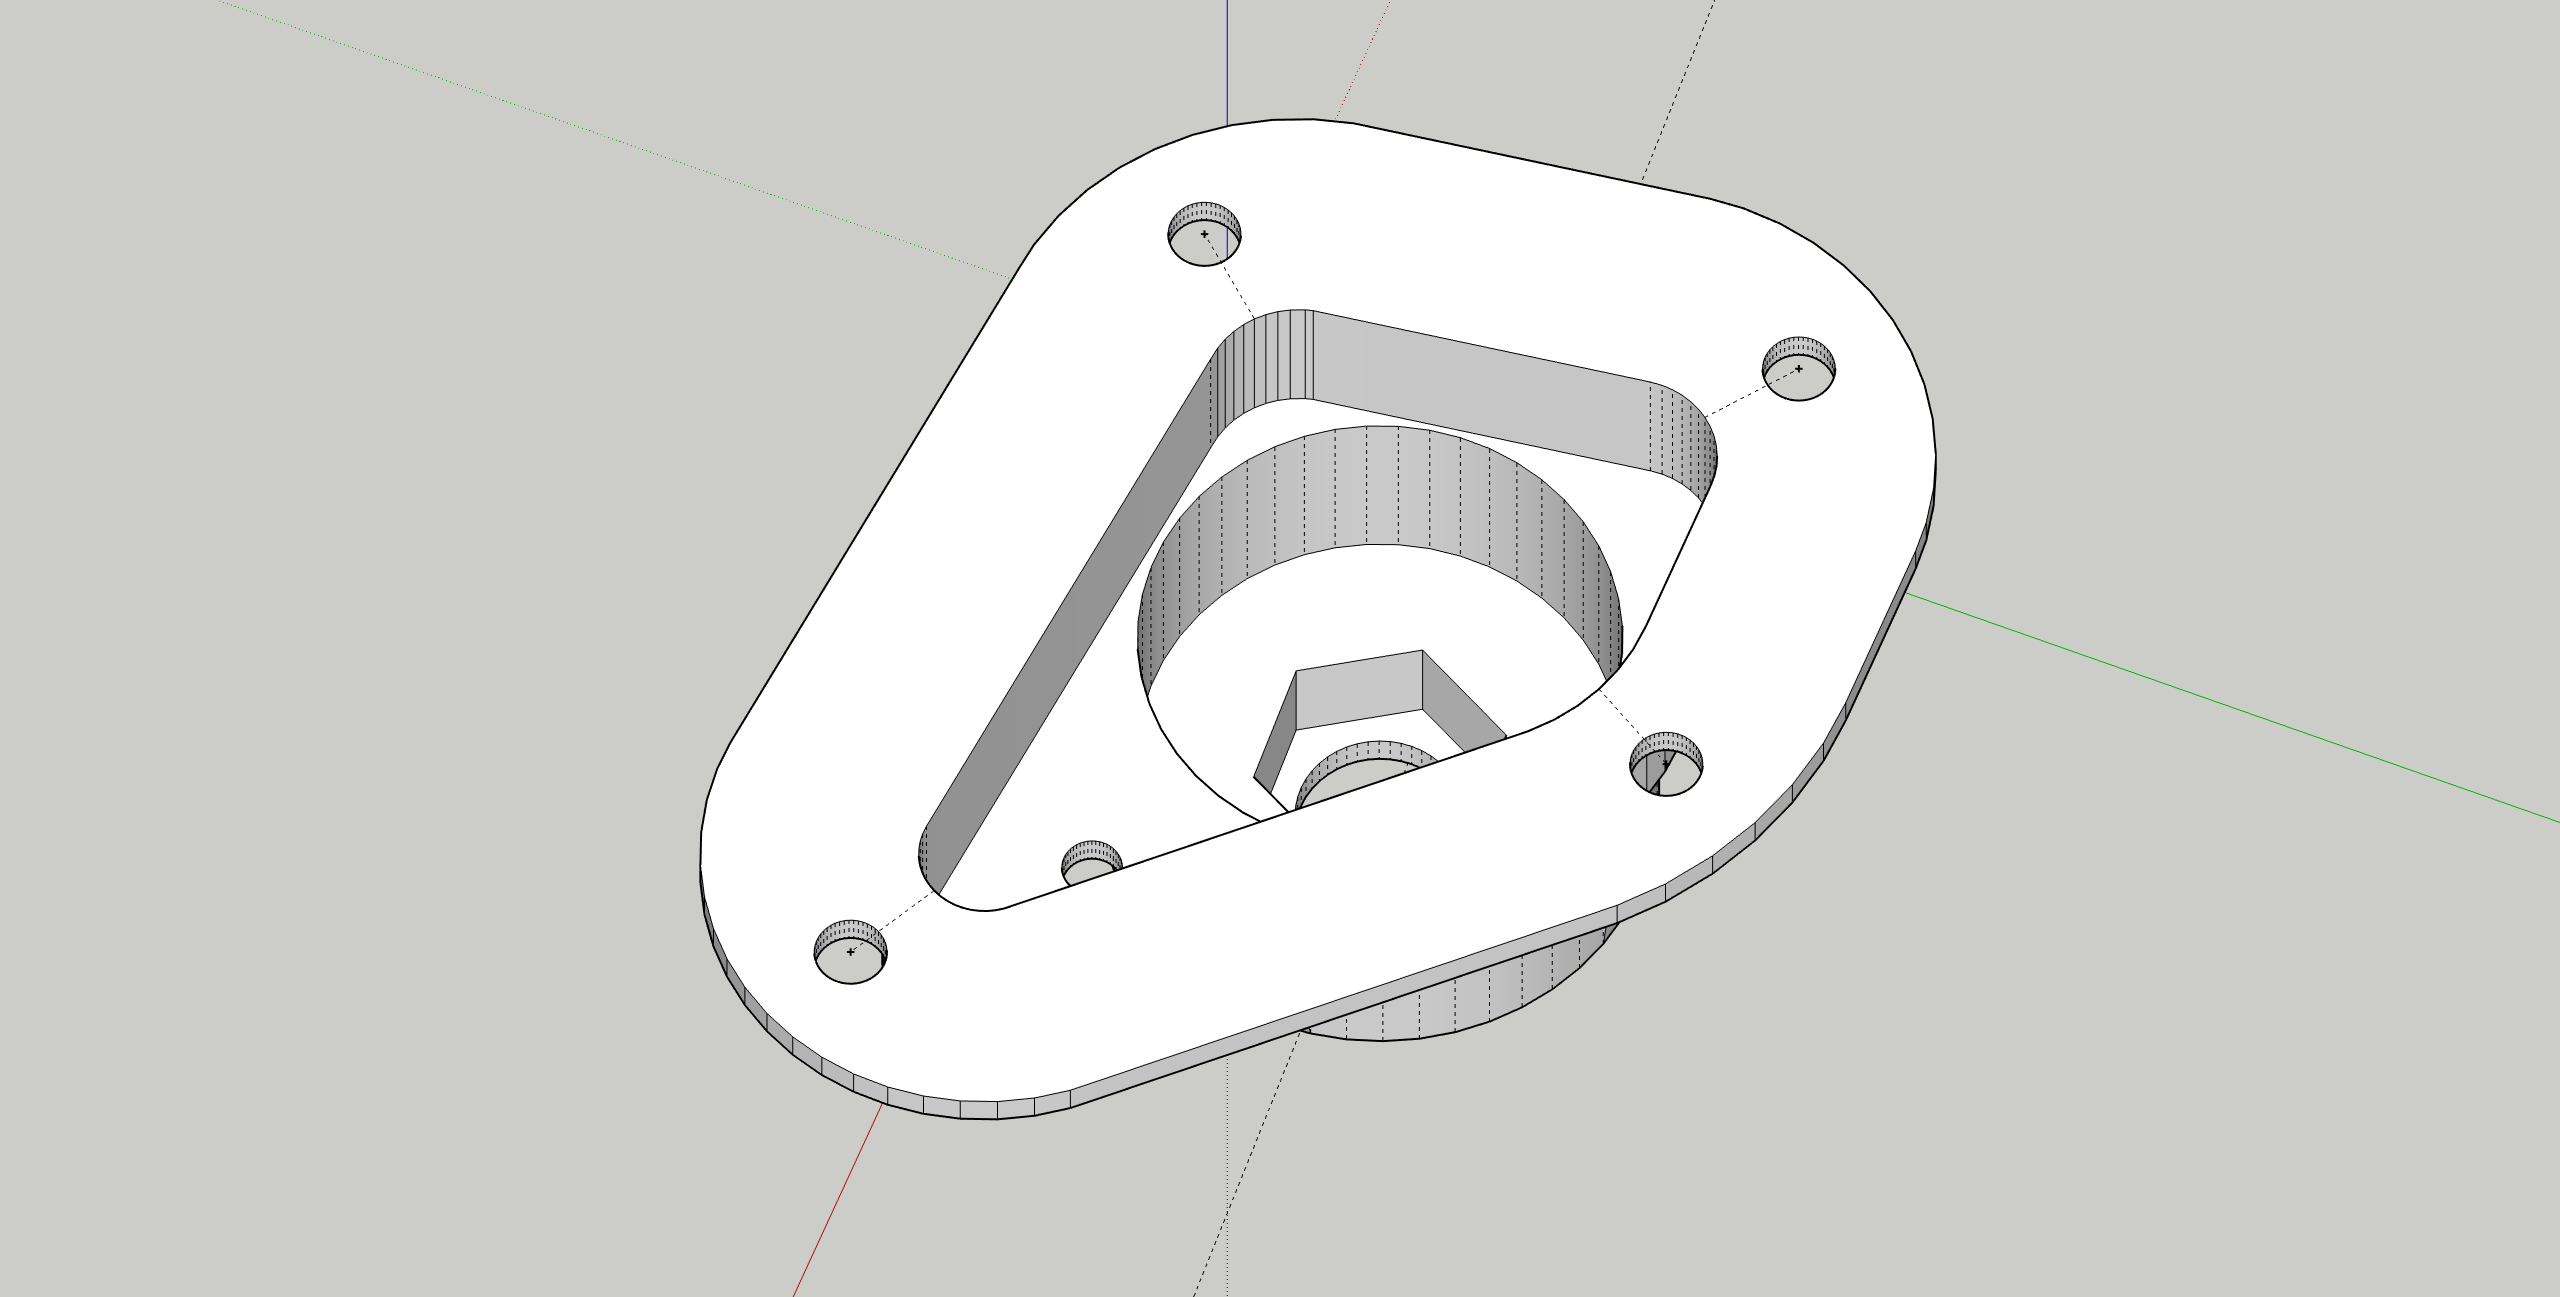
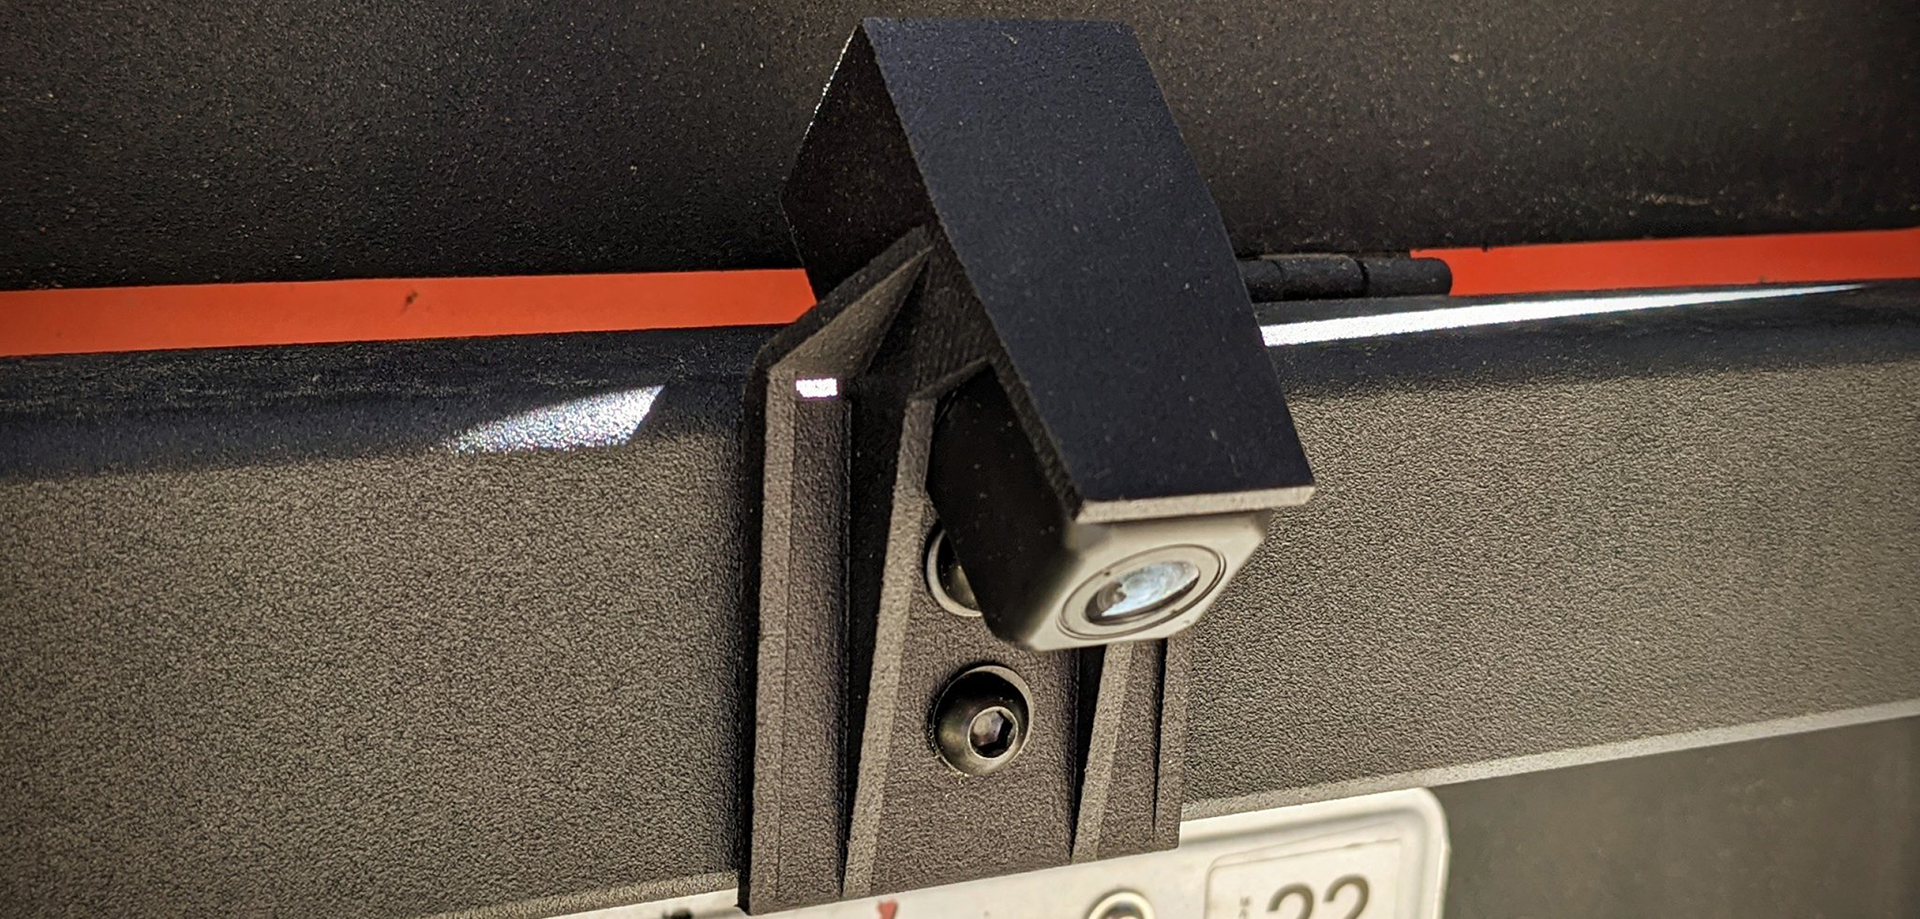
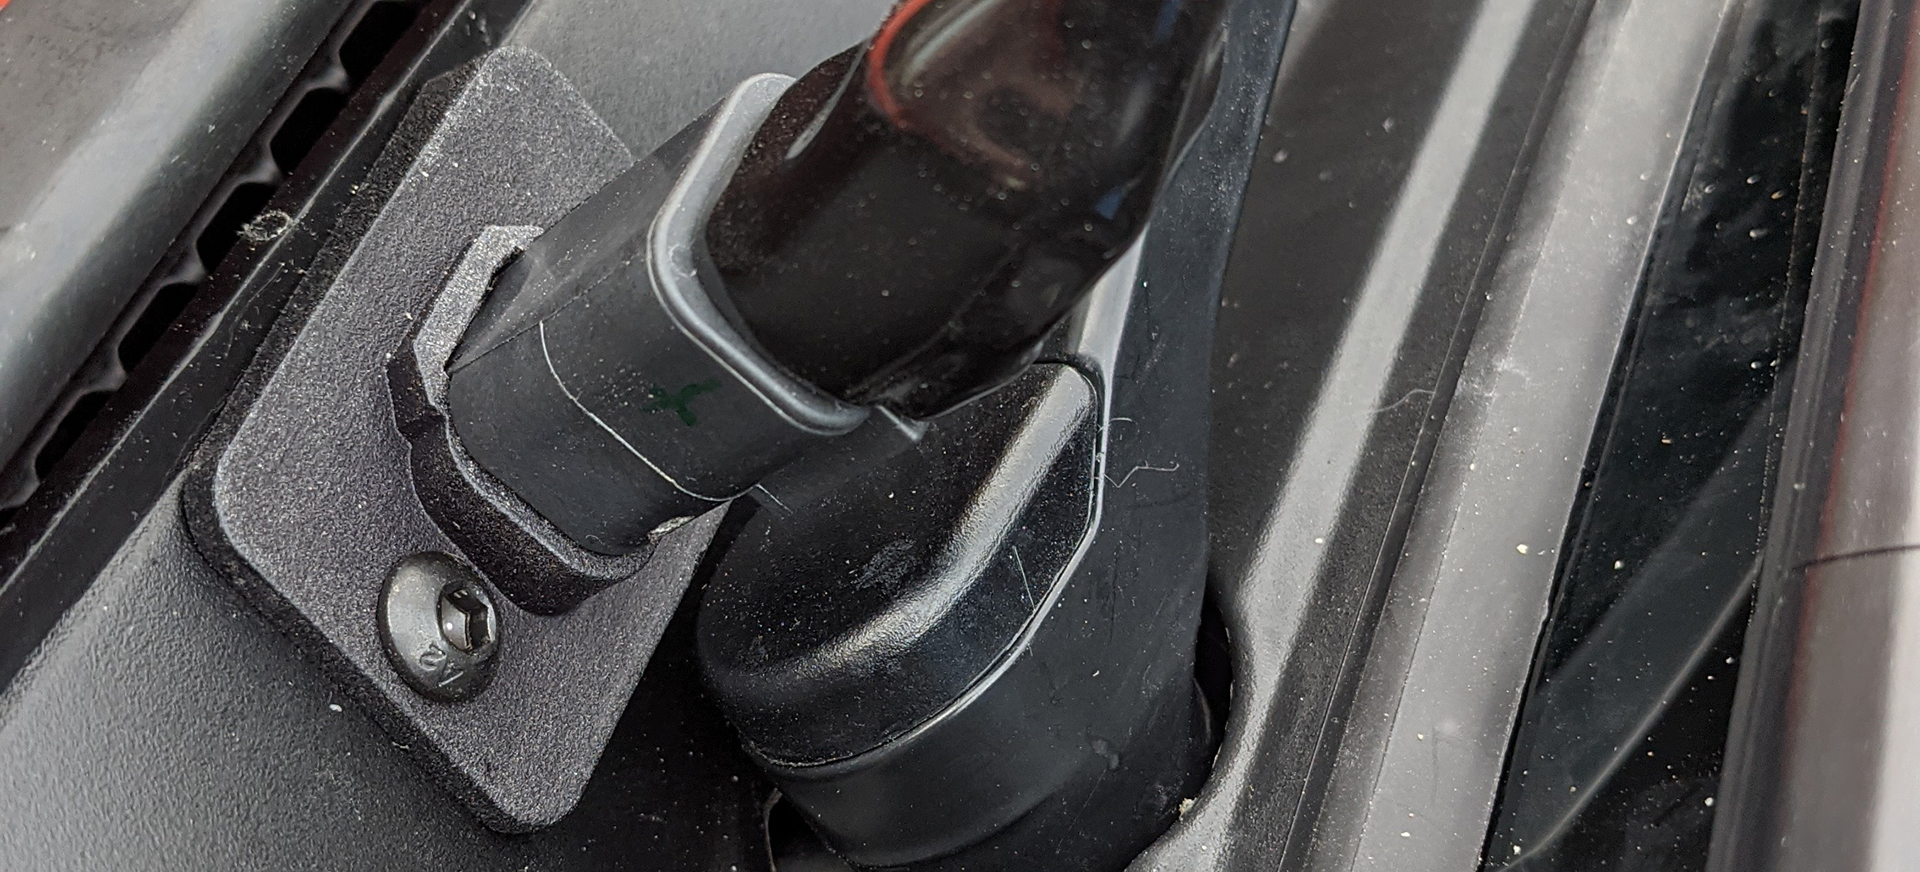
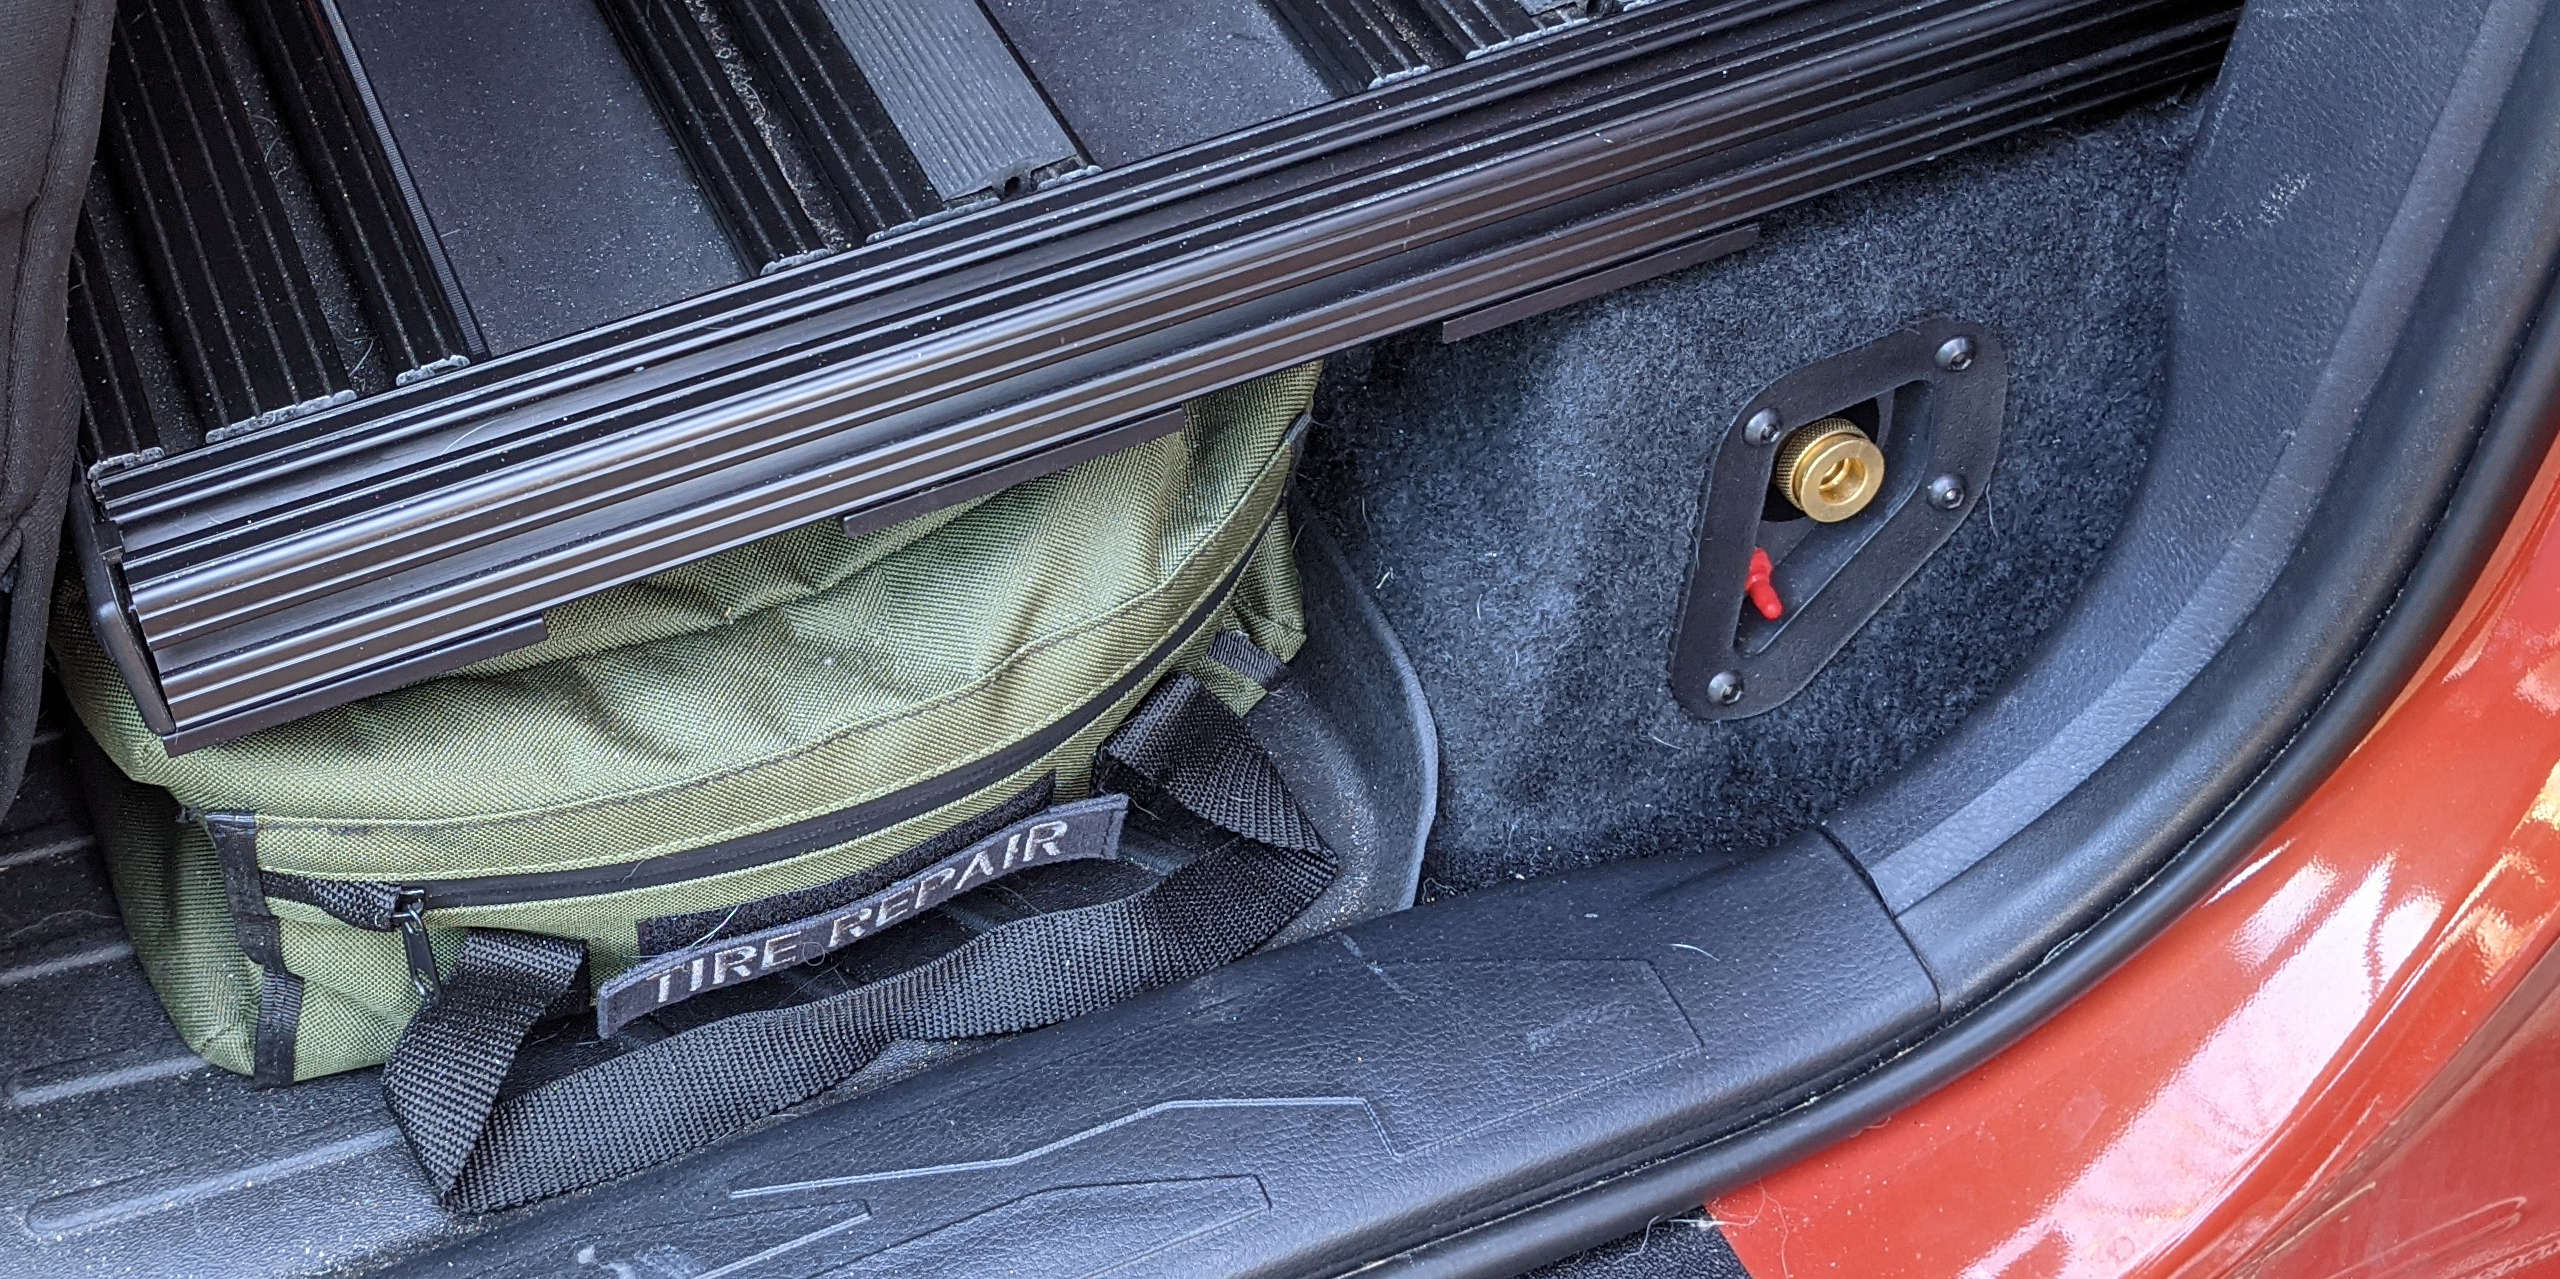
You need only time to start manufacturing your own parts
3D printing services will vary in costs, materials available, and limitations of the size of the printed object. Online CAD services will vary in the design of the user interface as well as the file formats available for download. Each have their own advantages and disadvantages. Including their location to take advantage of shipping time and/or currency exchange rates.
My current project is a sPOD SourceLT / universal mount for the engine bay of a Subaru Crosstrek. I don’t own a 3D Printer or CAD software. It, and everything I’ve designed and had manufactured, exists through using some of the services I’ve listed below. The lists are by far not exhaustive but they will help you get started.
3D Printing Services
- 3DPRINTUK – UK
- i.materialise – Belgium
- MakeXYZ – USA
- Protolabs – USA
- Sculpteo – France
- Shapways – Holland / USA
- Stratasys Direct – USA
- Xometry – USA
I’ve used Sculpteo and Shapeways printing services. Both are similar in printing materials available and in price with Sculpteo being less expensive than Shapeways with some materials. Of the browser-based CAD programs I’ve only used Sketchup. Mostly because I’ve used it since Google acquired (and later sold) the original creator @Last Software and all its quirks are familiar to me.
Further Reading
- Meet the Maker – Covers the TAZ 6 3D Printing machine and some of the parts created at home to improve and/or repair gear.
- Meet the Maker Part II – Continues with creating a GoPro magnetic mount.
- DIY: The Ultimate Headlamp (Or Practically Anywhere Lamp) – Using a Baja Designs S2 Pro. 3D printer files are available in the article.
- Hack The Pandemic – Supporting Healthcare and Law Enforcement professionals by manufacturing PPE equipment in your home via 3D printing.
We want your input
We invite you to participate and constructively contribute. Are you using a different online service that’s not listed here that you want to recommend? Let us and the readers know by joining our community.
FULL DISCLOSURE: The products and services mentioned in this article were paid for by the author.


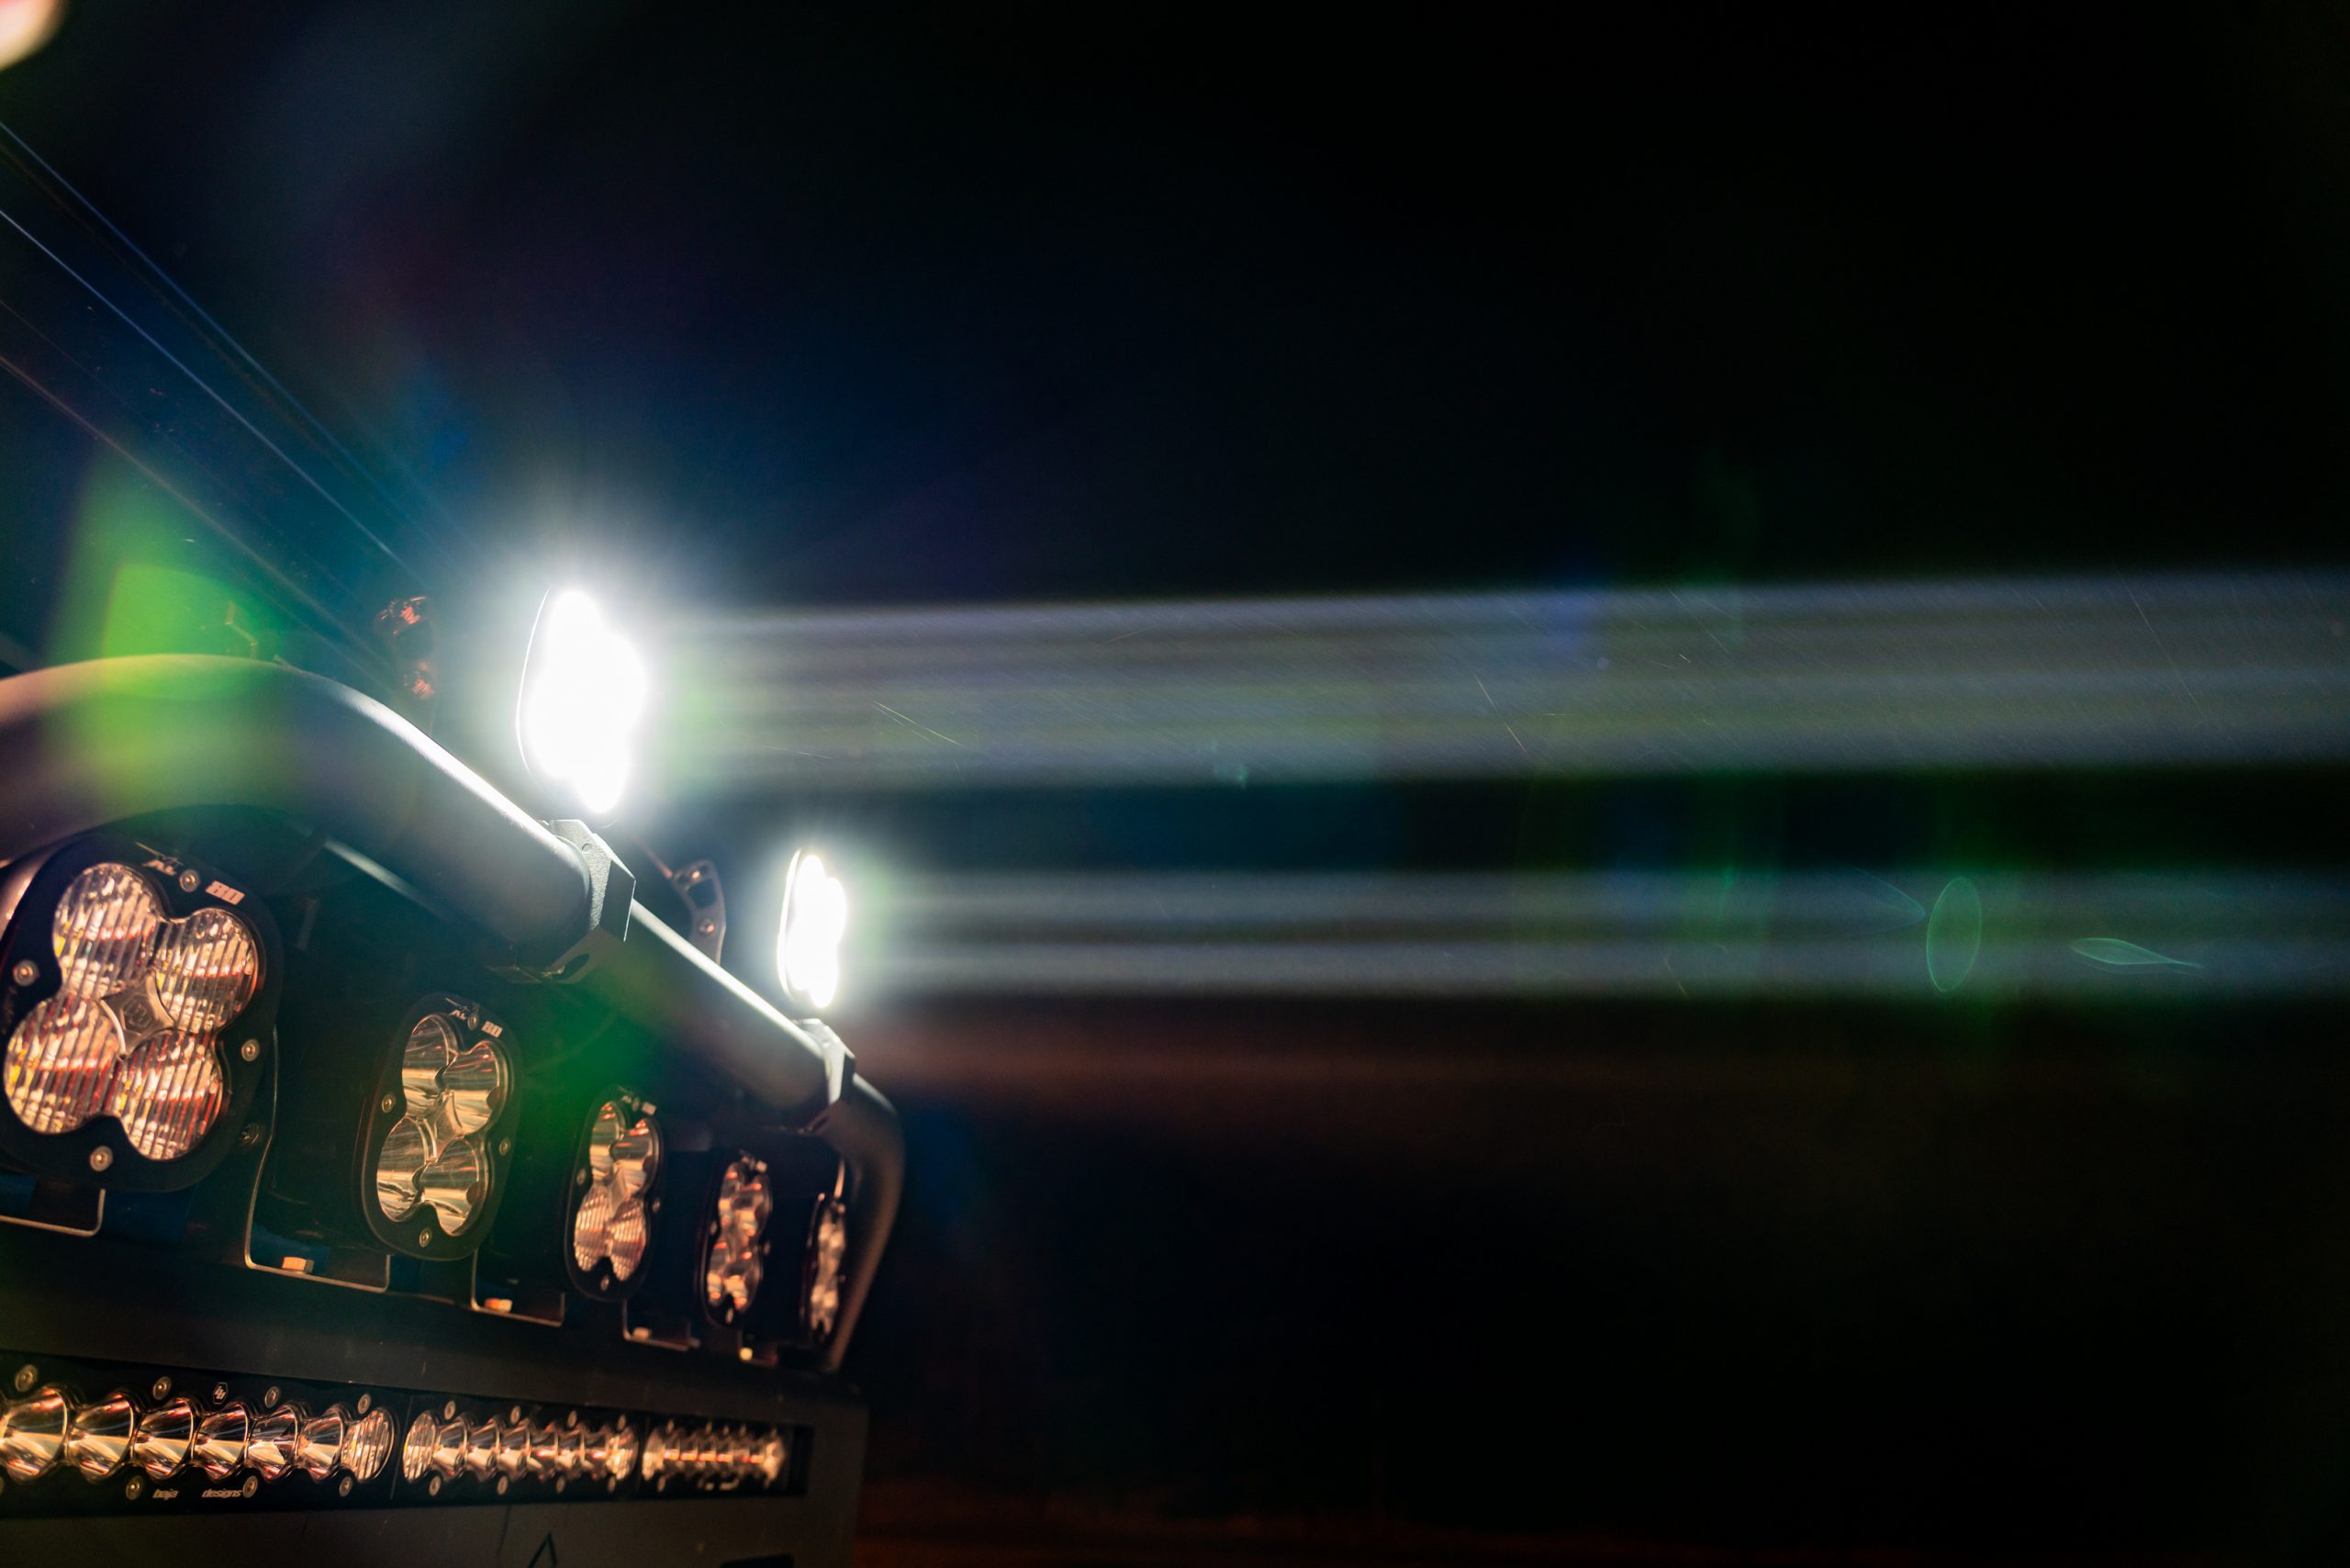
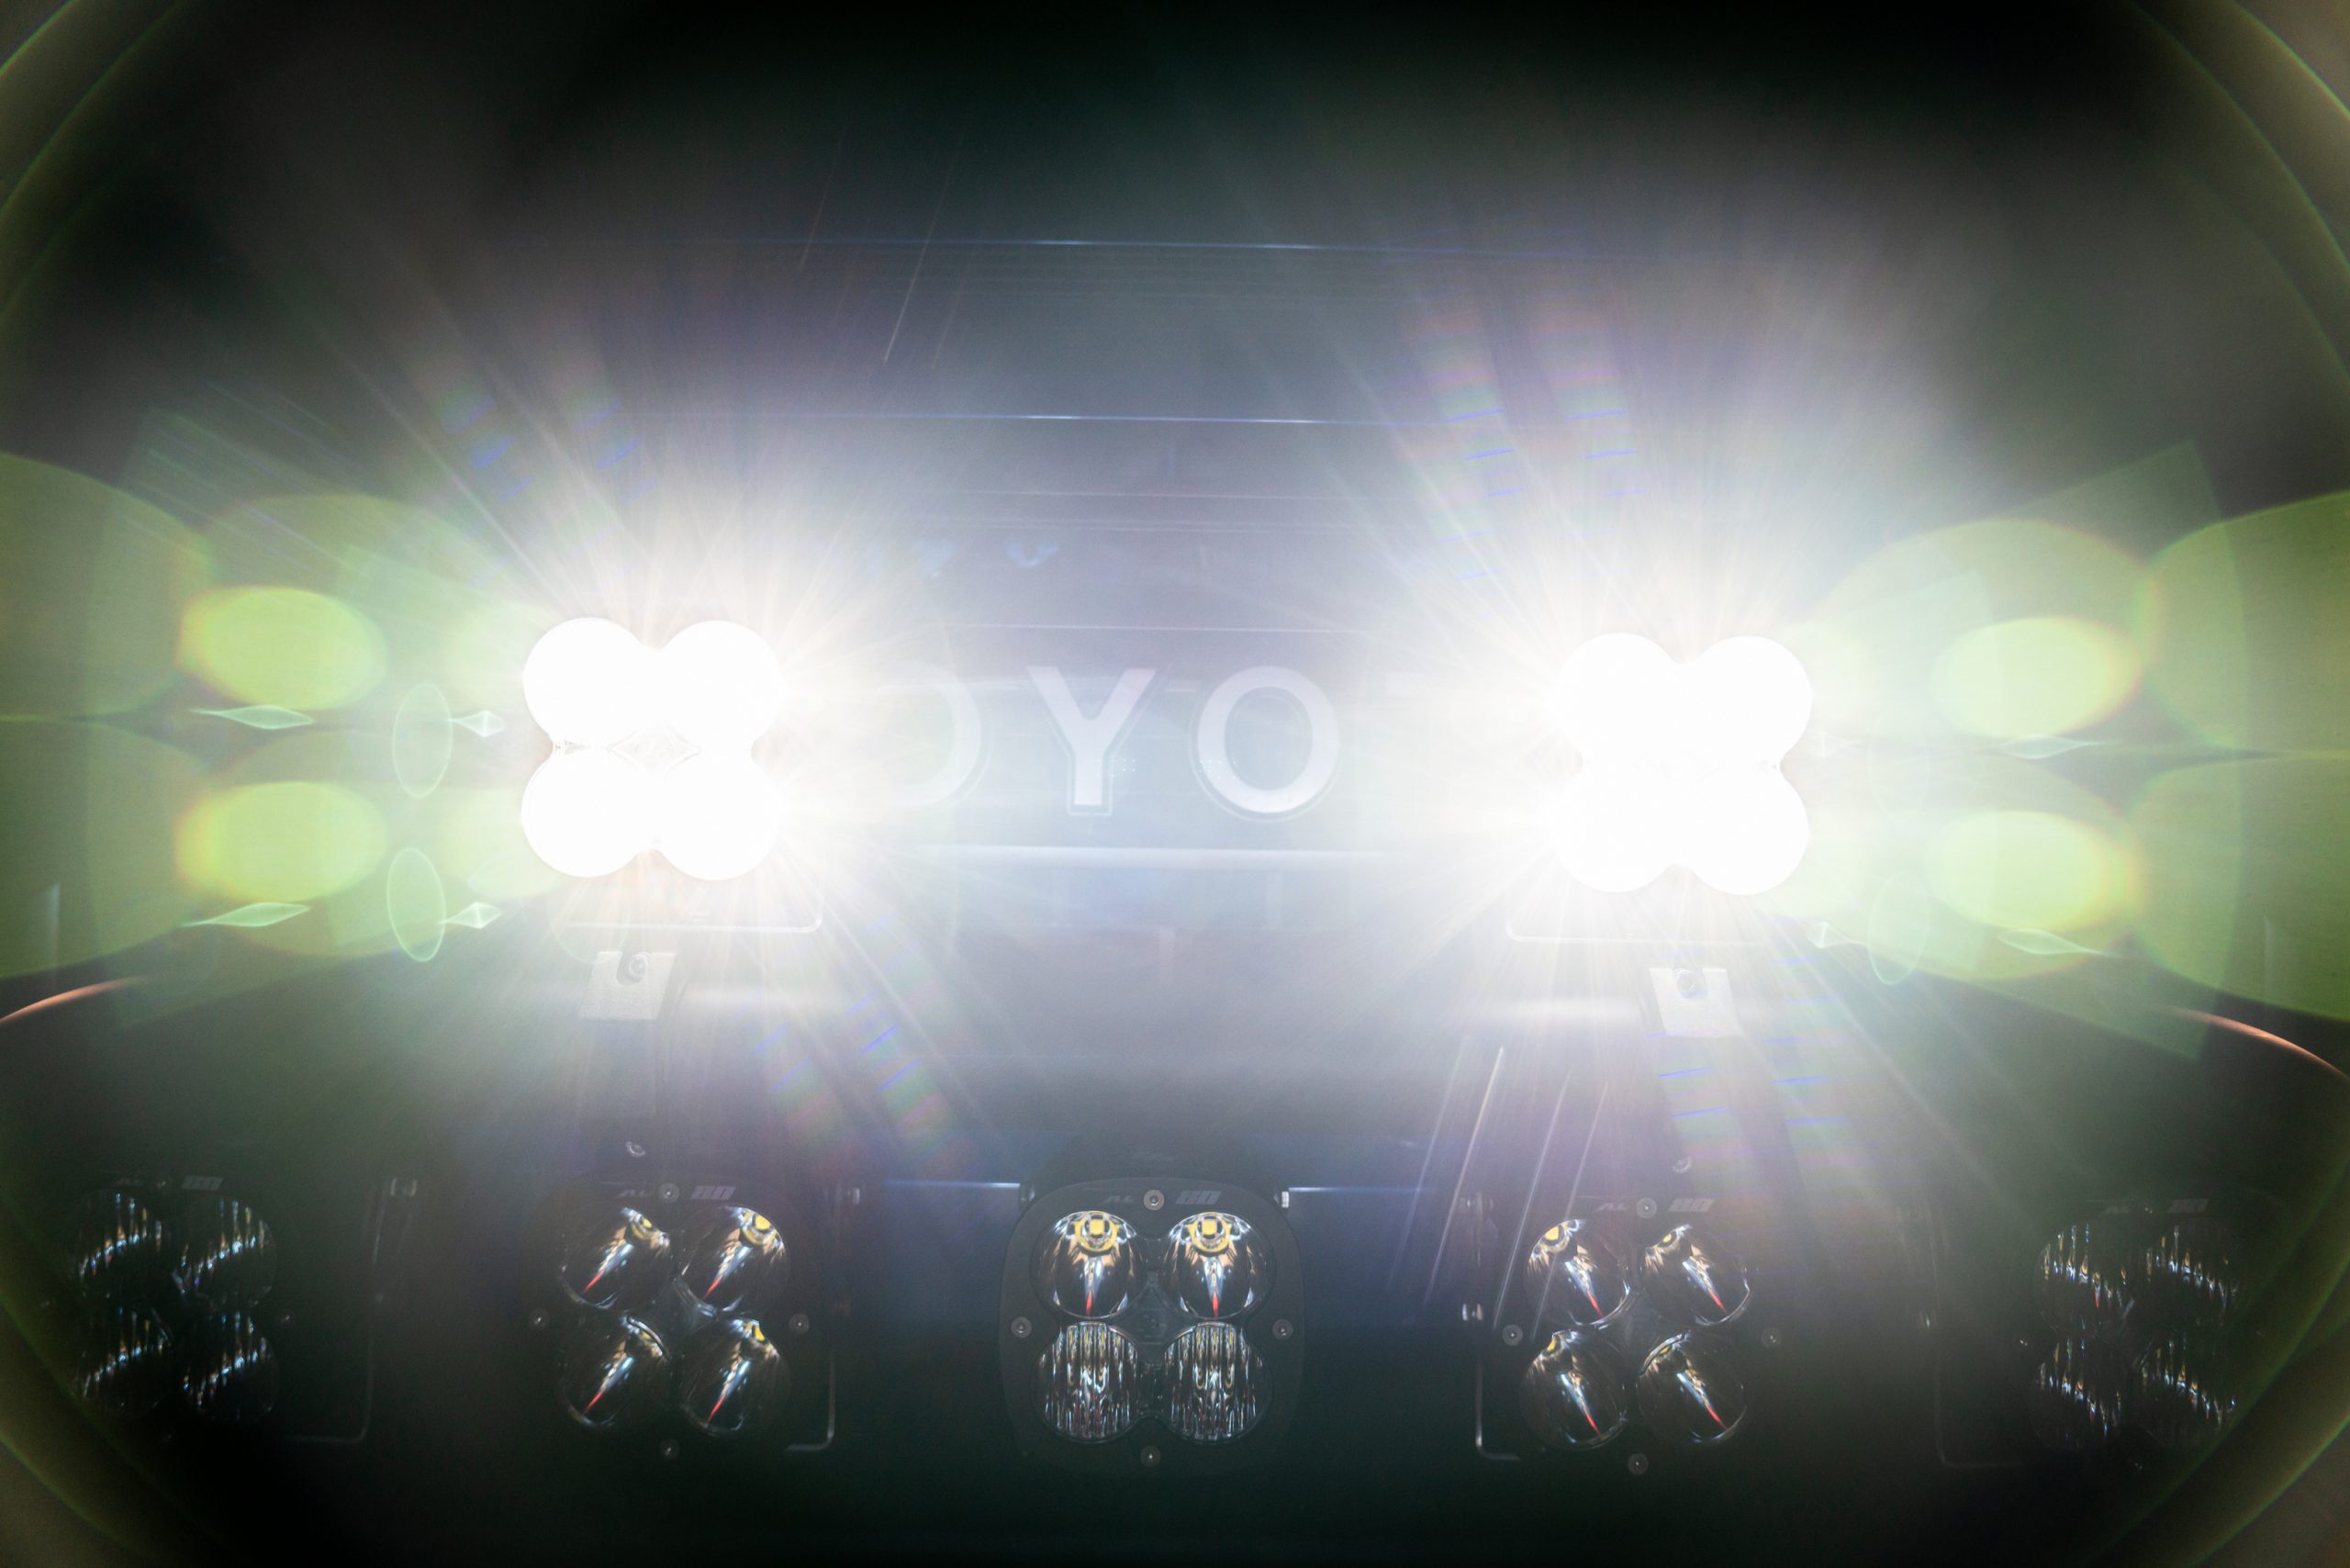
 To understand how Baja Designs laser lights work, it’s helpful to have an idea of how LED lights work. LED stands for Light Emitting Diode, and this particular type of diode emits light as a result of current being applied to the diode, where lost energy from electron flow creates photons of light. LED diodes can be engineered using different materials to create different colors of light, which is how red/green/blue (RGB) LEDs are made. Getting the light output from the LED chip into a beam of usable light is done with the help of reflectors that aim the beam, and lens covers that can either refract the light to create a dispersed flood-pattern beam, or simply allow the light to pass through, creating a spot beam. Baja Designs’ approach to LED light design is very diverse in that many of their lights can be reconfigured from a spot light to a flood light, or a combo of both just by swapping the lens cover.
 A Baja Designs laser light works by using a pair of tiny semiconductor lasers that emit blue laser light onto a fancy material called a phosphor that reflects the beam and changes the blue light into a white light. Since the laser diodes are super-tiny to begin with, the spot-beam of light they emit onto the phosphor is tiny – smaller than half a millimeter. This tiny phosphor reflects a tiny beam of white light, and by using a similar reflector and spot-pattern lens cover, Baja Designs created a light that can shoot a hyper focused beam over incredible distances. And now you know why The Scientists of Lighting is a very apt title. Sorry for all of the tech talk, but it’s important to know that when BD says laser lights, they’re actually talking about light created from semiconductor lasers, and not just trying to put cool marketing terms on things. Laser lights are a thing – and seeing them at work is stunning.


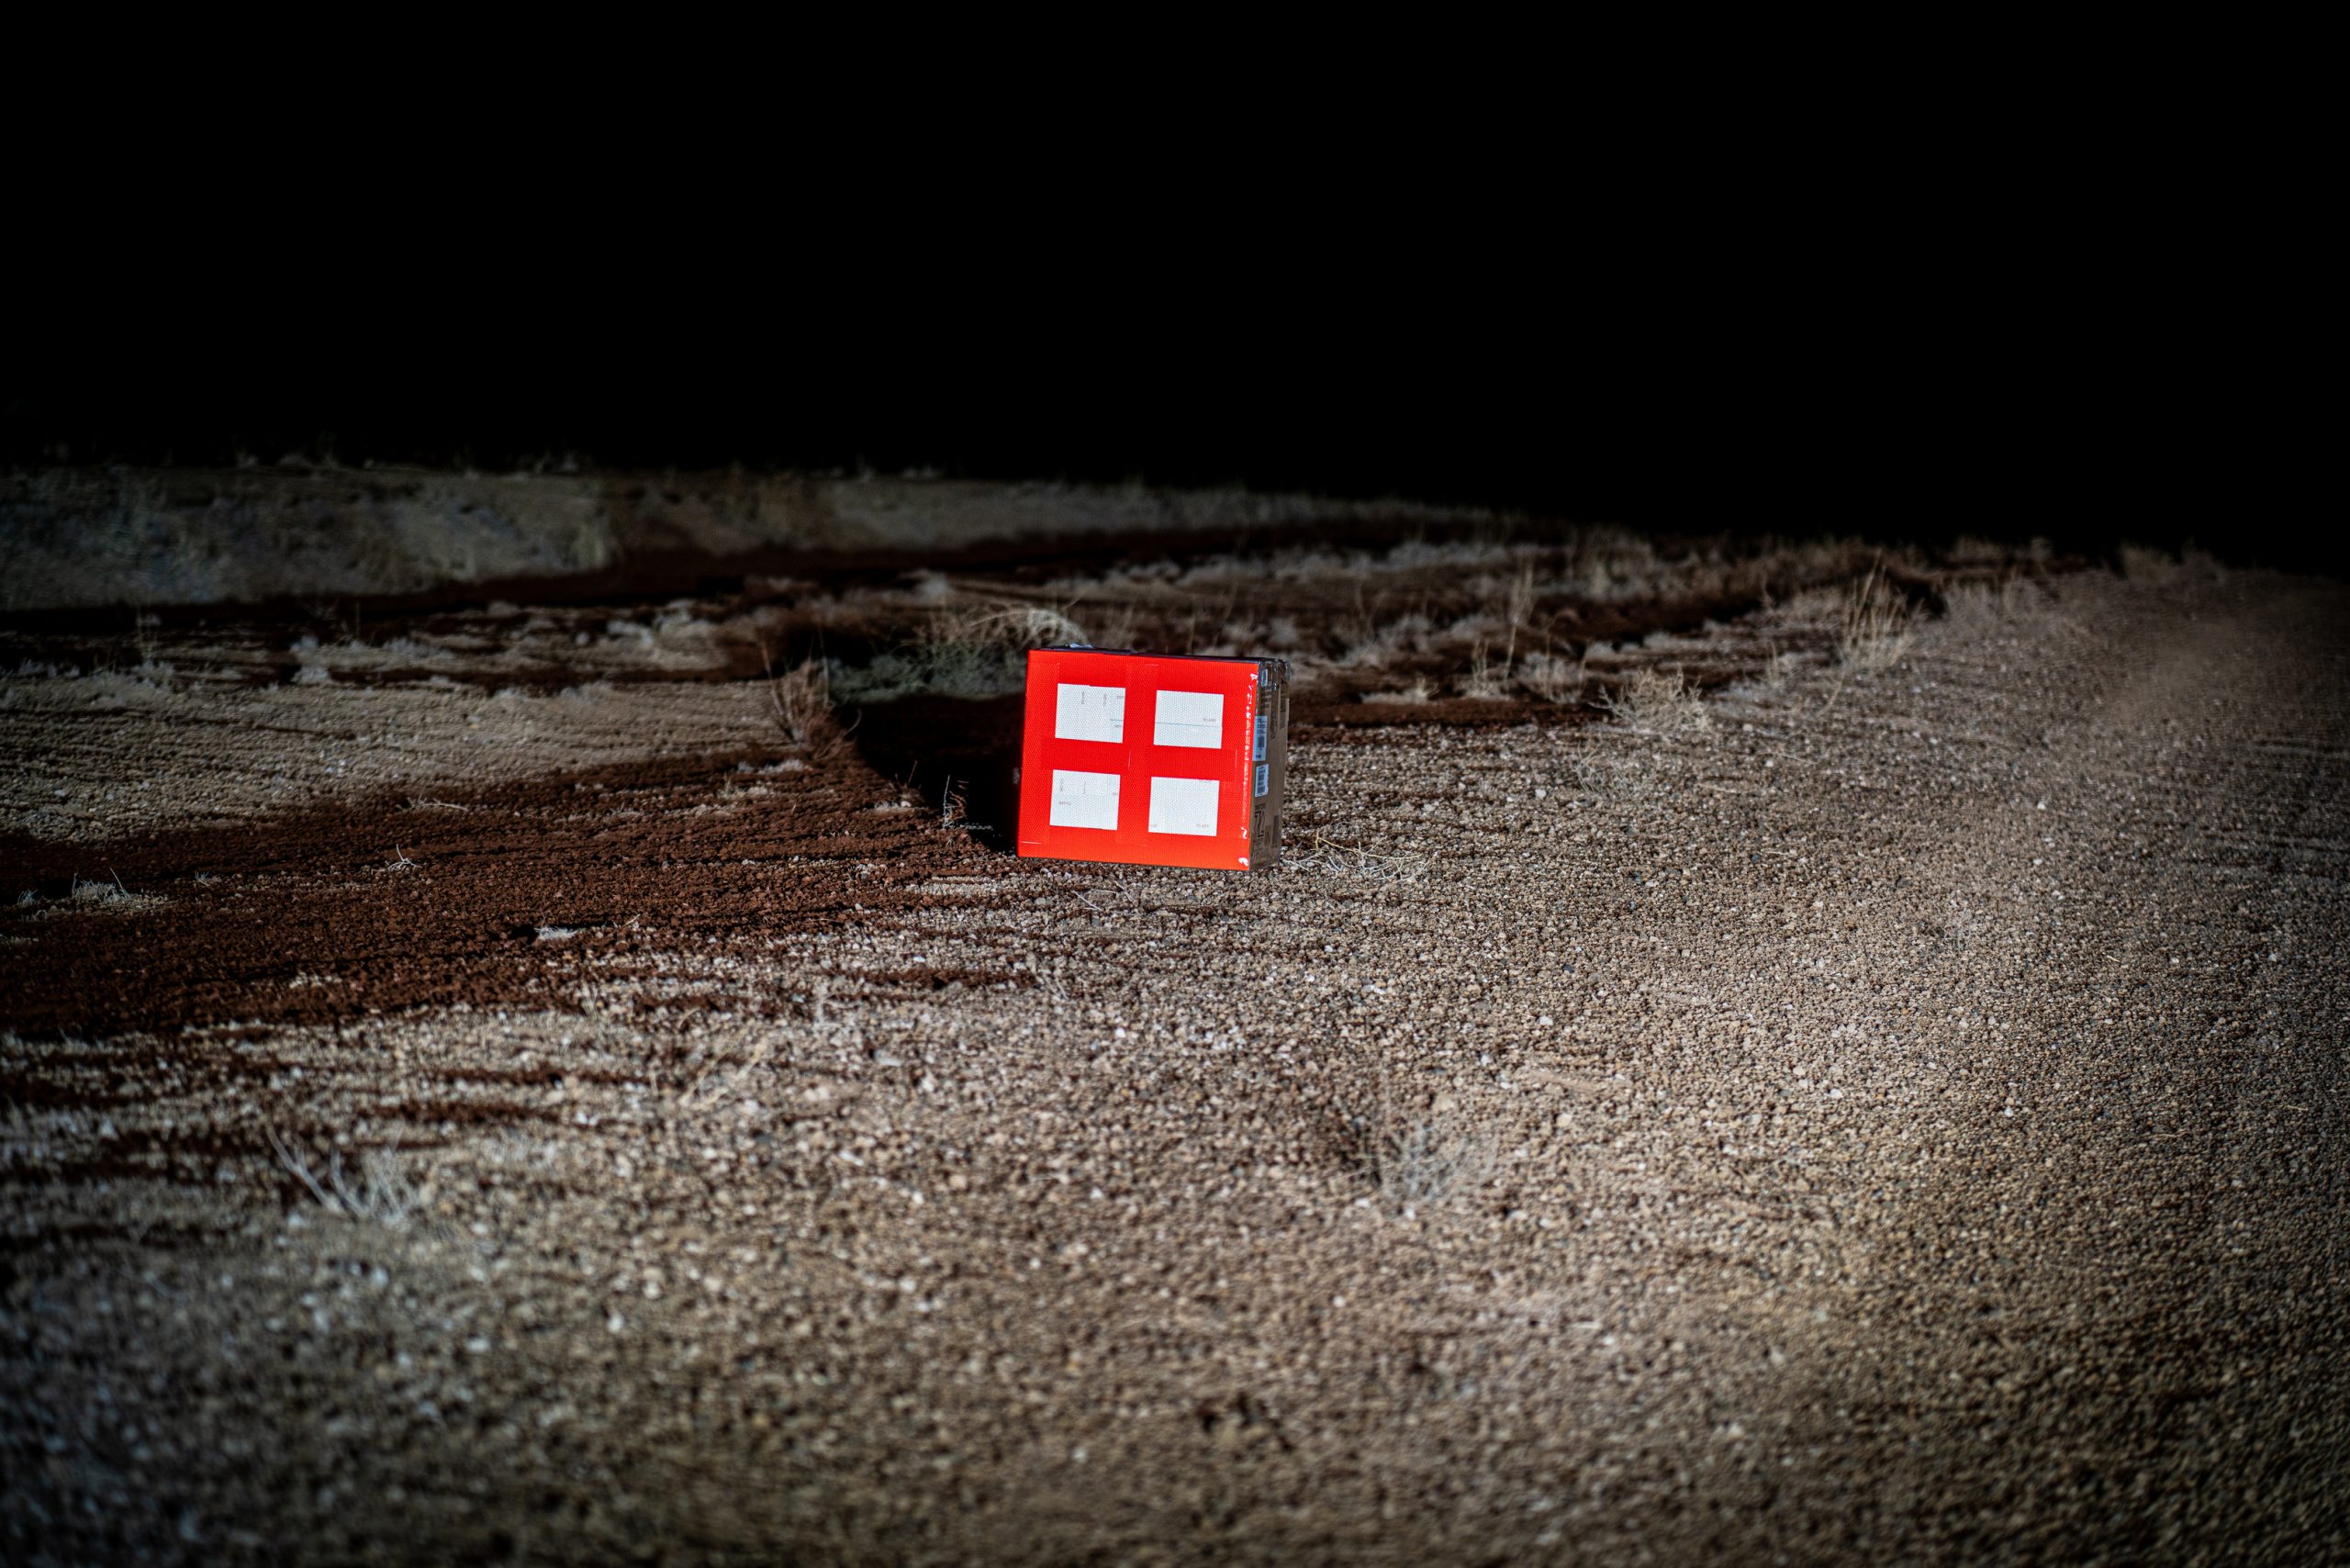
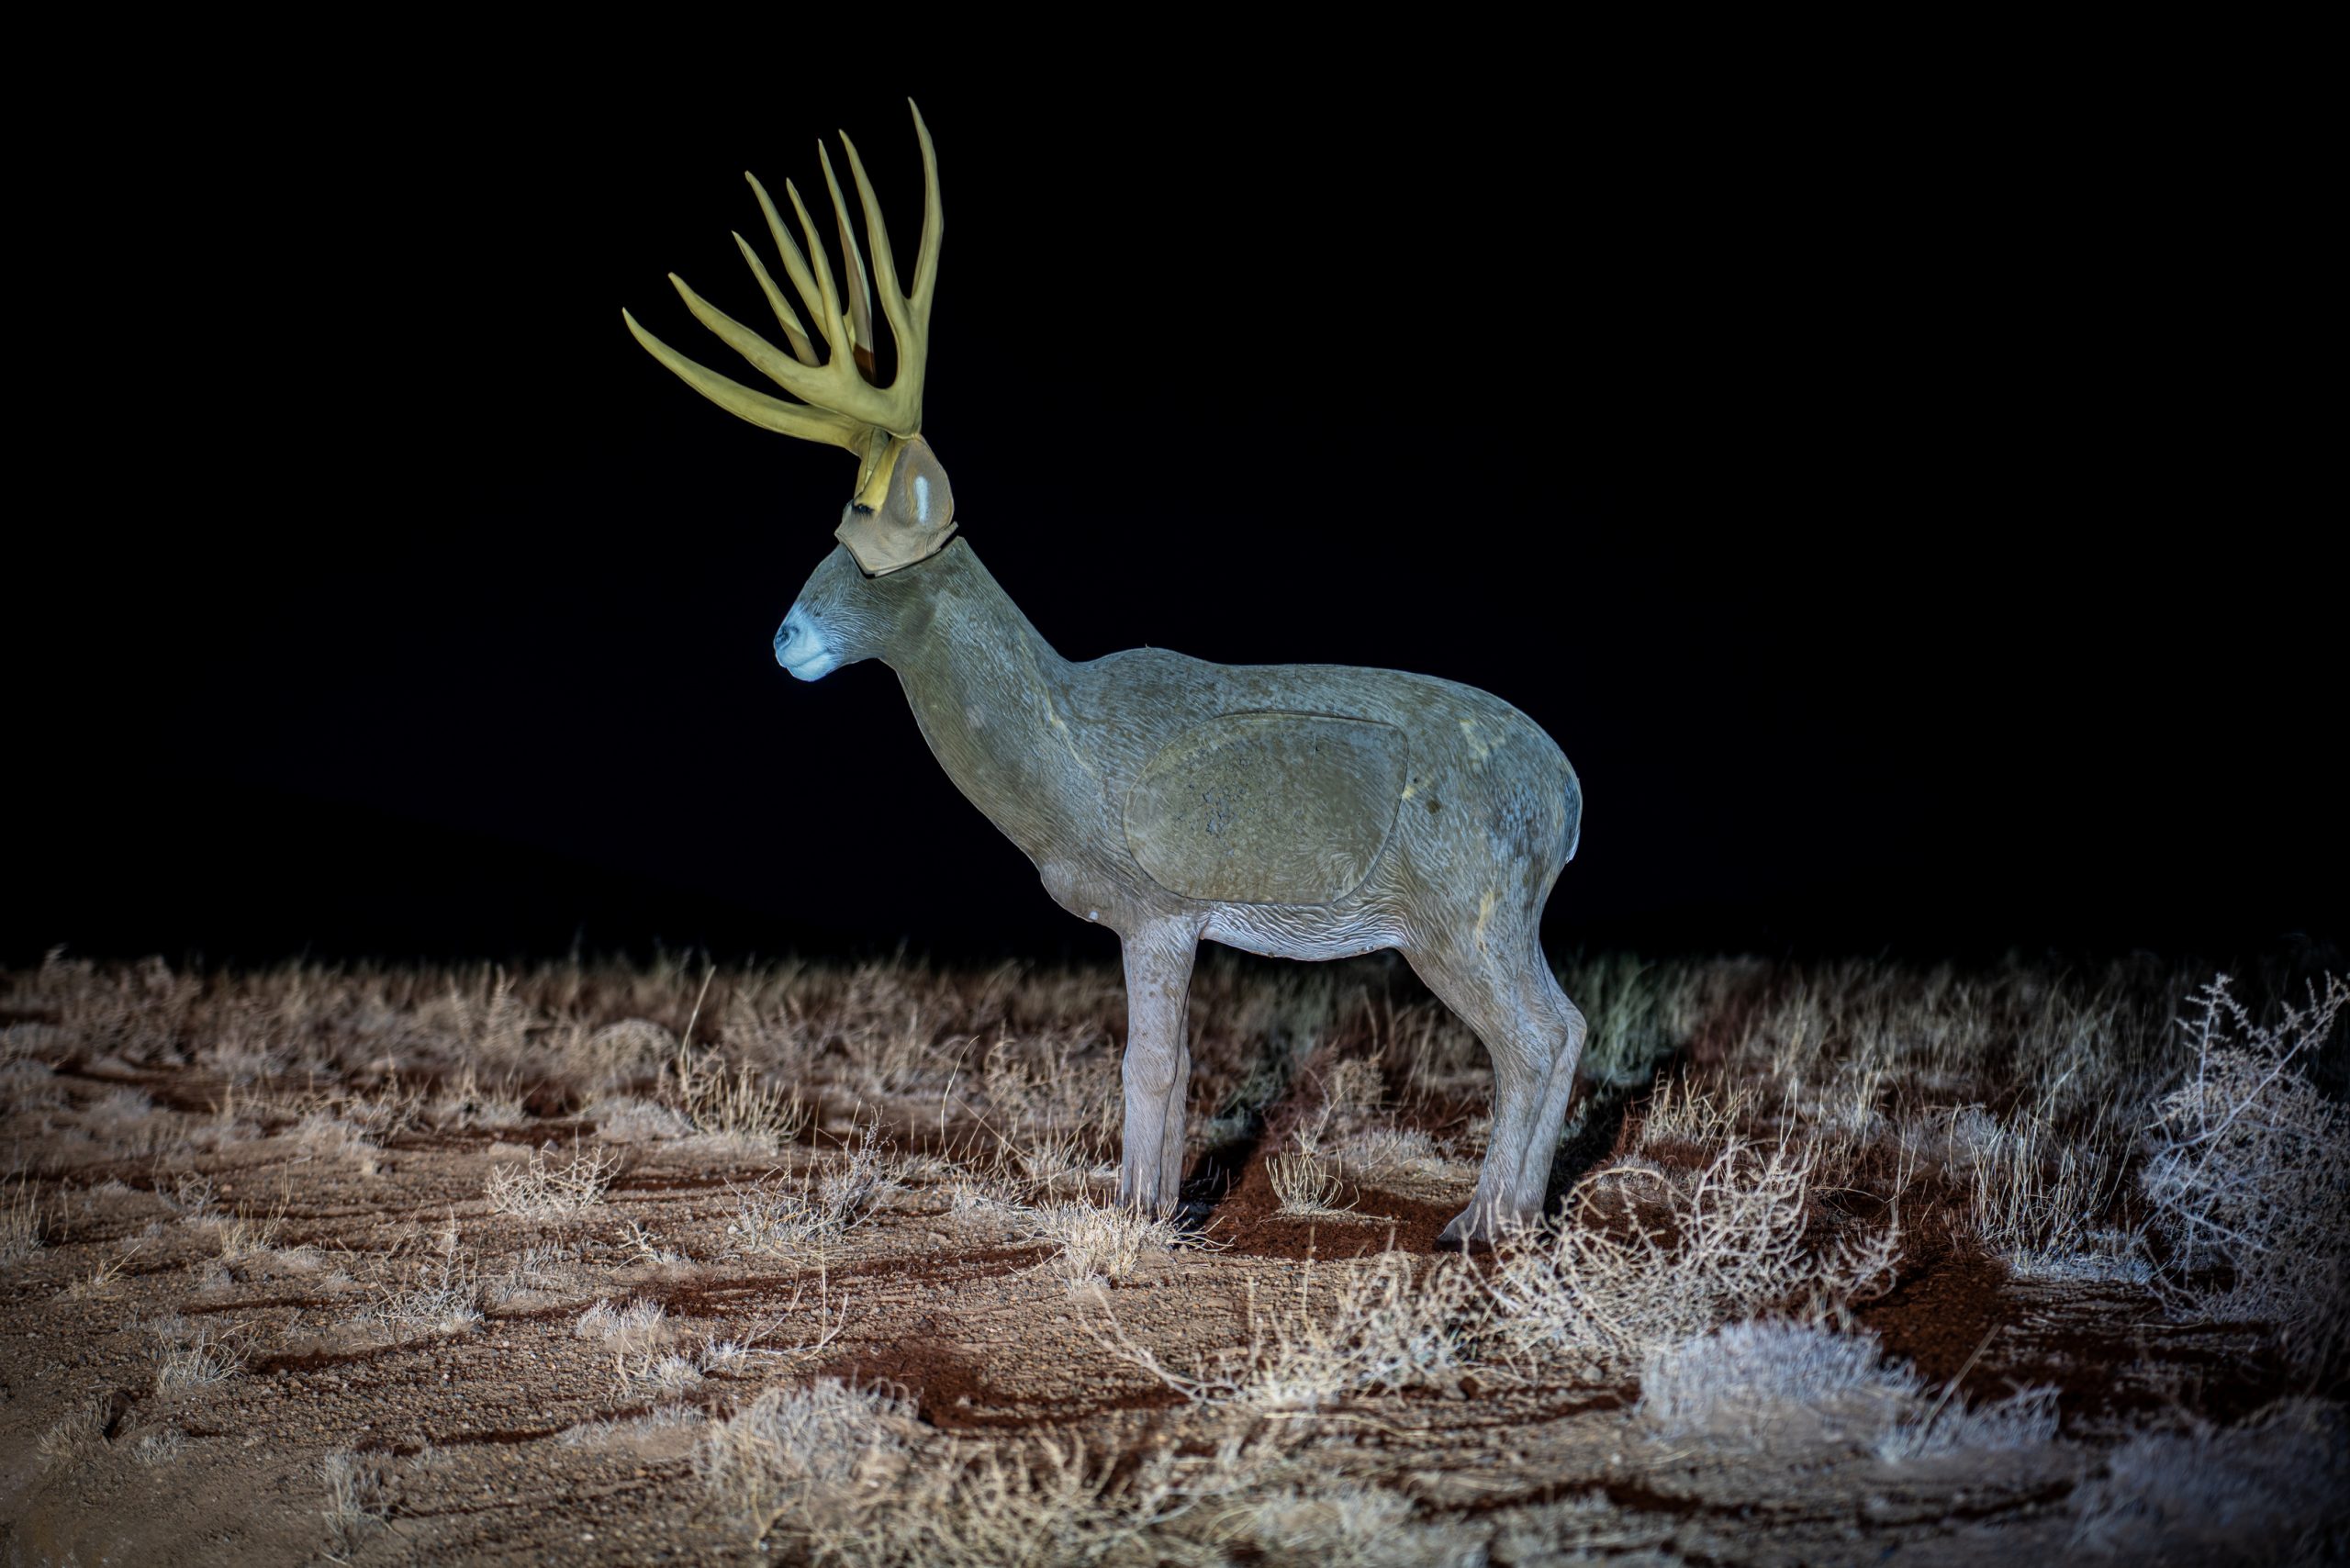
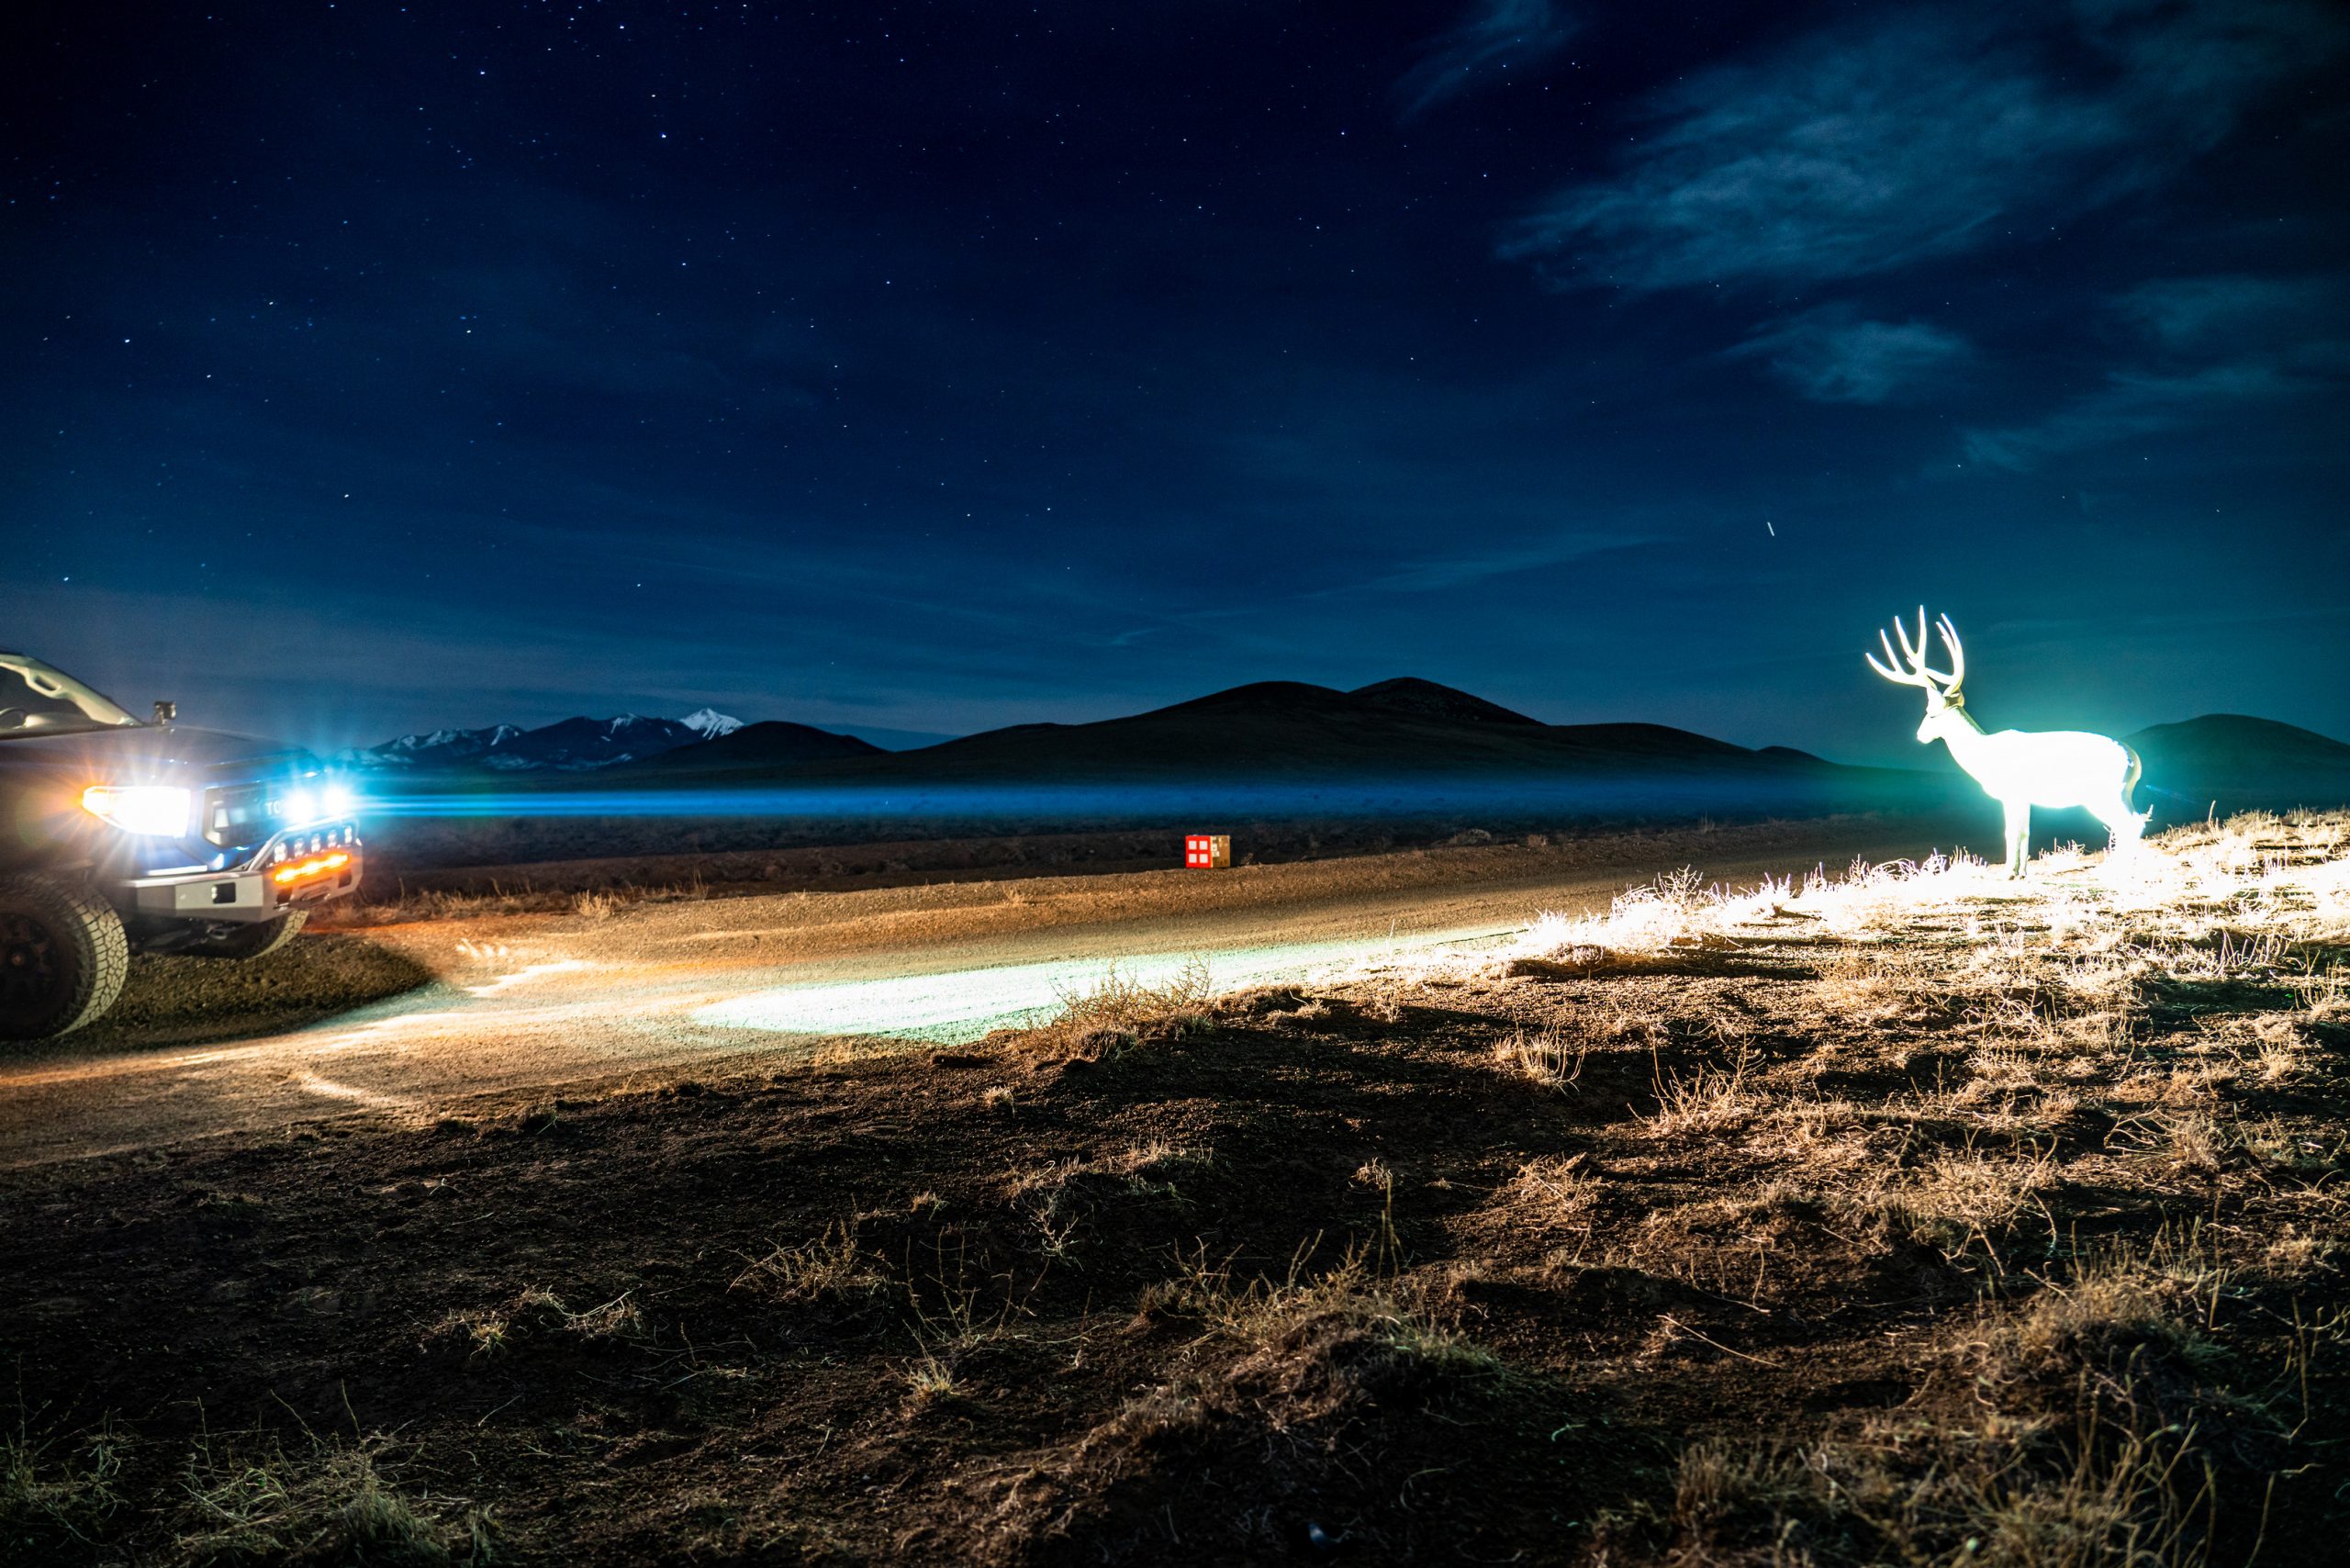
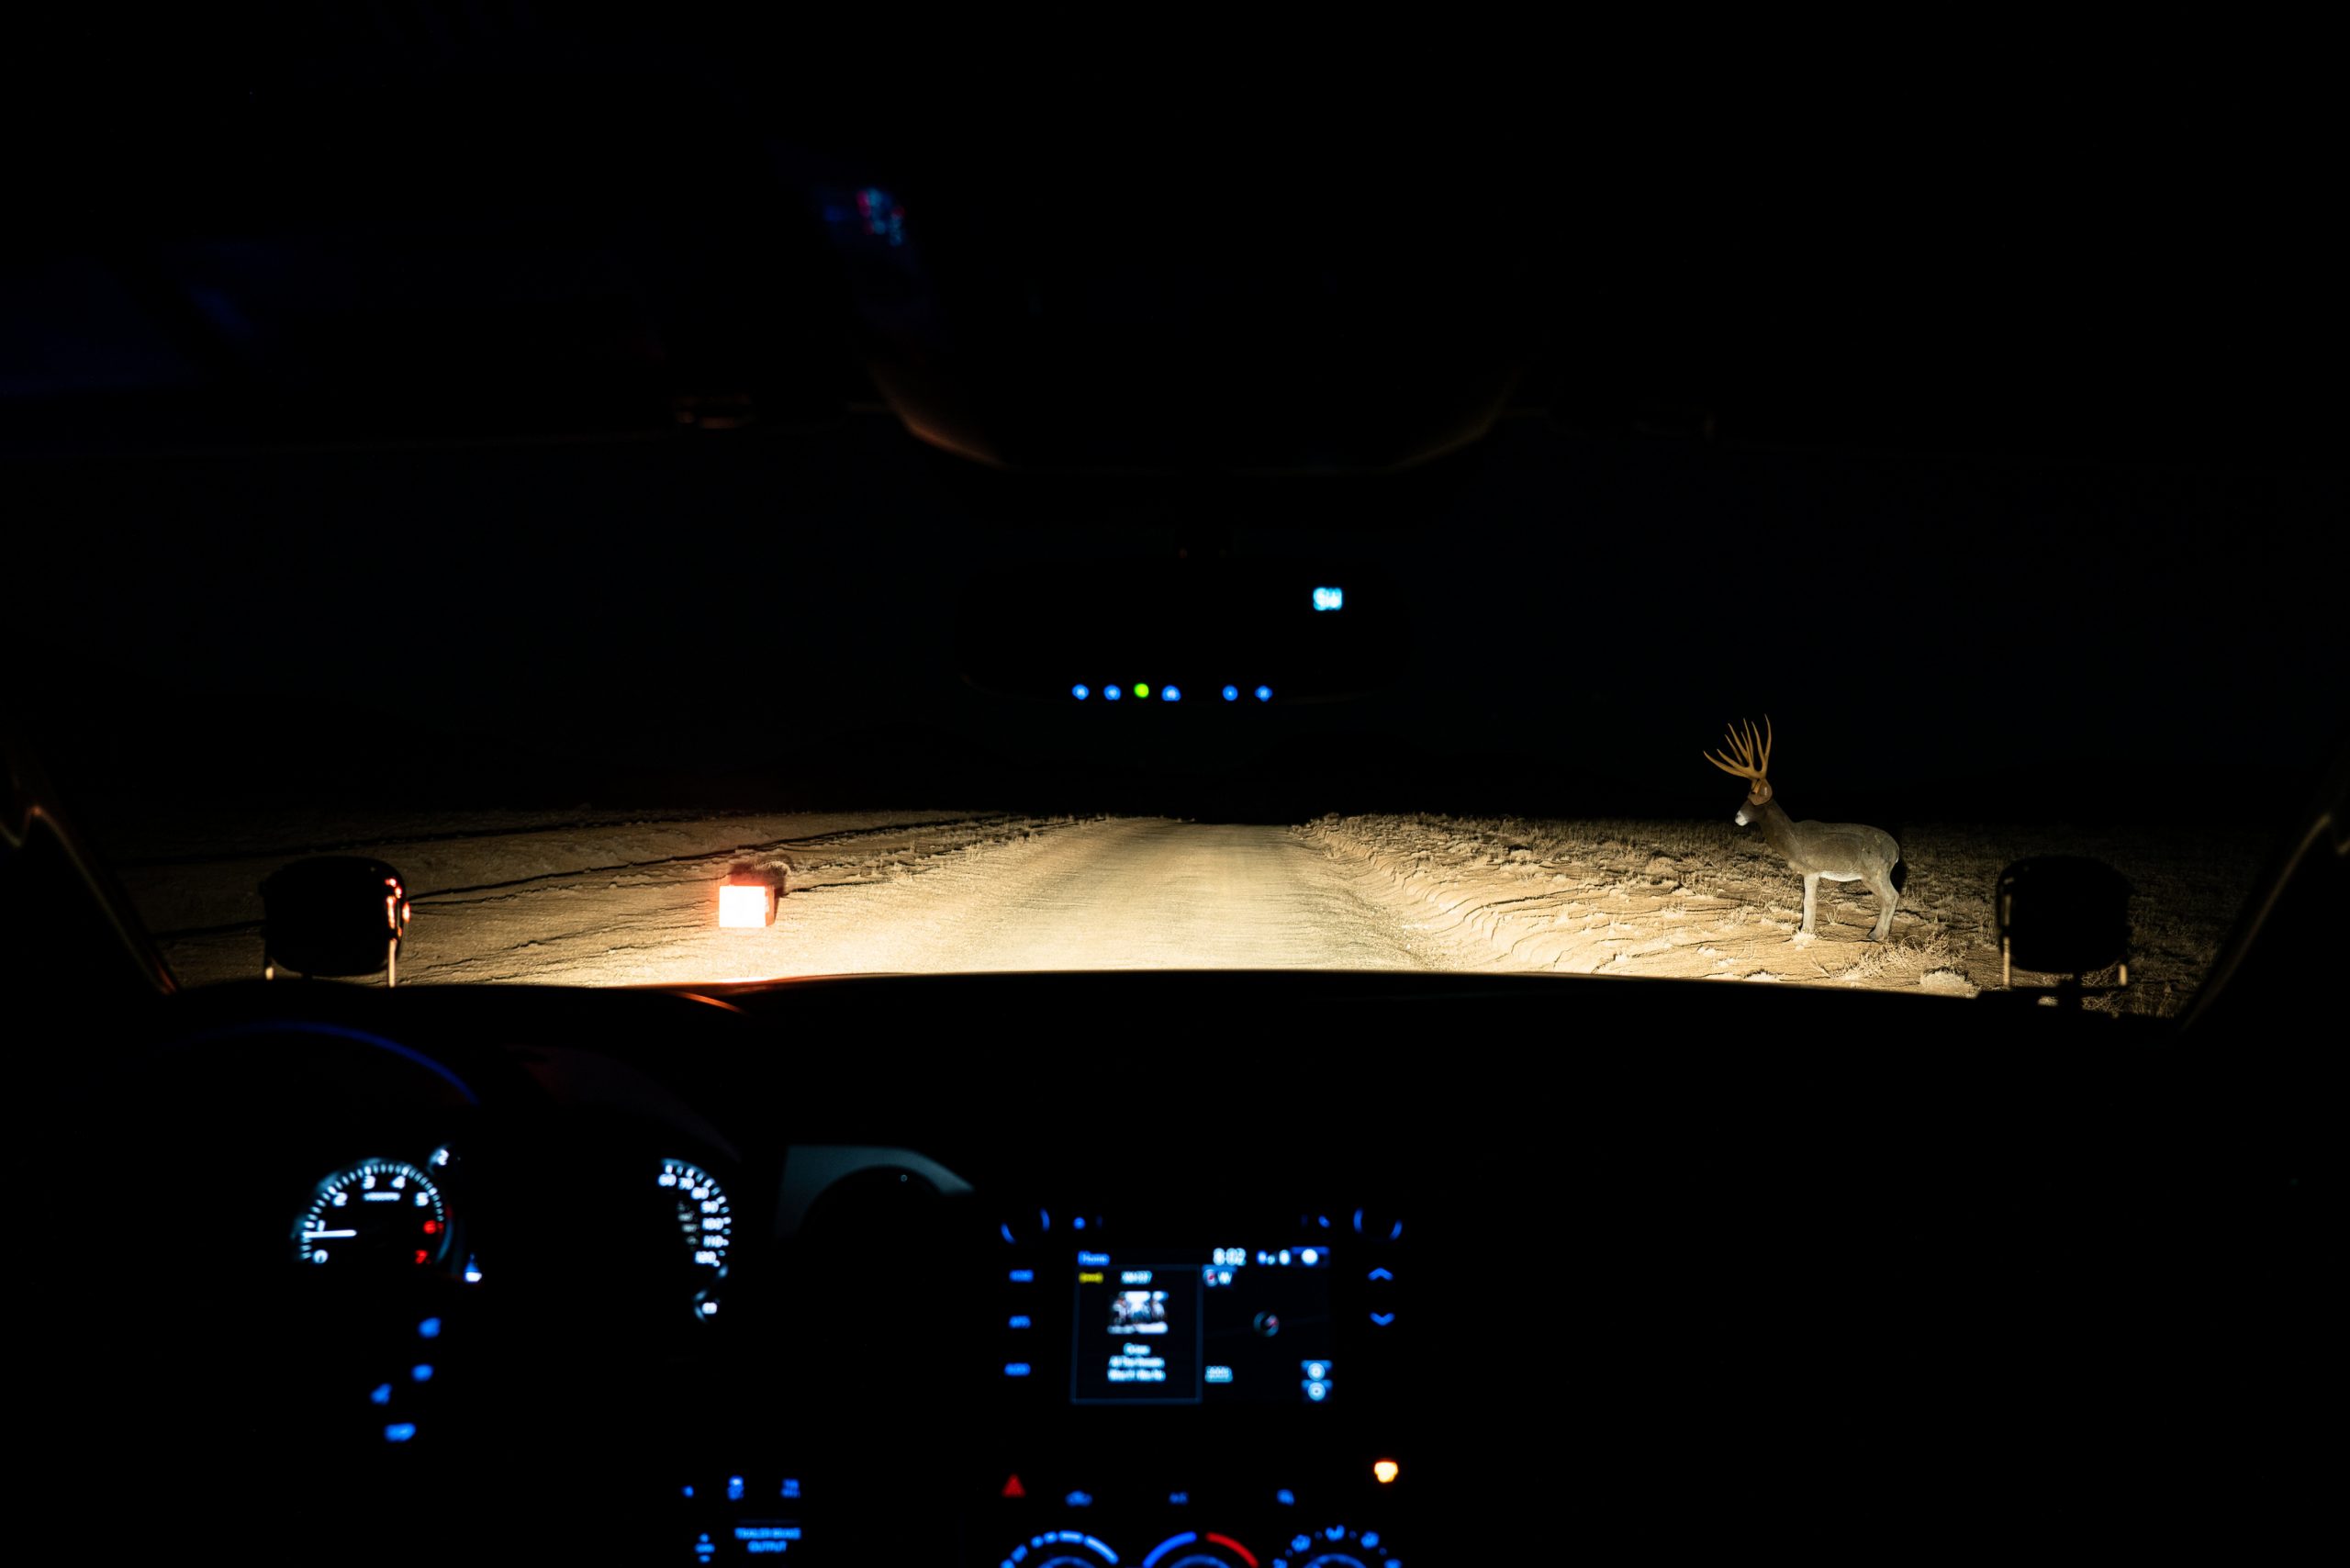 To quantify just how far laser lights will go, I cooked up a little test on a section of dirt road where I could measure just how far various lights on my truck could throw light. At one end of the road, I placed an object on each side of the road. On the right side I placed Booner, the comically proportioned 3D Archery deer target, and on the left side of the road I placed a box covered with DOT C2 reflective tape, which would be my ranging target. Then starting with my Tundra’s low beam headlights, I backed up until couldn’t see Booner anymore – only the reflective box I placed on the other side of the road, which I shot with a range finder to measure how far I was from the deer. I then turned on my high-beams (Toyotas have strong high beams) and repeated the process.

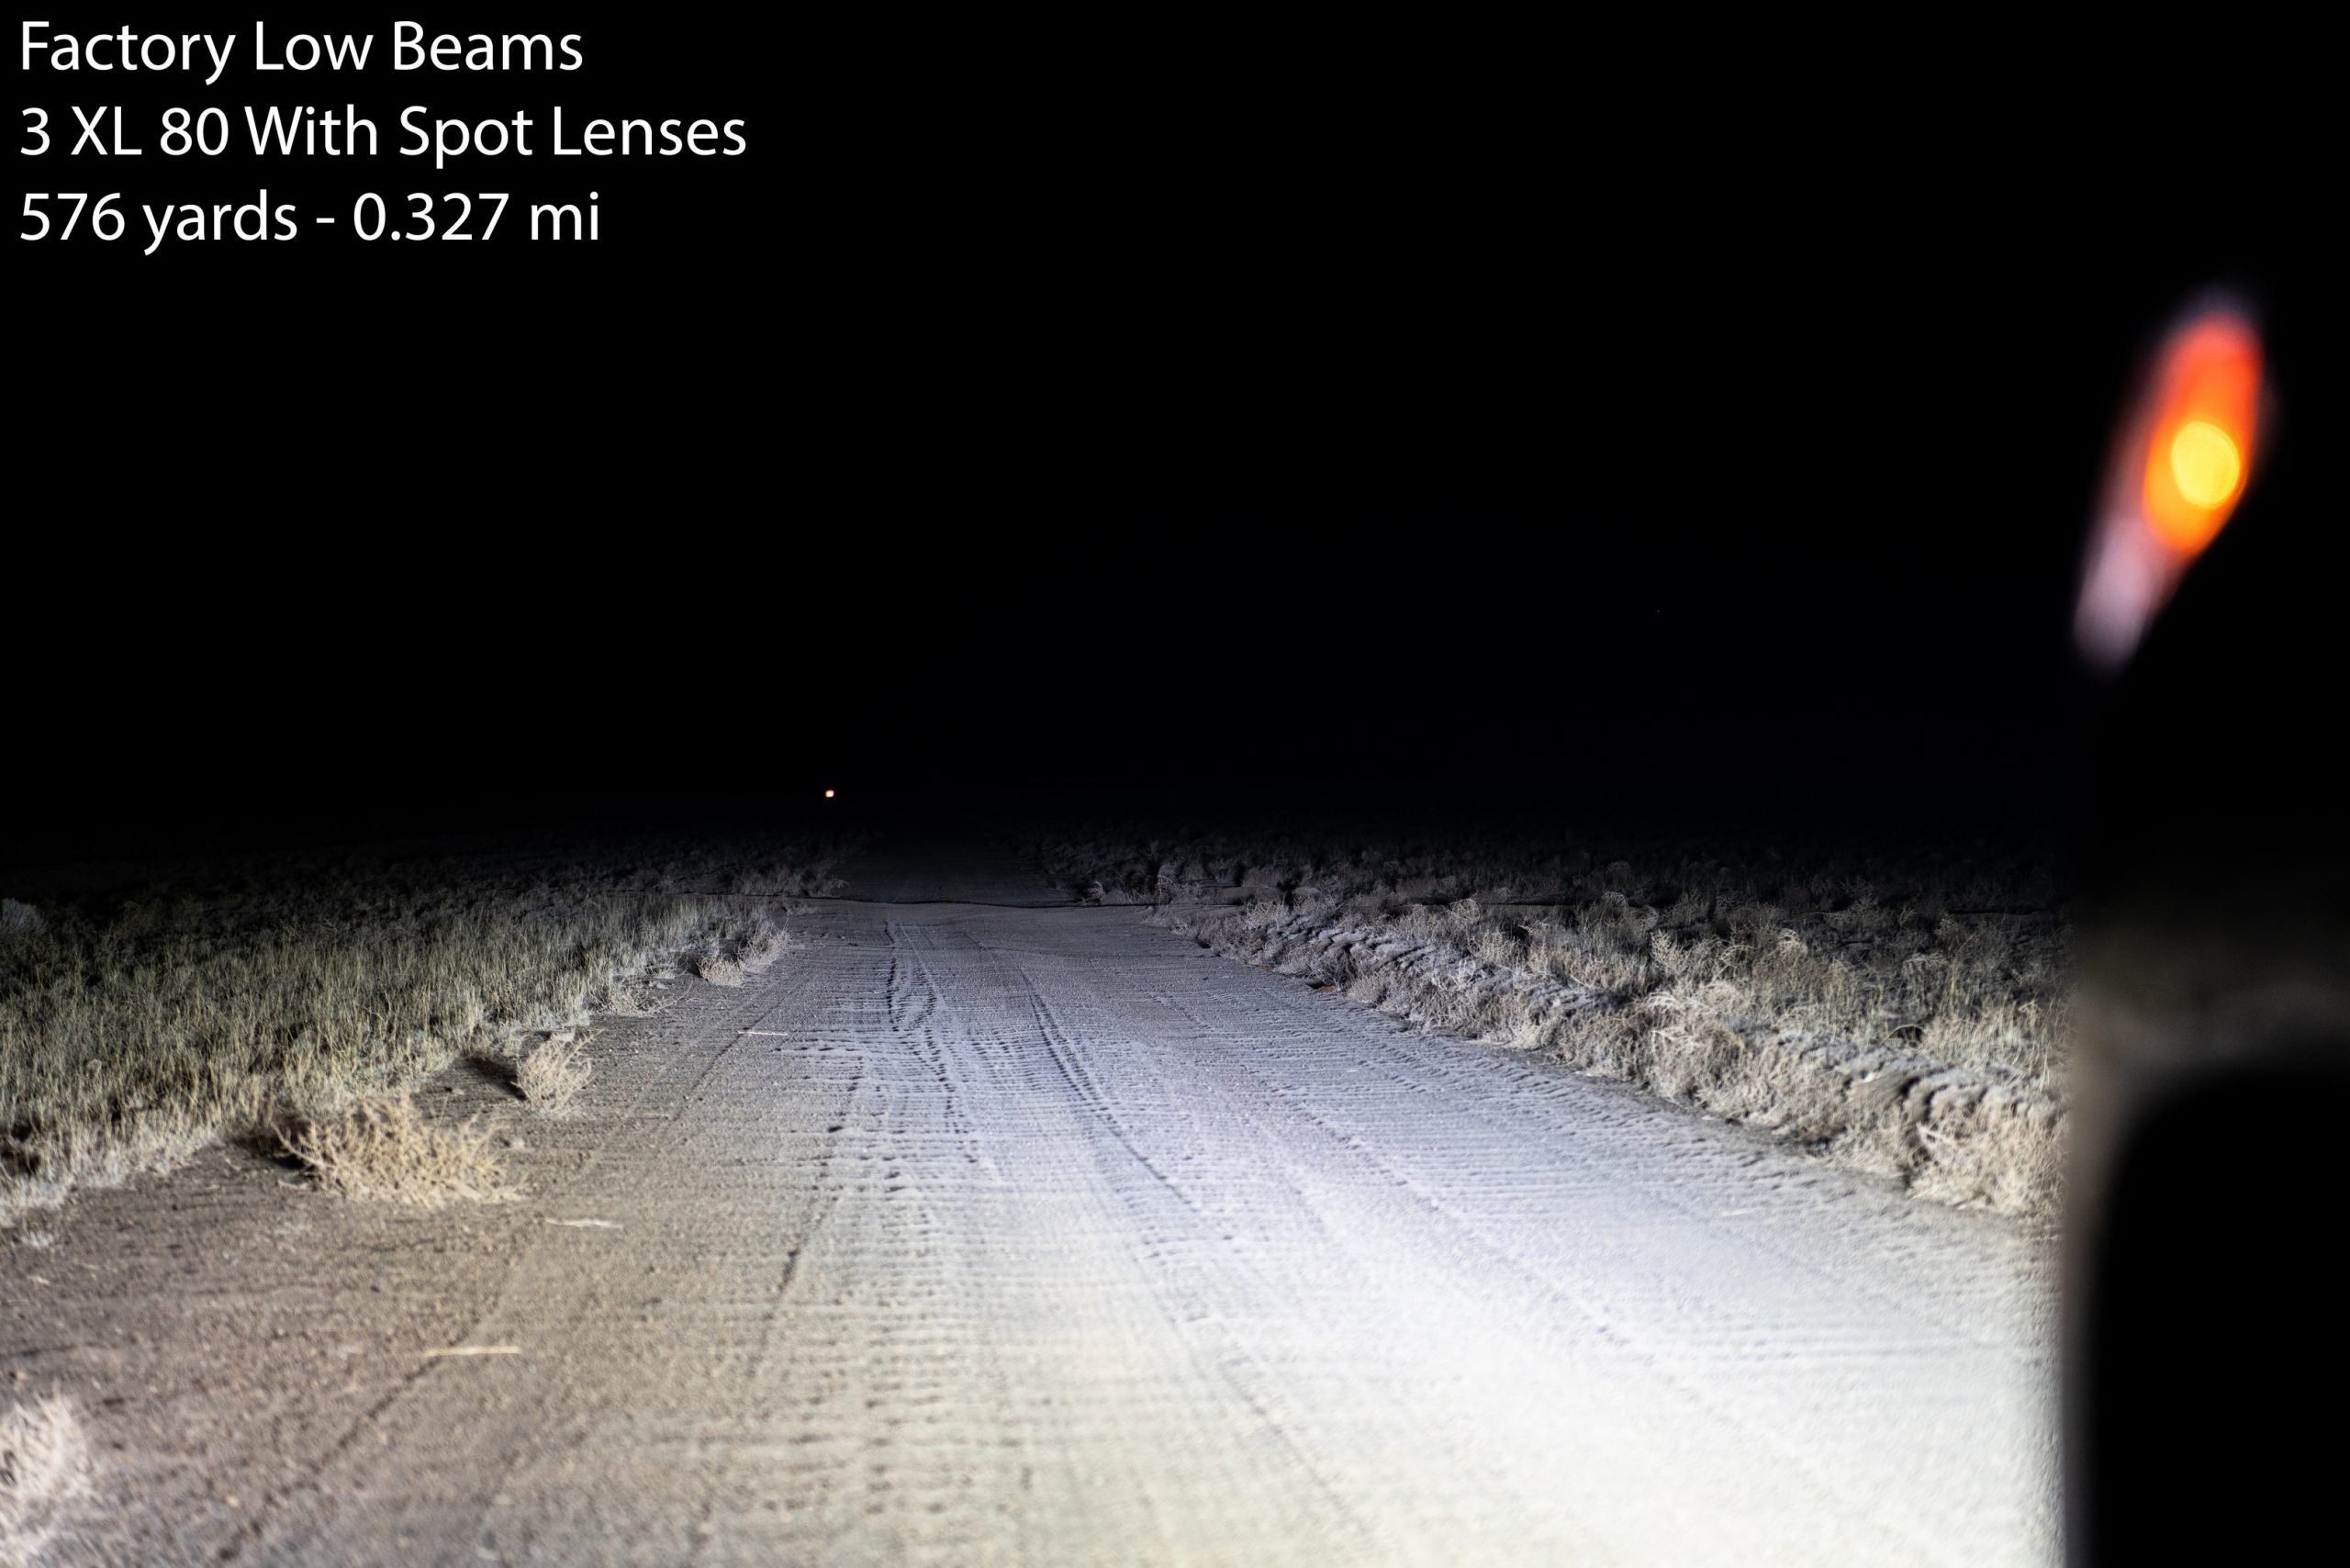

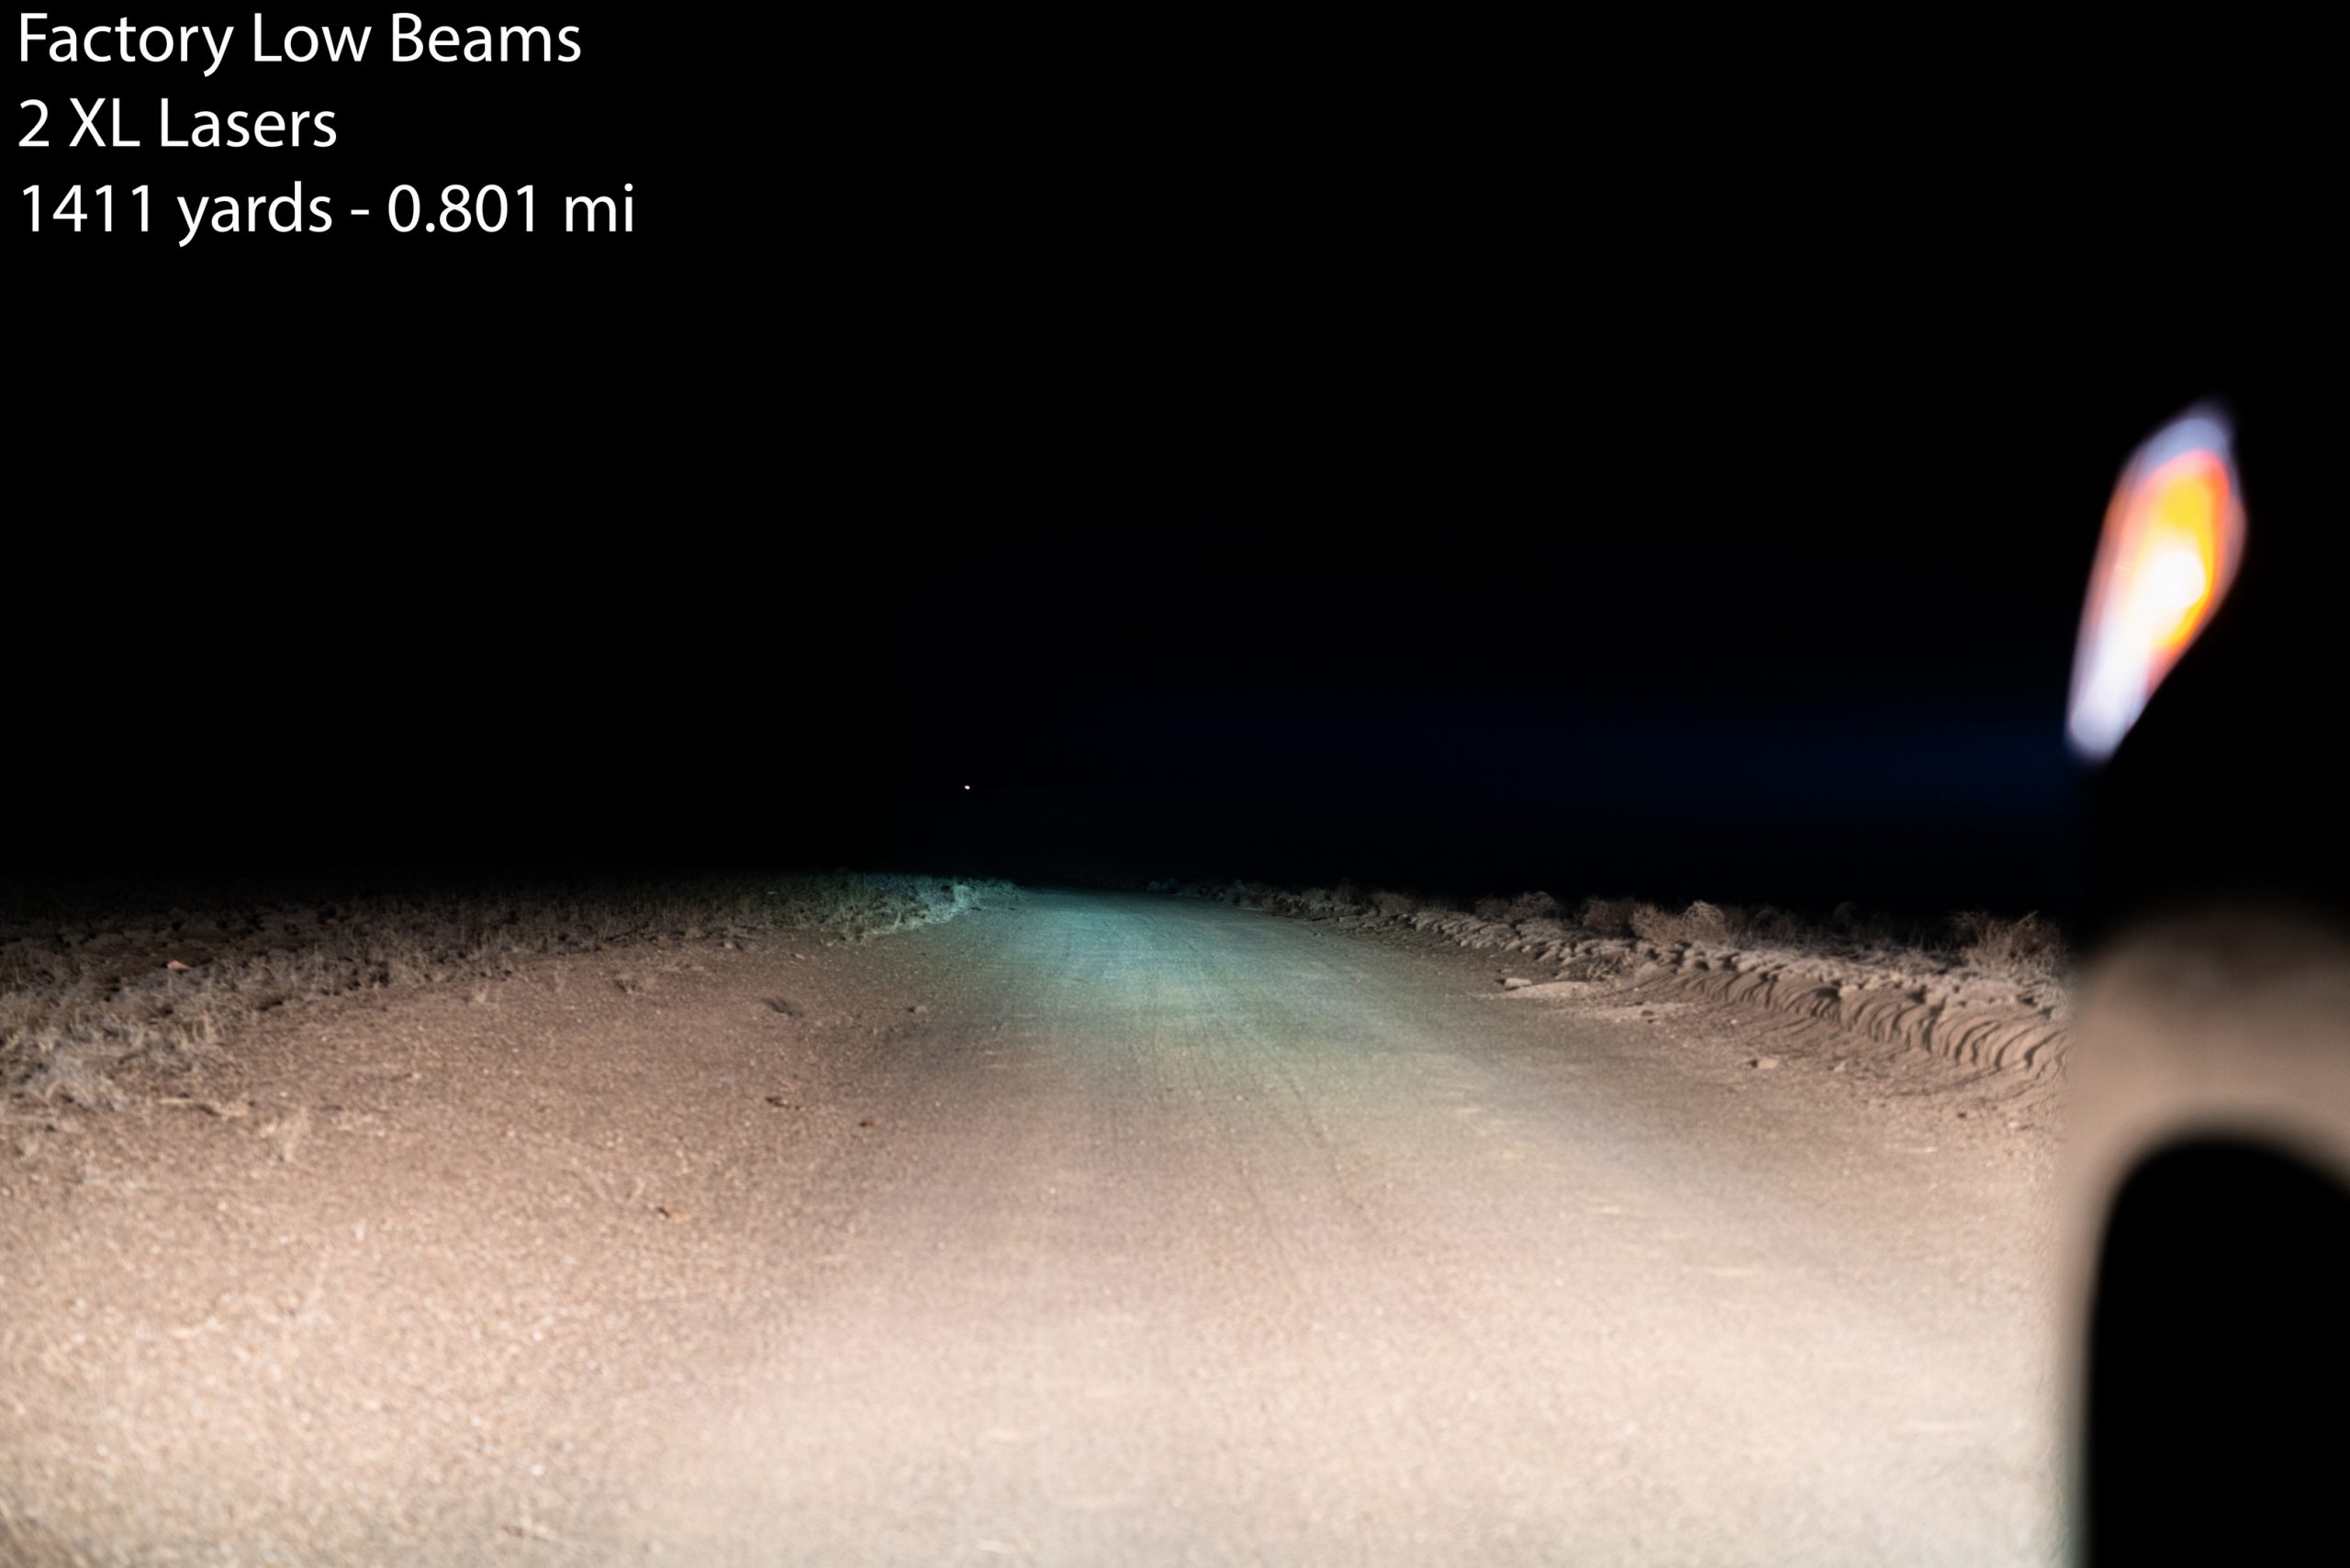


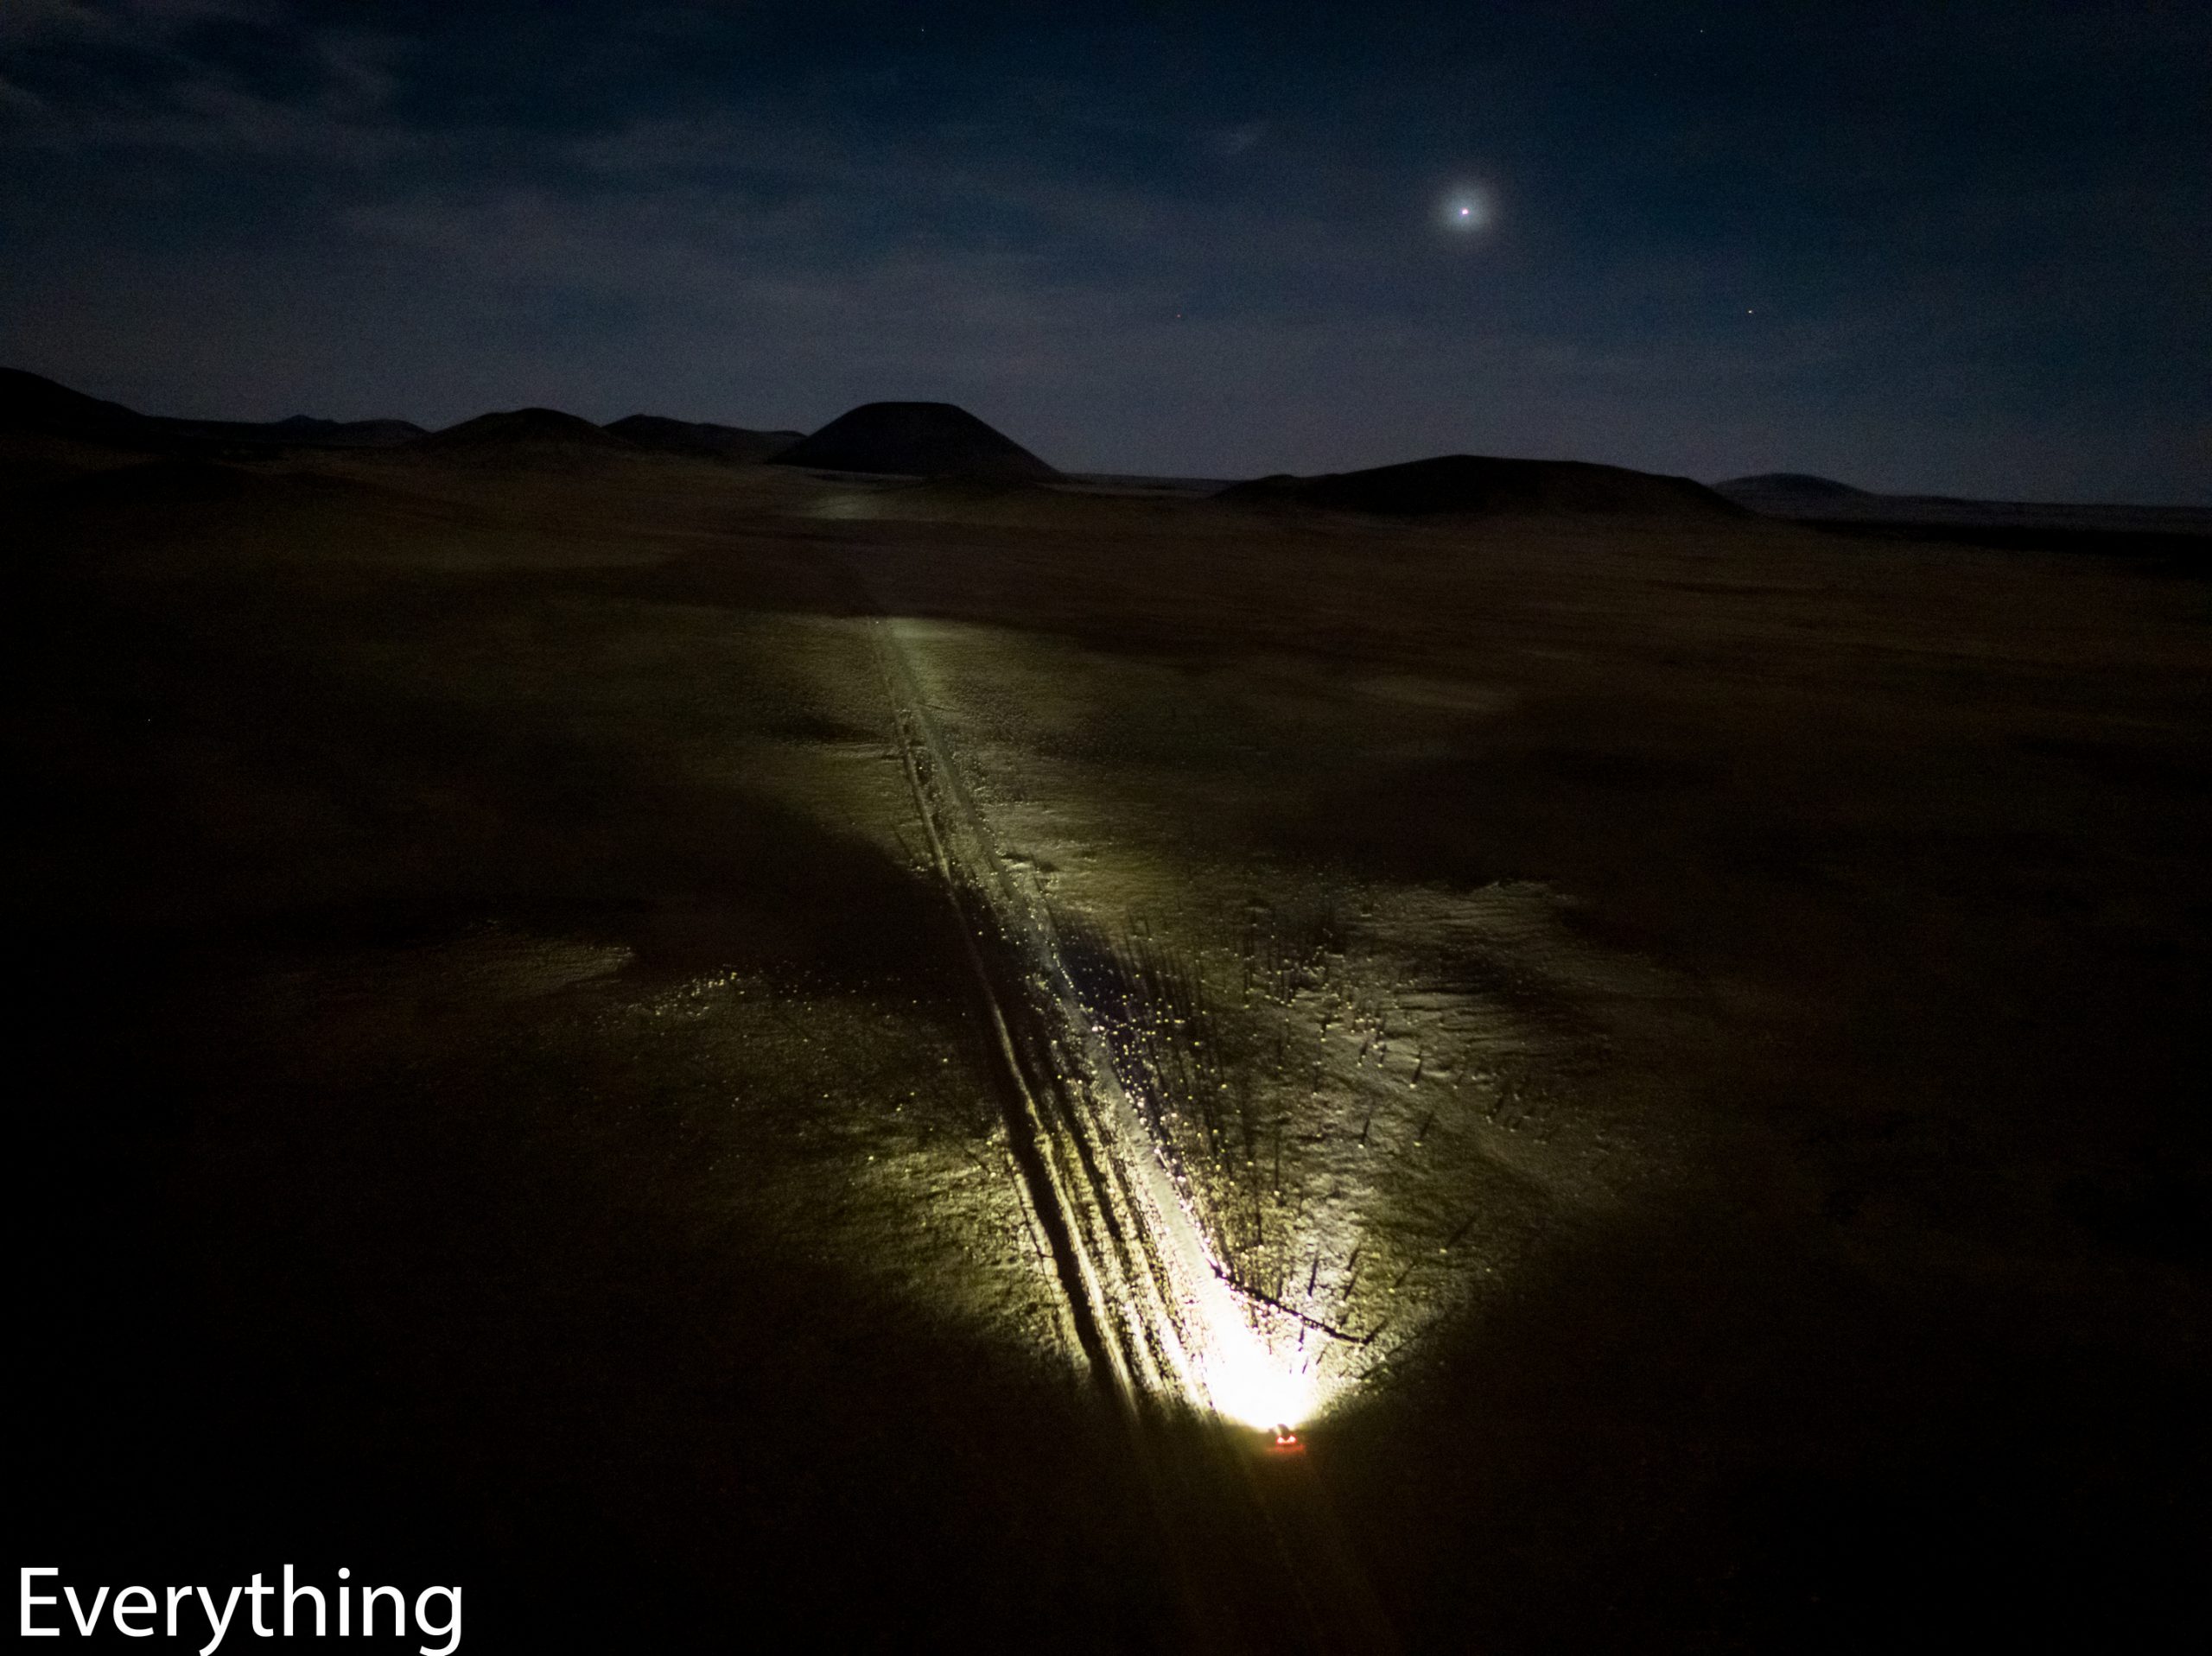 Editor’s Note: Seeing the deer (Booner) in the images as compressed for website use is really hard. Uncompressed JPGs can be viewed here. Please view at 100%. – Chad
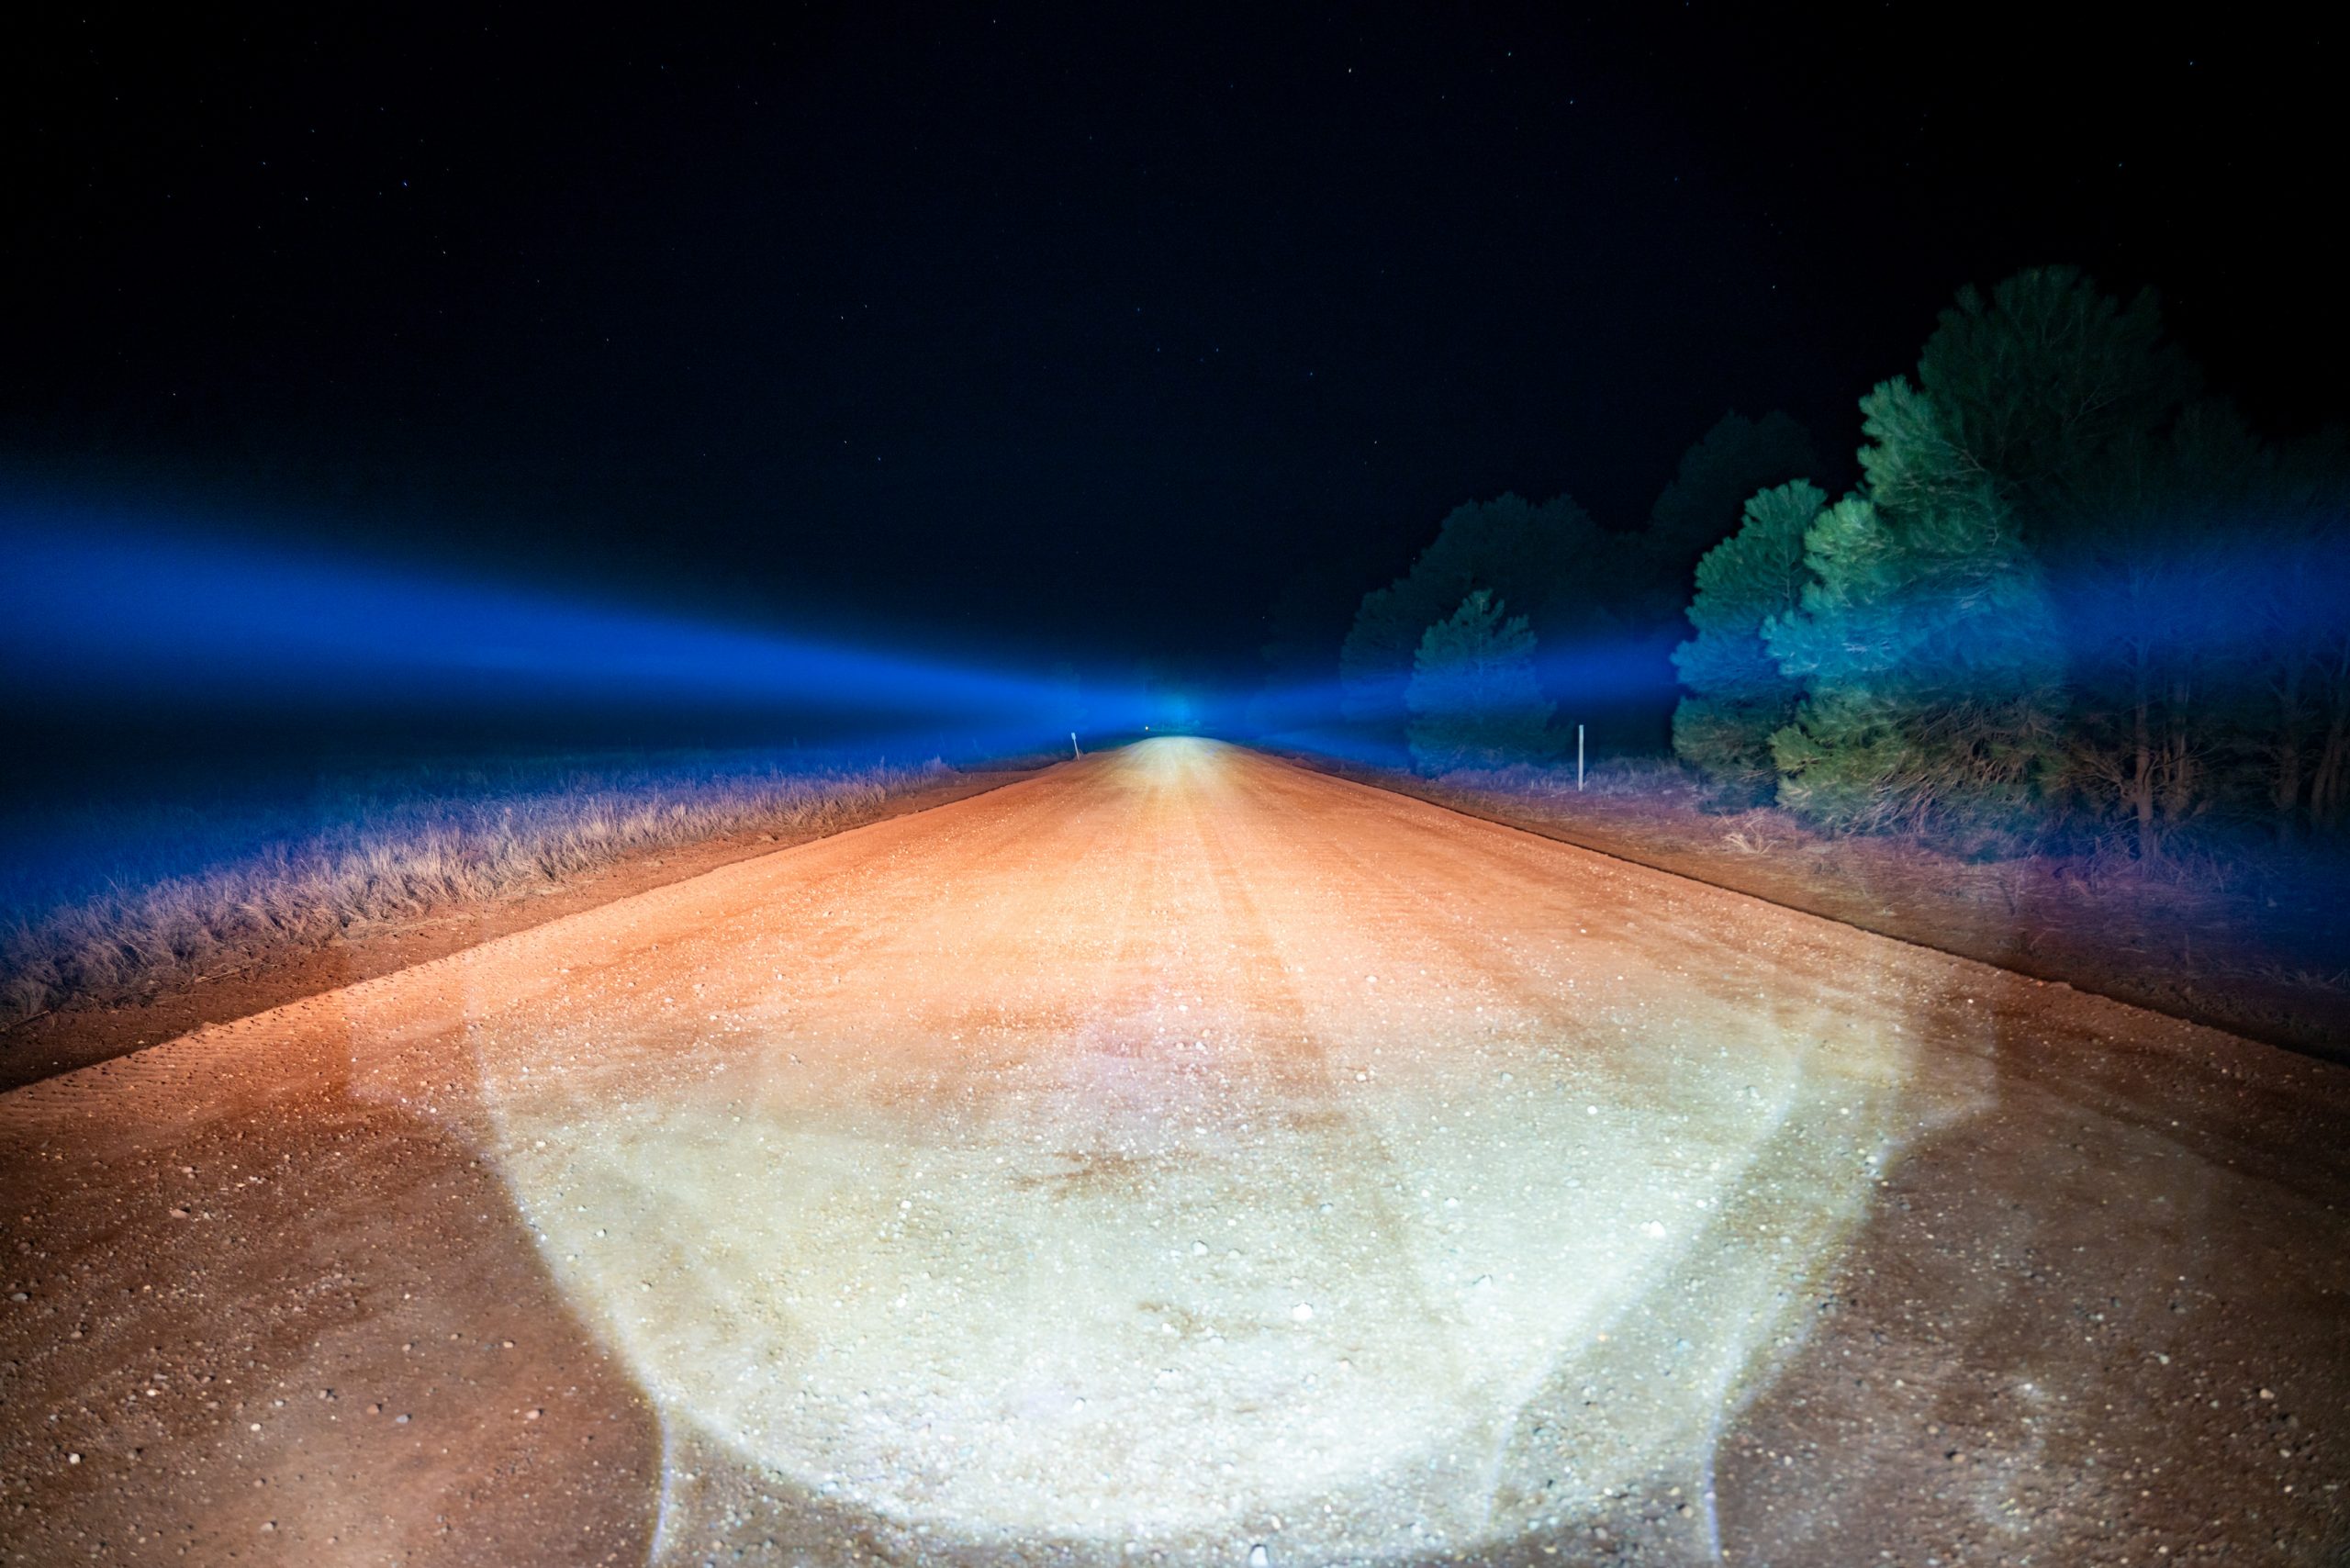
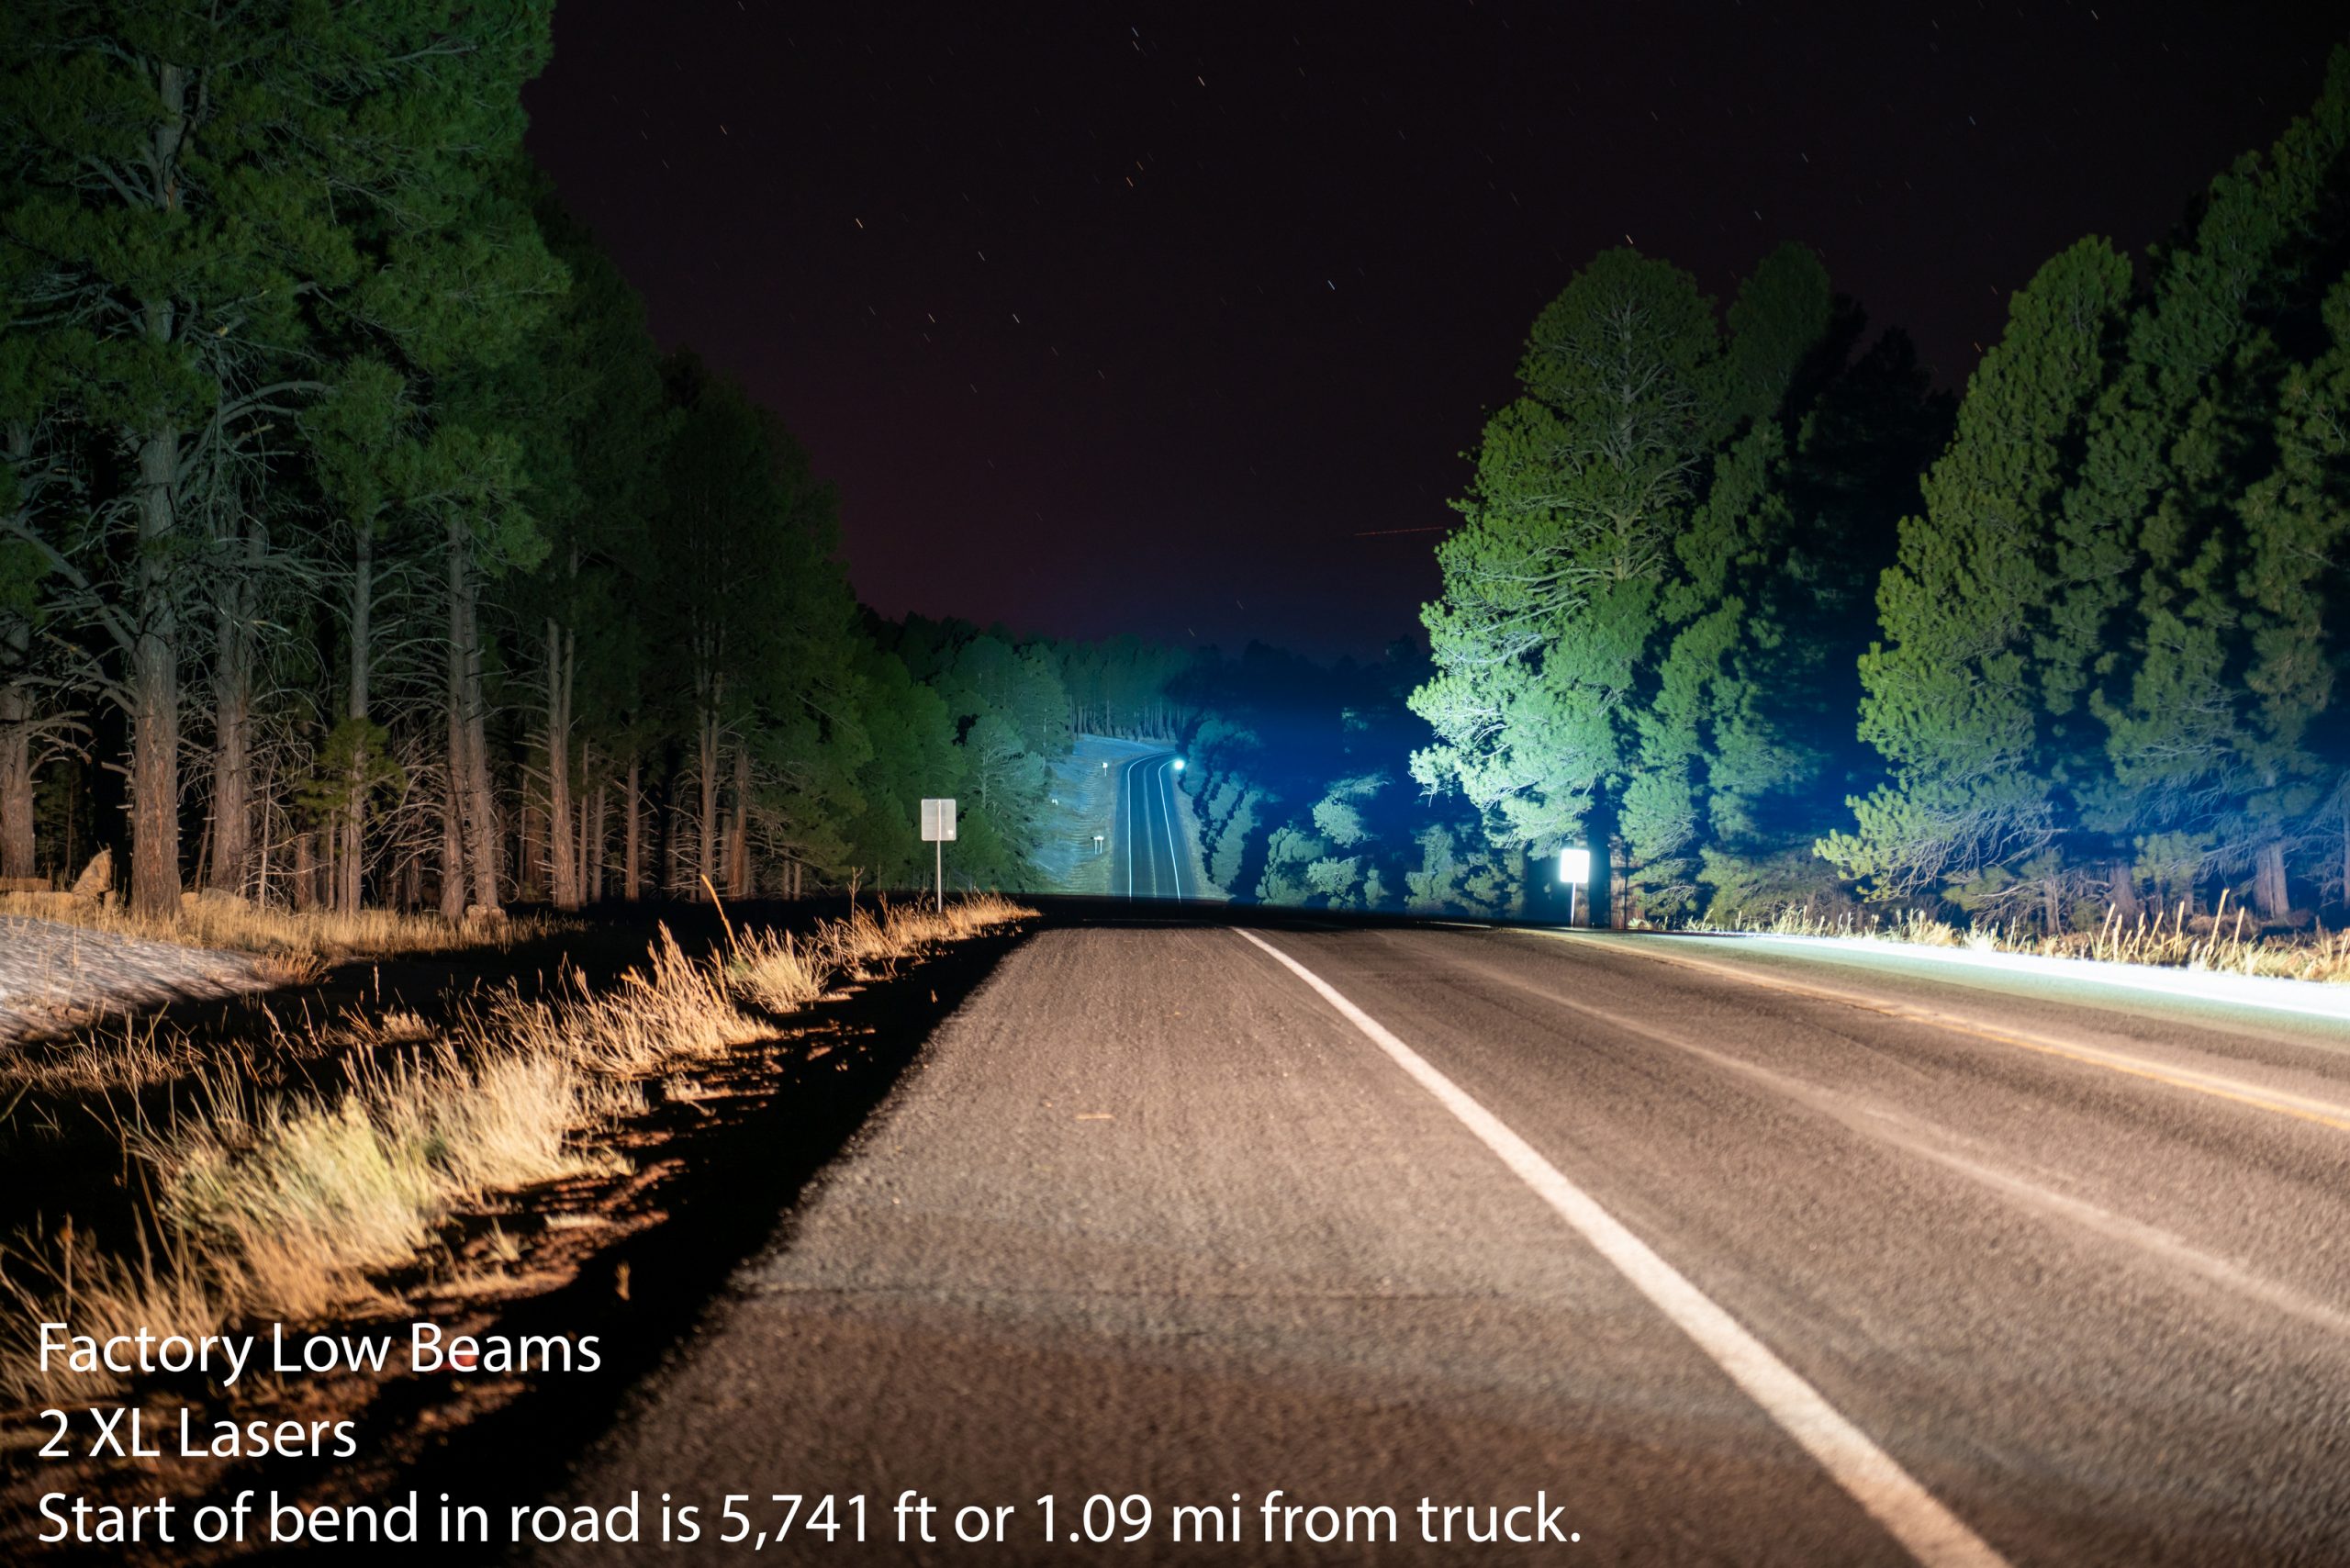 In real world use, BD Laser lights are the exact tool you’re looking for if you find yourself wanting to see as far as possible into the night. They create a very narrow beam of light that is hyper focused for going long distances, so whether you’re trying to see something in the trail, or just trying to find your way to camp when your buddy’s cryptic directions tell you to “follow the road with the snags (dead trees) on right a quarter mile after the fork.” There isn’t a better light out there for seeing as far as possible at night.
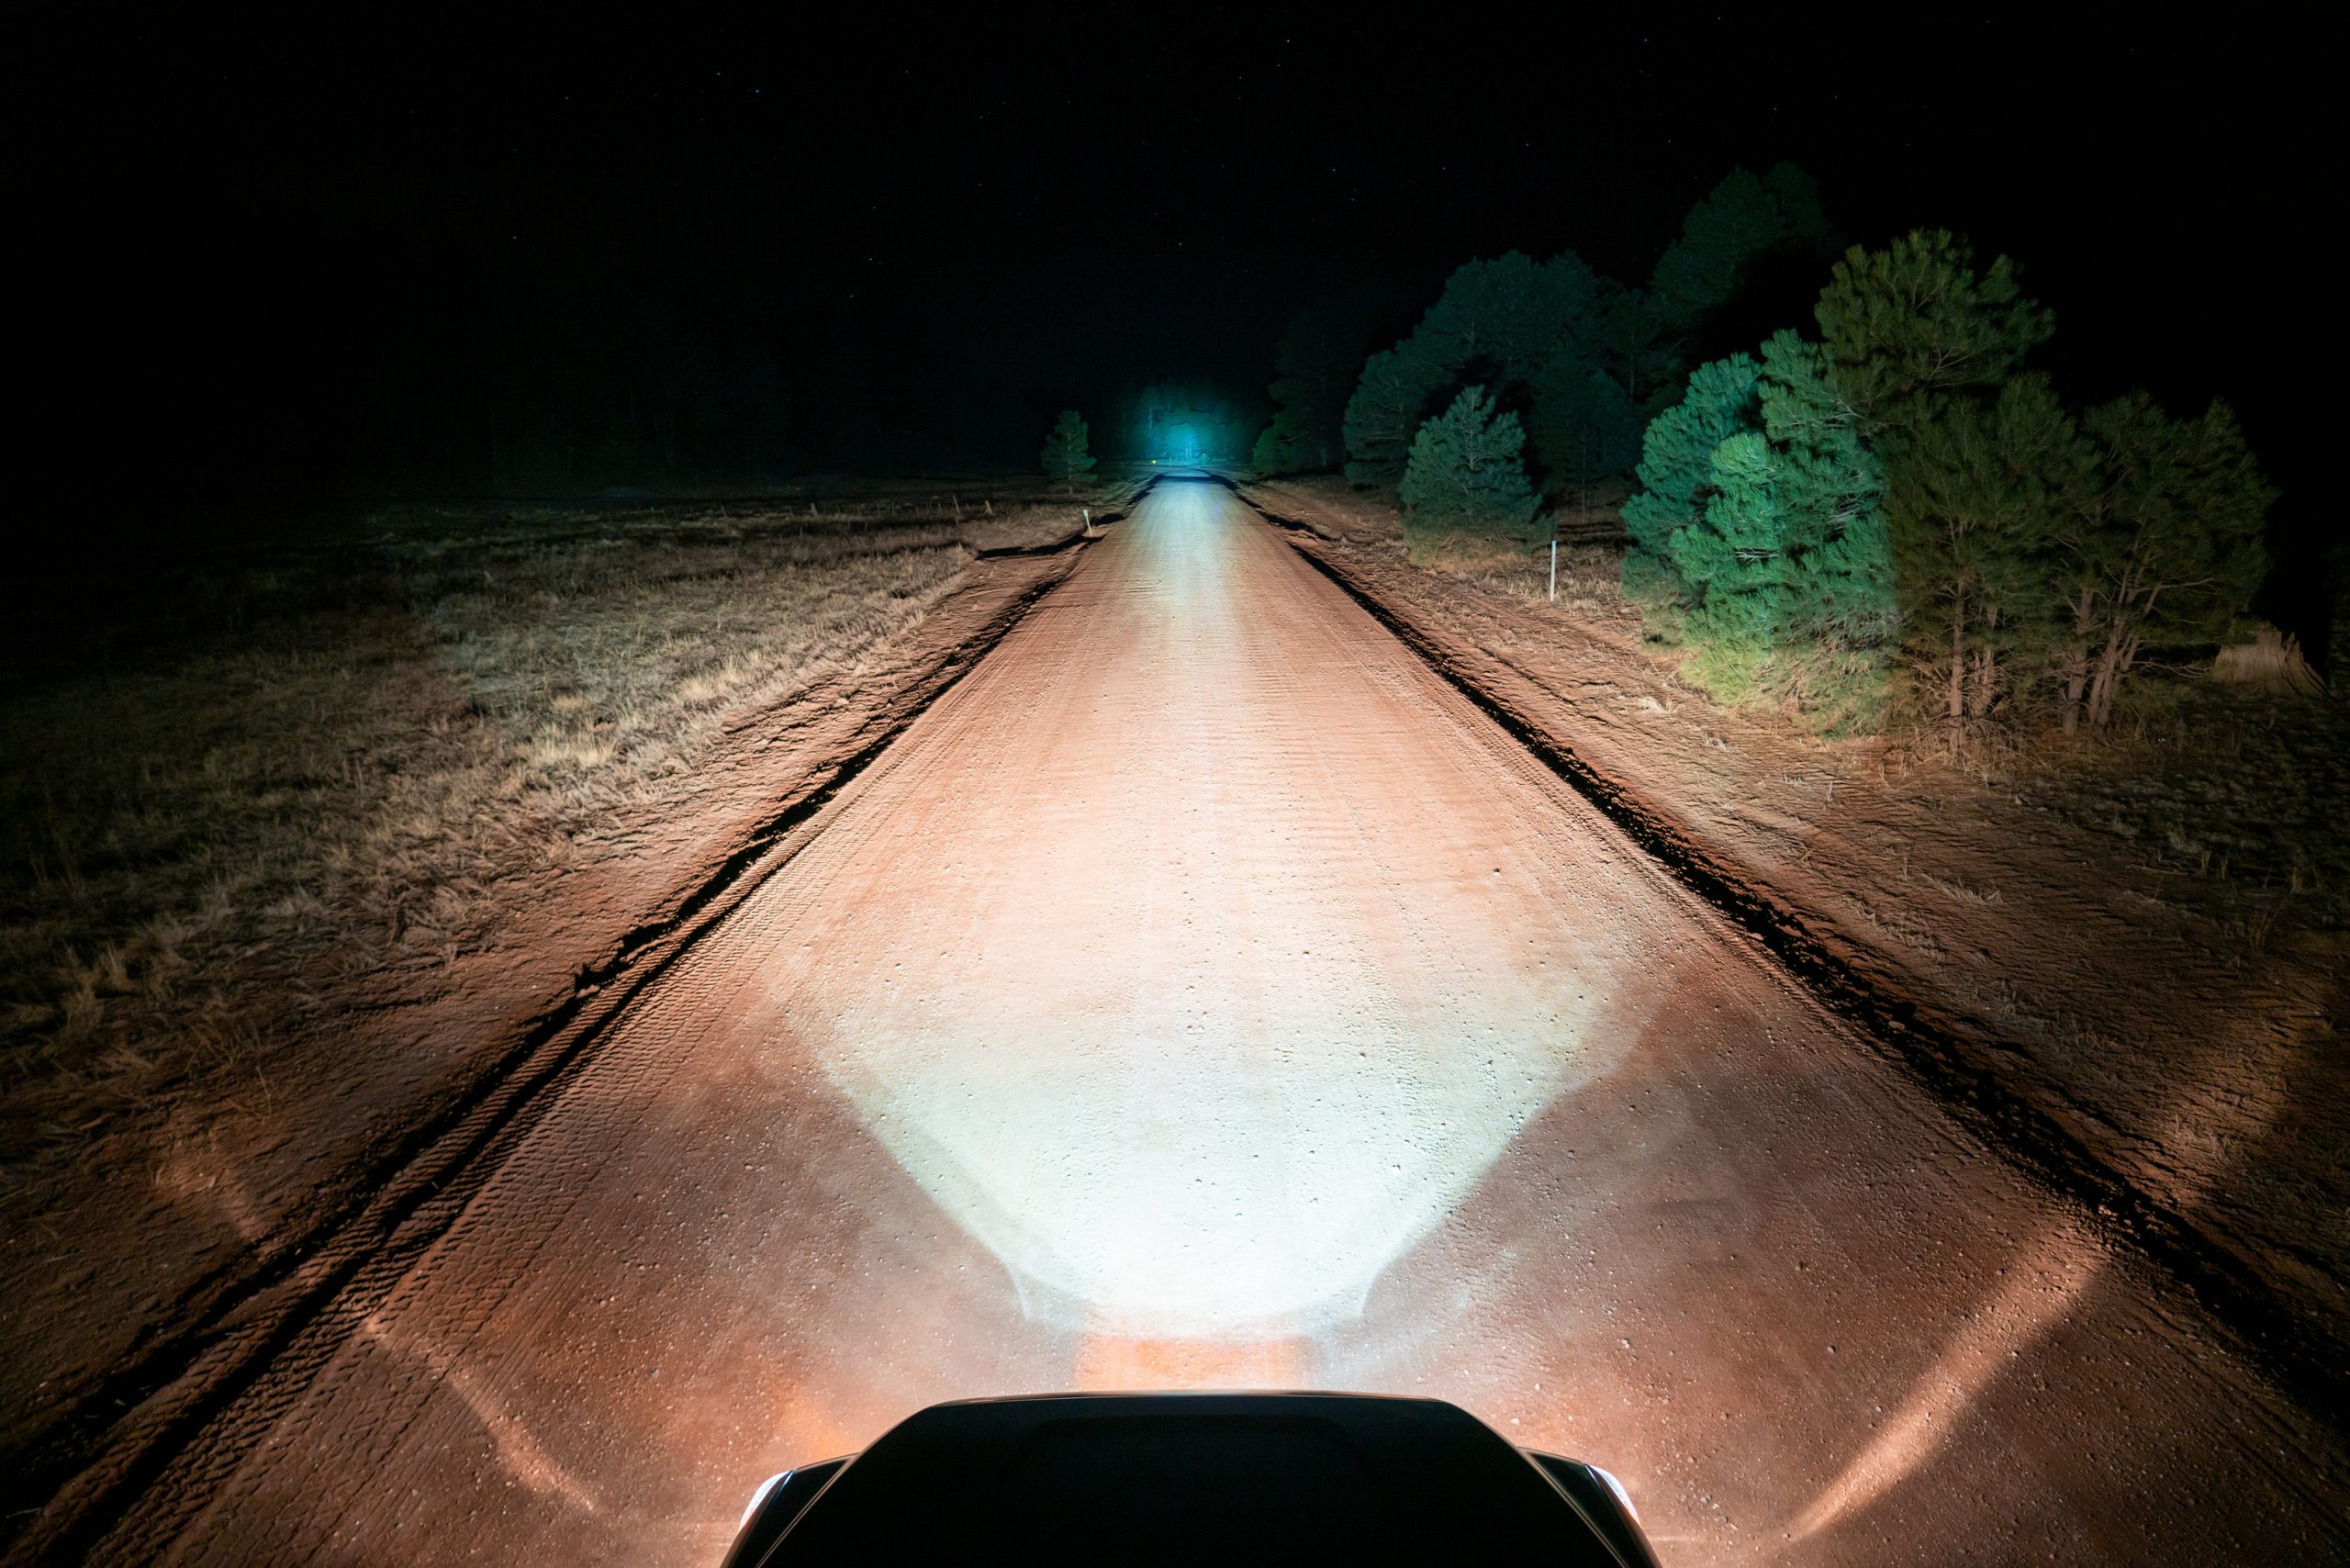 The trade off to having a hyper-focused beam of light is that aim is a critical factor for getting the most out of these lights. An adjustment of as little as a couple tenths of a degree can make all of the difference in getting the light where you want it, and if you’re a few points low or high, you’ll find that you’re aimed down at the road or off into space. So be prepared to take some time setting your laser lights up. I used a framing level to make sure that both XL Lasers were aimed the same direction left to right, and a digital angle gauge became an invaluable tool for adjusting the tilt, or up-down axis of the lights. Once you have the aim dialed however, you can see into the night like never before, and the novelty of seeing so far at night has yet to wear off. Yet there’s more to this lighting thing than just being able to light up the next county.
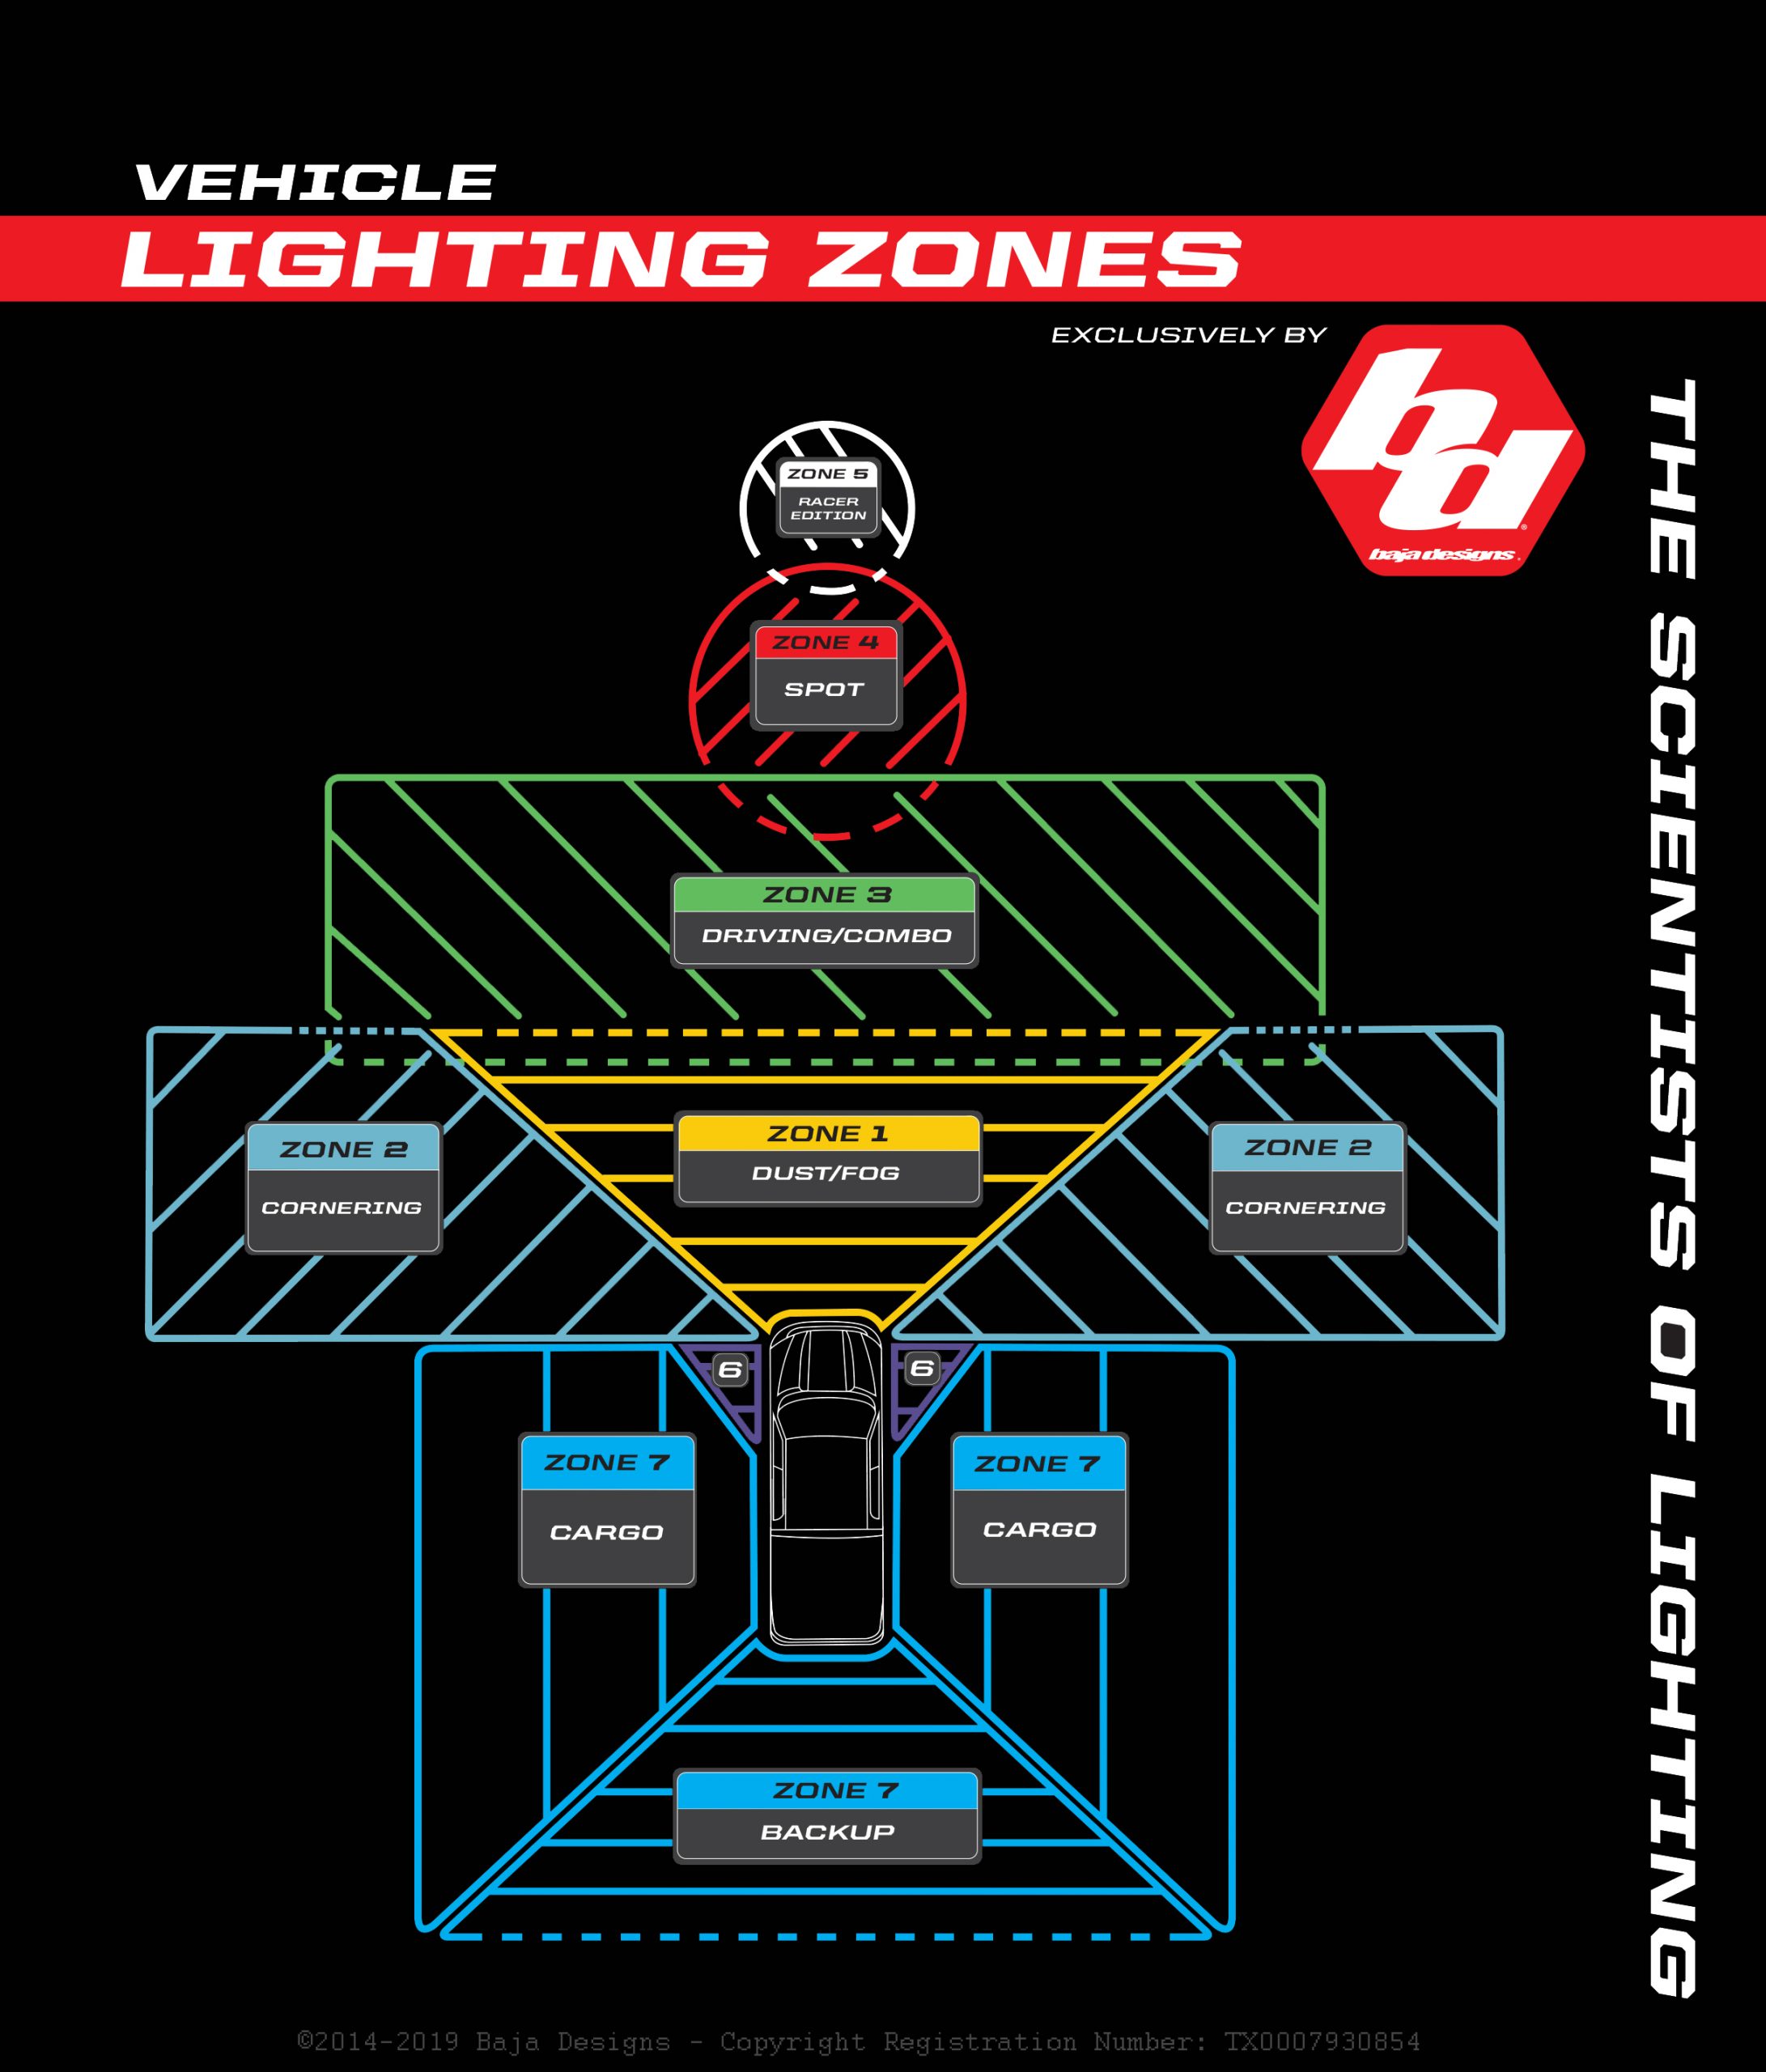
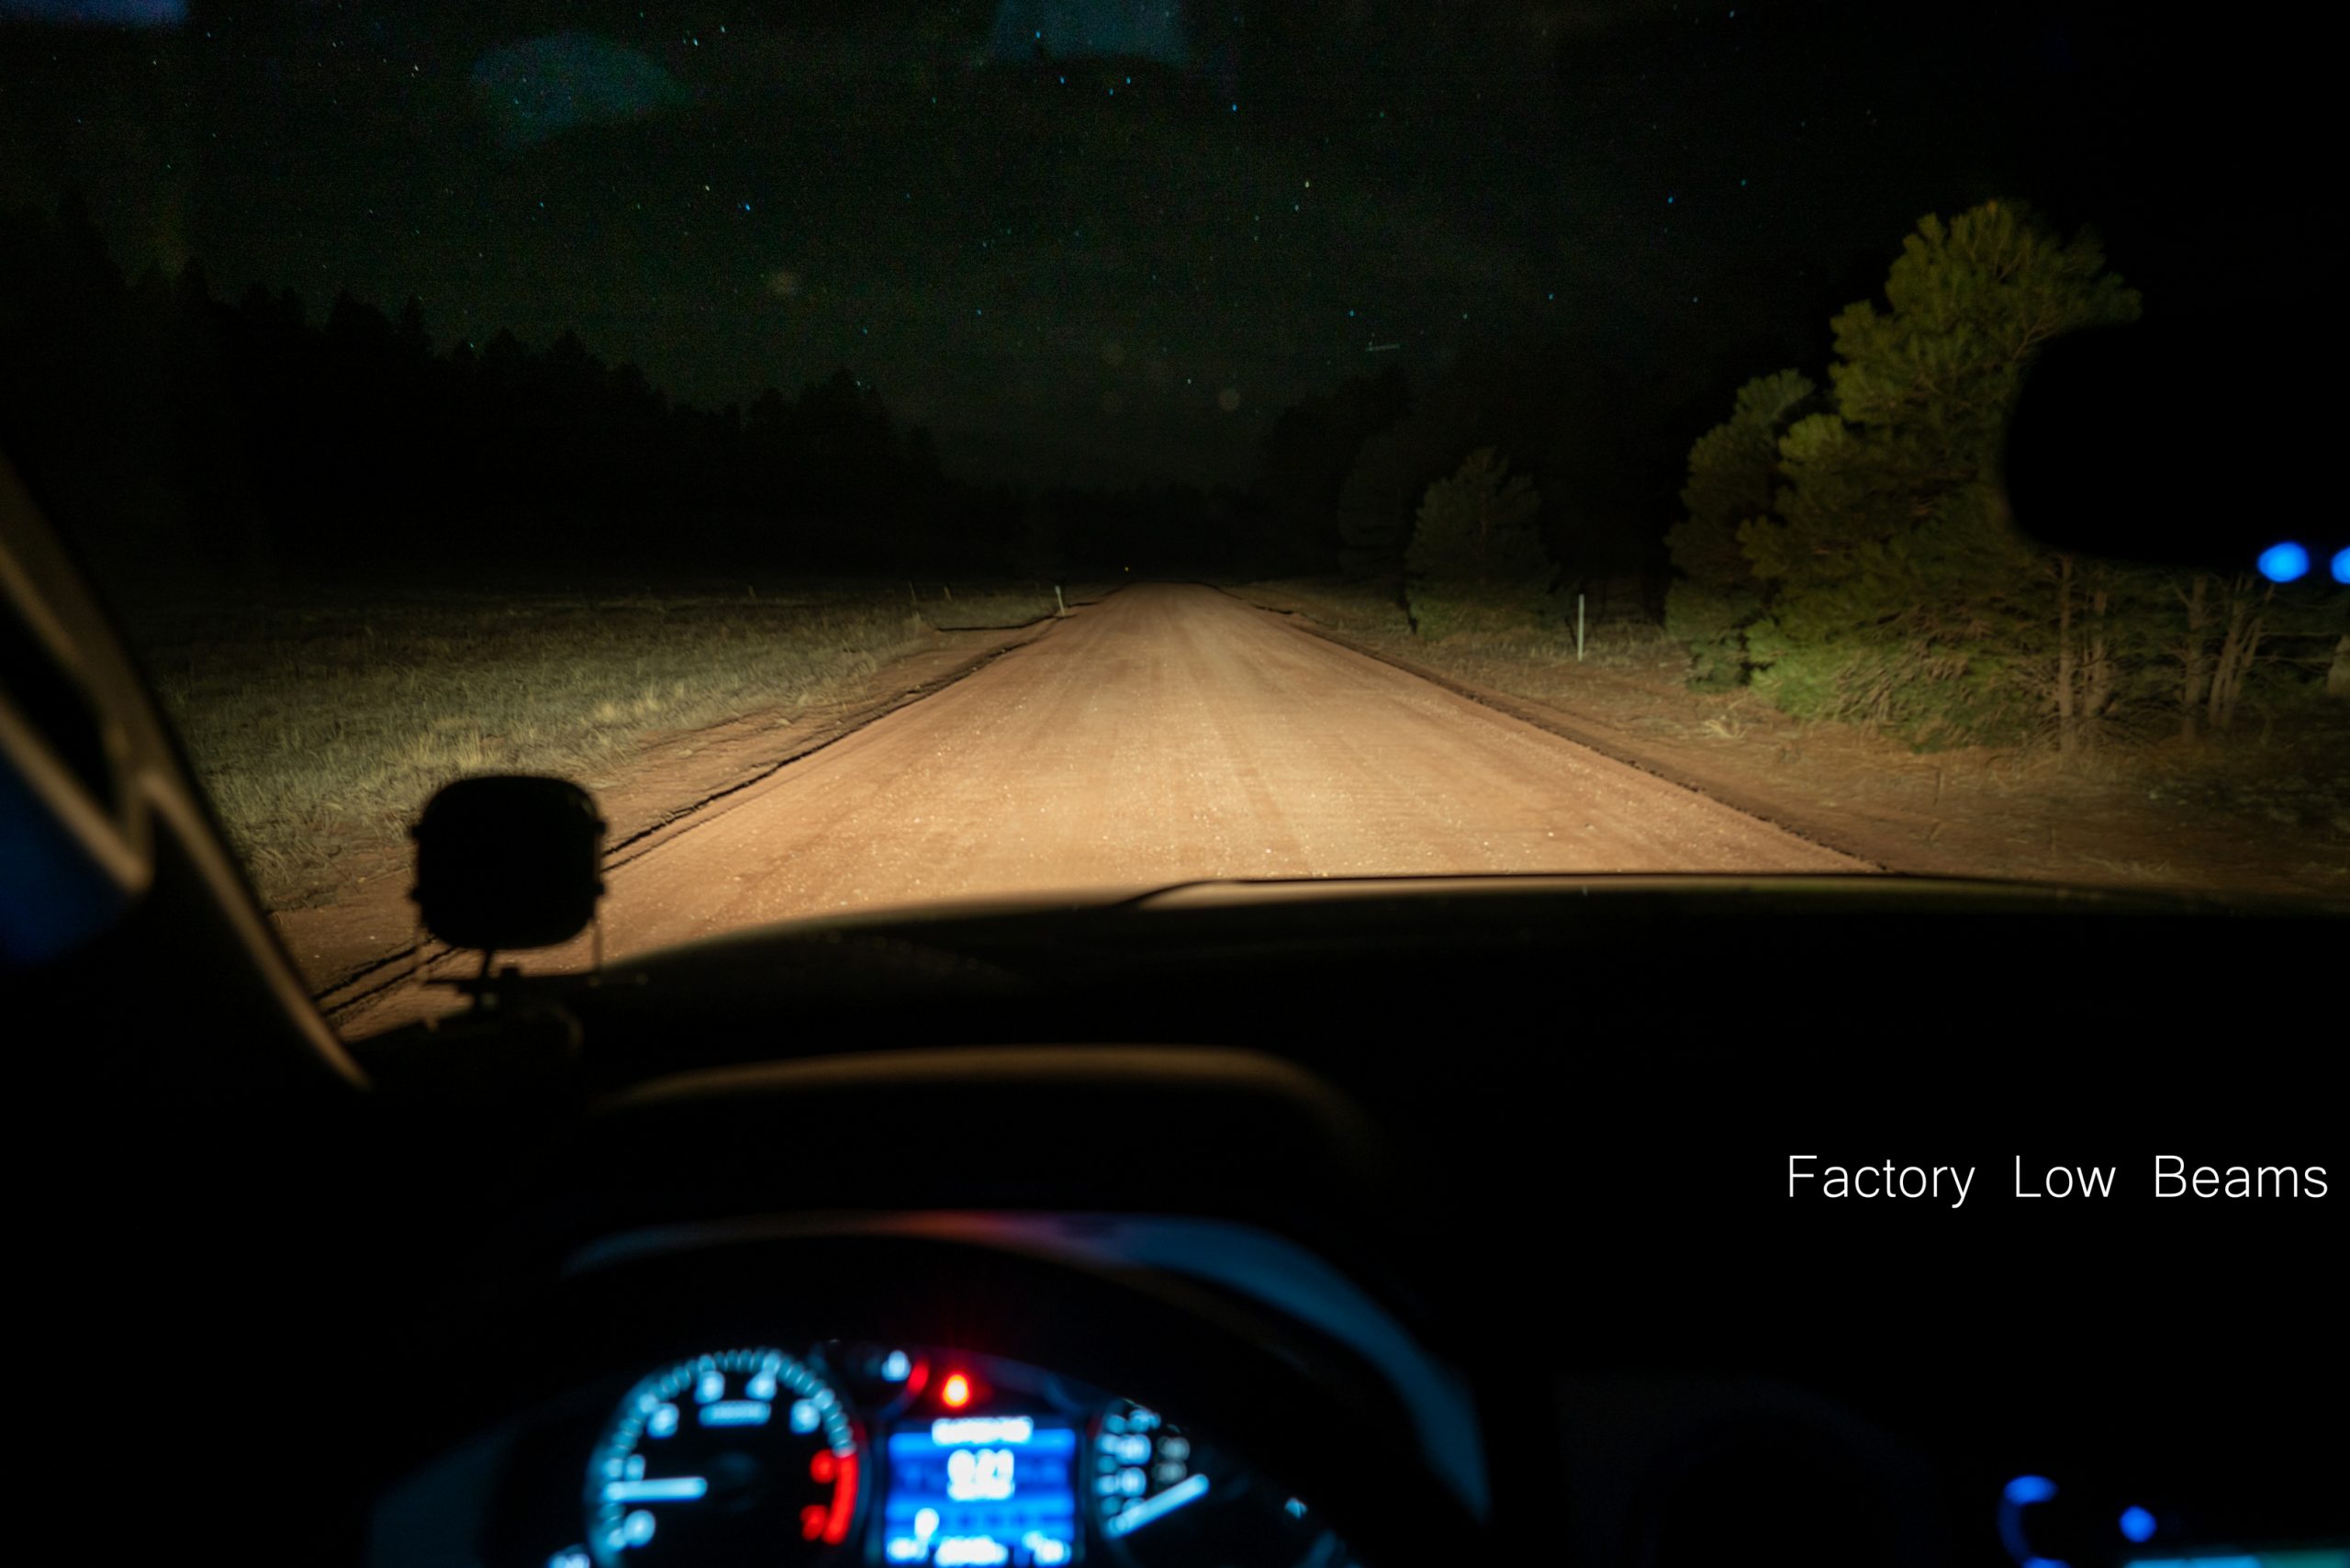
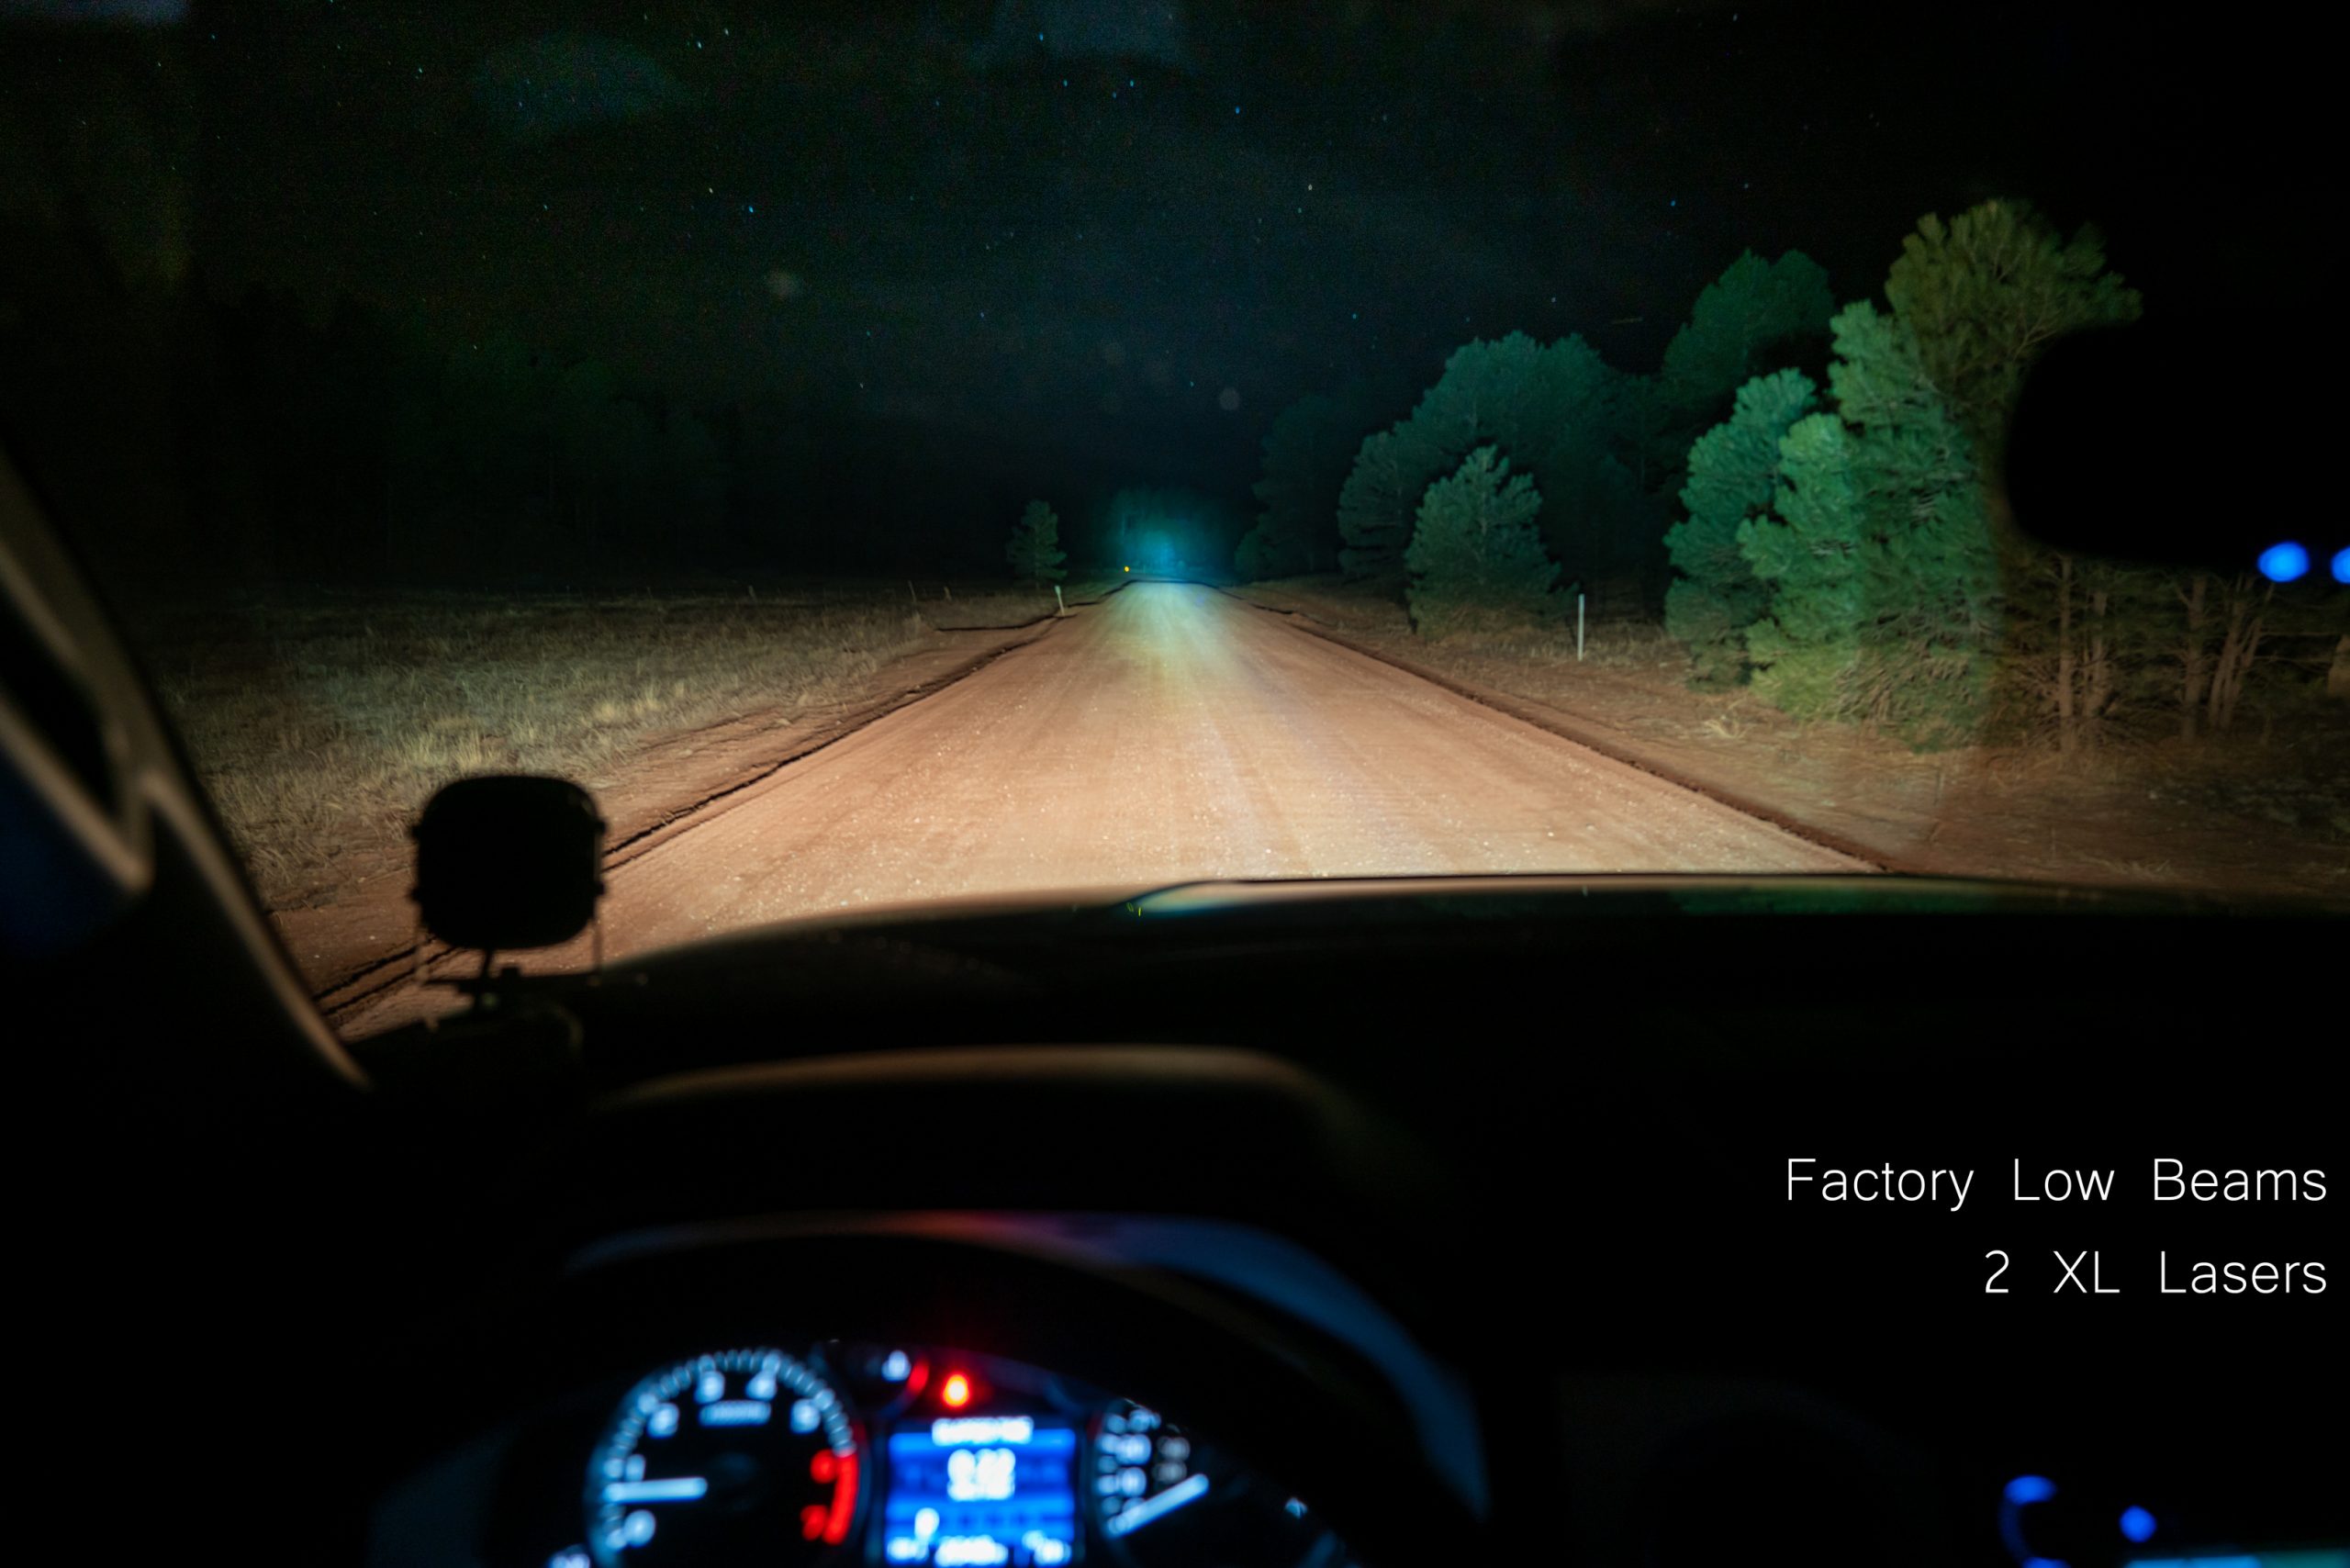


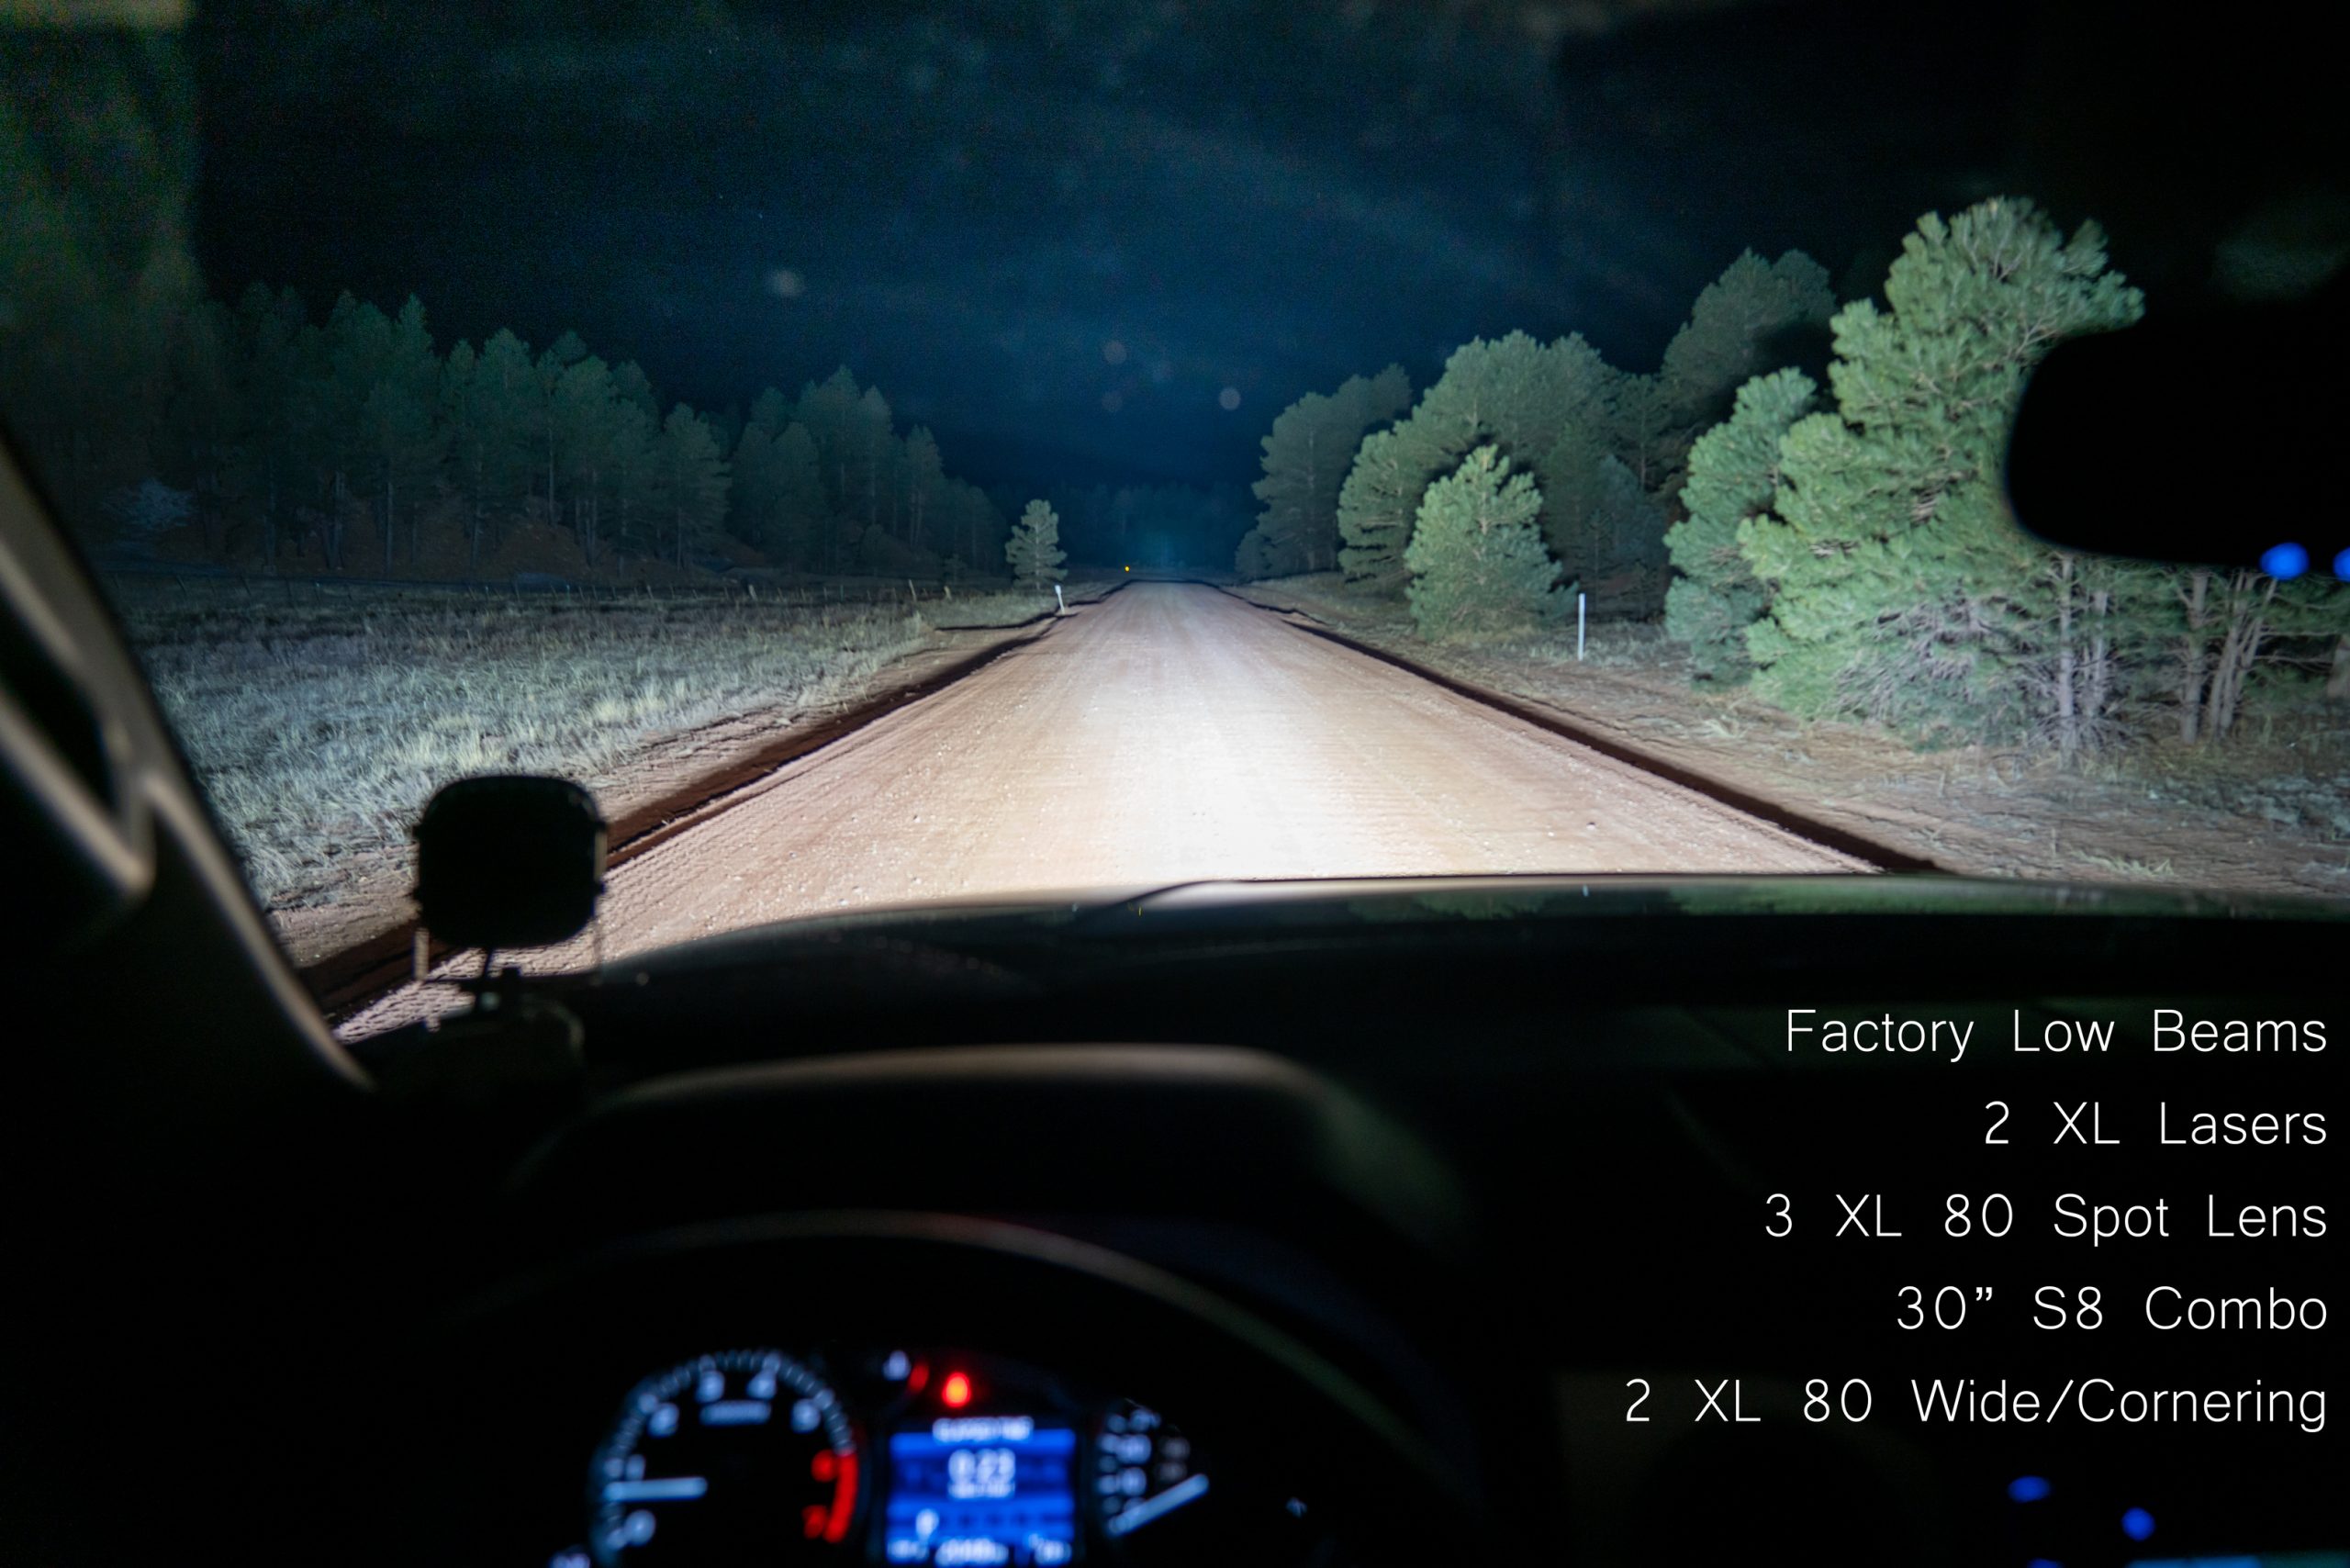
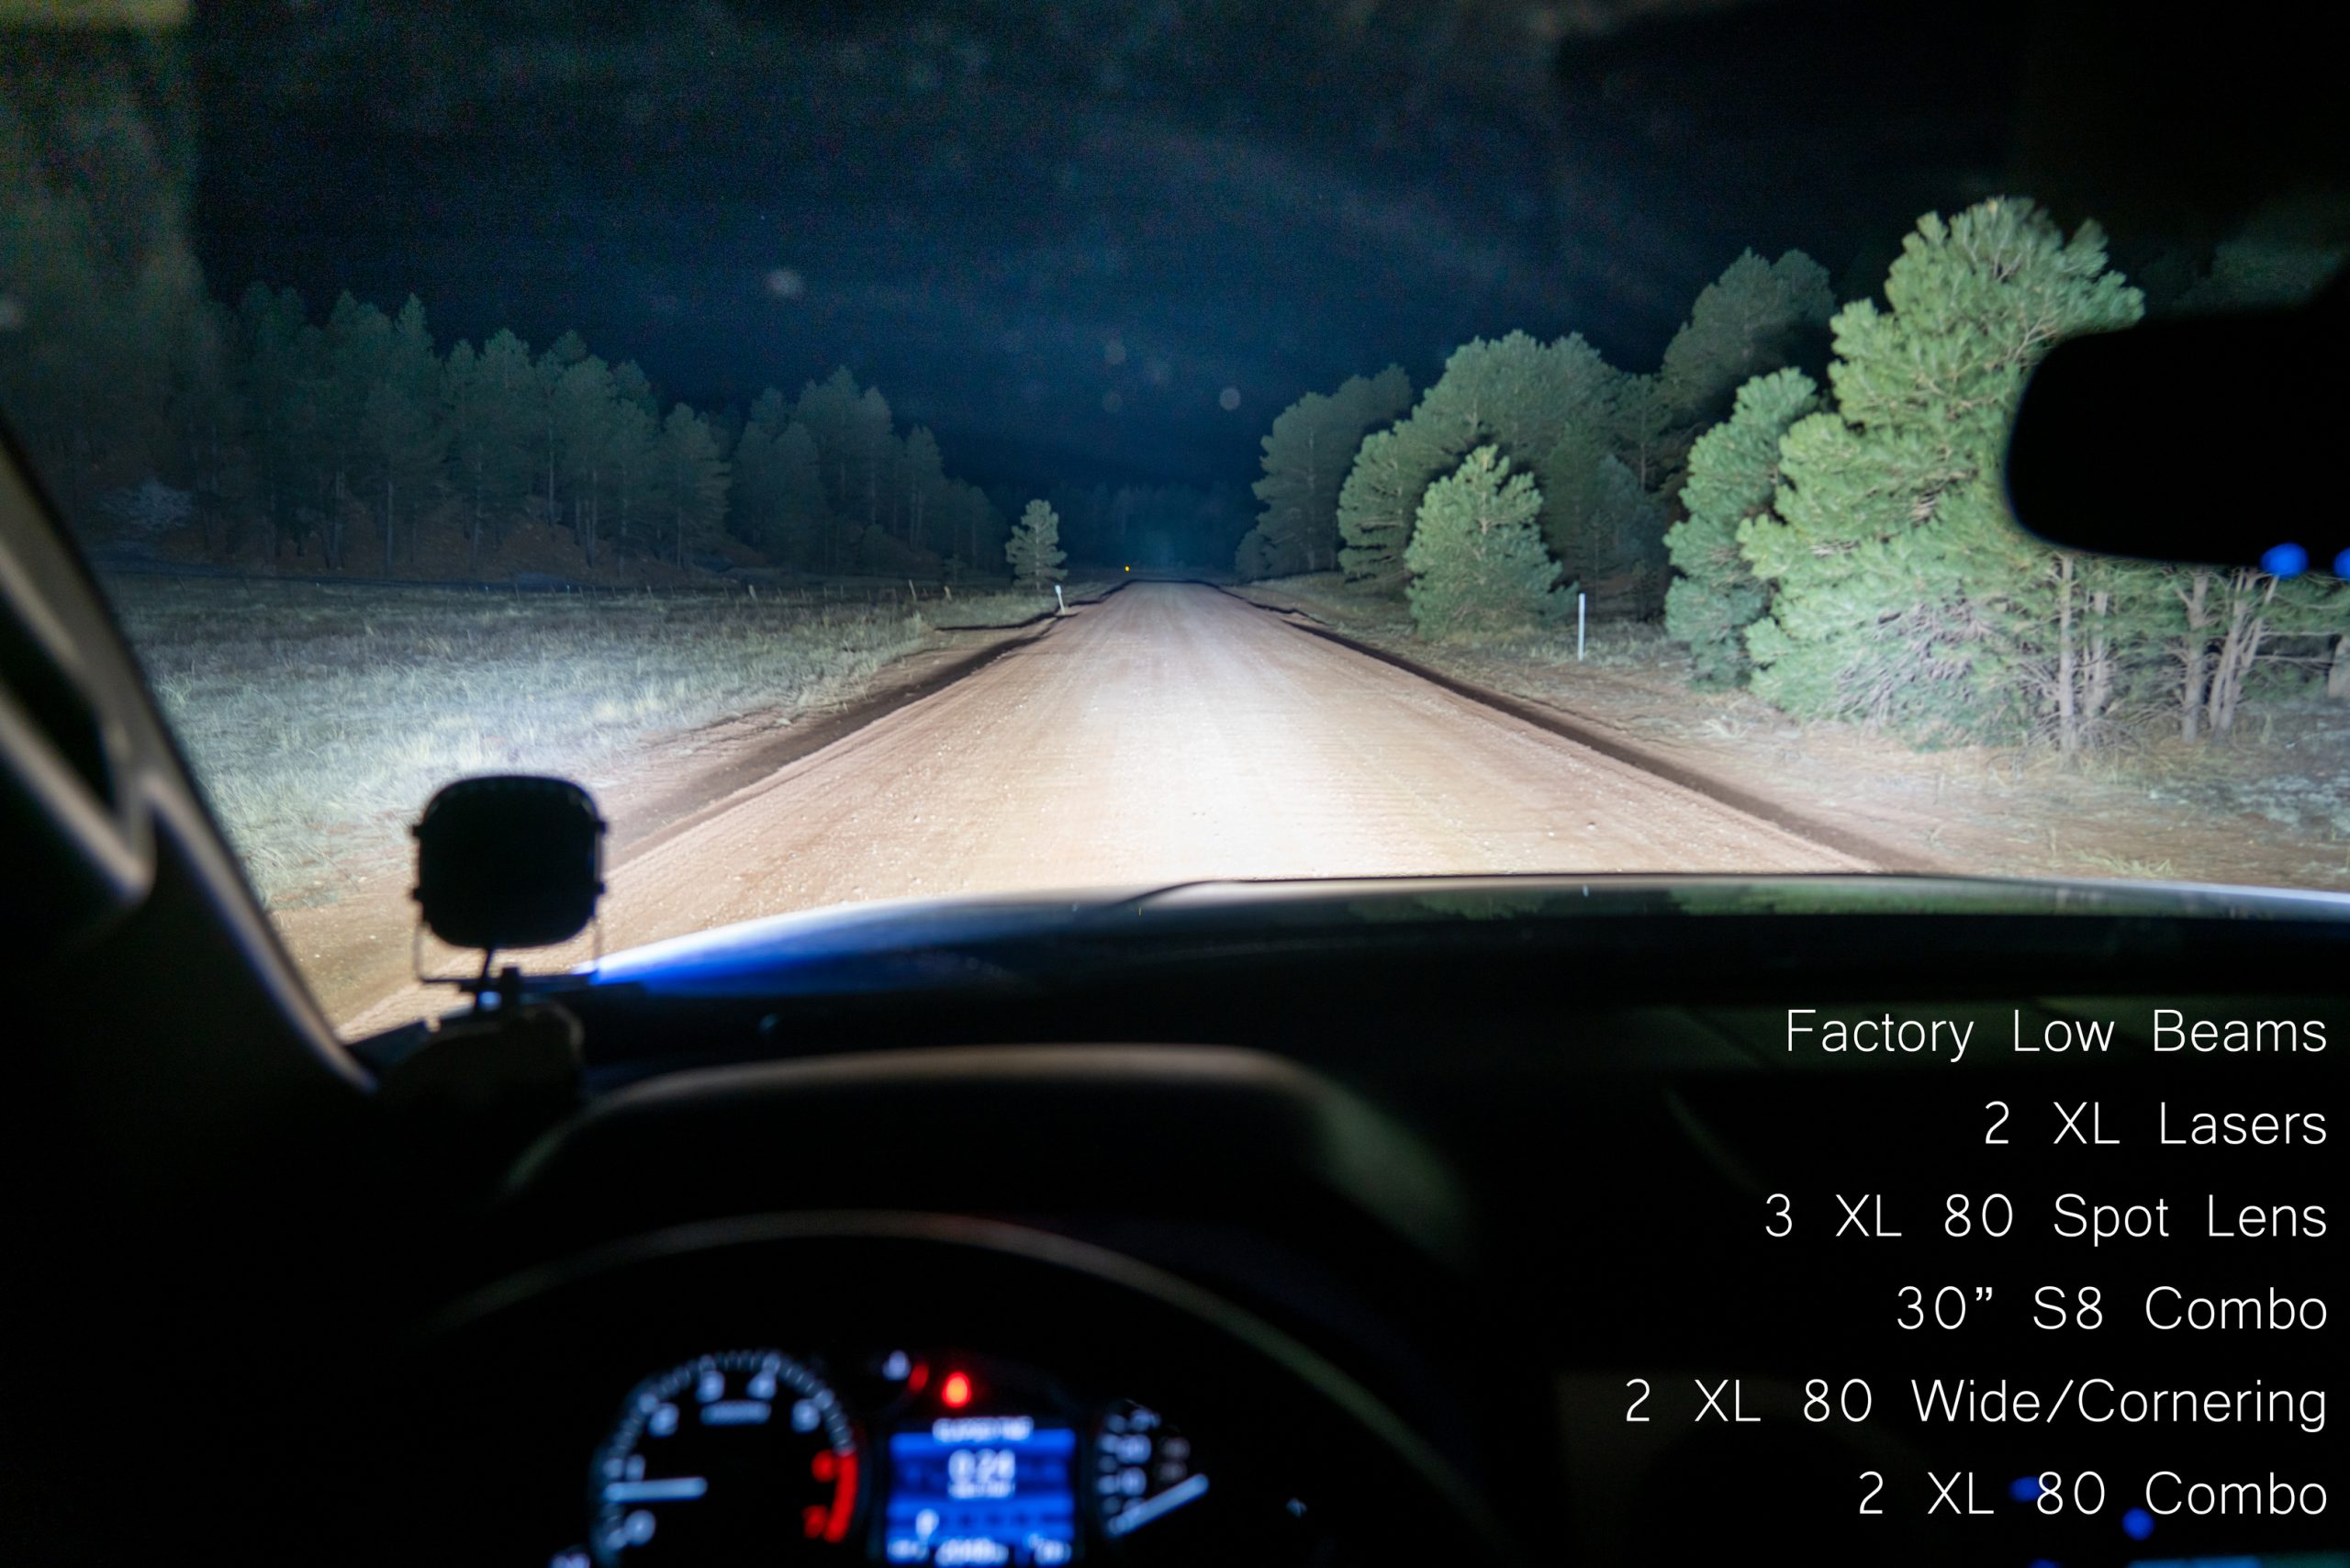
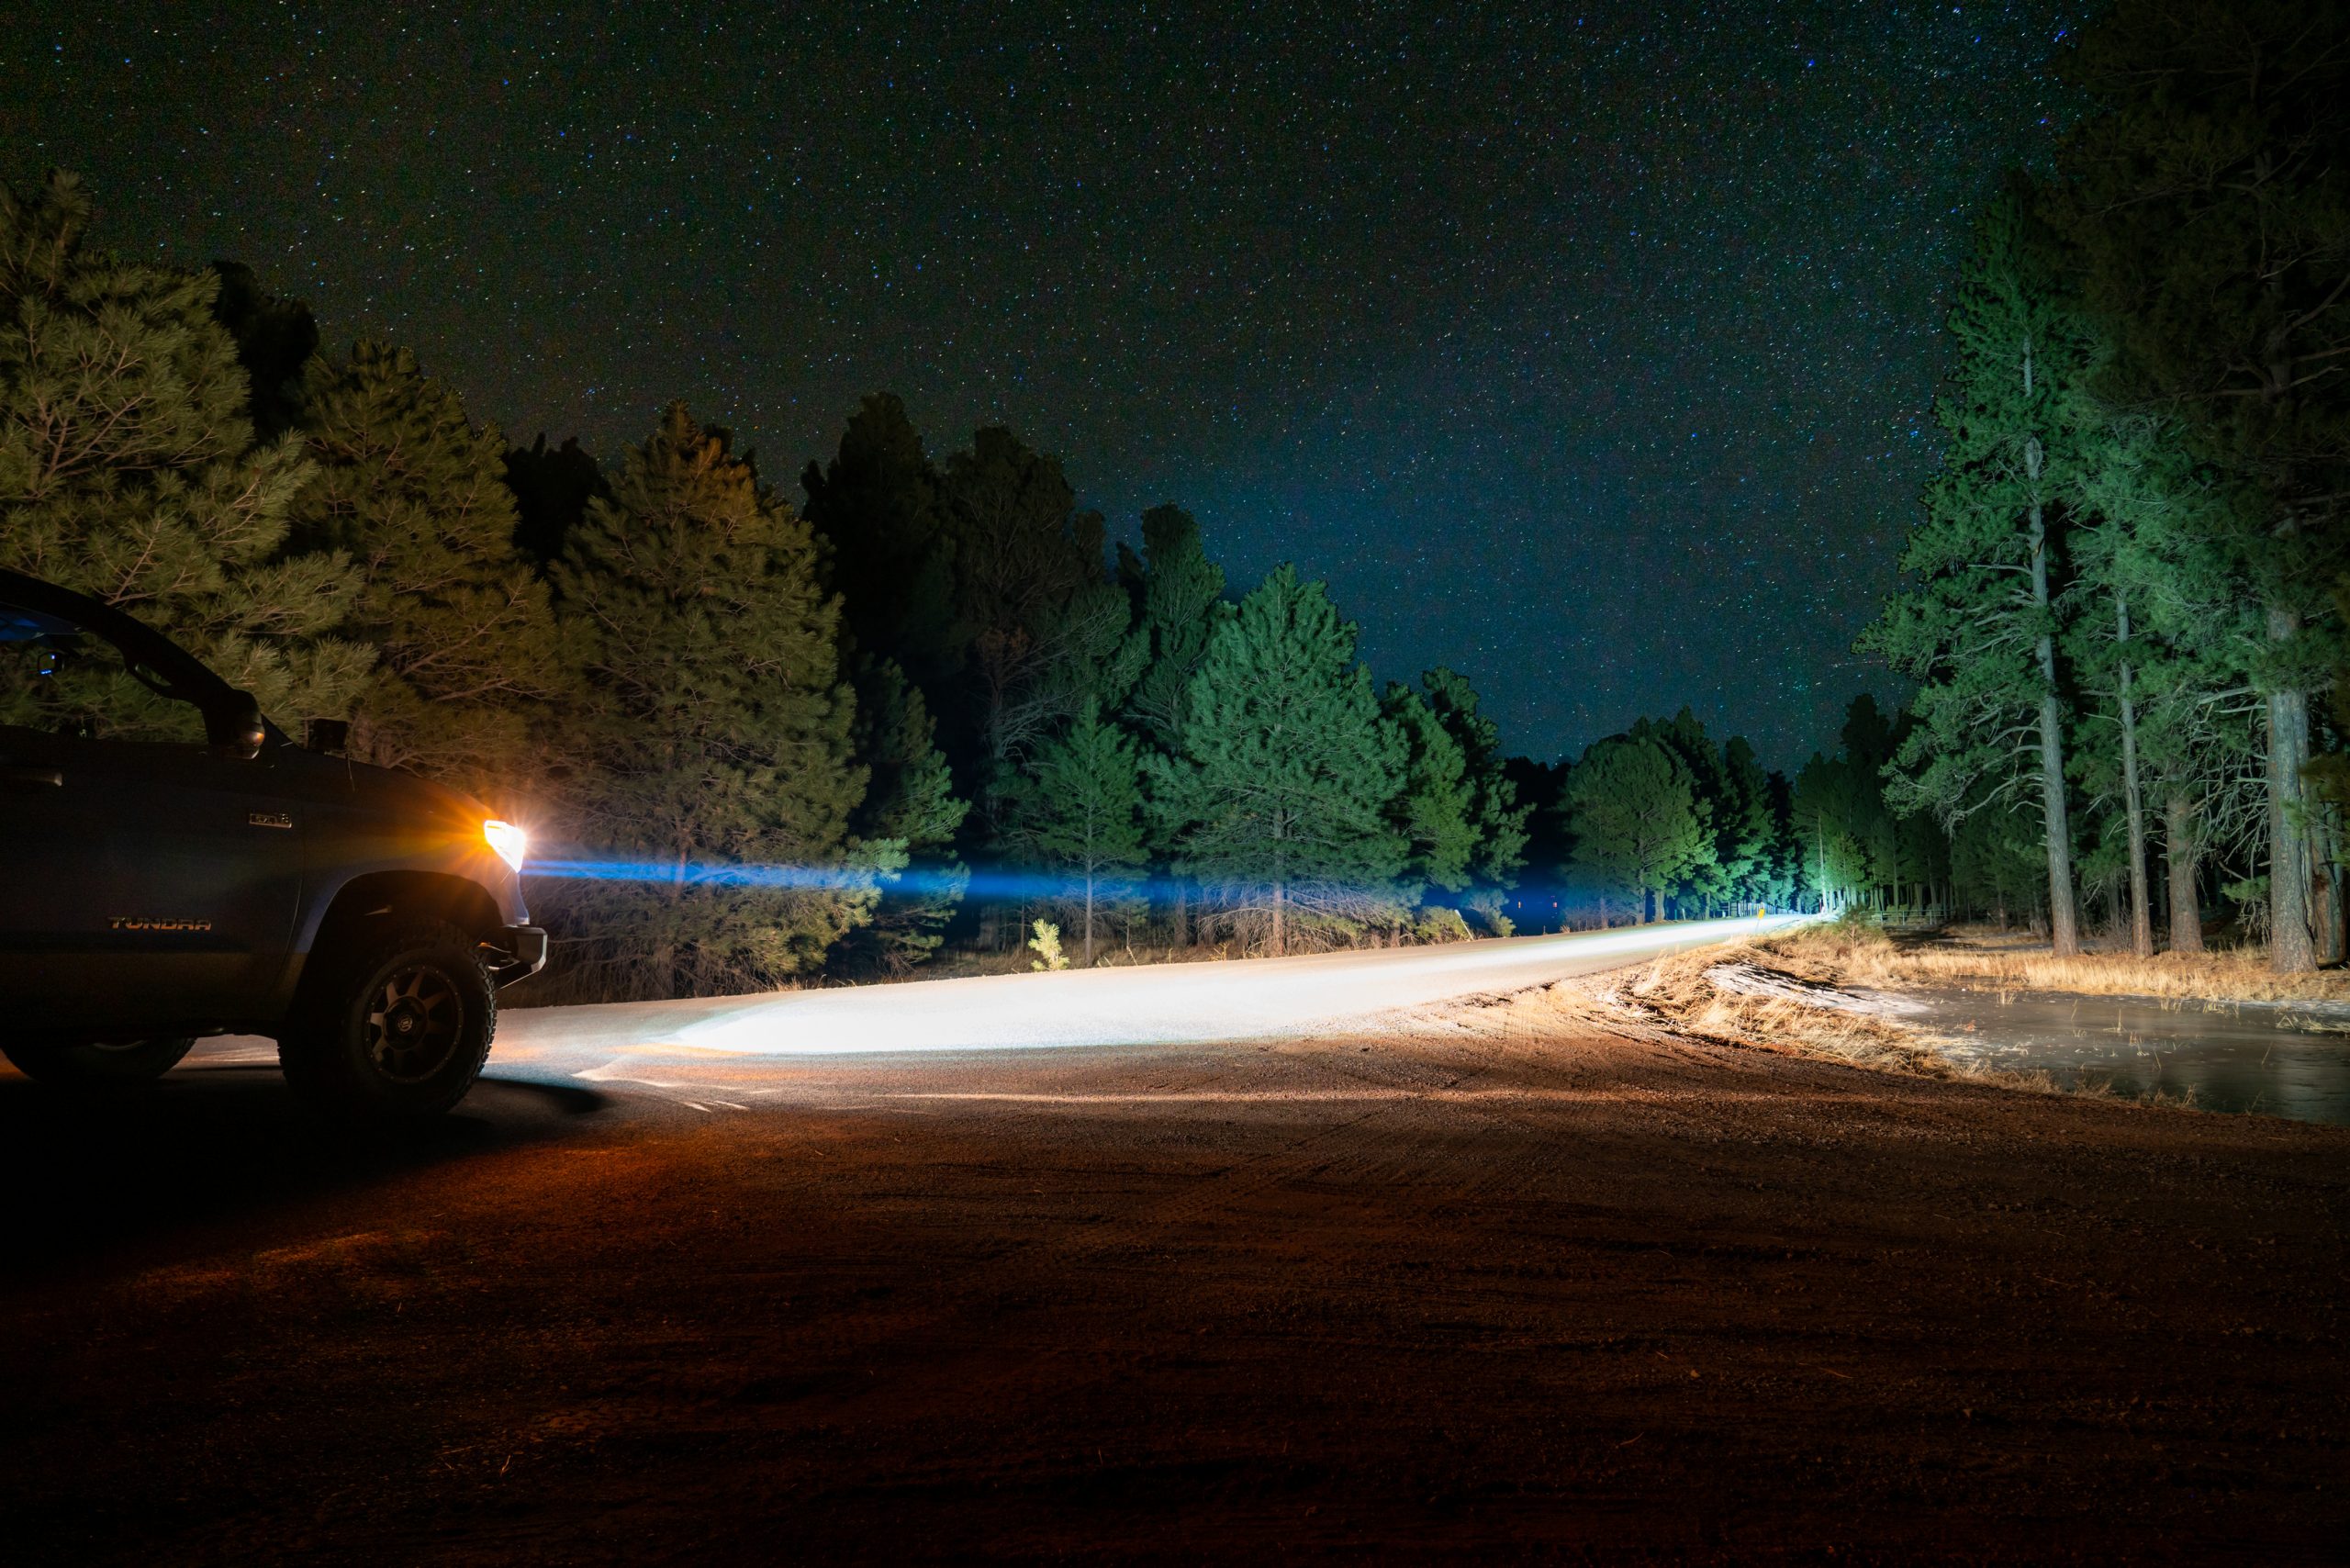 As for the XL Lasers that I’ve been playing with, they’re a great tool to add to my lighting toolbox, because they significantly bolster my long-range lighting. I’ve got each lighting zone mapped to it’s own switch on my
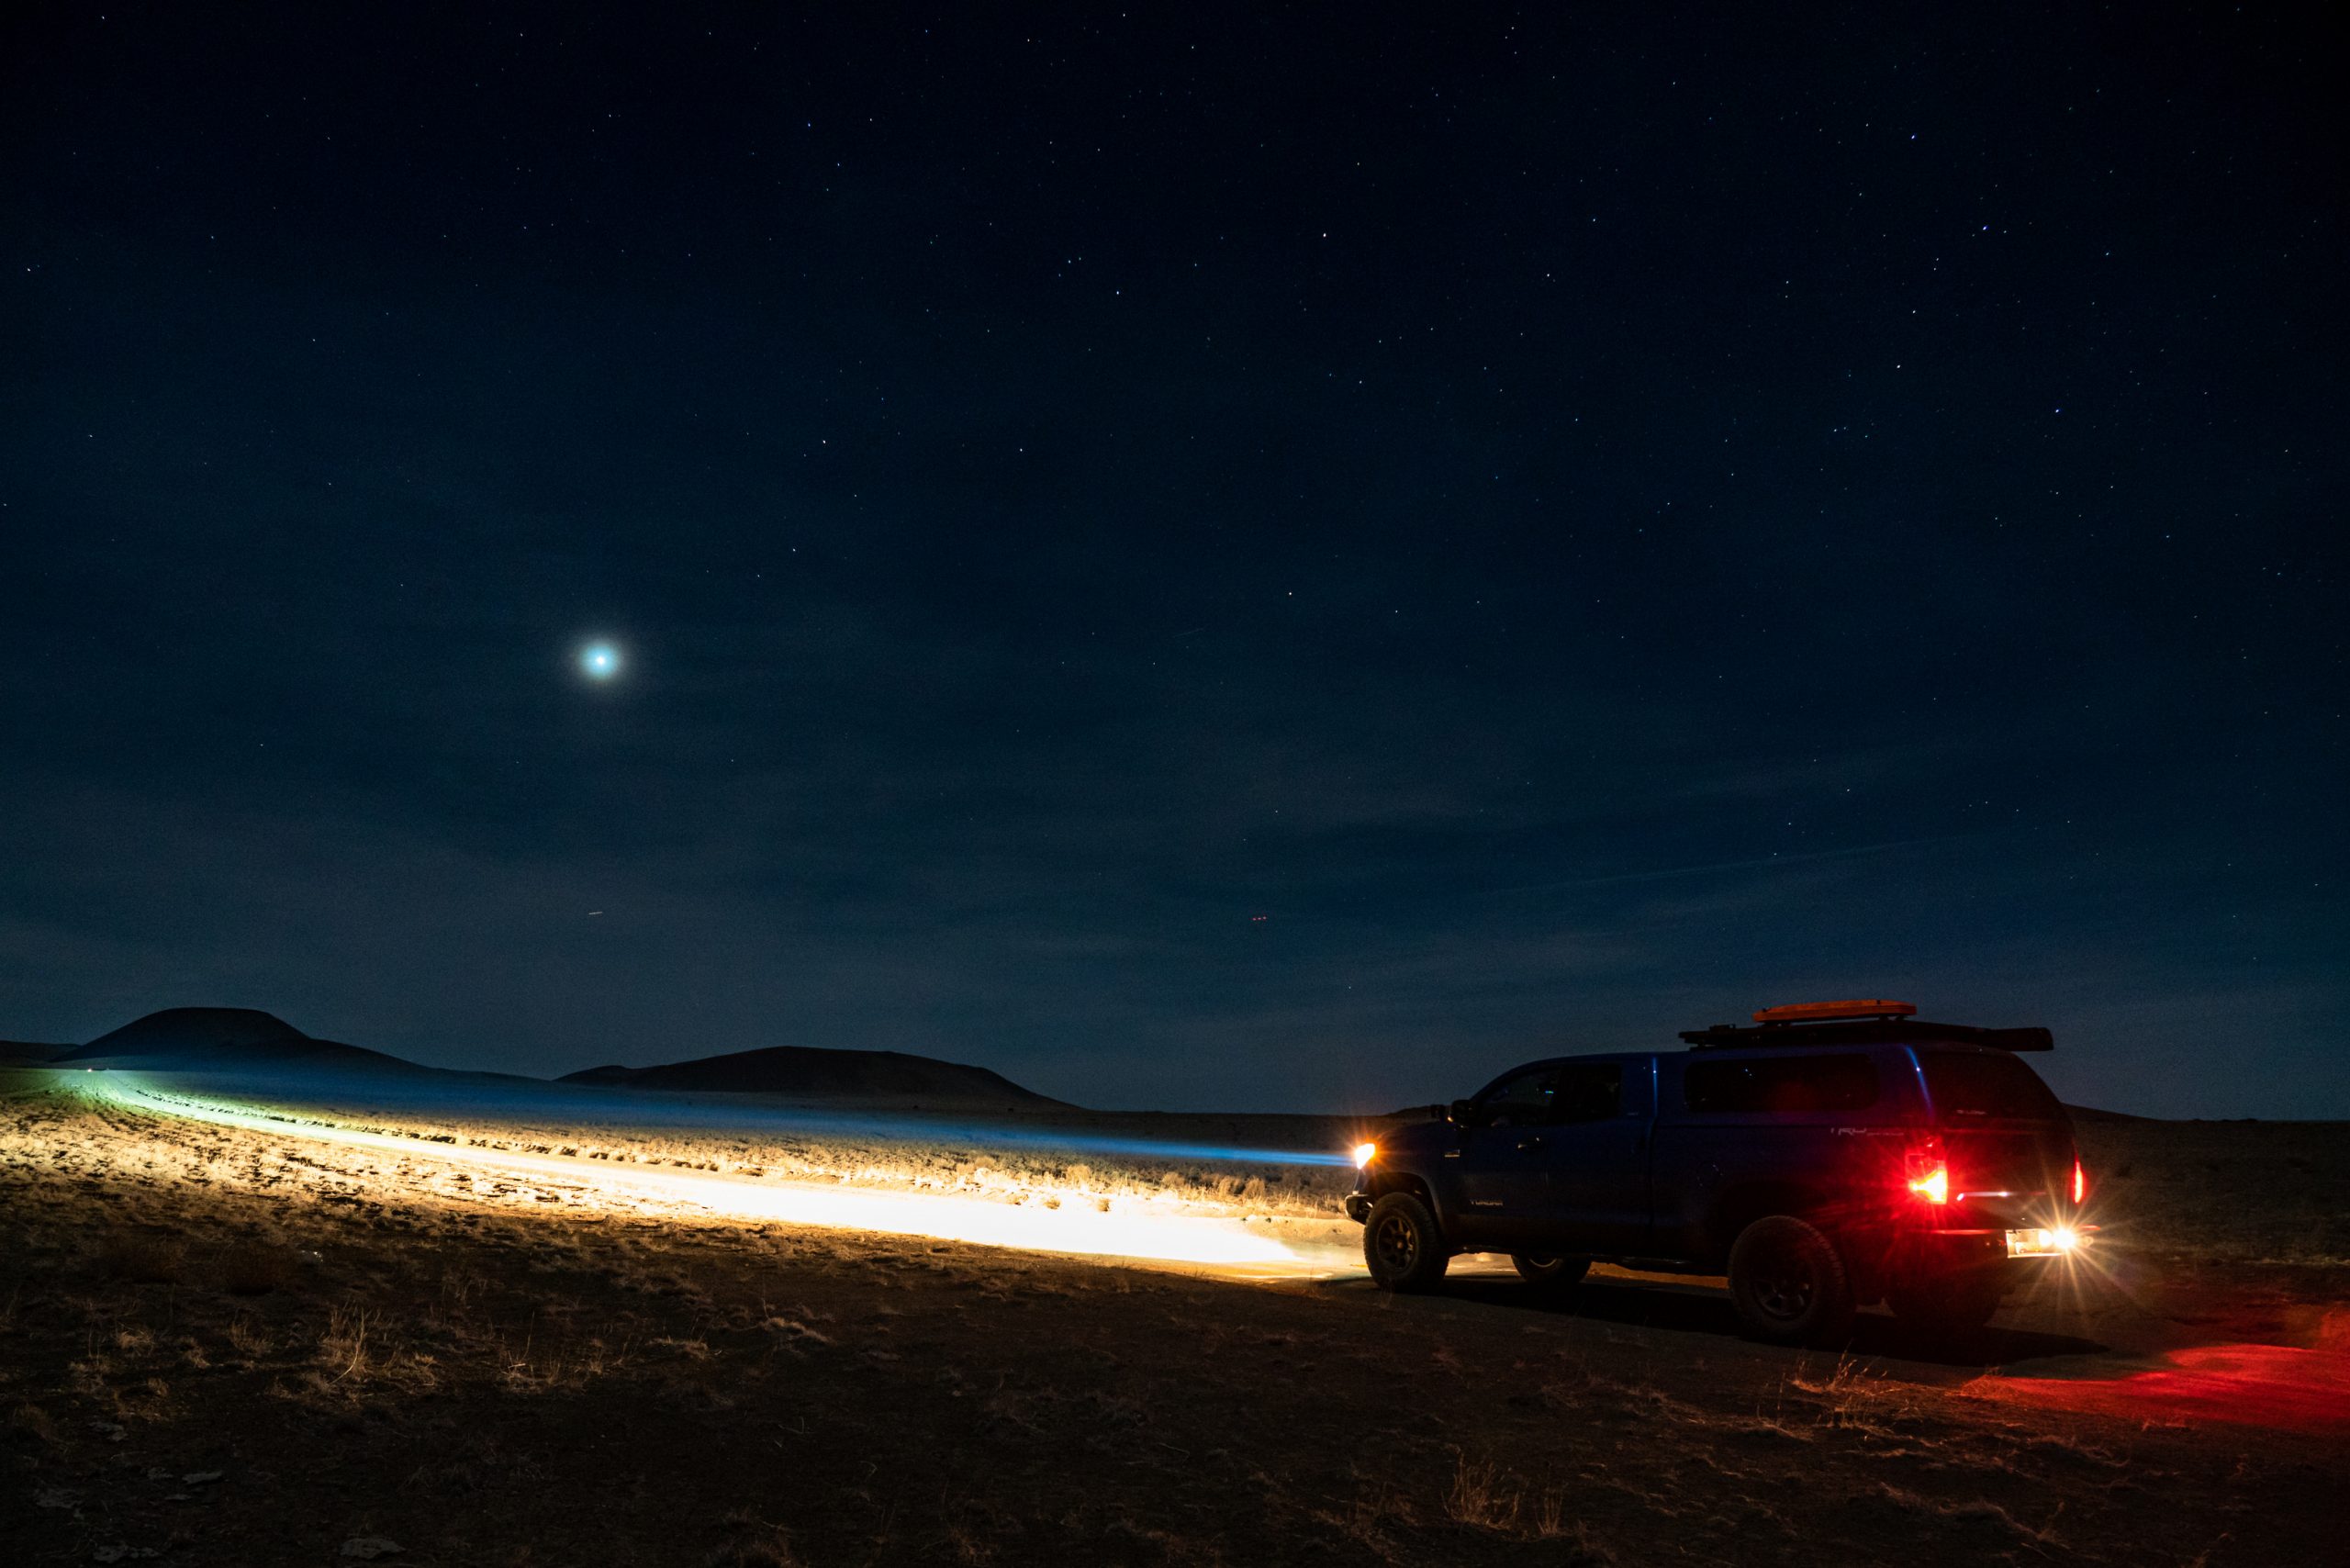
 Even if you’re not going race pace at night, if being able to see further into the night is of value to you, these laser lights are where you need to look if you want to cast light further than LED lights can shine. They are currently available in laser-only XLs, S1s, and as the extreme long range component of