I’ve been going back and forth trying to decide between adding a dual battery setup to the Jeep, or finding a better solar option for “unlimited power” when stationary. Like most of you, I need peace of mind running the fridge in camp and easy access to power for charging USB devices. At Overland Expo East 2019 I ran across a veteran owned Canadian company that makes serious expeditionary grade kits that are ready for hard use in all weather, right out of the box.
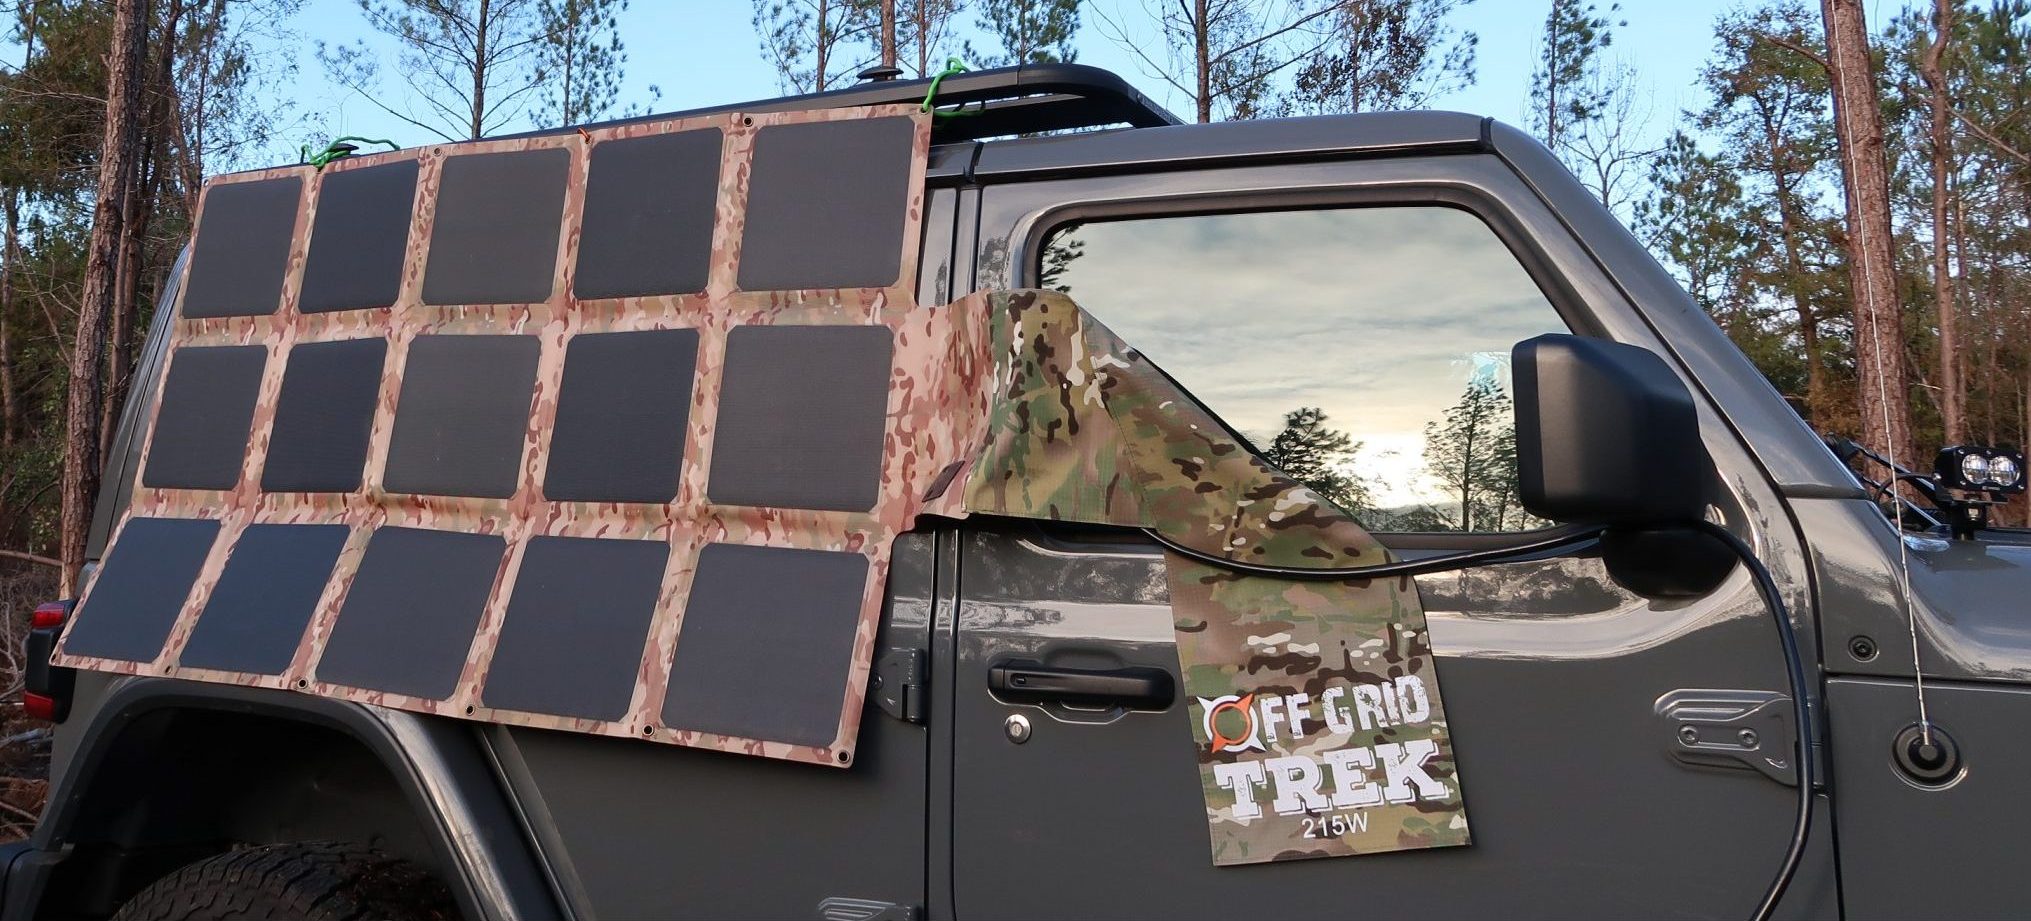
 Off Grid Trek makes solar blankets that feature durable panels with SunPower Gen 3 Maxeon EFTE coated solar cells. Imported from Japan, the EFTE coating (Ethylene tetrafluoroethylene, a thermoplastic copolymer) adds physical toughness to the cells which adds to their lifespan, and also enables better transparency than the normal PET coating used on many panels which increases output in the same light conditions, resulting in a whopping 23.8% efficiency. Many companies are using cells that only get about 15% efficiency under the same conditions so these panels are actually quite stellar in their performance.
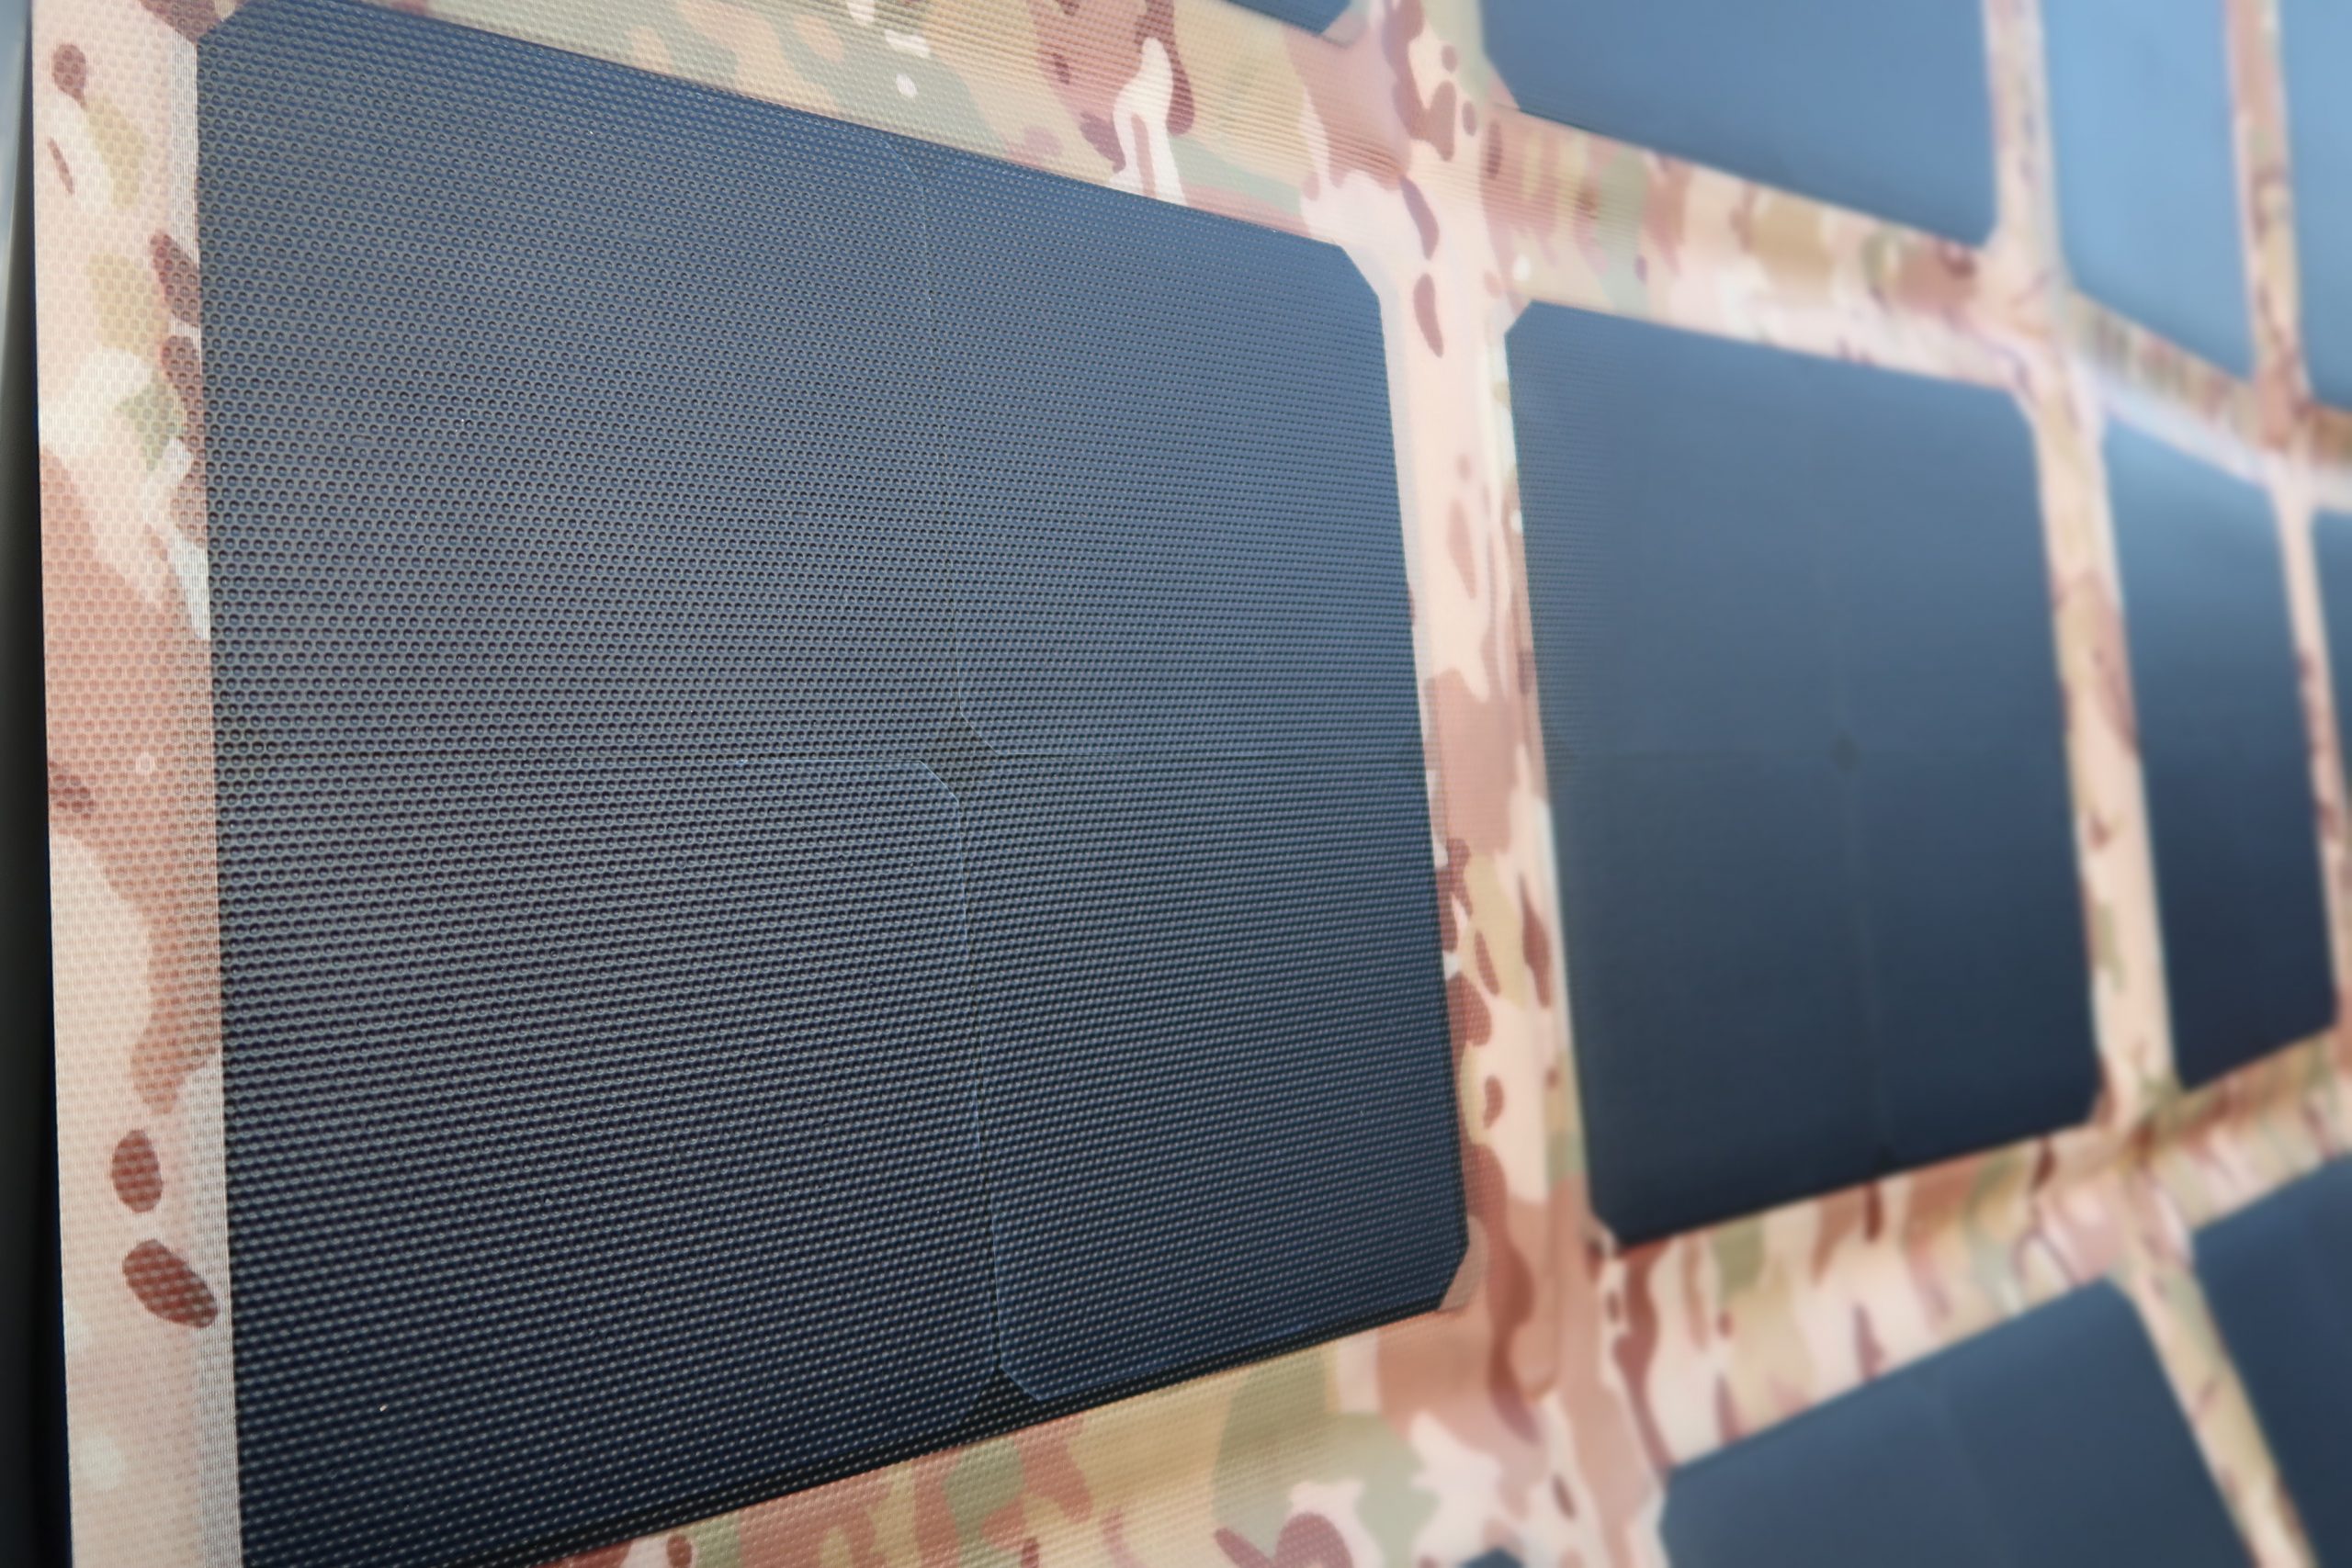
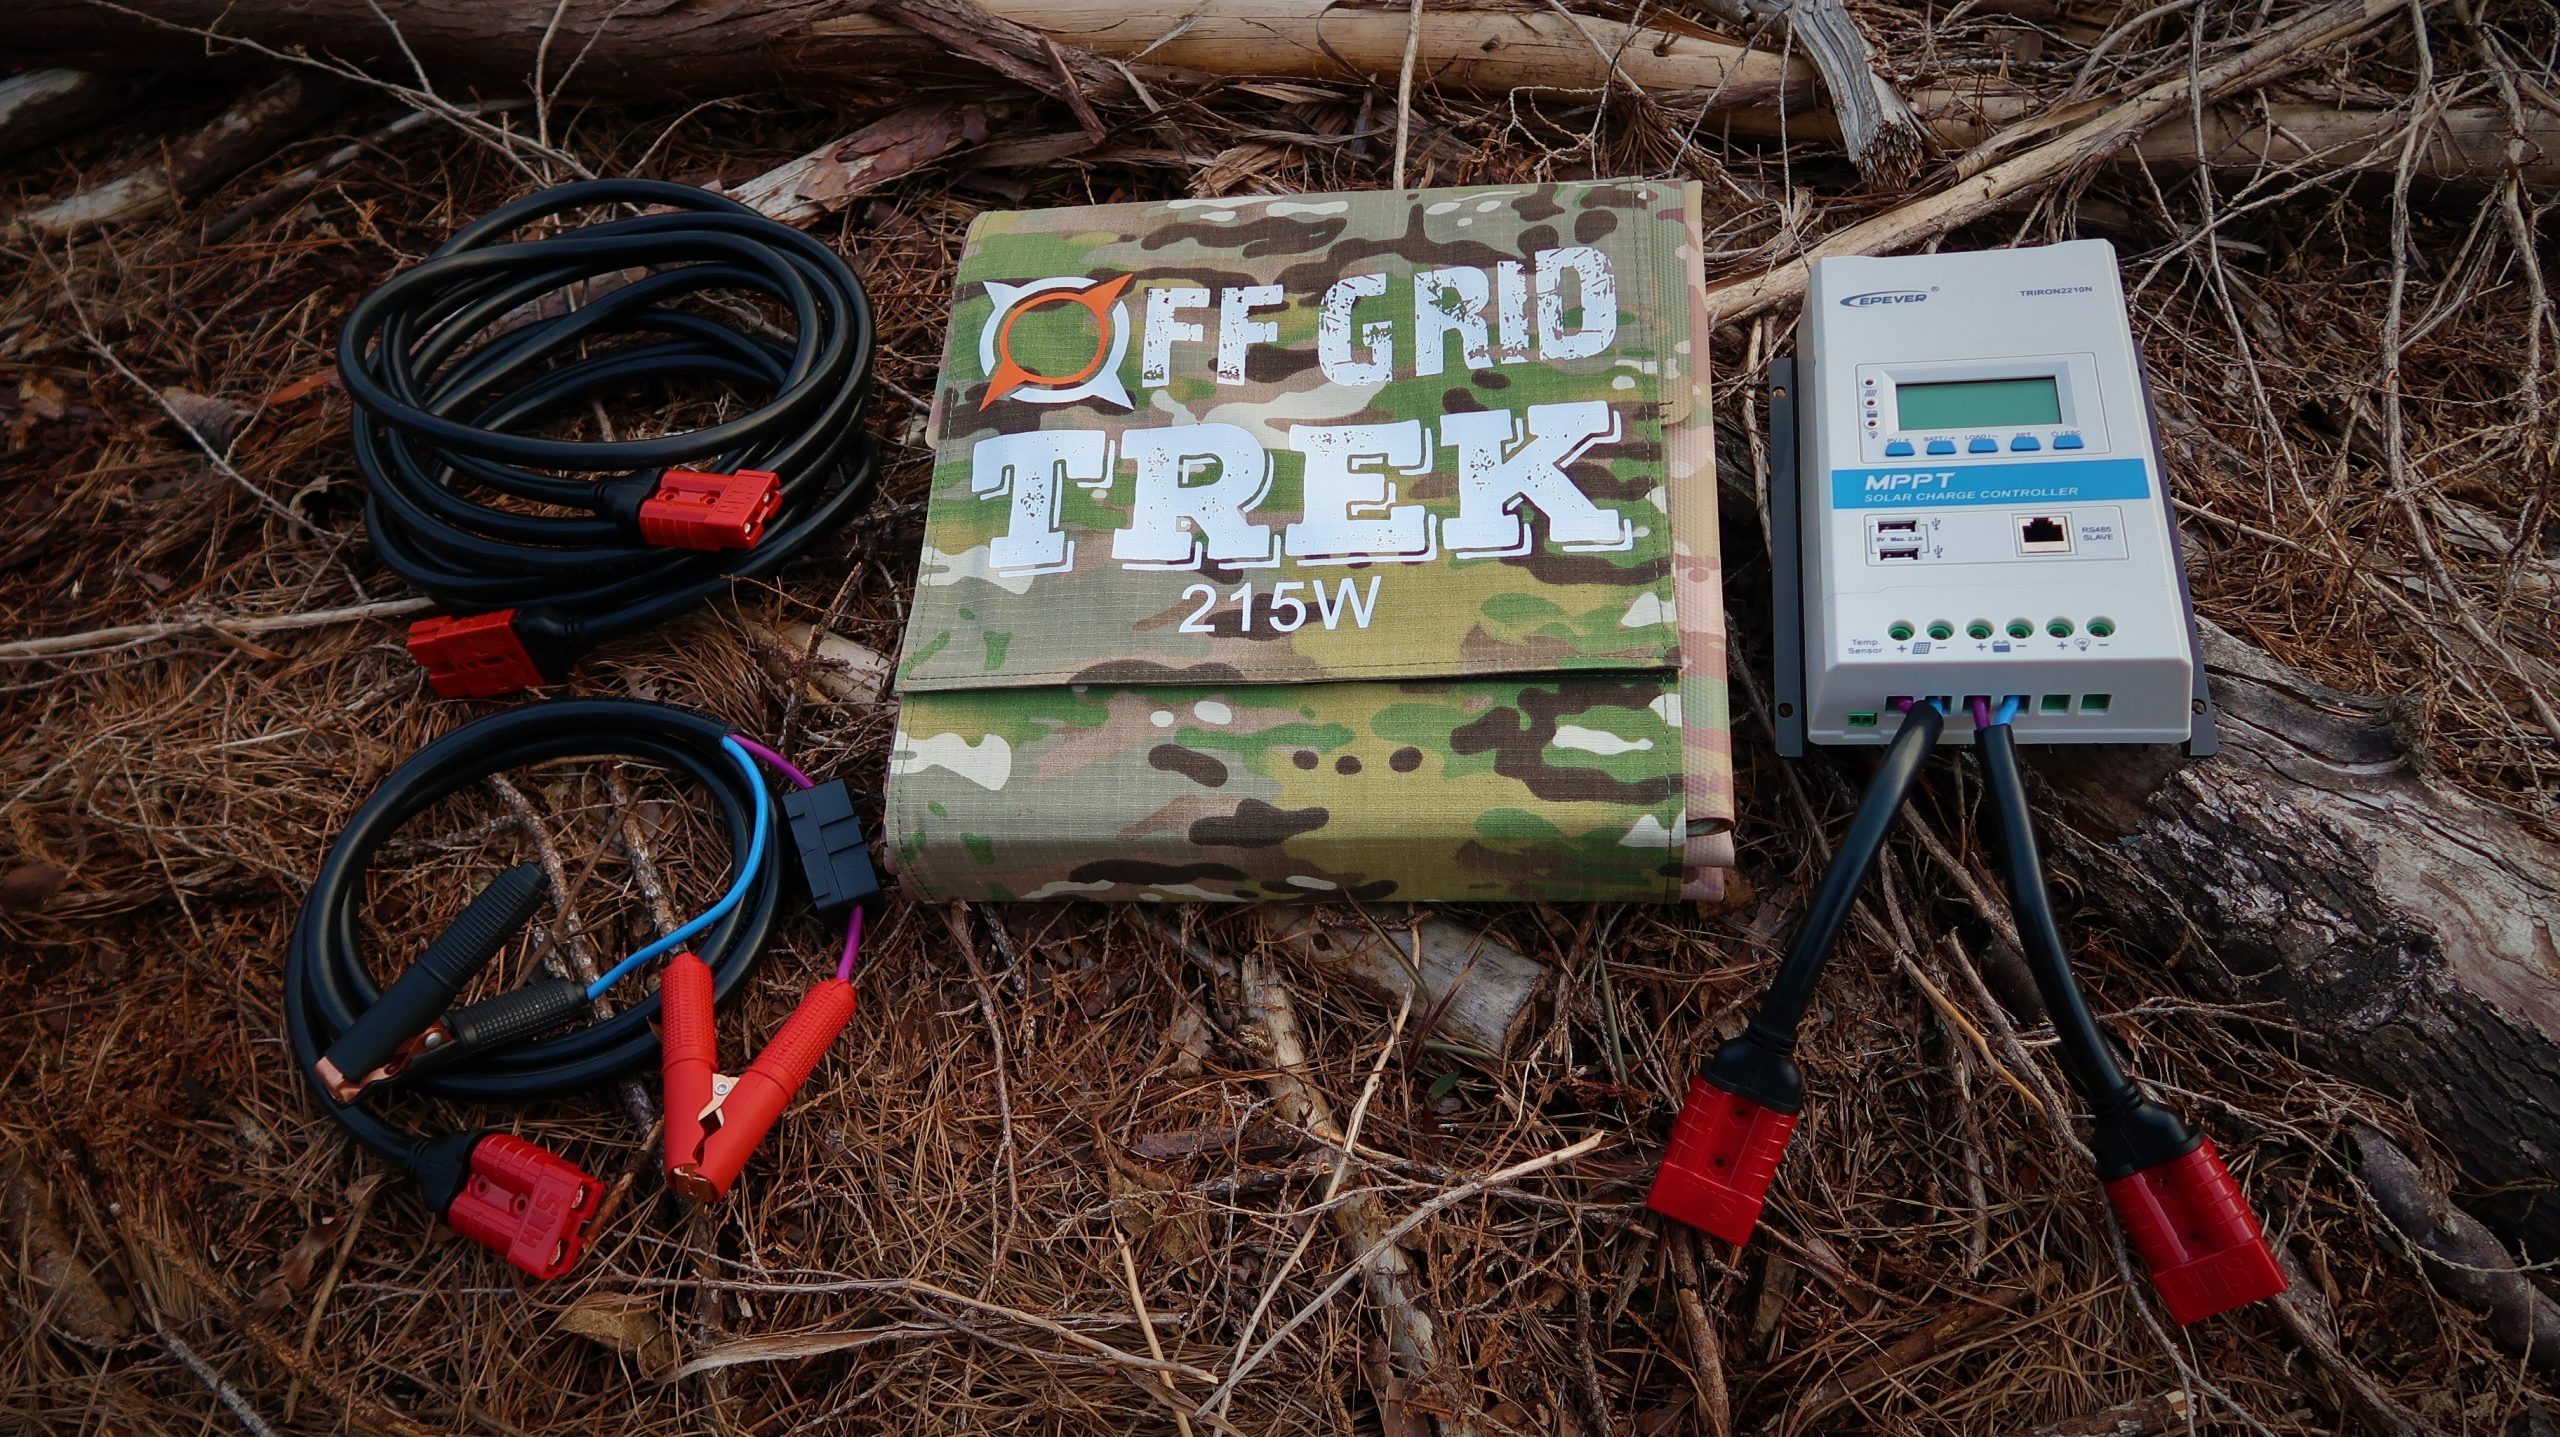
Clearly, solar panel efficiency, power output, and durability has improved considerably over the years, and I’m simply amazed to be able to get 200+ watts from a 13-pound solar blanket that when unfolded measures 68 x 36 inches, and only 12.6 inches square when folded up. This is much smaller than our older 120 watt Power Film solar blanket. I was also pleased to see the use of Anderson connectors and heavy duty, 5-millimeter wiring used throughout the kit. This heavy duty wiring reduces voltage drop under peak charging conditions, and increases the lifespan of the harness overall.
The main wiring harness measures 16 feet long, so use on a roof rack, roof top tent, or even hanging it in an adjacent tree is no problem. The harness is also what I call “GI proof”, meaning the Anderson connectors only connect one way so if you can follow the simple instructions on the solar controller, and if you can tell the difference between positive and negative at your battery, wiring it up takes all of 2 minutes with a frosty beverage in one hand. So easy an Overlander can do it.

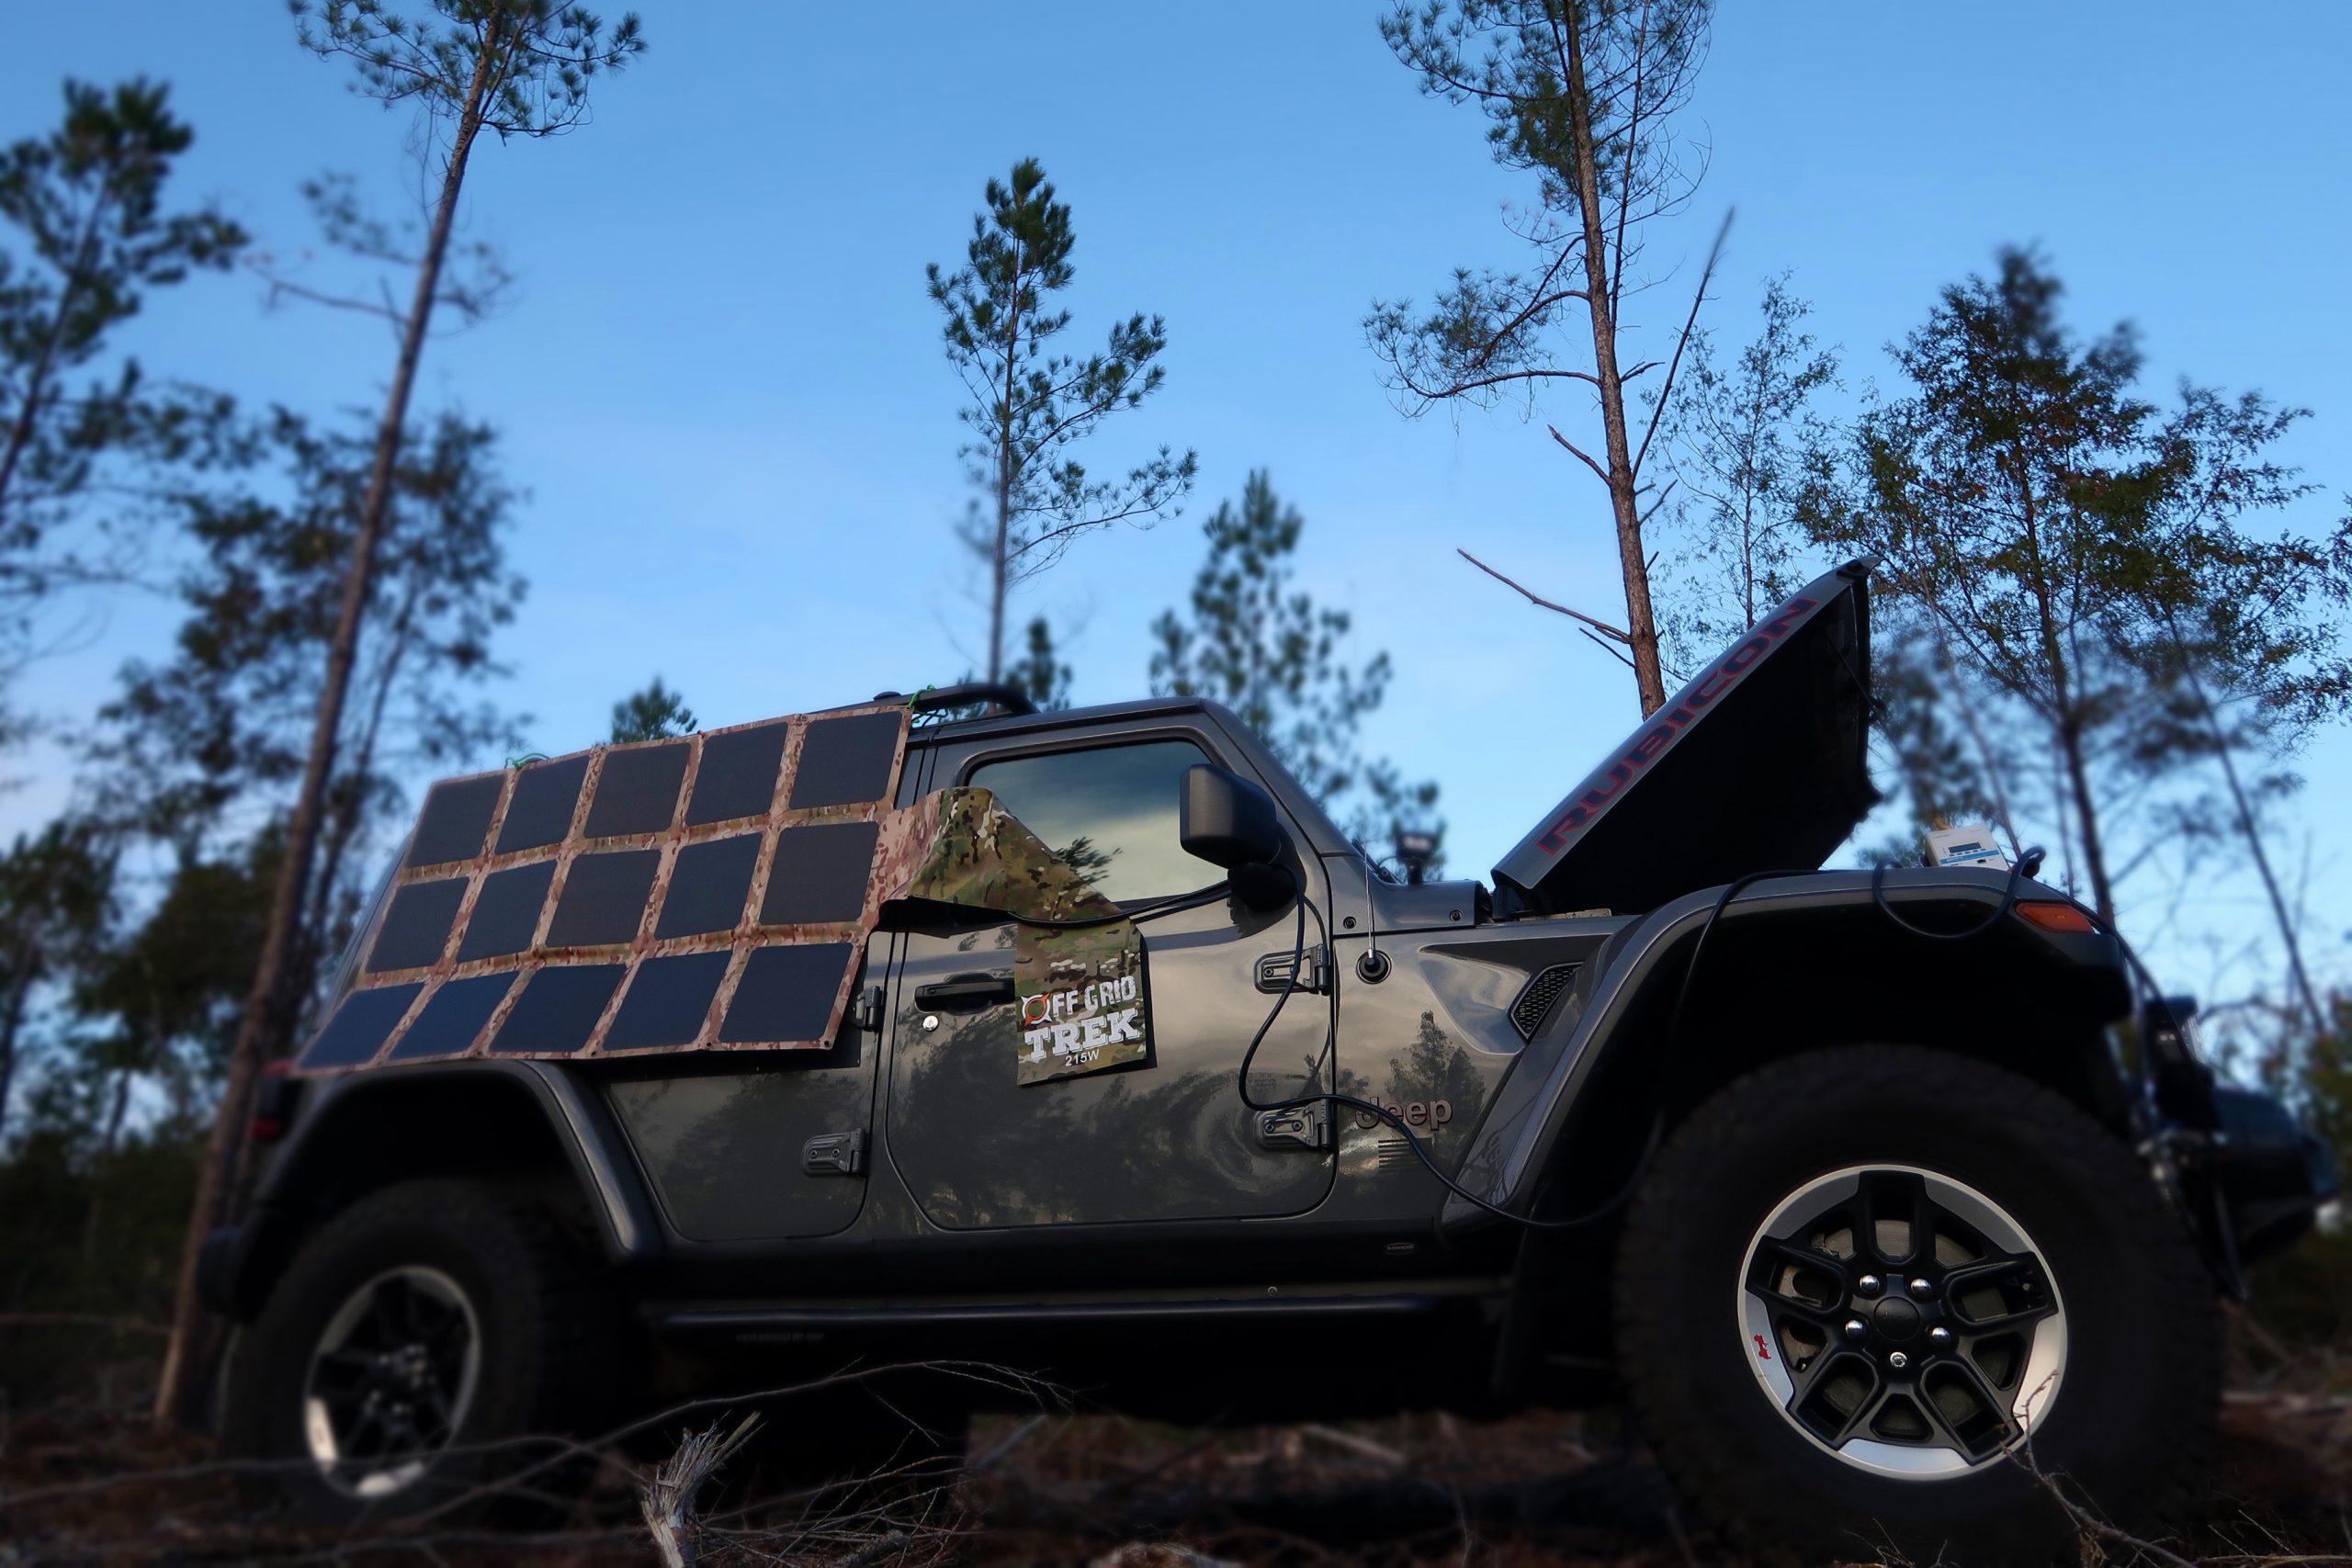
For me, all this information validates the fact that this Canadian company is making panels that work even in Canadian conditions – without direct sunlight and even on cloudy, rainy, overcast days. Most panels today stop working in these low light conditions, and it’s been my experience that when inclement weather hits I really need the capability to keep my batteries full. The heavy duty materials used in this solar blanket also impact it’s capability and durability in severe weather – I have zero concerns leaving this out in extreme conditions like I’ve seen in places like Death Valley or the upper peninsula of Michigan which is an important consideration for me when choosing equipment that I have to depend on.
The next two photos were taken at 4pm in November (sunset at 4:51 pm) with cloud cover and the sun dipping beneath the trees to the west…
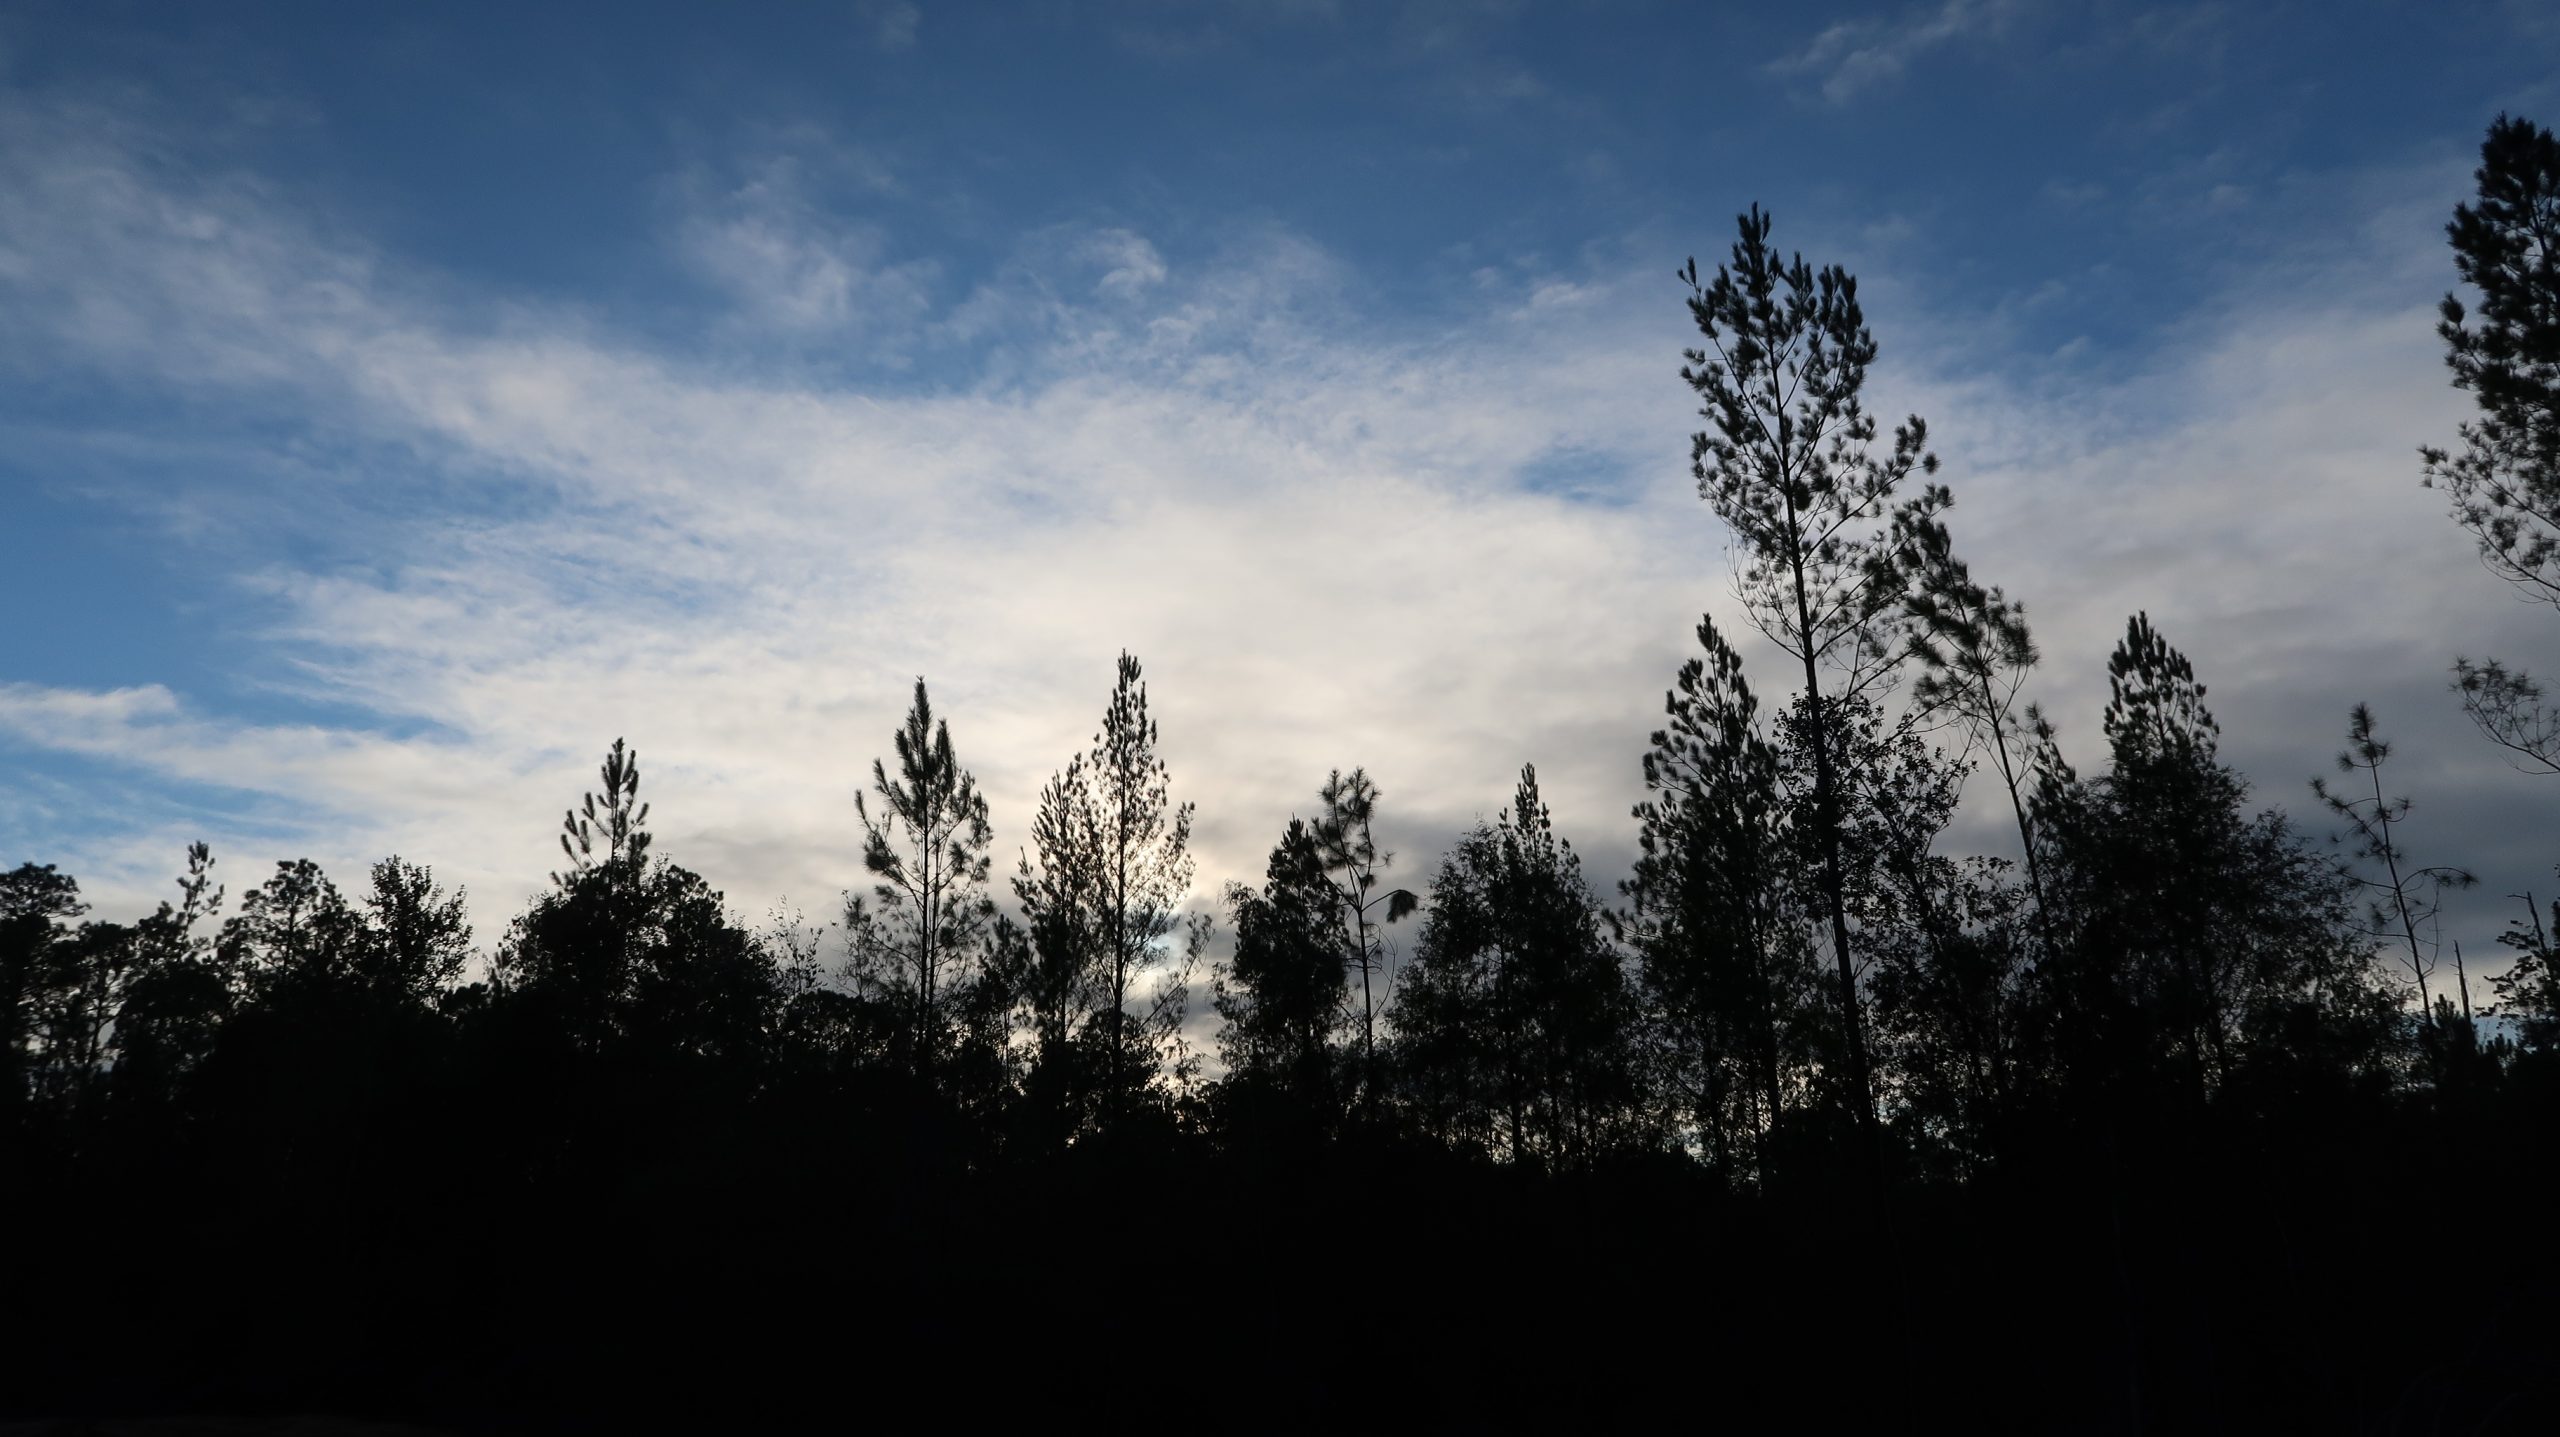
And there’s something we don’t always see, almost 1 amp still going to the battery right to the very end of sunlight in marginal lighting (fridge off in this picture so no power draw). Not bad at all.
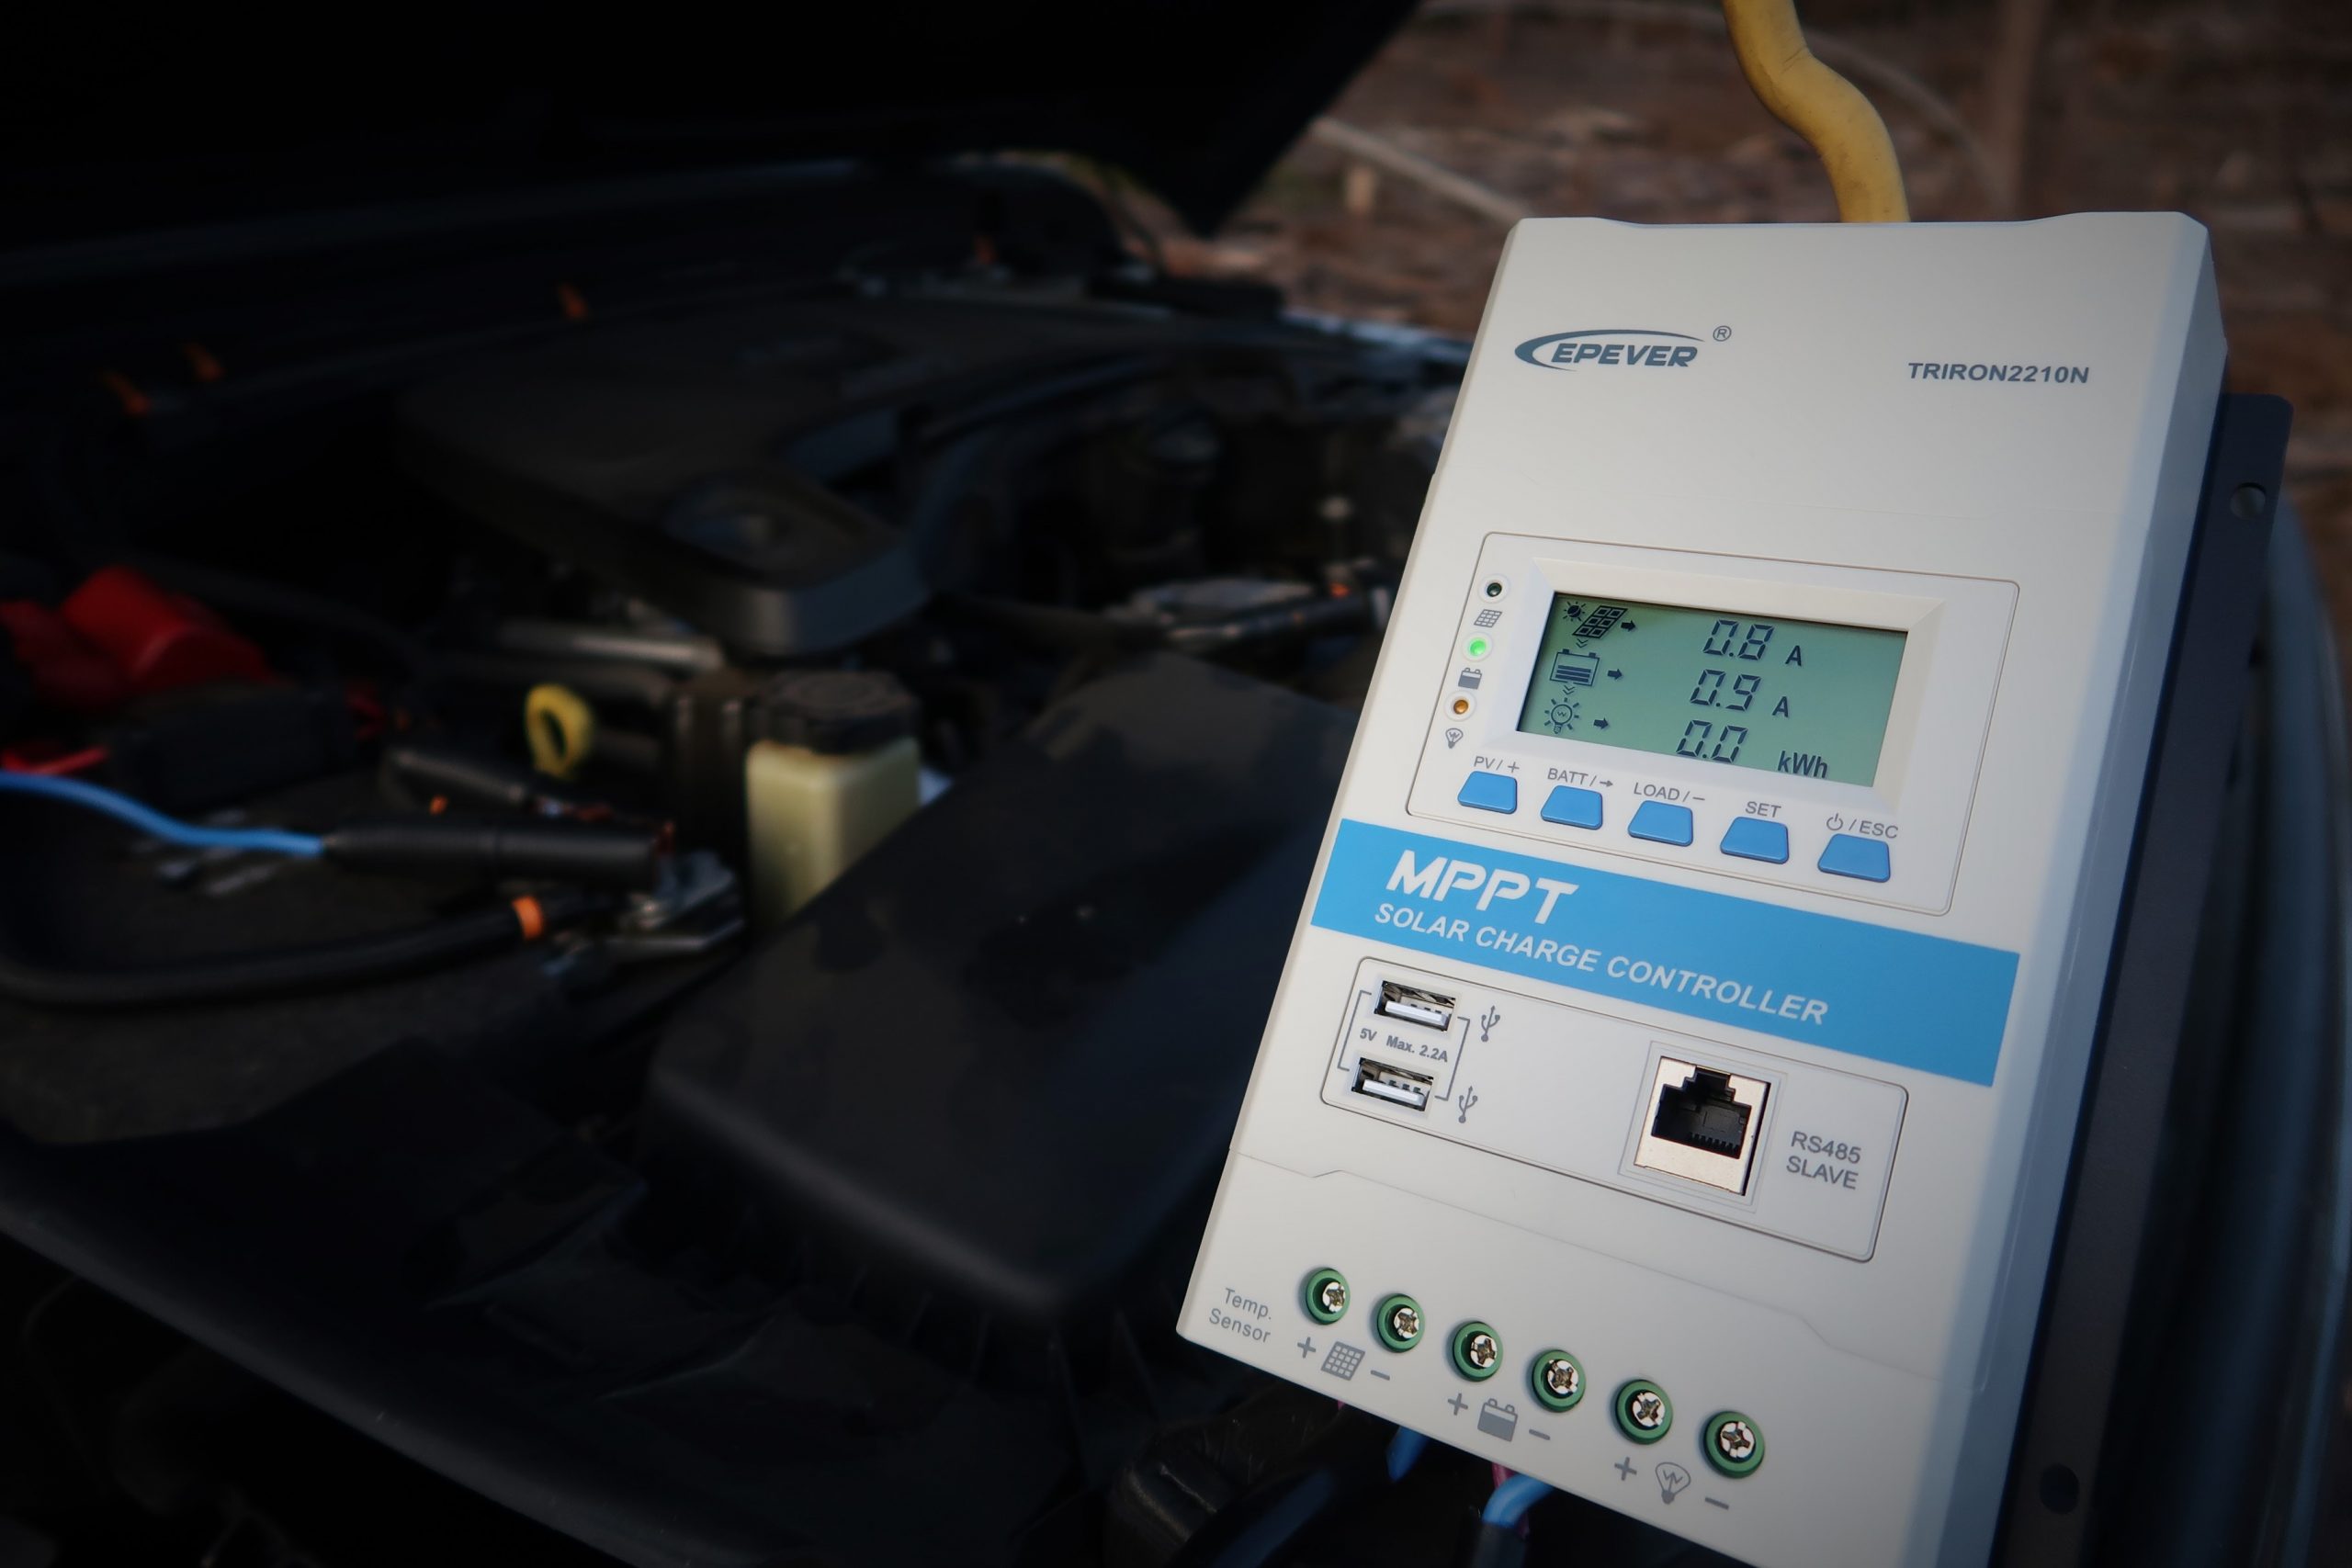
Beyond the solar blanket itself, power needs to be controlled before connecting to your battery, and the 20 amp common positive Maximum Power Point Tracking (MPPT) solar controller is a critical part here in any solar kit, optimizing the voltage matching and current between the panels and your battery. The unit provided by Offgrid Trek features a backlit, day and night readable LCD display, and both the solar blanket and solar charge controller have two high speed (2.2A!) USB charging ports each so you can charge up to four devices at a time right at the source. This well thought out feature works as advertised and saves your vehicle battery for starting the engine while negating the need for a portable battery pack if you choose to just use the kit for all your charging needs in camp like we do.
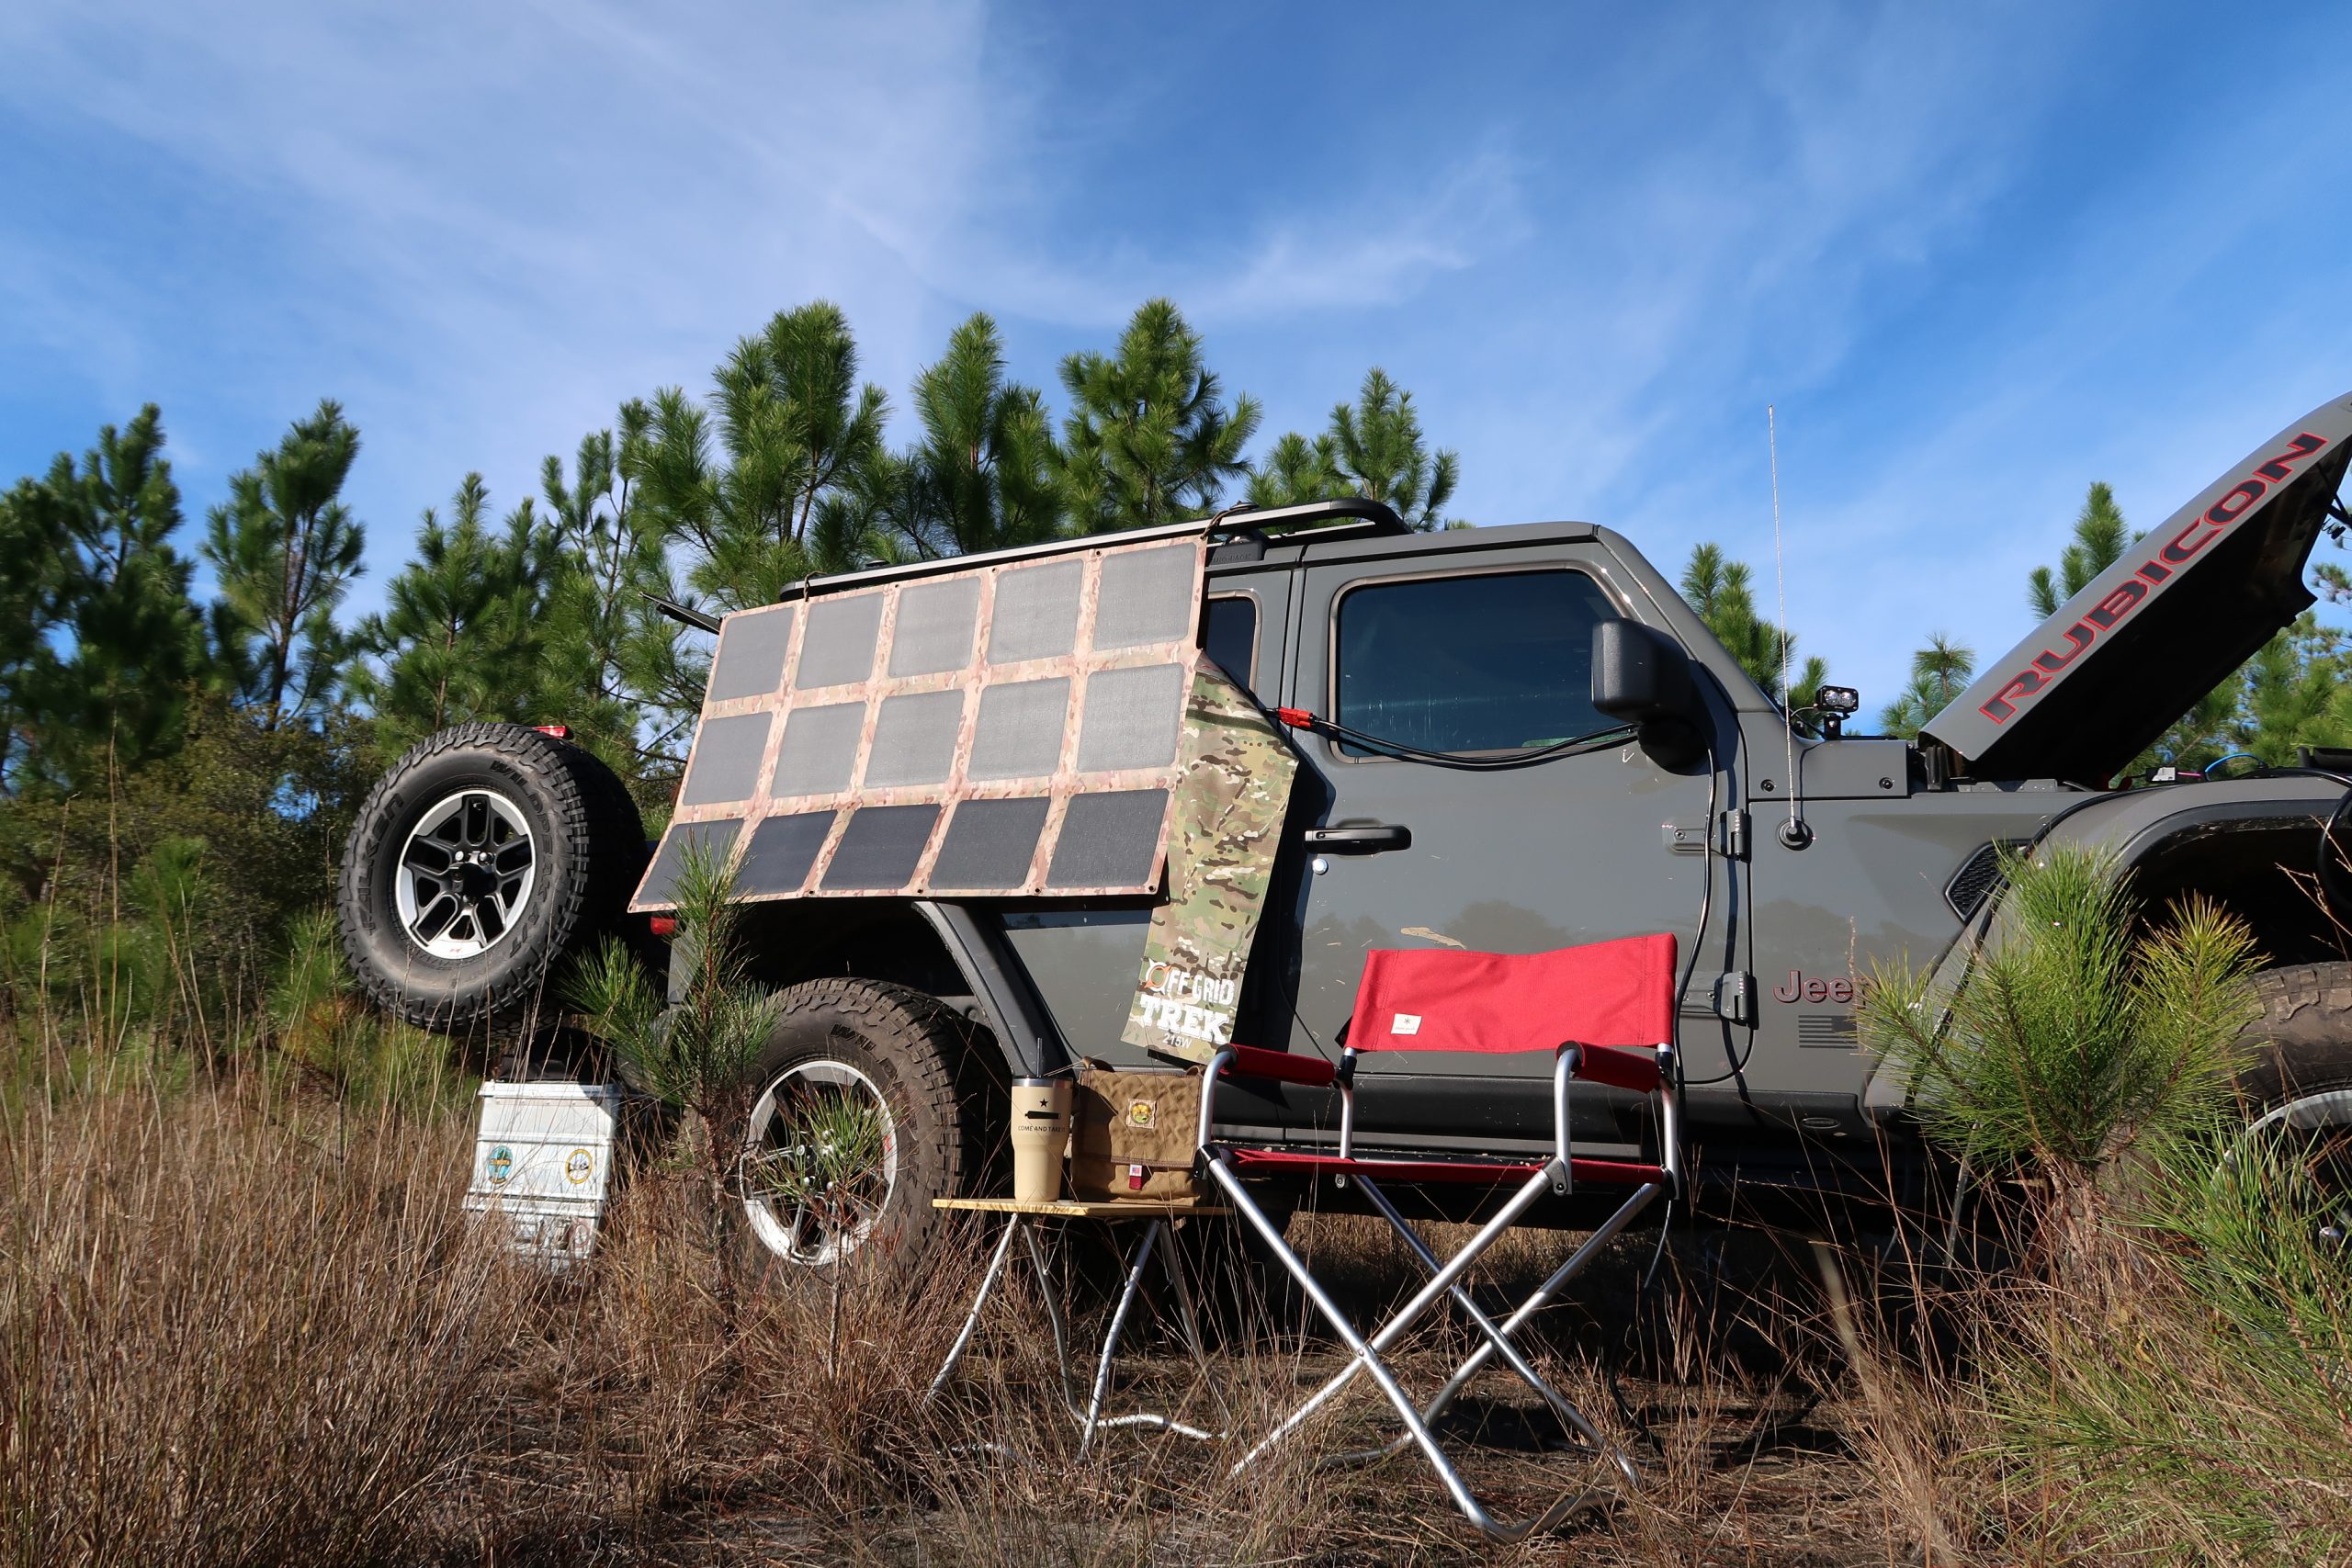
Our main power draw concern is our Engel MT-45 fridge, it needs 1-2 amps total in camp, so I’m confident that even under low light conditions this solar blanket is up to the task. Using this in our driveway for the first time, we saw this solar blanket produce 11 amps under the full Florida sun at noon, more than twice as much as our Renogy 120 watt panel makes under ideal conditions. These numbers mean this kit makes more than enough power for any SnoMaster, National Luna, Dometic or ARB fridge on the market while still topping off your battery too.

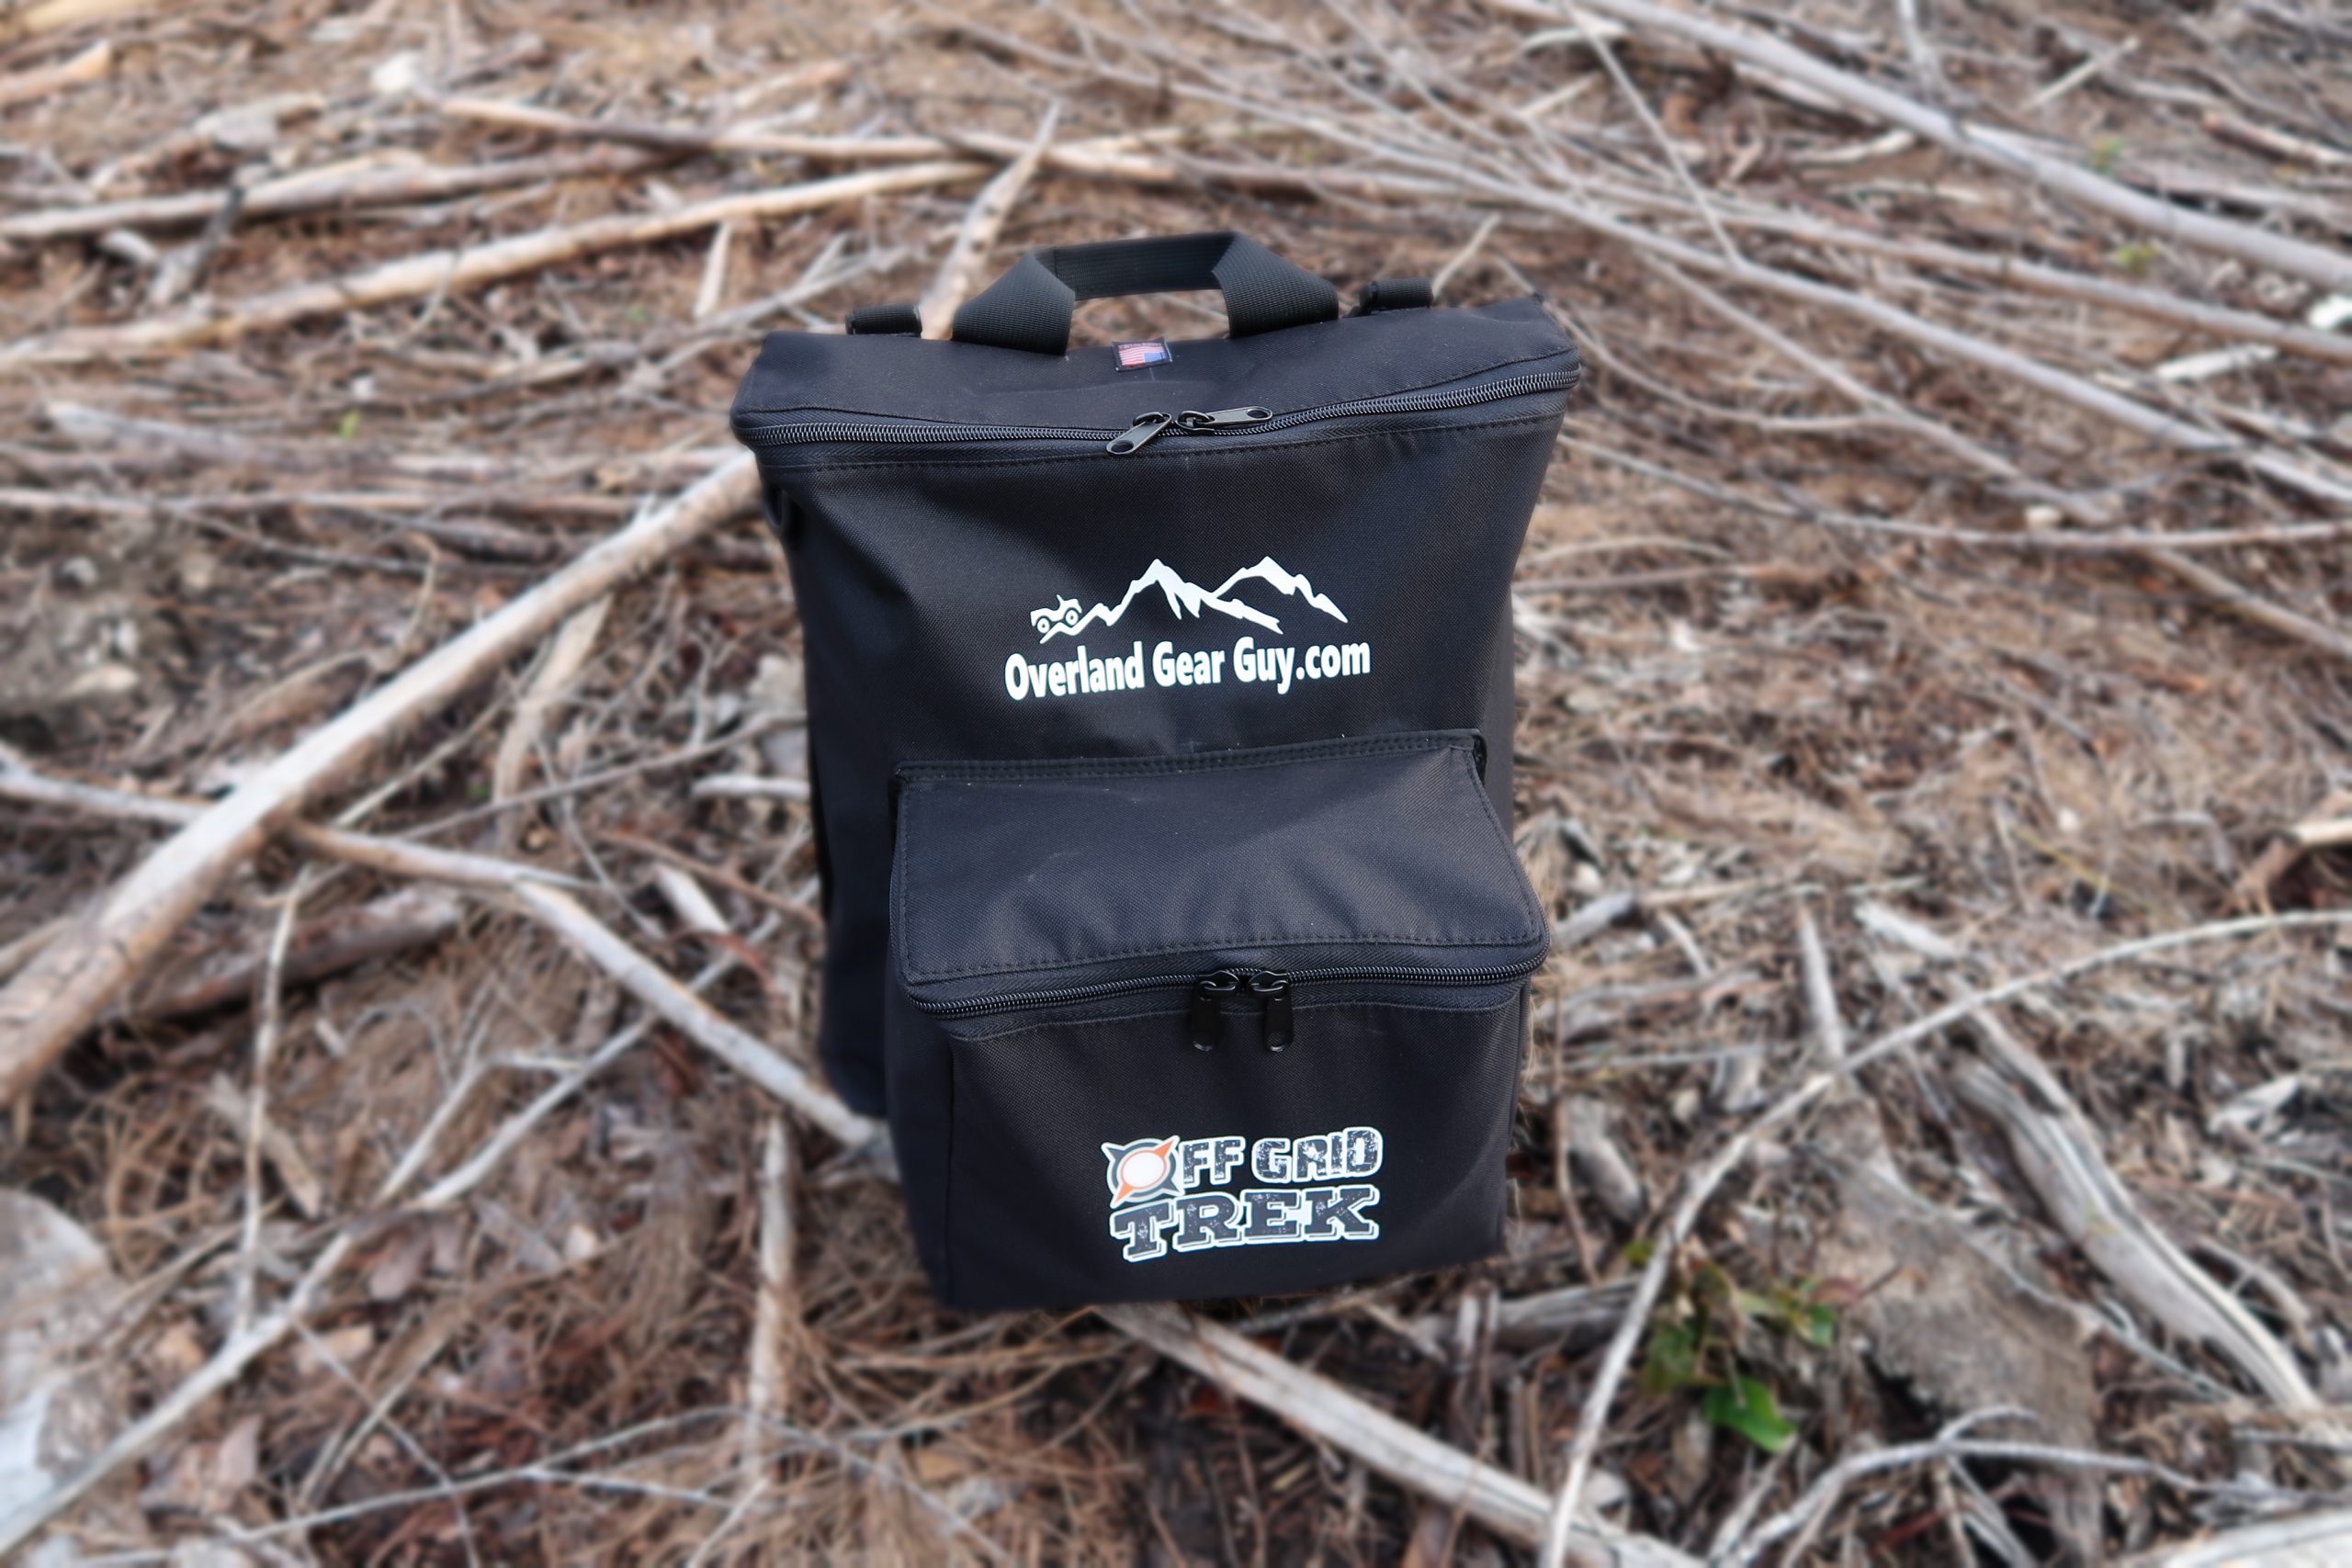
This kit requires no hard mounting of any kind so it can be moved between vehicles with ease, and it packs down small enough to be easily portable in the included, made in USA bag from Overland Gear Guy.
Some improvements I’d like to see would be a traditional, automotive style replaceable 30 amp fuse at the battery connection as well as a more versatile mounting system. The included carabiners are high quality but don’t lend themselves well to use on or near vehicle paint or the variety of cargo racks or trees etc that the solar blanket needs to be affixed to securely. After a few set ups and tear downs of the panel we ended up setting the carabiners aside and started using some reusable Nite Ize rubber twist ties we had laying around – problem solved.
The bottom line:
I think it’s pretty plug and play as is, and most importantly this kit just works. It provides more than enough power even under marginal conditions to keep our fridge going for days on end. And while it may not be the least expensive option, it actually does perform as advertised in a variety of lighting conditions and weather that may render those lesser panels ineffective. It also delivers value added when the power goes out at home during a hurricane, fire or earthquake. That peace of mind alone makes this an easy one to recommend to our members. Check out Off Grid Trek for more info on this and other power solutions.
FULL DISCLOSURE: Off Grid Trek provided this kit to the author at no cost for the purpose of this review on American Adventurist.
