The Goldilocks Approach

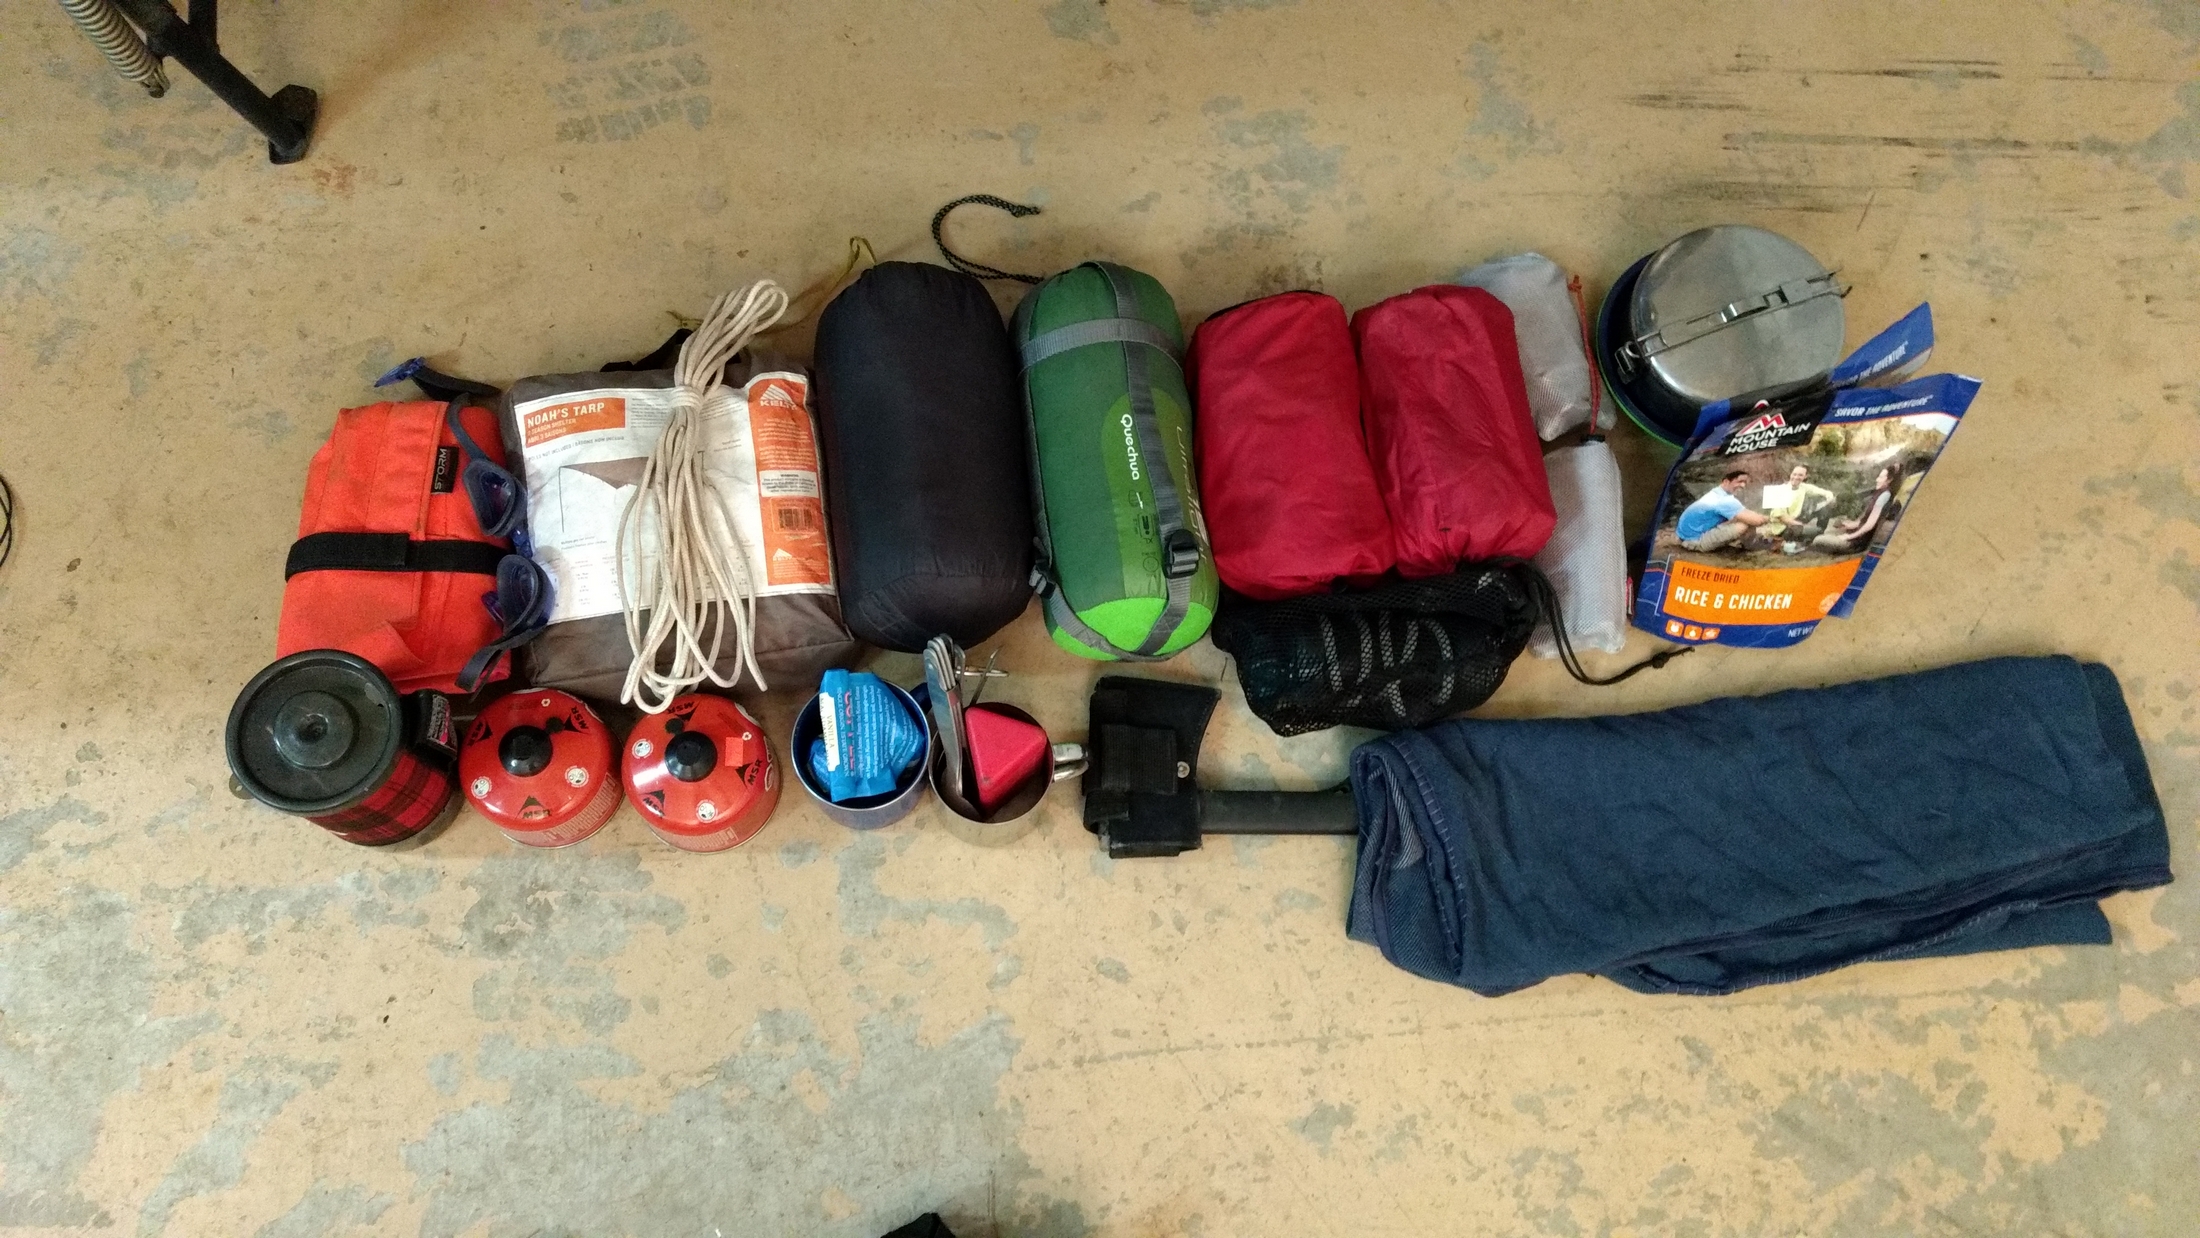
When it comes to packing for a moto trip, it’s easy to get carried away.  Pretty soon, you find yourself with 17 changes of clothes, and more camping gear than you could use in a month, all for a three-day trip.  On the other hand, what will you do if your machine breaks down, you run out of water, or the weather takes a 50 degree mood swing?  Bringing enough, but not too much gear is a long practiced, ever evolving art.  It takes a bit of practice to get it just right.  Here are some tips and tricks I’ve learned that can help you better prepare for your next moto adventure.
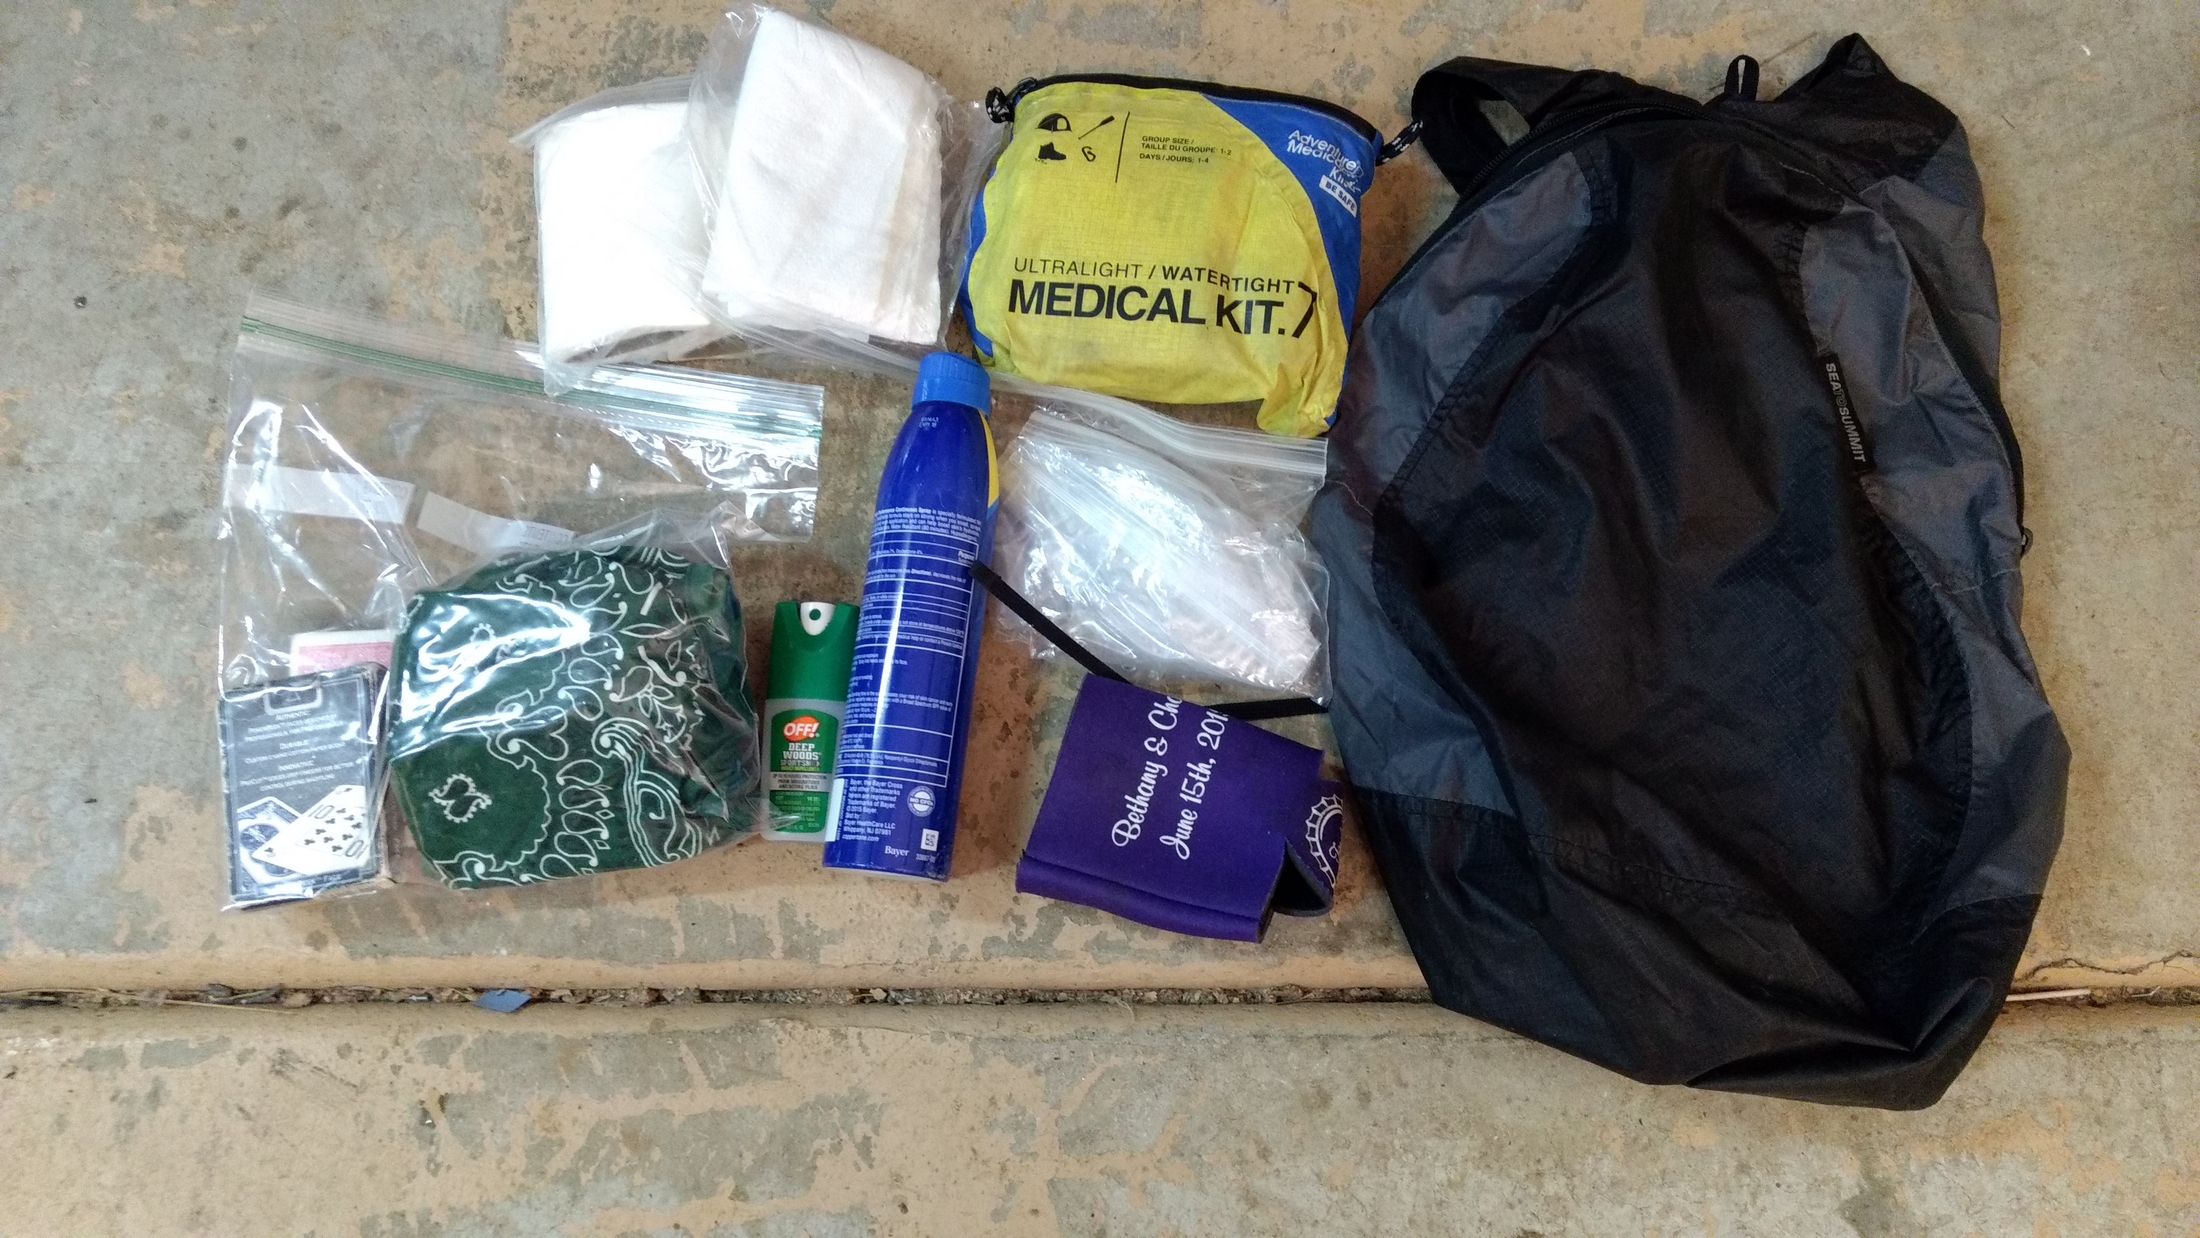
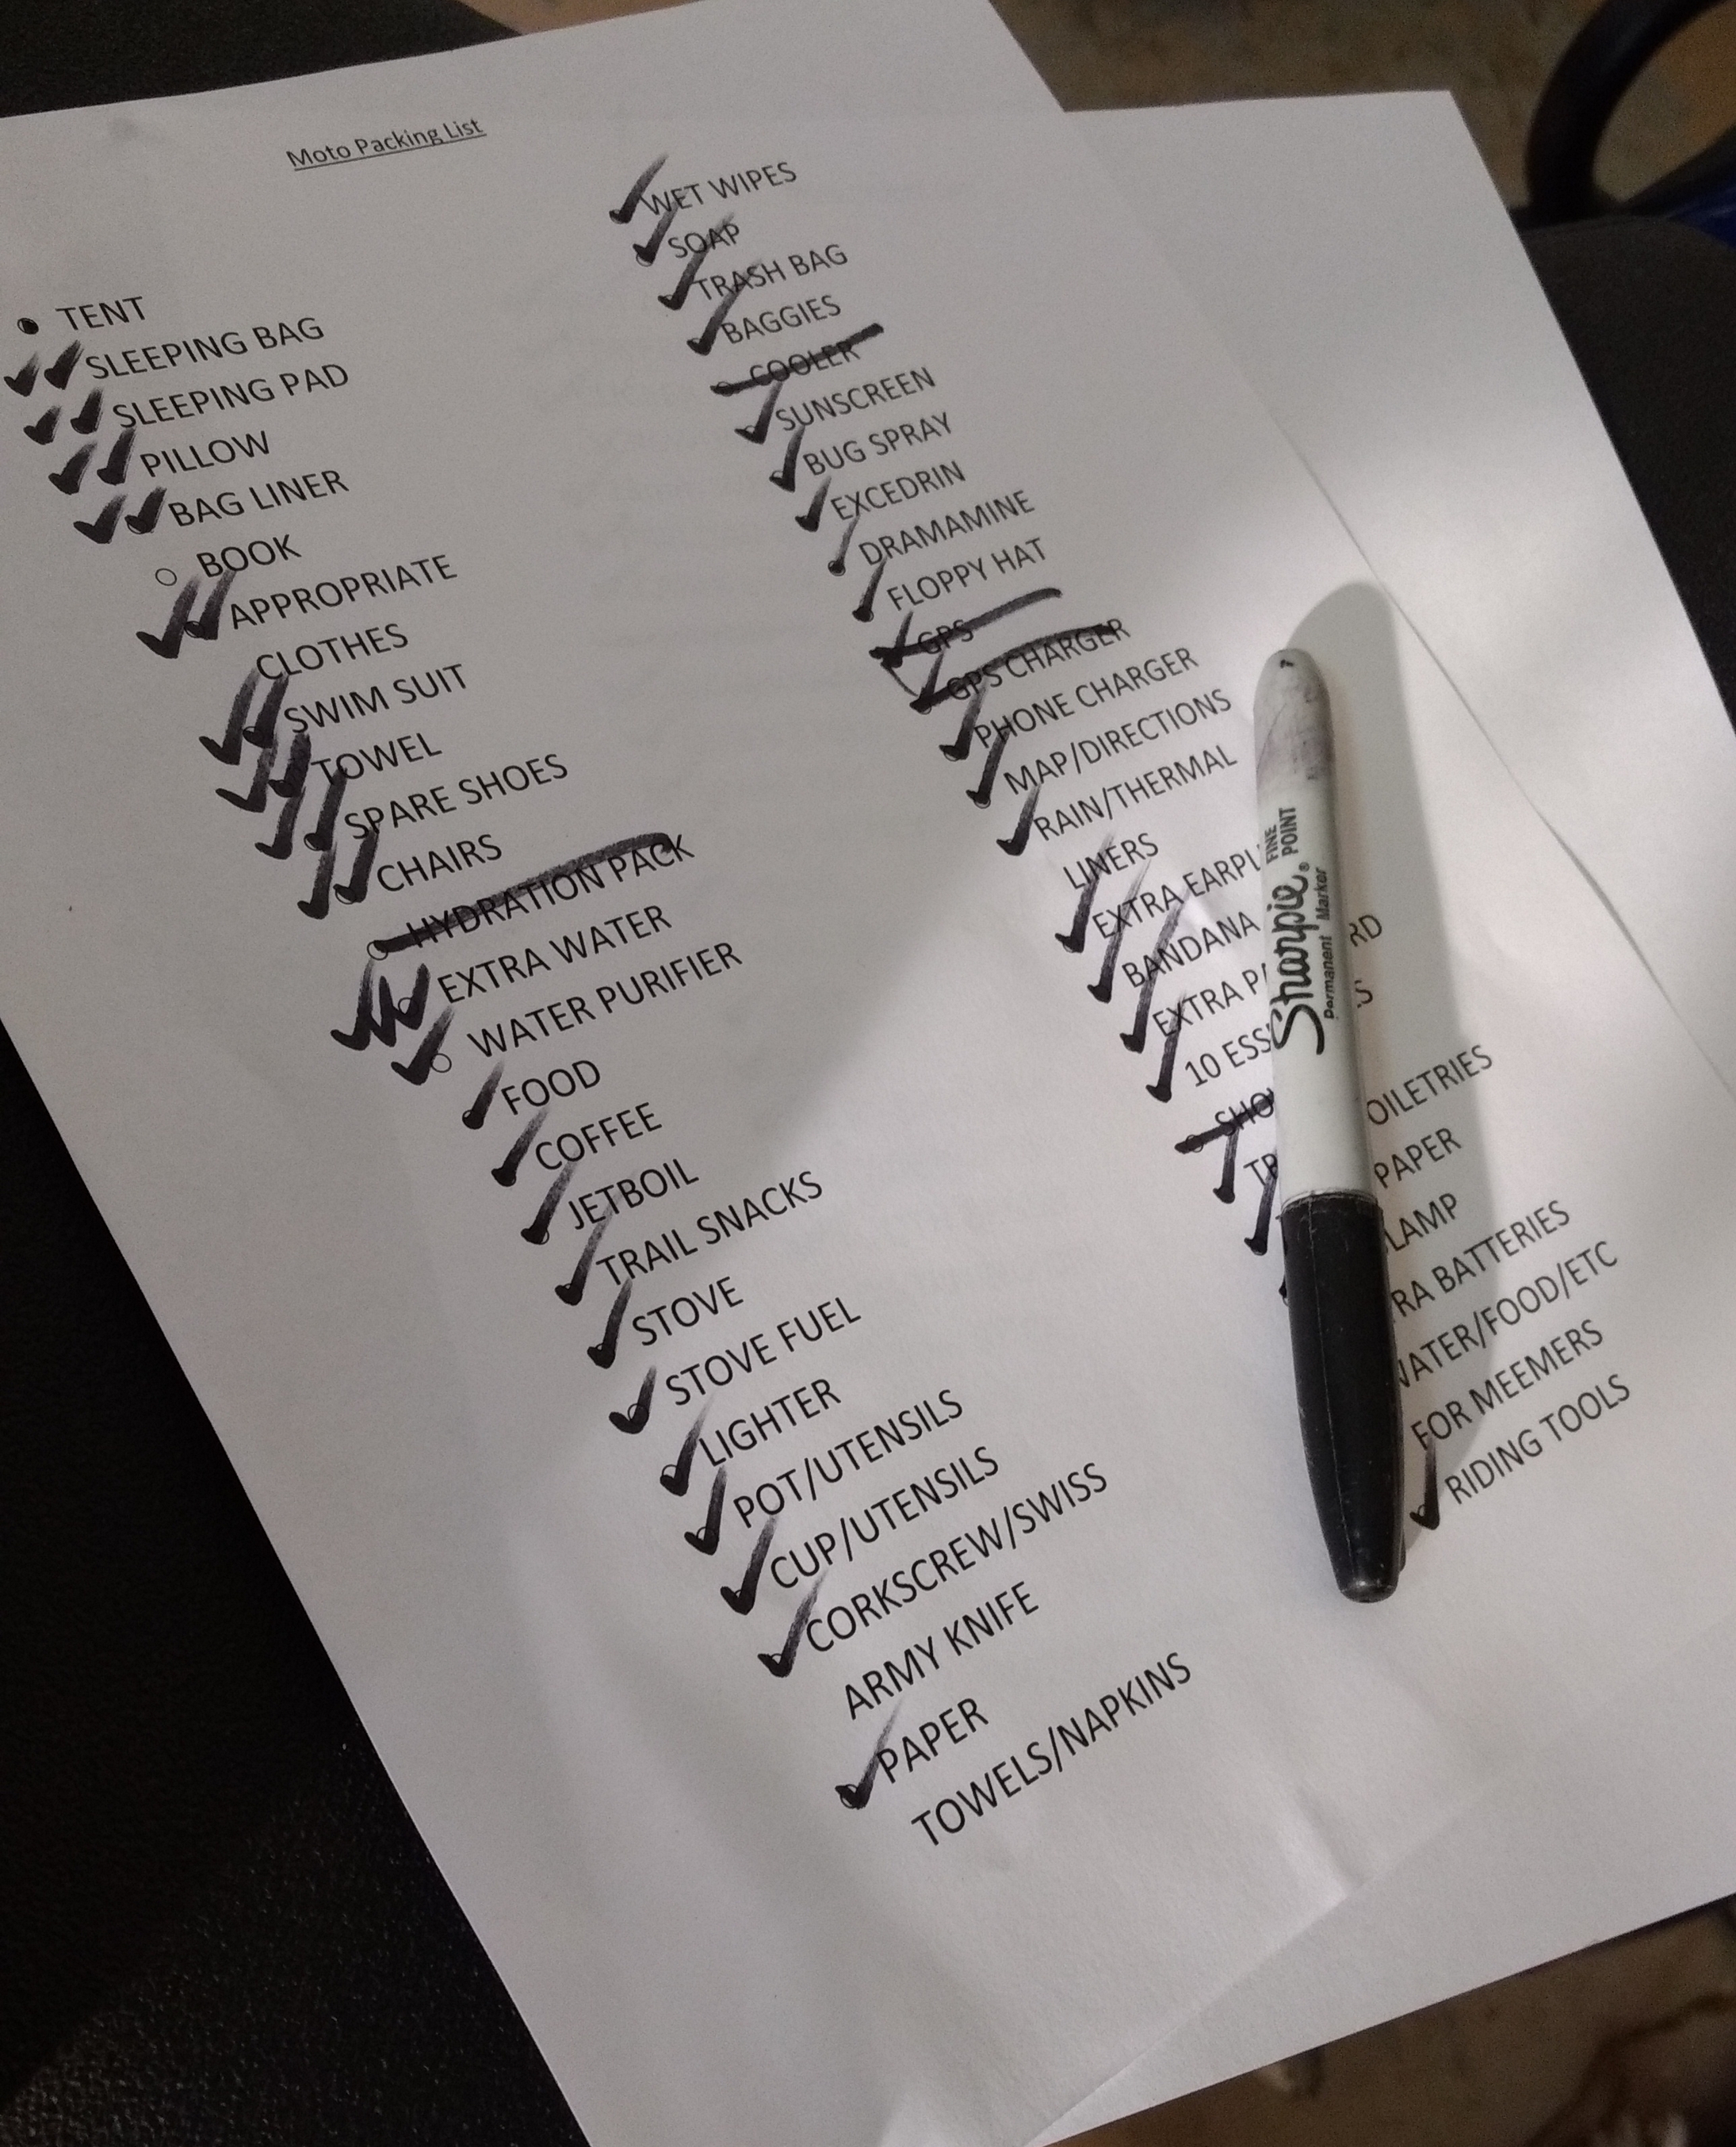
In the frenzy of packing before a trip, it’s all too easy to forget something only to find out said thing is missing once you reach for it at some point on your ride.  Do yourself a favor and compile a list, and check things off as you set them out by your bike.
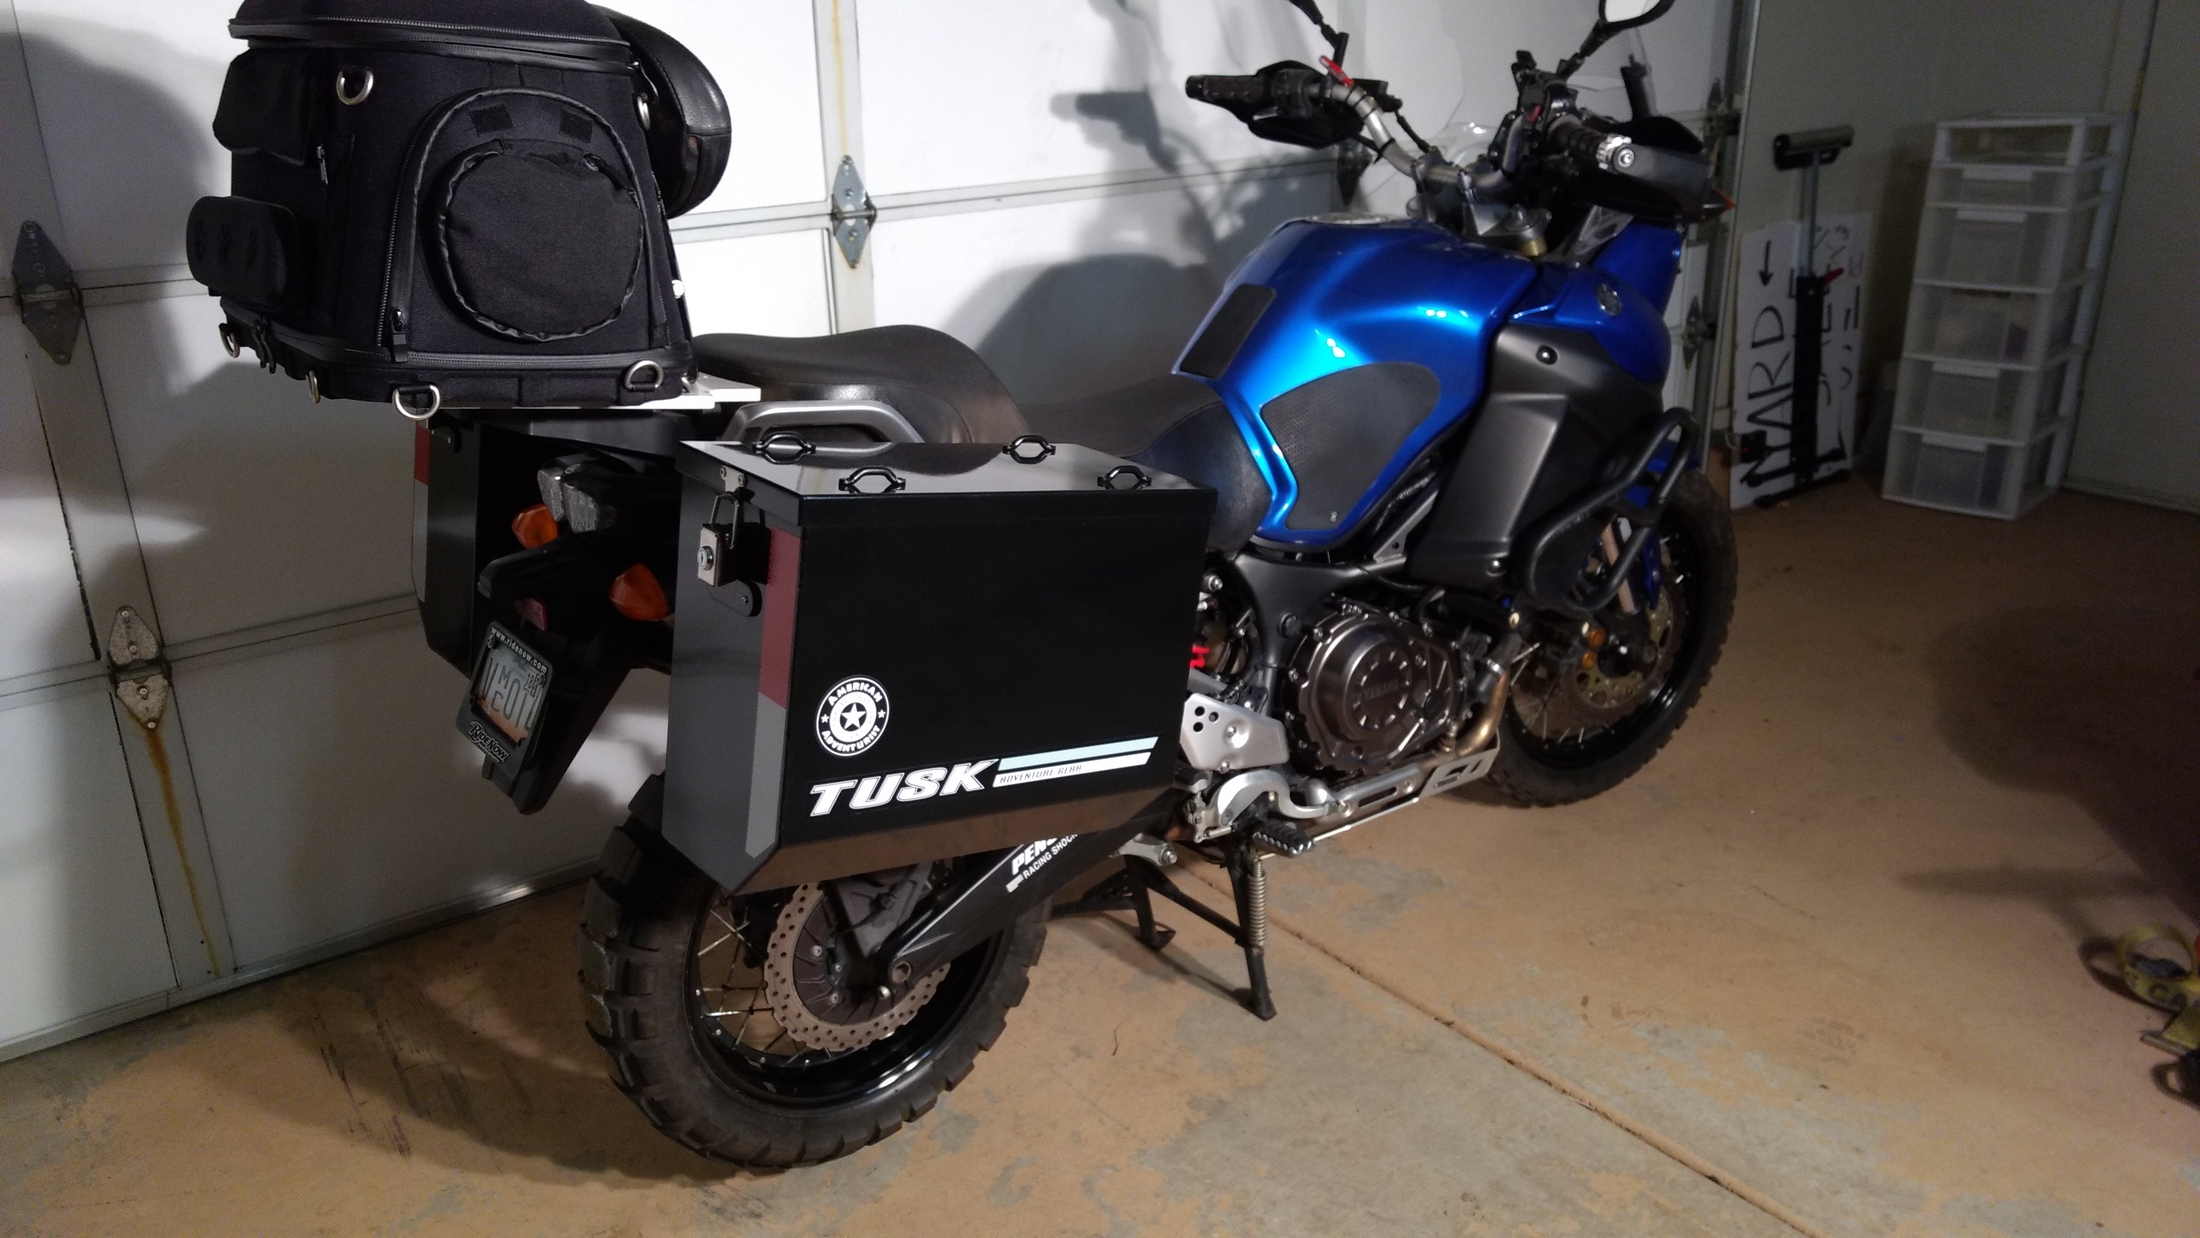
Invariably, you’ll need to get to something mid-ride.  Which pannier is it in?  How deep is it buried?  If you know these answers, and pack your gear so that your ‘need it now’ items are easy to get to, then you won’t have to unpack your whole kit looking for your extra gloves when the weather turns chilly.  I can’t stress how important it is to always put your wallet, phone and keys in the same place. The very act of adventuring means you’re disrupting your schedules and habits, and keeping as many things consistent as possible will really help to smooth out your trip.  This philosophy really comes to a head when you’re scrambling to find your raingear!
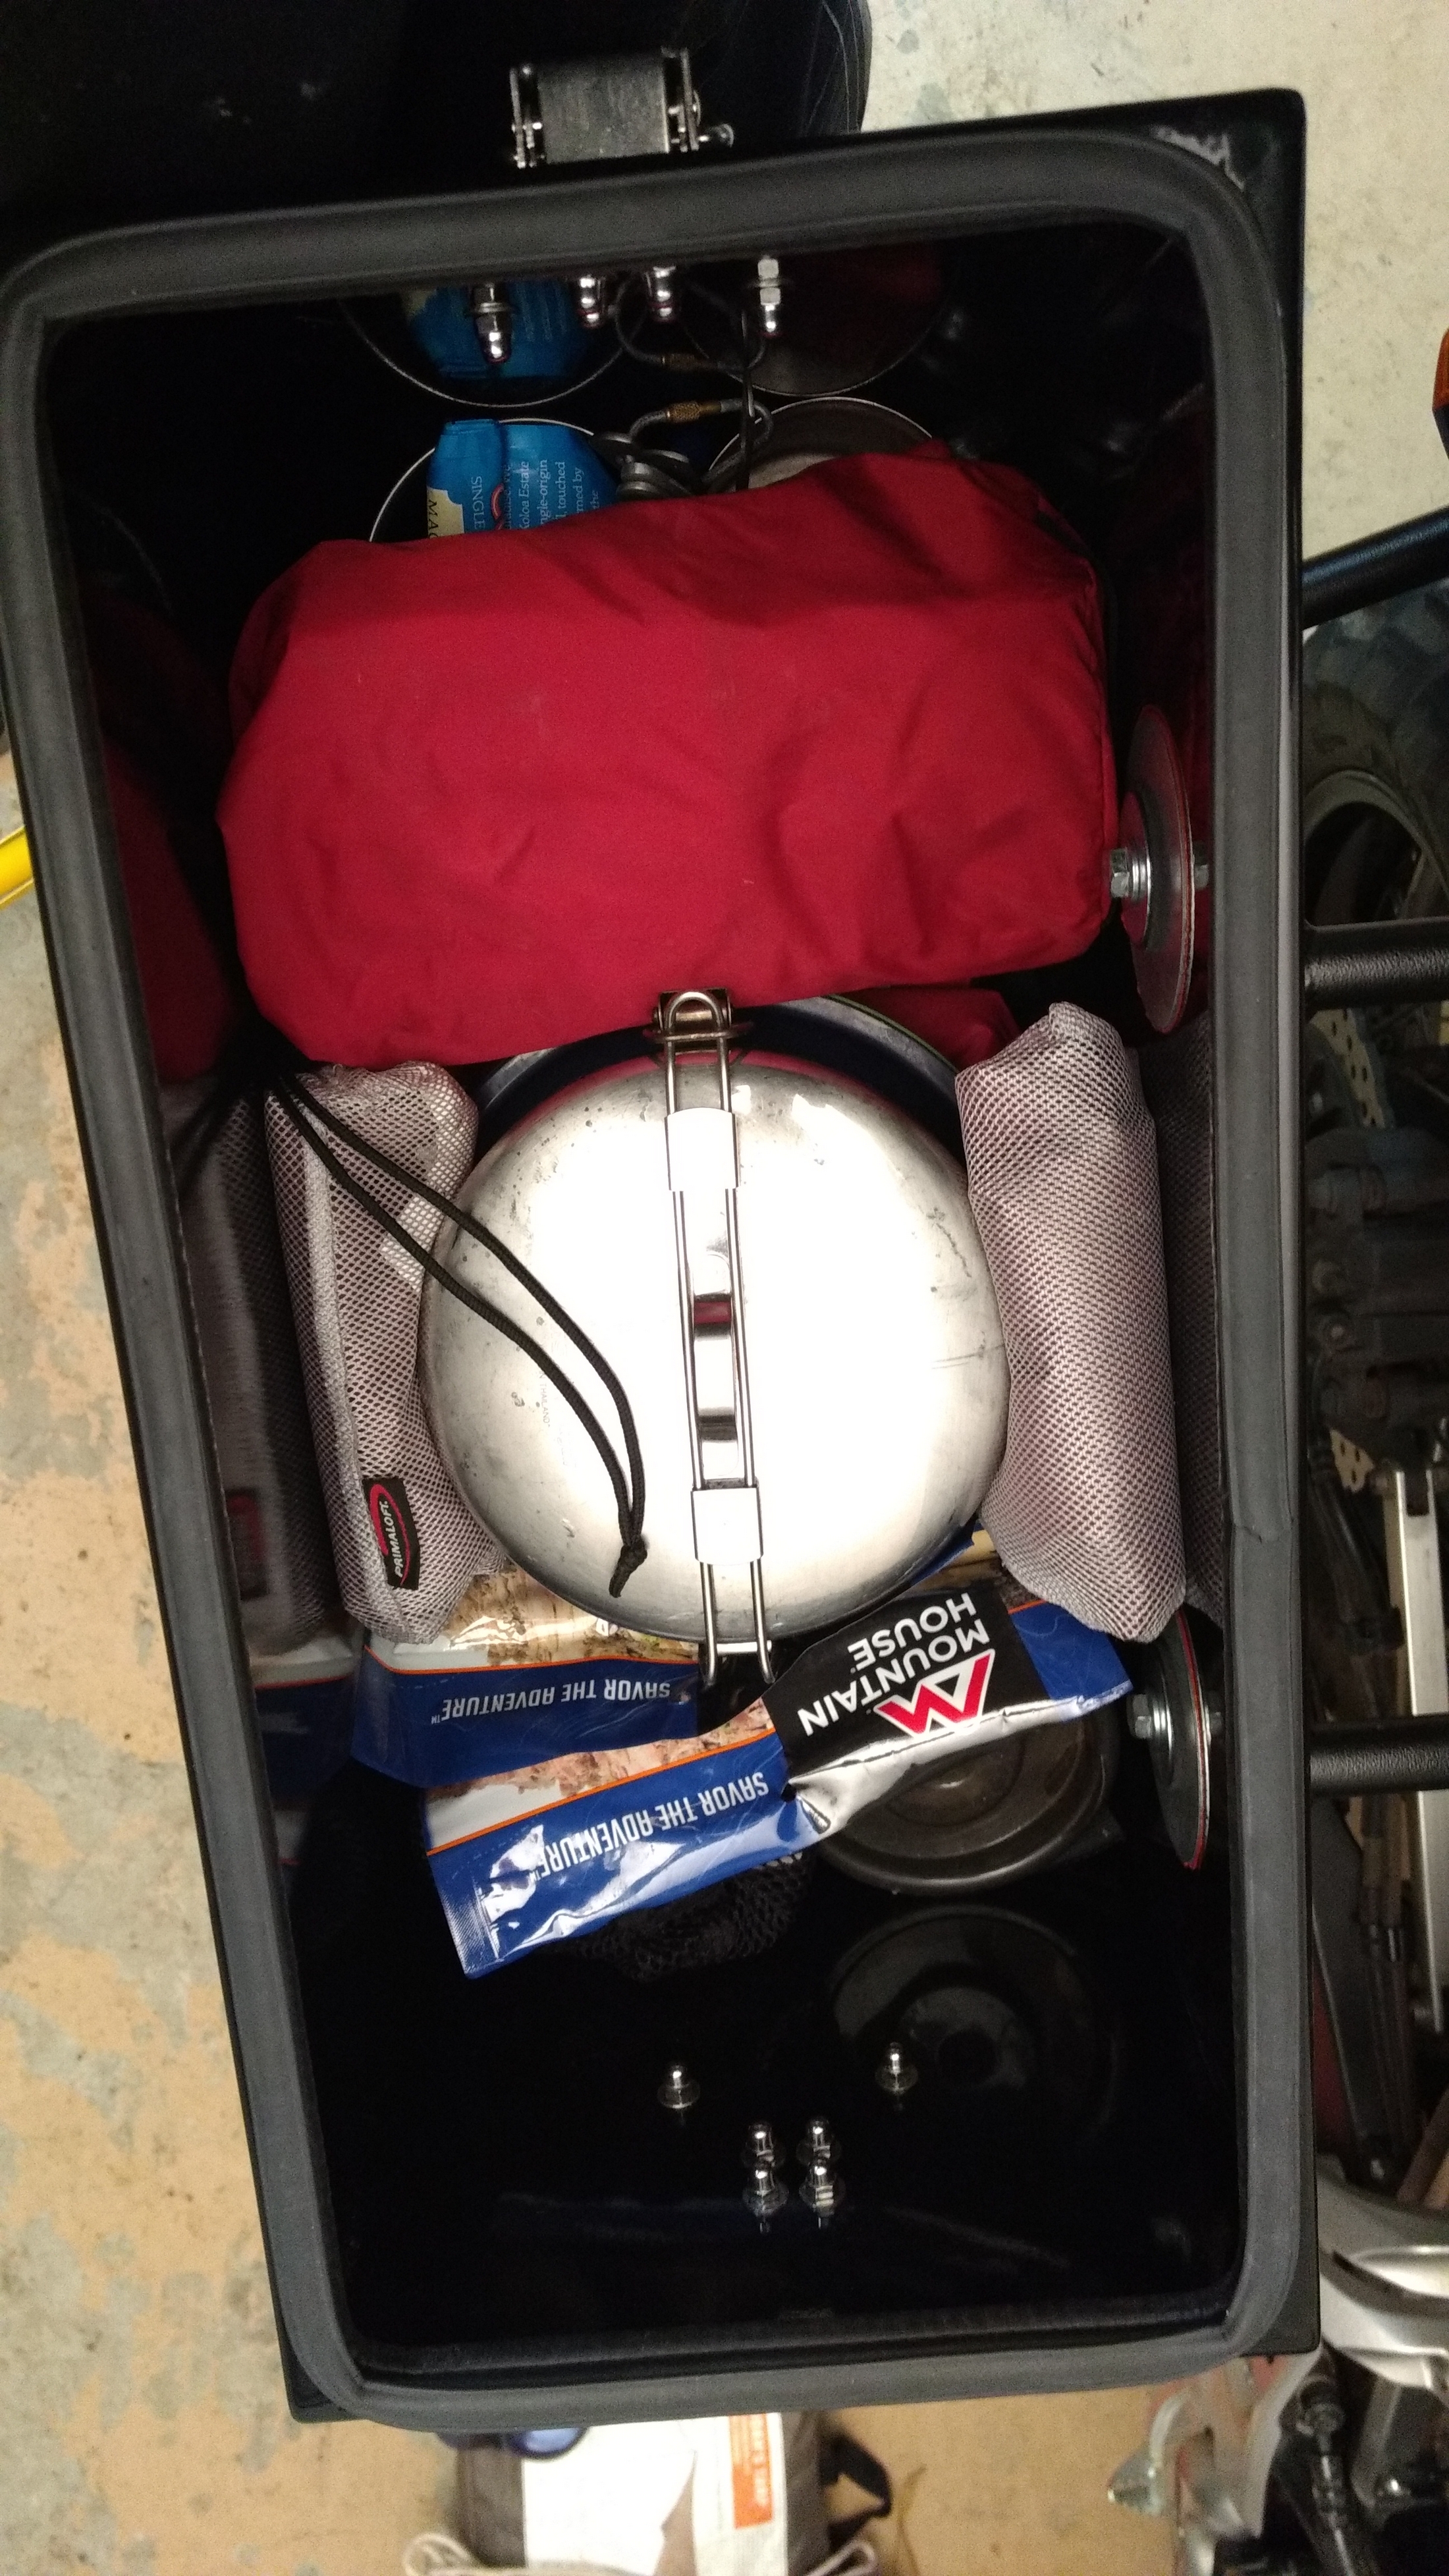
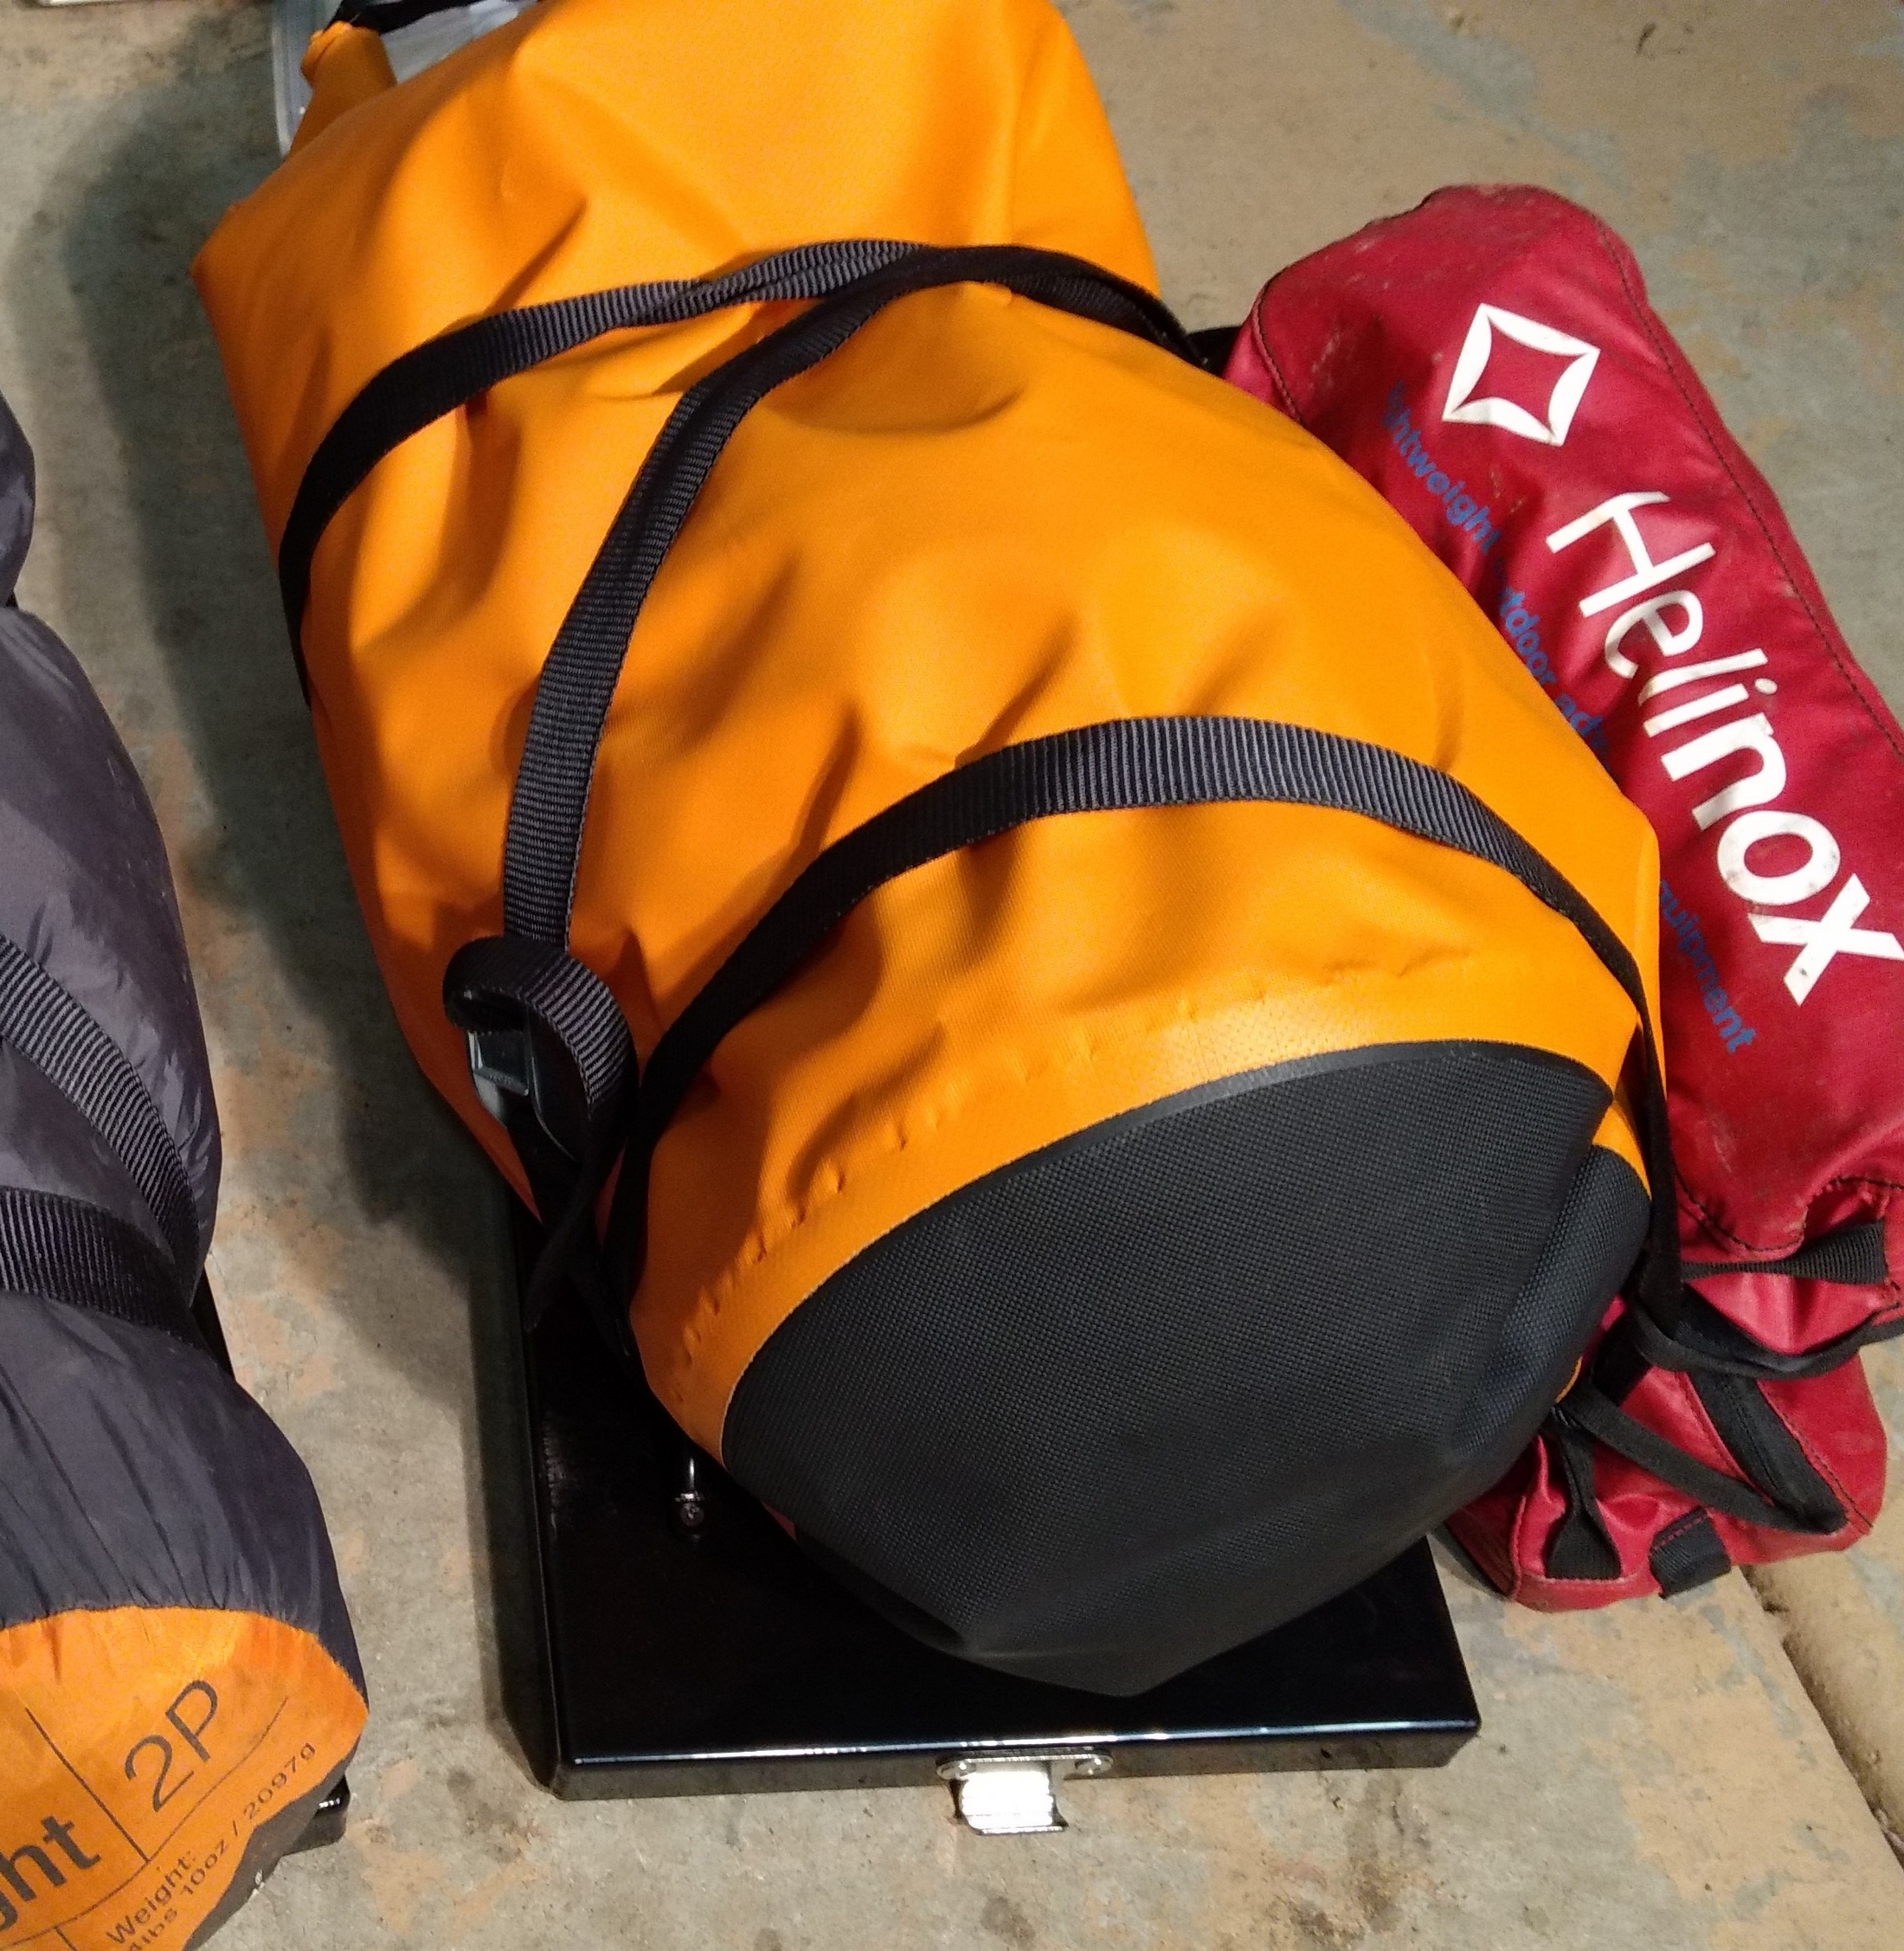
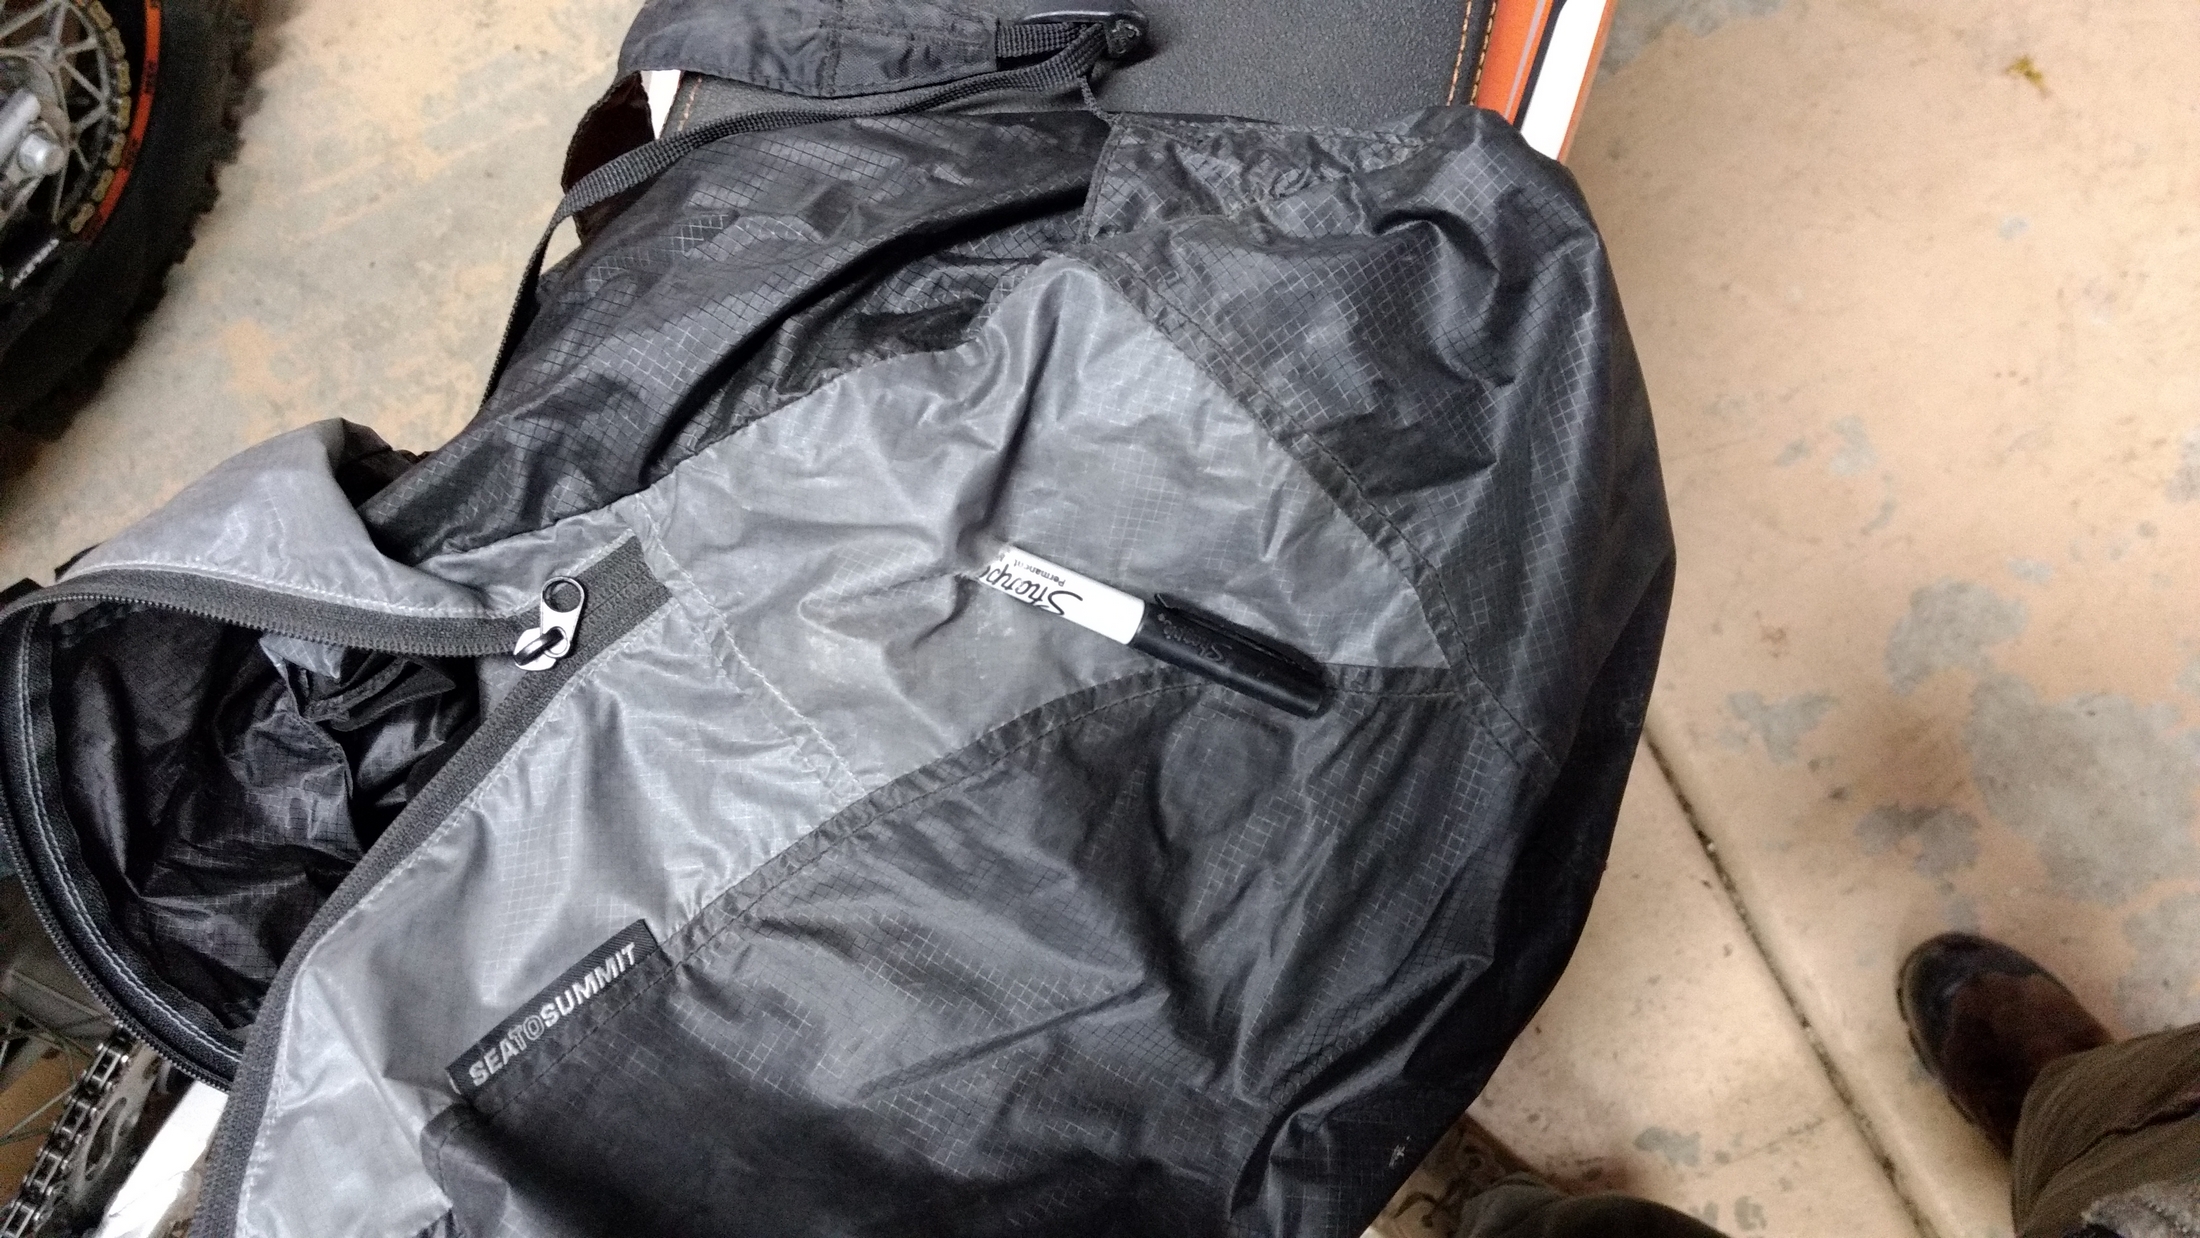
You’re also going to want to leave some empty space in your bags so that you can pick up extra items.  If you decide to stop at a grocery store at some point on your ride, will you have room to carry this additional food?  Smaller light weight dry bags or stuff sacks are a great way to pack your food  or organize your panniers or bags. They pack down to almost nothing when empty, and a single dry bag of food is much easier to handle than a number of individually packed items.
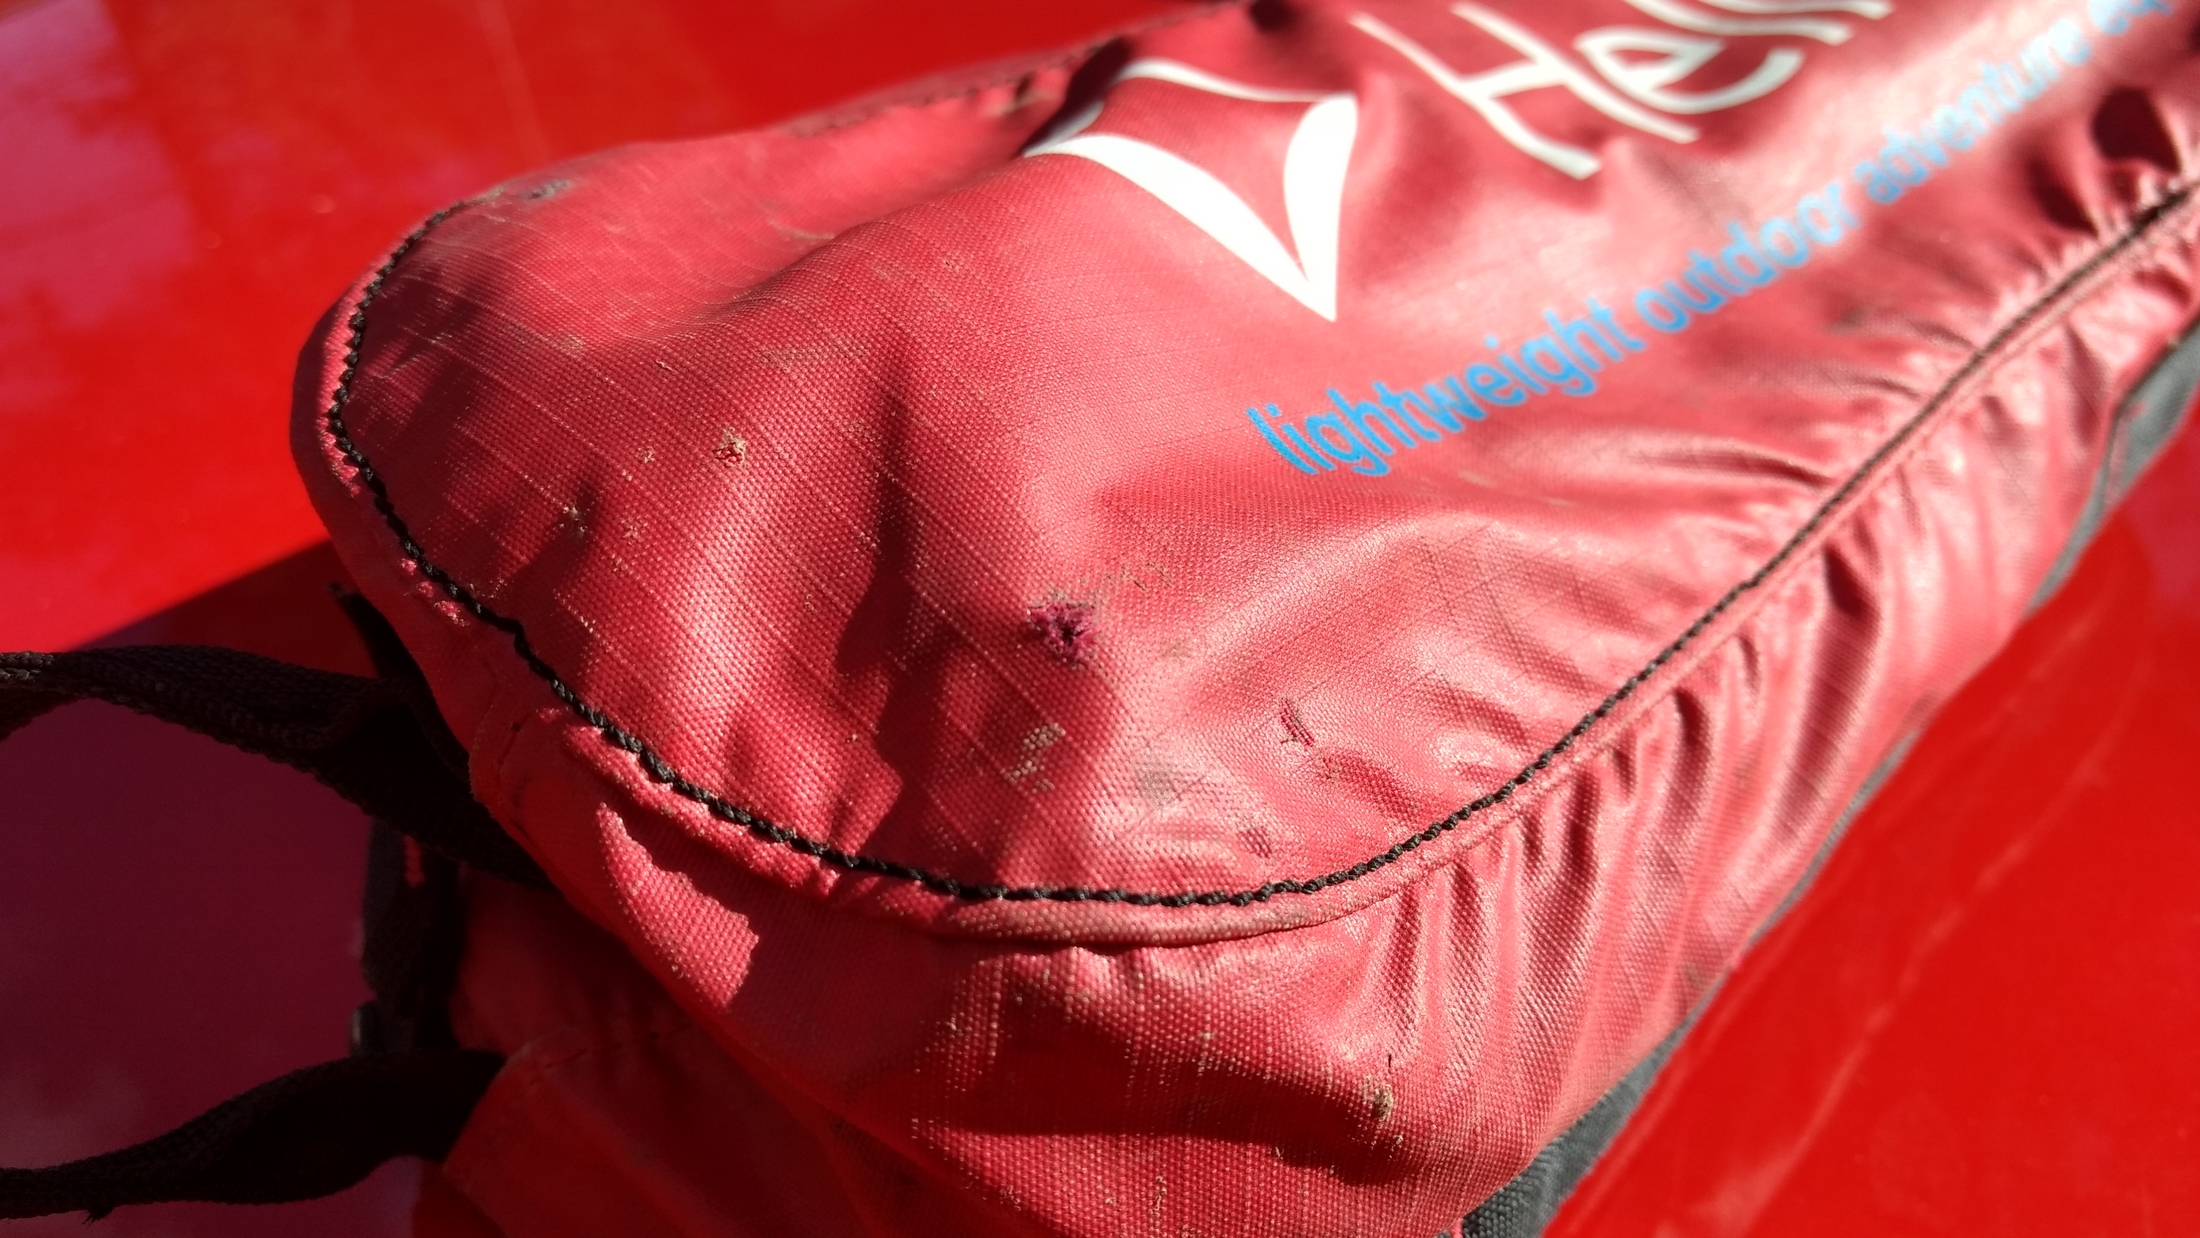
As you’re loading your bags, take some time to consider what’s going to happen to your gear as it vibrates and bounces around on your ride.  Bolt heads, hard items rubbing on softer items, and soil on gear can really do some damage to your kit.  Padding and/or taking the time to securely strap your gear down is time well spent.  Fail to do this, and you may discover that you’ve worn a hole in some expensive piece of gear.
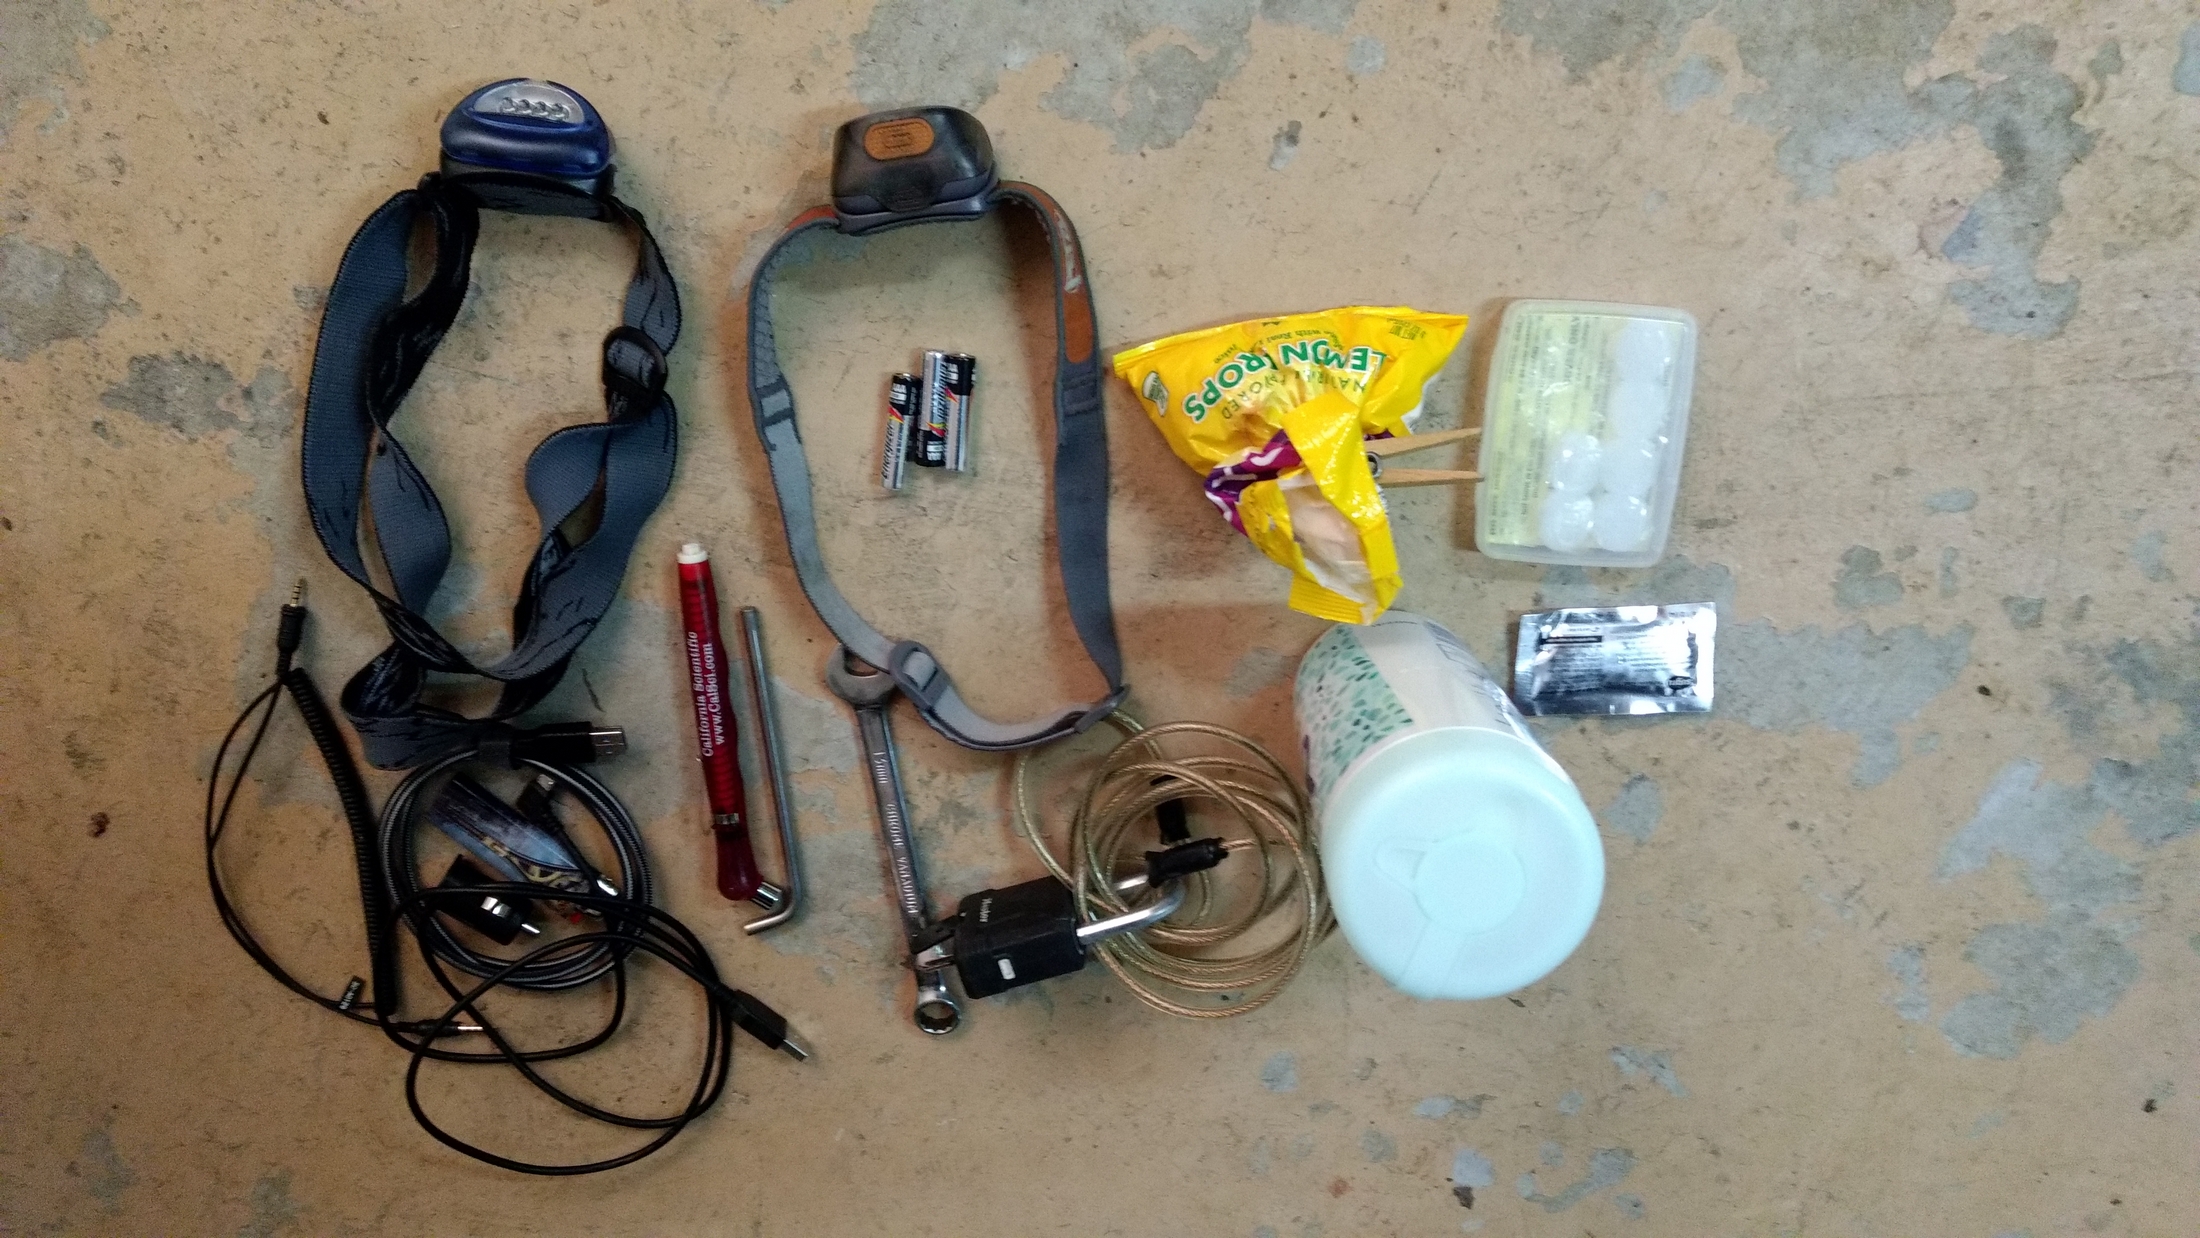
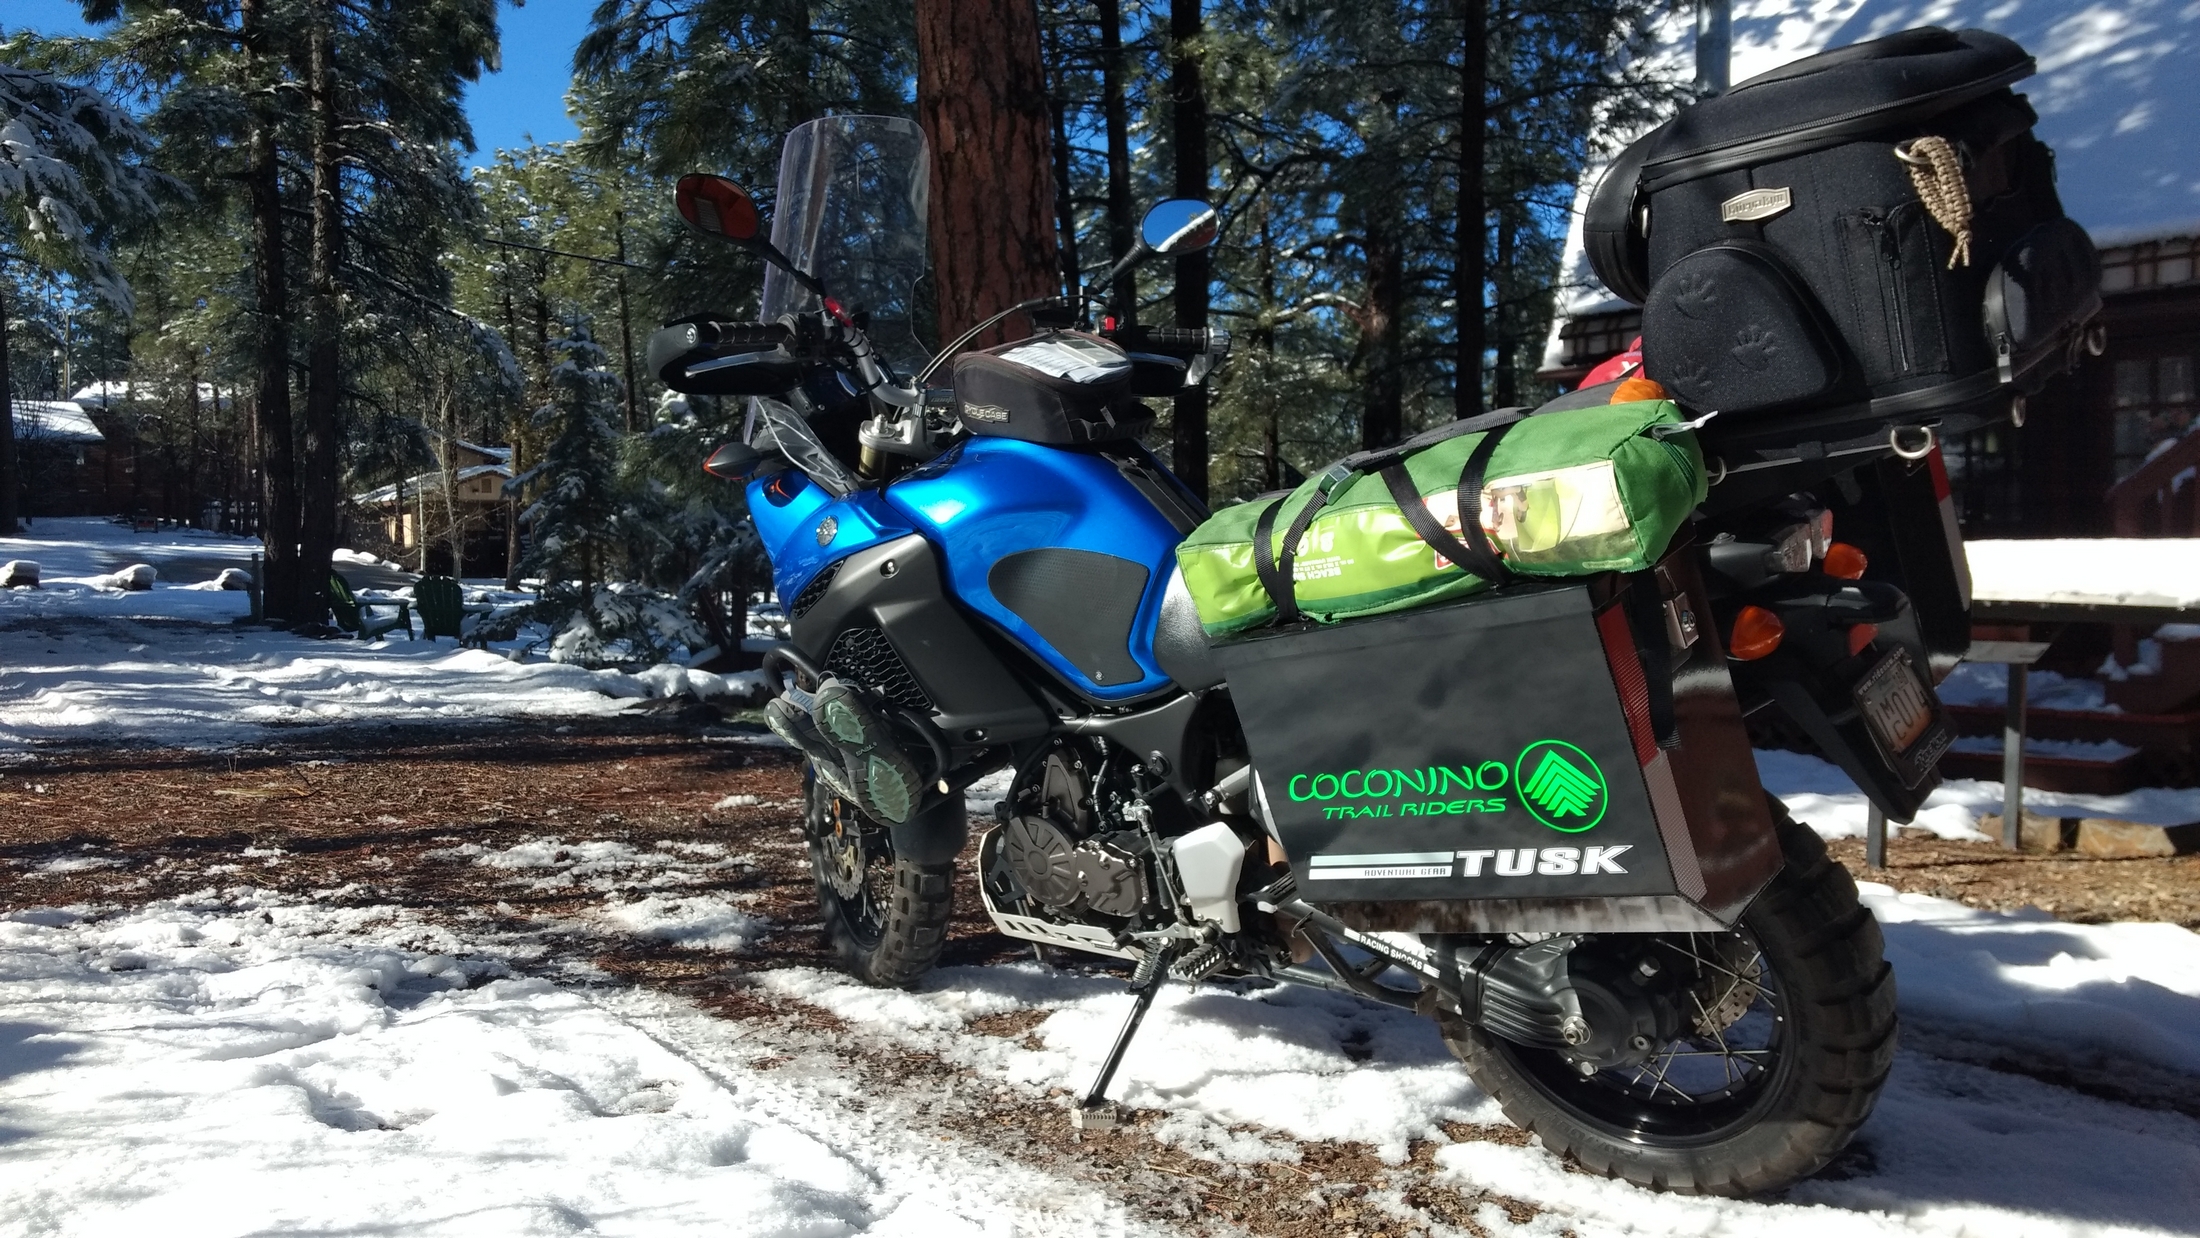
There will usually come a point where you will begin ‘the cull’ and remove the non-essentials from your kit.  Do you really need an extra sweatshirt, or can you wear your riding jacket if it’s cold?  Being creative with your packing can also be a huge space saver – I like to strap my water shoes to the crash bars.  They don’t fit well into a pannier and I don’t care if they get wet on the ride.
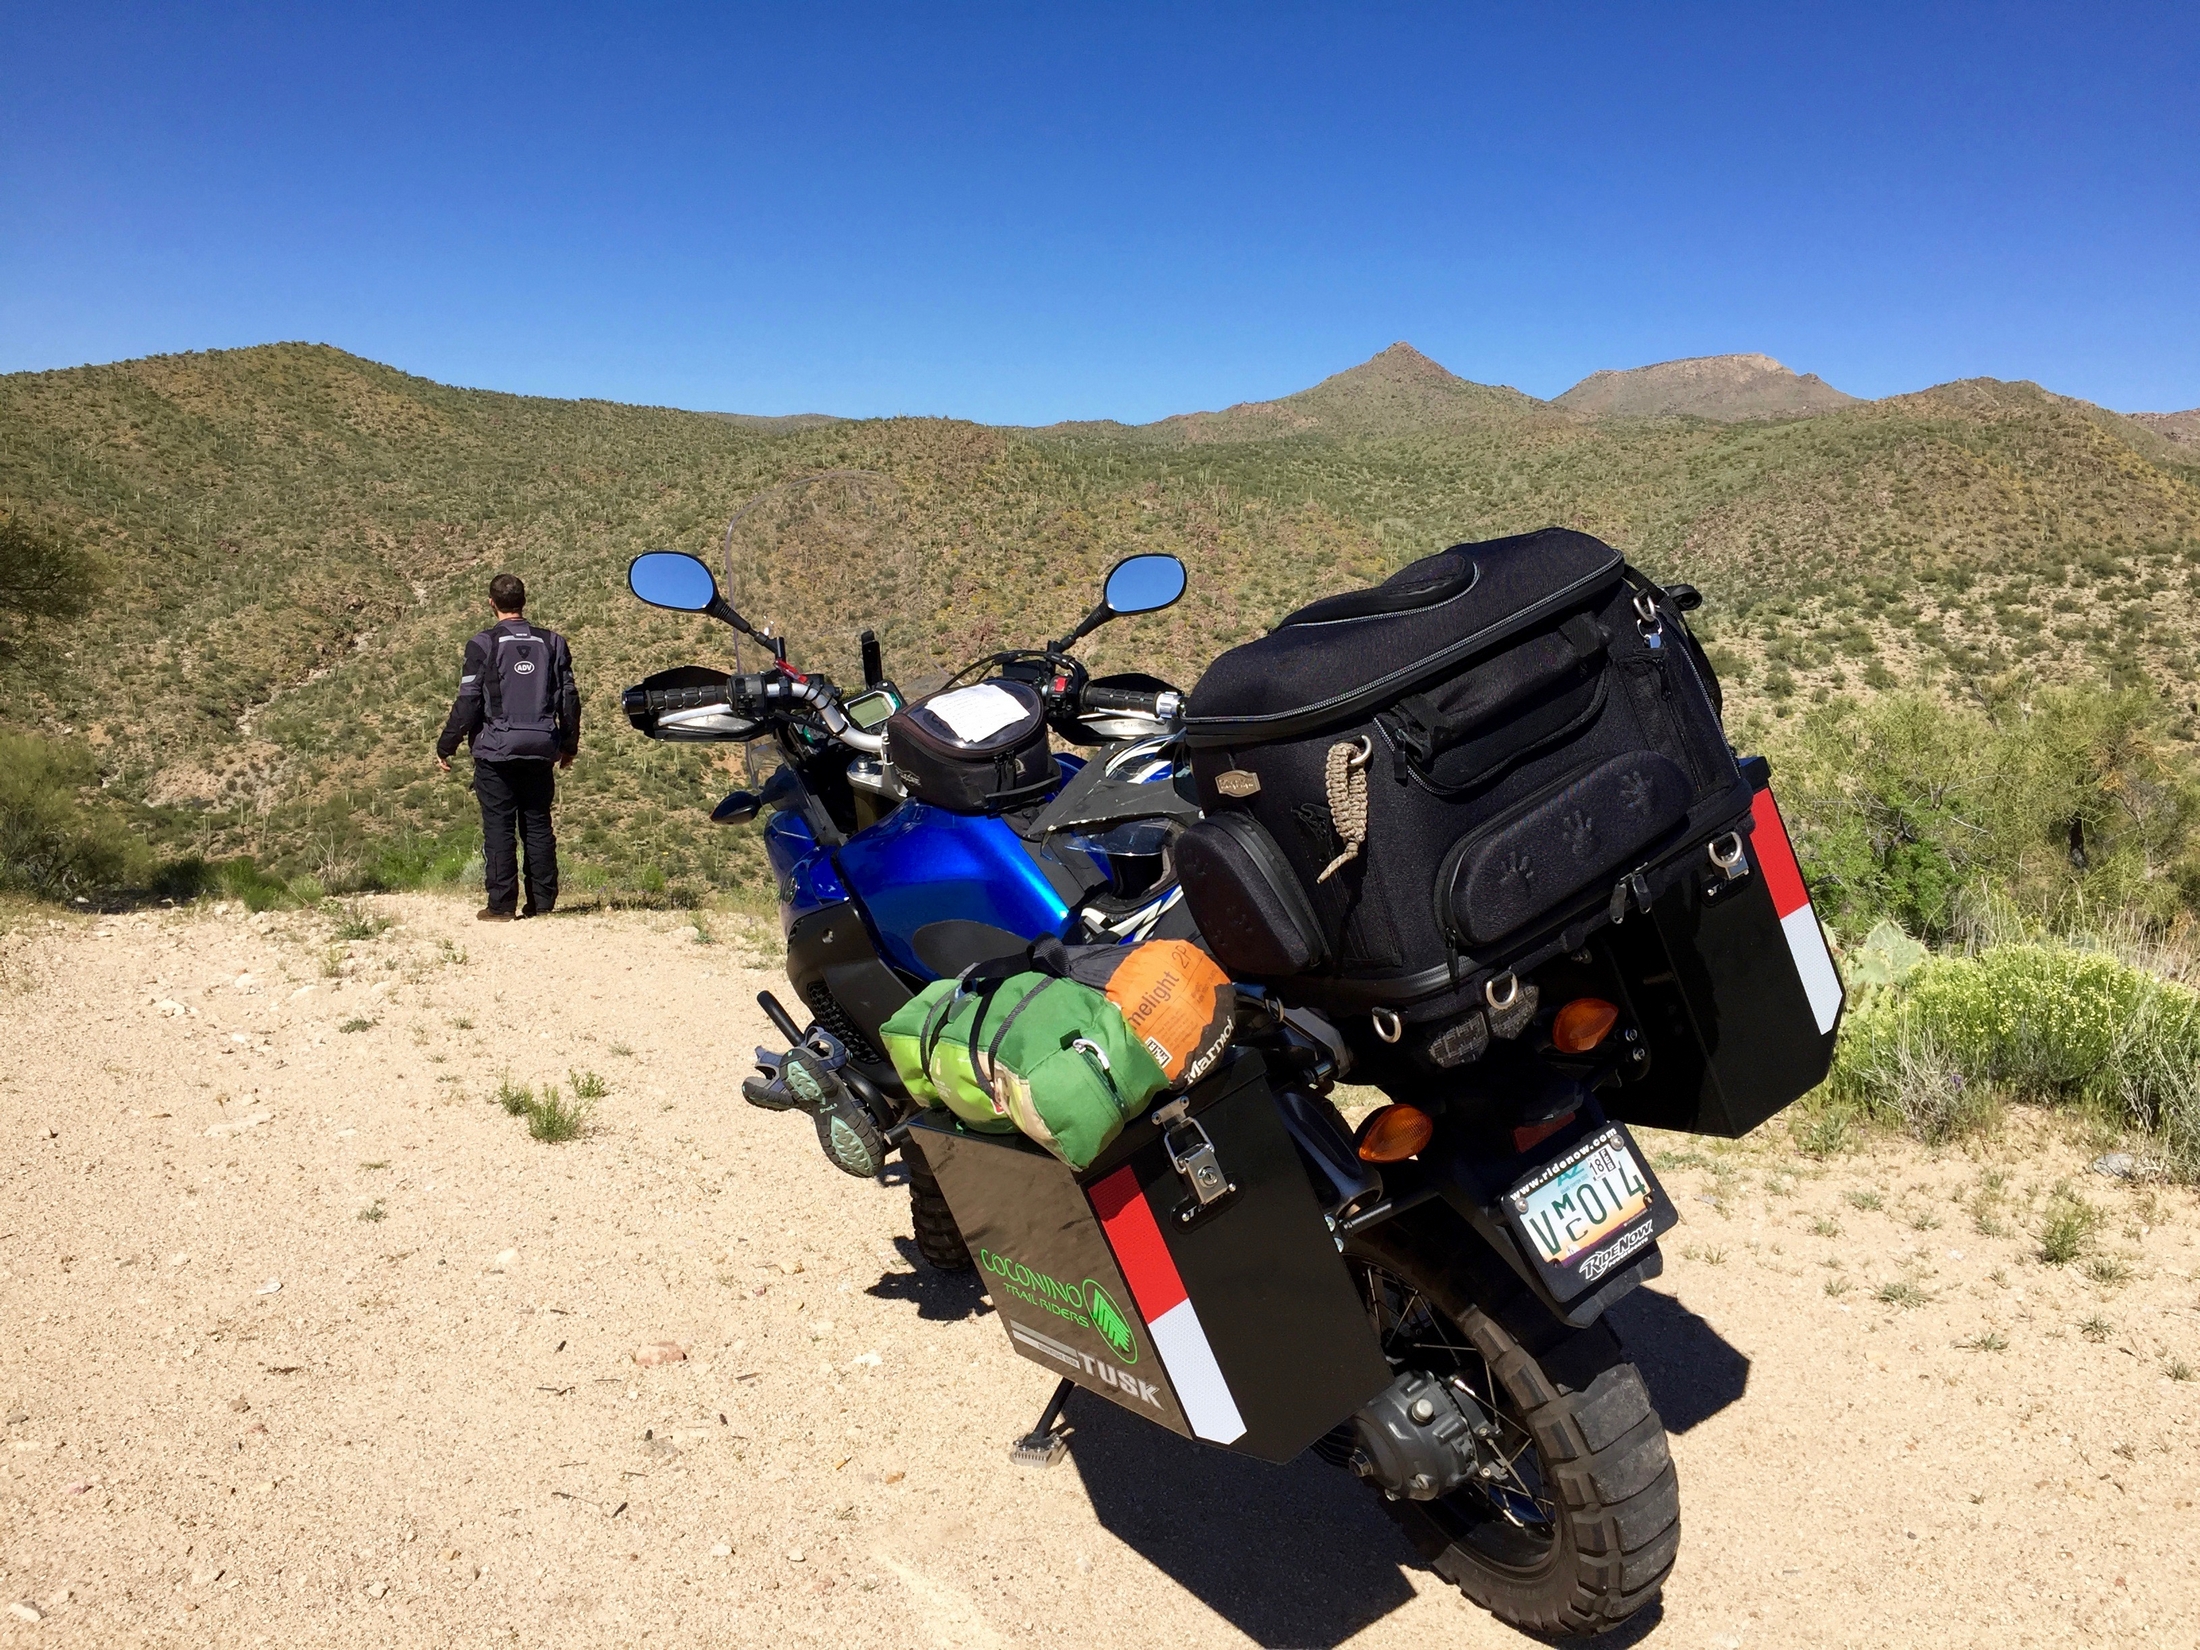
If you have a mechanical in the boonies, the ability to fix it yourself can be worth the bike’s weight in gold.  On the flip side, if your bike is in good order, are those tools dead weight and taking up valuable space?  If you’re traveling in a group, coordinate on what kit you’re bringing.  You don’t need six tire irons to fix a puncture.  Being meticulous with bike maintenance goes a long way to prevent mechanicals on your ride.  Know what might break on your bike, and know how to fix that that potential problem.  Practice using the tools you’ll bring to work on the bike and you’ll quickly fill the voids and cull the chaff.
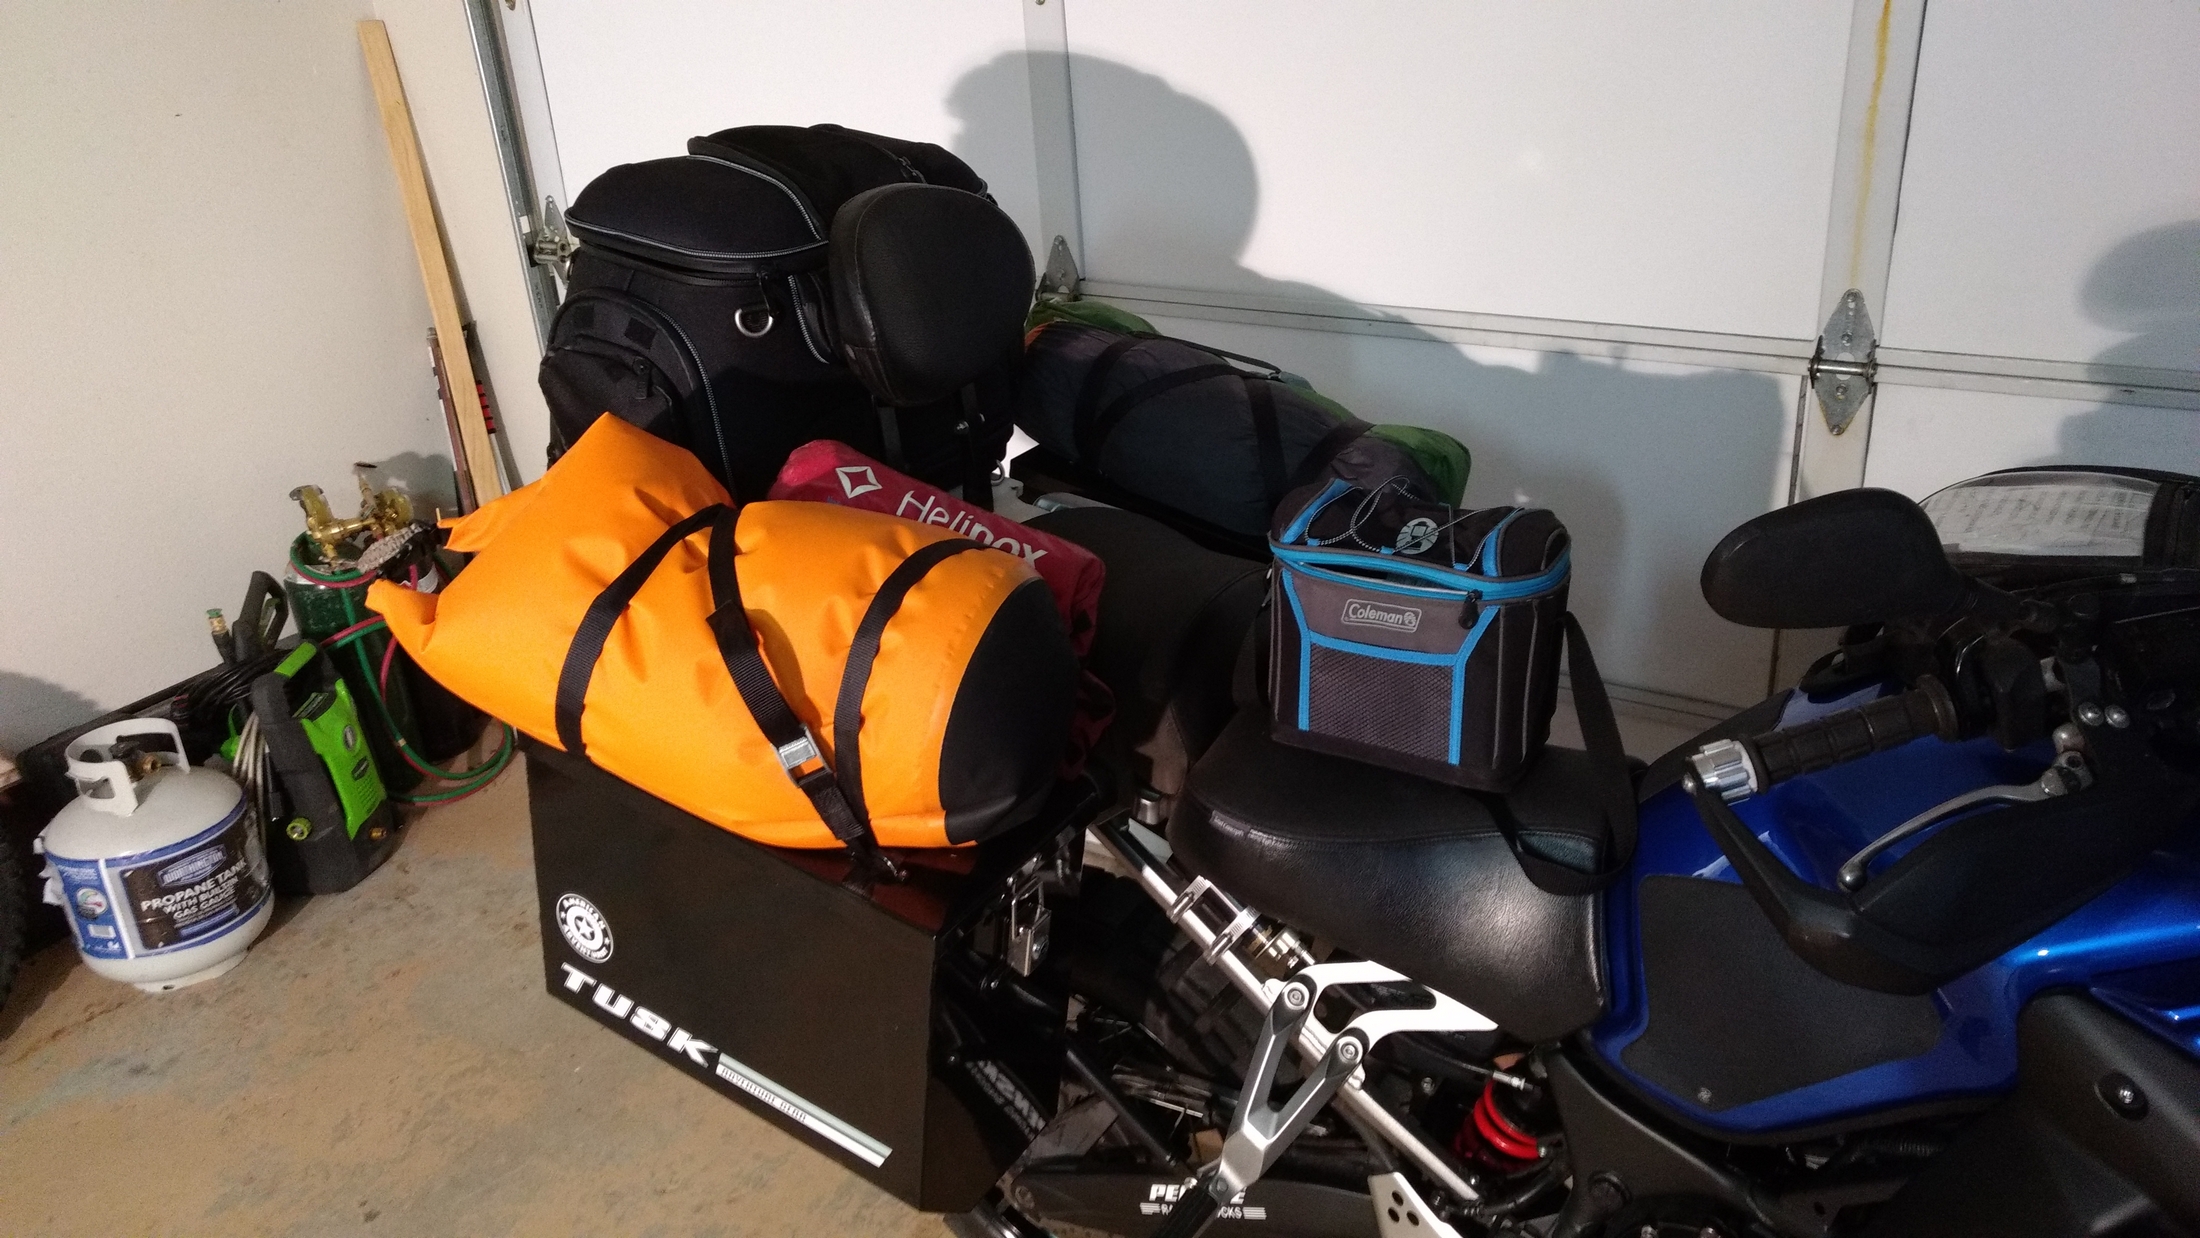
Now that you’ve spent all this time collecting, organizing, planning, and packing your kit, you need to take a minute to make a very important, yet often overlooked setup adjustment to your bike.  You’re strapping somewhere between 40 and 200-plus pounds to the rear of the bike, more if you’re carrying a passenger (pillion).  Your rear suspension will sag more, and this will throw off the handling of the bike.  If you’re really overloaded, your suspension can bottom out harshly and that can result in you getting a soil sample.  On some bikes a simple preload adjustment and some additional rebound and compression damping will suffice.  Other bikes will require a spring swap to properly handle the additional weight.  Take the time to figure out what adjustments you need to make to have your suspension properly setup for the weight you’ve added.
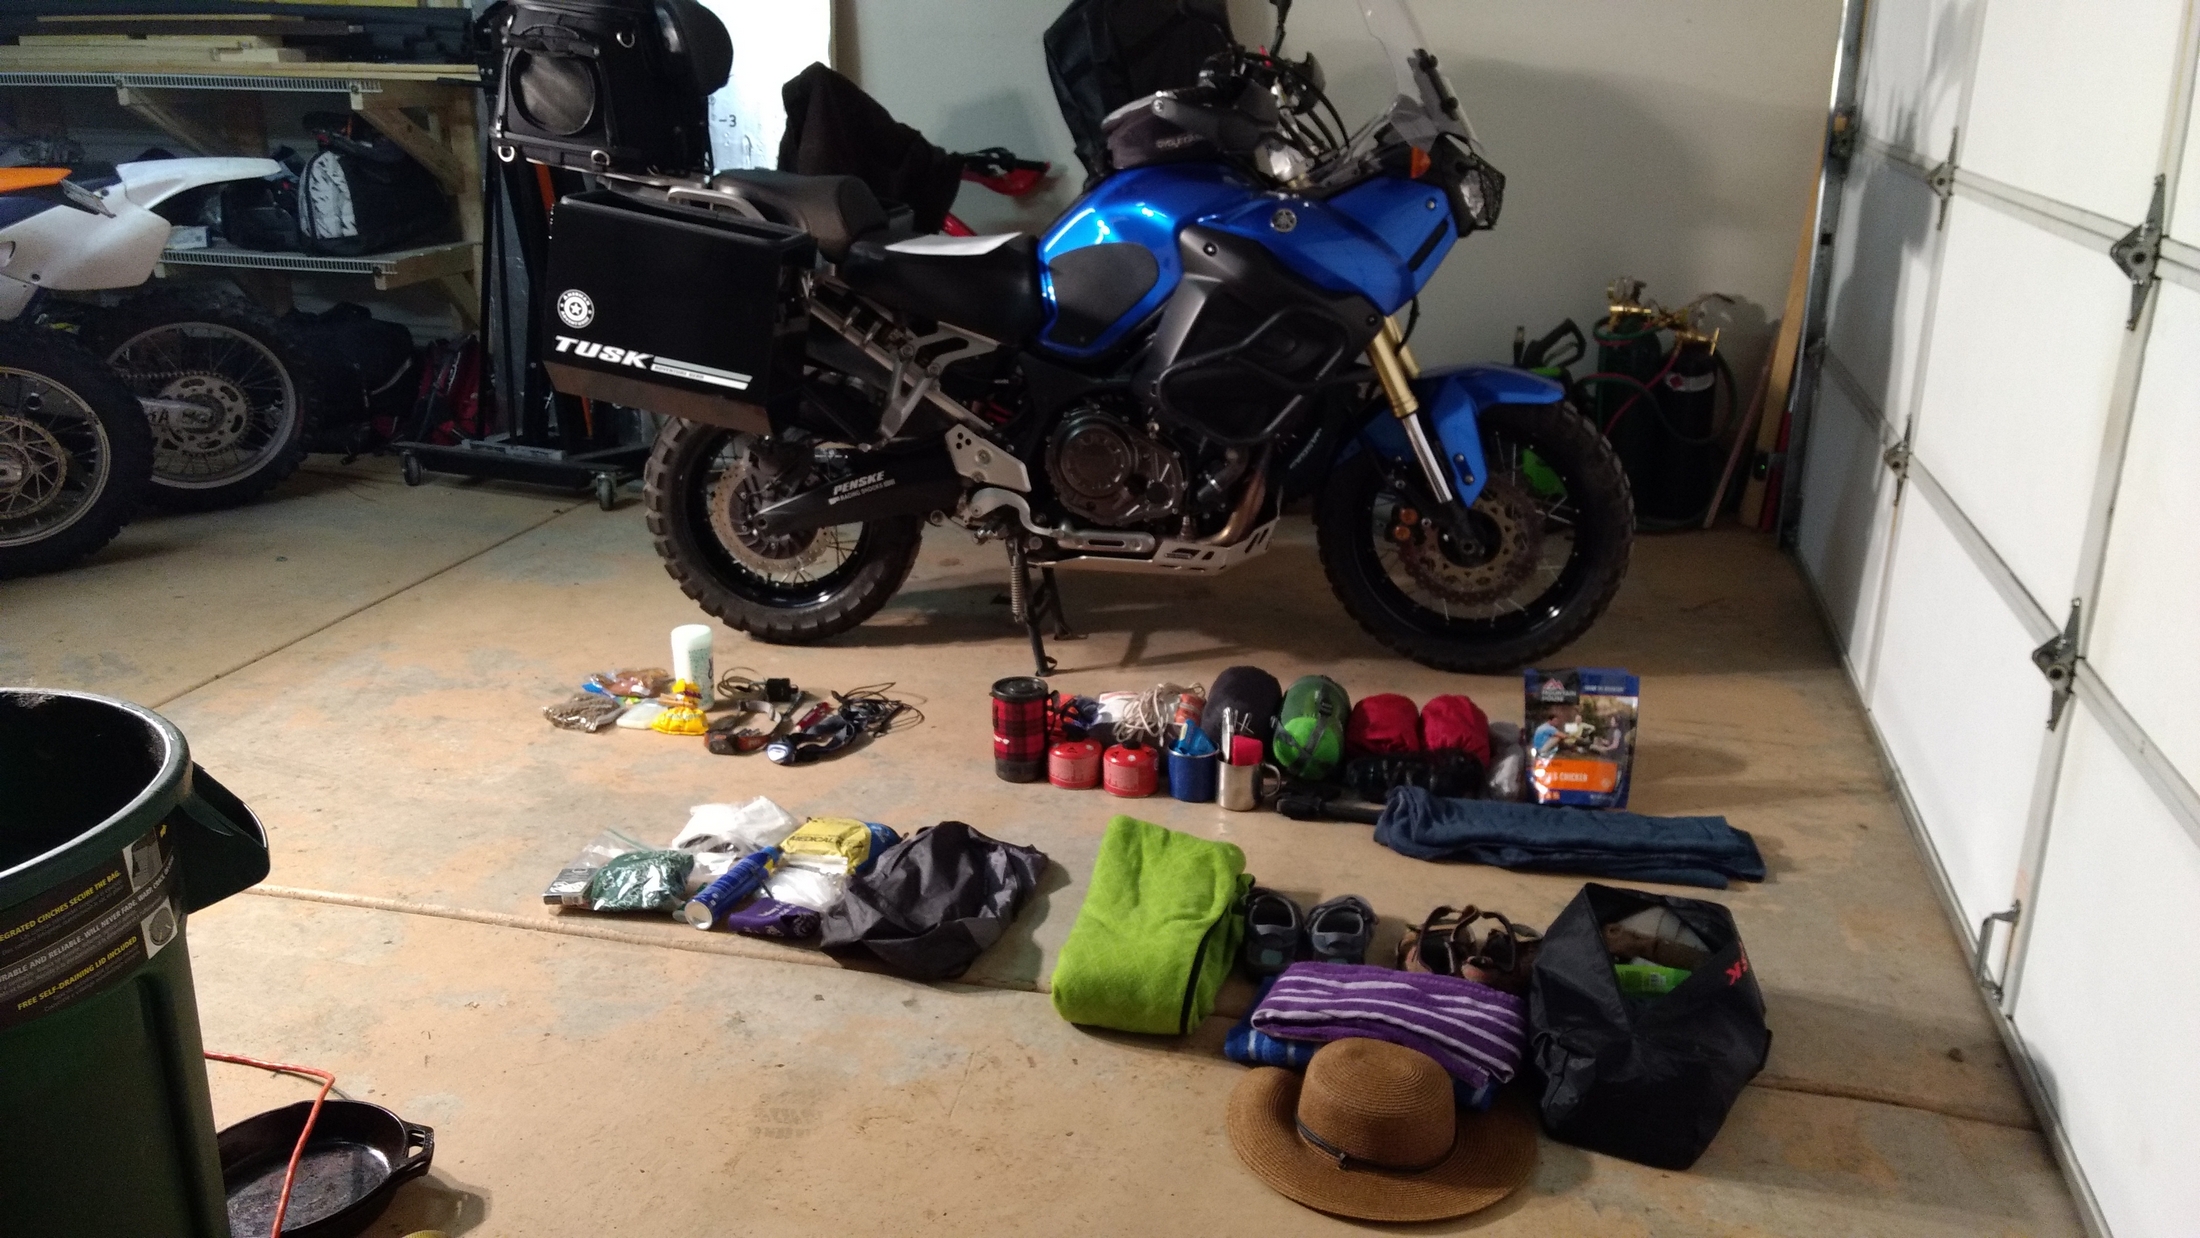
Packing for moto trips is process that you’ll find yourself continually refining.  Take note of what works well for you and apply that to your packing for each successive trip.  You will quickly find your sweet spot of comfort and convenience, and no matter what the adventure throws at you, you will be ready to enjoy each and every moment.  If you’ve got some tips to share, please post them in the comments!
MSR Windburner

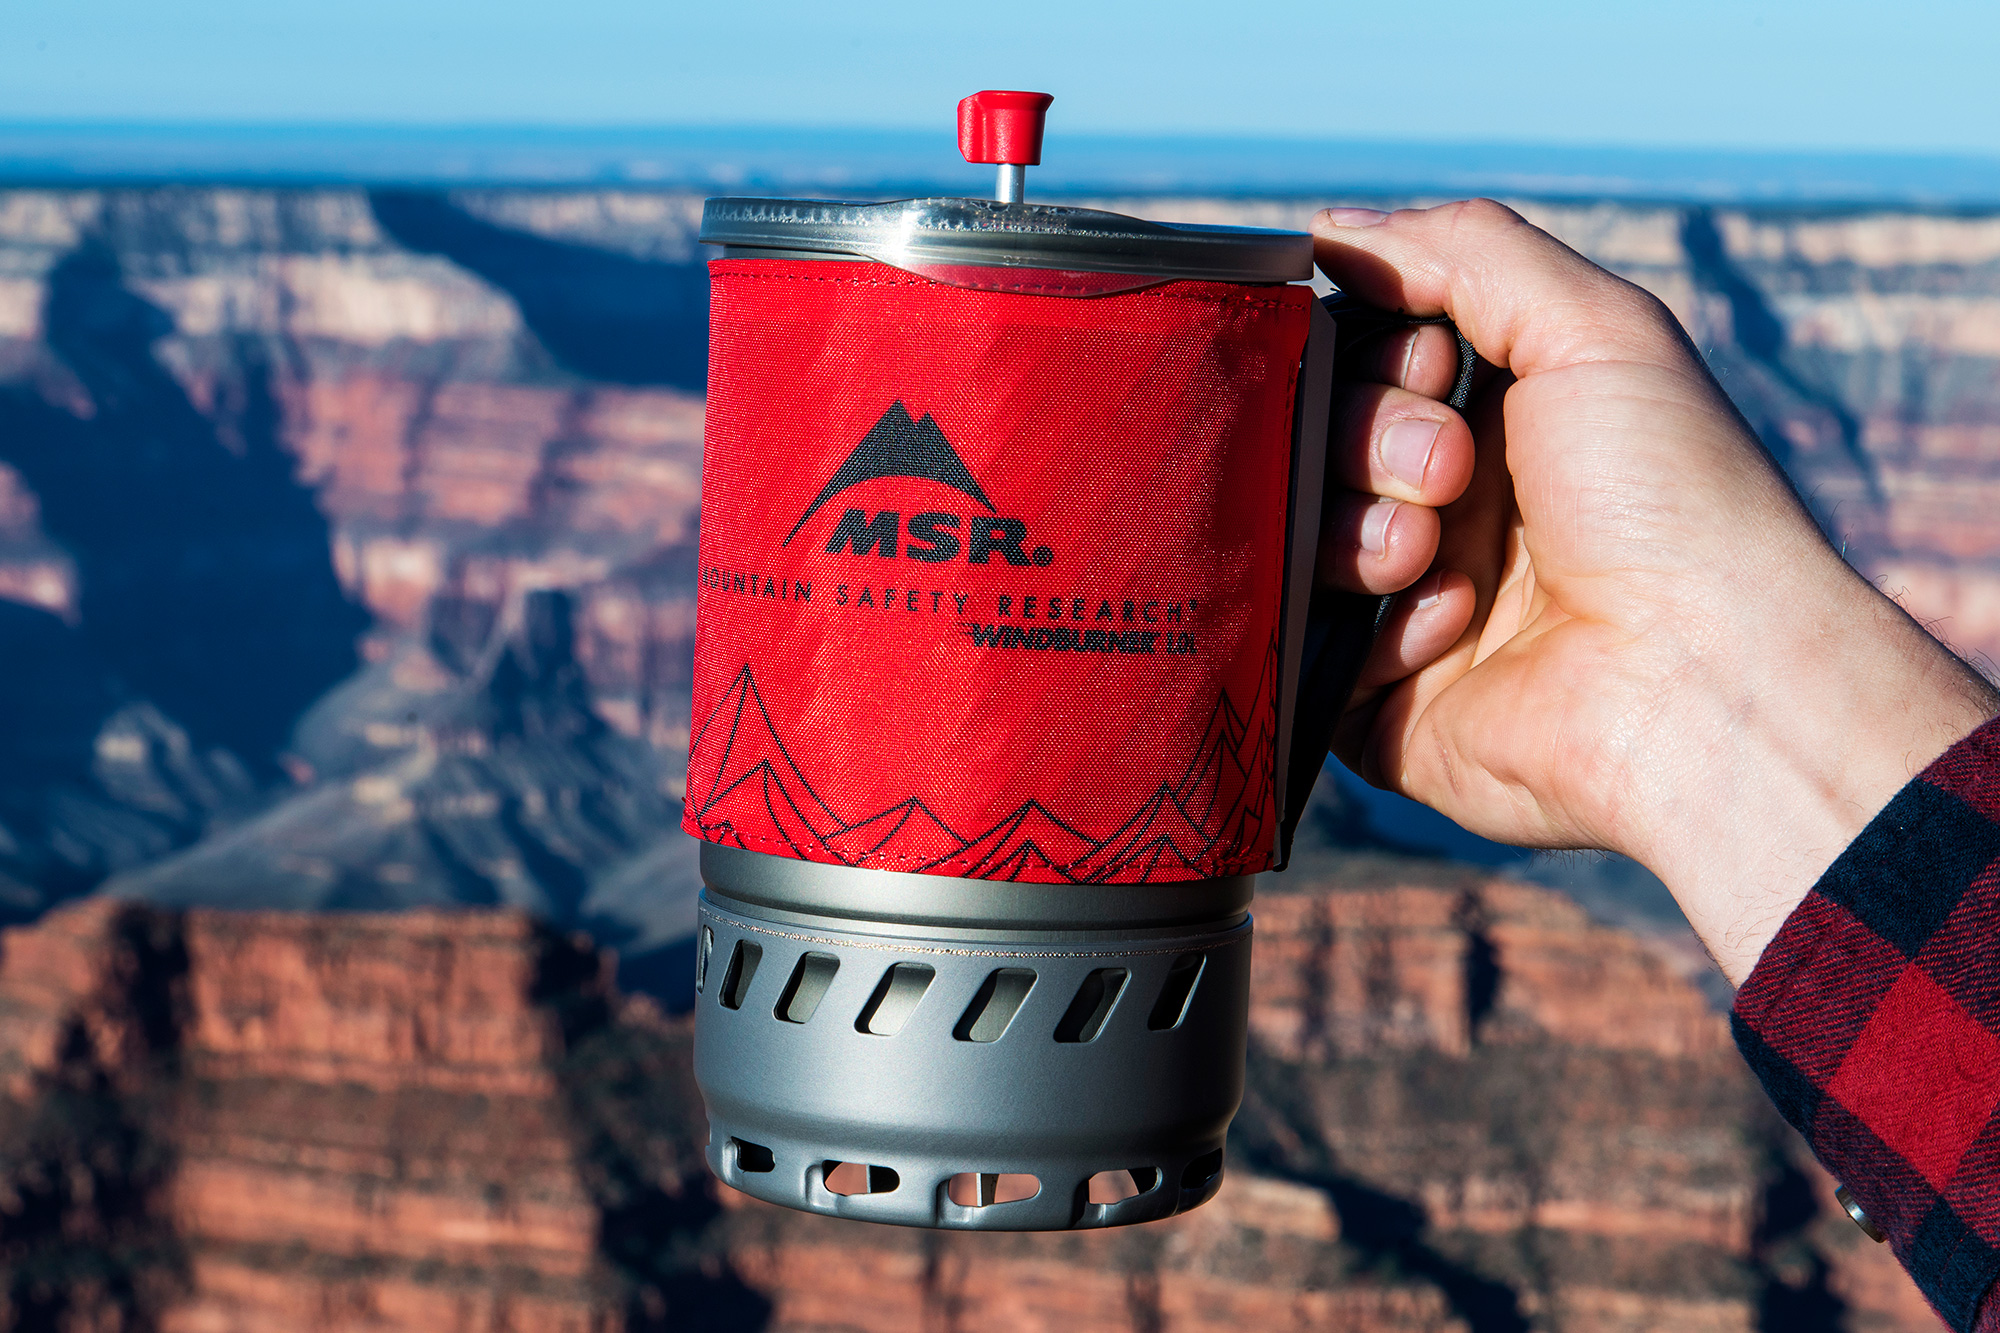
Sometimes, all you want in the world is for the water that you’ve been cooking on your backcountry stove for the last fortnight to actually boil. I’m pretty sure that whoever came up with the saying that “a watched pot never boils” was on the side of a mountain in less than ideal conditions [read: it was really cold and windy] and their stove never actually succeeded in boiling water, so they had to eat cold freeze dried food—or maybe that was me. Yet, now that I have a MSR Windburner stove system, I’ve made a hobby out of trying to find an environment where I can’t boil water. Spoiler alert: I haven’t found one yet.

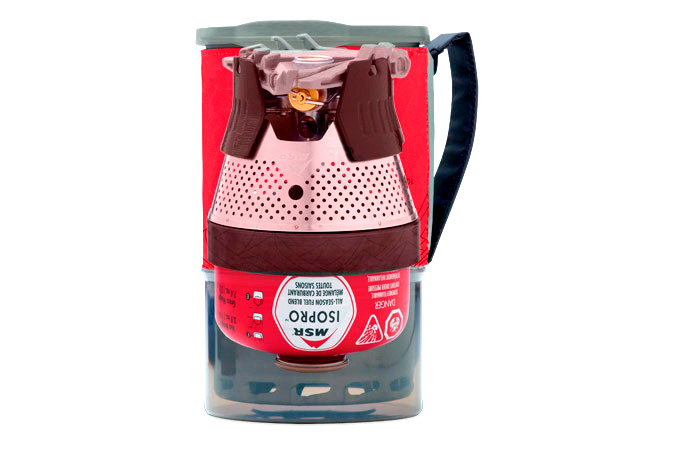
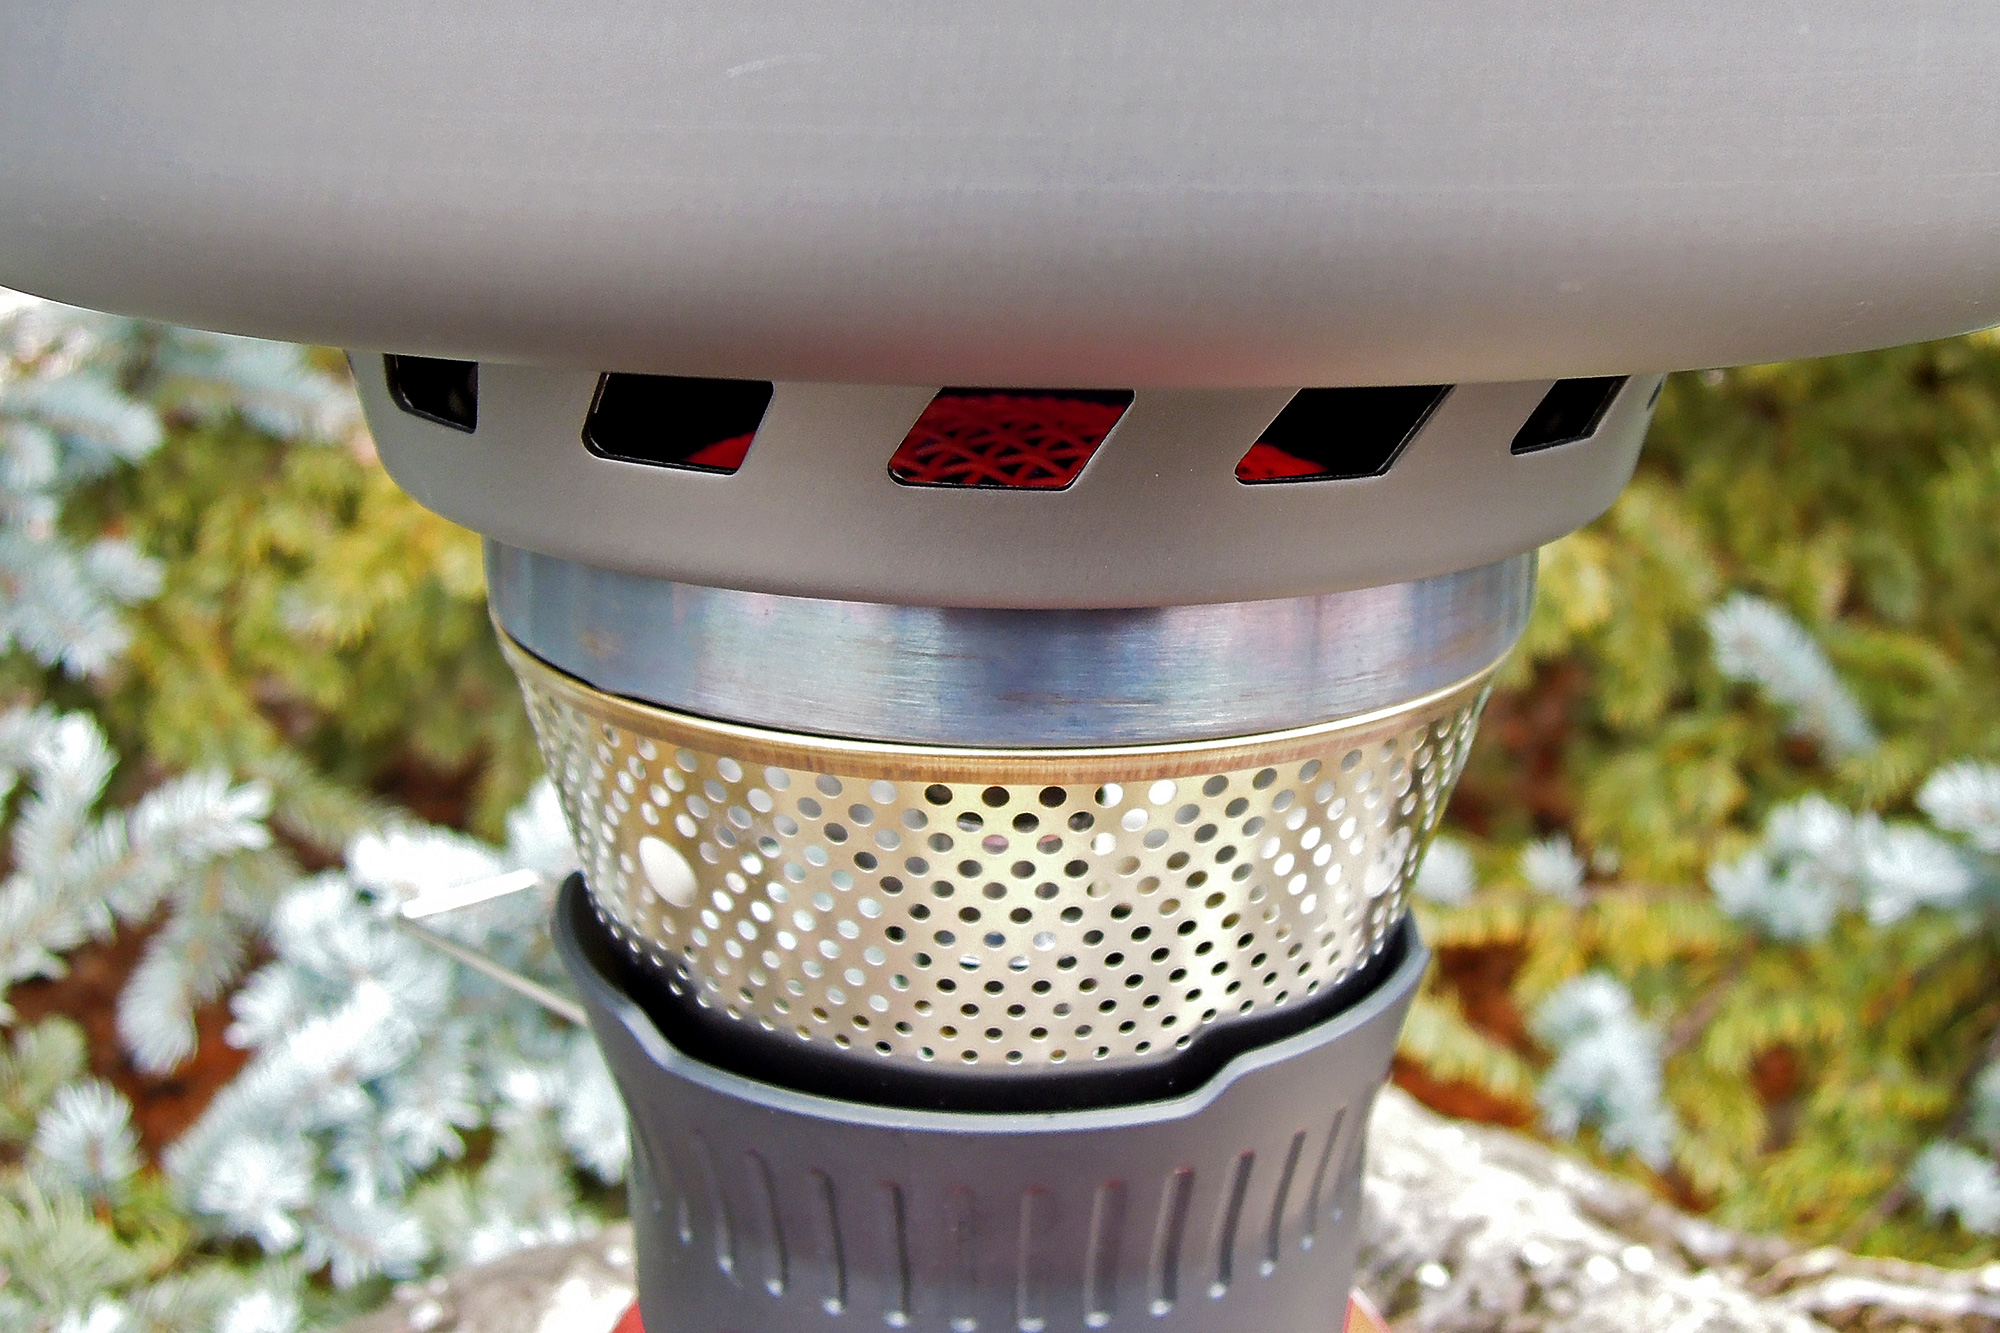
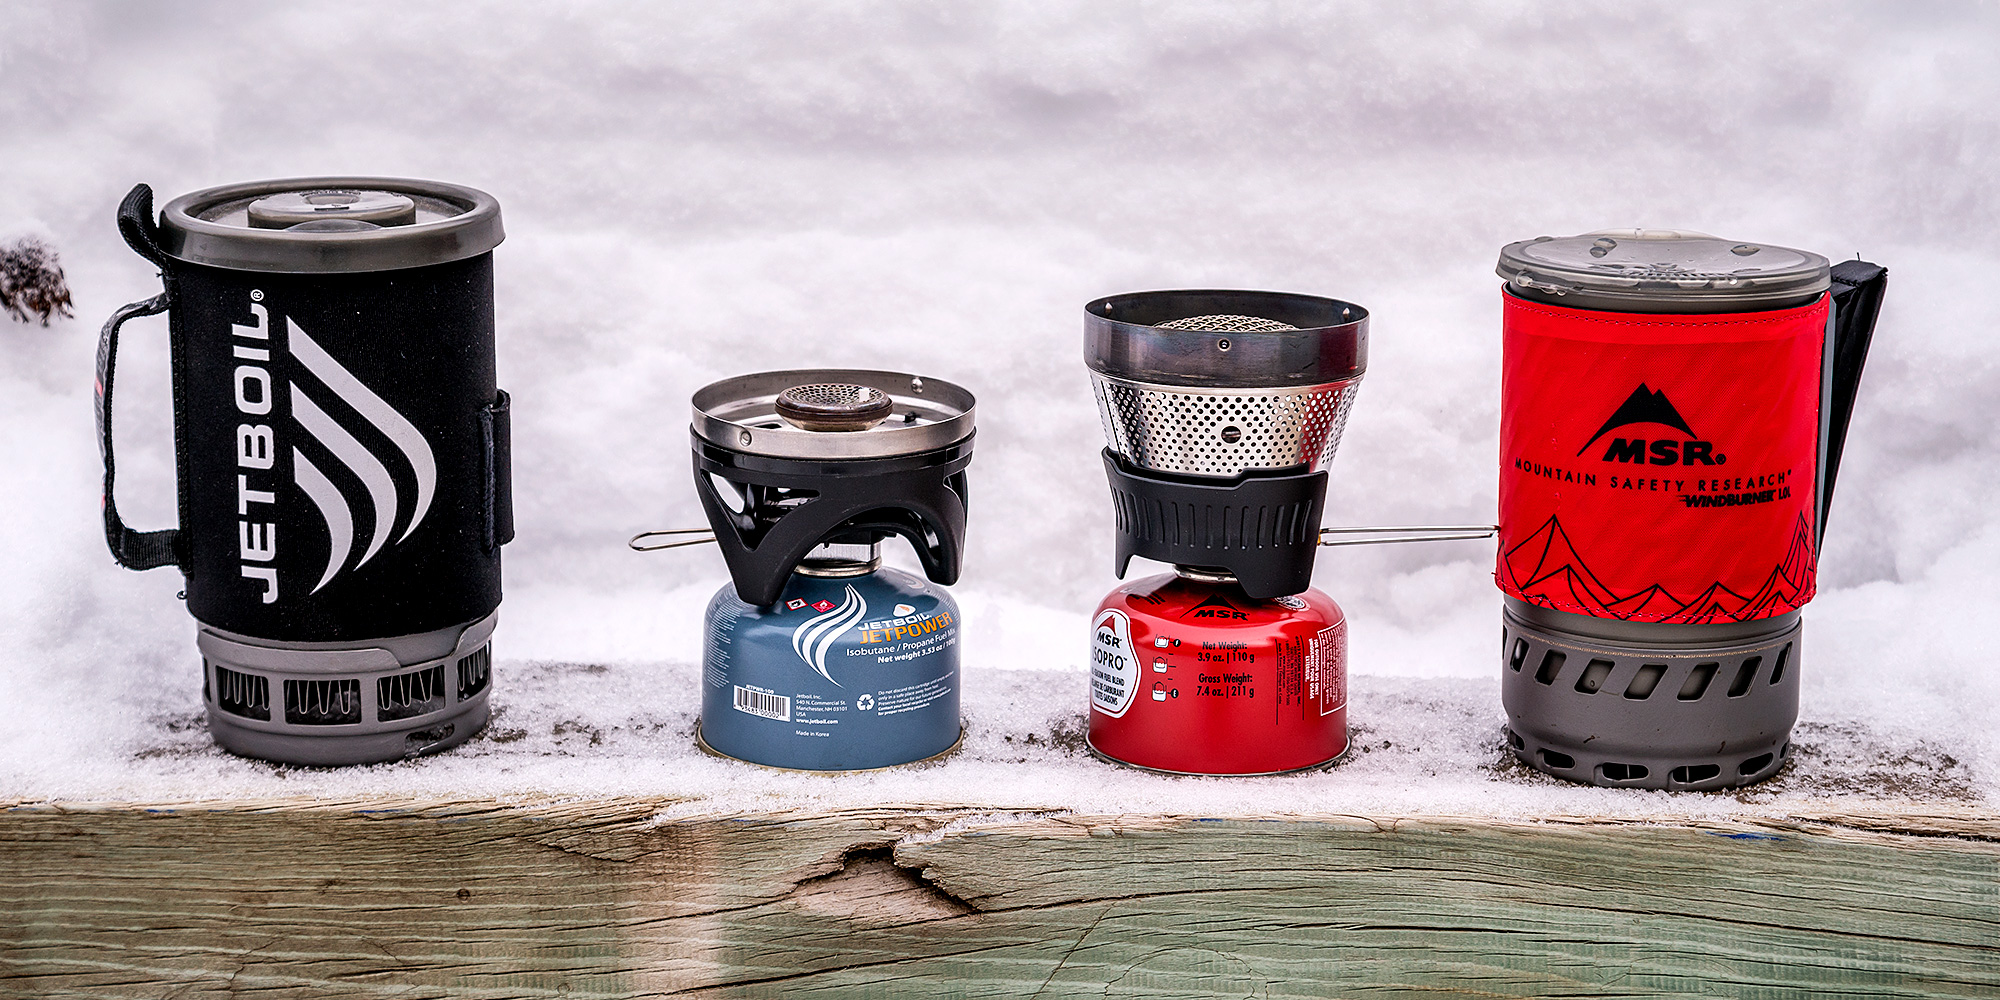
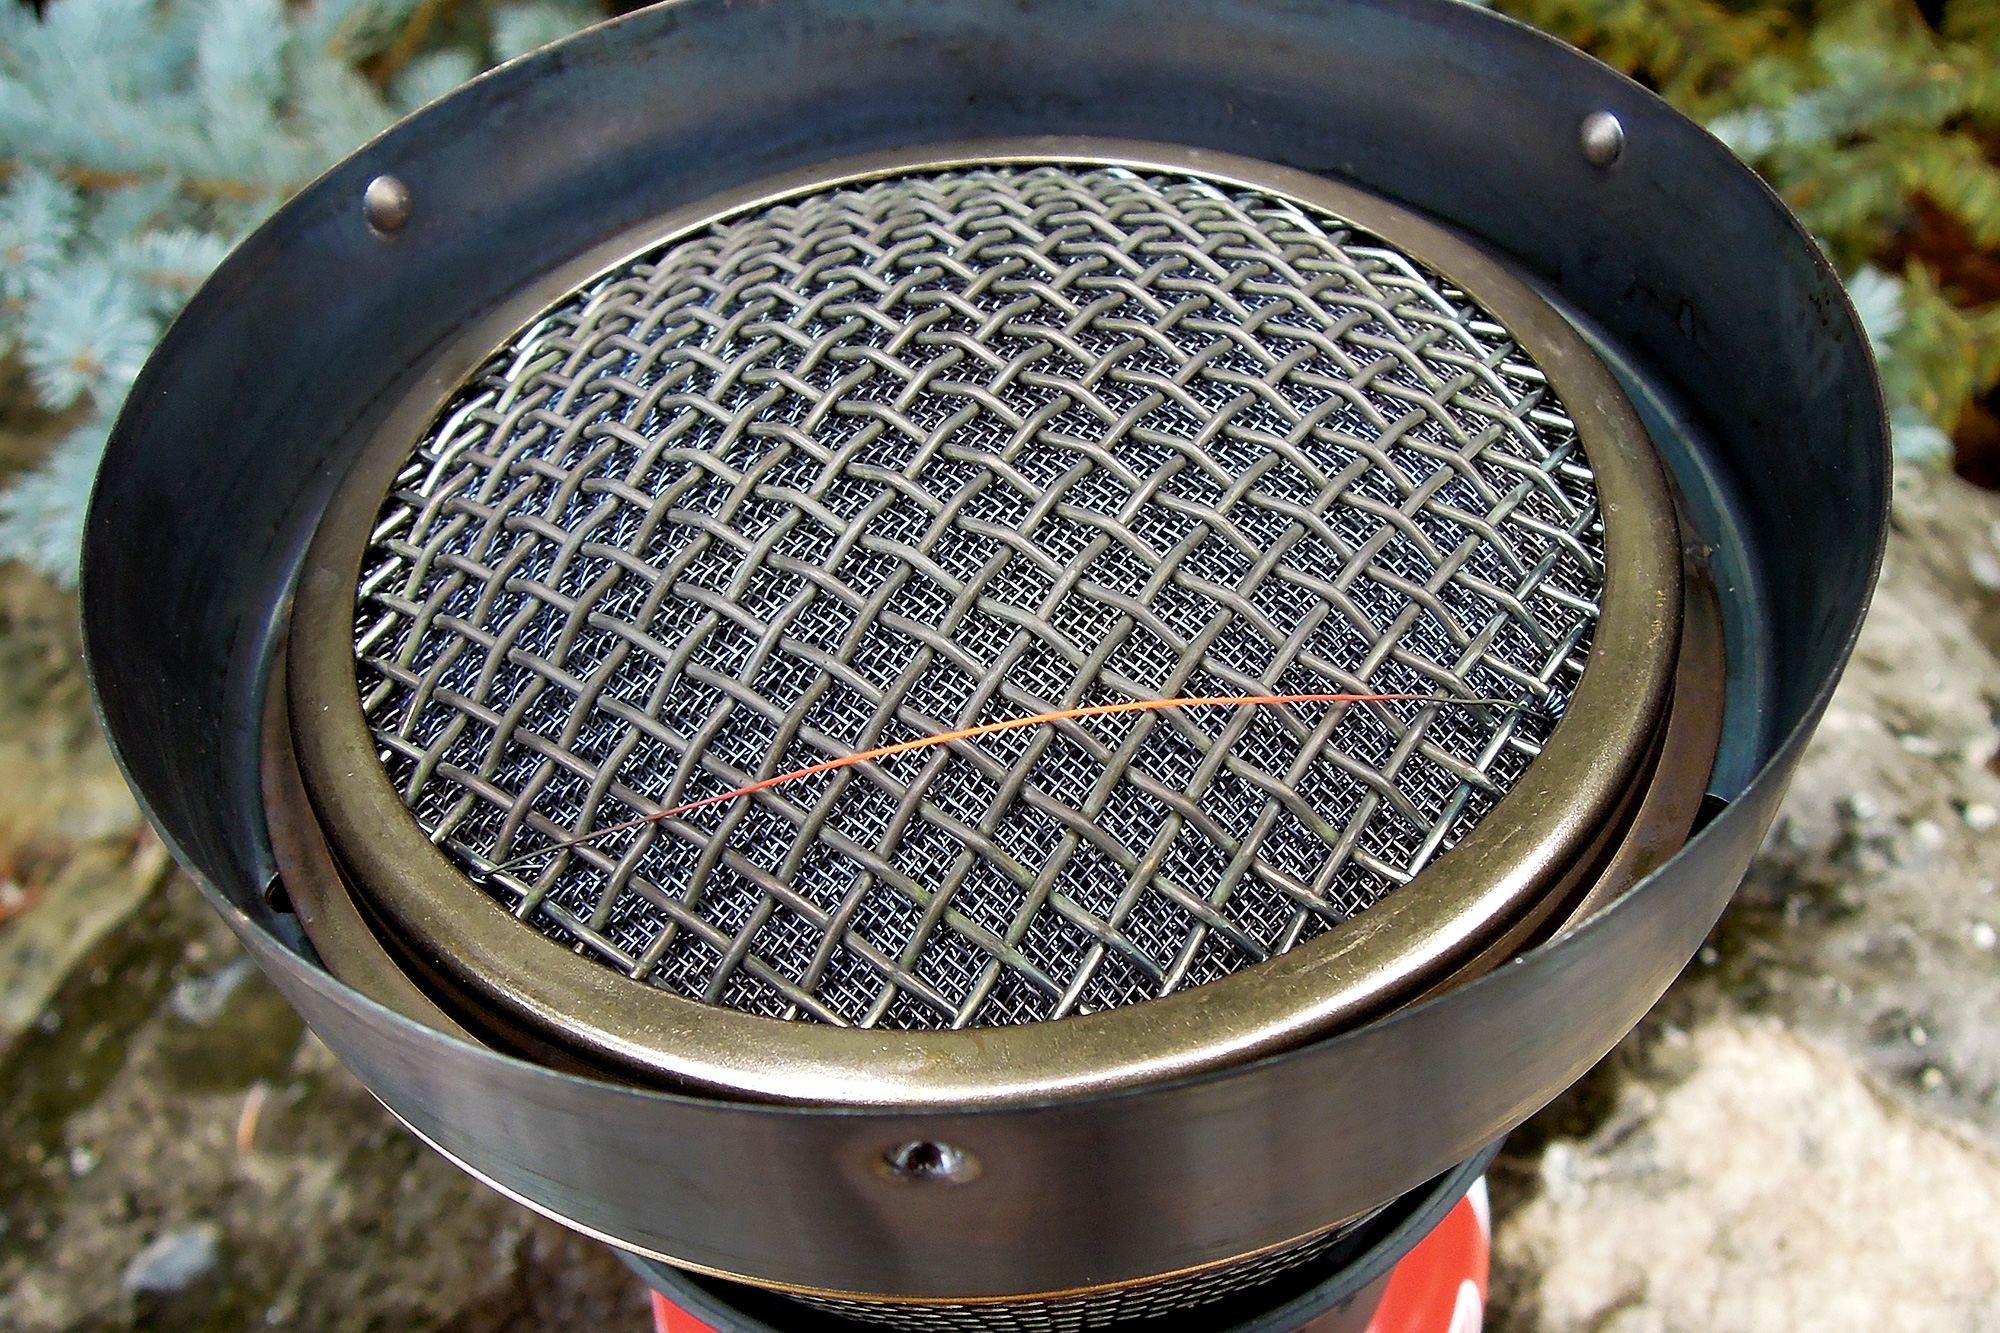
The Windburner isn’t subtle about what it can do to some water that needs cooking. Just take a look at the actual burner, and you’ll understand what I’m on about. The radiant burner uses the same Reactor technology that is found in MSR’s flagship stove, the Reactor. What this means is that you’ve got a massive, yet highly efficient isobutene-powered burner that still packs everything you need into a 1-liter pot. The pot itself is very well thought out, and little features like a lid that has a very solid engagement ensure that the lid isn’t coming off unless you pull it off. On the other end of the pot is a graduated cup that you can use for measuring and for storing the screen for the French press.

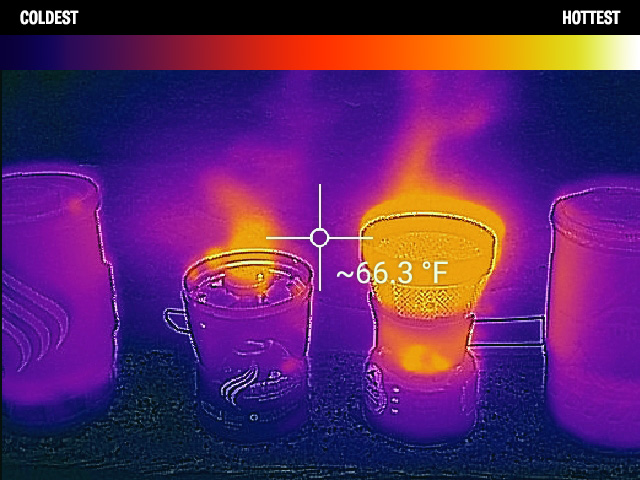
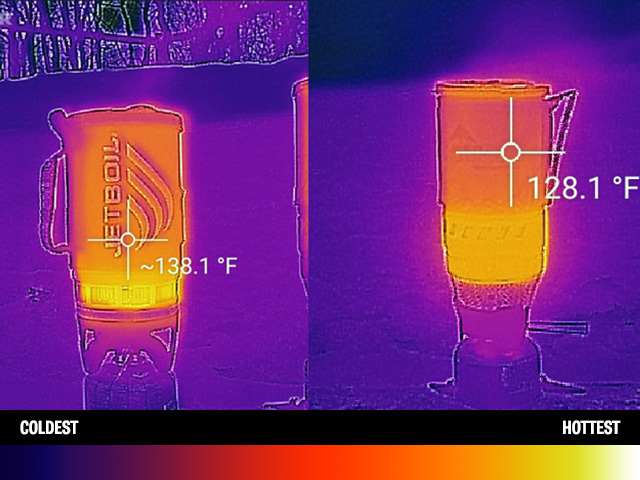
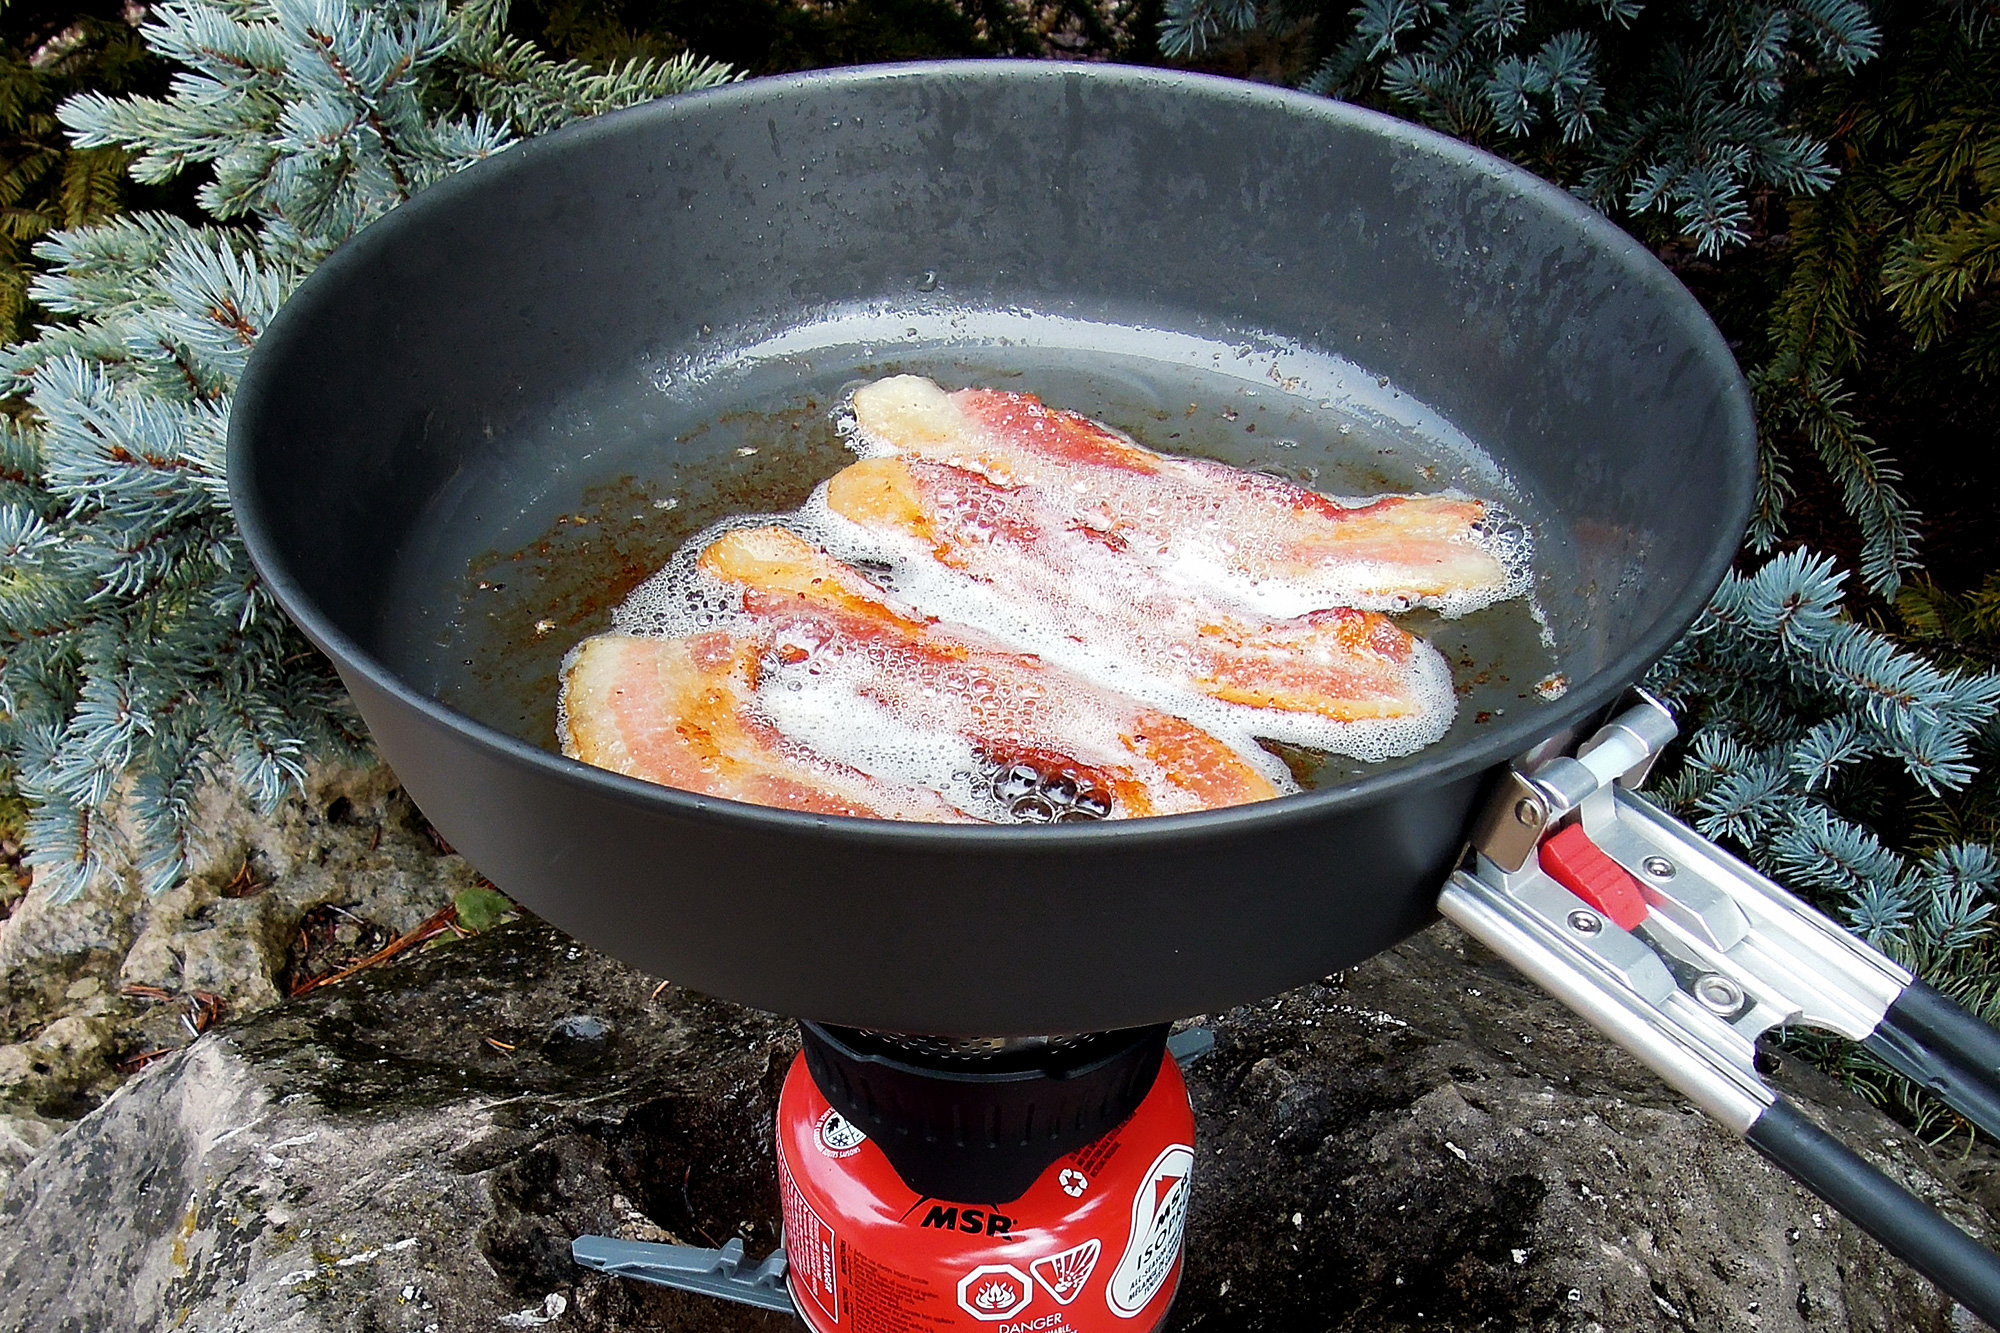
Talking about even heat distribution and radiant burner heat output is one thing, but in an effort to really show you what we’re talking about, we utilized a FLIR® Thermal Imaging Camera (TIC) to show you what your eyes can’t see. Here’s the Windburner Stove System, the Windburner Skillet, a popular stove from another manufacturer, and bacon cooking…because, bacon. When environmental conditions cause other stoves to just burn fuel and never boil water, the Windburner still produces boiling water without fail. Yet boiling water isn’t the only thing that the Windburner excels at.

There are a number of optional parts that really expand on the versatility of the Windburner stove system. First up is the Windburner Skillet, which does a great job of distributing heat evenly over the entire skillet. This even heat distribution allows you to actually cook or evenly heat food that isn’t liquid-based; which is a challenge on other stoves where it’s easy to just burn the food right over the burner, while the surrounding food stays cold. The Windburner’s throttle allows you to make very finite adjustments to heat output, which gives you great simmer control. If you want to make coffee (or loose-leaf tea) to go with your meal, the Windburner Coffee Press Kit turns the 1-Liter pot into a French press that works quite well with anything larger than espresso-fine coffee grounds. MSR also makes a 1.8-Liter pot for when you’re with a larger group, and a hanging kit that will allow you to securely hang the stove when a flat surface isn’t handy.

Lighting the Windburner is different from most other stoves, as the flame isn’t always visible. Thankfully, MSR installed a small indicator wire on the burner that starts glowing just a second after the burner is lit. In my experience, you can hear and feel the burner light, but the indicator wire is a nice visual indicator that will help you keep the hair on your hand. It’s also worth mentioning that the Windburner has no form of onboard ignition, so if you’re used to a stove that has a built-in igniter make sure you’ve got a way to light the Windburner in the field. Anything that makes a spark, arc, or flame will work. Note: you should always have a backup method of making fire with you anyhow, as built-in igniters can fail.

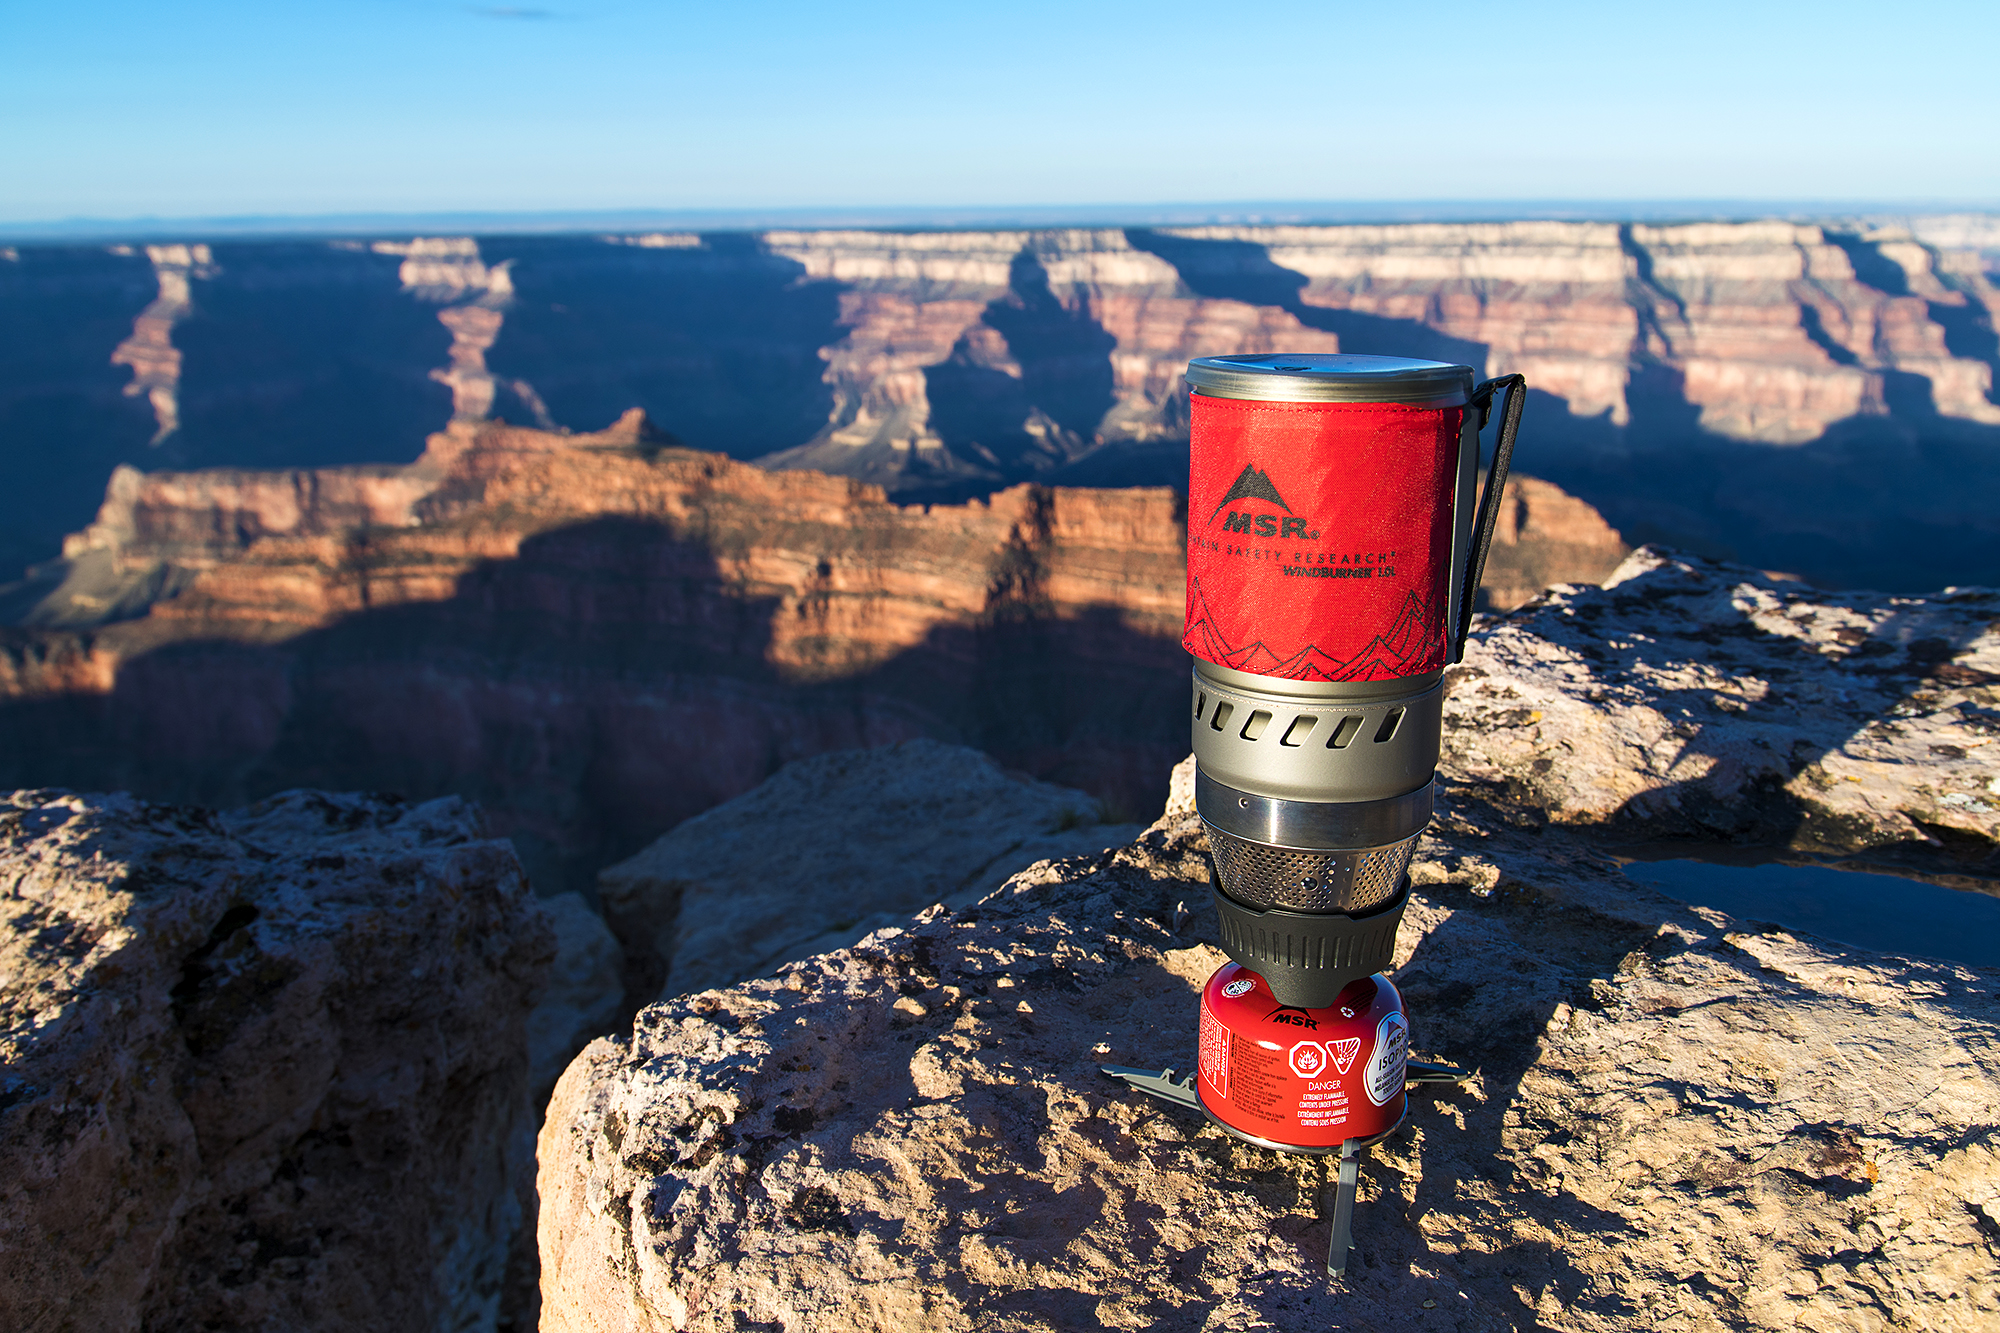
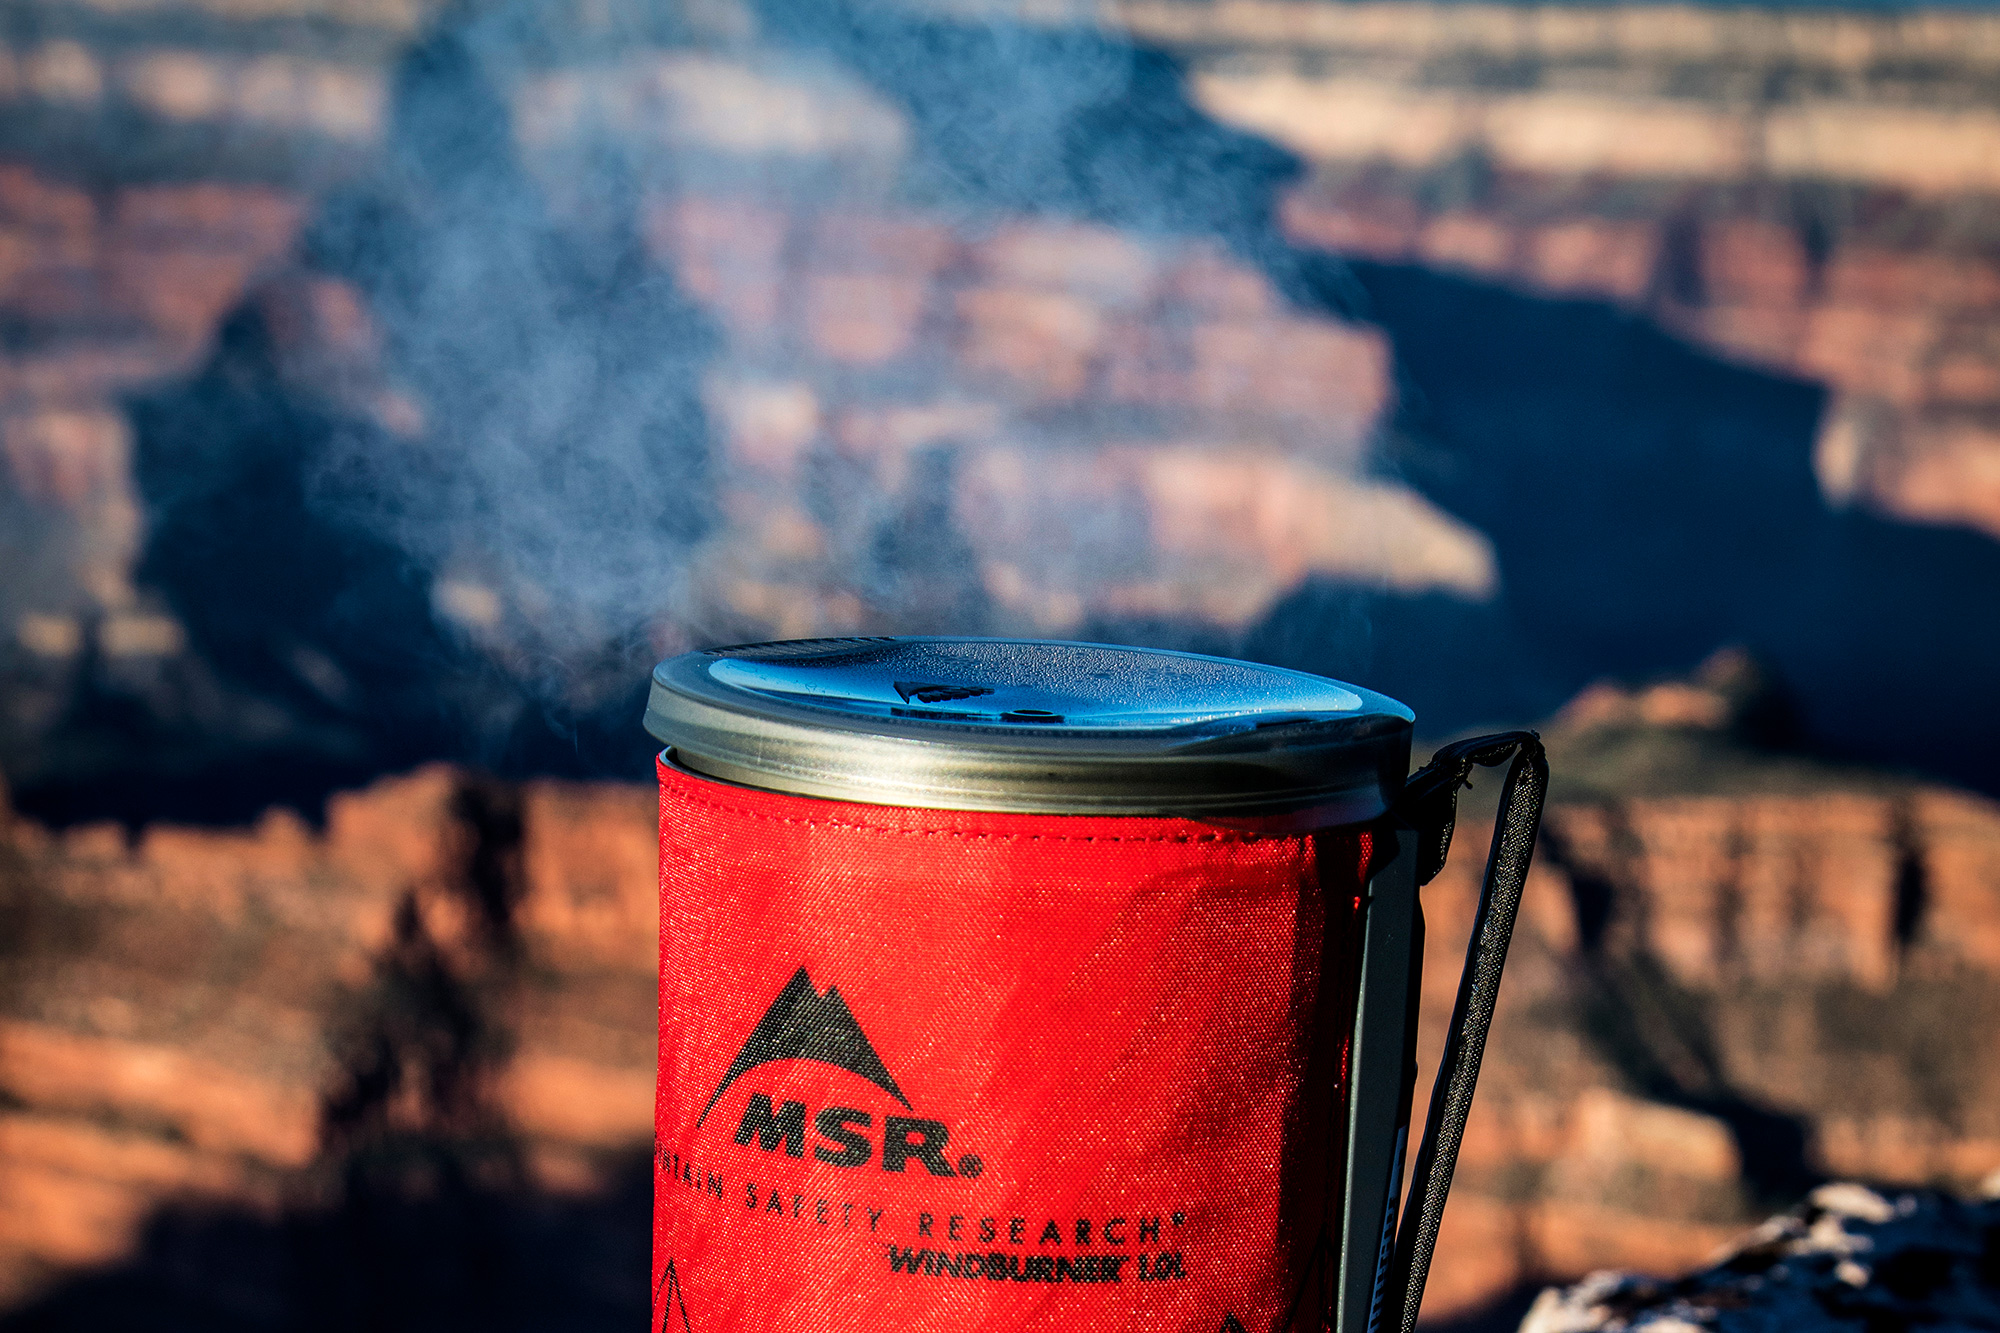
I’ve taken the Windburner Stove System from the bottom of the Grand Canyon to over 13,000 feet above sea level in the Colorado Rockies on my quest to get the stove to fail. Yet, I haven’t found any environmental conditions where the stove has let me down. Under ideal conditions, the Windburner is quicker to a boil with the same volume of water than other ‘everything packs into the pot’ stoves. When the wind kicks up, the temperature drops, and other stoves start struggling, the Windburner has water boiling in just a few minutes. The size and finite control of the burner’s heat output make using the Windburner Skillet a realistic option, and your days of ruining backcountry cookware by scorching are over. The skillet also opens the door to a whole host of other meal options in the backcountry, which is a huge value-add and morale booster. MSR’s Windburner Stove System is great choice for a versatile, reliable, water-will-get-boiled stove system. Find out more at msrgear.com »

Note from the editor: It is our goal to use science whenever we can while conducting gear reviews to show you quantitative information. In the case of this article, we utilized the FLIR® TIC to show you exactly how warm each stove is at a boil, and how the heat really dissipates through the Windburner Skillet. Please let us know in the comments if you found this information valuable, and if there’s anything else you’d like to see.