Utah Winter Adventure – Part I of III

In the past few years, we’ve taken to planning a small annual trip that lasts approximately a week long during the winter time. Destinations are unknowns (new to us) and planned throughout the year as rough locations and POI’s that we would like to hit. Routes in between are roughly formed and there are times where we improvise and have to call an audible.

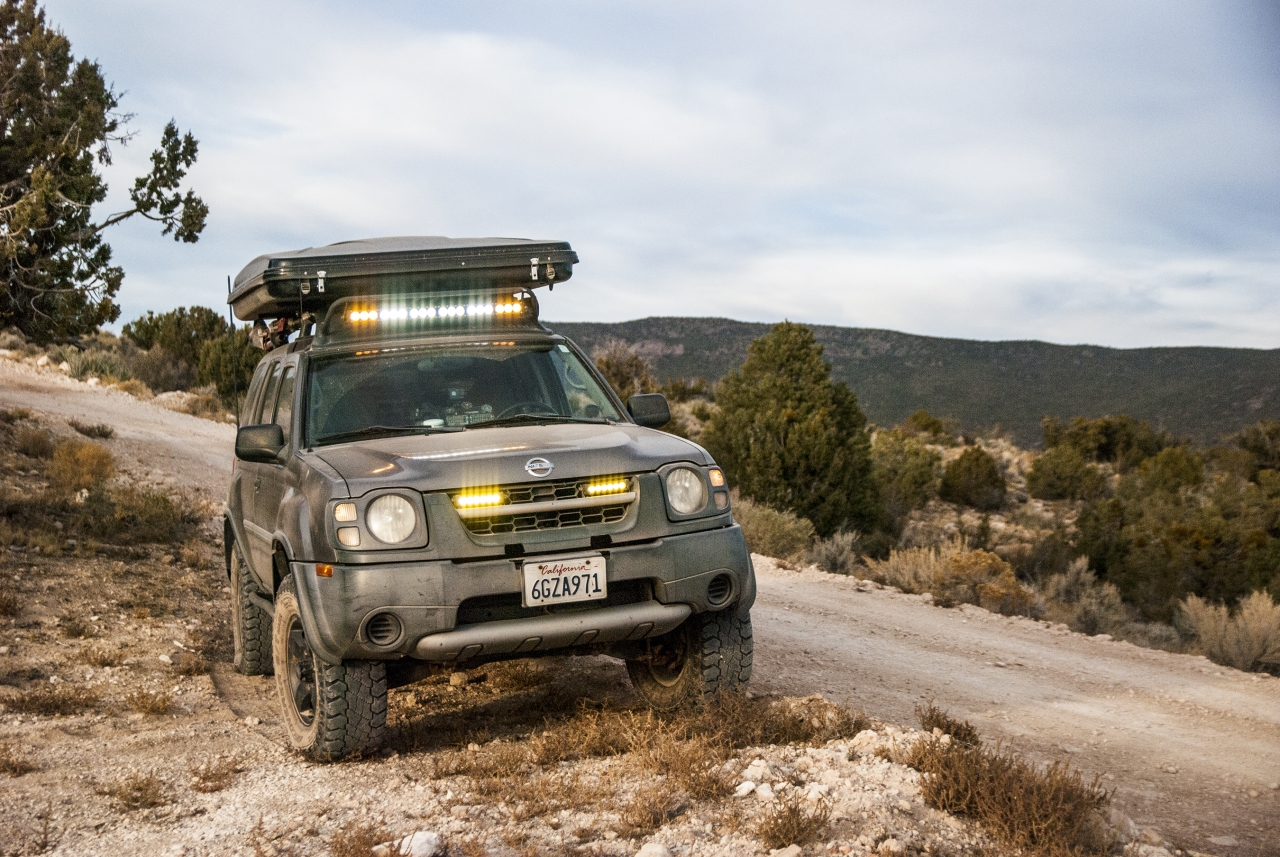
Our previous trips: Death Valley Expedition 2015 (DVX15) and California Coastal Expedition 2016 (CCX16), and many other small trips to Anza Borrego, Trona, Thomas Mountain and other sites, have really helped us form a template as to how our trips are planned, what works and what doesn’t. Our plan for the winter of 2017 had us traveling from our home base in Southern California through Nevada, Utah, and Arizona. We wanted to utilize as many dirt roads as we could, while also hitting certain POI’s, so hardball wasn’t entirely out of the question. This is what we came up with for our Utah Winter Expedition 2017 (UWX17):

Day 01- A Late Start with a Late Entrance.

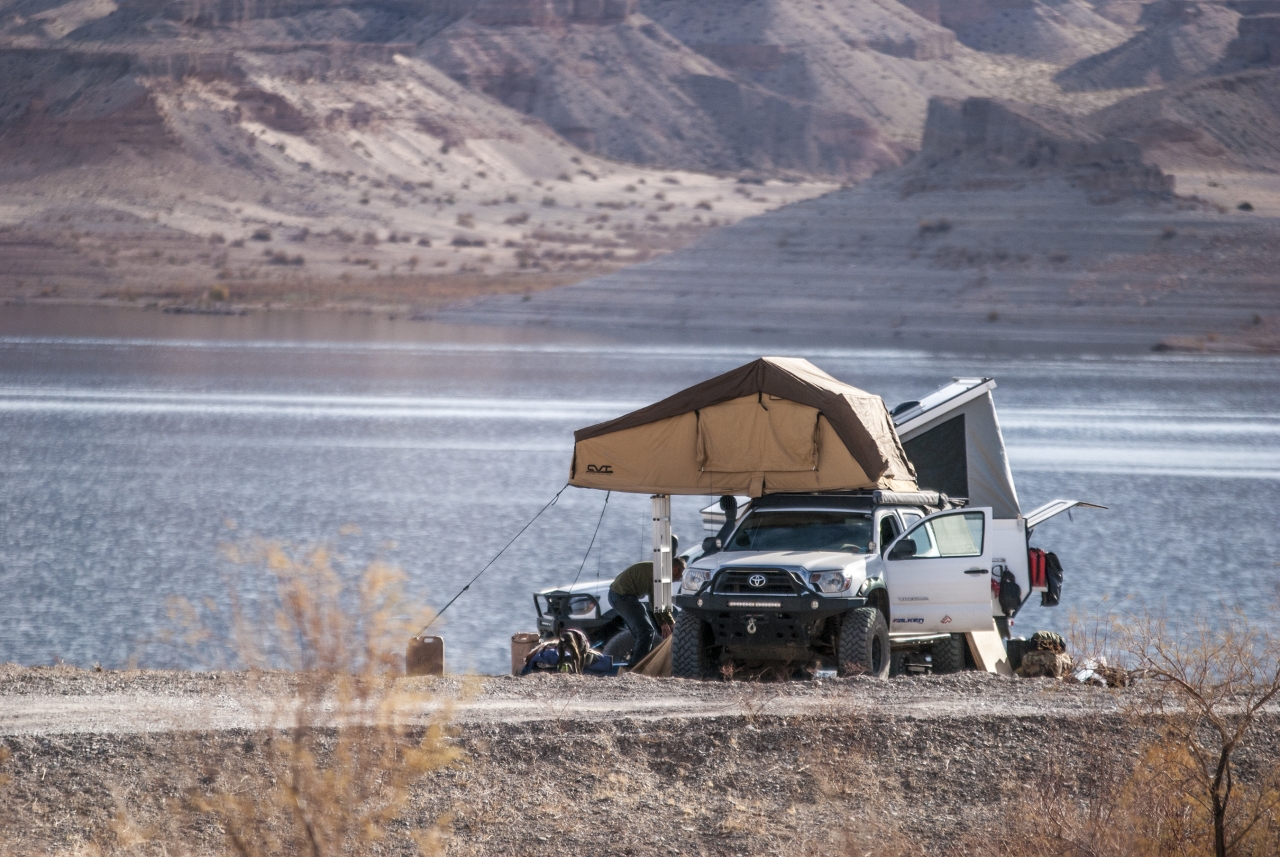
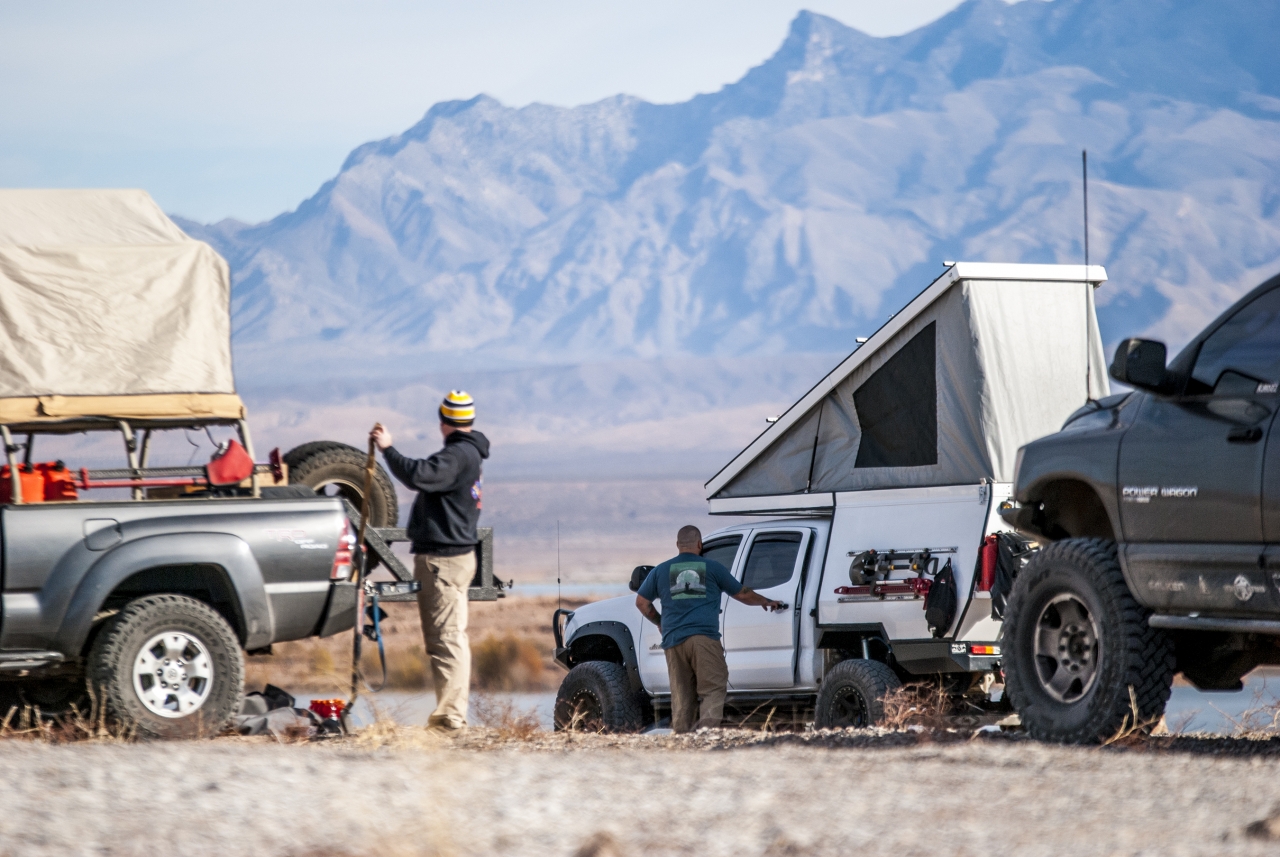
After a late start of last minute packing and getting ready, I hit the road about 4pm on my way to the meeting spot just north of Lake Mead. I linked up with Cris and family at the El Cajon Pass McDonald’s right around dinner time for a quick meal. We hit the pavement hard and arrived in the area just before midnight. It was pitch black dark and all we had to navigate by were maps and the GPS point. It took us a little bit to find the exact camp spot, but we eventually found it. Everyone had already called it a night and had gone to sleep, instead of waiting for us, so Cris and I quietly setup camp and called it a night ourselves.

Day 02- A Dusty Blast to a Wrong Whitmore

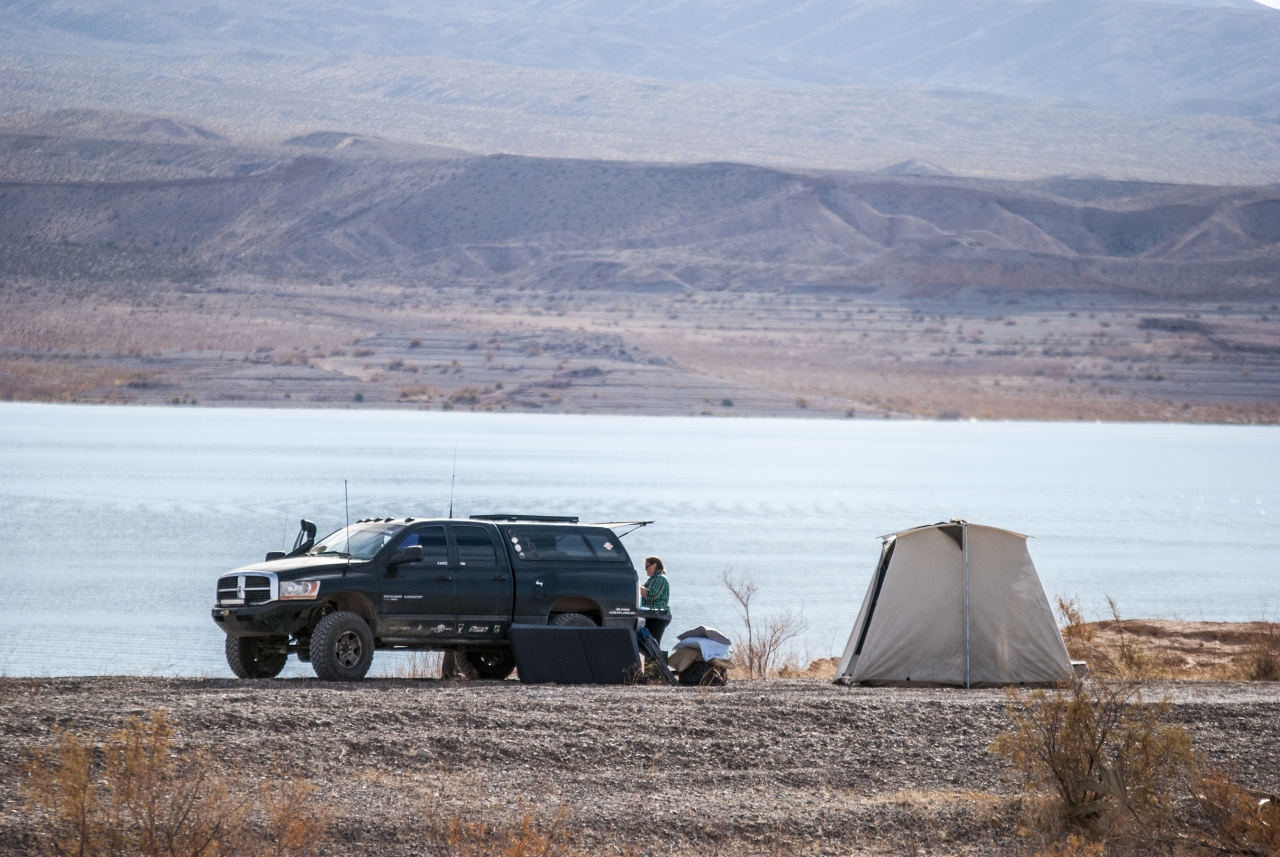
We awakened to a very chilly morning, but were instantly rewarded with an awesome view of the lake. We had camped in the dark just above the lake shoreline and it paid off now with a spectacular view of the entire area. We had a comfortable start to our day and enjoyed the area while eating breakfast before we set off. We had a driver’s meeting to go over the day’s route, which would be Whitmore Canyon just on the North side of Grand Canyon.
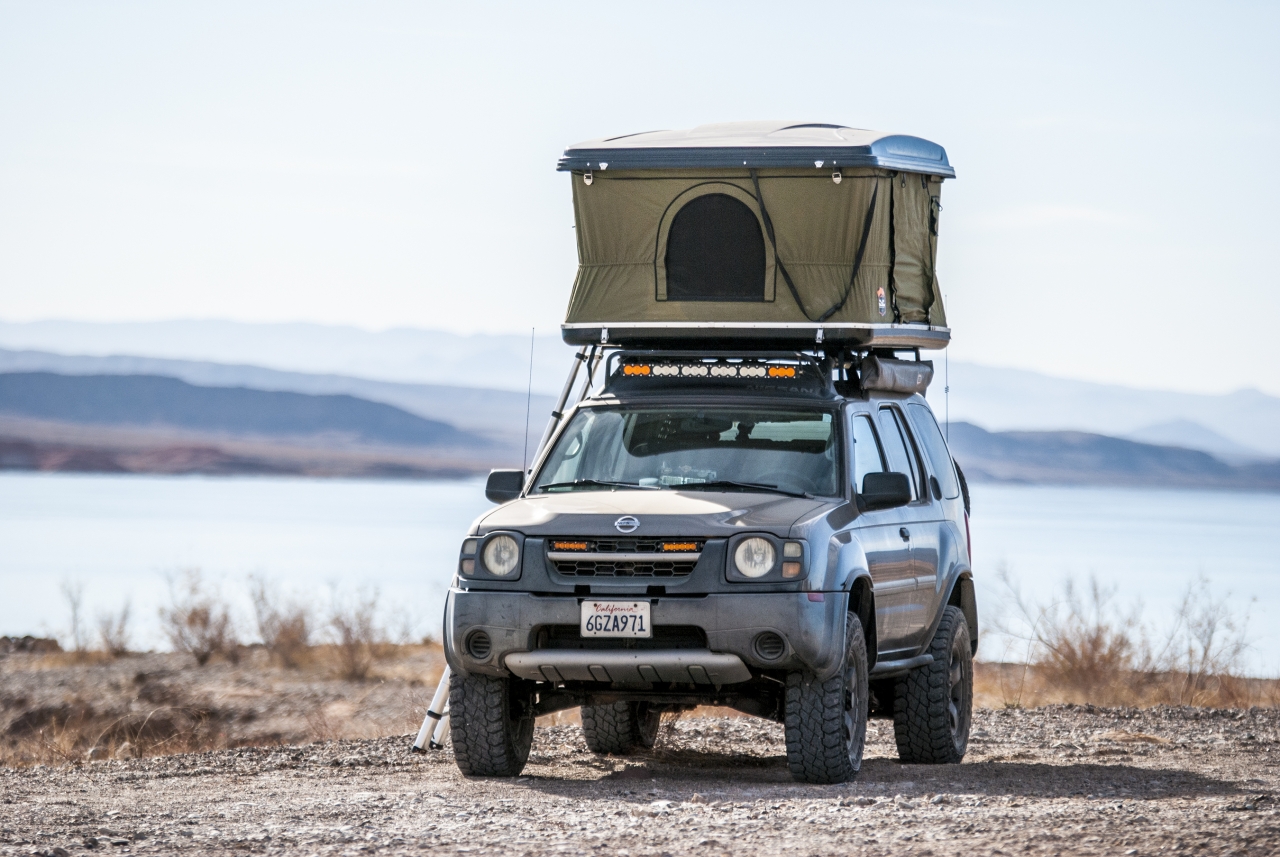
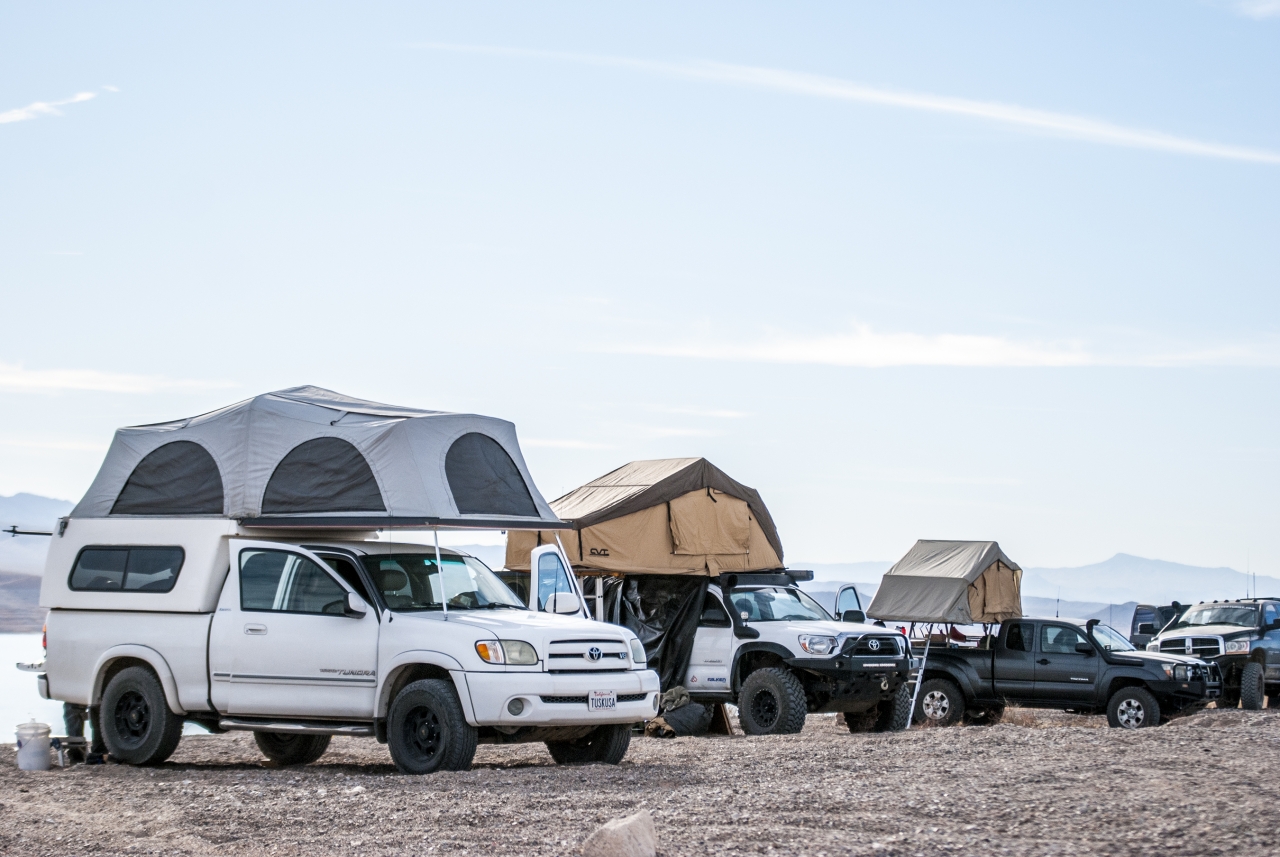
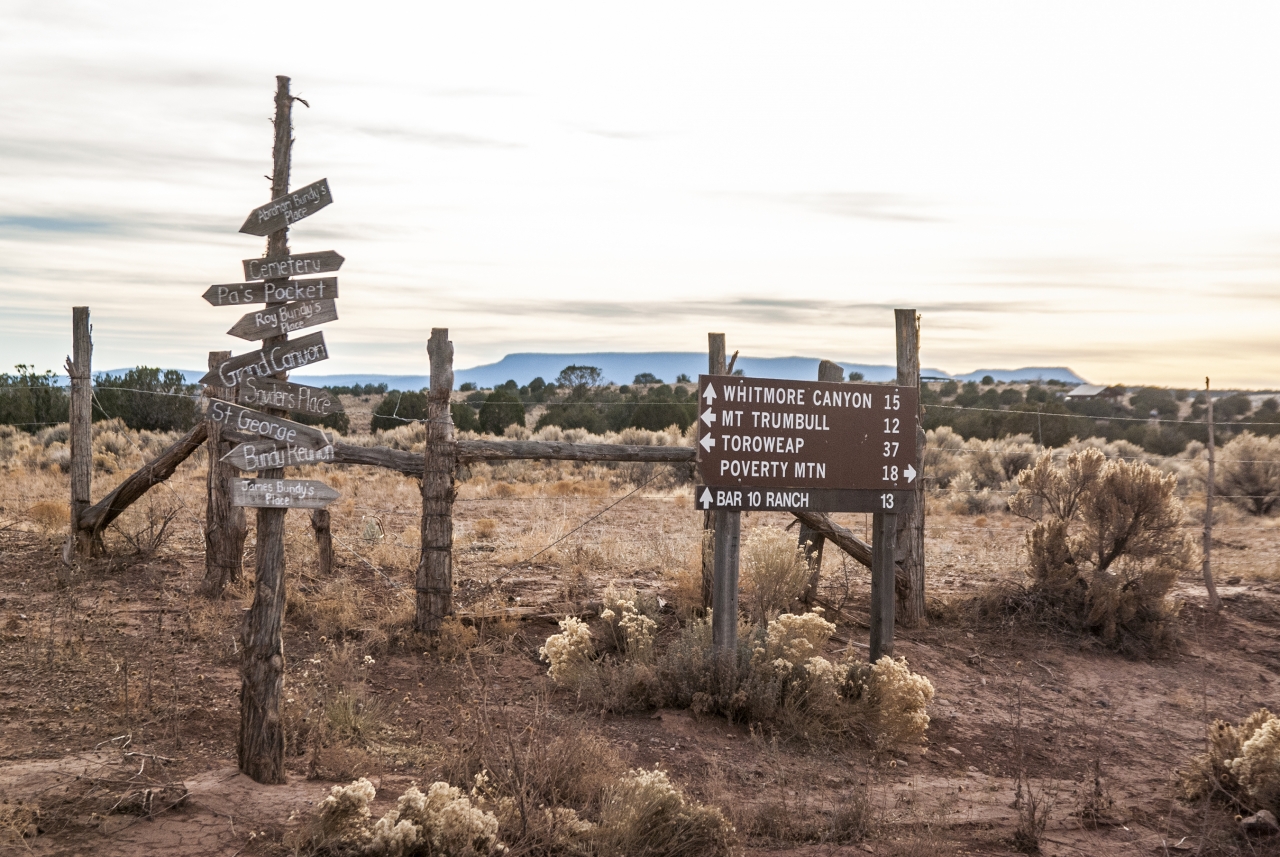
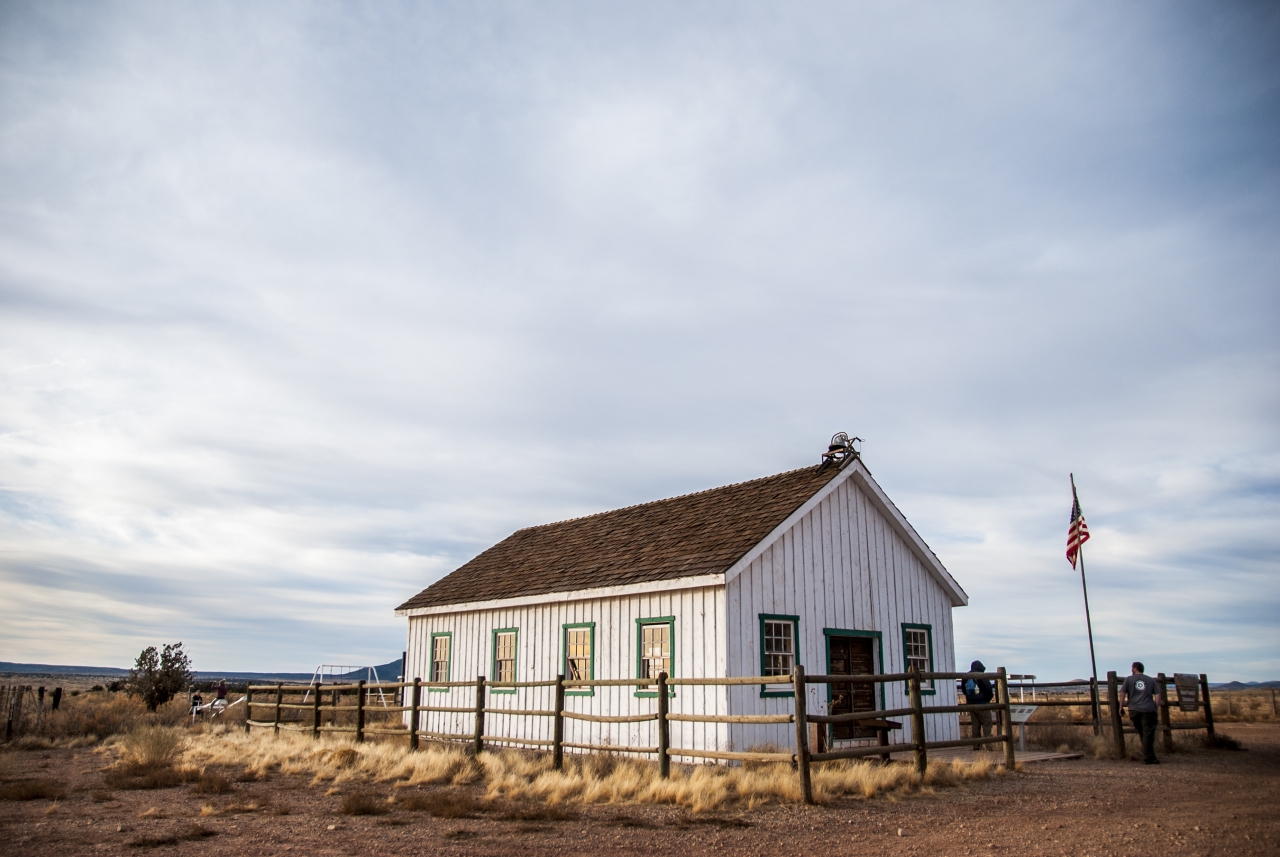
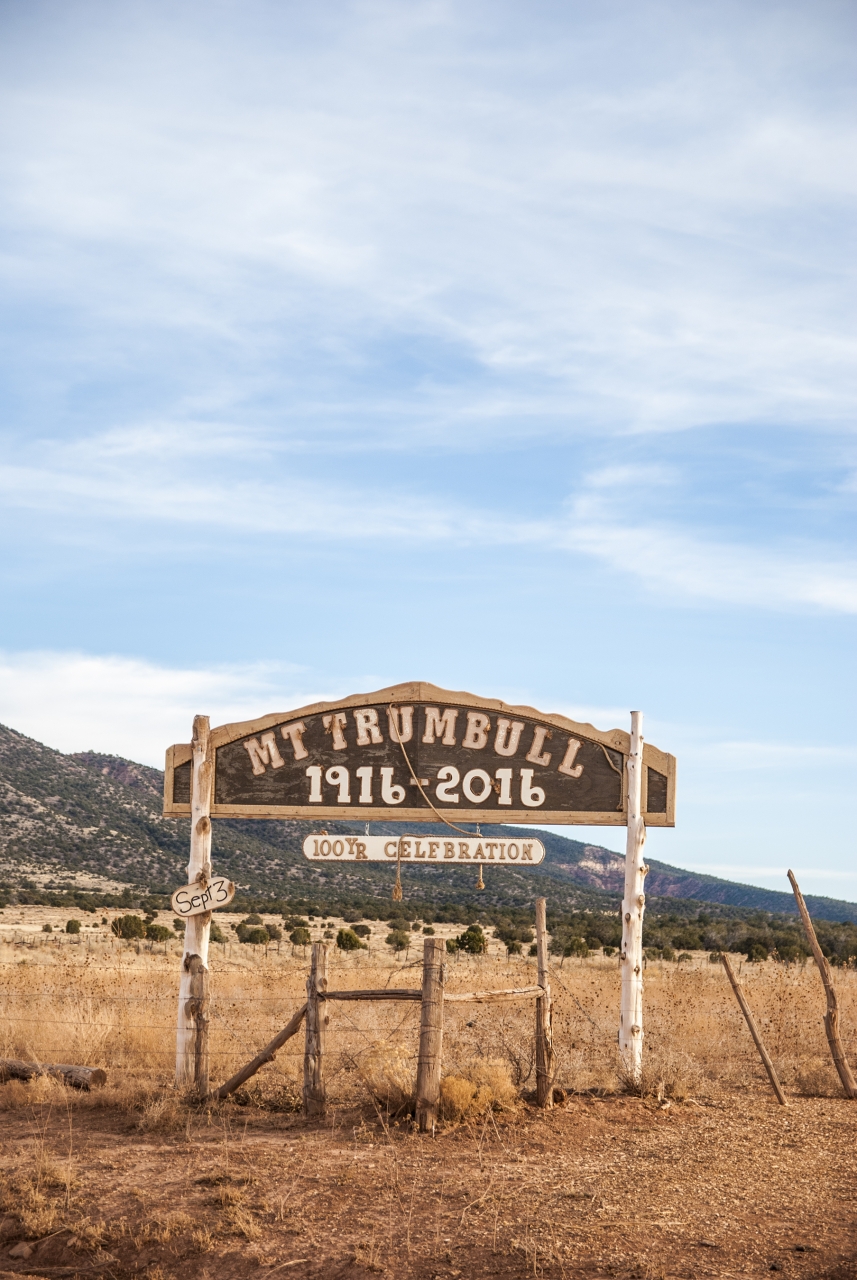
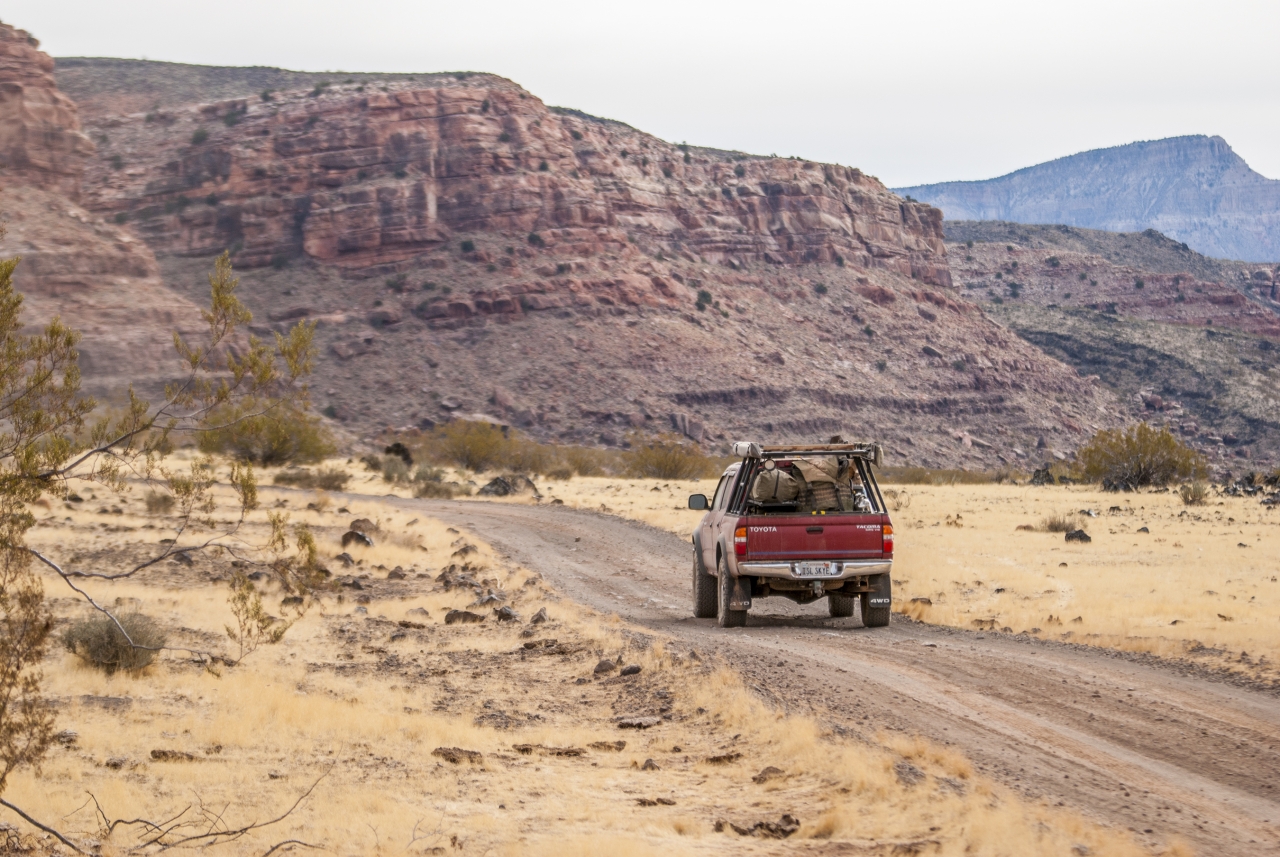
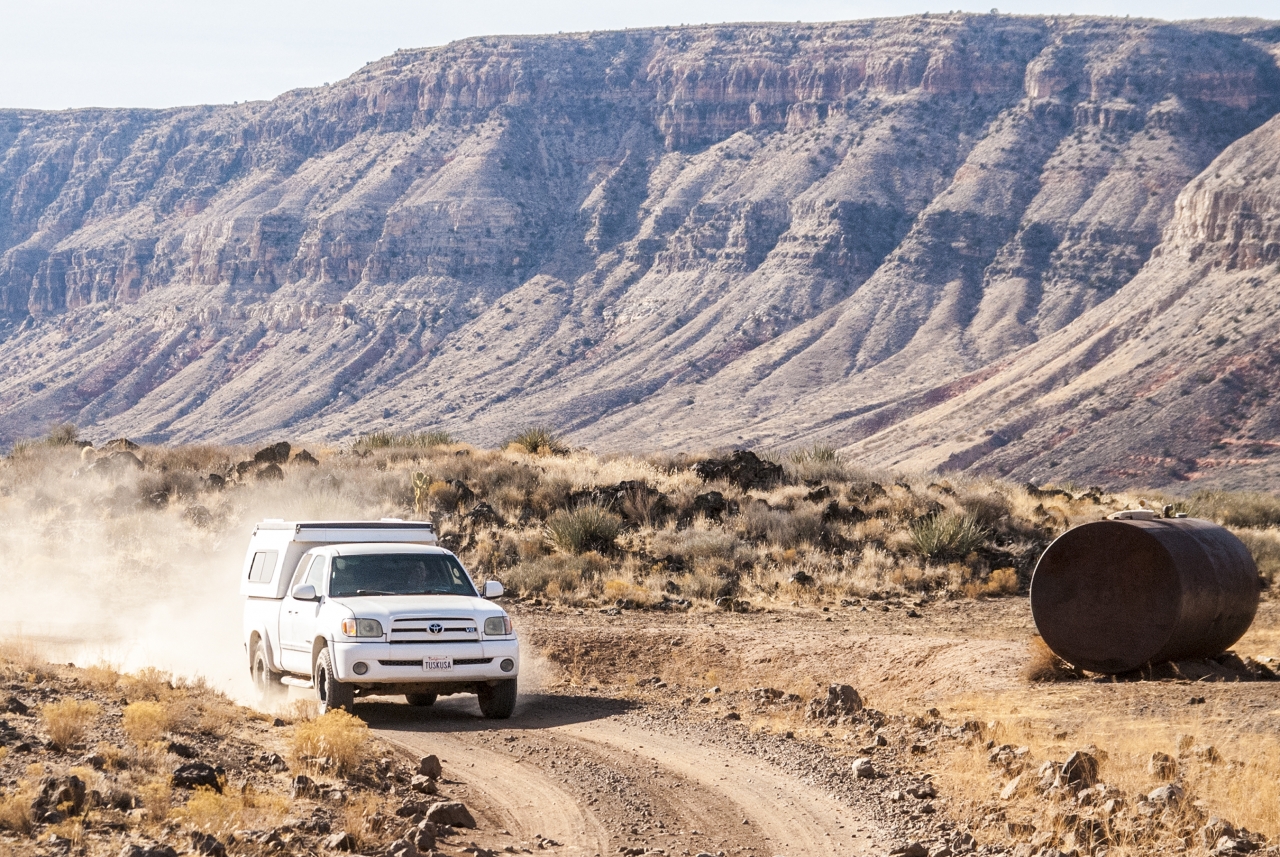
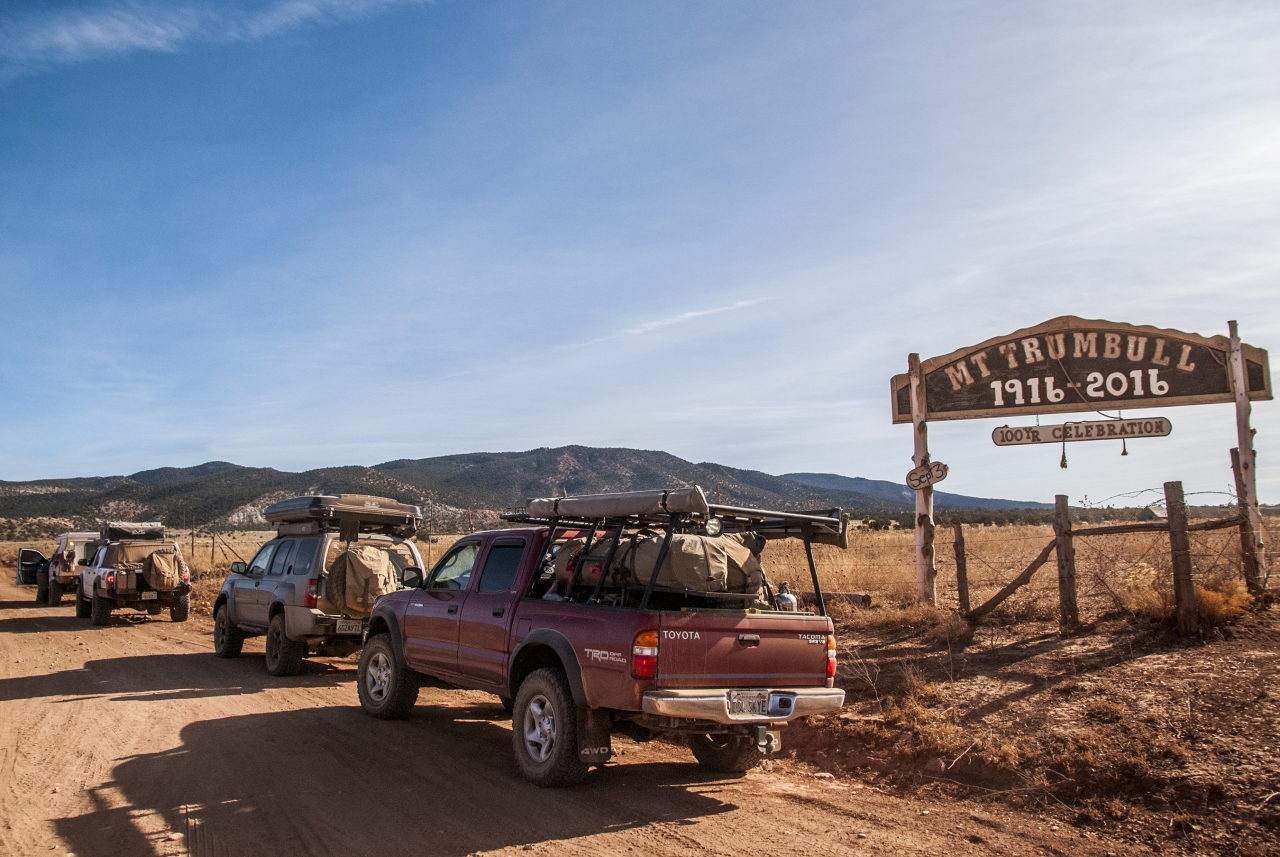
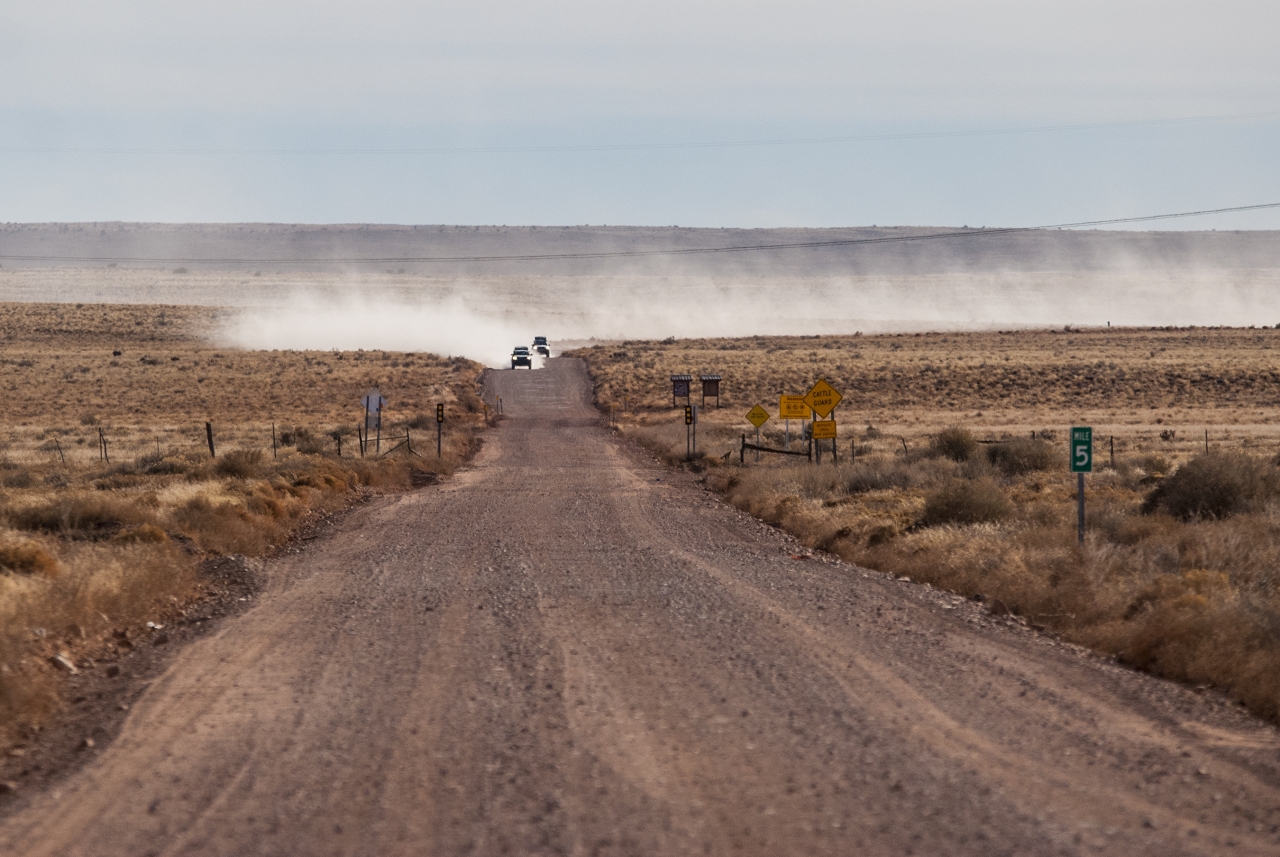
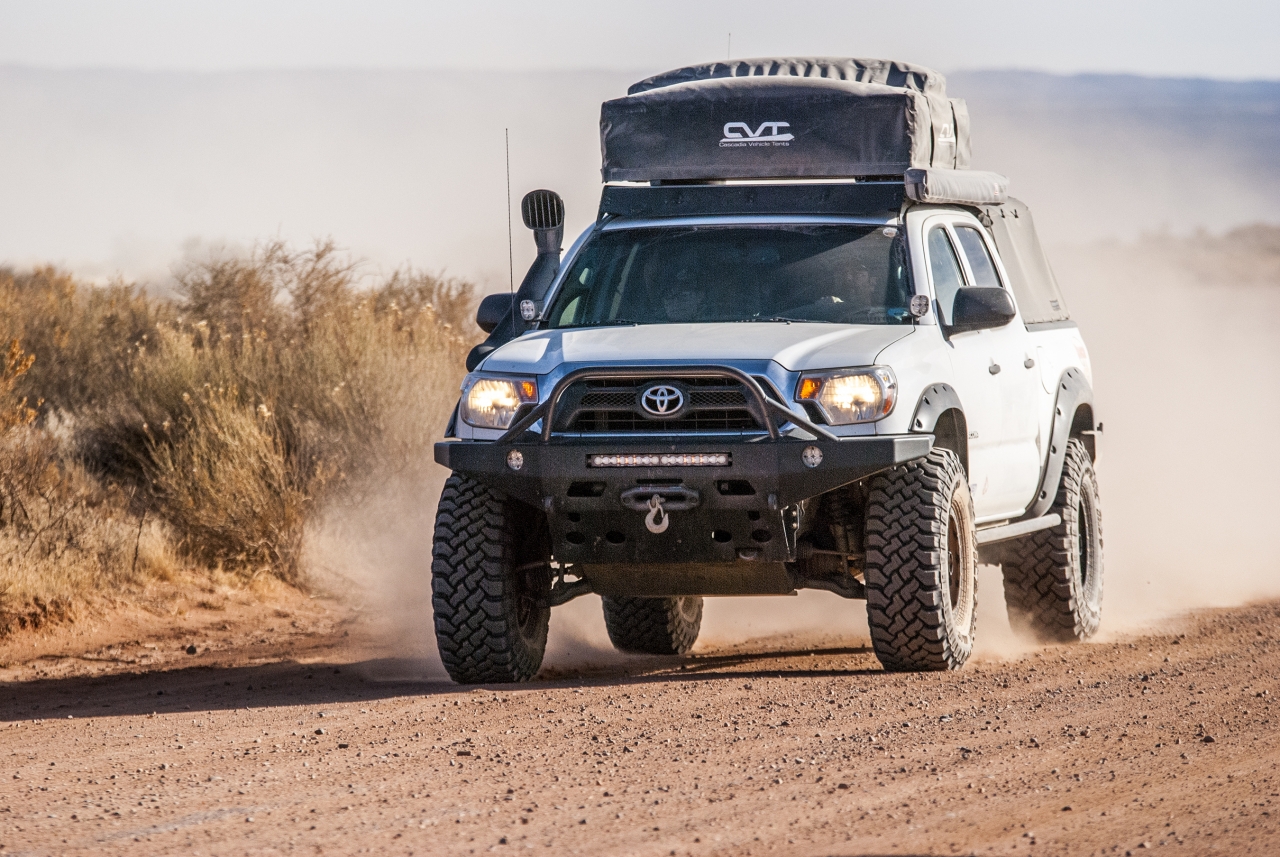
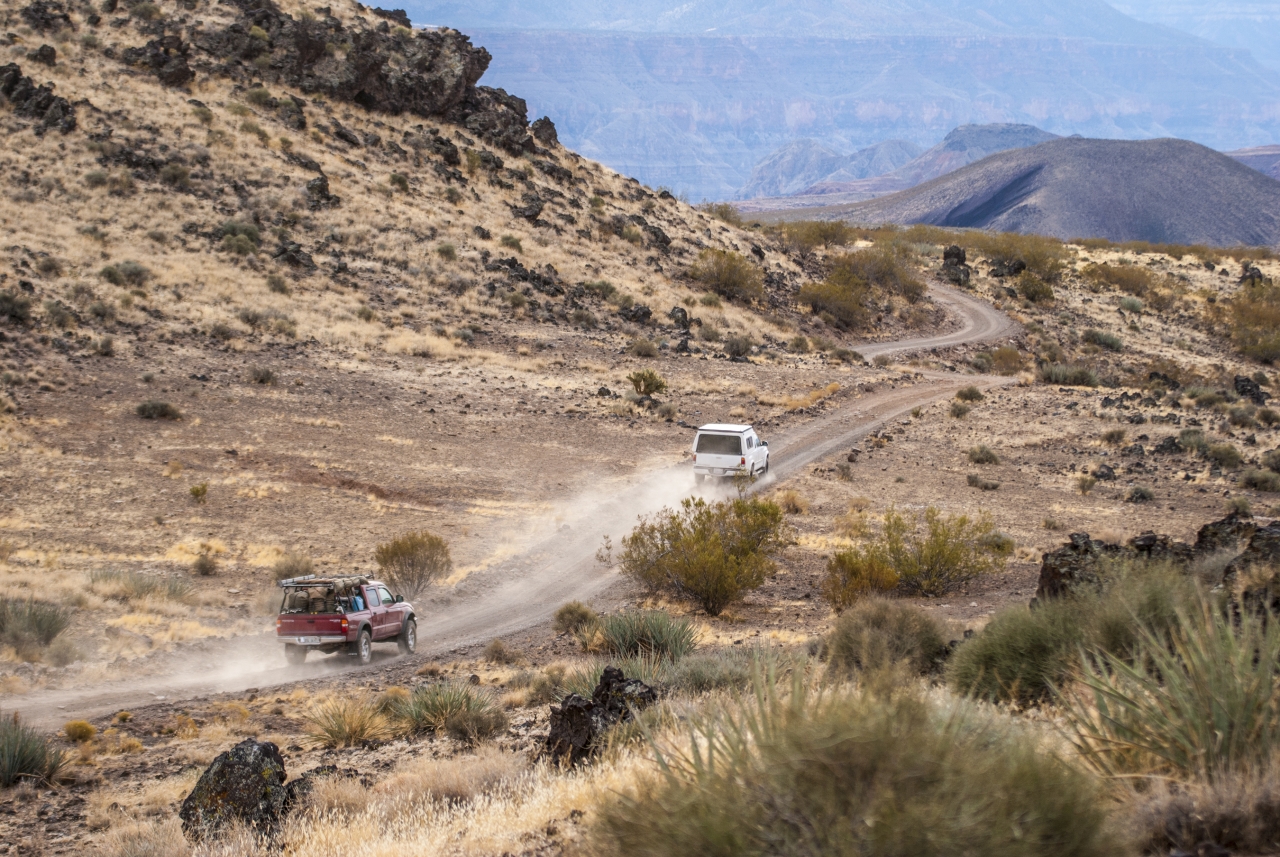
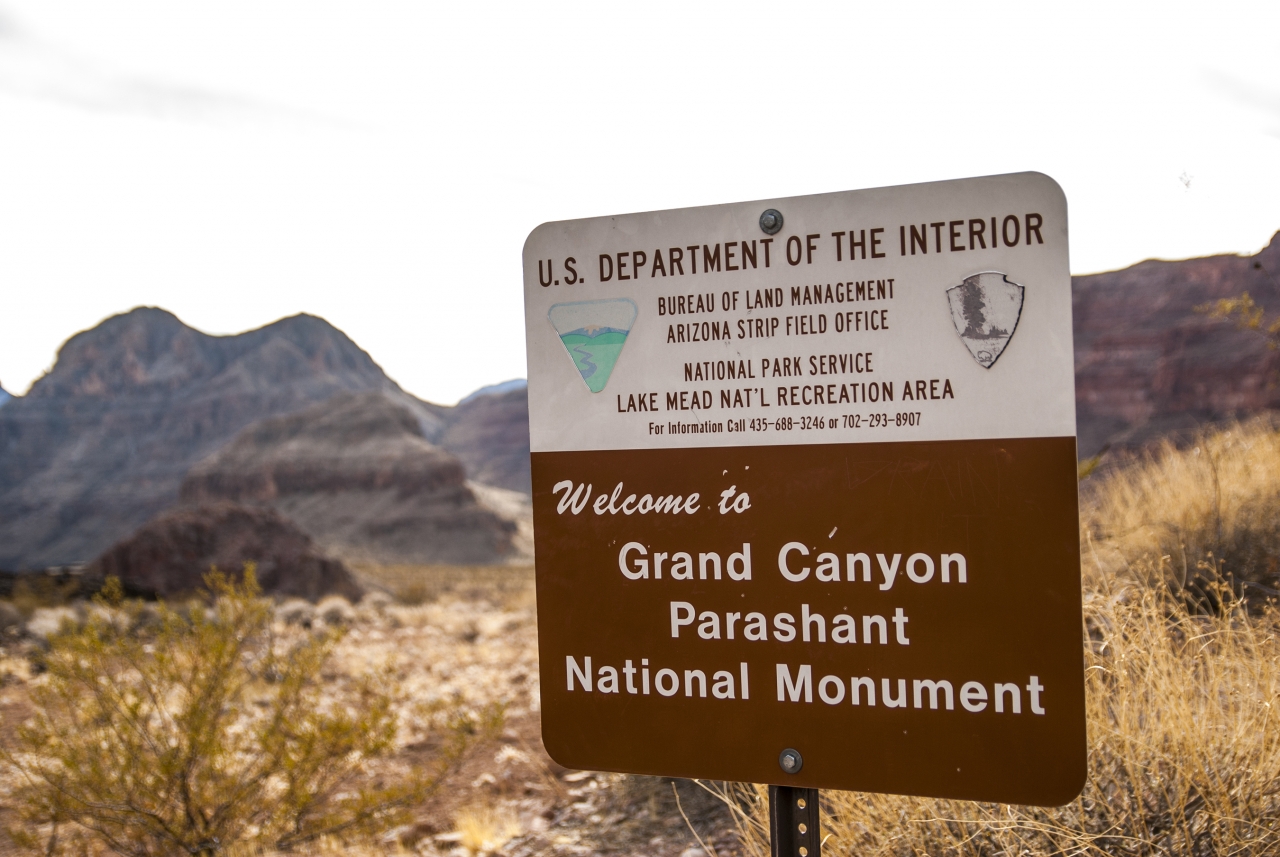
We set off just before noon and headed up to St George, Utah to restock and make last minute meet ups. We made a nice stop at Walmart and had lunch before we proceeded south and hit the dirt. The dirt road in was a good one, dusty but well maintained. We blazed in towards Mt. Trumbull and hit the school house to reconvene since we became so spread out along the way. The wind was nonexistent so our trail of dust was so thick that visibility was near zero in places.
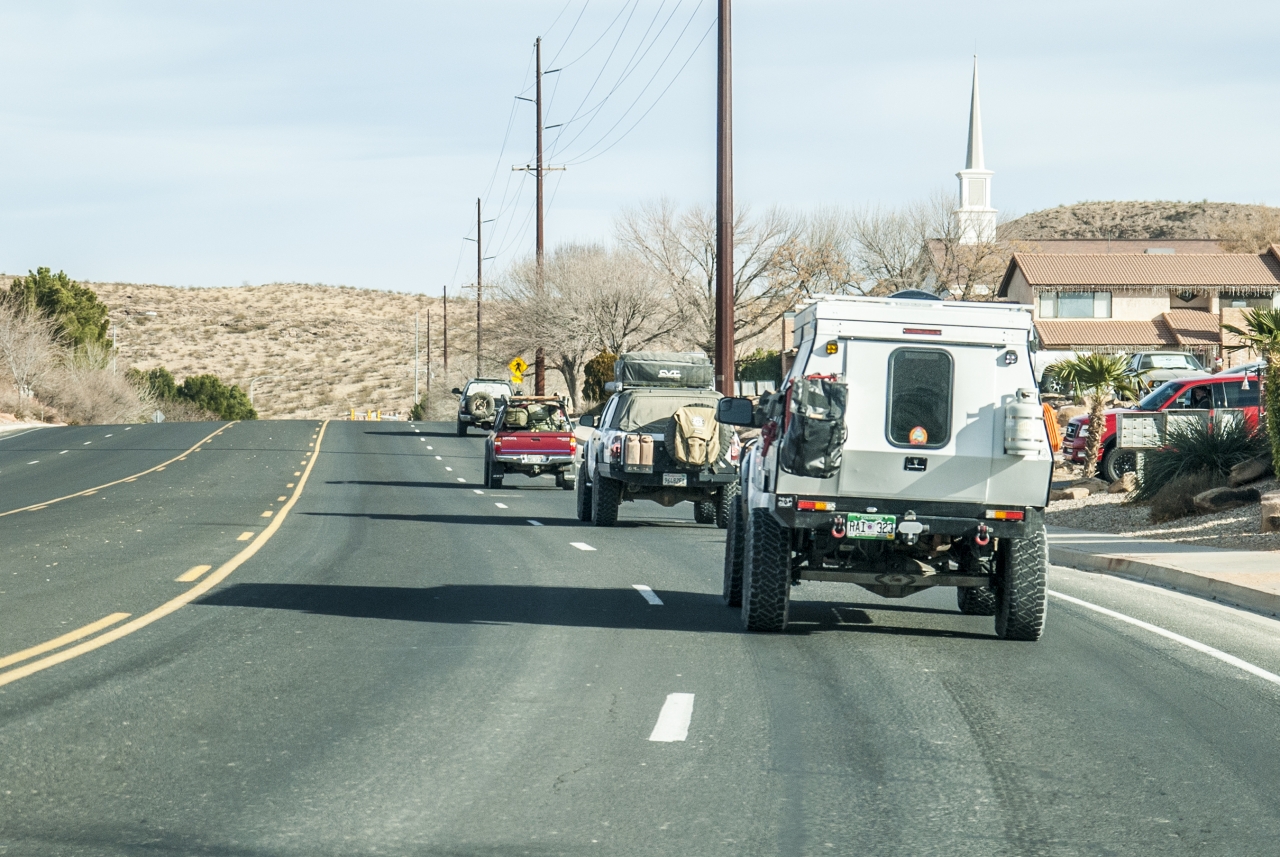
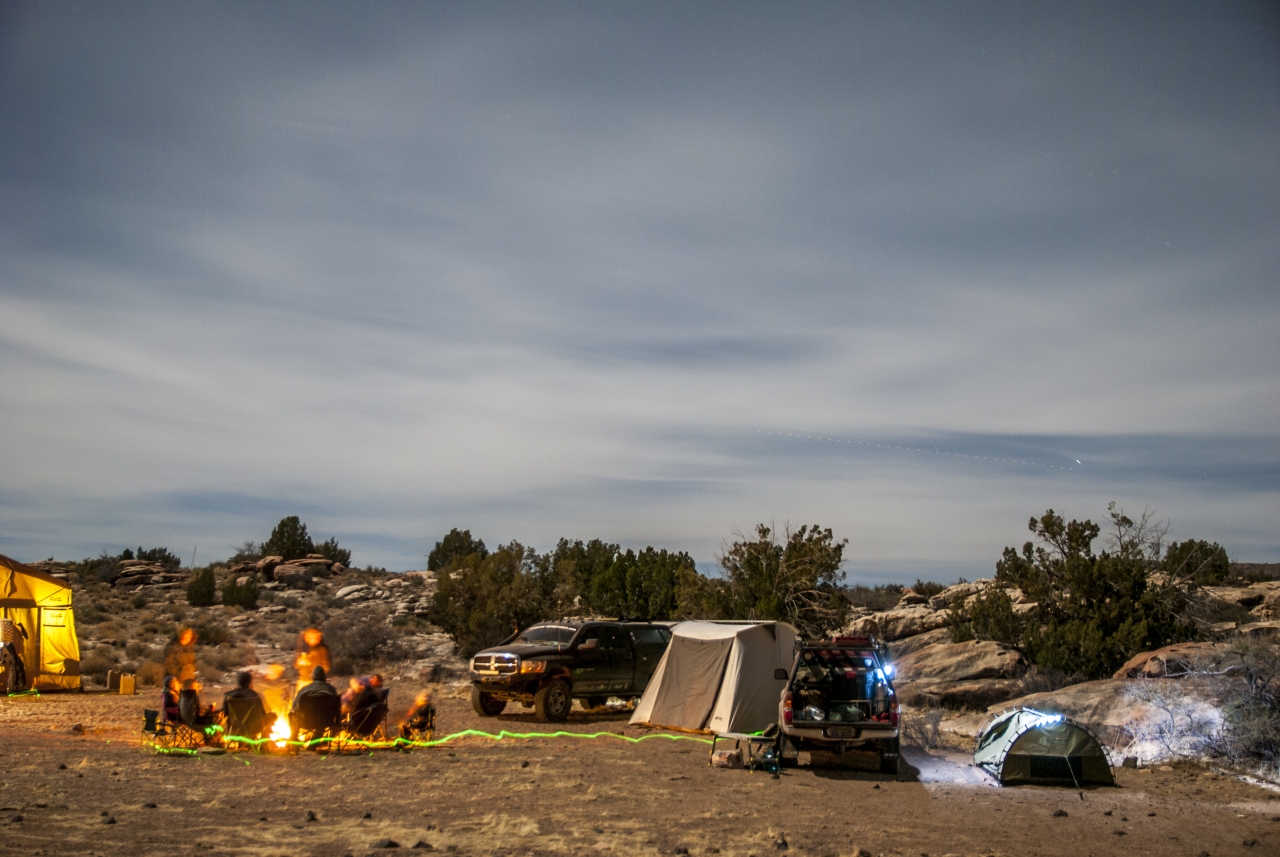
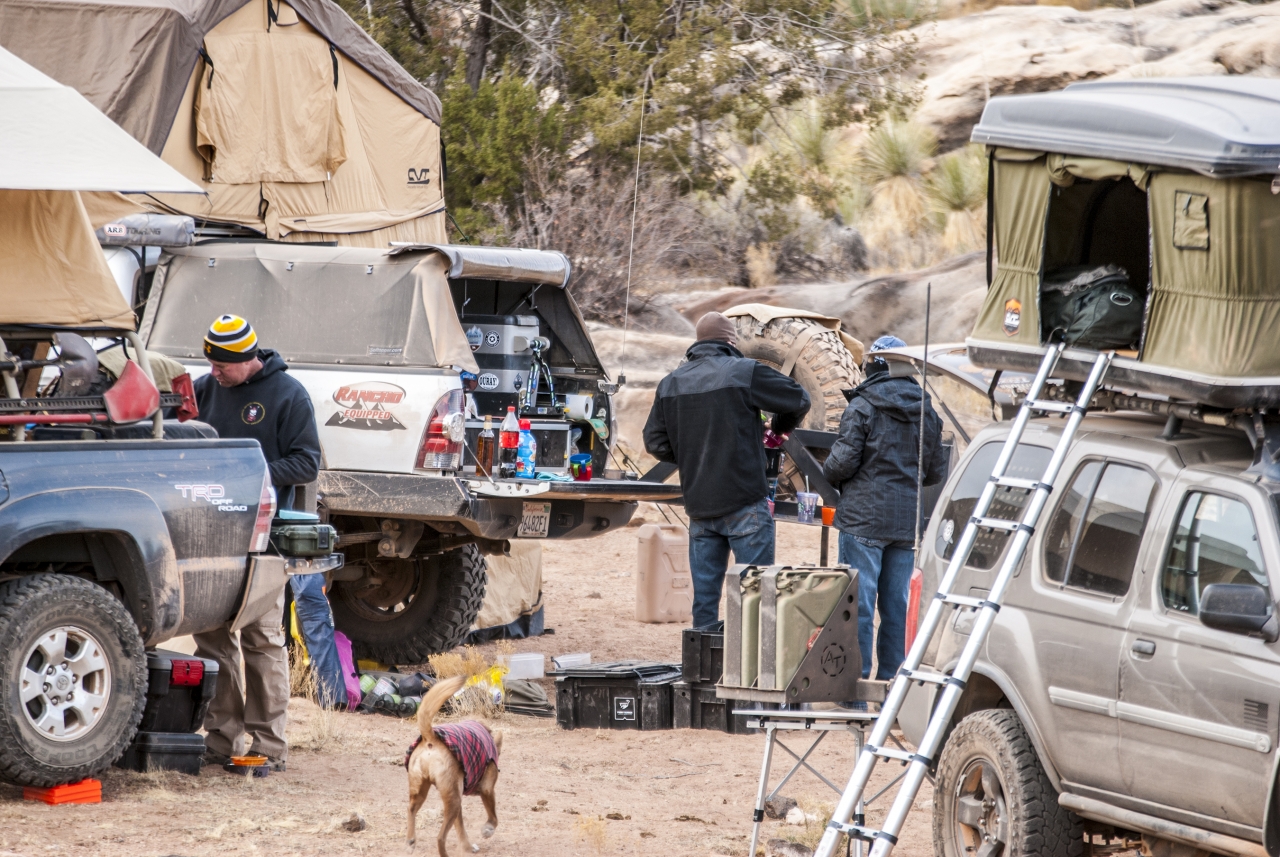
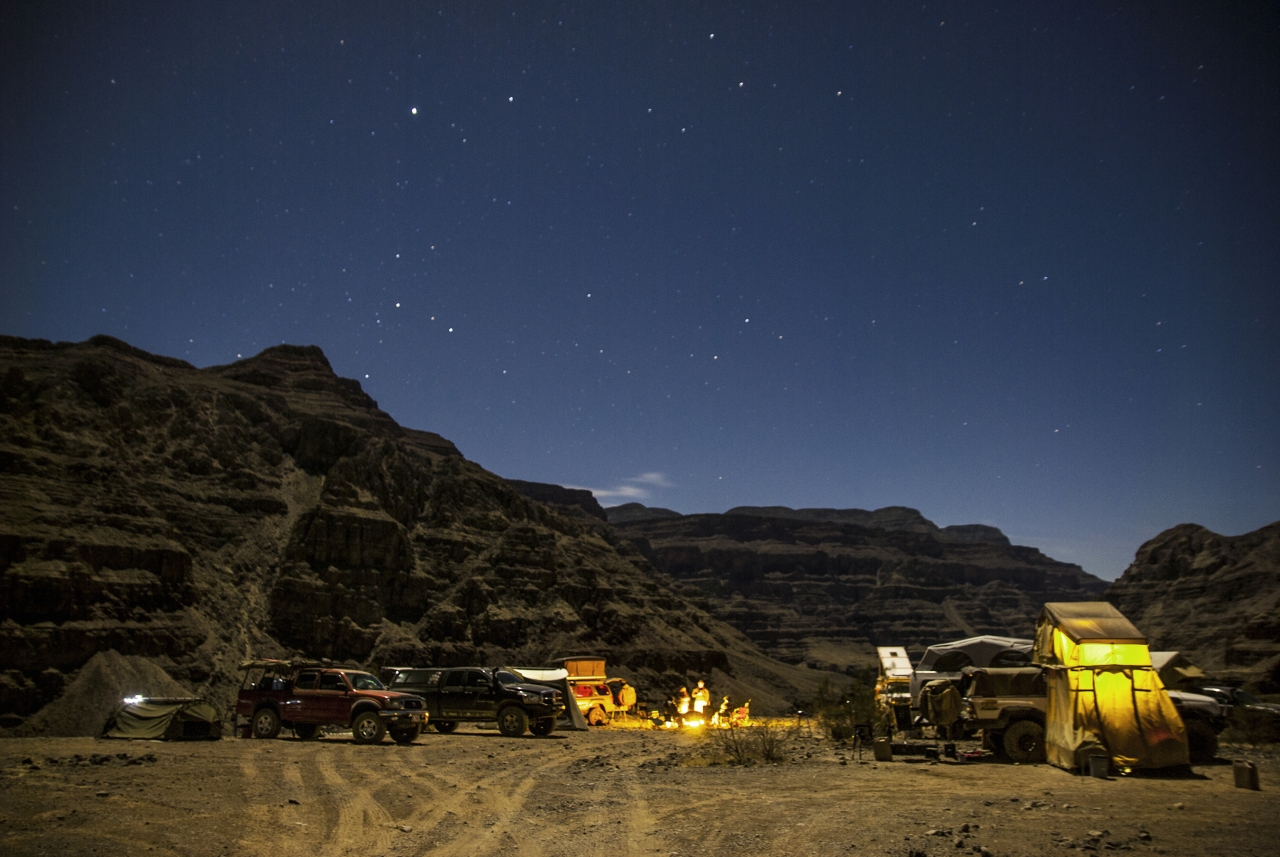
Continuing south as the sun began to set, we took a wrong turn and started gaining elevation instead of dropping down to 1500-ft or so where the overlook is. We doubled back towards the trail split but opted for a nice, safe, open spot along the way since darkness had already arrived, the first of several unplanned audibles on this trip. We set up camp in the dark and started the campfire. A bright moon rose over the mountain as we had dinner, and it would continue illuminate our night skies for the rest of our trip.
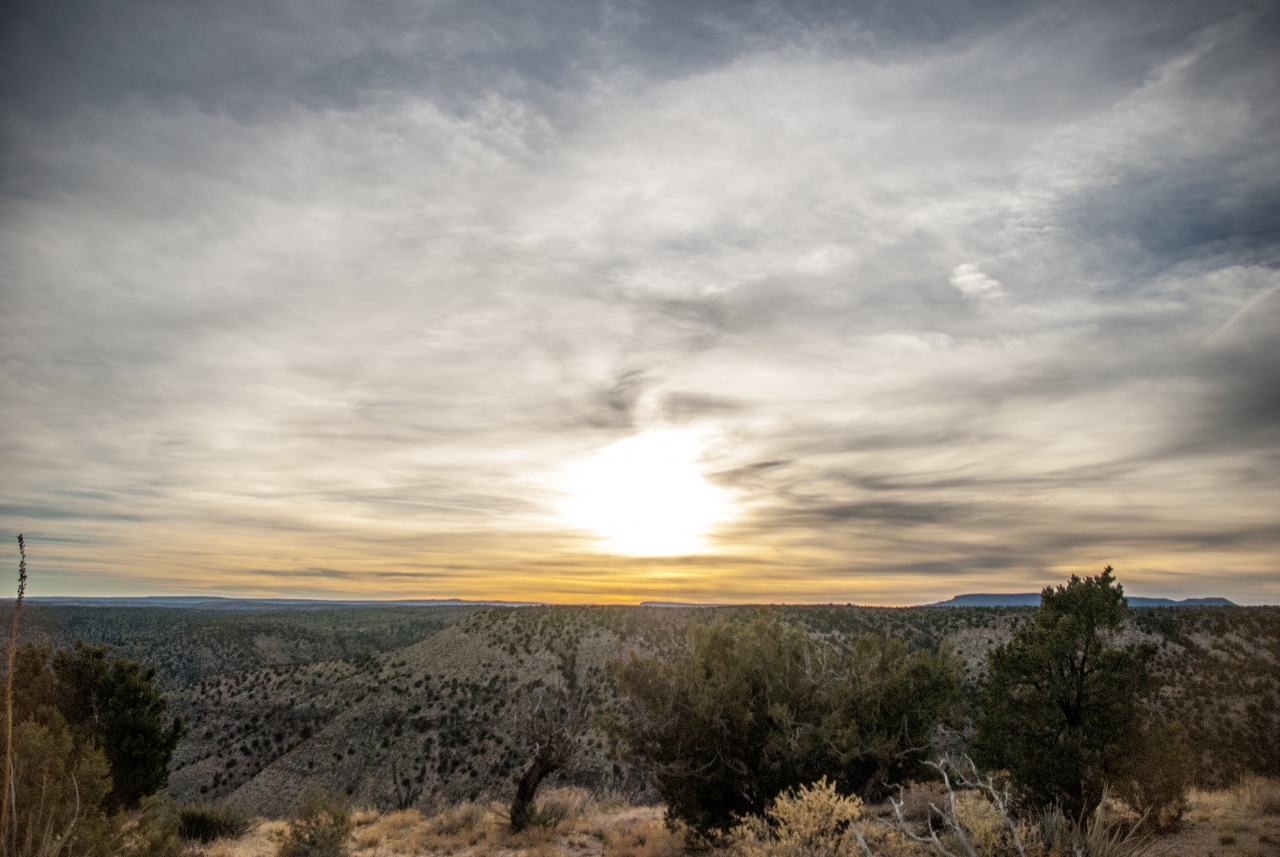
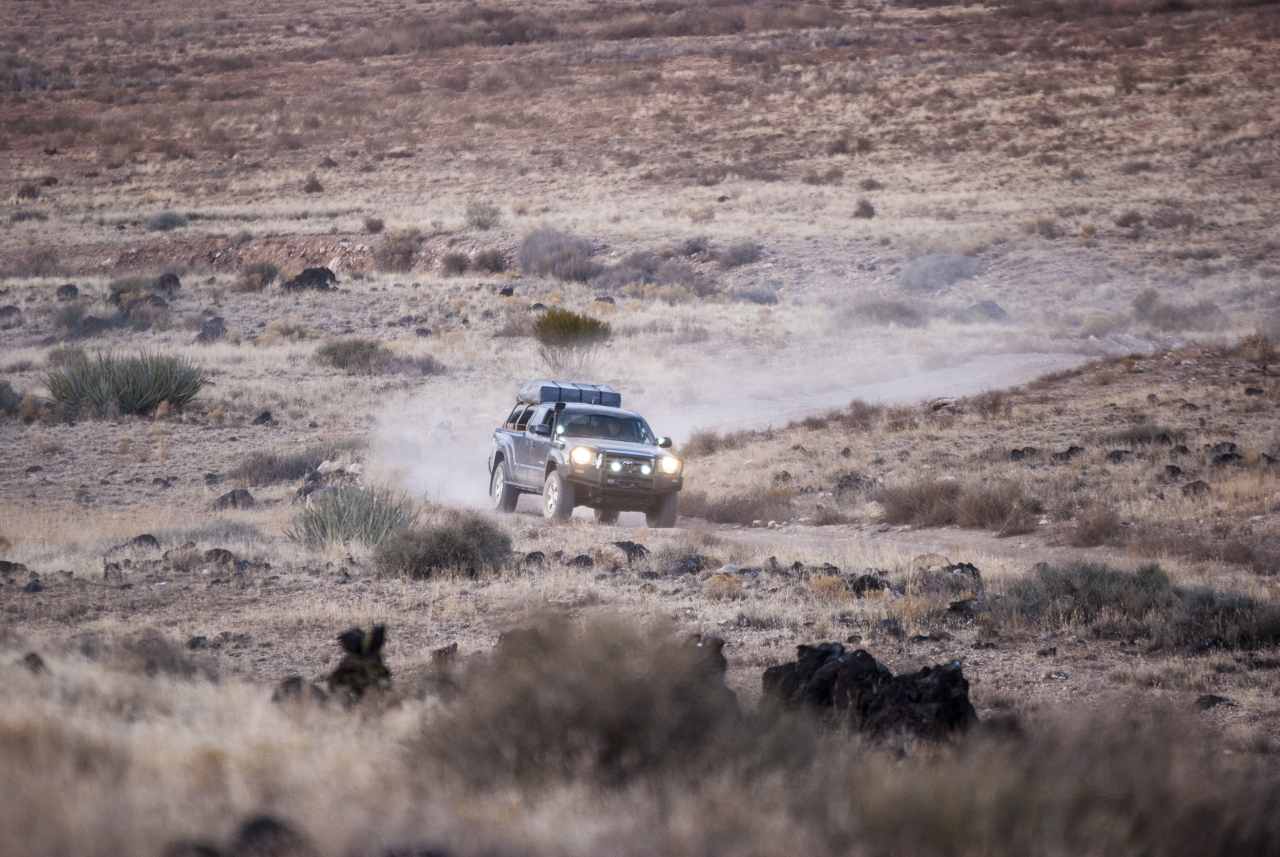
Day 03 – New Years Eve at the Correct Whitmore Canyon

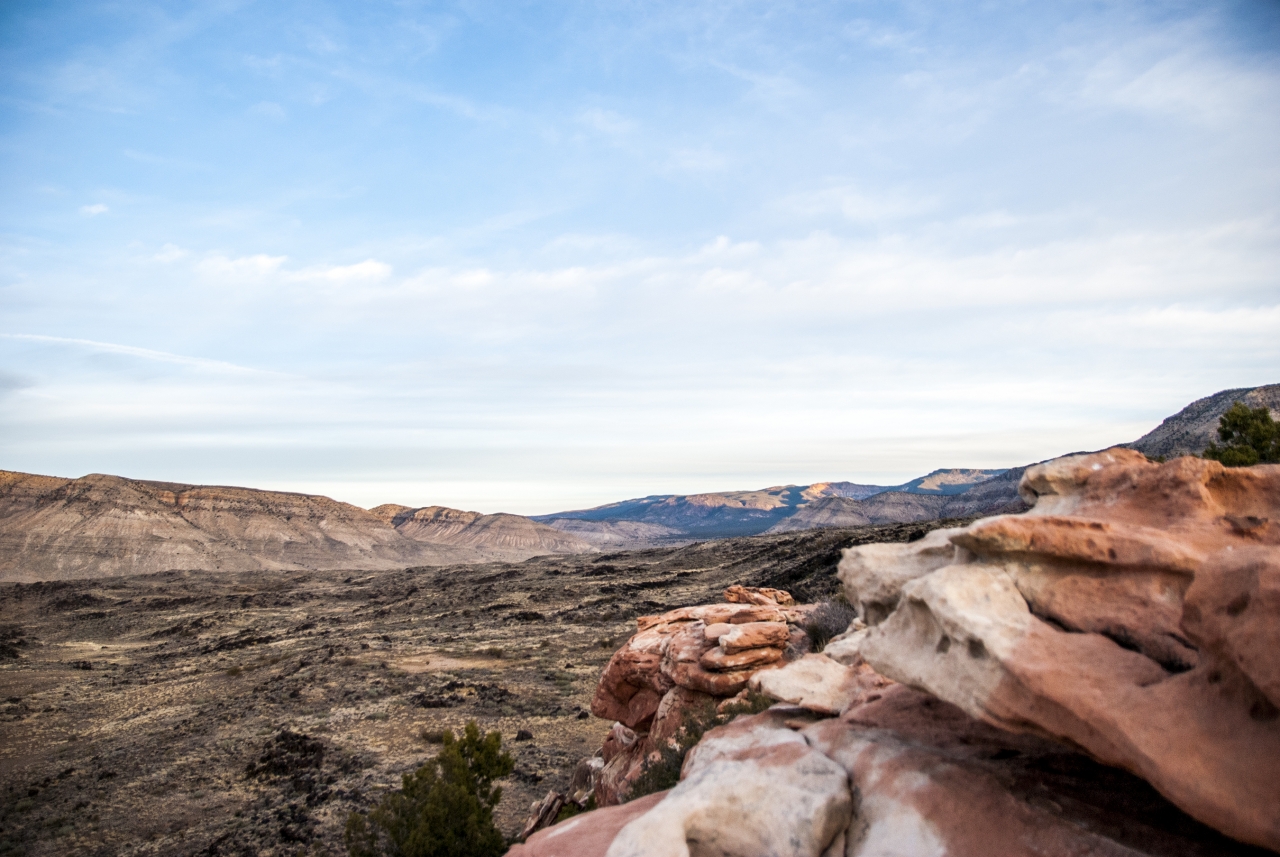
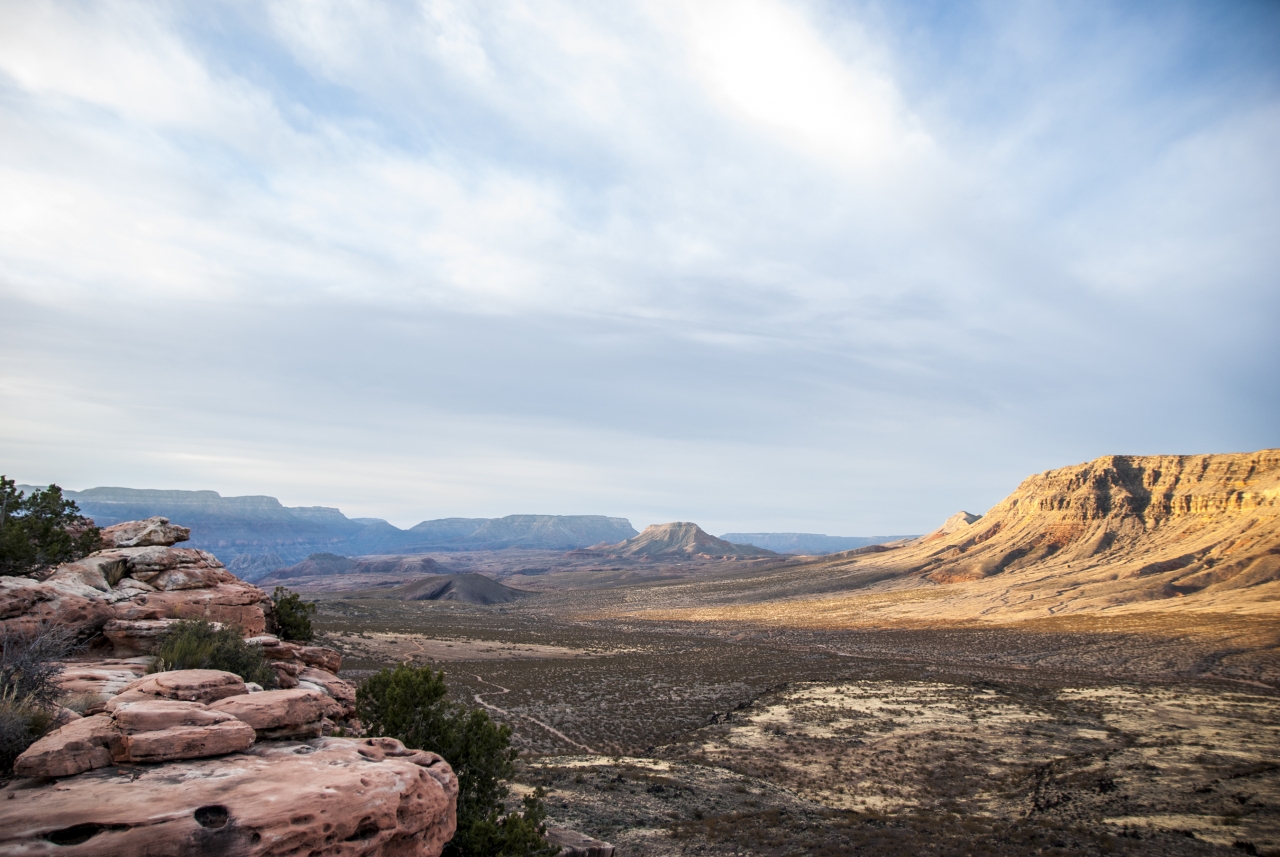
We woke up to another sweet view as we camped just a short stroll to a cliff side, which opened up to a beautiful view of the valley below, and the road we were supposed to be at last night. The sun had not yet crested the ridgeline, so the weather was chilly again. It was a calm morning as we had time to explore the immediate area on foot and view the spectacular valley below us. We gathered just after breakfast for a driver’s meeting to make a call on where to go next. The general consensus was to hit the spot that we totally missed the previous night and spend the rest of the day there. It ended up being a great call.
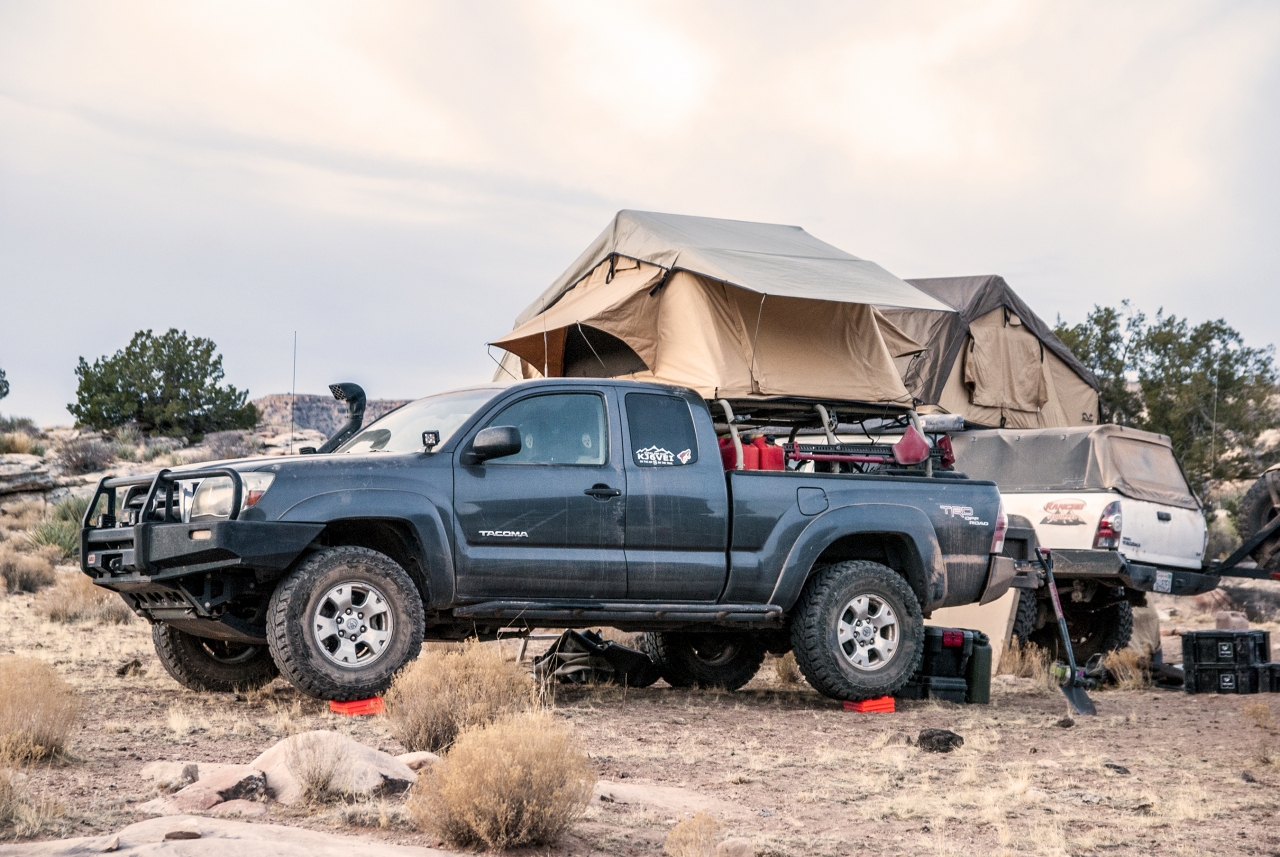
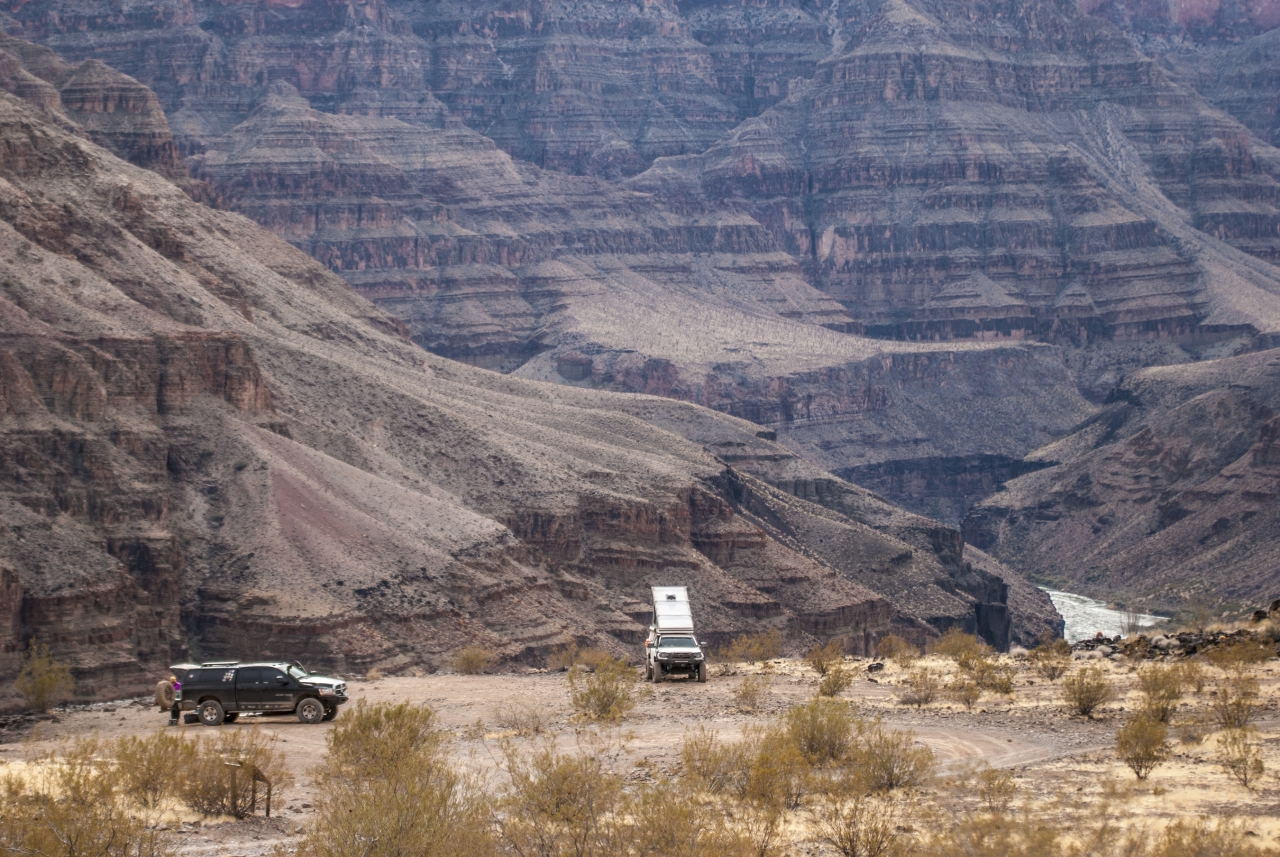
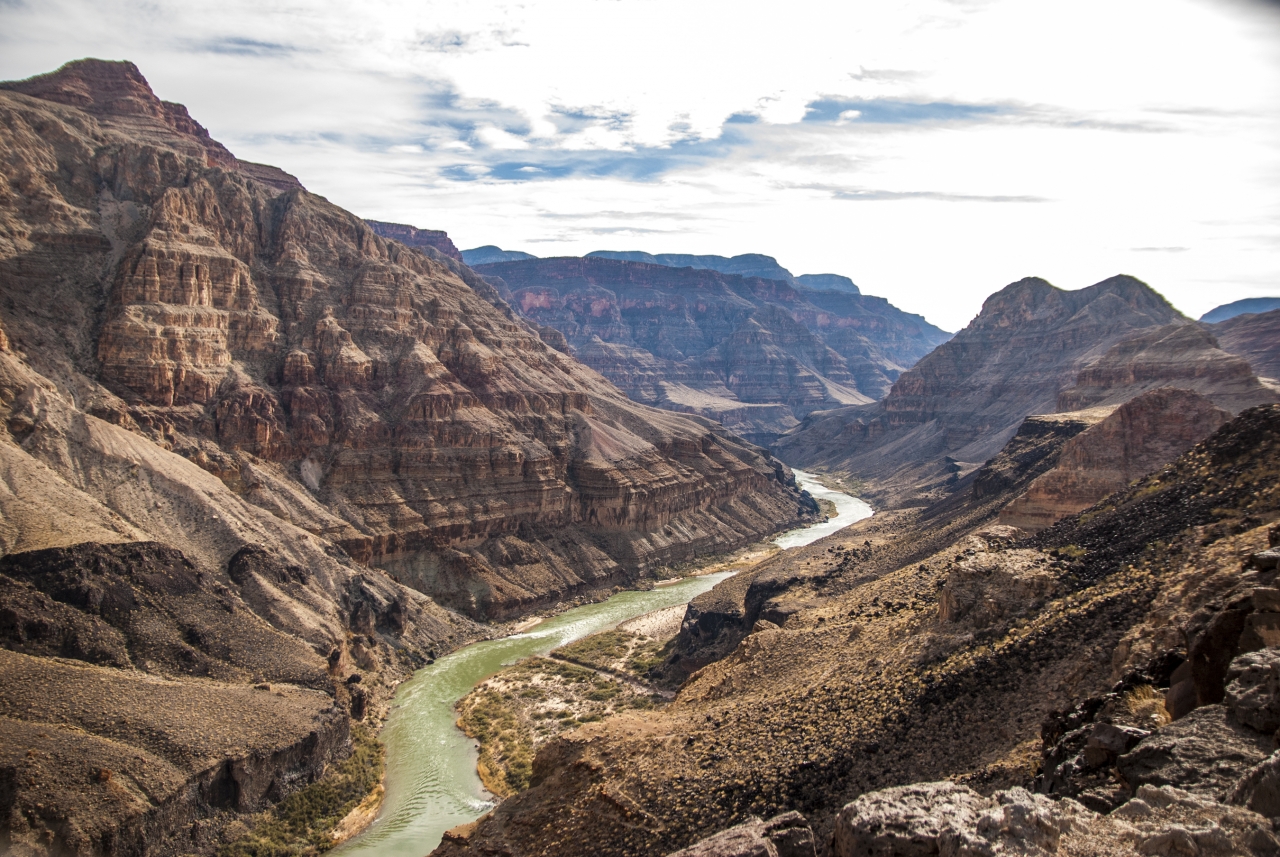
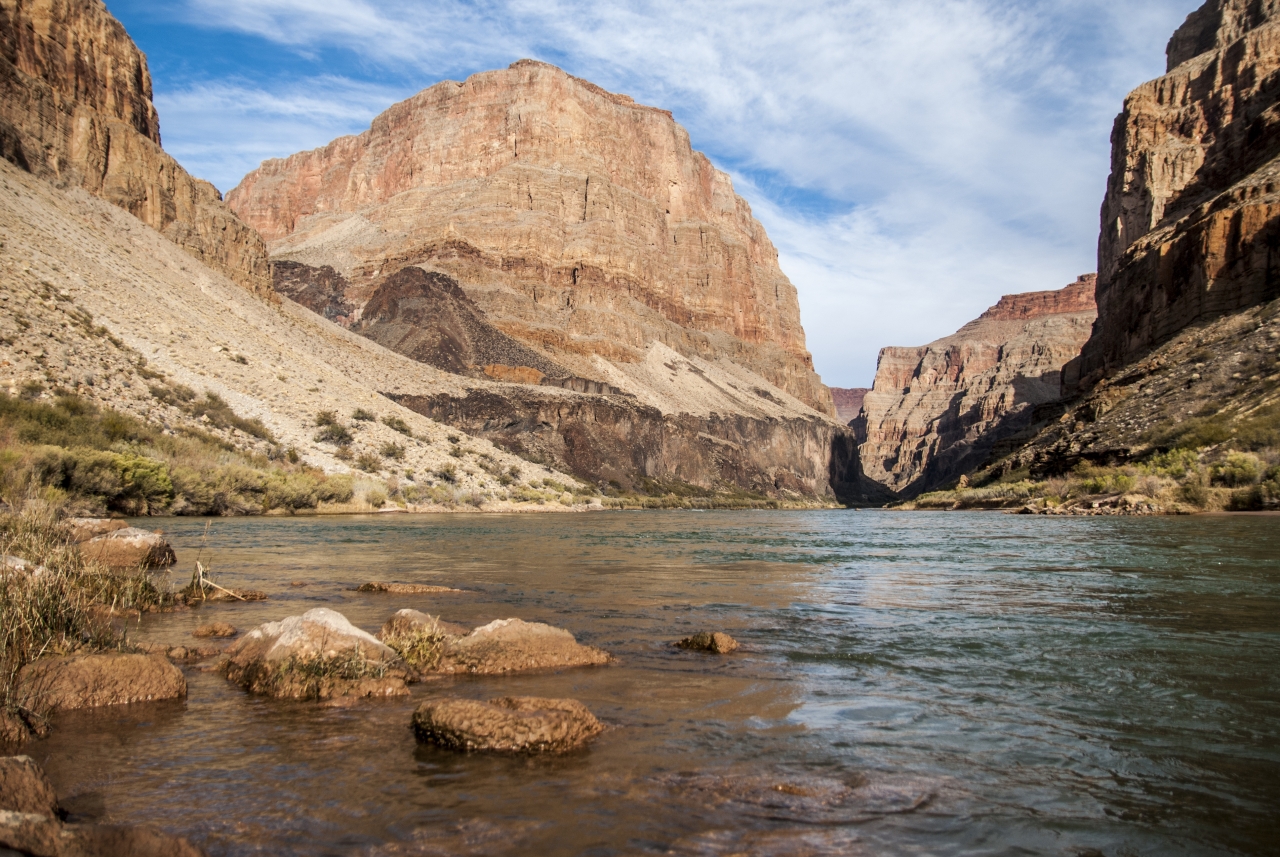
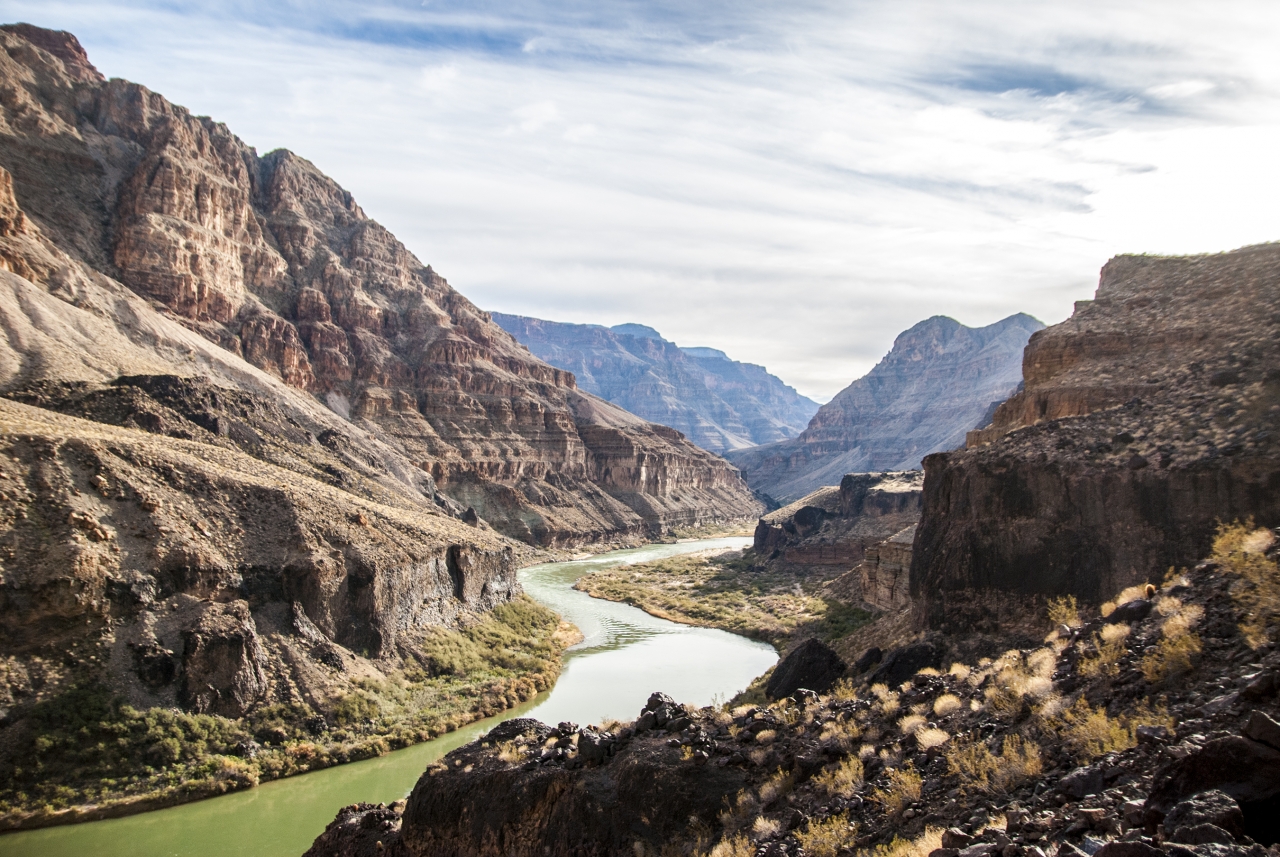
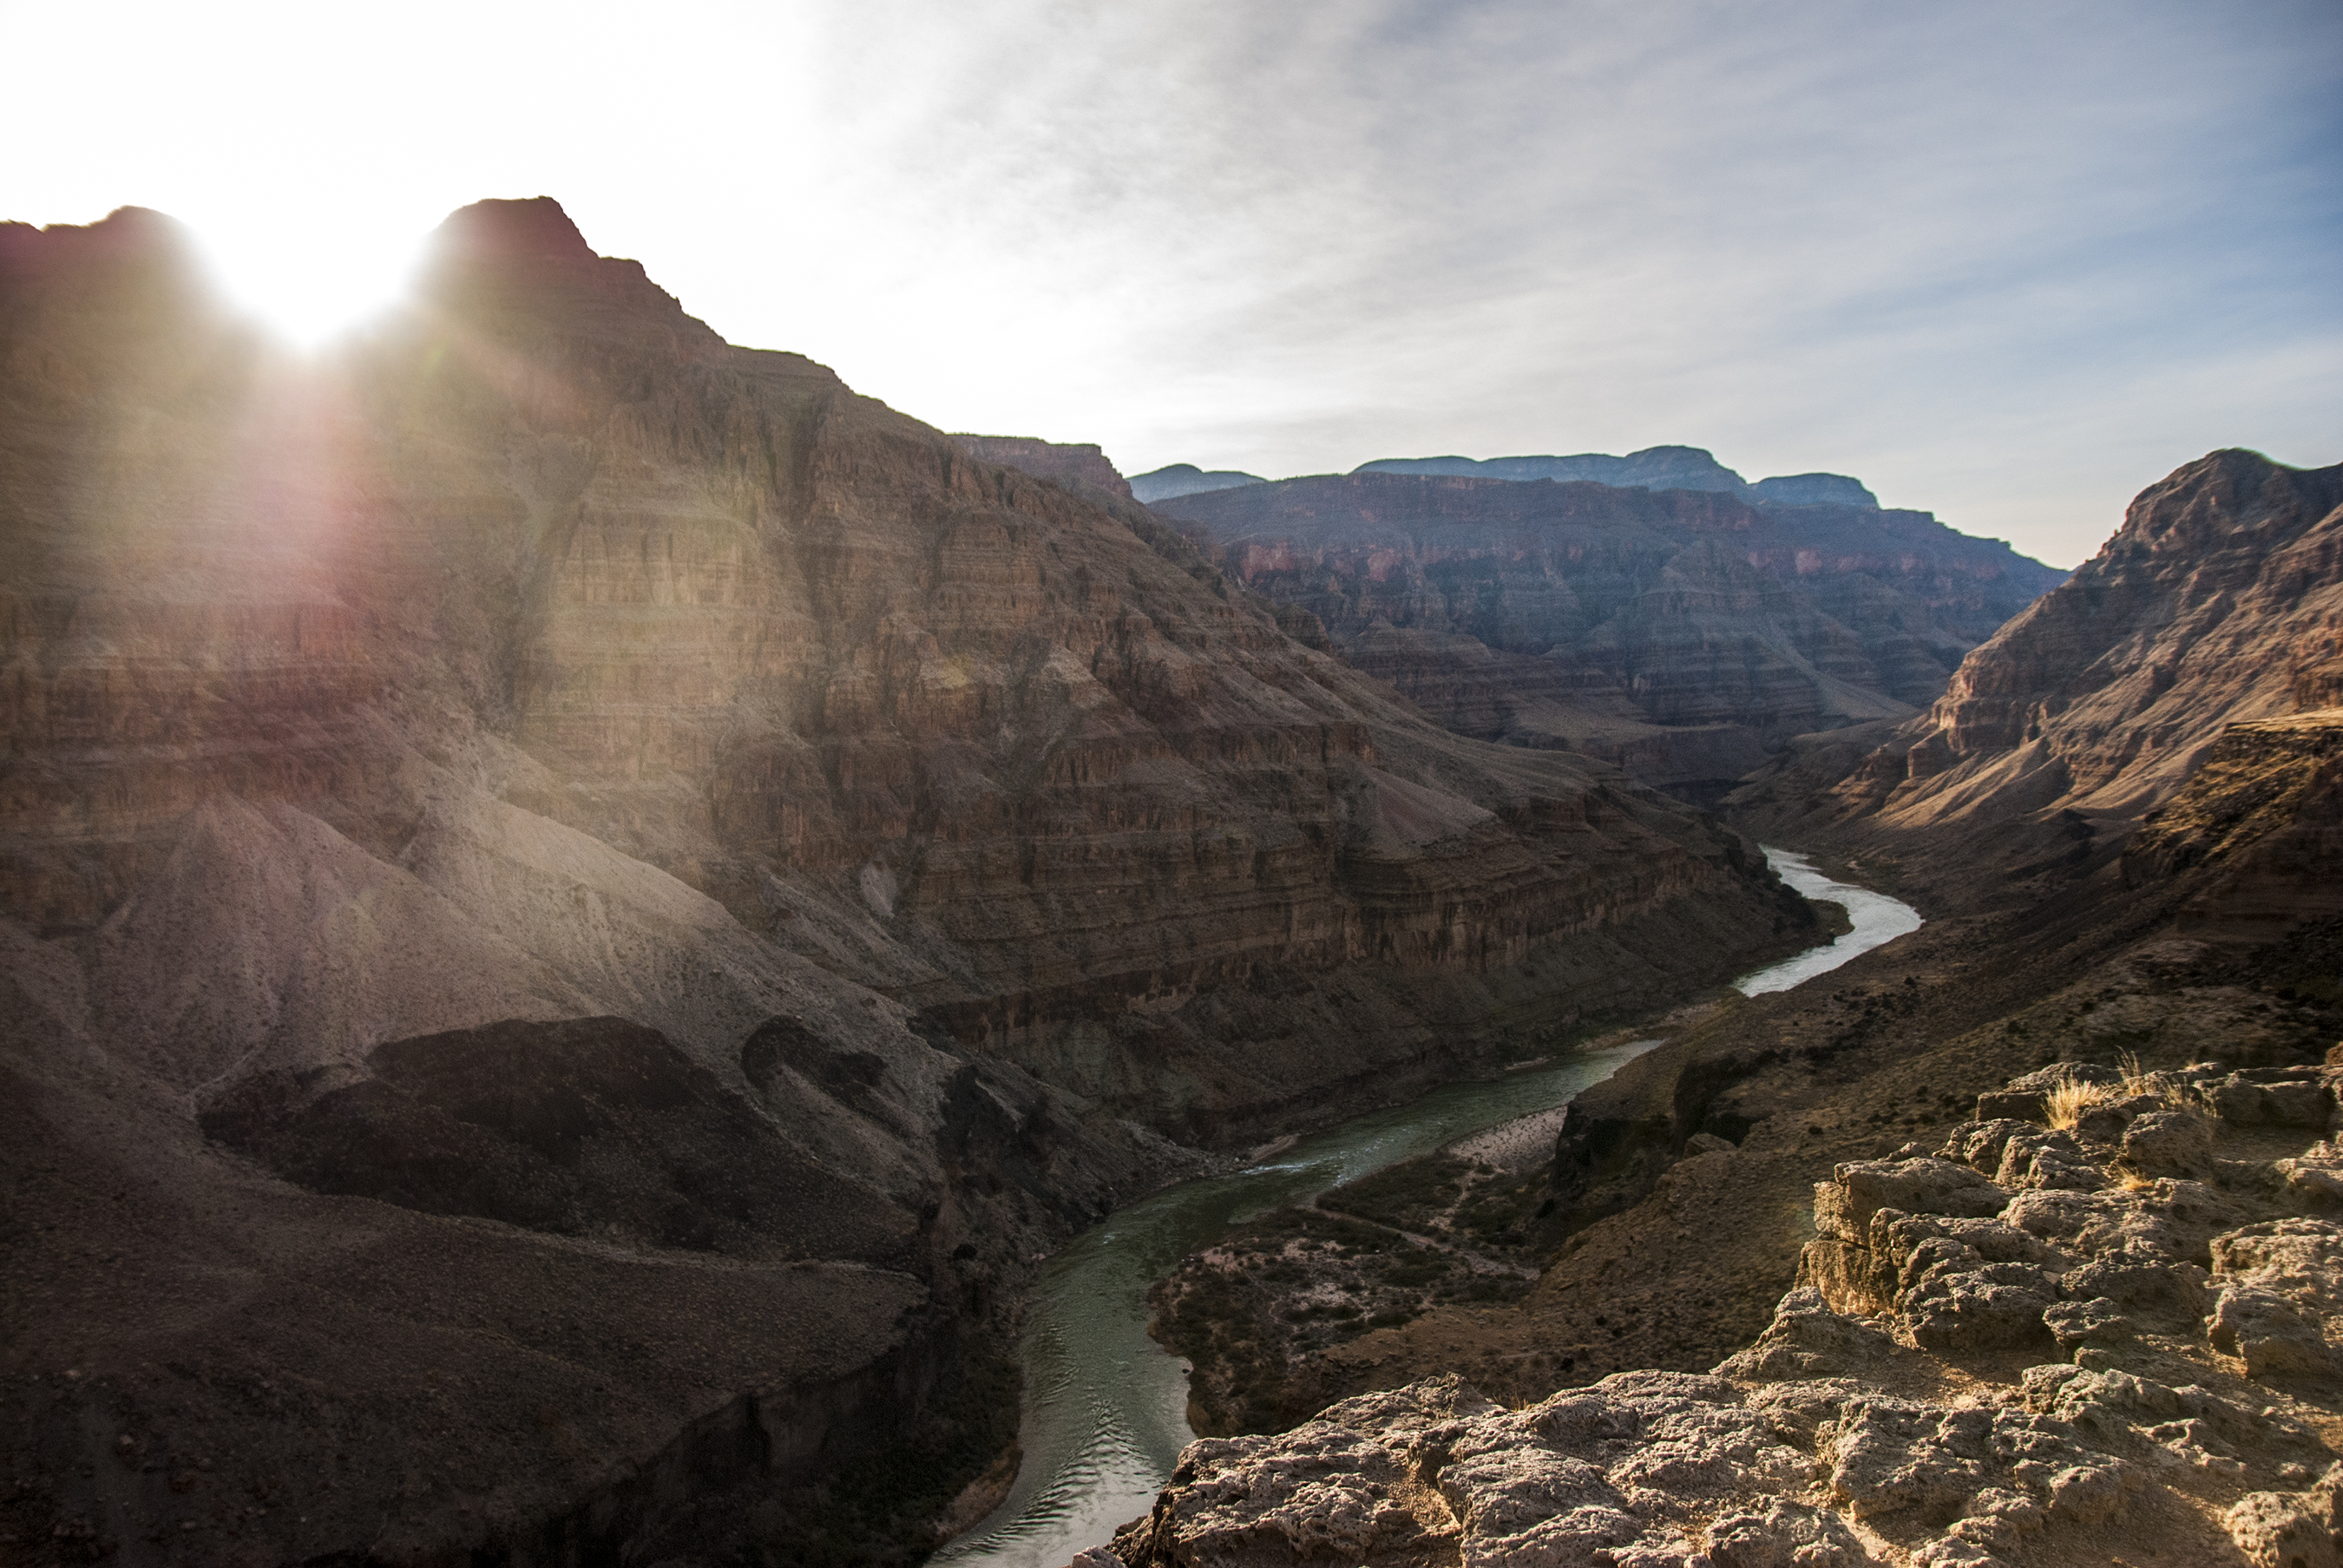
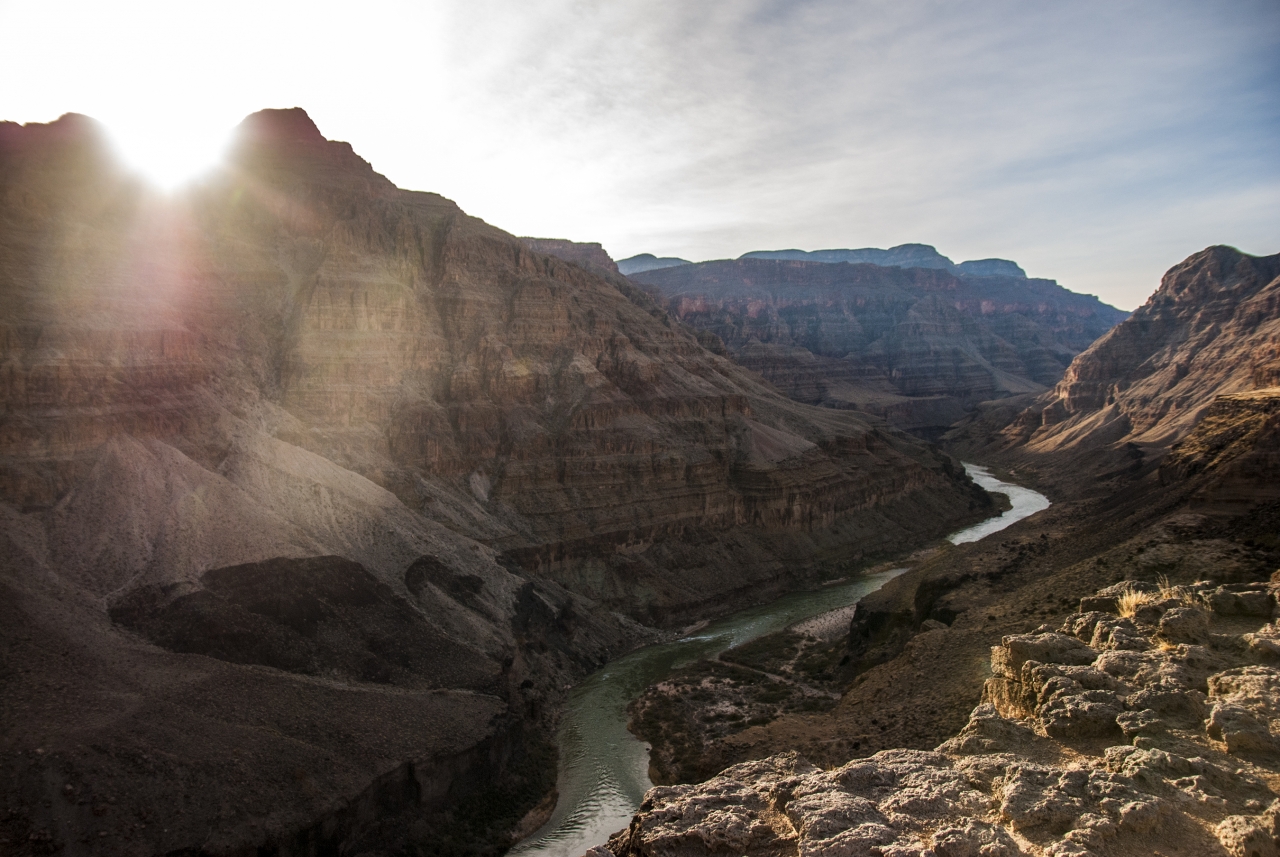
We hit the road around 11am and began the short drive to Whitmore Canyon. The road in was smooth but turned to slow and rocky. It eventually led us to a breathtaking view of a portion of the Grand Canyon. There was a slow, rocky switchback descent into the campsite. Cris and Jon led the way and setup camp as we all made our way down. The camp site was just terrible (read sarcasm)…  It was right on the cliff’s edge above the Colorado River with a 180-degree view. This was a perfect day. We all got settled in, made lunch and relaxed the rest of the day.
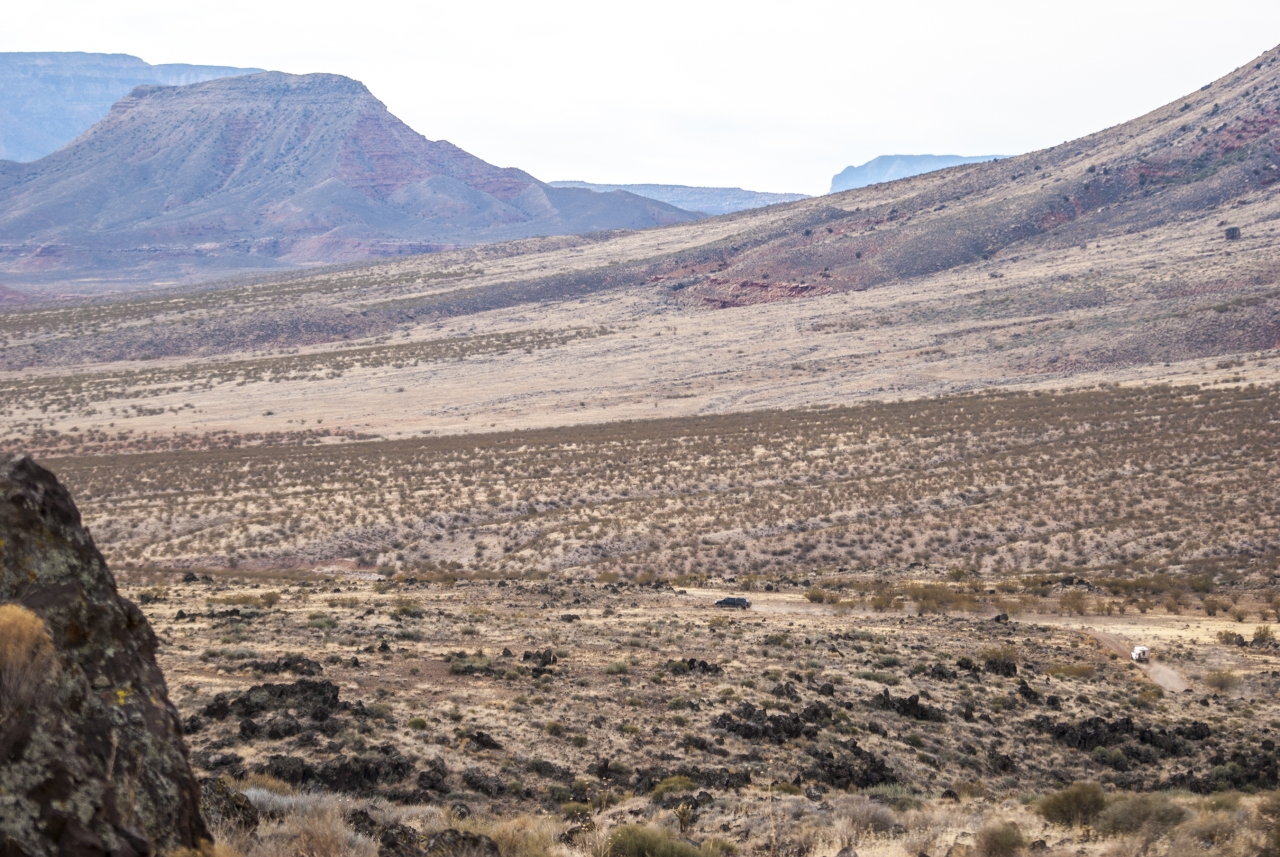
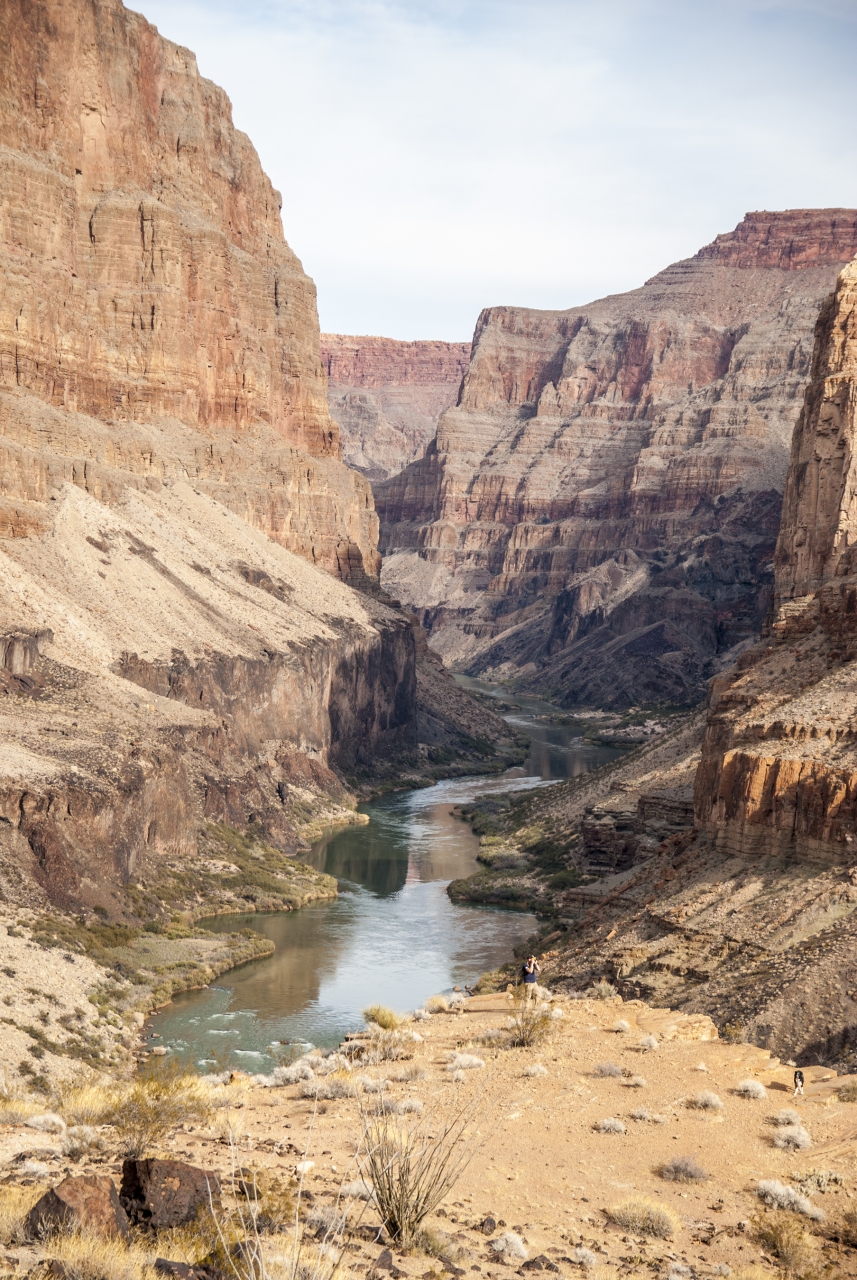
After lunch, a few of us relaxed around the fire ring, while Andy and I made the hike down to the bottom and the Colorado River. It was about 45min, 917ft down, and about 1.2miles one way. It was a great little hike to see the river and experience how the views changed as you make your way down. The water was definitely chilly but refreshing. Oddly enough there was a cactus garden right before the water’s edge, so maneuvering to the water was a bit tricky without getting poked by the many needles.
The hike out is always tougher than the hike in, but we got back into camp just before sunset and joined the others relaxing around the fire ring, just in time for appetizers, cold beverages, and dinner.
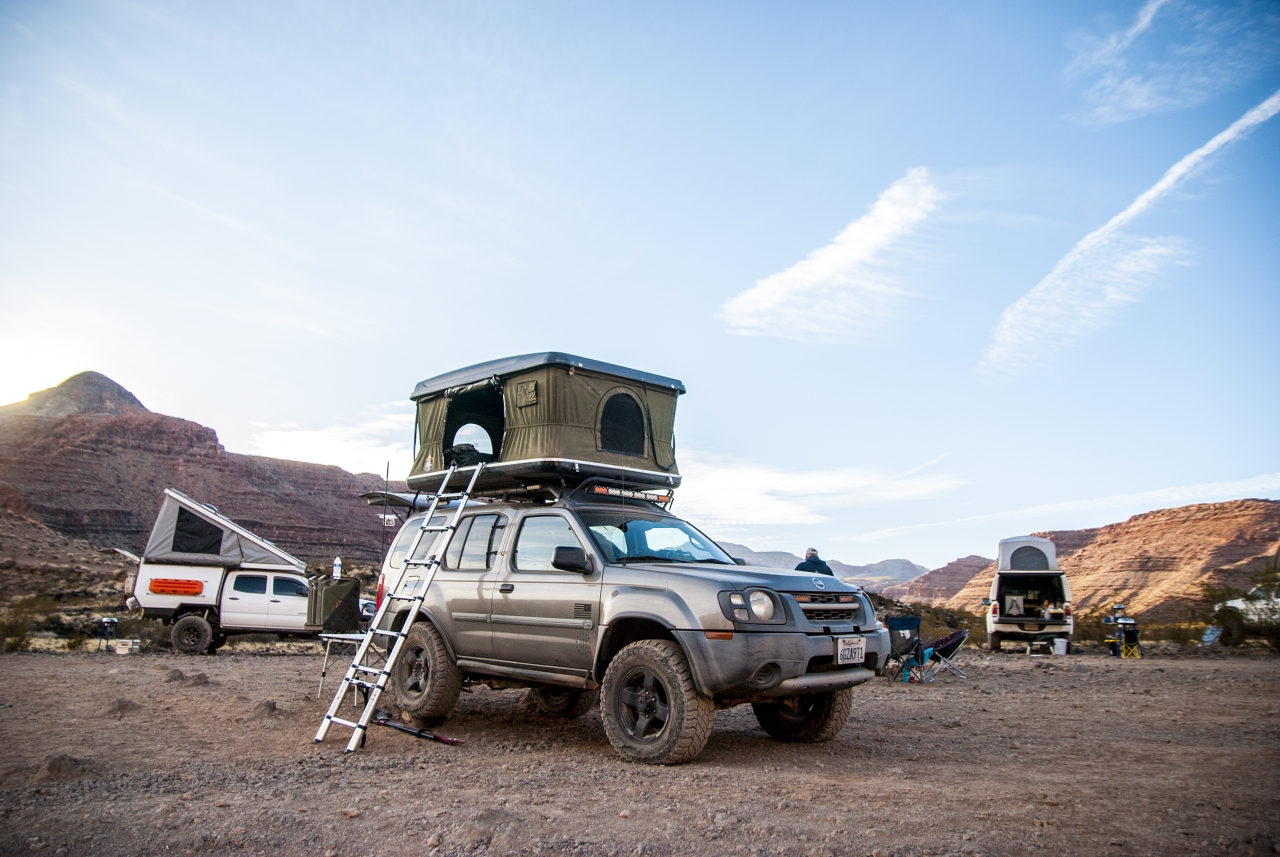
As the night went on and we were enjoying the campfire, we saw a set of headlights coming down the hill that we rolled in from. We became very hesitant when they rolled straight up to our campfire in the middle of our camp. Two guys walked out, cups in hands and a decent slur in their talk. As they were introducing themselves, and us keeping our distance, a third guy came out as well.

Luckily they just came down to make themselves known and told us that they were going to setup camp not too far away from us. They thought we were someone they knew as they were meeting someone down there. They left our area and rolled about ¼ mile away and setup camp. Later that night as we were still around the campfire, we saw another pair of headlights coming down. We walked out to meet them in a somewhat defensive position so they wouldn’t roll into our camp. They found their friends and we continued our night a little less relaxed. We called it a day as one by one, we left the fire and went to bed.

Day 04 – Attempting to Beat the Setting Sun and Rising Moon

We awoke to a another splendid view with an epic sunrise, so we decided to take another easy morning. We soaked in the rising sun cresting over the canyon as we had breakfast. After a comfortable start, we decided to get our trip on the road again. But before we headed out, we decided to take a group photo of this epic campsite so we staged up on the cliff’s edge, and snapped a few for the books.
 

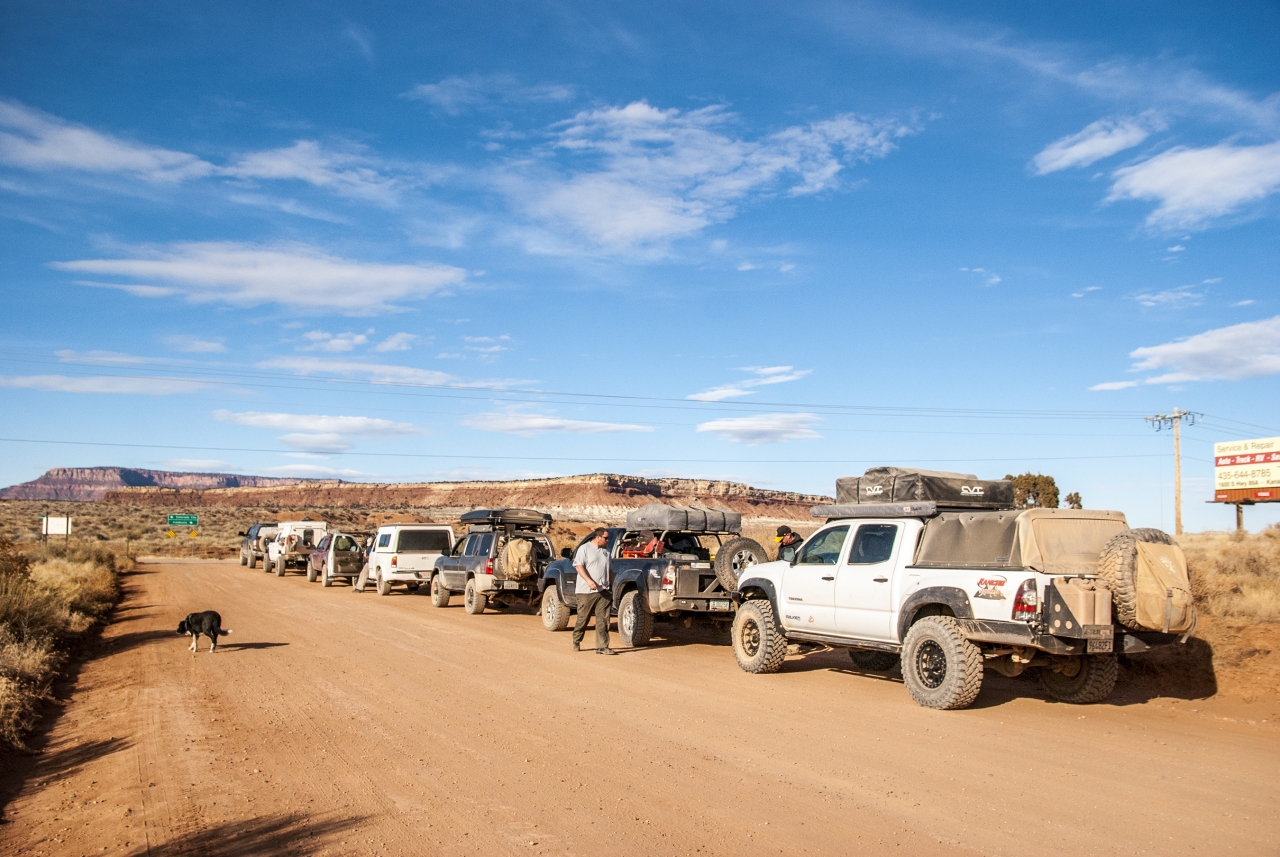
Once on the way out, we doubled back from where we drove in. We hit the 4-way intersection at the schoolhouse for a quick break around 11am. We reconvened a quick driver’s meeting to discuss the route and the rough area of where we would be heading to. We decided to head east after talking with a local as they said it is much more scenic than double backing the exact way we came in to get back on the highway.

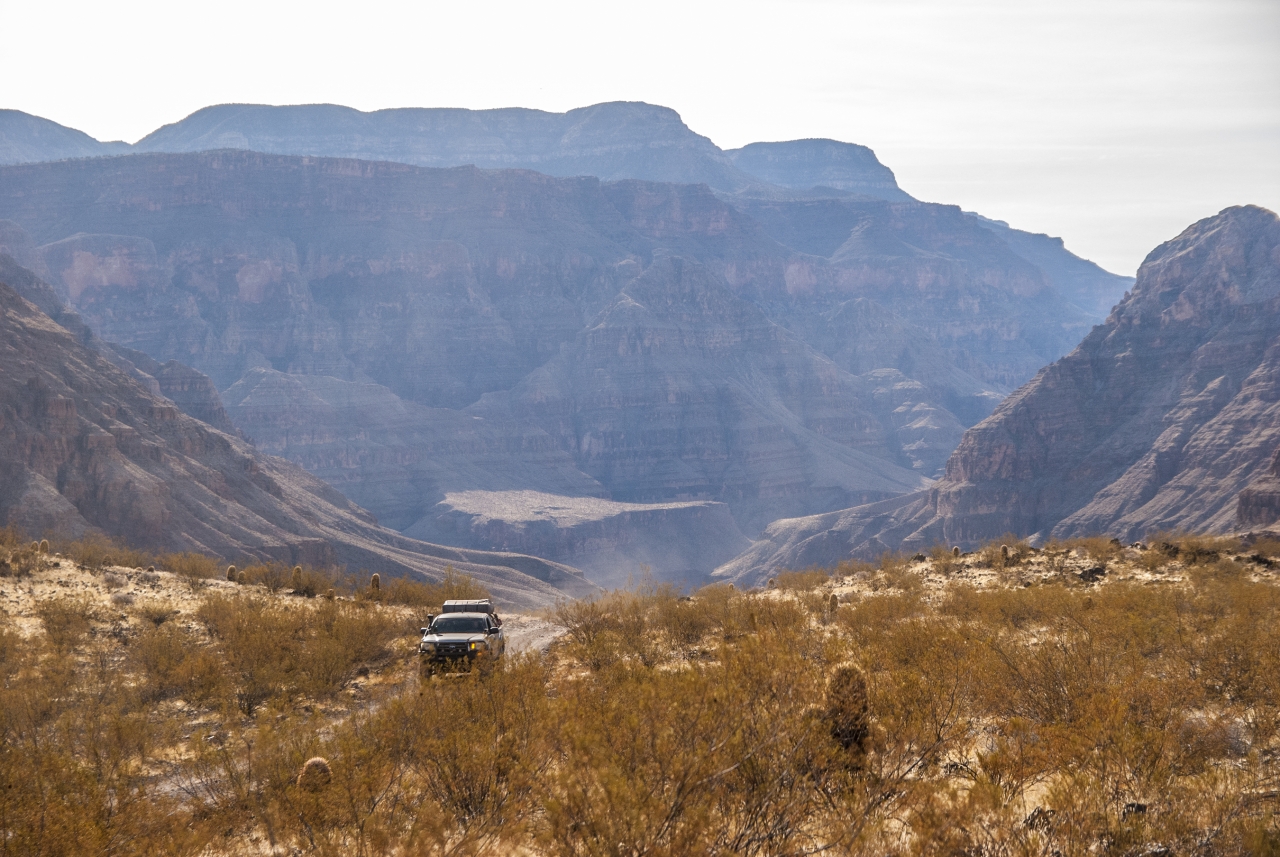
Mt Trumbull Loop was extremely scenic with a steady incline in elevation. Once we hit the top, we drove along the ridgeline for a bit until it opened up into flatlands and a nice wide-open fire road. Once we hit Antelope Valley Rd, we hit the gas and zoomed our way back to Highway 389, a very smooth and great driving road. Definitely one of the better dirt roads of the trip thus far. We aired up before we hit the pavement and we hit it hard towards Kanab for our late lunch.
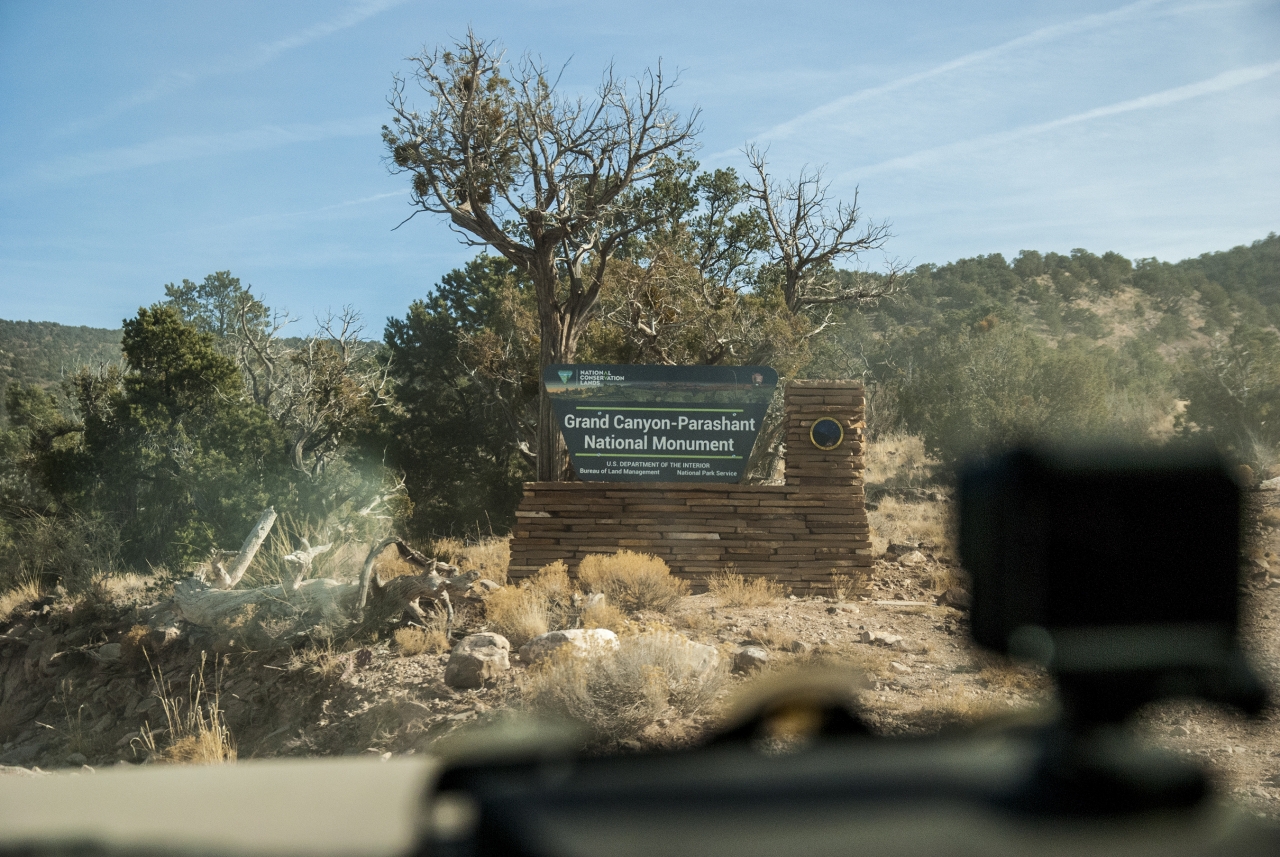
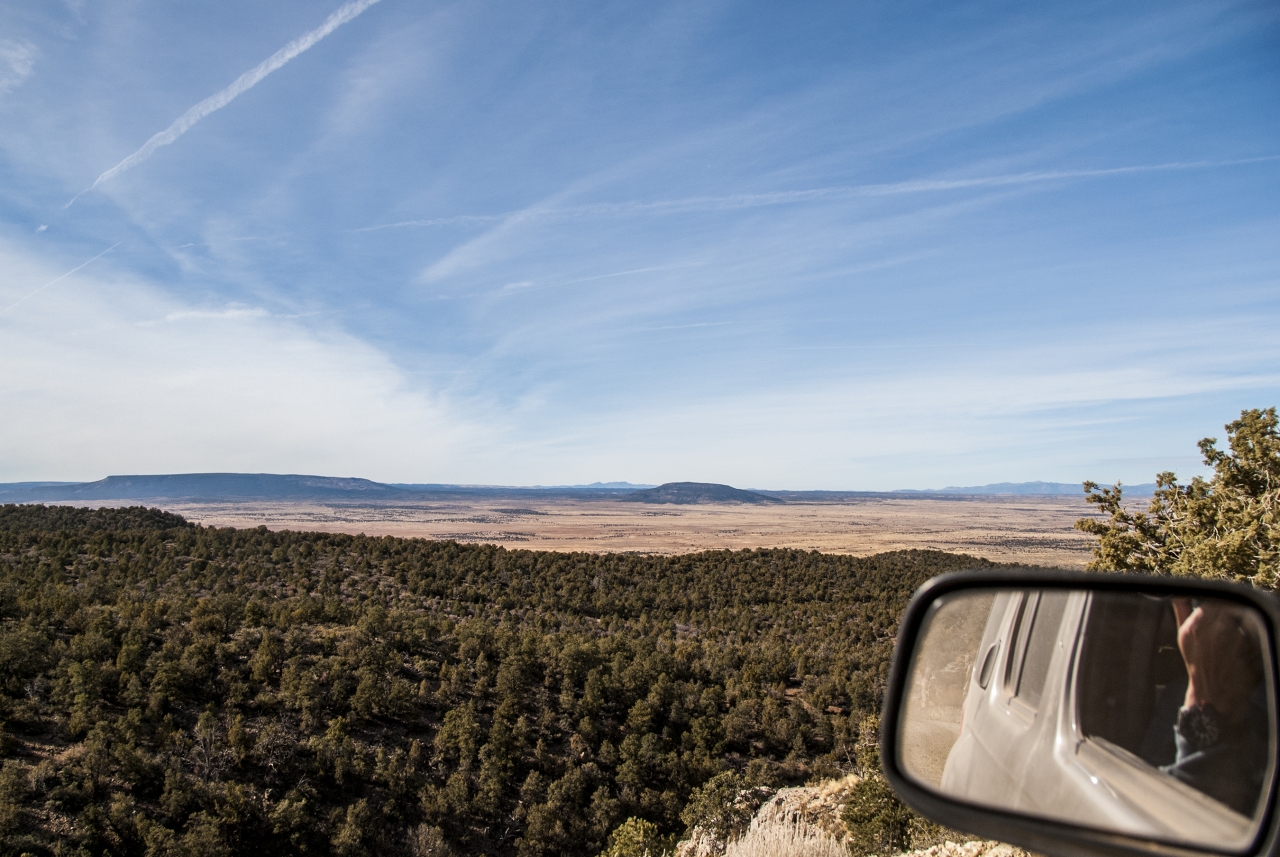
Once we entered Kanab, we decided to hit up a burger joint which was VERY good. After filling our bellies, we all split off for different errands to run and decided to rendezvous at the market before we hit the road again.

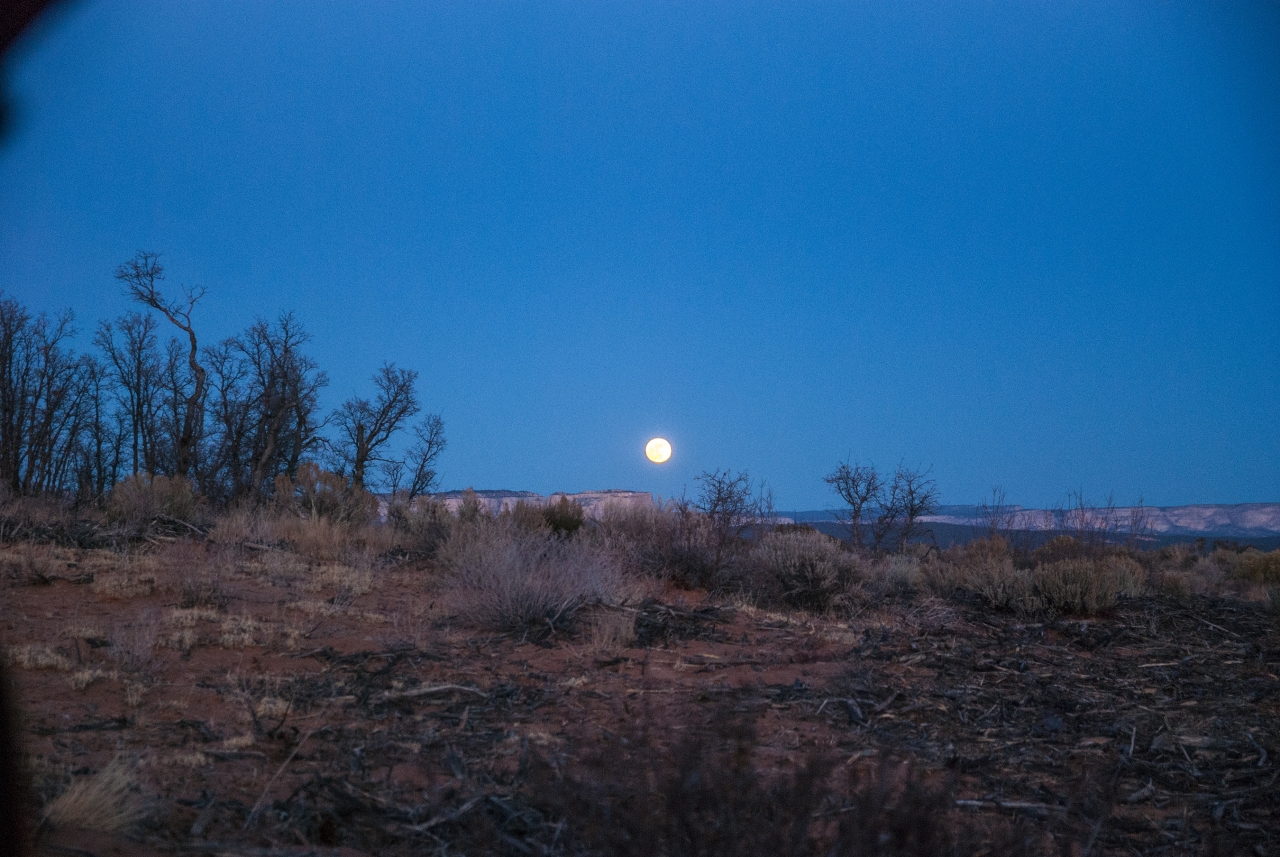
We hopped onto the road after a long but relaxing pitstop as the sun was beginning to set. Jon had a site set in his mind, so we followed him up Hwy 89 to Hancock Road towards the Pink Coral Sand Dunes. We drove around a bit through a very scenic fire service road with a full moon rising over on the east, and the sun setting in the west. He found a spot, but it was small and along a hillside. Not very spacious for all of us to camp in. I scouted around being tail-gunner on offshoot paths we had passed but couldn’t find a tangible spot for us all to camp in comfortably.

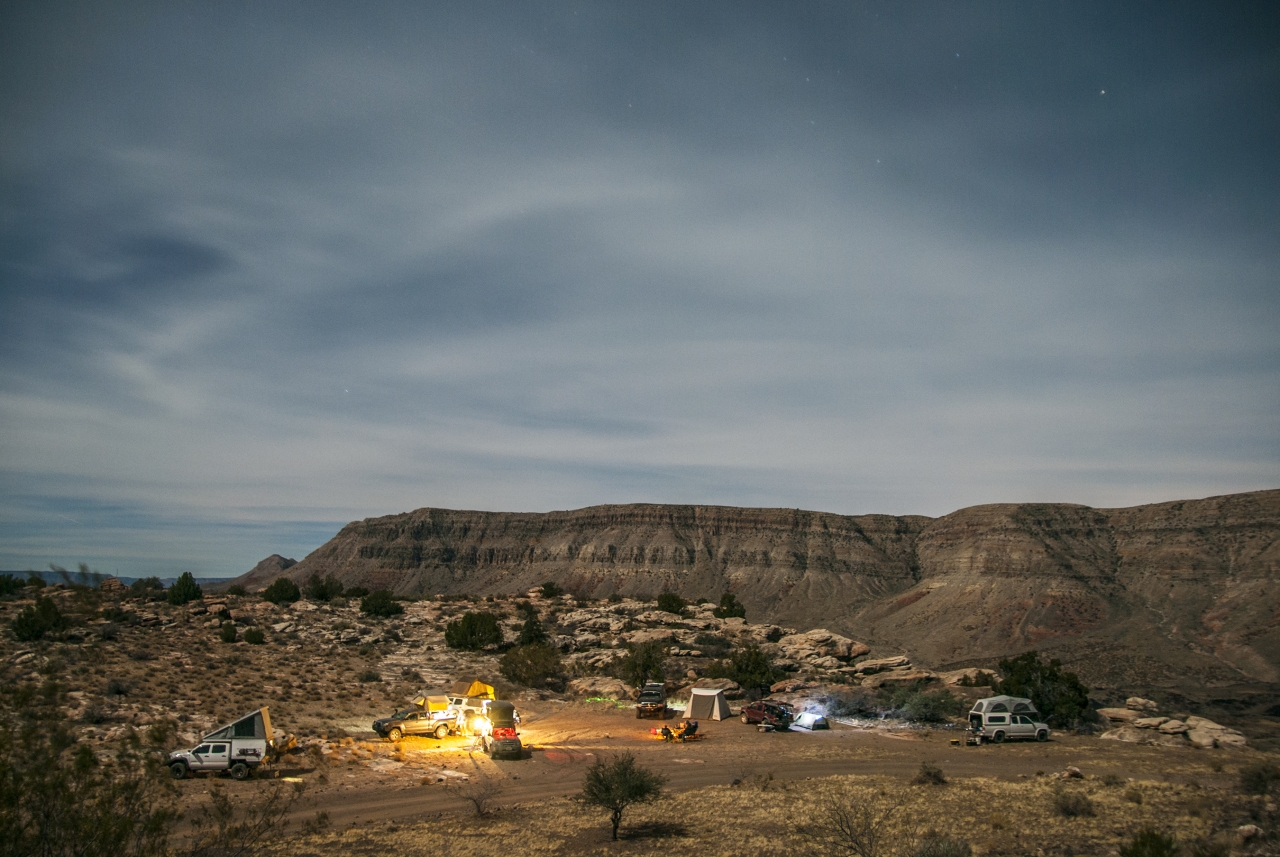
With night falling very quickly, we double backed to the main road and found a campsite along the road from which we came in. It was a large spot and about fifty yards off the road with good cover. We were happy with this spot so we setup camp and enjoyed the night while waiting for Brian to link up with us that night.
To be continued in Part II…
Dometic CFX 75 DZ W

I need to start off this review of an electric cooler by saying that I’ve been happy with the ice-powered “super coolers” that I have for keeping things cold.  With a super cooler, as long as you take good care of your ice, it will last for an impressively long time.  Super coolers are leaps and bounds ahead of your run of the mill plastic ice chest, but no matter how good your ice-powered cooler is, there is no beating the laws of thermodynamics and the fact that ice will eventually turn into water inside your cooler.  Water in the liquid state means wet food if you don’t pack your cooler well, and accelerated melting of your remaining ice, which only accelerates the need to procure more ice.  Meanwhile, with a 12V electric cooler, you don’t need to futz with ice, and Dometic has made the process of keeping an electric cooler powered up, and ice cold, so easy that switching to an electric cooler becomes one of easiest, most game-changing things you can do to support your off-grid adventures .

Saying goodbye to ice, and hello to perfectly-cooled food and beverages is a plug and play experience with Dometic’s CFX 75 DZW.  And no, you don’t have to have a dual battery setup to run this electric cooler safely.  Thanks to some modern technology and features, you can enjoy all of the benefits of a highly efficient dual compartment fridge and freezer without ever having to worry about killing your vehicle’s battery.  When on DC power, the unit will monitor the voltage of the power source it’s plugged into, and should the voltage drop below one of three user-selectable thresholds, the unit will automatically power off to save the vehicle’s battery.  The CFX 75 DZW also happens to be very efficient, so you can leave the unit plugged into your vehicle without tripping the low voltage cutoff for some time.

Dometic is well respected in the RV appliance industry, so as you would expect the unit is very thermal and power efficient.  When the compressor isn’t running, the unit will sip power and the unit is so thermally efficient that you’ll wonder if you accidentally turned it off when the compressor doesn’t come back on for such a long time.  Power consumption is modest – at 90 degrees Fahrenheit, Dometic states that the unit will pull 1.30 Amp Hours per hour, or 15.6 Watt Hours per hour at 12 V DC.  Speaking of the compressor, it’s also very quiet, making all of 37 dB(A) when running.  For comparison’s sake the CFX 75 DZW makes less noise than my modern refrigerator at home, and is so quiet that it has made no impact on my quality of sleep when I’m sleeping next to the unit in my truck bed.

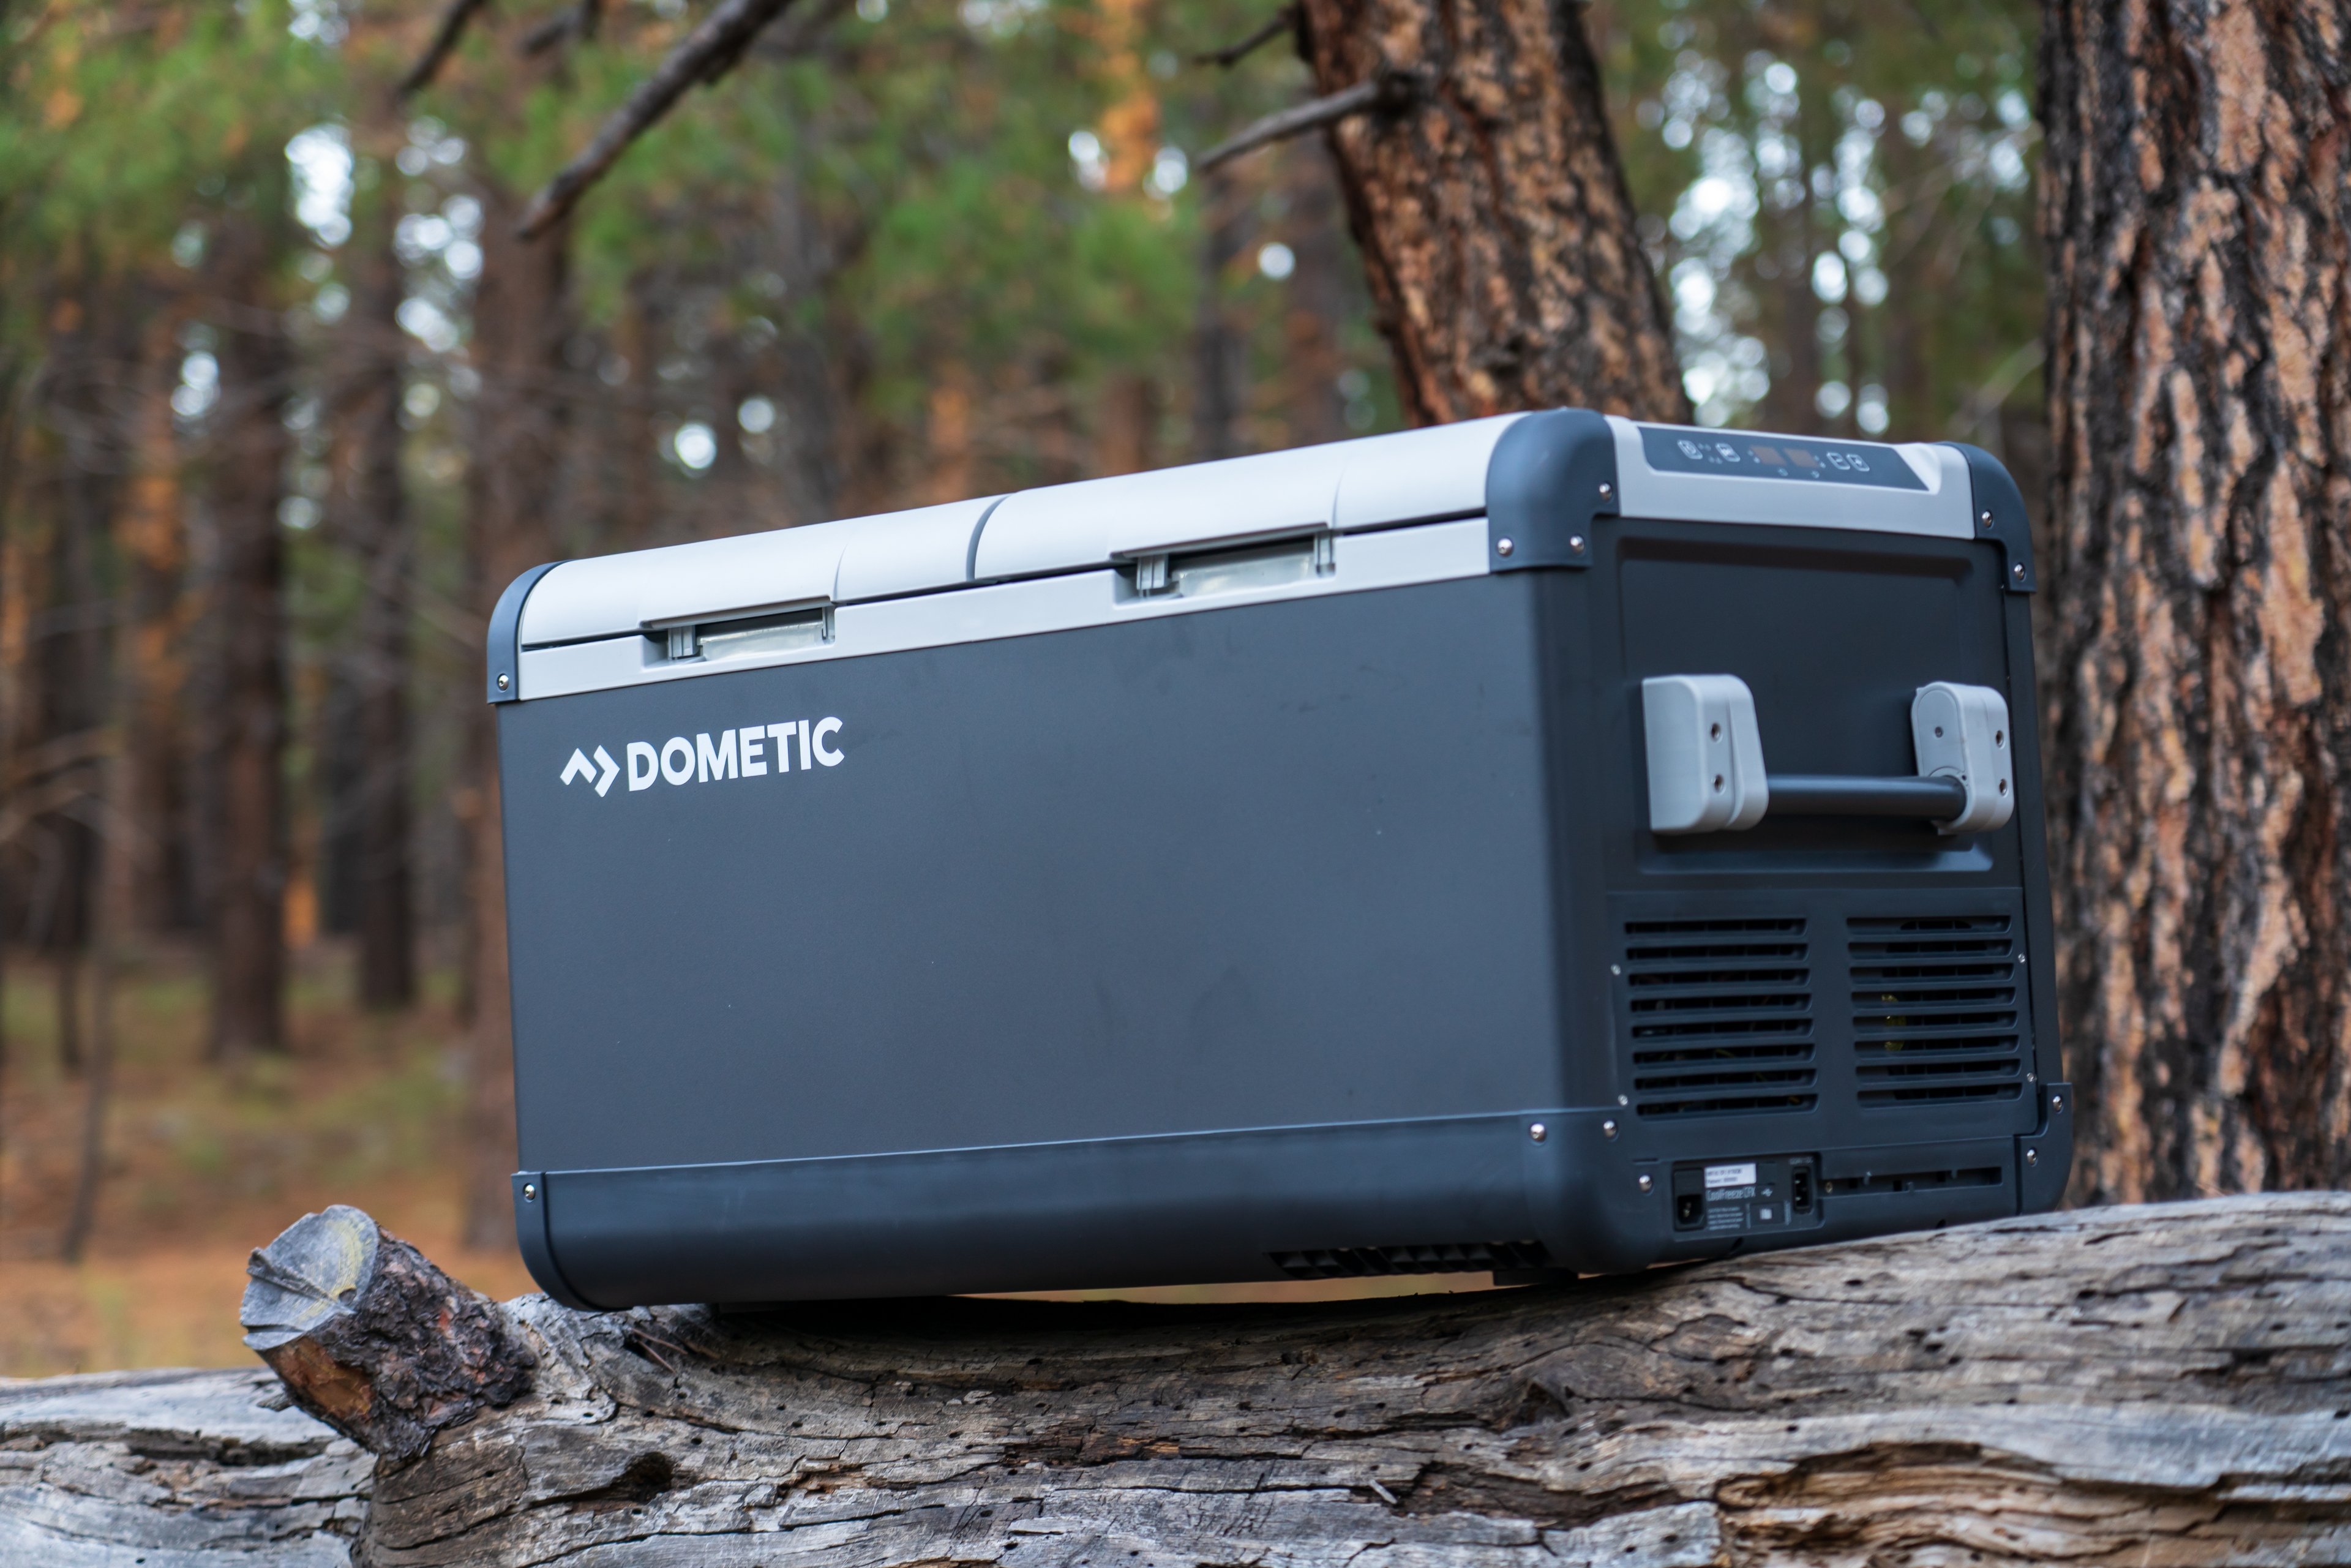
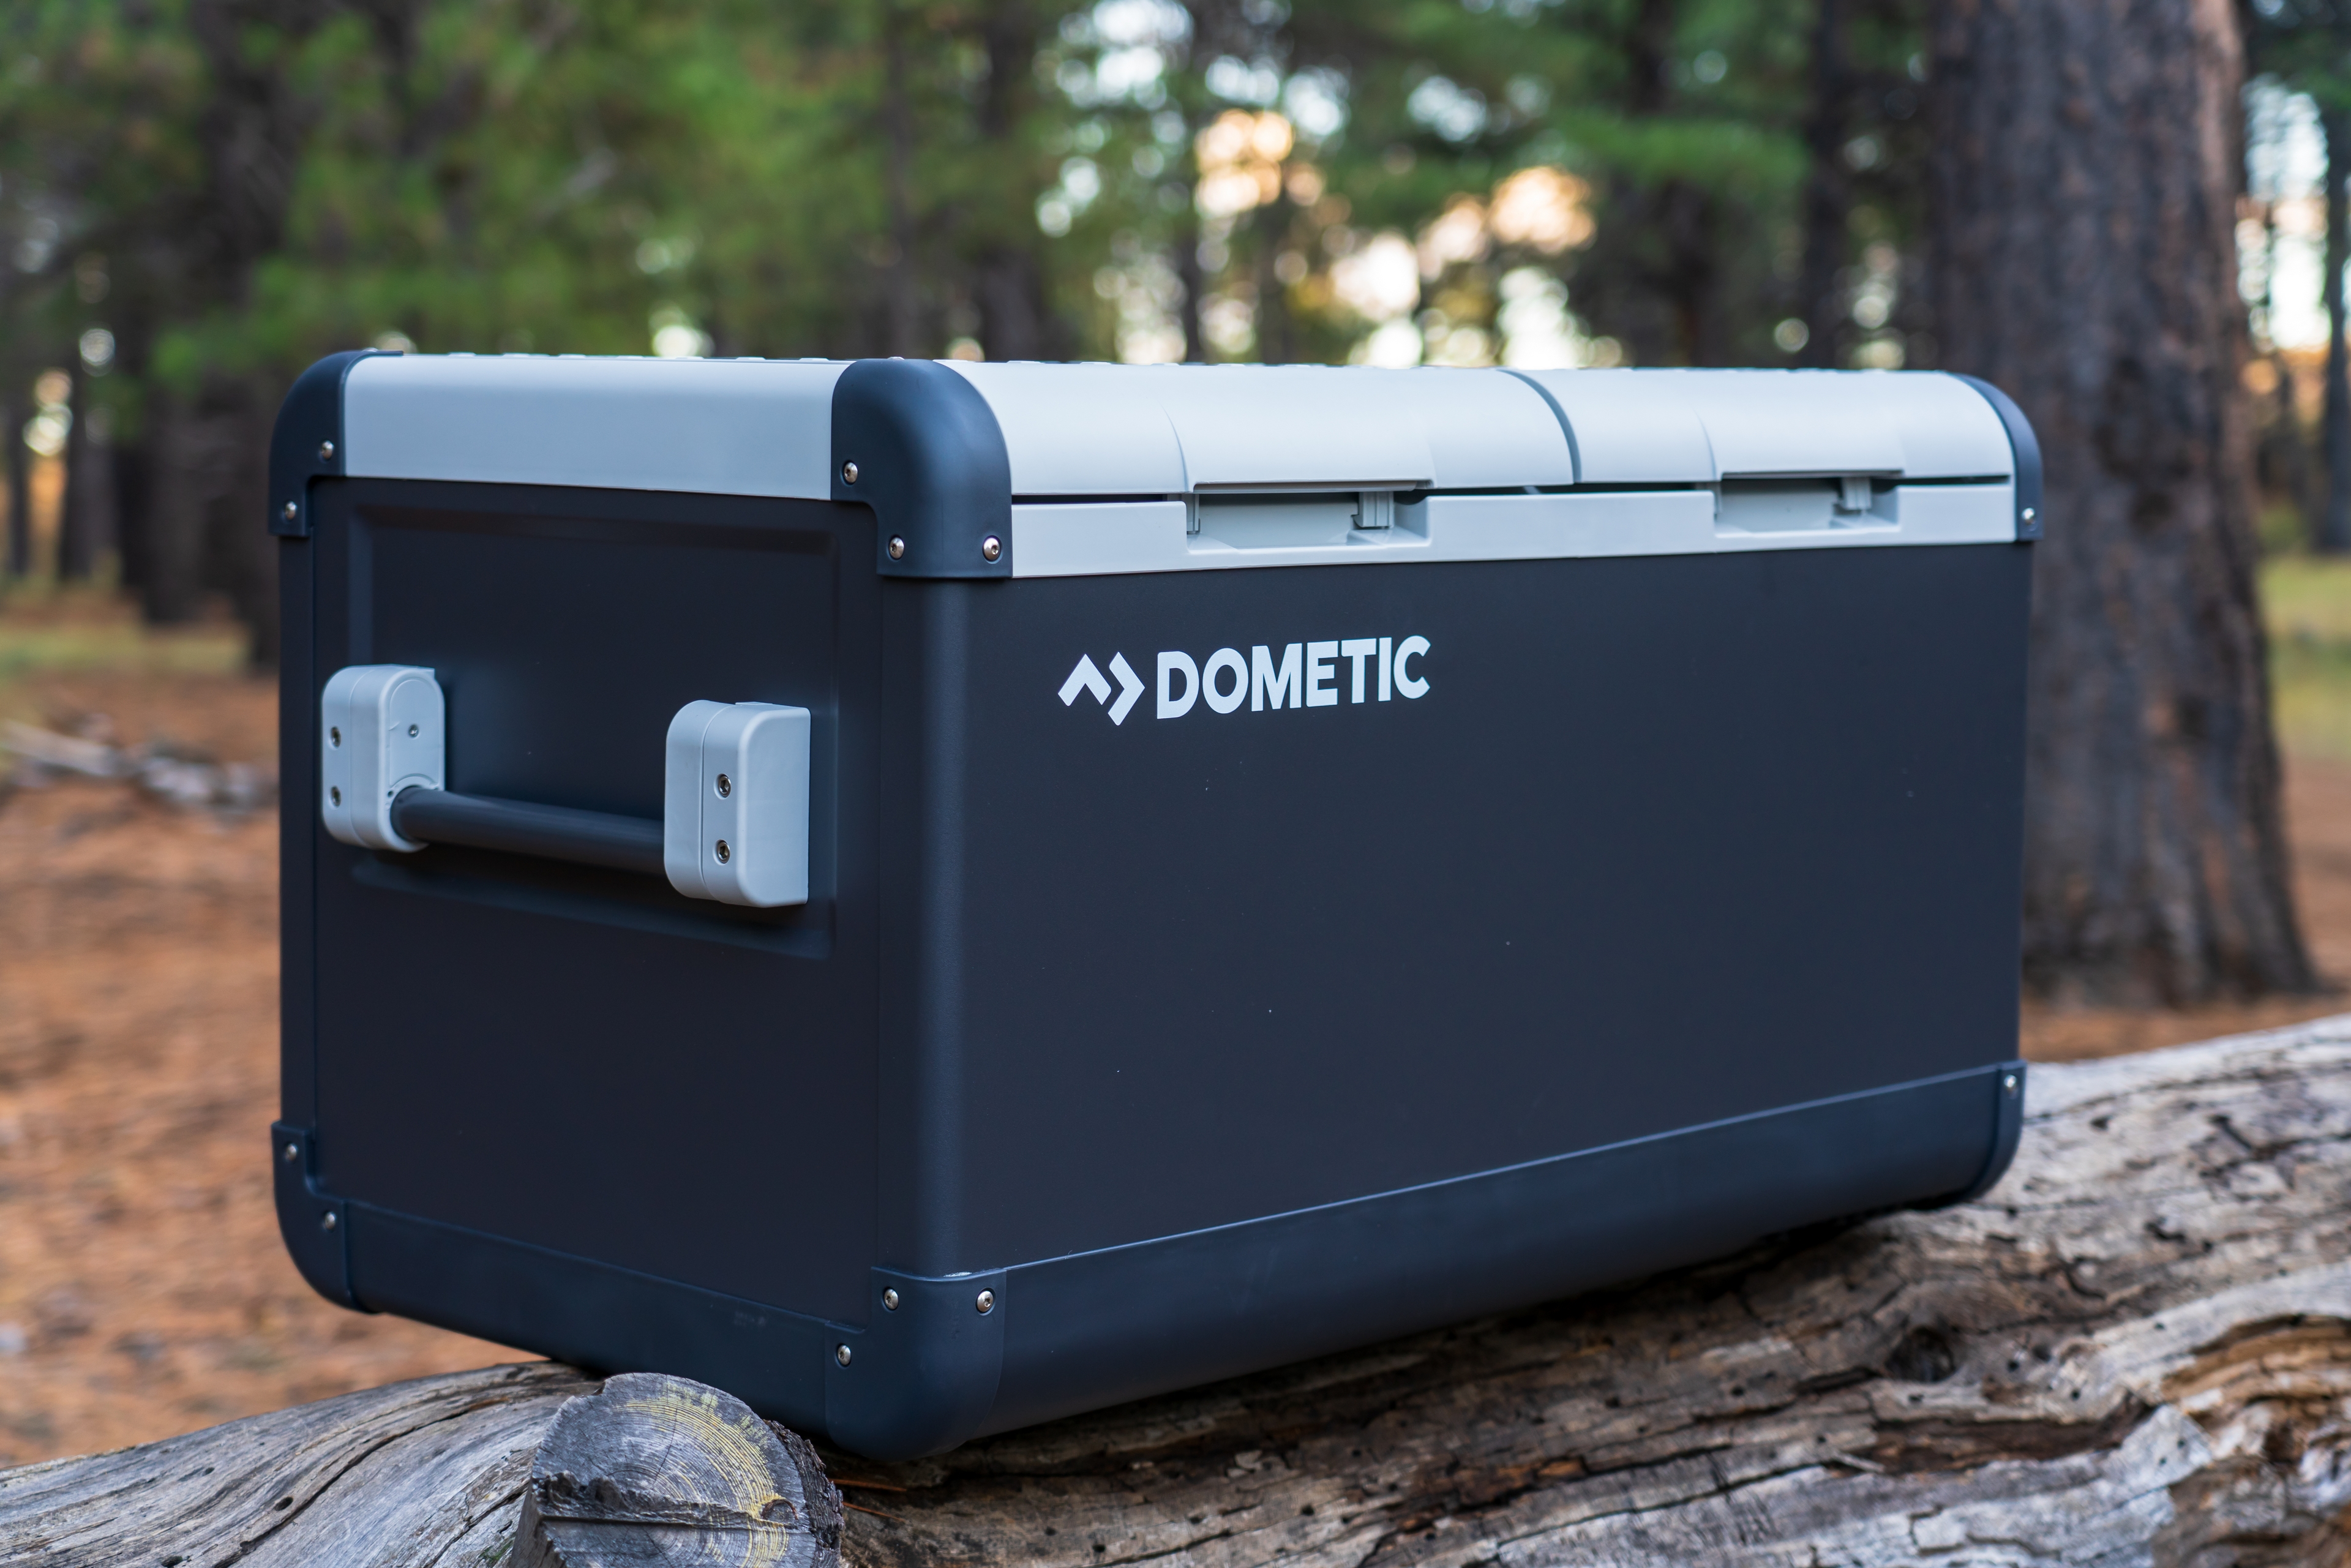
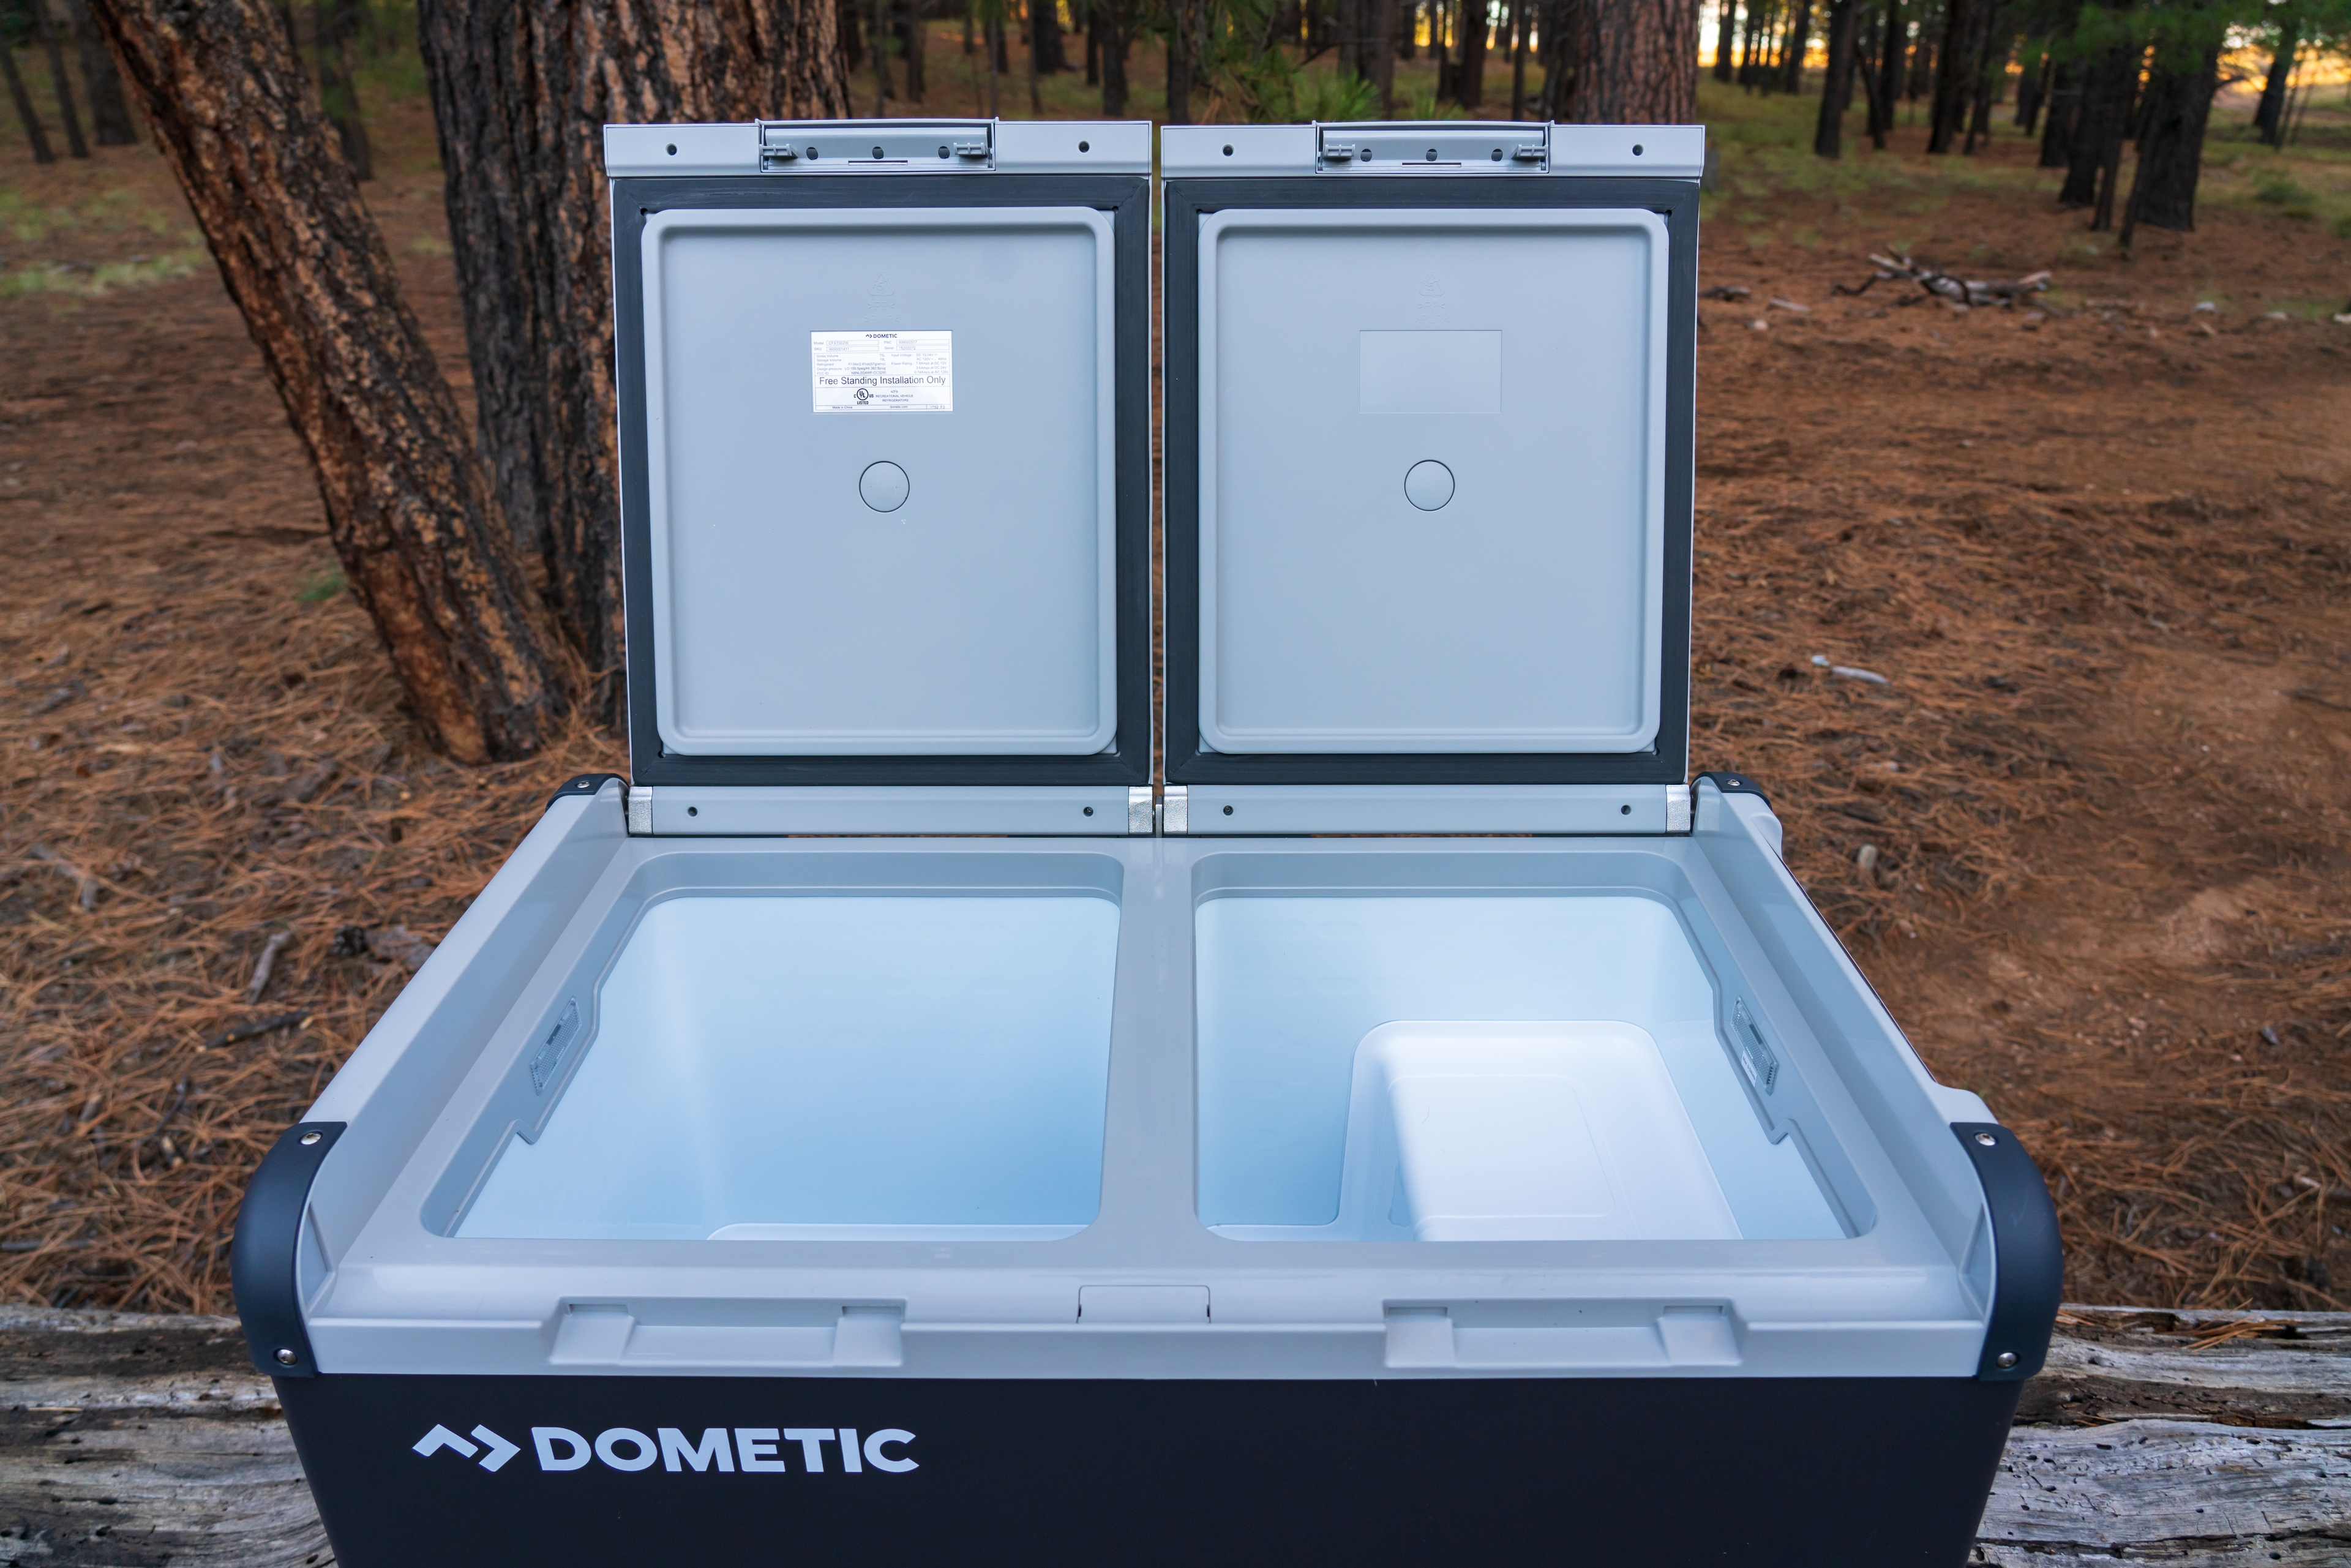
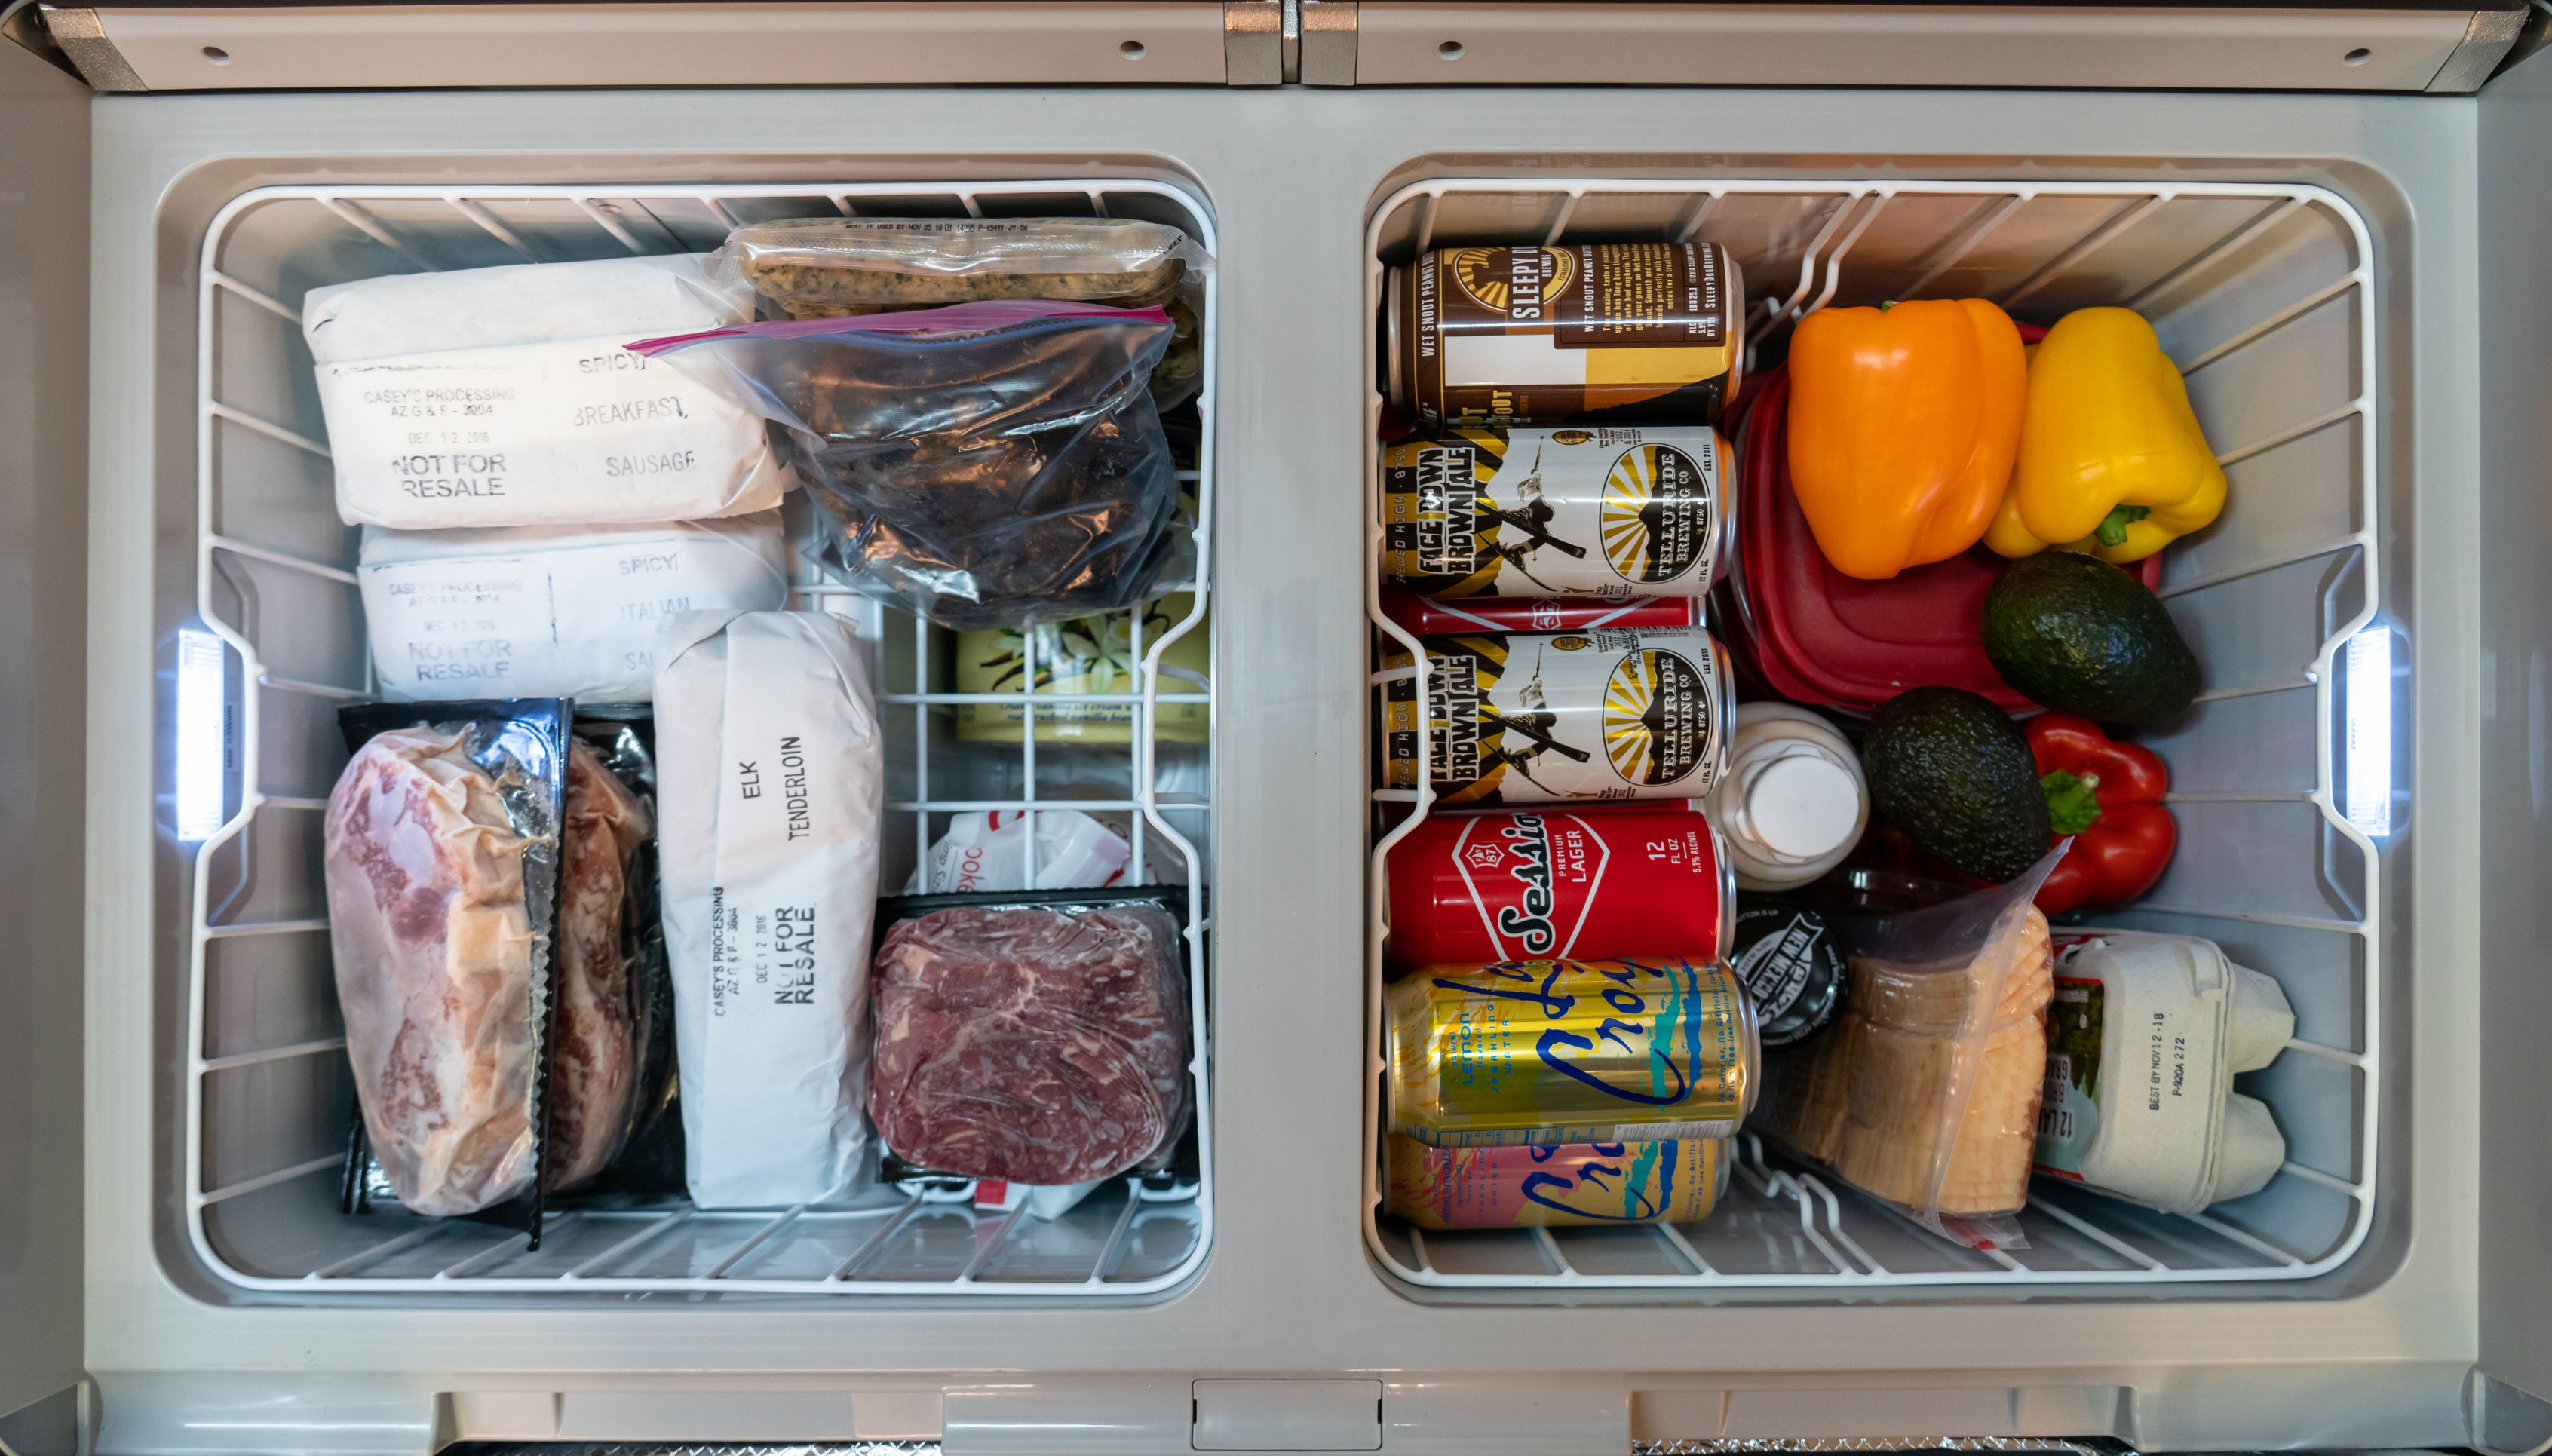
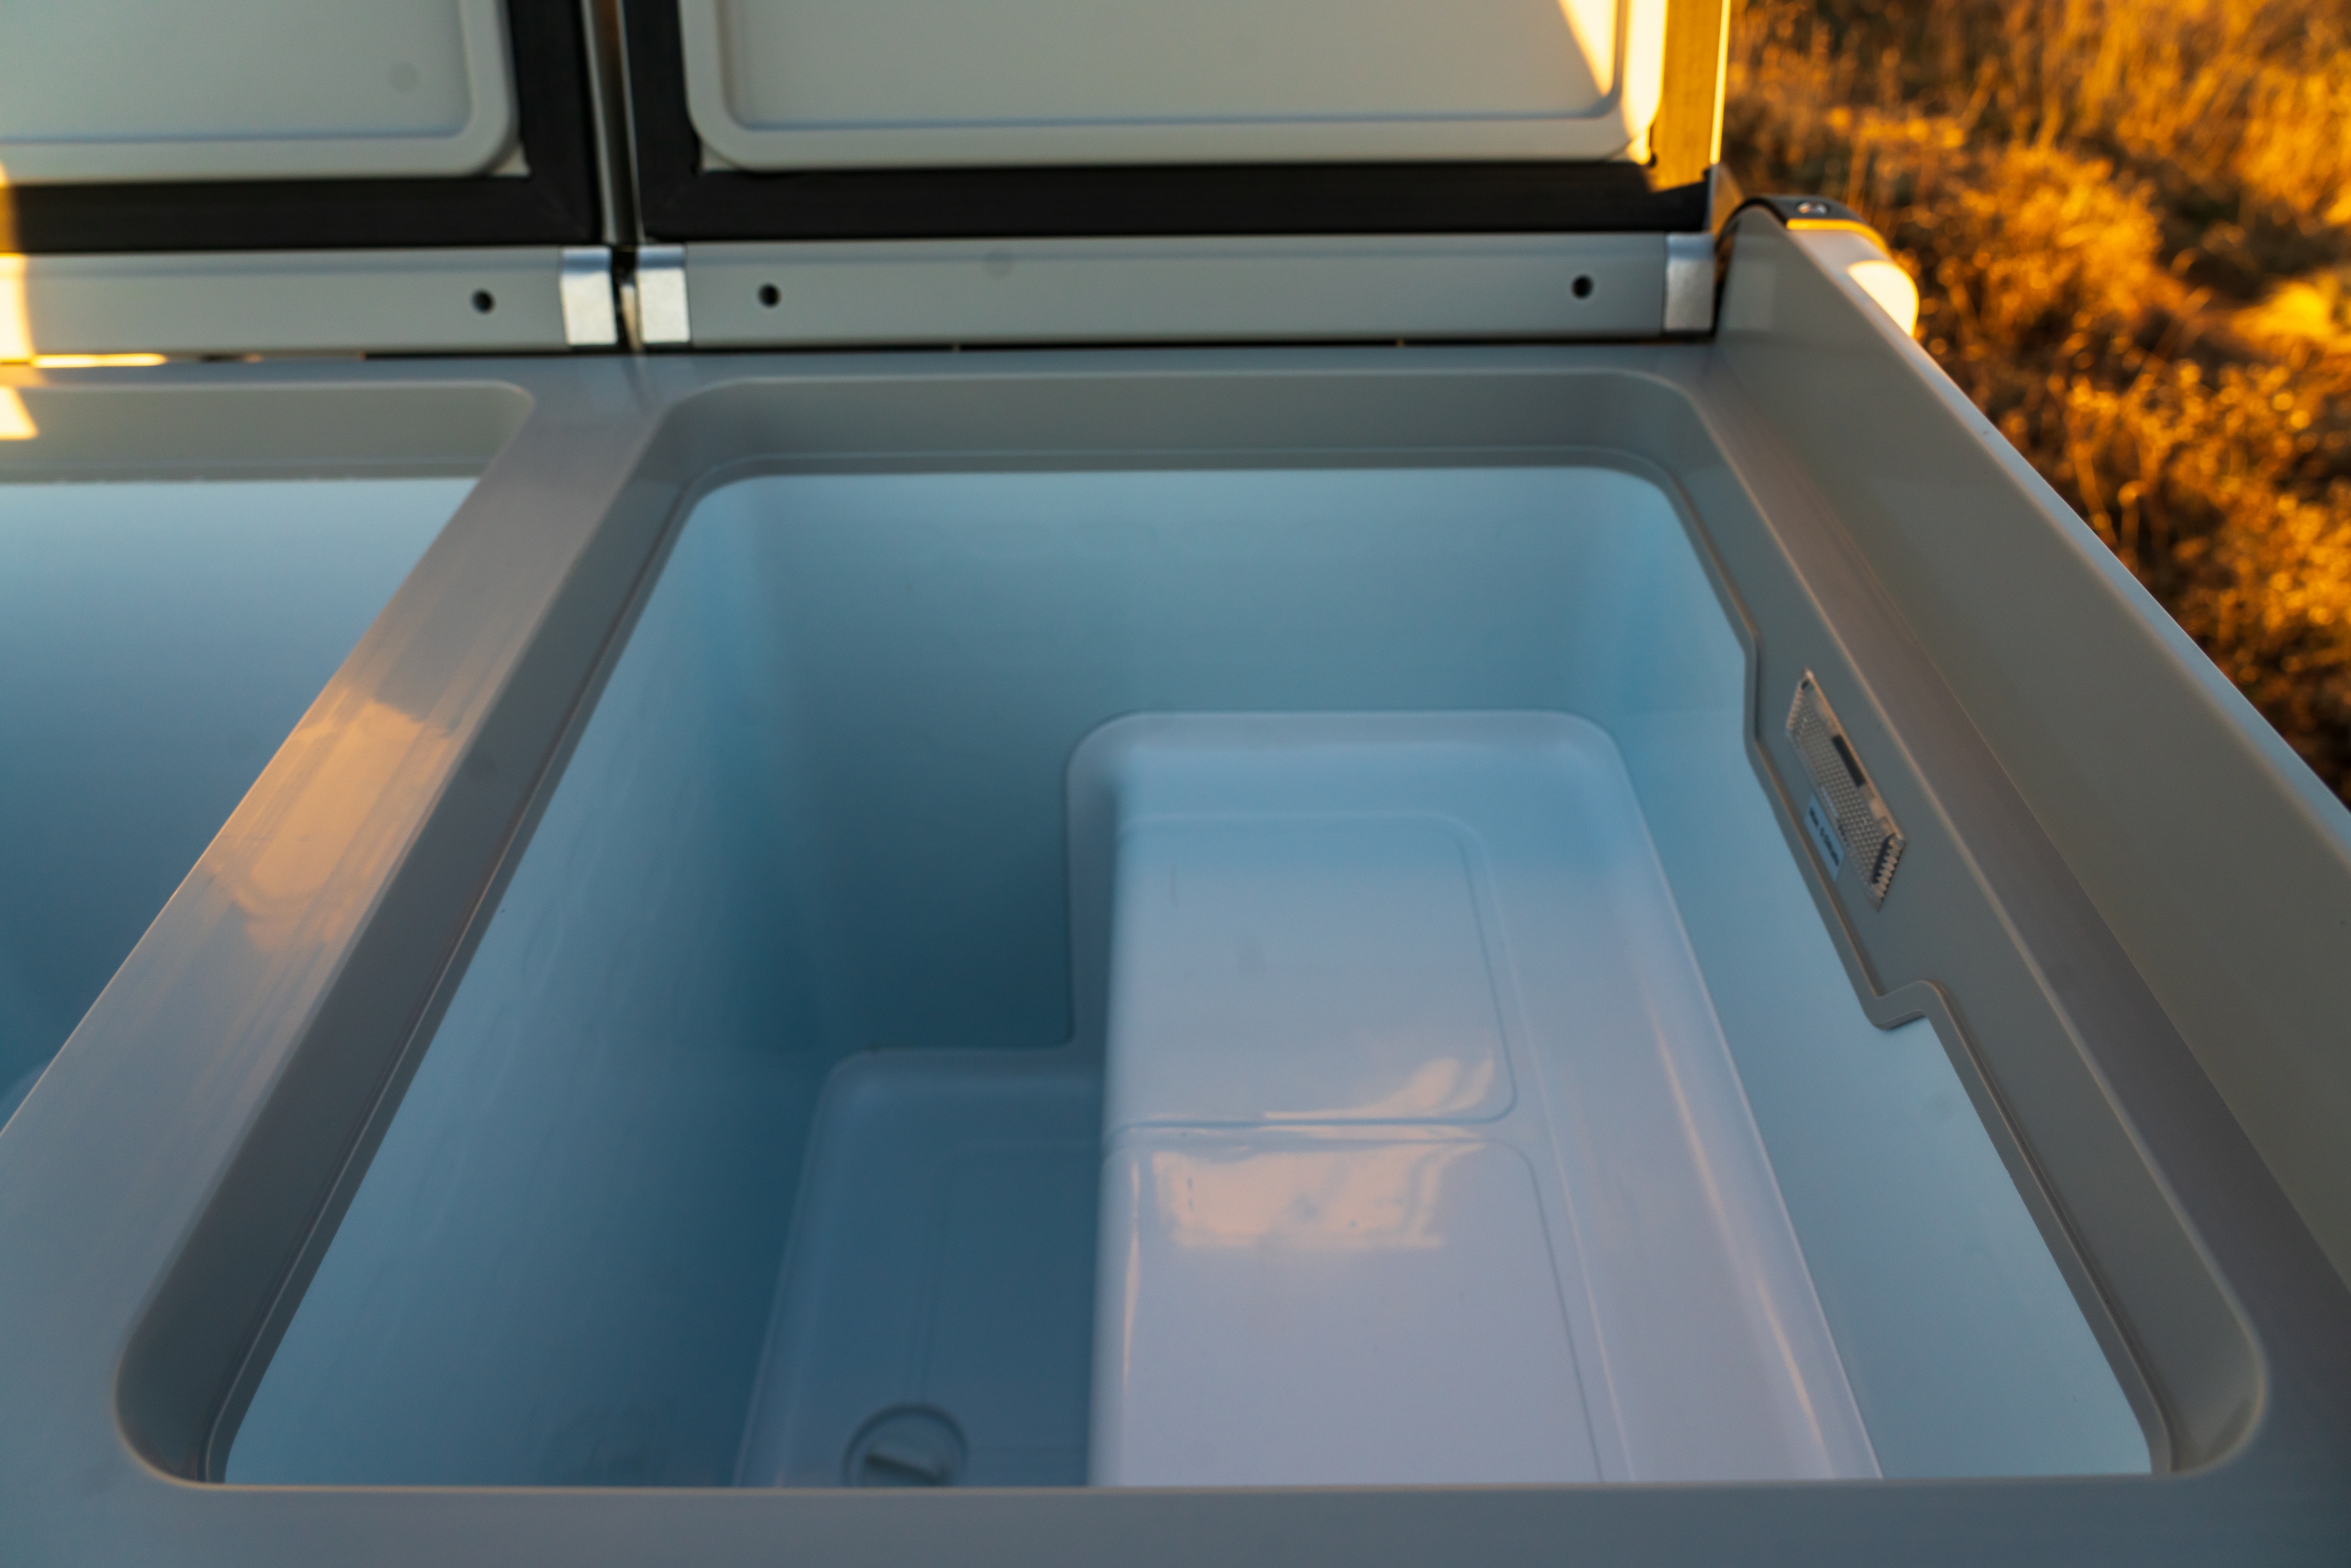
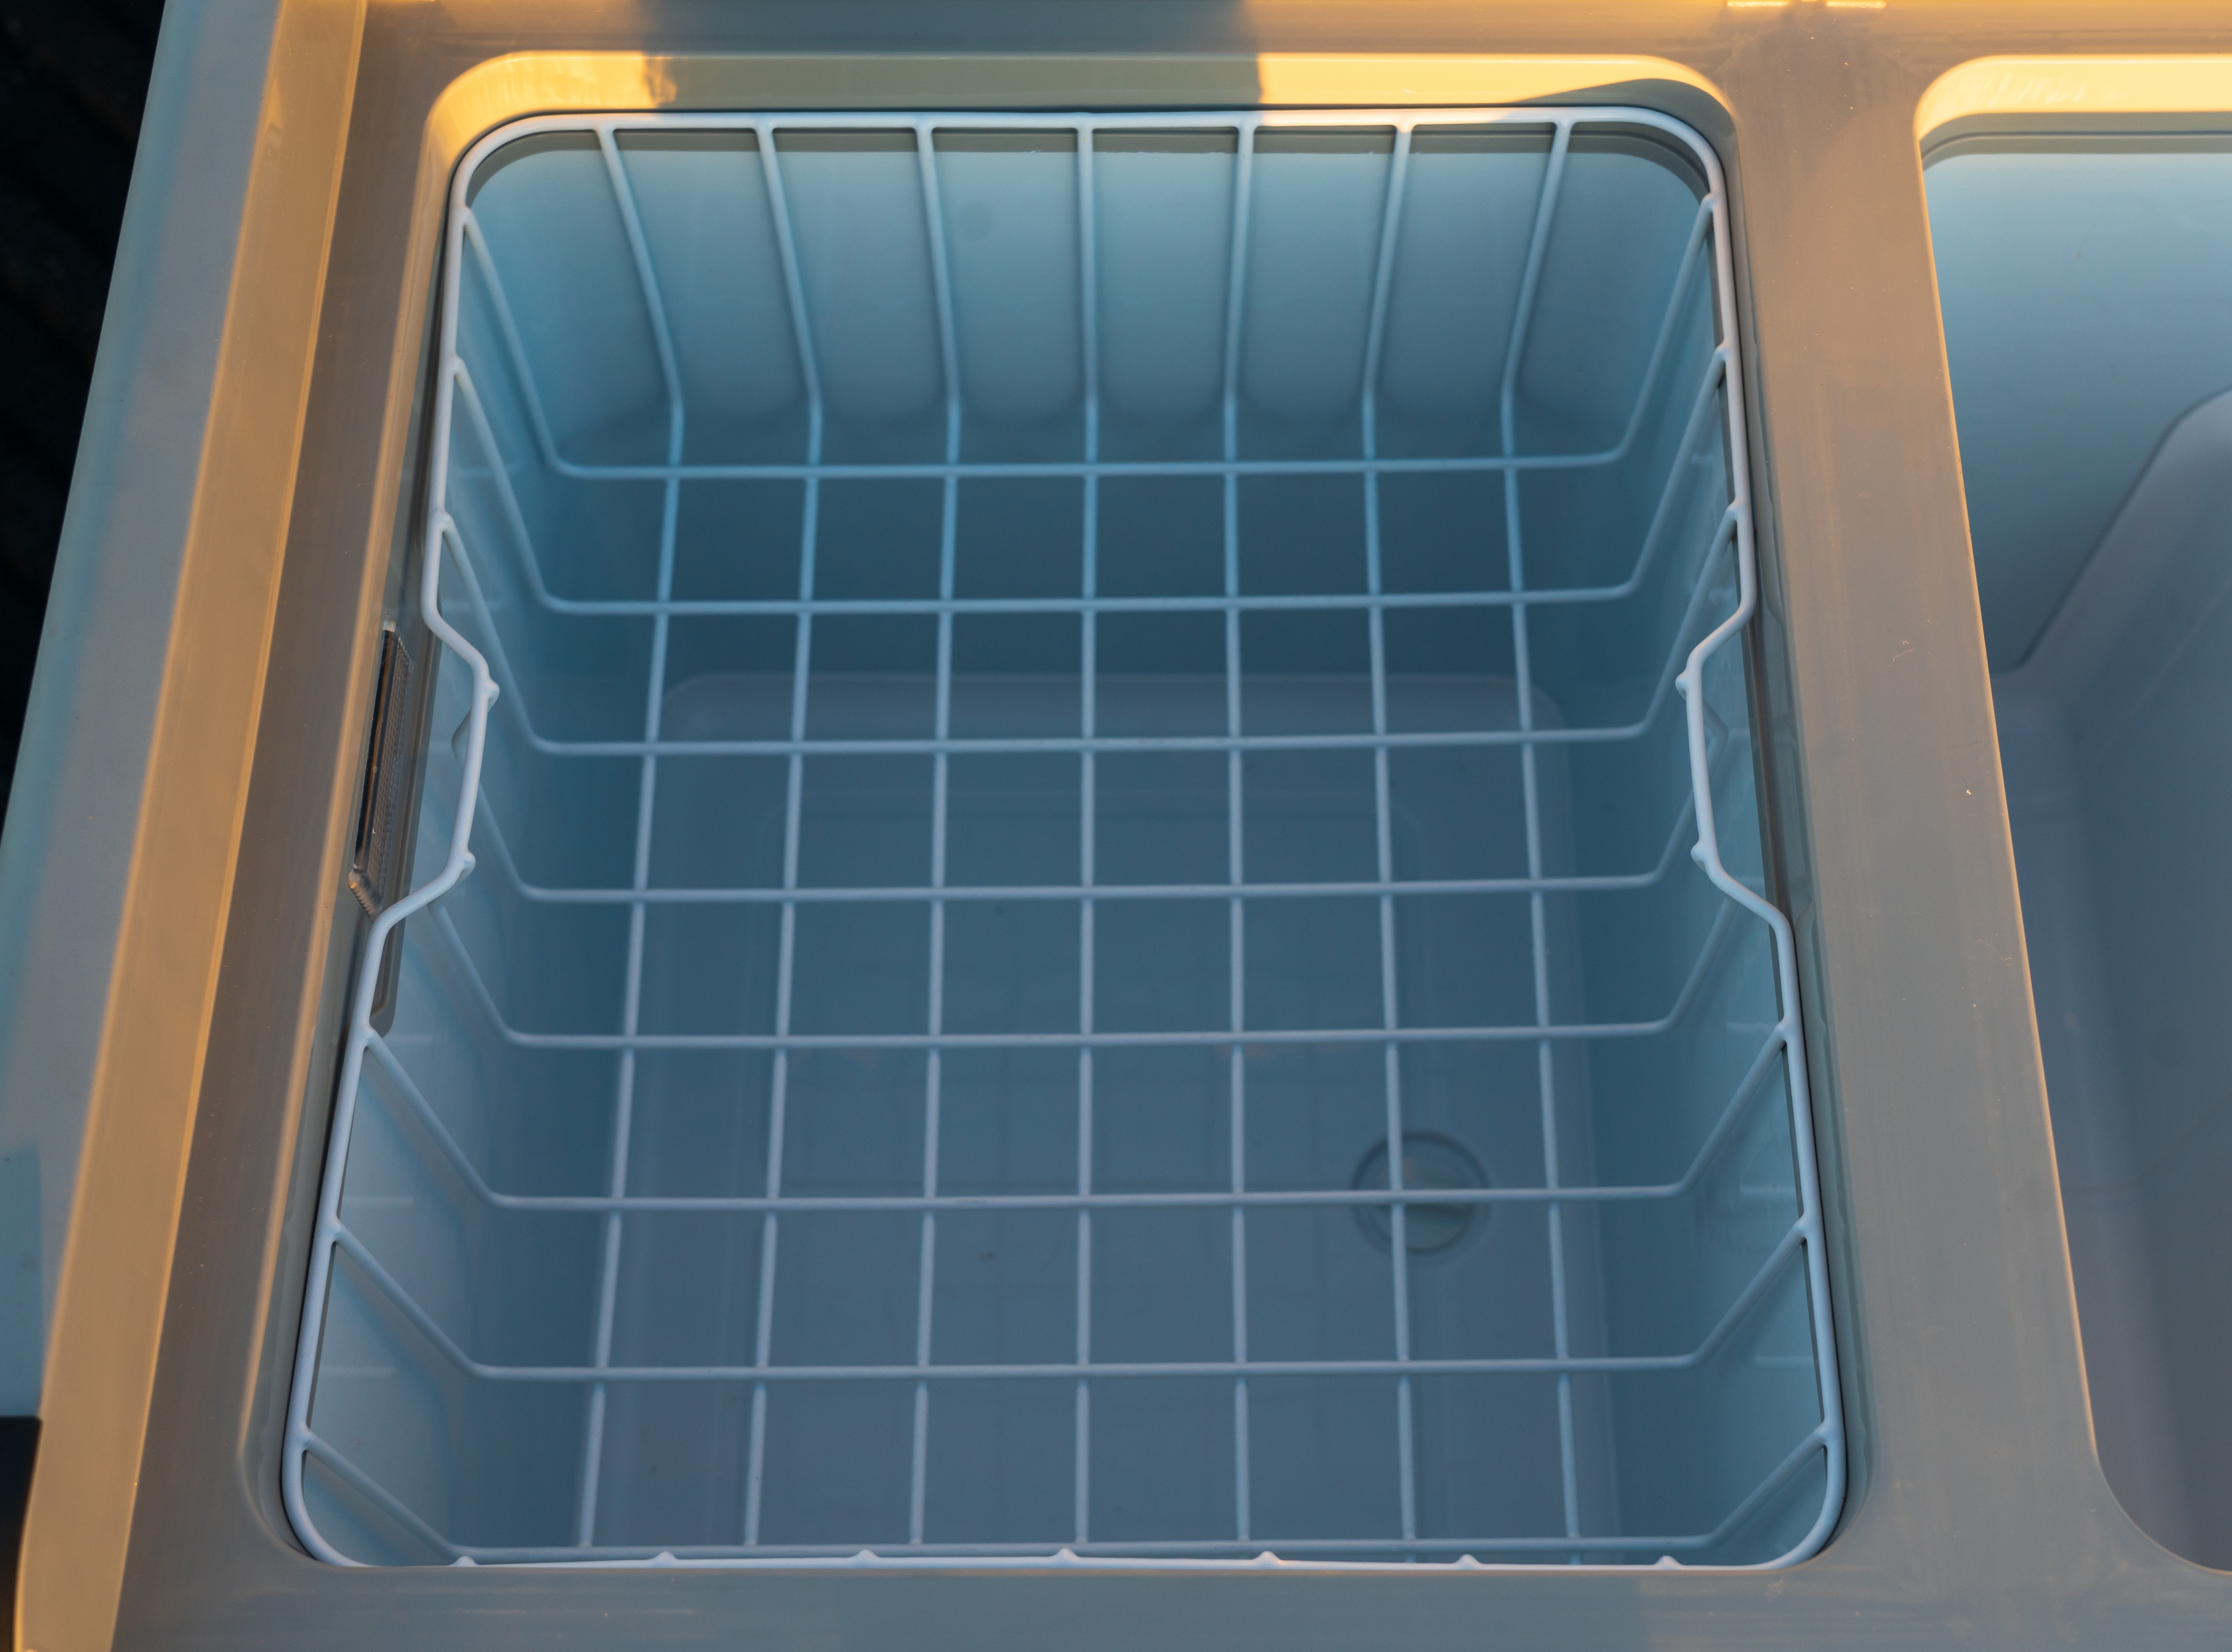
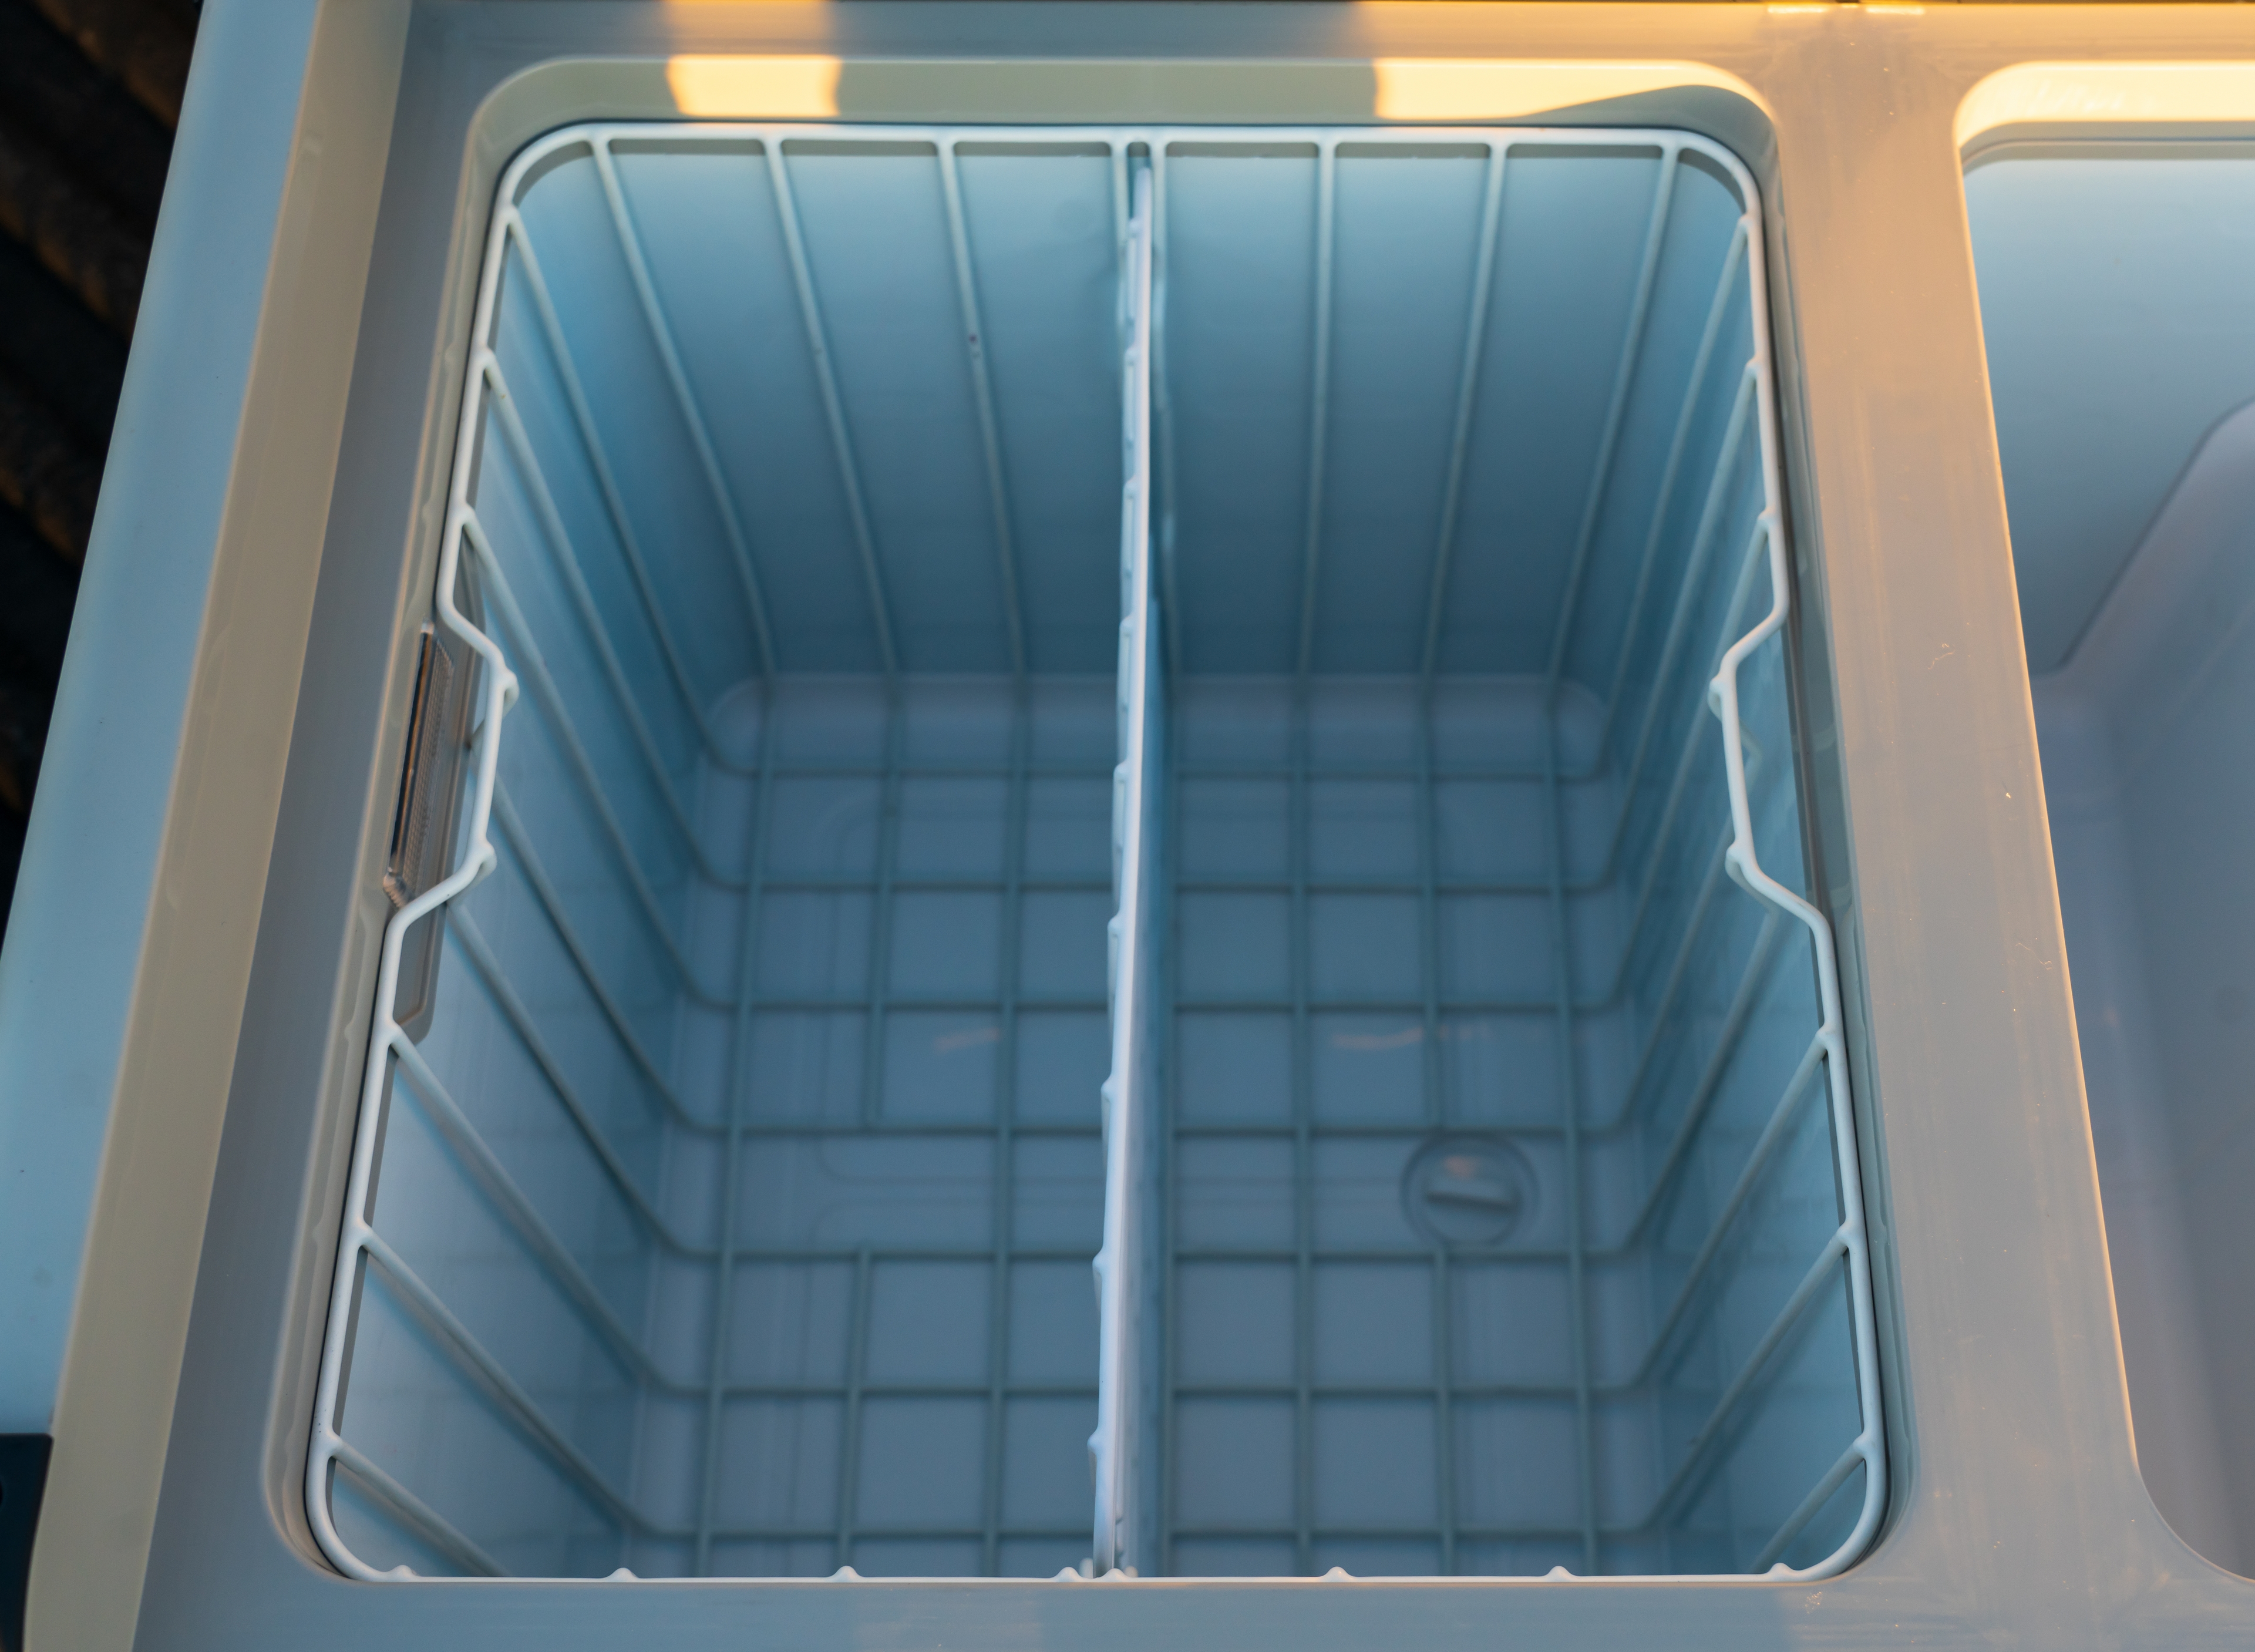
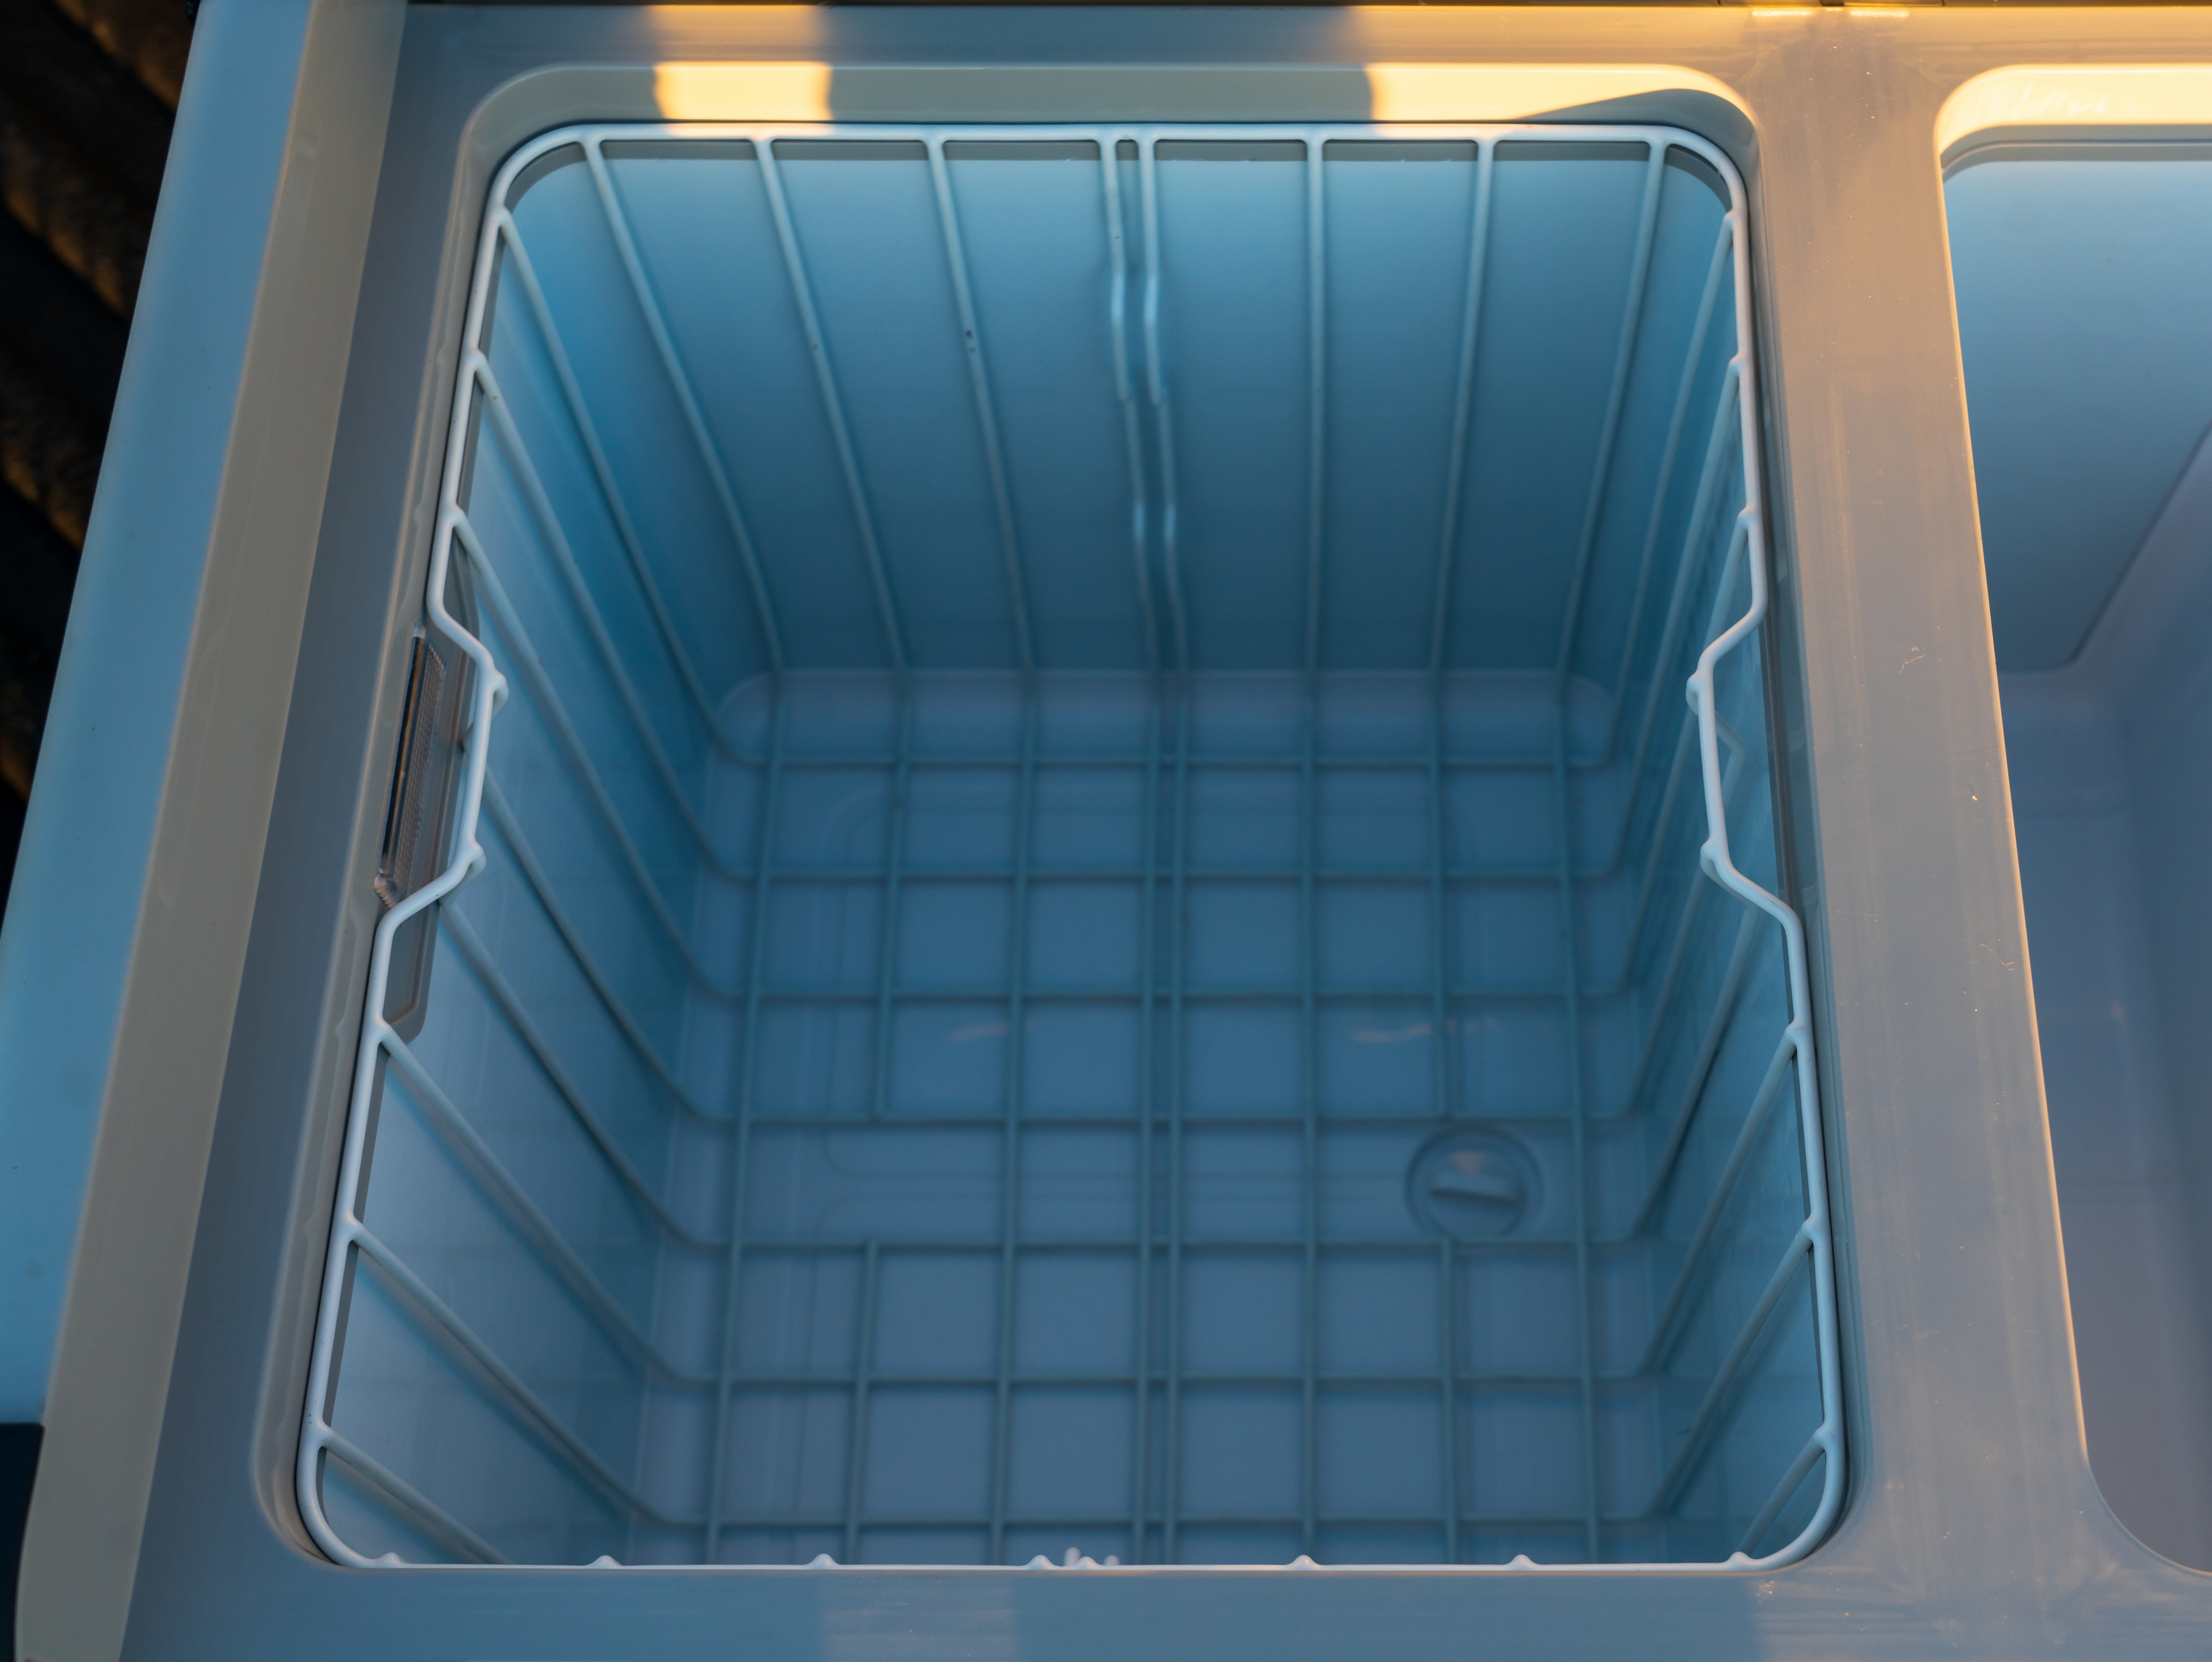
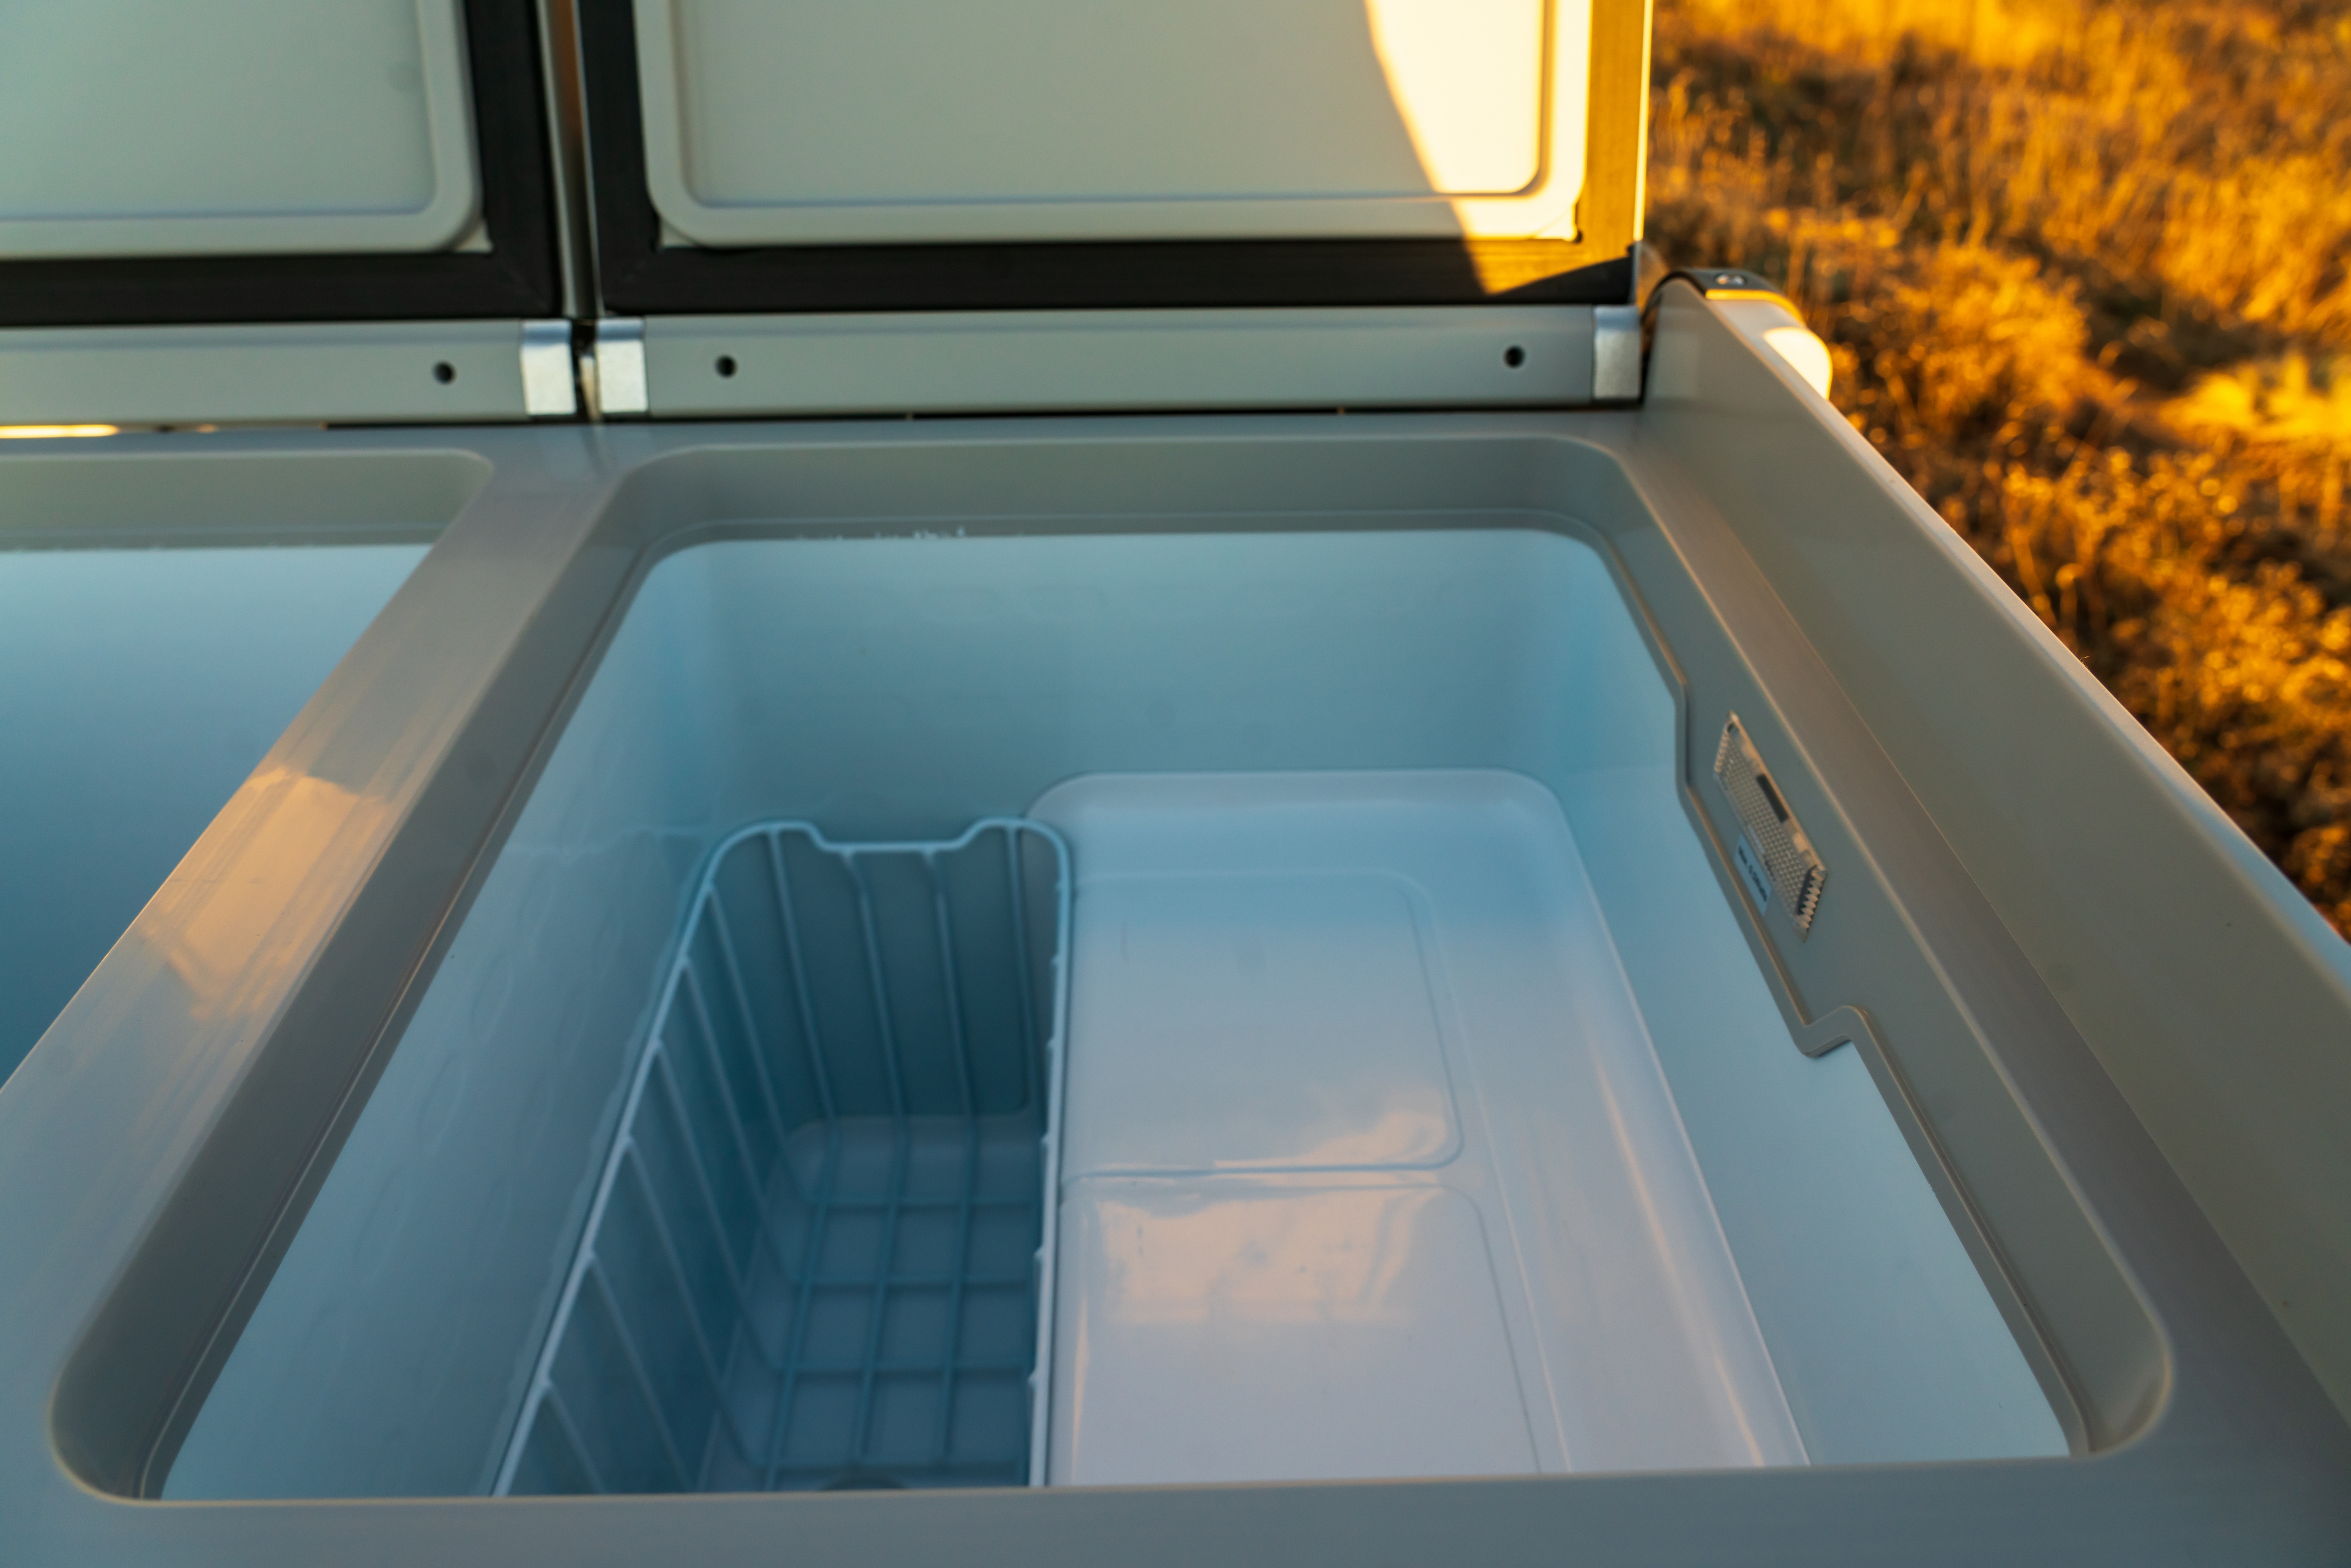
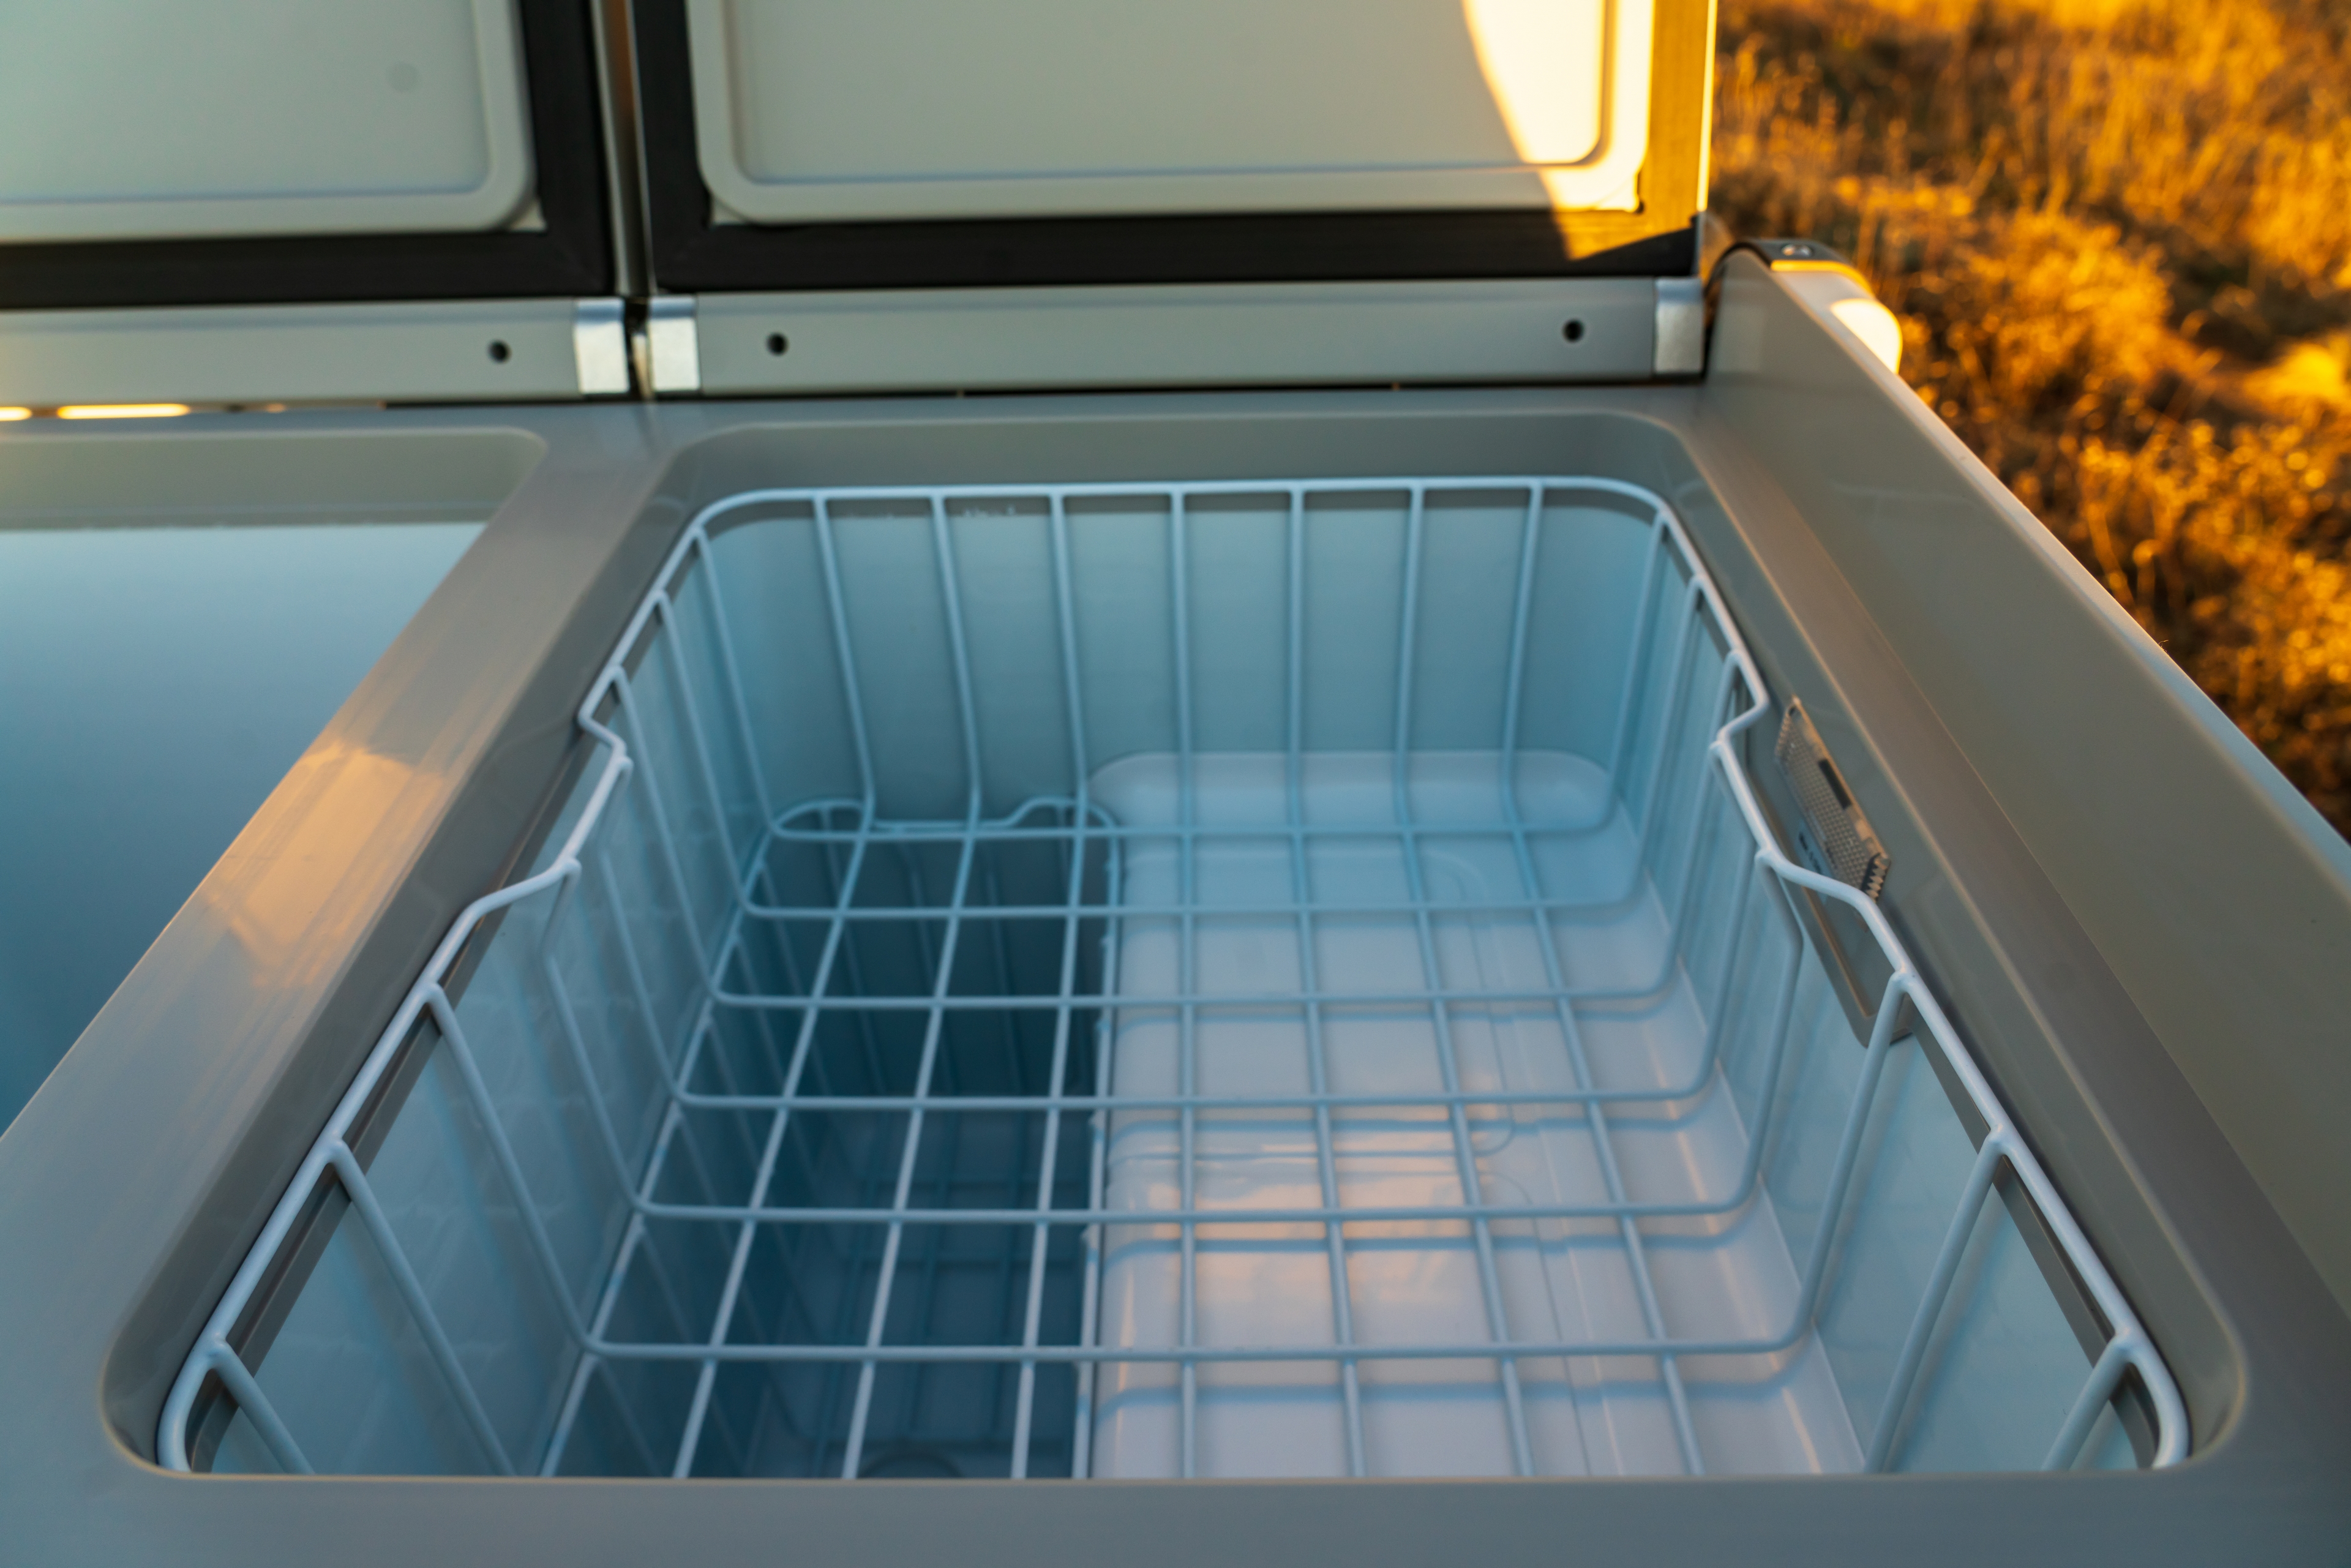
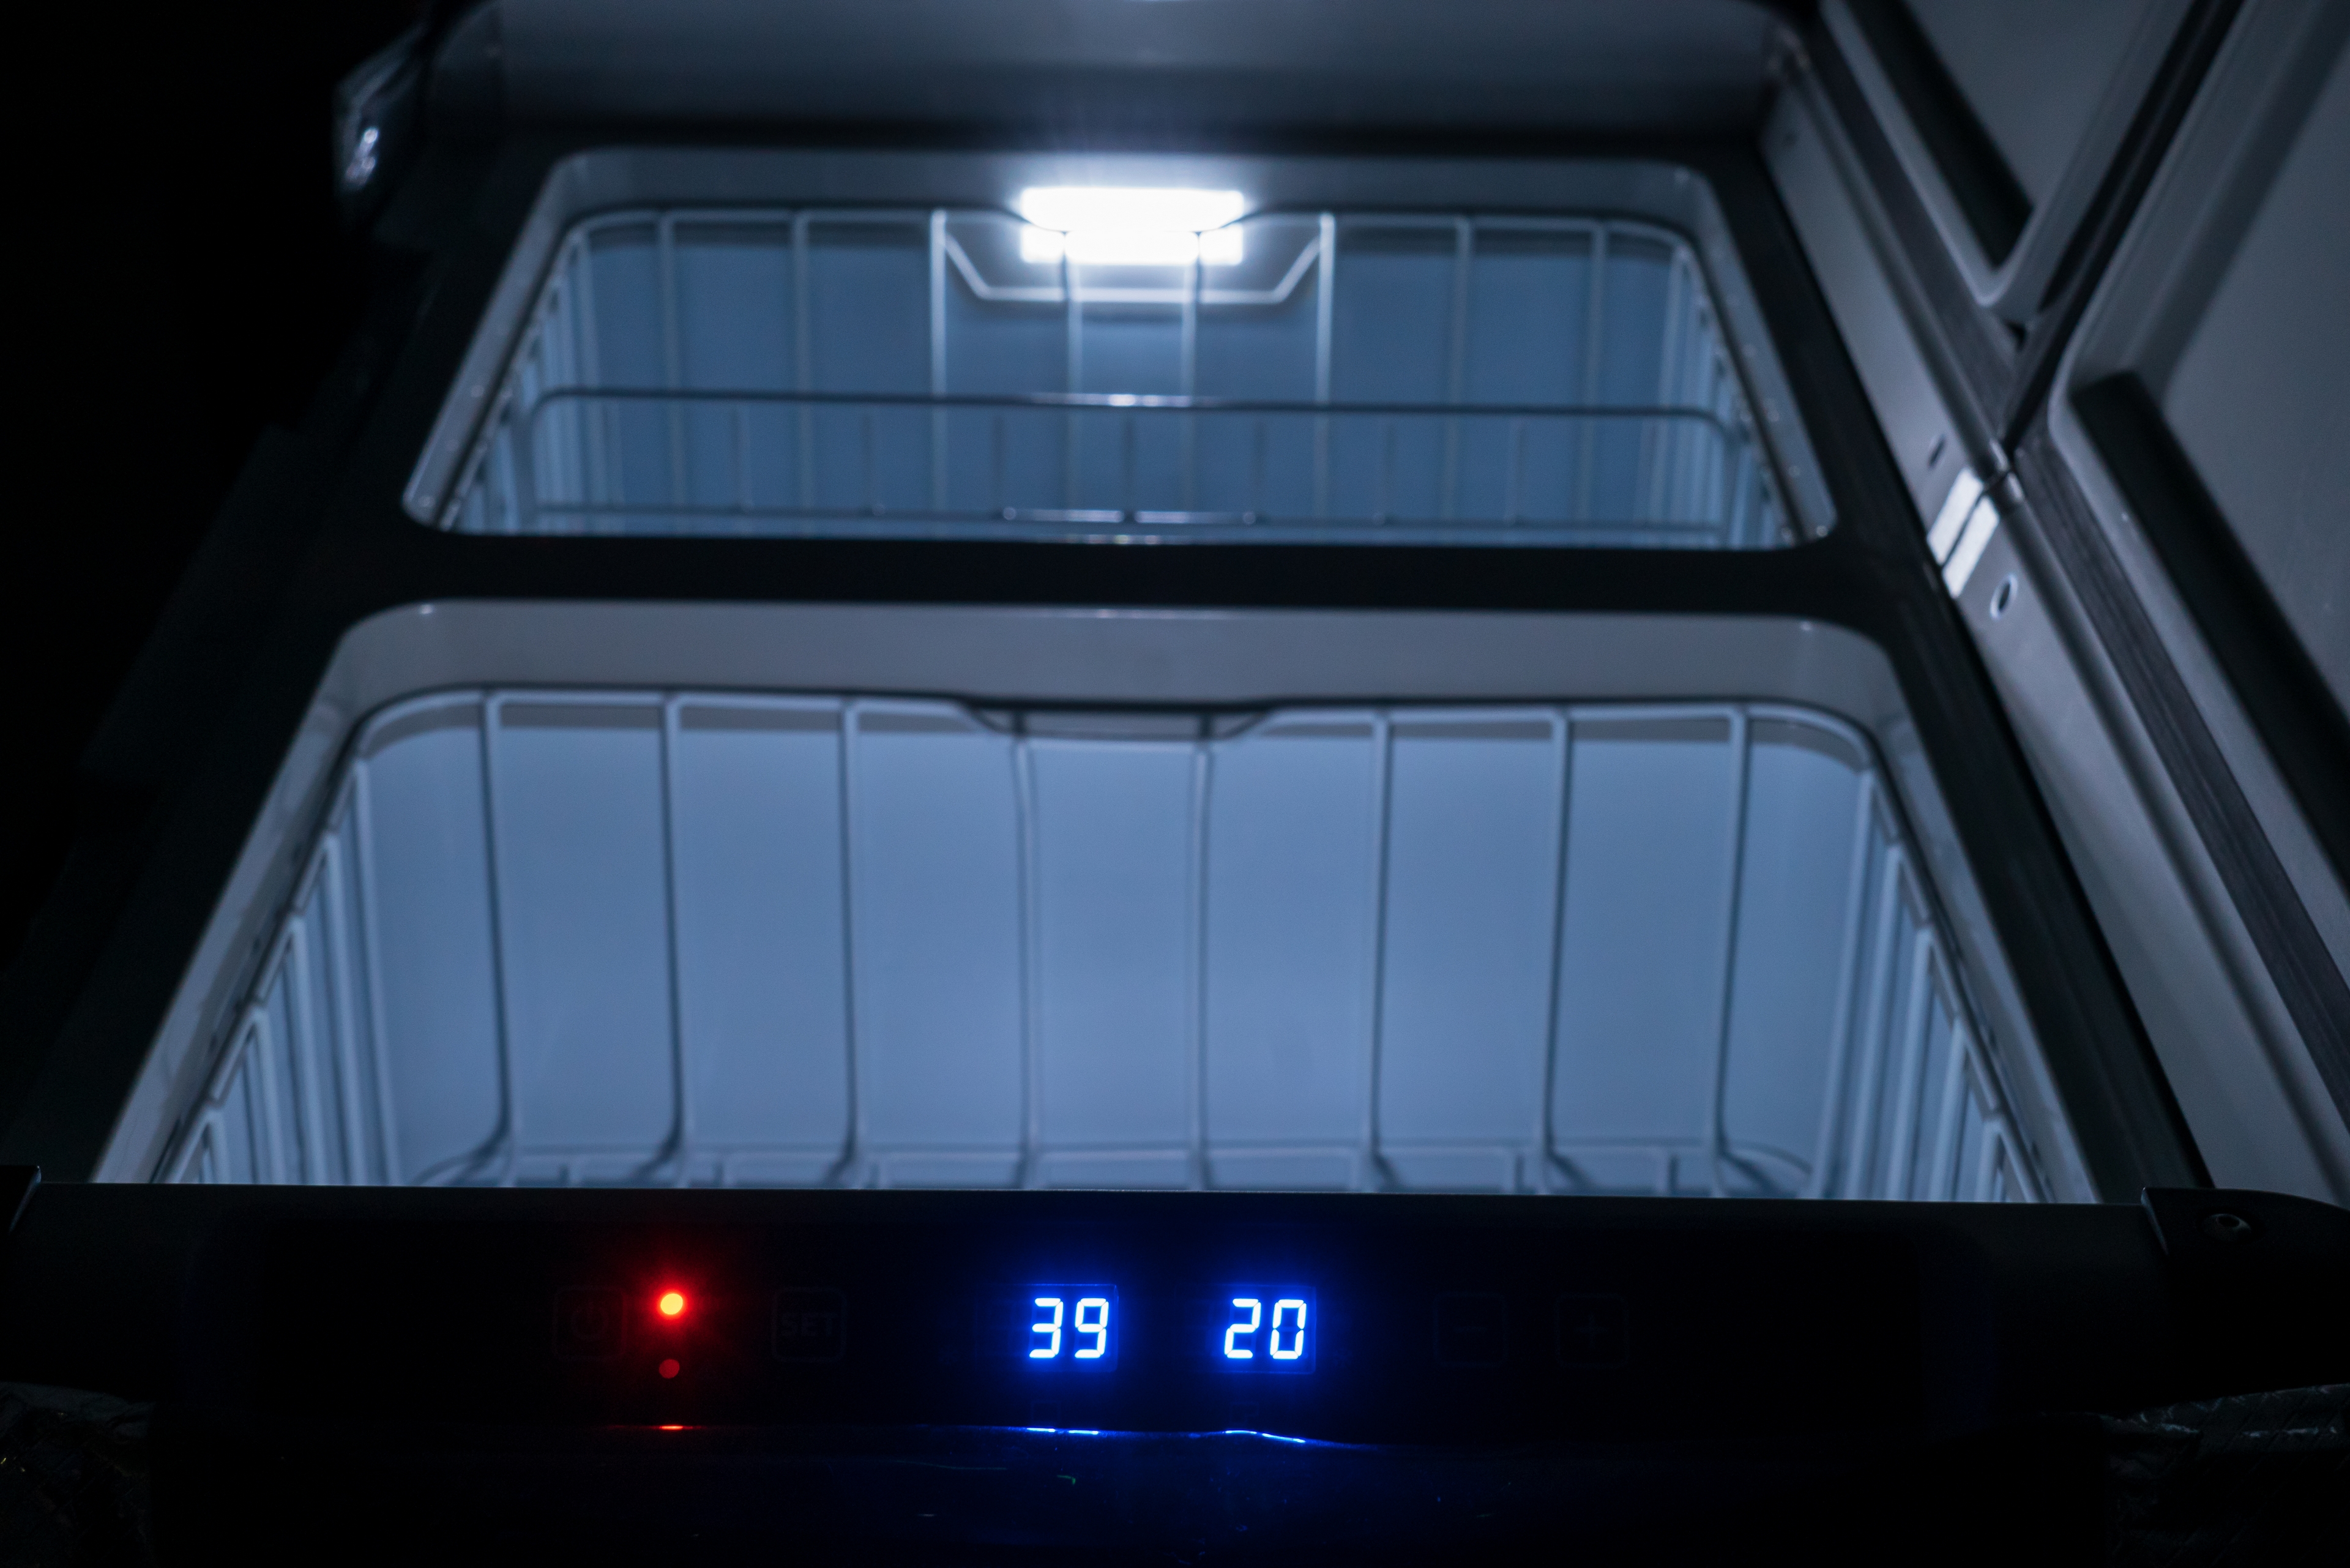
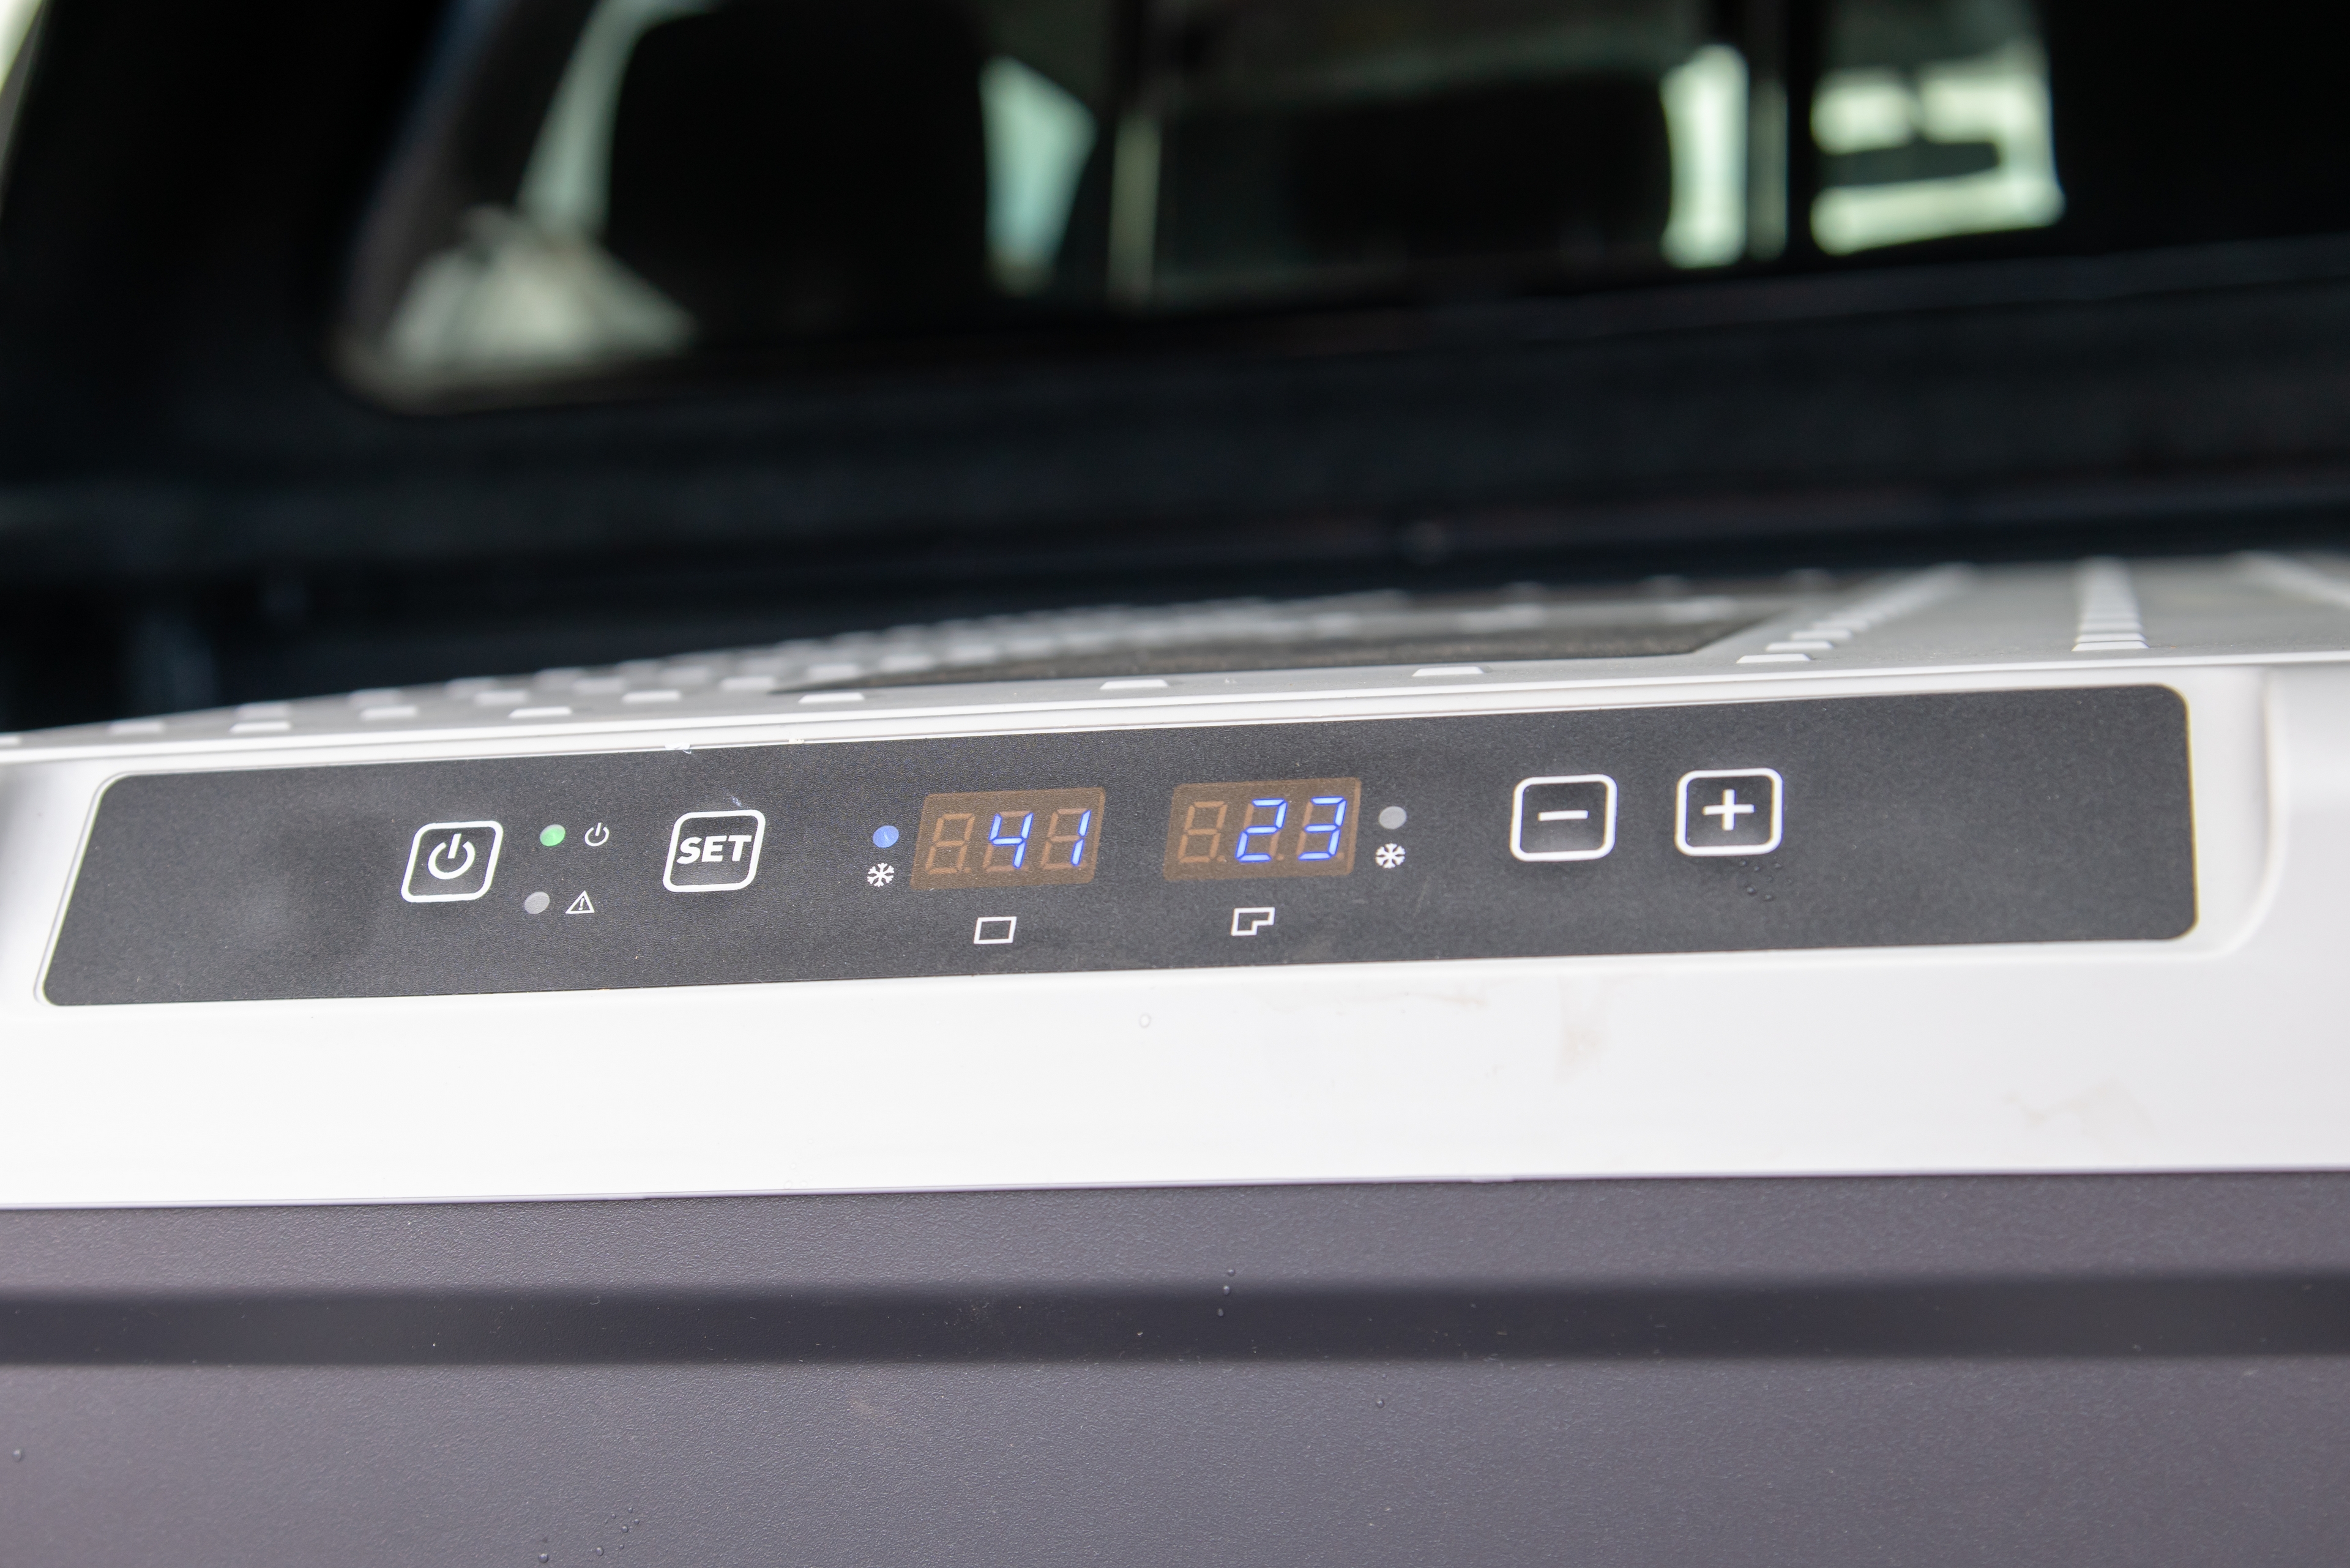
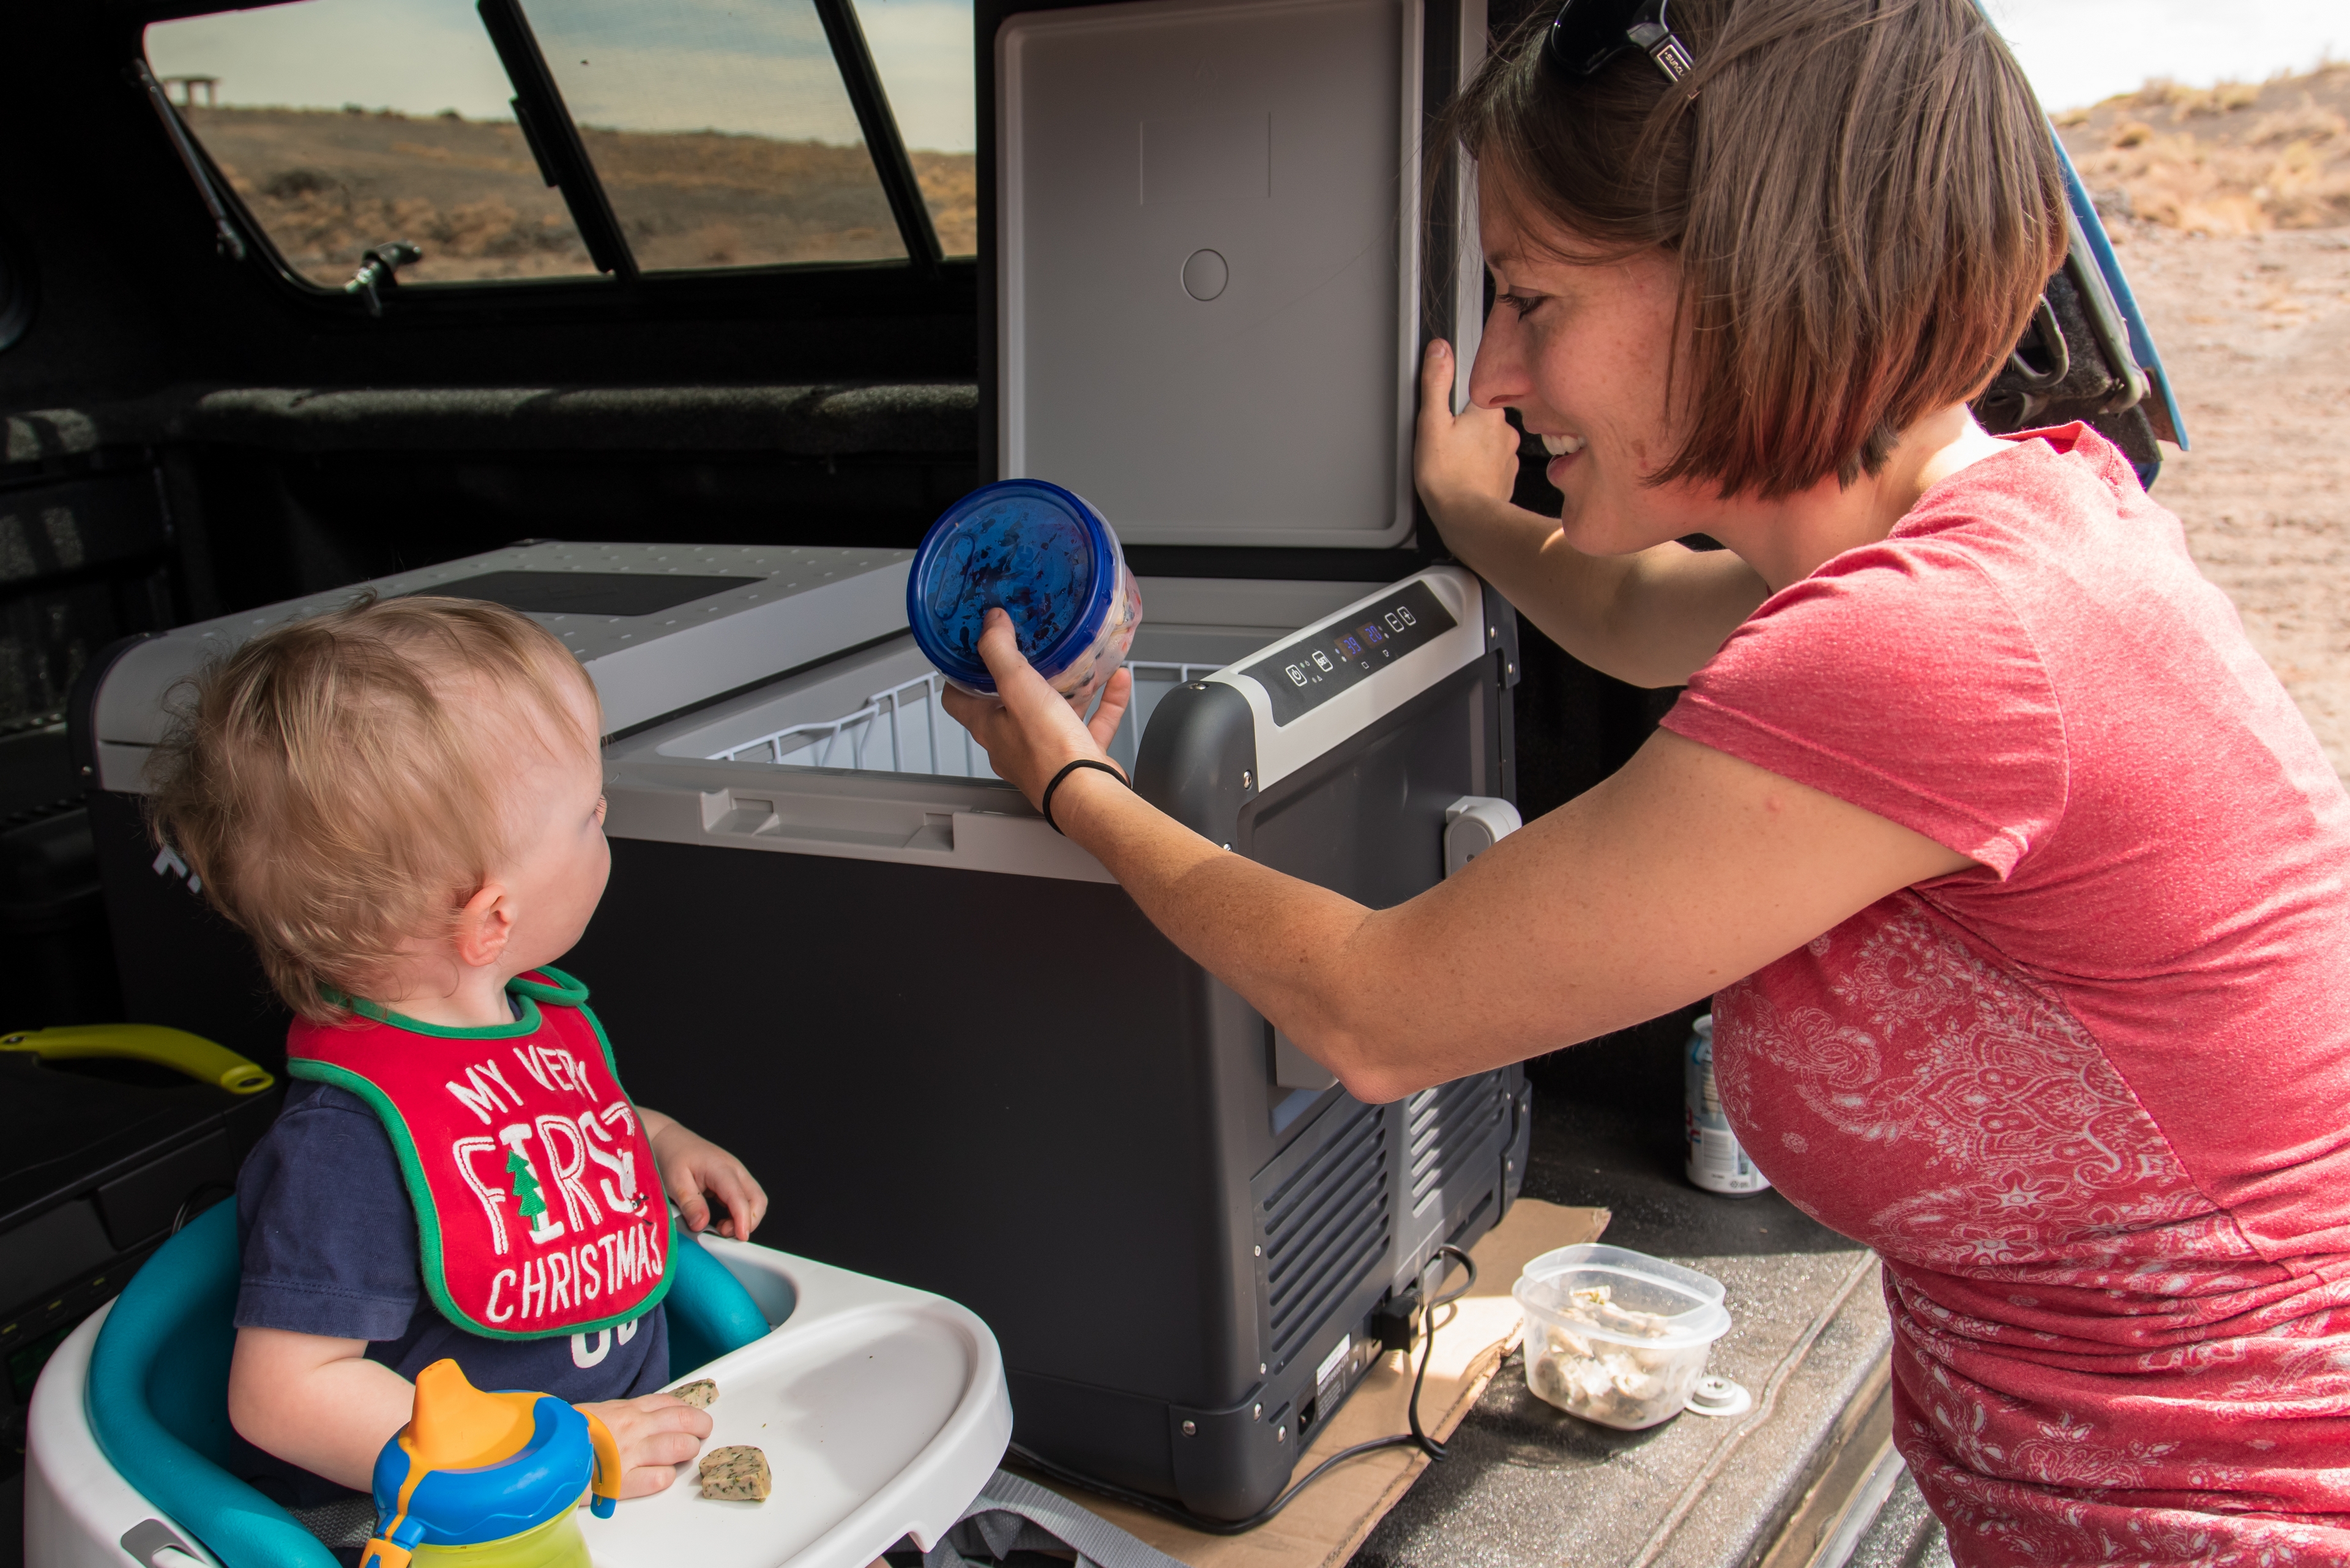
The DZ in CFX 75 DZW stands for dual zone, and that makes this electric cooler a very dynamic unit whose storage volume is 70.001 L.  You can set the temperature of each compartment individually, (from -7 to +50 F) so you can have two freezer compartments, two refrigerated compartments, or one of each, or only one compartment on, depending on what your needs are.  Each compartment can be divided further with the included baskets, allowing you to protect your crushable items or make it easy to pull out your most-used items in one go.  (Or to hide the ice cream or your favorite beverages.)  Each compartment has its own user-reversable and independently openable lid.  When it comes to finding items in the dark, each compartment also has a LED light that provides plenty of illumination and will start flashing should the lid get left open for too long.

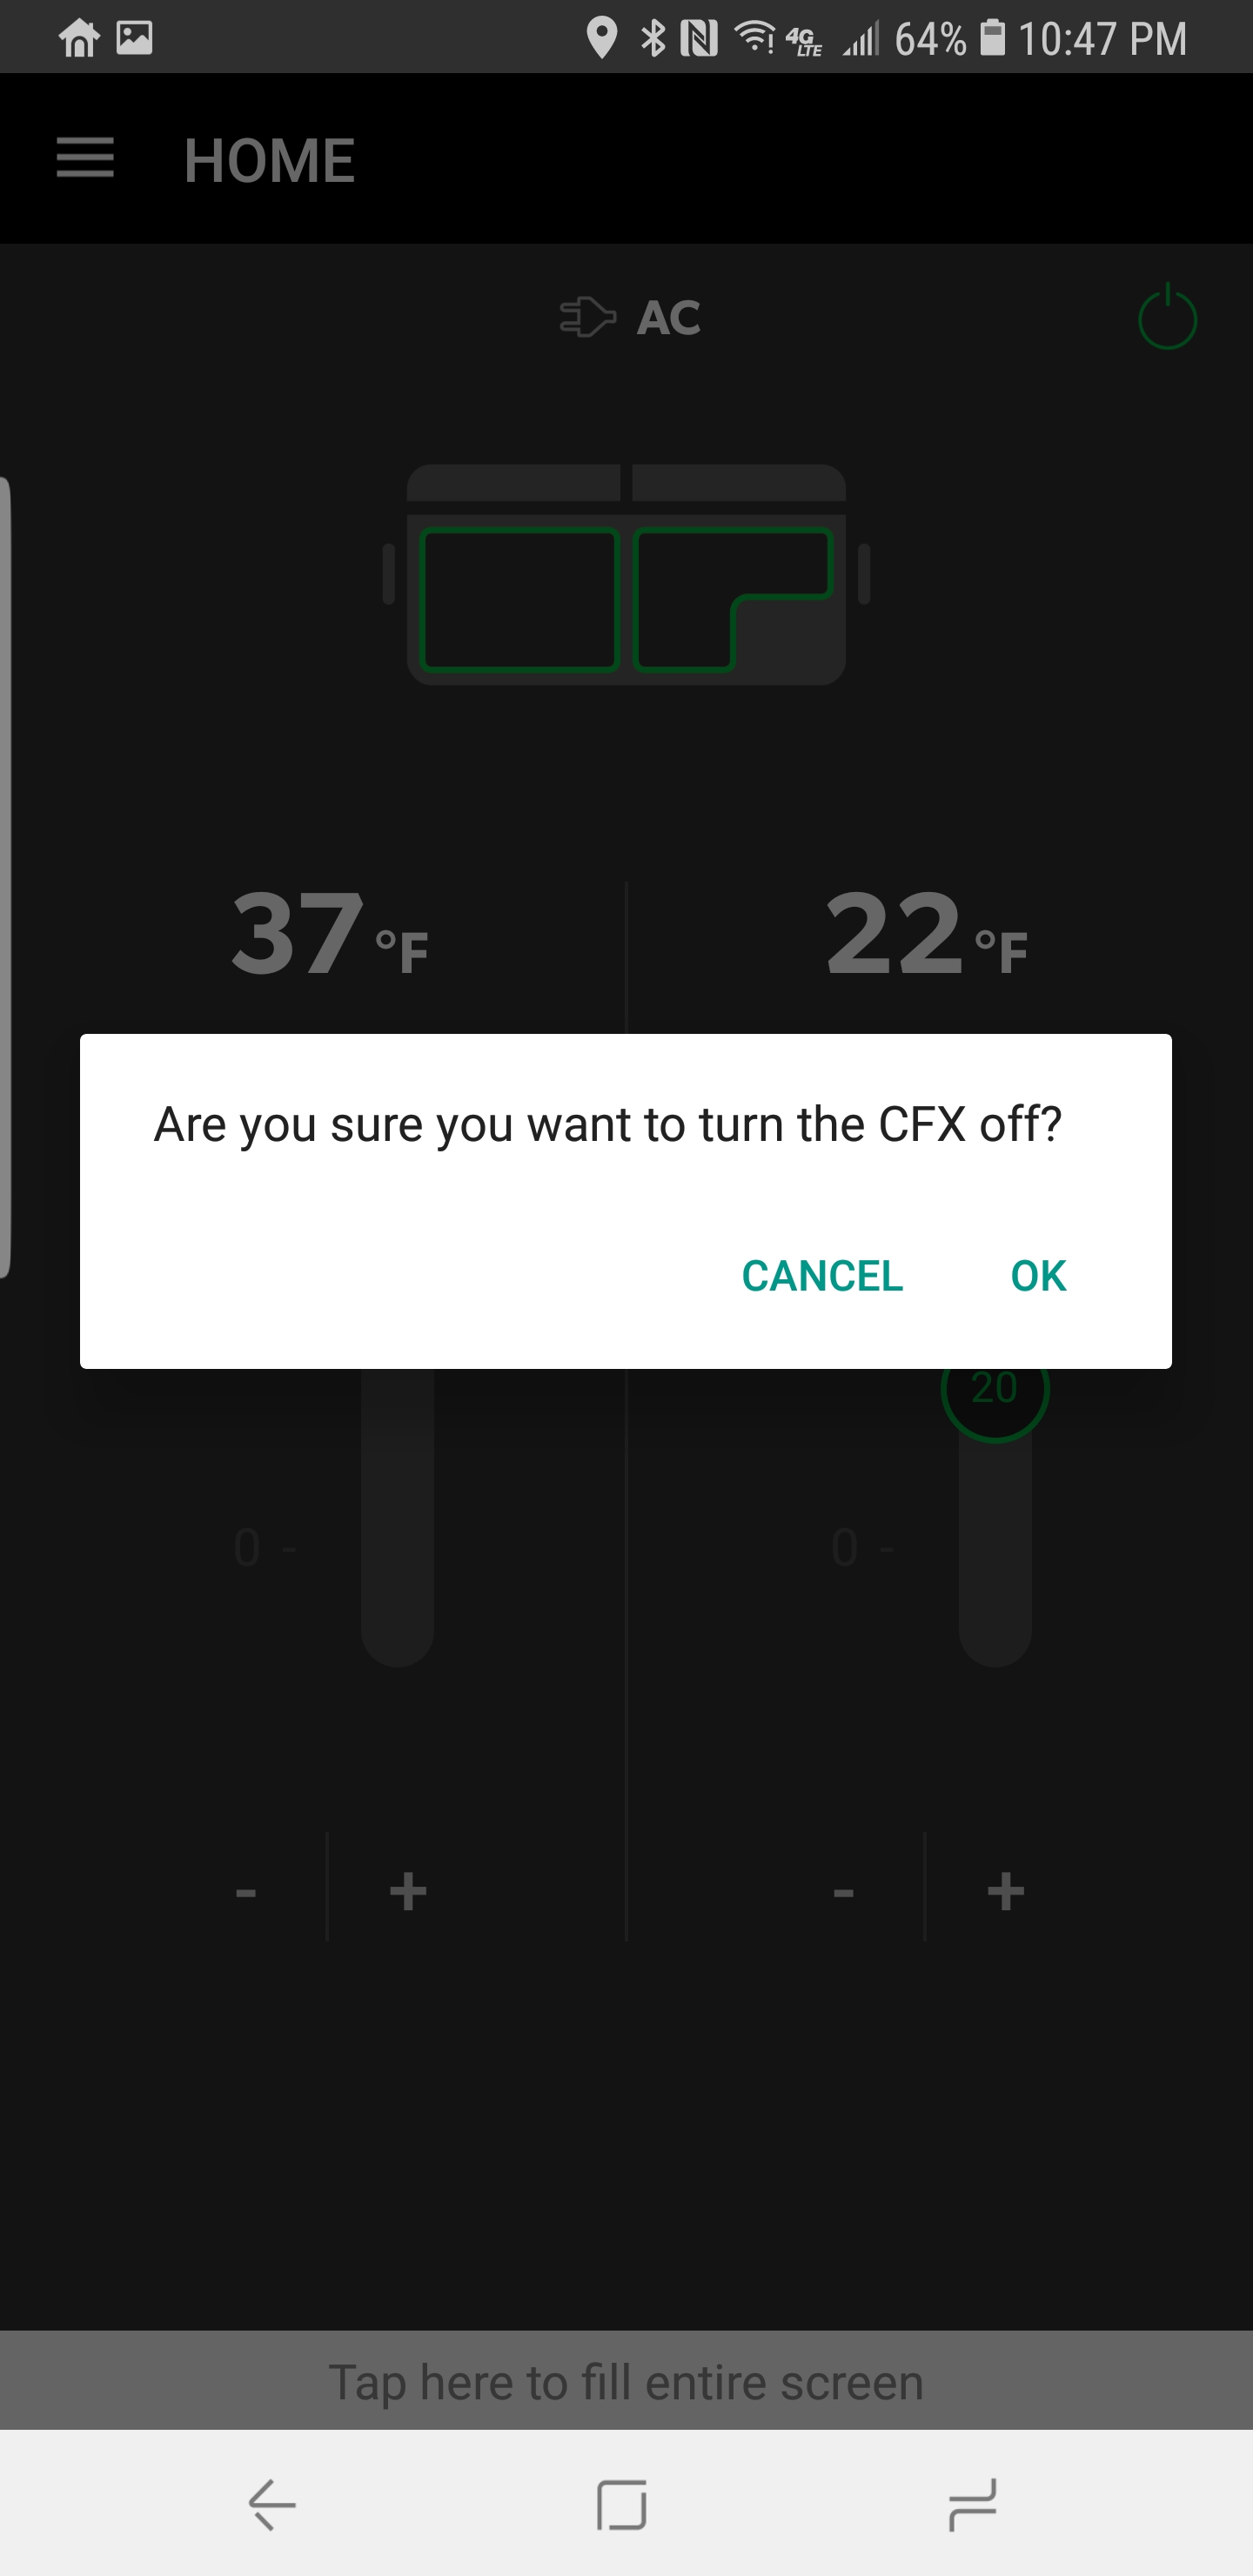
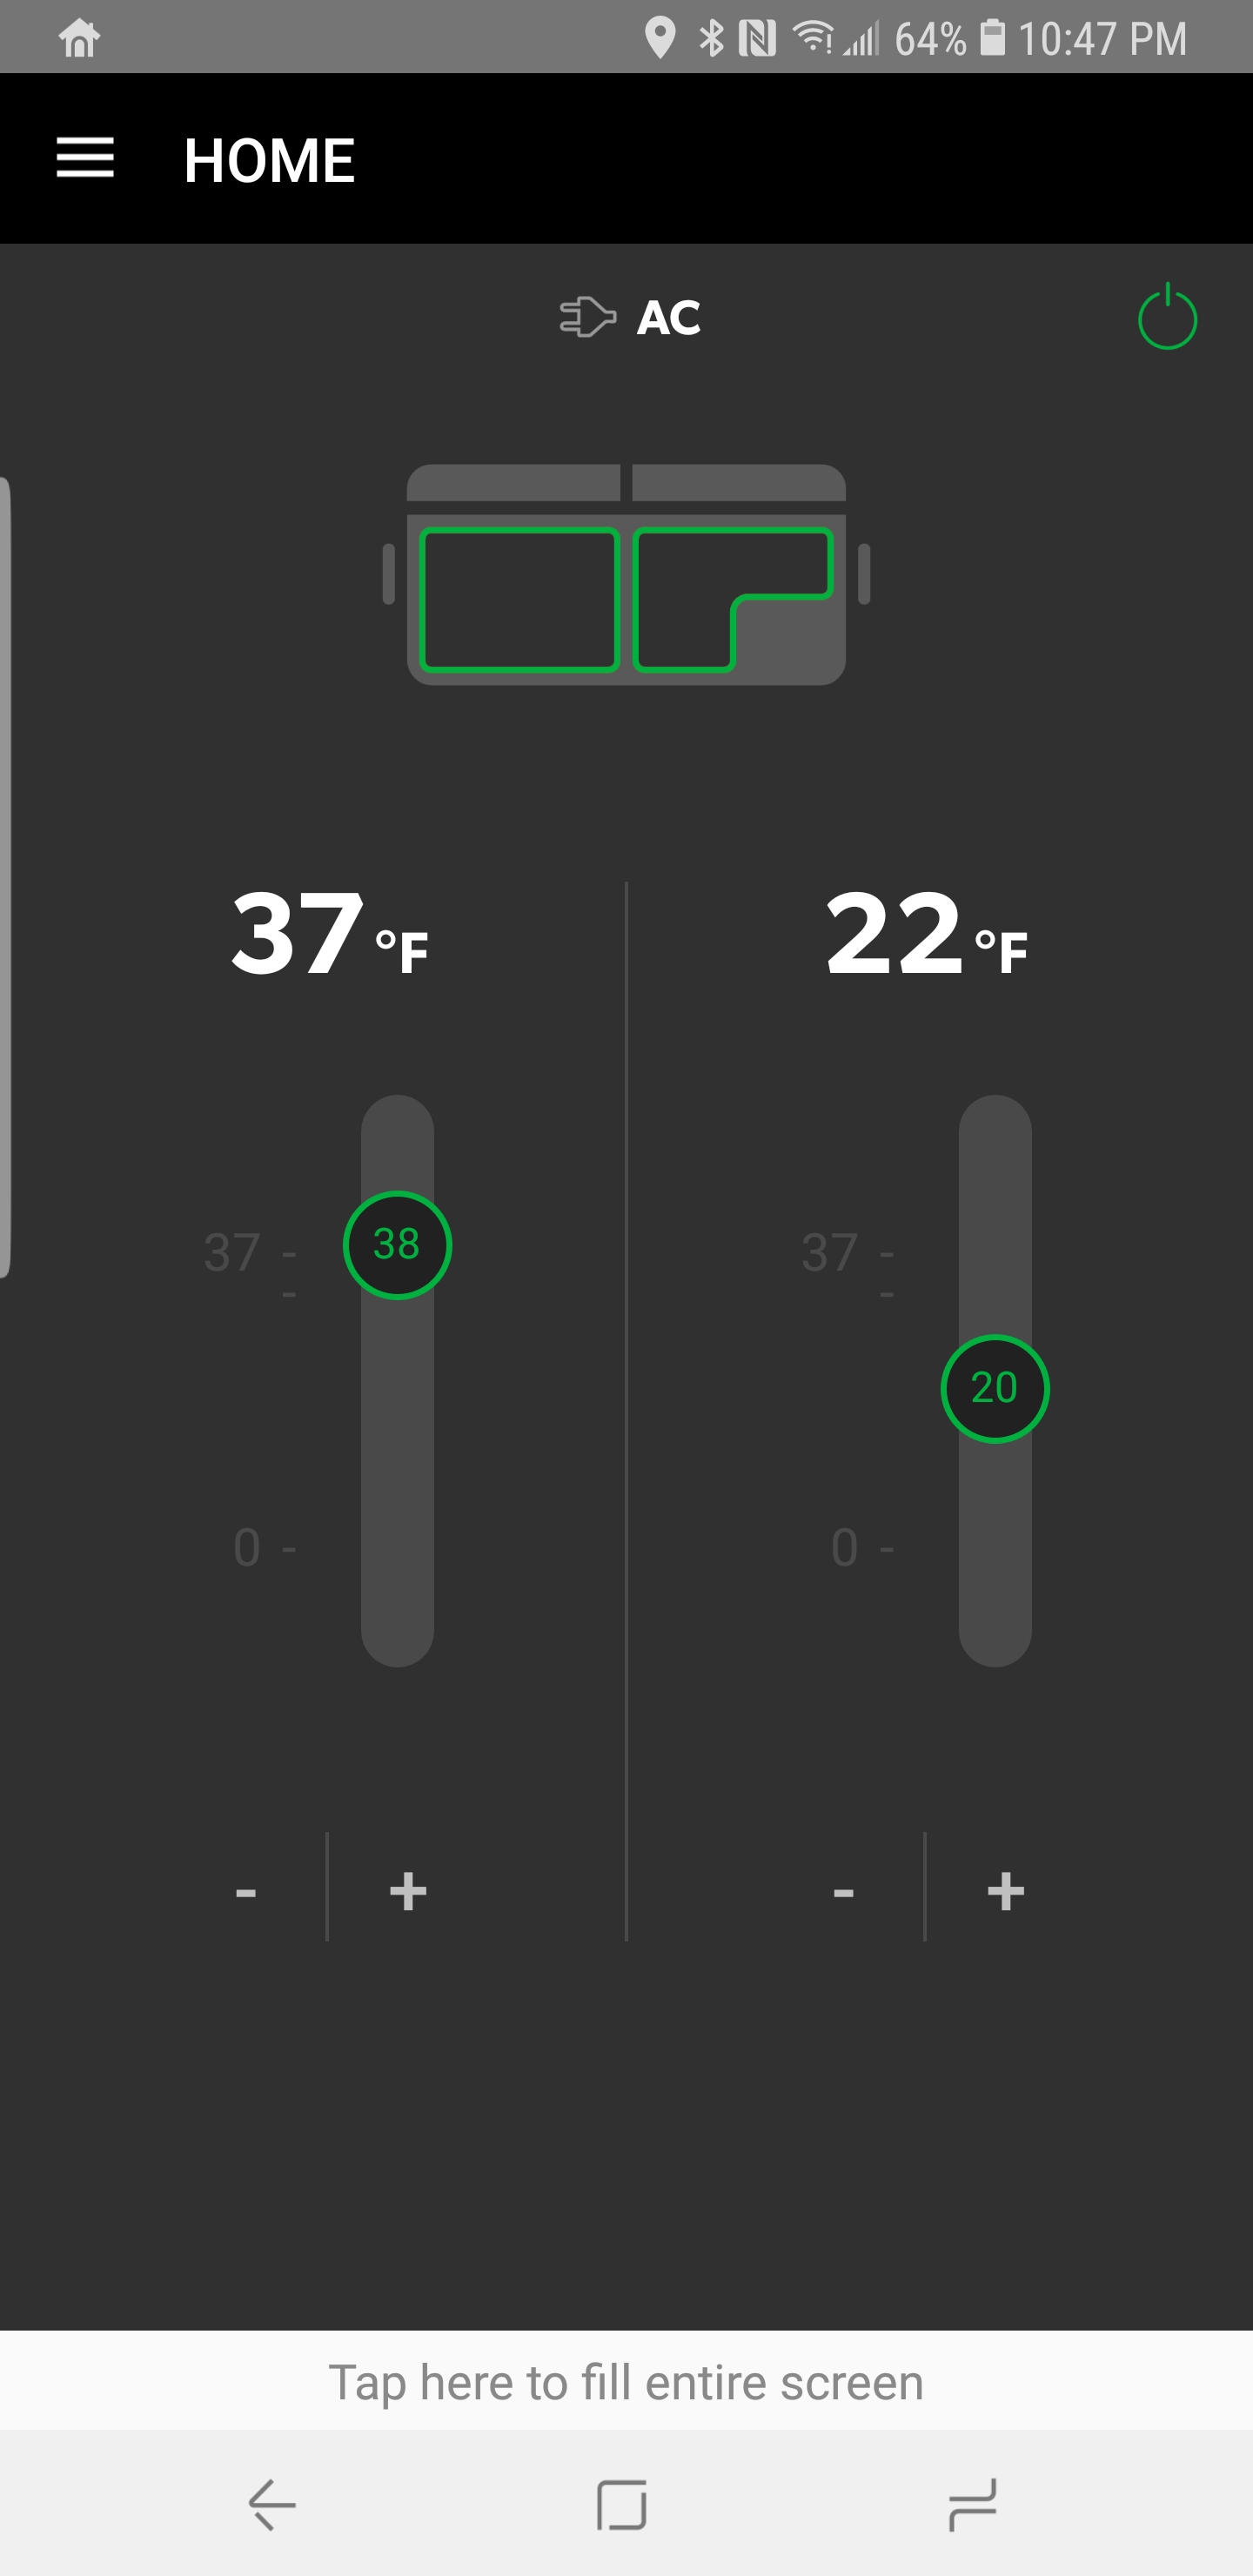
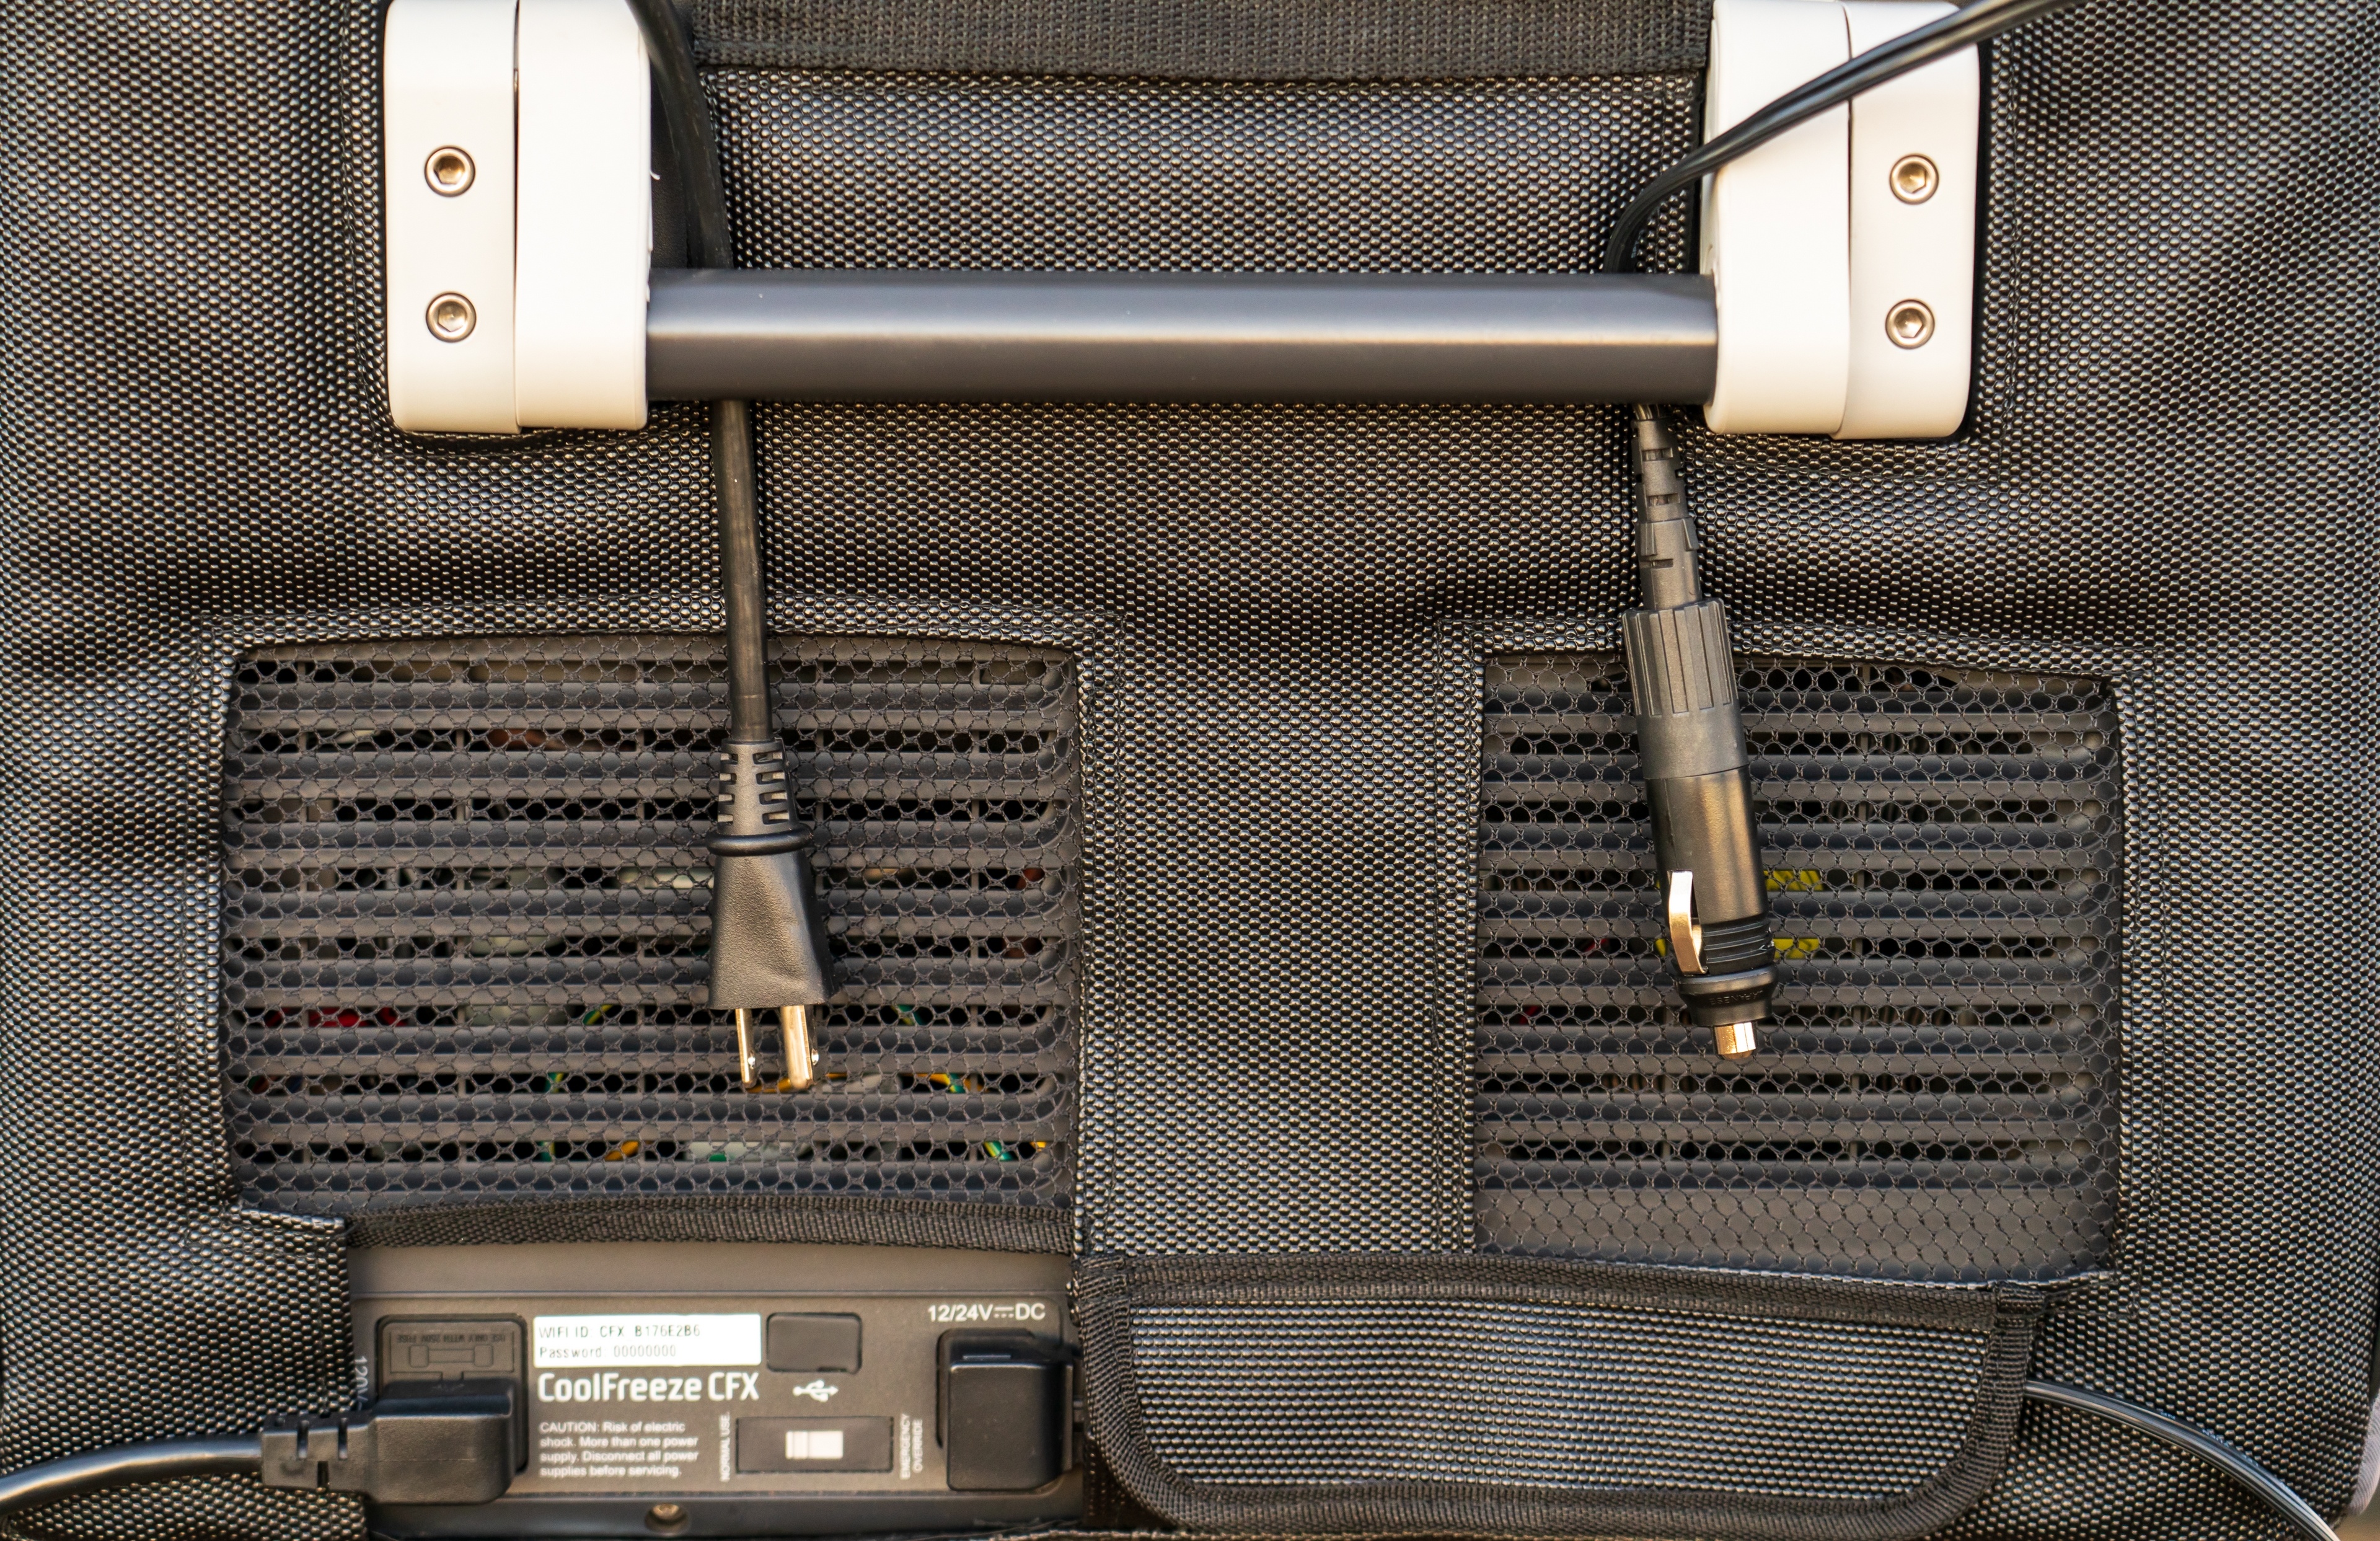
Further utilizing modern technology and the computers that we all carry in our pockets, the CFX 75 DZW also has Wi Fi capability, allowing you to perform a number of functions remotely.  With the CFX app, you can set the temperatures in each compartment, set battery protection levels, set temperature alarms, and see your supply voltage when on DC power, among other features.  Having the CFX app is handy when you’re going to be parked for some time in camp, as you’ll know if and when you need to haul out your solar setup or provide some power to your battery system.  More on power in a minute.

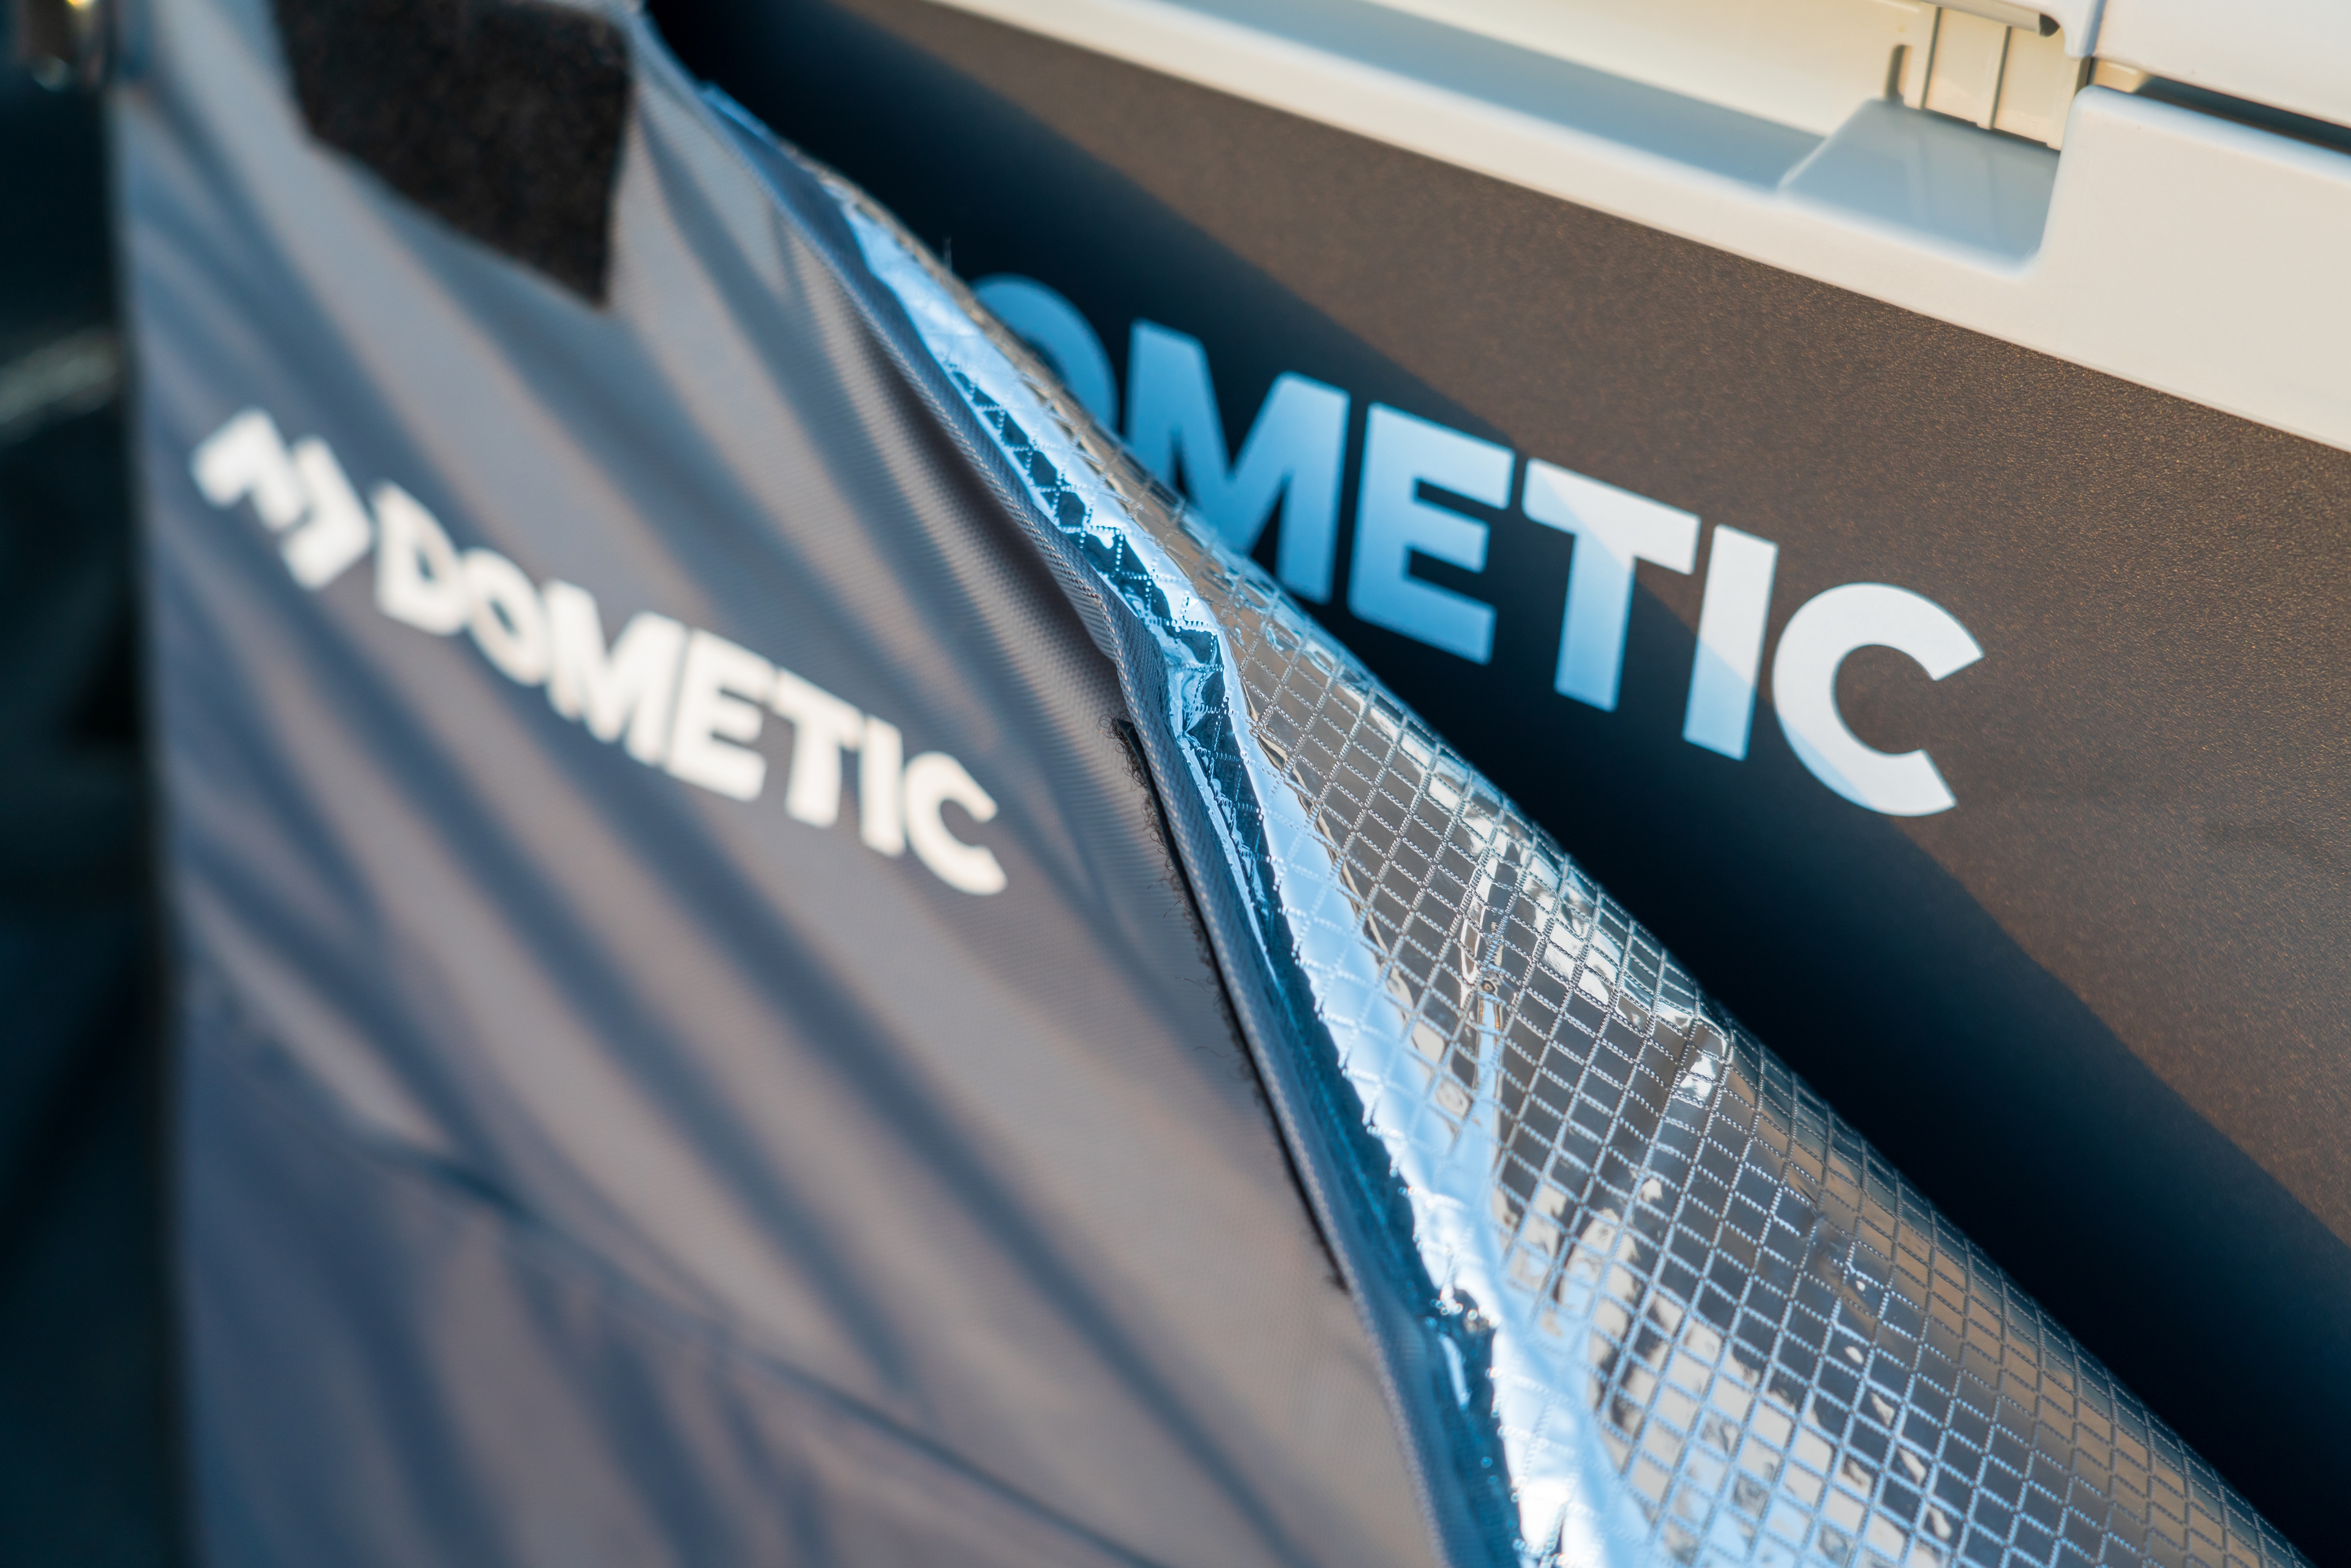
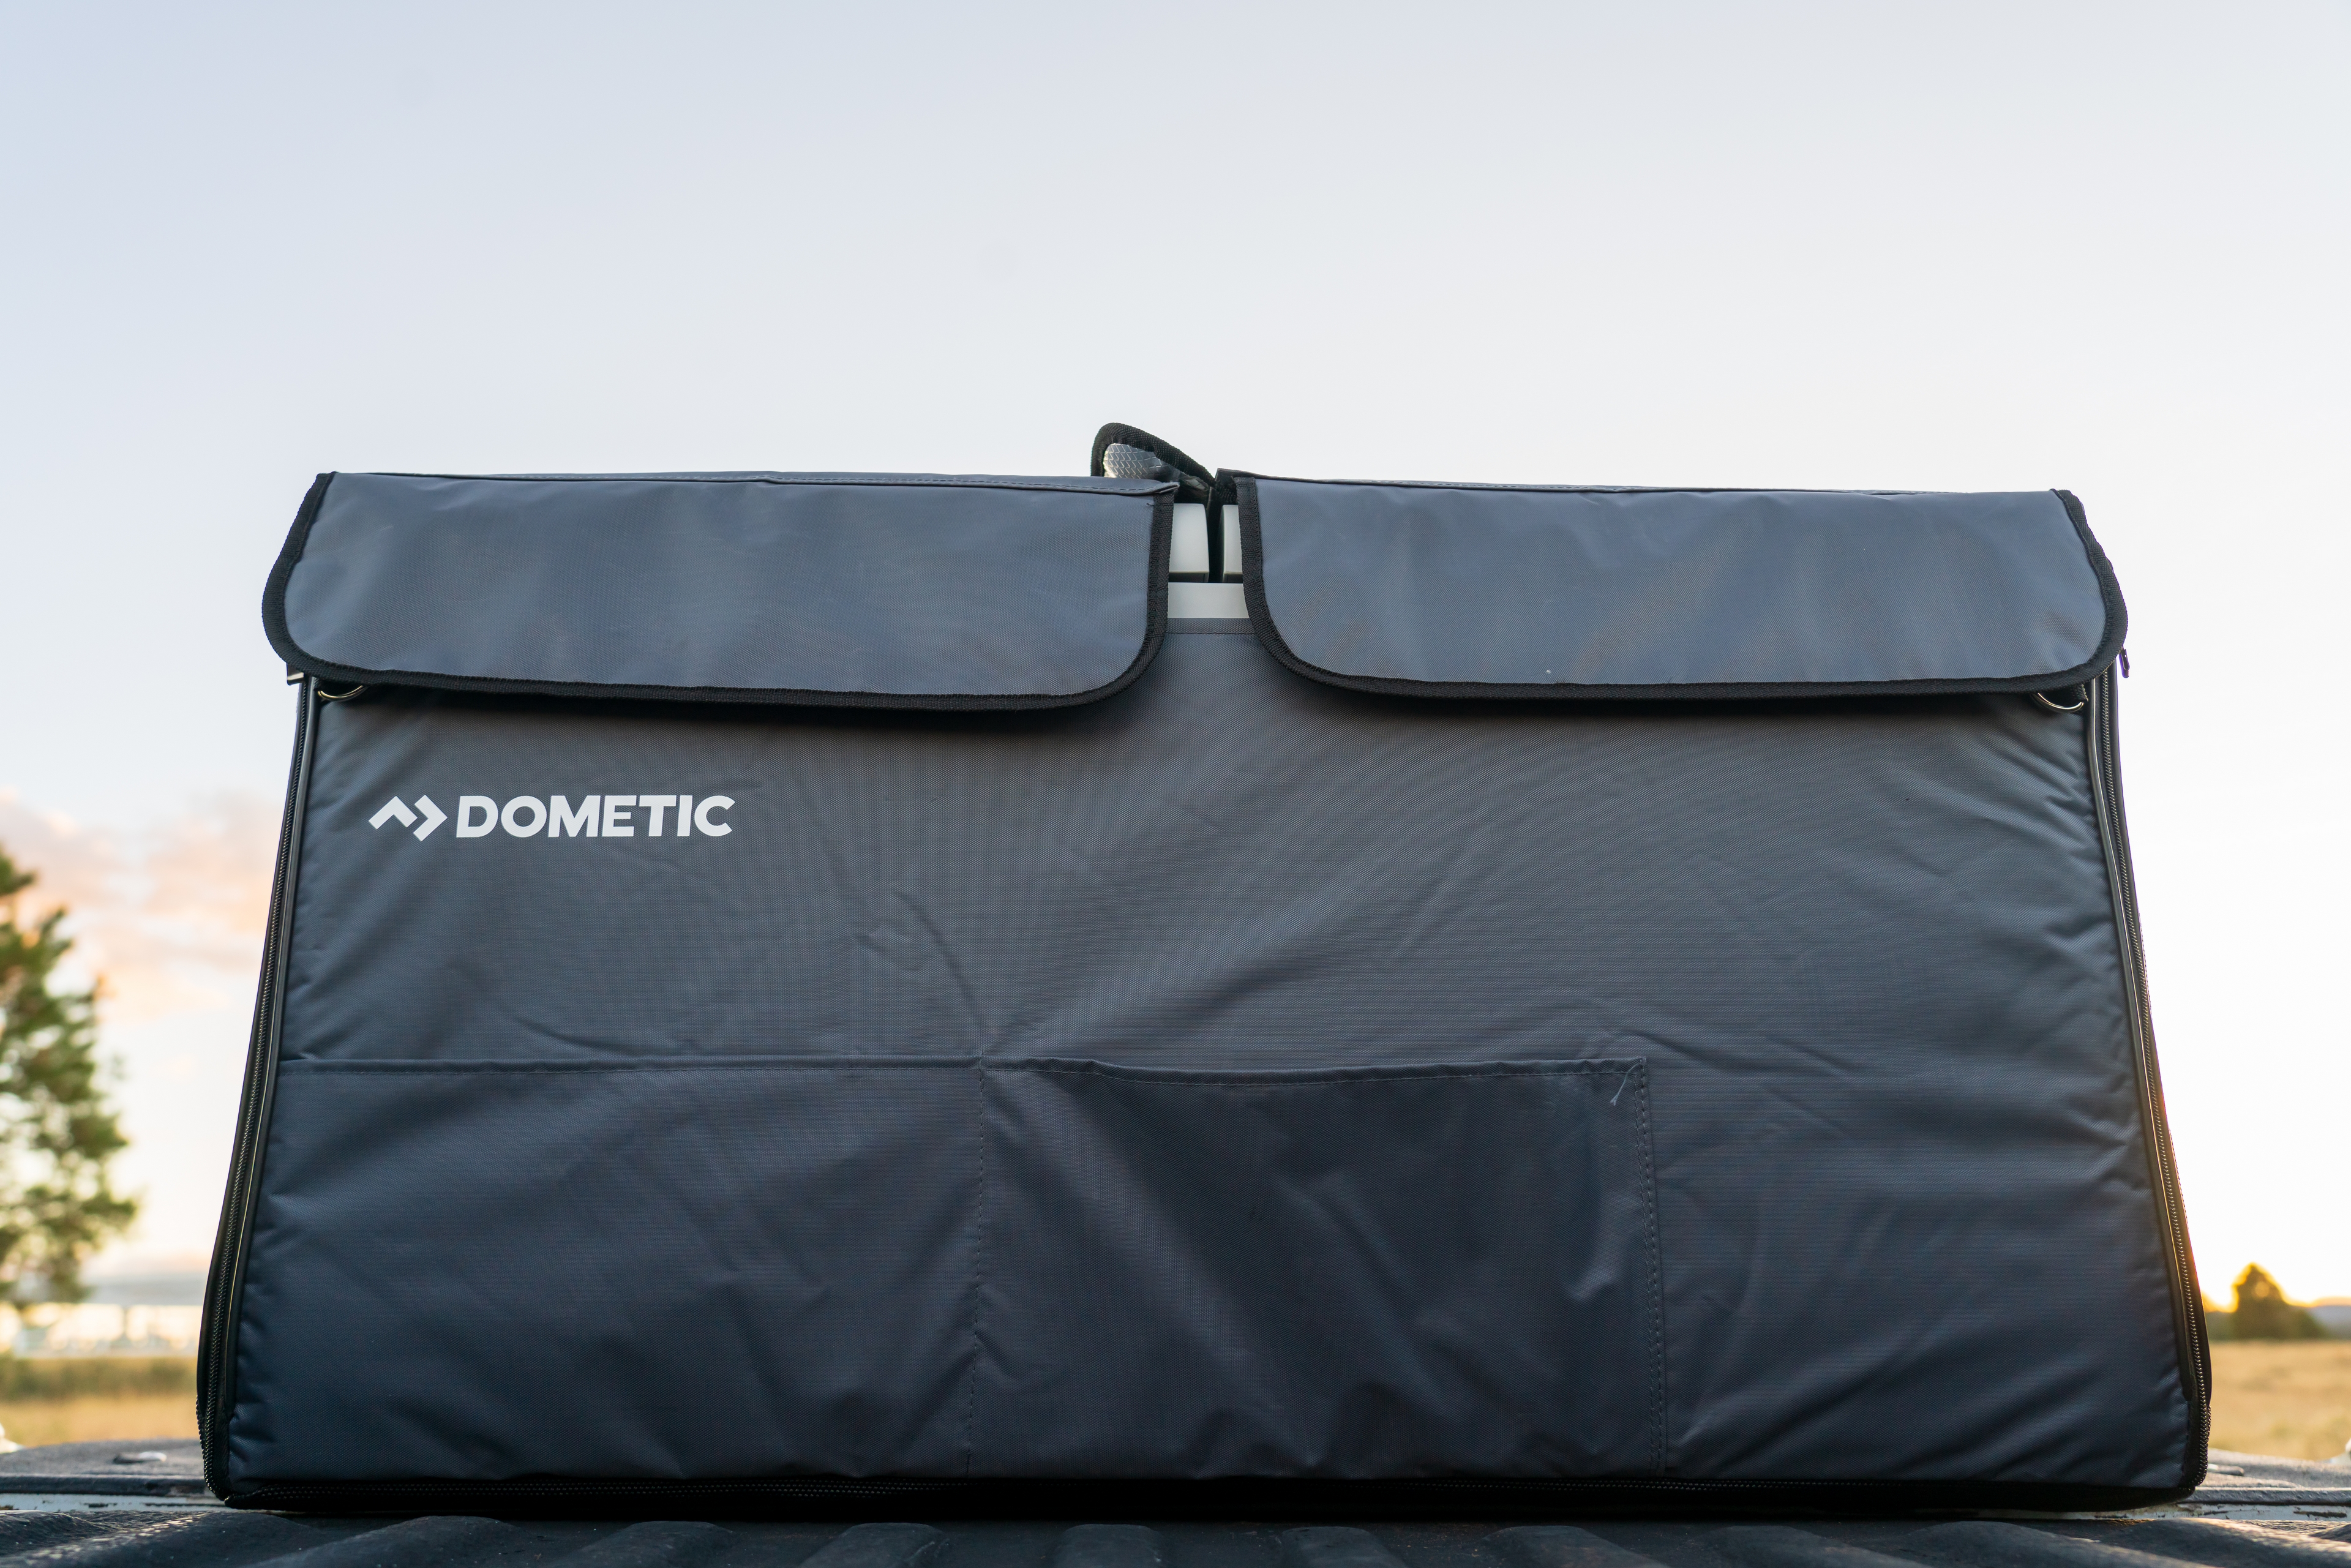
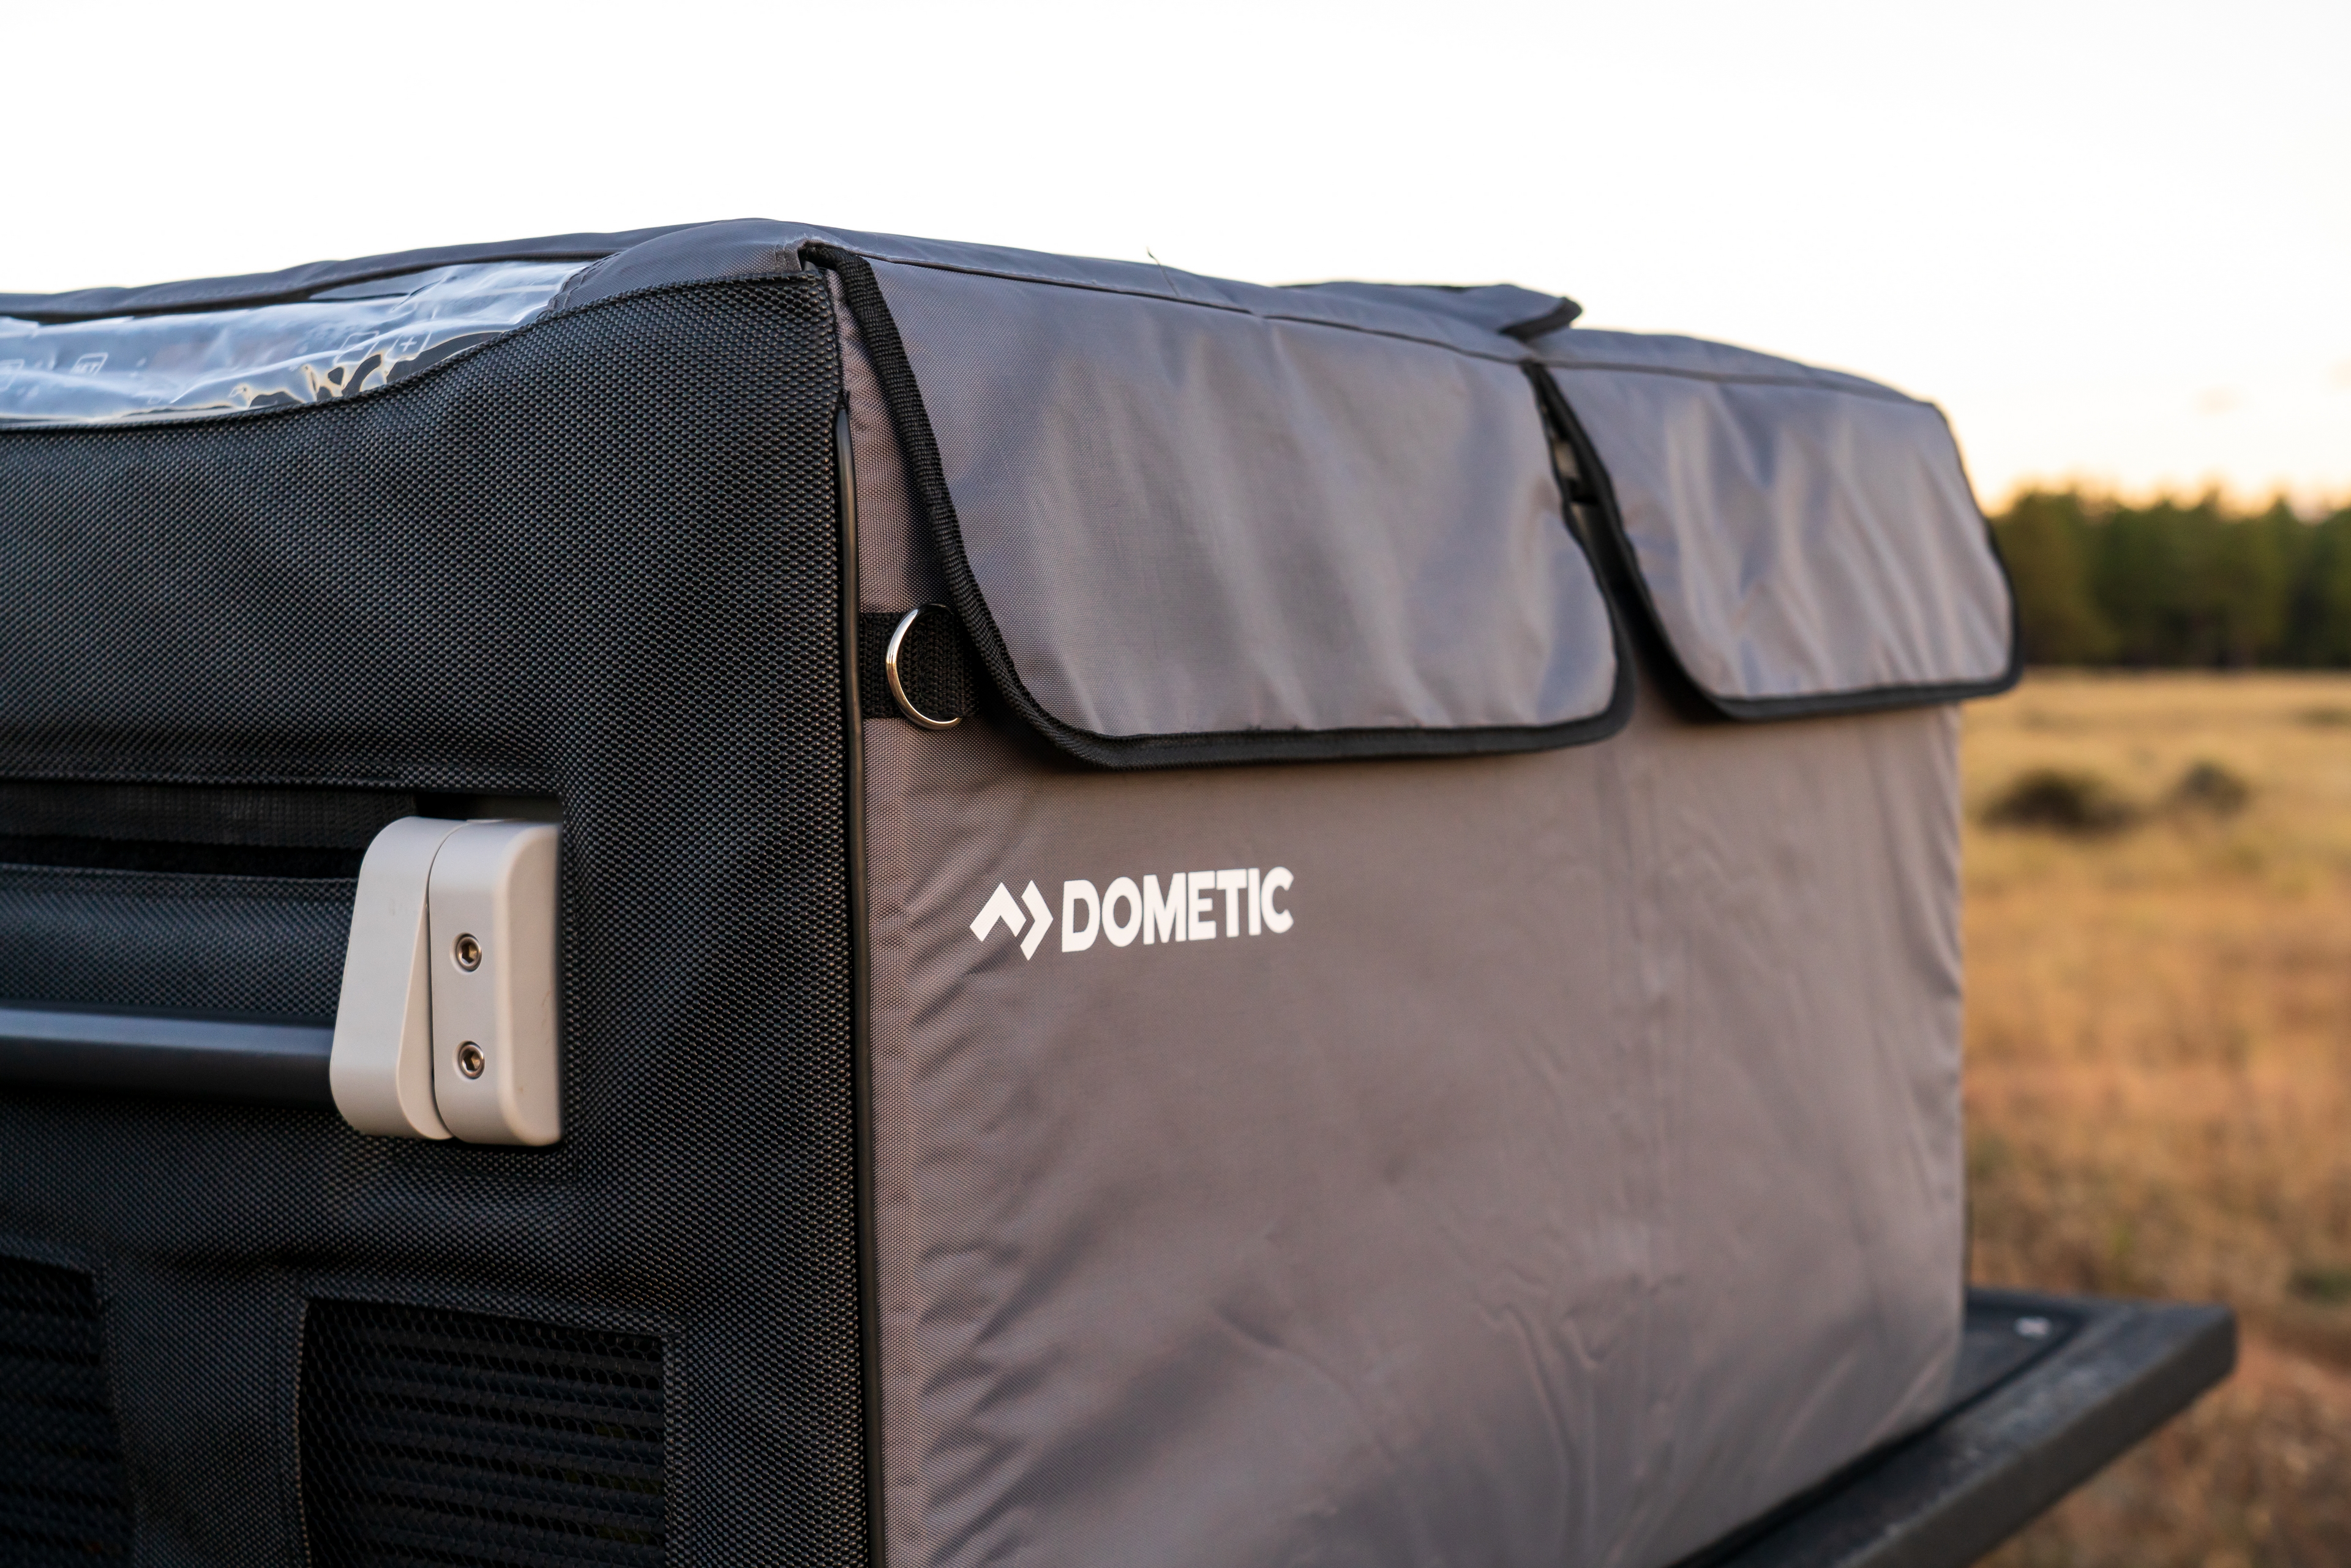
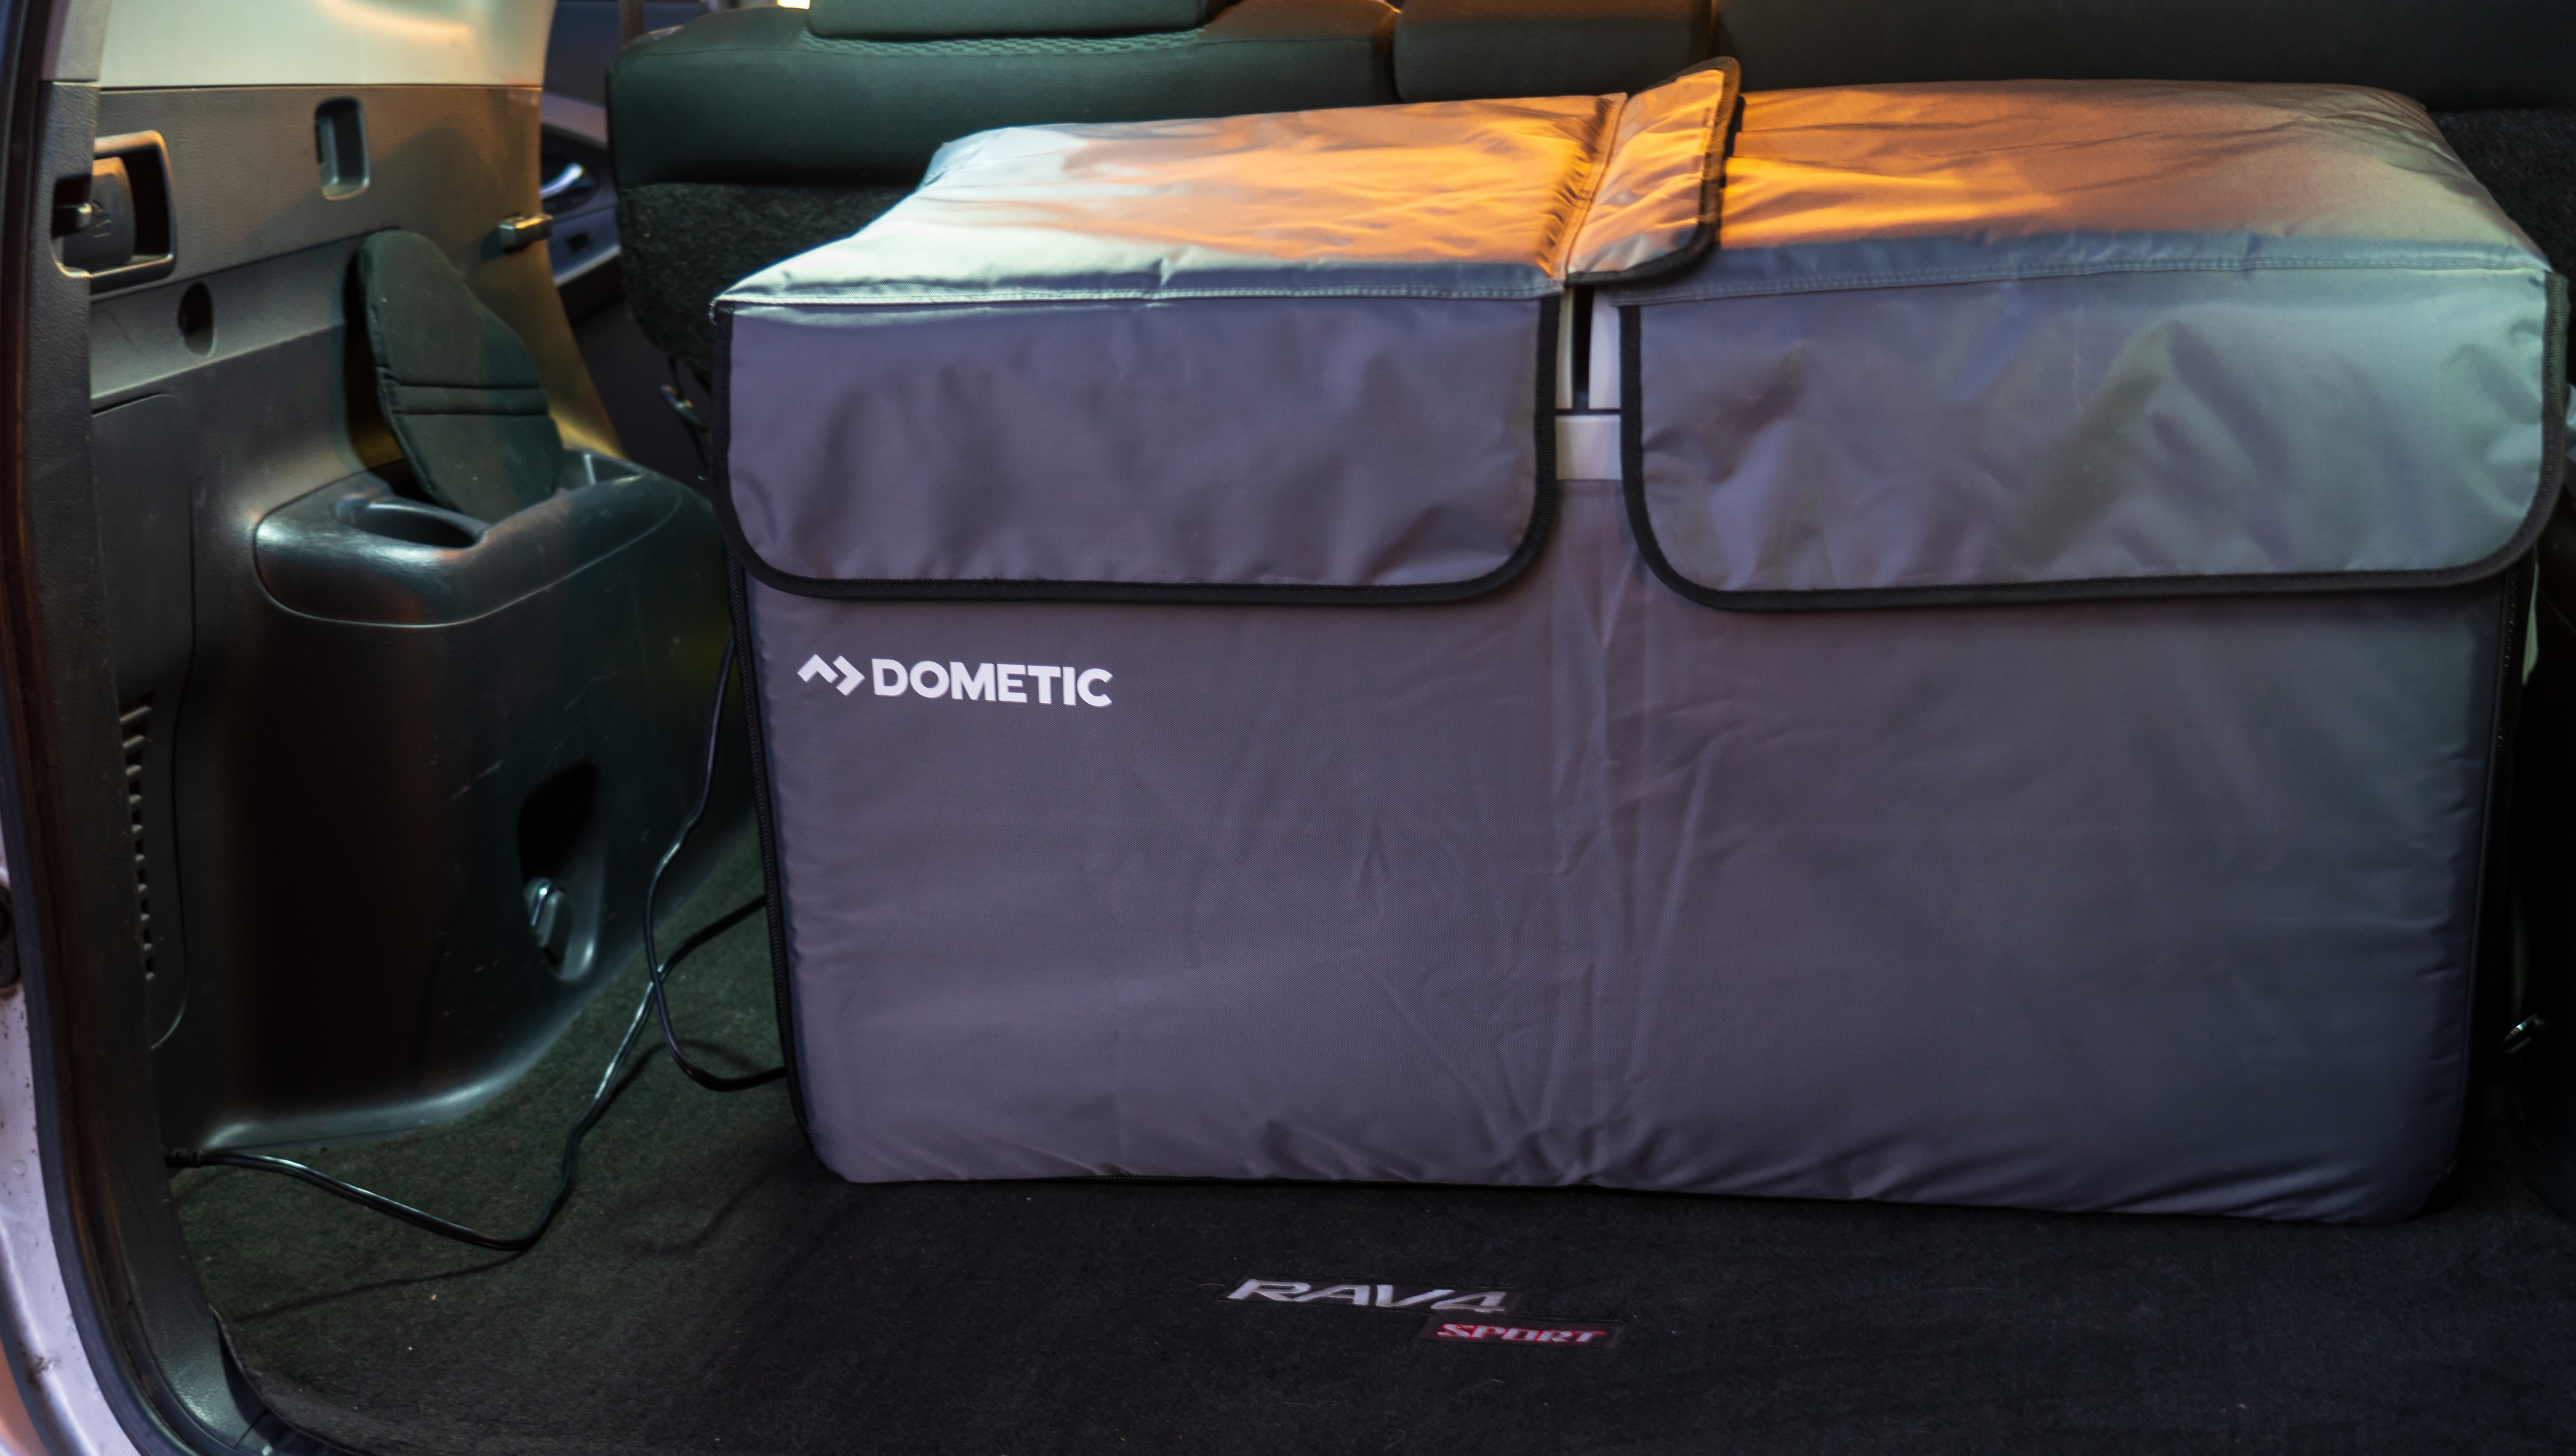
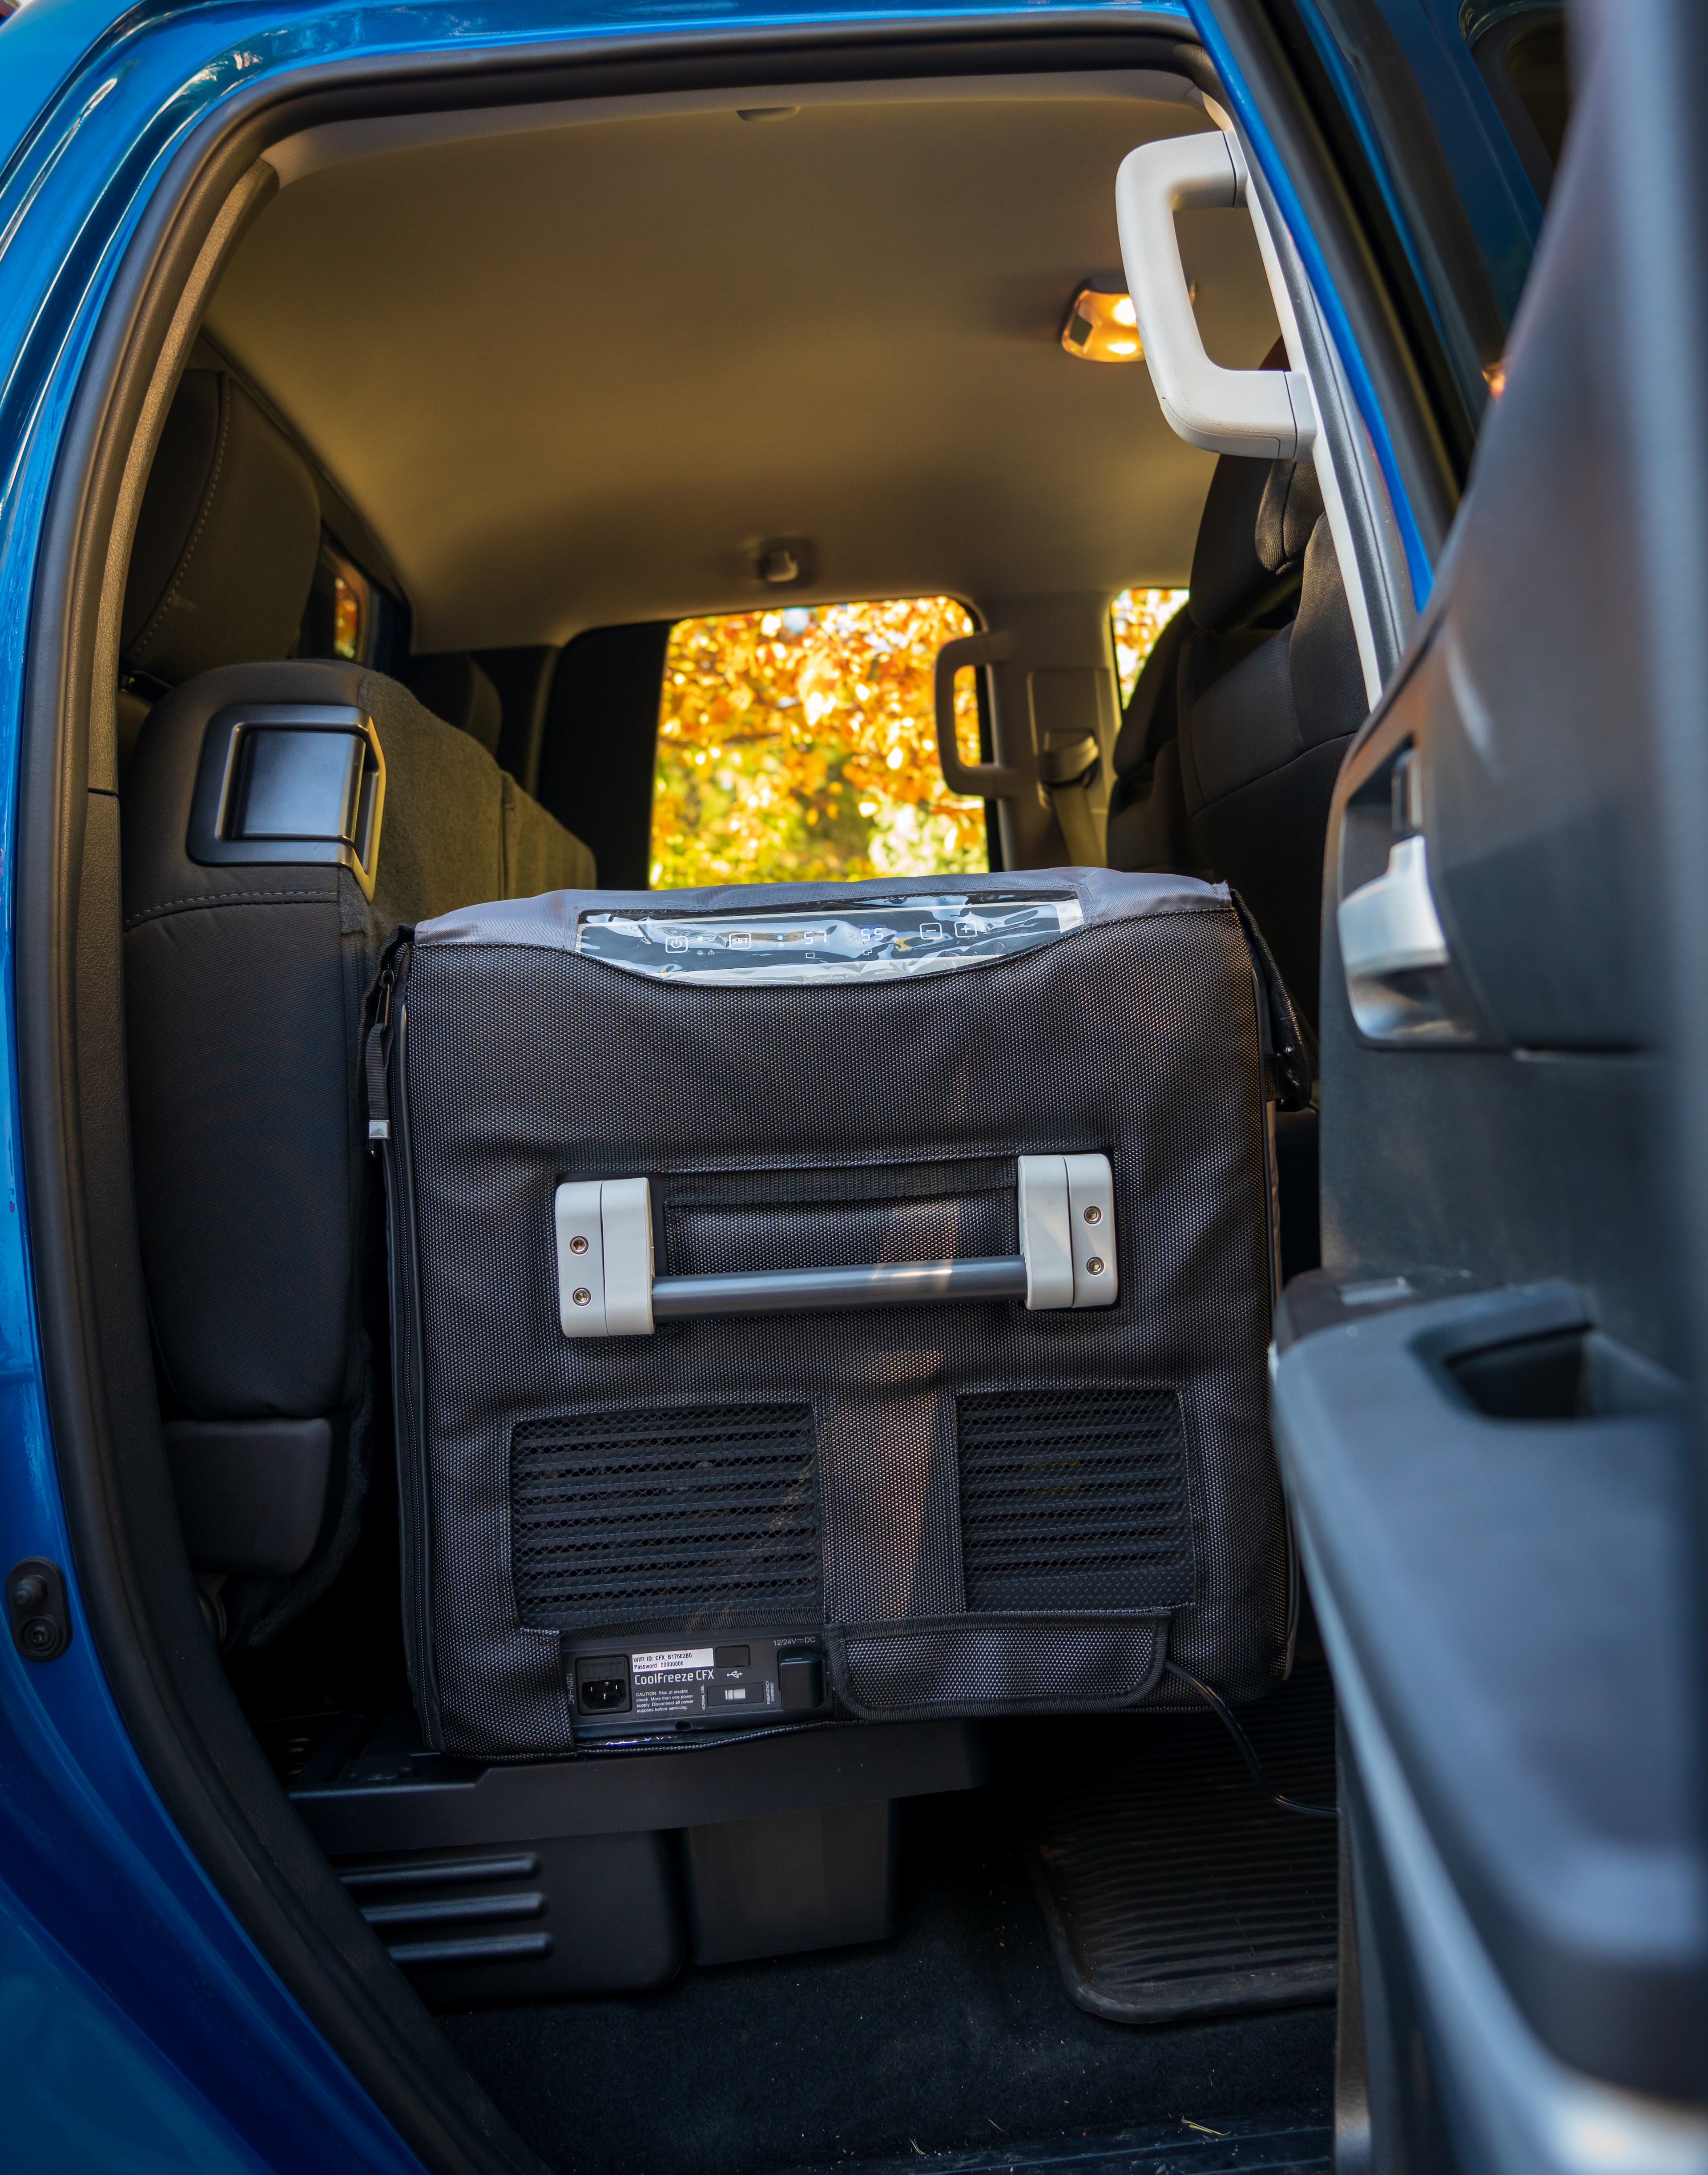
Dometic also makes an insulated cover for the CFX 75 DZW, which is a well-made jacket that fits over the unit to provide additional insulation, and therefore reduce energy consumption.  To see just how much of a difference the insulated cover made, I performed the following test once with the insulated cover and once without:  In a temperature-controlled environment, I started with a room temperature unit, and cooled one compartment to 38 degrees and the other to 20 degrees.  I then loaded the unit with the same amount of food, and let the unit sit for a week – opening the lid of each compartment six times each day for 15 seconds each time I opened a lid.  I had the unit powered through a power meter, and at the end of my test the insulated cover caused the unit to use 19.5% less energy.

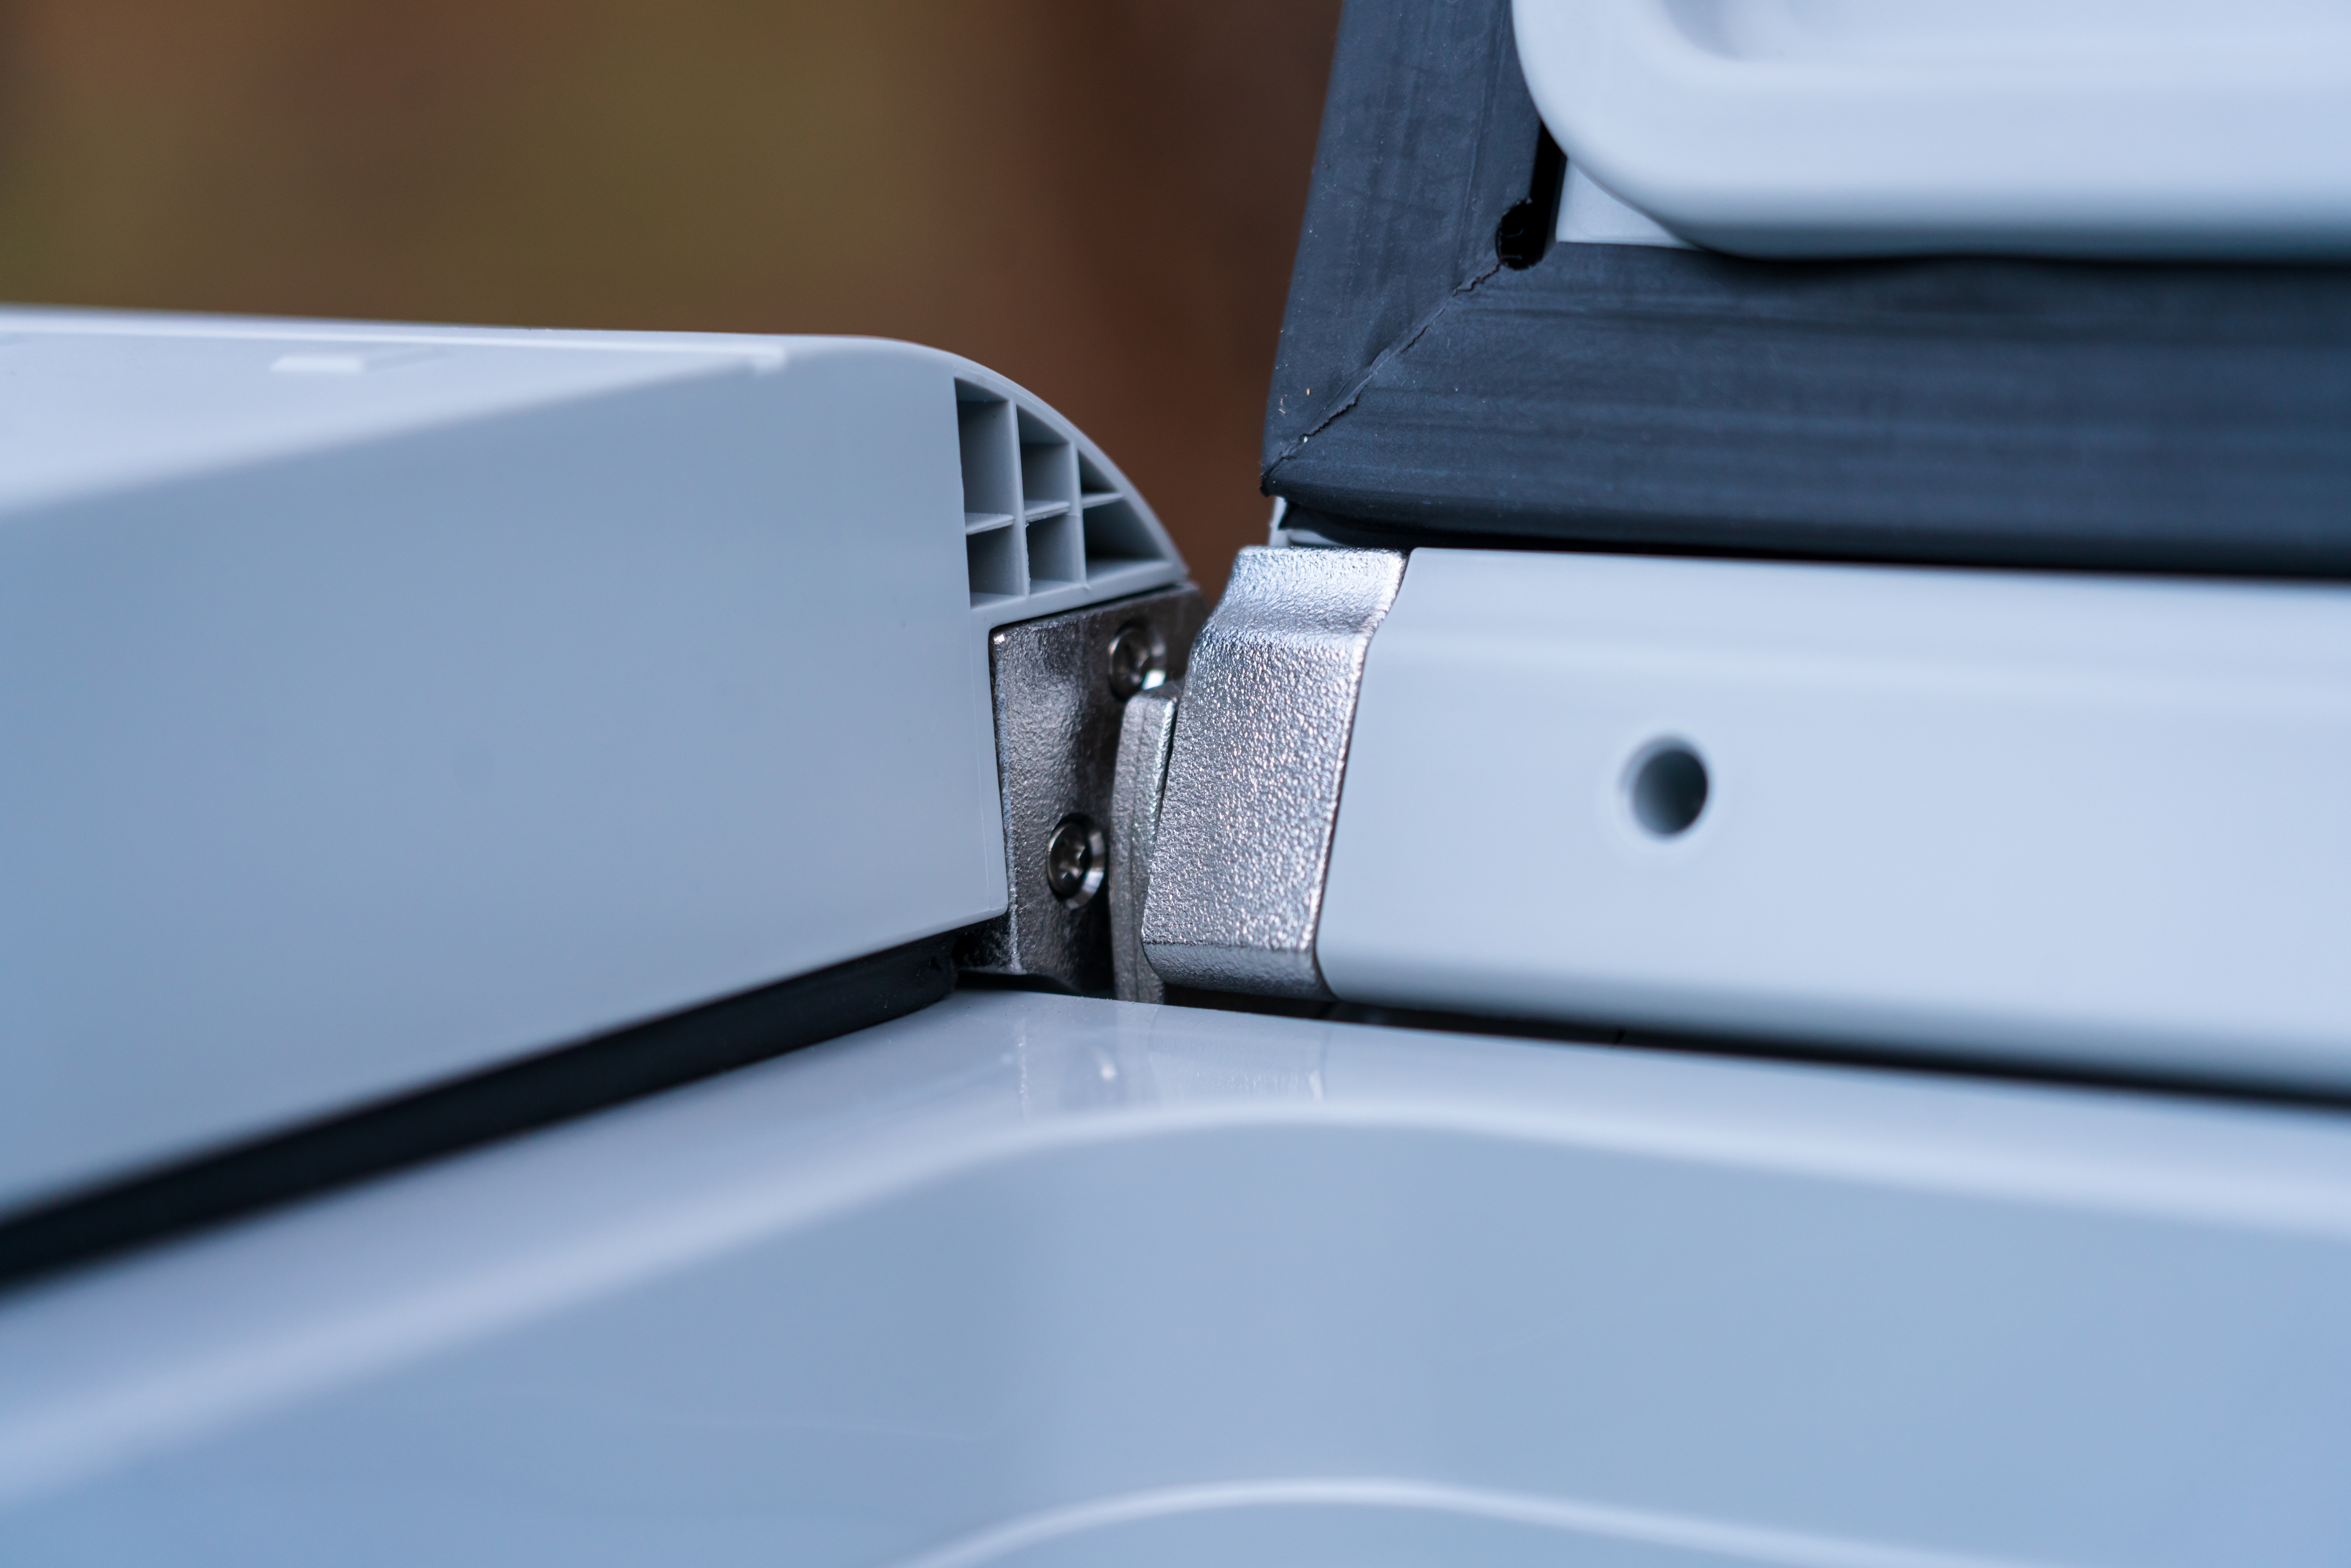
Yet, the insulated cover highlights one CFX 75 DZW’s two shortcomings, one of which is that the latch side of the unit’s lid isn’t the most obvious.  I watched folks who had never seen the unit open the insulated cover (opening a few Velcro flaps) to access the lid and several folks reached for hinge side of the lid by mistake.  Obviously, if you know your gear this won’t be an issue, but don’t be surprised if it throws your buddy for a loop the first few times they try and get in your fridge or freezer. Maybe that’s a blessing in disguise as your IPA’s remain elusive.

The other issue is the USB port that Dometic had the forethought to put on the cooler.  While it might seem like a great idea as the USB port is in a prime location, (you always make it easy to get to your fridge / freezer) it’s only able to output 500-milliamps.  This low output current makes the USB port all but useless, as many devices won’t work, or will take forever and a day to charge as a result of the low current output.  I hope that the next revision of CFX electric coolers will get a more powerful USB port or two, as it’s a great idea for a world that can never have enough USB power.

Even when you’re not out adventuring, the CFX 75 DZW is a great tool to have on hand.  Heading out for errands on a hot day?  No need to worry about food spoiling in your car with an electric cooler in the back to keep things cold.  Hosting a social event where you need some extra fridge or freezer space?  Simply setup your electric cooler wherever it’s most convenient.  Having a highly-efficient fridge and / or freezer that can go just about anywhere is game changing for so many more activities than vehicle-based adventure travel.

Dometic has made the CFX 75 DZW so easy and idiot-proof to use that you’ll wonder why you didn’t get on the electric cooler train sooner.  Ice-powered super coolers are definitely head and shoulders over el cheapo coolers that fall apart after a few trips, but super coolers still consume ice, and ice at the store costs money and still melts, and that water can still get in or on things you want to stay dry in your cooler.  Not having to care for ice (unless you need it for putting in your adult beverages, and it turns out its really easy to keep ice with a freezer) is a profound upgrade to your adventuring experience:  You can keep frozen stuff frozen for days on end, or keep your favorite items at just the right temperature.  With a 12V fridge/freezer, you can break out the ice cream on day 10, and never have to worry if all that bouncing around off-road caused your cheese or other sensitive provision to go swimming in the bottom of your ice powered cooler.

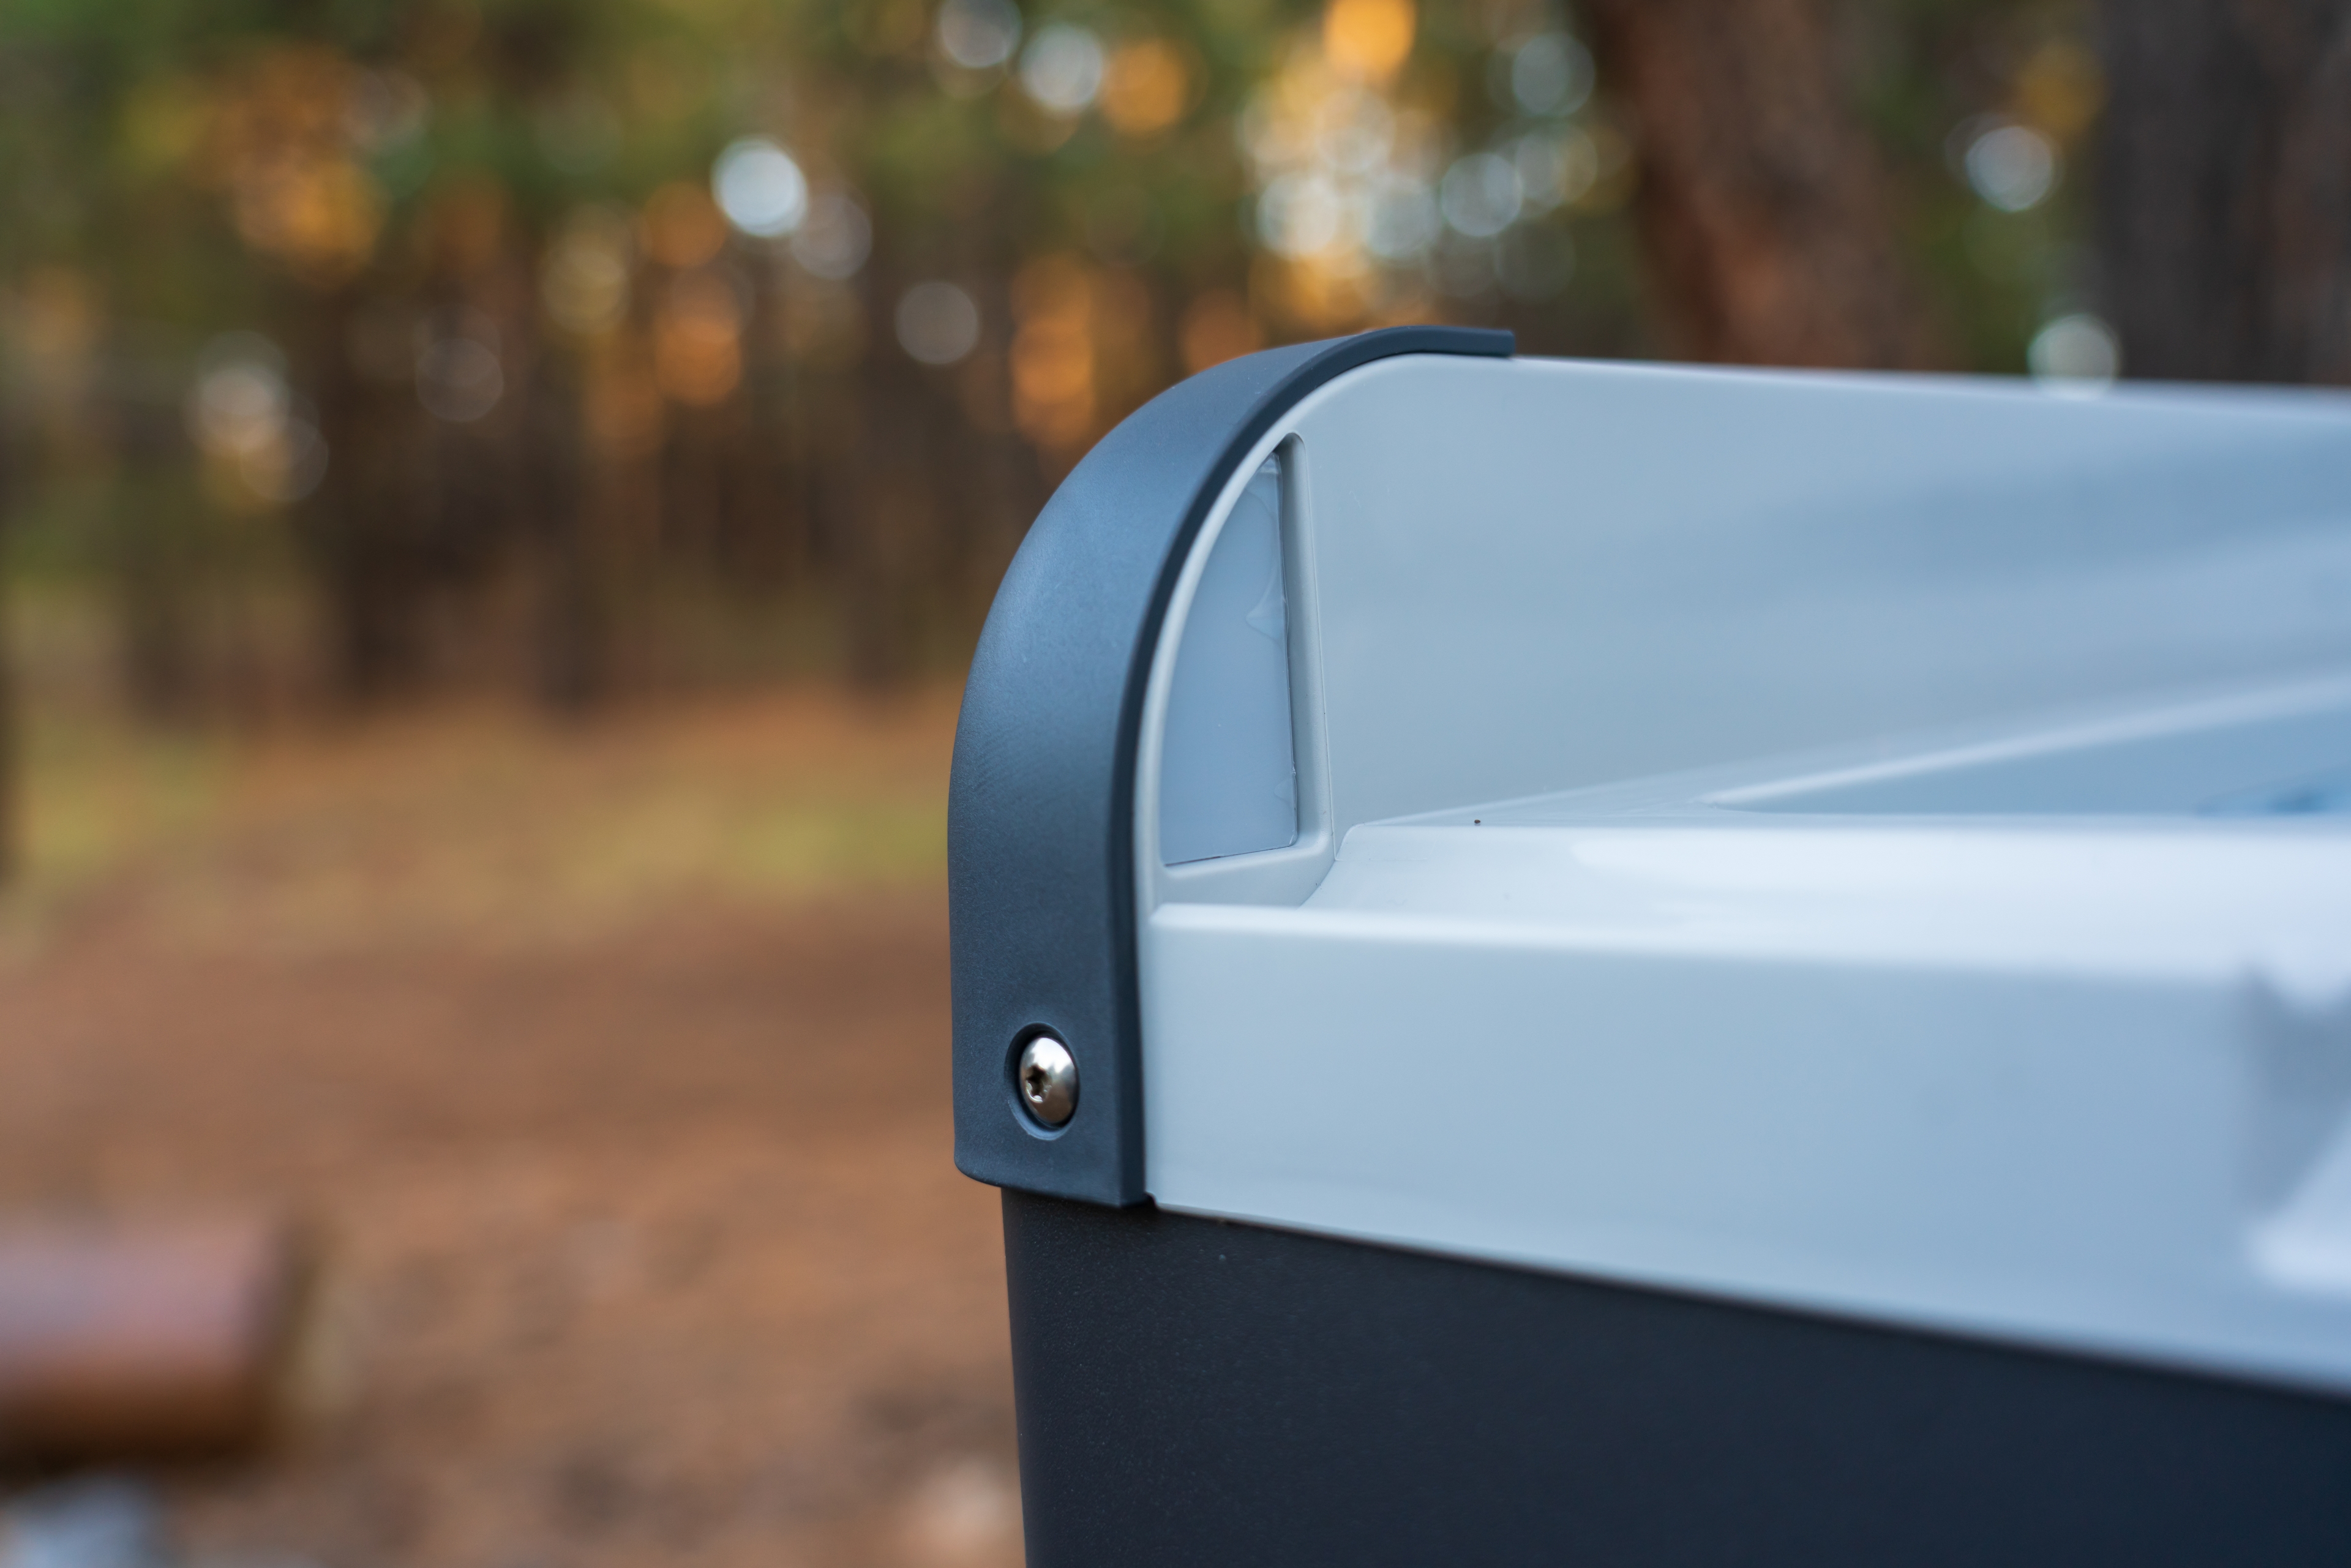
The CFX 75 DZW is a great option for anyone looking to graduate from ice-powered coolers with a unit that is very dynamic and can work in almost any vehicle or off-grid abode. Having a low voltage cutoff and remote monitoring with the WiFi-enabled CFX app allows you to use this electric cooler literally anywhere that’s within reach of an AC or a cigarette-style power outlet.  The unit can safely draw from a single battery vehicle and will take it’s self out of the game before it takes your starting battery out.  The WiFi App provides a great way to make sure your fridge / freezer is doing what it needs to be, and you’ll never wonder if the lid was left open – as long as you’re able to see the flashing light, or in WiFi range.  All of this is packed into a sturdy, well-made unit that has so far held up great to thousands of miles of remote travel over the last few months.  If you’re ready to give your adventuring food supply a serious upgrade, take a look at a Dometic CFX series electric coolers.

A word on Power and Dual Batteries

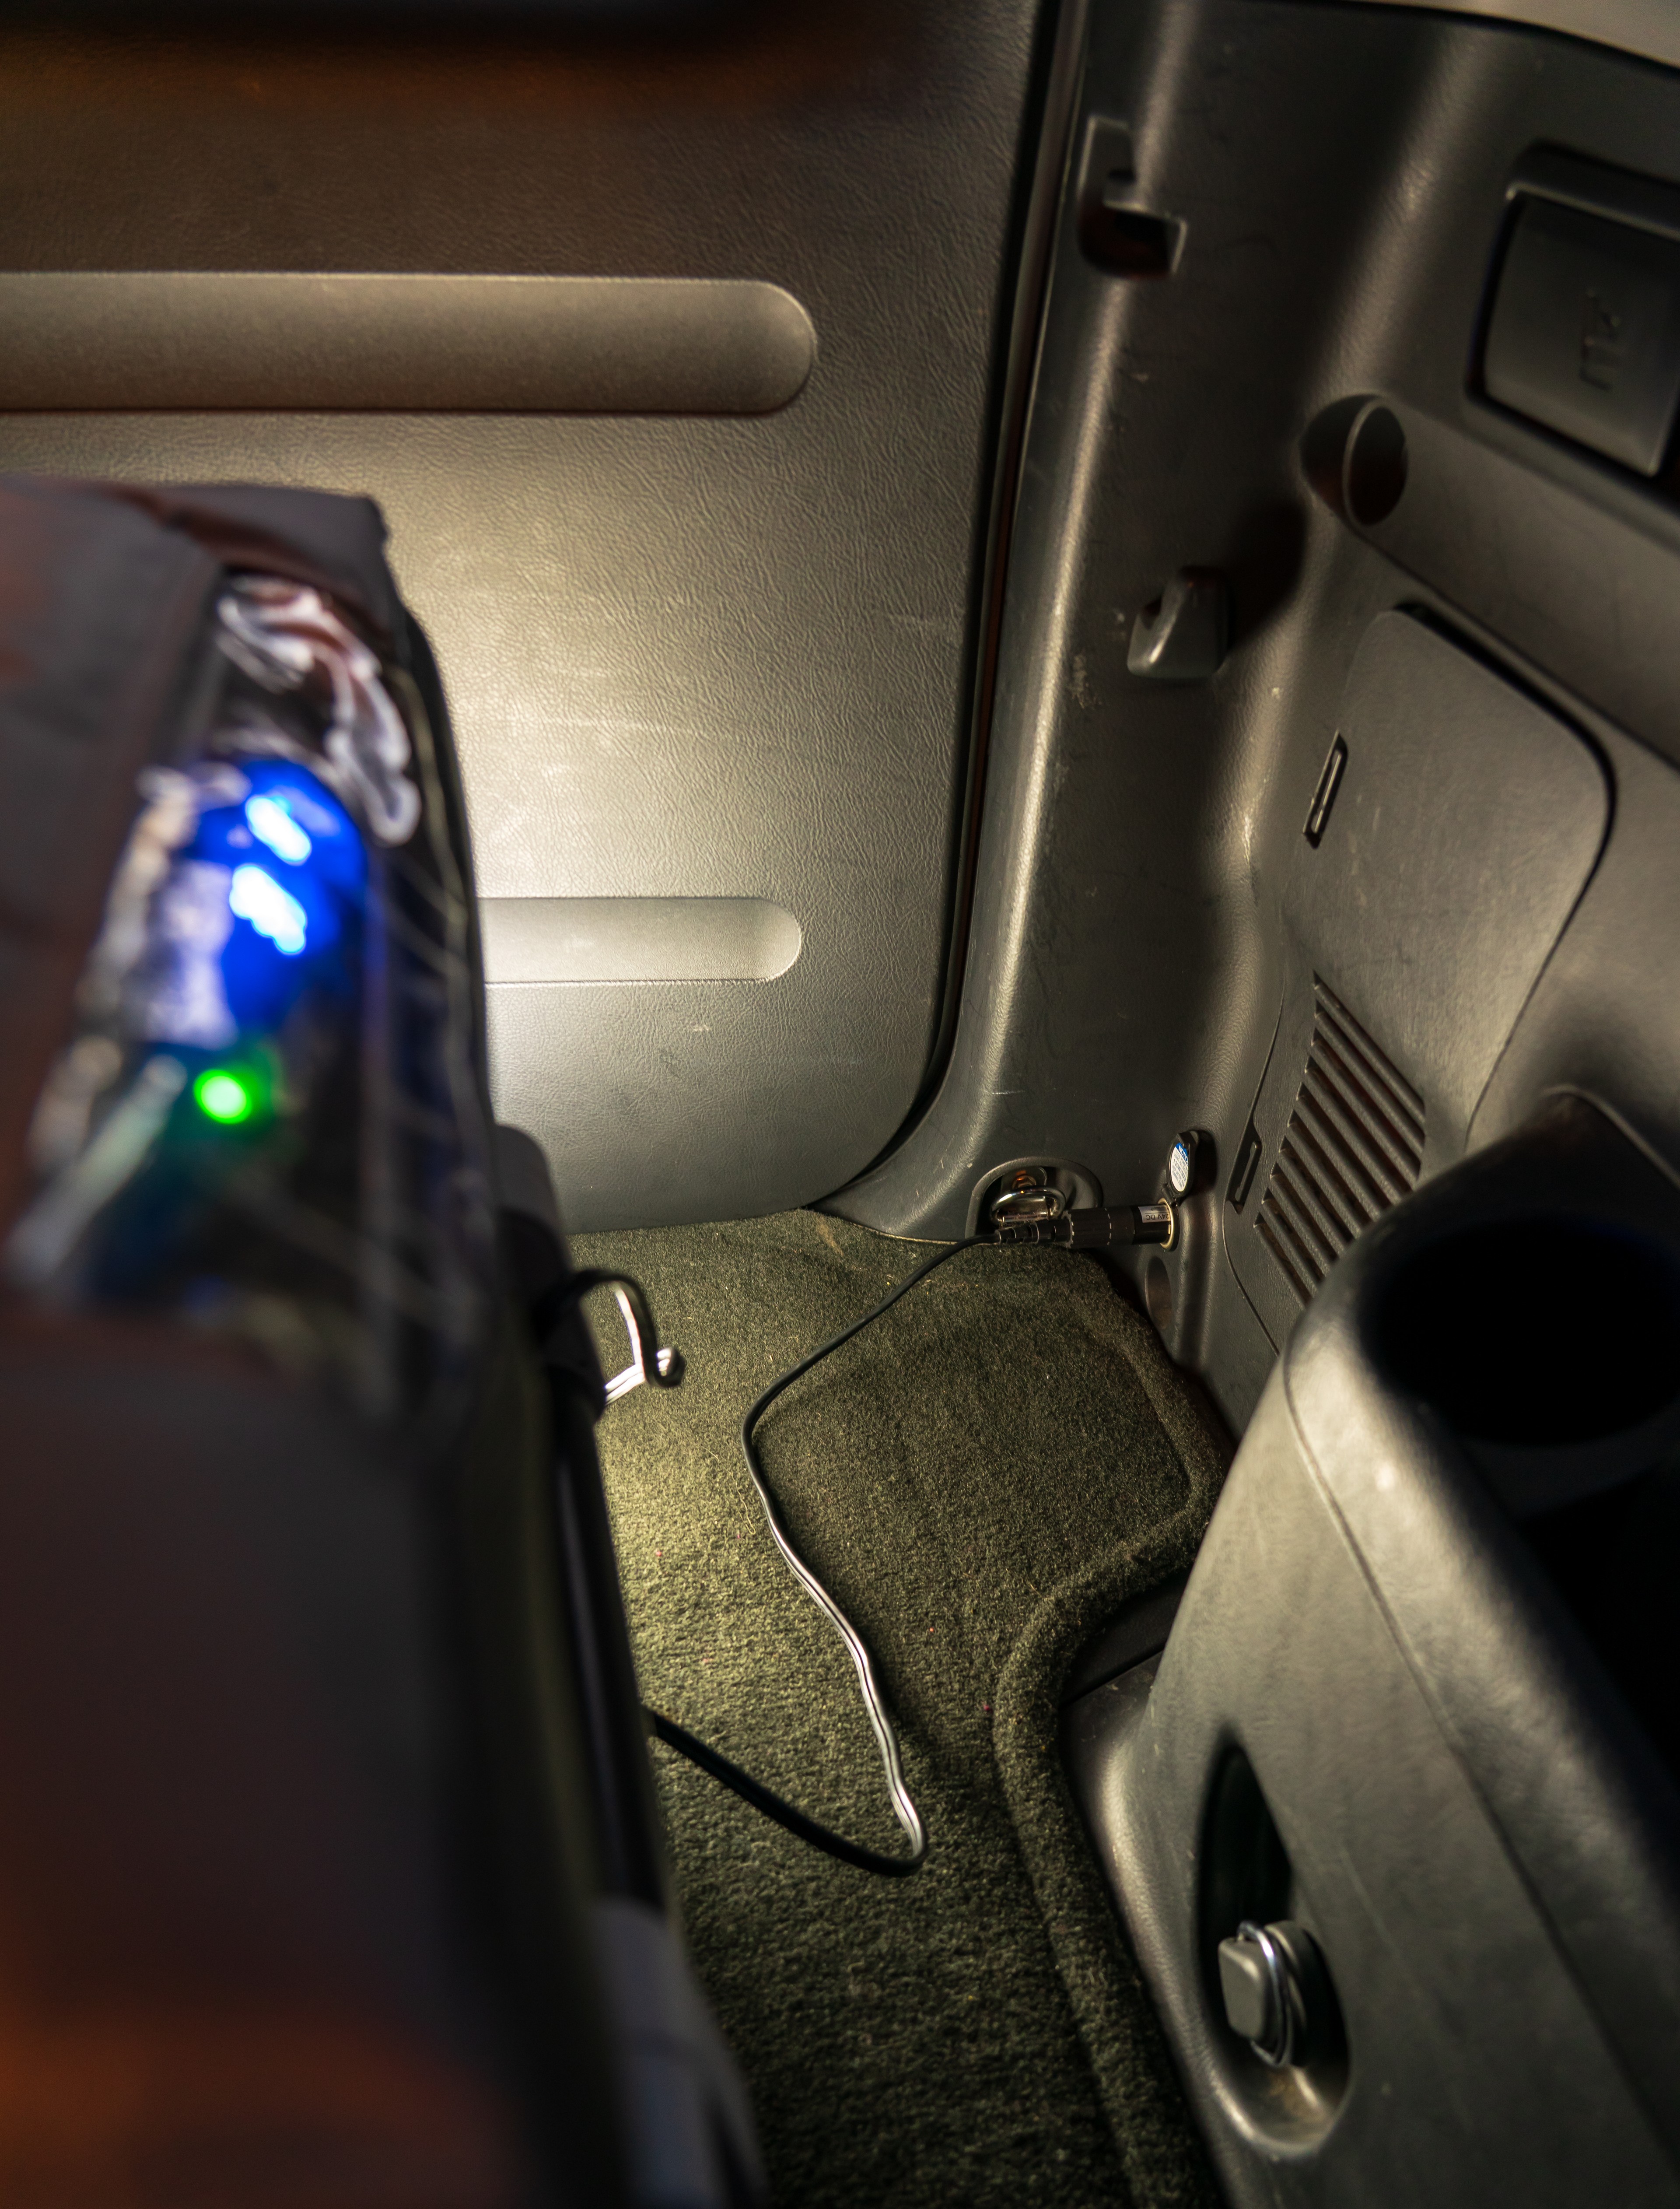
Let’s talk power for a minute.  Running a Dometic CFX series electric cooler in your vehicle can be done with no modification to your vehicle, assuming that you have a 12-volt cigarette-style outlet that is always energized, (not switched with your key) and is rated for handling the current of your particular fridge / freezer. If you’re like me, and only own Toyotas – adding a not-switched circuit isn’t hard, just do it correctly with properly rated wire and fusing.  (or get such a circuit installed professionally).

Your stock battery (assuming that it is in good health) can power your fridge / freezer for a day or two without tripping the low voltage cutoff, but a good upgrade is a quality AGM battery to replace your vehicle’s stock battery.  See what options are out there and if you can safely fit a larger battery in your vehicle’s stock battery location.  Again, if you’re not comfortable working on your vehicle’s electrical system, please get professional help – electrical fires are no joke.

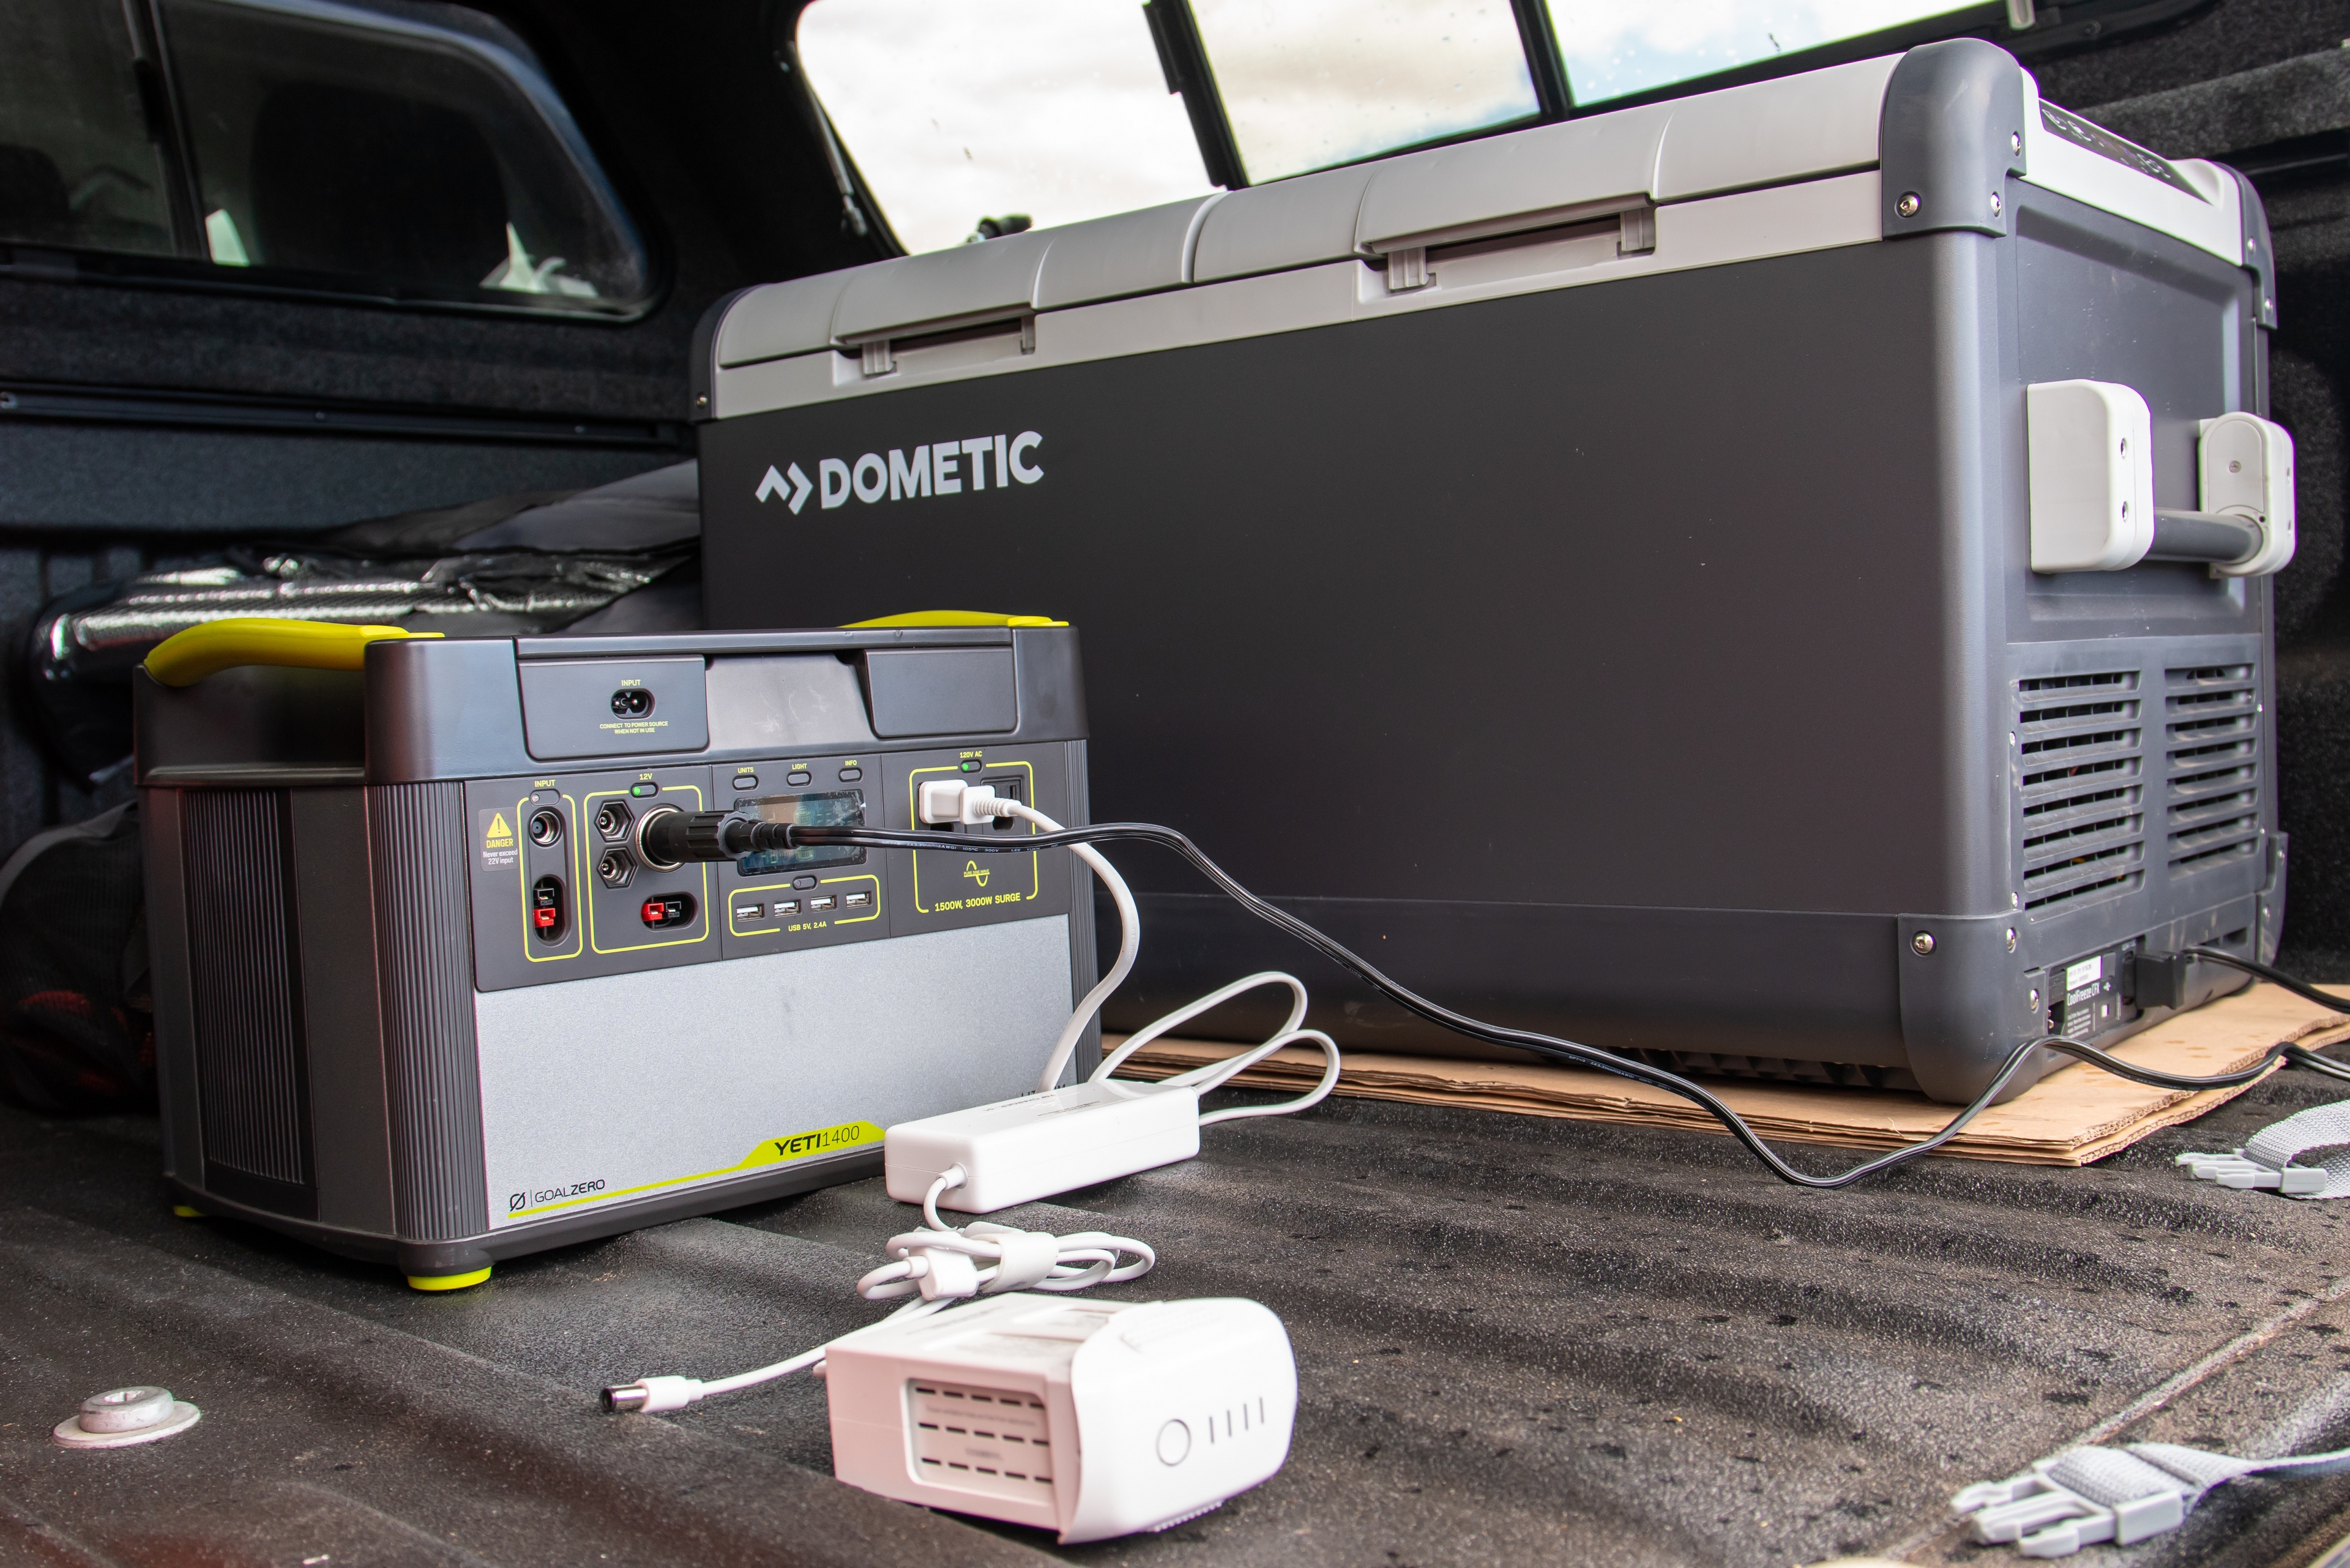
If you’re going to be parked for more than a couple of days, bring a solar charging system or a portable battery that has the capacity to go the duration of your stay, like a Goal Zero Yeti.  Dometic is also going to be releasing a portable battery tailored to powering their electric coolers in early 2019.  Regardless of what power setup you use, you should always take good care of your vehicles’ battery by keeping it charged (you do plug your vehicles into the grid when they’re going to be sitting for a while, right?), and you should always carry a way to jump start your vehicle like a jump battery.

For the record, there’s absolutely nothing wrong with having a properly configured, isolated, dual battery setup in your vehicle.  Yet, don’t feel like you have to have one to be able to use an electric cooler.  The name of the game here is to go prepared, and that means having the power generating and / or power storage capacity to see you through your trip with plenty of power to spare – because sometimes you will have to wait out that storm for a couple of days.  Or better yet, you’ll just want to stay out longer.


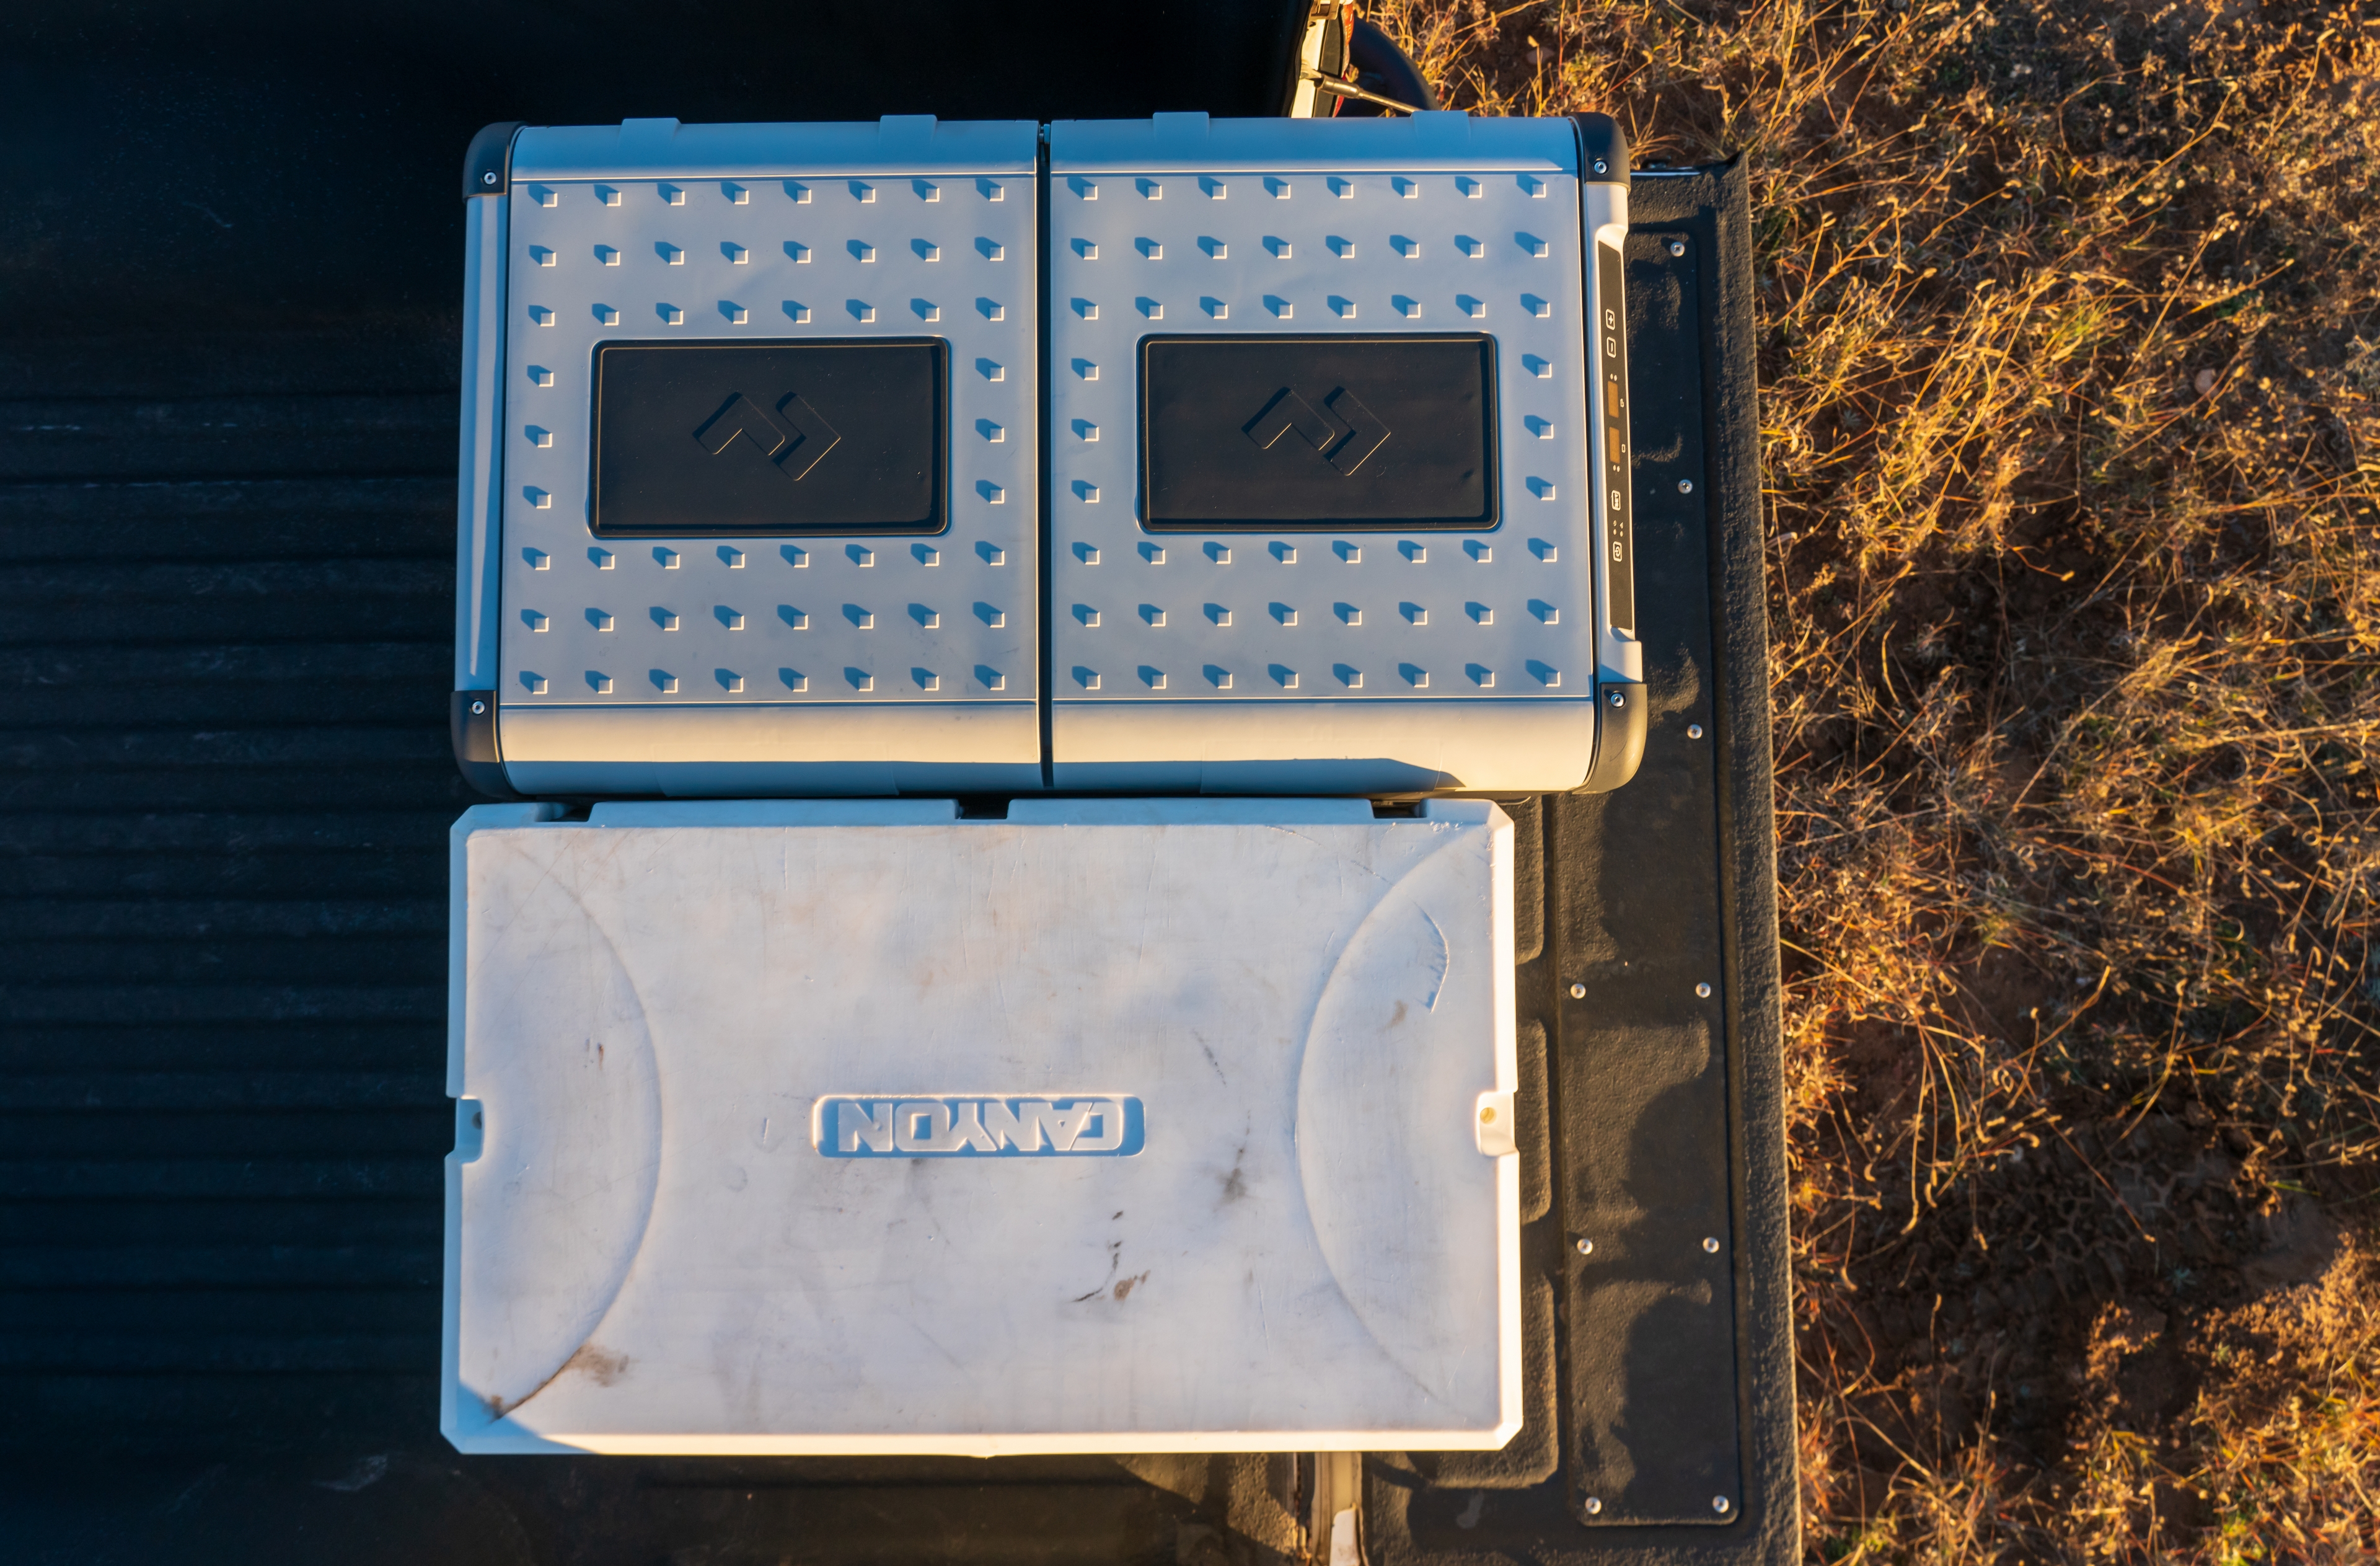
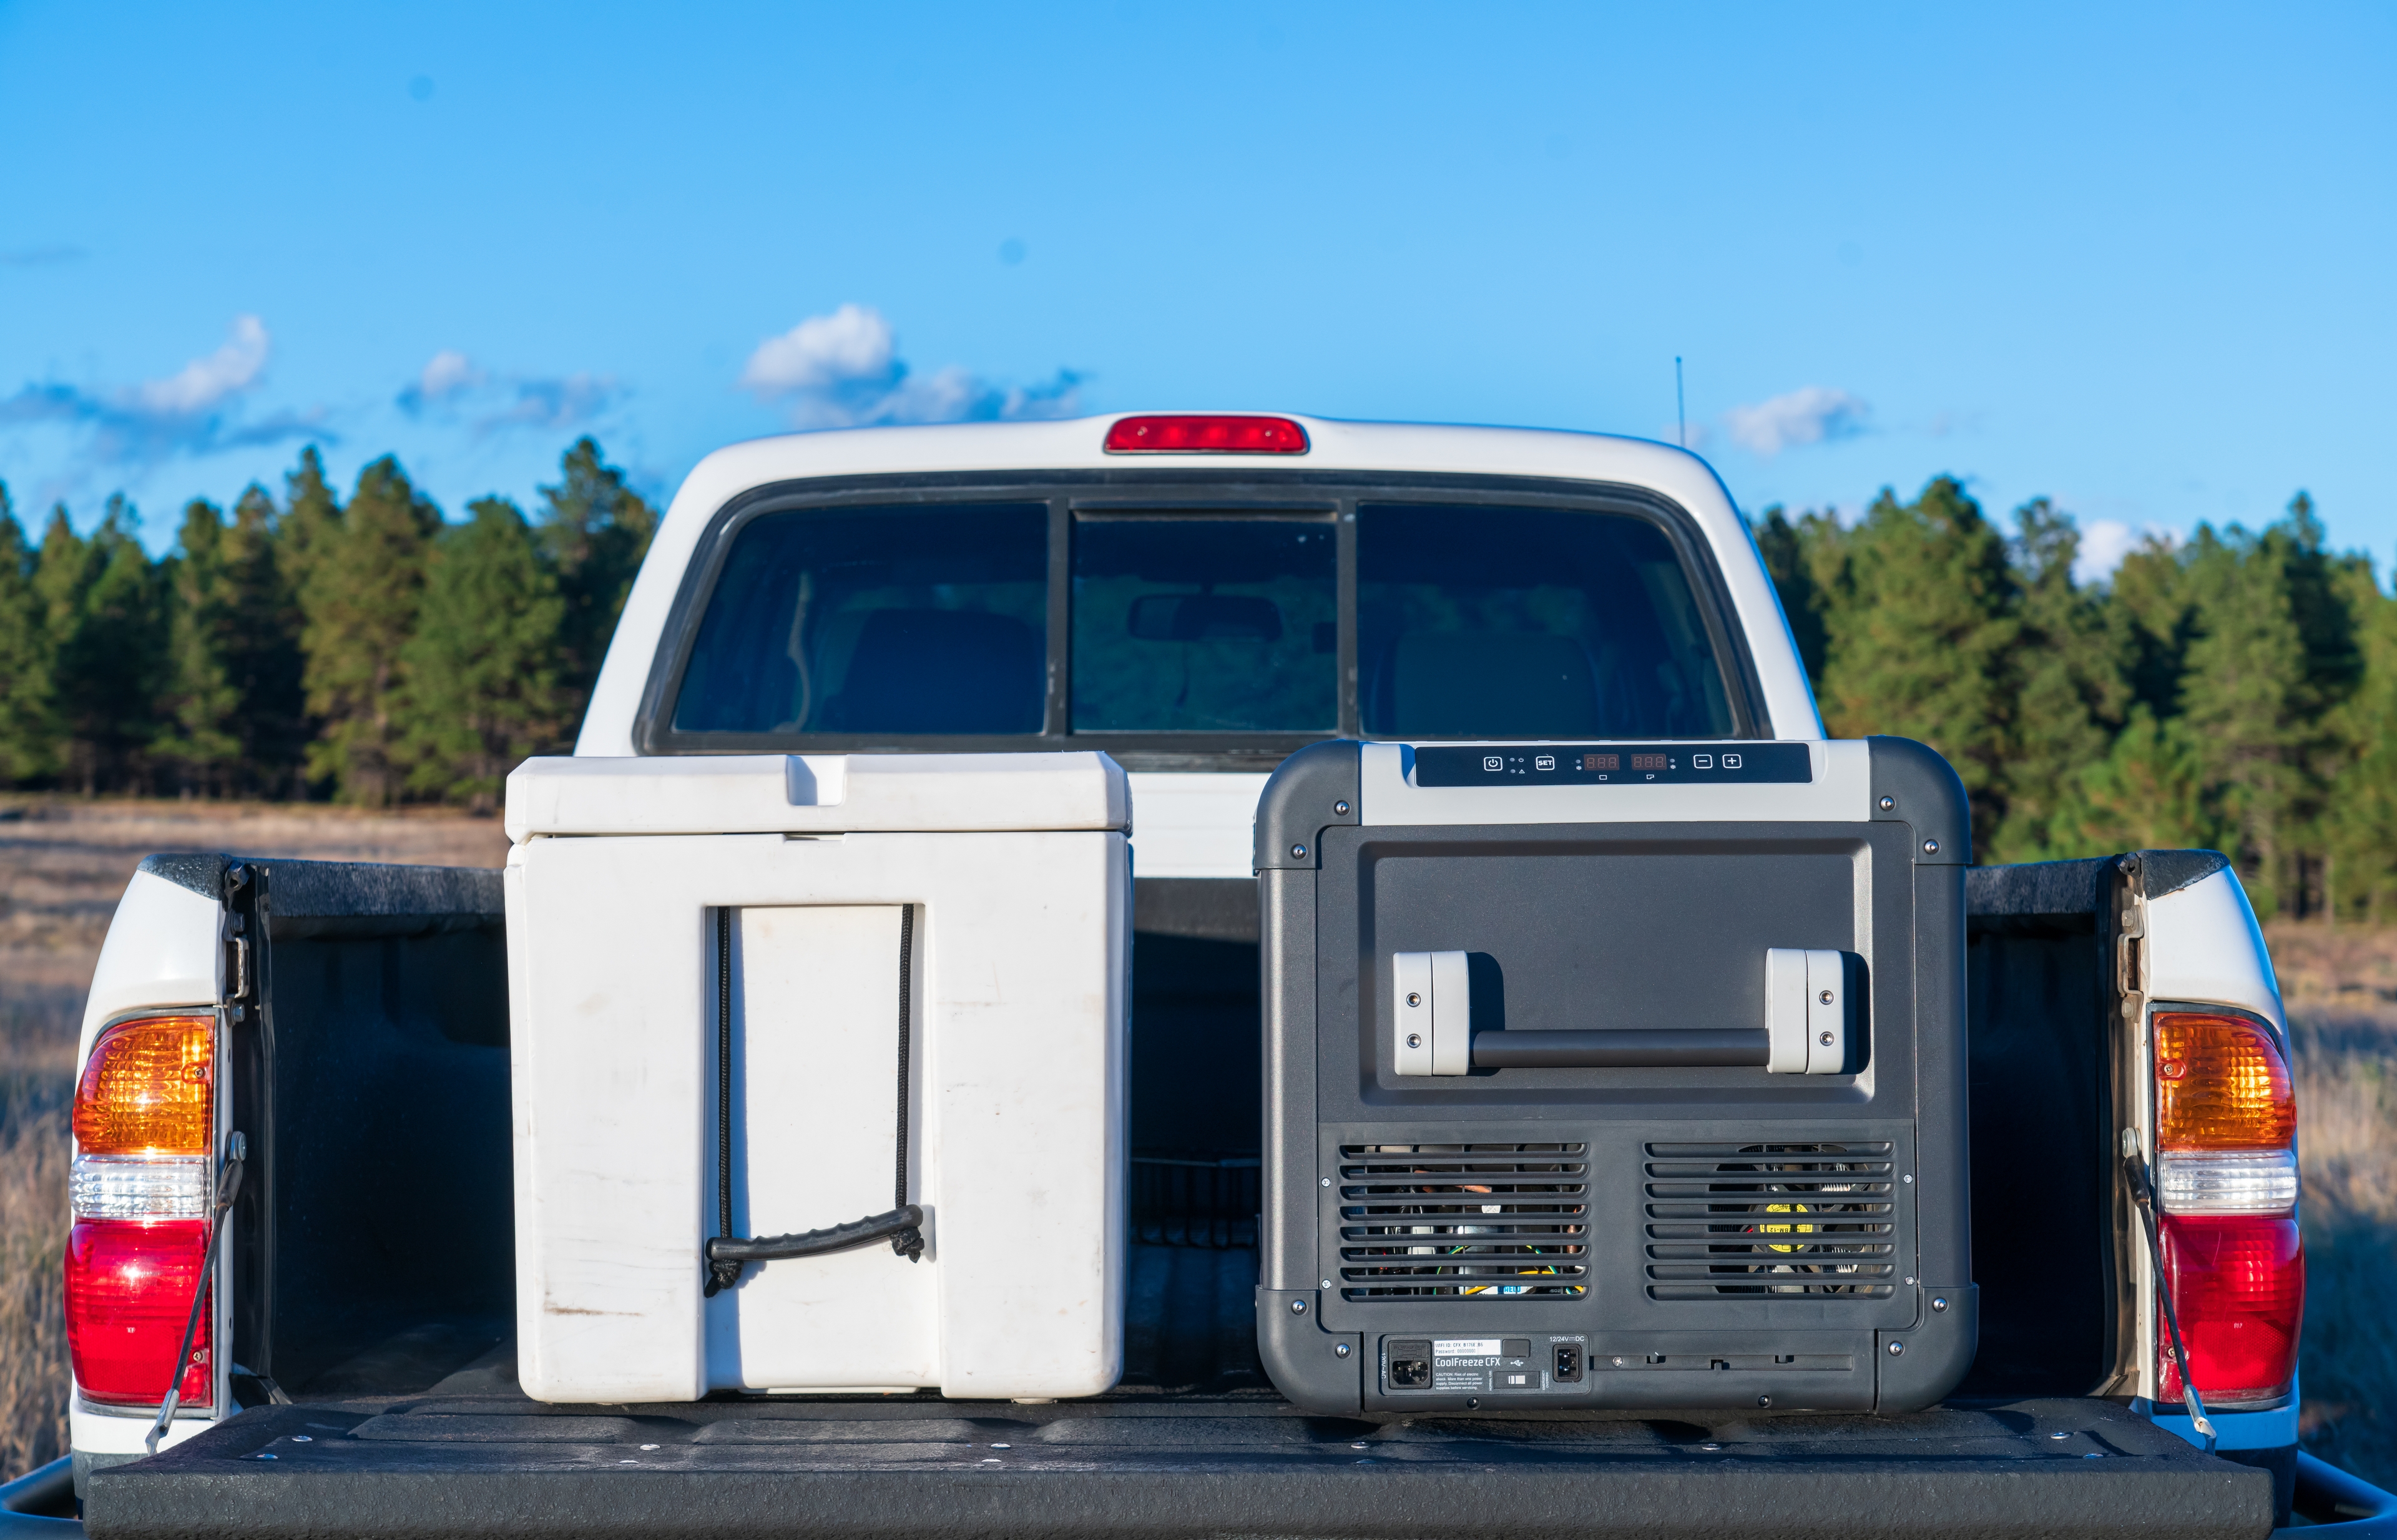
Electric Cooler to Ice-Powered Super Cooler Size Comparison Photos:

CFX 75 DZW and Canyon Coolers Outfitter 75

Full Disclosure:  This equipment was provided to the author at no cost for the purpose of this review on American Adventurist.