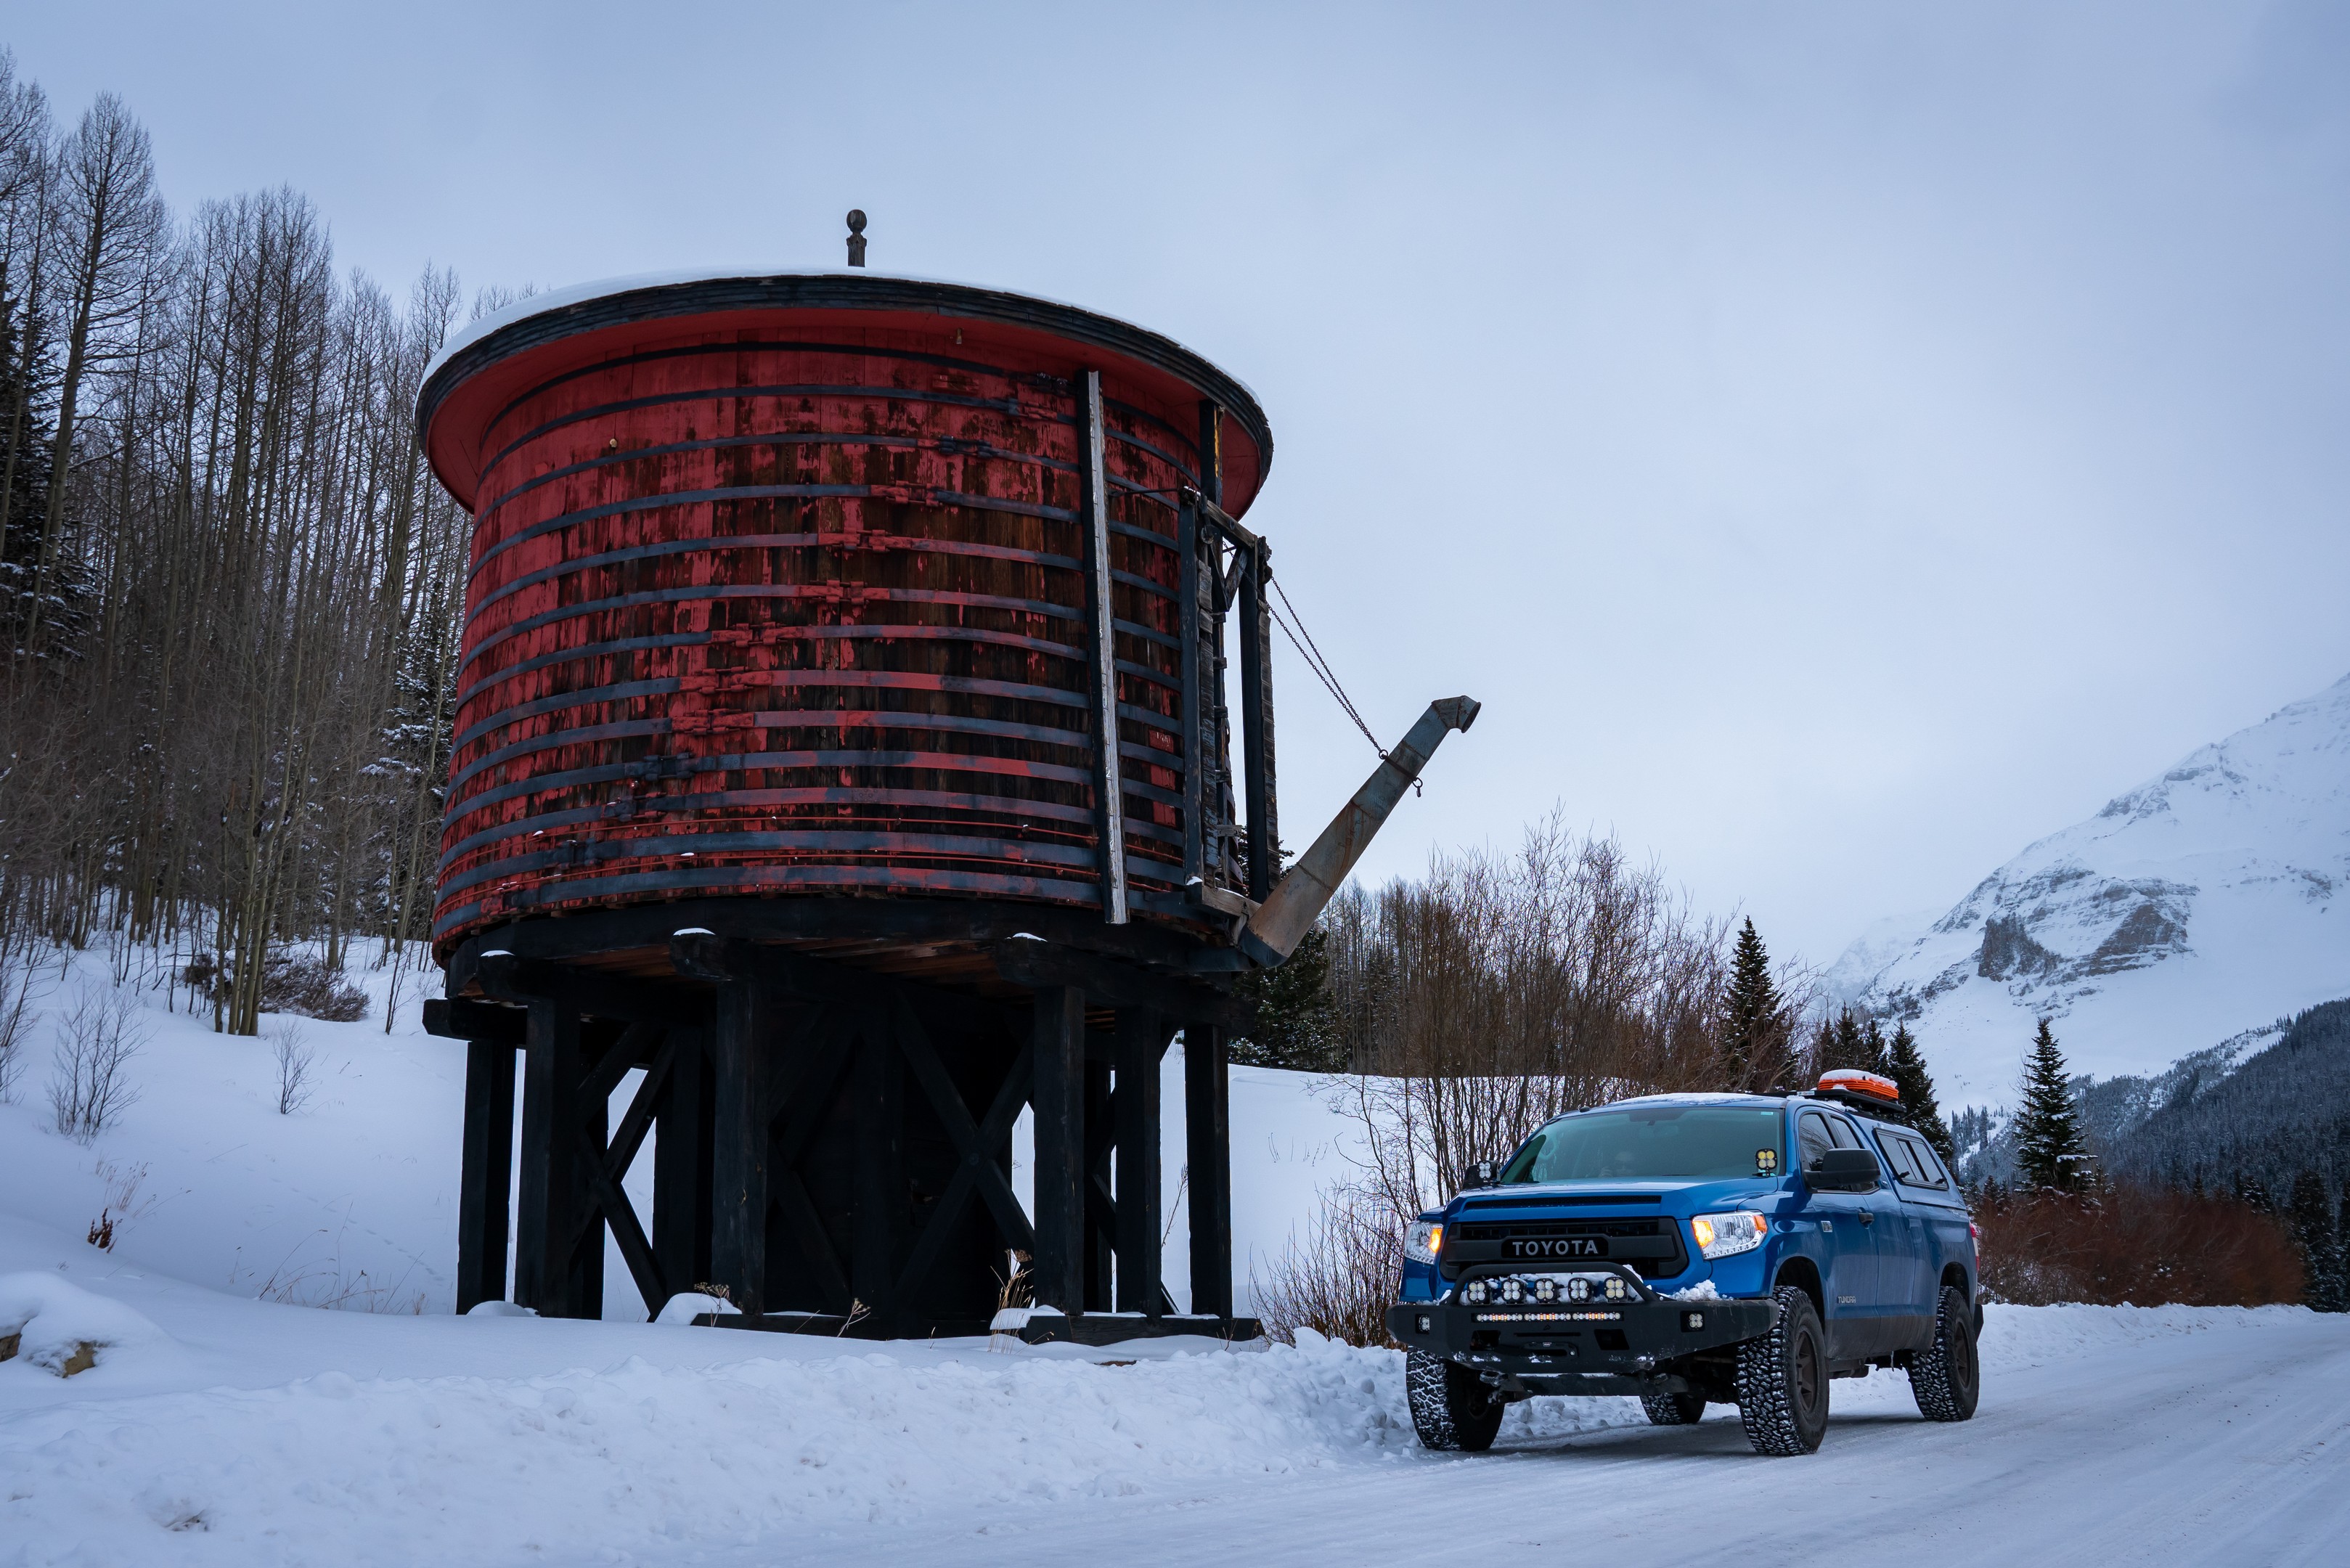
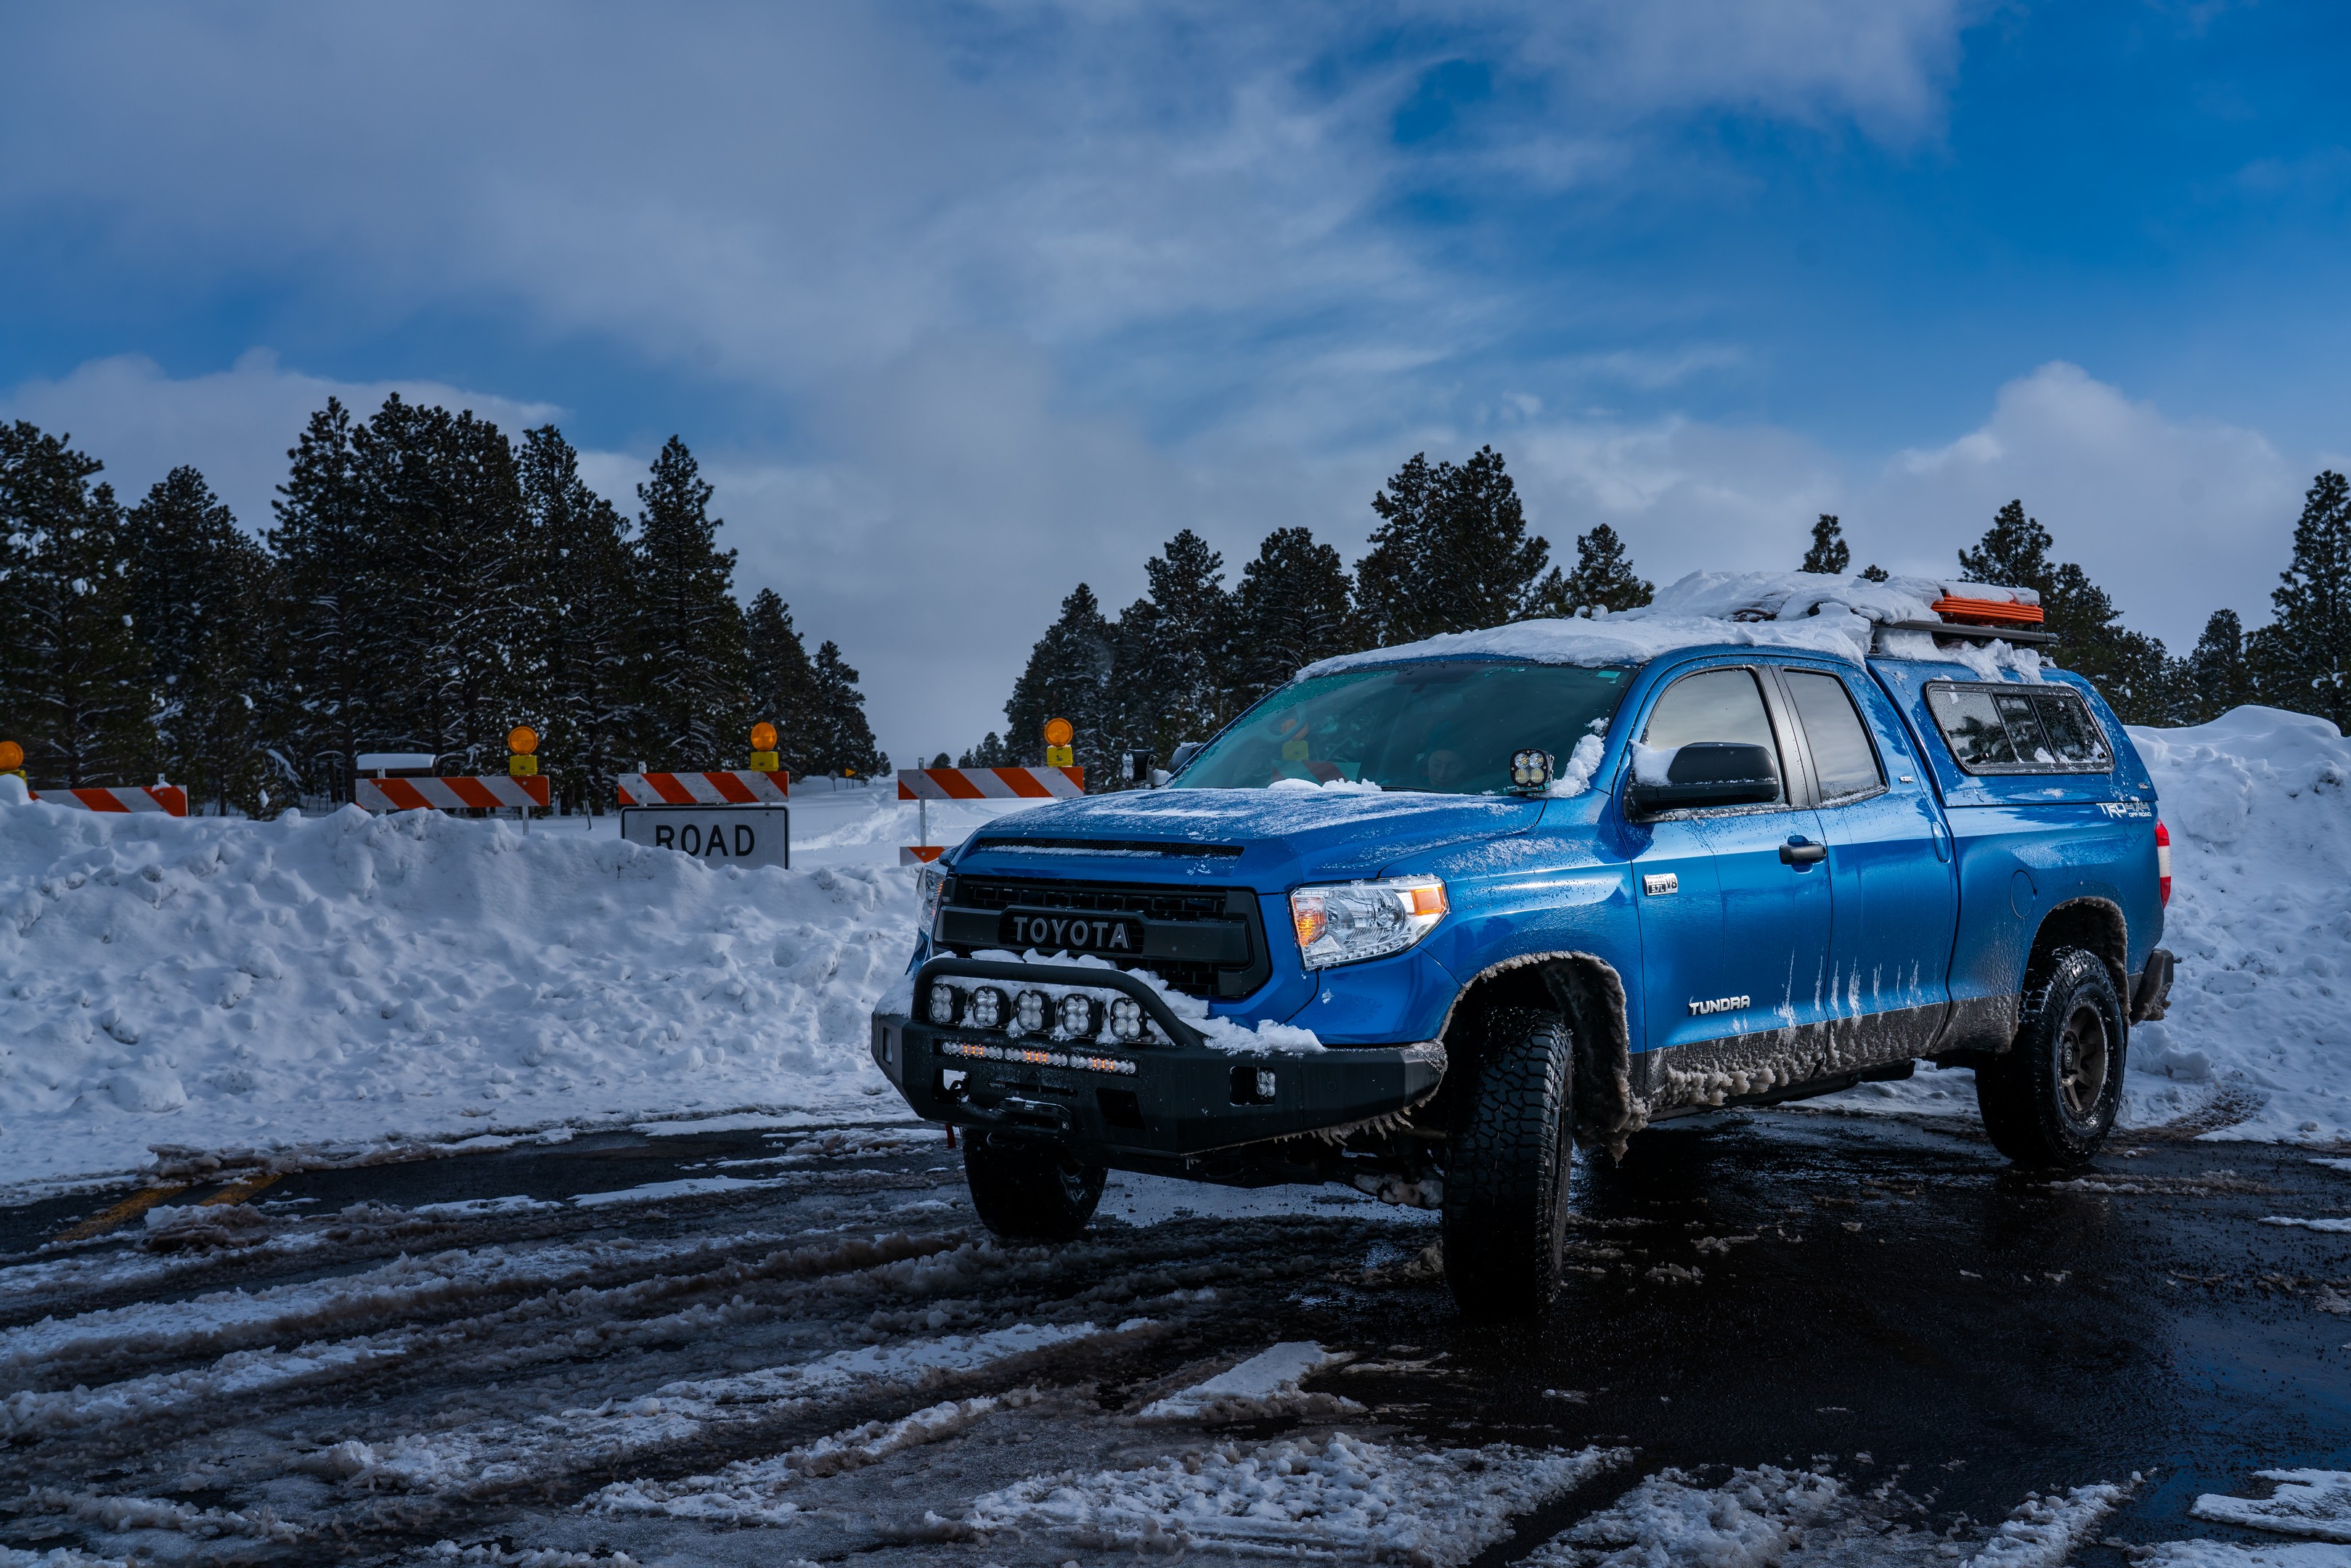
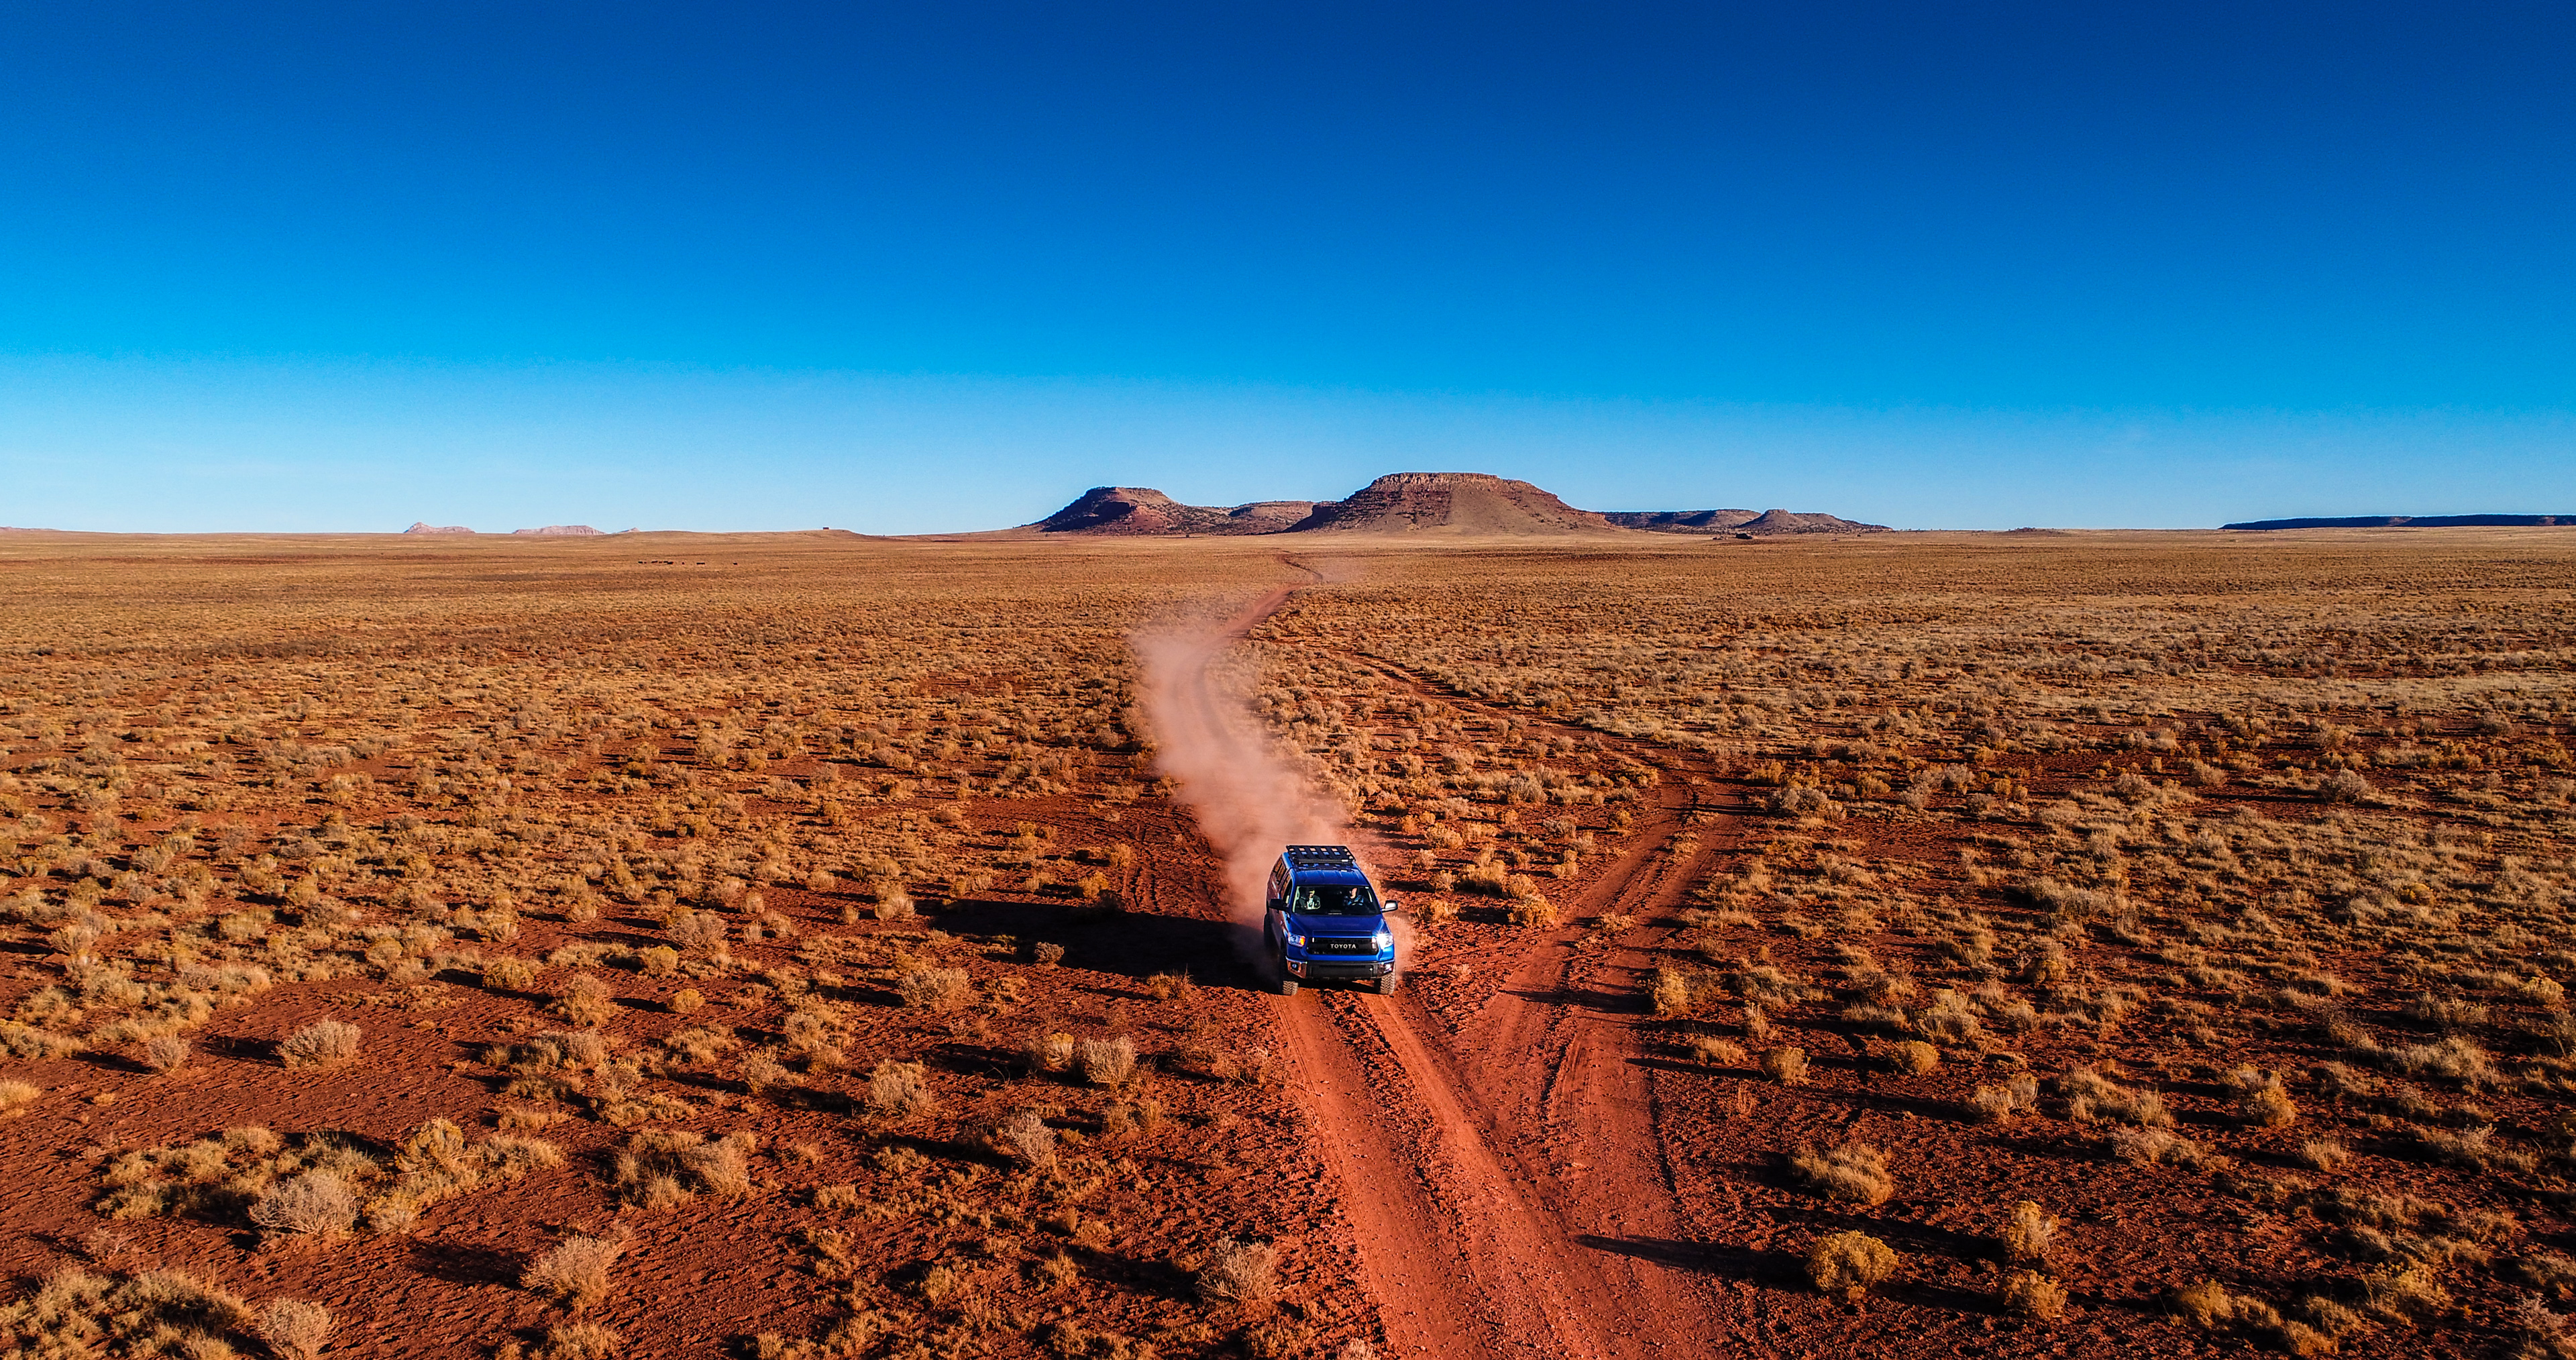
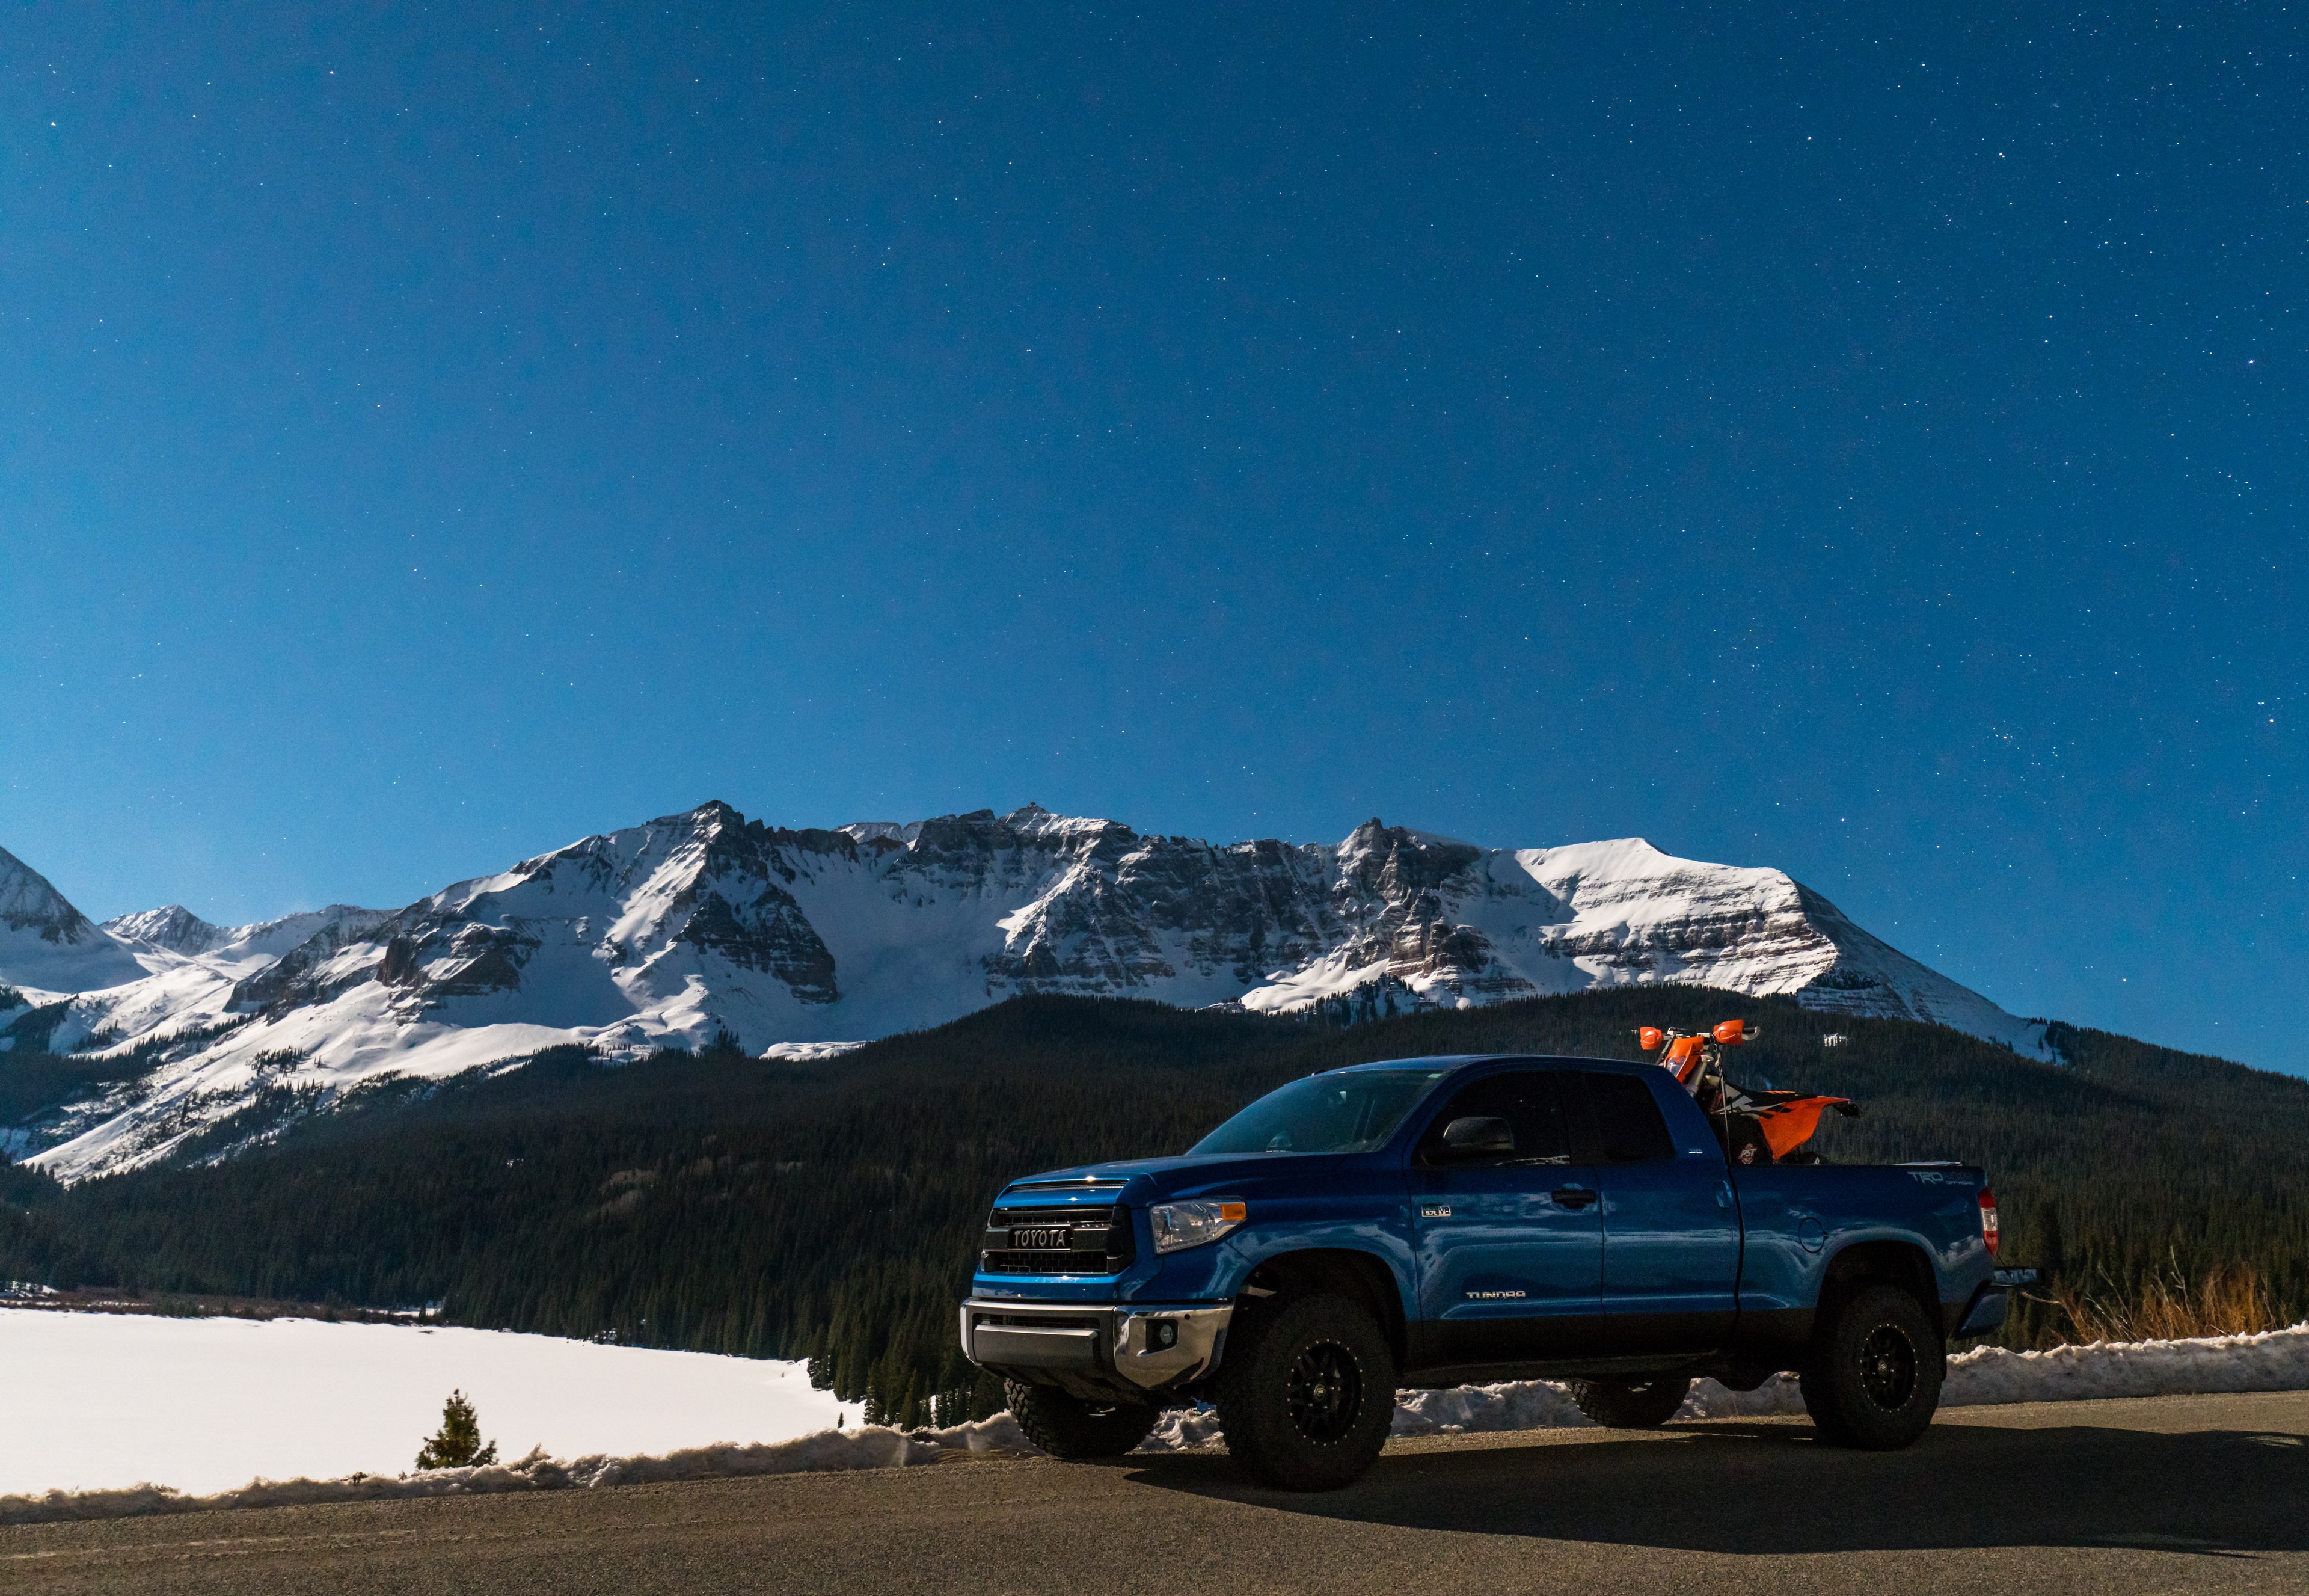
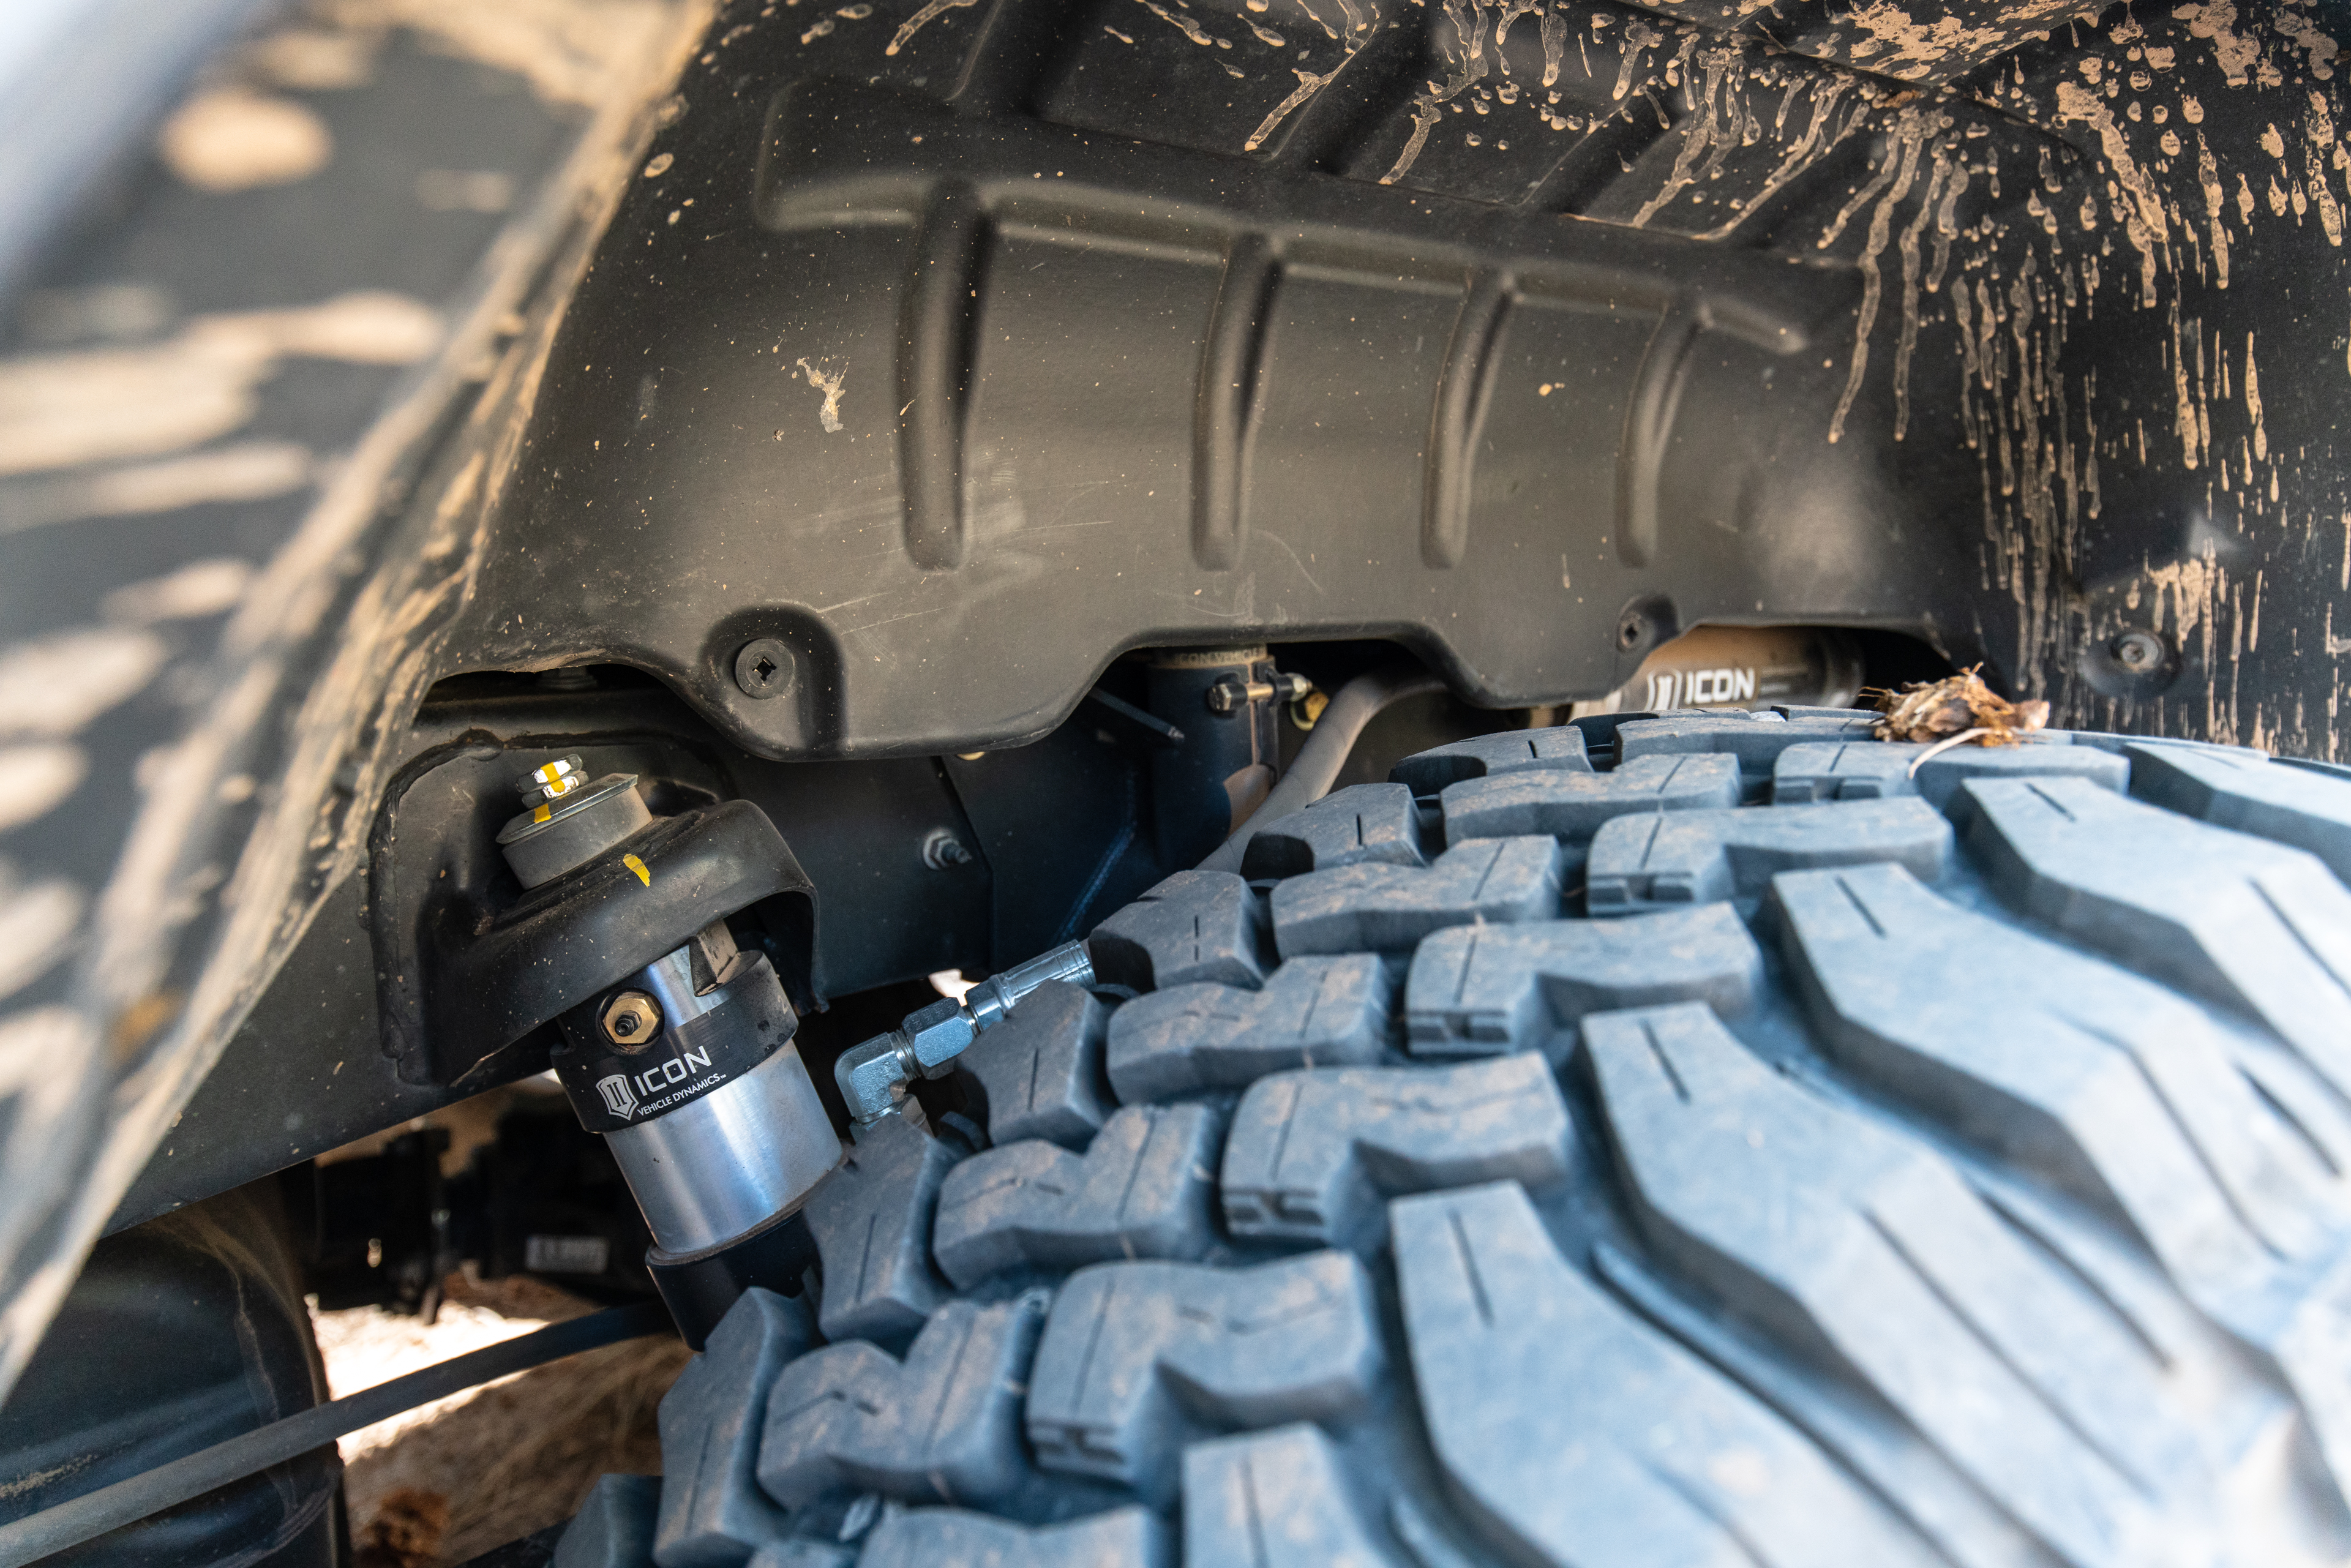
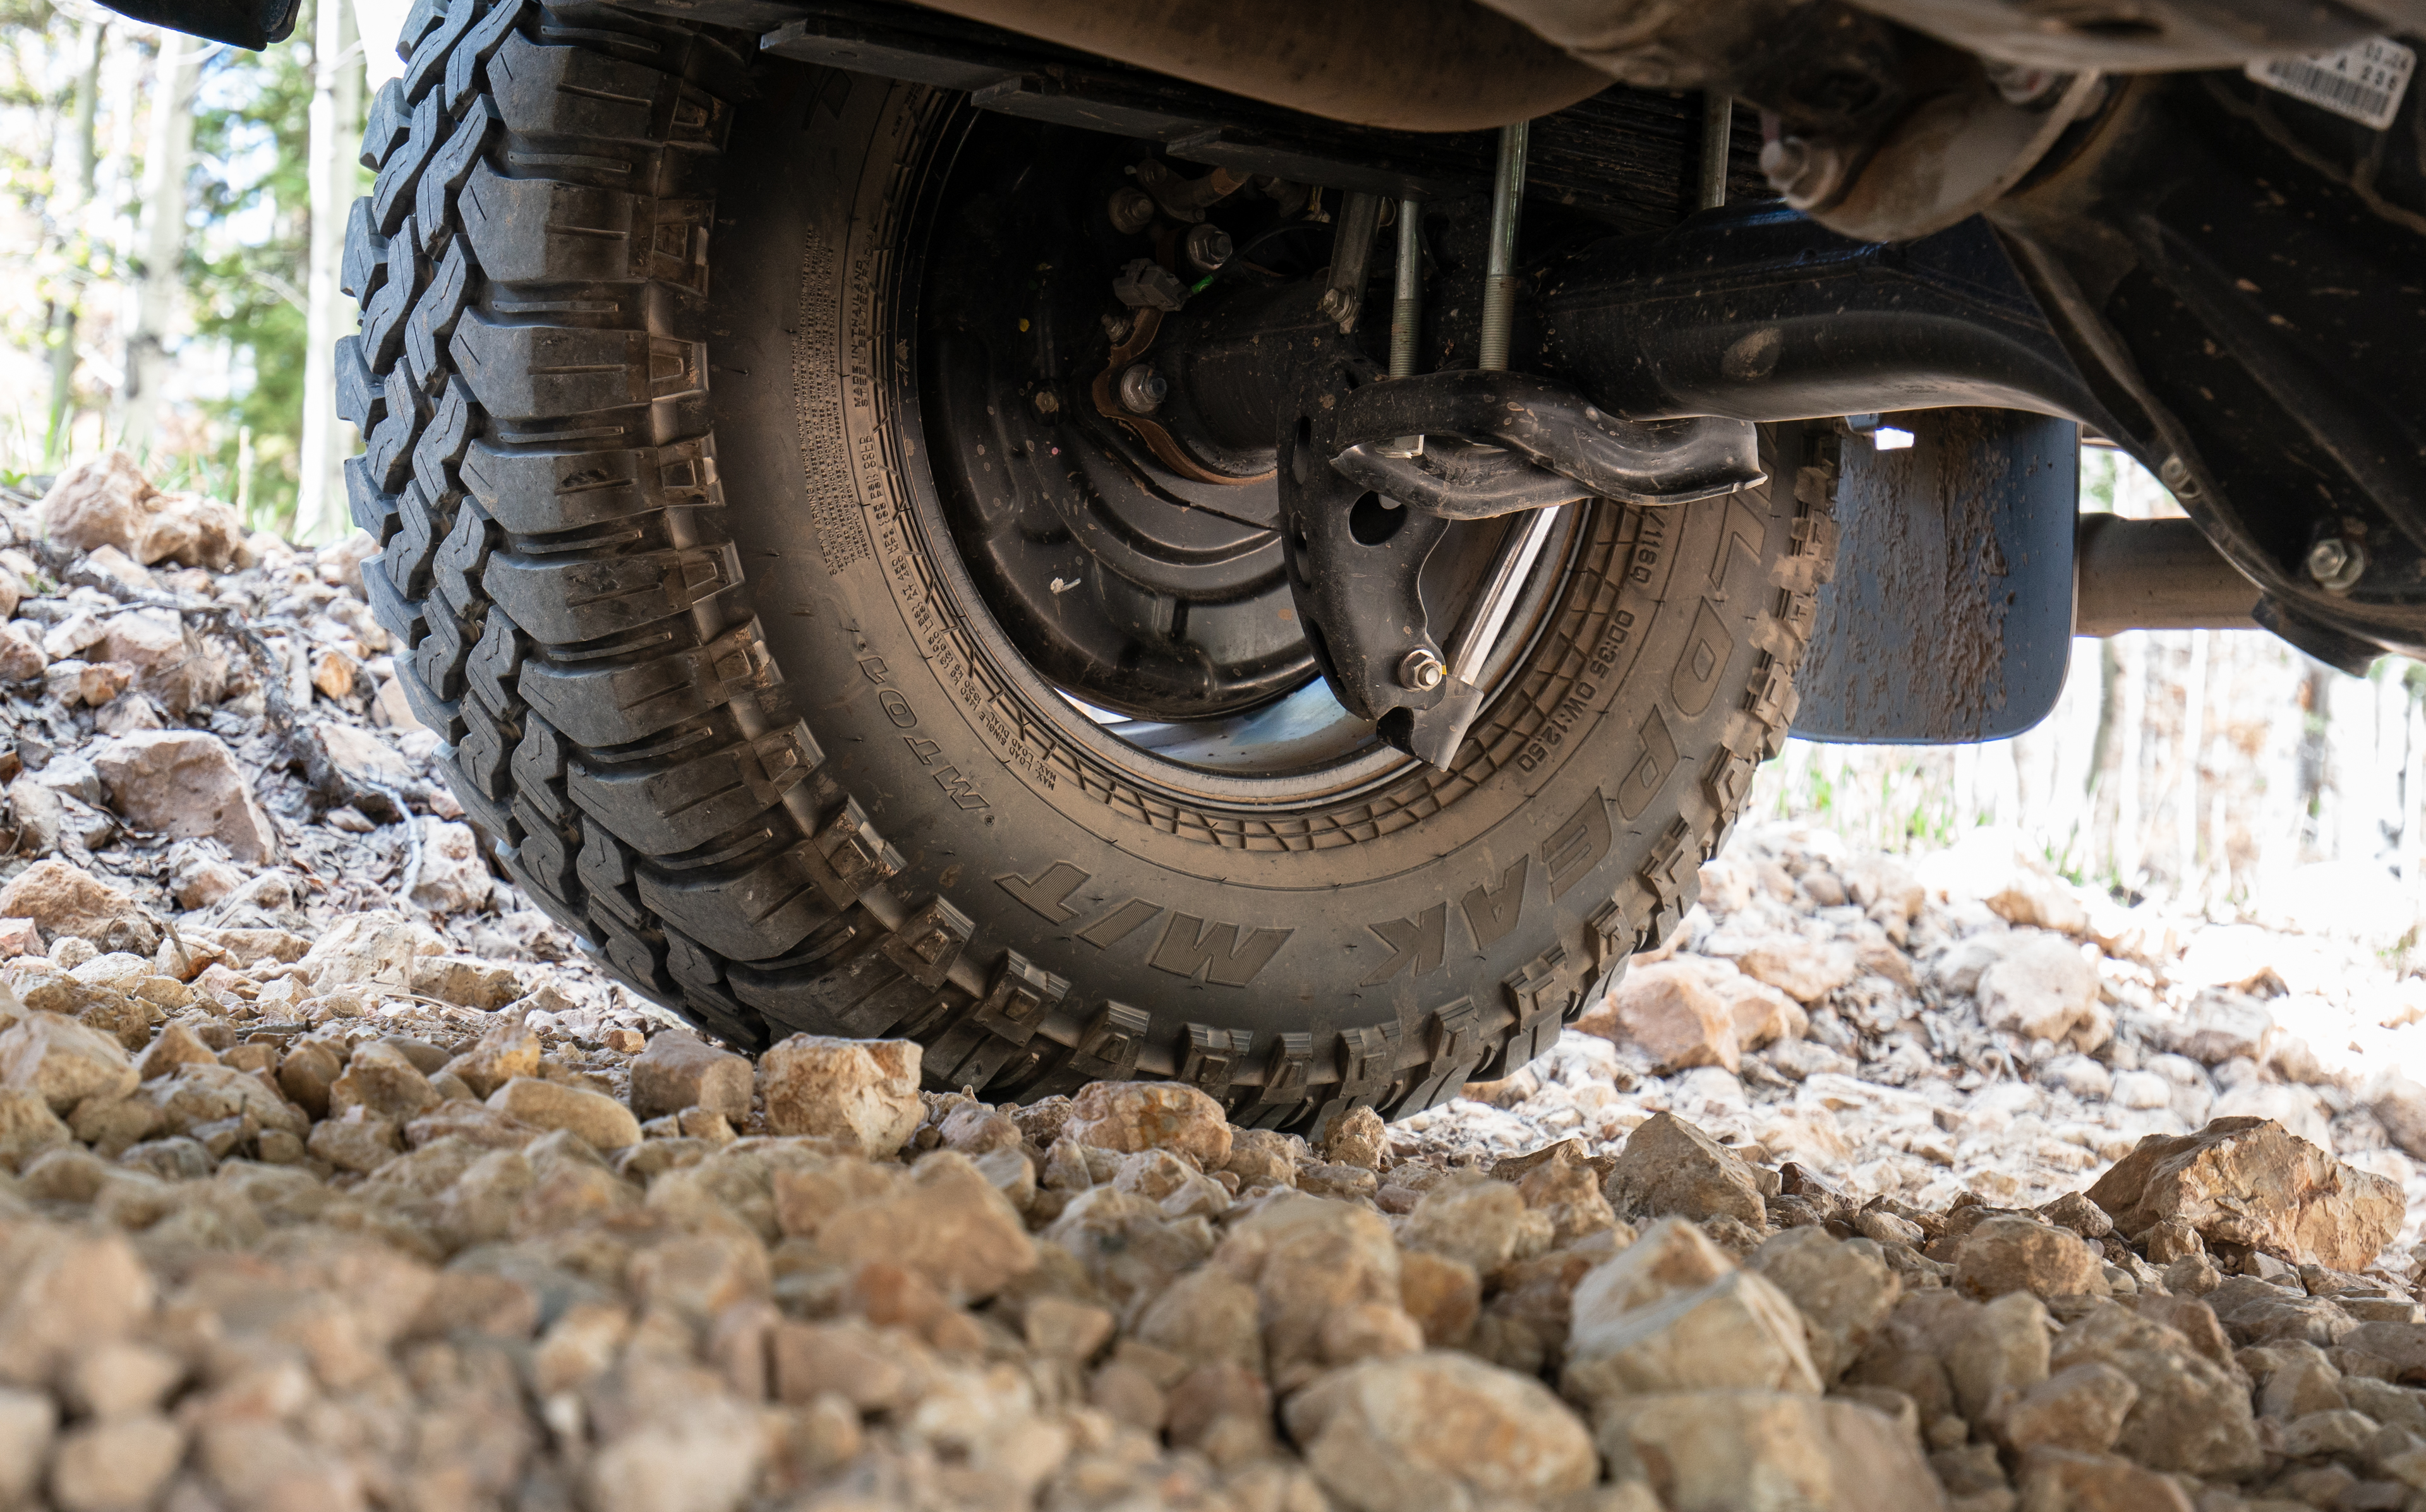
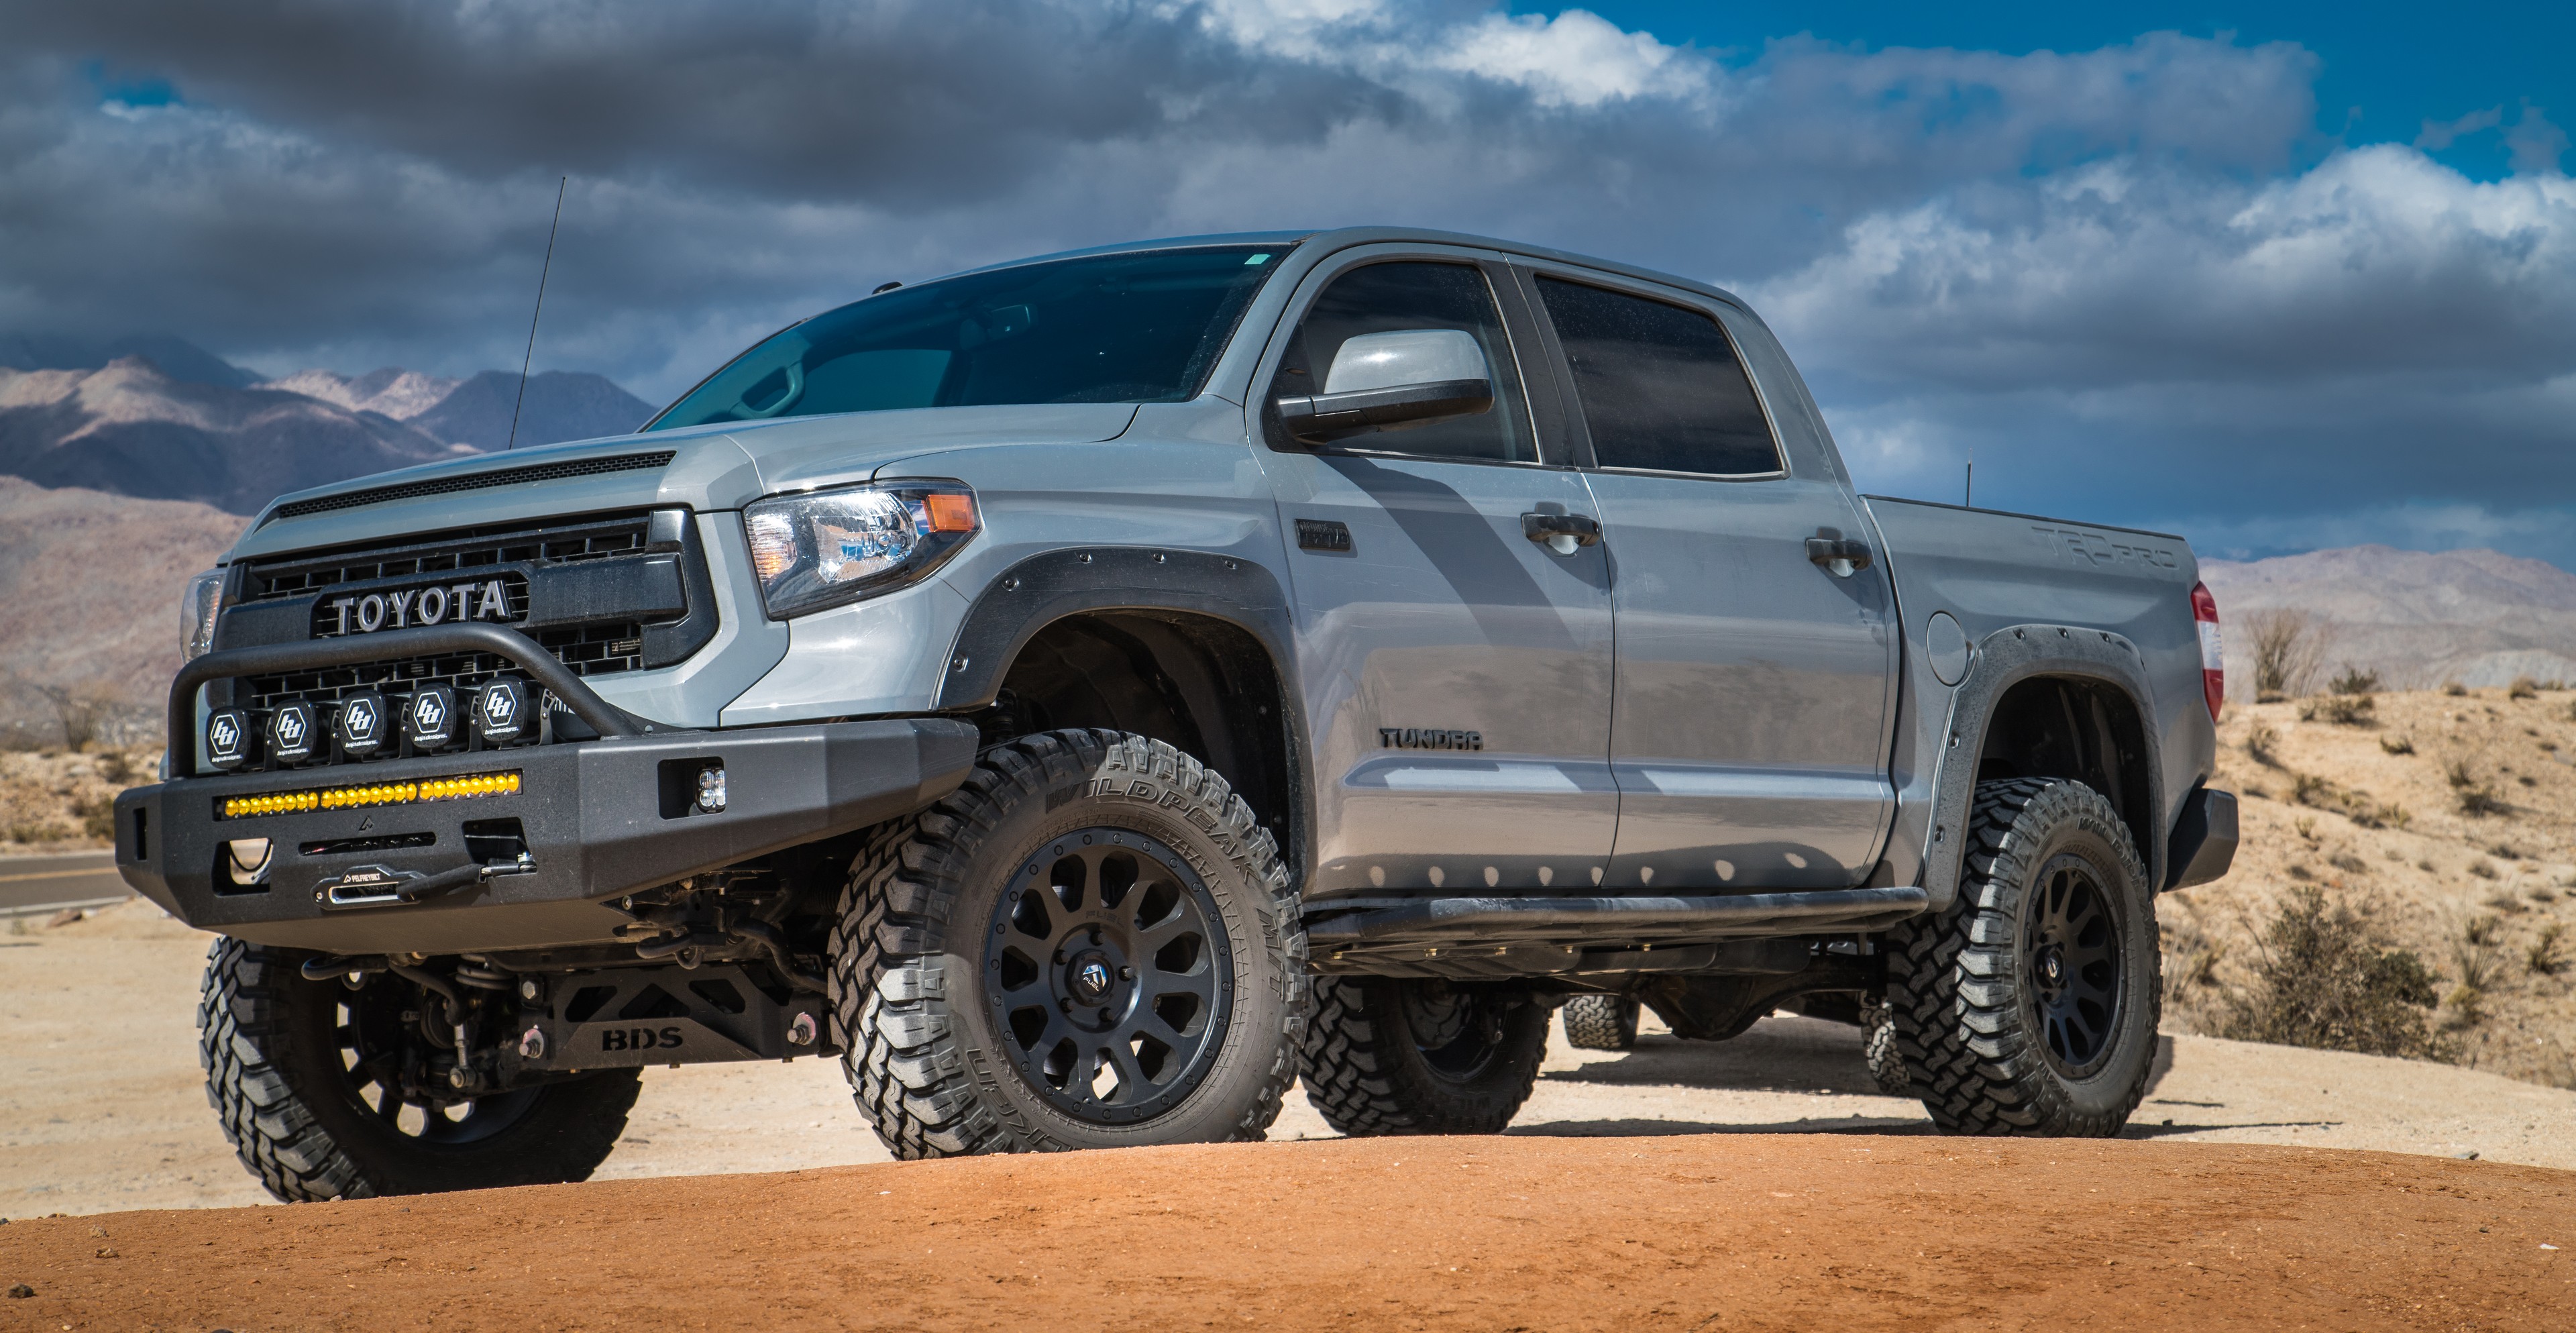
Vehicle builds like Project Tundra never really end. Over time our needs change, and new products appear that sometimes fill needs we didn’t know we had. So just when you think you’ve planned out the perfect build – something is going to come along that’s going to change those plans. And that’s exactly what makes vehicle builds so fun; some new source of inspiration out there or a new adventure to prepare for.
Since the last Project Tundra update, we’ve been all over the Southwest enjoying vehicle-based travel in all seasons. Here’s what’s new:
ARMOR UP
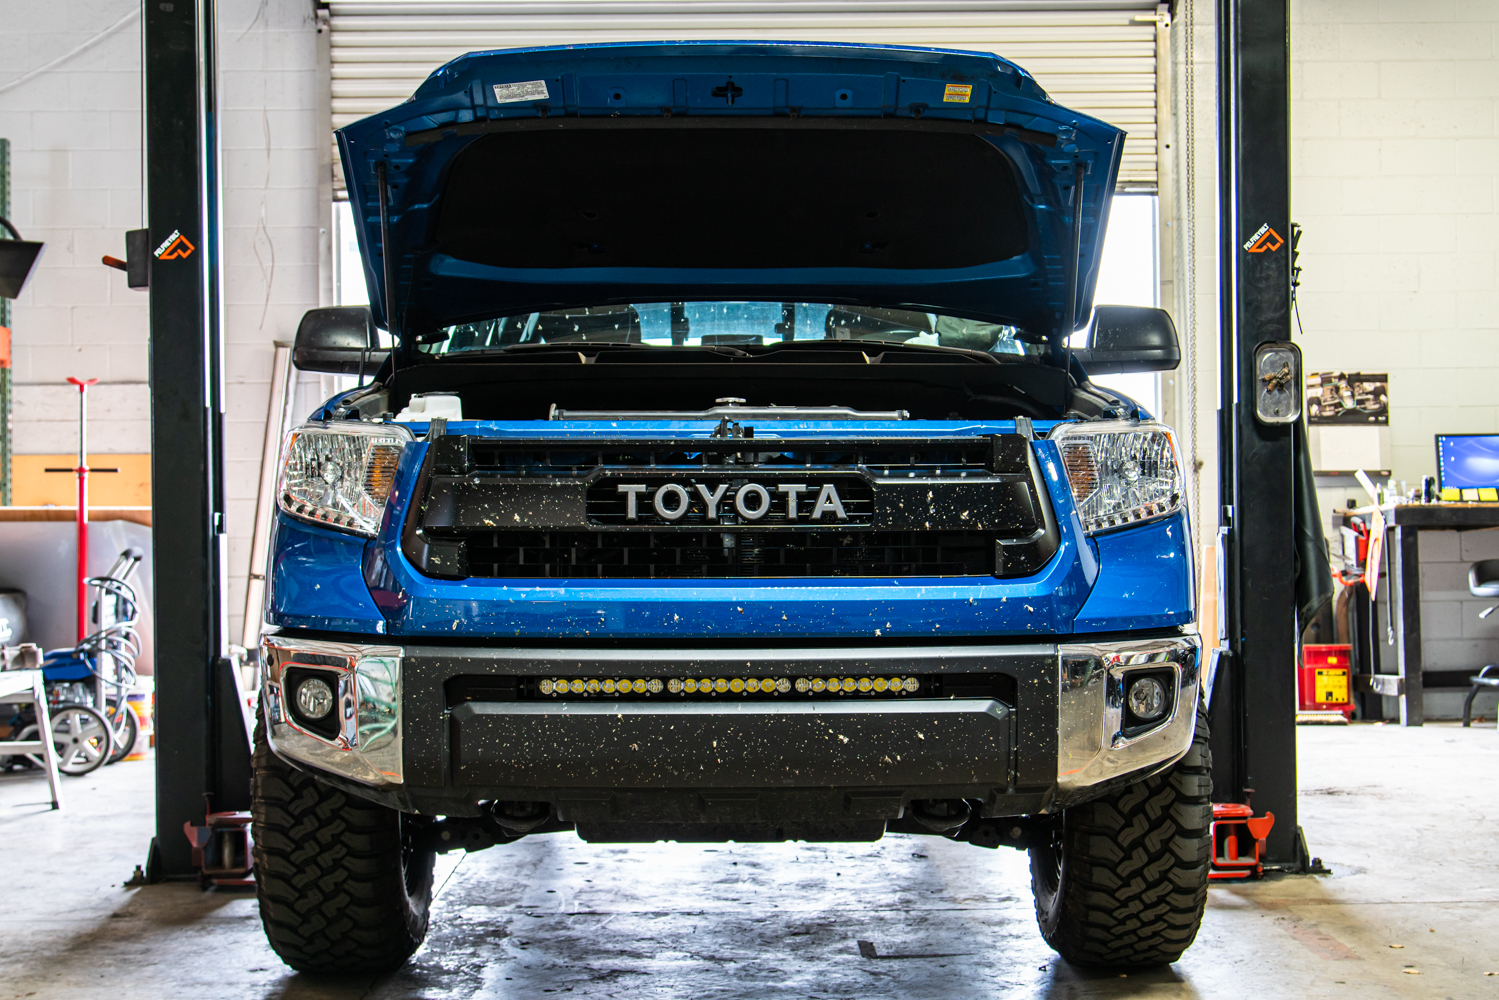
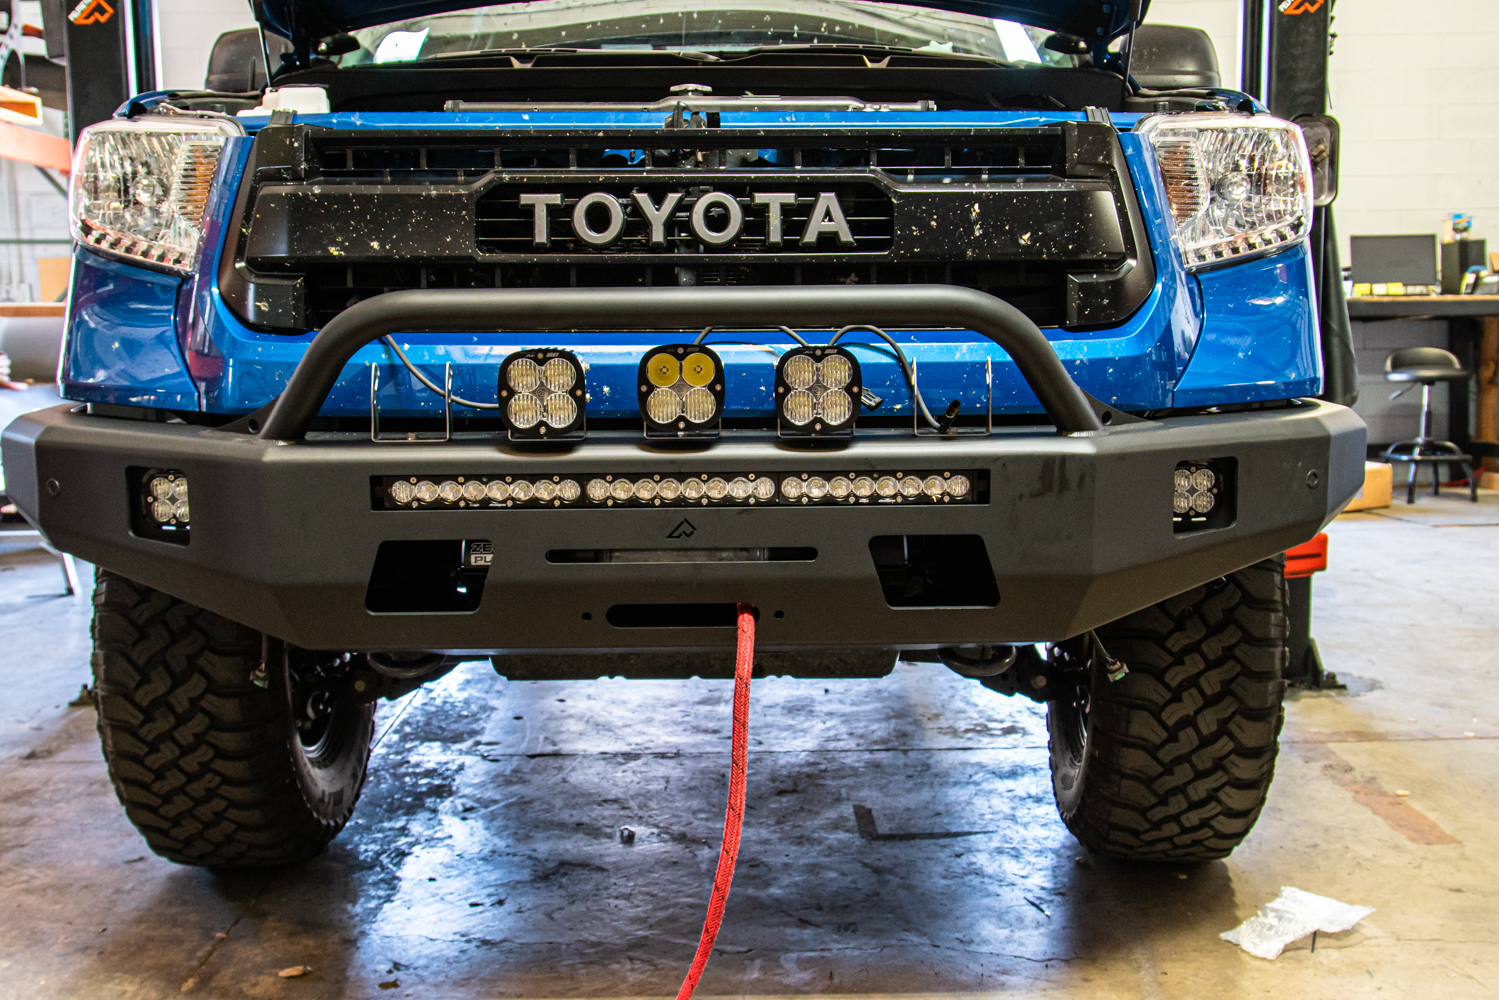
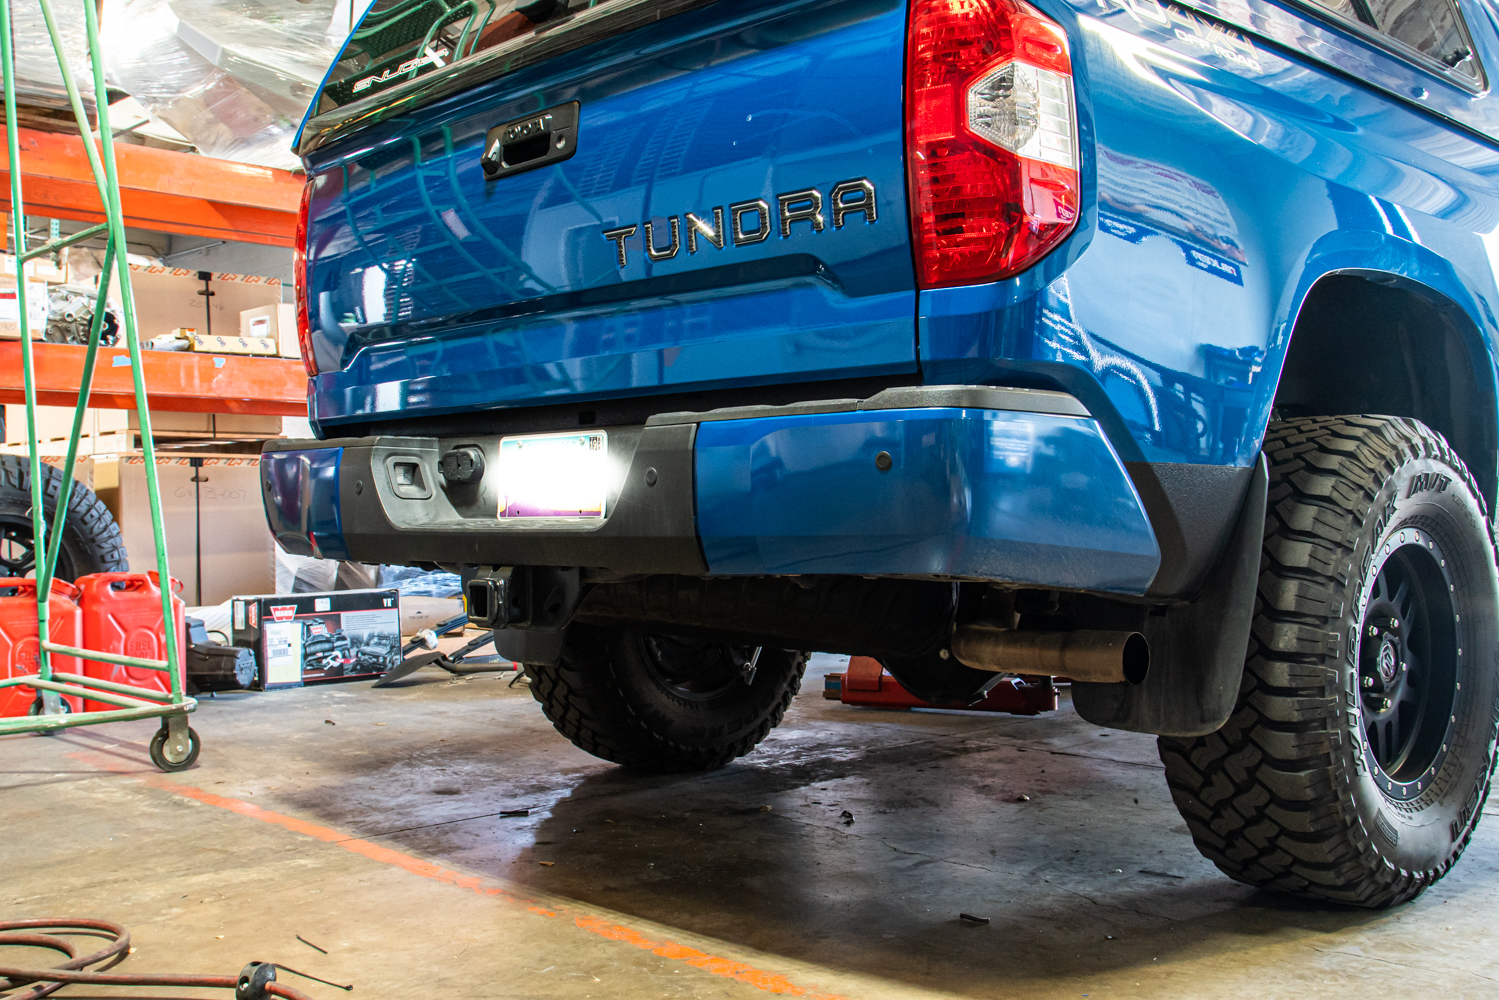 Last year, Project Tundra was fitted with a pre-production set of front and rear bumpers from a SoCal company that’s no longer in business. I spent several days at this manufacture’s location working on the install and helping to 3D scan the truck to develop additional parts like skid plates and sliders. Or at least that was the plan, but plans change. In the end Project Tundra ended up with a great set of bumpers, but no skids or sliders.
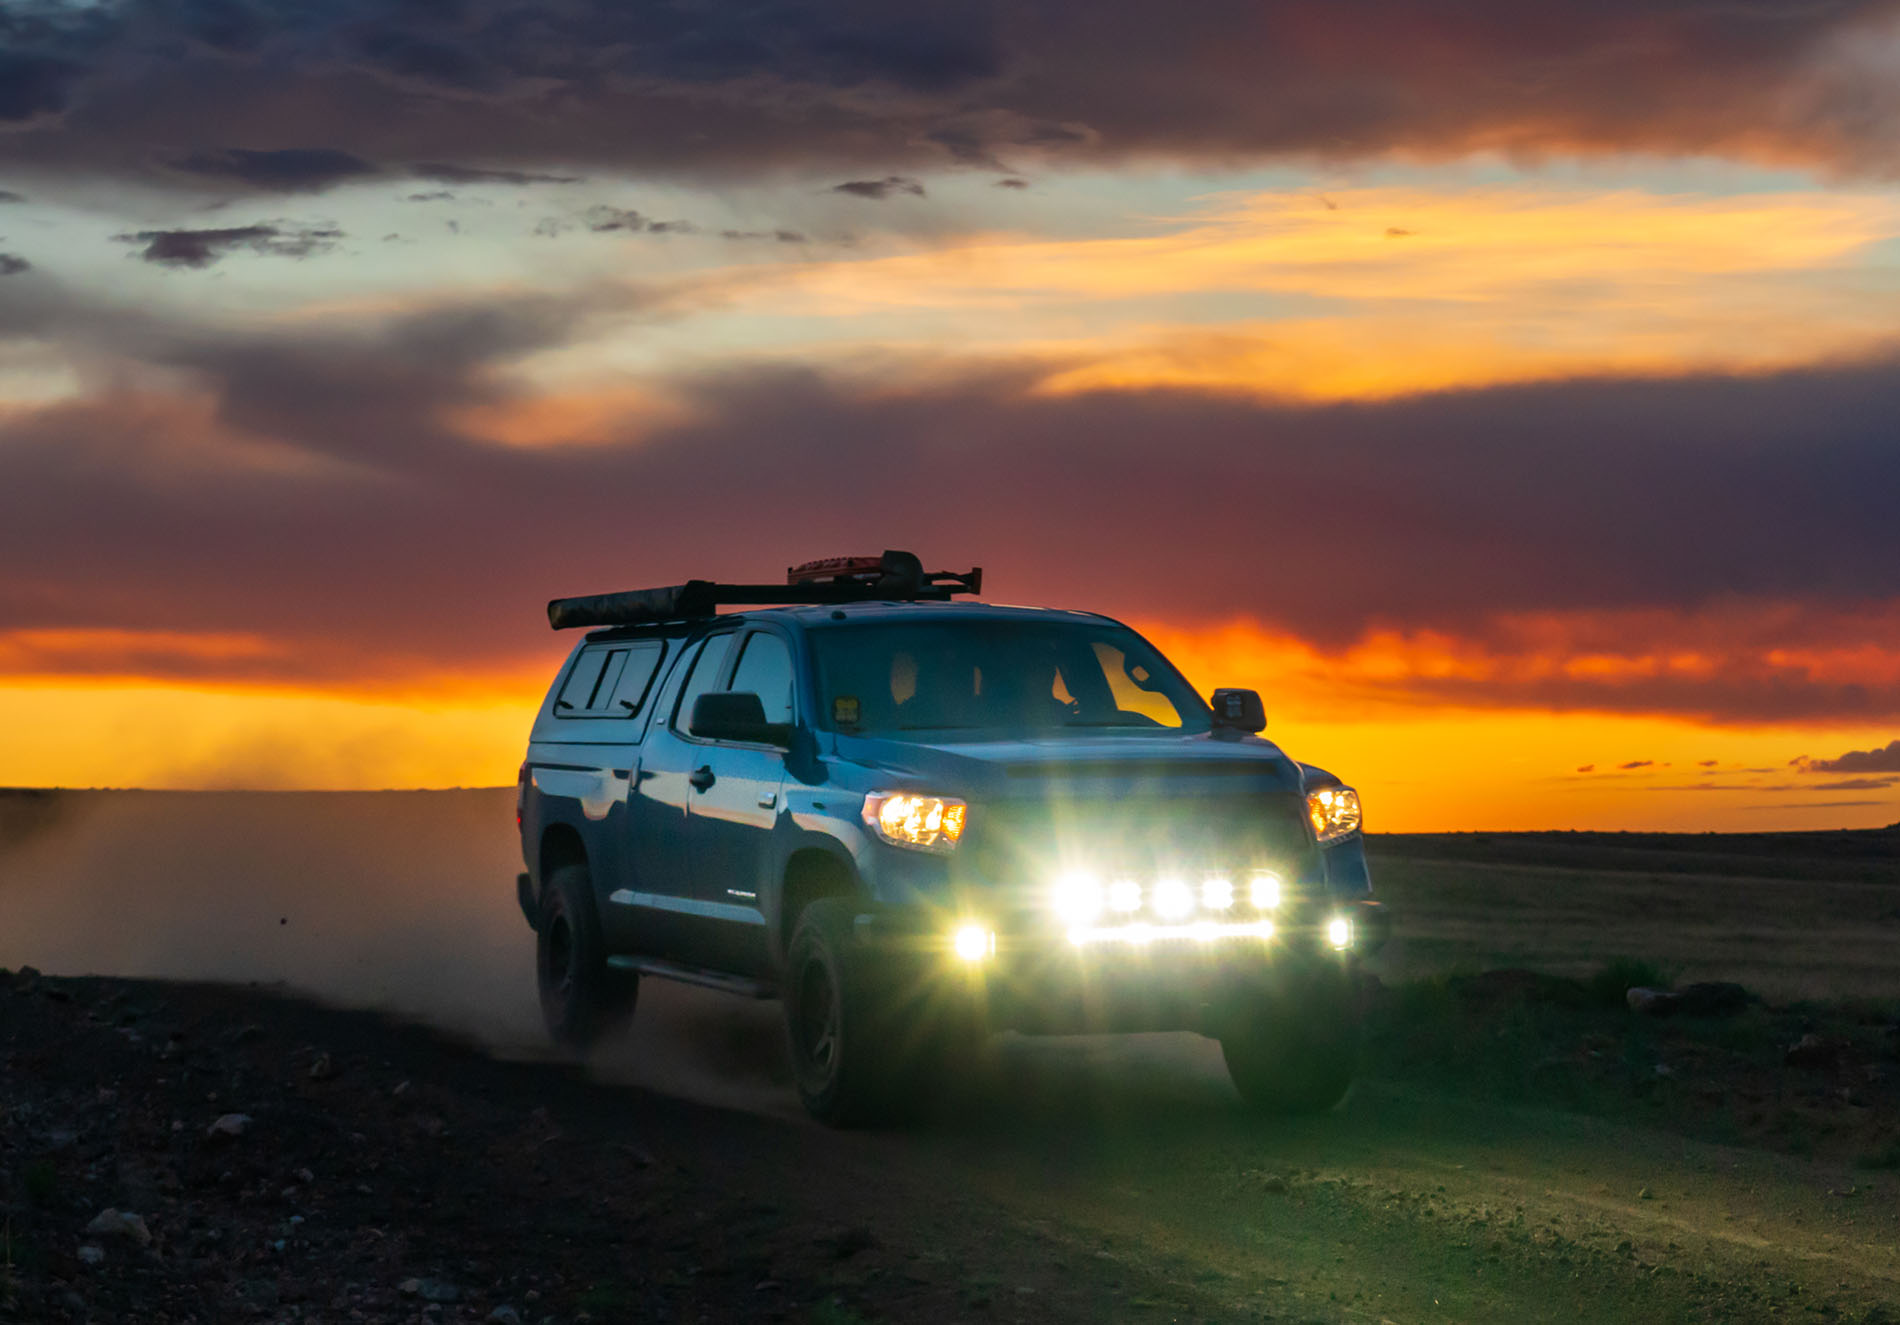
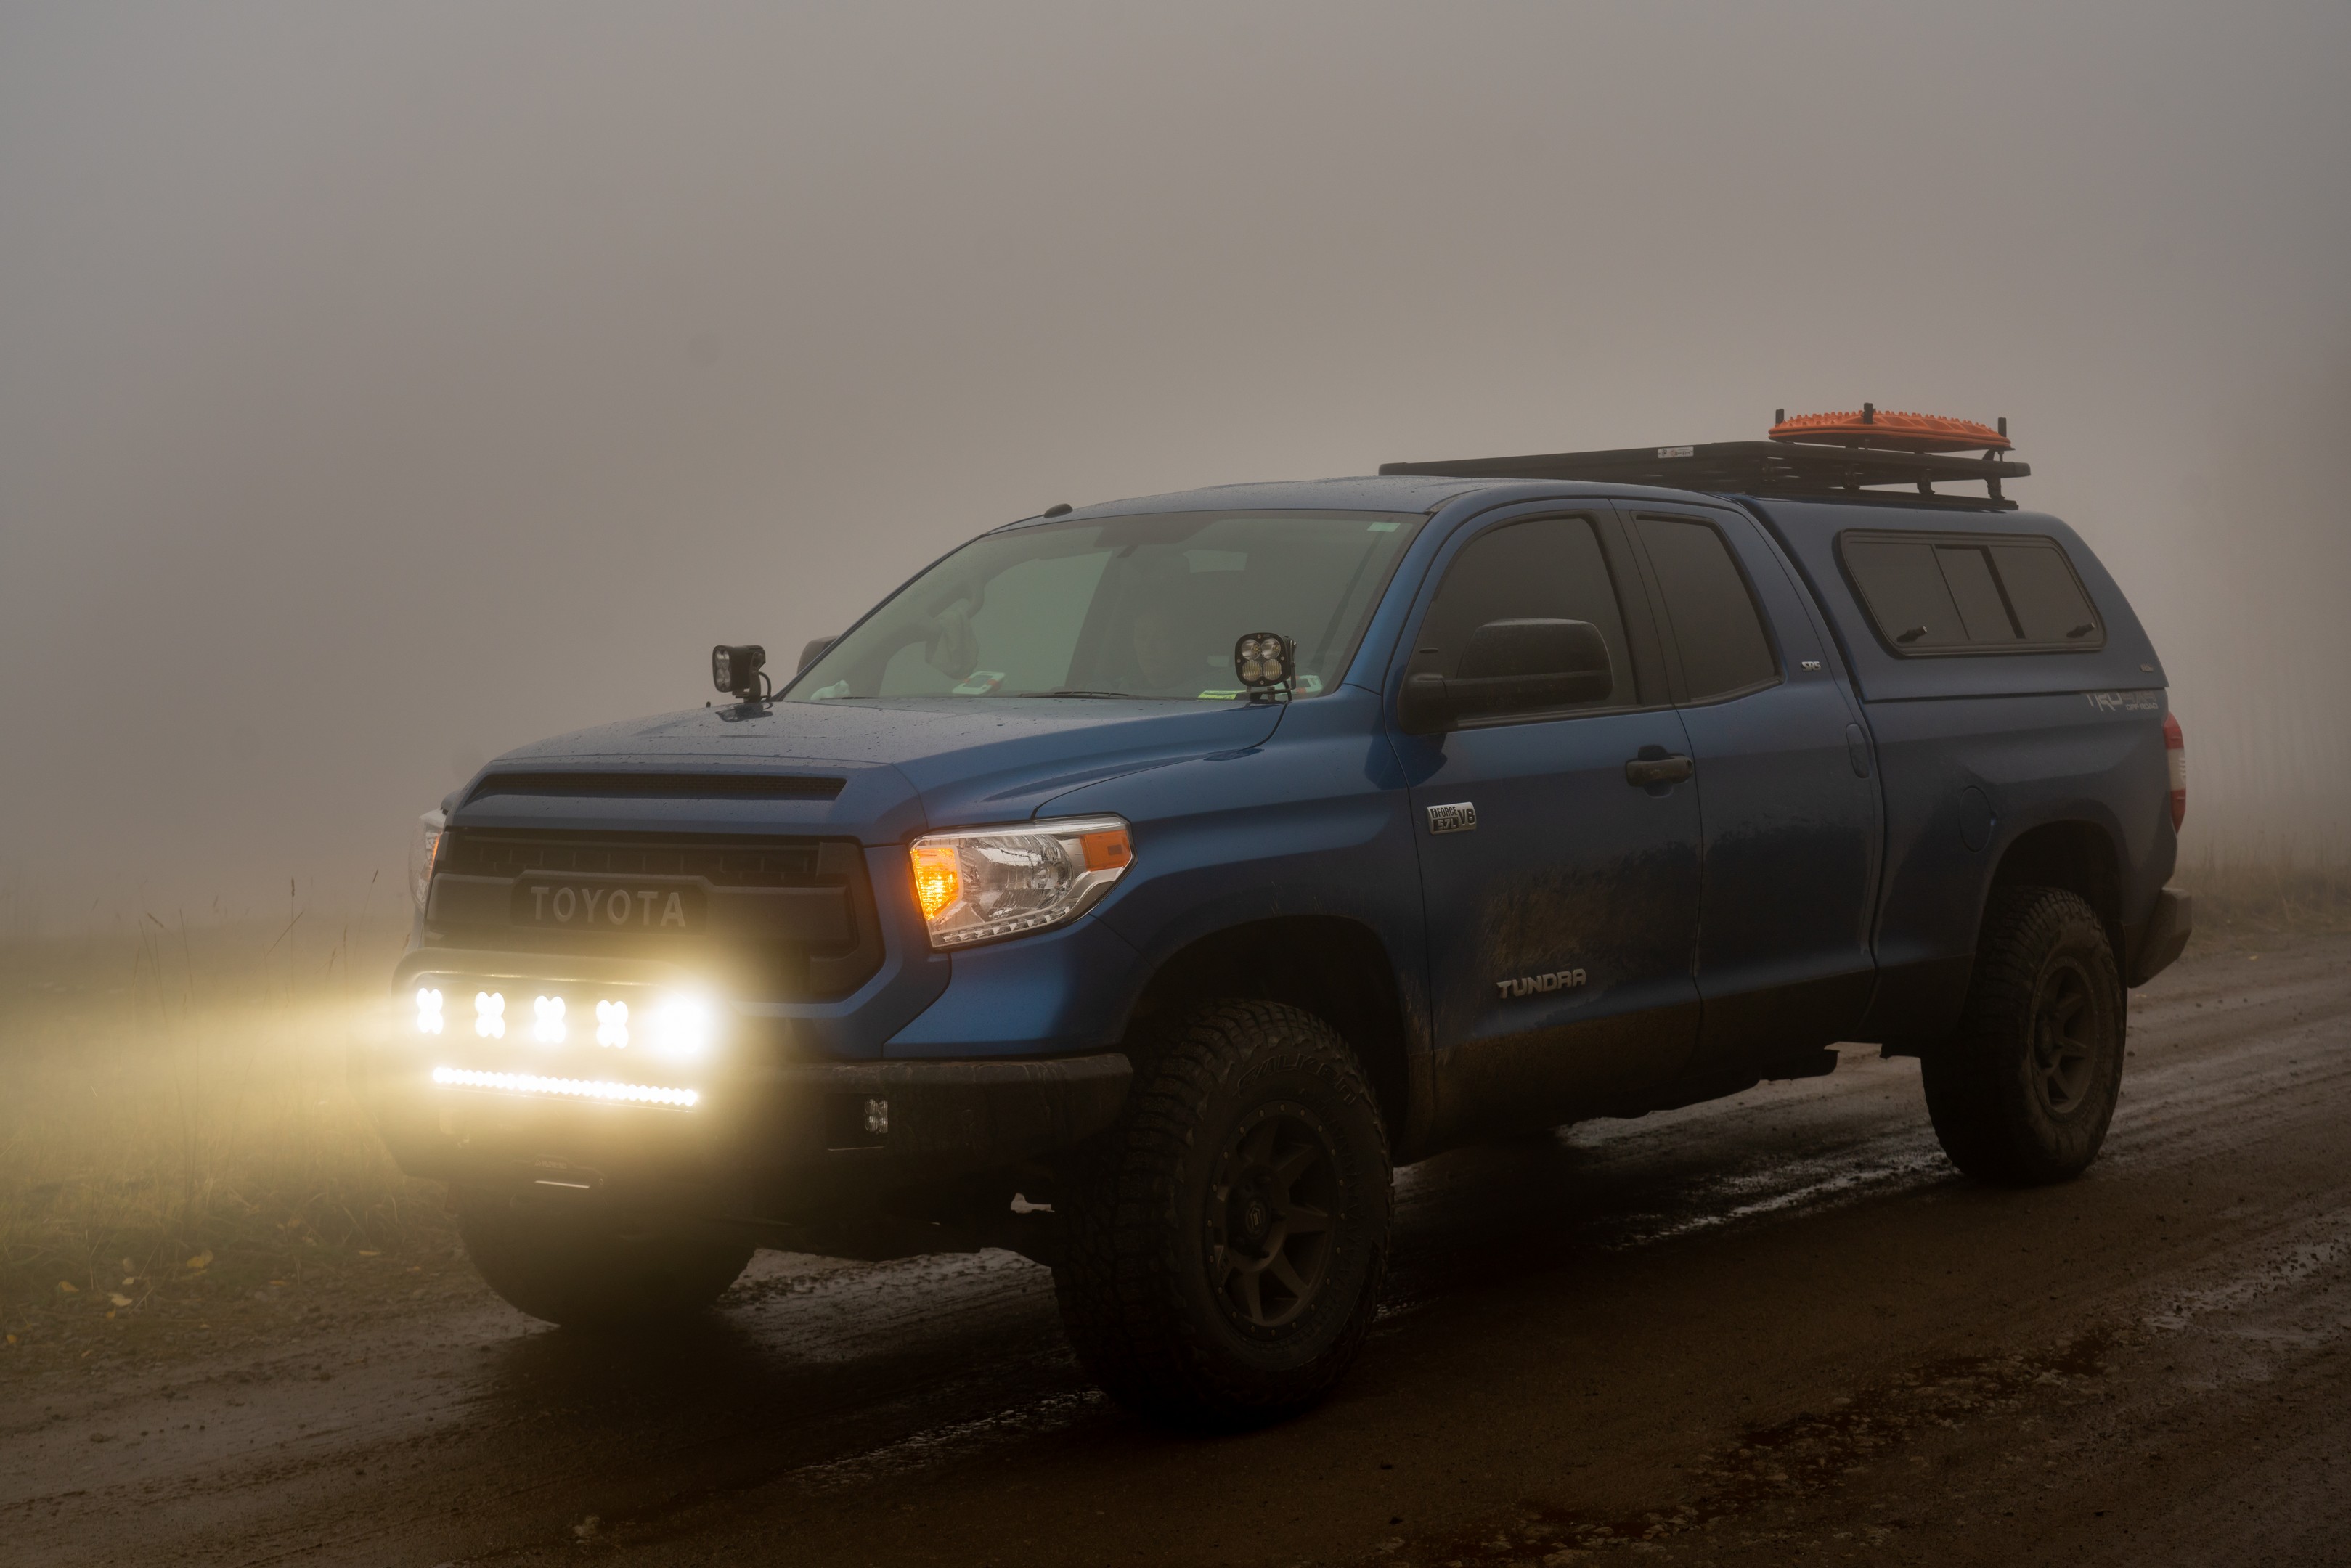
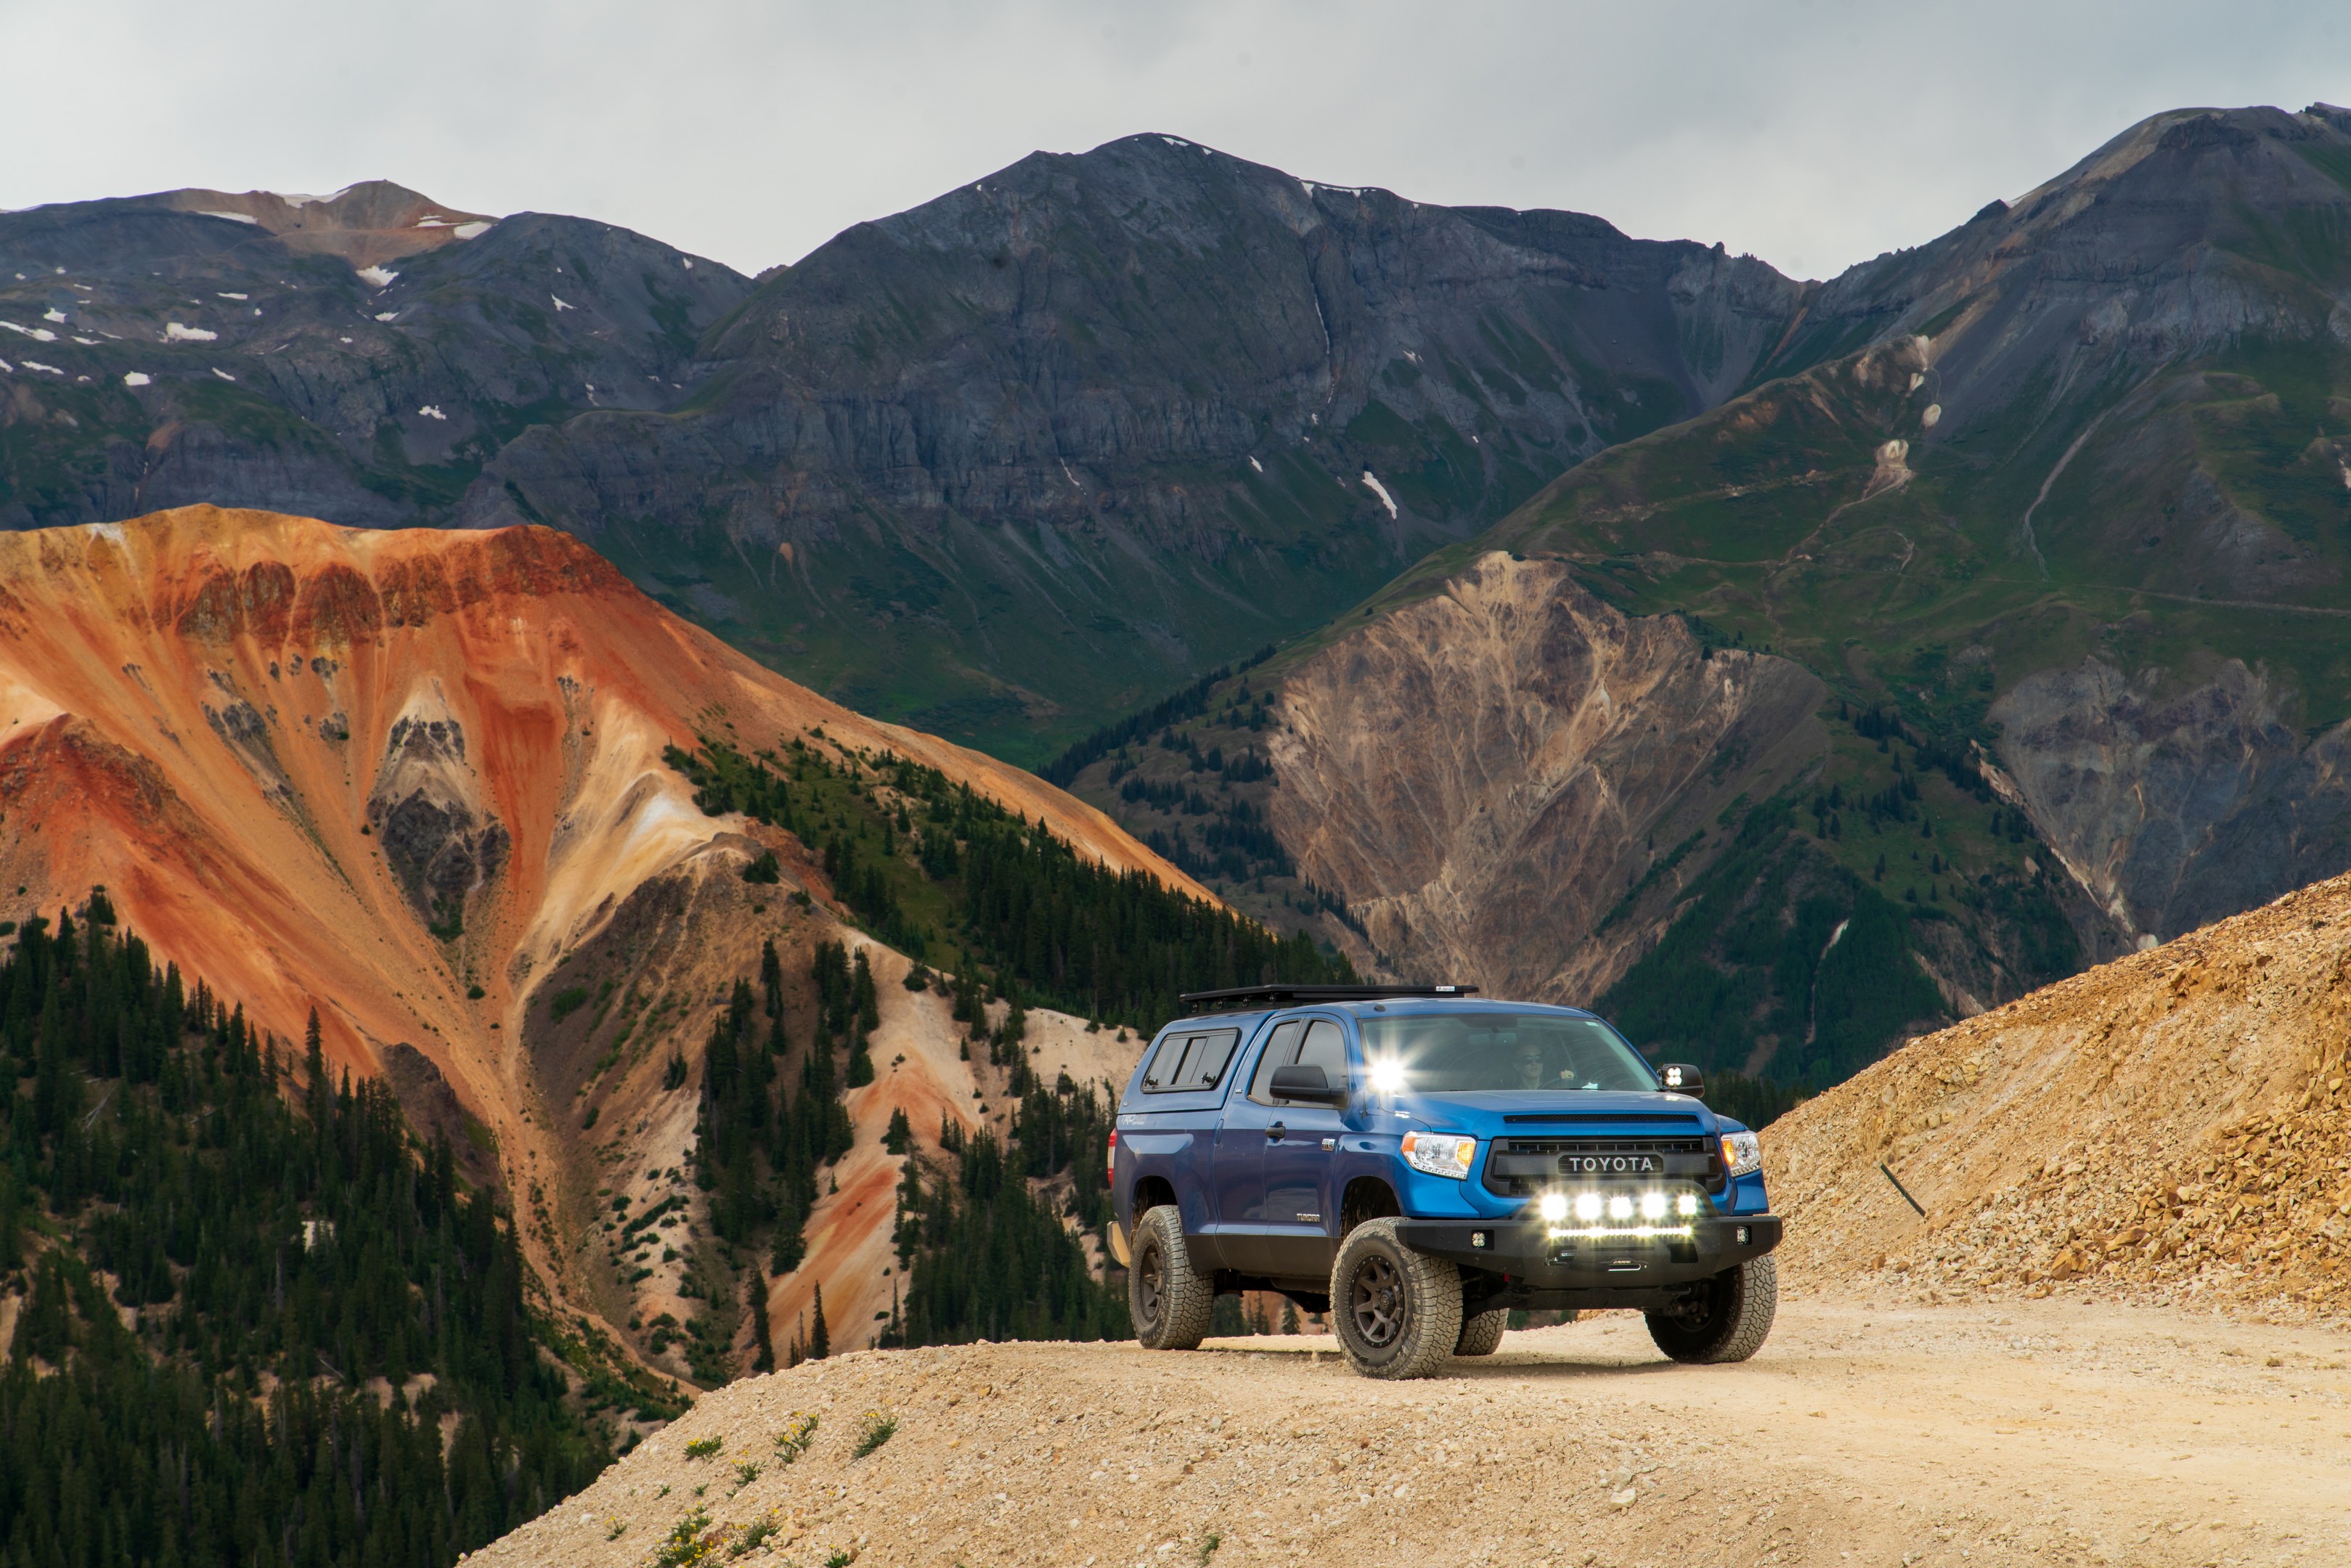
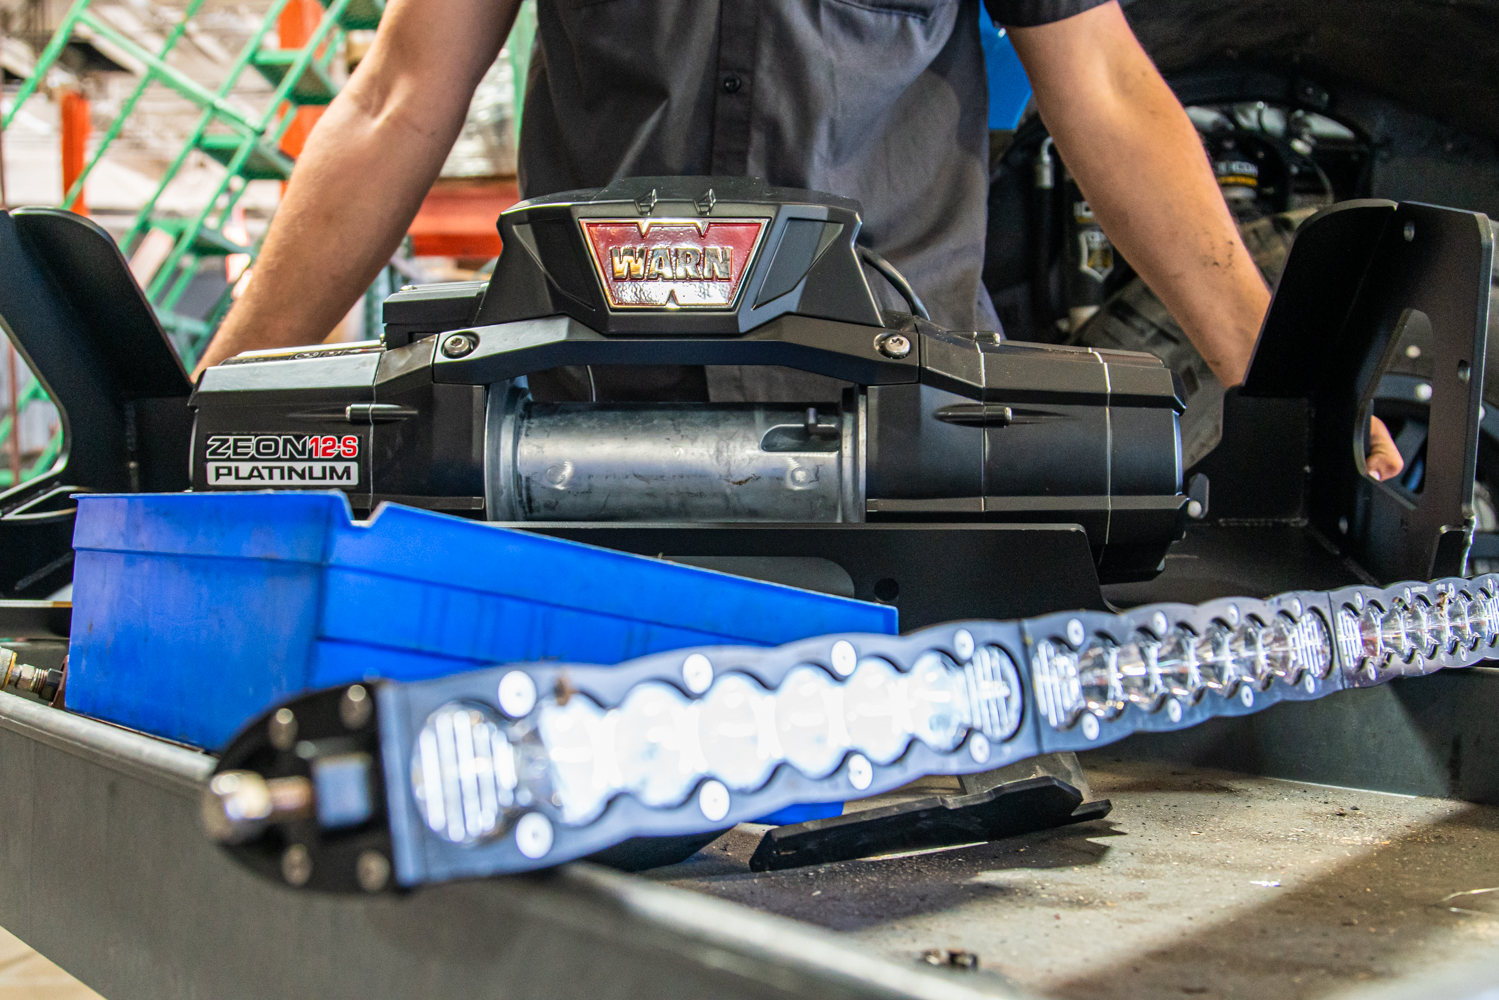 The bumpers are home to some other outstanding parts, namely a bunch of Baja Designs lights, and a shiny new Warn Zeon 12-S Platinum winch. We’ll cover lighting later, but I want to spend some time talking about the Zeon 12-S Platinum winch.
The Zeon 12-S Platinum is a flagship winch from Warn, and as such it has a number of features that make it stand out. With a GVWR of 7,100 pounds, going with a 12,000-pound winch would allow for extra performance when it counted, as we were well over the heuristic of 1.5X vehicle weight for winch sizing. Compared to the solenoid-controlled winches that I’m used to, the Zeon 12-S Platinum is a winch from the 21st century. Wire rope (which for the record is still totally awesome) is replaced with Spydura Pro Synthetic line, and the wired remote is replaced with a wireless remote that lets you completely control the winch. Literally the only control on the winch is the power switch. From the remote, you can spool or unspool the winch, engage or disengage the clutch, control up to two different accessories, and monitor battery voltage and winch temperature. This remote works great in the cab, or at the end of the line, making solo recovery work much easier and most importantly, safer. From deep sand in Utah, to deep snow in the Colorado Rockies, this winch has worked flawlessly, and come nowhere close to getting hot even after repeated long pulls with a fully loaded full size pickup. Consider me impressed.
SLIDERS
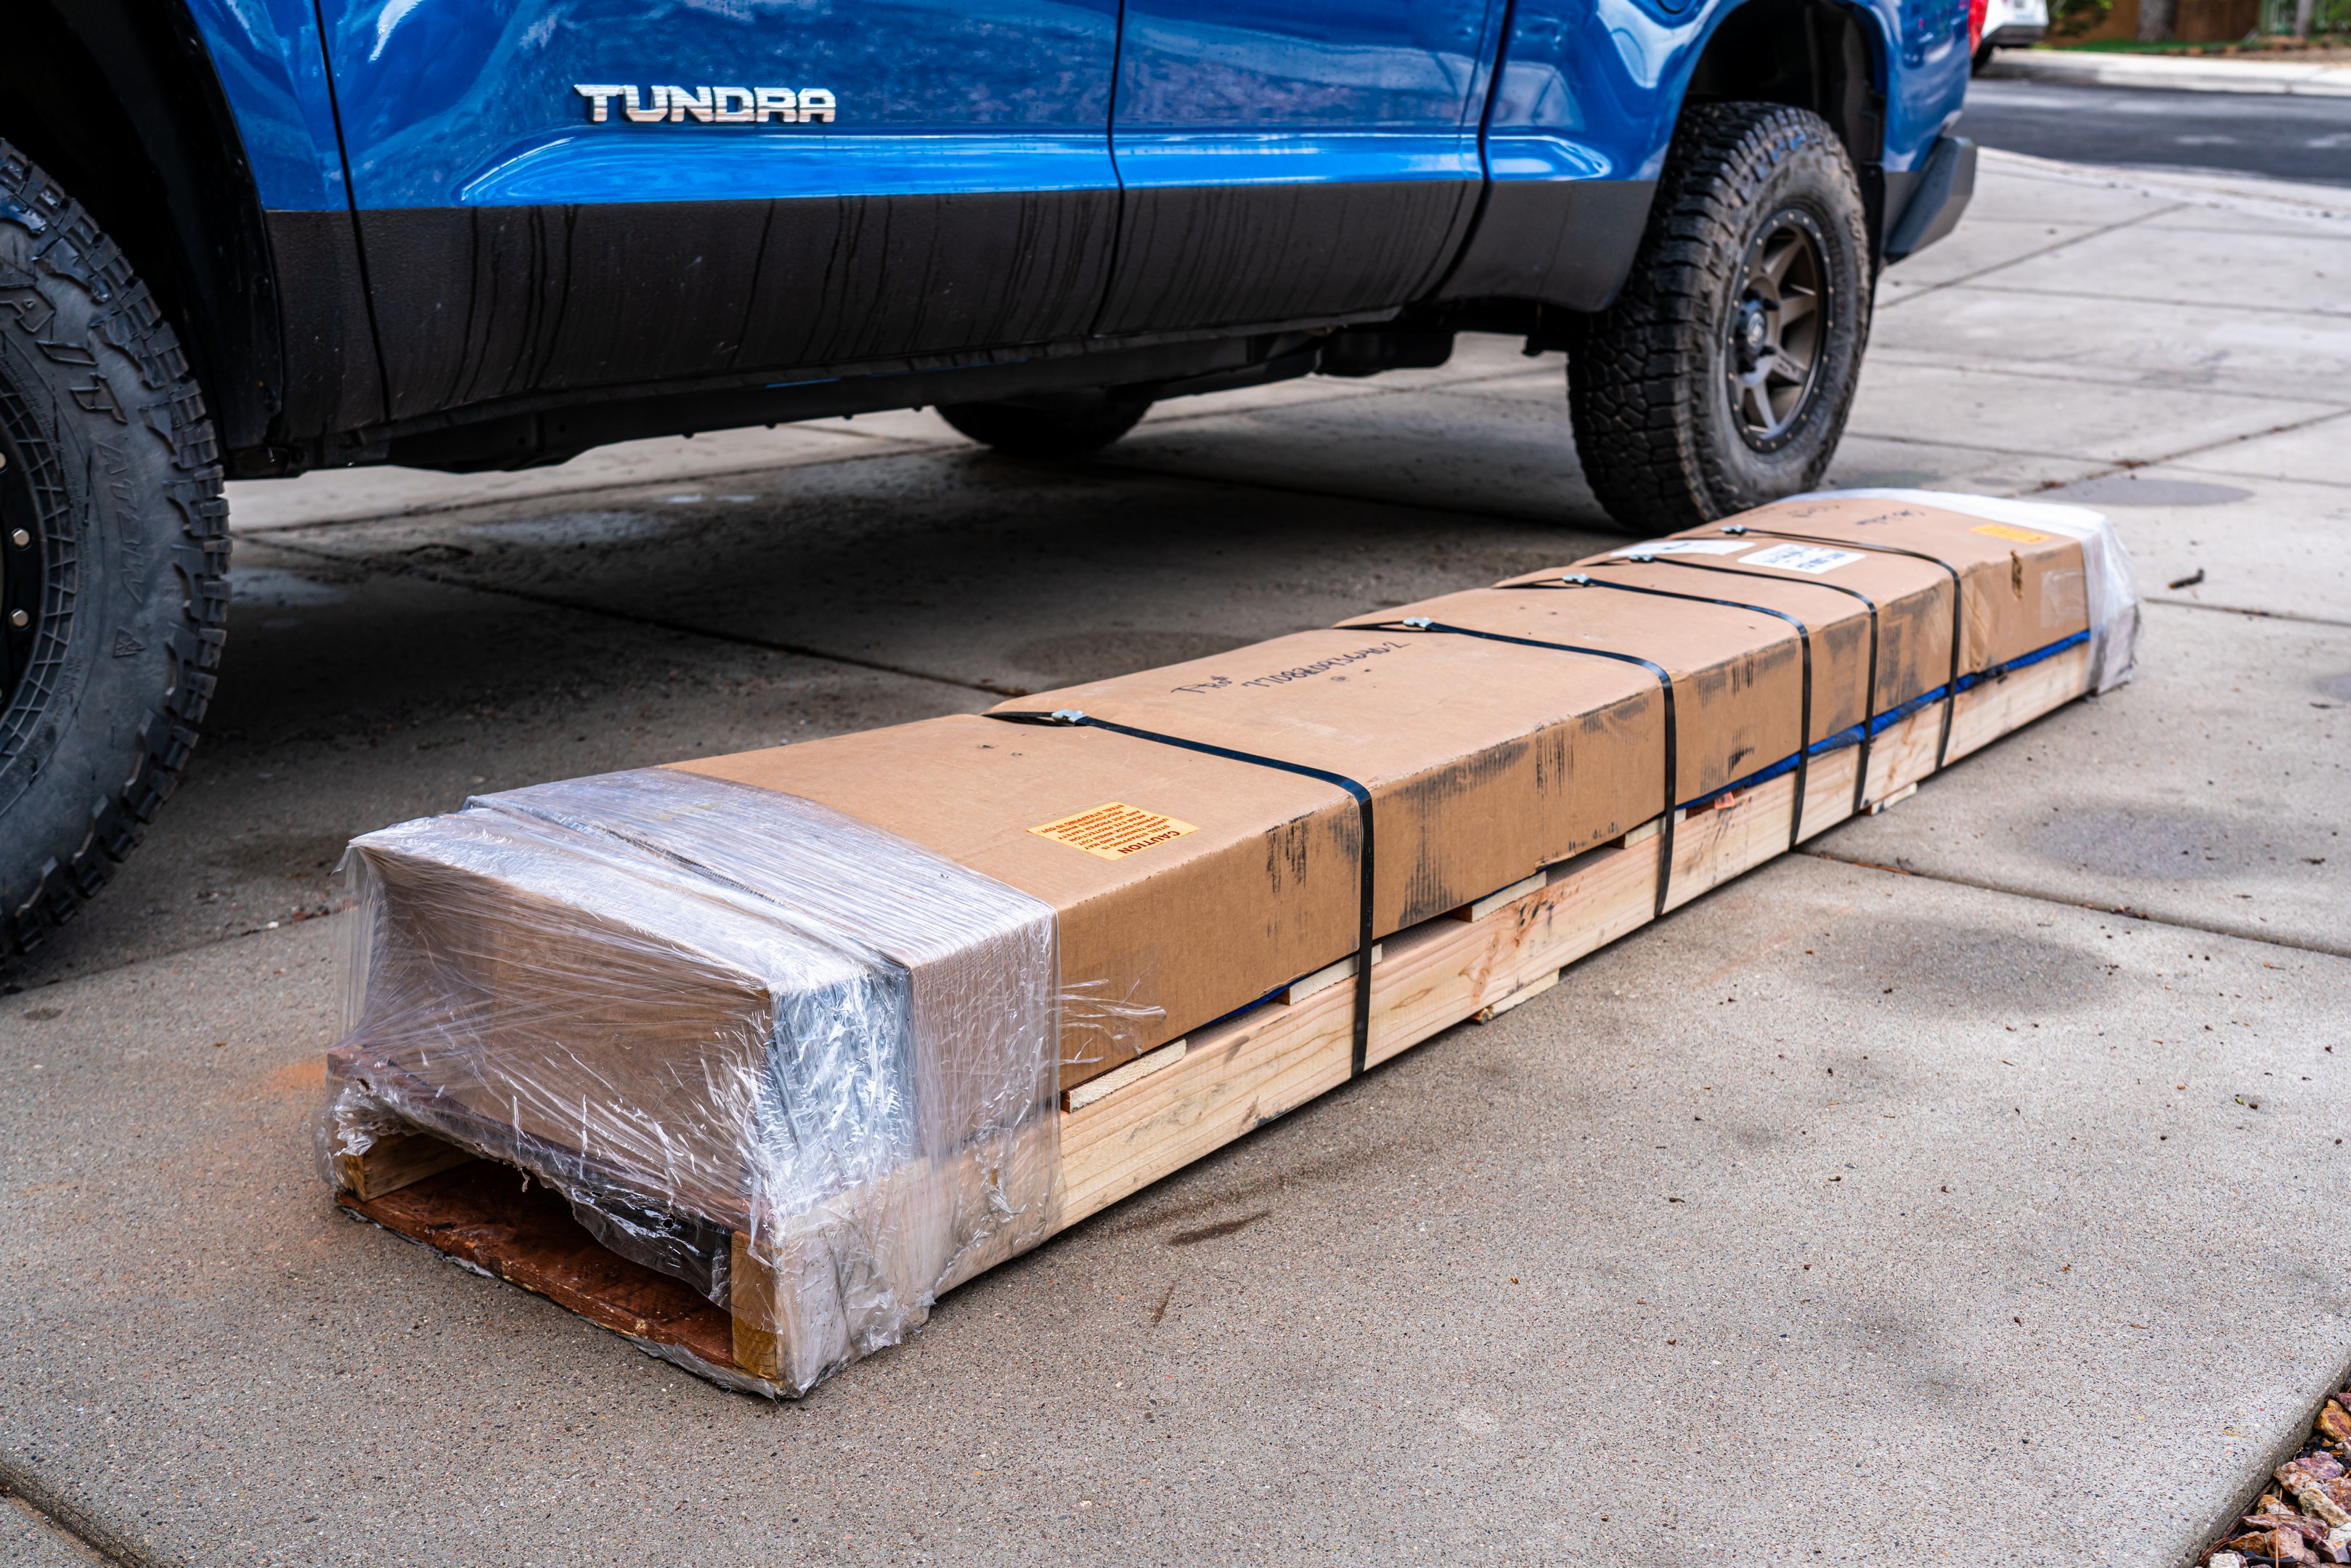
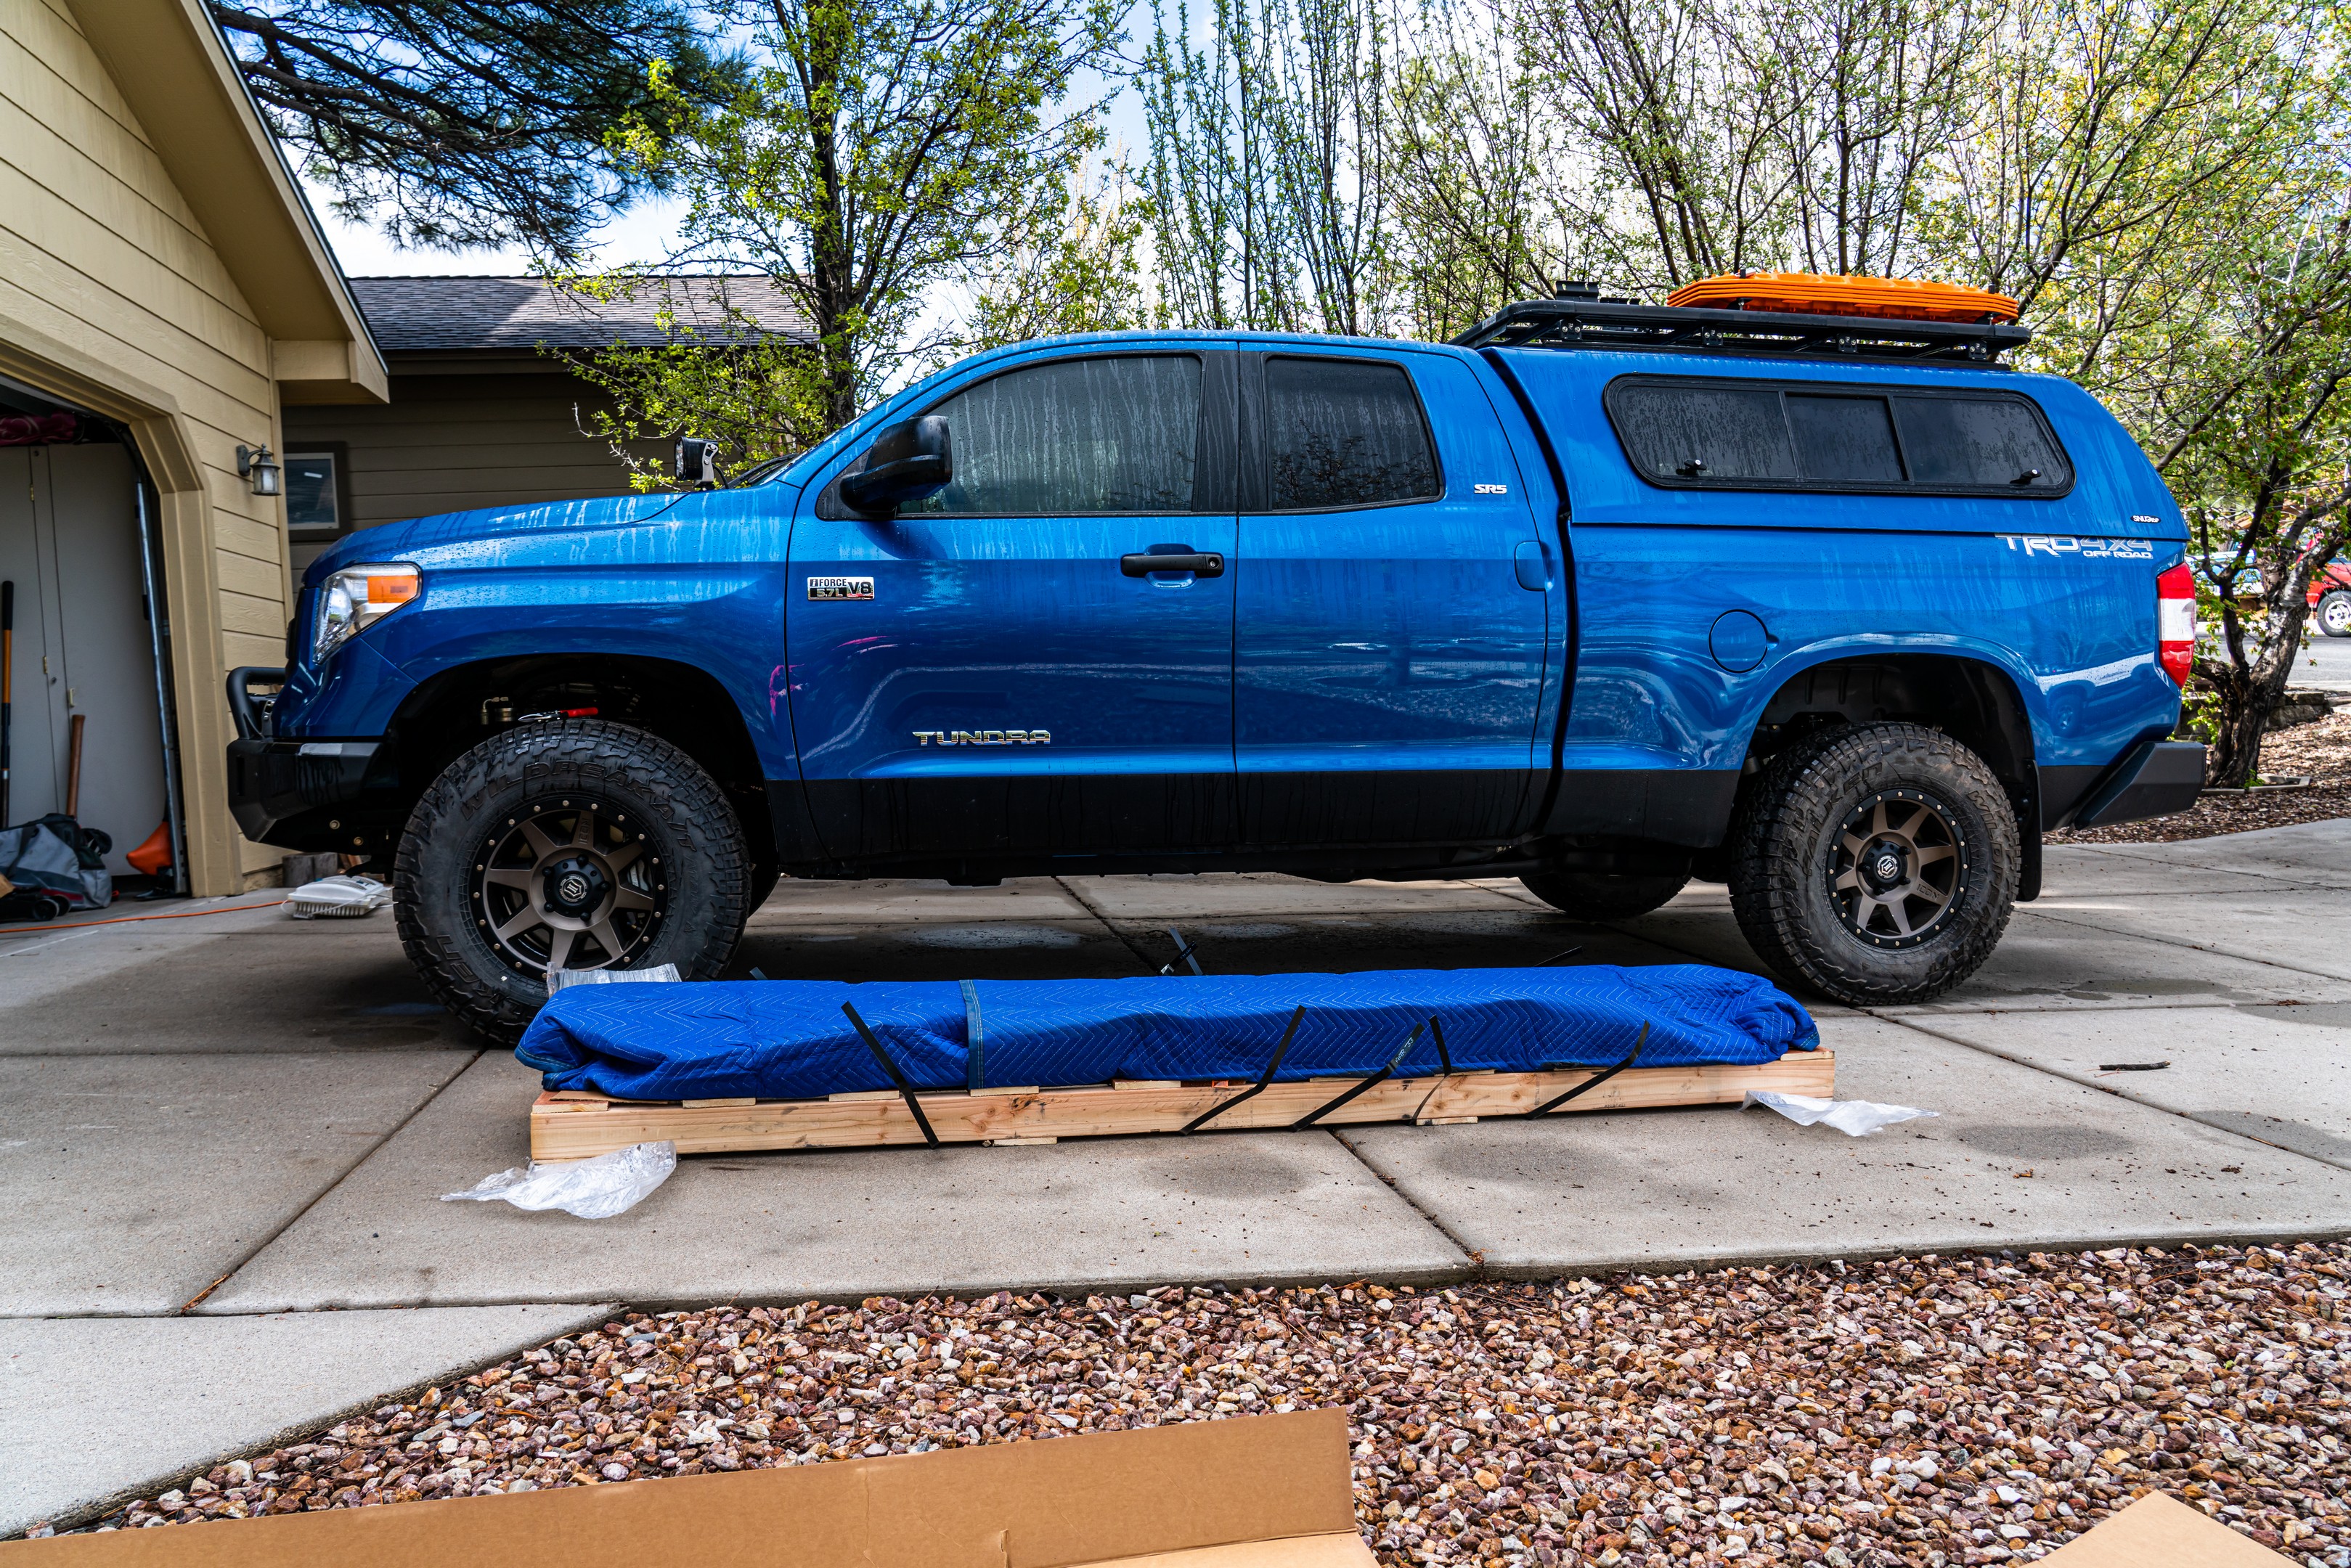
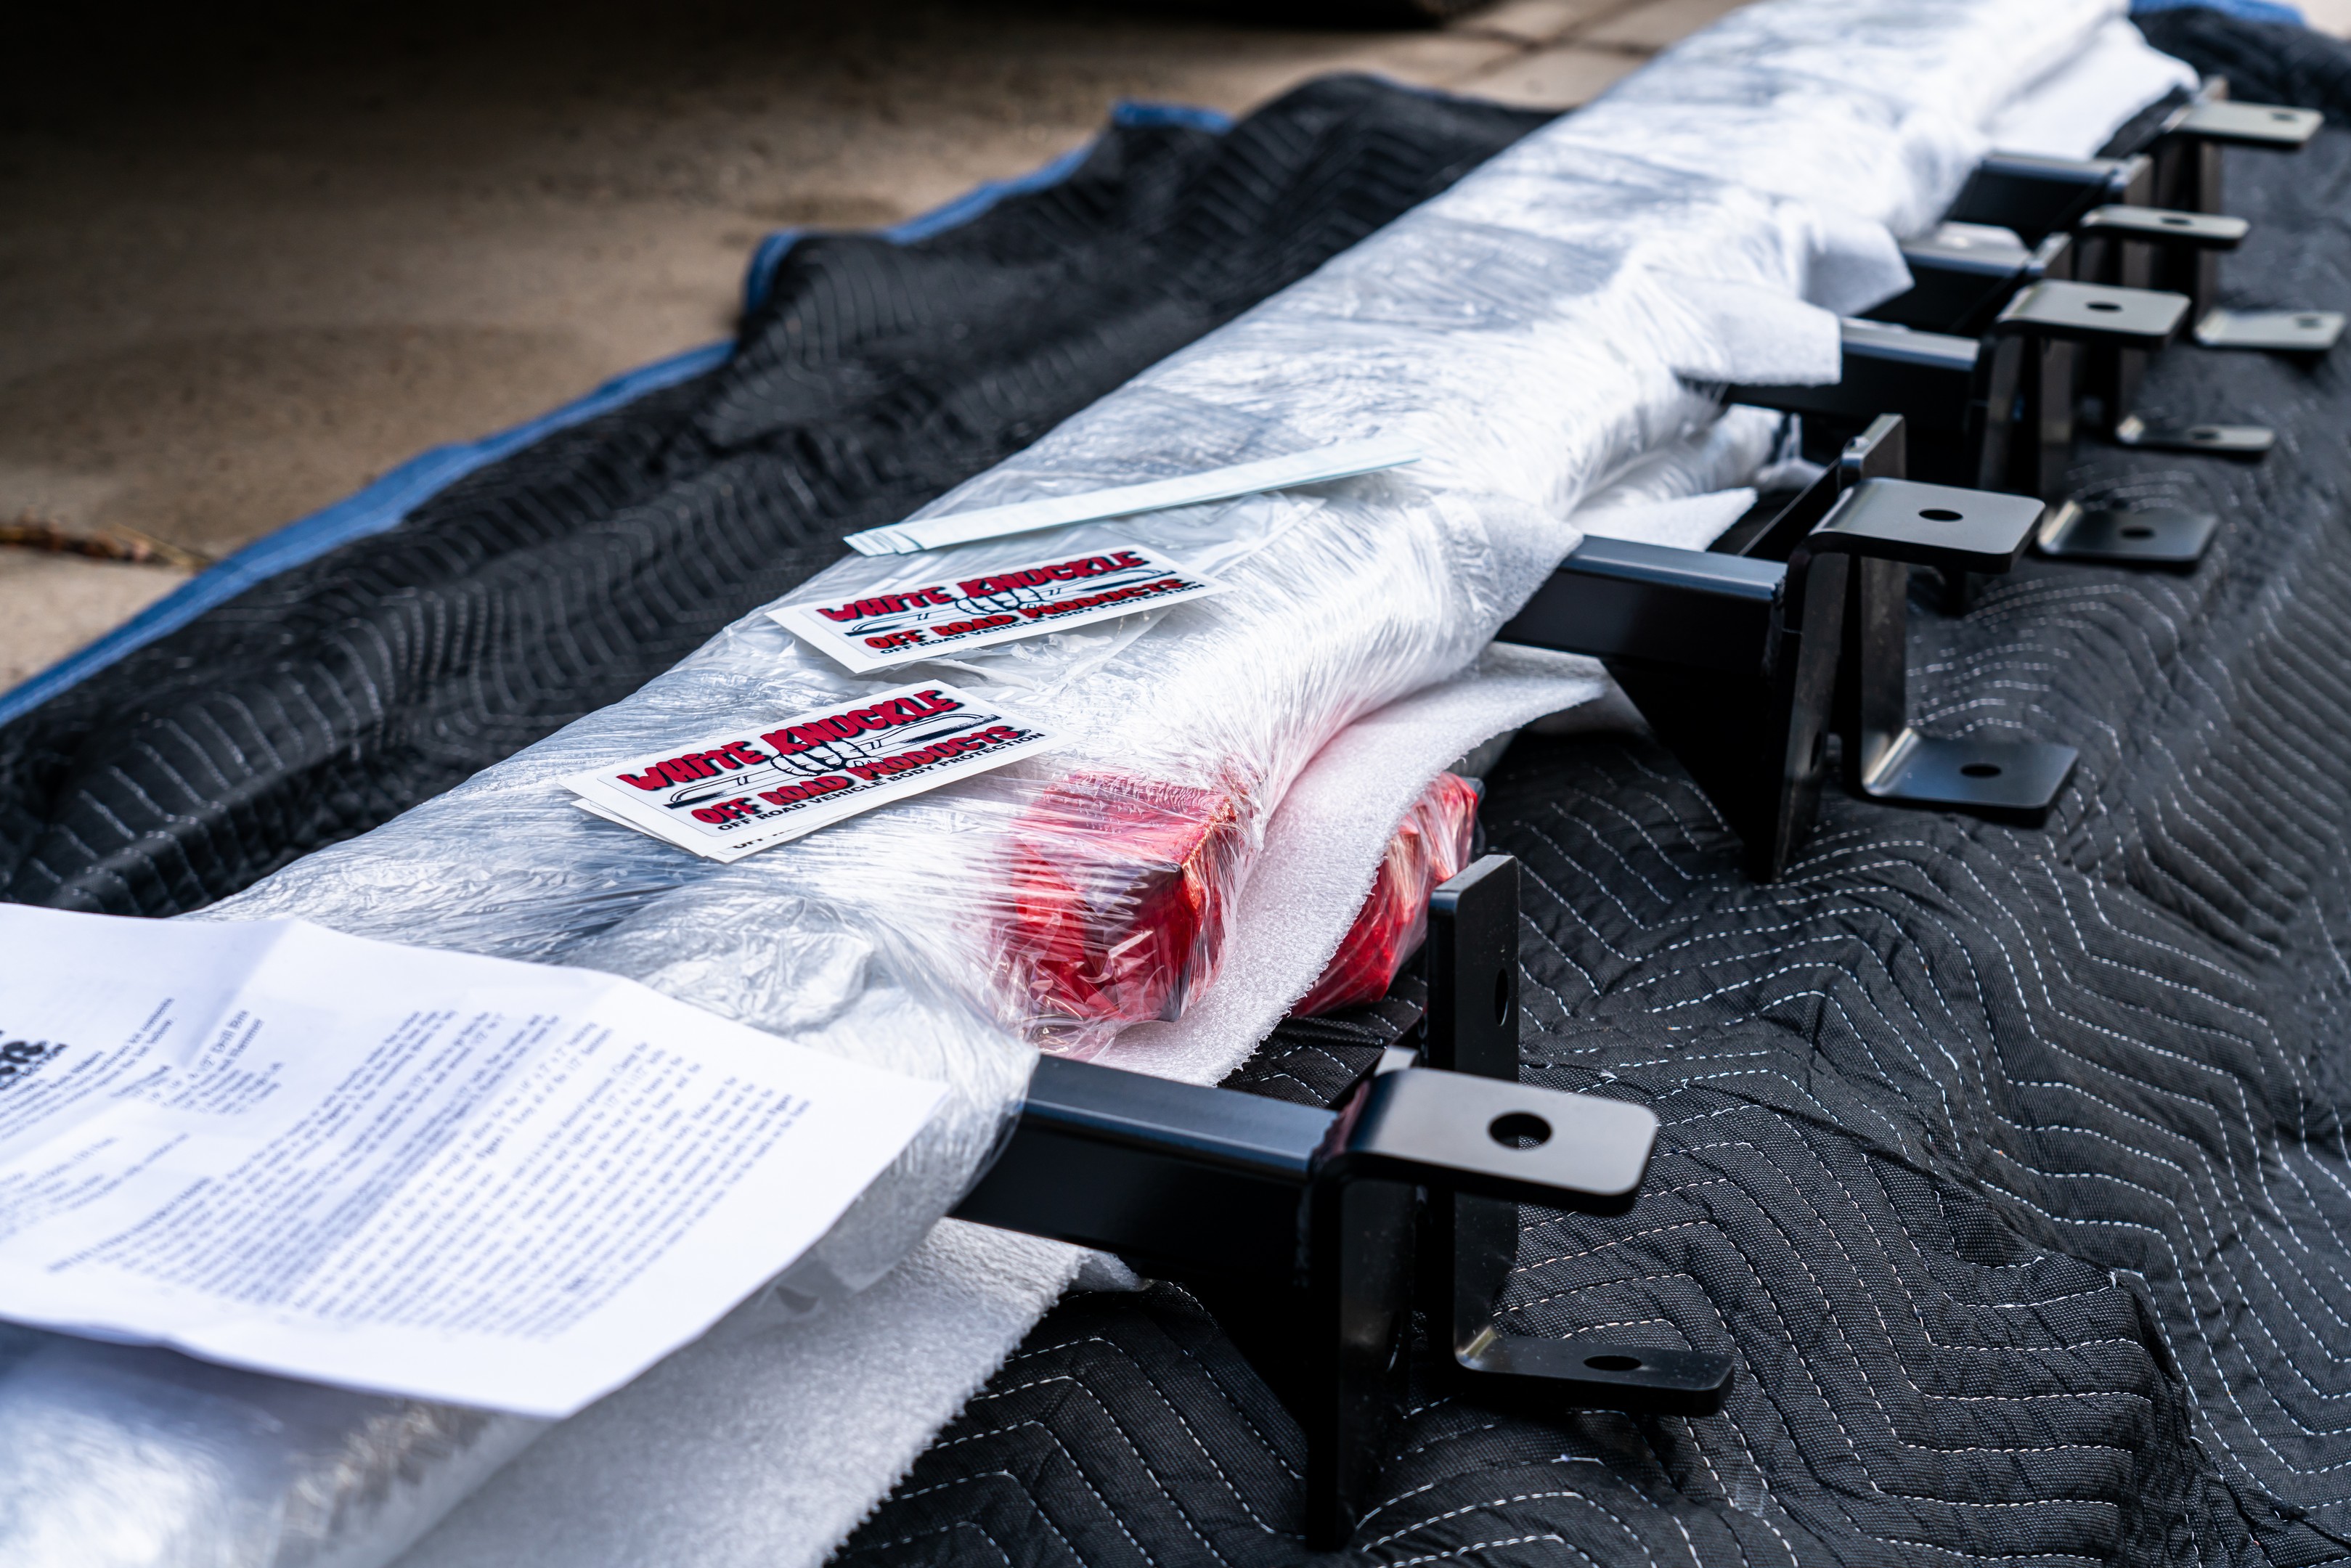
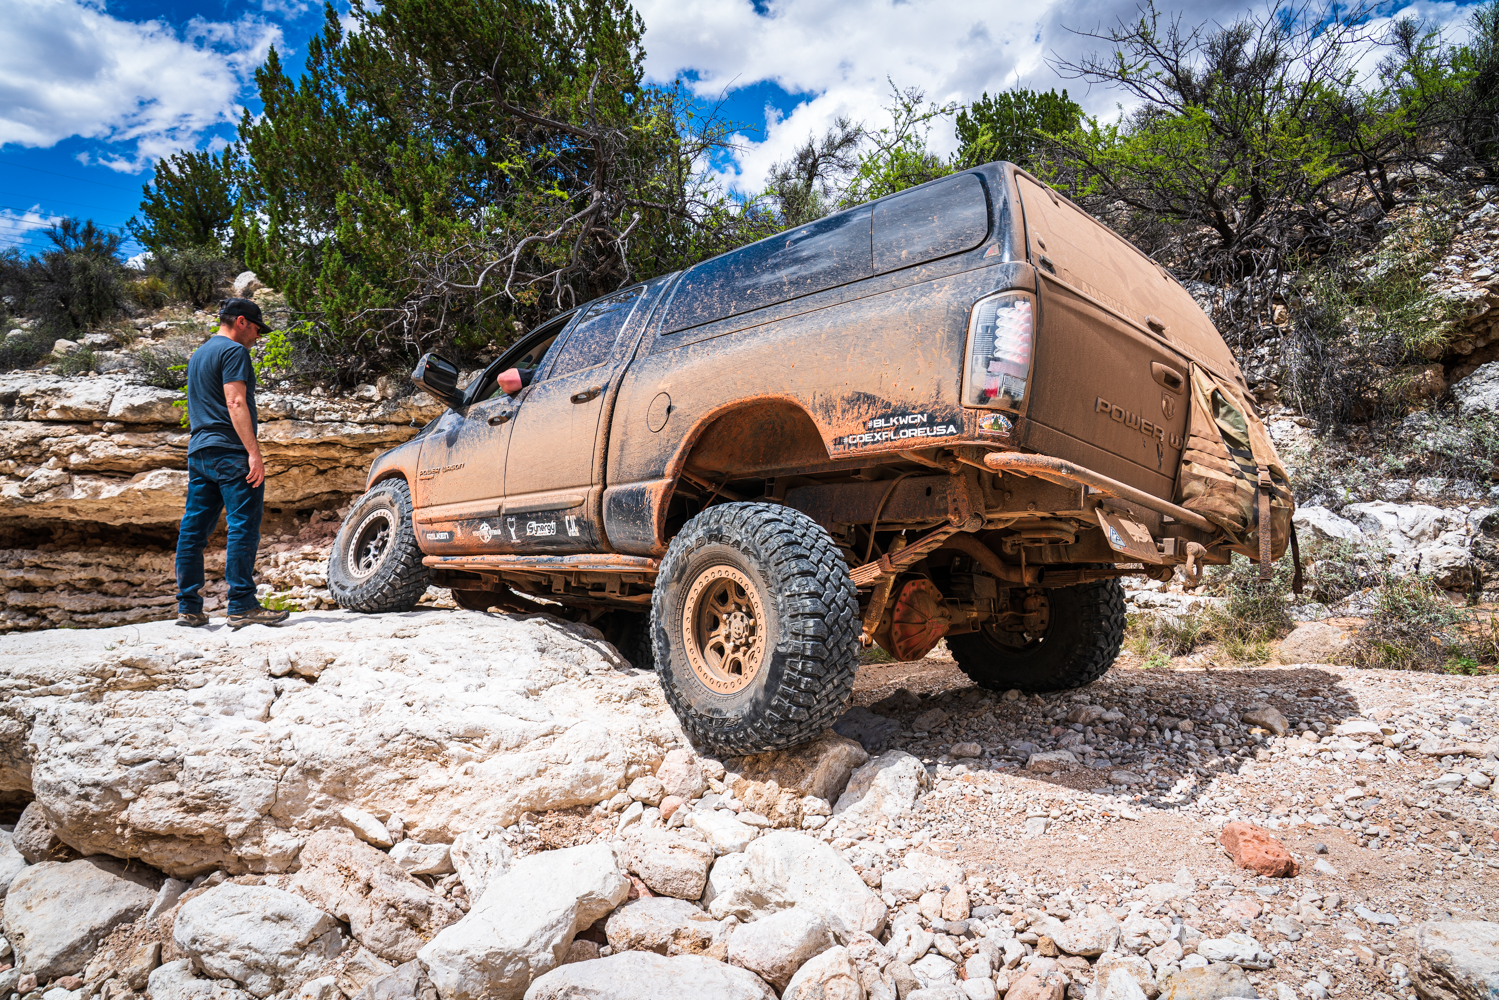 Project Tundra needed sliders, and after watching White Knuckle Off Road products sliders in action on a number of rigs that wheel hard, like Cris Mateski’s BlkWgn (pictured above), the choice of sliders to use was clear. I knew I had chosen well the minute the door opened on the freight truck that had delivered my sliders revealing one of the most impressive armor packaging jobs I’ve ever seen. White Knuckle packages their sliders on a custom-made pallet, and the foam padding that is the only protection that many other manufactures use a is supplemented with quilted moving blankets before the whole bundle is wrapped in cardboard. Even the delivery driver was impressed.

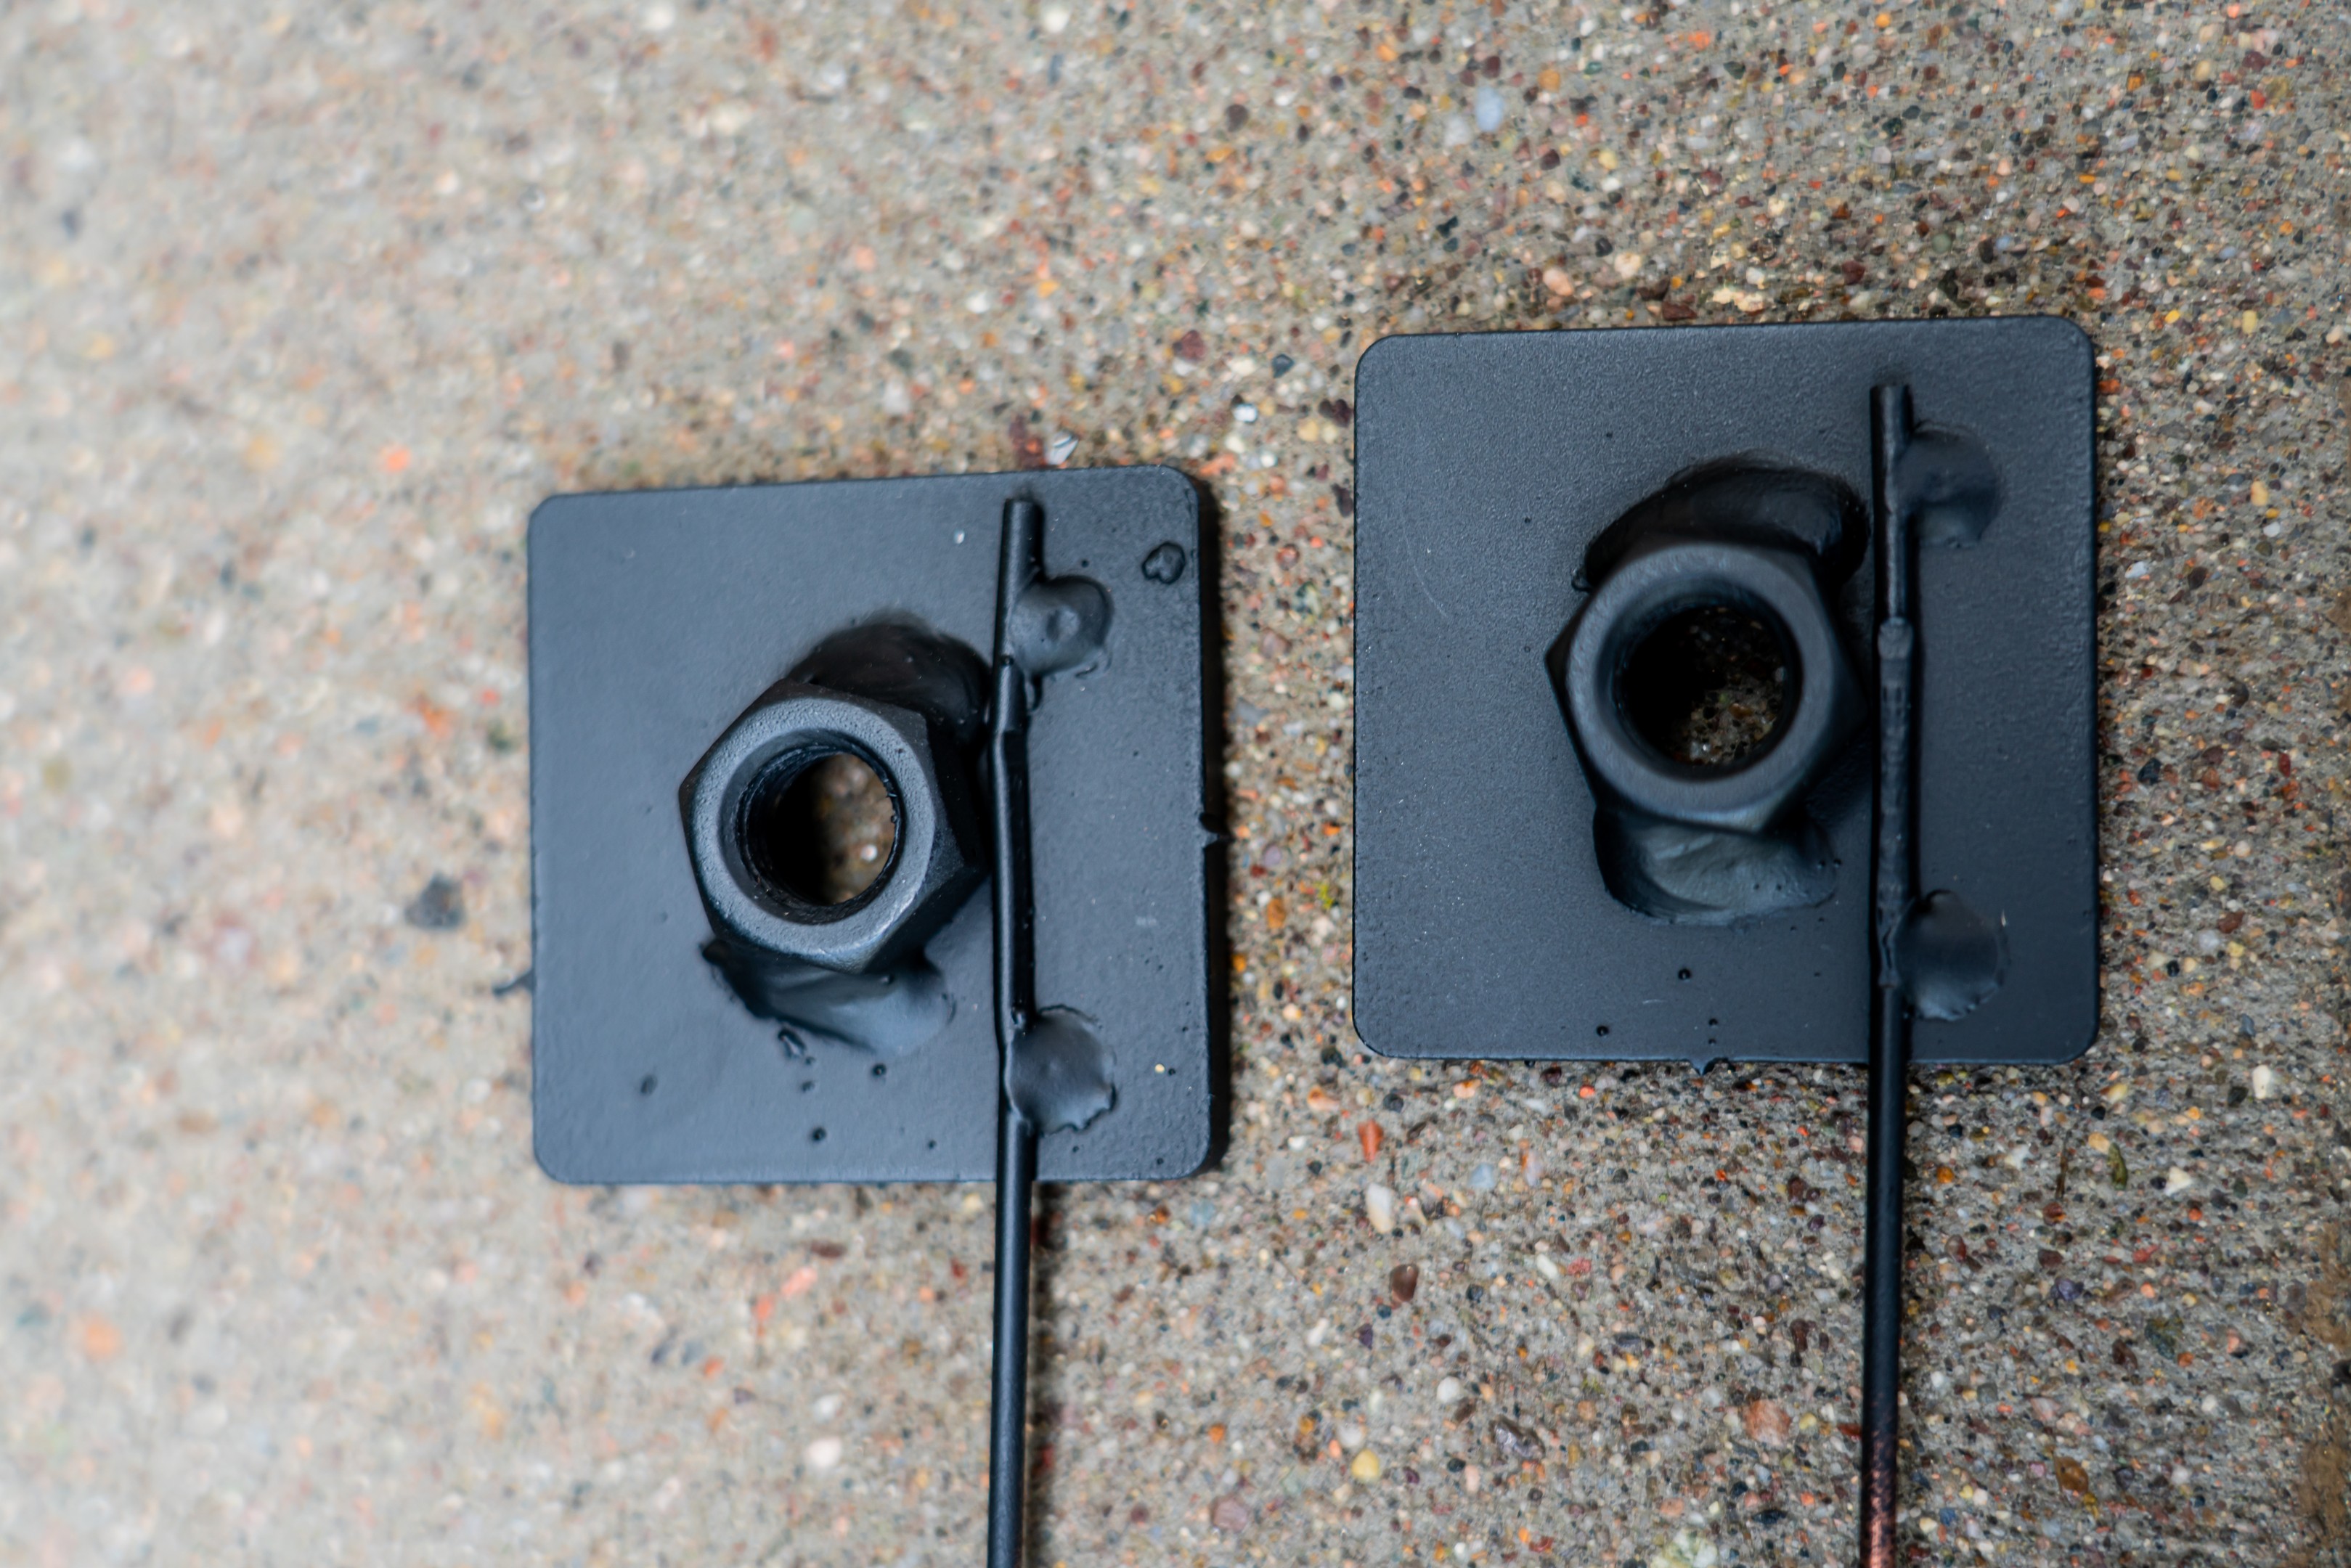
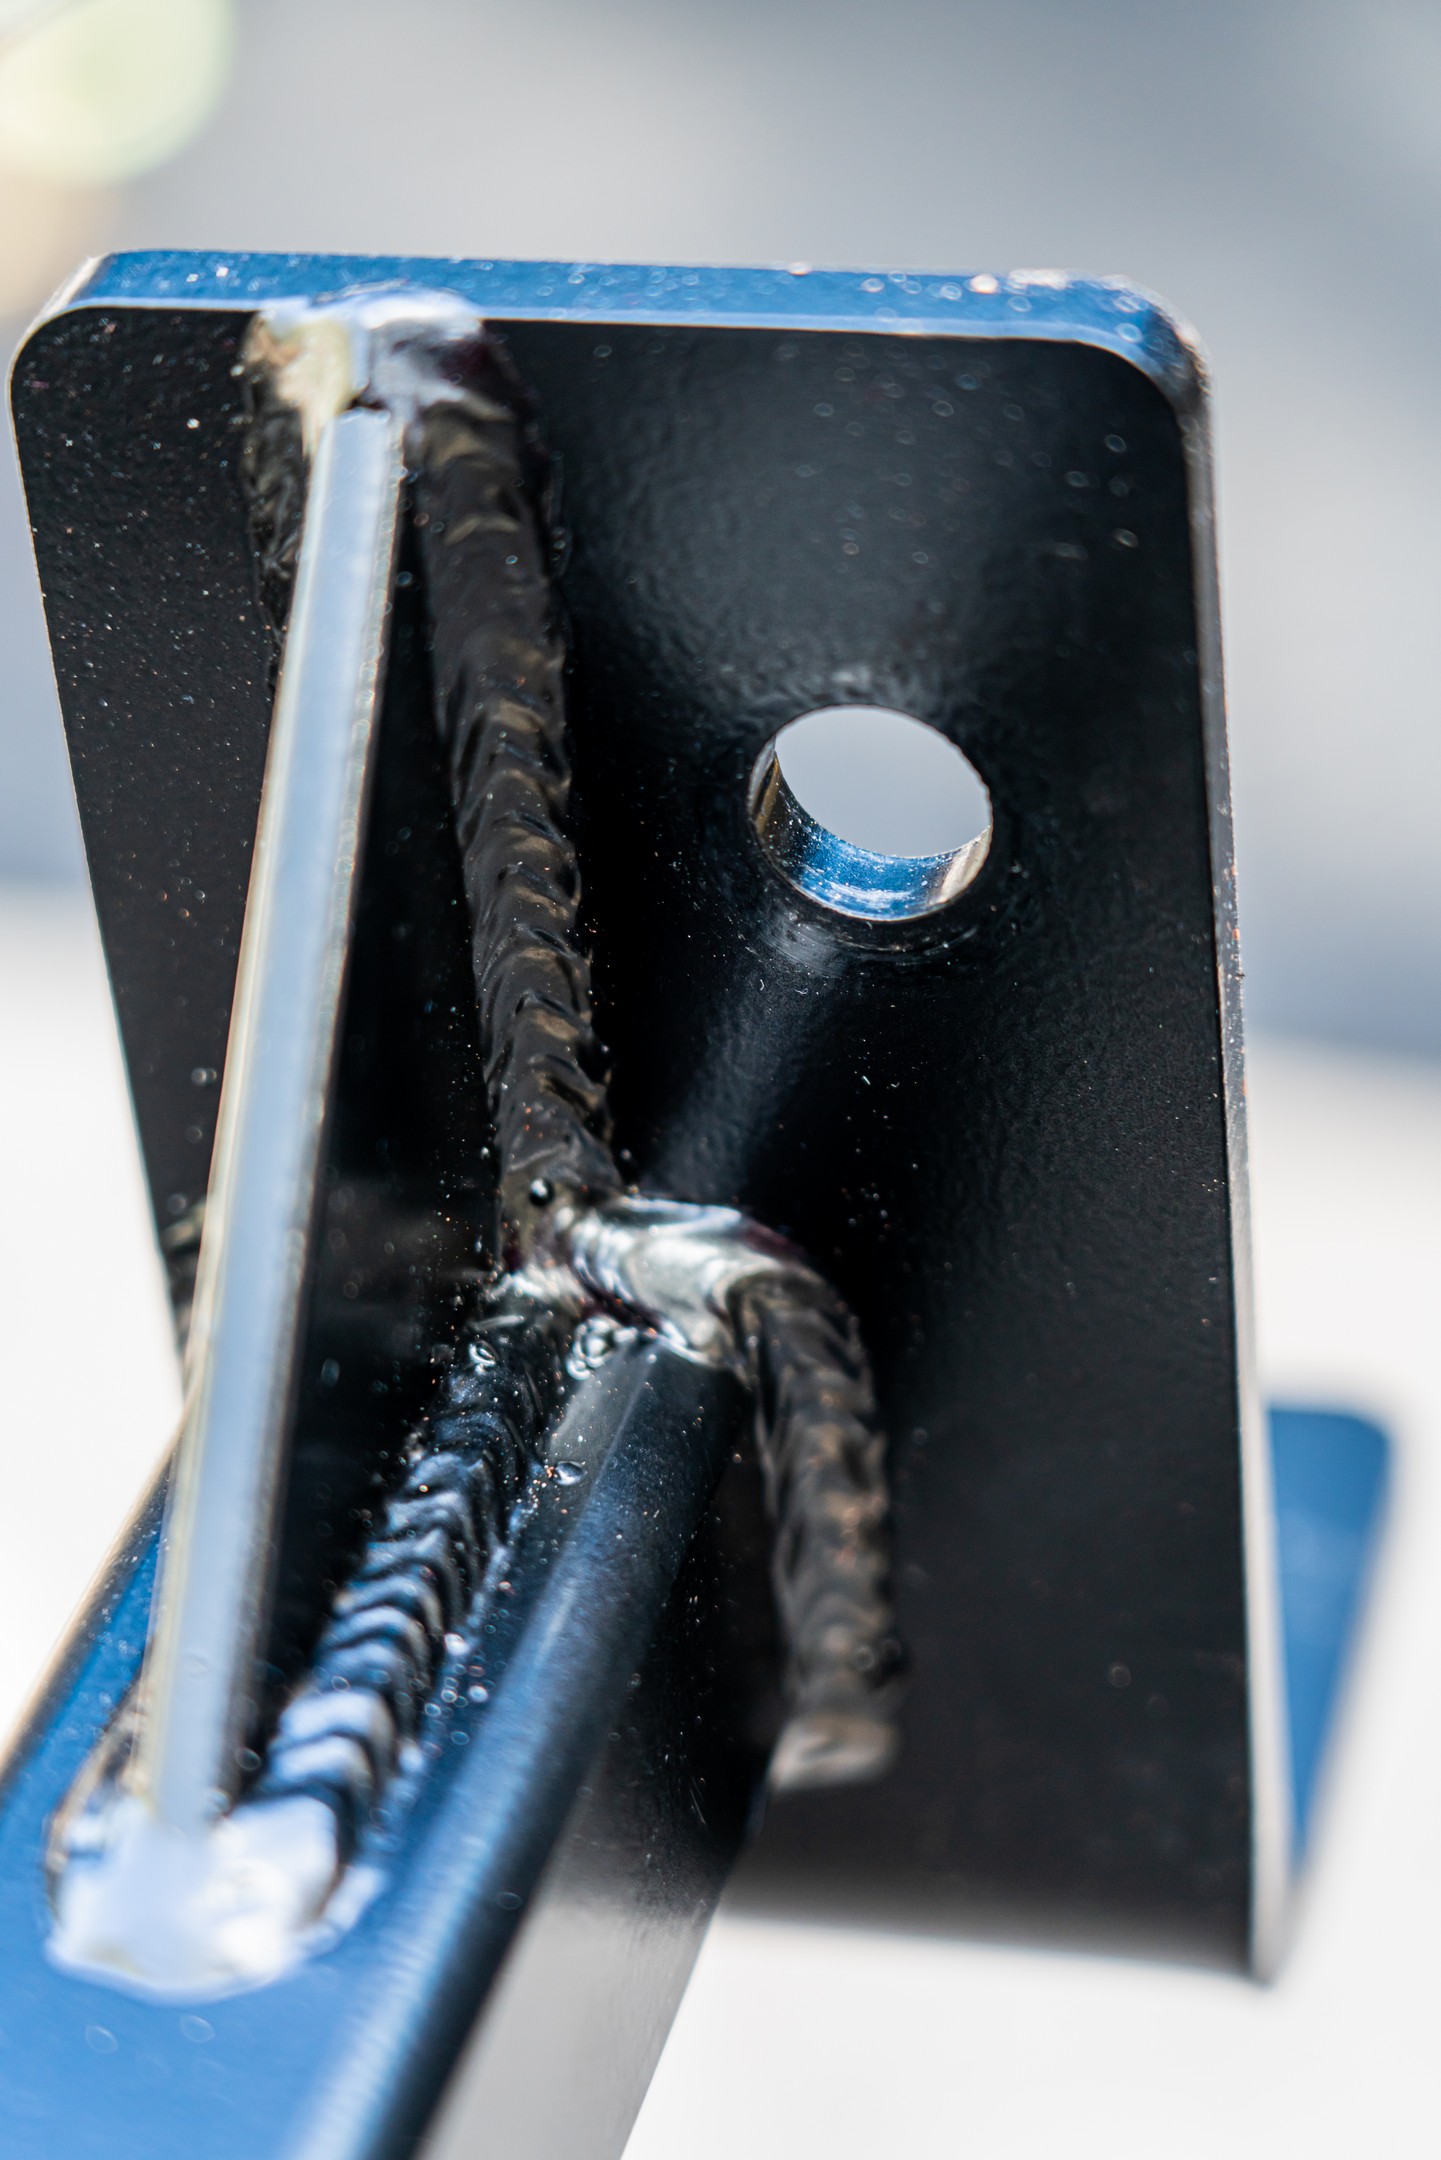
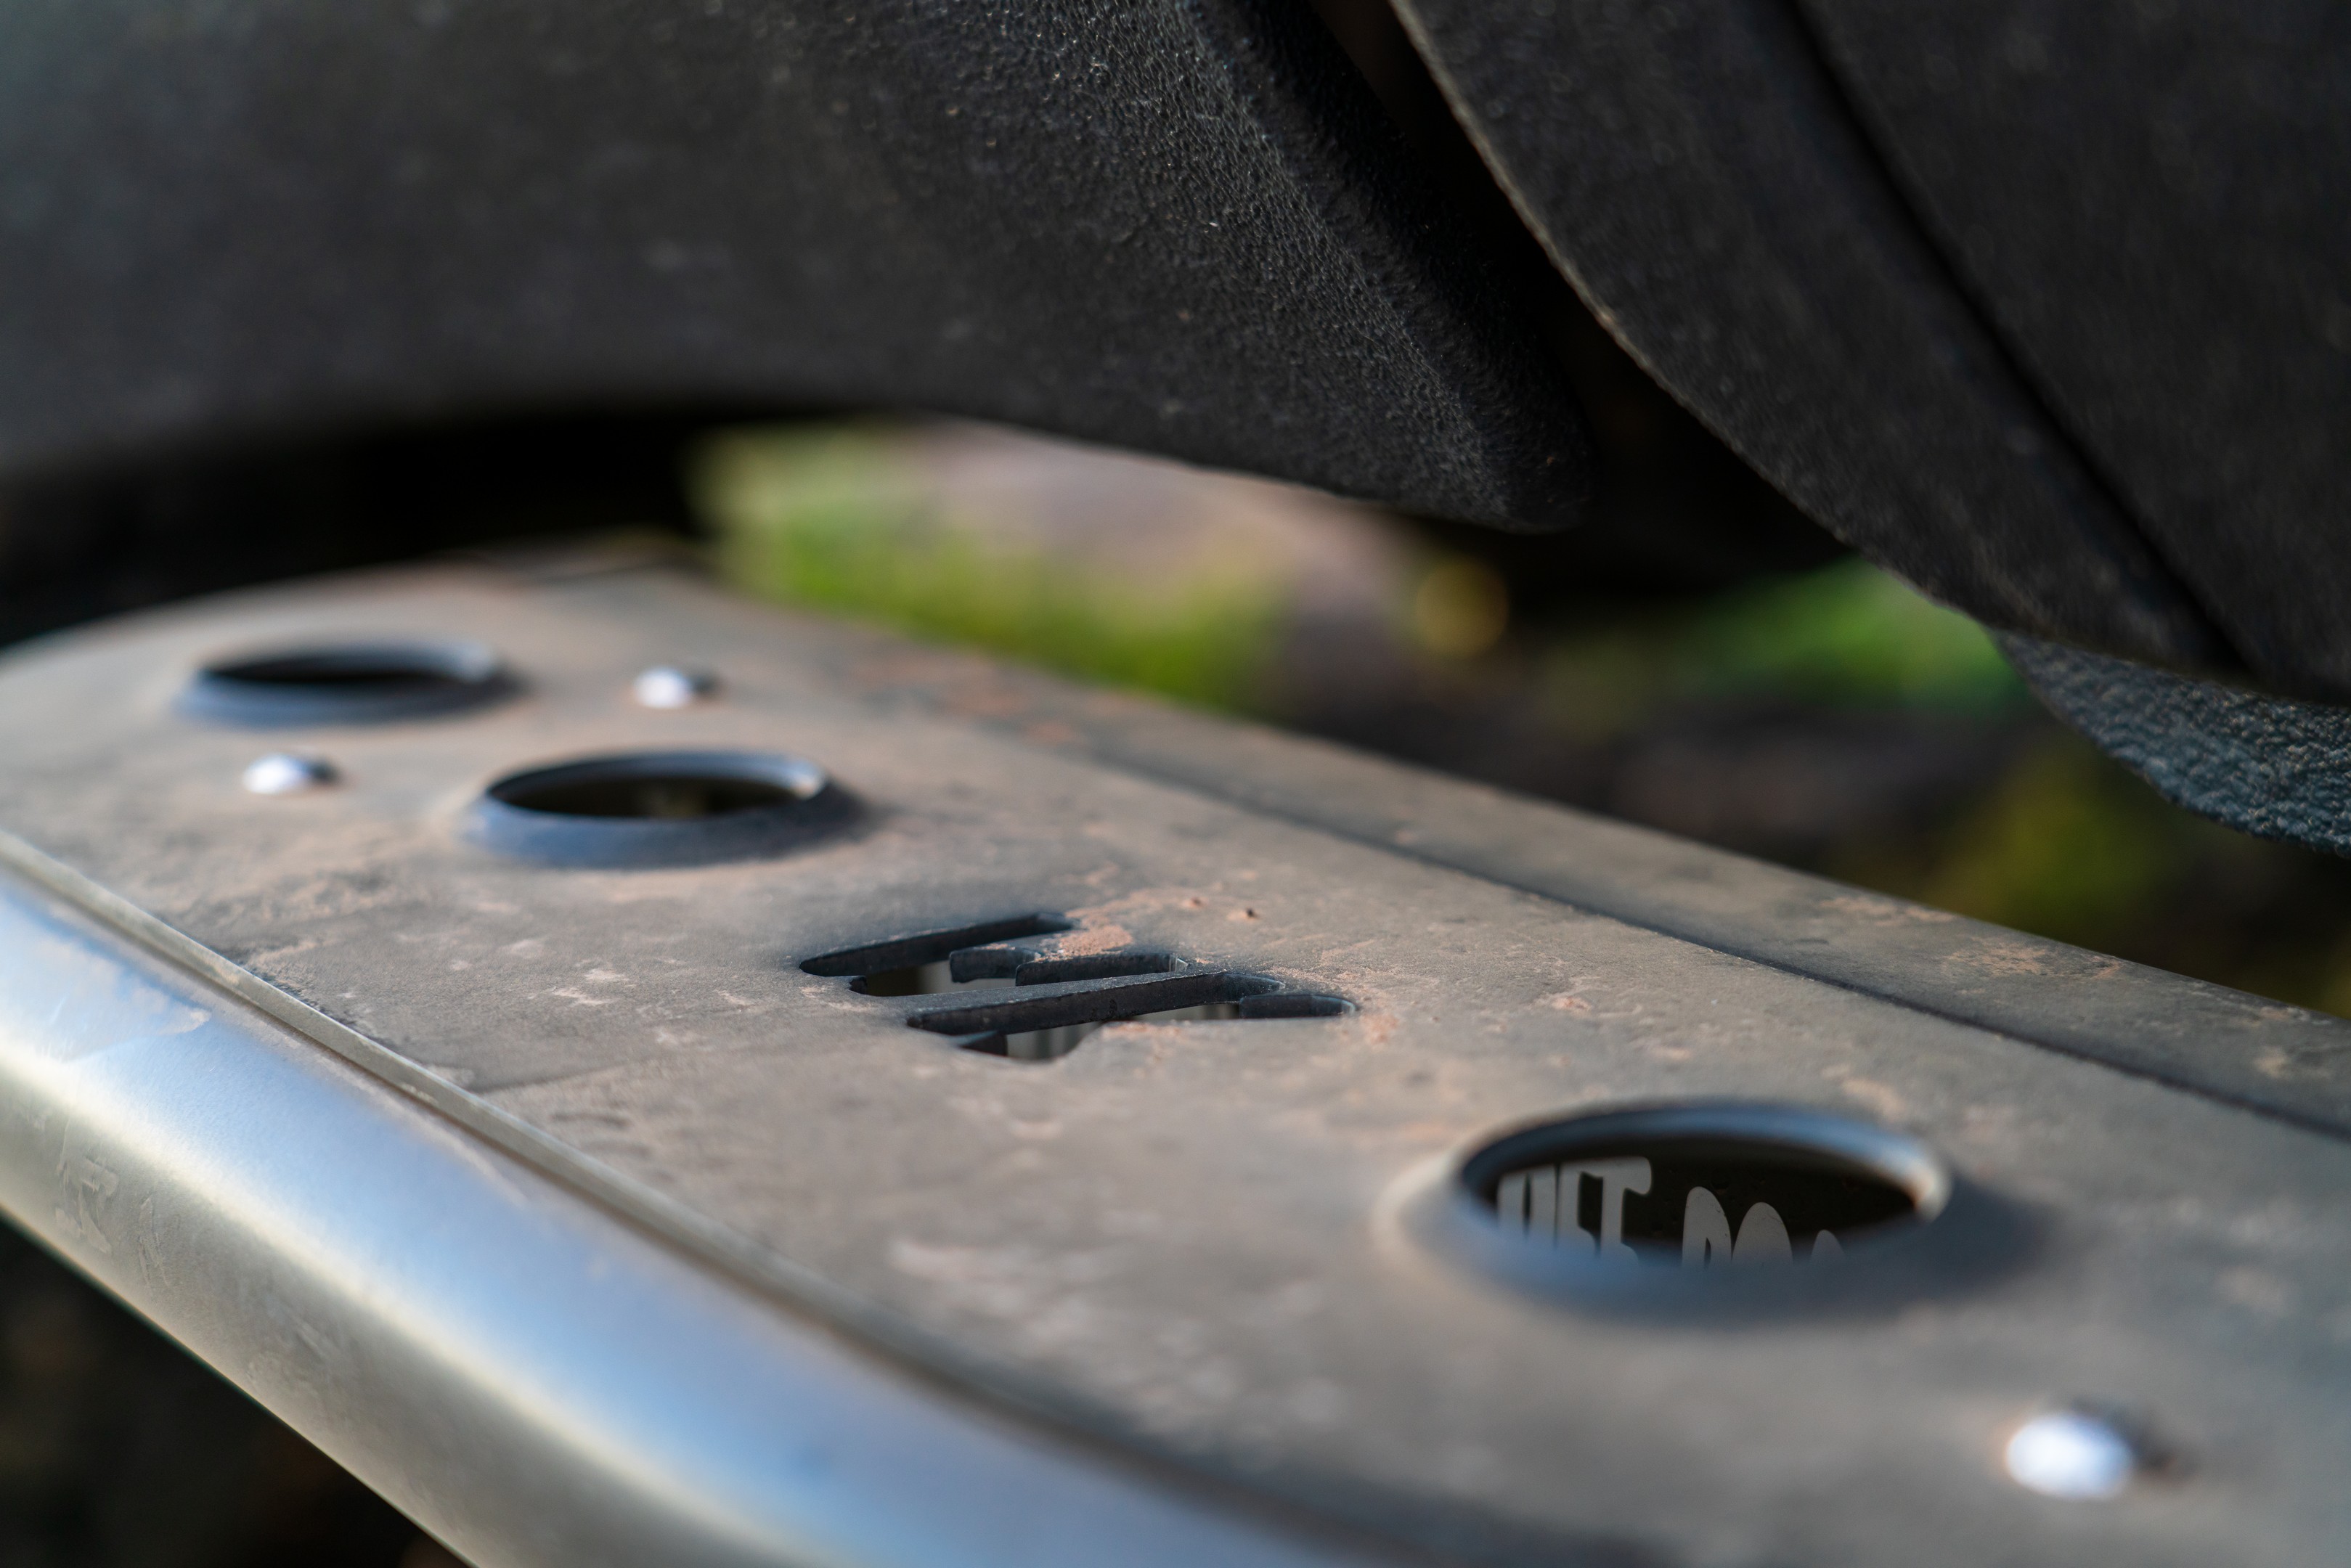
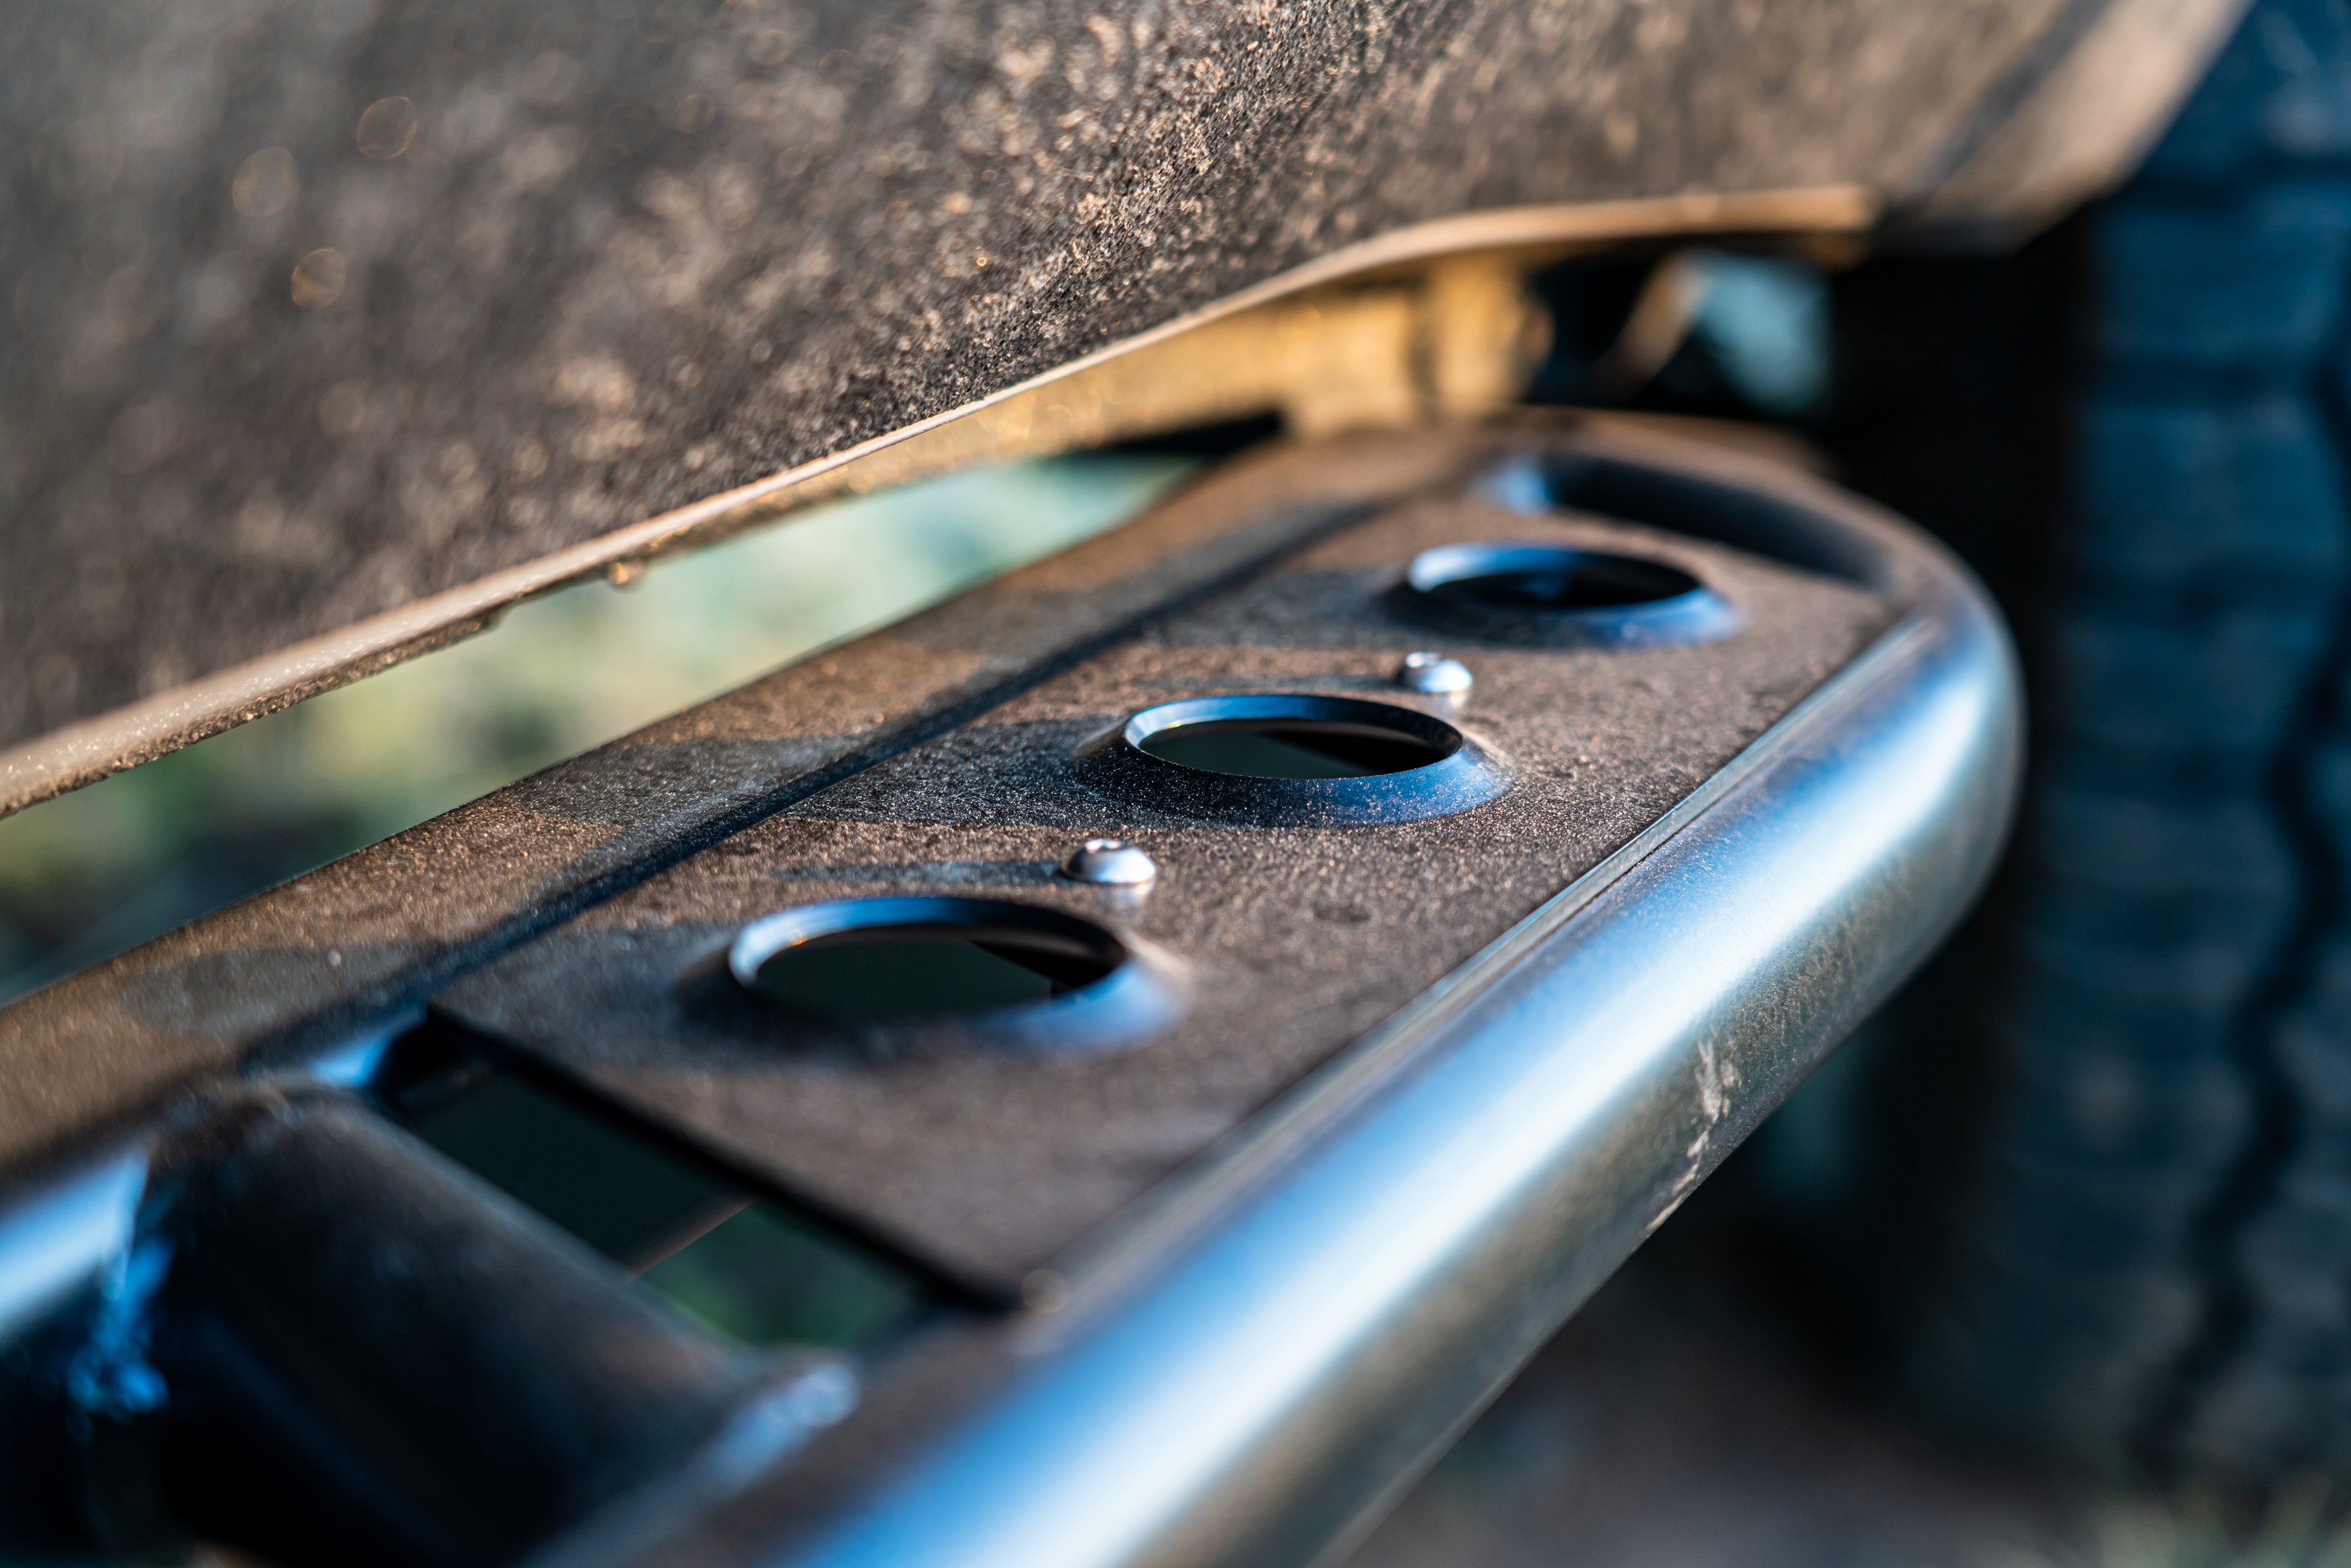
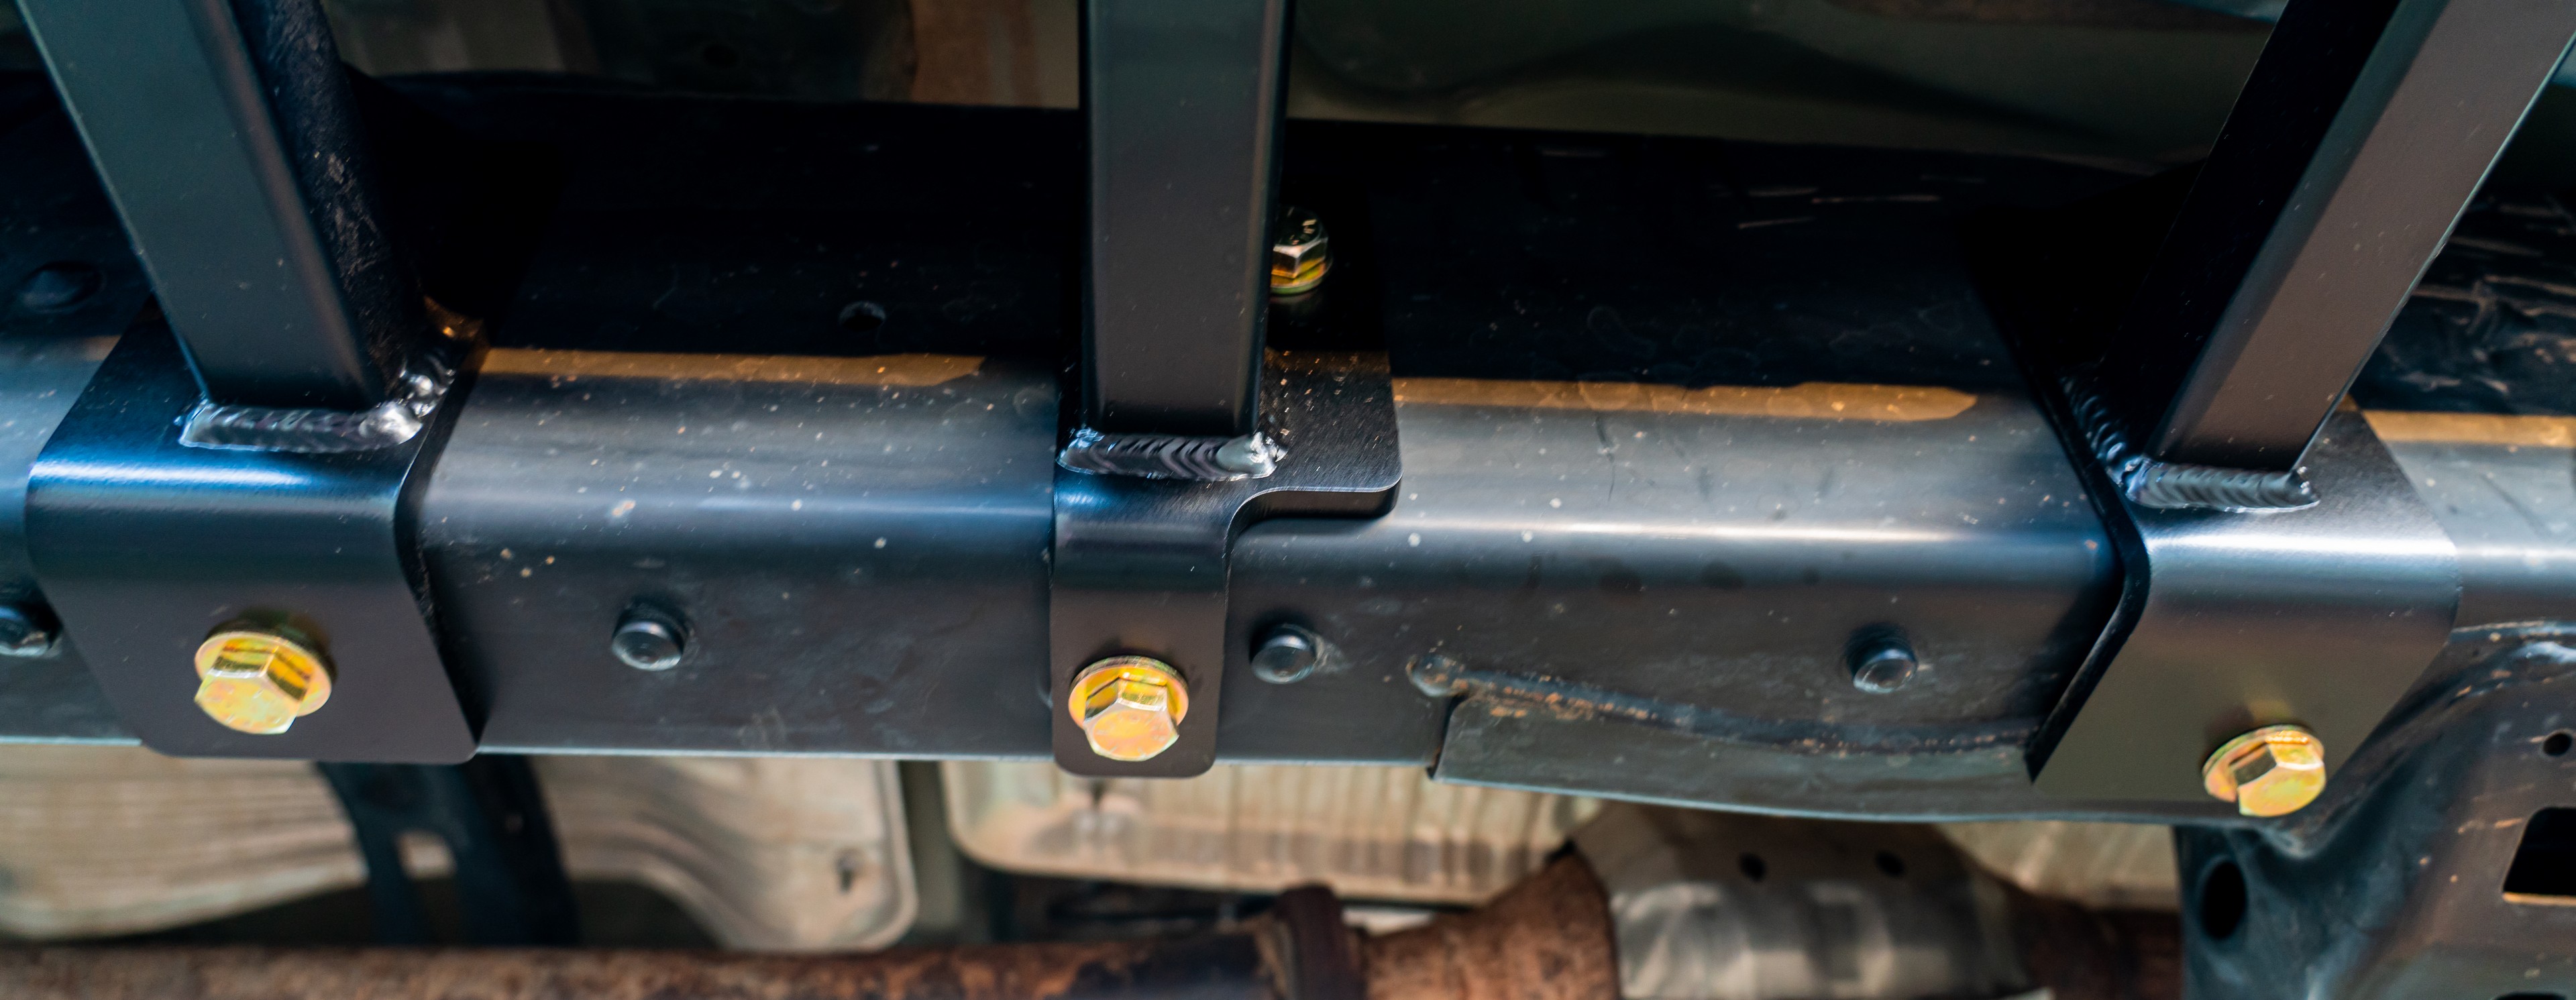
It was no surprise then, that the White Knuckle sliders contained in this package had a flawless finish, and while hunting for a scratch I took a few minutes to appreciate the beautiful welds (impeccable stack ‘o dimes) and overall quality and craftsmanship. Truly, seeing is believing, and you can really see the attention to detail in White Knuckle’s products. A friend and I were able to knock out in the install in a couple of hours and we ran into no issues in the process. The White Knuckle sliders utilize factory holes and require you to drill a few holes in the Tundra frame, and this the only place we deviated from the instructions only to use a stepper bit instead of several progressively larger HSS-style bits as the directions recommended. After applying several coats of spray paint to the exposed steel in the frame, bolting the sliders up was as easy as it gets.
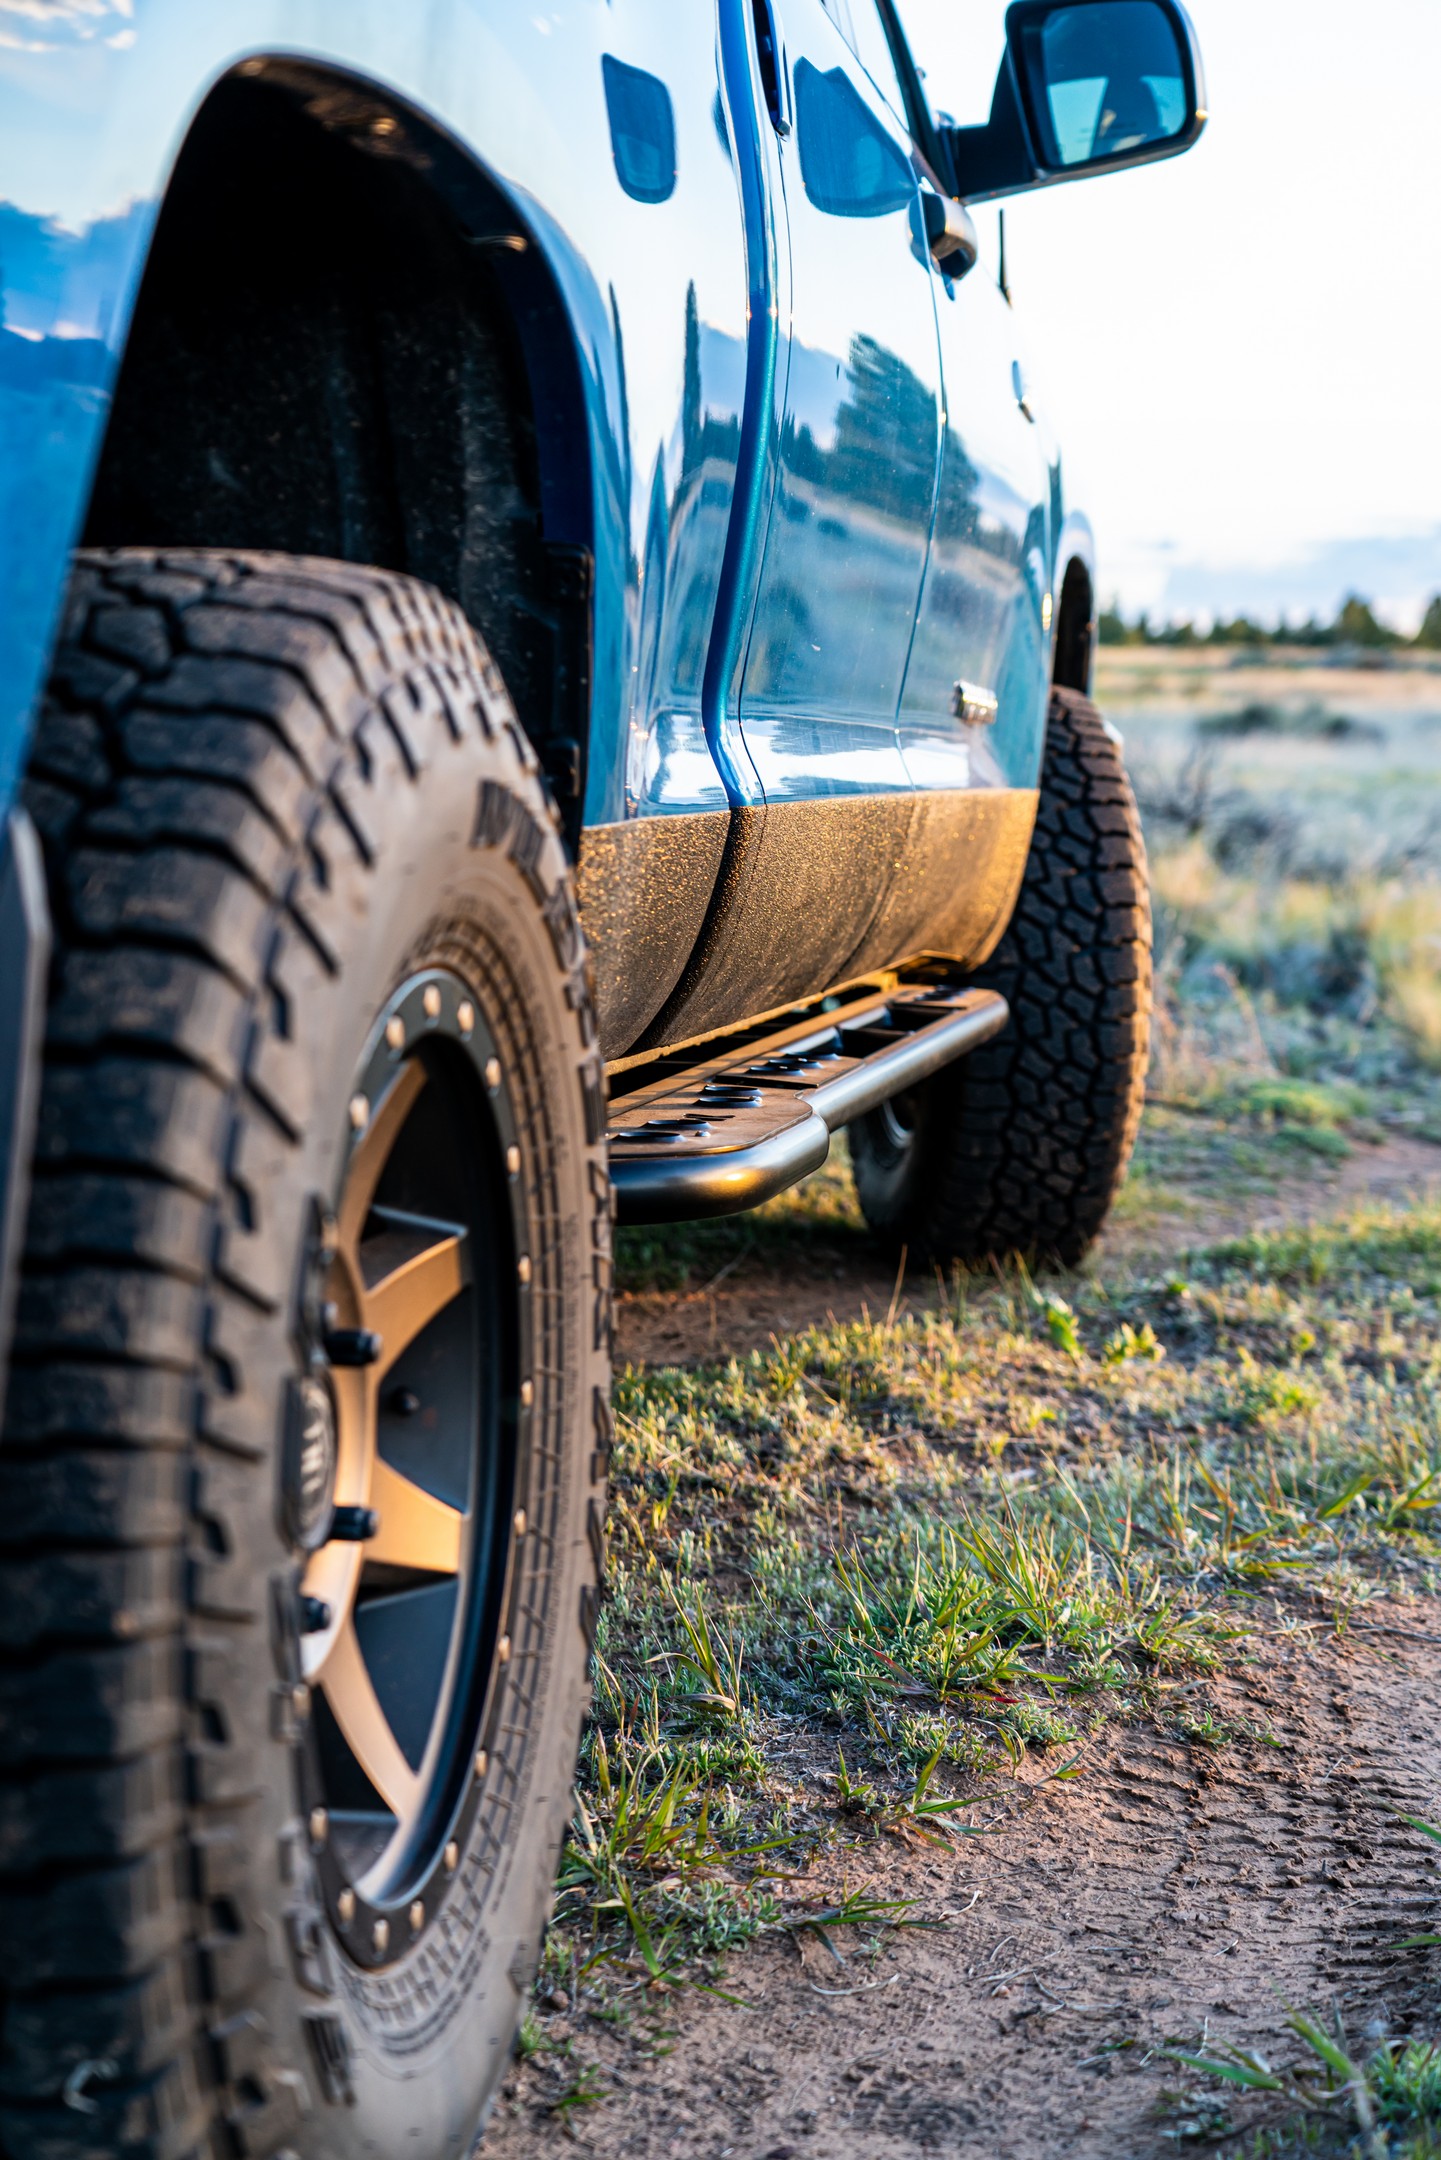
With these beefy sliders installed, the first thing I did was pick up one side of the truck with a jack and the sliders handled this task with ease. I haven’t had the truck fully supported by the sliders on an obstacle on the trail (yet), but I have no doubt that they’ll handle whatever I throw at them. The top plates are strategically placed to serve as a more secure step, and I really appreciate this fact as I have two-year-old twins, whose little feet could easily slip between in the inner and outer rail when they’re climbing in or out of the truck. All said and done, White Knuckle Off-Road sliders are an outstanding product, and I’ll be using them on every project going forward. Every part of the experience, from packaging, to install, to use, tells the story of a small American company that really takes pride in their work and makes a great product that is extremely well thought out. If you’re in the market for rock sliders, you can’t go wrong with White Knuckle Off Road Products.

 THAT CAP AND THAT RACK

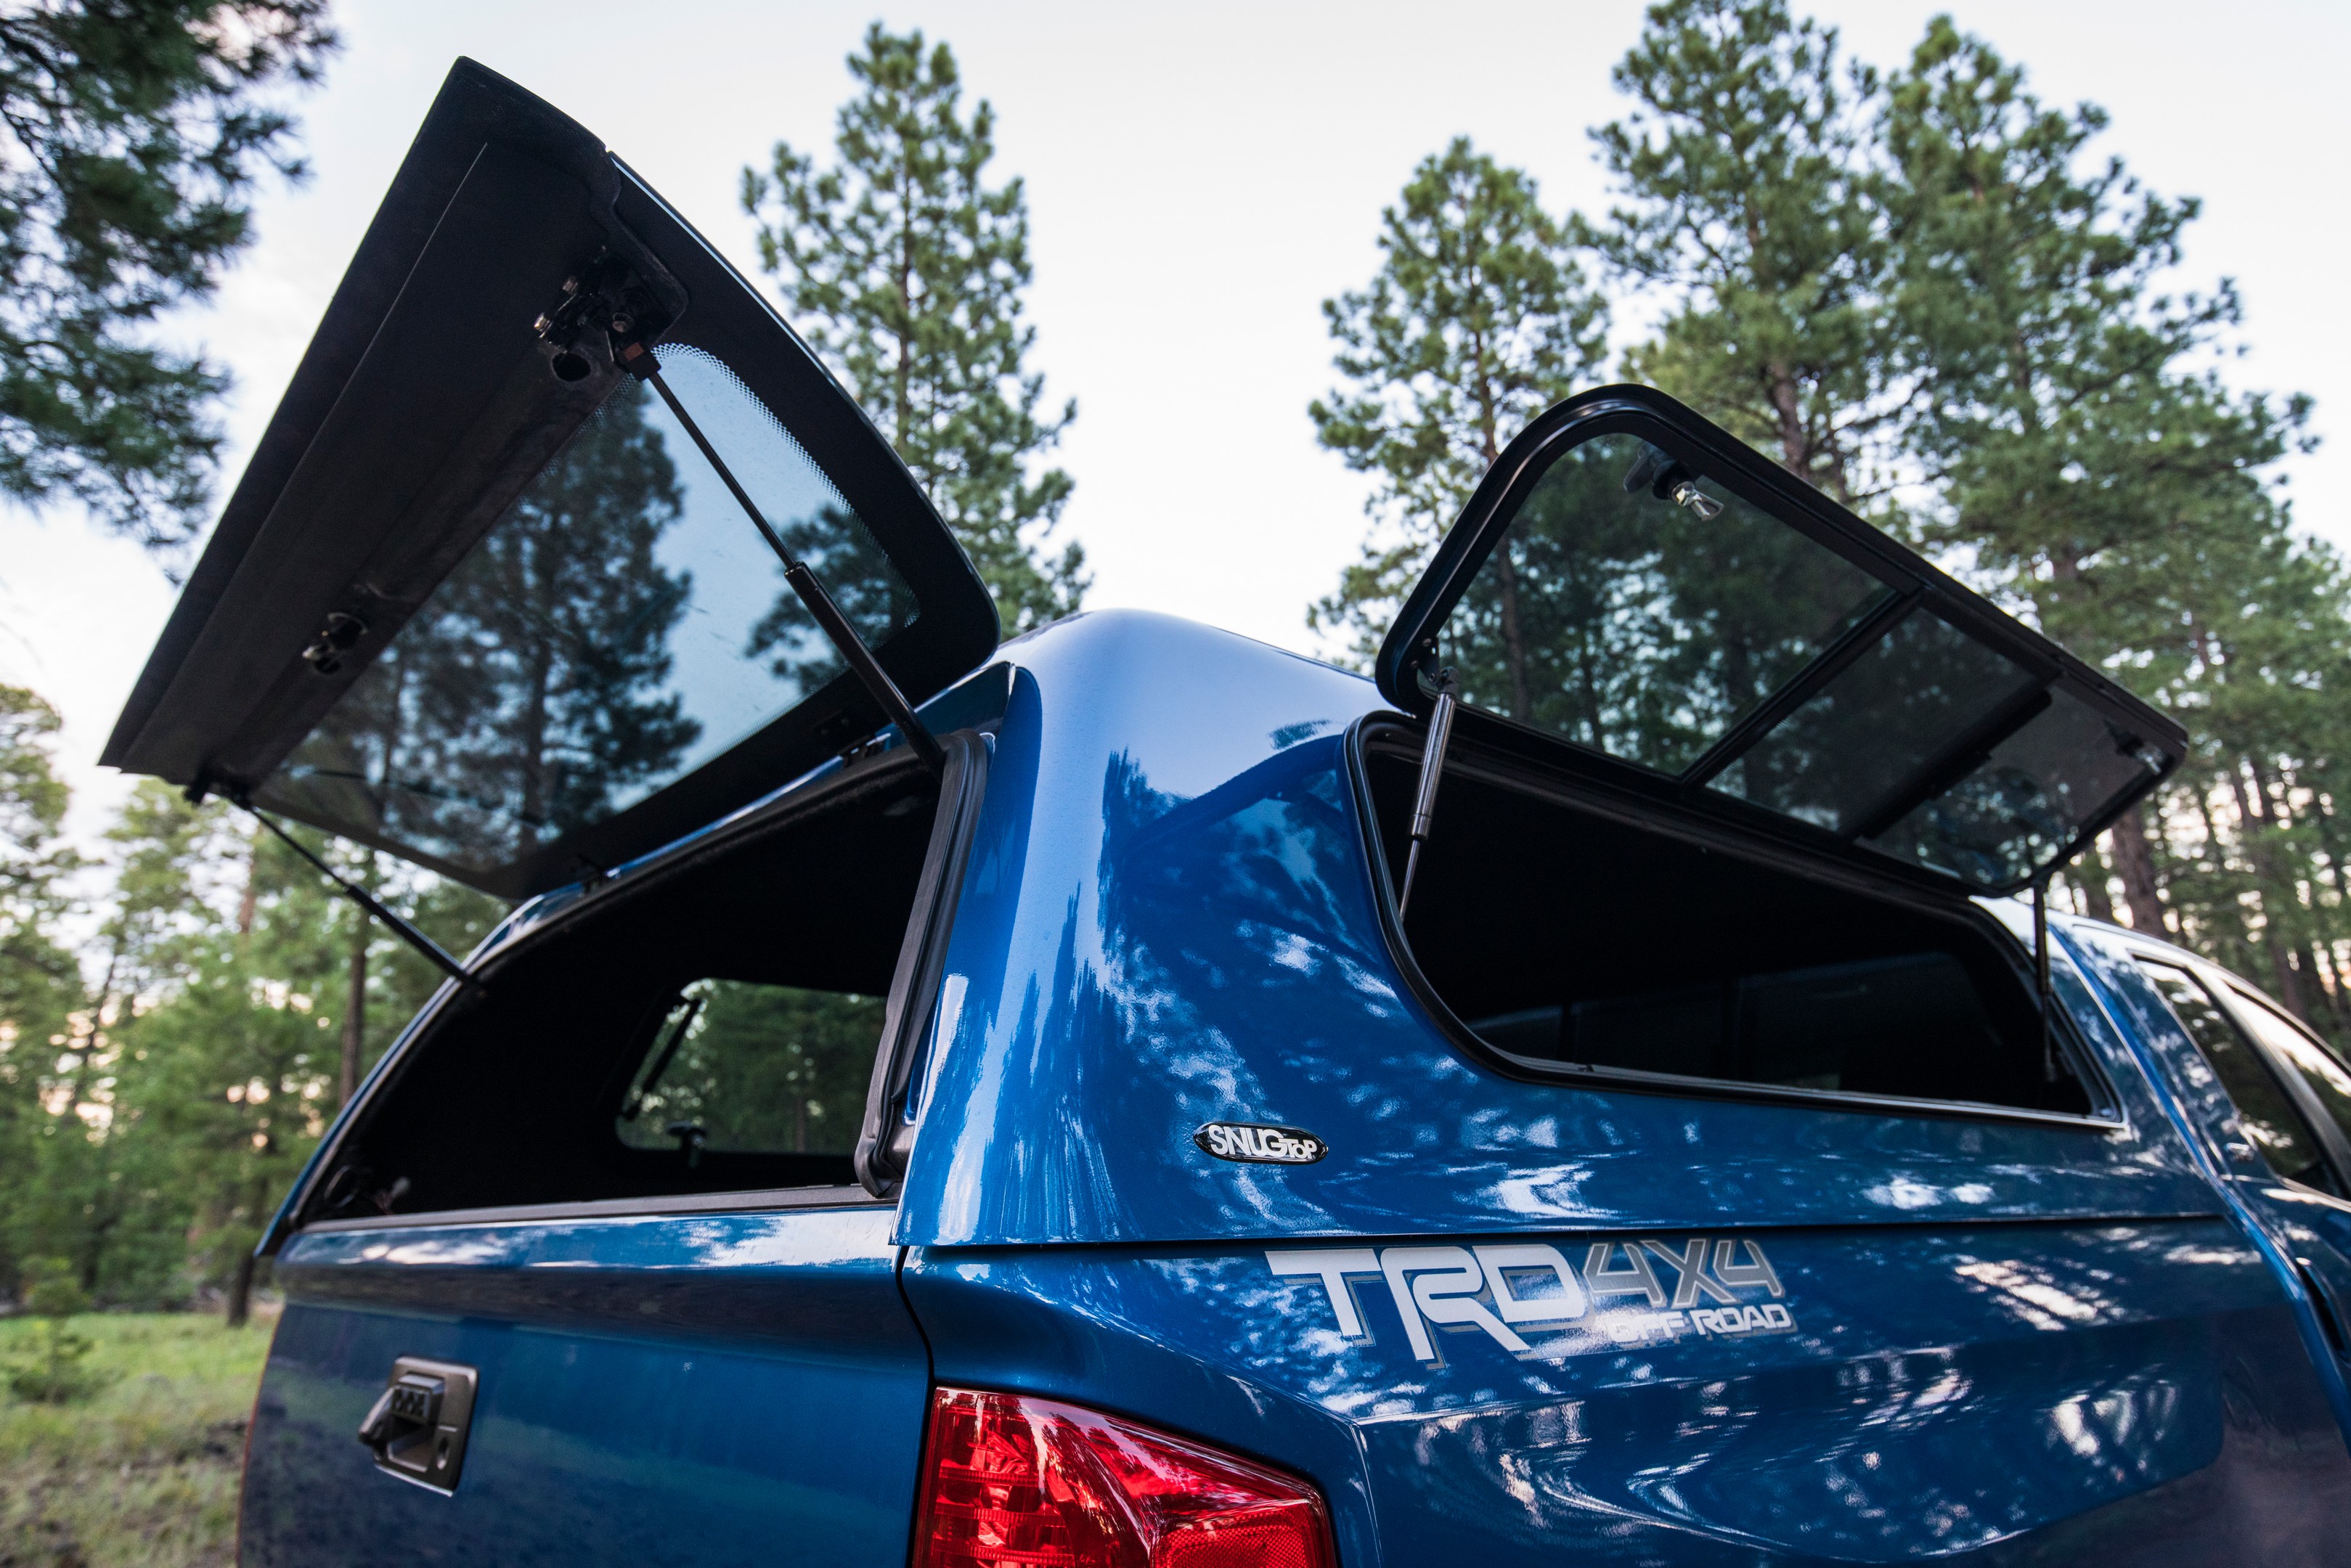
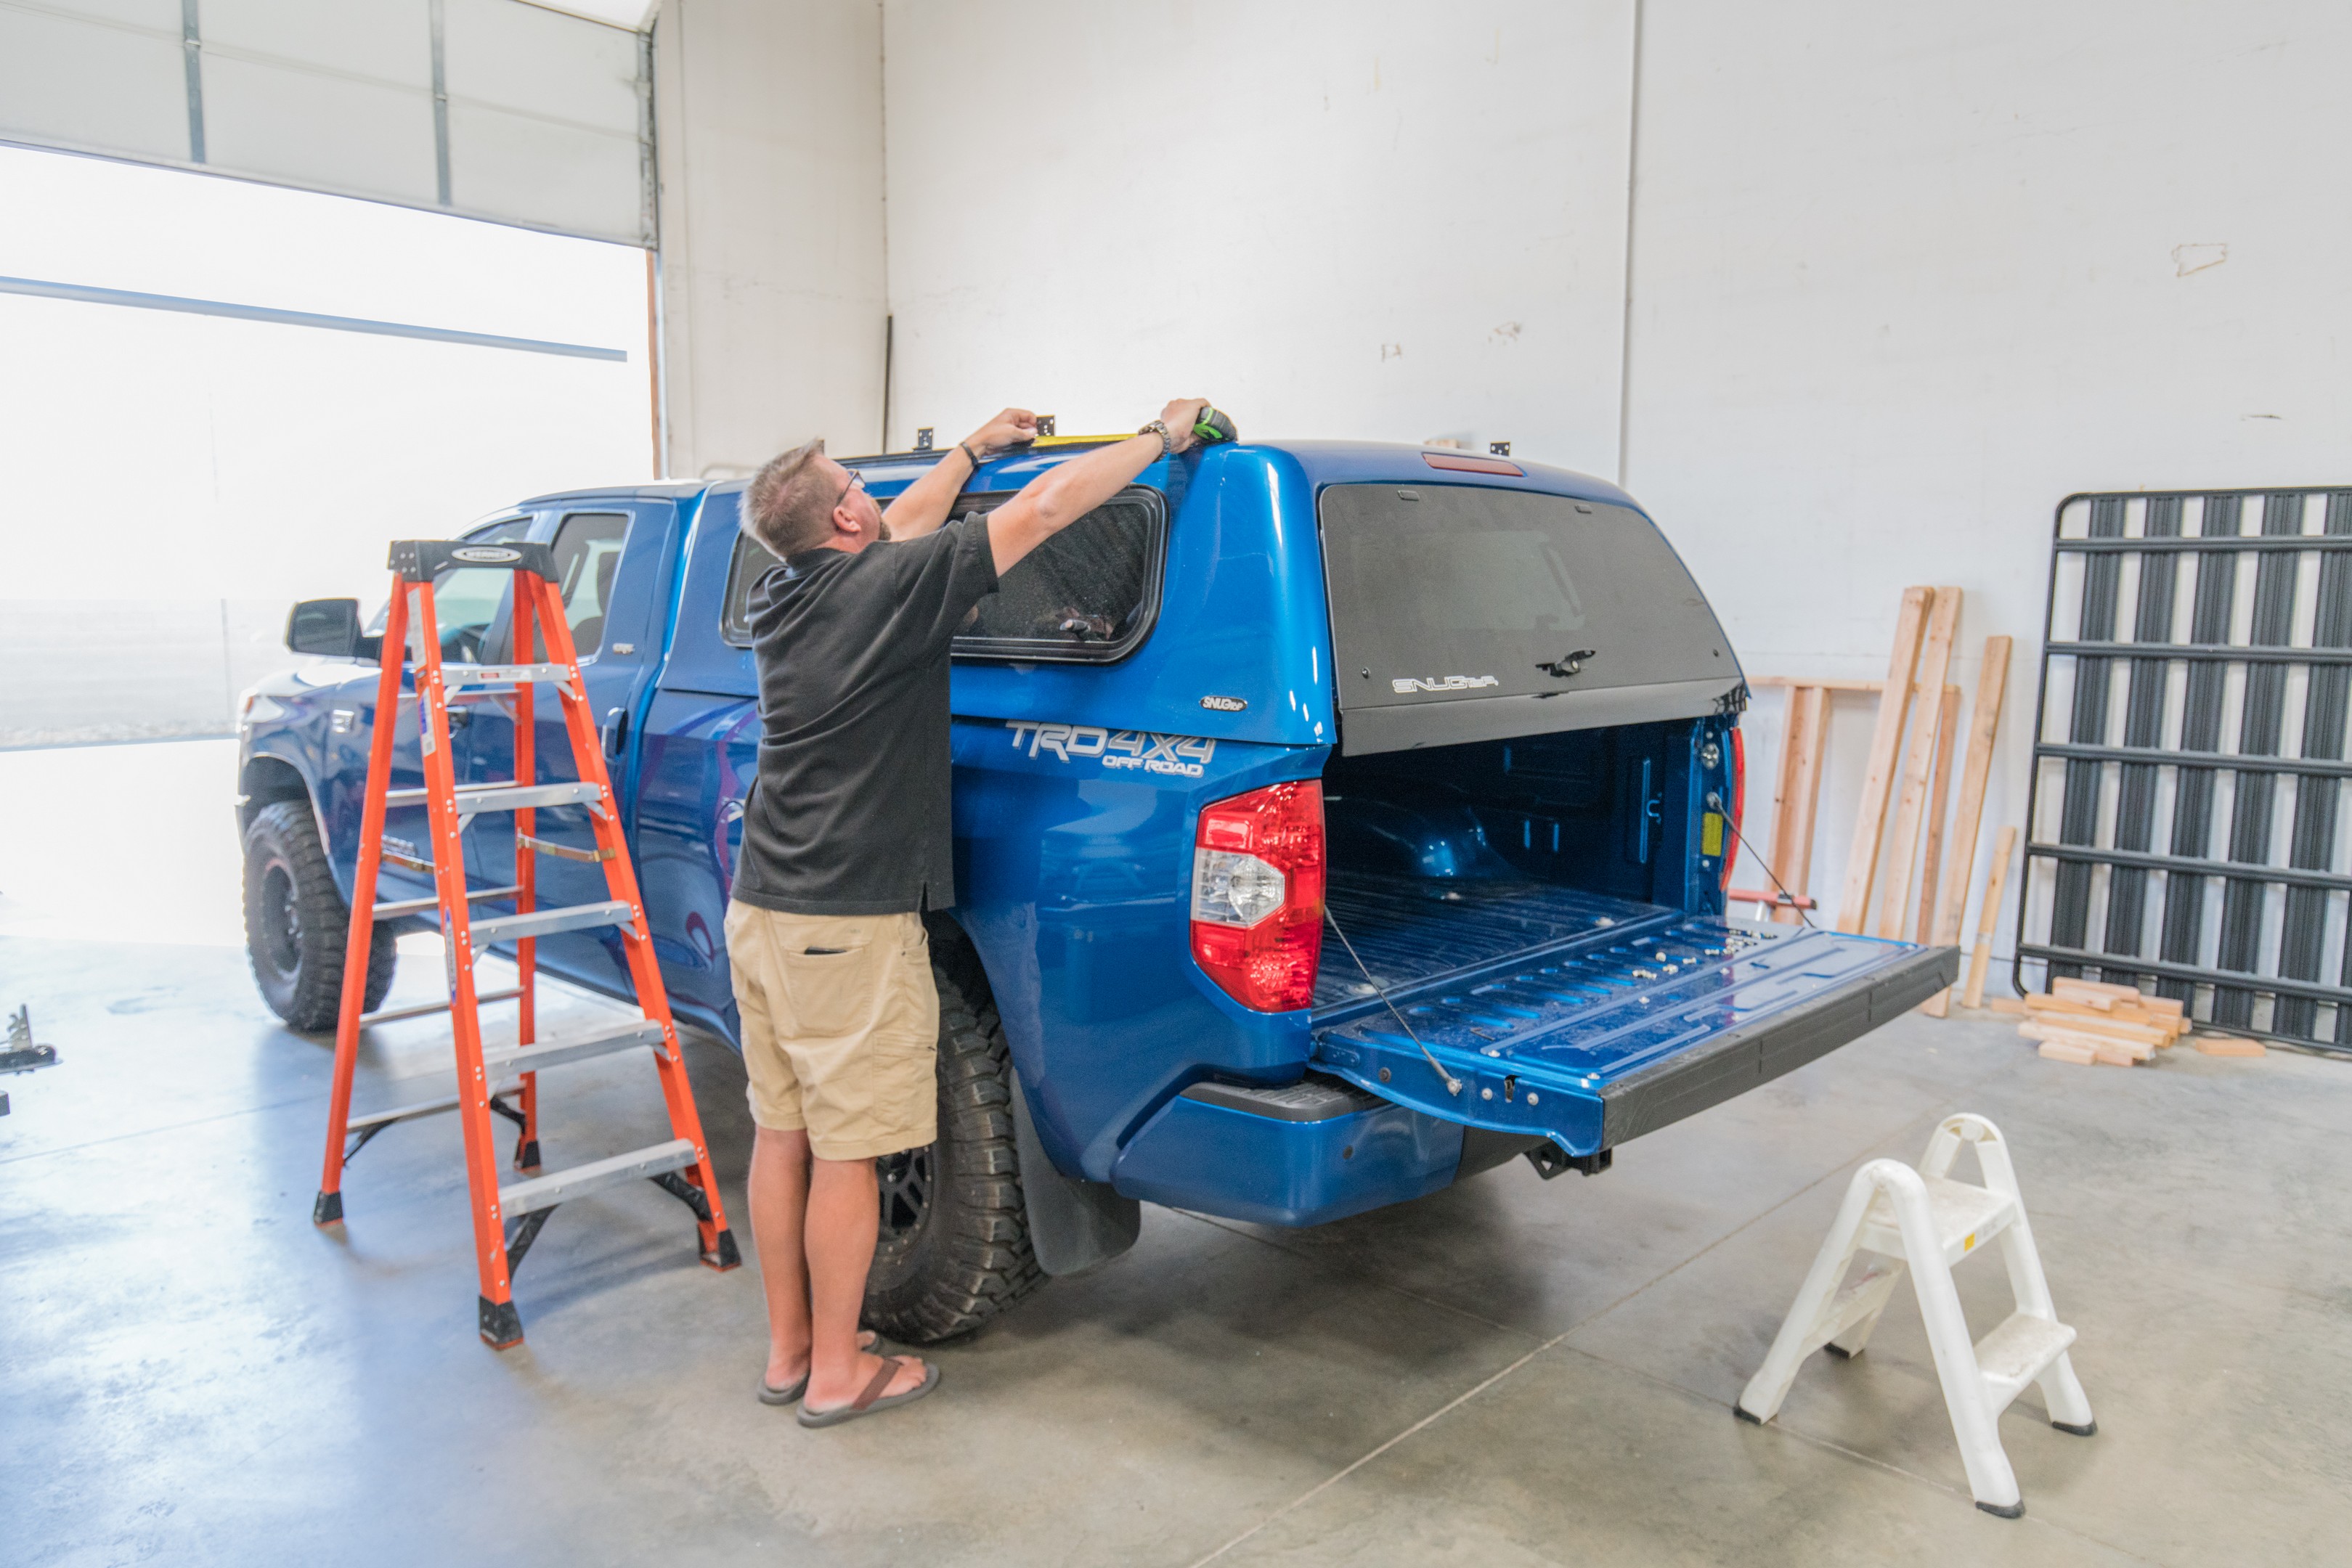
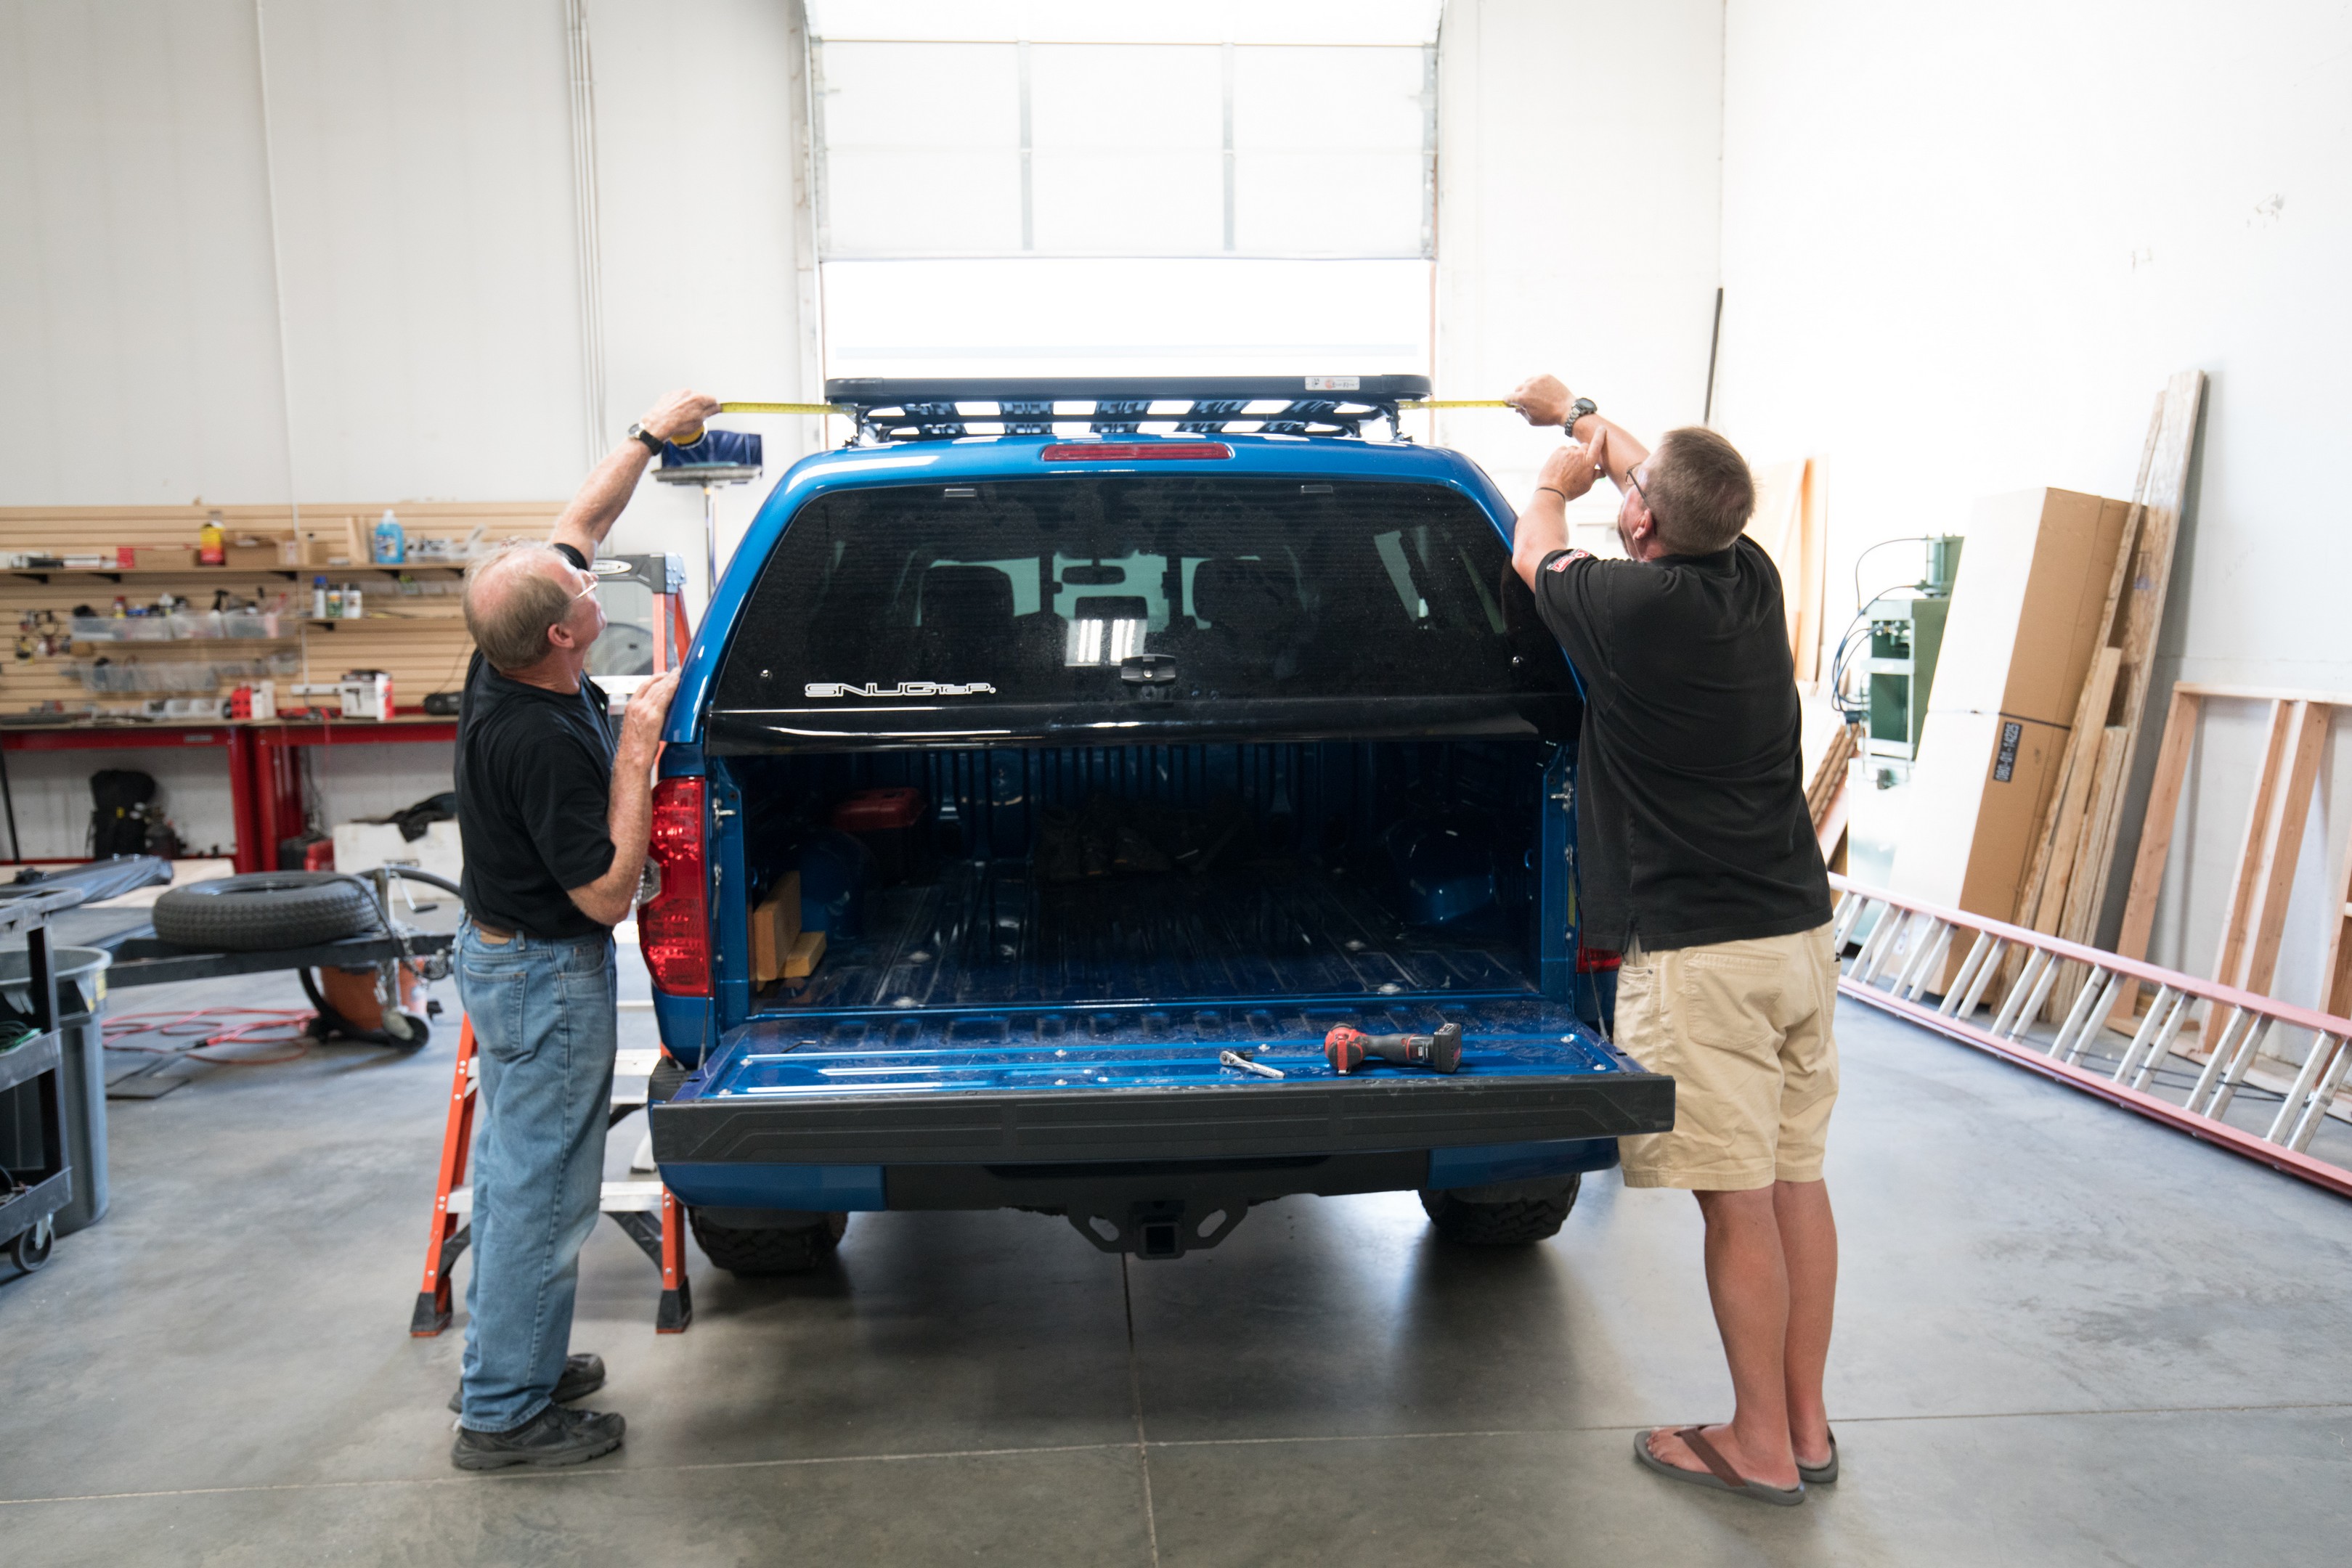
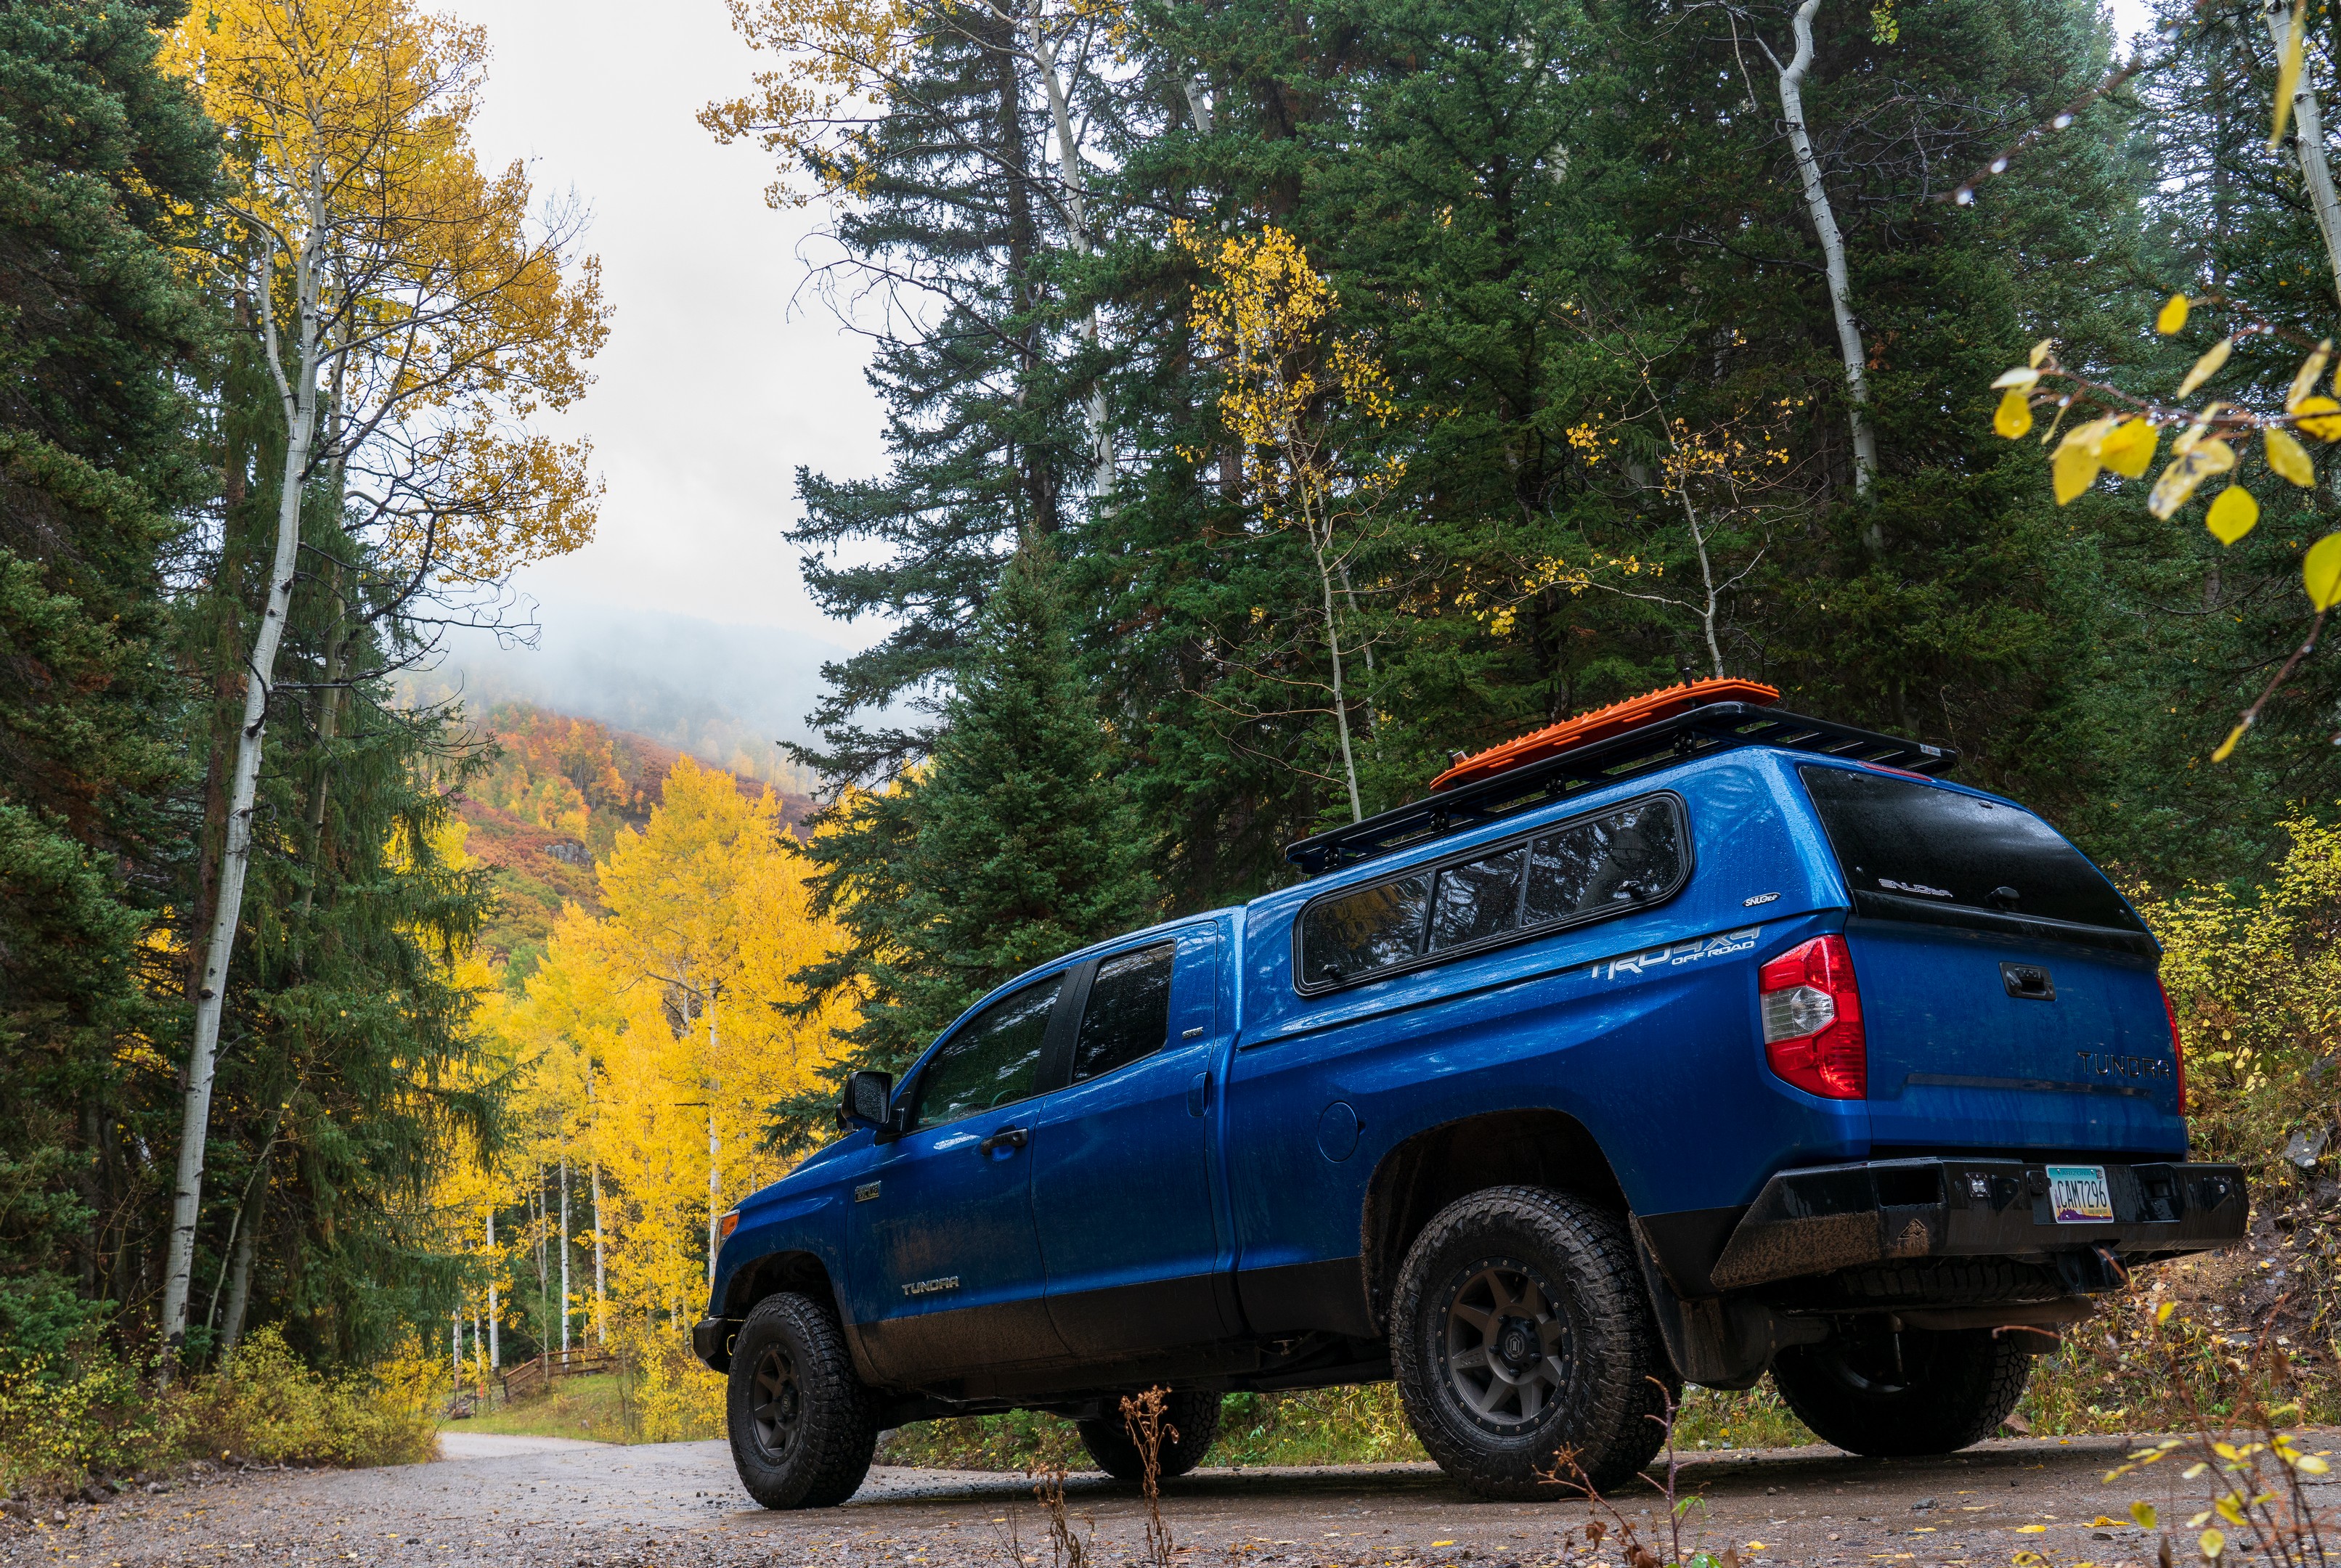
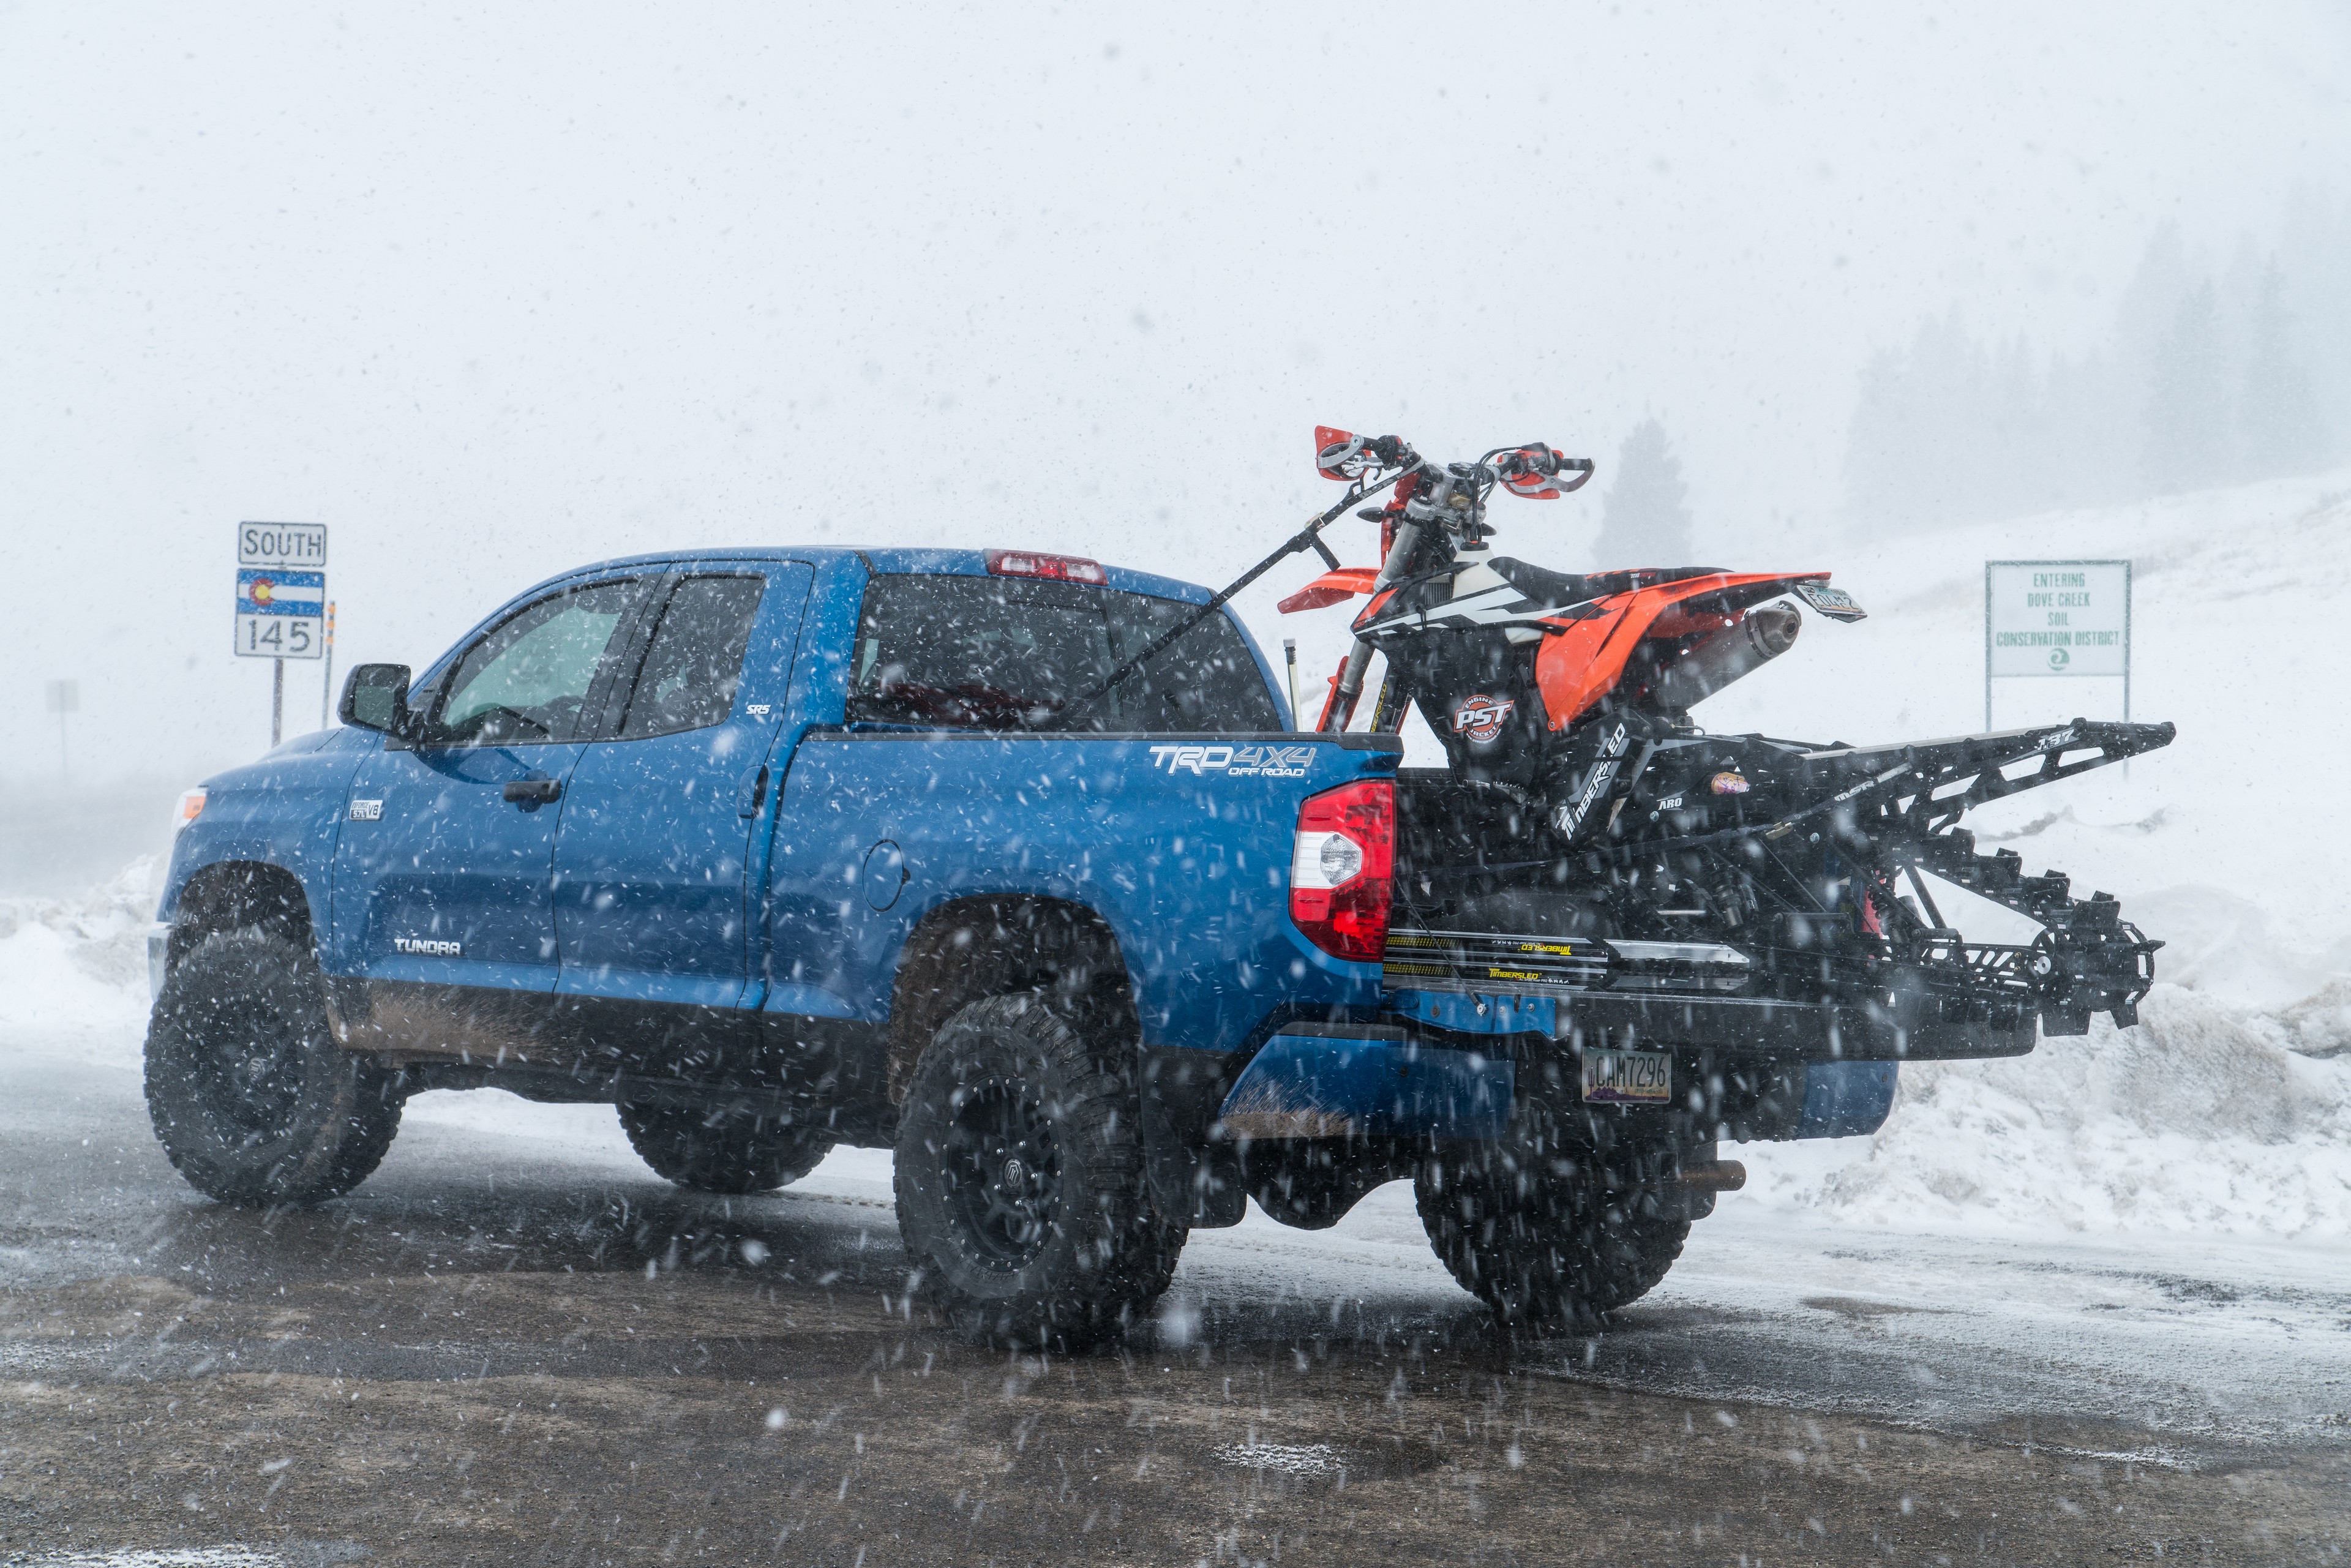
 At the suggestion of someone who owns a Tundra nicknamed “Monster,” Project Tundra received a SnugTop Rebel truck cap last year. Monster’s owner also happens to be in the business of importing the best roof racks around, and so Project Tundra received a K9 roof rack and supporting accouterments from Equipt Expedition Outfitters. I chose the truck cap and roof rack path over a dedicated system such as a habitat, because I use my truck for so much more than adventure travel style trips, and as such I needed to be able to remove the truck cap with out using serious lifting equipment. In a matter of minutes, I can have the truck cap off so I can carry dirtbikes or snowbikes, or do other truck things. When the truck cap is on, it’s actually a very versatile option too.
The SnugTop Rebel truck cap seals very well against the elements, which means that sensitive equipment that doesn’t like dust or other elements can safely ride in the back, and it provides more than 6.5 feet of sleeping space that I can dive into when I’m travelling solo. The win-doors on the side allow for easy venting, and easy access to gear that’s not easily accessible from the back and the whole place locks up for easy to secure storage. I don’t understand why truck caps aren’t more popular in the adventure travel industry. I’d much rather have a securable, element-proof cover over my truck bed than a couple of bars to support an RTT and have to keep everything in tubs… But that’s just me.

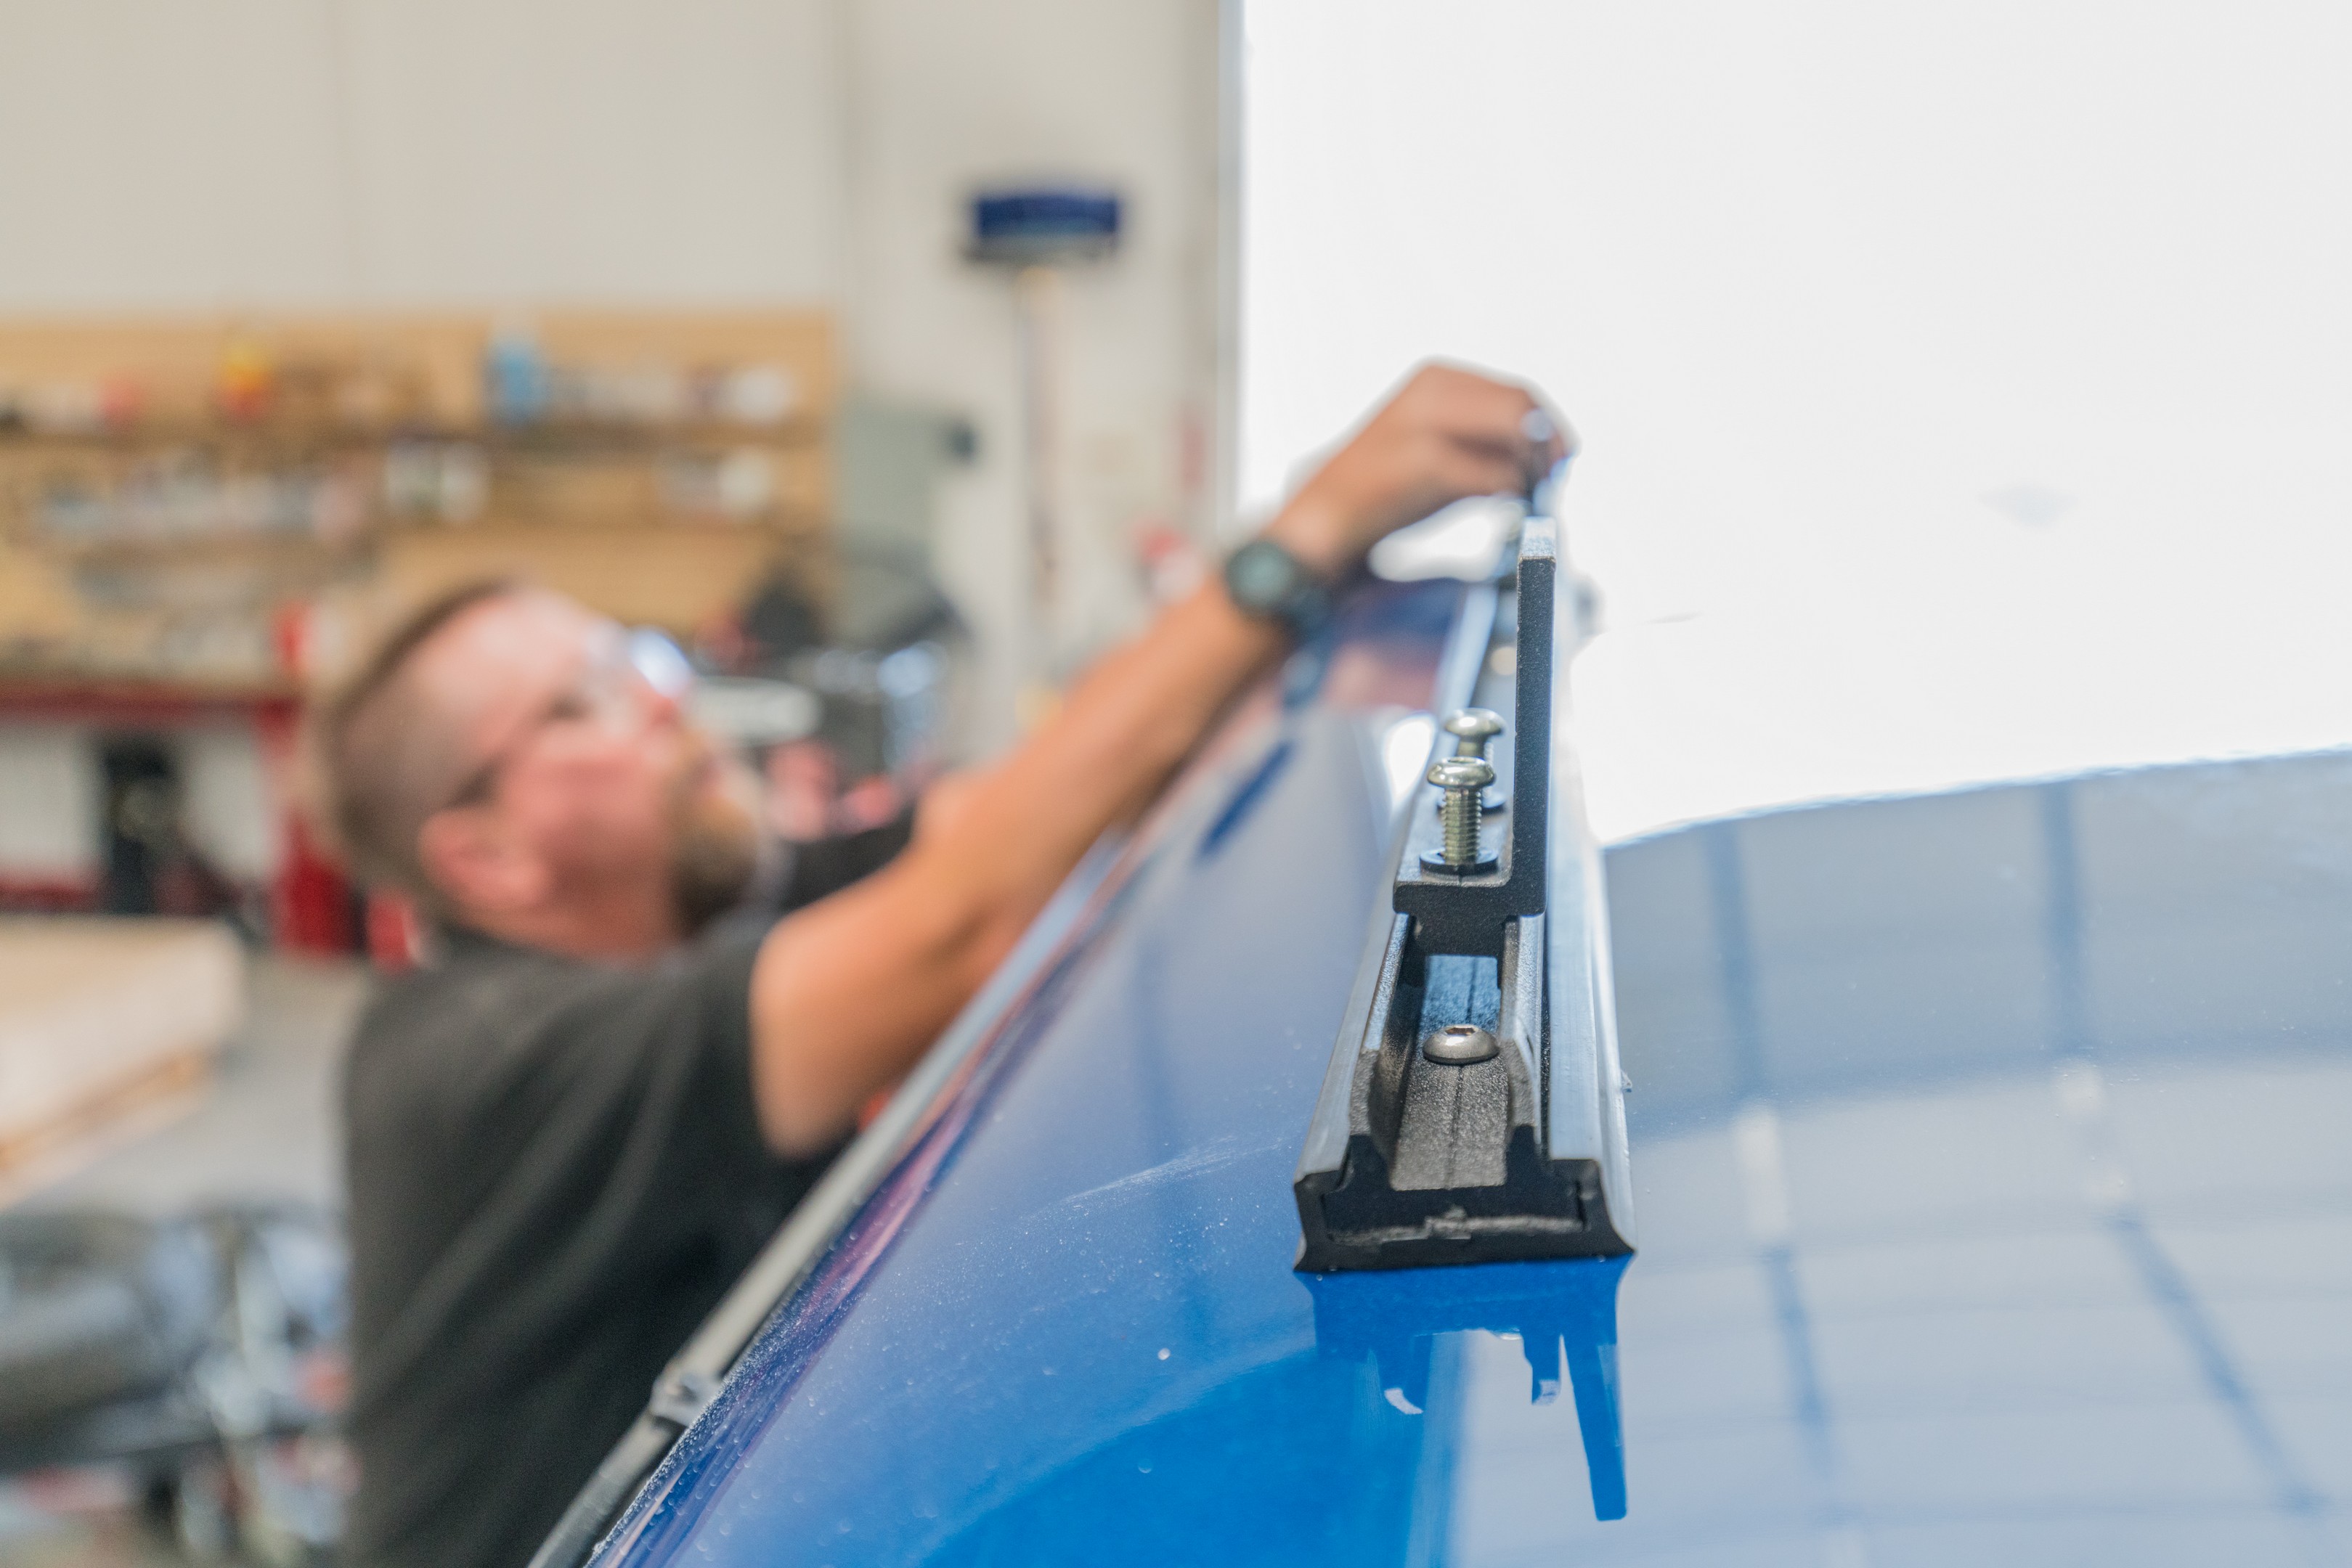
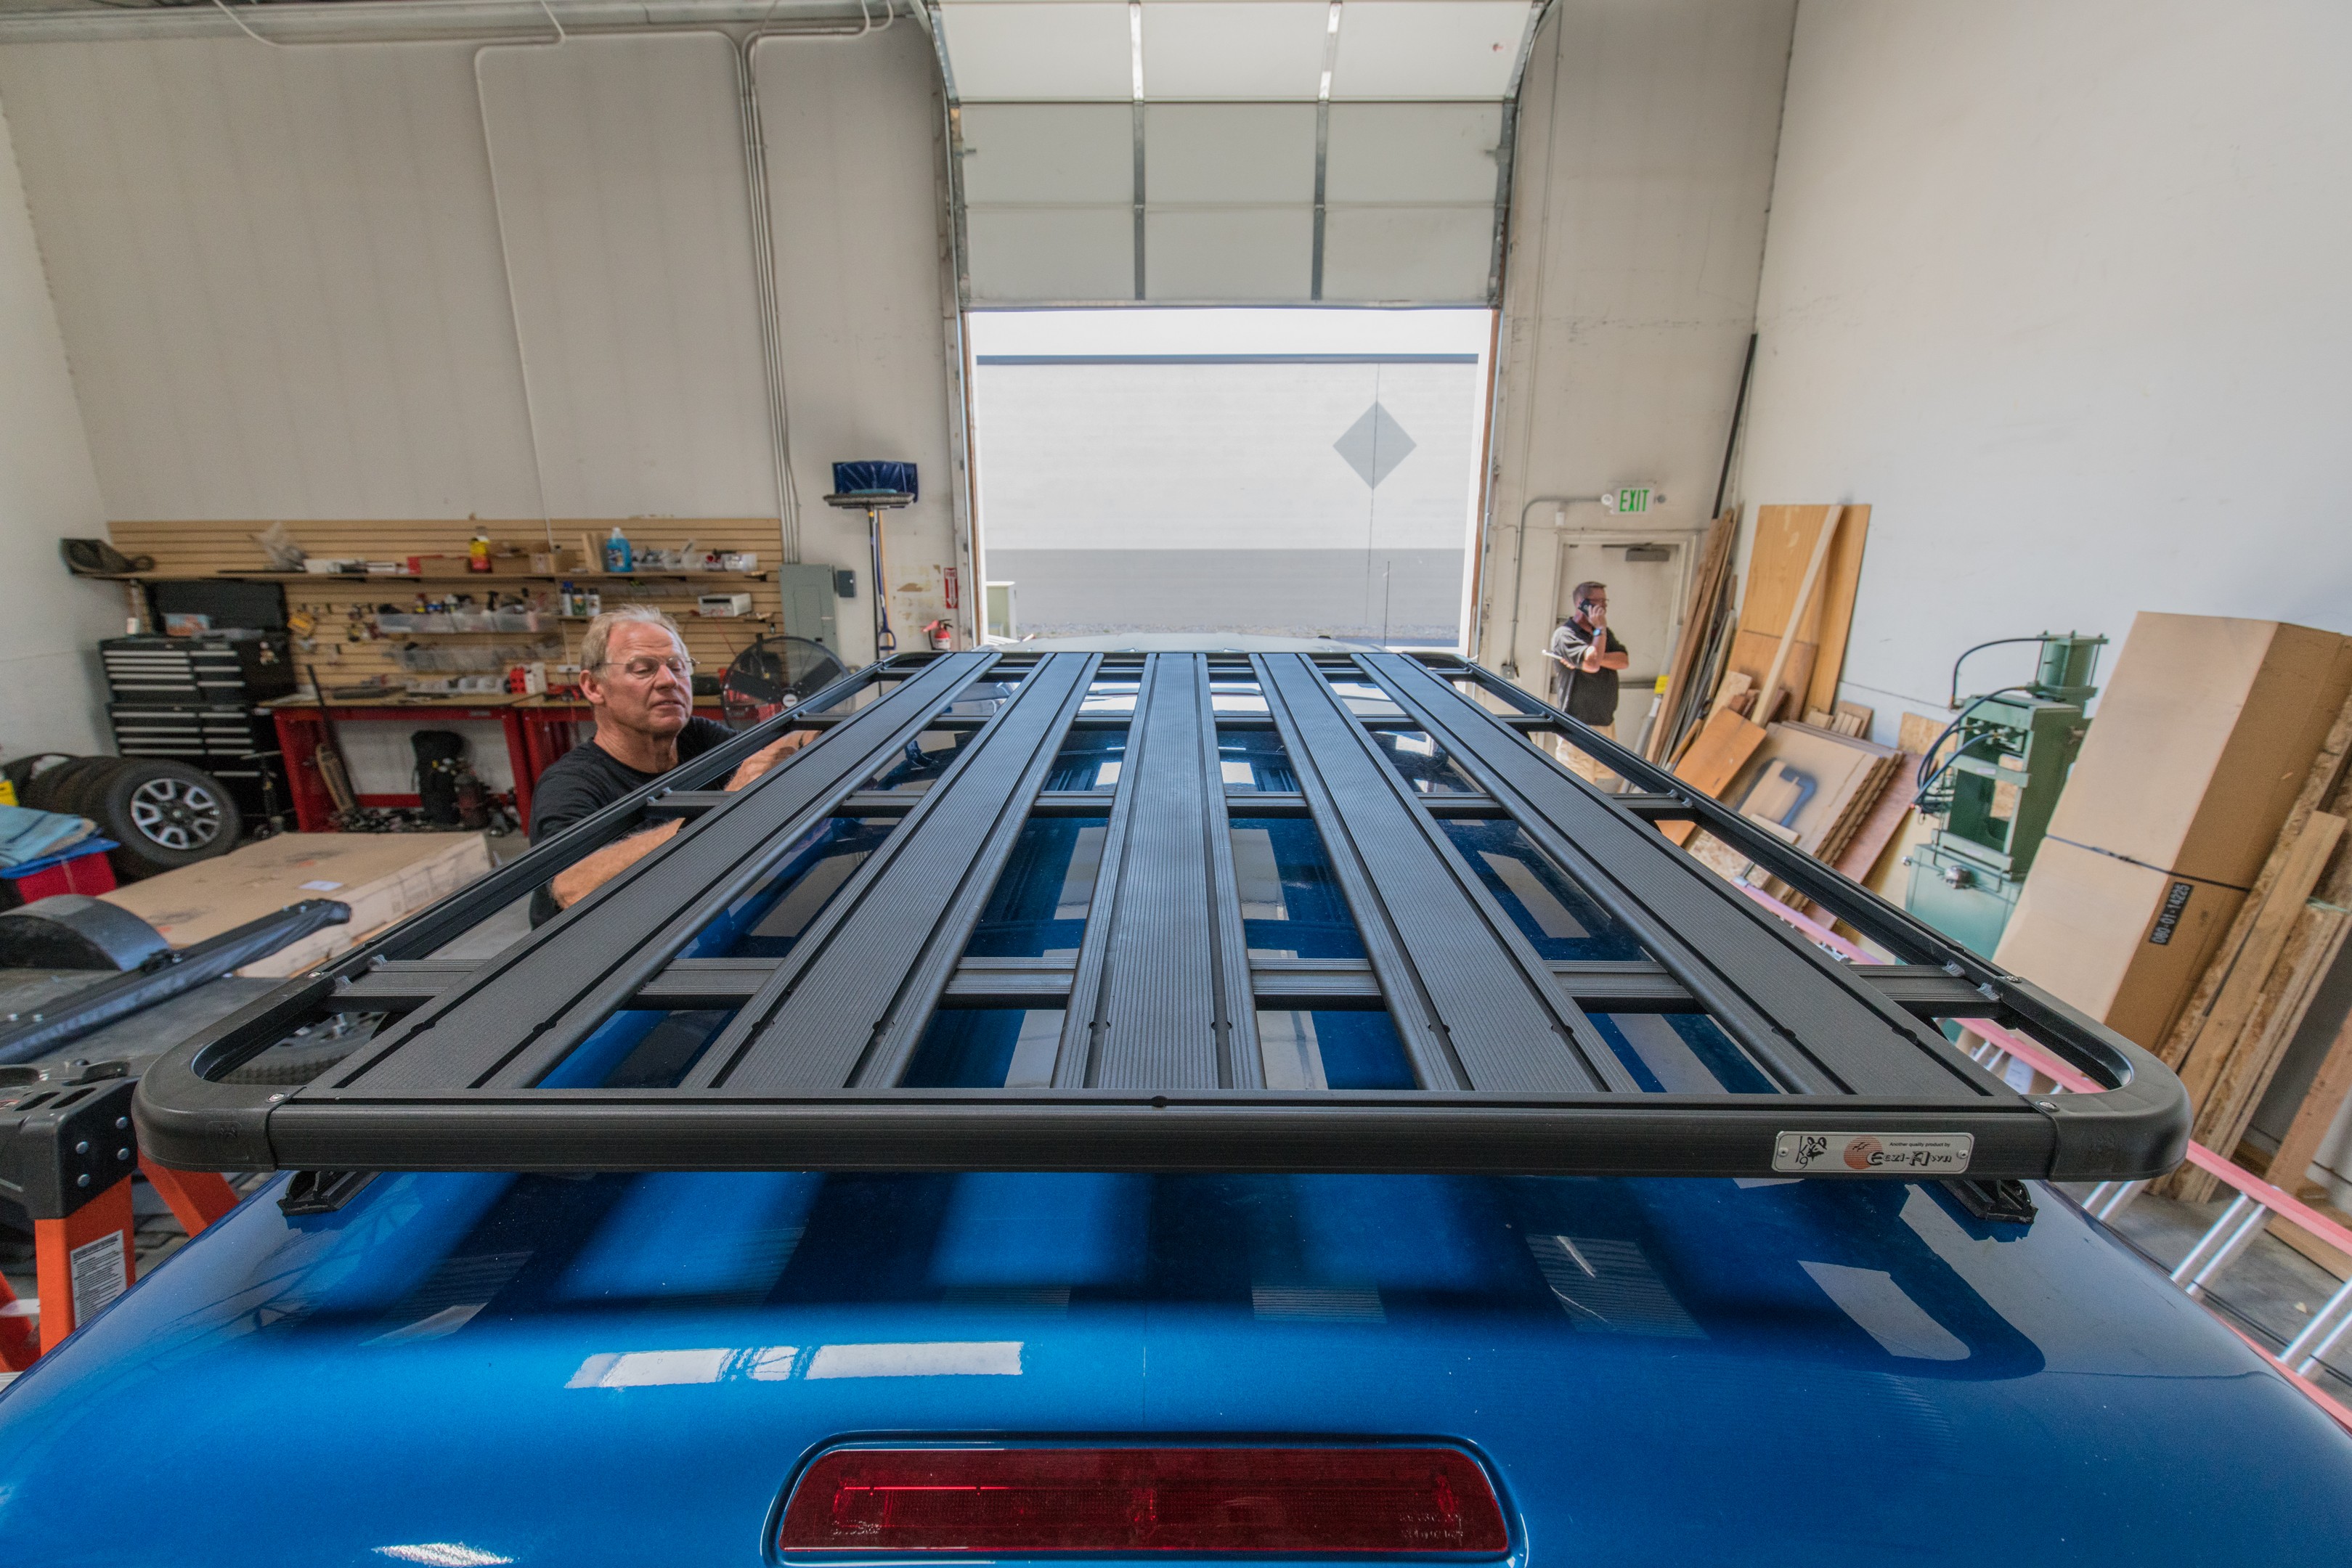
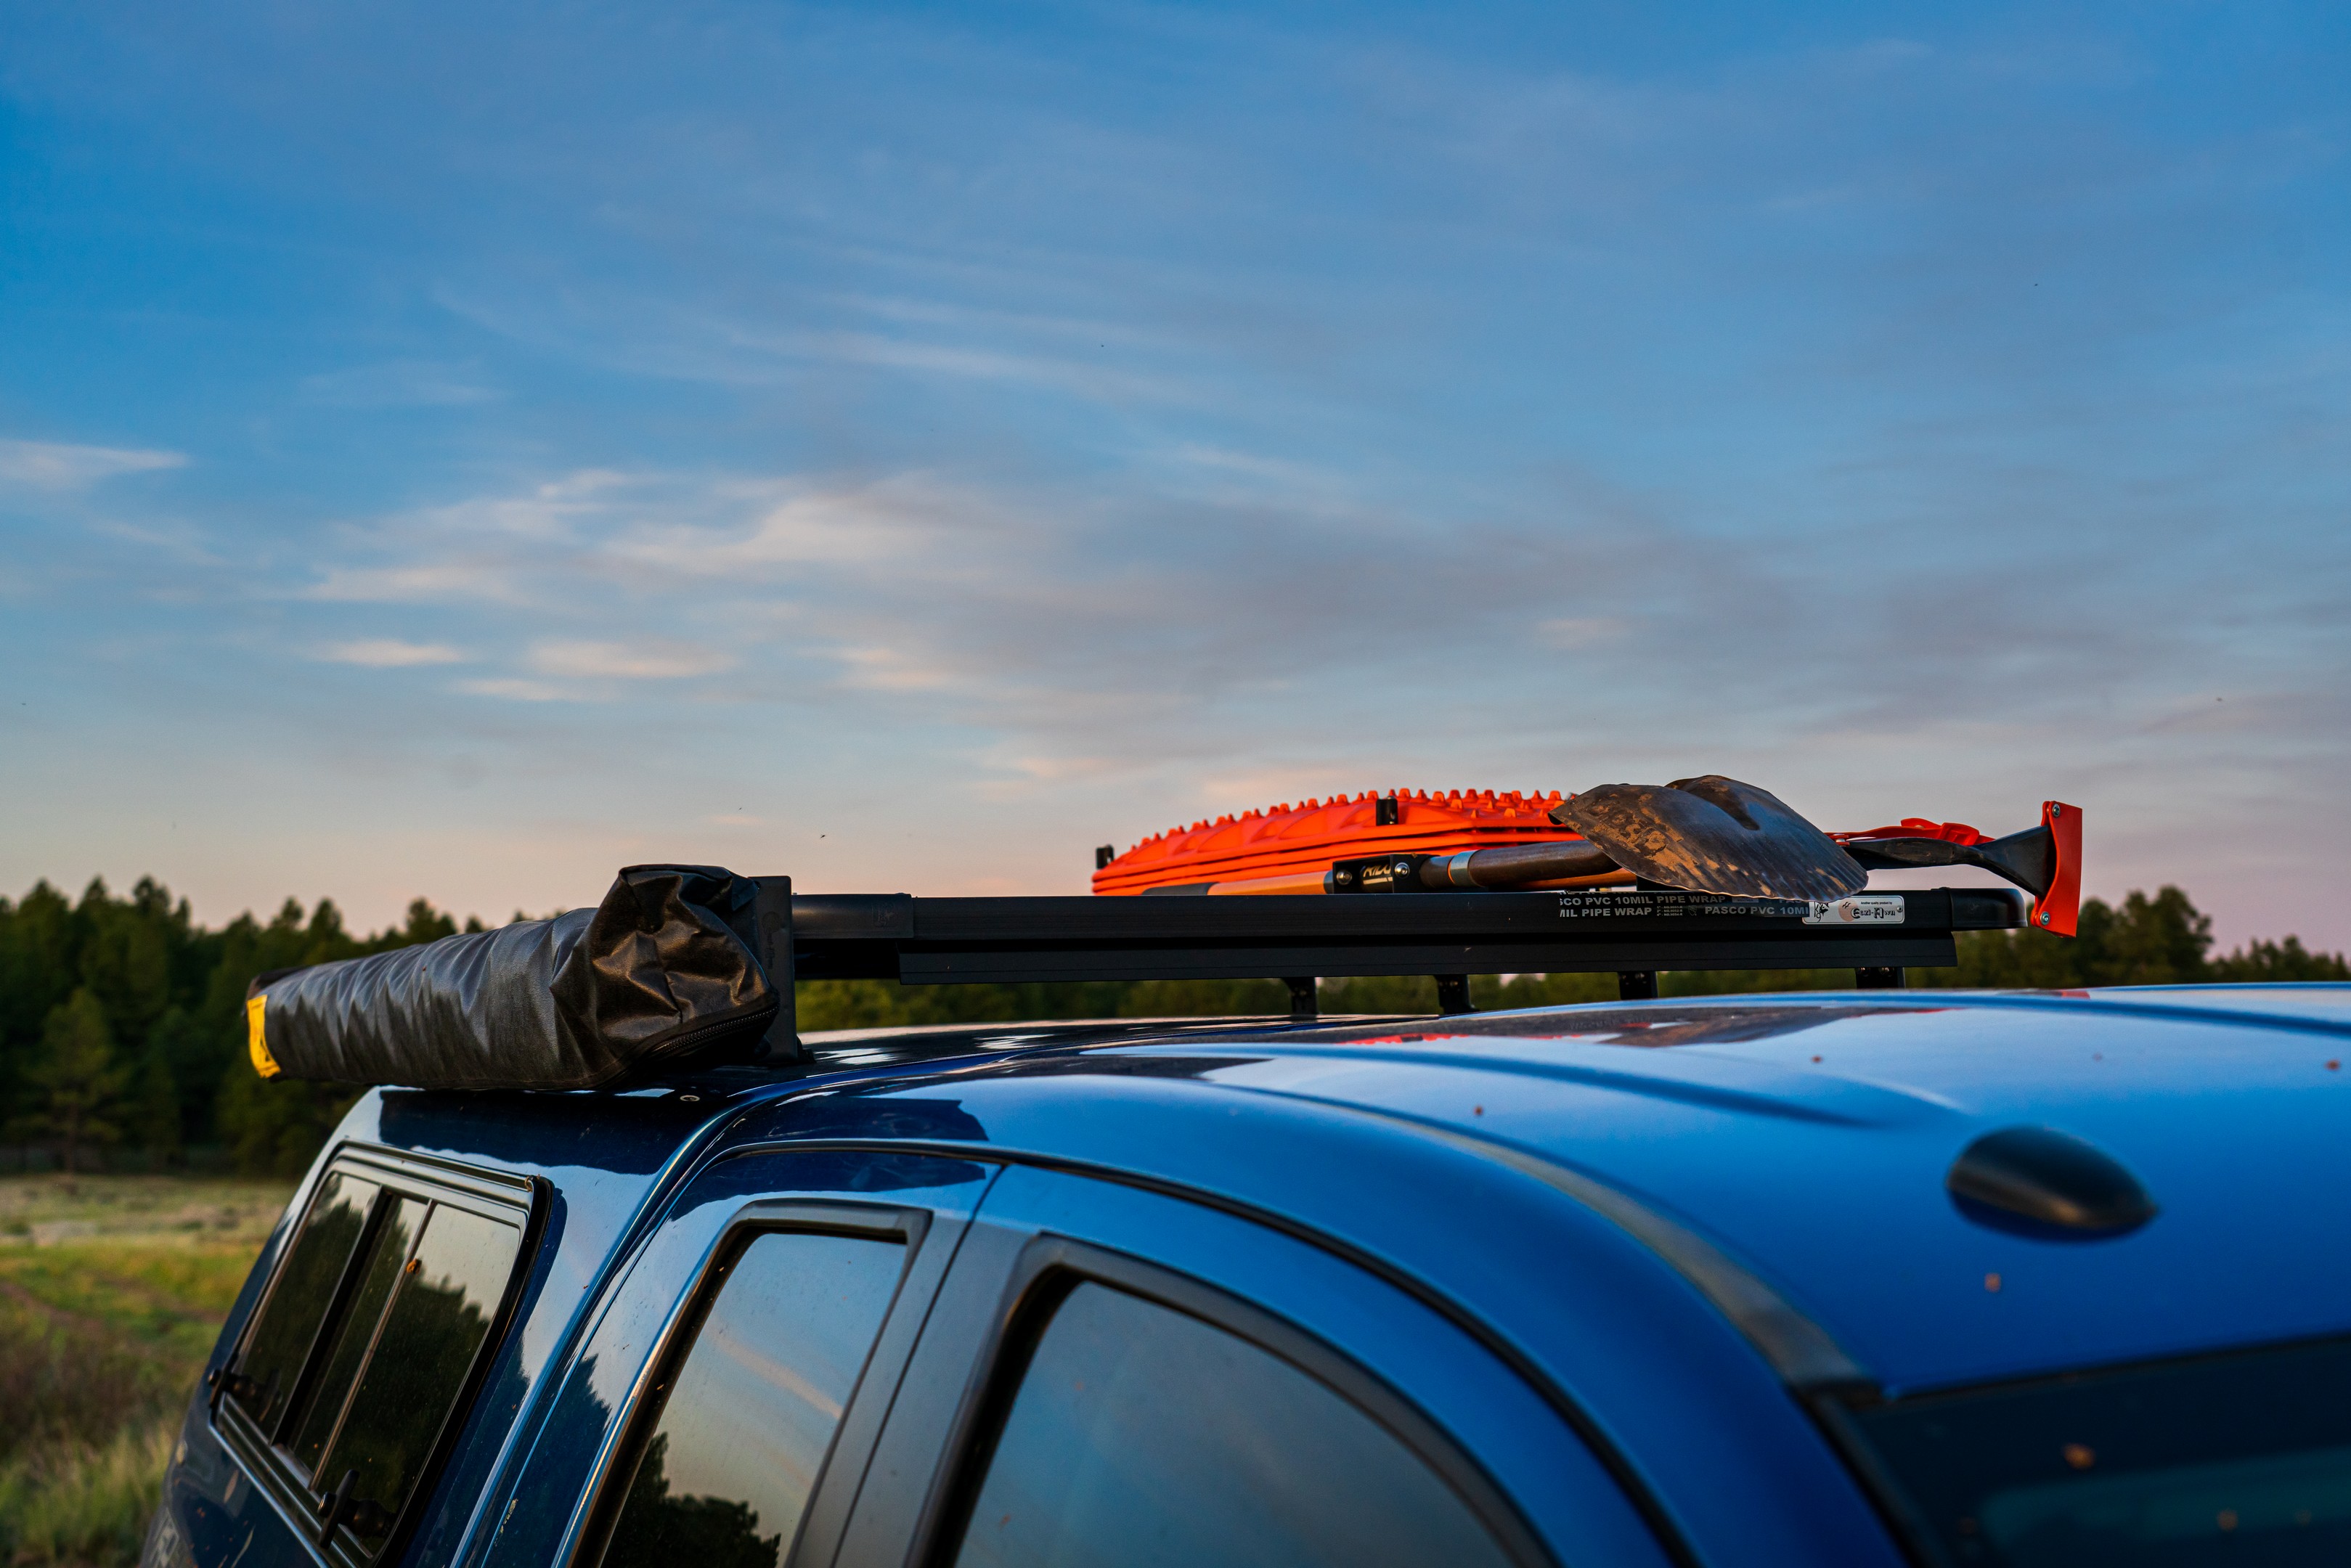
Project Tundra’s K9 roof rack is just as awesome too. If you’ve never seen a Equipt’s Eazi-Awn K9 rack in person, you’ll notice that K9 racks are a cut above, starting with the tracks that the rack mounts into. Where some other companies use a light duty steel, Eezi-Awn uses a lightweight, beefcake aluminum extrusion, that actually looks like it could hold onto a roof rack. Where other companies use plastic towers, K9 racks have all alloy towers that link directly to the roof rack, which is a single piece – no bolts holding the works together here. The roof rack has numerous tracks that will accept M8 or M6 hex head screws so you can mount all kinds of things on the top, or on the sides, or just about anywhere you need to position your gear.
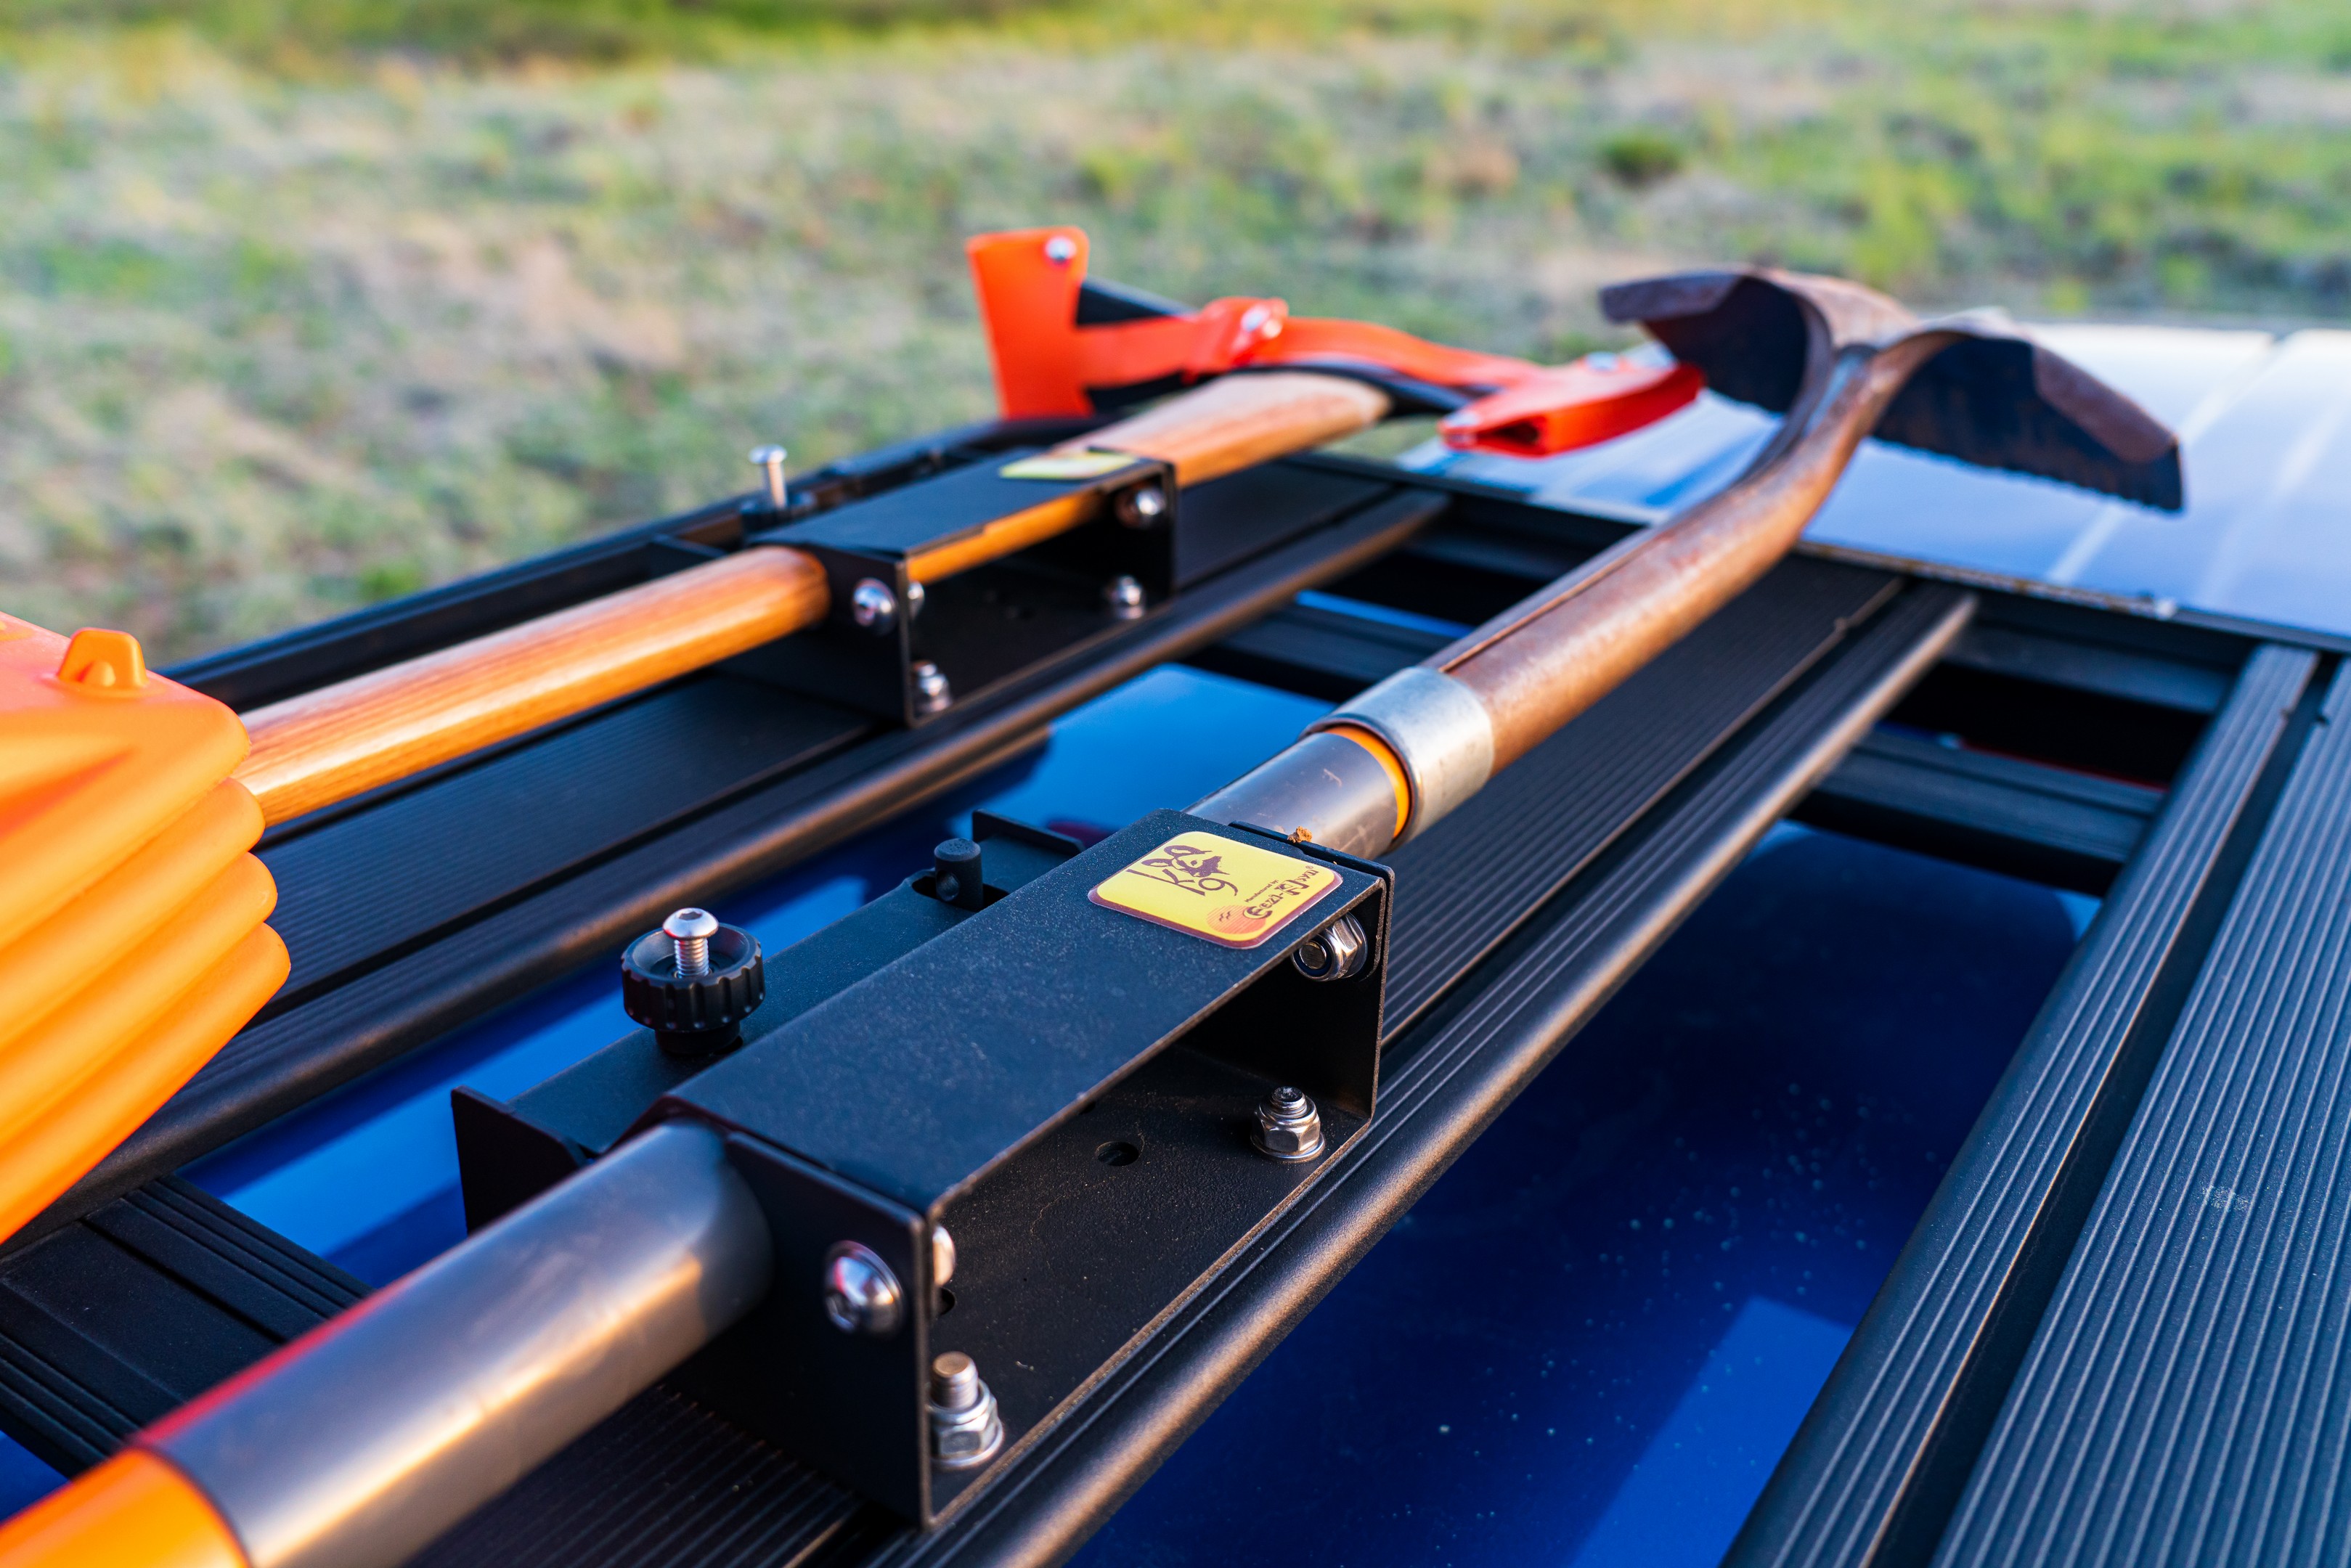
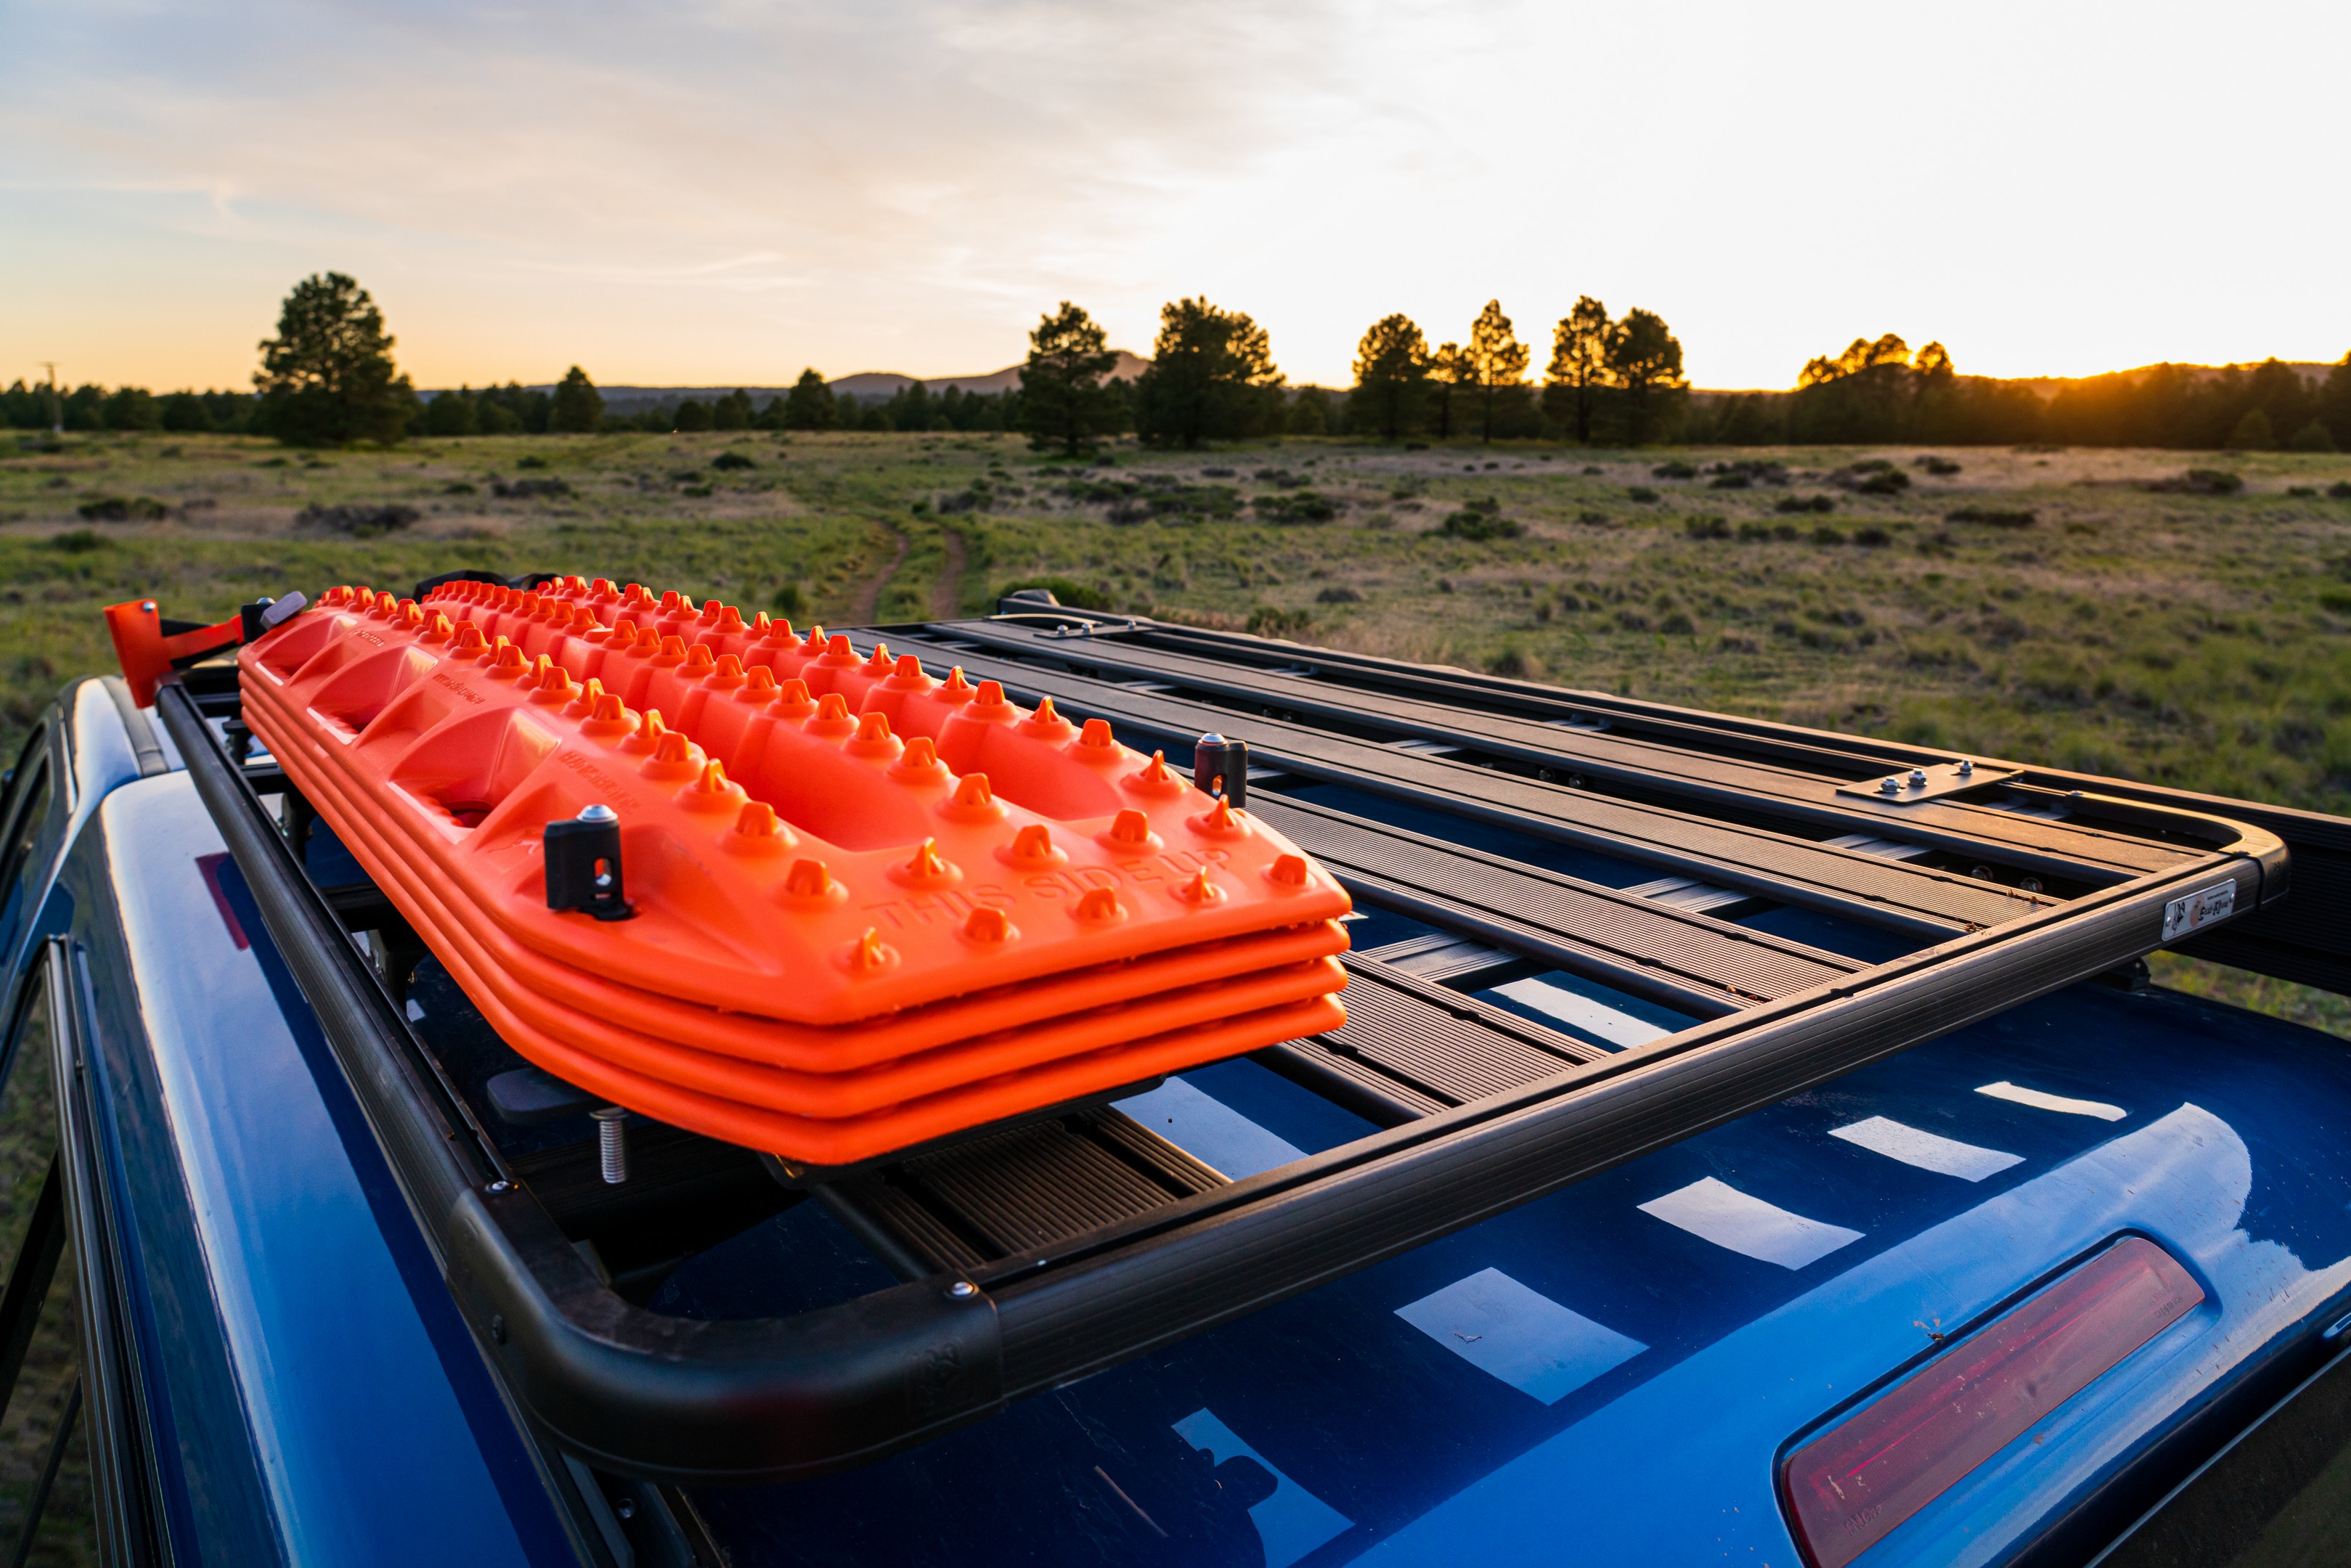
Standard loadout for Project Tundra’s K9 rack includes four MaxTrax, a shovel and Pulaski, and an Eezi-Awn Swift awning mounted on the passenger side. This leaves half of the rack for mounting whatever else needs to be carried, from inflated SUPs to firewood, to a saw, or a ladder, or any other big bulky thing – the K9 rack can securely and safely carry it. I will point out that I’m not going to carry a spare up there, mainly because you can tuck a 35-inch spare into the factory location on a Tundra, and I want to keep the center of mass as low in the truck as possible. I’ve carried all kinds of things on that rack, and I’ve never once found myself wanting for a mounting option. From quickly cam-strapping something around the bars, to taking the time to install eye bolts, the rack can be configured any way you want it – and that’s the real beauty of it. I’ve certainly used and abused the rack in the time that I’ve had it, and I haven’t even noticed so much as a bolt coming loose – and I’ve seen other racks fall apart or even fail on the trail.
ONWARD
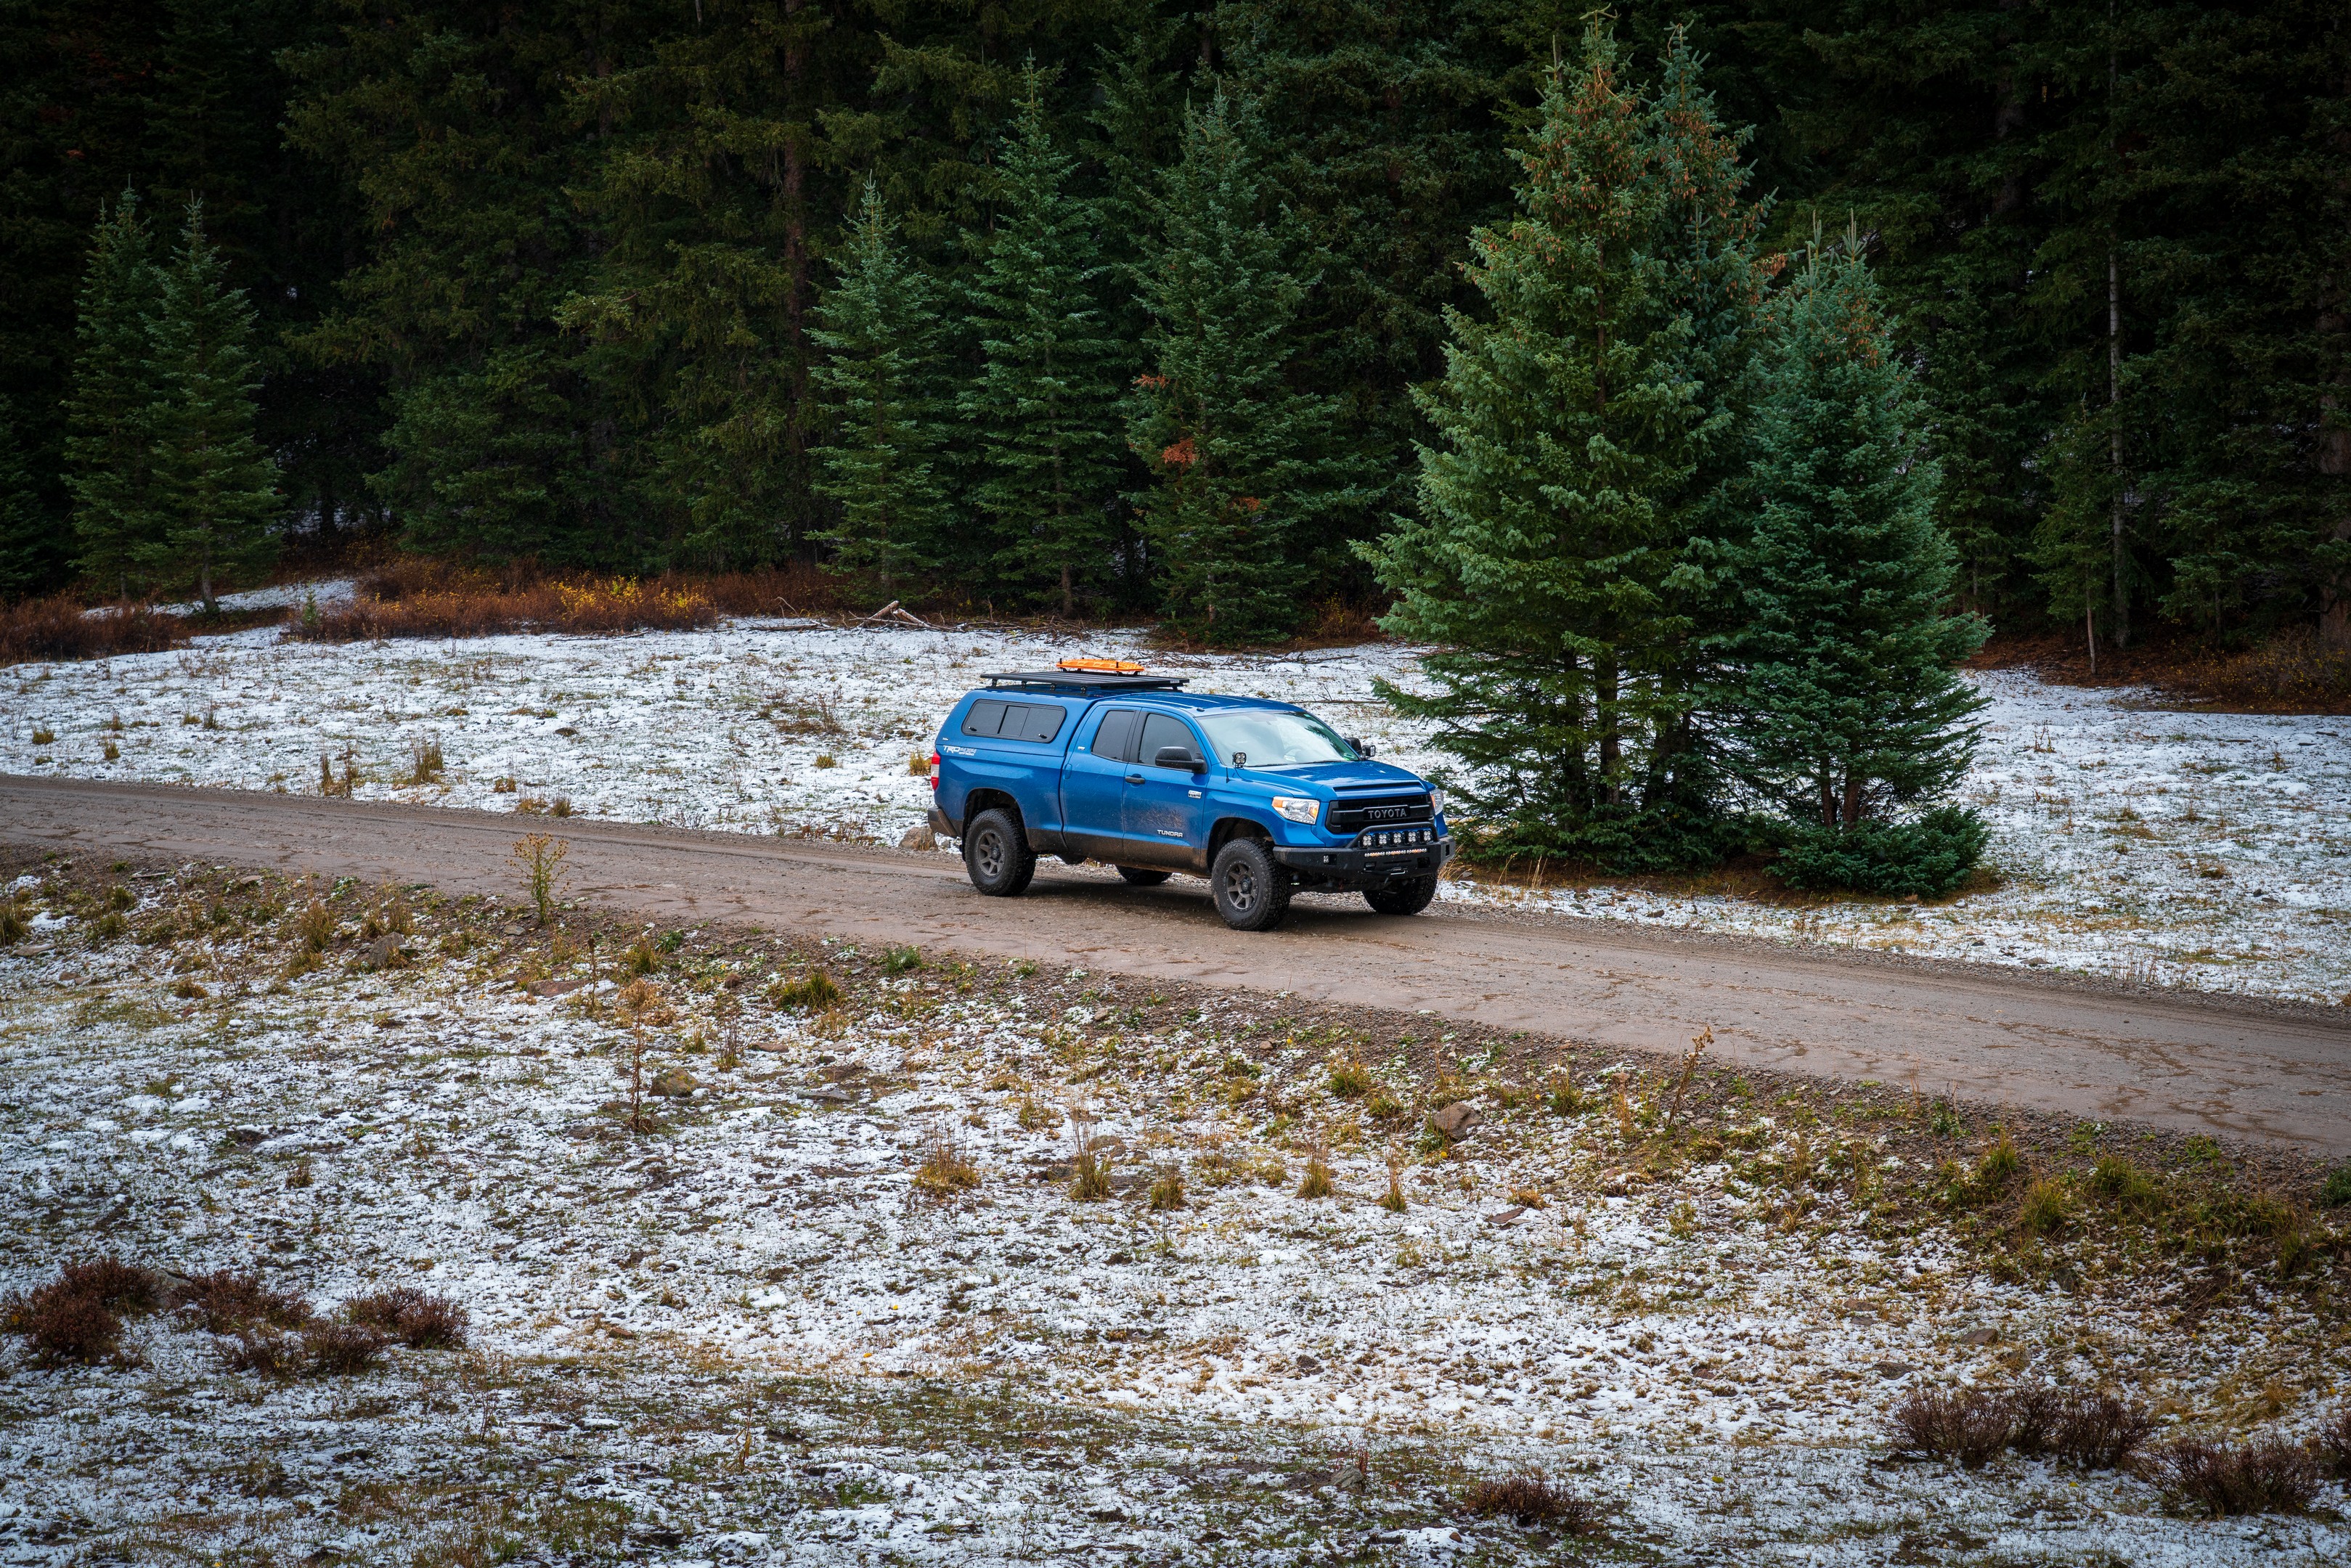
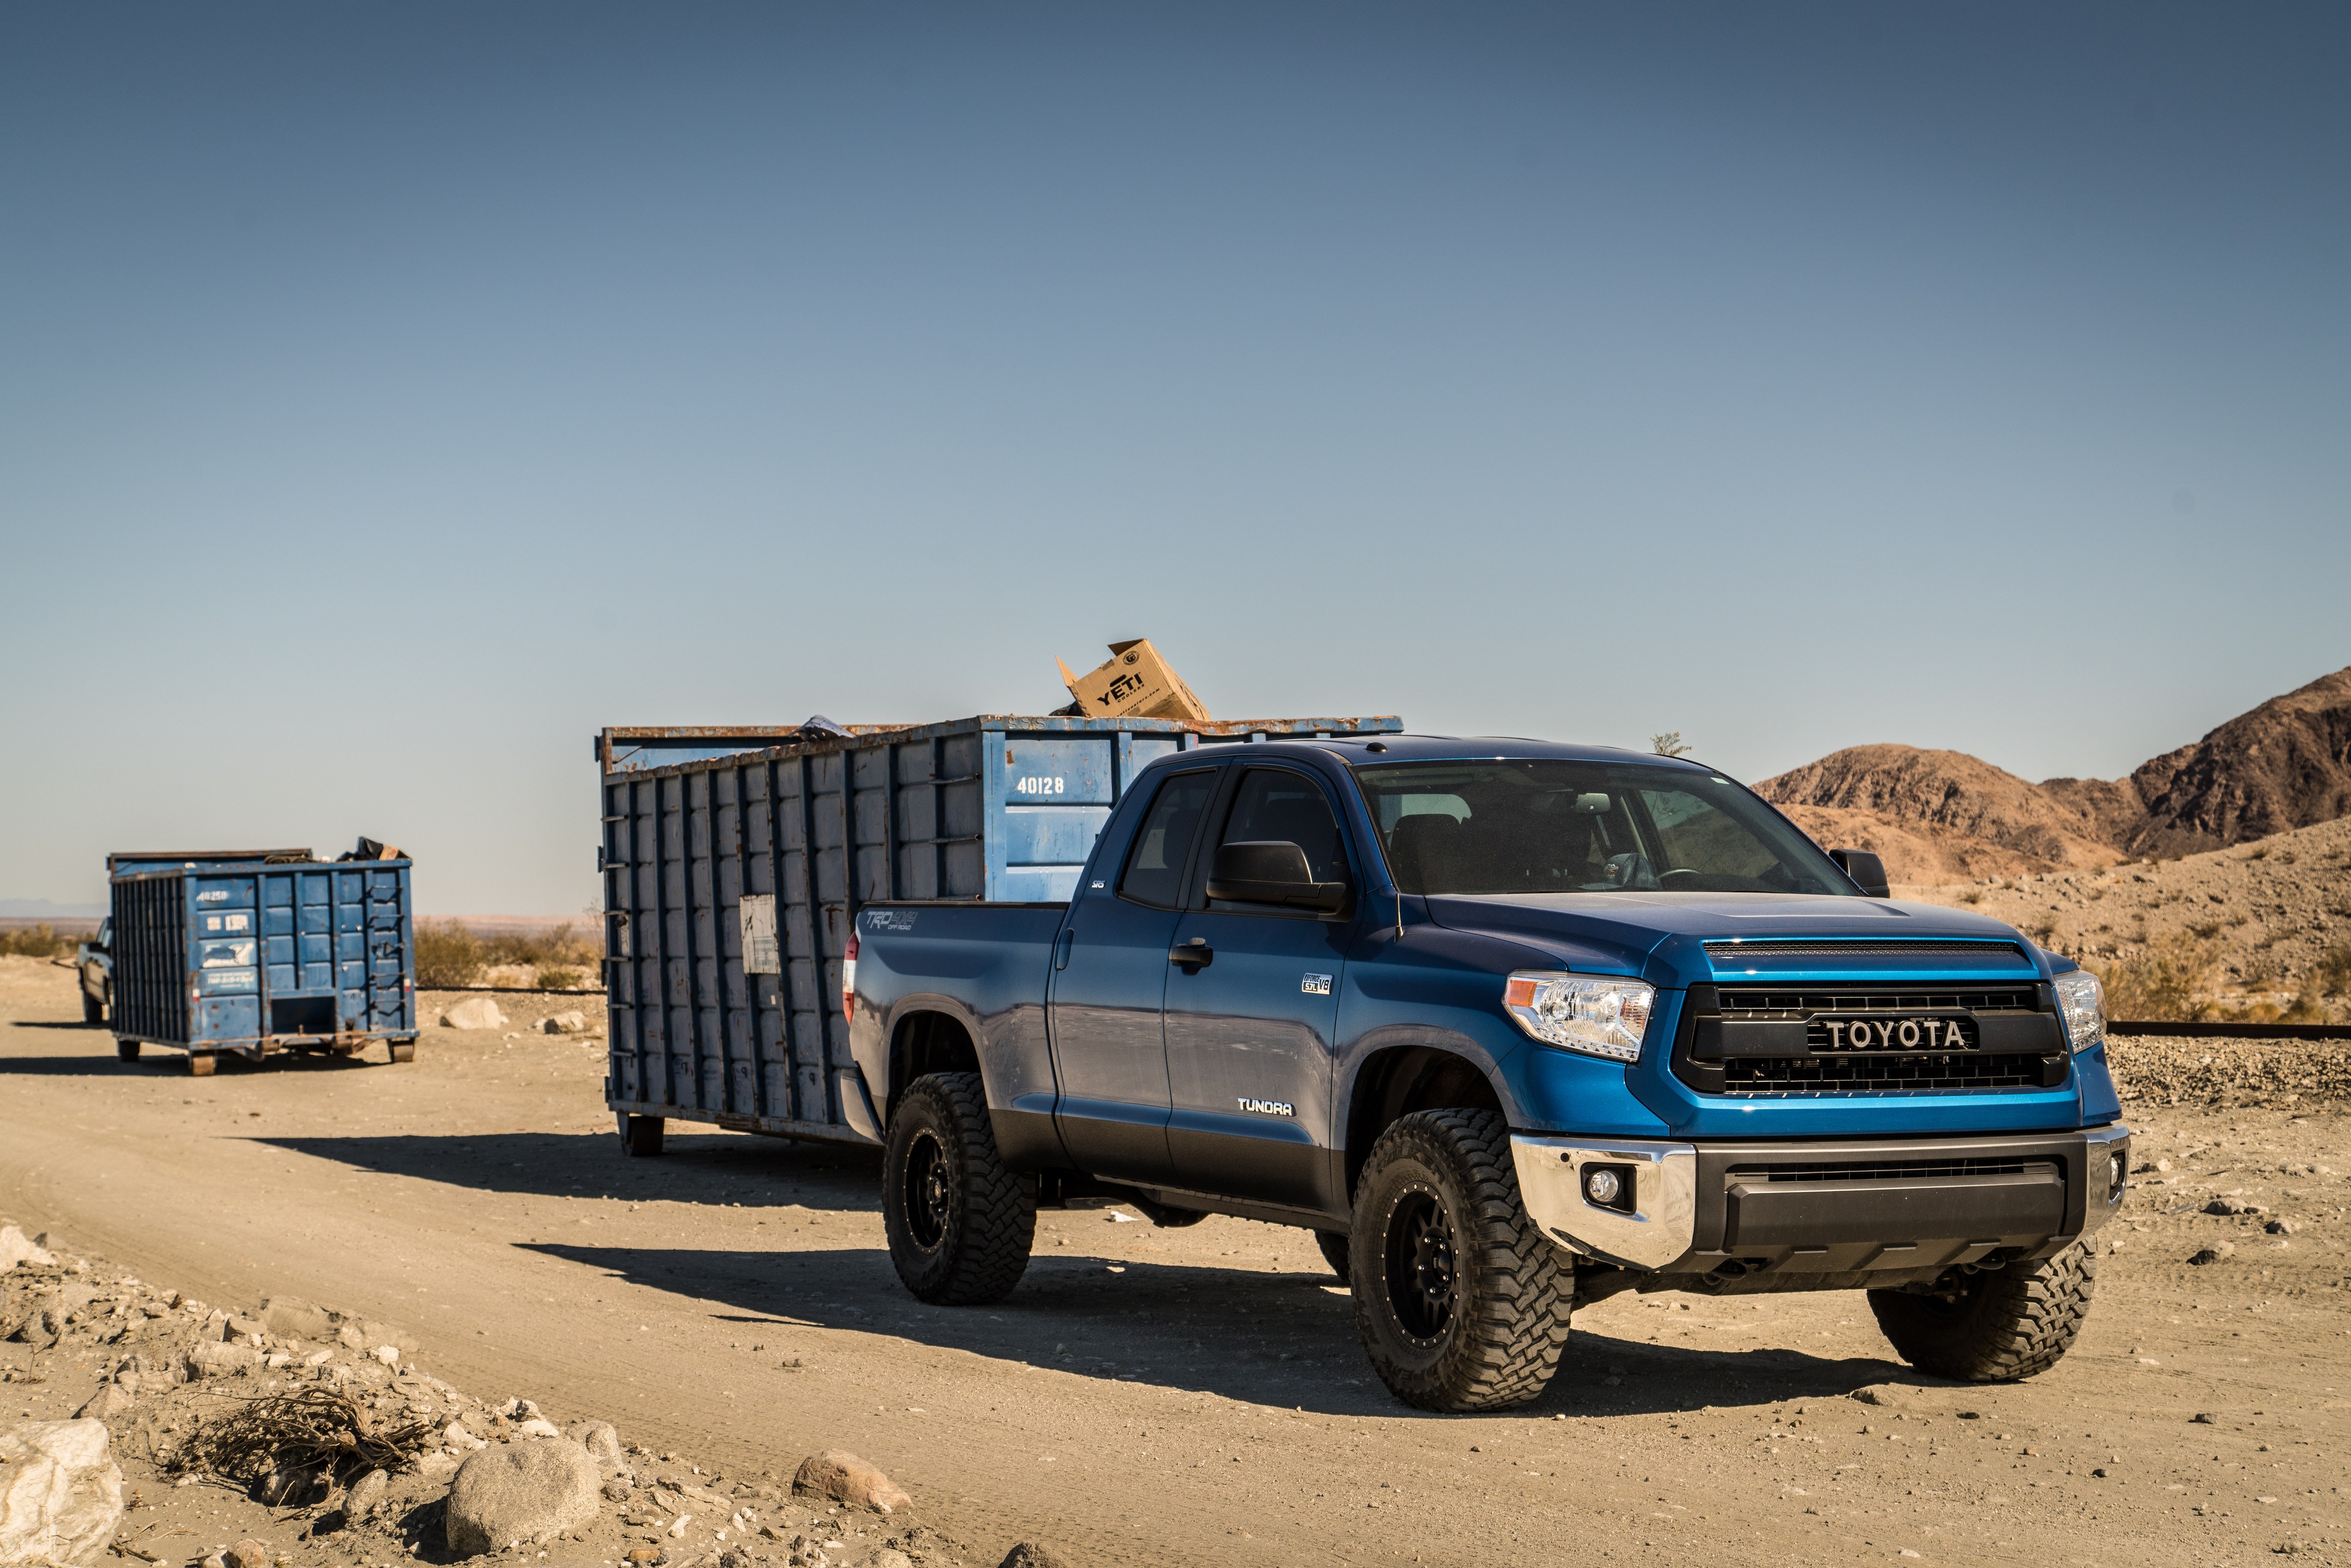
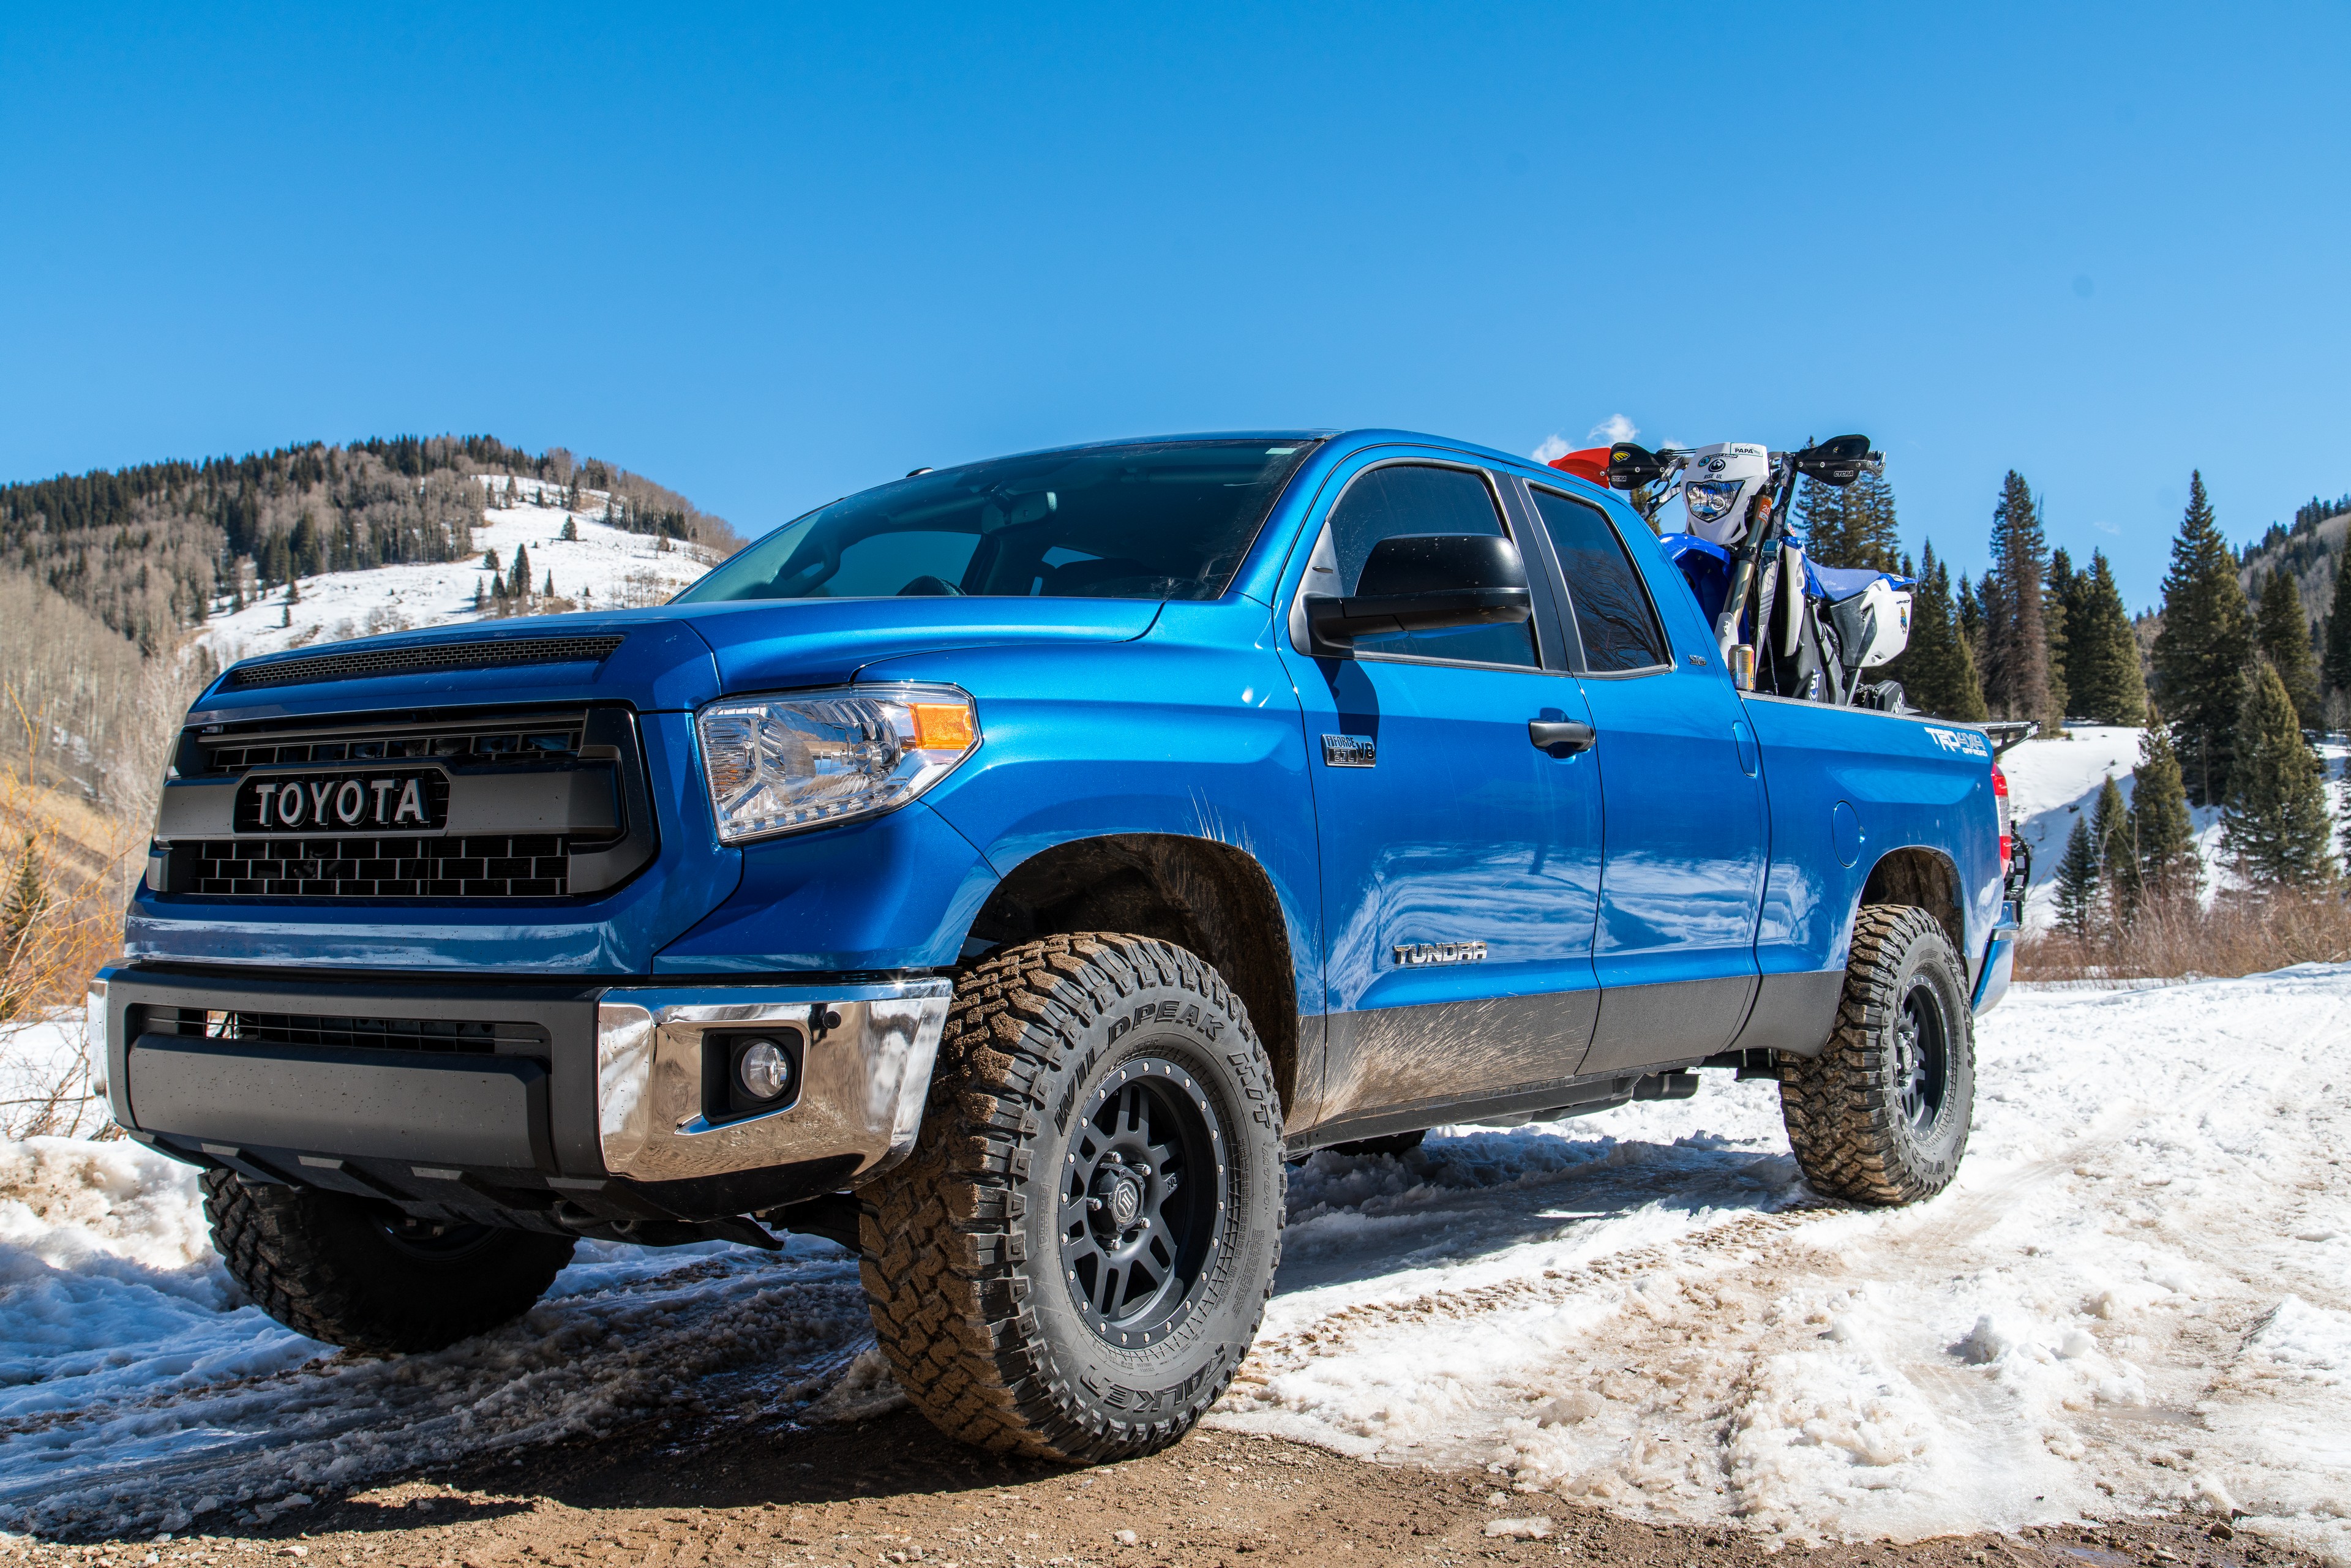
 In it’s current form, Project Tundra is an extremely versatile rig and I’m extremely happy with what I can do with it. From loading the truck up with toys and the family for long vacations to quick evening go-fast trips to the important places just to watch the sun set, Project Tundra does it all, and does it all well. This past winter, we took on record snowfalls in the Colorado Rockies, and then in the middle of summer took on the remnants of that same snow. We’ve hauled all kinds of tools and toys and enjoyed the deserts of the Southwest, and so many other great places.
 I have to say that I feel incredibly fortunate to get to do the things that I do with Project Tundra. This whole process has created an awesome vehicle (pun intended) to get to spend time outside with good friend and family, and this whole processing of building this rig has introduced me to so many awesome folks and provided many memorable experiences that I am quite thankful for. I hope that these articles have been helpful in someway to you, whether that’s a serving of inspiration while you’re working through the daily grind or whether you’re looking into building a new rig or playing with your current setup!
Full Disclosure: Warn, White Knuckle Off-Road Products, Equipt Expedition Outfitters, and Snugtop provided equipment to the author at no cost for the purpose of this review on American Adventurist.
