
That old saying of “a place for everything and everything in its place” really is the guiding principle when loading up your vehicle for a trip. Quick access to neatly organized gear can make a real difference when it comes things like a medical kit, and an organized tool kit is a pleasure to work with in your driveway or on the trail, especially if you’ve had to deal with your buddy’s collection of odds and ends for tools. With good gear organization and storage, you can find what you need quickly and easily, and you can safely transport things like tools and chainsaws which can damage anything they come into contact with if they’re loose in your vehicle. Blue Ridge Overland Gear (BROG) has built a reputation for making innovative, bombproof gear in the Blue Ridge mountains of Virginia, and I’ve been putting their Tool Bag, Large First Aid Kit, and Chainsaw Bra to the test for the last few months.

The first time I came across a BROG Tool Bag was in Sandstone Canyon in Anza Borrego, shortly after a 100 Series Land Cruiser decided that we really needed to change it’s CV axle. Like most trail repairs it started with a good measure of standing around and assessing, which really means that a bunch of folks started saying how they would go about fixing things, but no one was actually turning wrenches. Then this guy walked up with a black tool bag and got to work. This black bag was just over a foot wide and tall, and only a few inches thick, but it held a staggering number of tools. It was like he had taken a several hundred-piece mechanic’s tools set and managed to fit it all in this bag that was a fraction of the size of the original packaging. I was quite impressed, so naturally when I got my BROG Tool Bag, the first thing I did was pack a whole mechanics tool set into it – and then I packed in a few more tools, because I still had room.
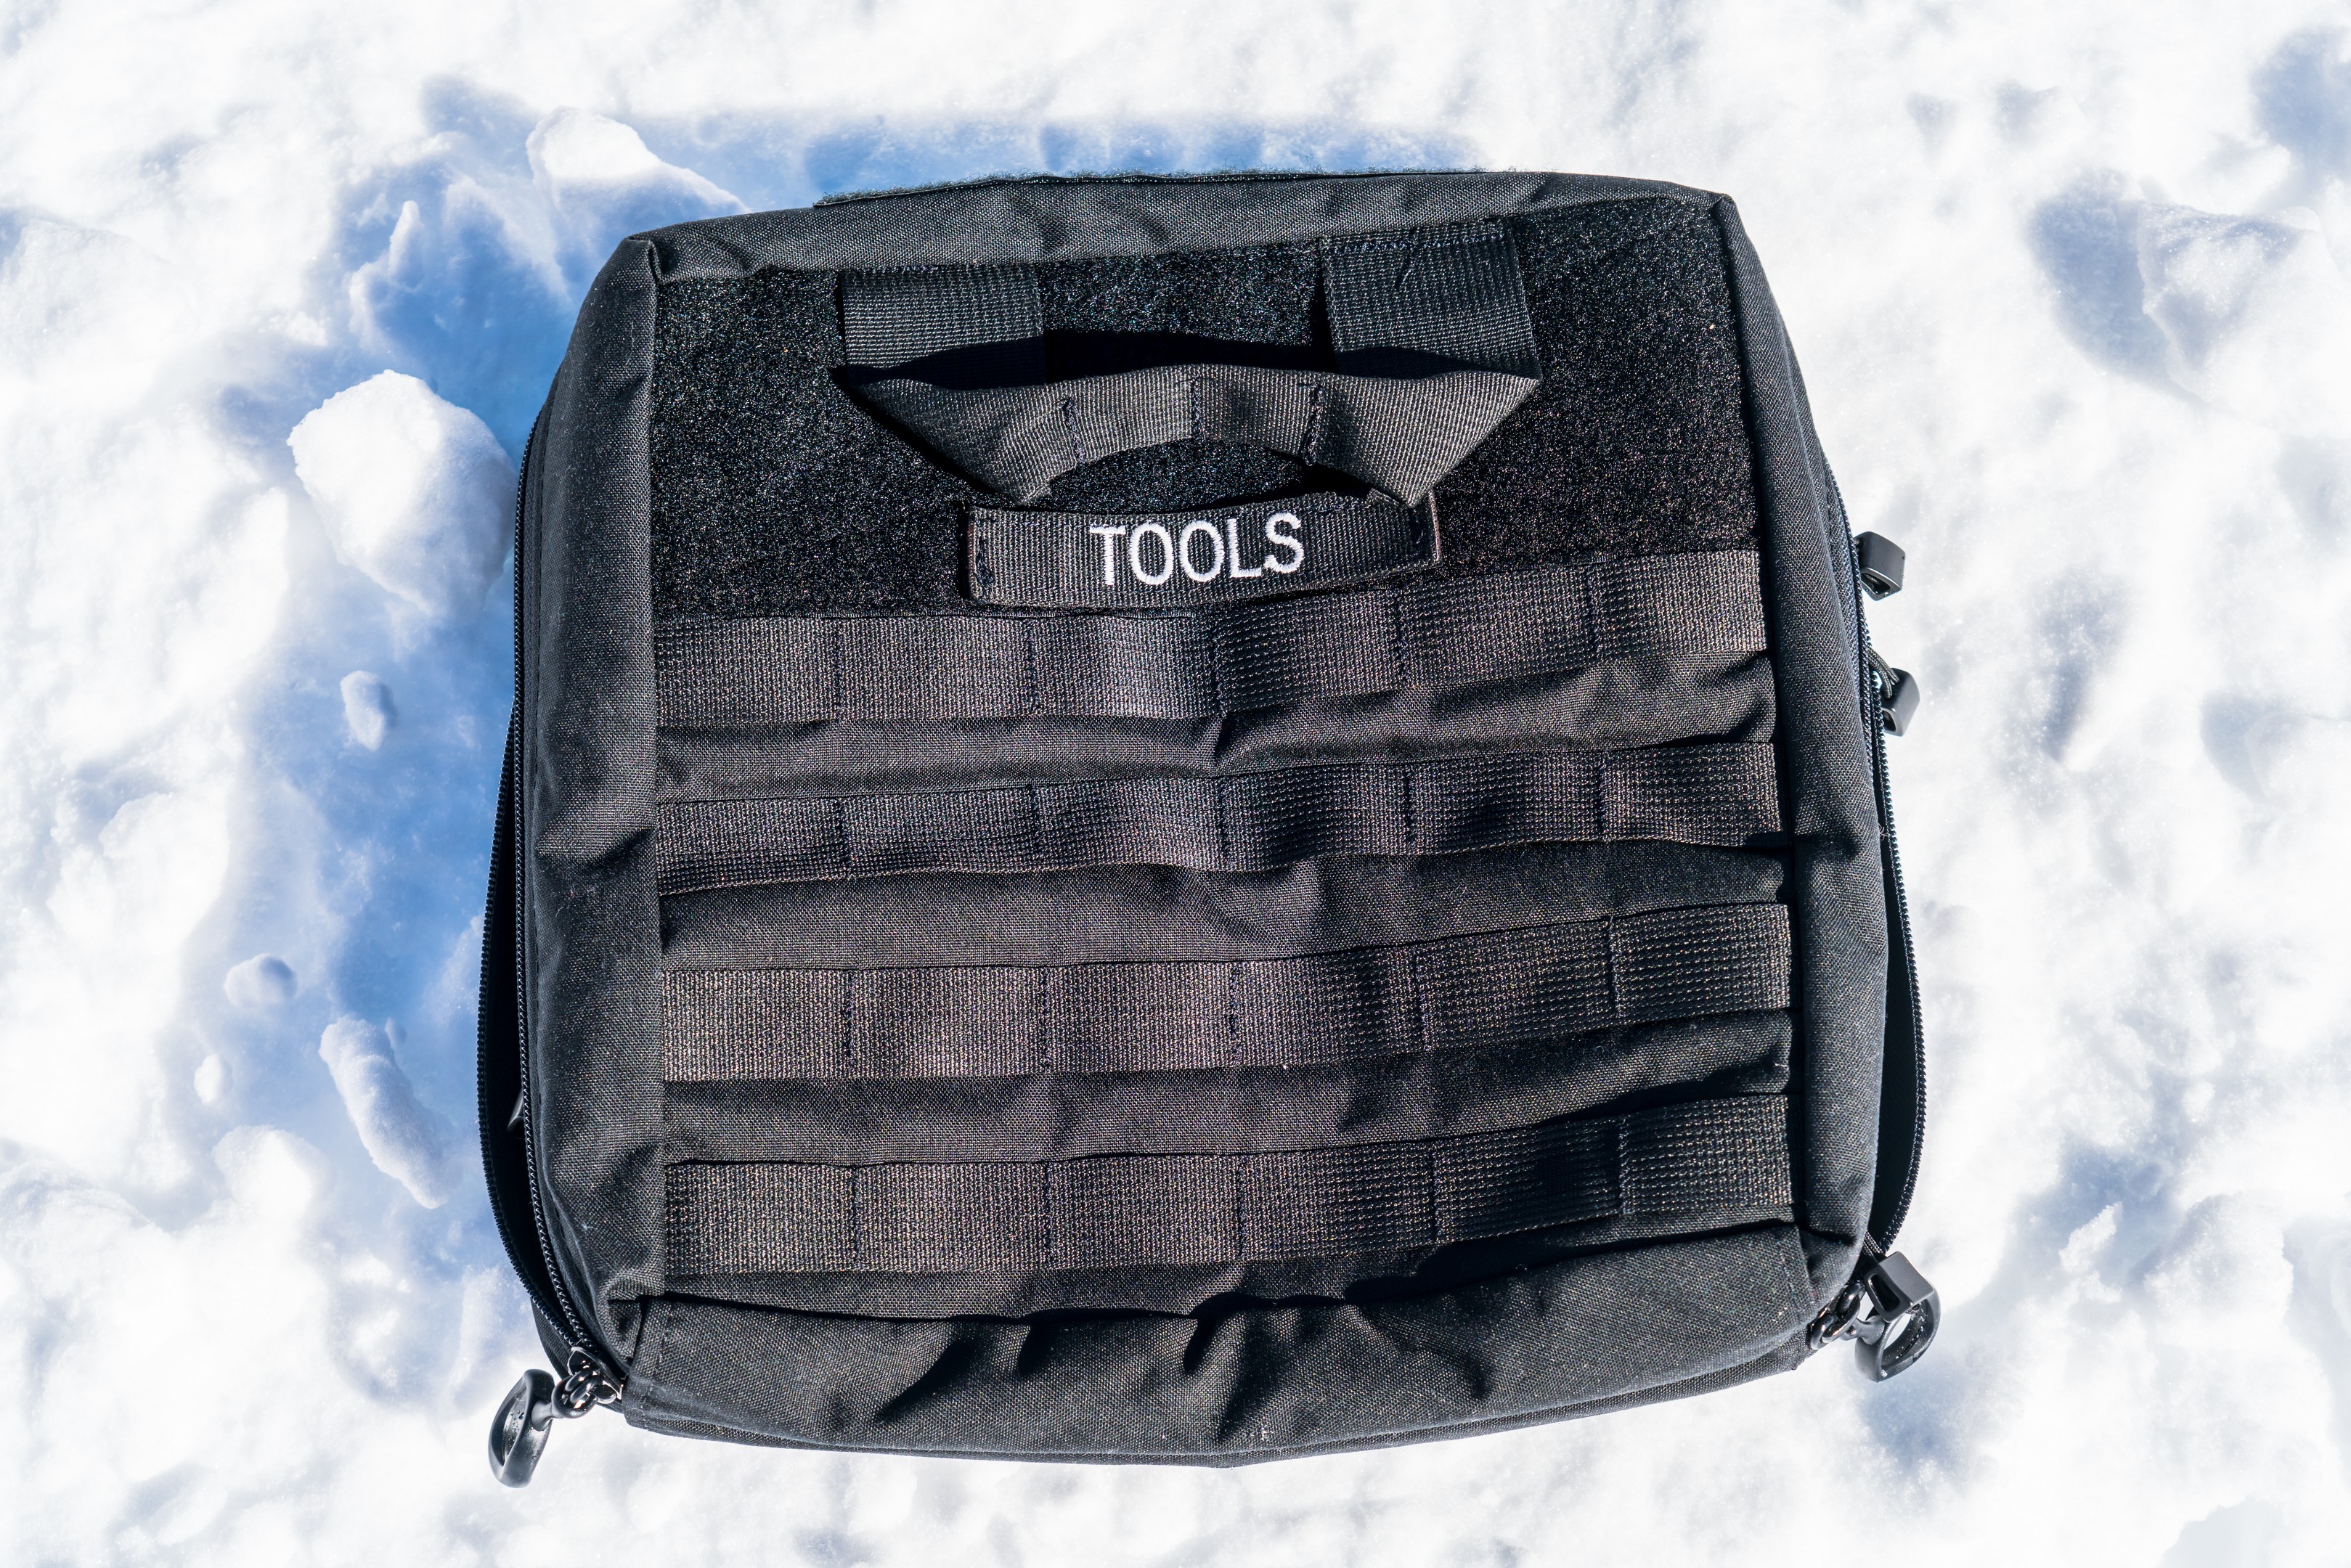
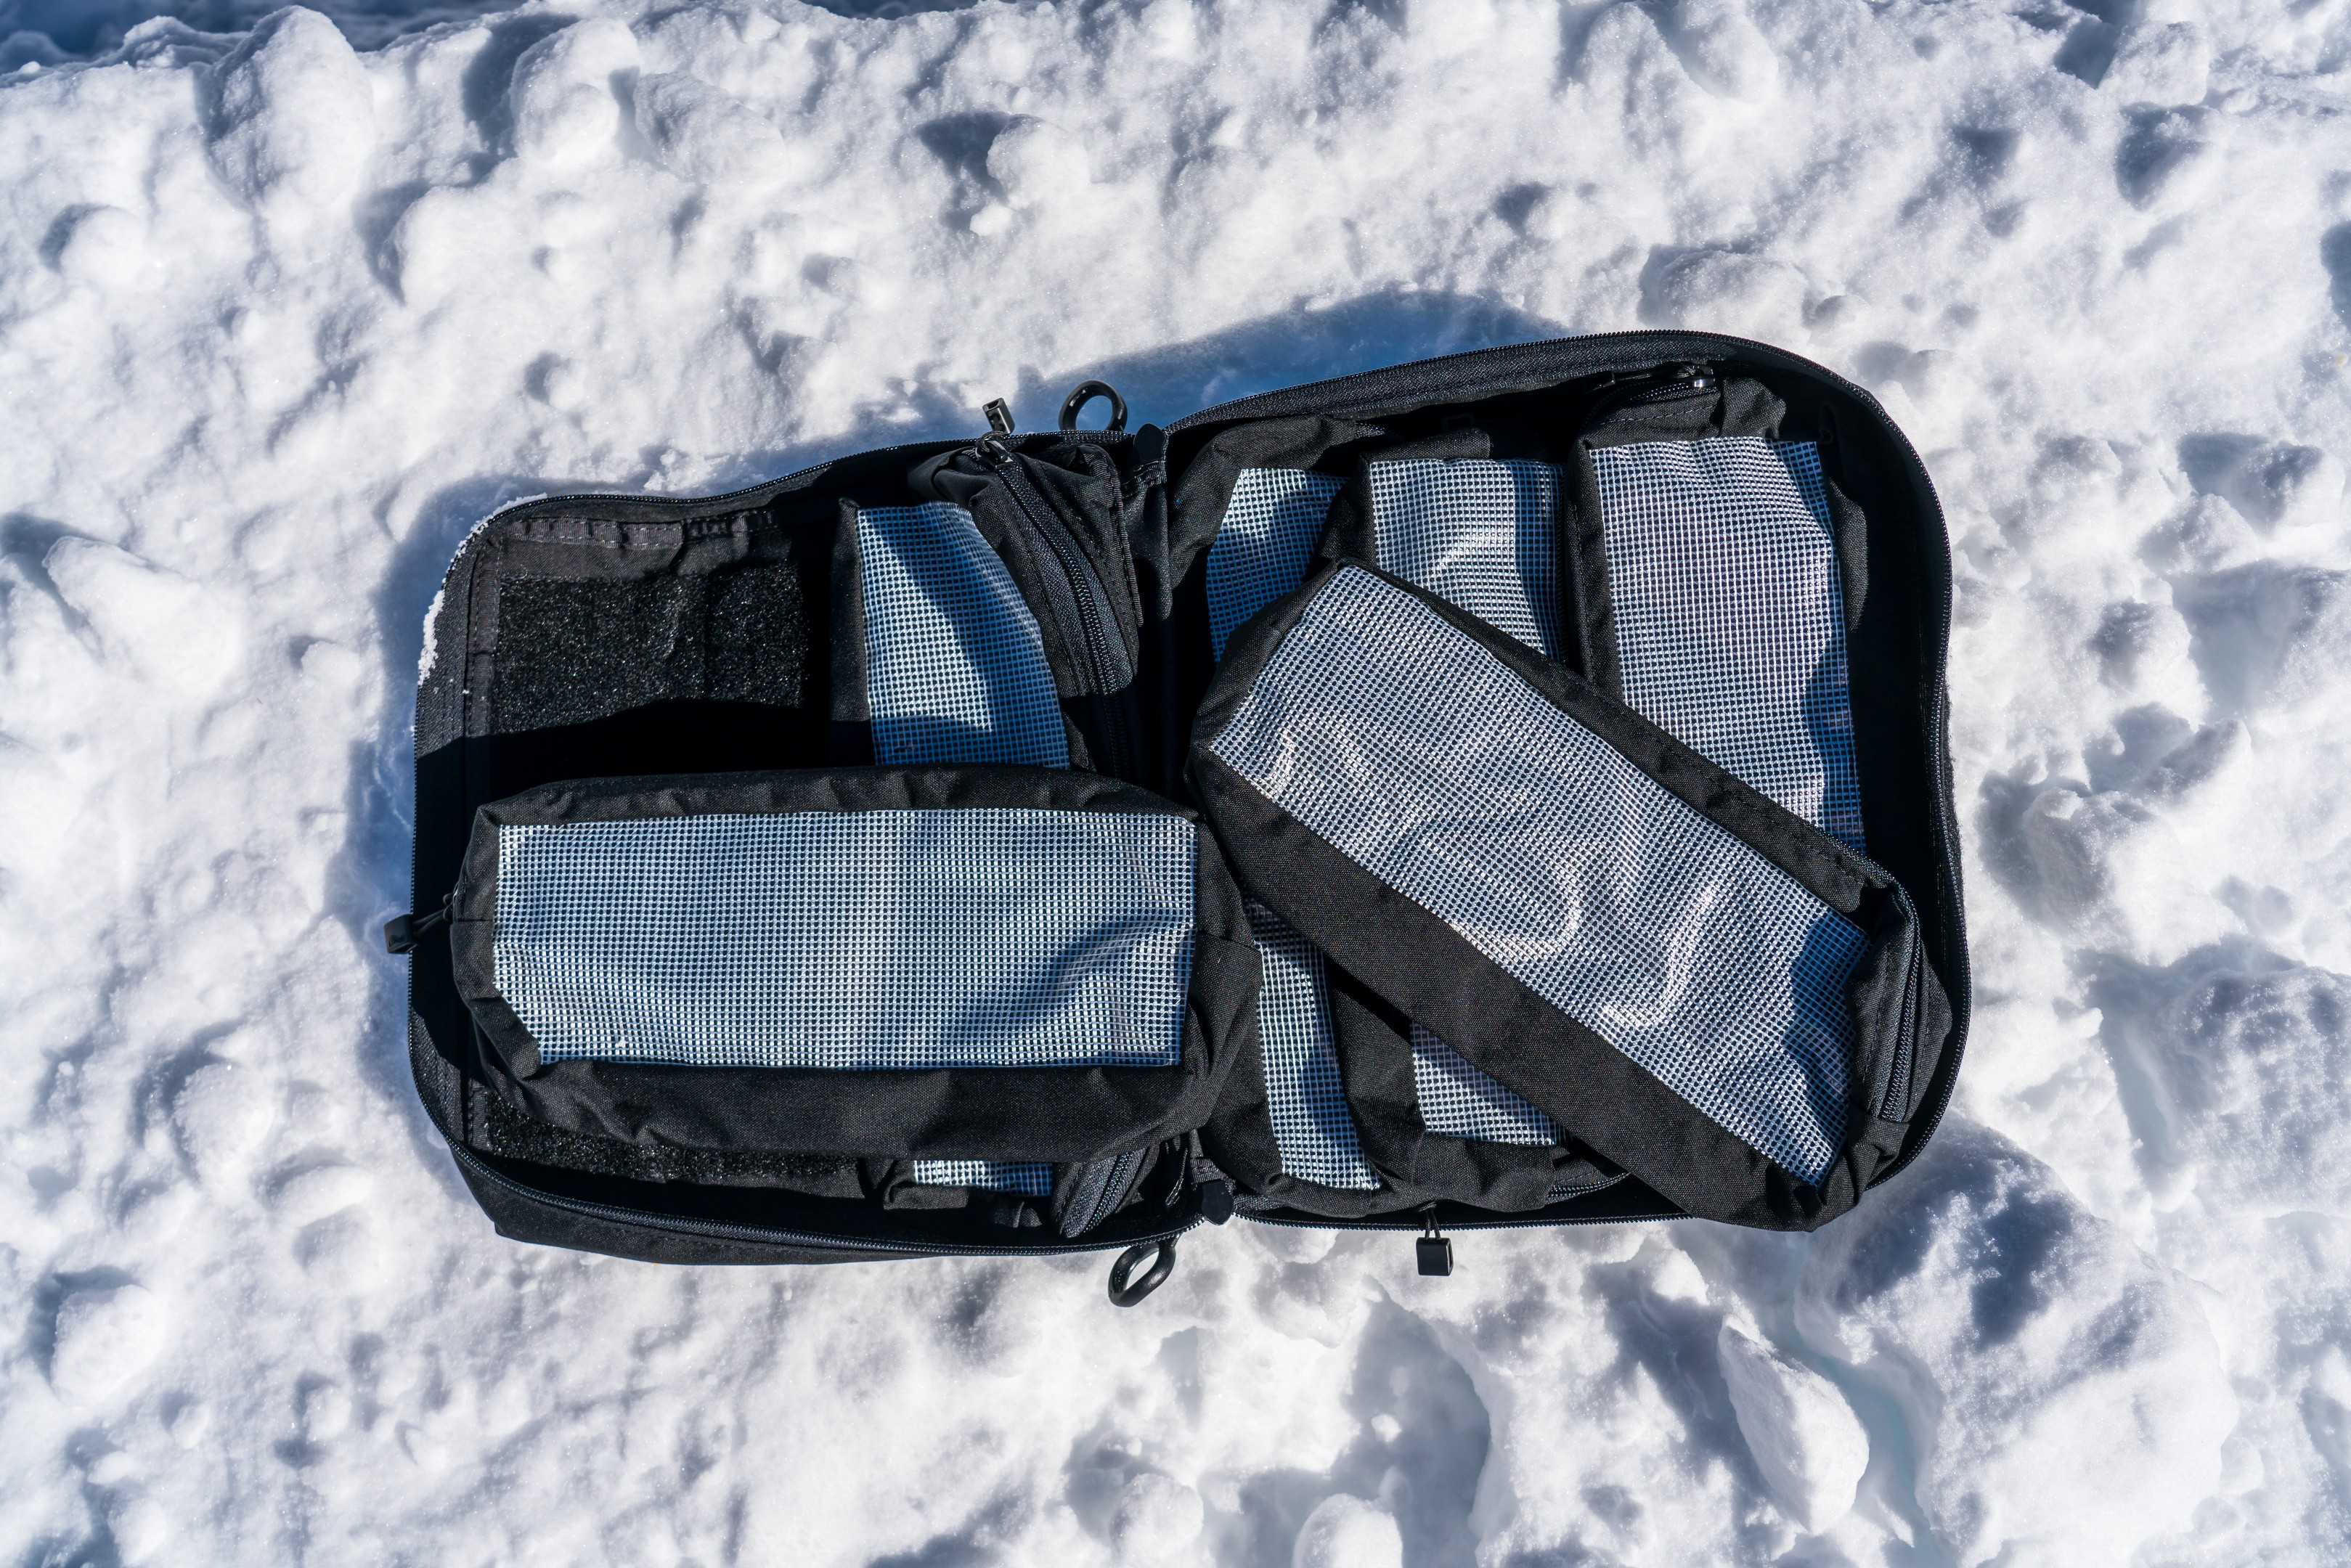
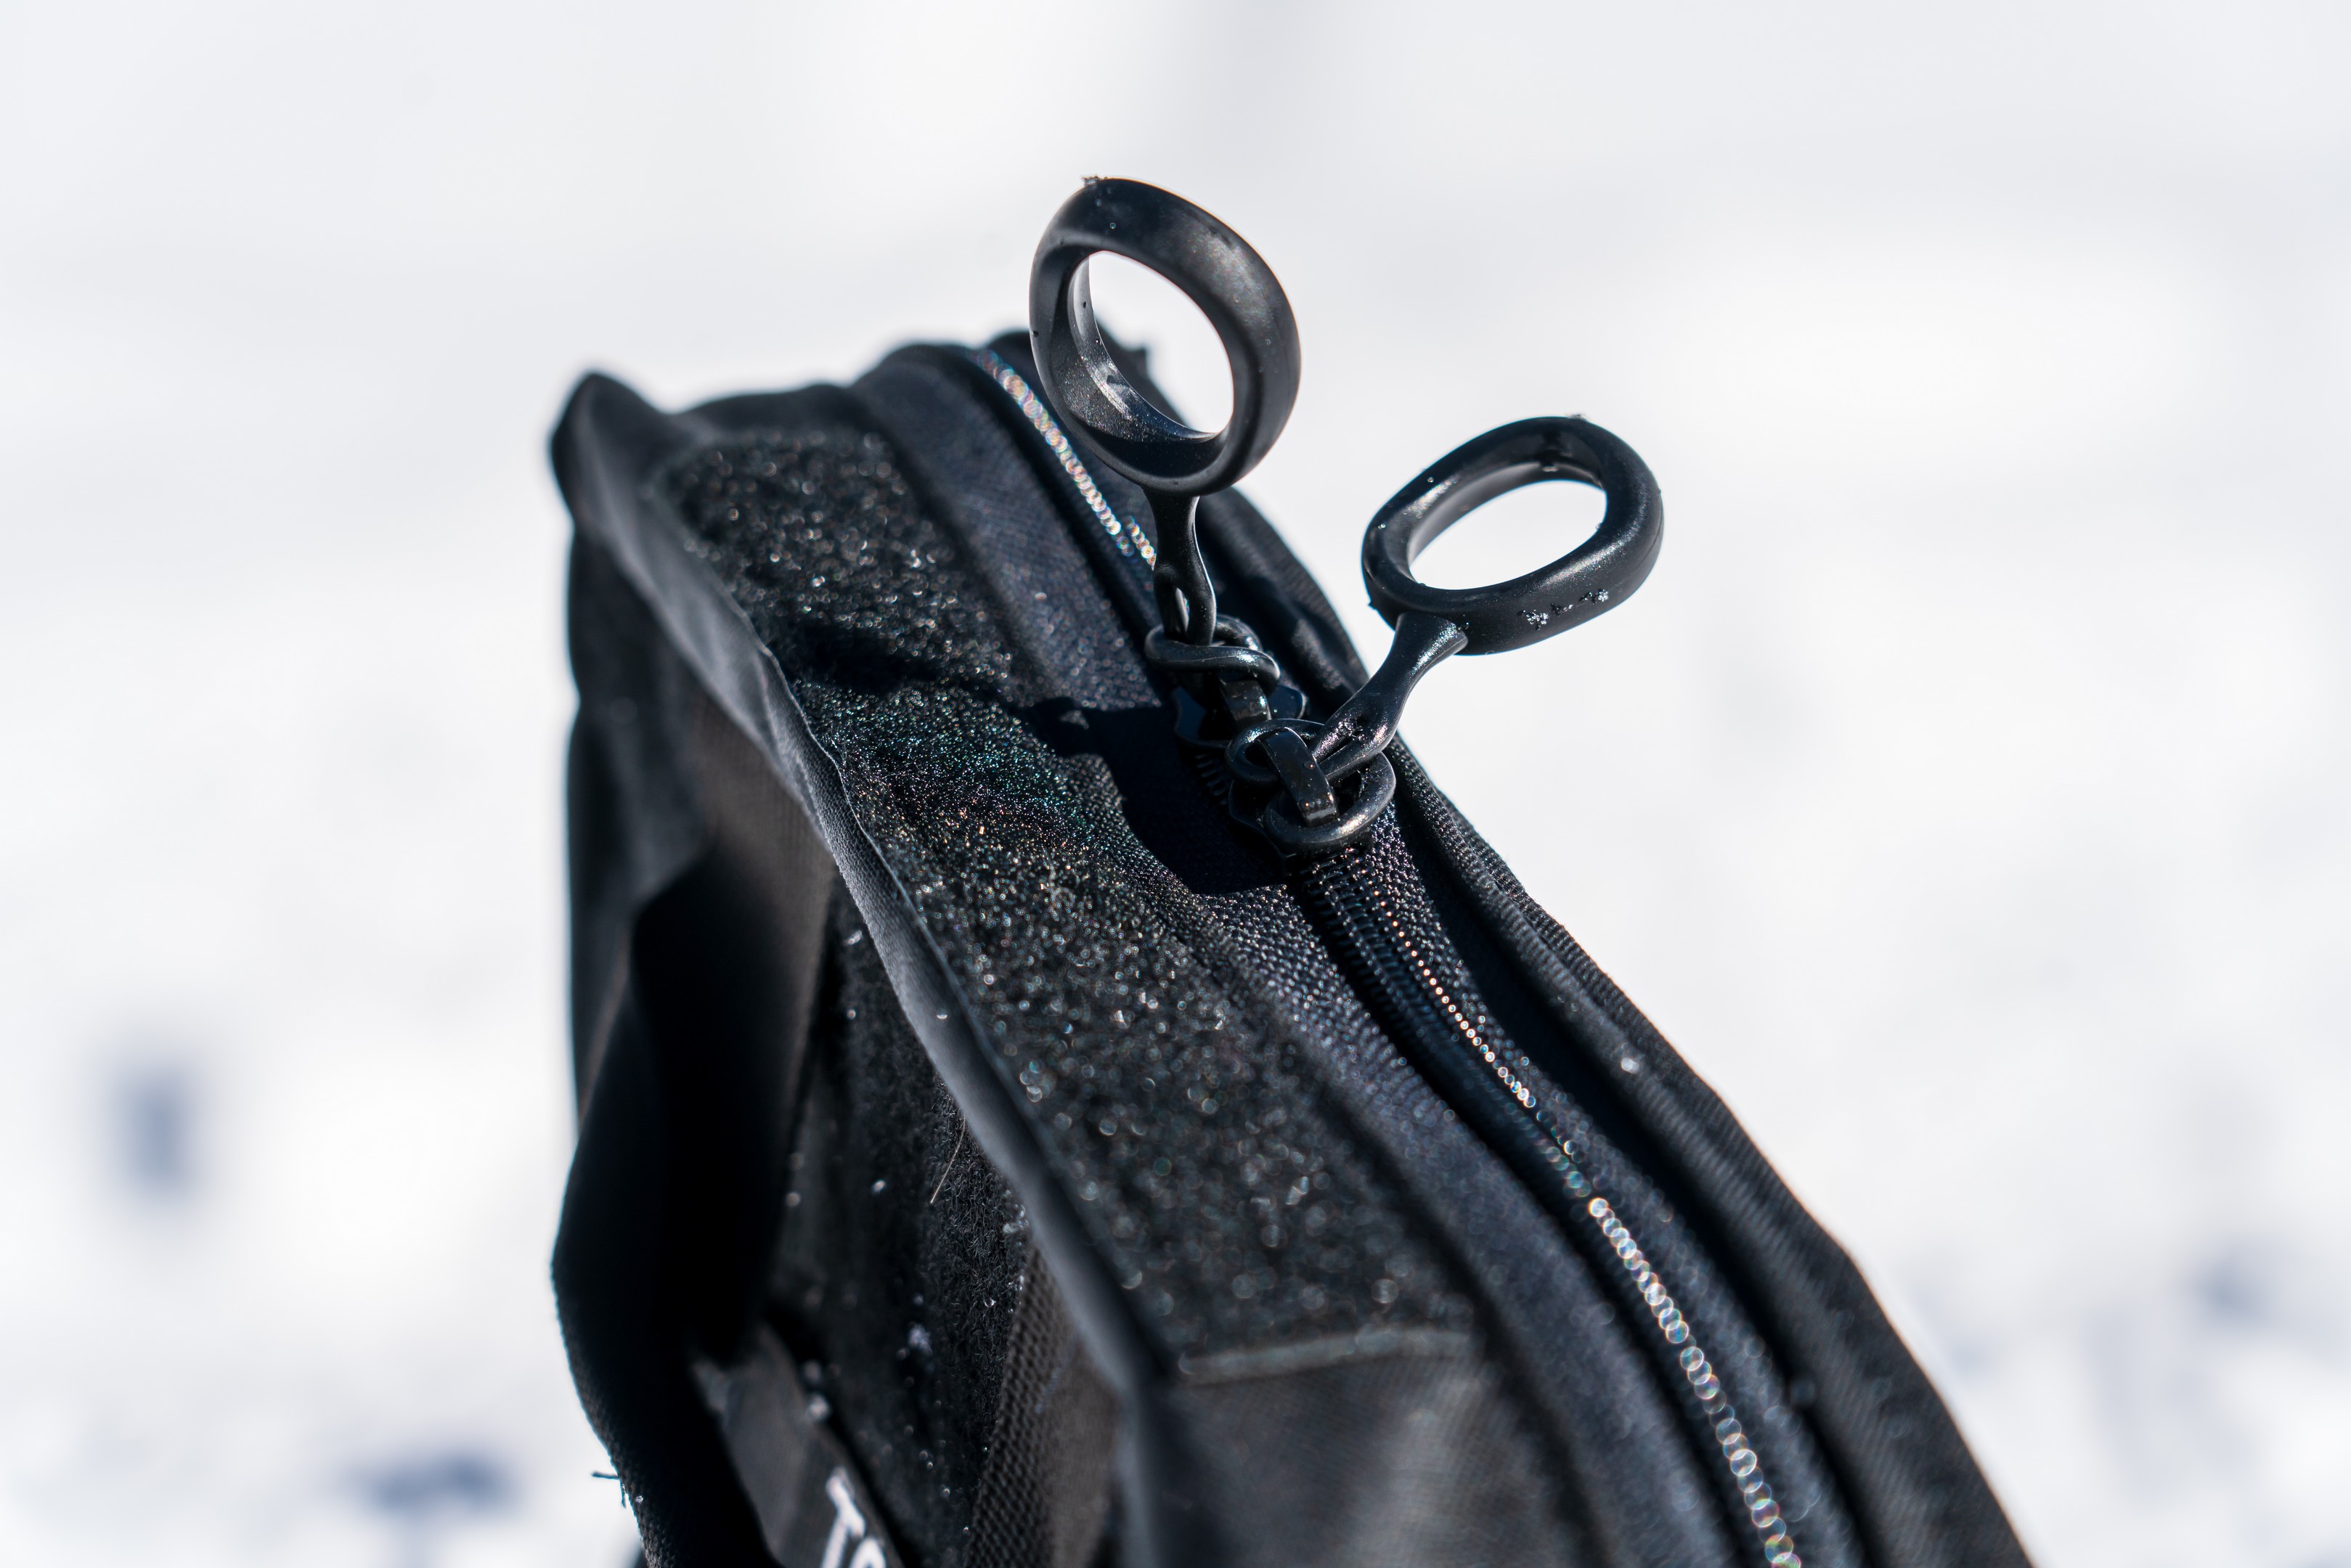
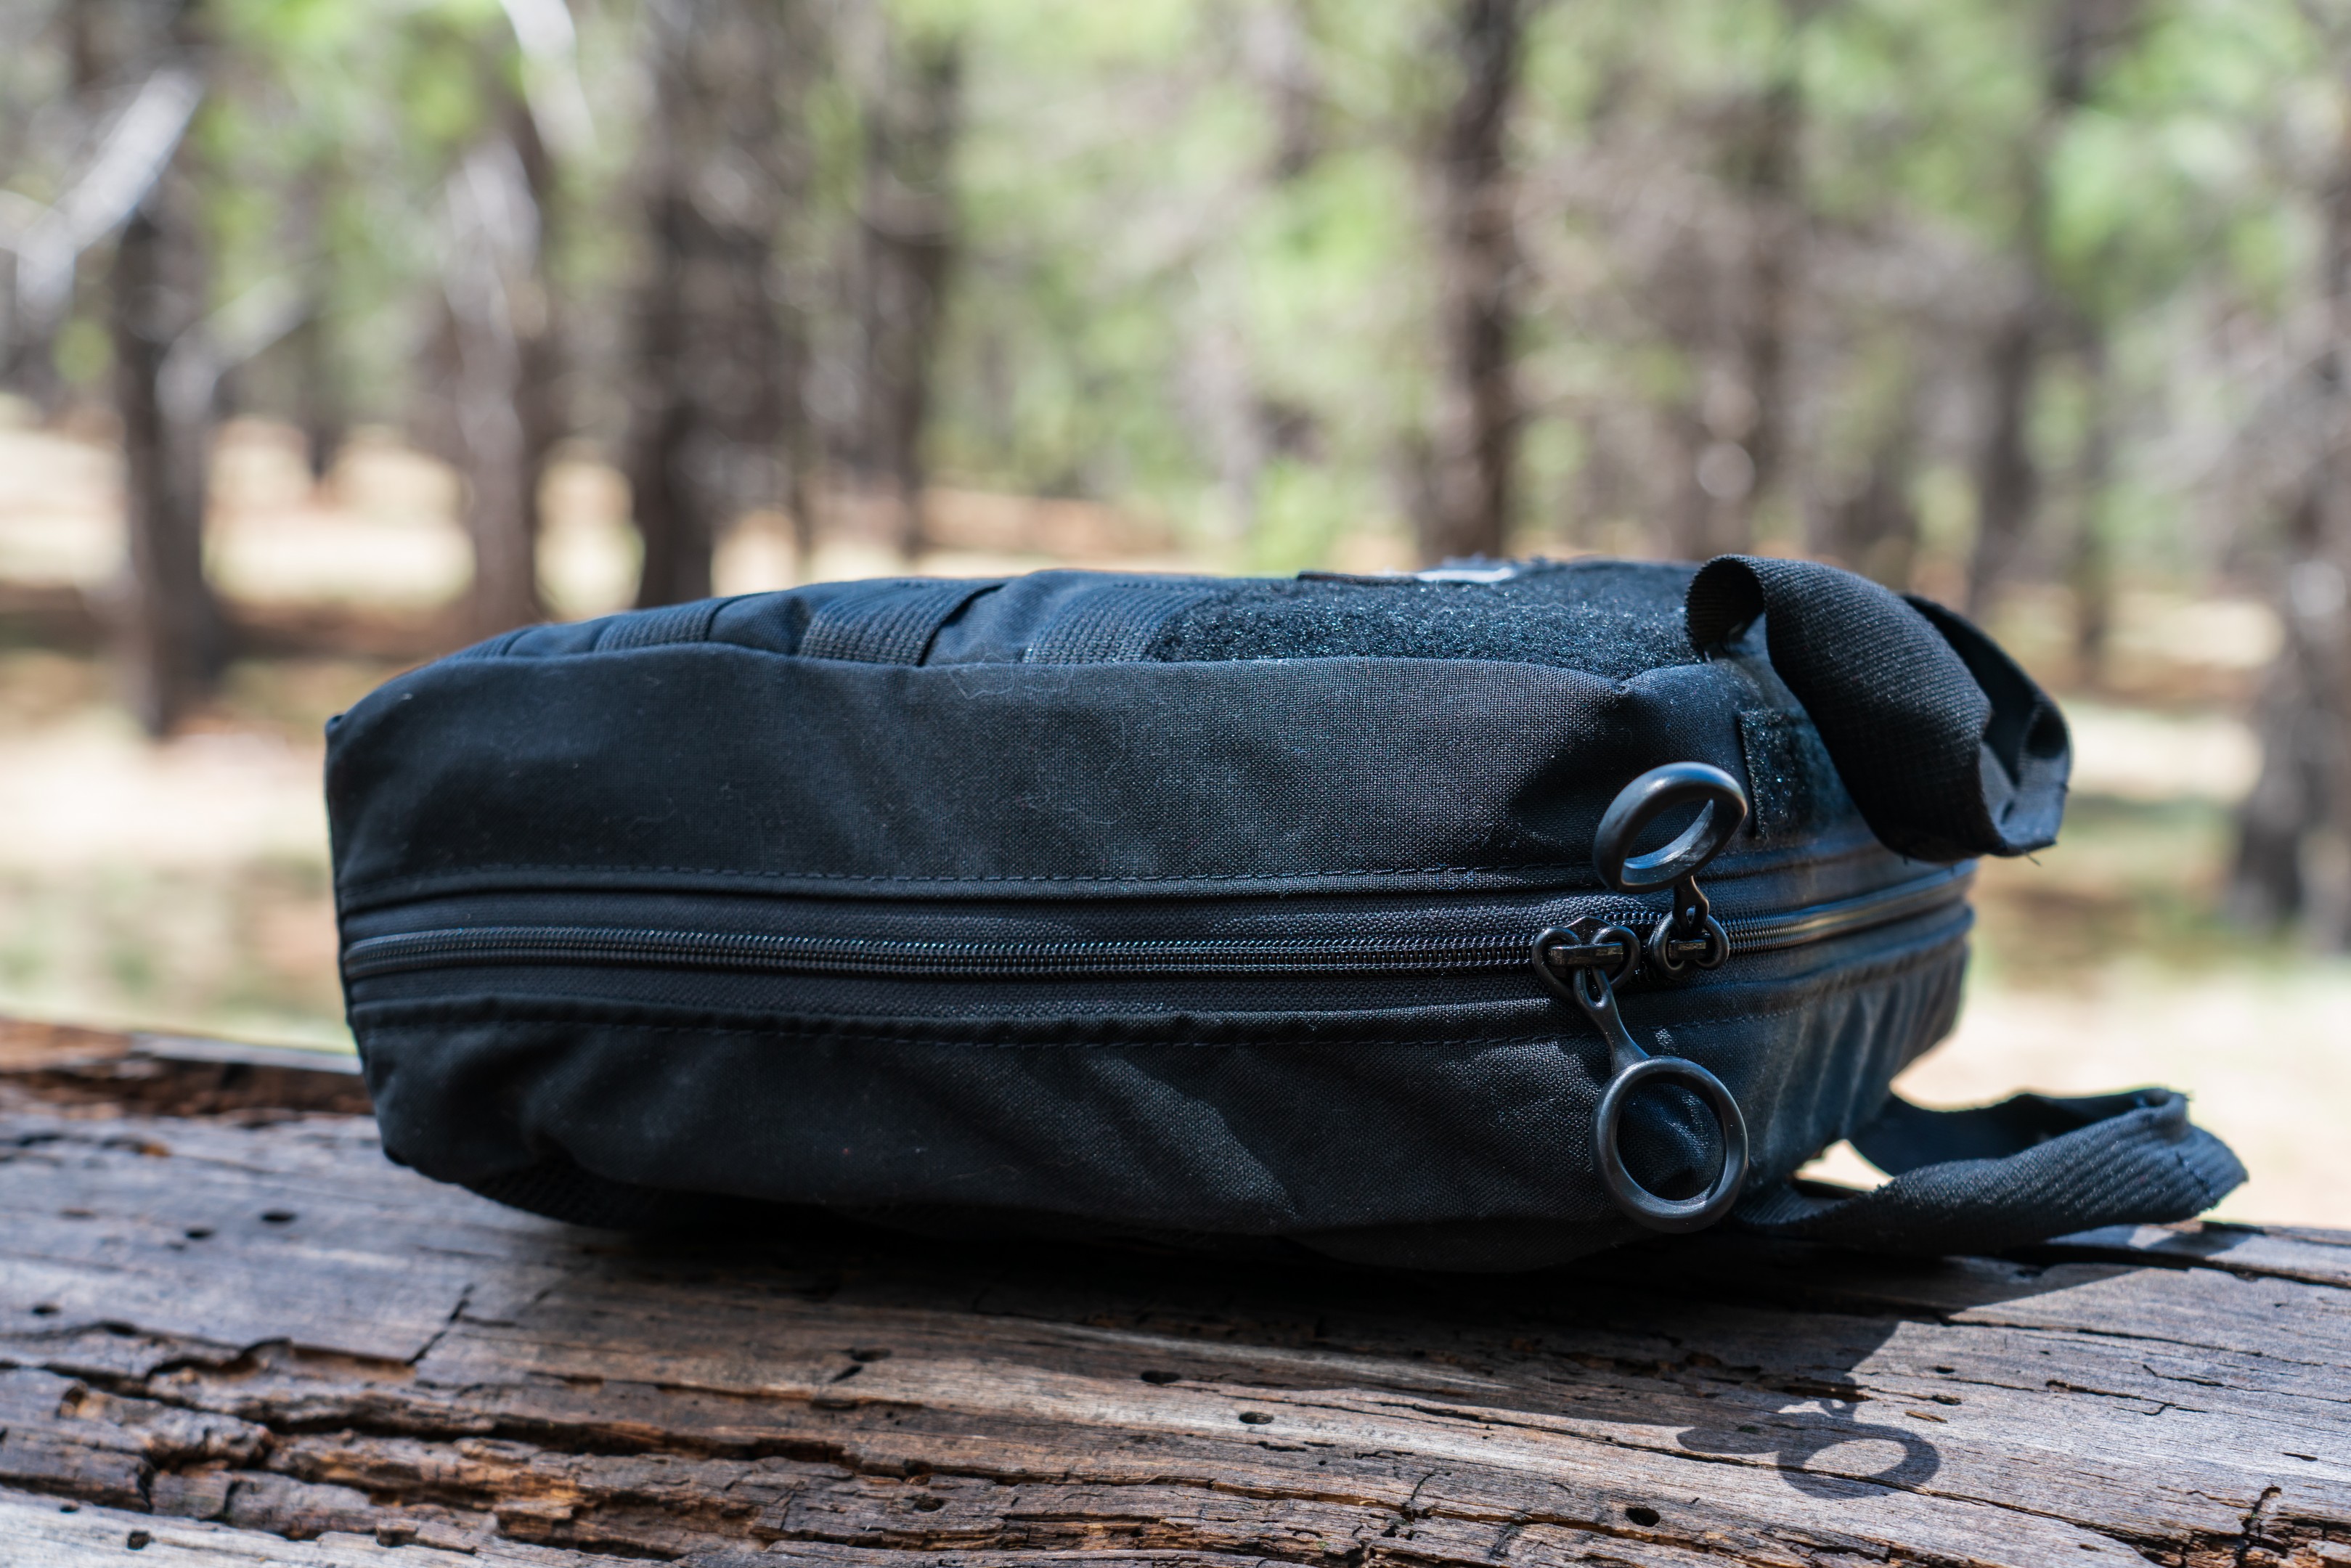
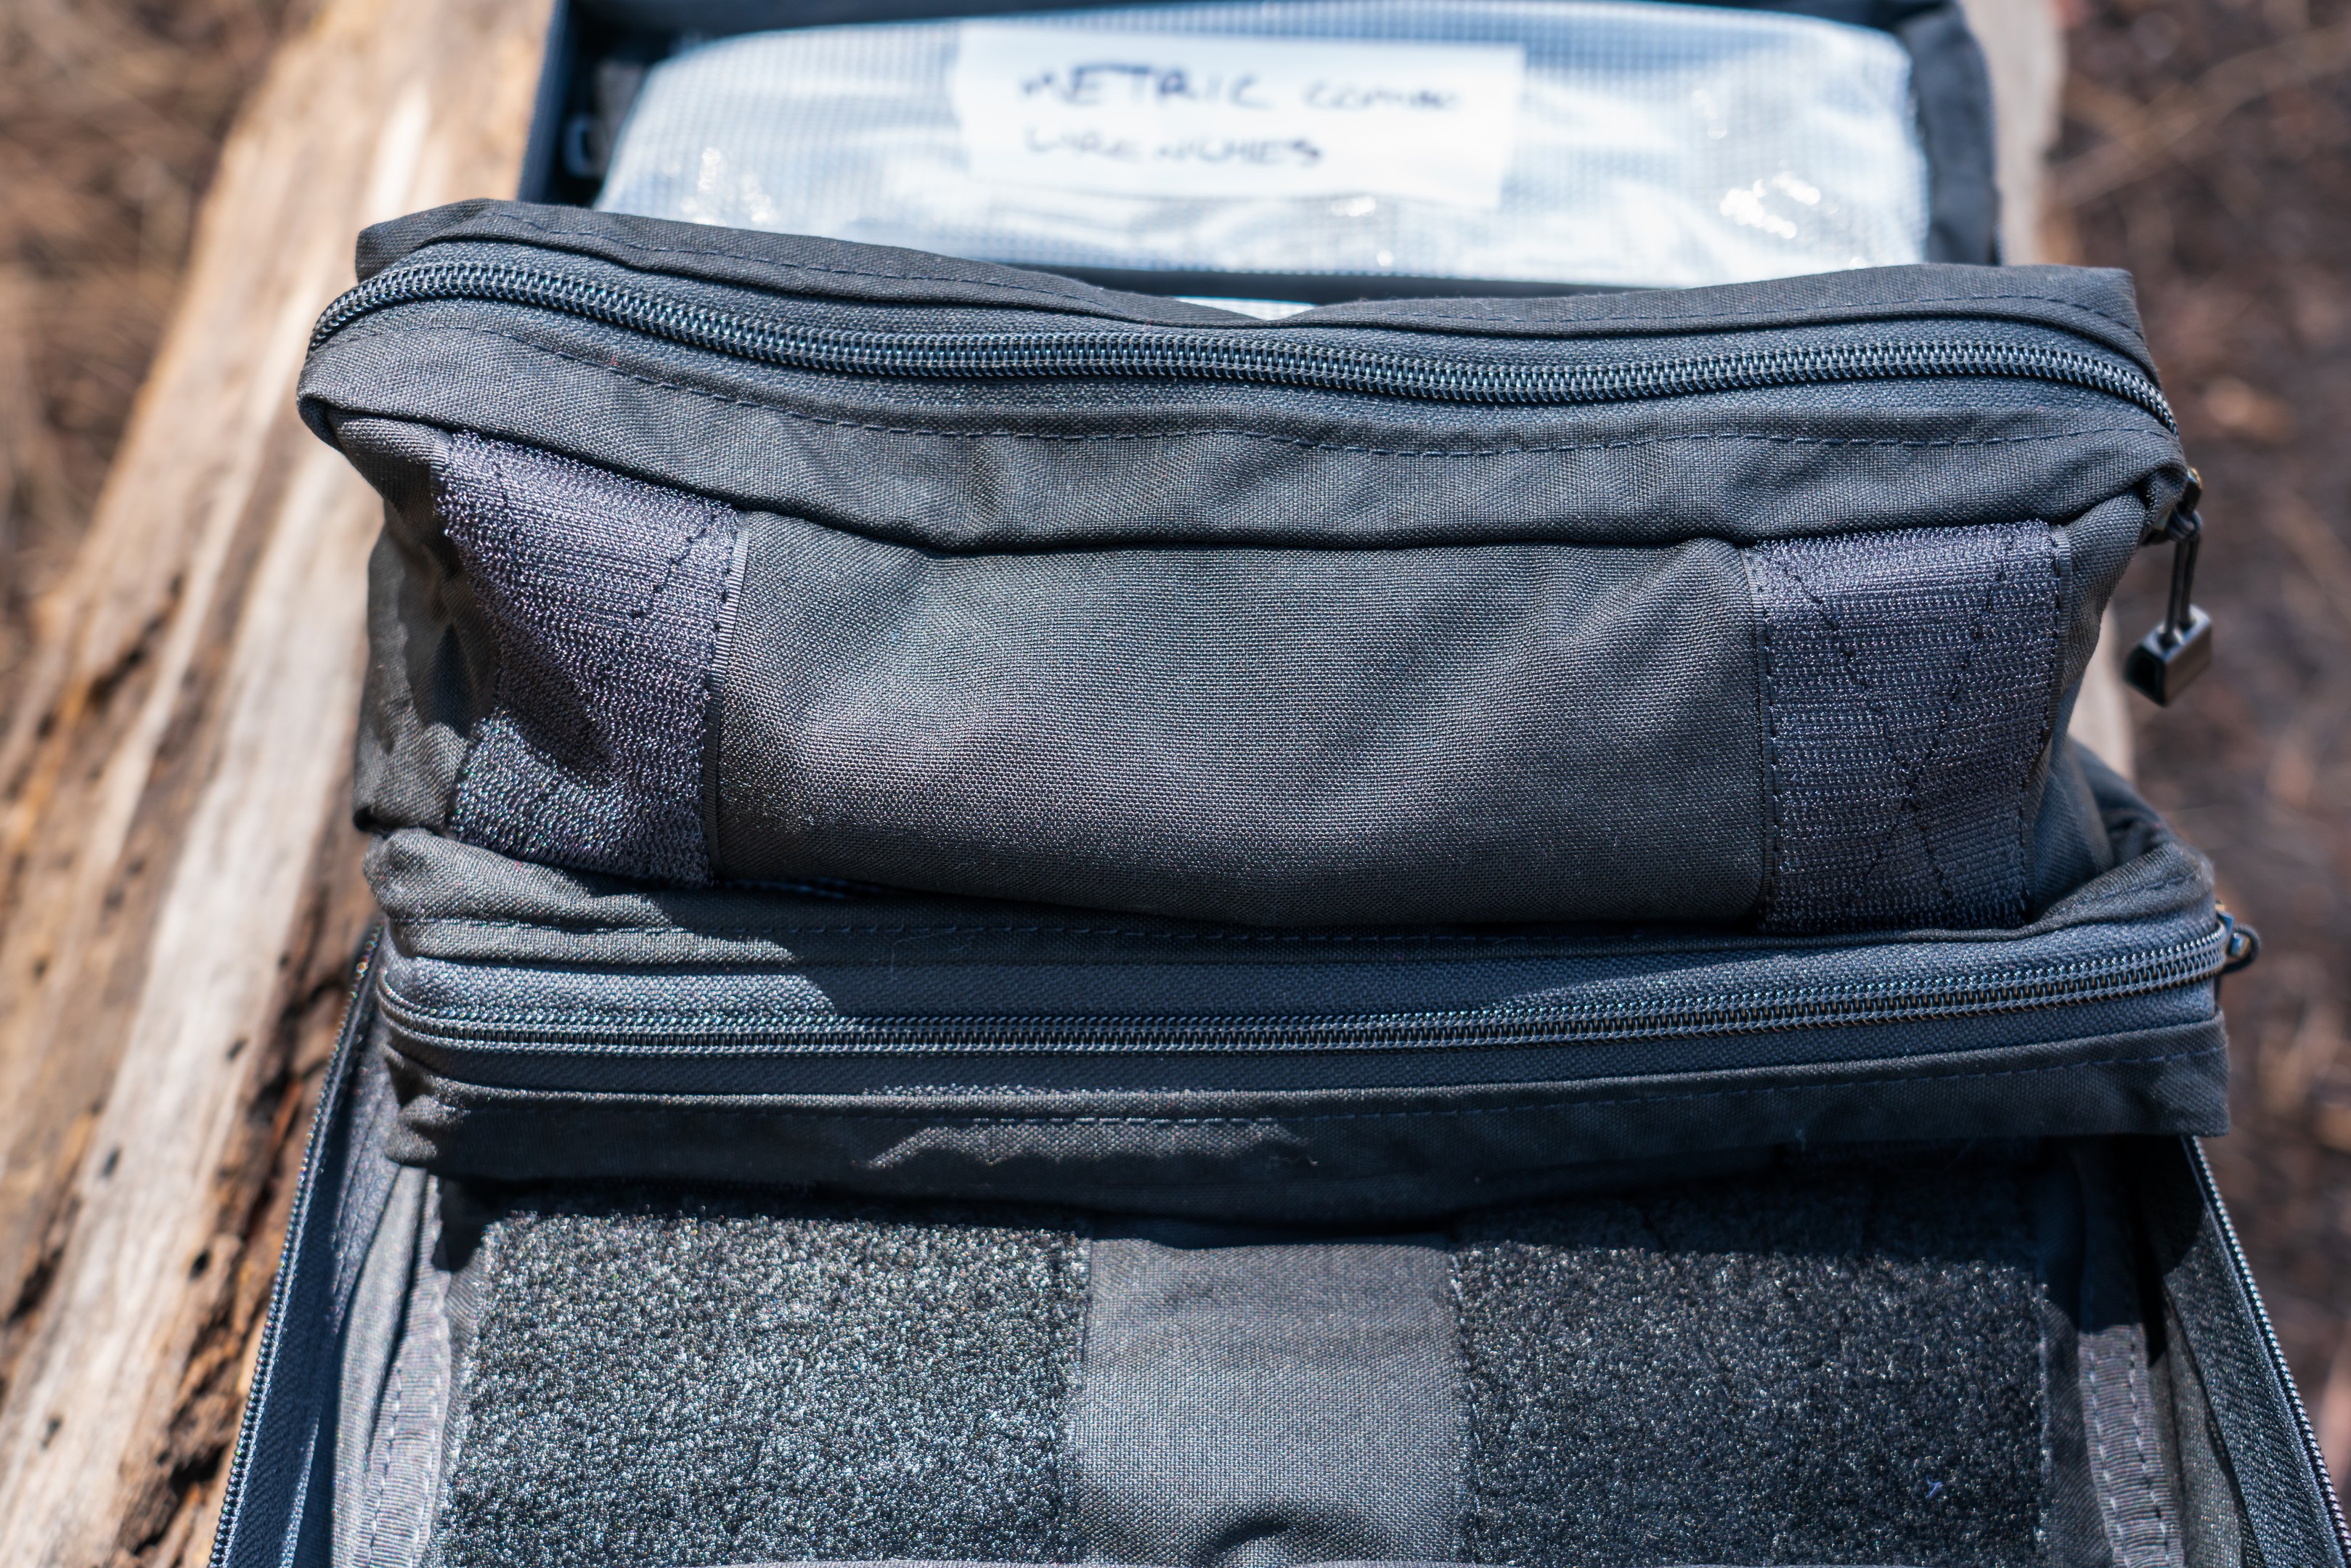
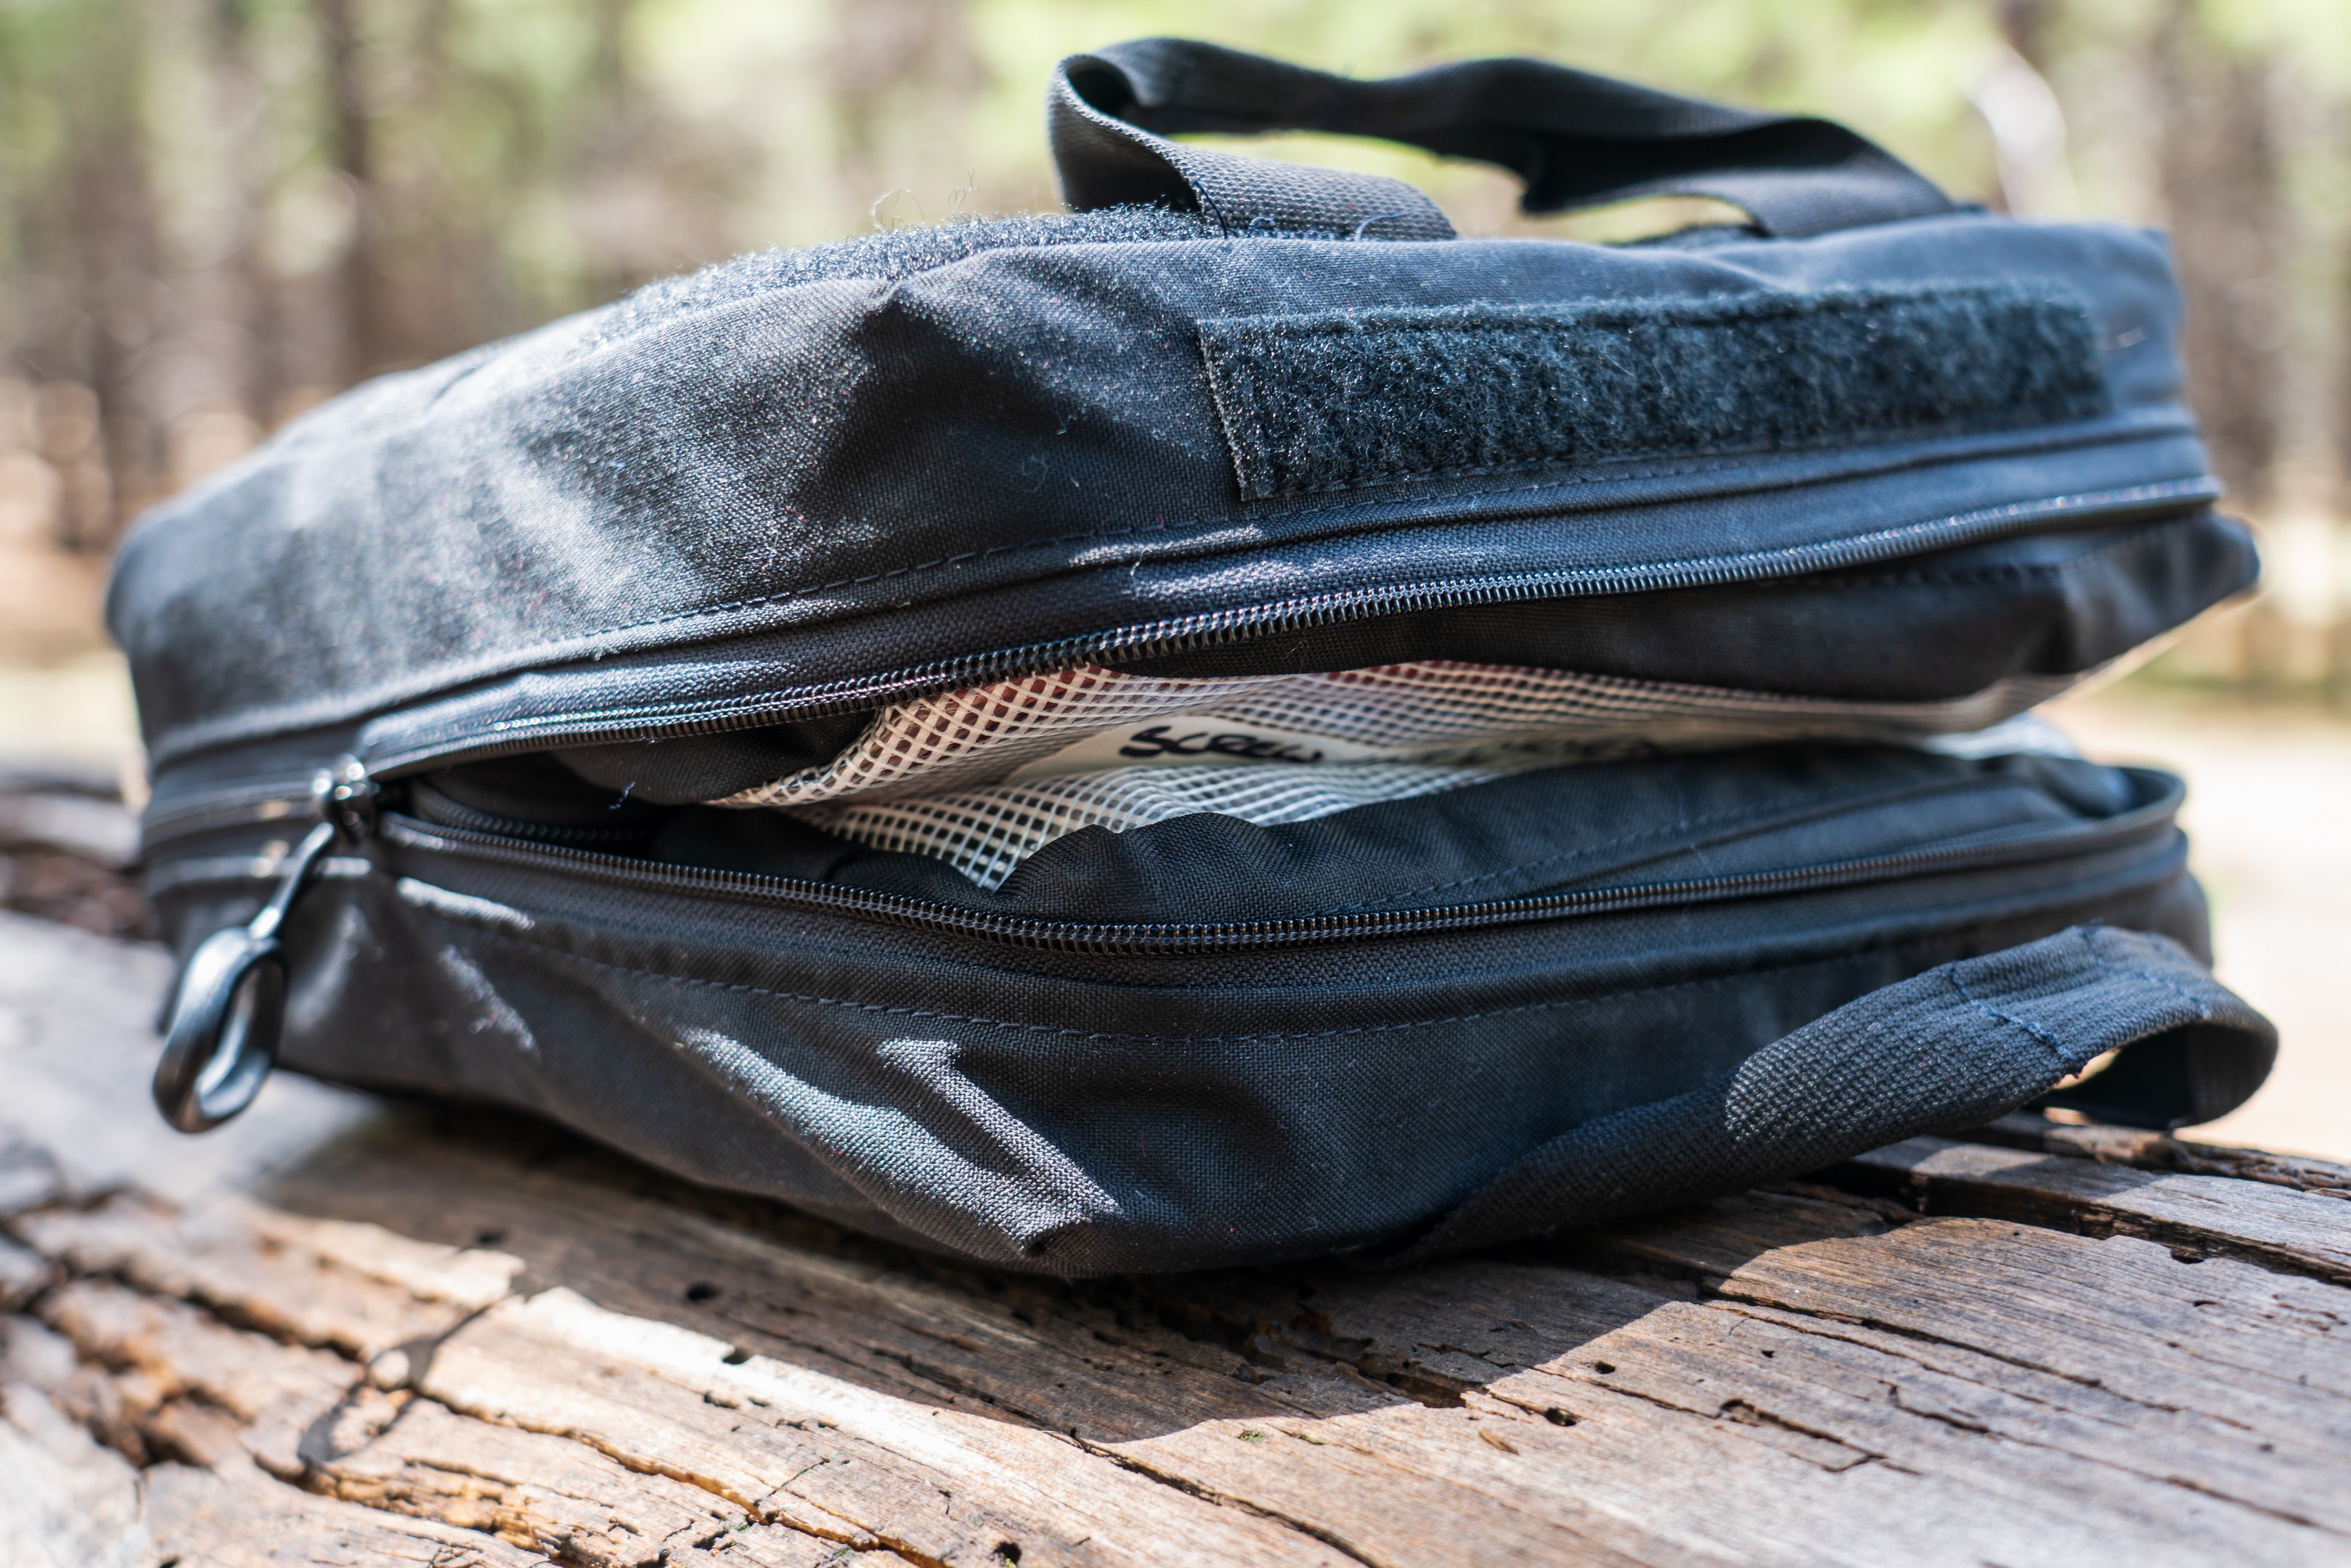
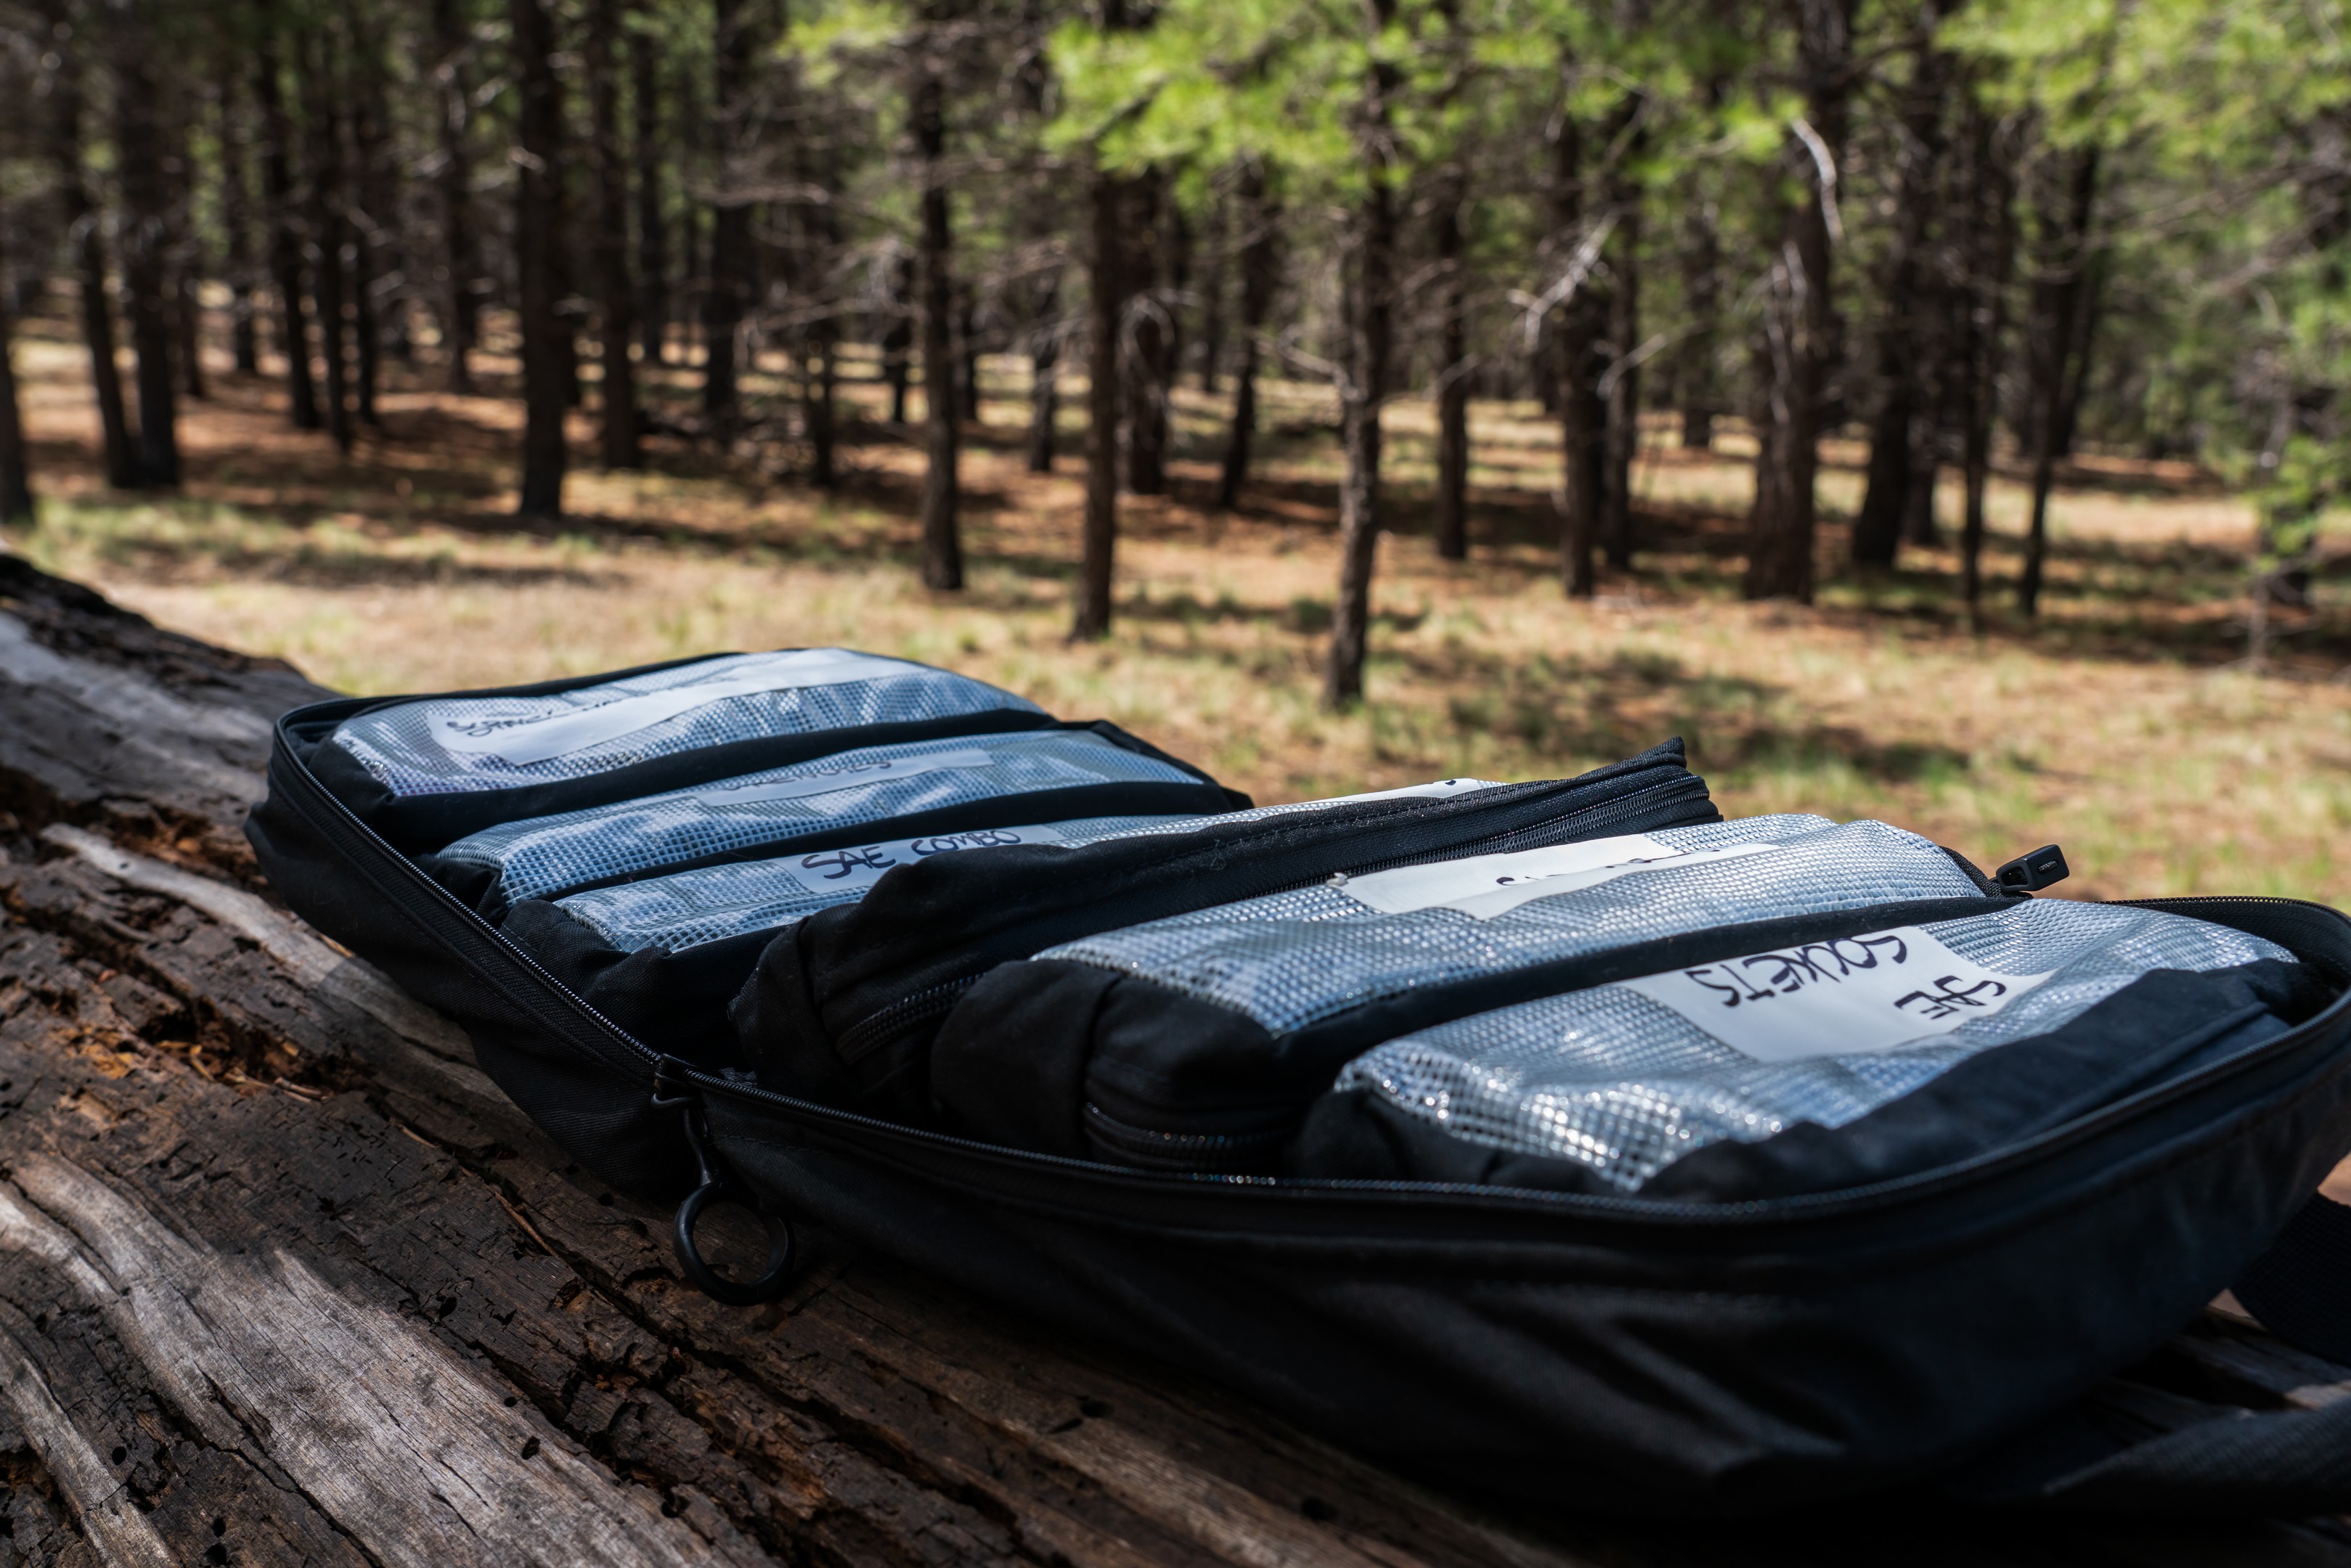
 You read that right – a whole mechanics tool set. SAE and Metric sockets, combination wrenches, screwdrivers, and other hand tools – it all fits in to the BROG Tool Bag. Inside the Tool Bag’s 12” by 12” by 5.5” main bag you’ll find six equally sized pouches which you can use to divide up your kit as you see fit. These pouches attach to the main bag with some properly stout Velcro that’s passed the “I’m an idiot and forgot to zip up my tool bag, I hope my tool pouches don’t fall out when I pick up the bag” test. Each pouch has a string-reinforced vinyl front that somewhat lets you see inside, but I found it much more effective to bust out a roll of cleanroom tape (it doesn’t leave sticky residue behind when you pull it off) and just write the contents on the bag. Plus, I’d rather have the burlier string reinforced front than regular vinyl. The whole thing is made from 500D Cordura, and features MOLLE/PALS webbing on the front, and a pocket on the back, which is perfect for quickly stashing those tools that take a minute to make it back from your buddy’s rig.

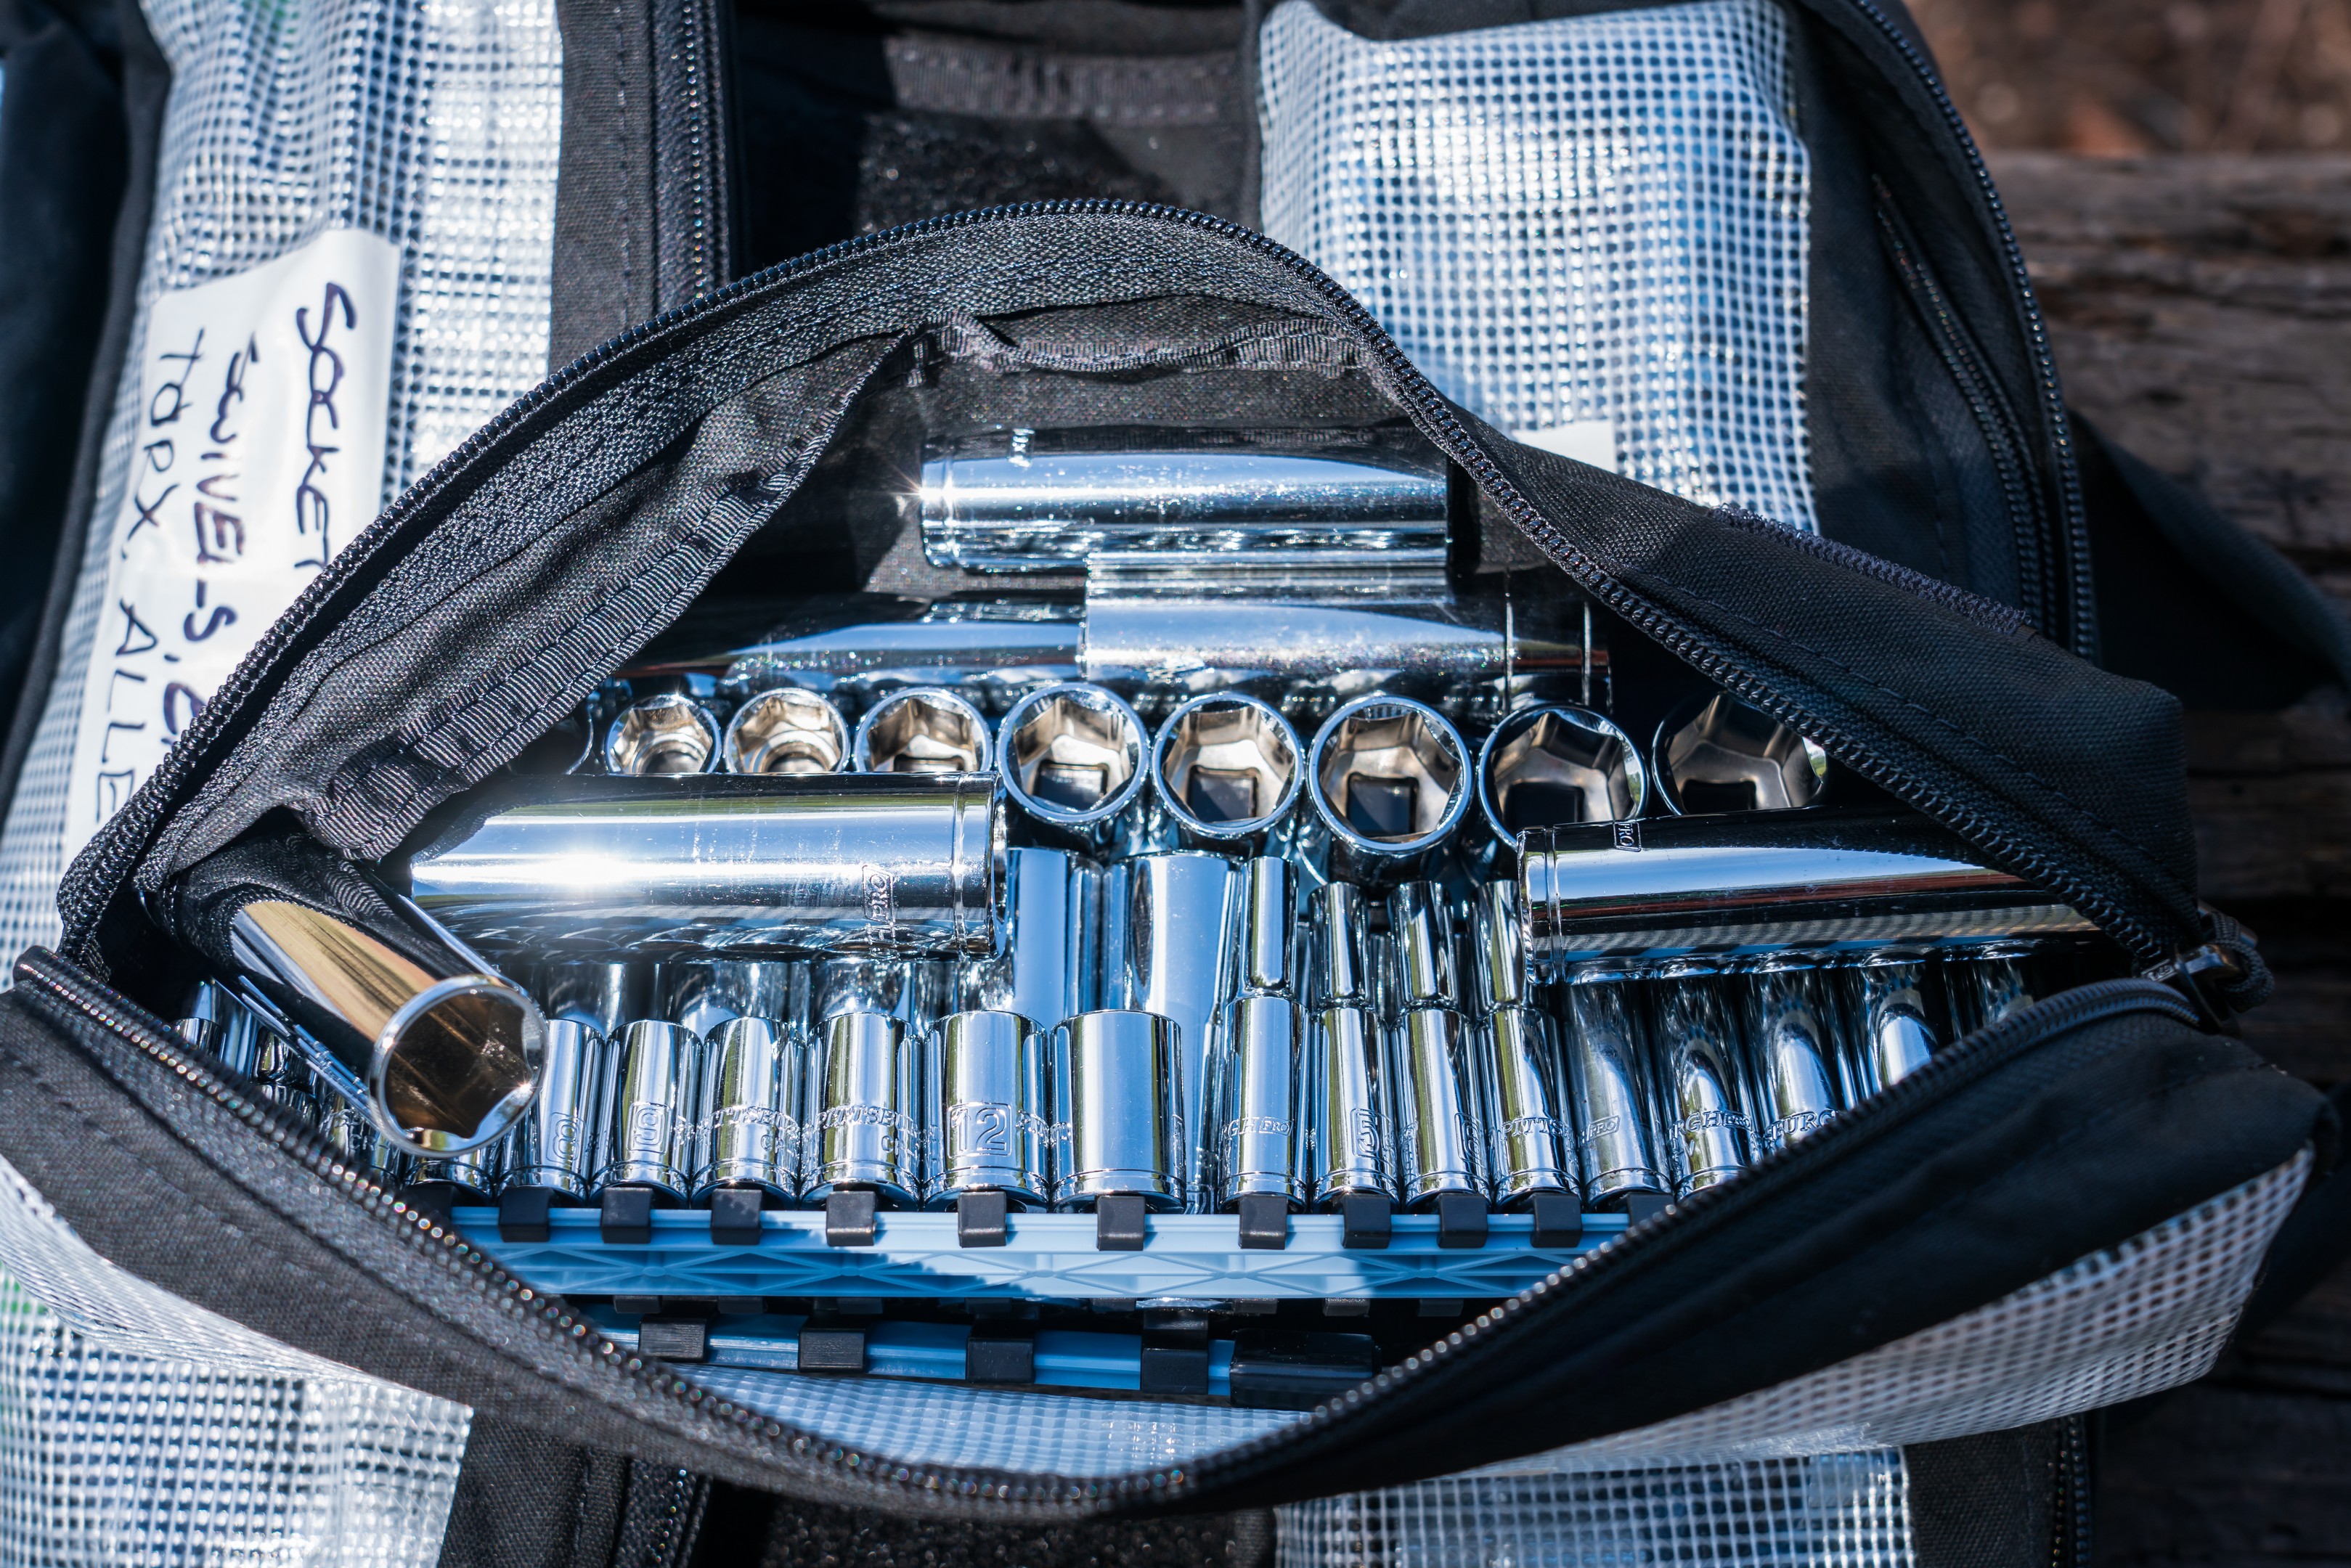

If you’re trying to figure out how you’re going to find the right sized socket when you’ve only got six pouches to divide up your entire tool kit, go and buy a bunch of socket sticks so that all your sockets are organized and easy to find. So no, you don’t have to give up organization when you give up that crappy blow molded case your socket set came in. In use, I’ve found that folks who are unfamiliar with my tool bag can find tools in my bag faster than they can find tools in their own blow molded socket cases. The six pouches get you to the right style of tool, and from there it’s as simple as pulling out the right sized tool.
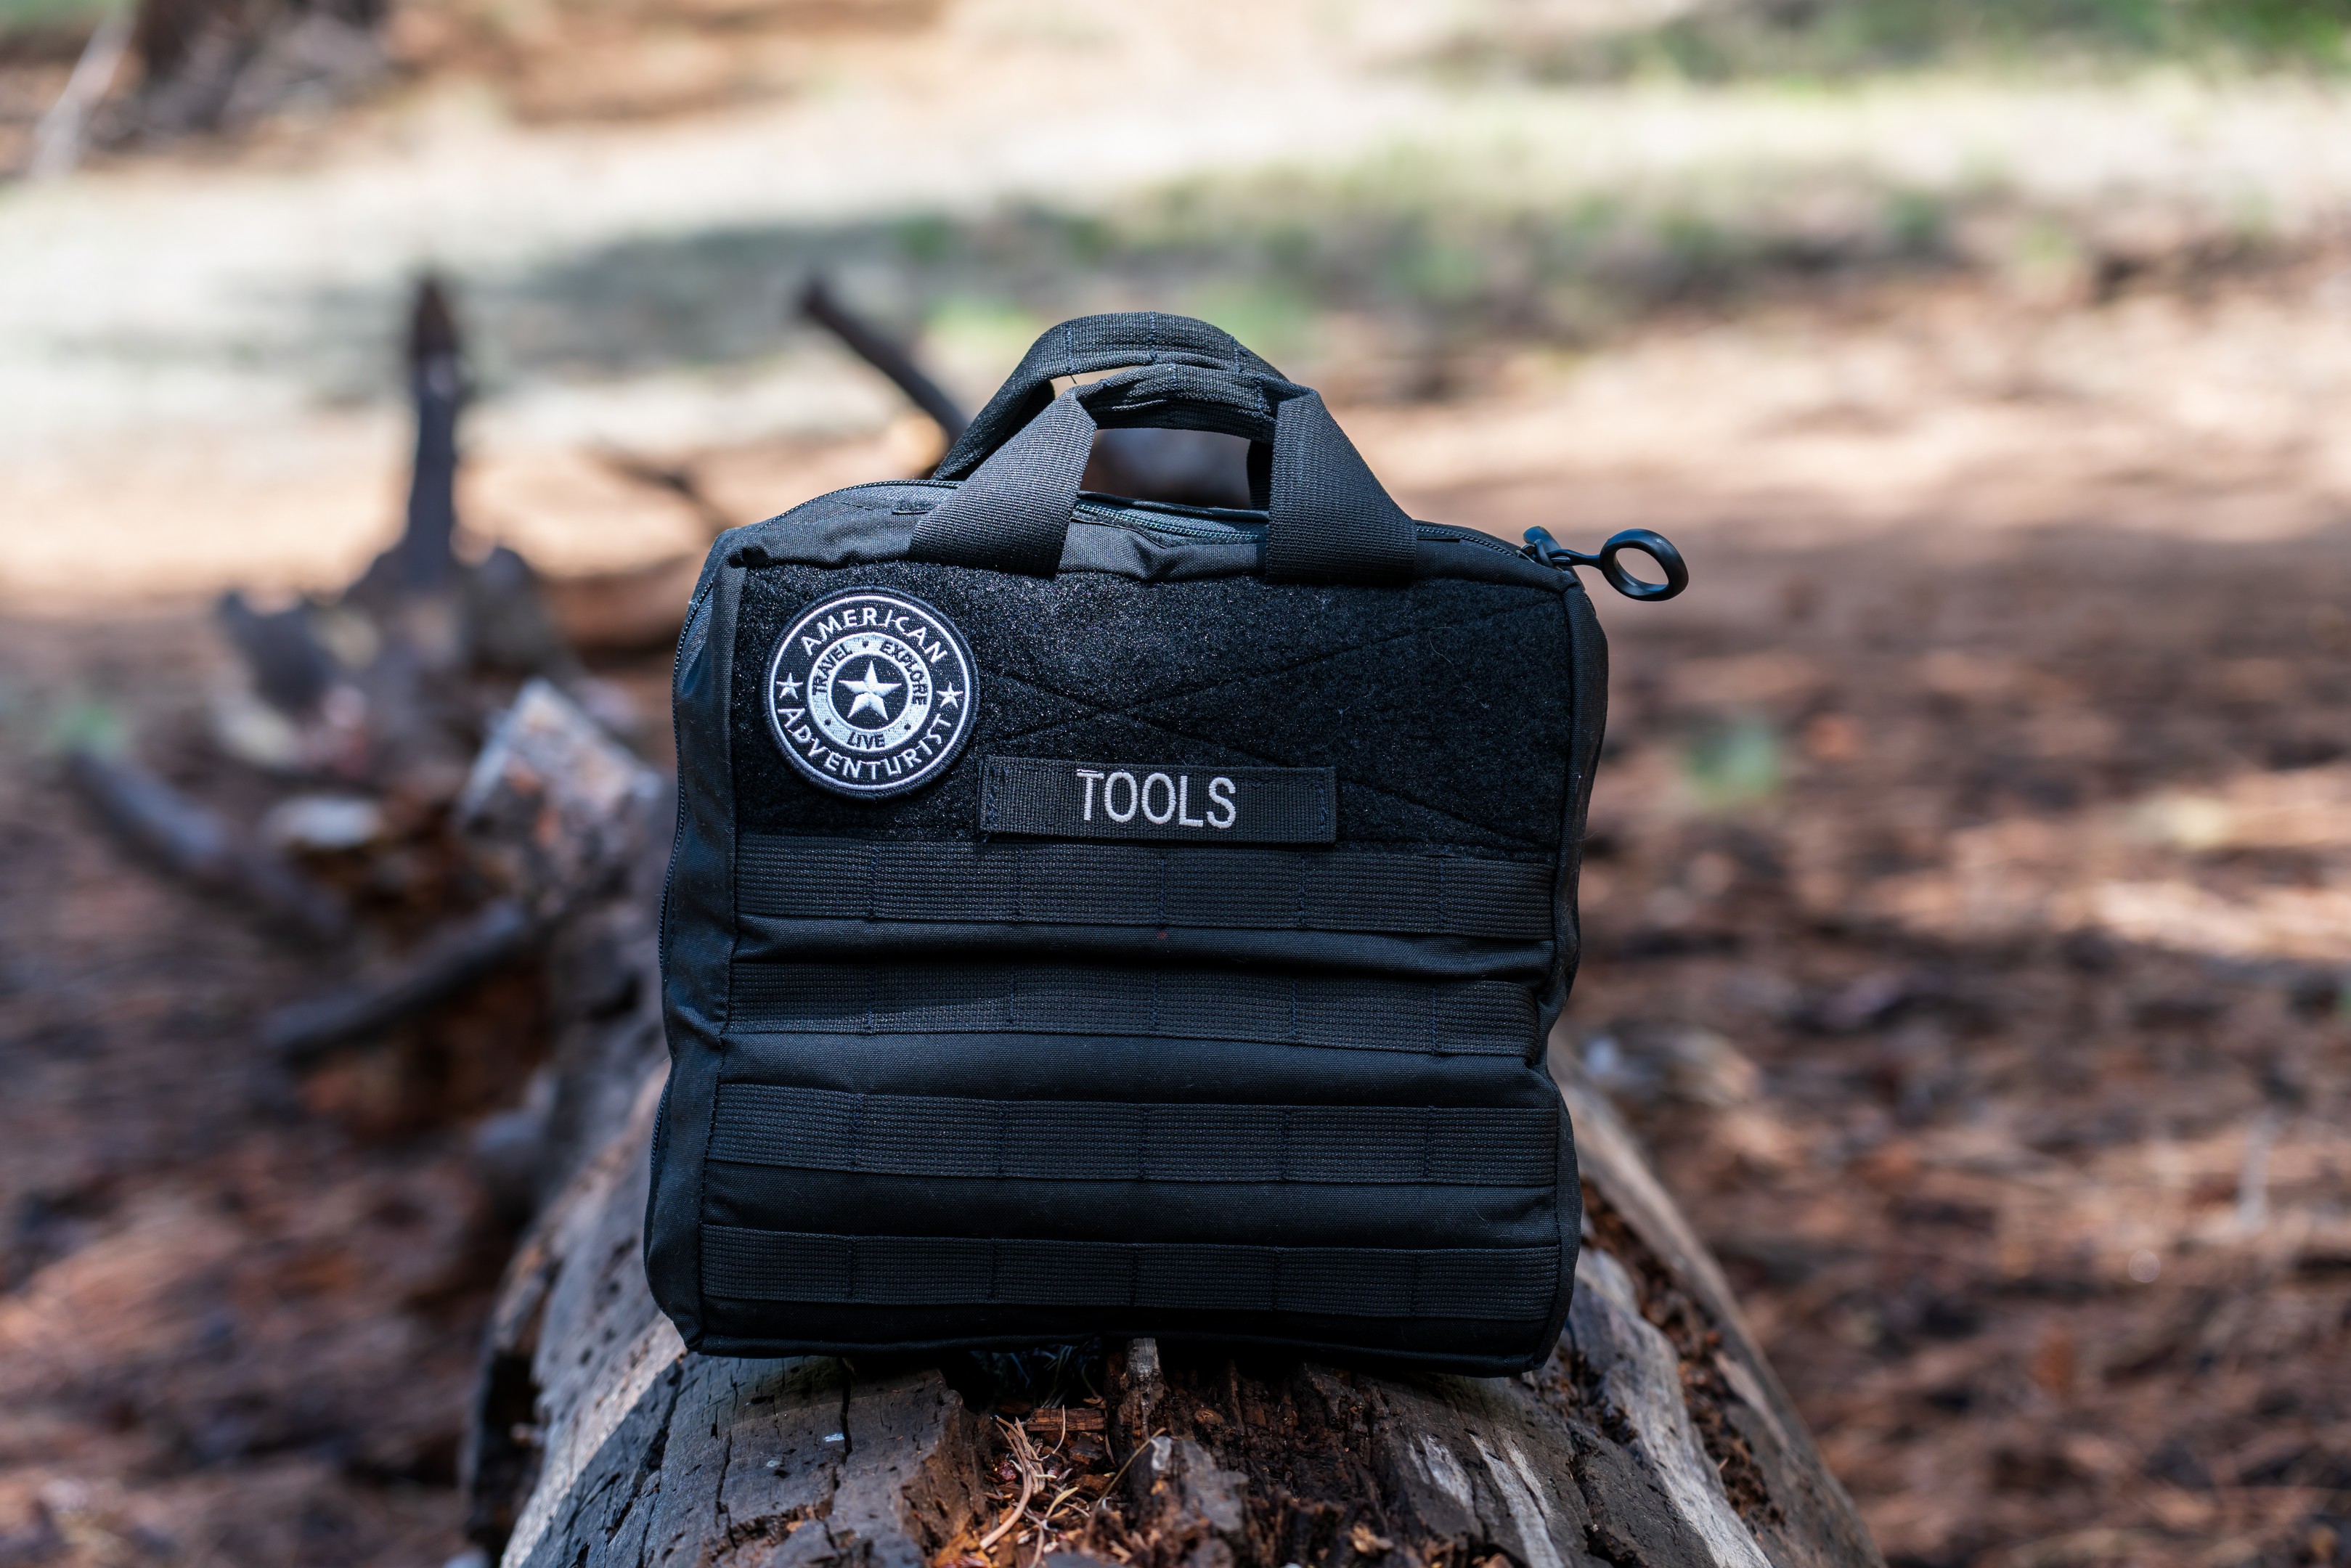 The BROG Tool Bag has logged thousands of miles of travel in my trucks over the last few months. Its been set on the snow, sand, dirt, and rocks, and bounced on the floor board 5.2 kabillion times, but it appears no worse for wear after a quick shower and new label tape to clean everything up for photos. I can’t say the same for the blow molded cases that I’ve seen fail in my lifetime. The BROG Tool Bag is built to last. So it’s no surprise then that BROG has taken this winning recipe for building a burly bag to create their Large First Aid Kit Bag.
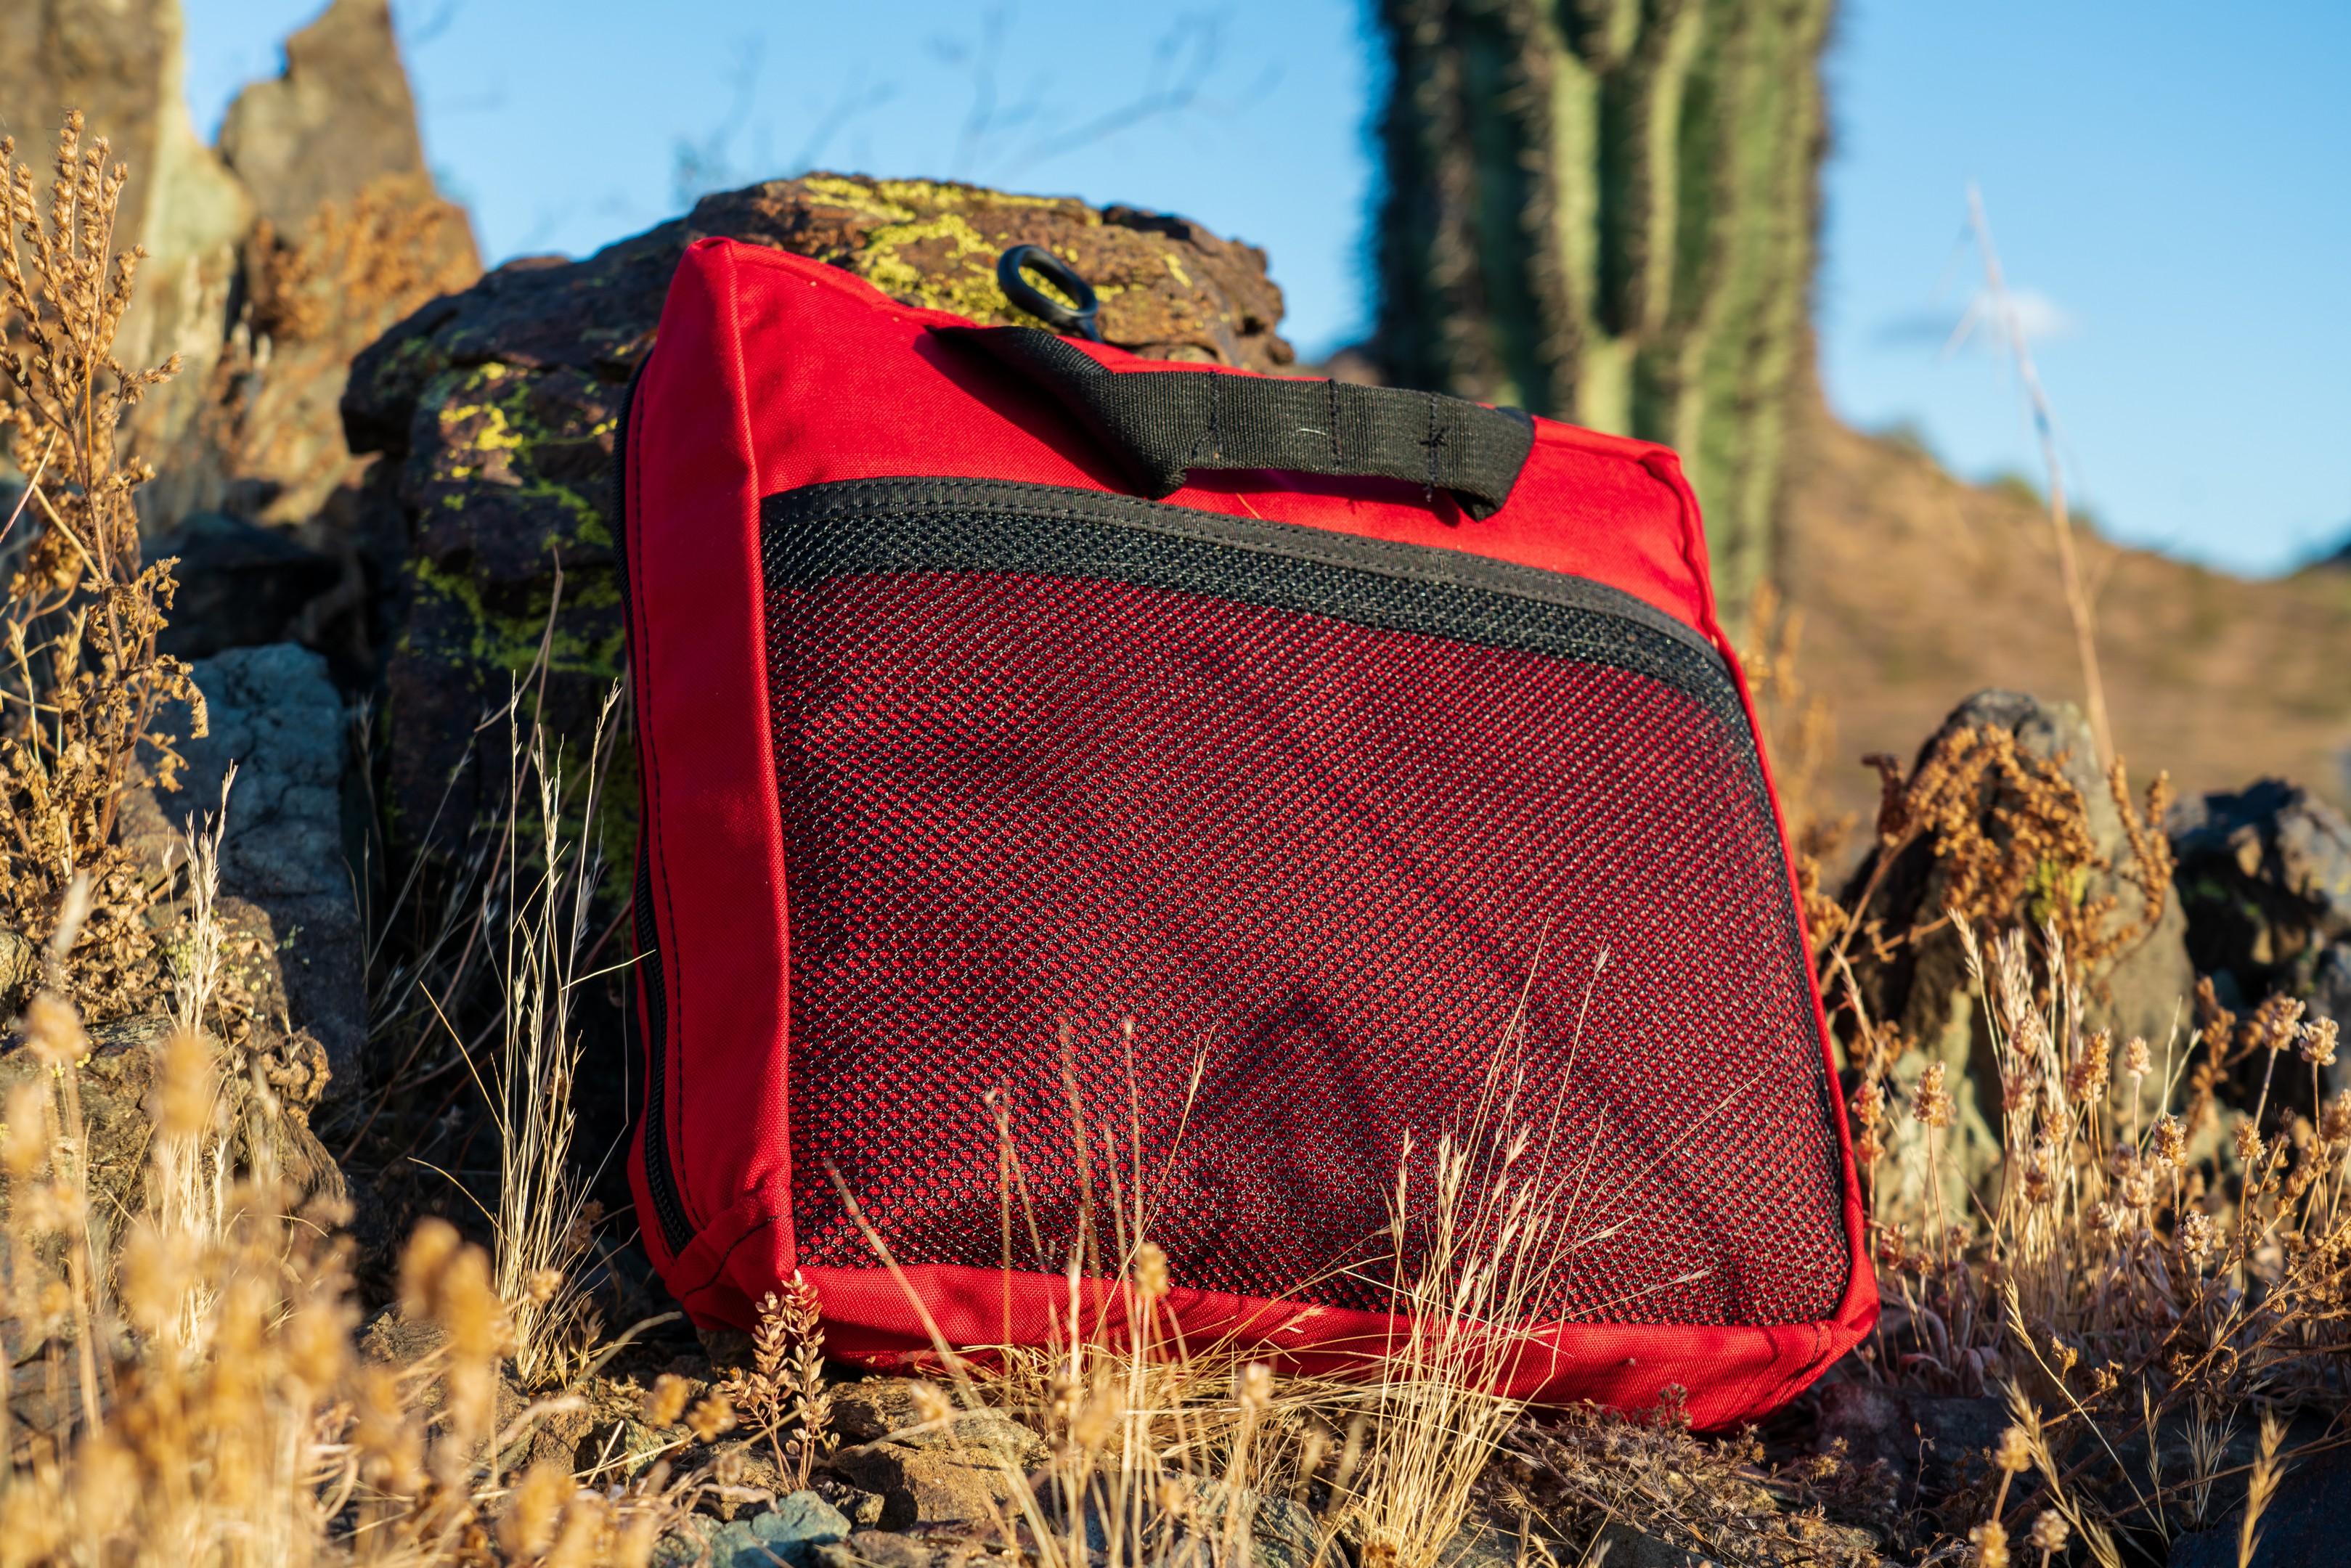
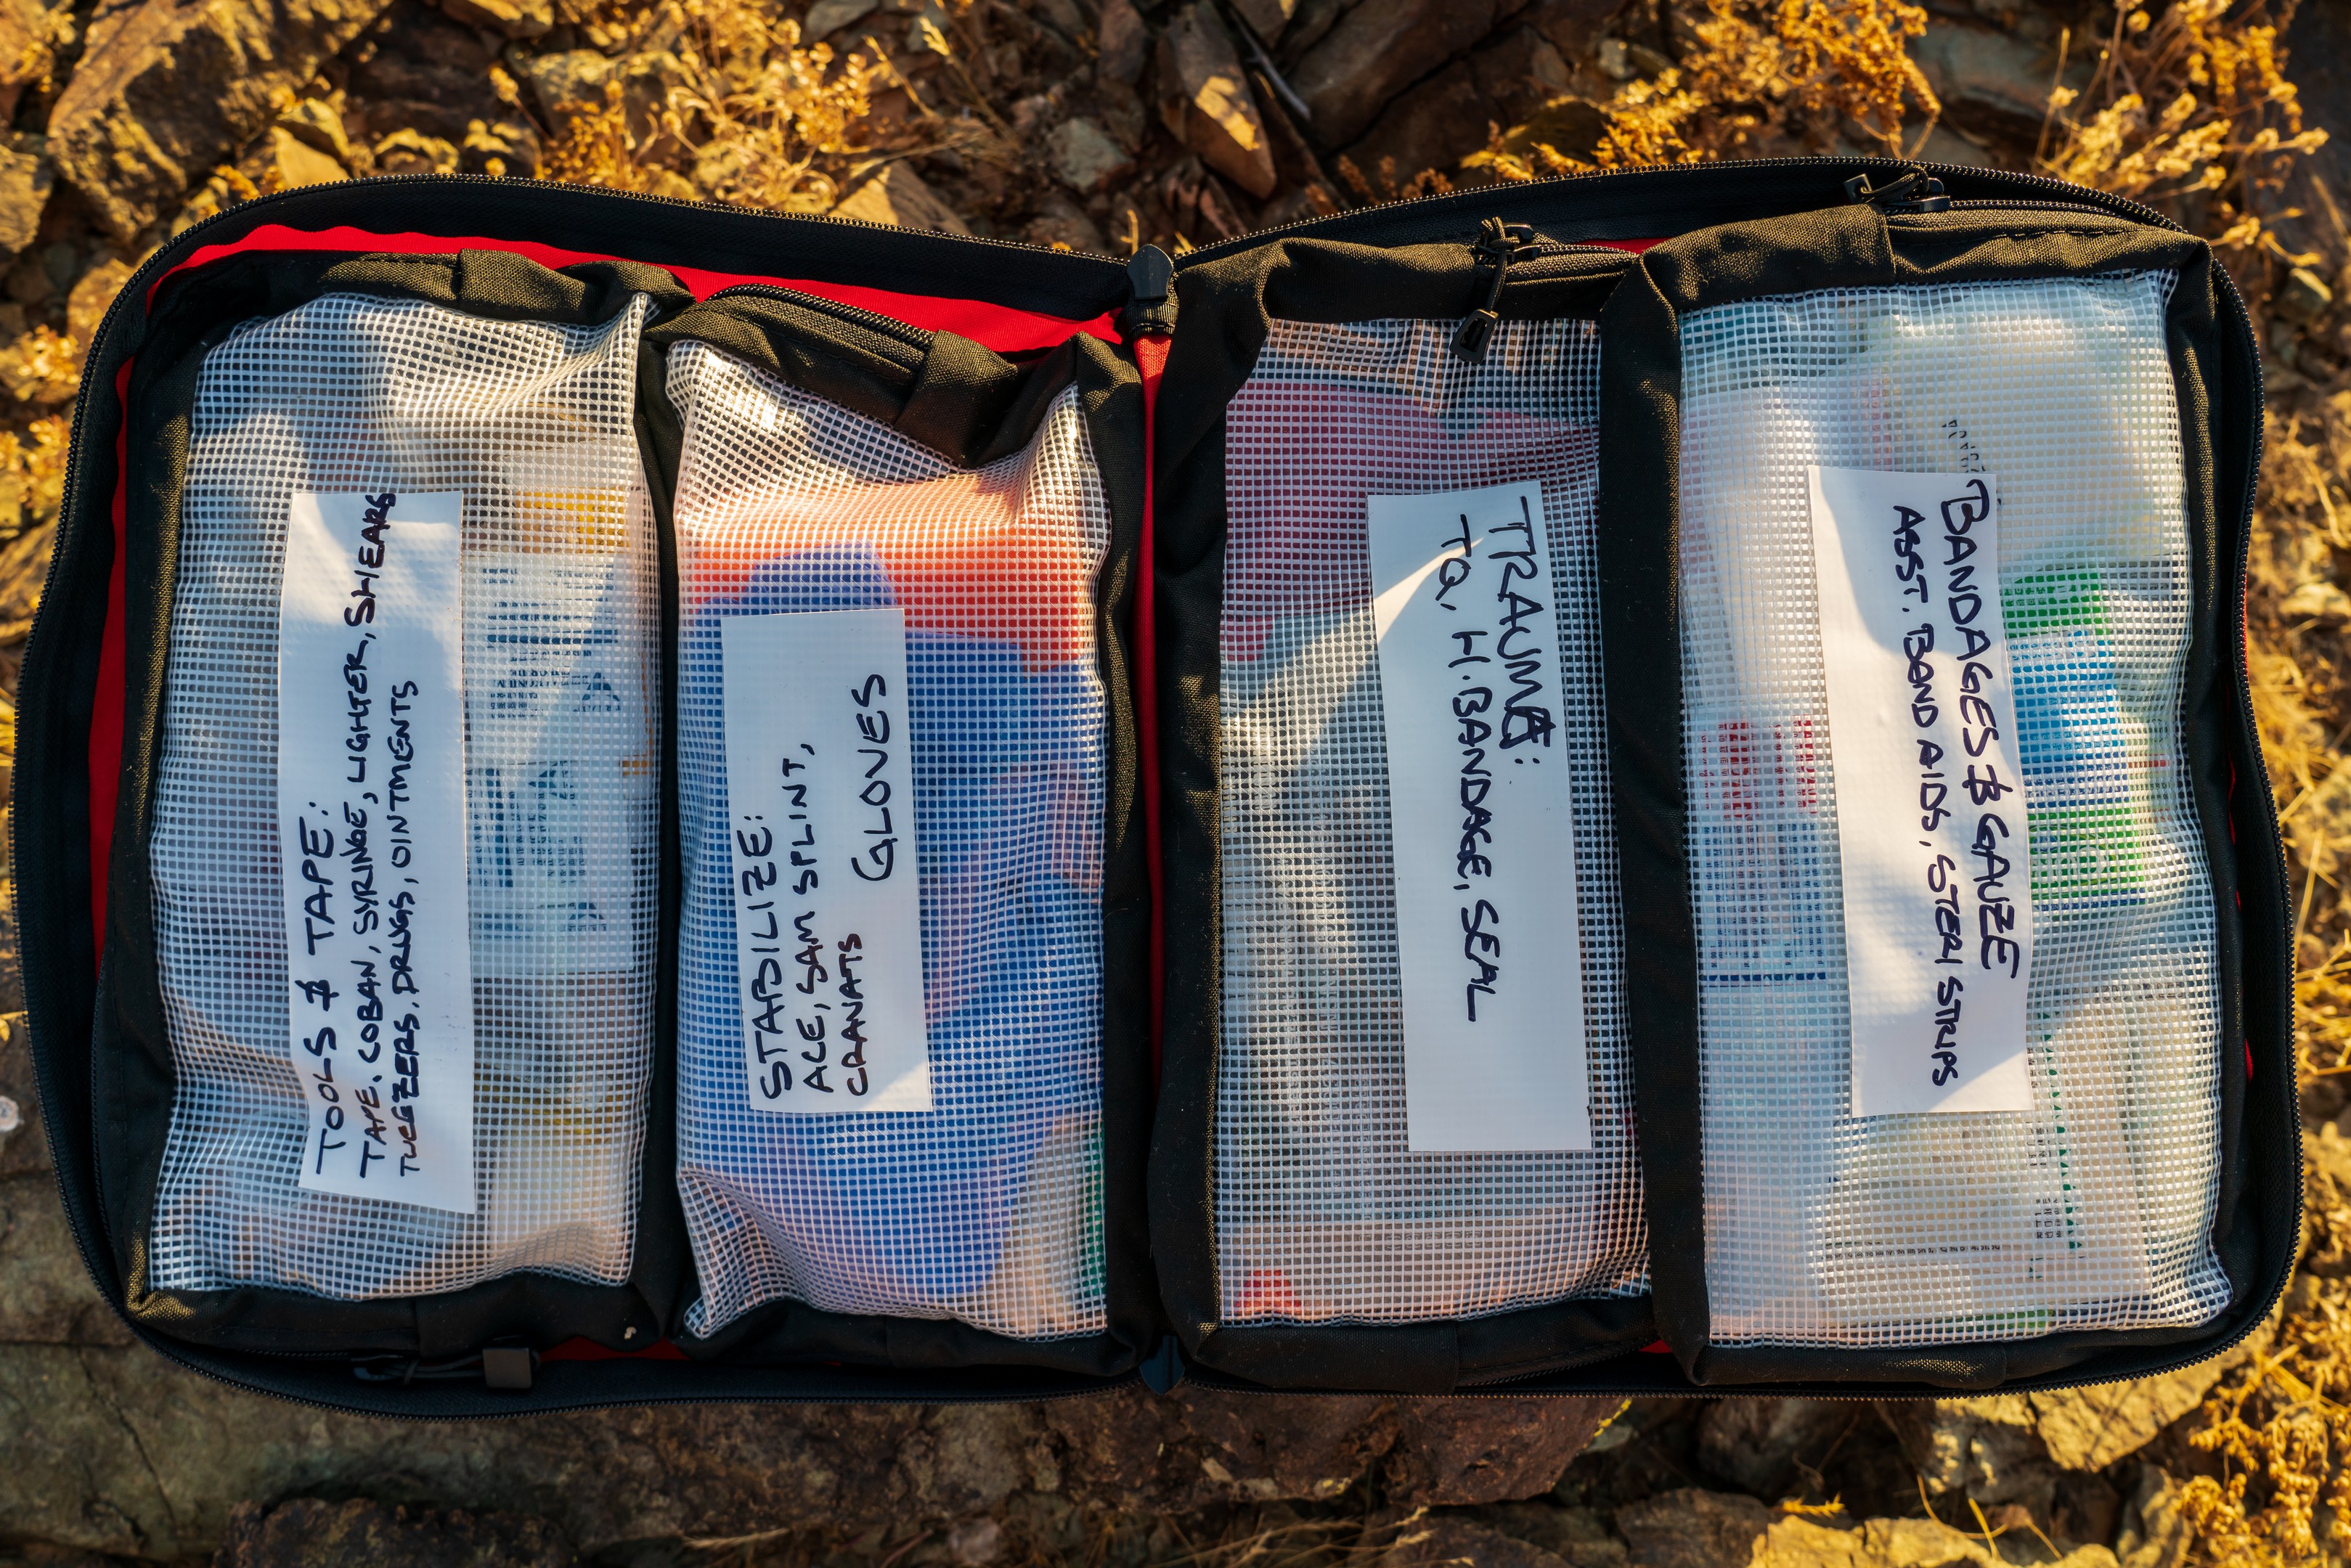 The Large First Aid Kit (LFAK) Bag is quite similar to the Tool Bag in that uses the same concept of pouches that all mount into a large clamshell bag. This clamshell main bag makes it easy to lay your whole kit out to find what you need quickly and easily. There’s no unroll, unzip, unfold like you get with other commercially available kits. The pouches on the LFAK share the same design with the string reinforced front as the Tool Bag, but they’re taller, so only 4 pouches come with the LFAK. Again, I opted for the cleanroom tape label approach here, as having a quick list of what’s in each pouch seemed like a good way to go. The tape also provides a quick spot to write a note, such as when you’re taking notes on an injury or situation. The simple tape setup is what worked for me – I would strongly encourage you to configure and label your gear in a way that works best for you.
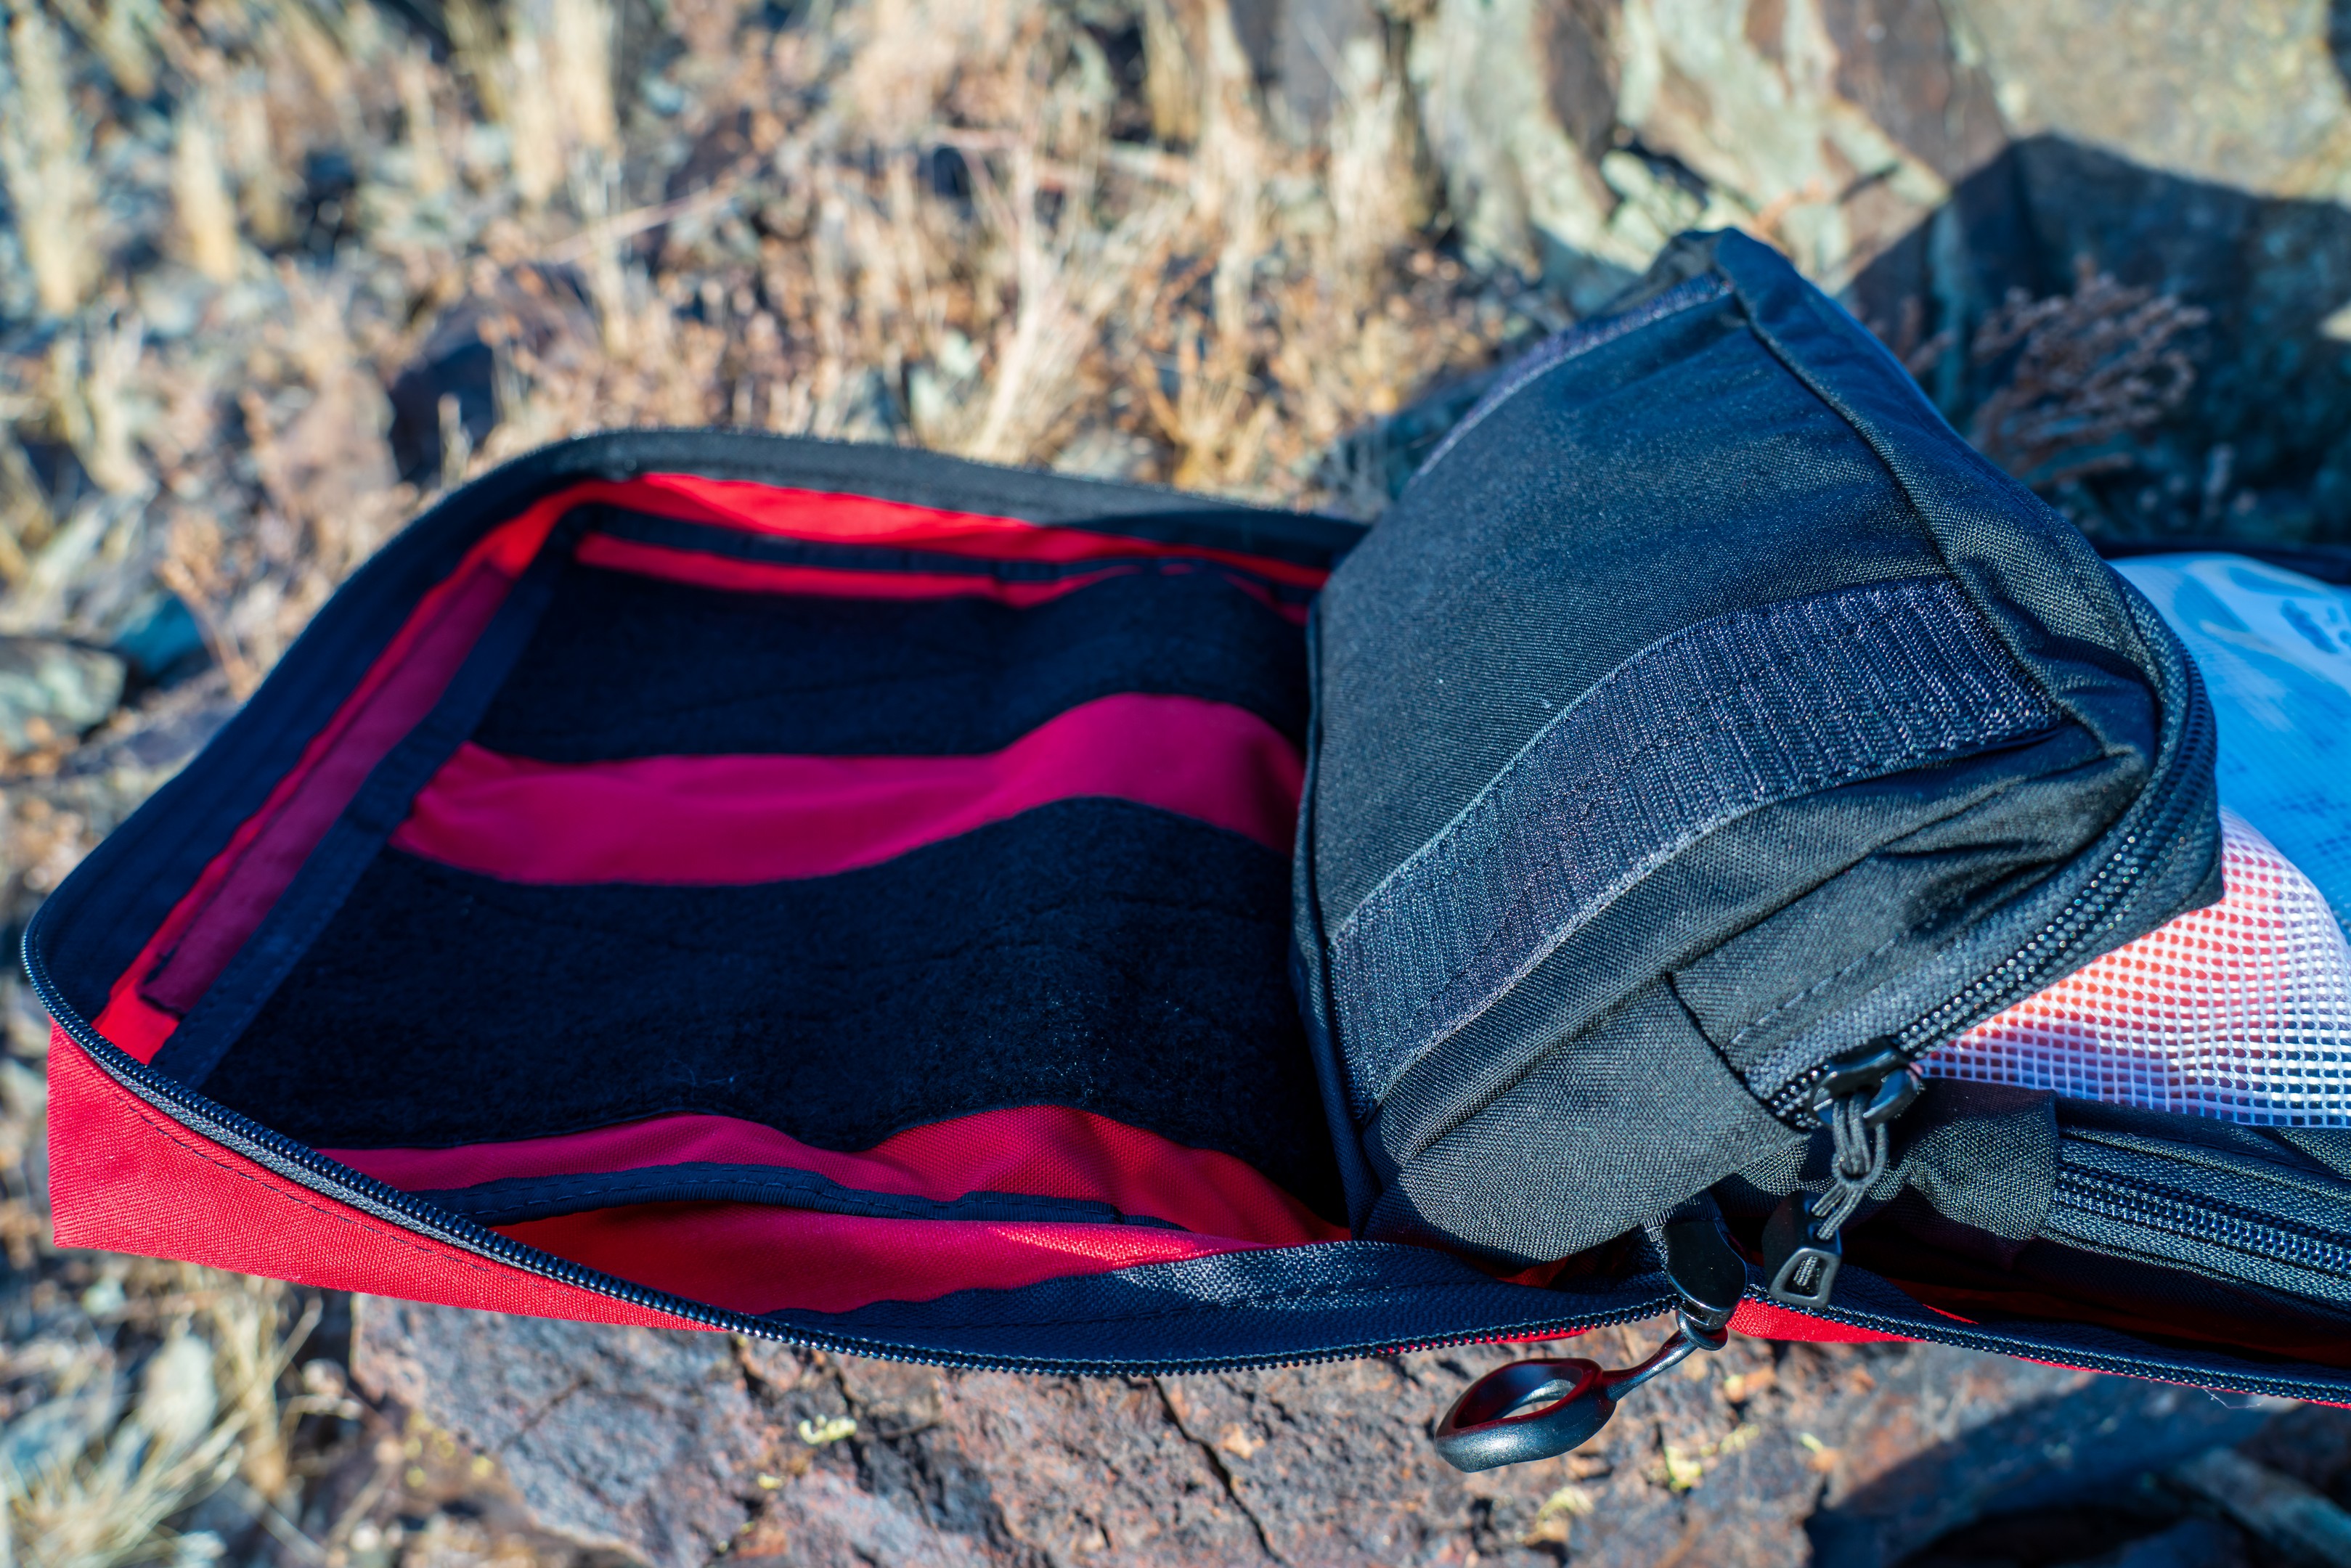

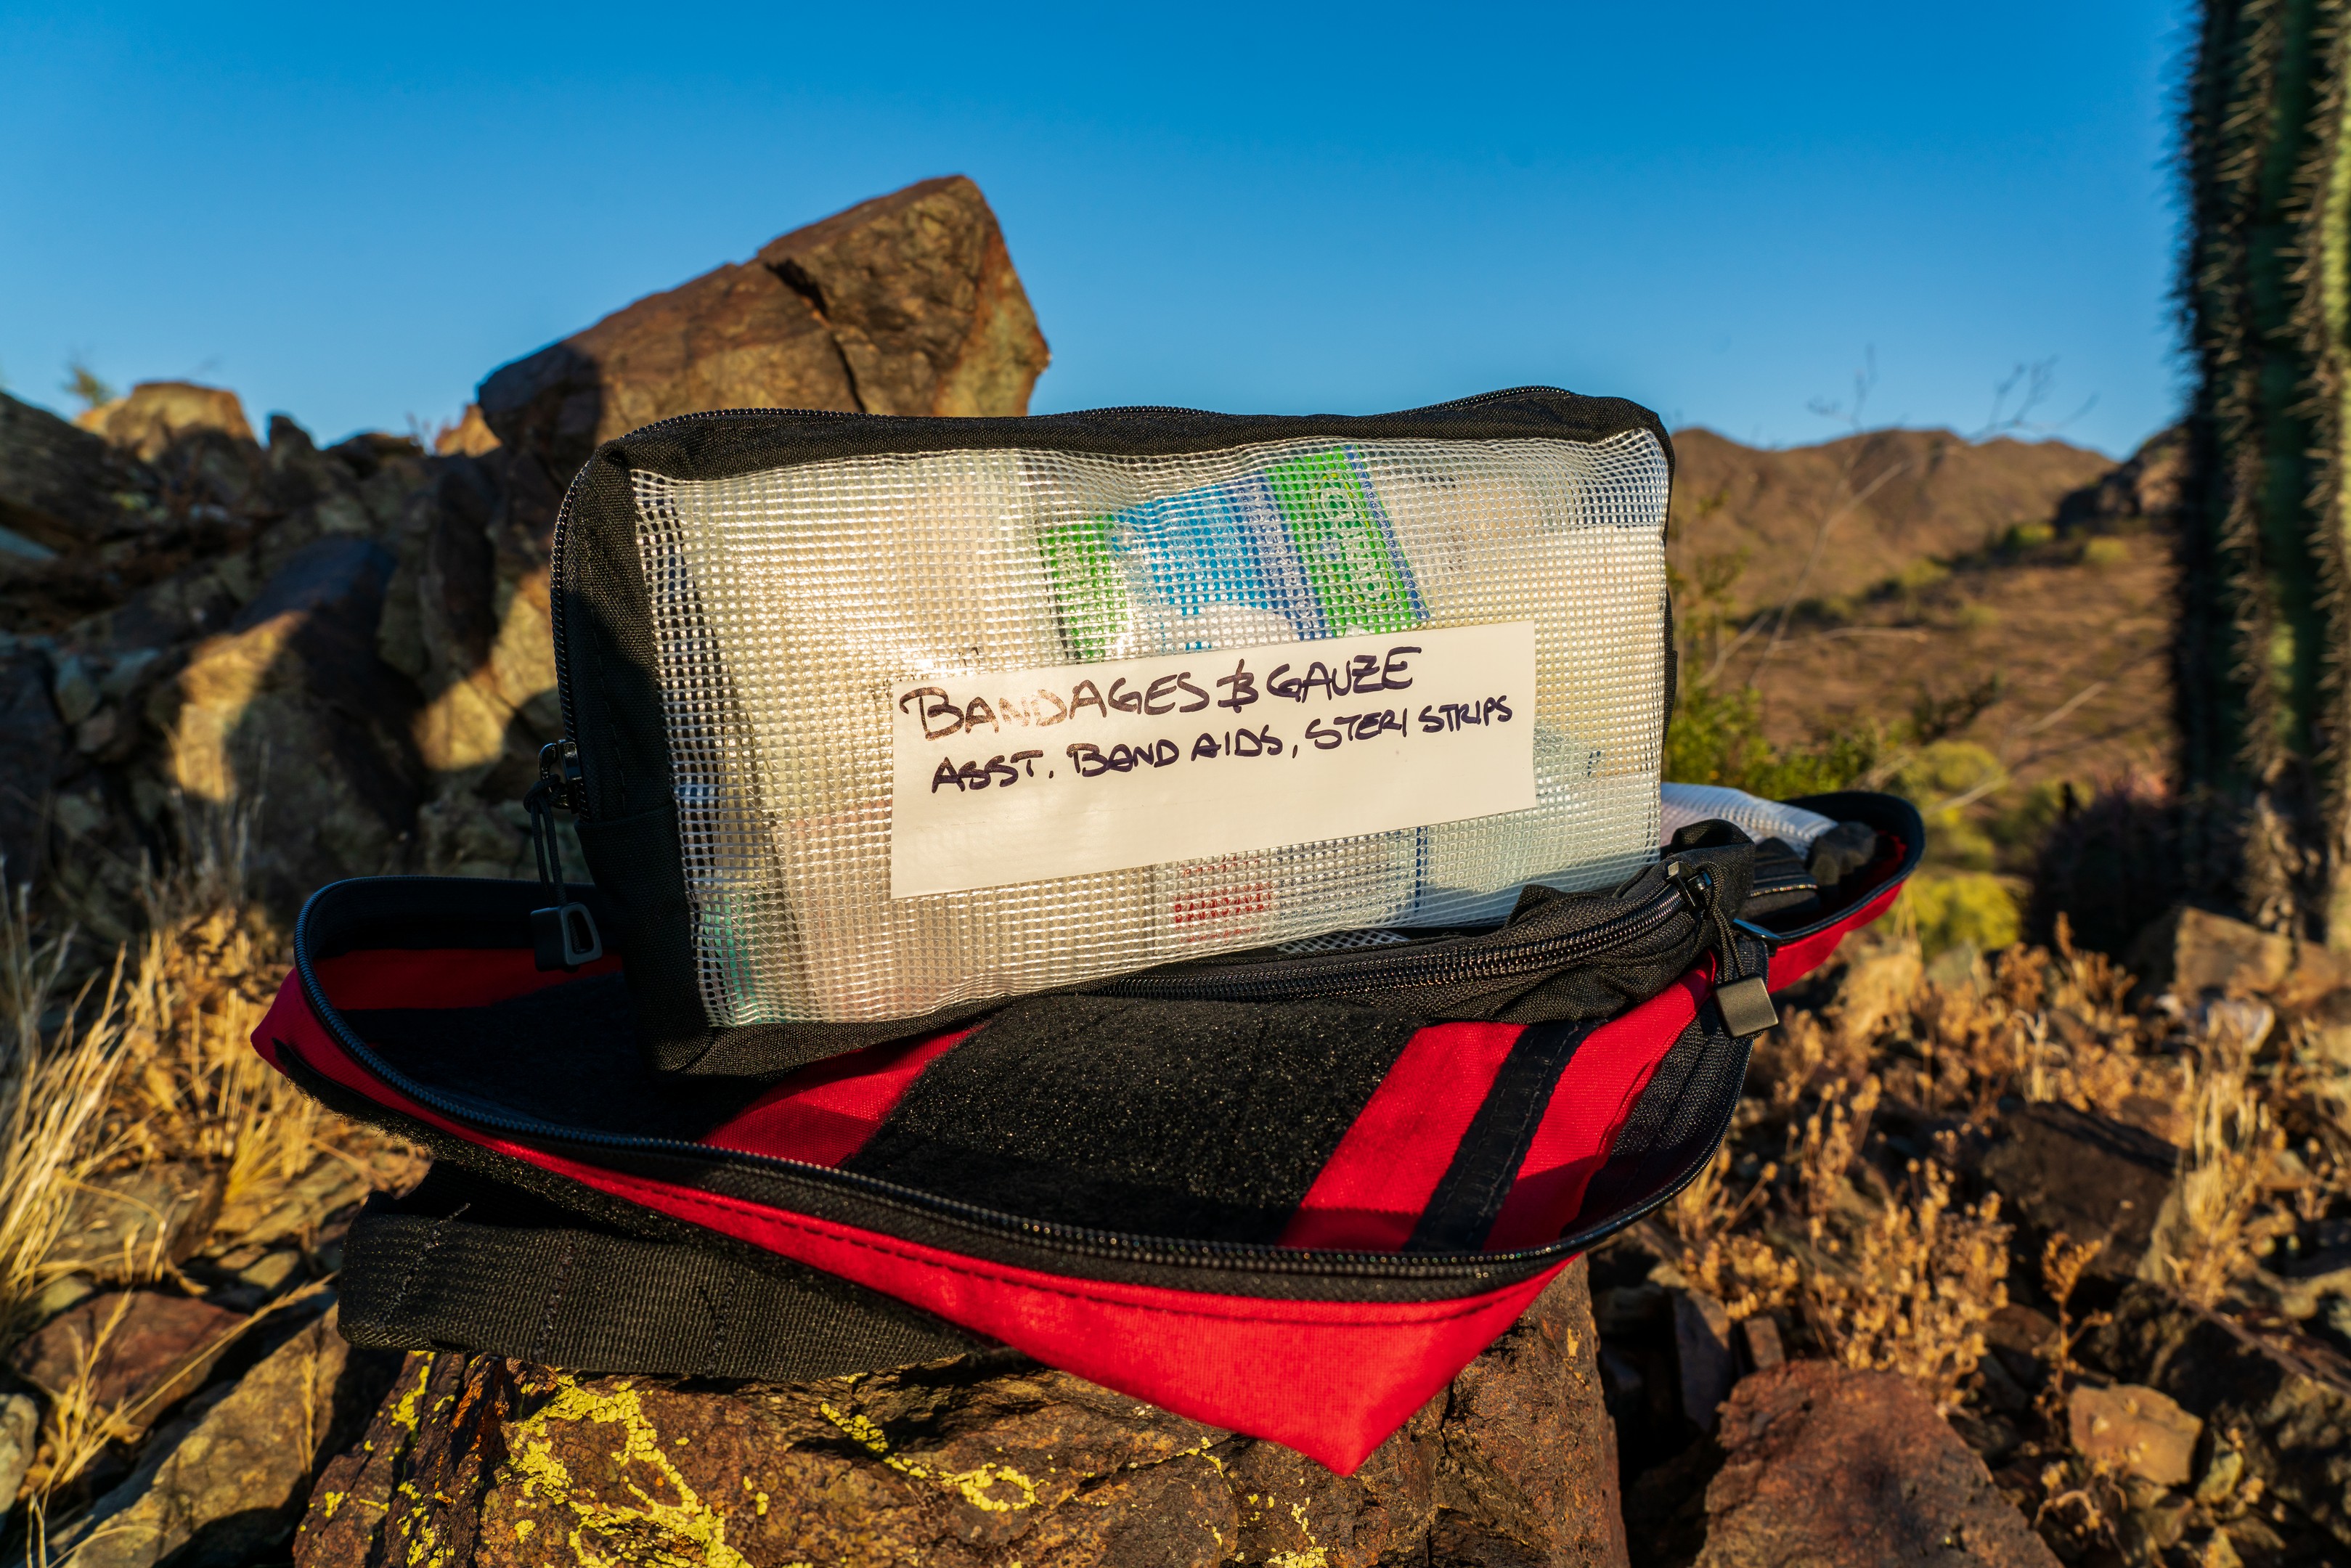
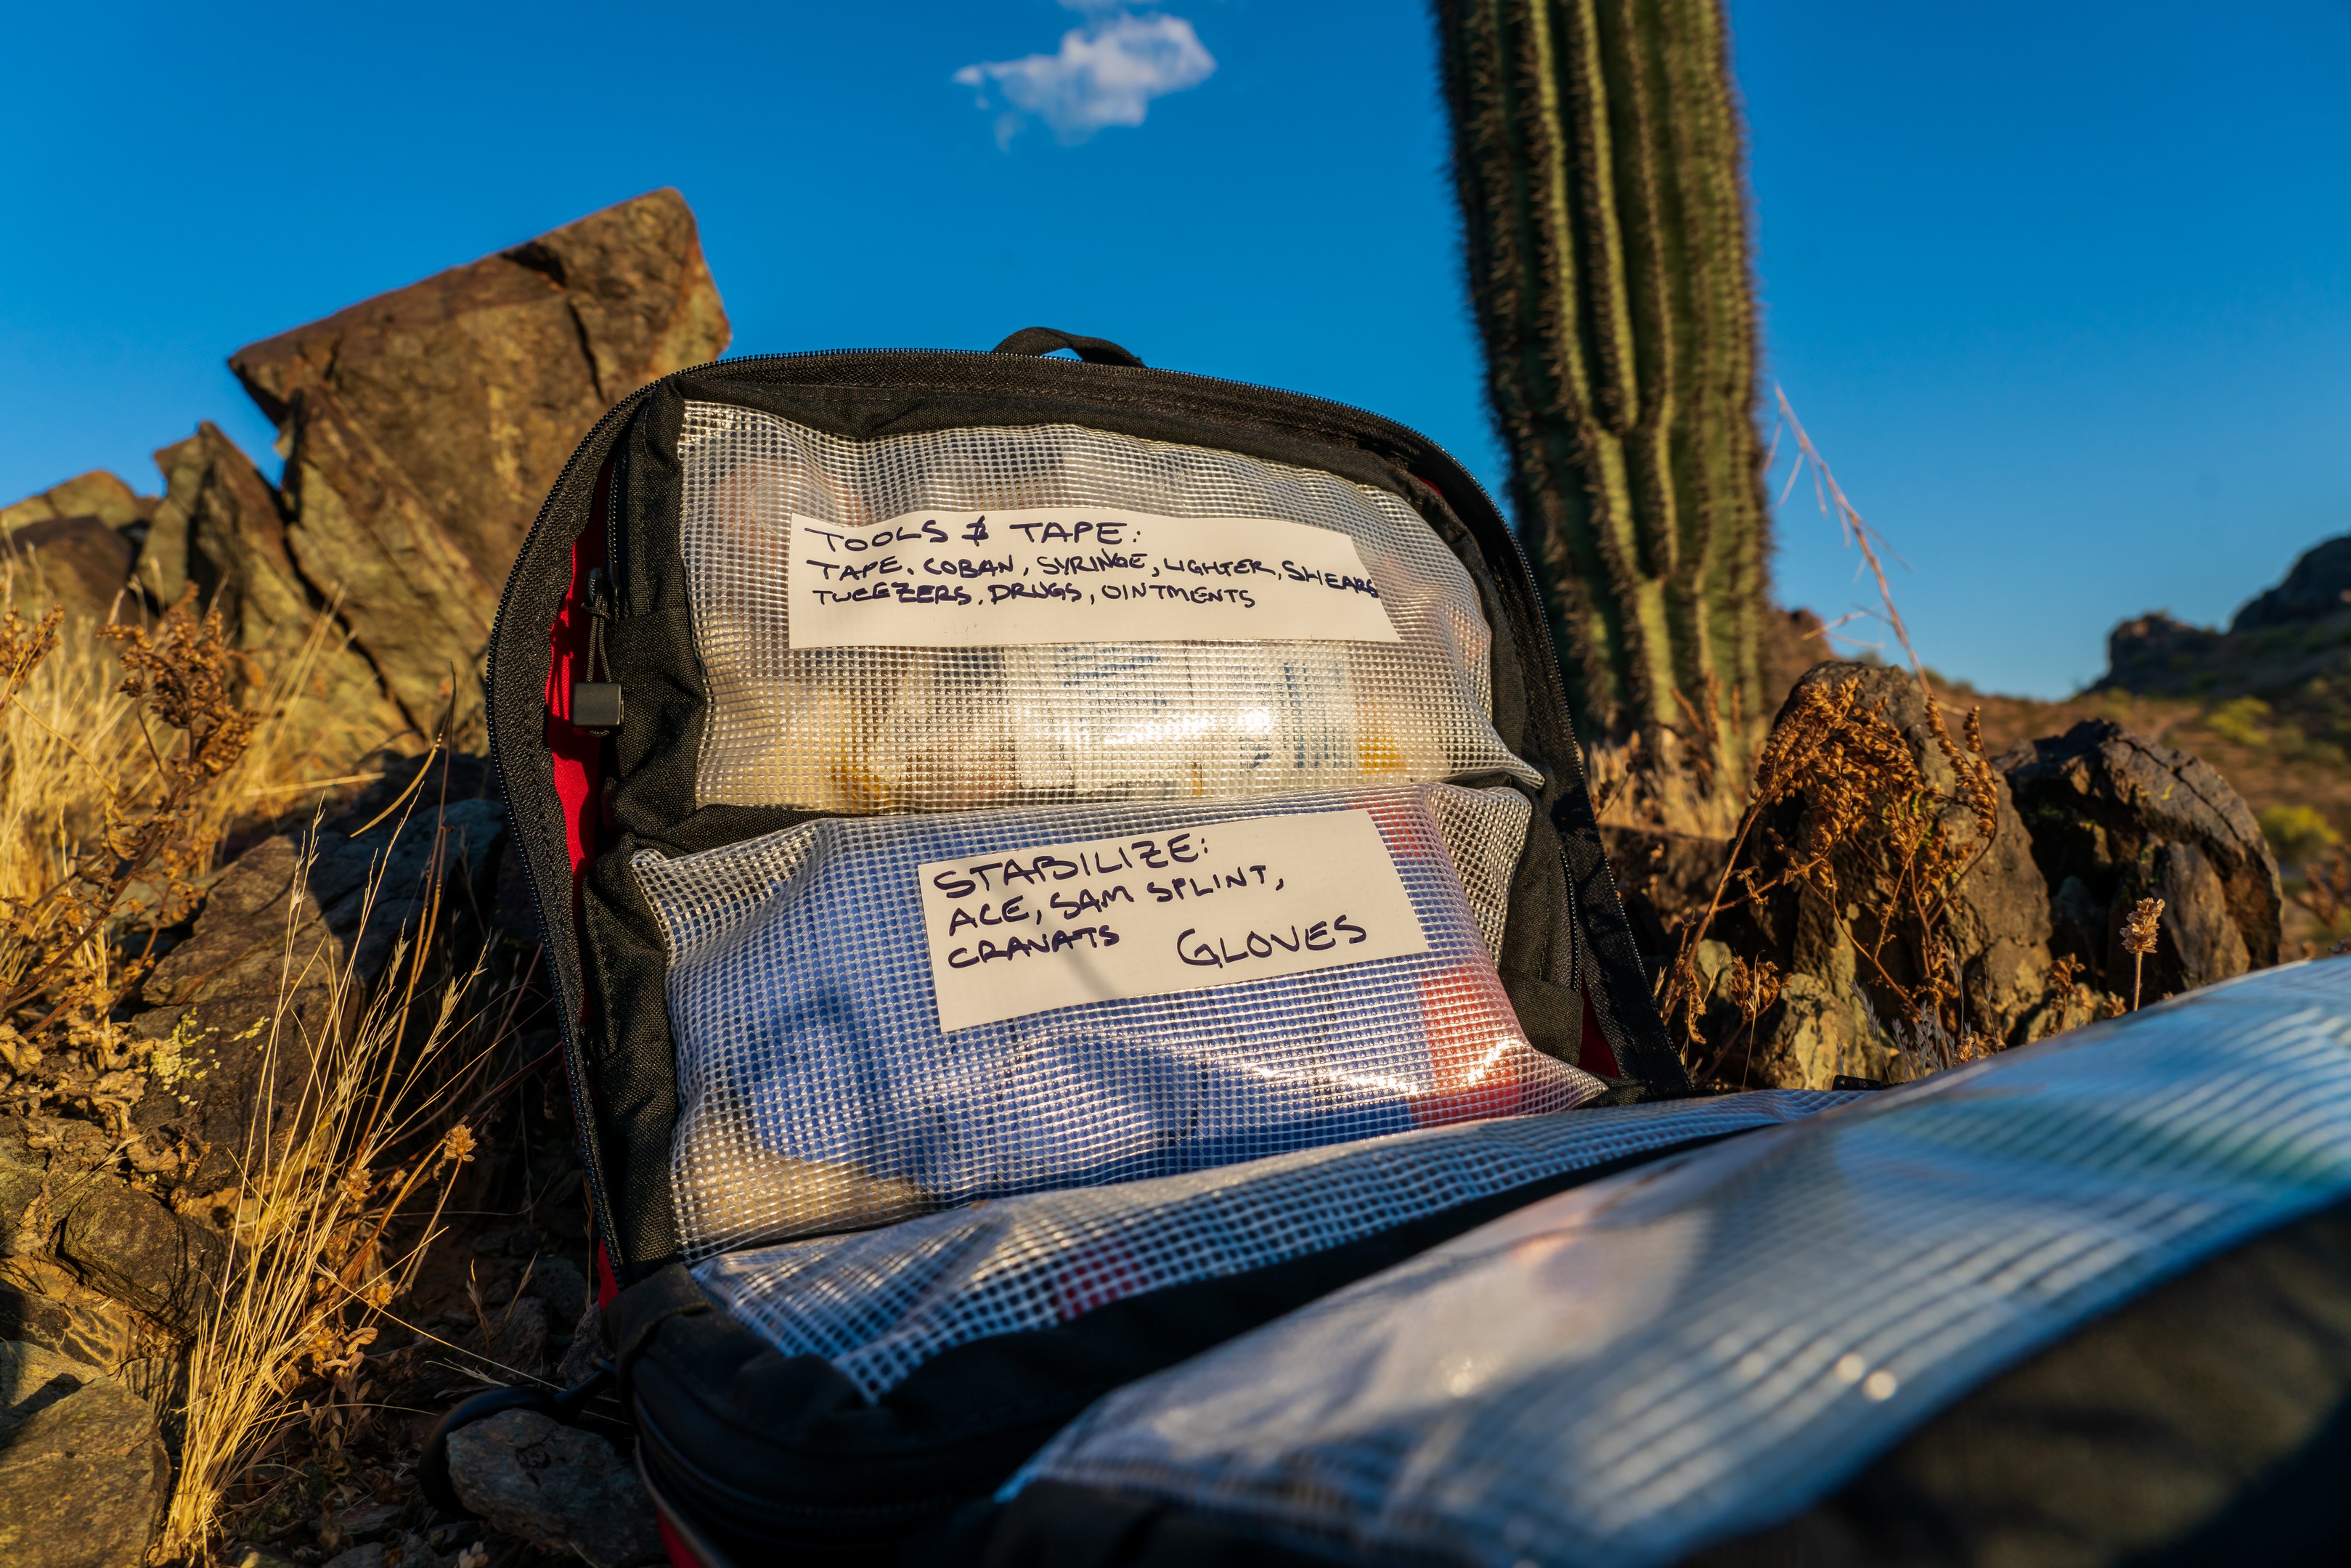
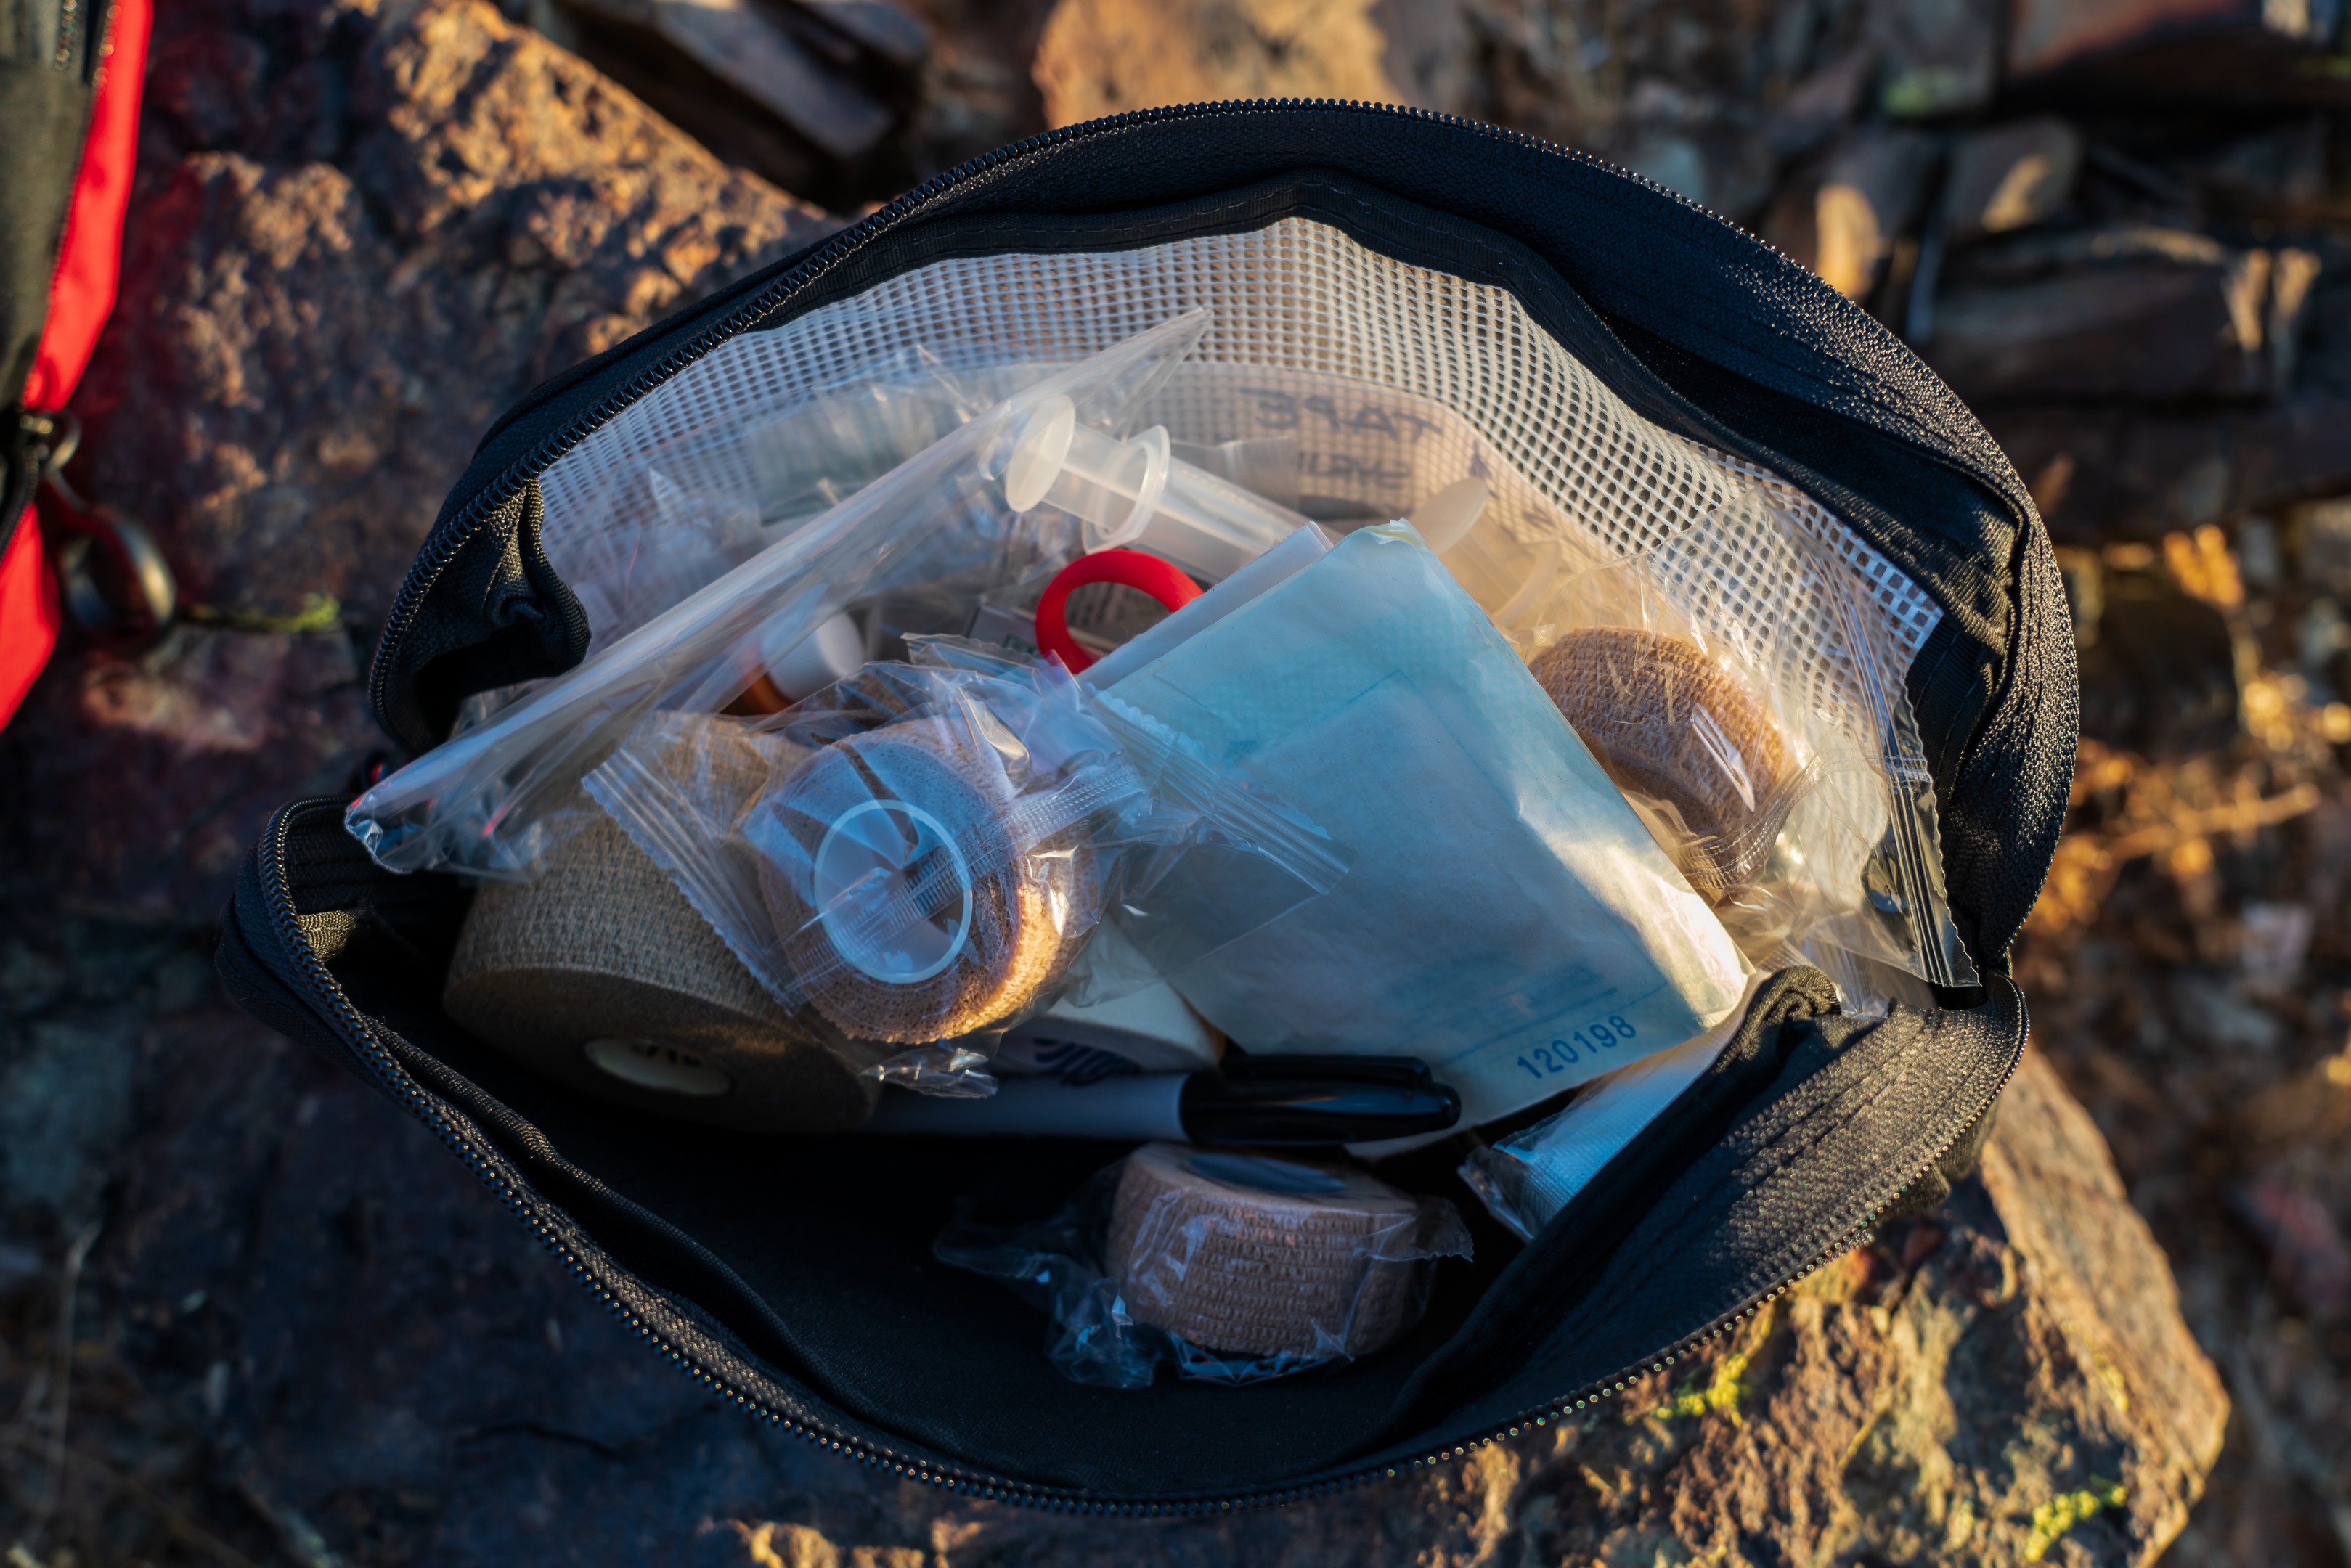
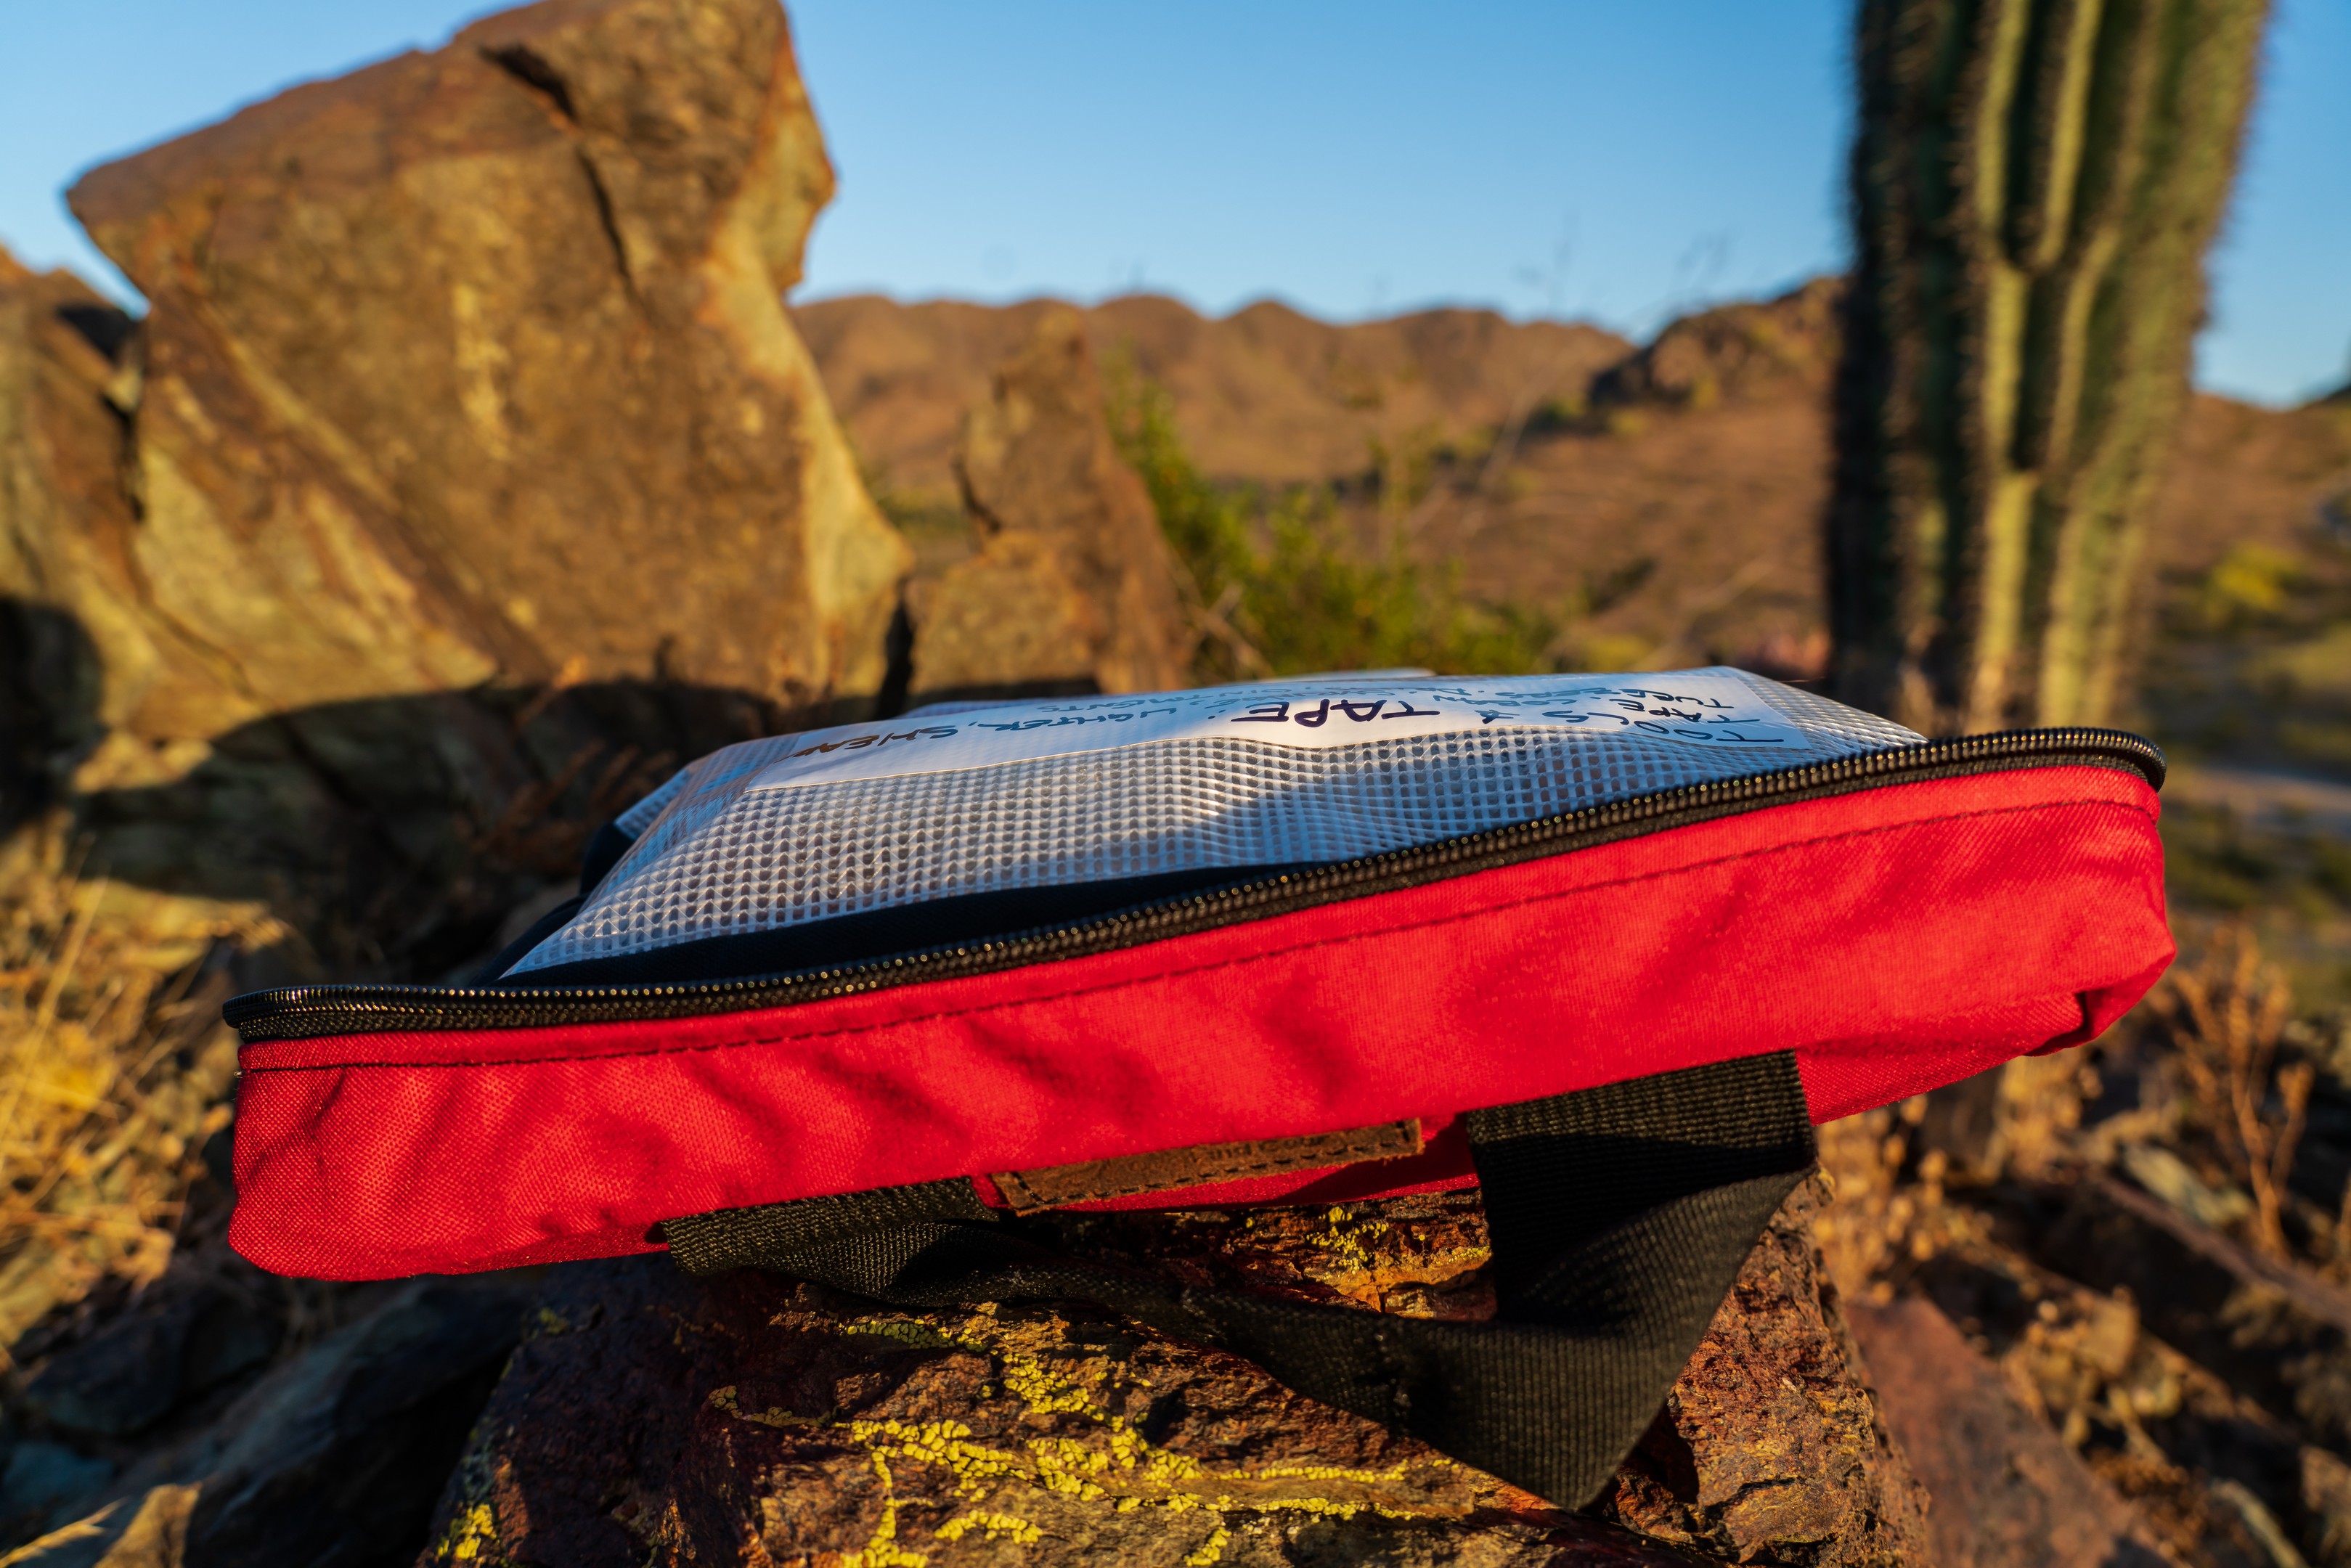

The fact that it’s colored red makes it stand out from any other bag and ensures it can be located in a hurry. The LFAK can swallow up a pile of medical gear, and the exercise of building your own first aid kit is invaluable – if you’ve ever found yourself working a patient where you didn’t have the one thing you needed because of an off the shelf kit, you know what I’m talking about. With the LFAK I can pack enough kit to manage multiple patients for an extended period of time to the limits of my scope of training. It’s future-proof as I’ve got room to add more gear to the LFAK as I get more training, and the MOLLE/PALS and the pocket on the exterior give me a place to stash quick access items when I’m working in a hurry. After carrying the LFAK for the last few months, I see no reason to ever have to buy another first aid kit bag.
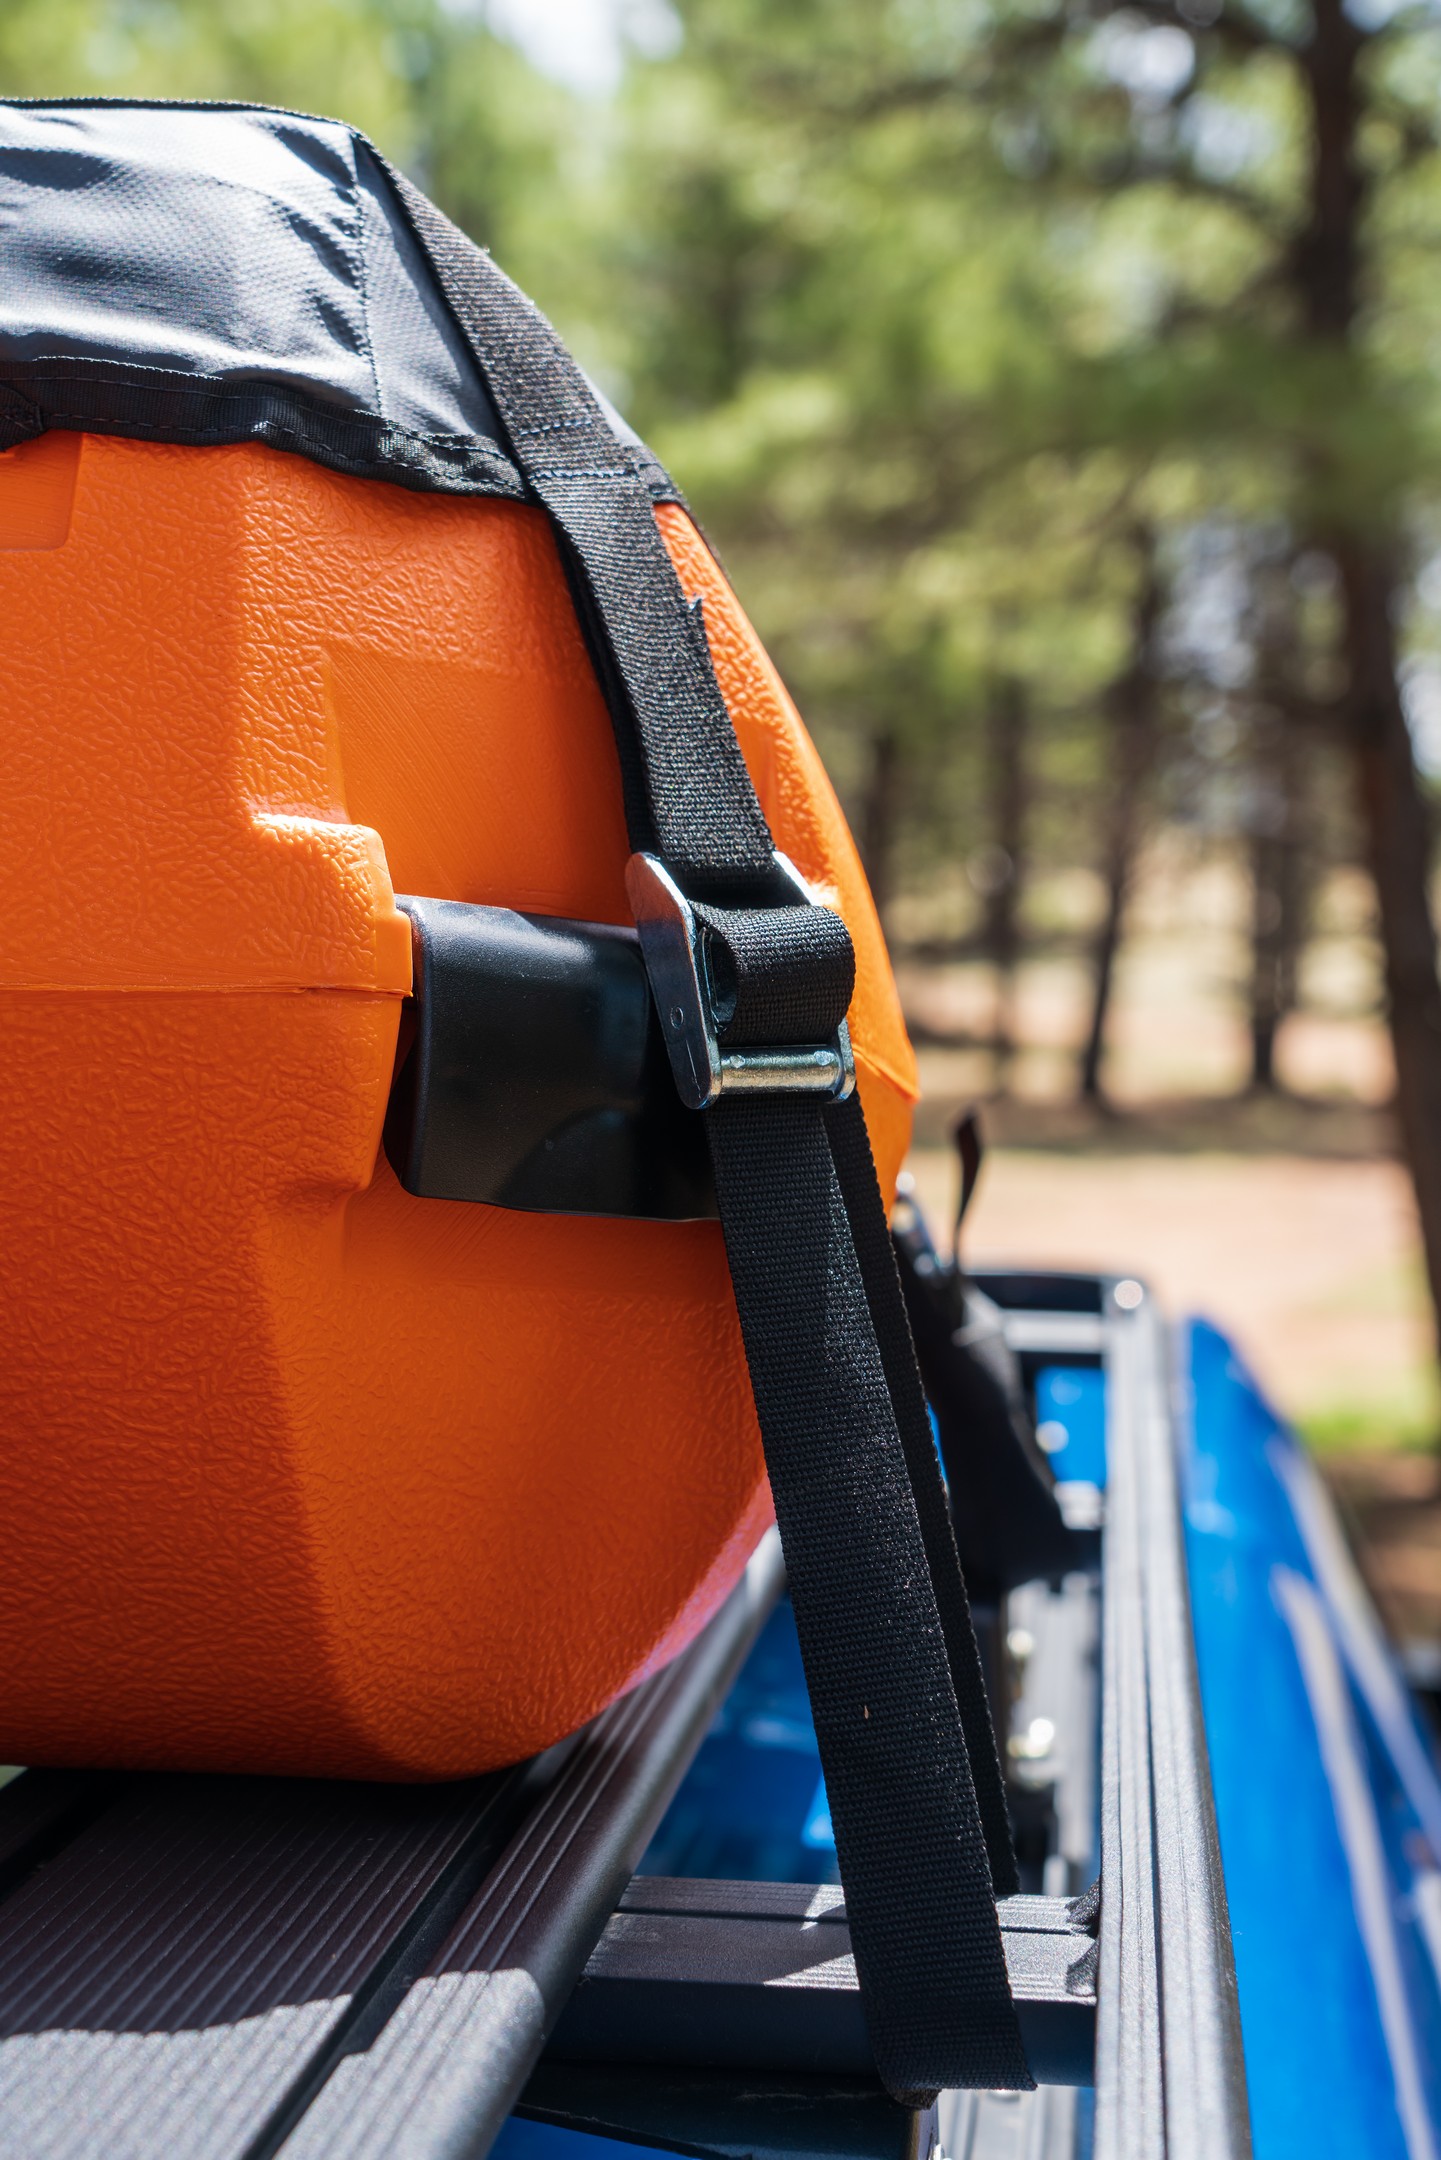
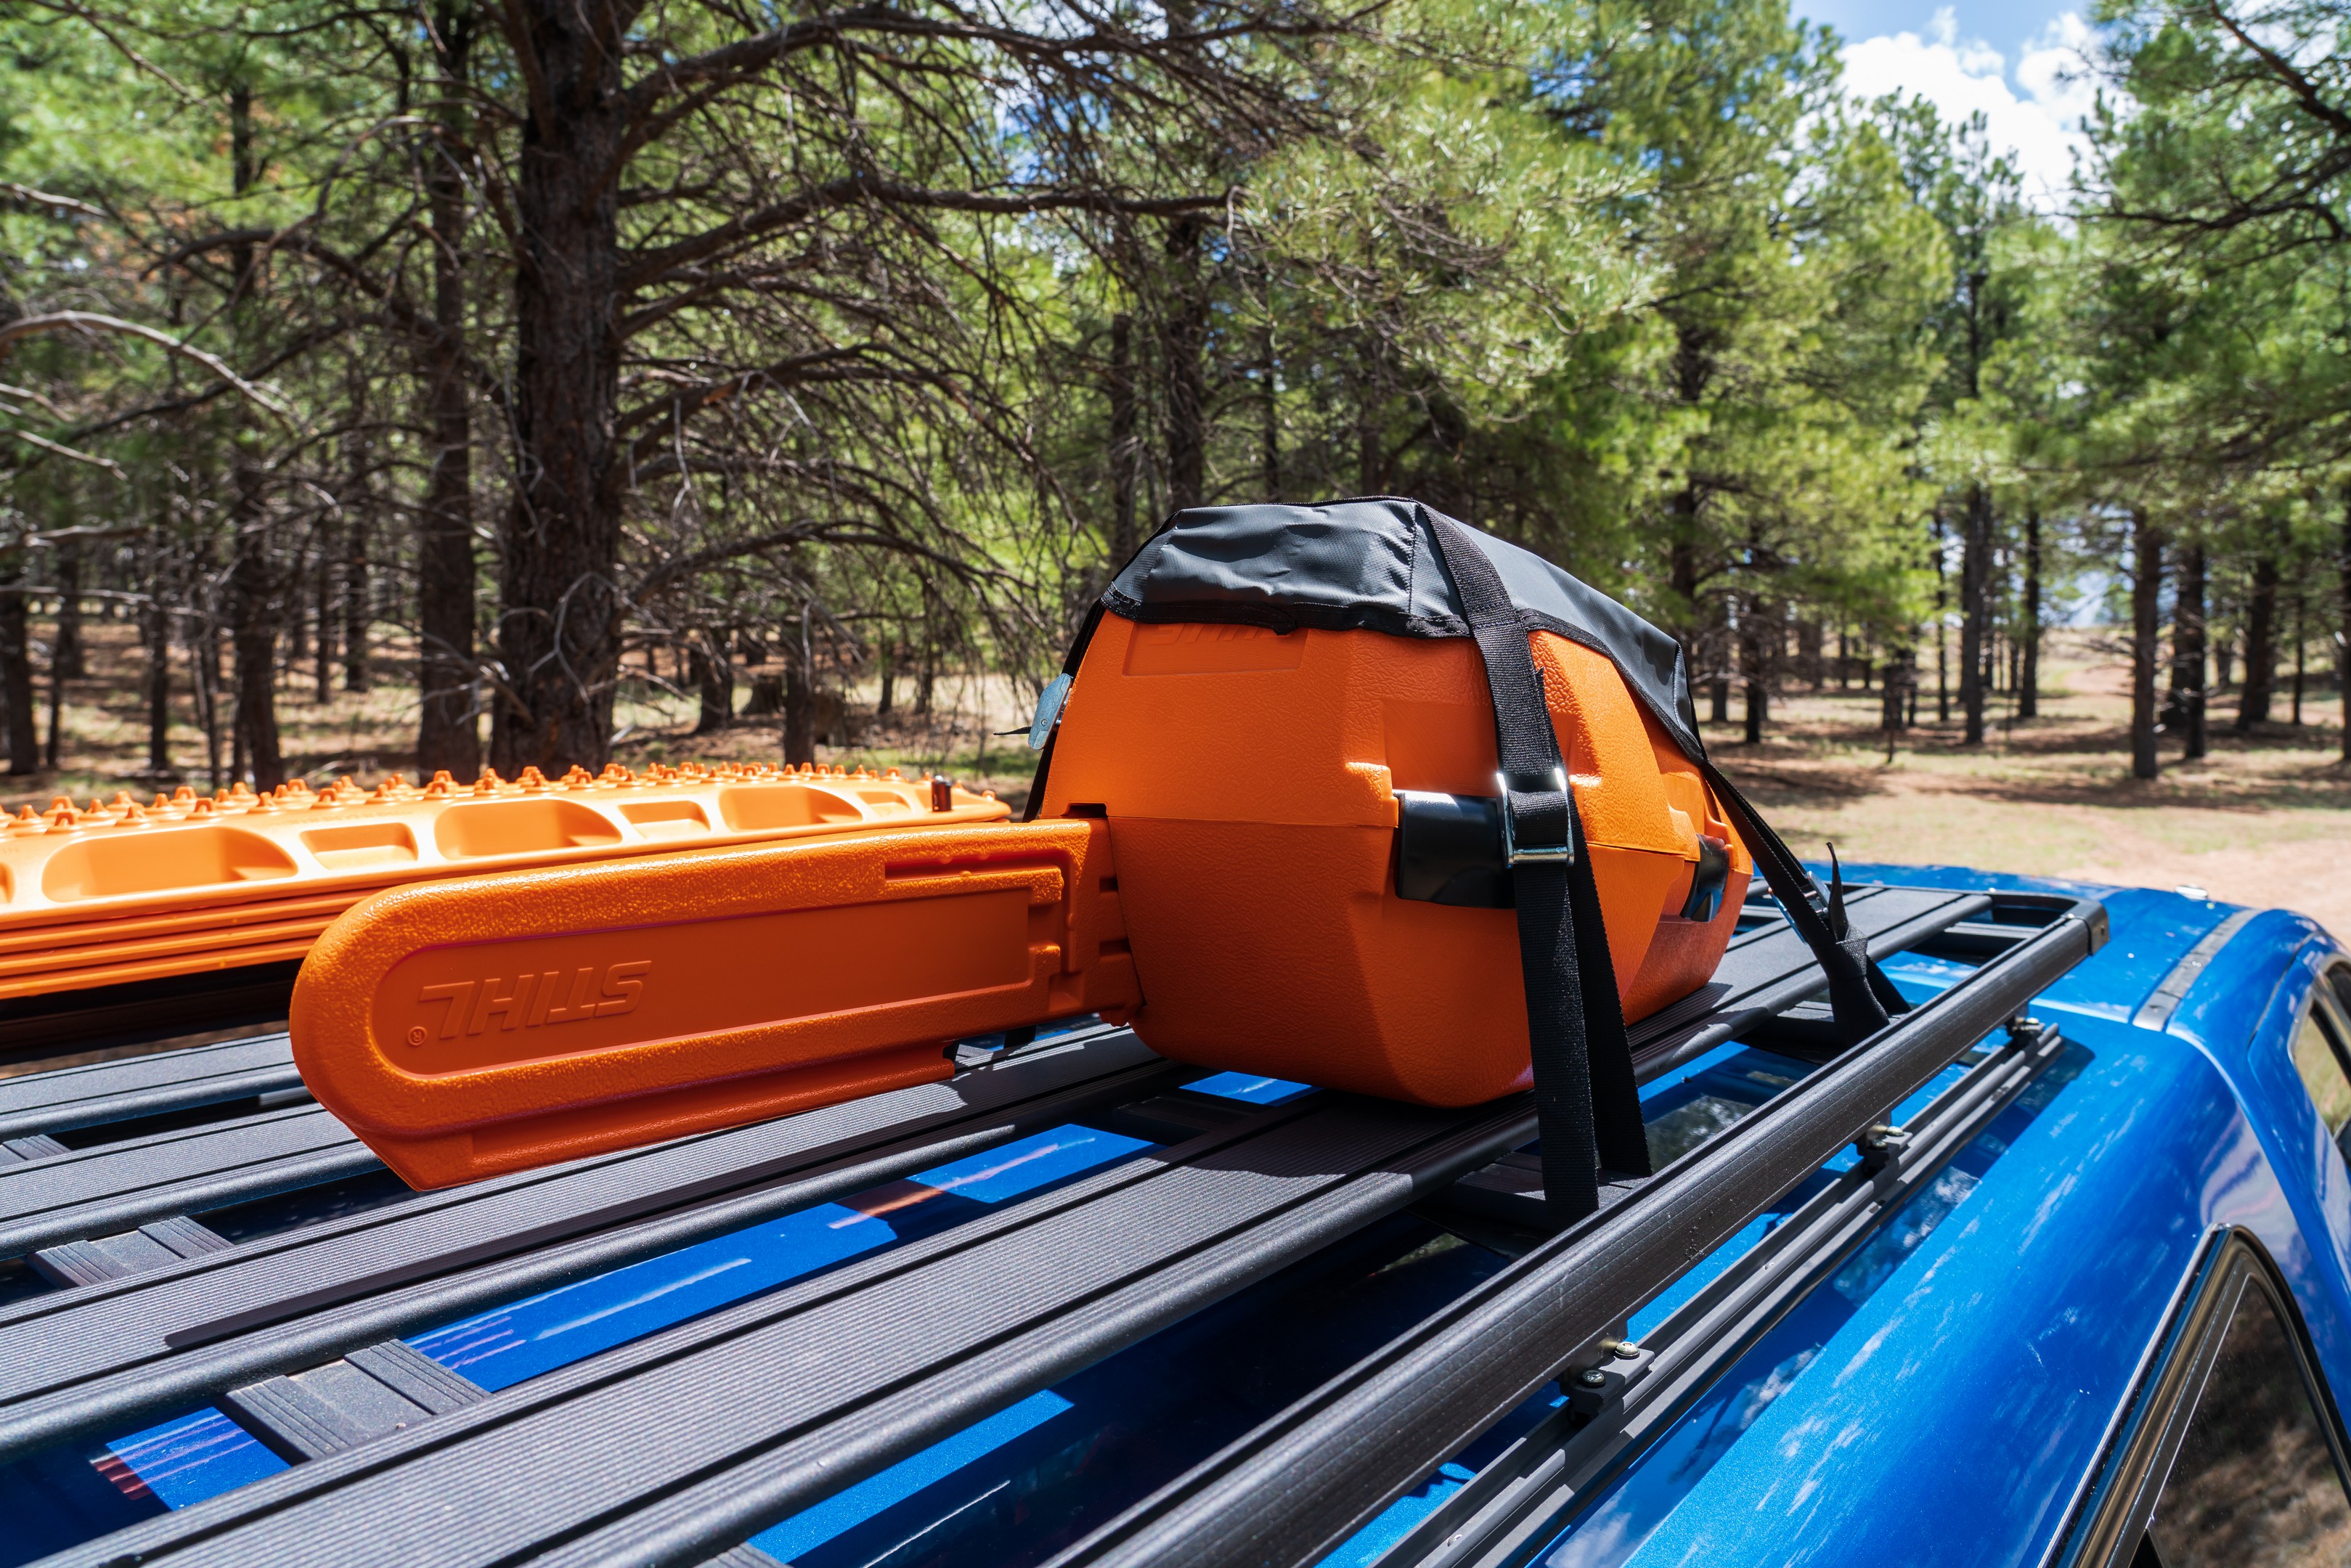
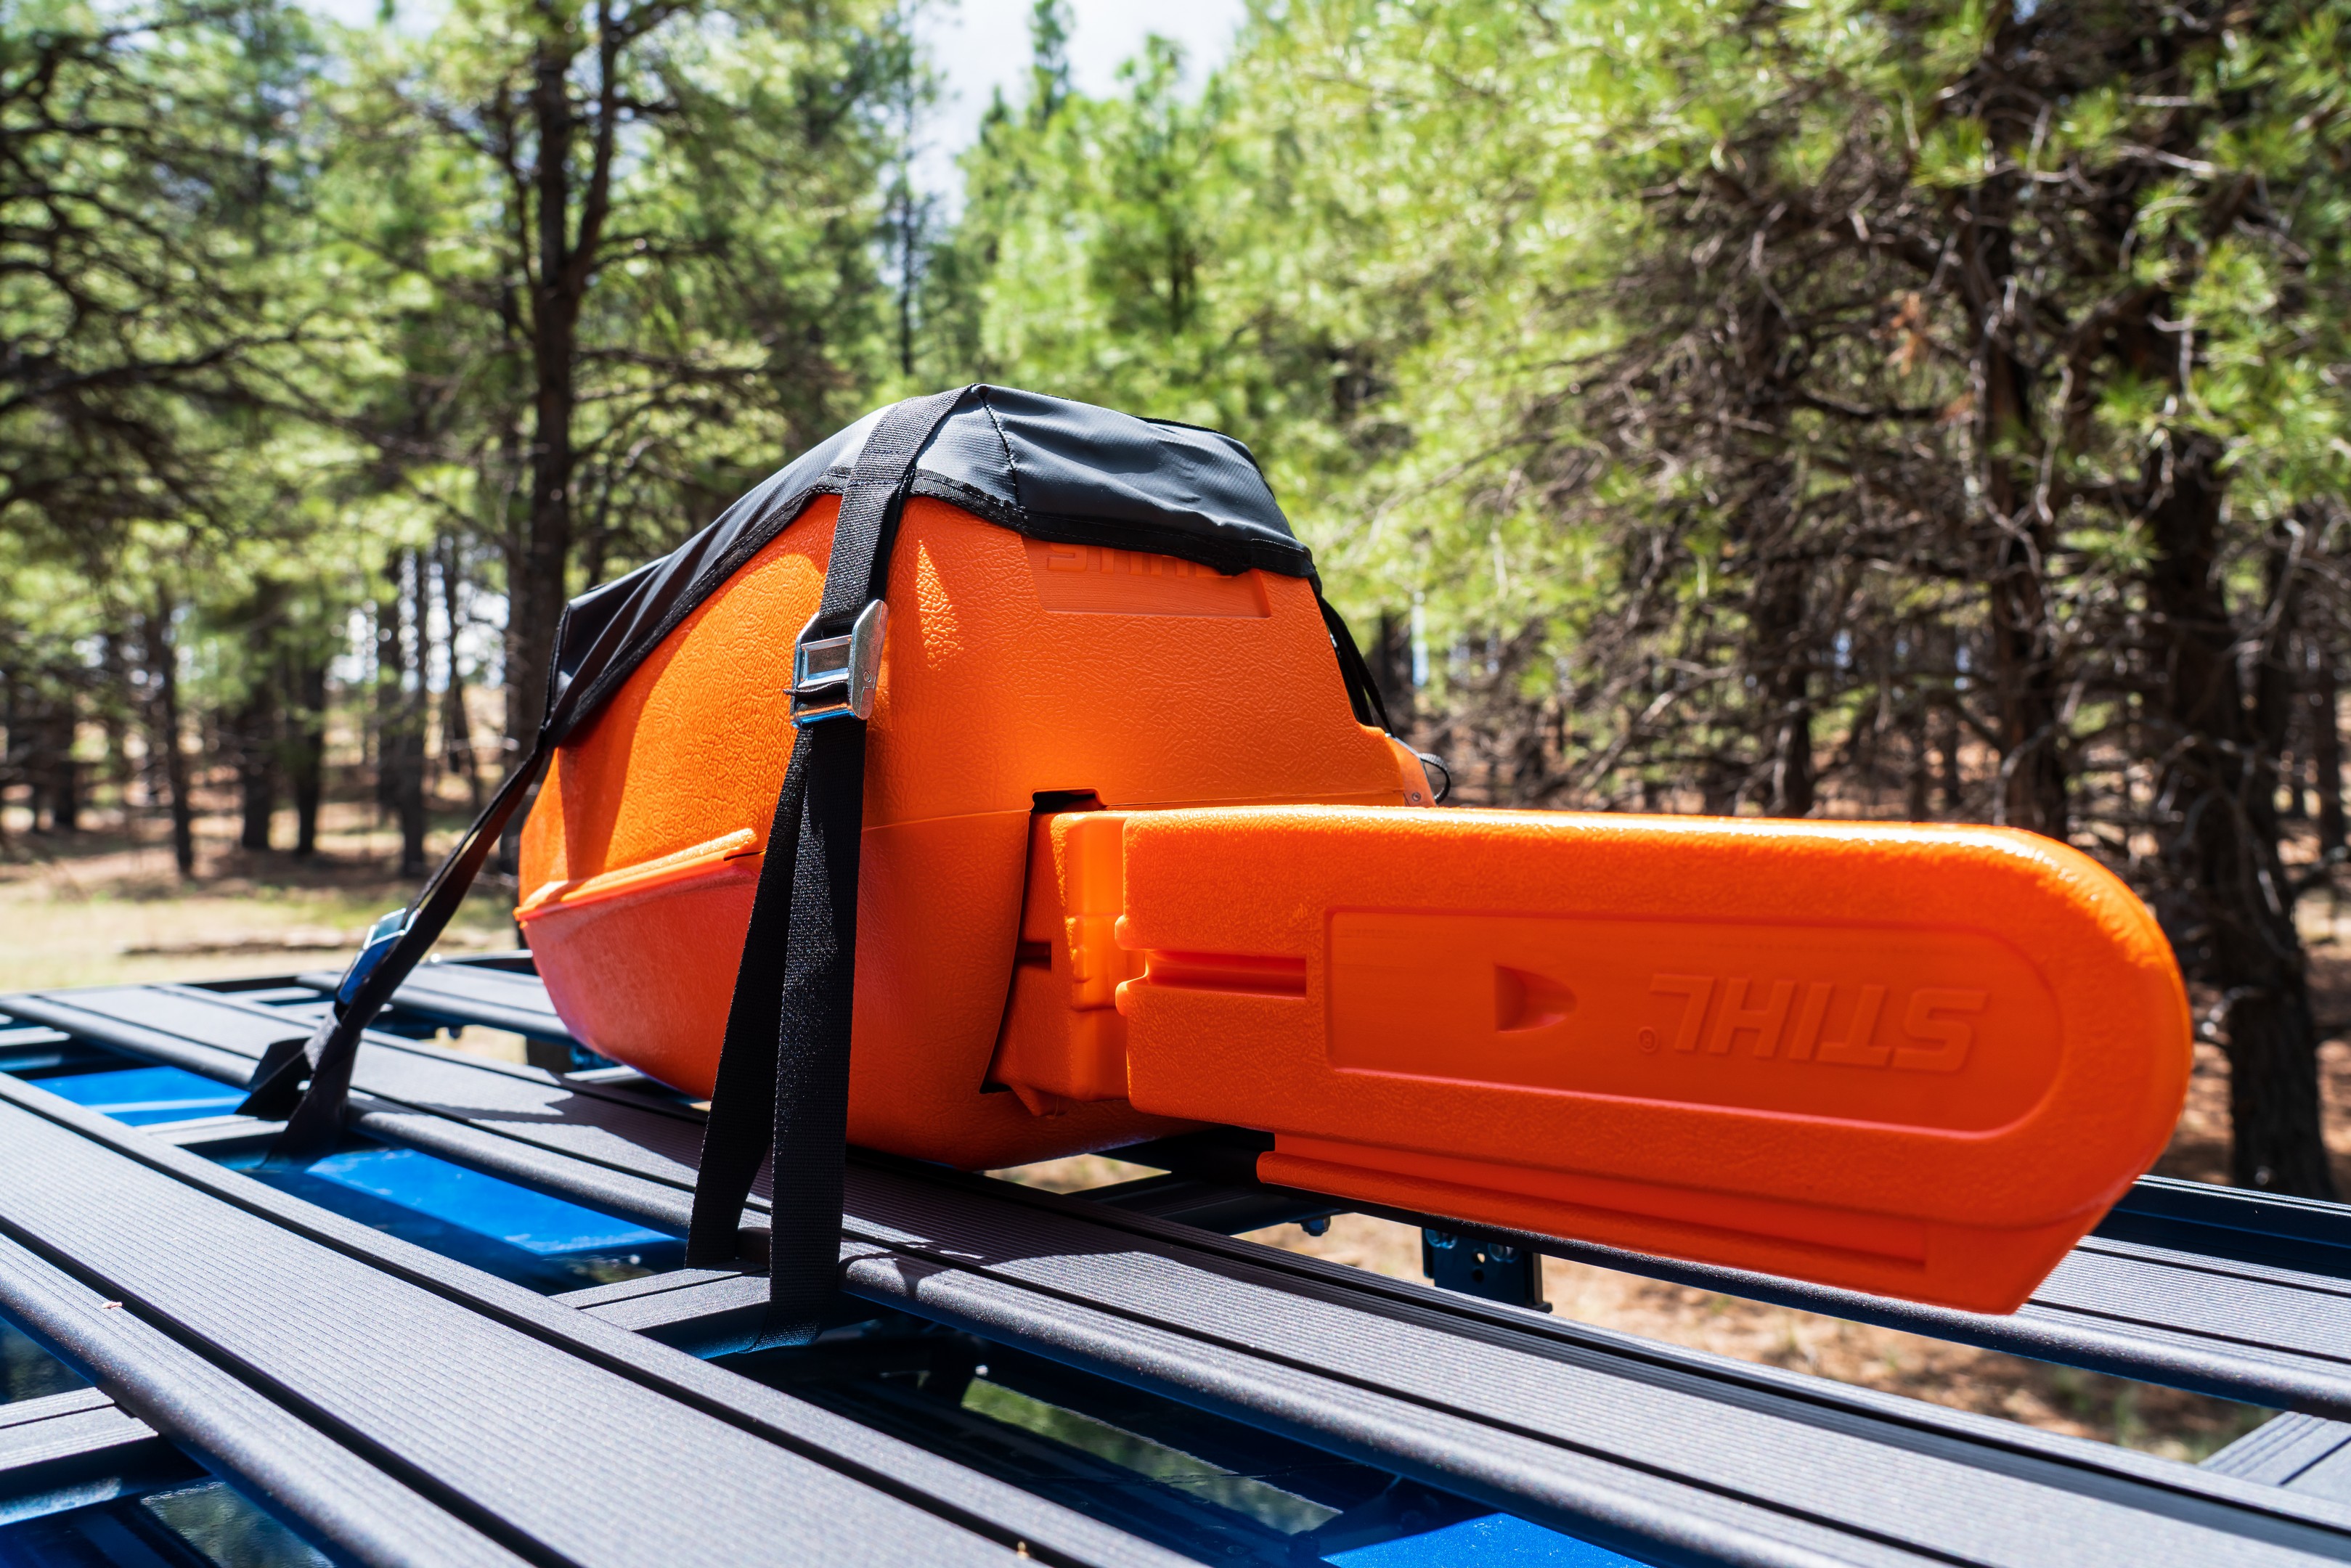
 BROG also makes a number of innovative products that help you carry specialty items like their chainsaw bra, which enables you to carry a saw in a hard case on your roof rack. Chainsaws are wonderfully messy tools and a pain to transport. Even if you’re one of the few people who can avoid overfilling the bar oil and fuel tanks on your saw, there’s still sawdust, two stroke spooge, and the occasional drip of bar oil from your bar that causes most folks to carry their saws in their truck beds or in a way that puts layers of protection between the saw and their vehicles interior. Yet, with the chainsaw bra, you can simply pop your saw in it’s hard case, and with 4 1-inch in cam straps secure it to your roof where it’s unable to drip or destroy anything in or on your vehicle you care about.
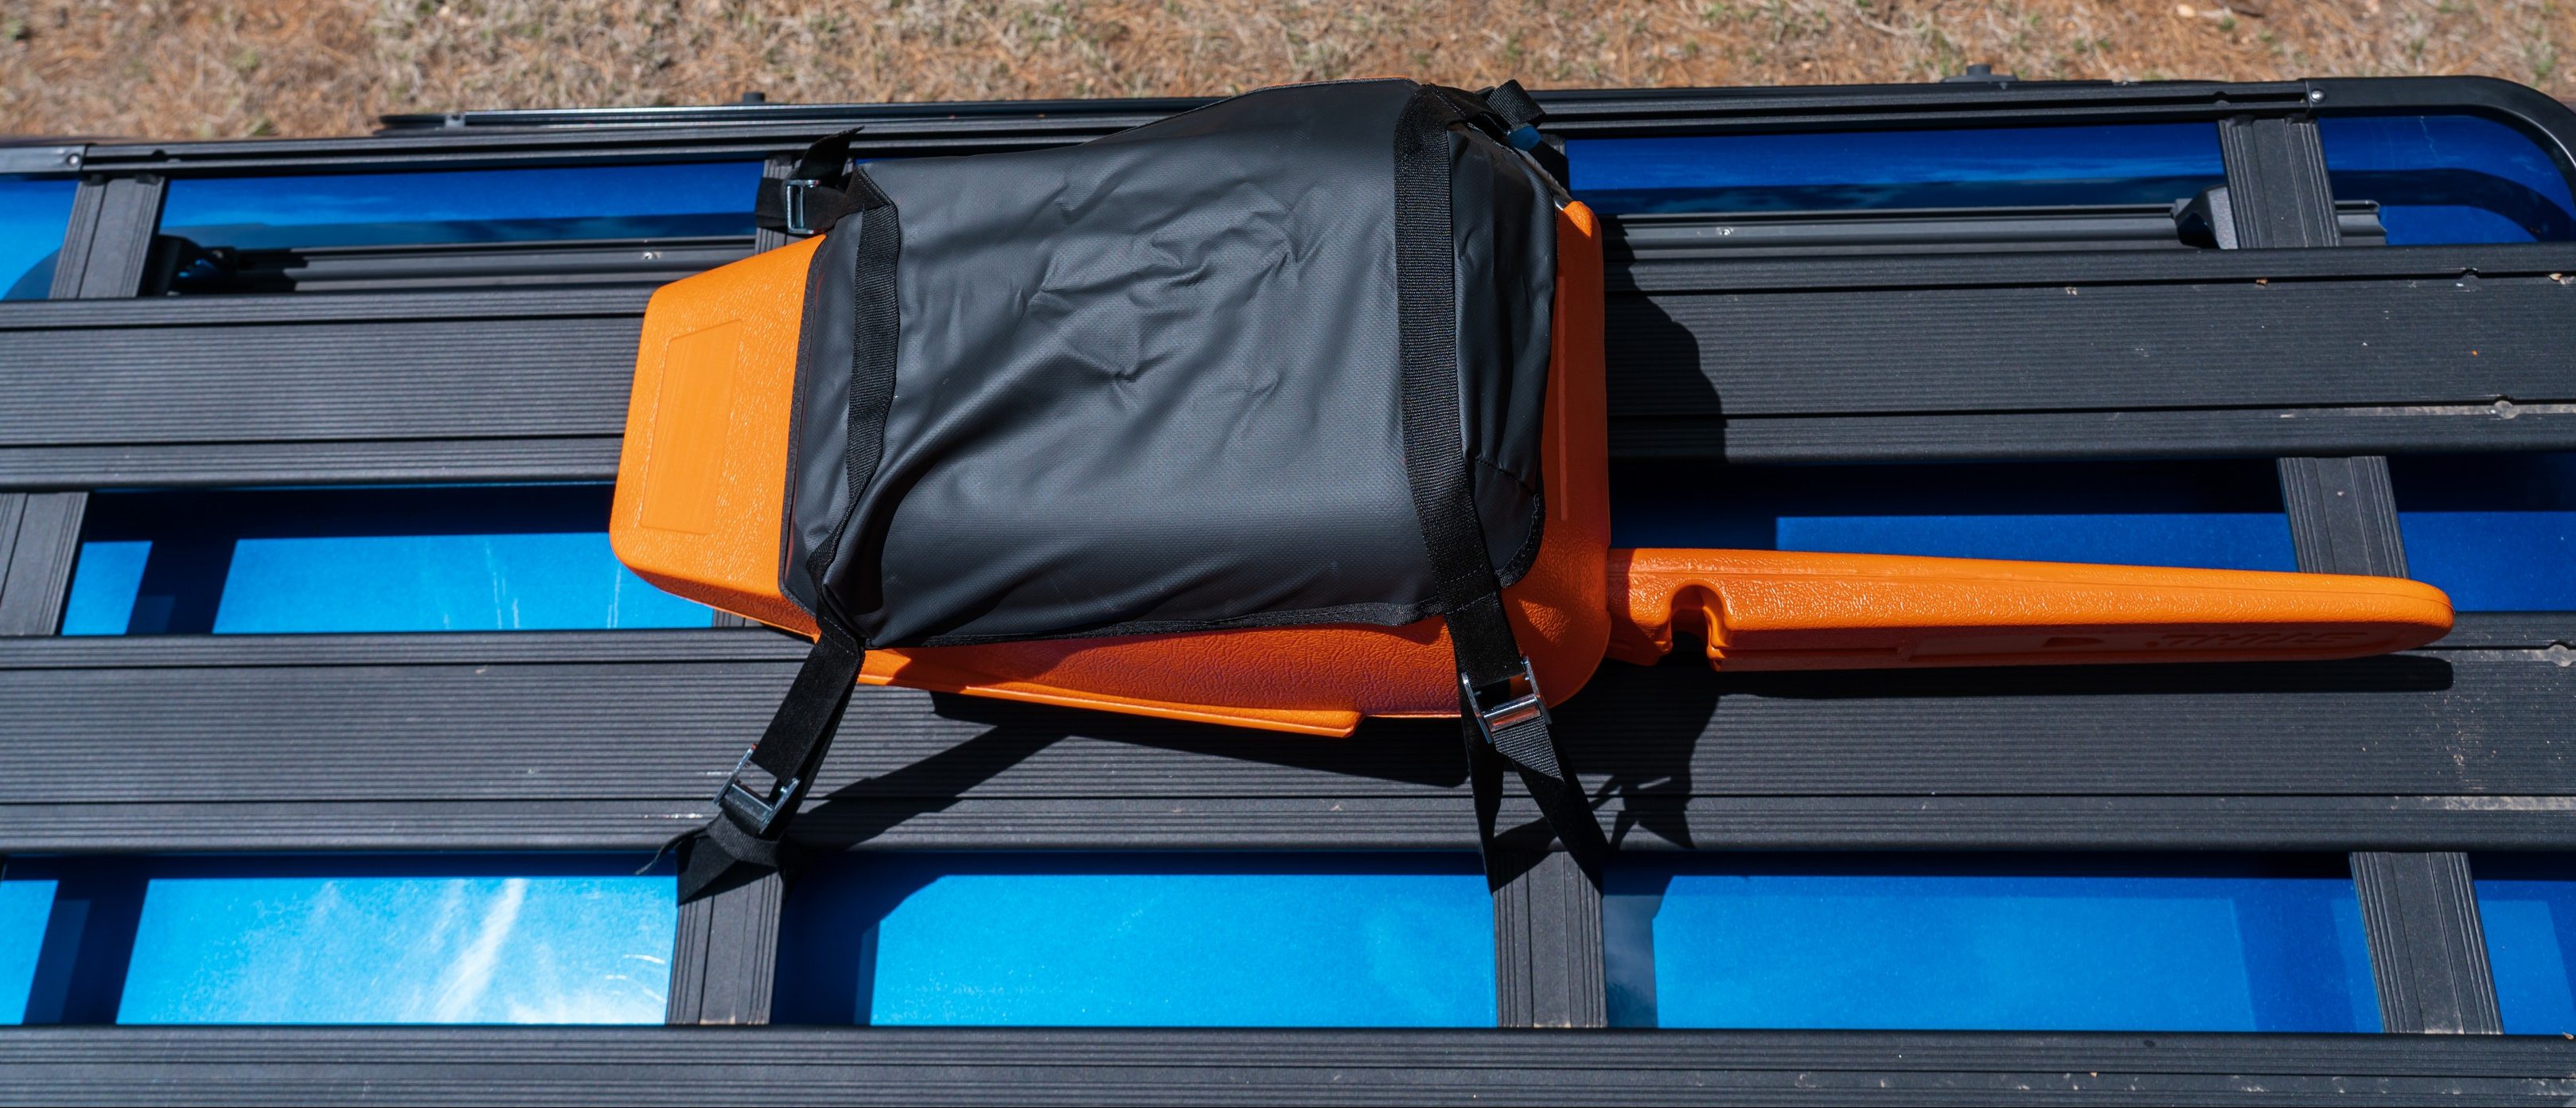
Securing the chainsaw bra takes less than a couple of minutes, and after you’ve figured out the best strap placement on your rig, the process is even faster. With the hard case for my STIHL saws, I was able to remove only two of the straps to access the saw, so the process is actually faster than opening up my camper shell to get my saw out of my truck bed. When cinched down, the chainsaw bra holds your saw case (not the actually saw, it will move within your case) perfectly tight, and no amount of go-fast driving was able to loosen the cam straps or the saw case. The only downside to carrying your saw up on your roof is that the case isn’t waterproof, so if you’re going to be driving through a ton of rain, beware of the potential for water ingress. Your saw could also be stolen while using the chainsaw bra, so I would encourage you to not let your saw live on your vehicle’s roof. Yet both of these potential issues are found when carrying your saw in your truck bed, and are no fault of the Chainsaw Bra. For what it’s designed to do, the BROG Chainsaw Bra works very well.

For me, Blue Ridge Overland Gear delivered on quality and durability here. Each one of these items has proven to be a highly functional, well made piece of gear that offers ample storage for everything that I would want to have with me. The Tool Bag swallows up a proper mechanics tool set and then some (match your tools to your rigs – don’t trust that an off the shelf kit will have what you need.) with ease, and it all packs in to one bag that takes up a fraction of the space of a blow molded case. The LFAK allowed me to create and organize a robust first aid kit that I know is stocked for what I’m trained to treat. Just like the Tool Bag, the pouch system (with added label tape) has proven to be a great way to subdivide your kits into the items you need and makes it easy to access said items. Both of these bags have held up great so far, and I expect them to last for many years. Likewise, the Chainsaw Bra does a great job securing a saw in a protective case that keeps it from rolling around, and it’s become my go to method for carrying a saw.
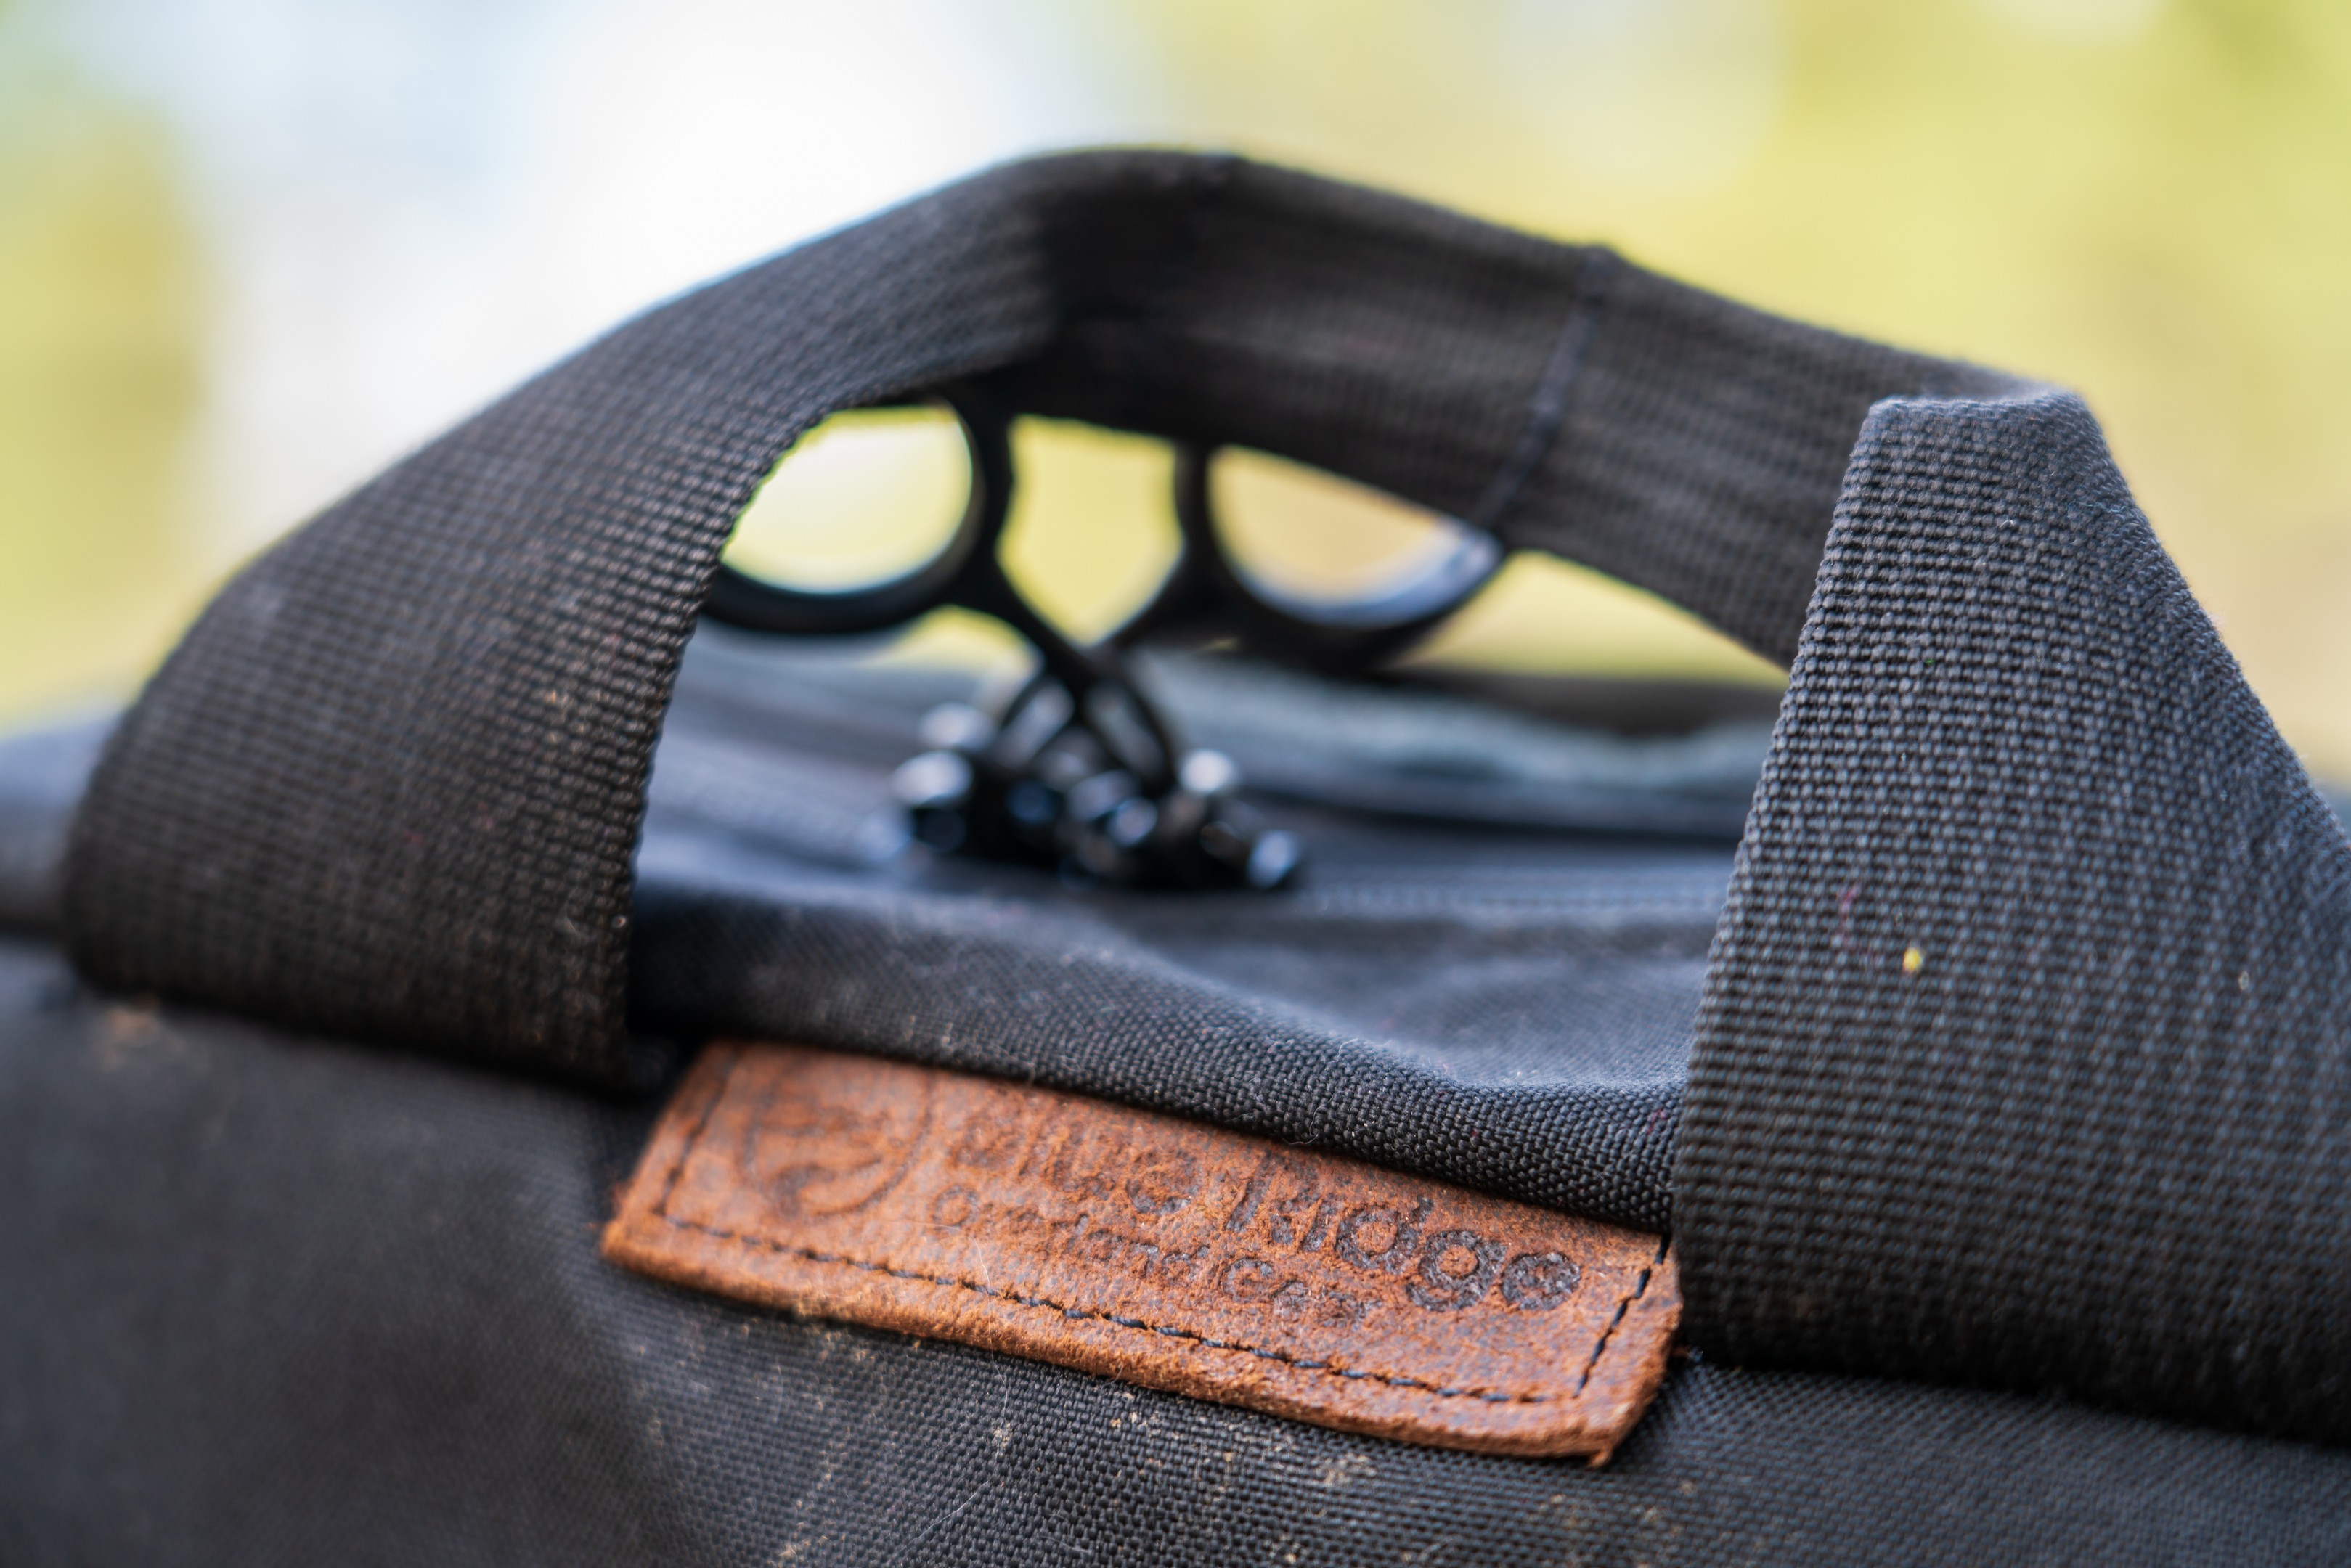 There’s no shortage of cheap bags and cases out there, and it’s been my experience that you get what you pay for. With BROG, you’re getting handmade gear that’s designed by a team of folks who are clearly putting some thought and effort into functional, made in USA gear that is going to last. I think the last line of their warranty sums the company up perfectly: “People who are hard on gear are our kind of people.” Blue Ridge Overland Gear has it all covered, so no matter what you’re trying to find a place for they most likely make something that will help you stay organized no matter how crazy the trail gets.

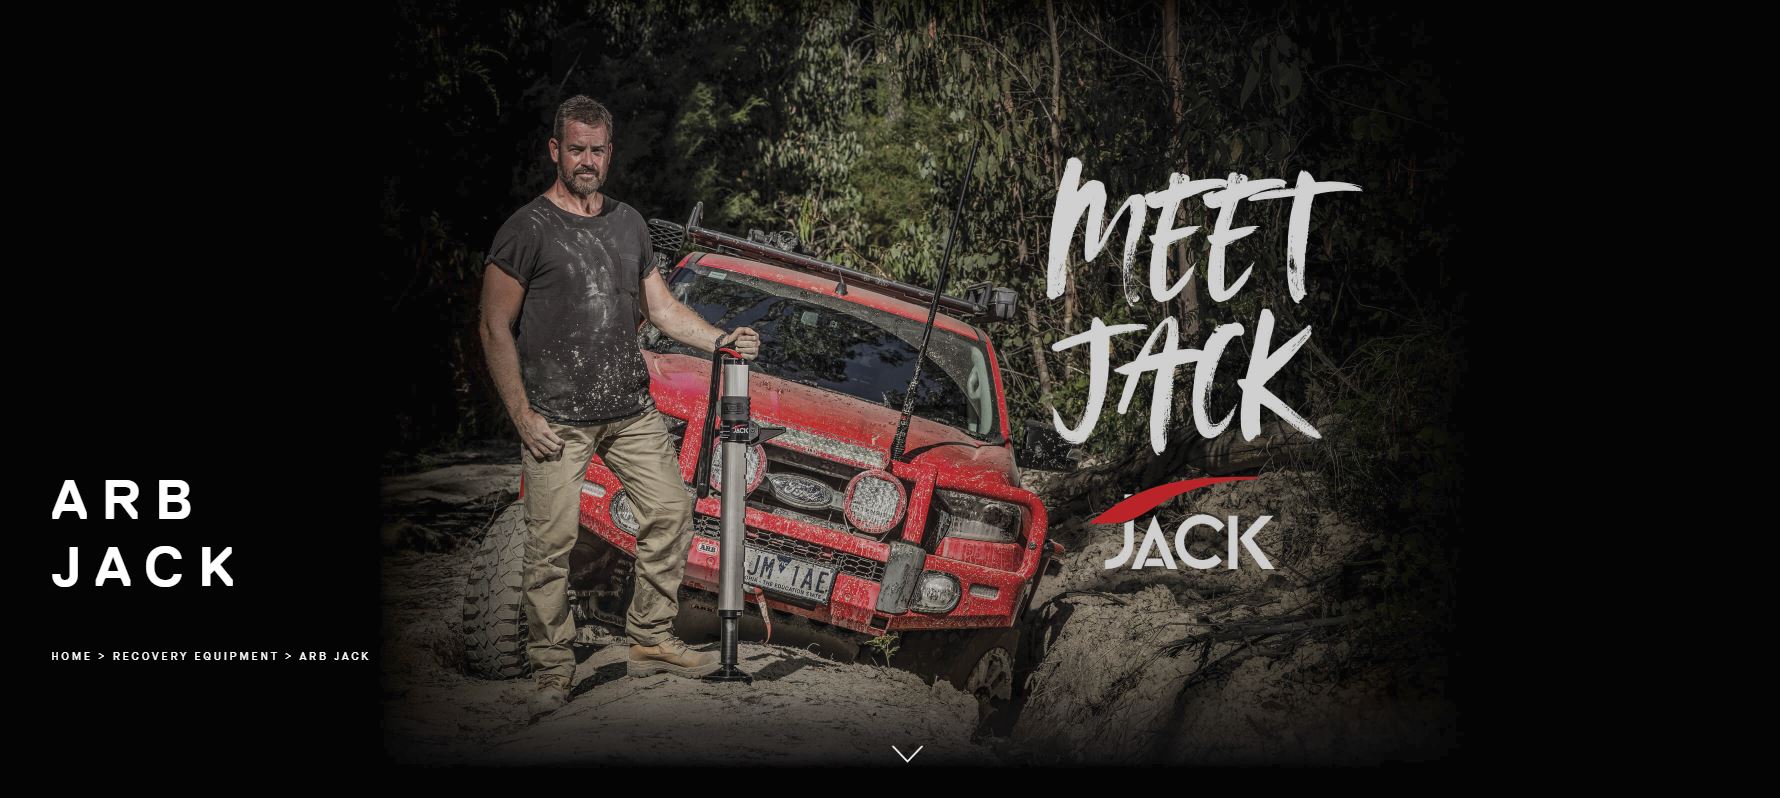 ARB’s JACK competes with the Hi-Lift jack that has been around for more than 100 years, and in that time the Hi-Lift has become the gold standard recovery item that’s carried on all manner of rigs for good reason. A Hi-Lift is a very dynamic tool that can be used in a multitude of ways to help solve all kinds of recovery problems. Unfortunately, many Hi-Lift jacks live their lives exposed to the elements, and the only time these outdoor-dwelling jacks have ever seen lubricant was at the factory. Like any tool that isn’t cared for, a Hi-Lift doesn’t work as well when it’s neglected, and rust build up and/or dry running gear can turn a very capable tool into a boat anchor – and that won’t help you solve a recovery problem
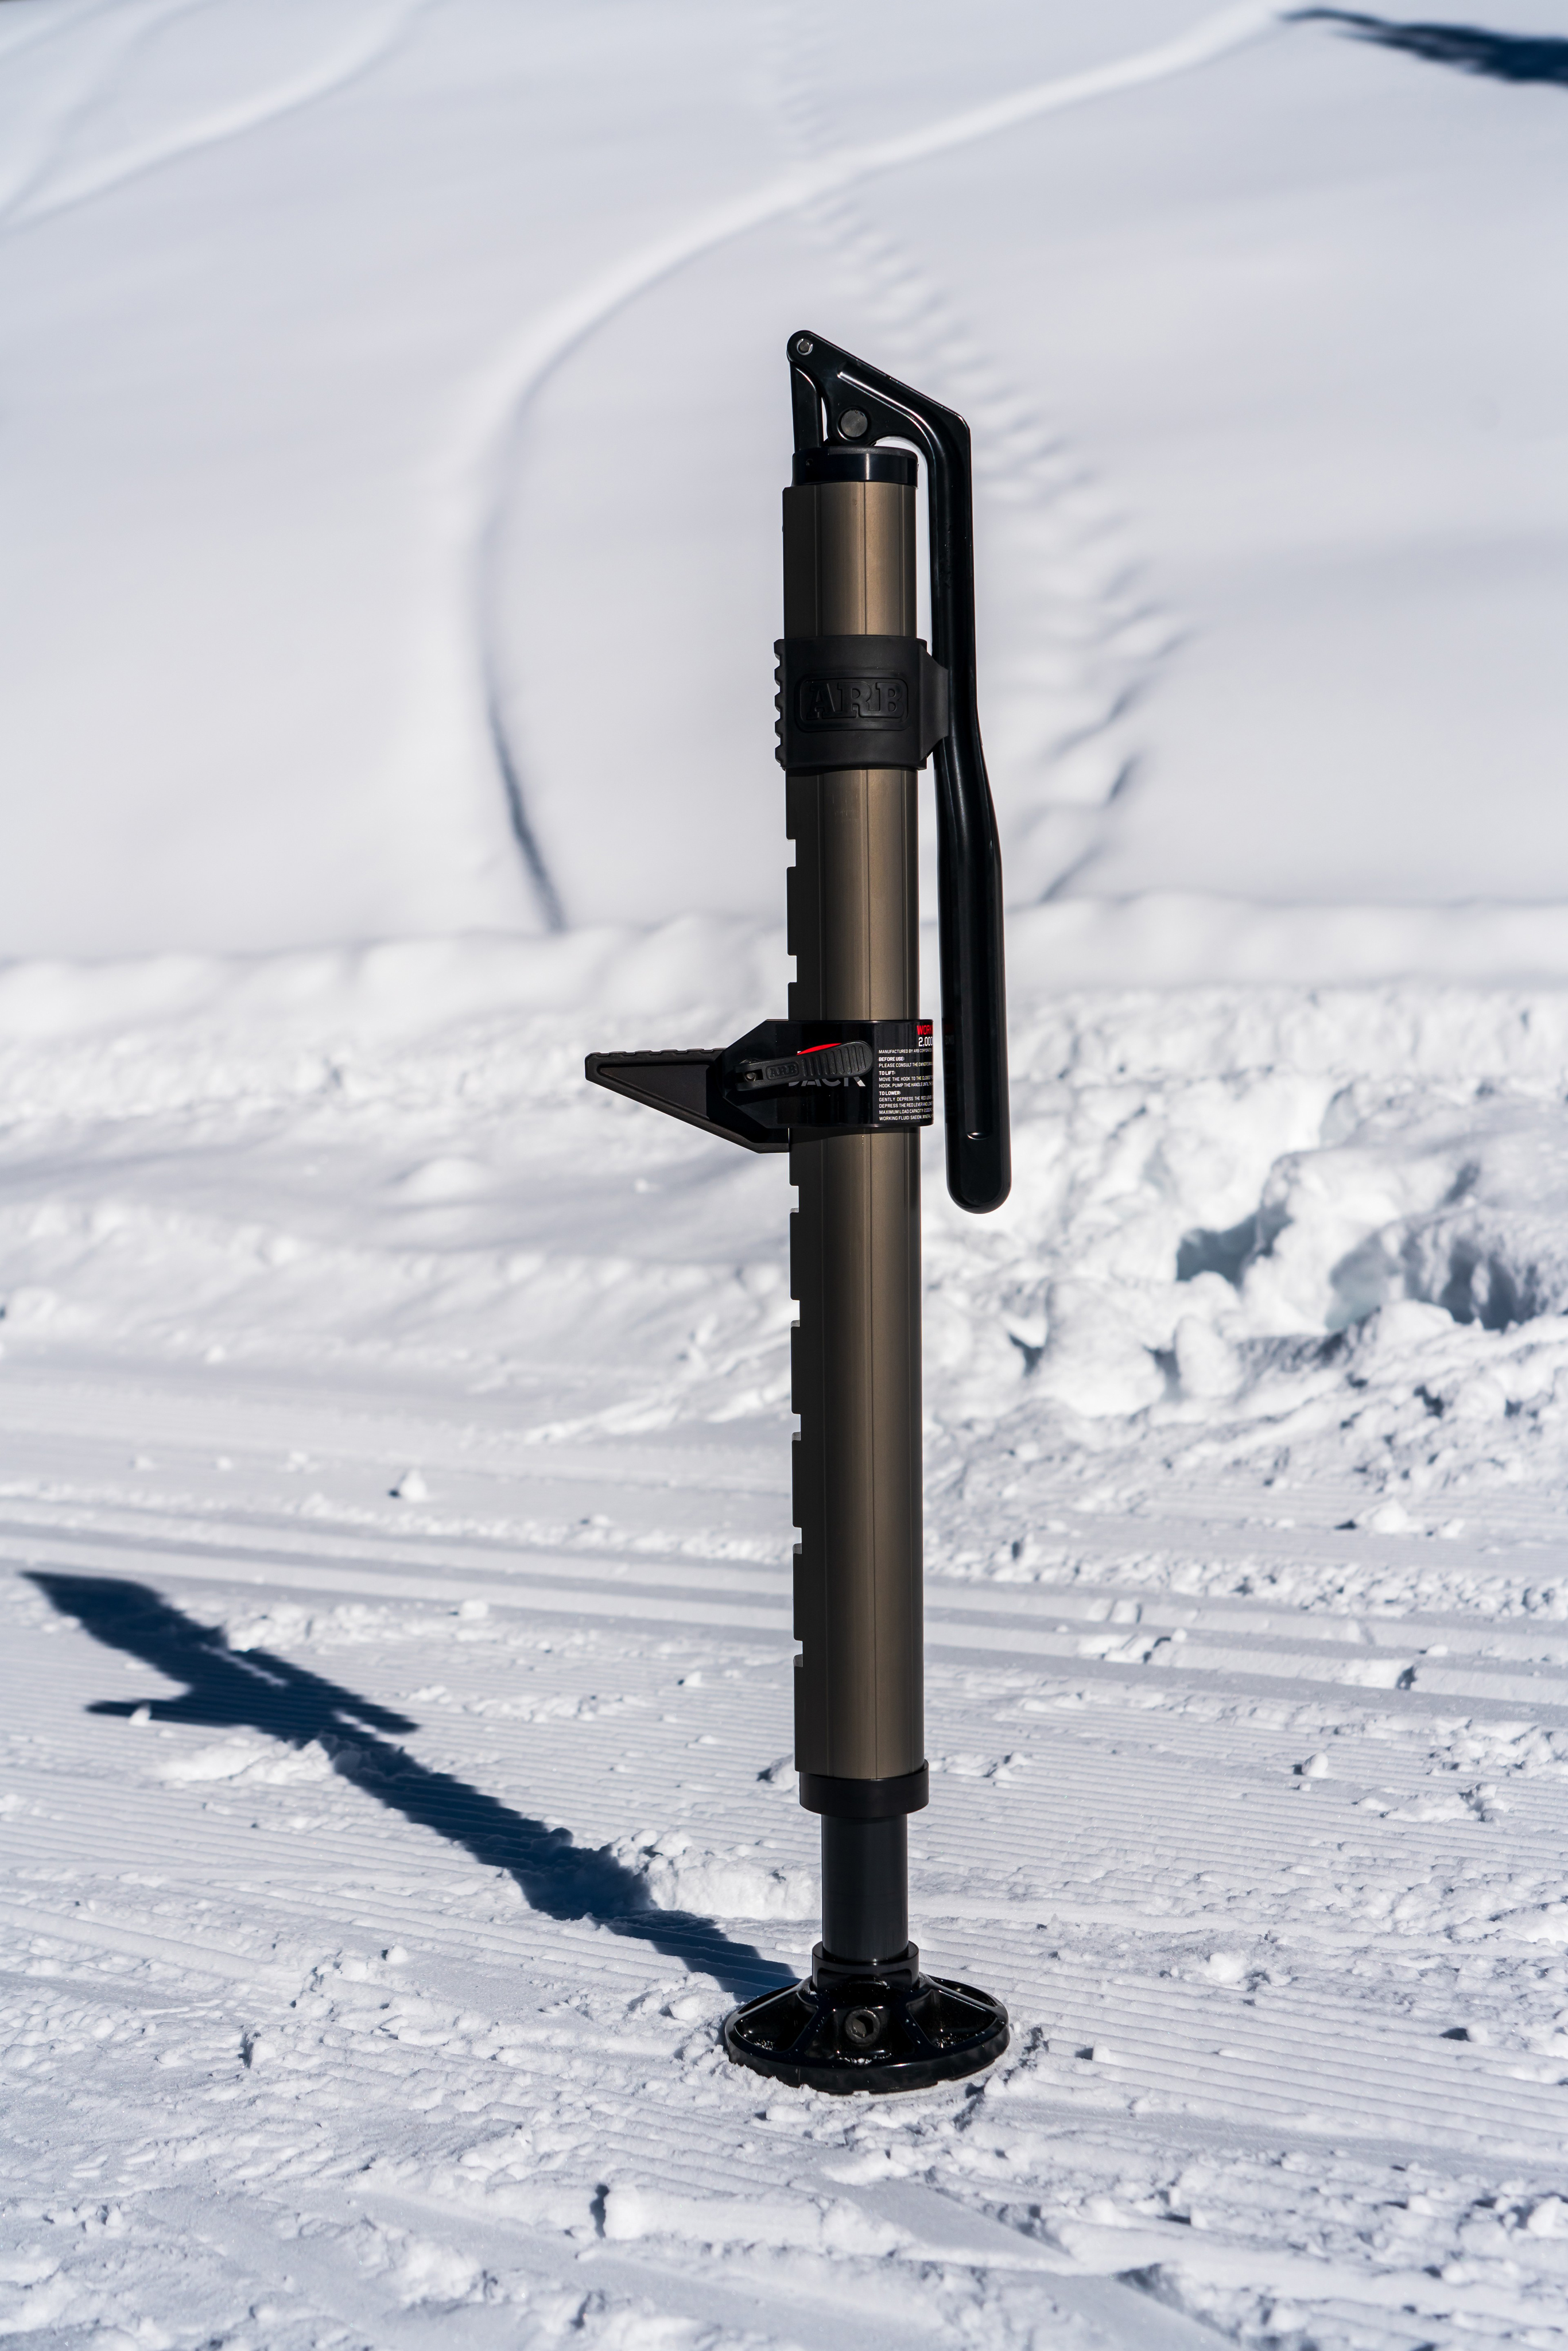
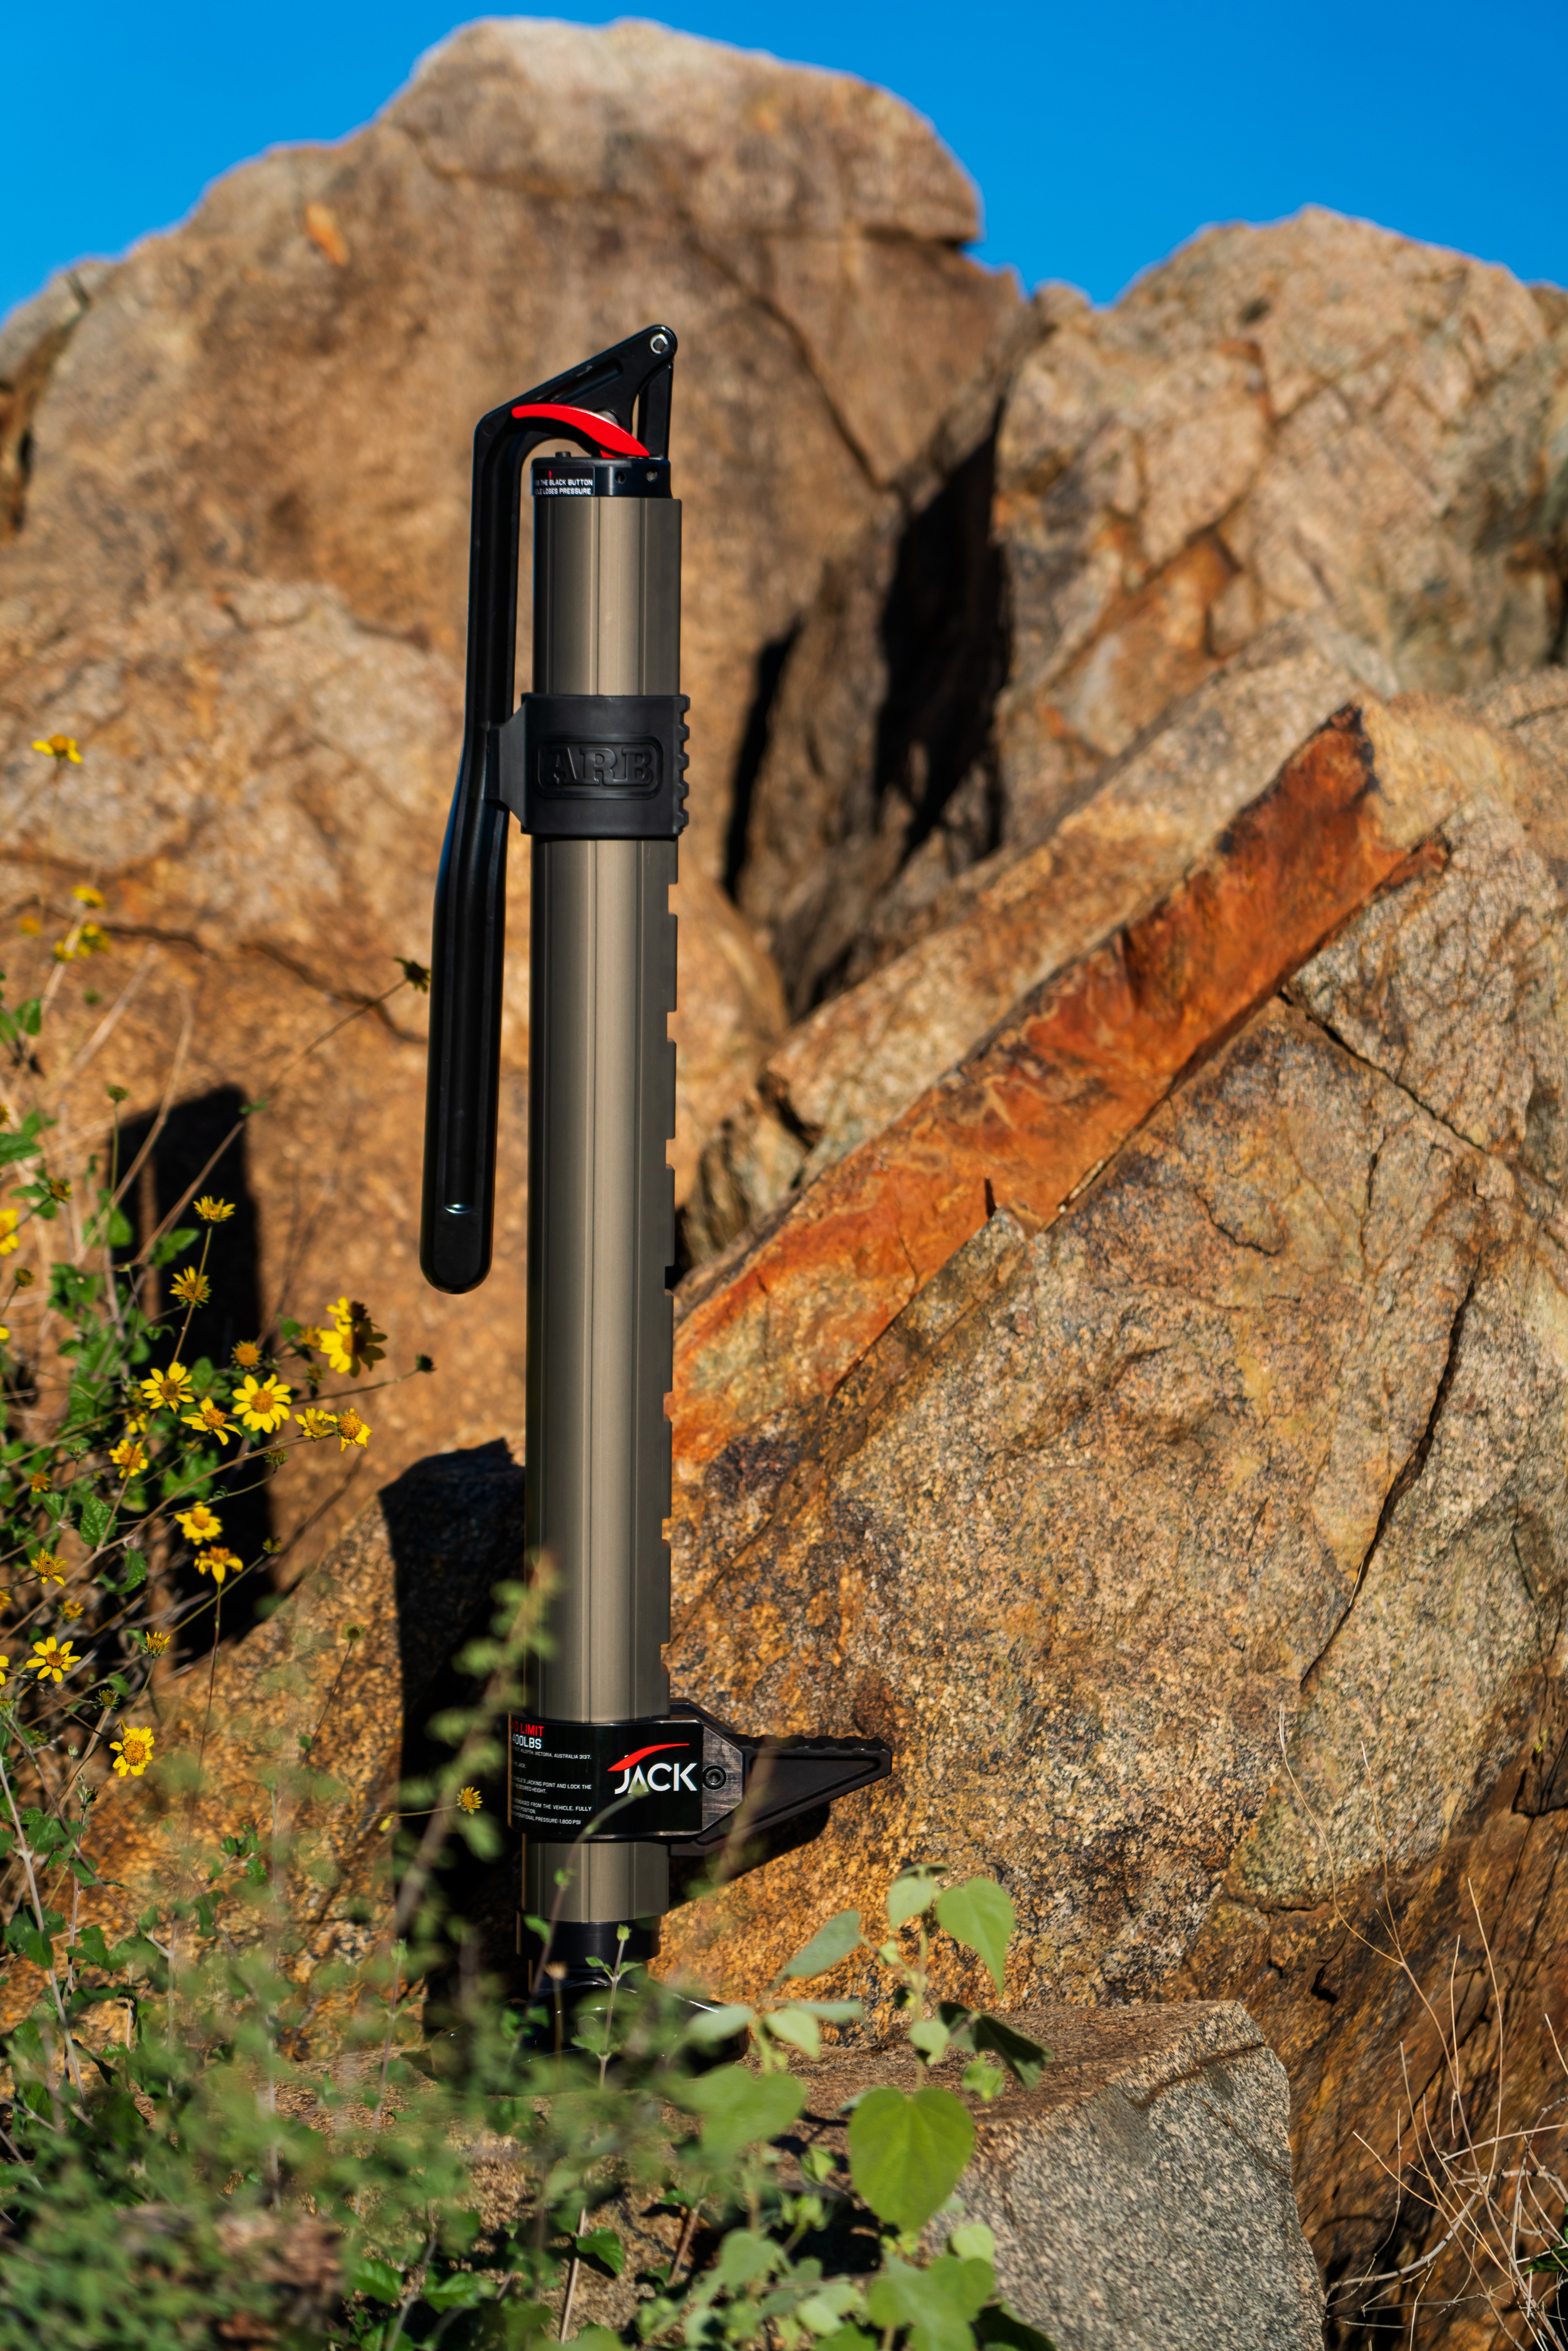
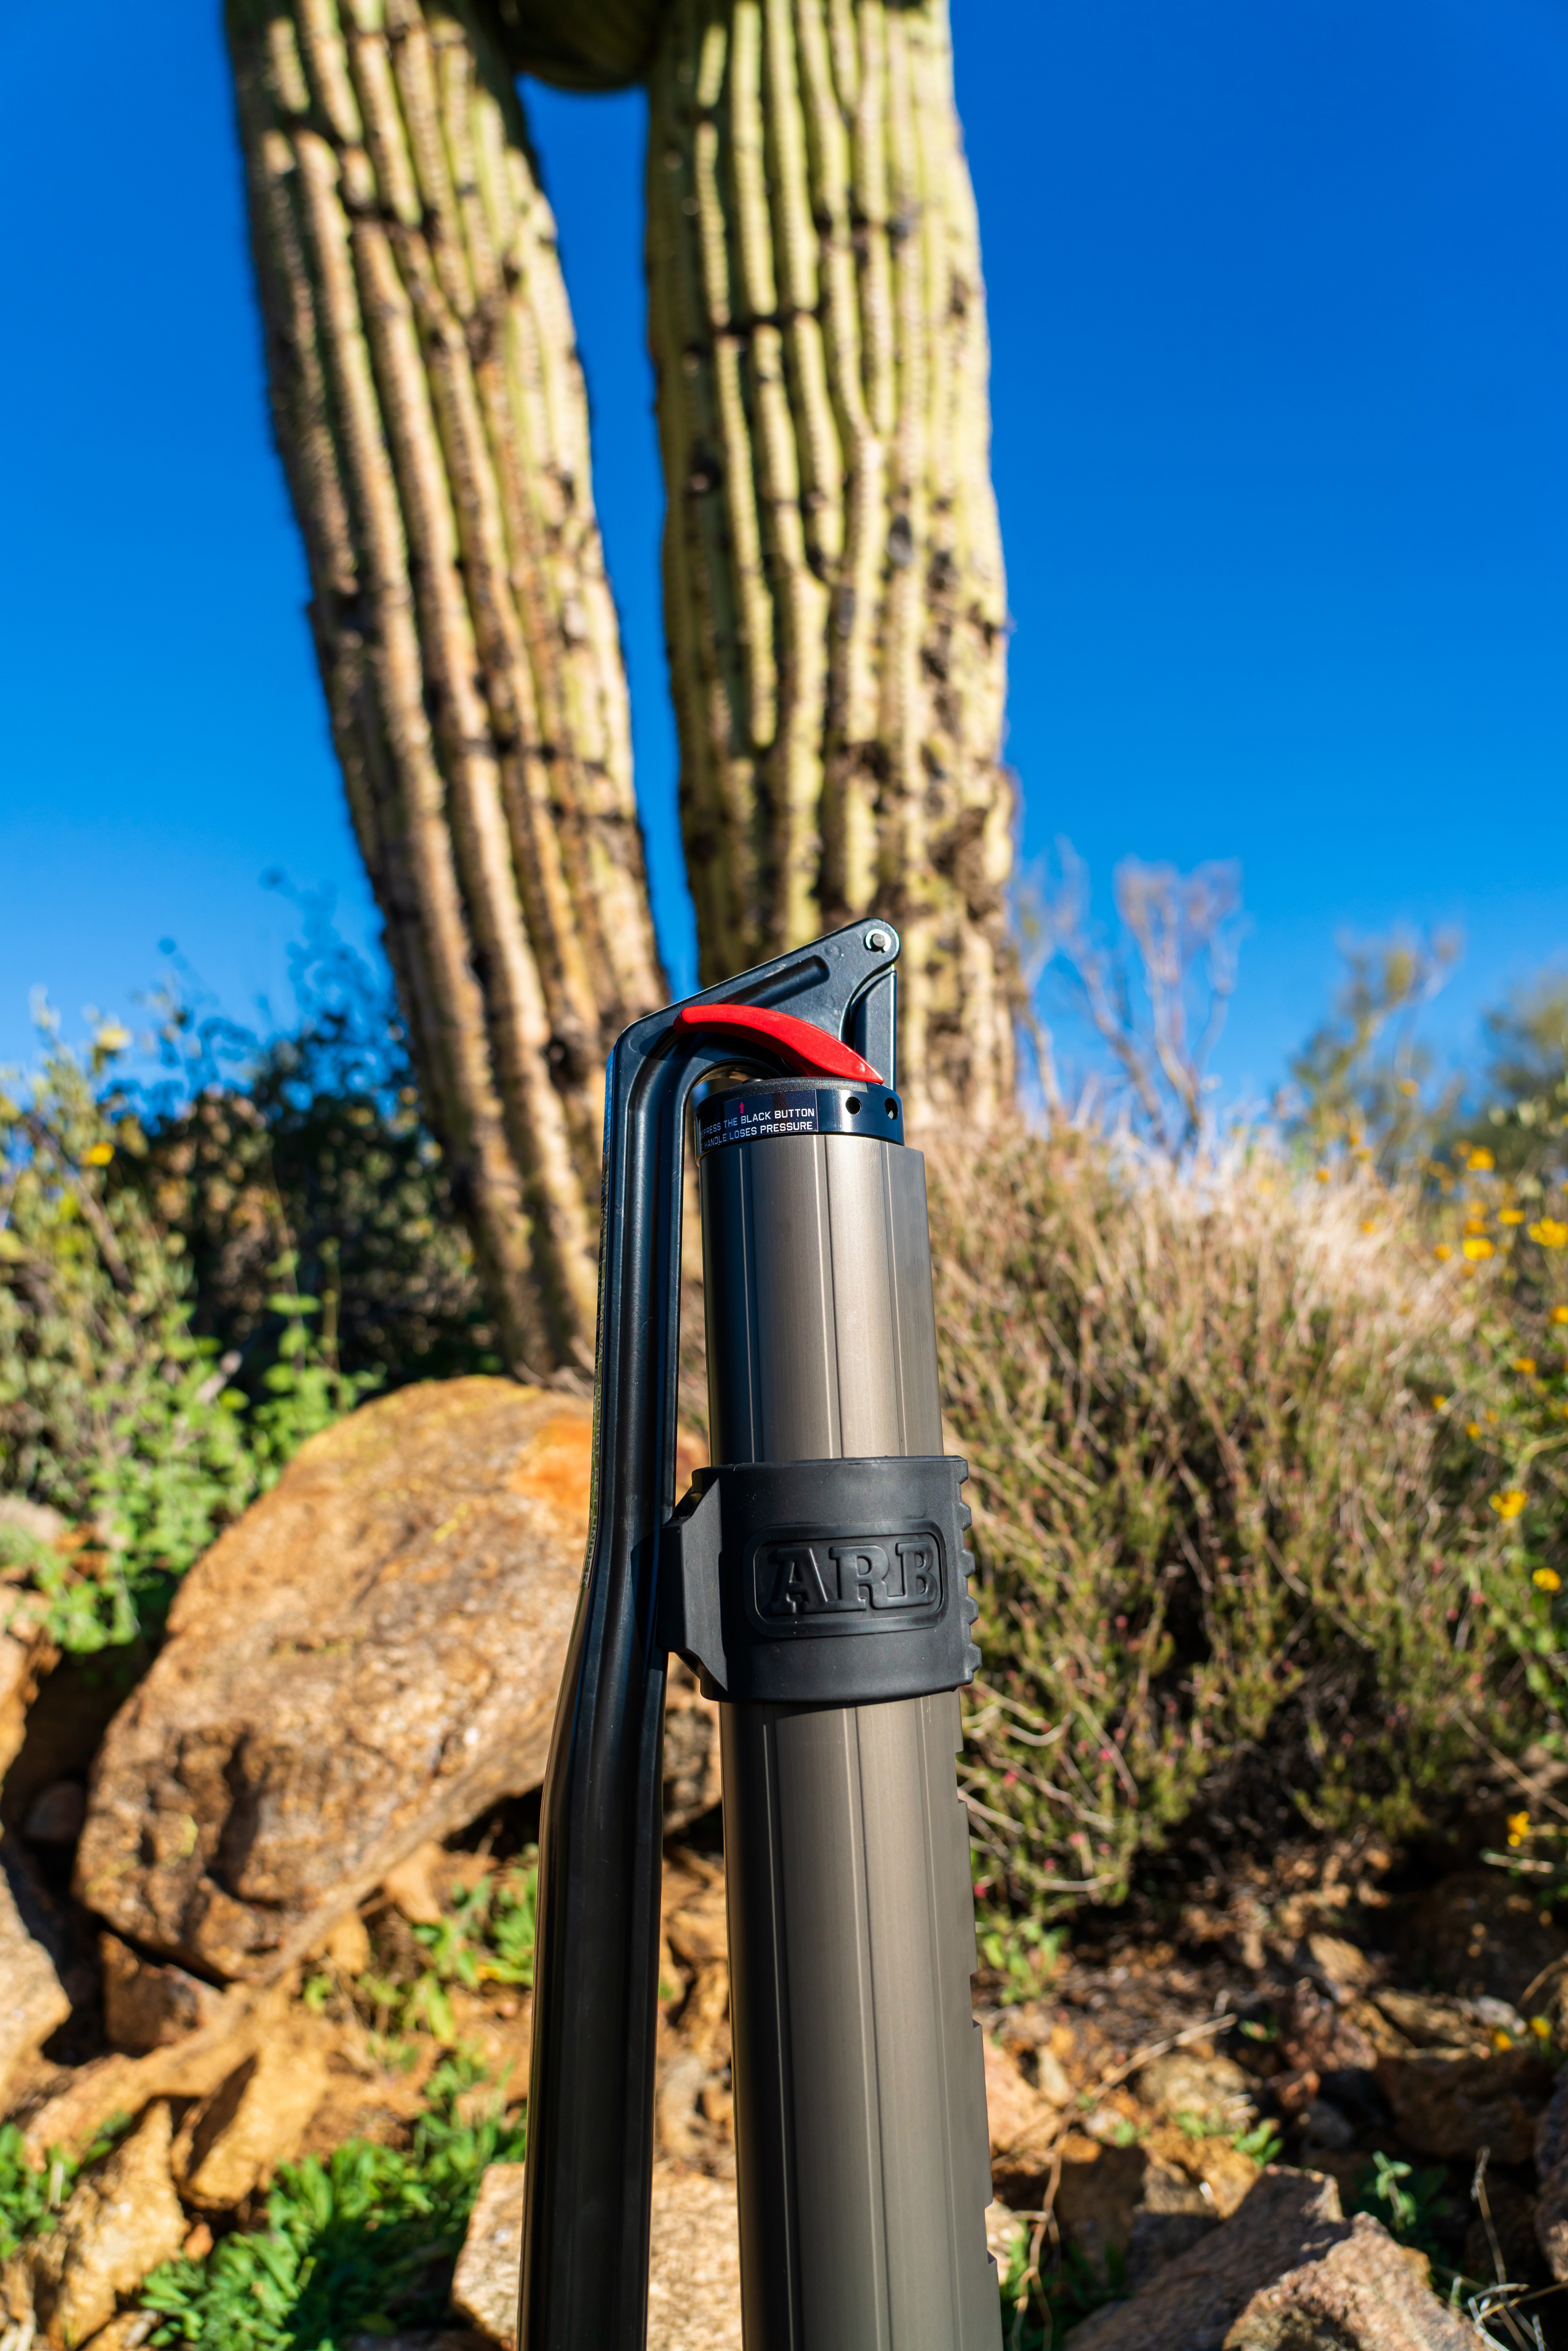
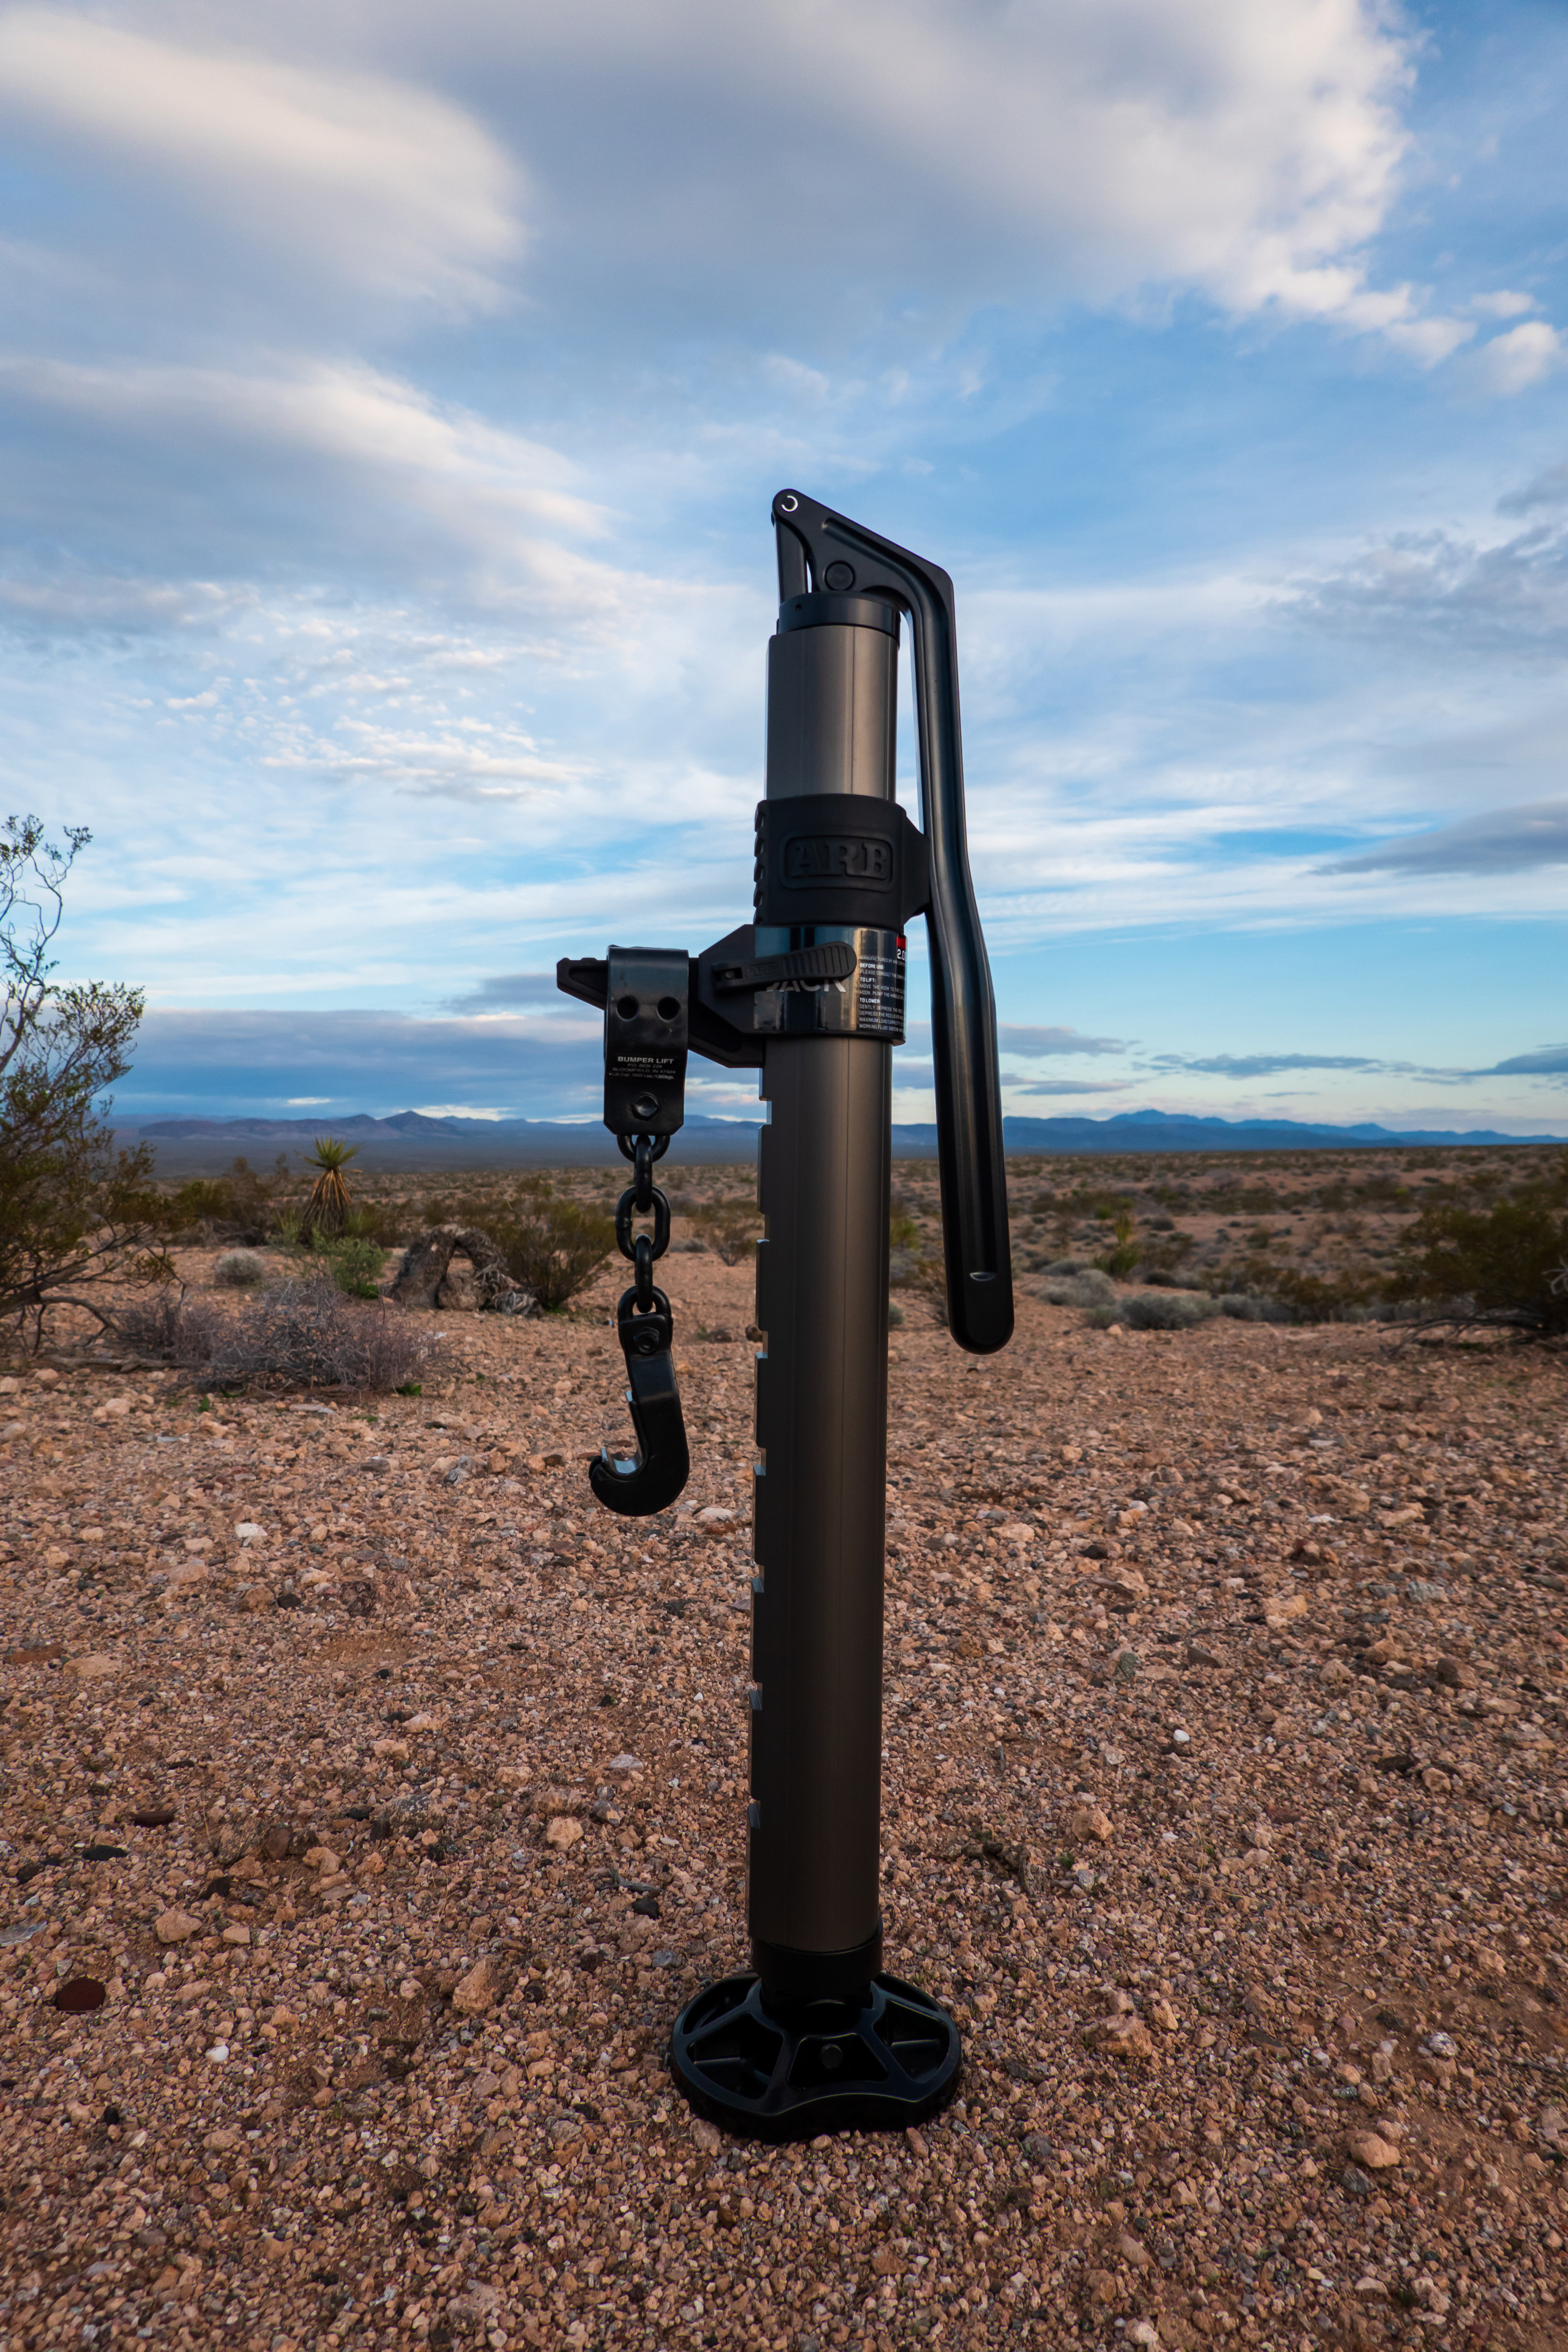
 Folks who are lightweight will really appreciate how much easier it is to use JACK to raise and lower a load compared to a Hi-Lift jack where the operator is the weight imparted on the lever that causes the Hi-Lift’s running gear to climb or descend the standard bar. JACK also lets you make much more finite and precise adjustments to load height, as opposed to the Hi-Lift which is limited to the spacing of the holes in the standard bar. Then there’s the weight and packed size of JACK to consider – JACK may look big and imposing in photographs, but he packs up to a compact 36 inches long and weighs in at 23 pounds which is roughly 7 pounds less than a 48-inch top-shelf Hi-Lift.

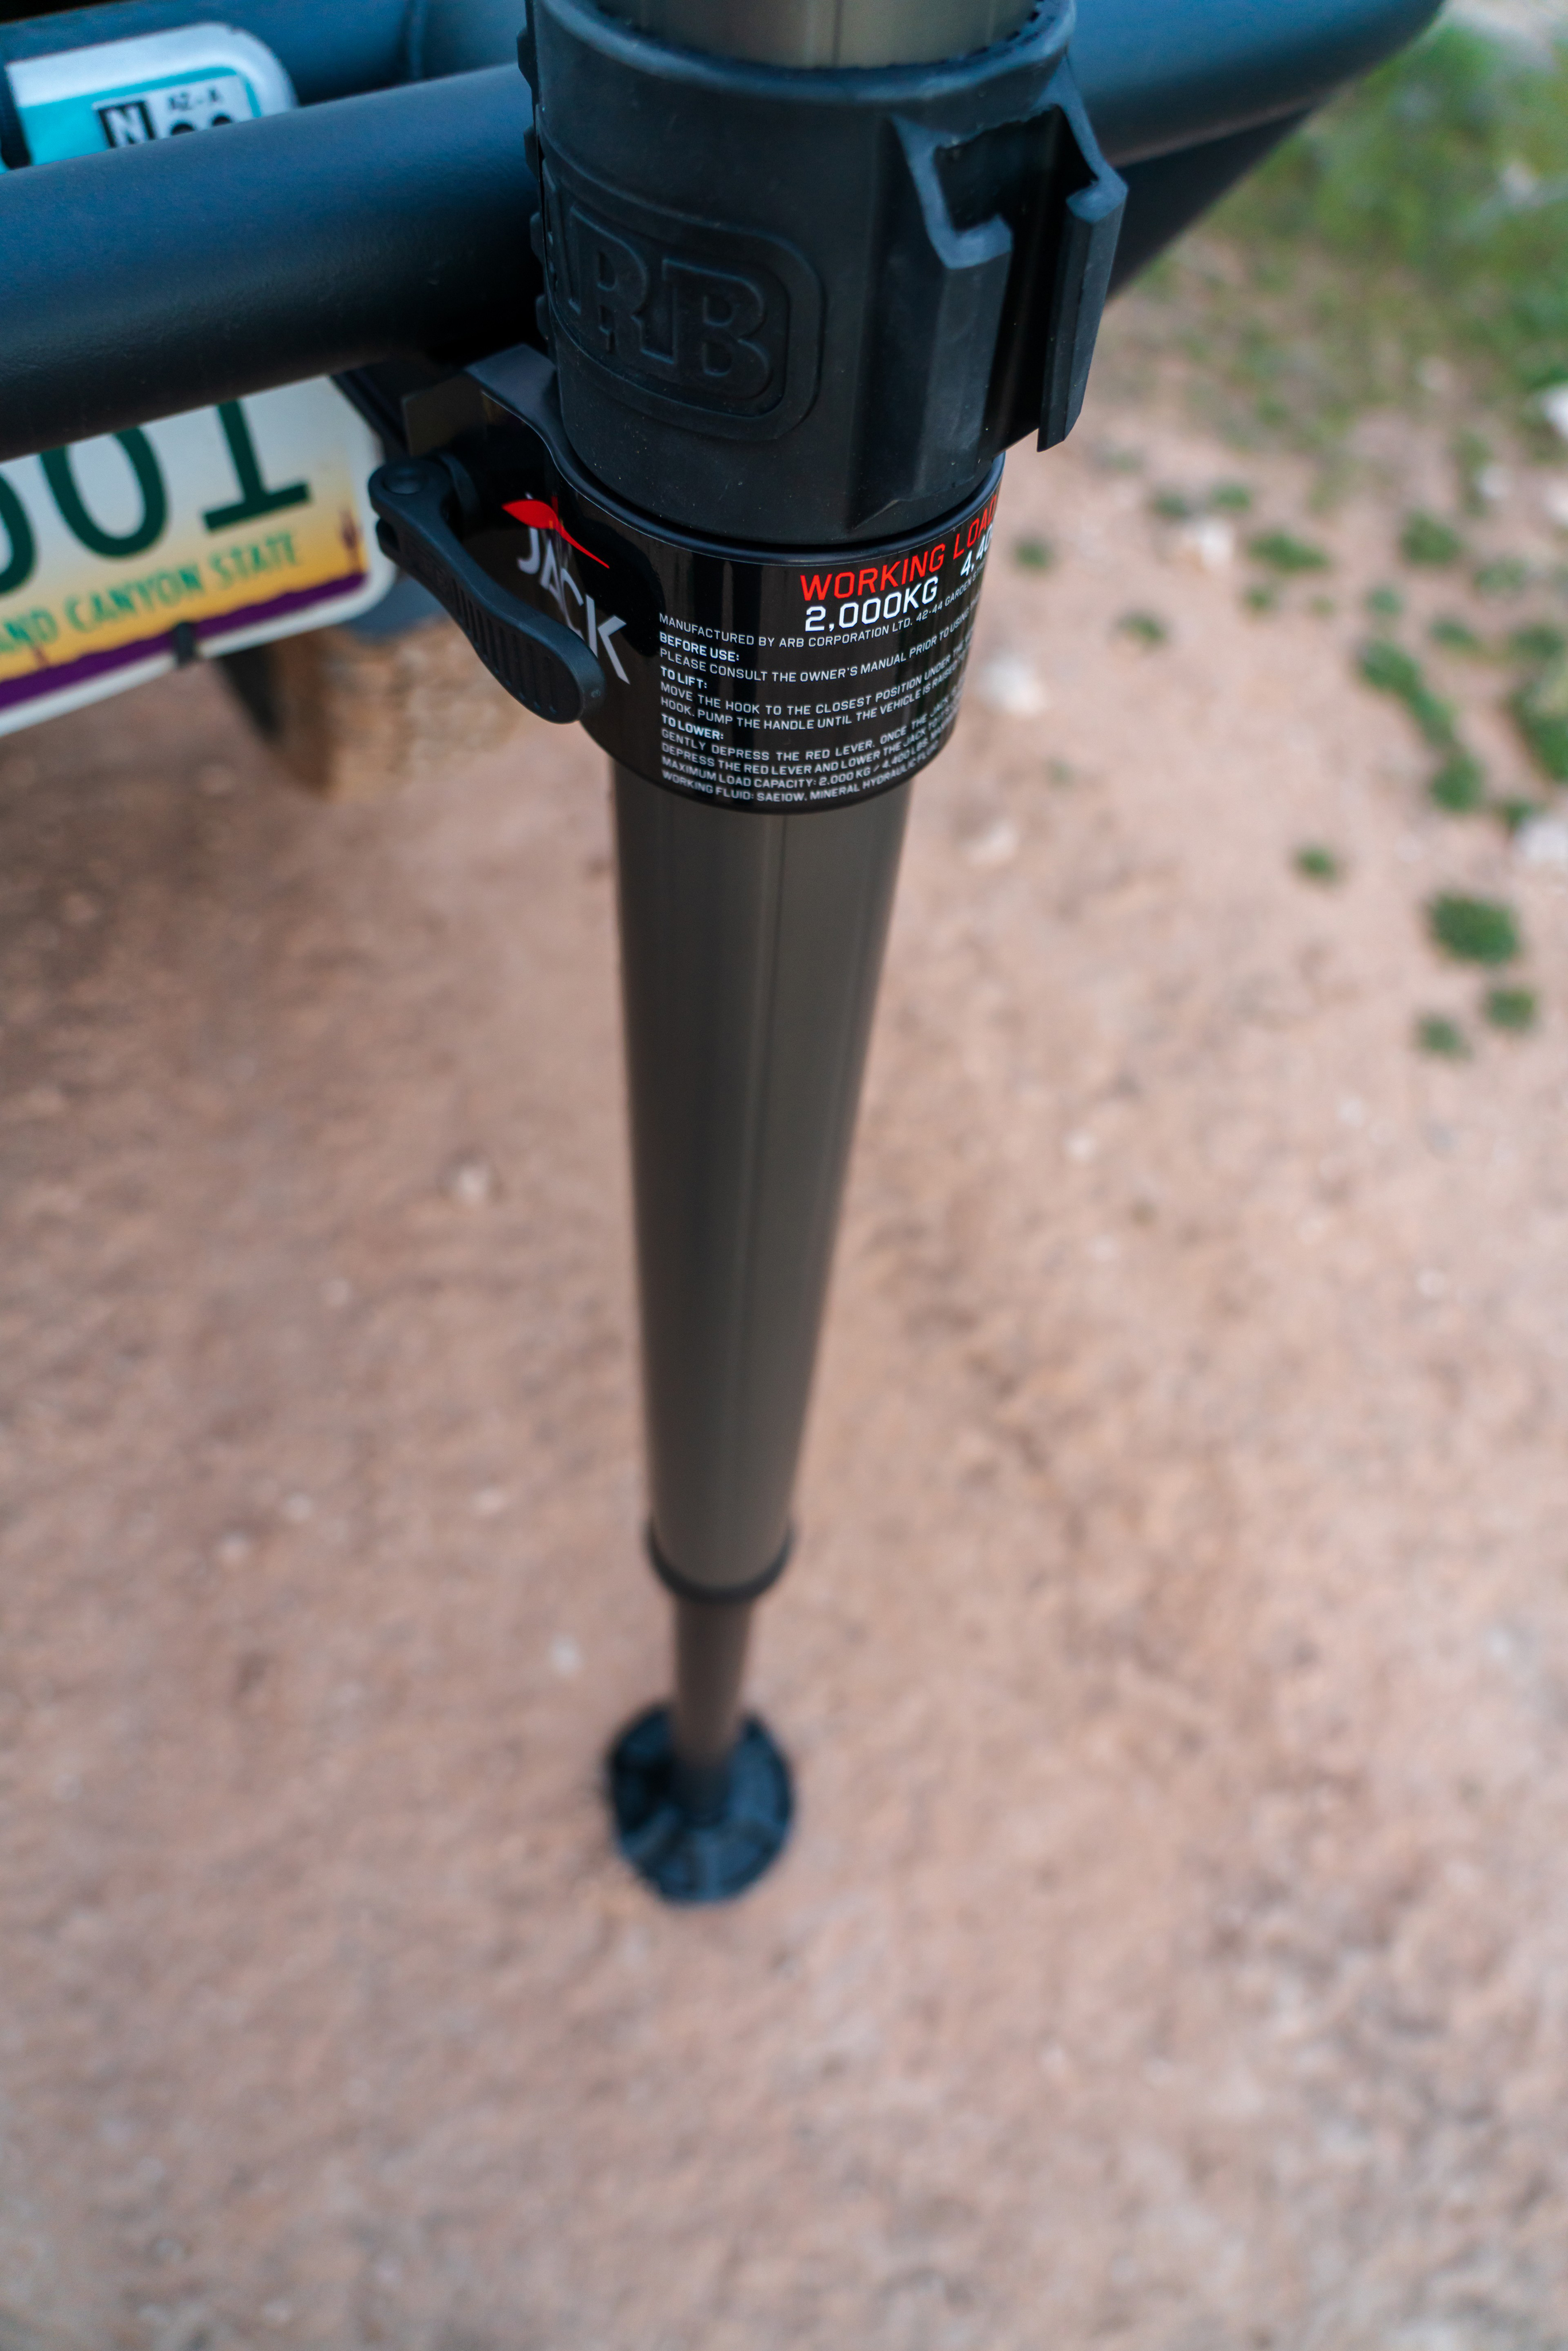

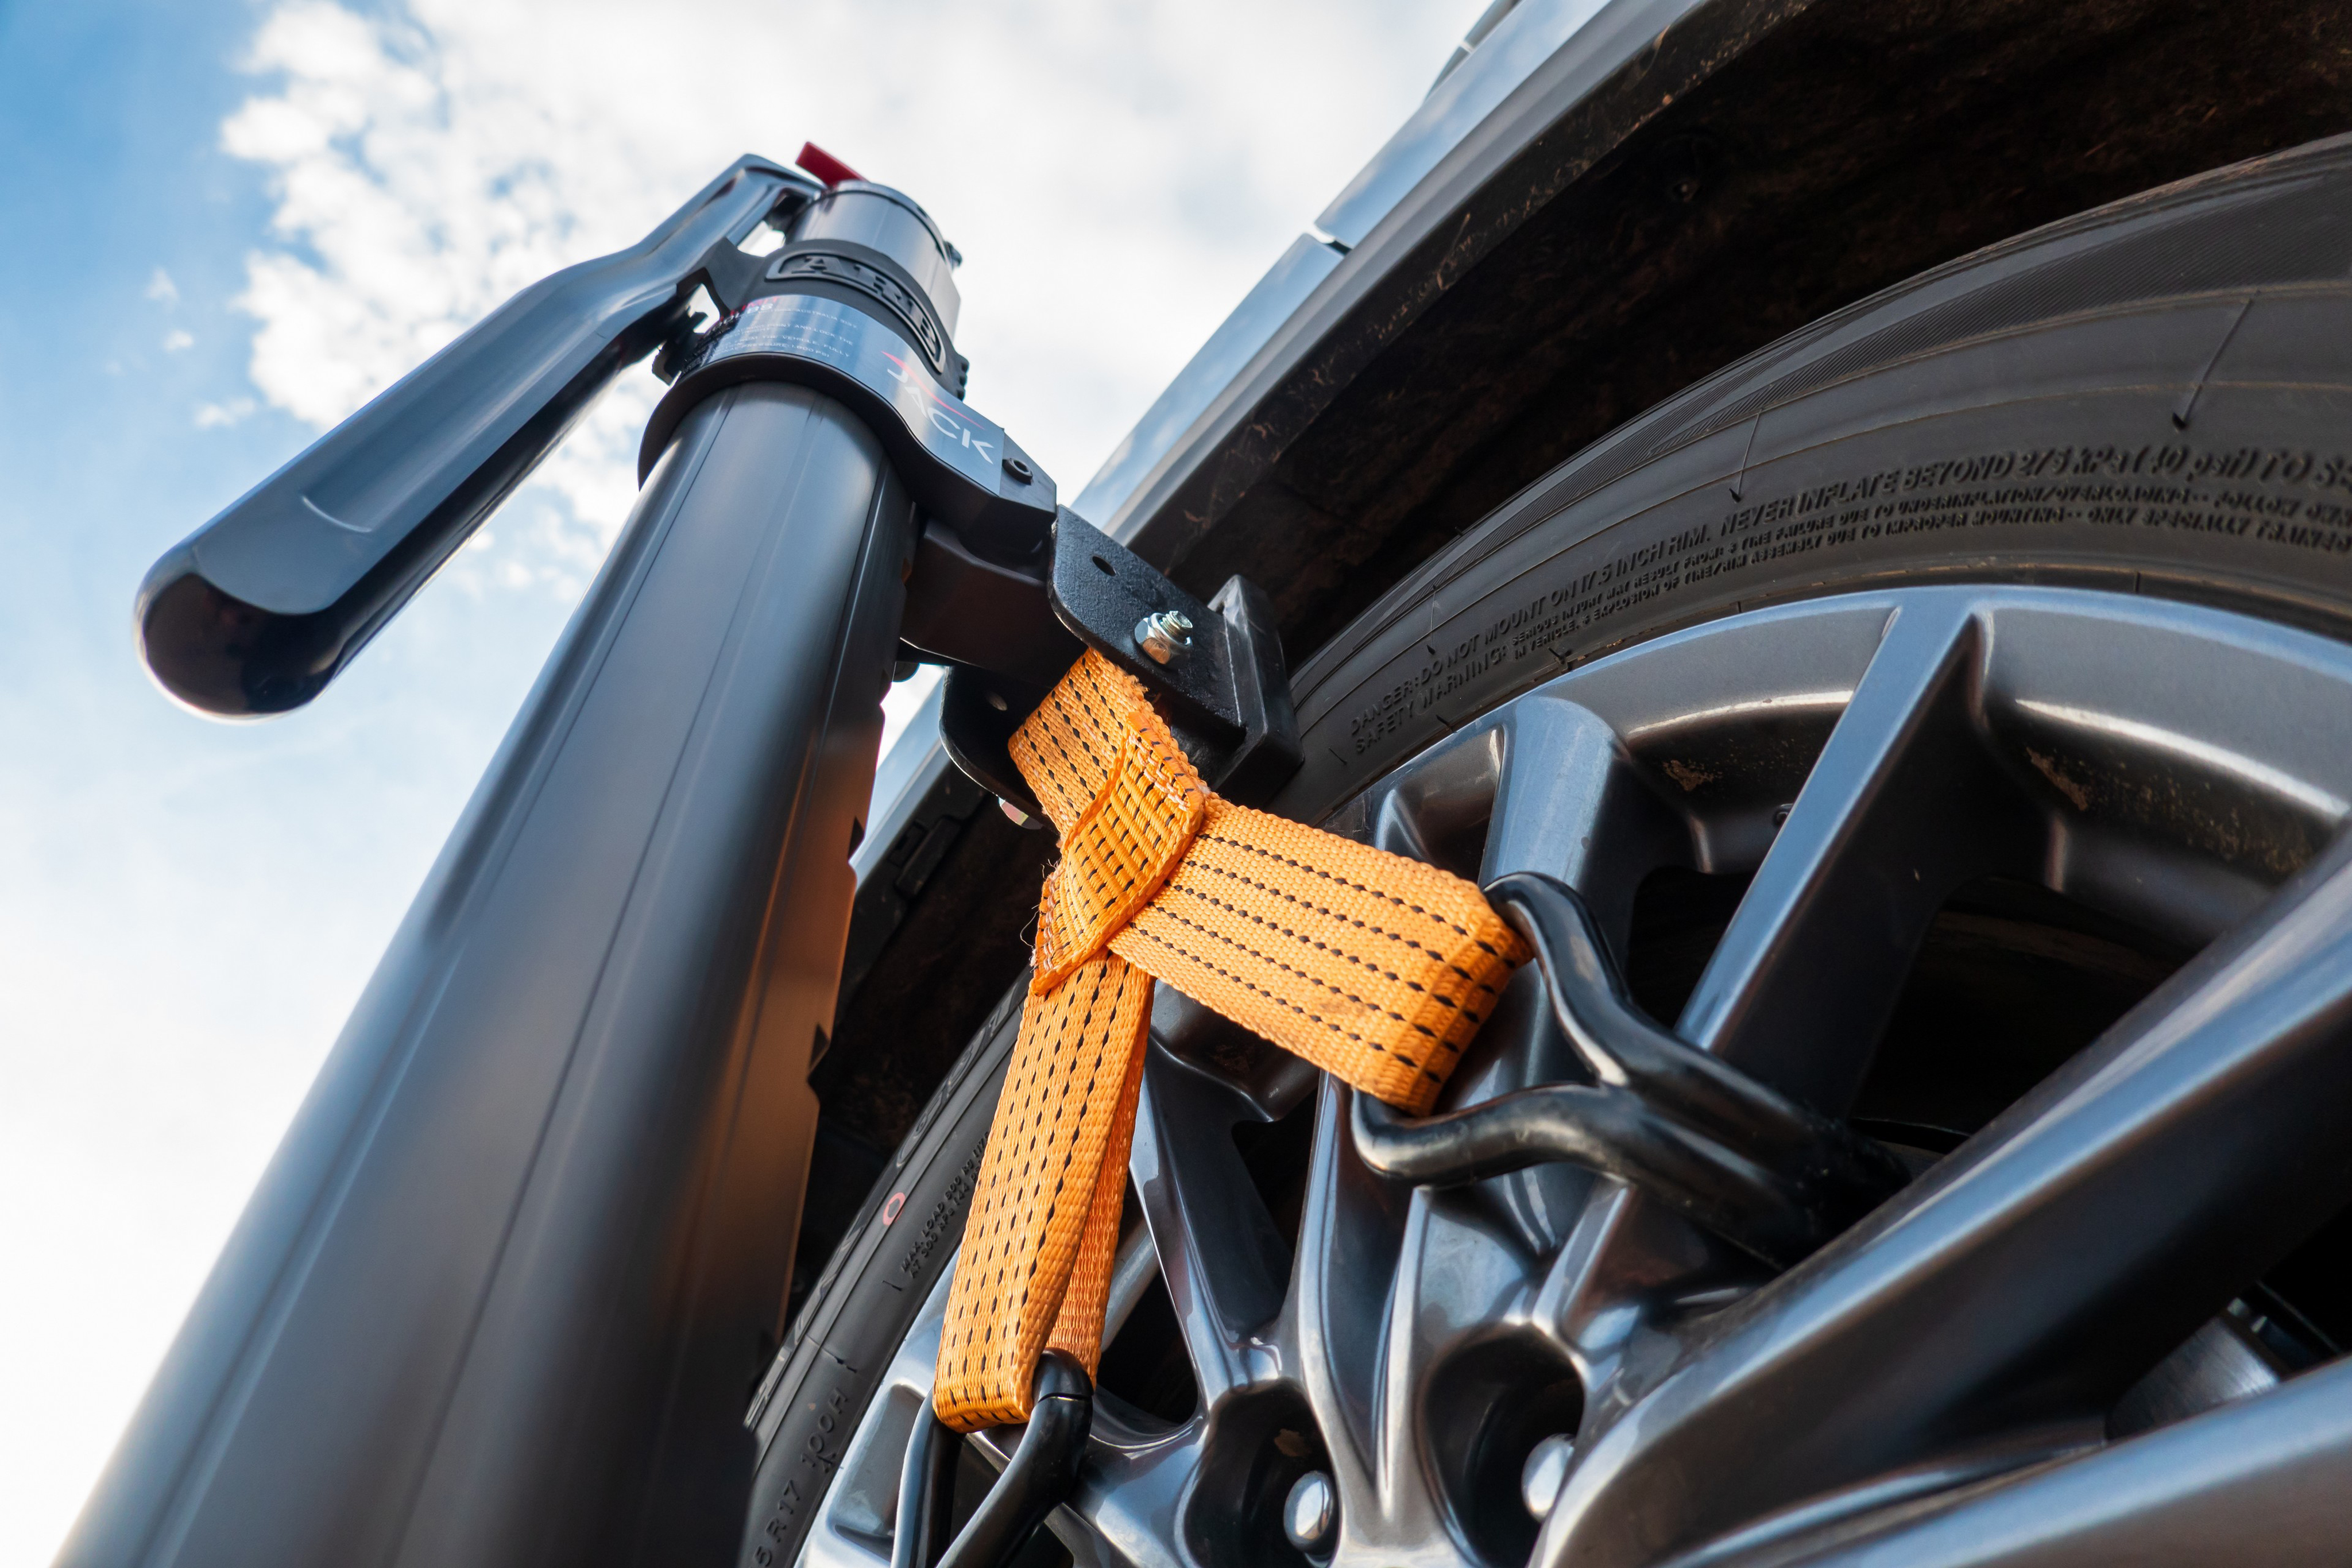 Folks who are well-versed in Hi-Lift will also key-in on the fact that a number of tongue-mounted accessories that work with other recovery devices will also work with JACK. I need to point out though, that if you try and use such accessories, that you can’t blame me if your improvised solution fails and someone gets hurt. JACK has eliminated a number of risk factors over a Hi-Lift jack, but the fact that you’re still lifting thousands of pounds from a single point means that significant risks still exist.
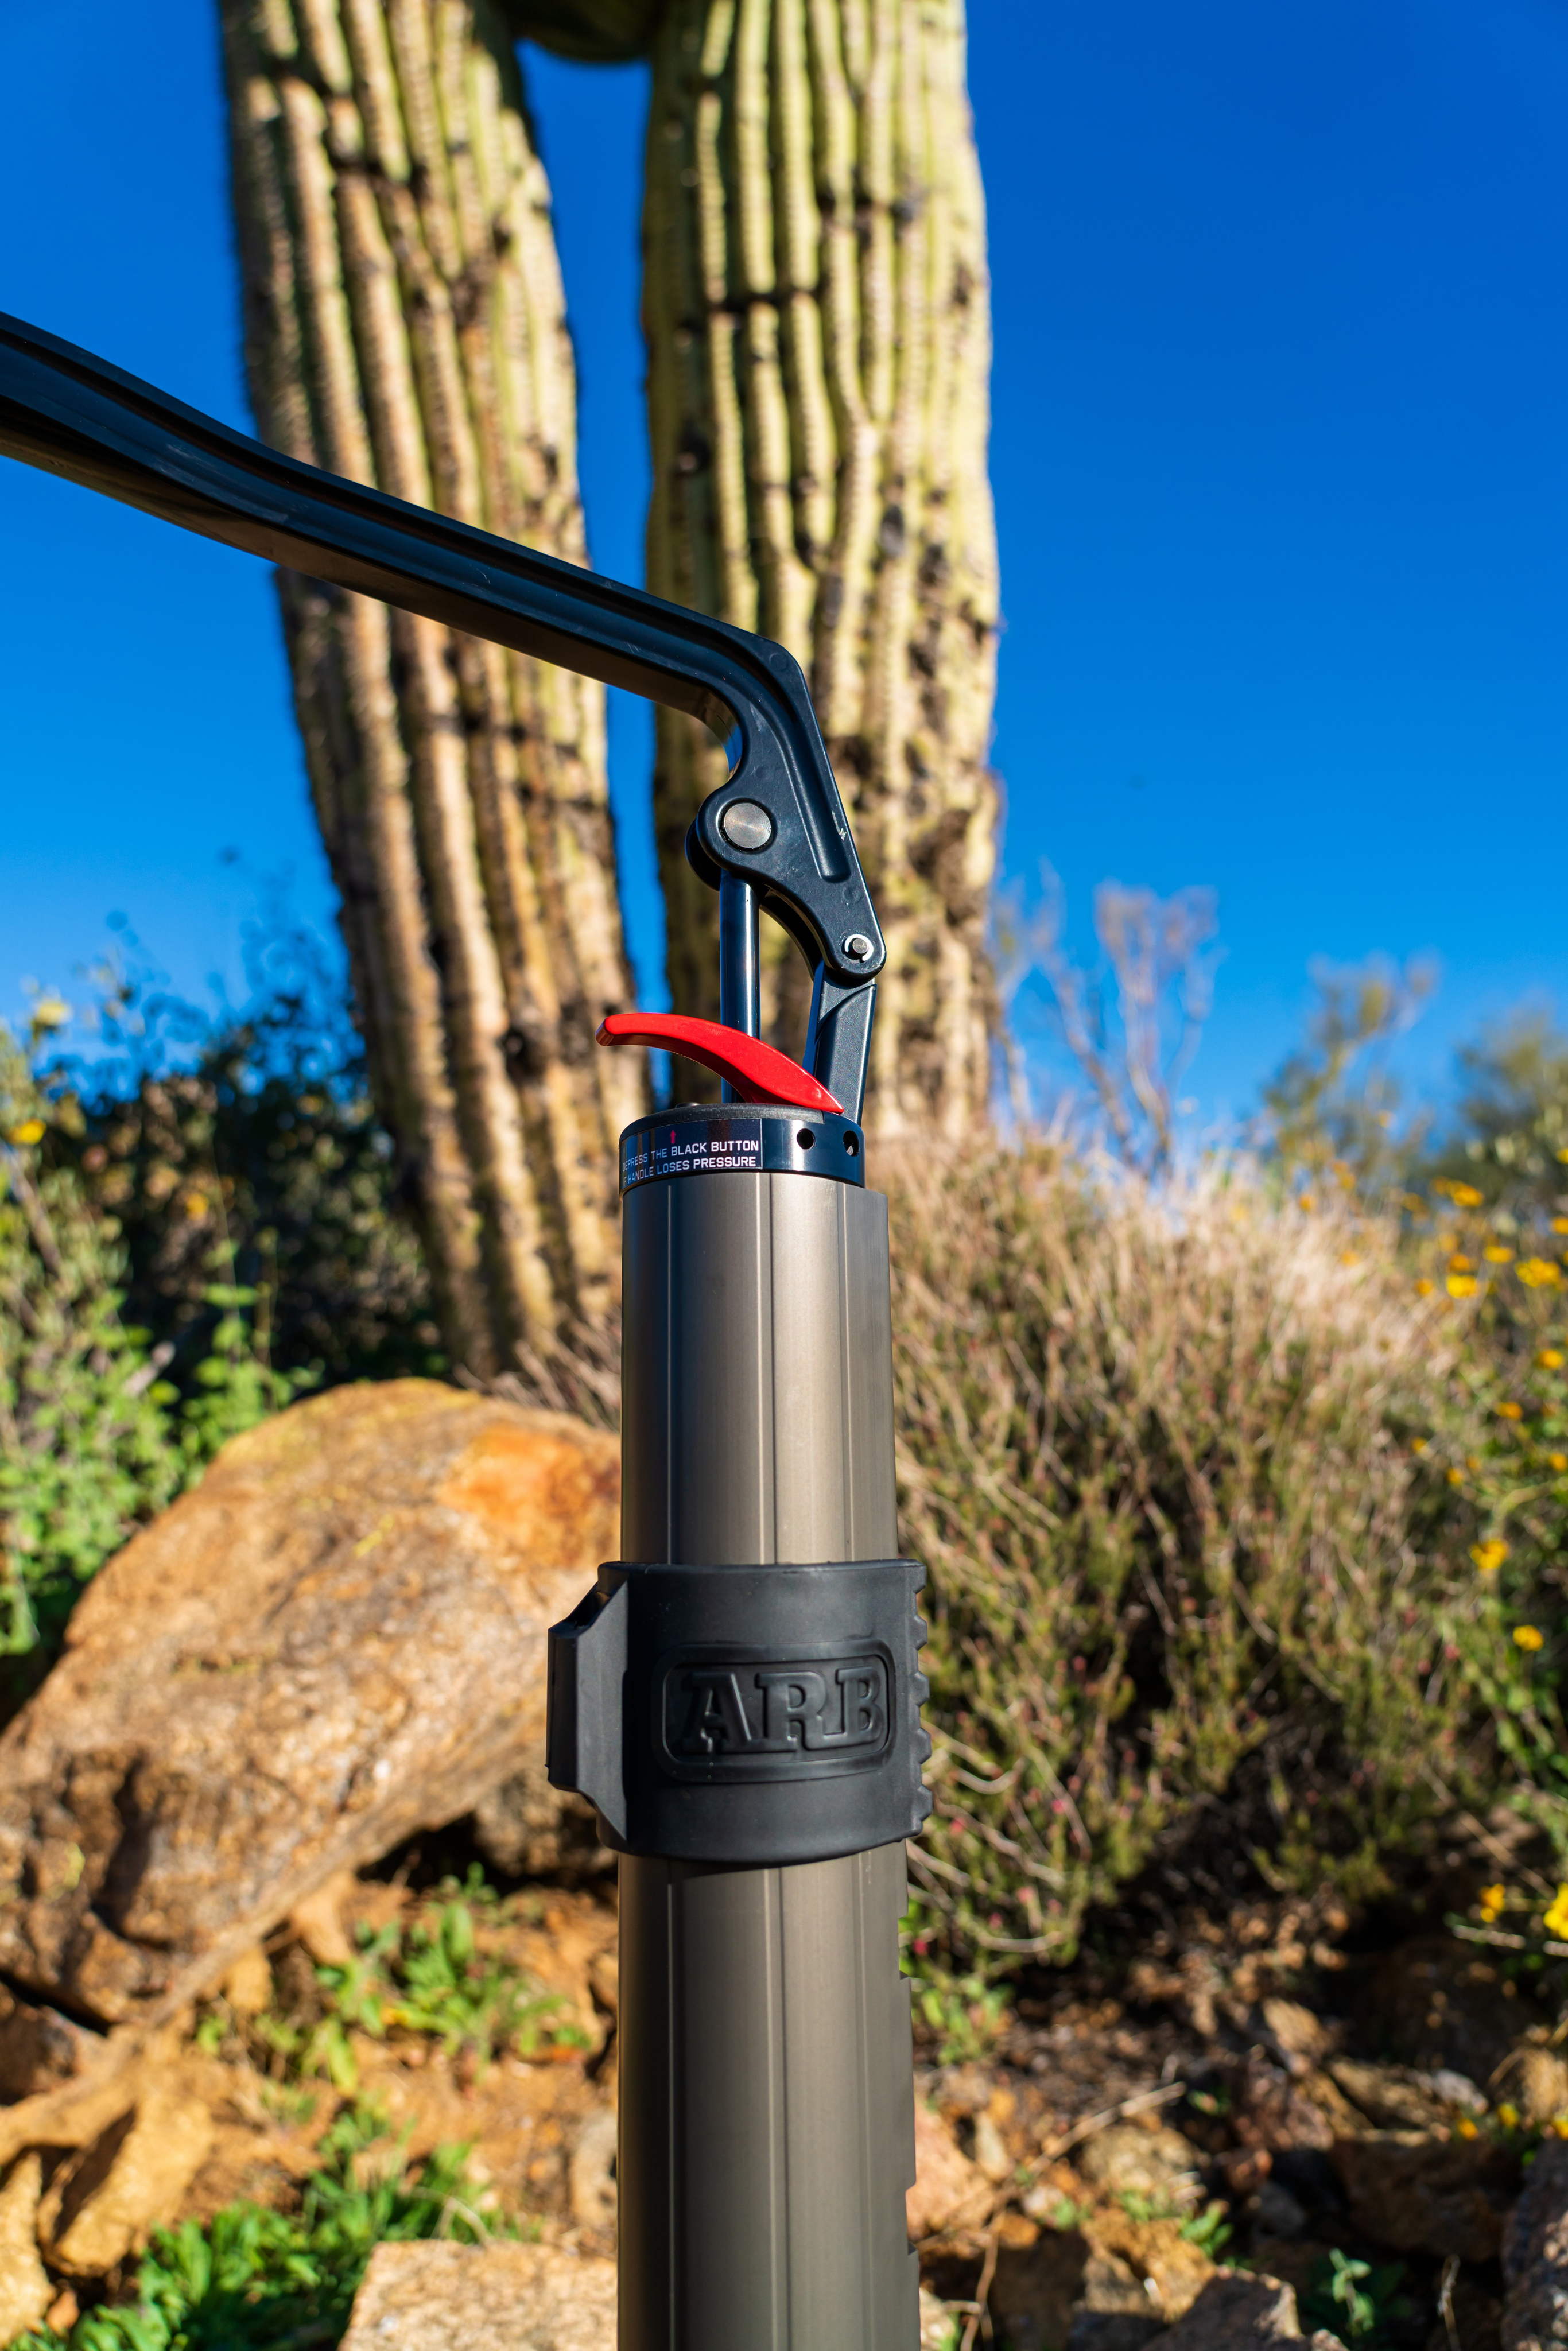
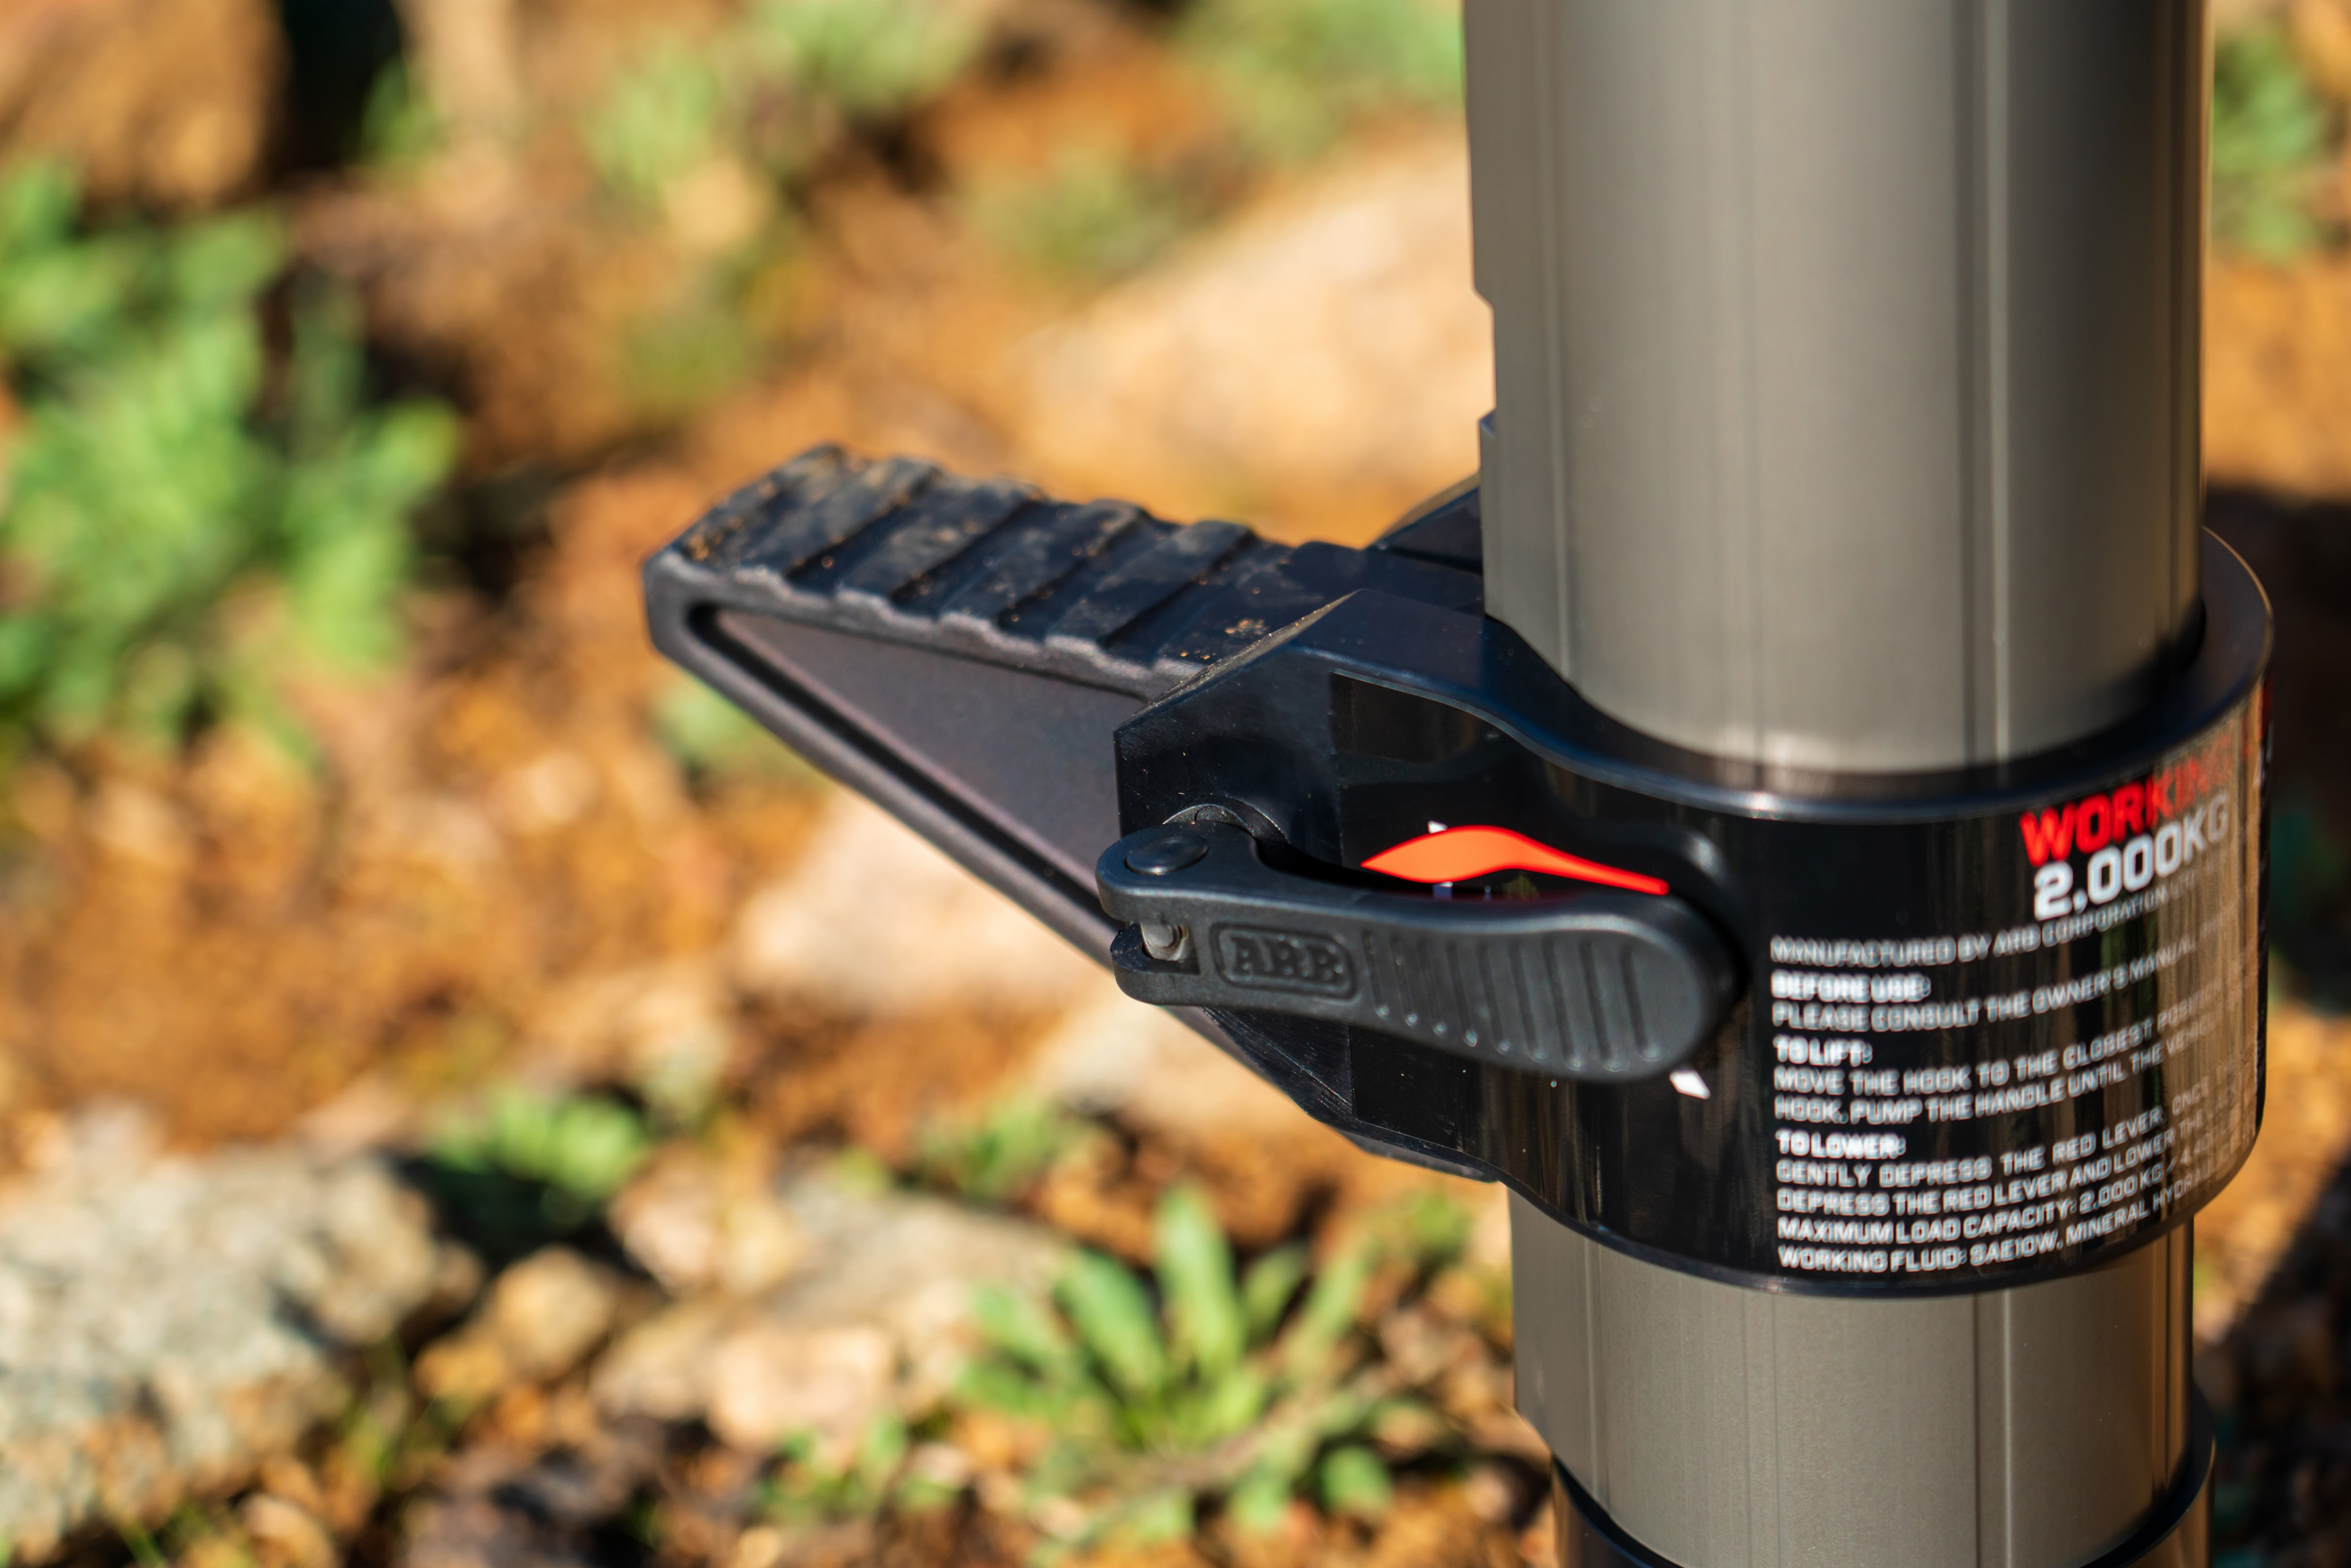
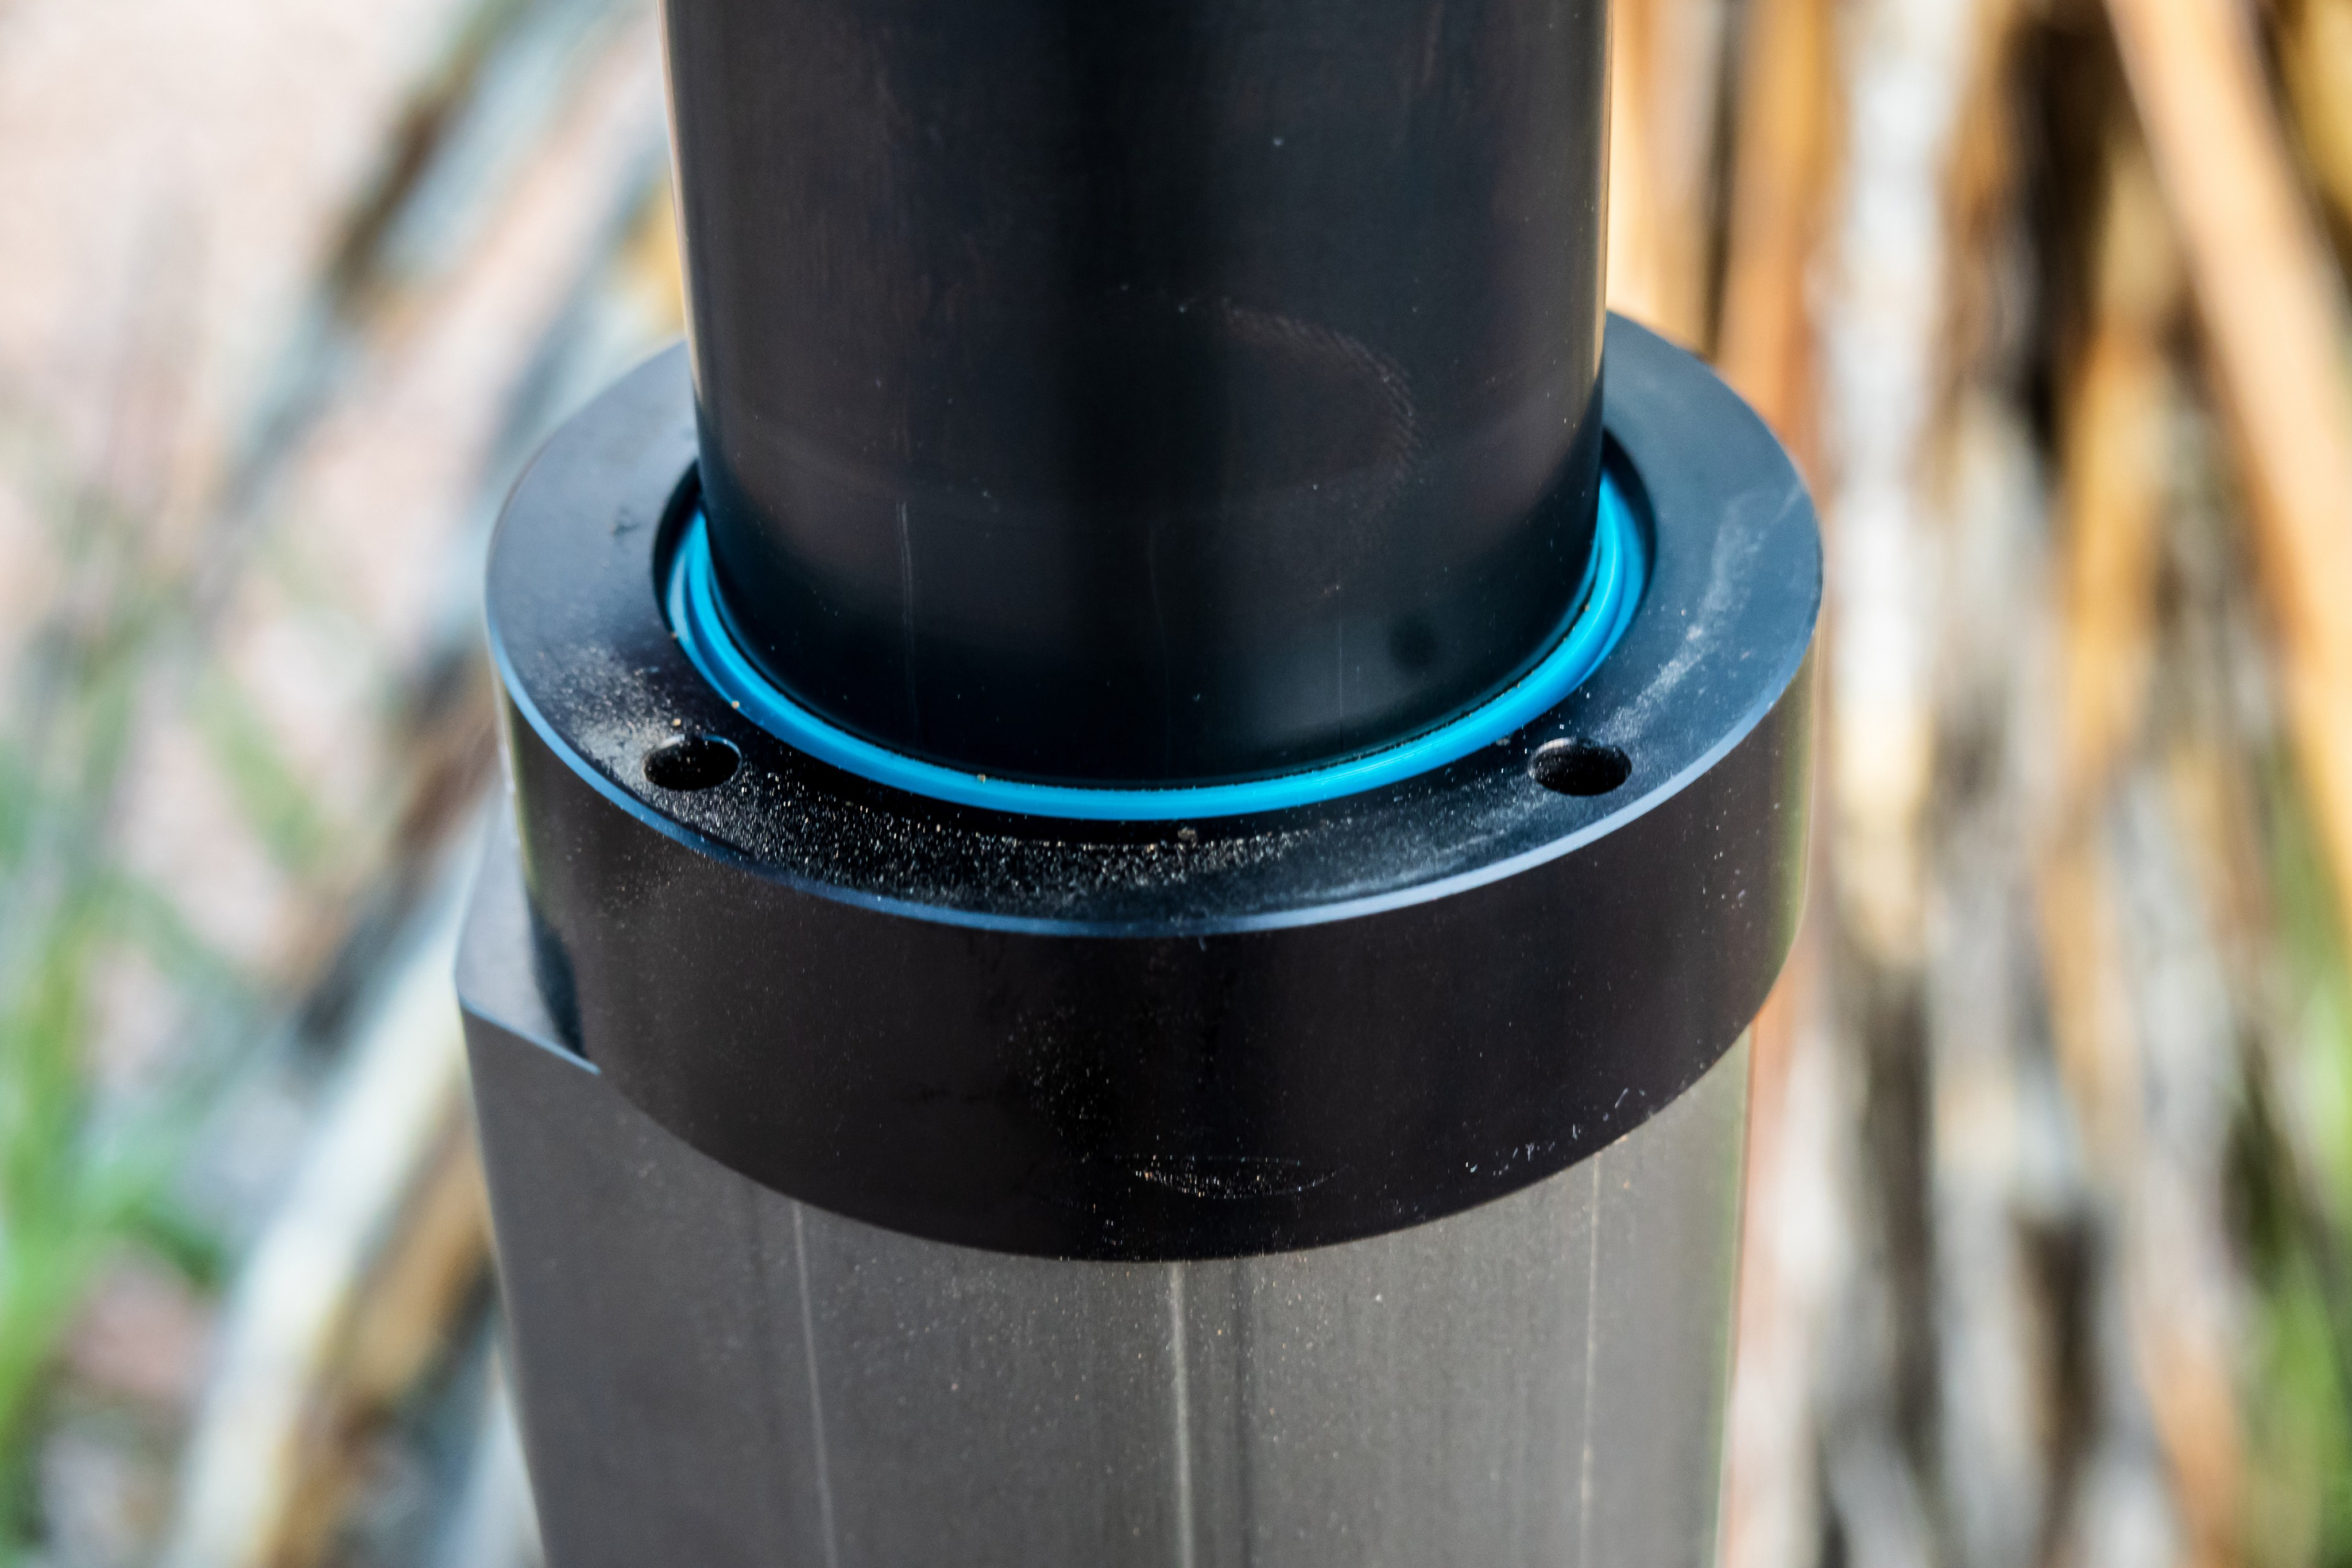
 Yet, JACK isn’t without fault. You can still smash a finger on the lever (prevent this by pushing with an open hand, like you’re pushing a wrench), and operationally speaking you’ll find that lowering the running gear on your Hi-Lift is much easier that compressing JACK back to his storage size when you don’t have a few hundred pounds of load to fully compress the piston. So how do you compress the piston when your load is back on the ground? Well you make a game out of it – essentially what you need is weight to compress JACK, so stand on the tongue and start balancing while holding down the red lowering lever. If you’re good, you can get the piston fully compressed without having to dab for balance with your other foot. If your balance isn’t so good, have a friend help stabilize you while you’re JACK-standing.


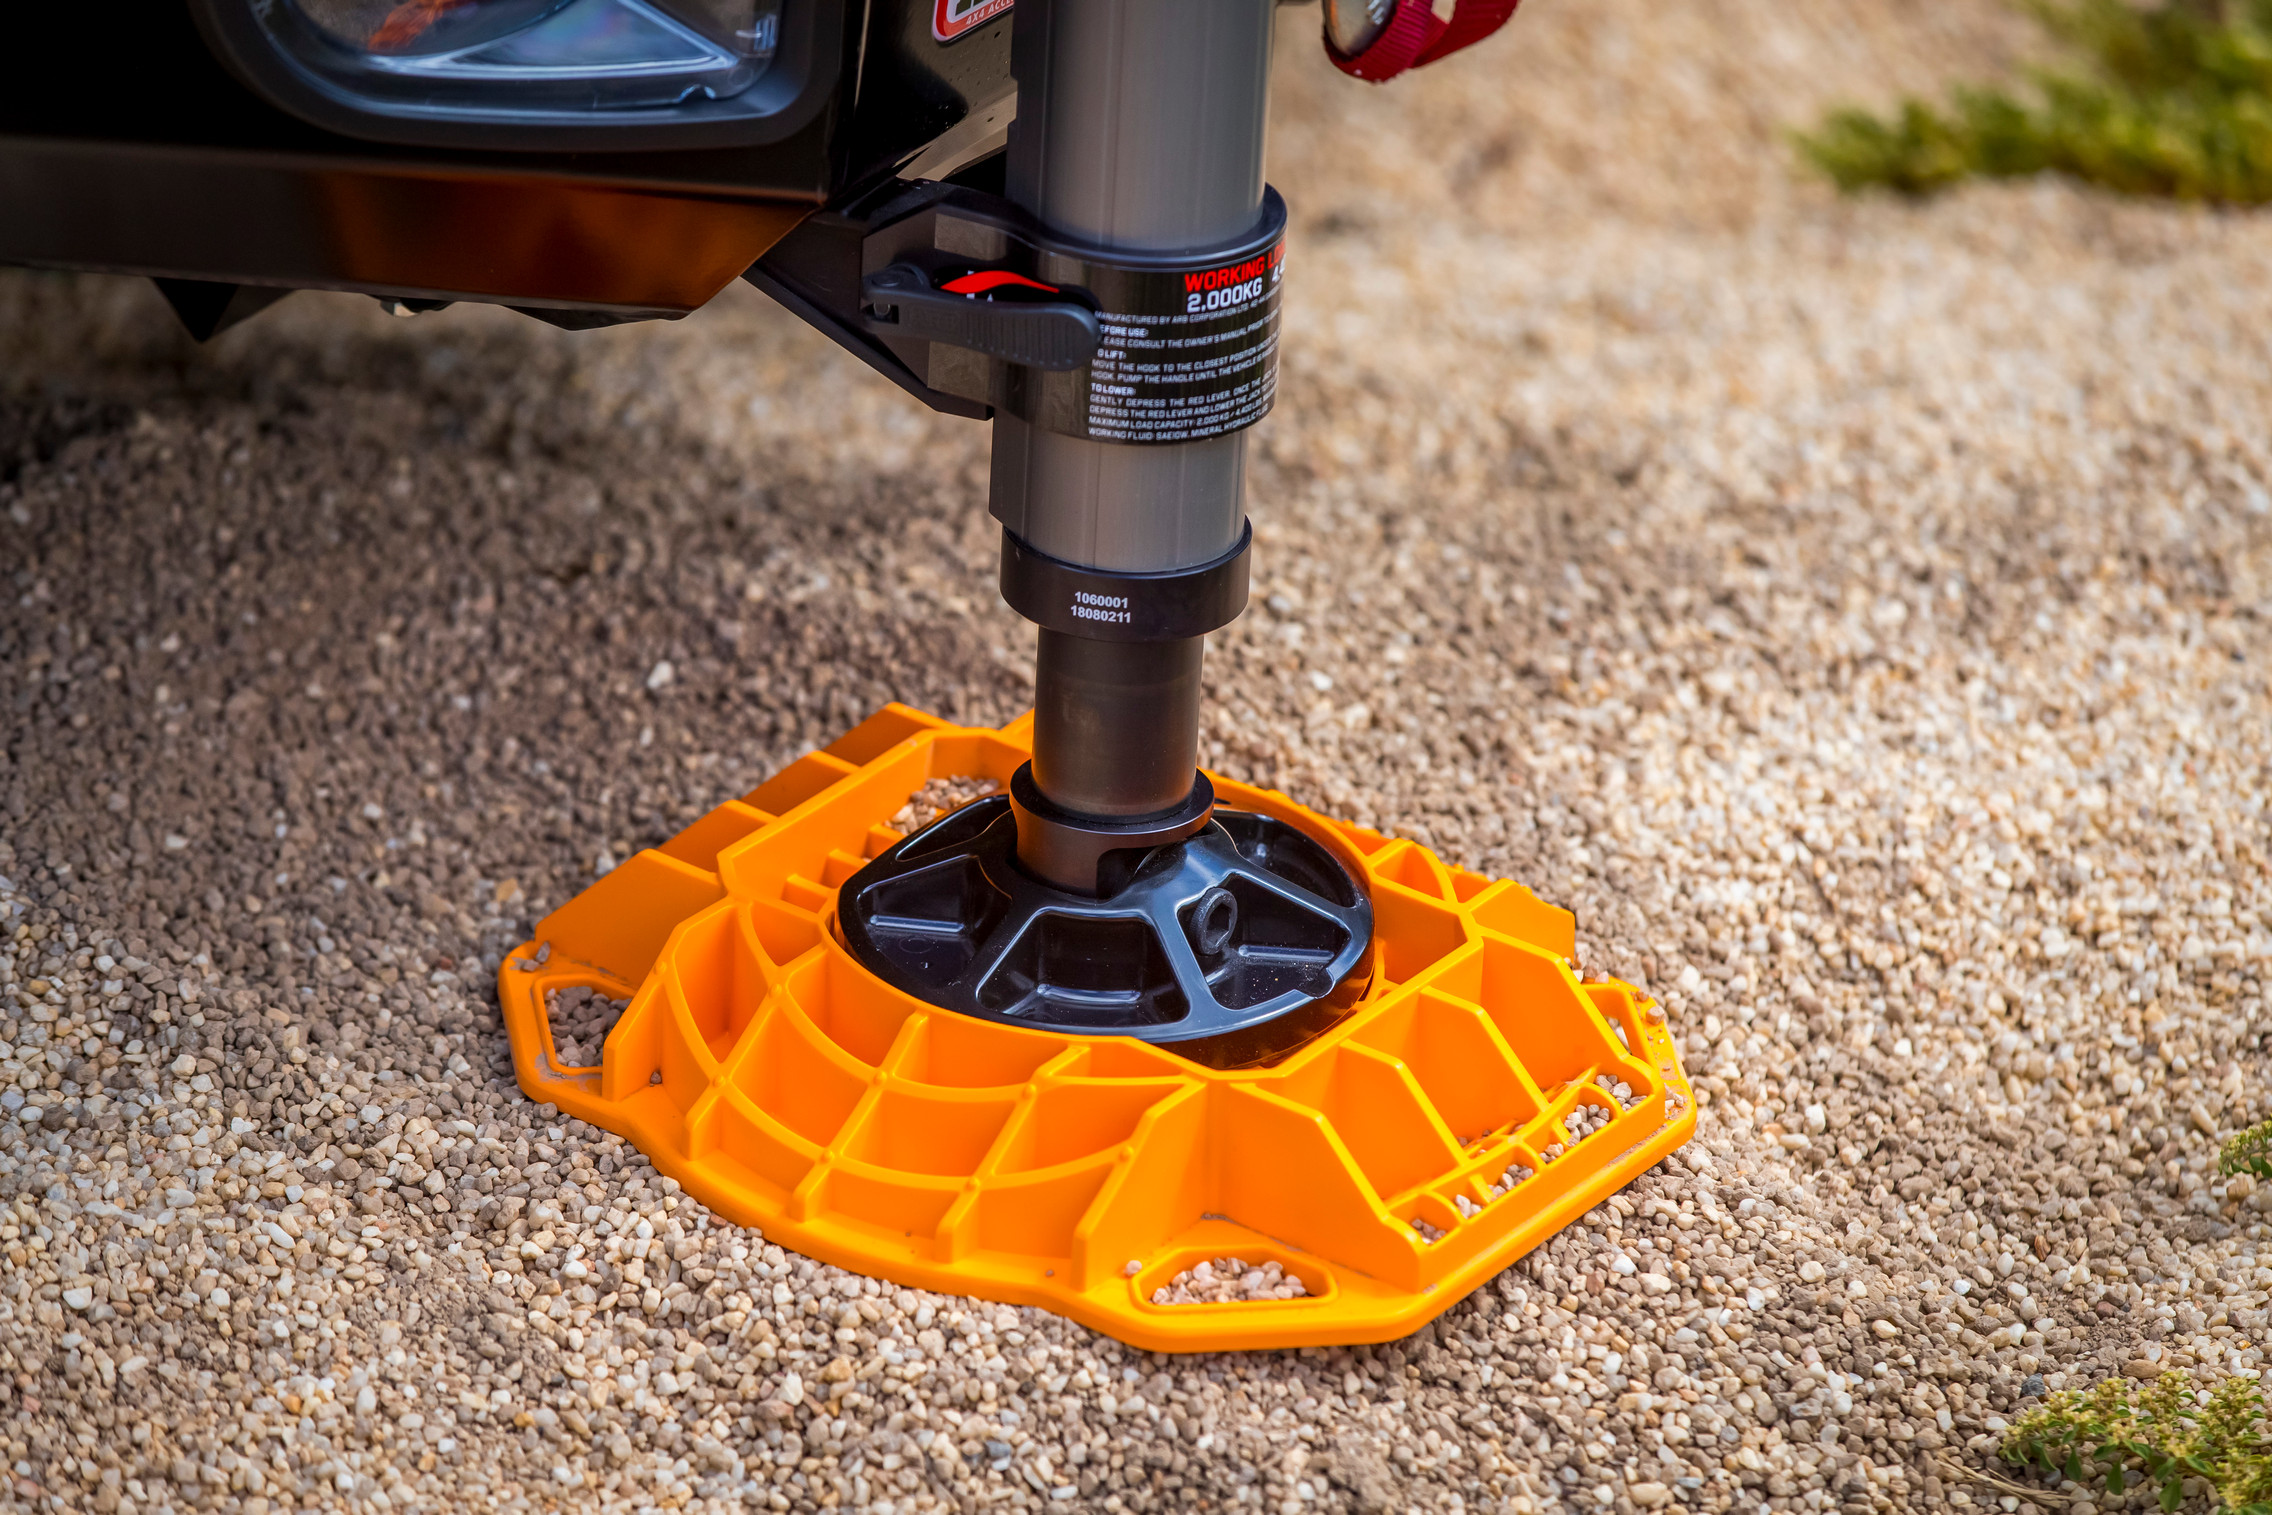


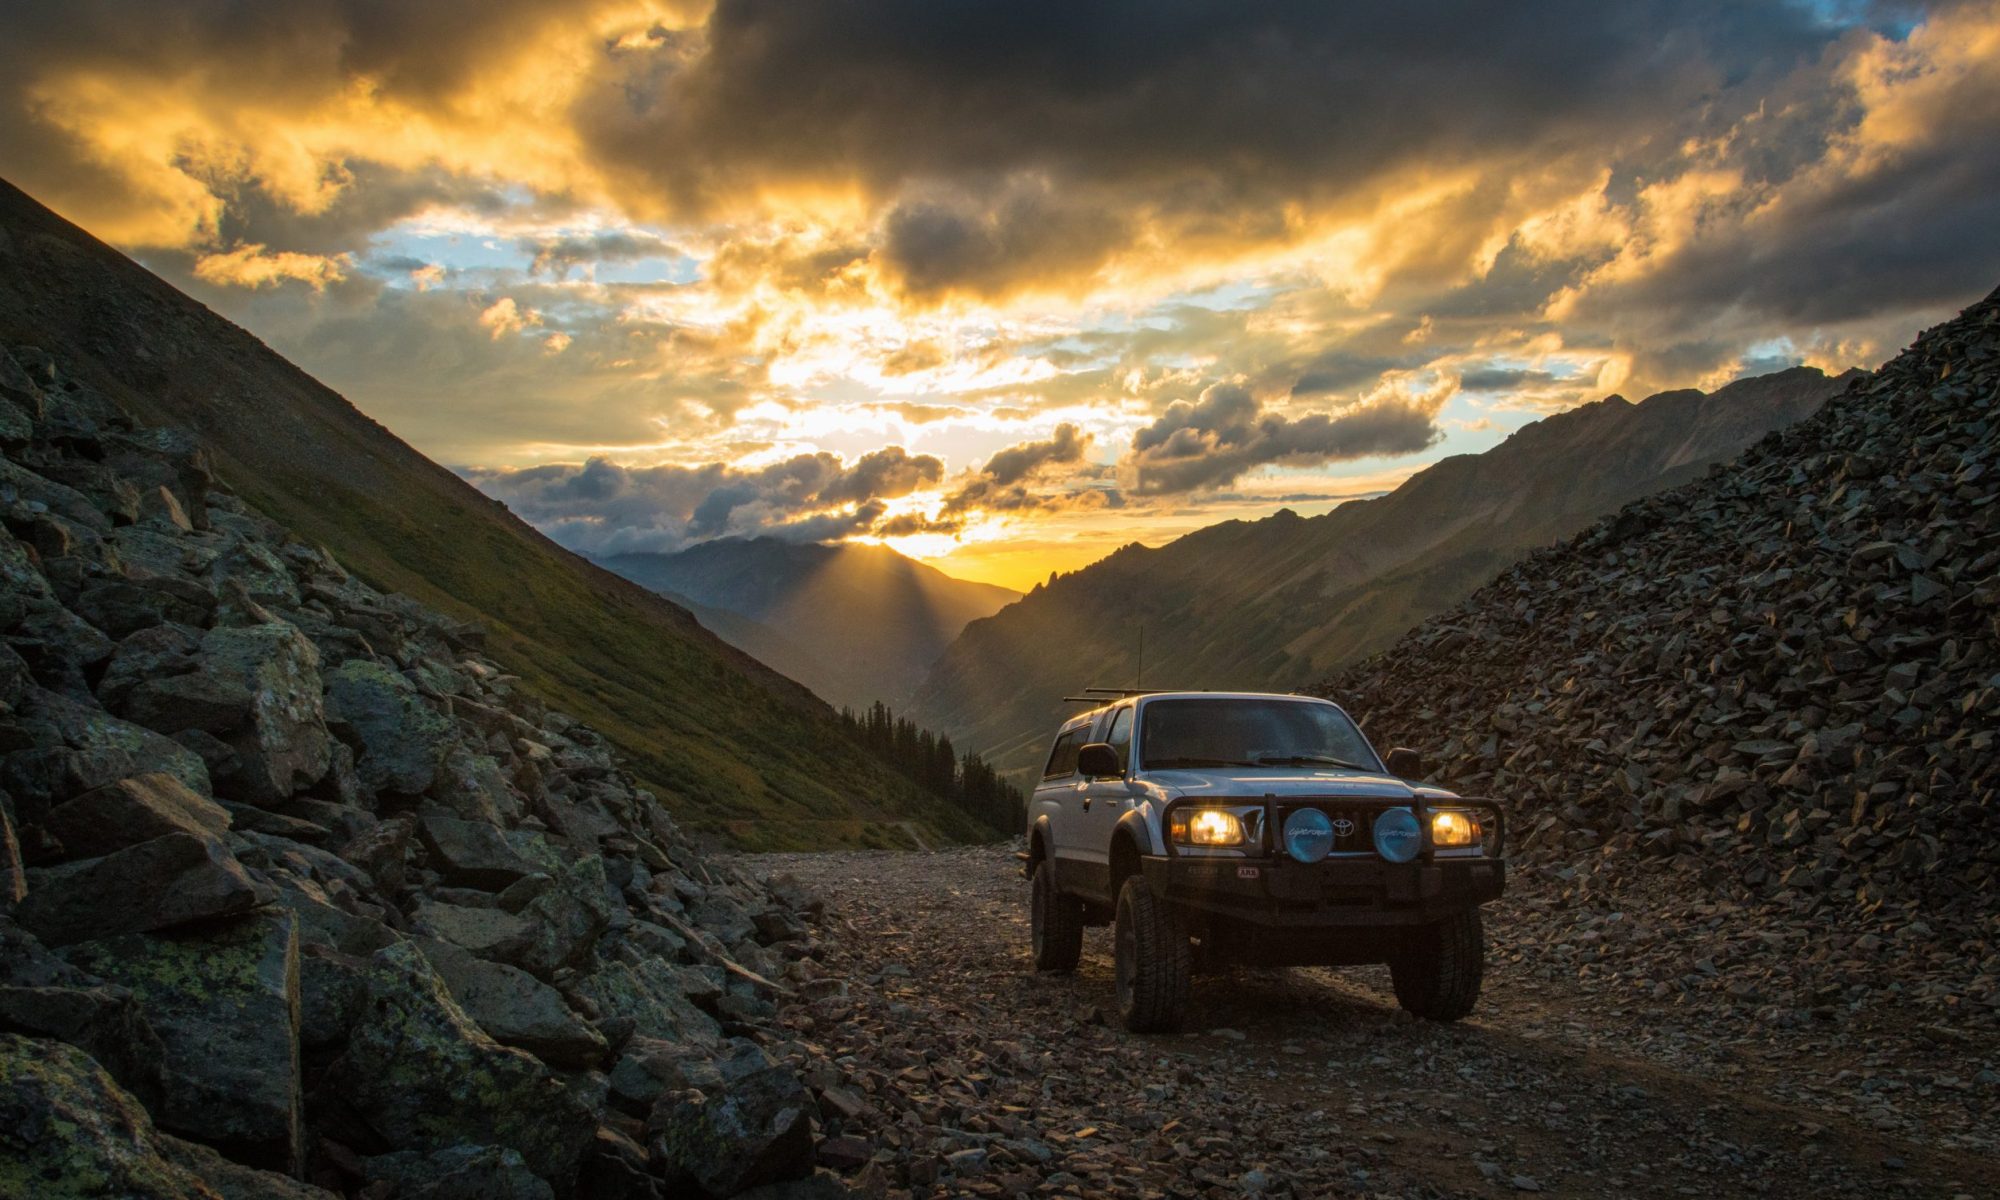
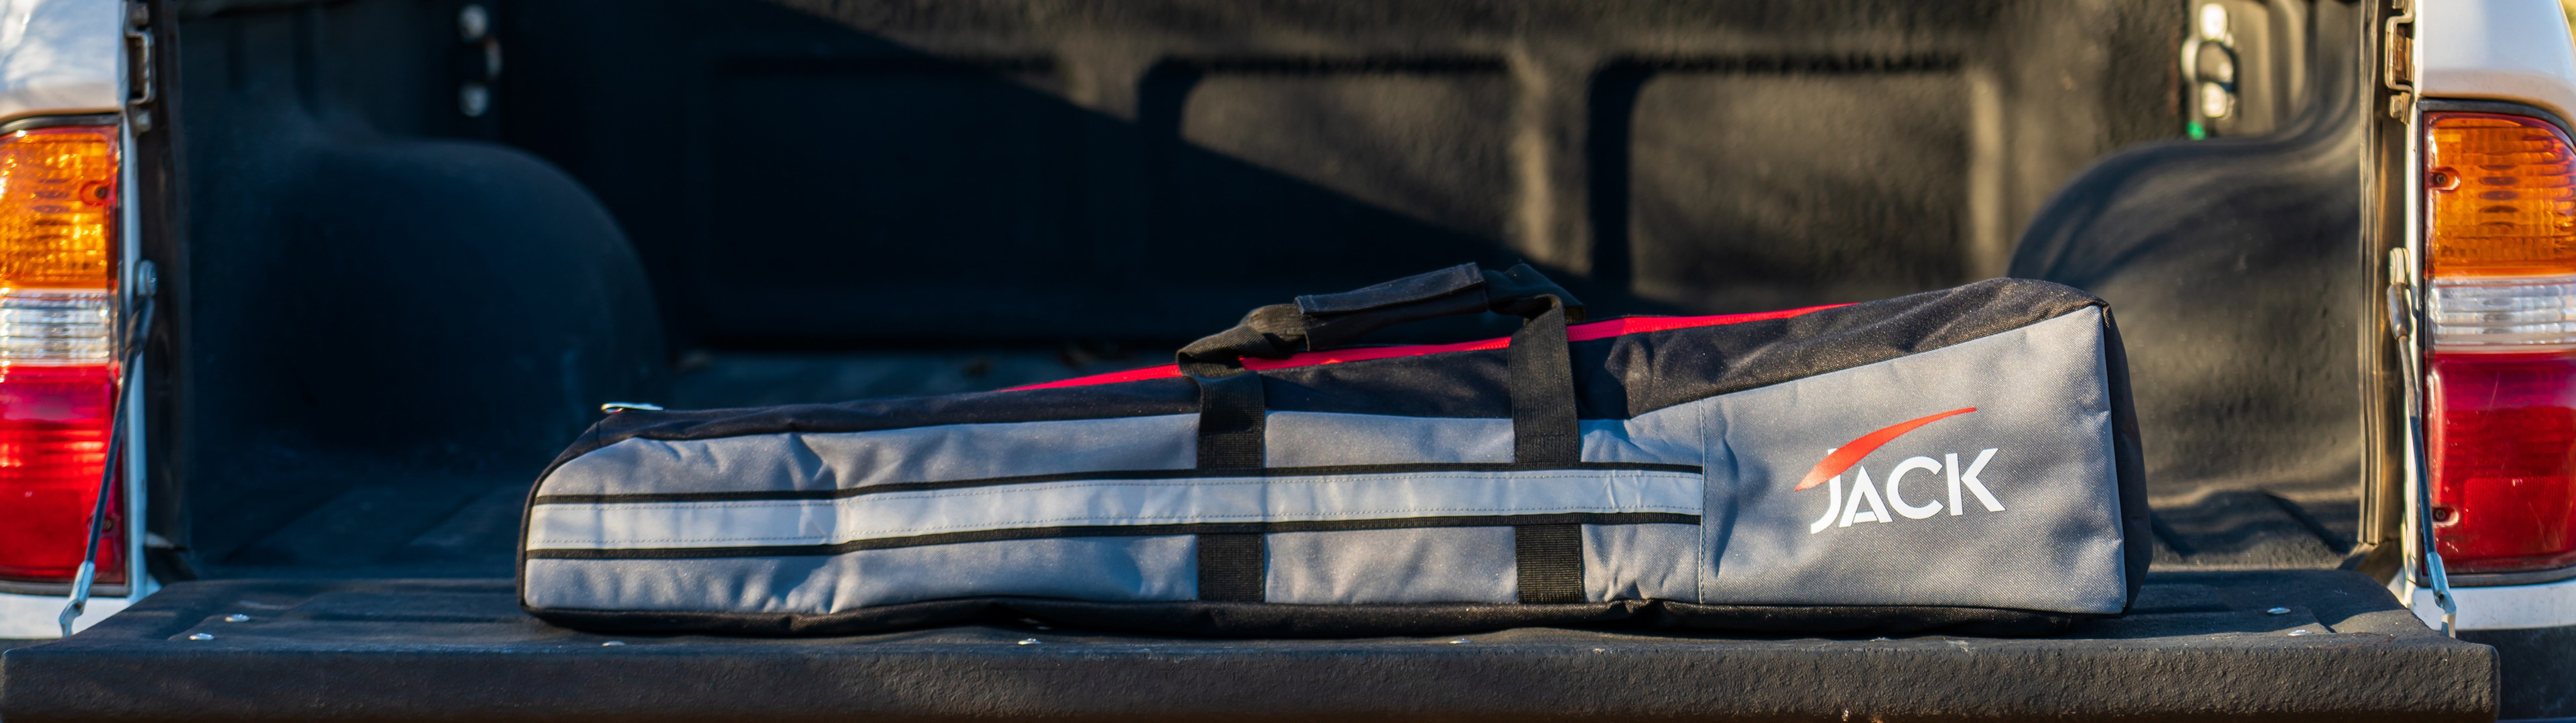
 Off road recovery isn’t cheap, and while I’ve never had the privilege of footing such a bill, I do know that it’s easy to spend a four-figure sum, so a three-figure recovery device sounds like a better deal to me if it means you’re going to have said tool with you, instead of leaving your Hi-Lift at home because it’s too big, rattles too much, or destroys your vehicle interior. JACK does pack up small and rides quietly, and the included bag means it can ride inside any vehicle without trading paint with your interior. Hopefully, this means you’re more inclined to bring it with you on your adventures.
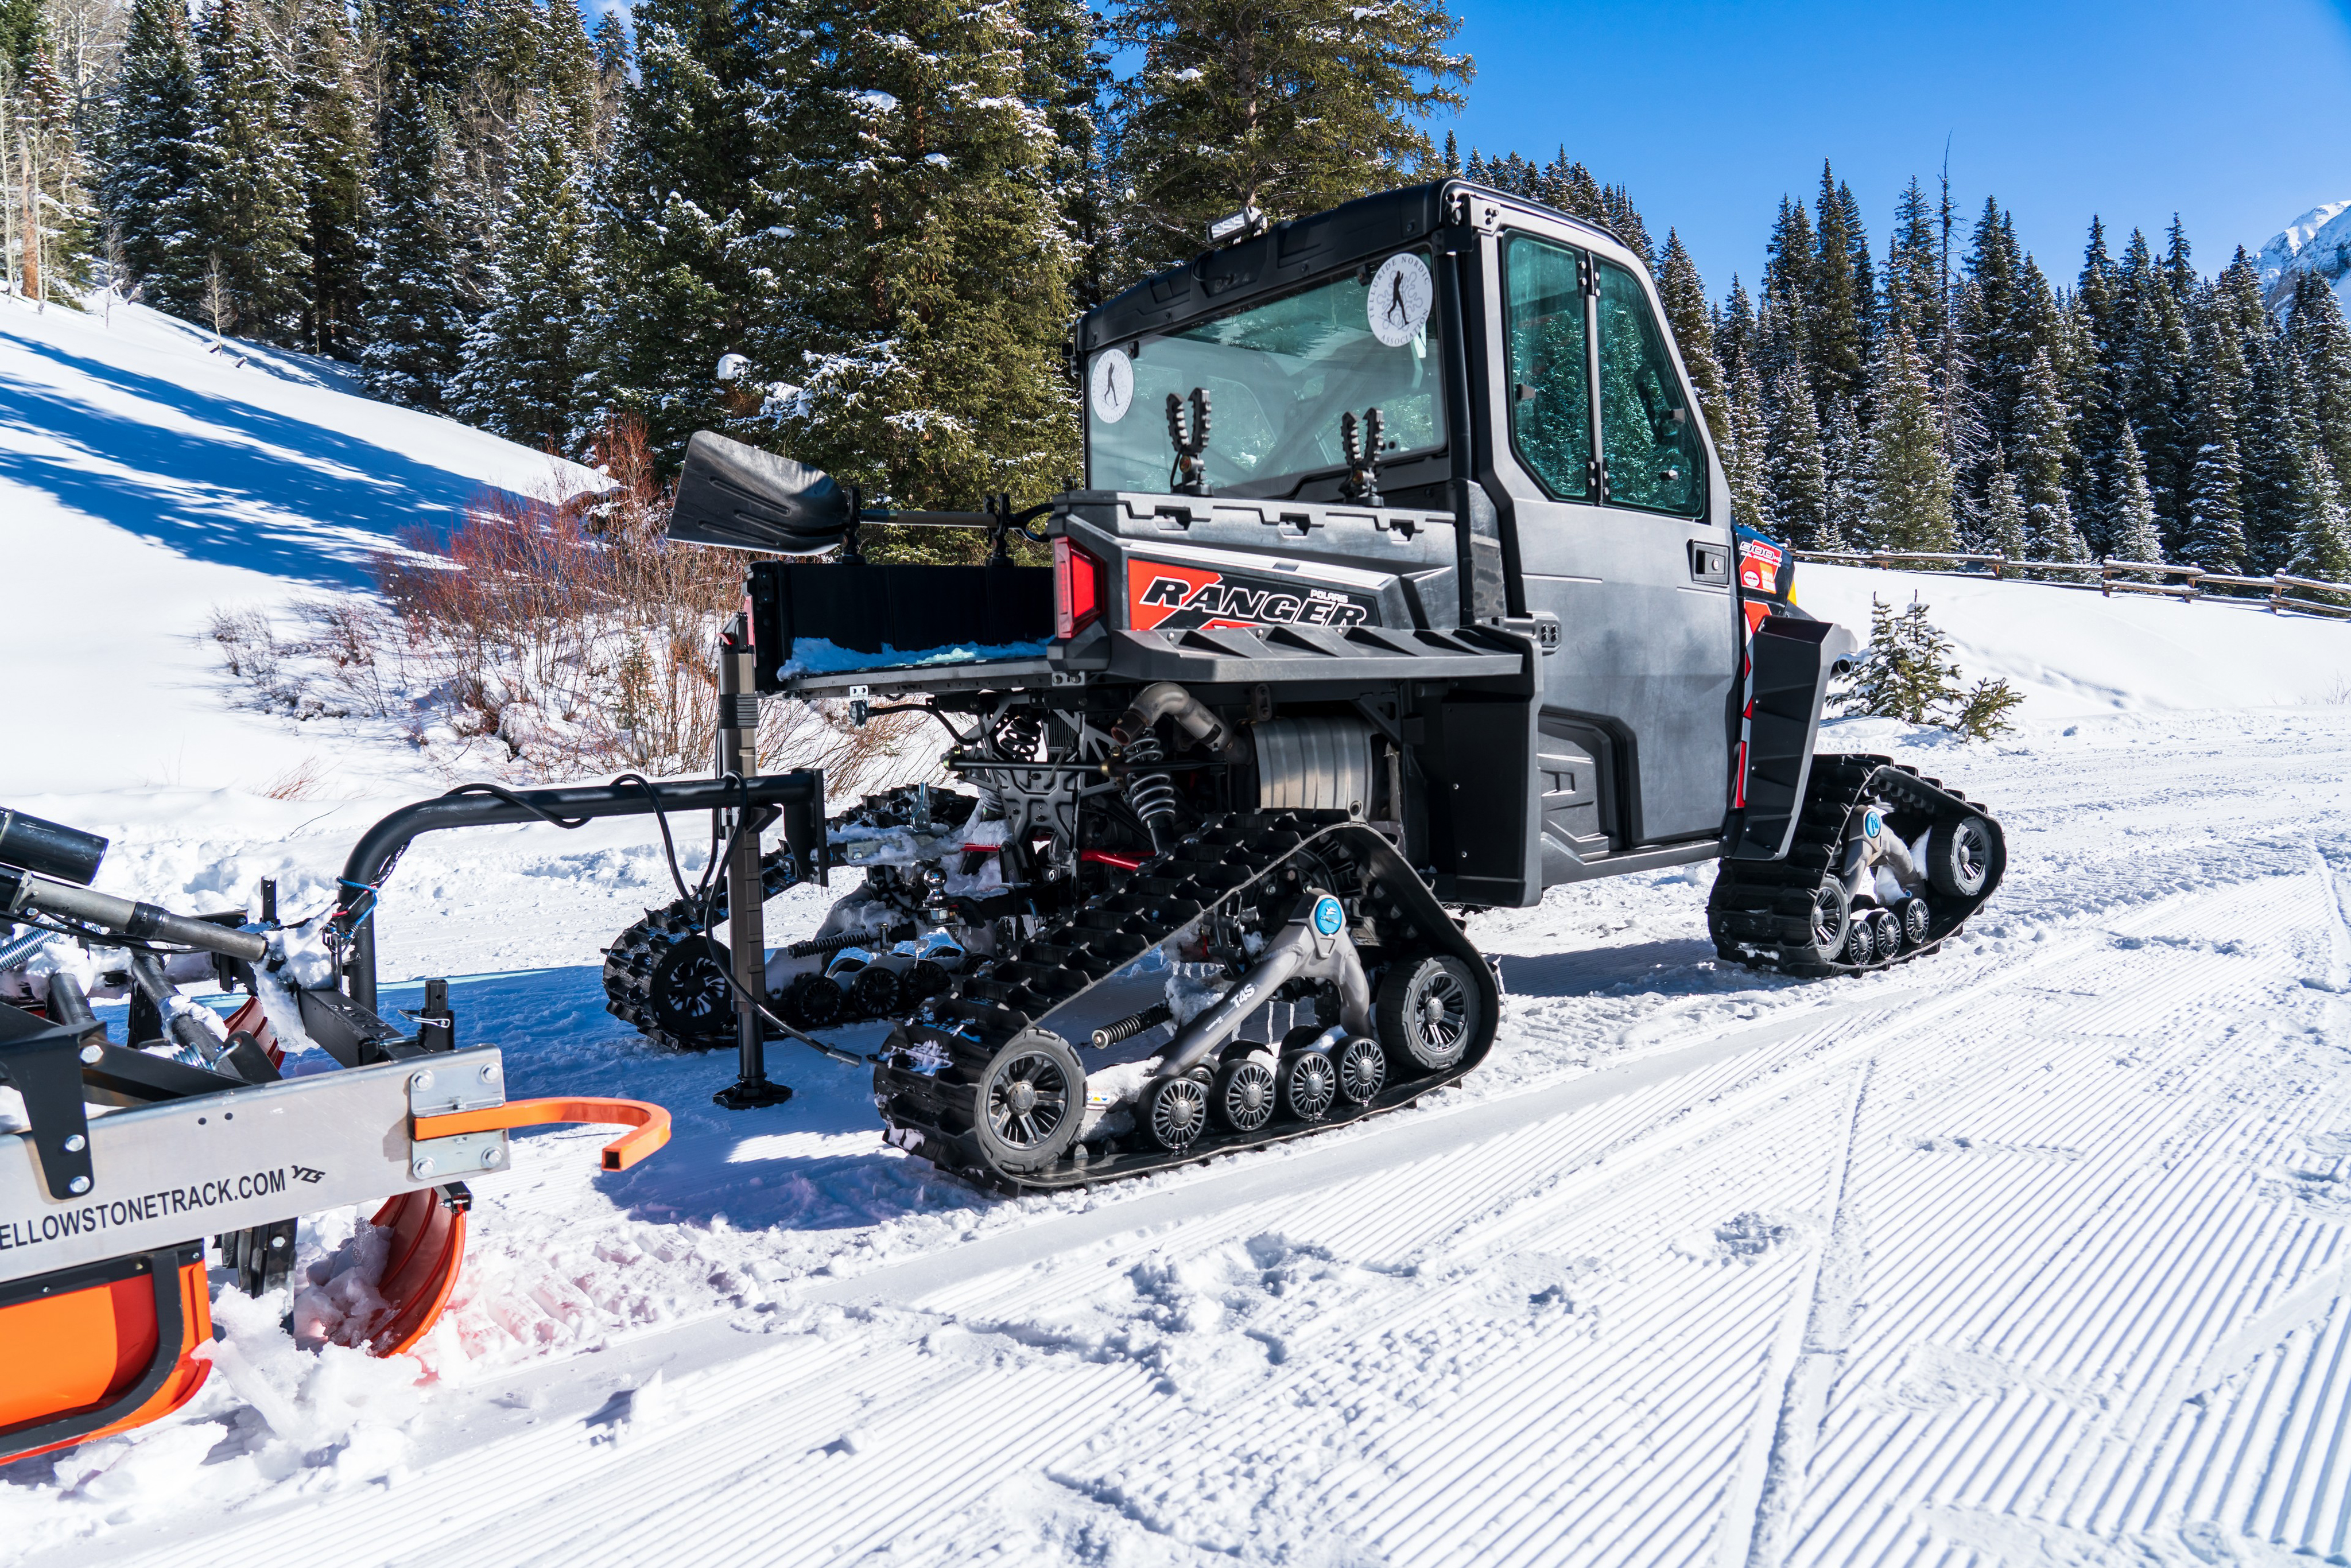
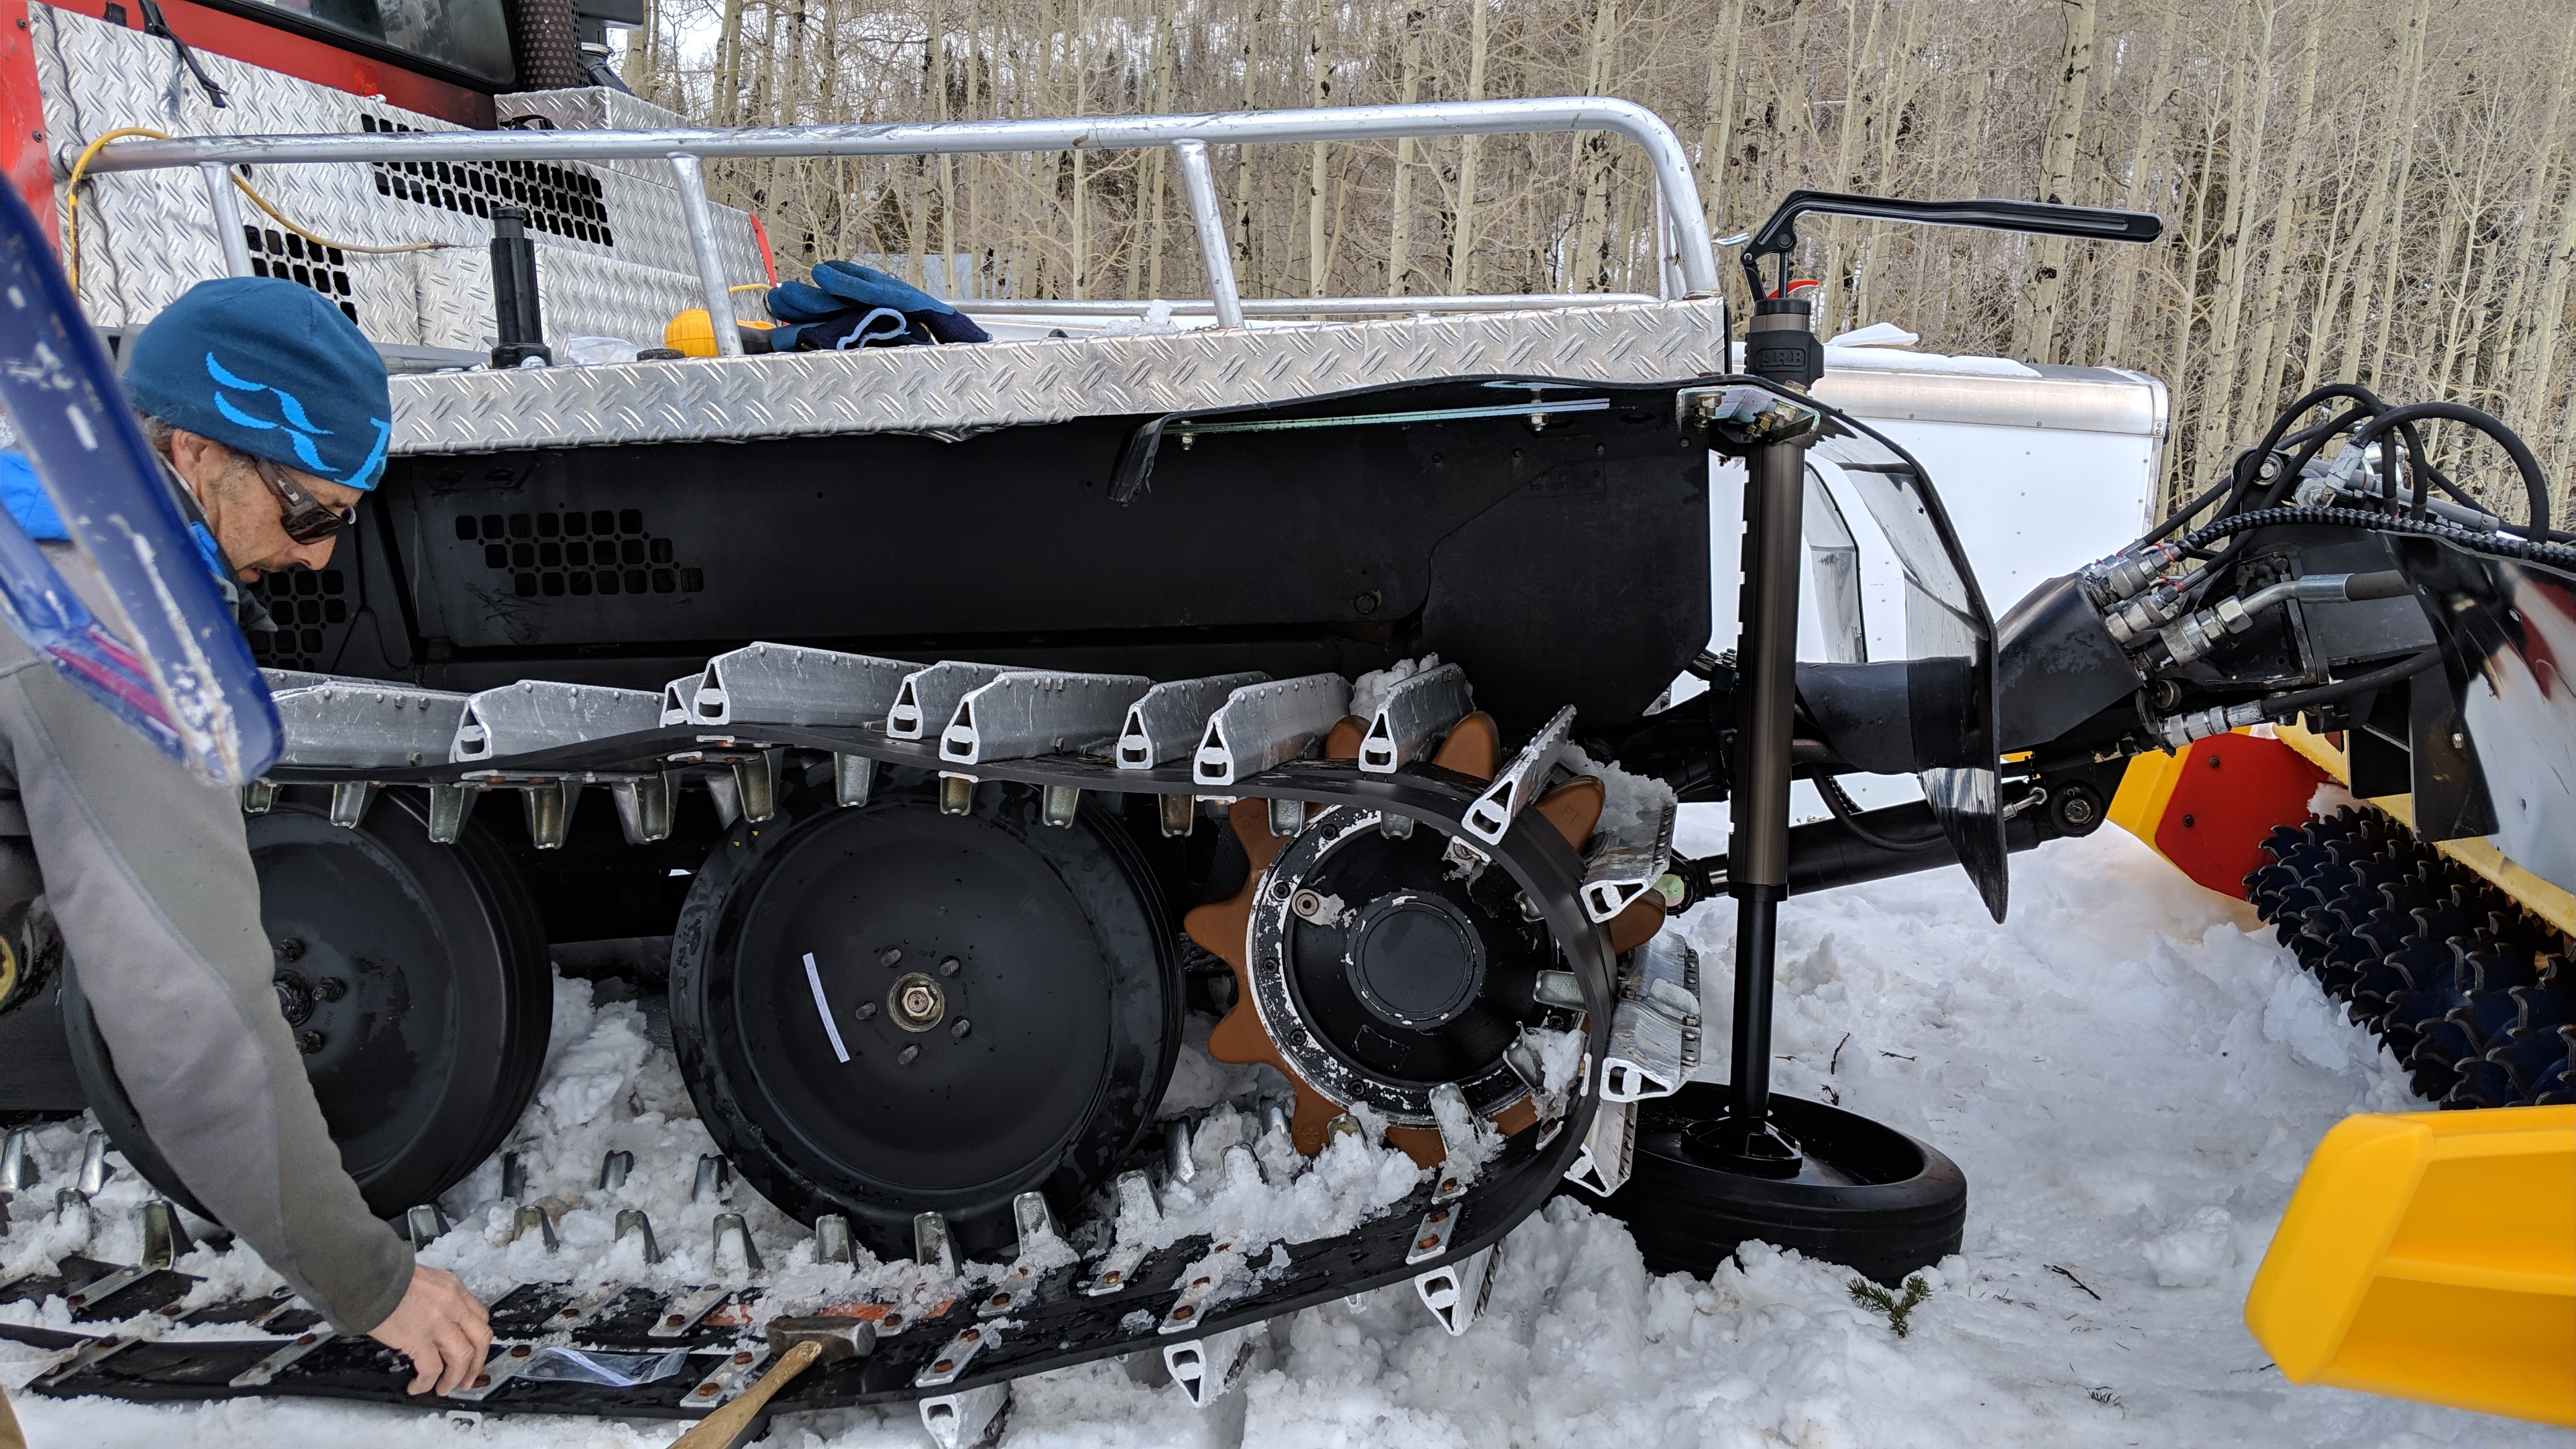
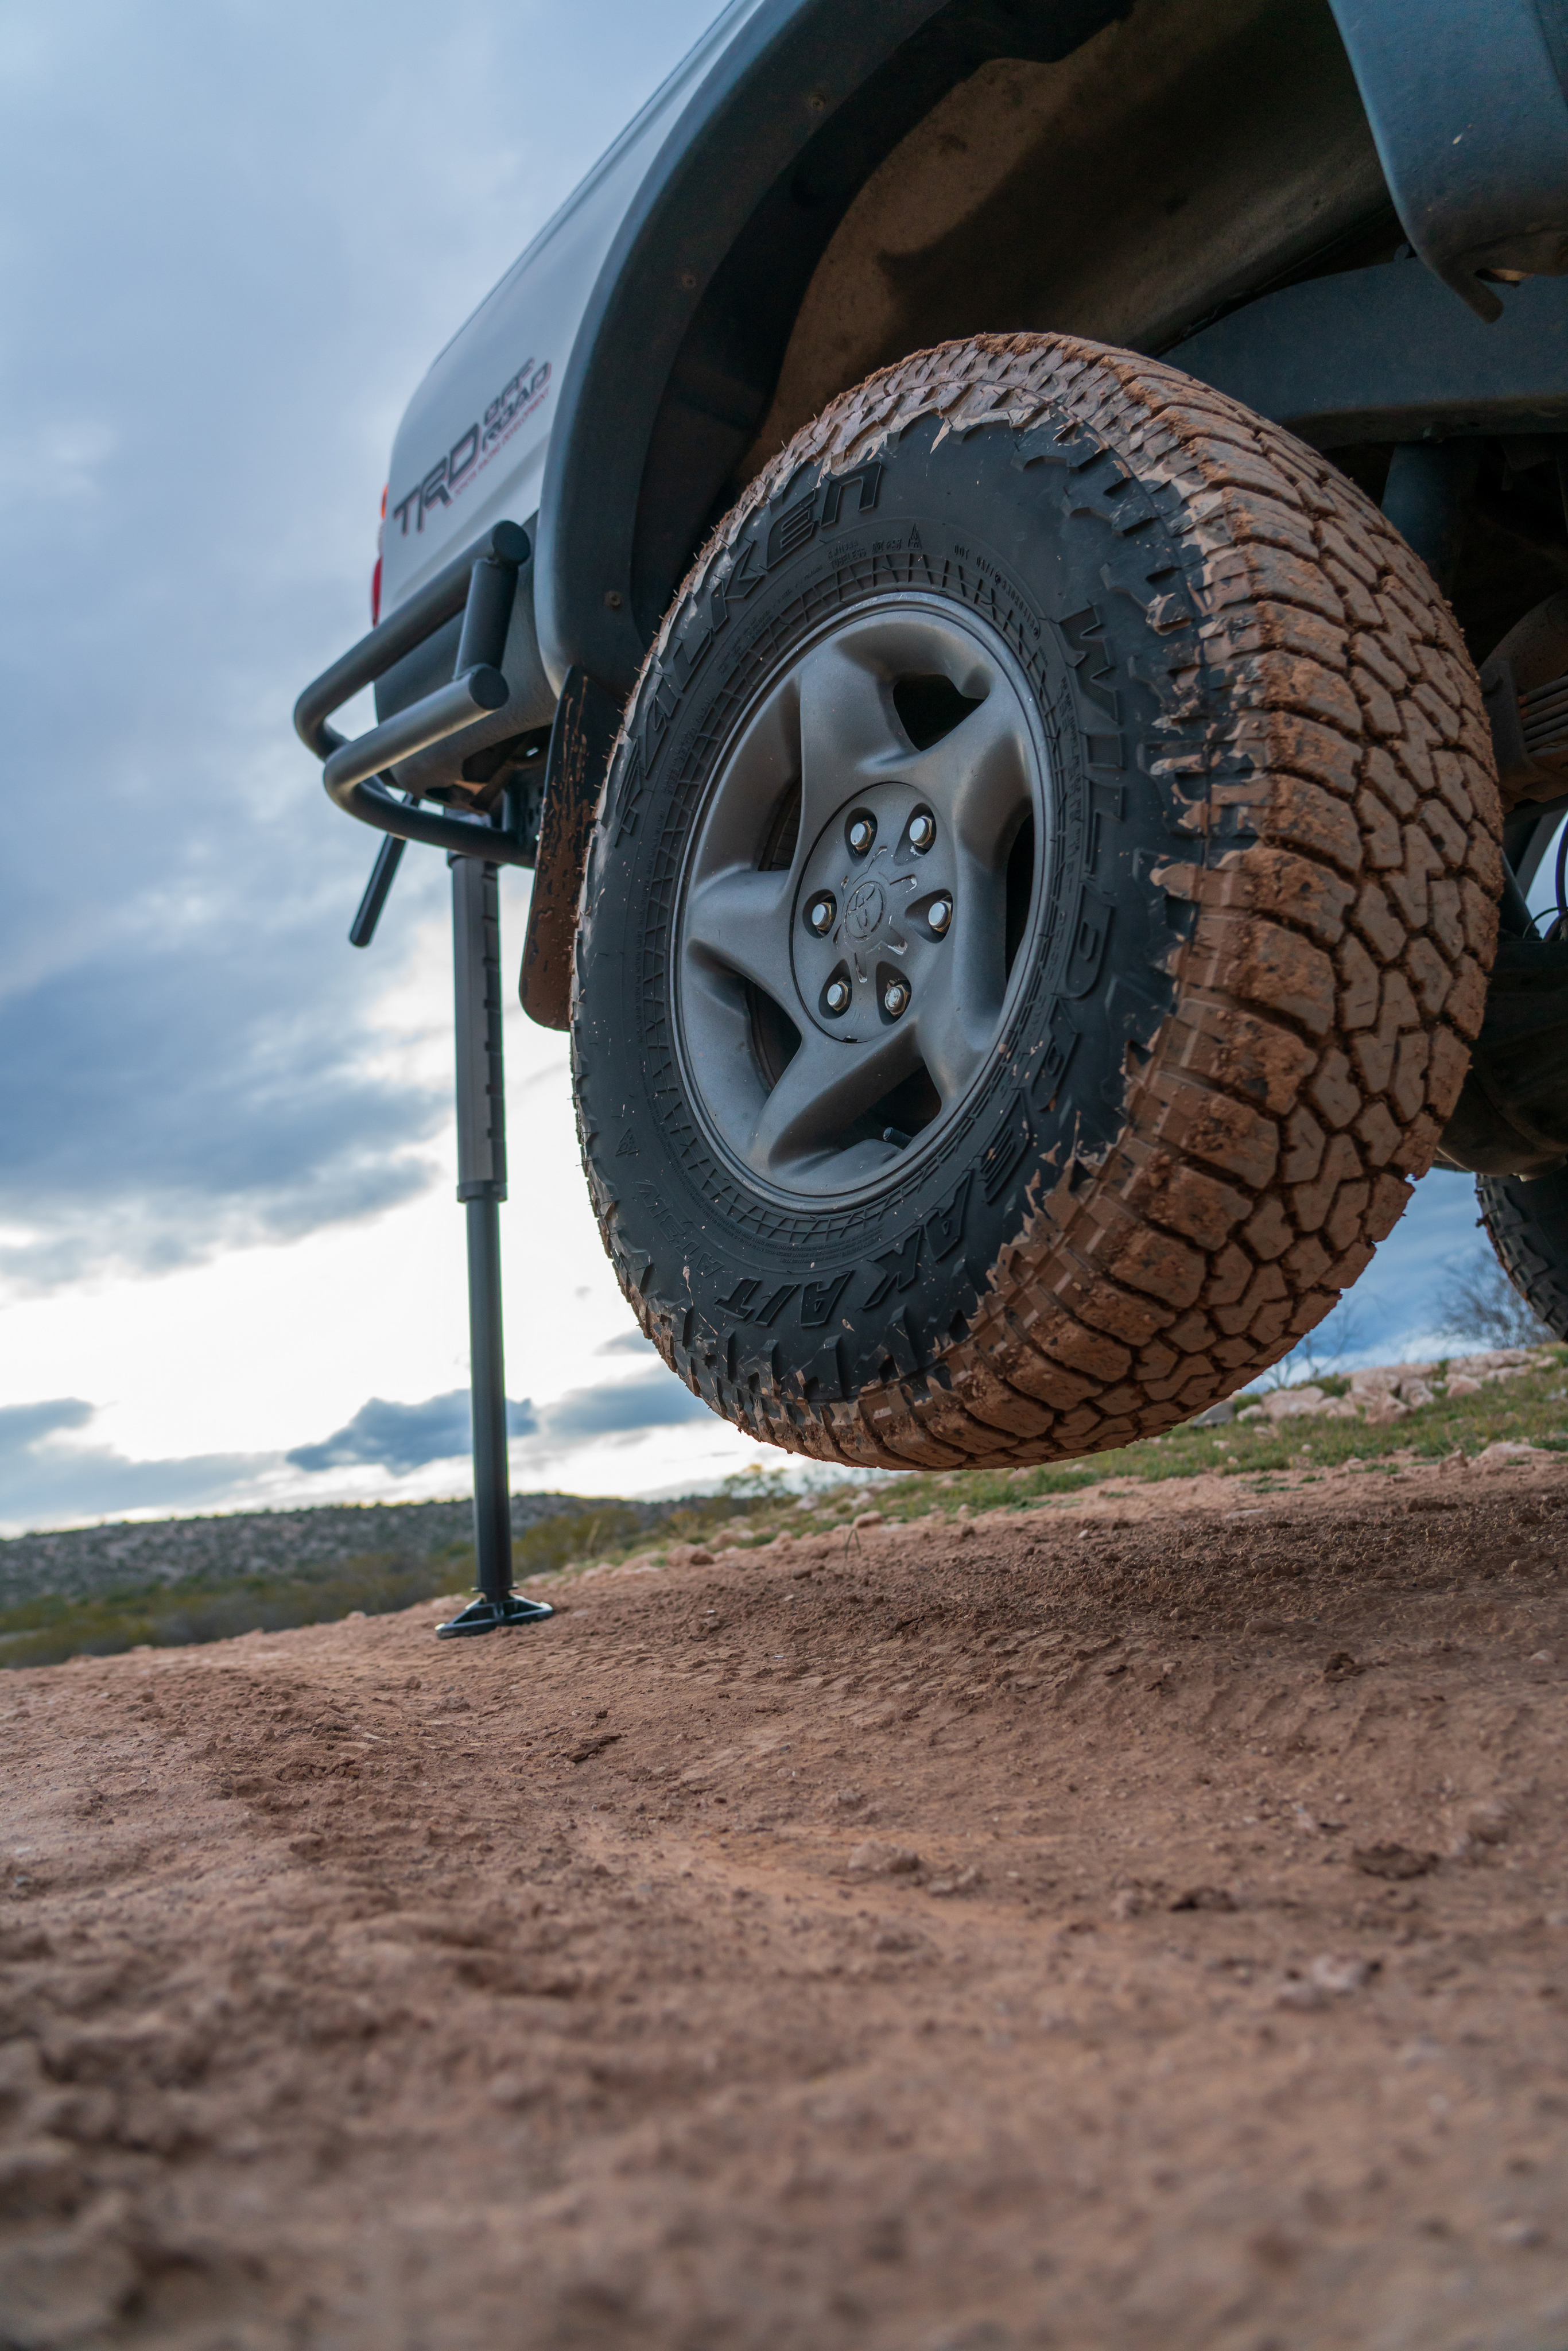
 Even when you’re not in a recovery situation, JACK can prove to be quite handy for work, such as when you’re trying to lift a grooming implement up so that you can hook it up to your Ranger with Tracks, because letting JACK do the work is way better than letting your back do it. I know this is a random example, but stick with me. This is something I’ve considered doing with a Hi-Lift for years, but I’ve never felt quite safe doing it. Yet, JACK is easier to use and stable enough that I feel comfortable using it to lift this implement – and my back is quite happy to not have to make that lift.
 I have to hand it to ARB – they’ve succeeded in reinventing the wheel, or the high lifting jack in this case with JACK. Yes, its going to cost you a pretty penny up front, but you’re getting a safer, easier to use (especially if you’re a smaller or lighter person), easier to transport option for a tool that’s been the standard for a very long time. As mentioned, JACK can’t winch, or clamp, or spread, but I’d wager that with some clever thinking, a good recovery kit, and a solid understanding of physics, you could employ JACK to do just about anything. Aside from the limitation of the piston stroke (with is more than enough stroke to lift the vast majority of vehicles that will carry JACK), the ARB JACK can lift higher, pack up smaller, and weighs less than a Hi-Lift. There’s less maintenance, and cleaning JACK is as easy as wiping it down. The fact that JACK lives in a case inside your rig means that it’s not going to let you down due to rusting or getting gummed up with dirt and debris, and you’re never going to have to improvise some form of lubricant to get the thing to work.