Fishing for Fun & Survival

In a backcountry survival situation, fishing is an excellent source of food, and in some environments it may be your sole source of food. During normal times, trying your hand at fishing with some of the more arcane techniques covered here can also be a whole lot of fun!

As Hank Williams Jr once said, “We’re from North California and South Alabam’, And little towns all around this land. And we can skin a buck and run a trotline. And a country boy can survive

Can you?

Fact: A good survival kit should have some basic fishing line and hooks, but it’s likely you won’t have a pole. Even if you do, there are other ways to catch fish.

There are three very basic ways to fish without a pole, or in a survival situation. Some are better in the still waters of a lake, pond or swamp, while others are better suited for running waters:

1. Limb Lines. Basically, the tree is your fishing pole. You can easily rig several limbs in sequence, varying the depth and type of bait to see what works in your area.

2. Trot Lines. As simple as a length of strong fishing line with hooked and baited drop lines hanging down every couple of feet and spread across a stream or pond.

3. Jug Fishing. Like a trapper setting traps, jug lines can be a very effective way of targeting specific fish hangouts, and can even be drug behind your raft or canoe on the move.

Each method requires adequate anchor weights to hold them in place if stationary, or drift weights that will help prevent the escape of a large, wriggling fish. Weights are used to restrain and/or control a fishing line and can vary from lightweight sinkers to a big rock. Basic baits include grubs, worms, shad, minnows, local shellfish, “stink” baits, big tasty bugs, or whatever you can find. You may have to improvise, adapt and overcome.

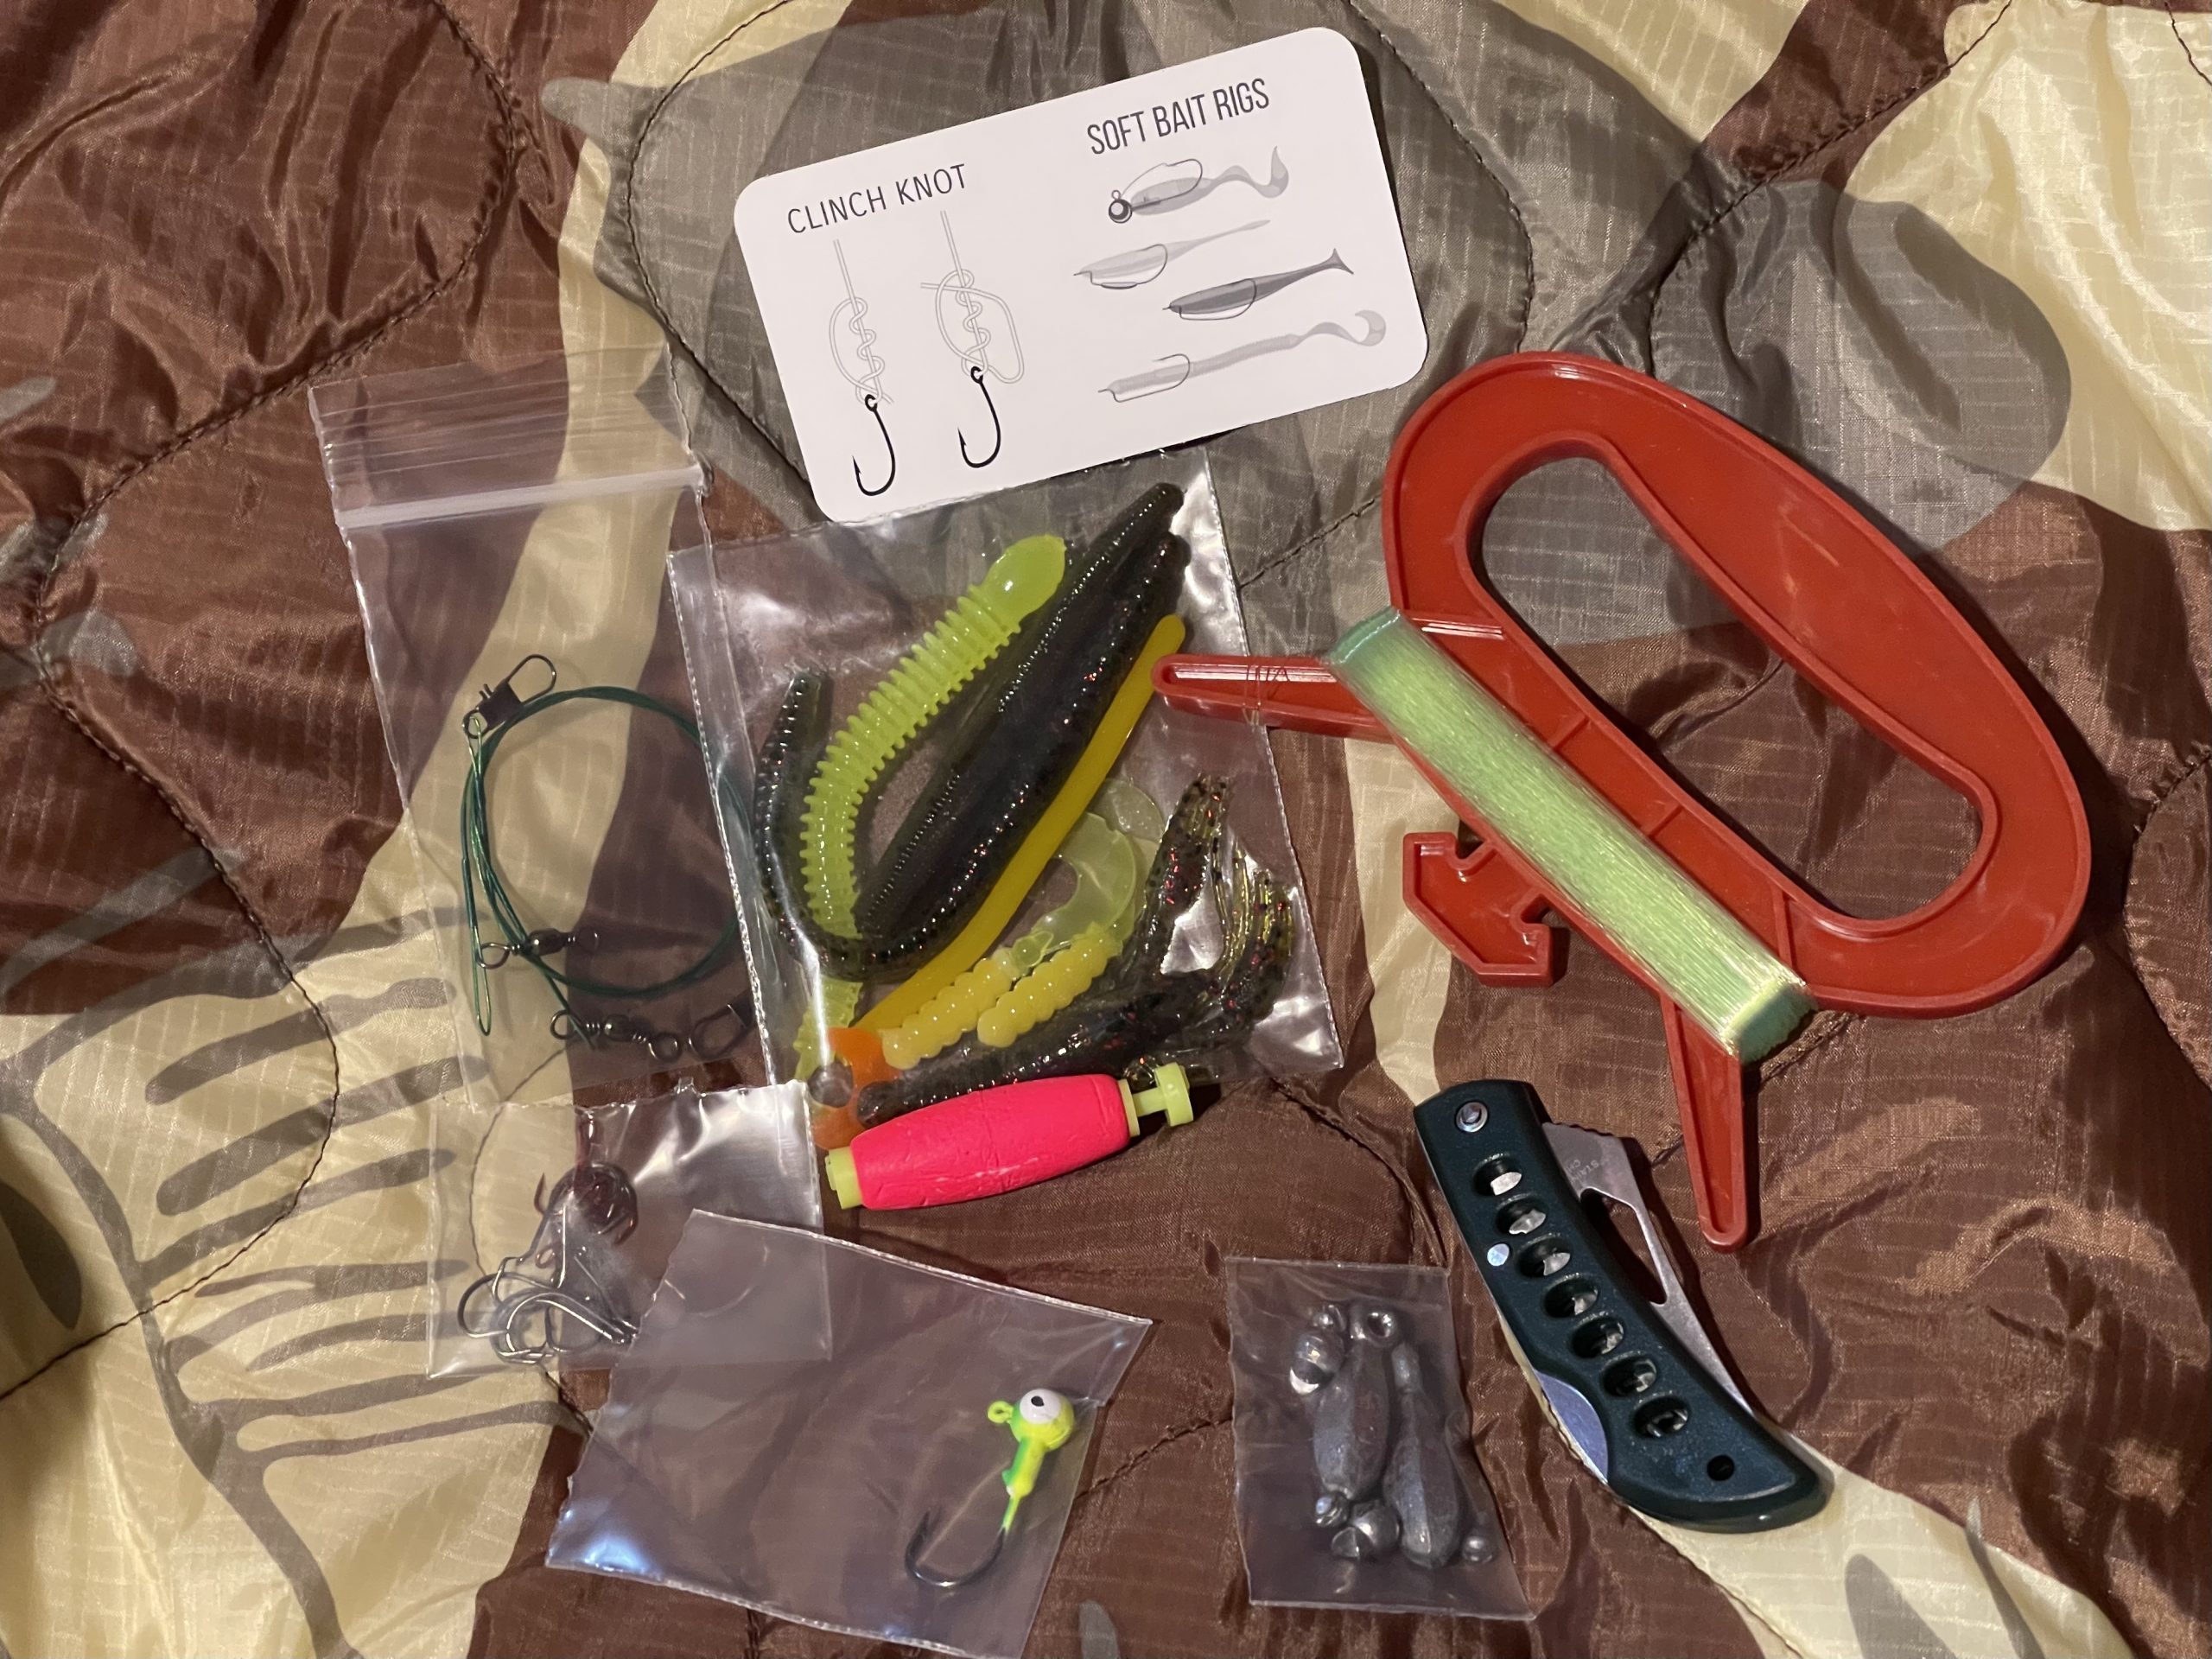
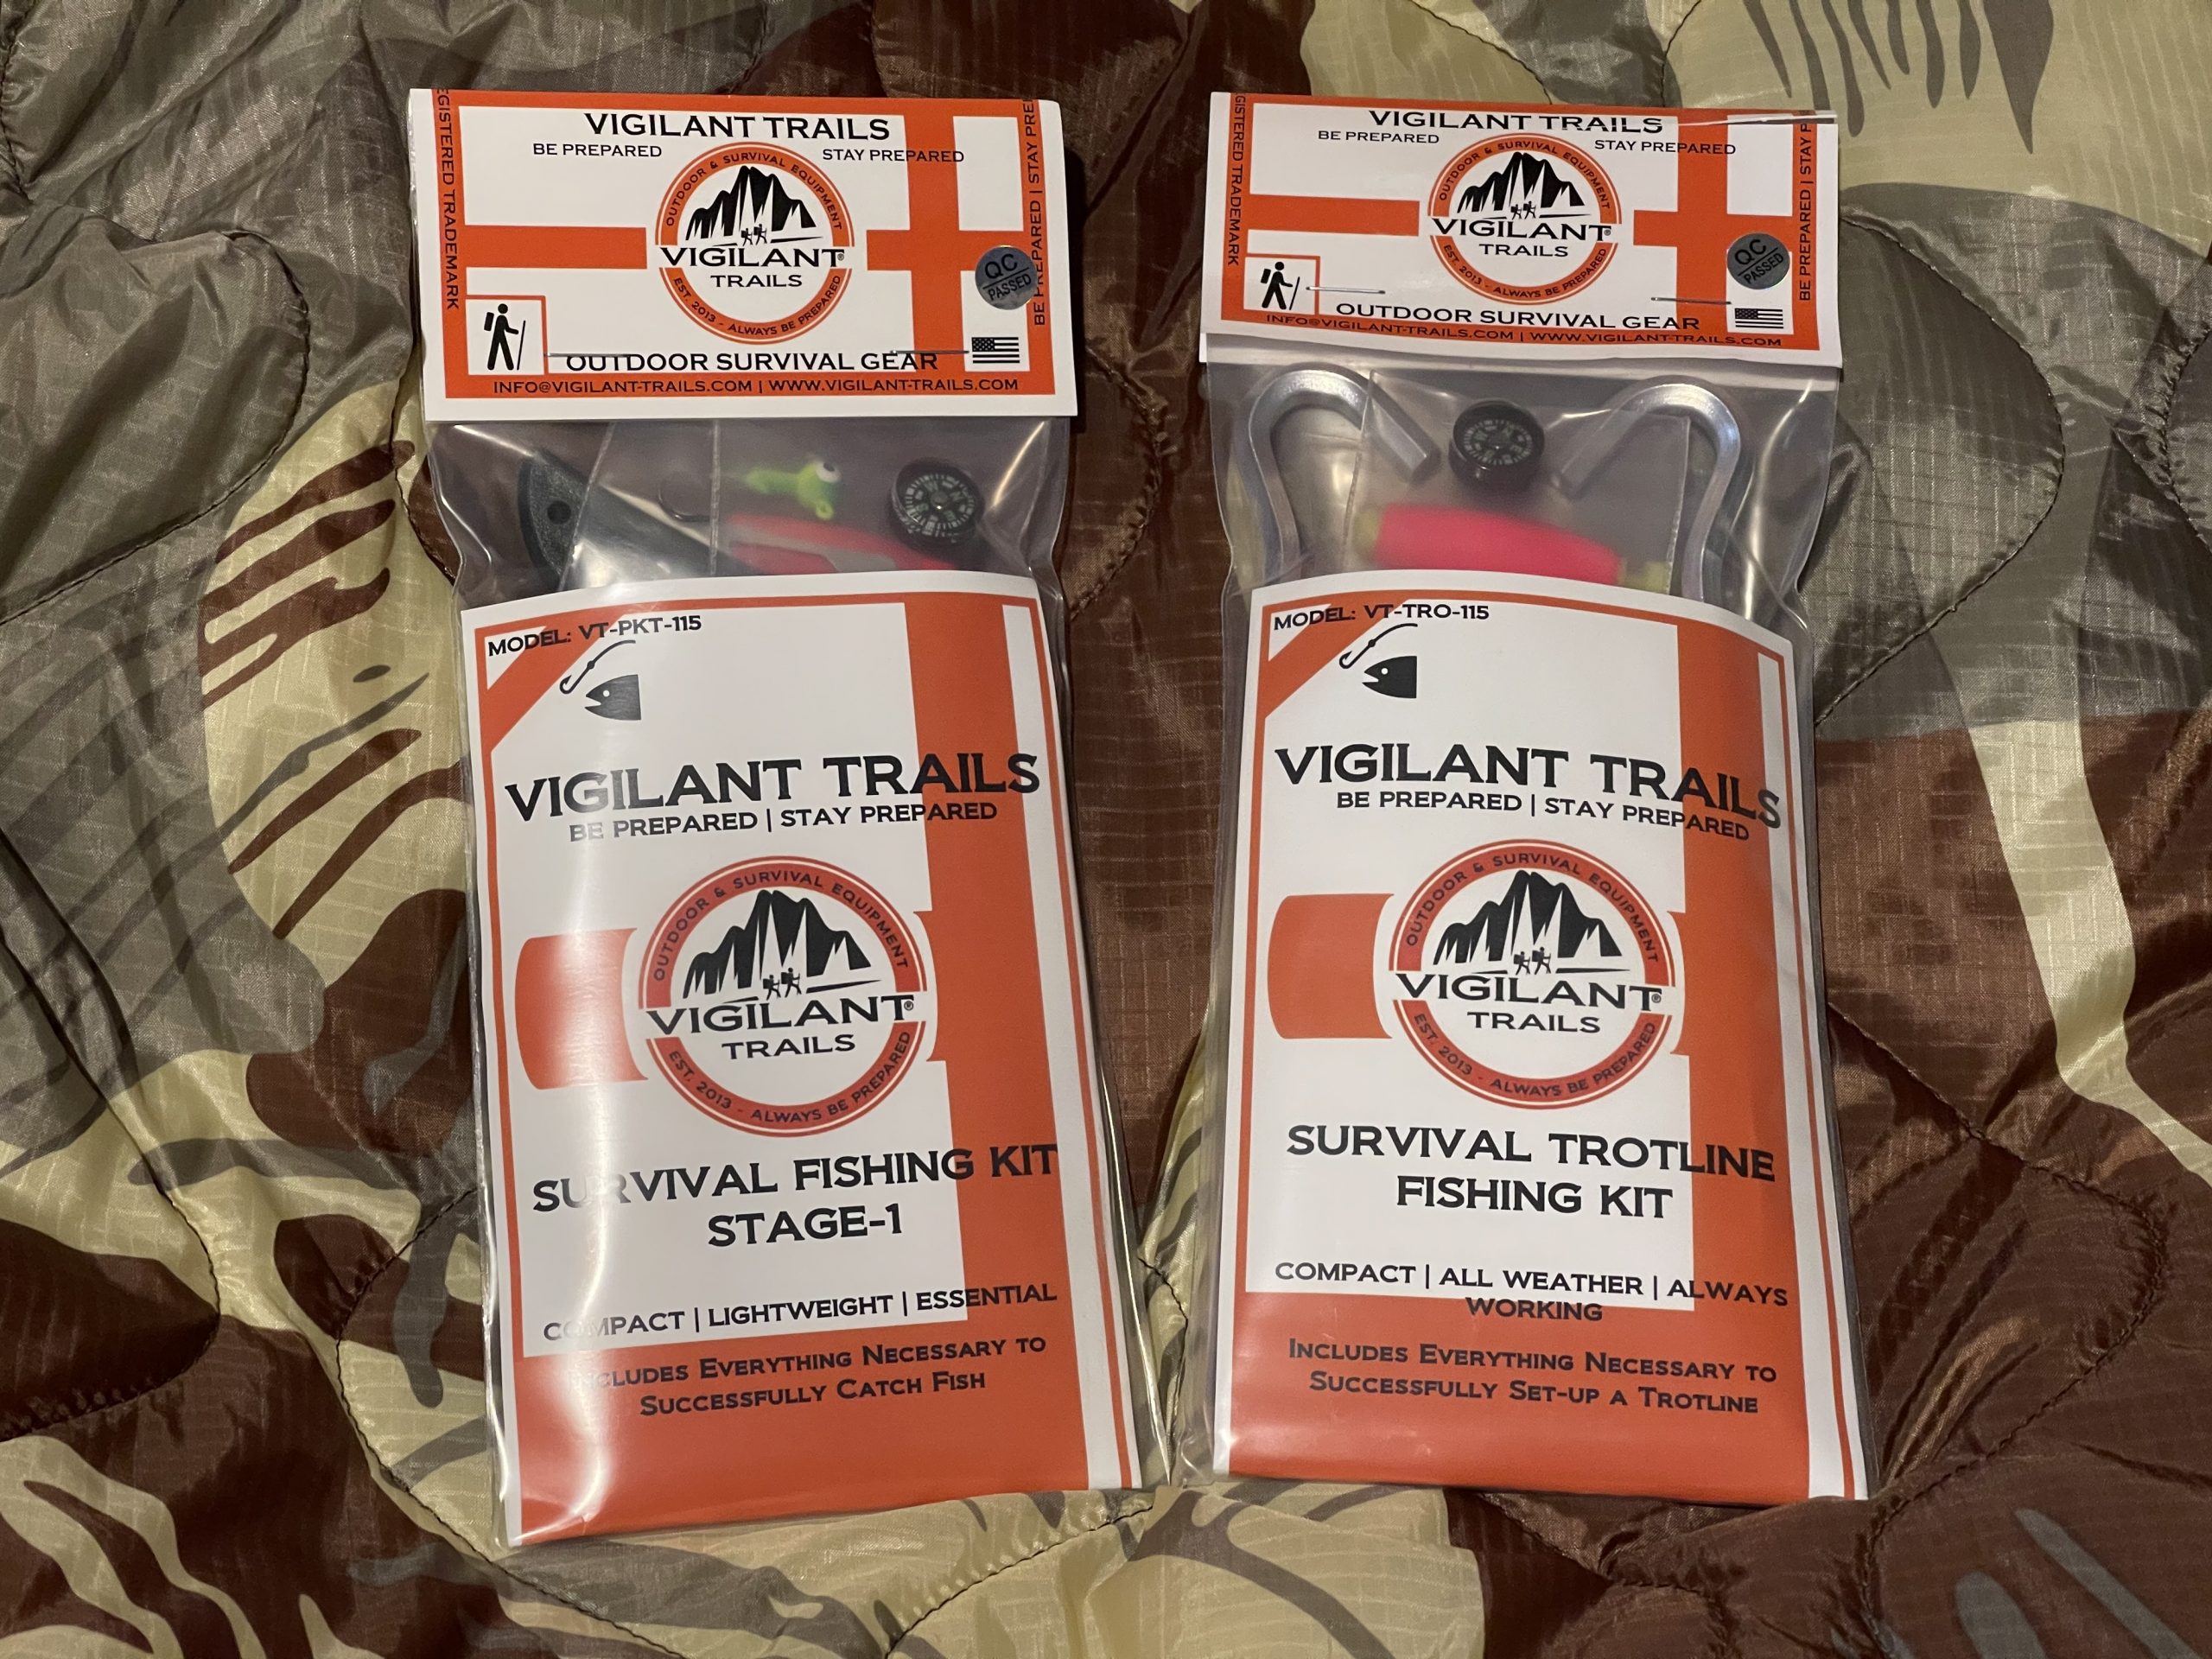
It’s wise to carry some basic fishing kit in your bag of tricks, and we’re big fans of Vigilant Trails. They make kits that are innovative, affordable, lightweight, and above all, functional. And they make them right here in the USA.
EDITOR’S NOTE: Some of these methods should be used with caution or for survival only as they may illegal in some locations.

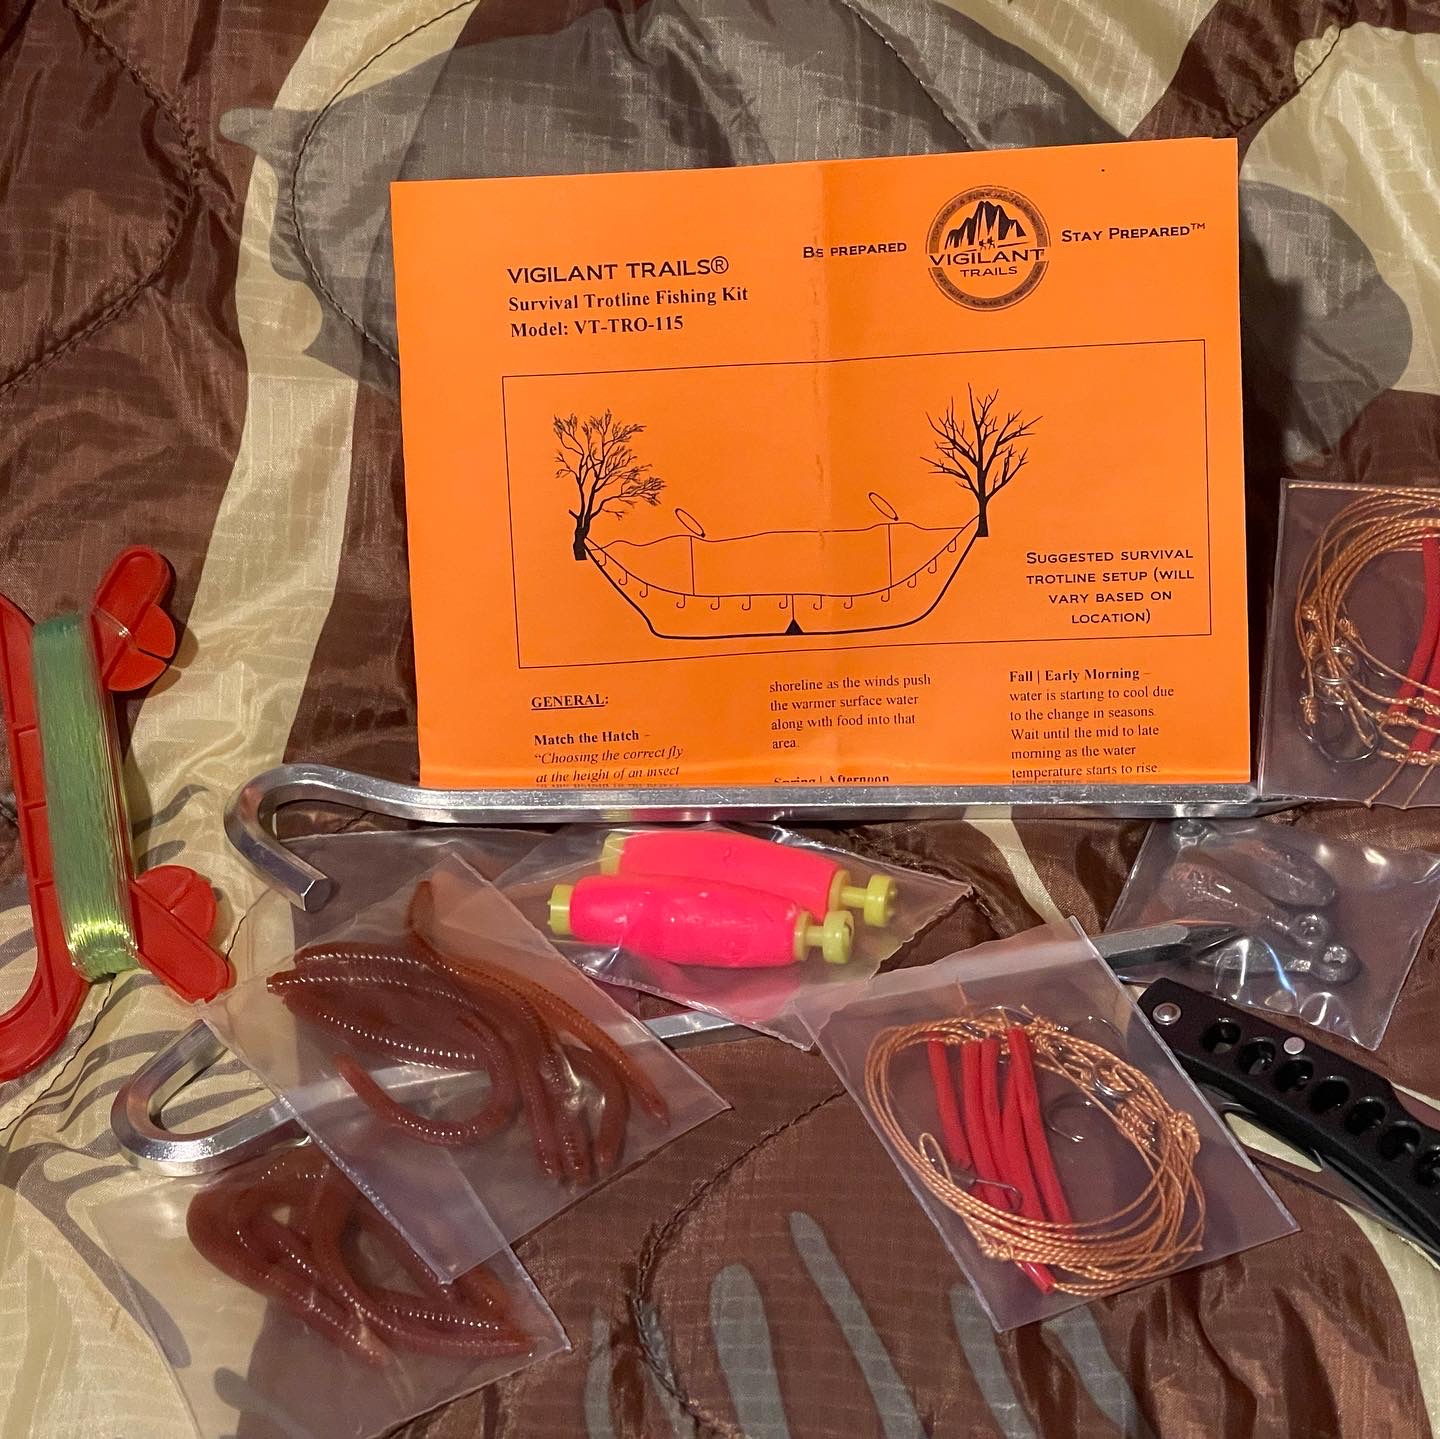
A basic survival fishing kit

A trotline is a heavy fishing line with baited hooks attached at intervals by means of branch lines called snoods. A snood is a short length of line which is attached to the main line using a clip or swivel, with the hook at the other end.

A trotline can be set so it covers the width of a channel, river, or stream with baited hooks. A big advantage of this method is that it can be left unattended in high traffic areas which increases your odds significantly in a survival scenario. There are many ways to set a trotline, with most methods involving weights to hold the cord below the surface of the water. They are used for catching crabs or fish (particularly catfish).
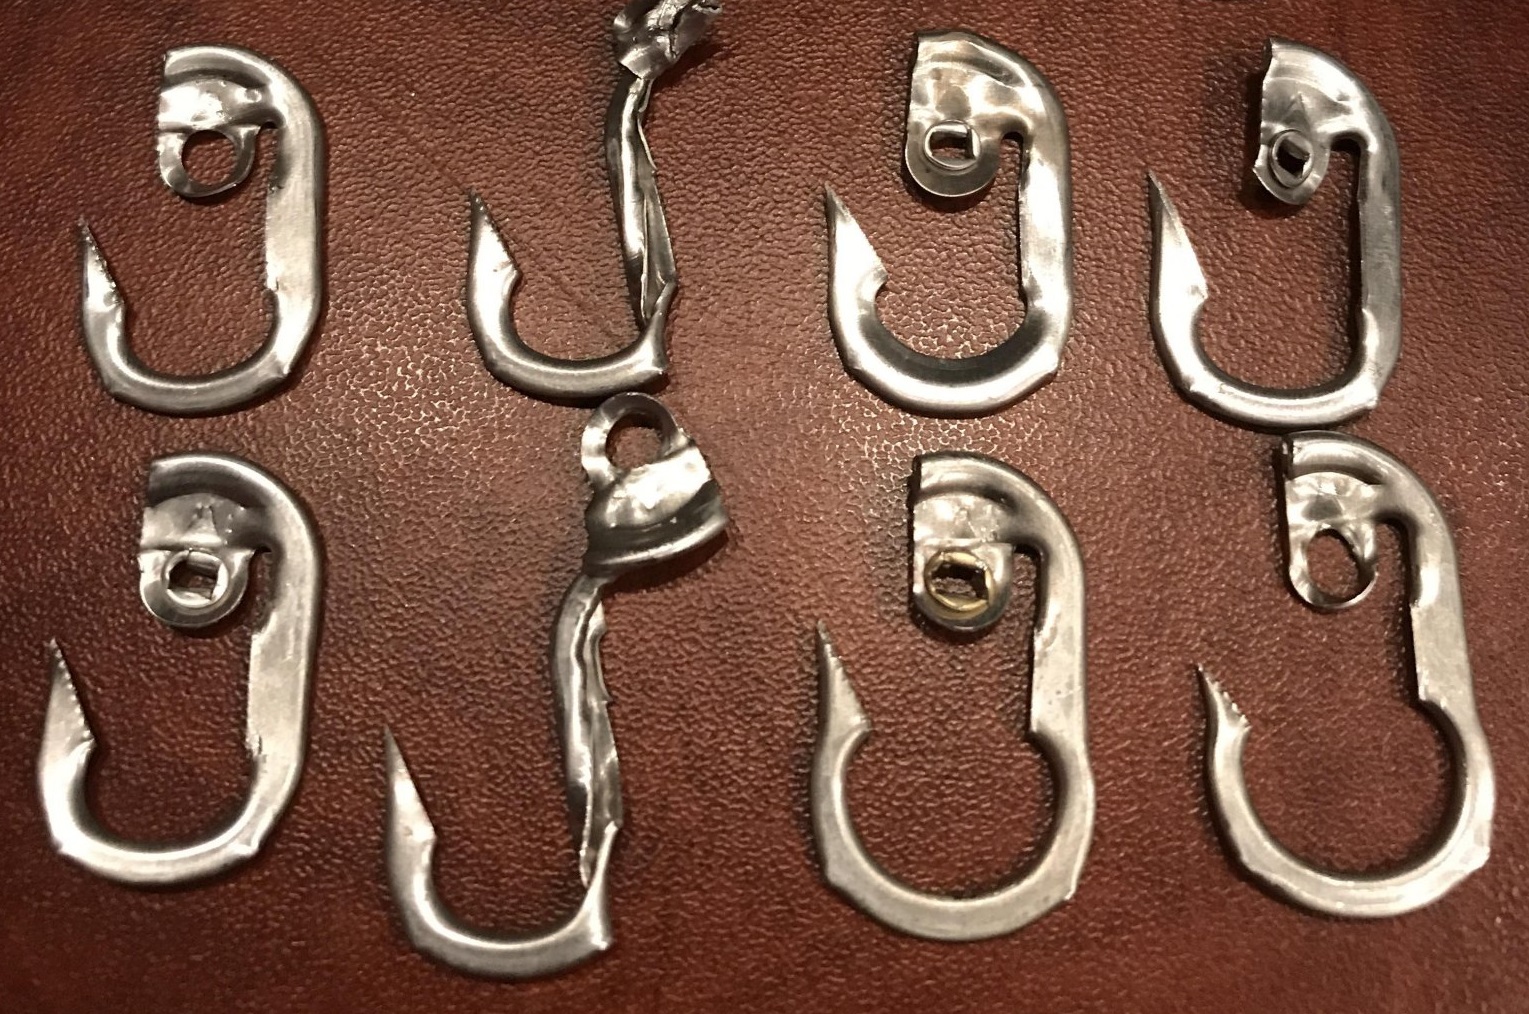
Beer can fishing is an effective, popular technique for those that don’t want to transport rods and reels, or when opportunity knocks and your gear isn’t with you that day. If you pay attention, you’ll see many a fish caught this way on the rivers and lakes in the Deep South and elsewhere.  

There are many other classic, non fishing pole techniques employed in the backwoods of America…

Hand Picking… Steathily approaching a stream bank or submerged rook and gingerly easing you hand undernearth feeling for fish, normally trout. Also known as Tickling as you softly reach around the belly of a Trout and than snatch it with your hands. Takes lots of practice to master and best results are in cold conditions or summer heat when the fish are more torpid. Larger trout species like Brown trout are easier to pick. Brookies are like atomic squirrels and are difficult for even the best picker.

Noodling… similar to the above but involves more open water and submerged stumps and other cover. Usually associated with bullheads and catfish. Instead of reaching under the belly with trout you are either grabbing them by the gills (smaller specimens) or jamming you fist in their mouths to pull them up. It can be unnerving and thrilling at the same time to grab a big ‘ol flathead like this. Also can be done with snapping turtles in their burrows. They go in head first and you reach up over their shells with one hand and and grab the tail with the other and drag them out. It’s a freaking insane tussle and can go sideways if you aren’t focused or tend to be unlucky.

Seining… basically mounting a net between two poles, adding weights to the bottom, grounding it in the stream bed and then overturning the rocks and logs upstream from the seine. It’s a two person affair as one holds the seine and the other rakes the current ahead. Anything tossed up in the current gets caught in the net. When the Raker is done the Netter raises the net to capture anything caught. Usually this is for catching crawdads for eating but also for bait like shiners, strawmen, or hellgrammites.

Damming… Found a hole on some smaller crick with fish you want to eat but can’t catch? Build an escape viaduct at the bottom of the hole that is small in size width wise but is as low as you can relative to the depth of the hole your targeting. Build a dam upstream of the hole to reduce water flow as much as possible with the intent of draining the fish laden hole as much as possible. If it’s successful, and you need to select a workable hole, you can either catch, spear or net the fish in the lower water levels or do the same as larger fish try and escape via the downstream aqueduct.

Spearing… like it says. Using a crafted spear, or store bought one you jab into the water. Doing so at night with a spotlight is the best method. You can use a modified fishing spear with added tines soldered in between the factory ones. One needs to be mindful of refraction and current strength when making a strike. Be fast and sure because any hesitation will be a missed fishy.

Boomflies… a long subtle branch and an M80…errr..that might be too much. Keep in mind that some of these methods are frowned upon by your local game and fish revenuers so survival use only.

Just some good old boys, never meaning no harm…
In winter conditions, you may consider ice fishing.

It can be as simple as knocking a hole in the ice (be careful!) and dropping a baited line in the hole and waiting. If you planned ahead and have extra hooks, line, bobbers and sinkers, you can get after the fish from multiple holes.

One technique is a tip up. This is made by placing a couple good size sticks in an “X” pattern over your hole while ice fishing to suspend a smaller pole with bait at a set depth through a hole in the ice. This helps detect when a fish strikes, without having to be in contact with this piece of gear.

You can see the “flag” or whatever from a distance and can thus manage multiple holes at once, covering a larger area to increase your chance of survival. When a fish does take the bait, a flag “tips up” or the flag can “tip down” to signal that a fish has taken the bait. It’s cold out on the ice so you may want to use a “tip-up” so you can set it and watch from a warmer, sheltered location onshore.

Try to suspend your bait in the “cruising lane” where you think fish may be traveling under the ice – they get hungry in winter so they’re moving around under there looking for food.

1. First, clip a 1-ounce depth finder or “sounder” weight to the hook and drop it so it falls through the weeds and hits bottom.

2. Pull the sounder up about 1 foot above the tops of the weeds. Clip on a small bobber at water level as your marker.

3. Raise the sounder an additional 3 to 6 inches (to compensate for the fact that the spool will be under the water) and slide the bobber down the line the same distance.

4. Remove the sounder. Hook the bait through the back and drop it through the hole. When you set the tip-up, the bobber should be visible on the last wrap of the tip-up spool. Wait and pray for dinner to arrive.
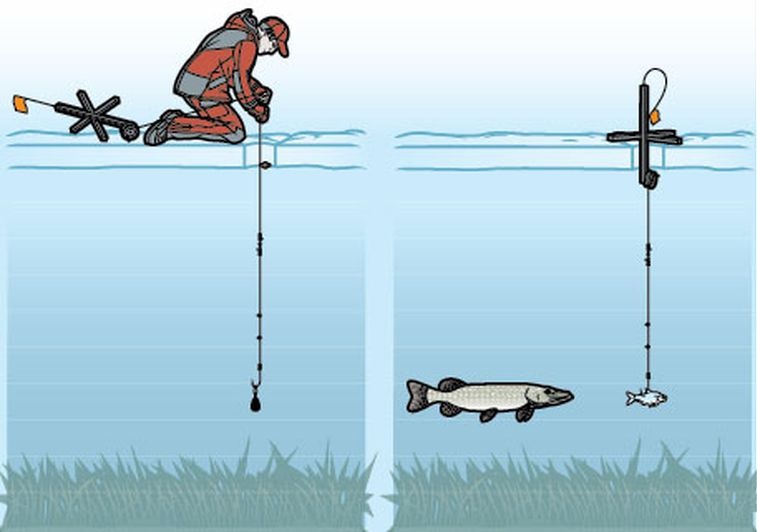
Ice fishing example using a Tip-Up rig

FULL DISCLOSURE:  All endorsements and opinions in this article are unsolicited. Items featured in this article were privately purchased by the author for personal use. Tips and techniques discussed here are for educational purposes, and some of these methods should be used with caution or for survival only as they may illegal in many locations.

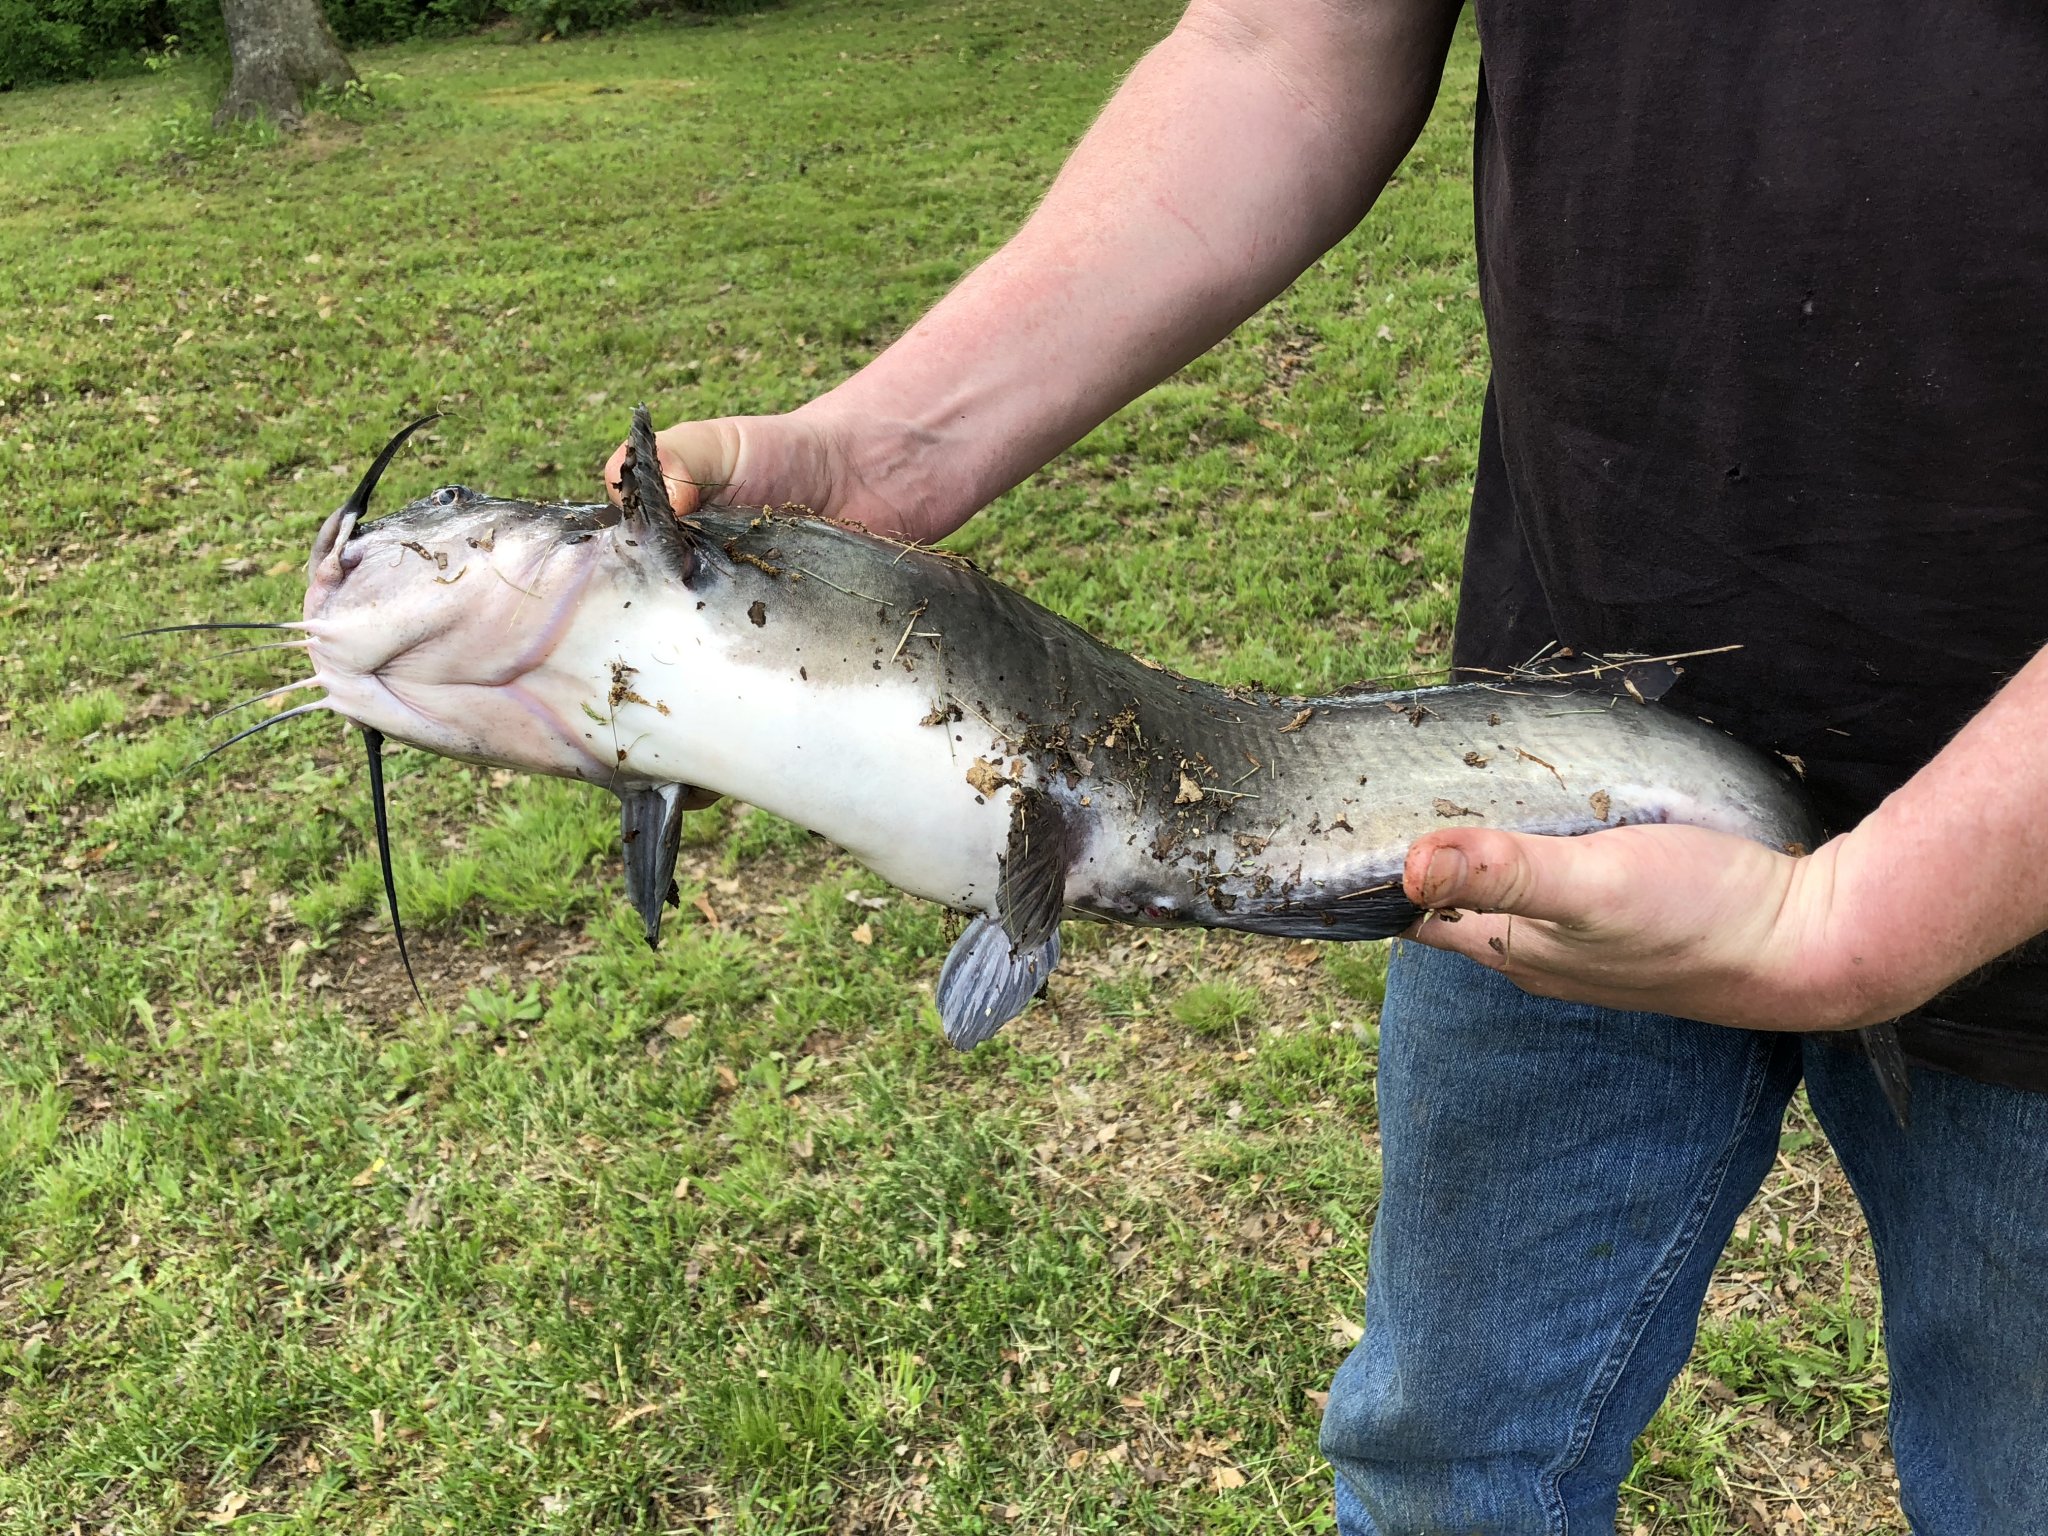
***Big thanks to Mark Collins for the fresh catfish photo and Ridgerunner editorial input on this here article***
 

Eat Well In The Wild!

Meal planning is one of the most important considerations for any trip.  We all know that being hangry can derail a trip, so it’s worthwhile to take some time to explore alternatives for fast and easy food while out there on the go. And since we know that hunger sometimes strikes when we’re minimally prepared, it’s good to be knowledgeable on the high quality, shelf stable choices available to keep on hand for potential emergencies like being stranded or socked in by fast moving weather systems. Having at least three days of extra food at all times is a hard requirement for anyone traveling the back country by boots, paddles, peddles or 4WD.

That said, over the years we’ve expended a lot of time and resources on camp cooking during our longer trips.  You can bring the entire Snow Peak or Camp Chef catalog to camp, and it’s easy to invest considerable time and money on elaborate meal planning and preparation. Everybody wants to be your friend in camp when you fire it up Overland Gourmet style and start delivering the goods.

But what if you don’t enjoy hauling 150 lbs of glamping paraphernalia around in your vehicle so you can feed those pesky camp remoras again? What if you’re the camp remora this time and find yourself out of luck?

Or, what if it’s just YOU on a solo adventure?

If you’re less focused on spending time in camp fiddling with kitchen gear and cleaning, and more focused on the actual experience gained while out and about, this article is for you. 

Food can be a polarizing topic. With innumerable dietary needs, opinions and preferences to consider, we’ll stick to just the basic facts here as it pertains to “hiker food”. We’ll also provide some impressions on brands and flavors etc in follow on segments here.

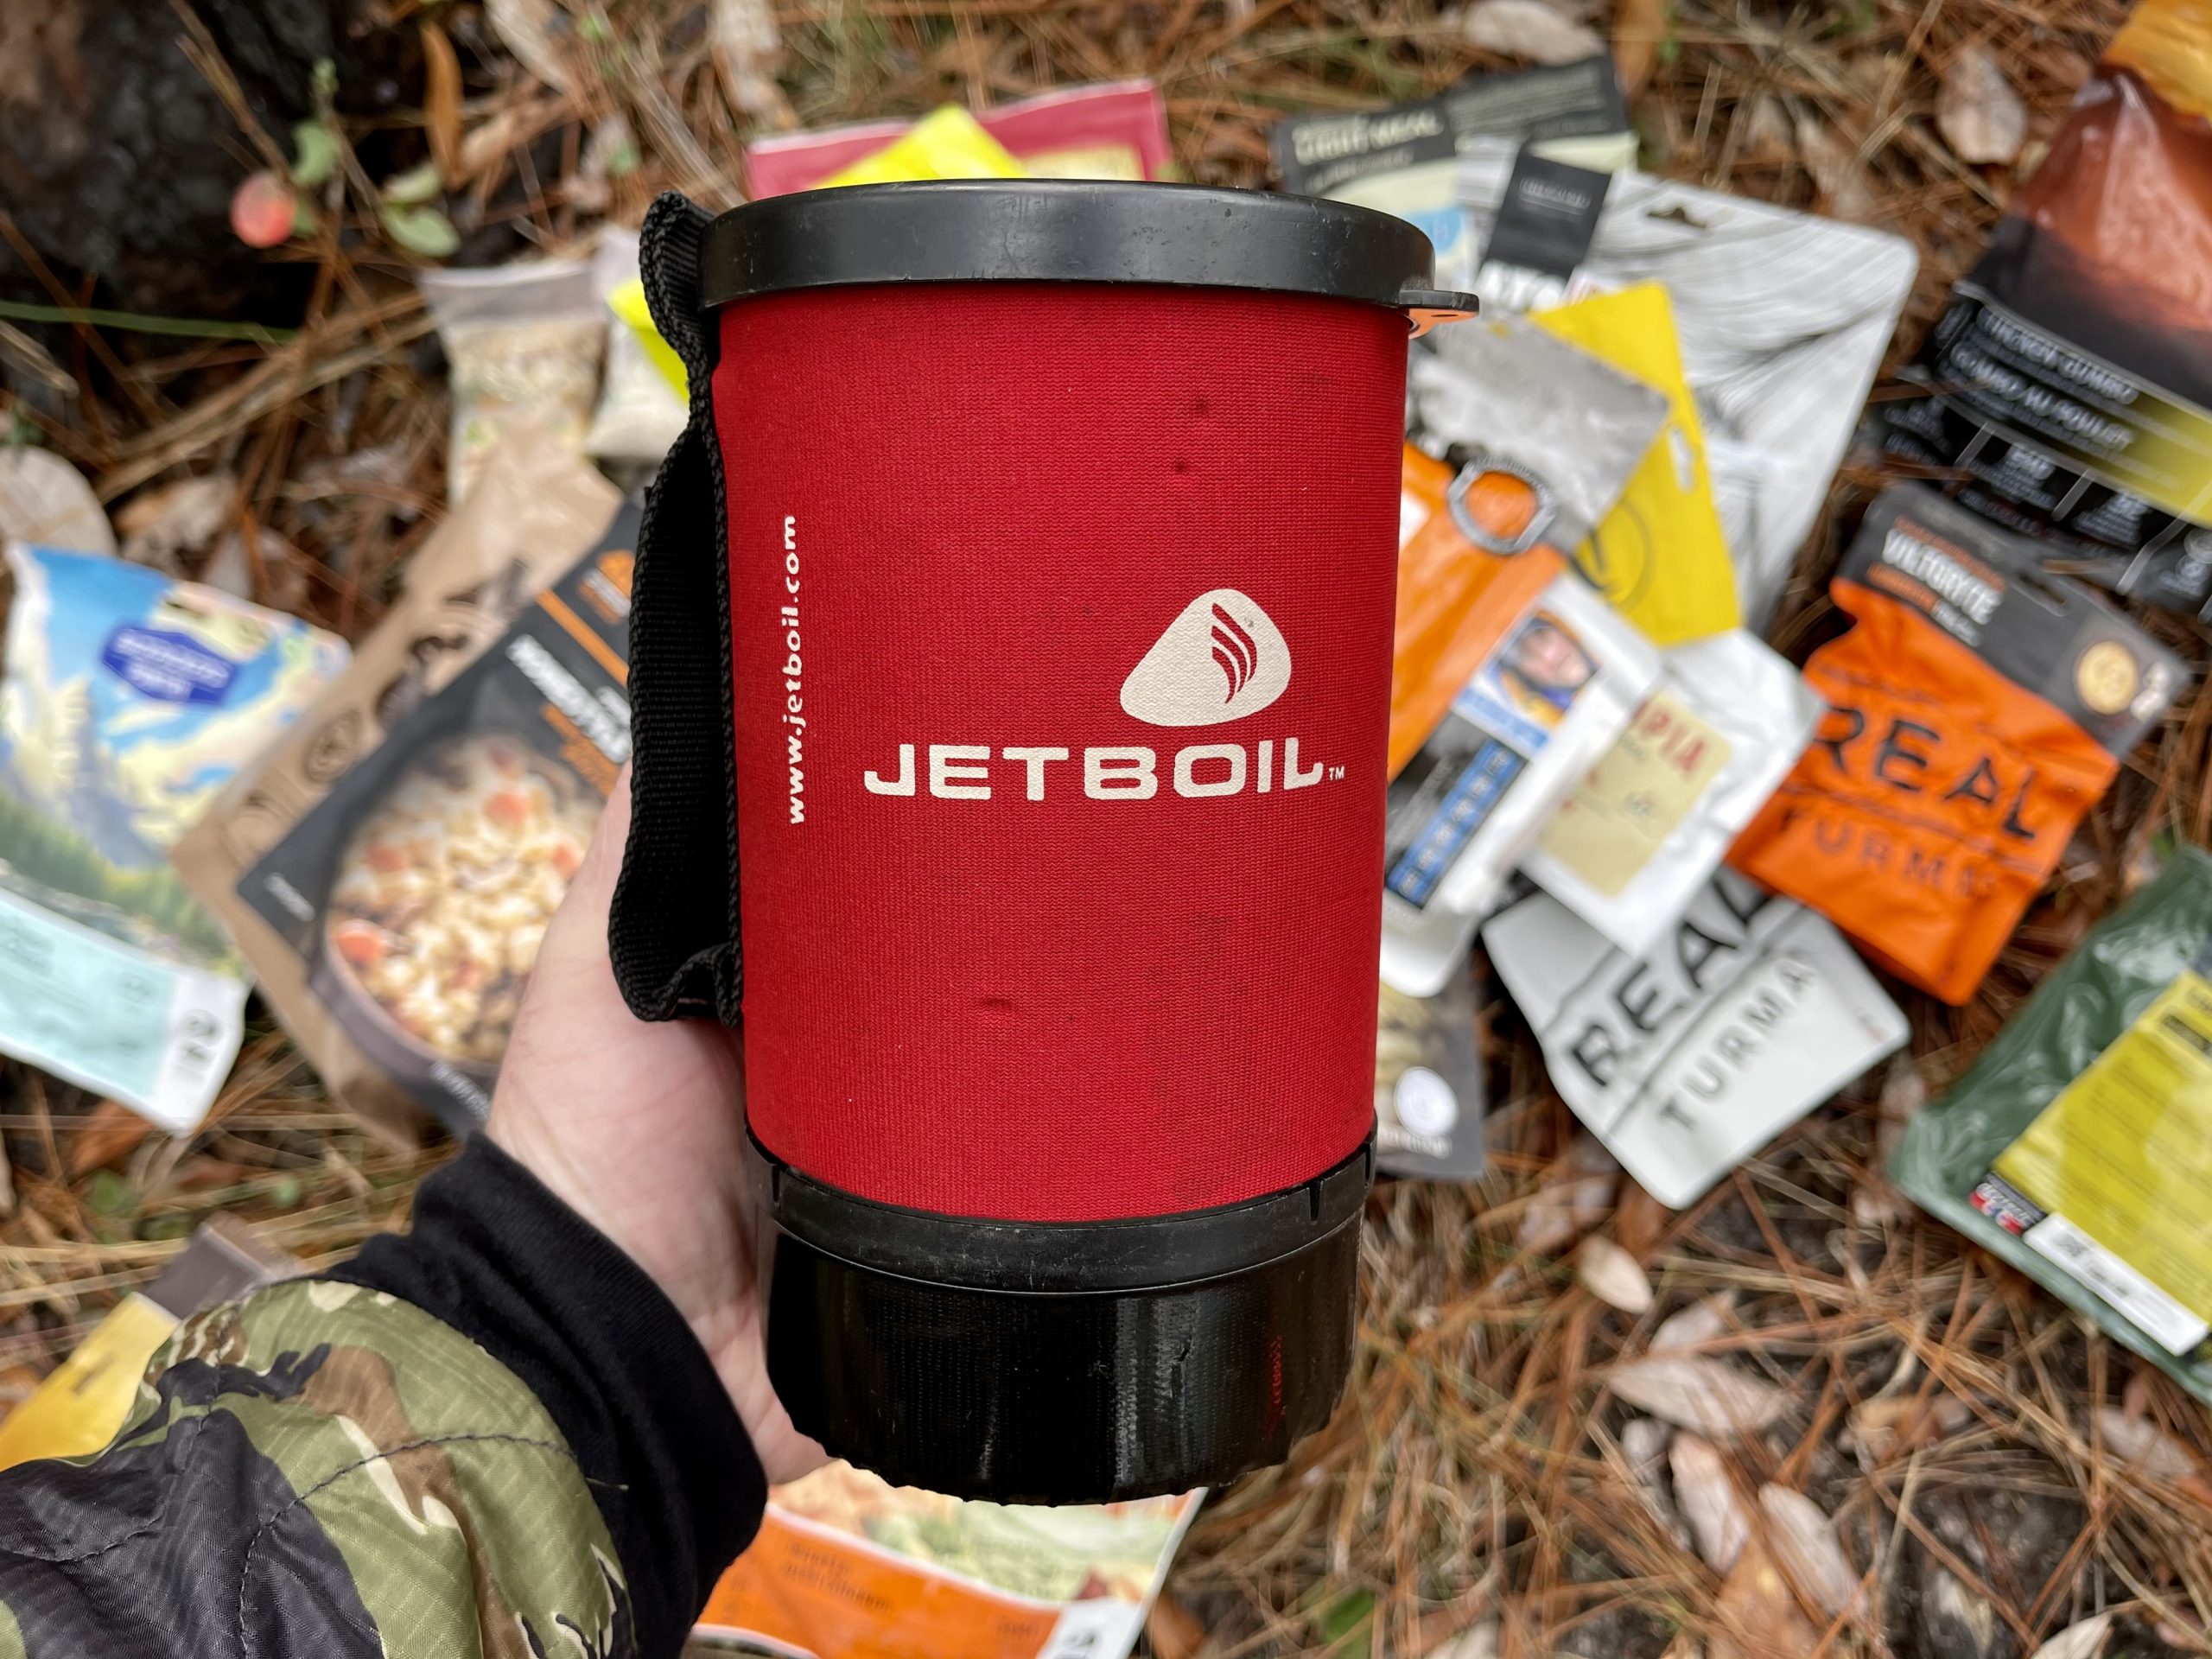
One argument that cannot be broken is the fact that there is no easier option. The only thing required for most of these meals is water, a way to boil it, and a long spoon.

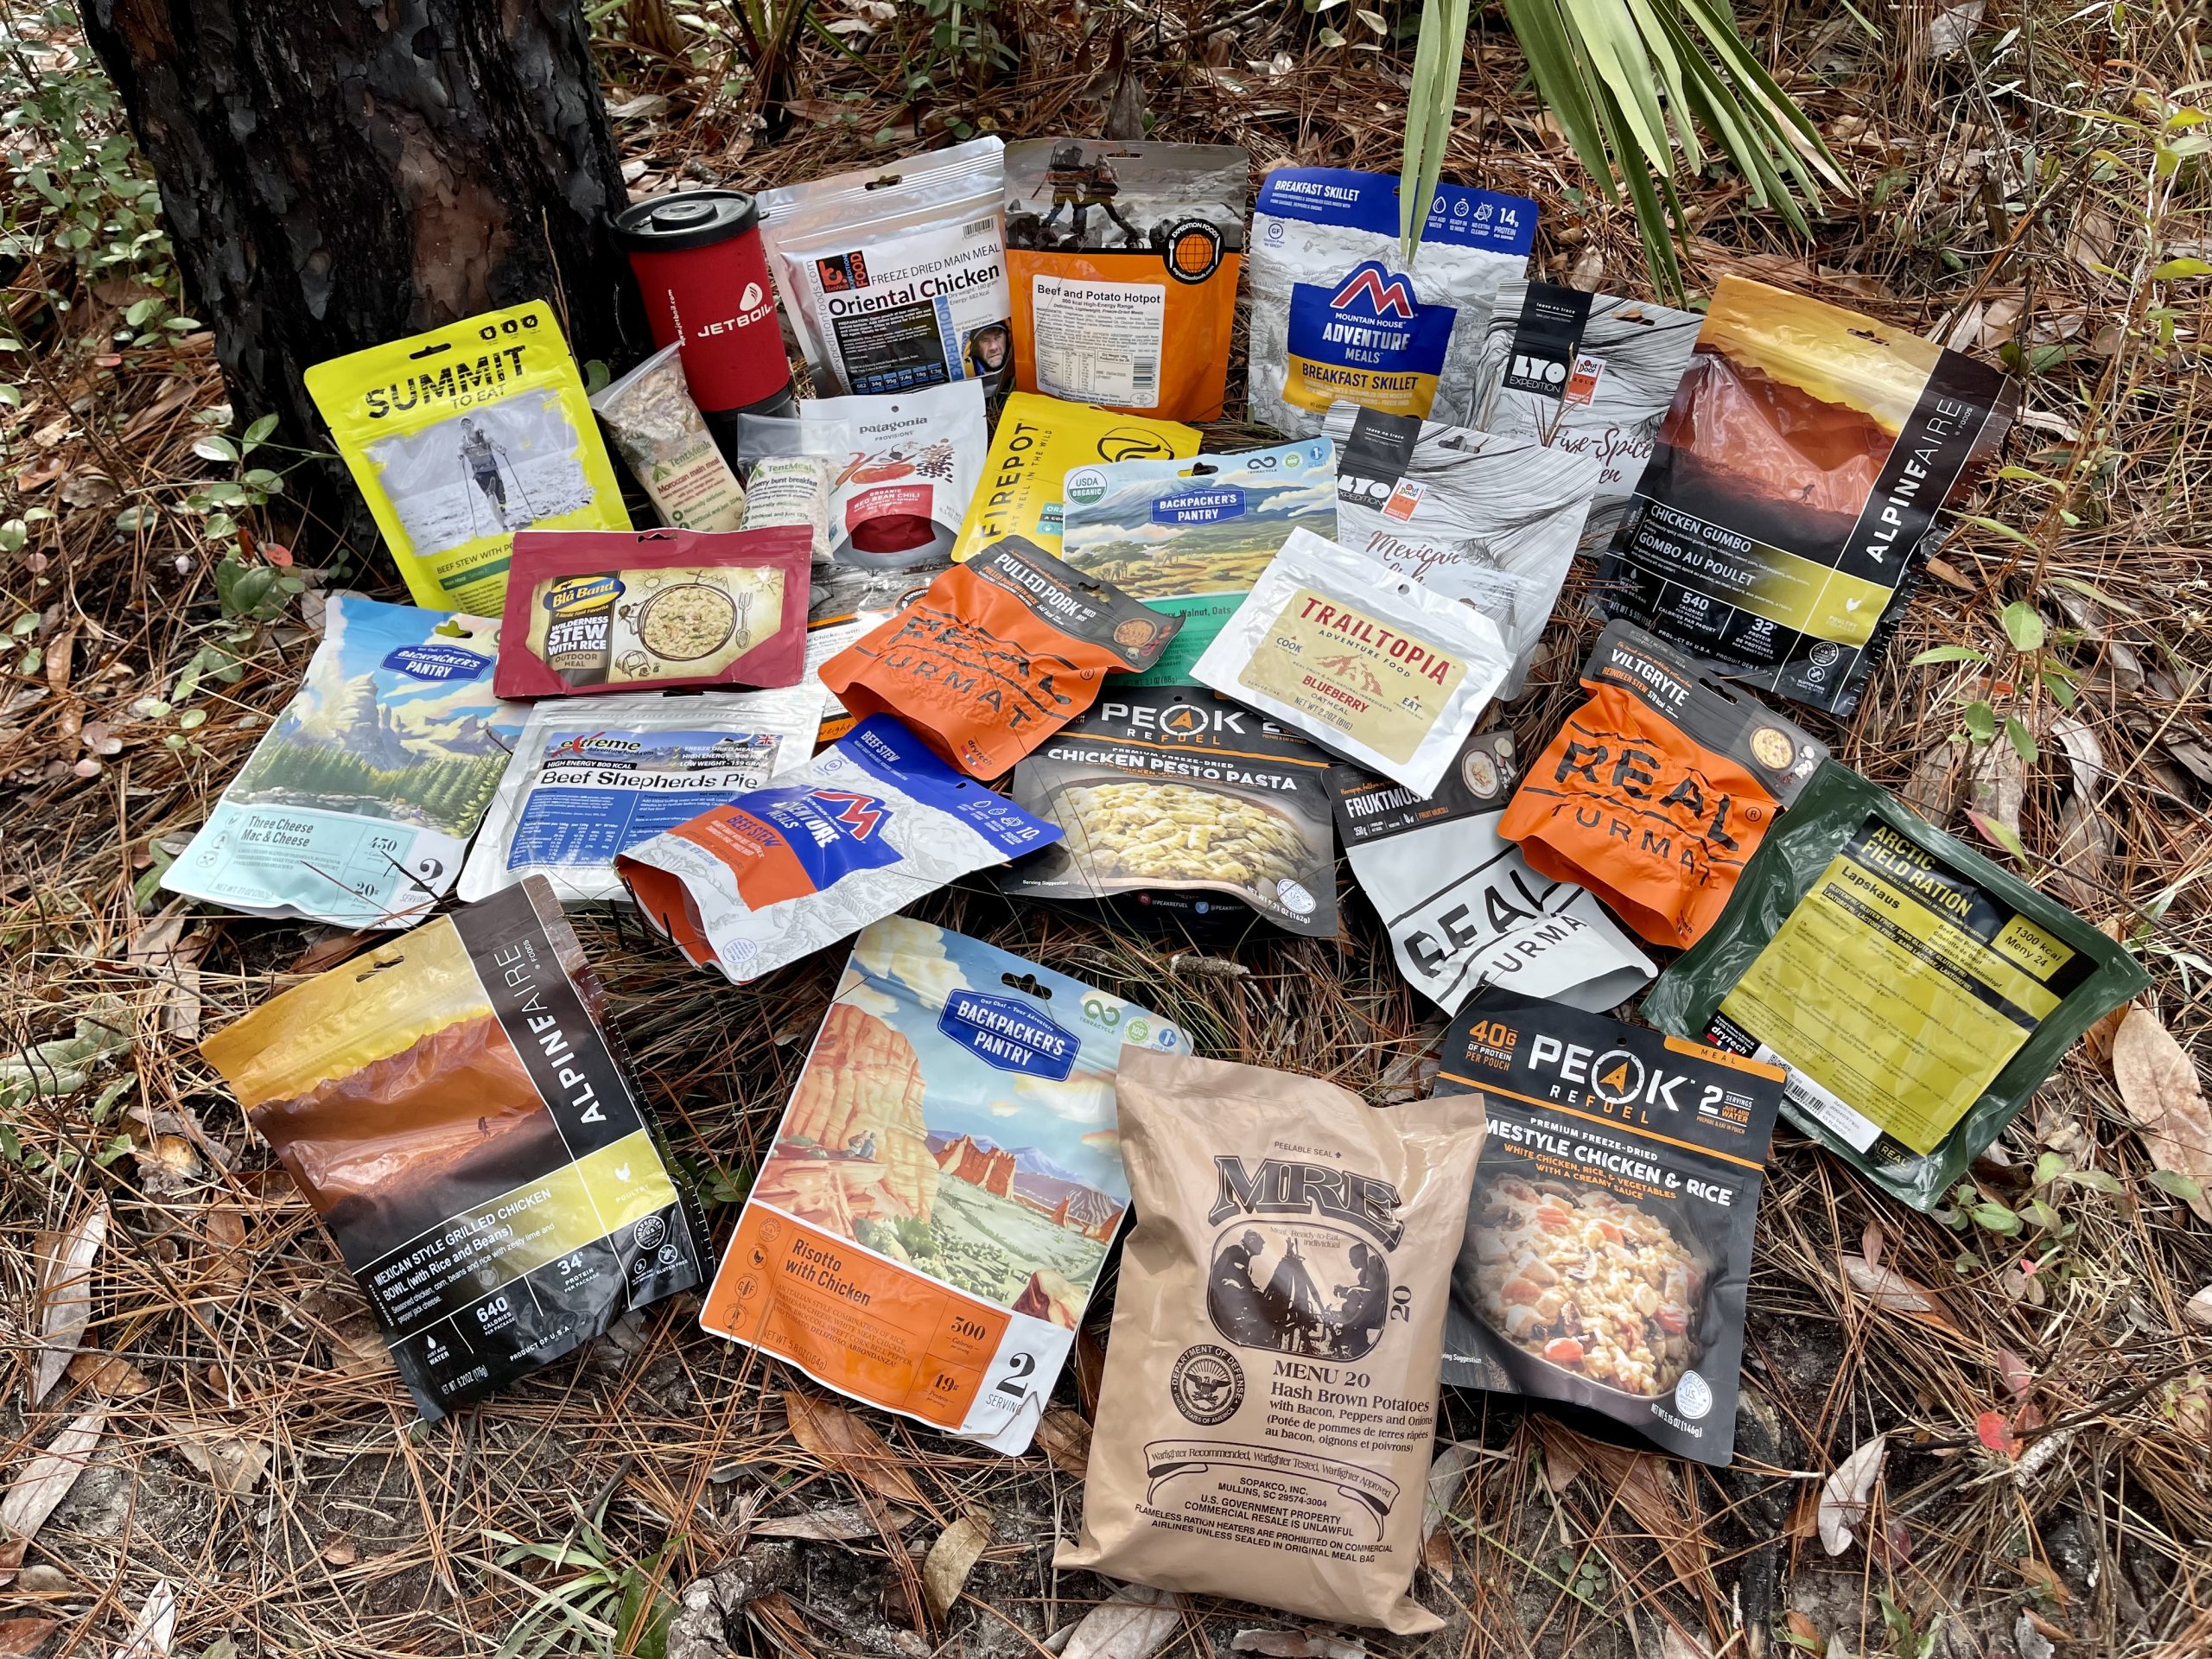
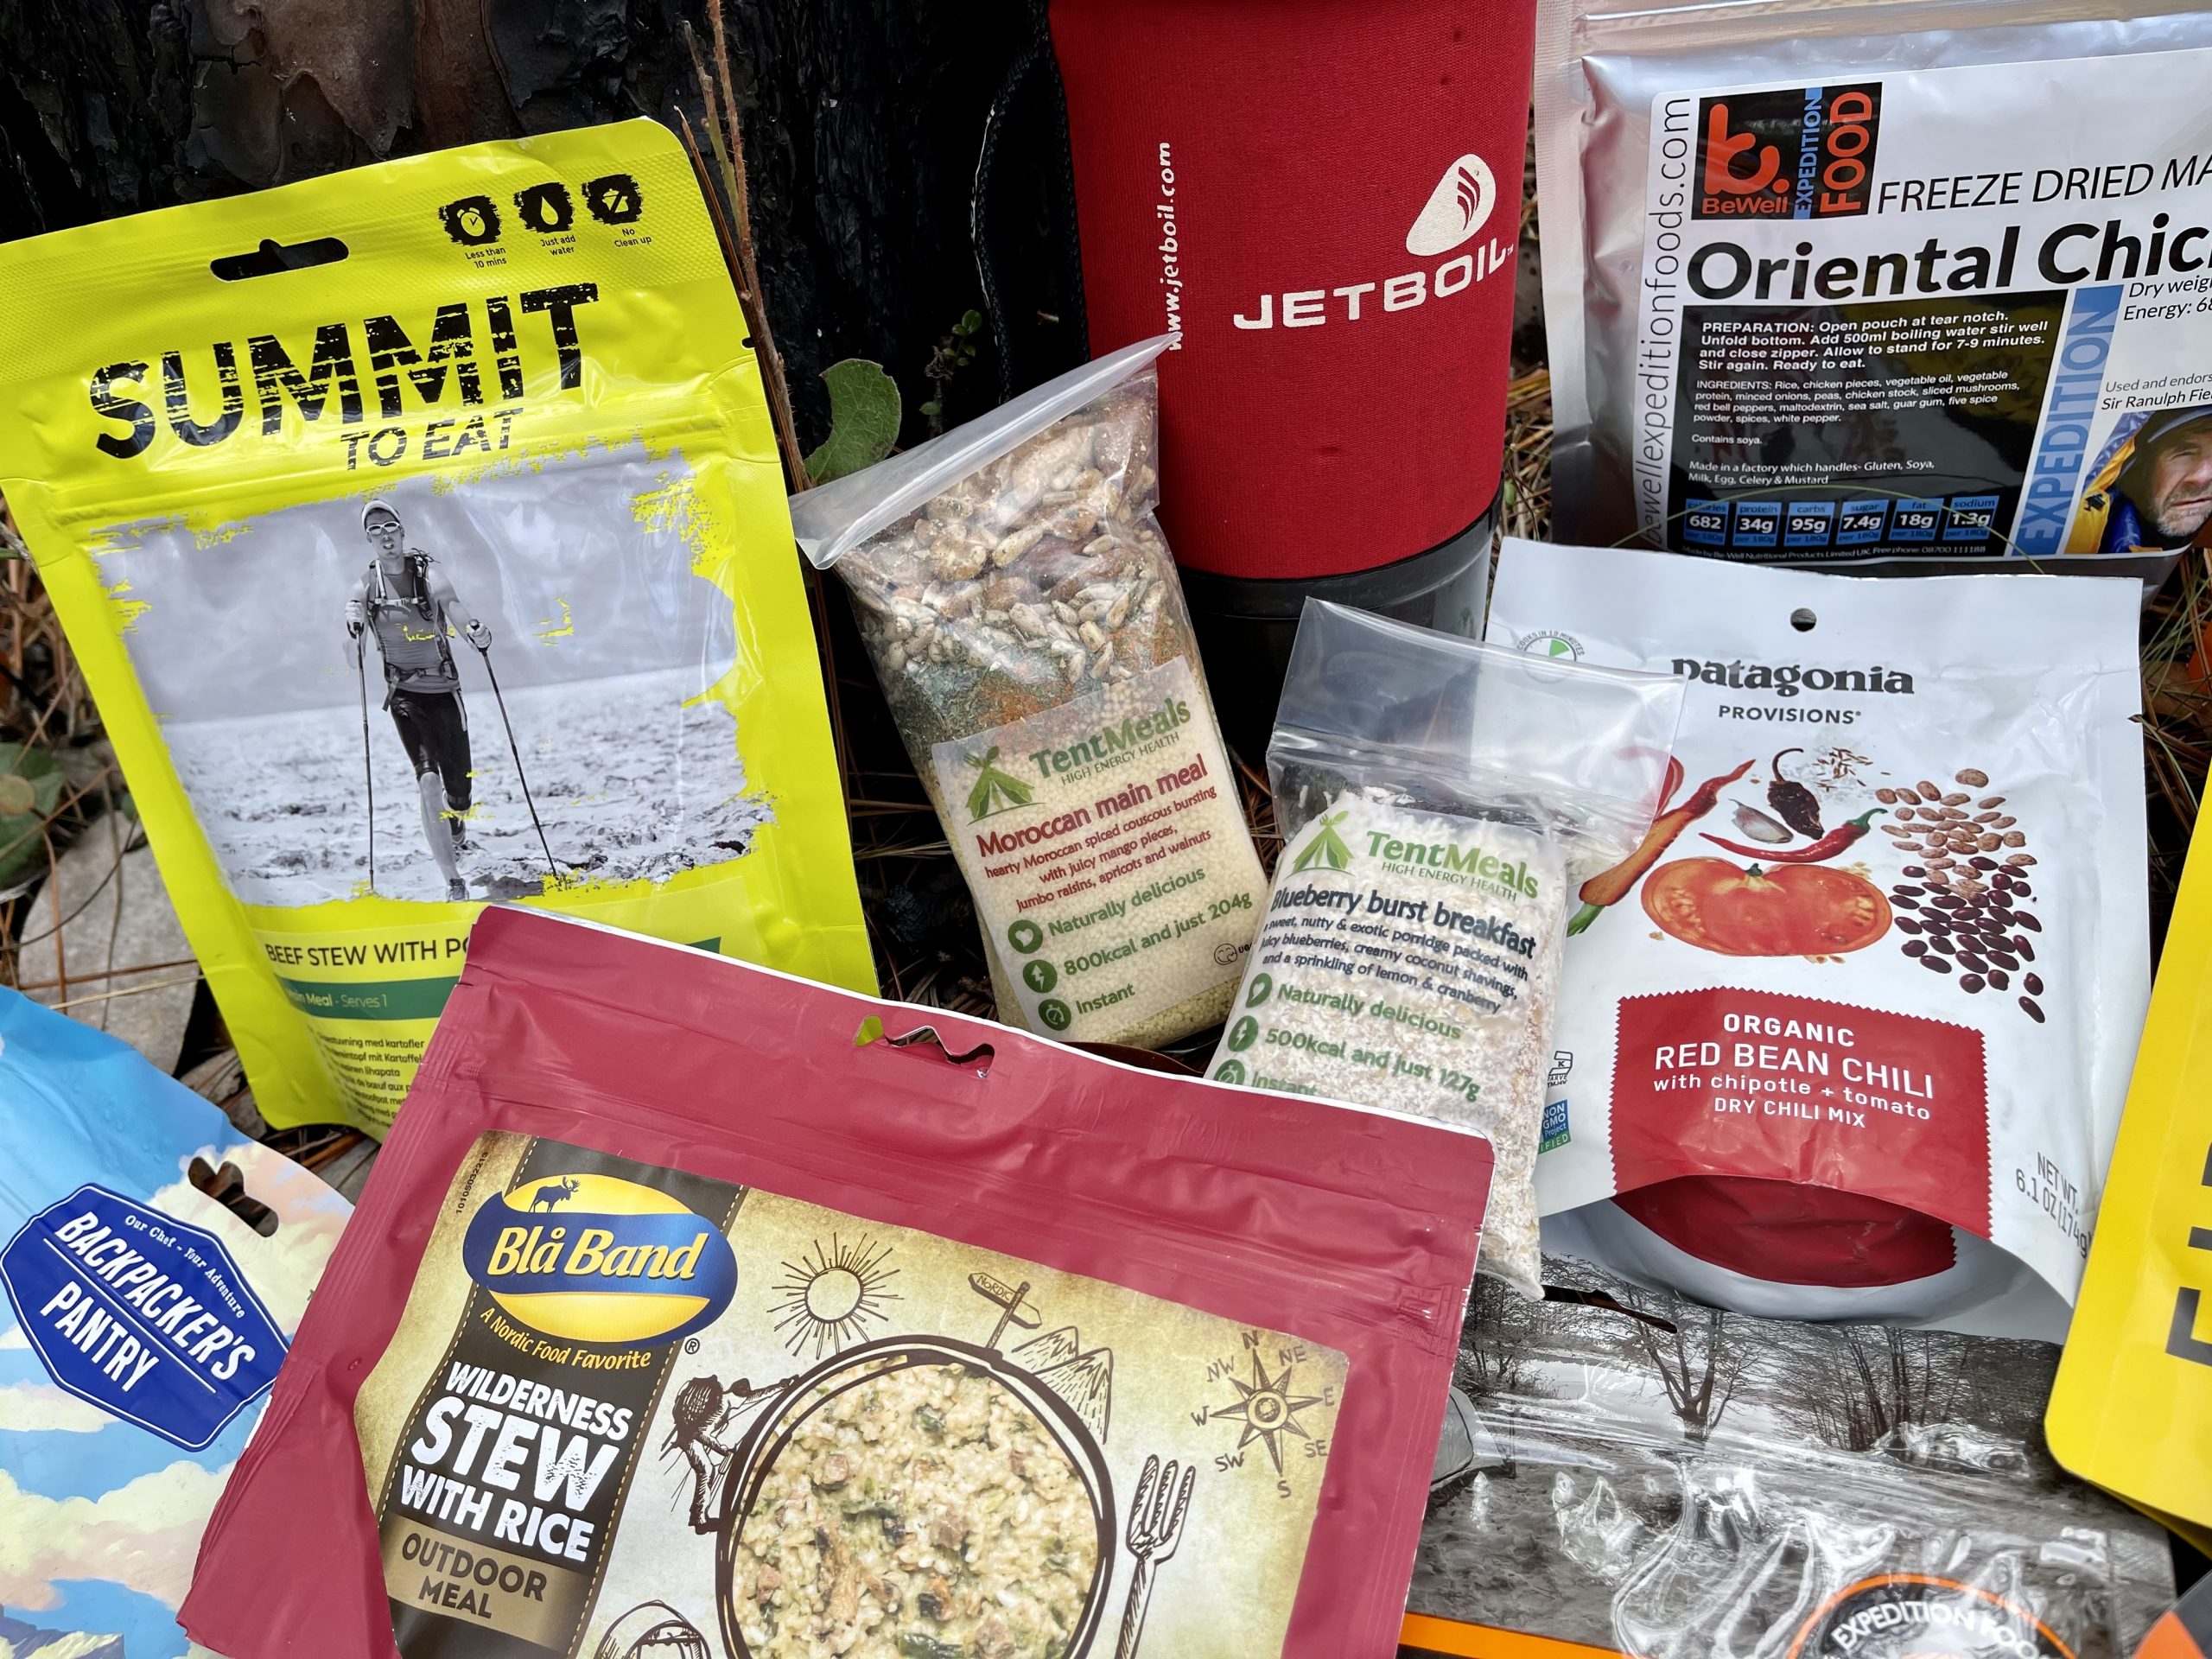
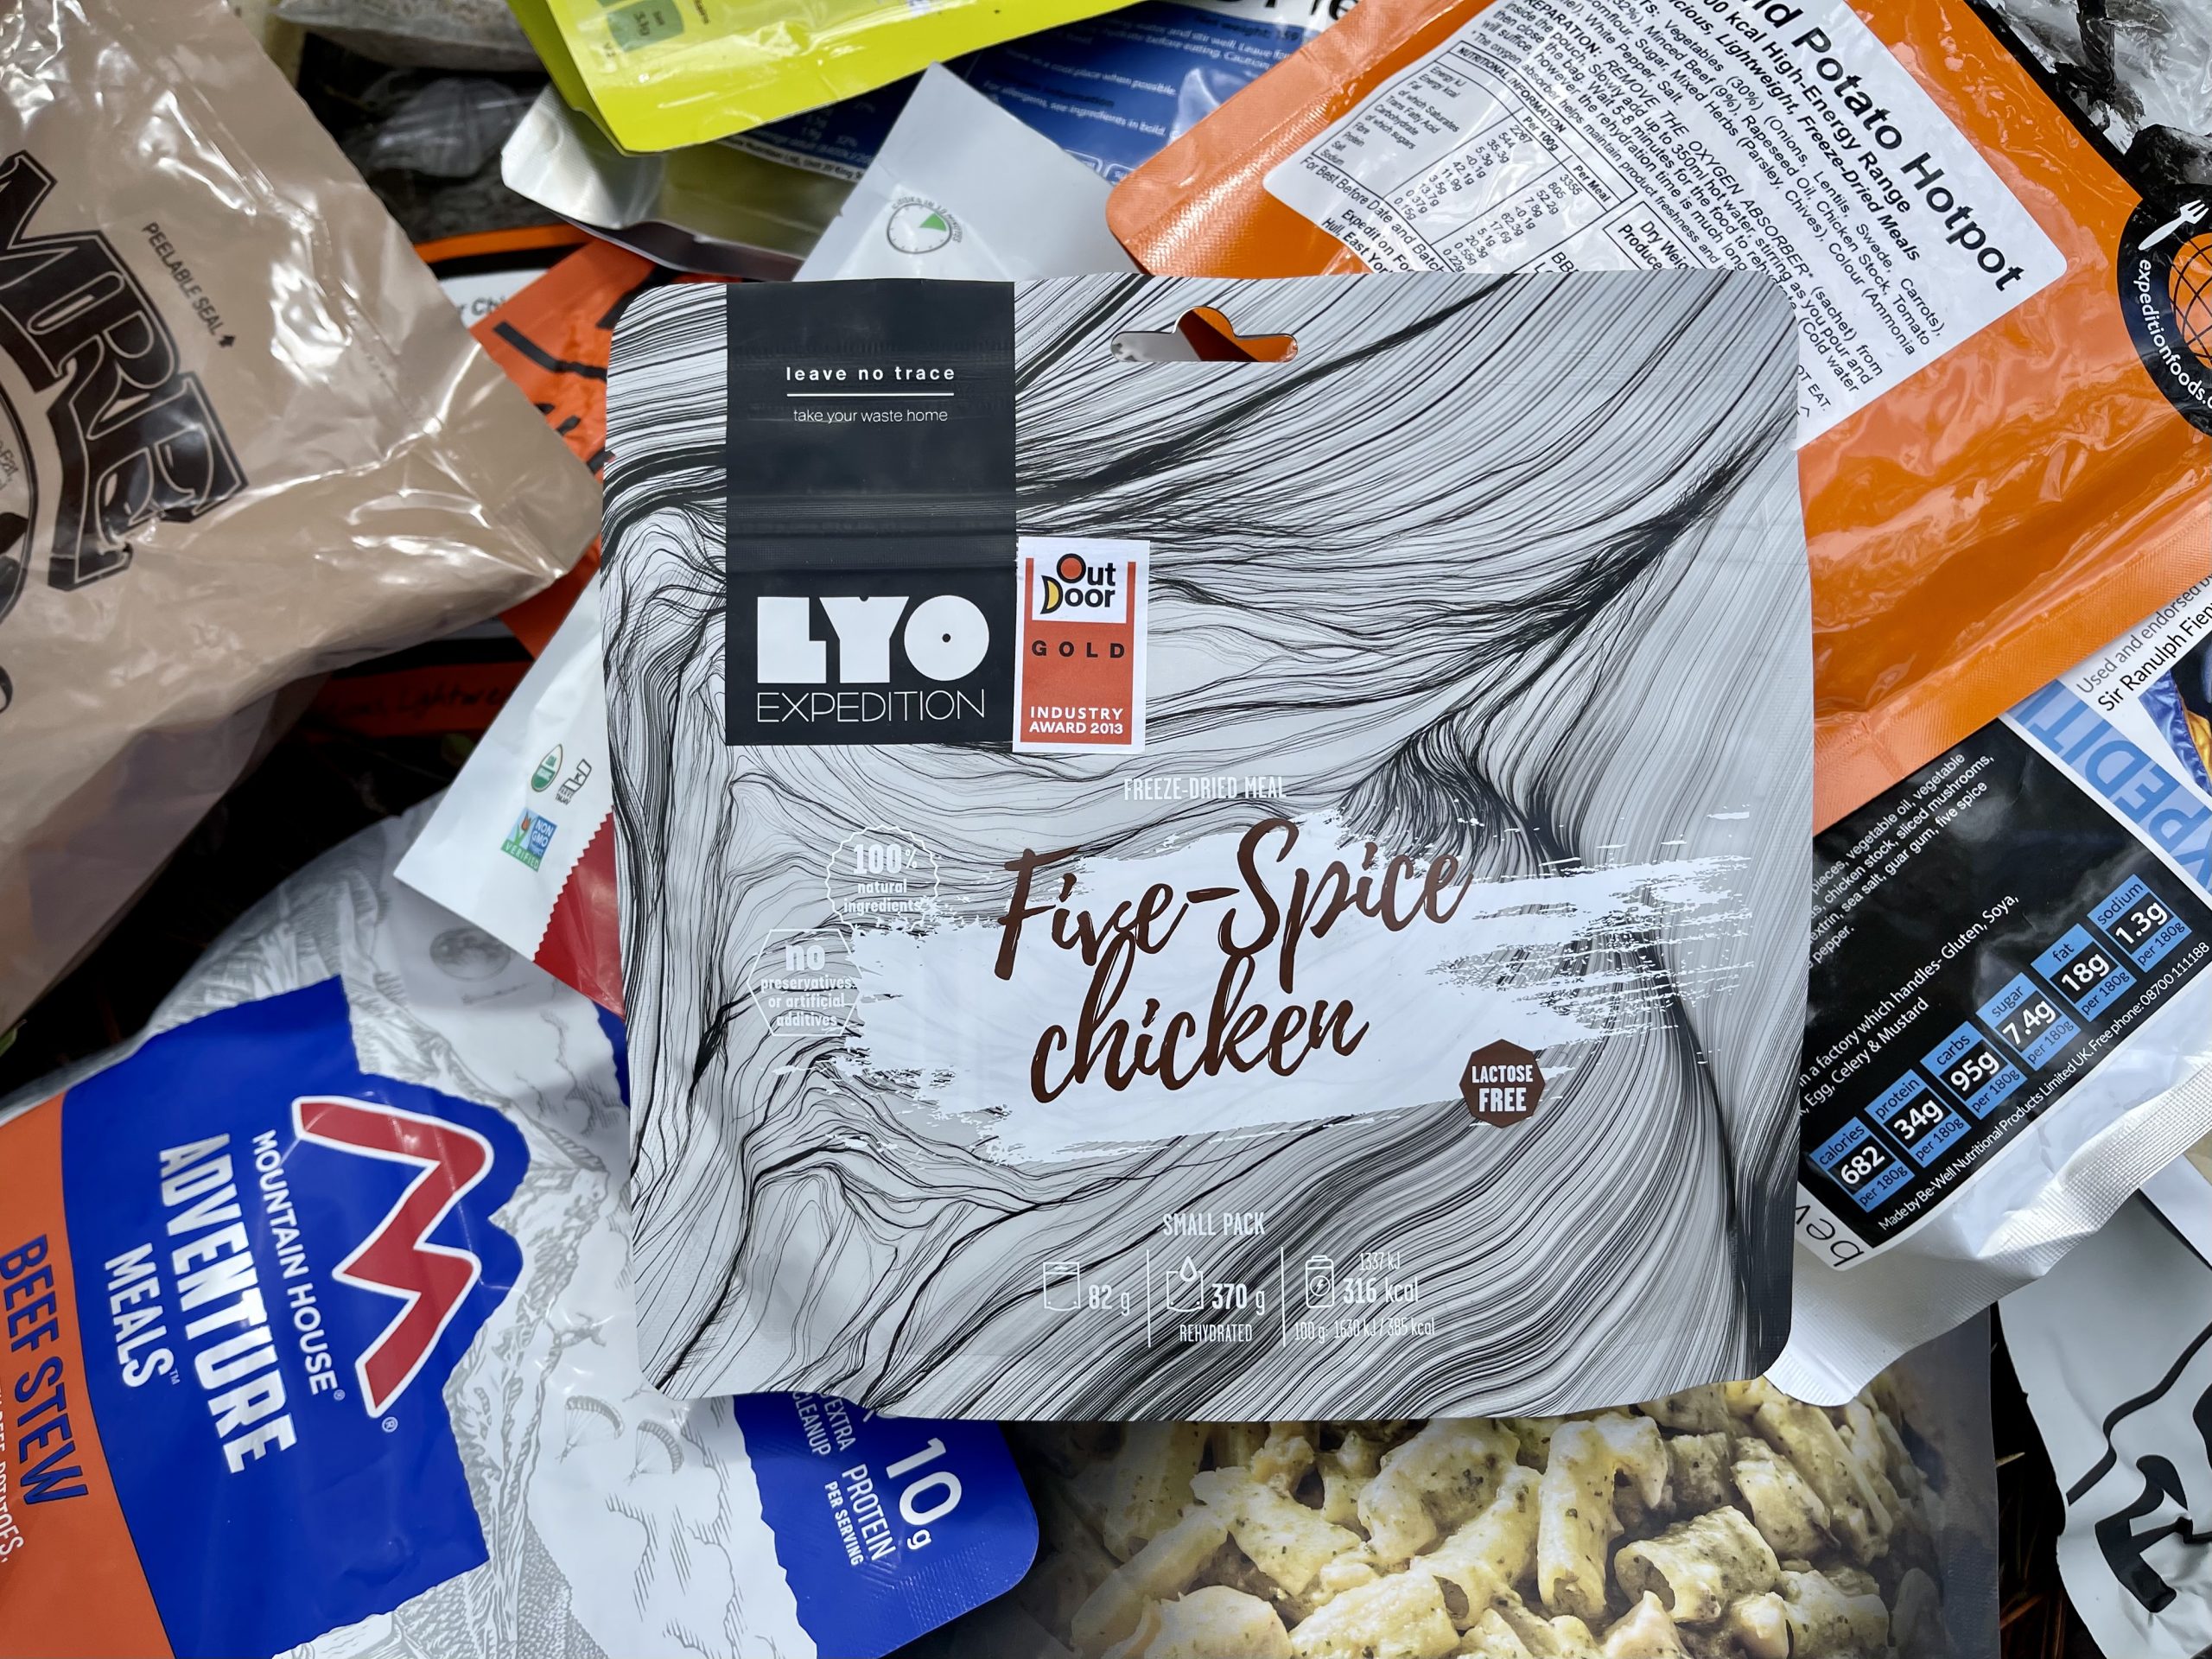
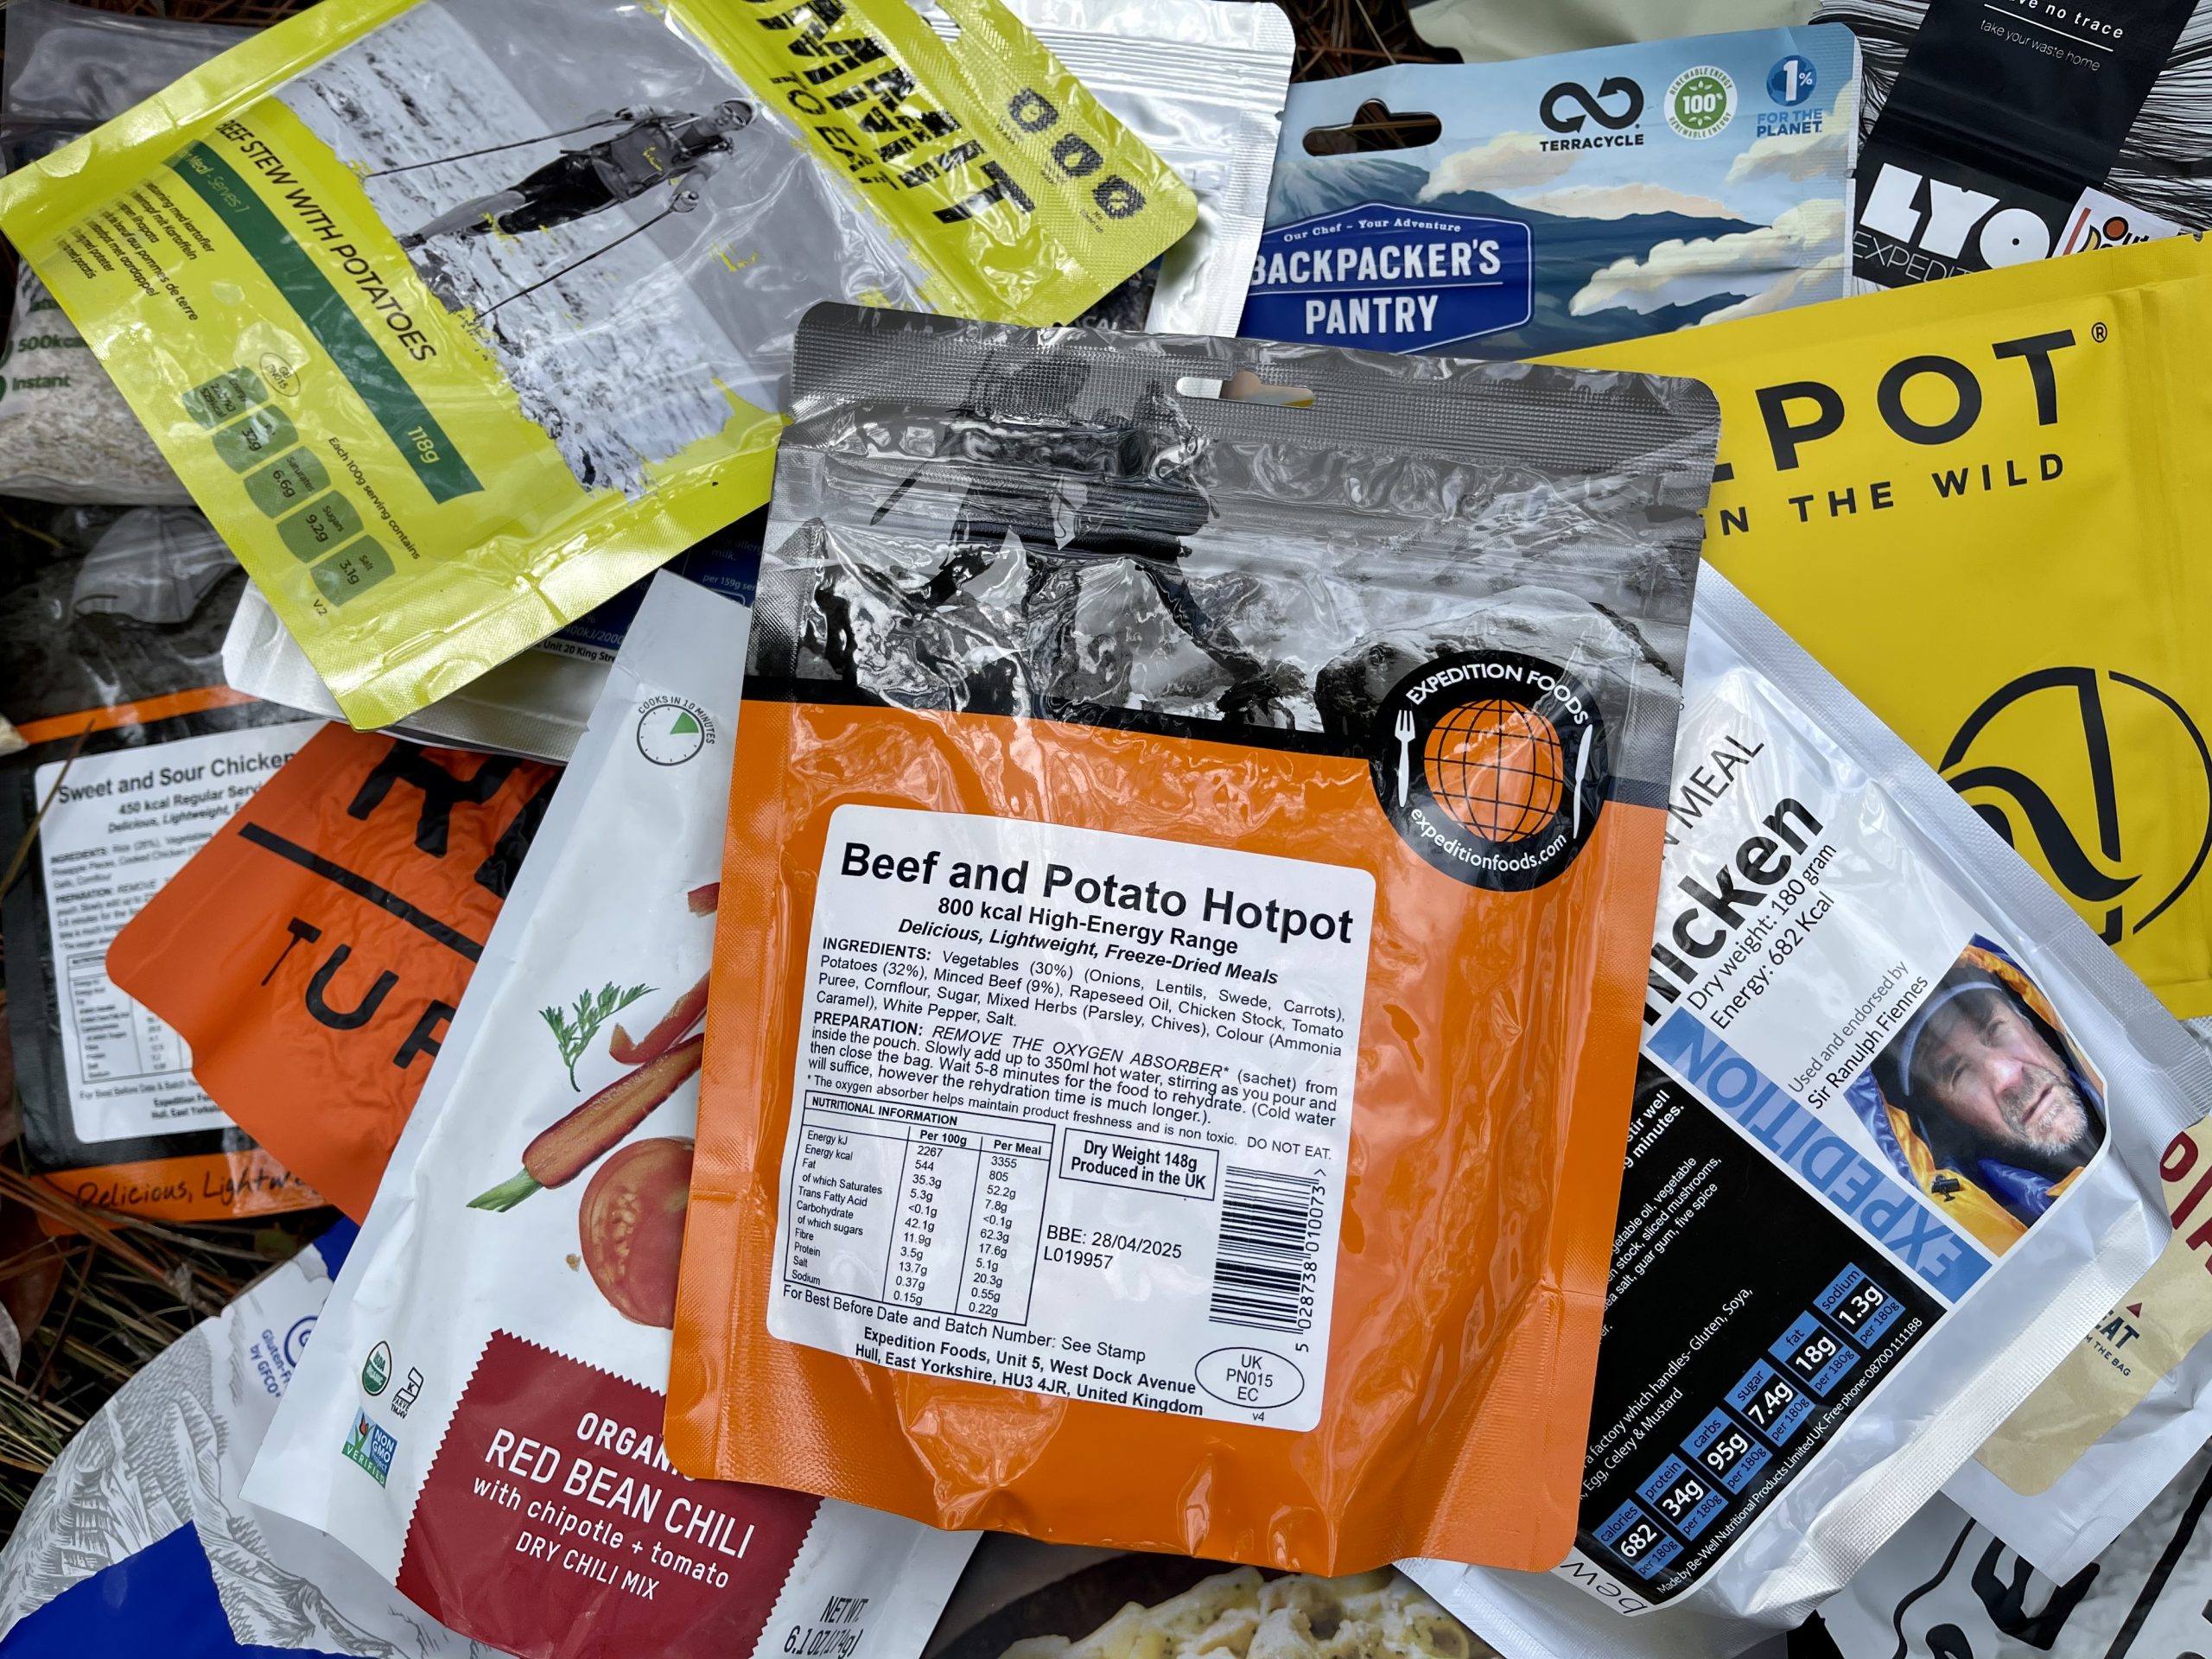
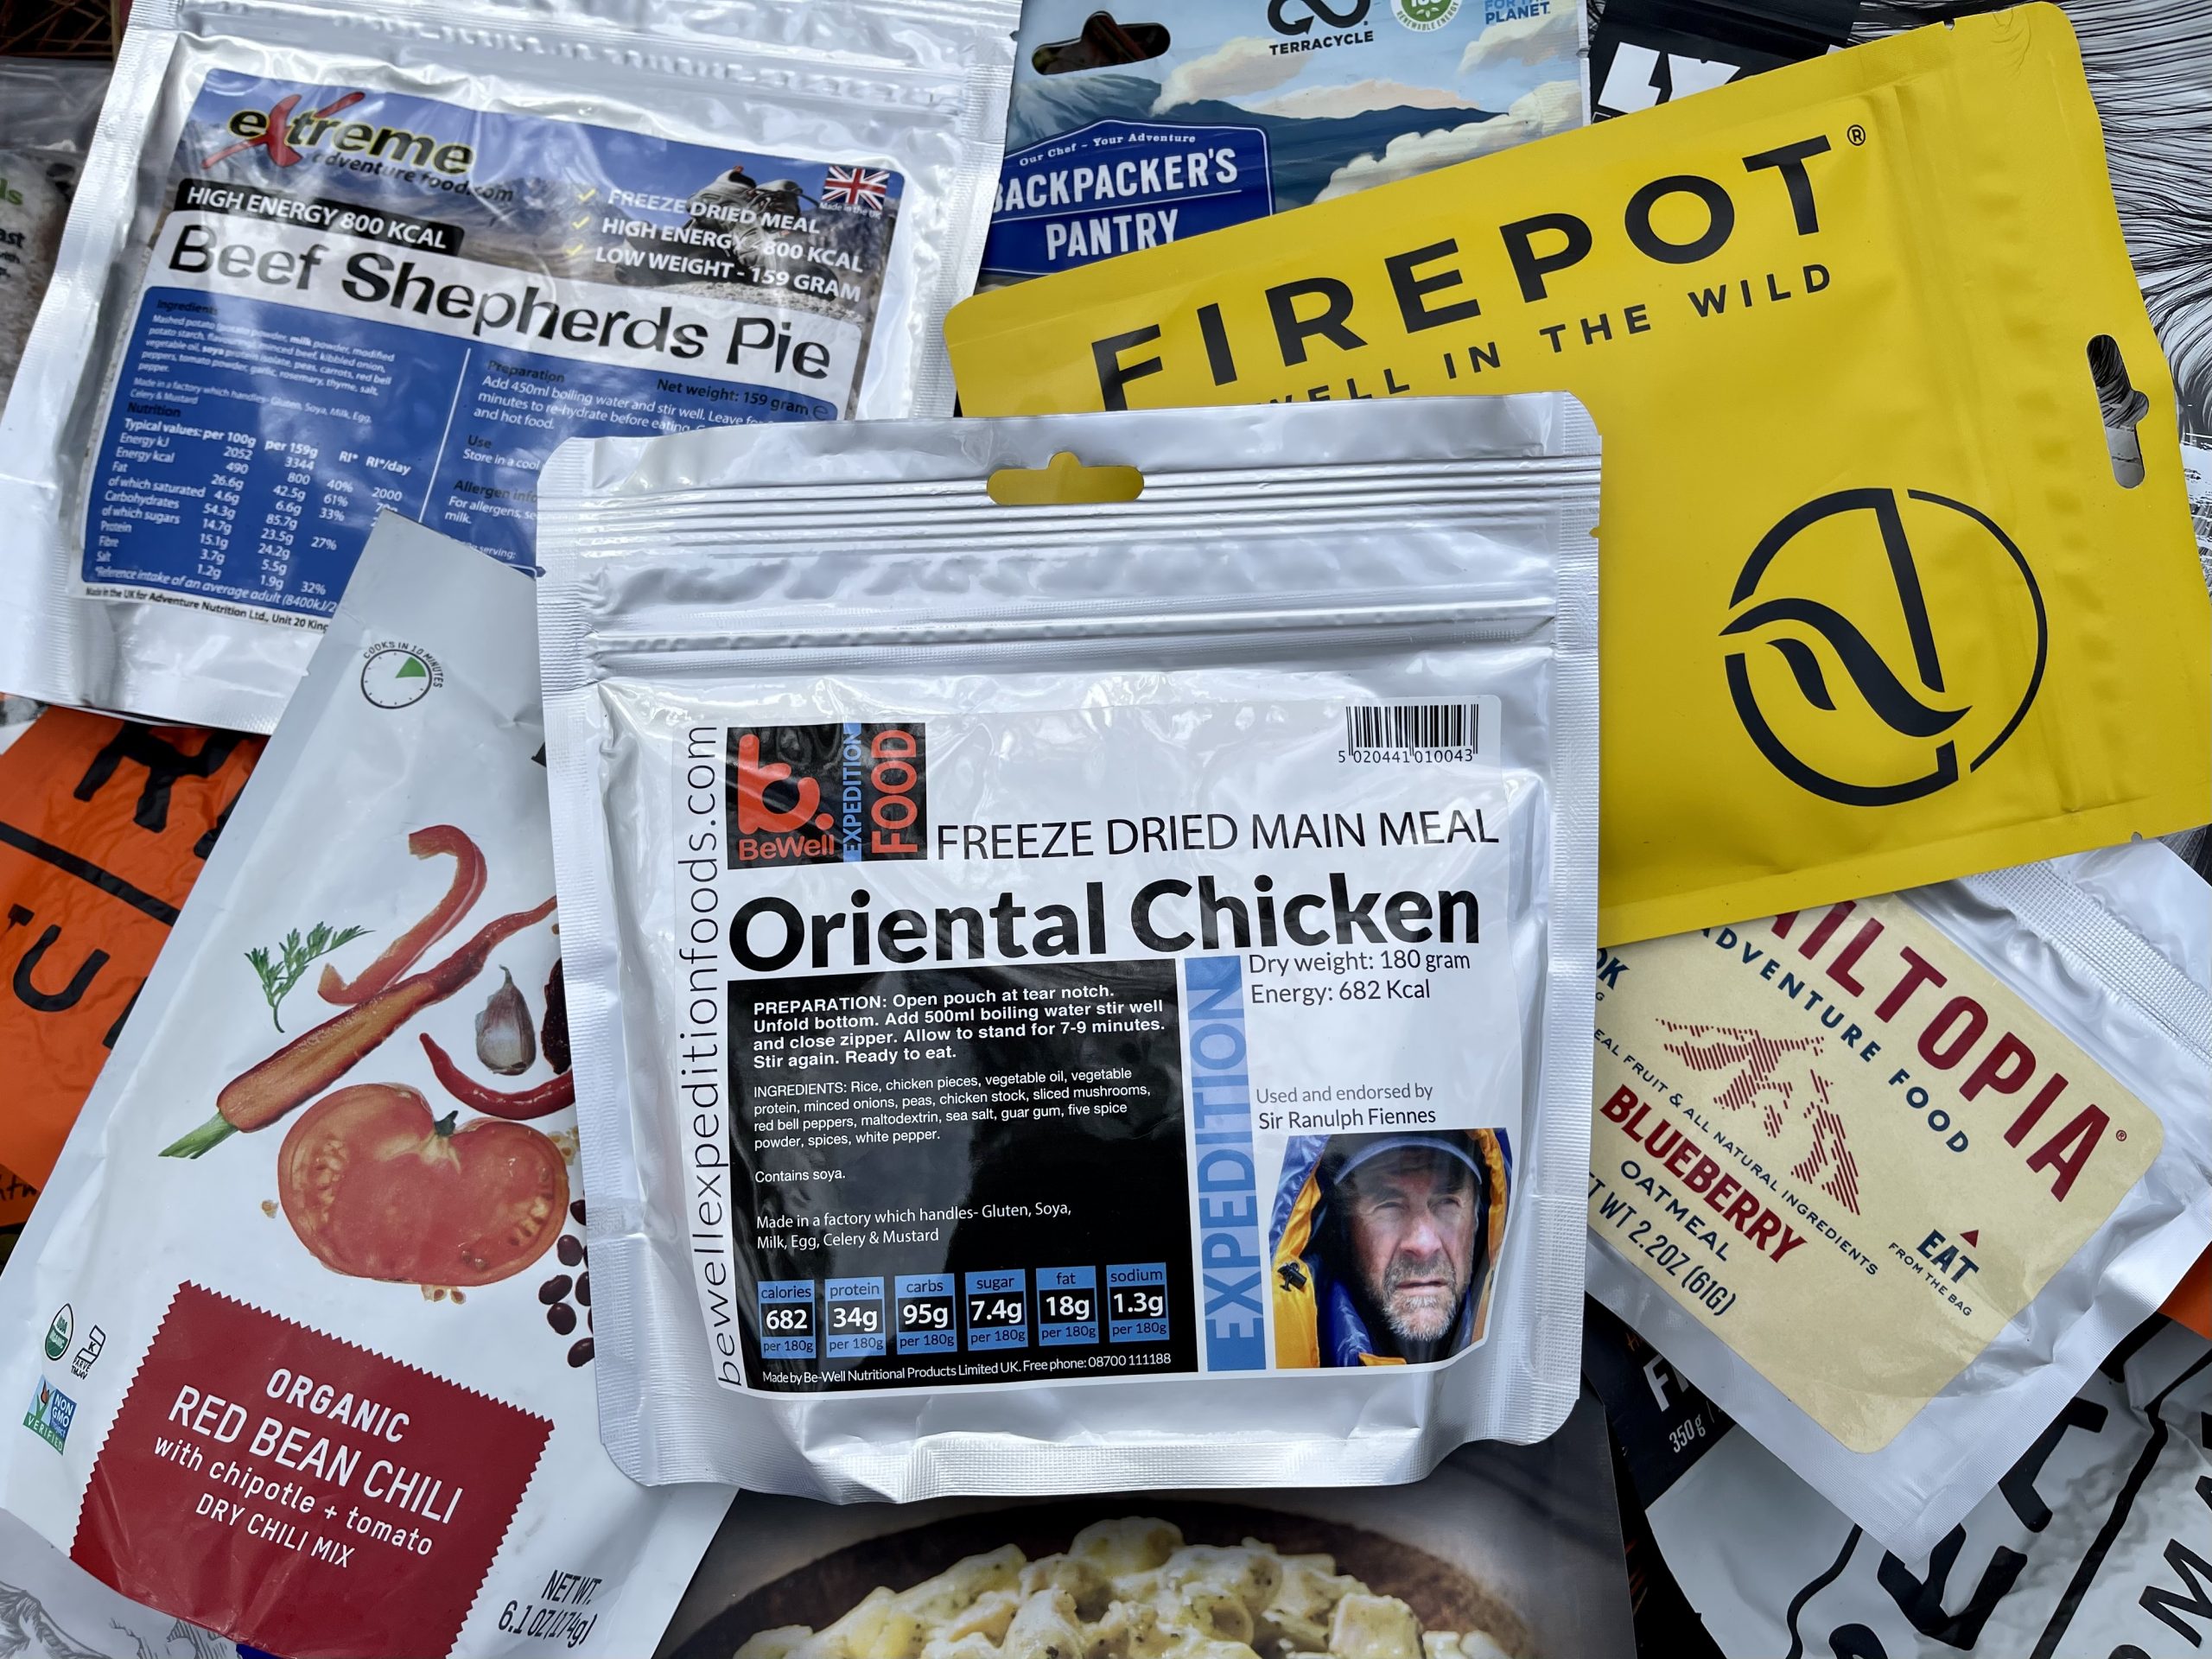
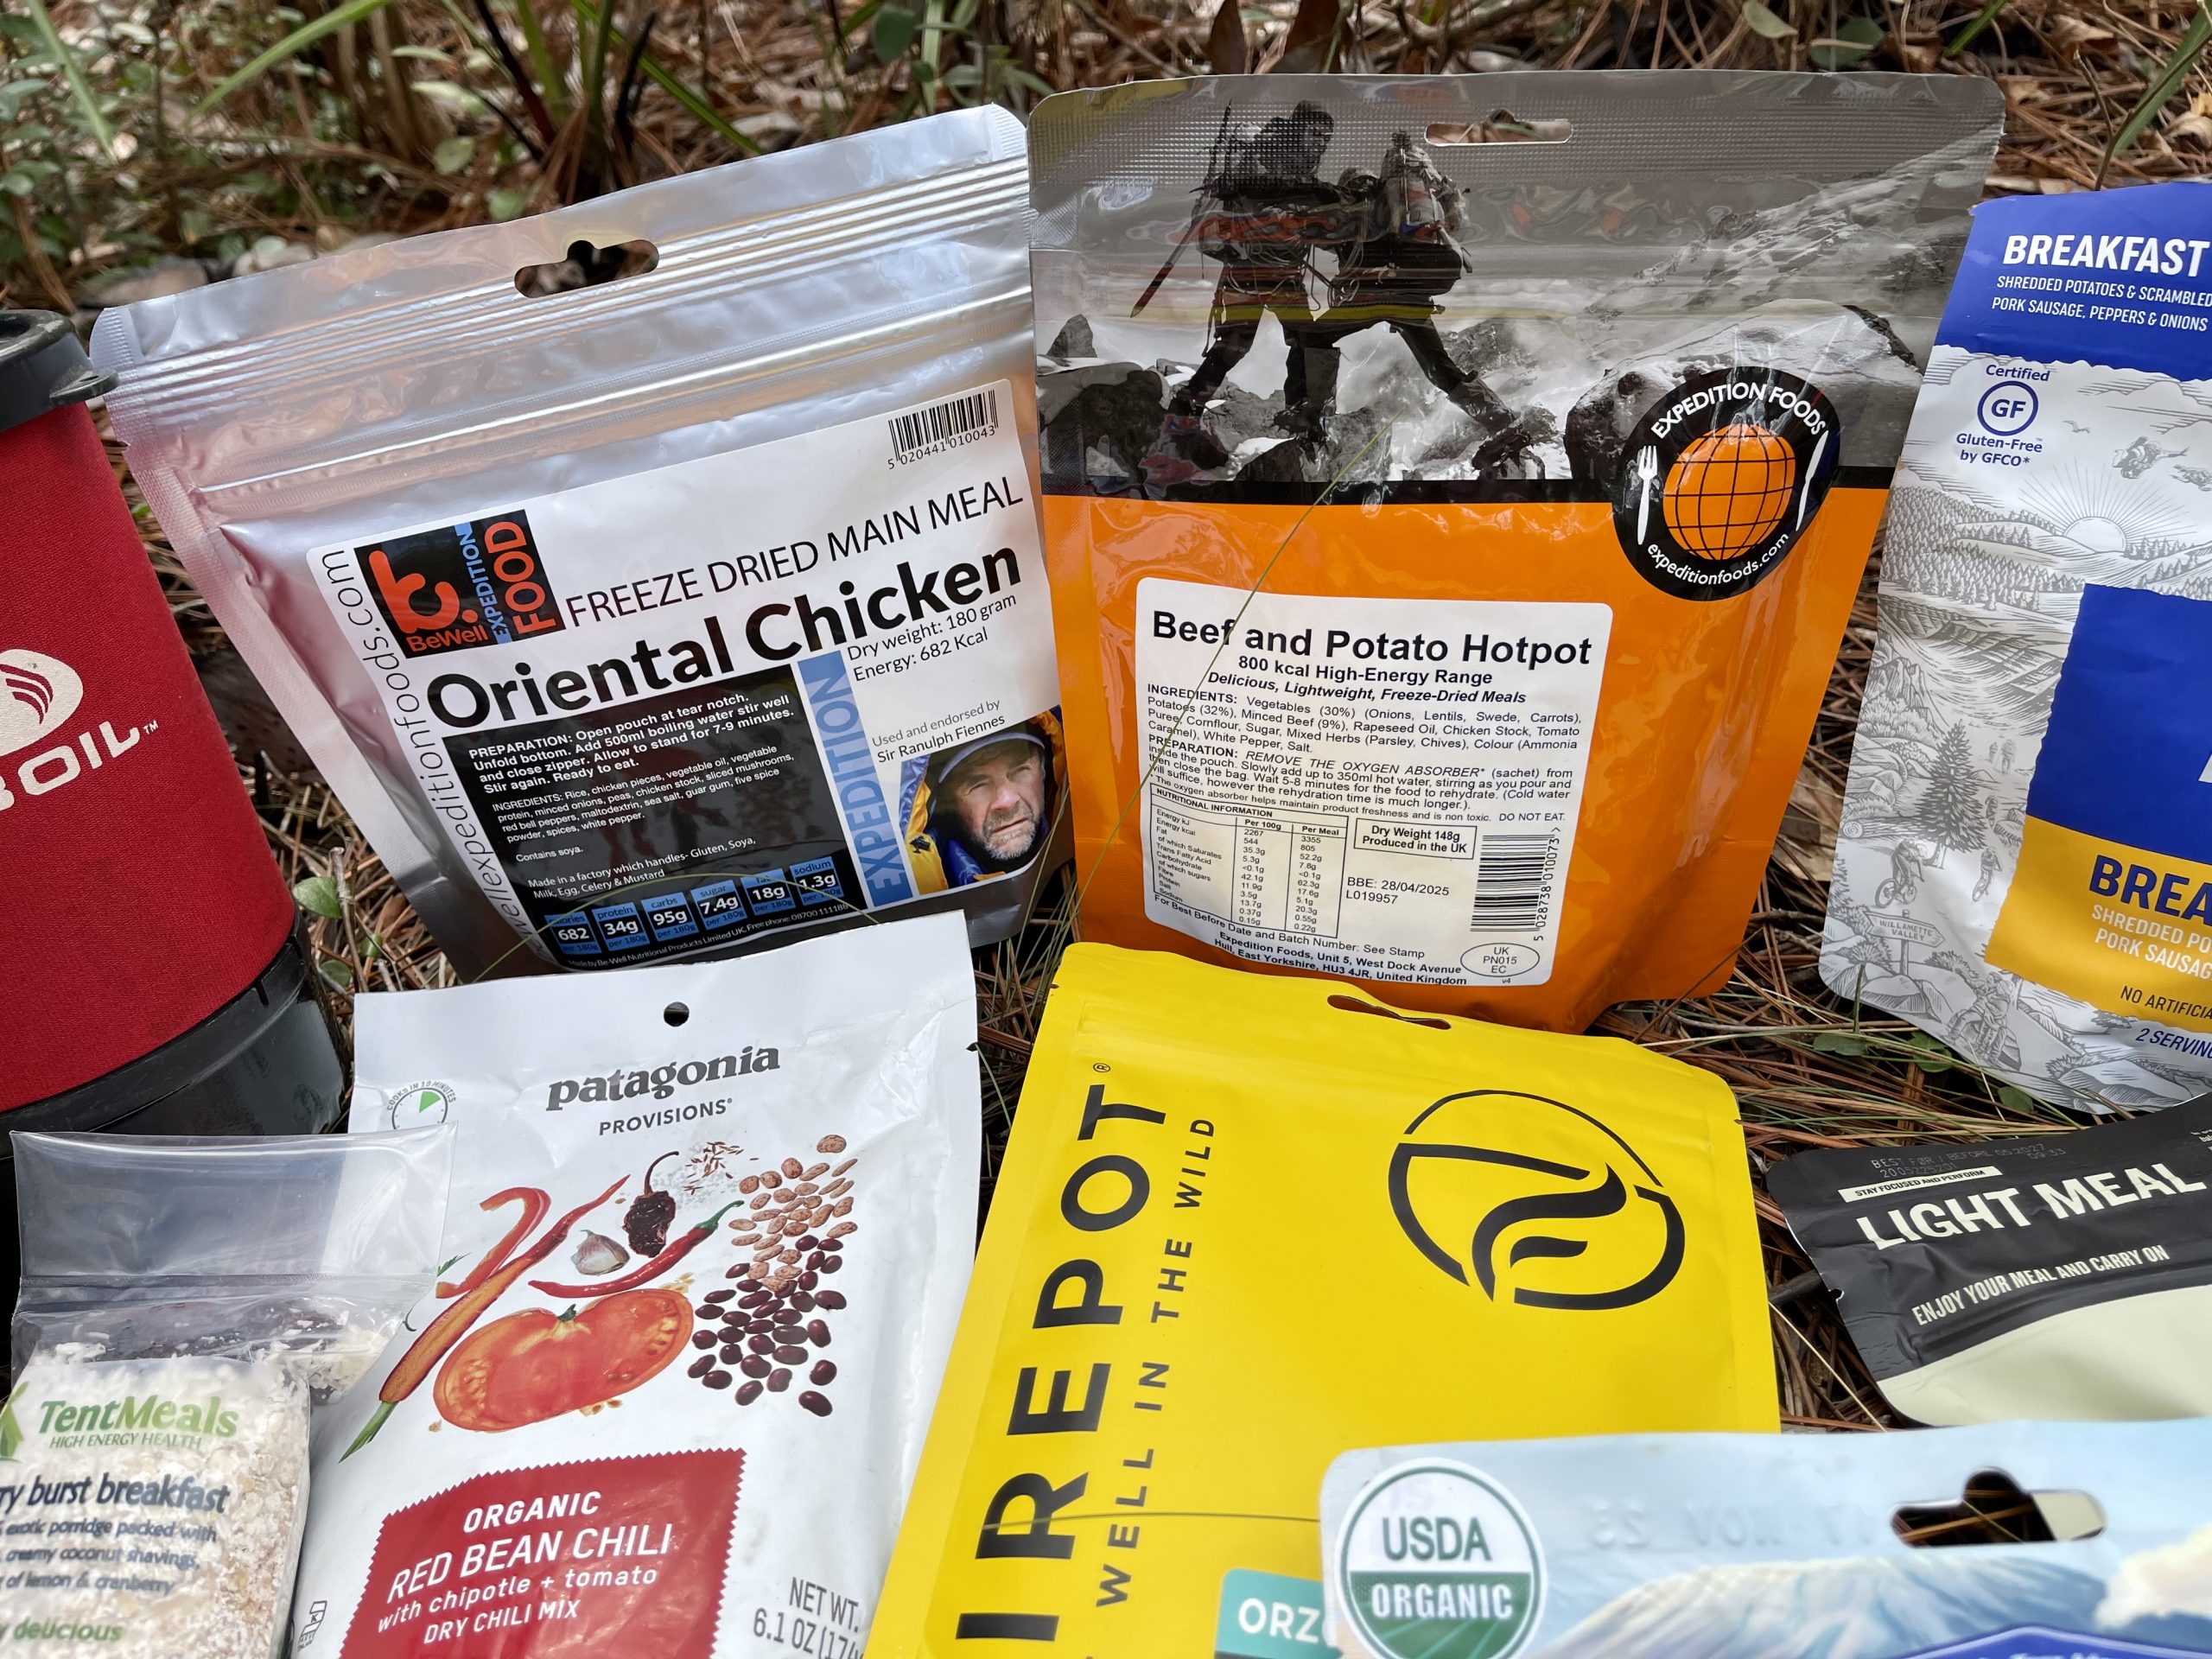
Something thing that really interests me is how far this technology has progressed.  Today’s lightweight “hiker food” tastes SO much better than it did even 10 years ago.  The variety of brands and menu options has really grown as well, with everything from Kosher to Vegan to Gluten Free meals being readily available online from vendors like REI or Basecamp Food in the UK. Basecamp is my go-to source for different menus from “over the pond”. Most of the international meals you see here were sourced online from them.

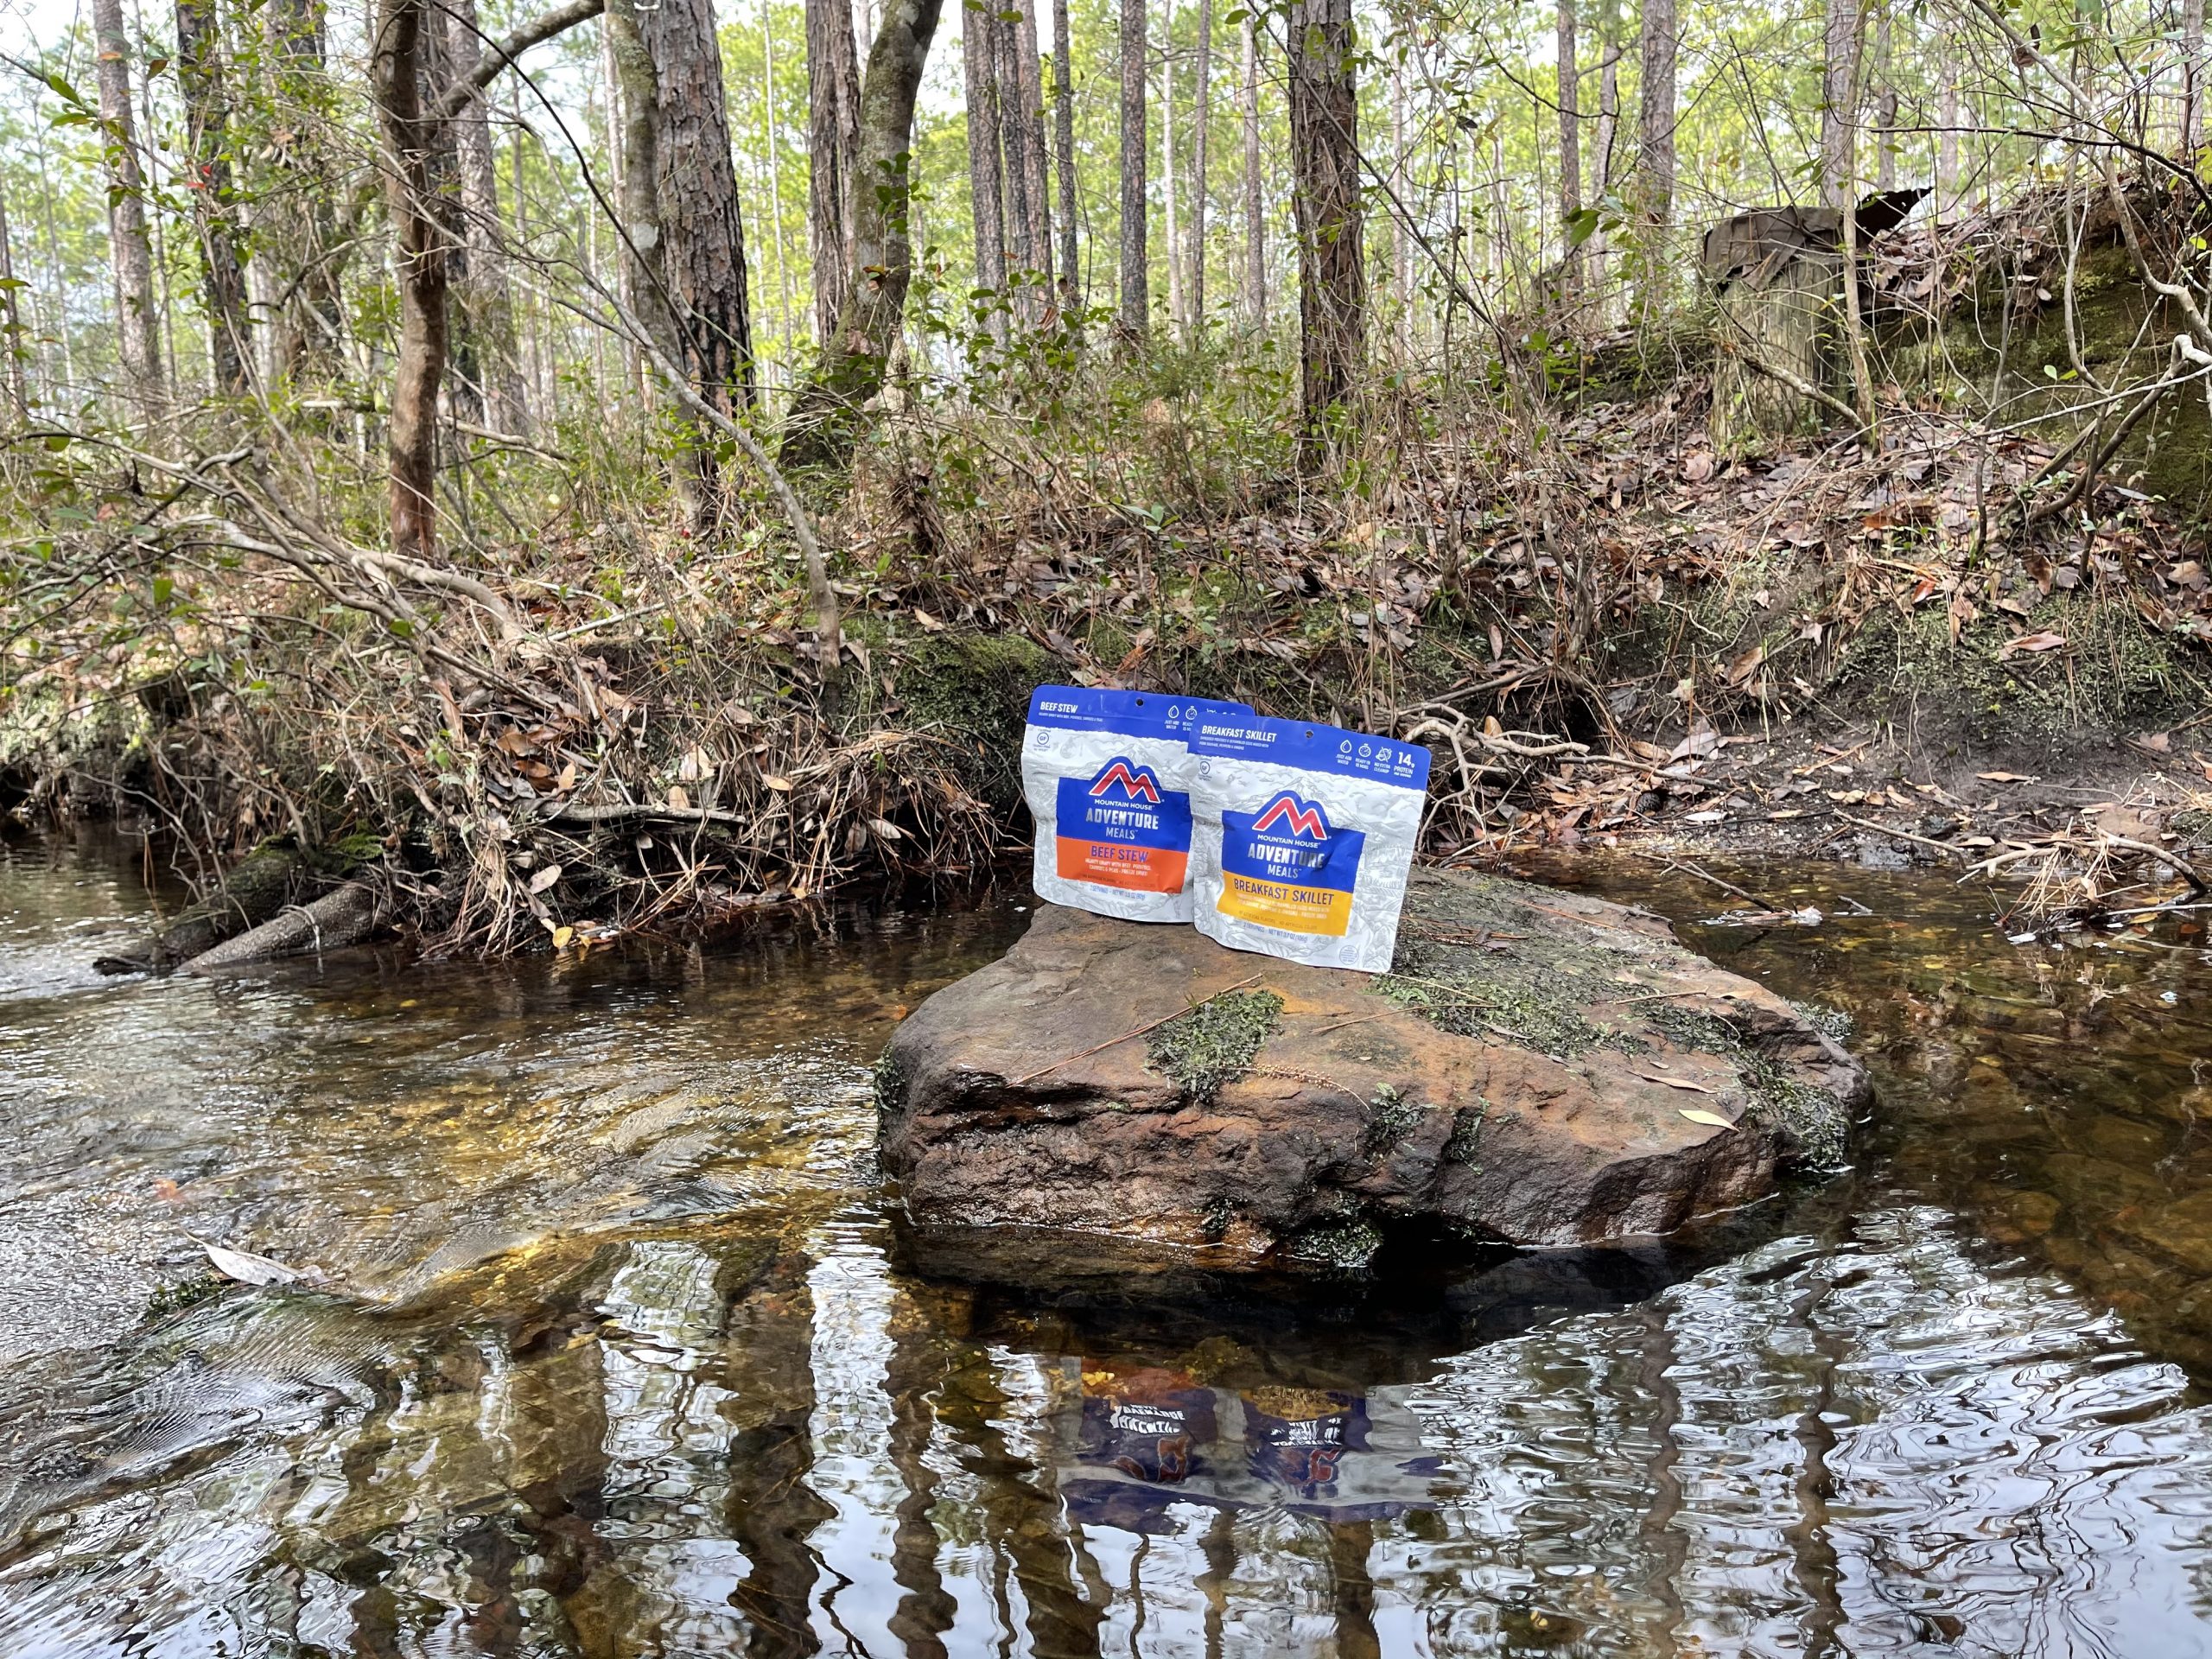
Of interest here, the market has exploded with many new offerings from the UK, Scandinavia, and here in the USA which in turn drives innovation and creates competition for legacy brands like Mountain House, the industry standard we’re all familiar with. Everyone wins when brands compete in a free market!

SHELF LIFE.  In general, shelf life ranges from good (a few years) to amazing (decades!) on freeze dried meals from different makers.  With the European varieties, shelf life tends to be decent but considerably less than the comparable American freeze dried meals.  This might be due to the composition of the meals and choice of ingredients.  For example, the standard Mountain House stuff is 100% freeze dried, while some of the European meals appear to use a variety of ingredients in addition to just freeze dried staples.

EXPIRATION DATE? 2050!
REAL Turmat – Norway

COST.  Freeze dried meals can cost on average of anywhere from $7 to $12 per meal, so they’re not exactly inexpensive. You can buy a dehydrator and a vacuum sealer and DIY some stuff at home if you want, or just buy some pre-dried bulk ingredients from a grocery store. It’s easy to blend proteins, starches, and spices together to create your own tasty mash ups. 

But, if your time is more valuable than your money, you’ll gladly pay for the diverse flavors and convenience seen here.

Peak Refuel – USA

CONVENIENT CALORIES.  Backpacker meals tend to be calorically dense, lightweight, and generally VERY tasty.  Best of all, and an important feature when you’re physically exhausted after a long journey, they’re SO EASY to cook. Just add boiling water, wait a few minutes (patience is key), and then eat it straight out of the bag. And since no cleanup is required, you can go straight from eating out of a bag, to crawling into your sleeping bag. You can even cook and consume these meals from within a sleeping bag in inclement weather. Going to be bed with a hot meal in your belly will help you stay warmer, and that alone can be priceless.

Military Field Rations have improved, but are still HEAVY to carry, especially MRE’s!

NUTRITIOUS ENERGY.  The weight to energy ratio is fairly good as freeze-drying a meal removes 80% of it’s water weight, with many meals ranging between 500-900 calories and weighing in at around 5-7 ounces. The process of freeze drying can also retain up to 90% of the nutrients which is good, but some companies have a fair amount of sodium and “other stuff” in them which may or may not concern you.

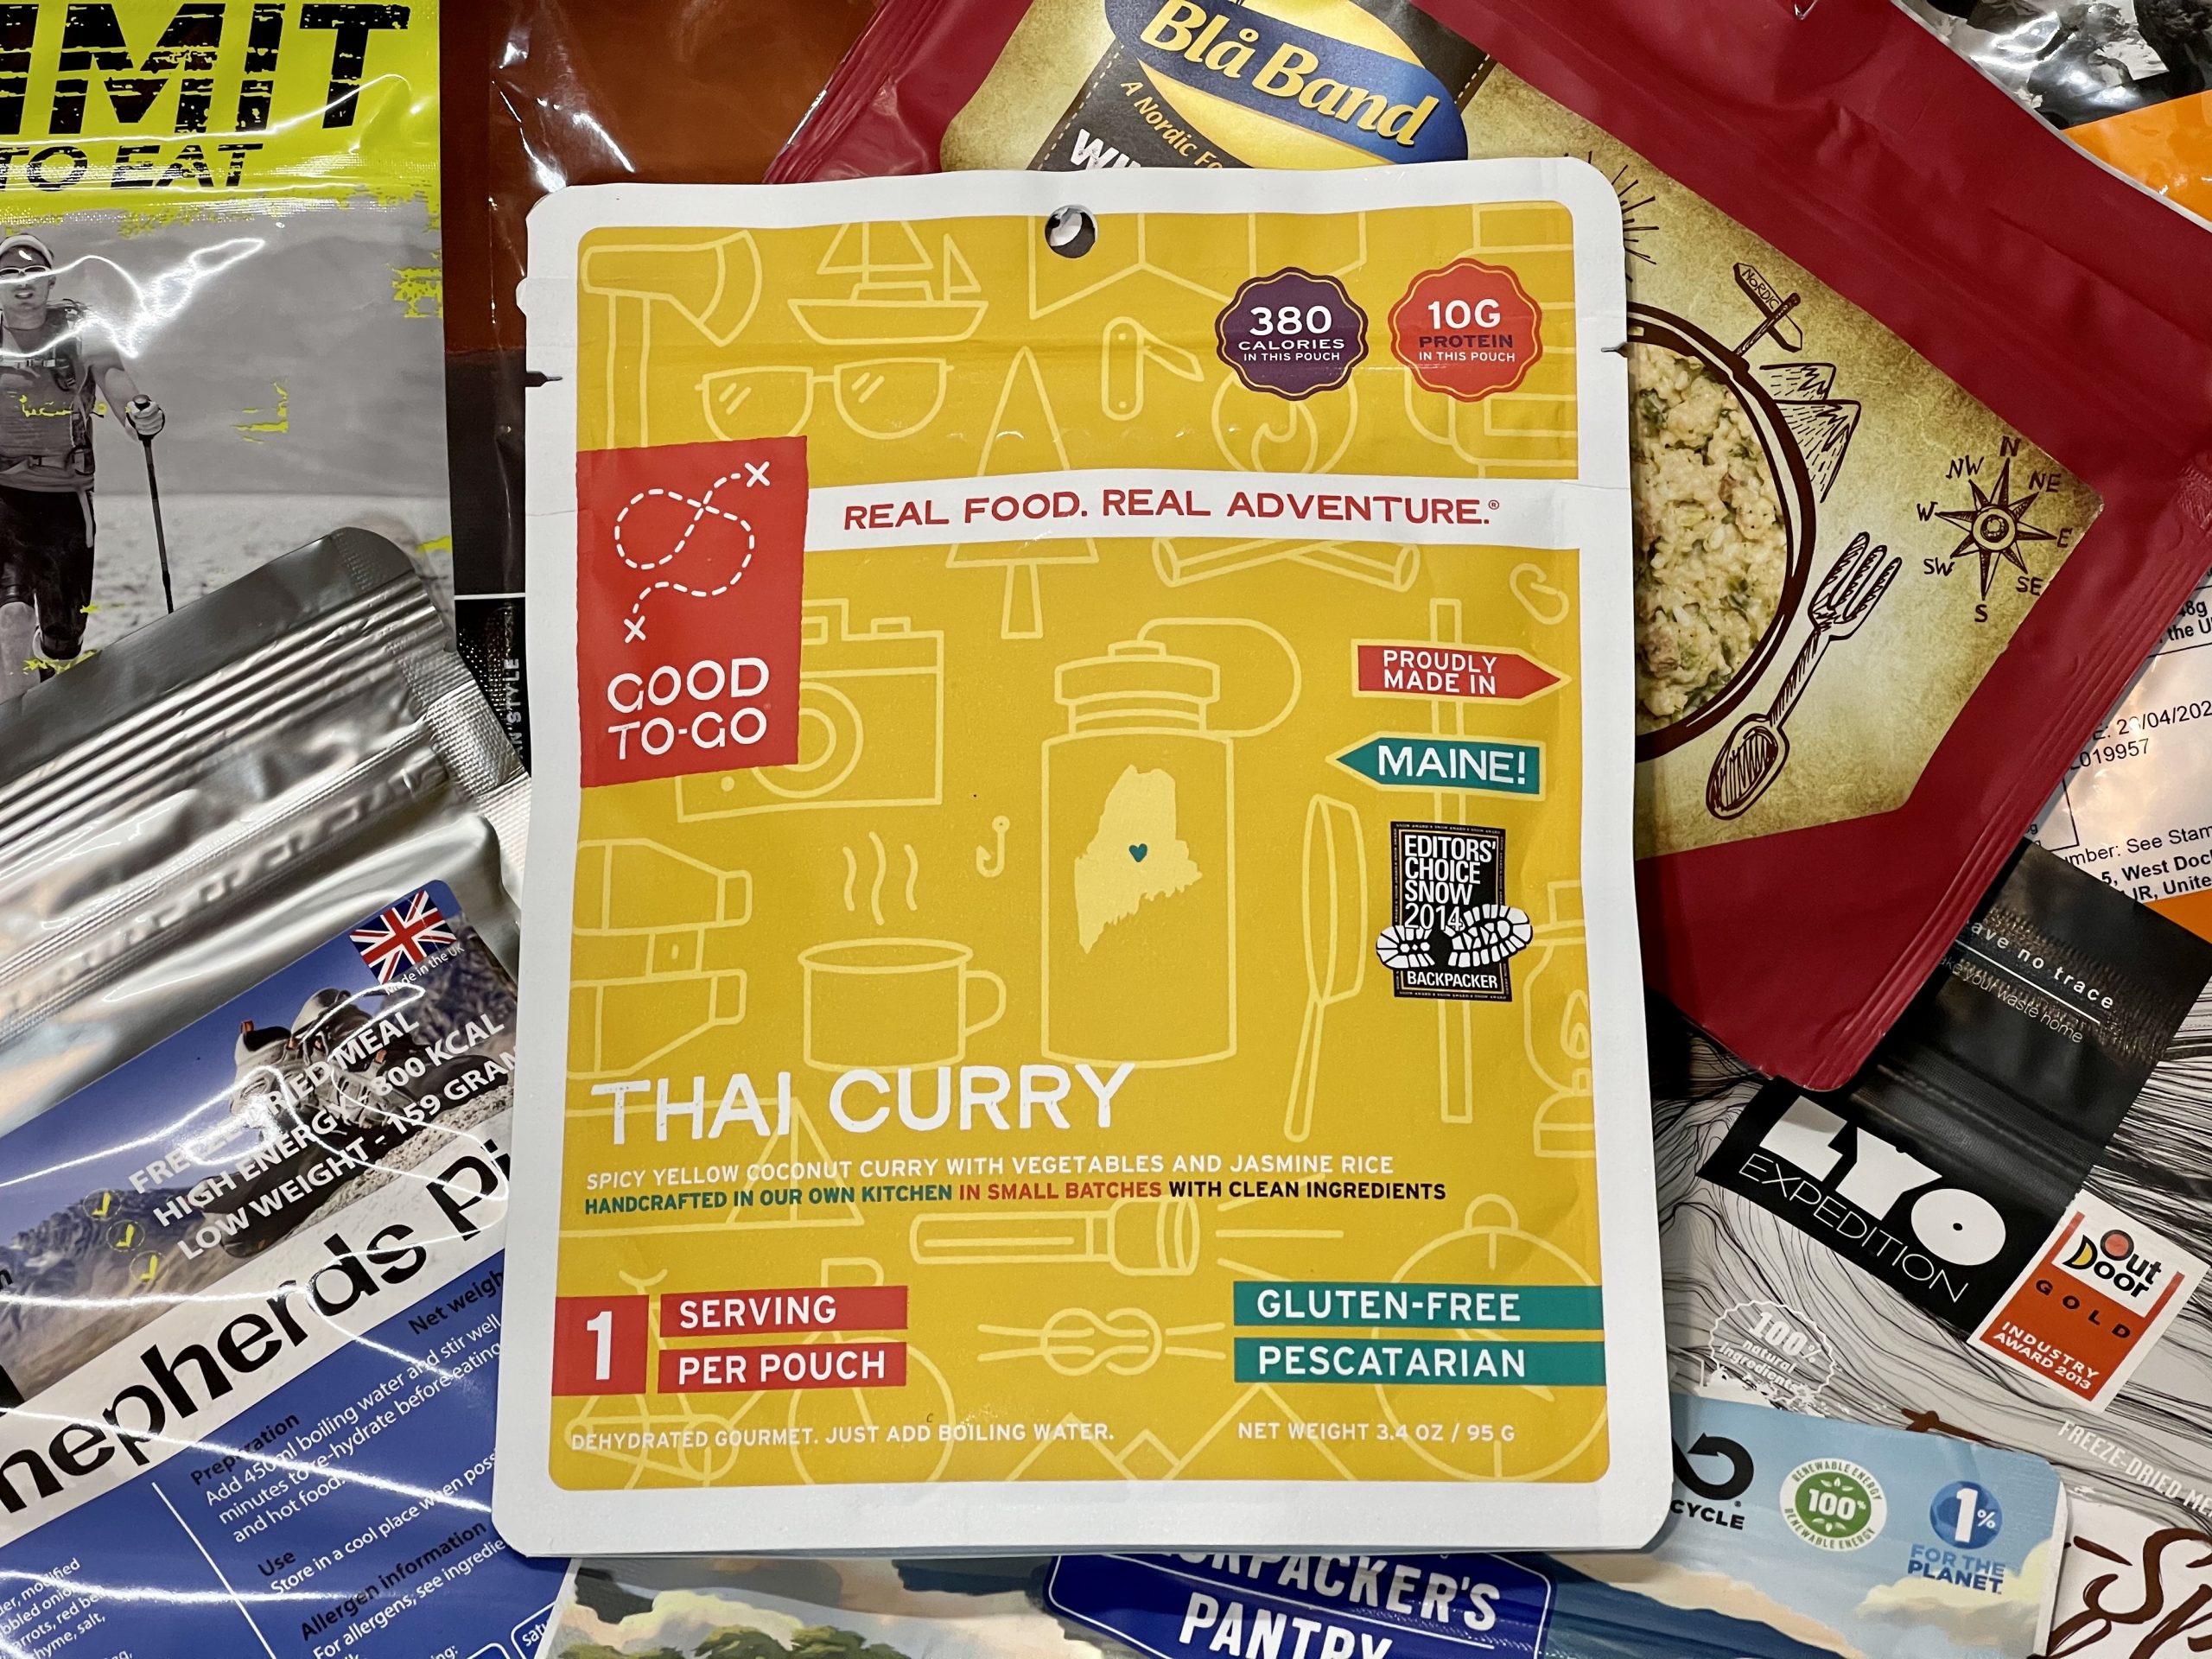
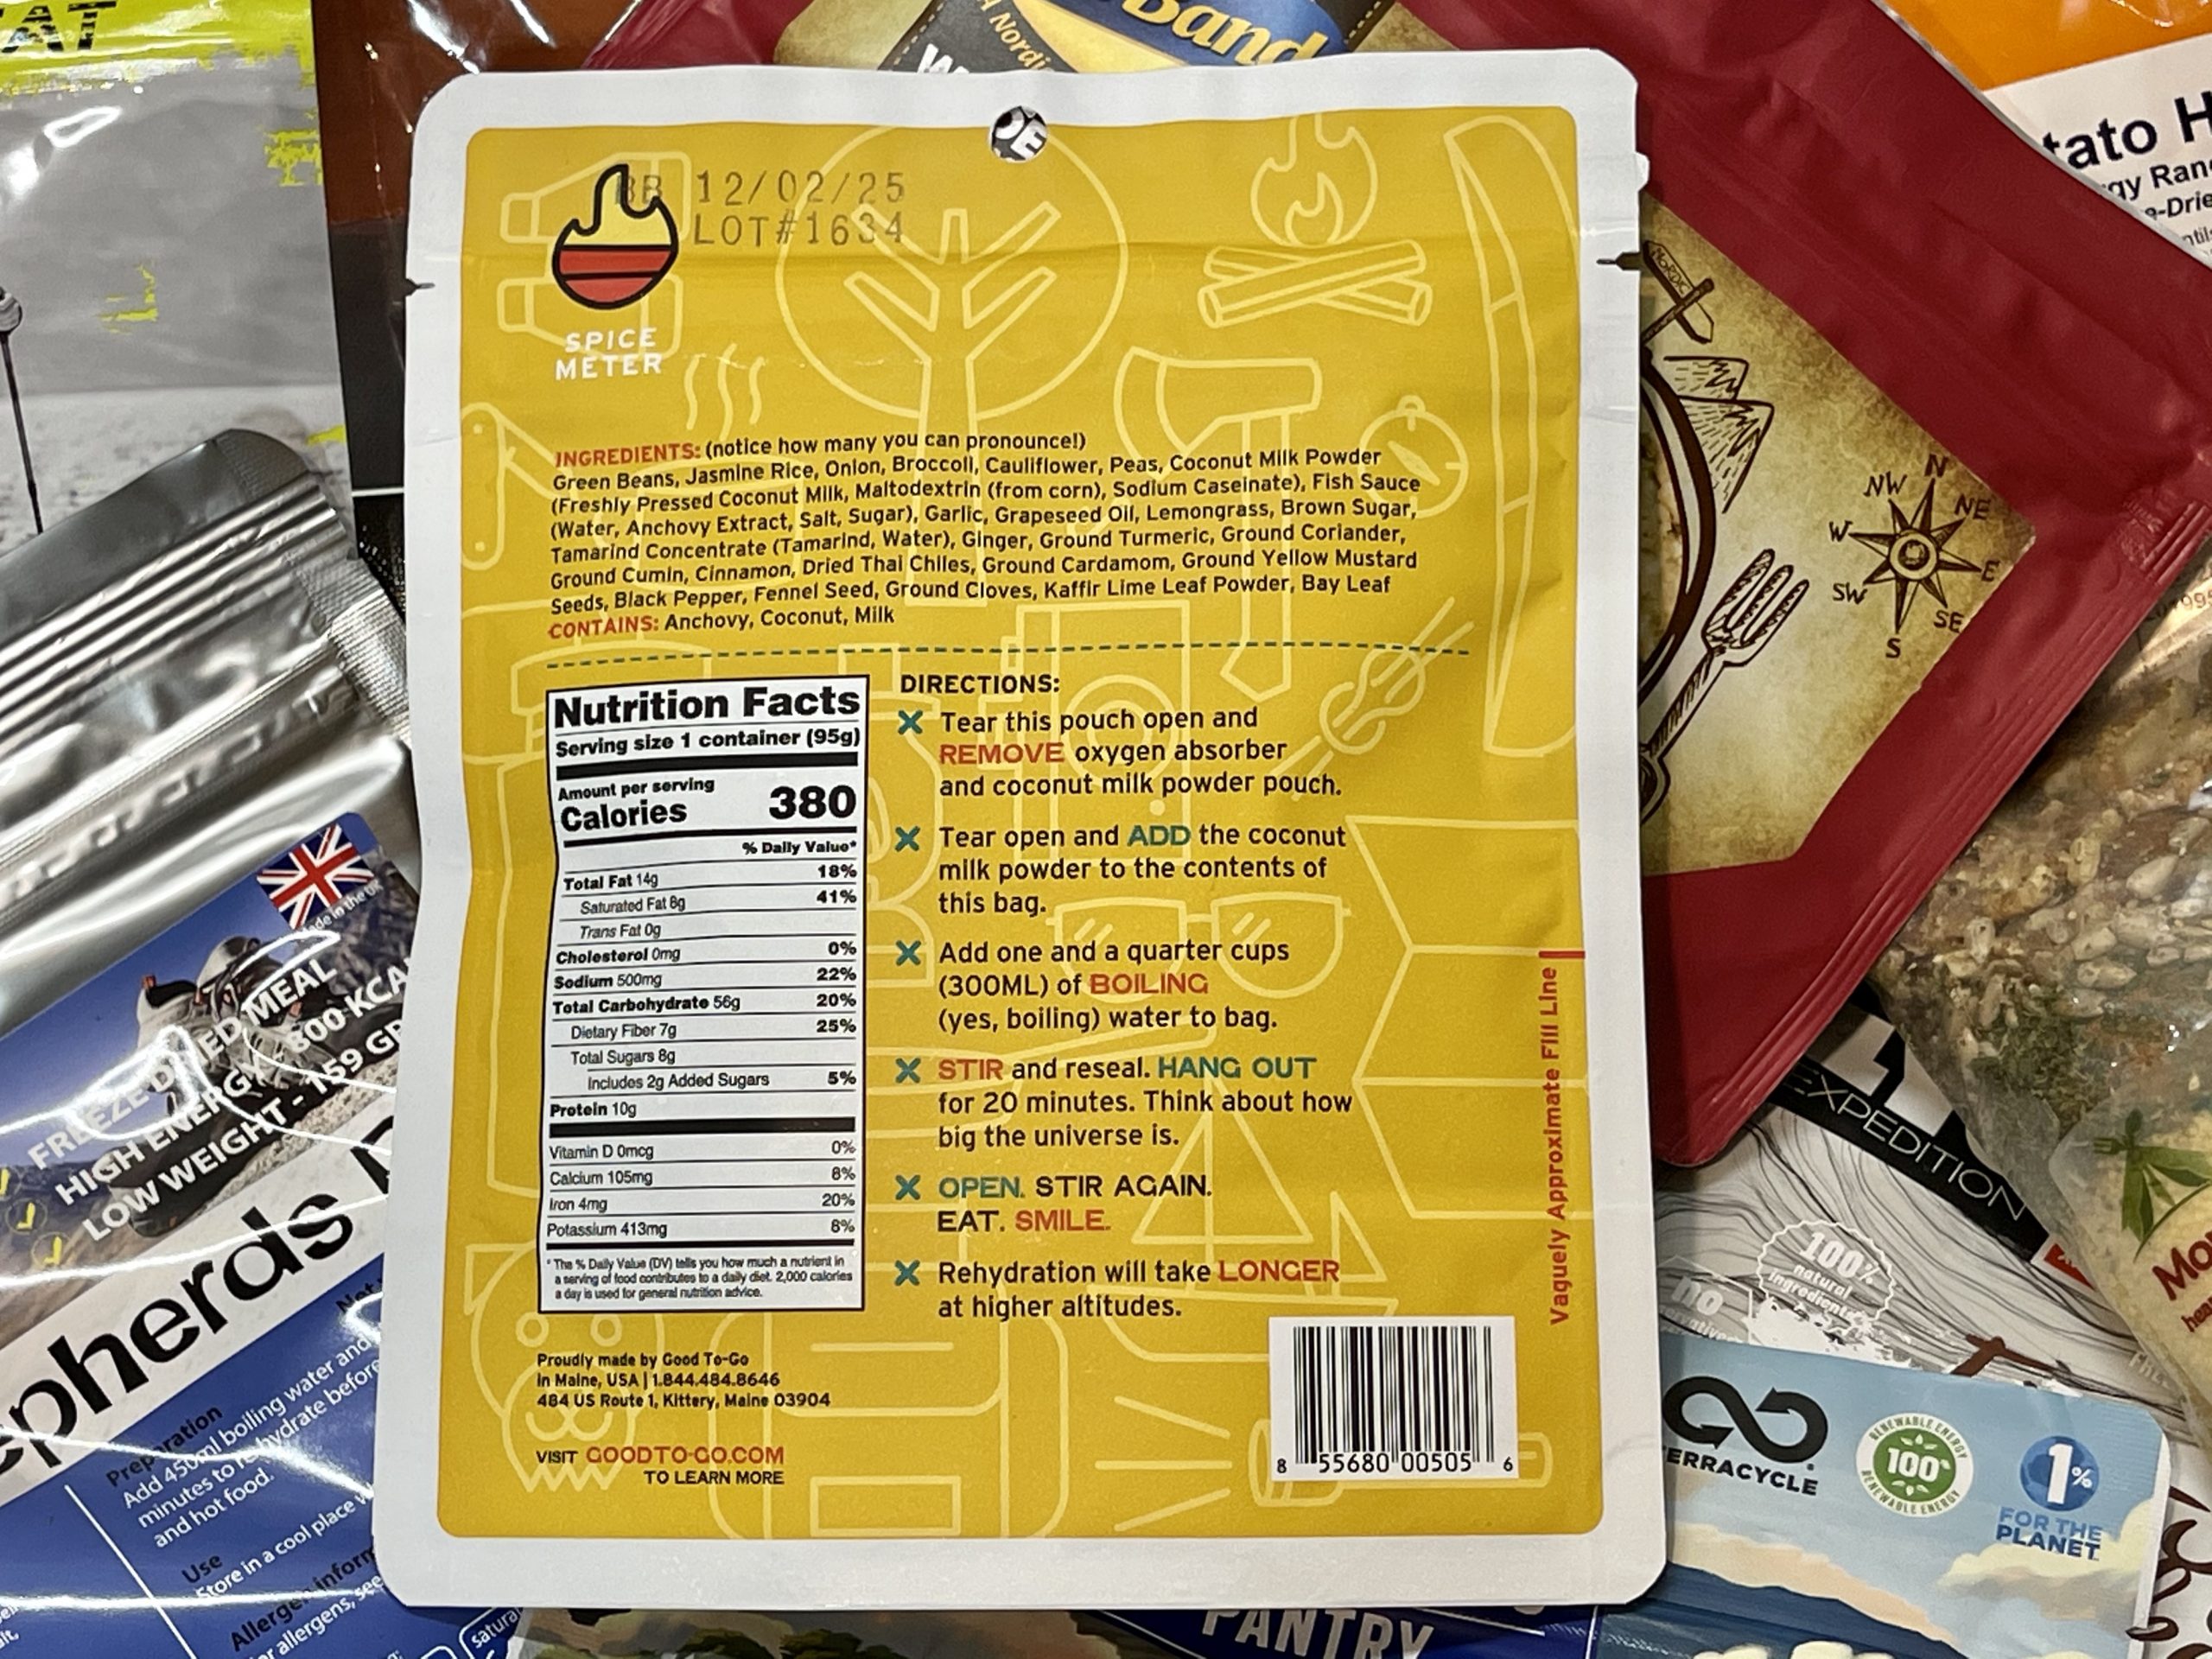
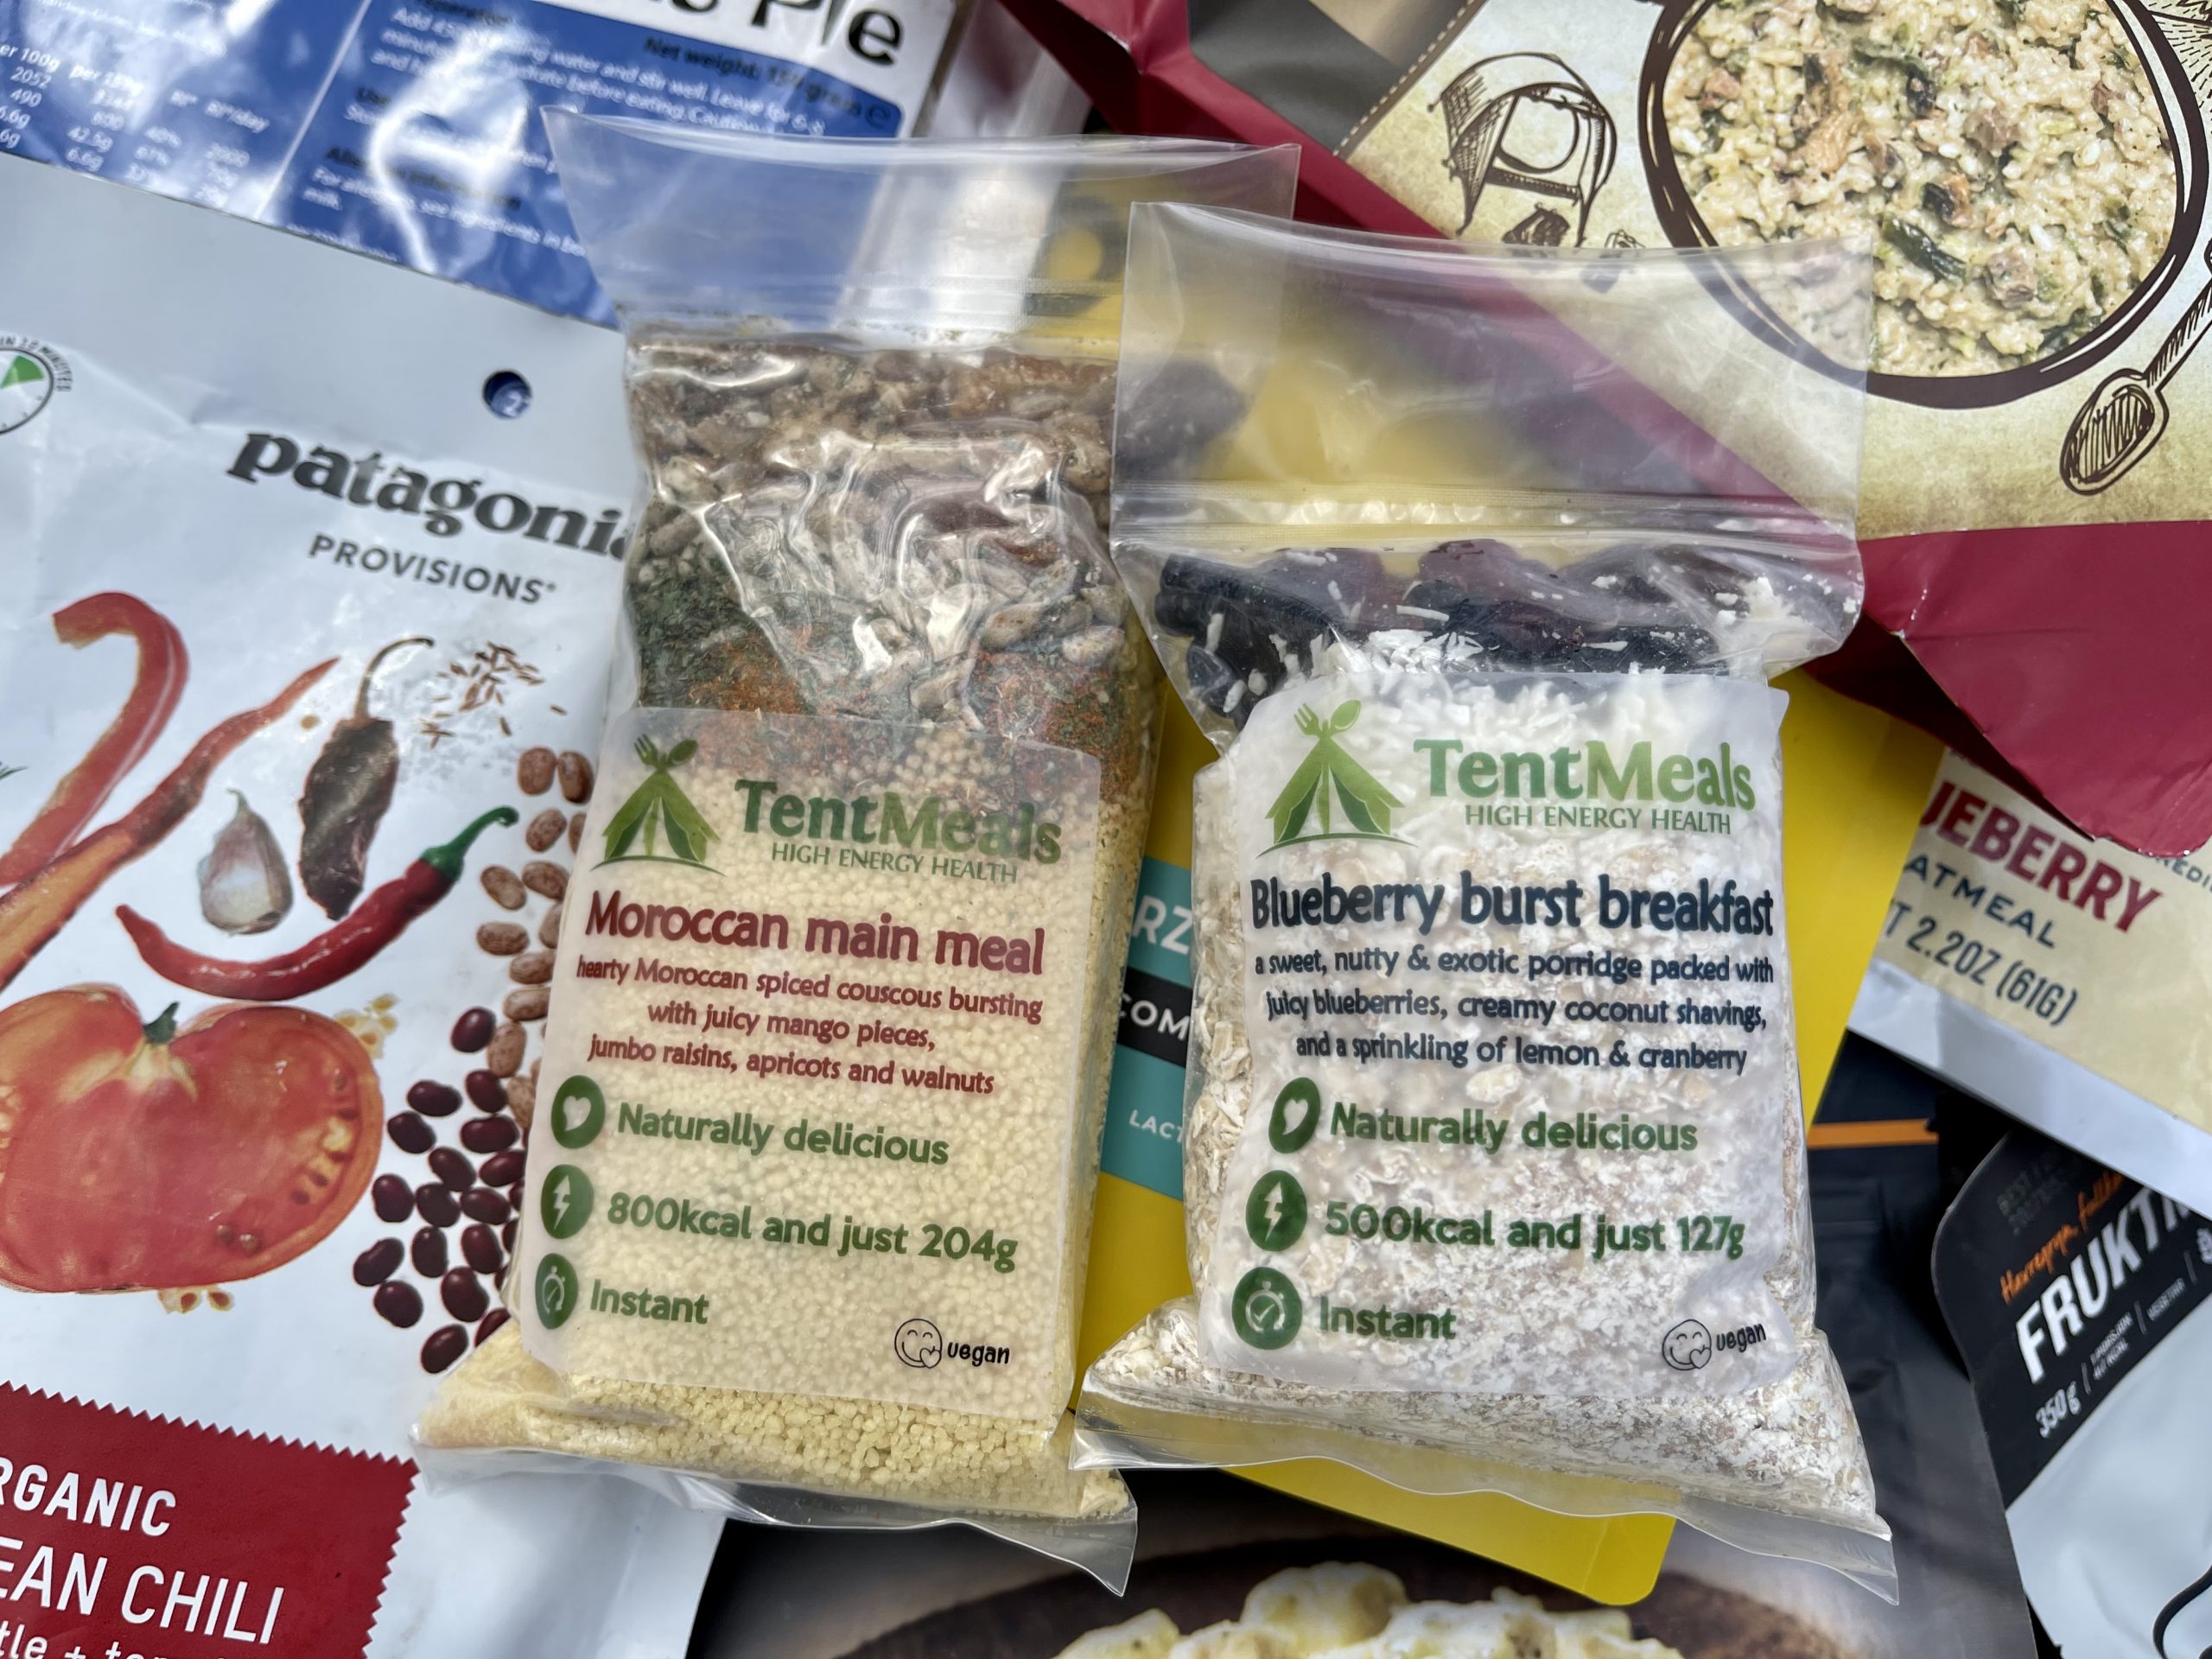
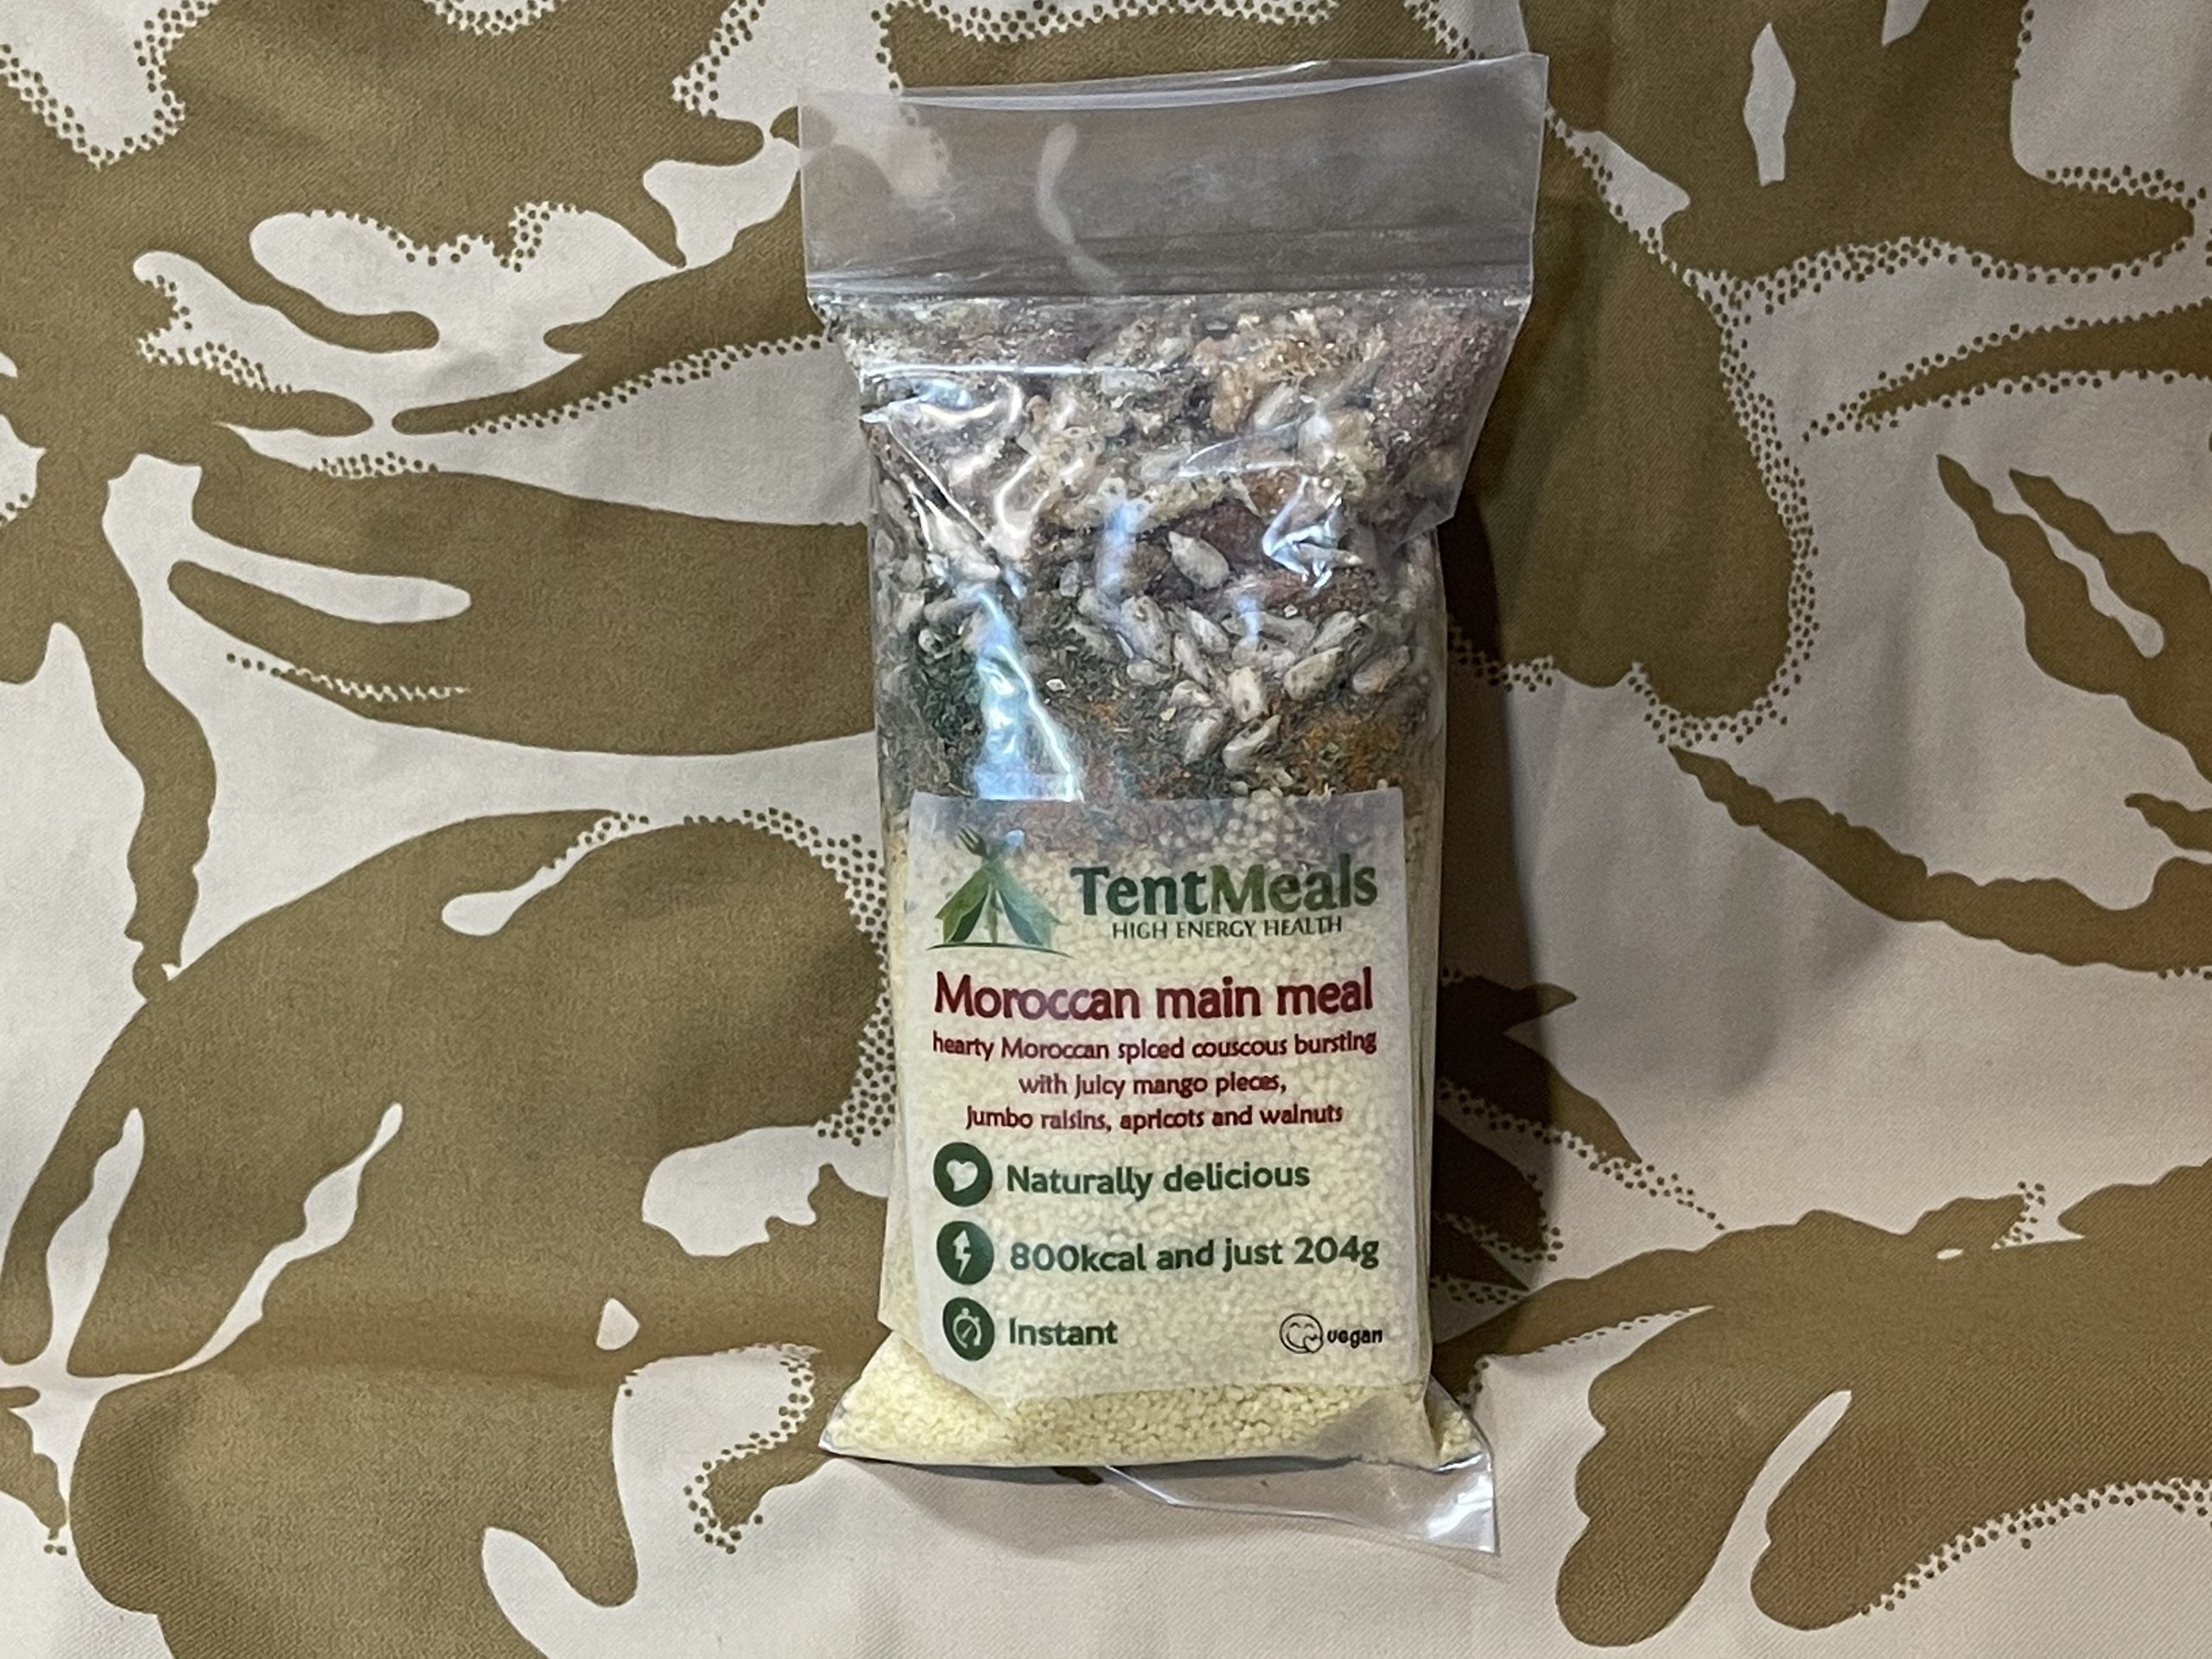
Some brands feature more natural ingredients than others, and competition is increasing in the “healthy” segment with brands like Tent Meals in the UK and Good To-Go in the US filling this important niche with clean ingredients that you can actually pronounce.

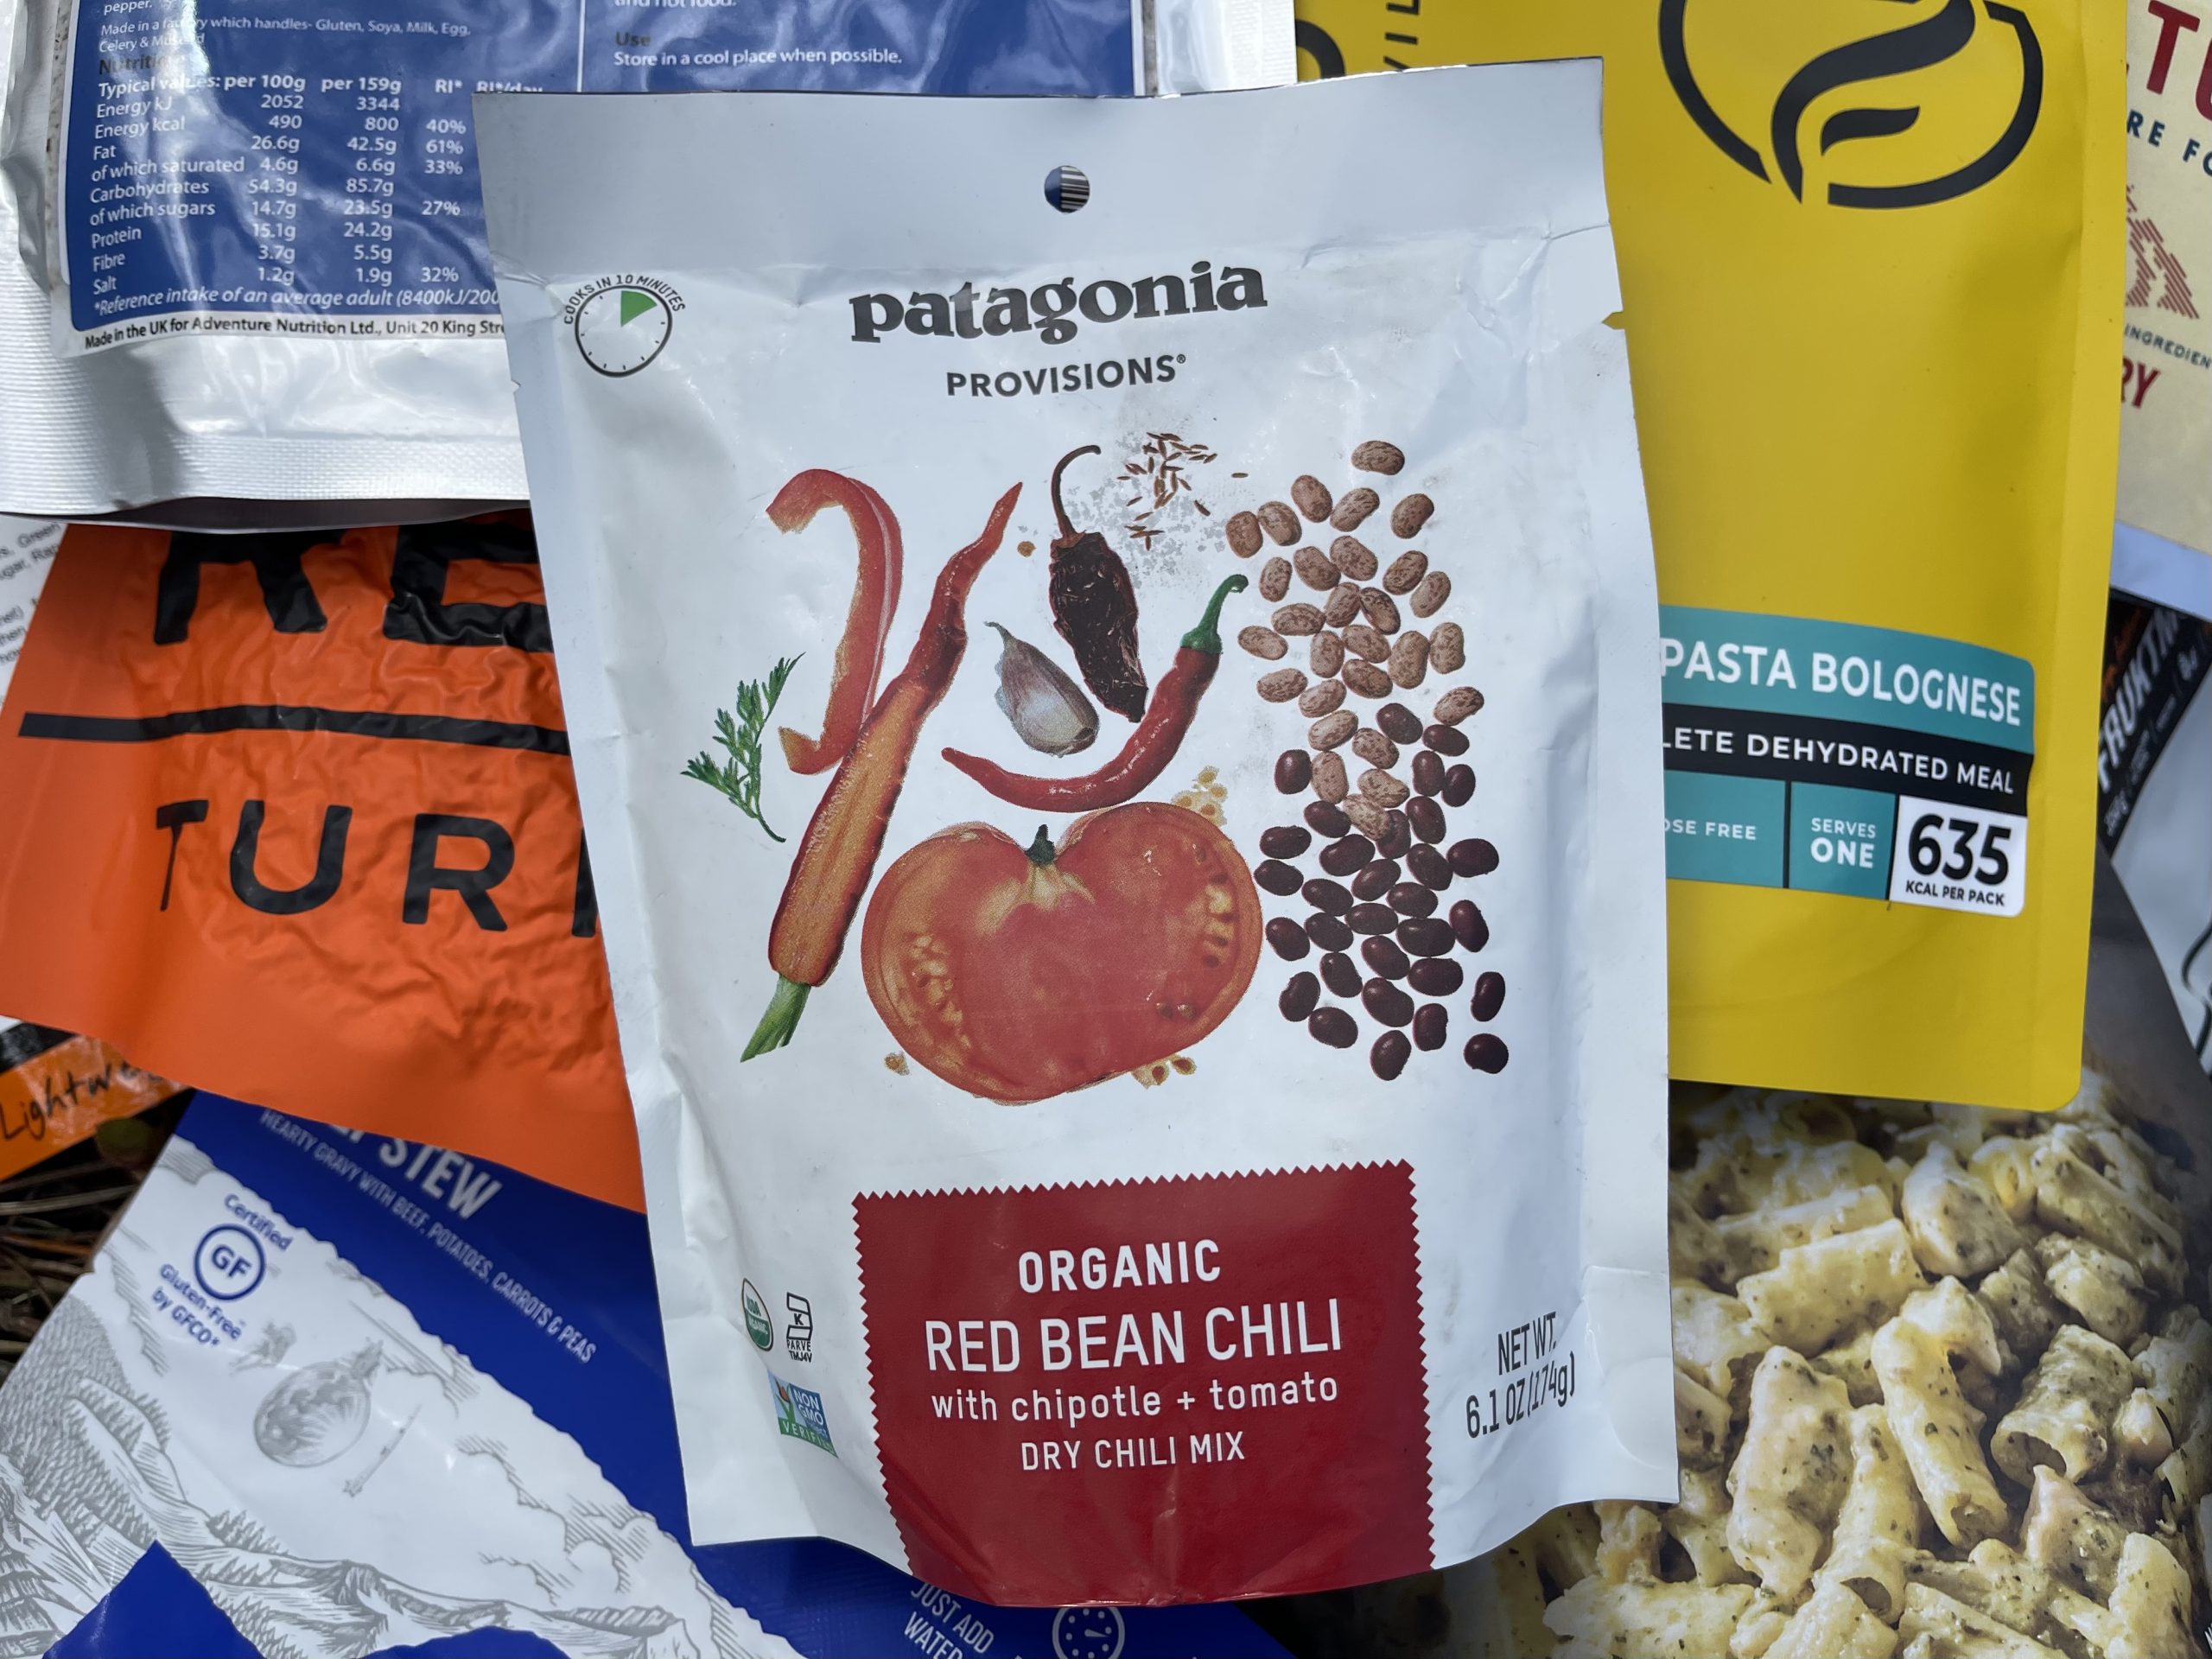
SPEAKING OF HEALTHY OPTIONS…  Patagonia Provisions offers a different take on the genre by partnering with like-minded farmers, fishermen and researchers as partners in the creation of their foods.  Patagonia specifies and supports “regenerative practices that restore, rather than deplete, the planet”.  So if you’re looking for a tasty, sustainable, environmentally aware option Patagonia just might have what you need.  

Patagonia Provisions

Firepot meals are handmade in Dorset, England. Their goal is meals that are nutritious, delicious and simple. And if you’re watching your salt intake, they only add salt as you would at home – very sparingly. You’ll recognize all their ingredients and you won’t find any artificial additives, flavorings or preservatives.

SPOILER ALERT: Their Orzo Pasta Bolognese is top shelf!

FIREPOT is made without palm oil or additives and features compostable pouches

DON’T FORGET SPICES! Eating too much of the same things over the course of a week-long trip can wear on you.  Bringing along some small packets of salt, pepper, or condiment packets like hot sauce, wasabi, or BBQ sauce can be a game changer and a BIG boost to morale at the end of a hard day. 

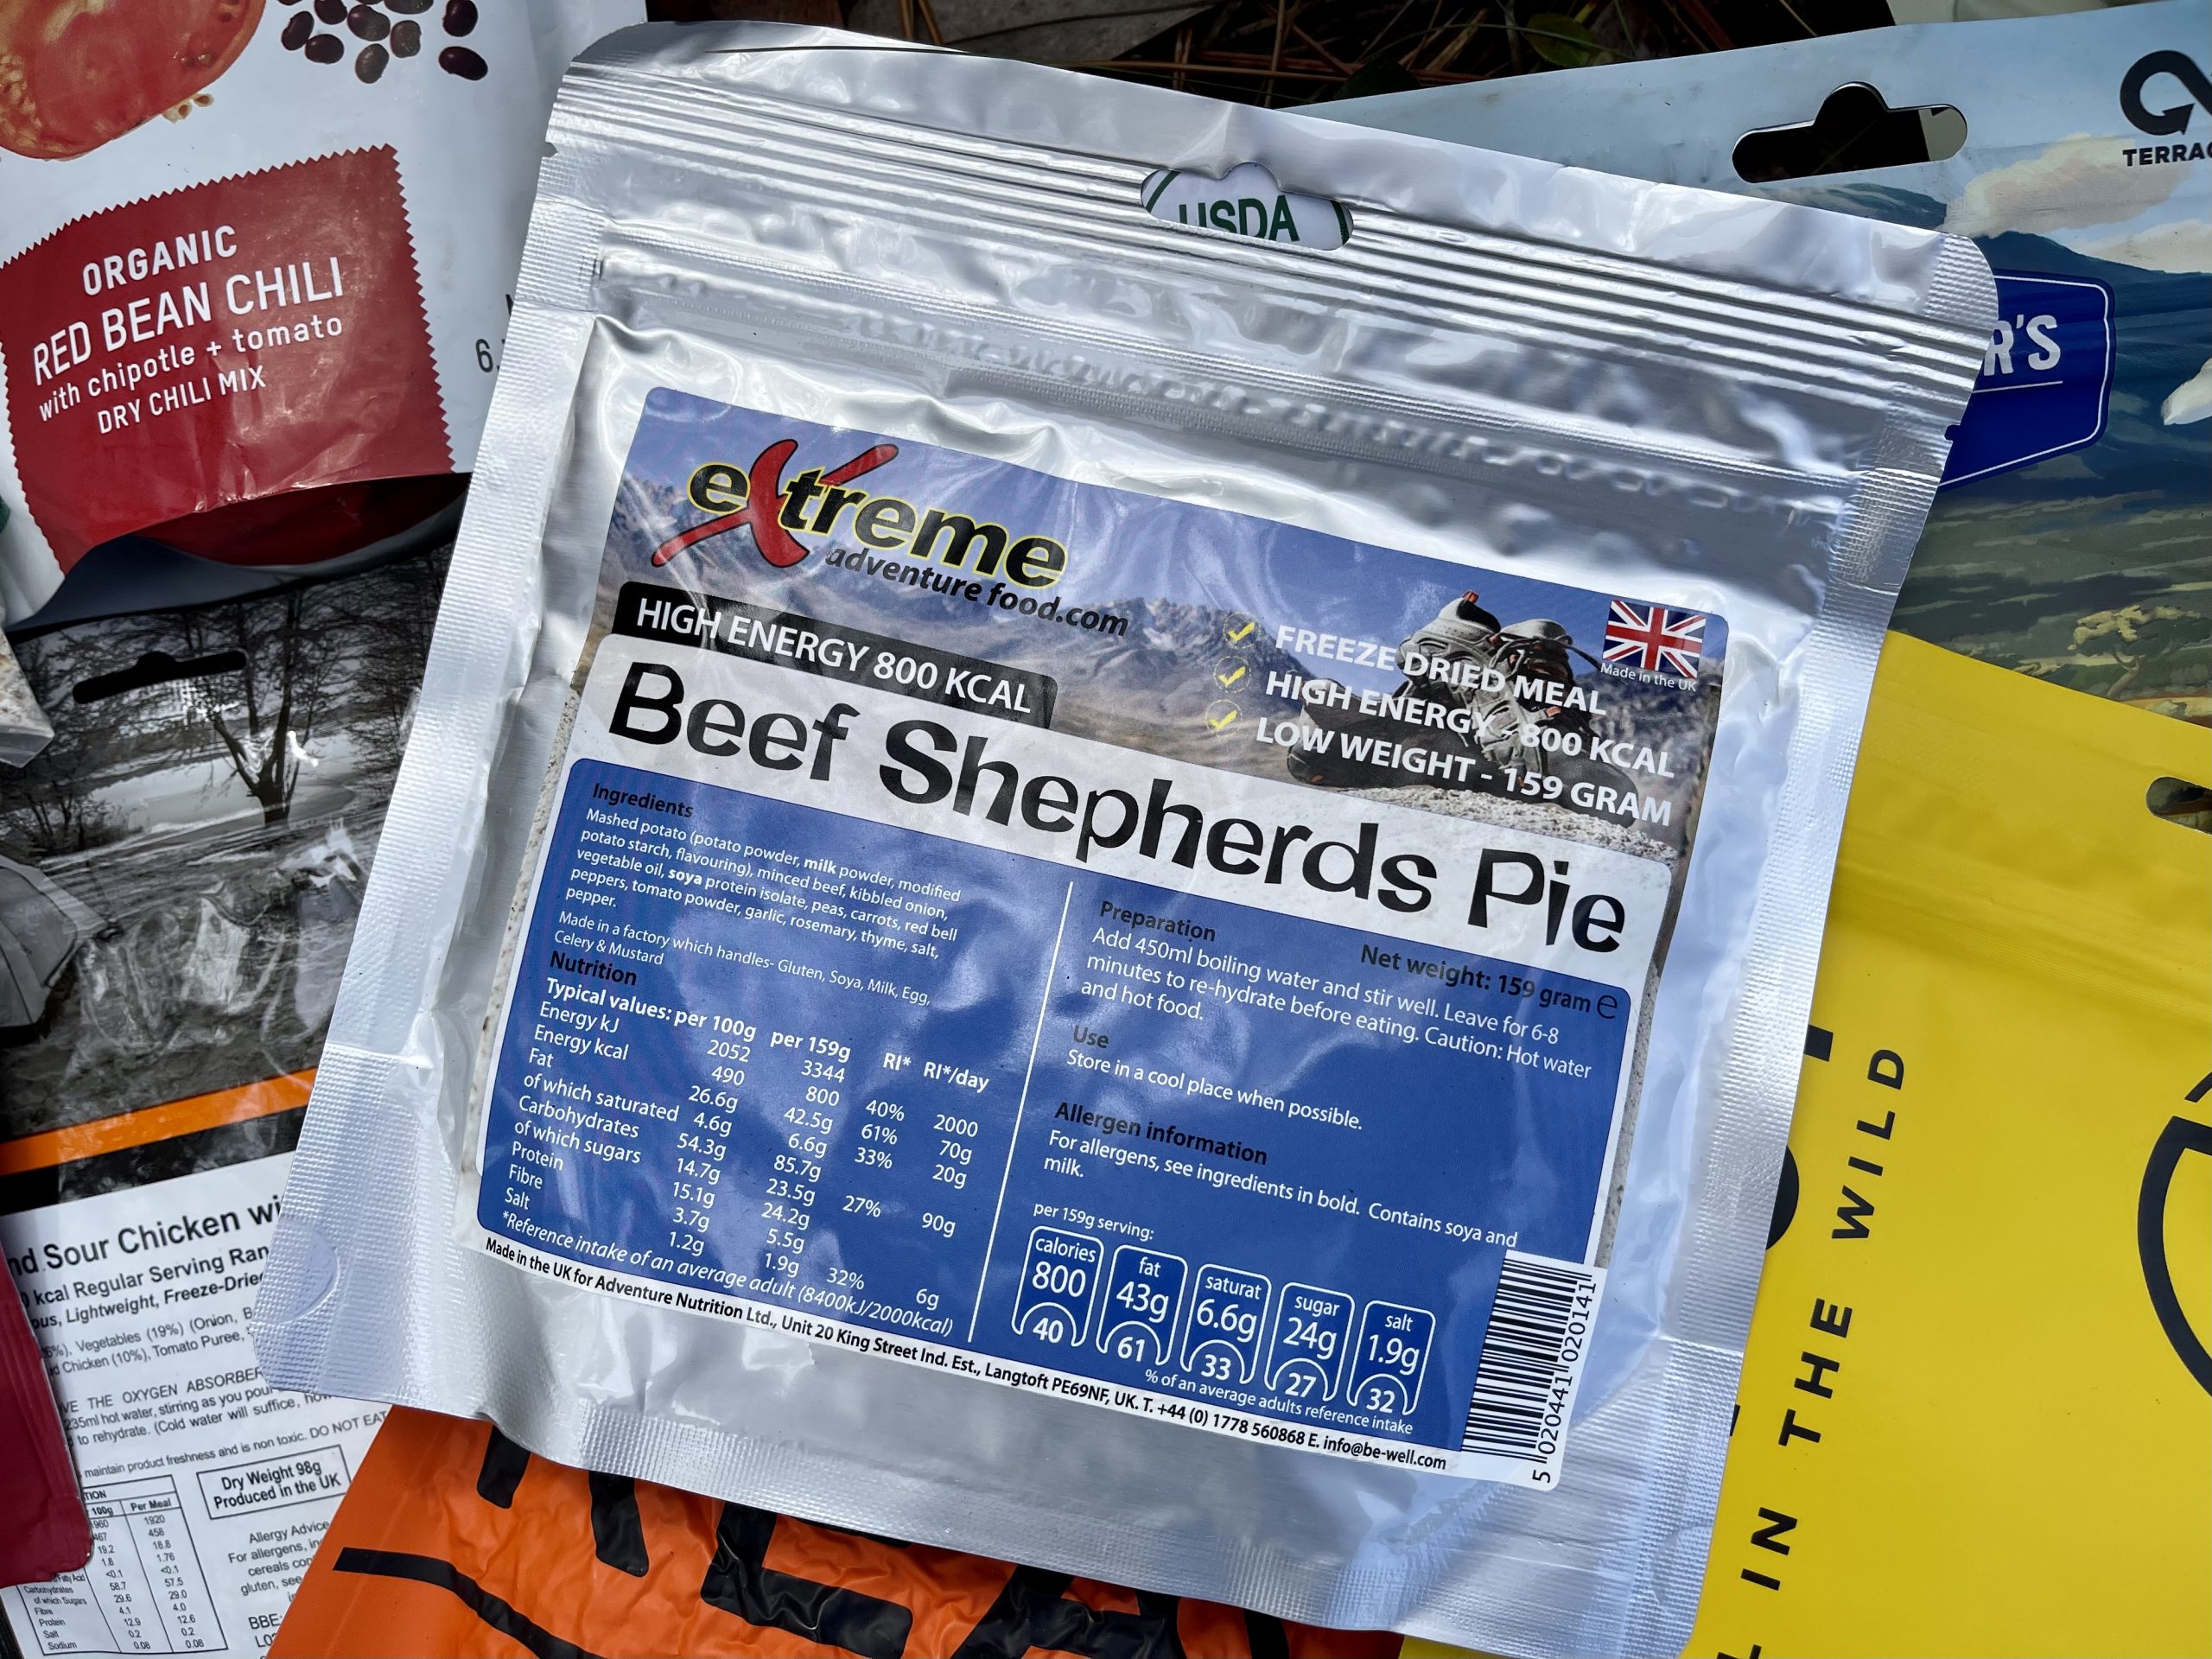
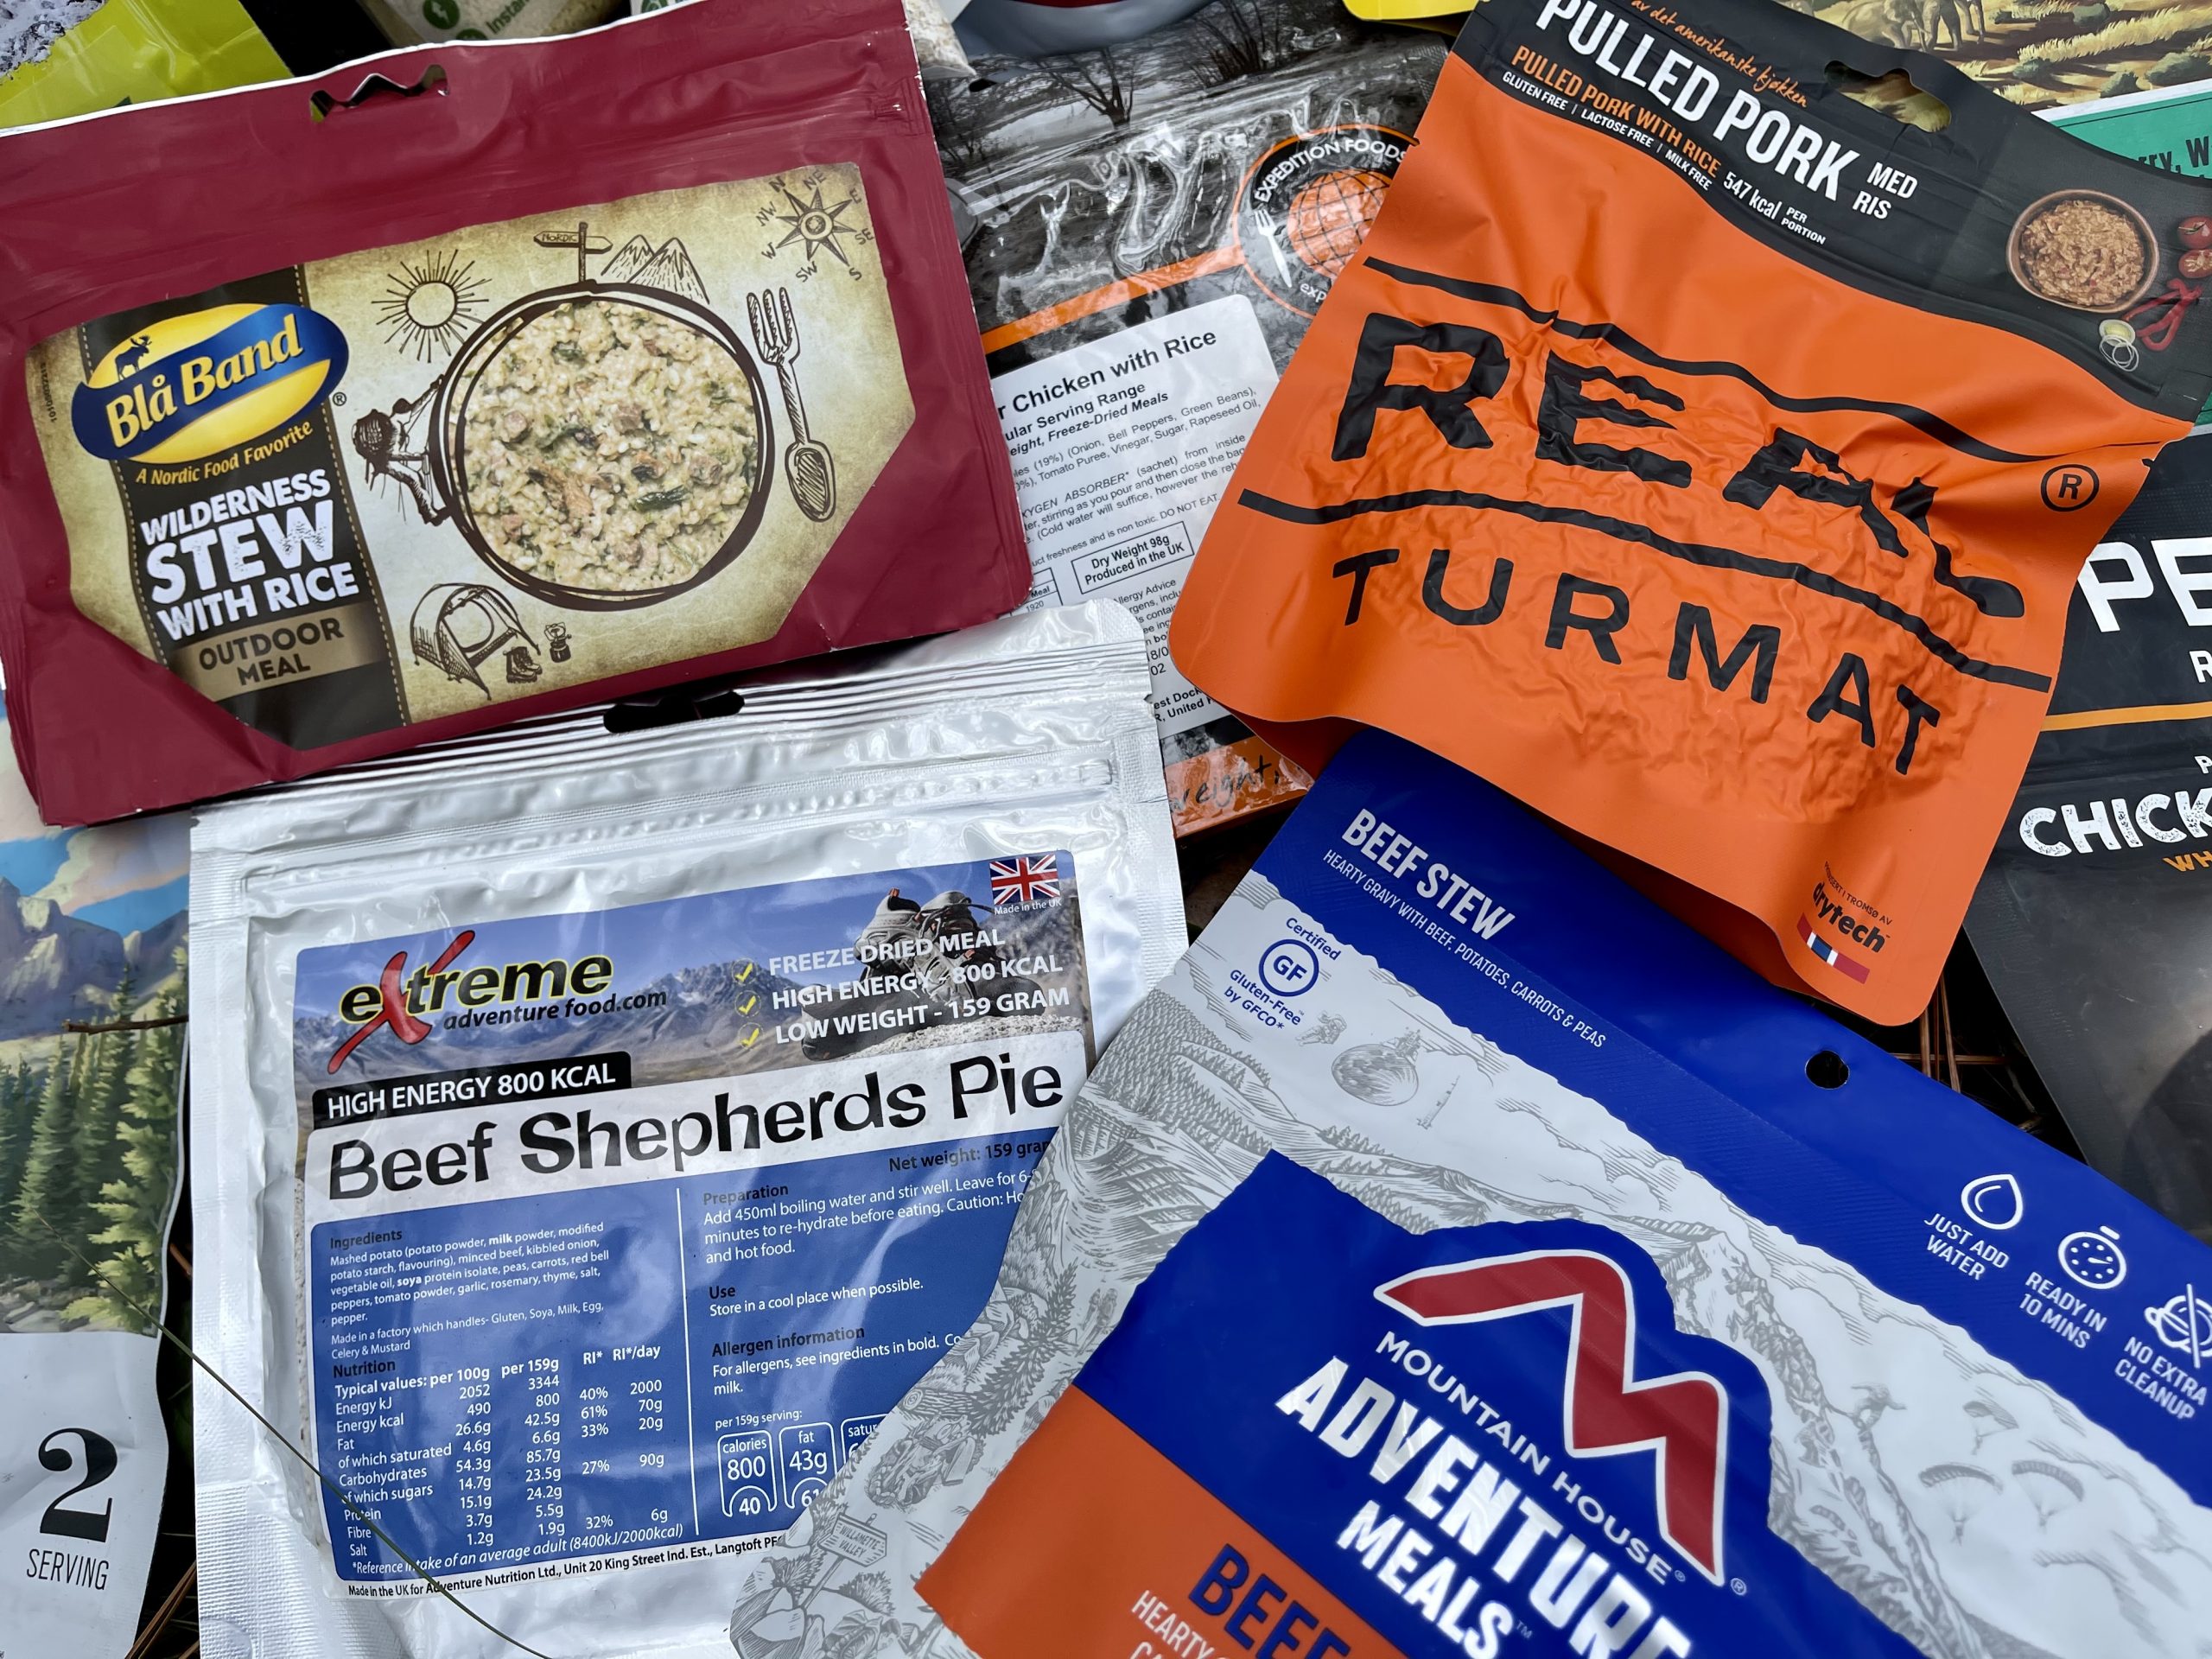
Extreme Adventure Food -UK

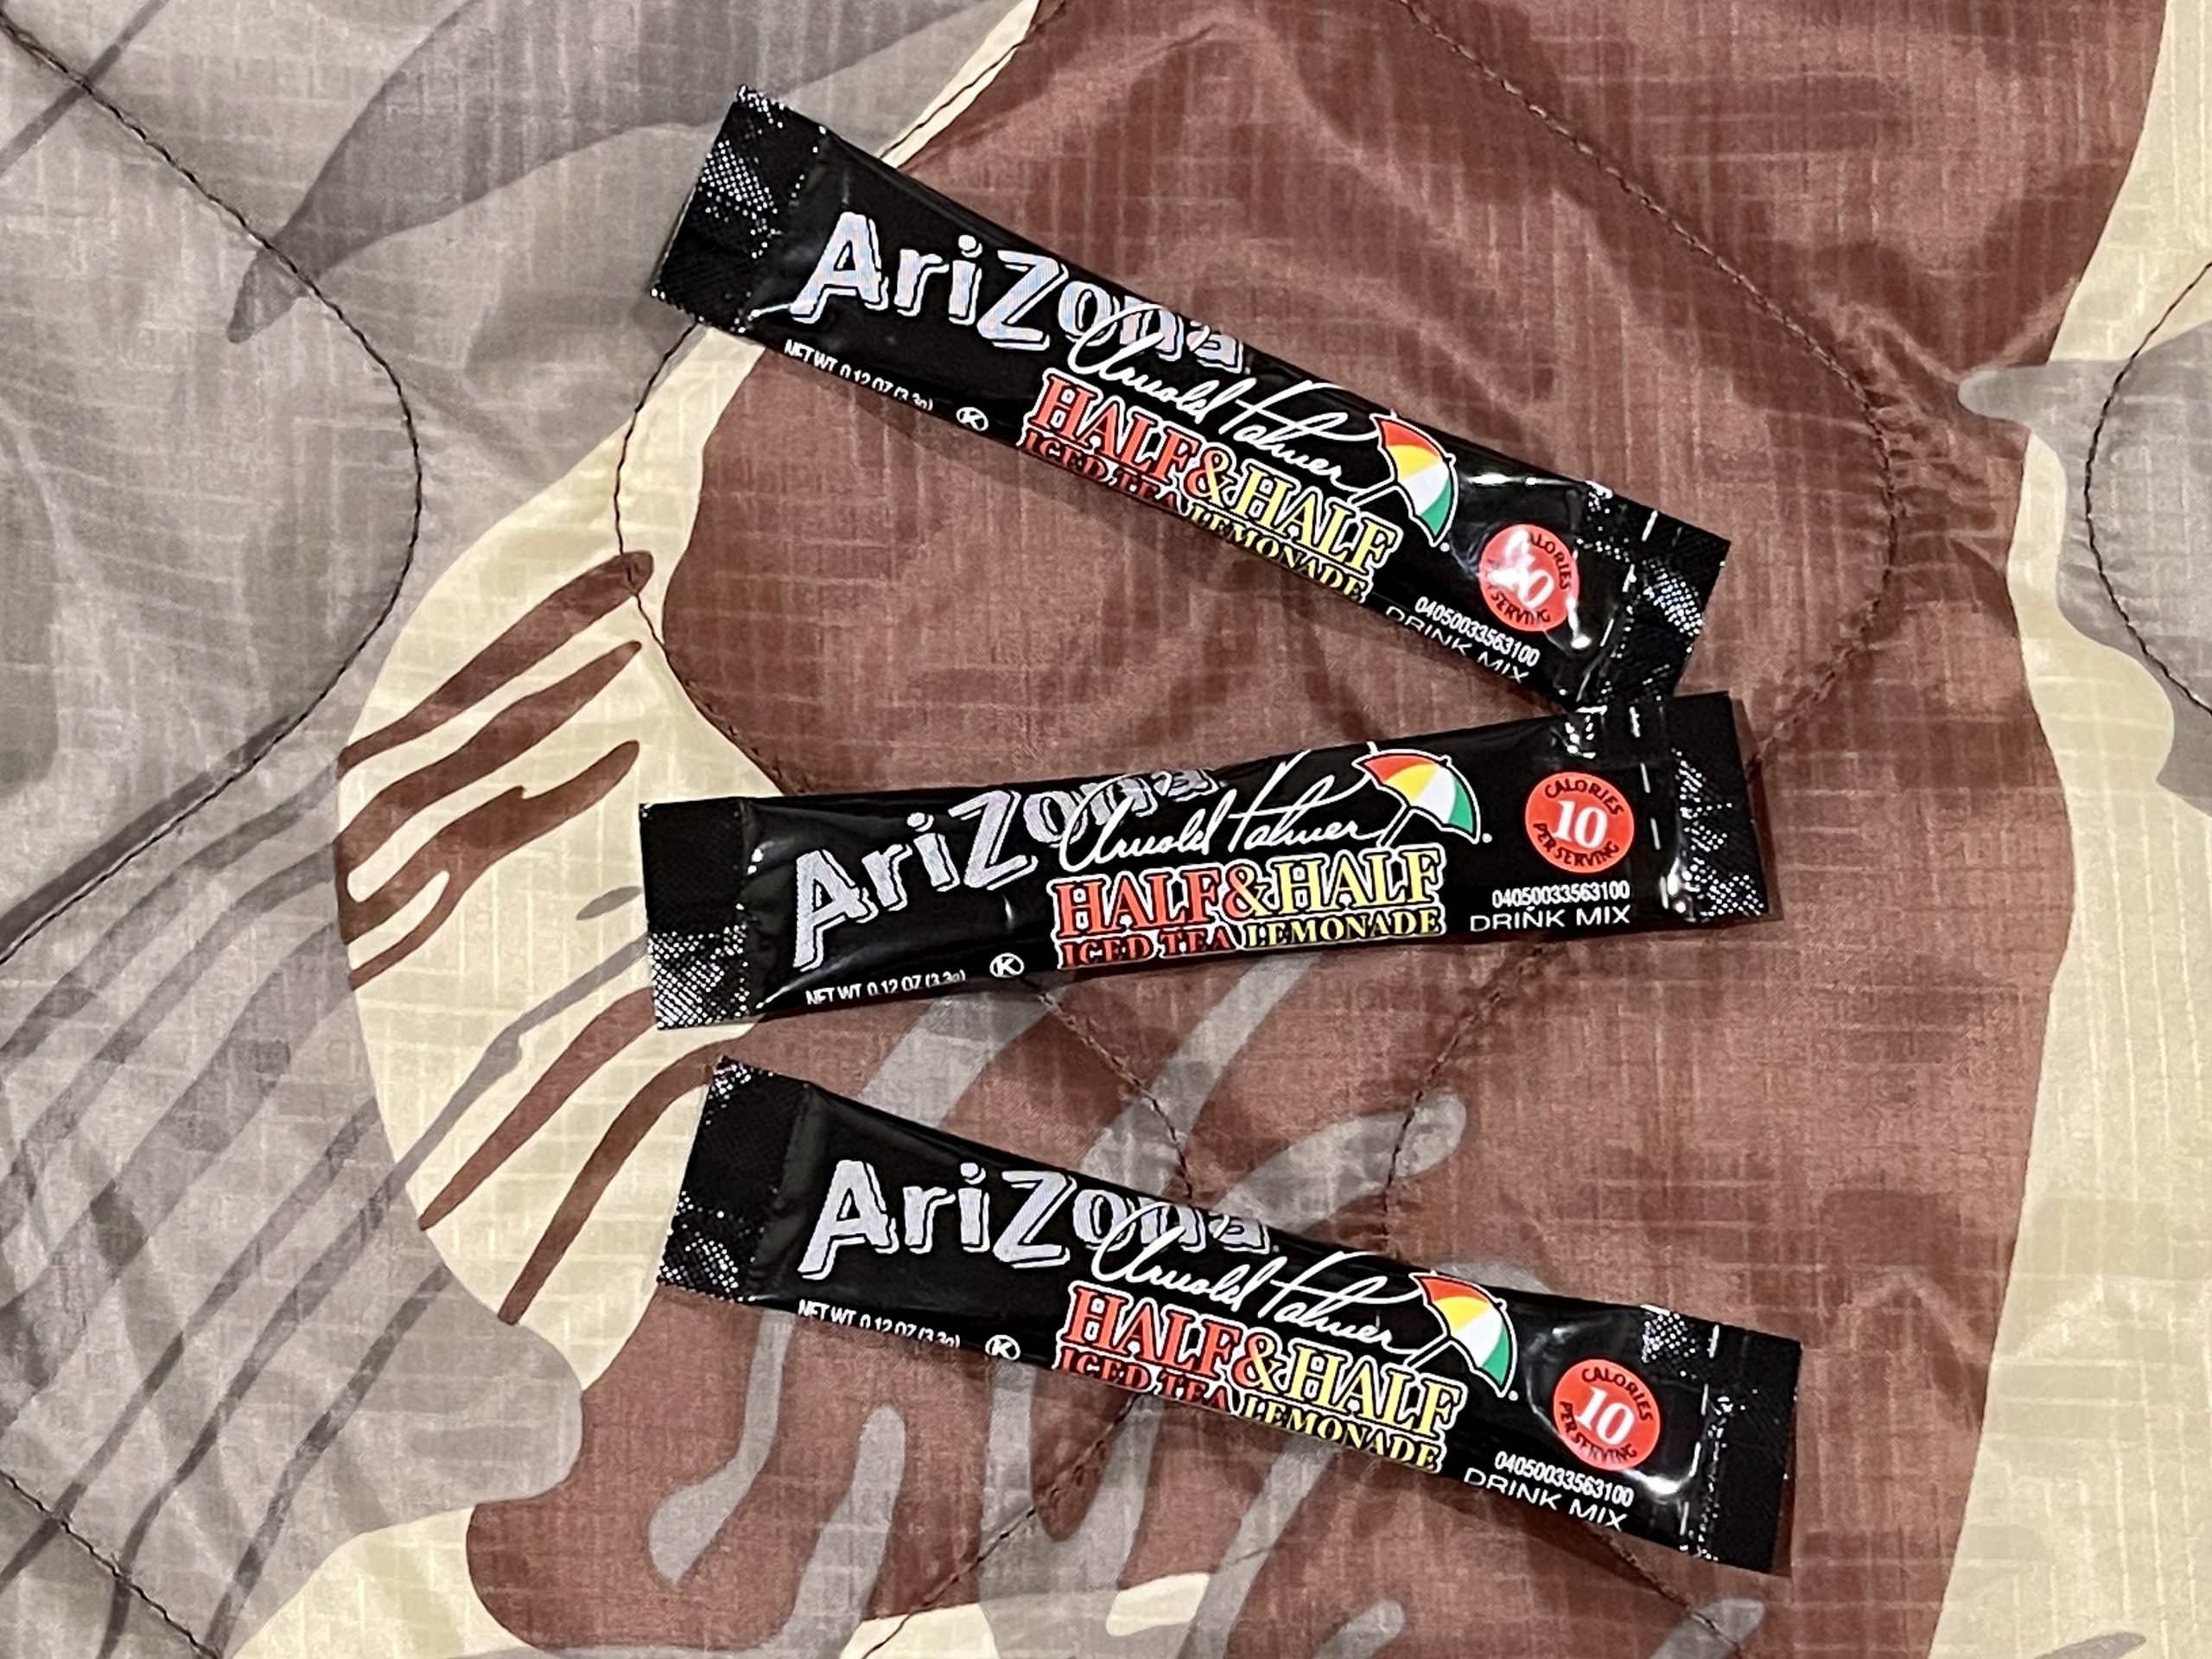
CONSIDER YOUR BEVERAGE OPTIONS! You should try to remember to include some beverage powders etc when you do your meal planning.  These little Arizona Tea “Arnold Palmer” Half and Half drink mixes are a great pick me up and long time favorite of mine, weighing in at a hiker friendly 3.3 grams each with only 10 calories and the ability to instantly transform a half liter of meh tasting water into a liquid dessert. There’s even some seriously good COFFEE options on the market today aimed squarely at the fast and light crowd. We’ll cover more on these developments in a future article.

VARIETY IS KEY.  You’ll want different meals when you’re out there, so make sure you include breakfast entrees in addition to the usually acceptable lunch and dinner menu items.  Augmenting your meals with some fresh fruit is a nice treat that adds flavor and nutritional value to your diet as well. 

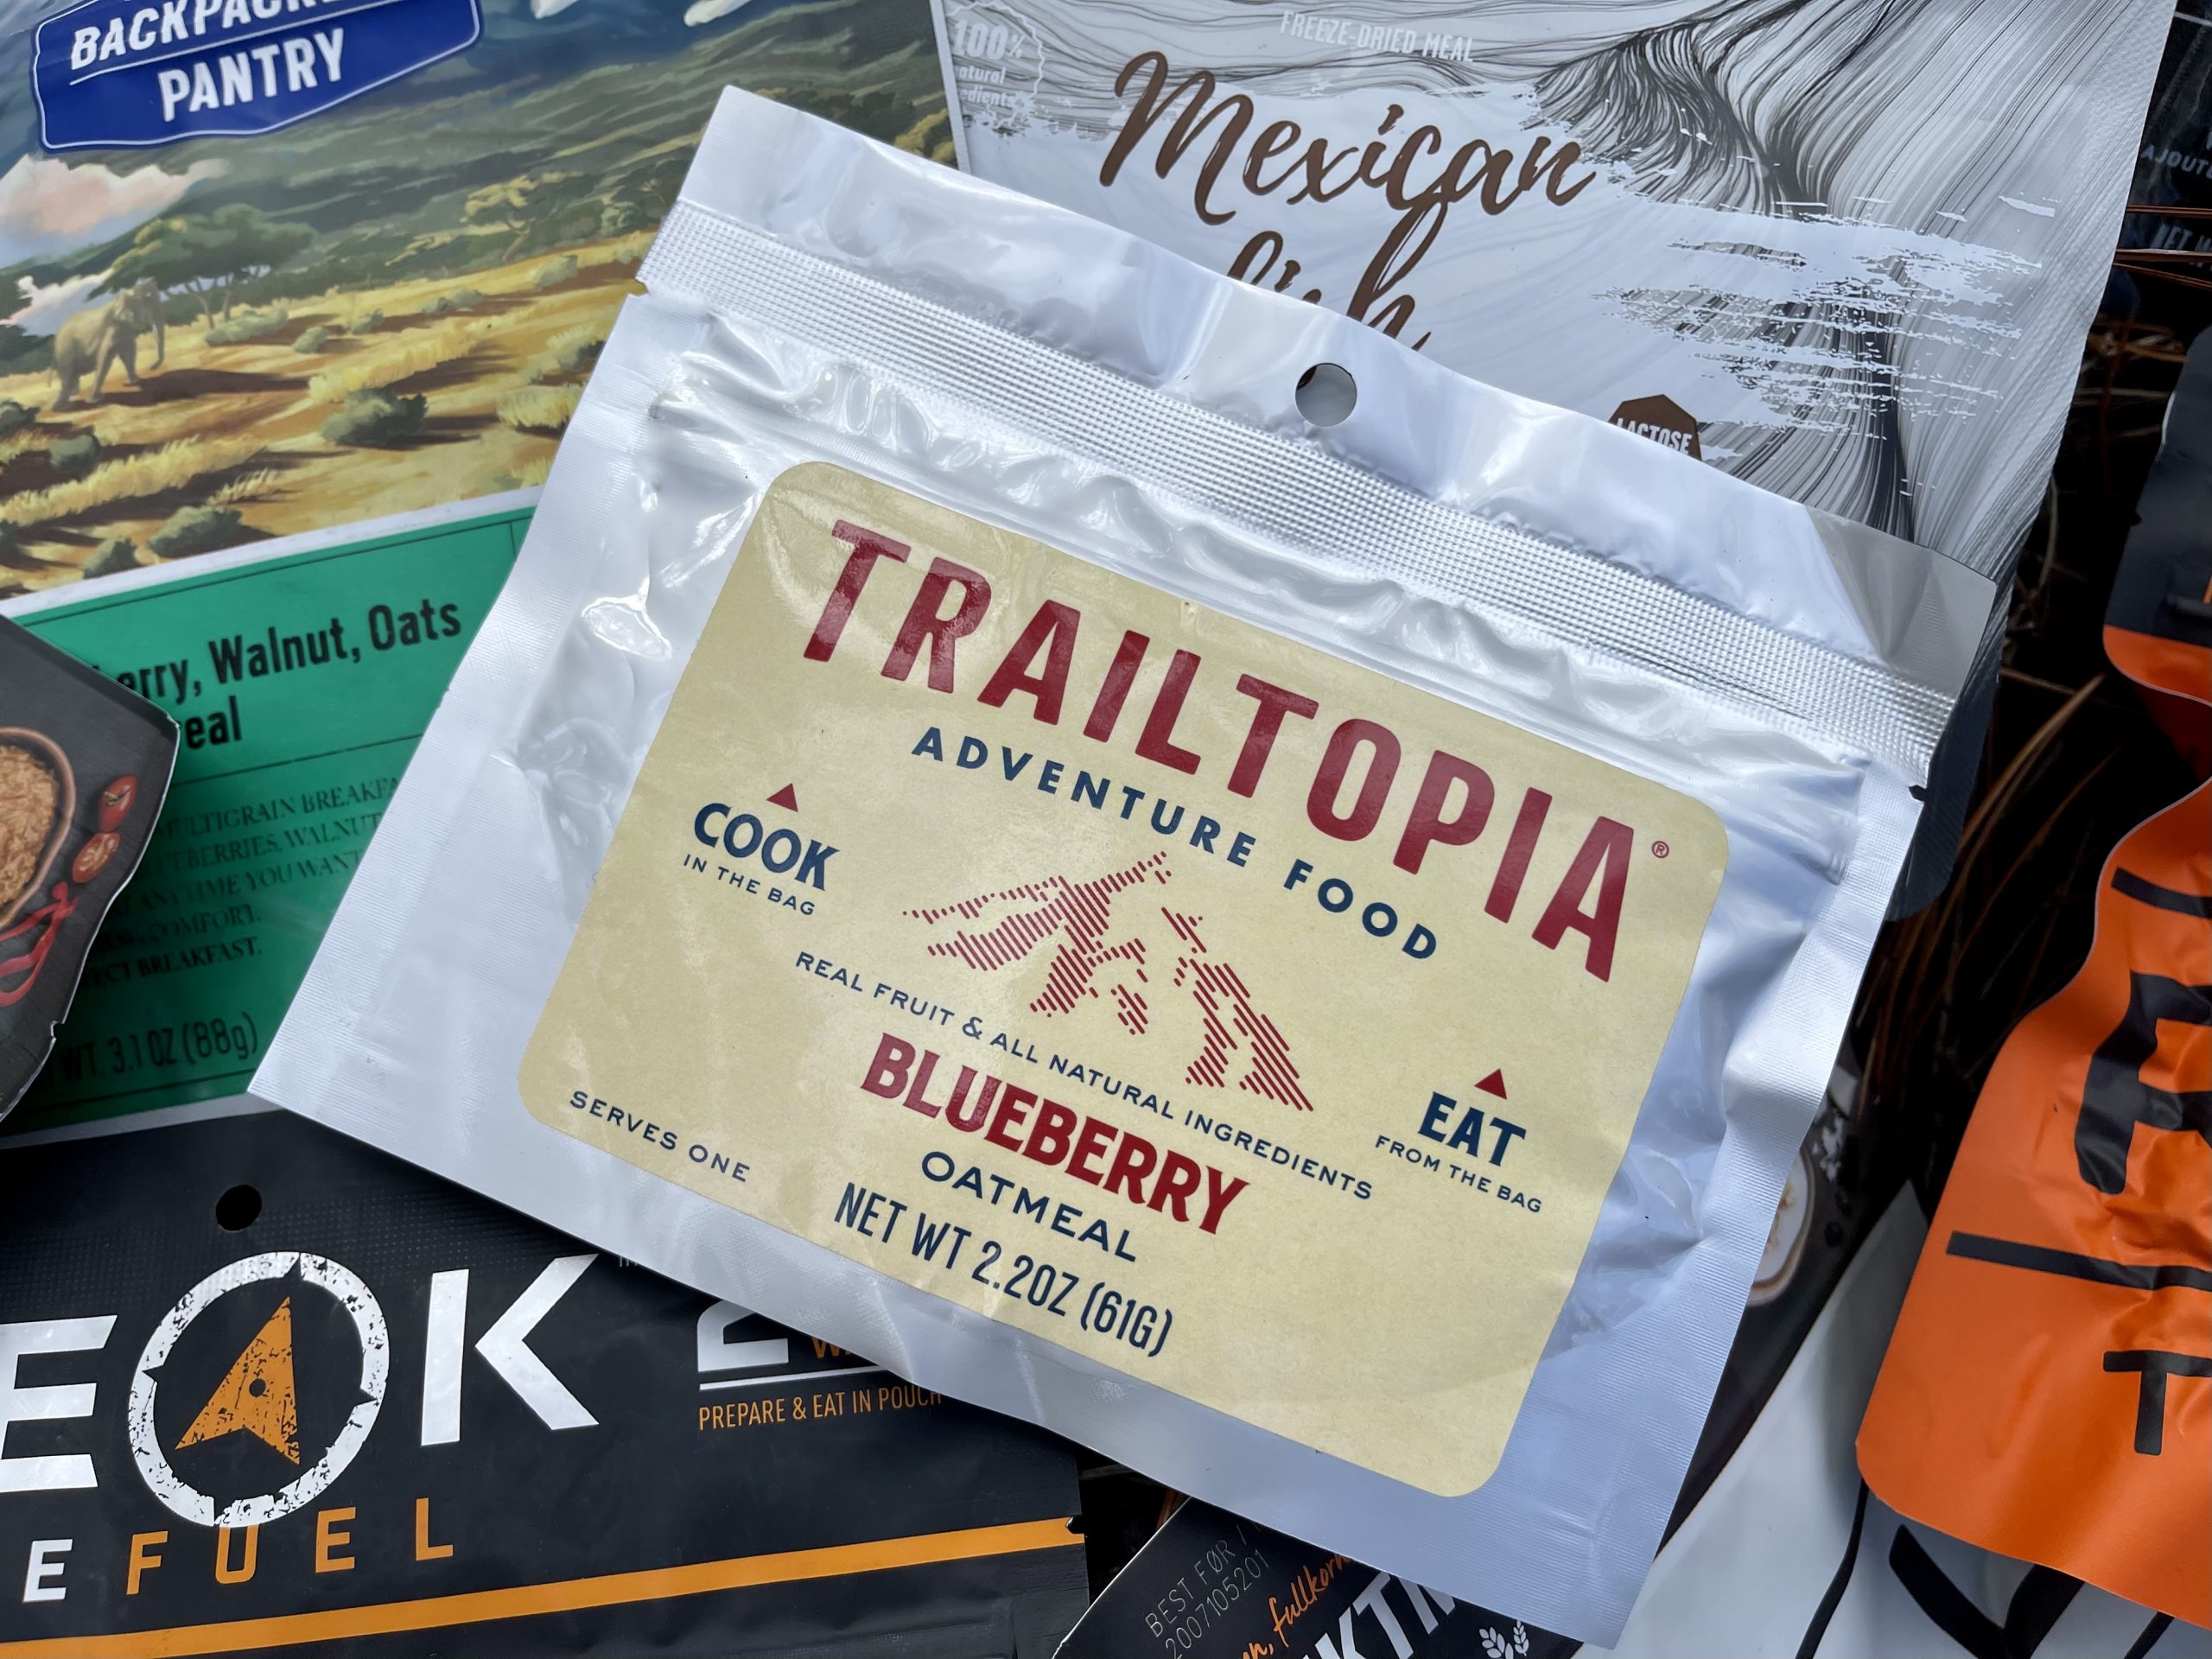
Trailtopia – USA

One of the other really nice things about these dehydrated meals for motorcycle, 4WD or “Overland” style trips is that they require no refrigeration, and you can augment them with virtually unlimited other standard “road trip” snacks like beef jerky, drinks and trail mixes if you’re not lugging it all on your back.  But if you are hiking it all in like some of us love to do, remember “ounces equal pounds and pounds equal pain”… 

… your comfort based decisions come with a cost so choose those meals and extra treats wisely!

Every meal CAN be different!
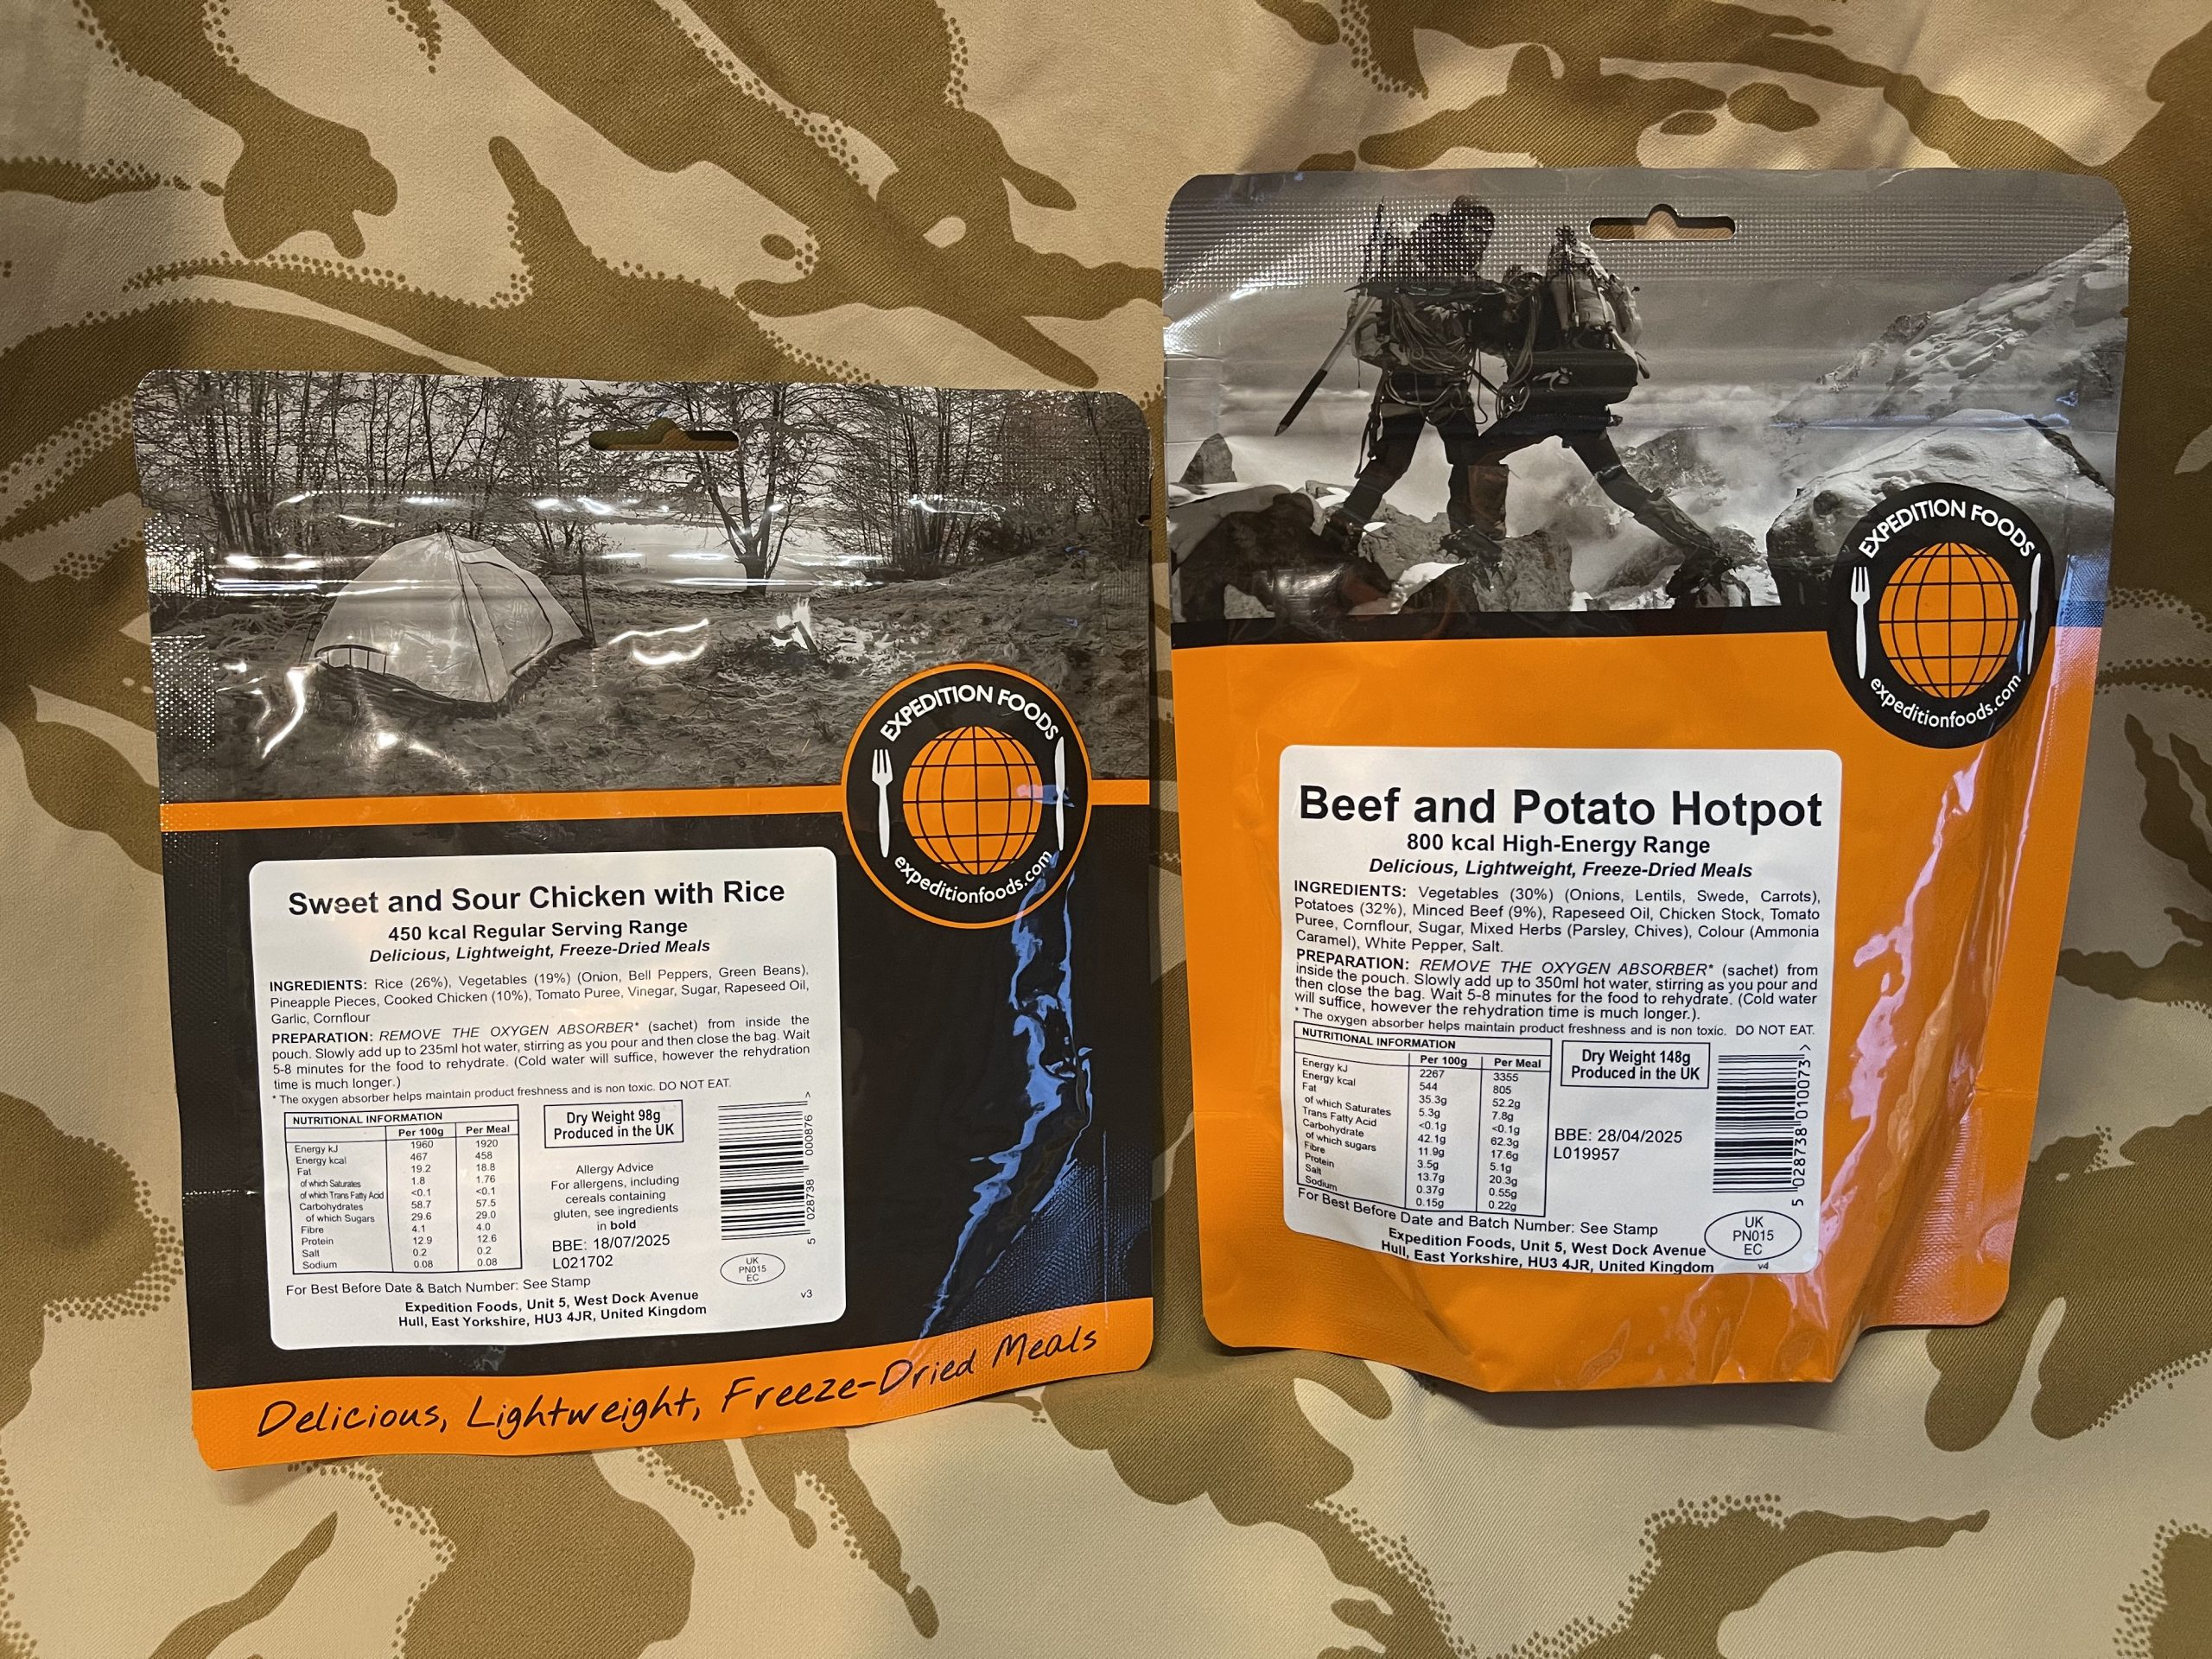
Expedition Foods – UK
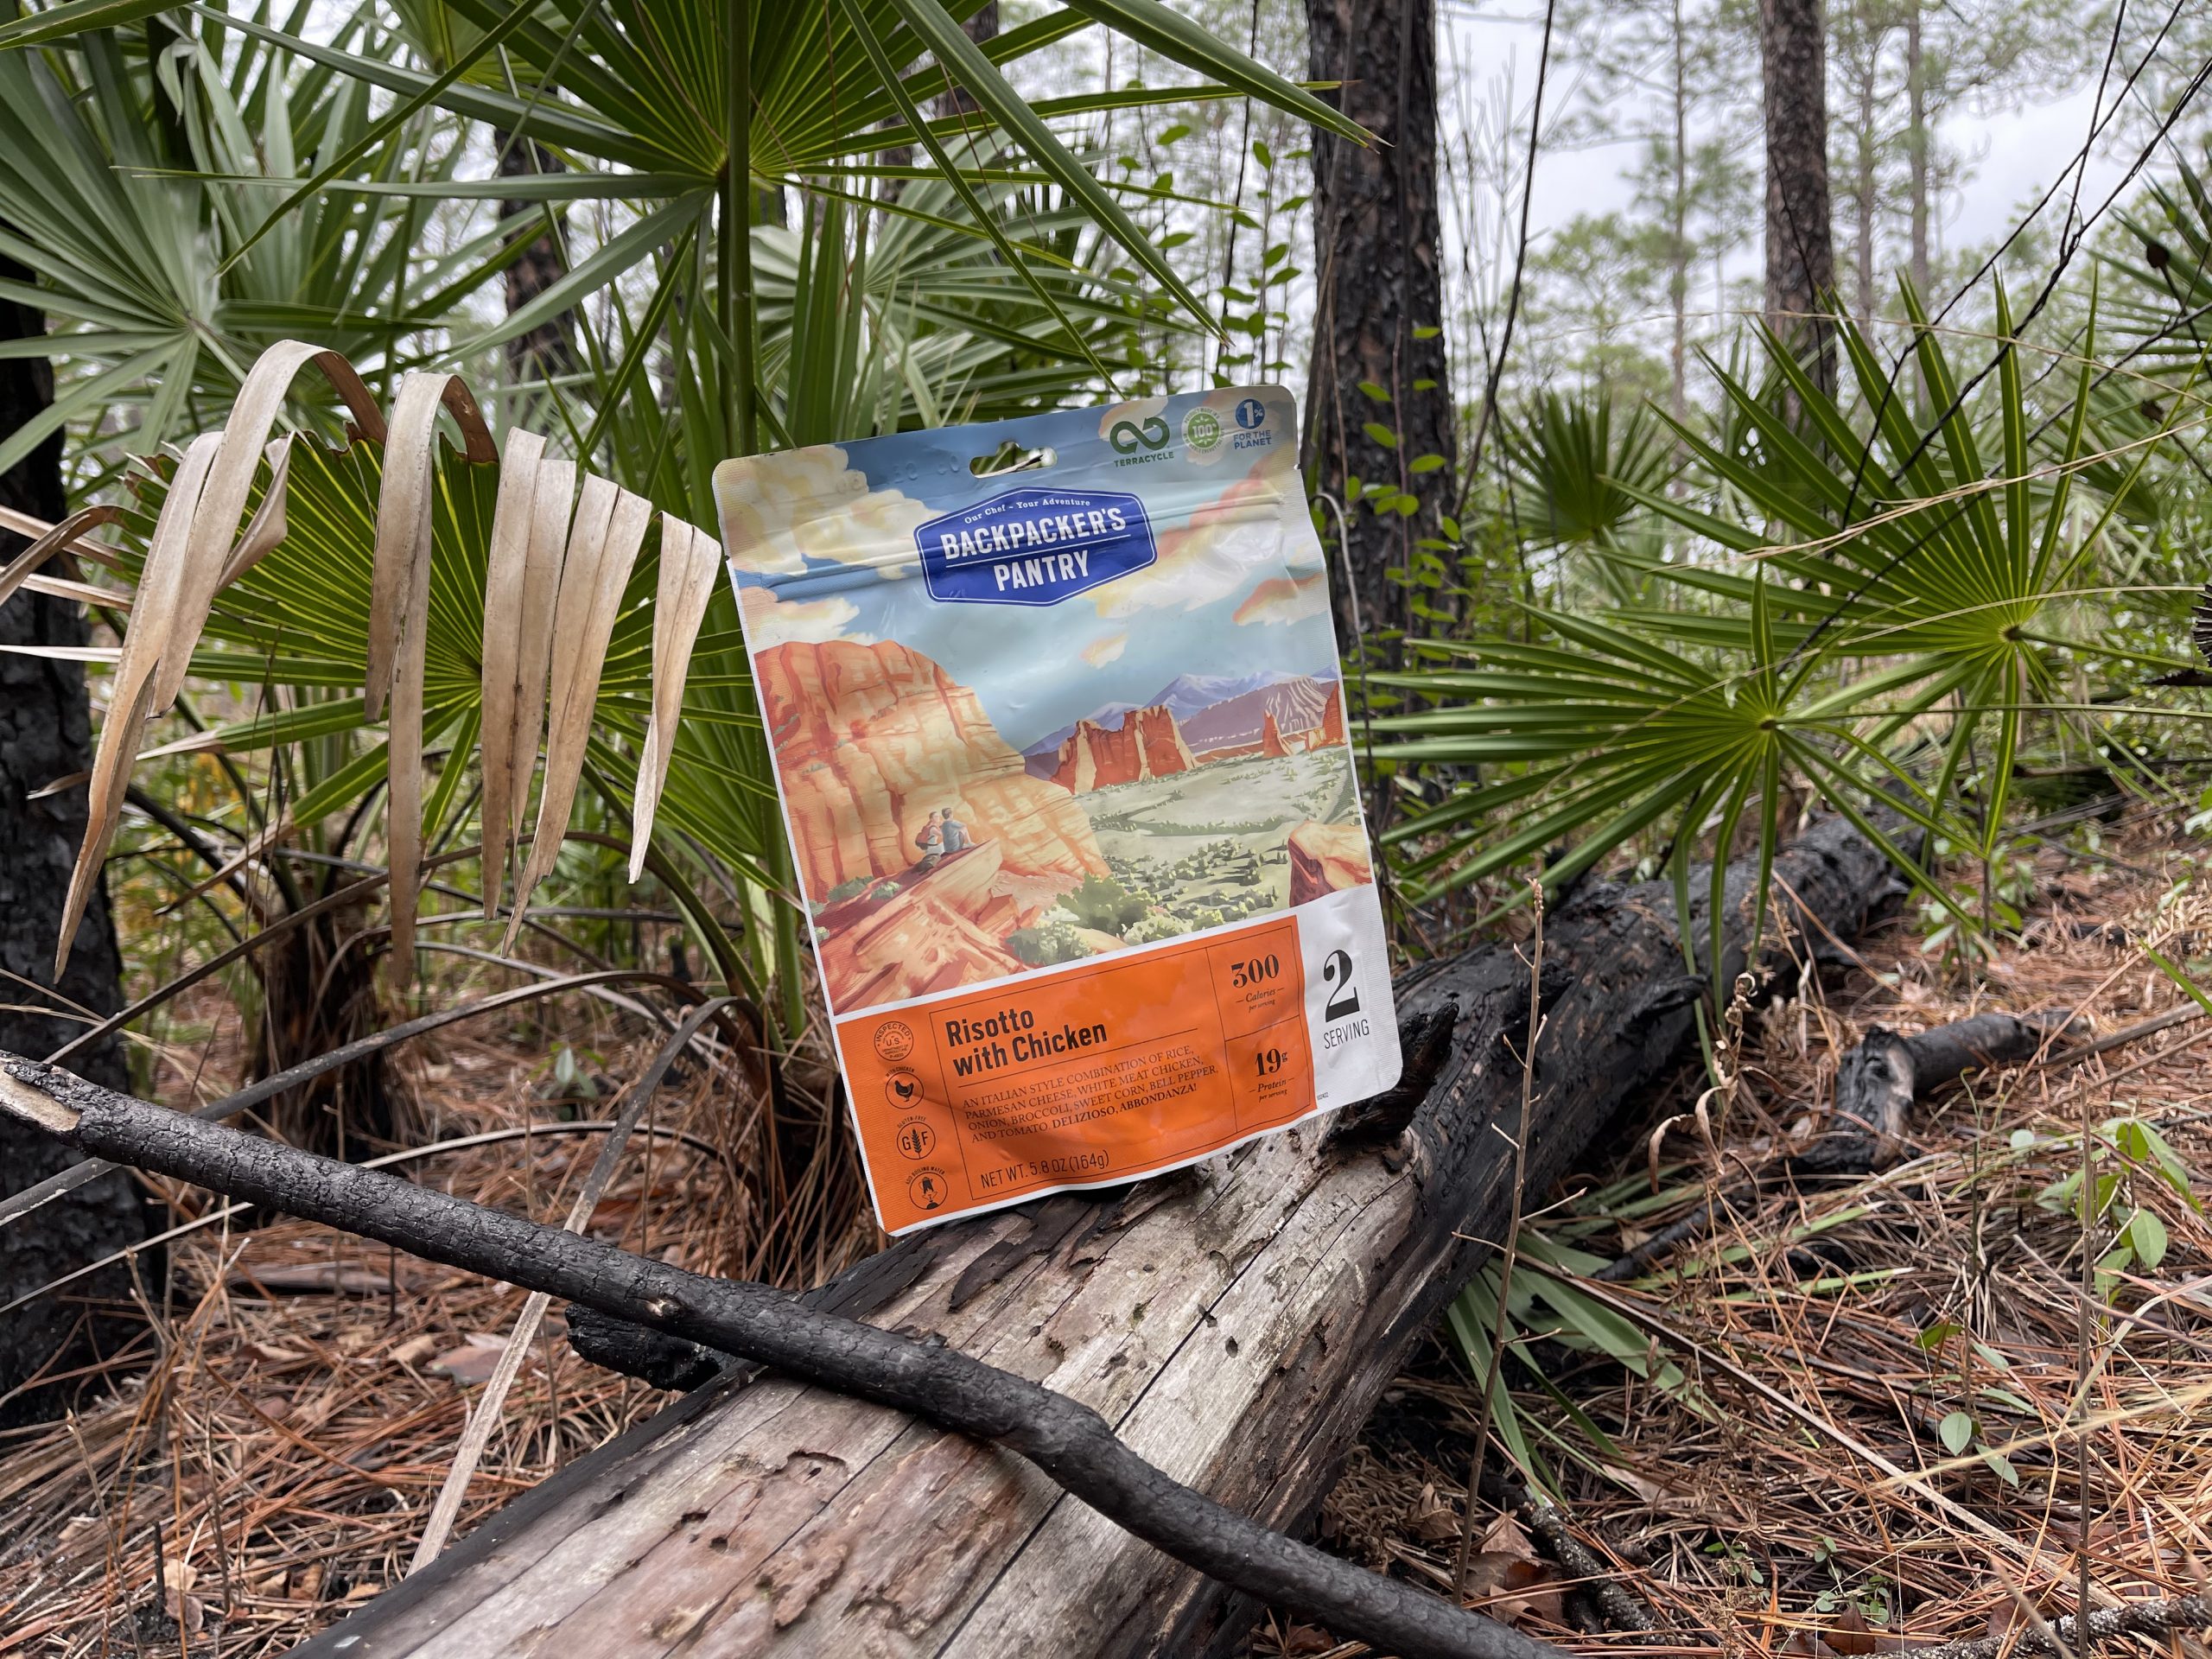
Backpacker’s Pantry (USA) Risotto with Chicken is one of the best tasting meals we’ve ever had!

Future articles here in American Adventures magazine will talk about the flavor, texture, and overall drool factor (or the lack thereof) involved with some of these meals, and our top picks for which meals warrant an “always on hand” status in our load planning.

FULL DISCLOSURE:  All endorsements and opinions in this article are unsolicited. Items featured in this article were privately purchased by the author for the sole purpose of providing honest, independent reviews to help our members eat well in the wild!

#IndependentMedia

Alpine Aire – USA