LIGHTBULB MOMENT:
Inspiration comes at the most random times, and in the most random of places. At the 2017 SEMA show, I was talking to the crew at Baja Designs when I noticed that one of the guys had built a battery powered Squadron light, and it got me thinking. What if I could take a small Baja Designs light like the S2 Pro, and 3D-print a mount for it that would make the light work with the GoPro ecosystem of mounts?
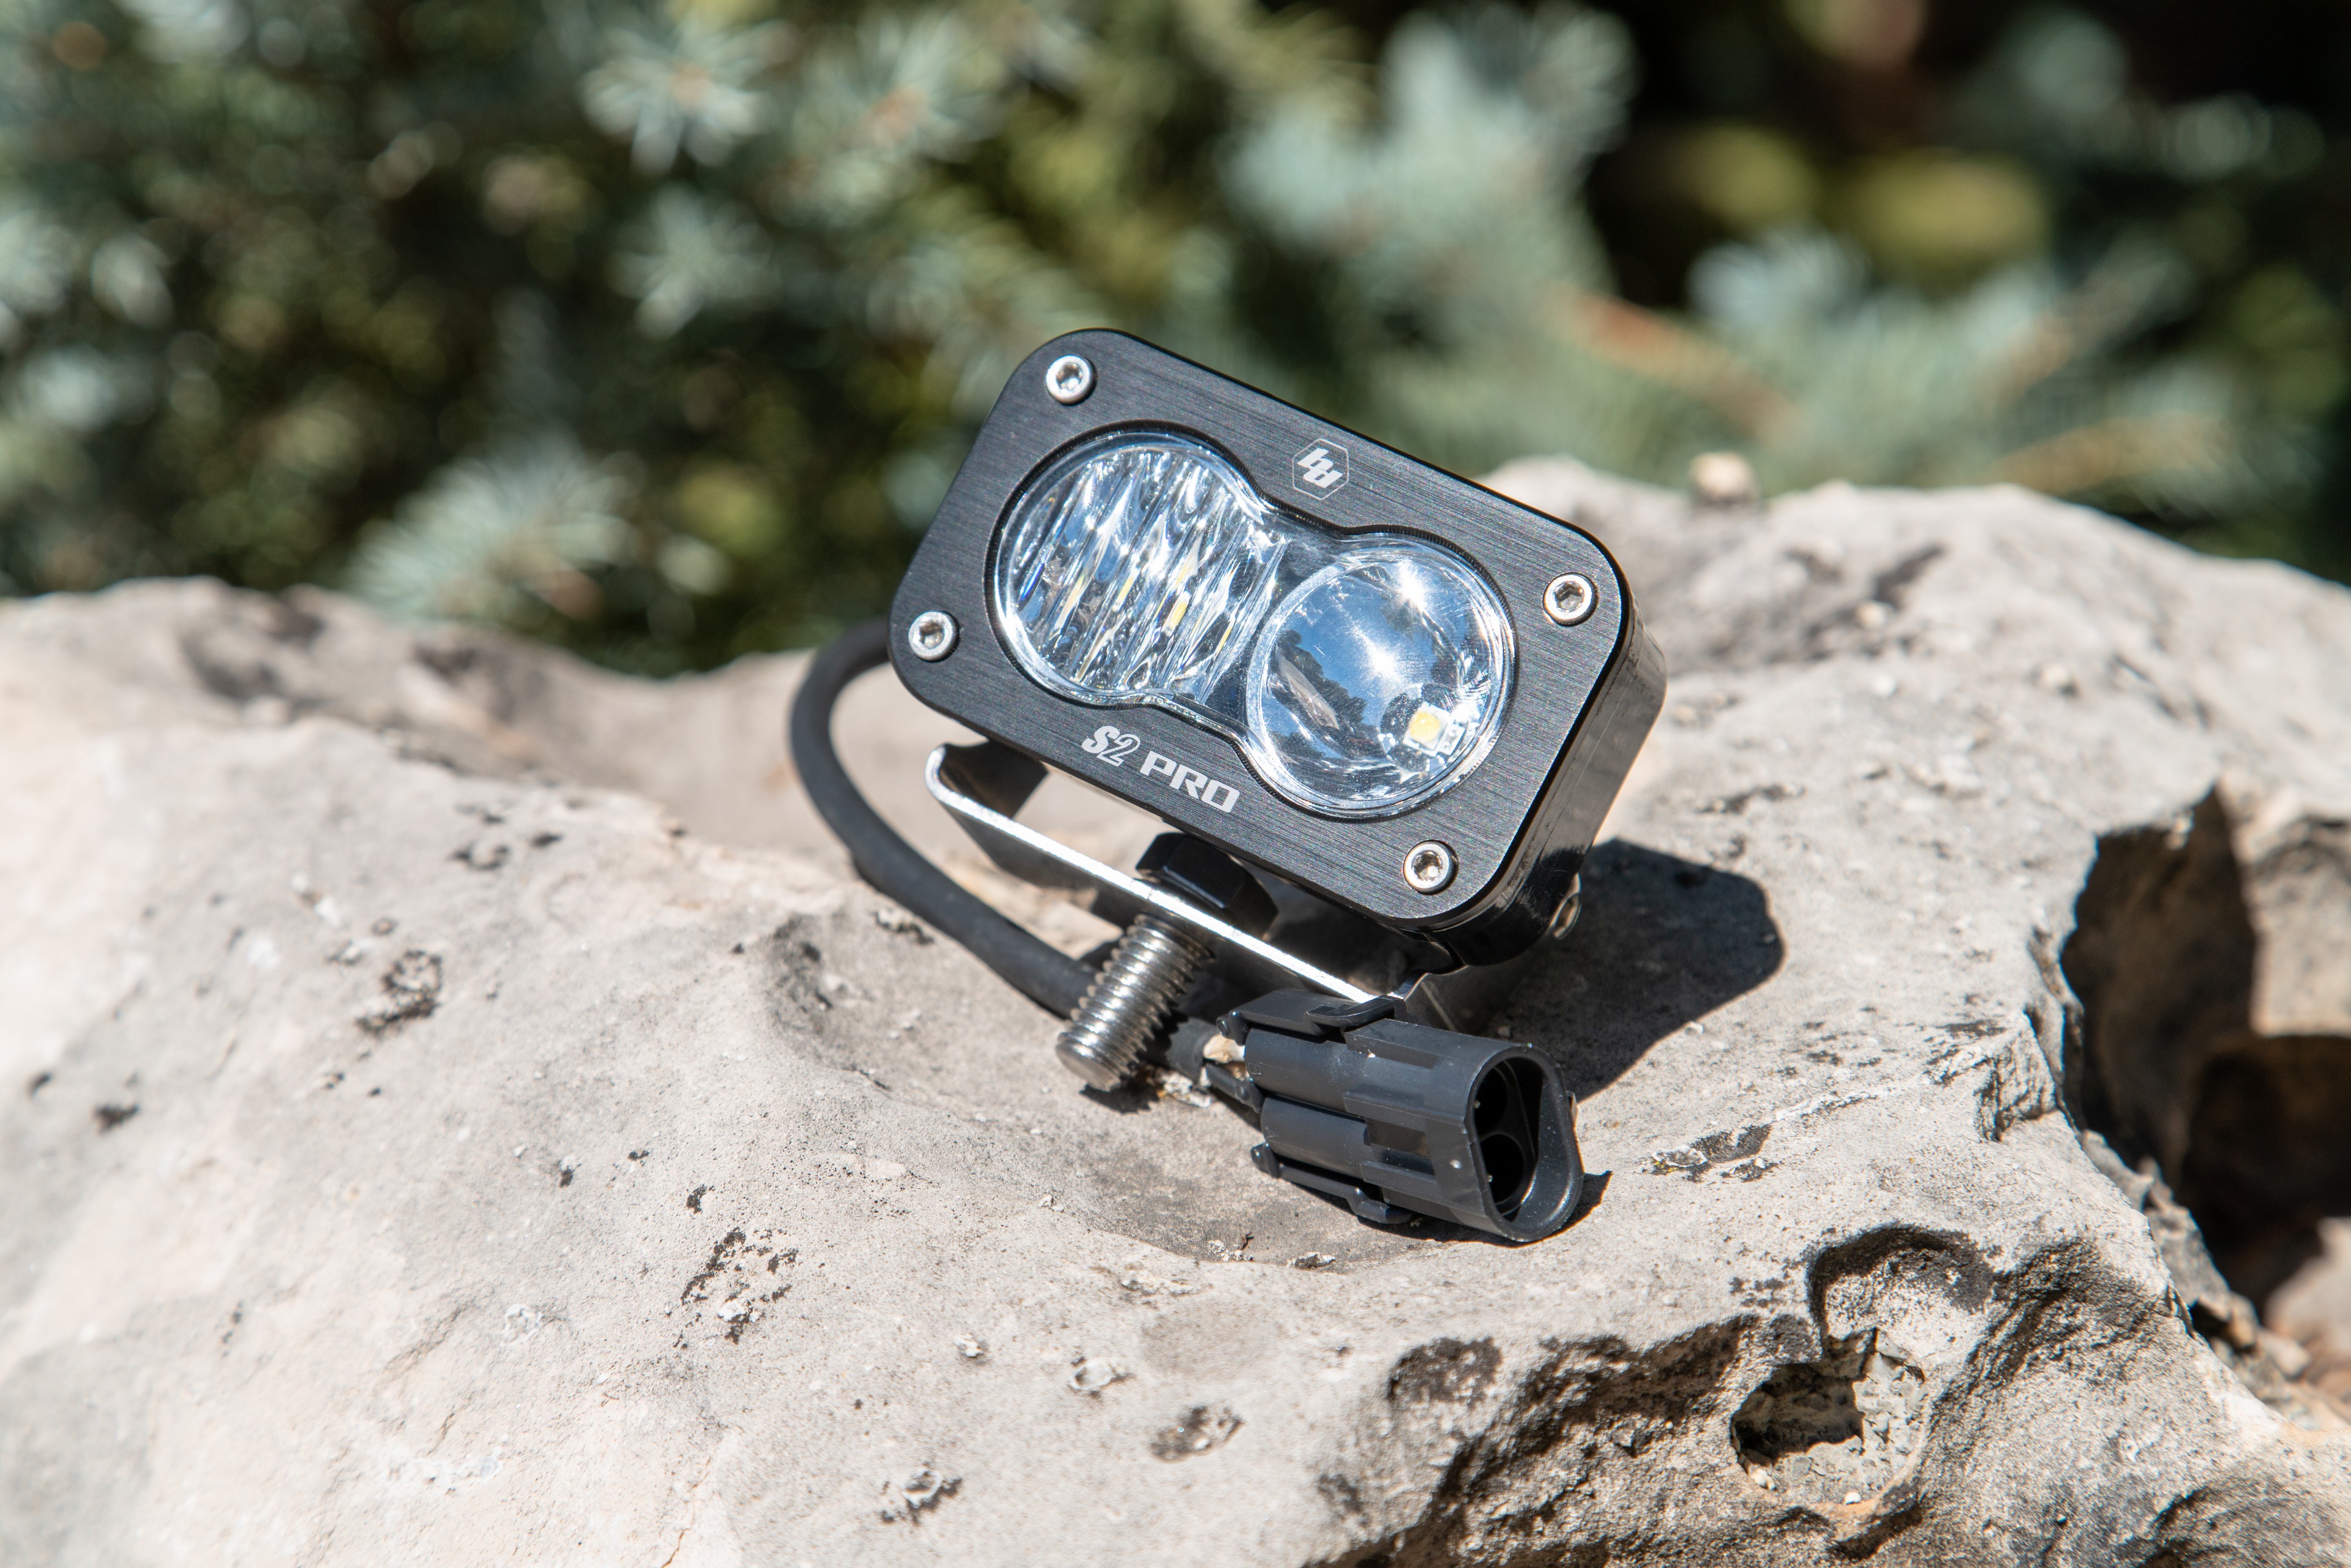
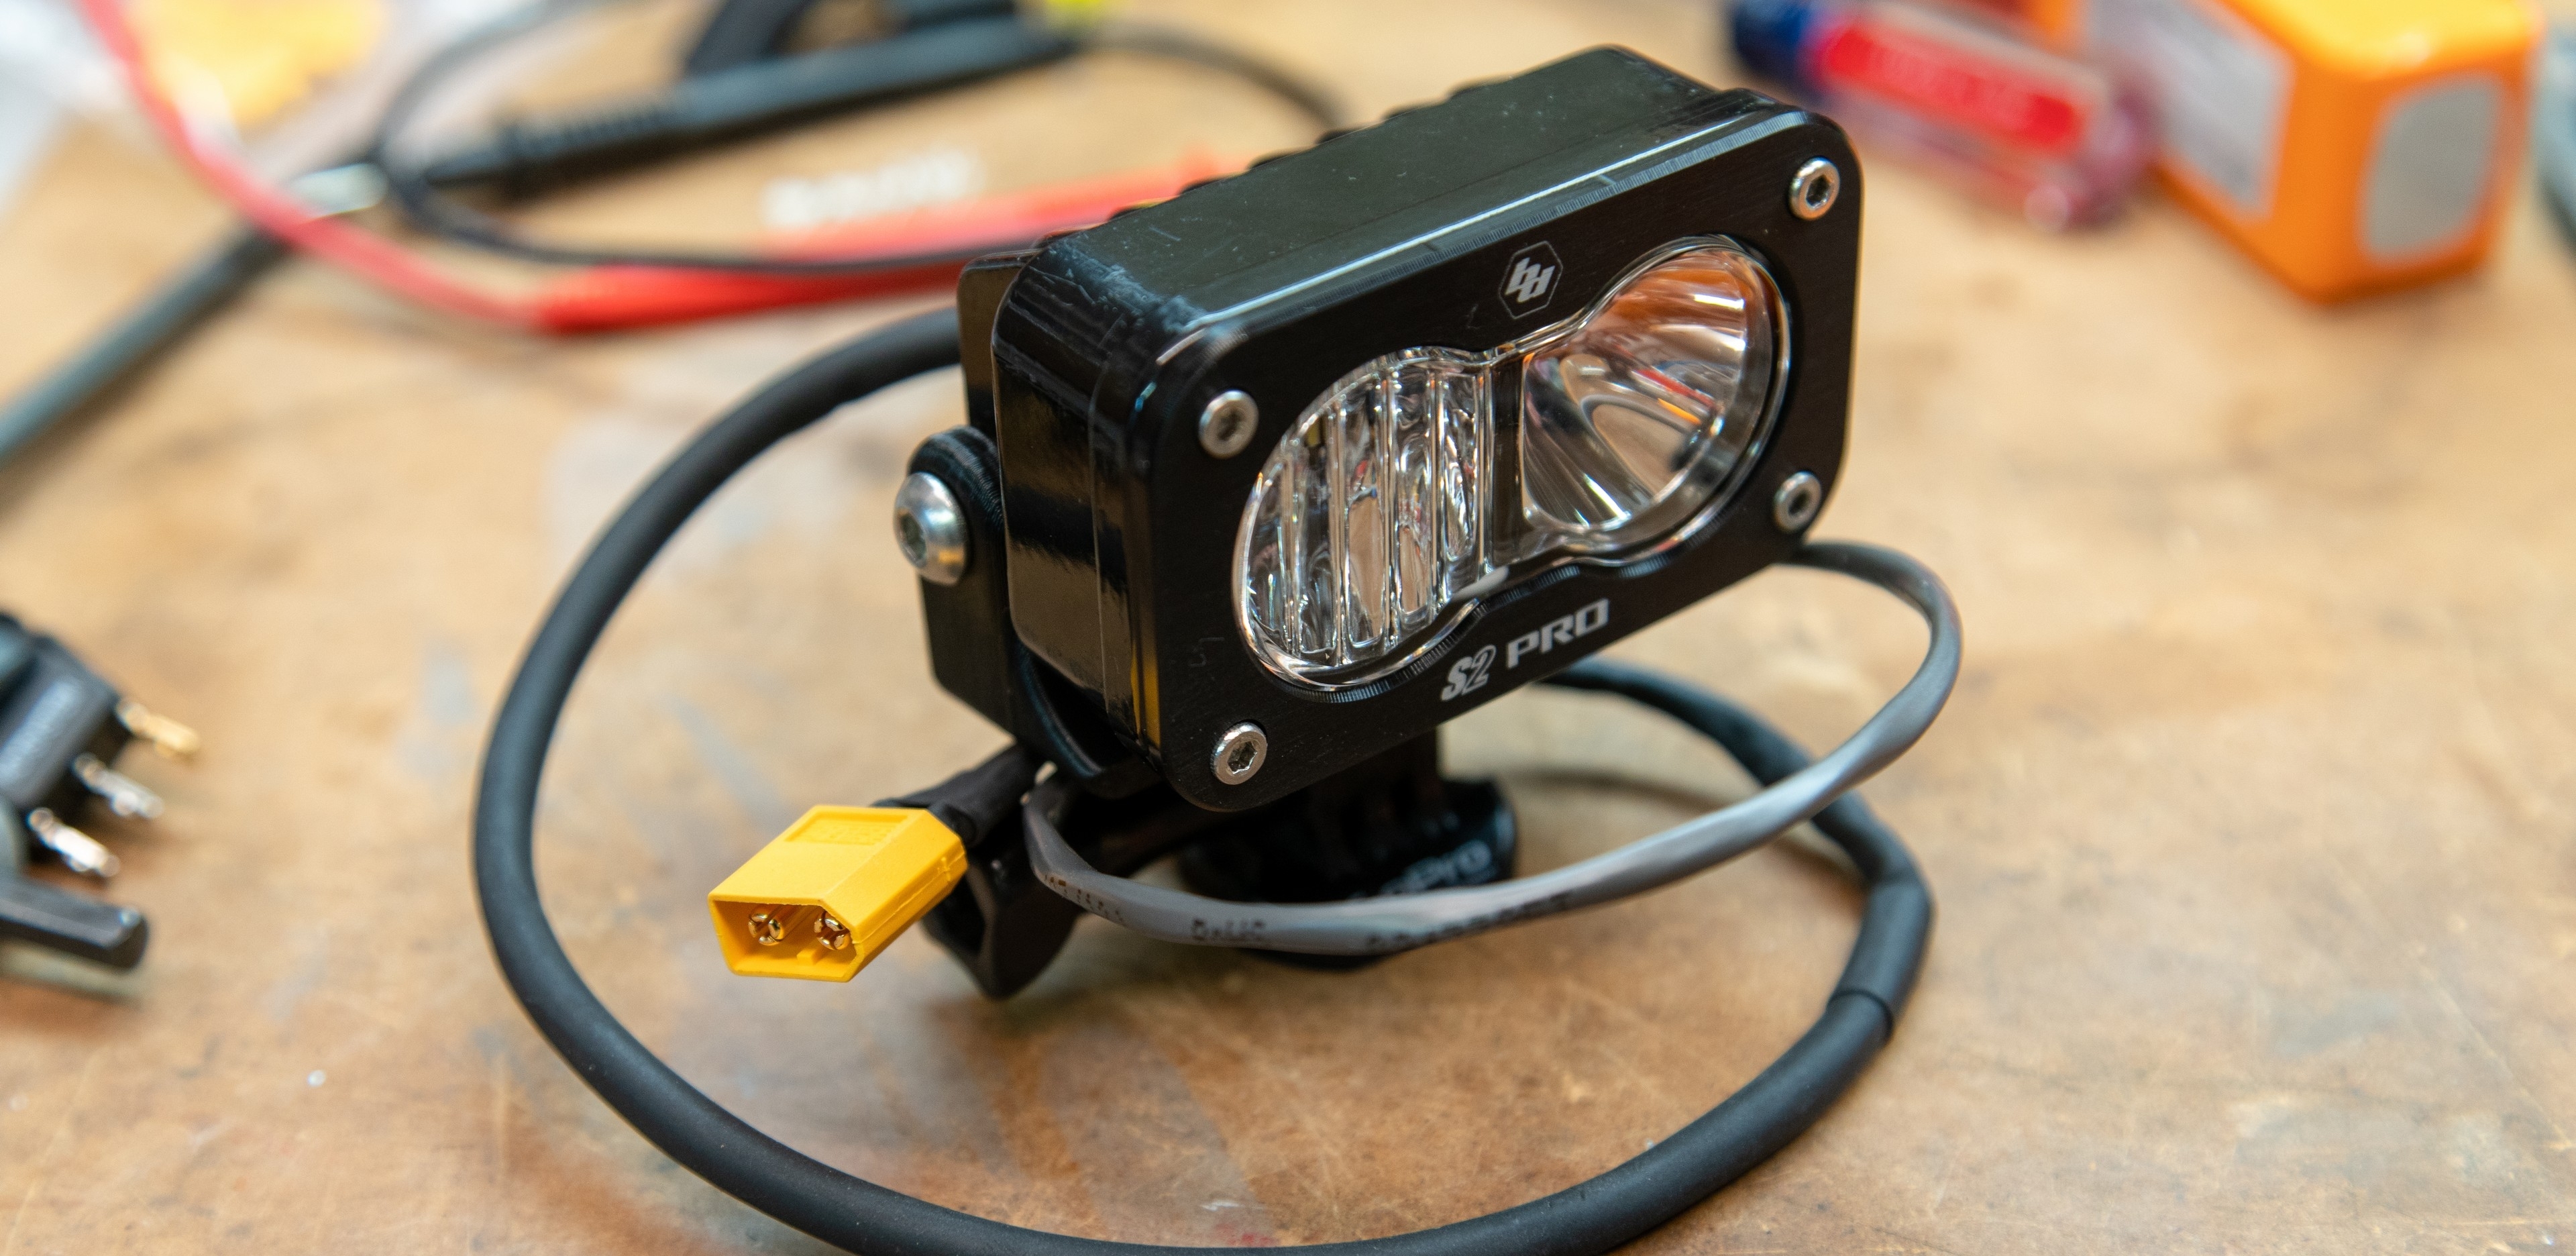
This way I could mount the light on my helmet, or any place a GoPro mount could be used, including the magnetic mounts we covered in our meet the maker series of articles. The S2 Pro’s 2,450 Lumens of light mounted on a helmet, bike, or in any dark place would make a huge difference in visibility and safety (in being able to see further at night), and the compact size and minimal power consumption meant that running the light off a battery would not require lugging a car battery around. I could power the S2 with some of the dozens of LiPo batteries I have (Drone pilot problems) and any 9-30V DC power source. With this bright idea in my head, I fired up Solidworks, and started raiding my various parts bins in the shop for materials. Here’s what I came up with:
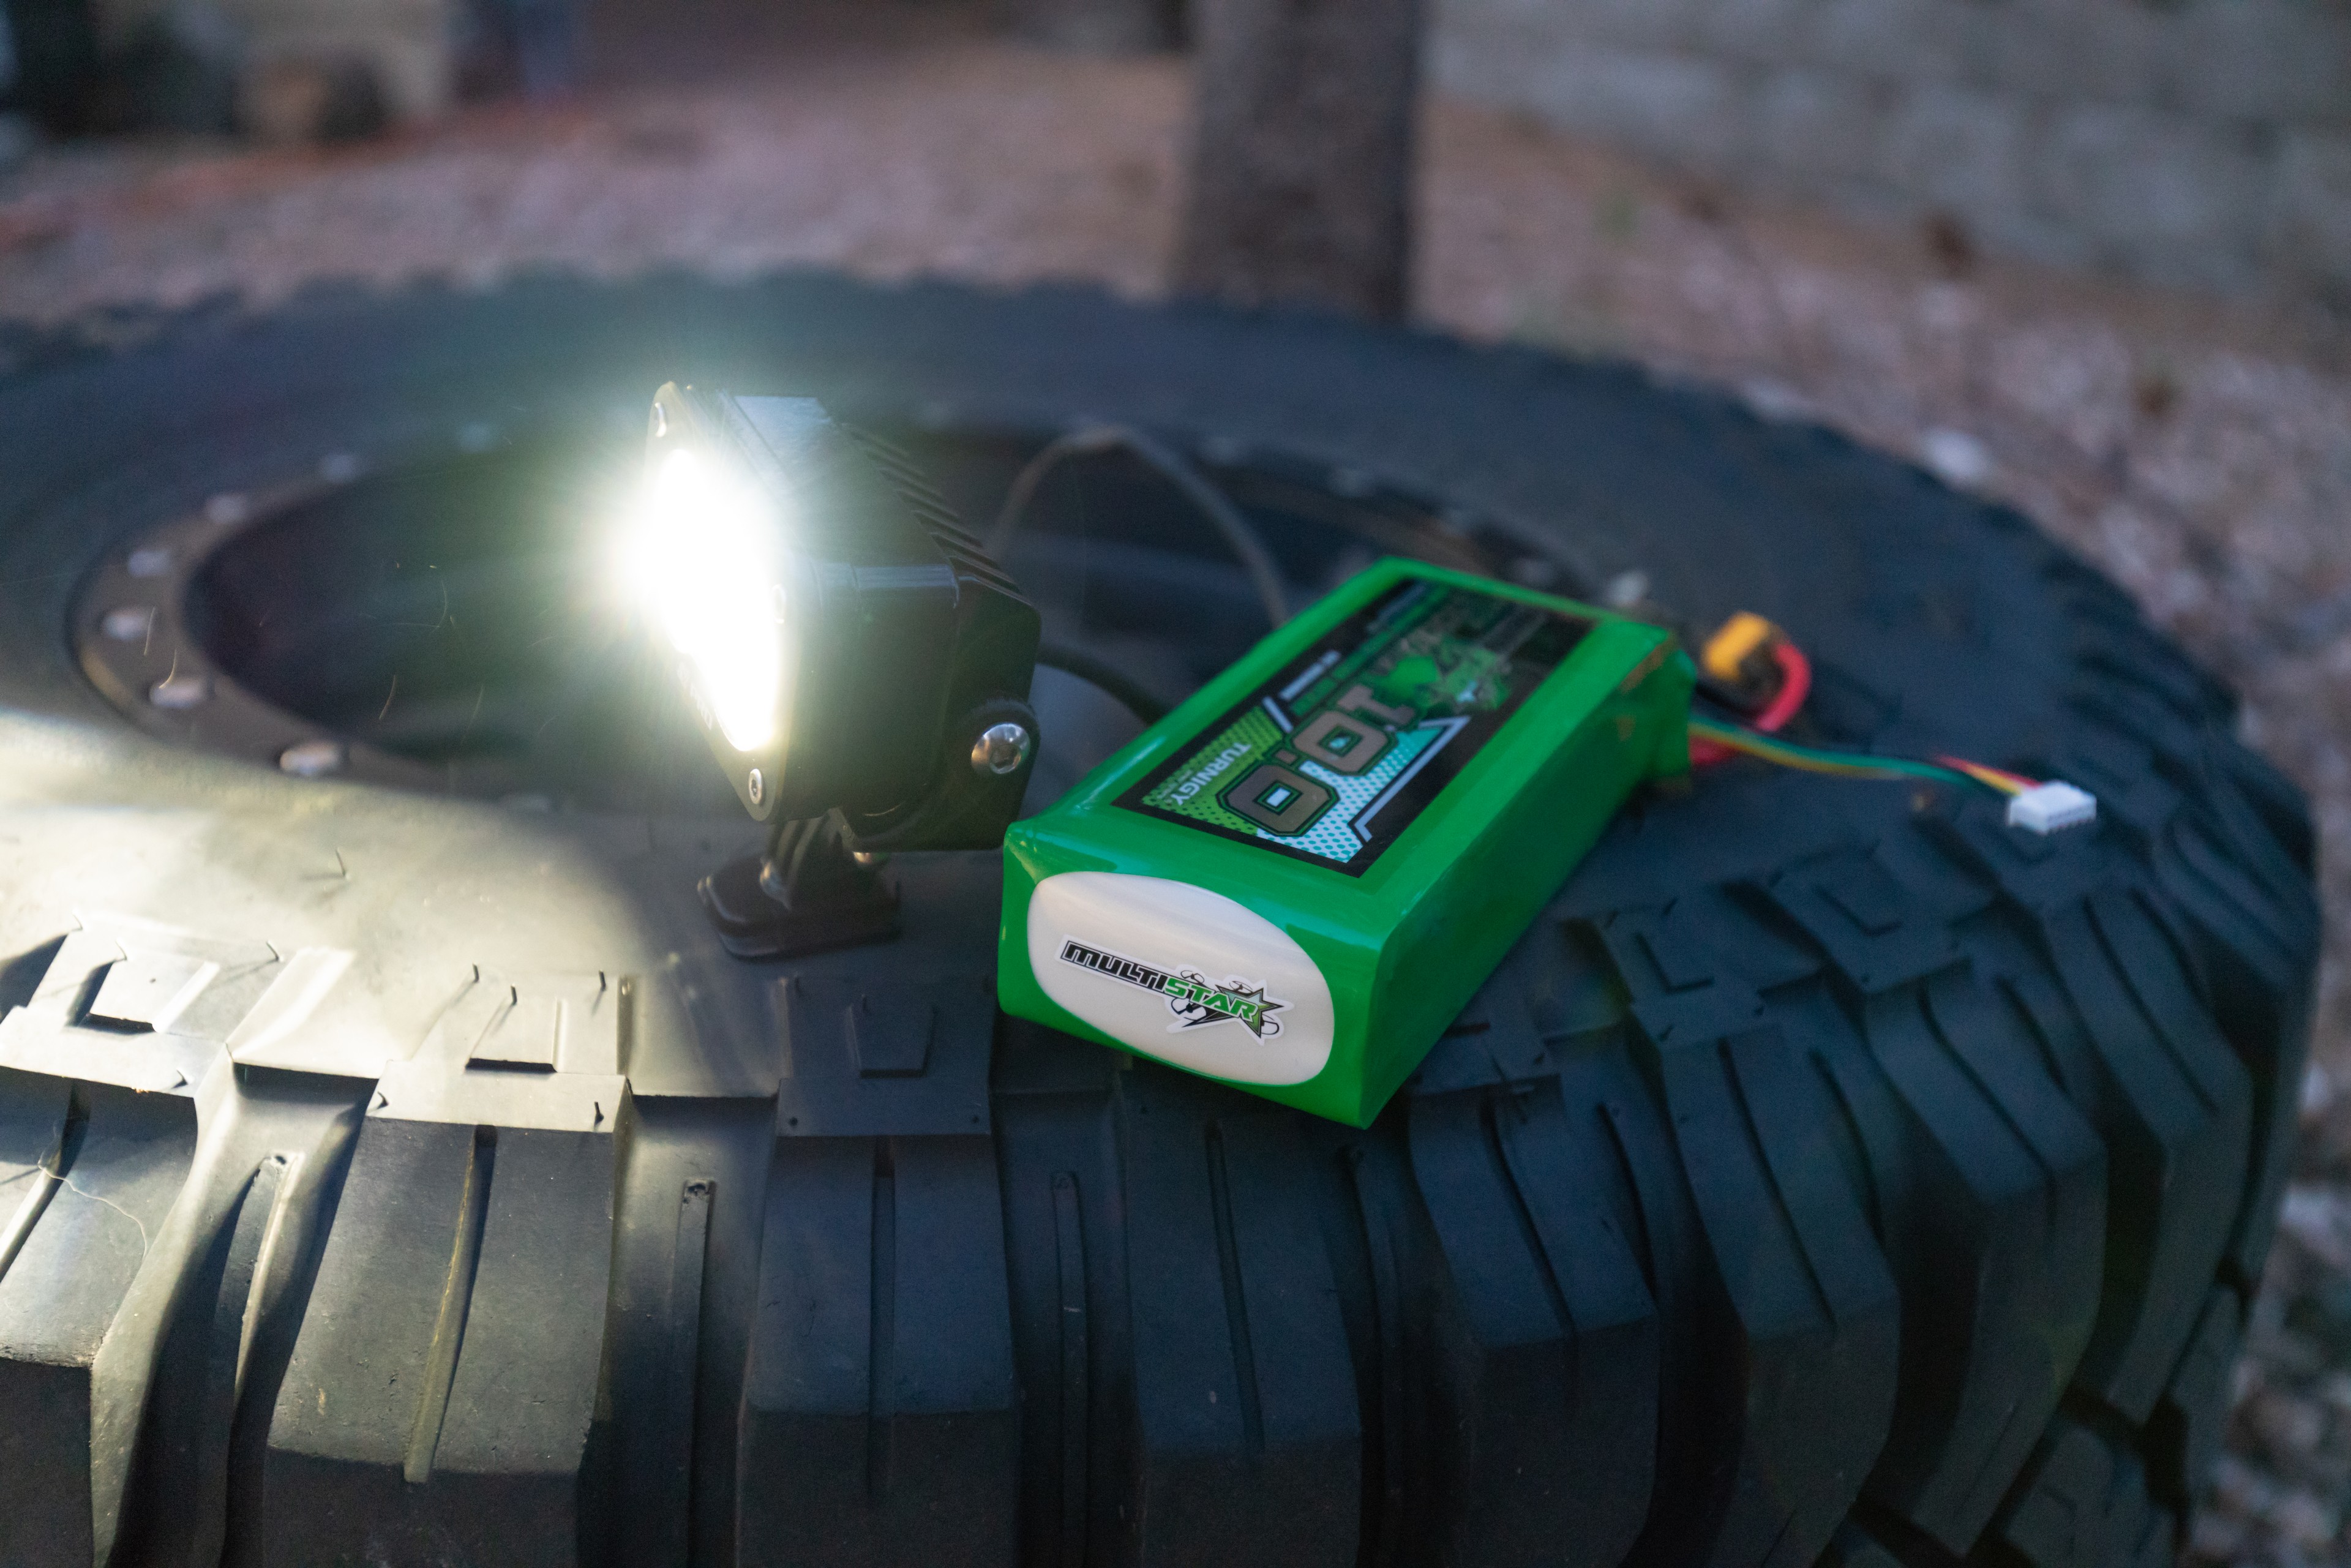
First off, I reverse engineered the metal S2 mounting bracket to create a bracket that is GoPro compatible. Then I pulled the factory WeatherPak connector off of the S2 and swapped in a XT60 connector and added on another foot of wire. This way, the light can be mounted on the top of a helmet and the connector will come to the wearer’s shoulder. On the wearer’s shoulder I placed a switch so that turning the light on and off is as easy as flicking a switch, as opposed to having to find a connection to pull apart. From the switch, I made a meter-long XT60 extension cable so that the wearer could carry a battery in the bottom of their backpack.

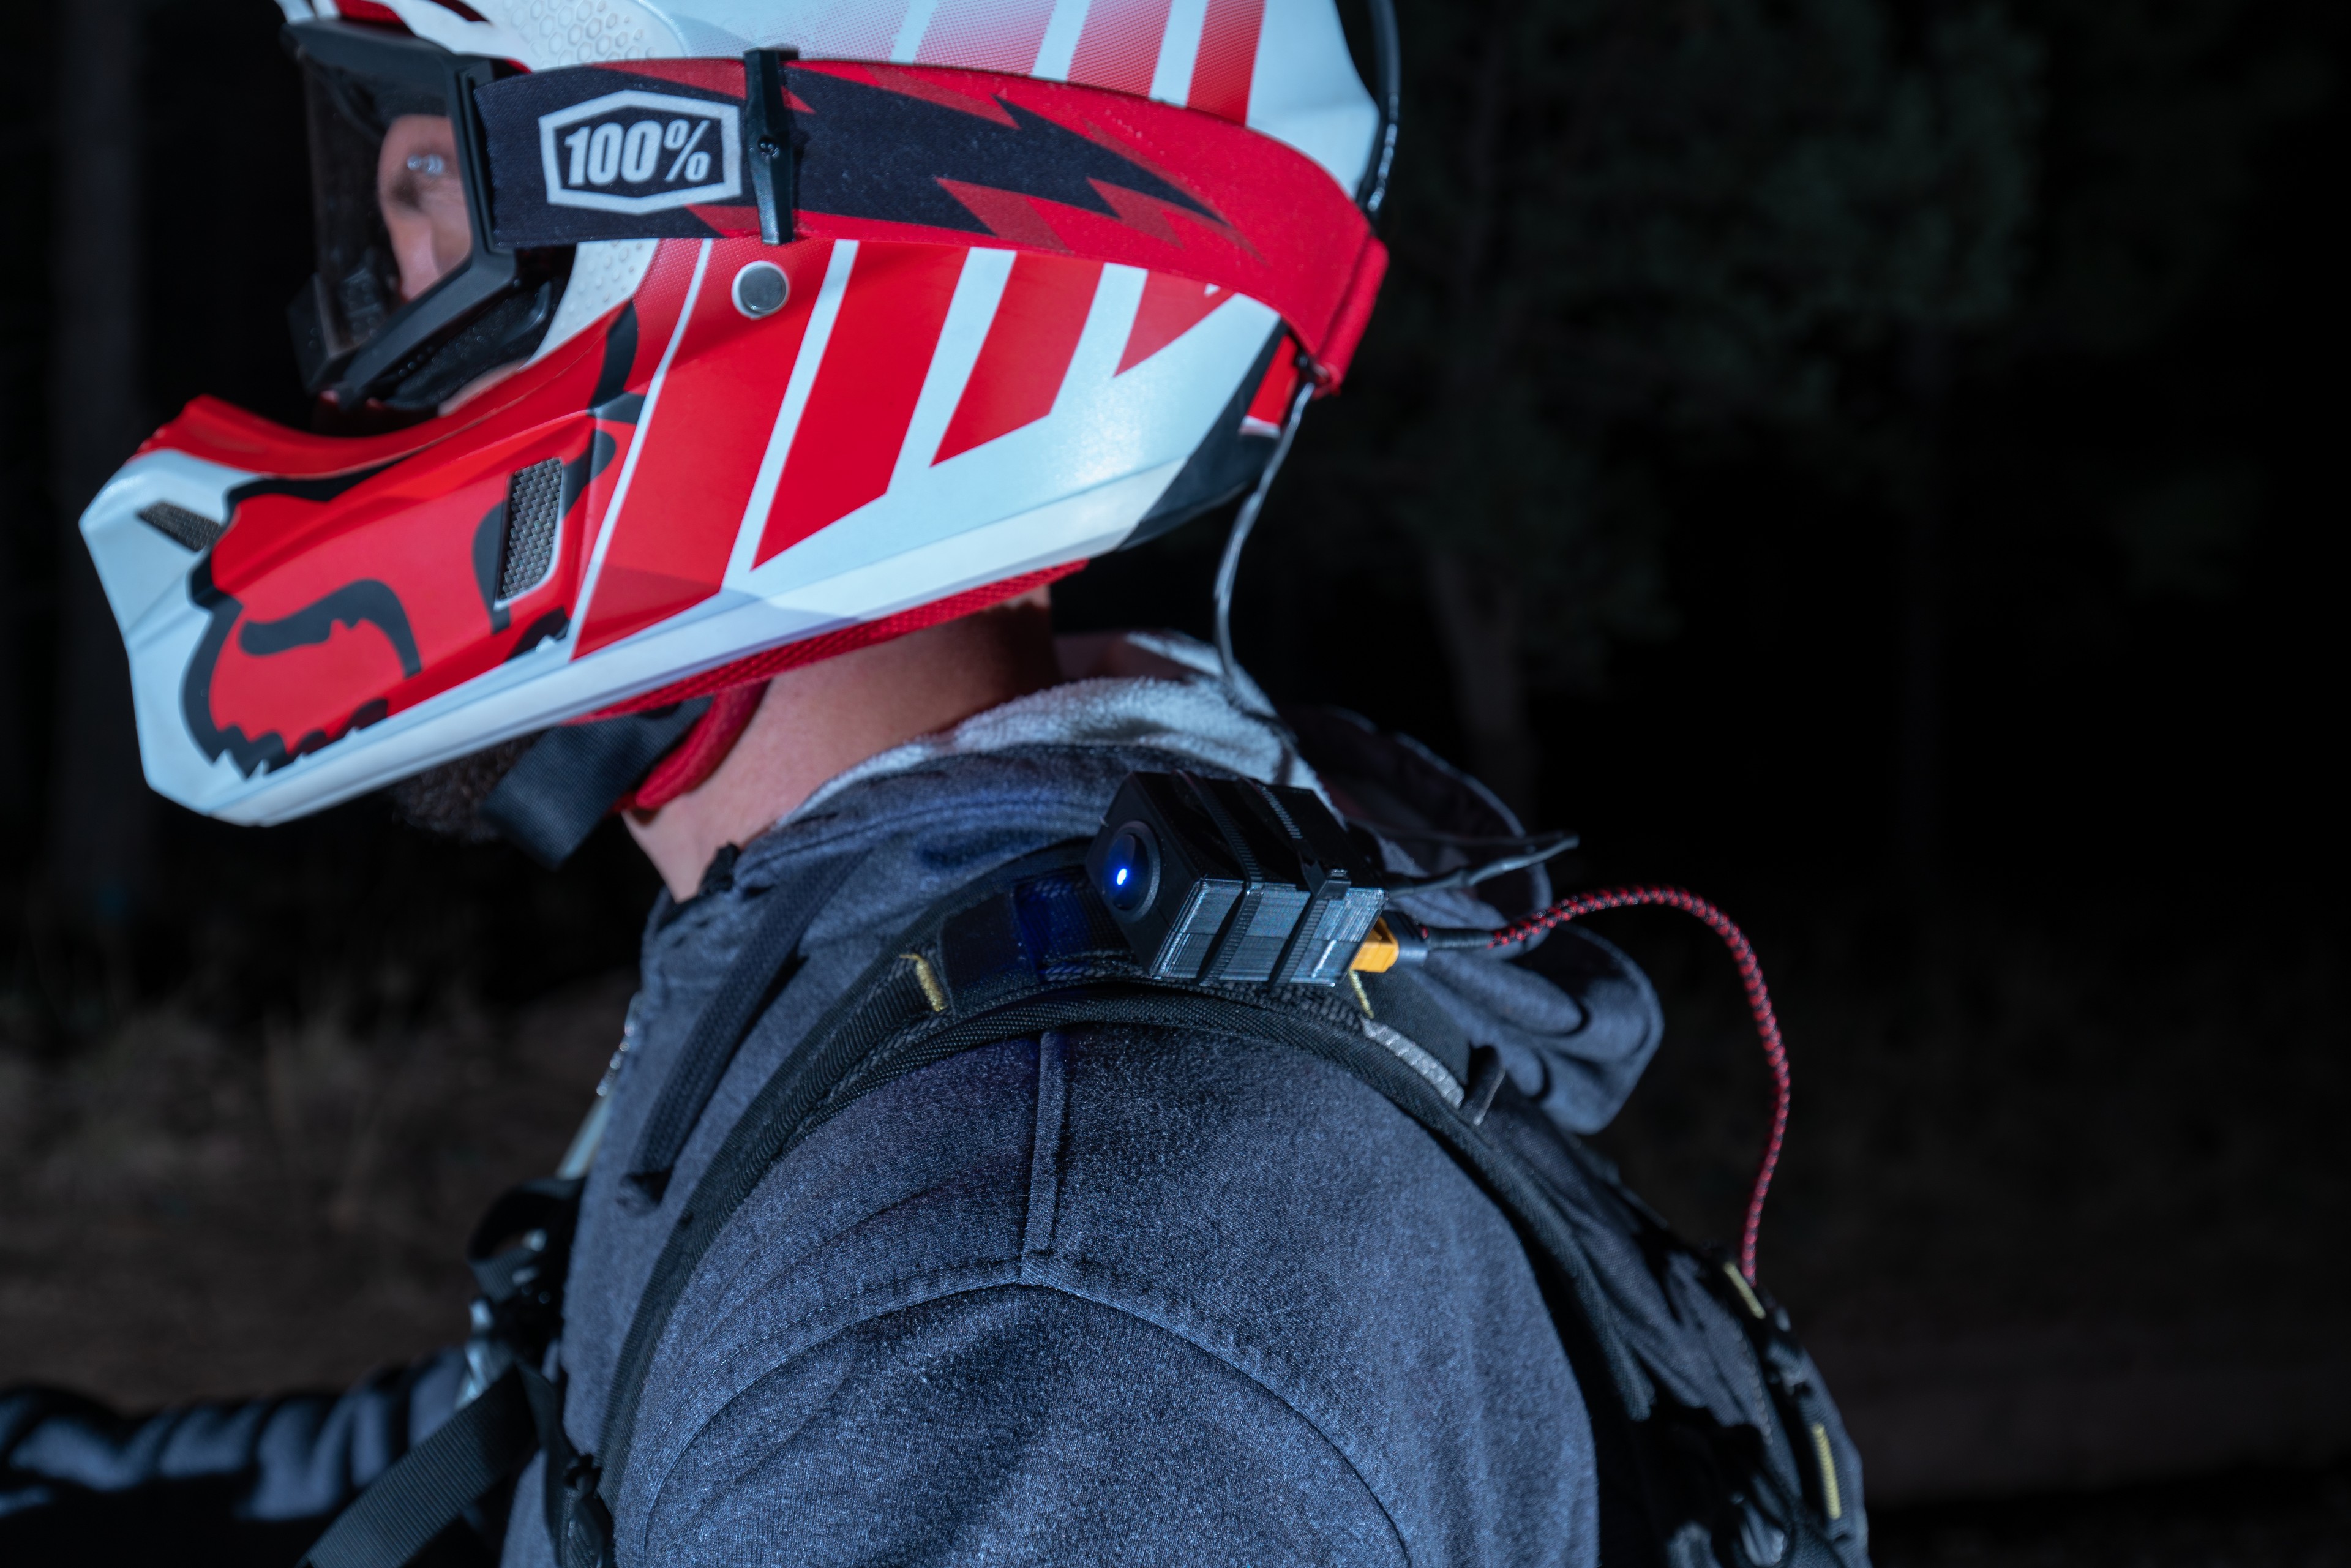
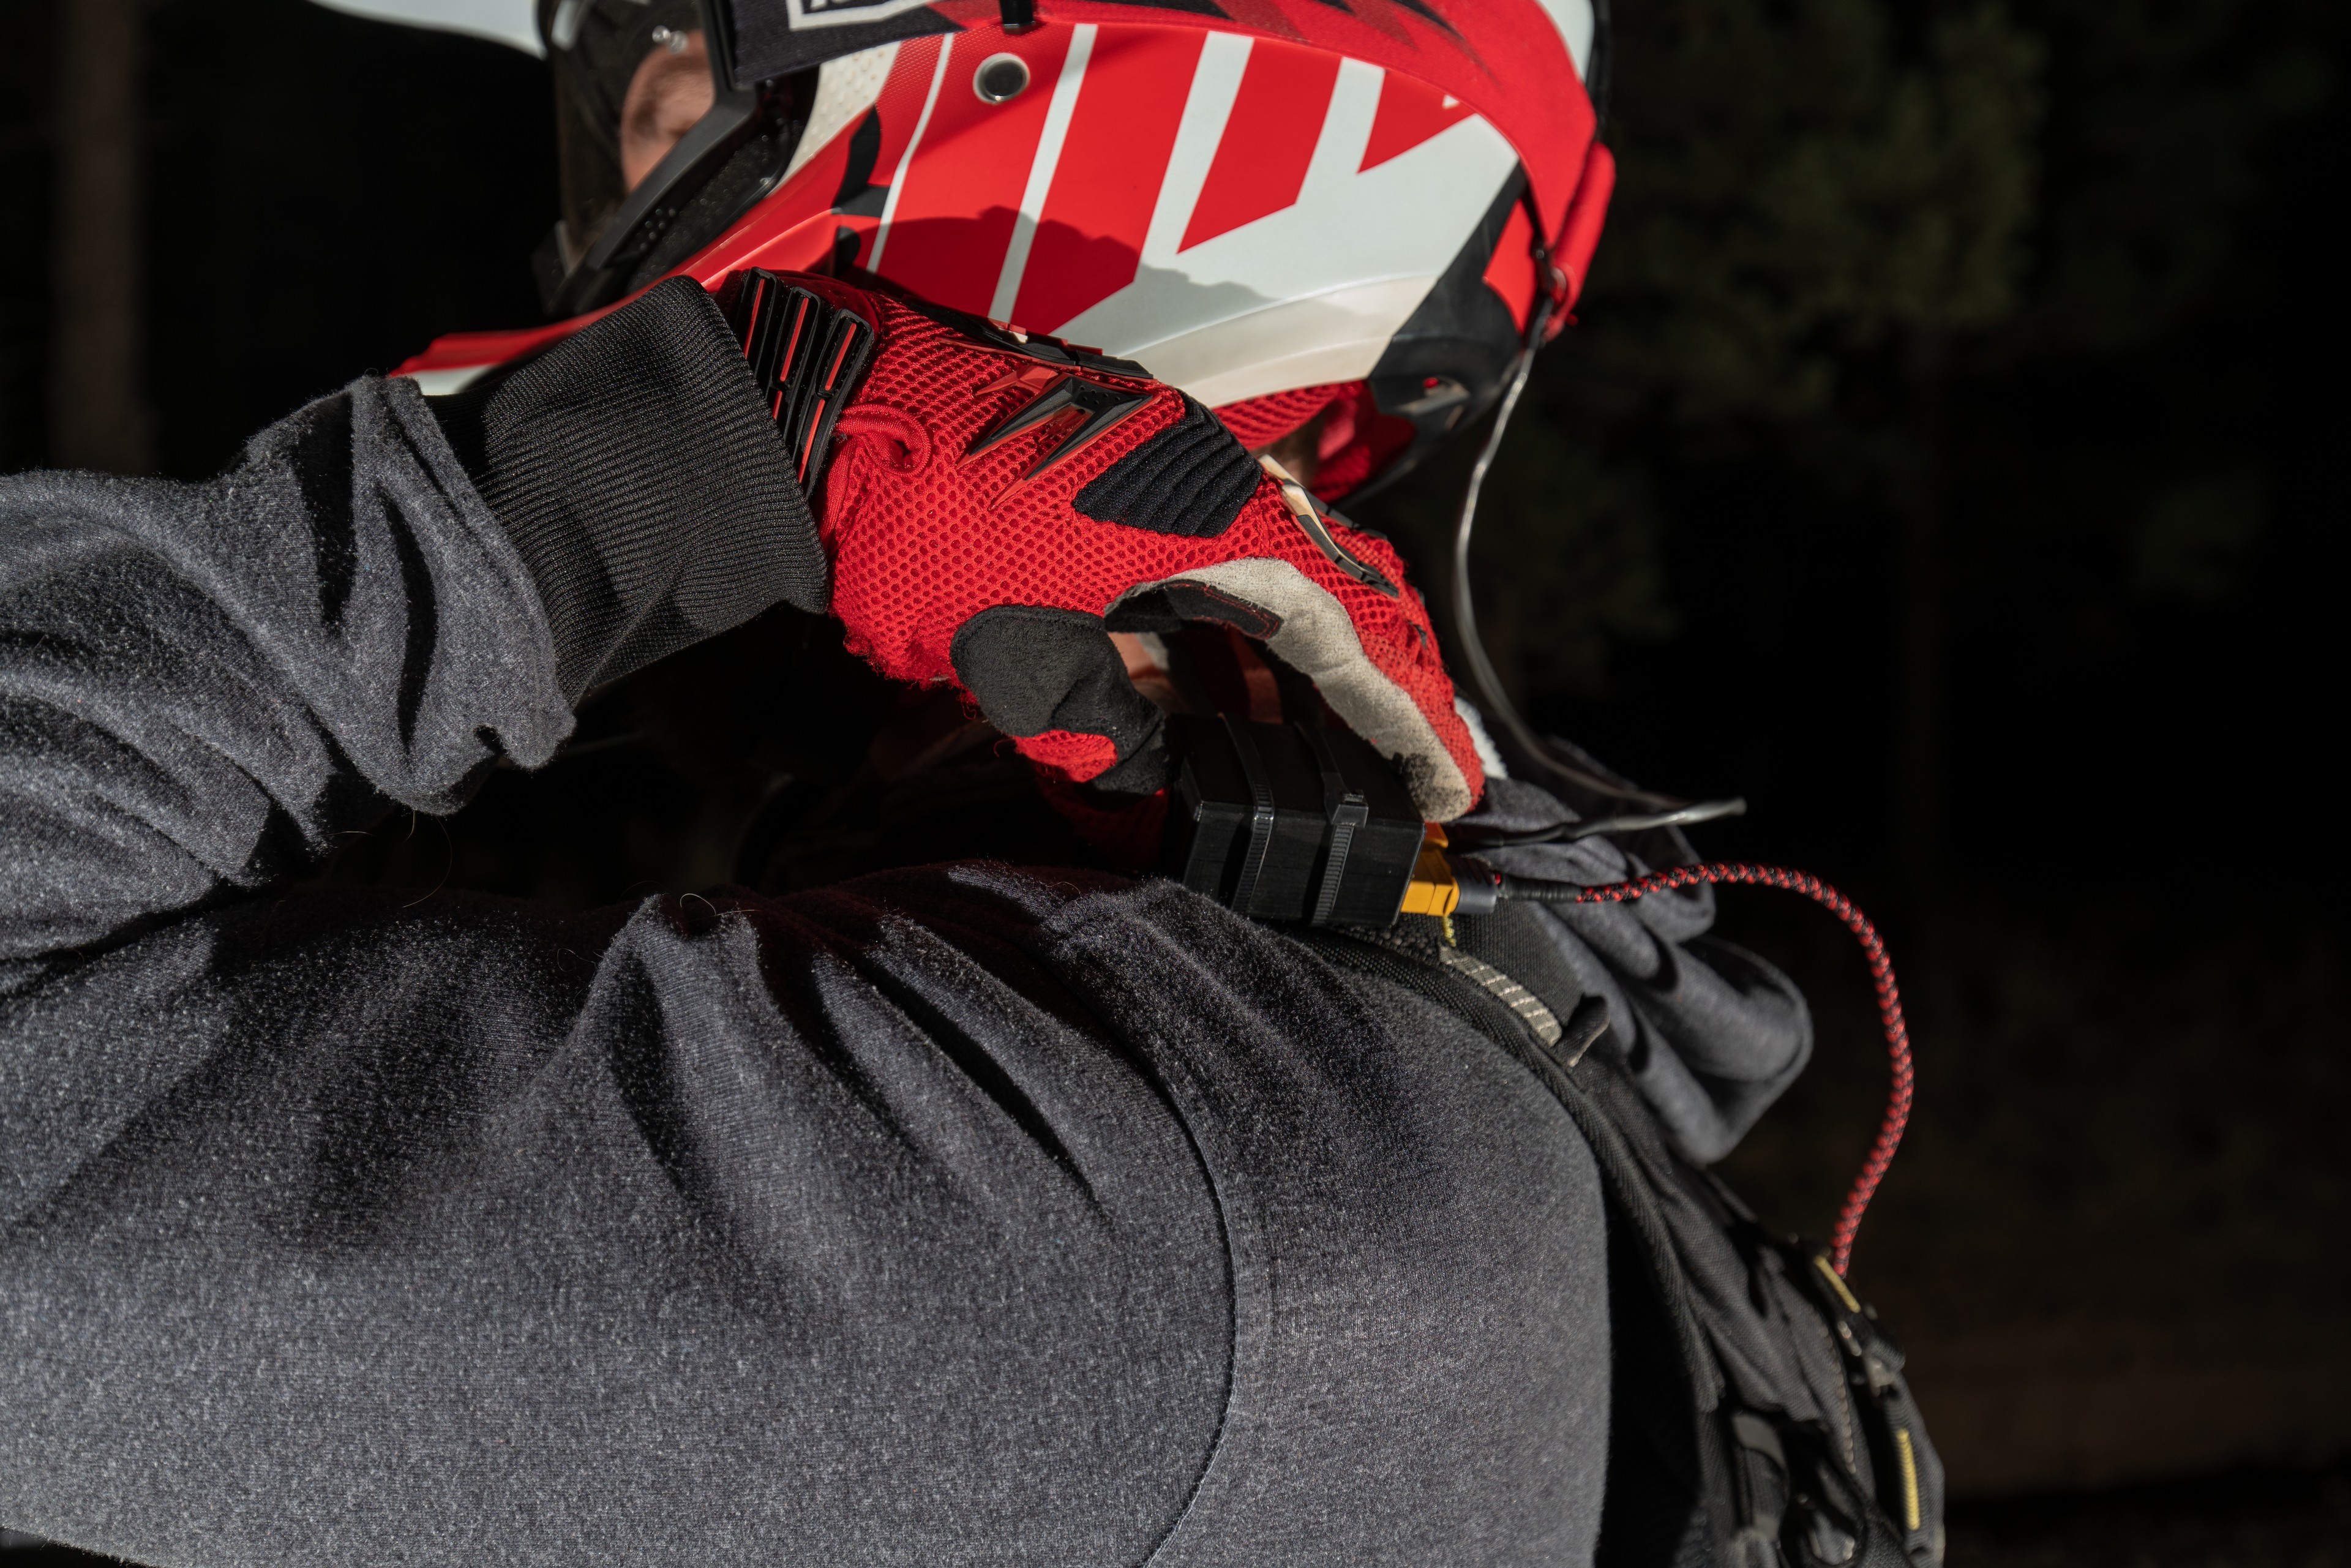

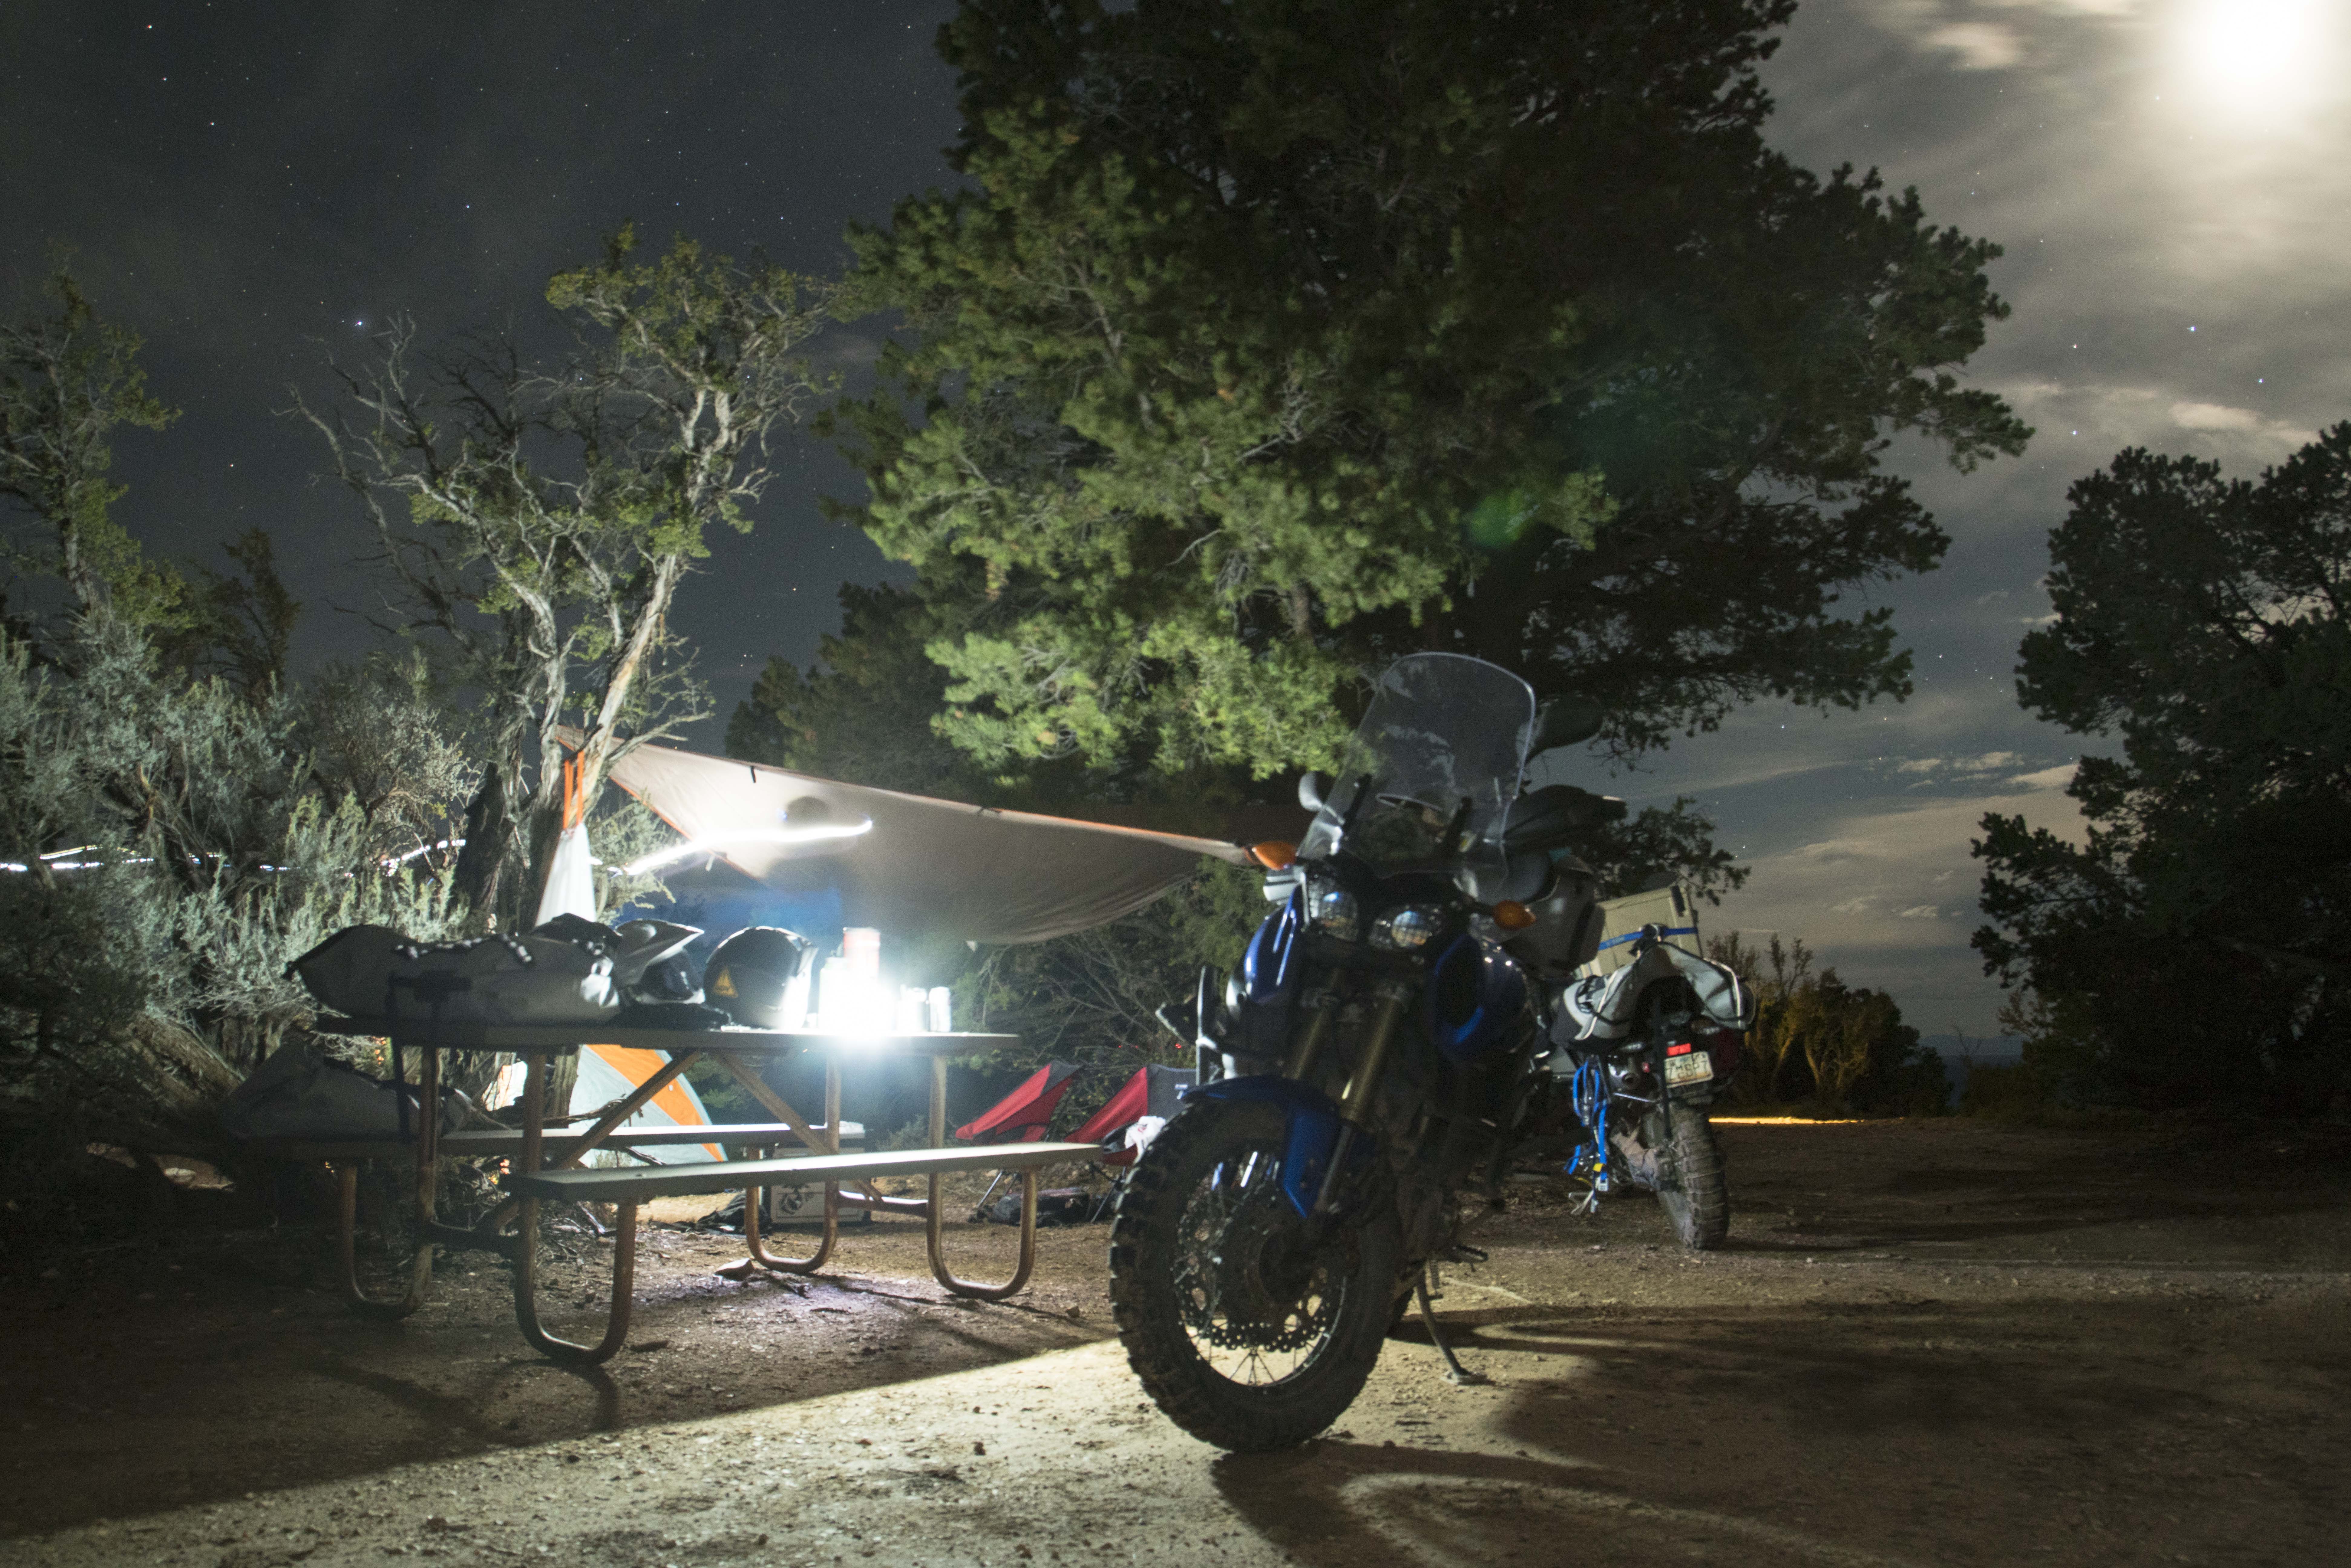
This system allows the light to be configured minimally as a light and a power source (battery), or with the switch and extension cable for a slick setup that works great for a number of pursuits. I’ve also found myself using the light while working on vehicles at night, and I’ve even taken the light on a Grand Canyon River Trip – because good light is quite helpful when setting up camp in the dark. I have no doubt that as time goes on, I’ll continue to find more uses for this light – so without further adieu, here’s how you make your own:
SHOPPING LIST:
- Baja Designs S2 Pro. I recommend the Combo lens for dirtbiking, mountain biking and most sports. If you’re going to build a dedicated camp light, I would get a wide lens instead.
- XT60 connectors. I chose to use XT60 because I have so many batteries and power supplies that use this connector, but any quality connector will work.
- Wire. A couple of meters of quality multi strand copper wire. 18 gauge is plenty large enough.
- Wire sleeving. Helpful for keeping things clean and organized.
- Switch. I used these switches since they’re rated for the DC current in this circuit.
- 3D Printed S2 GoPro Mount. Download an STL part file here.
TOOLS REQUIRED:
- Wire cutters
- Wire strippers
- Soldering Iron and electrical solder (get the good stuff with silver)
- Heat Shrink Tubing
- Hot Glue Gun and Glue Sticks
- Electrical Tape (Get the good stuff, Super 88)
- Multimeter (Helpful for figuring out poles on your switch)
DIRECTIONS:
Step one is to obtain a mounting bracket for the S2 Pro. We’ve posted the file HERE where you can download it, so print it yourself, borrow a buddy’s printer, use a local maker space, or use an online printing service. The factory hardware will carry over to the new bracket.
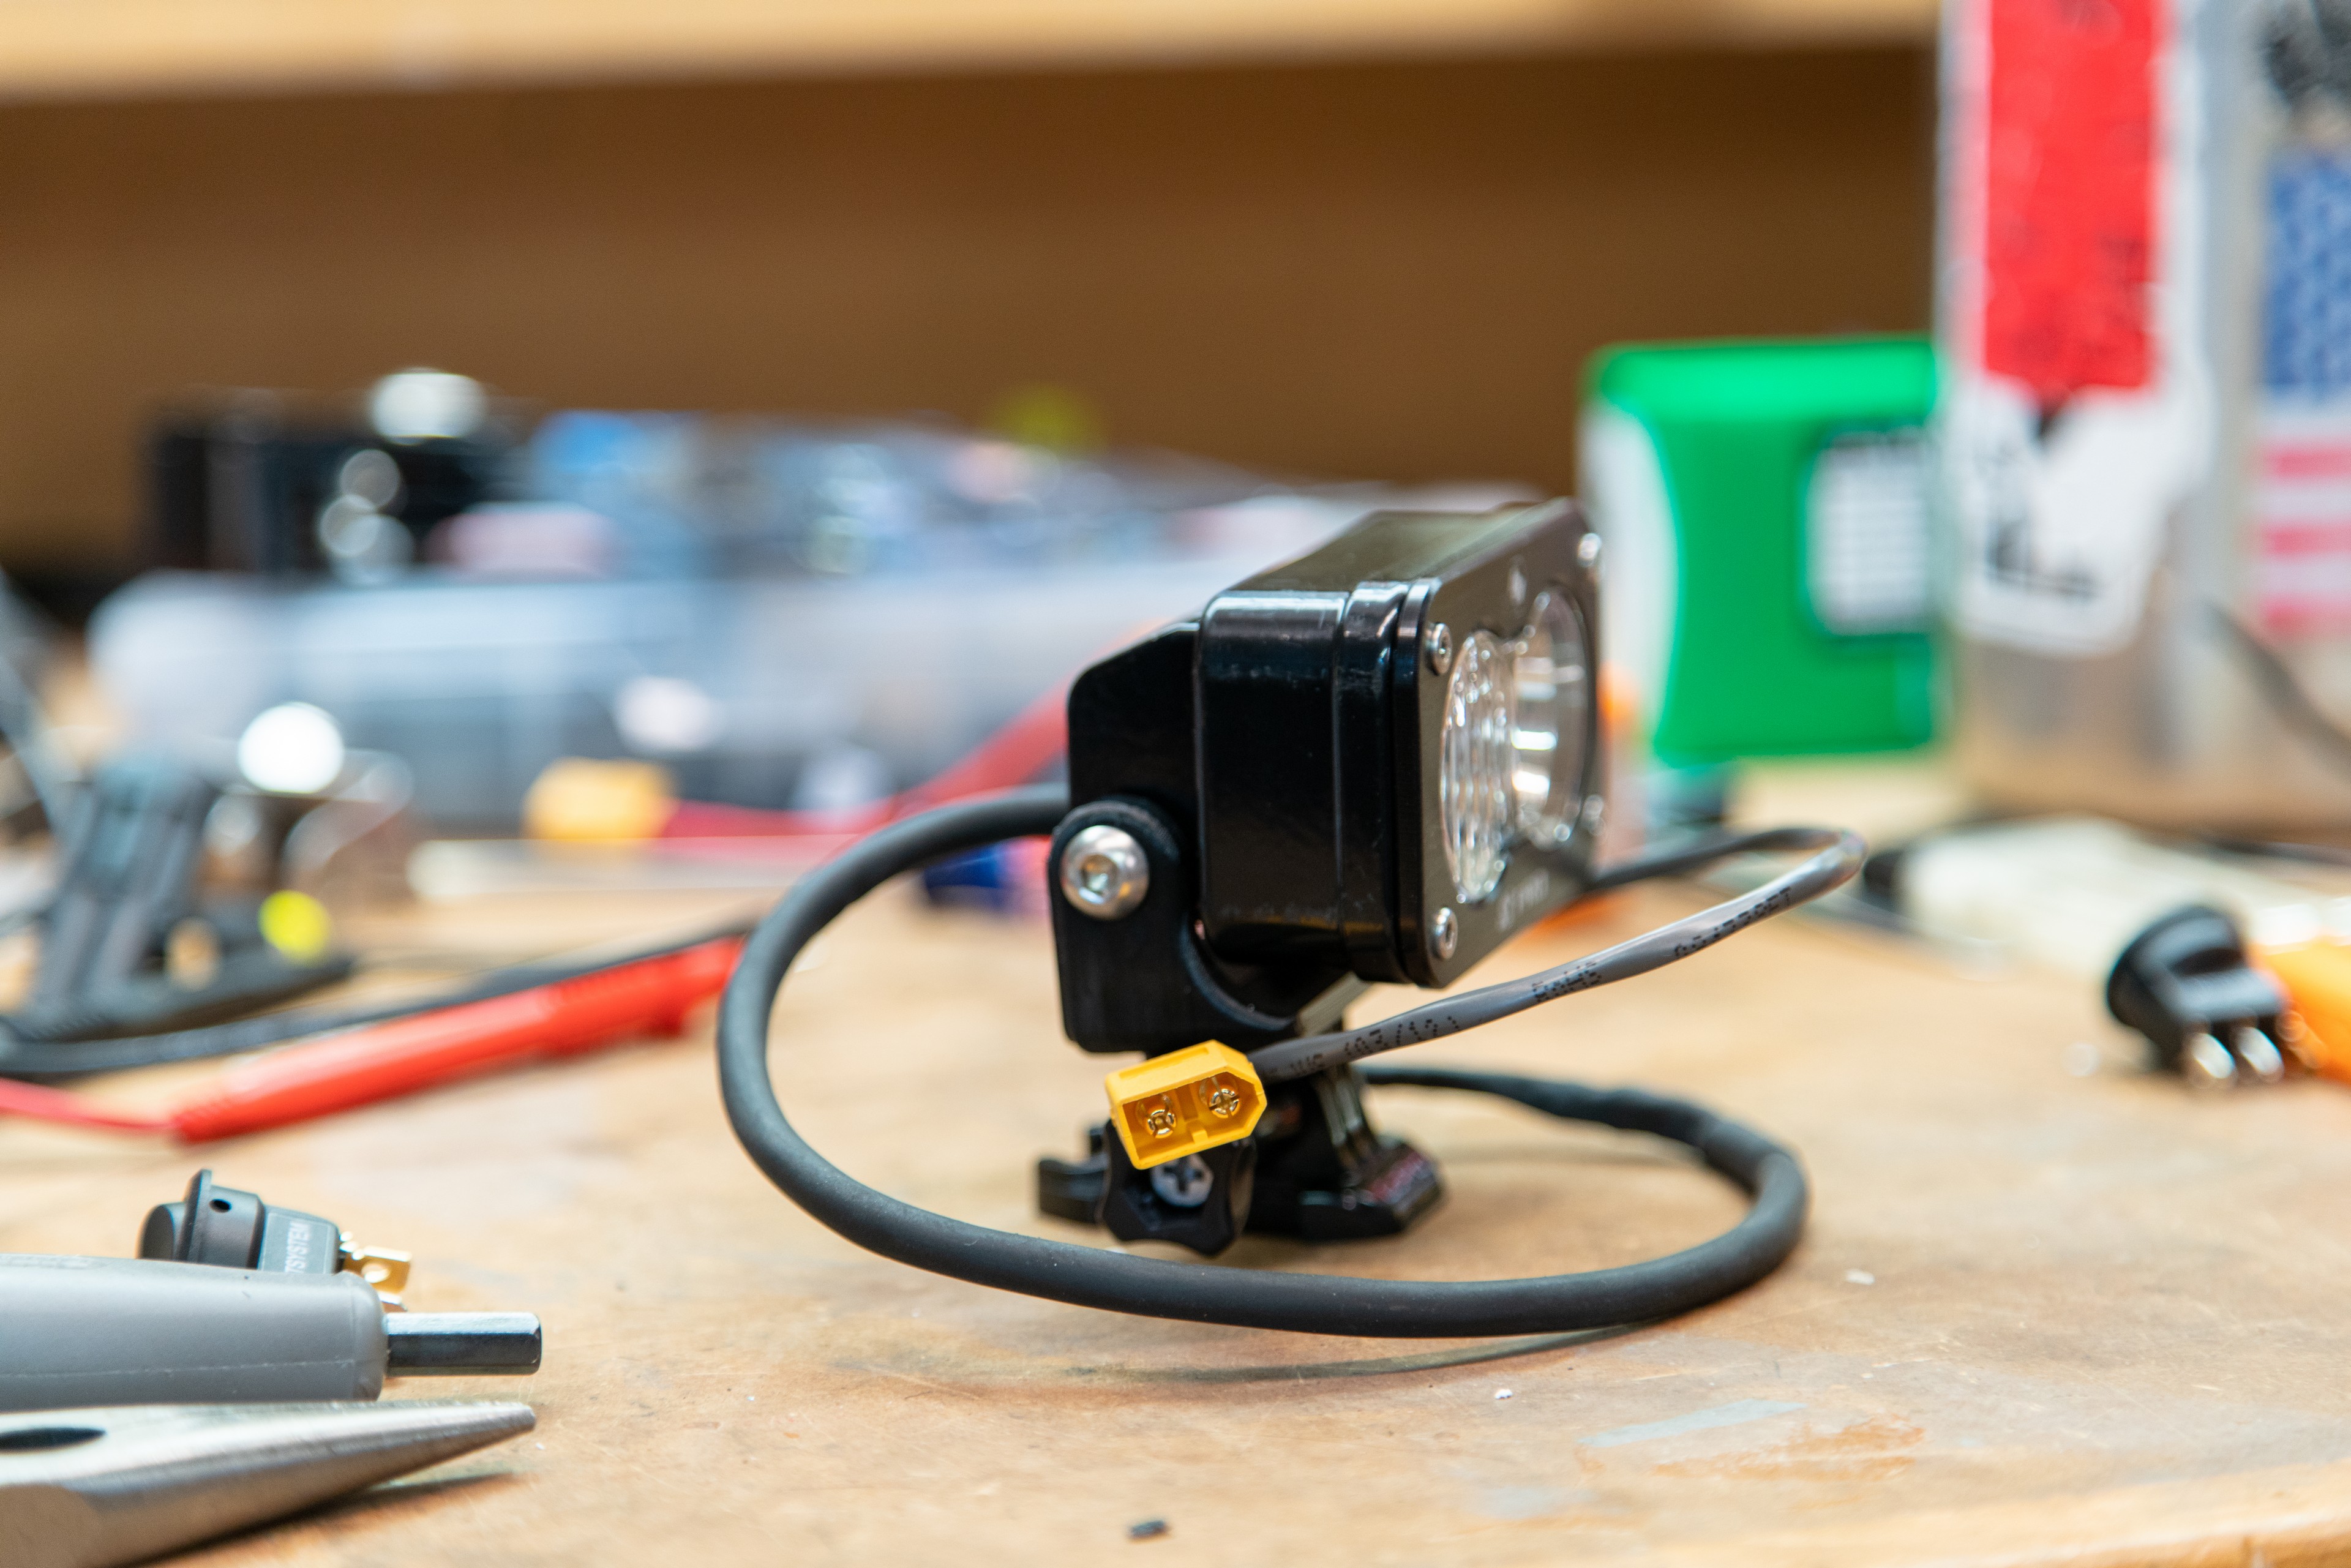
Step two is all about wiring. Disassemble the weatherpak connector on the end of the S2, and solder on an extension to suit your needs. I used 18-2 security wire, as it’s a multi strand copper wire with two conductors and a second sleeve providing extra durability. Make sure to note the polarity of the S2, and ensure that you have the polarity correct (!) before soldering on a XT60 connector to the end of your extended wire.
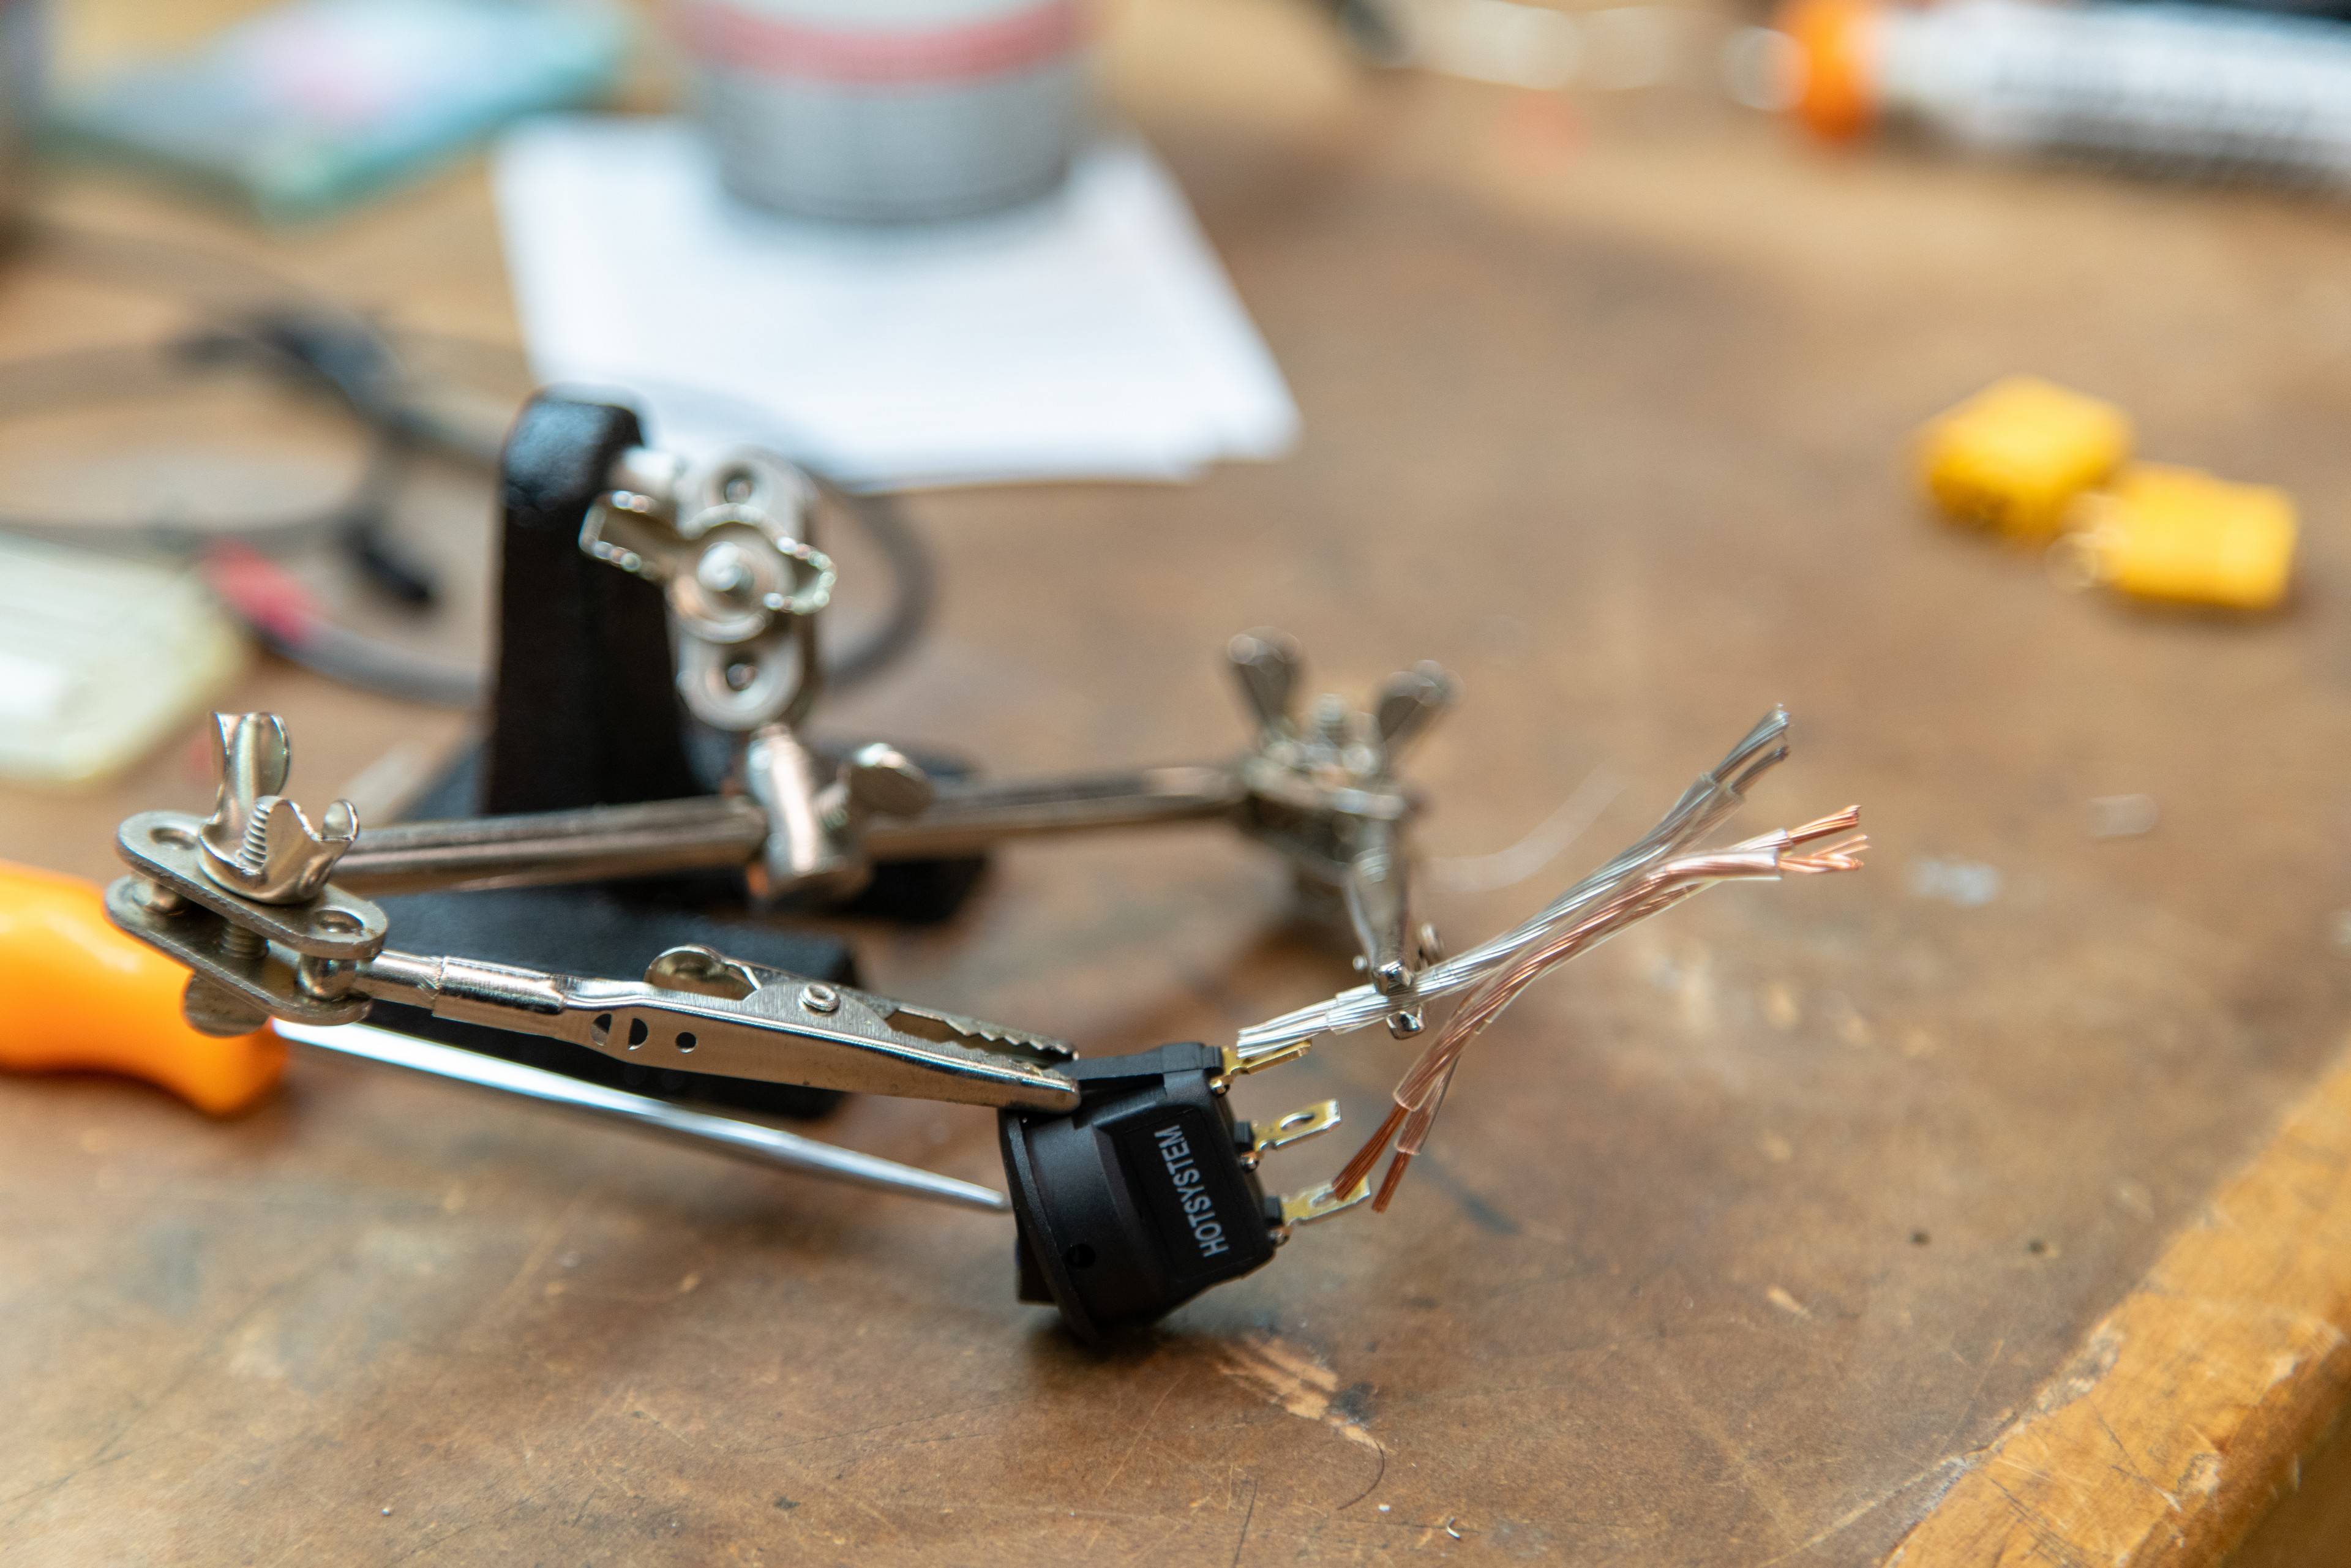

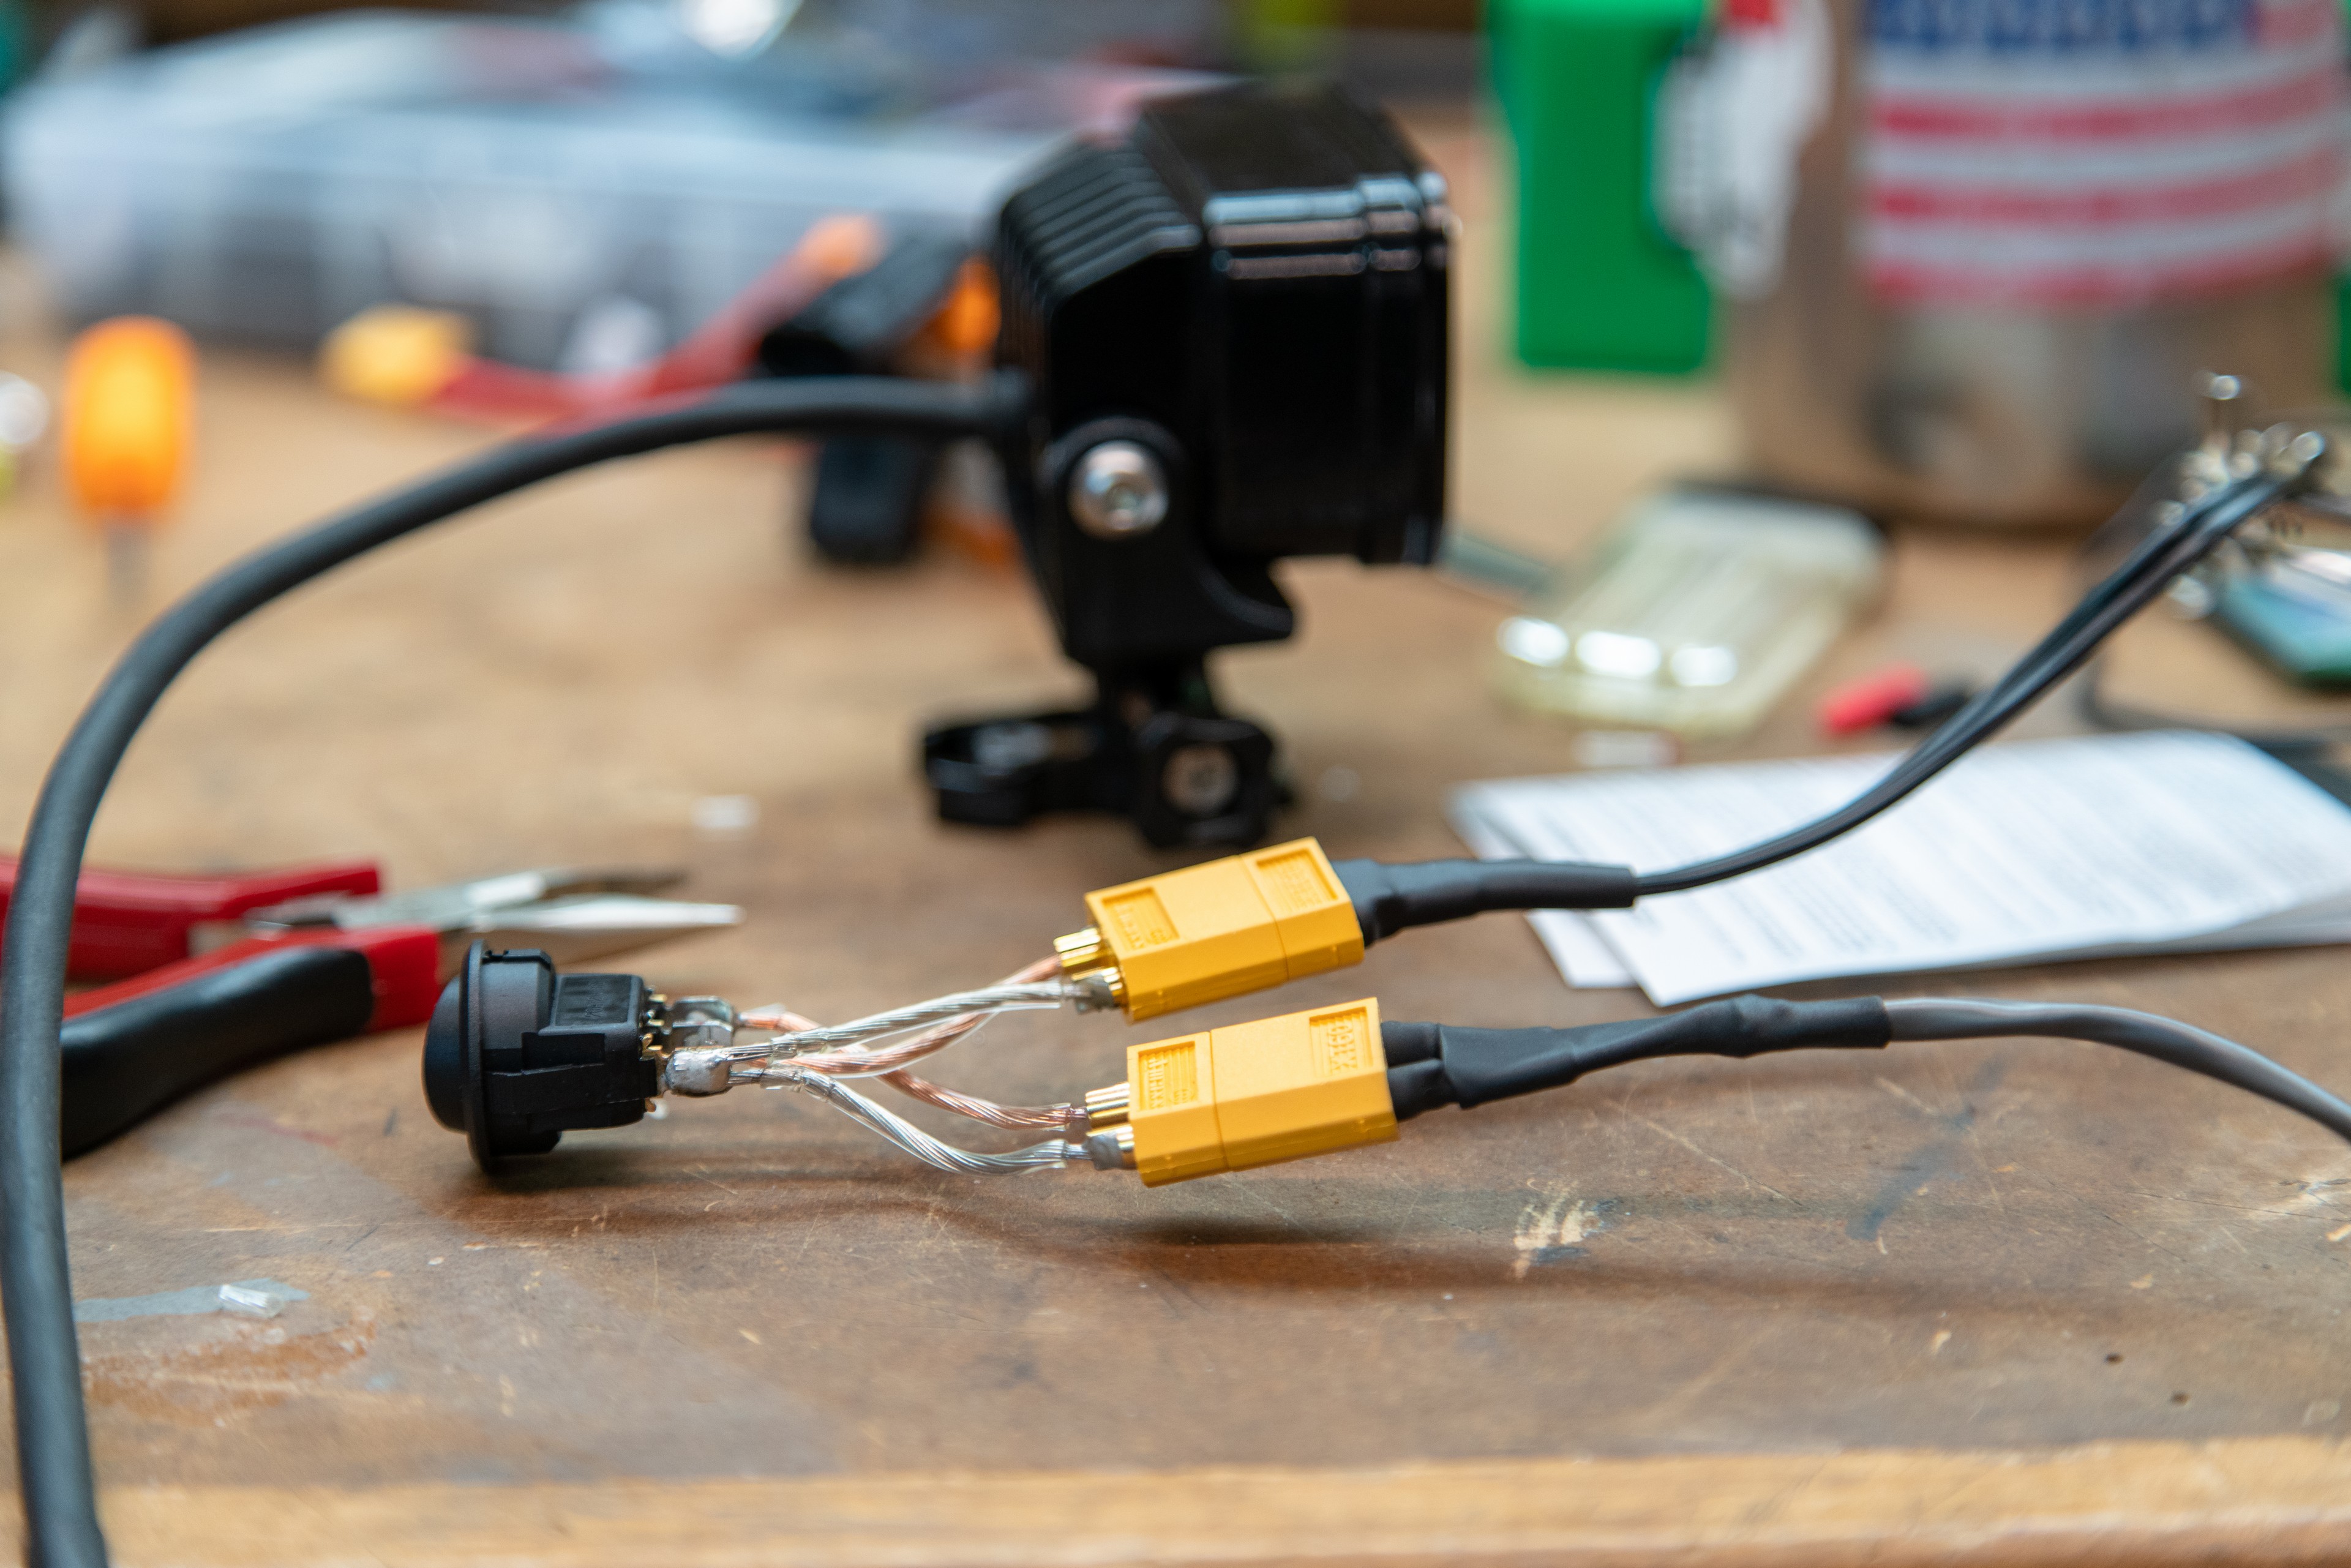
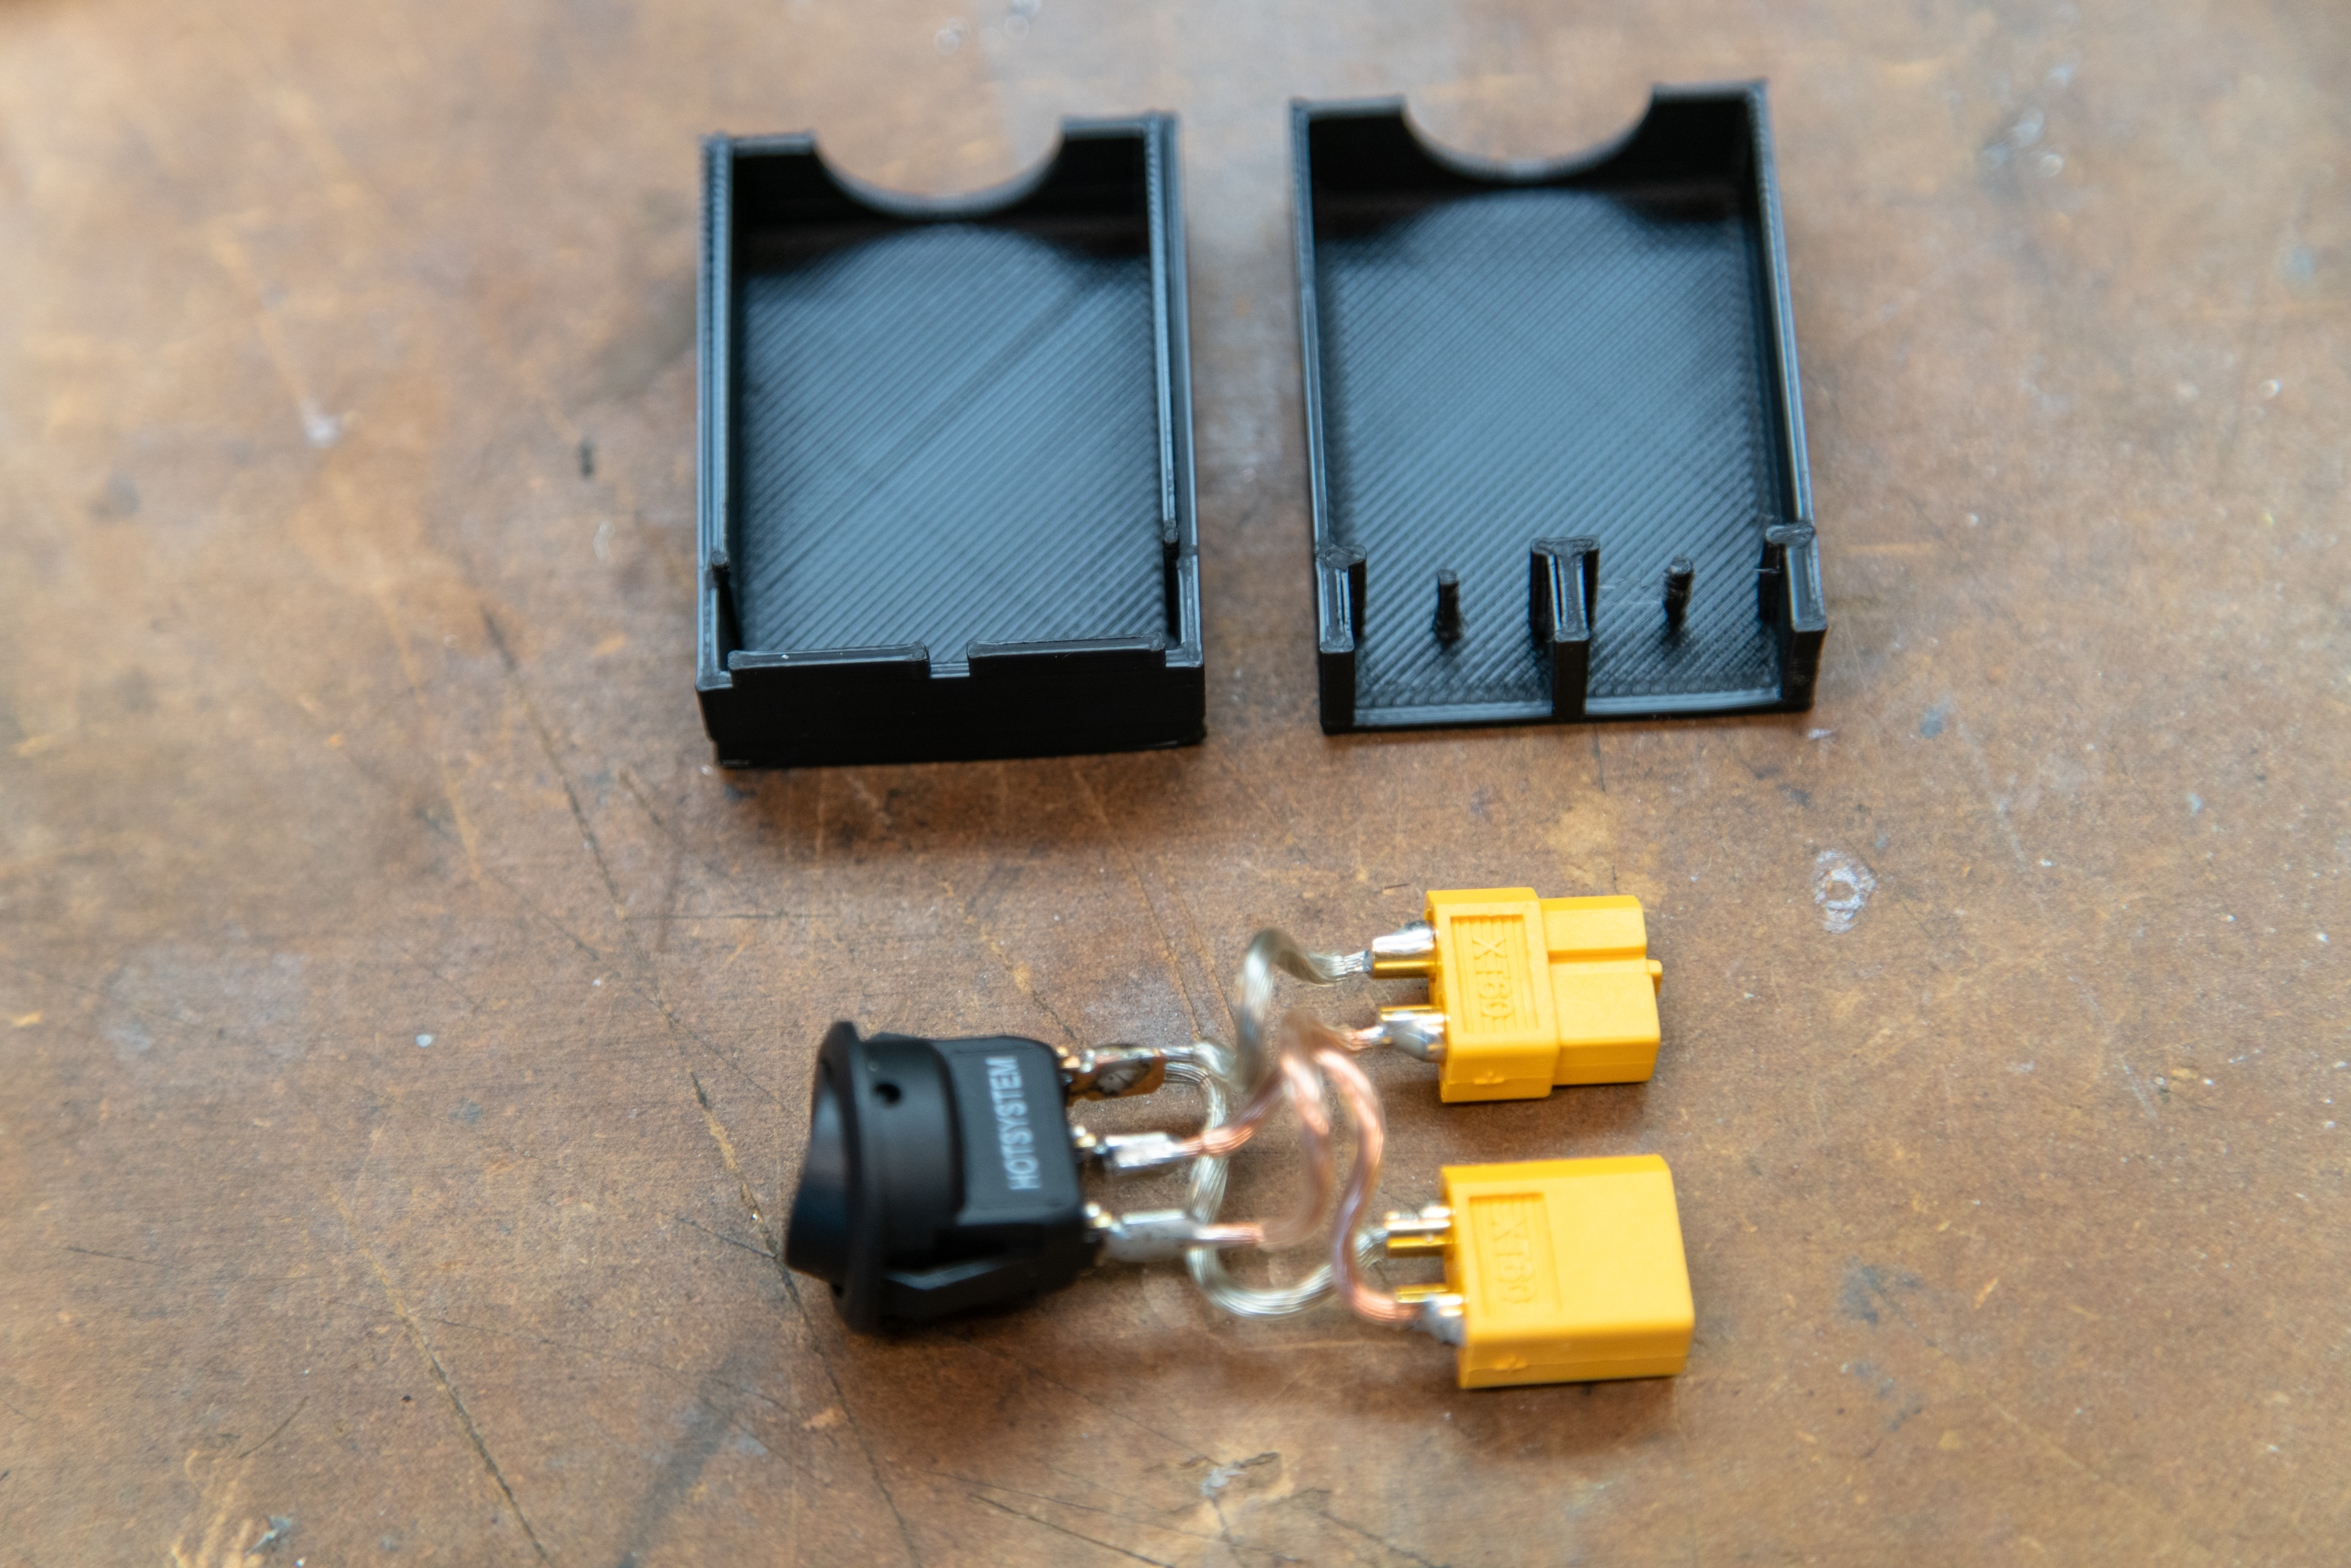
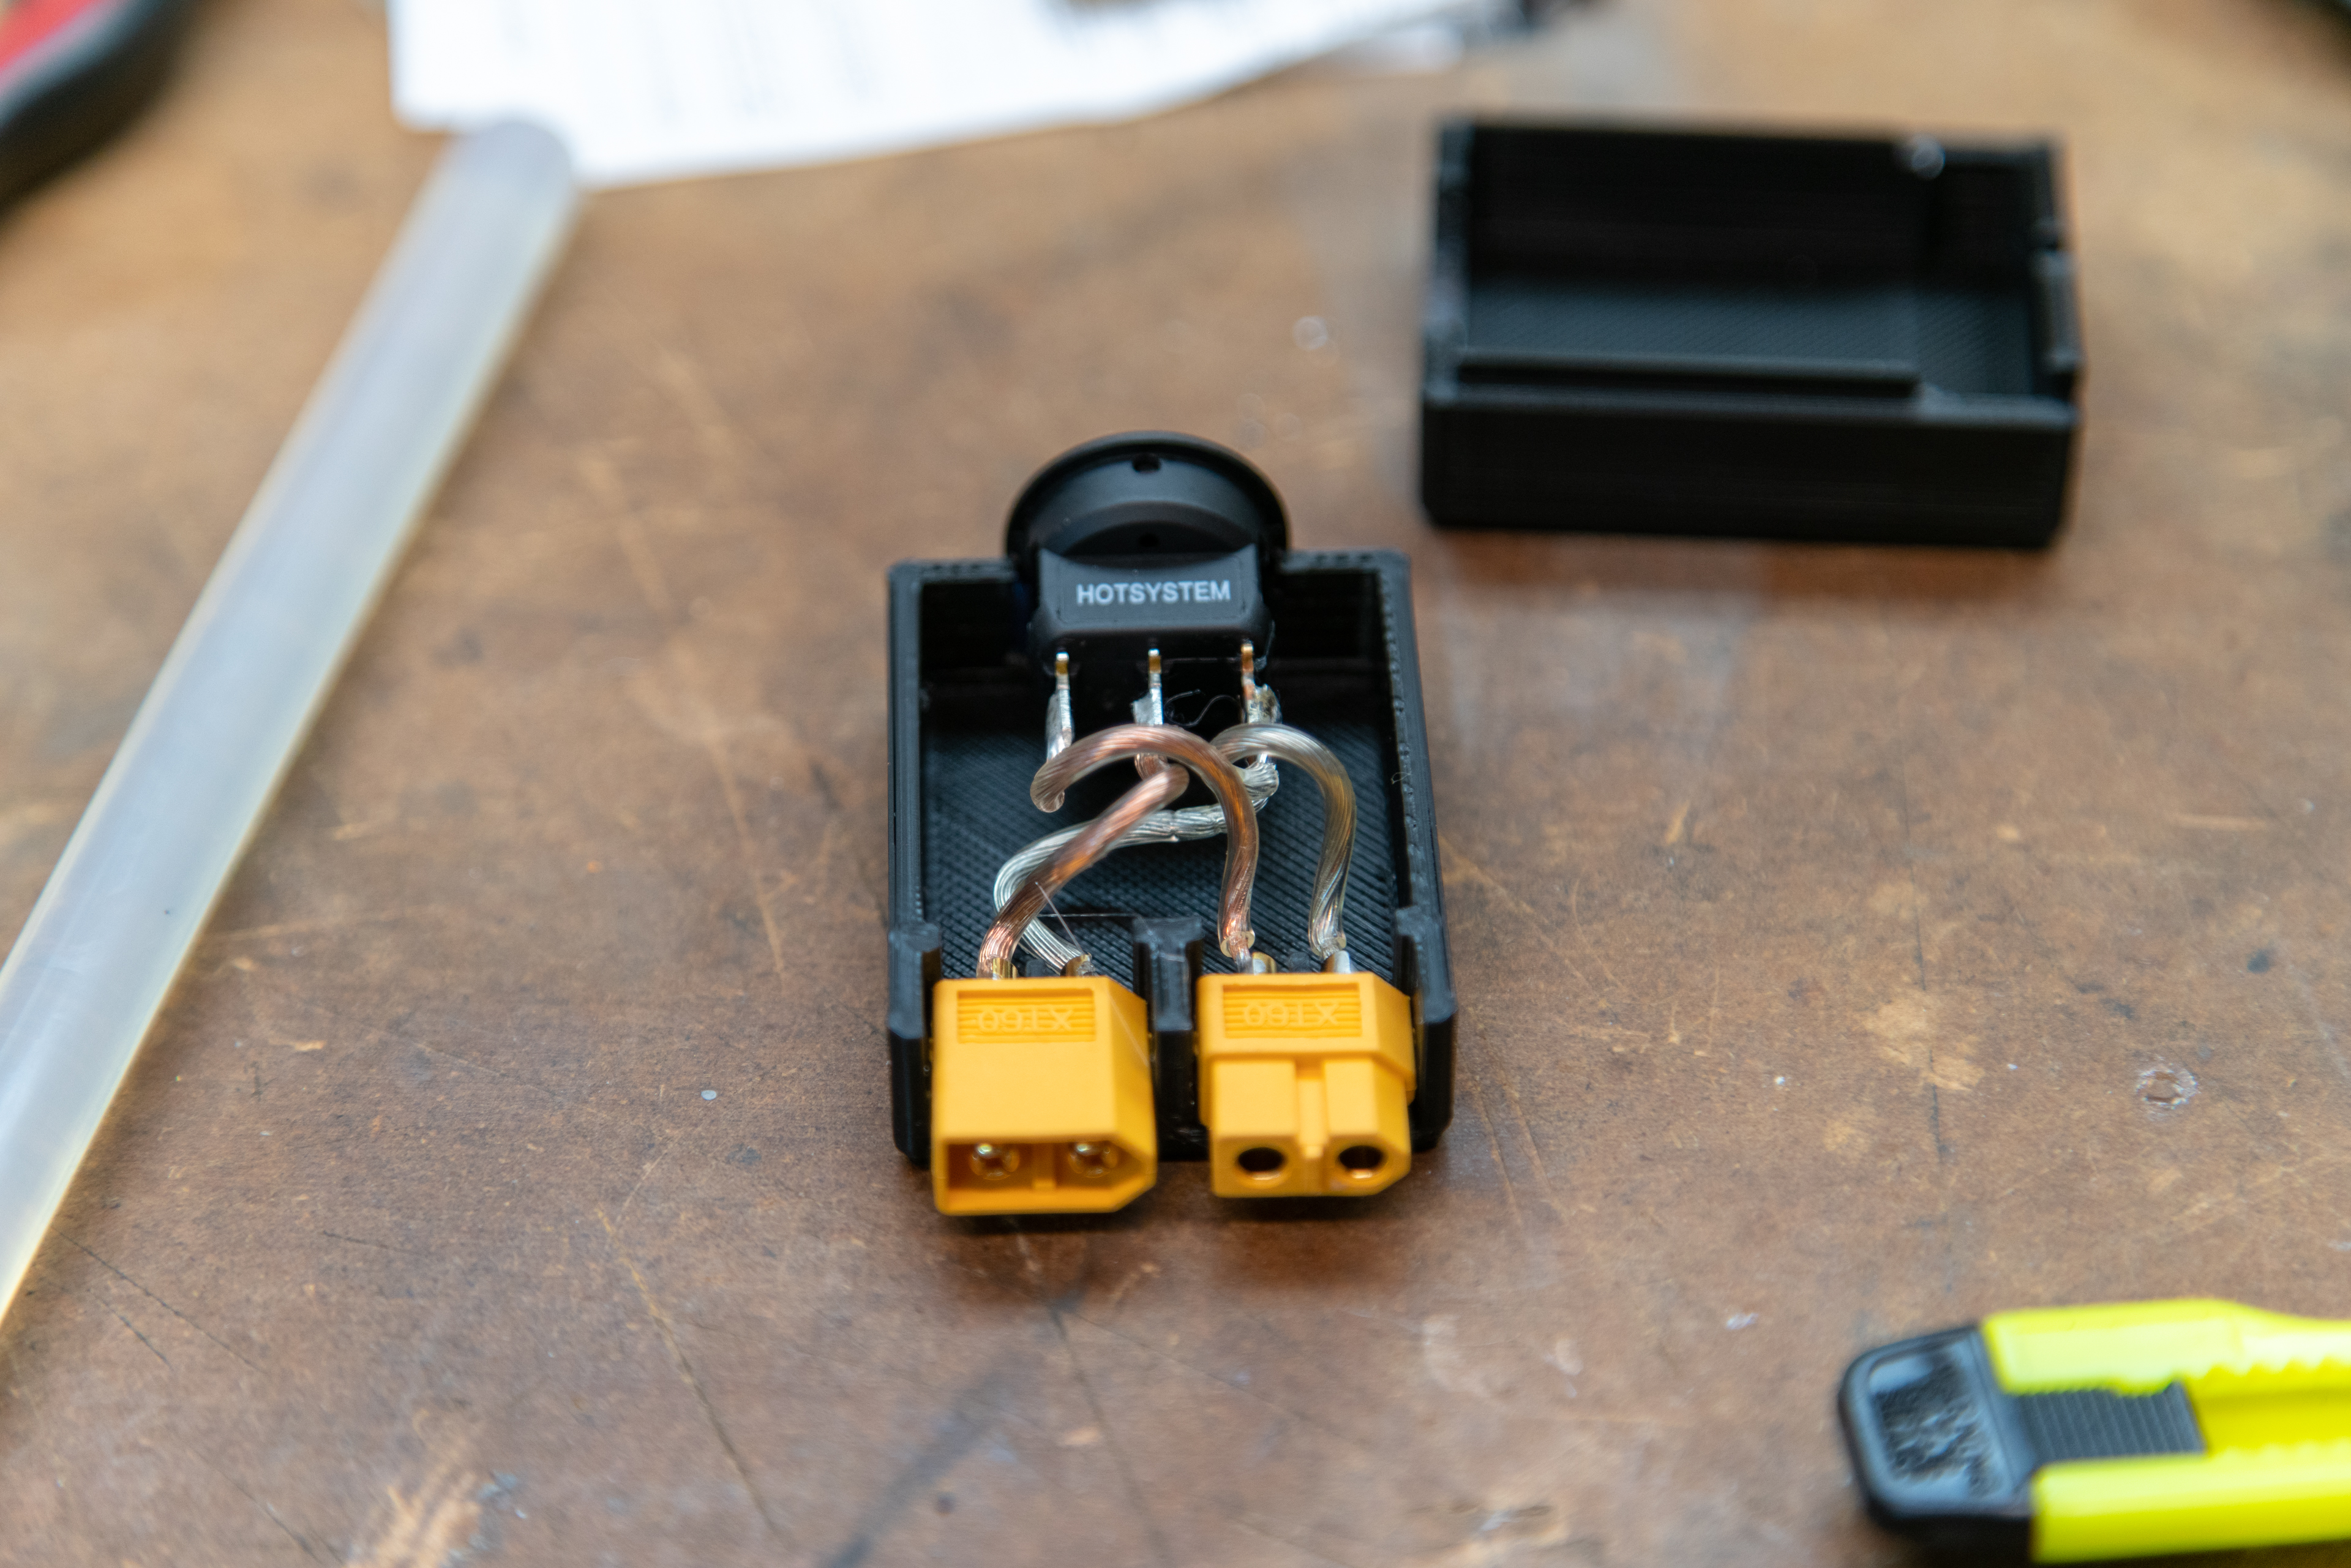
If you want to add a switch to your system you’ll need a male XT60 connector, a female XT60 connector, a few inches of wire, and a switch that can handle at least two Amps at 12V DC. The switch I used is a single pole switch, so I tied the ground from both XT60 connectors to the ground pole on the switch (silver wire in photos. I then wired the male XT60 (The male connector has the male gold parts inside the yellow plastic.) to the input on the switch and a female XT60 to the output of the switch. I designed and printed a simple box to encase all of these parts, but some careful wrapping with electrical tape or any other method you have at your disposal to create a solid switch assembly will work.
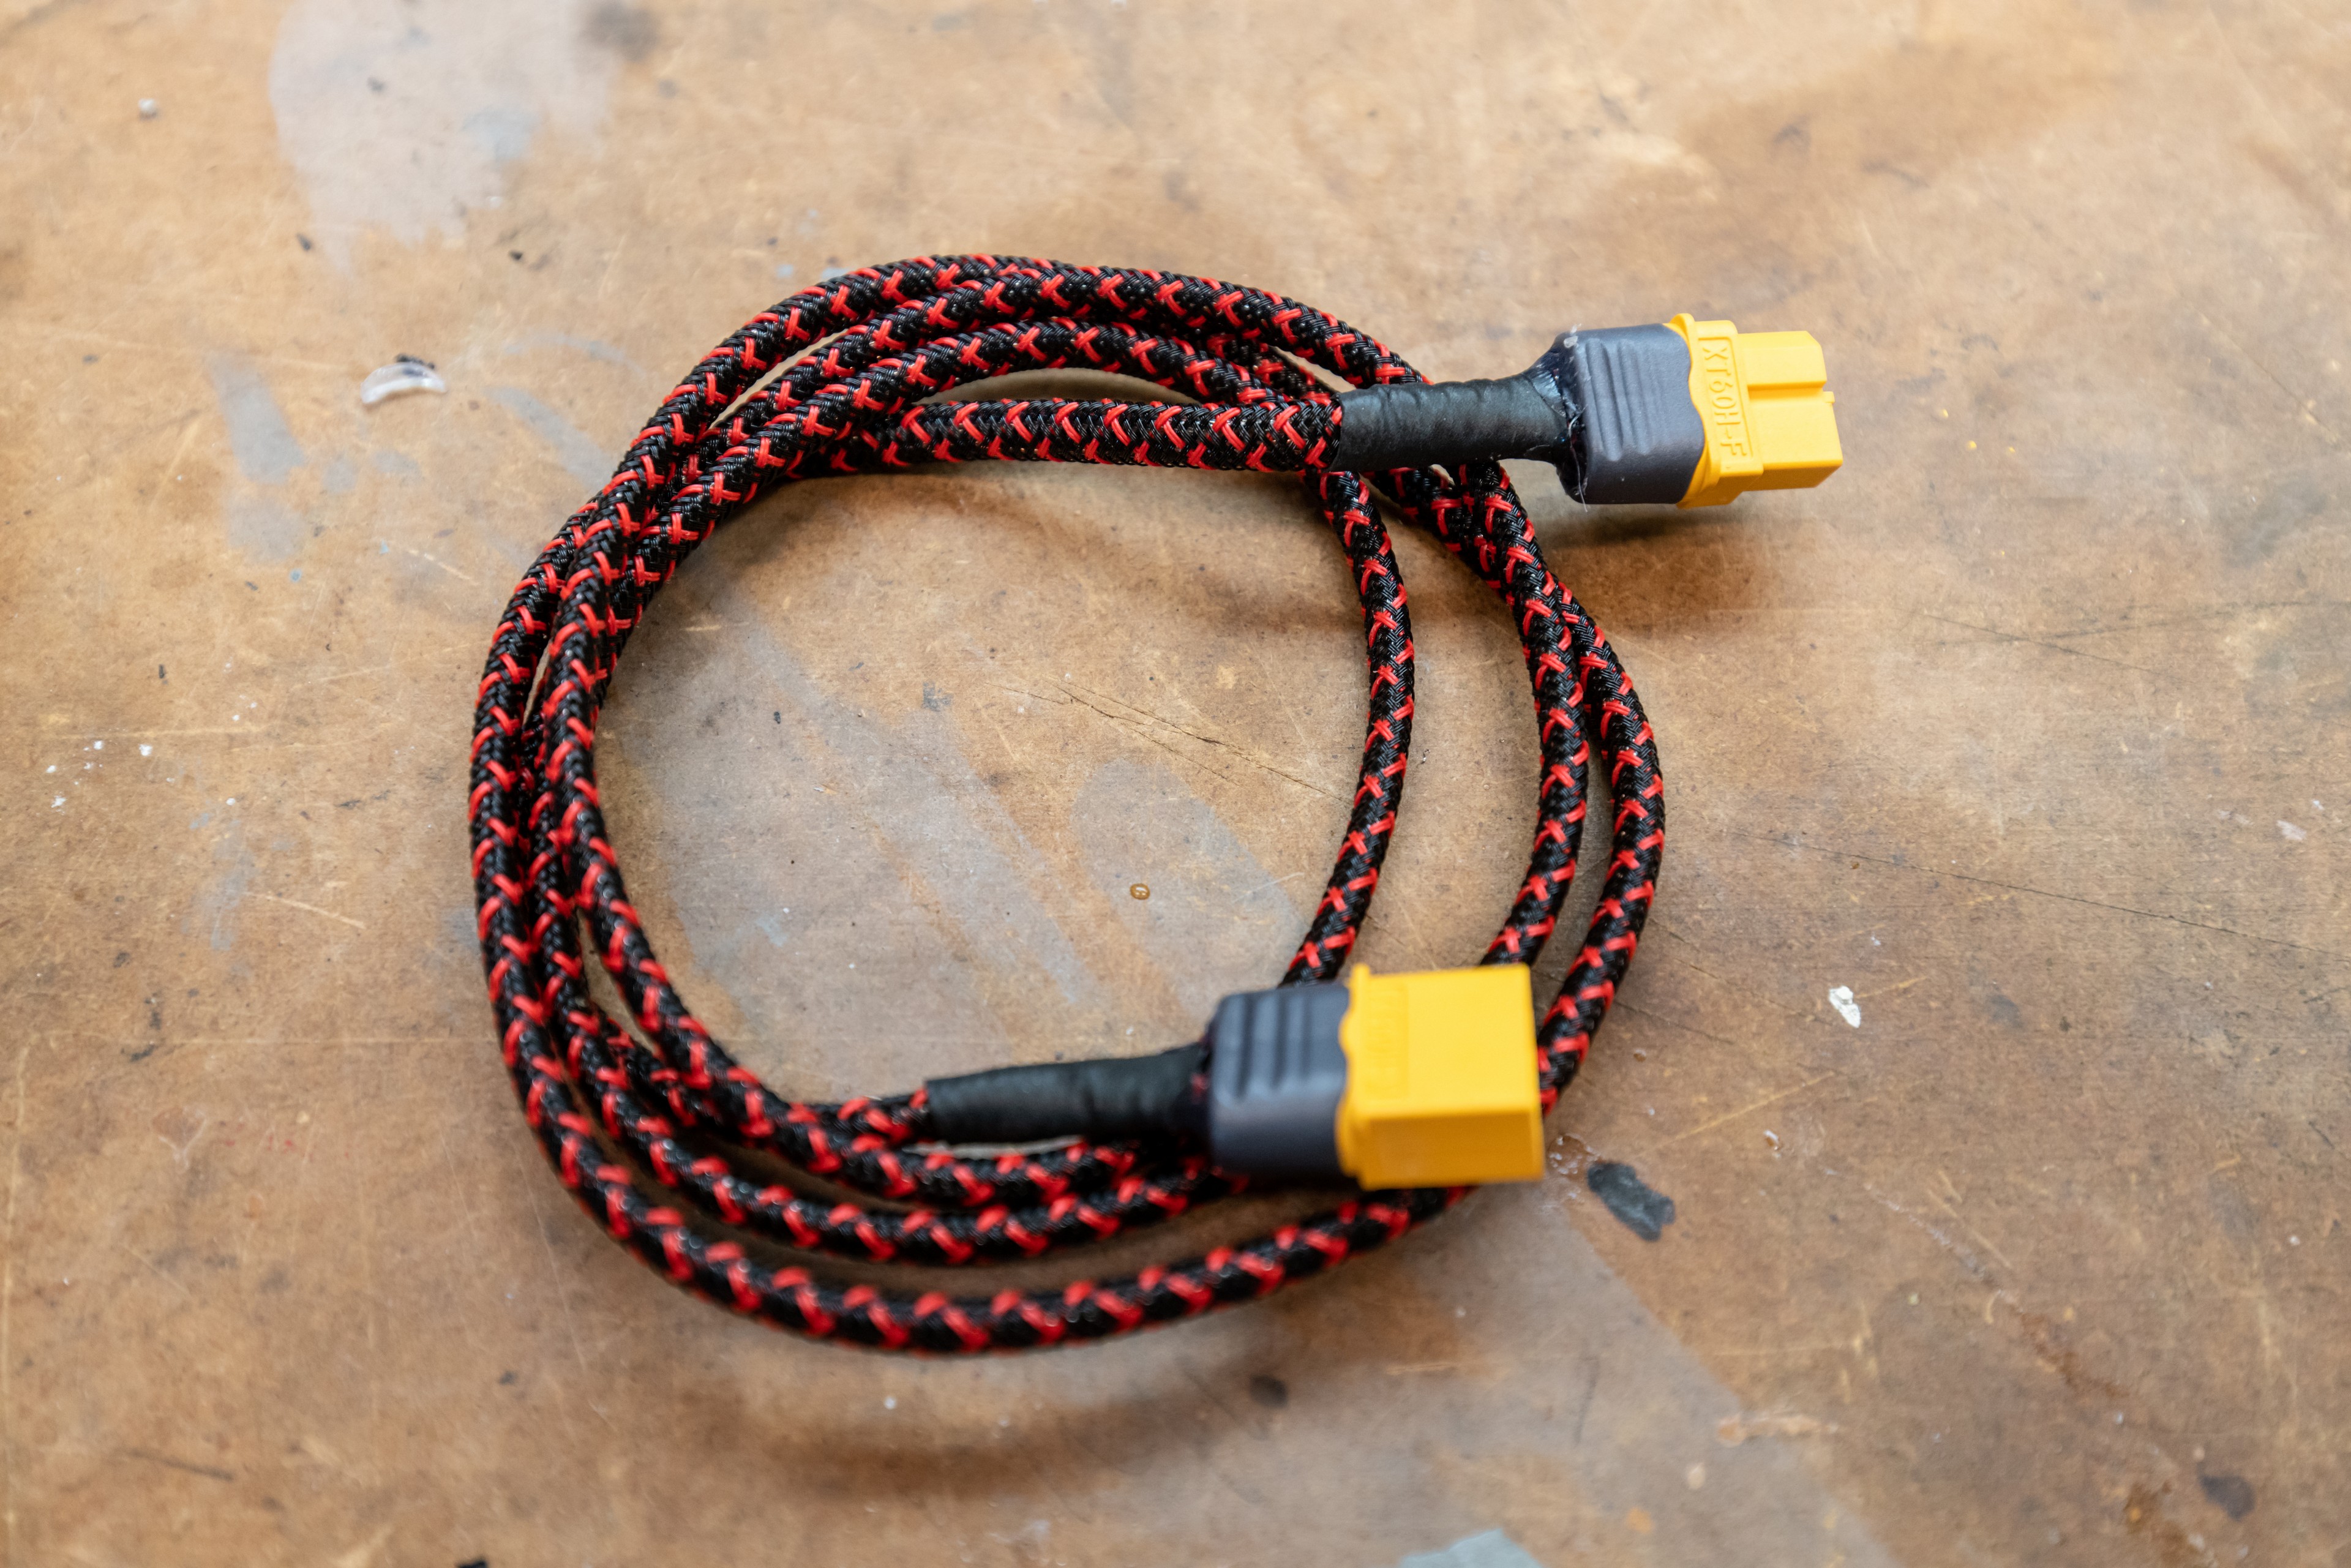
Lastly, I created a one meter extension cable to allow me to carry a battery in my backpack, have the switch strapped to my shoulder strap of my pack, and have the light on my helmet. I used two 1 meter long pieces of “wet noodle” silicone wire I had and soldered a Male XT60 connector to one end of the wires. I then slid the wires into a length of expandable sleeving to protect the wires and create a single cable. I covered the end of the sleeving at the connector with a piece of appropriately sized heat-shrink. I then repeated the process at the other end of the cable, except I used a Female XT60.

The S2 Pro will work with DC current from 9-30 volts, which makes all of the 4 cell Lithium Polymer (LiPo) batteries that I have great options for powering the light. To calculate runtime for a given battery simply take the S2’s power consumption of 21 watts at 12V and divide 21/12 to get 1.75Amps of current required to run the light. I have a few 10,000 miliamp-hour (mAh) 4 cell LiPo batteries that I opted to use, so if we take 80% of the batteries’ capacity (80% is the safe useable capacity of LiPo chemistry batteries) we get 8000 mAh, or 8 Amp Hours. Divide 8 Amp hours by our Amps (1.75) and we get 4.5 or 4 and a half hours of safe runtime off of a full battery charge. To determine runtime for a given battery you may have on hand, swap in the capacity and voltage of your battery in place of the numbers in my example. Easy.
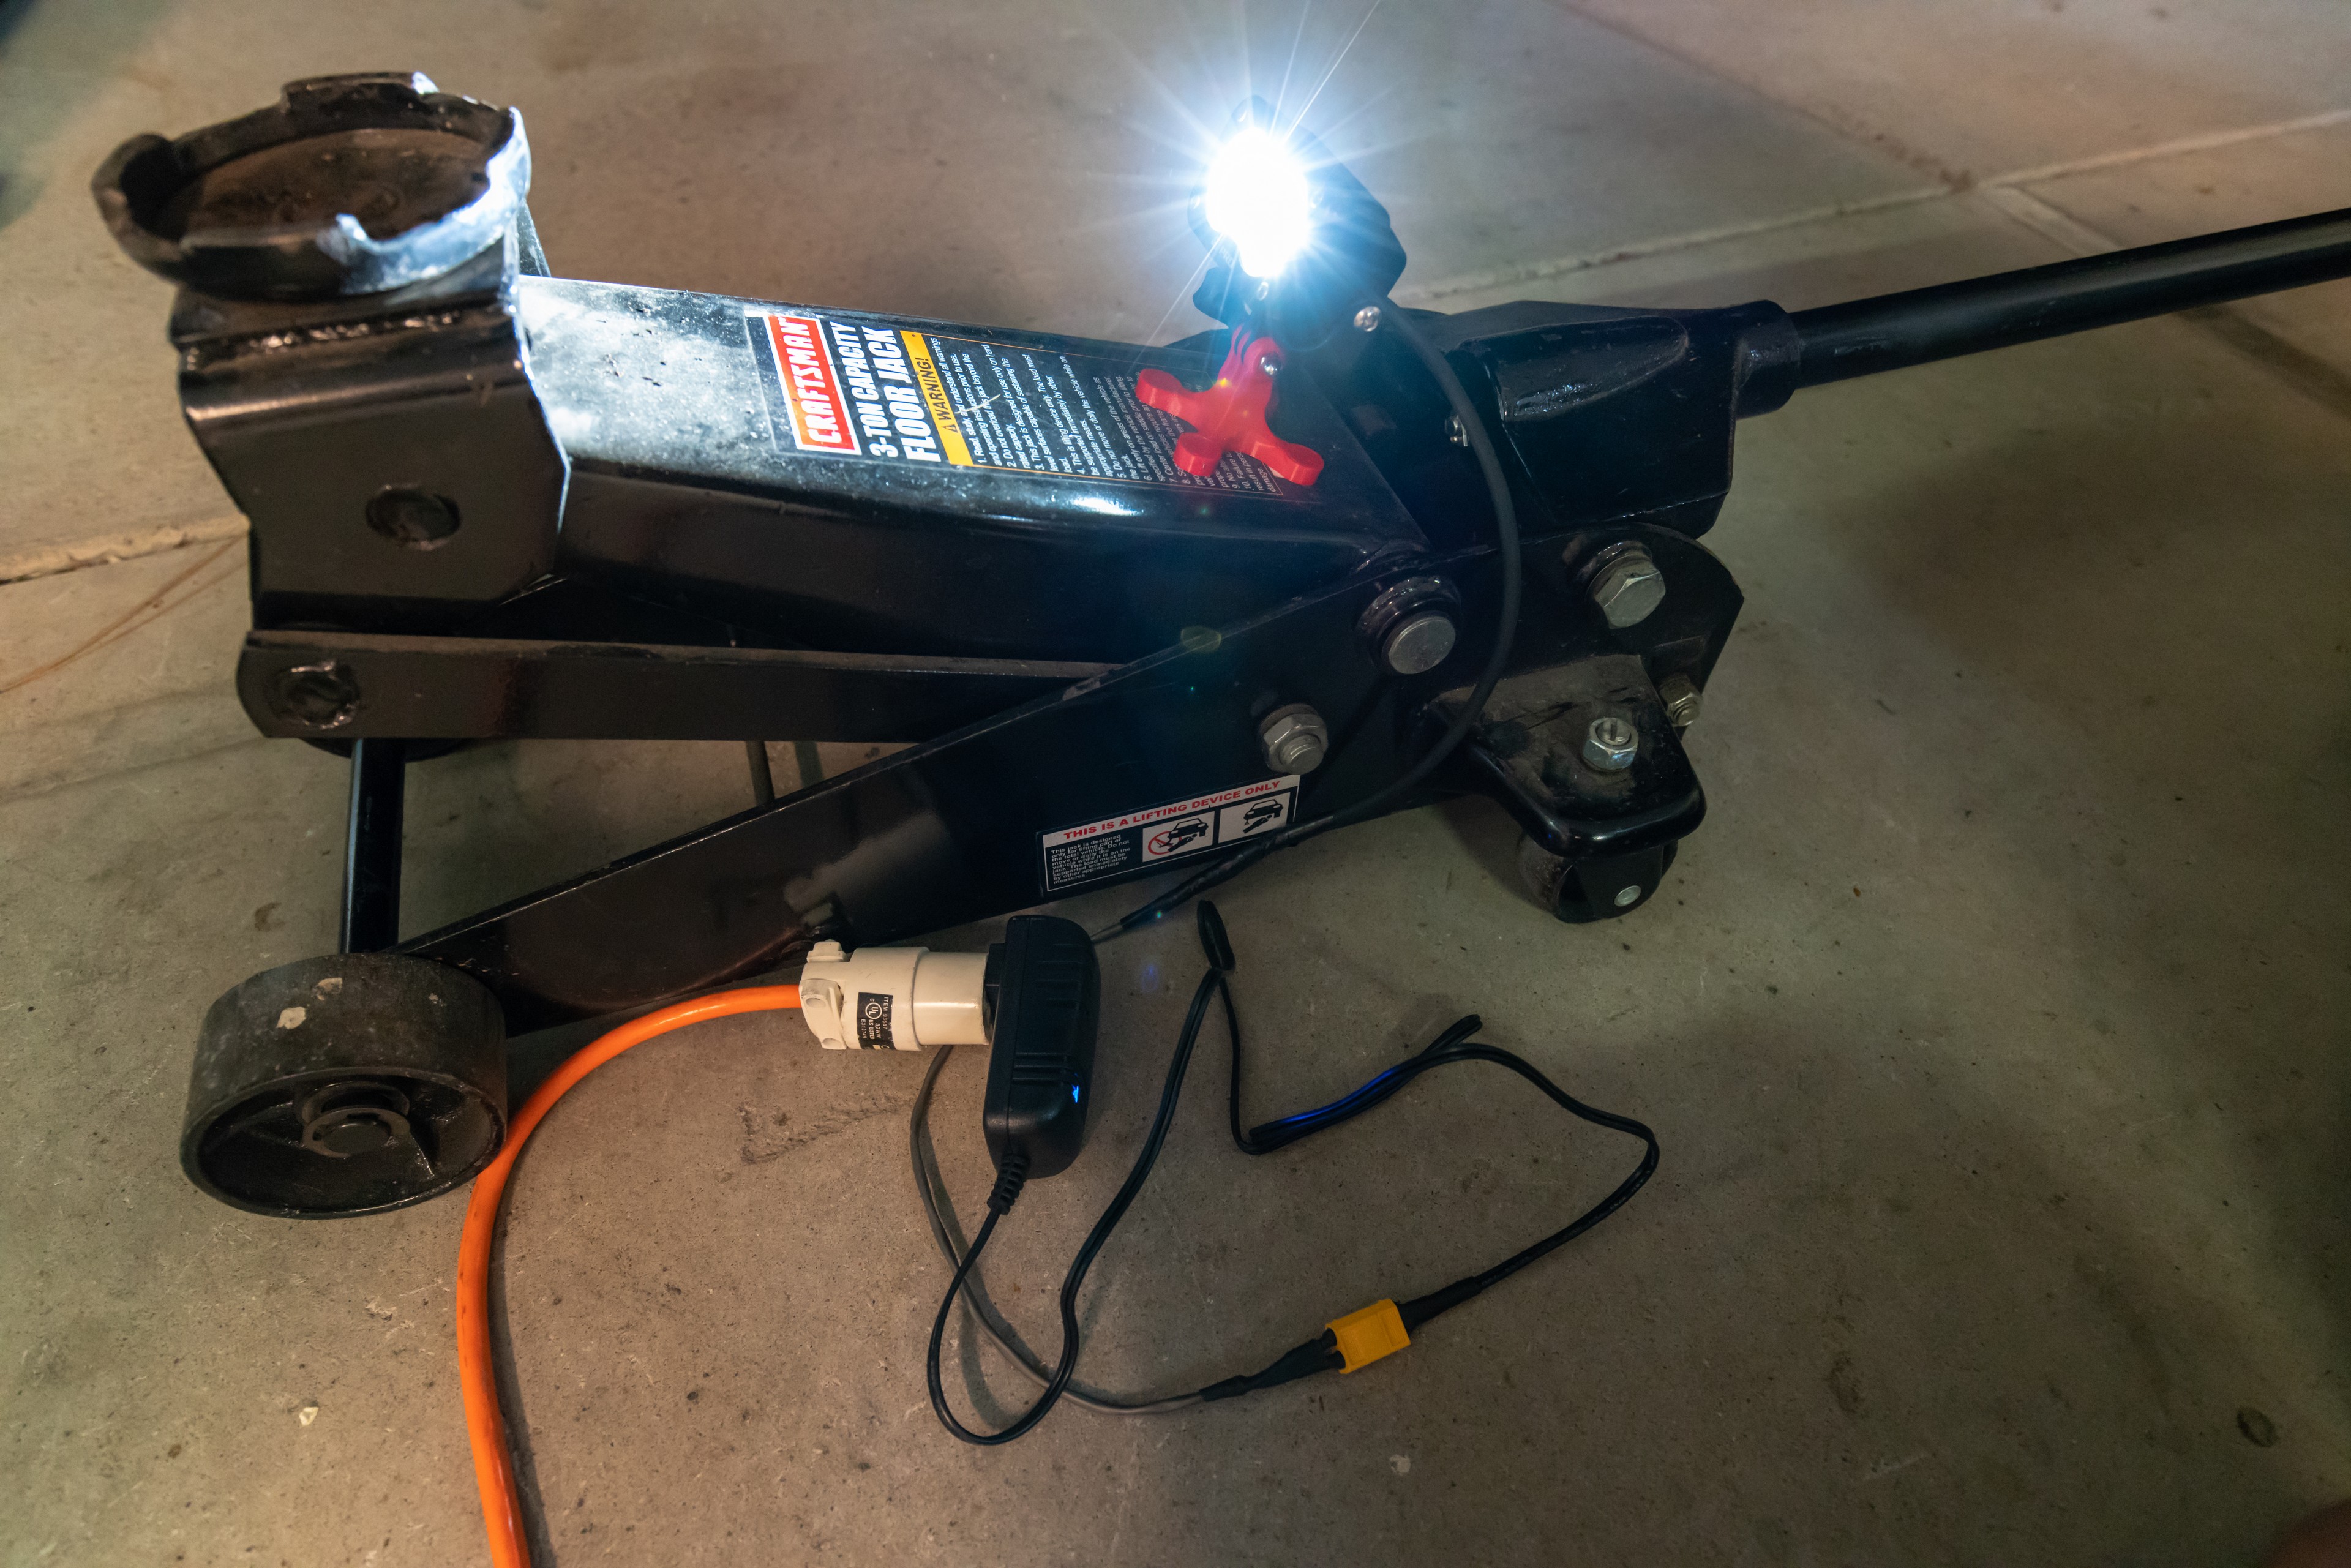
The S2 can also be powered from an AC-DC inverter capable of putting out sufficient DC current and DC volts. This inverter is used to power a small LiPo battery charger, and happens to put out 3A at 12VDC, which makes it a perfect choice for powering the S2 from the grid or a large solar battery pack, like a Goal Zero Yeti.
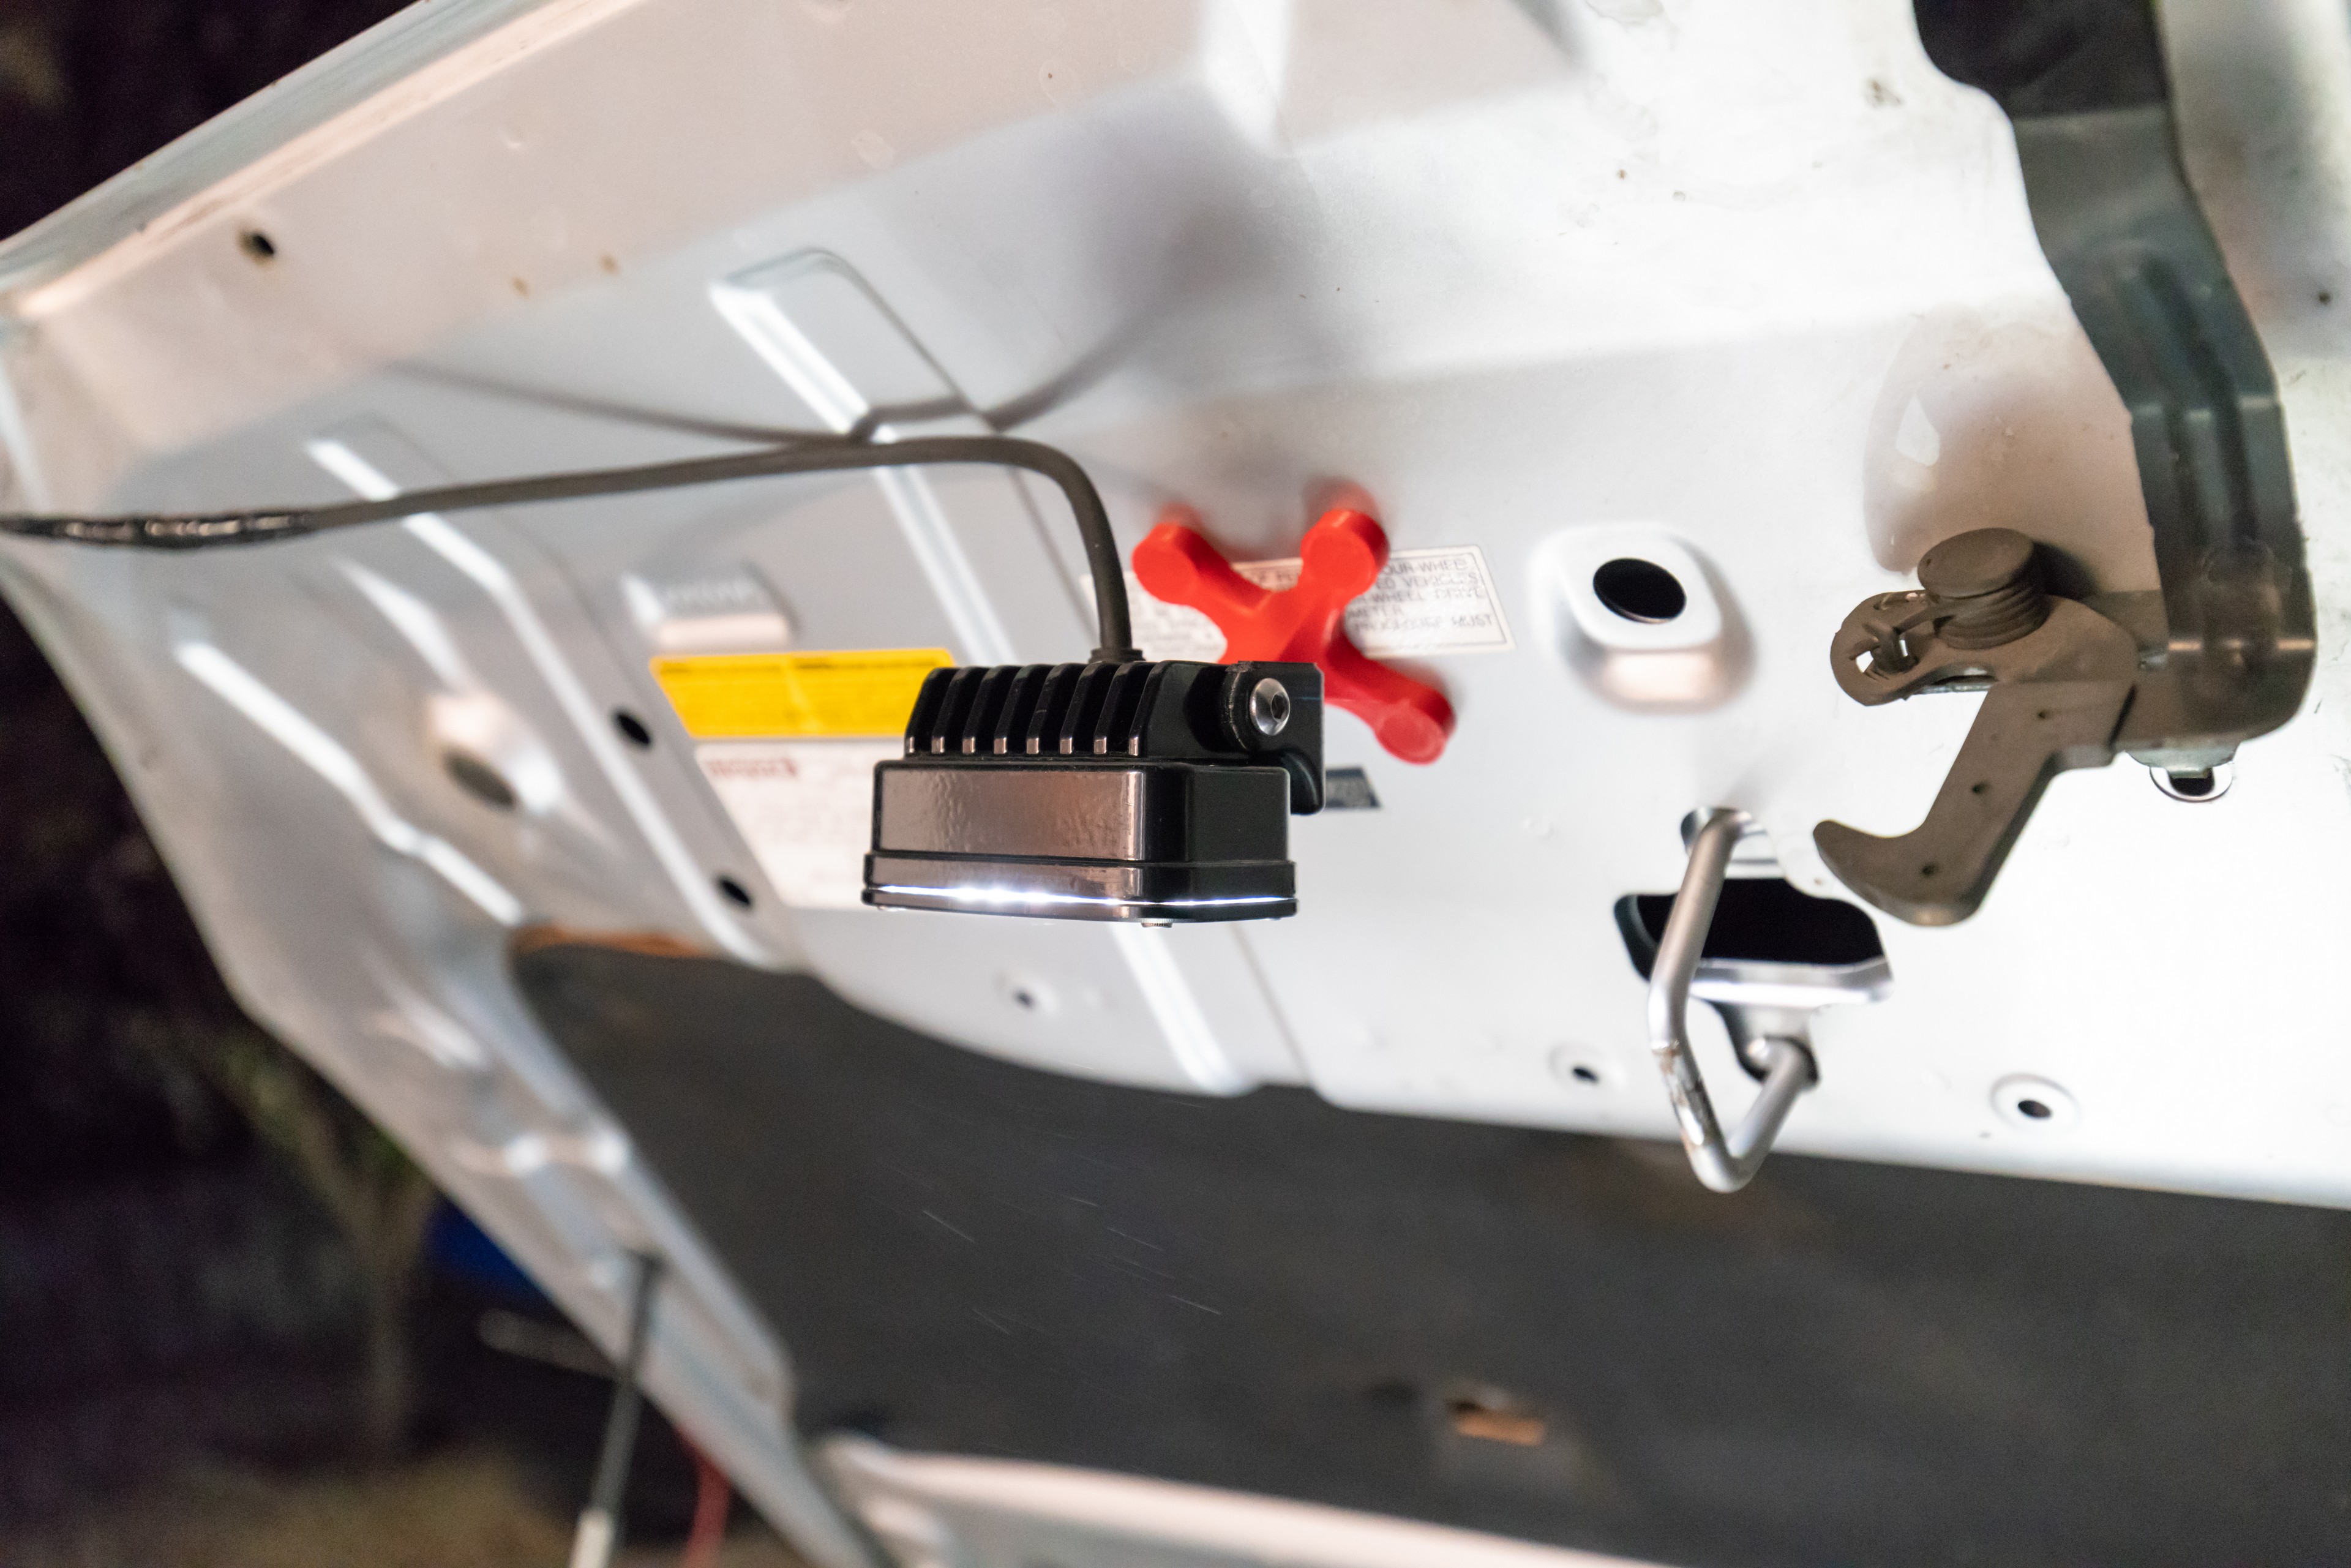
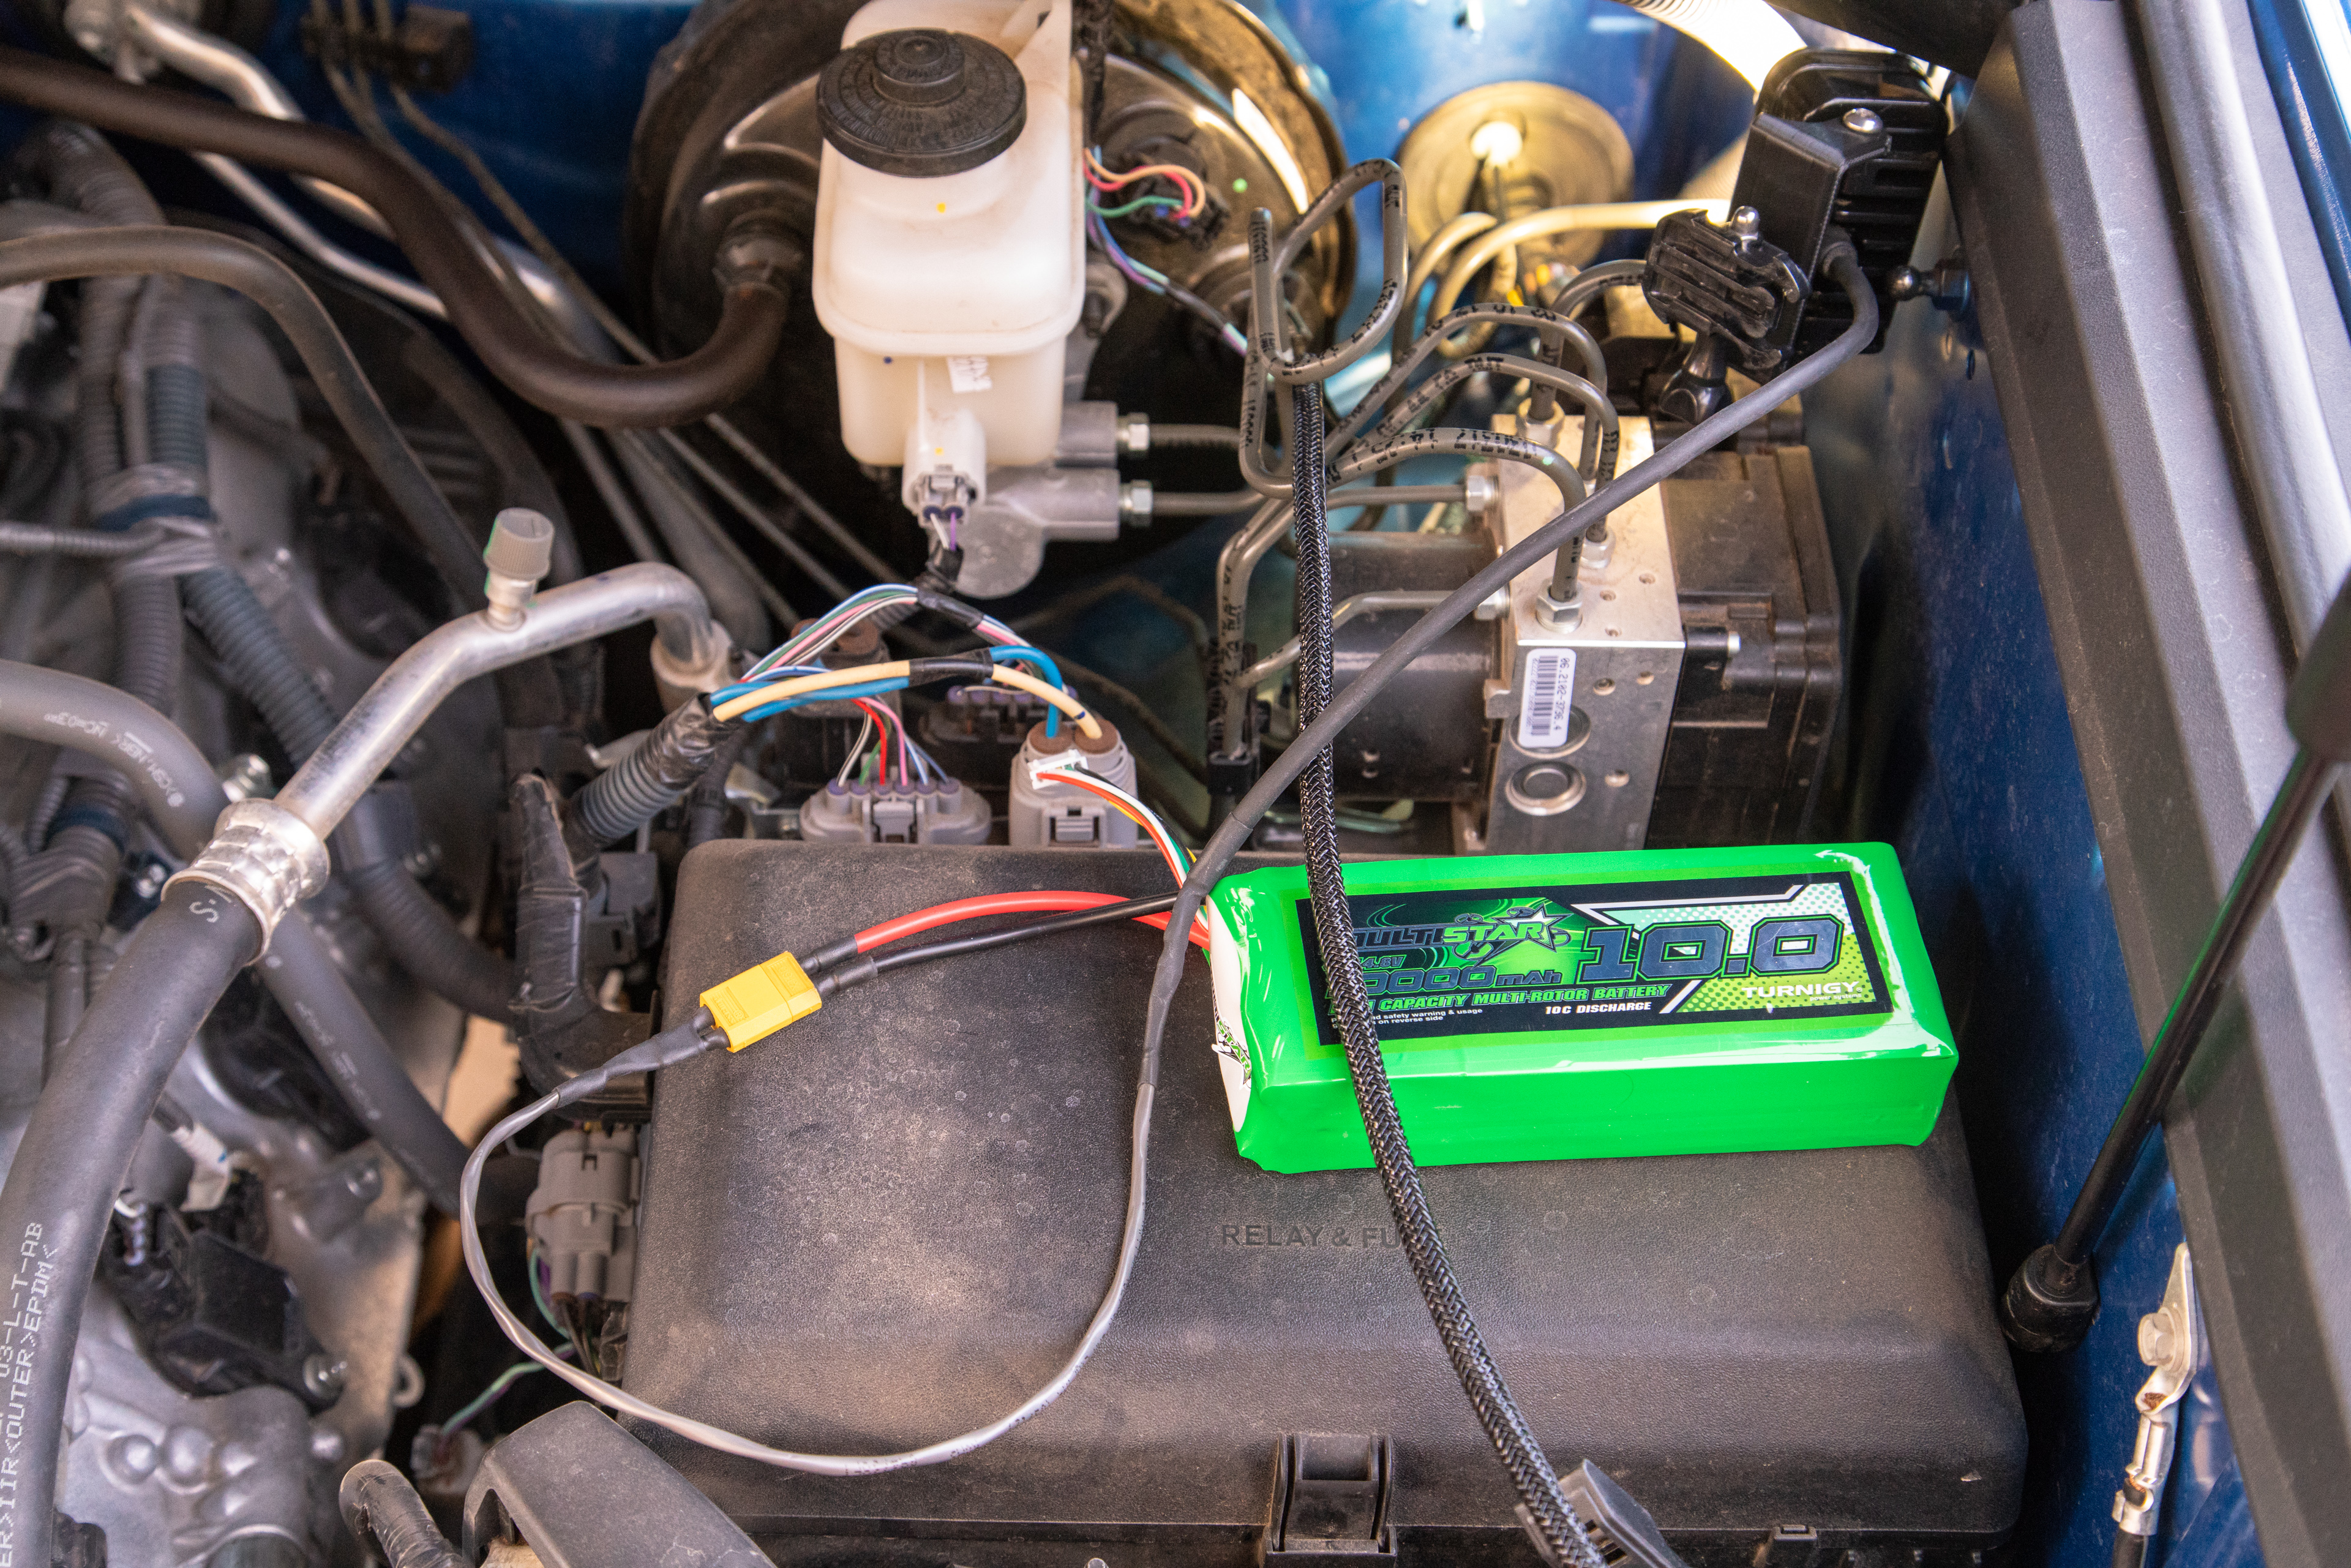
The S2 Pro can literally be powered by anything outputting the correct voltage and current. Hard wiring a plug into your dirtbike, UTV, or other powersports machine would be an easy way to give your light a limitless supply of power – so I encourage you to use this article as a starting point to make this light exactly the tool that will suit your needs.
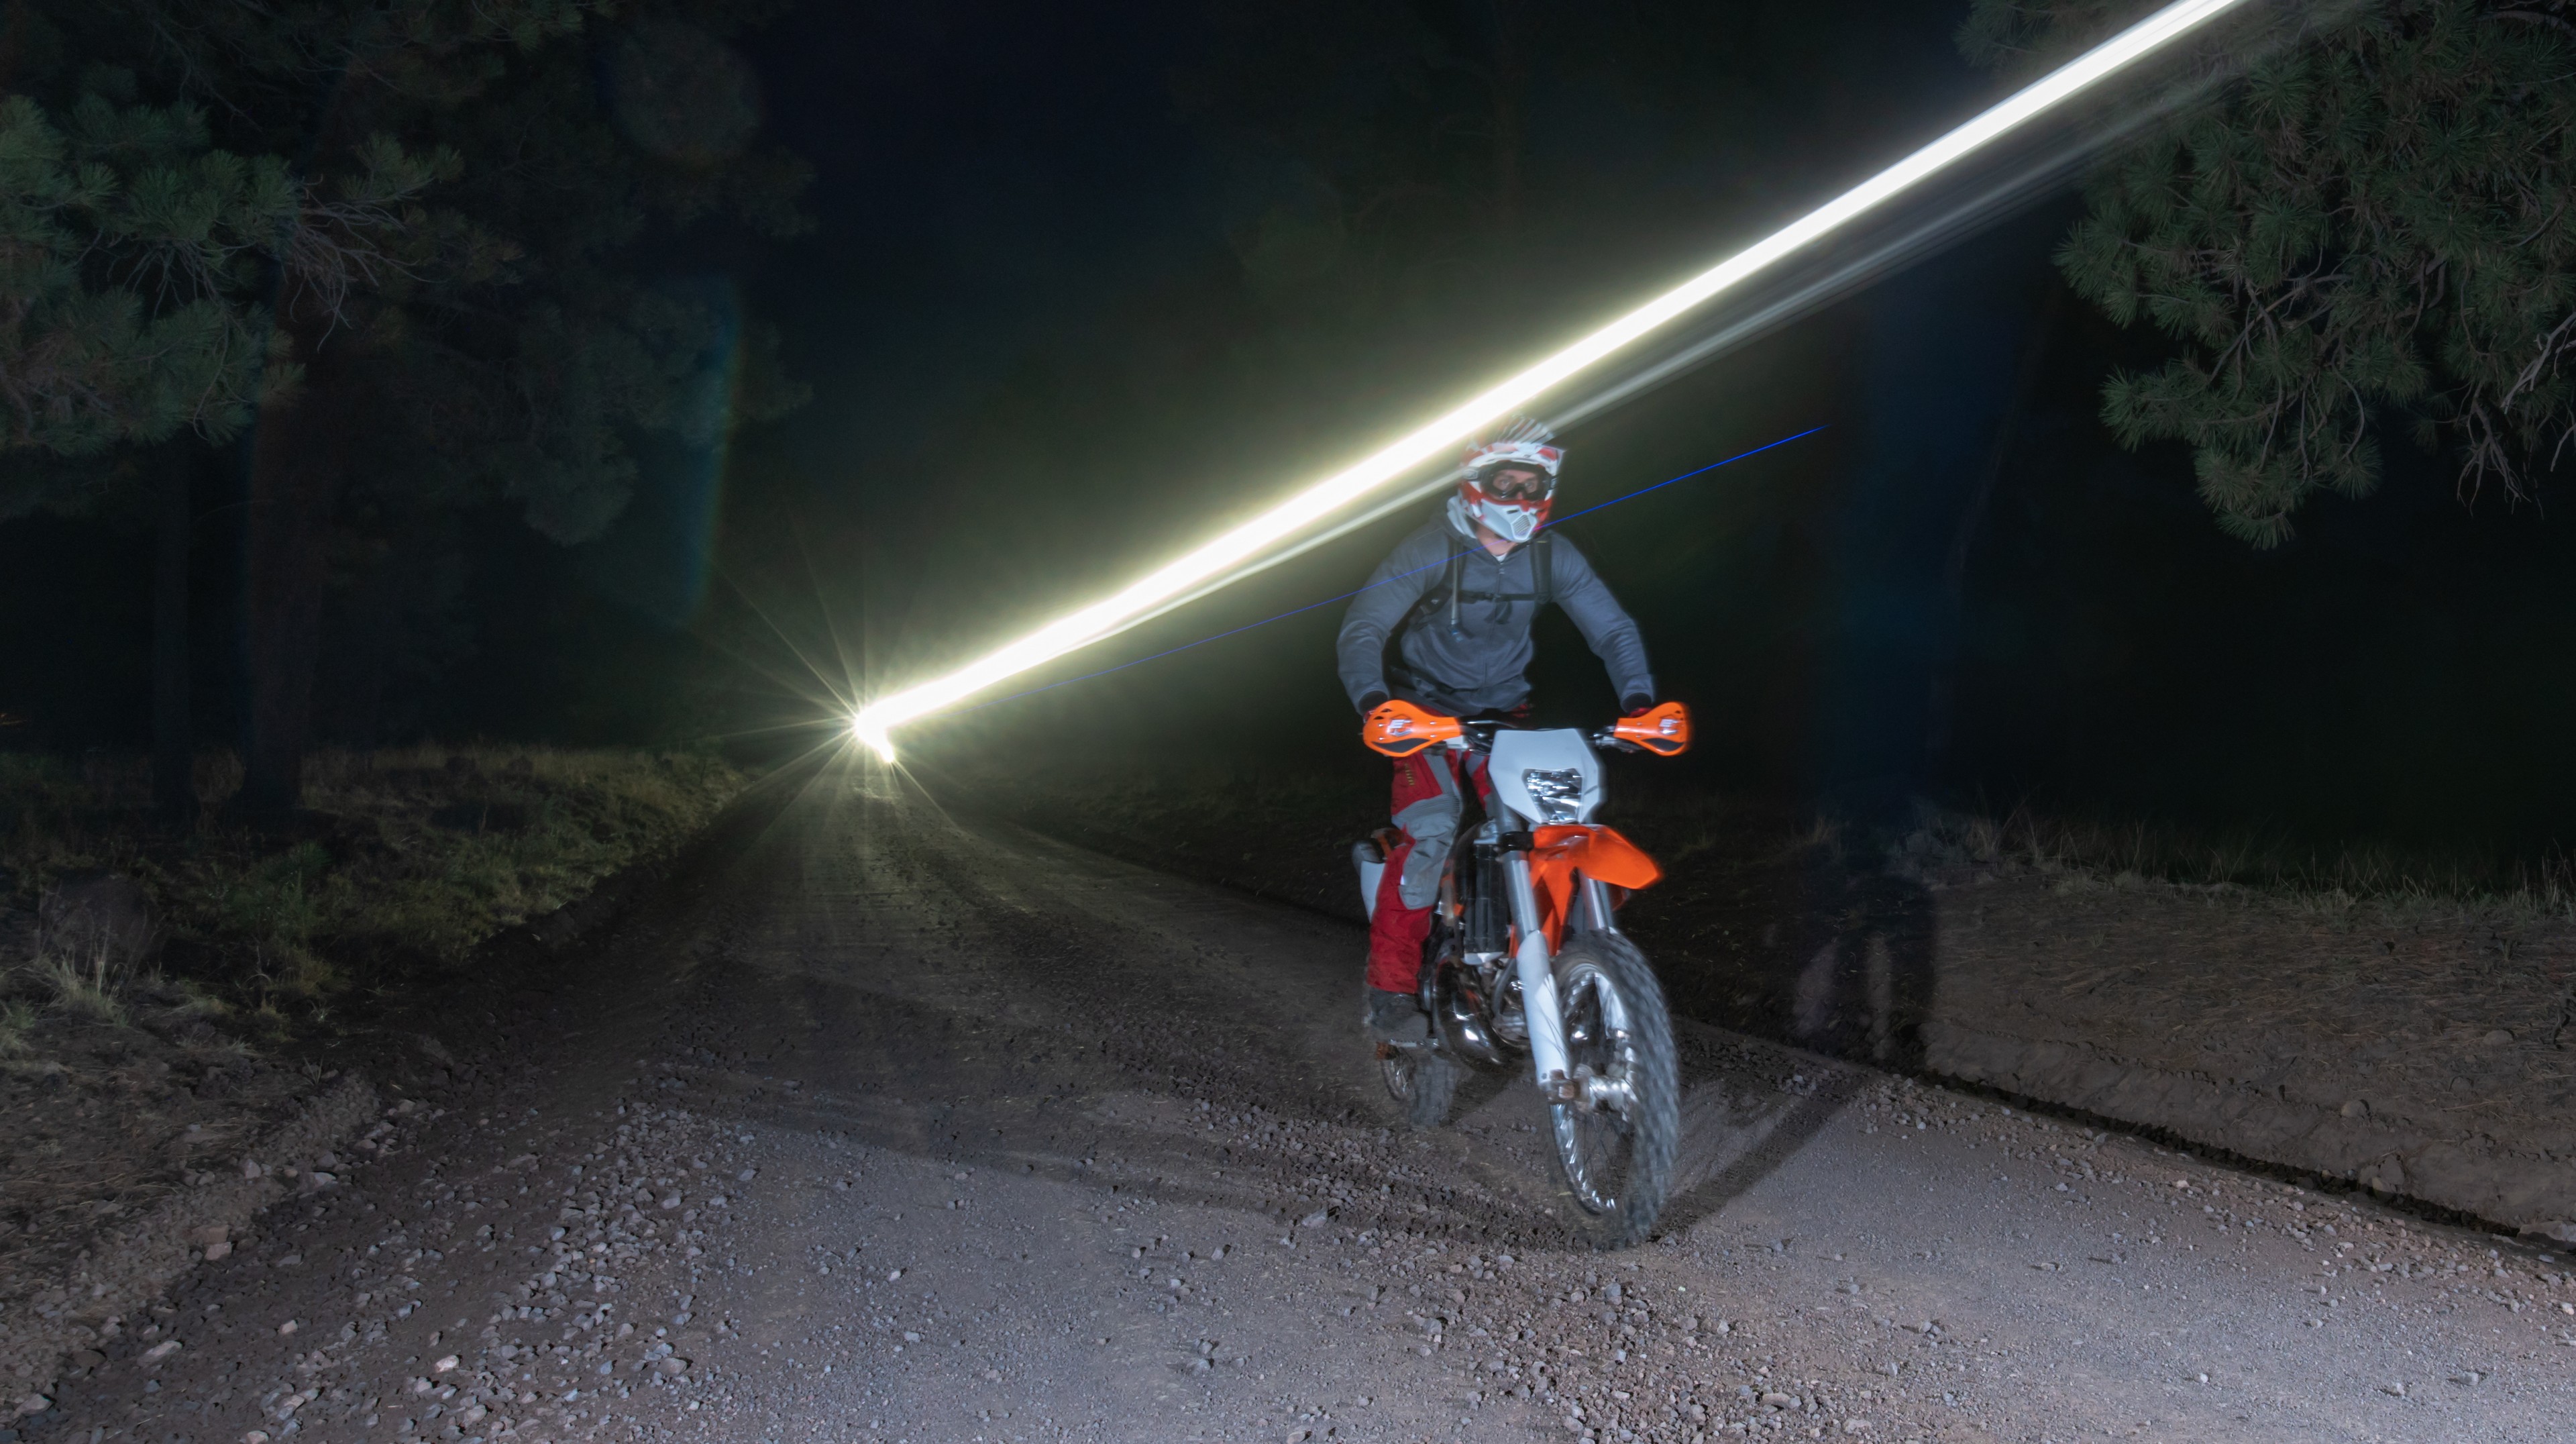
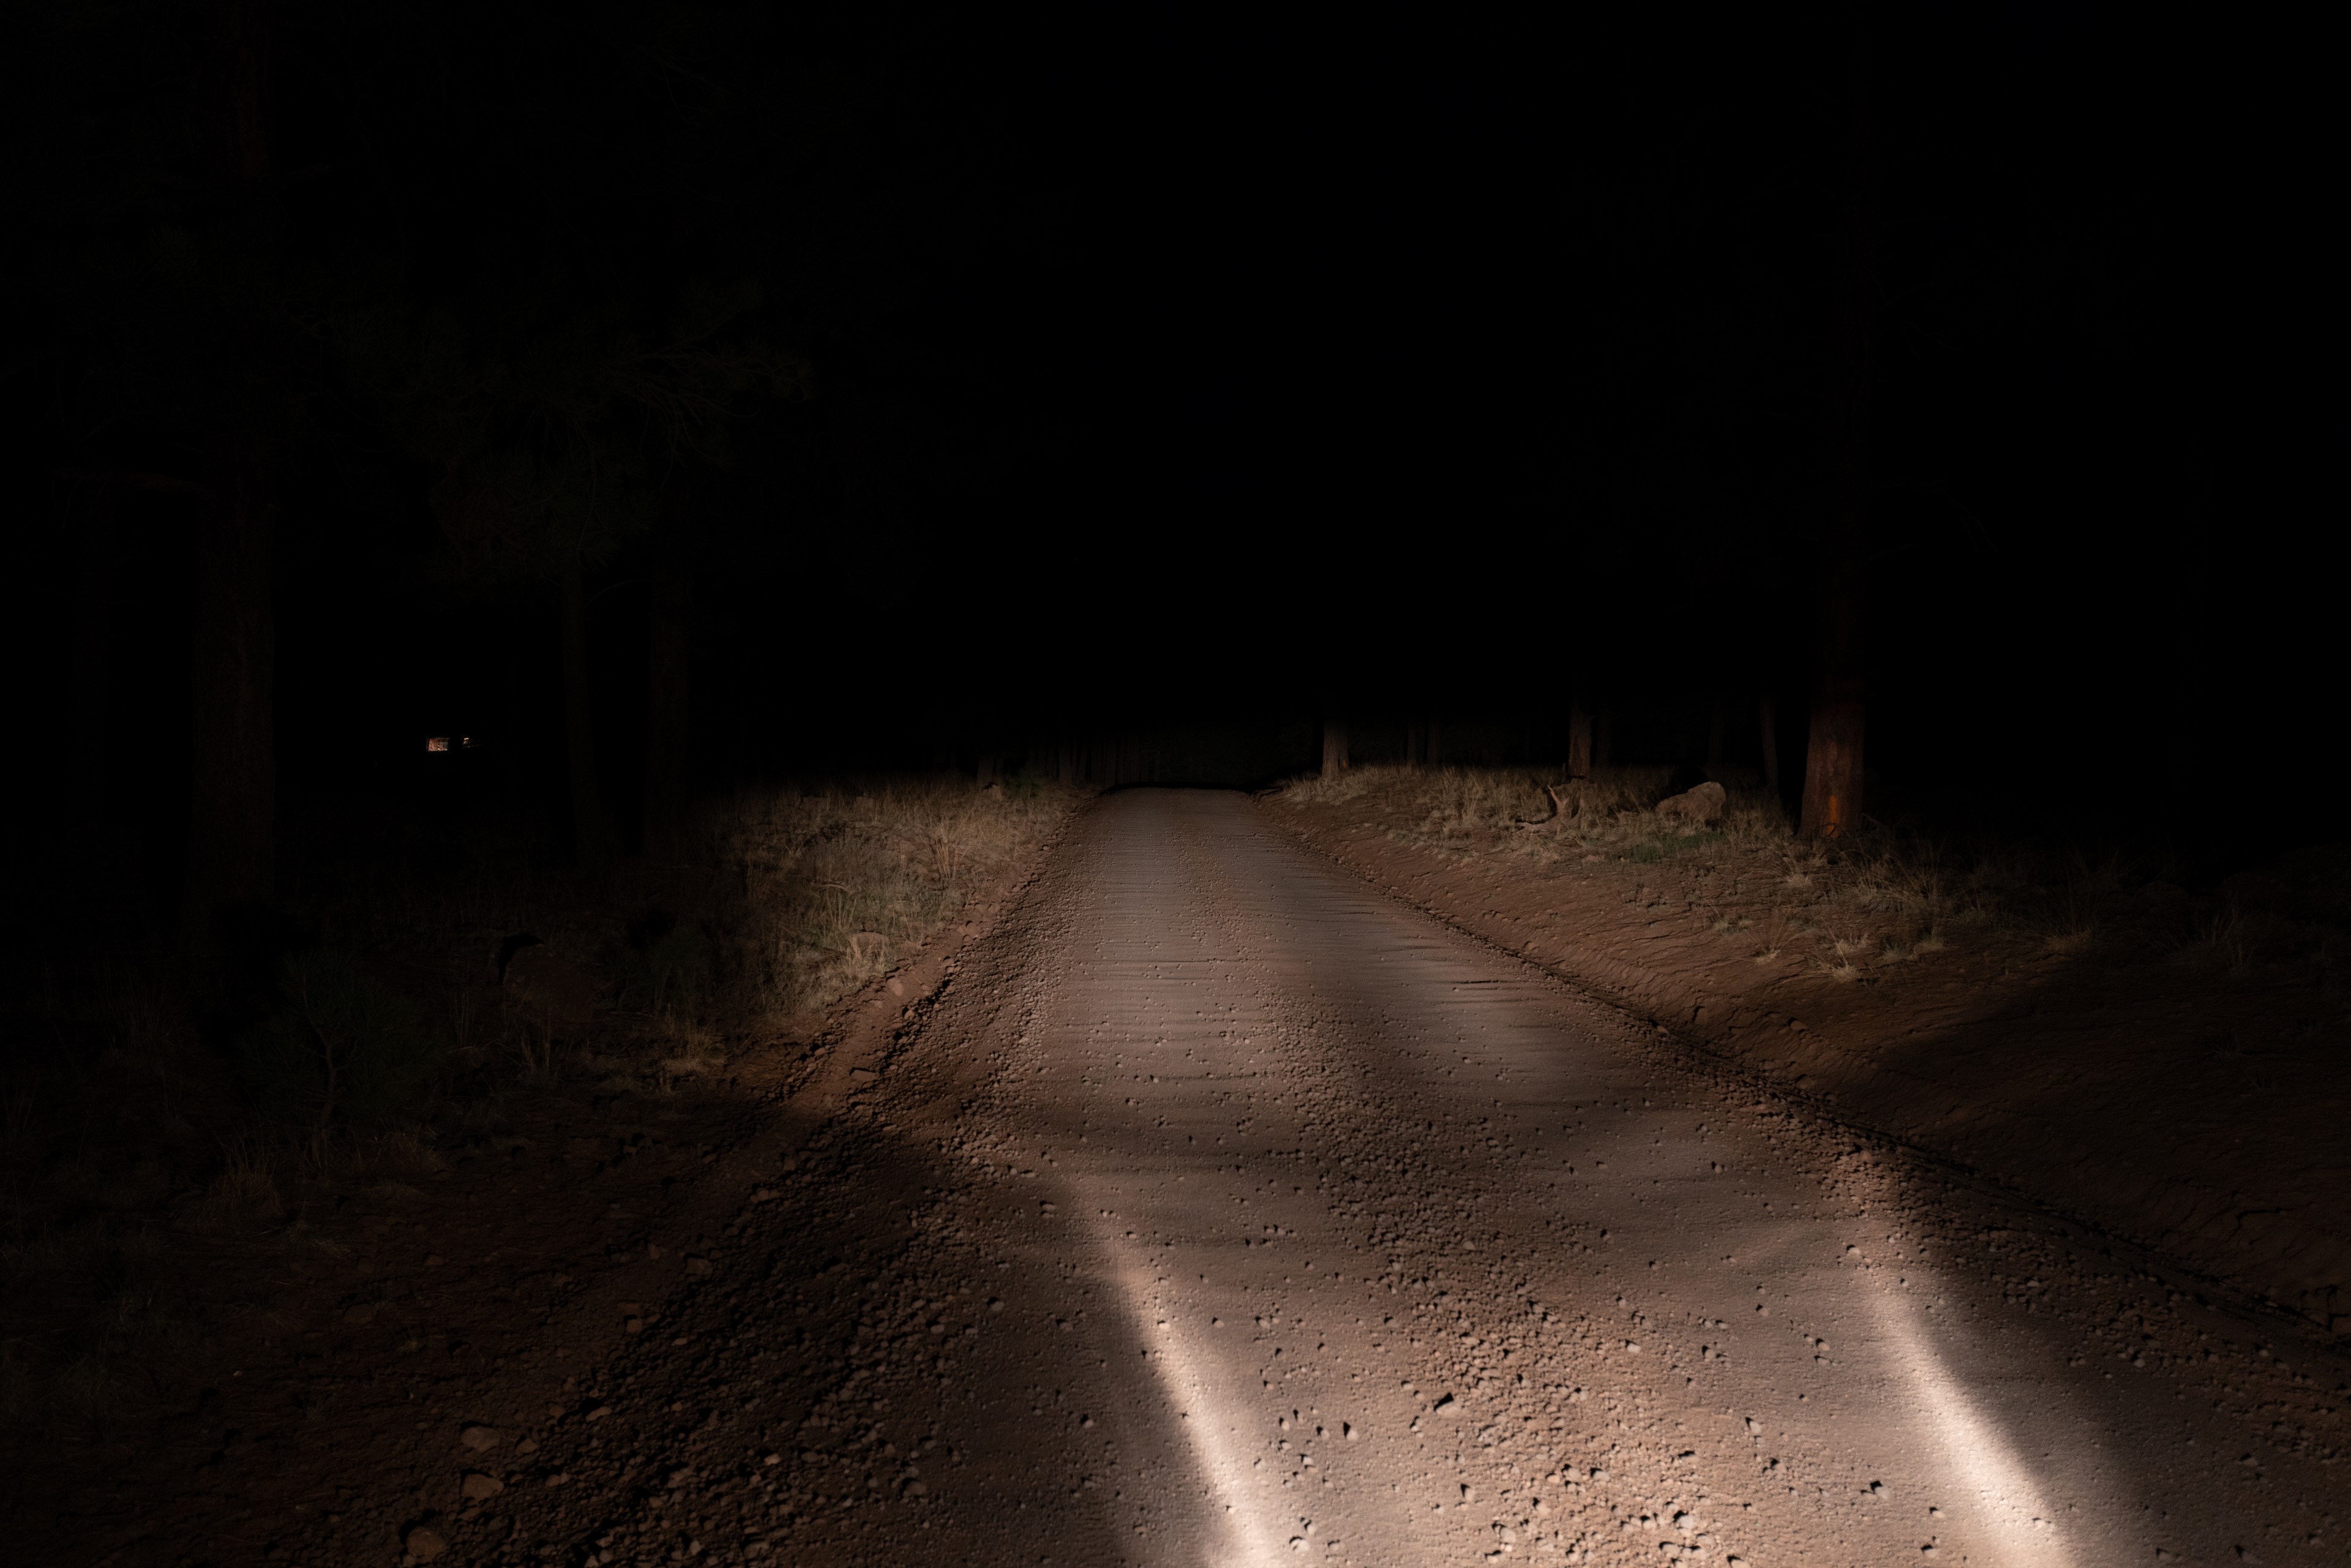
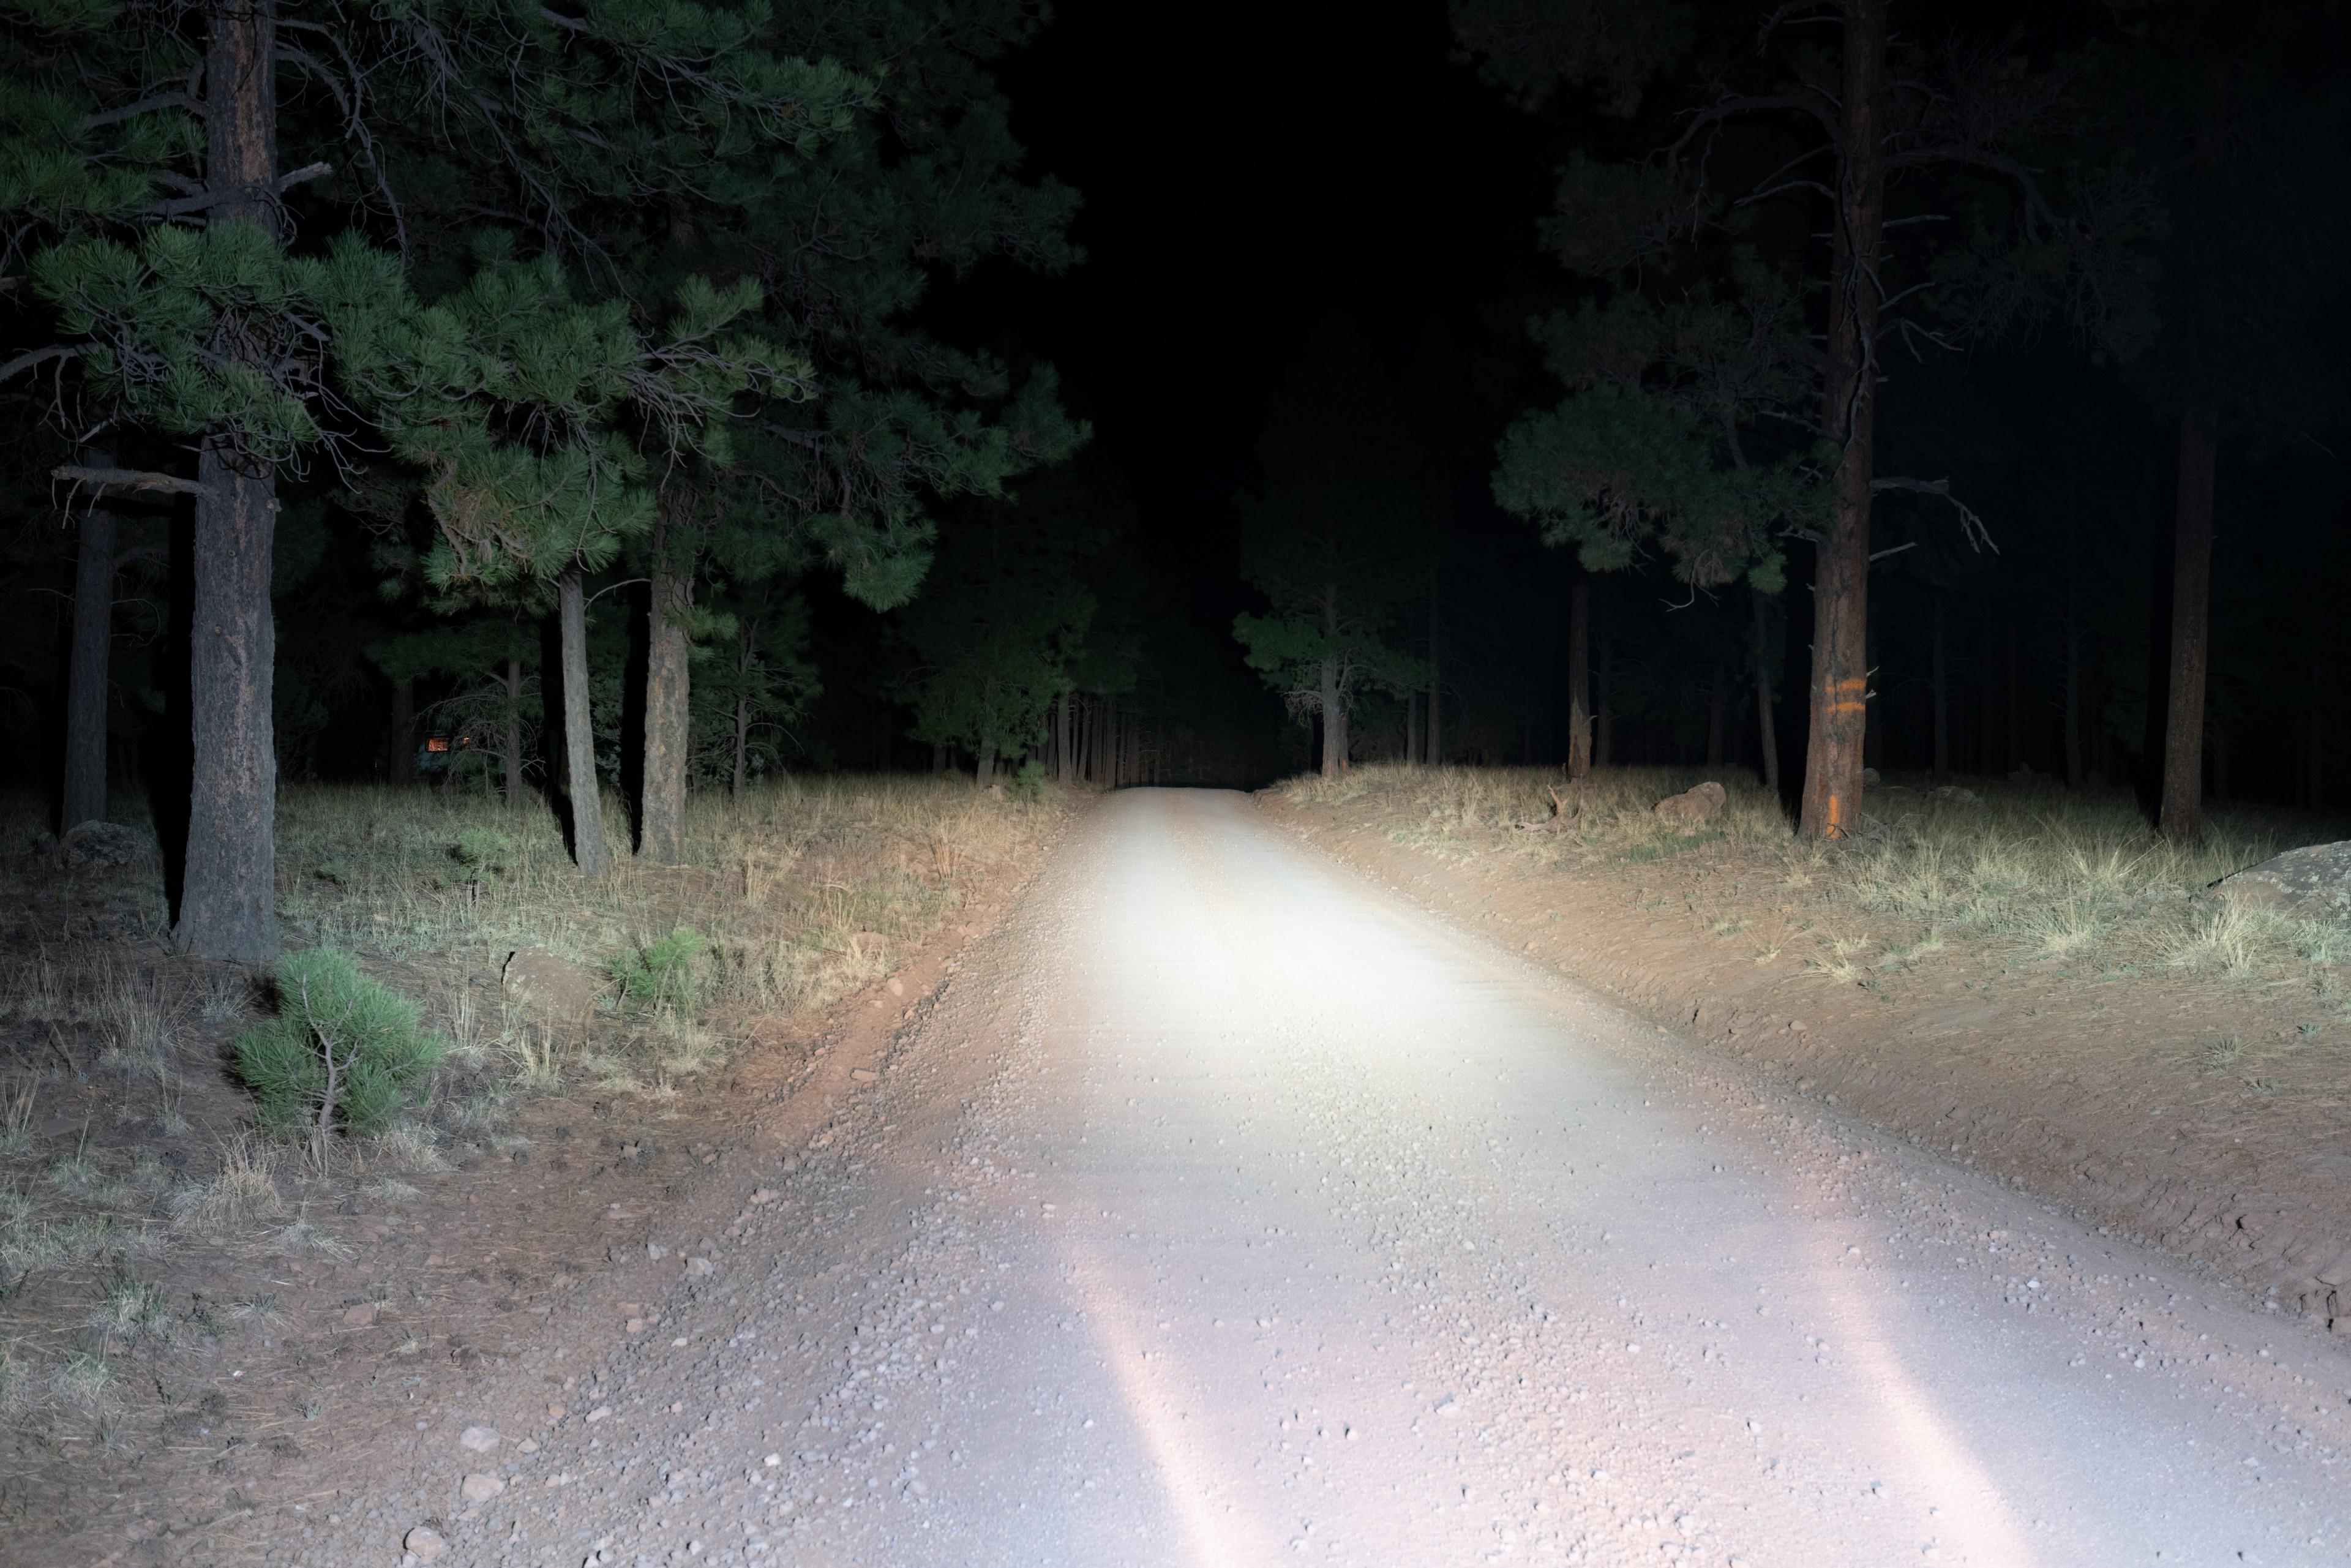
If you’ve ever tried to ride your dirtbike at night, chances are you’ve felt like you were outrunning your lights unless you were idling along in first gear. Never mind the additional challenge that comes from only being able to see where your front tire and headlight are pointed. Yet, with an S2 on your helmet, you can confidently navigate at night with plenty of light that is always pointed in the same direction that you’re looking. Having this light is a huge comfort and confidence boost that will help you find your way and safely navigate the trail, road, or wherever you happen to be riding – being able to see is critical if you choose to play outside at night.
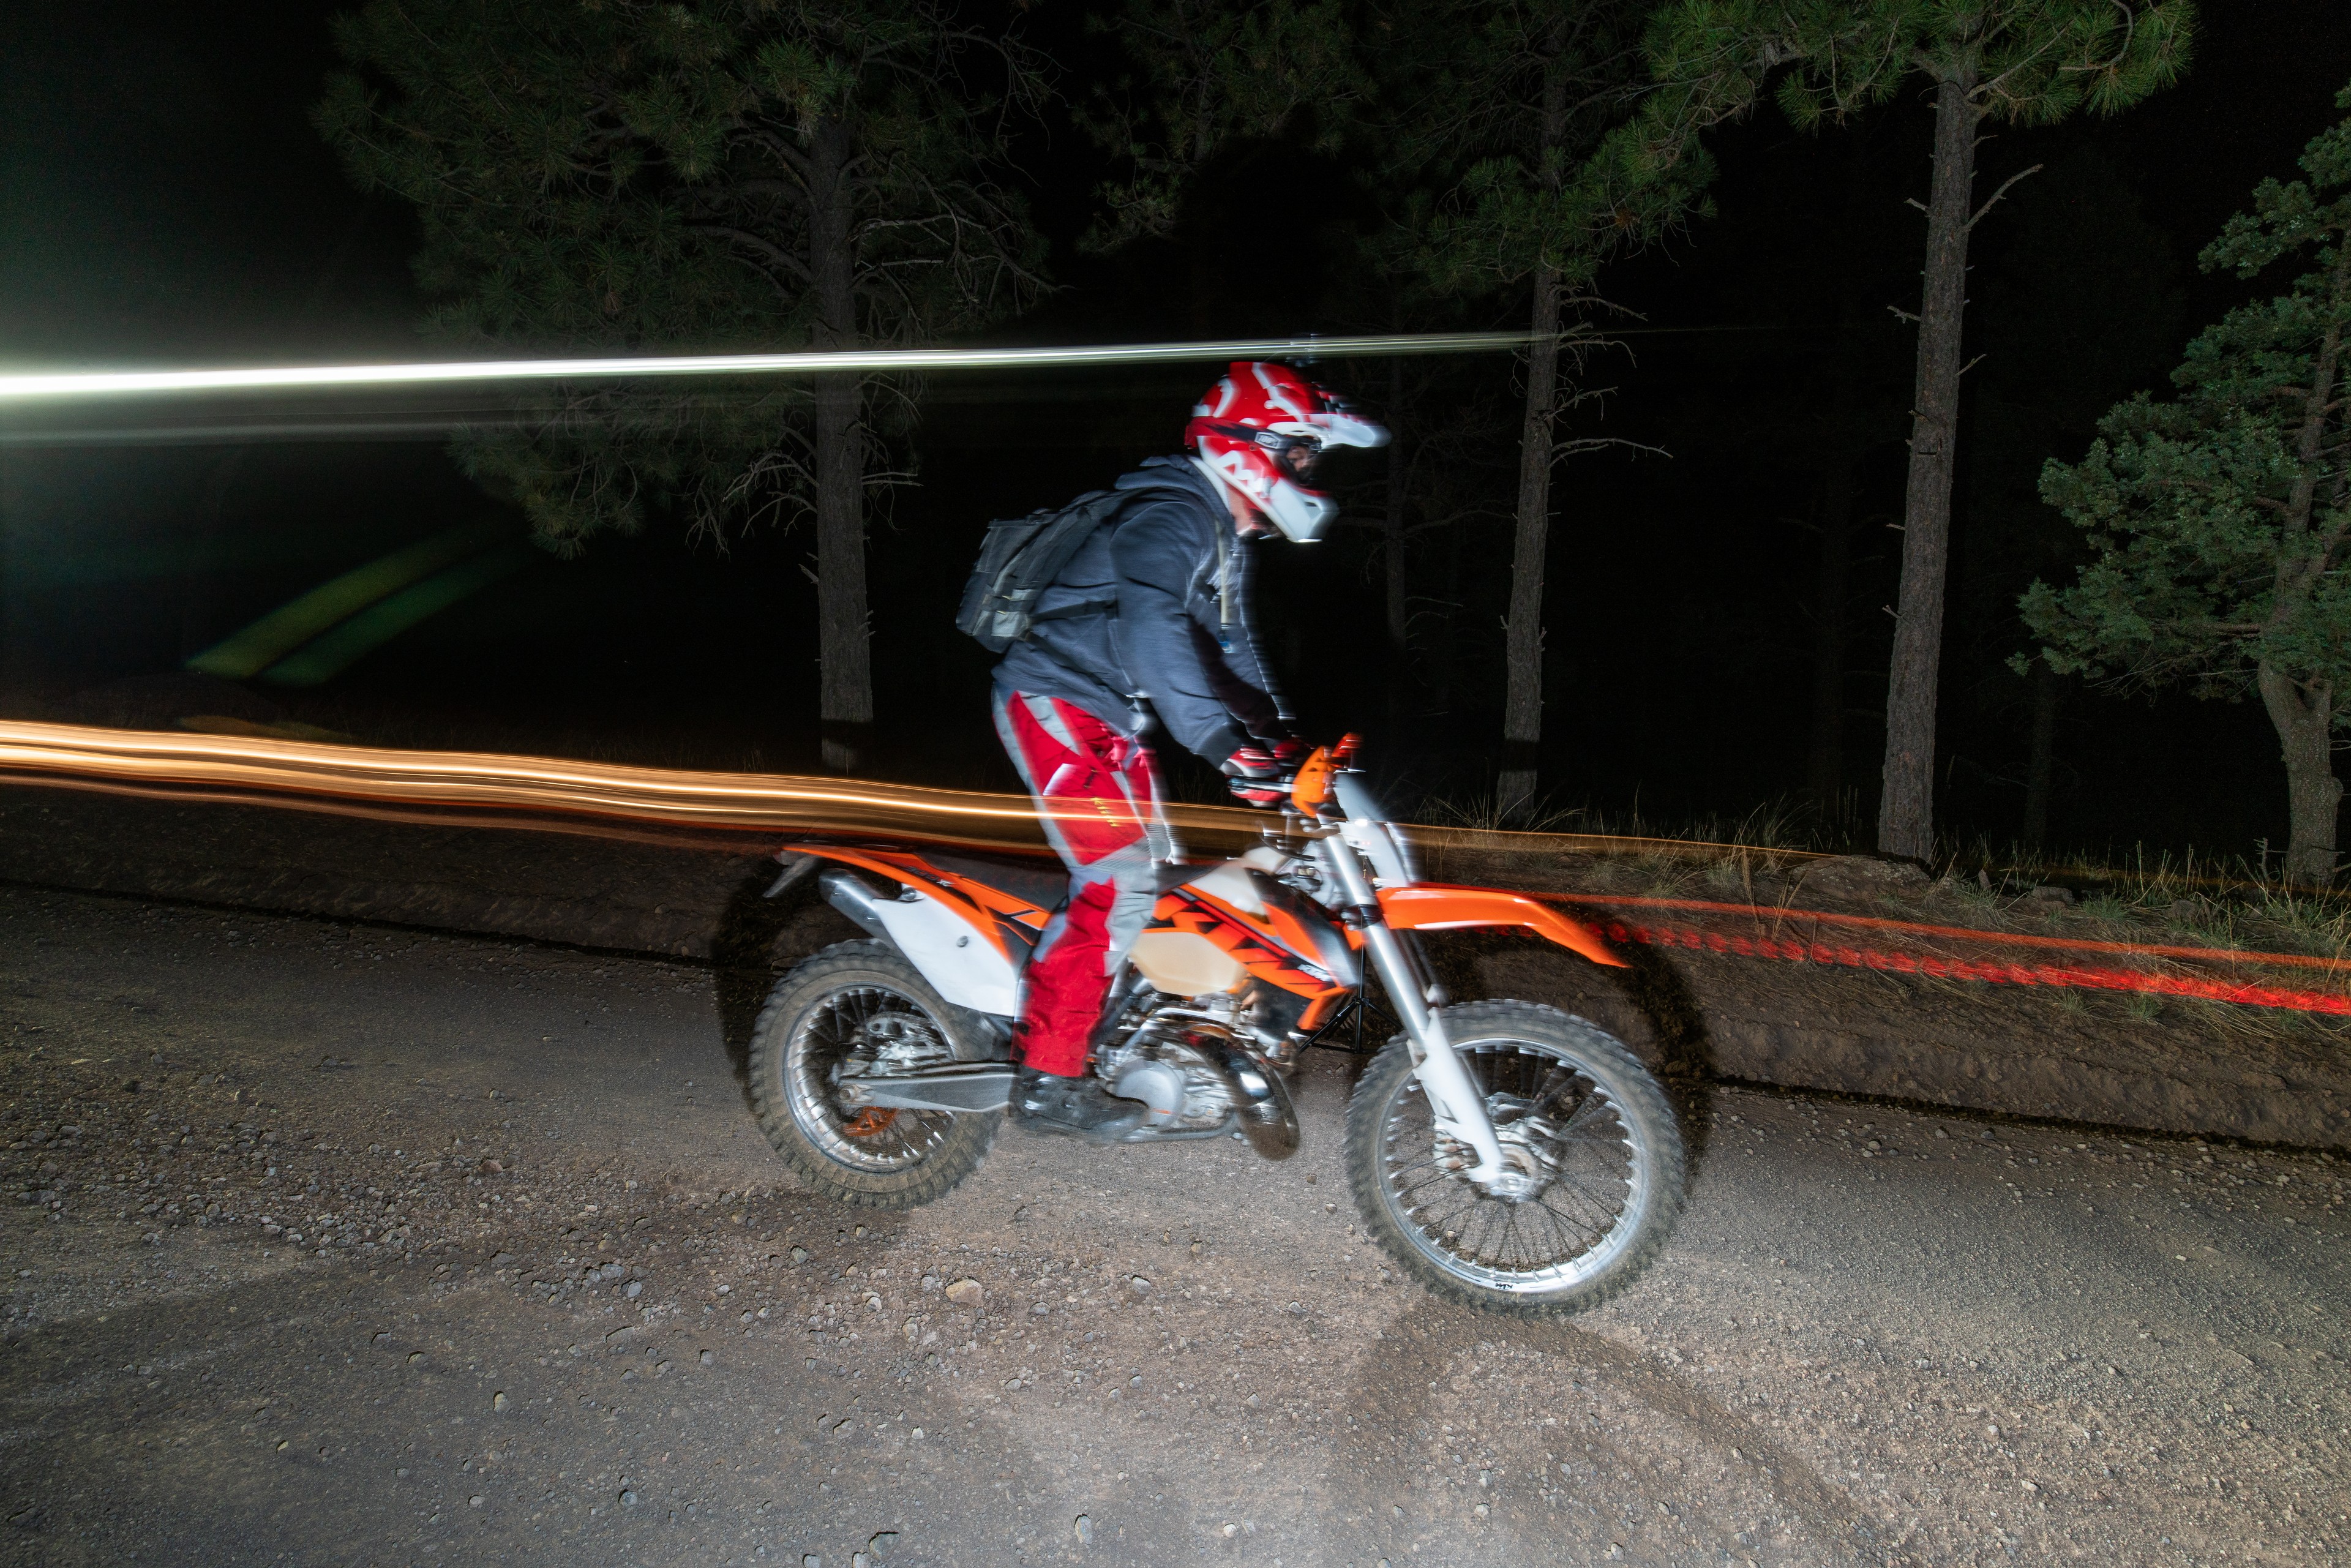
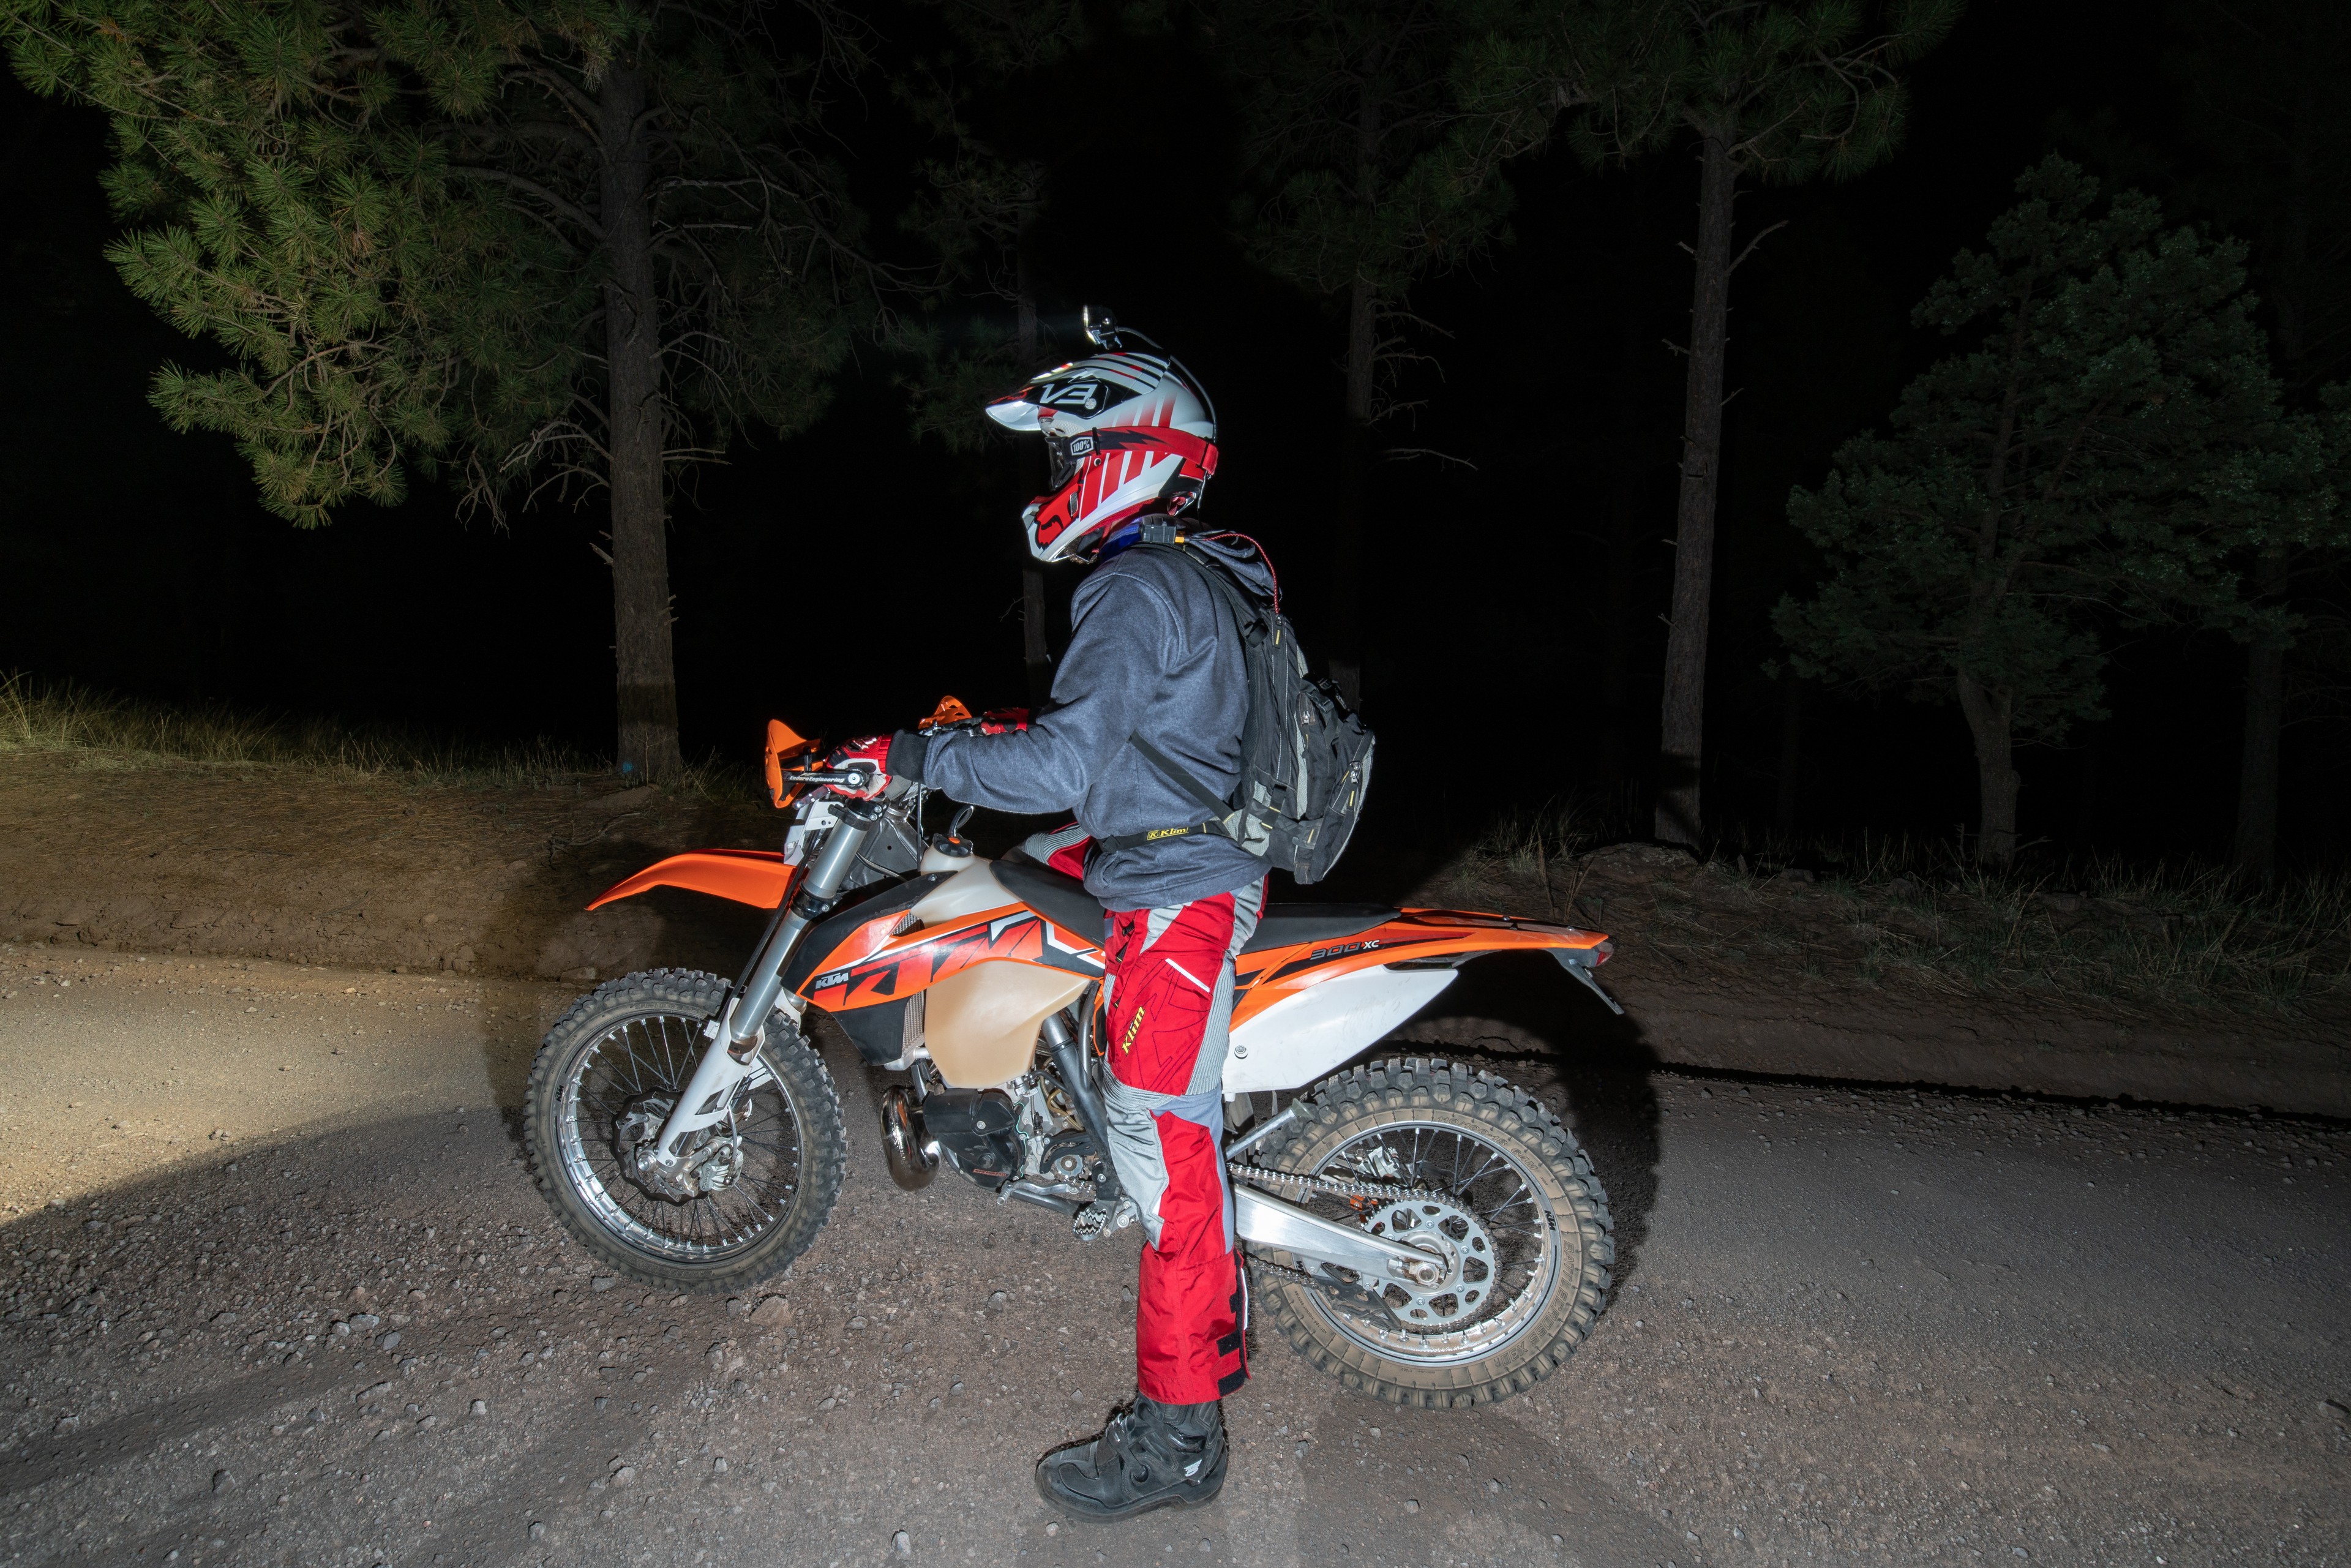
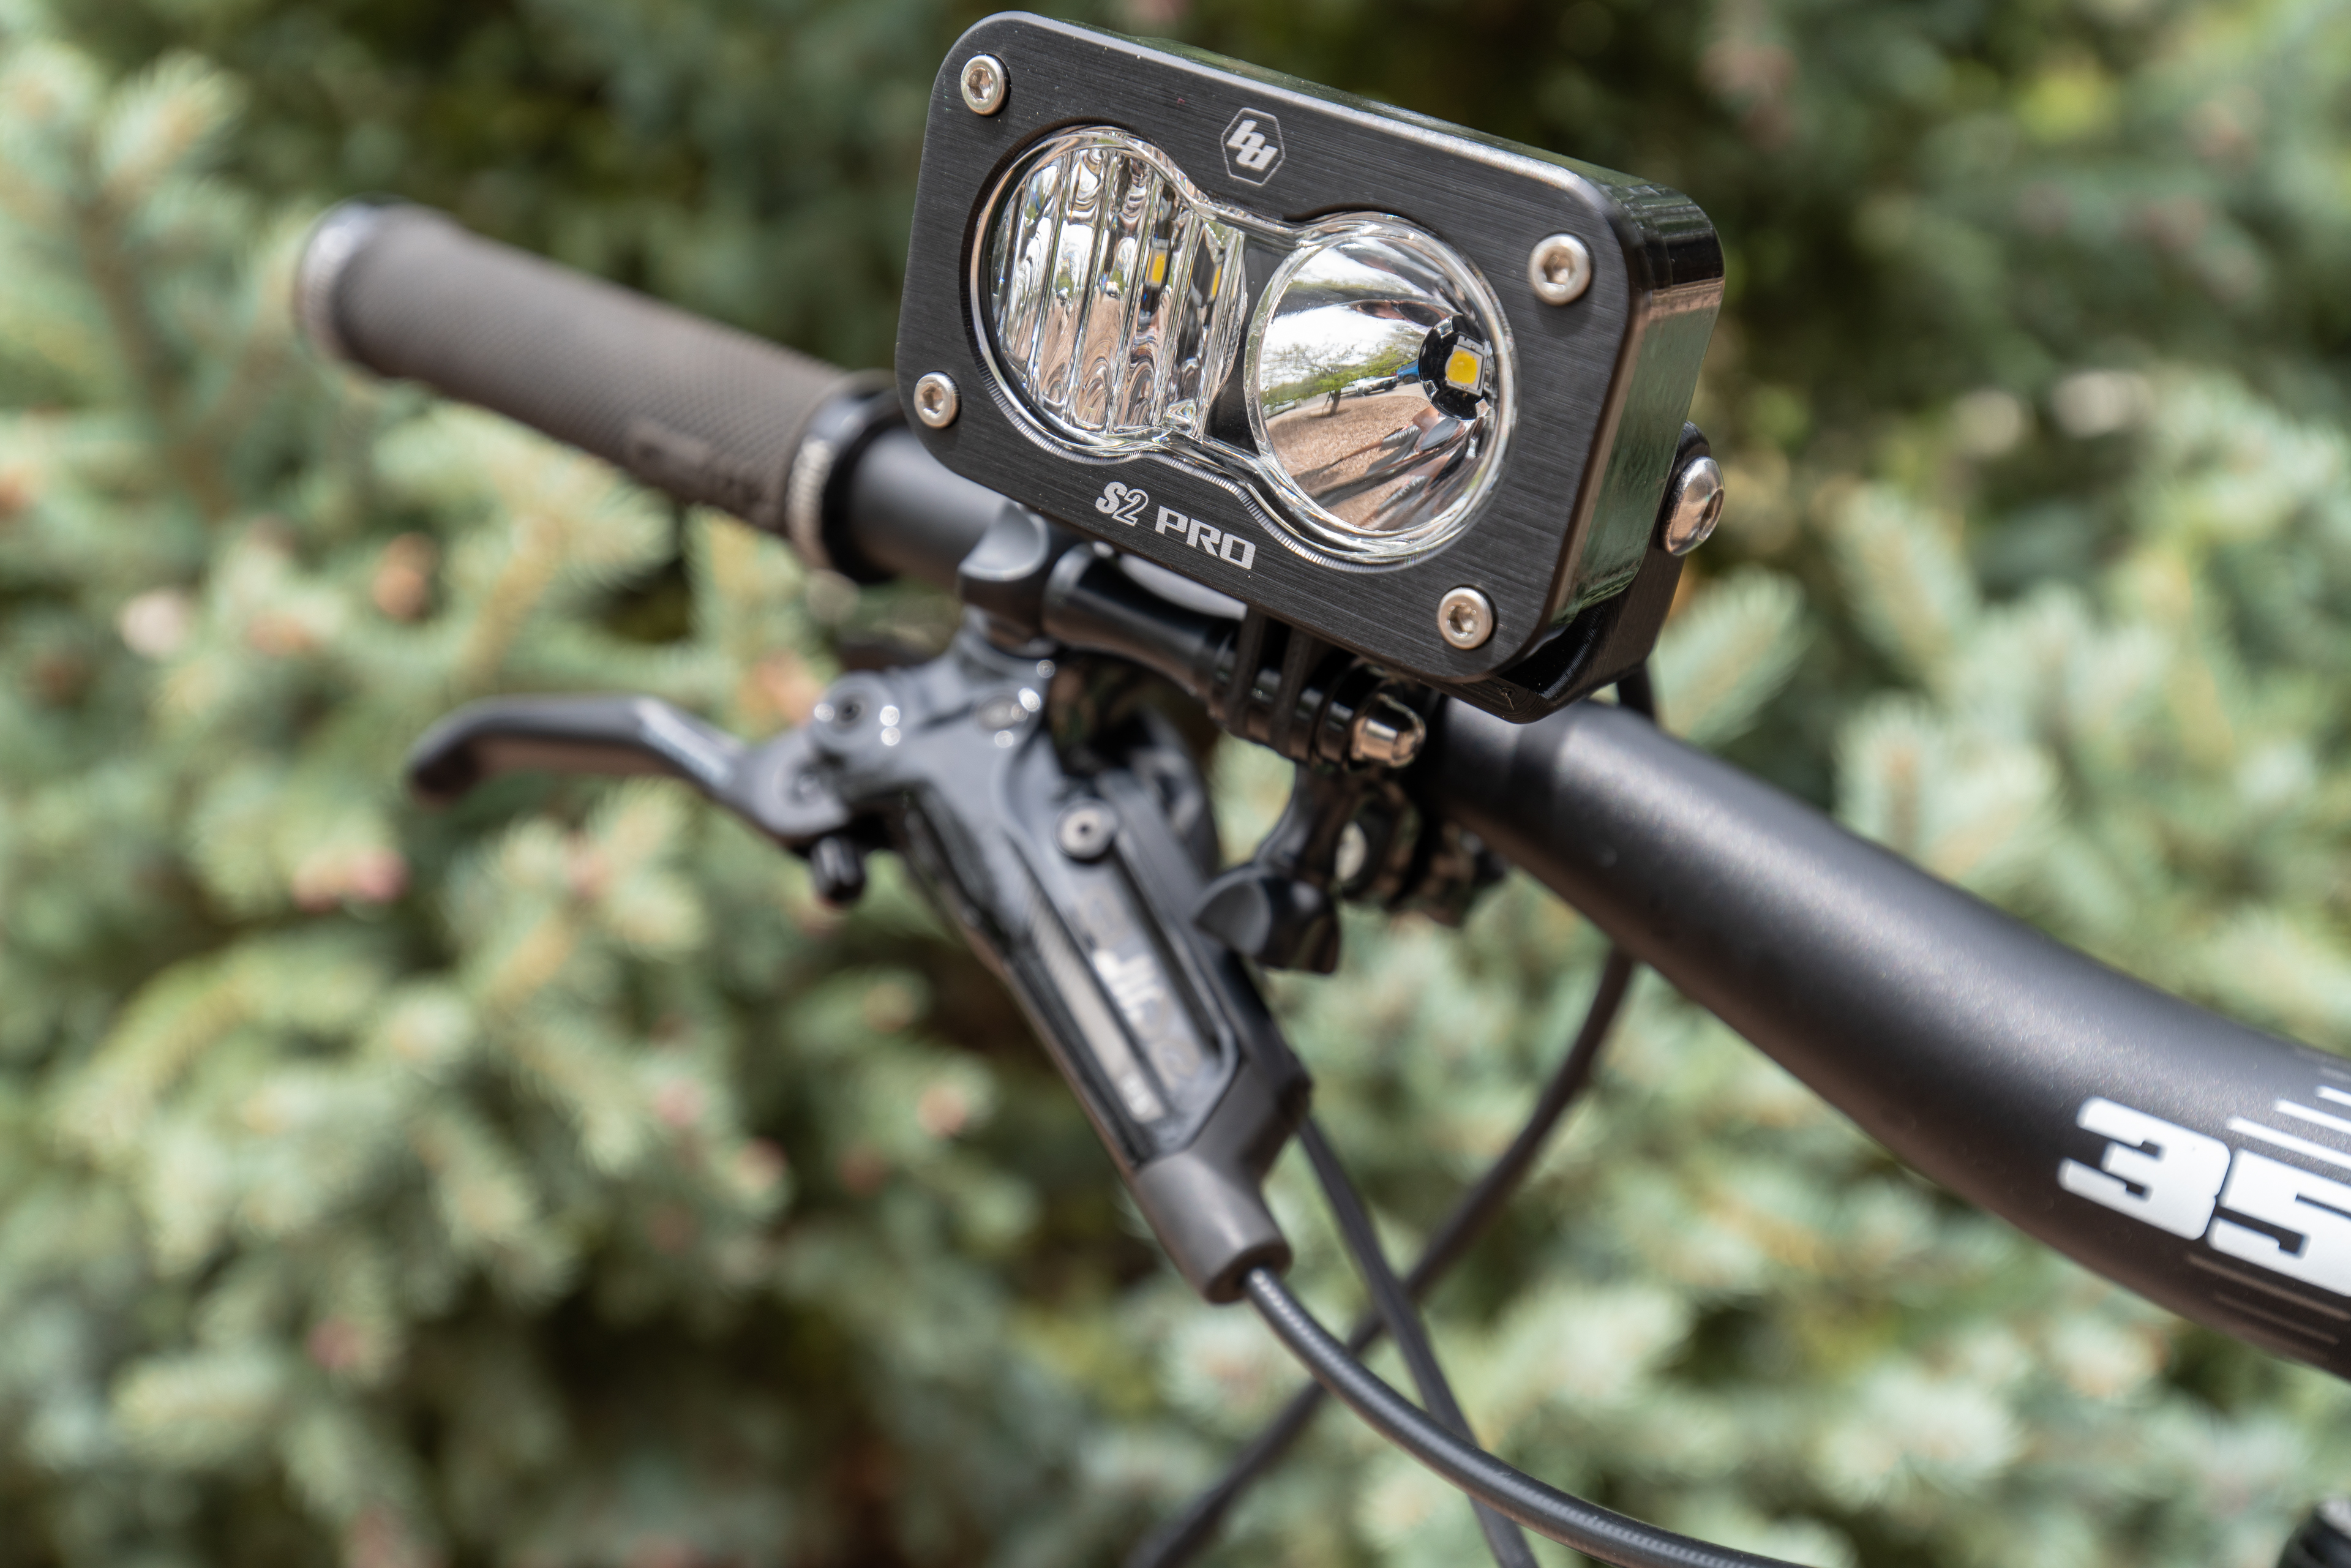
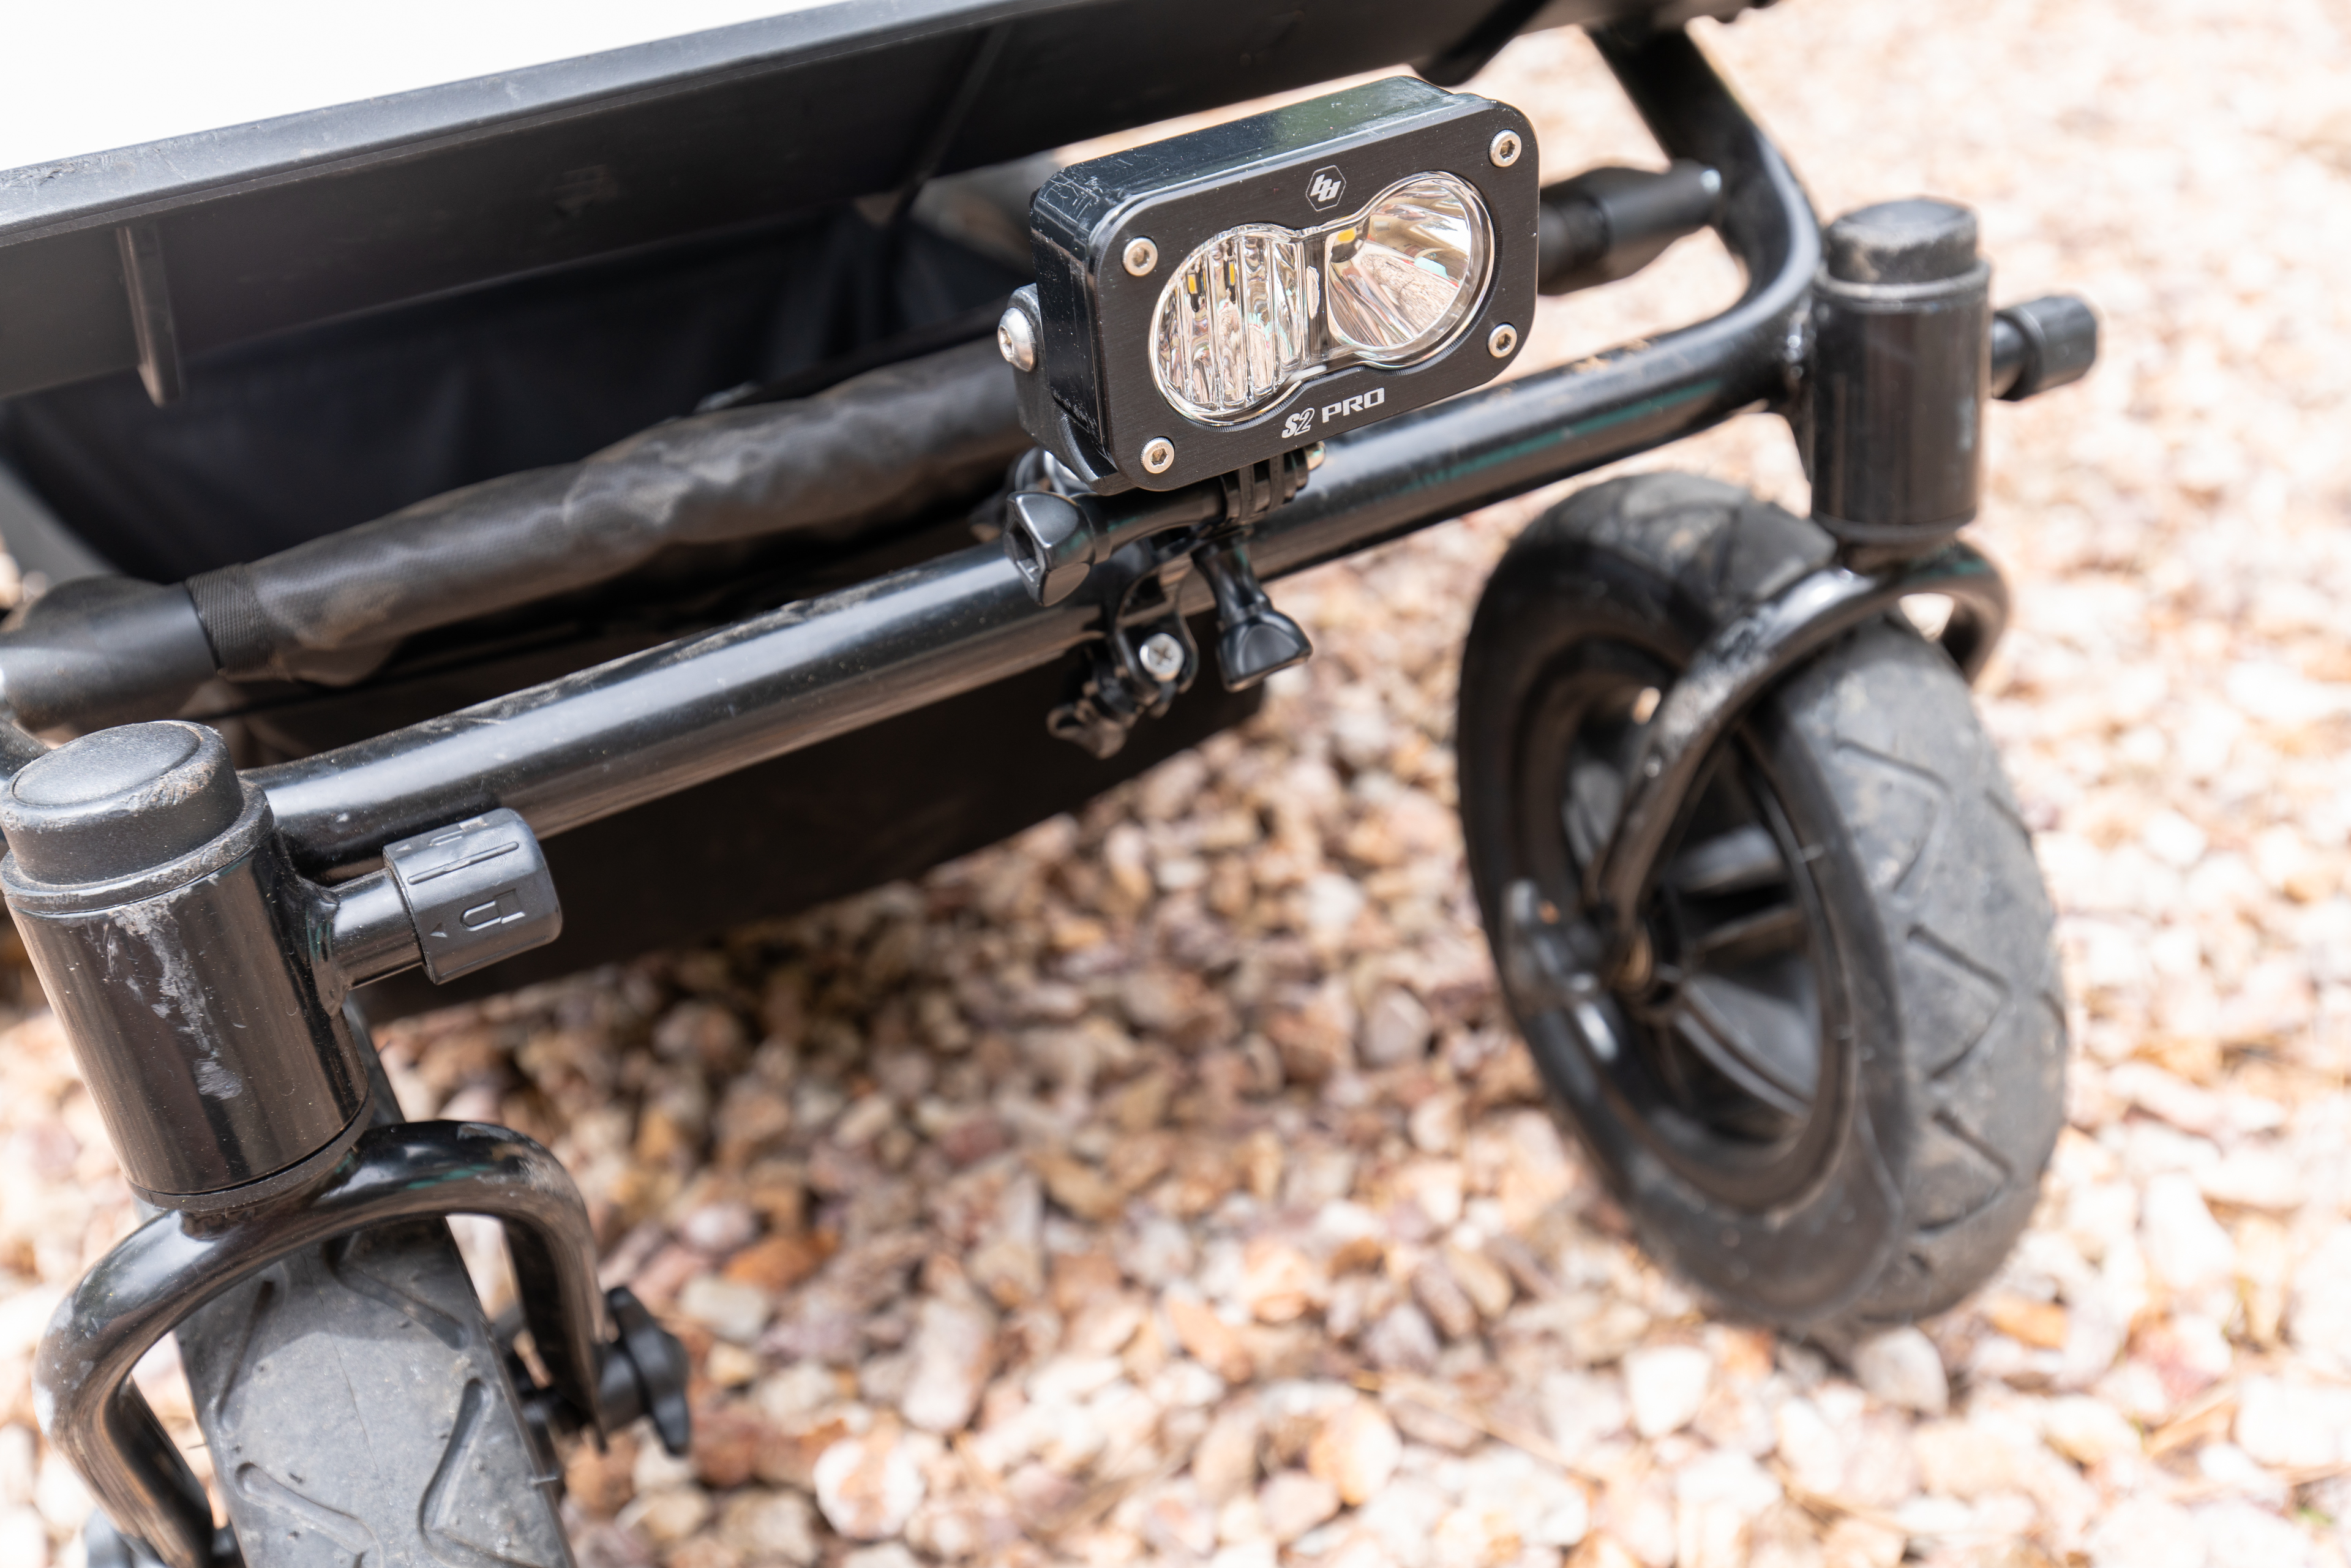
When you make it back to your truck, you can swap the S2 over to a different mount in a matter of seconds and have ample light to make the process of loading your bike in the dark as easy as doing it in the daytime. This GoPro compatable S2 Pro has become something I find myself using constantly – from the obvious uses of sports at night, to working around camp and the shop, having powerful light that I can truly mount anywhere is invaluable. Do yourself a favor a make one of these lights.
Full Disclosure: Baja Designs provided the S2 Pro used in this article at no charge to American Adventurist or the author. All other equipment, tools, and parts used to build this light were purchased by the author.
Disclaimer: You’re responsible for yourself and your actions, so if you blow up a battery, melt your hand with a soldering iron, or do anything bad as a result of reading this article – that’s on you. American Adventurist, Chad de Alva, and Baja Designs can’t be held responsible. Only you can prevent stupid.
