No matter where you live in America, every region has the potential for disaster. Pick your state, choose your fate. Blizzard. Earthquake. Hurricane. Tsunami. Fire. Gridlock. Volcano. Flood. Add in the potential for man-made drama and you’ll agree that it’s wise to stop and think about these problem sets, and how to prevail during the inevitable follow-on effects.
What are YOU going to do in the event that you can’t simply drive home from work one day? Or, what if it’s not even disaster related? What if you’re simply stranded and have to walk home to survive? A well-equipped bug out bag, and some prior planning can greatly increase your odds of making it to safety.
For some, the topic of a “Bug Out Bag” or “72 Hour Bag” can be polarizing. Building and consistently carrying what I prefer to call a Go Bag is a personal decision that warrants some discretion. With so many experts and so much information already out there, the best advice I can give anyone is to do their own research before buying anything.
Know Your Environment
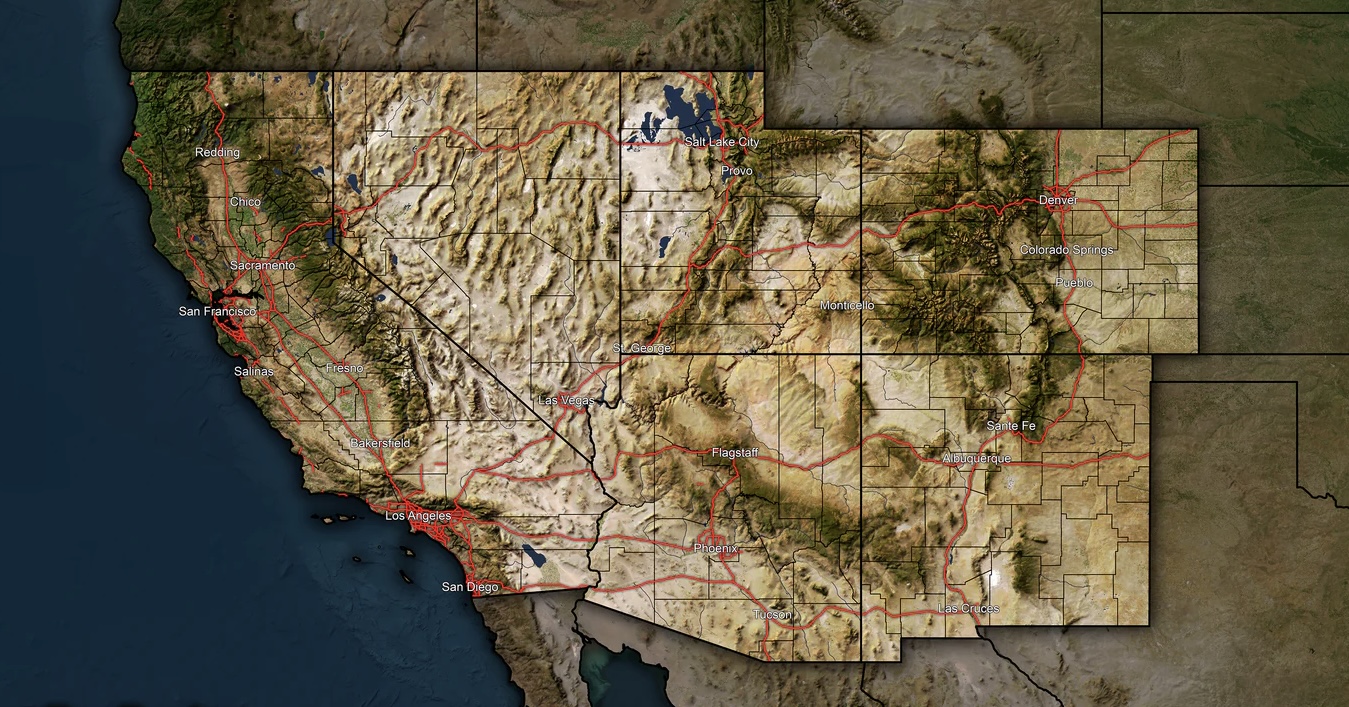
First, get smart on your region. Are you in a big city? Out in the country? WAY out in the backcountry? Somewhere between?
A detailed Area Study of where you live allows you to better analyze and predict what the first, second. and third order effects of a disaster will be.
An area study covers the following:
- Area of Operations (AO) Overview
- Area of Interest (AI) Overview
- Route Maps of AO/AI
- Physical Terrain & Weather
- Human Terrain
- Critical Infrastructure
- Politics & Governance
- Security & Law Enforcement
- Economy
- Threat Overview
These facts, along with your own personal skillset and budget should determine how you proceed. Keep in mind that the ability to grab it and GO, to leave quickly with the right gear, is the predominant concern here.
Remember, when the disaster strikes we’re only about three missed meals away from mayhem in most parts of this country. Ask anyone in Florida how people act before and after a major hurricane. Your ability to get home ASAP is critical. You likely have family or even a beloved pet depending on your safe return home.
Truth is, there is no magic “one size fits all” solution here, and many online retailers will attempt to sell you a readymade bug out bag with all the “right” Chinesium ingredients conveniently included. I strongly recommend that you avoid that rookie mistake, save yourself some money, and build your own purpose built bag. Start with the things you already have on hand and plan for survival.
Choosing The Right Bag
First, pick a good bag with strong, comfortable straps that you can easily carry. Keep in mind that you will probably be walking for hours or even days to get home. Backpacks in the 30-50 L range are my personal go-to for this purpose.
Outfitter Prometheus Design Werx makes excellent, top-shelf packs in the 24 L range, especially if you are trying to keep it fast and light, or if you are a smaller human. Their packs are hyper-focused on EDC efficiency with numerous well thought out refinements and excellent ergonomics. Waist belts are included with their packs and can be easily and quickly removed if needed.


As a primary Go Bag, their original S.H.A.D.O. (S.uspension, H.aul, A.ccess, D.urability, O.rganized.) pack in the 28 L size is my go-to for airline carry-on use and has served well for several years now. It’s a front loading, easy to carry design that has decent capacity, with the “gear trap” tail flap adding real utility for carrying extra clothing or equipment on the outside of the pack. Sadly, they no longer make this #unobtainium size but I’m hopeful that they will offer something in the 30 L (or more) range one day.

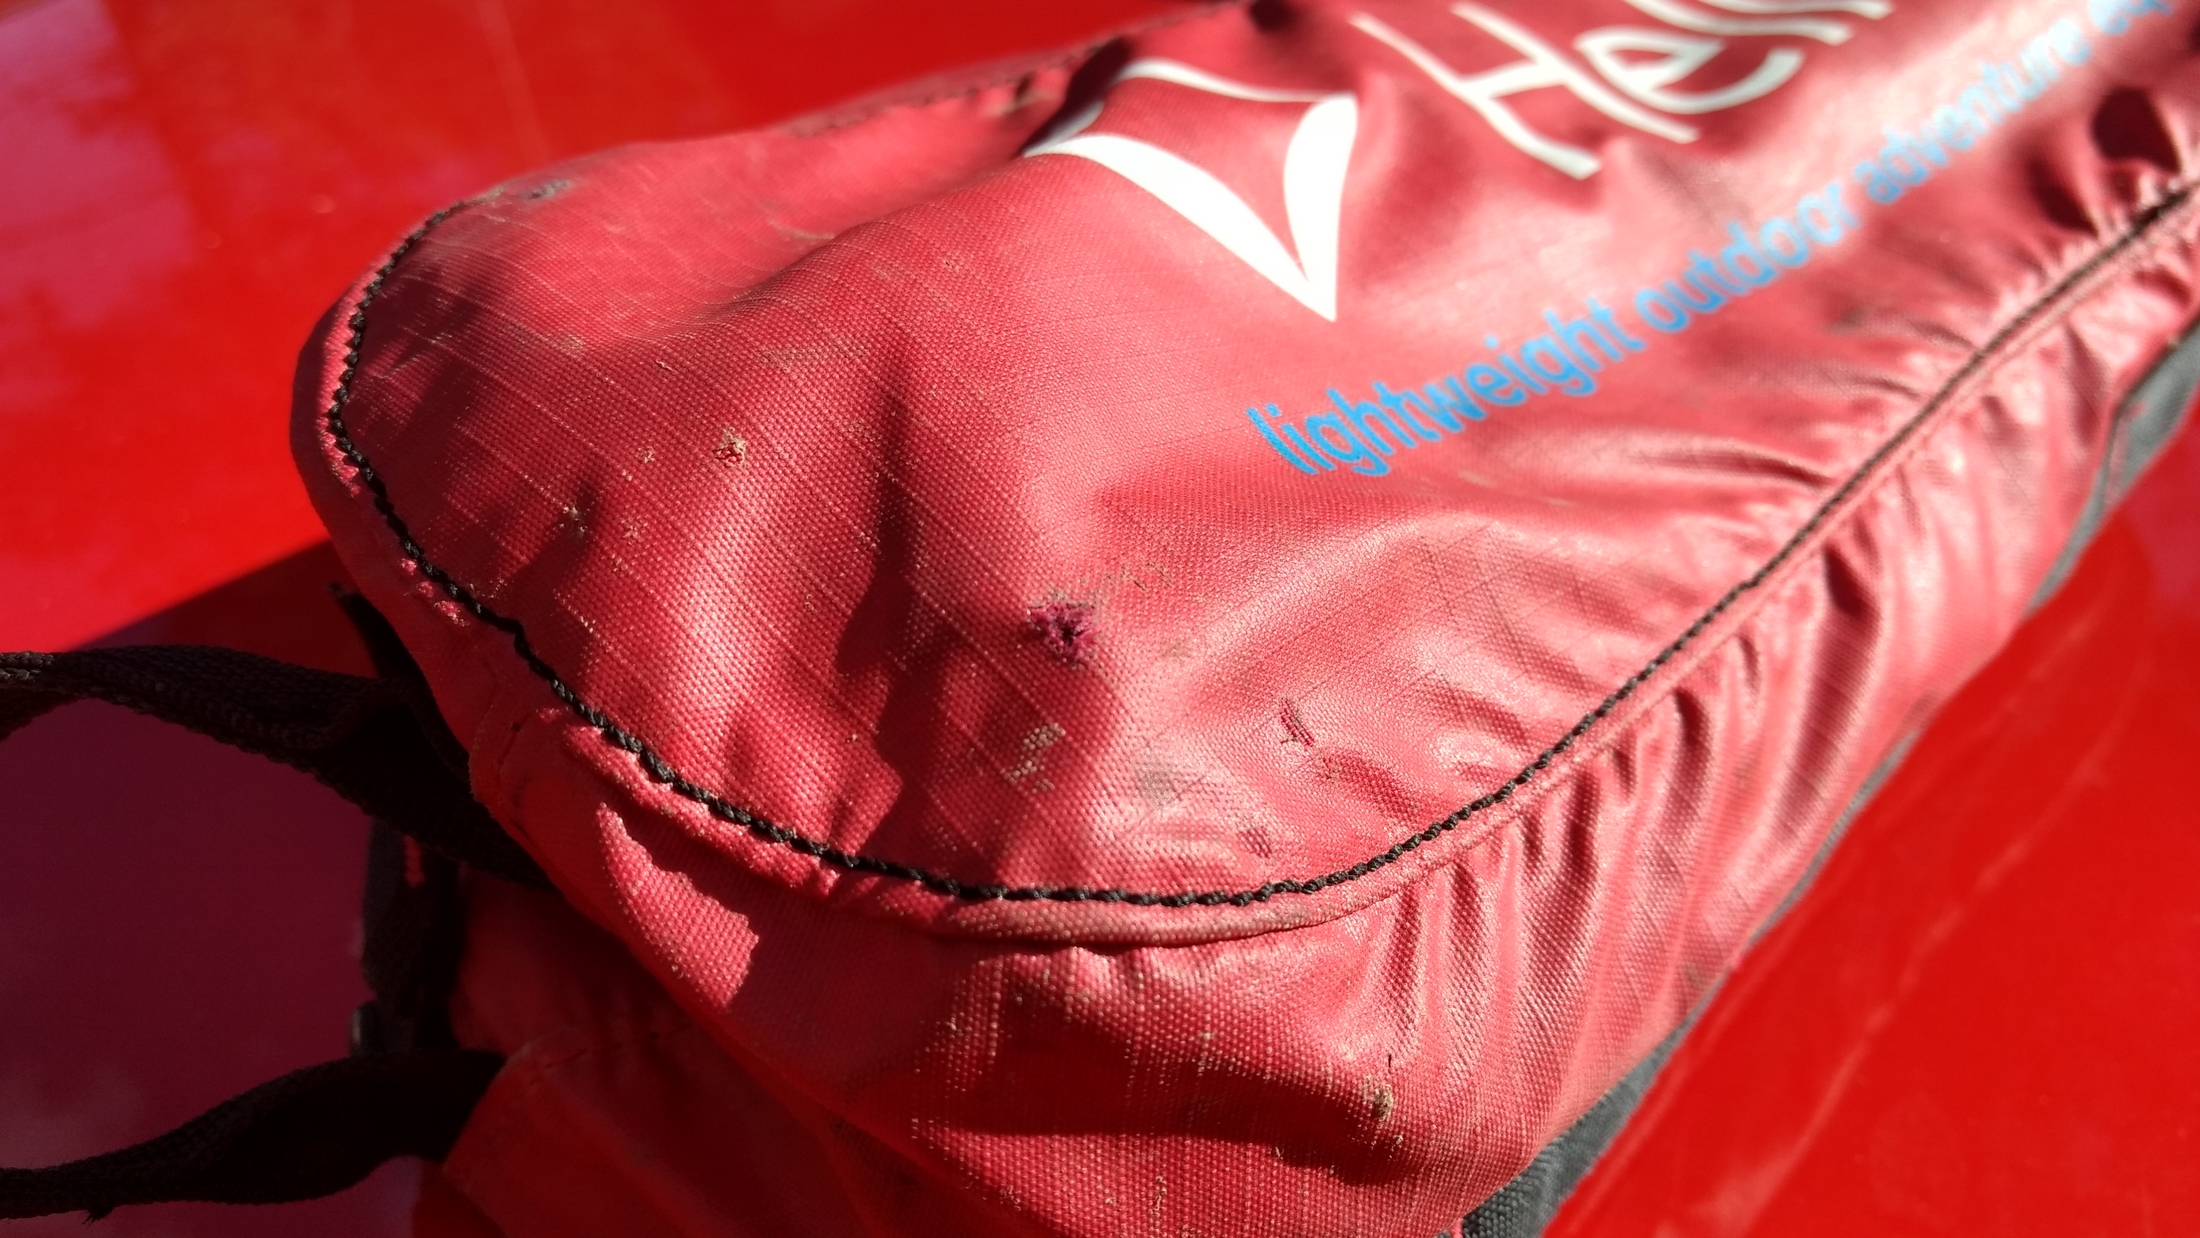
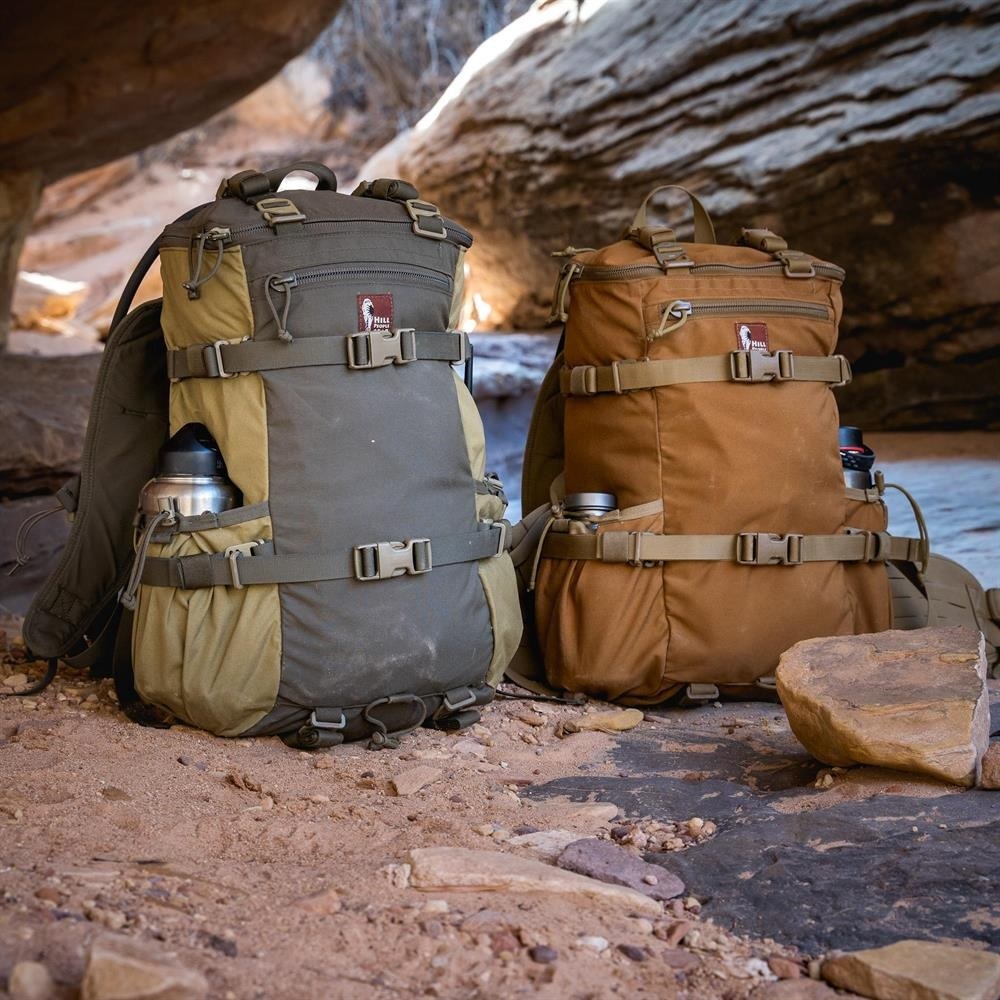
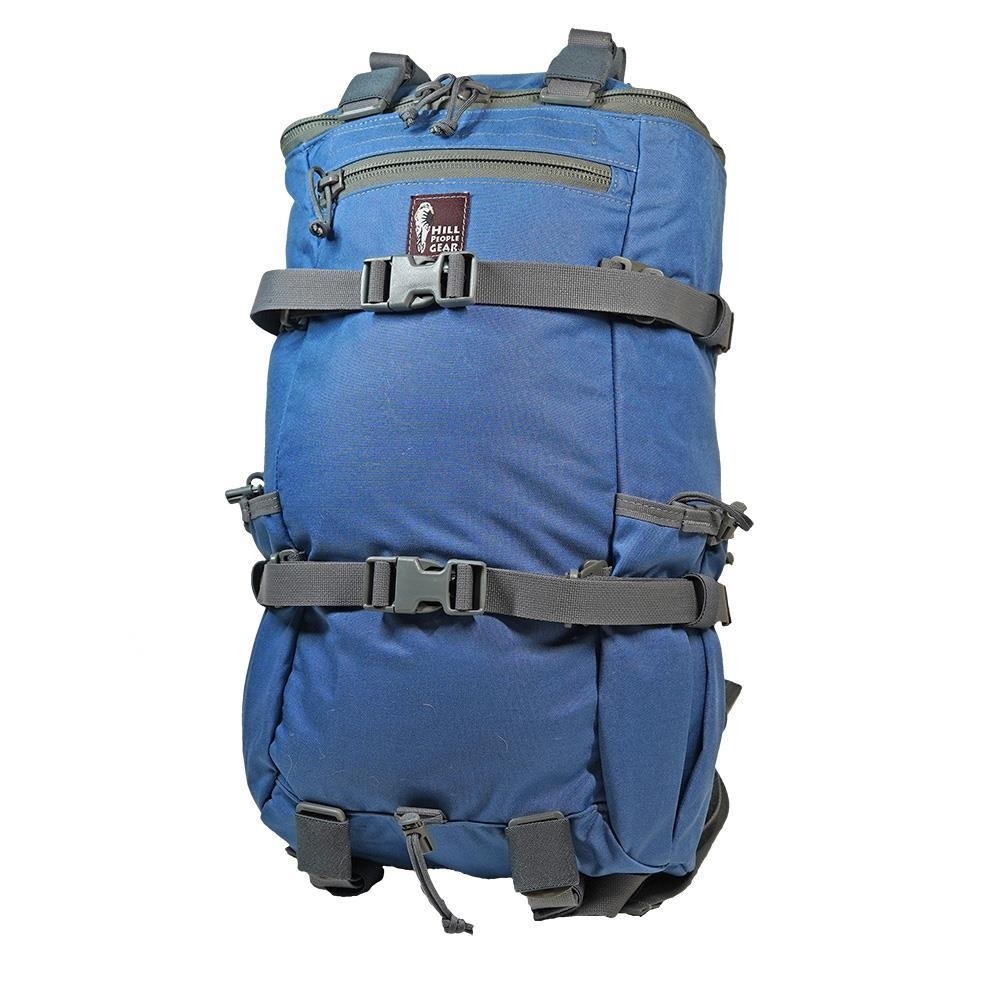
Keep your Go Bag with you as you commute, and especially if you are on a long trip. Use it on day hikes if you’re on vacation or out camping. Familiarity with its size, weight, and contents will enhance your confidence as well as your knowledge of any limitations. I’m also a big fan of Hill People Gear. Their Umlindi might be the ultimate for an “all around” Go Bag, and I’m on the wait list for one as of this writing.
One important thing to consider when selecting a bag is how loud is it? We’re not talking about Bluetooth speaker enabled, I mean does it draw unwanted attention? Does it look expensive? Is it brightly colored or does it present a modest appearance? I am a HUGE fan of exotic camo patterns and gear, but I recommend trying not to use anything camouflage for a bug out bag. I’d also avoid Road Cone Orange, Screaming Yellow Battle Chicken, or other obnoxious colorways. Unobtrusive is best when you are trying to go unnoticed and just get home.

Personally, I have a hard time avoiding military surplus gear. Mostly because that type of gear is purpose built for hard use and can be affordable as well as plentiful. It’s also what I’m comfortable using. So, since I suck at Gray Man things, I try to at least stick with solid earthtones like gray, brown, green, or black for my gear. I also prefer bags that are hydration bladder compatible. Being able to hydrate without stopping to fumble with a water bottle is nice.
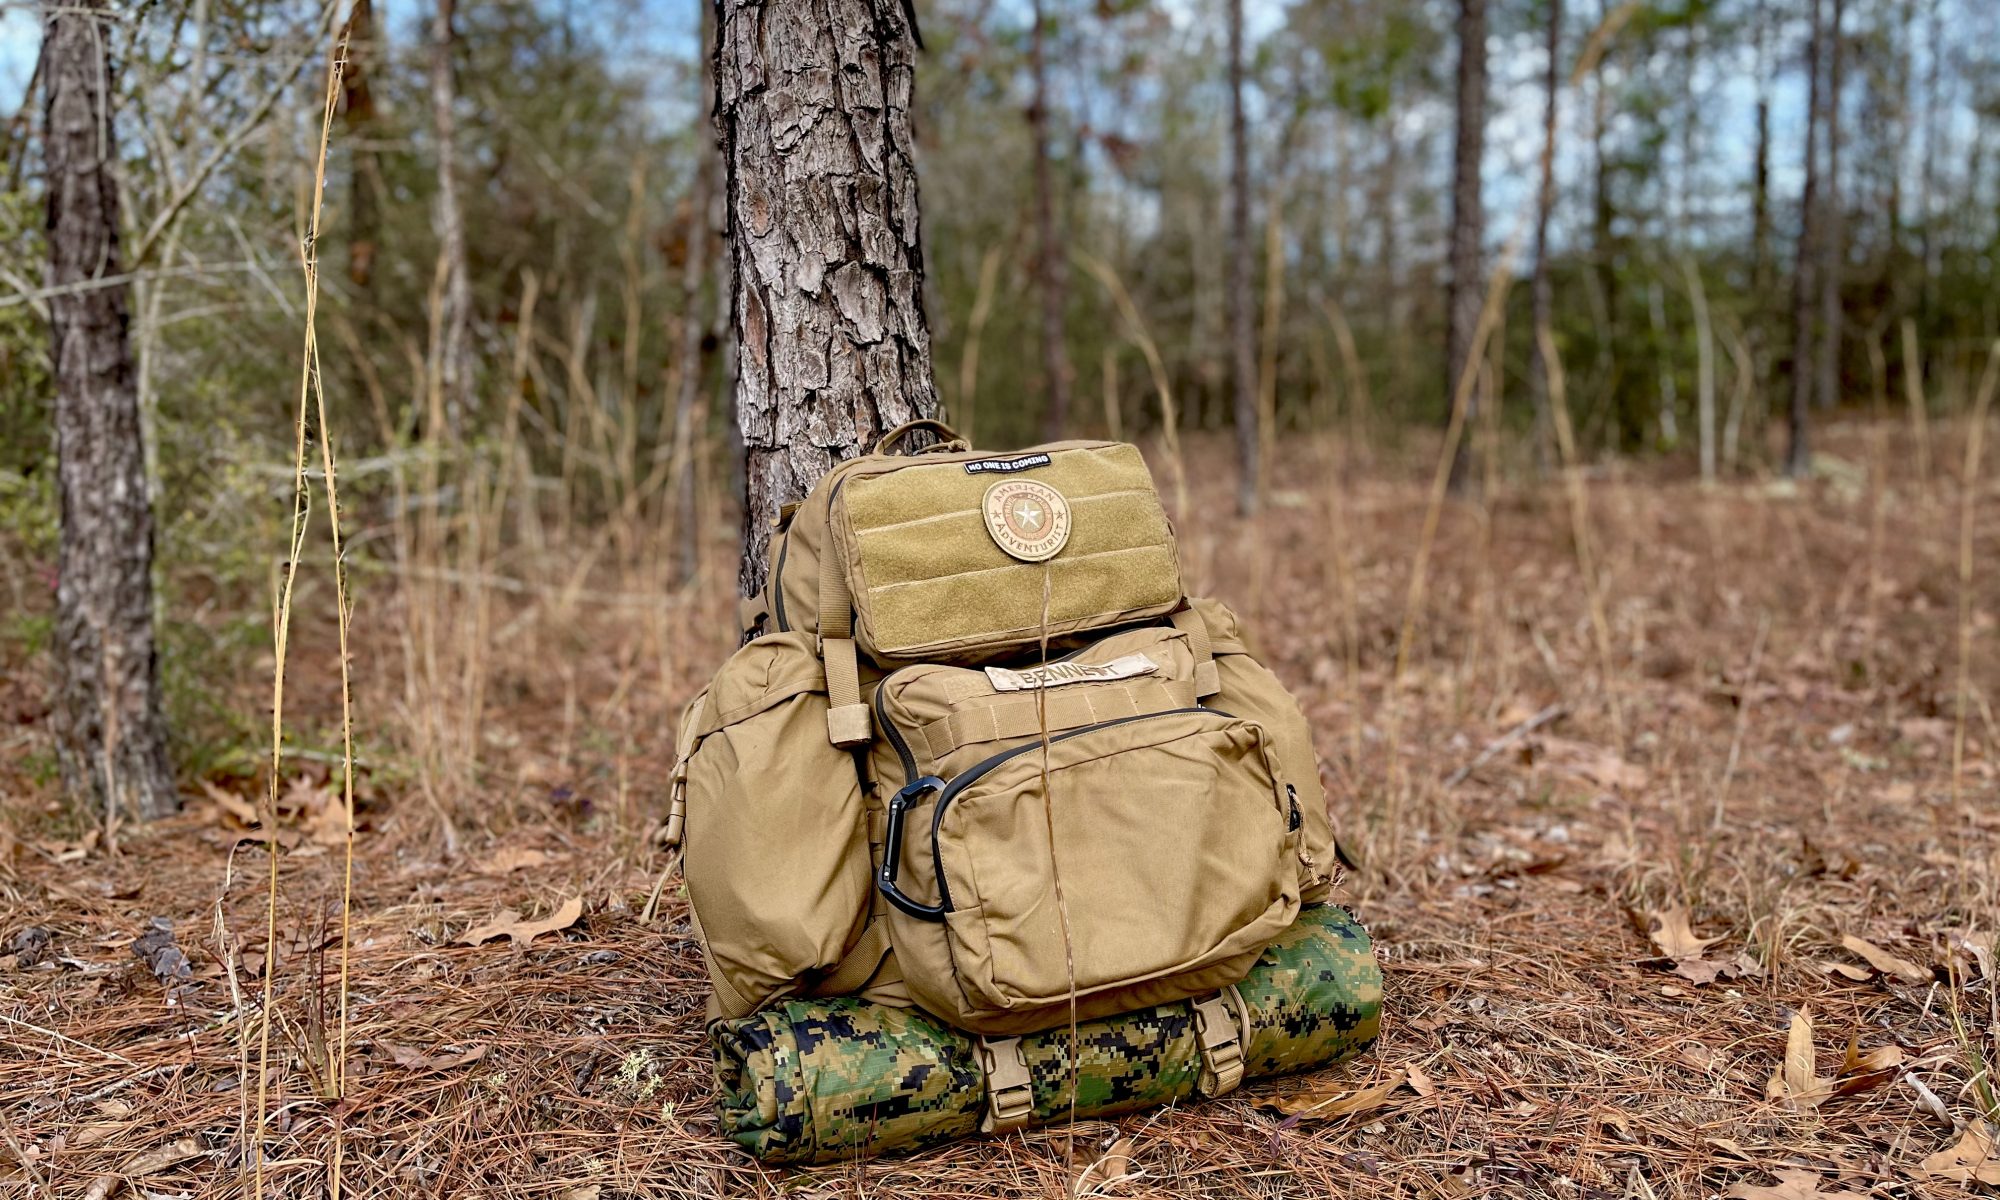
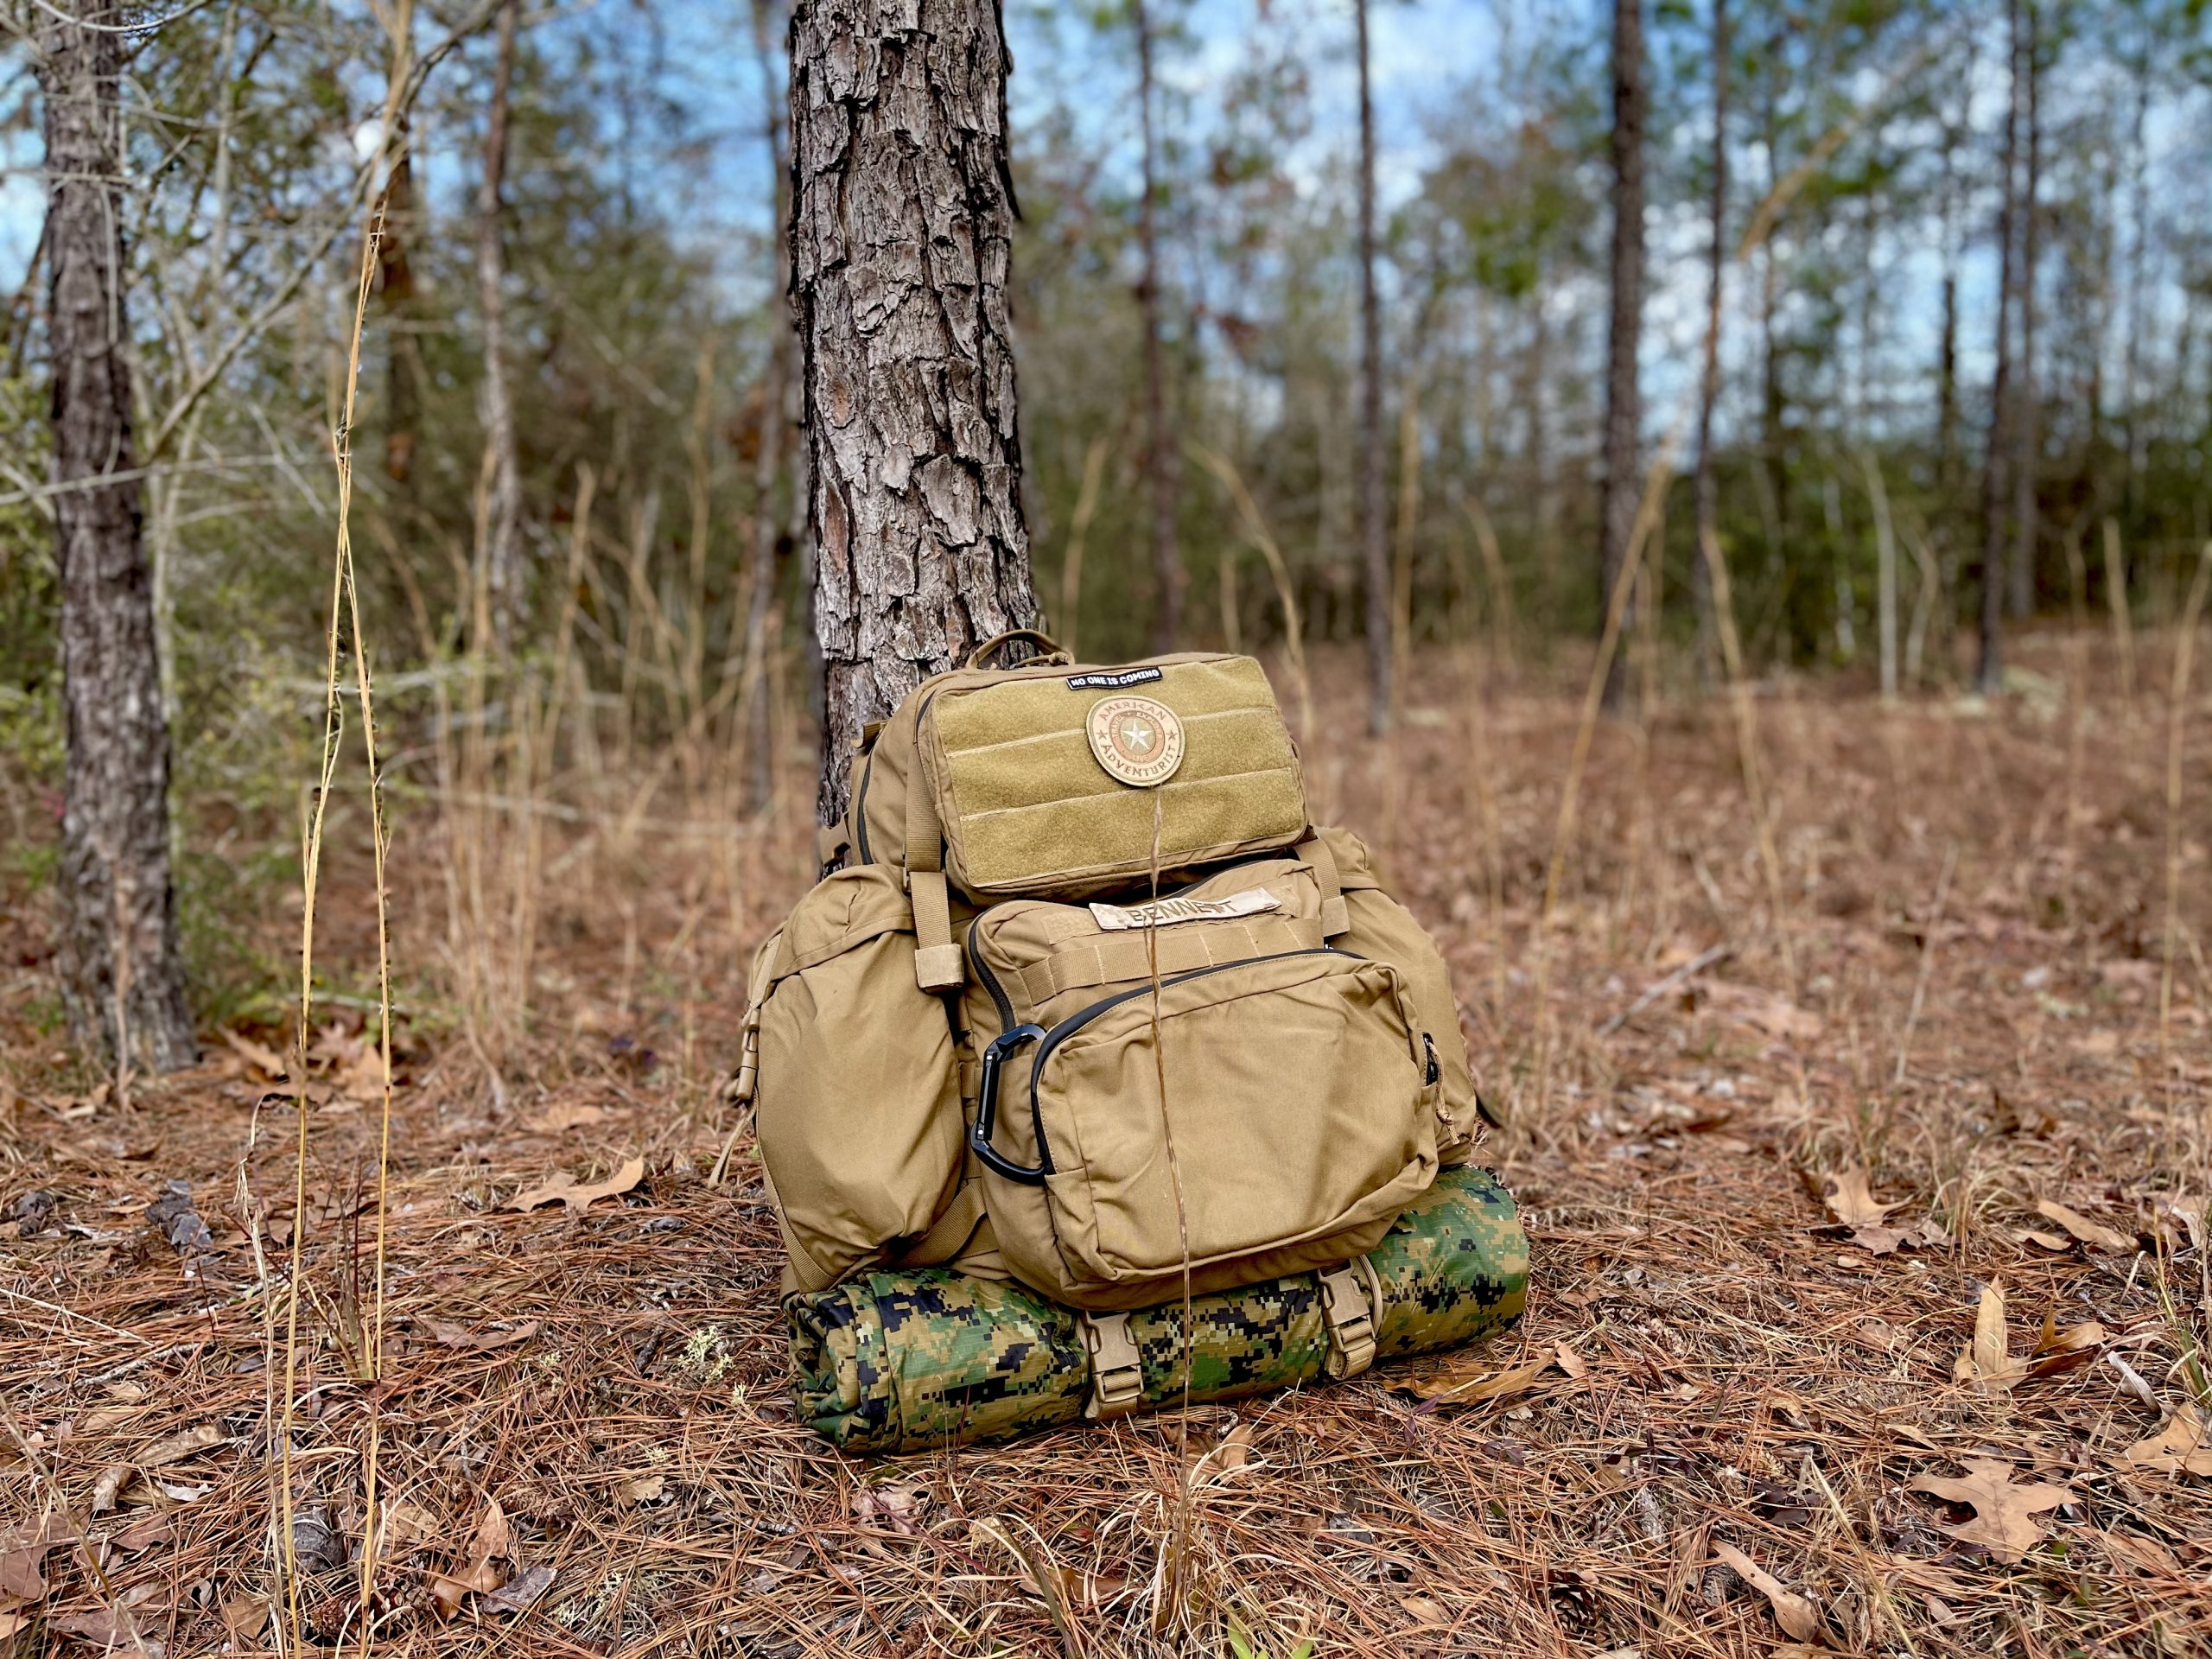
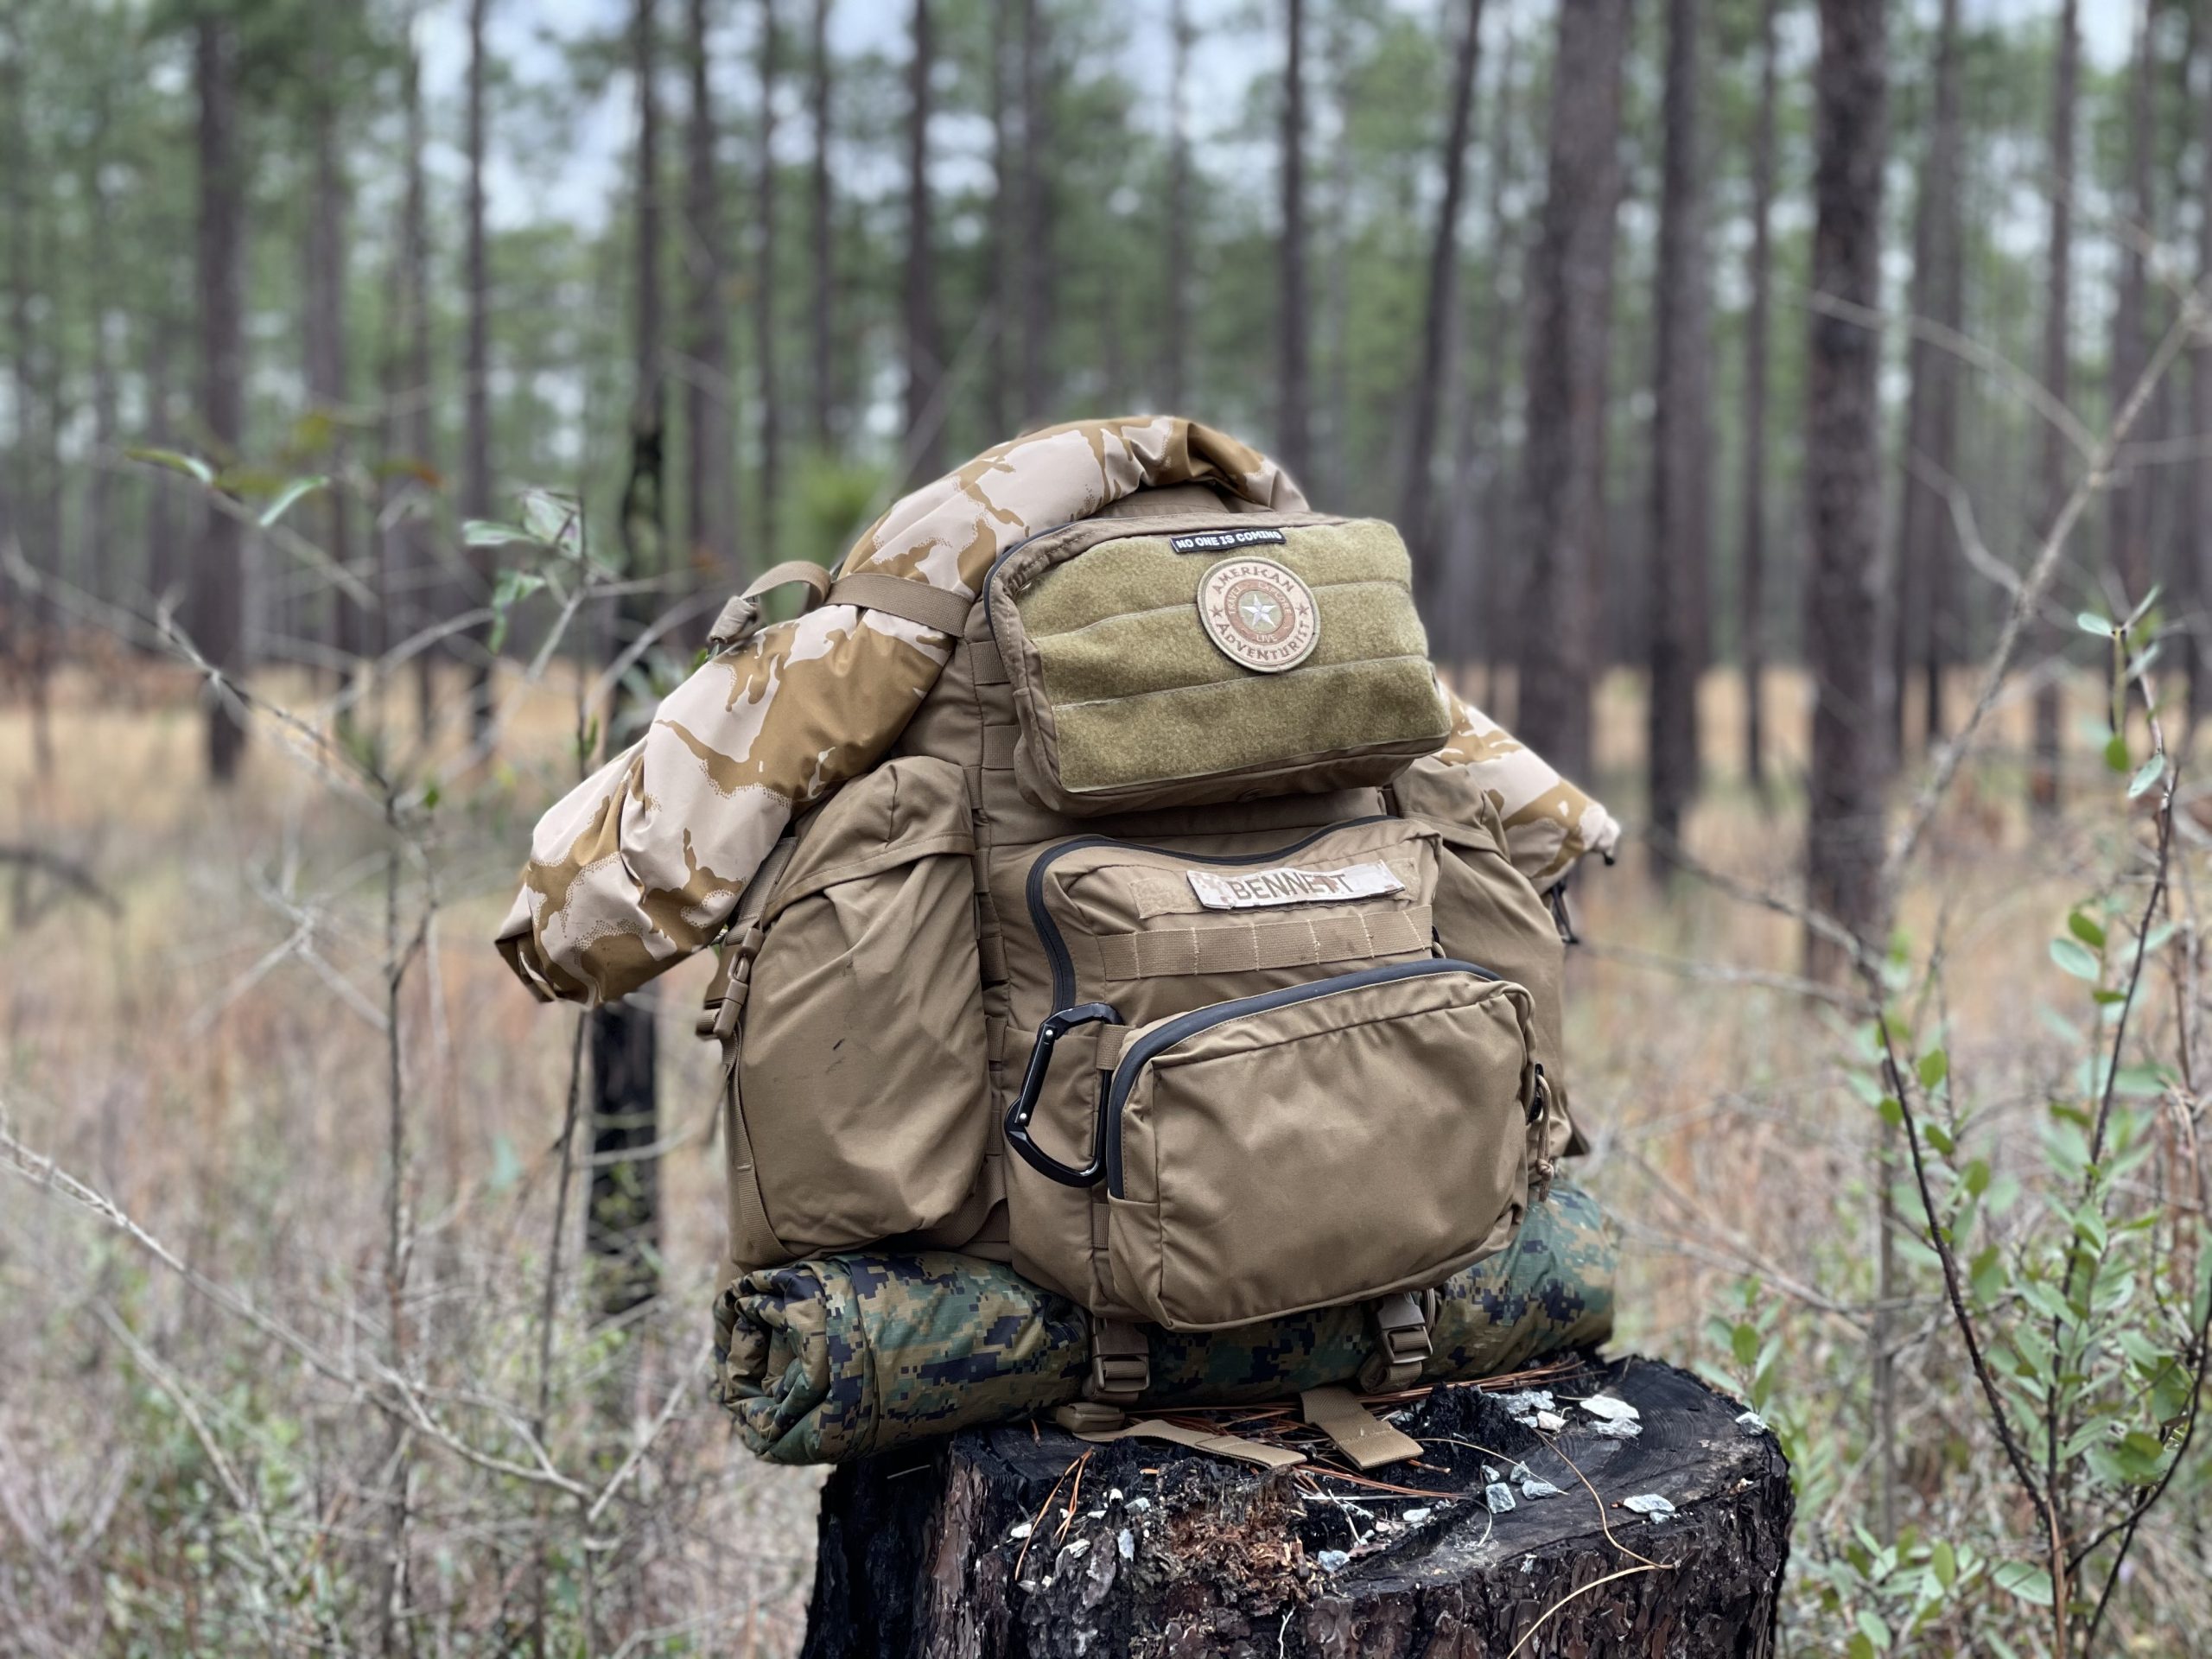
Available online from a variety of sellers in used but good condition, the USMC surplus FILBE stuff is a GREAT value for a bug out bag for anyone on a budget.
This is my modified FILBE that started out at 35L and is probably closer to 50L now with the extra pouches added. It has a low enough profile to allow agile movement in thick foliage as well as urban settings and lends itself well to being tossed in and out of a vehicle. The larger main FILBE ruck is a great value as well if you need something in the big league 80L+ size, and these rucks are more than capable of surviving a long hike on the PCT or AT. I have both and highly recommend them.
Loaded out, this particular Go Bag can get heavy so it’s not for everyone…
Once you have a solid bag, the next step is to decide what to include in your BASIC loadout.
Choosing The Right Loadout
These 11 essentials are a solid, minimalist starting point for anyone to use:
- Navigation: paper map, altimeter, compass, GPS device, personal locator beacon
- Headlamp: LED type and spare batteries
- Sun protection: Sunglasses, sun protective clothing/hat, sunscreen
- First aid: A first aid kit
- Knife: Knife, repair kit, multi-tool, tape, rope/cordage
- Fire: A butane lighter and all-weather matches, plus fire steel and ferro rod. Tinder.
- Shelter: Tarp, plastic tube tent, or jumbo plastic trash bag.
- Extra food: Two meals per day minimum, can ration this food out to 6 days if needed.
- Extra water: And at least two ways to make clean water.
- Extra clothing: Warm gear needed to survive the night in the emergency shelter.
- TP: ‘Nuff said.
Note: Always remember: “Two is One and One is None” when it comes to essential, lifesaving gear. Water filtration, fire starting, knives, hats, lights etc. One of anything is a liability when it inevitably fails or gets lost, so always have at least one backup.
Now let’s cover some of the most important things that you need in more detail, but no particular order
1. Water:
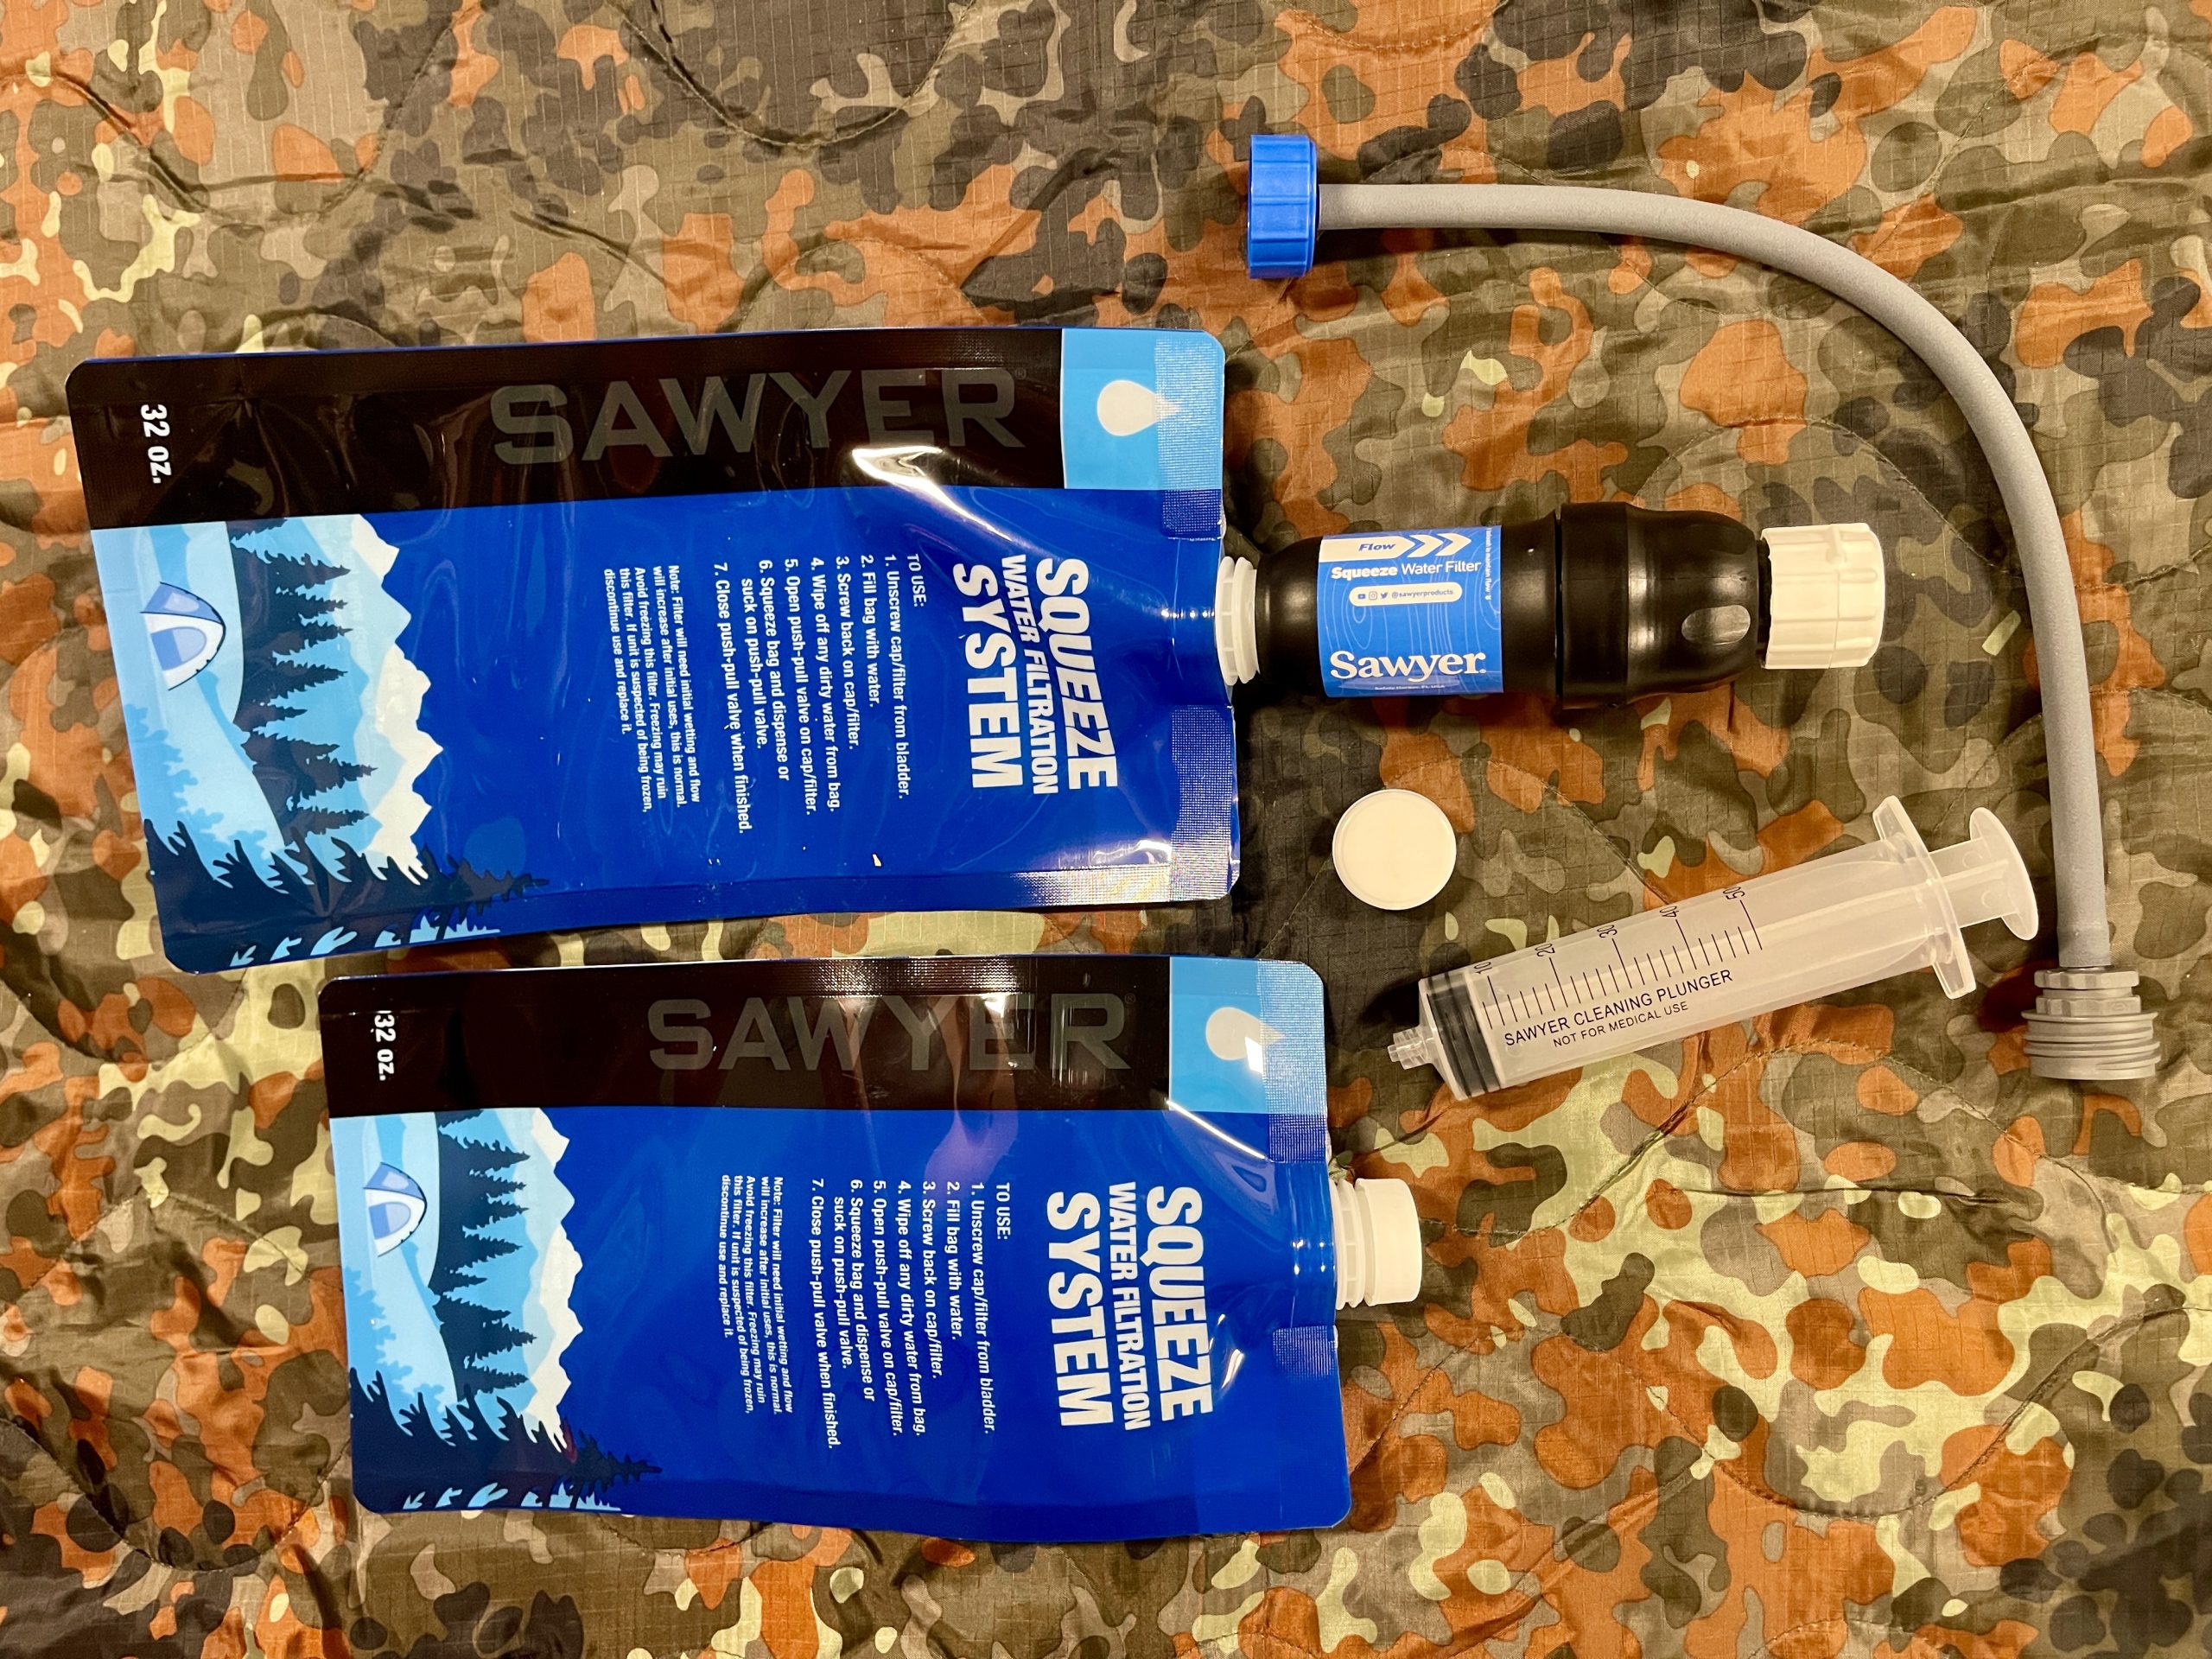
One liter per day, per person is really the bare minimum while one gallon per person per day is ideal, so your Go Bag should have at least 3 liters of water. This number can go way up depending on environmental factors. To expand your capability or to survive longer than a couple of days you will need a water purification system. This can be as simple as boiling water, or a serious trail water filter (Katadyn, MSR, Sawyer etc).
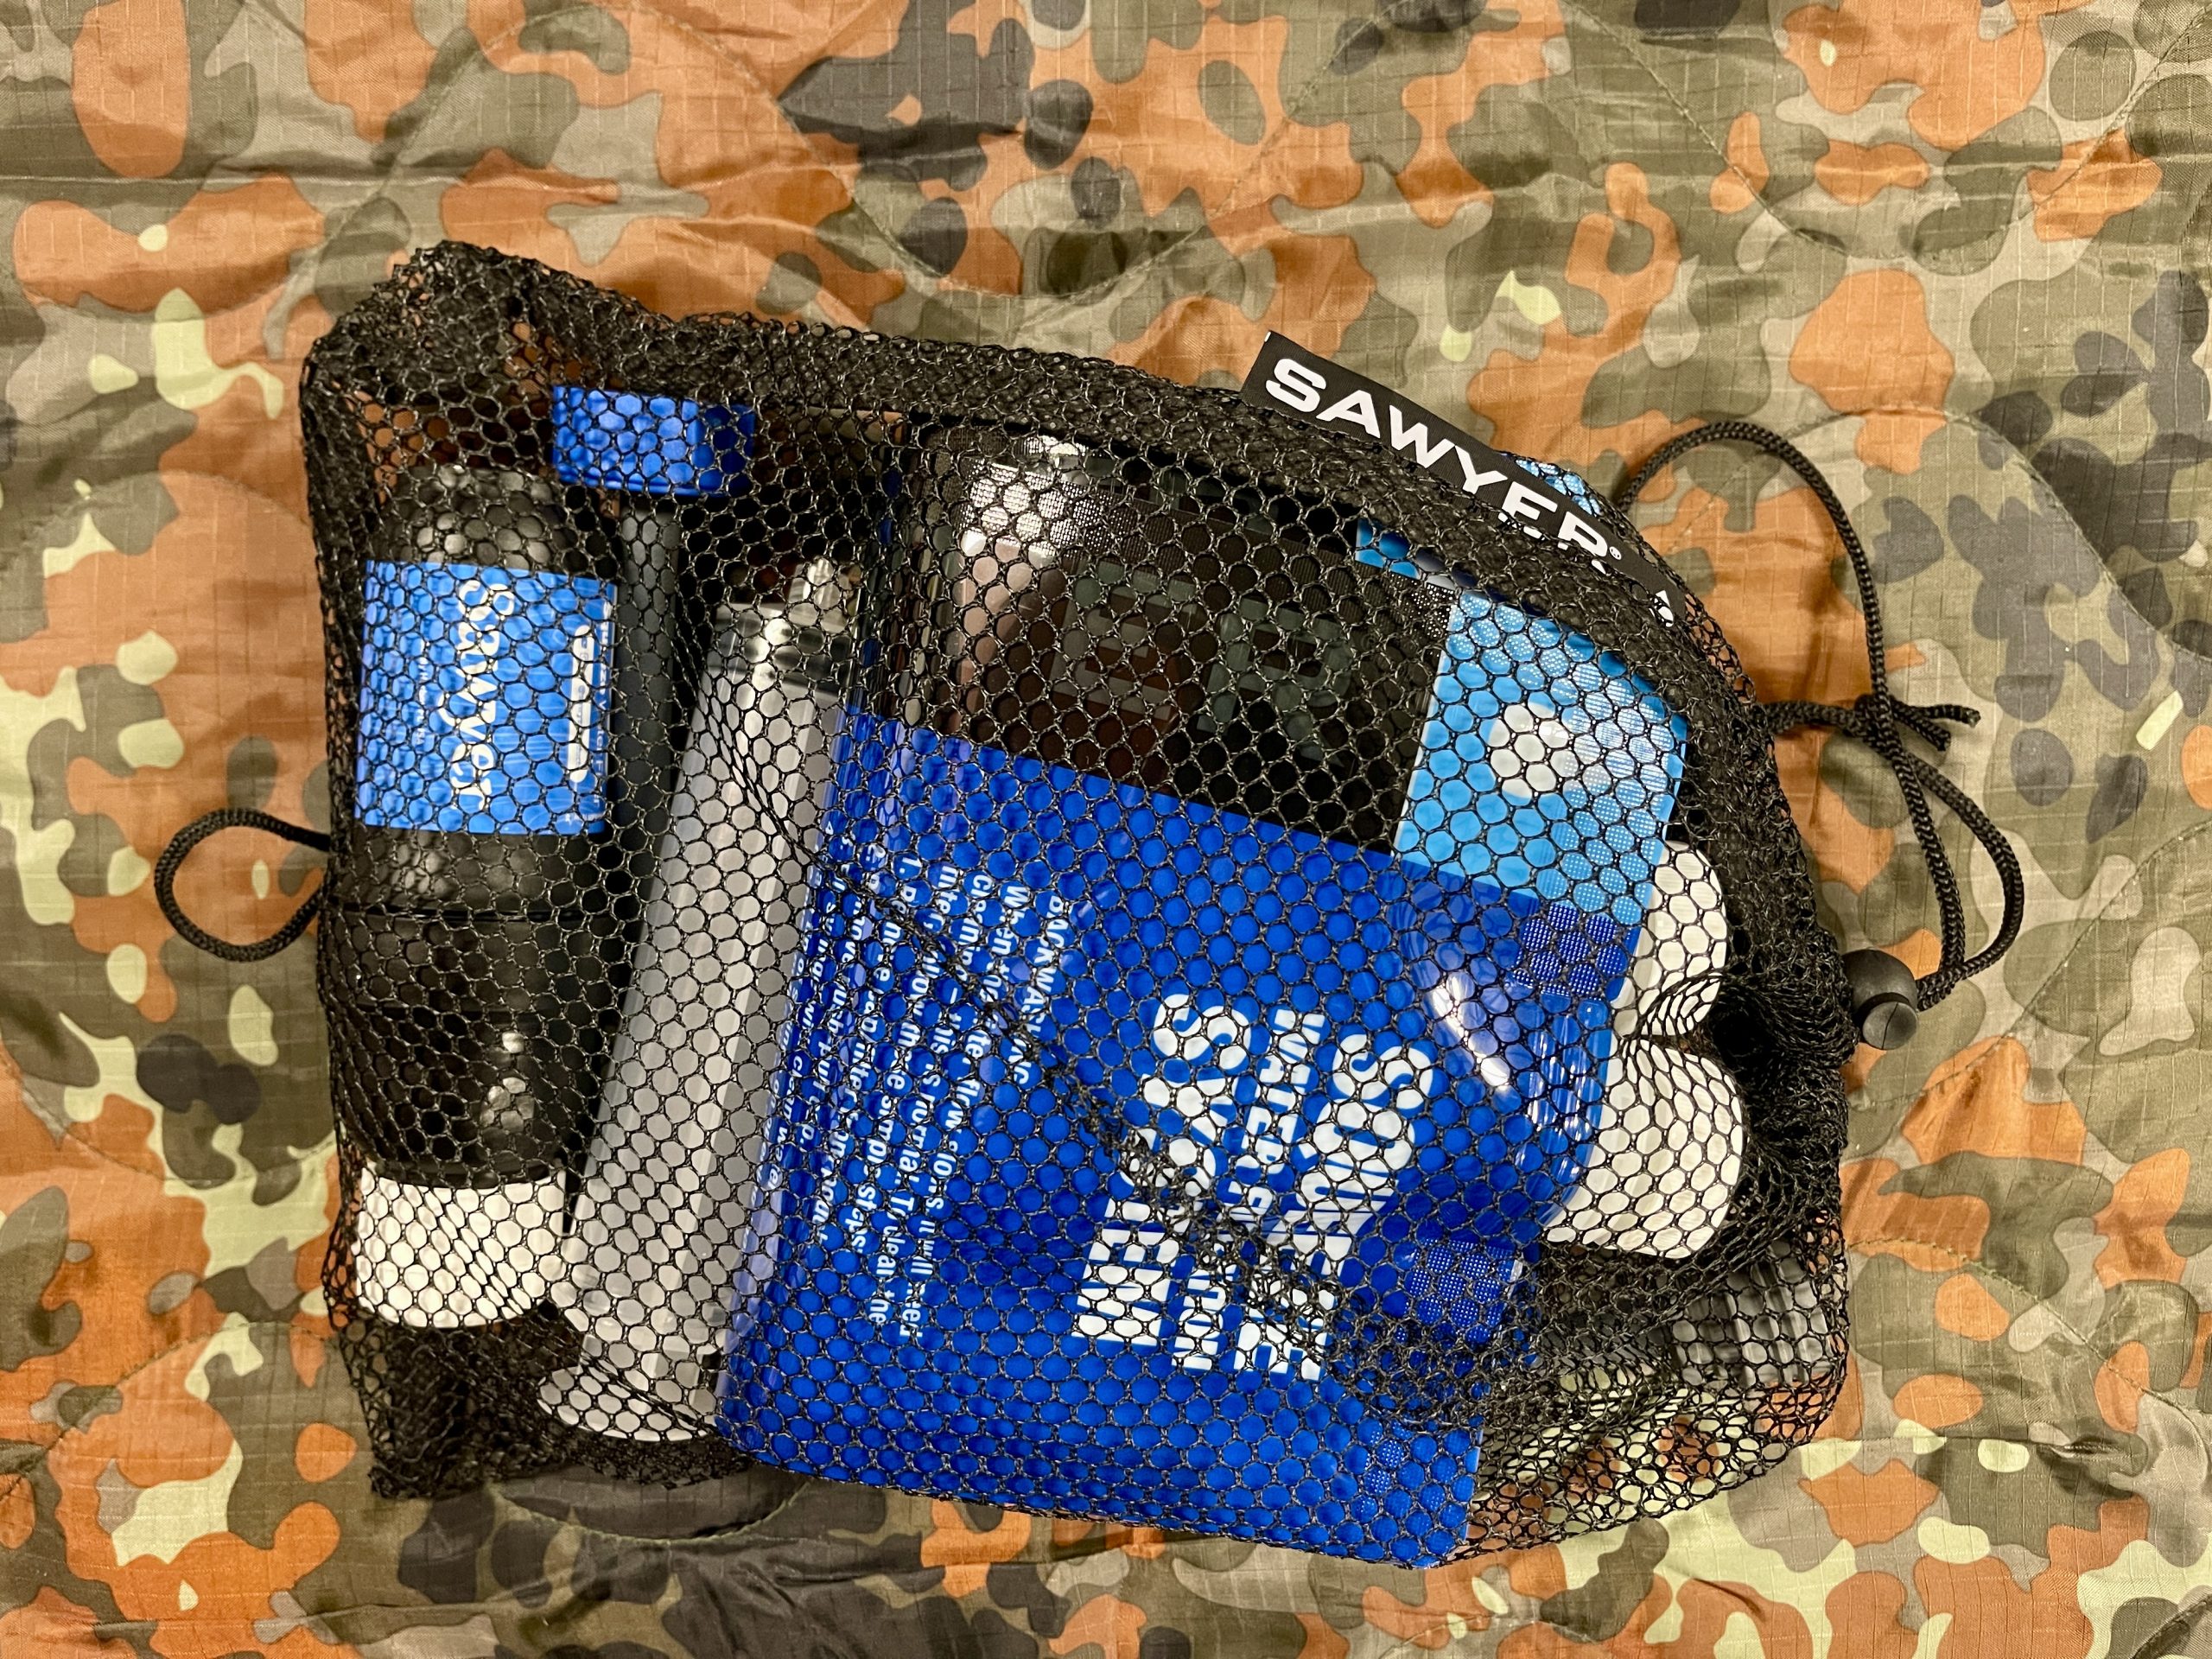
For water purification tablets, I prefer to use chlorine dioxide type like Katadyn MicroPur MP1. It destroys viruses and bacteria in 15 min., Giardia in 30 min. and Cryptosporidium in 4 hrs (a microorganism that is the most common cause of upset stomach/diarrhea in untreated water in the US). Unlike iodine, chlorine dioxide does not discolor water, nor does it give water an unpleasant taste. It also doesn’t leave behind any by-products in treated water, unlike other more spartan purification agents like bleach or iodine.
How you carry your water is equally important. I prefer one-liter, clear wall Nalgene type bottles in addition to a hydration bladder (Camelbak, the Source, etc). If boiling water for purification is indicated, see #6 Basic Gear, Cooking, below.

2. Food:
For a basic Three Day Bag, backpacker type meals and energy bars can be sufficient. Backpack meals are freeze dried meals that you just add boiling water to. They are light weight and the ones by Backpacker’s Pantry and Mountain House taste great. They also last a very long time, but they need water. Surplus Meals, Ready to Eat (MRE’s) are great too and require no water, but they are much heavier. Canned goods work too, but again they are heavy to carry. Six meals can easily get you through three days on foot and can even be rationed out for a six-day stretch (or longer) if really needed.


3. Clothing:
Your Go Bag clothes should be similar to what you would pack for a weekend backpacking trip. I avoid cotton clothing; it holds zero heat when wet and takes forever to dry. Modern materials or even old school wool is your friend in the woods. Wool is desirable as it insulates even when wet. Merino wool is amazing, both warm and comfortable. Consider the following basic loadout for clothing:
- A pair of sturdy boots or shoes (can be worn, or packed away to change into if needed)
- 2 pairs of gloves (work type and warm type)
- A pair of long pants (preferably not cotton blue jeans)
- 2 Pairs of socks (preferably wool)
- 2 Shirts (Maybe 1 long sleeve and 1 short sleeve for layering)
- A Jacket that is both warm and provides some protection from rain and wind
- Warm long underwear (extends your sleeping system)
- A hat (boonie cover and a beanie)
- A Shemagh/Bandana (unlimited utility)
- Sunglasses
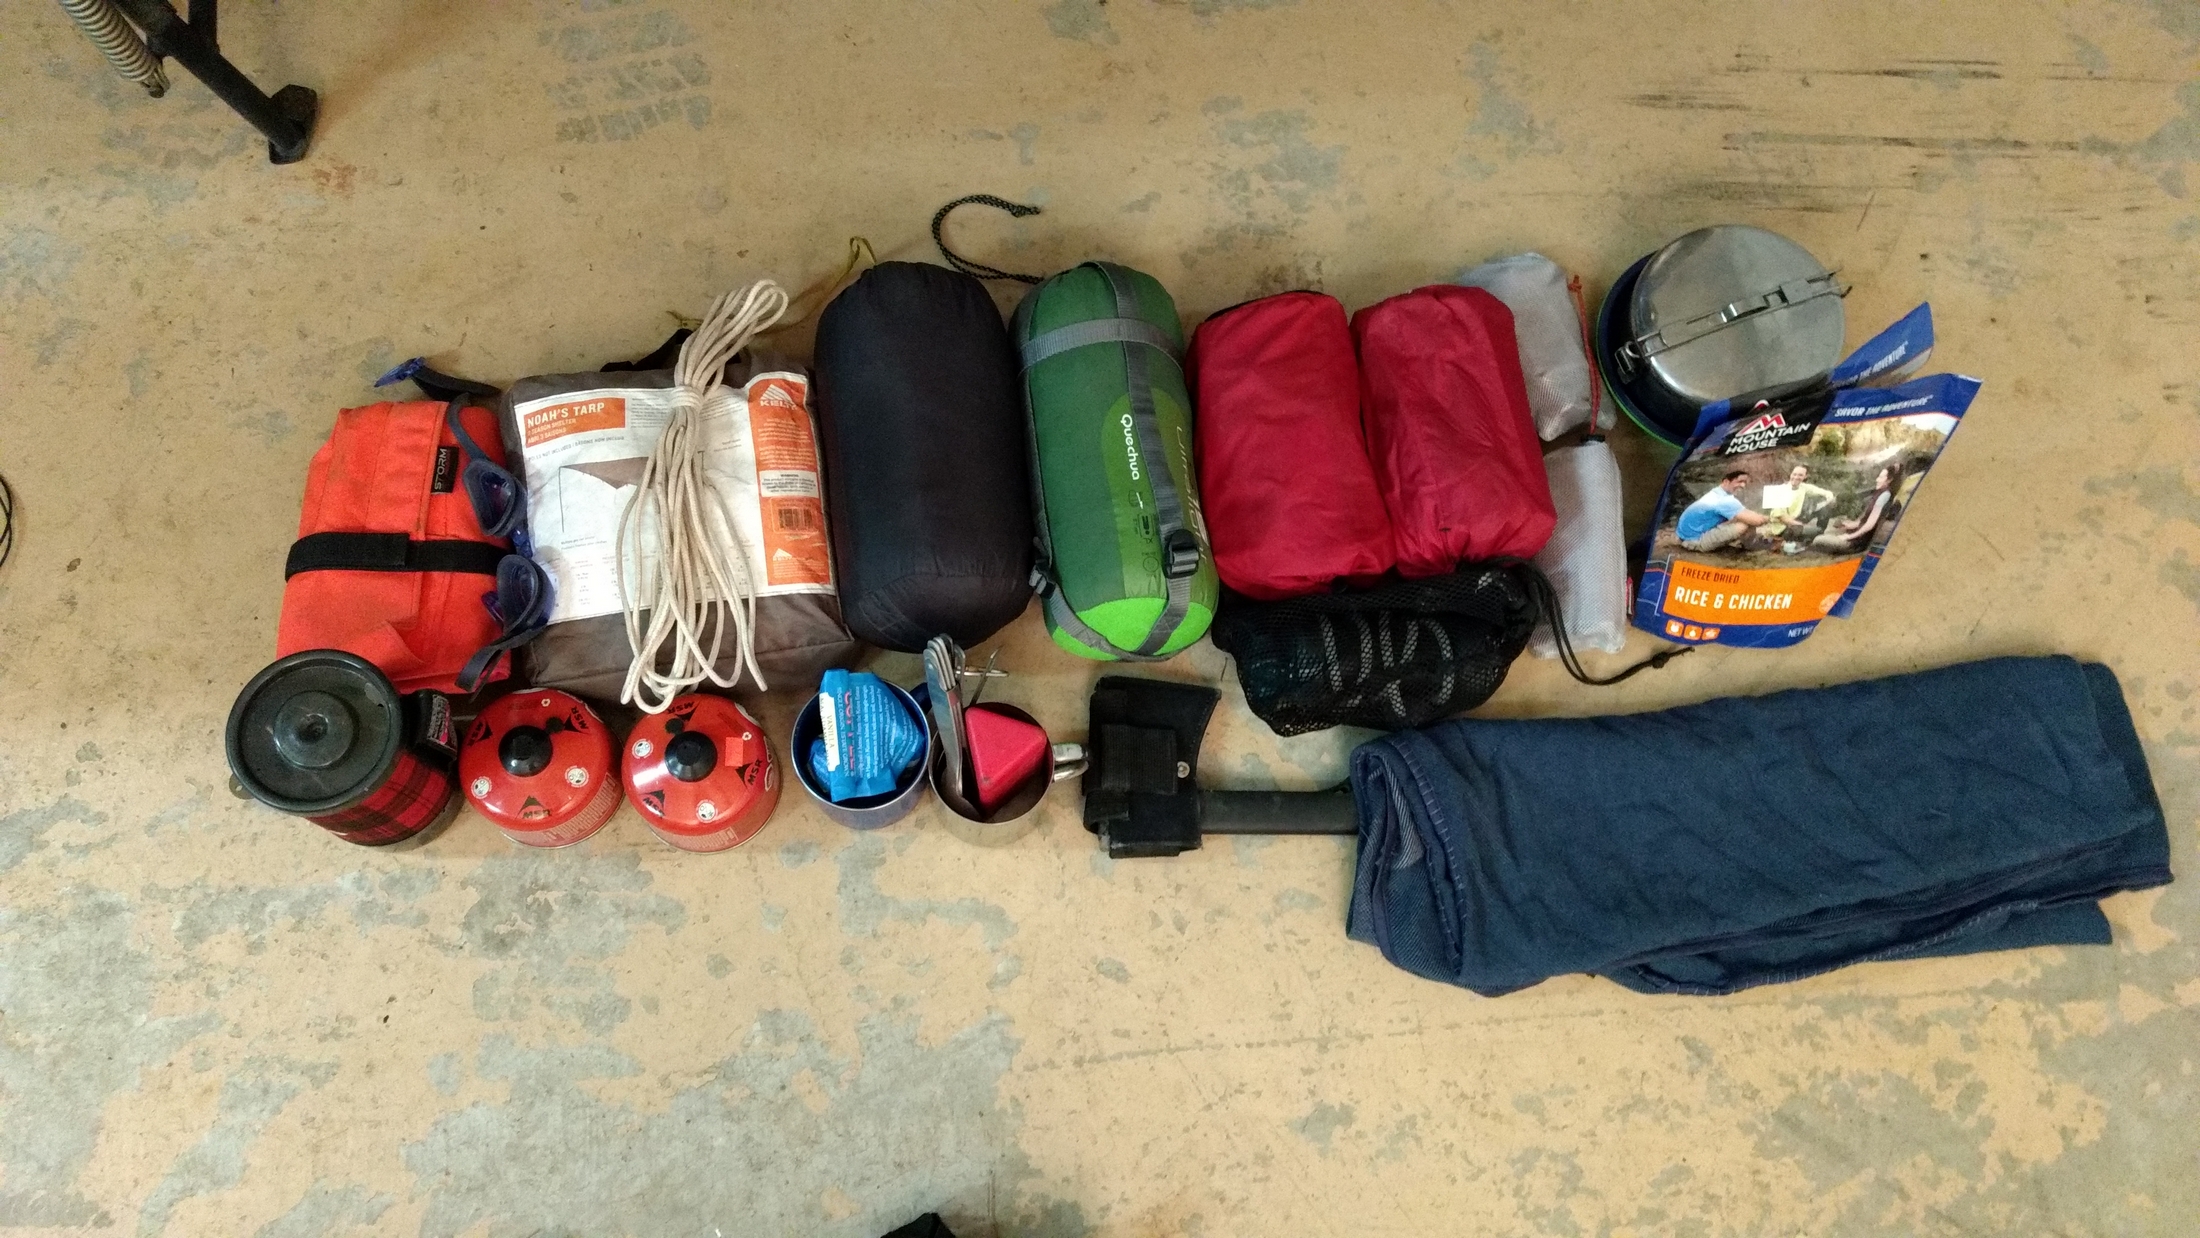
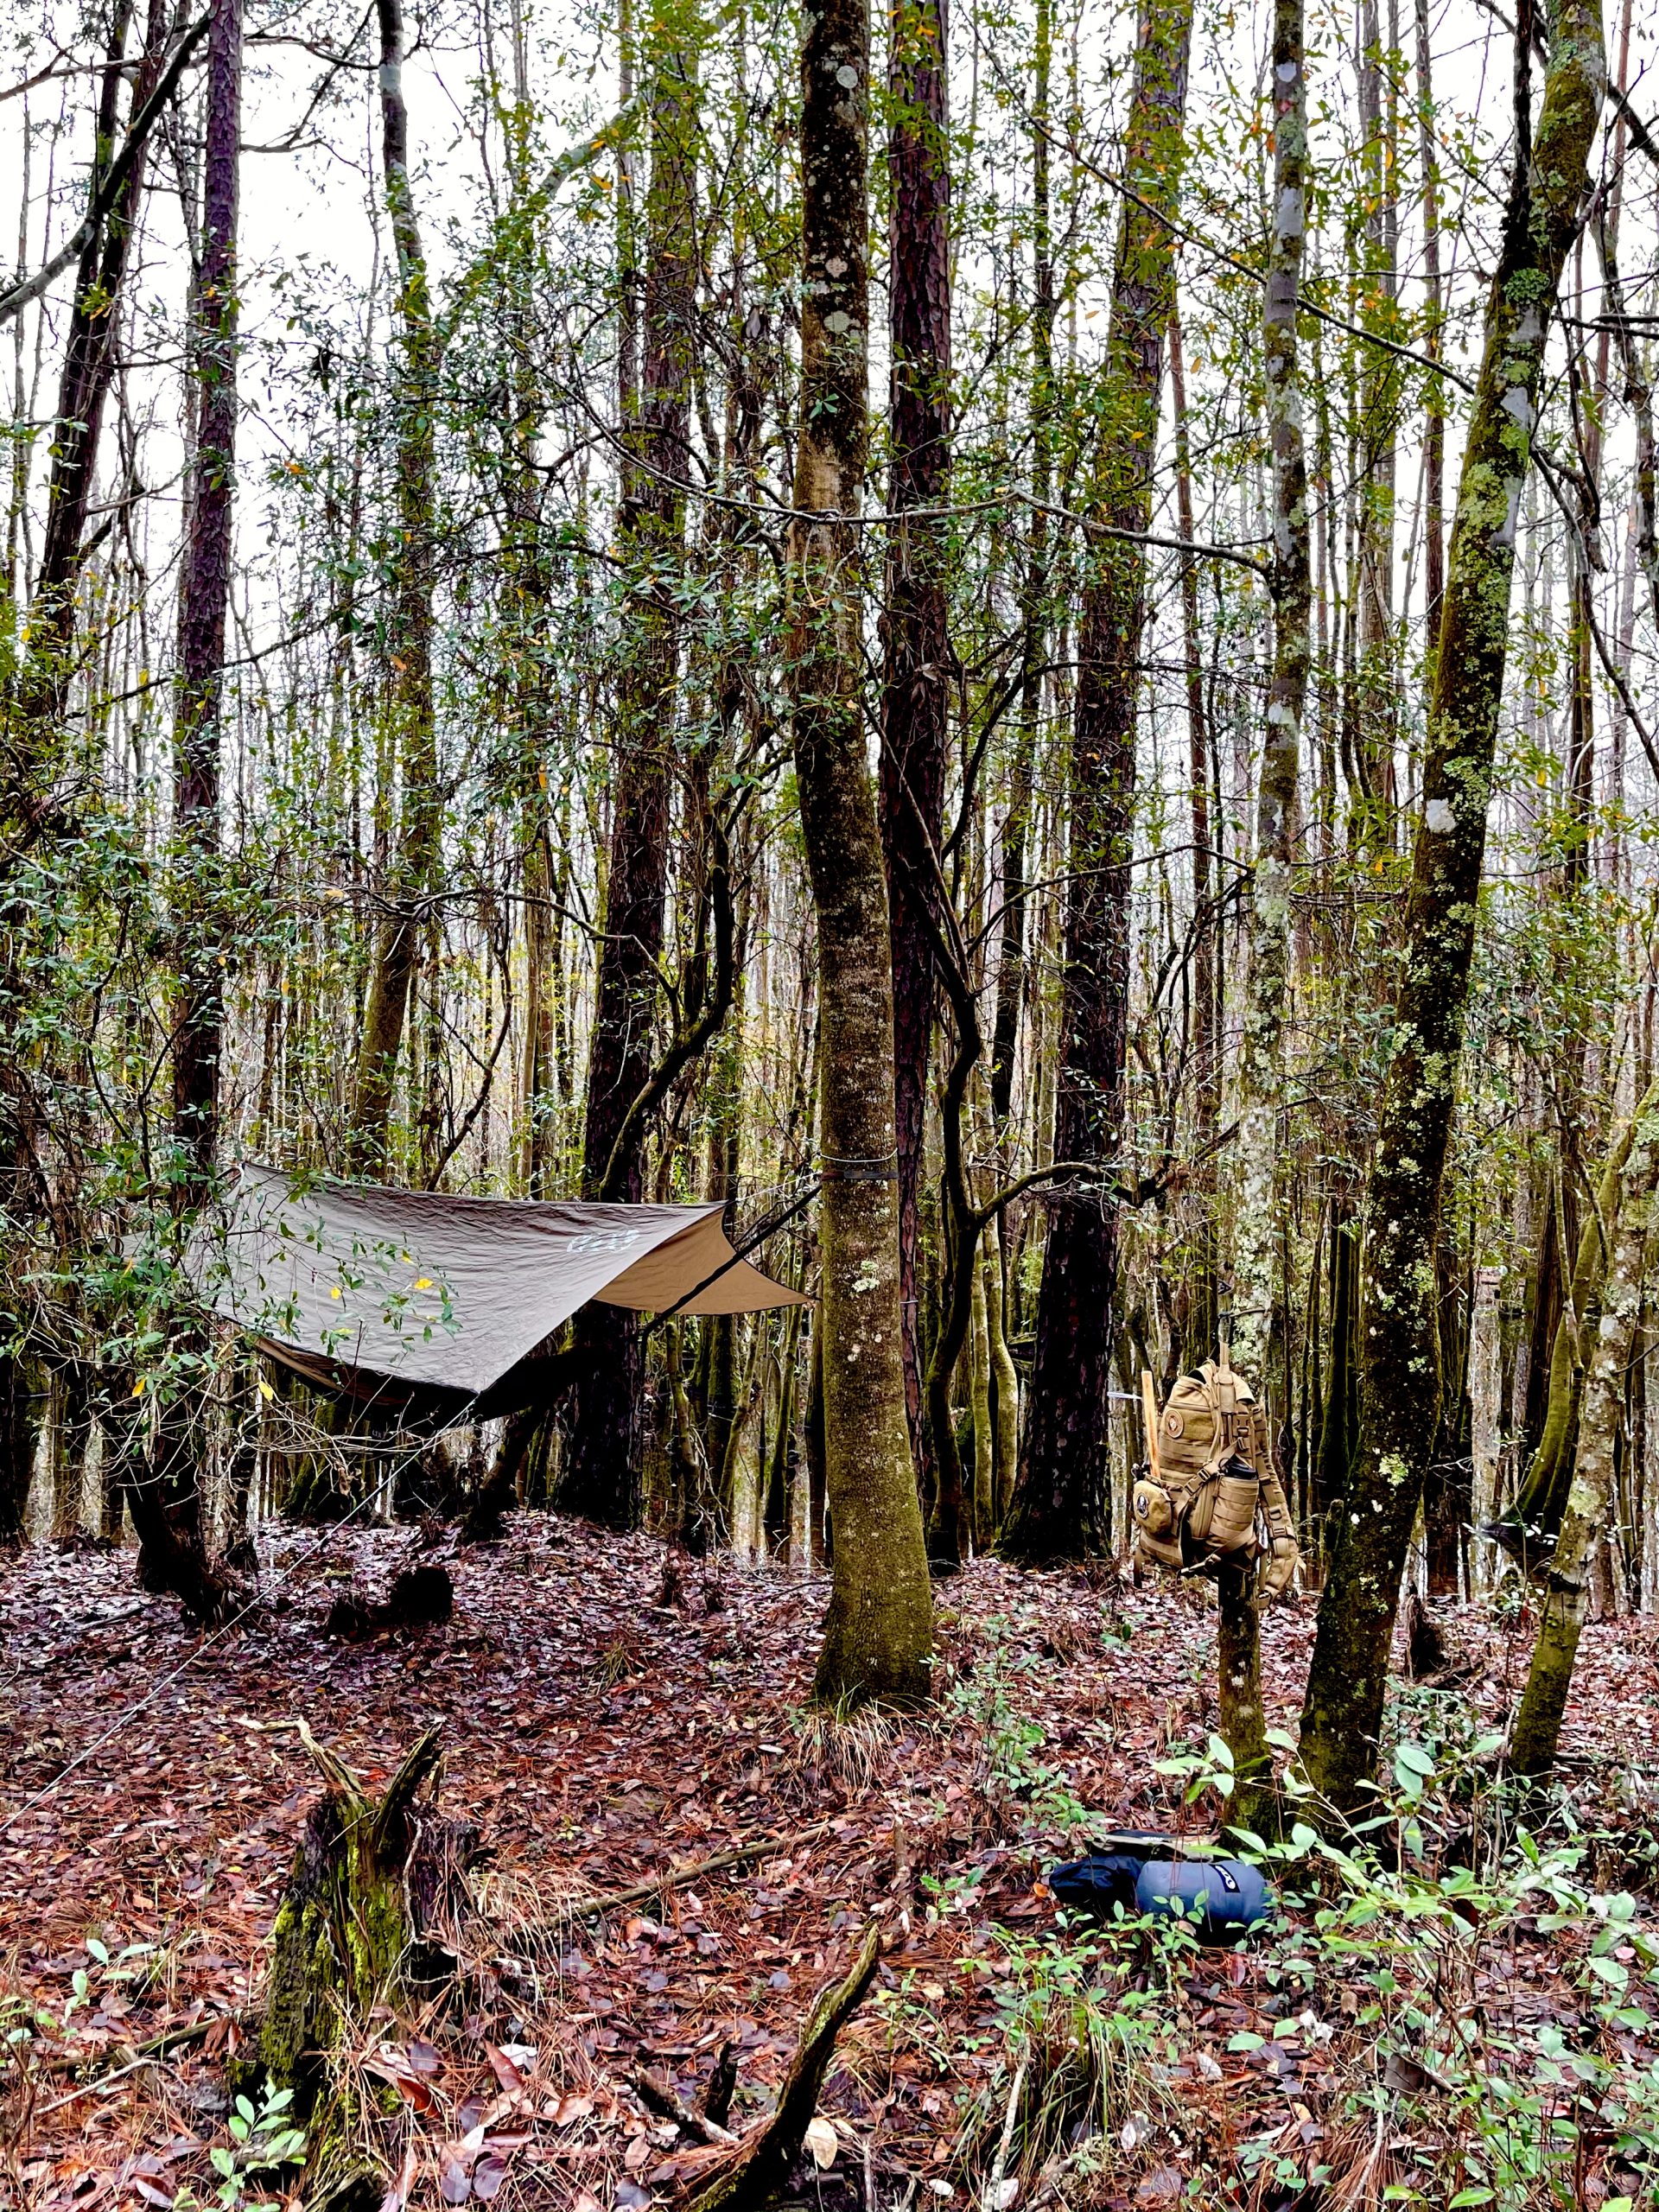
4. Shelter:
Hypothermia kills. So does simple exposure to sun and wind. If you are going to survive for 3 days or more in the open, you are going to need protection from the elements and a warm, dry place to sleep. You need at least:
- Some type of tent or tarp. Hammocks and tarps are fast light and excel in wooded areas.
- Cordage: 550 cord or some good rope and plenty of it. Heavy duty fishing line is multipurpose.
- A ground tarp for underneath your shelter to stay dry and/or a sleeping pad for insulation from the ground (Do not underestimate heat loss via conduction on cold ground).
- Some type of bedroll or “Ranger Roll”, but preferably a good sleeping bag. Just remember, you have to carry it so I practice the “pack light, freeze at night” minimalist approach here.

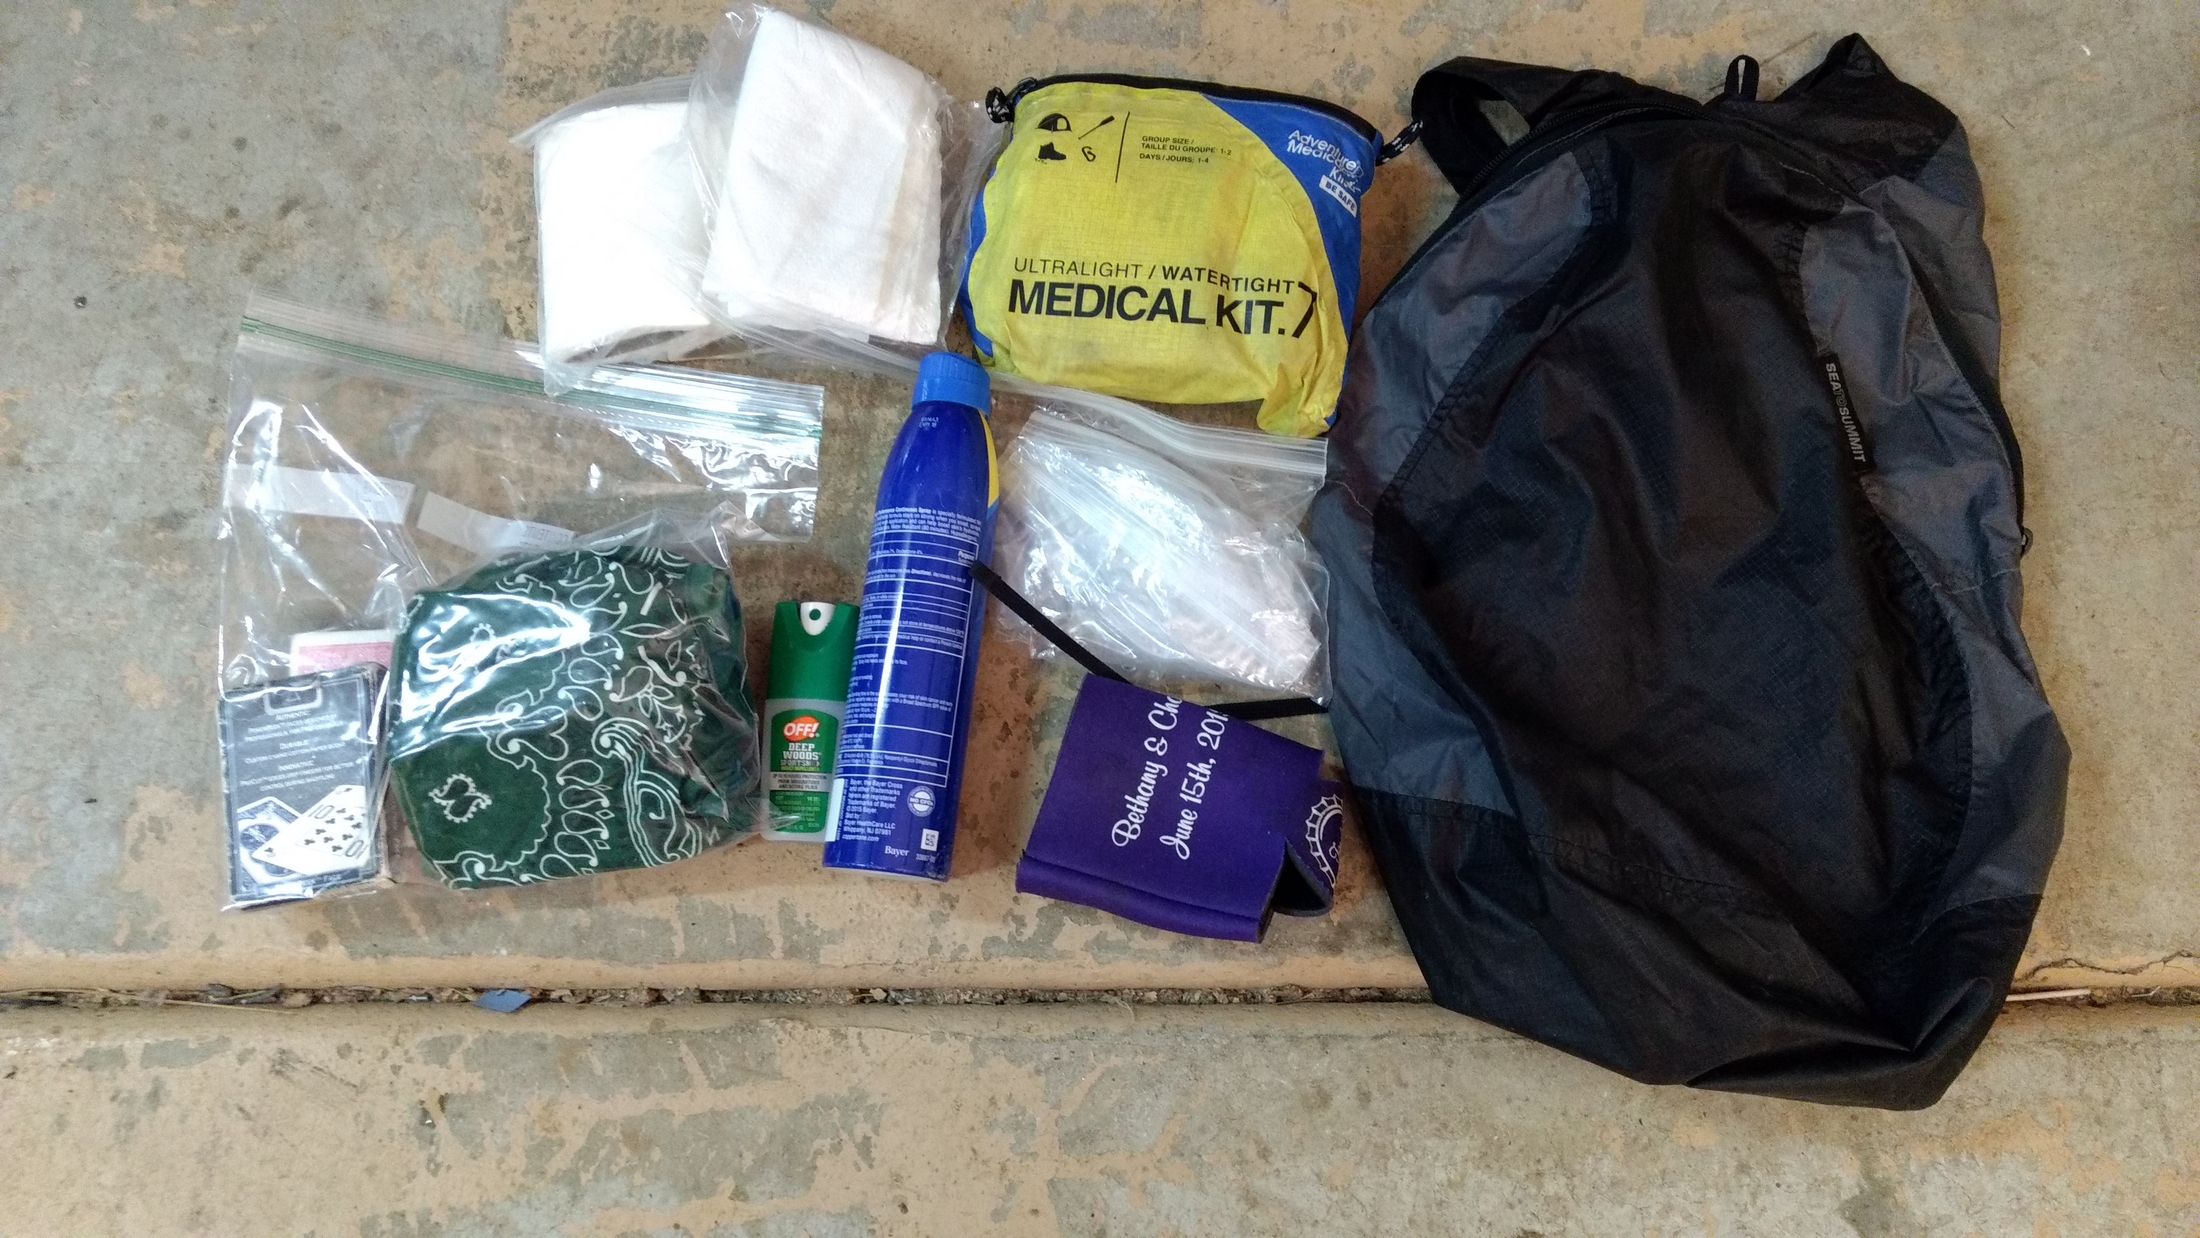
5. First Aid Kit
Trying to cover everything you need in a First Aid Kit is nearly impossible. Contents vary wildly due to geographic location, environmental risk factors, individual health and personal needs.
I highly recommend spending the money on a good Made in USA first aid kit. Suppliers to SOCOM like North American Rescue and Chinook Medical provide some of the best off the shelf professional grade solutions and are worth every penny. MyMedic and Adventure Medical Kits are also acceptable.
If you are on a budget, I recommend that you build your own first aid kit instead of buying one of those cheap, prepackaged first aid kits that claim to have 1,001 things for an emergency. My experience is that these types of kits are usually filled with fluff that makes for nice marketing, and not enough of what you really need for wilderness type trauma.
If you possess higher level medical skills and training, then you know that building your own “mission specific” kit is the norm. If you require medications, include that as a planning factor.
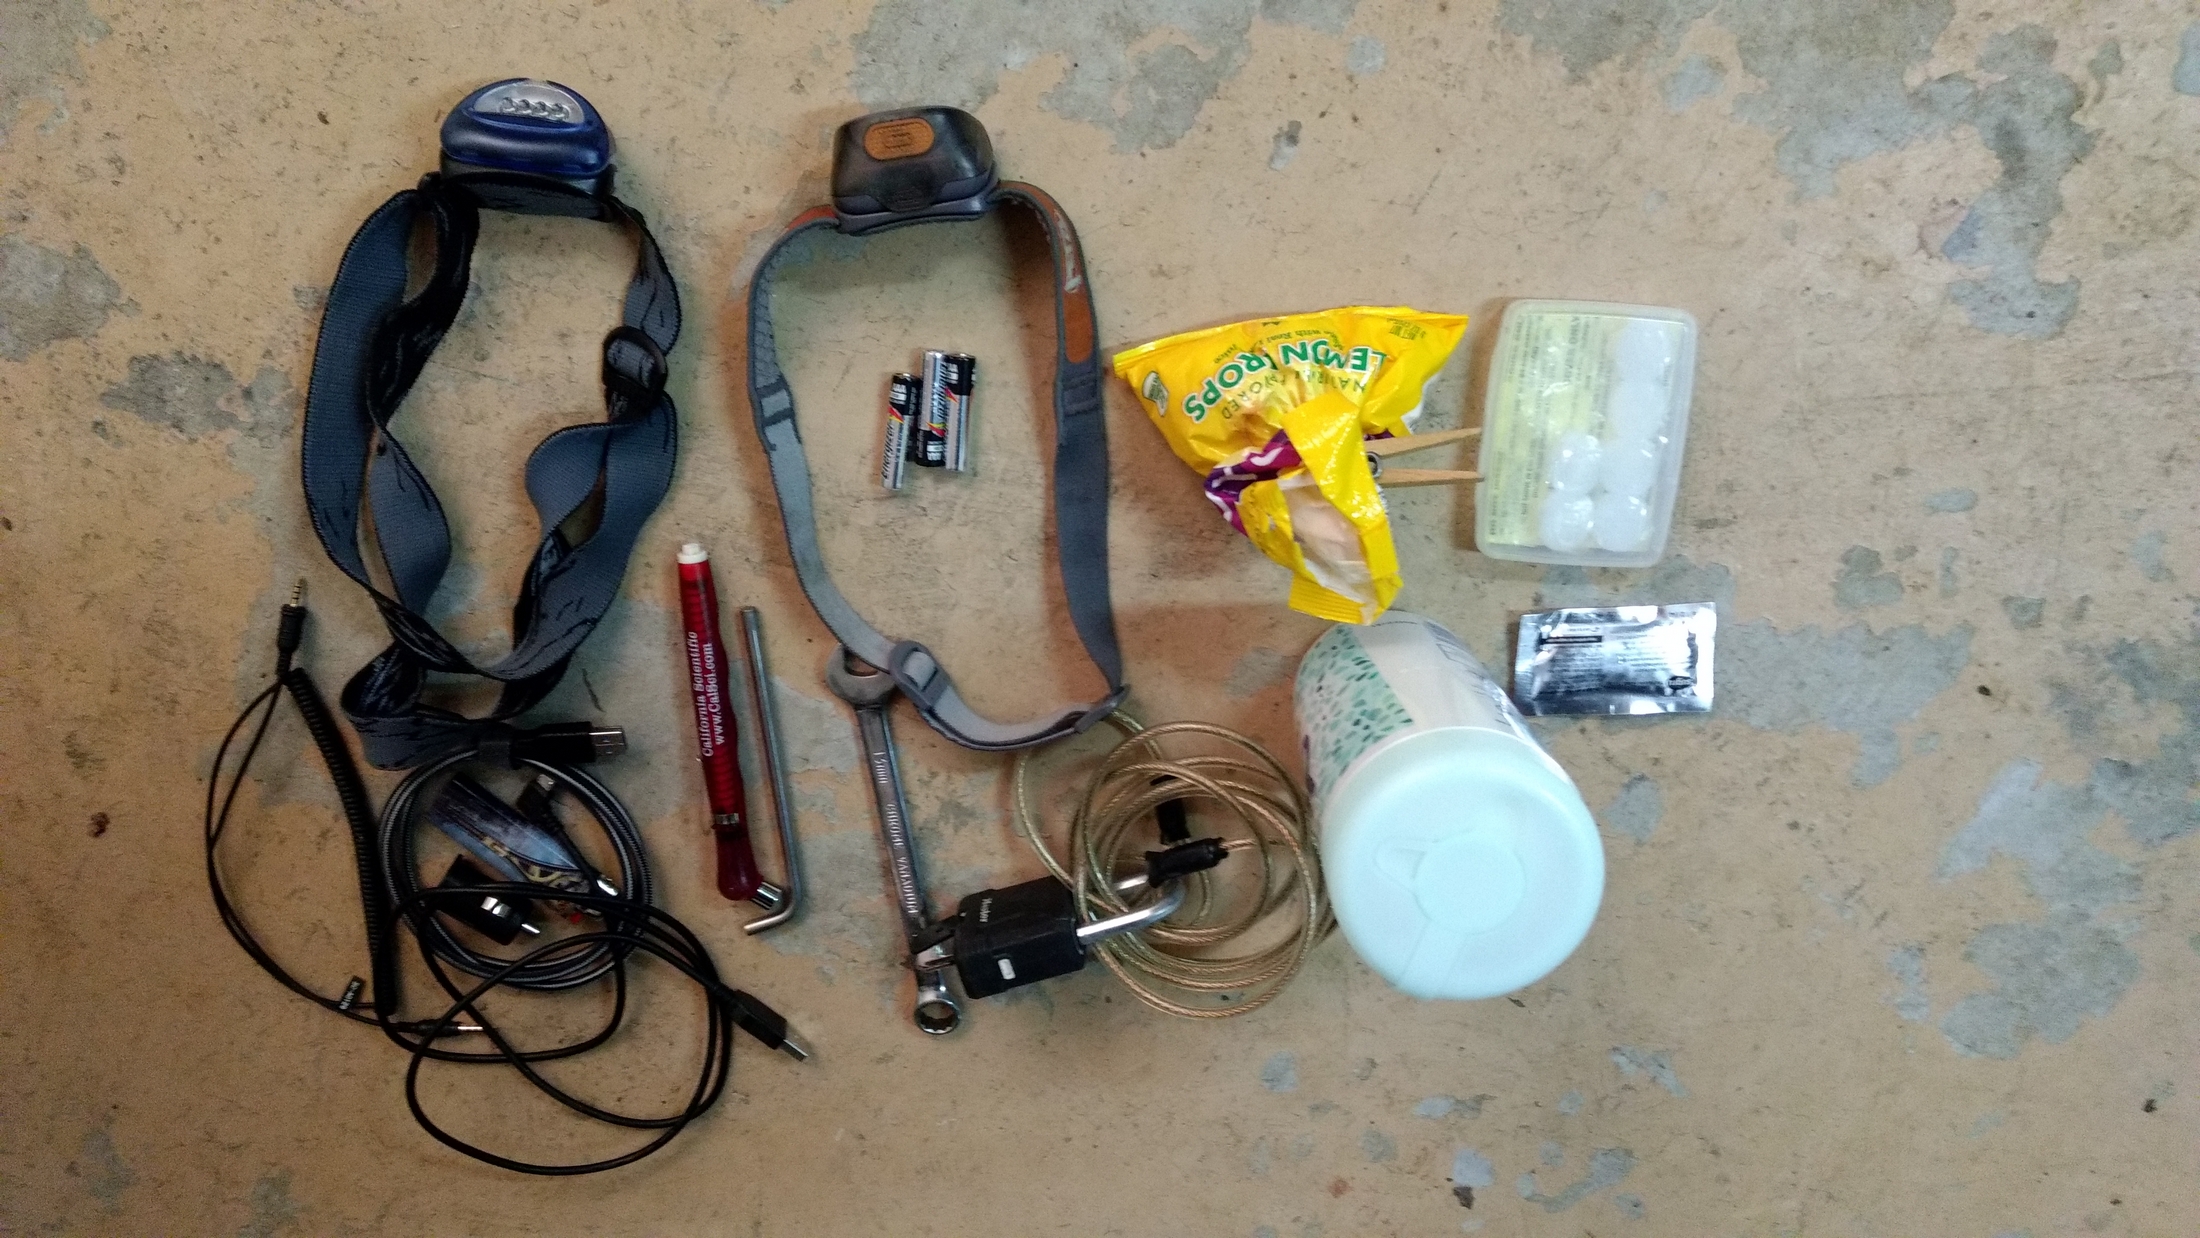
6. Basic Gear
Basic Gear sounds repetitive, but it is the category for the things you absolutely cannot live without. They don’t really fit well into another category: Things like a multi-tool, sewing kit, fish line & hooks, lures, snare wire, zip ties, trash bags, duct tape, binos, 12 hr candle, sunscreen, chapstick etc.
a. Rain Gear – Have 2 ways to stay dry in the rain. Poncho and Coat are good coupled with your shelter. Also blocks wind.
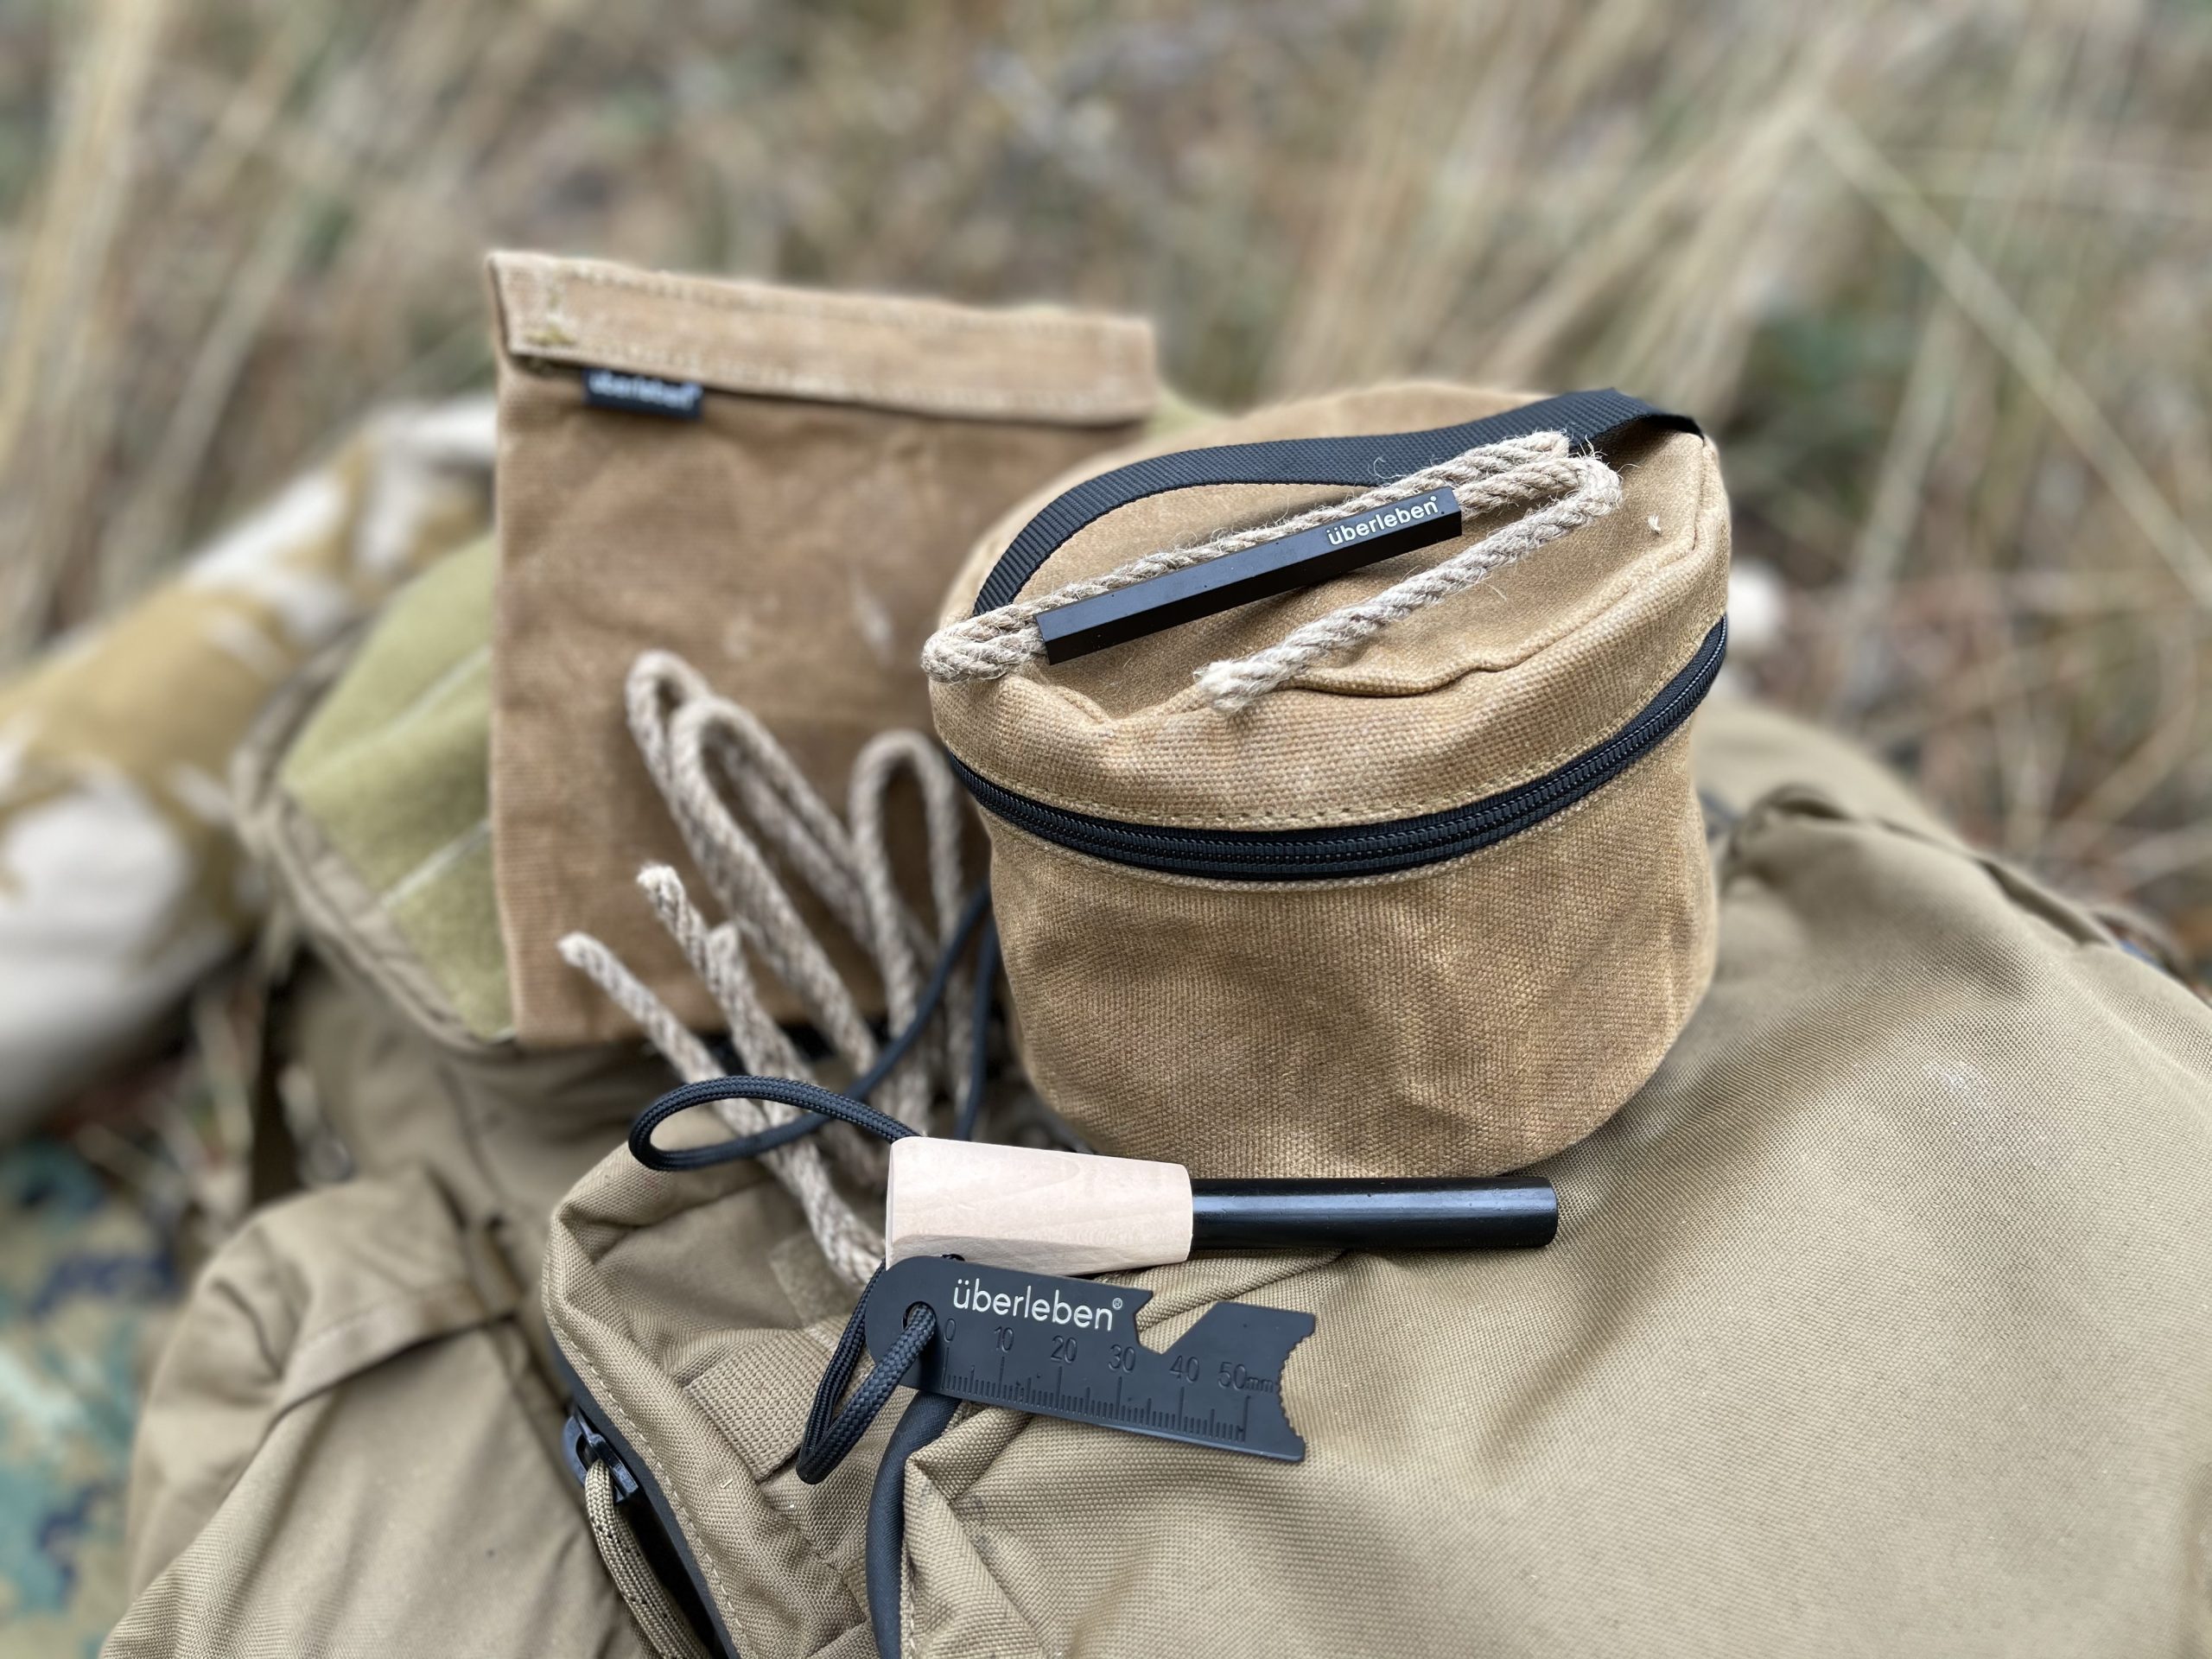
b. Fire – A bare minimum of 3 different ways to make fire. Fire steel/fire piston/lighter etc. With that you can get a flame, but you will have to actually build the fire up too: do you have tinder? You can use cotton balls soaked in Vaseline as tinder or you can buy something like Blackbeard brand fire starter that lights, even in water. Uberleben also makes excellent bushcraft gear. You’re also going to need something to cut your firewood. A high-quality hatchet and folding saw are priceless.

c. Cooking – Bare minimum here is a small titanium pot/large cup to boil water in for both drinking/purifying water and cooking. Titanium works GREAT over an open fire. If an open fire is contraindicated, a small backpacking stove like a Jetboil or MSR Reactor provides a top shelf, ready made solution.
d. Light – A high quality LED flashlight and a headlamp and a backup set of batteries for each. Bonus points if all of your electrical devices (lights, GPS, radio, etc) use the same batteries!
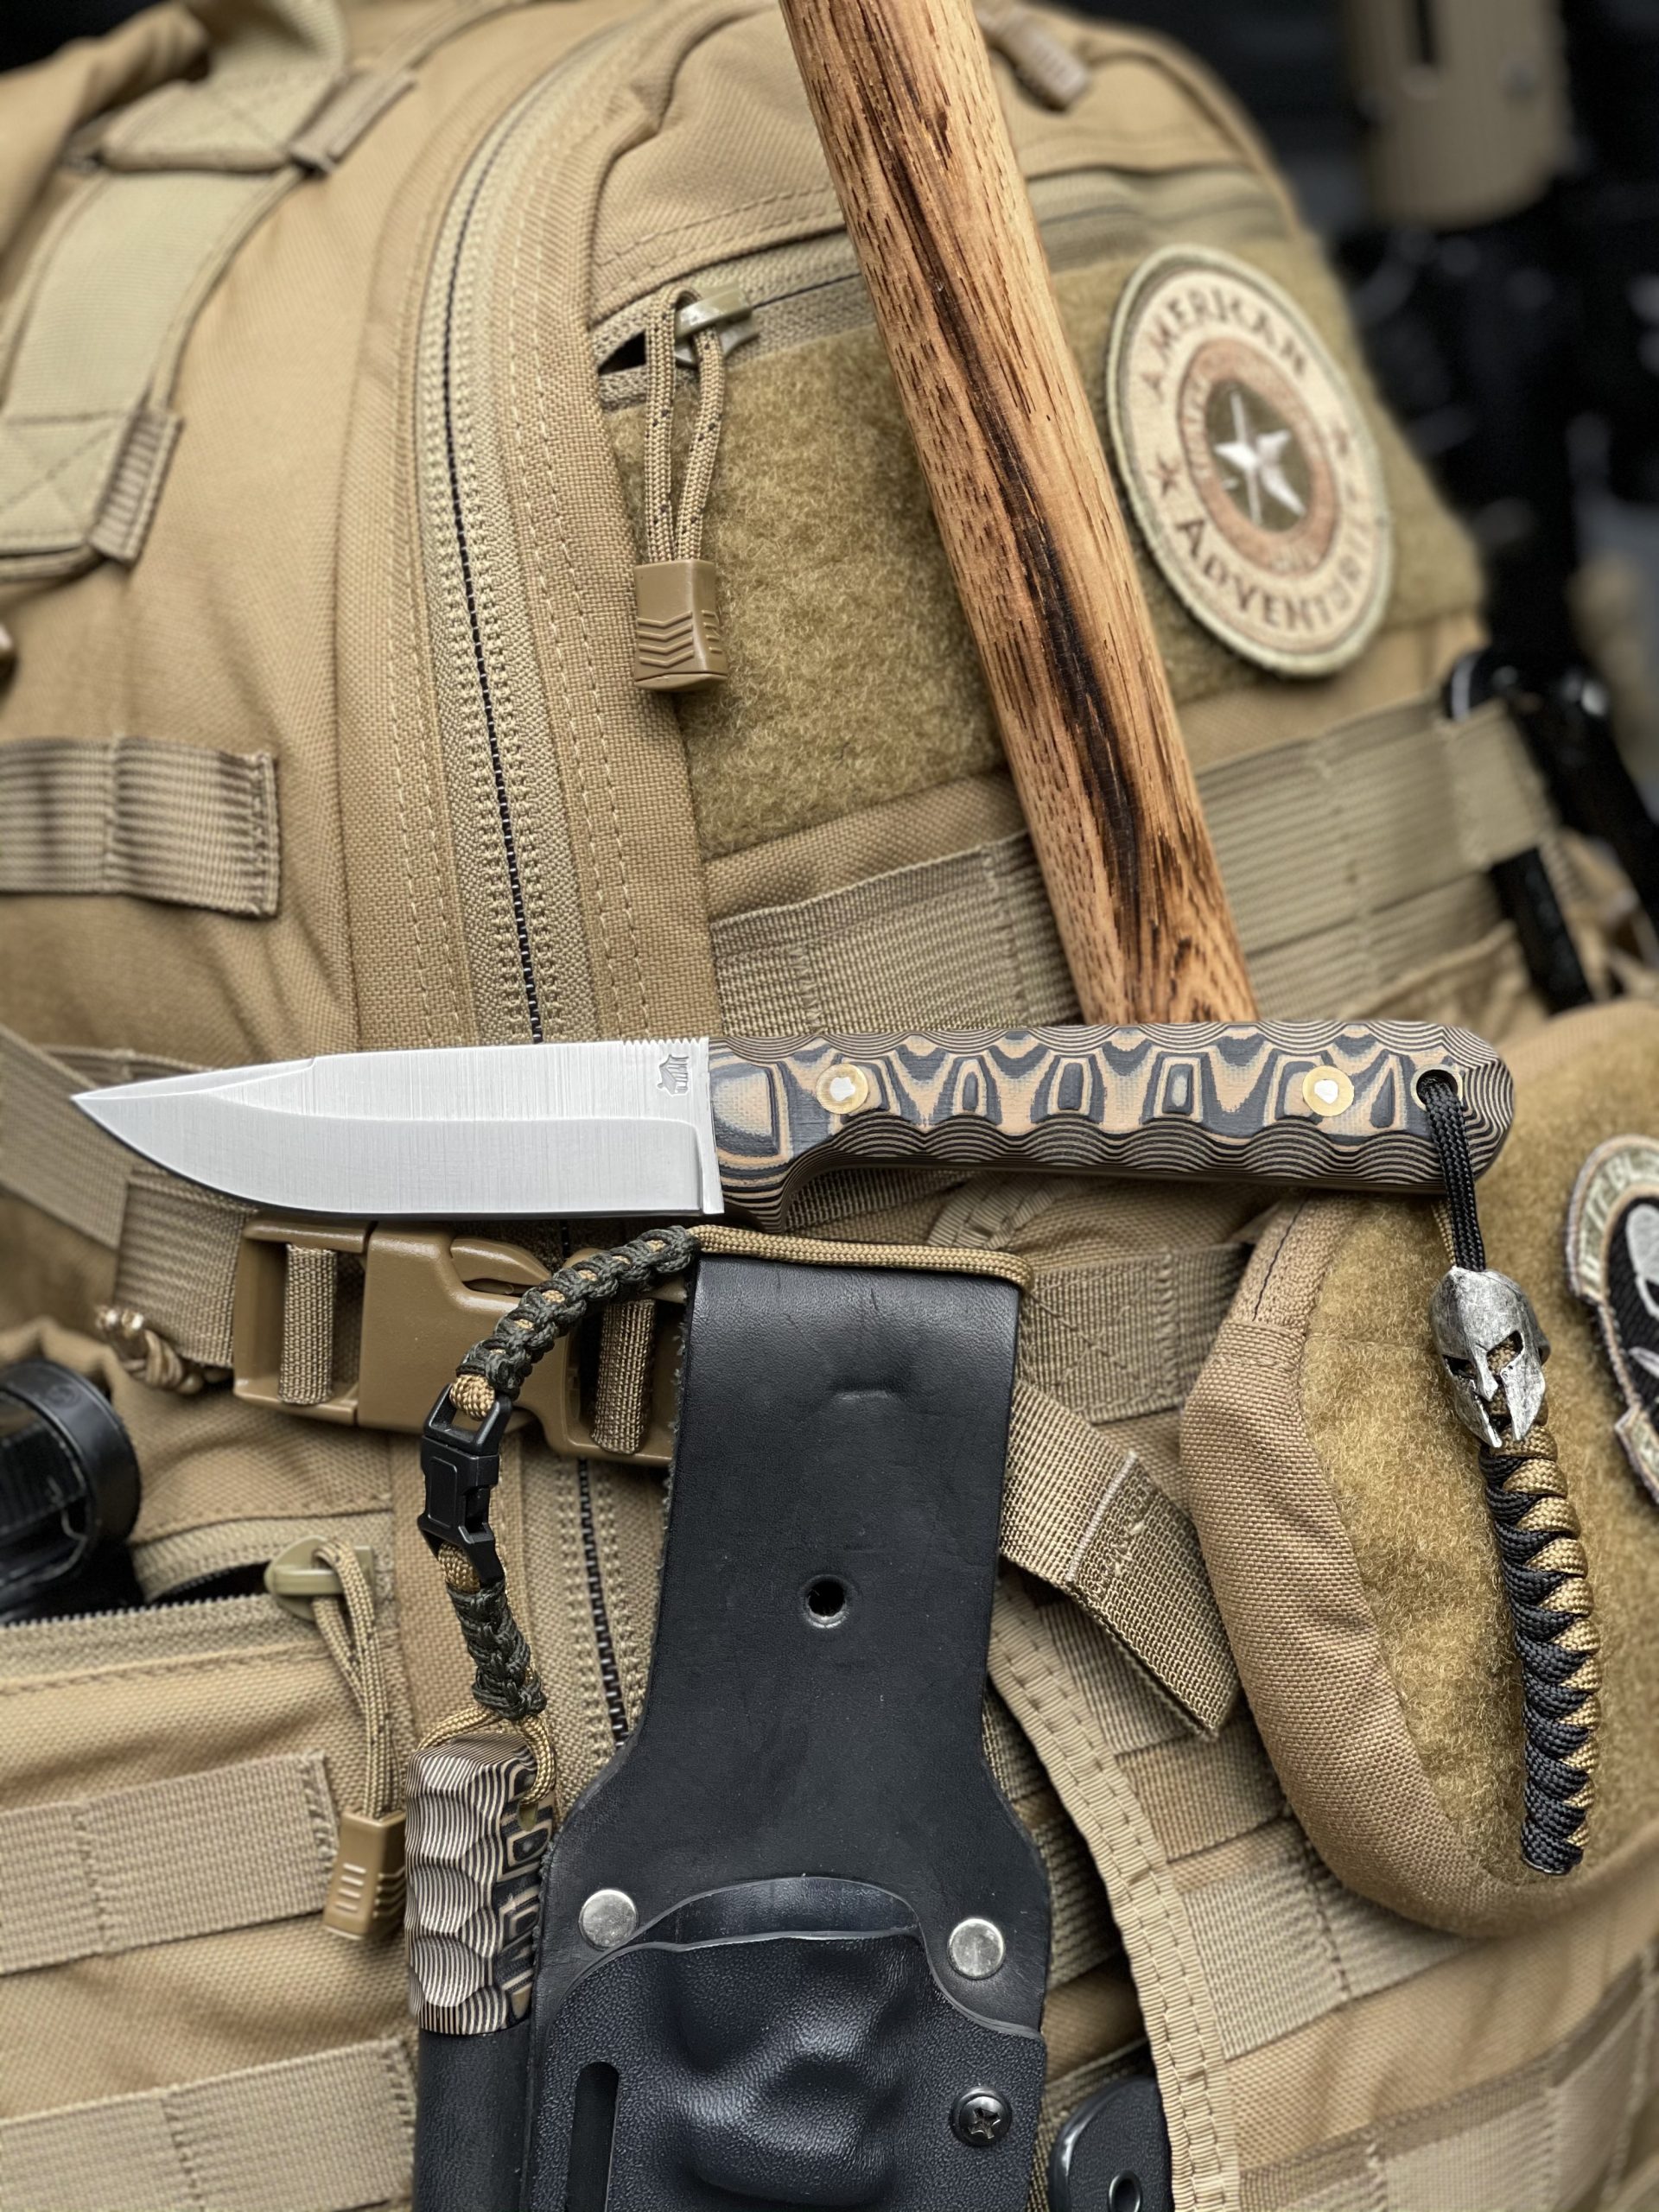
e. Survival Knife – The most often used and most versatile tool in your bag will be your survival knife. A quality, heavy duty American made blade is priceless. Also doubles as a personal defense weapon against critters of all leg counts.
f. Comfort items, money, etc – Small things like TP, baby wipes, a sliver of a soap bar (to save weight), toothbrush/paste, and some gum or hard candy can be a huge morale booster. It’s also a good idea to have some money stashed in that bag or on your person.
g. Navigation – A waterproof paper map of your area, compass, GPS device, and a personal locator beacon (Spot, EPIRB, ResQLink, inReach etc) are all desirable. Have more than one way to determine your location and your destination and ensure that you do NOT rely solely on GPS or electronic aids. Grids and satellites go offline, so the paper map and compass will always be the gold standard – know how to use them.
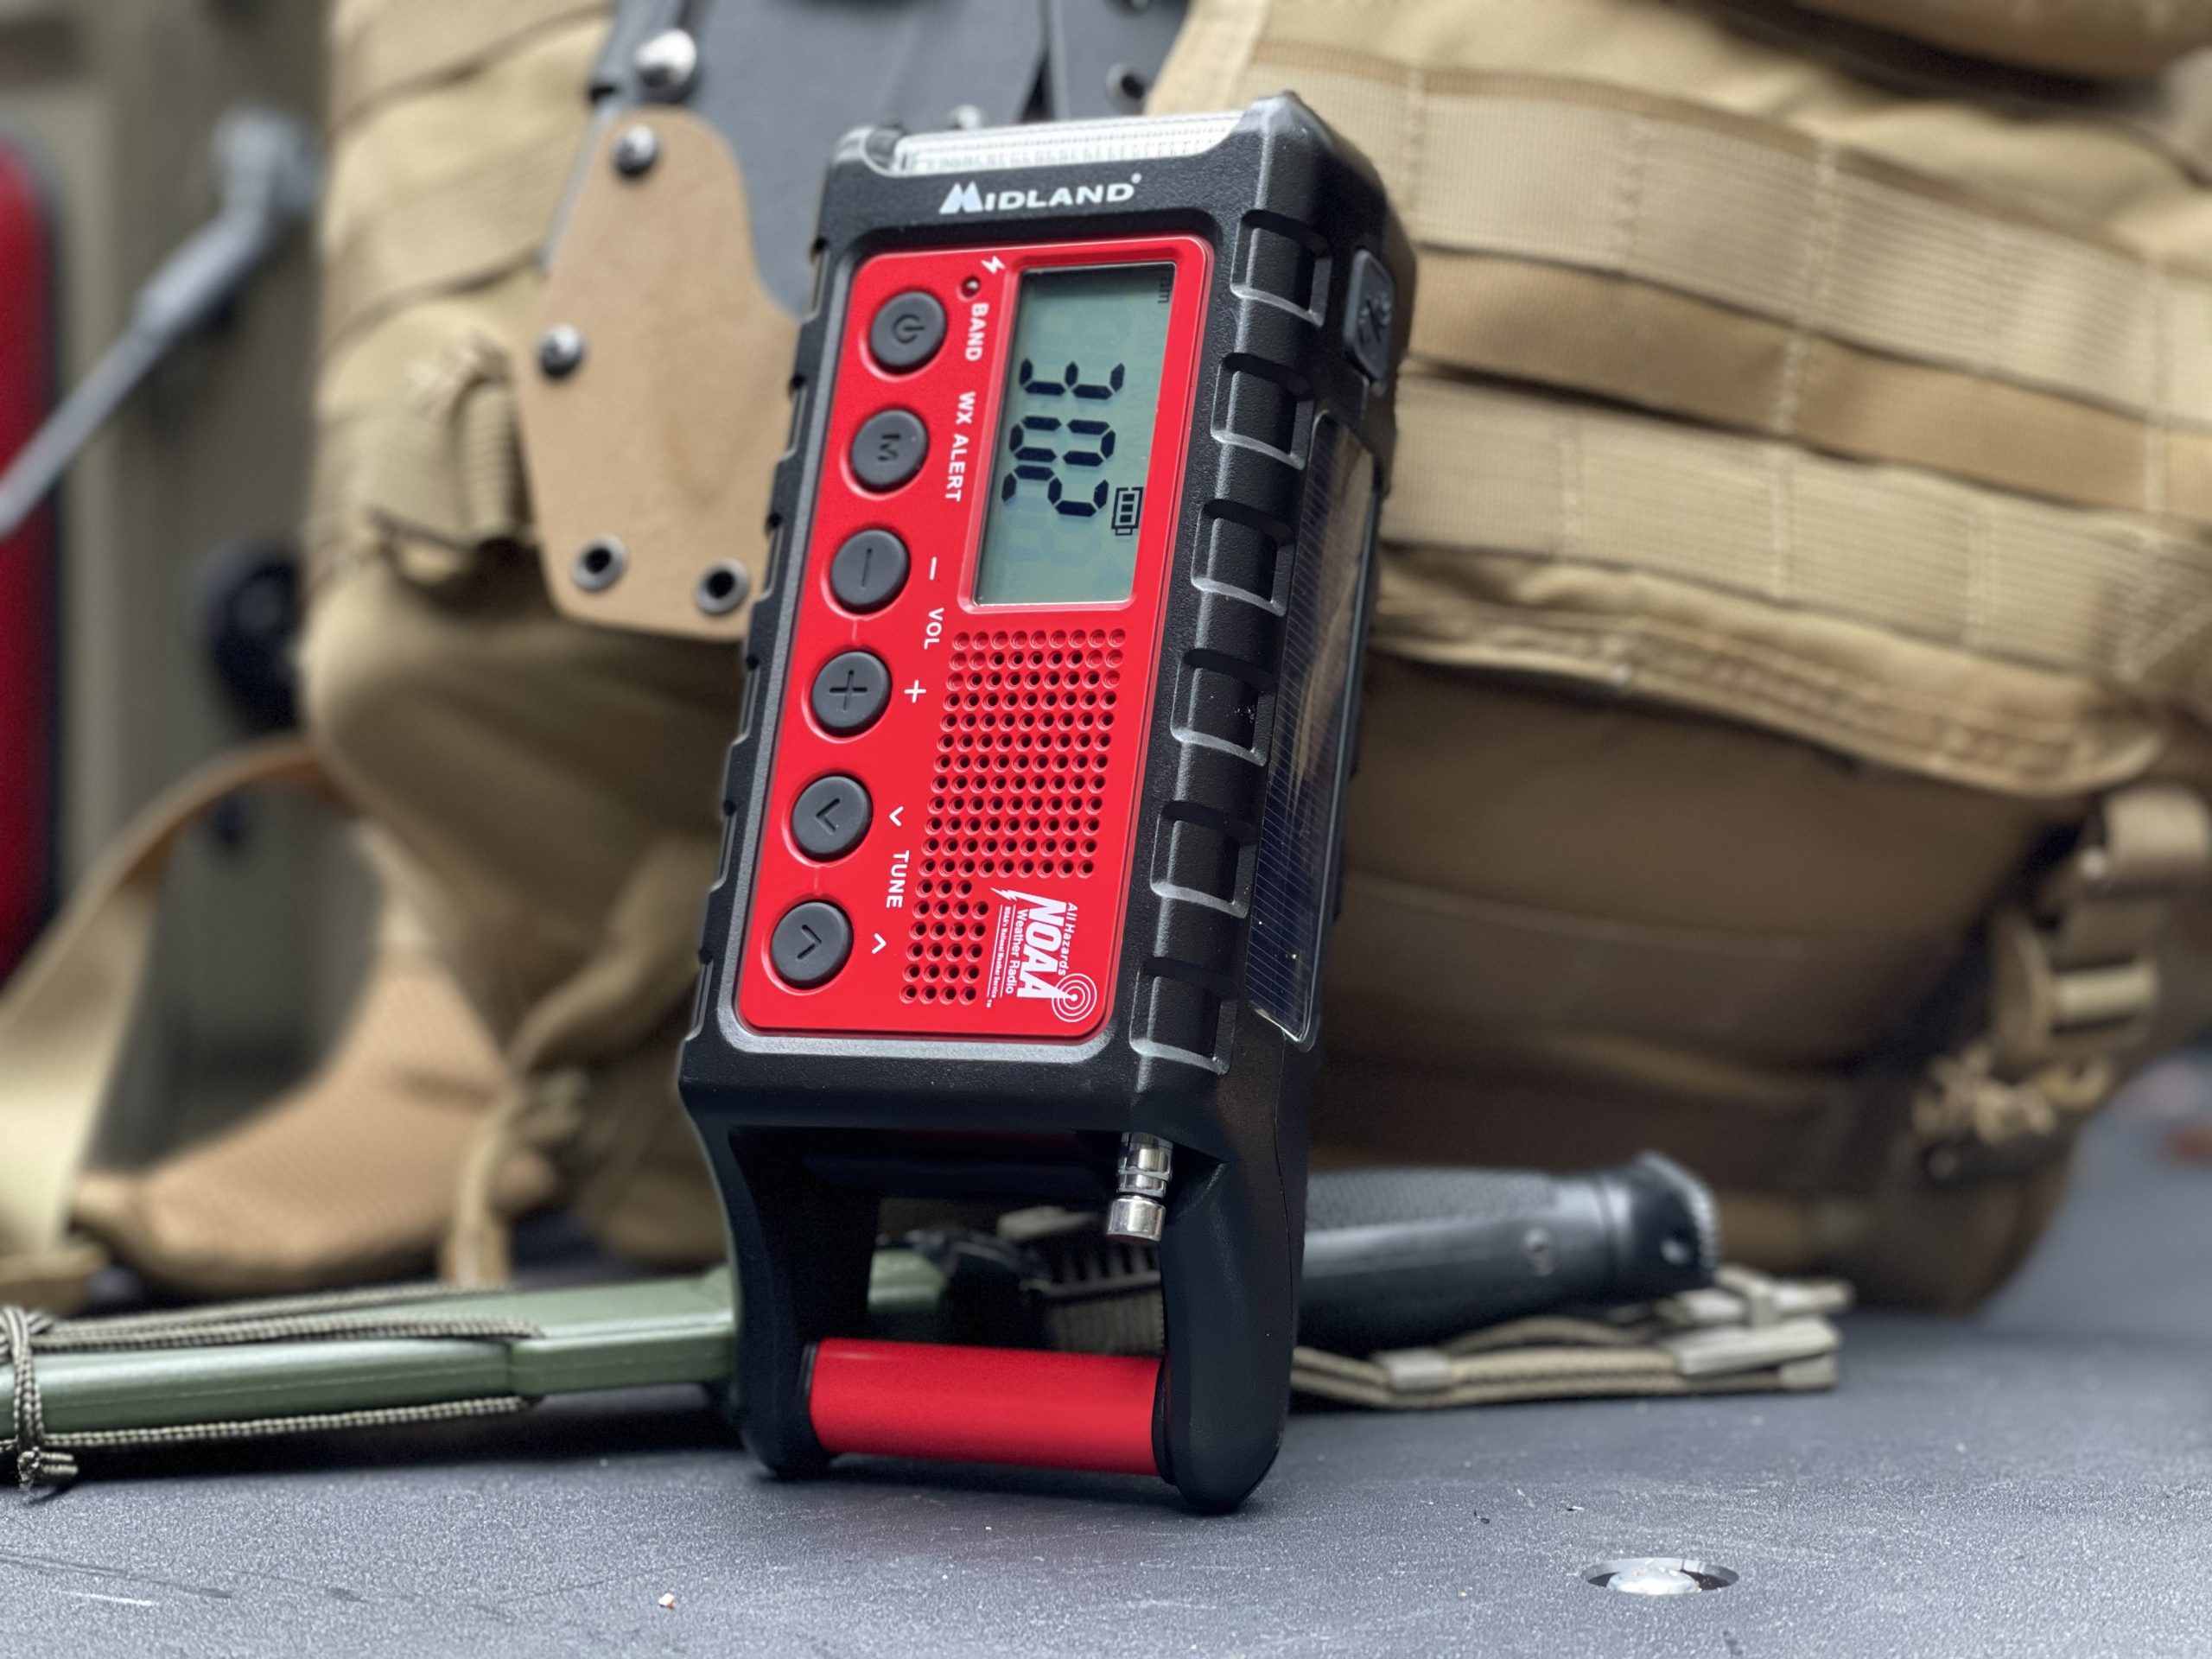
h. Communication – Knowing what is going on during a storm or emergency is critical. A compact, hand crank/solar type NOAA weather radio is worth considering. Consider a handheld HAM radio for two-way communication.
*Have a way to recharge your devices. I prefer a small solar panel in this role.
*Cell signal is never guaranteed so plan to NOT depend on your cell phone!
i. Emergency Signalling – Have a whistle and a signal mirror. Consider a lightweight orange air panel for high visibility if you need to be found.
j. Respiratory protection – Protecting your body is important. Hazards like viral infections, forest fire smoke or volcanic ash could be an issue. Add a NIOSH-approved N95 mask to your kit. It weighs nothing.
k. Water Purification. Get smart on water HERE before it kills you. I trust brands like Katadyn, MSR, and Sawyer.

7. Personal Defense
Being prepared to defend yourself is part of the survival mindset. Obviously, a firearm of some sort is best for this. Why? Because two and four legged animals don’t like guns. A .45 is good but a .44 magnum is better against apex predators, and .454 Casull settles all doubts.
This is a personal decision that carries great responsibility, so stick with what works for you and get training. Once trained, you must practice. If you are ever faced with an emergency situation you will rely on that training and your muscle memory to prevail.
8. Other Considerations
No list or reference is perfect because every family is different, with specific geographic and environmental considerations. Maine is as different from Mississippi as Arizona is to Alaska. Do you have small children, elderly parents or pets? If so, their needs may vary greatly and require their own special “bug out bag”. Weight can quickly increase beyond your ability to carry it for 12+ hours a day. We have a saying in the Infantry: Ounces equal Pounds and Pounds equal Pain. Choose wisely lest you turn your Go Bag into an anvil.
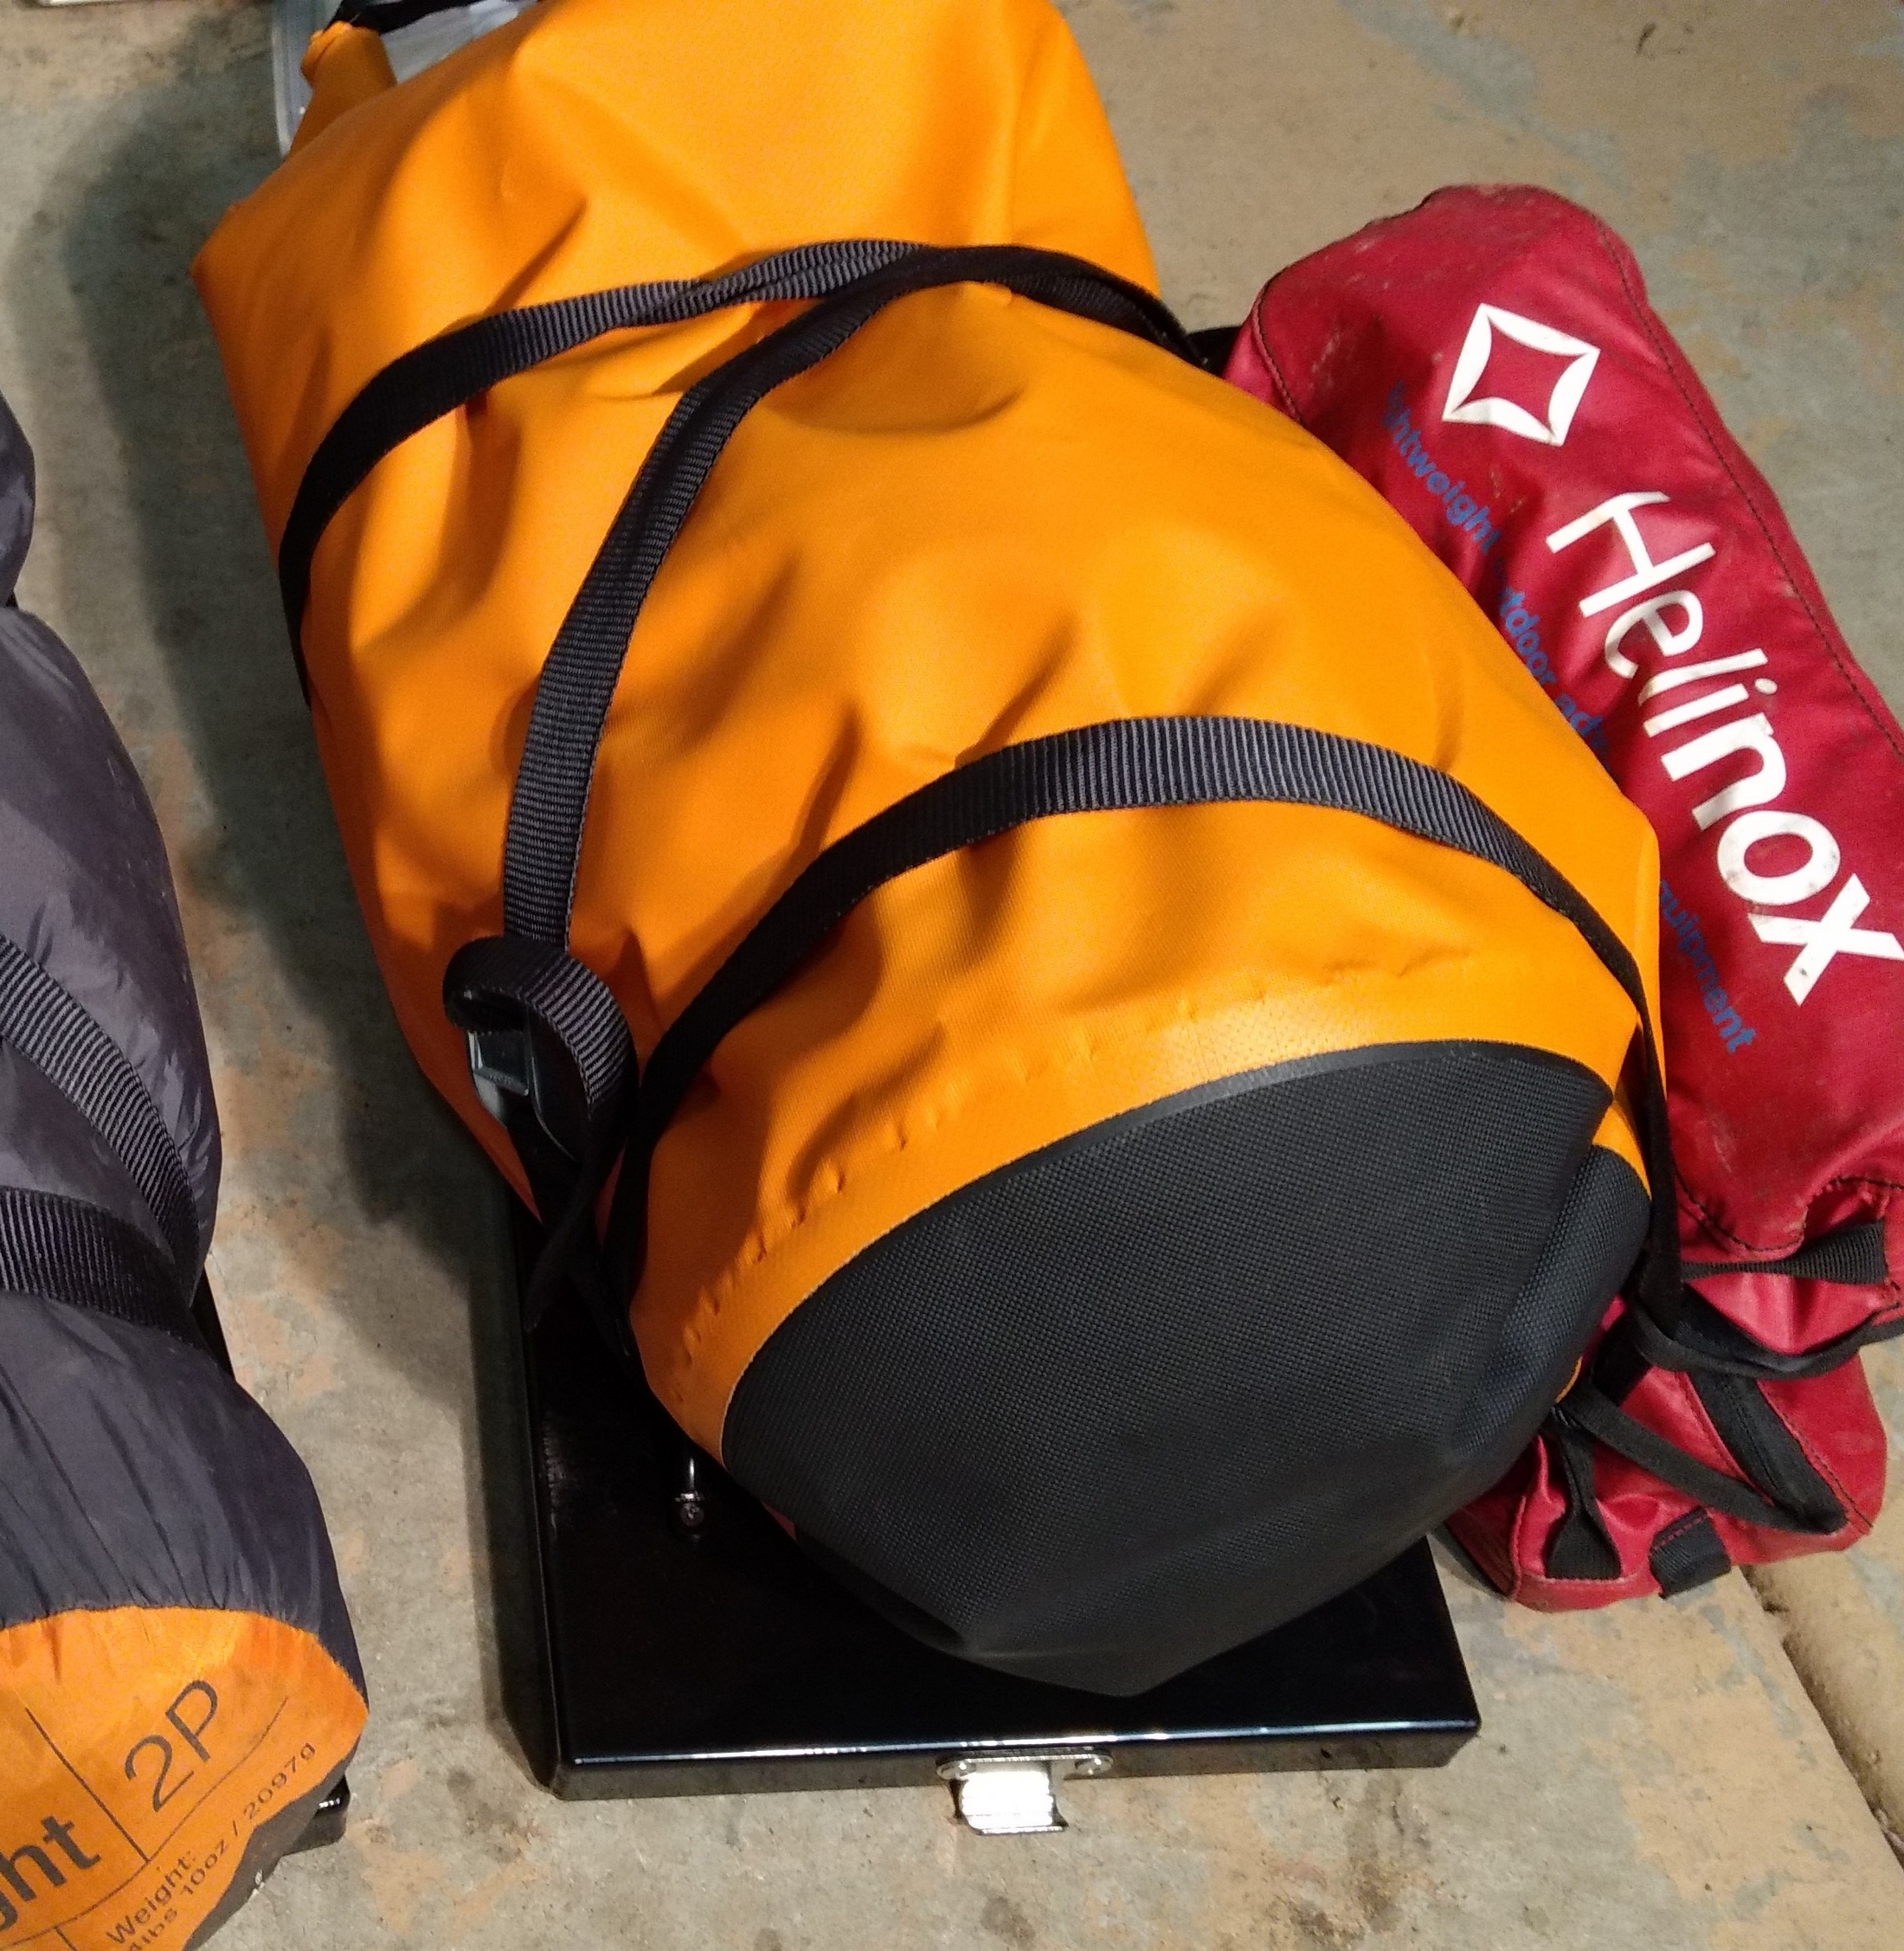
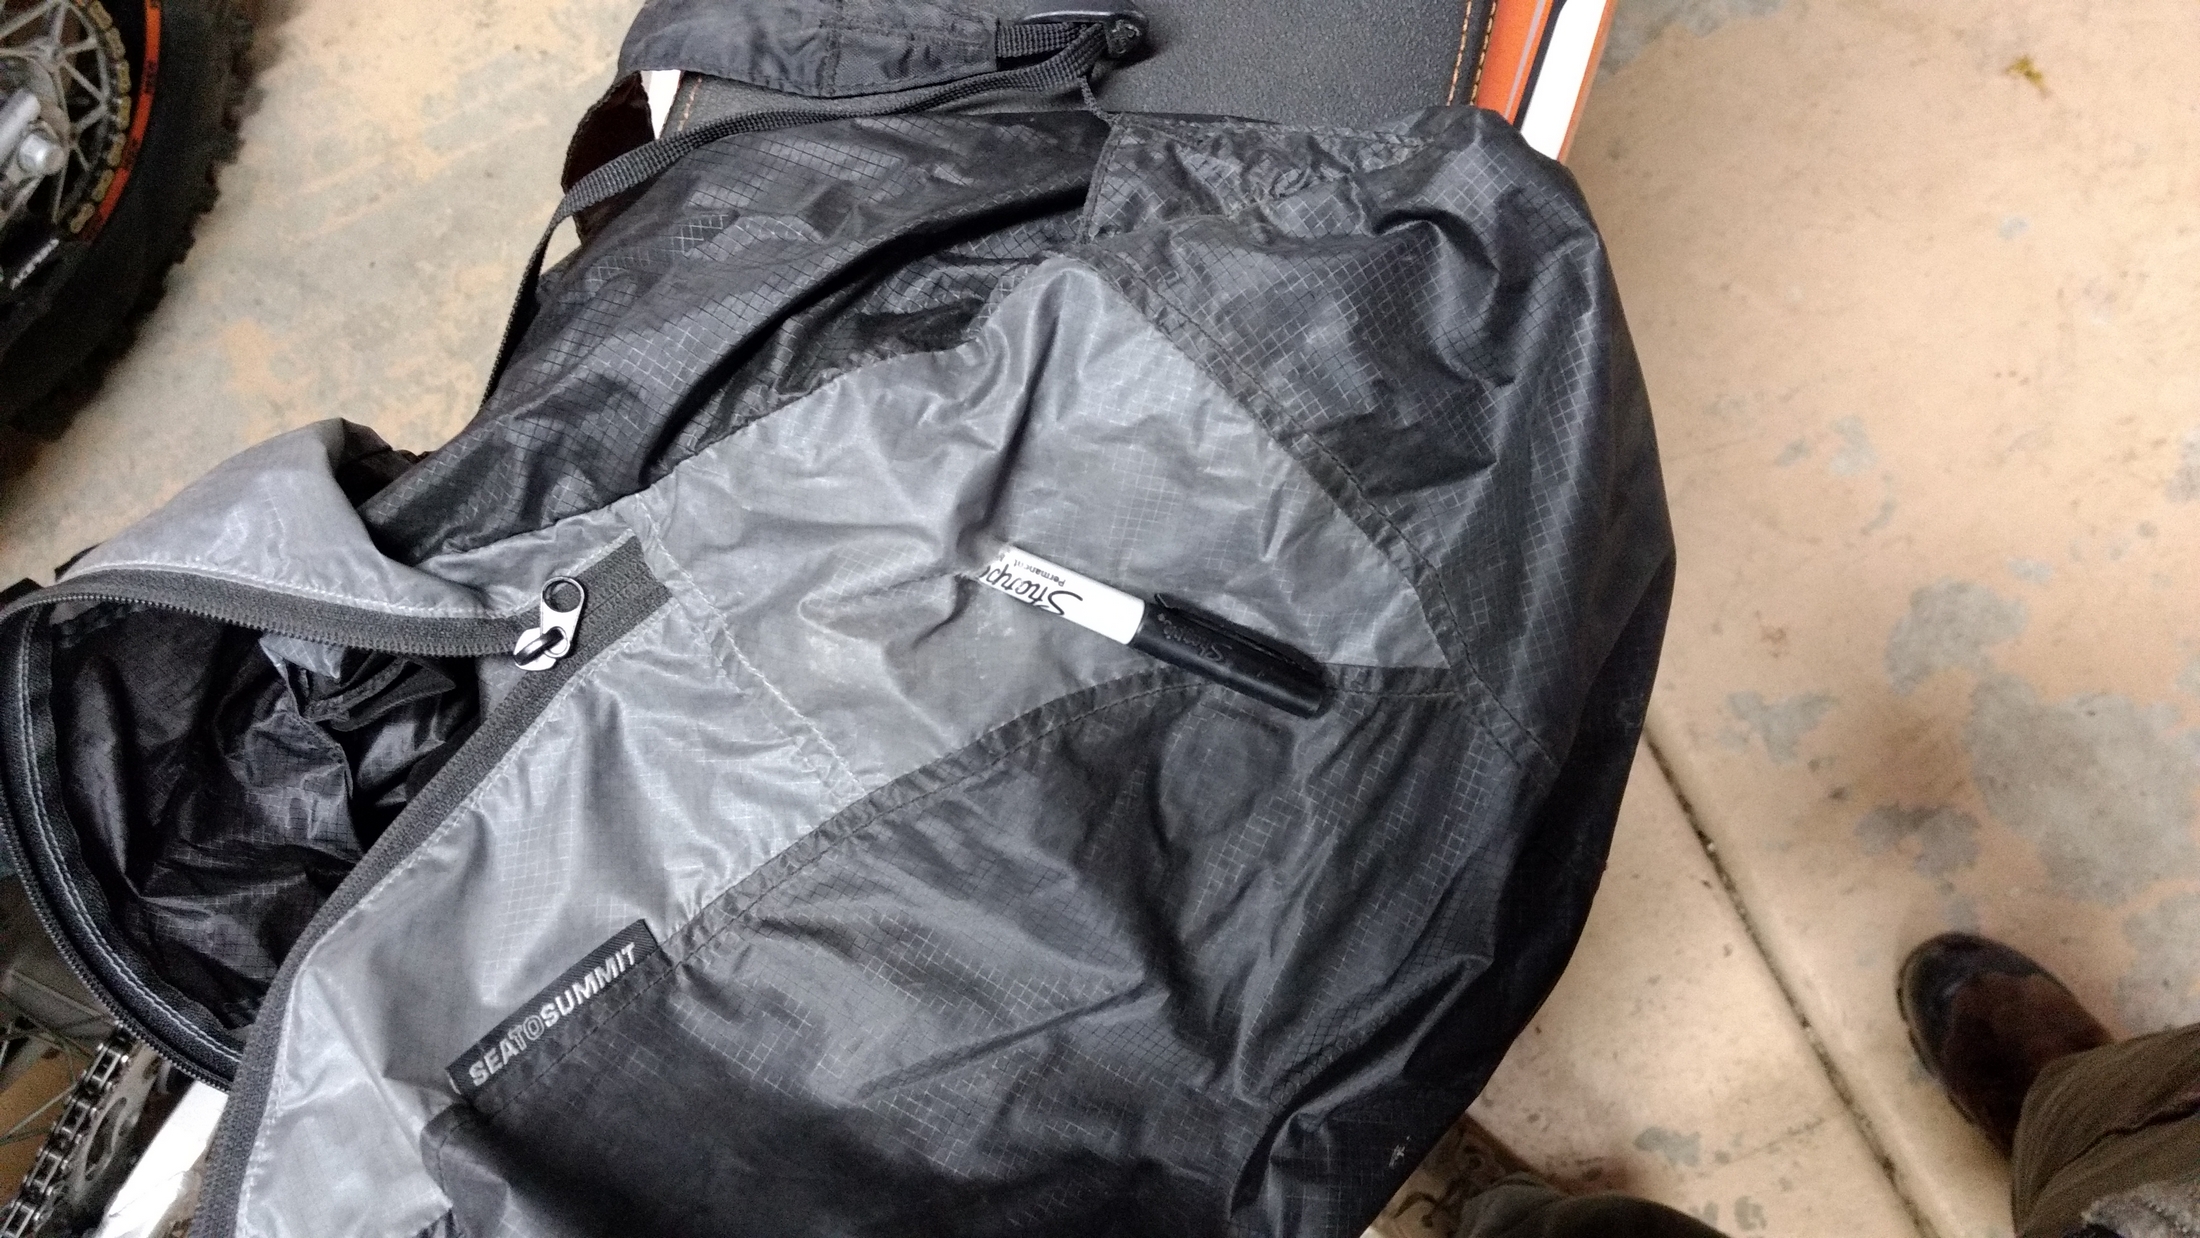
9. Waterproof Your Gear
Once you have everything, it’s time to pack it up. Using dry bags or even a heavy trash bag to ensure the contents stay clean and dry in any environment is key. A properly waterproofed pack can double as a flotation device when needed. Keep waterproof copies of ID and critical documents on your person.
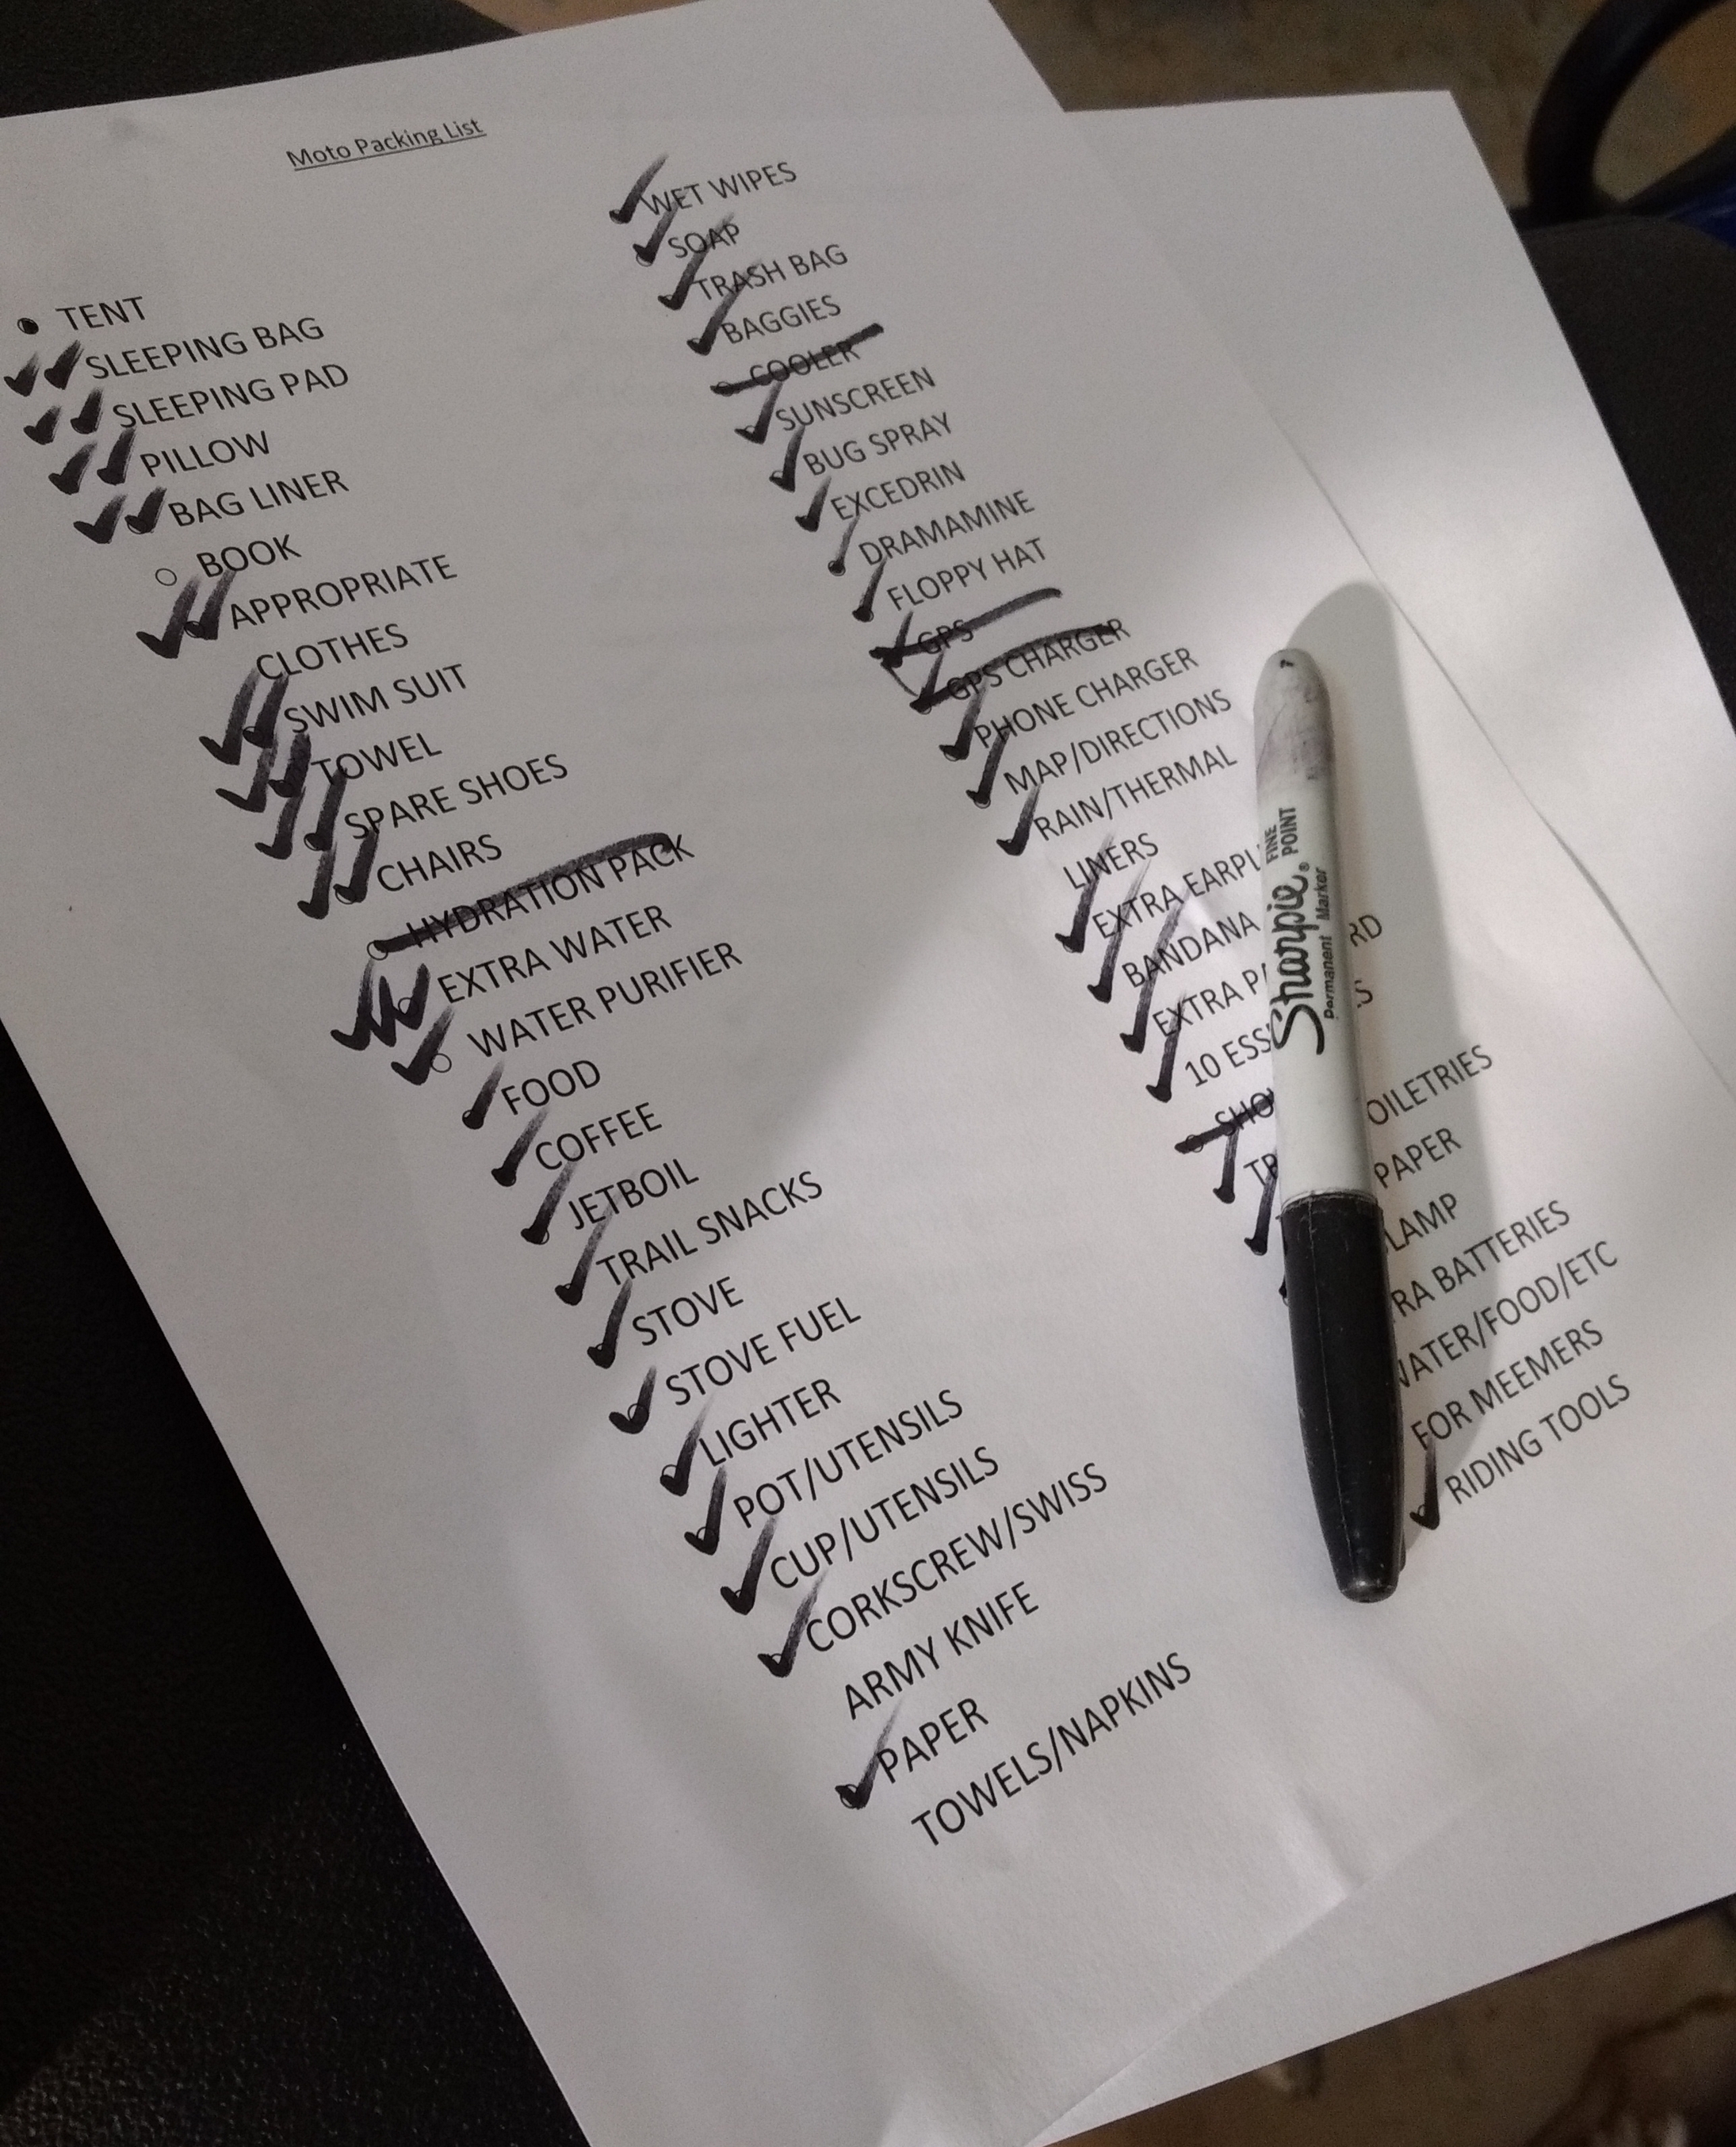
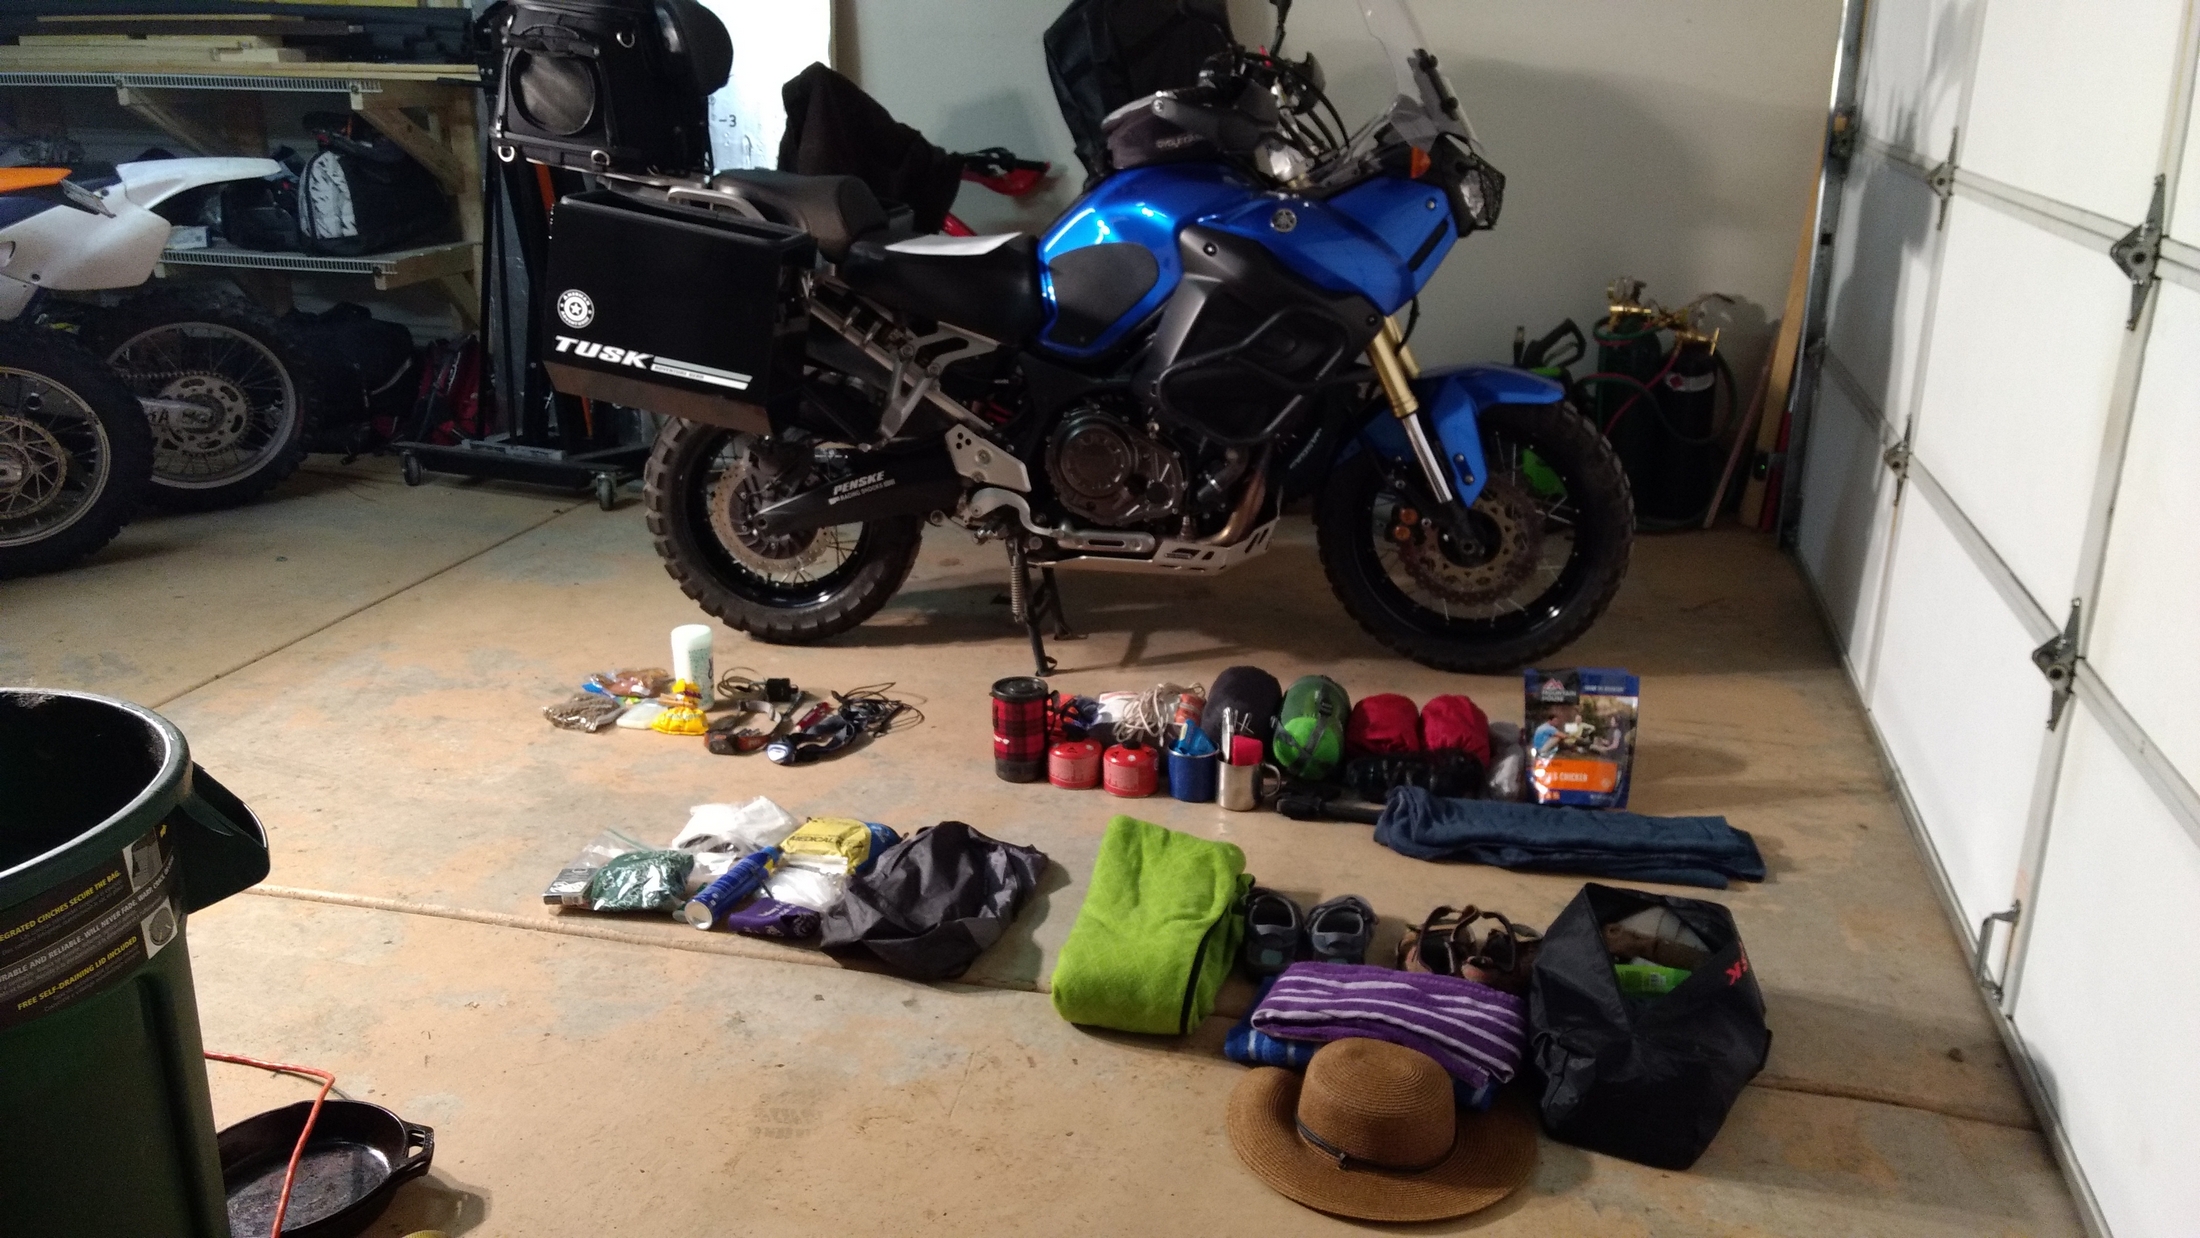
10. Make a Gear List
Once your bag is complete, you’re likely going to forget what all is in there, or the expiration dates on any rations or medications. Having a gear list with the bag provides a quick reference and eliminates the hassle of needing to dump the whole thing out on the ground, yard sale style, to know what you have (or don’t have) onboard.
Conclusion
Lastly, take your bag outdoors and validate the entire kit. Carry it on a long walk. Adjust all the webbing to suit you. Camp with it. Spend at least a night or two outside with only the contents of the bag. Keep notes on what works (or not) and what you forgot to include. Delete anything frivolous to save weight. Annotate your gear list with any changes based on this real-world use.
Having a well thought out, routinely carried bag provides peace of mind and great utility. Houdini had his bag of tricks, why not build your own?
Full Disclosure: The gear featured here was privately purchased by the author. Our reviews are unbiased and never edited to keep brands happy. #IndependentMedia