Isle Royale

I like maps. The older the better. I’ve pored over them, studied them, and dreamed about far away places my entire life. My eye is irresistably drawn to the remote places on any map, the isolated, less traveled areas and the unknown. One such place is Isle Royale.

Isle Royale National Park was established in 1940, then protected from development by wilderness area designation in 1976, and declared a UNESCO International Biosphere Reserve in 1980. At 45 miles long and just shy of nine wide, Isle Royale is one of the least visited National Parks – Yosemite gets more visitors in one day then Isle Royale sees in an entire year. Located in the far north of Lake Superior near Canada, Isle Royale National Park is actually an archipelago that covers an area of 850 square miles or approximately 571,790 acres. It has 165 miles of trails, and no vehicles are allowed on the island.

The only way onto this remote island is a several hour long boat ride across Lake Superior to Rock Harbor or Windigo, or a 35 minute ride by bush plane. It was at that moment in my research that a rough plan began to form. I was within striking distance of the seaplane base at Houghton, Michigan, a mere 6.5 hour drive from our home north of Chicago. So, with school out for the summer we threw caution to the wind and booked the flight for the three of us. We’ve done a lot of family camping trips, but we wanted something truly different, off grid, and challenging. This huge leap of faith proved to be one of the best decisions I’ve ever made.

Arriving at Isle Royale Seaplanes I quickly realized that my expectations were going to be exceeded. Not only was the company extremely professional, we were flying across Lake Superior in the quintessential bush plane, a classic de Havilland DHC-2 Beaver. I may have squealed like a little girl when I saw it land and taxi towards the dock.

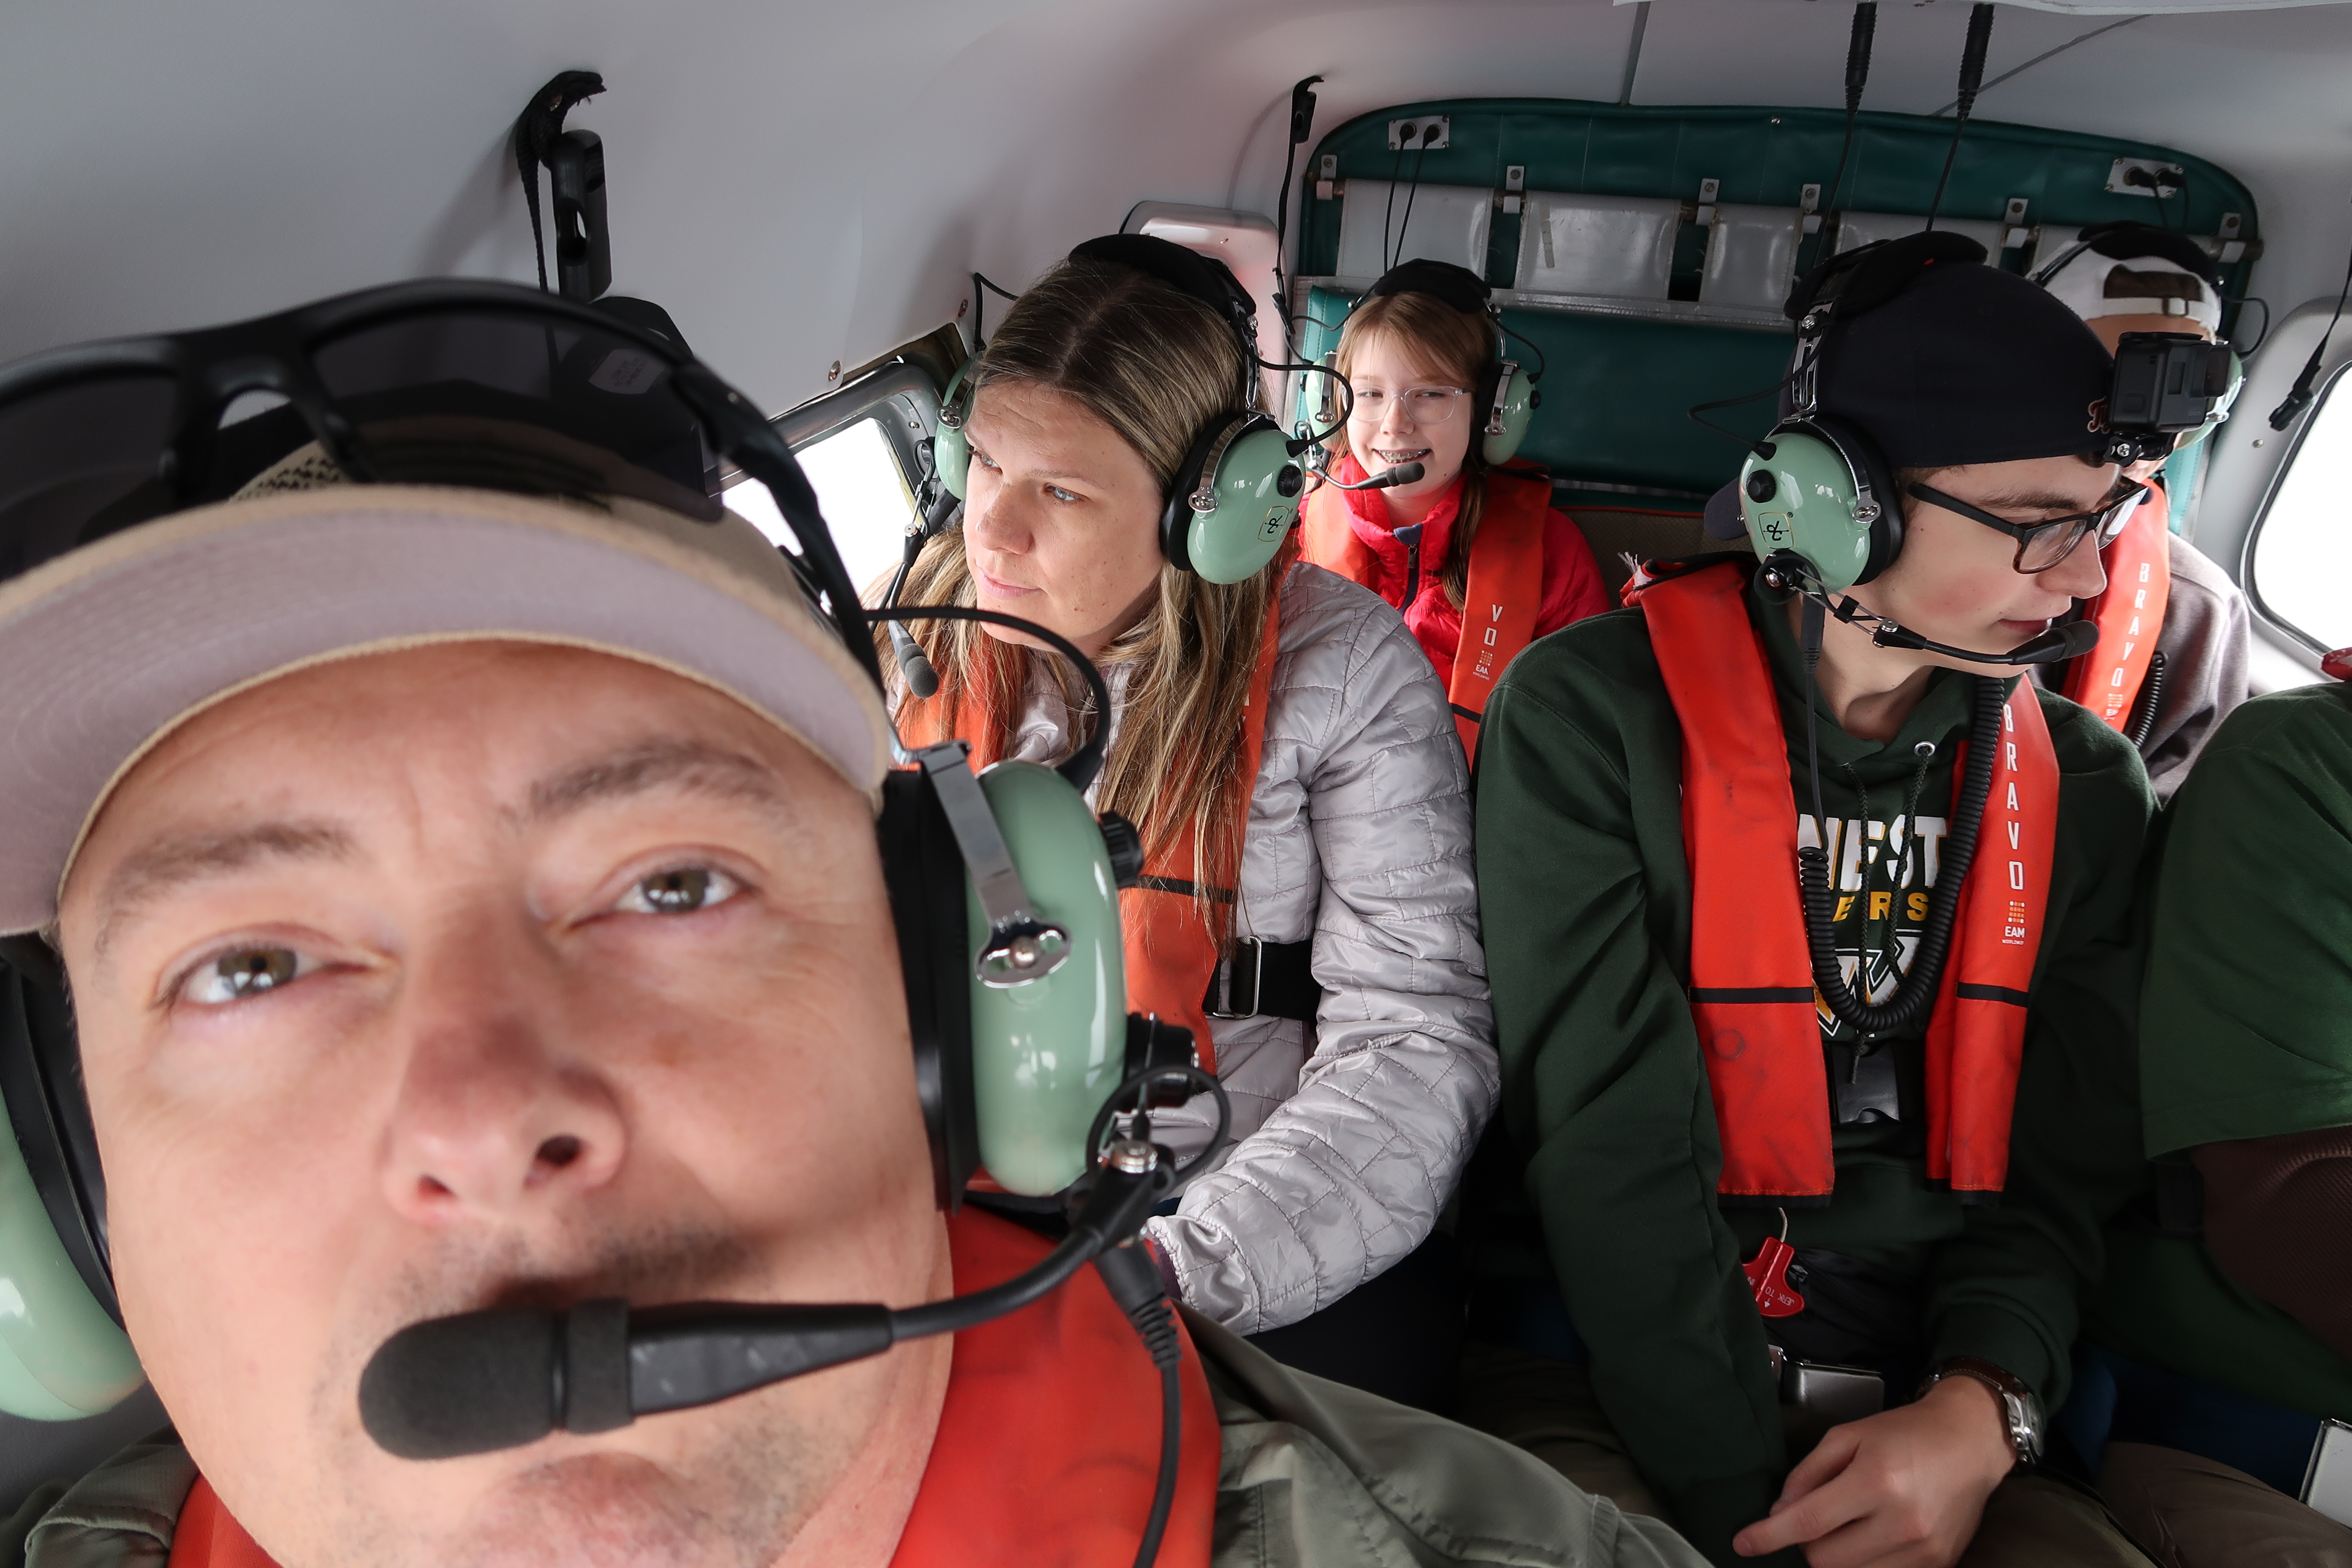
An aircraft from a more civilized age, it’s big rotary engine has a sound and feel like nothing else. Designed specifically for the unique needs of bush pilots and built in Canada after WWII, the de Havilland Beaver is a workhorse, carrying 6 passengers and all their gear into short landing strips or in our case, lakes. Our pilot, Ken, made us feel right at home and after a quick safety brief and life vest fitting we were on our way.

This was the first BIG backpacking trip for my 9 year old daughter, and our plans on the island were based around that fact. A bad experience backpacking now could sour her on the whole thing for the future, so we intended to take it easy over 4 days and 3 nights on the island. The idea was to hike 3-4 miles per day between campsites. So a round trip itinerary from Rock Harbor to Three Mile to Daisy Farm and back had been laid out as well as hydration and meal planning. Backpacking on an island like this is much different than truck camping in the lower 48, if you forget something you can’t just run back to town for it and there’s ZERO cell service anywhere on “the Rock” as it’s affectionately known. You’re out there in the elements with the clothes on your back and, as the old saying goes, you “run what you brung, son”.
Arriving at Rock Harbor, we were faced with the usual brief by the Park Rangers about NPS rules, Tread Lightly! and Leave No Trace principles, and we received our permit so they would know our itinerary. There is a small lodge and a very small store with supplies (fuel cannisters, food etc), so after a last call for snacks, water and gear checks we hoisted our packs and set off down the trail toward our first night’s destination at Three Mile.

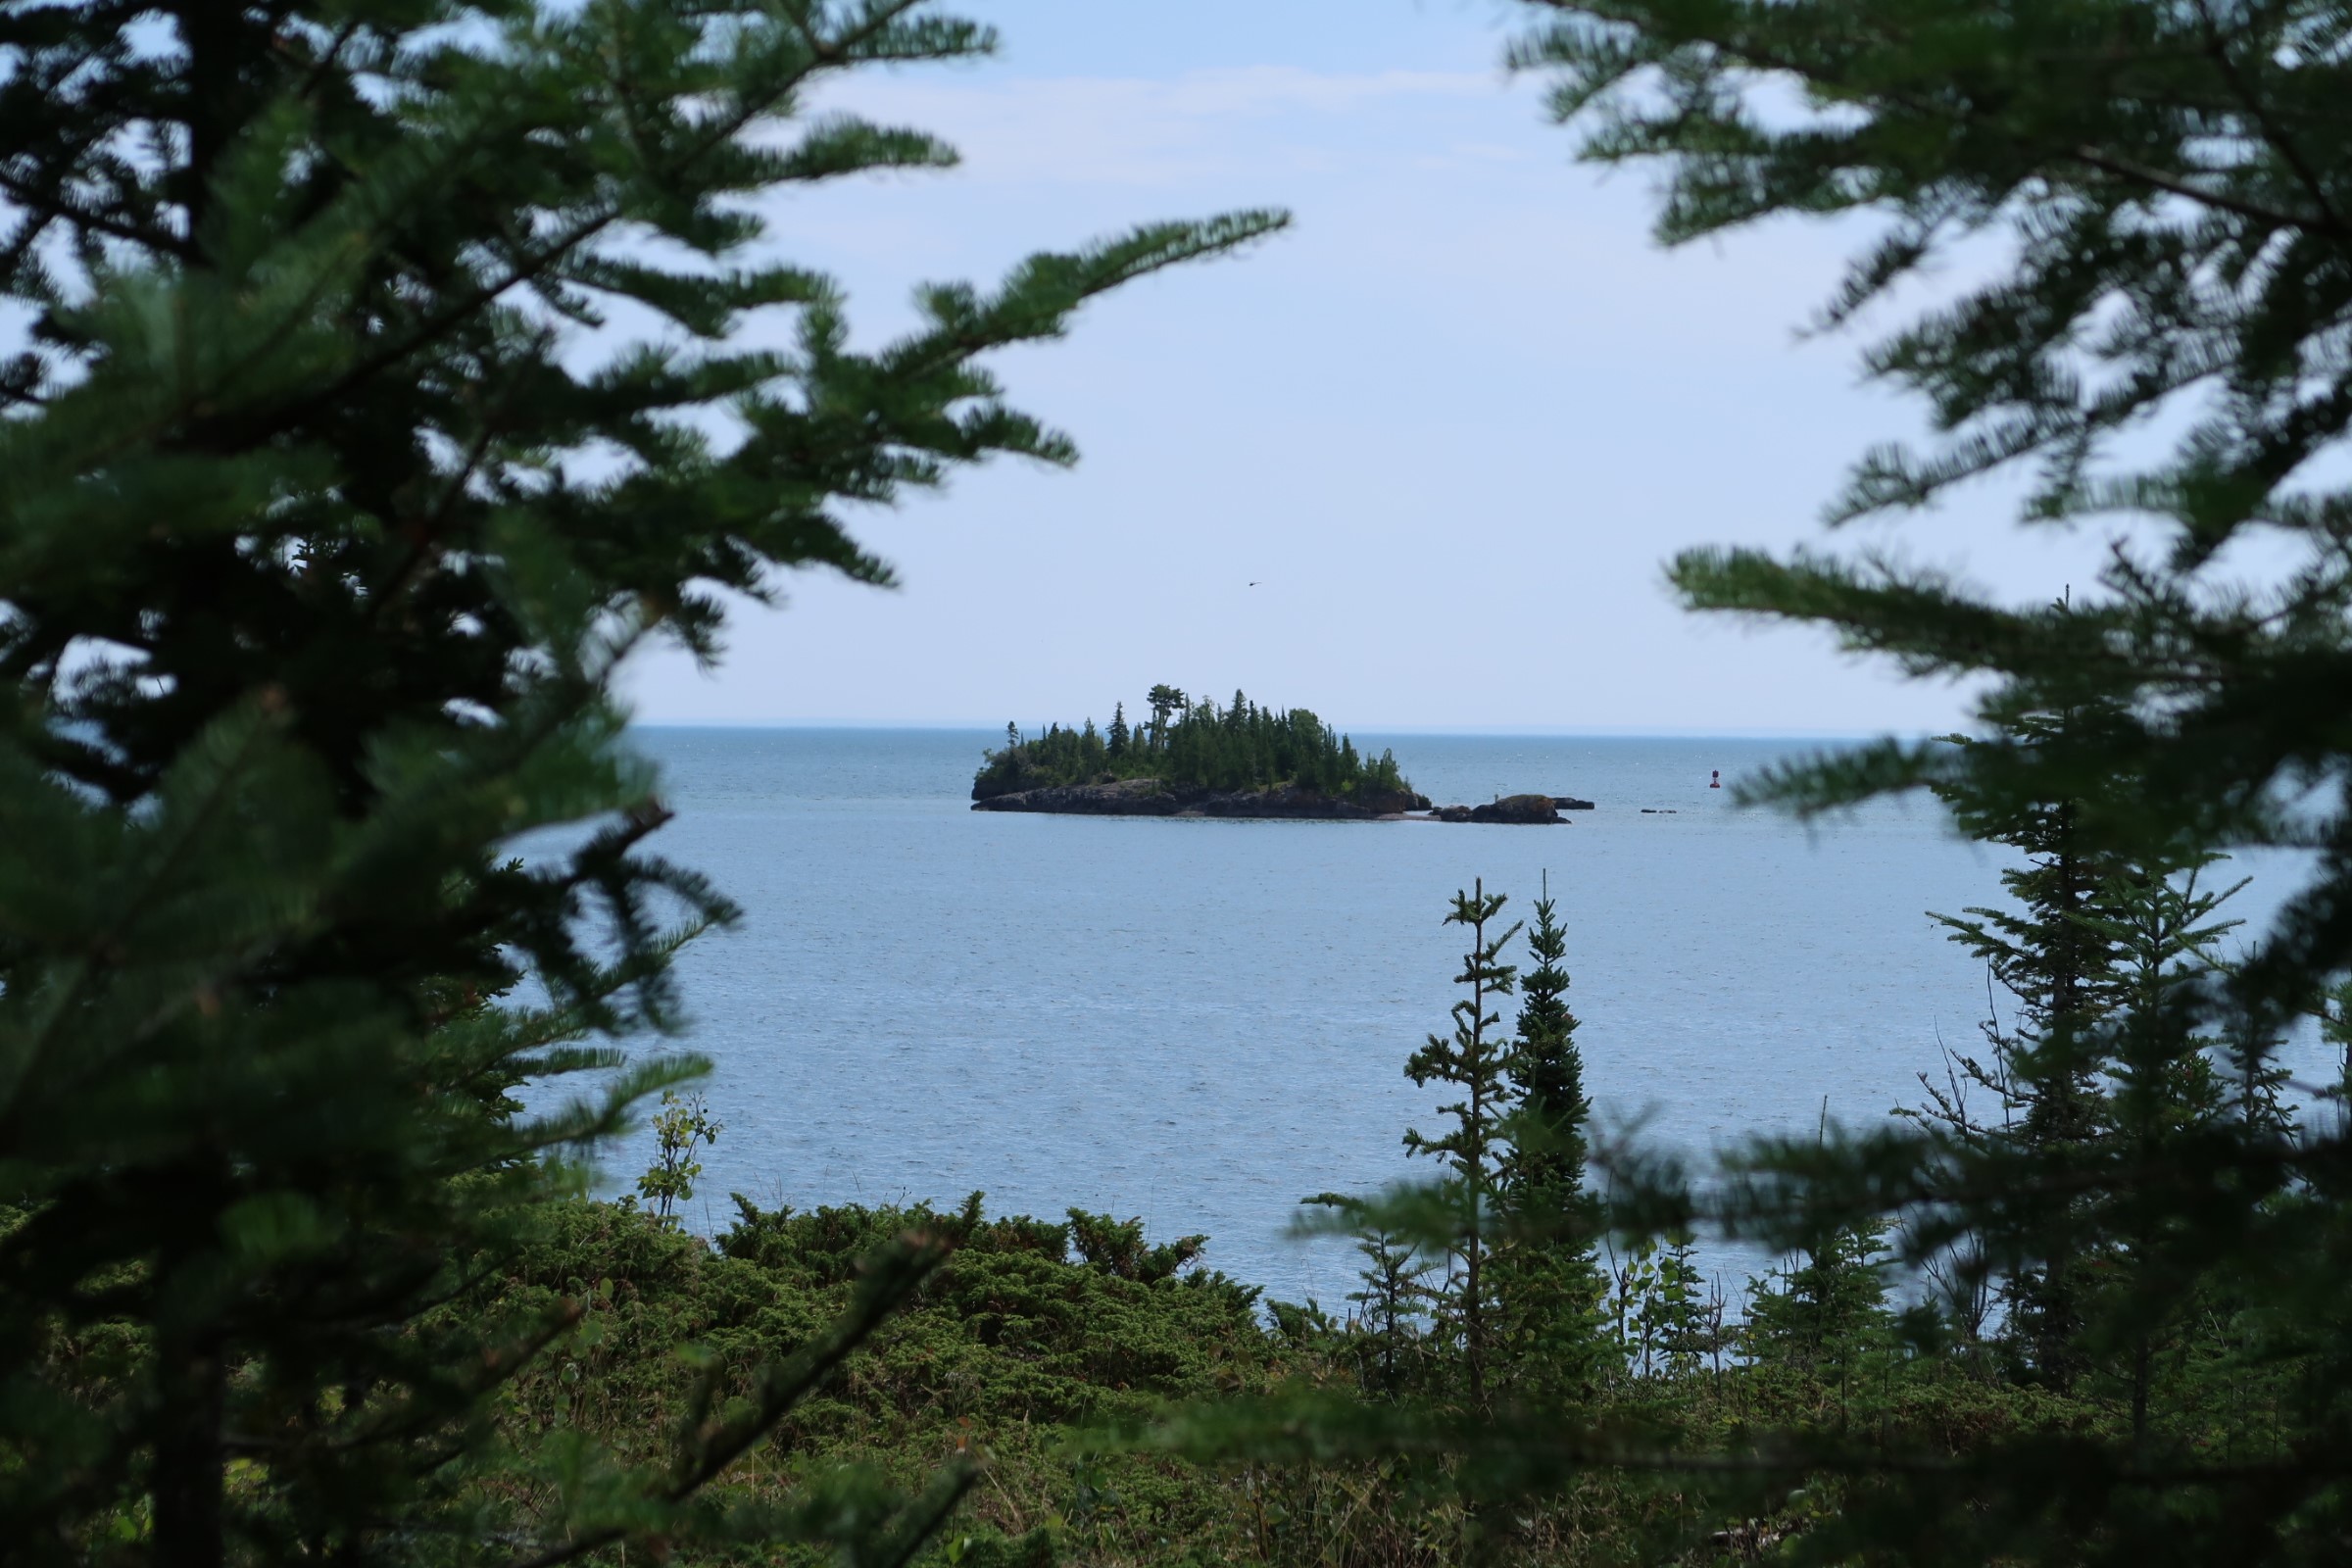
 The initial hike in was a bit of a challenge for us as the first day was all about acclimatization and getting our legs warmed up so I took less photos on the way in than I would have liked. Suffice it to say that the views of the surrounding islands, the sights and sounds of the forest, and the prodigious wildlife provided a stunning experience.
Once at Three Mile we were greeted with a very small and well organized campsite. Shelters make it easy on hikers, and we gladly settled right in to the first empty one we found. Lightweight gear from Nemo, Snow Peak, and Marmot would pay off now. Time for rest and relaxation!

Of all the backpacking food we tried on this trip, NONE compared to Backpacker’s Pantry. To say that it was delicious after a long day on the trail is an understatement, and Savannah LOVED their Mac and Cheese! The Risotto with Chicken was my favorite meal of the entire trip so it gets 5 stars from me.

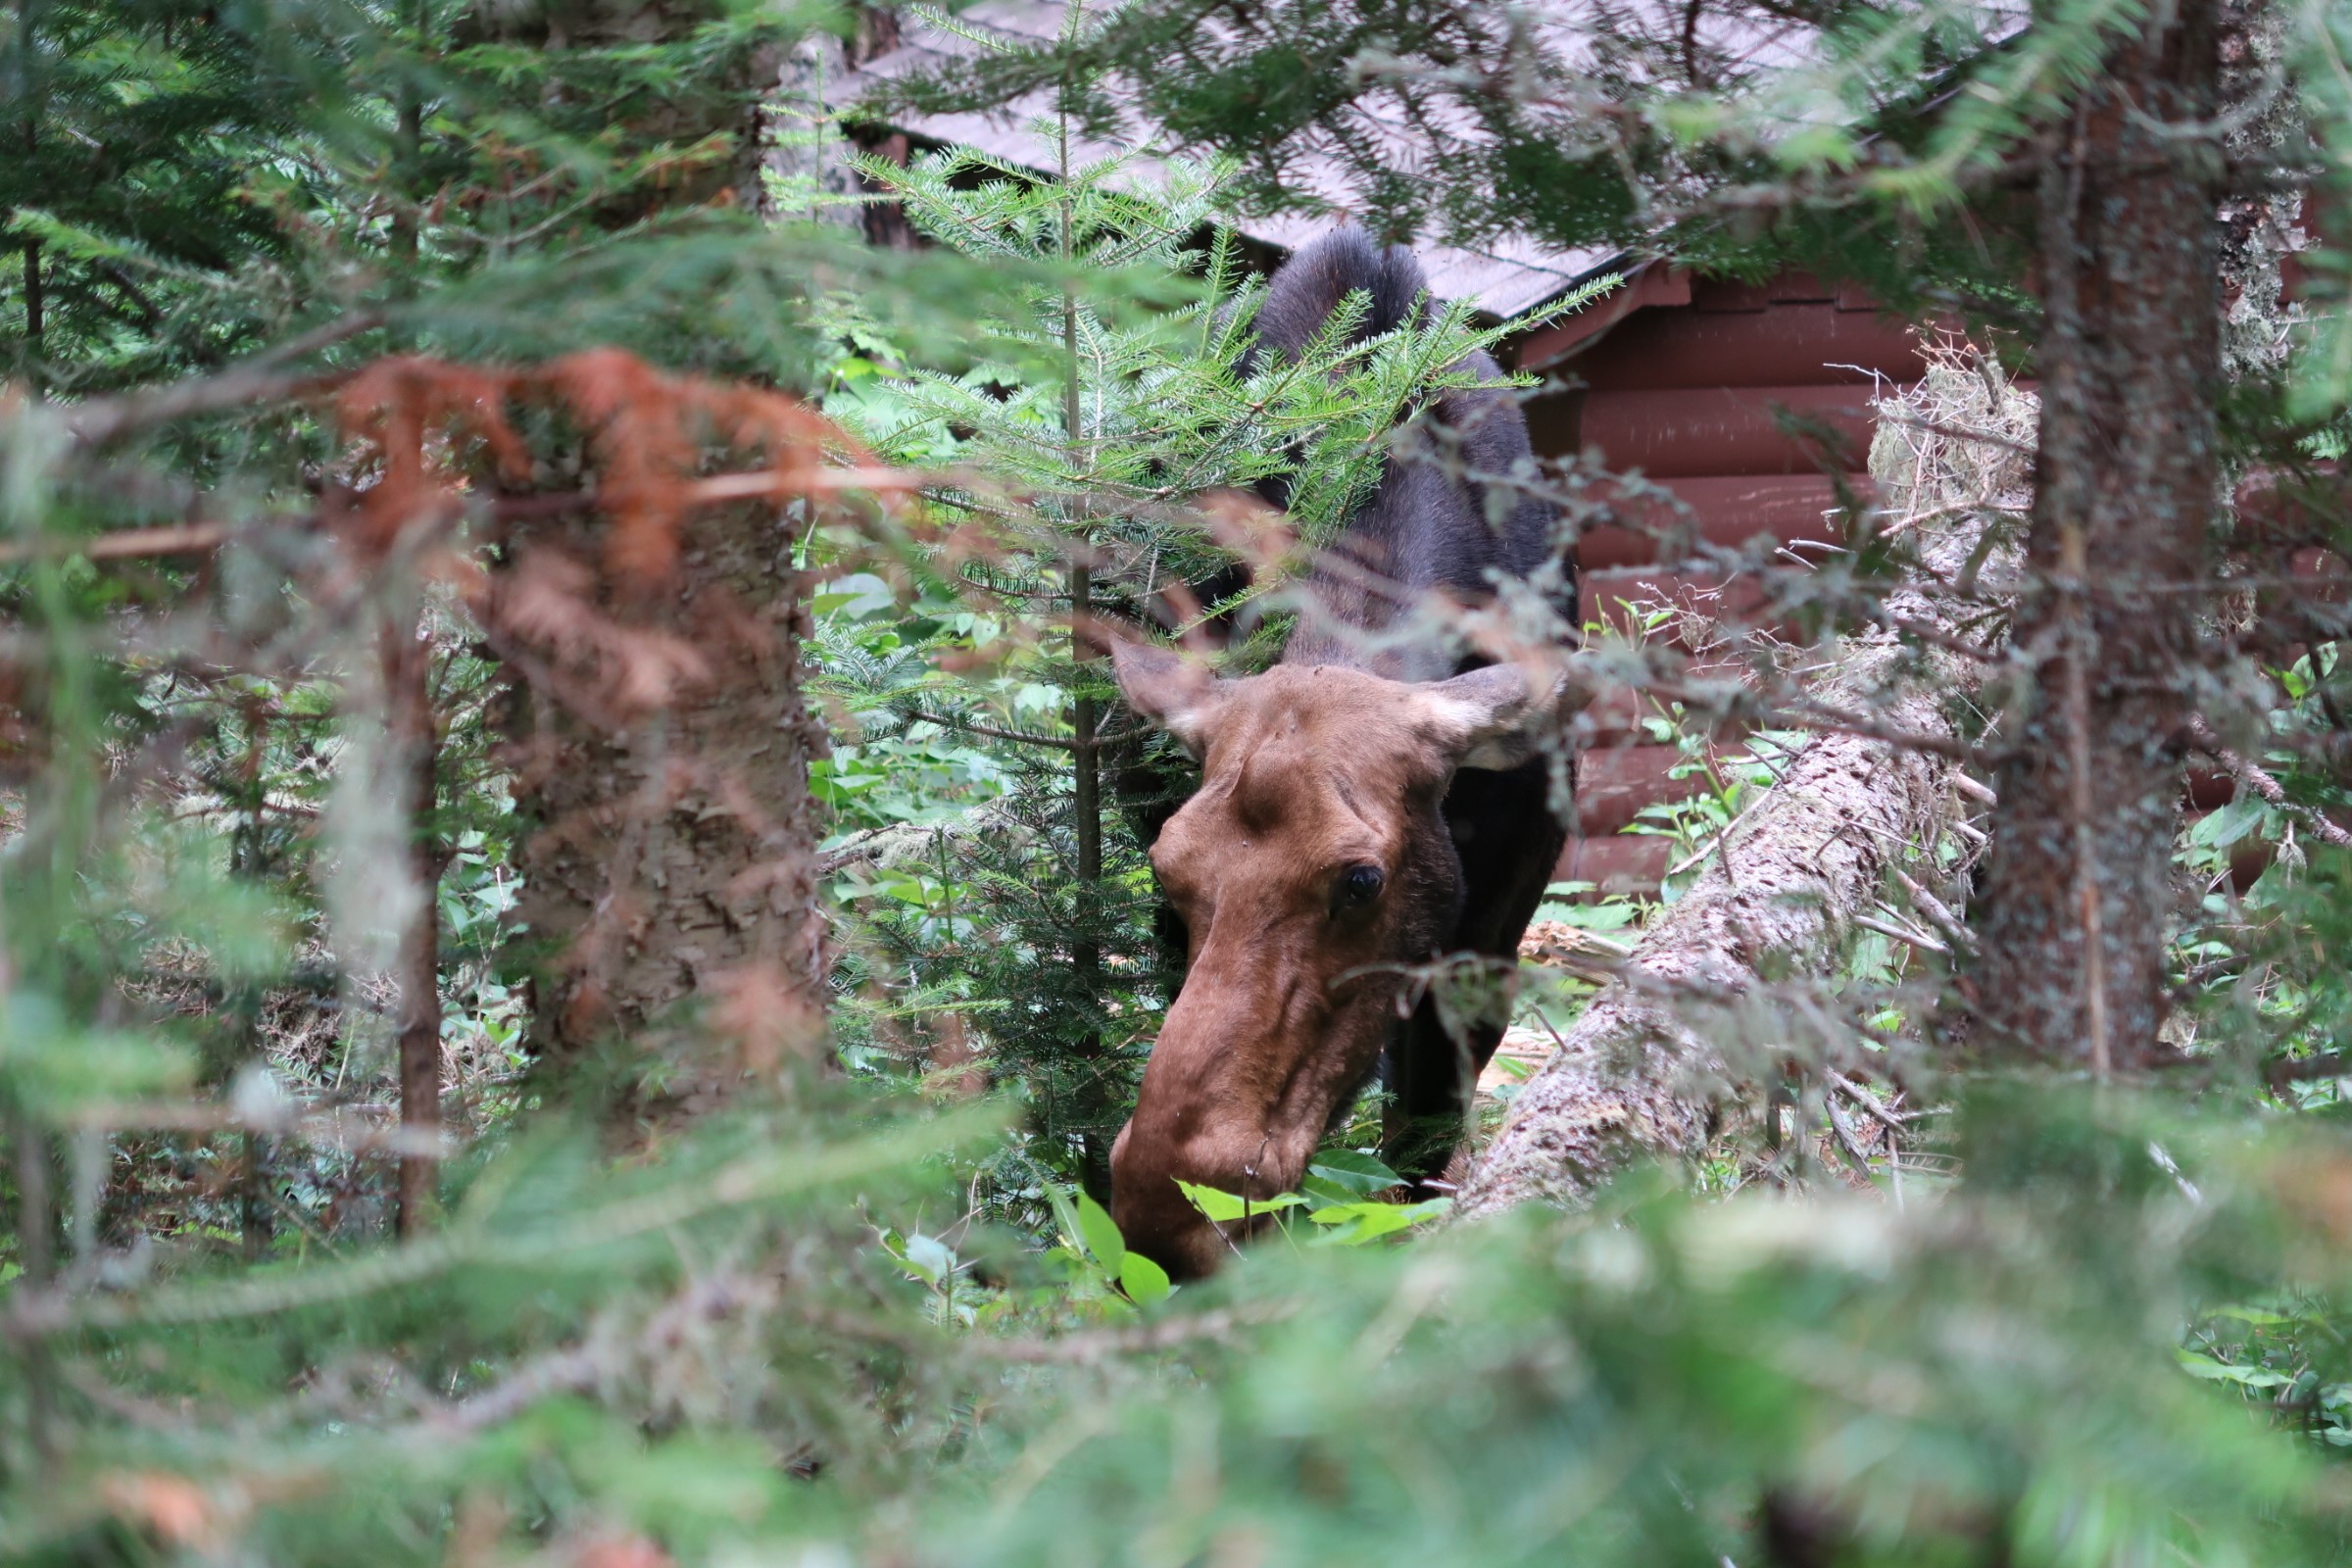
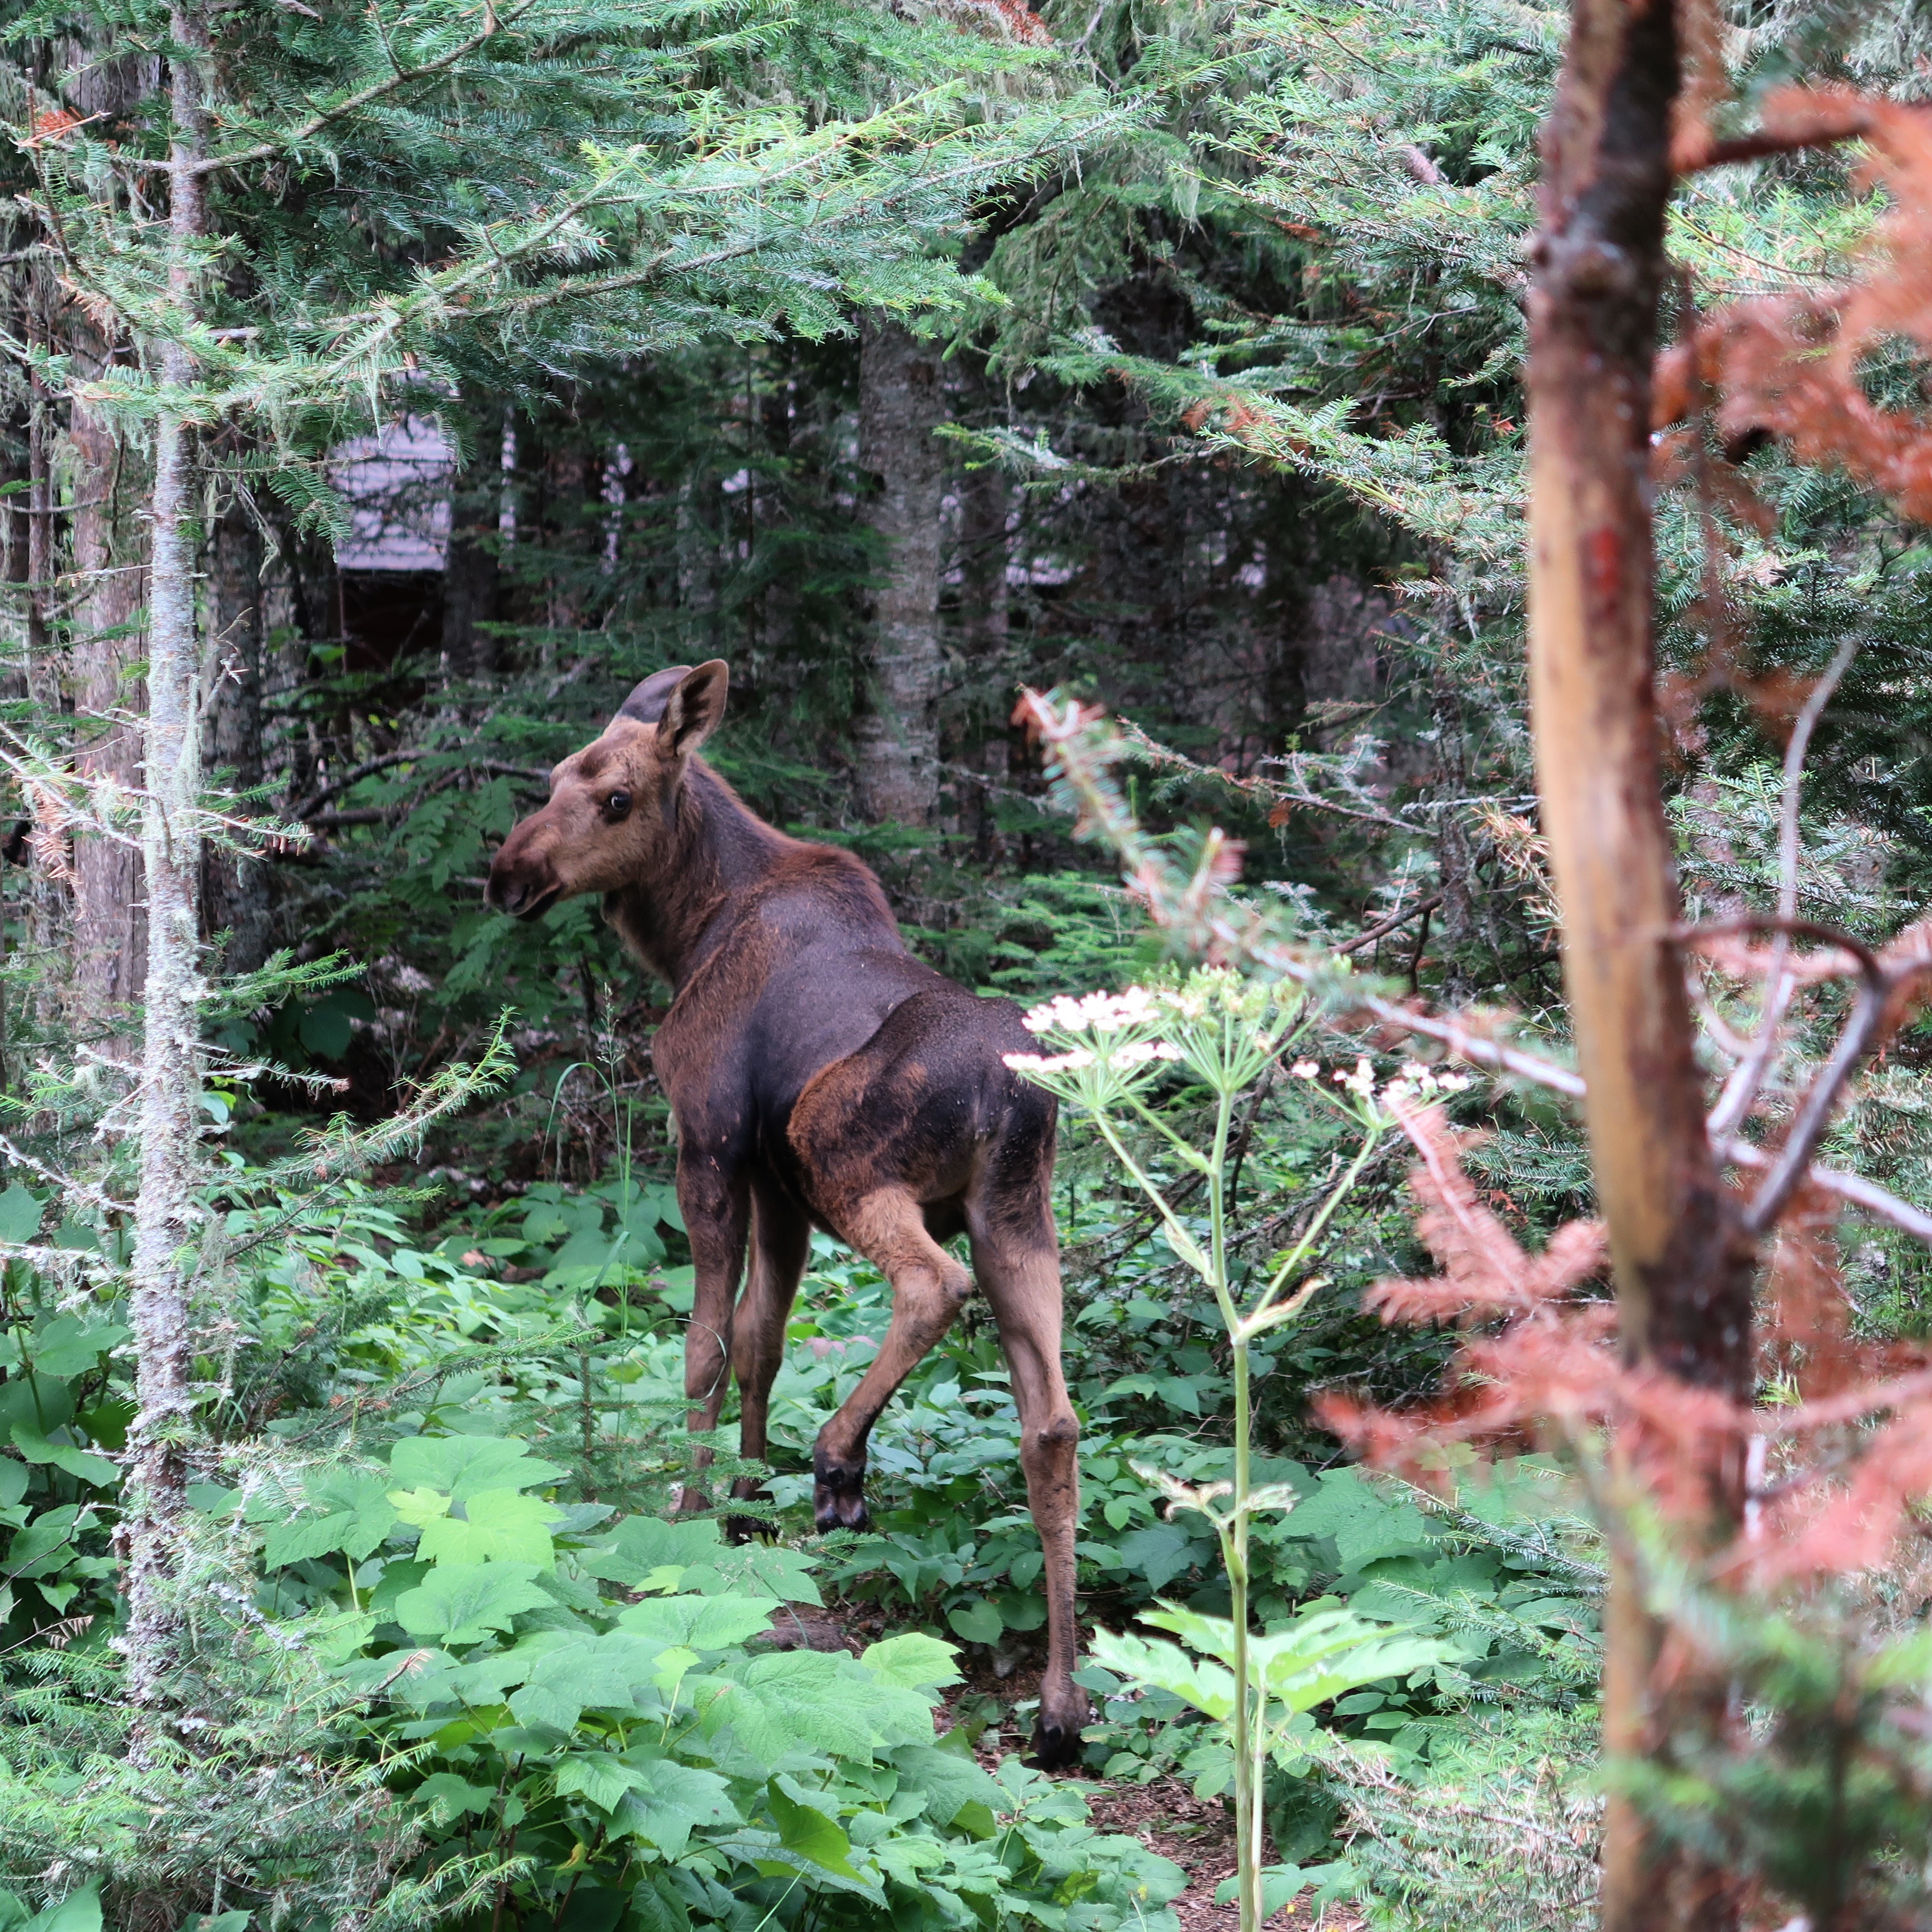
We hadn’t been in camp long when lo and behold, a moose cow and calf walked right up the shoreline and decided to have lunch with us. Right in camp. They roamed around nibbling this and that for about an hour amongst the campsites, clearly uninterested in us, before wandering further inland.

This was day one on Isle Royale!
To be continued…
Full Disclosure:  The travel arrangements, equipment and provisions for this trip were funded entirely by the author, and all endorsements and opinions in this article are unsolicited. #IndependentMedia


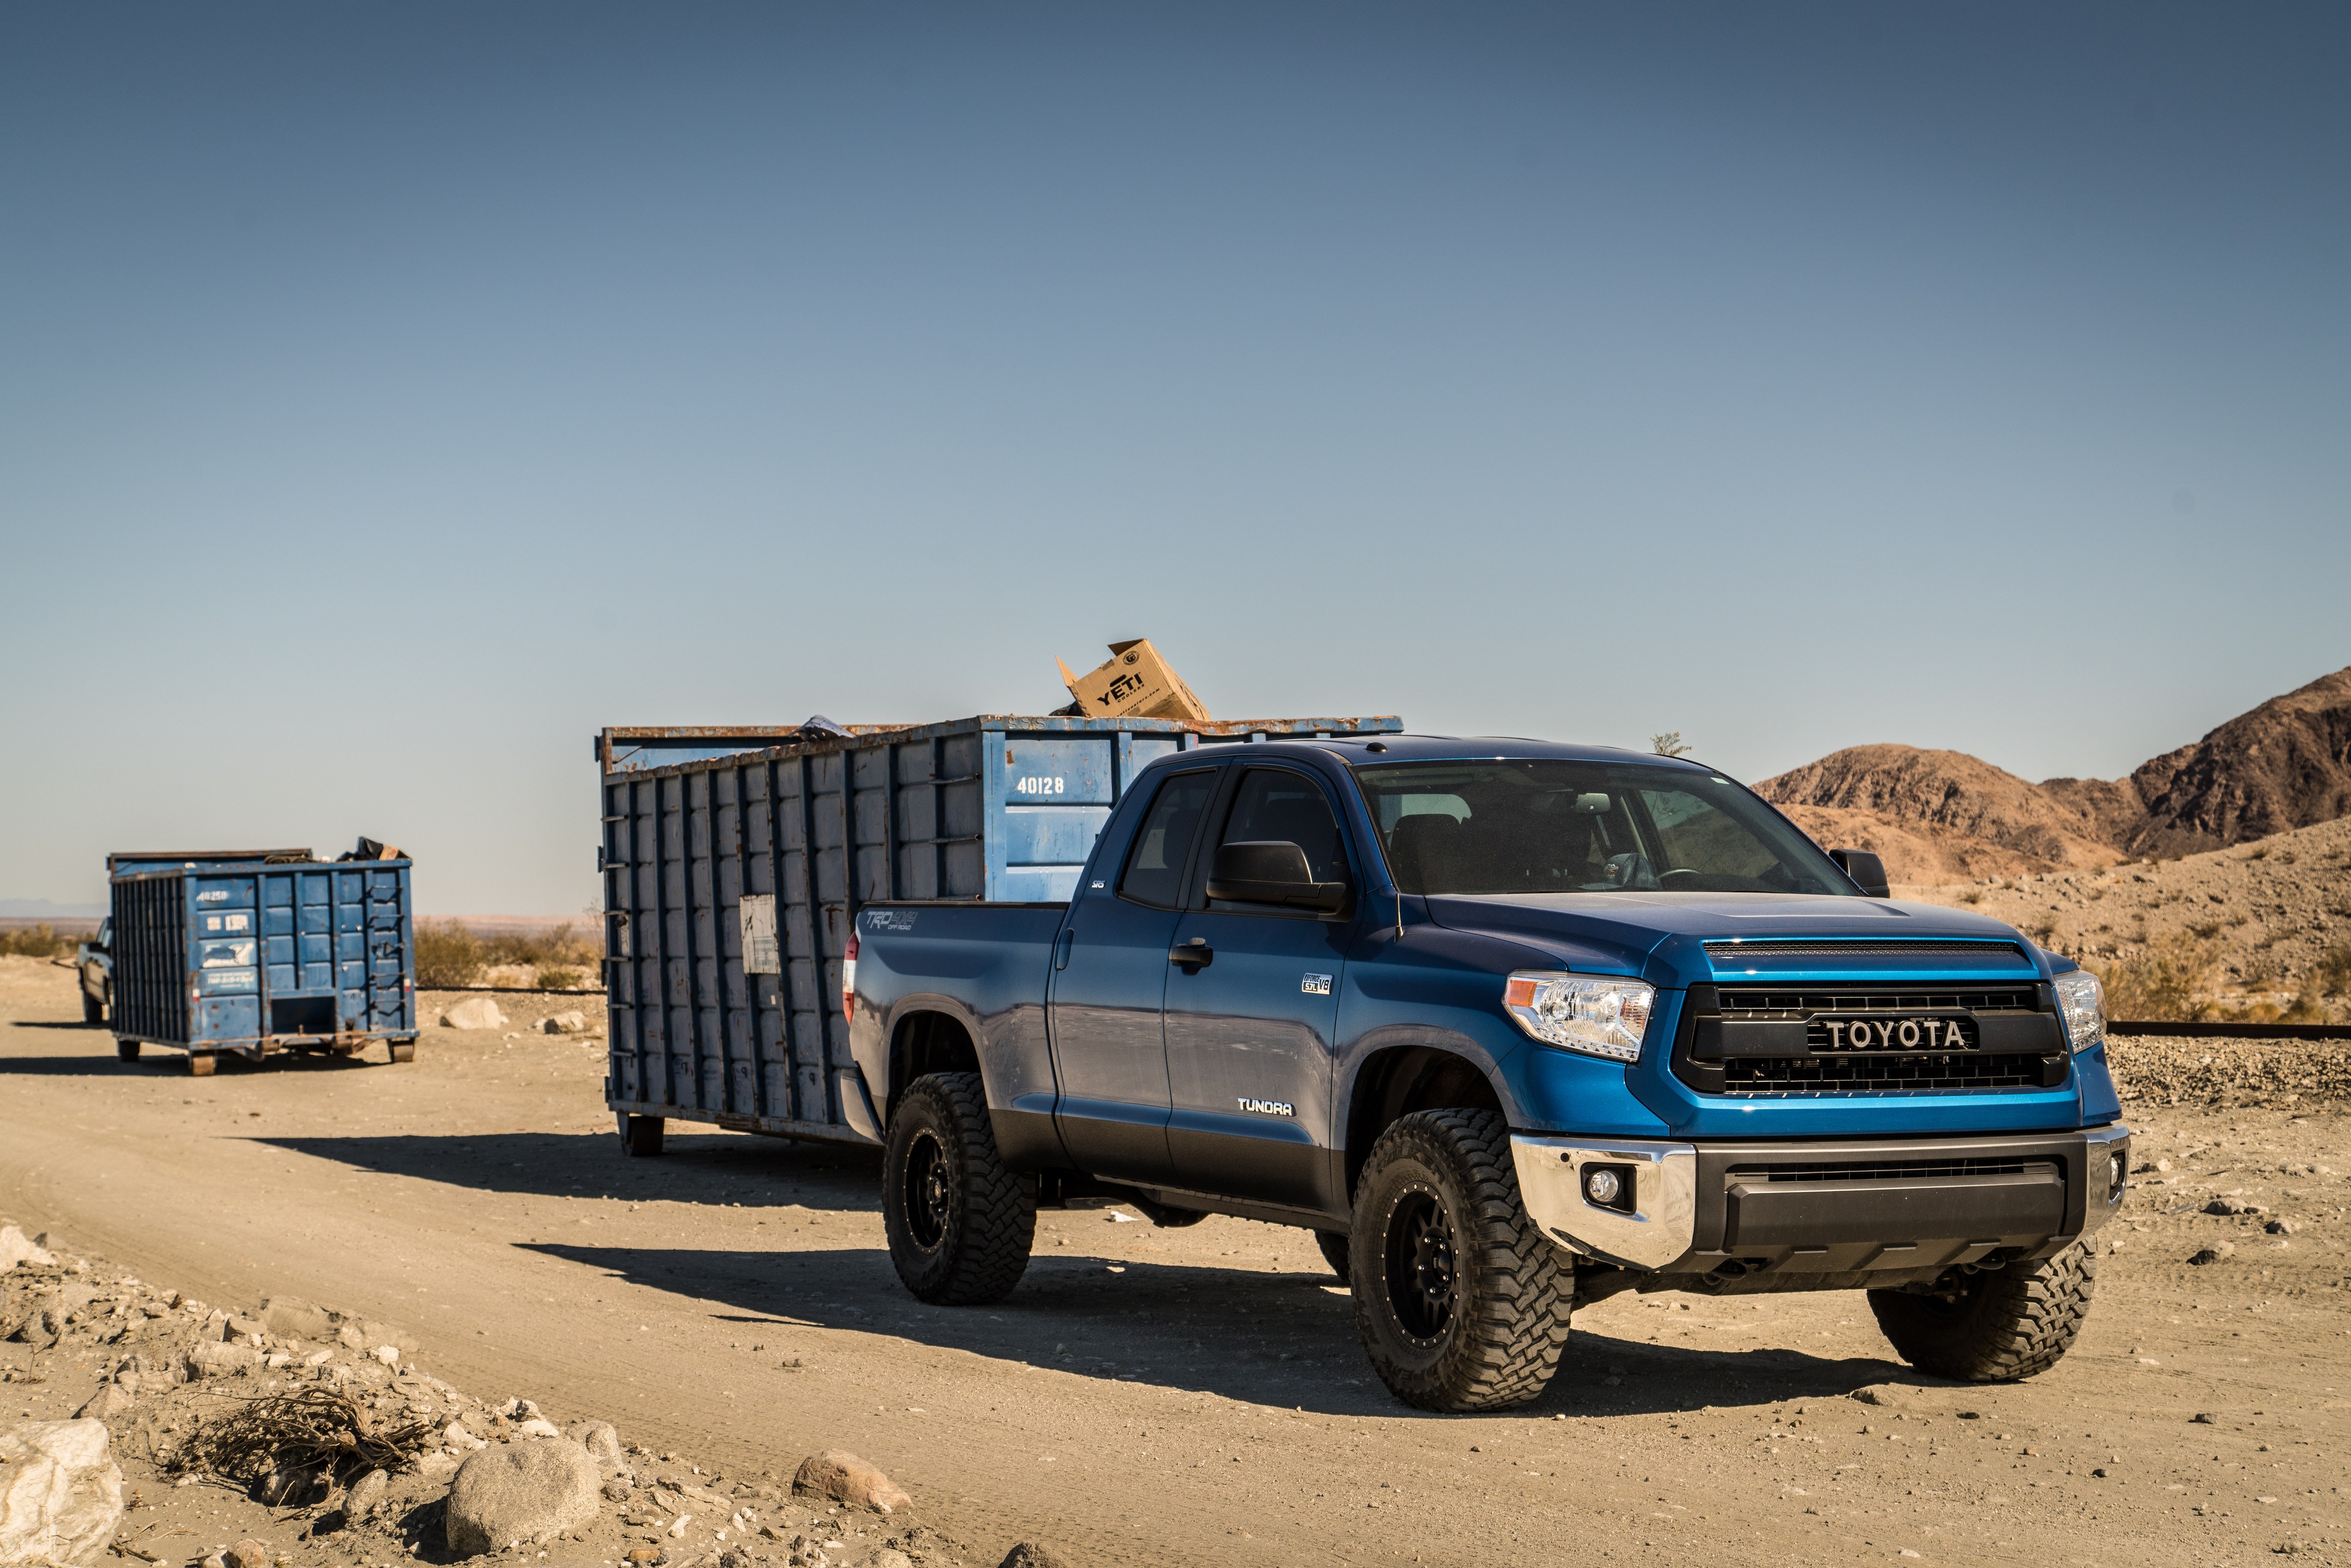
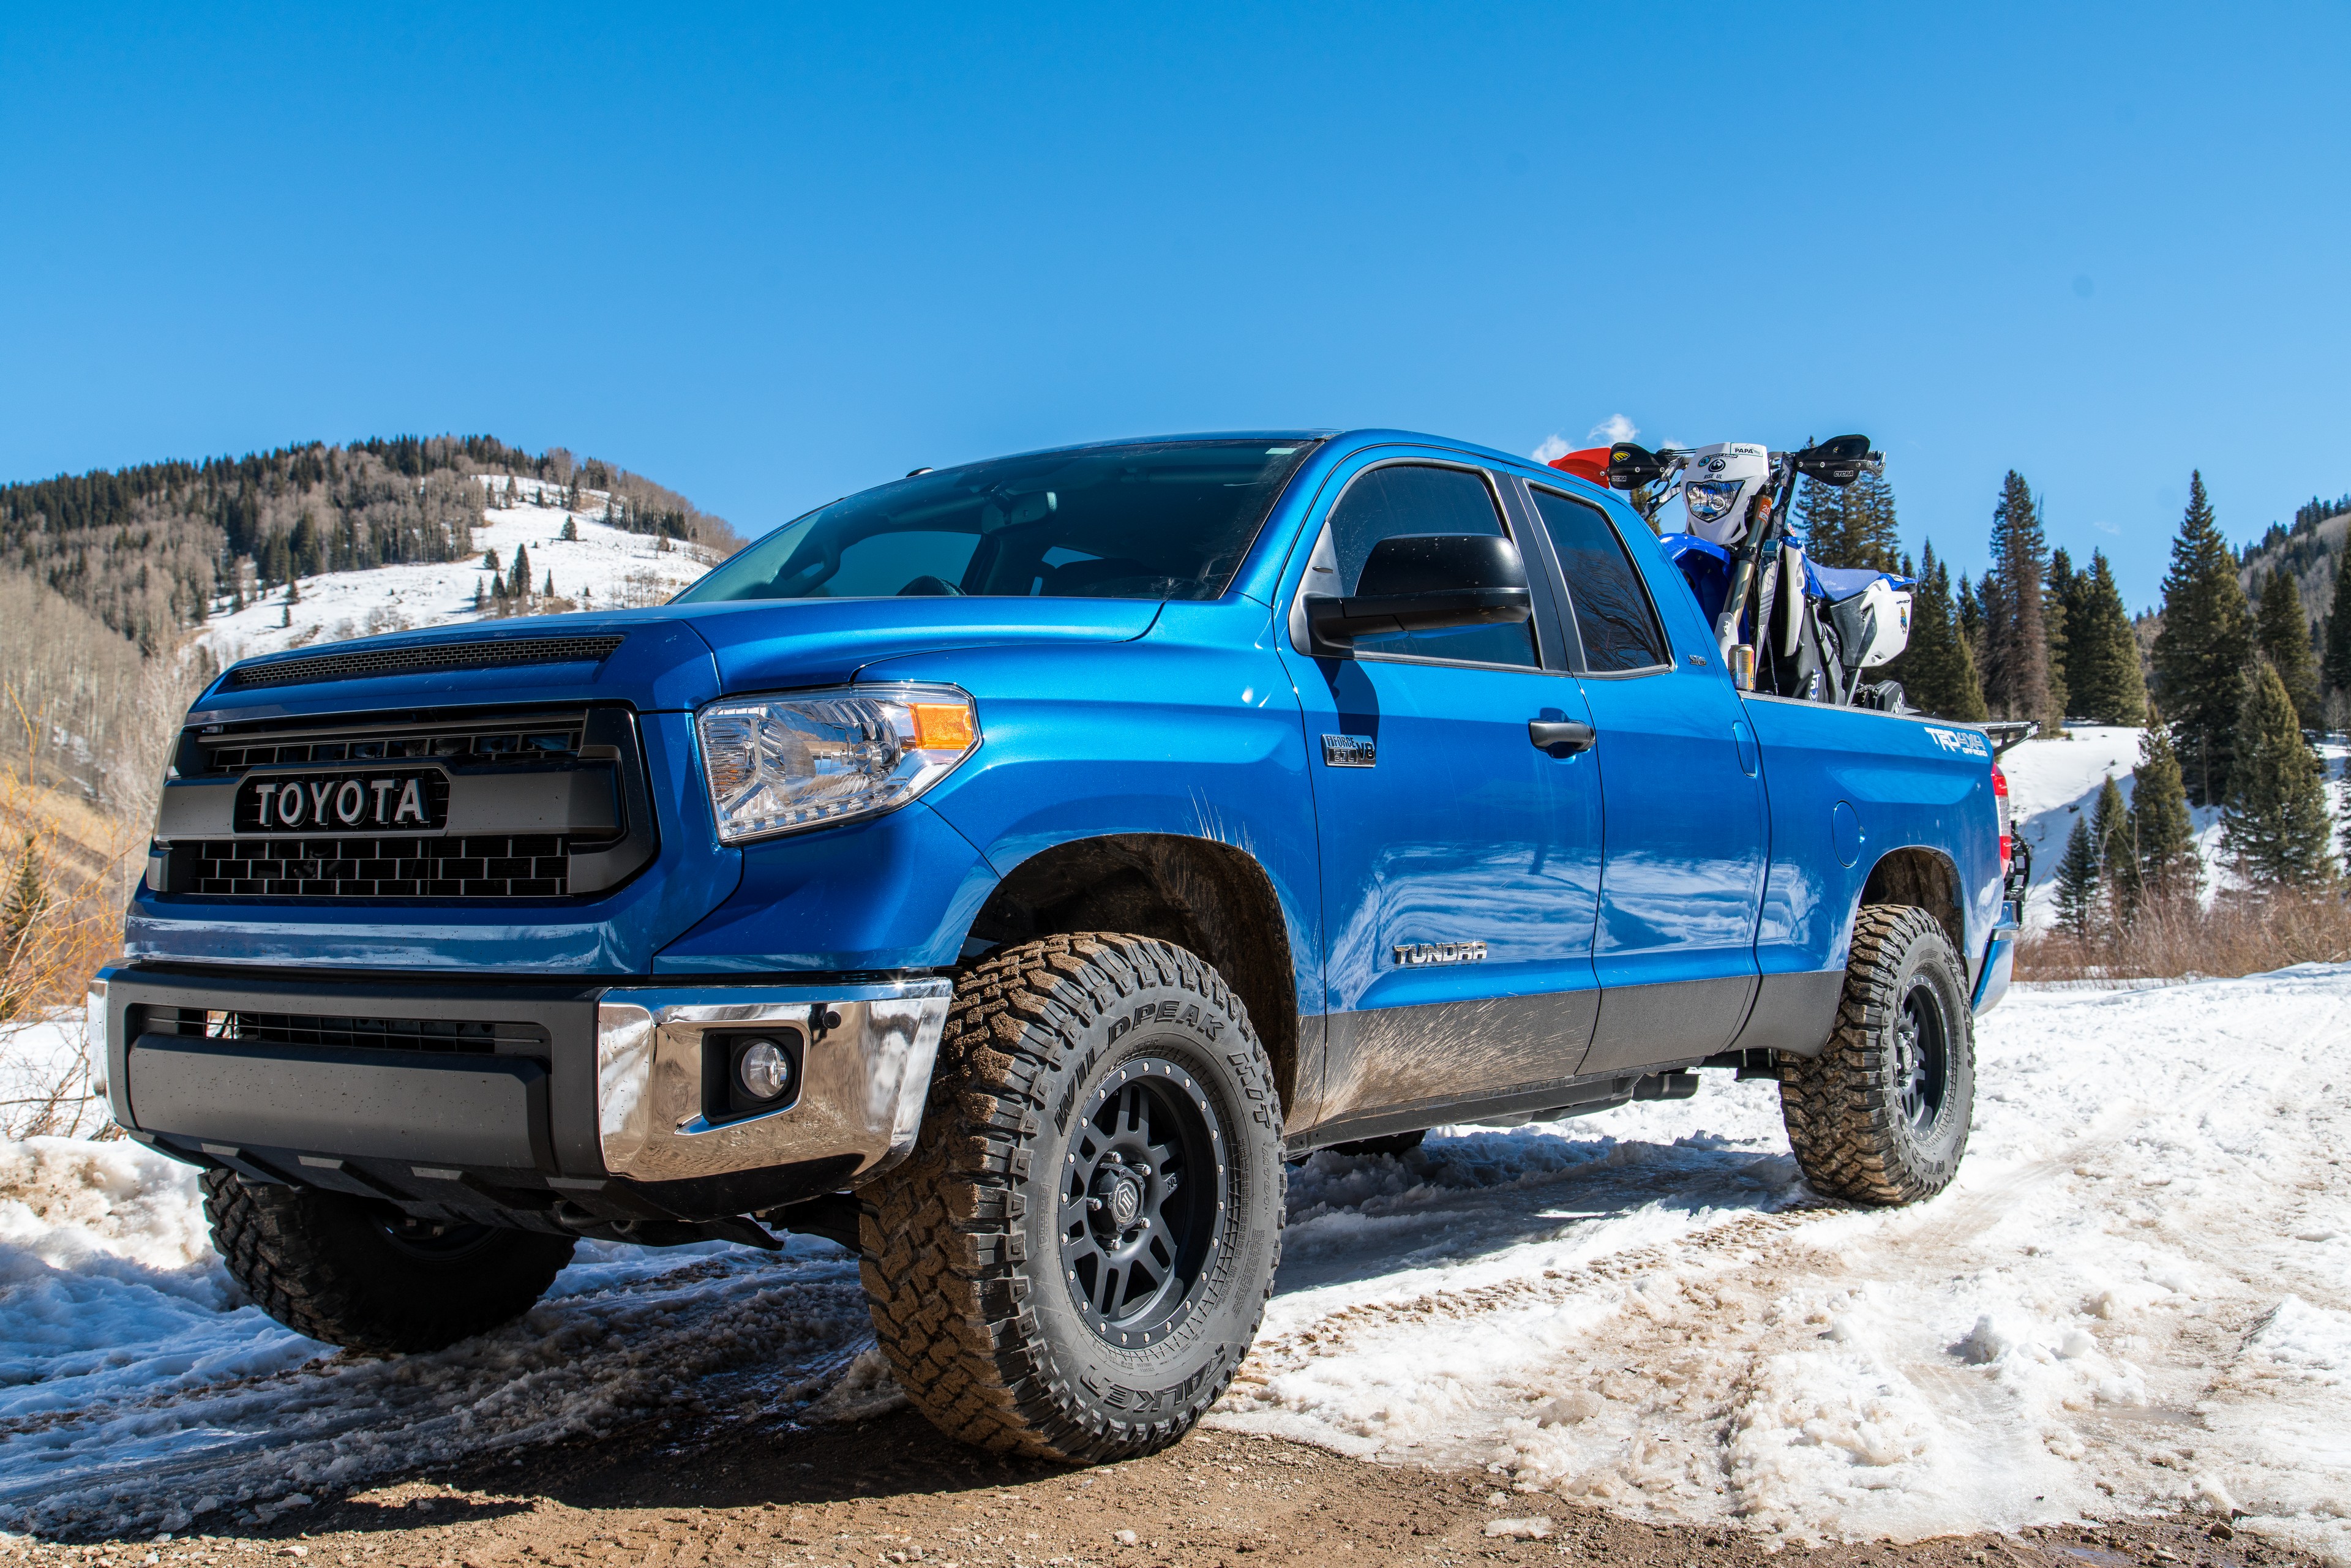
Project Tundra // Winter (Pre-OXW) Update

RXT Rear Suspension

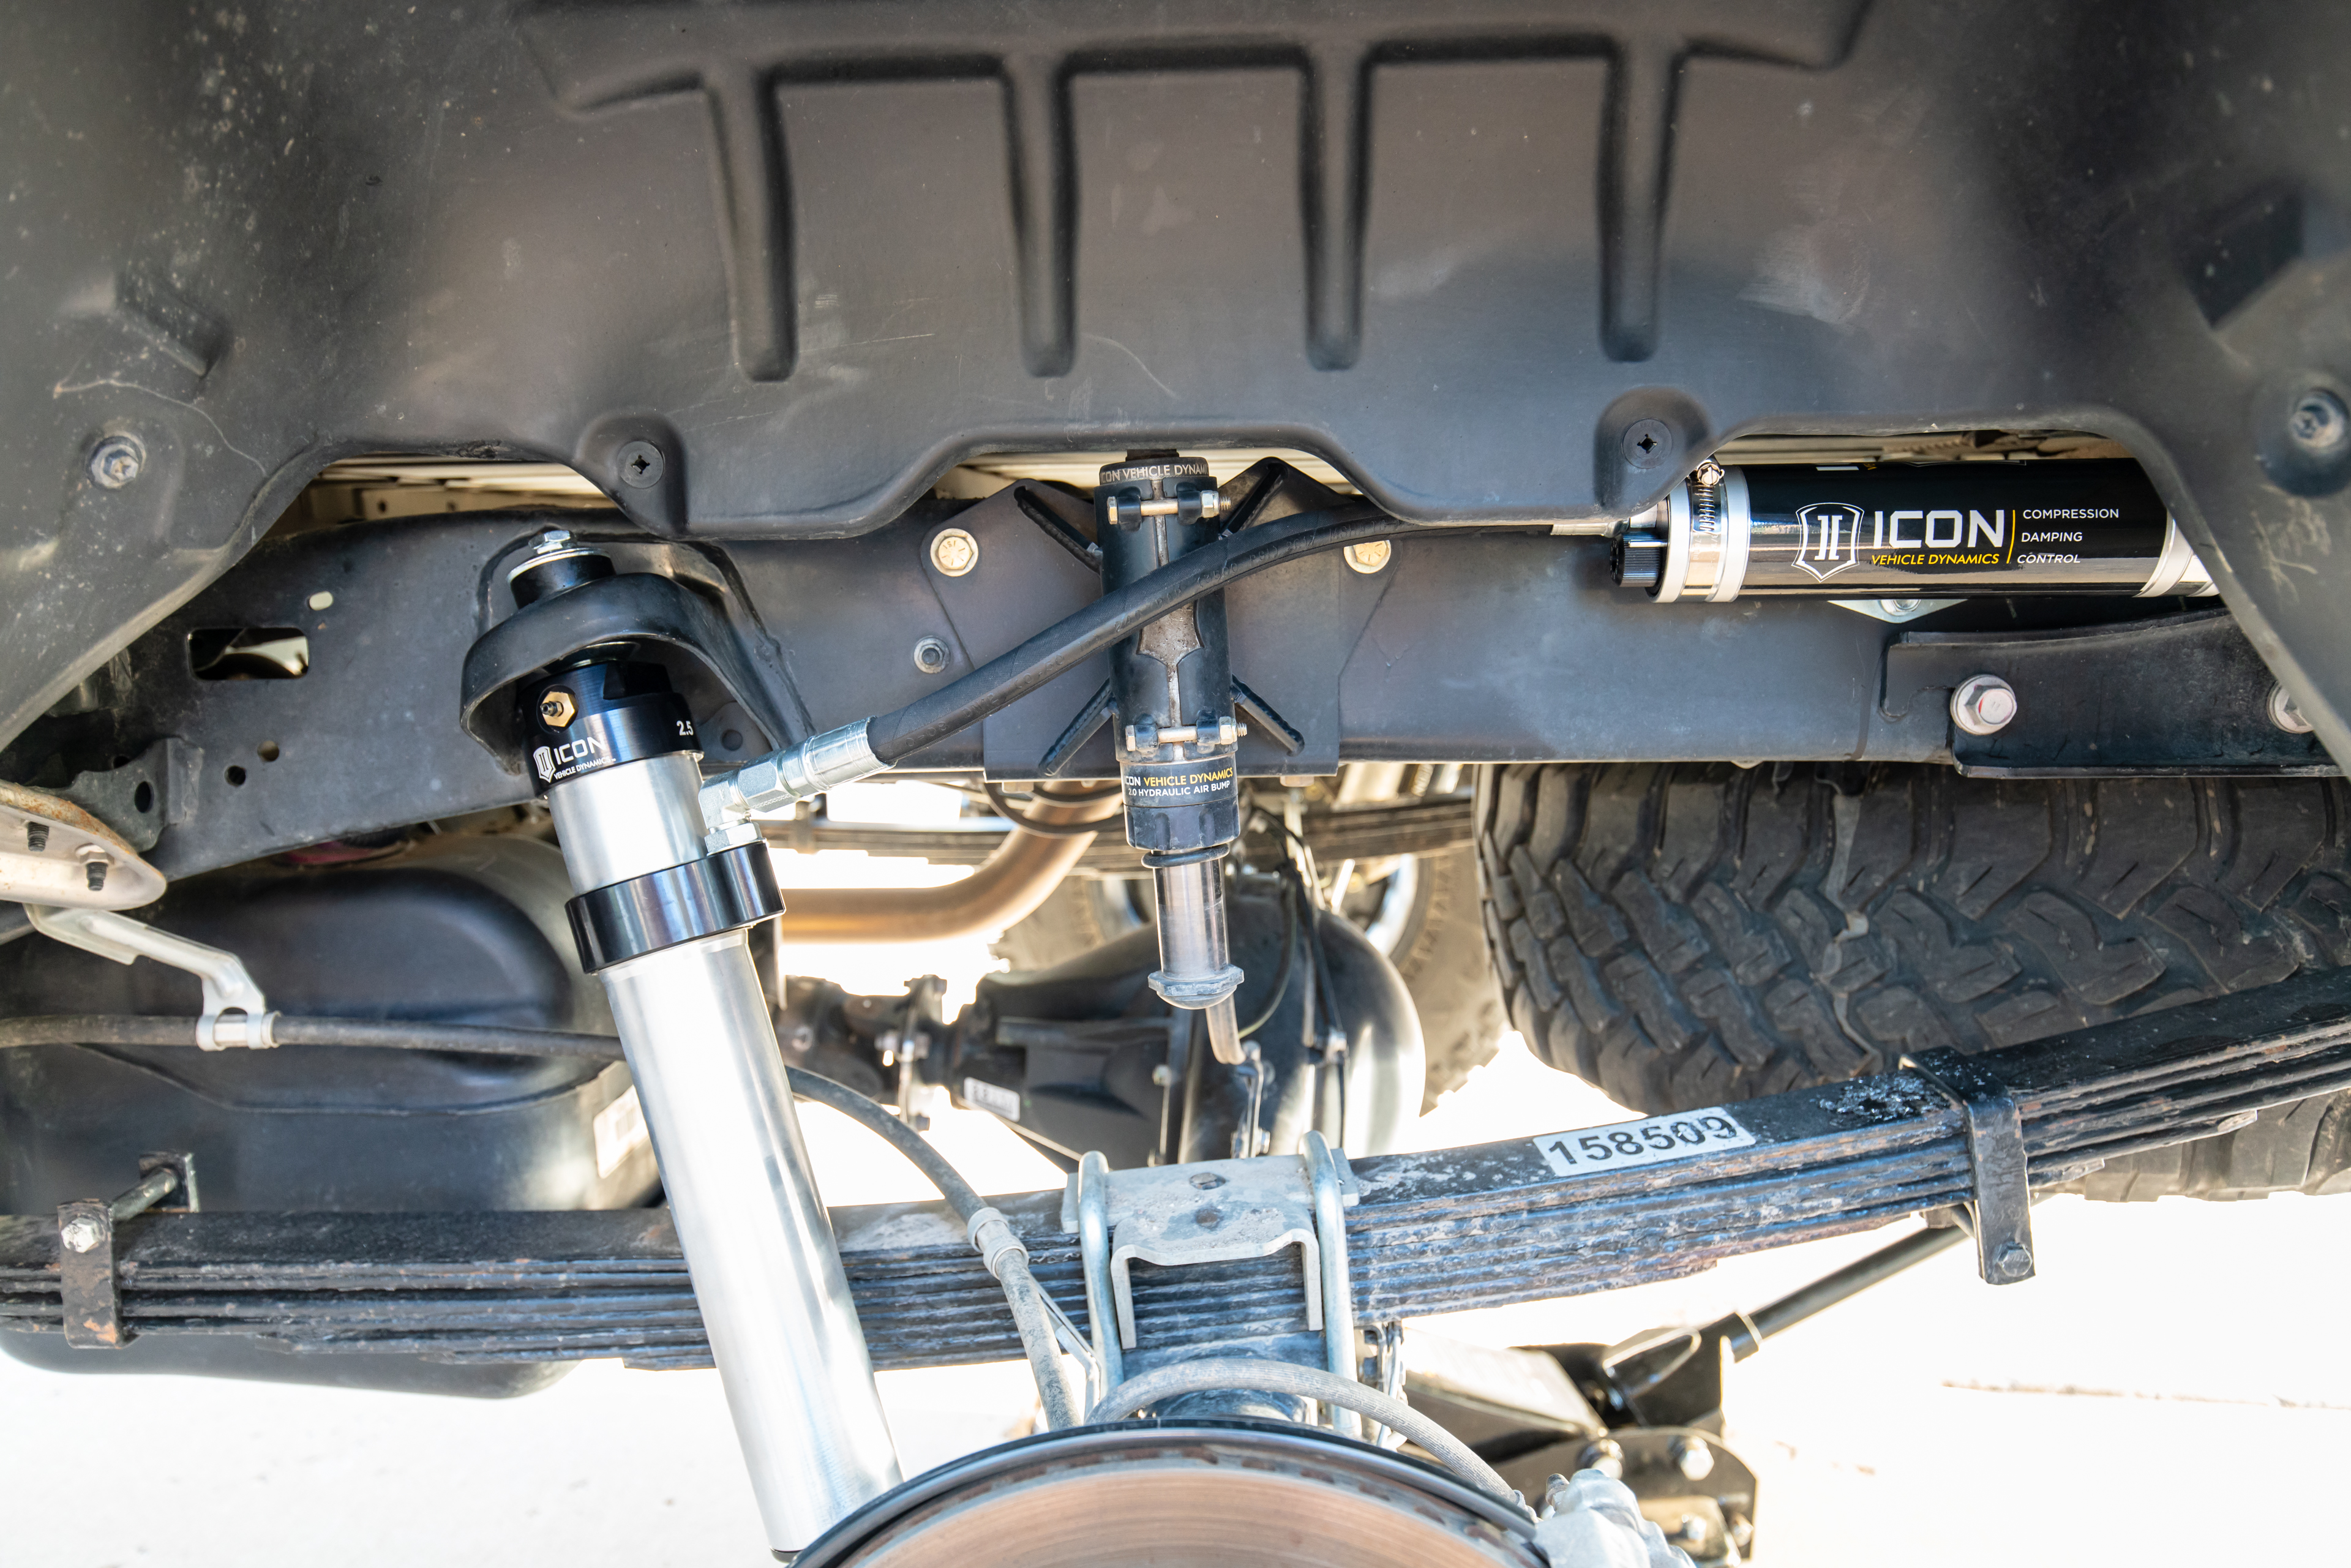
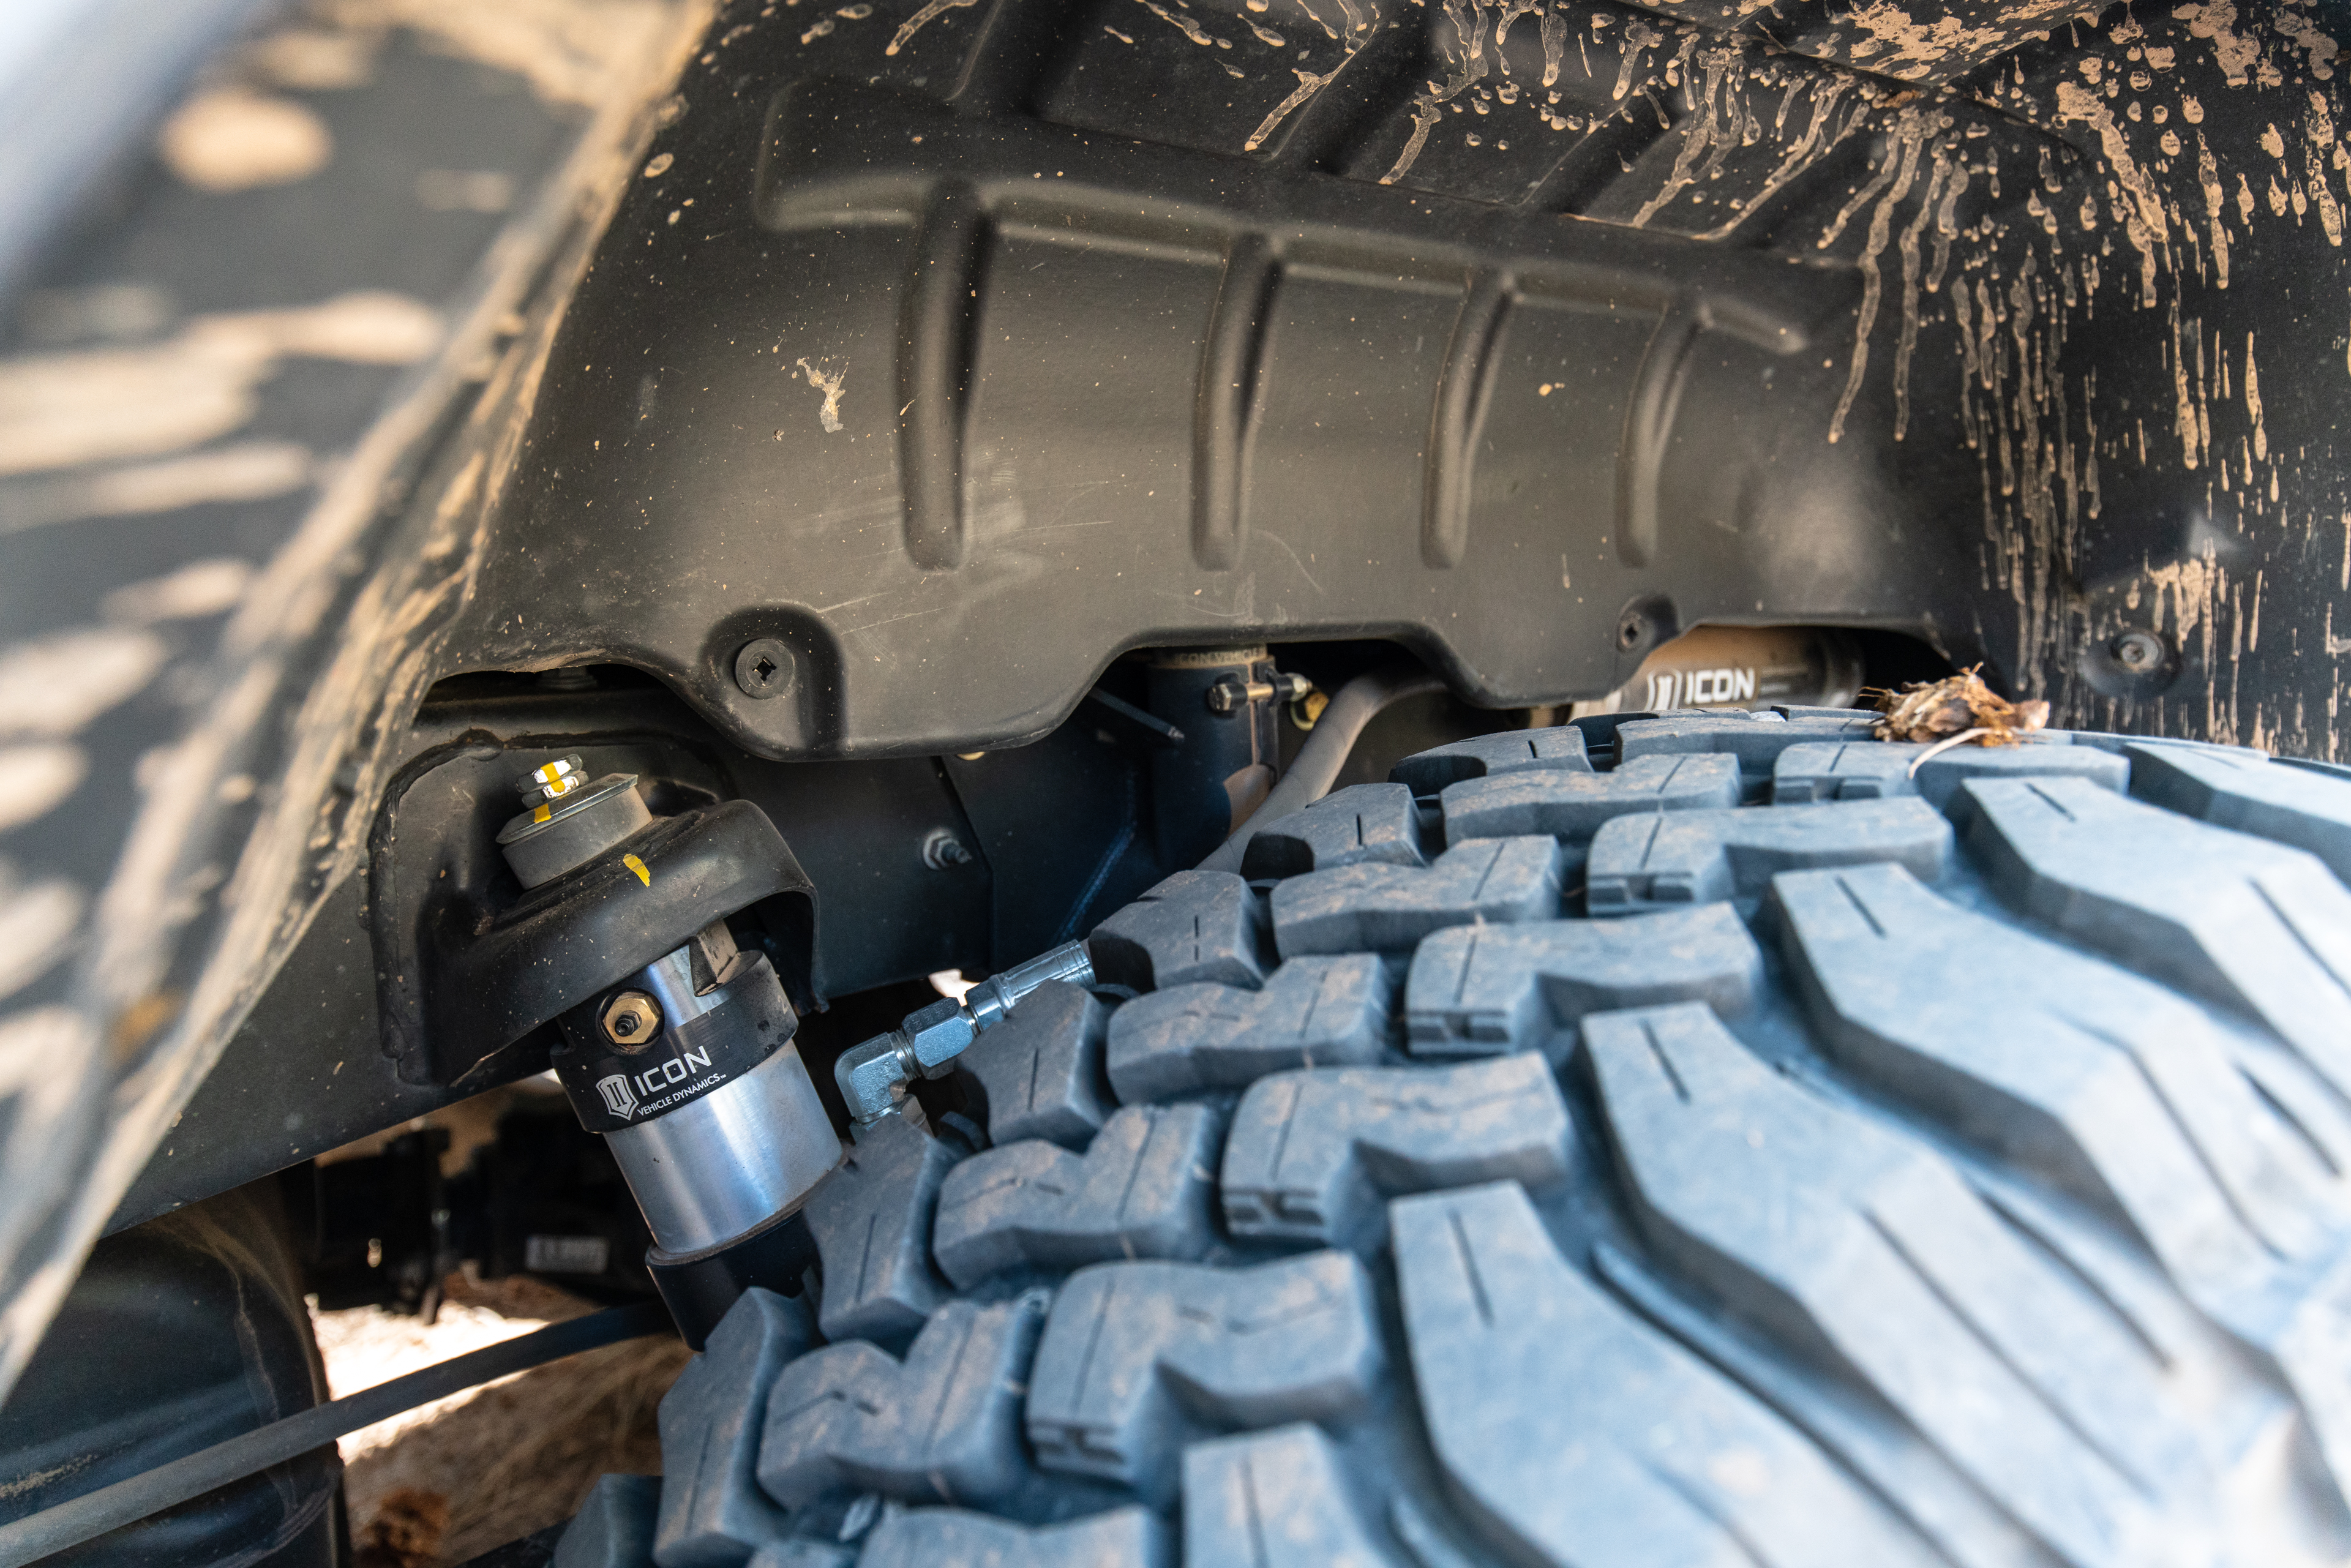
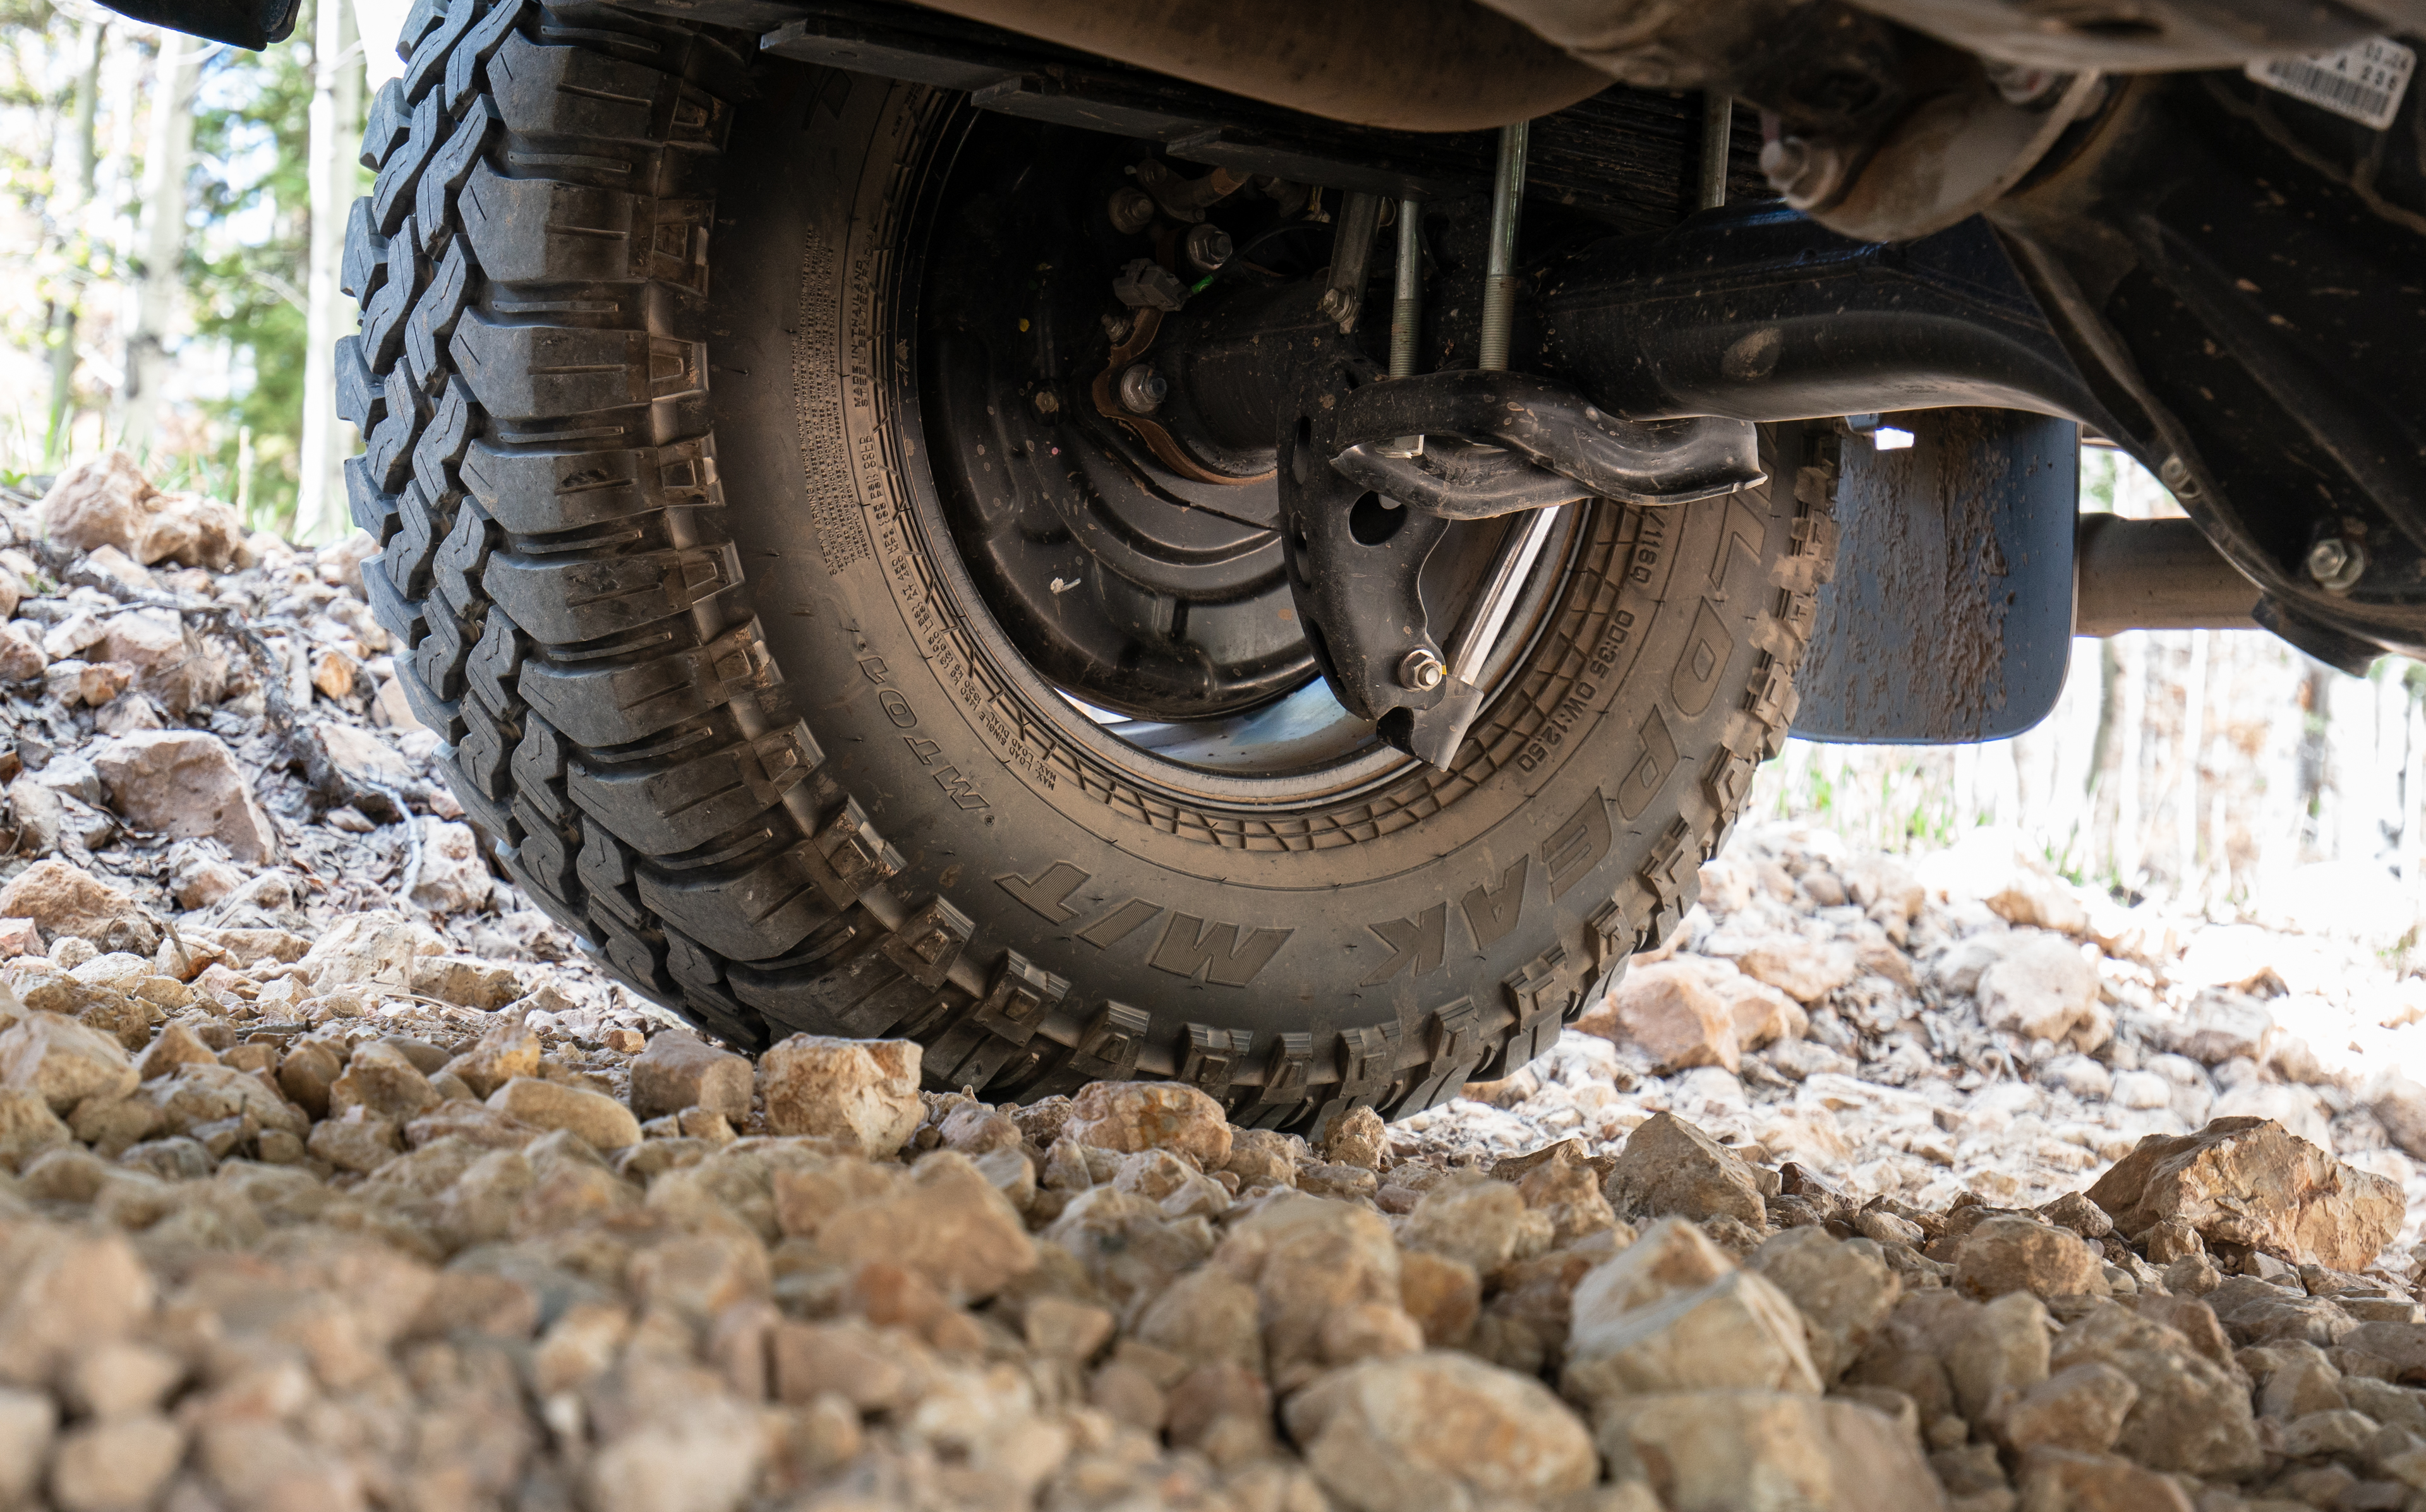
Late last fall, Project Tundra received a pre-production set of ICON Vehicle Dynamics RXT rear suspension – and the change these RXT parts made to the vehicle’s performance was profound.  The RXT system is made up of a user-configurable, Icon leaf spring pack that replaces the OEM Toyota leaf pack. Also included are Tundra specific shocks with increased travel, and a hydraulic bump stop kit.  Taken as a whole, these parts all work together to make your rear suspension next level.  Project Tundra already has the hydraulic bump stop kit, but adding the RXT leafs and shocks made a huge difference in the way the truck performs.  The best part about the RXT kit is that it can be configured to your specific truck and the amount of additional weight you have in your truck bed, so the end result is a system that will deliver much better performance than a one size fits all solution.  Here’s how it all works.

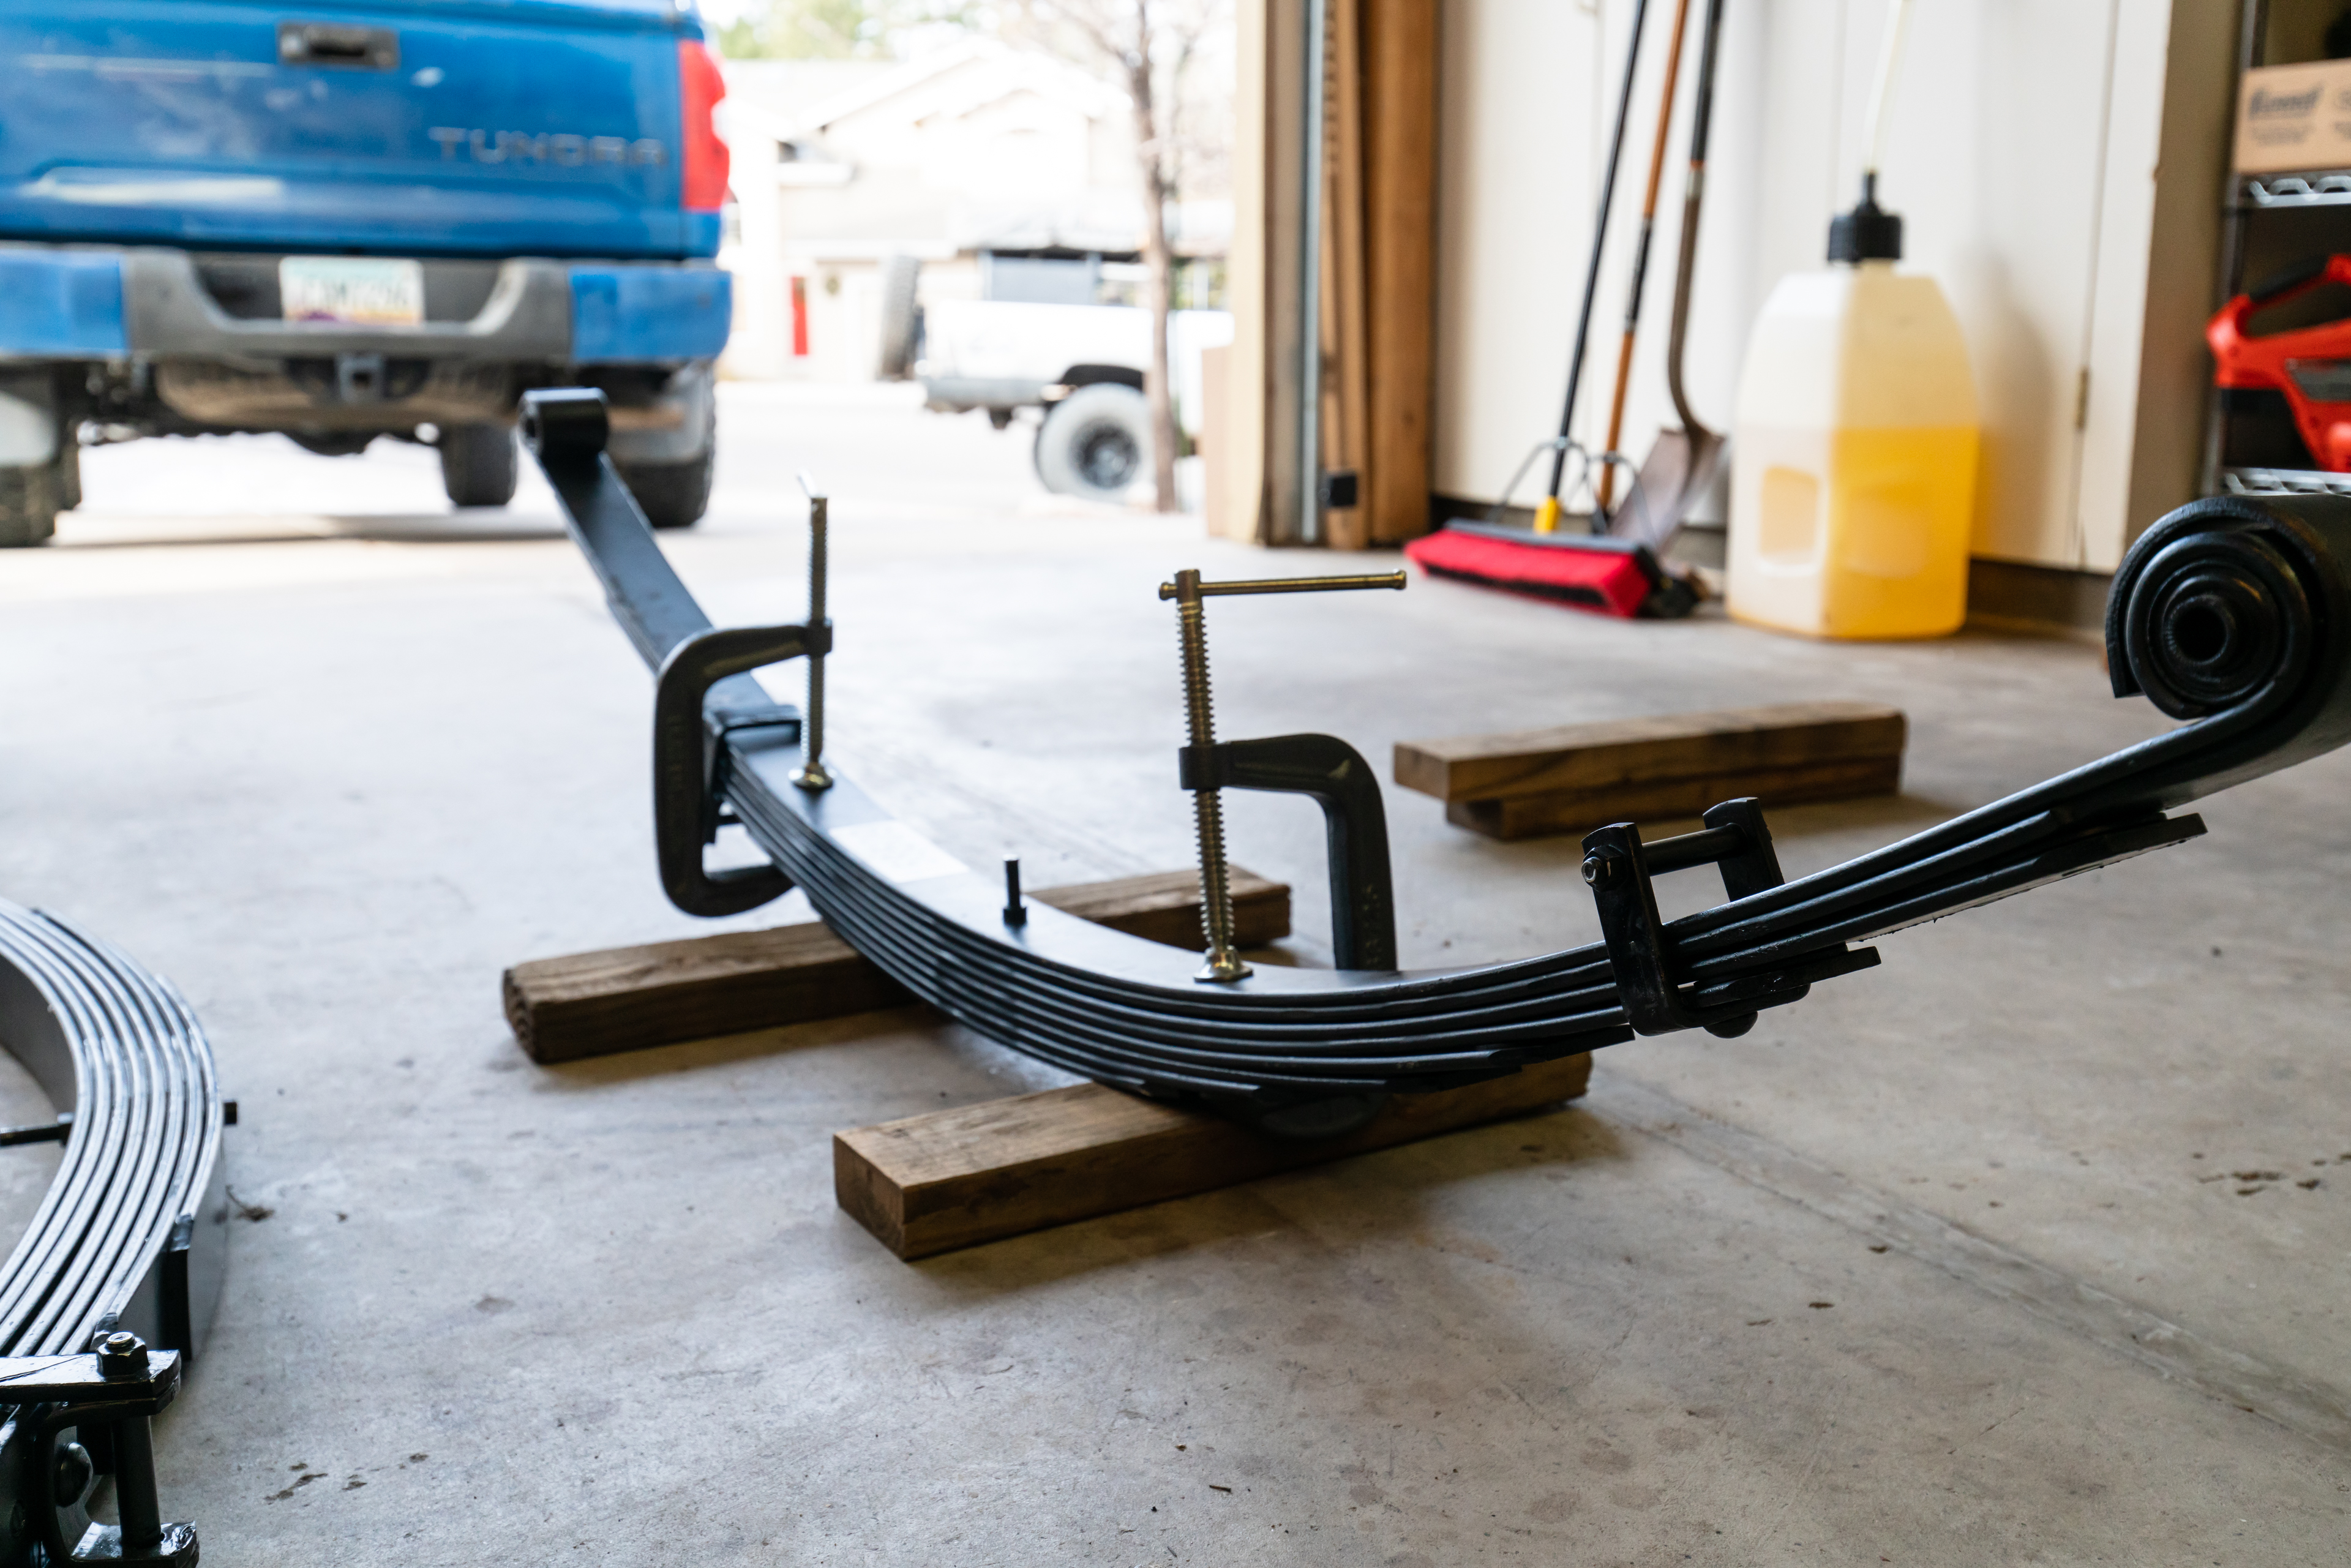
The RXT leafs for the Toyota Tundra can be configured in three ways all depending on how much additional weight is over your truck’s rear axle, or how much lift you want.  The leaf pack comes configured from ICON to handle an additional 250 pounds of payload while providing about 1.75 inches of additional lift.  If you swap out the third leaf in the RXT leaf pack with the provided additonal leaf, the pack will handle an additional 500 pounds of payload and add 3 inches of lift.  Finally, adding the additional leaf to the pack will provide 750 pounds of carrying capacity and add 4 inches of lift to the rear of an unladen Tundra.

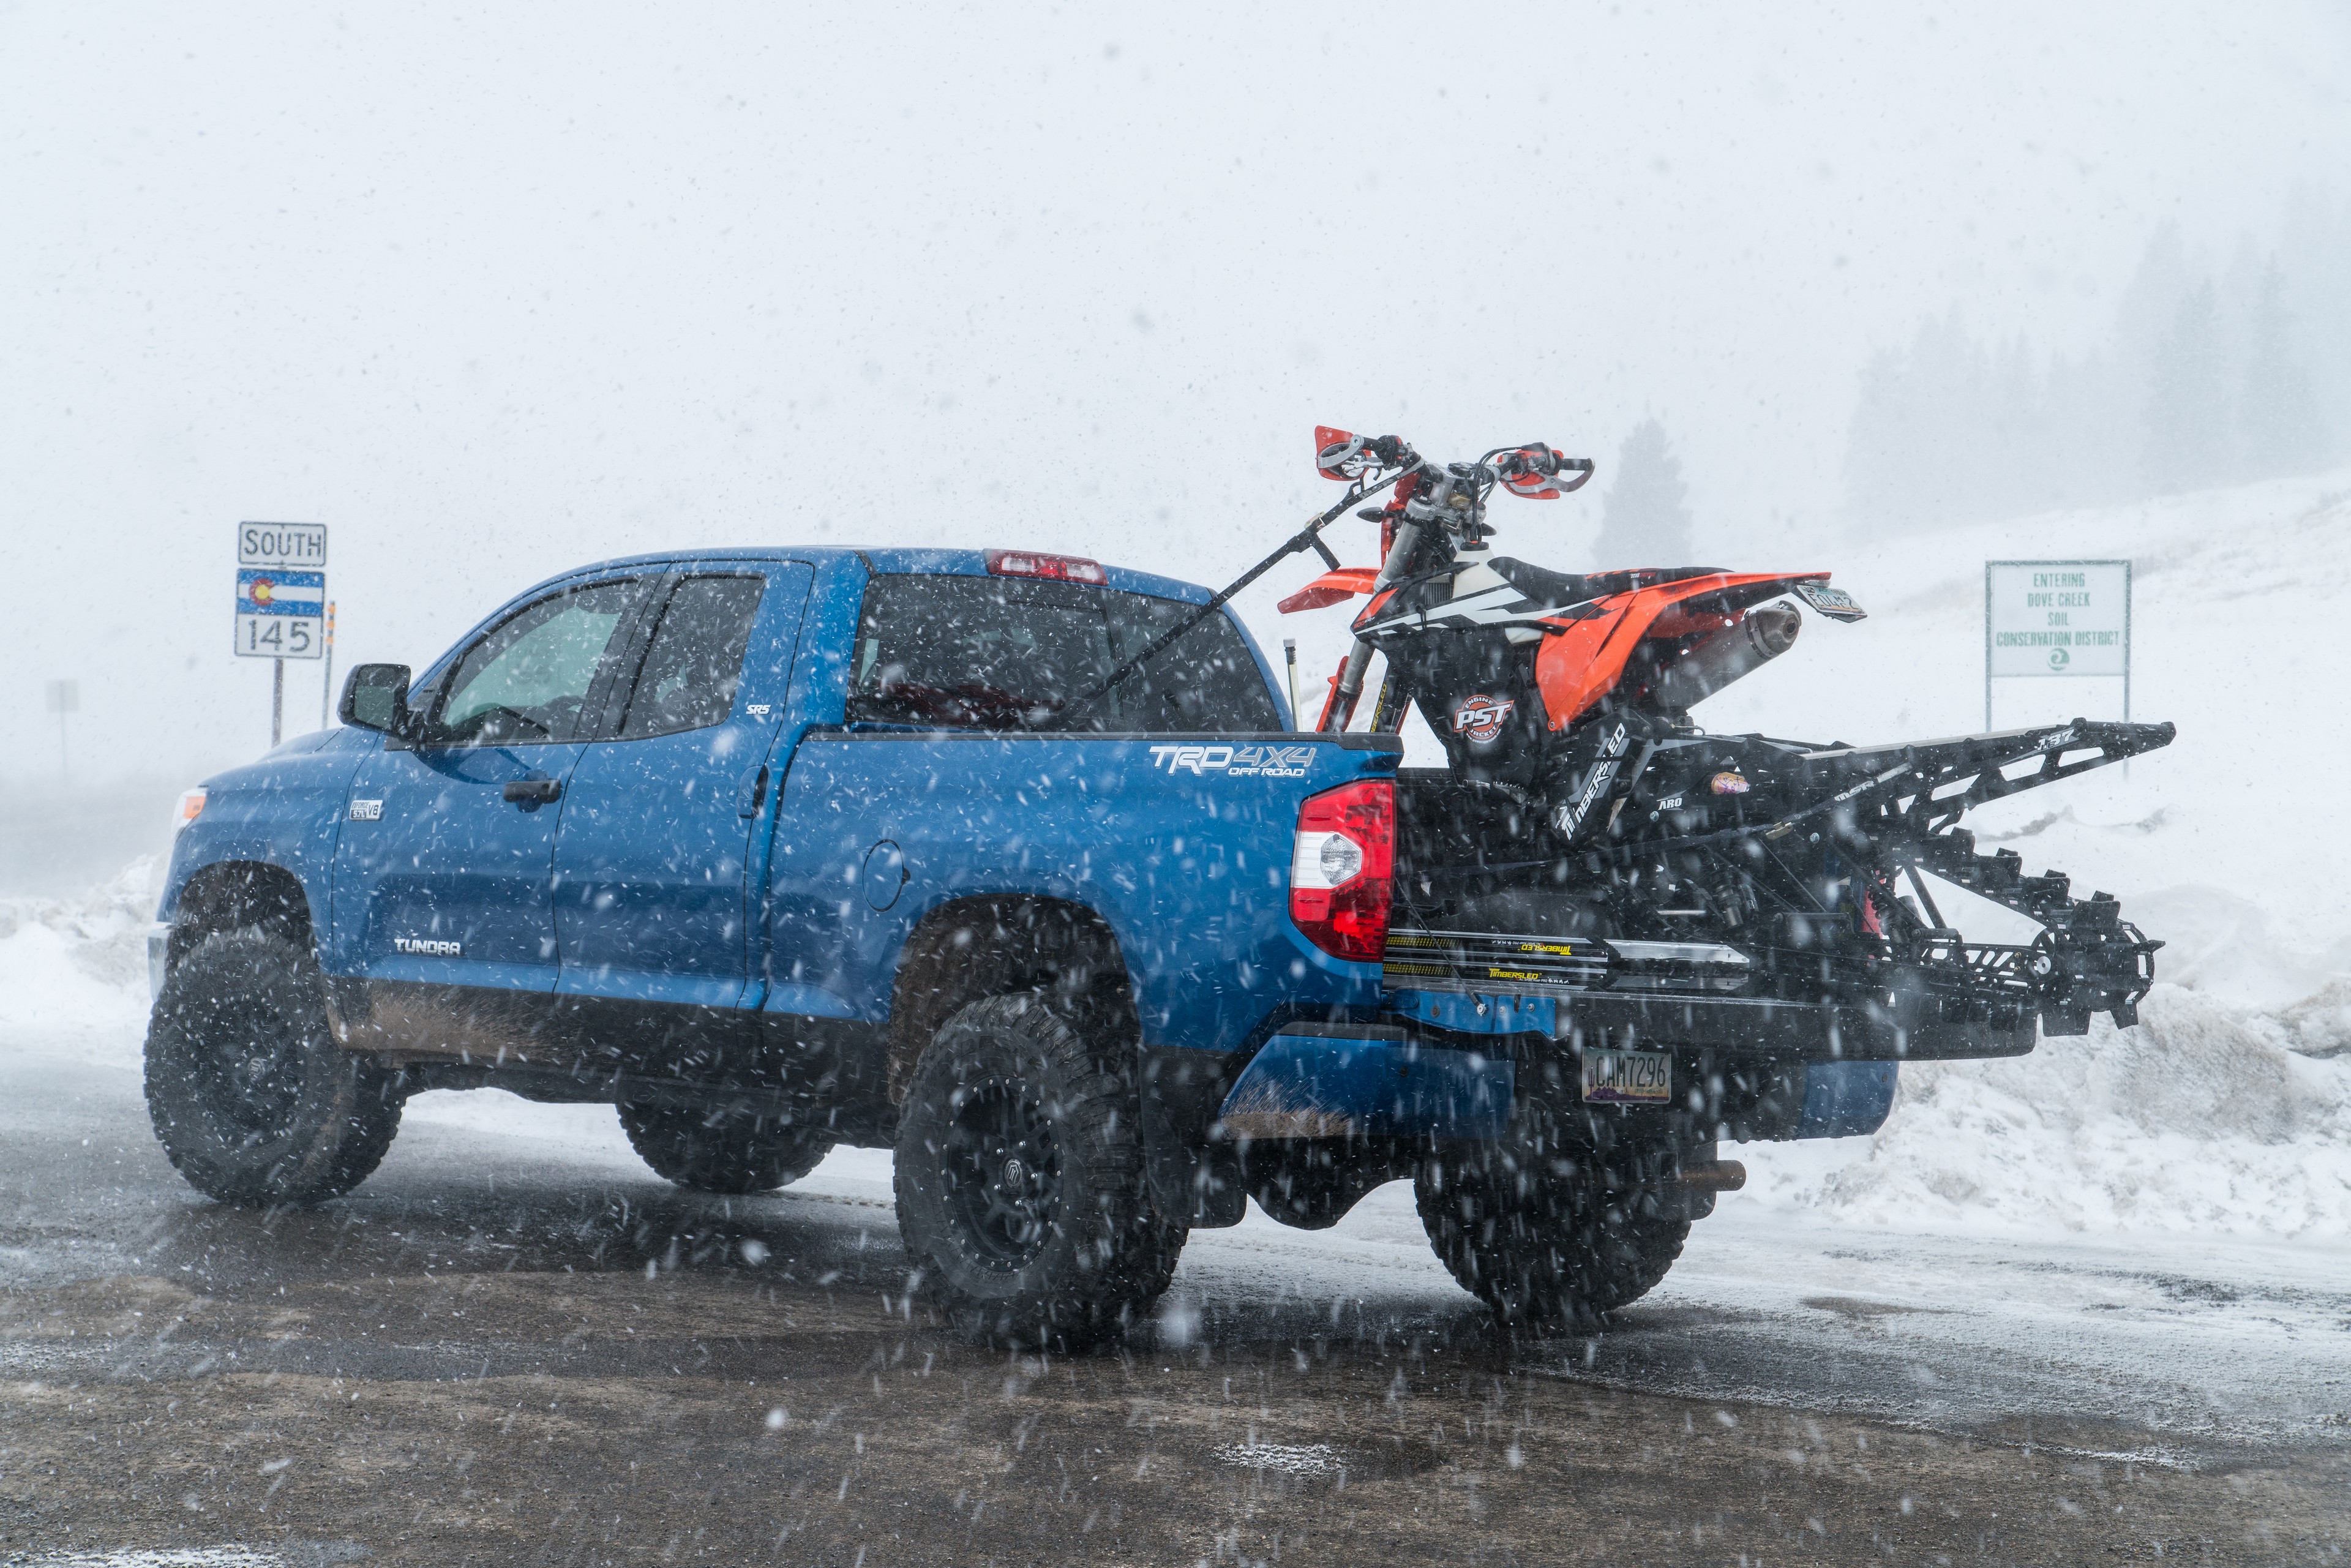
I opted for the + 500 pounds option on Project Tundra, as two dirtbikes or our typical gear loadouts with the truck cap and roof rack come in around this mark.

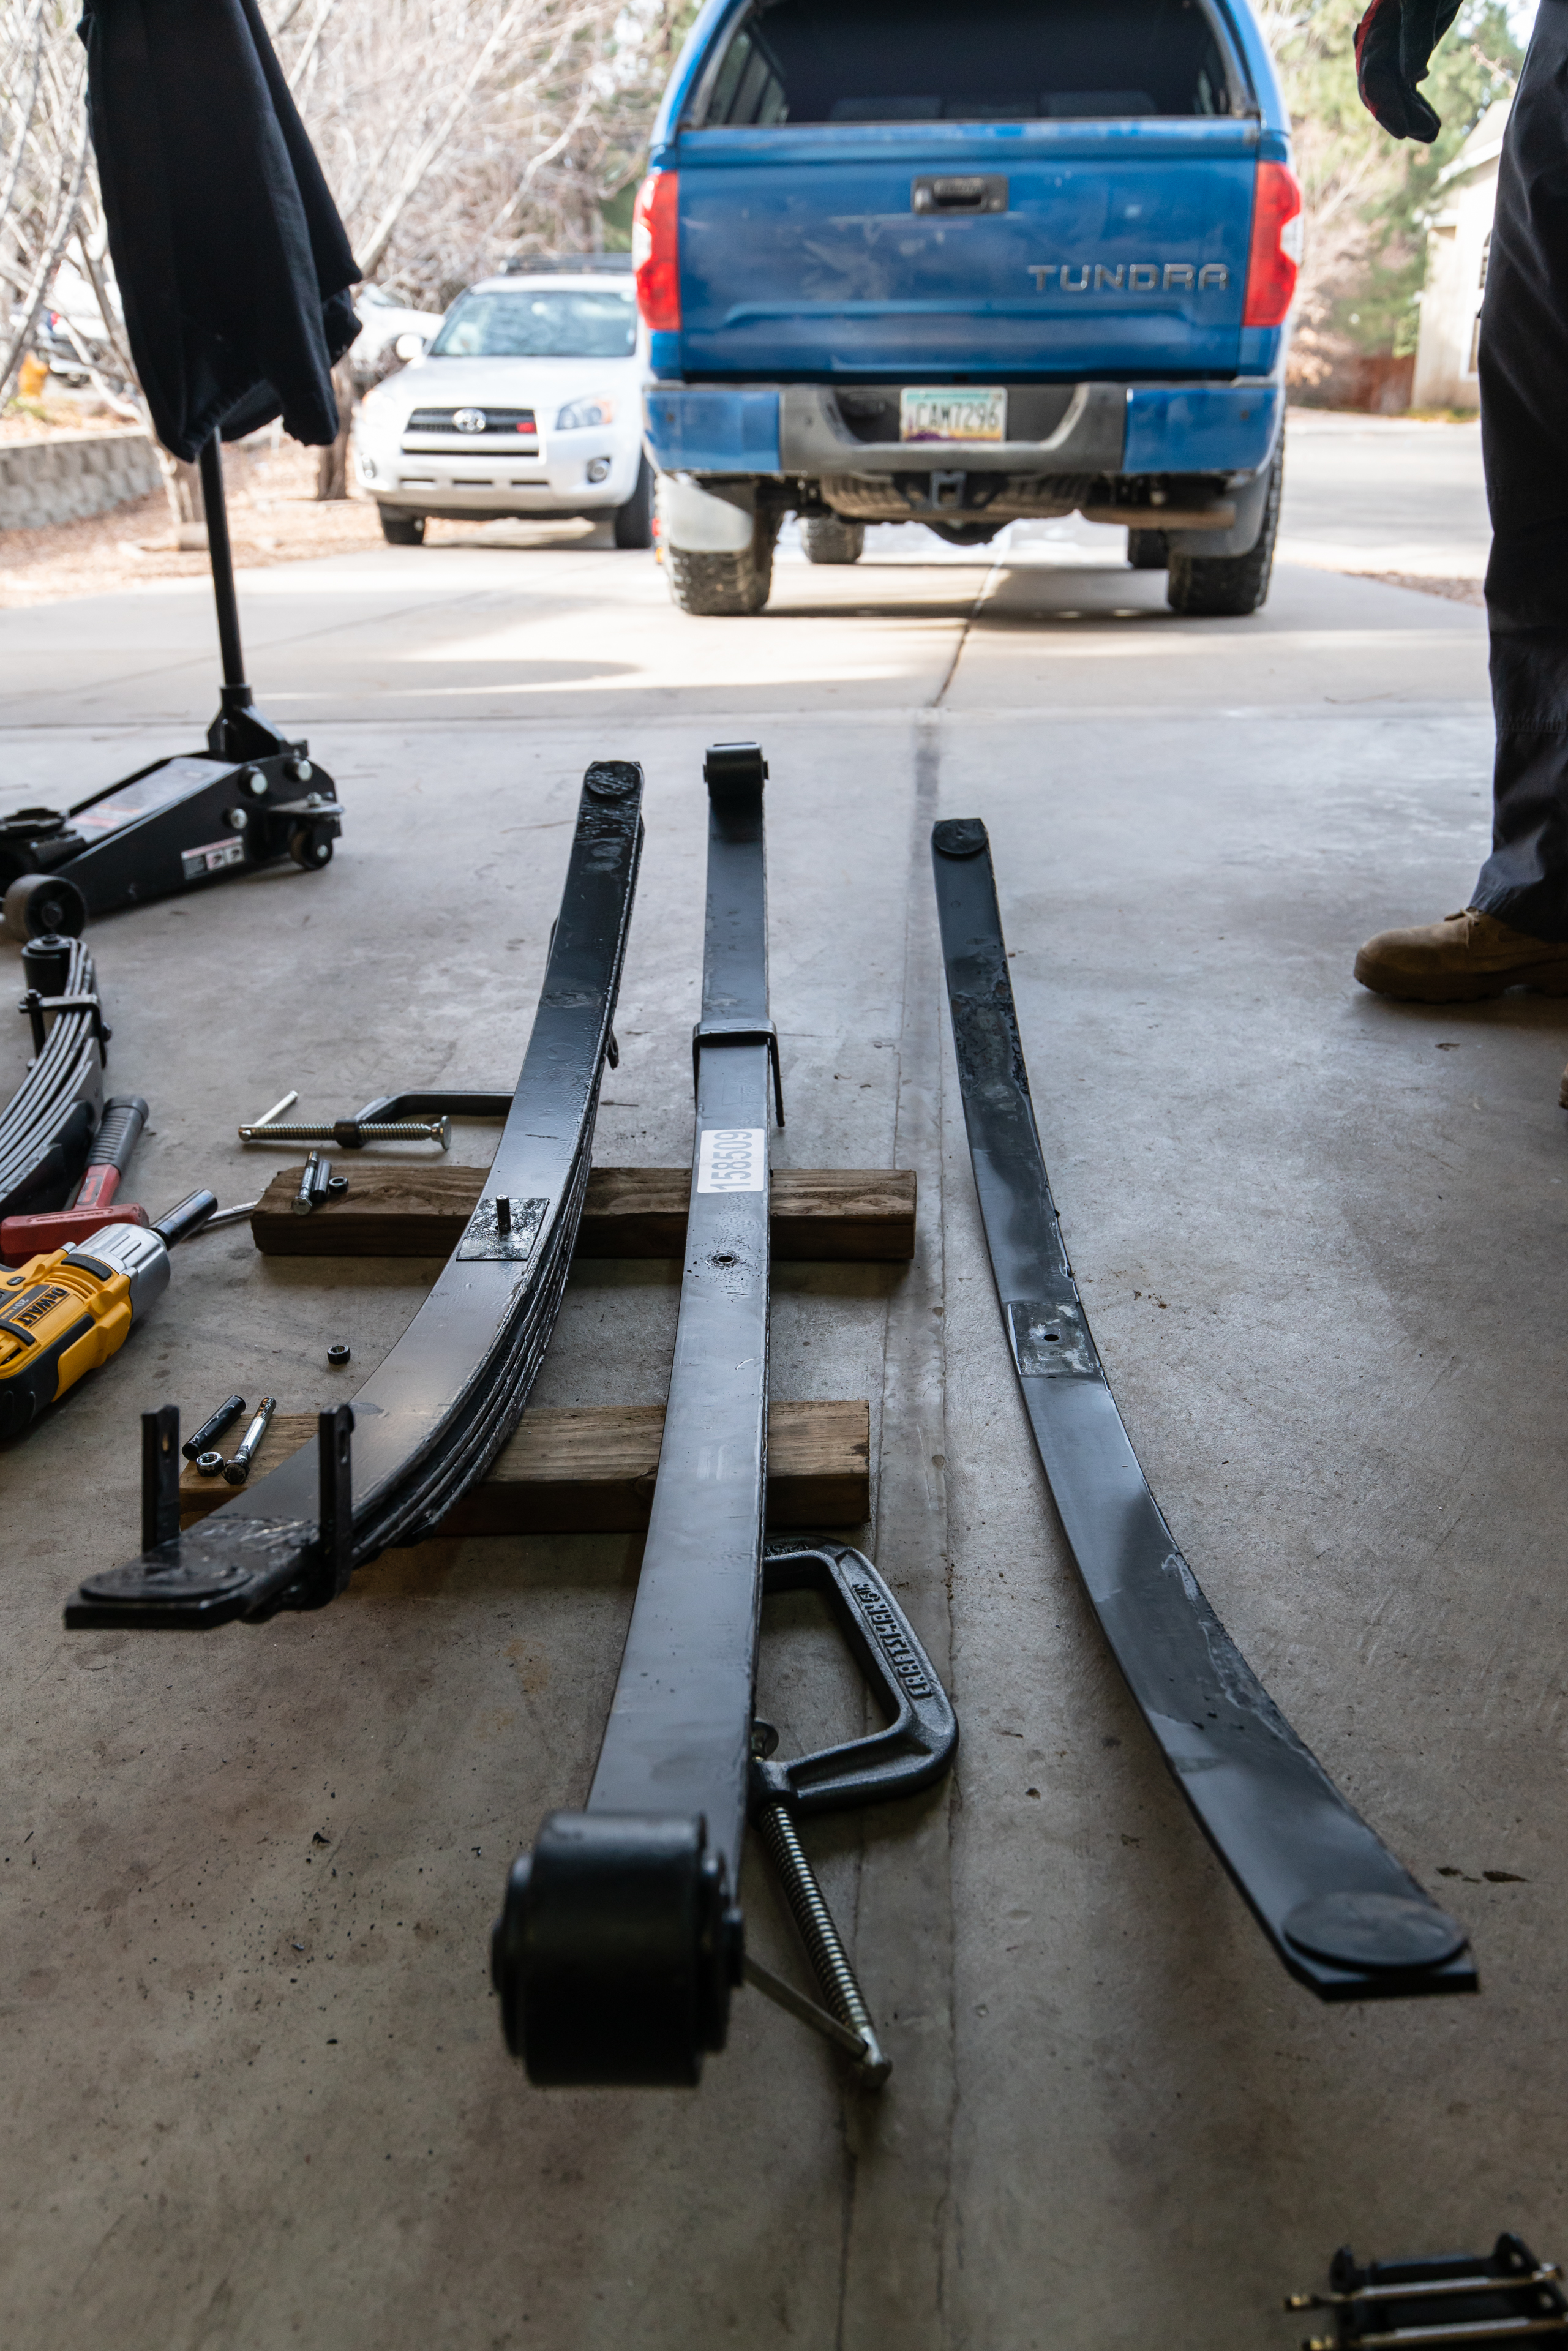
Installing the leaf packs is easily done in the driveway on an afternoon with basic tools and an extra set of hands.  The first thing you’ll need to do is choose what configuration you want the leaf pack in, and then make any desired changes prior to mounting to the vehicle  A couple of C-Clamps will help you keep the packs from disassembling themselves when you loosen the locating bolt, and otherwise the process is well covered in the instructions.  With the packs configured as desired, lift up the back of the truck SAFELY and swap the packs out.

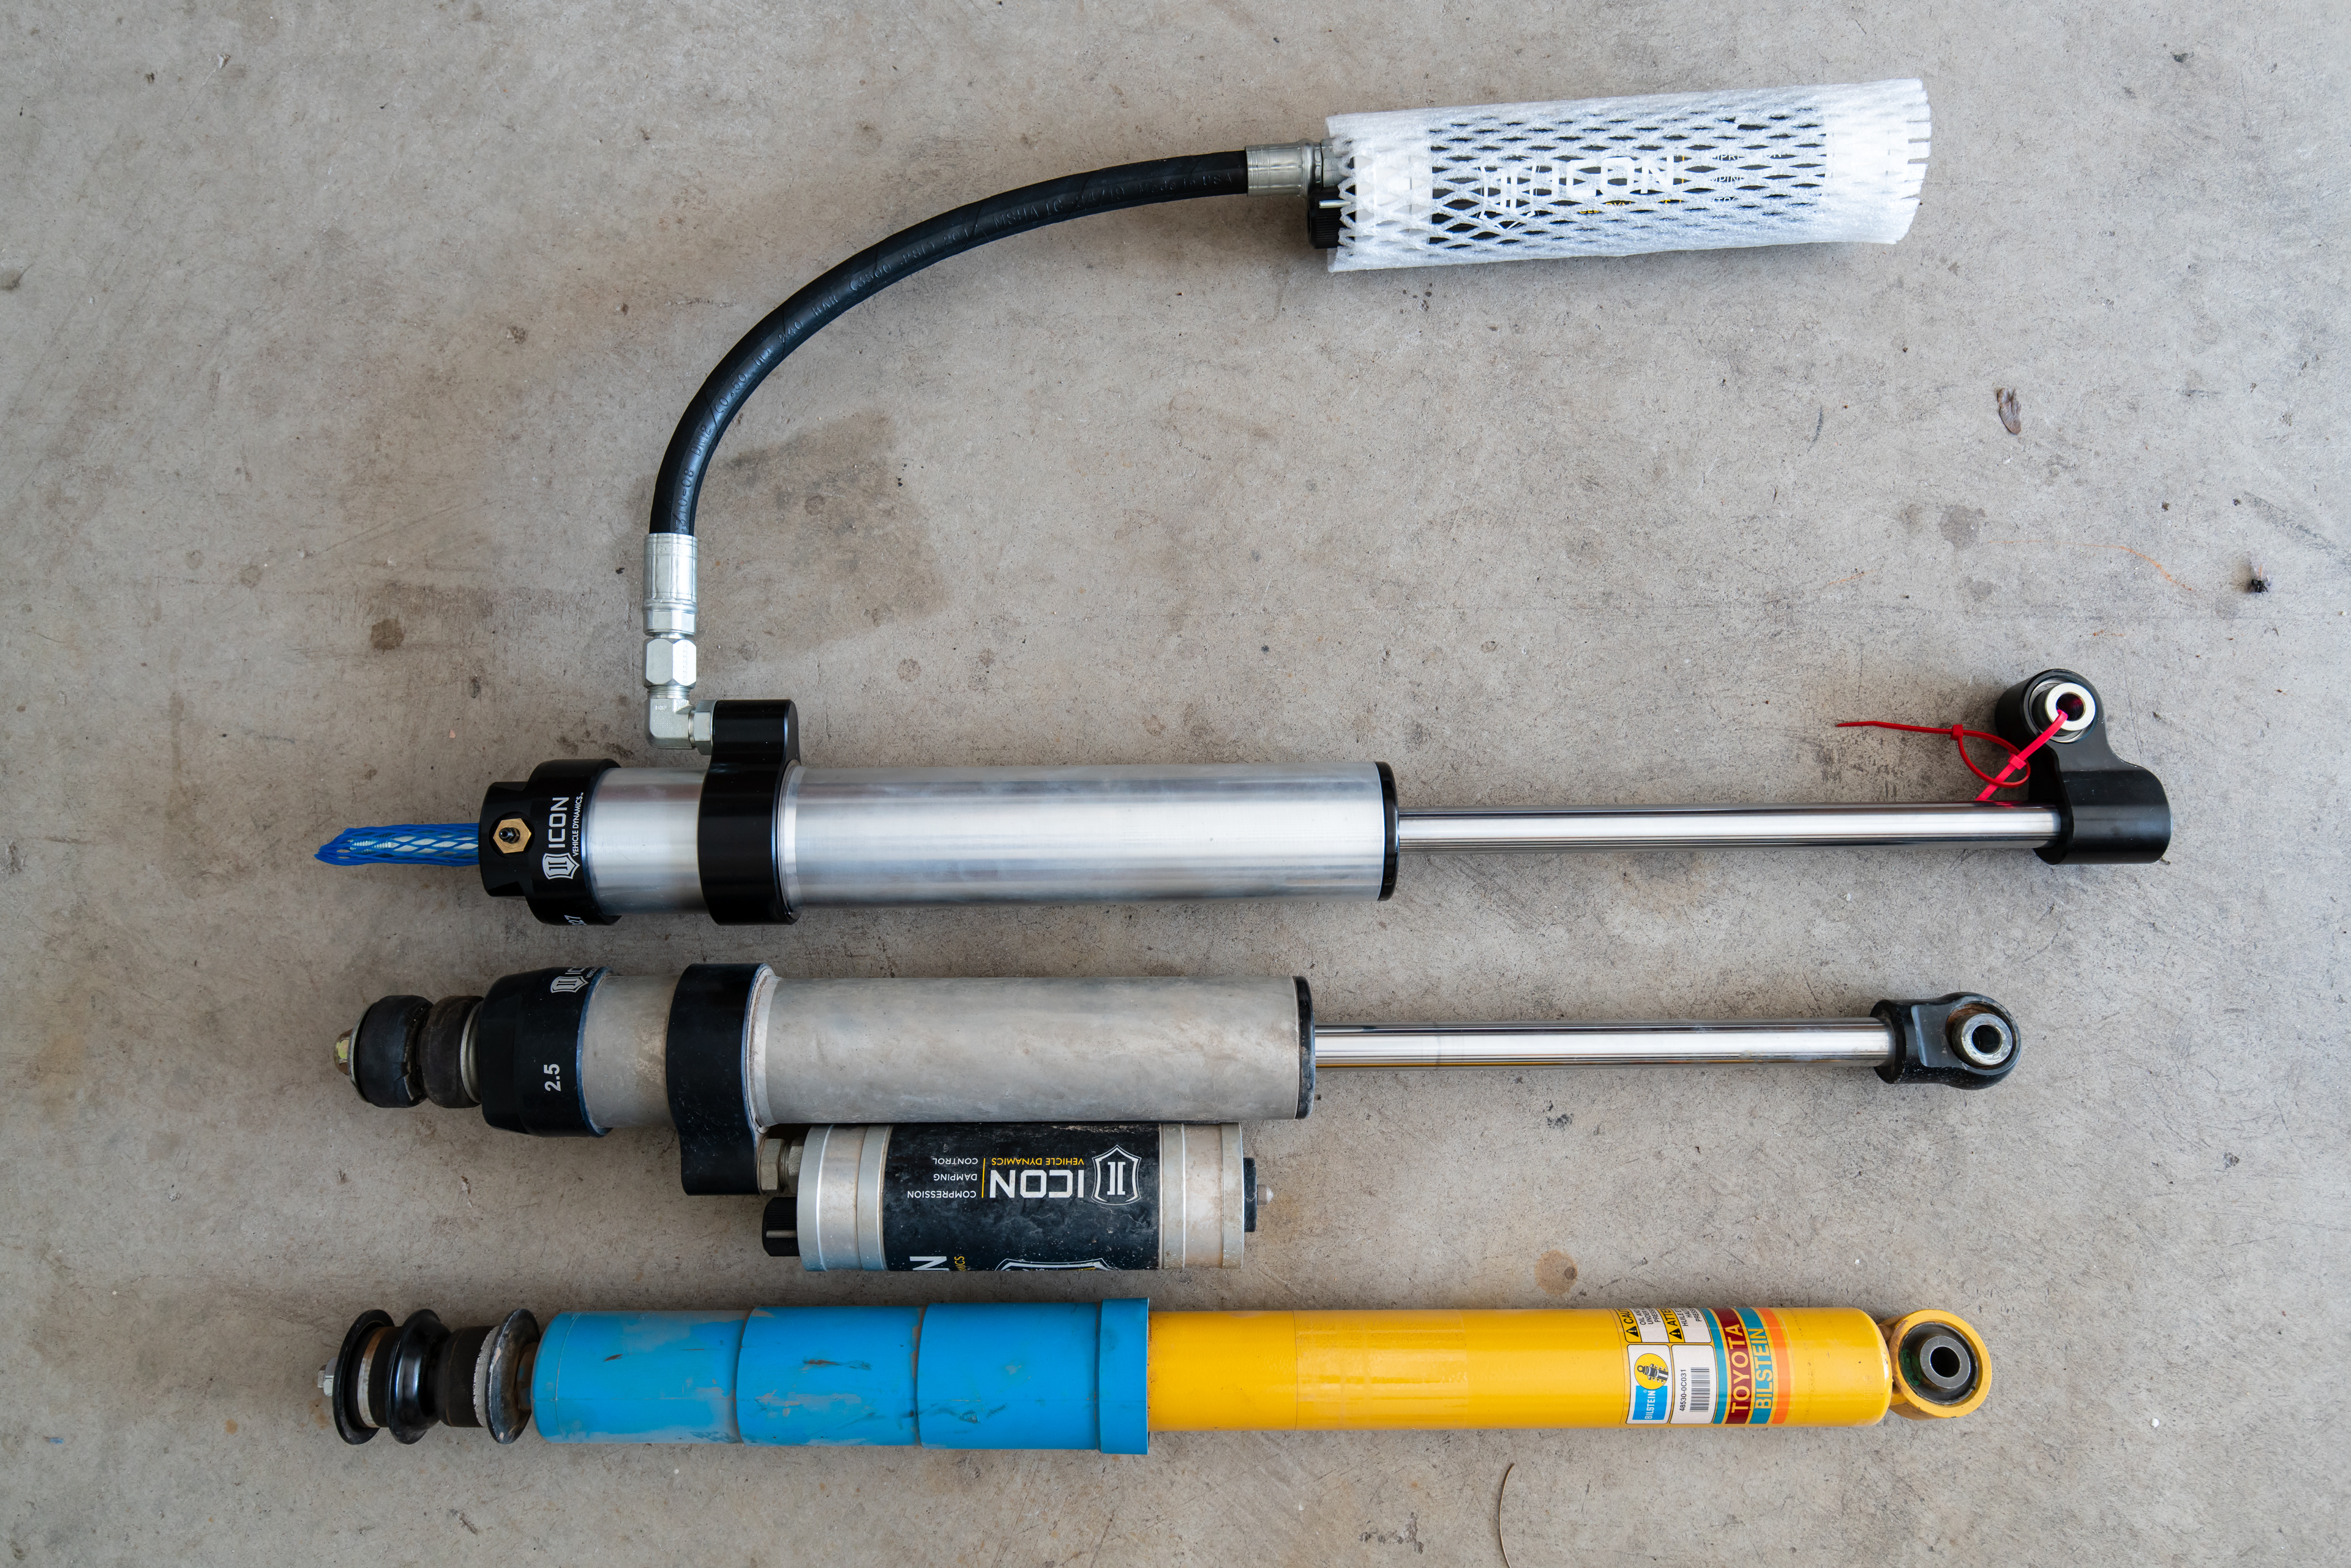
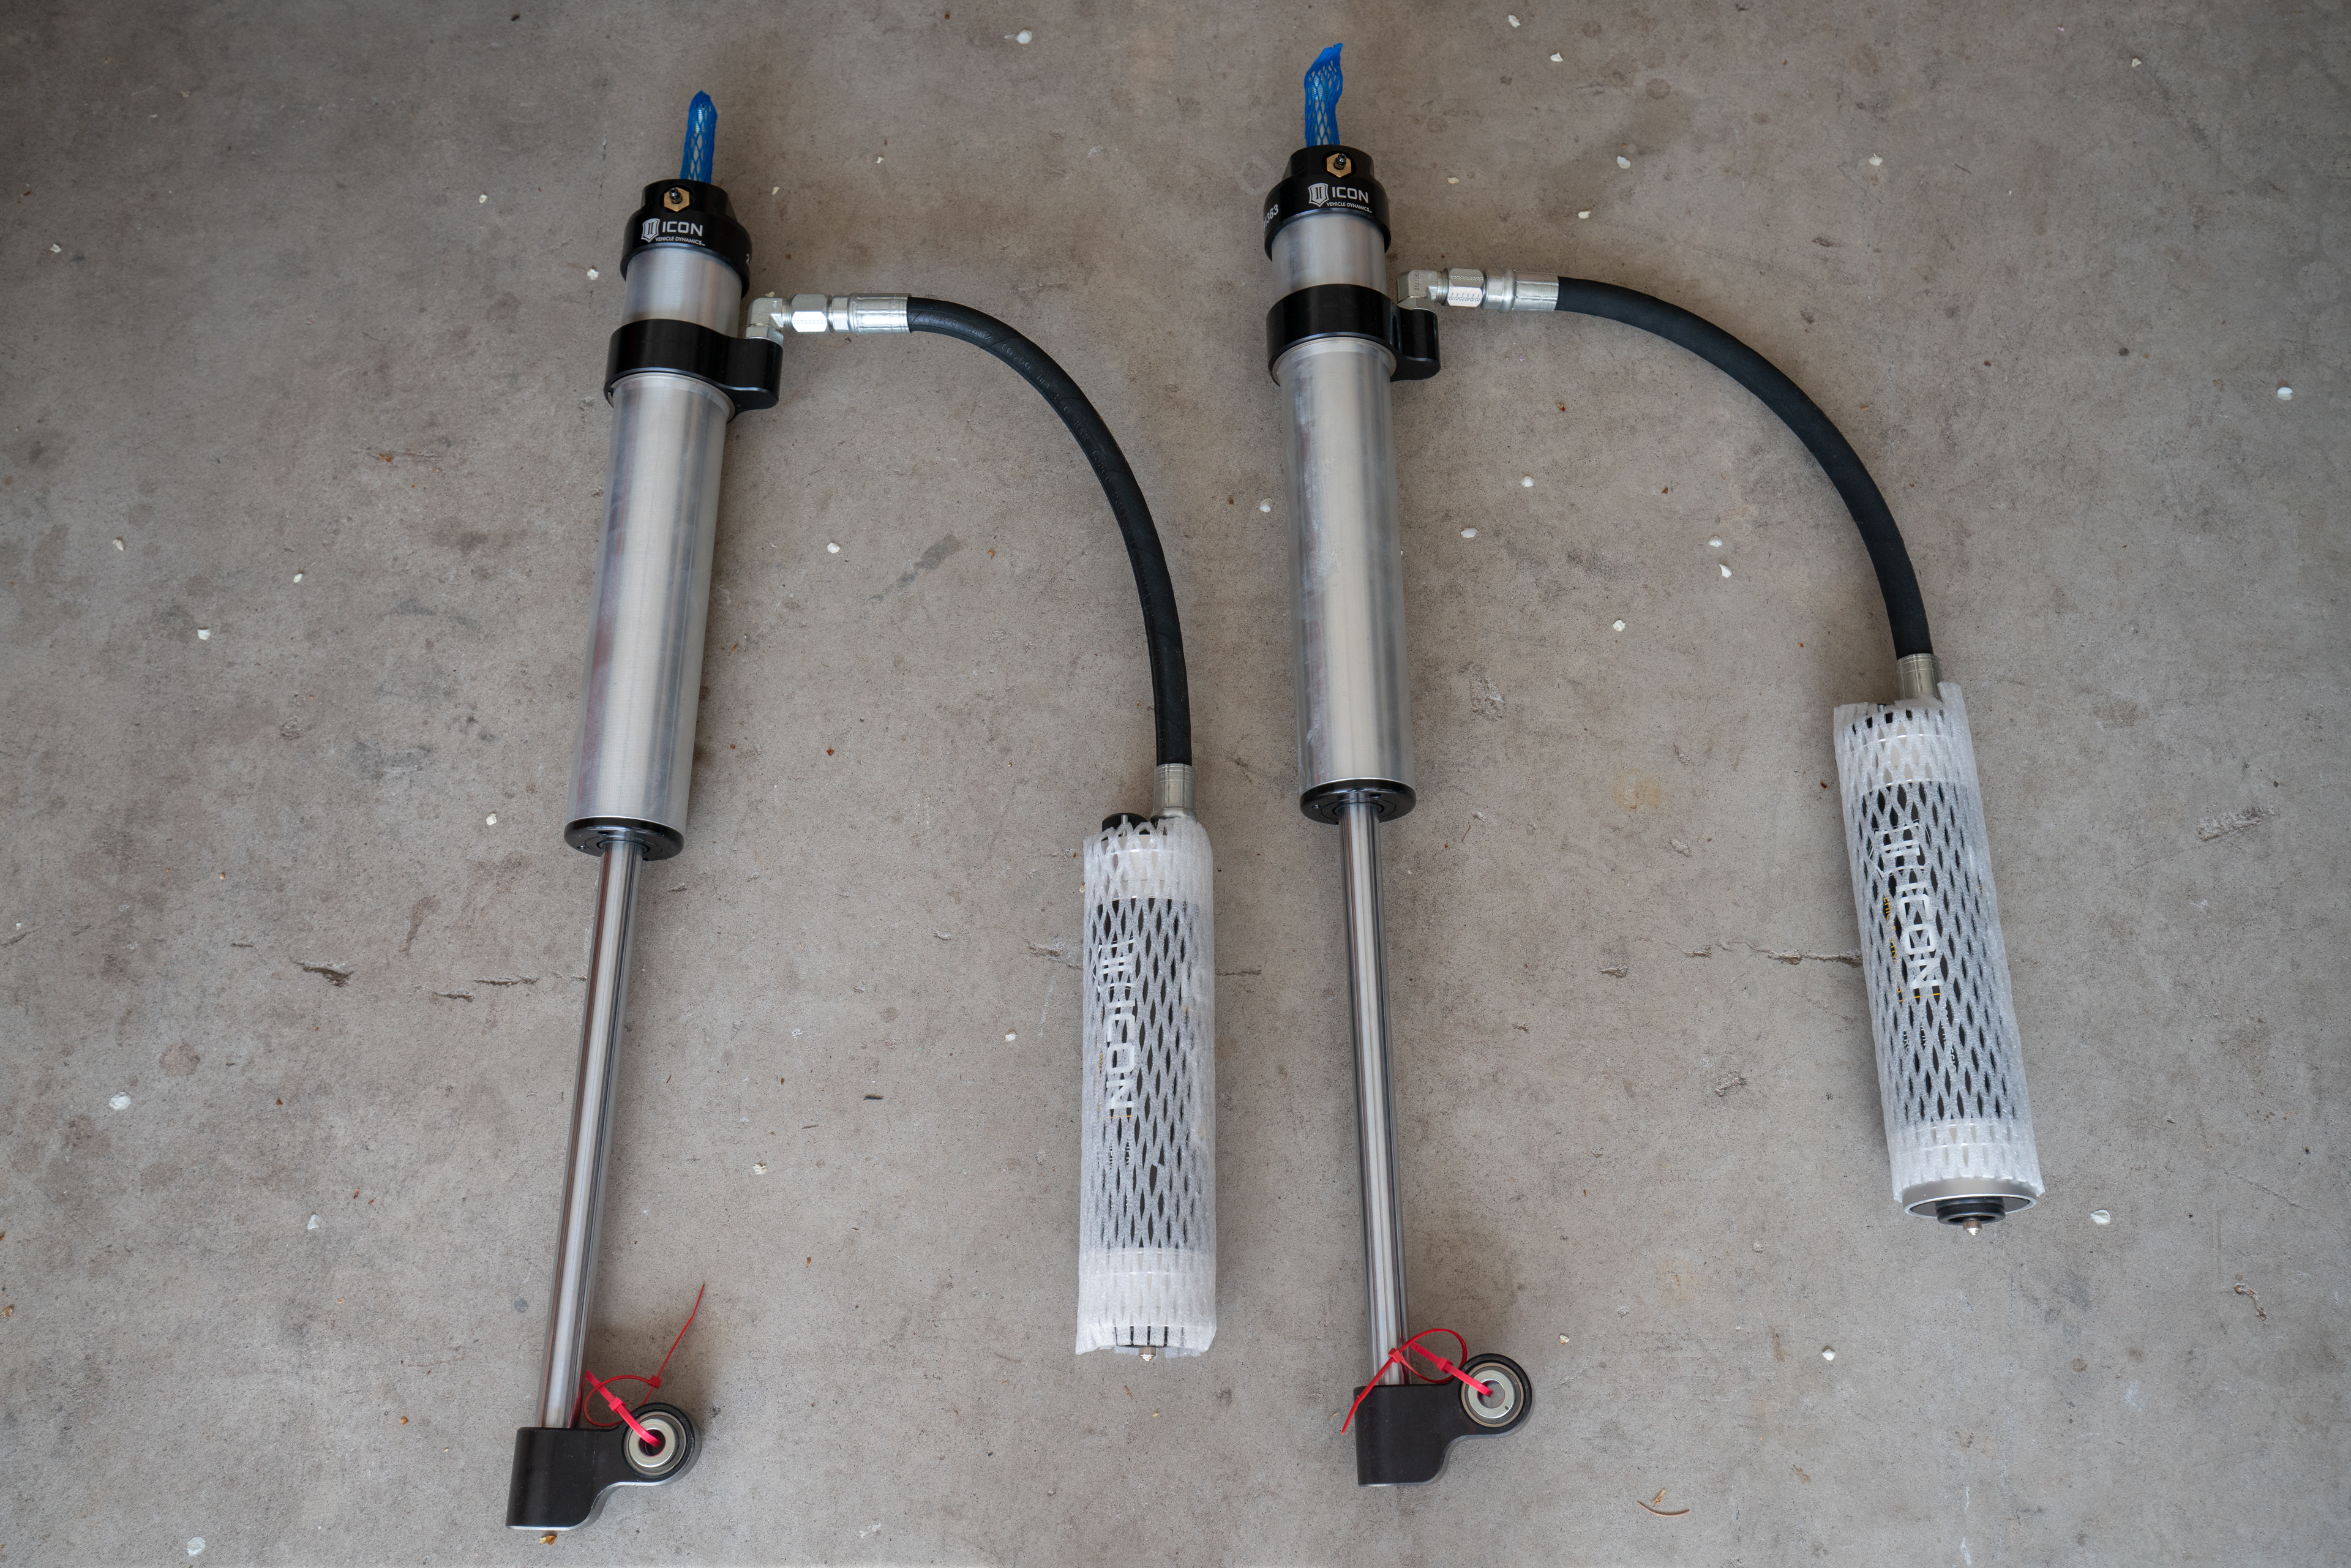
The other part of the RXT equation are the shocks which provide additional stroke over the 2.5 VS CDCV units that we’ve been using.  ICON offers three levels of shocks, named with their Stage-Number convention.  Stage 1 shocks offer vehicle specific valving, Stage 2 adds the CDC Valve, and Stage 3 adds Omega-level shocks that feature rebound and compression damping.  All RXT kits include the hydraulic bump stop Kit – another system we’ve absolutely loved having on Project Tundra.

As I mentioned in the last article, the performance difference realized by installing the IVD suspension on Project Tundra was huge, so the bar was already set quite high when the RXT parts arrived.  The RXT suspension makes a night and day difference over stock leafs or even an add-a-leaf – especially when you’re carrying any kind of weight.

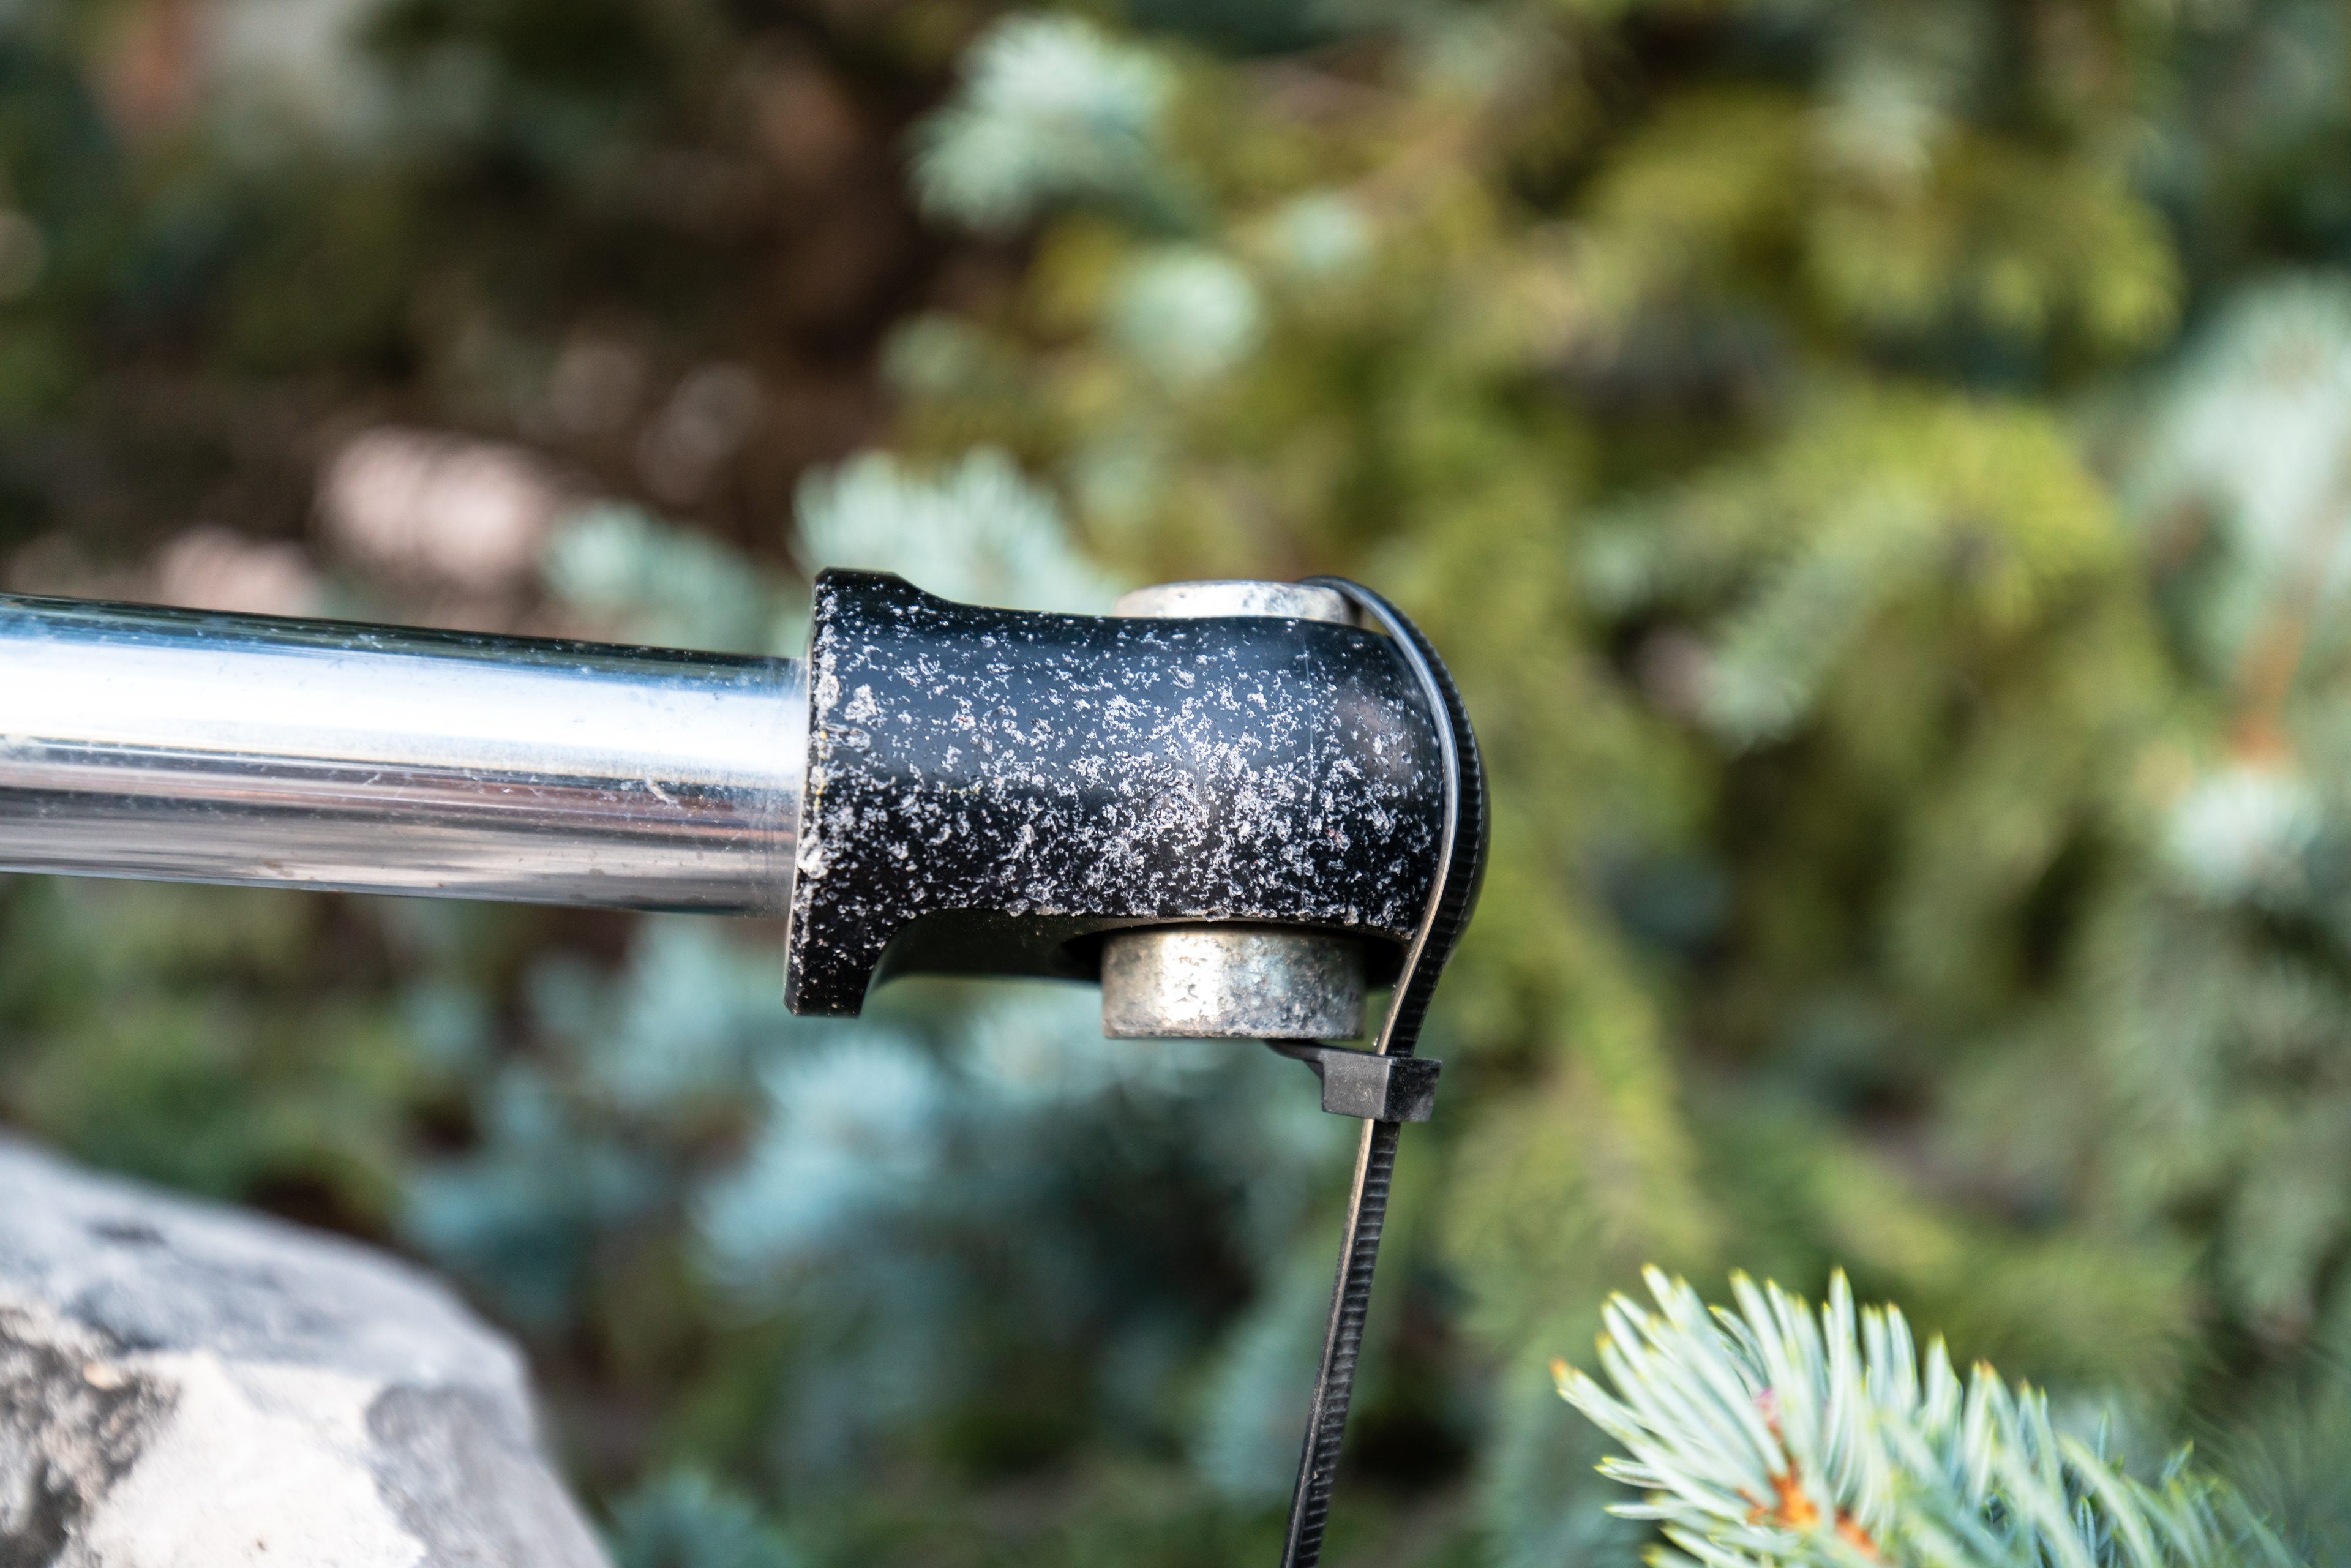
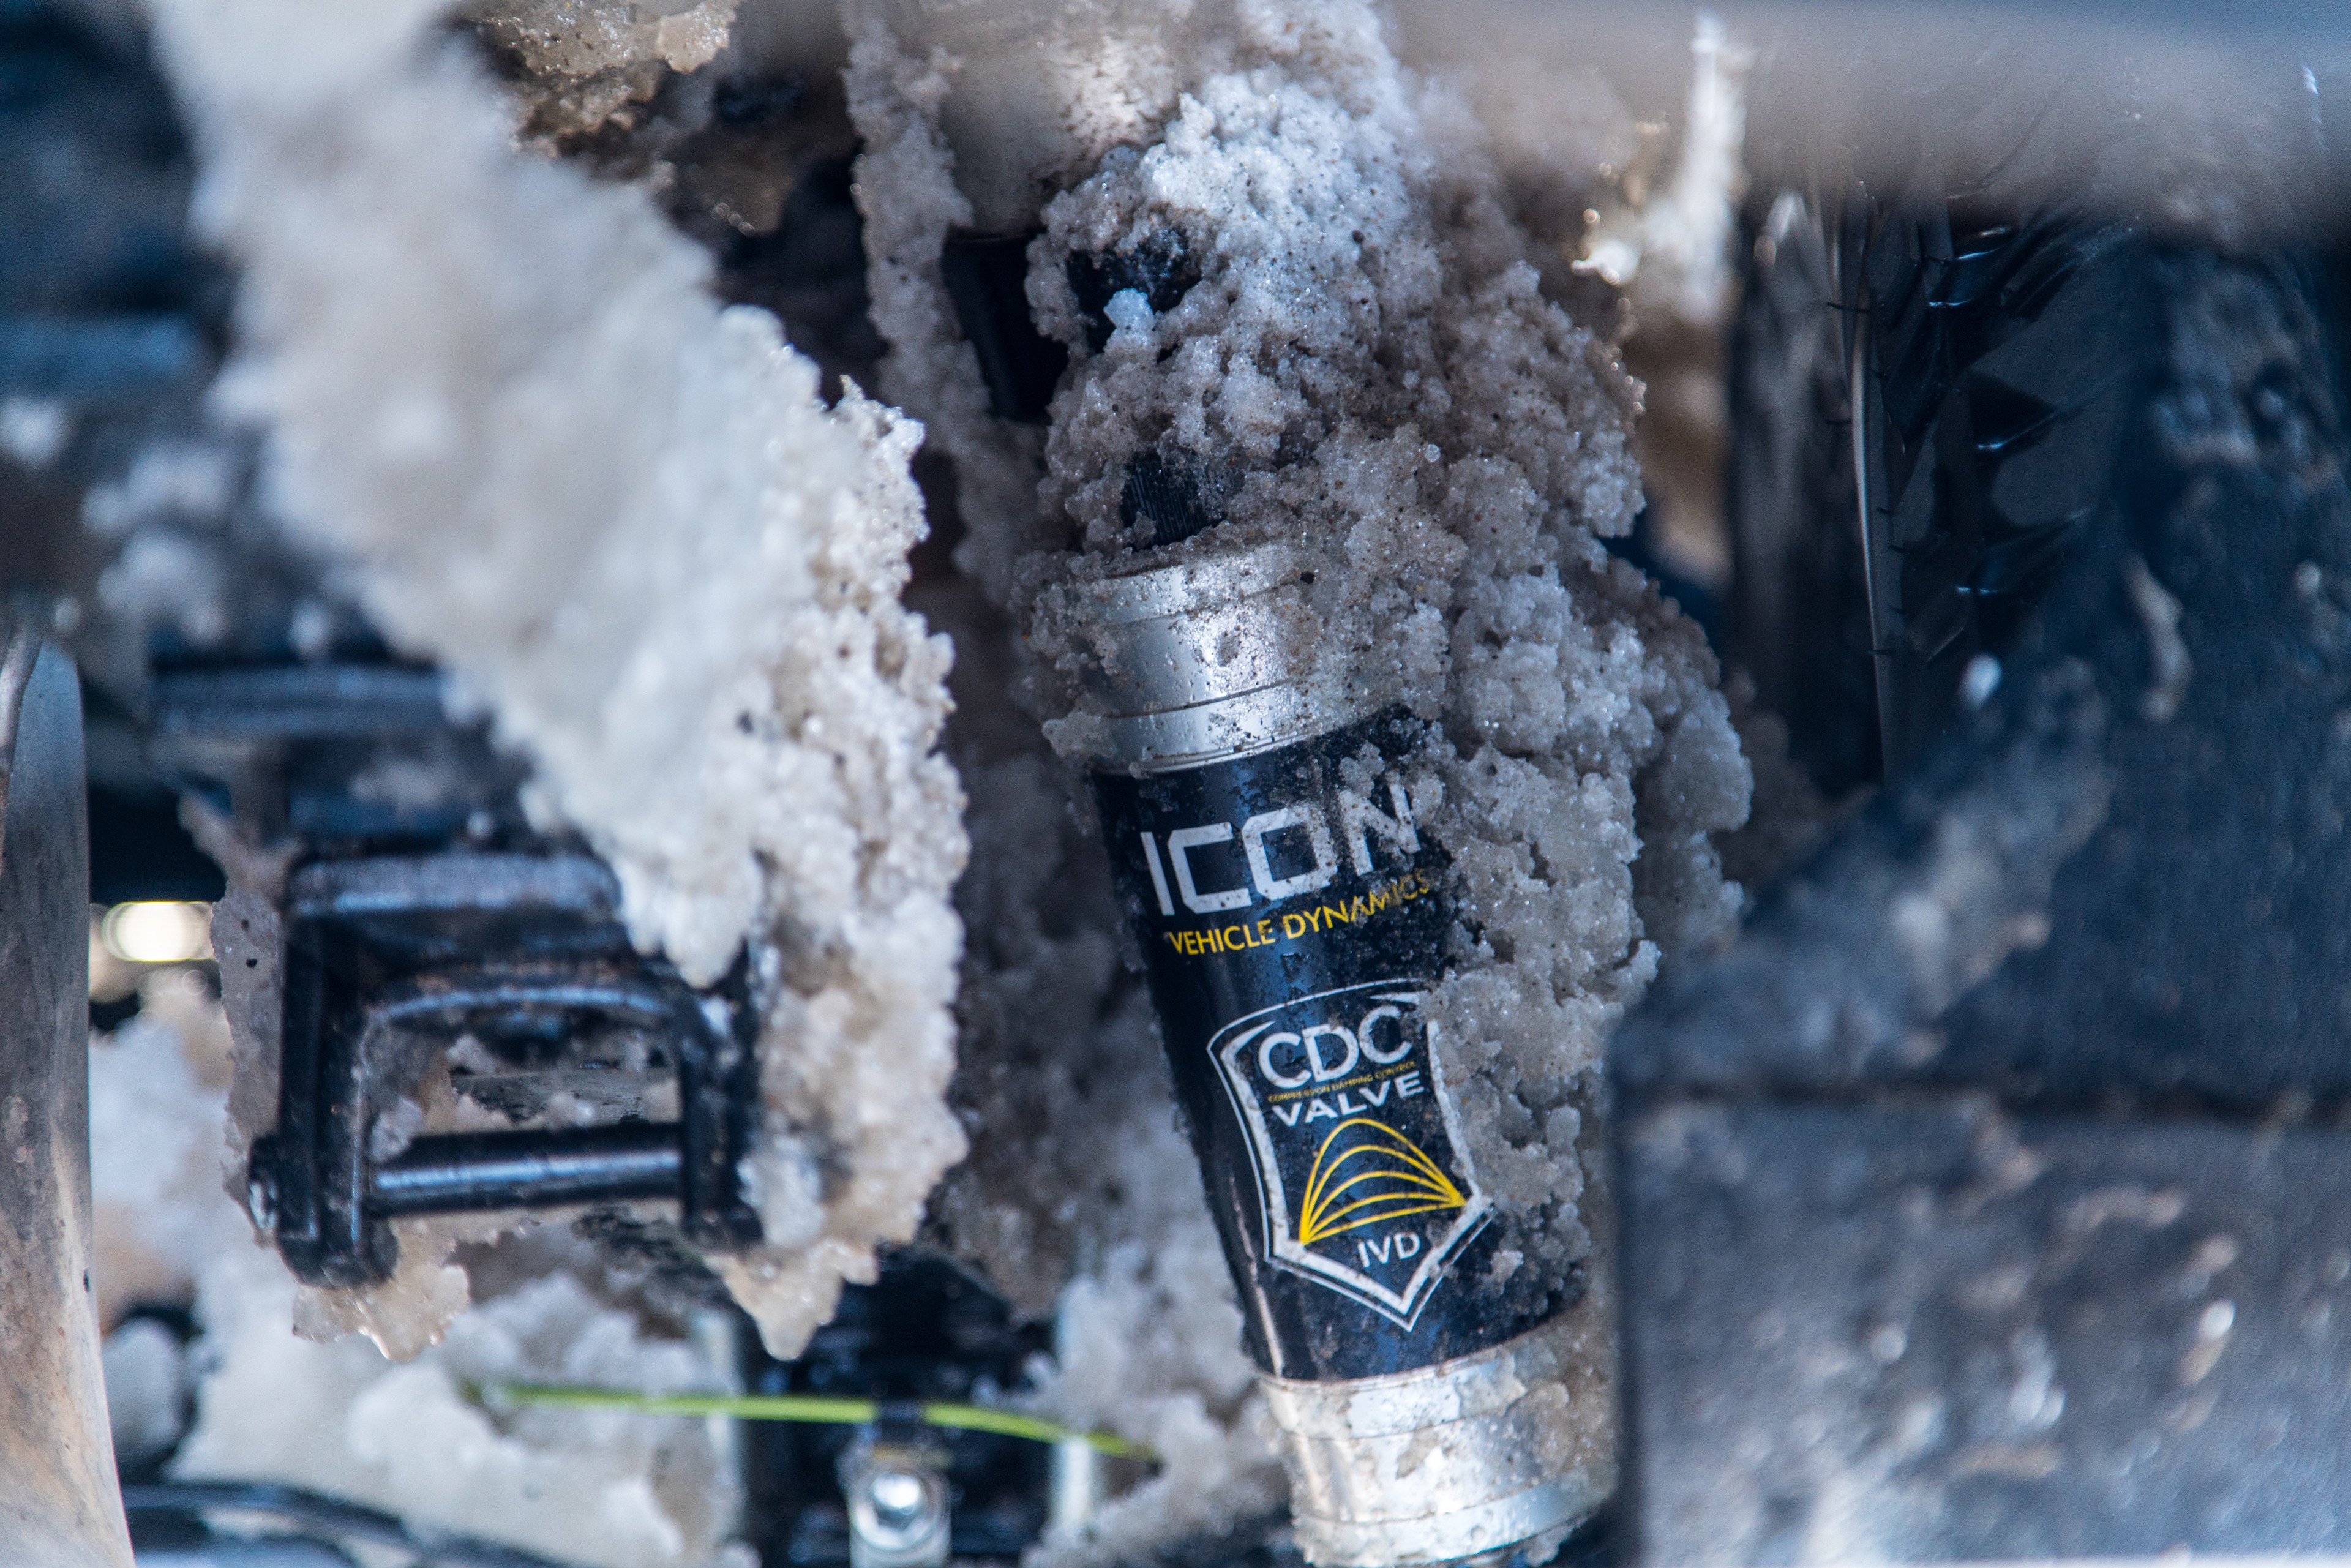
Speaking of the Icon 2.5 VS CDCV shocks I took off the vehicle, I’m happy to report that after a year of use all over the Southwest the shocks are still in great shape and still fully functional.  Yes, there is pitting on the lower shock mounts and the aluminum bodies aren’t as shiny as new, but this wear has been earned from logging thousands of miles bombing around off-road and on wintry roads.  It turns out flying rocks are an equal opportunity destroyer, so I don’t care whose shock you have – pitting and aluminum oxidation are going to happen.  What counts is that all of the ICON shock shafts look great, and all of the seals are holding tight – so these shocks still have plenty of life left in them before they get rebuilt.

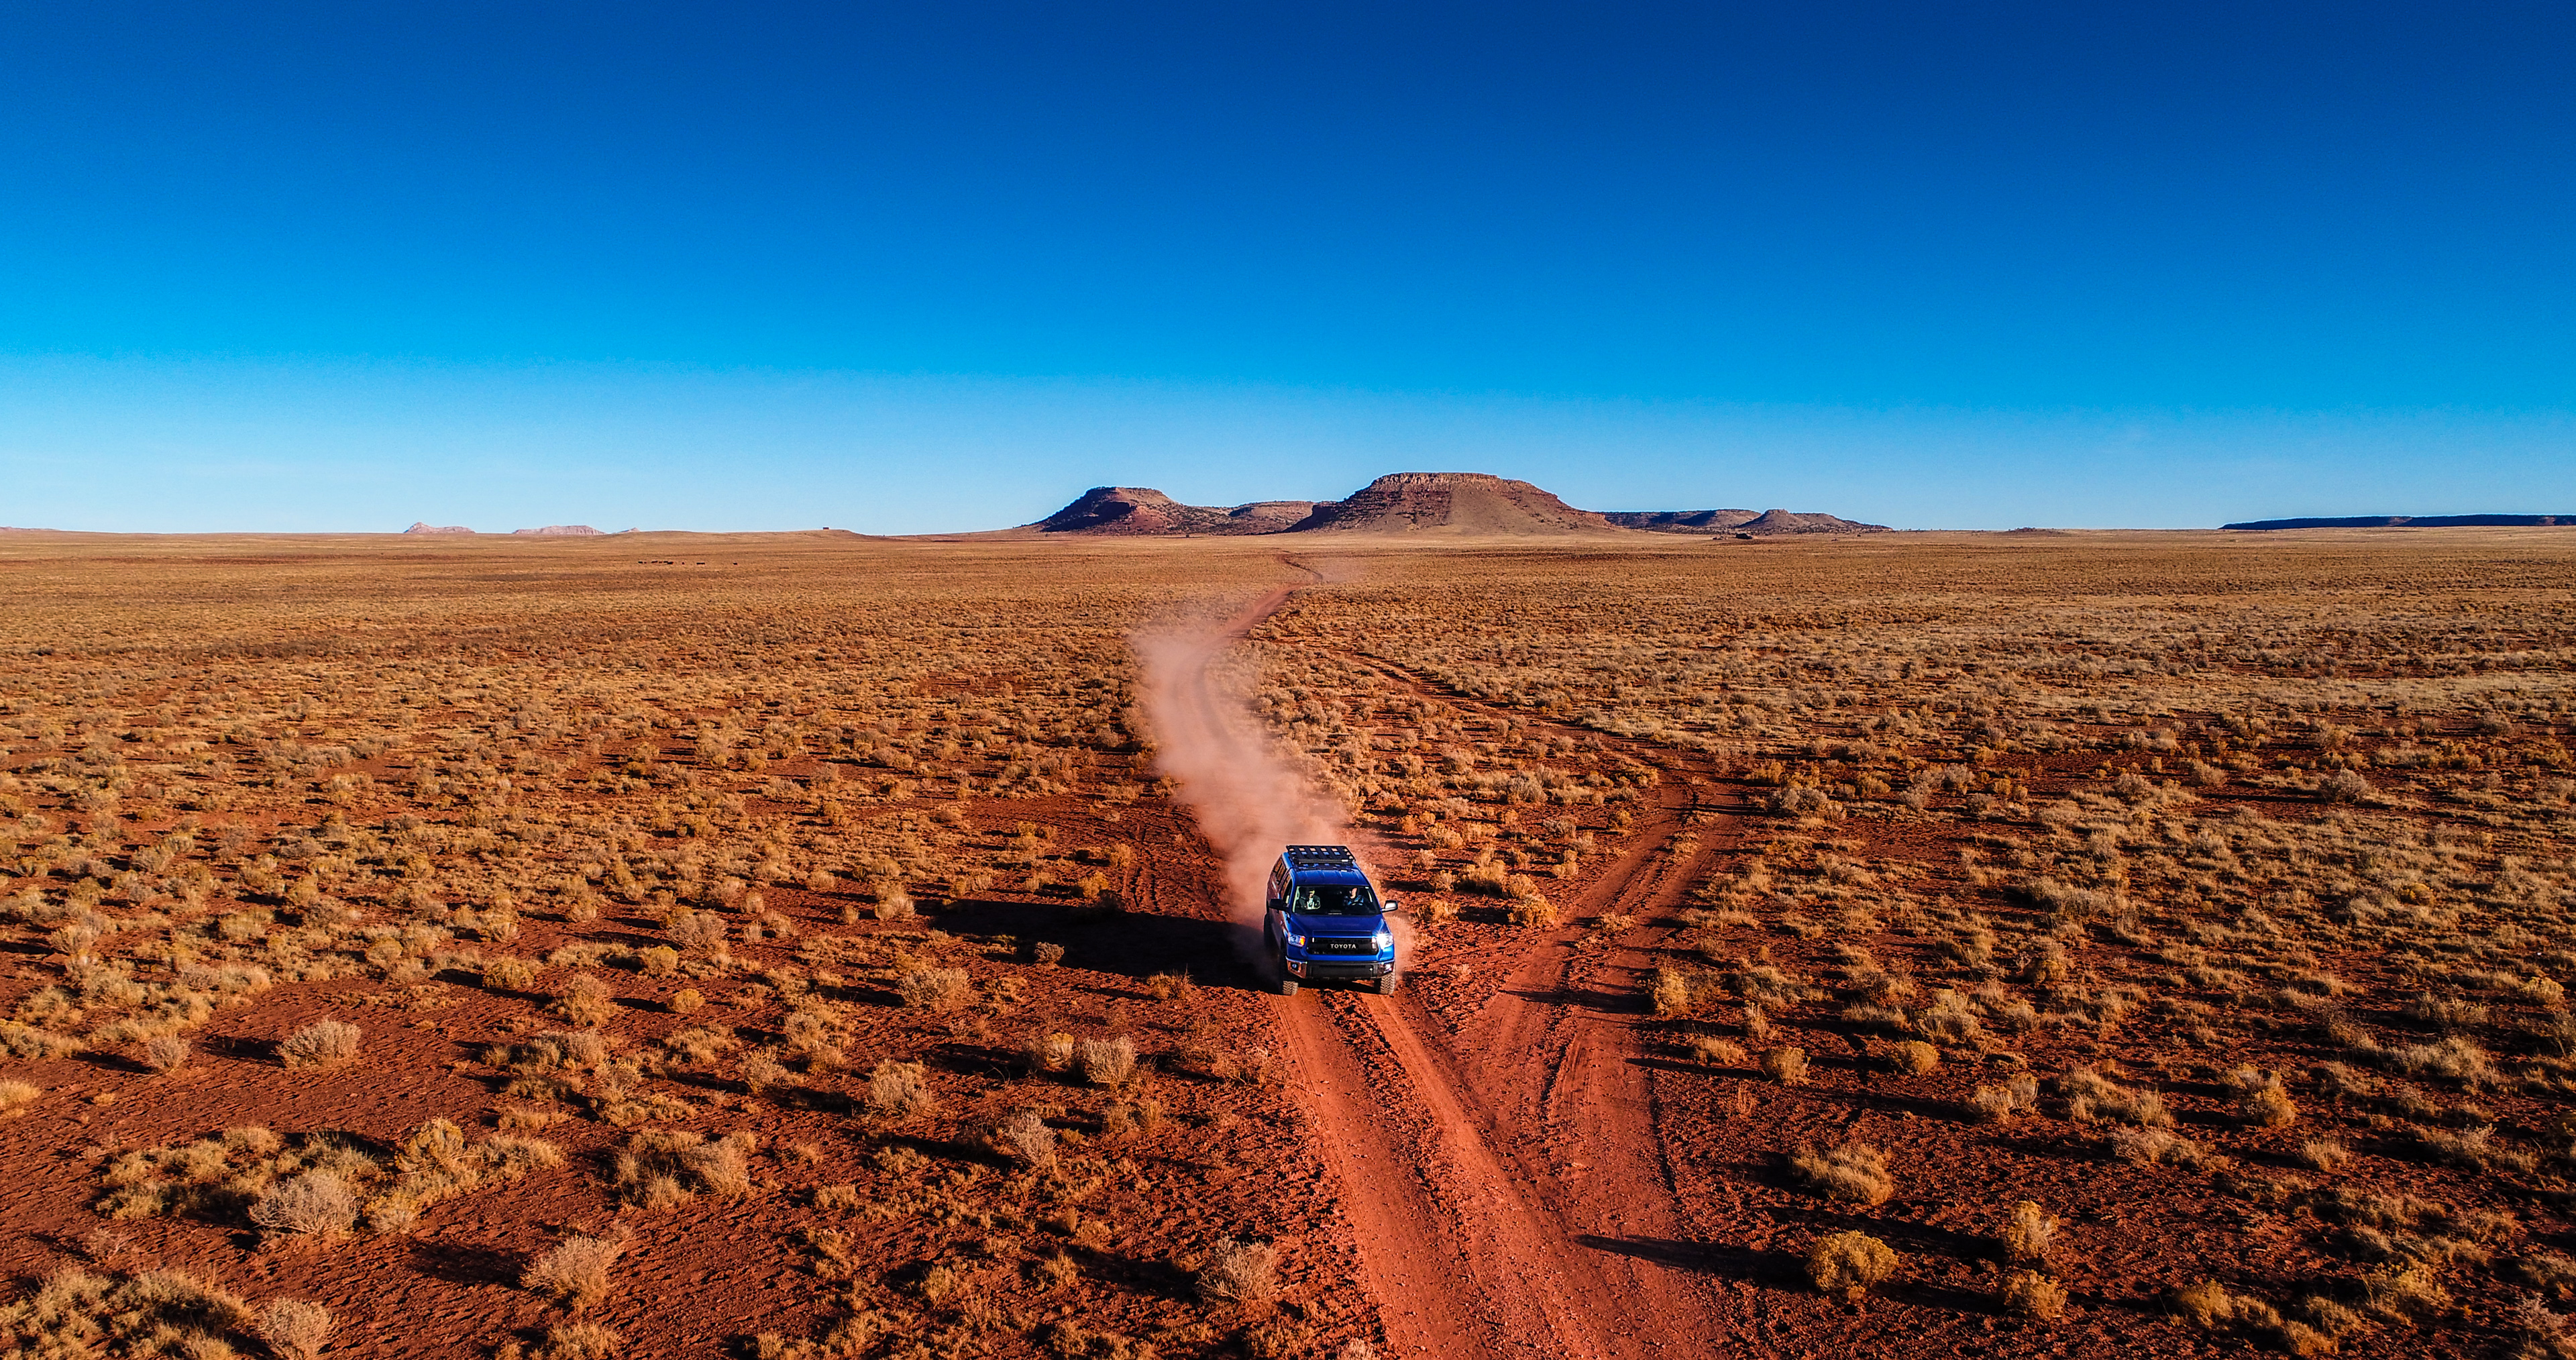
The RXT suspension has handled every type of terrain I’ve pointed it at so far with performance that’s perfectly matched to the front end, which is to say that the back end has now been turned up to match the front end.  The ability to set the leaf pack up for your specific vehicle depending on what you do with your truck and how much weight you carry combined with the damping adjustment from the CDCV and Omega level shocks make the RXT system the choice for Tundra rear suspension.


LINE-X

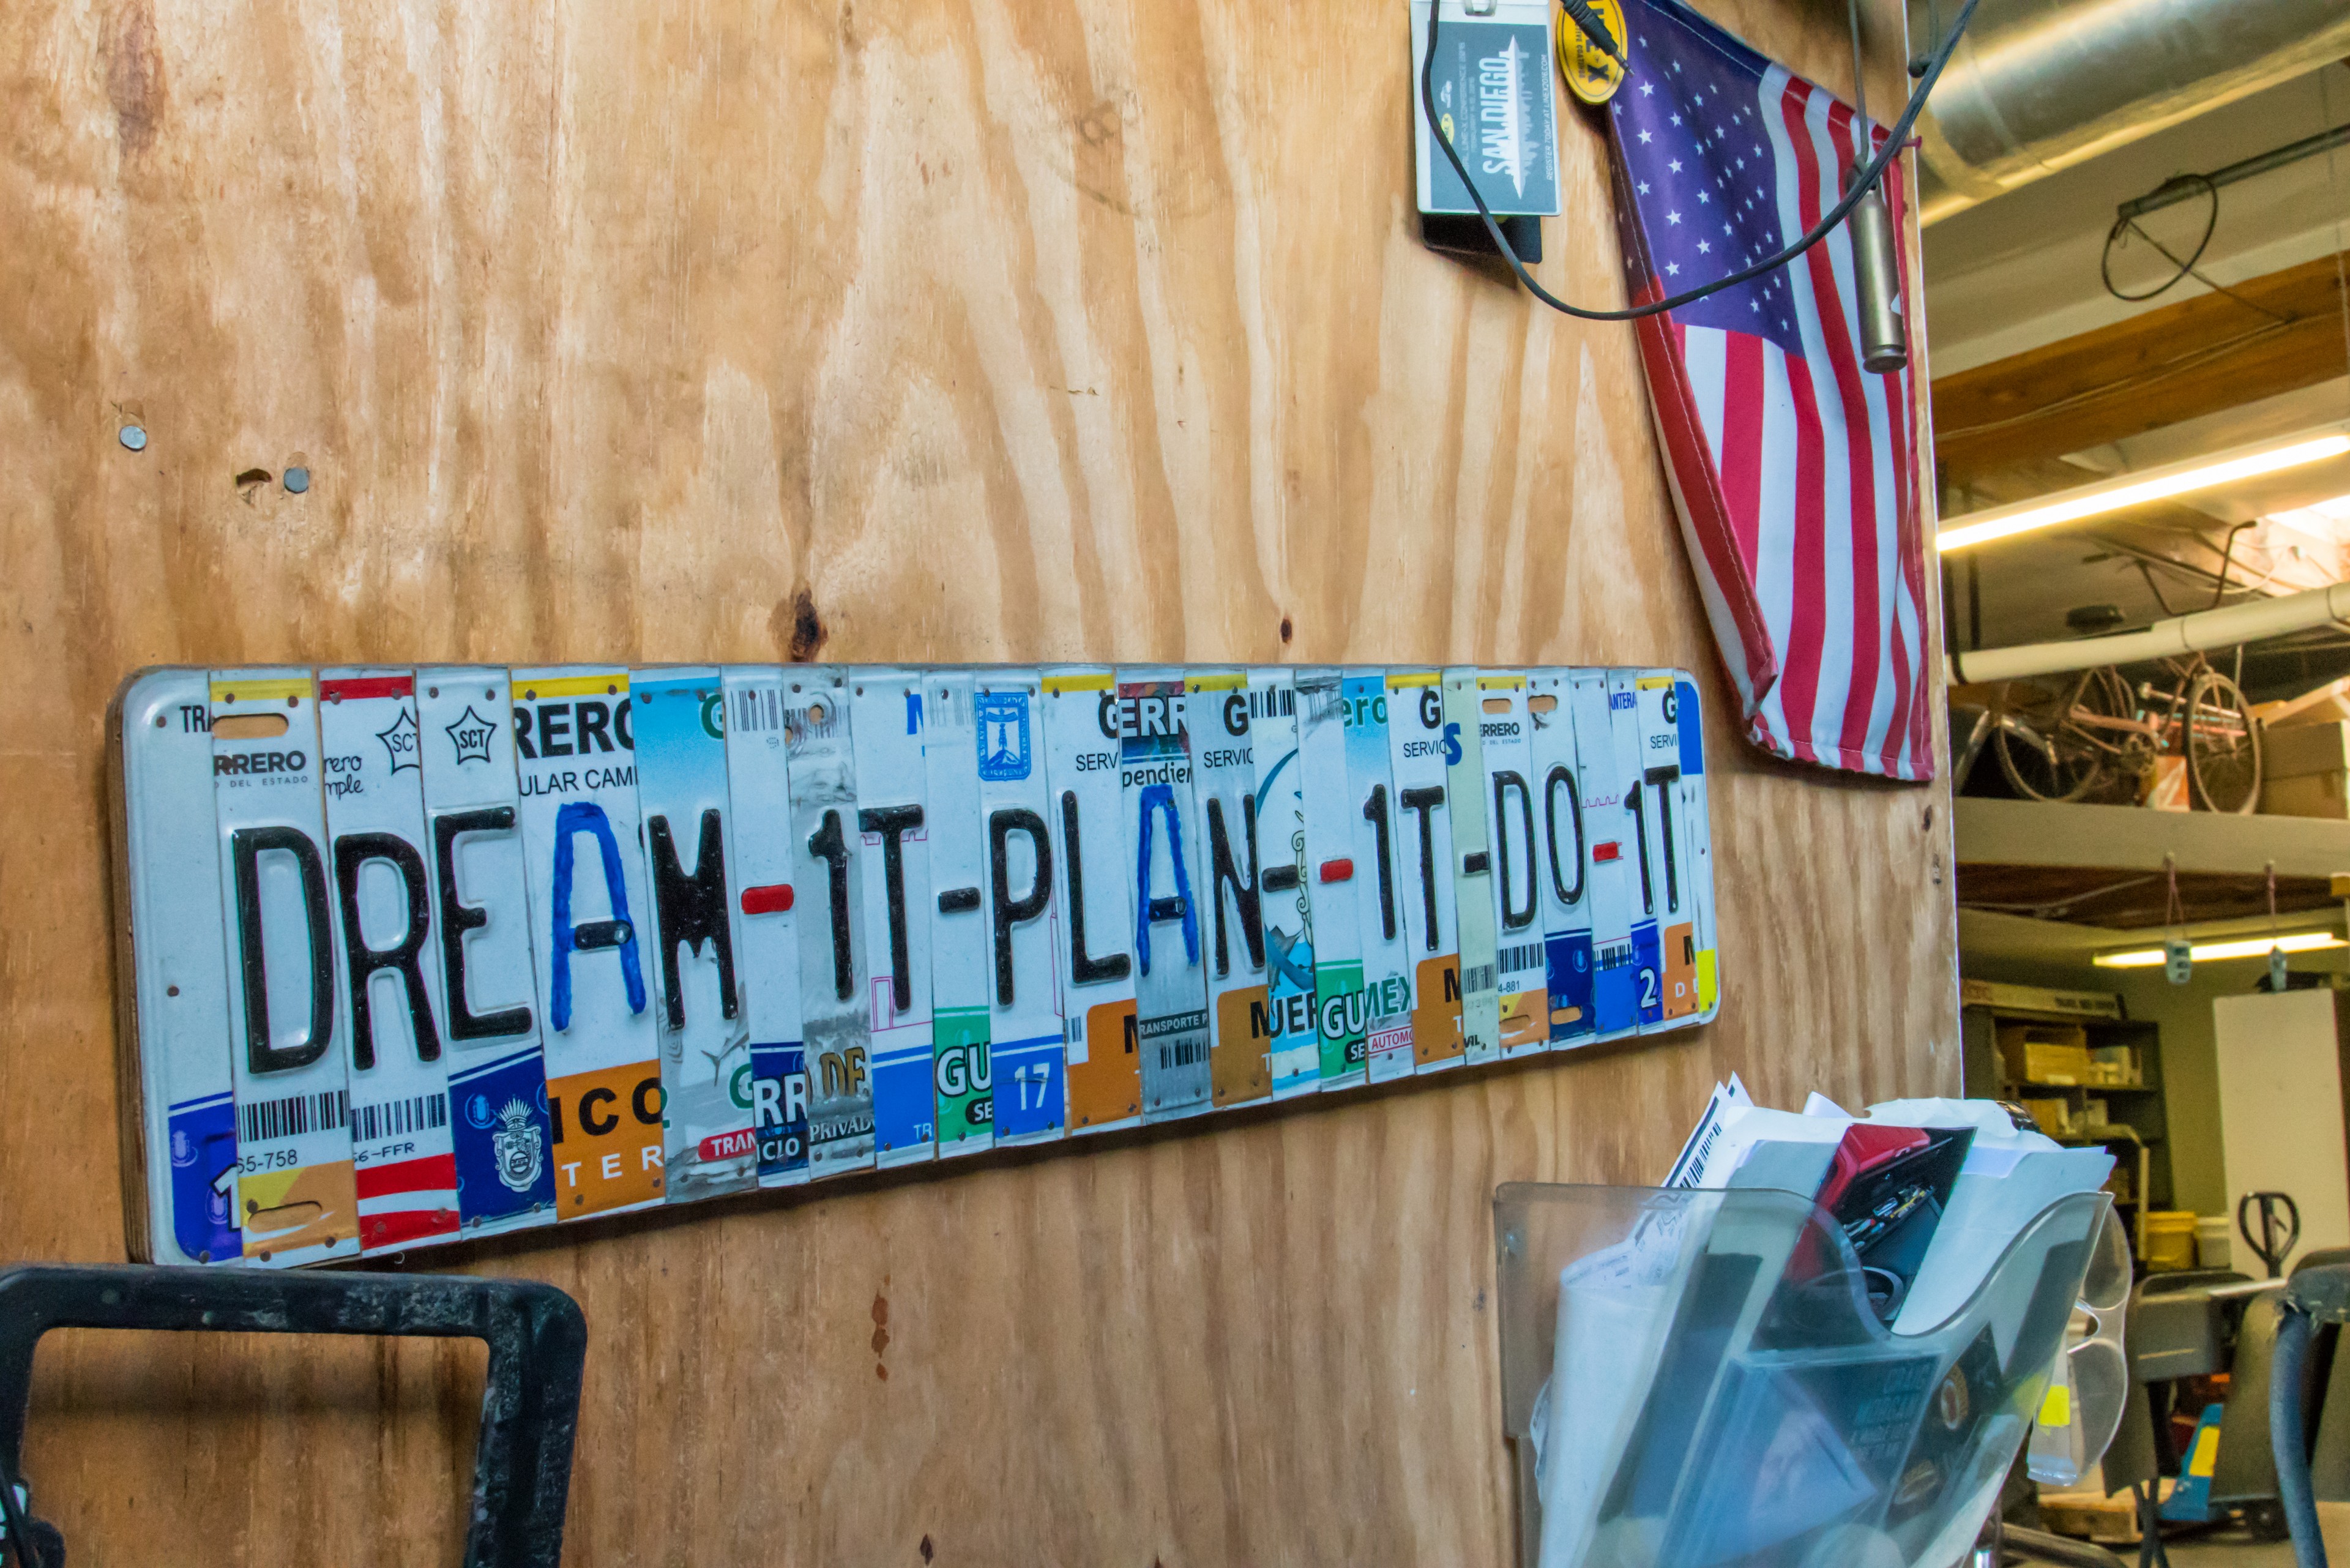
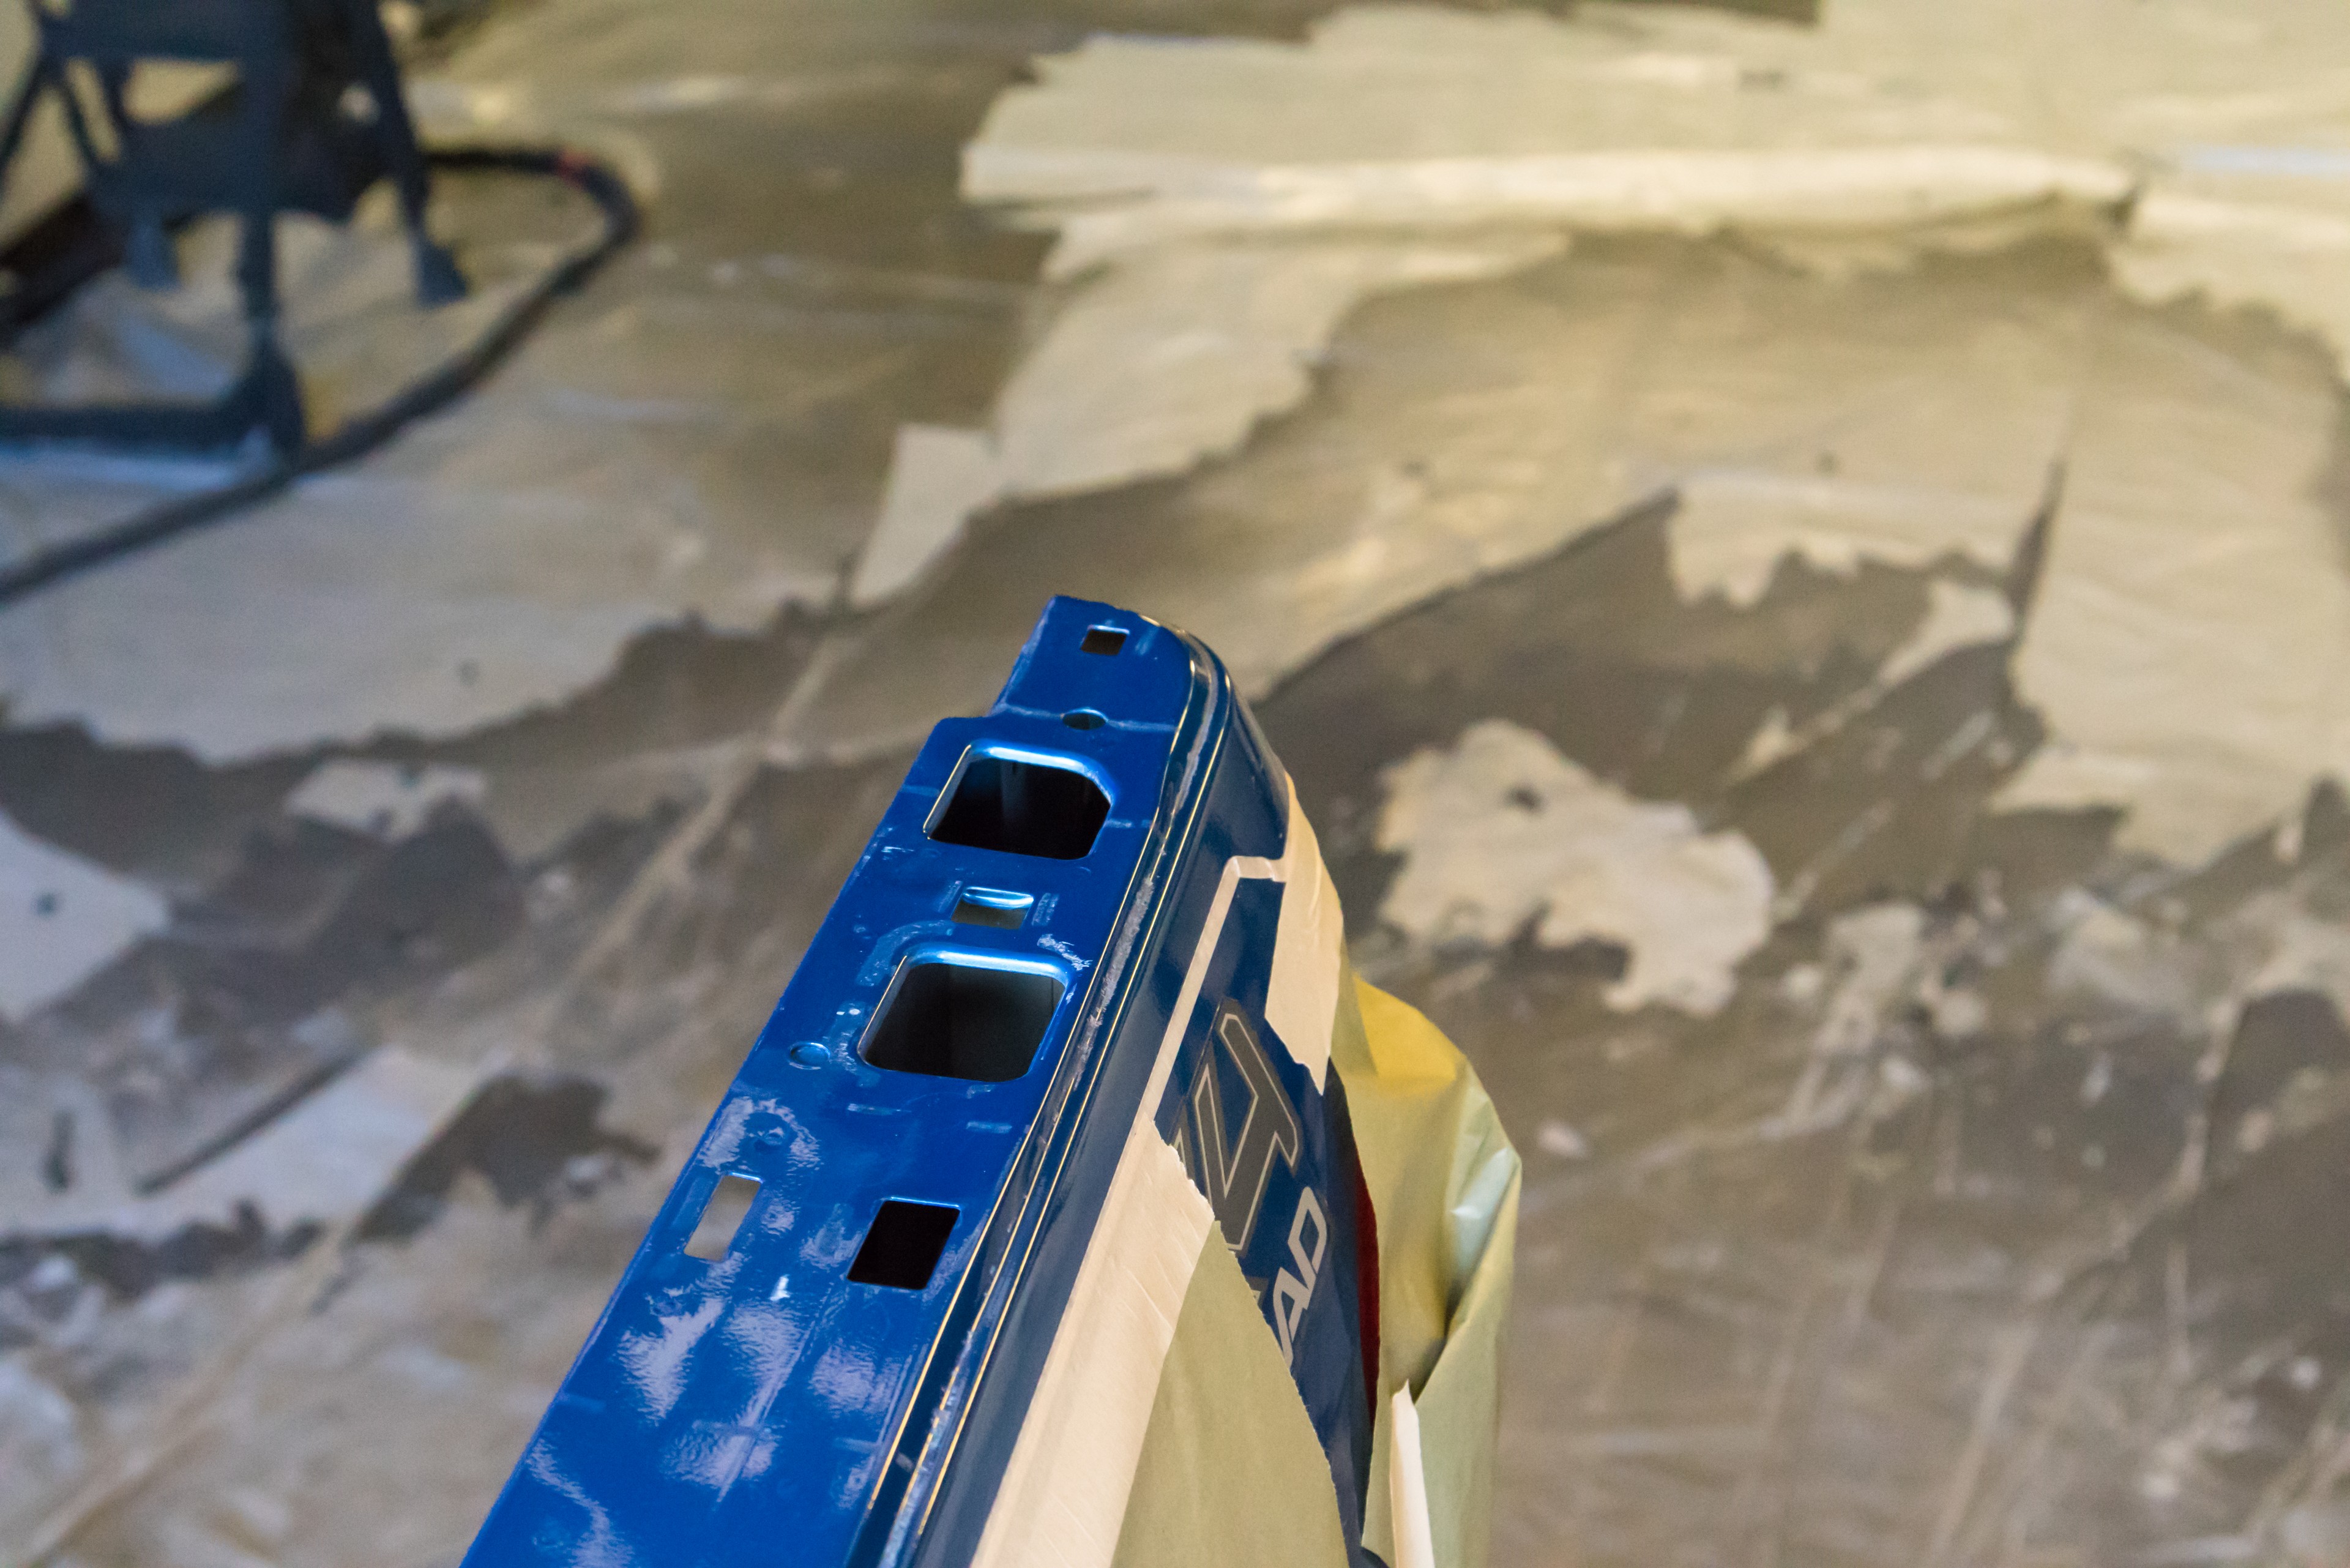
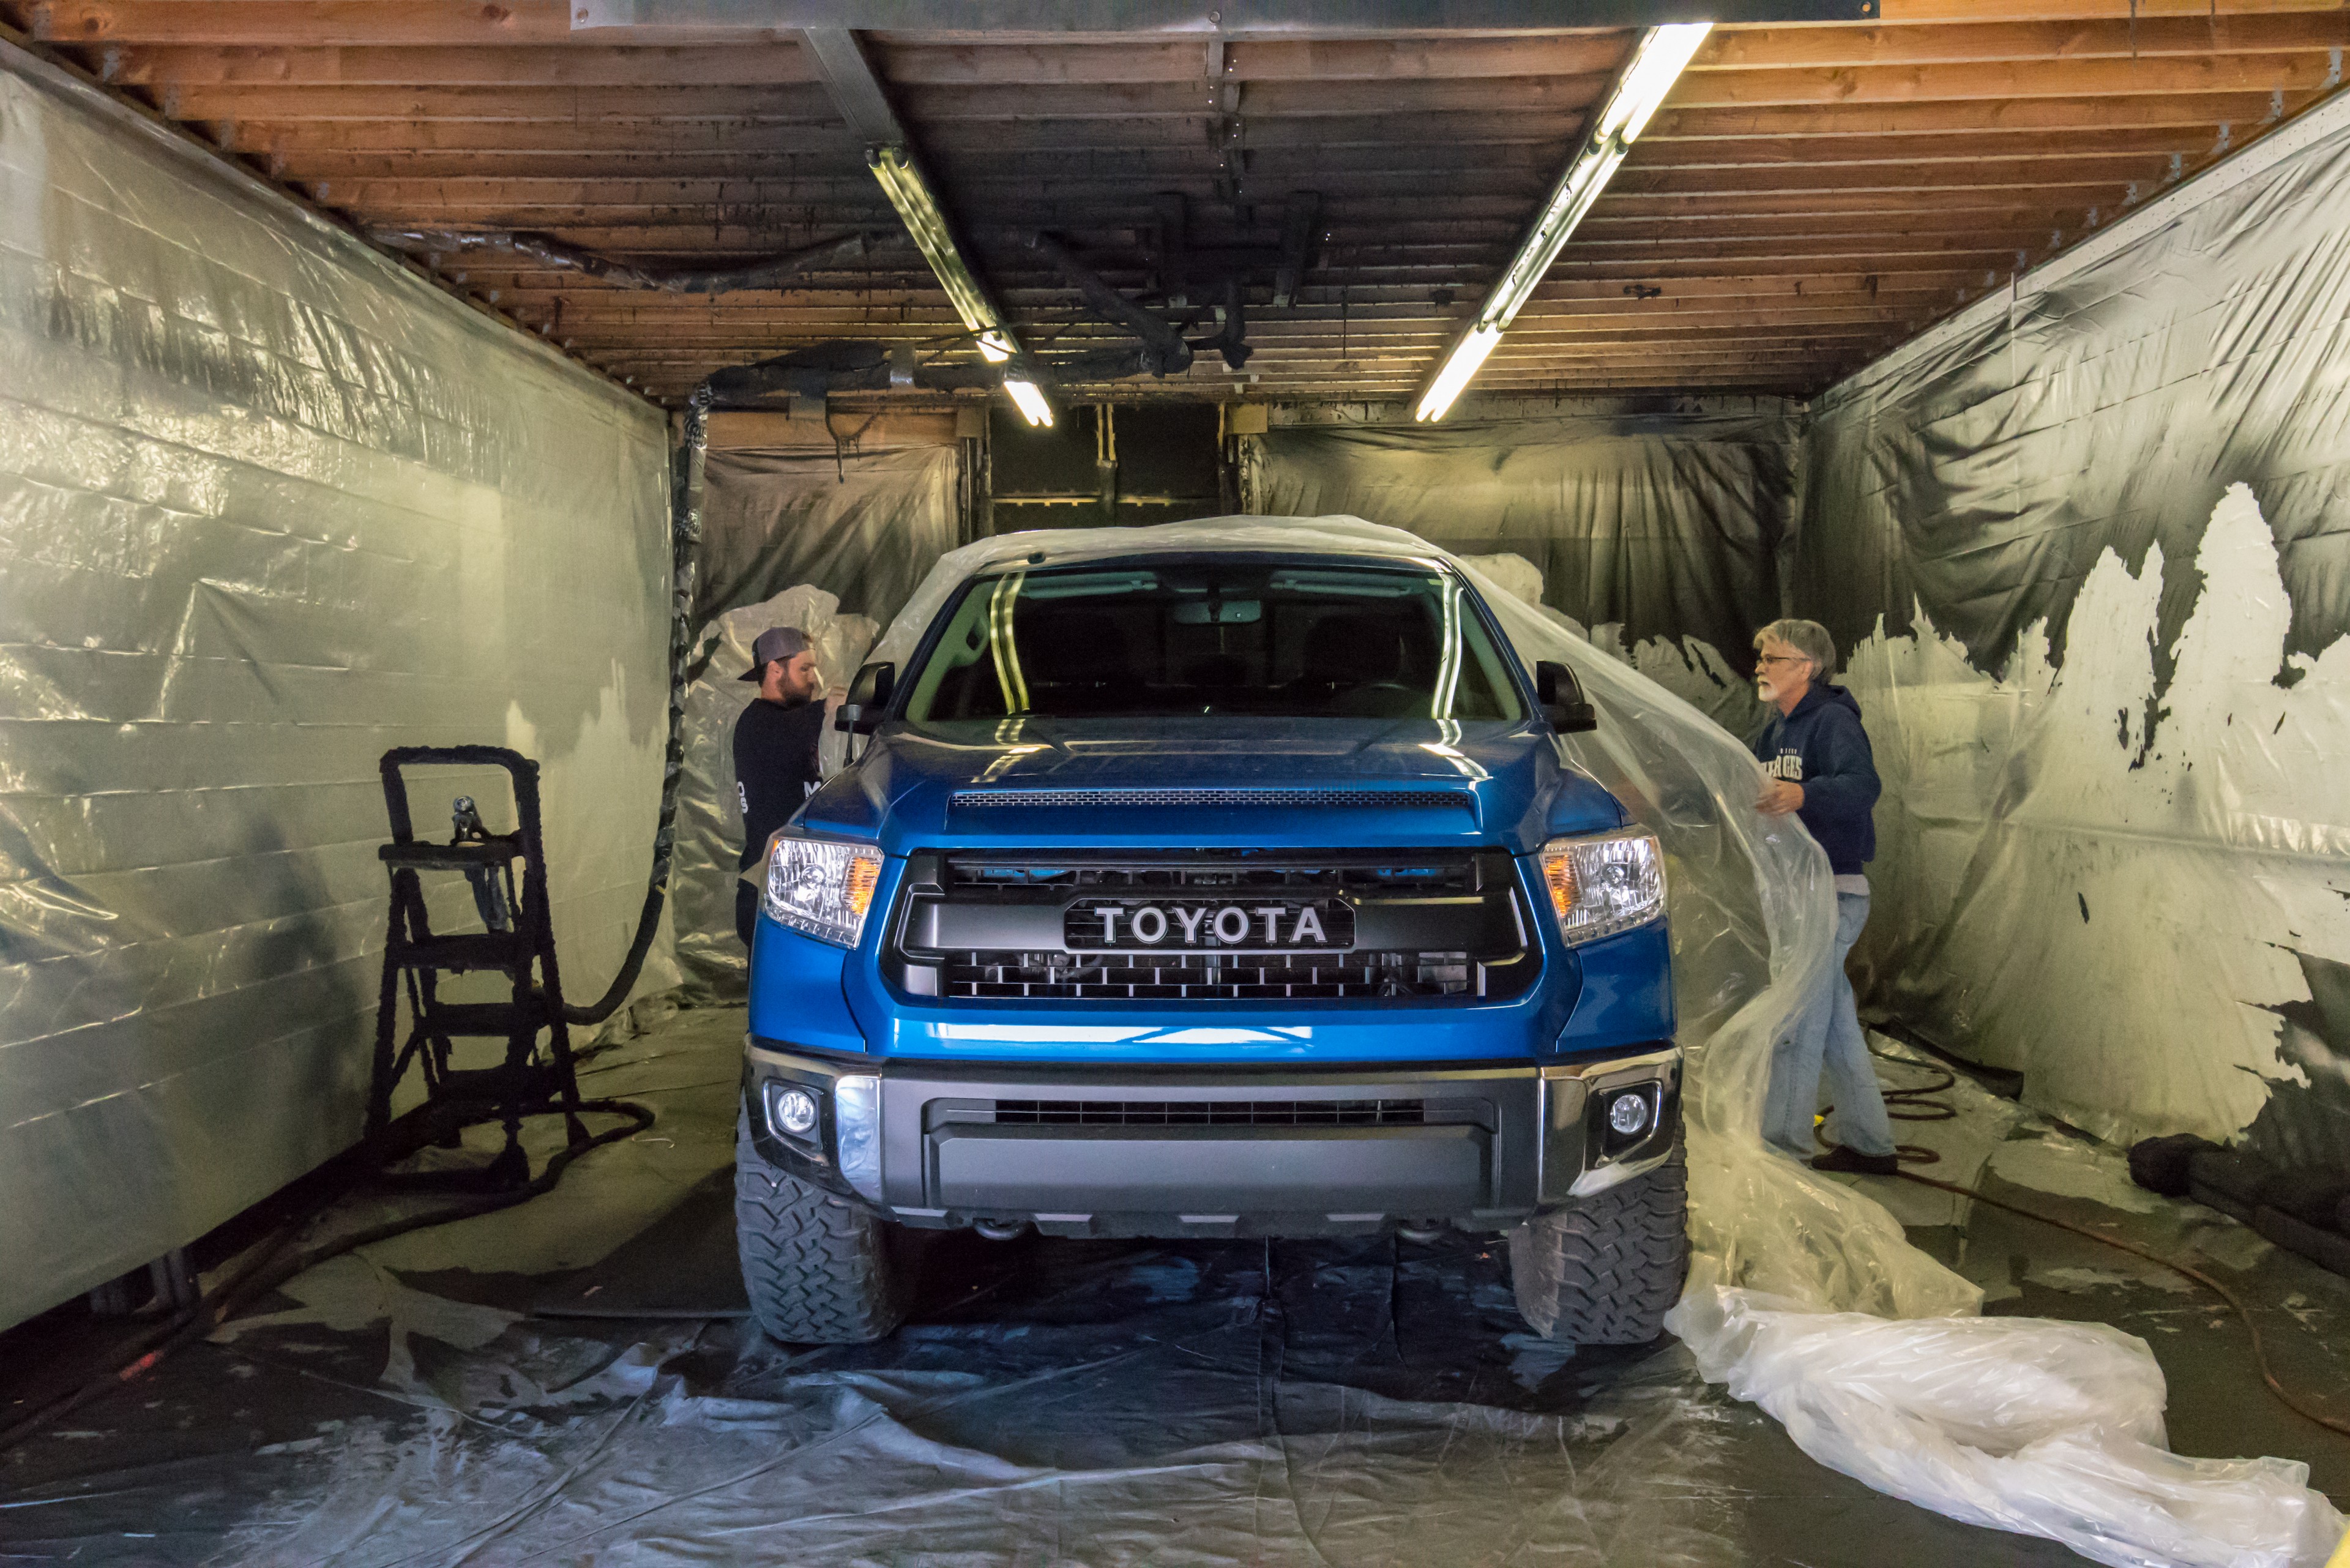
Spray-In truck bed liners are hands down the best way to project your truckbed from sharp tools, ski edges, car parts, the occasional steel-fab project, and everything else life throws at your truck bed.  The problem is that the OEM spray in liners leave a lot to be desired, which is why I took a trip to San Diego before SoCal Desert Rendezvous to make an appointment at Line-X of San Diego.

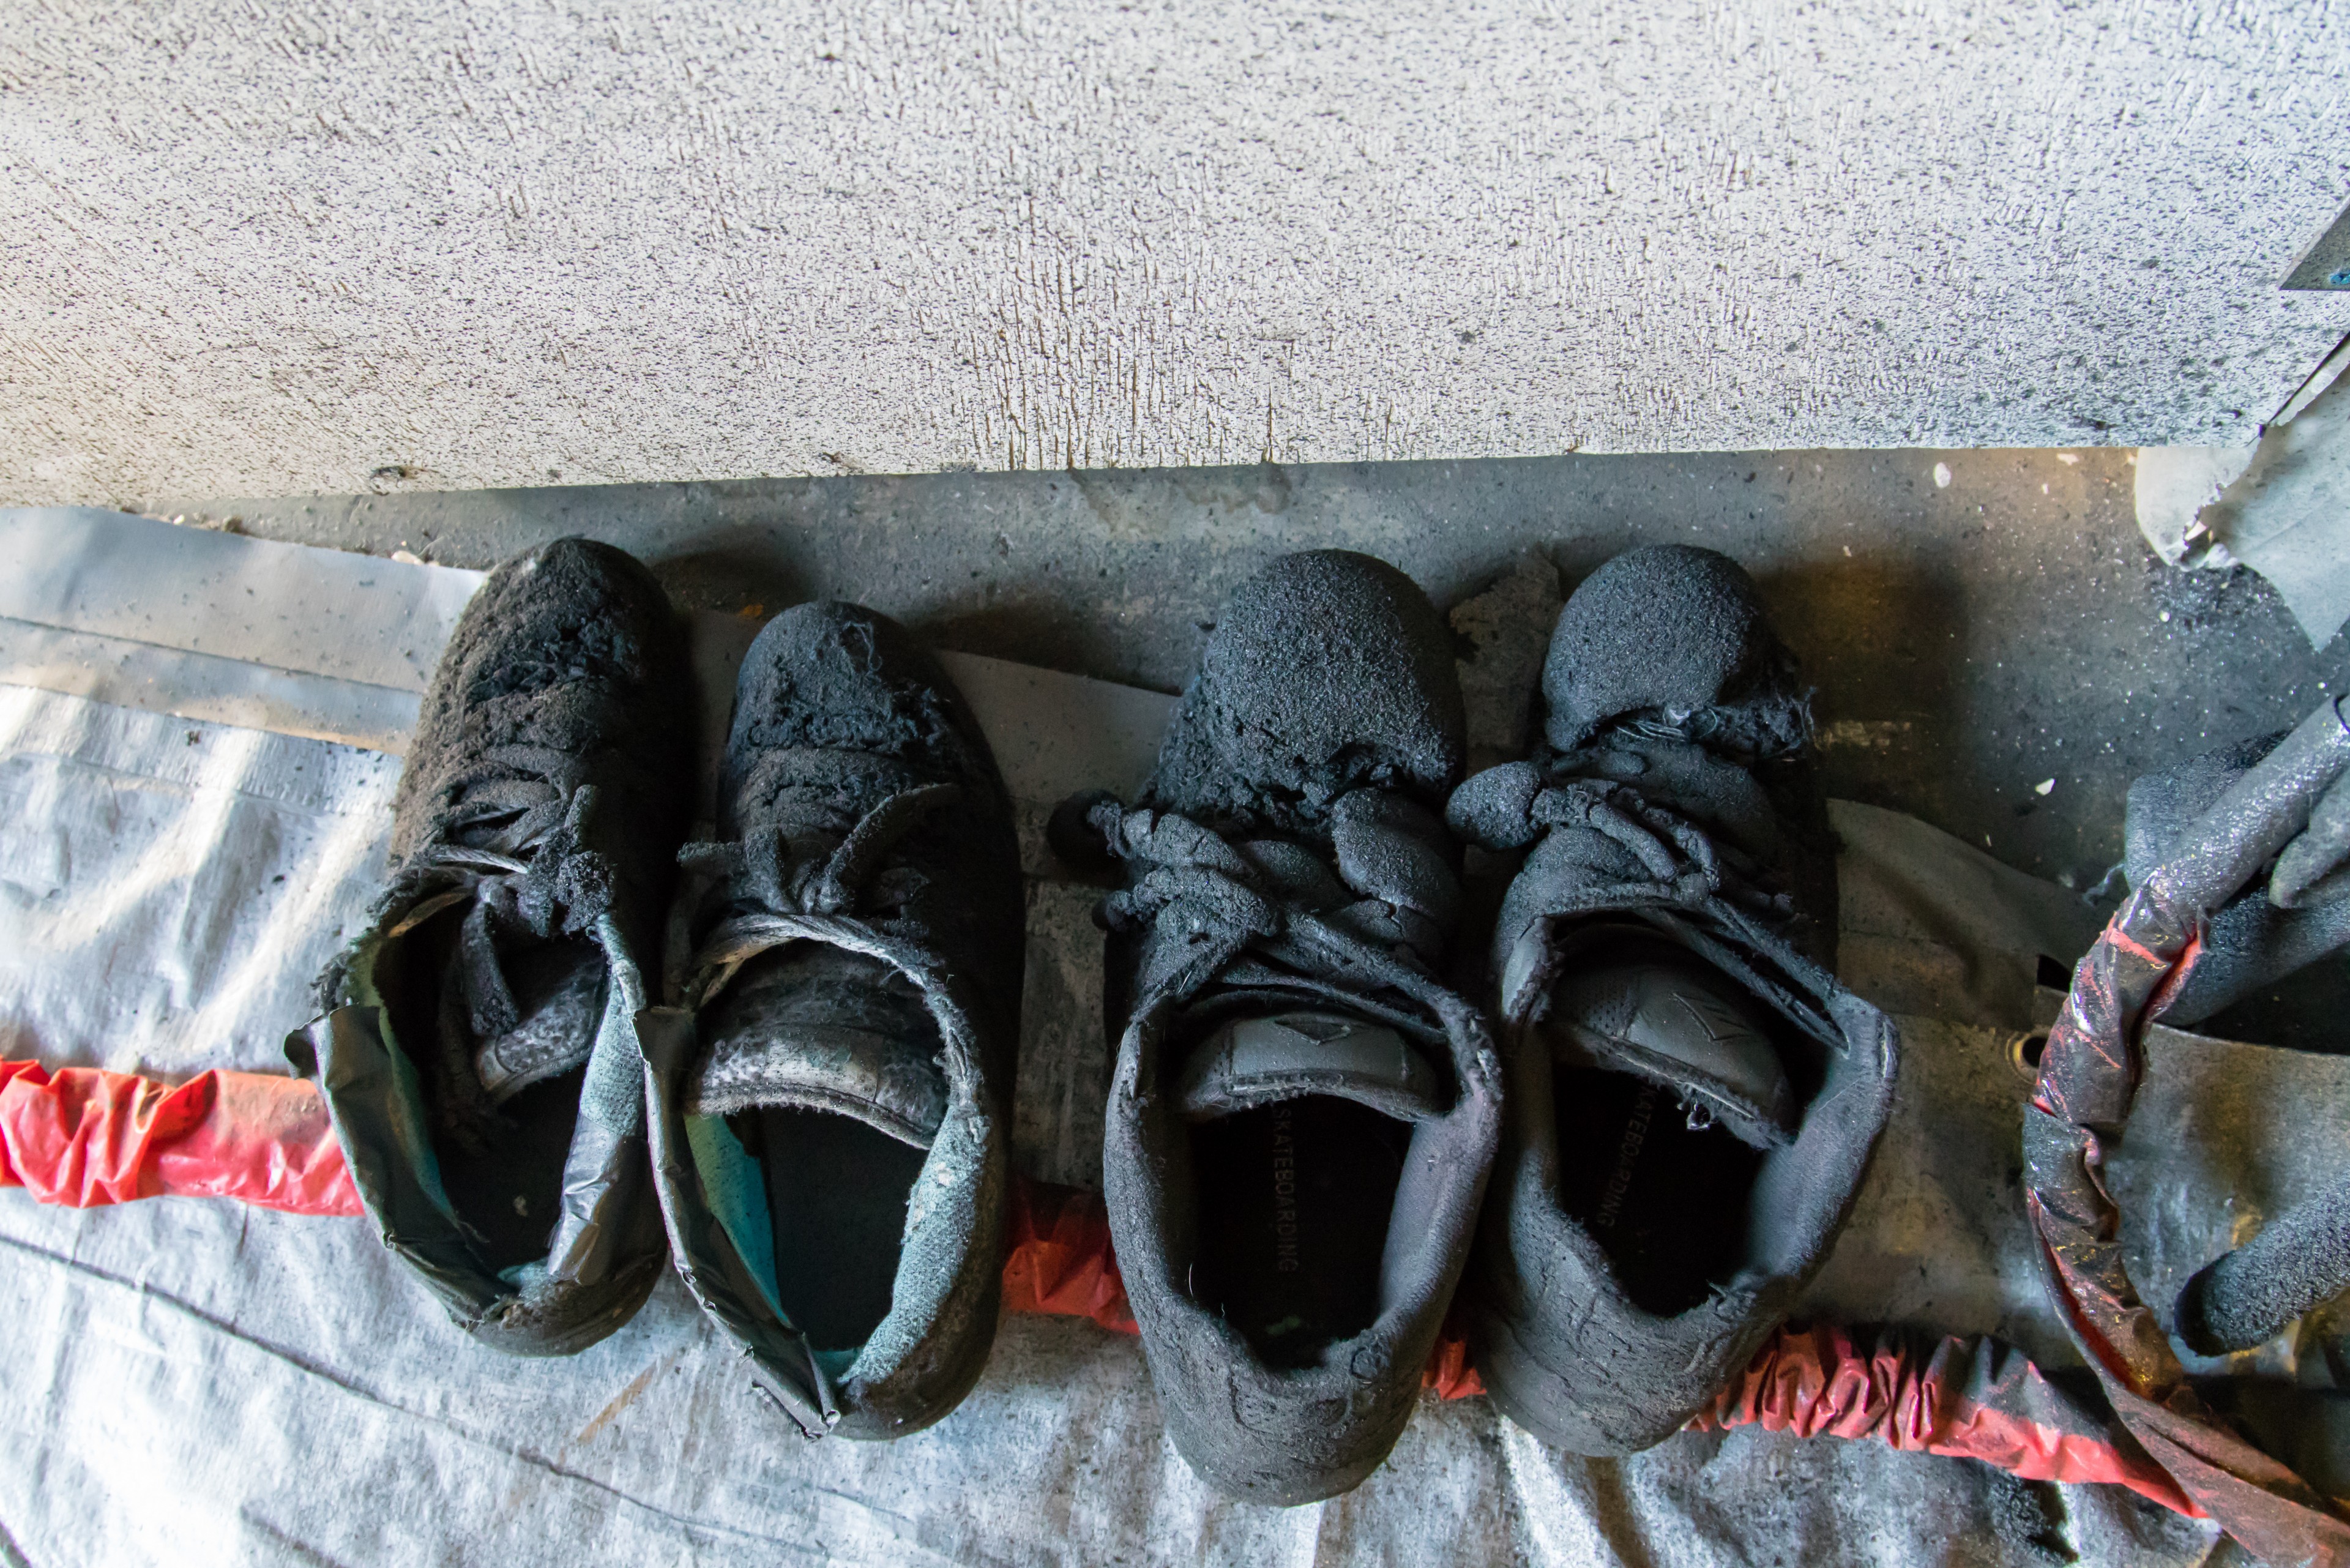
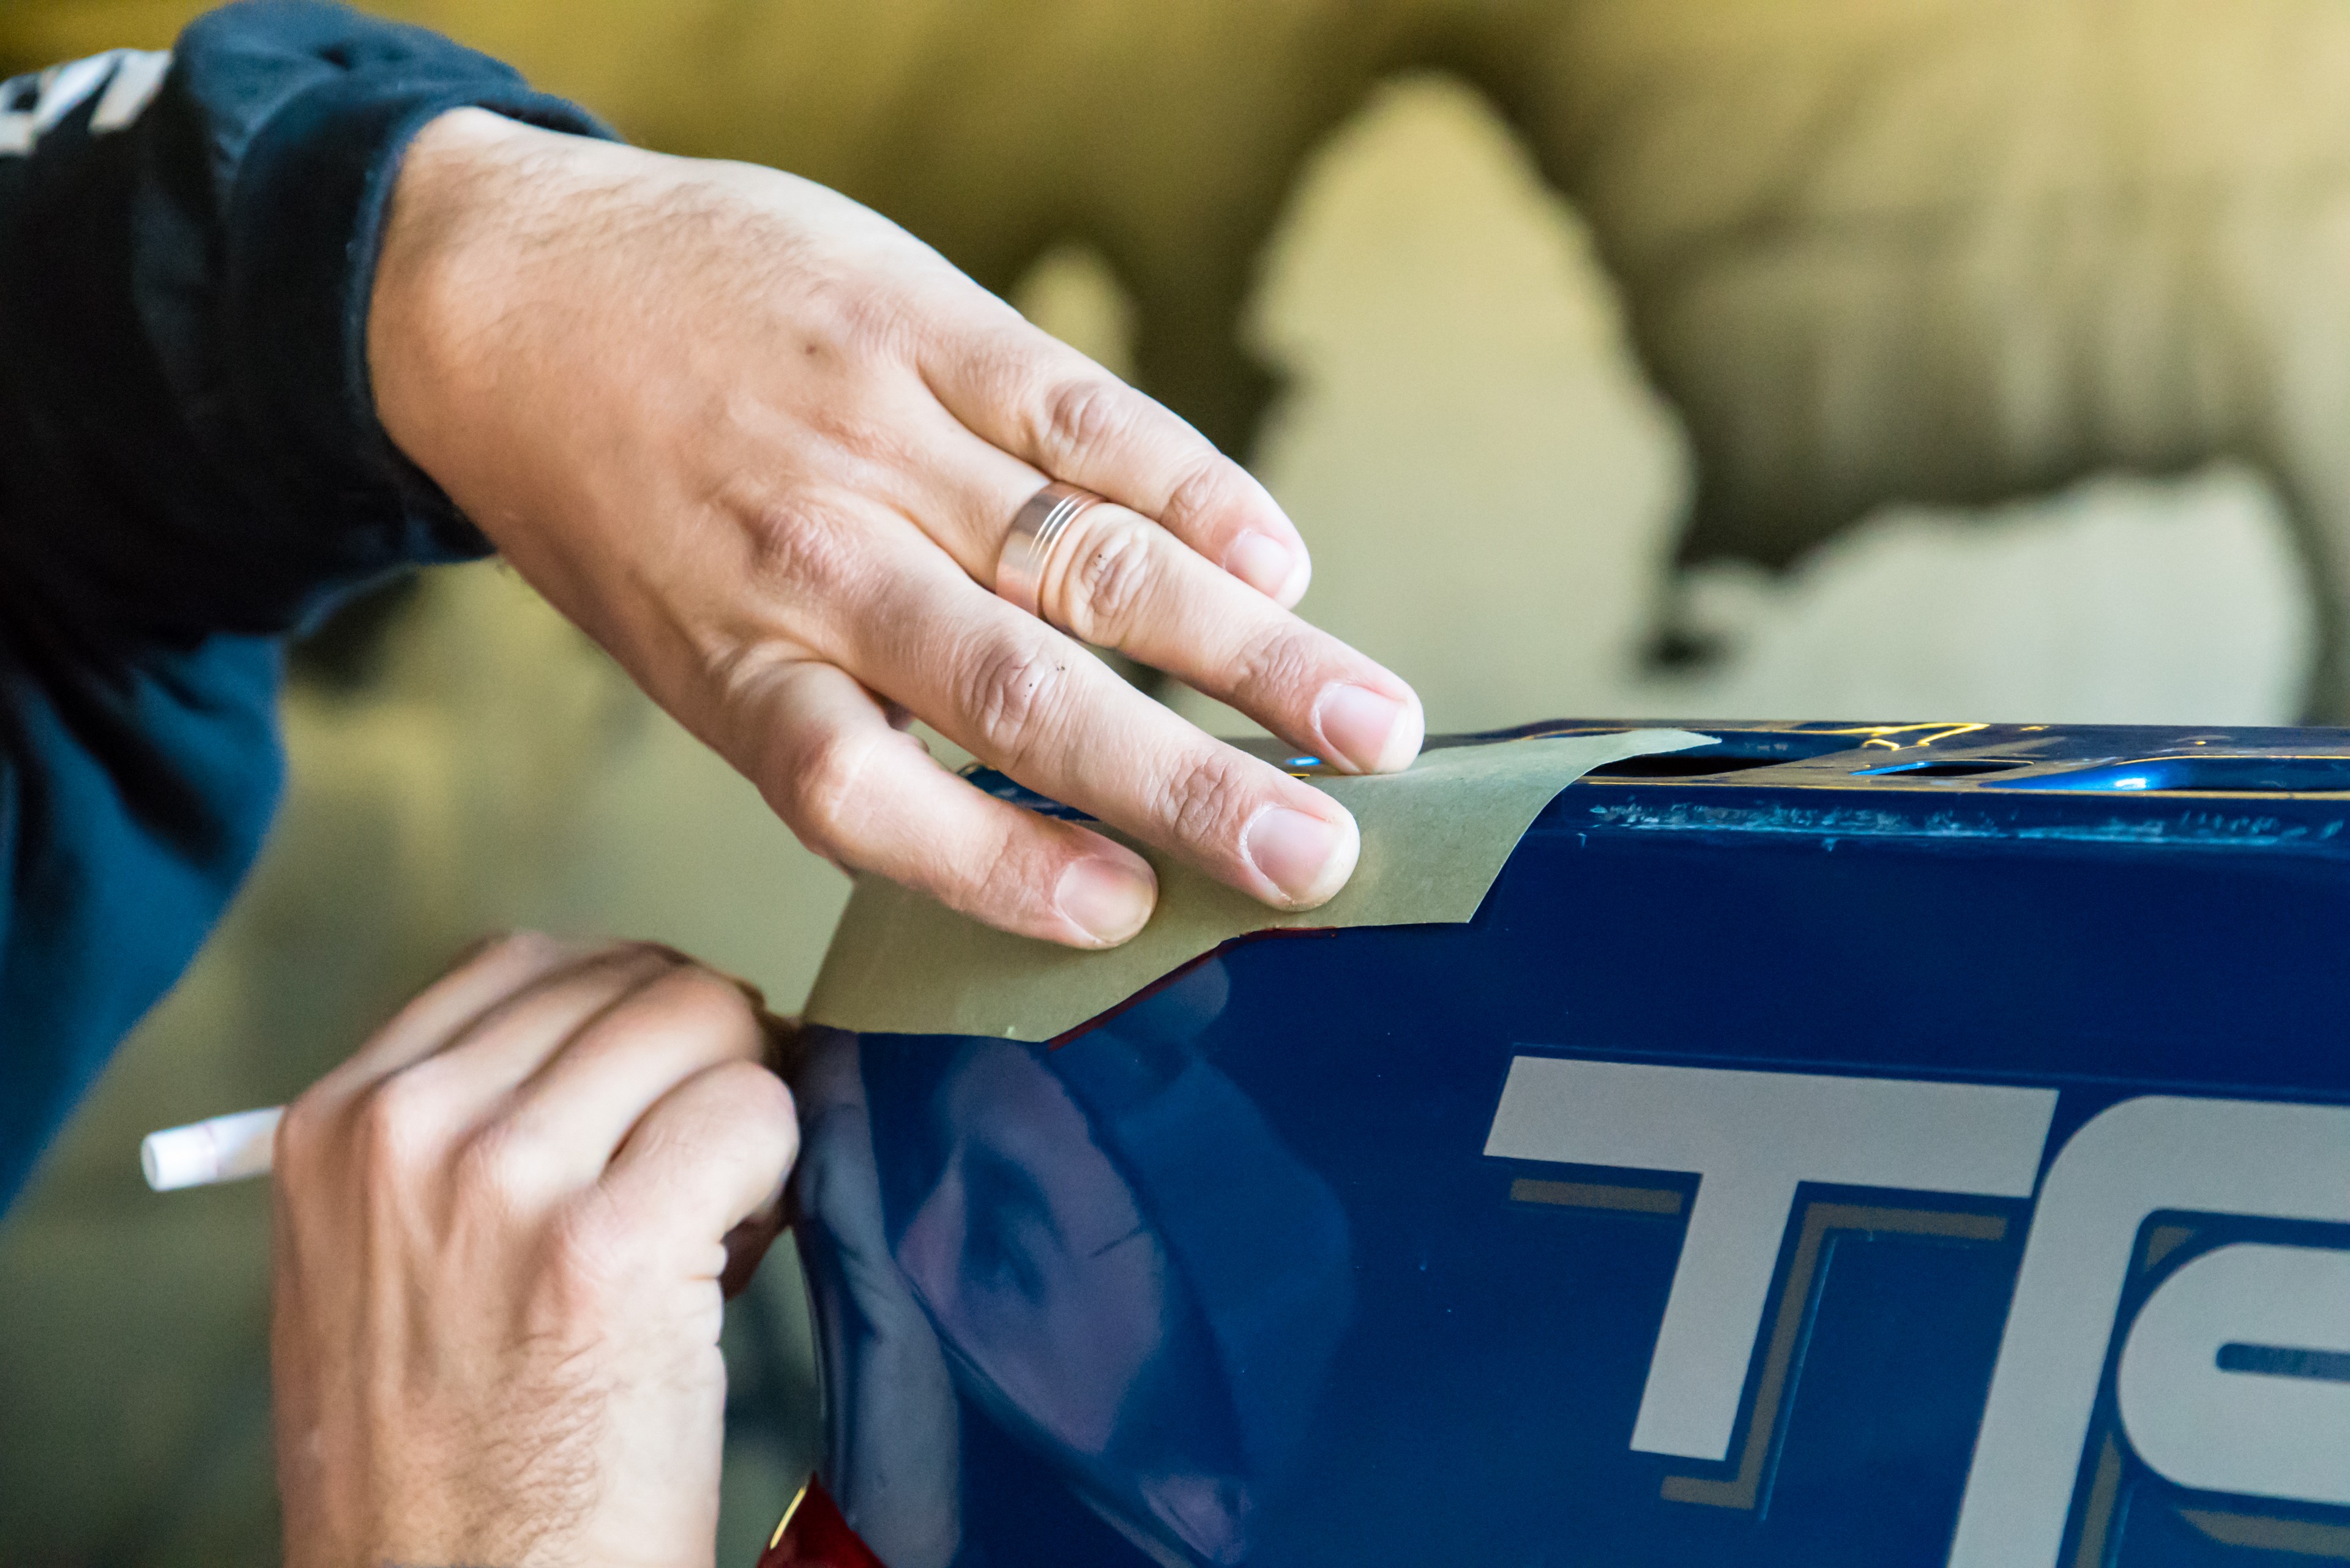
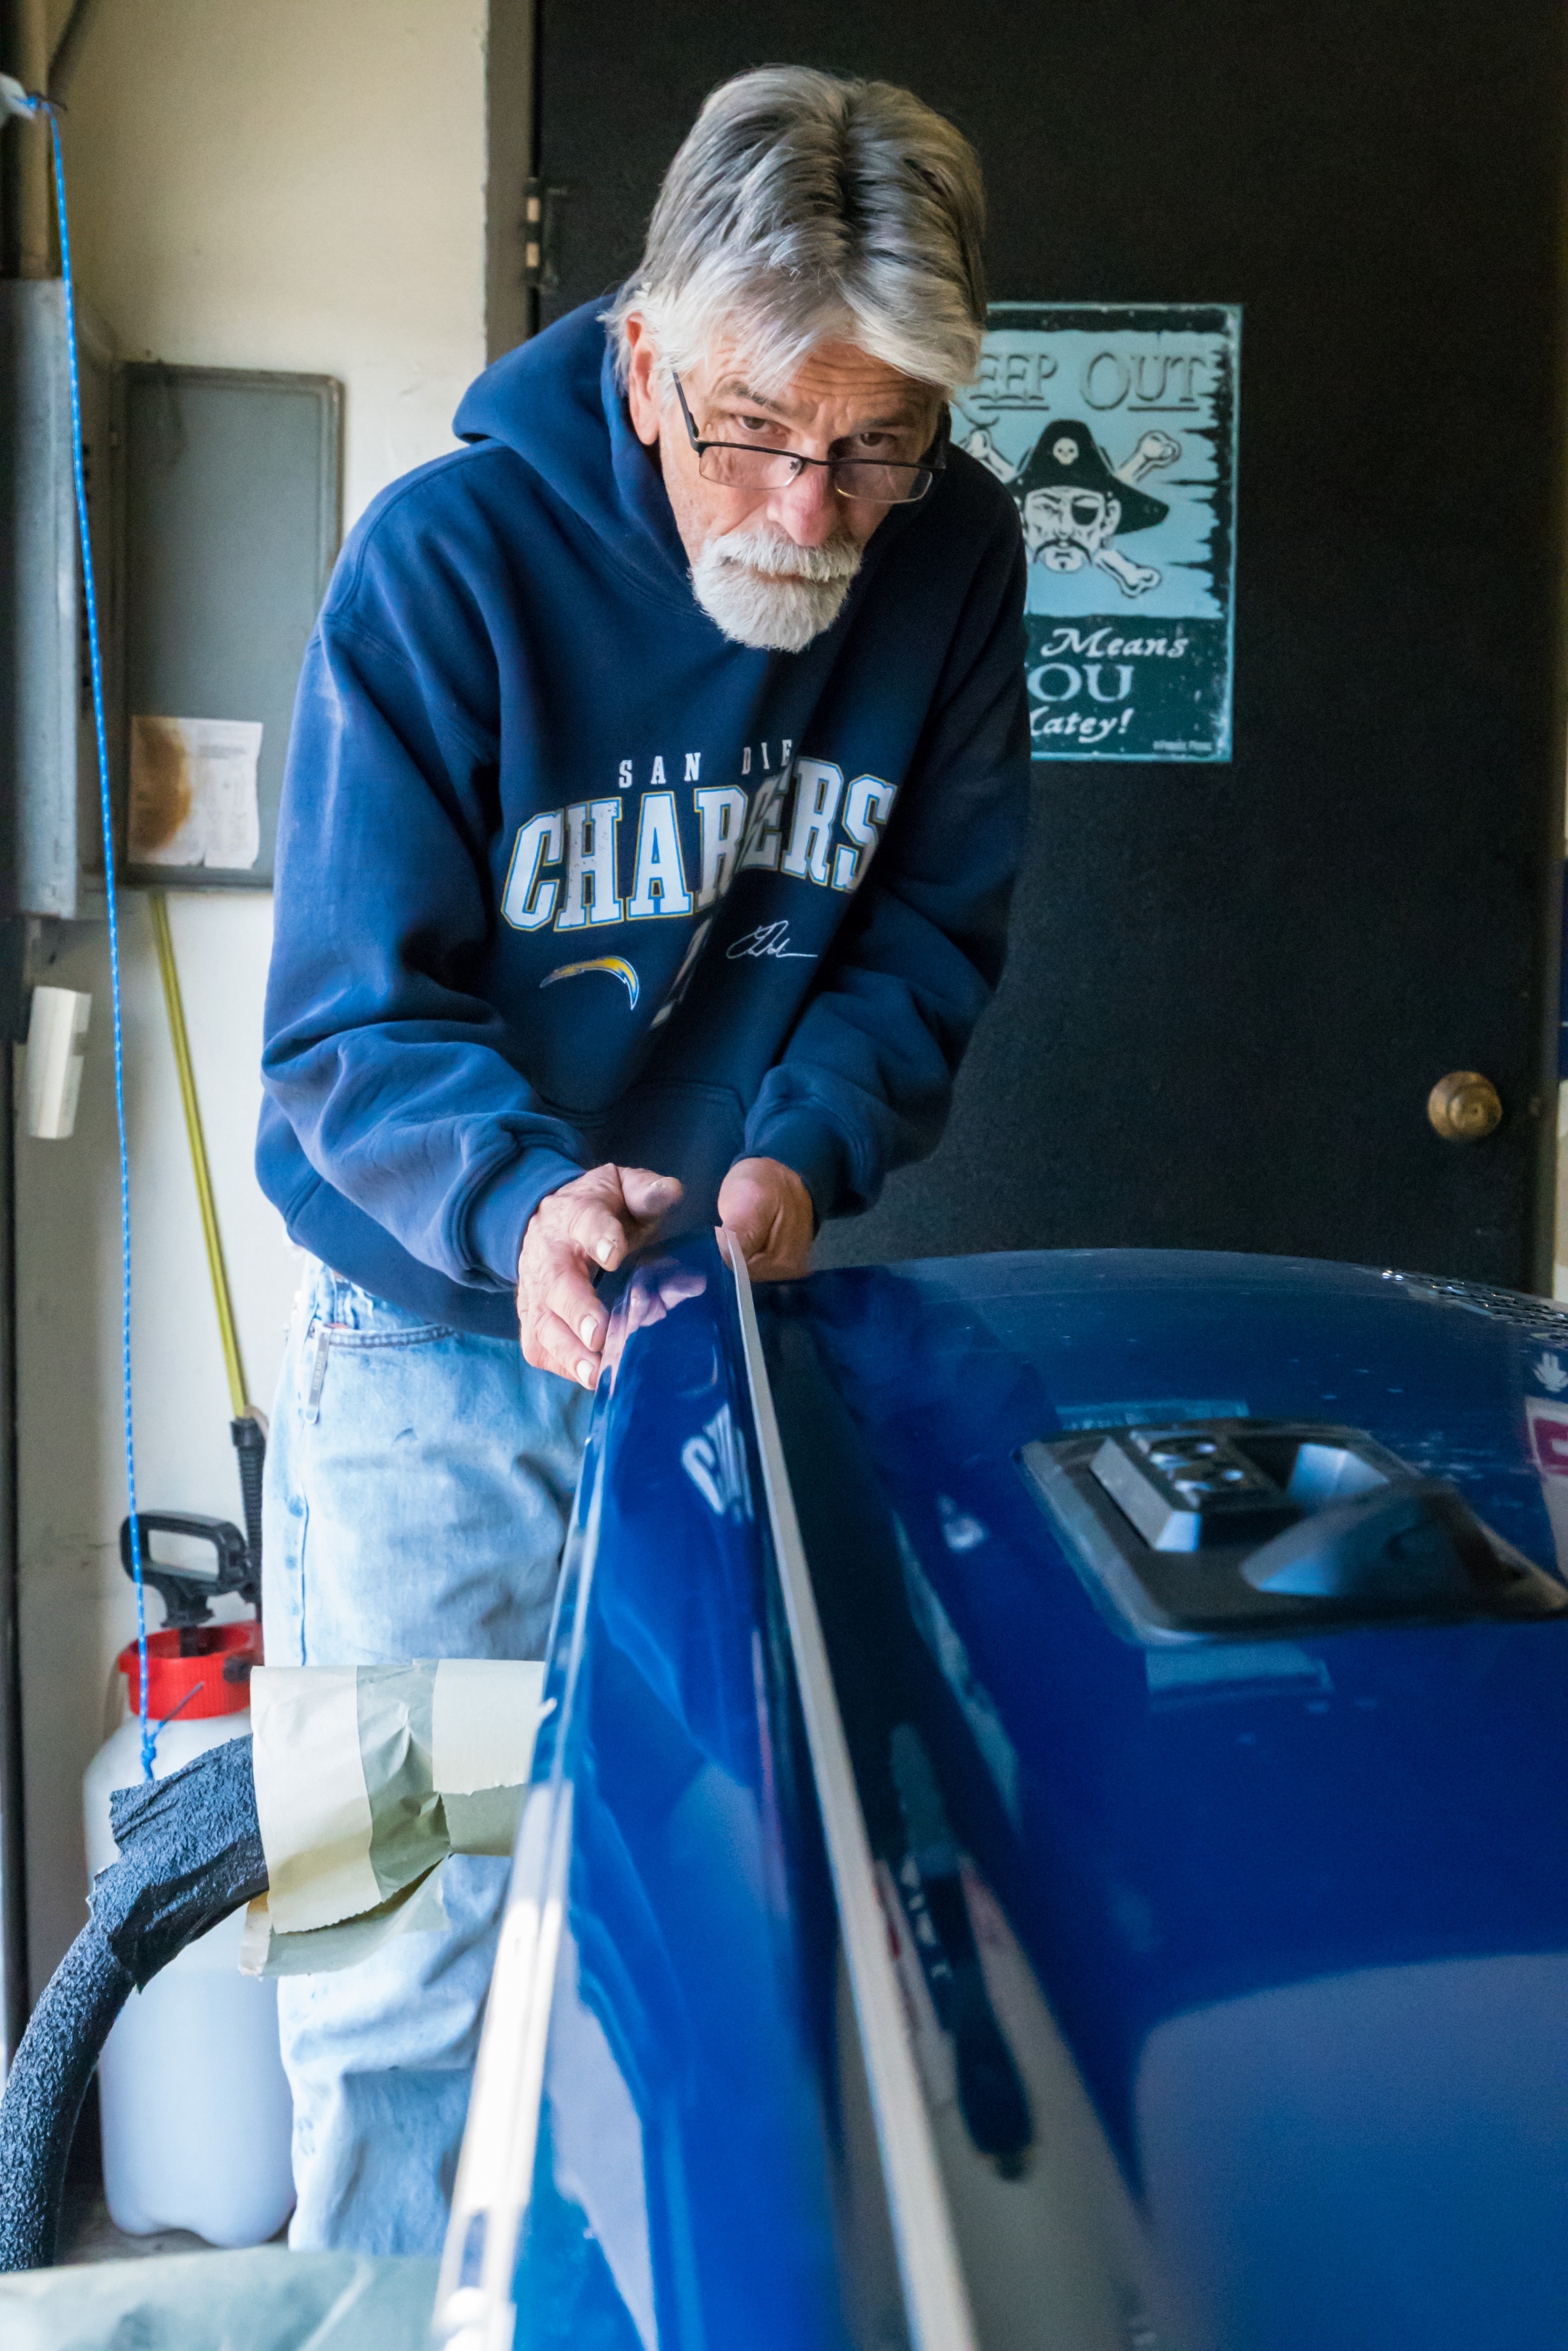
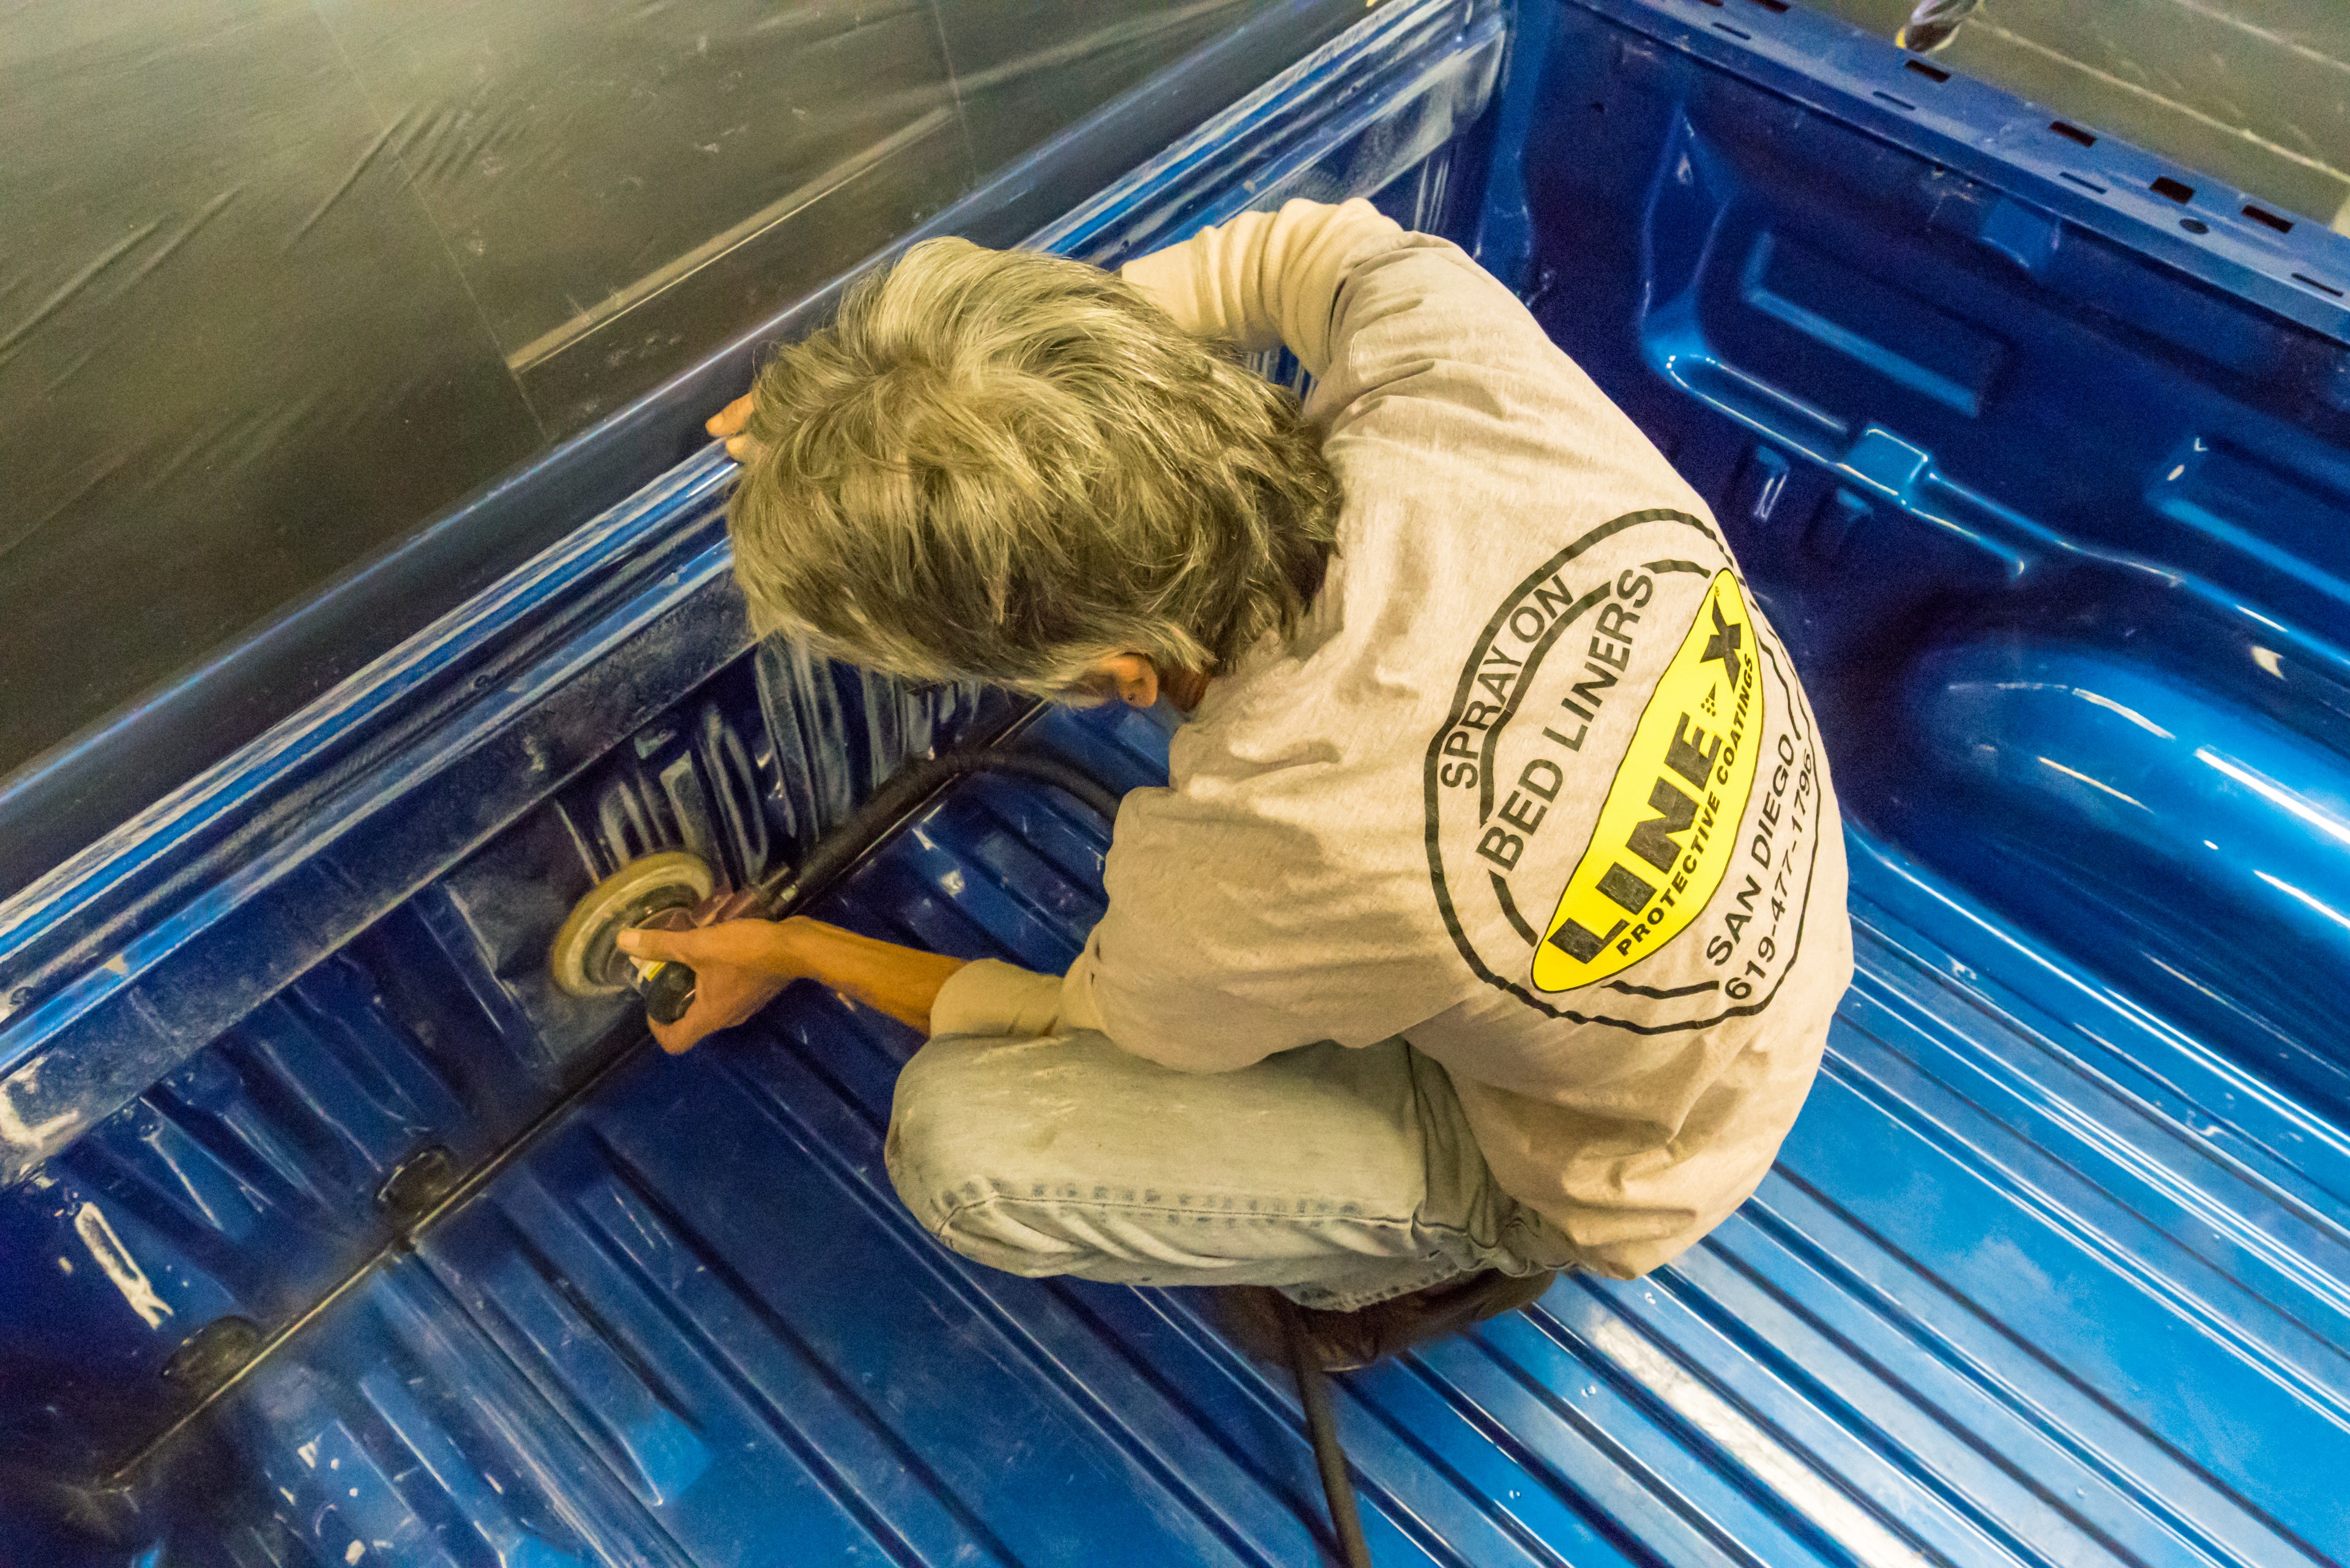
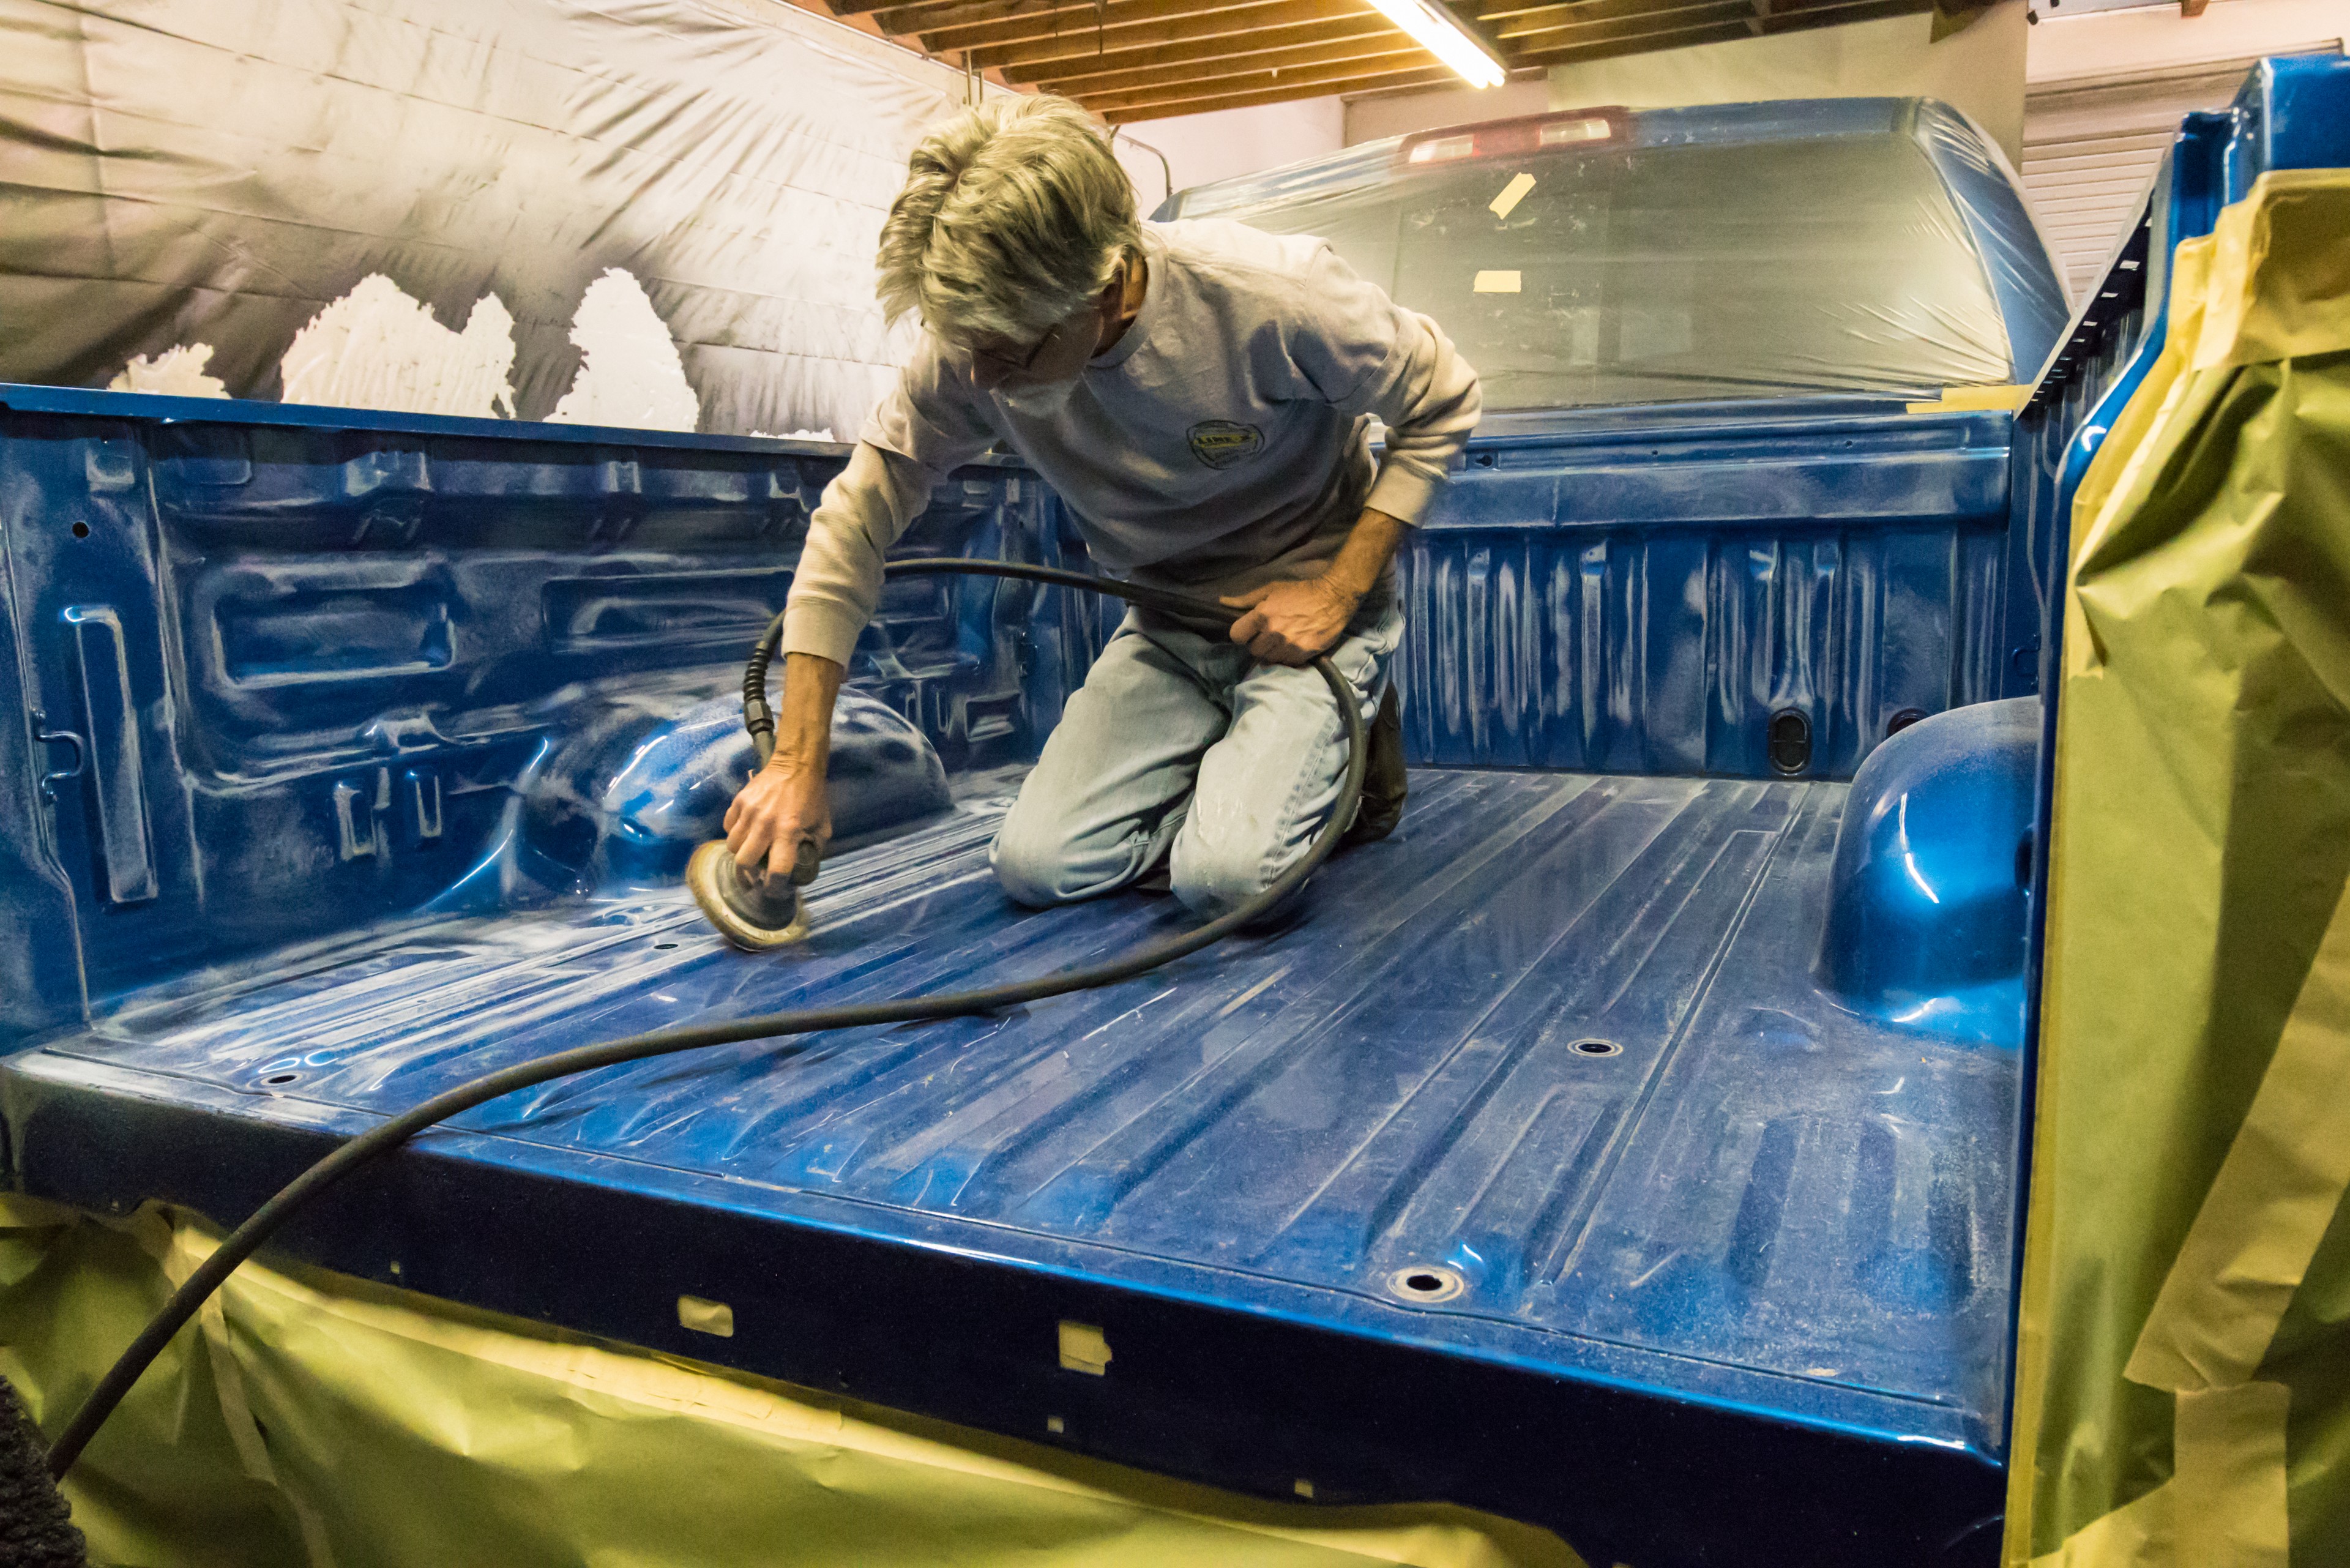
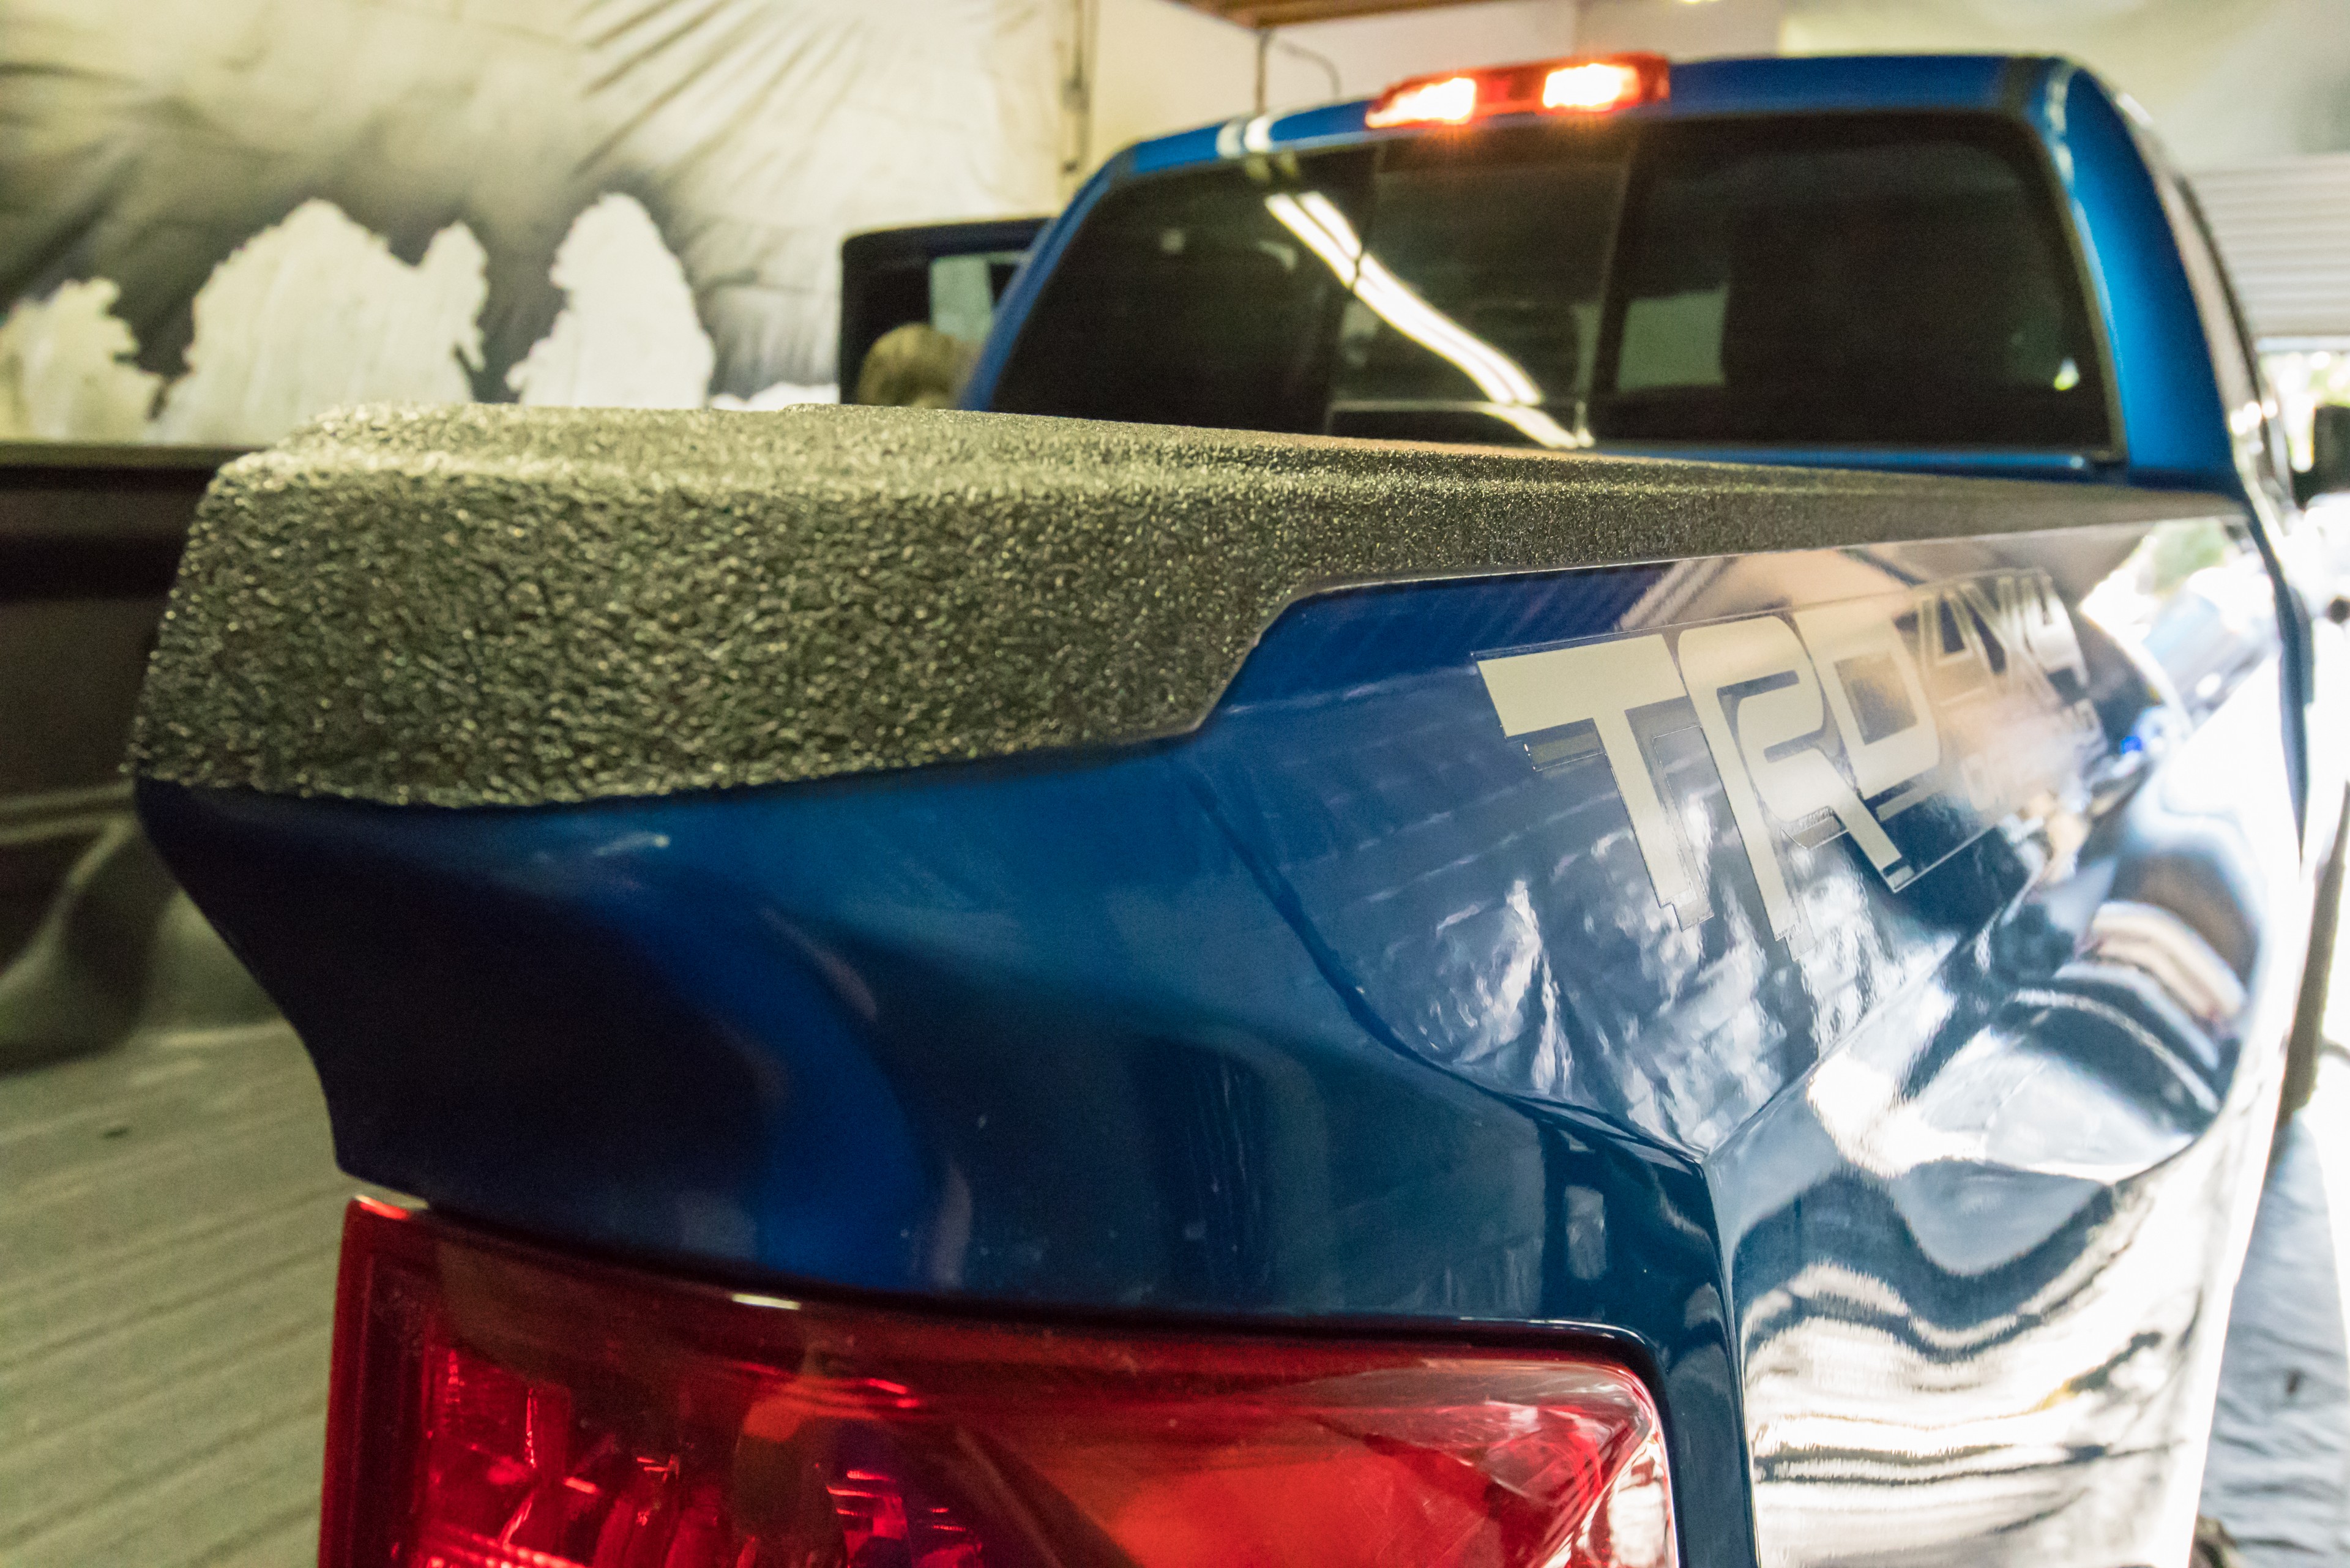
At Line-X of San Diego, Dallas and Chris applied their years of experience in truck bed coatings to come up with in a spray in bedliner application for Project Tundra that was exactly what I was looking for.  In addition to protecting the sheet metal, I wanted to do a few custom things that would make the bed of project Tundra better suited to my needs.  First up, I pulled off the stupid plastic caps that run around the bed rails of the truck.  These pointless pieces of plastic exist only to trap dirt and dust, and when sandwiched with a load (like a truck cap) become plastic backed sandpaper that wears on your paint and in no time at all, starts wearing on bare metal.  Taking the plastic caps off also allowed Dallas and Chris to do a true over the rail bedliner, providing extra protection to the bedsides from the truck cap and from me when I’m loading heavy things over the sides of the truck bed.

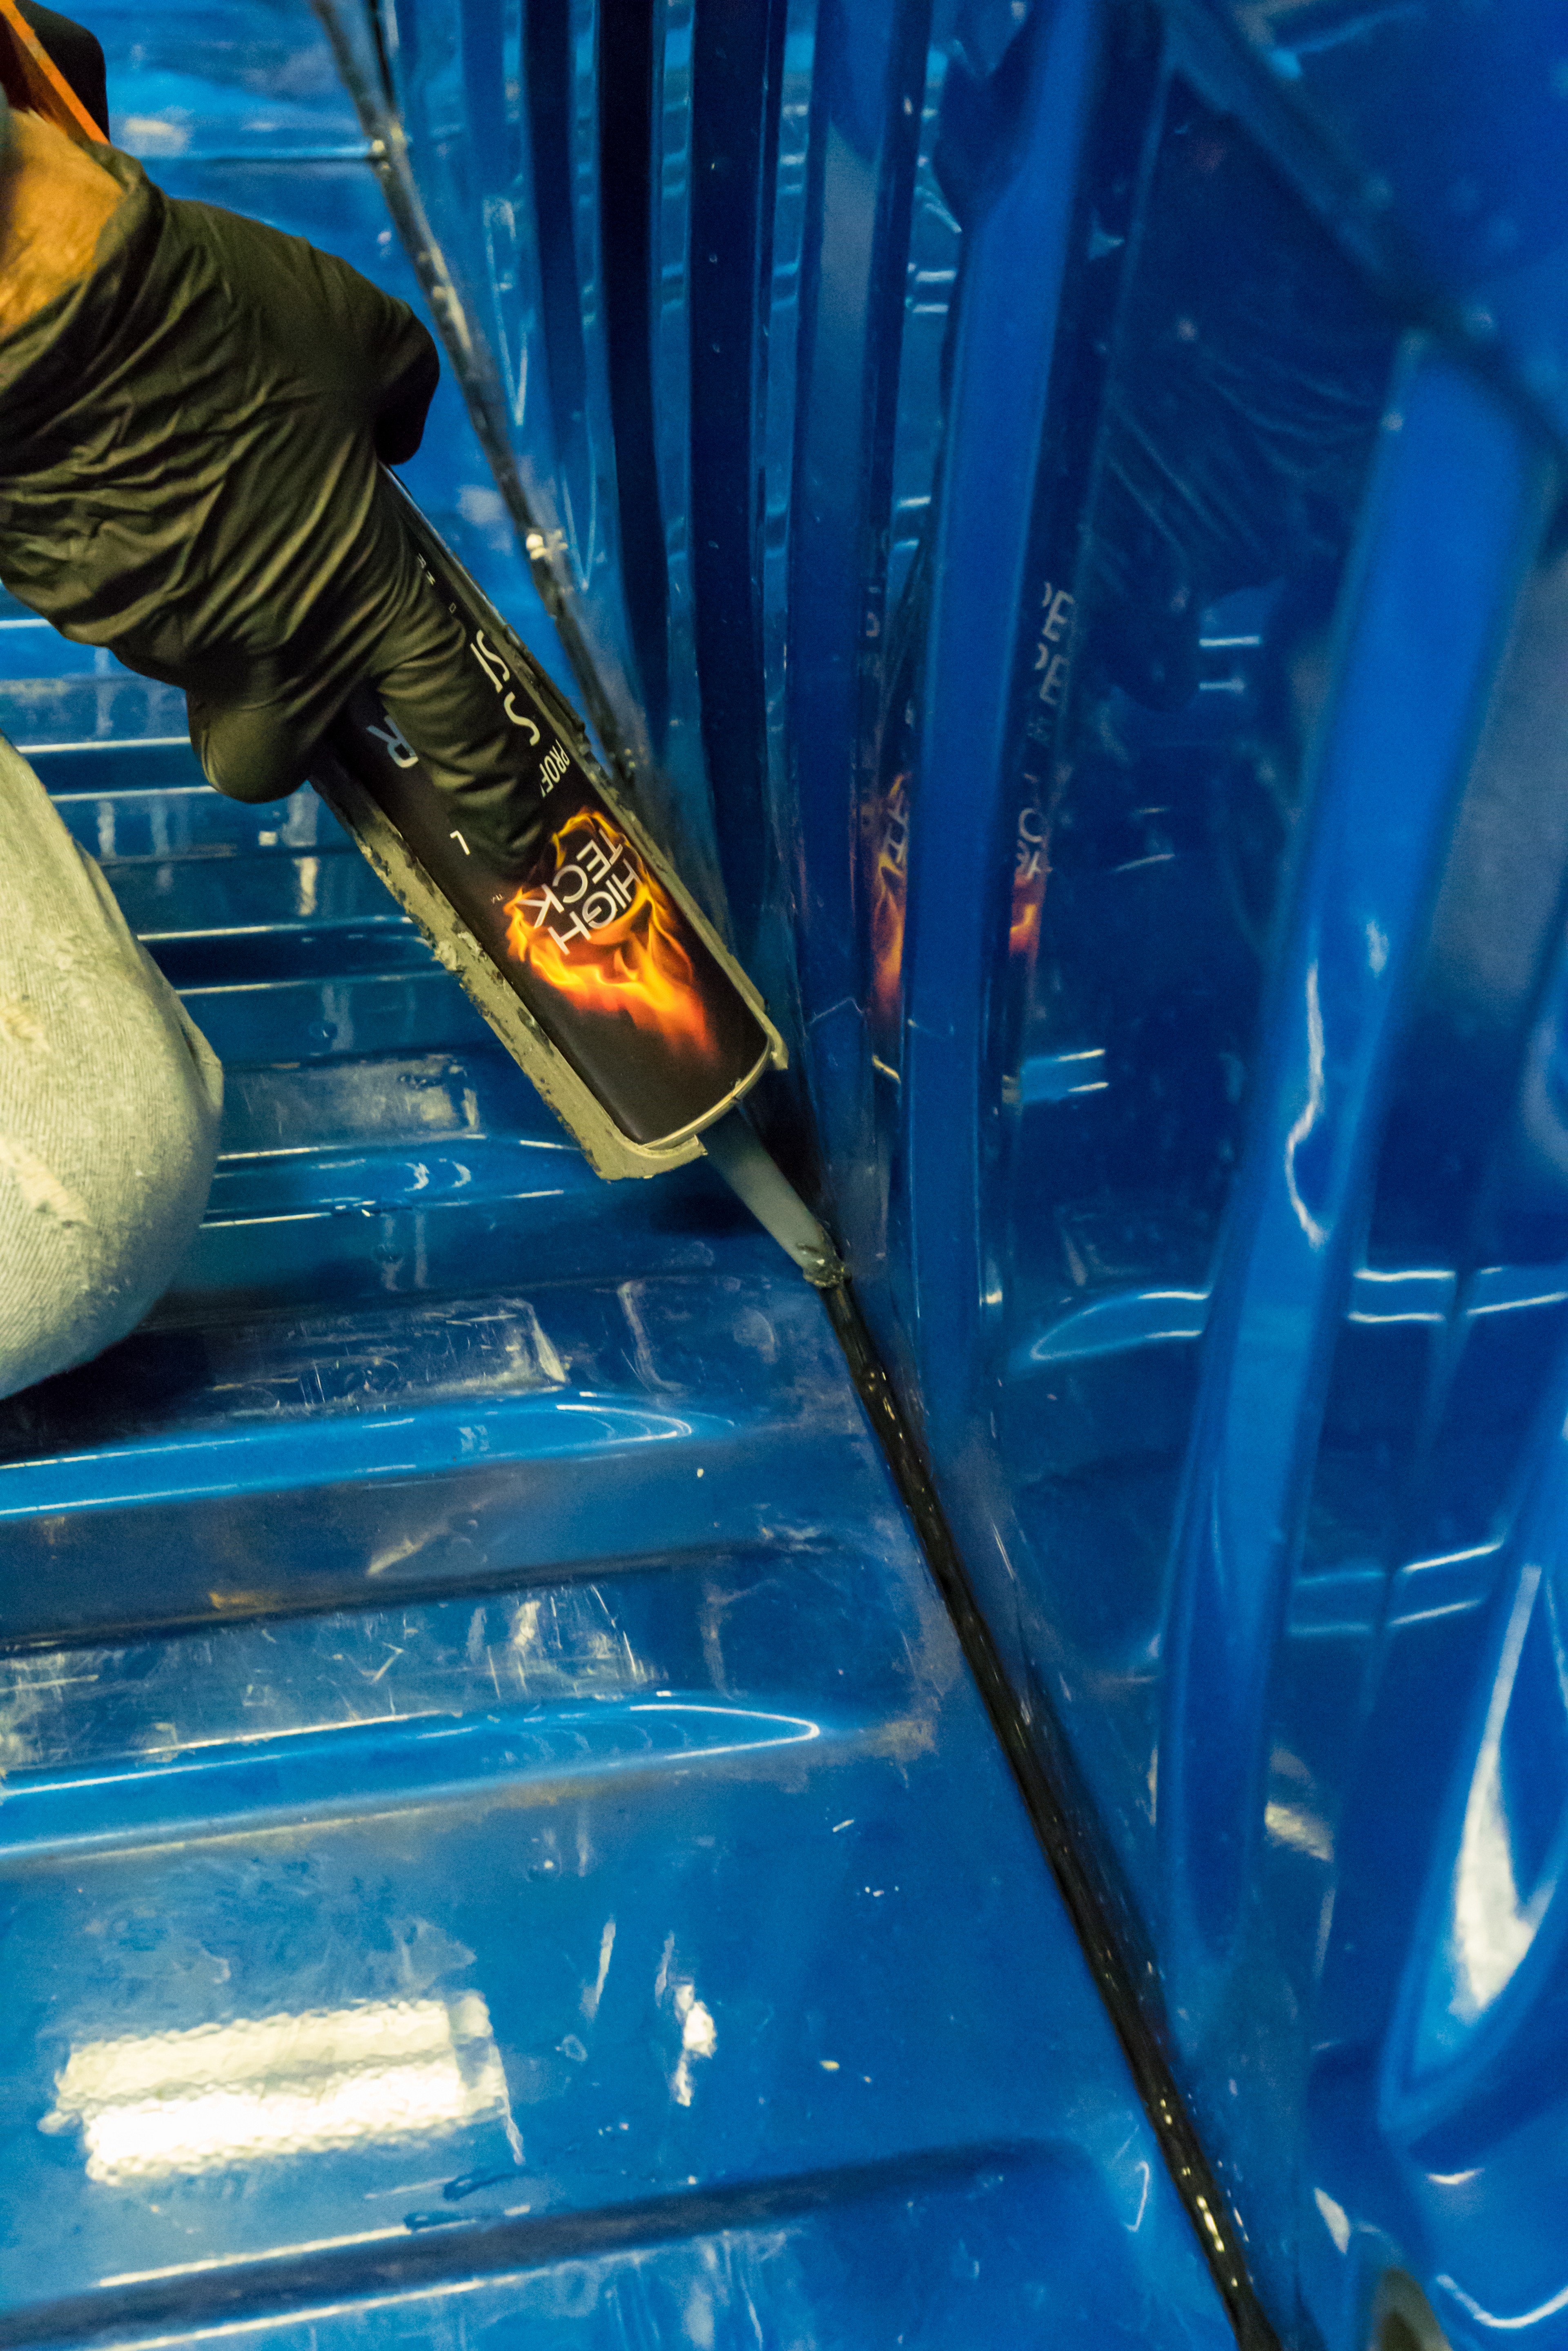
With all of the holes in the bed rails covered, we then turned our attention to sealing up all of the drain holes in the truck bed to make the thing as dust proof as possible.

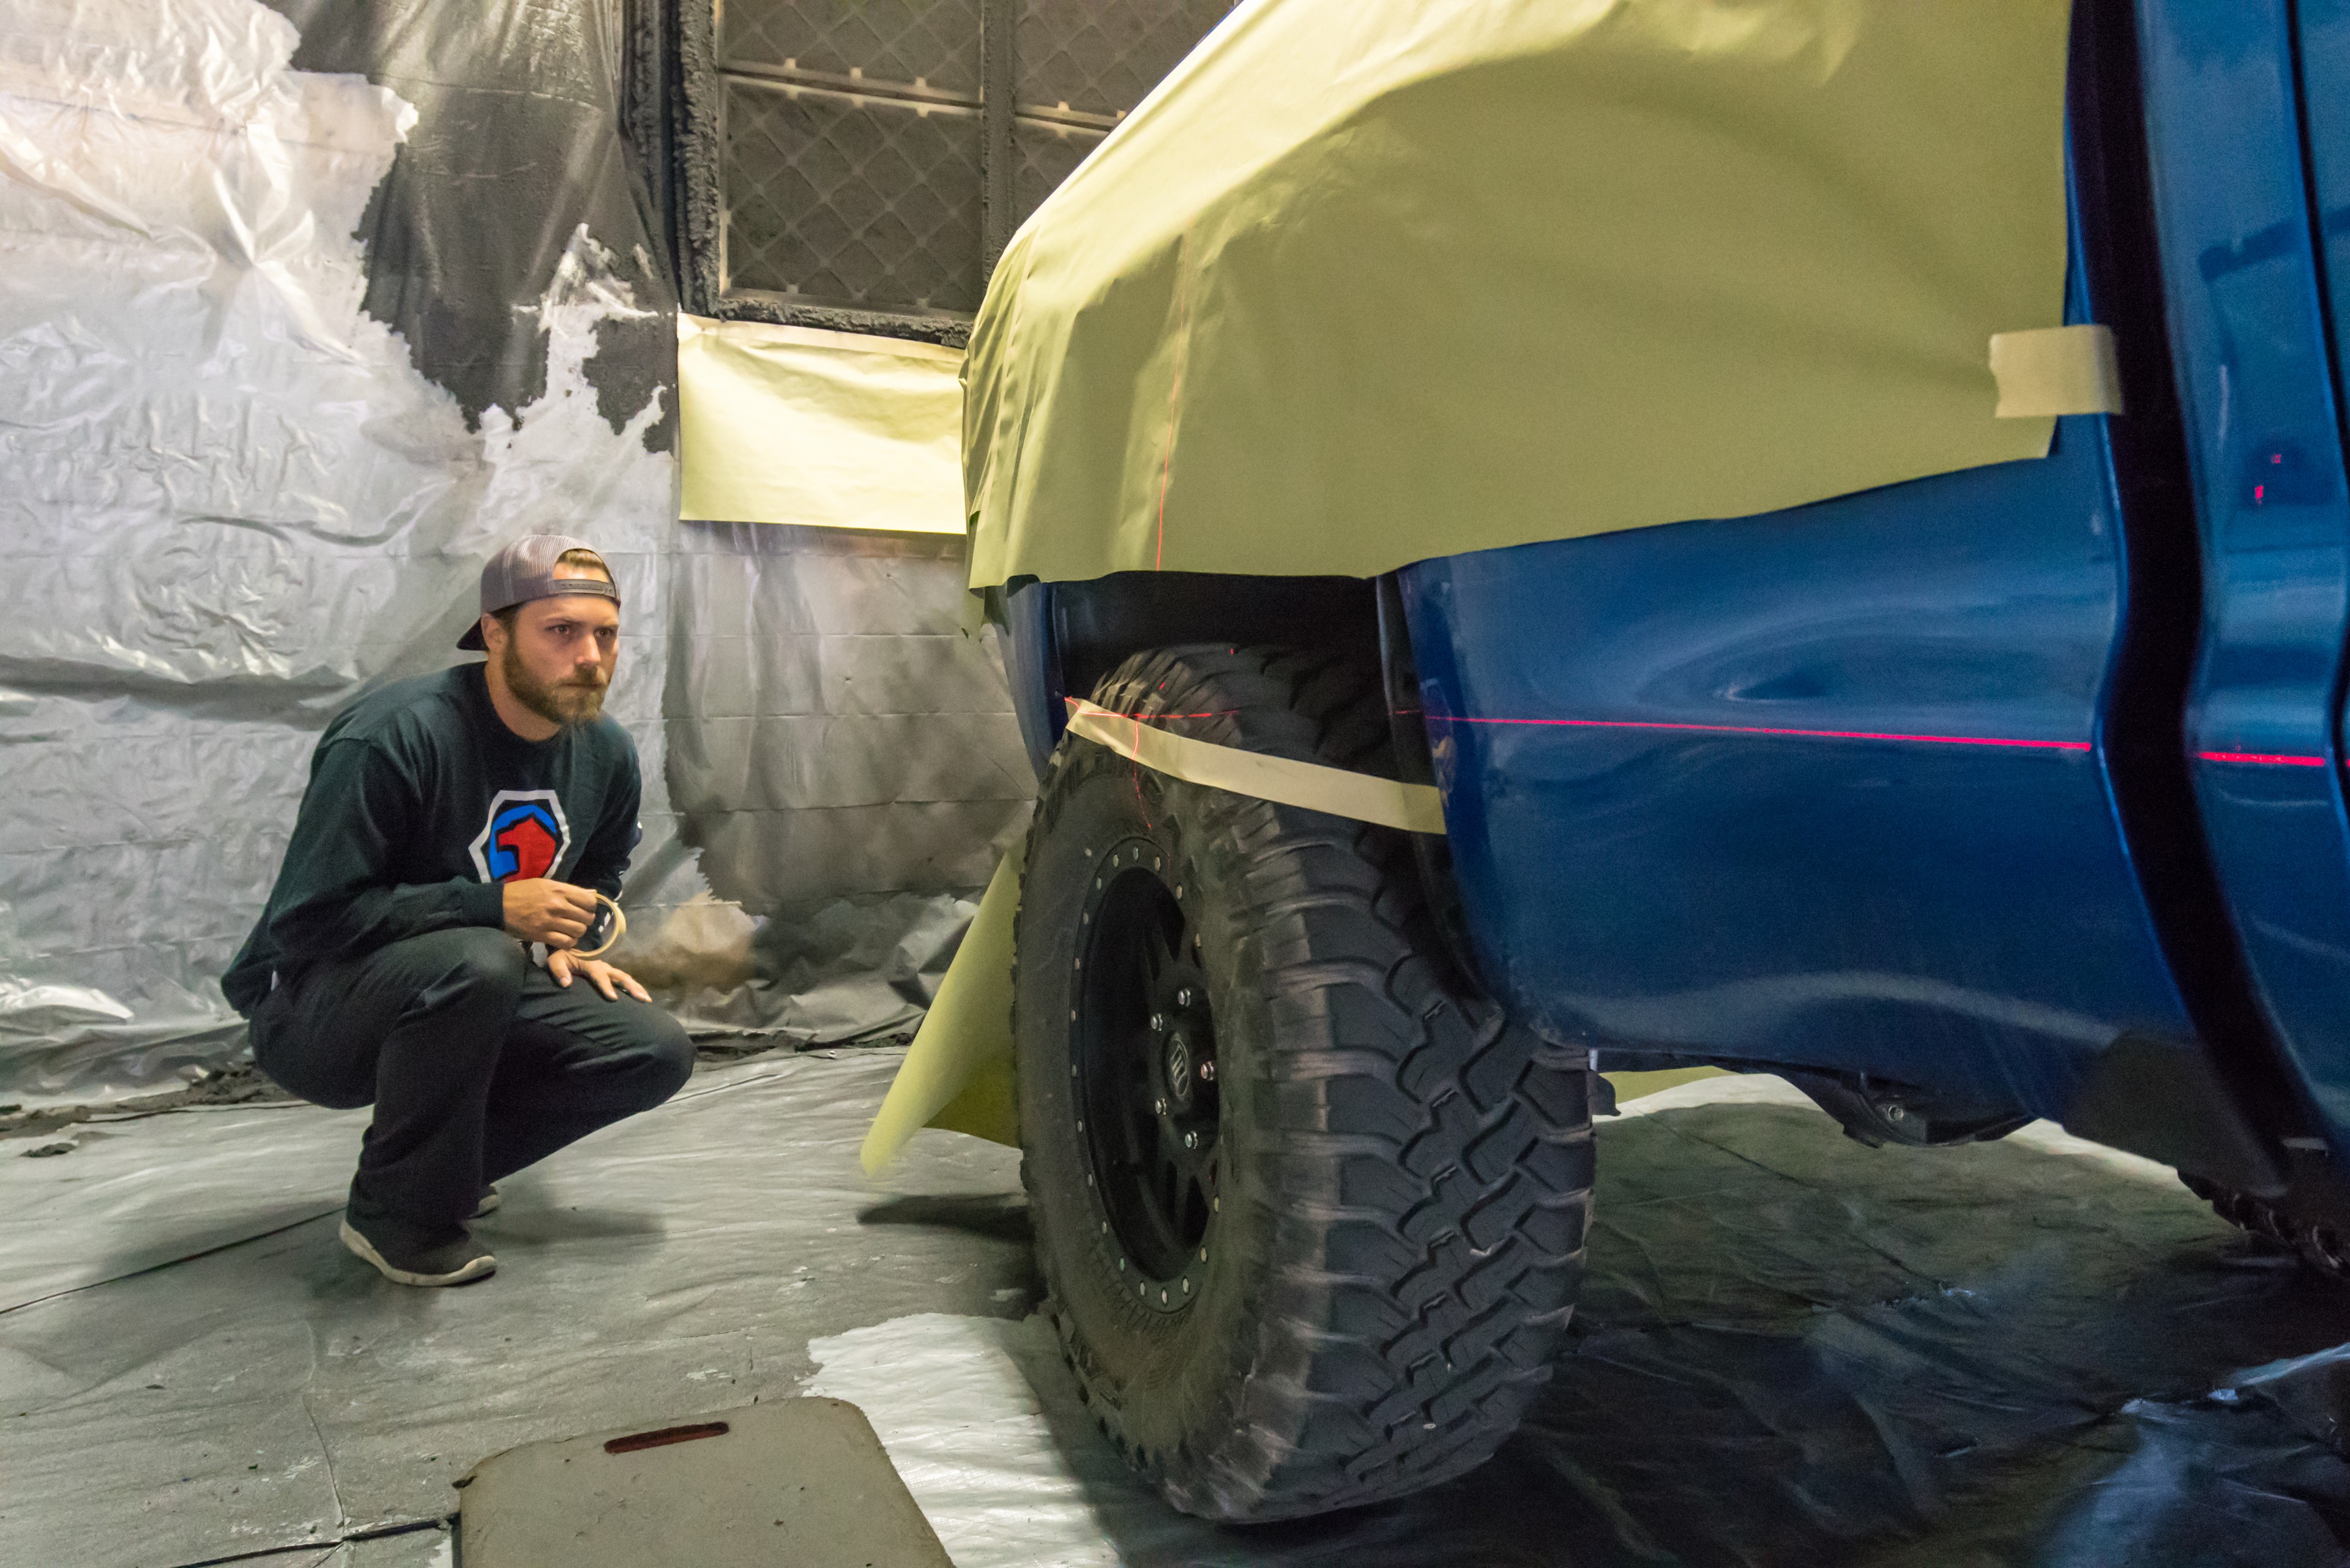
Line-X is also a great thing to spray on your truck’s rocker panels to protect them from rocks and other road debris that are constantly tossed up by your tires.  I sprayed the rocker panels on my Tacoma, and it’s held up great to hundreds of thousands of miles of dirt and rocks.  Again Dallas and Chris applied their expert hands and took the time to remove the plastic wheel well trim so that they could tuck the Line-X under the plastic bits once installed – a detail that will only serve to help lengthen the lifespan of Project Tundra’s sheet metal.

Chris and Dallas devoted an entire day to applying Line-X to Project Tundra, and the results of their attention to detail and skill speak for themselves.  Project Tundra’s bed and rocker panels are now armored-up to handle hundreds of thousands of miles of dirt and rock, and all of the gear hauling I can throw in the truck bed.

ABOUT THOSE HUB CAPS

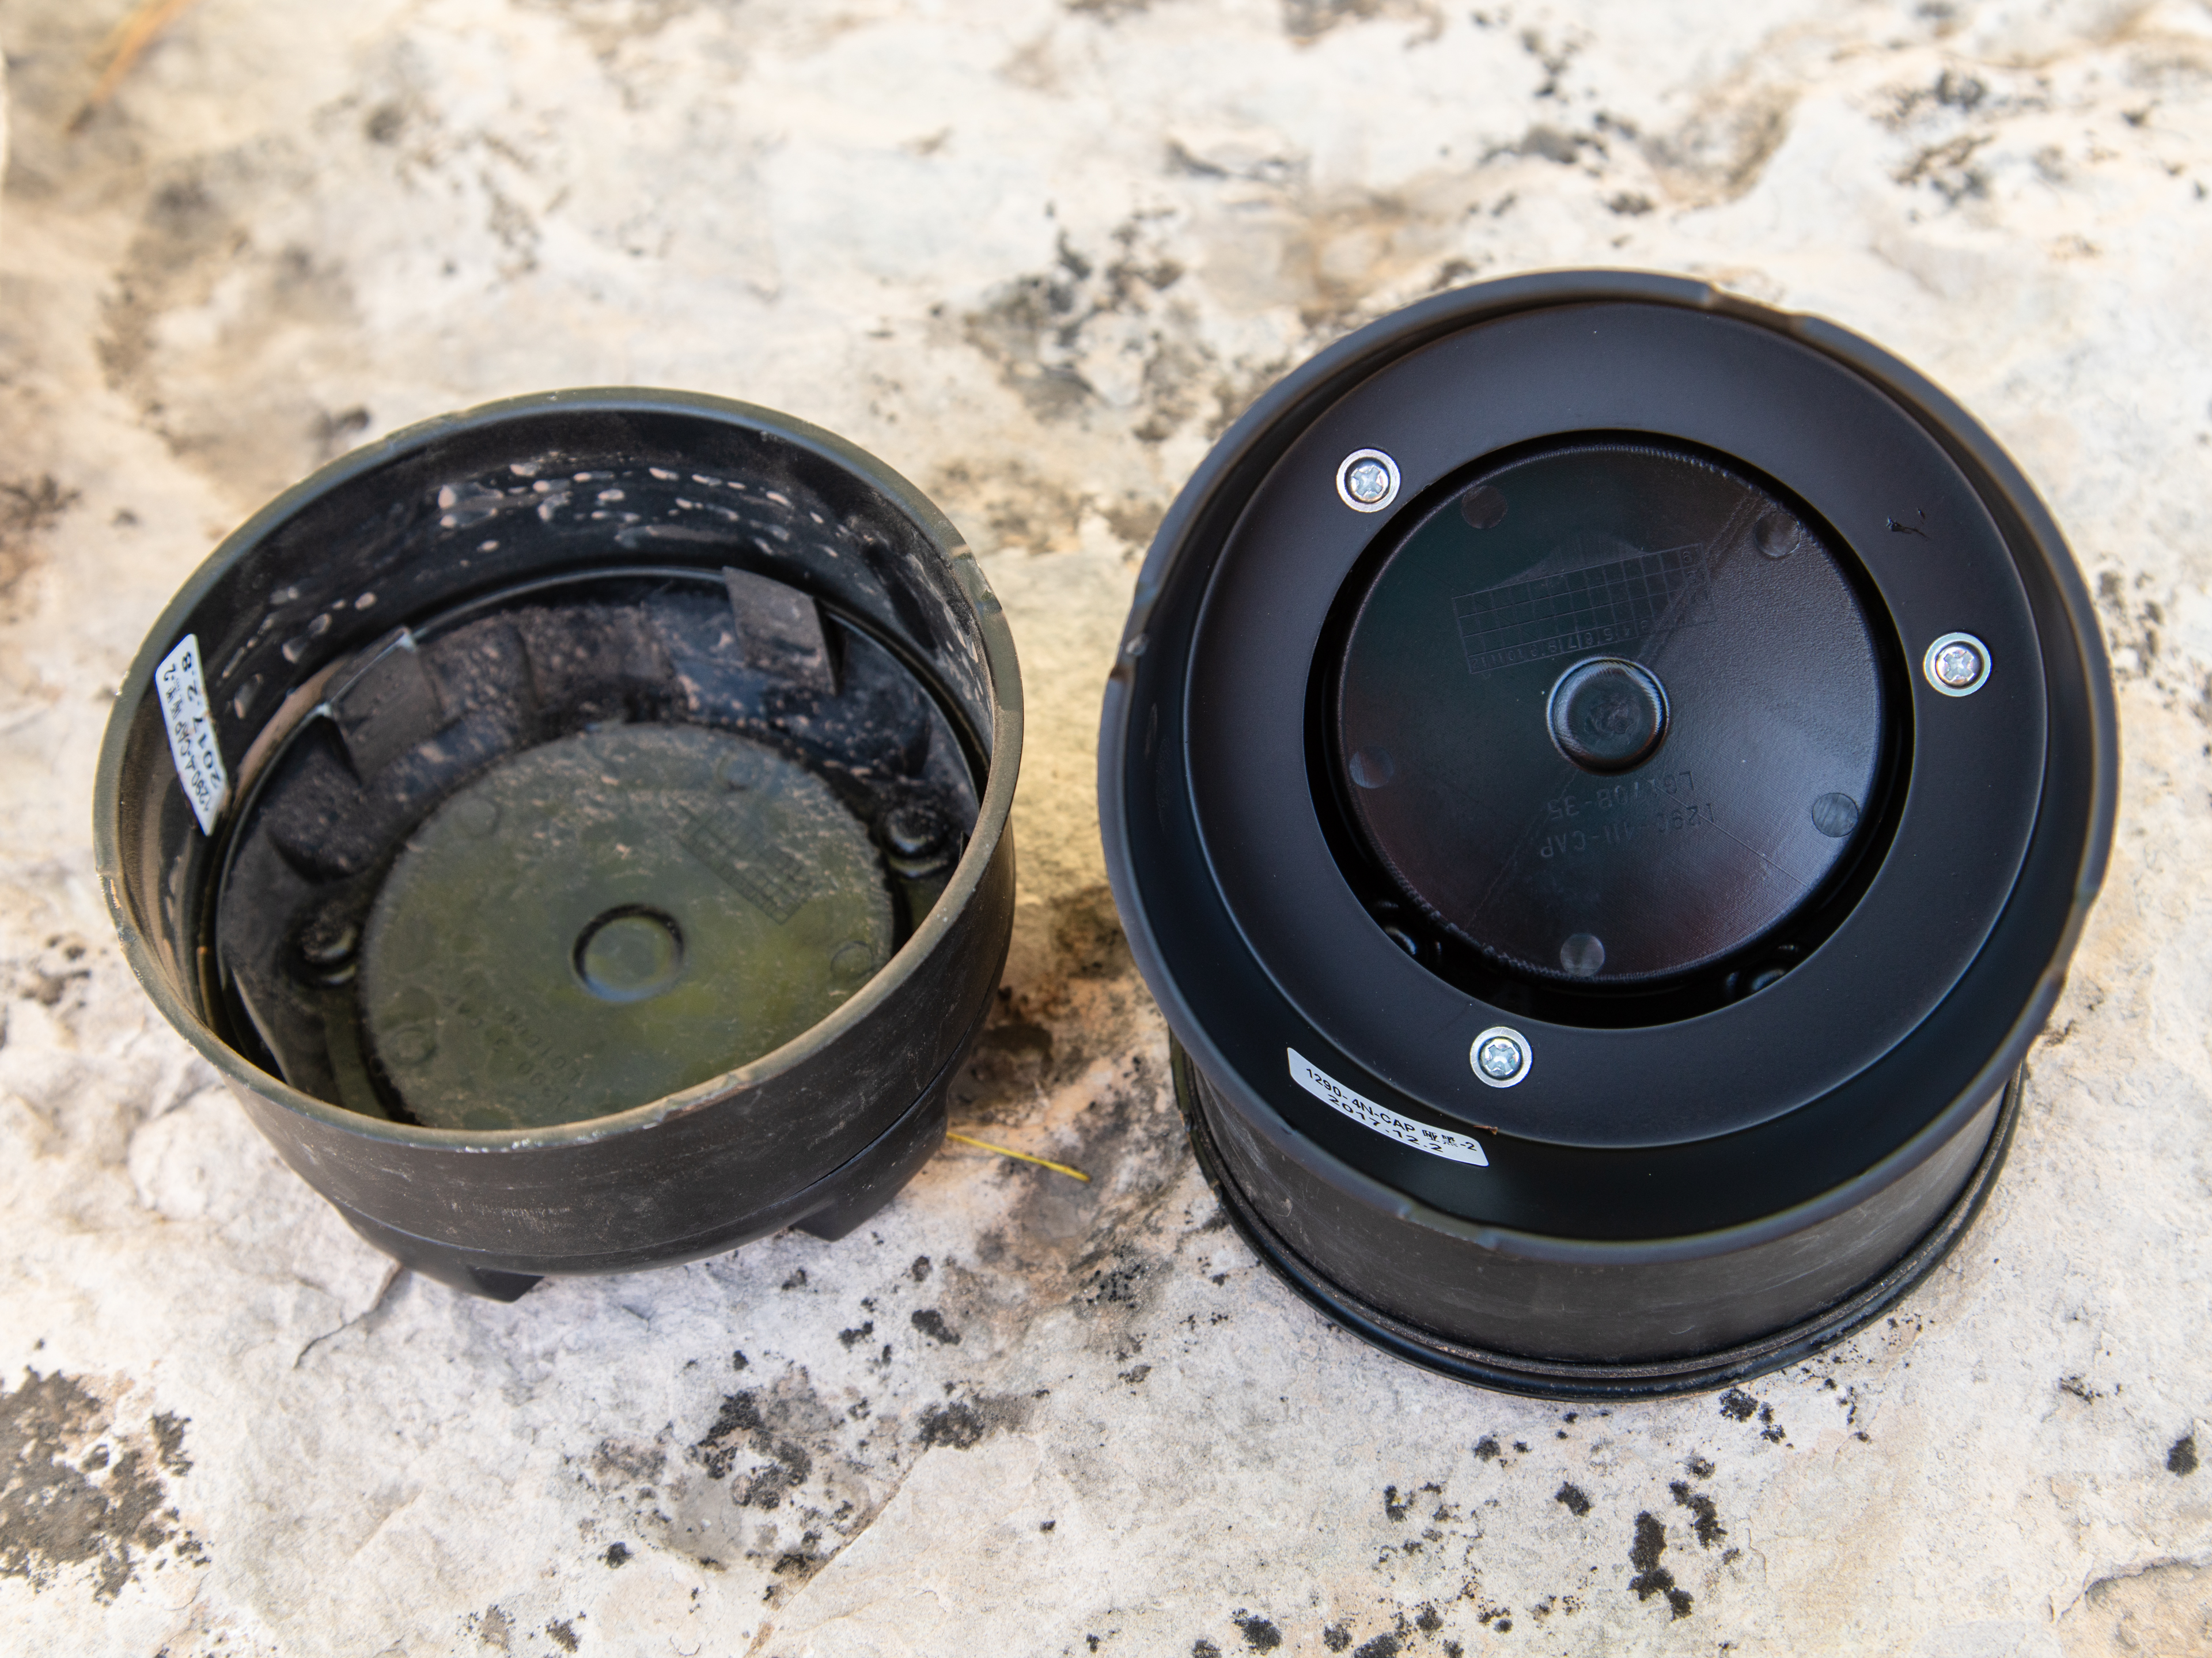
I’ve had a couple of the hub caps on my ICON Alloys Six Speed wheels break, and when I called Icon to asking about buying new hub caps, I was really happy to hear that they’ve redesigned the caps to fix this very issue.  The new hub caps are screwed together (the old design was a snap-fit) and I do not expect to see any failure or issues from this new design.  I need to give ICON props for revising and continuously improving their products, rather than simply selling more copies of an imperfect design.

LET THERE BE LIGHT

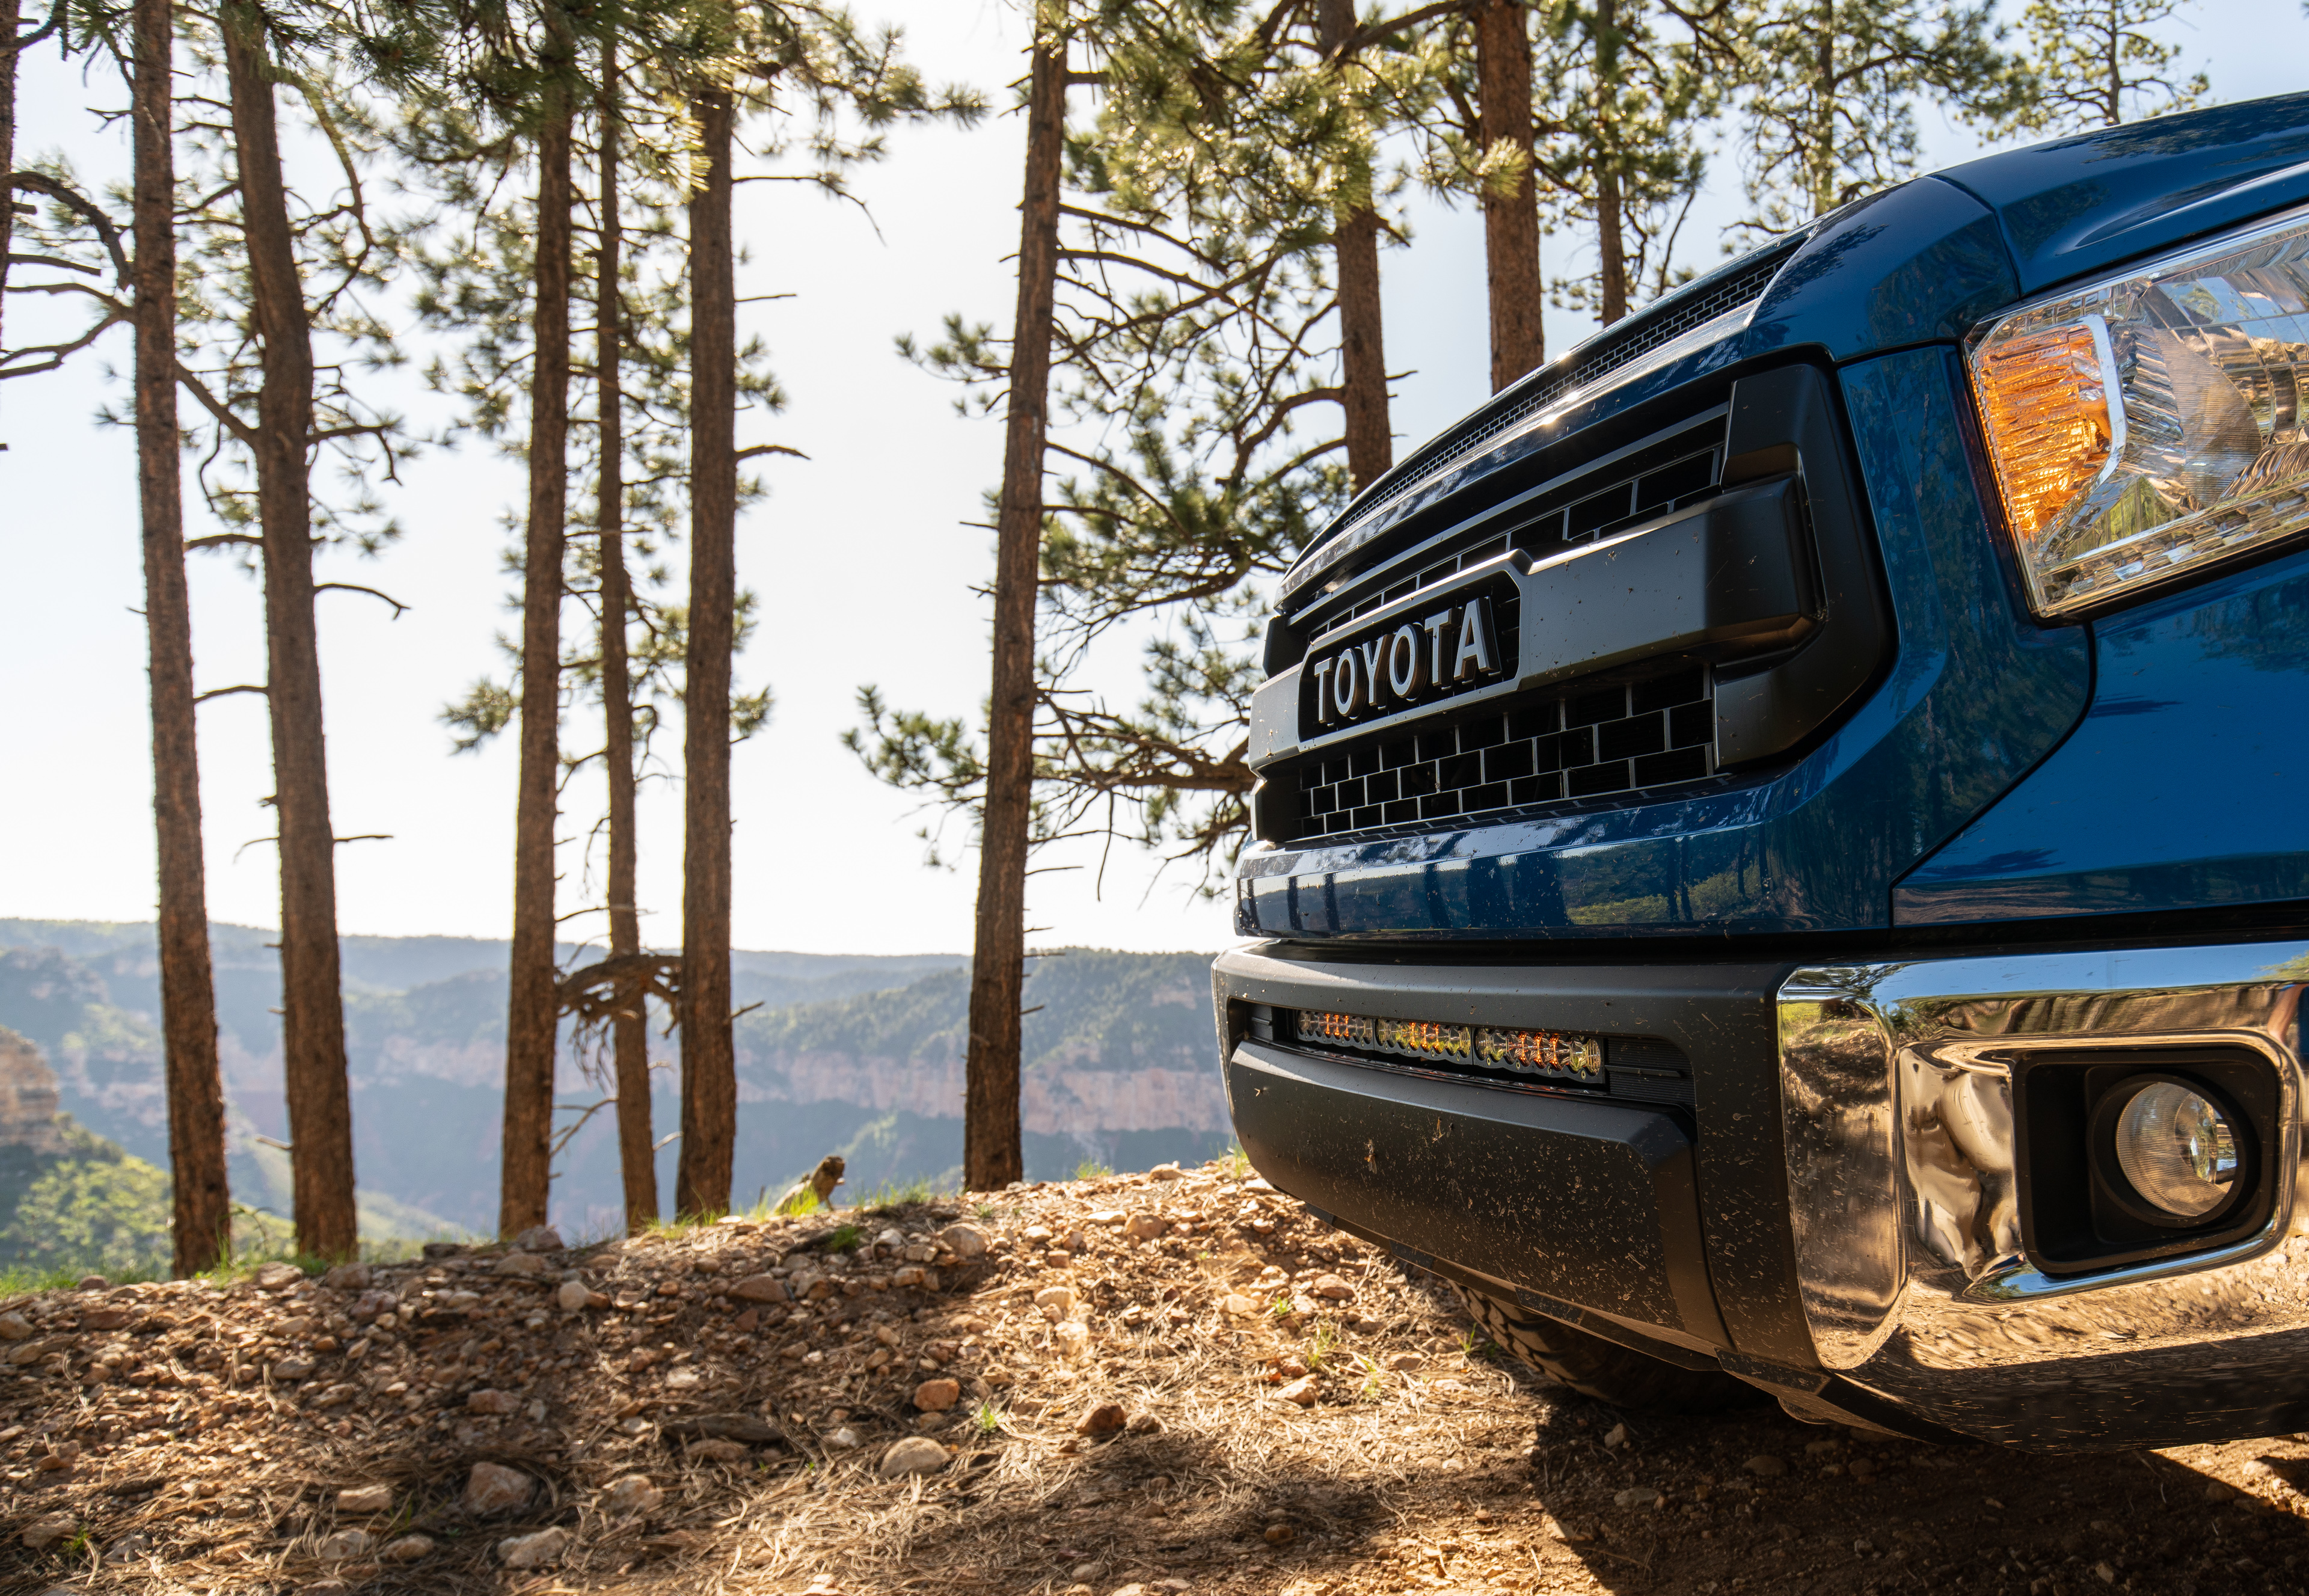
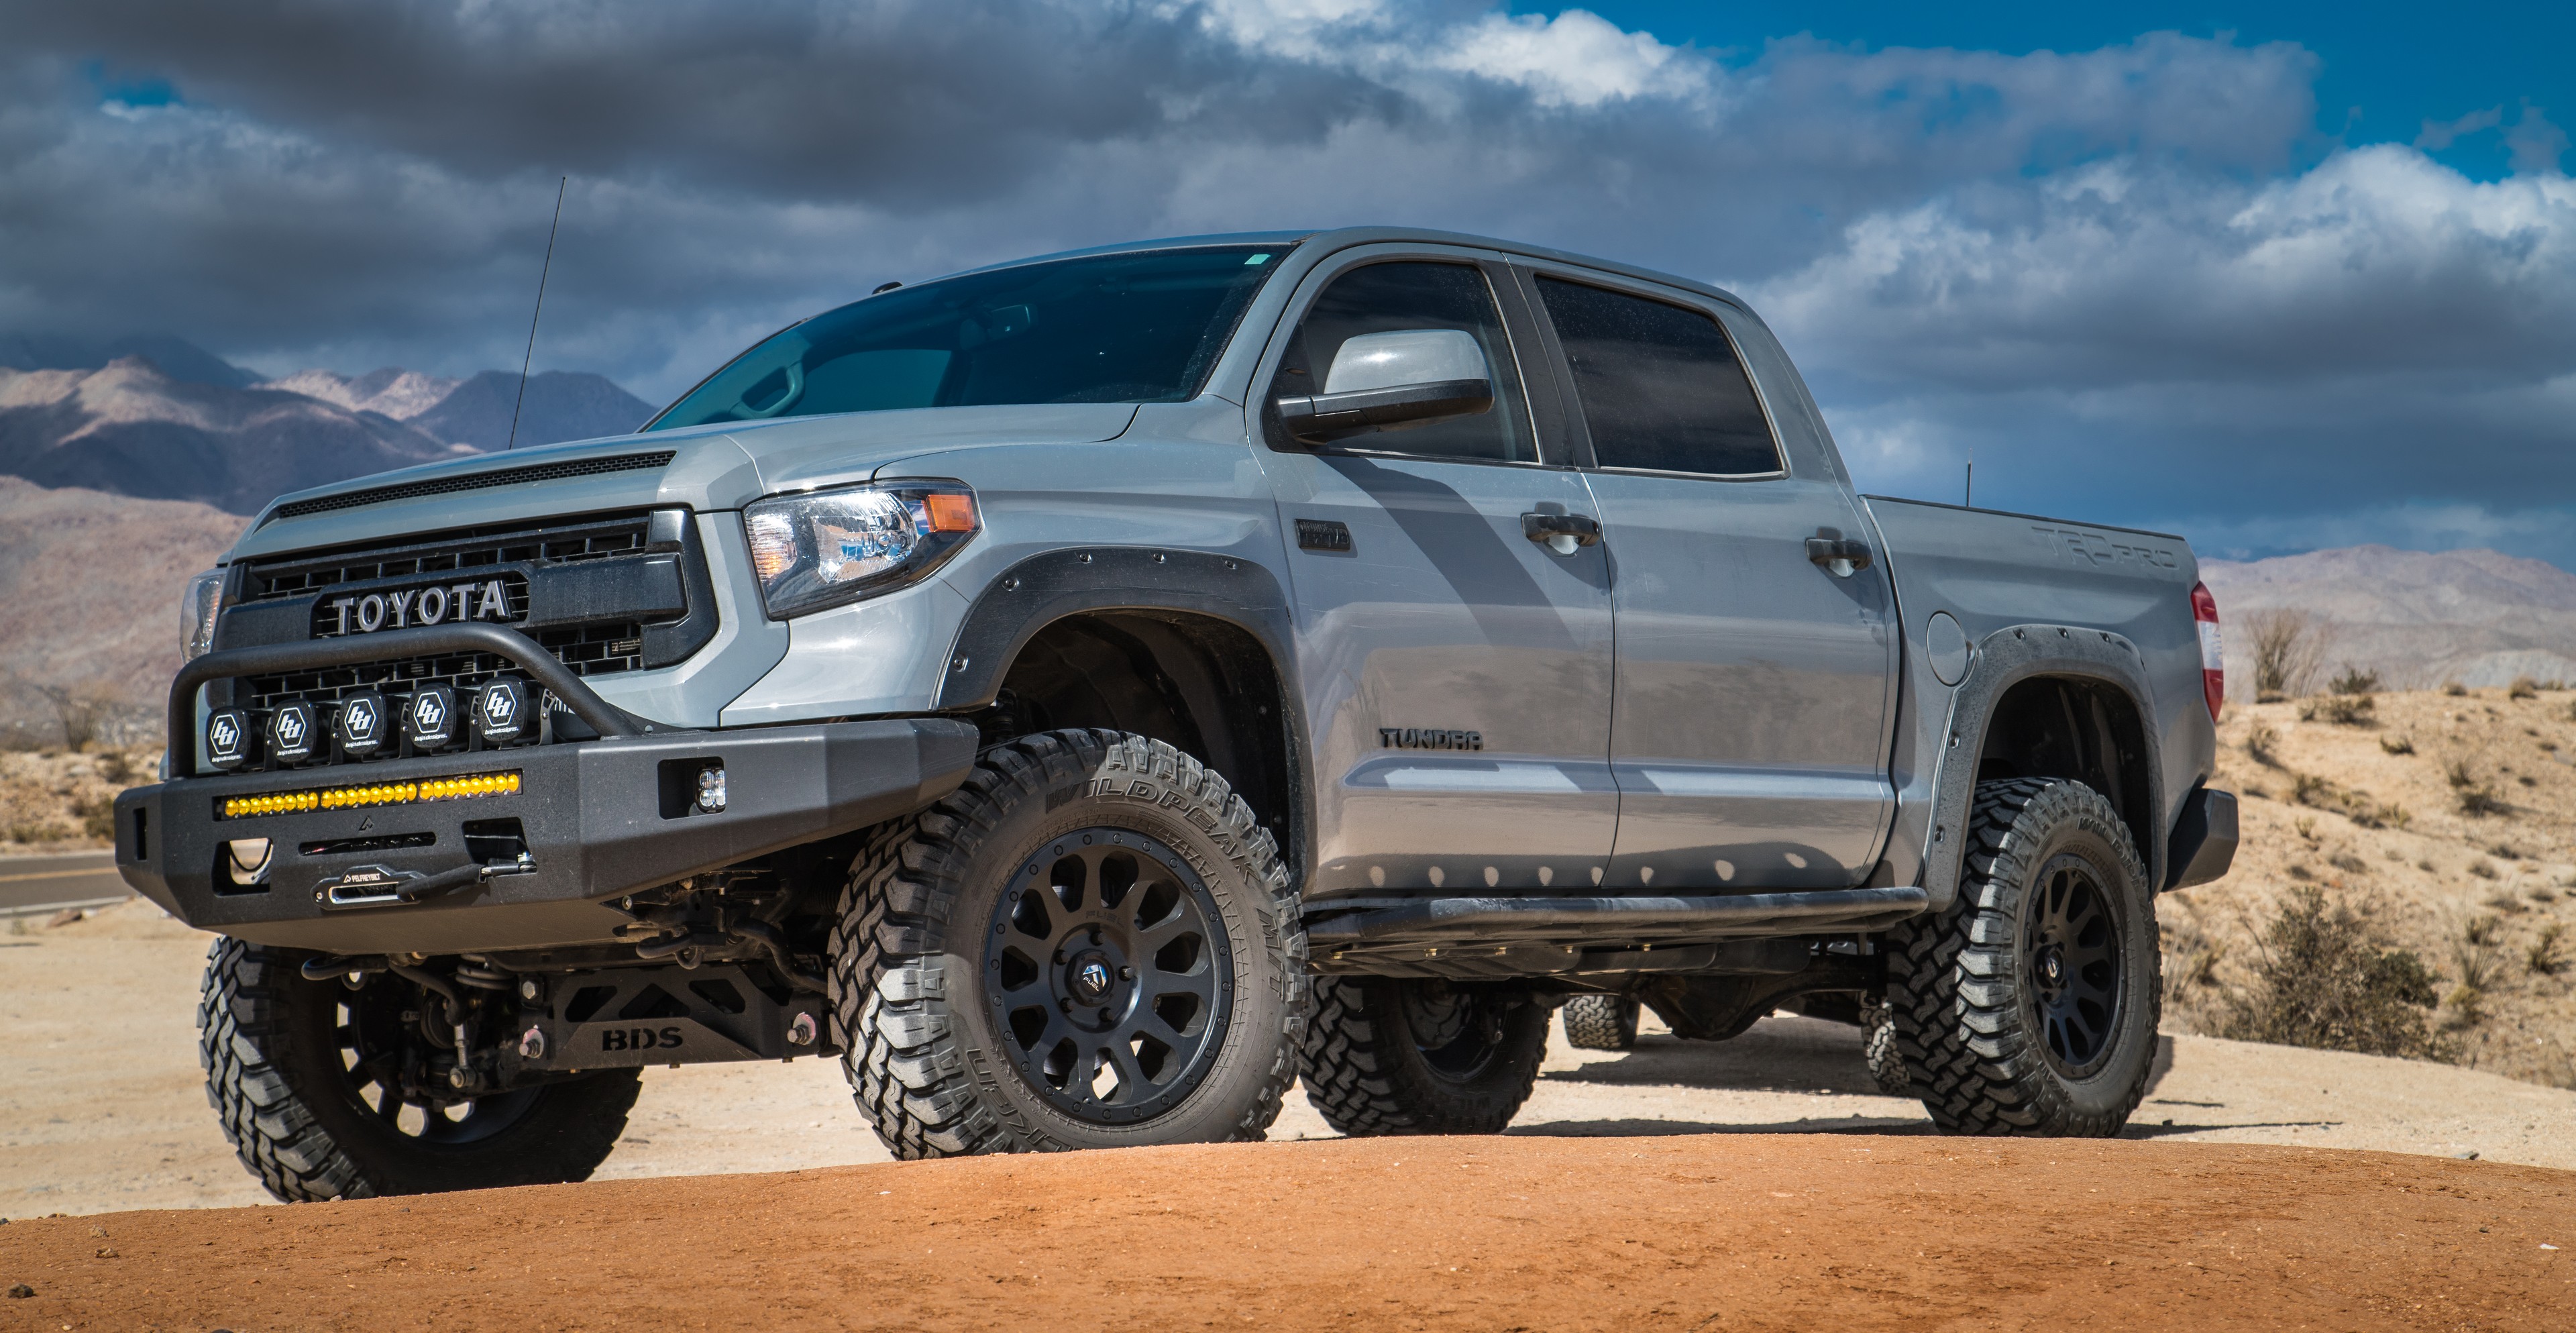
Yes, Project Tundra will be getting fully armored – but as with any good thing, it takes some time.  So in the mean time I’ve been working with Pelfreybilt Offroad to design brackets for the Tundra’s A-Pillars and stock front bumper, so that I can add some light while I’m waiting for my armor to arrive.  With a bit of time spent in Solidworks, I’ve developed A-Pillar brackets for the Tundra that will hold an XL 80, as well as brackets that will allow me to run a Baja Designs 30” S8 light bar in the stock bumper.

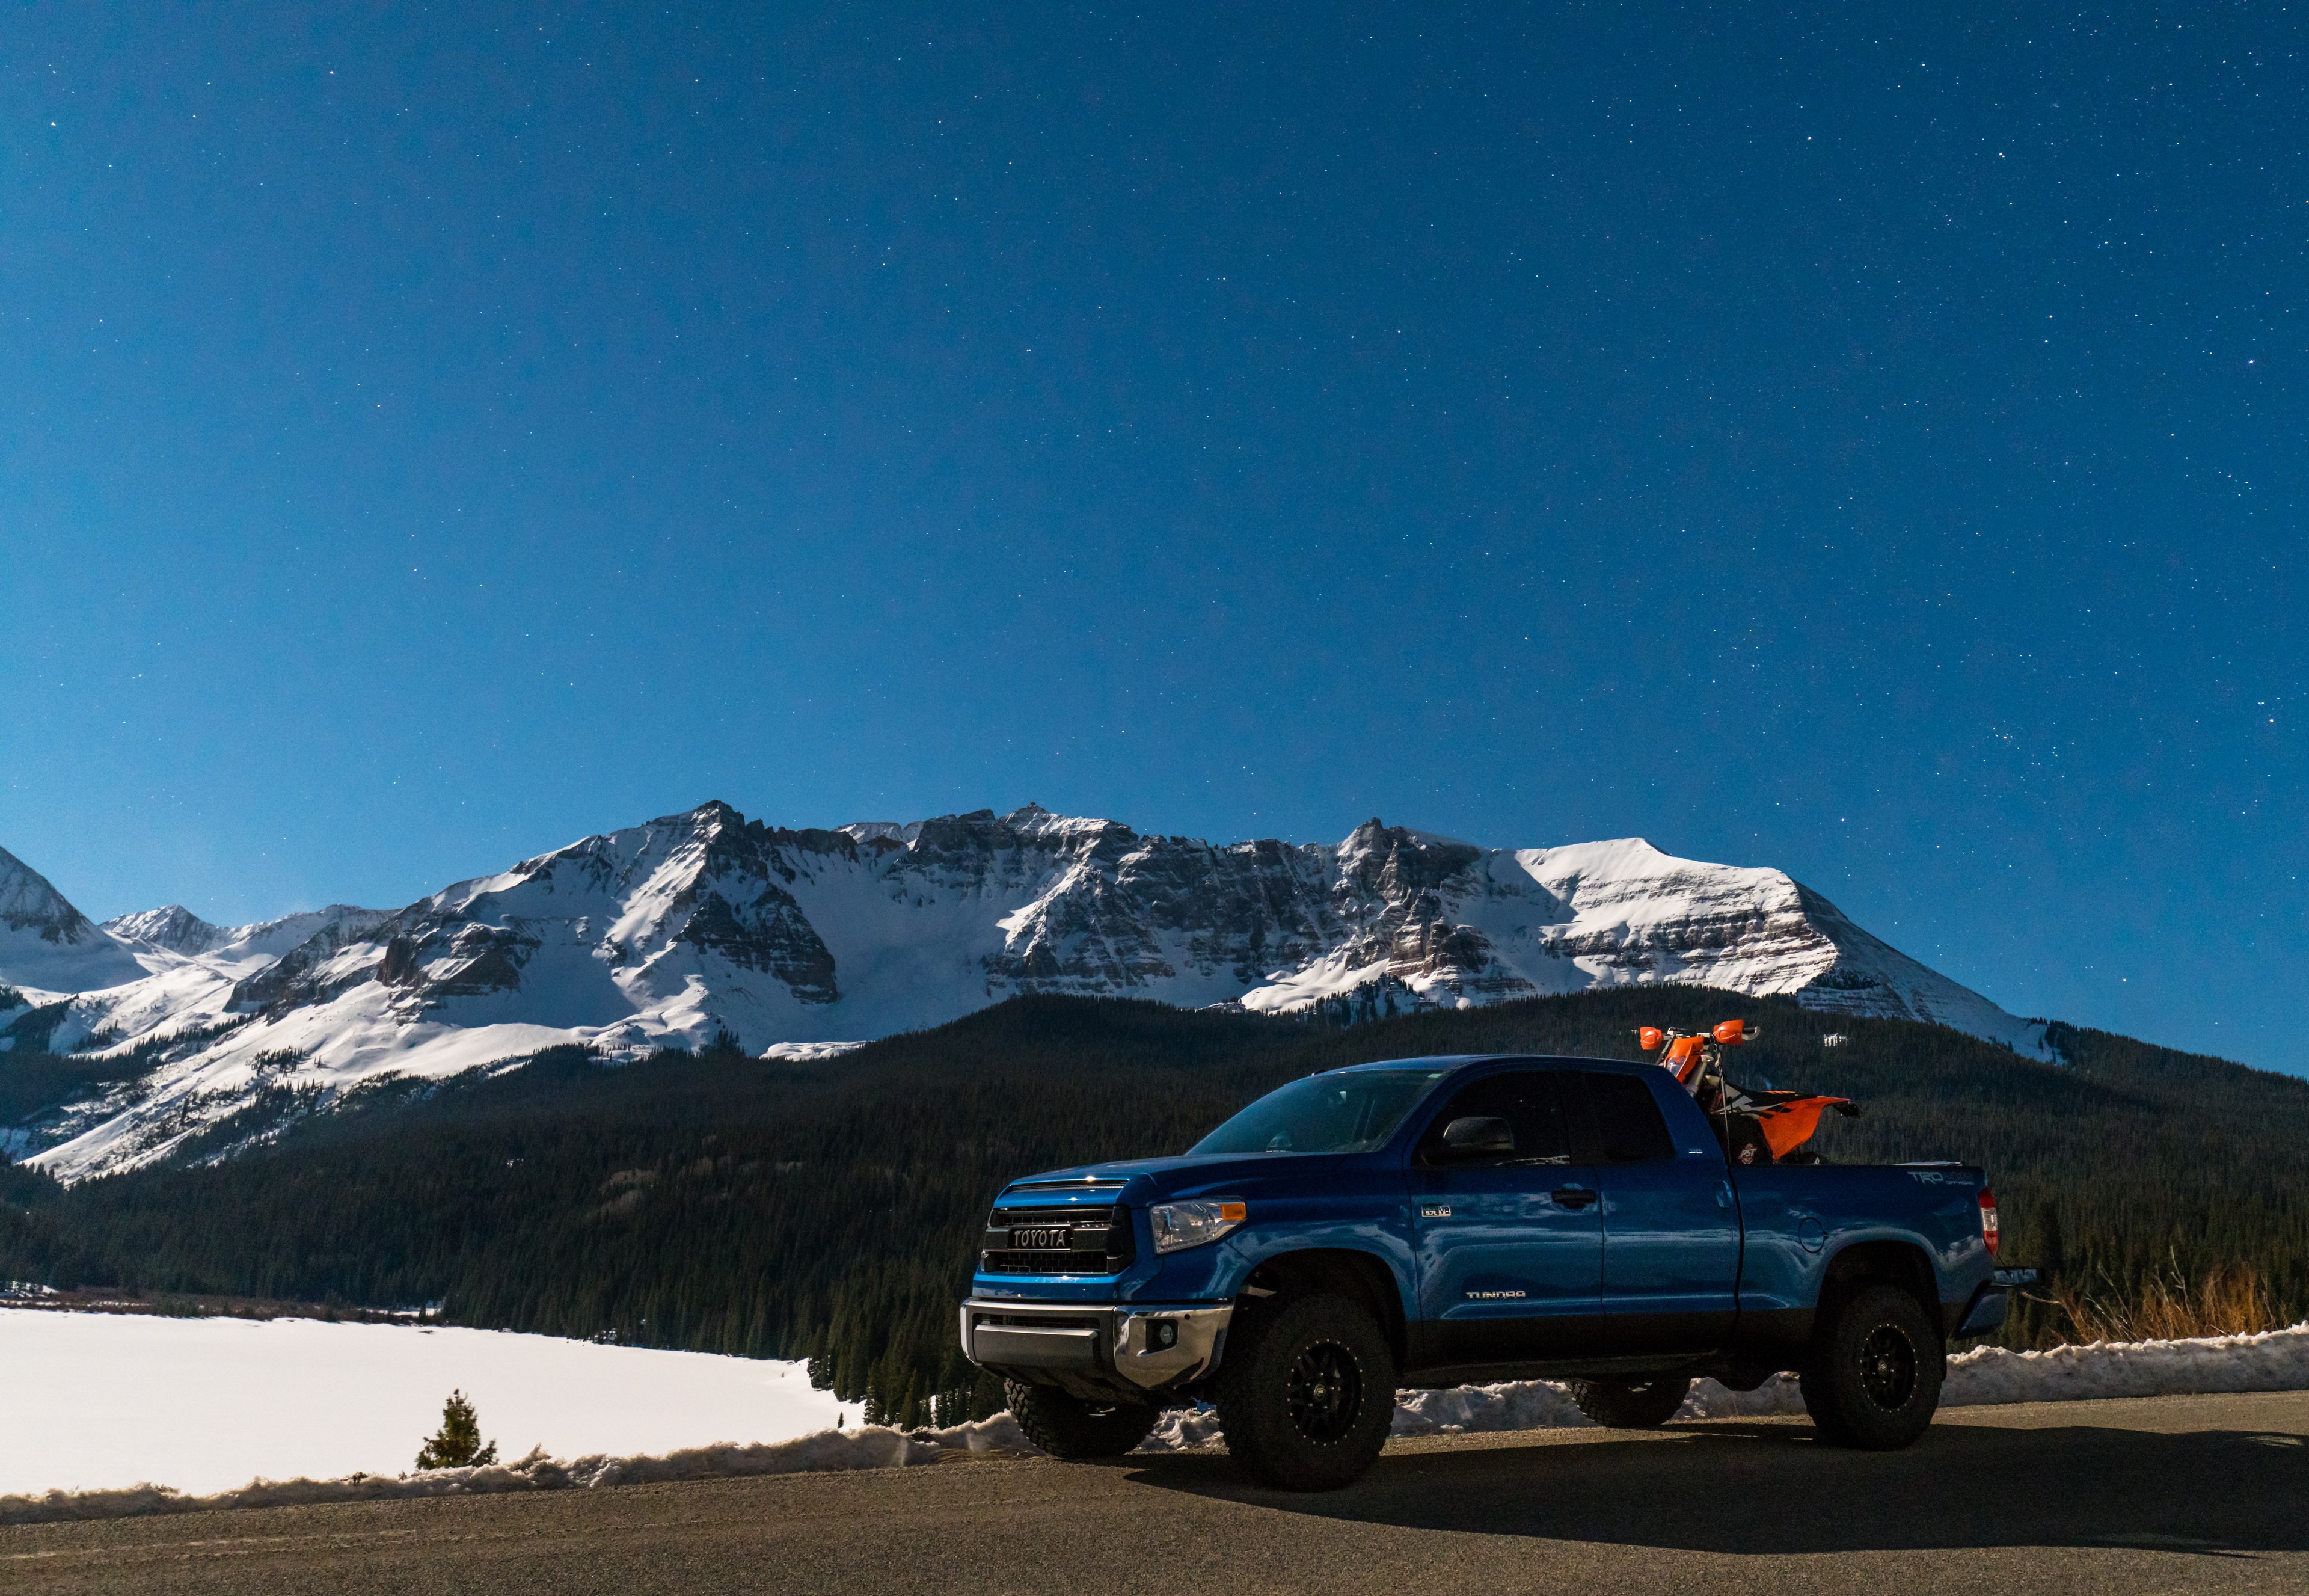
Project Tundra will be receiving it’s armor soon, so I’ll leave this update with a photo I took of what’s to come.  Stop by and see us at the American Adventurist booth at Overland Expo West (PS1) and say hi!

Full disclosure:  ICON Vehicle Dynamics provided the RXT suspension for review and testing purposes at no cost to Chad de Alva or American Adventurist.  Line-X of San Diego installed their products free of charge.