Utah Winter Adventure – Part III of III

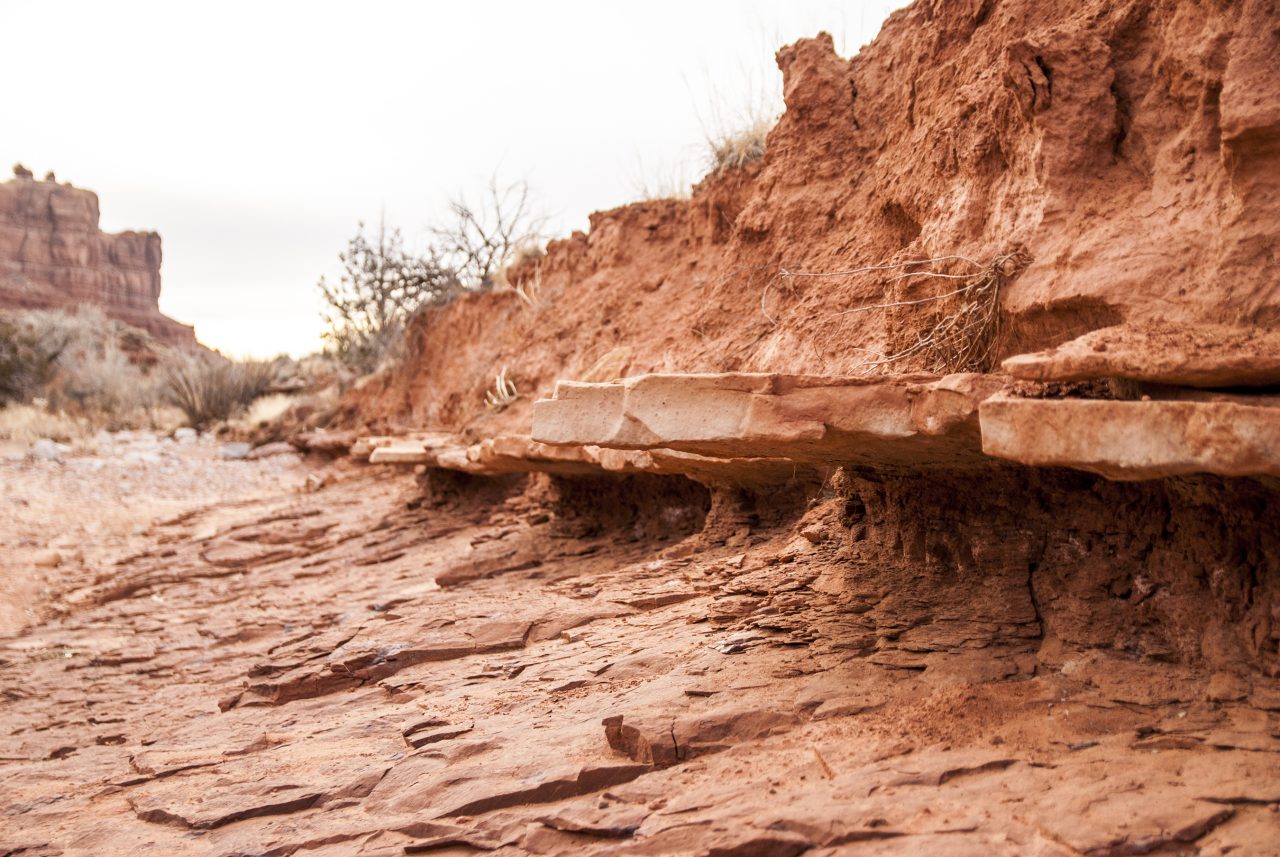
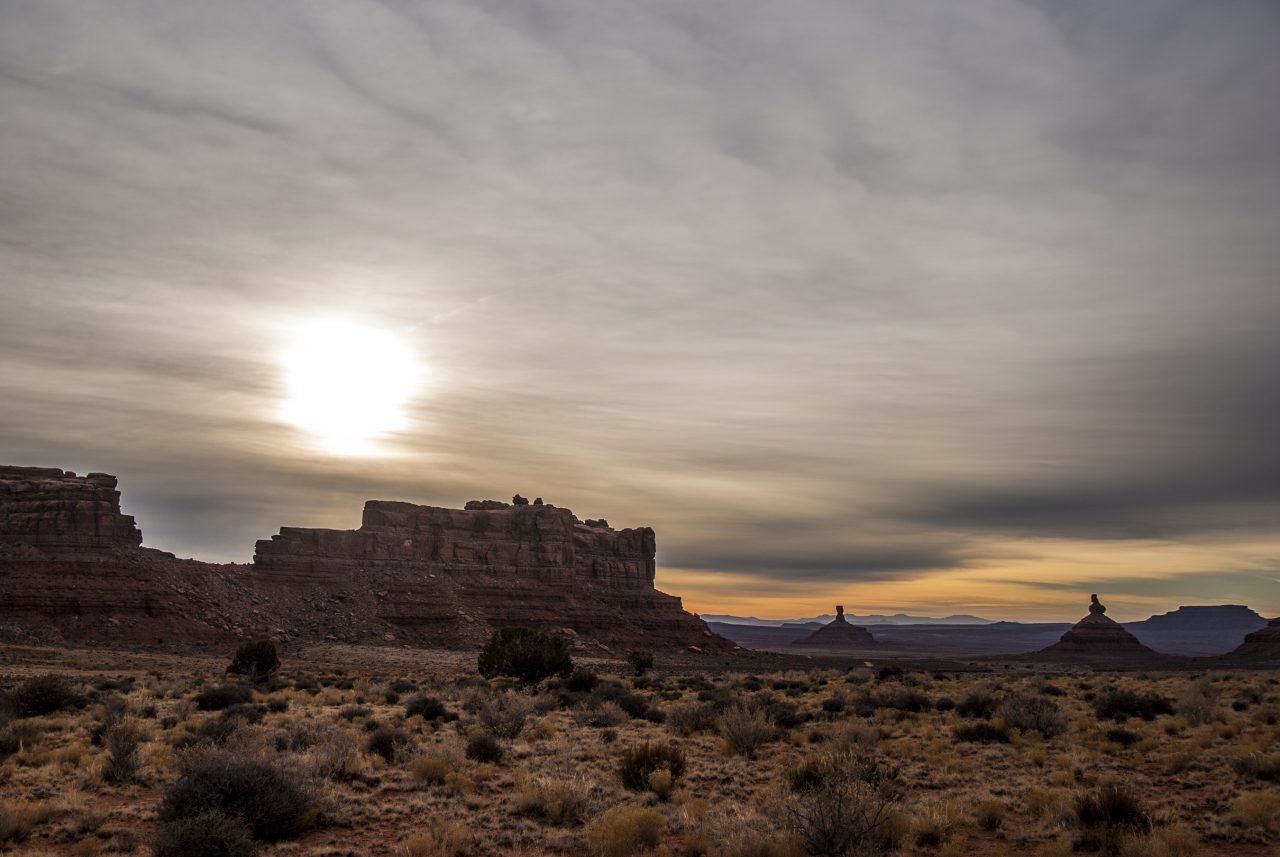
With camp still snoozing, I woke early and wandered about the immediate area with camera in hand. Once folks started coming to life around the site, I decided to take a hike to the far side of the valley to get an overall photo of our campsite and the surrounding monuments. It was an unbelievable spot as I sat there just taking in the views with the sun rising behind me. I’m not sure how far I had gone, but our campsite was just a speck in the vast terrain surrounding us. It looked to be another overcast day, but still provided a breathtaking vista. Making my way back, we gathered up to have breakfast, coffee and decide the day’s route.

Day 08: Goosenecking our way to Alstrom Point

(If you’re just catching up, part II of III can be found HERE )
Brian brought up Goosenecks State Park as a cool place to check out, along with directions on where to head. We set off in the general direction of Lake Powell and Page intent on checking out these new and wonderful places.

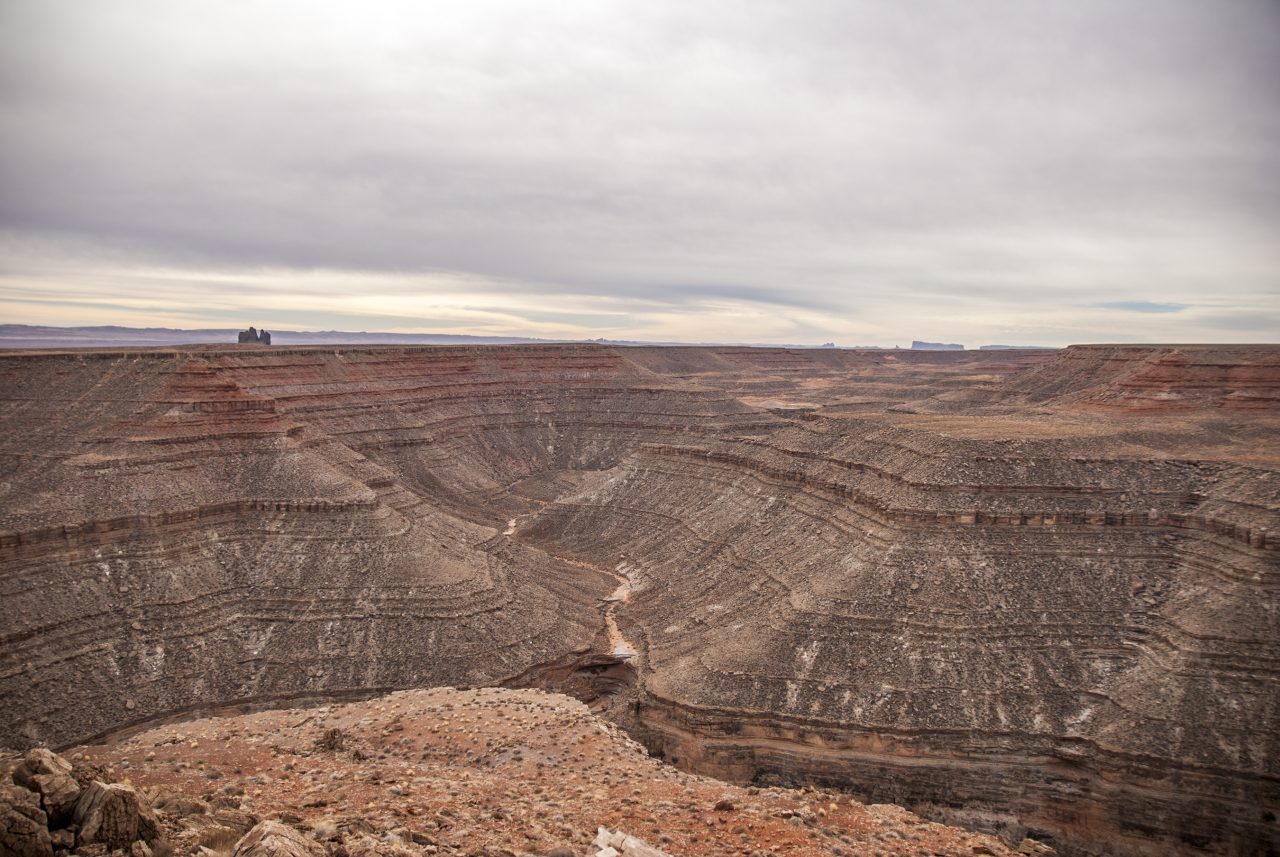
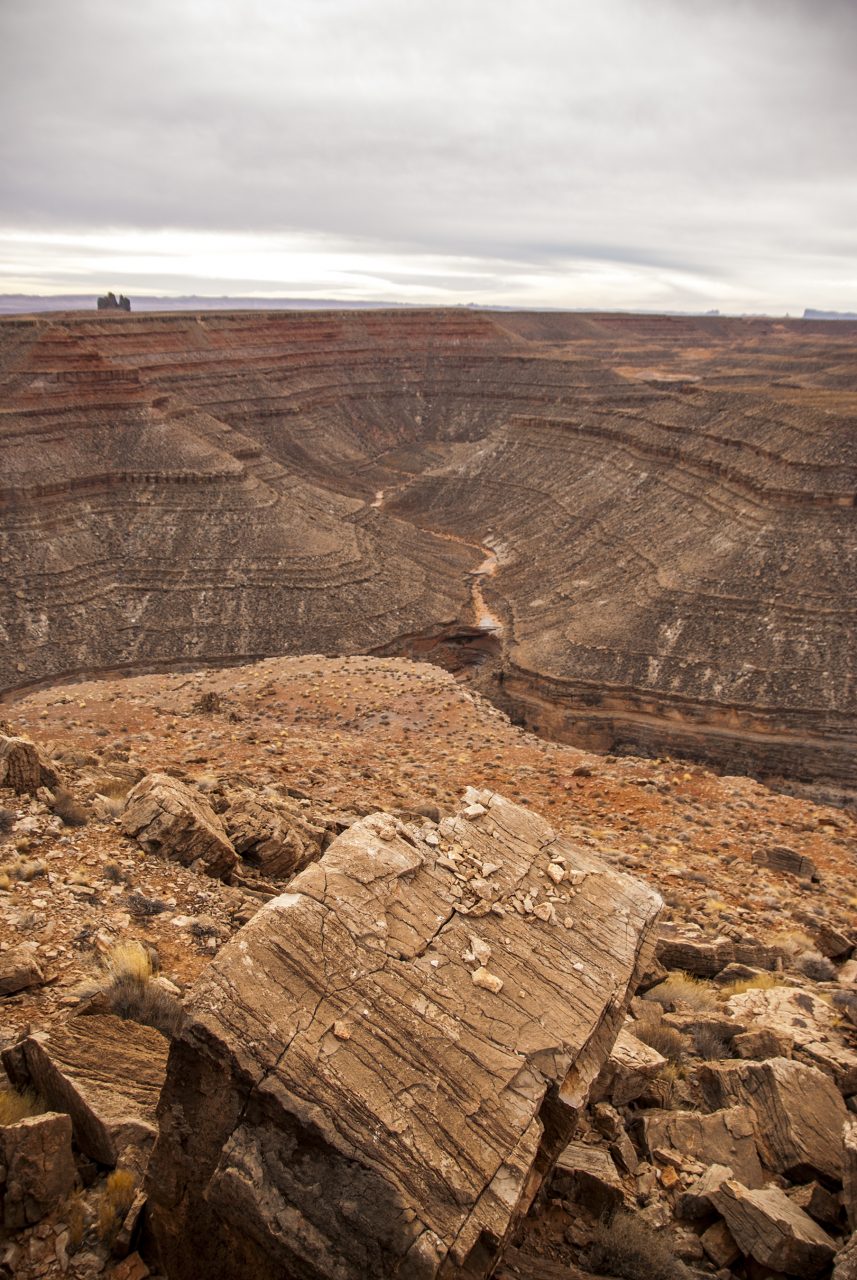
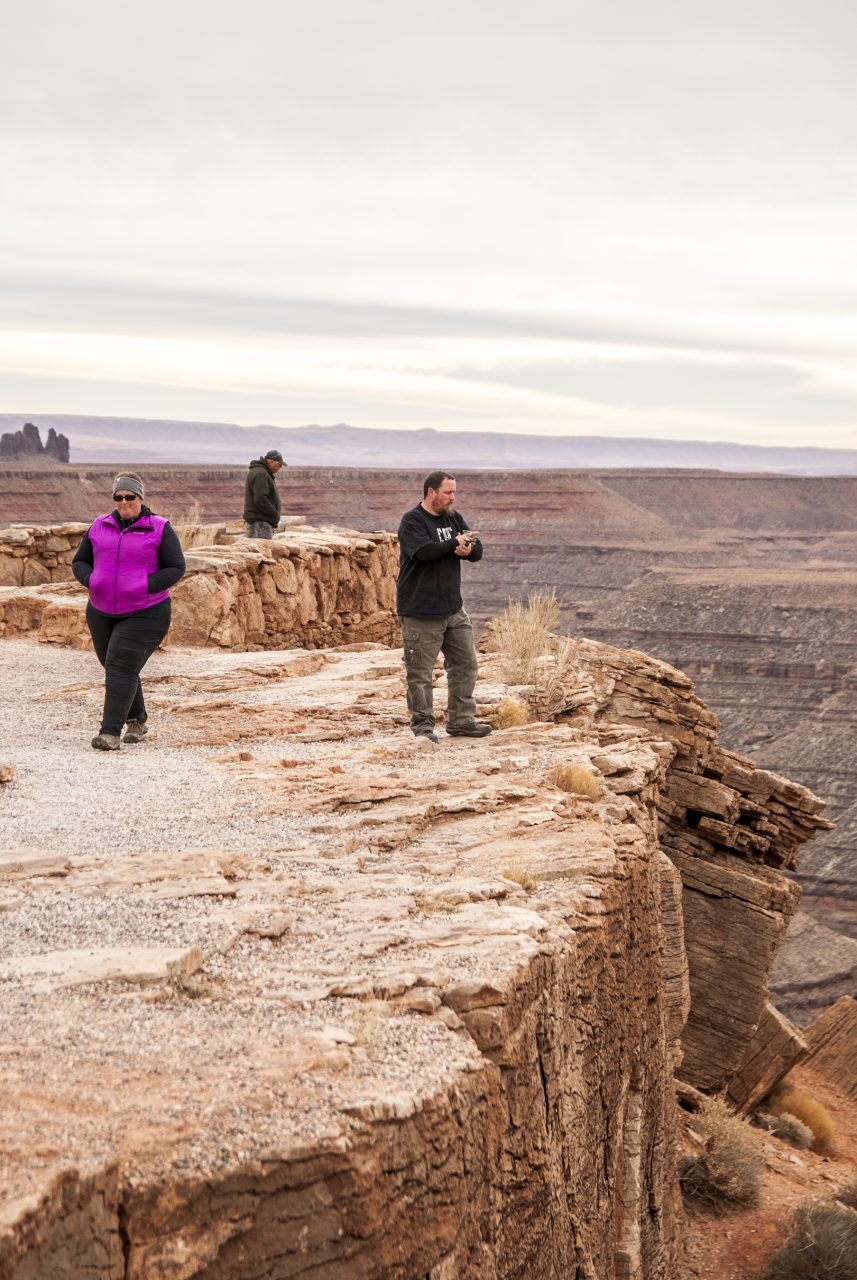
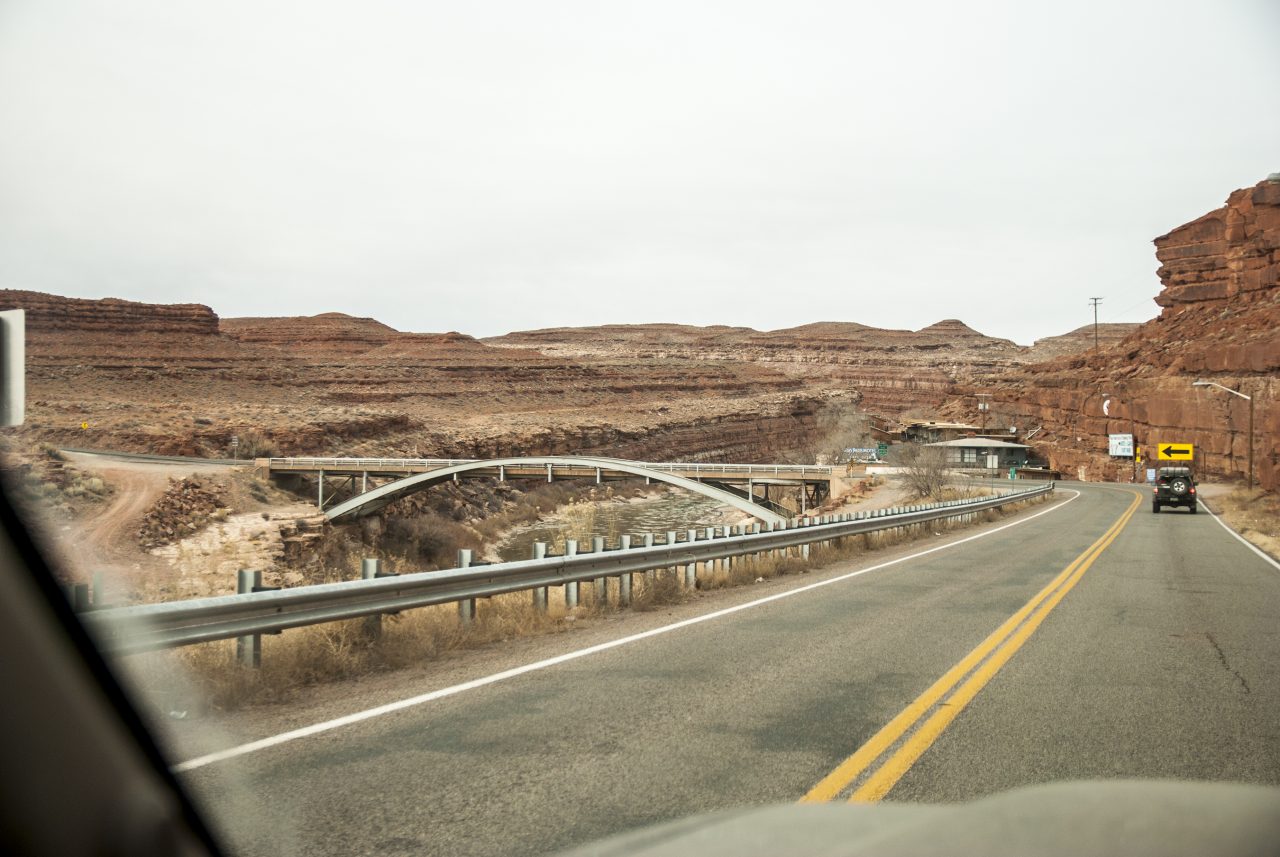
We arrived at Goosenecks State Park and were blown away by the massive size of the canyon the river had carved over the course of time. We took a dirt road along the canyon to see if we could find a cool spot to view the snaking river, but it turns out that the parking lot with the marked areas is the best spot.


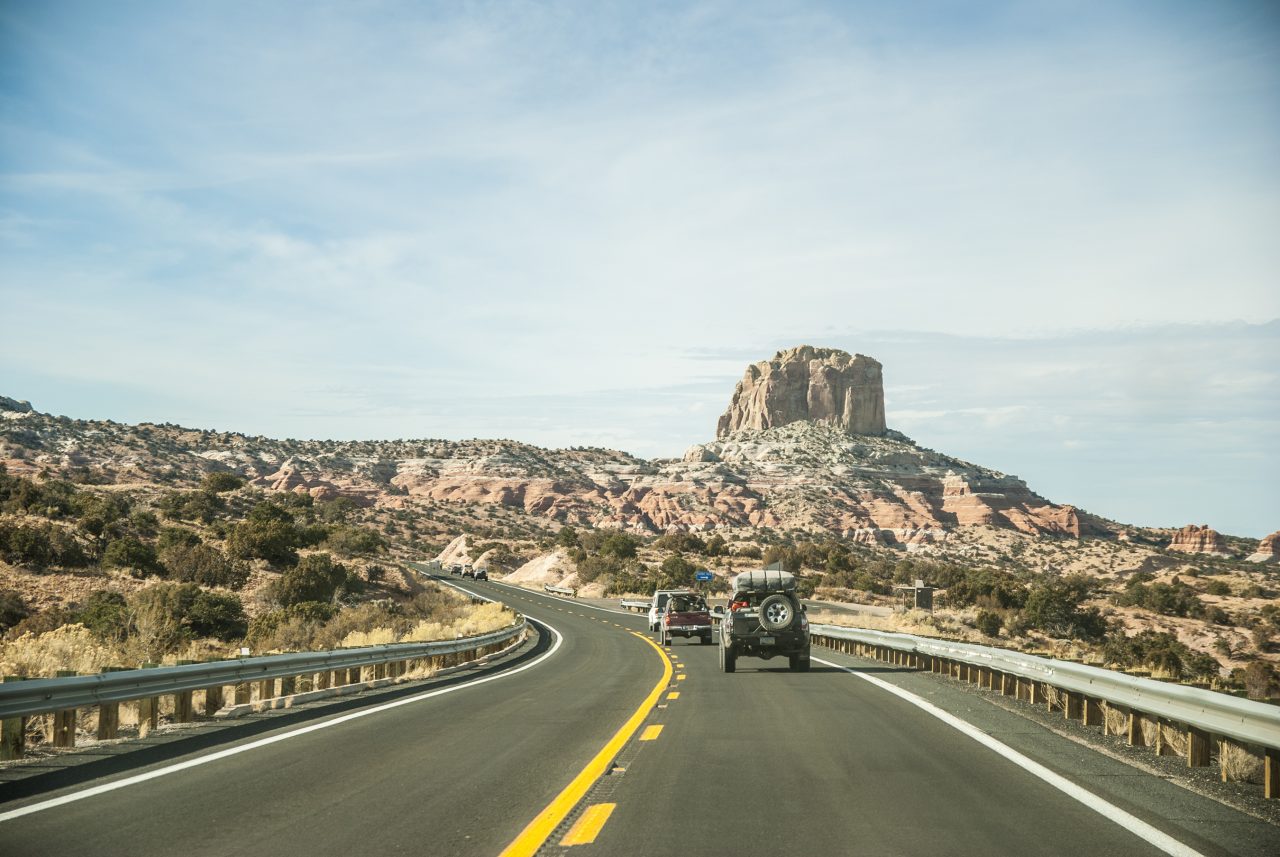
Crossing this spot off the list, we made our way to the Utah/Arizona border, hitting the pavement hard. After making a pit stop in Mexican Hat, we headed towards Lake Powell and Page for logistics and a meal break.
 

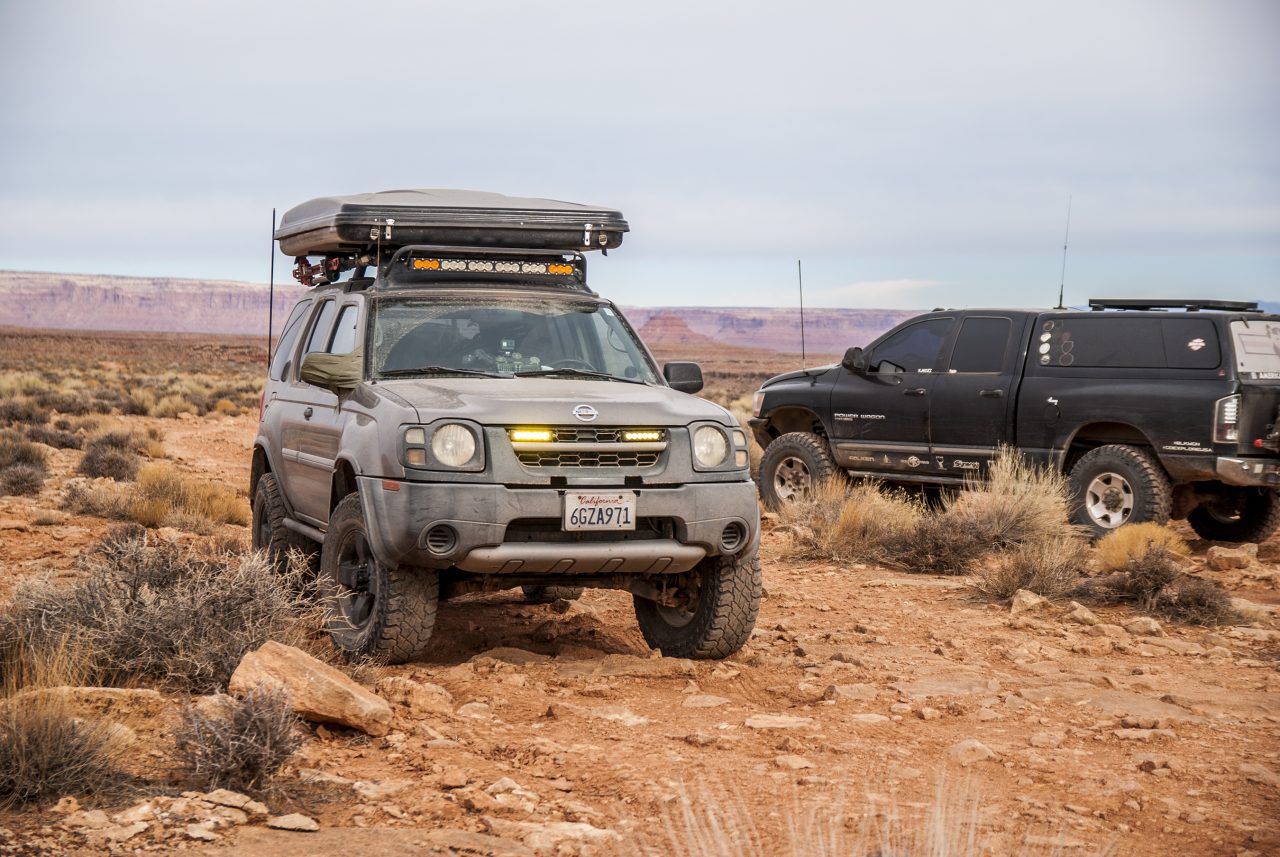
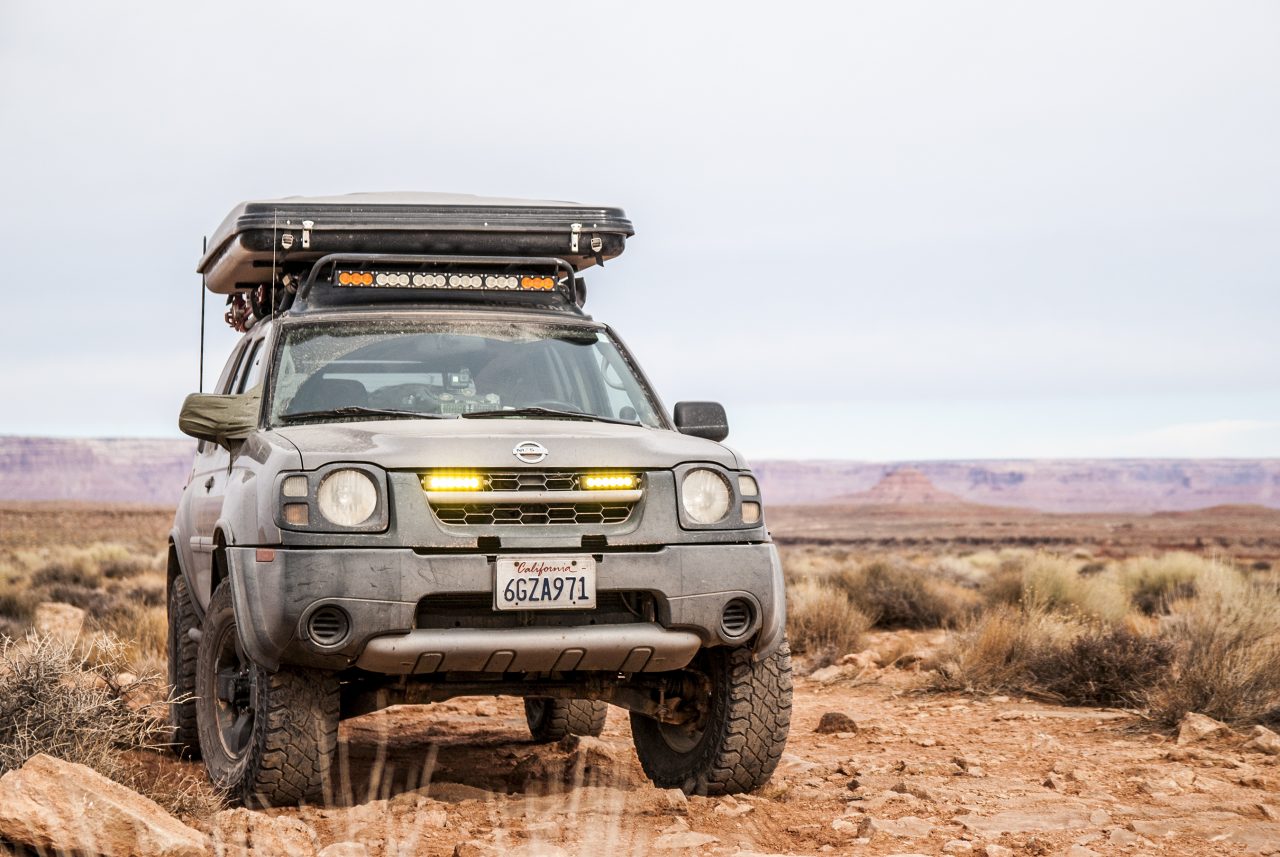
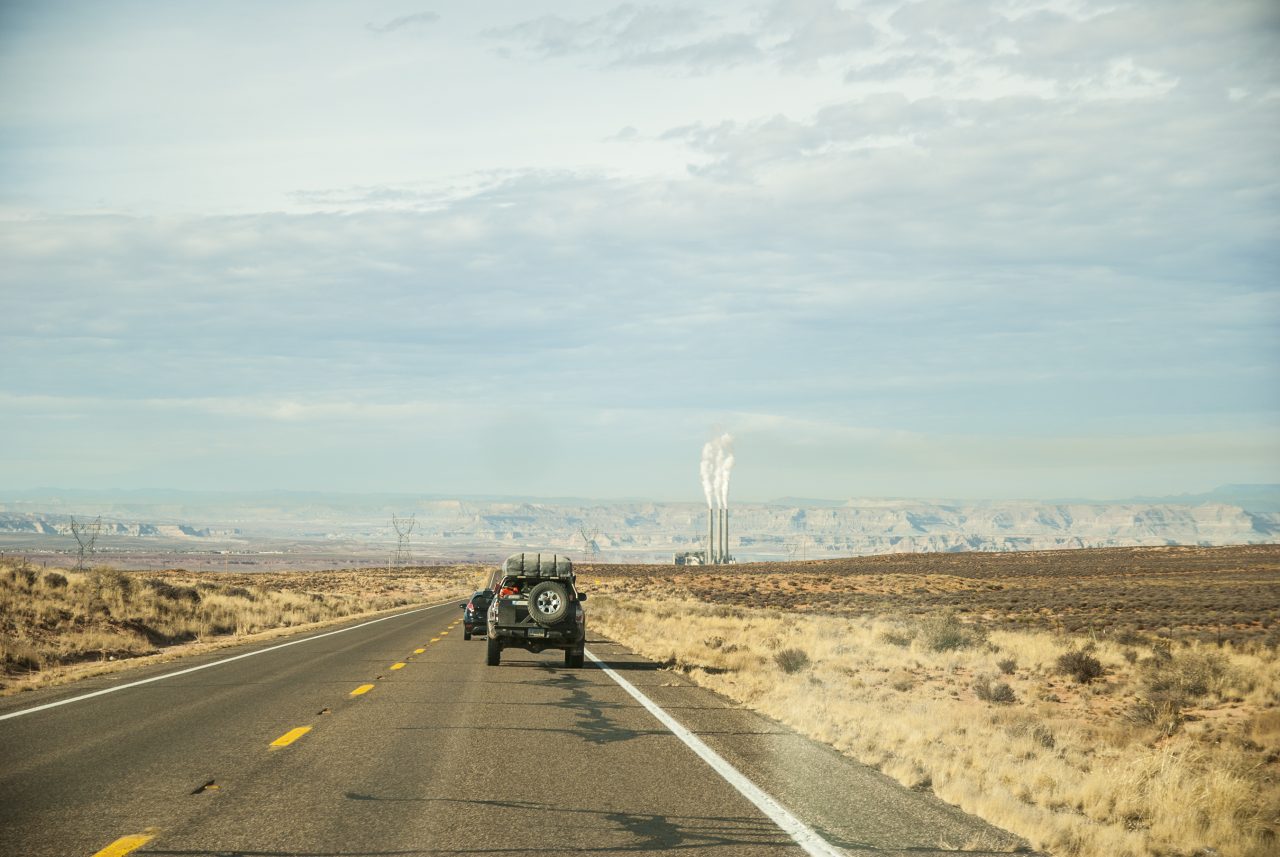
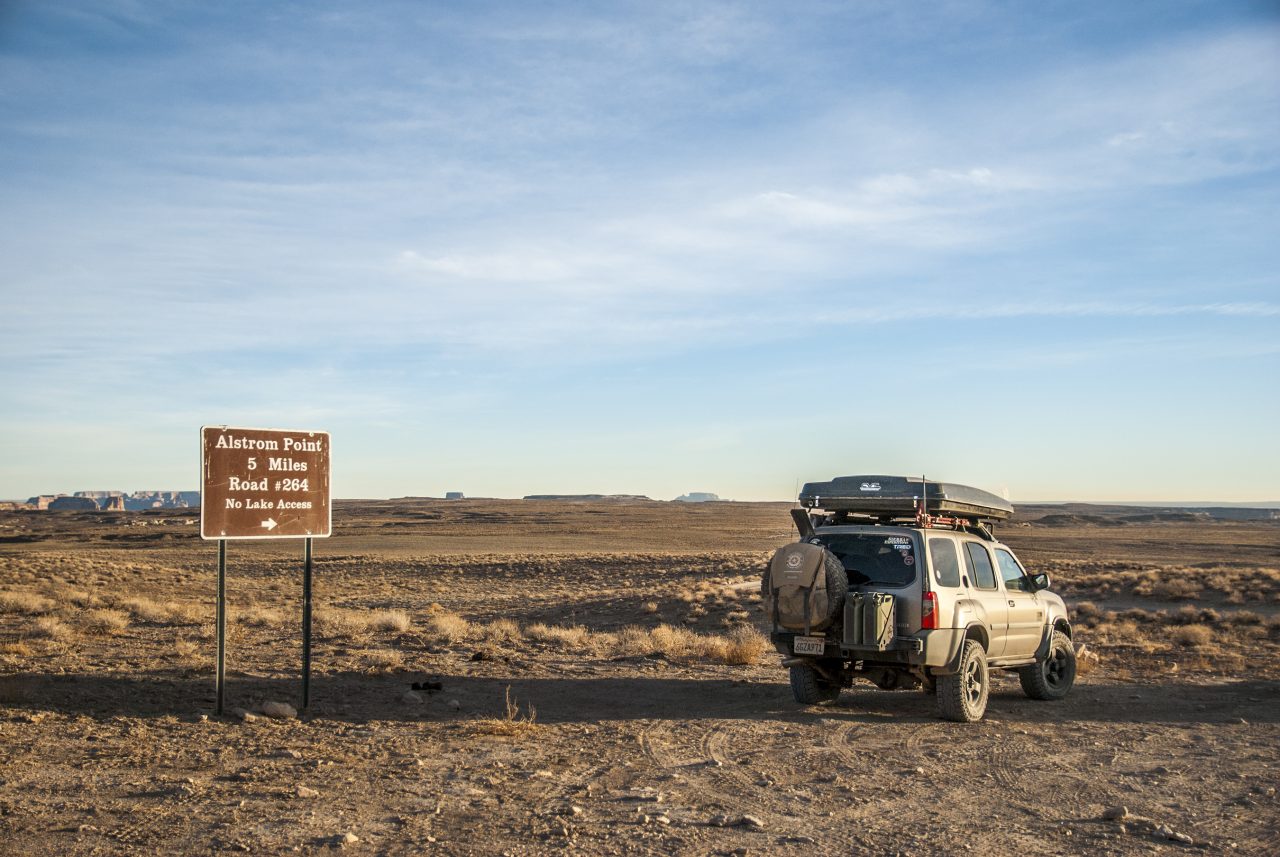
We were on the road for quite some time without a lunch, so we grabbed something quick and tried to figure out our night’s campsite. We reviewed our maps and we decided on a site on the north side of Lake Powell which involved some dirt roads but promised seclusion. With the sun nearing the end of it’s daily arc across the sky, we hit the dirt at Big Water just off Highway 89 on the Utah side of the border. The convoy followed the dirt road and split off the main road towards Alstrom Point.
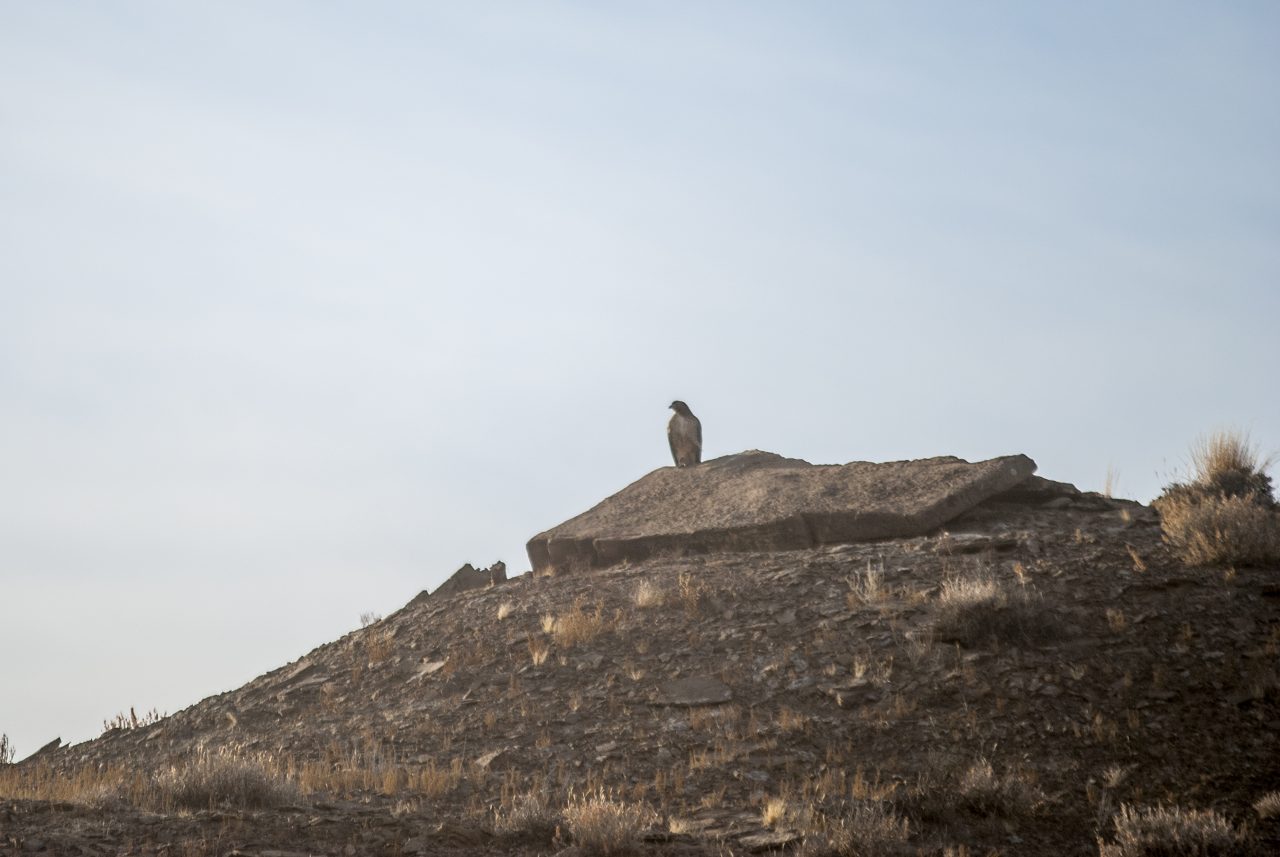
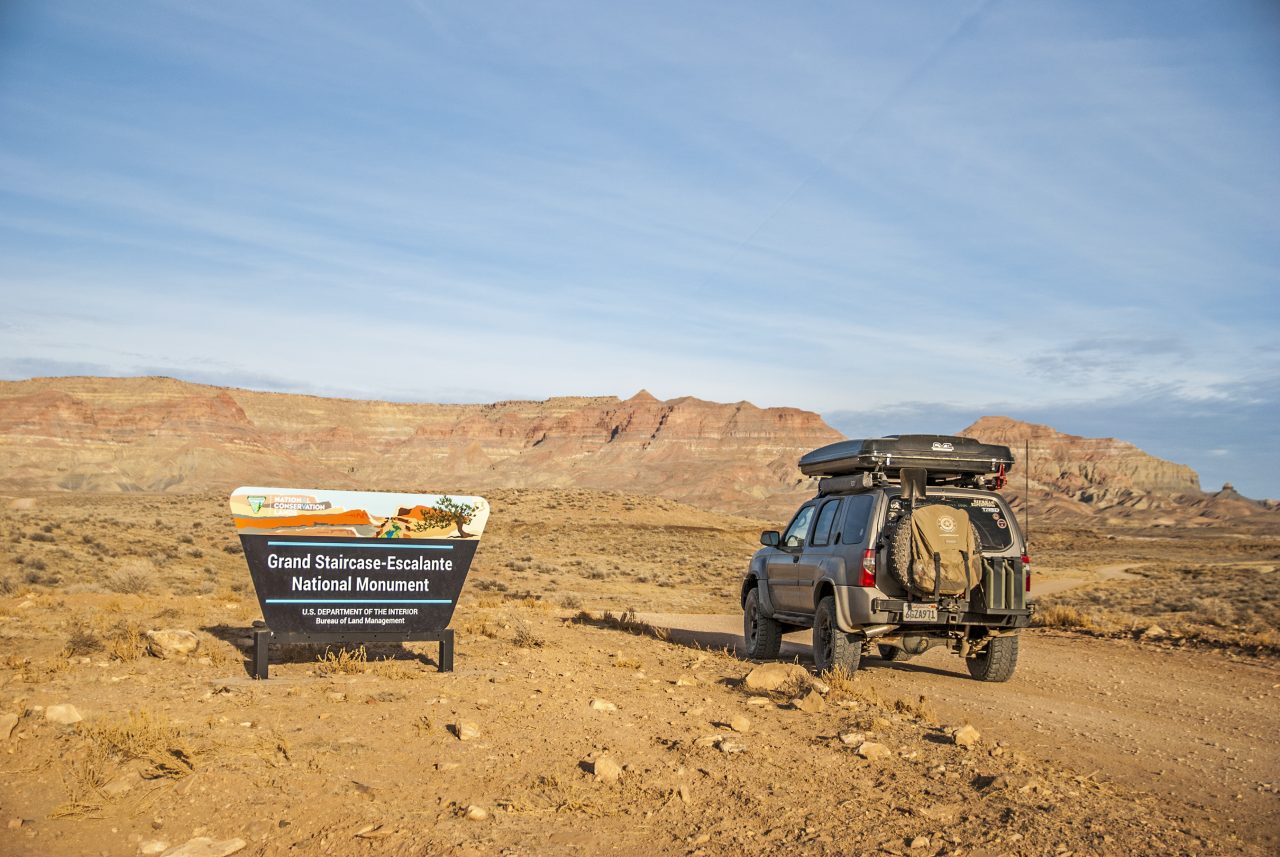
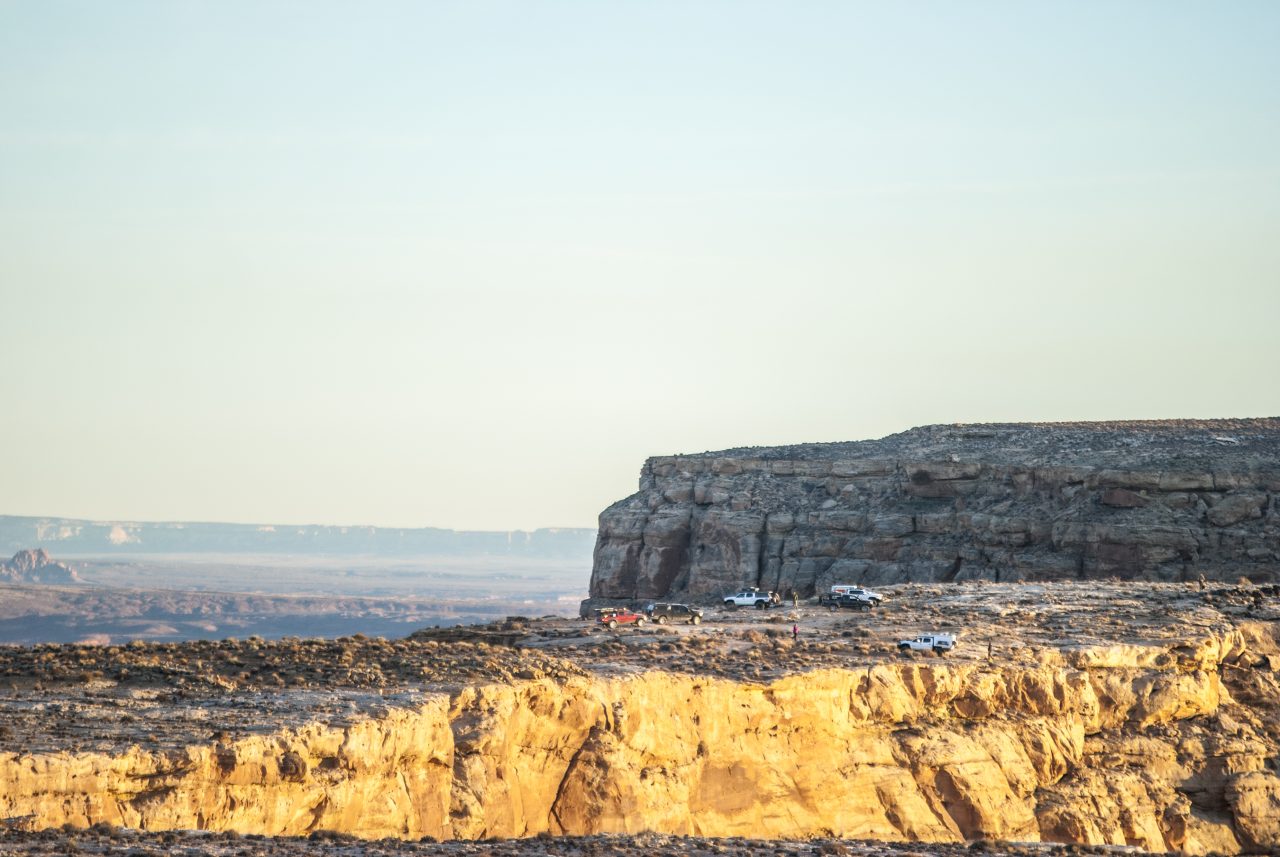
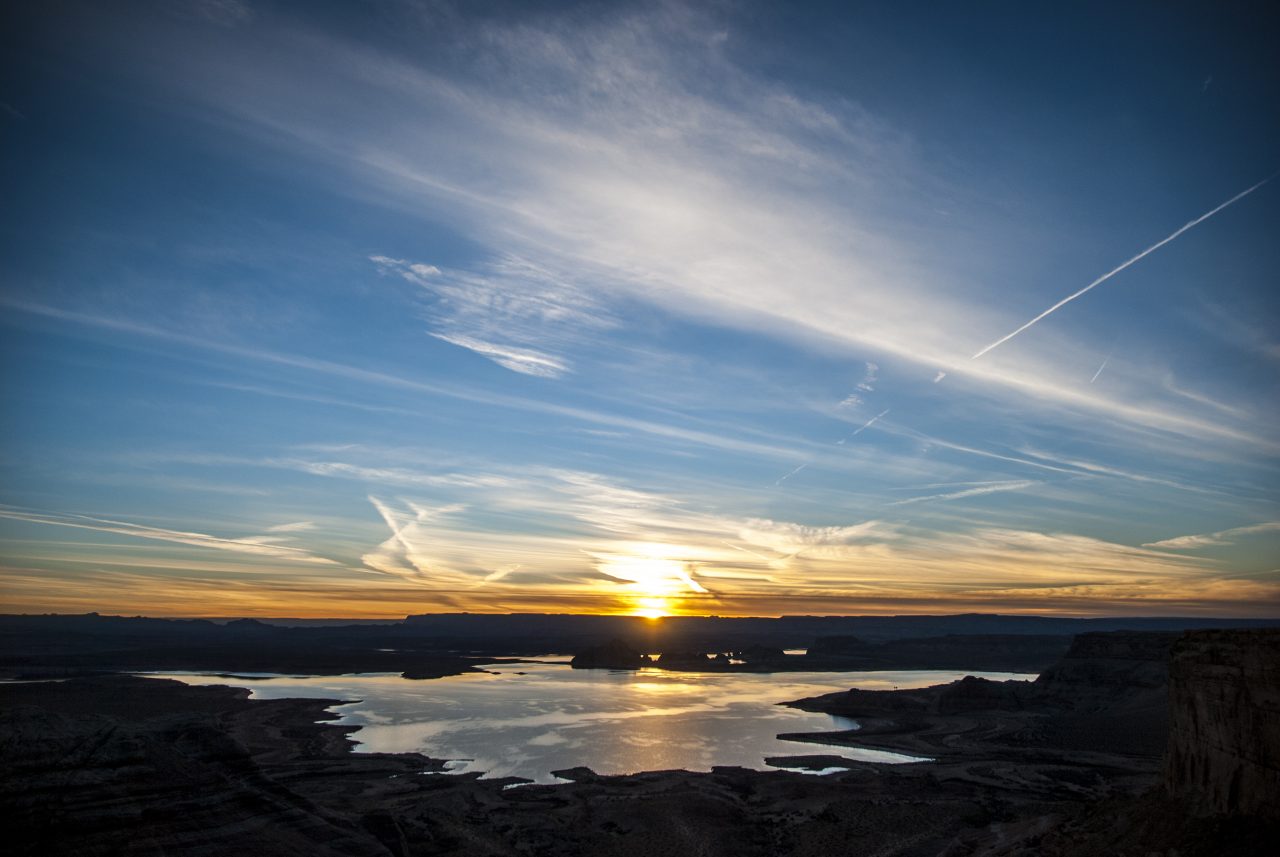
The sun was quickly disappearing beyond the distant horizon and I was pressed to get some photos of this spectacular sunset. With the group at the campsite, I stopped early what would prove to be THE perfect spot to capture the sunset over Lake Powell.
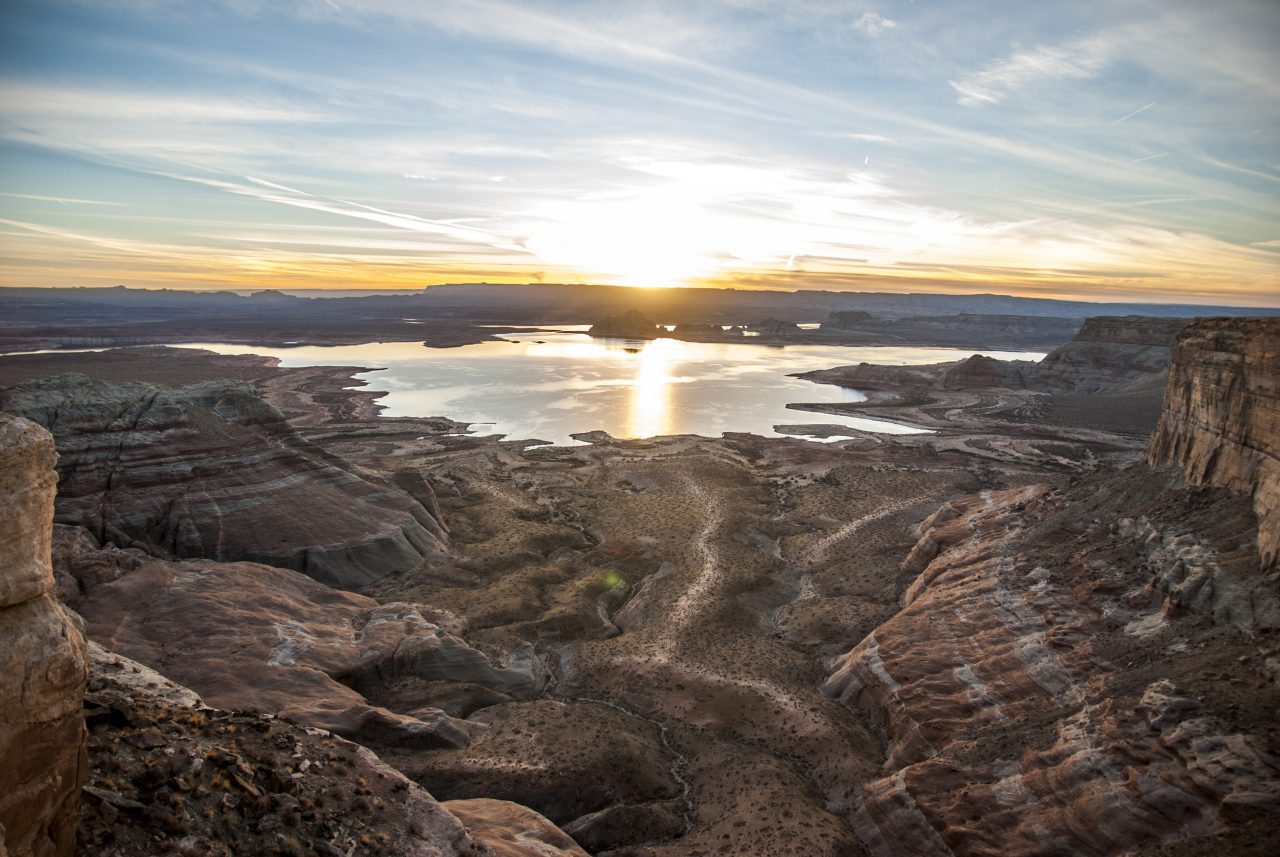
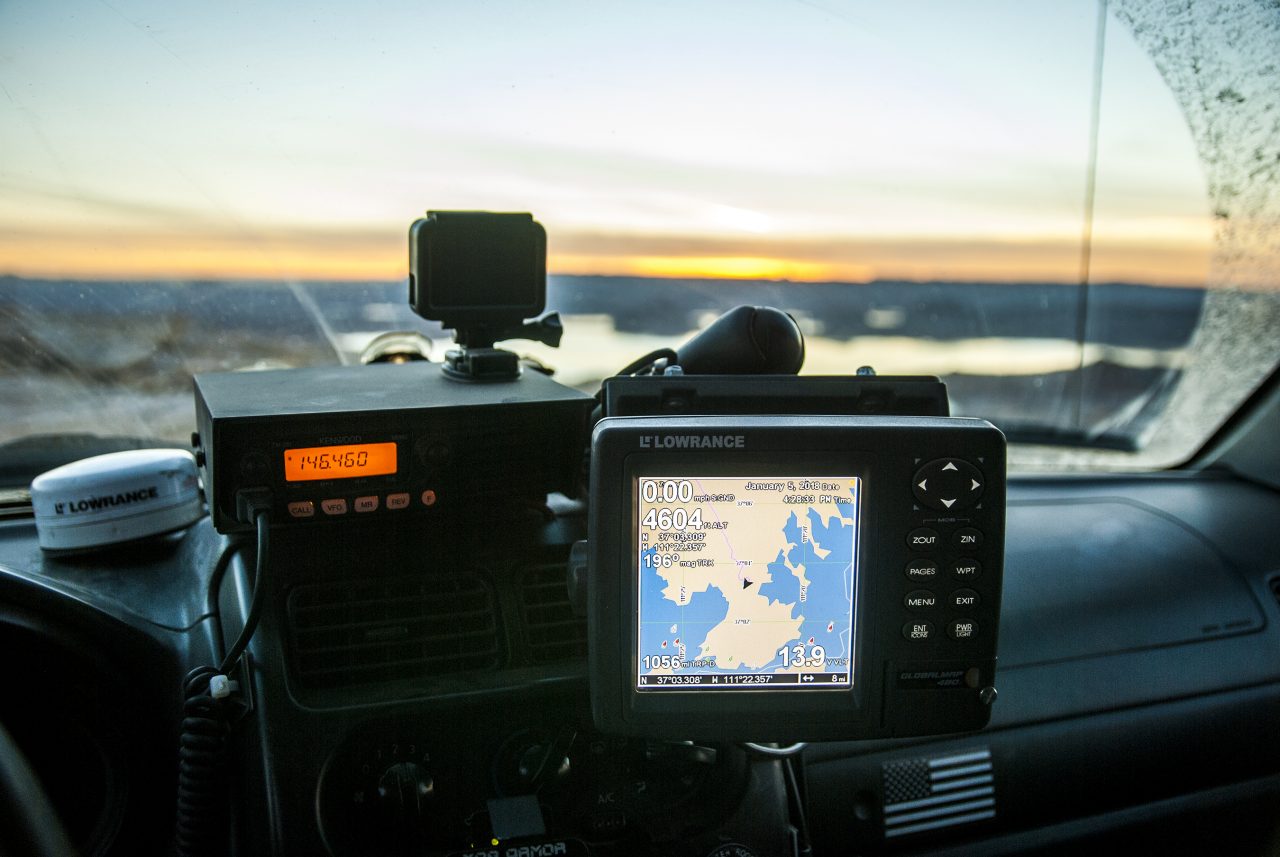
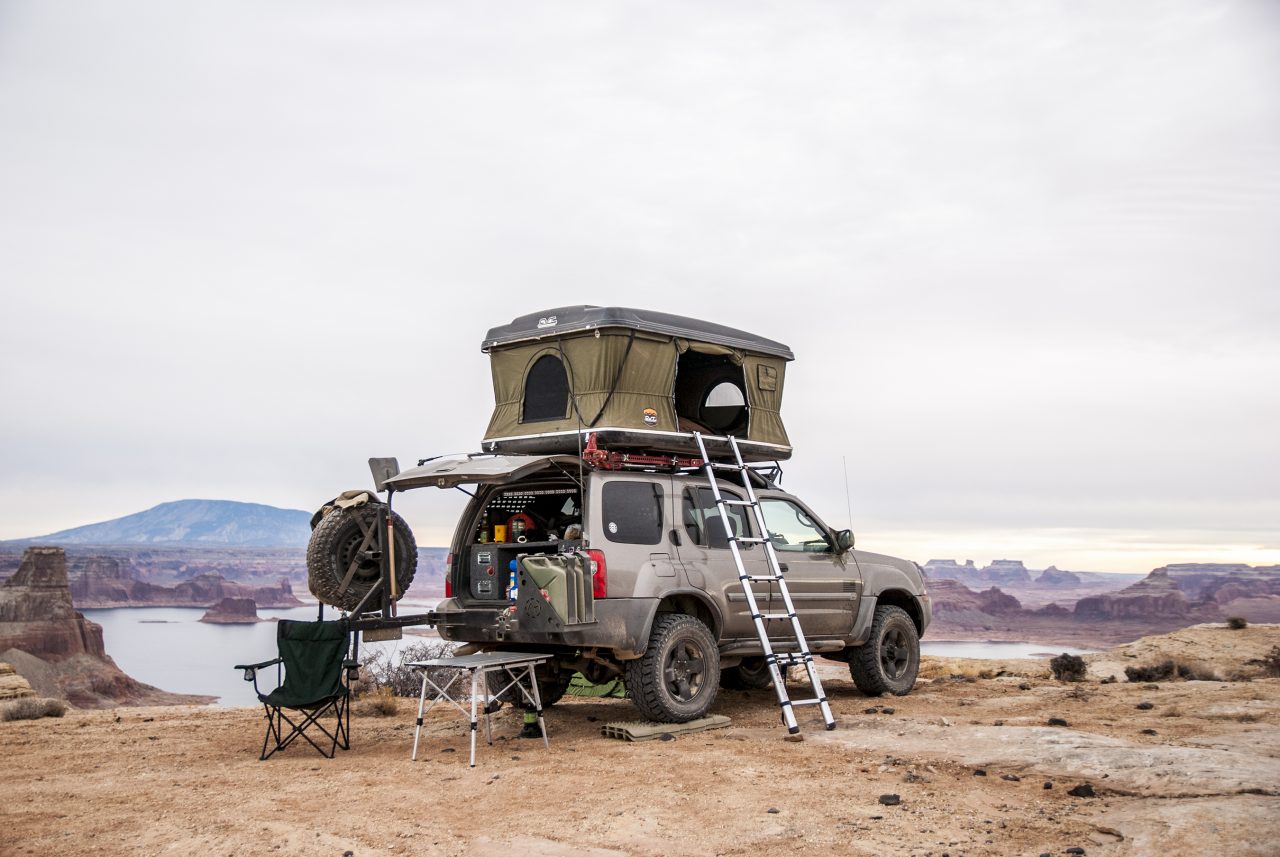
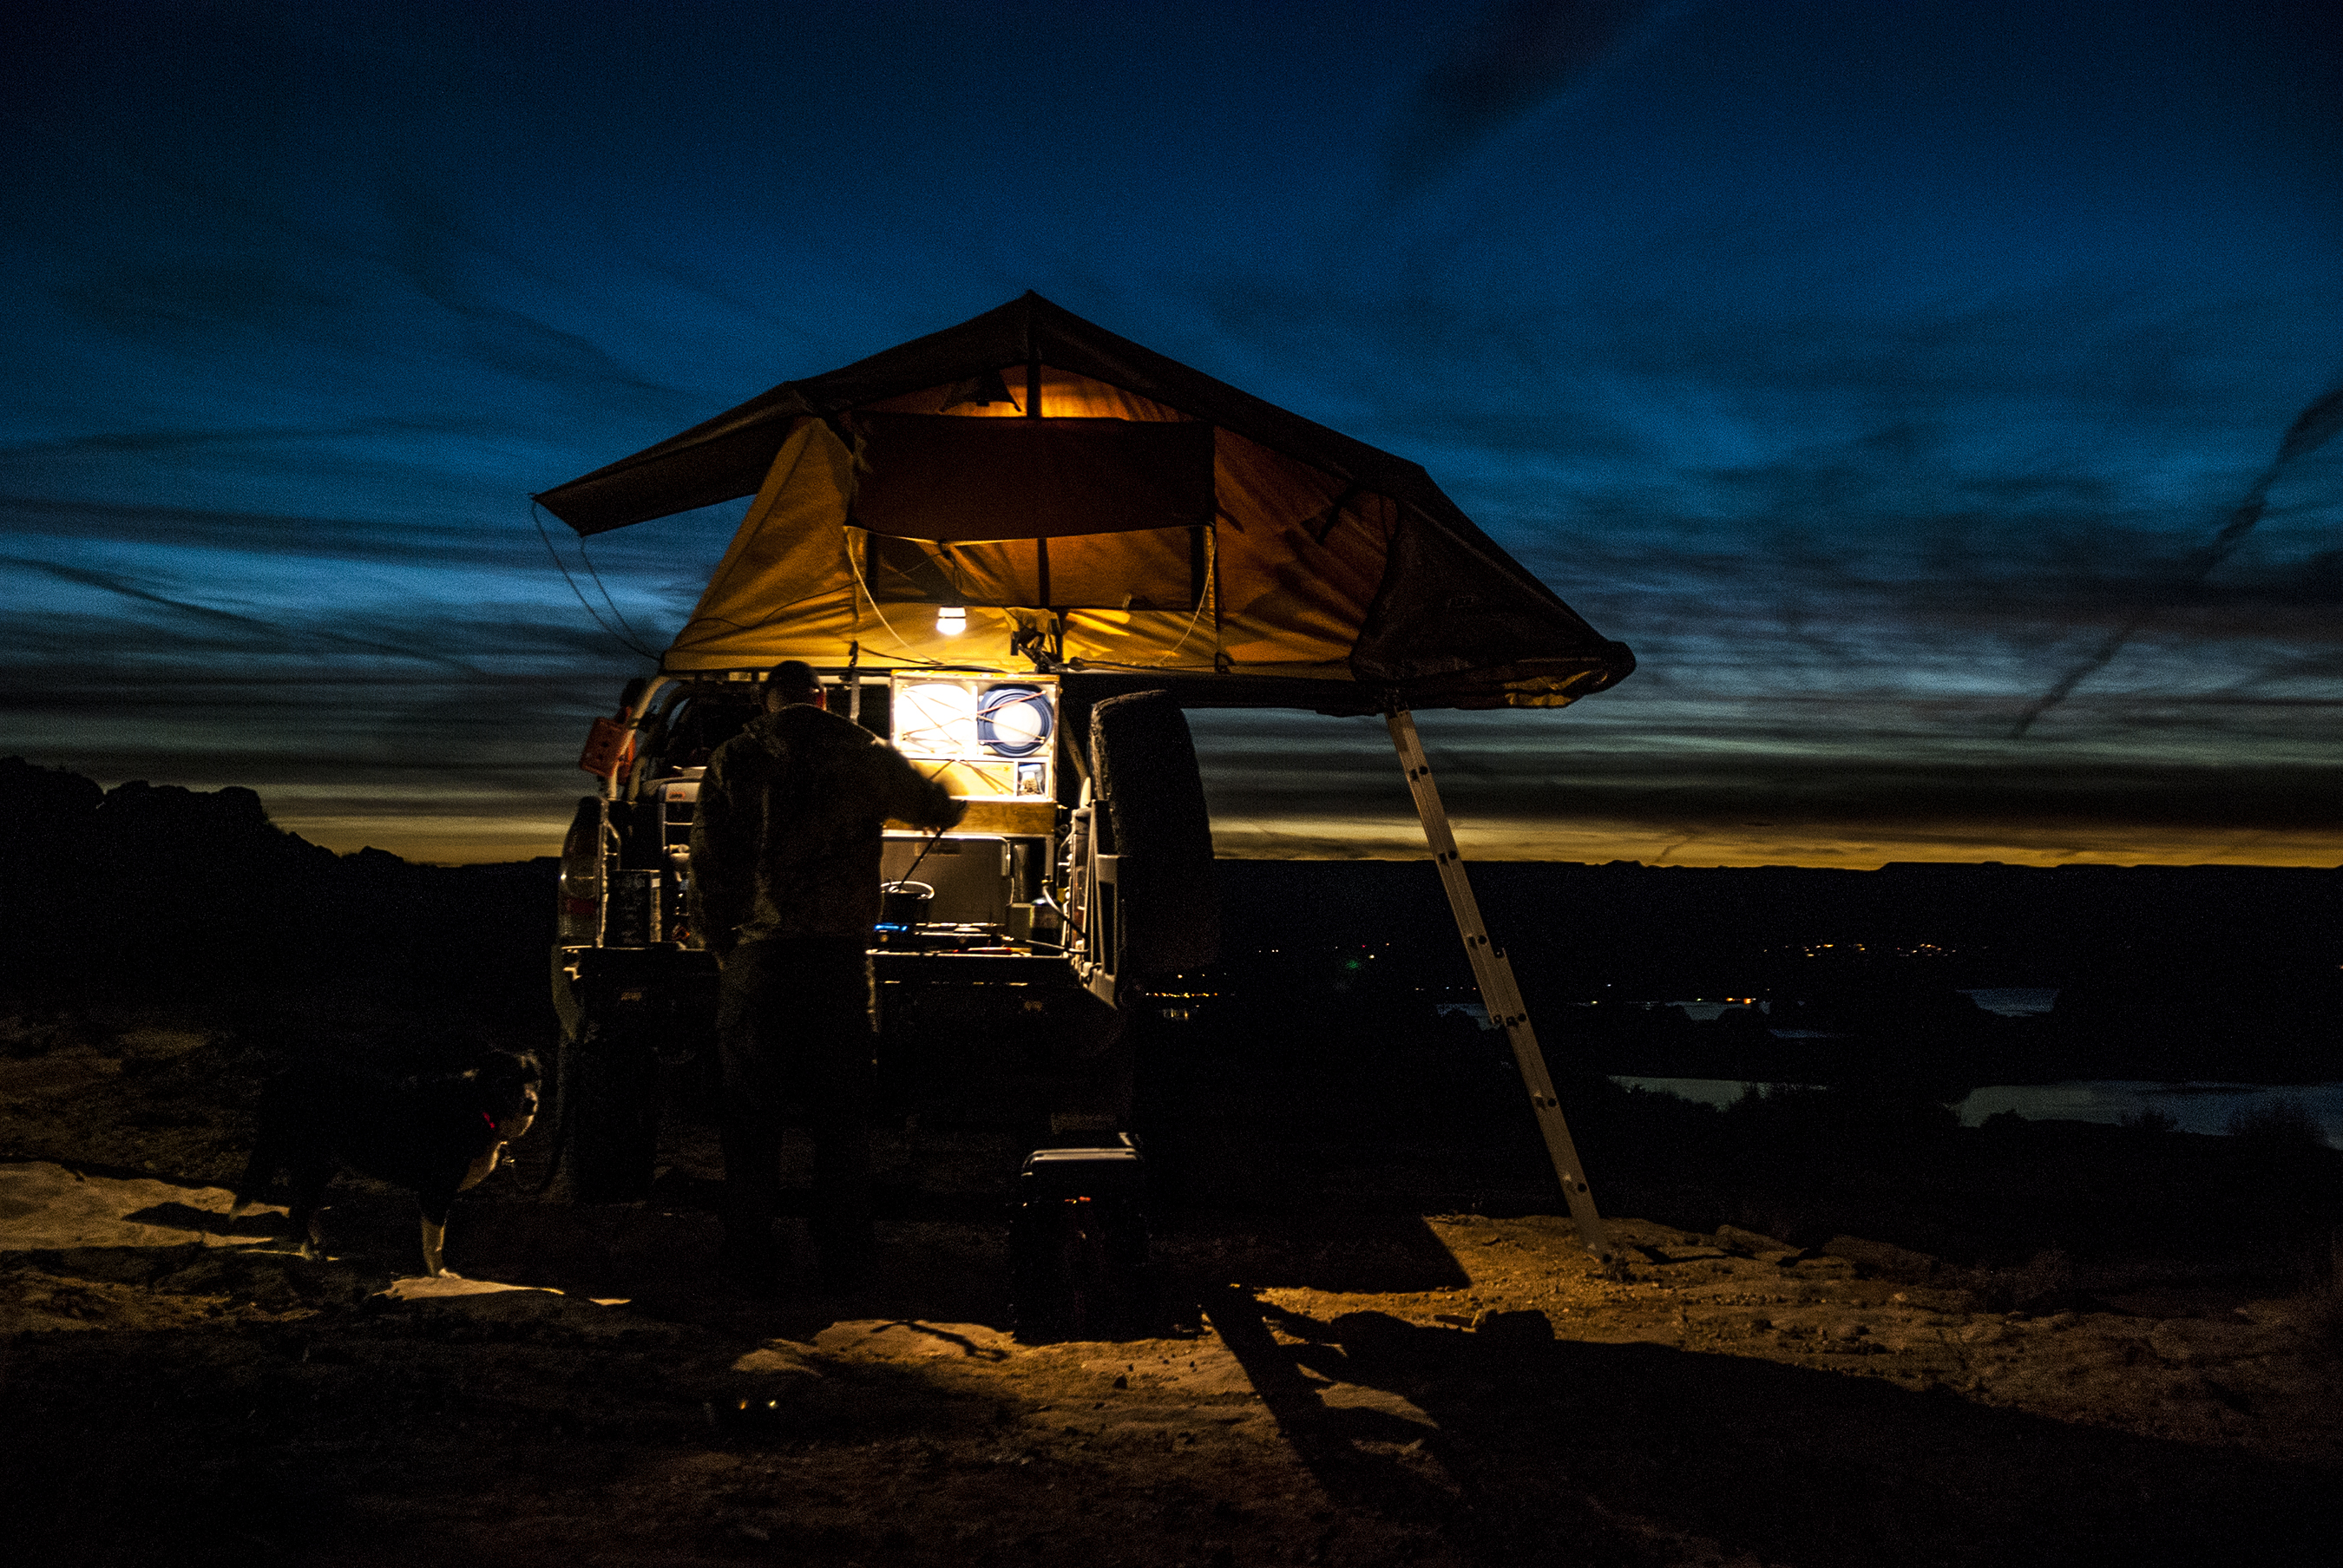
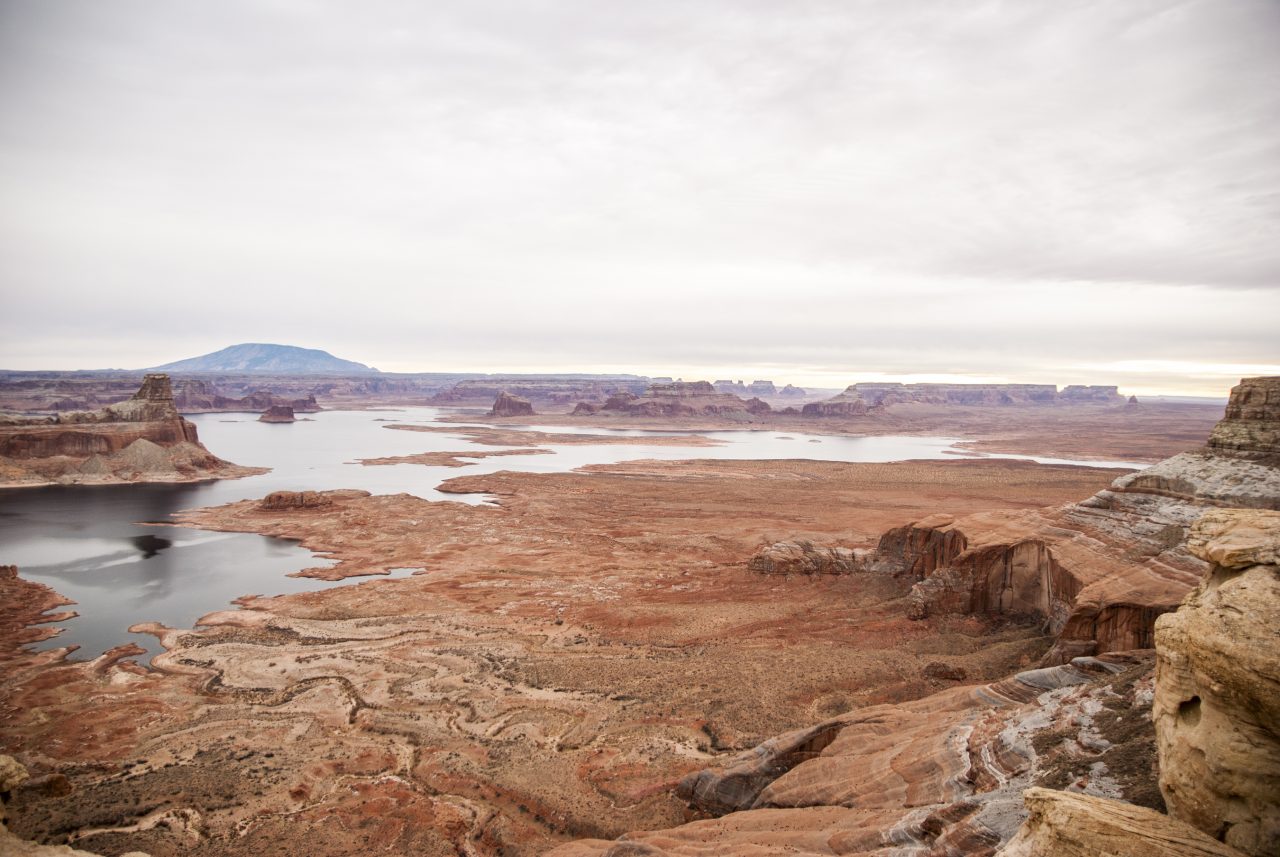
After soaking in the view and with my photos taken, I proceeded to meet the group and find a spot for myself to setup for the night. I was greeted by a 180 degree view of Lake Powell, and even though the water levels were quite low, it was sublime. Everyone else was already set up so I picked a spot right along the cliffs edge to make camp. With the fire burning and dinner made, I was reminded of why we got into all this in the first place.
Day 09

Flagging down Chad in Flagstaff 

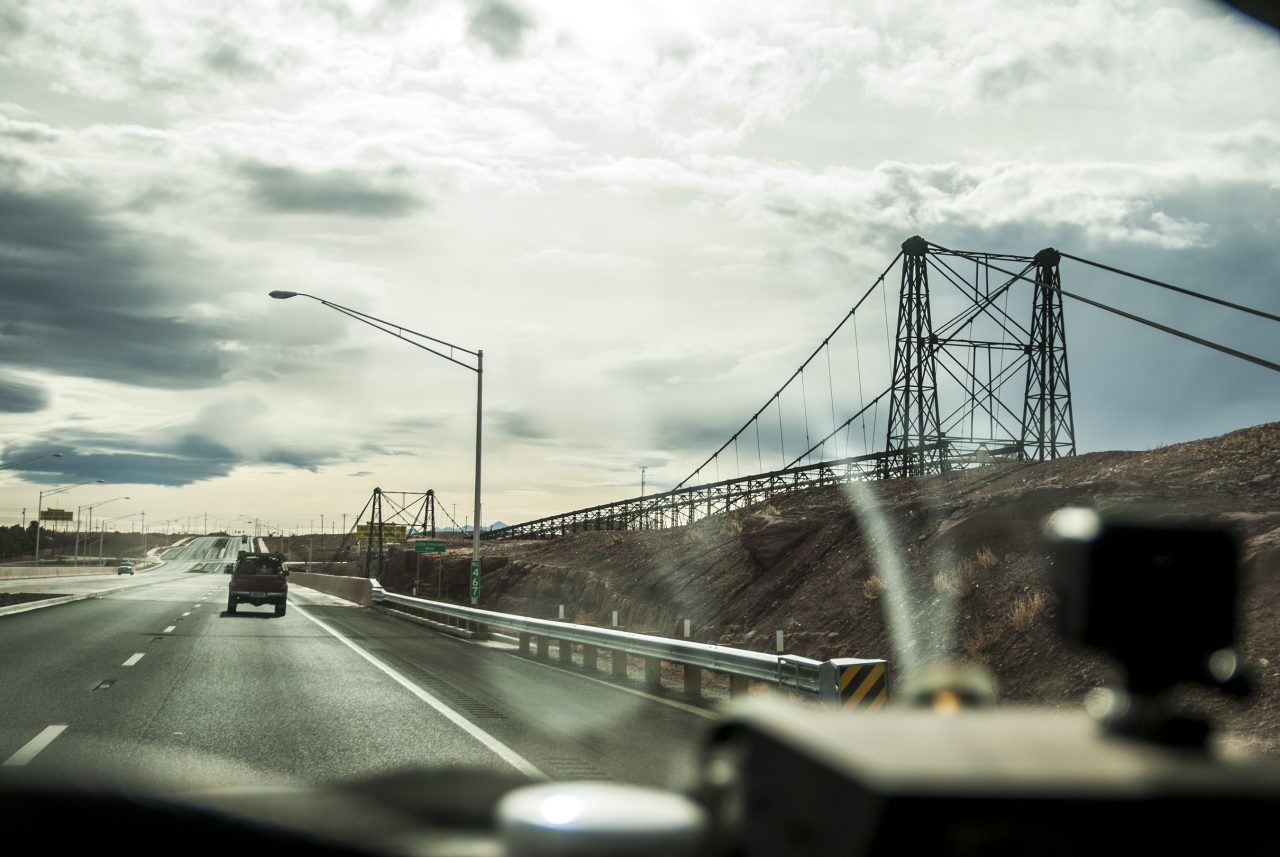
The next morning, our plans involved jamming down to Flagstaff, AZ and linking up with Chad who lives in the area. We didn’t have a tight schedule, so we had a slow start in the morning. This was time off from work and schedules after all. Unfortunately, Andy and Jaxx had to bail early to take care of some business at home, so at the pavement we said our goodbyes and parted ways. Andy headed north while we headed south on Highway 89 .

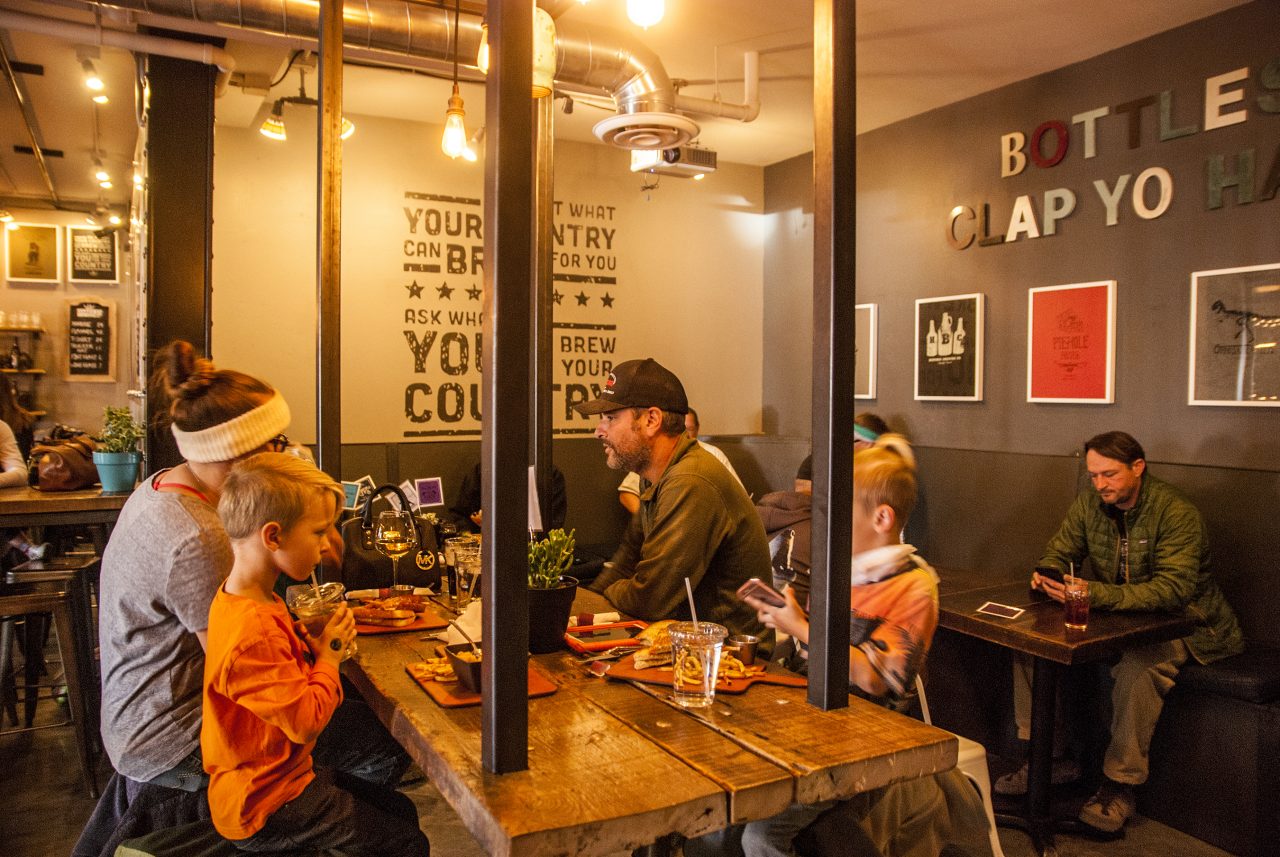
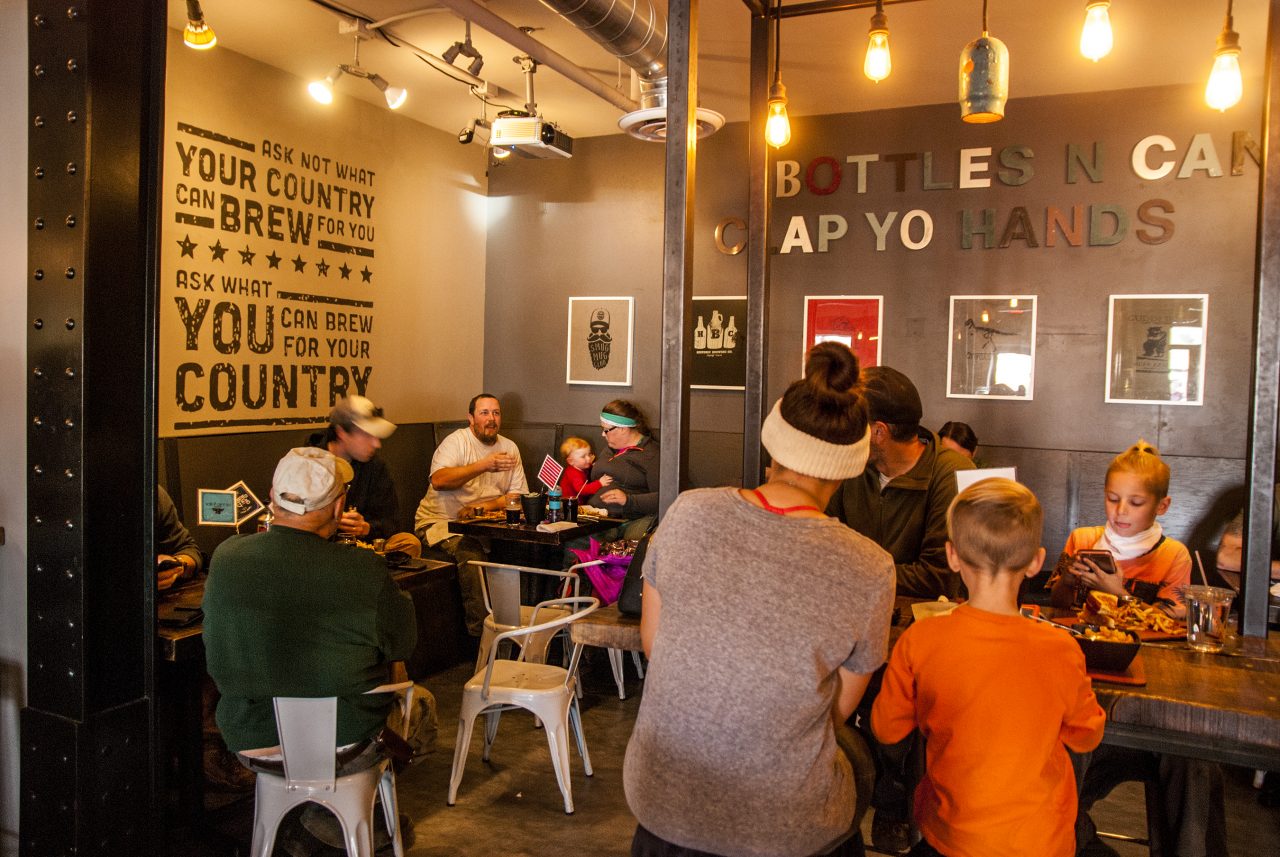
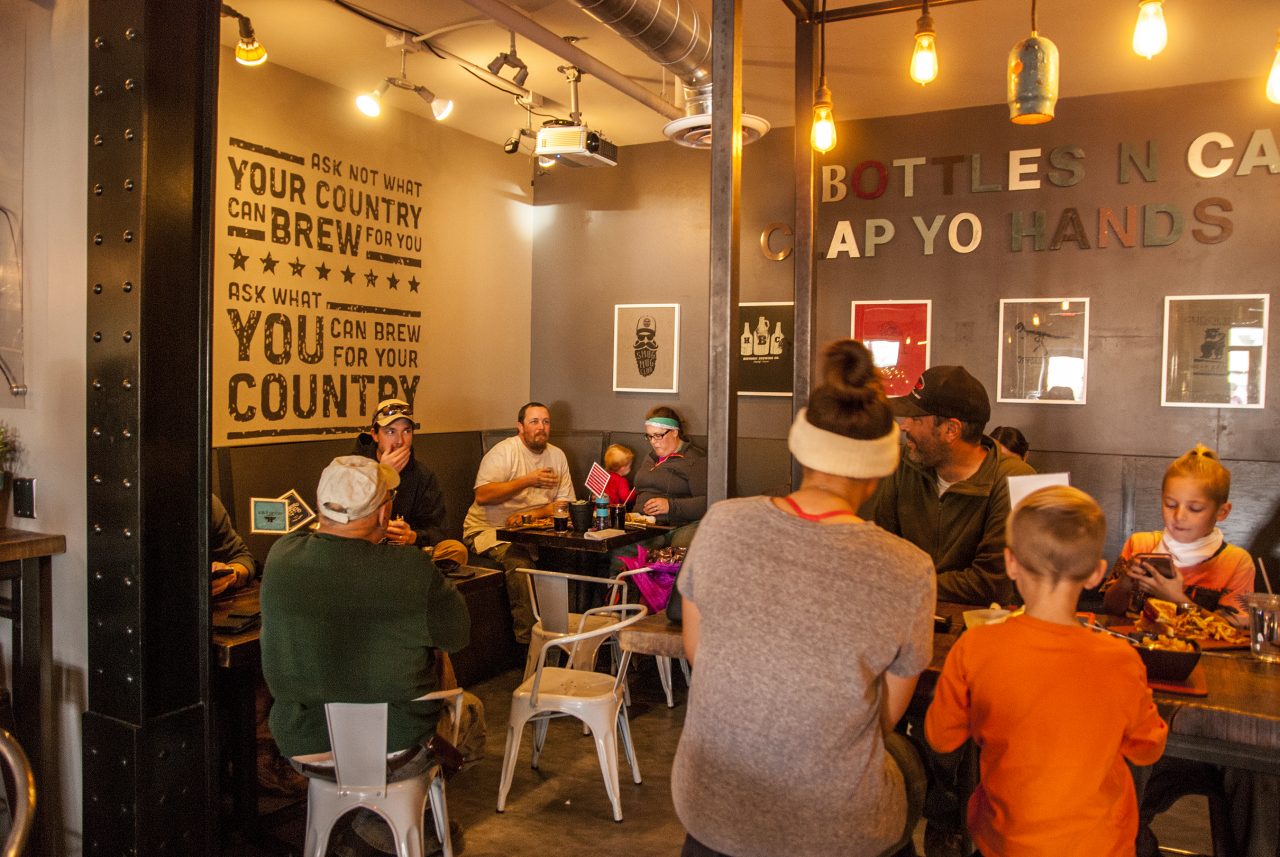
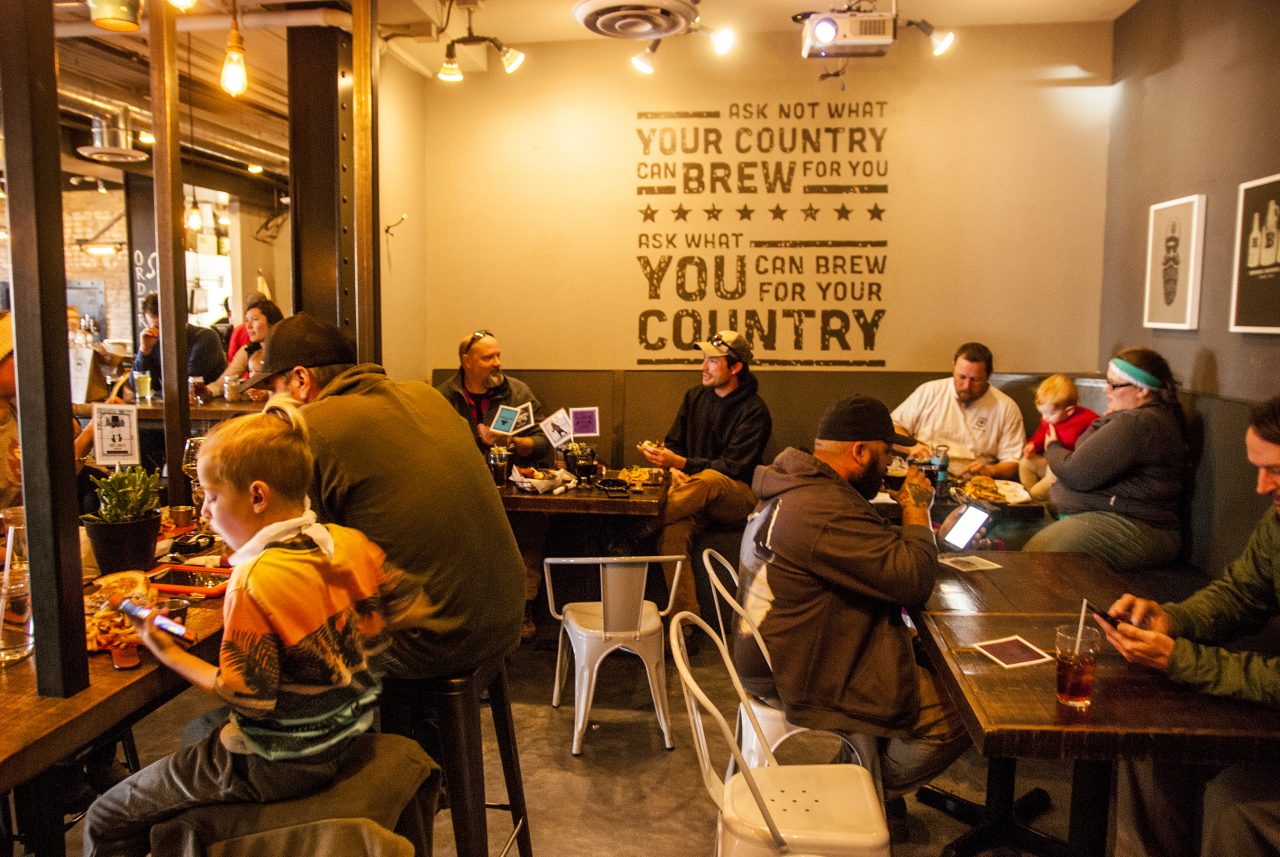
It was an uneventful drive down Highway 89 as we made our way over to Flagstaff. We met Chad at Historic Brewing Company, a pretty cool tucked away spot in downtown Flagstaff with some excellent local brews and food. Somehow everything tasted so good, from the burgers to the fish & chips, and even the brussel sprouts. We stuffed our faces and enjoyed a brew while we discussed the next campsite, where Chad would be joining us. After a break, we decided to restock our supplies, firewood and road snacks while we were there. Chad headed home to gather his things to meet us at our predetermined campsite later on.
 

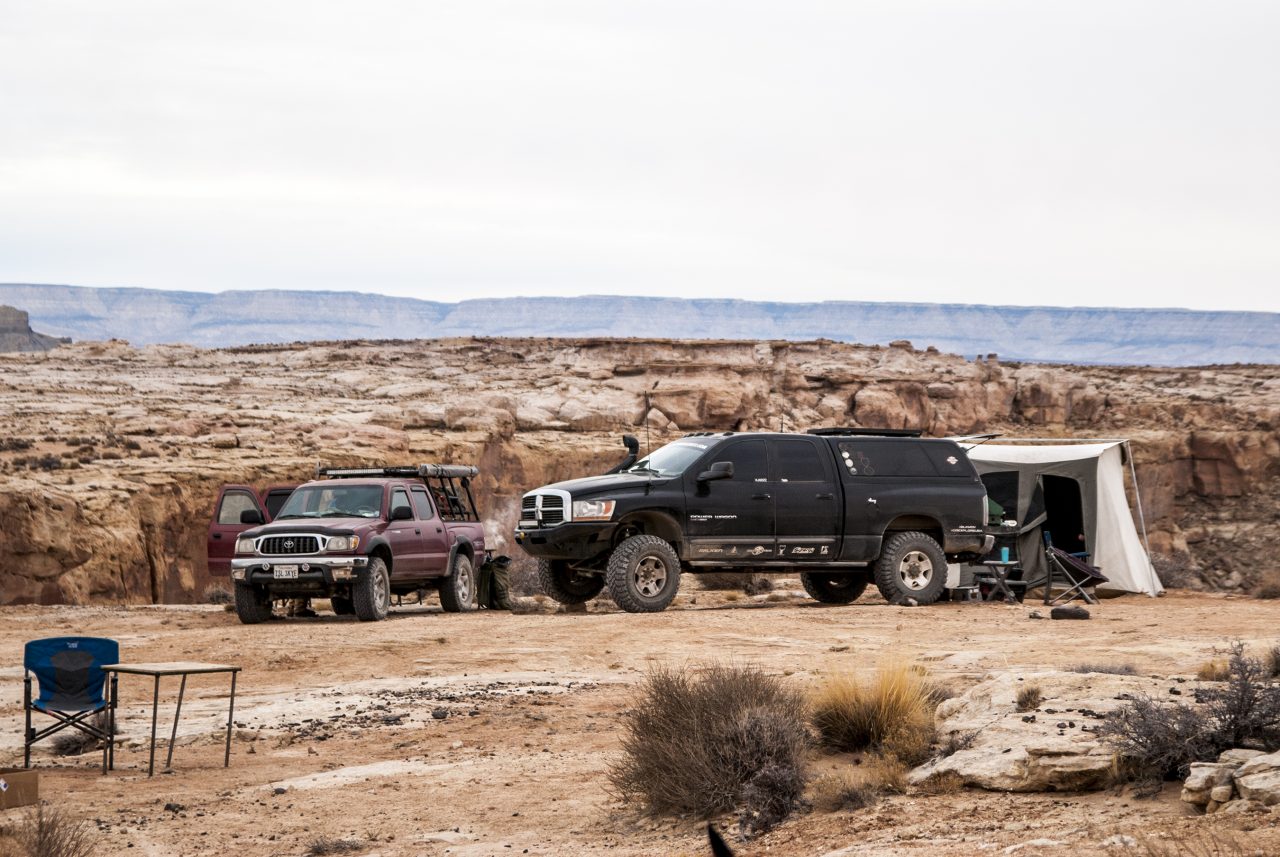
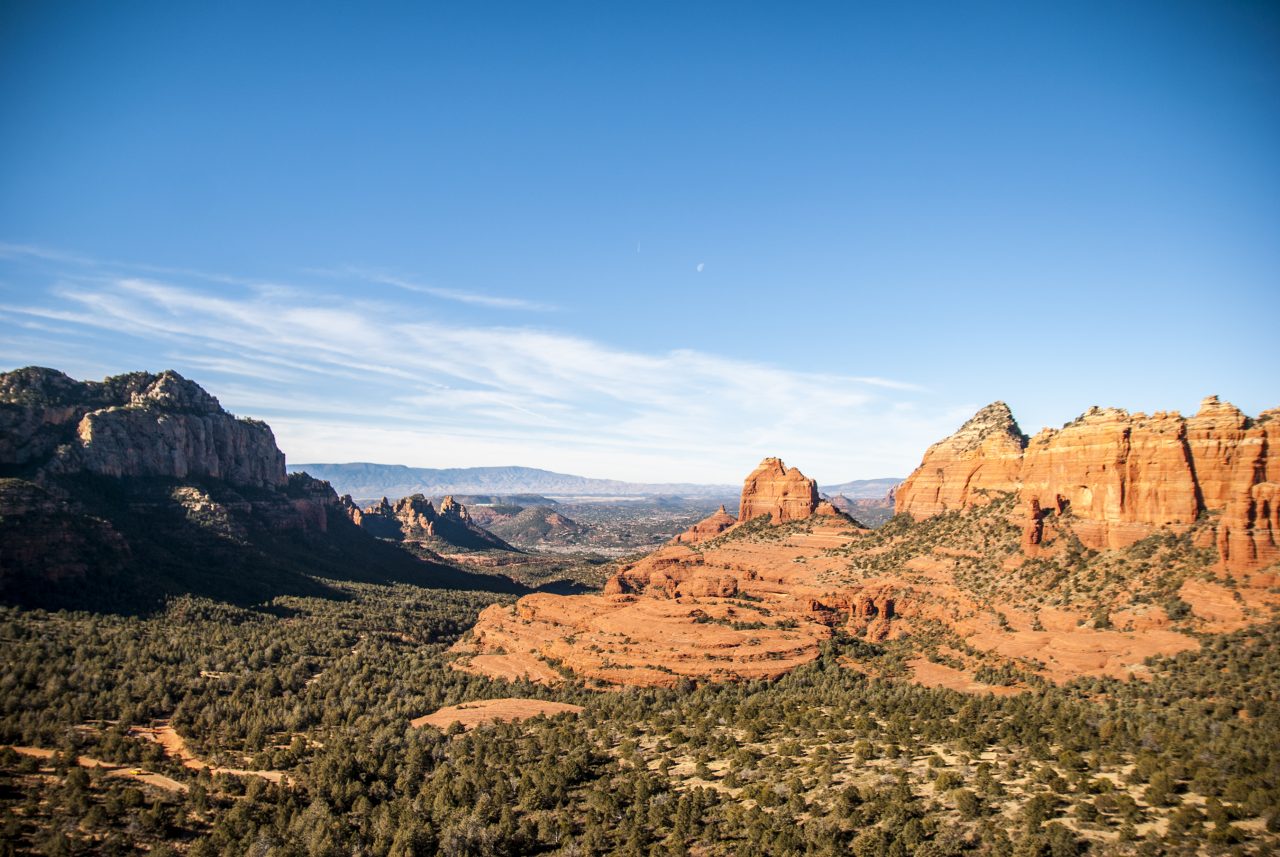
The group headed down Highway 17 with our exit at Schnebly Hill Road, which would be a dirt road that would take us to our campsite with a spectacular view. We traveled along this road passing a few locals already camped out but we found our spot further in and off the main road. This area held another amazing view of the valley below with the city of Sedona off in the distance. We found our spots for camp along the rocky ridge and settled down. Chad joined us just in time for the campfire. Games and drinks were had, and another entertaining and joyous night fell upon us. Great times with great friends.

Day 10

The Long Road Home

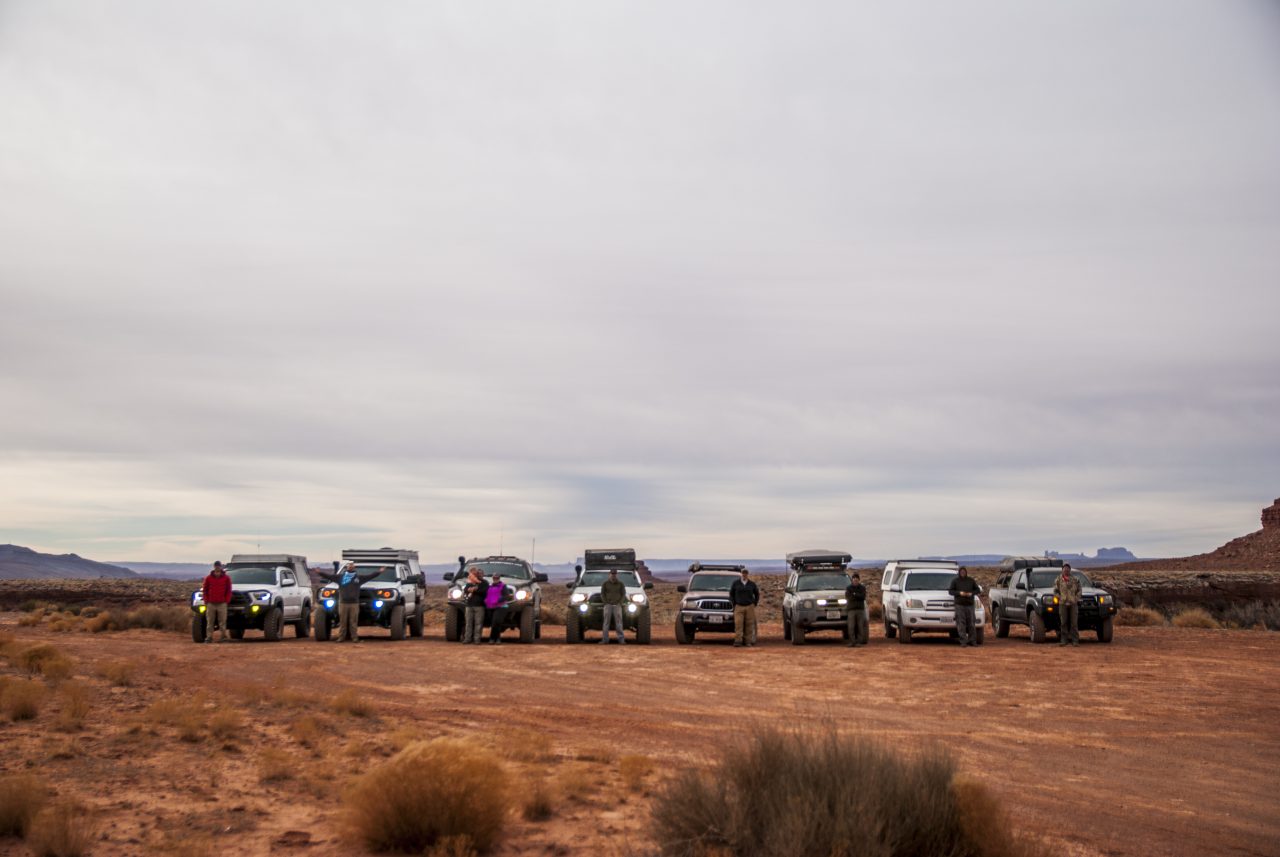
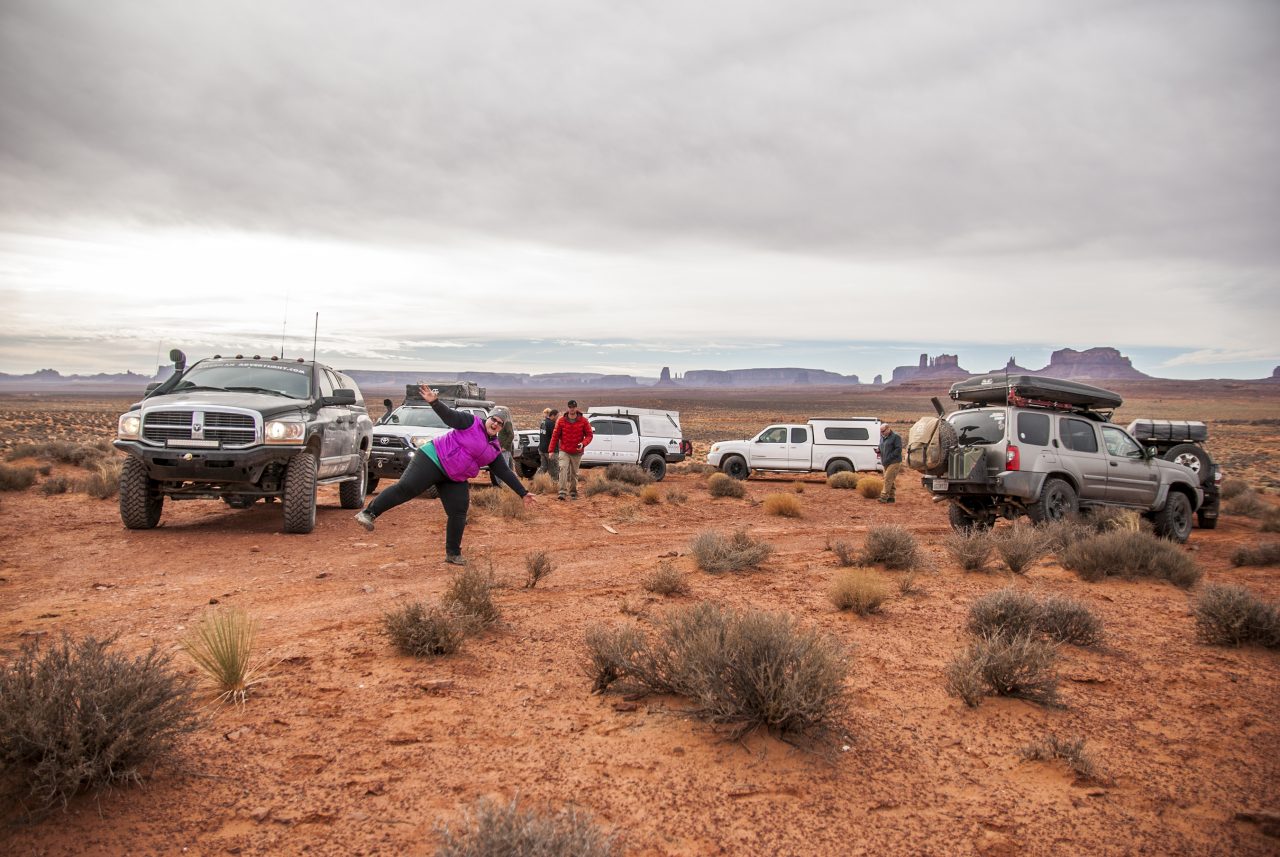
Our final morning in camp was a slow start, and the cleaning up from the meal from the night before needed to be completed. Once we had ensured that we had left no trace of our being there, we packed up and began the long journey home. The main group decided to grab breakfast in Sedona while I had to head home. As we made our way down to civilization, we stopped to take one last group photo at the base of the mountain.

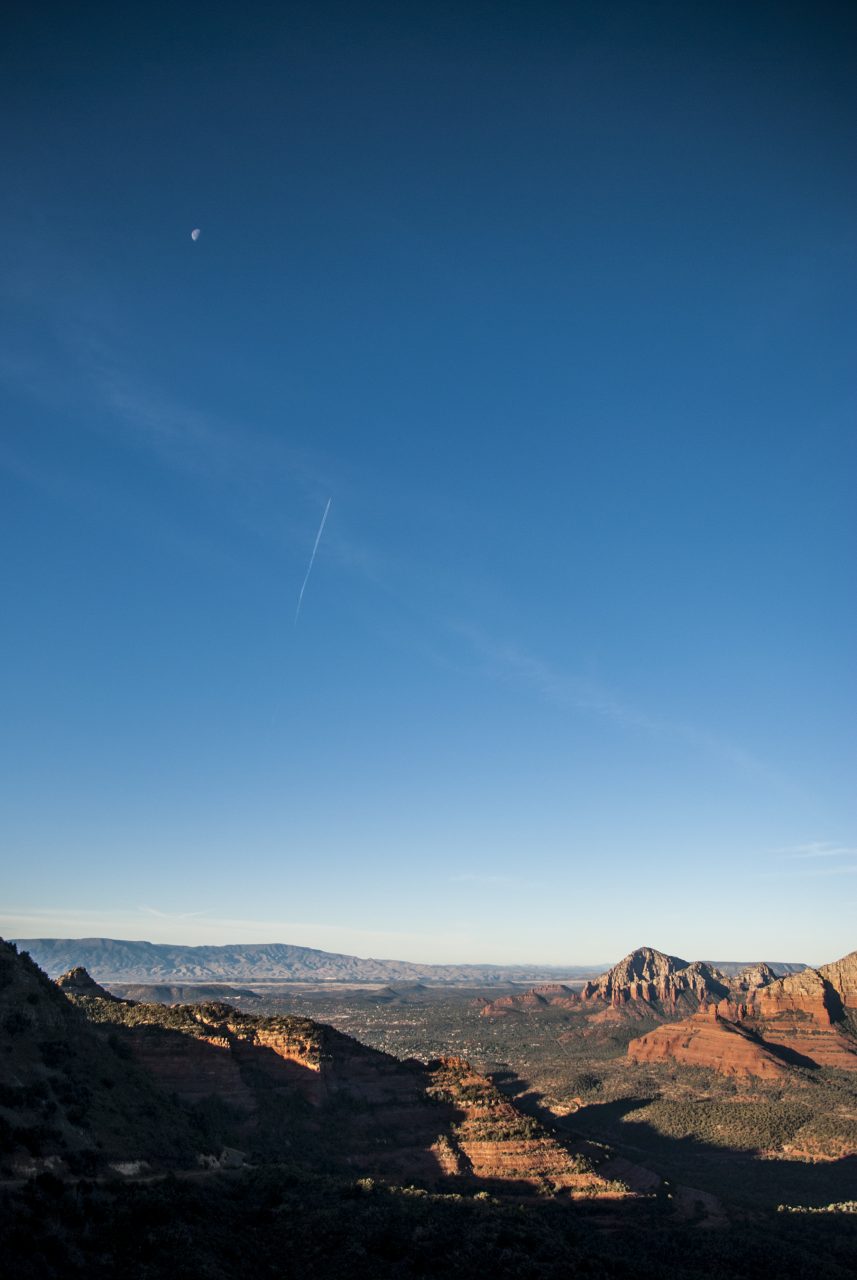

Until our next big adventure… Thanks for reading!

All photos in this 3 part series were taken with my old and battered Nikon D80 with the following lenses:

Sigma 17-55mm f2.8 and Sigma 70-200mm f2.8.
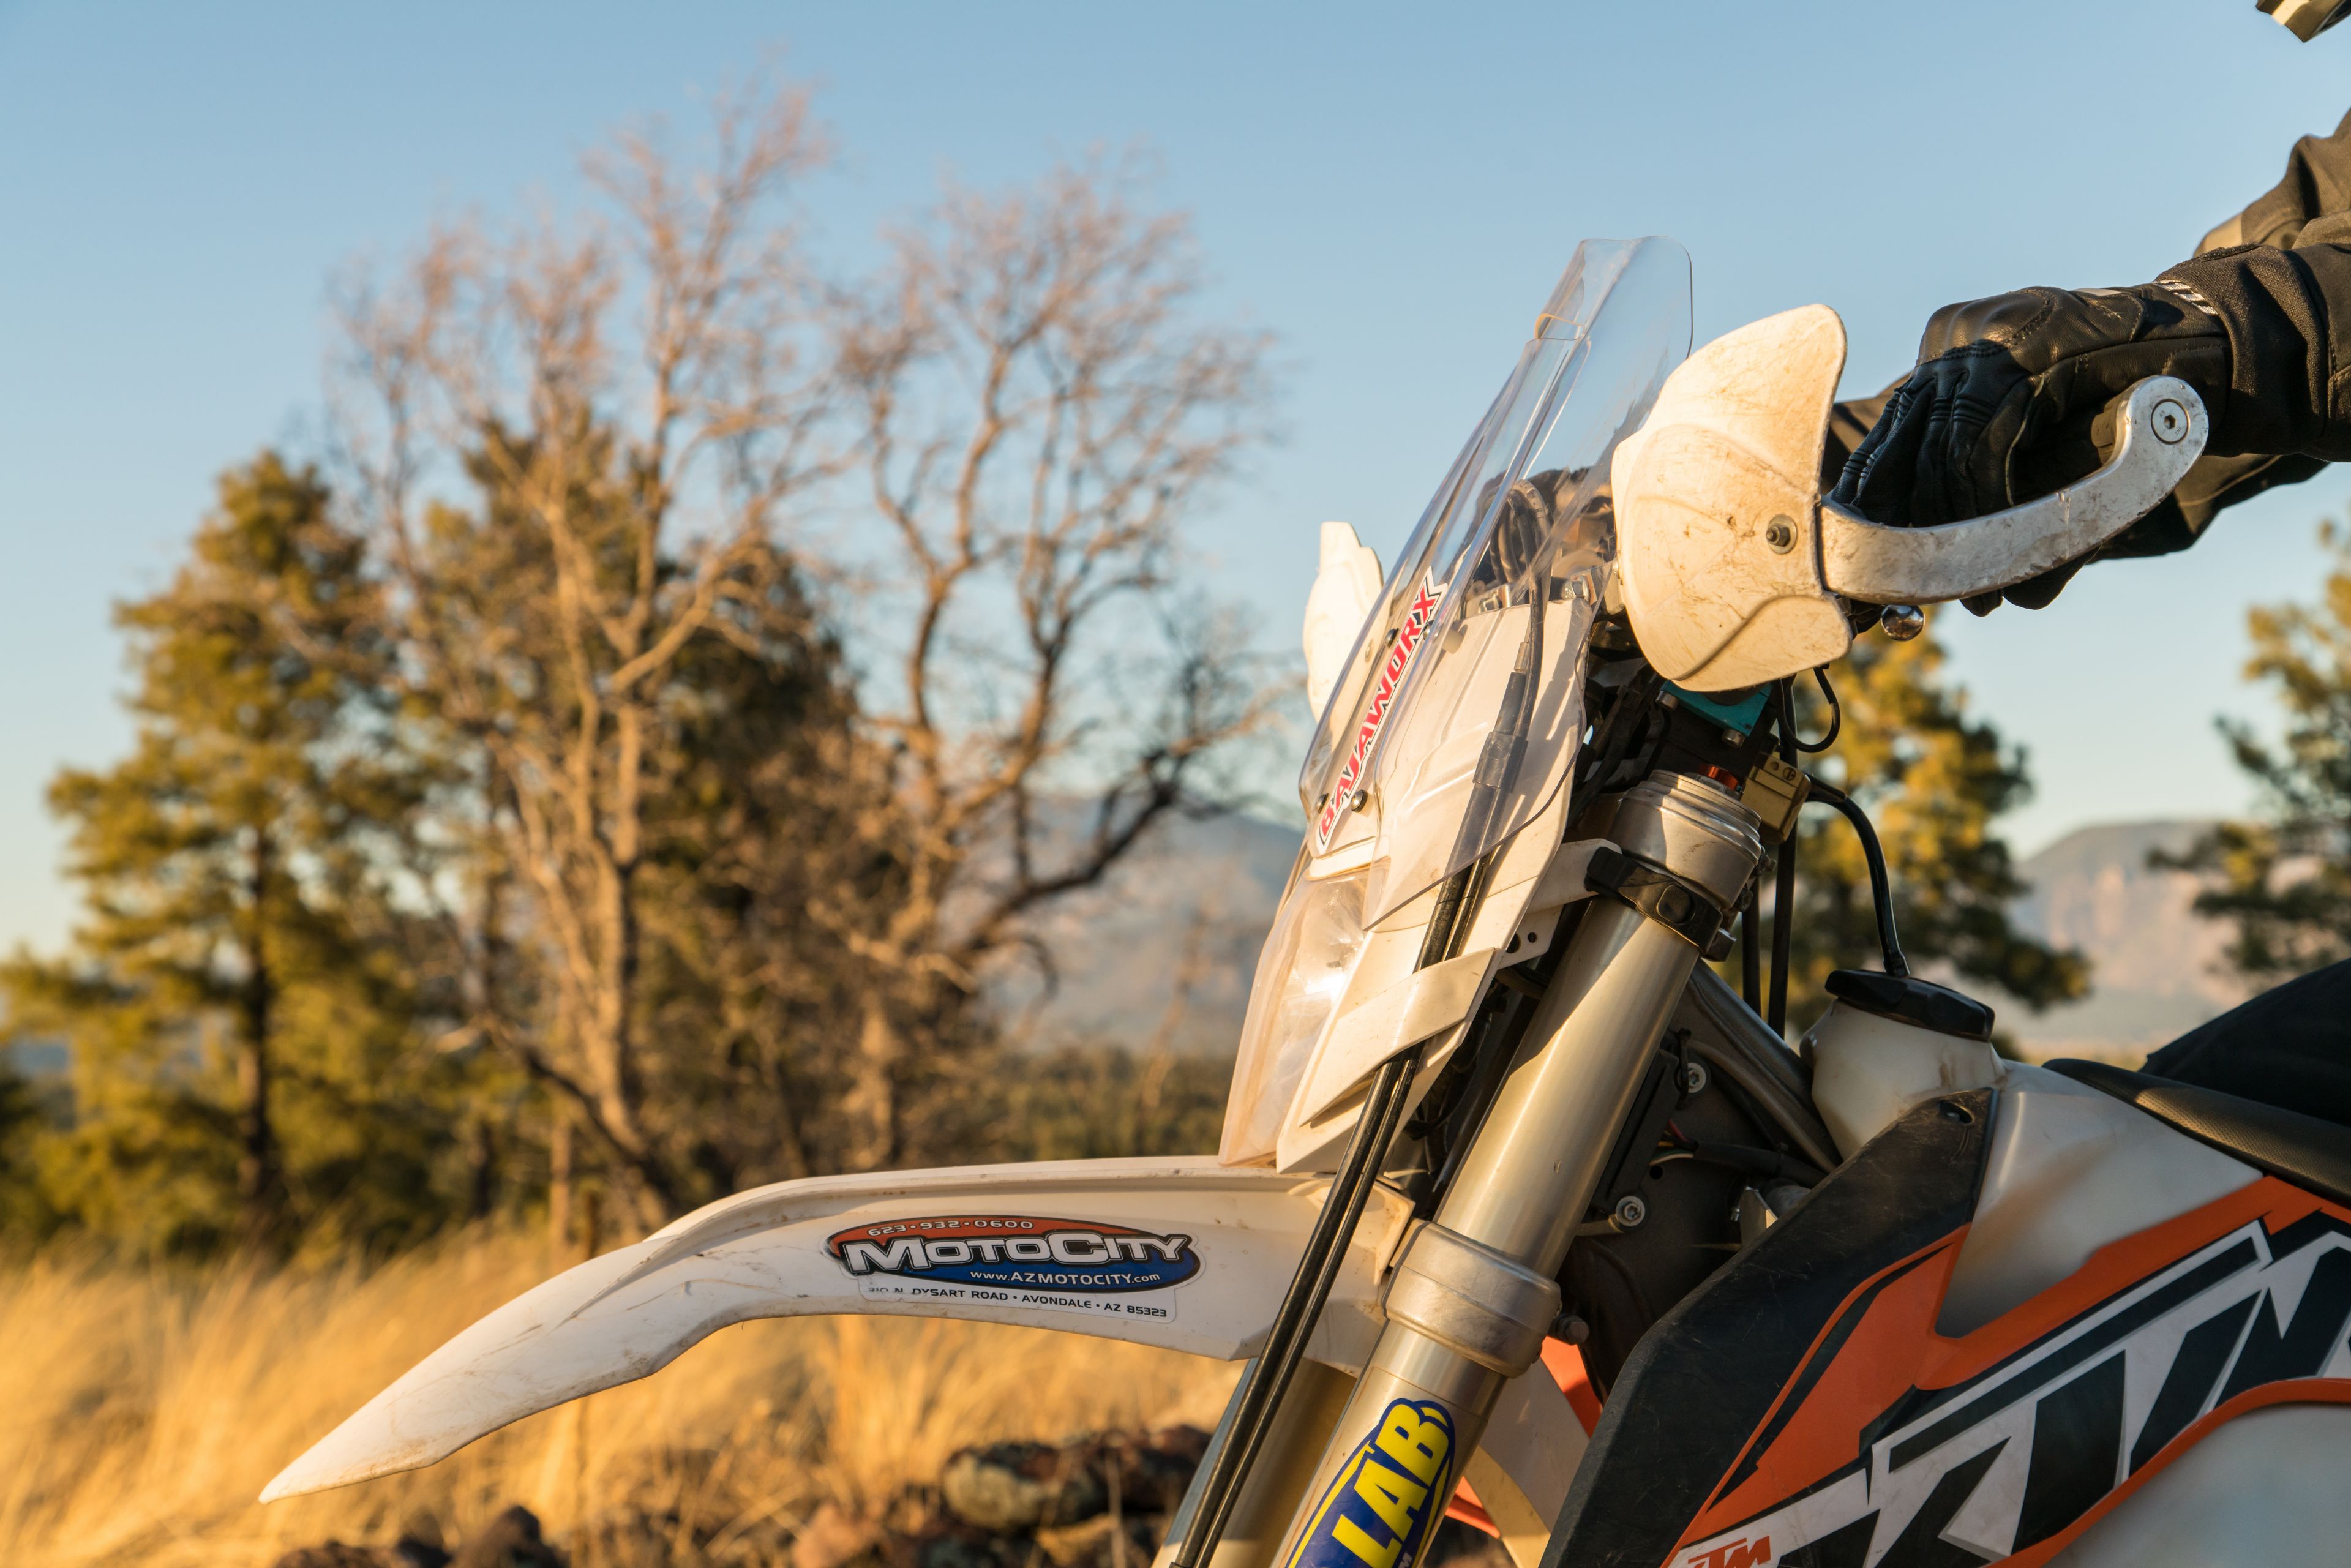
Bajaworx Enduro Windshield

While reading the internet one day, I came across a post from Bajaworx seeking testers for an Enduro bike windshield.  Bajaworx was looking for folks to give their product some real world testing, and to put it through the ringer to see how performed and held up to months of riding.  I promptly replied to the post, and a few days later I received a neat, tidy package in the mail.  Like the proverbial porridge, the box was not too big, not too small, but just right.  Maybe it’s just me, but it really irks me when I get a pair of gloves shipped in a box you could live out of.  No, Amazon, I did not like your packaging.

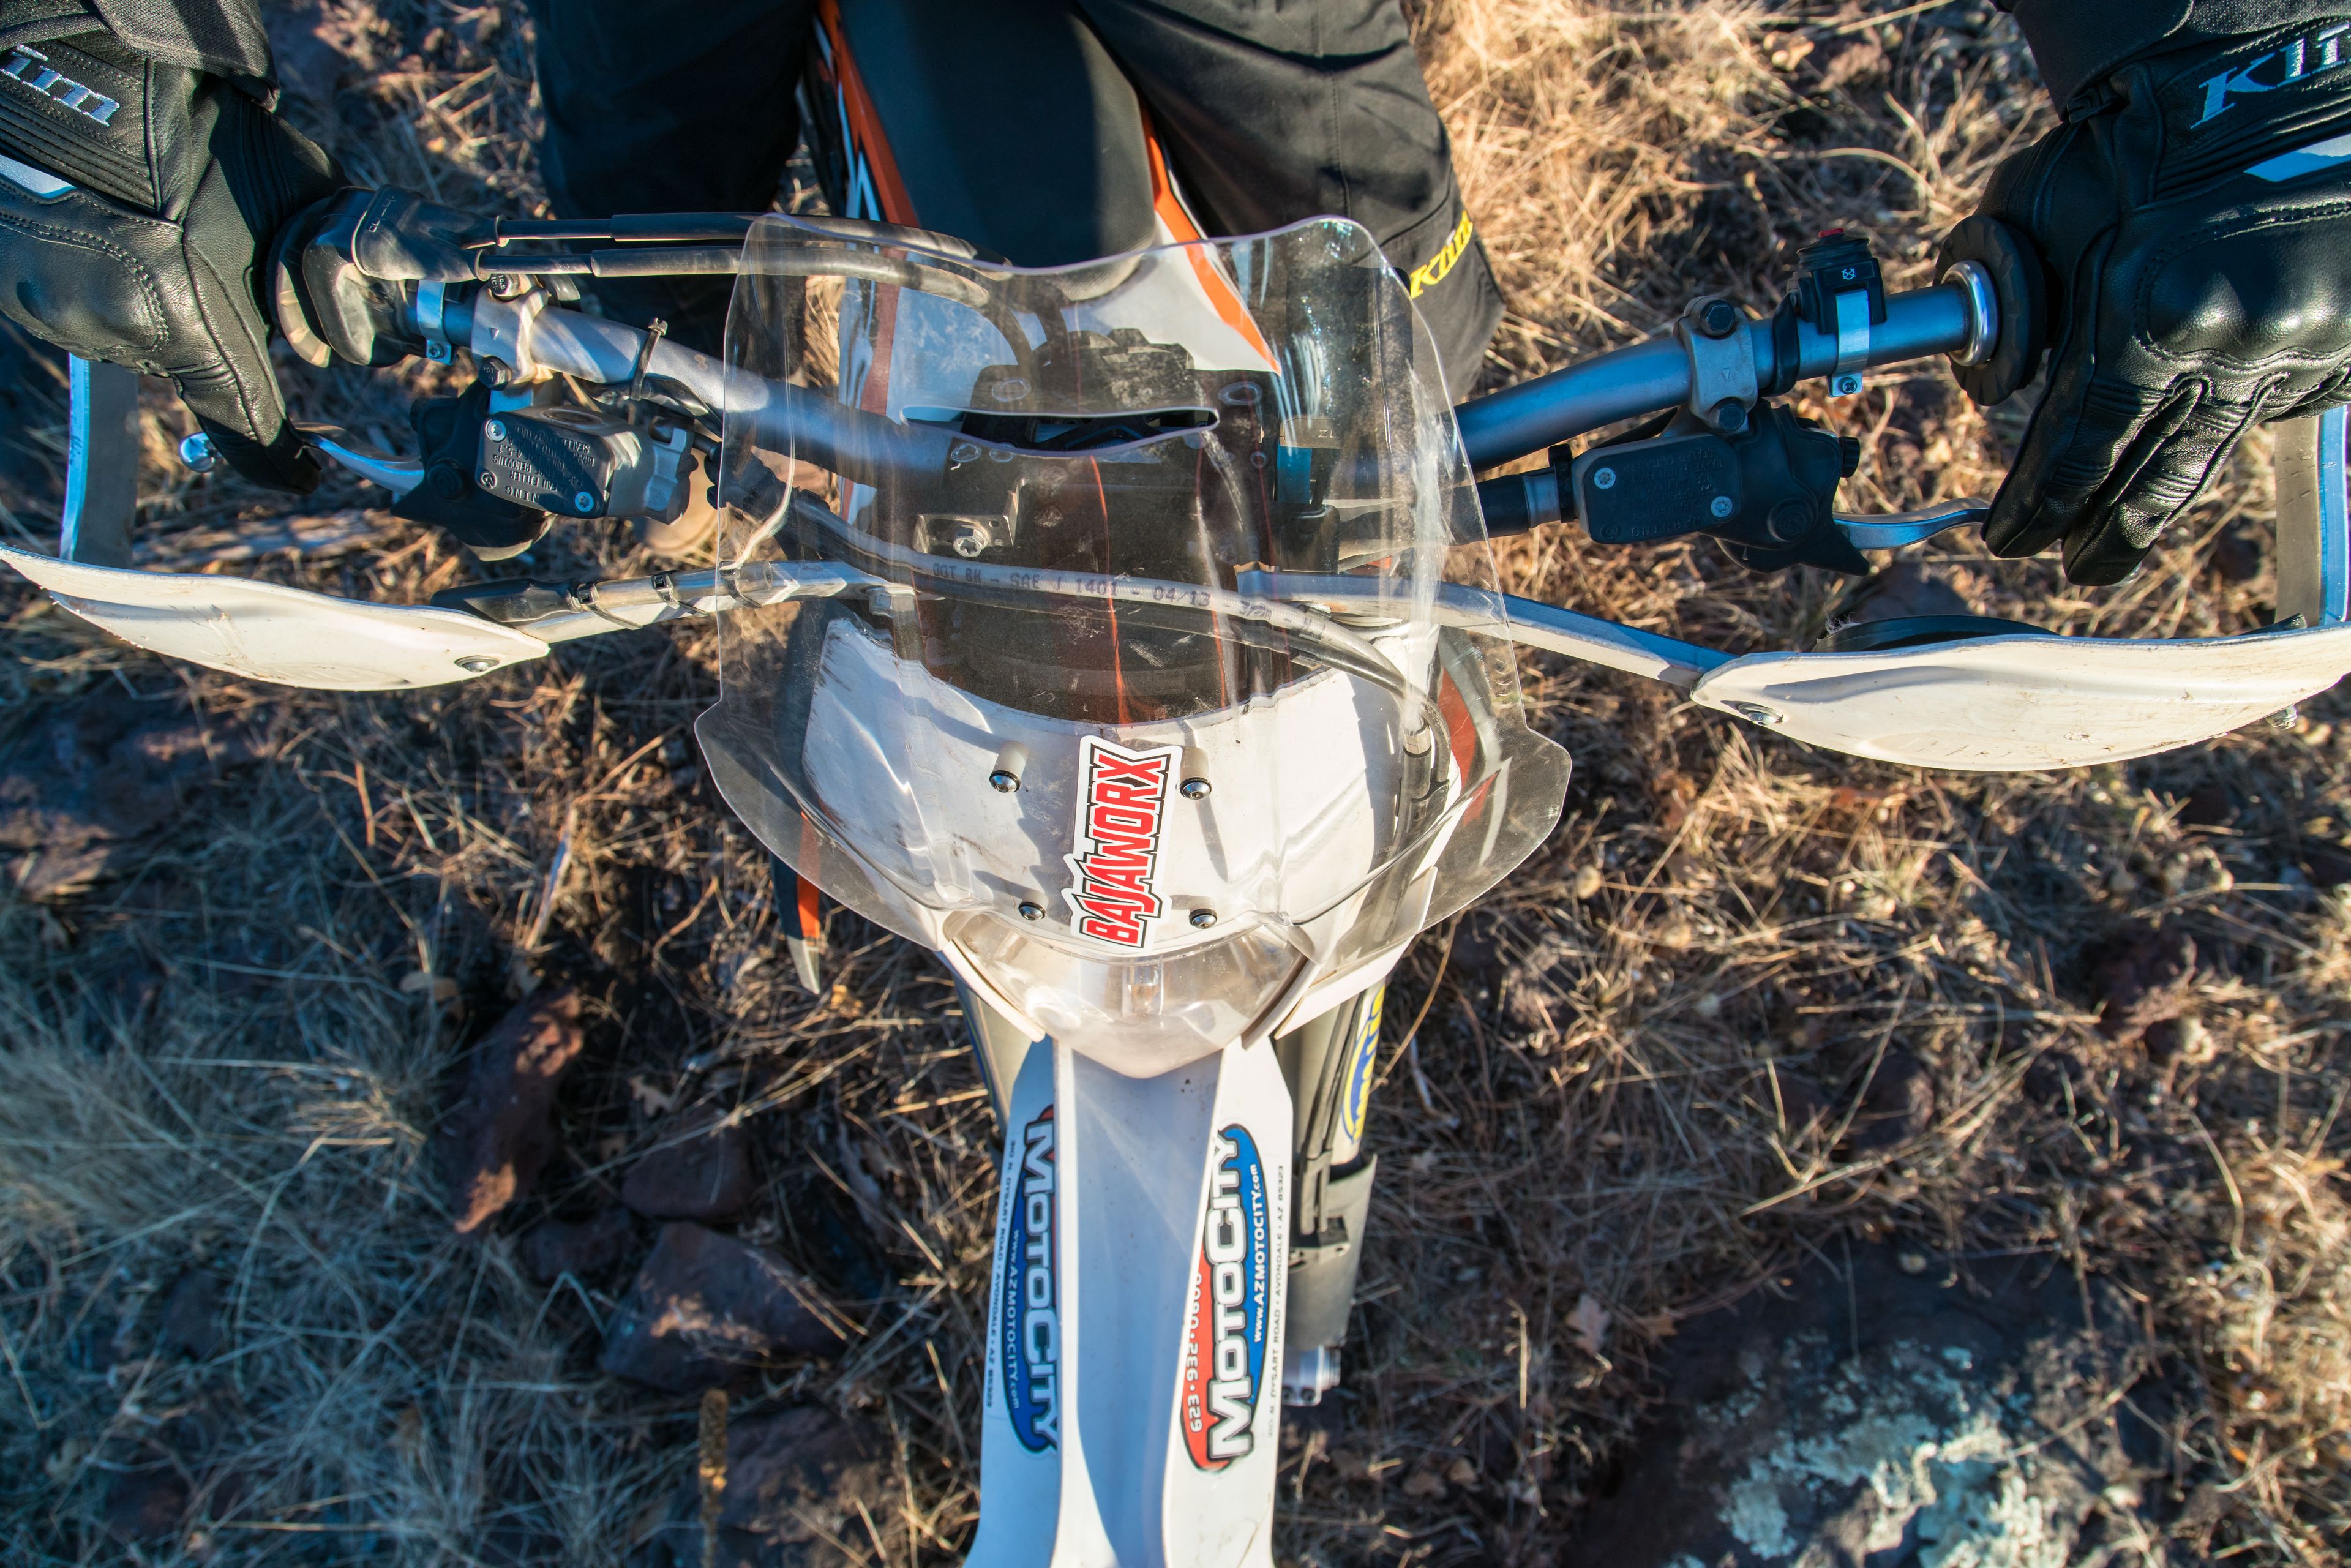
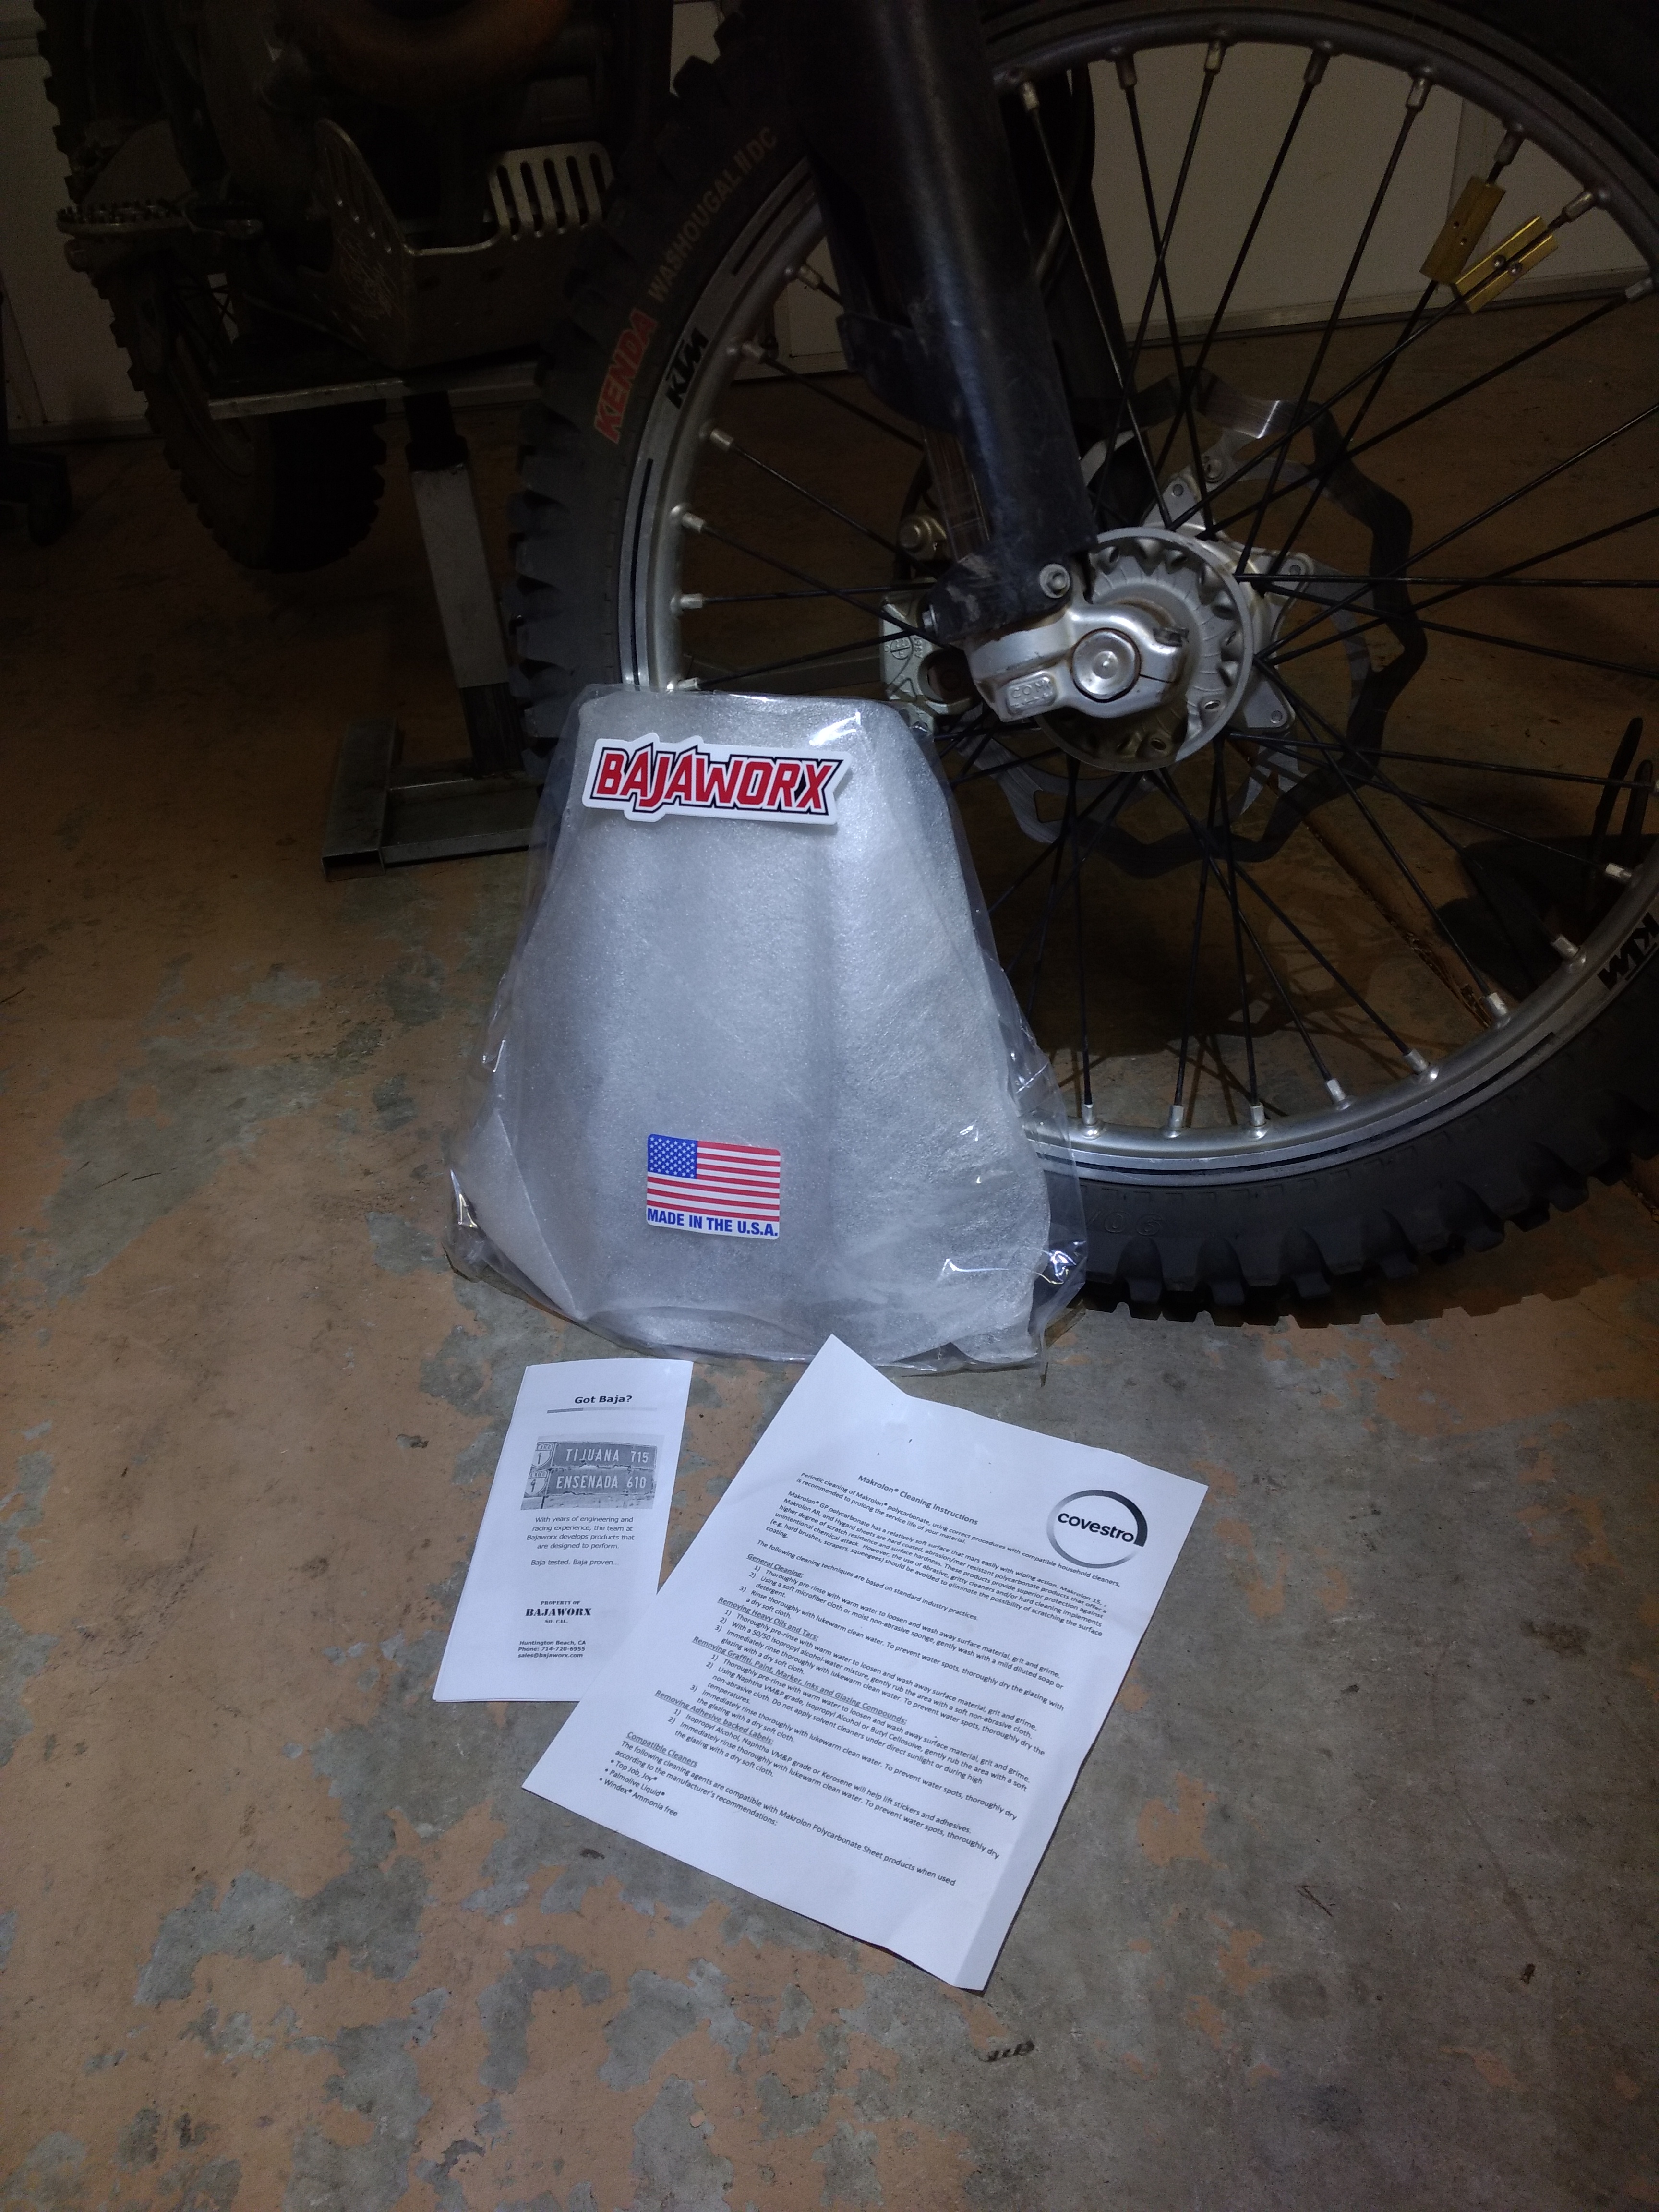
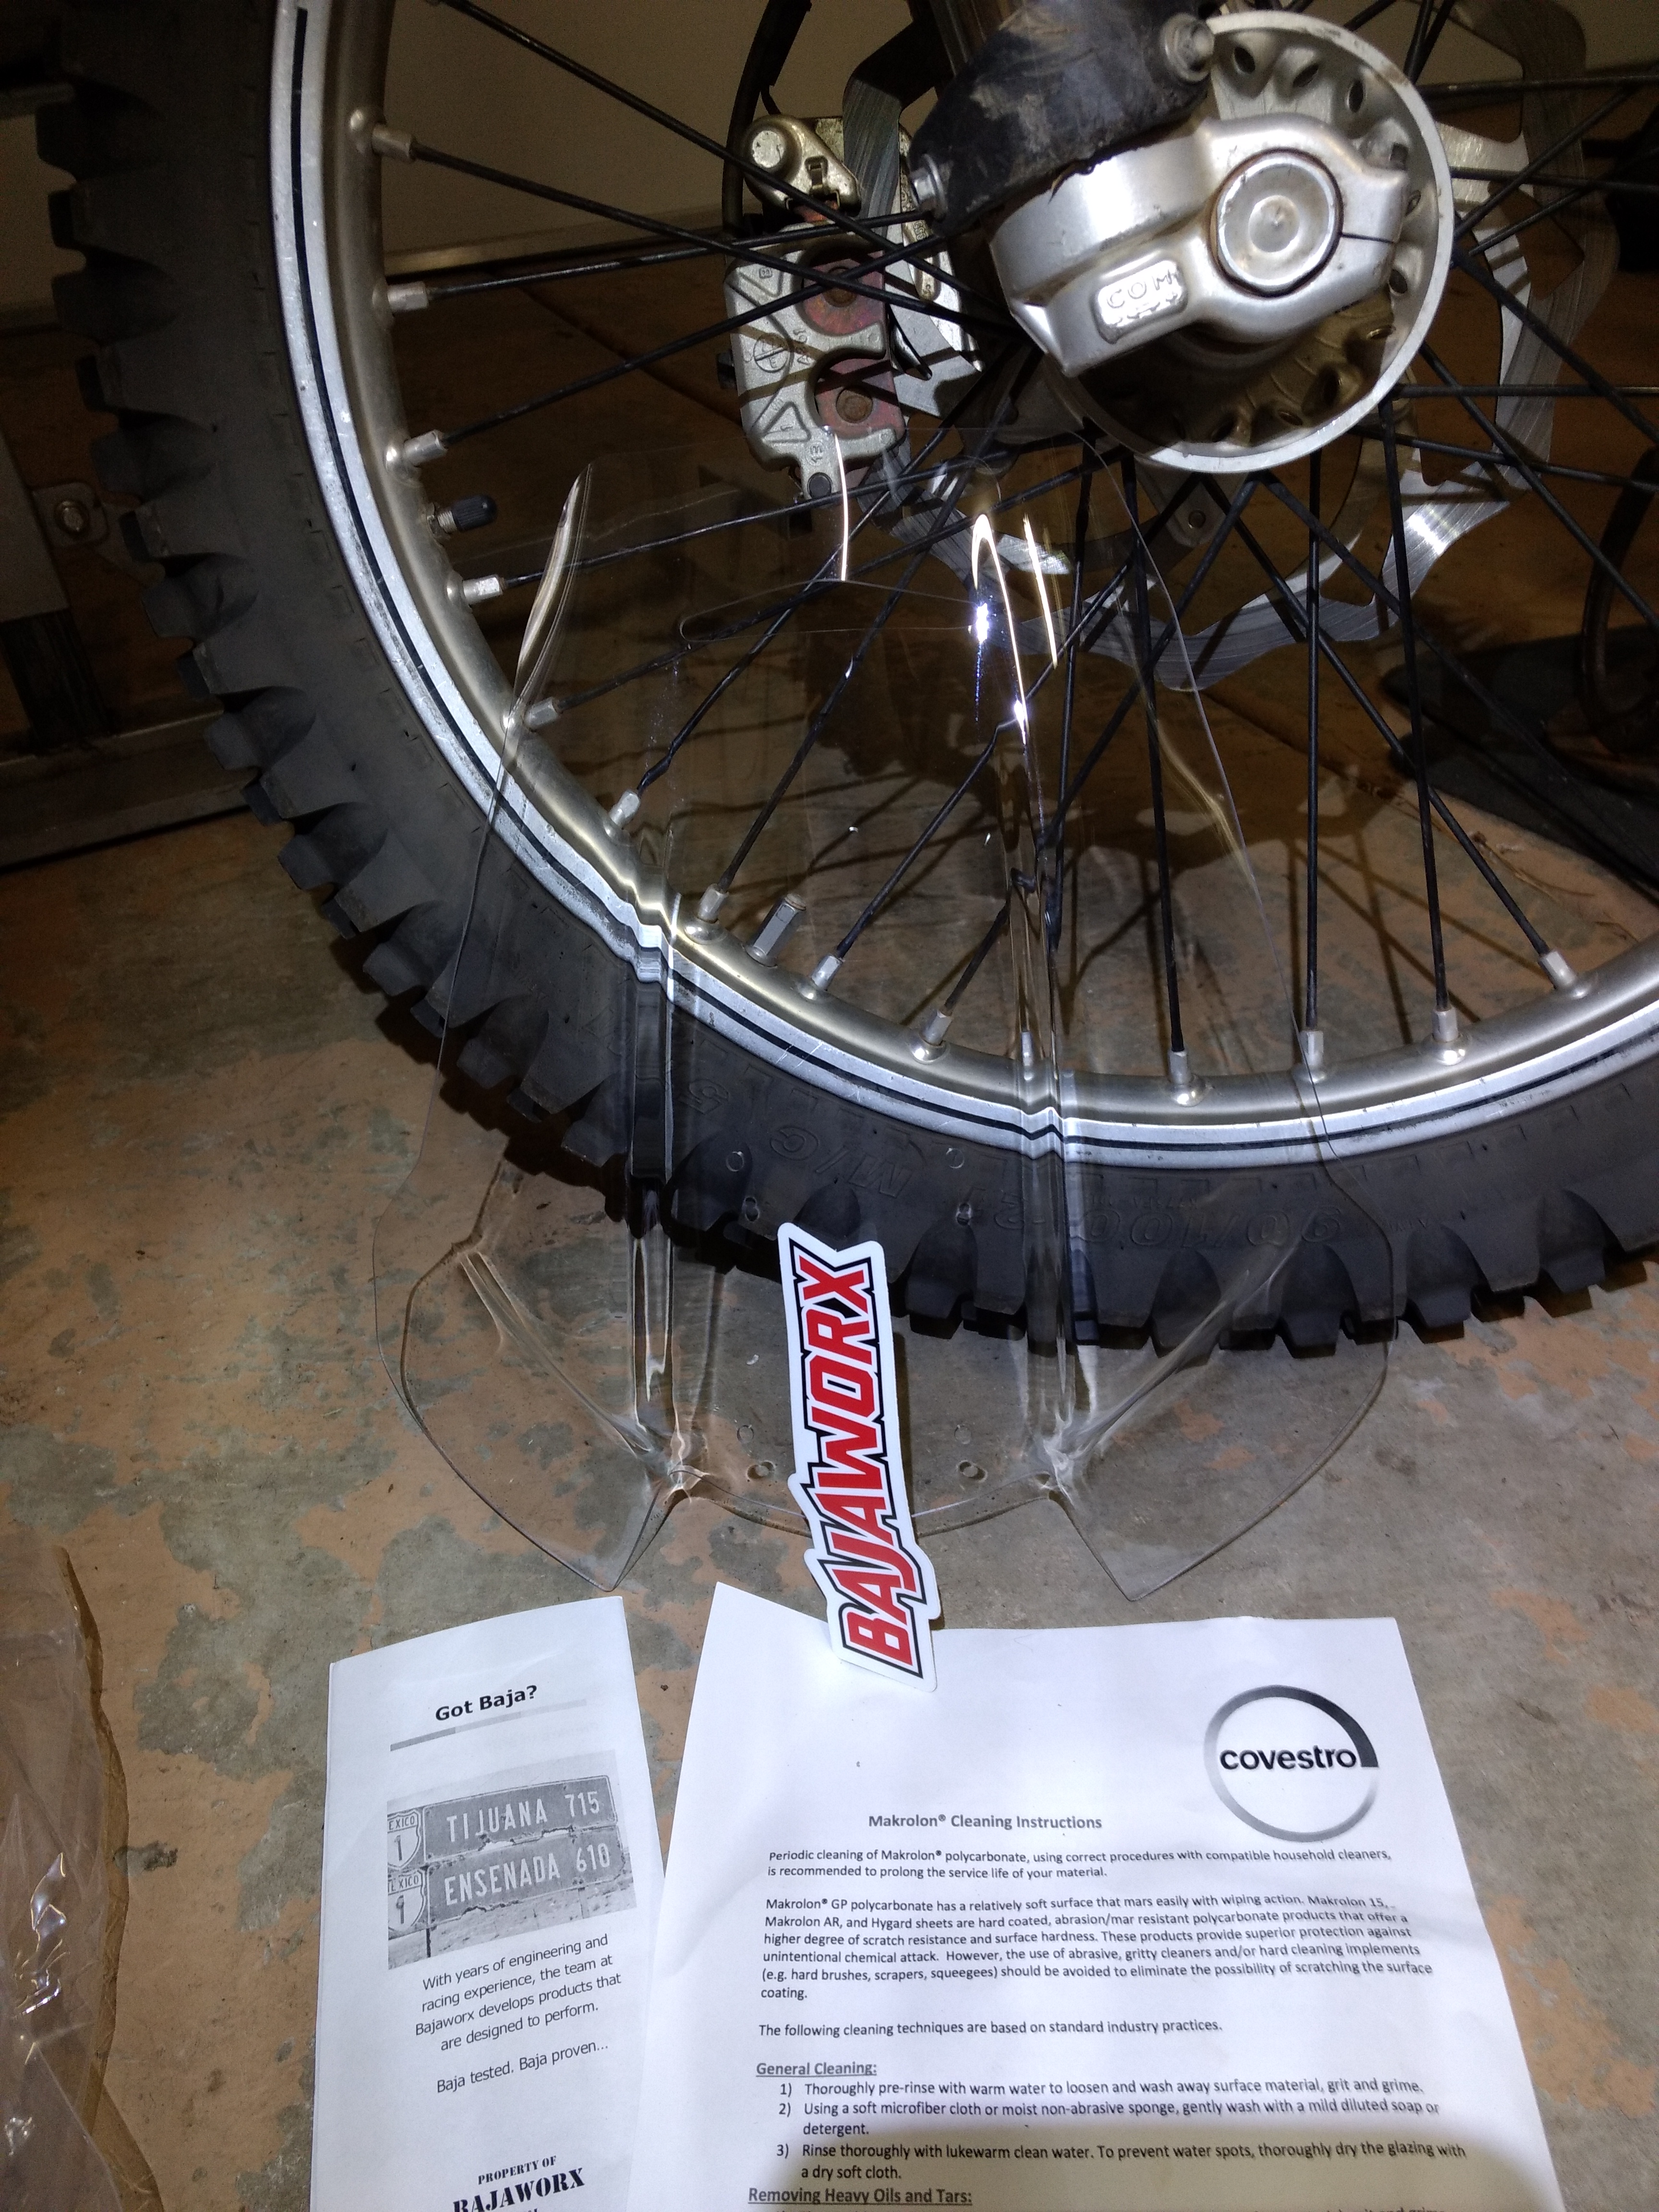
Tear open the box from Bajaworx however, and you get a carefully and correctly wrapped shield, complete with a bag of hardware taped in place (nice!) and a clear set of installation and care directions.   The shield comes out clean and free from blemishes, and they even used high quality Makrolon polycarbonate in its construction.   These guys obviously care about what they make and sell.

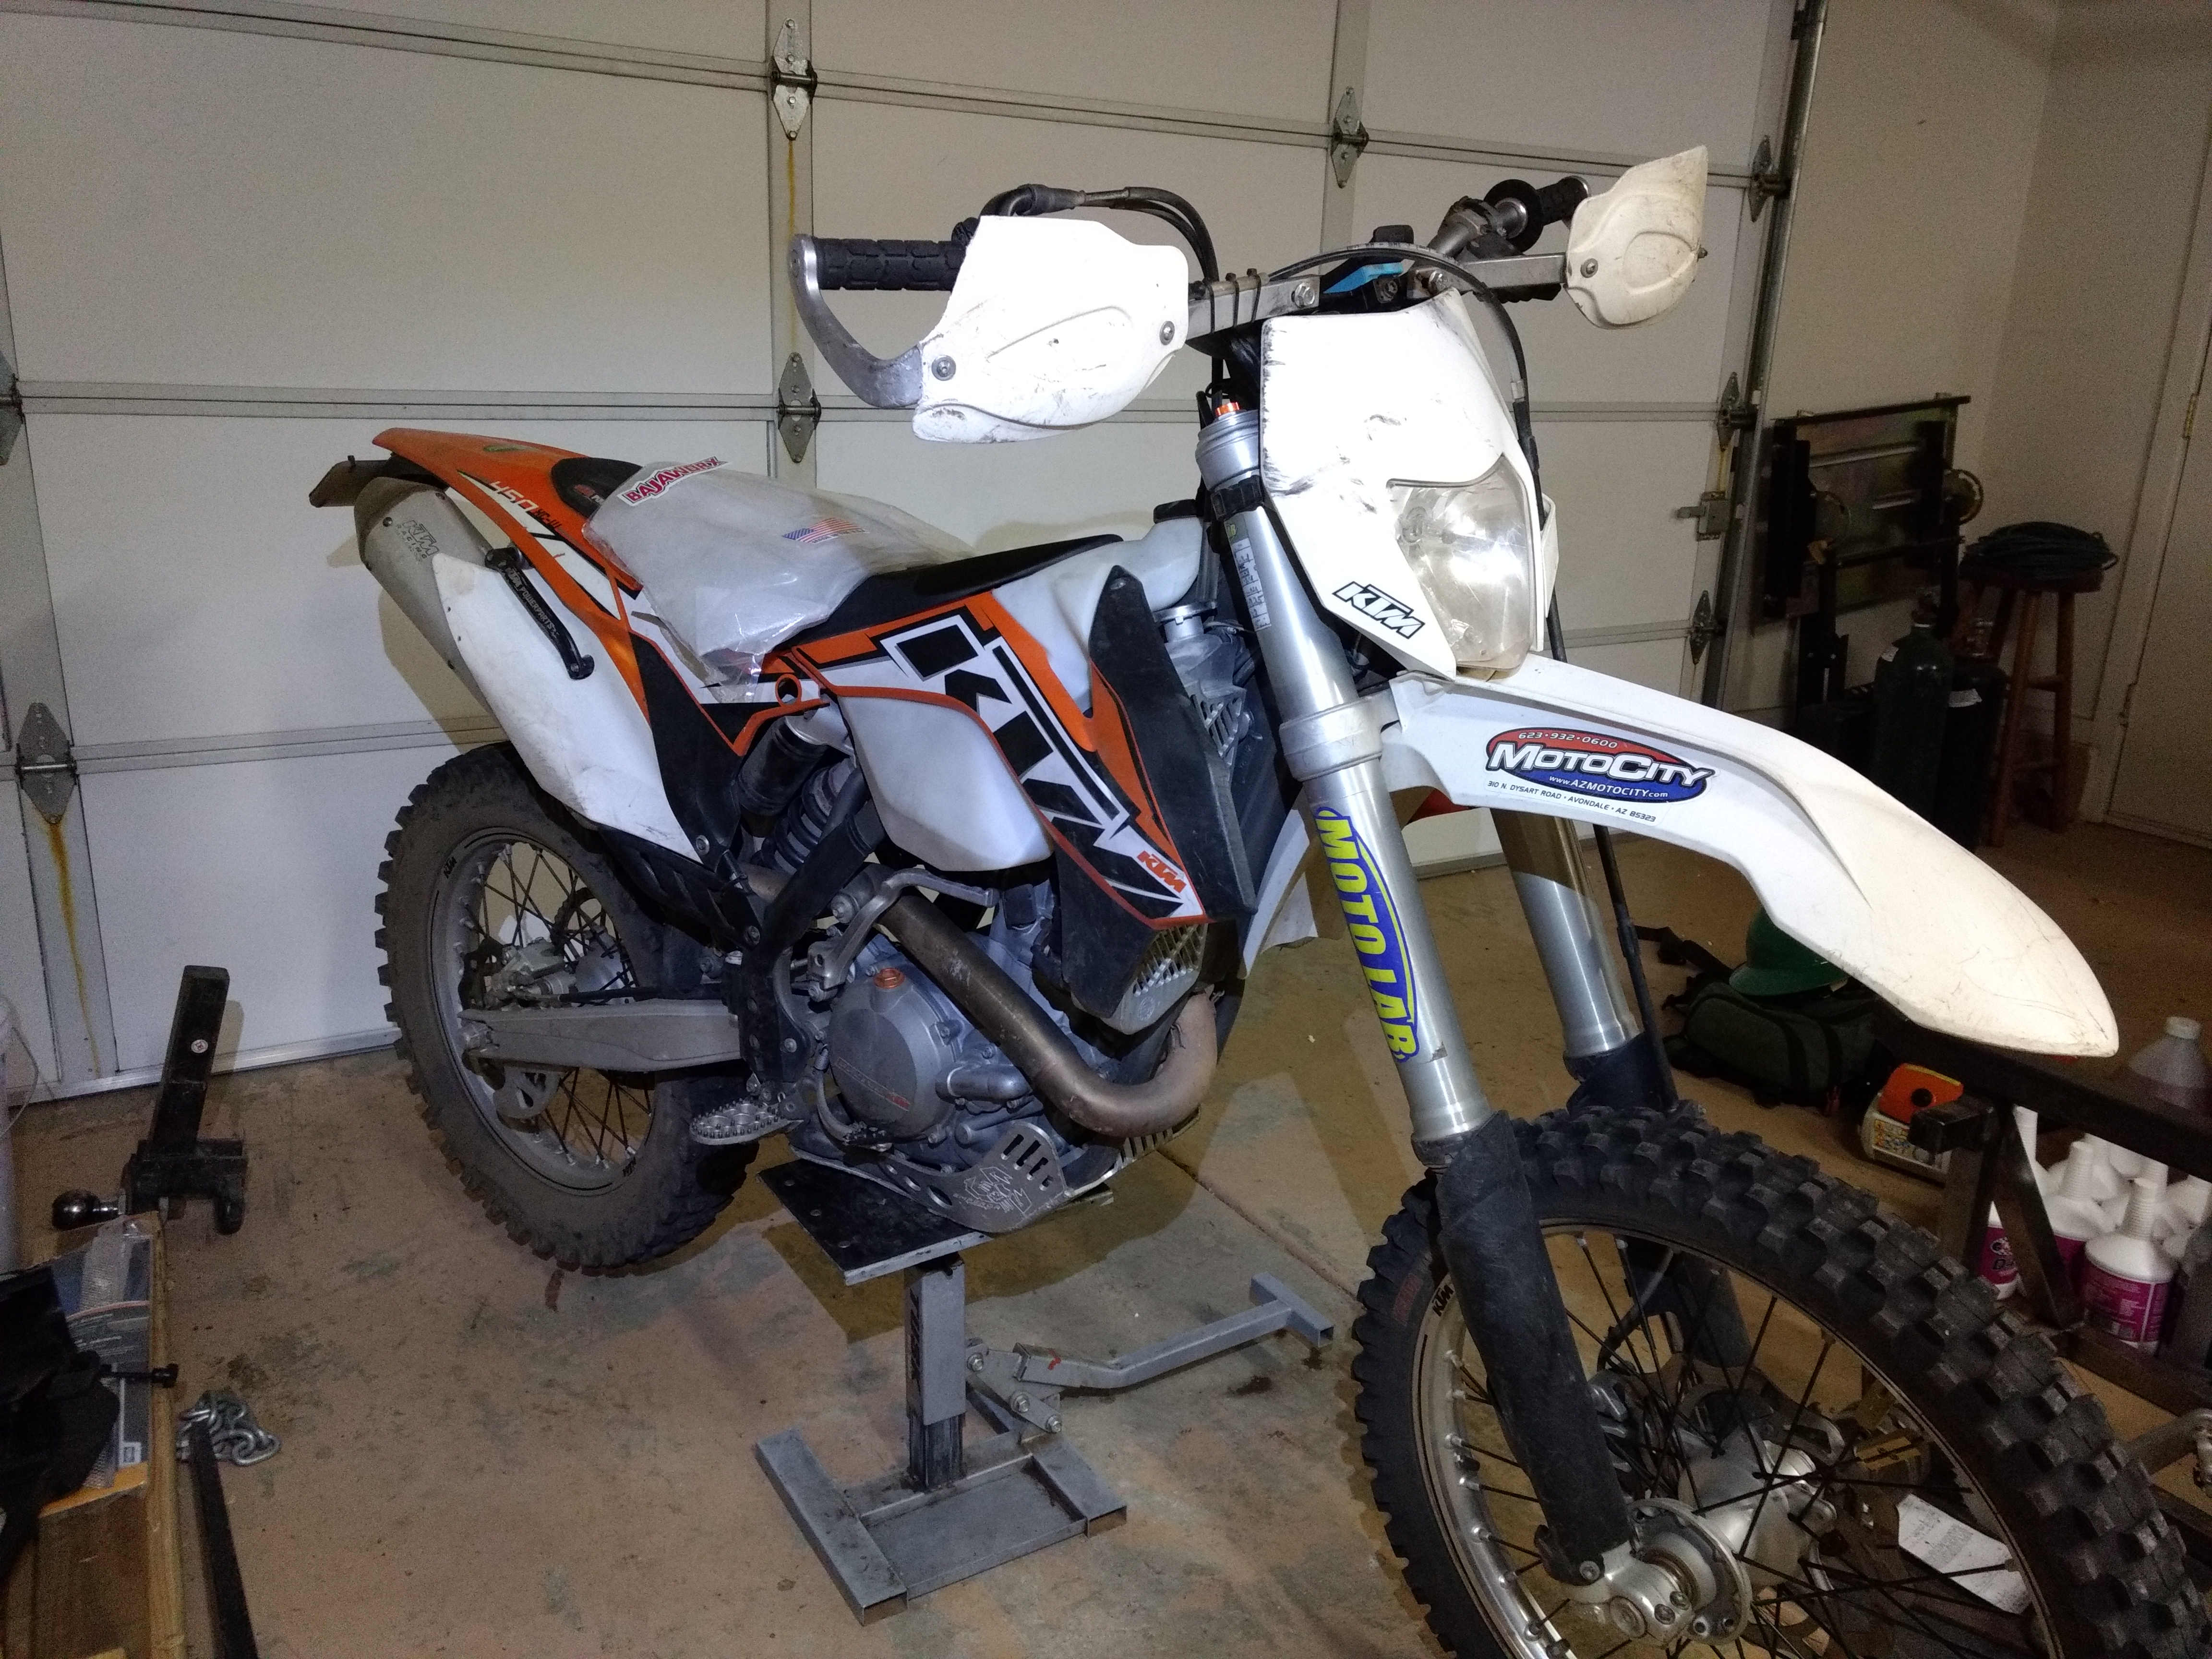
Start the installation by removing the headlight mask on your bike to install the shield.  You’ll have to punch a few holes in the stock mask, but luckily this part is only about 20 bucks if you need to “rework” it for any reason.  Removing the headlight assembly is as simple as disconnecting the wiring, removing the brake hose guide, and pulling the two rubber mounting straps.

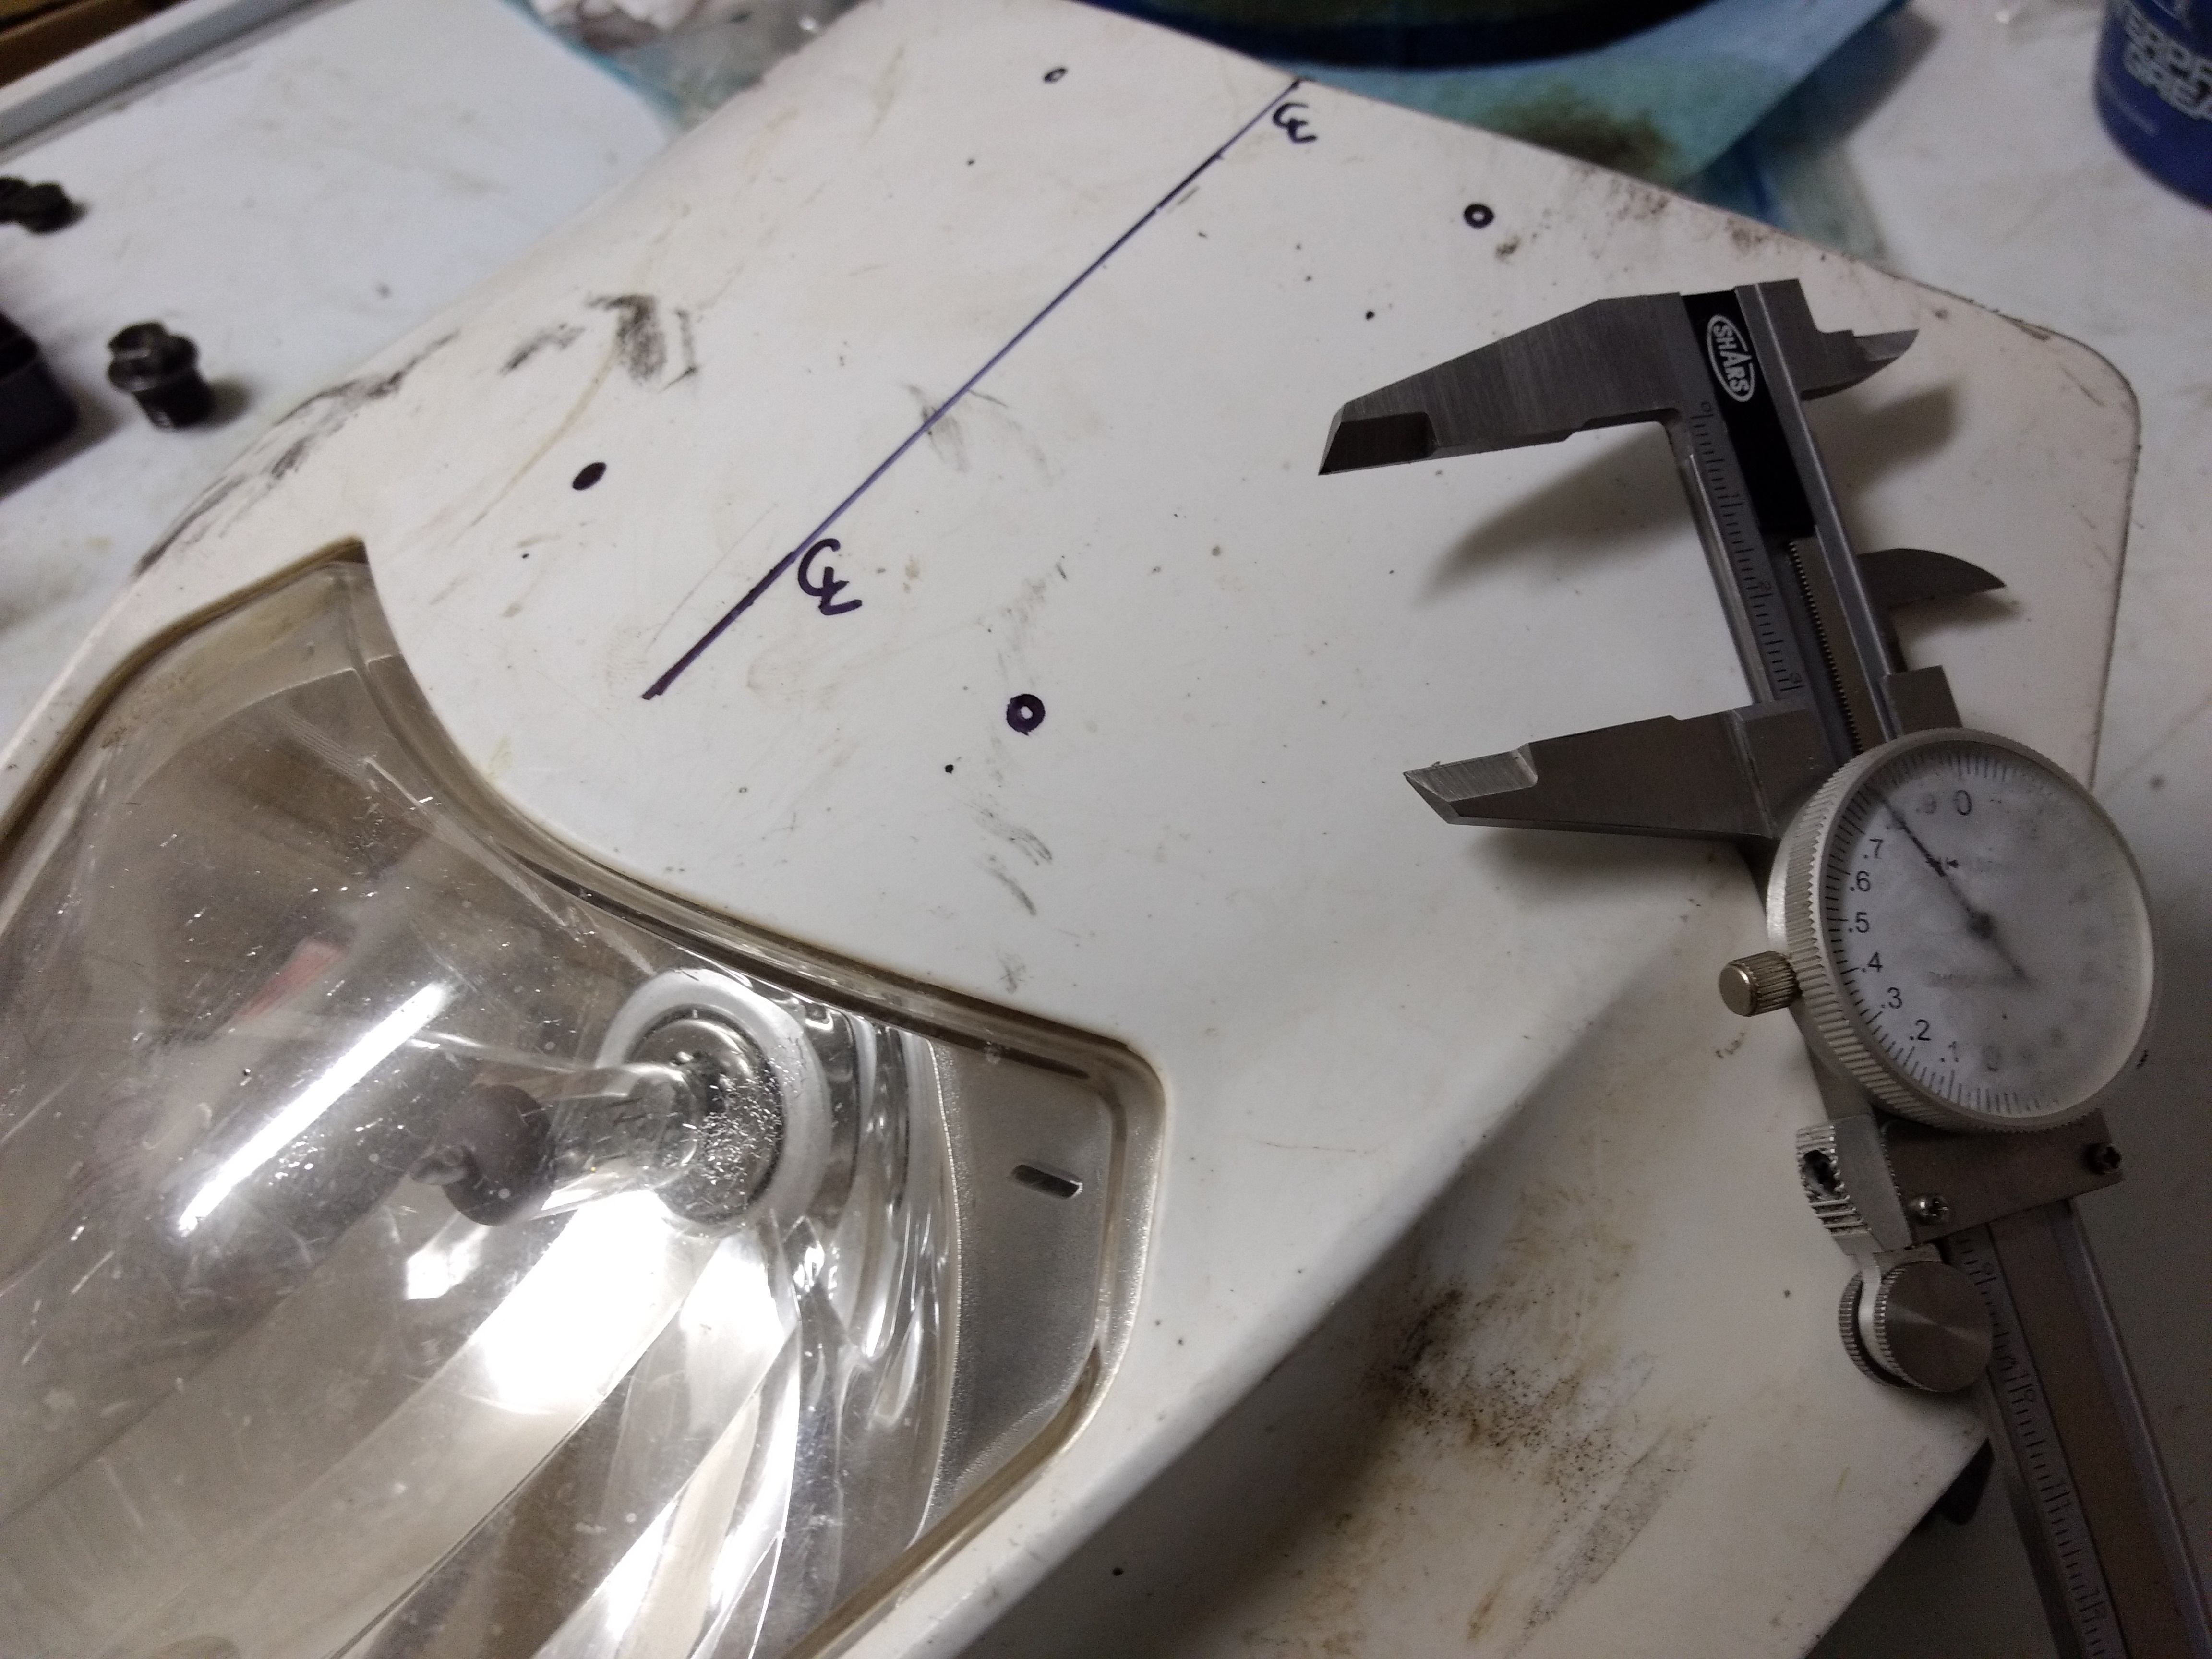
Here’s my first gripe: I’m a klutz and I want a template, darn it!  I’m also borderline OCD, so I needed to get the windshield installed perfectly straight.  Out come the calipers and the sharpie so that I can scribe some lines of reasonable accuracy.  A paper template that I can lay over the bike’s headlight mask and mark out the drill holes would be a welcome addition to the installation instructions.

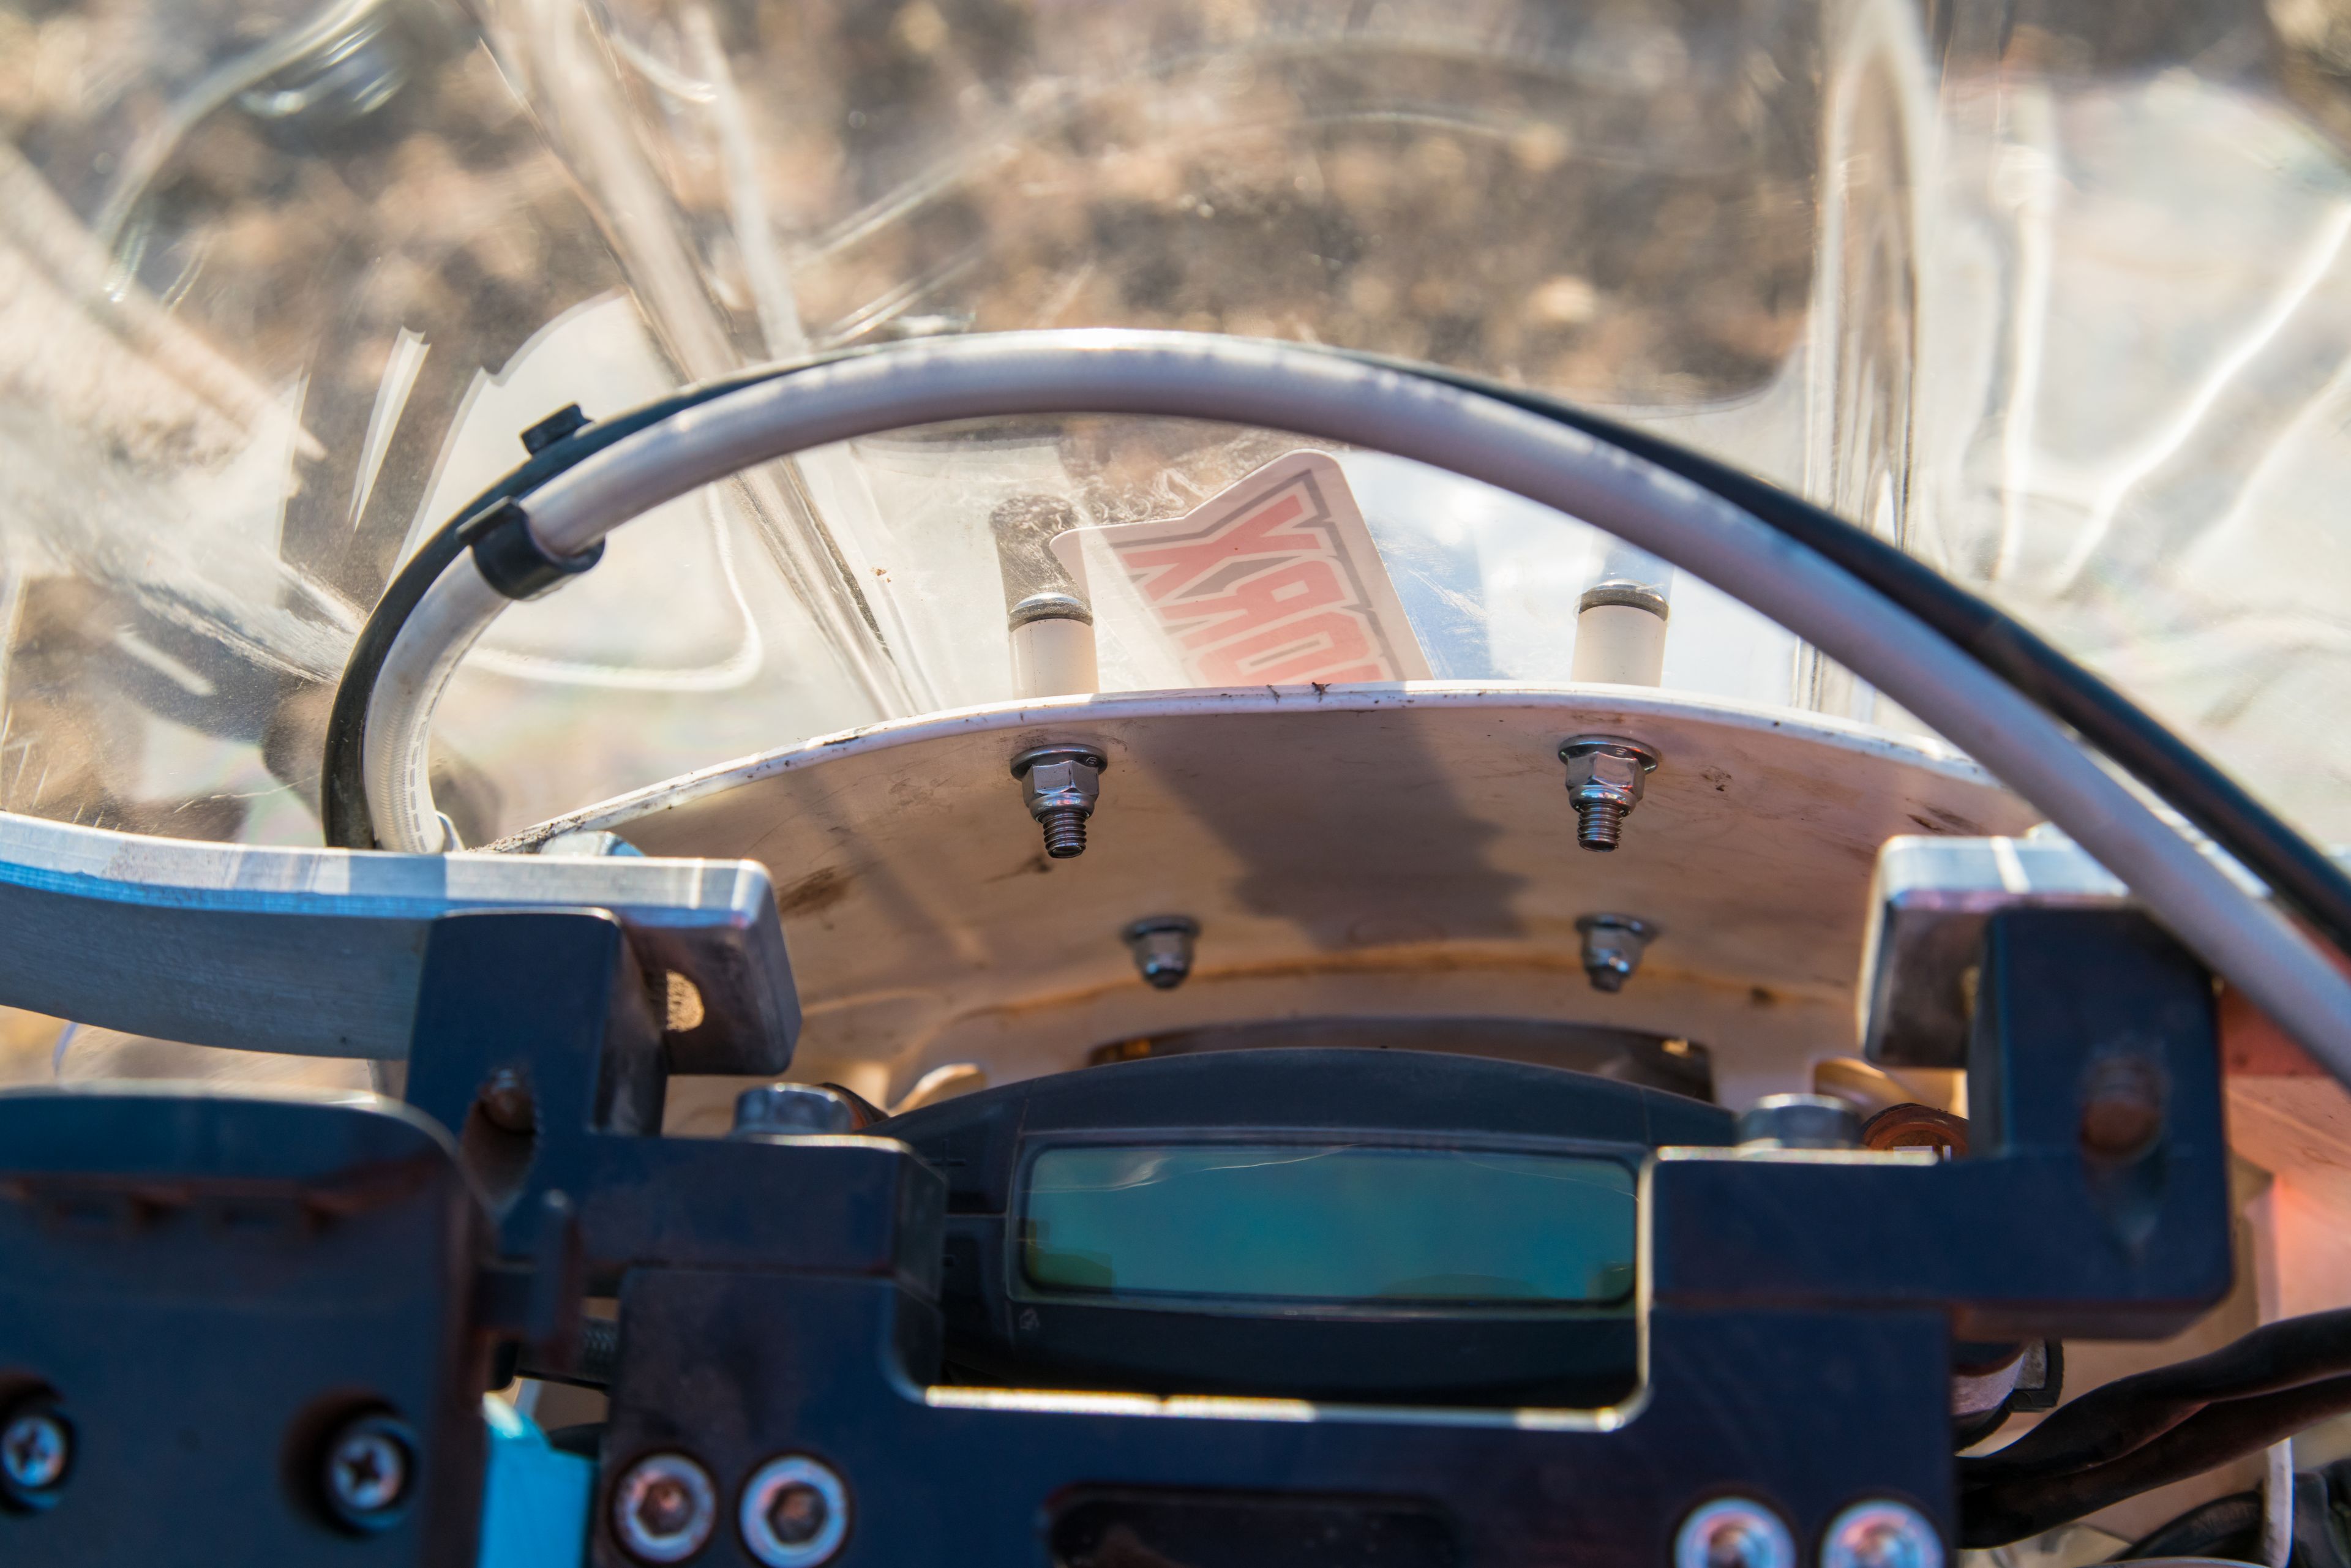
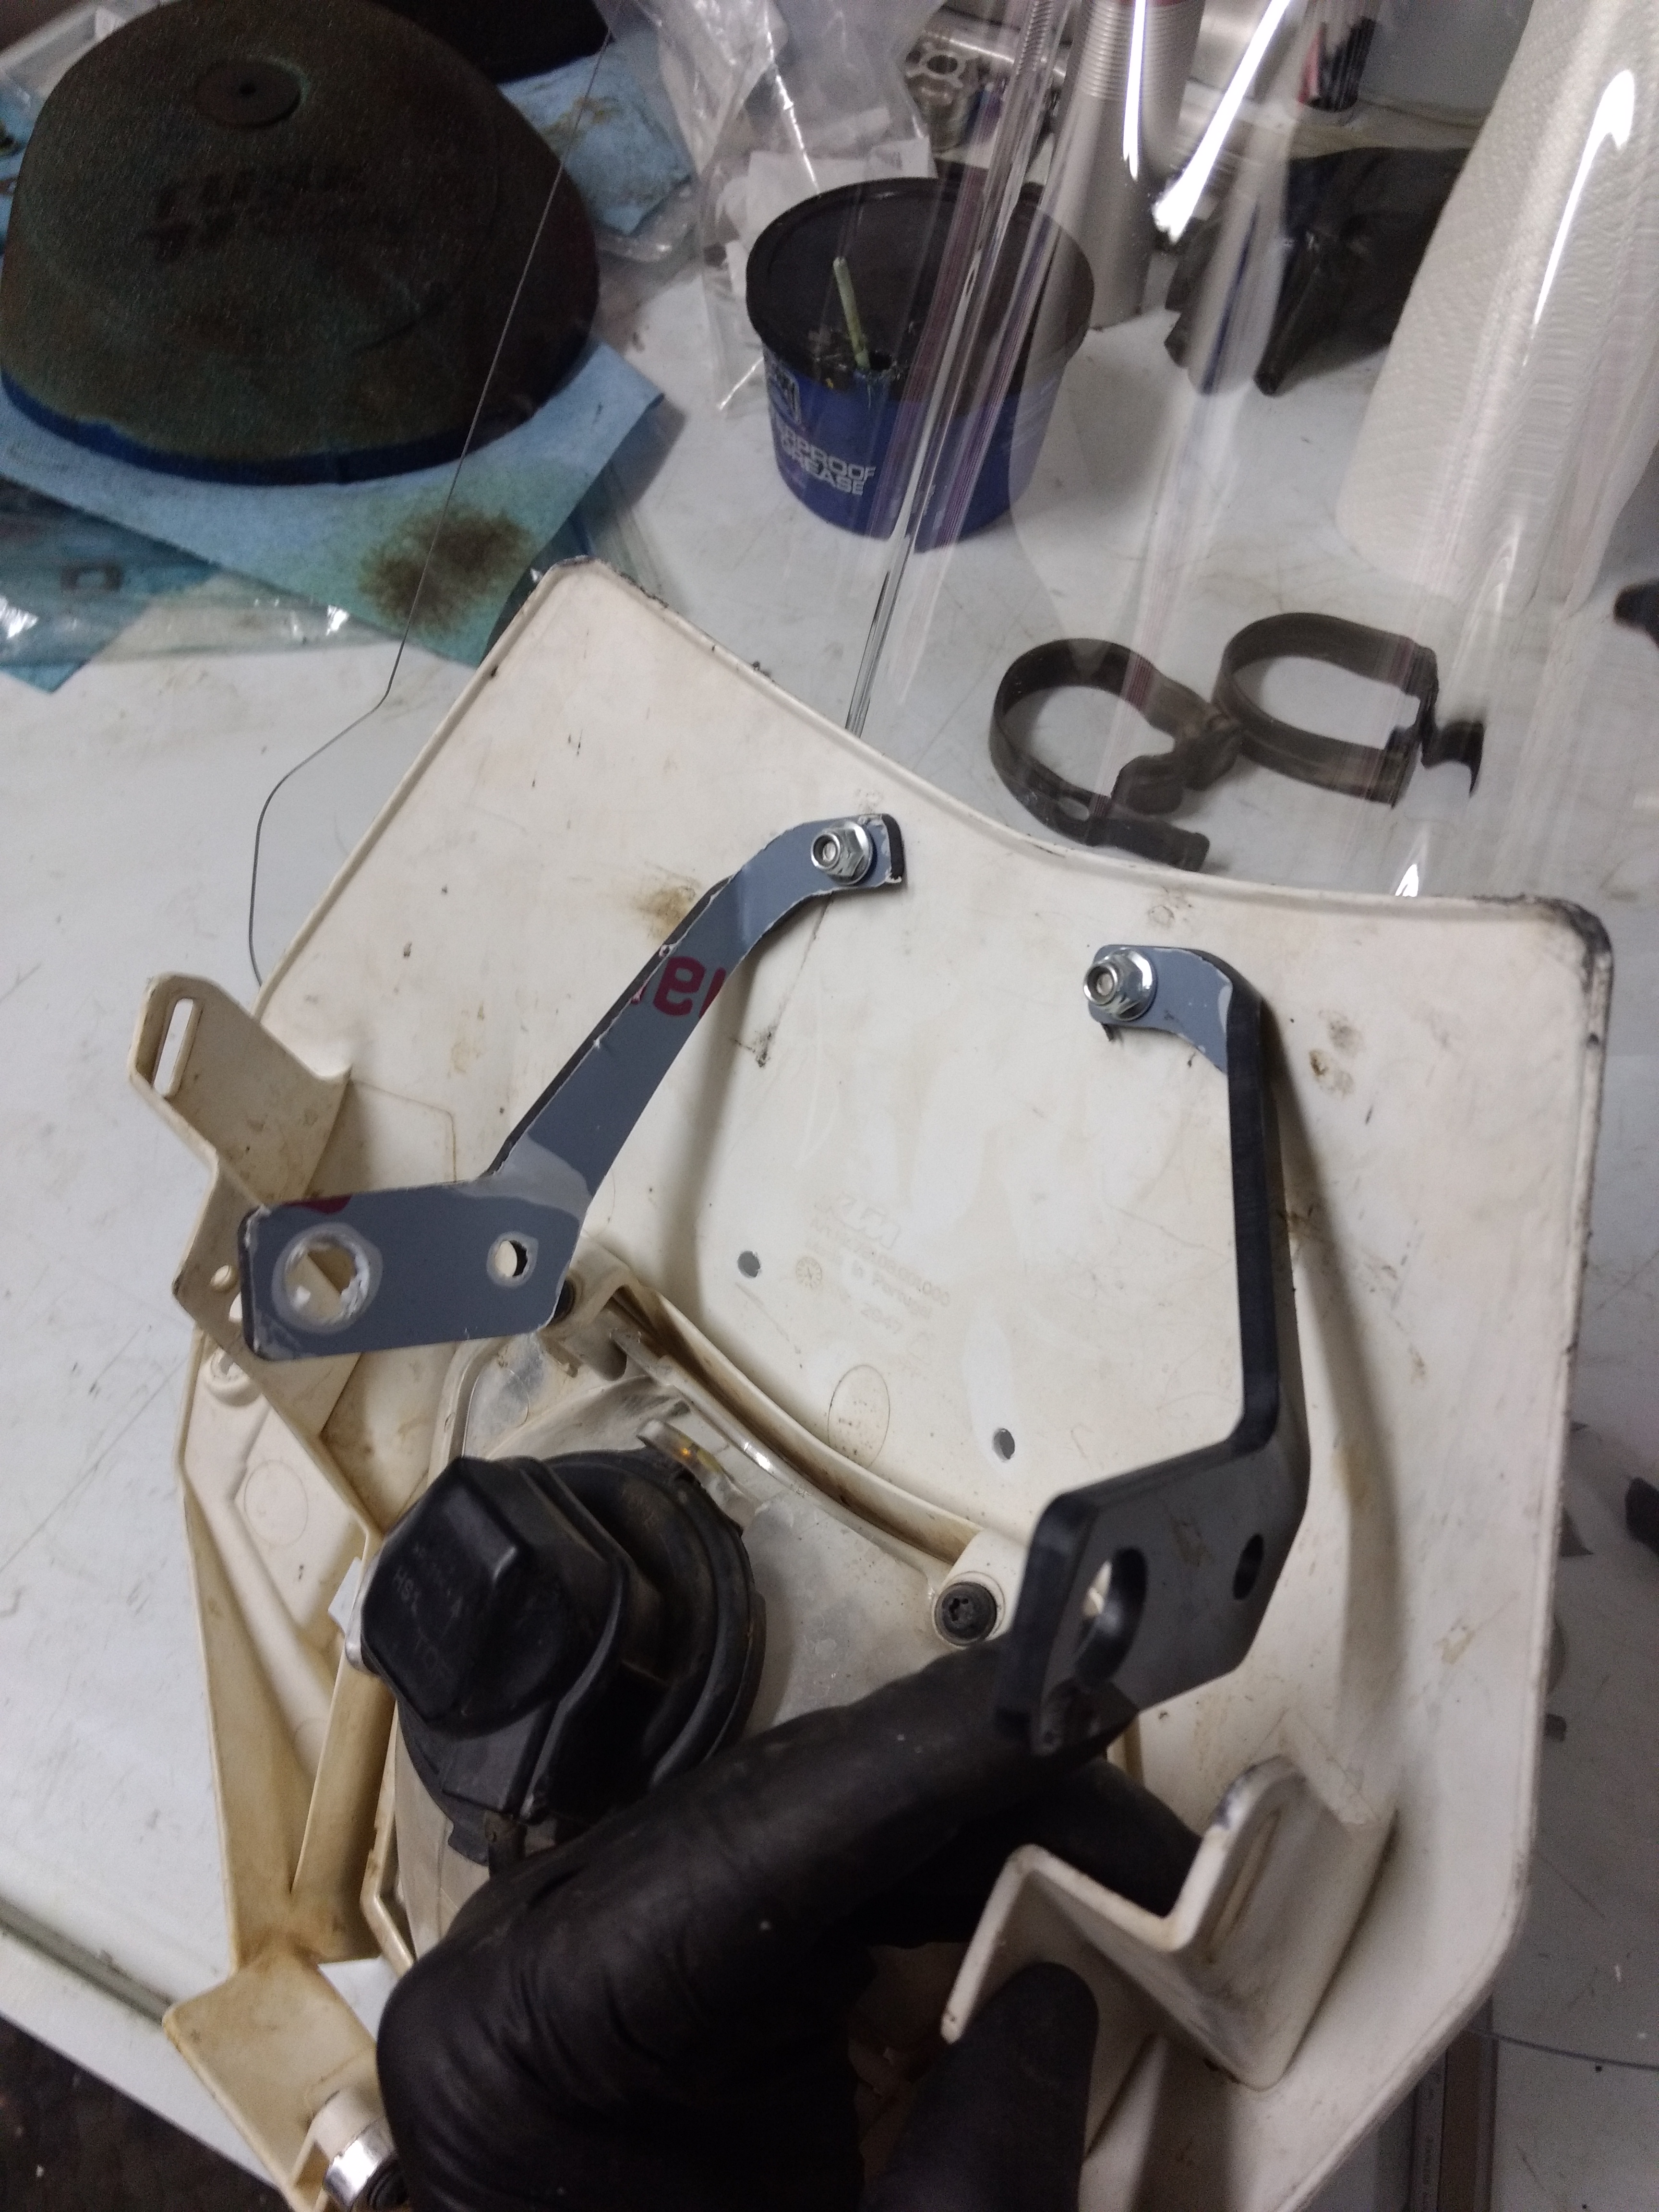
One of the more refined features that are included with the Bajaworx windshield are the stiffening brackets that help reduce movement of the windshield while under wind load.  Sadly, they stopped short of the mark on my particular bike, so I wasn’t able to use them.  It should be noted that I installed the windshield on a model year this was NOT designed for, so that’s no fault to Bajaworx.

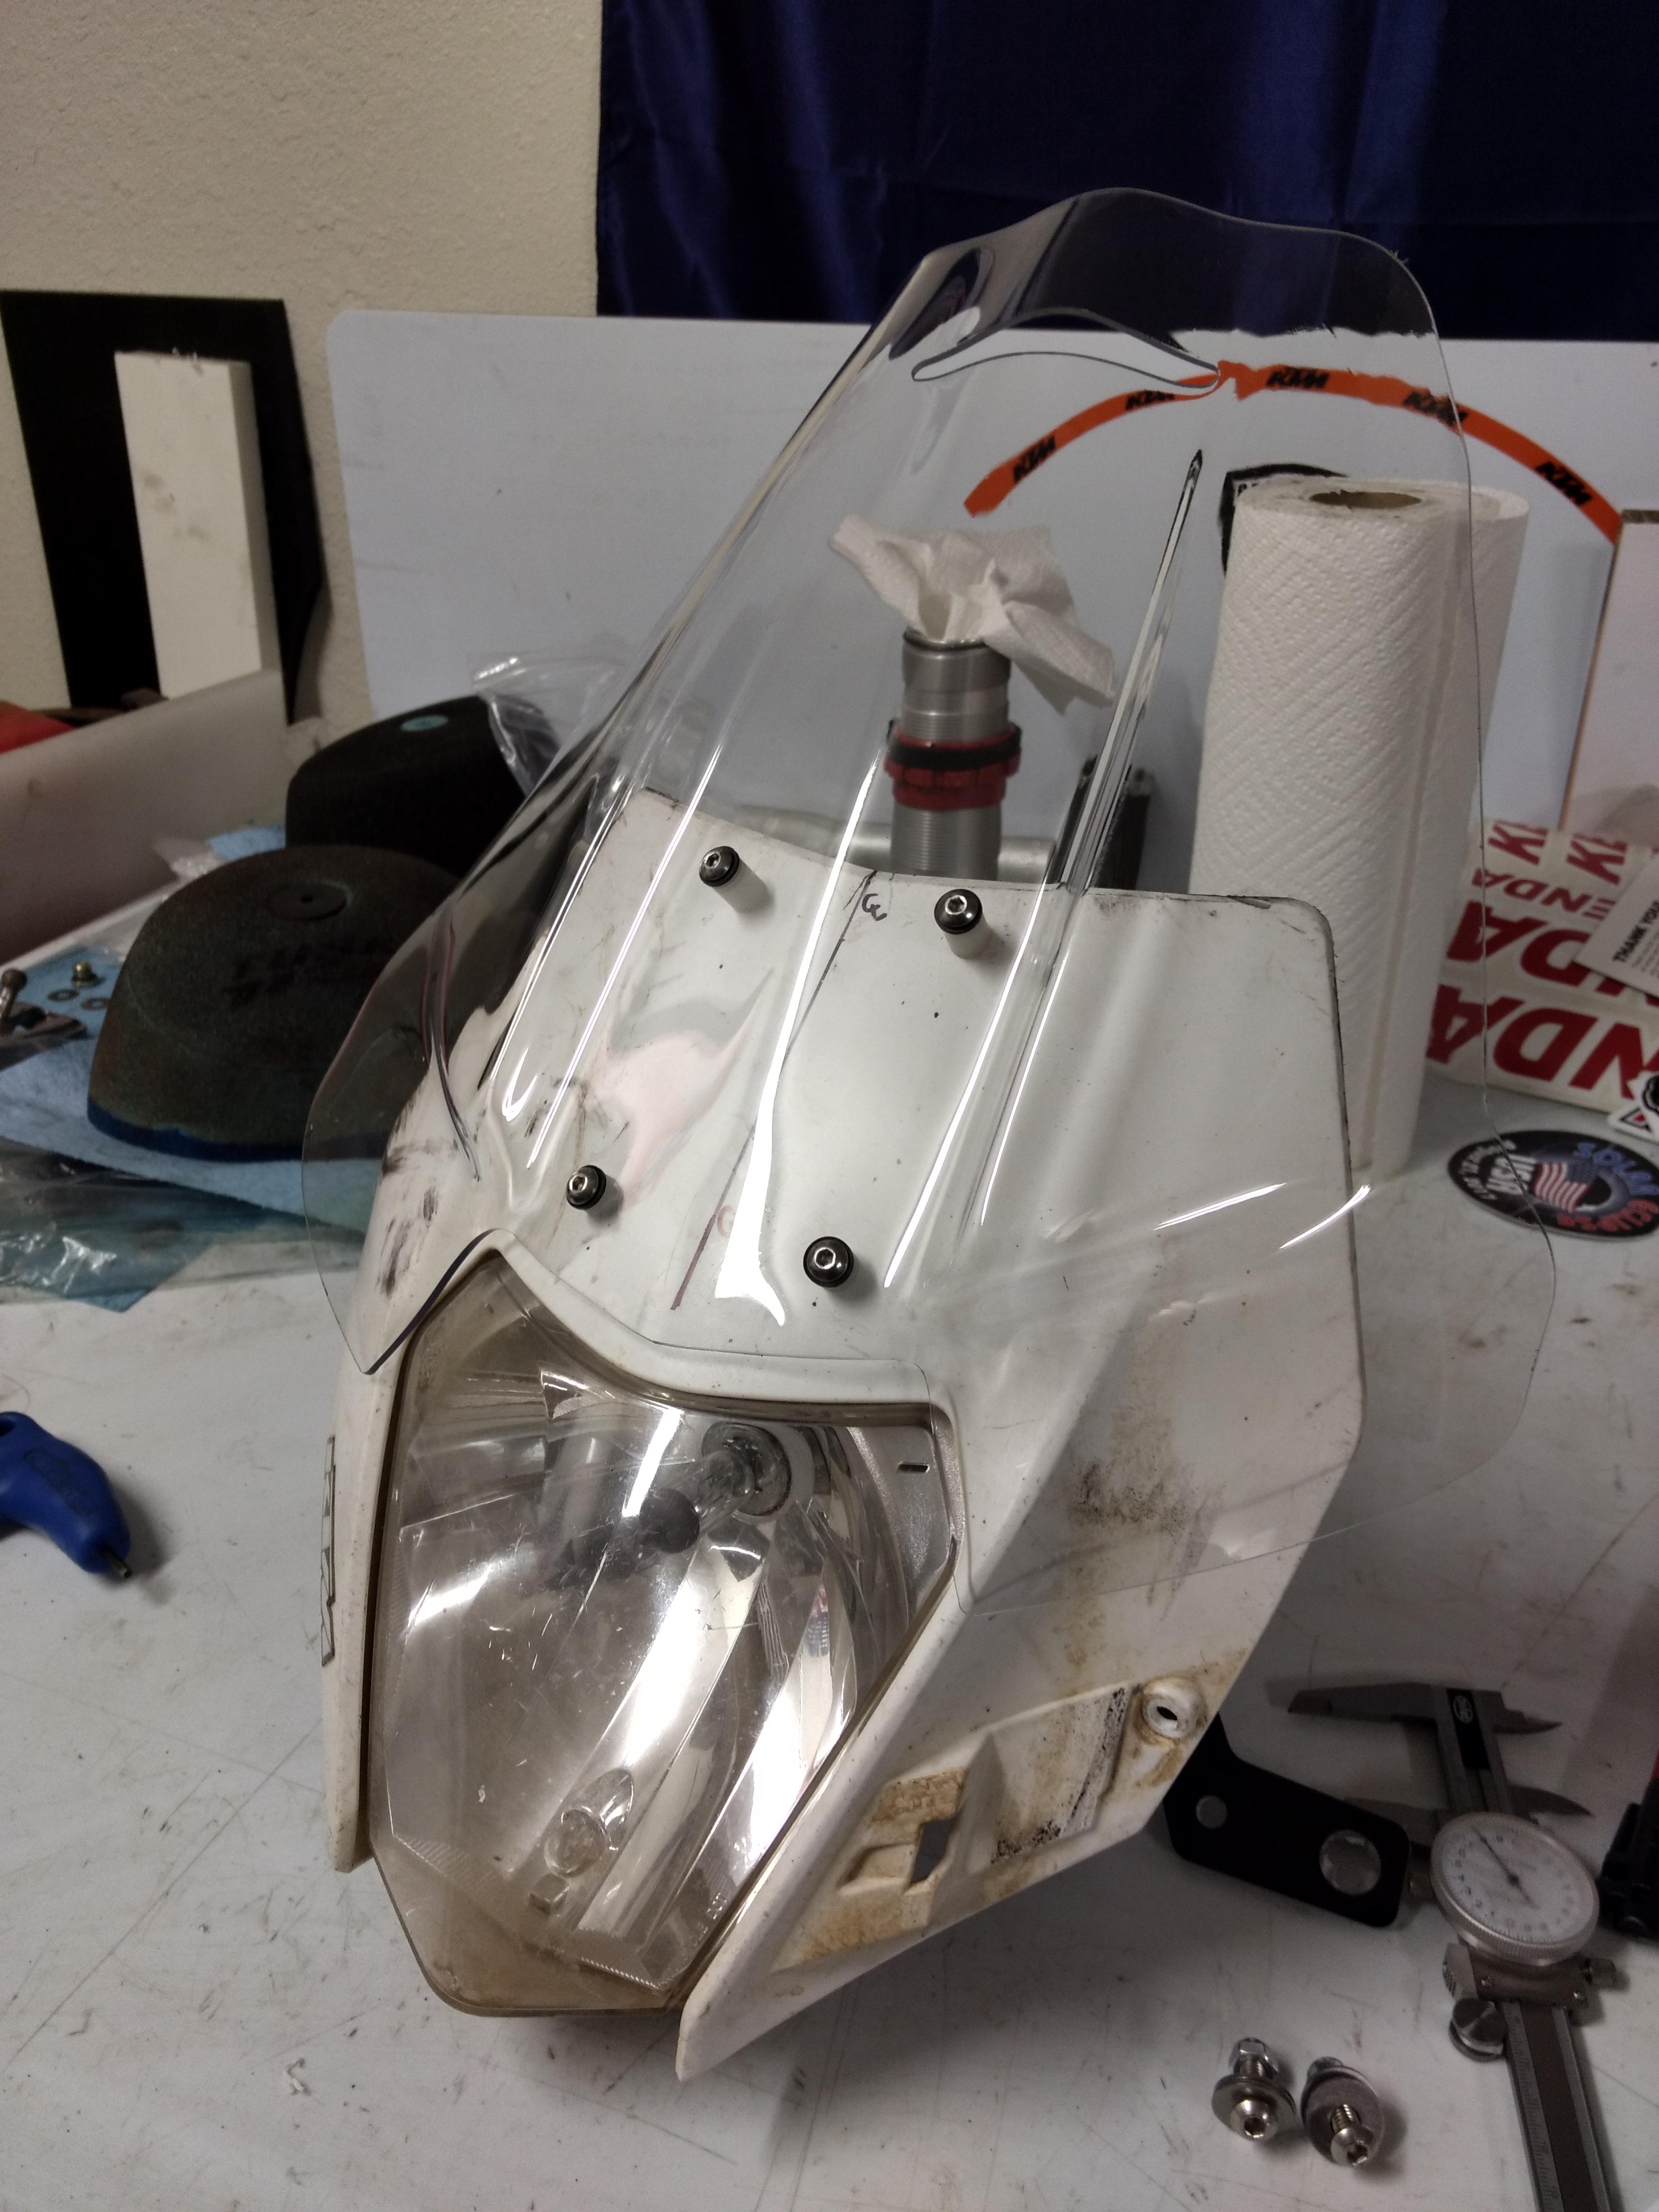
Yet again, Bajaworx’s attention to detail surprises me – in this case the appropriate hardware comes pre-assembled; no digging through a bag of hardware looking for the “#4:  6mm screw – 30mm”, or some such nonsense.  Just select a long or short screw, and assemble one at a time being careful not to overtighten.  Depending on what handguards and other handlebar accessories you have on your particular bike, you may have to spend some time tinkering and adjusting to incorporate this windshield onto your bike so that vibration and rubbing won’t cause part A to eat part B.

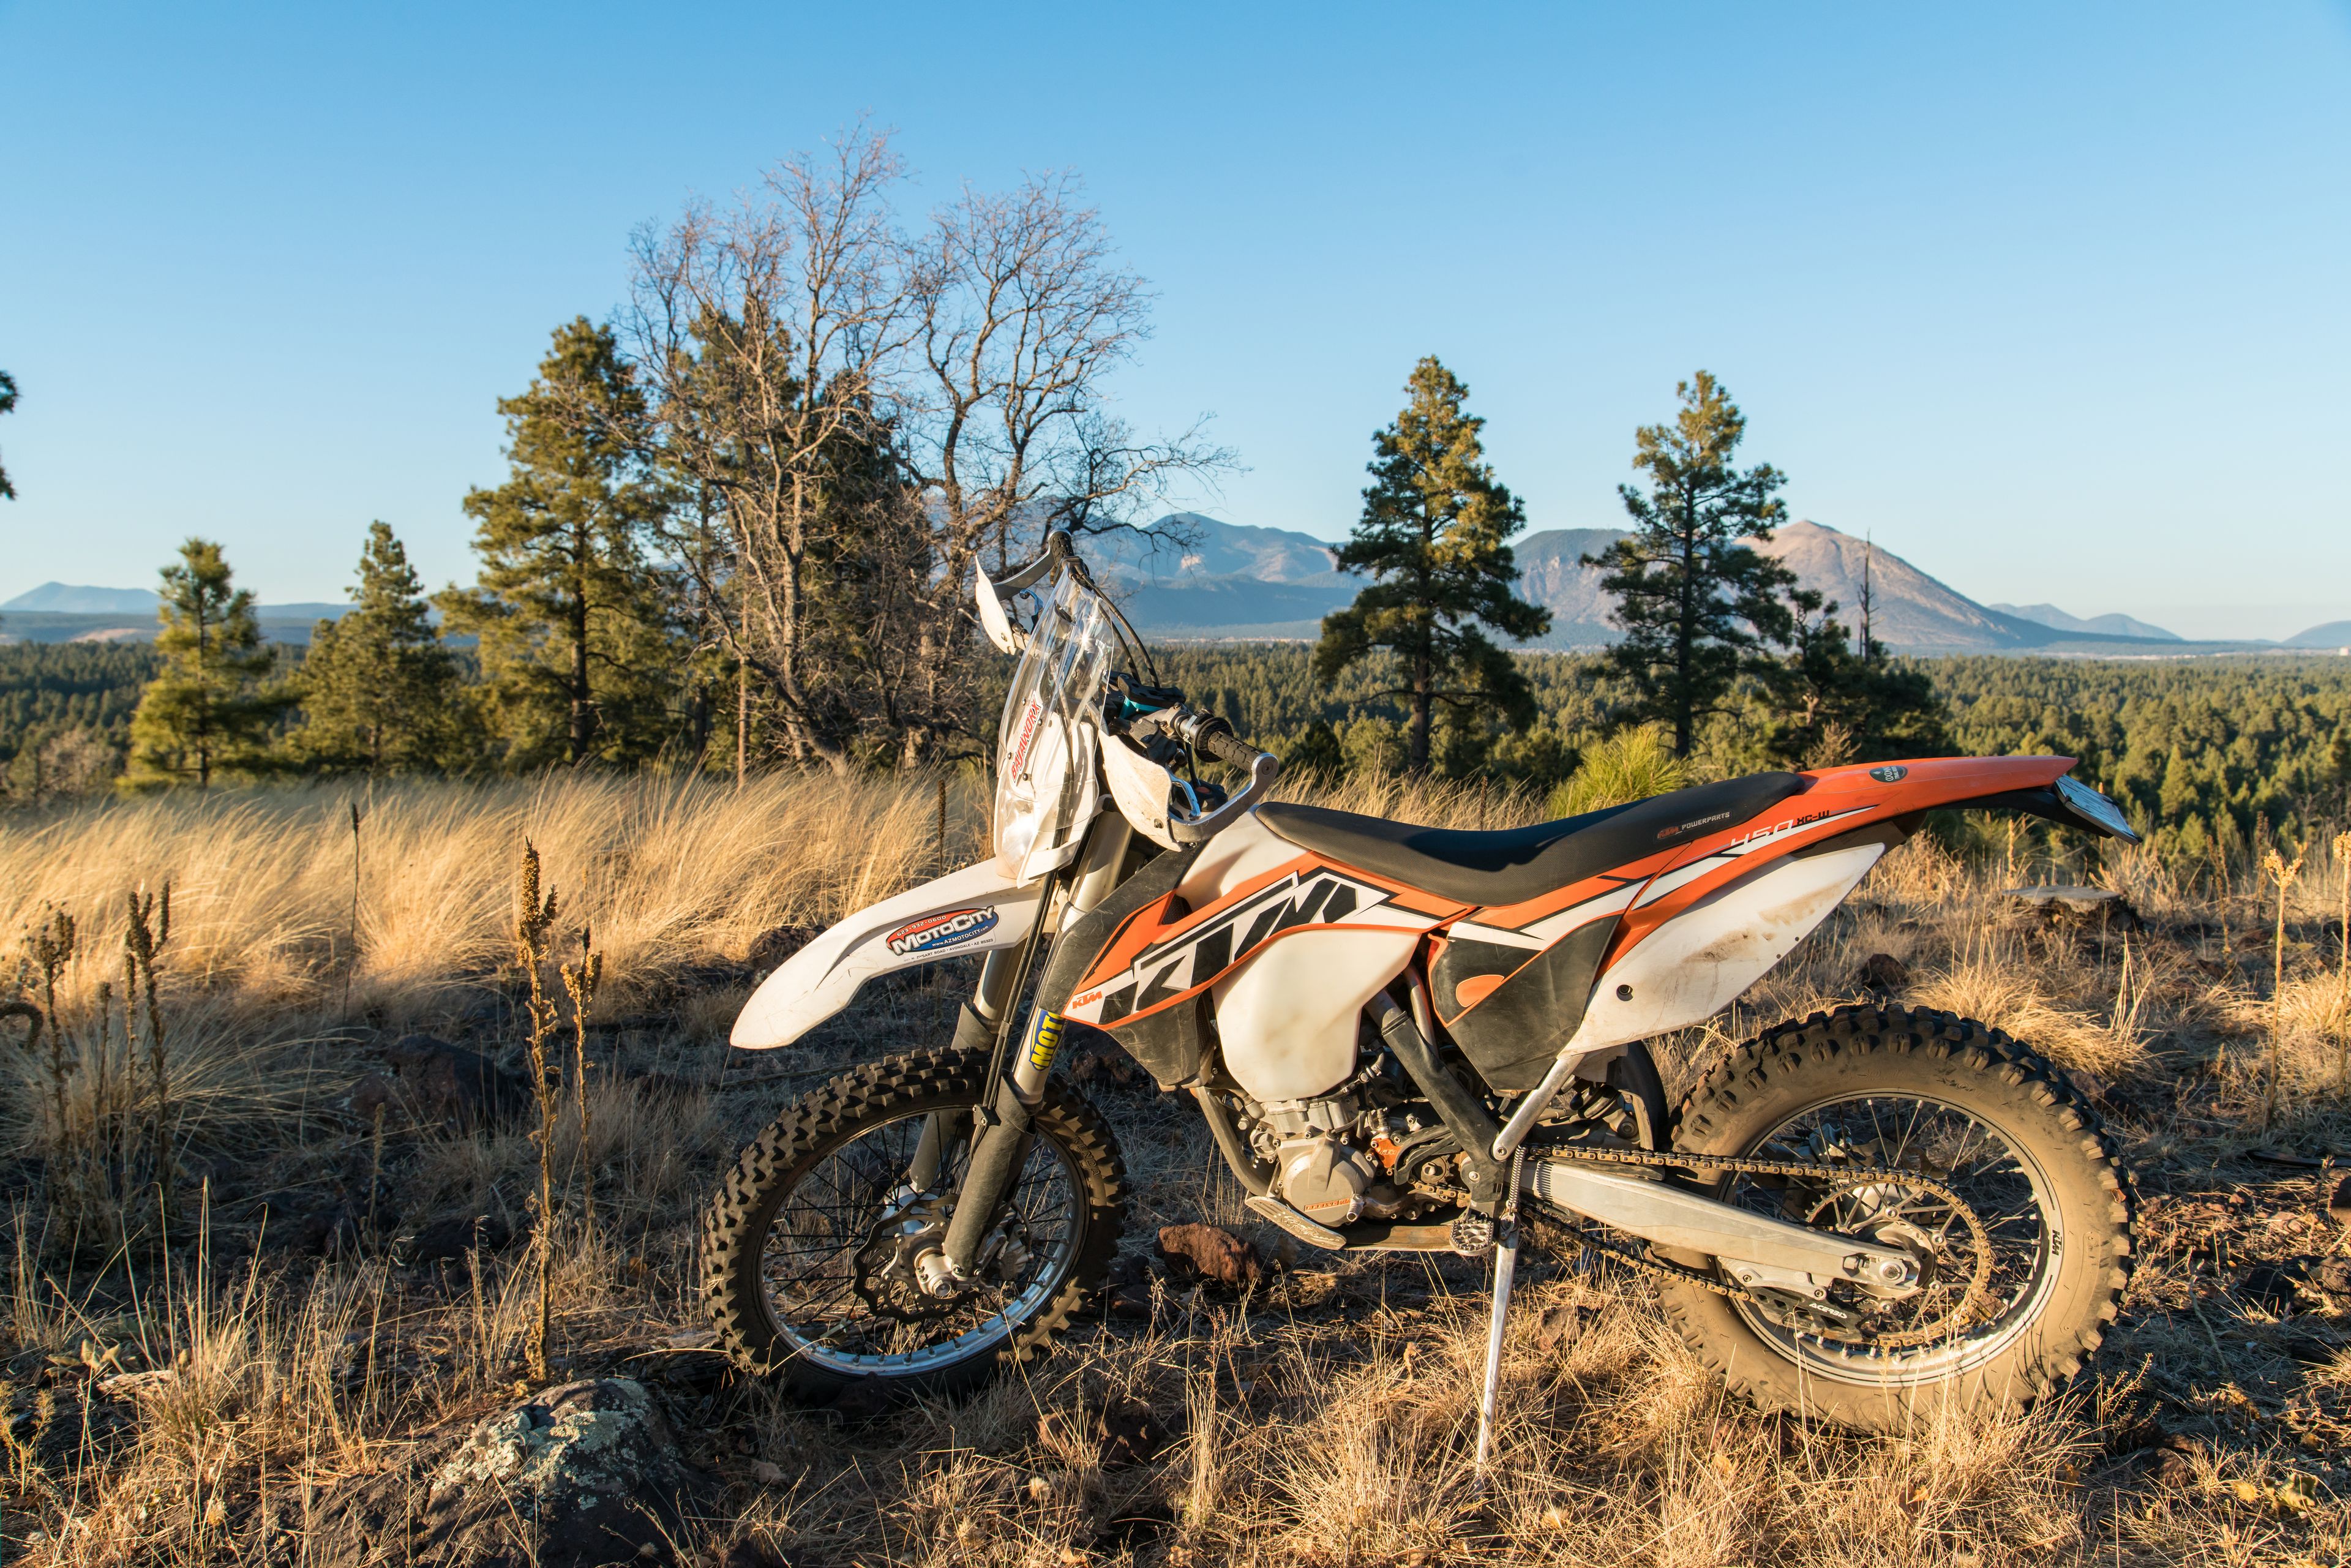
Over the last several months I’ve taken the Bajaworx windshield down many miles of singletrack, climbed mountains, and gobbled up hundreds of miles at full chat.  I’ve taken the windshield into some properly hairy scenarios, and I never noticed it; with one exception.  I bottomed out hard in a G-out and let myself get pulled too far forward over the bars.  My chest kissed the top of the shield, but that’s all.  No harm, no foul.  Otherwise, it’s utterly imperceptible until you get up in speed.

Once you’re looking to cover some miles, you will notice well, nothing – and that’s the point.  The shield takes all that wind pressure that would normally be pushing you over backwards and diverts it around you.  When sitting, you will have practically no wind from the neck down.  Unlike other products, this piece accomplishes this in such a way as to maintain smooth, laminar airflow across your helmet.  This means that while your head is still in the wind, it’s not bobbling around and creating a roar.  There’s some noise for sure, but it’s all quite tolerable.

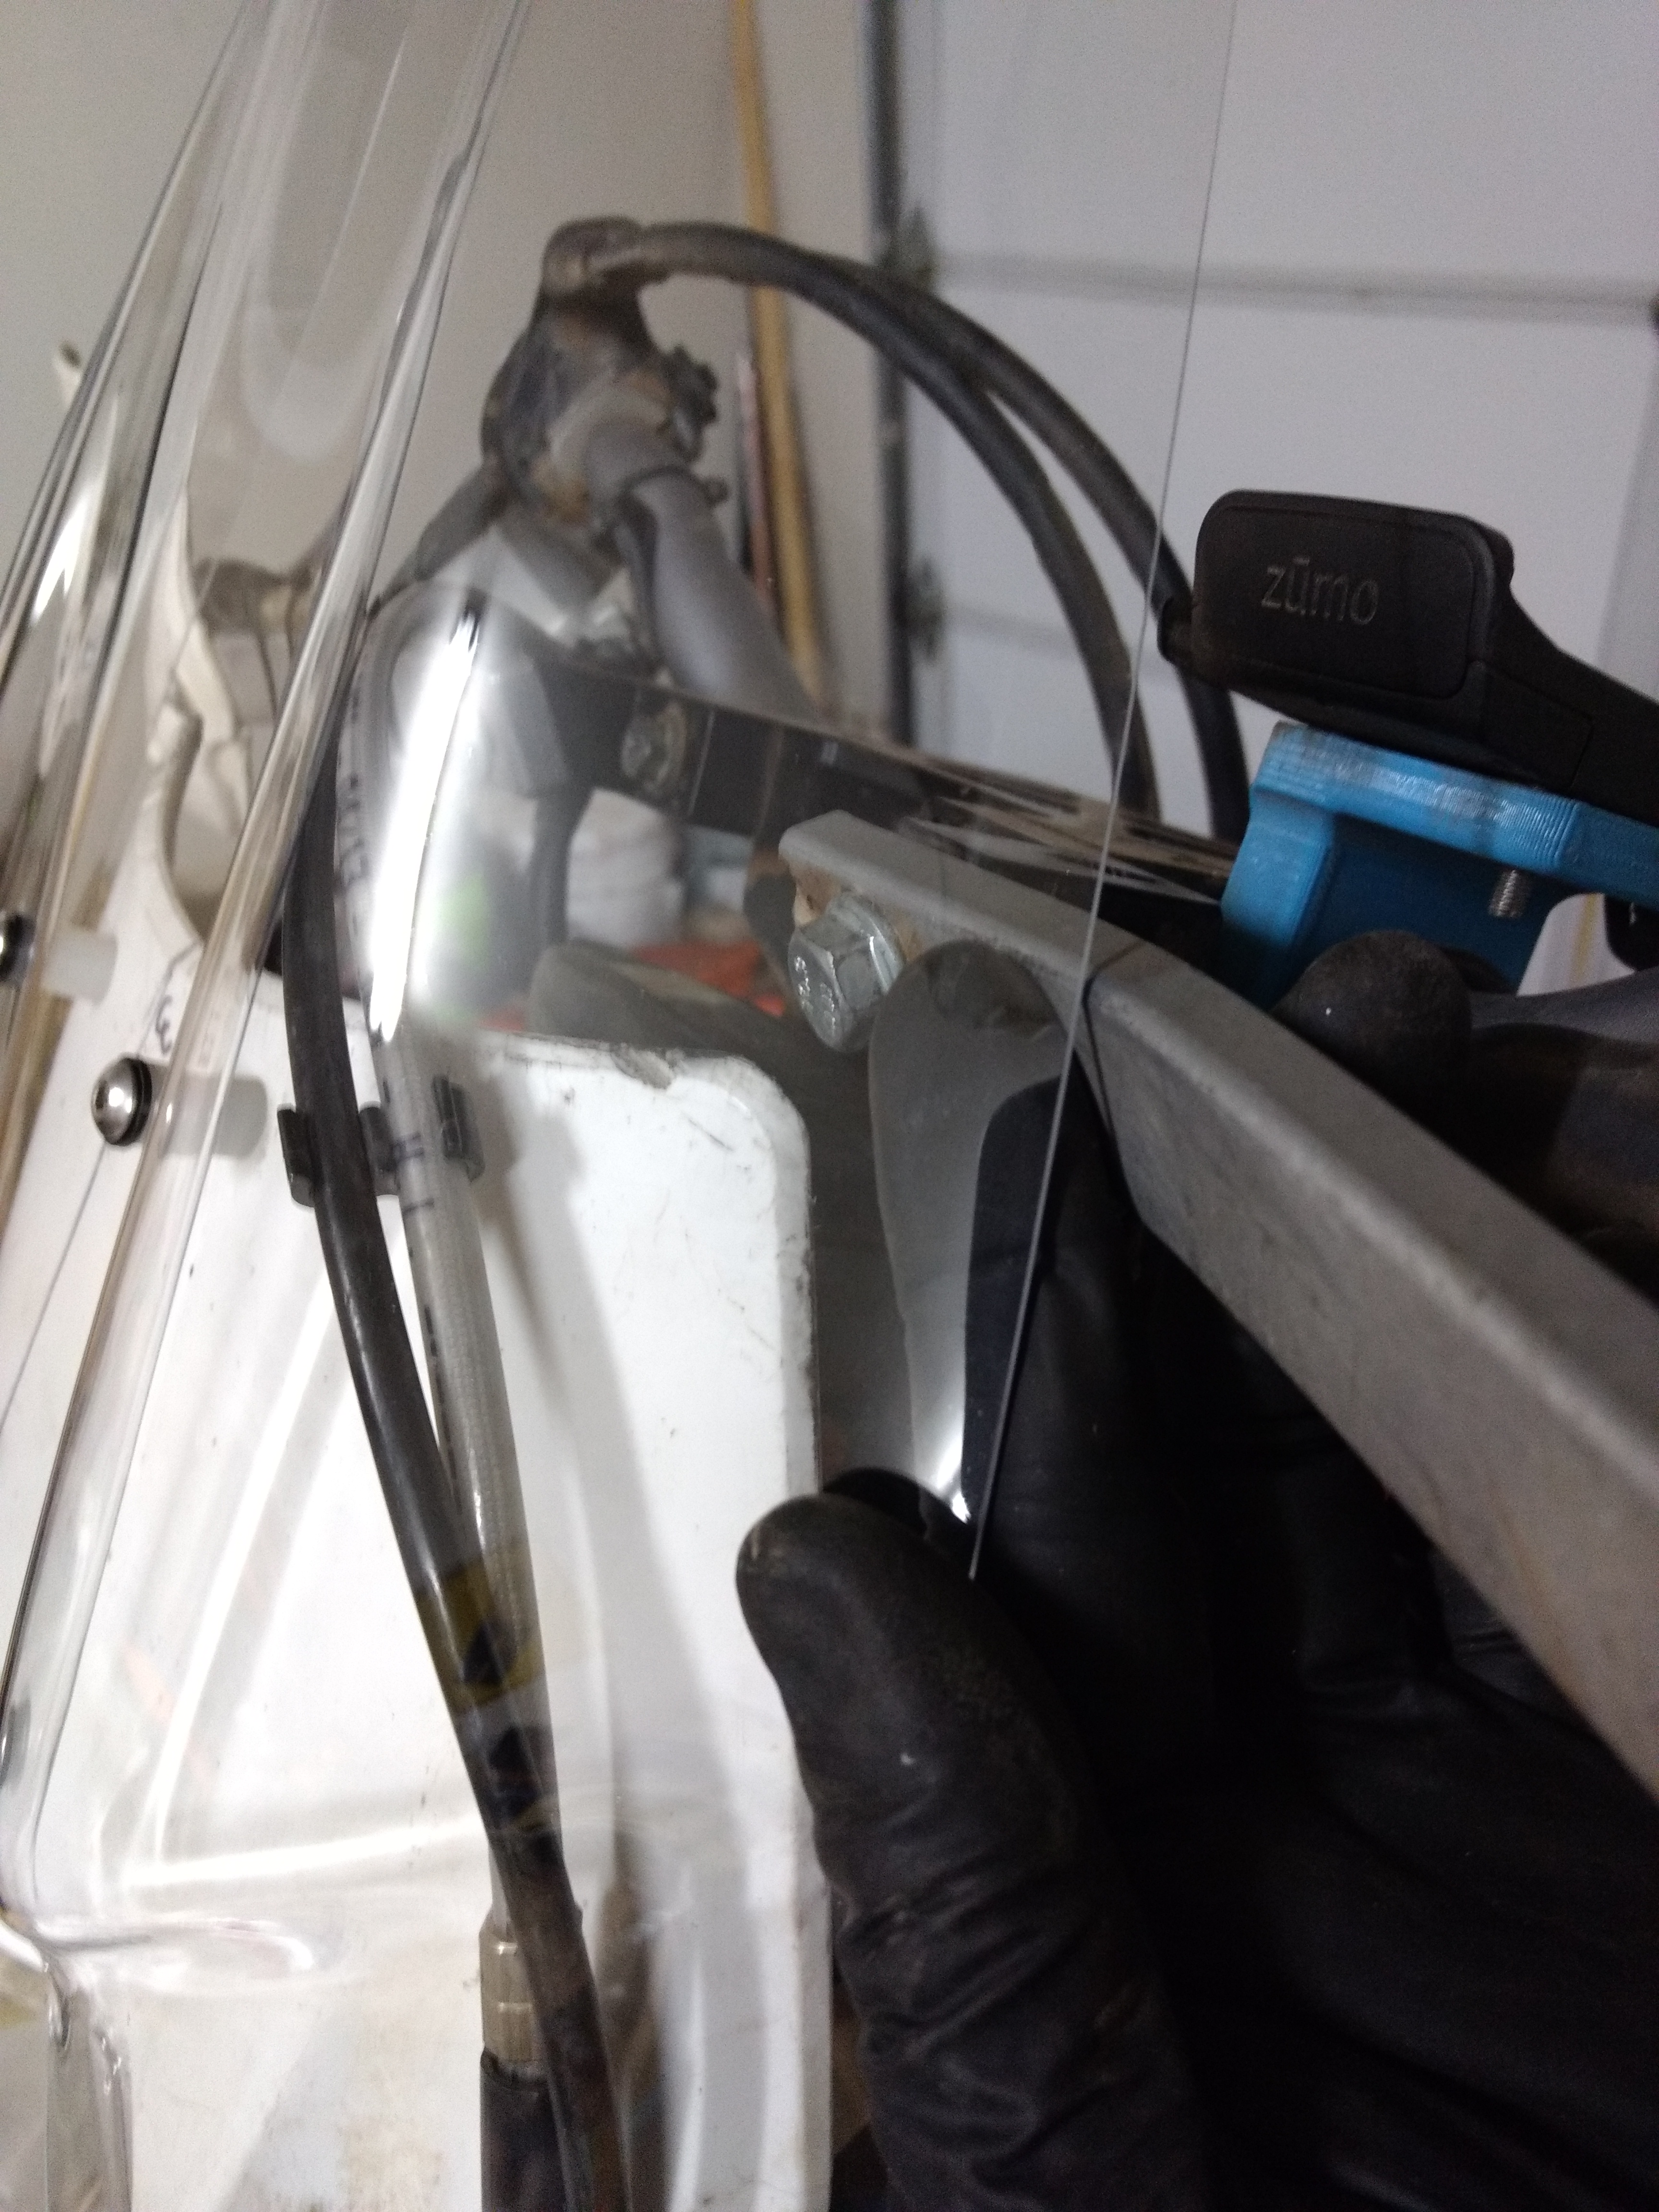
Last but not least is durability.  Unfortunately (or fortunately?) I did not get the opportunity to crash test this shield, so I cannot speak to its performance in that arena.  I would posit that this shield is the least of your worries in a crash, and that because the headlight assembly is essentially rubber mounted, it would likely survive any encounter with the earth.  One area of improvement I would suggest is the brake line routing.  The brake hose on my bike would rub constantly on the two ridges on the back of the shield, quickly developing a ‘smeared’ section.  It’s a non-issue since the shield in nowhere near your sight line, but it’s kinda ugly nonetheless.  Granted, it’s still the best looking plastic on my bike, so who’s to argue?

All said, this is a well thought out, well made, and made in USA product that can provide some real world relief on those long stretches at speed.  Whether you’re headed to Dead Horse, or you’re in search of some fish tacos and a cold cerveza, the Bajaworx enduro shield is a welcome riding partner and will see you through a day of riding with noticeably less fatigue.  Check them out at bajaworx.com.

 Full Disclosure: Bajaworx generously contributed this Enduro Windshield for review at no cost to the author or American Adventurist.