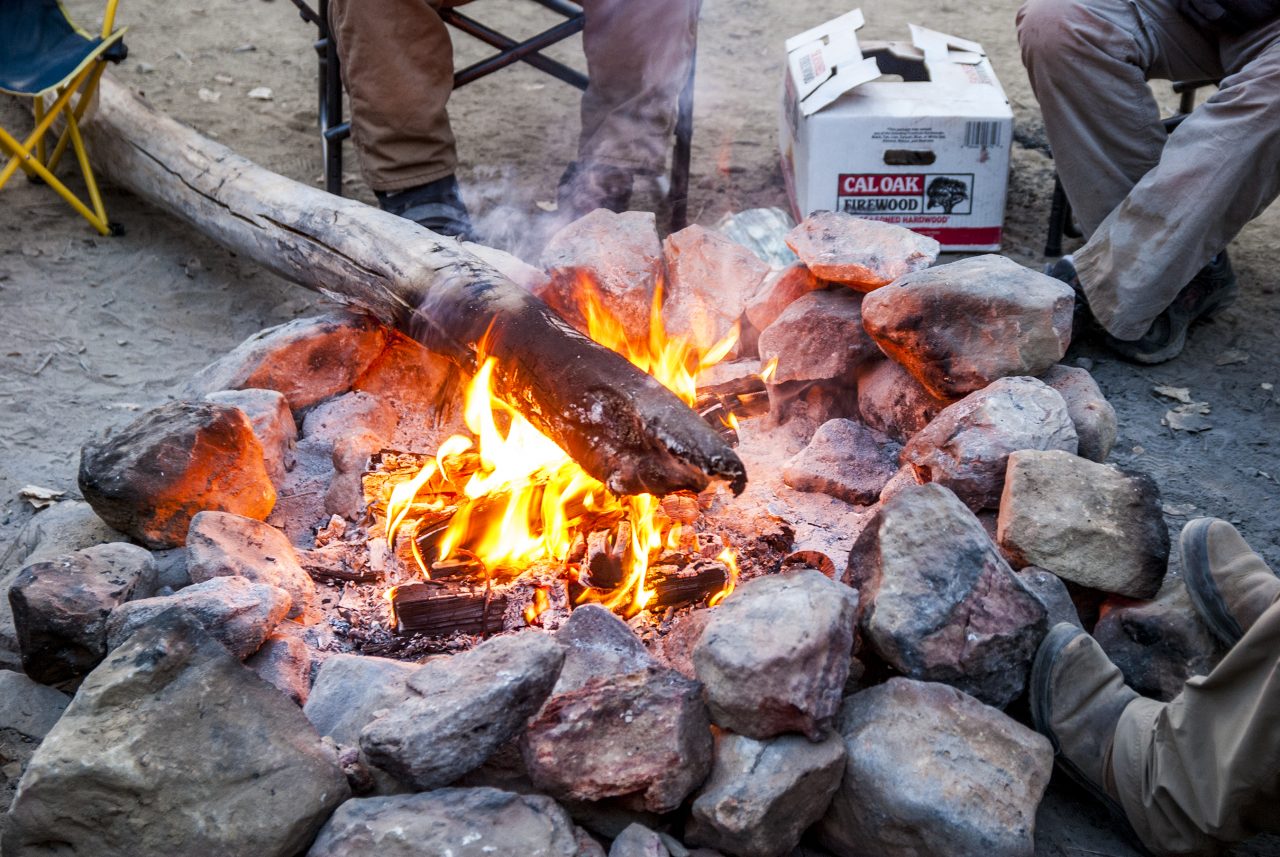
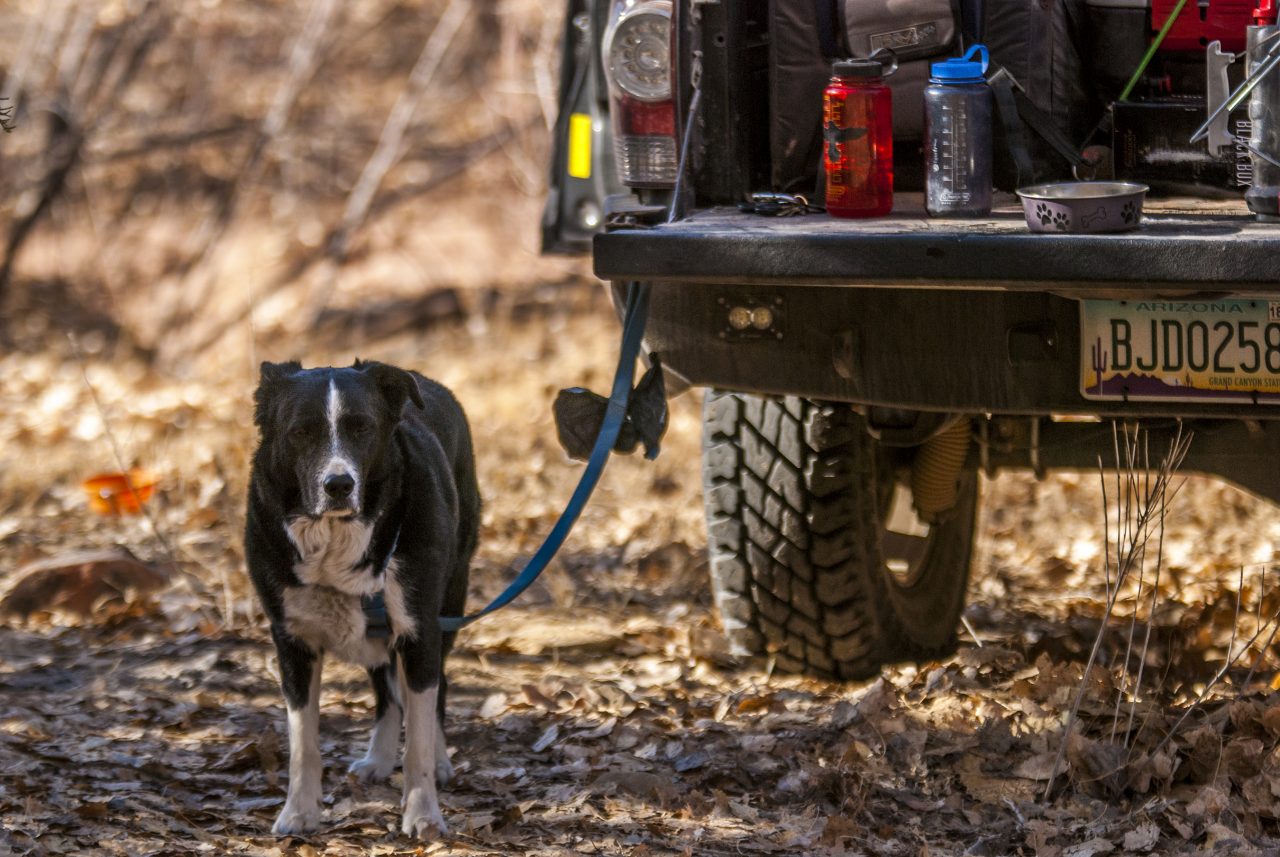
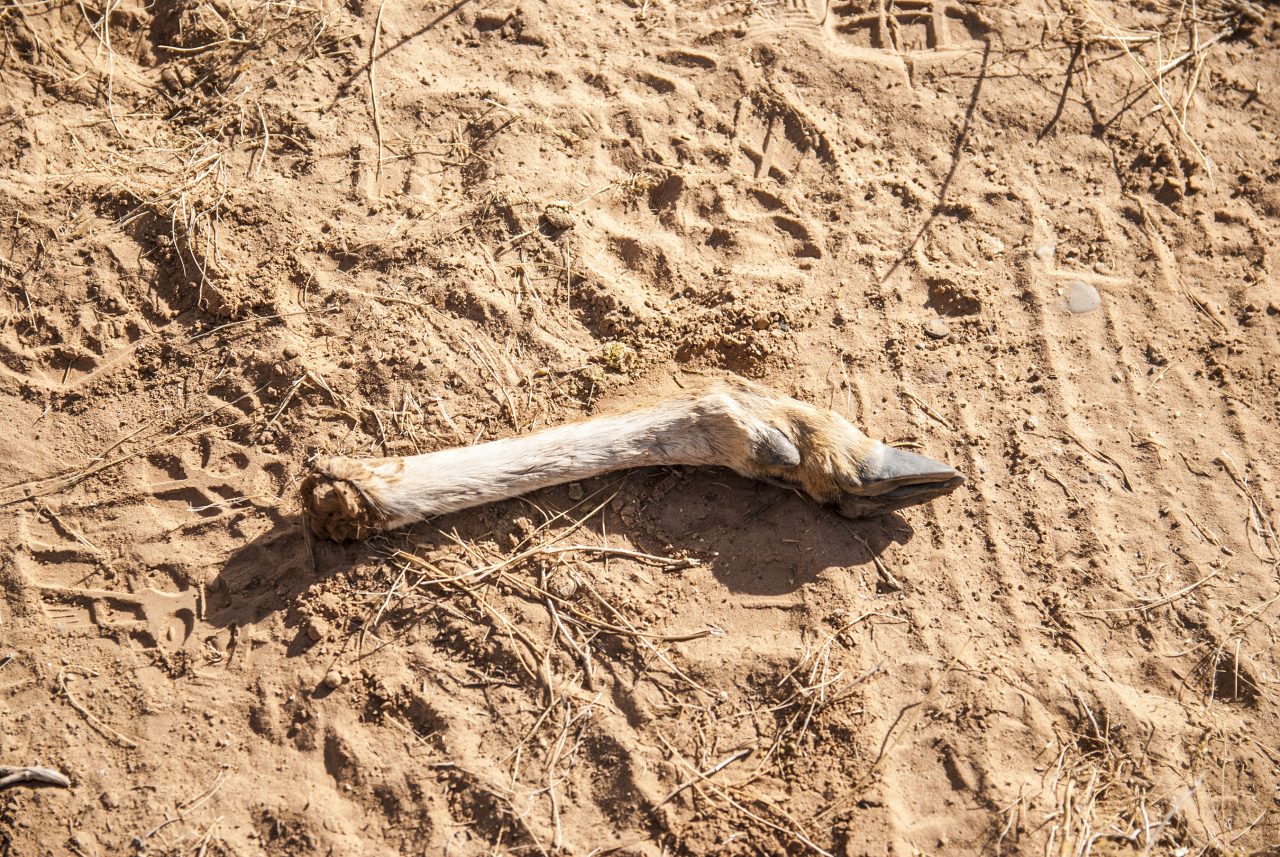
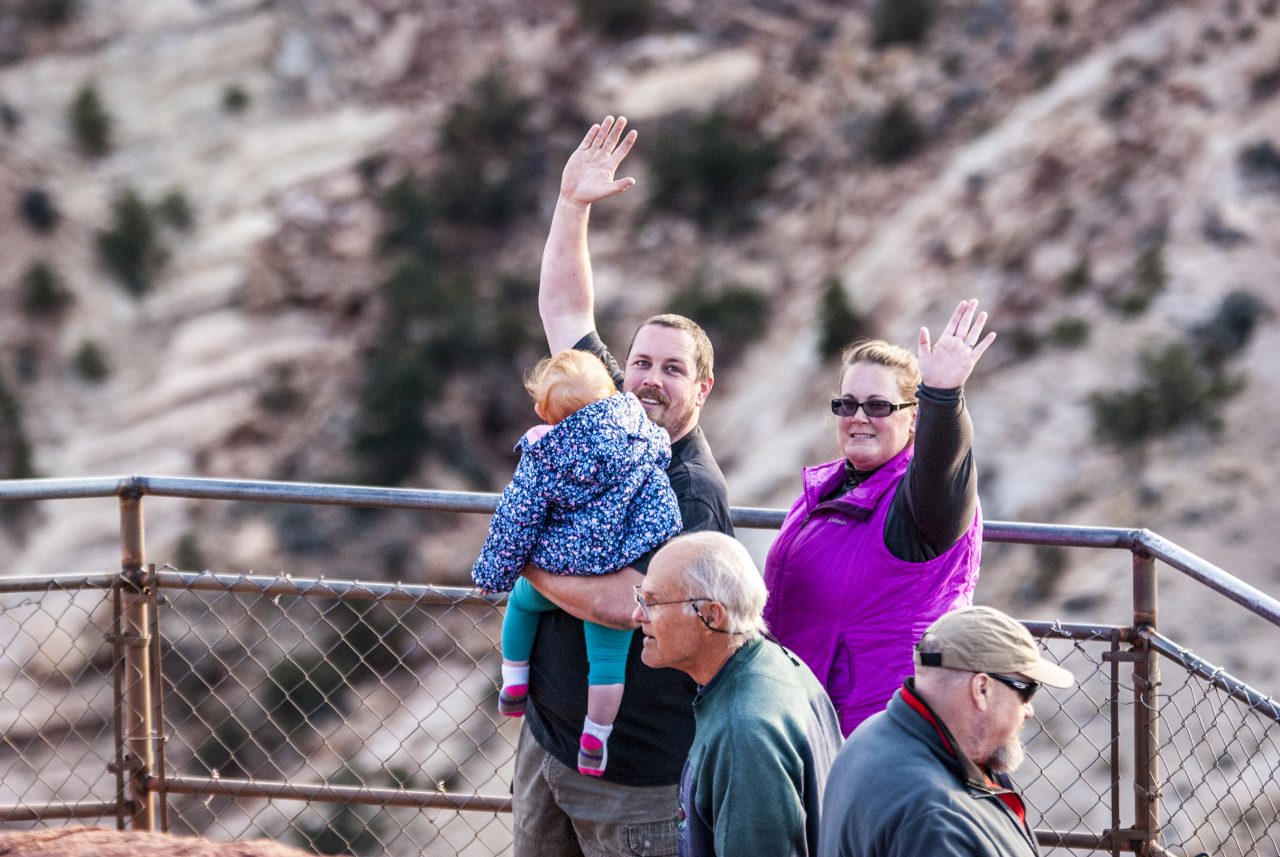
It was a seriously cold morning when we woke up, the dog water bowls had frozen overnight and I found a surprise ice bowl sitting on my stove thanks to Andy. At some point, Brett’s kids had found a few random skeletons of long deceased animals and had relocated them next to their tent as a joke. Jacki seemed to find it particularly disturbing amusing. We had some laughs and enjoyed a nice leisurely morning, packing up and getting Brian settled in and updated on the trip.
Day 05: Coffee in Kanab and Breaking Down
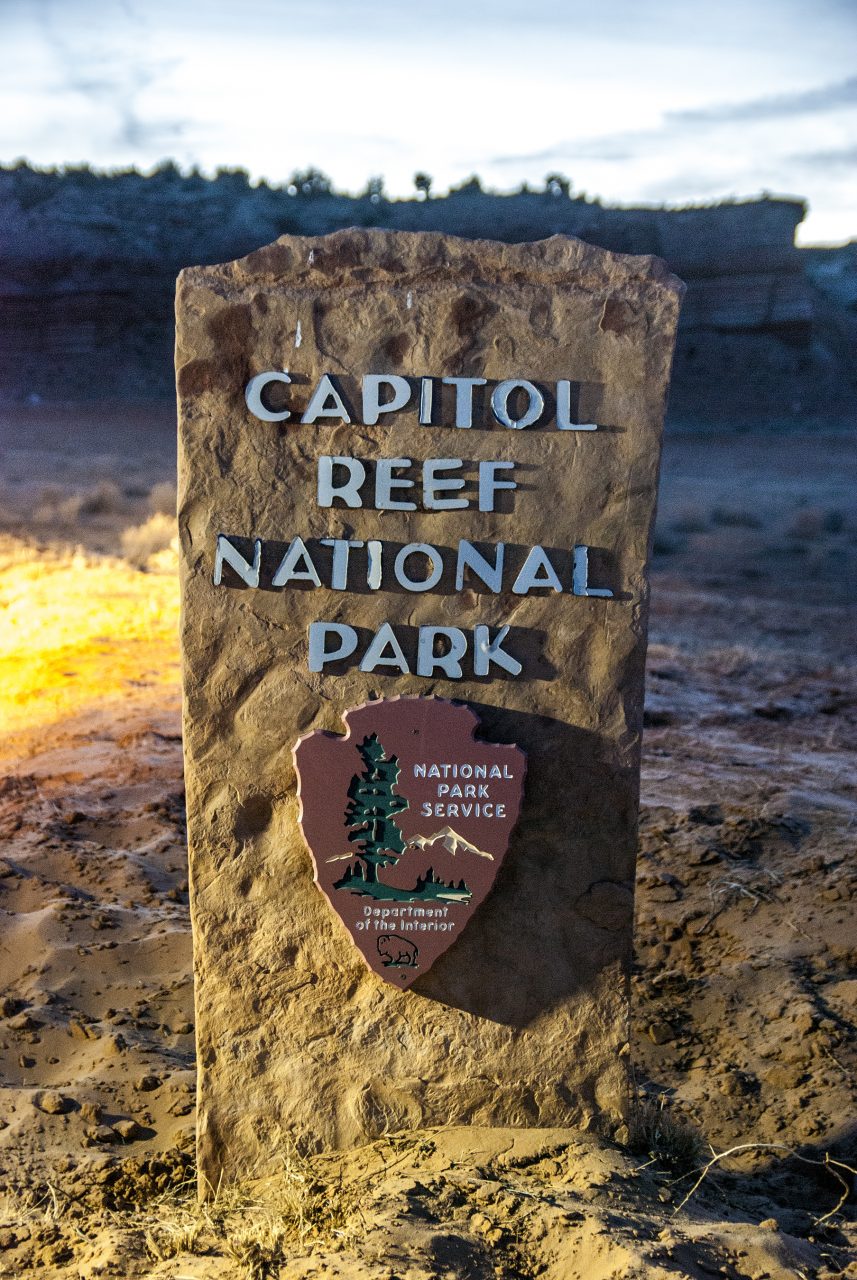
The group decided to hit the town of Kanab again for some breakfast and coffee and get some tips from the local coffee shop/supply store: Willow Canyon Outdoor. It’s a pretty cool shop considering they had your essentials outdoor gear and also had a coffee shop with some very knowledgeable staff. We asked for their recommendation on potential routes and campsites on our route and they gave us a nice road in which we should hit on our way up to Capitol Reef NP.
(If you’re just catching up, part I of III can be found HERE )


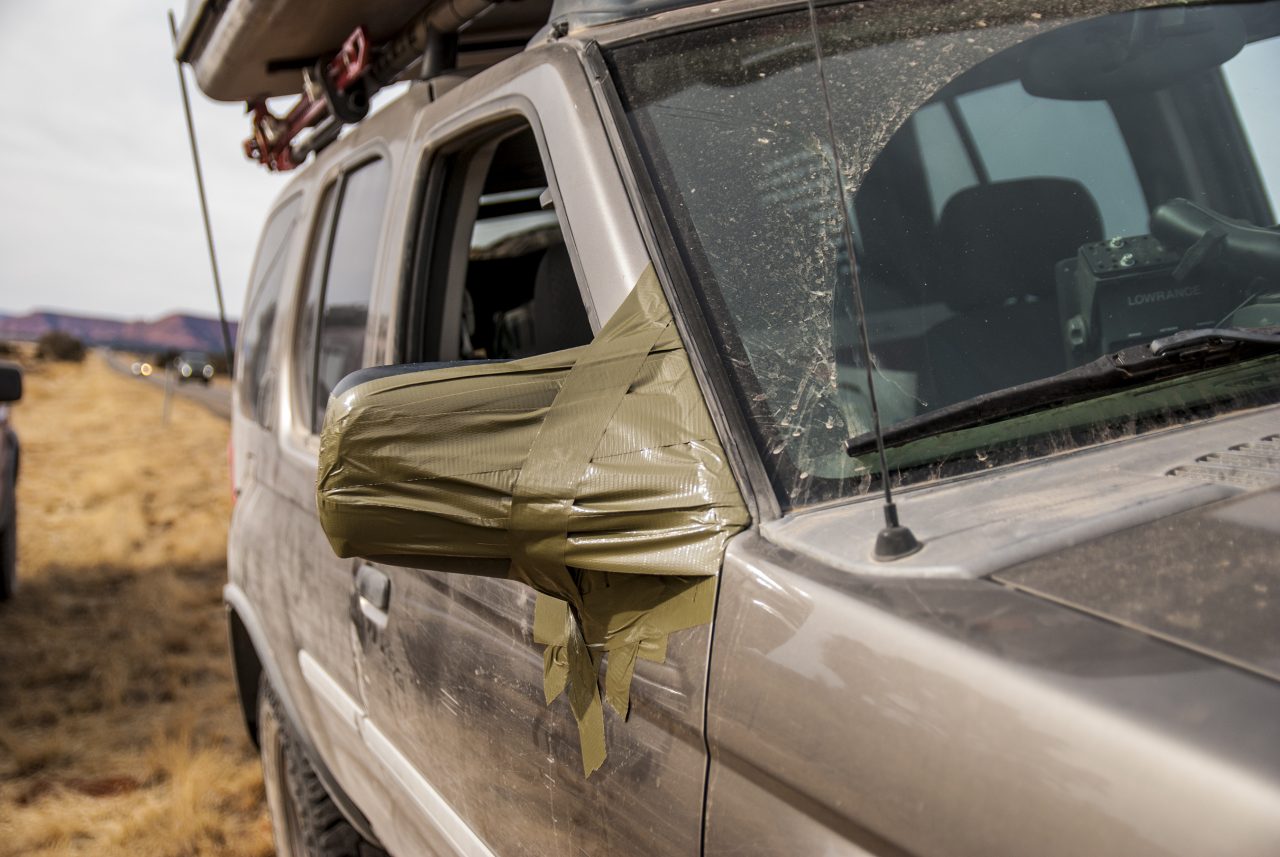
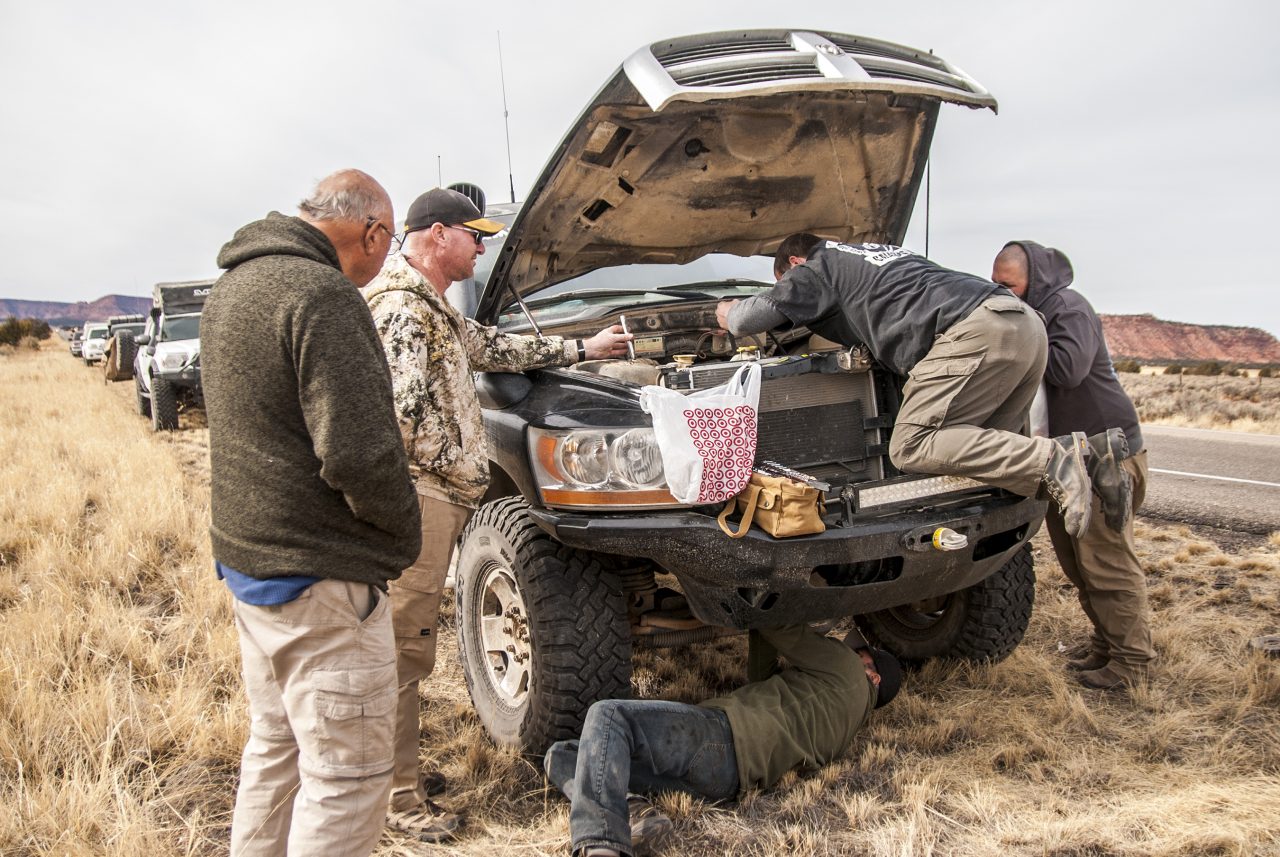
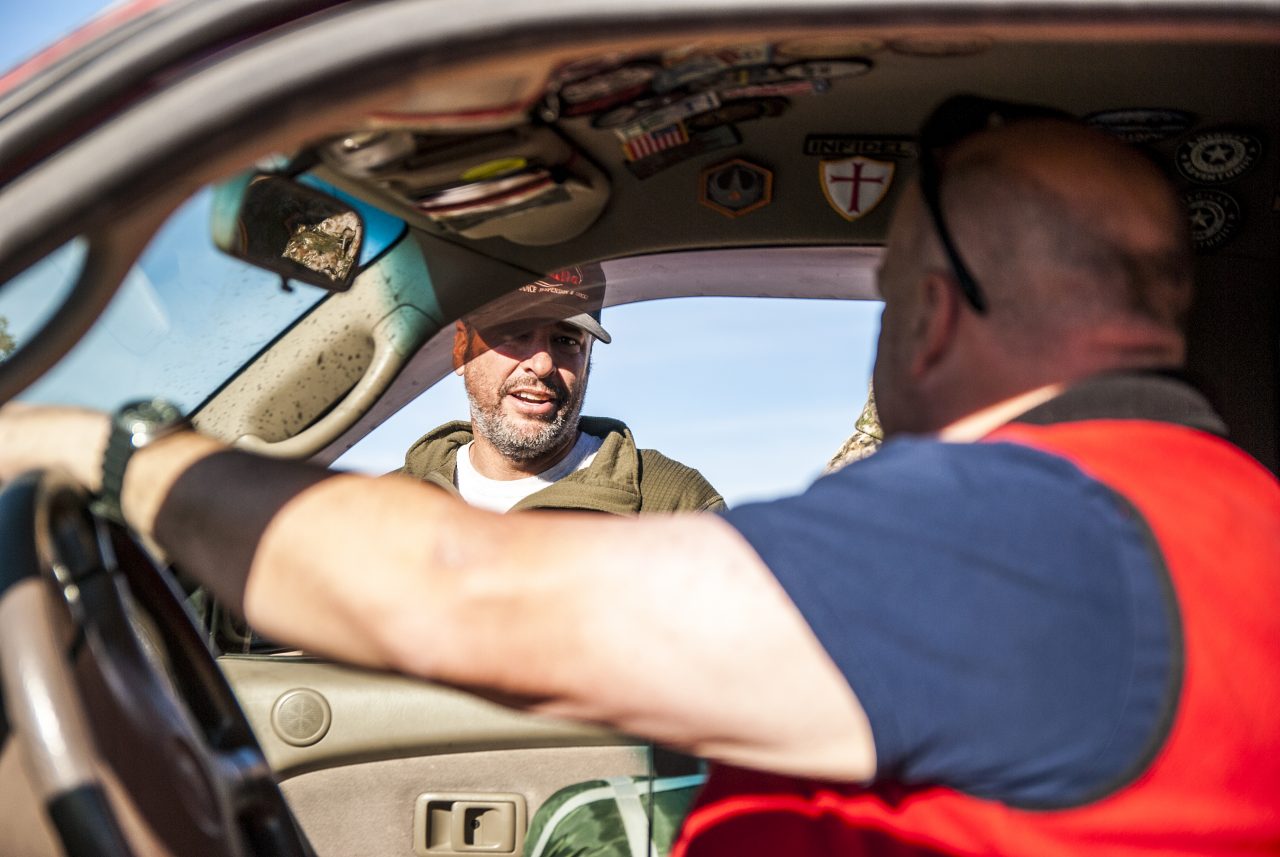
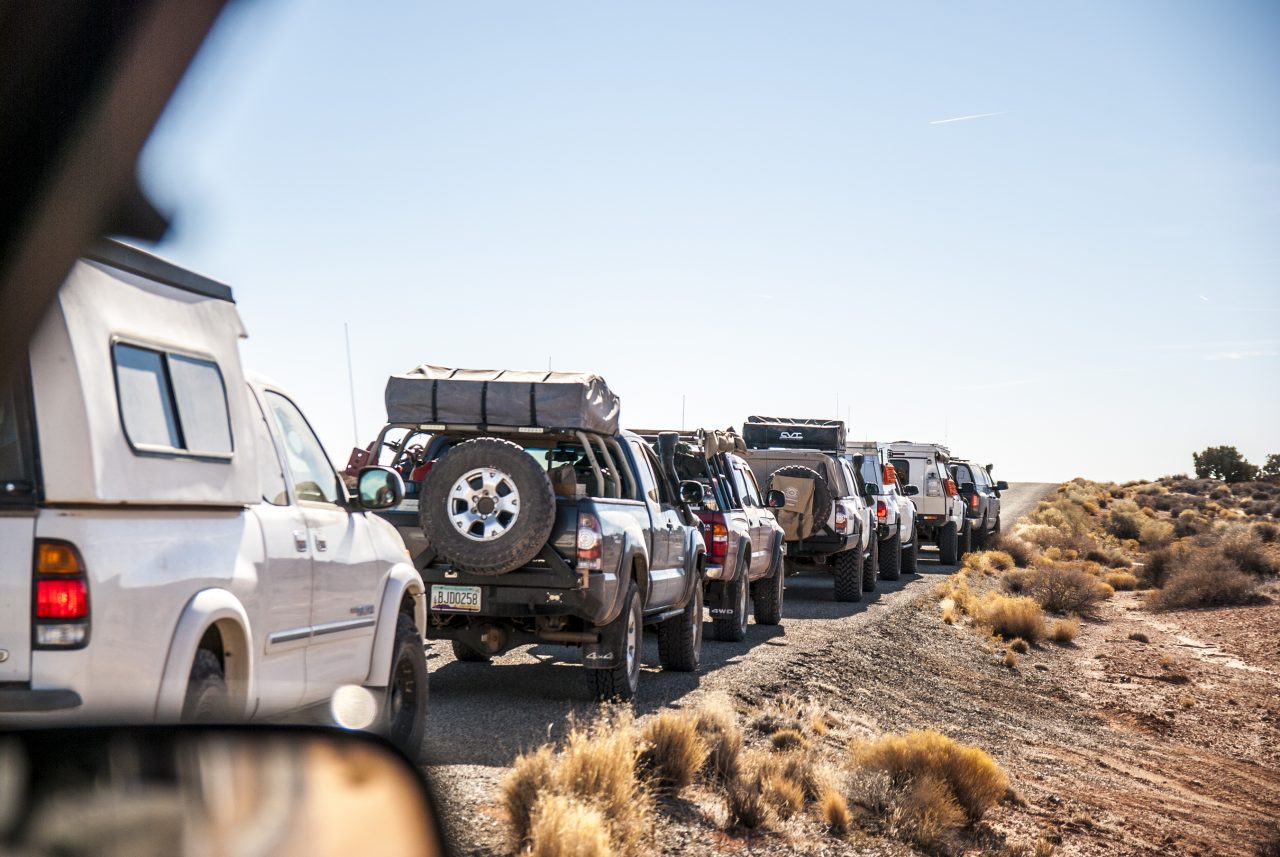
After our short visit, we decided to run some last-minute stops before we hit the road. We hit Highway 89 eastbound and hunkered down for the haul to our offshoot to Cottonwood Canyon Road. We were on the highway with Cris at point and myself as tailgunner. Next thing I know every vehicle swerved to avoid something on the road, with Cris on comms stating he’s lost power steering. The convoy pulled off the road and Cris mentioning he had probably lost his power steering belt. Dodge problems. Being tail-gunner, I reversed to retrieve the belt but doing so, I didn’t notice the roadside reflector markers. One of them took out my passenger side mirror as I reversed but I was able to retrieve the belt successfully. The group gathered around Cris’s wounded Power Wagon as we began to troubleshoot the problem. After some pointing and grunting, we all agreed he needed a new truck idler pulley.

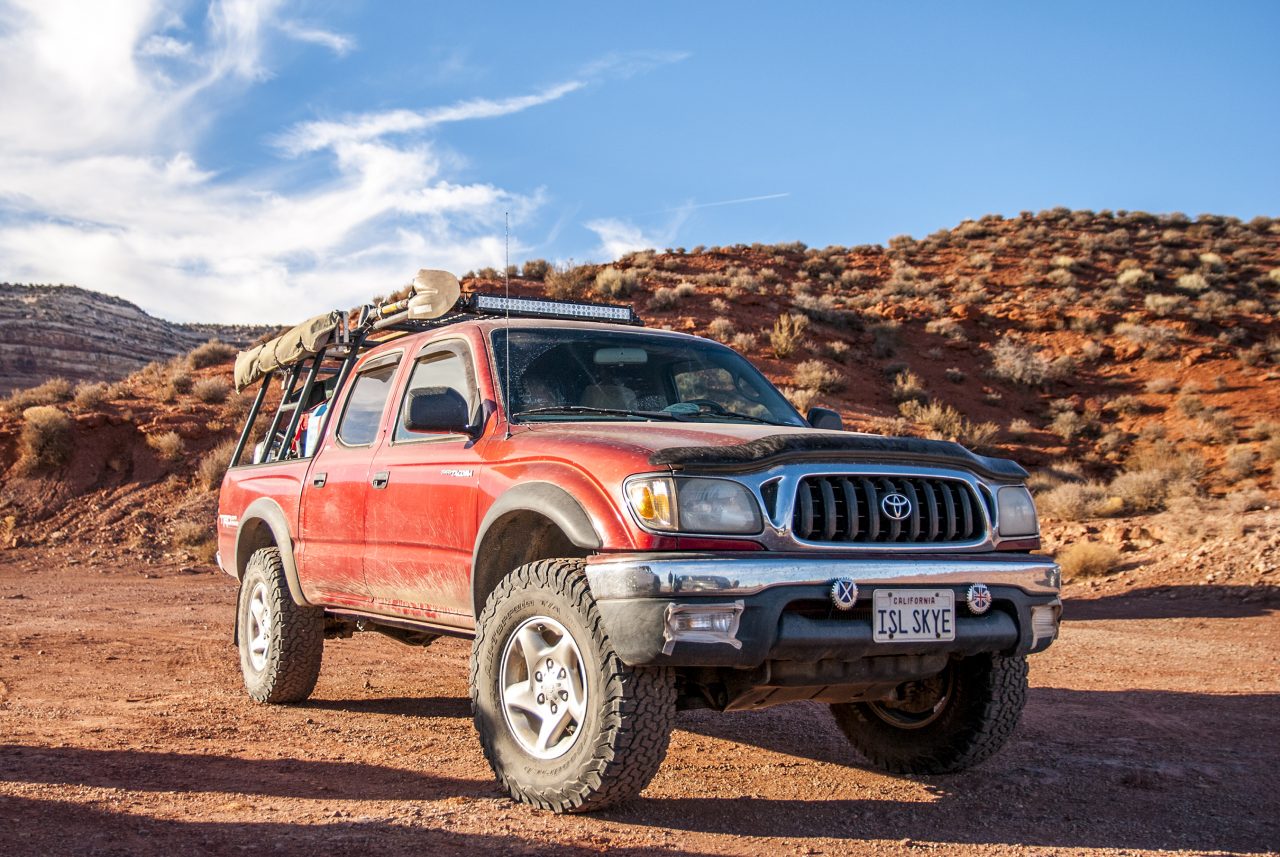
We were a little skeptical in terms of finding a part way out here but we did find an auto parts store in Kanab. It was just a matter of if they had it in stock or not. So Brian jumped in his Taco and jammed over to the store to find the part Cris needed to get his rig up and running again. In the meantime, the group made lunch and awaited Brian’s return. While waiting, I utilized some of Andy’s engineering tape to get my mirror back onto the Xterra. It was done in a very expedient and professional manner. About an hour later, Brian returned with the pulley in hand, and in a matter of minutes, we had the part installed and the Power Wagon roared back to life. We were back on the road.

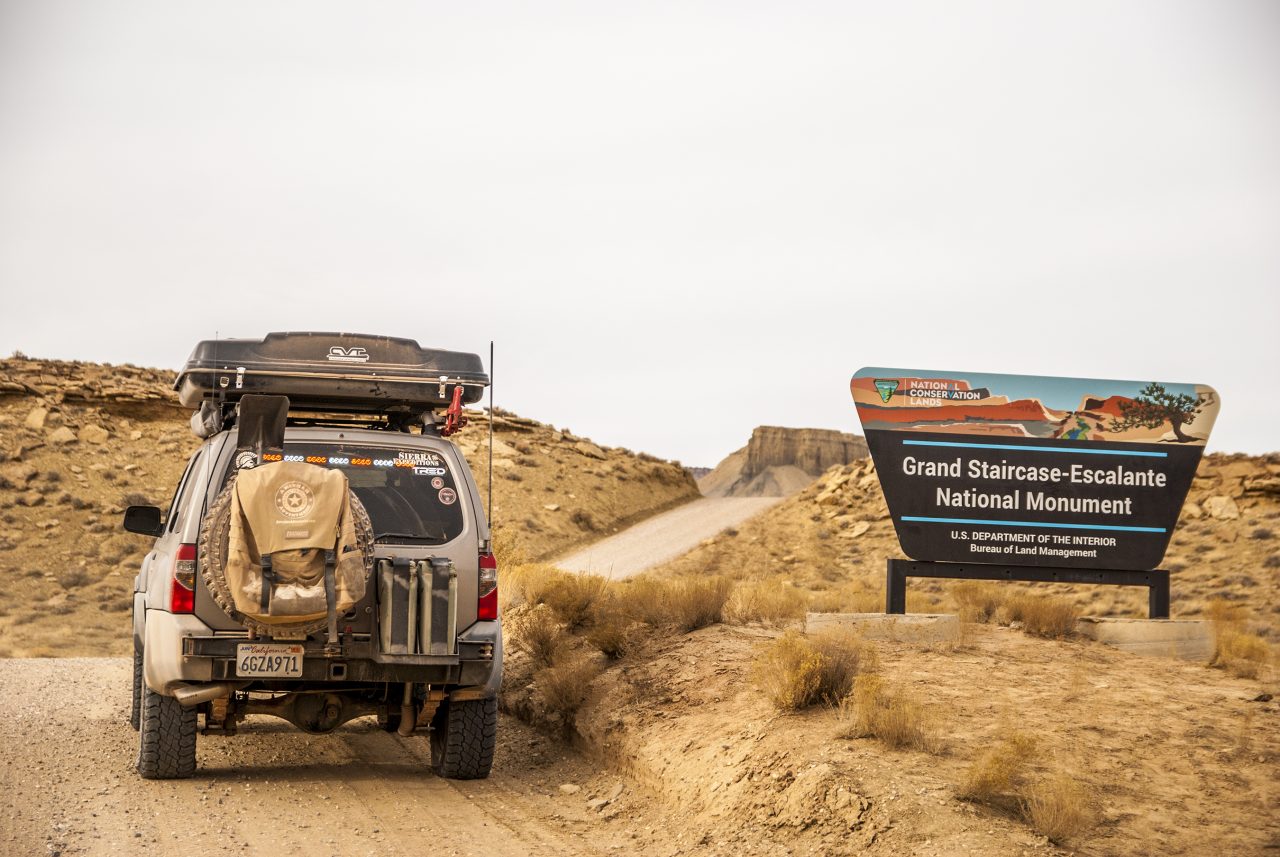
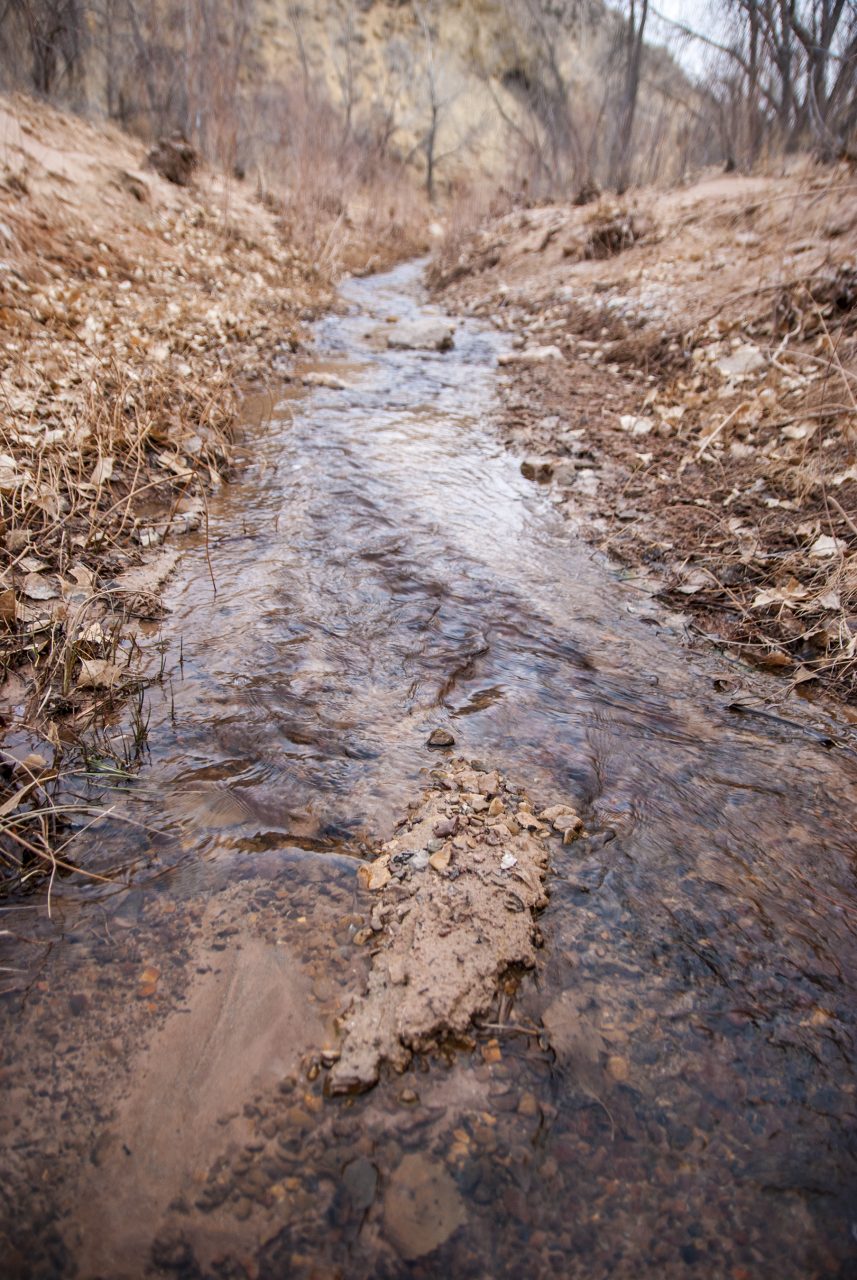
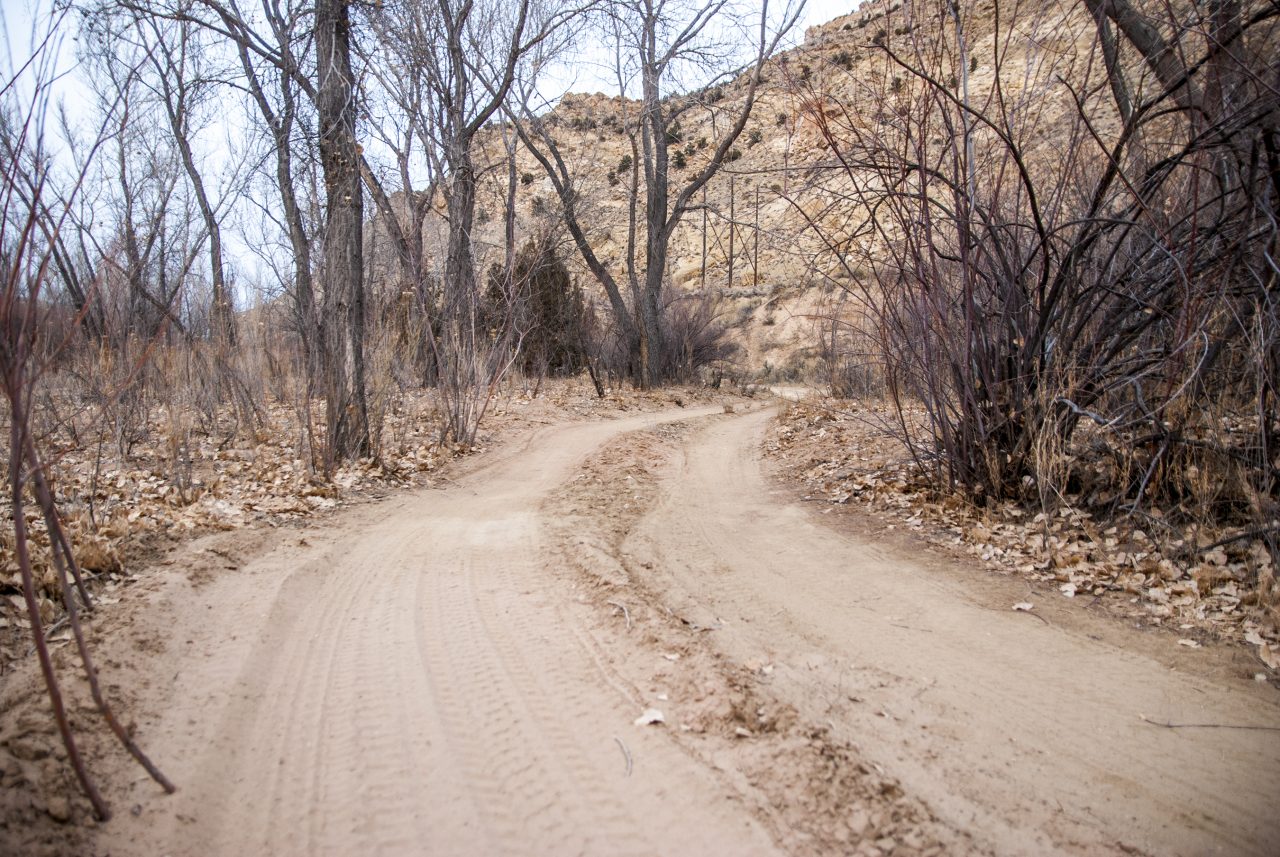
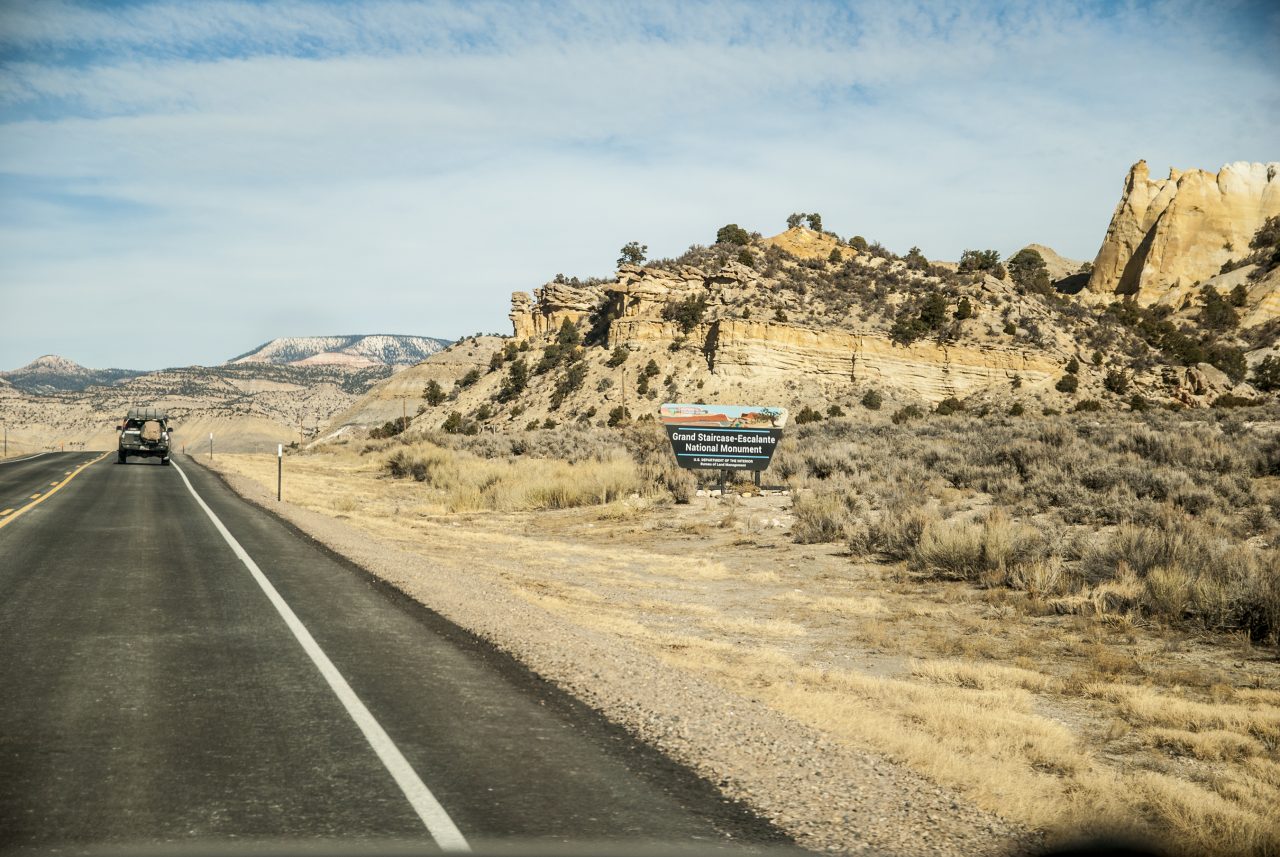
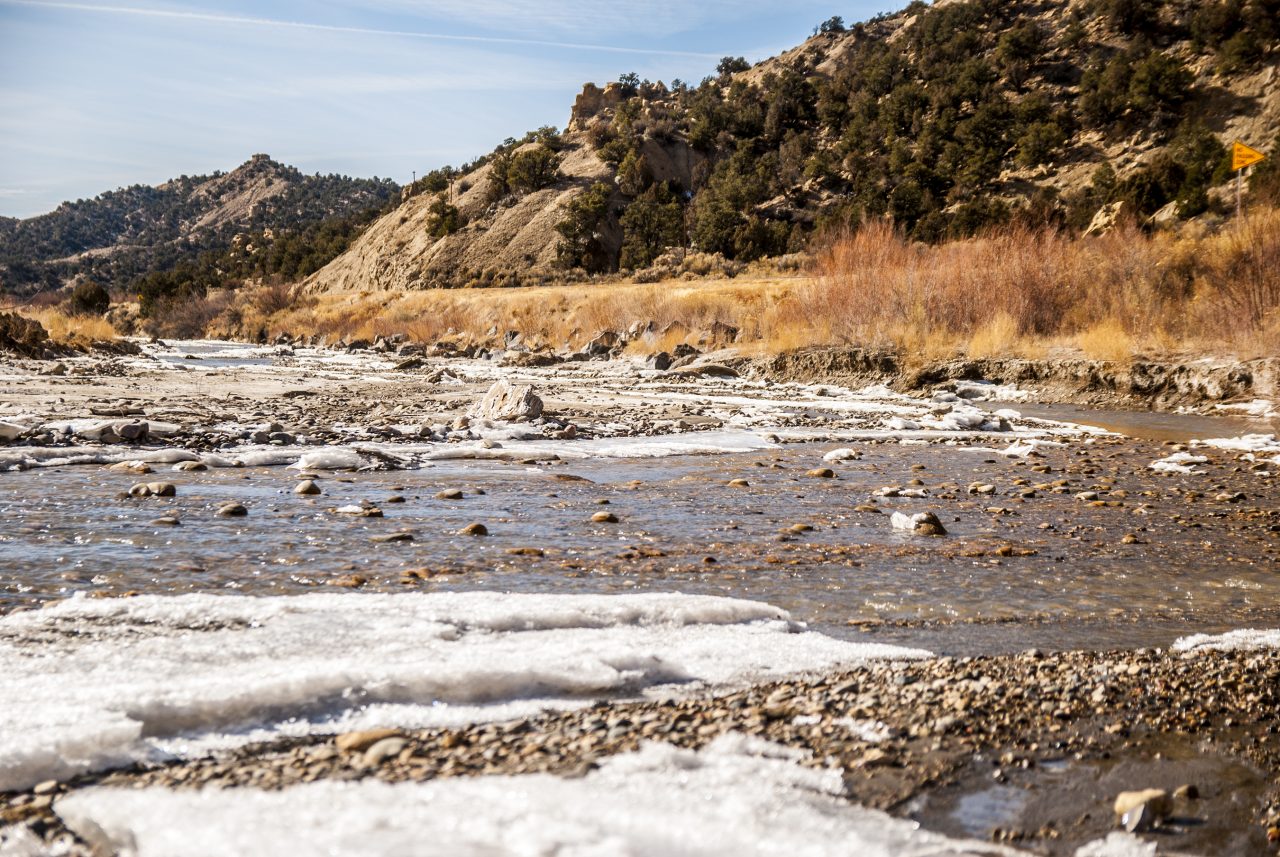
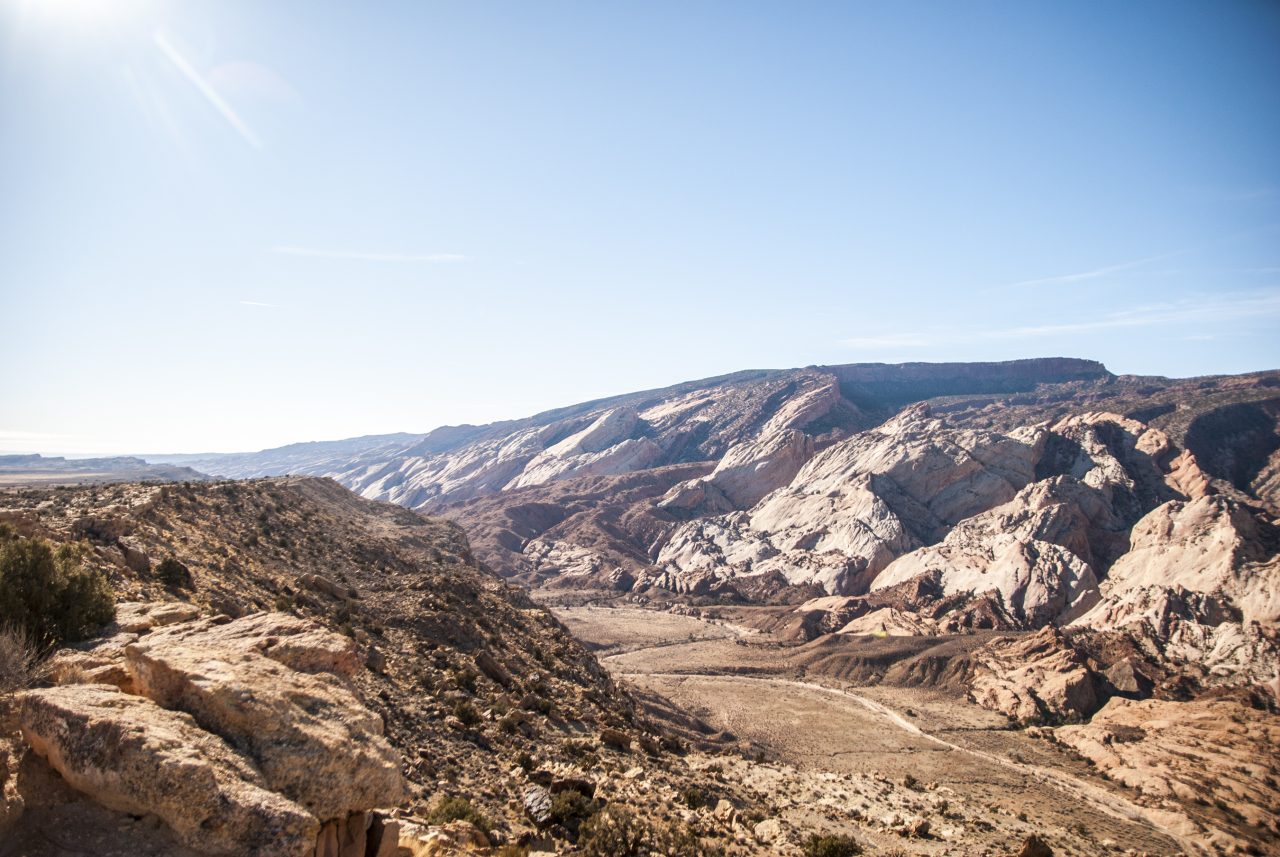
We hit Cottonwood Canyon Road, which turns out is an entrance to the Grand Staircase-Escalante National Monument. It is a nicely graded road with some turnoffs that branch off into other fireroads into the canyon. It winds itself along the Paria River, and then transitions to wind along Cottonwood Creek.


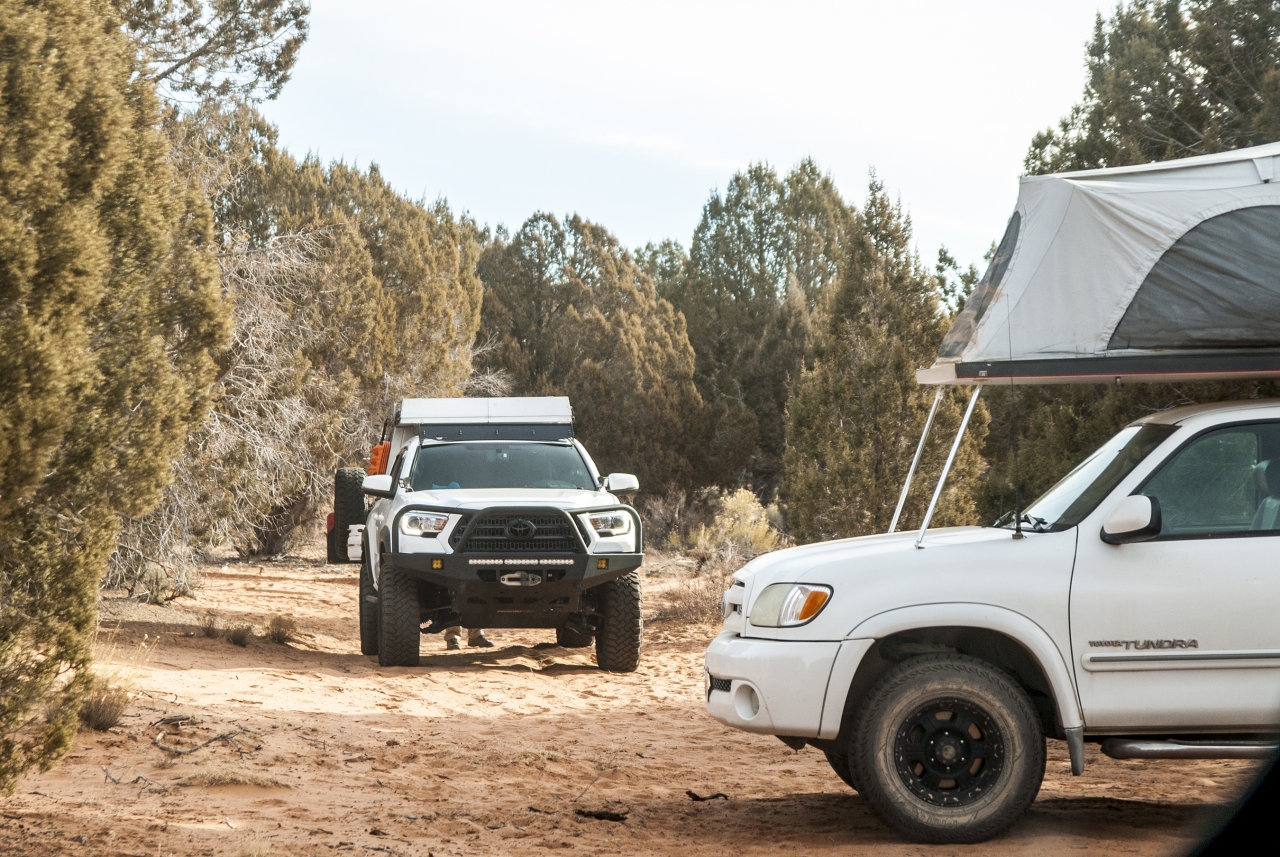
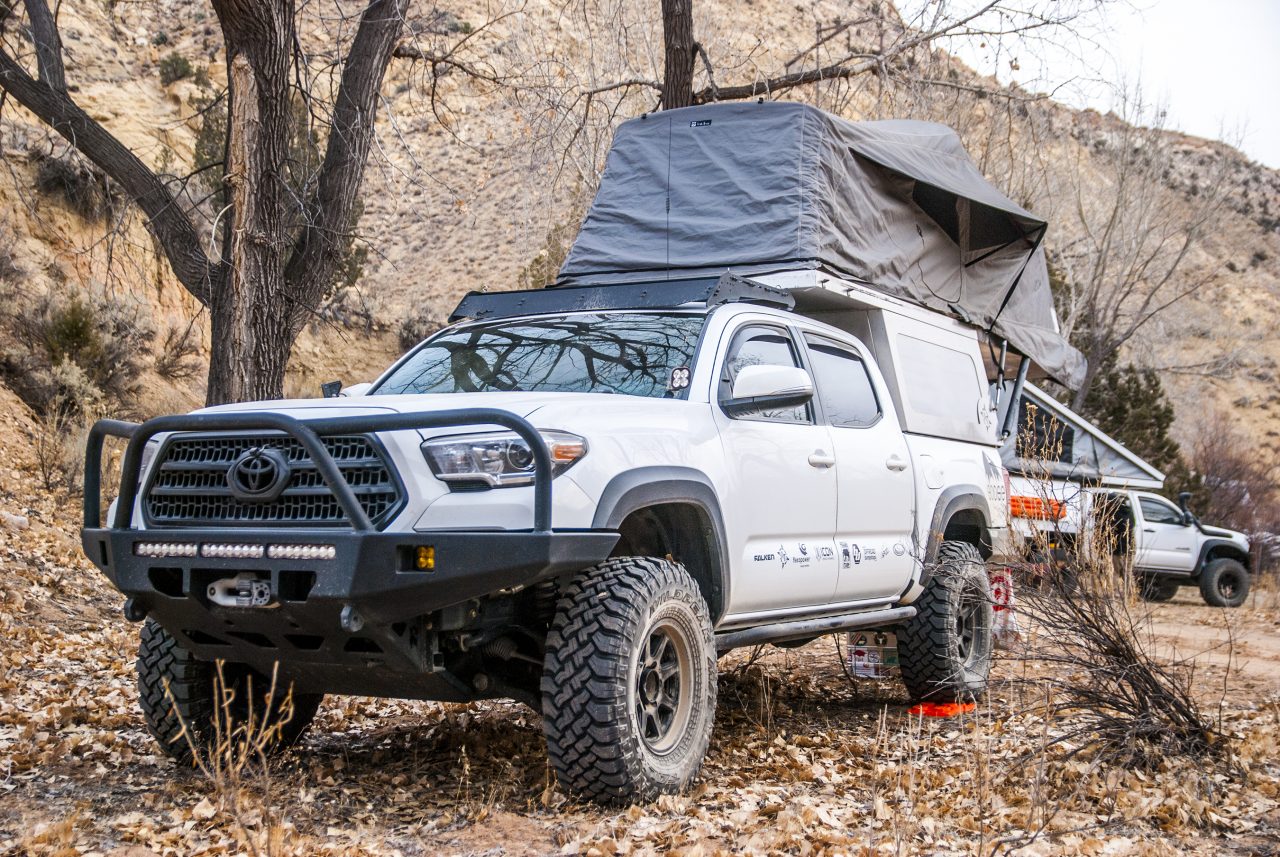
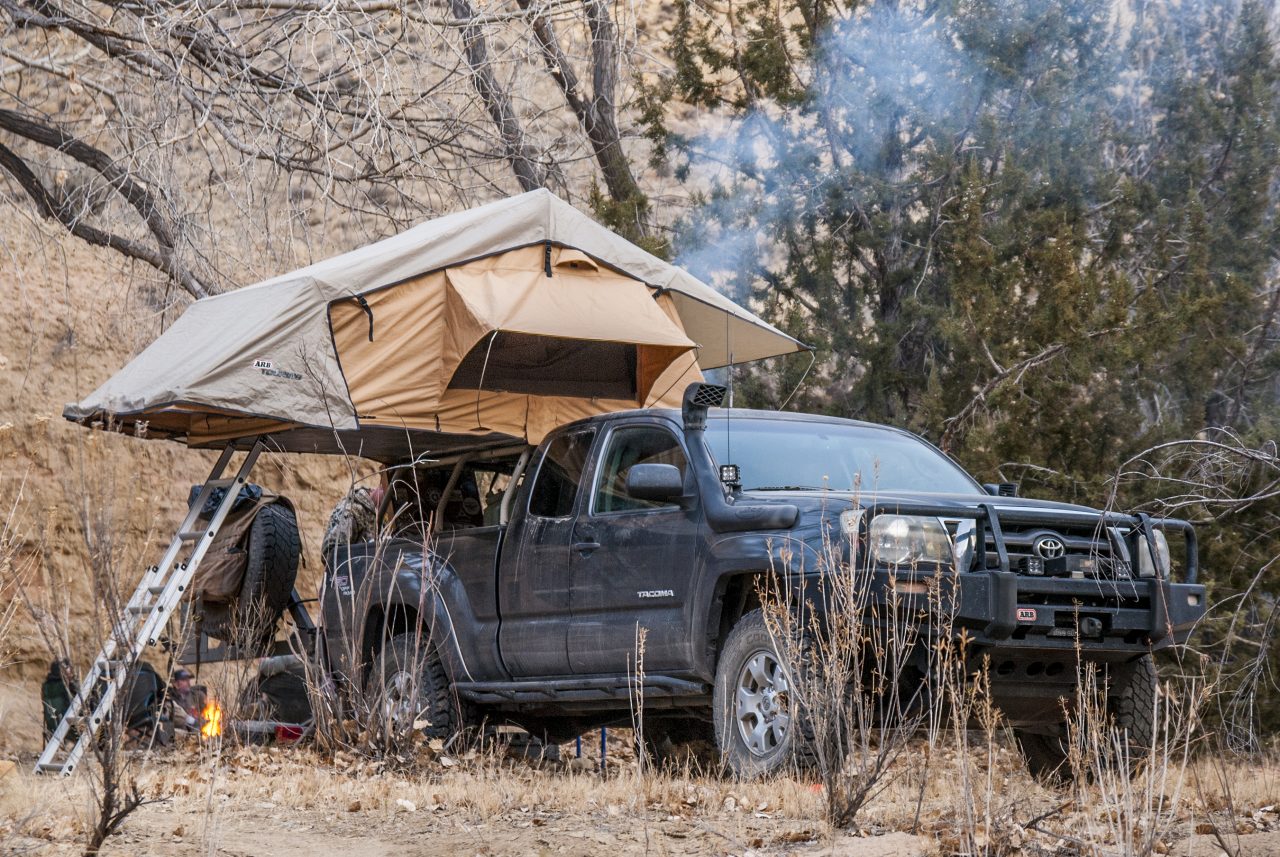
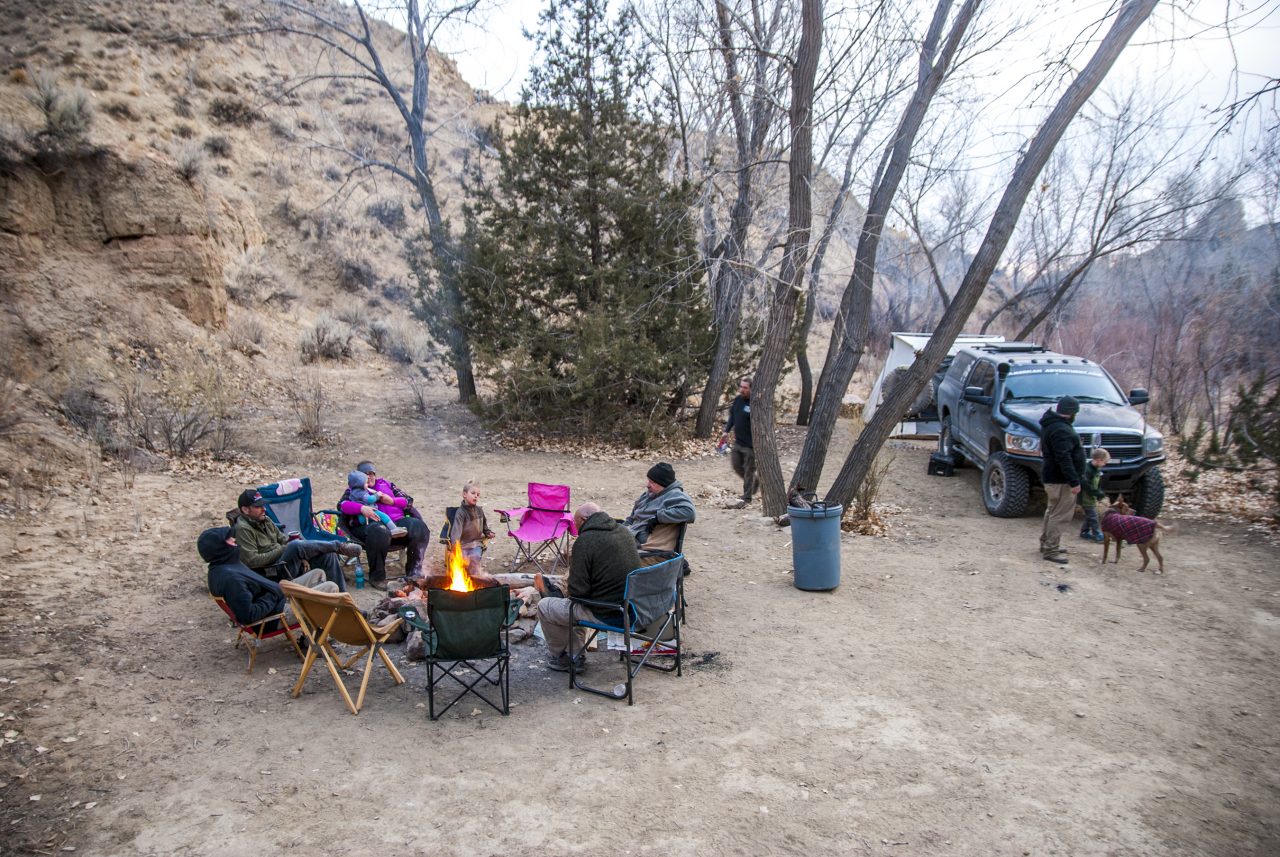
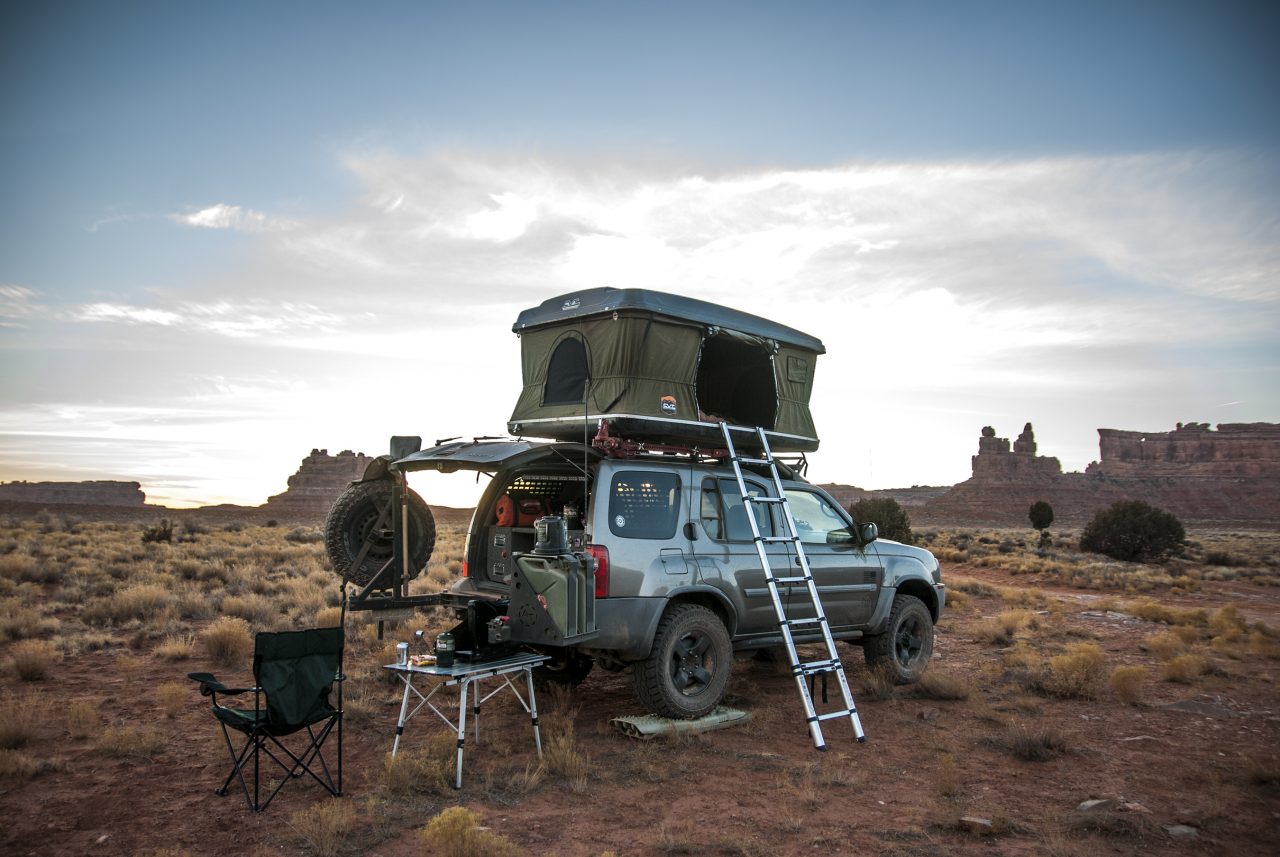
It was along Cottonwood Creek in which we found a perfect campsite: lots of tree cover, lots of flat clear ground, and right next to a creek. We arrived in the afternoon, with enough time to setup and relax before the sun began to set. We relaxed the remainder of the day until night fell and we hit the sack.


Day 06
Making Time To Make The Ferry
The next morning as we’re packing up and getting ready to roll out, we get an early morning buzz by two F-35’s slicing through the canyon at low altitude. Quite the sight and a deafening roar as they screamed by.
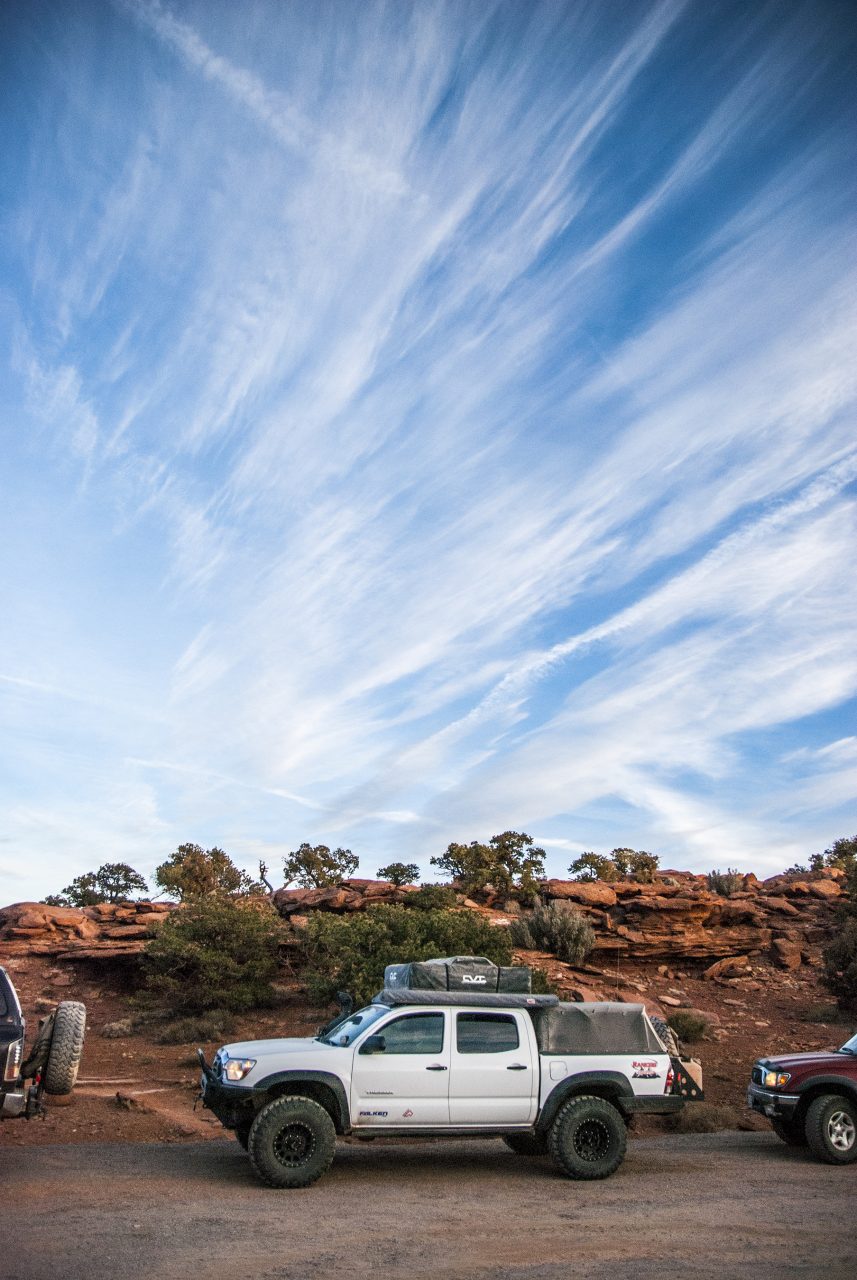
Today’s route involved continuing up Cottonwood Canyon Road northbound all the way to Cannonville. The road was well-maintained, quite scenic, and a blast to drive on. We did stop at a turnout to regroup as the convoy began to separate over the long distance of fireroads. There we snapped some photos, Jaxx found a leg of a deer to chew on, we got some stretching in, and then hit the road to Cannonville, where we’d air-up and hit the pavement. Once aired up, the group pointed east and took Highway 12 all the way north to Capitol Reef NP.


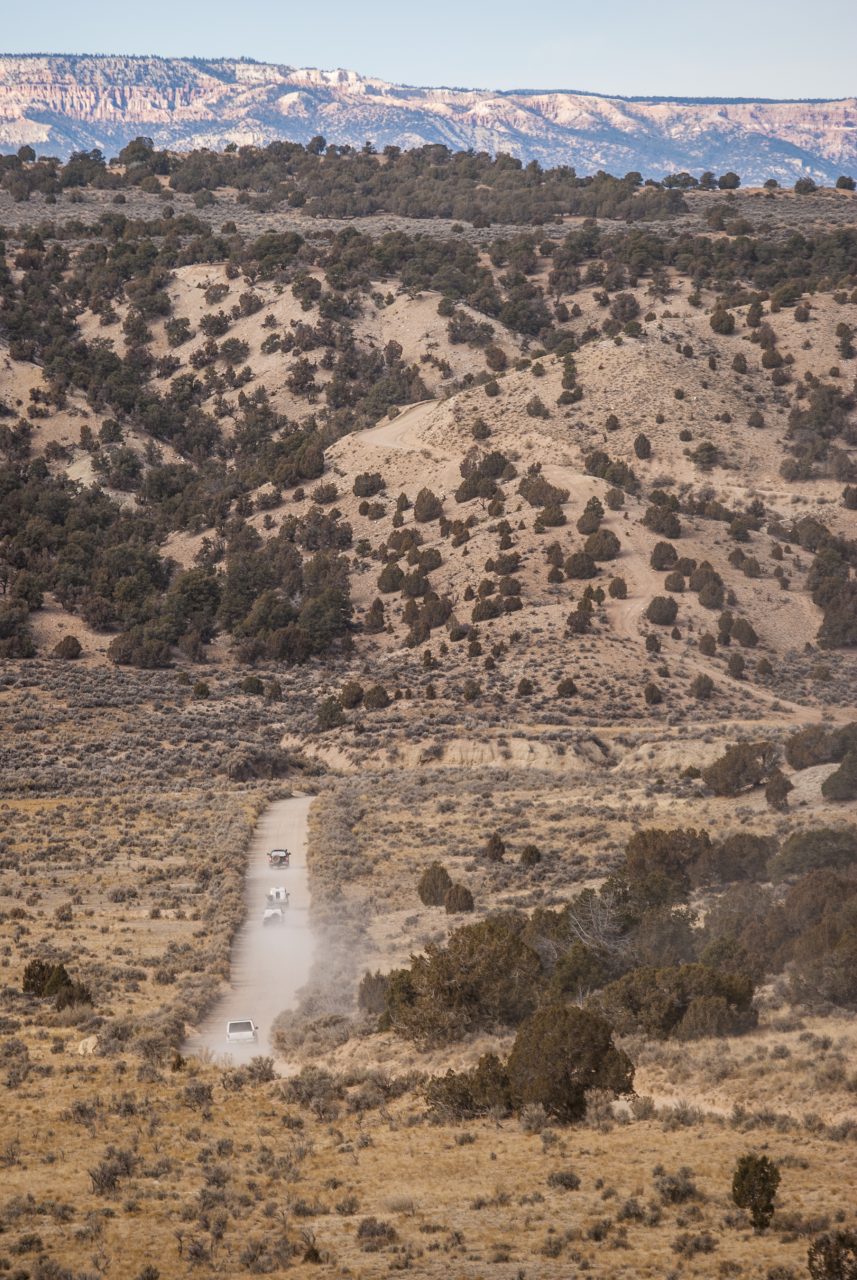


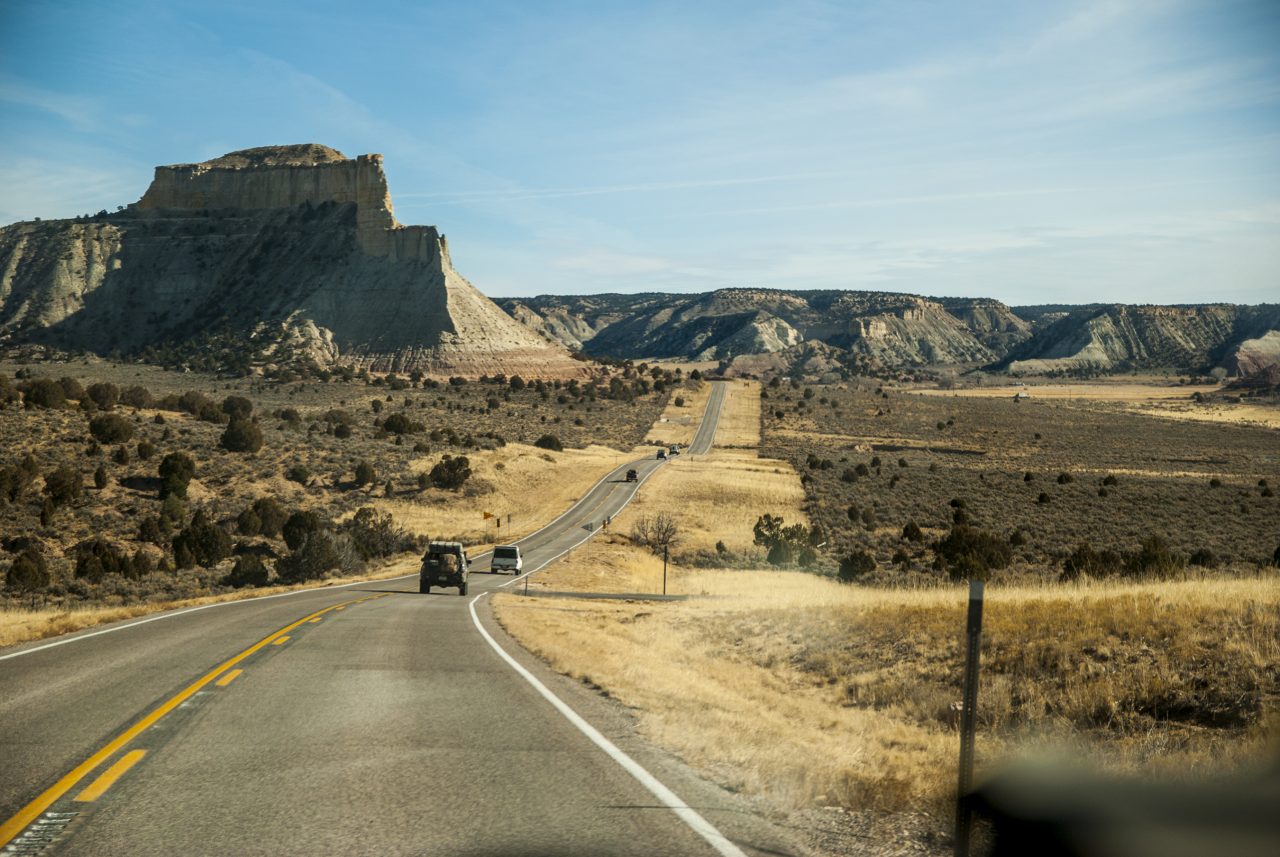
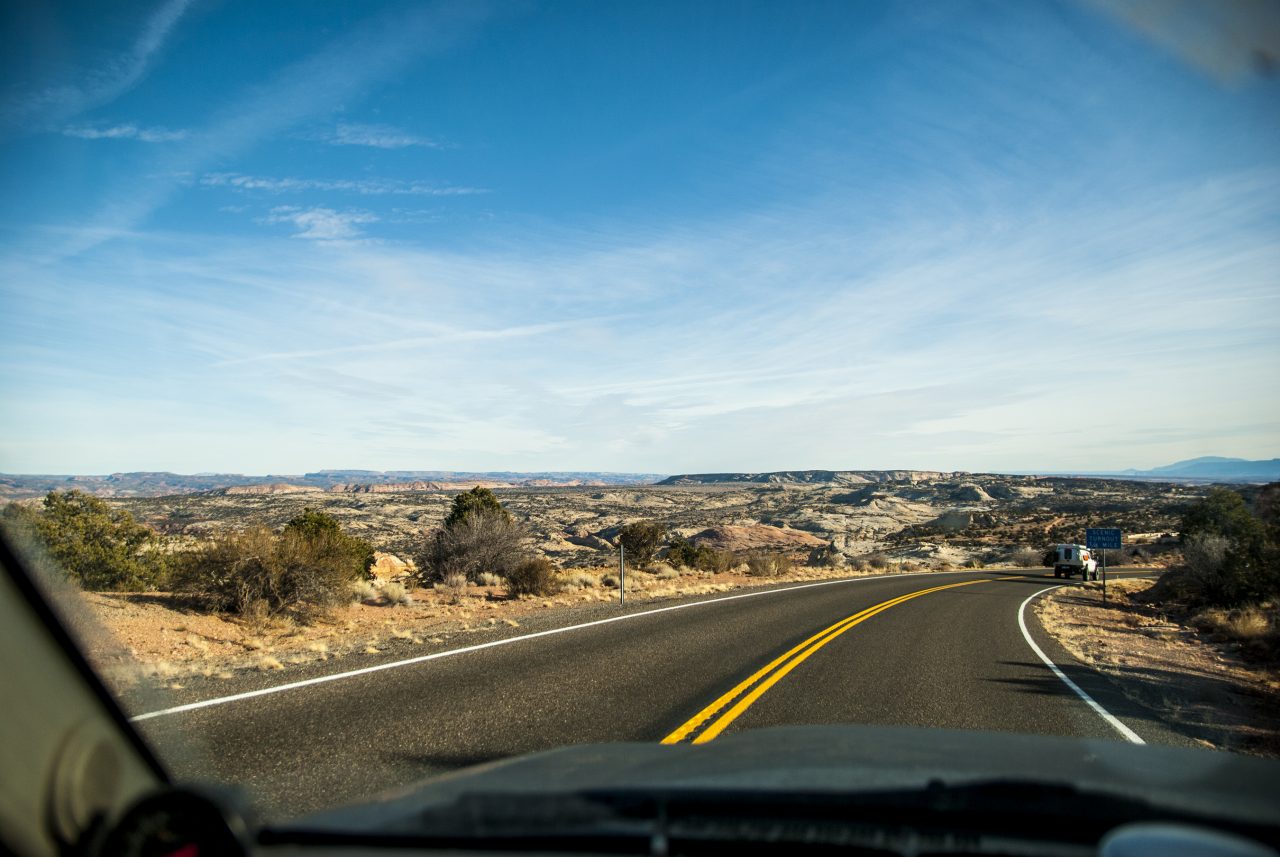
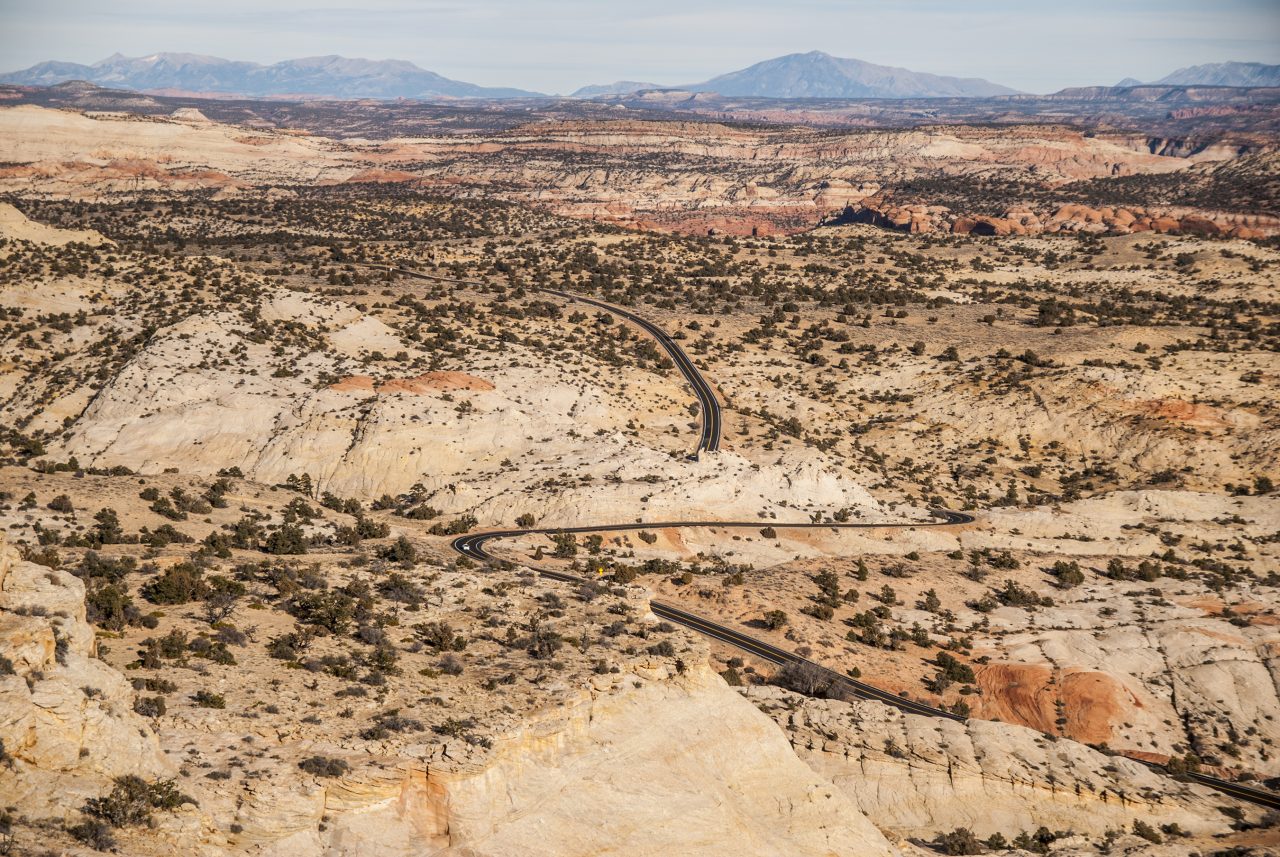
Highway 12 is quite the scenic drive, with gains and drops in elevation, but mostly, the views do not disappoint even though we were on pavement the entire time. As we traveled along, we hit Escalante and decided to do a logistics and lunch stop. We filled up our gas tanks, restocked our fridges and coolers, made some lunch and then decided what our route would be taking from there.
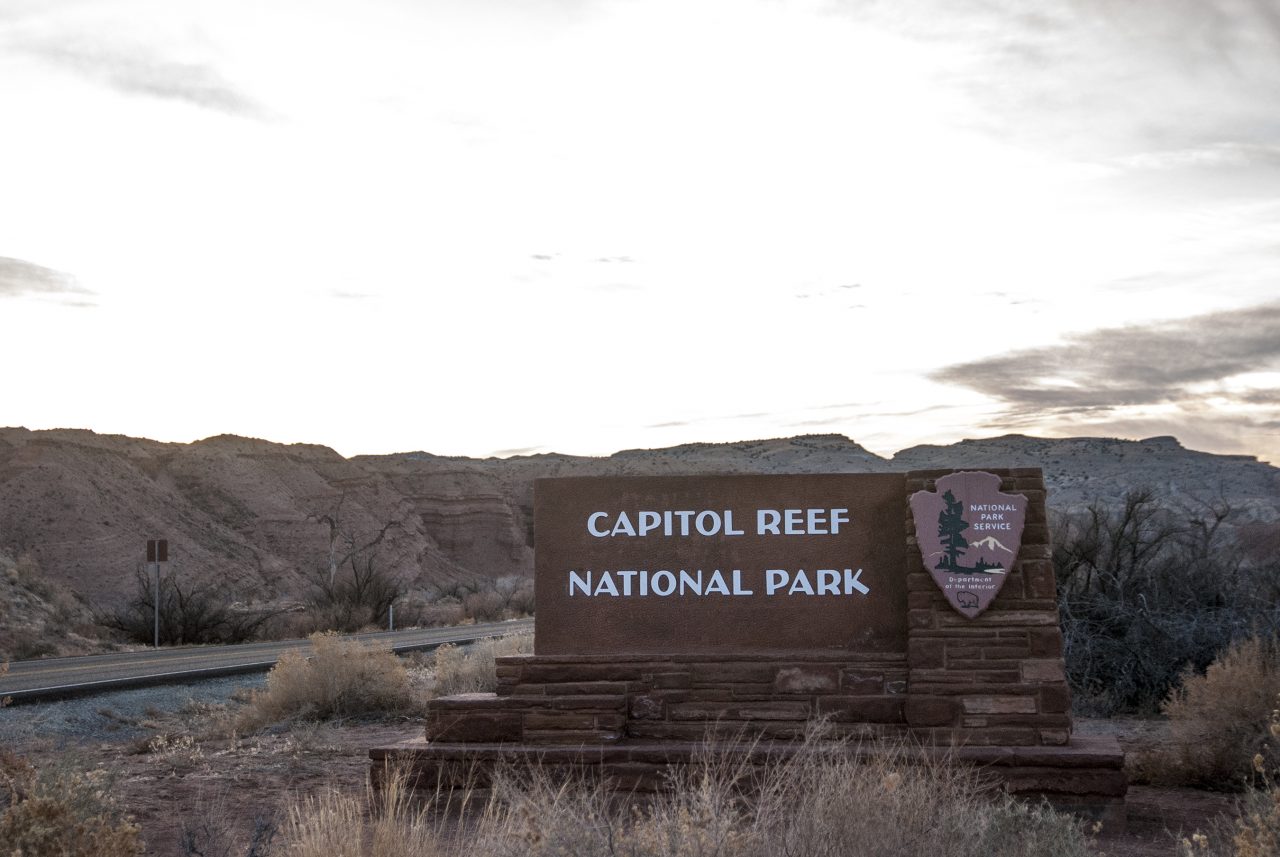
Our dilemma was that we had a specific time to be at the ferry crossing from Bullfrog to Halls Crossing and we needed to figure out a route that would get us to that location. We opted for additional travel and exploration, so we picked a route that shot us straight up to Capitol Reef NP on hardball, and then shoot south on the Norton Bullfrog Basin Road, camp somewhere along the road, and then the following morning continue the rest of the way down to Bullfrog to catch our ferry.


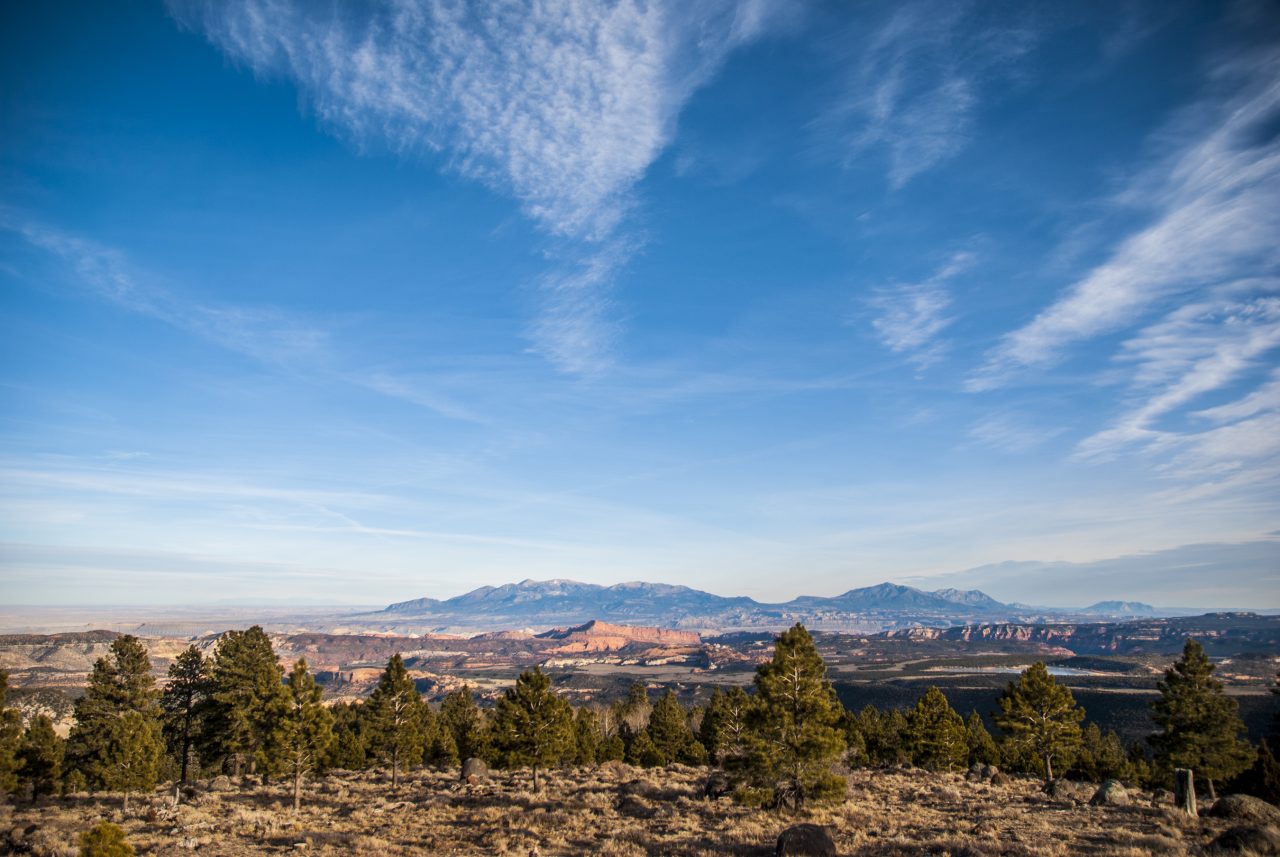


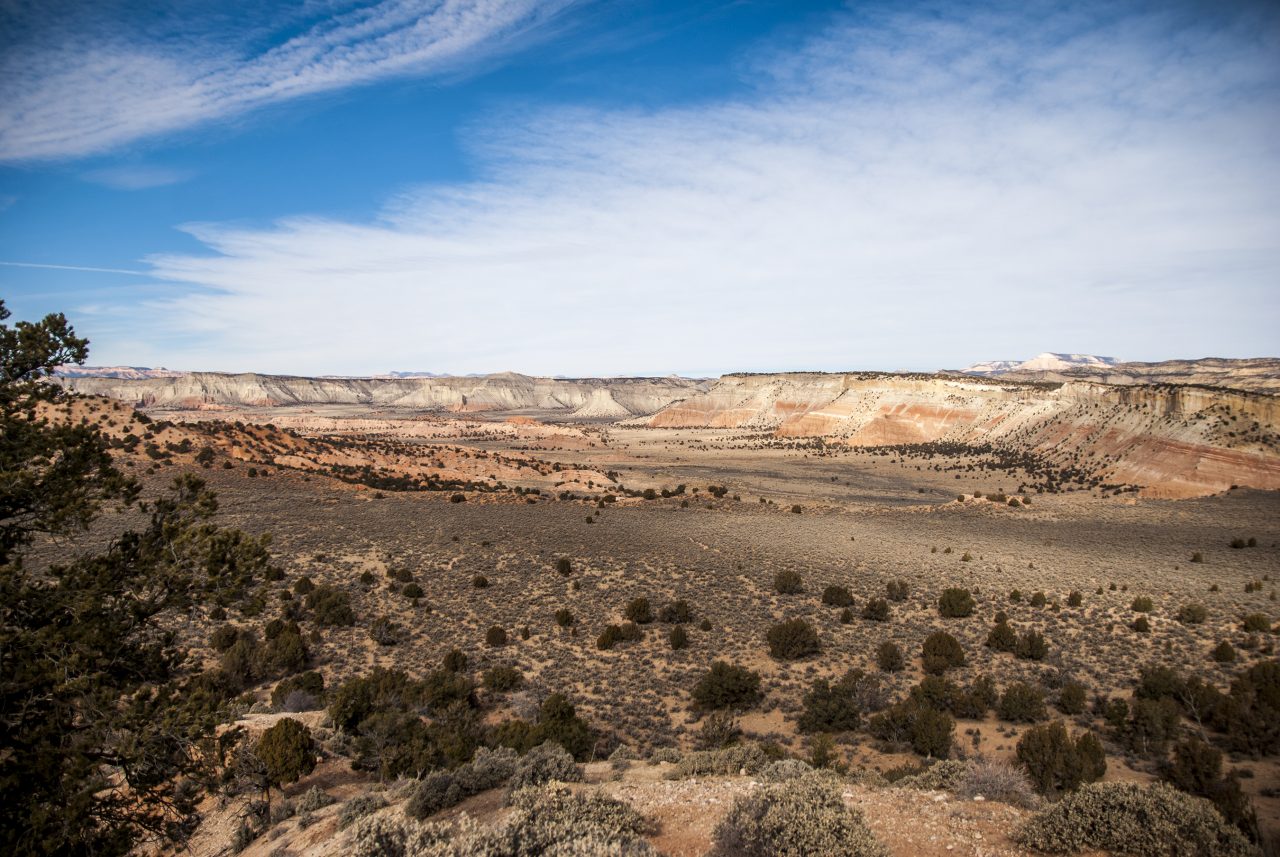
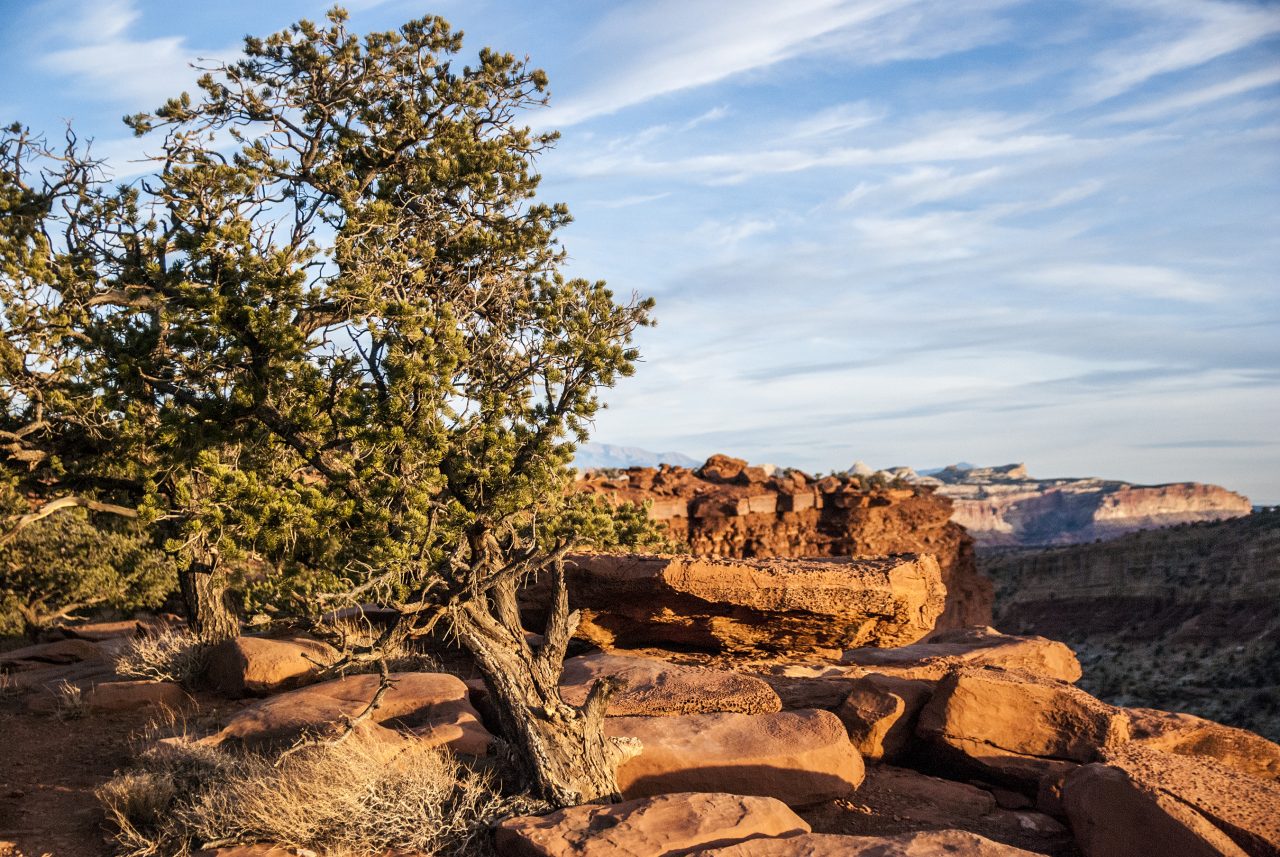
After a few quick stops to take in the beautiful scenery along the road, we barreled down on Capitol Reef NP and we decided to check out Goosenecks Overlook where the Sulphur Creek zig-zags along the canyon. It was nearing sunset as we took in this awesome point. The way the sun hit the canyon walls, displaying dynamic shadows really made for a stunning sight. A few of the group had split off to the Visitor Center just down the road to snag some patches and swag. We regrouped on Highway 24 and continued on to Norton Bullfrog Basin Road.


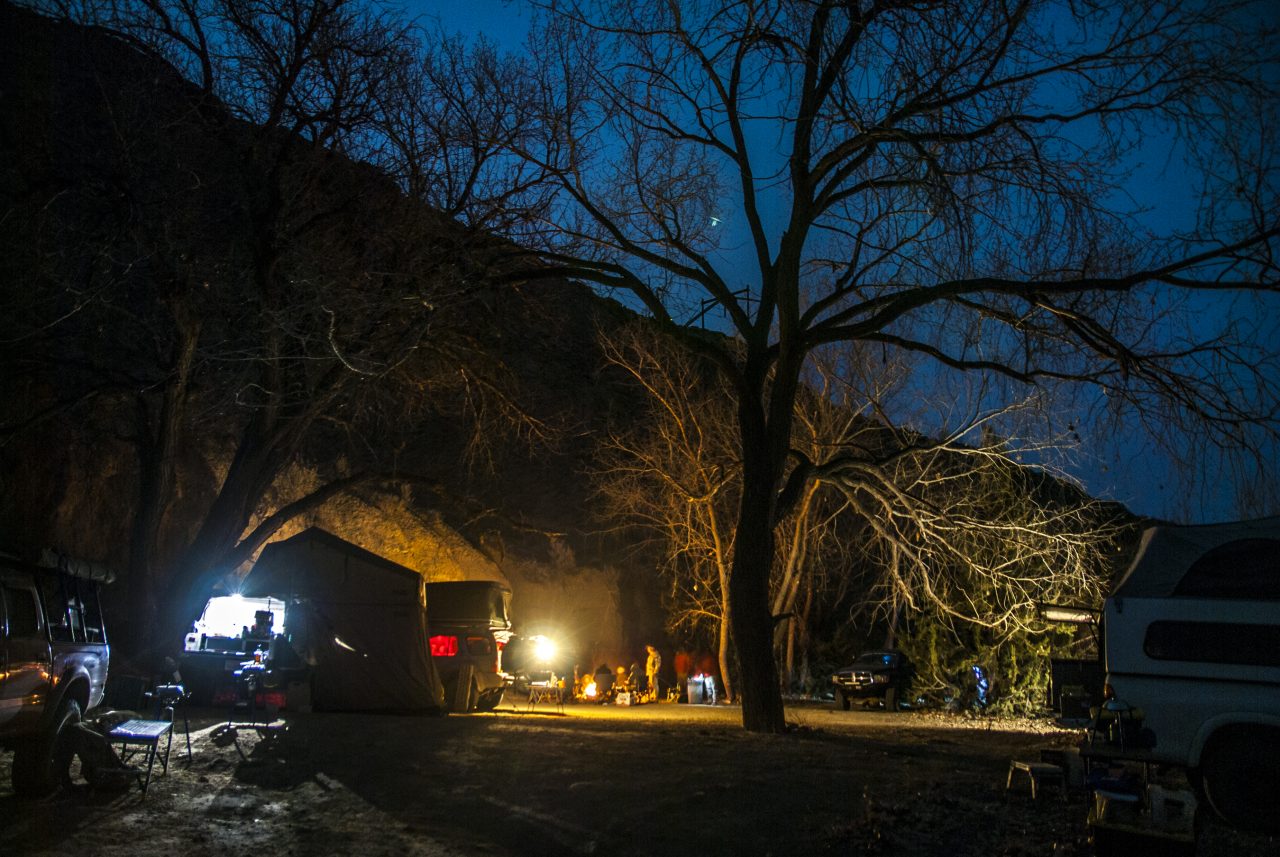
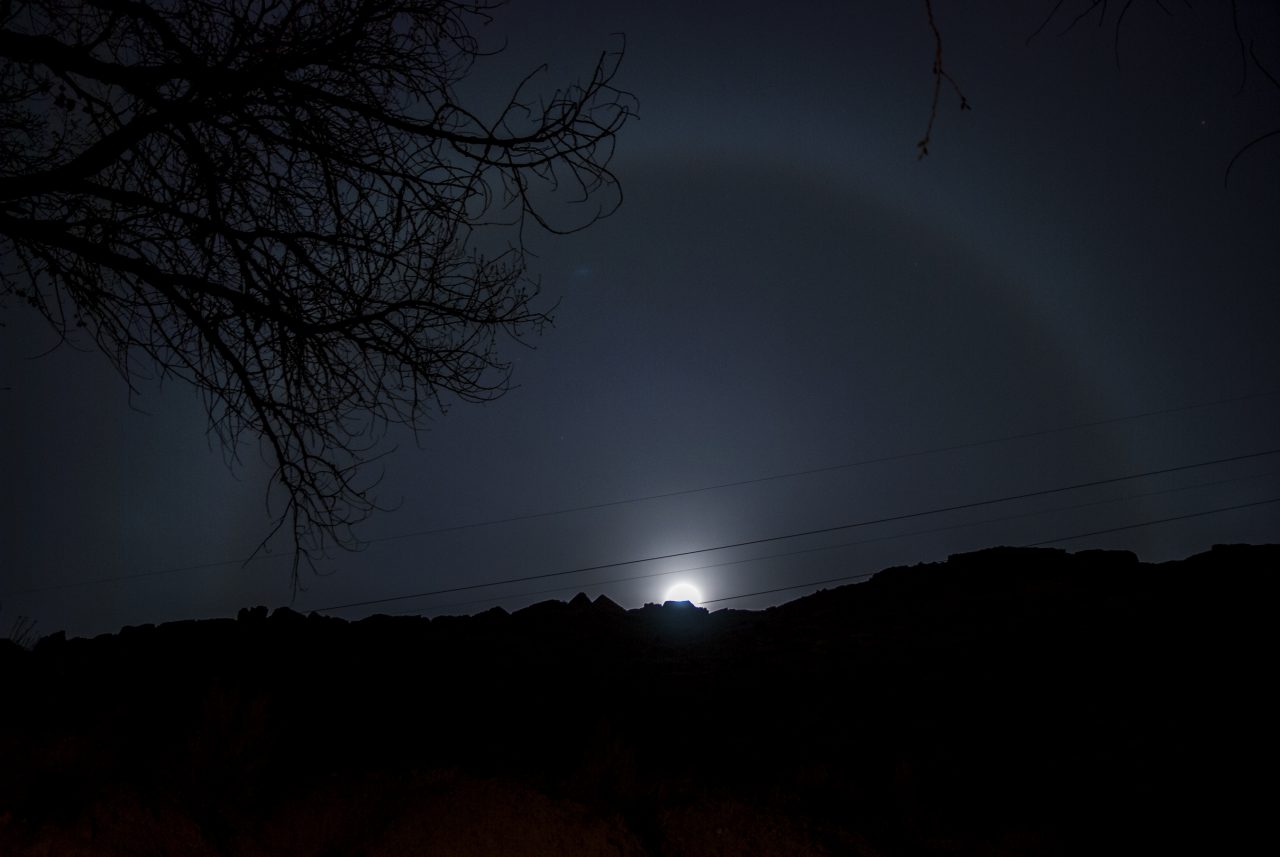
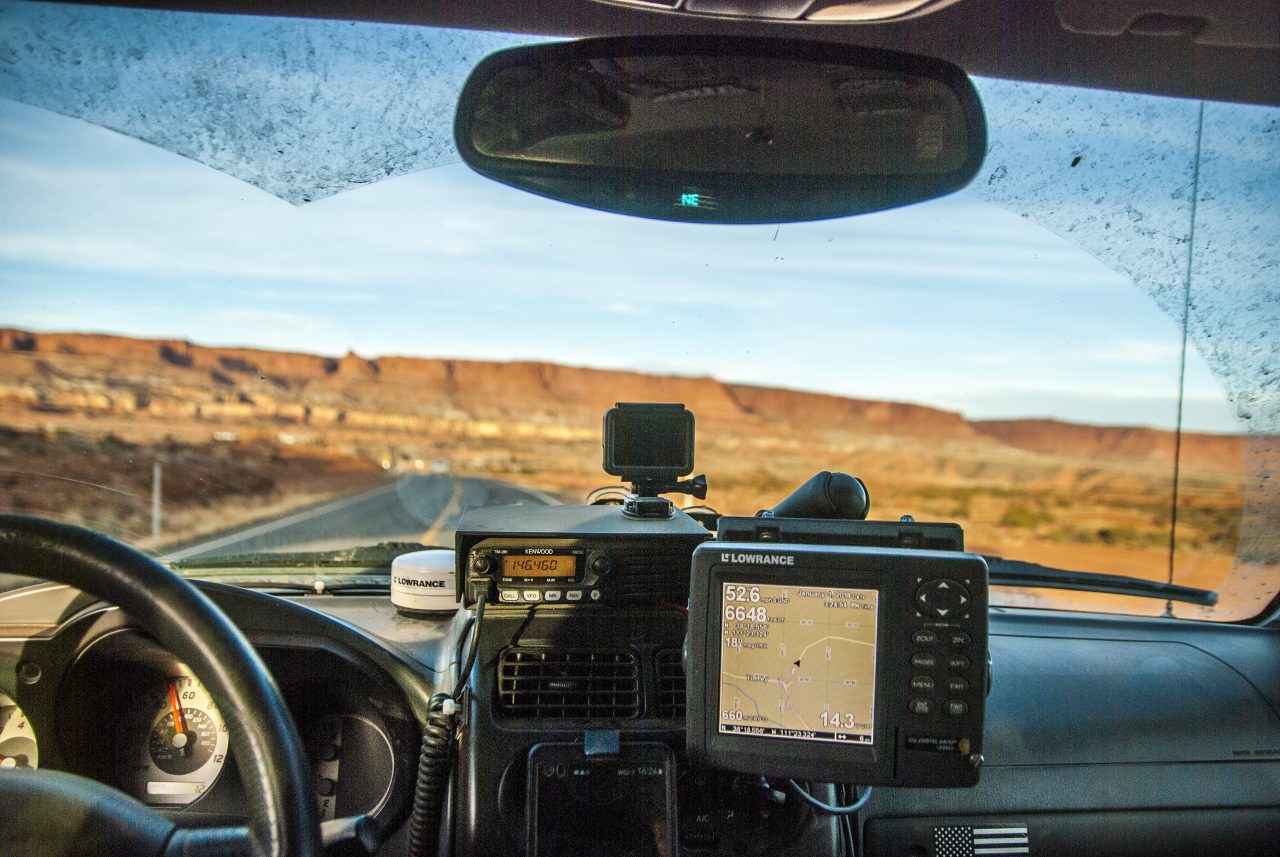
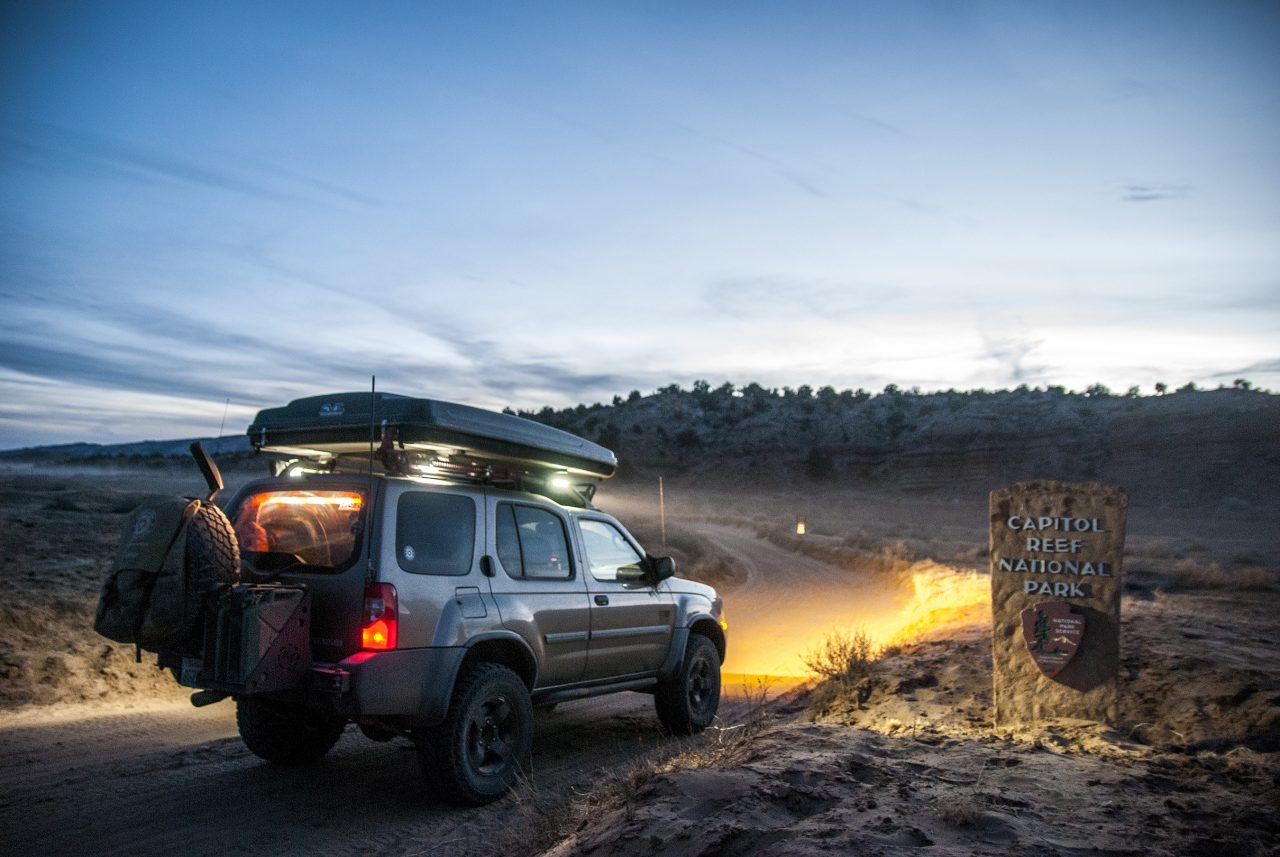
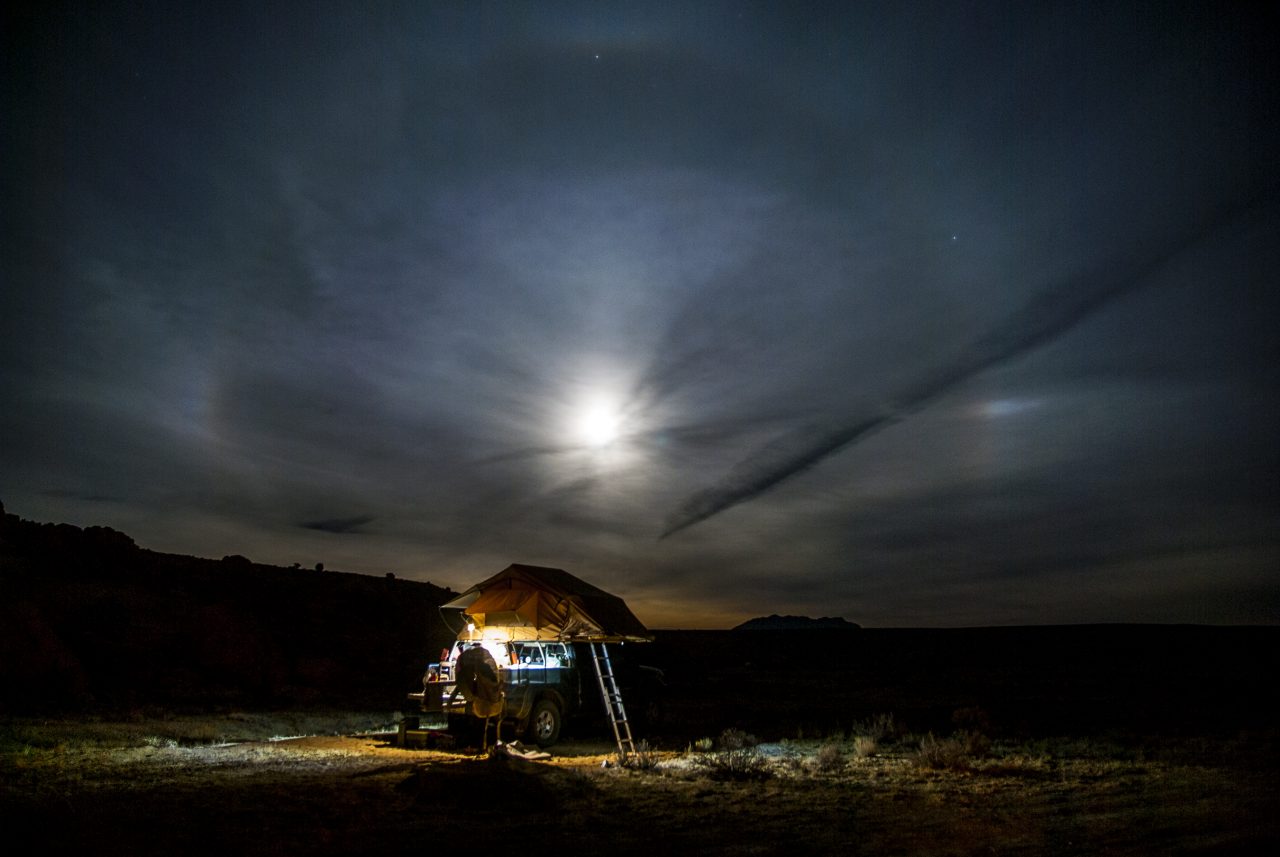
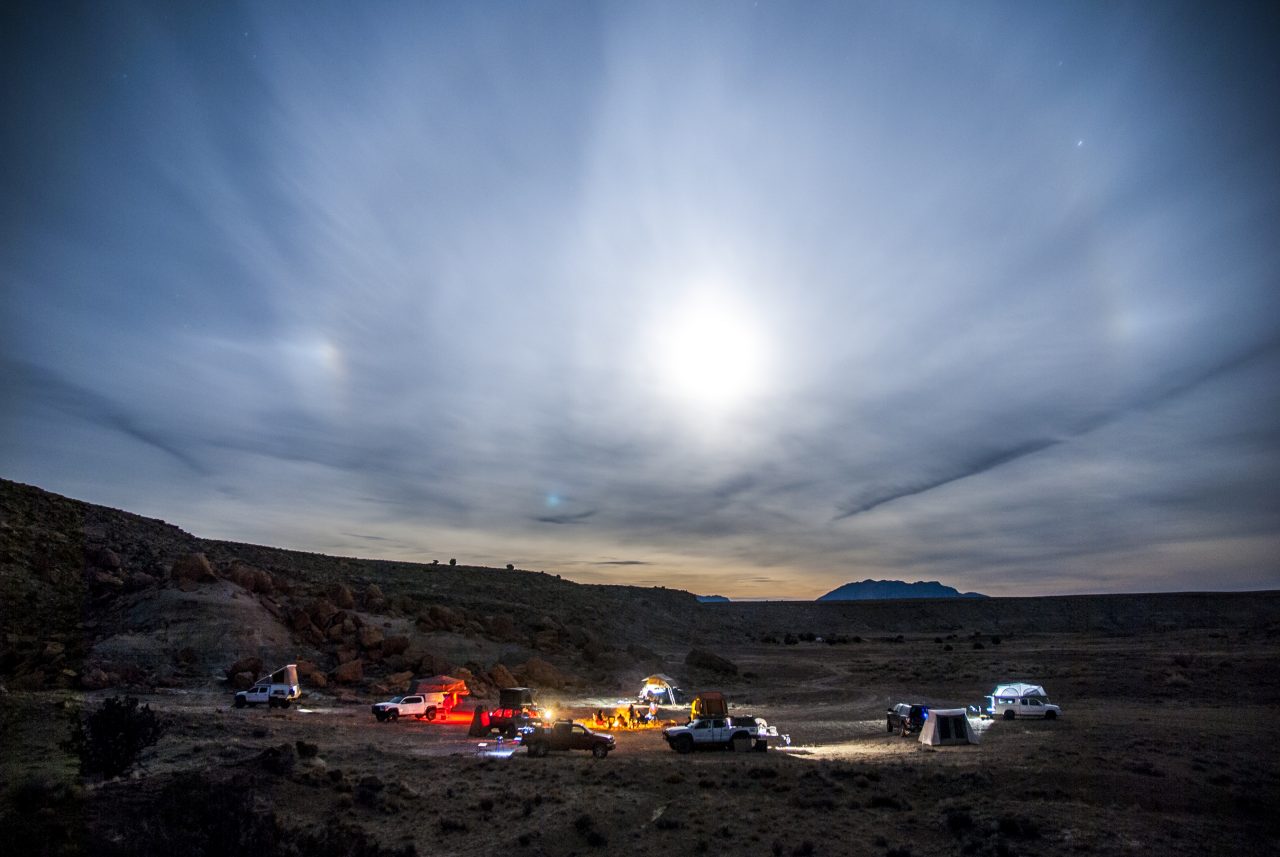
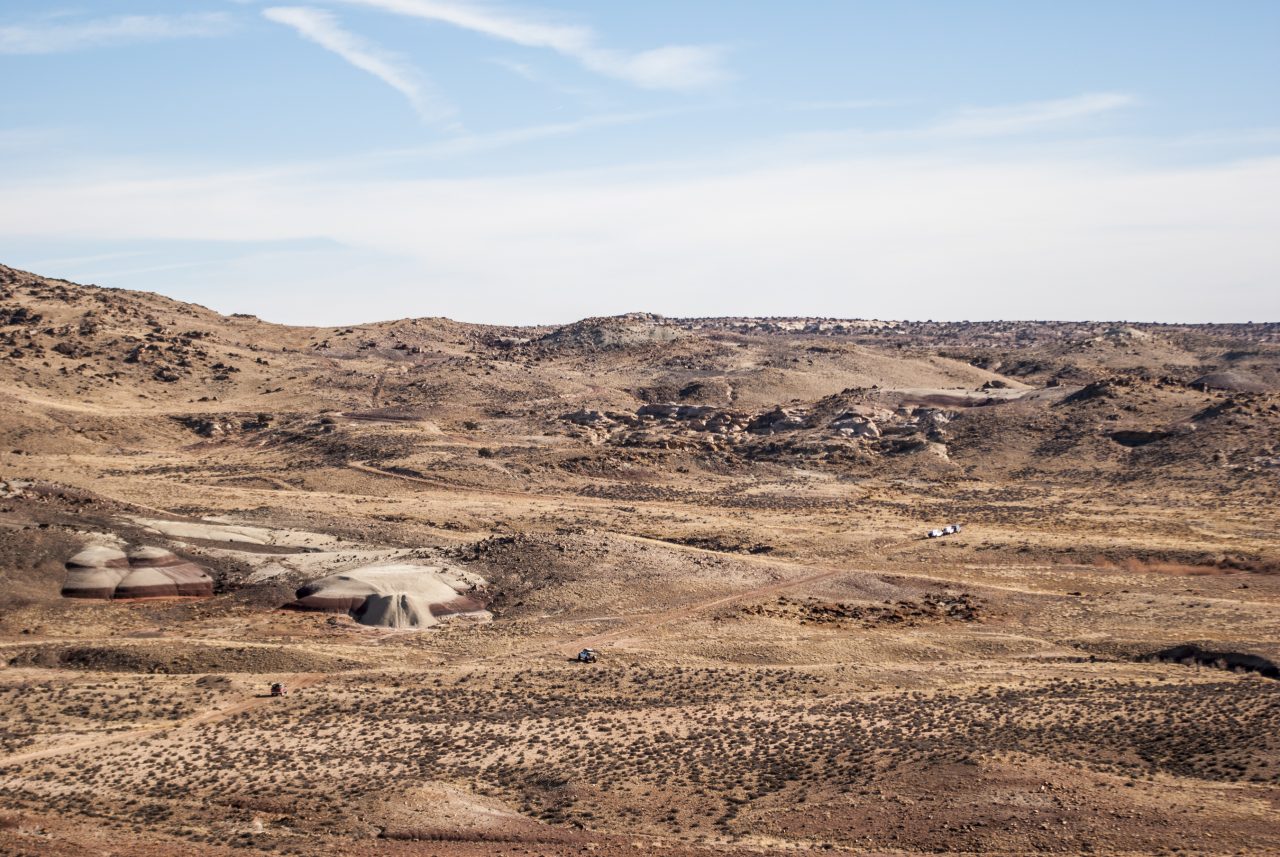
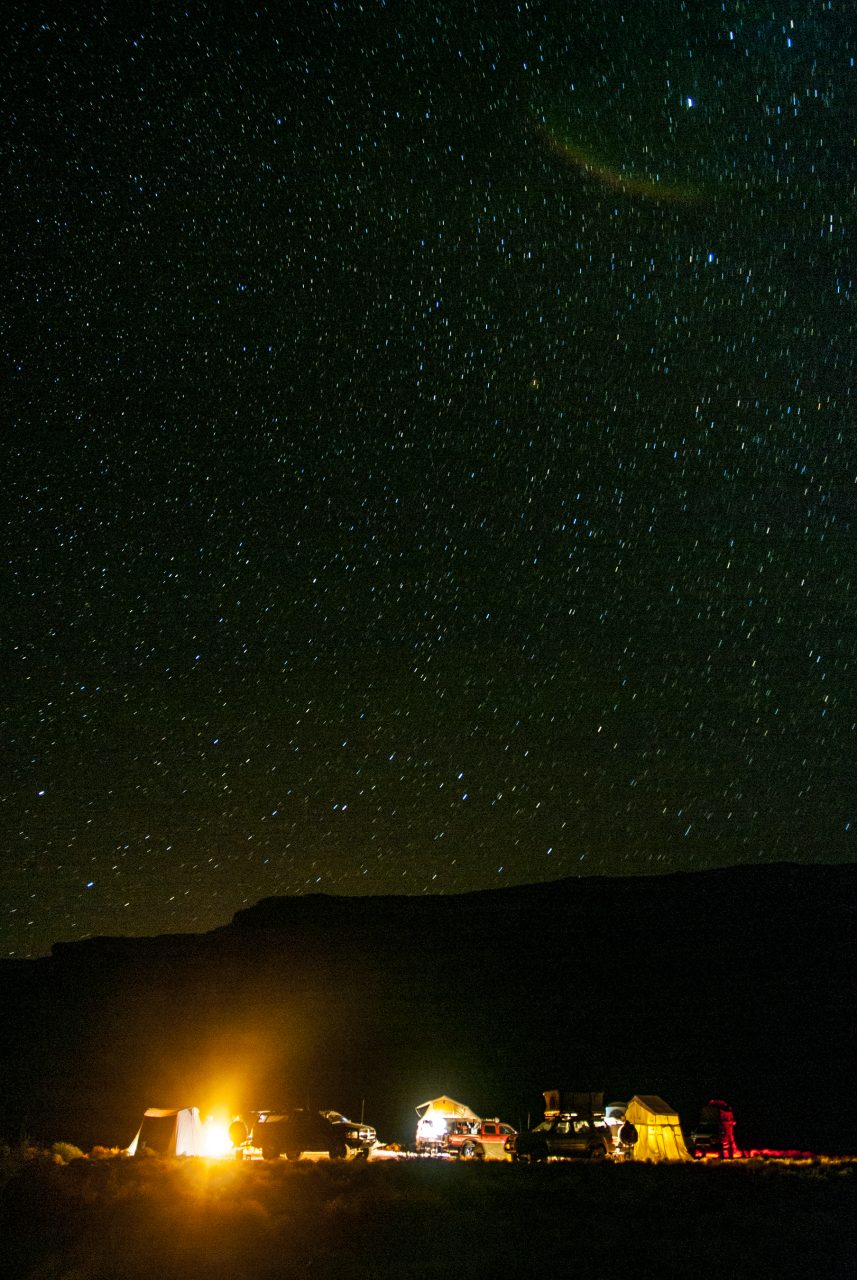
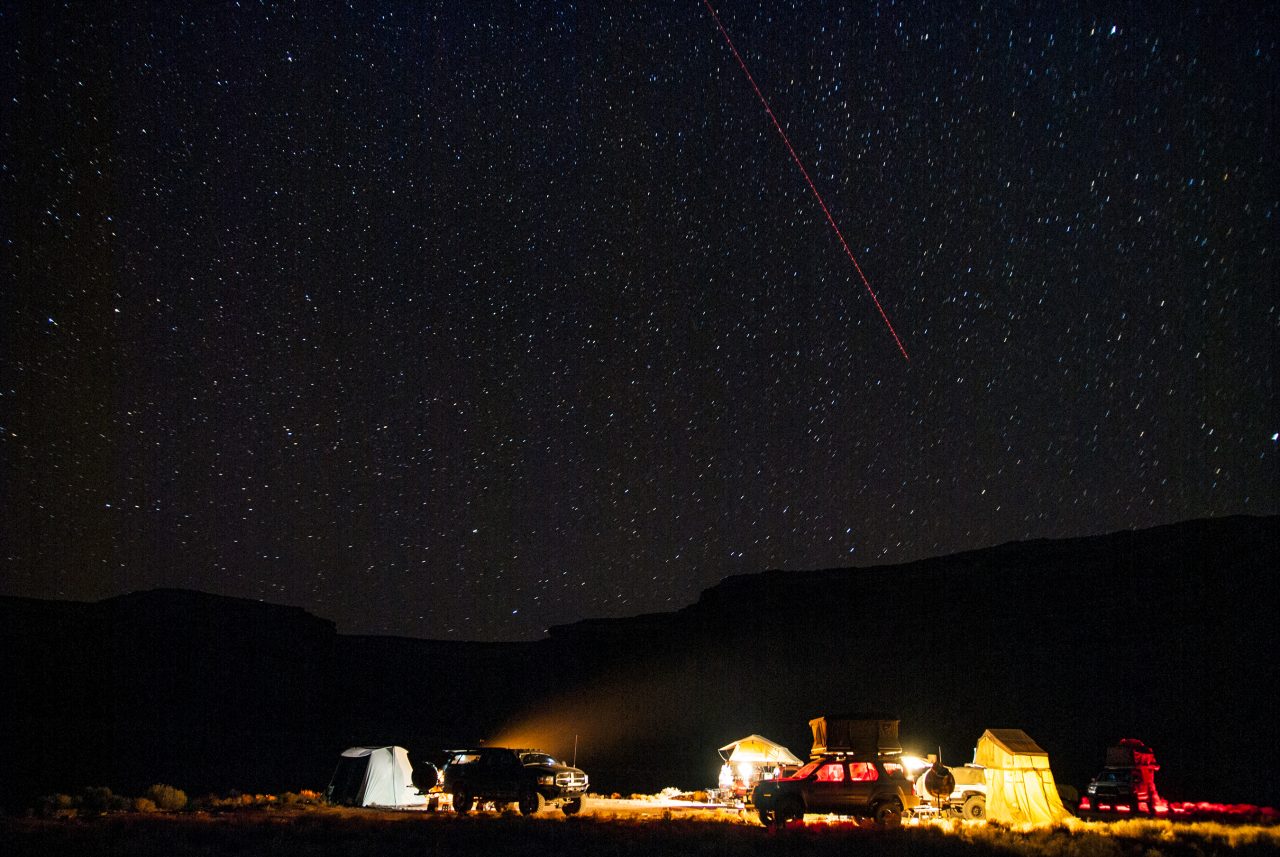
The sun was almost set as we hit the dirt. I had stopped at Orientation Pullout at the intersection of the Norton Bullfrog Basin Road to snap a few shots. The group continued on as we’d be on that road for quite a while, but I had taken a few stops for photo ops as the sun set and became distanced from the group. I booked it down the well maintained and very wide dirt road to catch up. With all my LED lights on, it was easy blasting down the dark, chilly 25 degree road solo. It wasn’t until the main group had stopped to find a campsite that I finally caught up. At this point it was already dark and we needed to find camp as soon as possible. The group had decided to find a spot at an offshoot to Halls Overlook. It was a nice flat spot with 180 degree cover with small rocky hills. With the tents set up, fire going, dinner cooked and eaten, we then enjoyed the full moon and slight cloud covered night until we turned in for the night.


Day 07
Ferry to the Moki and Camping Among the Gods
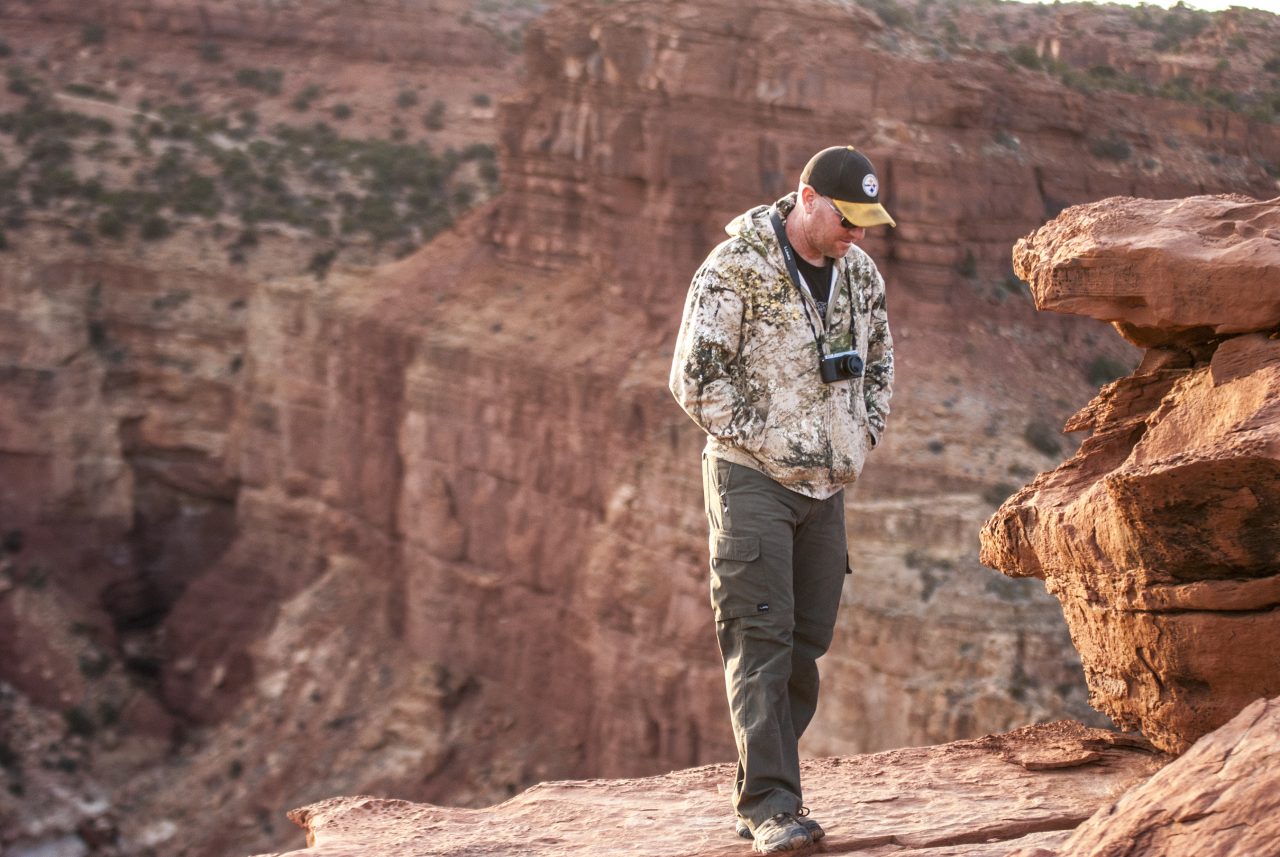
Another beautiful sunrise greeted the rested convoy as we got coffee and breakfast rolling. I had gotten up a bit earlier to do my usual roaming and sniping around the campsite. The views and lighting from the rising sun with the slight cloud cover were amazing. With the group up and ready to roll, we convened to decide the days’ route and schedule since we had a ferry to catch. There was some time to spare and also some spectacular places to visit before we found out campsite for the night.


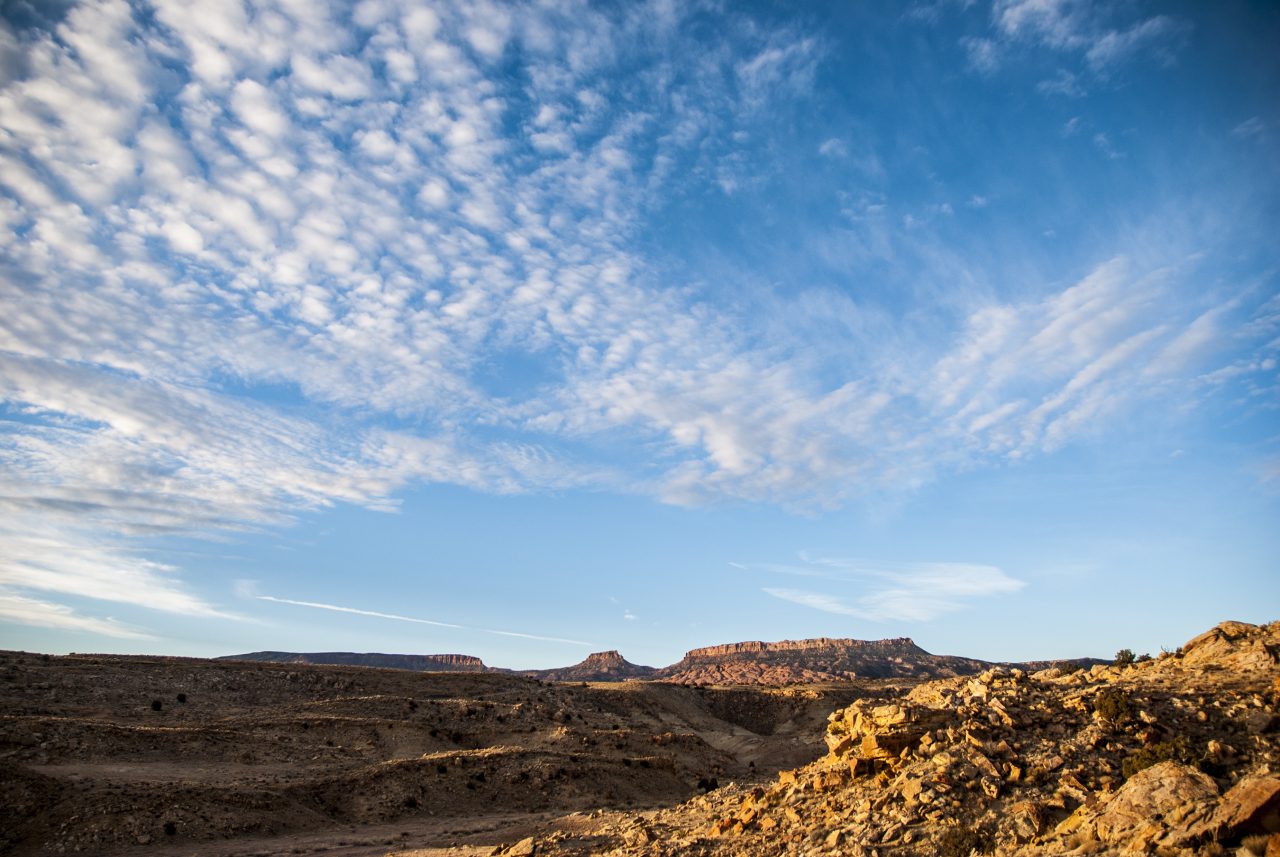
We hit the dirt yet again, but before we made the haul to the ferry, we stopped at Halls Creek Overlook to take in the sights. It was a very deep canyon in which a dried riverbed passes through, but held a dramatic view of what was literally right over the next ridgeline from where we camped the previous night. Saddling up, we hit the dirt again towards Highway 276 south to Bullfrog.


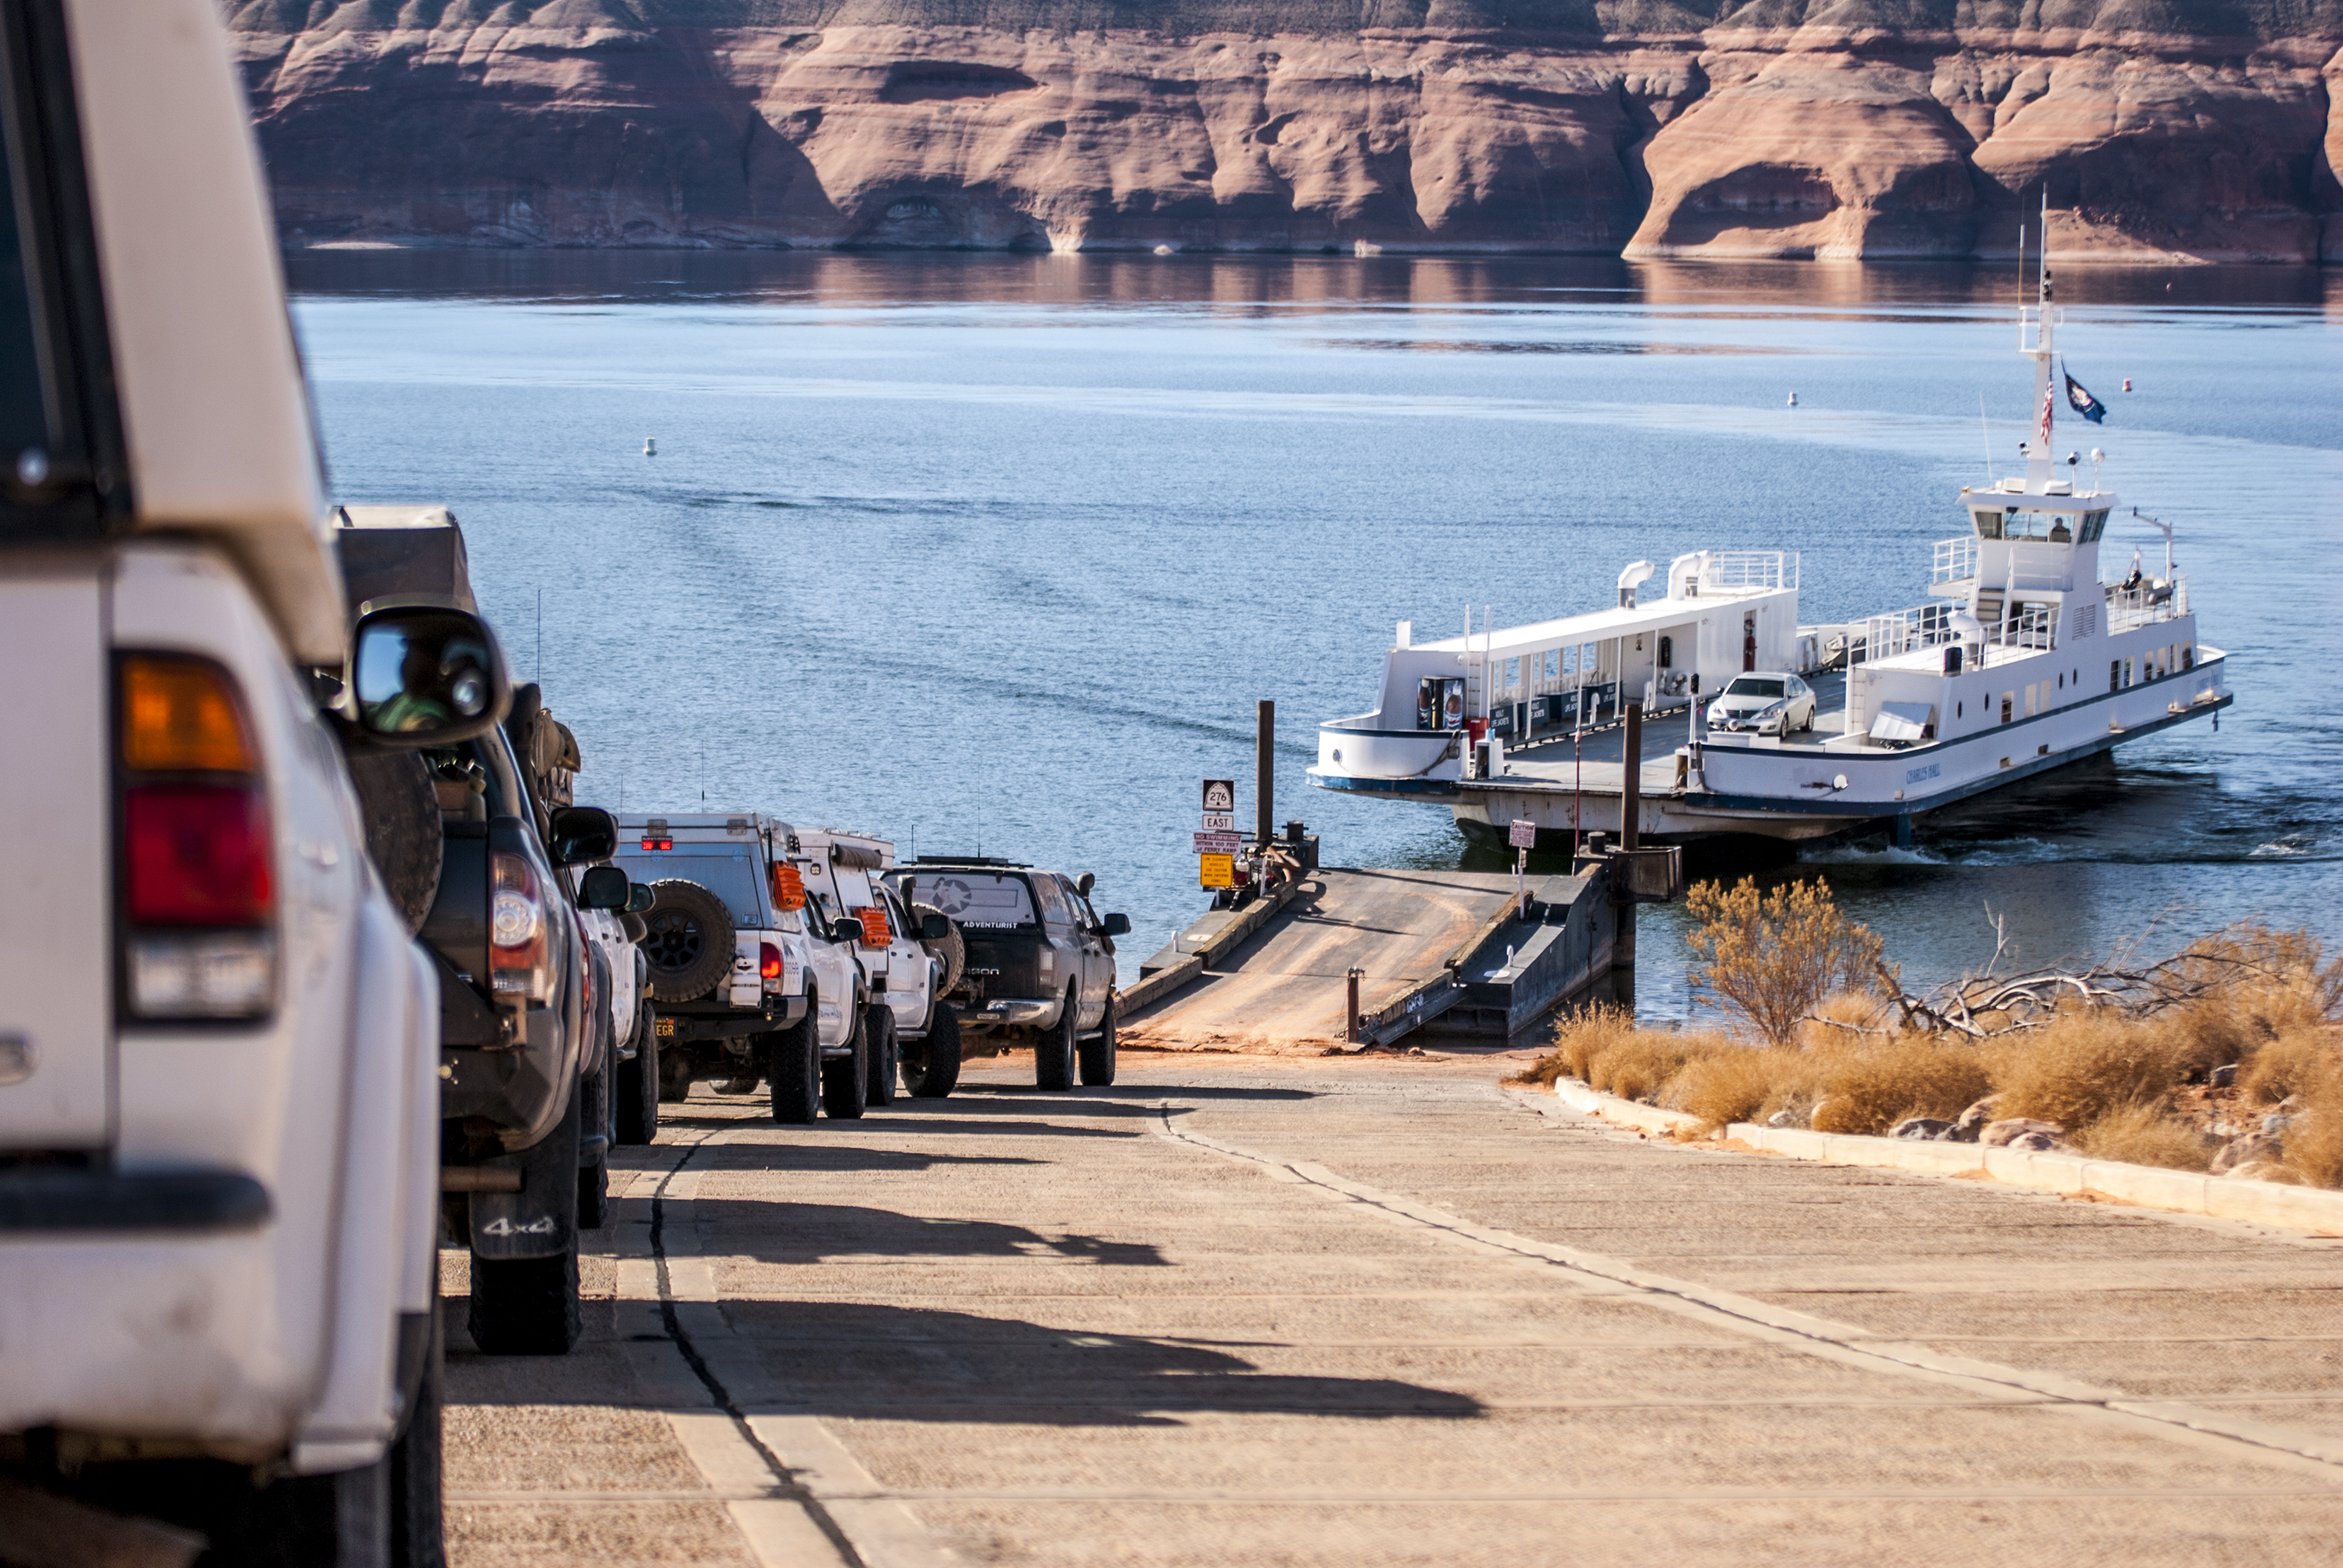
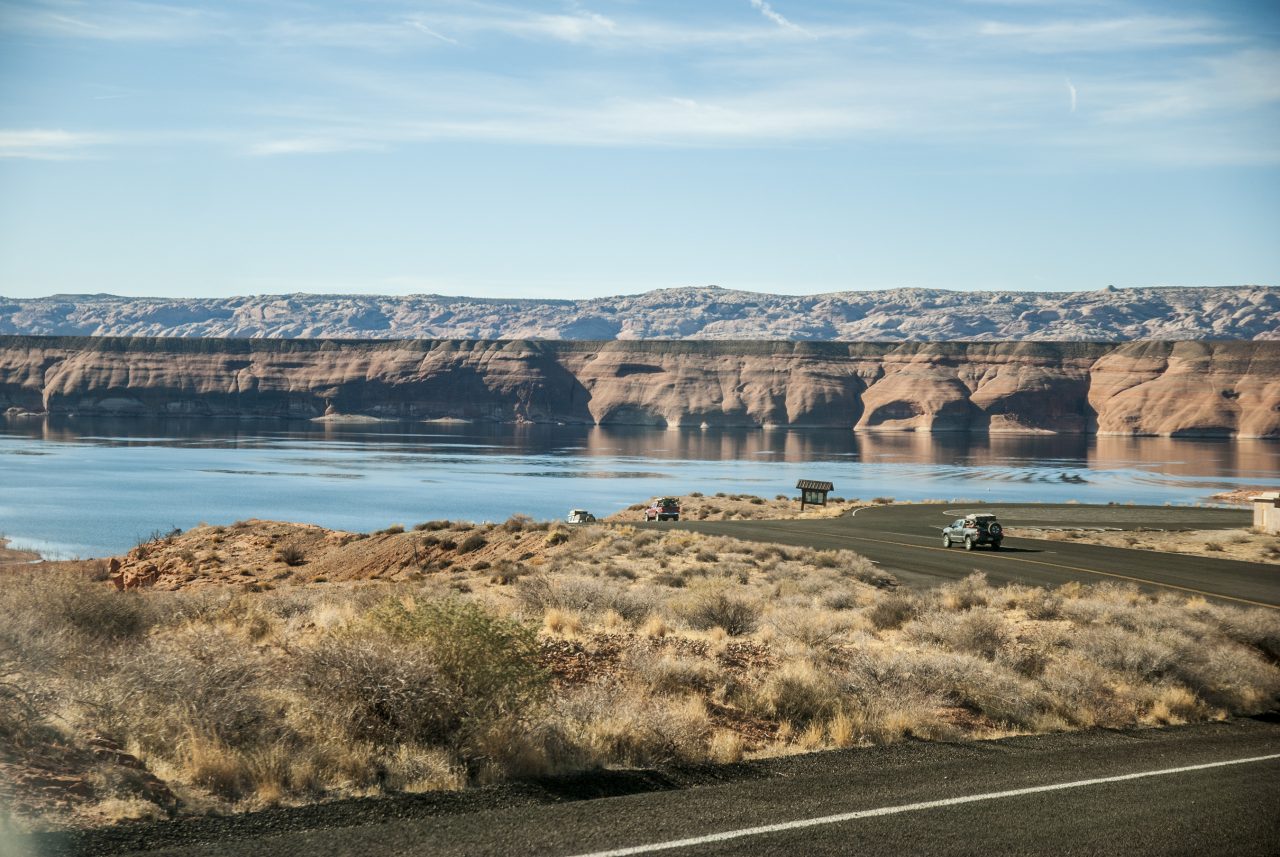
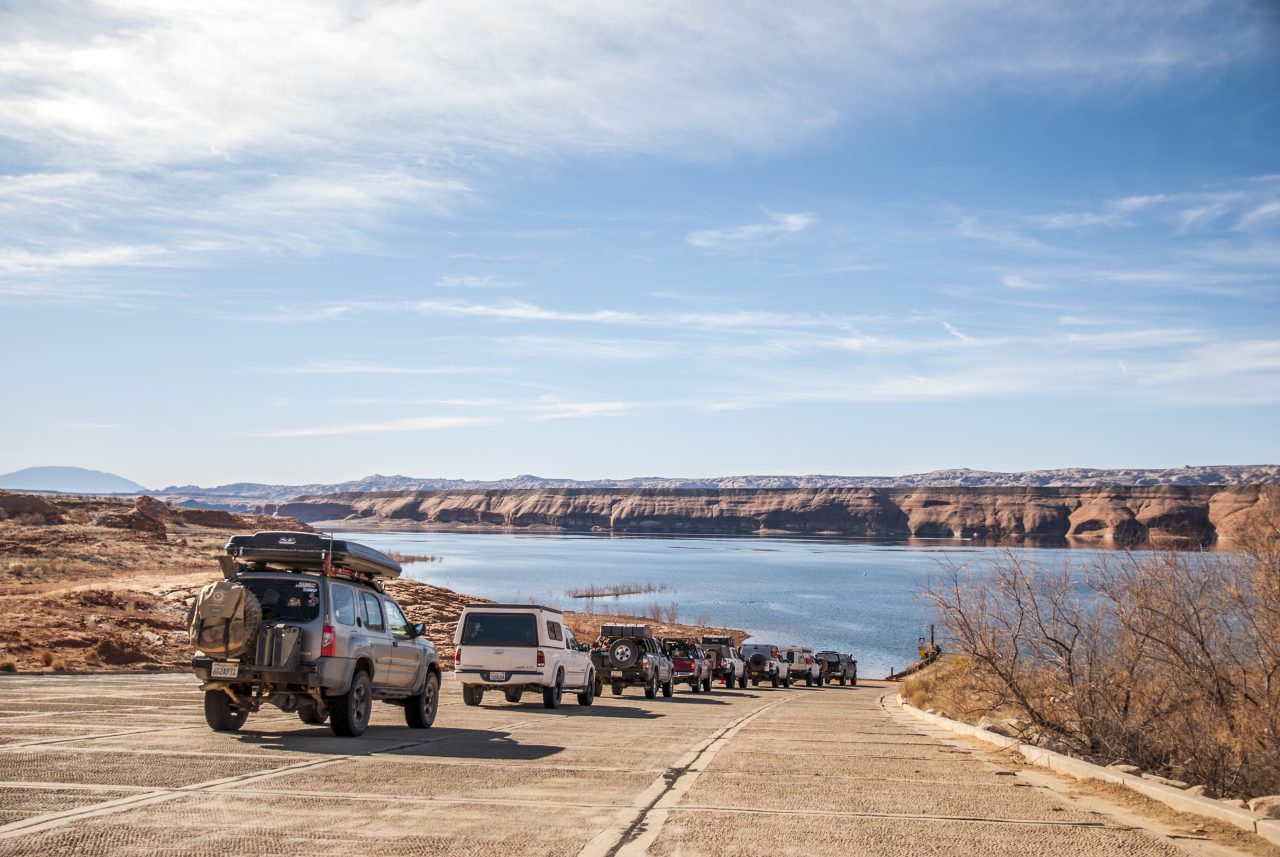
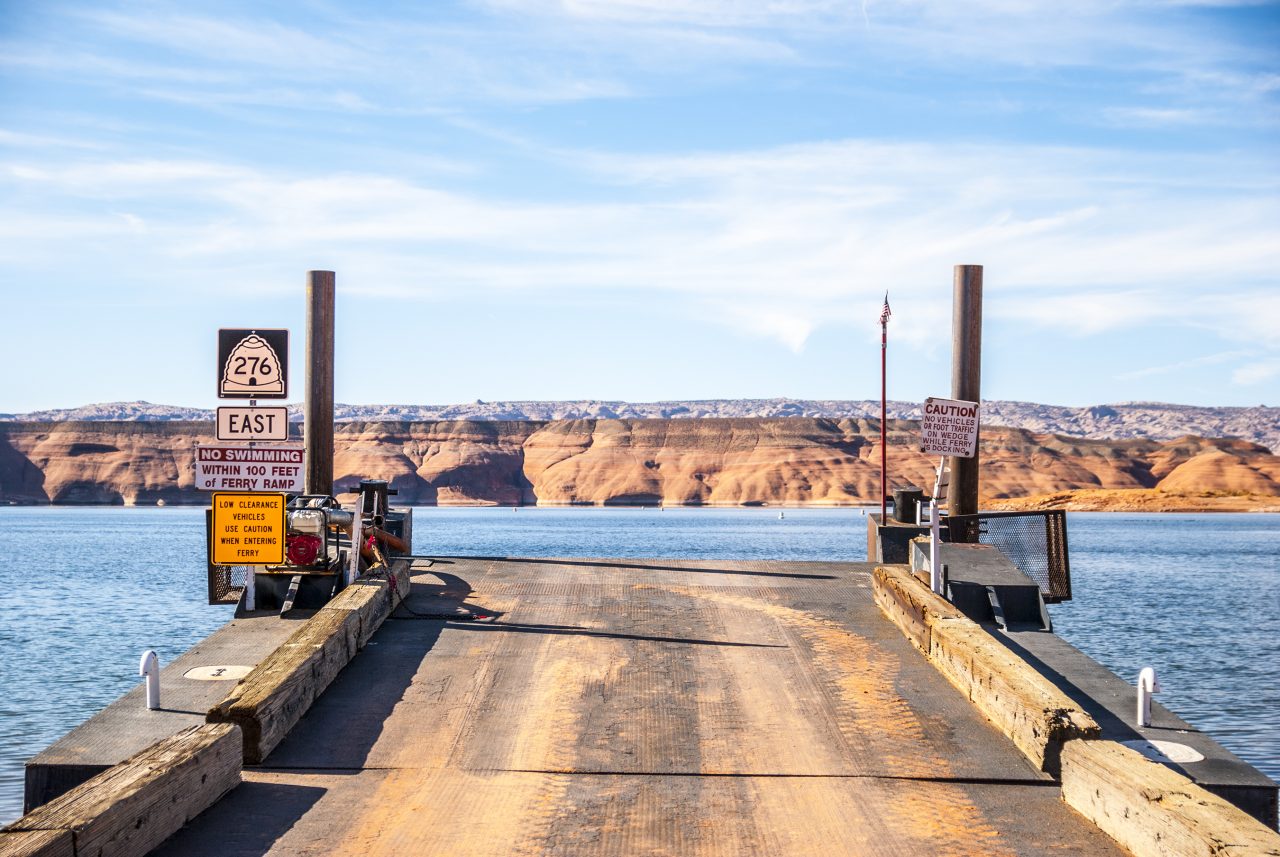
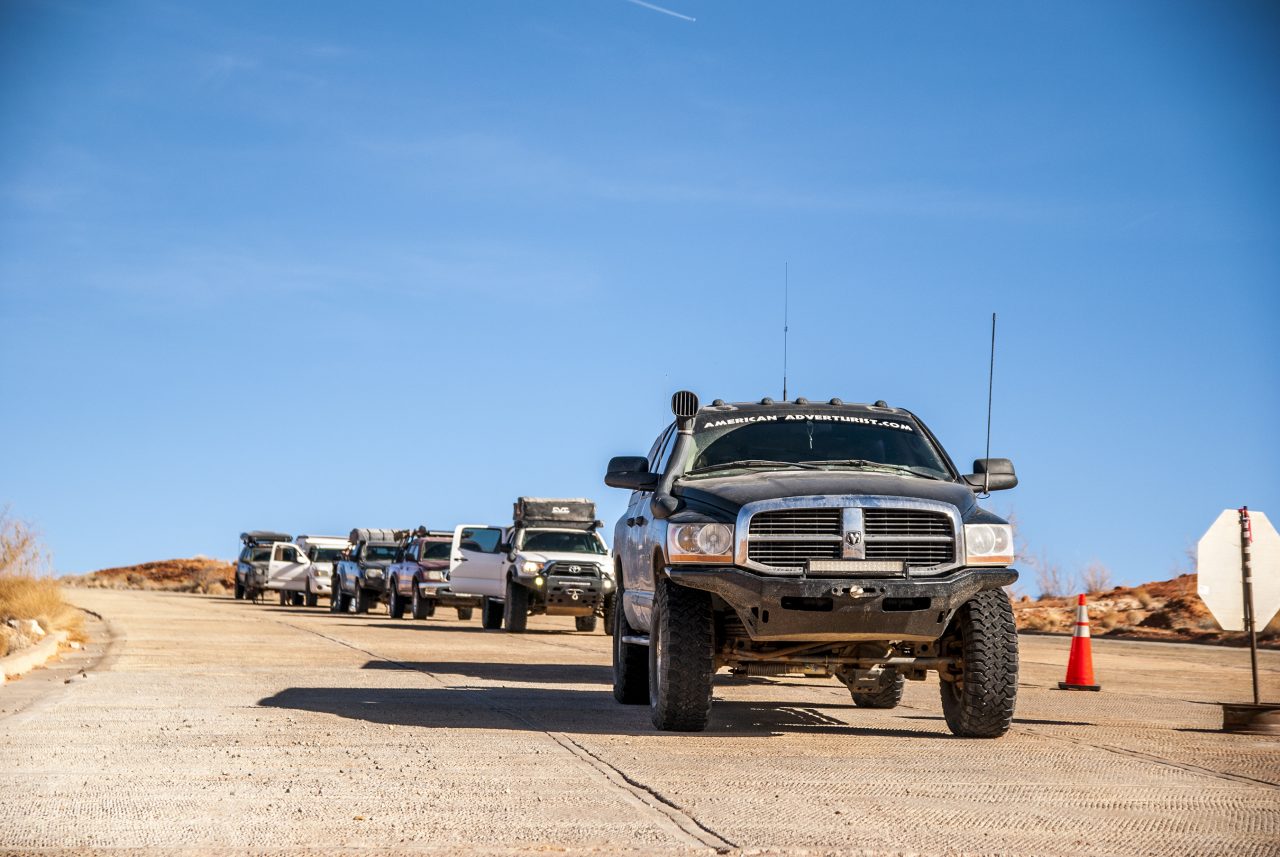
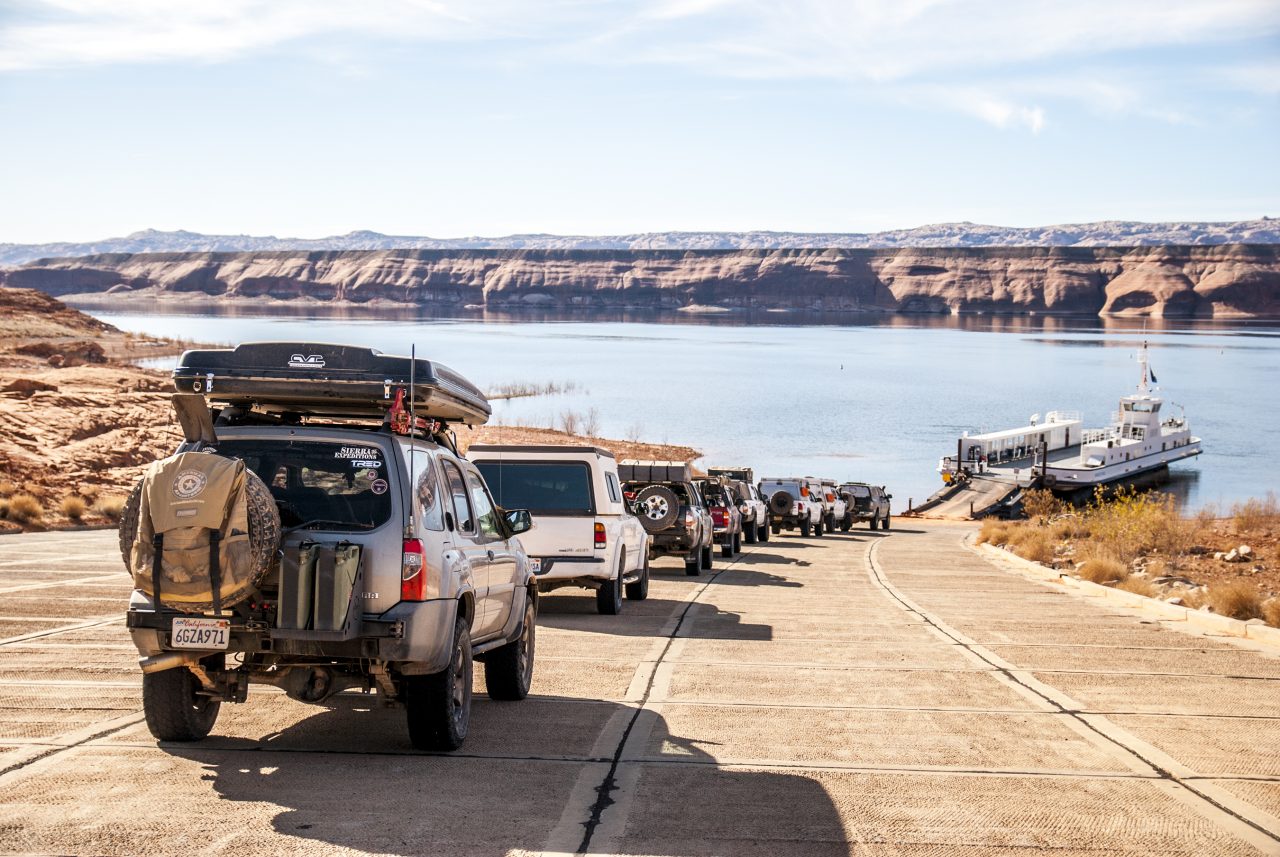
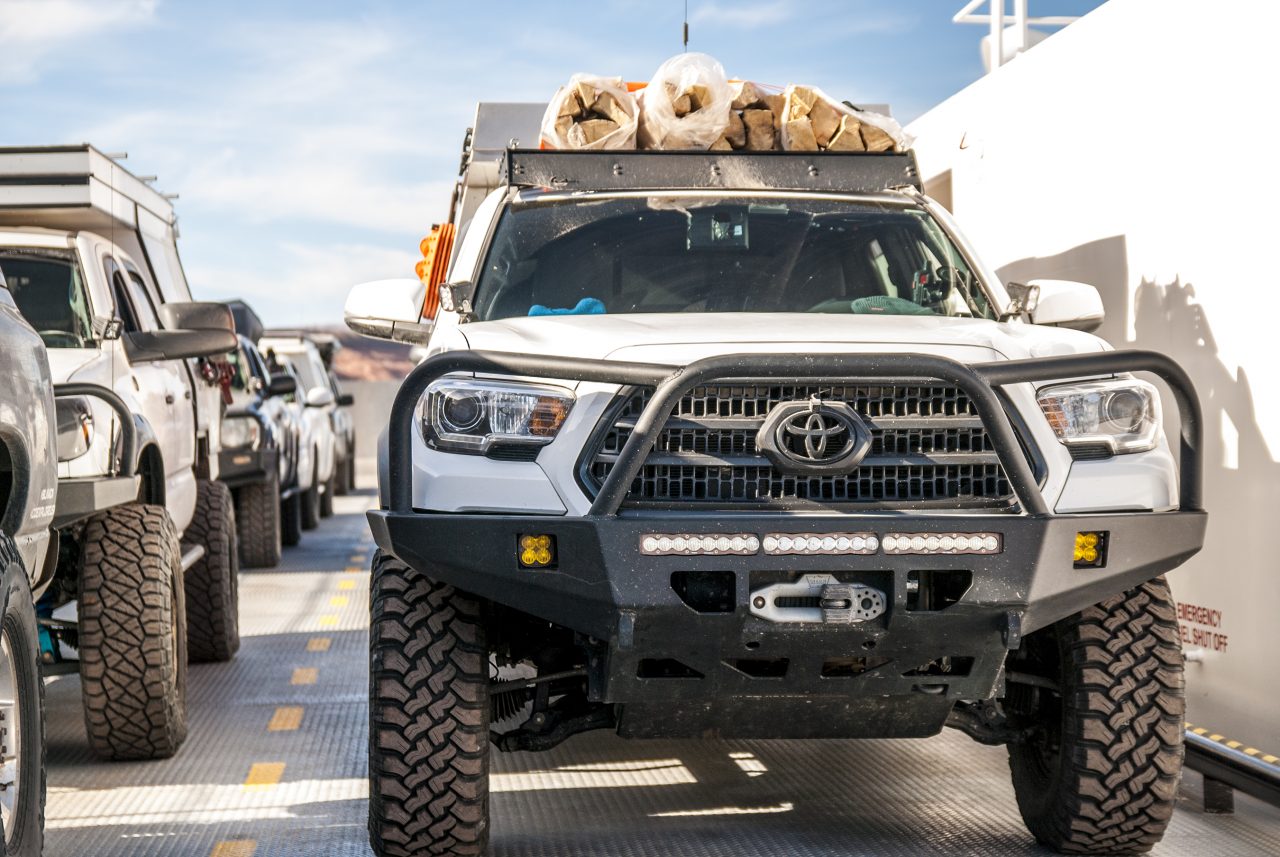
The convoy arrived at the Charles Hall Ferry crossing with some time to spare. We staged up at the slipway and awaited the ferry to arrive to pick us up. Once the ferry arrived, we loaded up and enjoyed the short ferry ride to Halls Crossing. It was a pretty cool experience since we literally had the ferry all to ourselves.


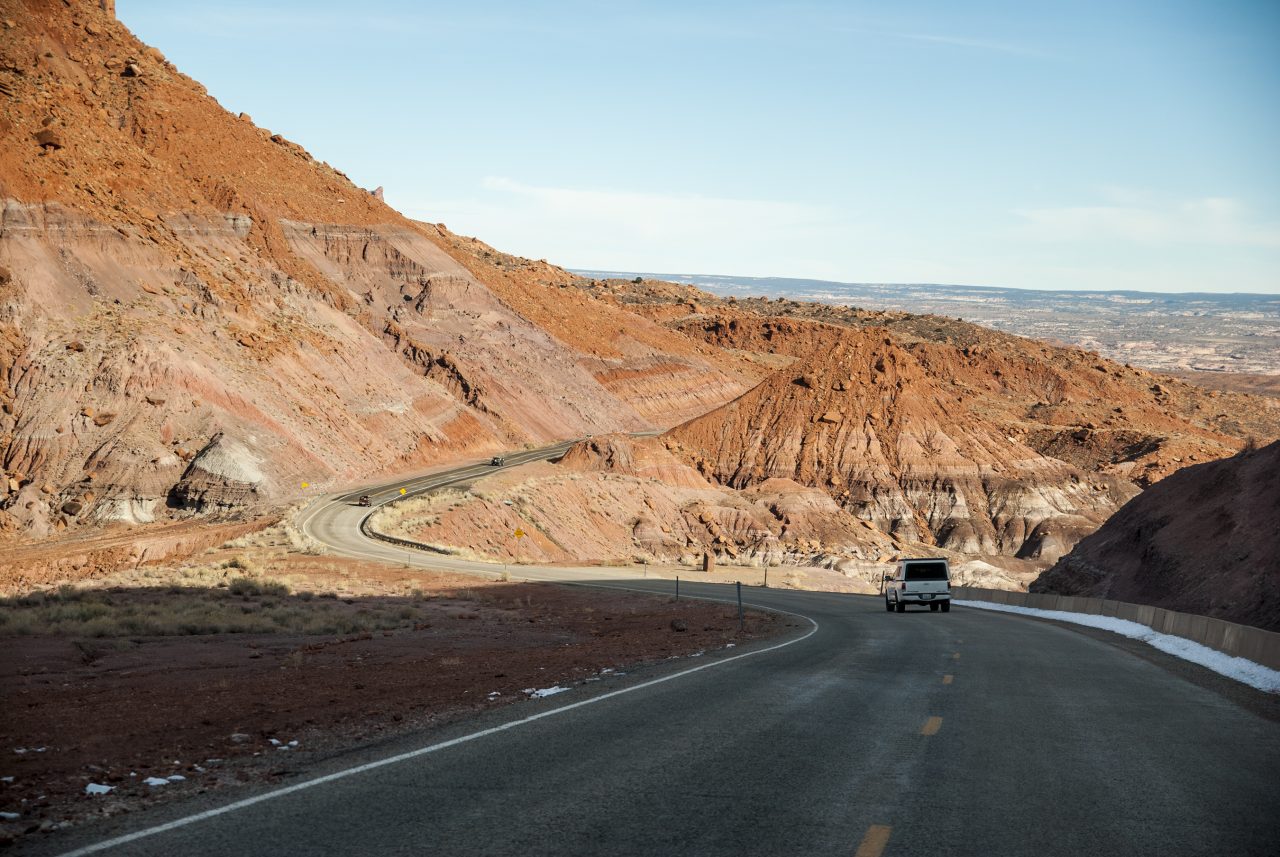
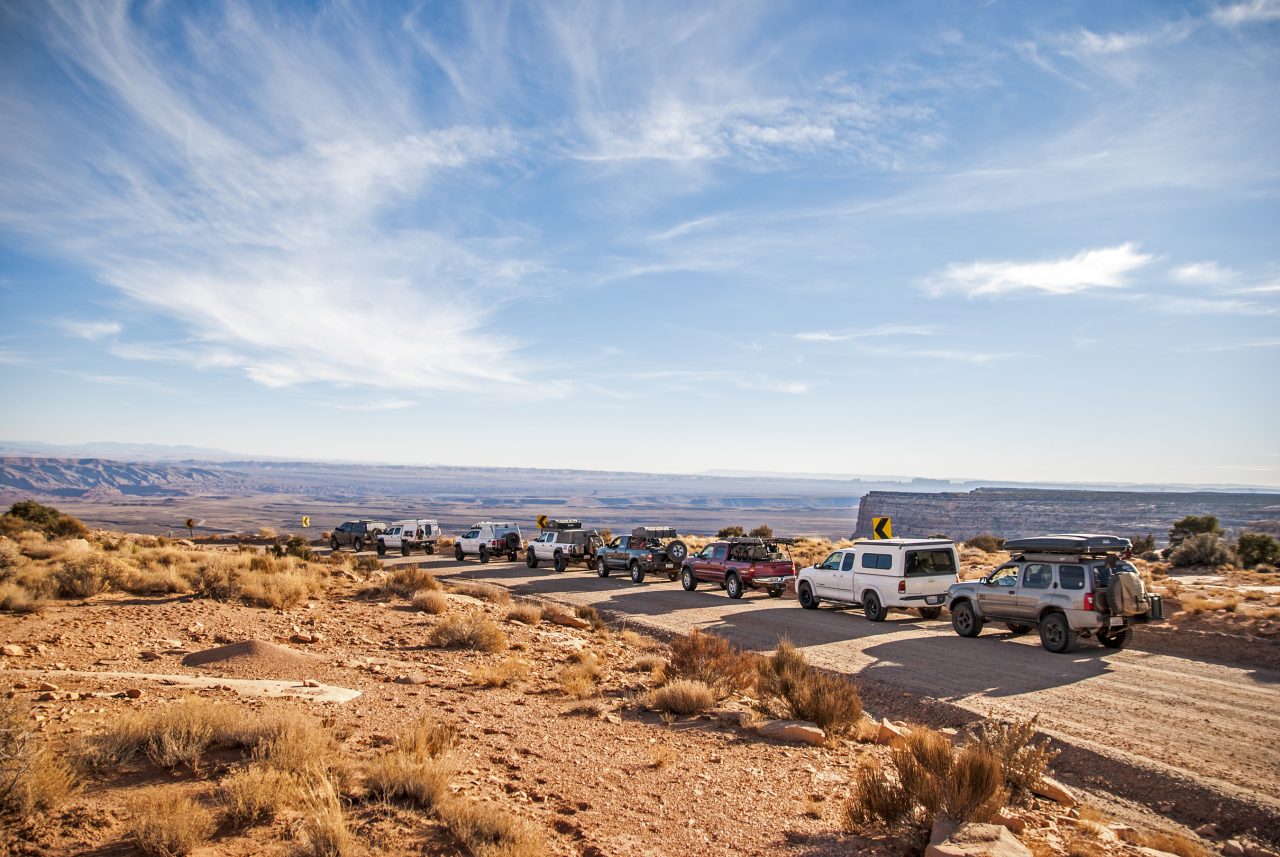
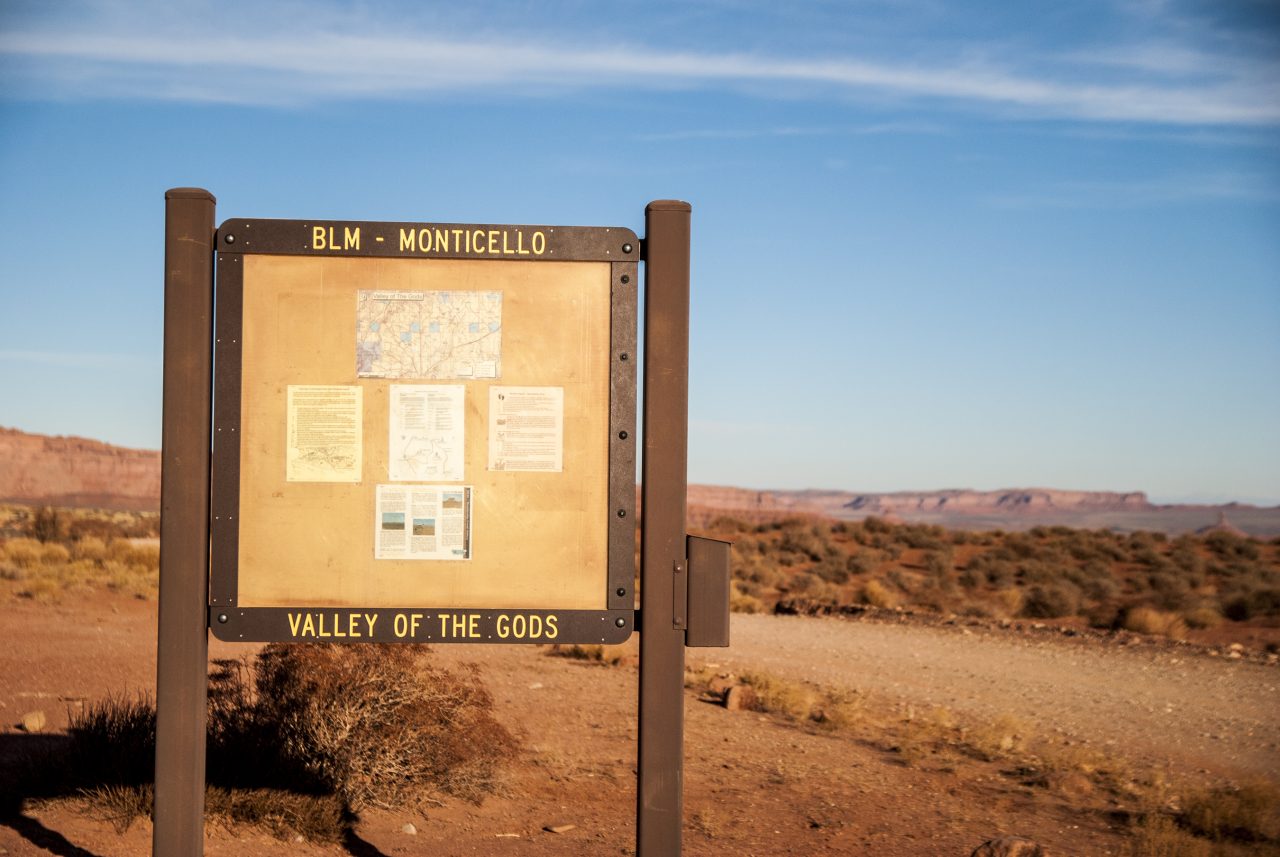
Once the ferry deposited us on the other side of the shore, we continued on Highway 276 to Highway 95 East. Stuart had brought up that he’d really like to drive the Moki Dugway, and being that I’ve never been on it, nor had others of the group had, we voted to take this route instead of remaining on pure highway. Our consensus of the night’s campsite was Valley of the Gods, so we hit Highway 261 South to the Moki. It was an overall basic highway drive until we hit the entrance of the dirt road.


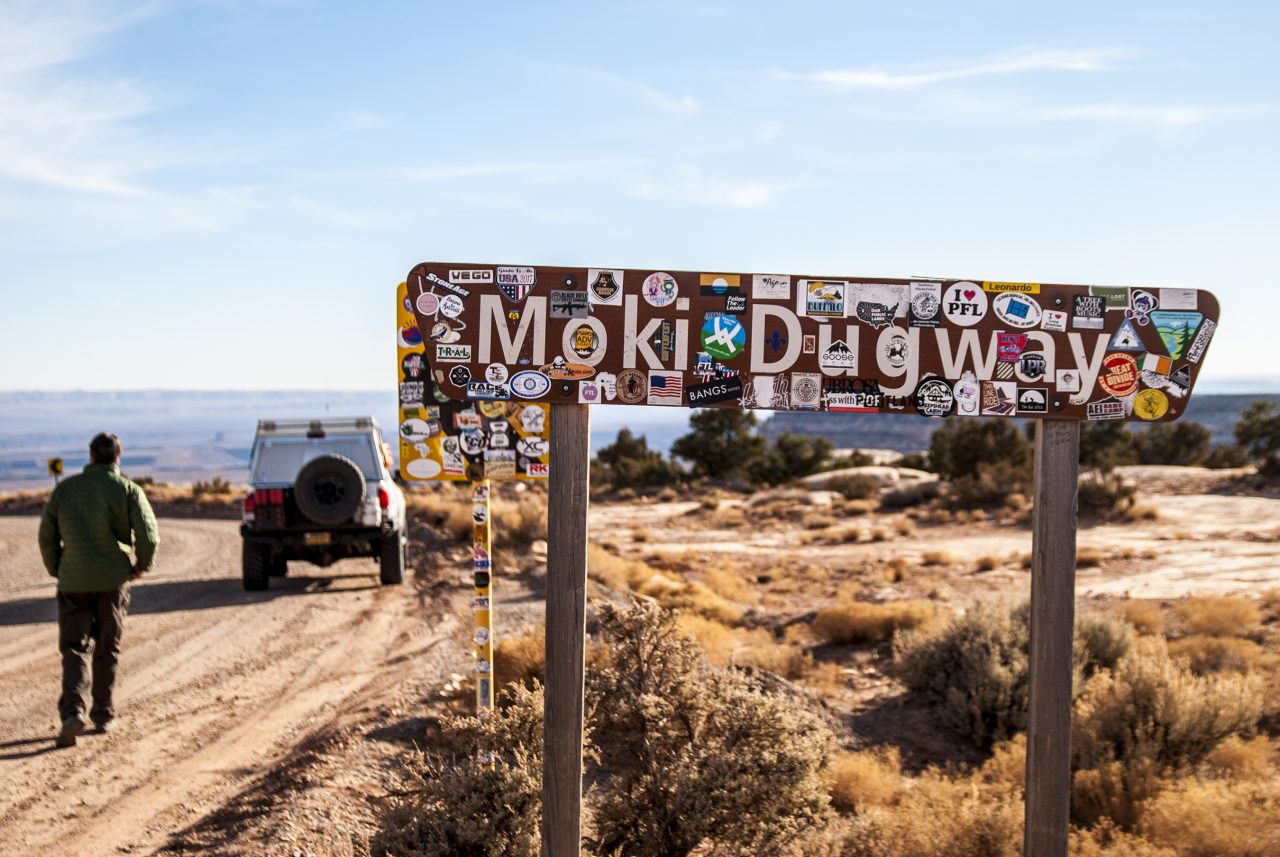
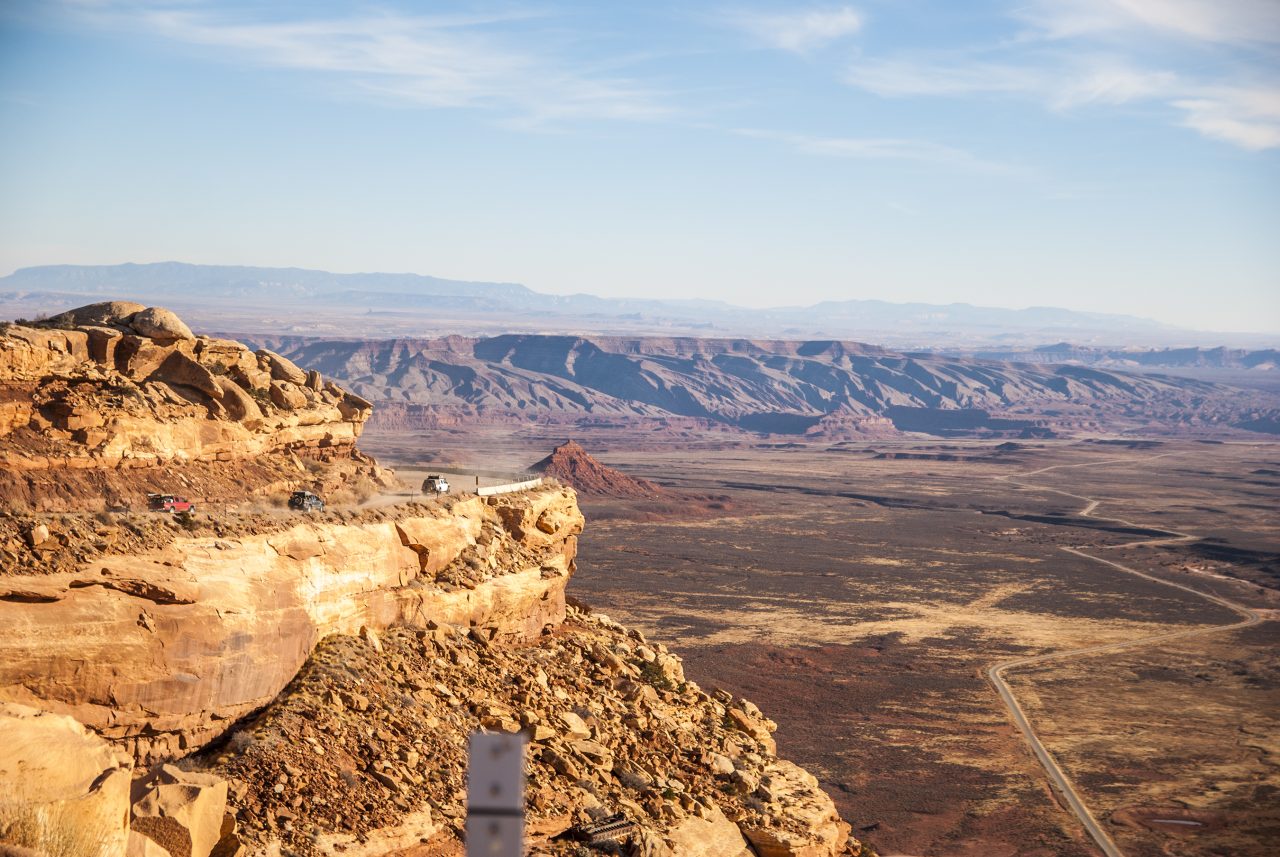
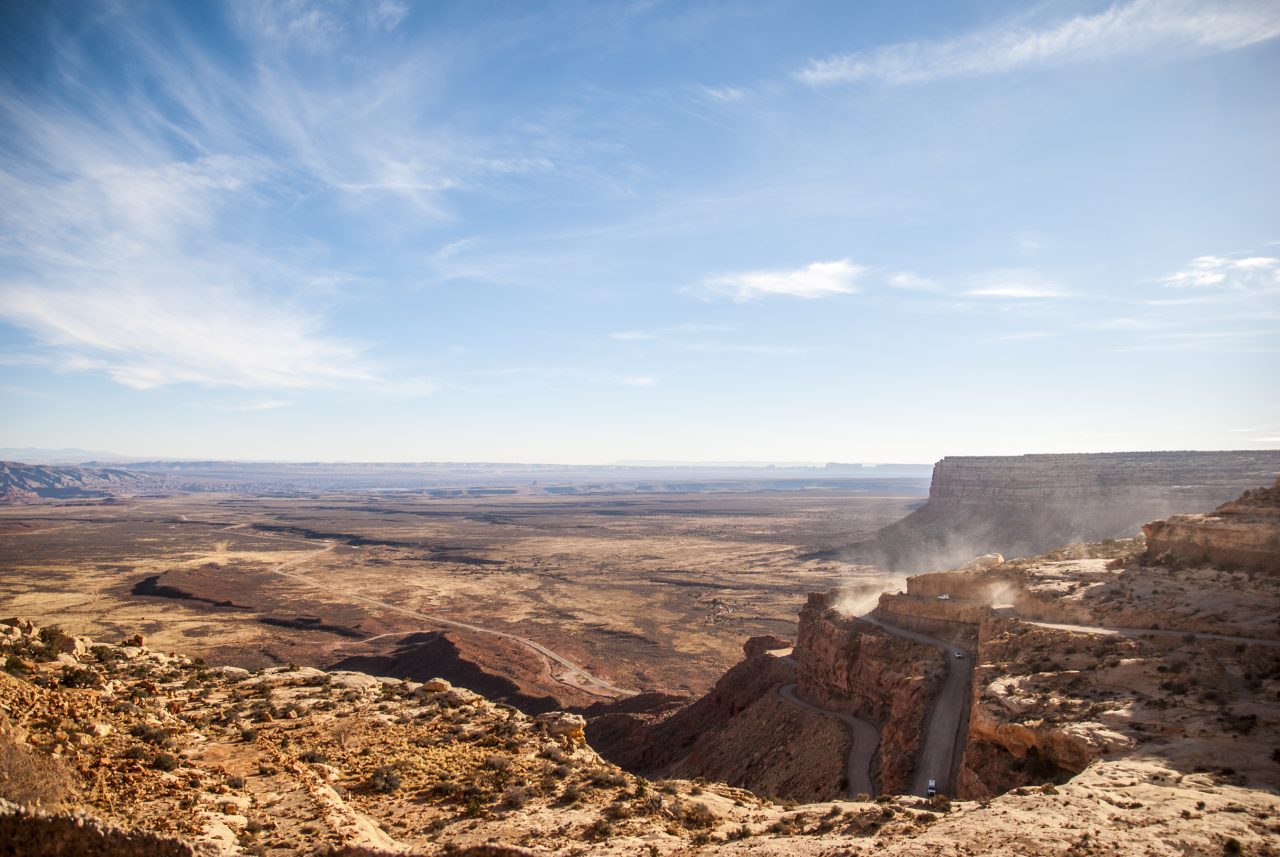
The Moki Dugway was constructed in 1958 and “is a staggering, graded dirt switchback road carved into the face of the cliff edge of Cedar Mesa. It consists of 3 miles of steep unpaved, but well graded switchbacks at 11%, which wind 1,200ft from Cedar Mesa to the valley floor near Valley of the Gods… The state of Utah recommends that only vehicles less than 28ft in length and 10,000 pounds in weight attempt to negotiate this steep, narrow, and winding road… The term ‘mokee’ is derived from the Spanish word Moqui, which was a general term used by the 18th century Spanish explorers and settlers in this region to describe the Pueblo Indians they encountered, and the vanished culture that had left behind the numerous ruins they discovered during their travels… The dugway was constructed in the 50’s to provide a way to haul ore from the Happy Jack Mine on Cedar Mesa to the mill in Halchita, near Mexican Hat.” (www.dangerousroads.org). Checking weather on or before hitting the Dugway is highly recommended as conditions may be treacherous.
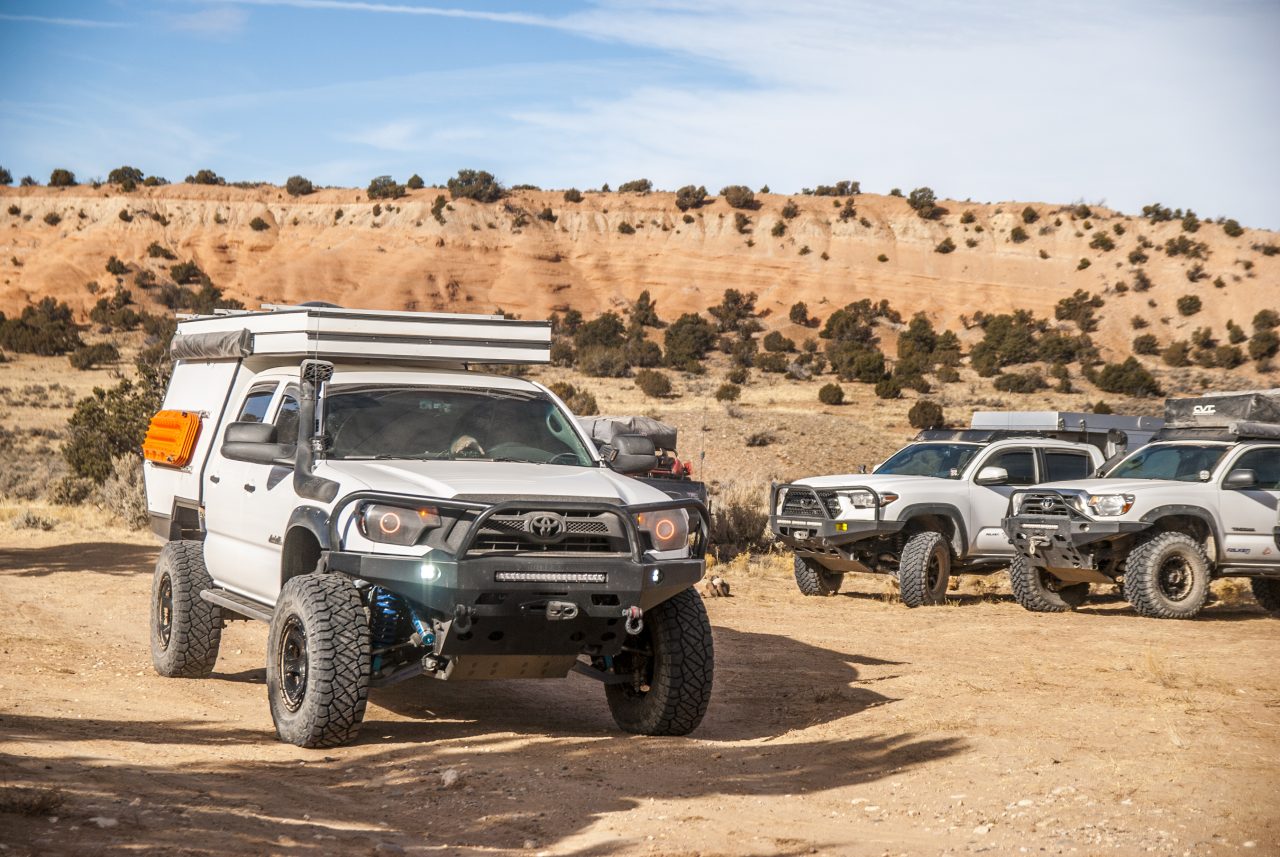
It was a beautiful day and had been so for the week, so we had no worries traversing the Dugway. The sheer cliff right along the roadside was quite intimidating but with the width of the road being a bit generous, and with light traffic in both directions, it was a breeze. We were worried about Cris’s Dodge Yacht Wagon but of course he showed us how to drive properly in such a large vehicle without dying.


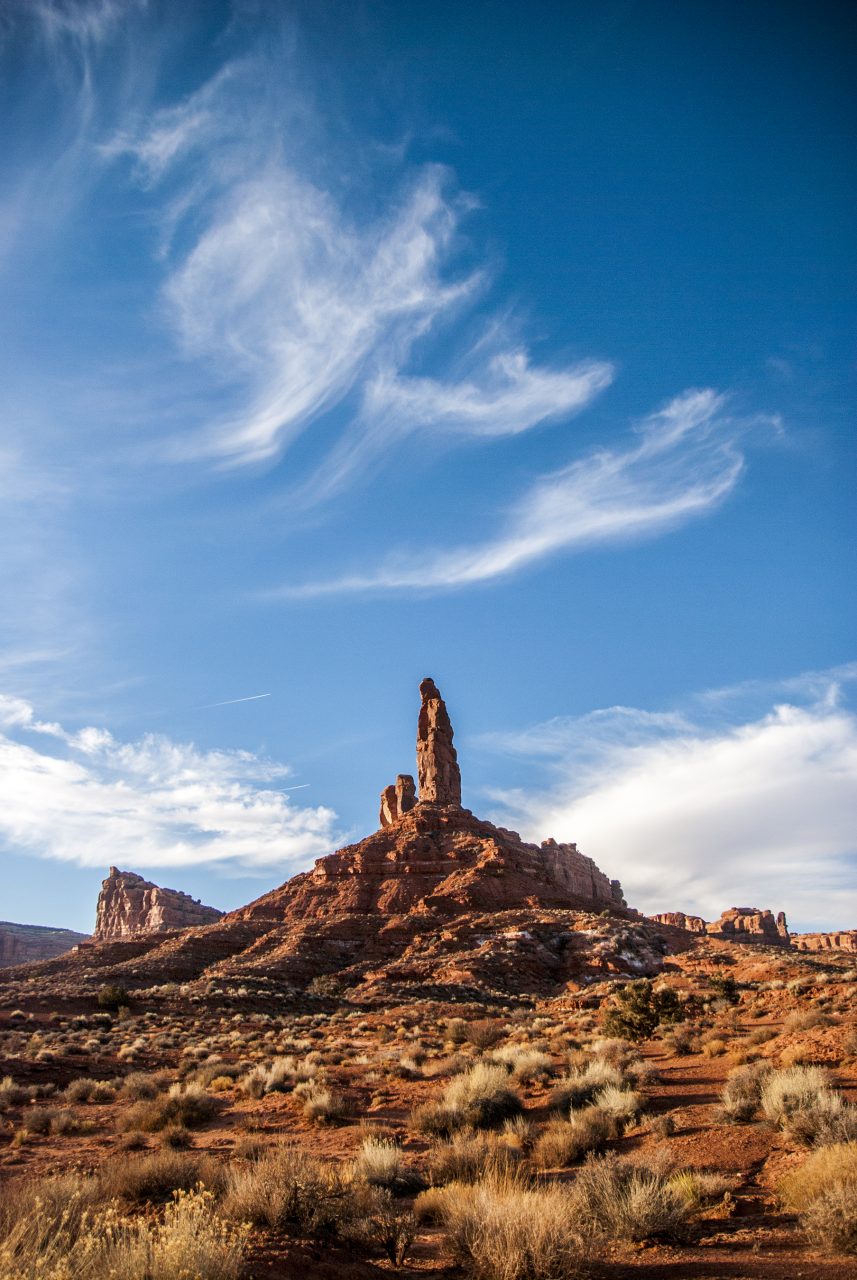
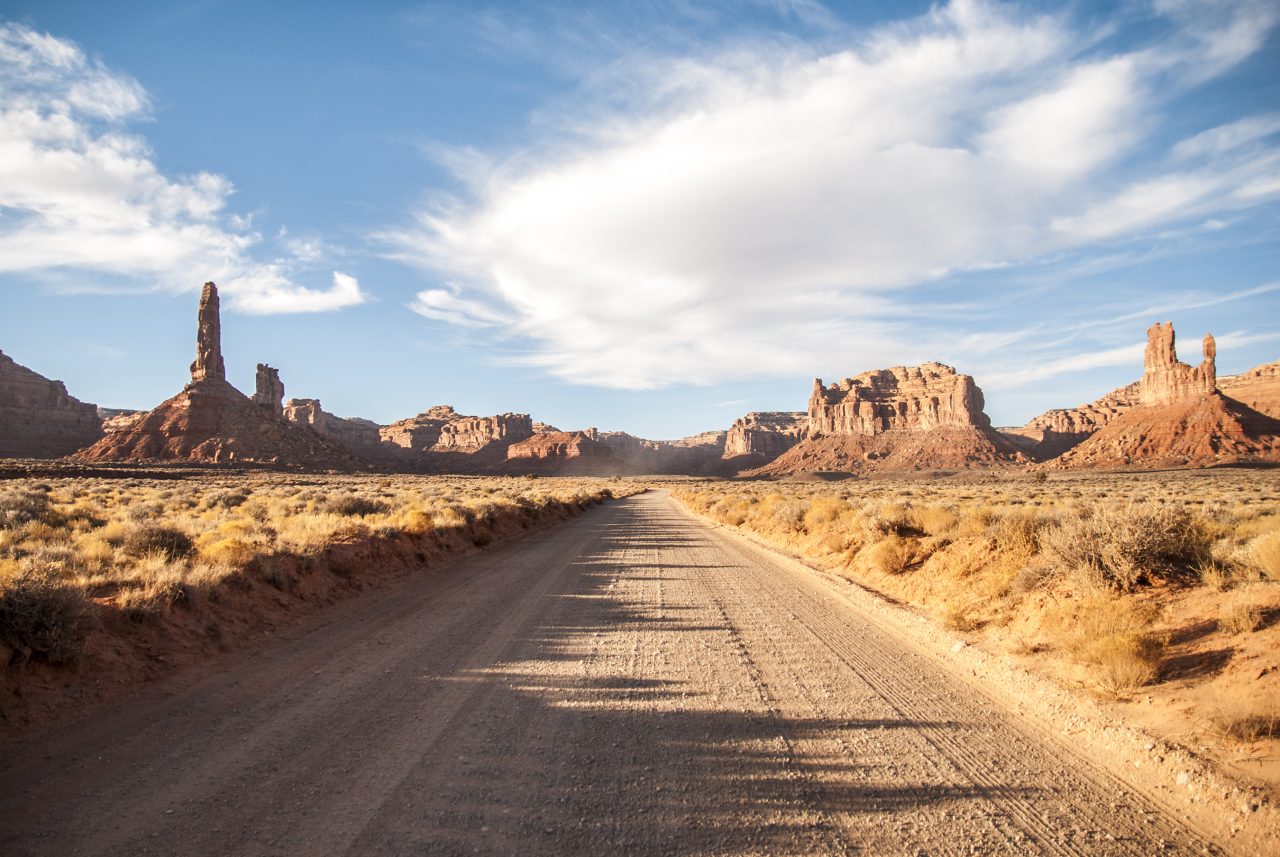
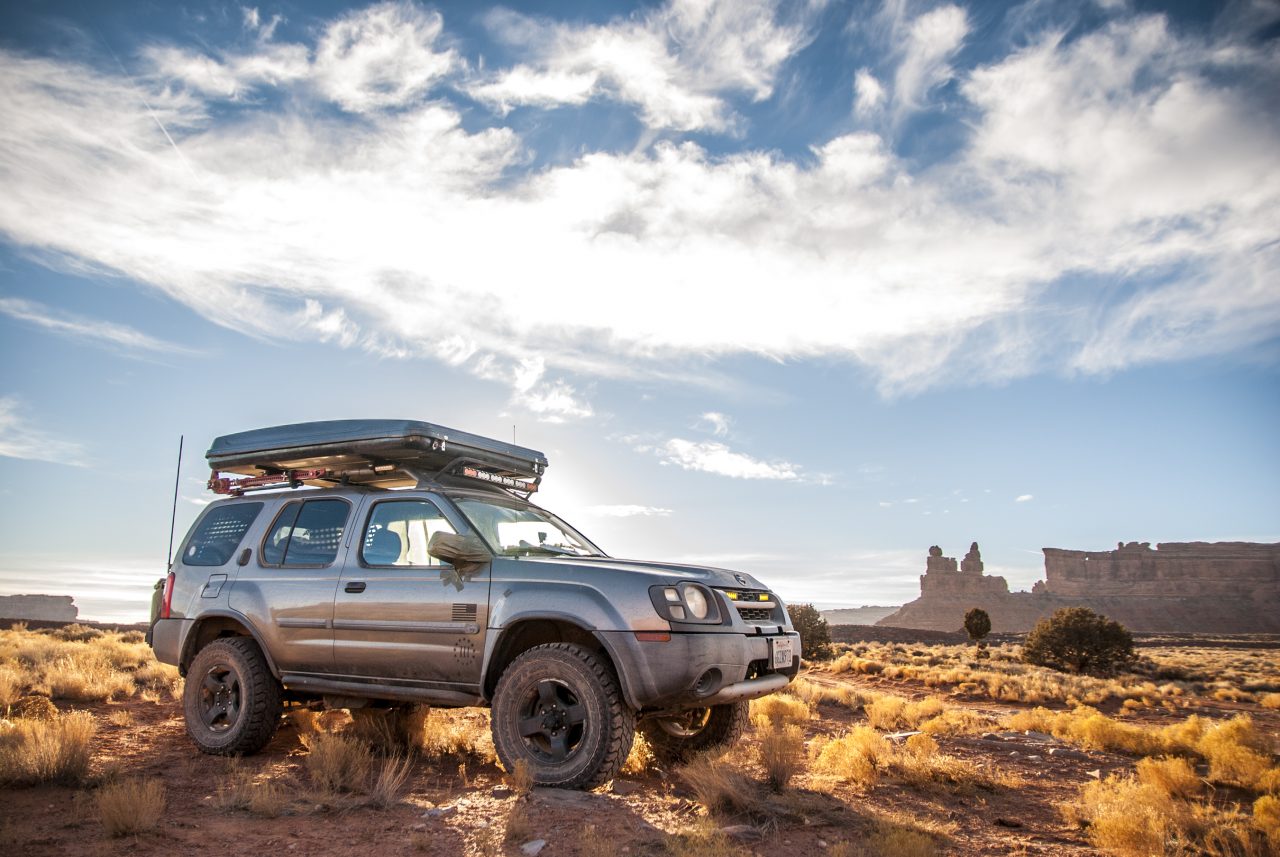
The convoy rallied at the base of the Dugway, just at the entrance to the Valley of the Gods. The sun was beginning to set as we entered the Valley so we decided to find a place along the dirt road to call it for the day. We found a perfect site just off the main road with rock monuments entirely surrounding us. We were definitely in quite a spot and picked up quickly why this place has such a name. As usual, we setup quickly and hunkered down for the night.


Continued in Part III HERE
[/vc_column_text][/vc_column][/vc_row]
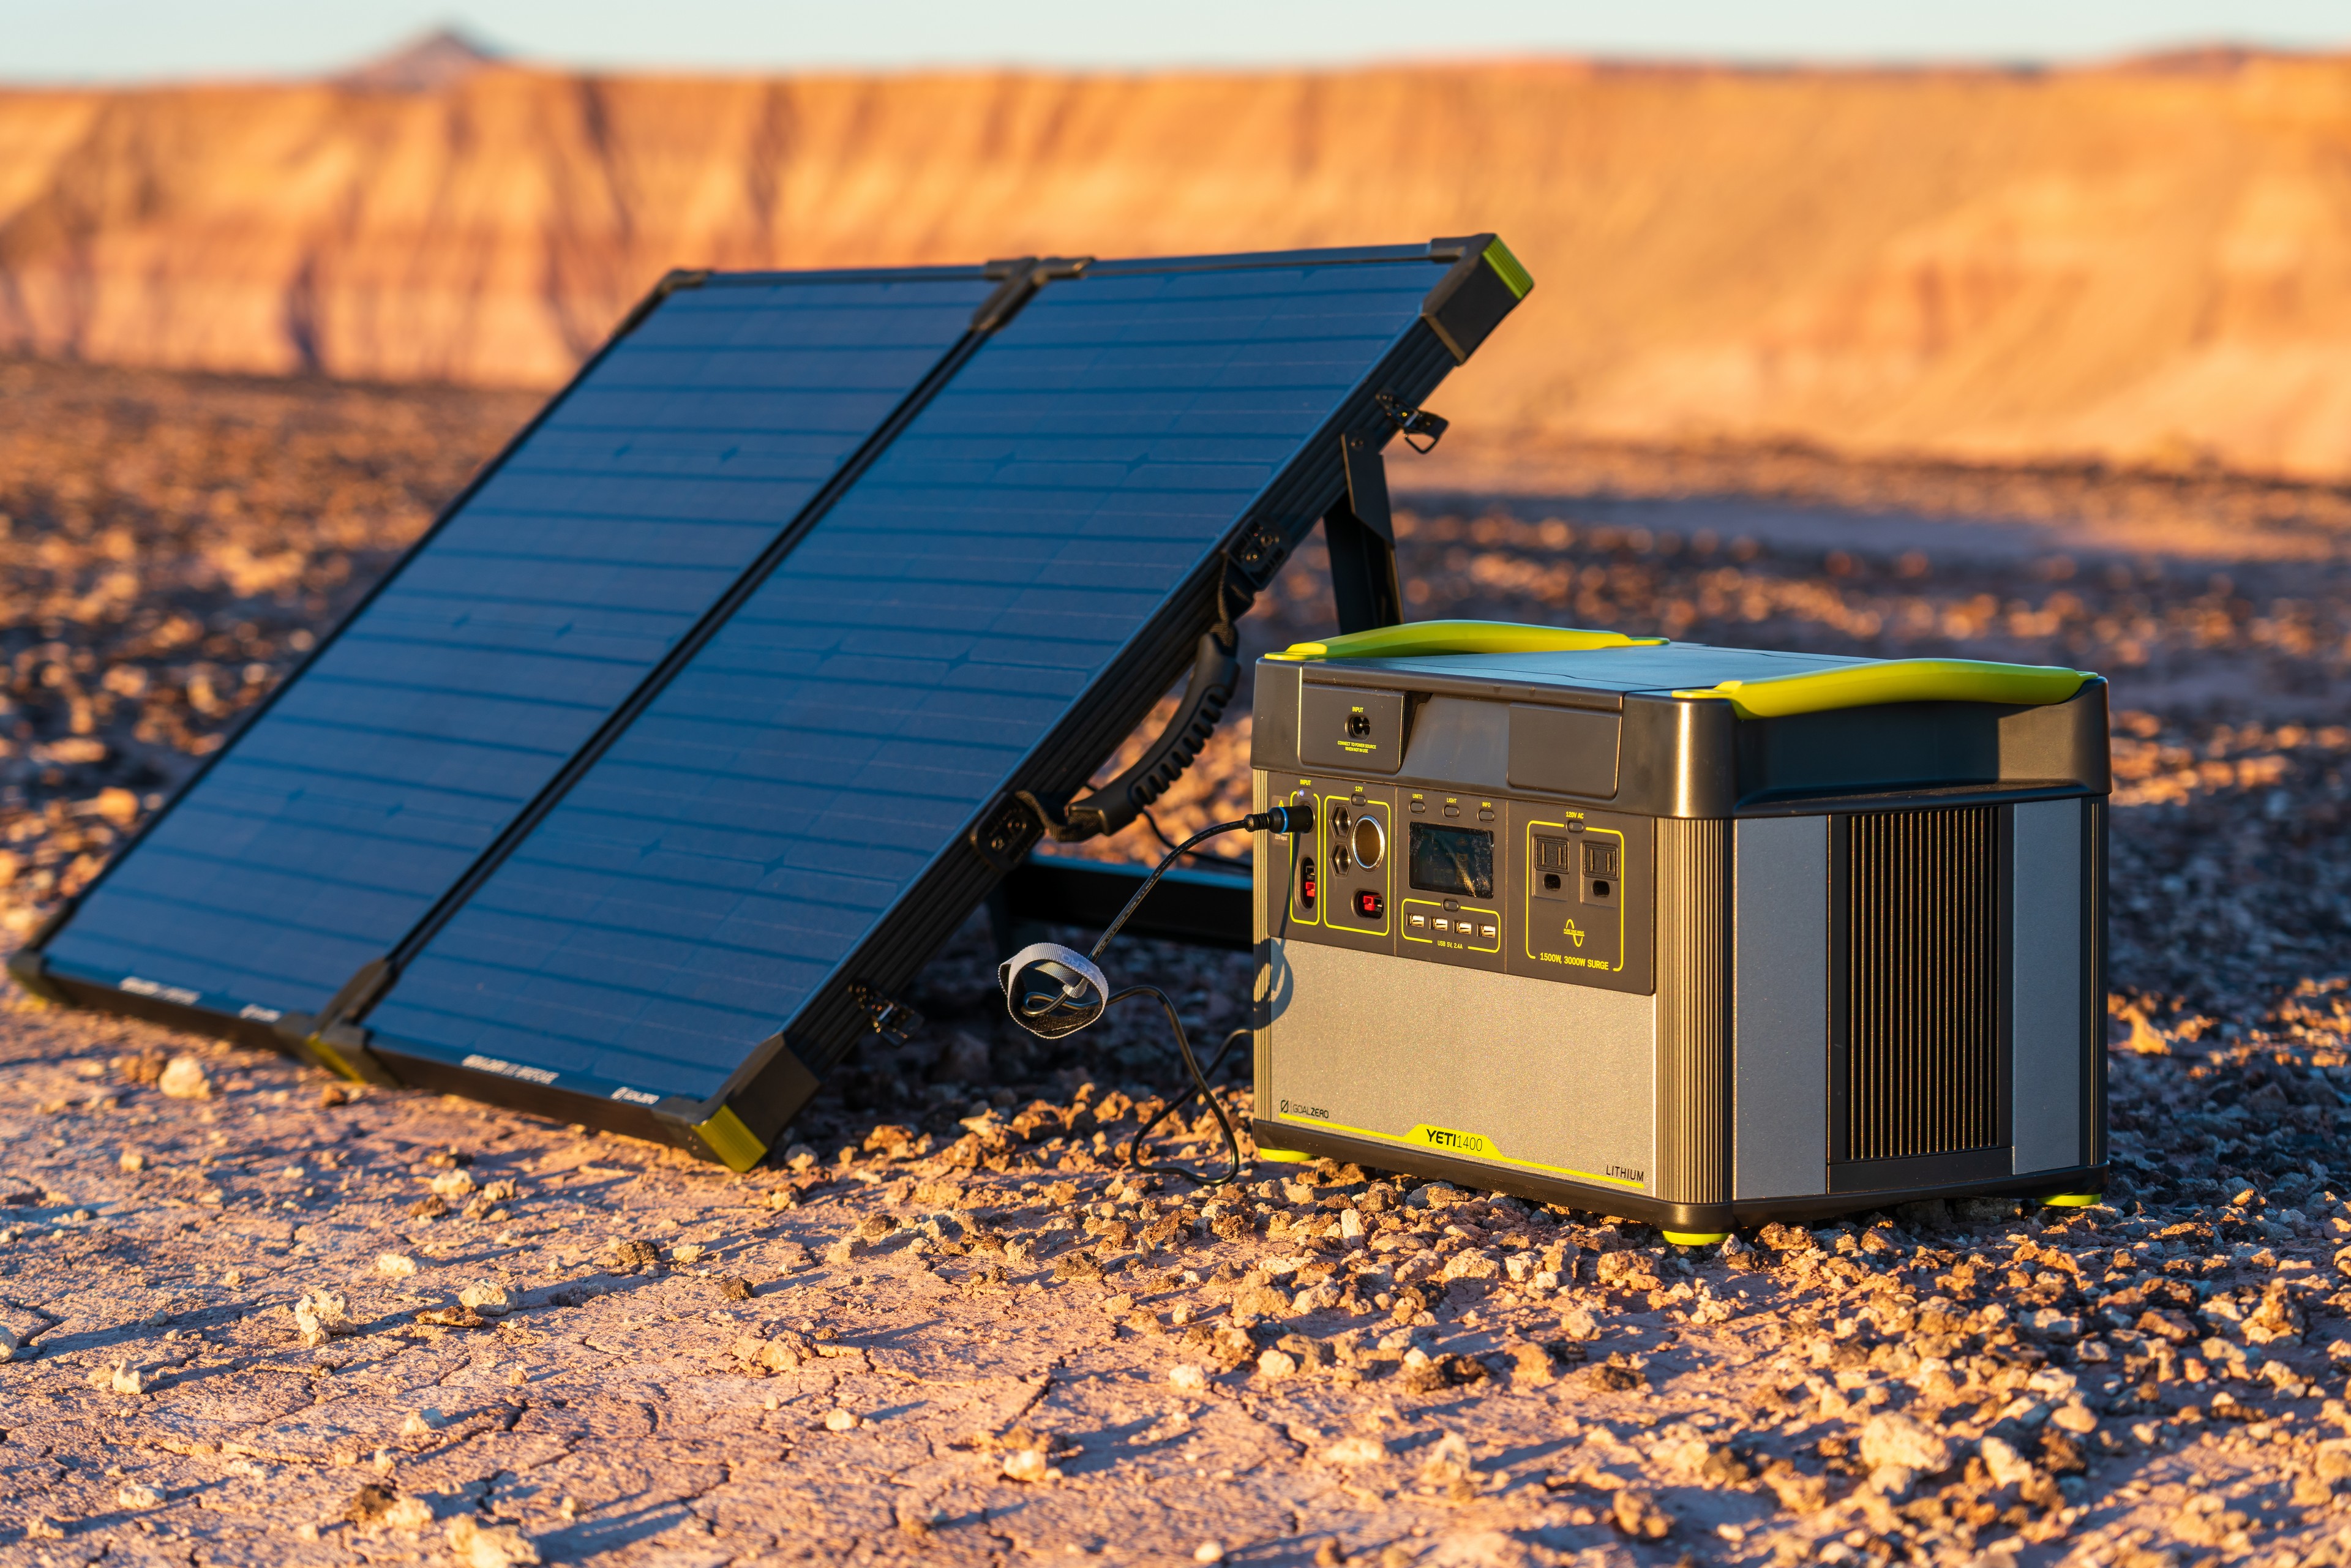
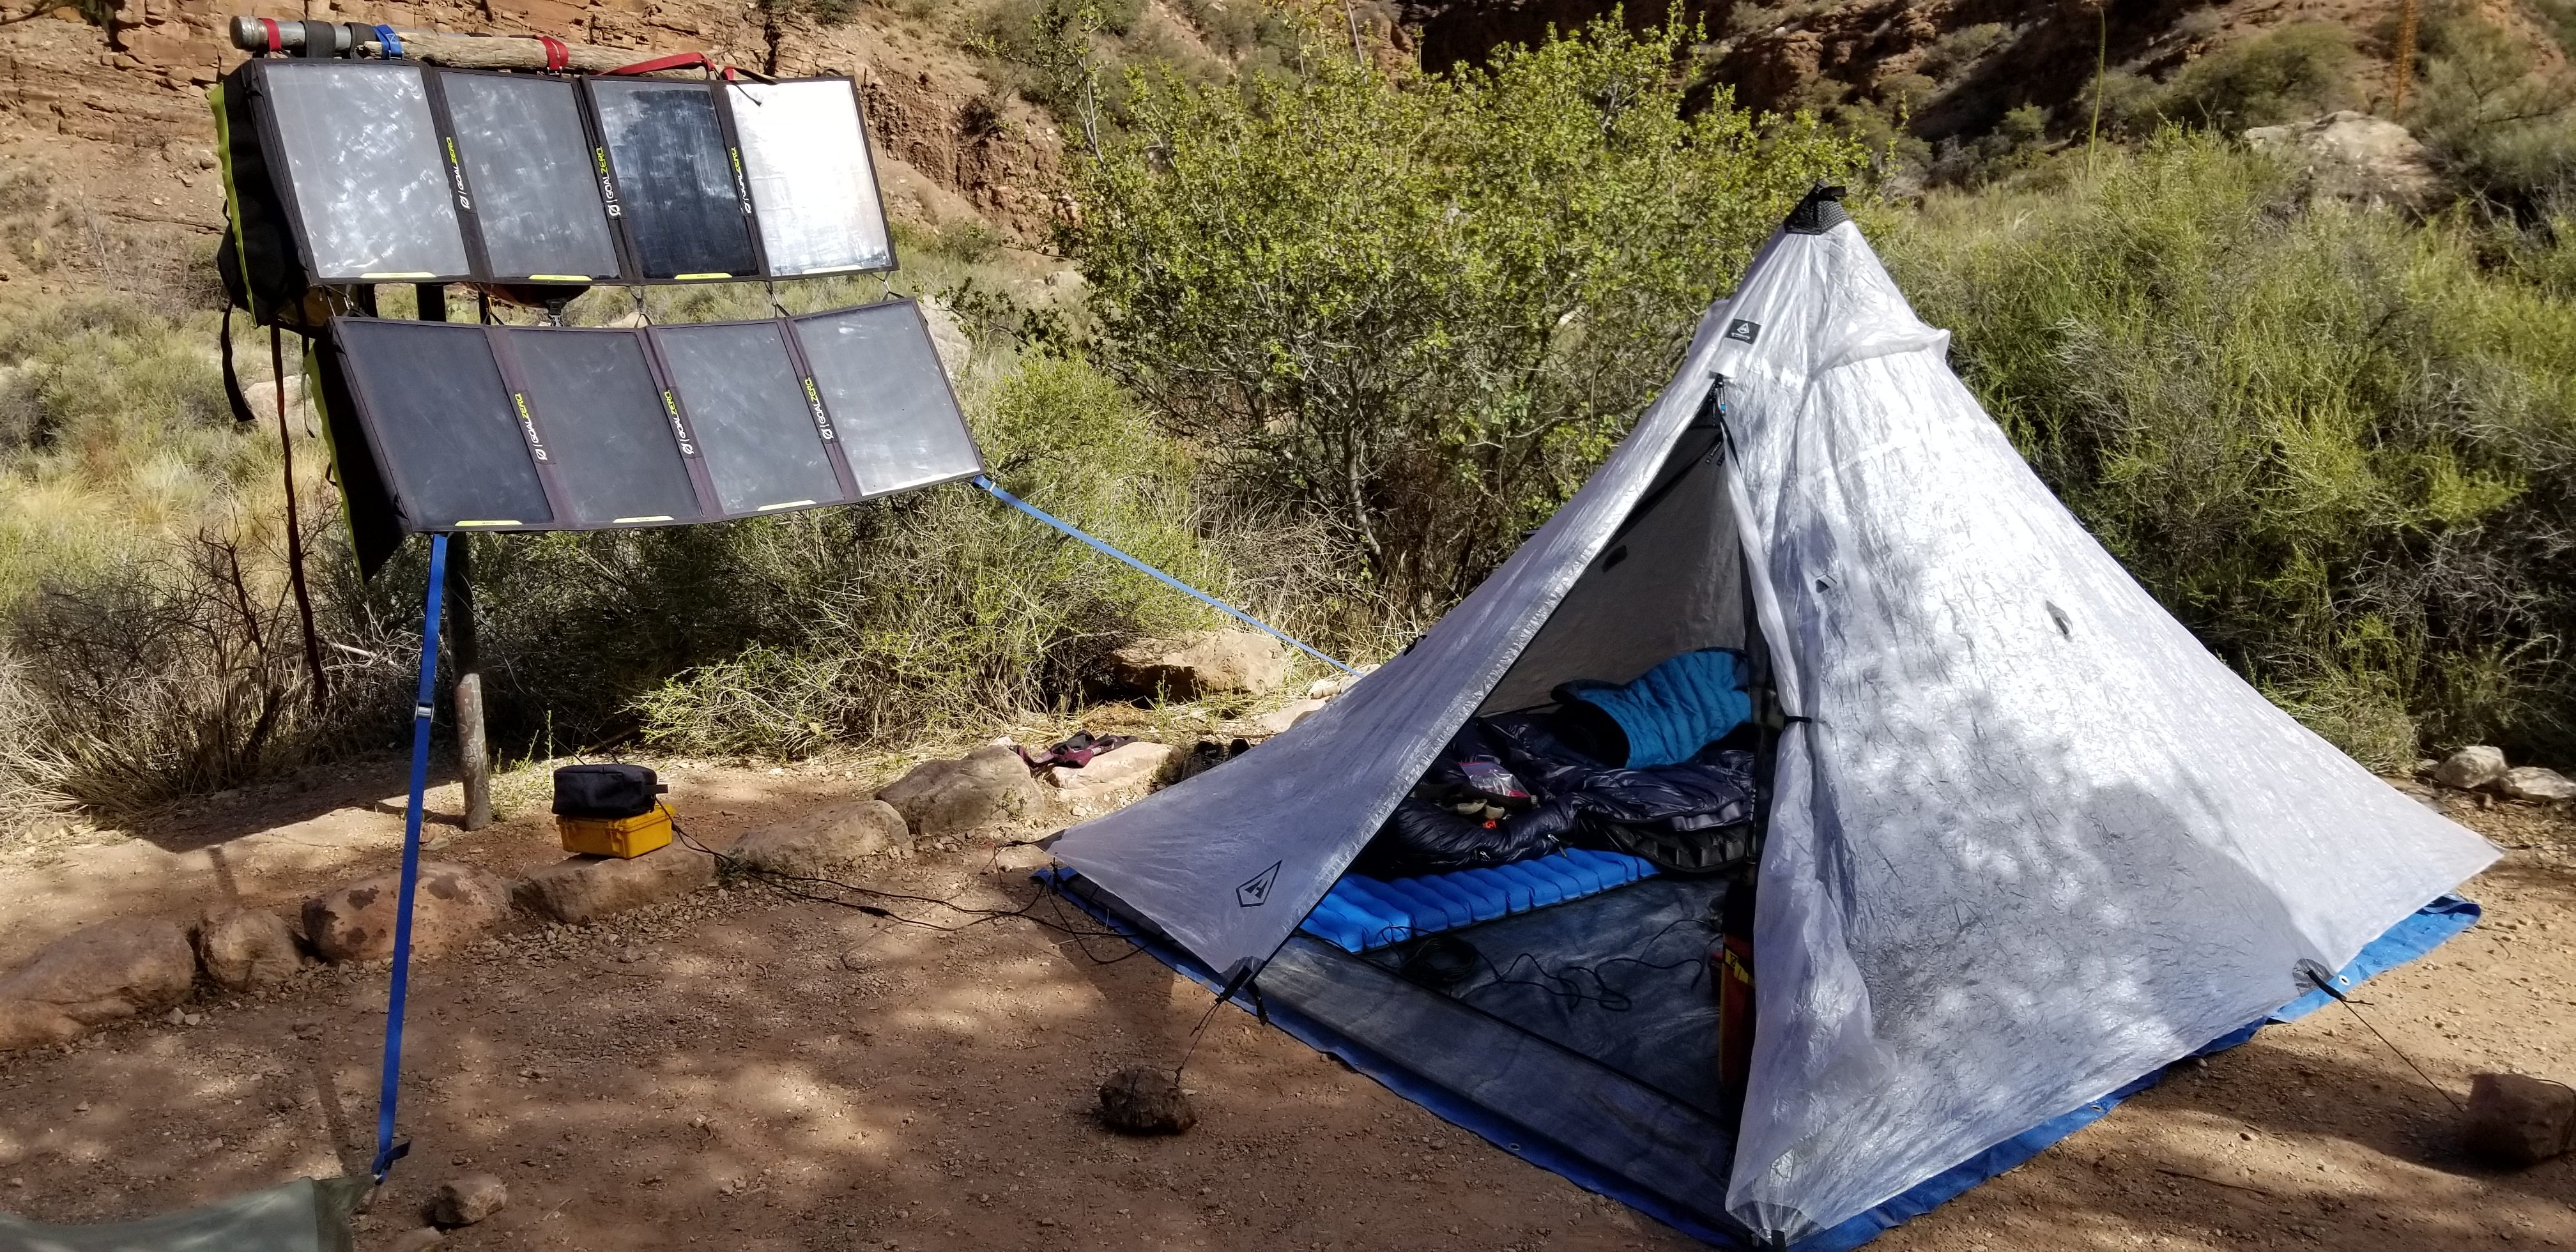 Goal Zero knows a thing or two about powering gear in the field. From backpacking-friendly solar panels that can keep your phone topped off on a through-hike, to much larger solar panels and batteries that can run Hollywood-caliber film productions in the bottom of the Grand Canyon for 21 days, the Goal Zero ecosystem can power all of the things. I’ve been using their Lead-Acid AGM-powered Yeti Portable Power Stations for years, so when Goal Zero released a line of Yetis with Lithium-Ion Nickel-Manganeese-Cobalt (NMC) batteries, I had to get my hands on one and put it though a long-term test to see how it compared to the OG Yeti’s that have proven themselves with me. To round out the test, I also got a
 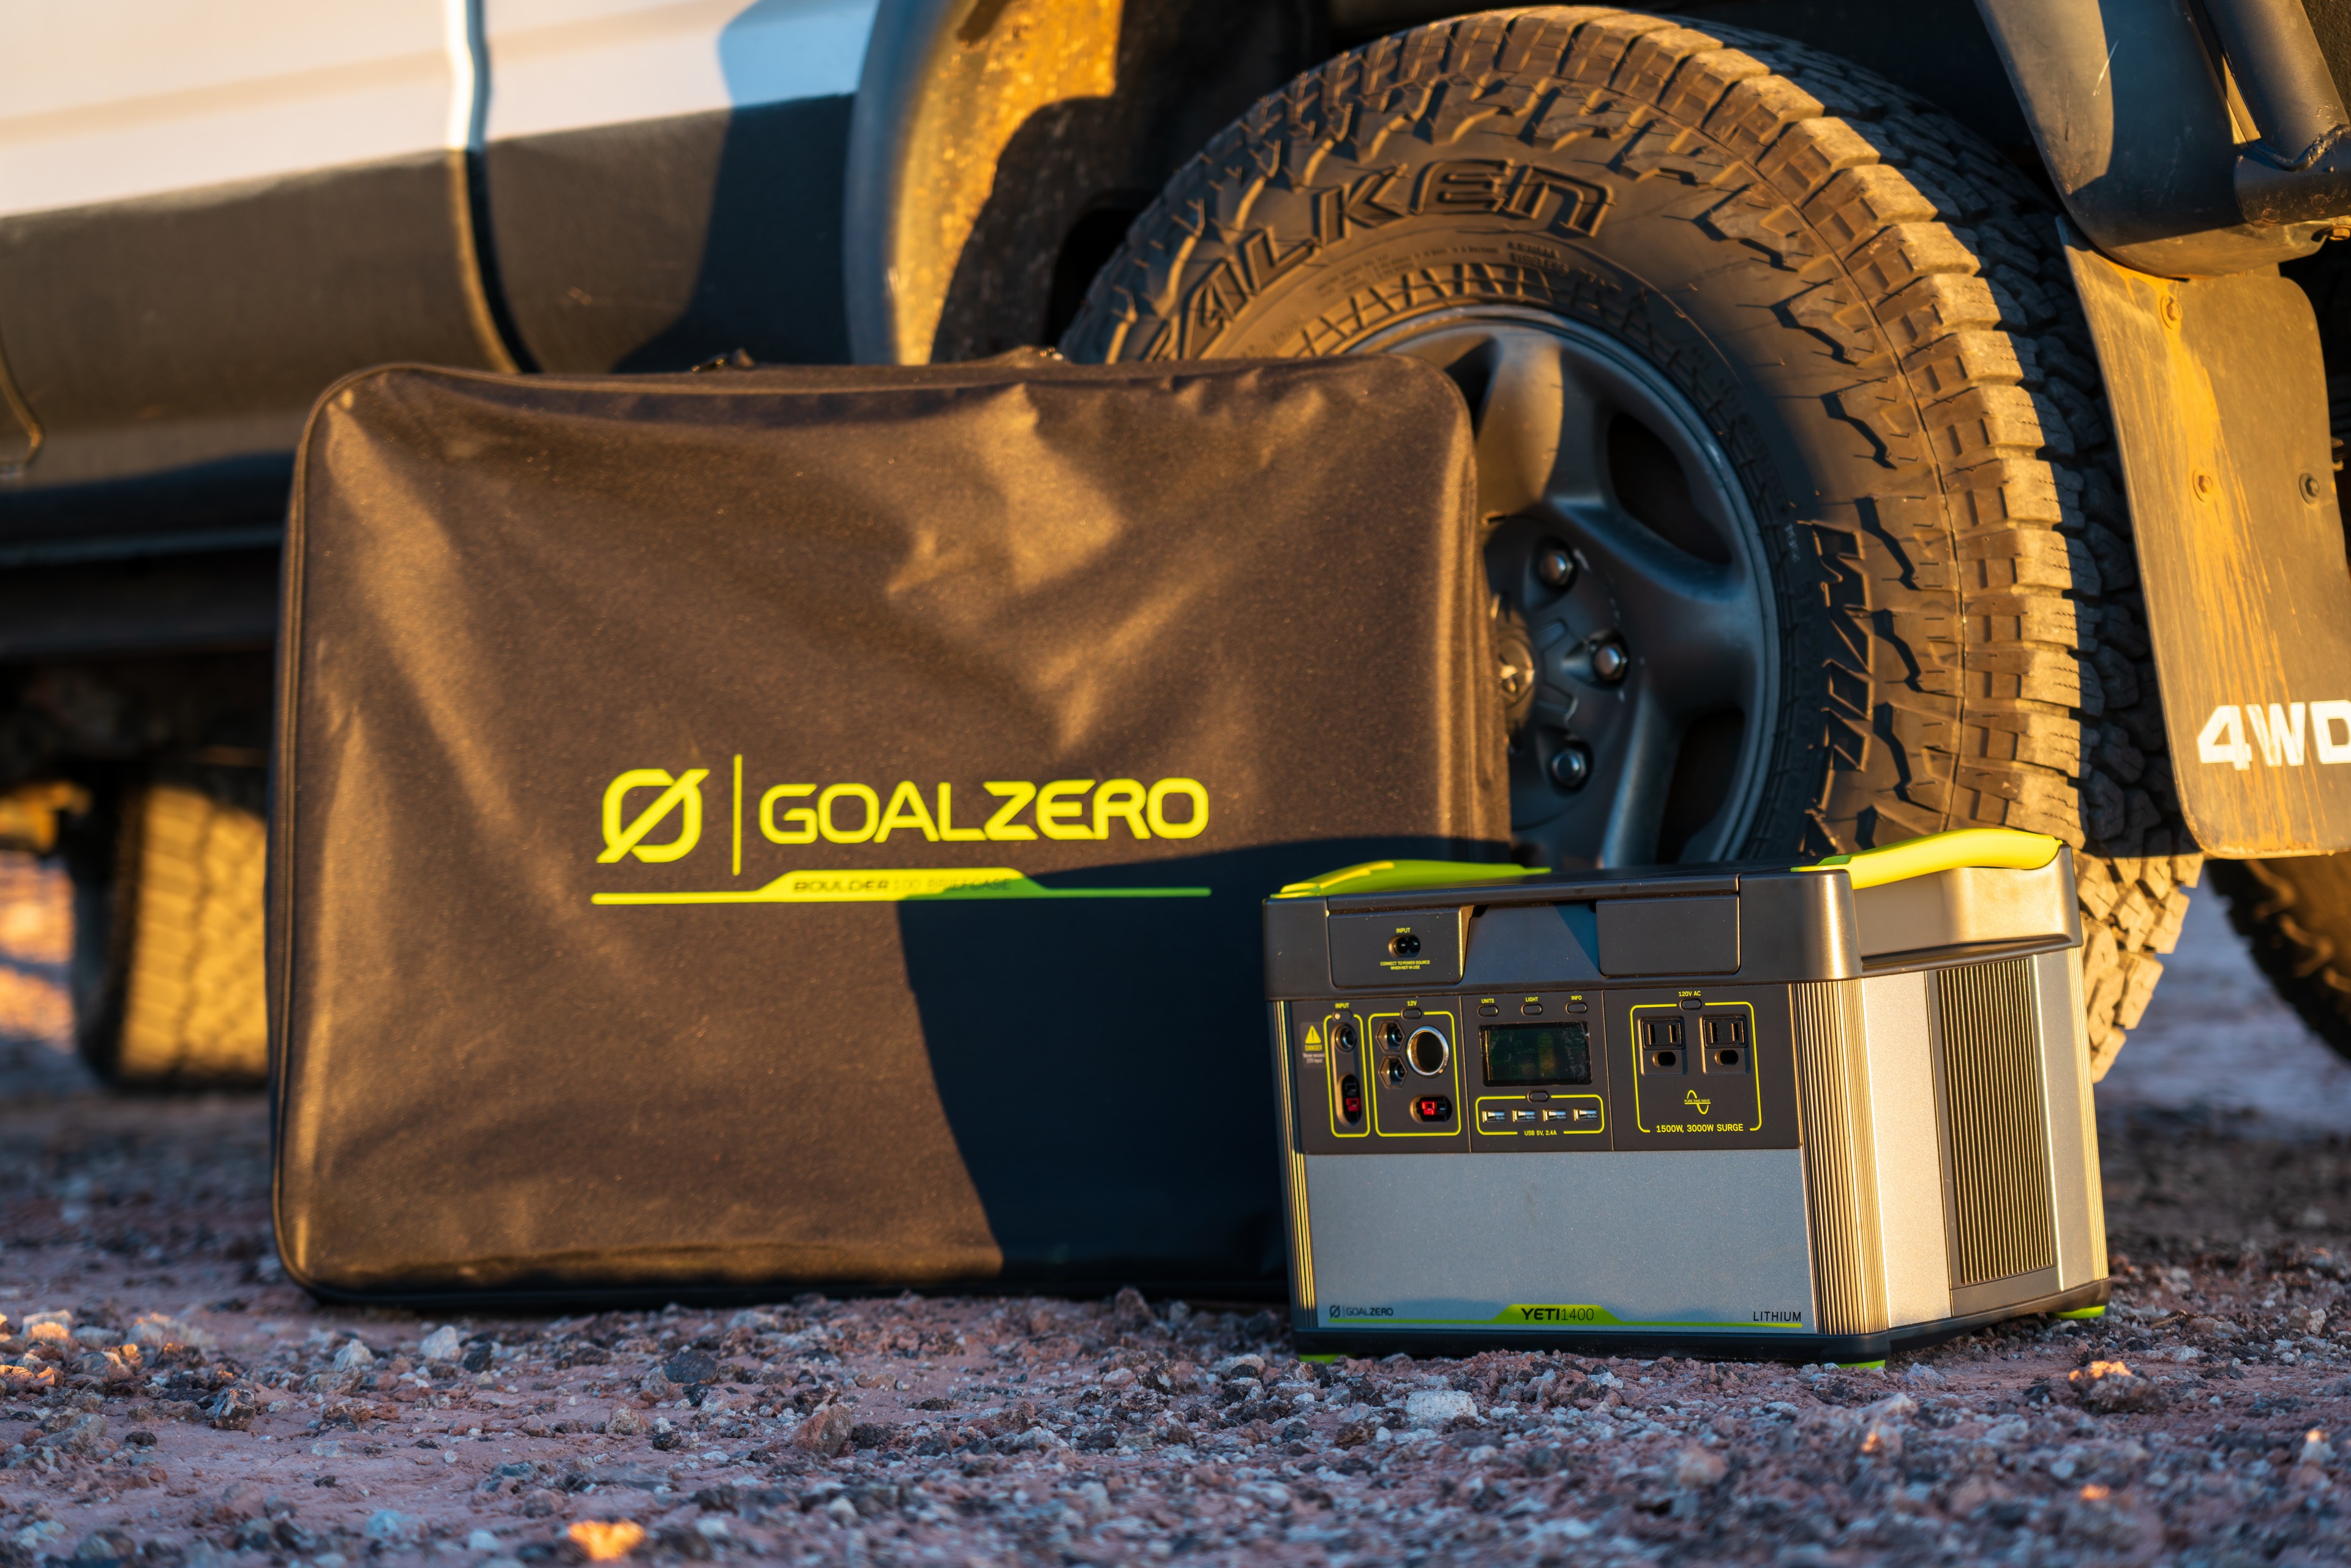 Meet the Lithium Yetis
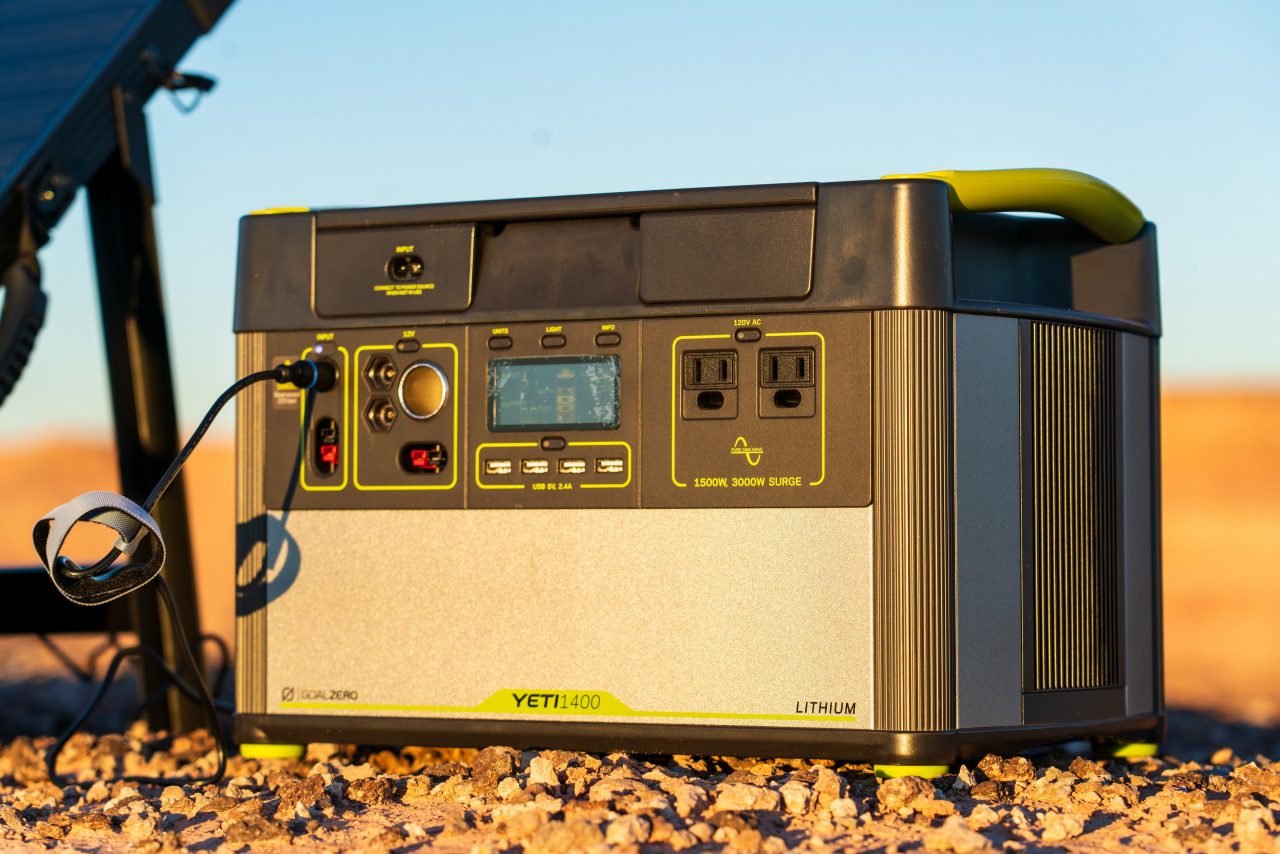
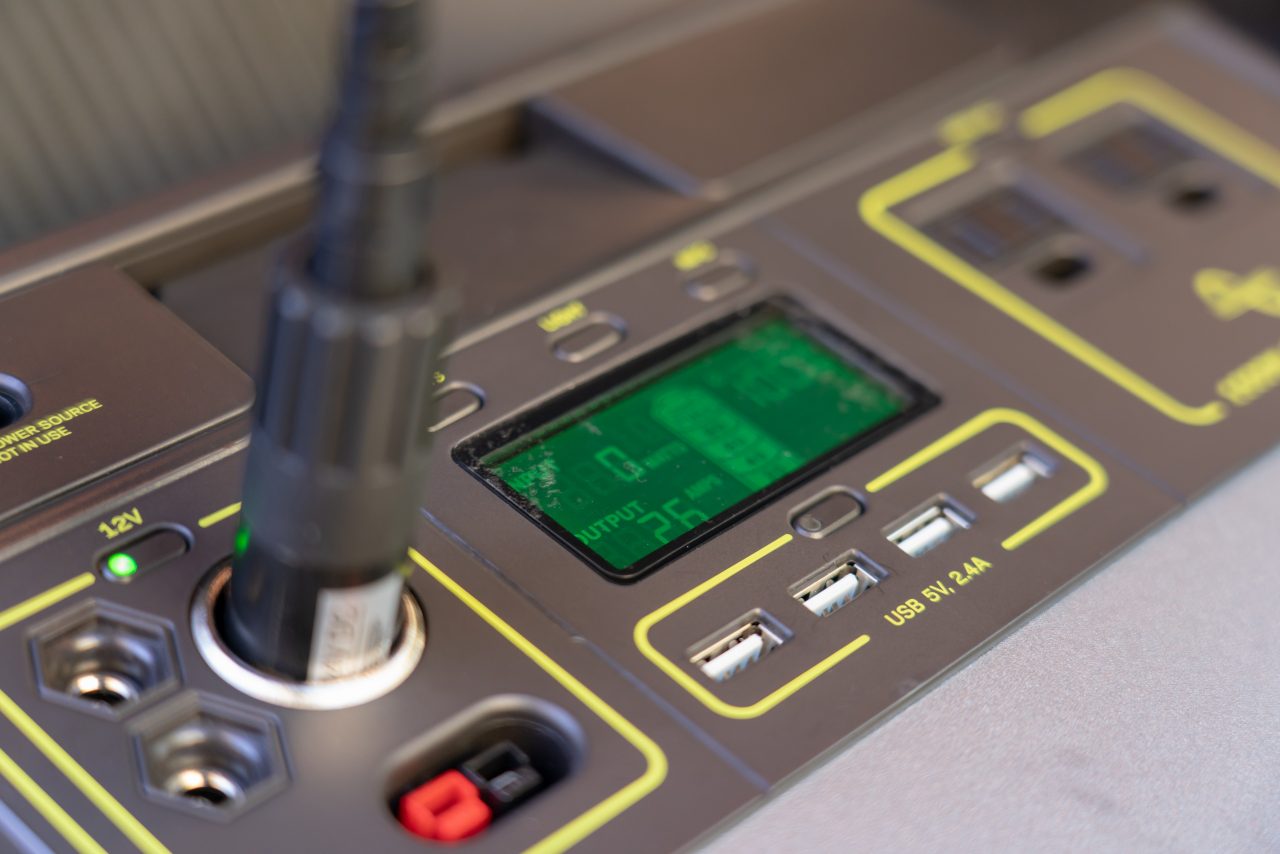


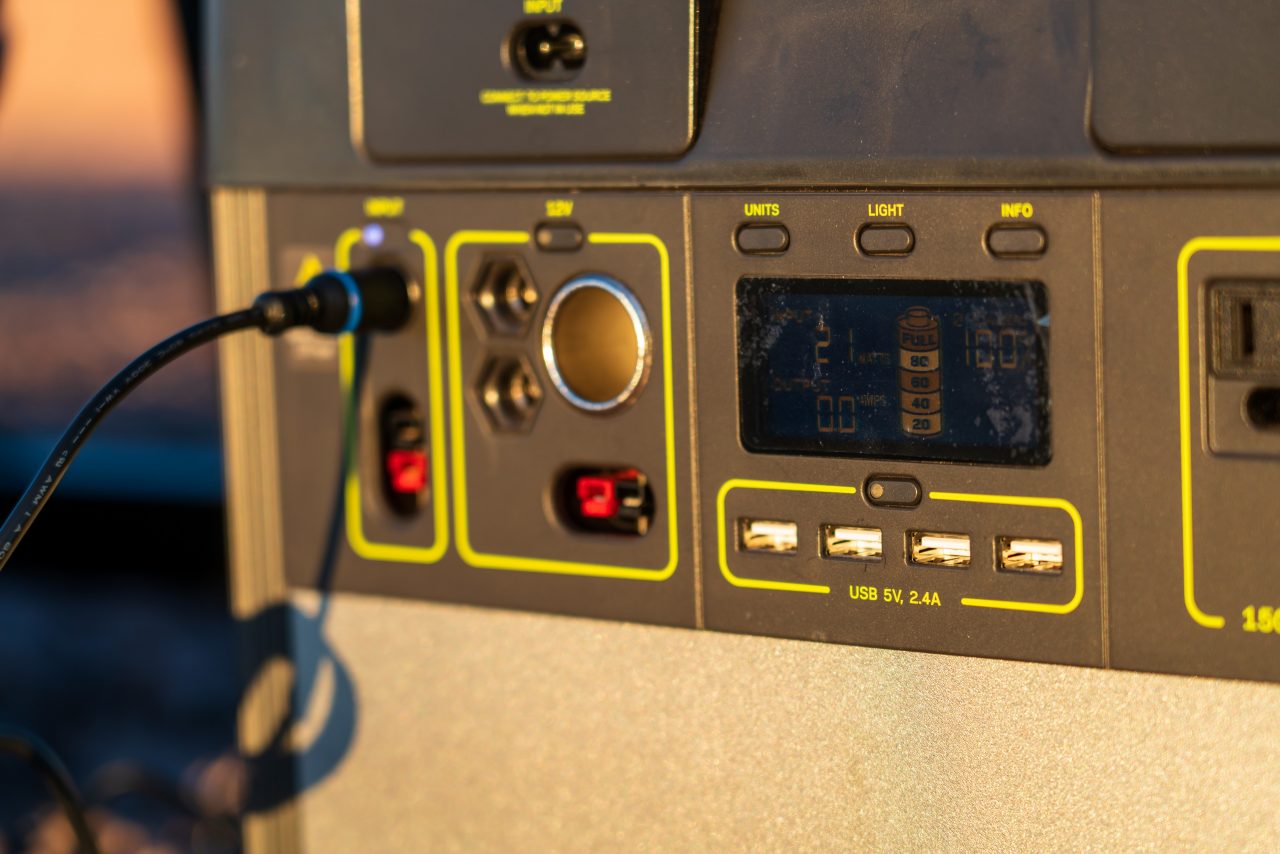

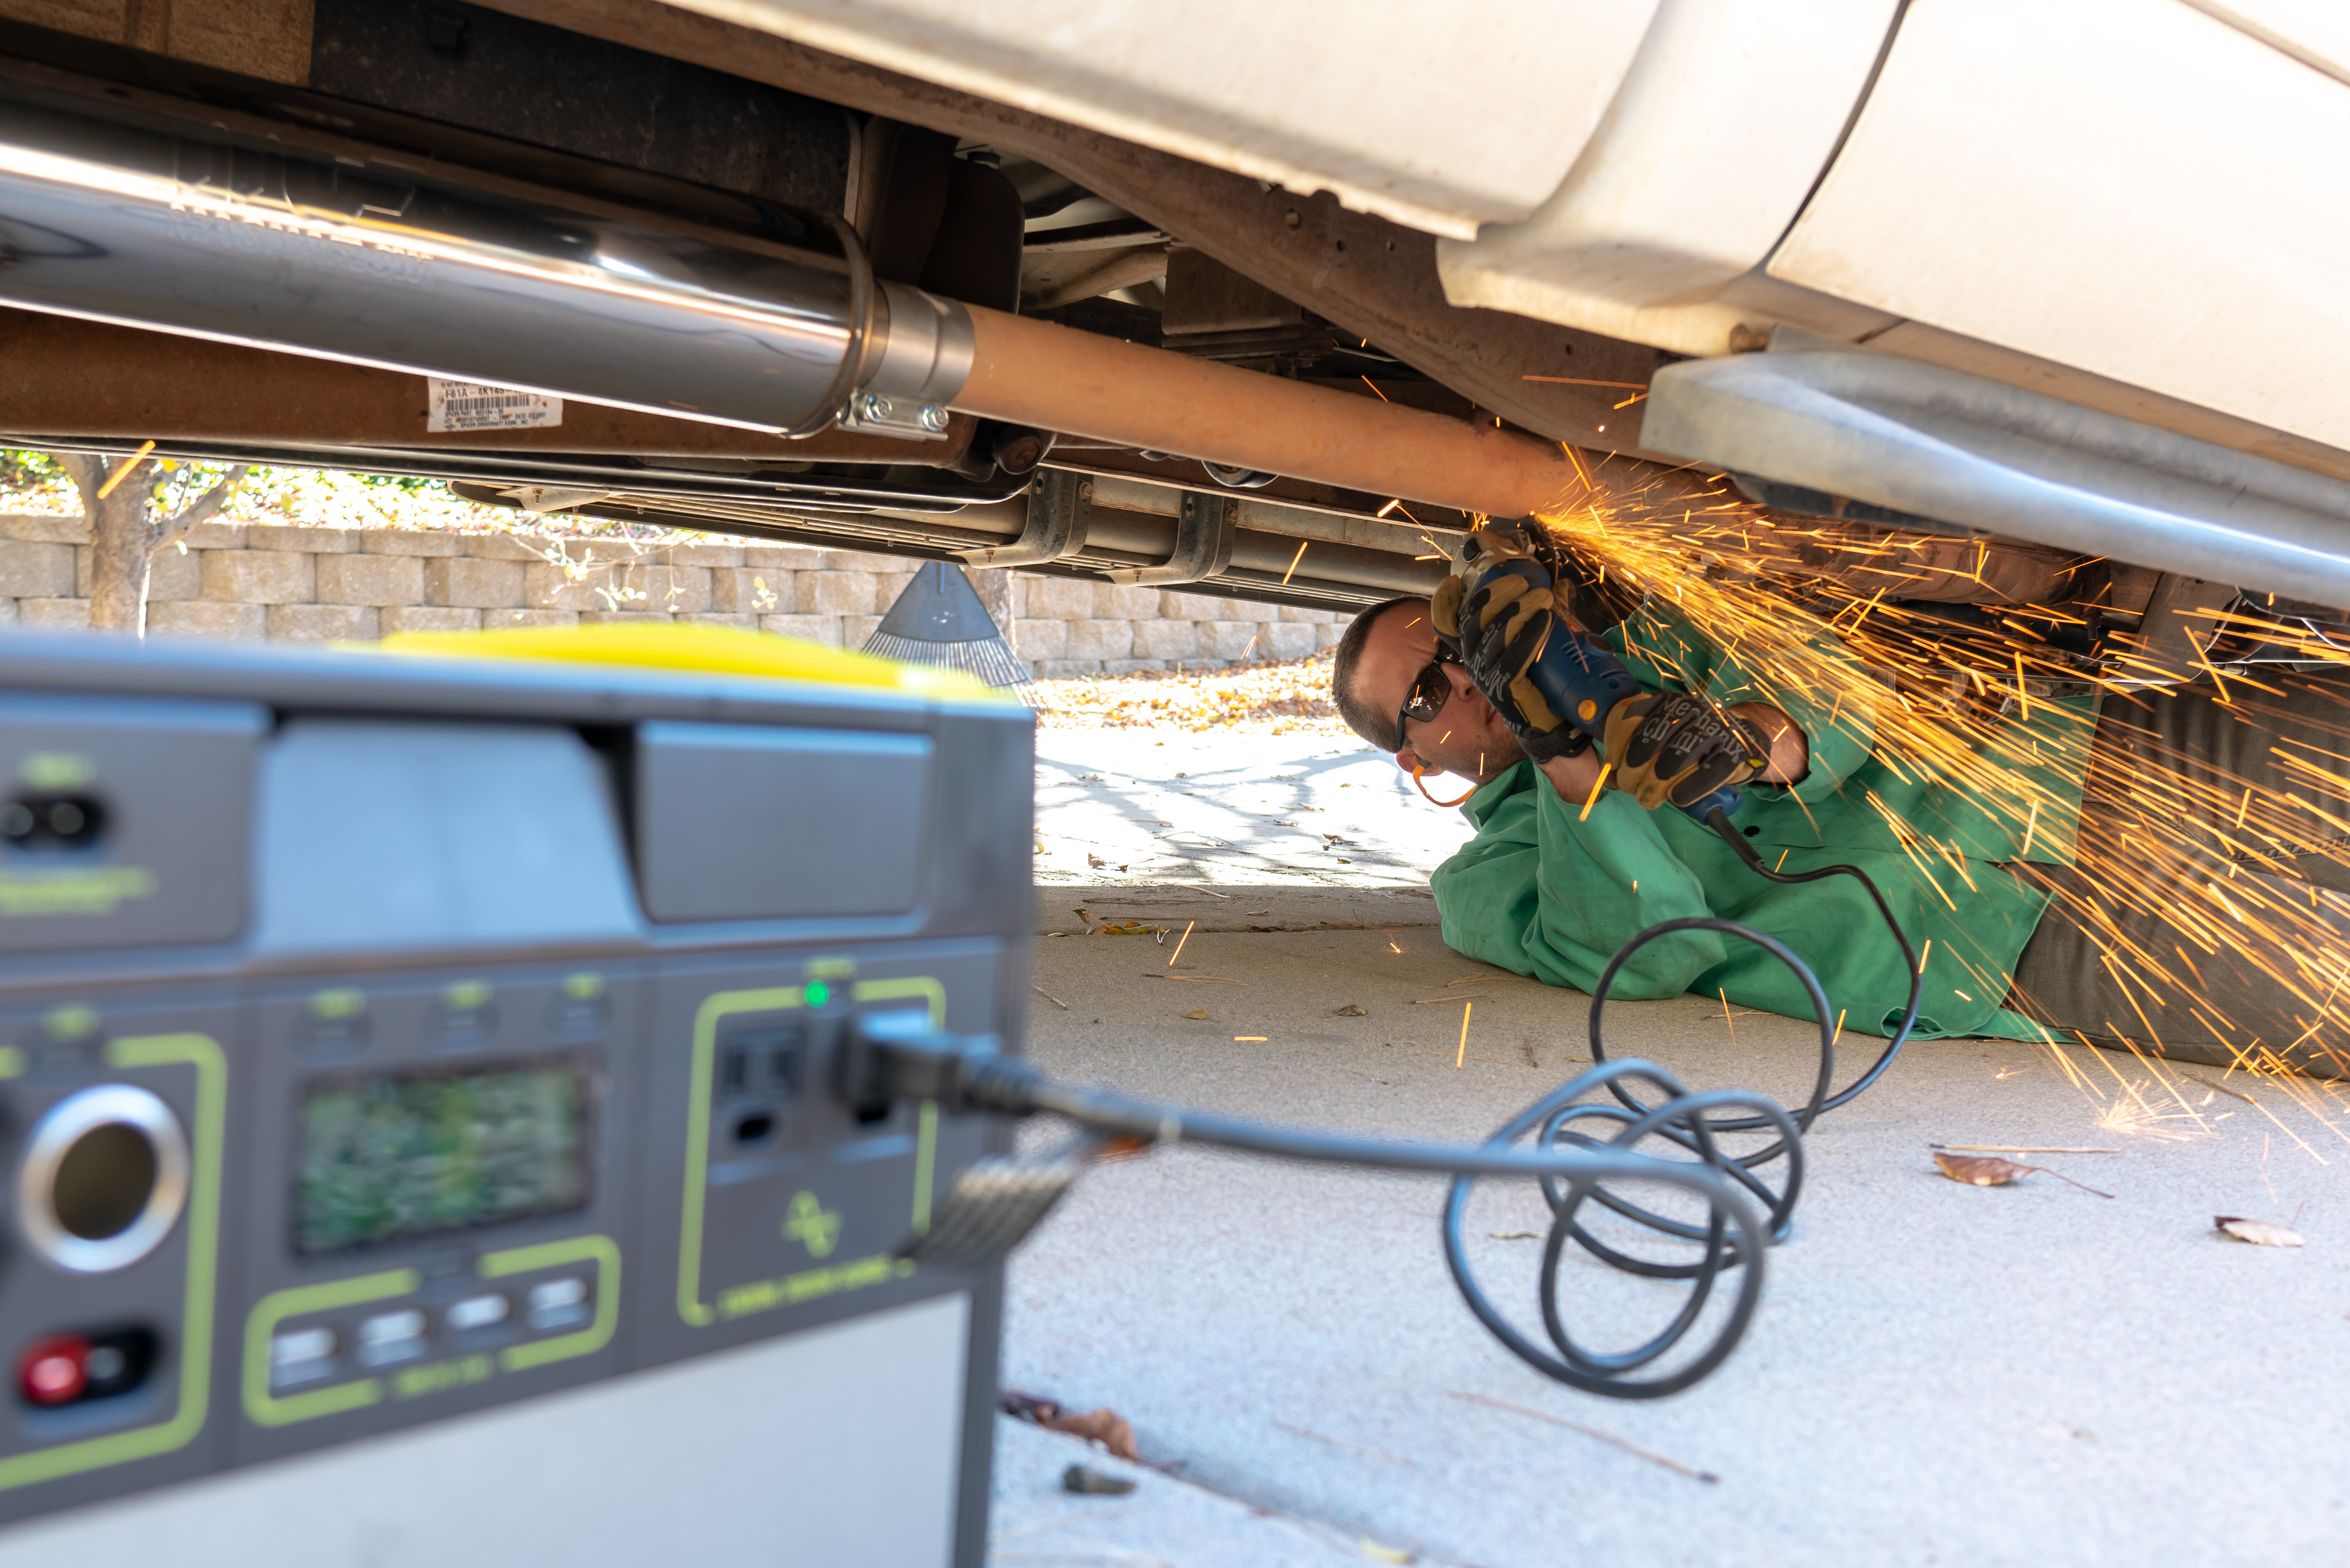
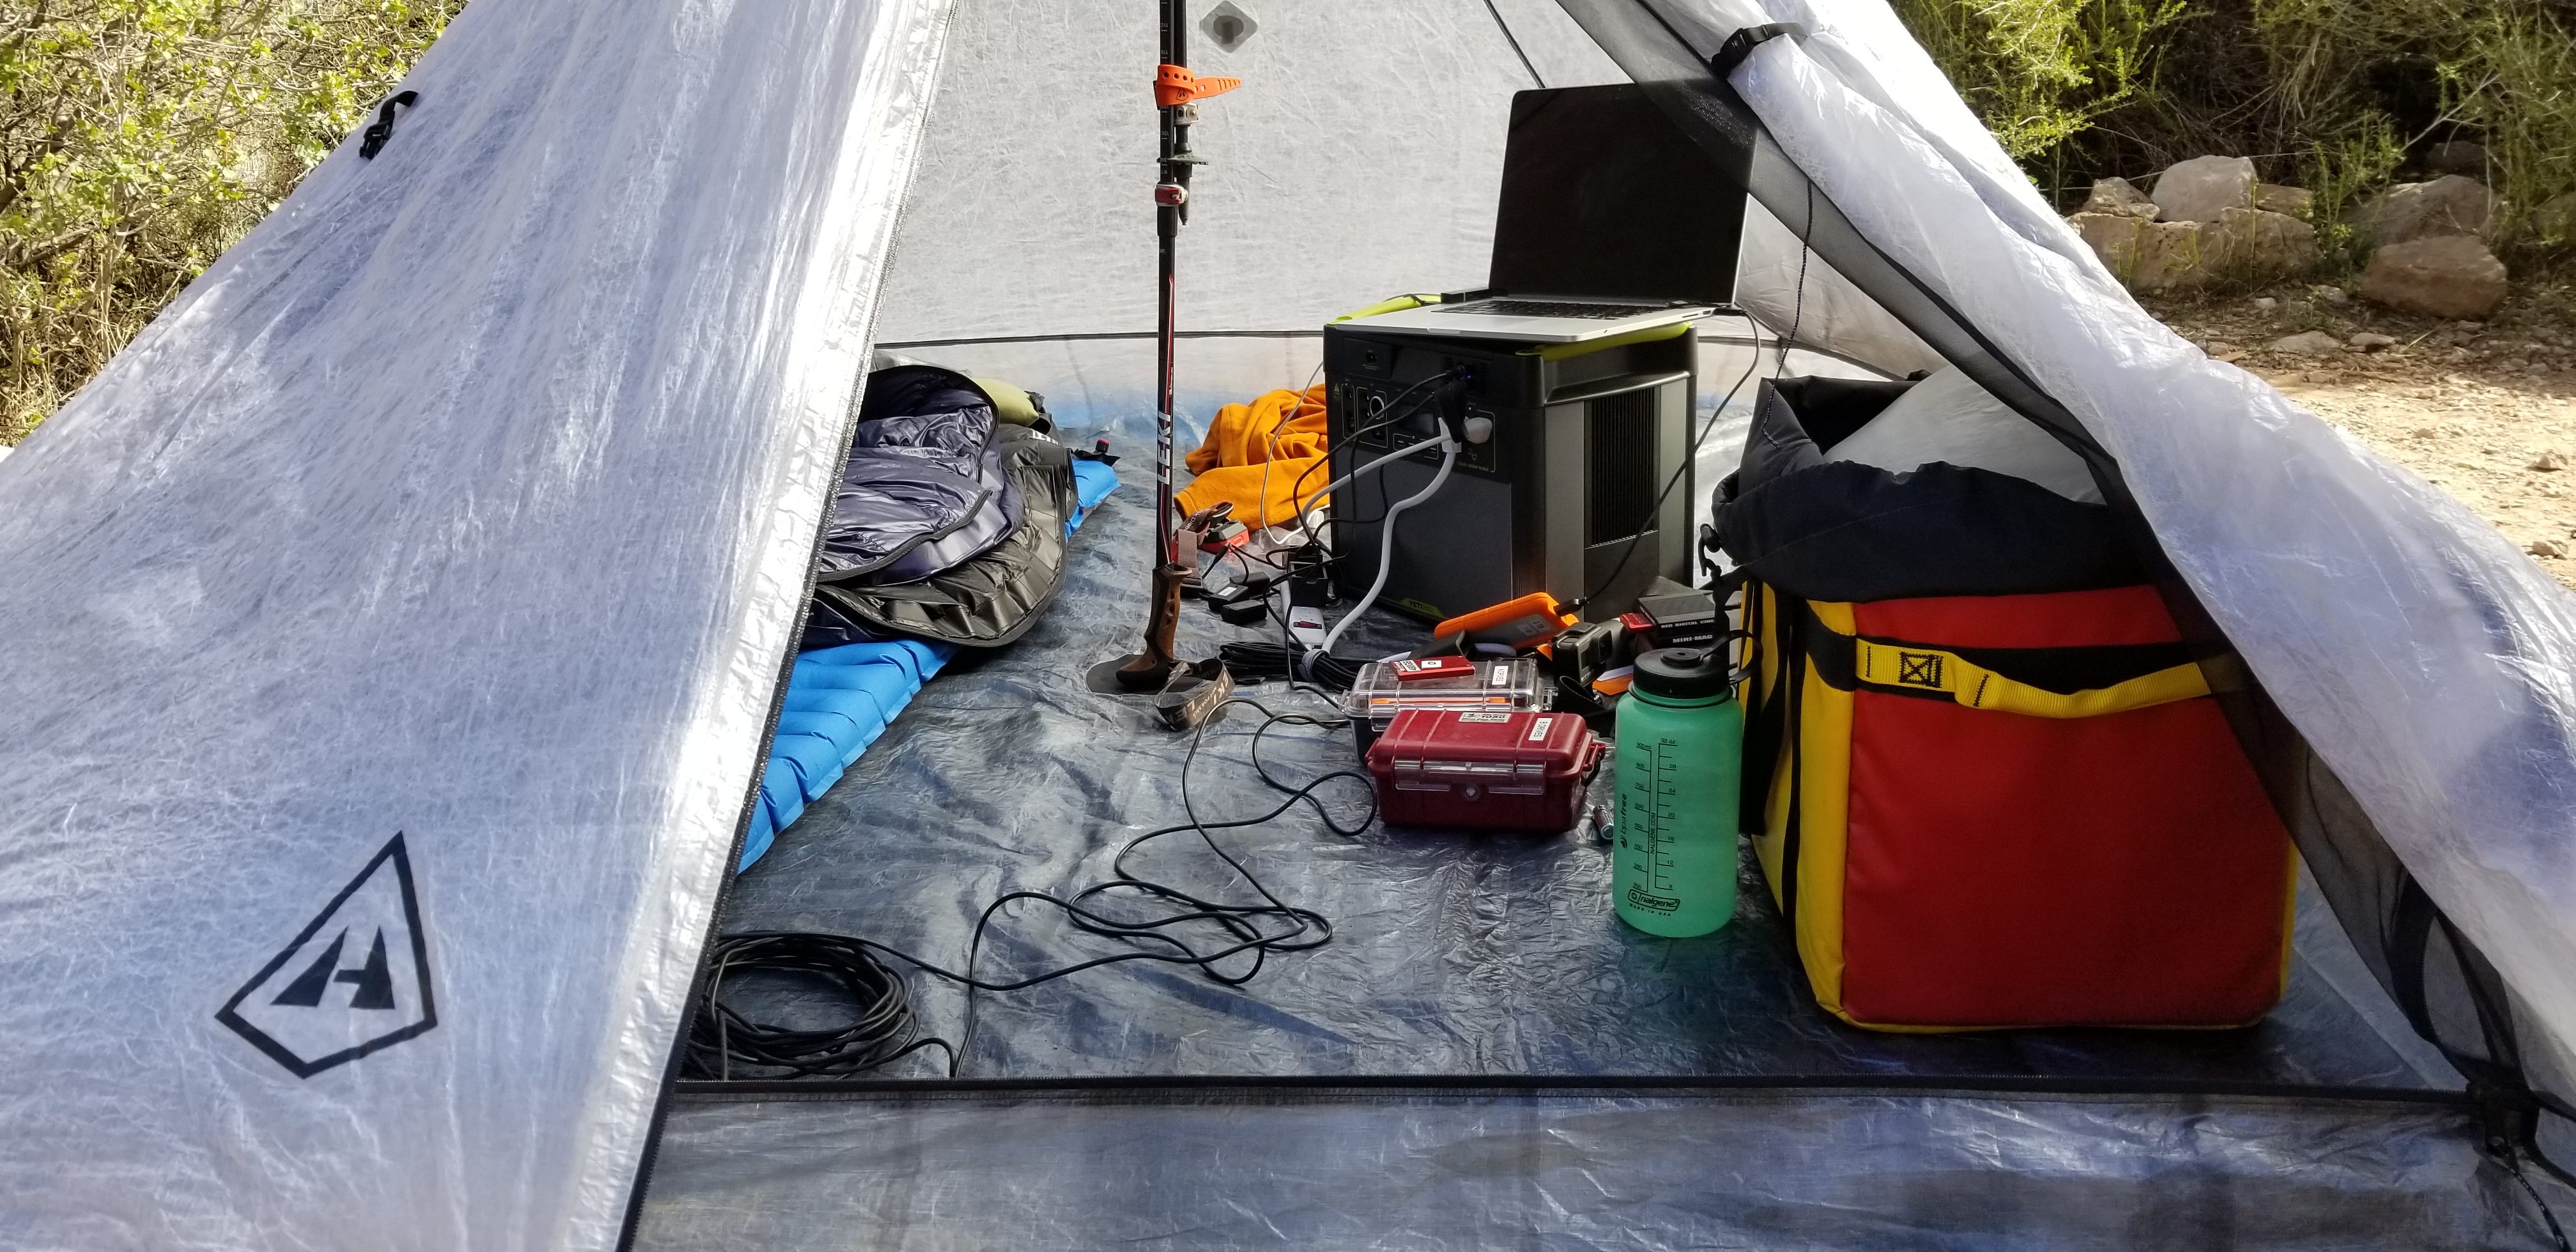 The Yeti 1400 can also be moved around easily thanks to it’s very manageable weight, so bringing the unit into your tent, out to a table, or really anywhere you need power isn’t a major hassle, or a team lifting exercise. Once you have the Yeti where you want it, the spectrum of power outlets allows you to power so many different things. Modern USB standards enable phones and other devices to charge just like they would with their factory chargers, which means more time using gear and less time charging in the field. From charging power tool batteries for that backcountry cabin you’re working on, to running mission-critical equipment as a first responder, or keeping the lights on at an aid station for an Ultra – the Yeti can bring the power reserves, and the power outputs you need to run your equipment. Anywhere.
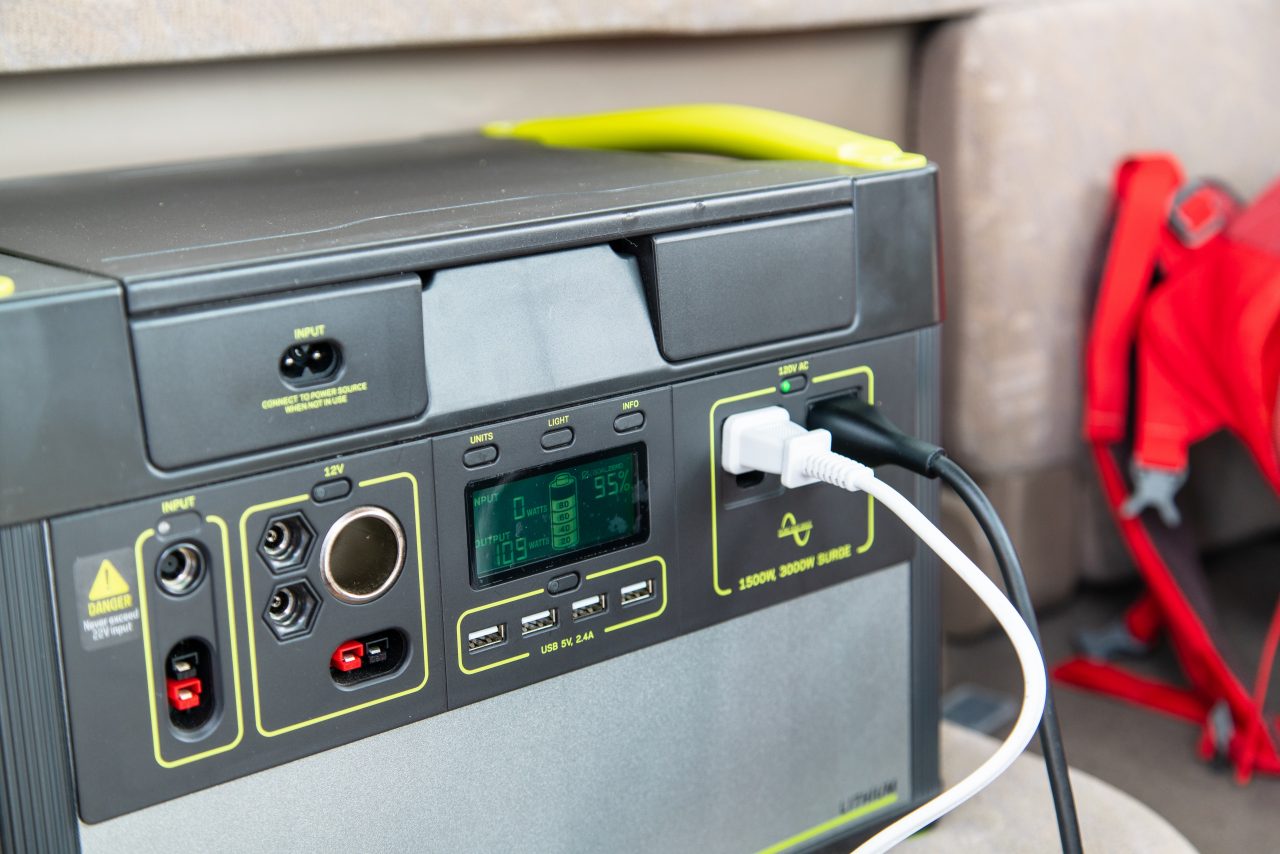

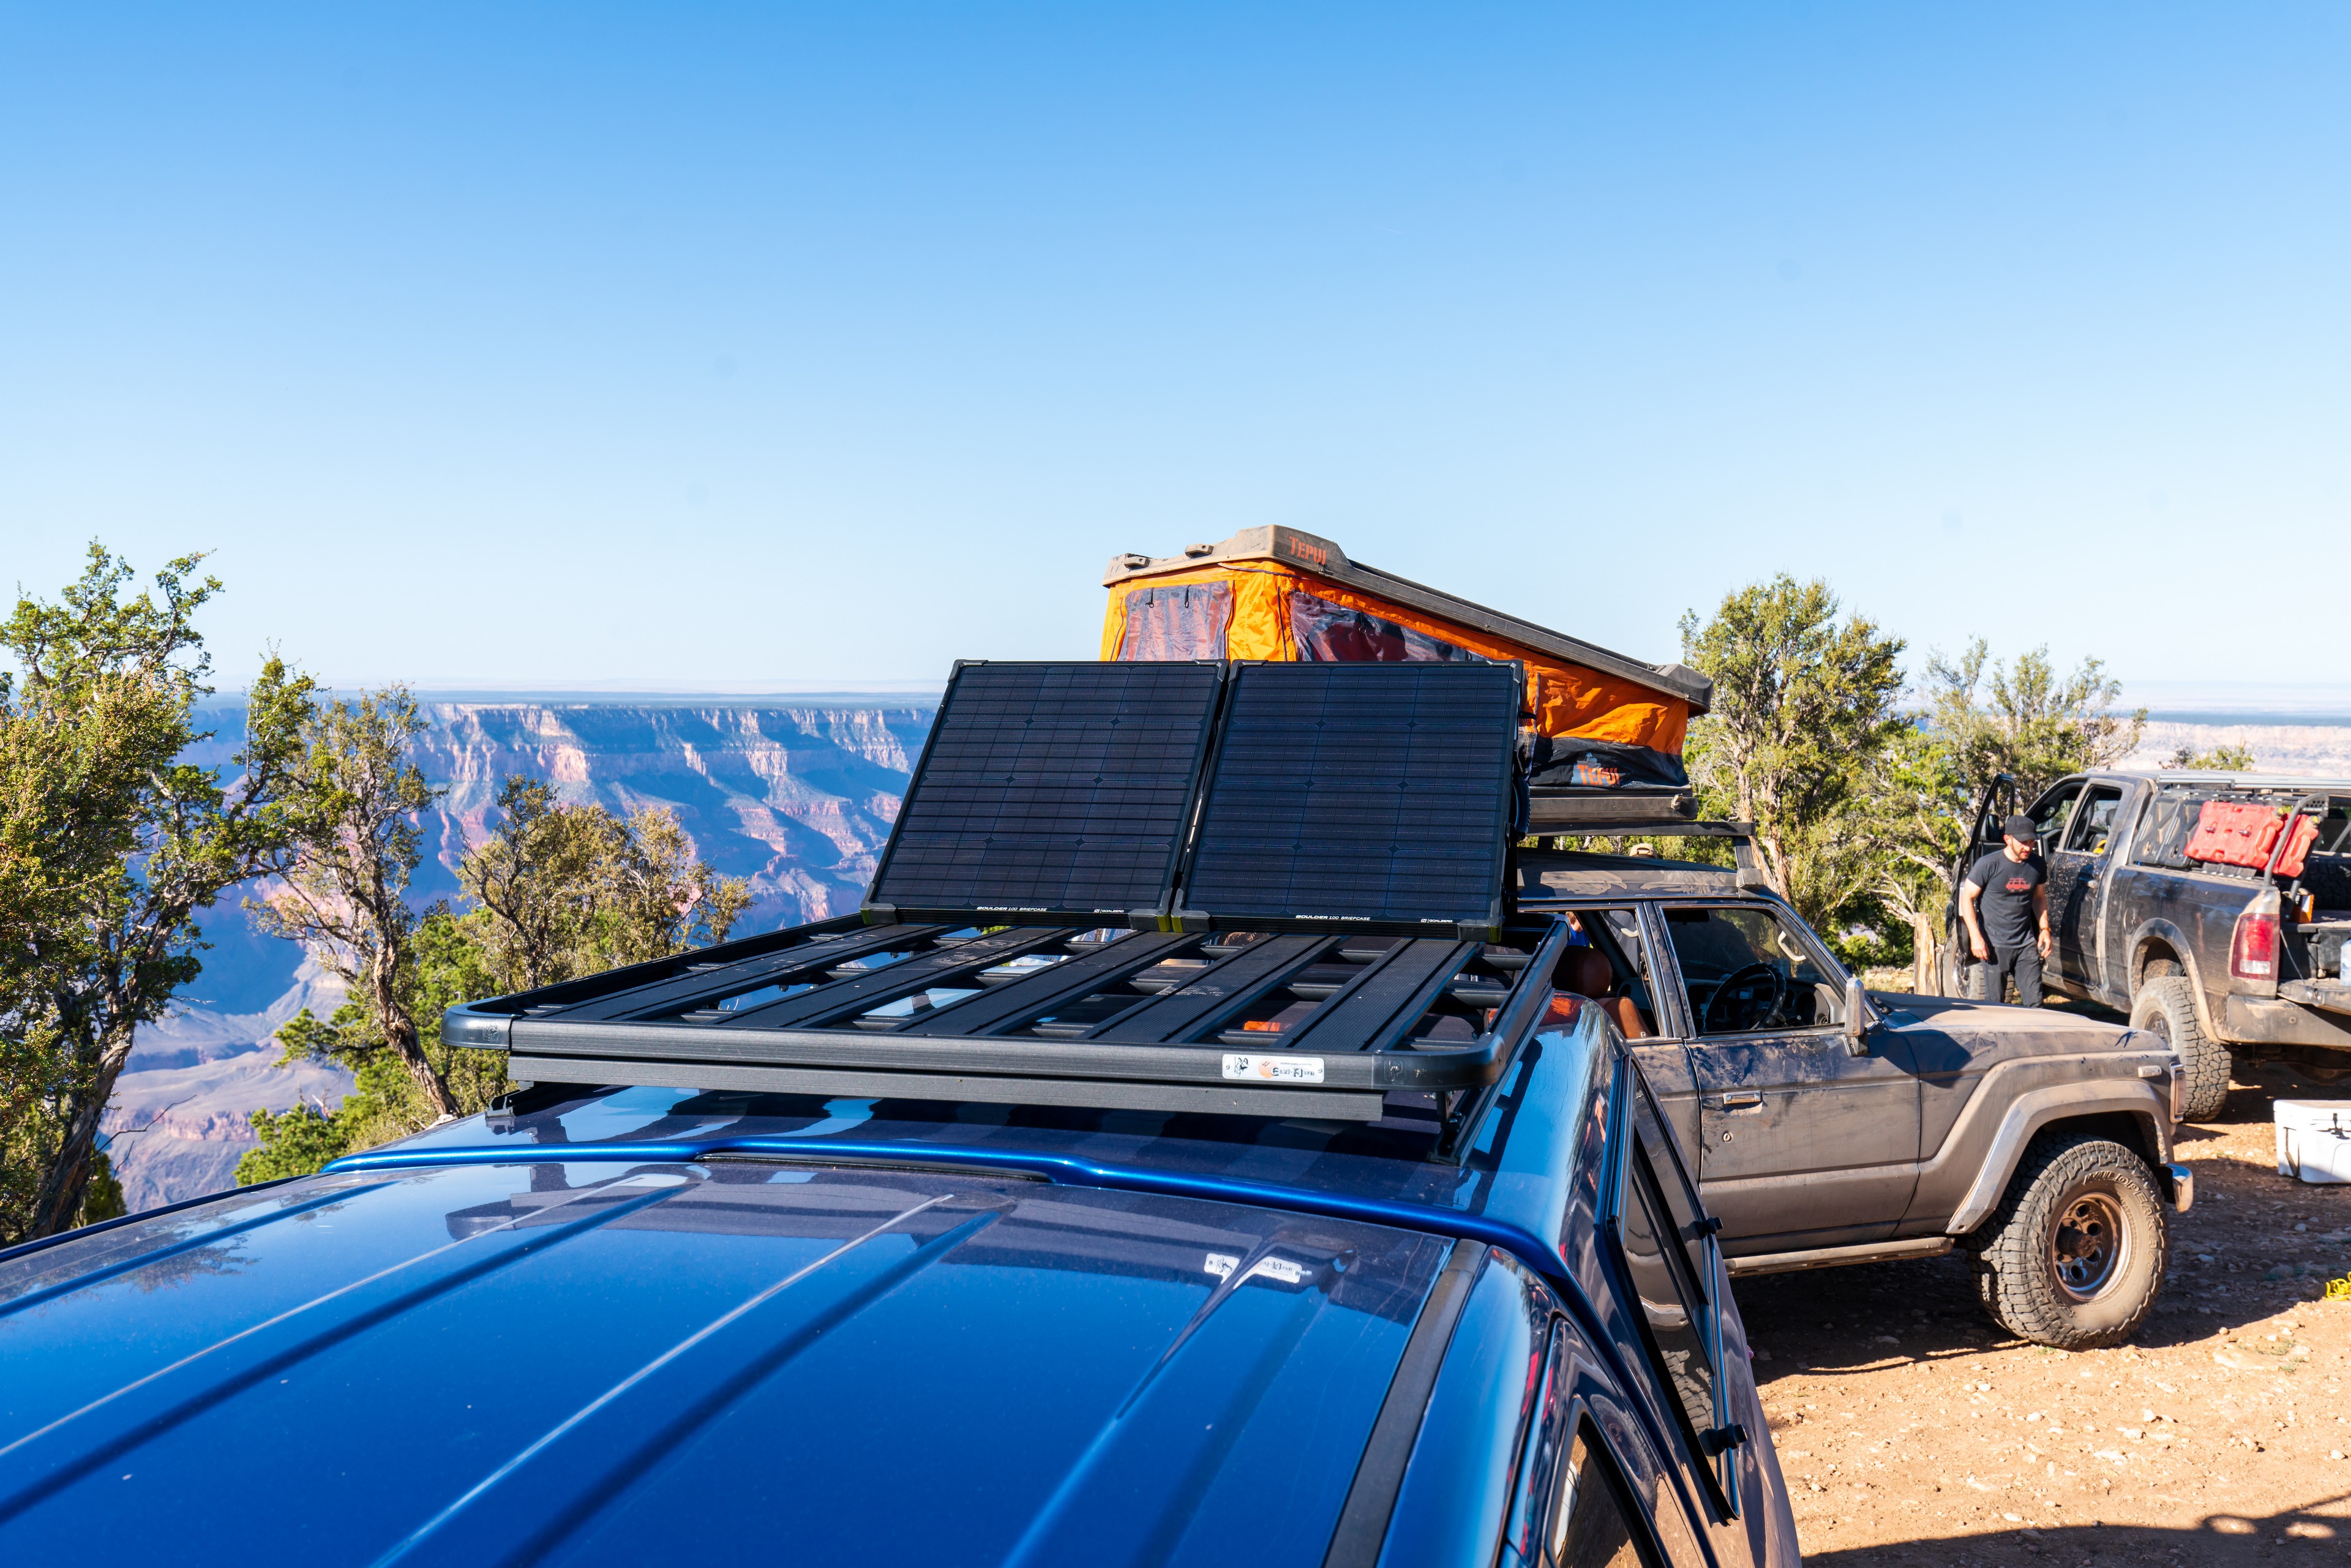 Harvest the Sun


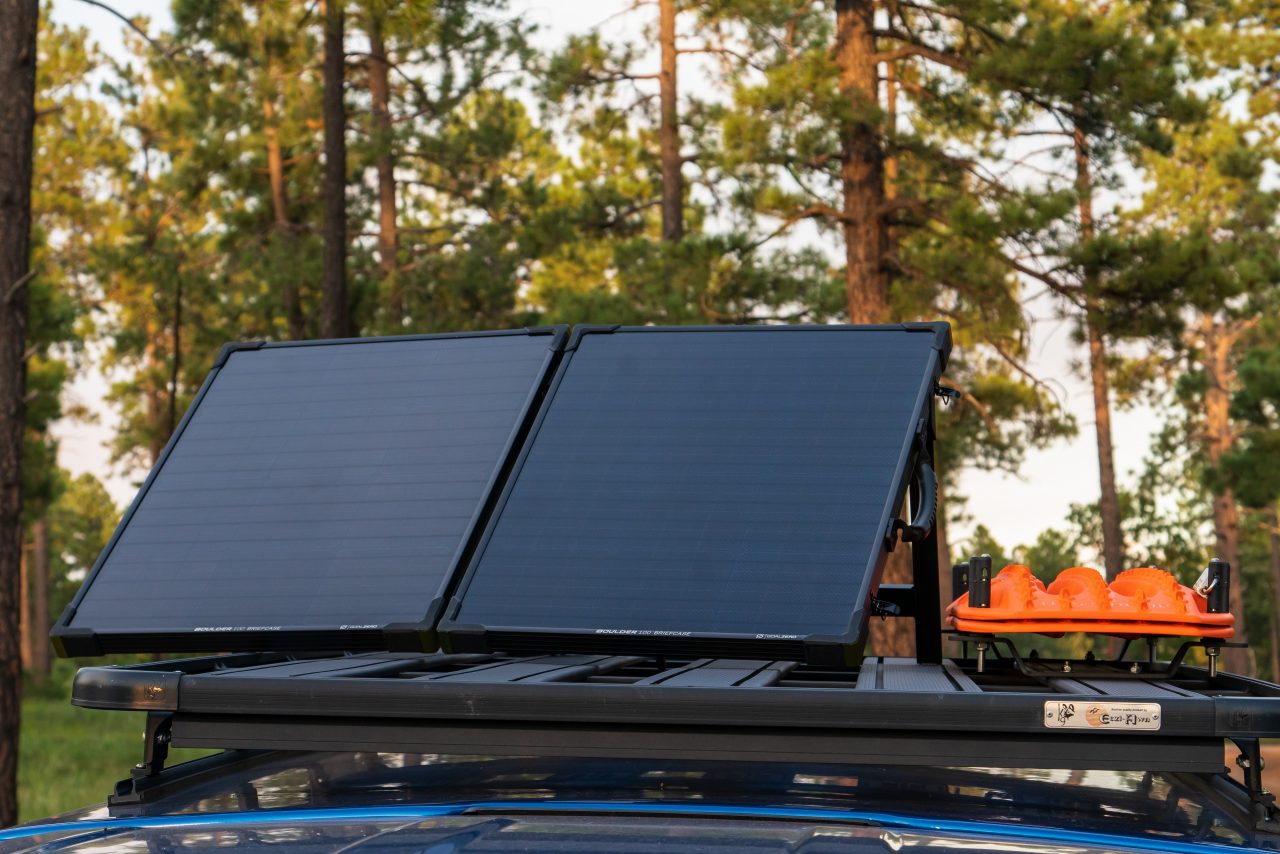

 Gear That’s Grand Canyon Rated
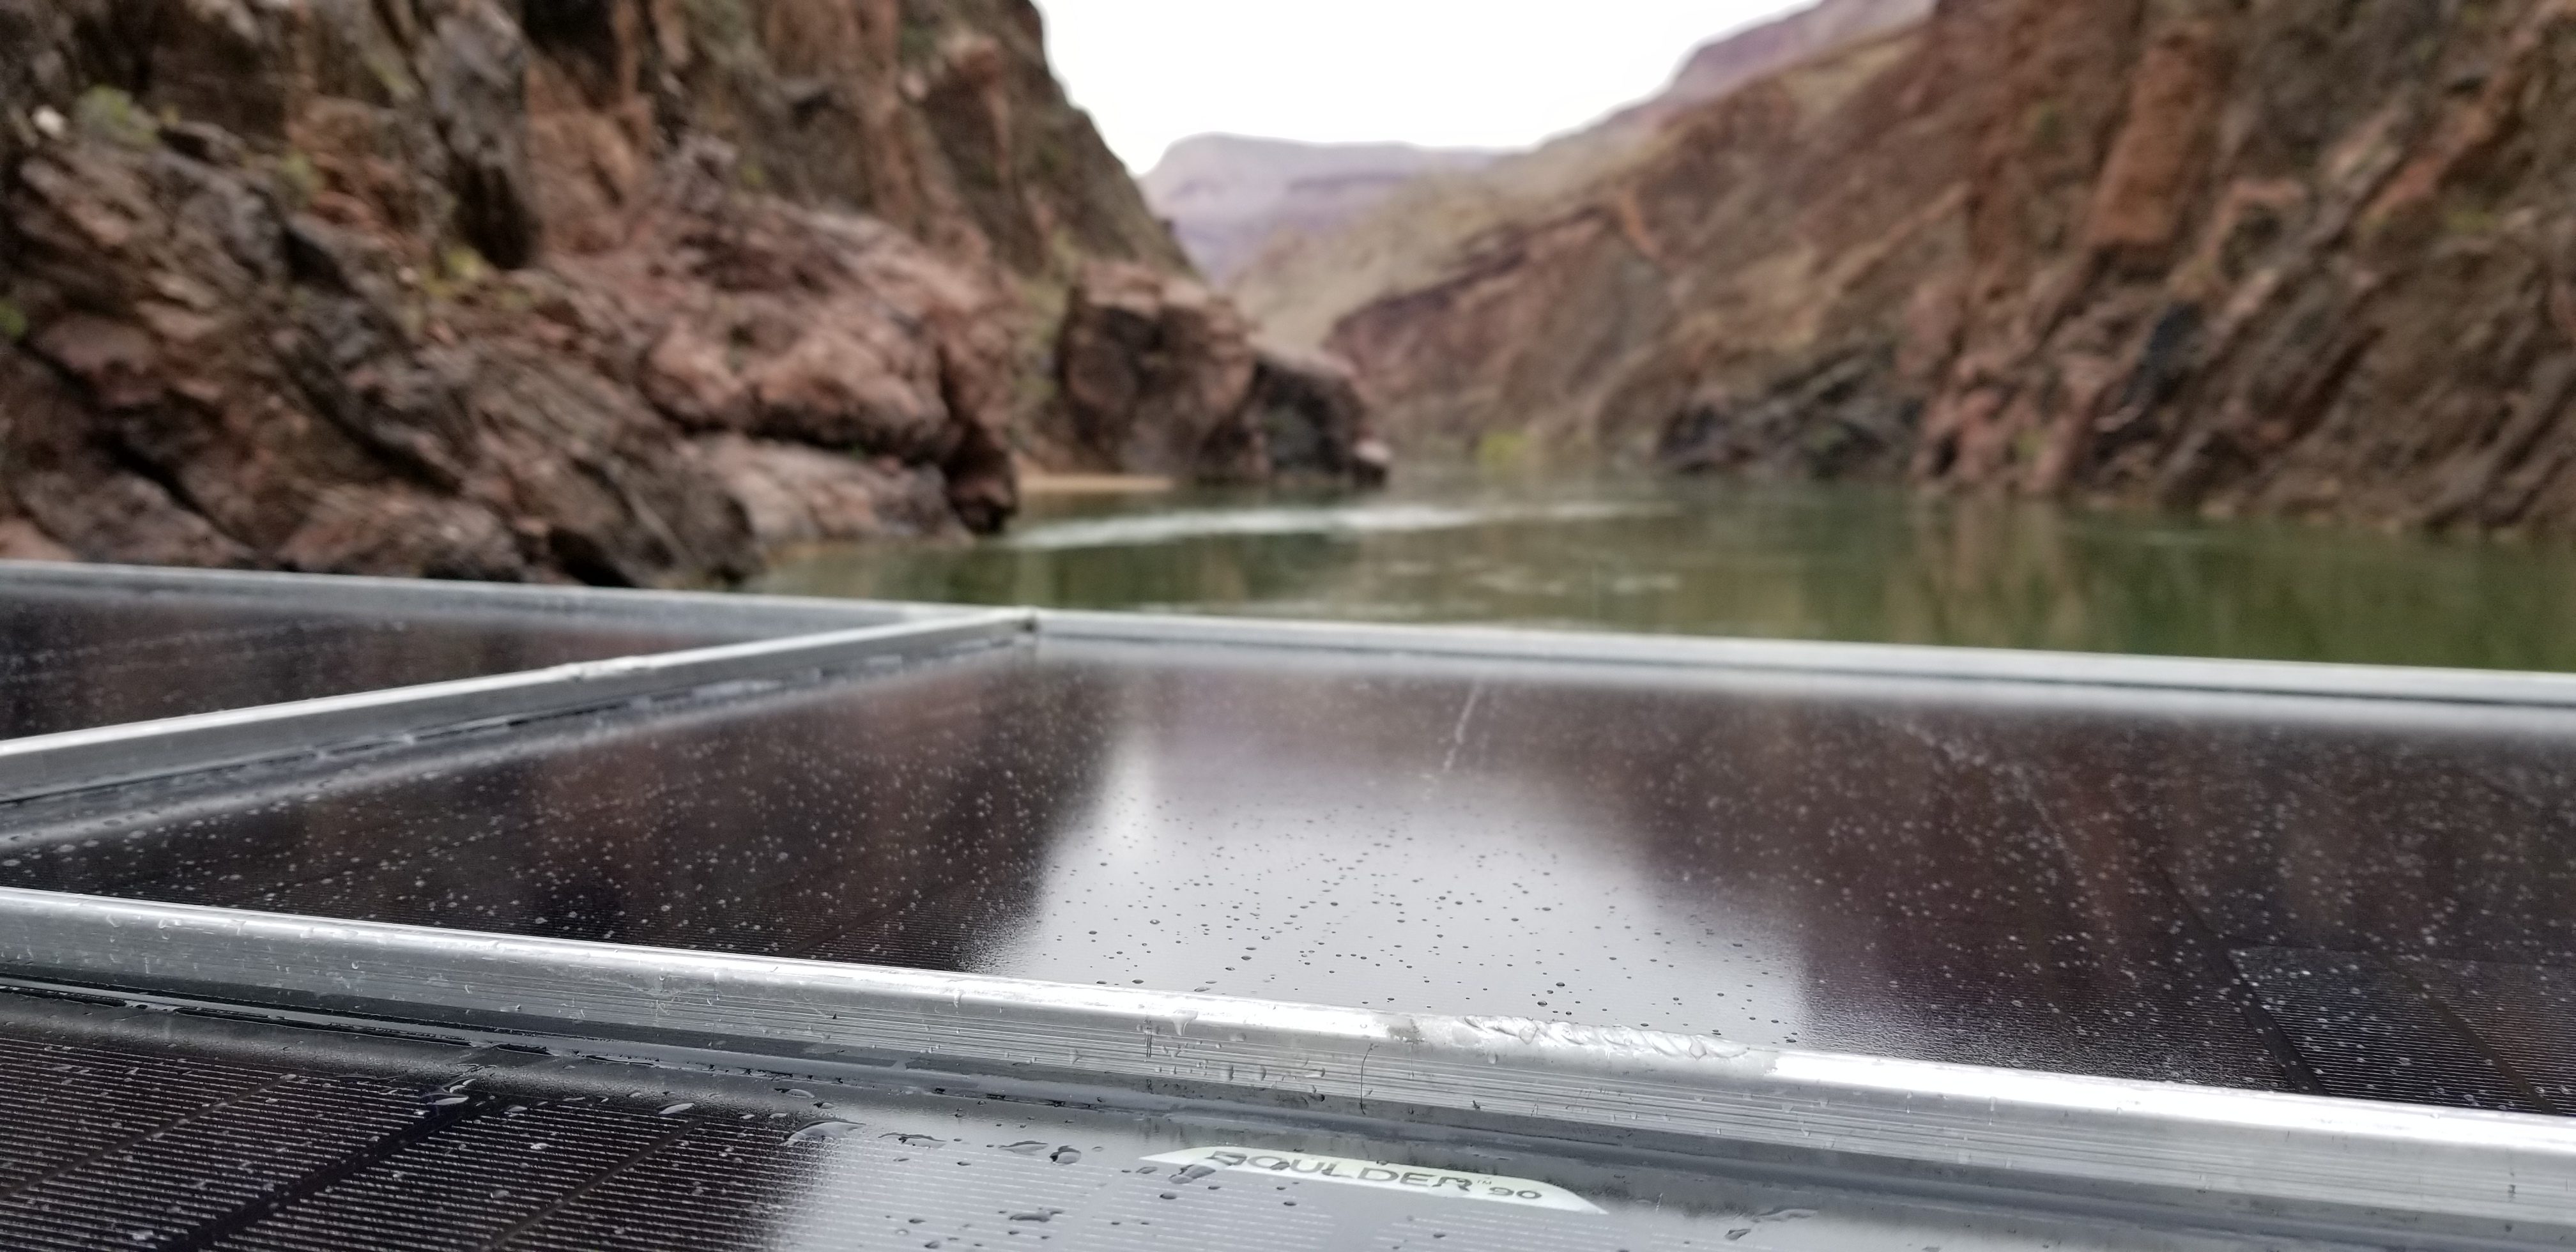
 So What’s The Catch?
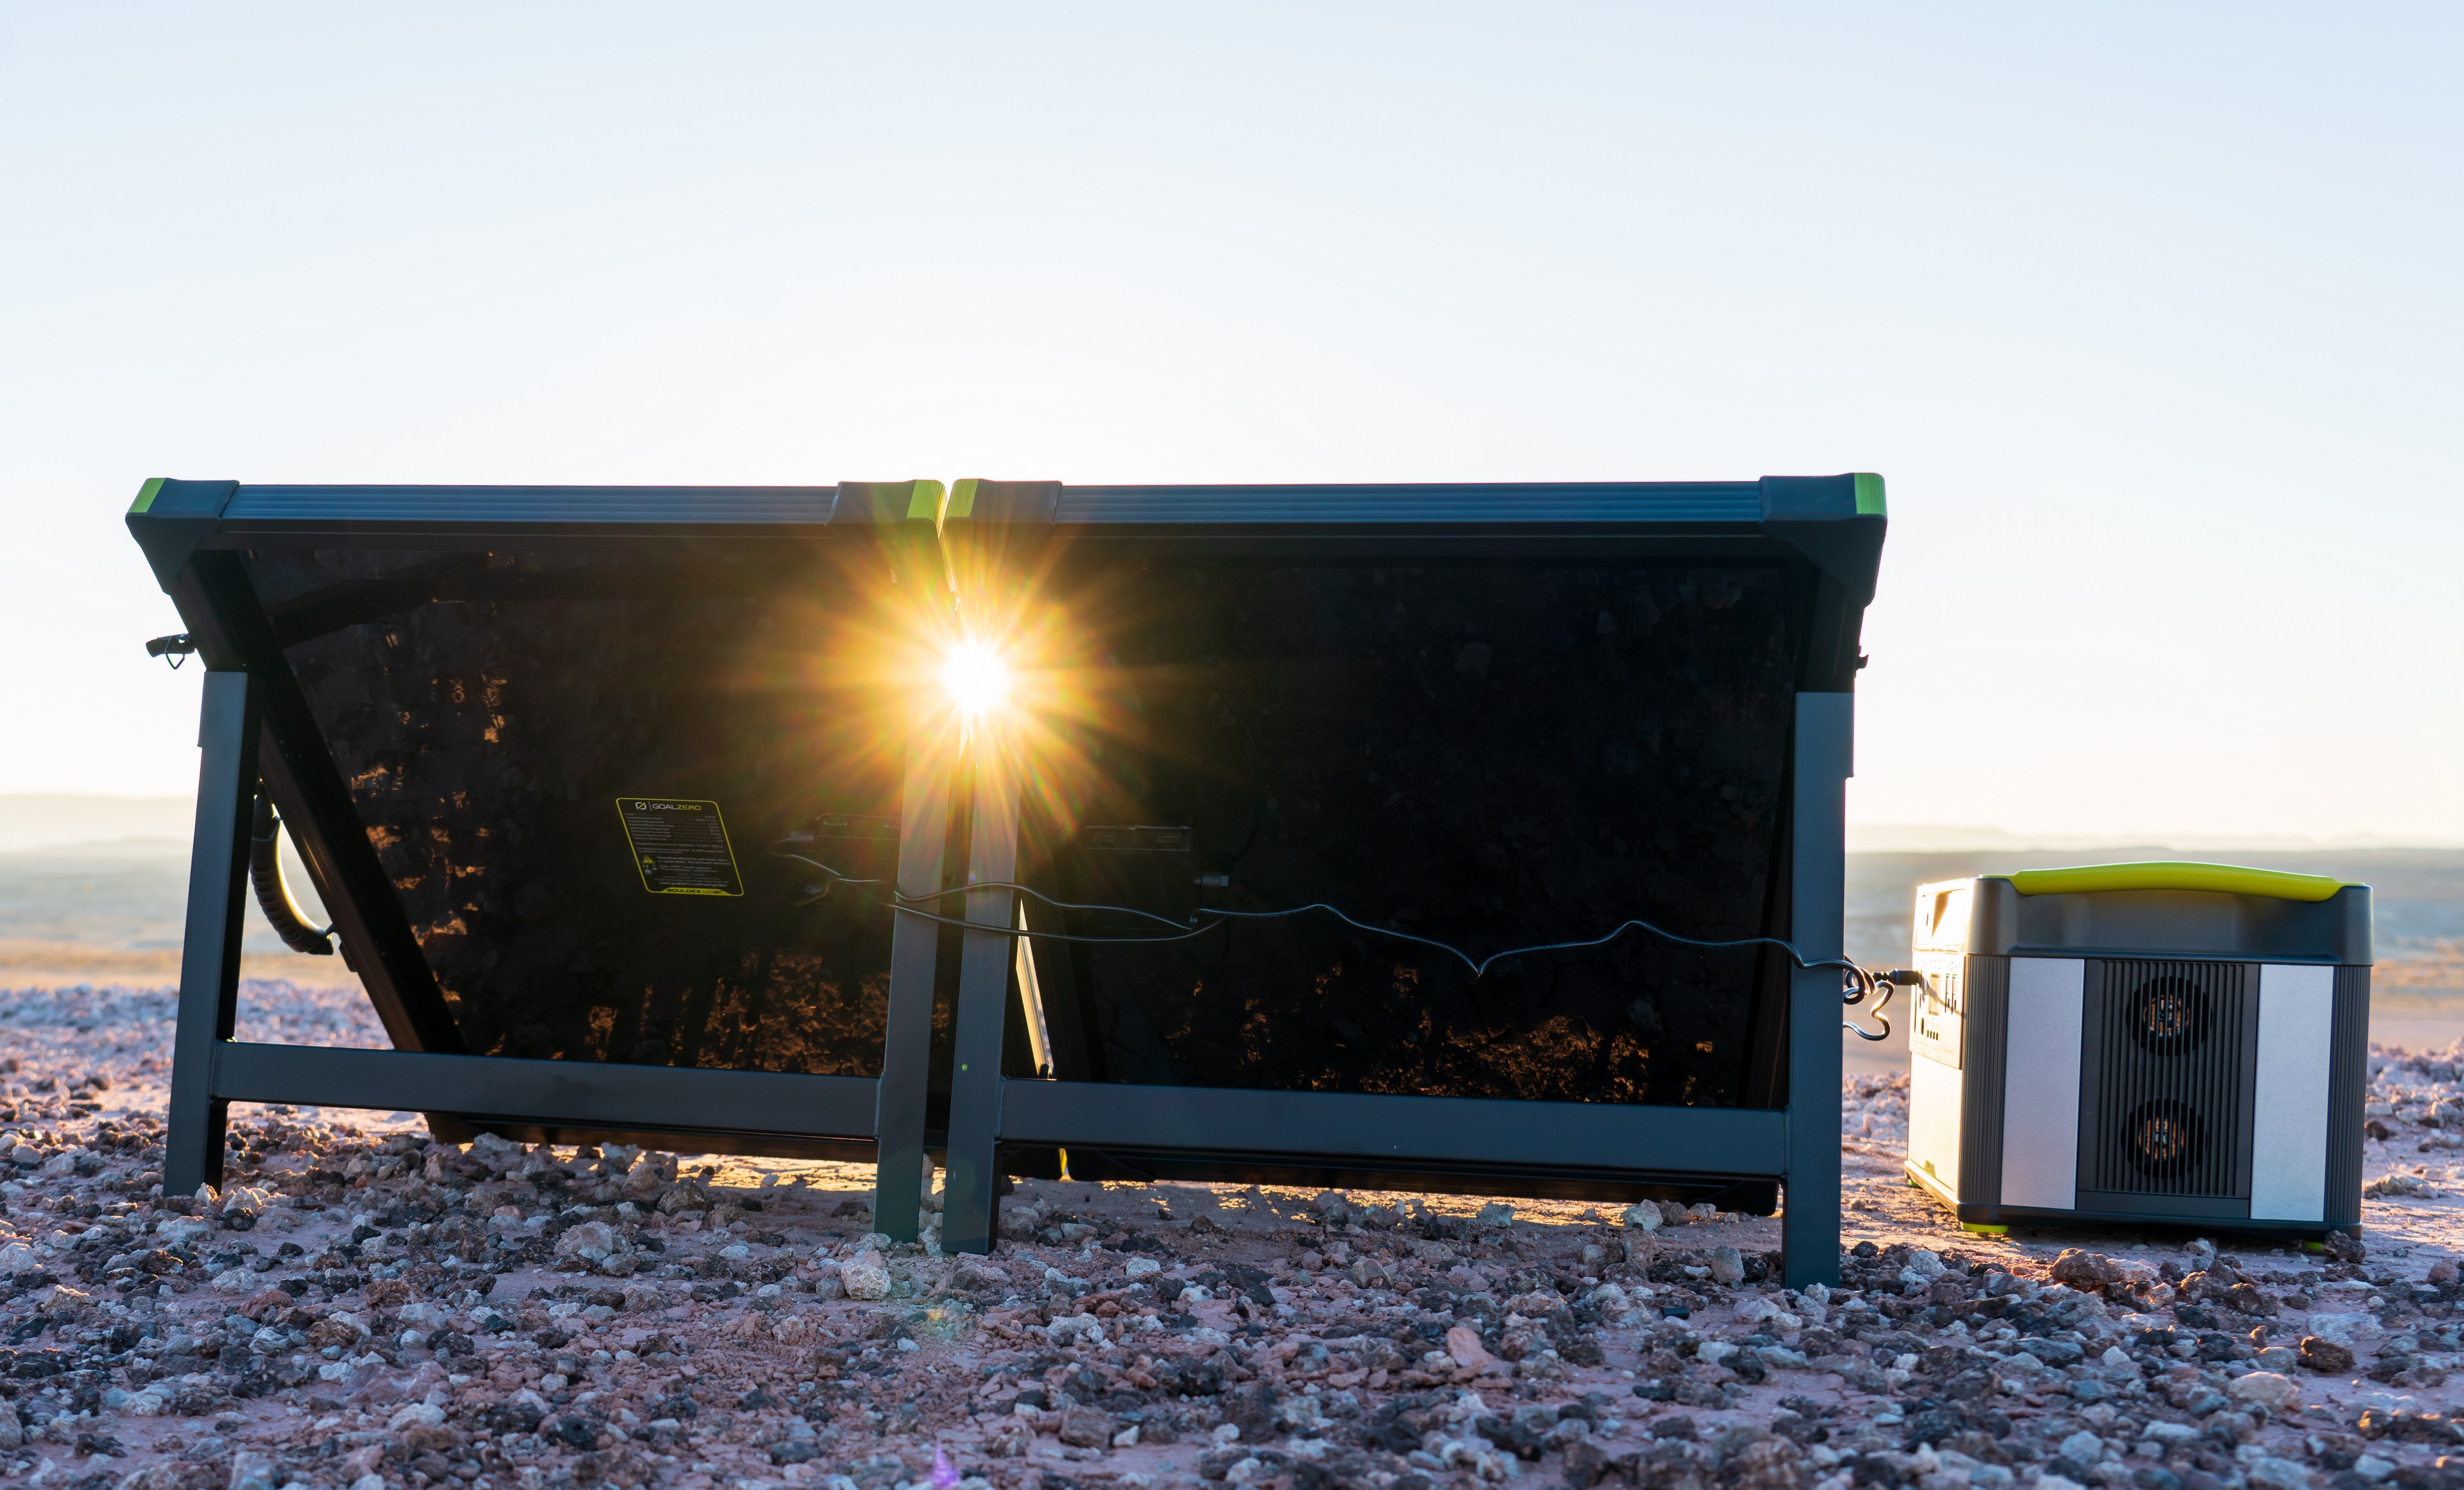 The Bottom Line
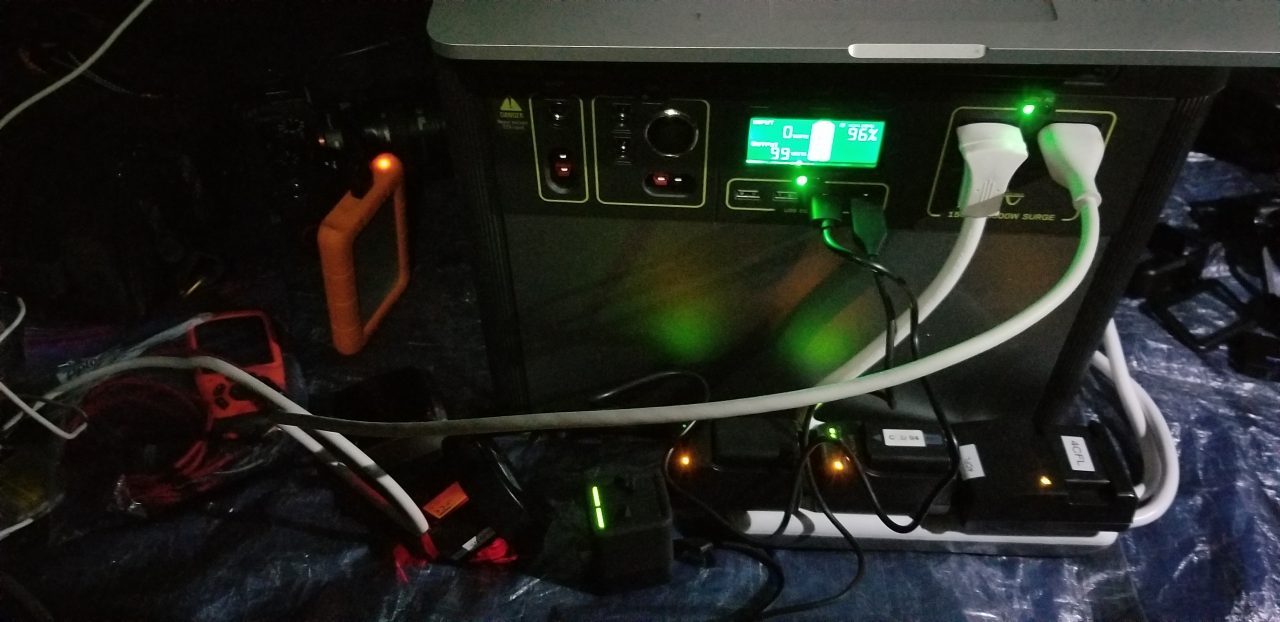

 A Word On Product Selection