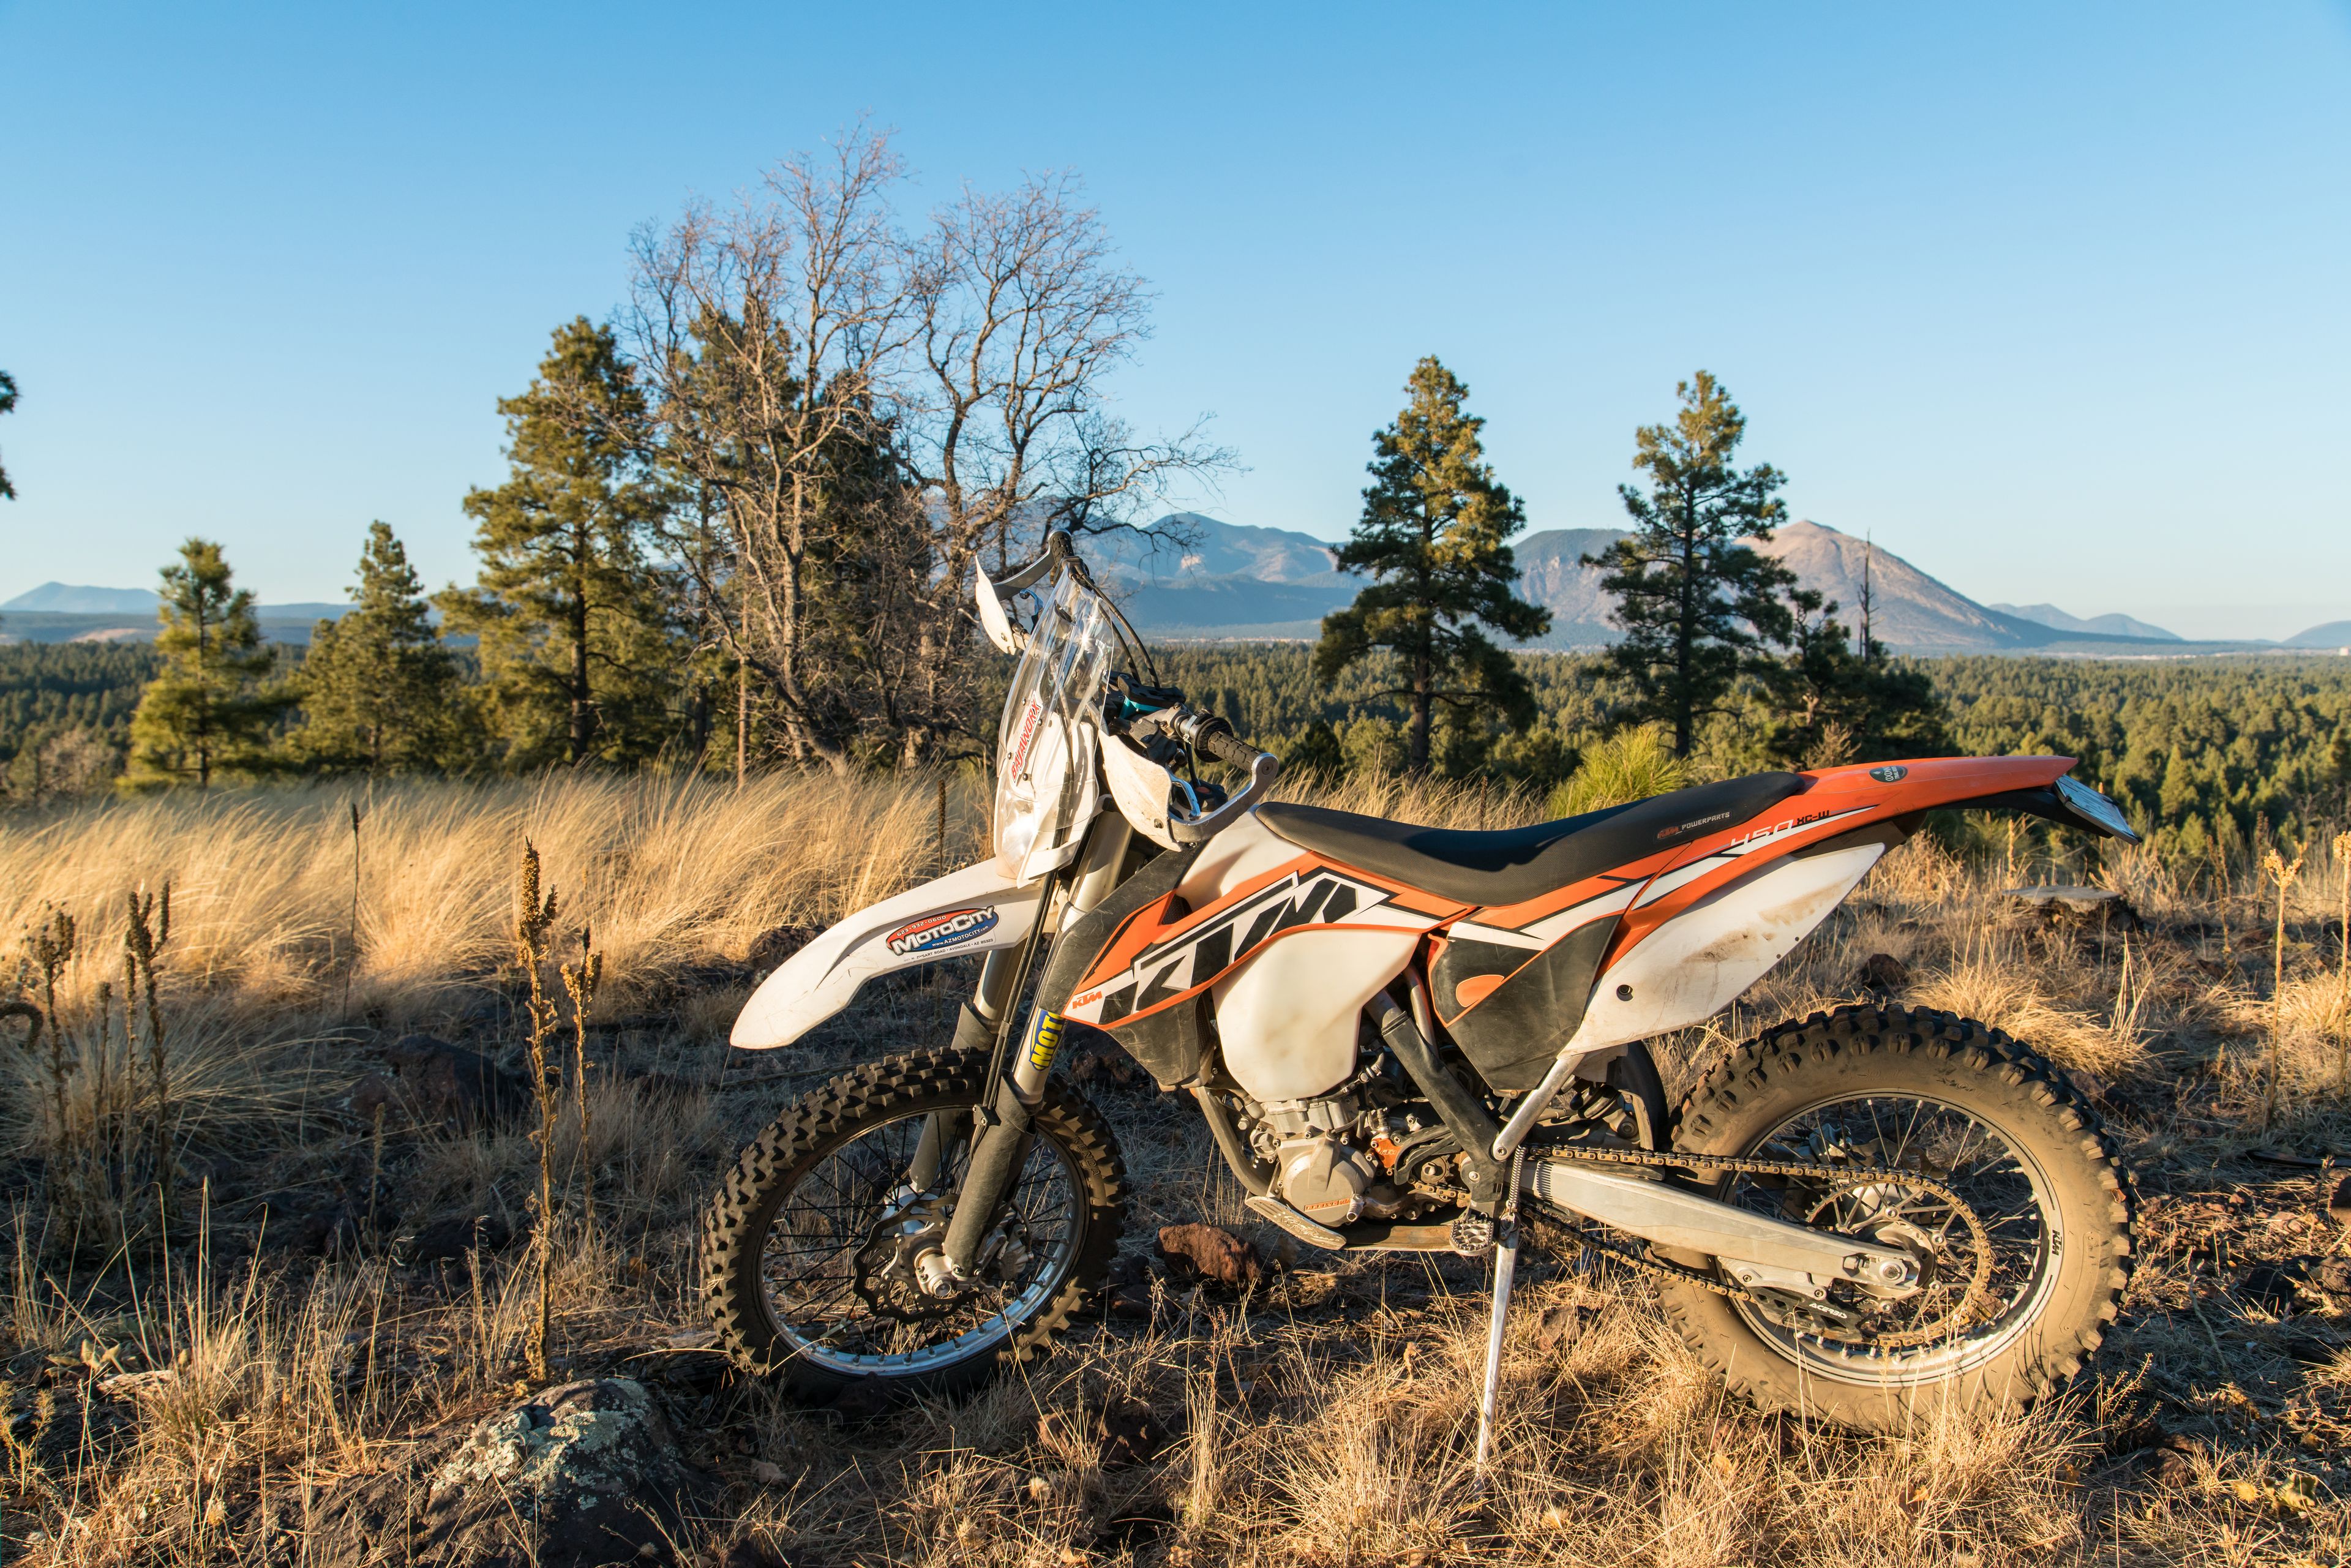
A seven day solo motorcycle adventure touring Australia’s Grampians National Park, Great Ocean Road, and Blue Mountains National Park with resources and advice on what to bring, what not to bring, and suggestions for what to do when you get there.
Day 1: Arrival and Picking Up the Bike
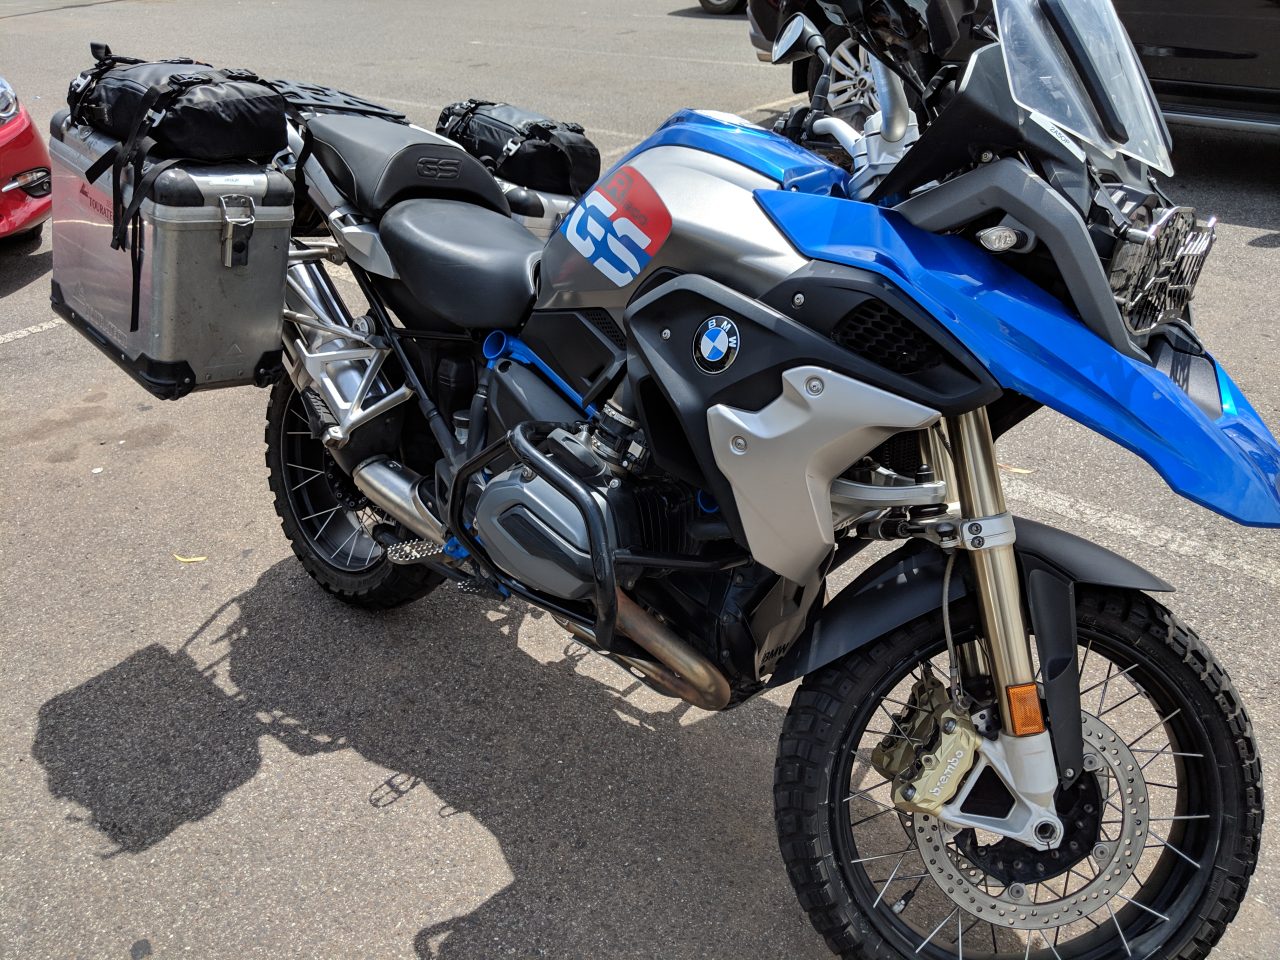
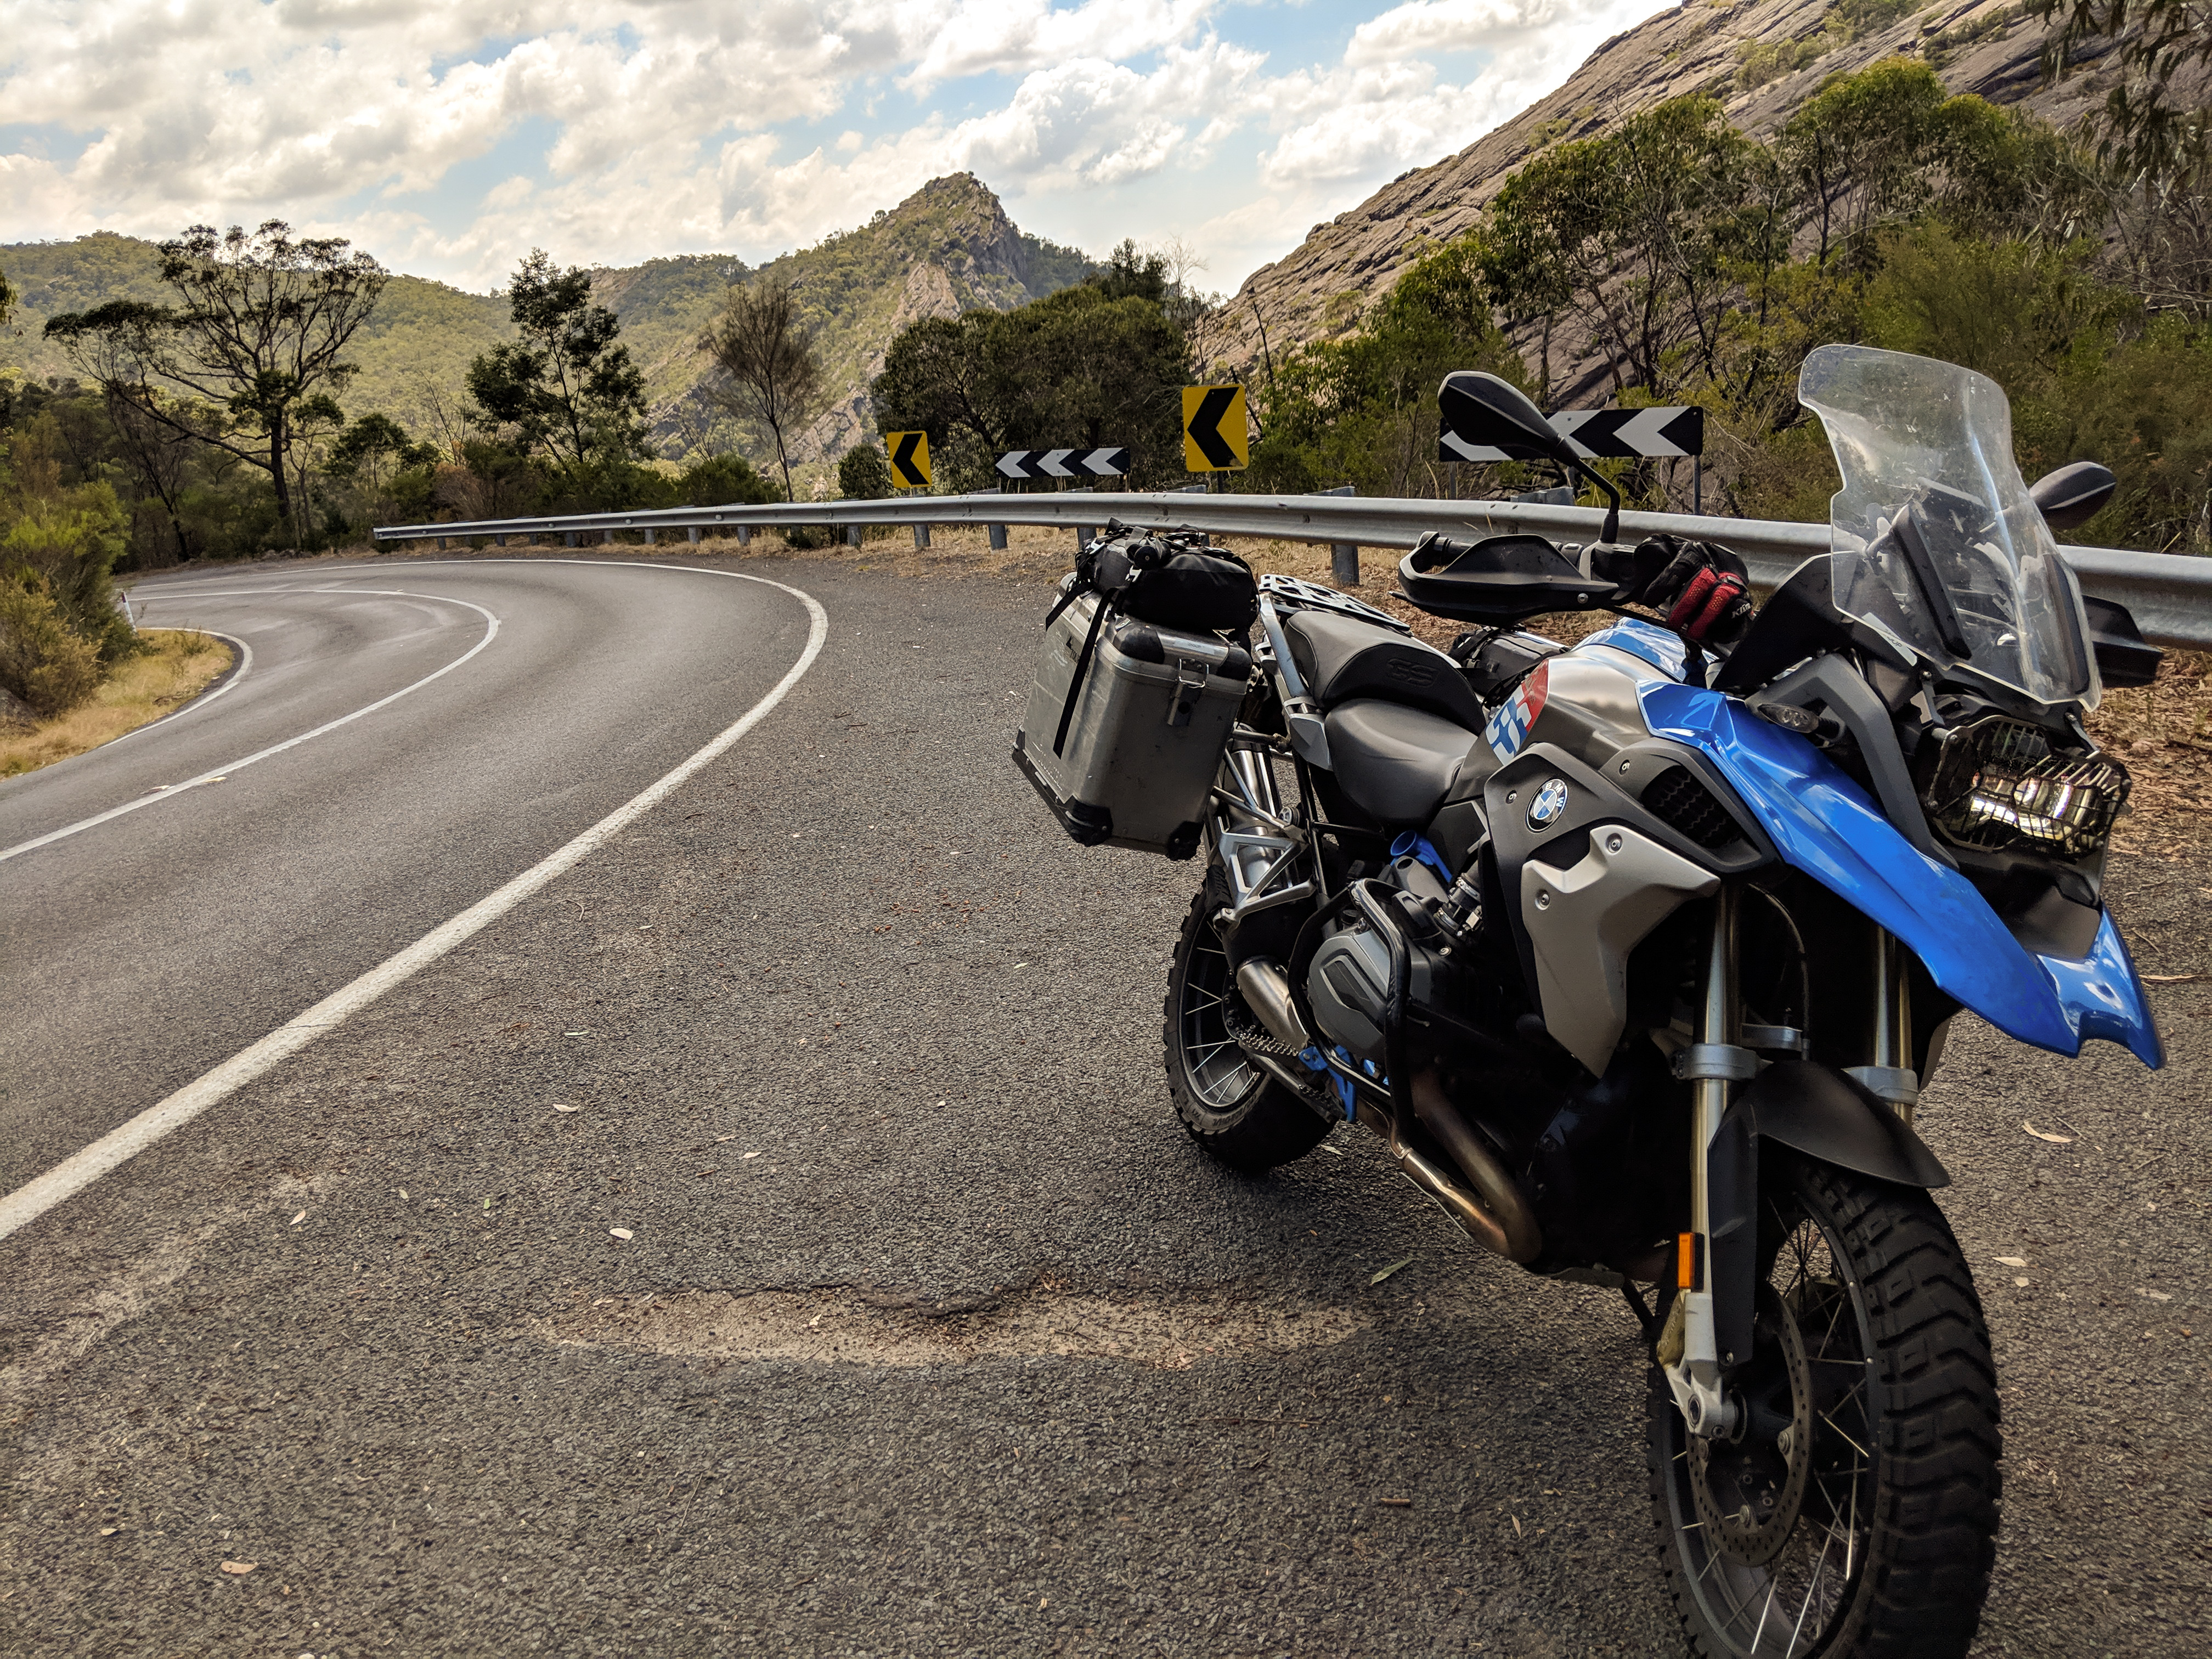
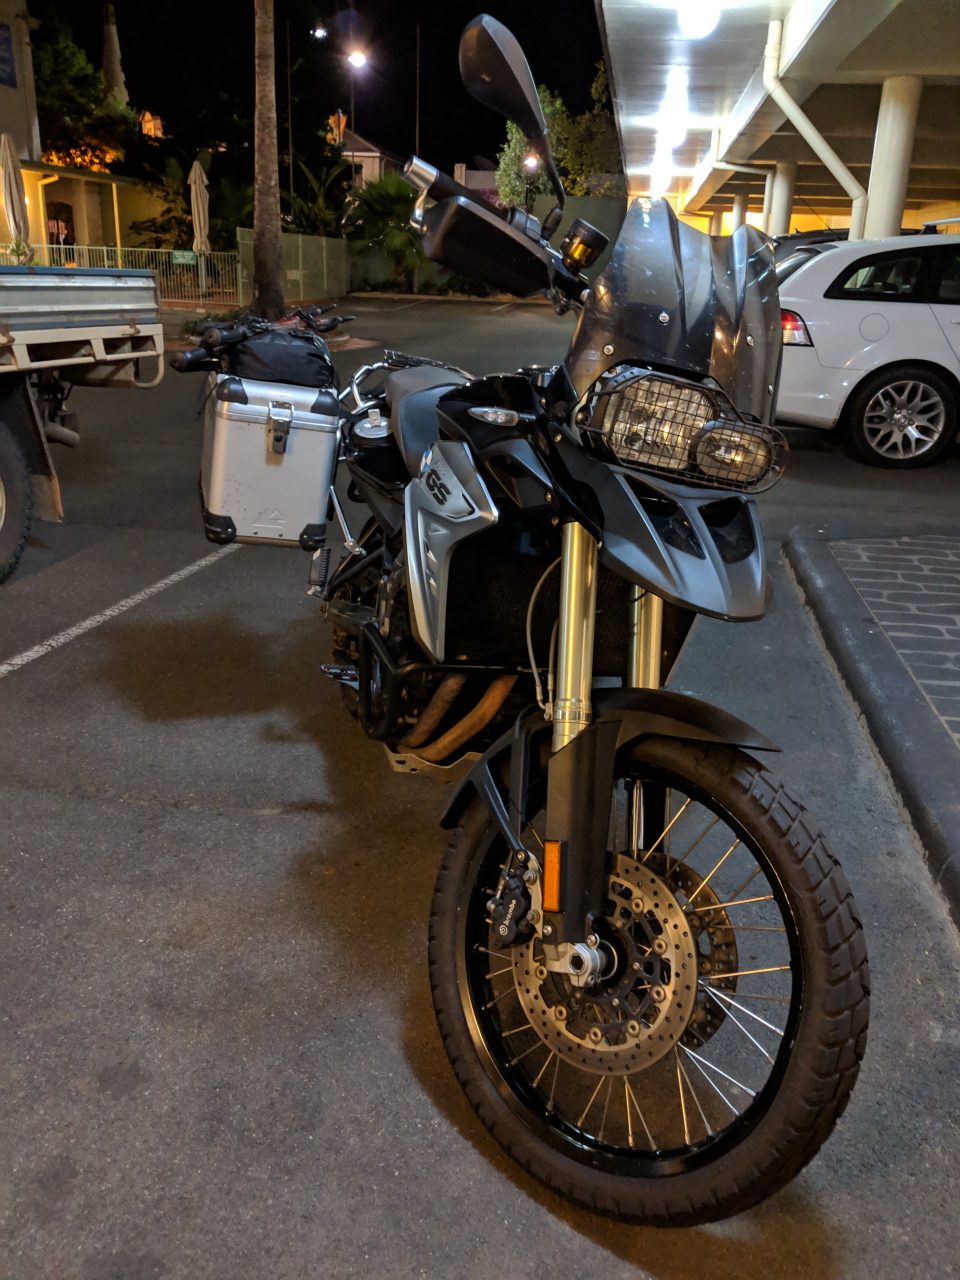
I had reserved a BMW R1200GS with BikeRoundOz since I currently own and ride the same bike. I wouldn’t be dealing with becoming familiar with it or how it handles while at the same time getting learning to ride on the left. What I didn’t know was that they had set me up with a Rallye. This is a sweet bike.
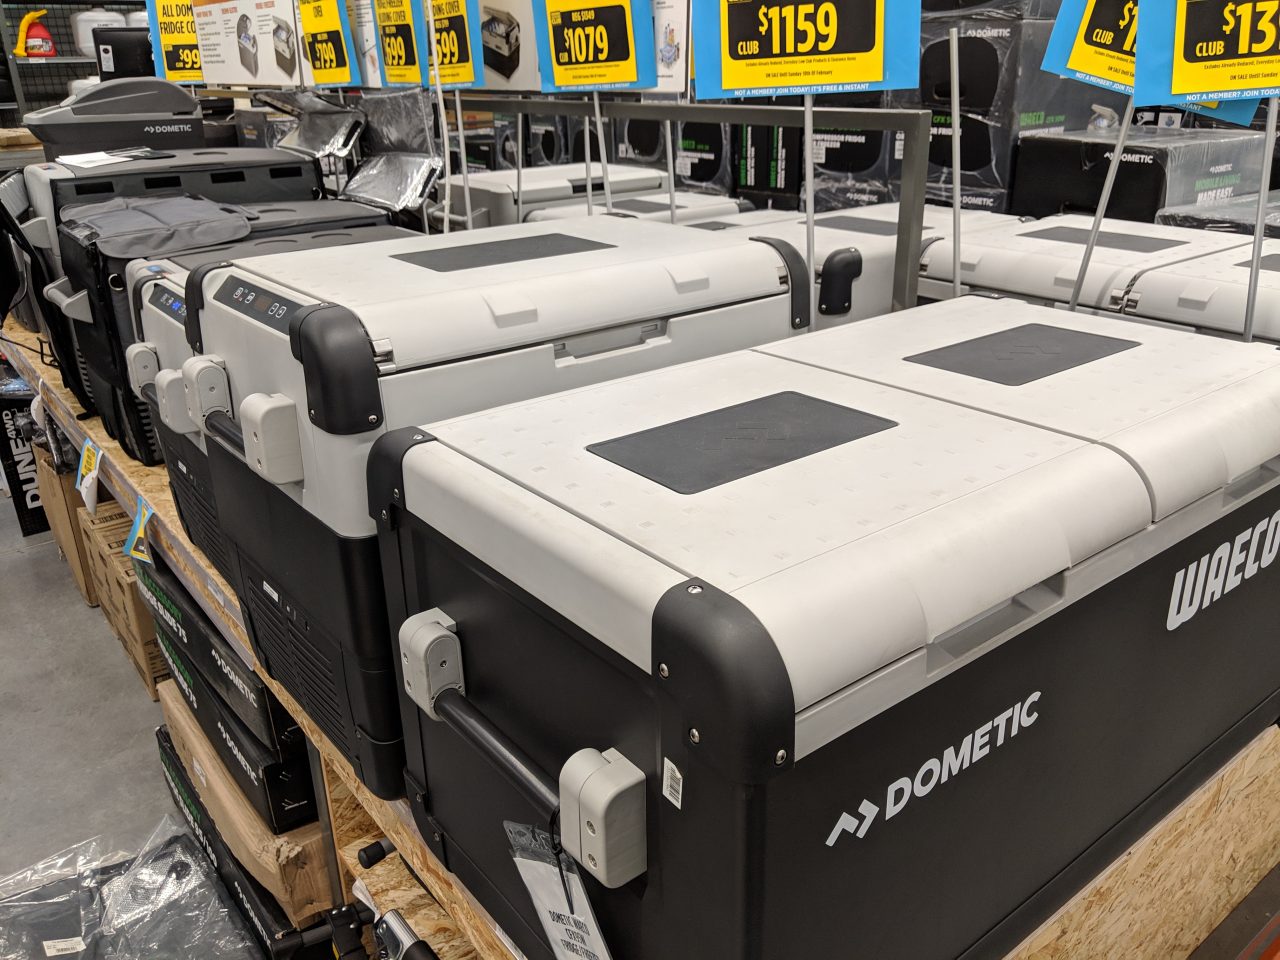
One reason why I brought a JetBoil was that I knew Anaconda in Melton had the fuel. I would have to leave the fuel behind when I flew home, but the stove itself would be free of fuel residue and I could bring it back. I spent some time in the hotel checking everything again before repacking it on the bike.
After the bike was packed I needed to pick up the few things I could not bring with me. Isobutane fuel for my JetBoil, etc.. After that I’d head back to the hotel. Get something to eat. The next day I hit the road early.
Anaconda is a relatively small store and I wasn’t expecting the gold mine I found inside. A far cry from the average sporting goods store back home in the states.
Day 2 & 3: Grampians National Park
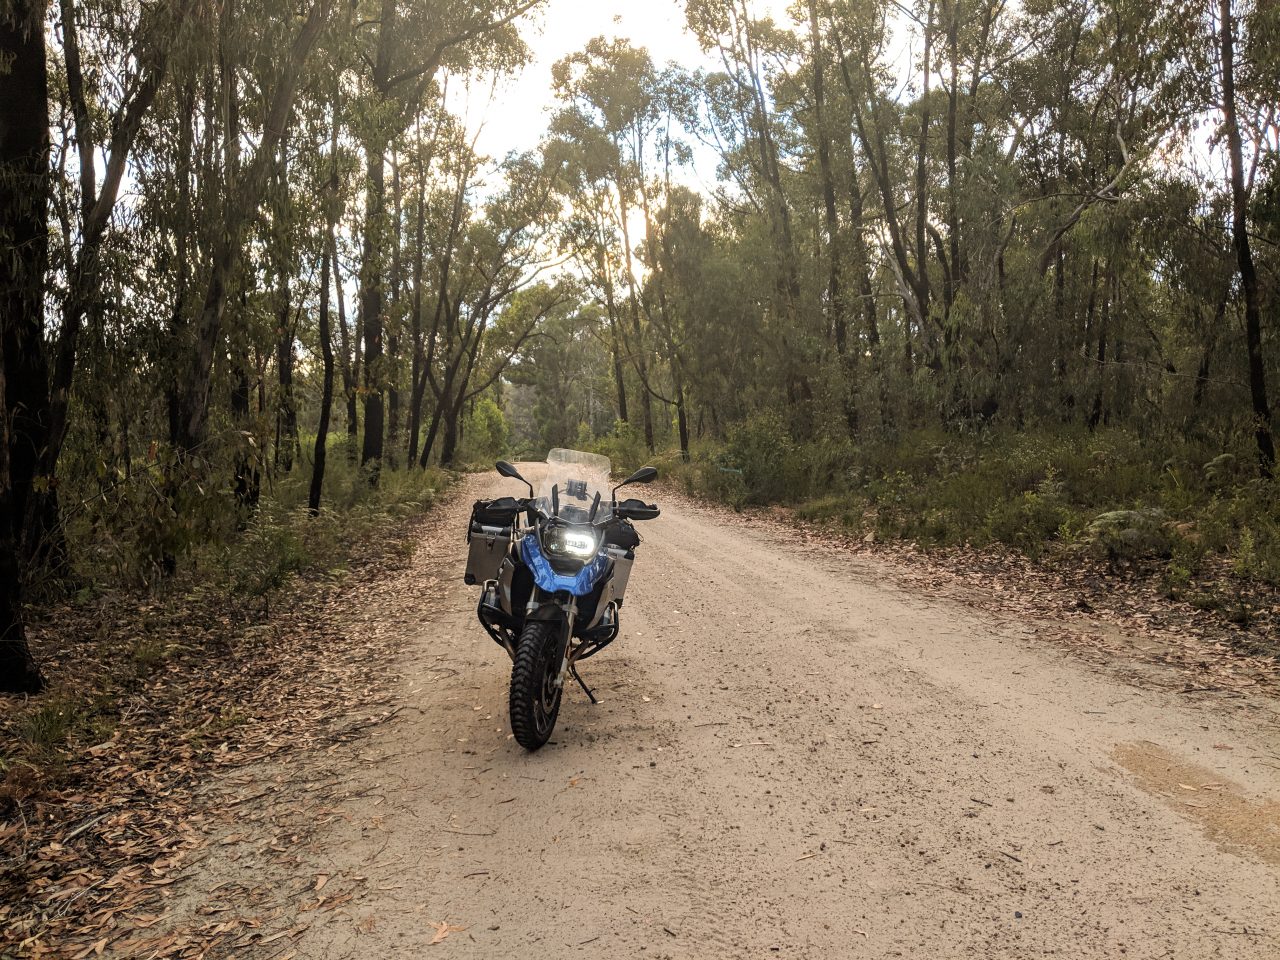
Finally! After months of planning and waiting, after endless mundane logistical details, I’m on the open road in search of Adventure in Australia!
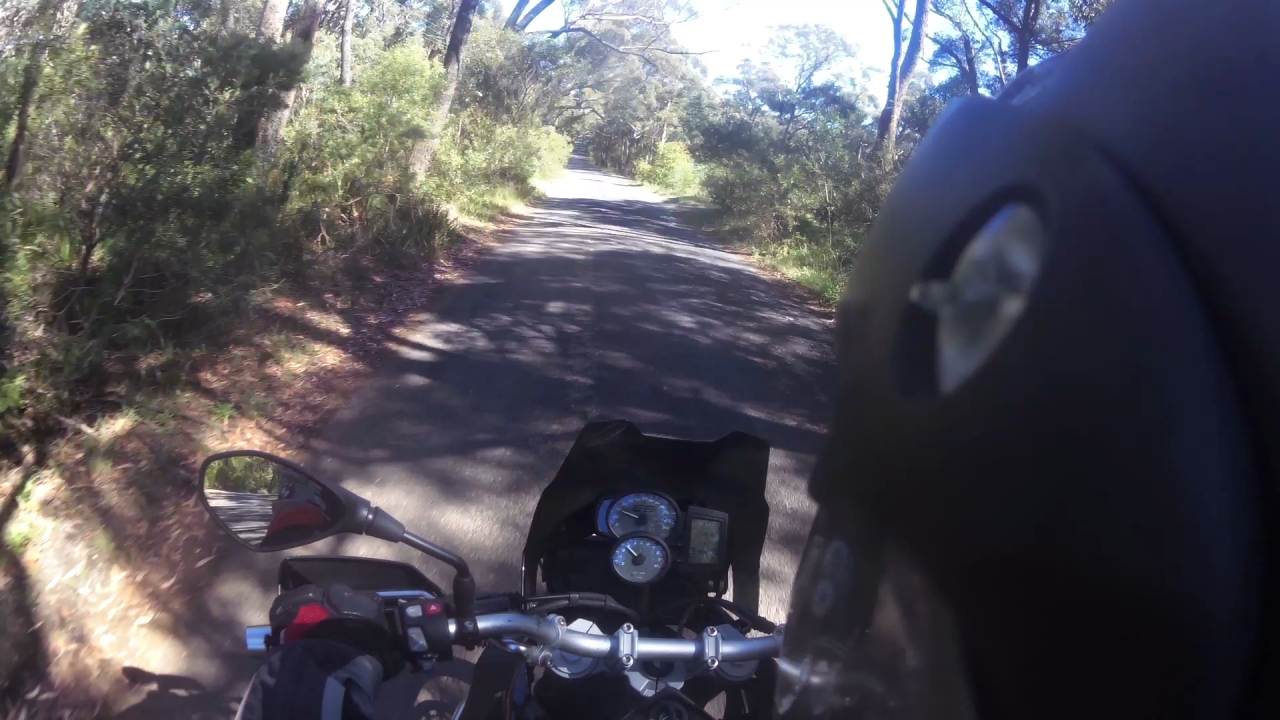
This was the first area that I set out to explore. Dirt roads in every direction beckoned me and tempted me to explore further. I did some exploring, but I had to remind myself that I was there riding solo, that even though I did have a Spot 3 satellite GPS messenger with me that I wasn’t invulnerable. Alone in a foreign country it’s always wise to use the KISS principle and stick to your plan as much as possible.
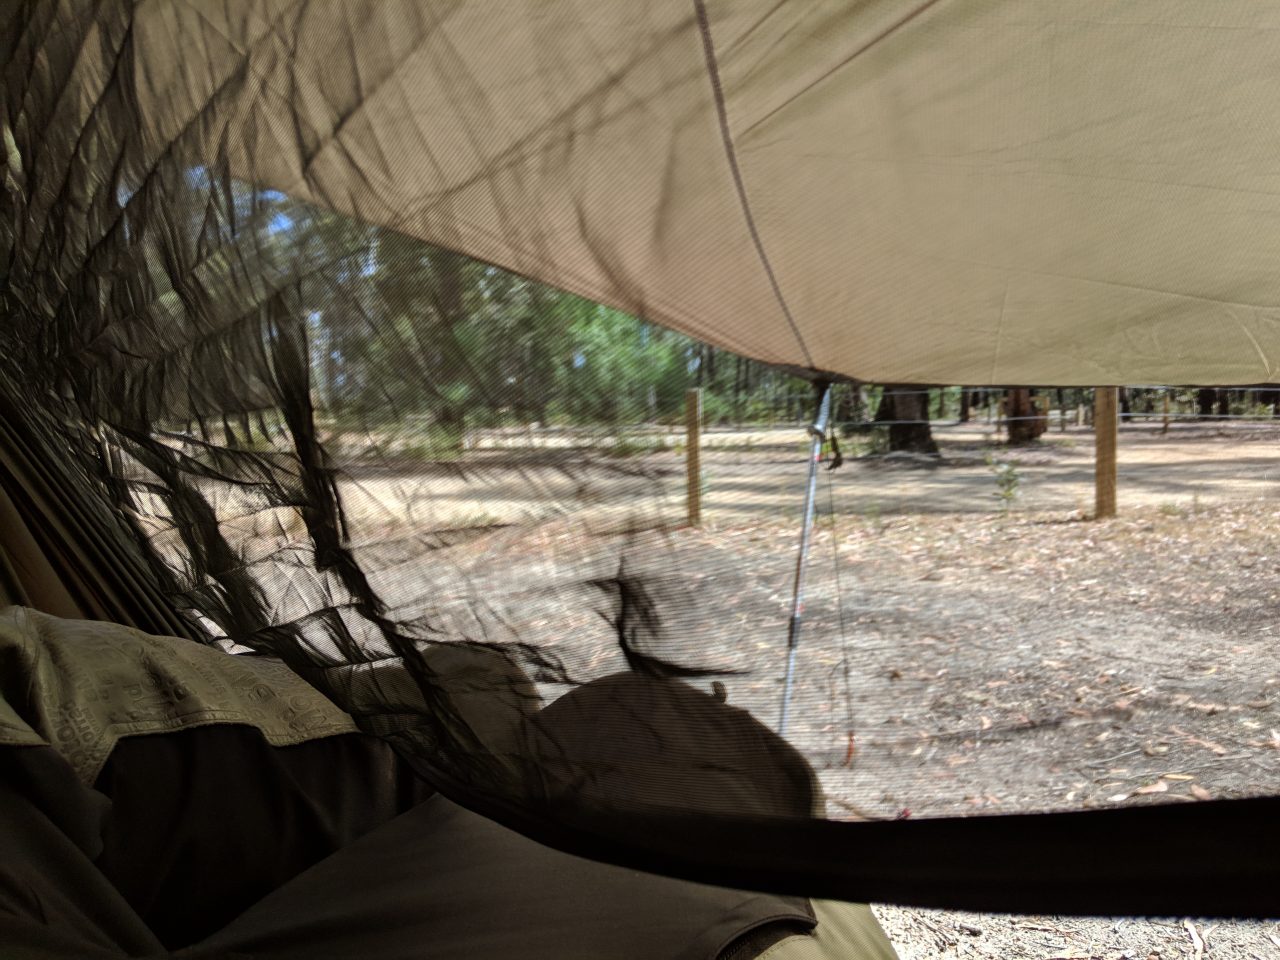
I camped at Smiths Mill Campground in Grampians National Park. Very close to the MacKenzie Falls which requires a reservation. Plenty of trees for the hammock and providing shade. There’s even a bush shower.
The second day was a hike down to the base of MacKenzie Falls is about 1.6 miles (2.6 km) round trip. It’s an in and out trail with narrow steps that will allow only one person to pass at a time in either direction. The total descent is approximately 270 feet. After my day hike it was time for packing up and heading out.

On my way out of Grampians National Park I encountered an Emu wandering down the middle of the road. One piece of advice given to me was avoid traveling at night because Kangaroos and these guys like to hang out on the road and can ruin your night.

You’ll also notice the black fire scars on almost all the tree trunks here. Late evening on 19 January 2006 a lightning strike on Mount Lubra (later renamed to Mount Warrinaburb) started a bush fire. By the time it was extinguished it had burned for approximately two weeks and covered approximately 130,000 hectares of land.
Day 4: The Great Ocean Road, Rain, and a Malfunction
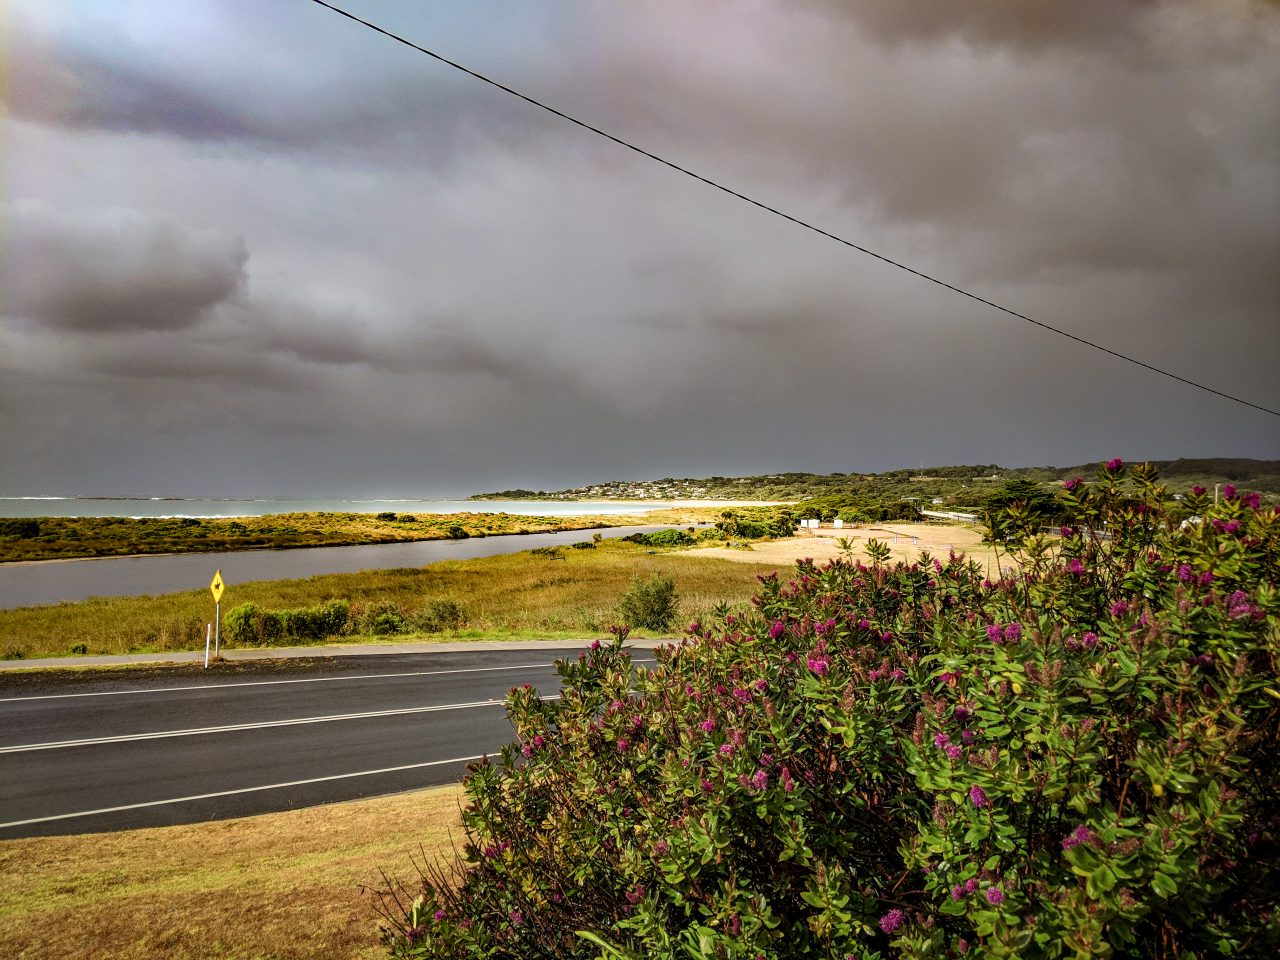
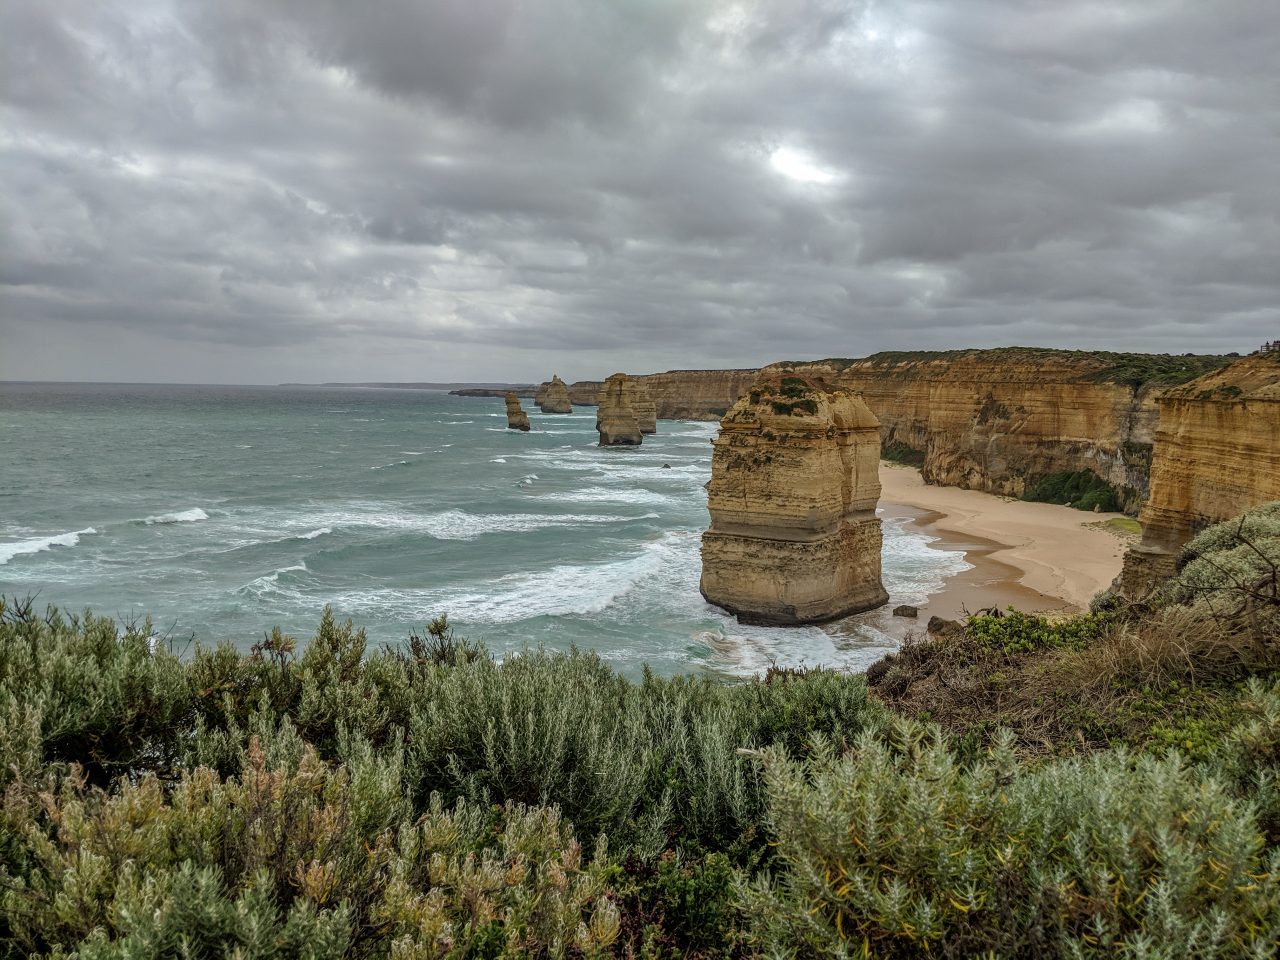

Of the two days I encountered rain I would compare both to the spin/rinse cycle of a washing machine. It would pour. Then the sun would come out and I would quickly dry off. Then it would pour again. Rinse. Repeat. Thankfully, I did get a chance to visit the ocean again later and in much better weather.
I camped at Parker Hill in Great Otway National Park. This is an awesome campsite overlooking the beach and reservations are required. Given the inclement weather I had arrived cold and wet and it took me a while to dry out. Thankfully, the hill is protected by substantial tree cover that helps shield against ocean winds.
Being Prepared
In my previous article Choosing the Right Tent The First Time, I stressed anticipating dramatic changes in the weather and this is why. Seasons are reversed in the Southern Hemisphere so January and February are Melbourne’s hottest months with the interior seeing temps of 110° F. Given that I have limited carrying capacity on a motorcycle, I had contemplated bringing just the Klim mesh suit but that left me without rain protection so that thought was immediately dismissed. The BMW Rallye suit would be hotter and uncomfortable at times but I would have to deal. This decision paid off with the unseasonably cold and wet weather. After putting the rain liners into the jacket and pants I was warm again and drying out.
Day 5: A Pit Stop to Change Bikes then on to Wagga Wagga
Parker Hill camp the next day. The bike wasn’t liking the weather either. In the morning the bike’s throttle was sluggish and the check engine light came on. After breaking camp and packing I let the bike idle for a bit. A few miles later things were back to normal but the code wasn’t clearing. Nothing but guesses as to the cause. As I rode on I had an internal debate about the merits of heading back to Melton to swap out bikes and losing a day, or continuing on as-is with a check engine light on. The entire time the debate raged in my head I was heading back to Melton. I will miss the Loch Ard Gorge and the day I had planned to tour the coast.
The Melton Pit Stop
BikeRoundOz had me back on the road pretty quick. From rolling into the depot on the R1200GS Rallye, to moving panniers and everything over to an F800GS, to rolling out was only an hour and 30 minutes. The trip back to Melton itself had cost me most of the day. I’m quite familiar with marathon miles on a bike. 500-700 miles in a day is my typical ride in the states. I could make up the lost time if I hustled and that was my plan. I made reservations at the Prince of Wales Motor Inn over in Wagga Wagga New South Wales and hit the road. The weather had turned for the better and I was feeling good with the wheels turning and the miles stacking up behind me.
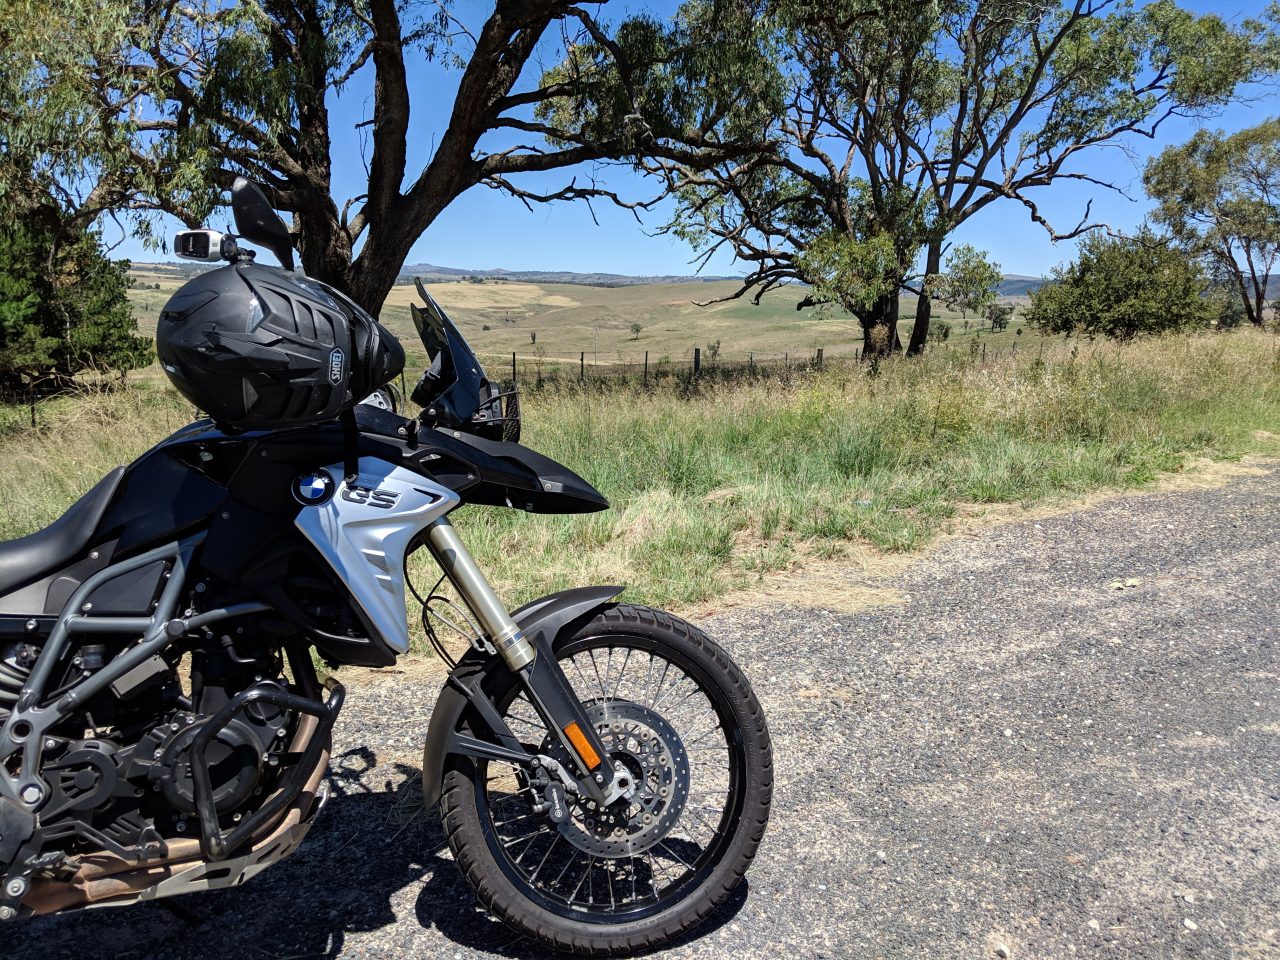
(At this point I also decided to swap the helmet camera to time lapse. The SD card was filling quickly. Battery drain for video was also an issue.)
I rolled into hotel’s parking lot at 9:40 pm with about a half gallon of fuel in the tank. I was on fumes as well. The proprietor had stashed the key to my room and told me where he hid it. There was even milk for tea. Every battery was in need of a full charge, and I was in need of a hot shower and sleep so I wasted no time.
Day 6: Blue Mountains National Park
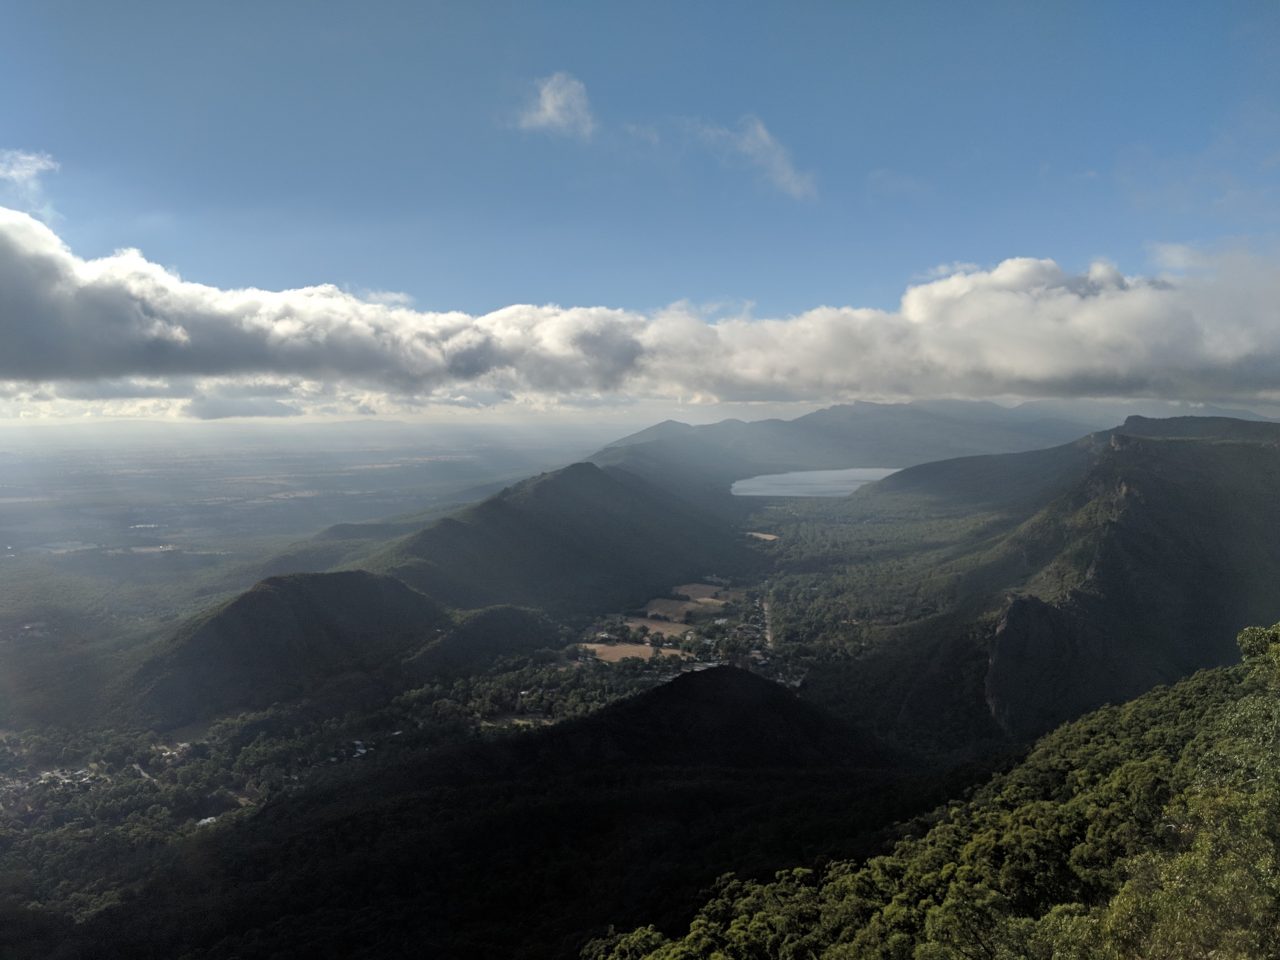
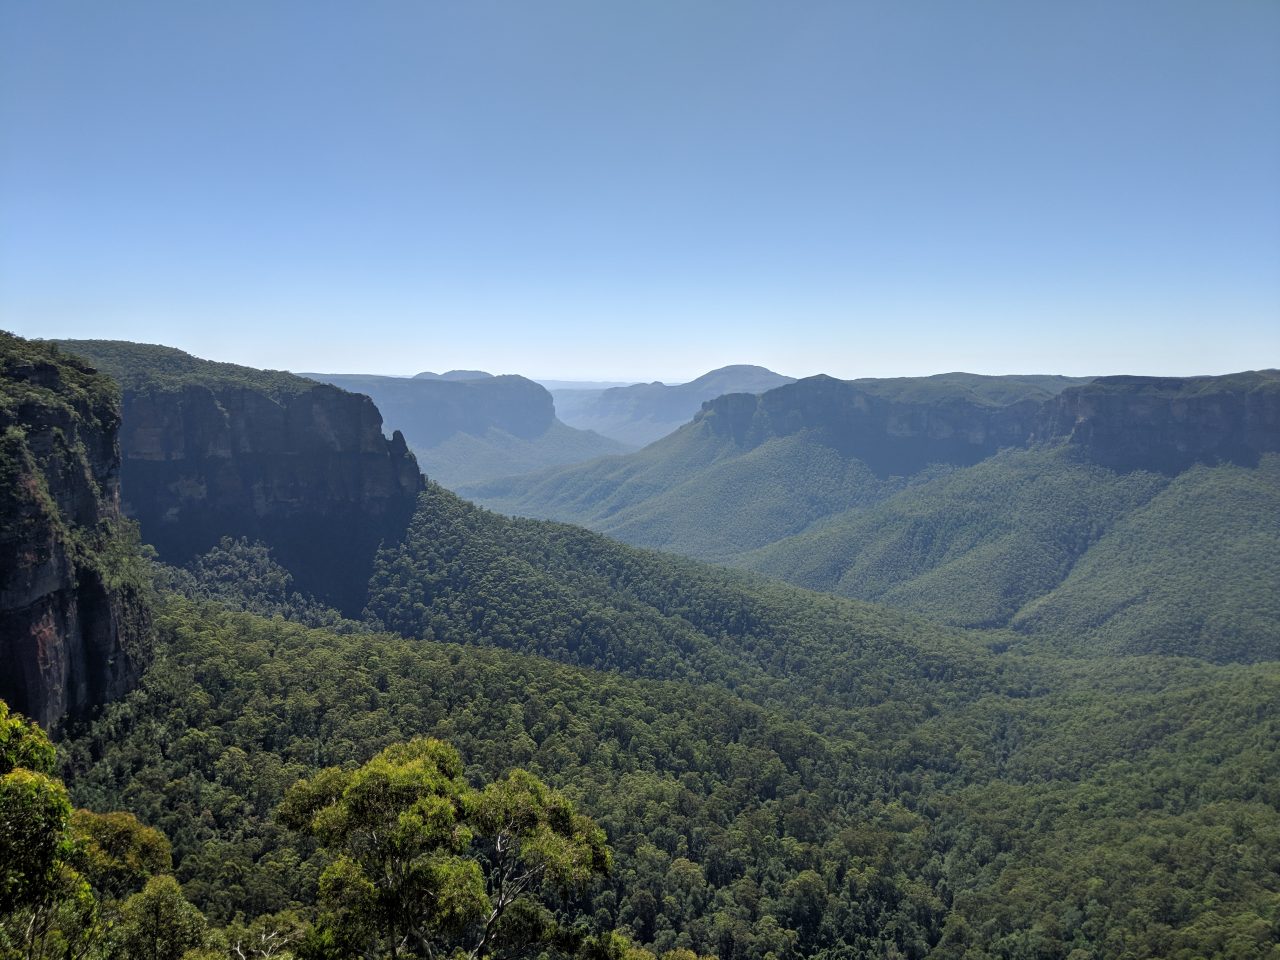
The small part of Grand Canyon track lays ahead of me. The Blue Mountains are a hiker’s paradise. The trails date back to 1825 and features one of the most extensive trail systems in Australia. What little exposure I give it here does not do it justice!
This night I stayed at Murphys Glen campground in Blue Mountains National Park. It’s a free primitive campground reachable only by 2 track or 4WD.
Day 7: Wagga Wagga Again
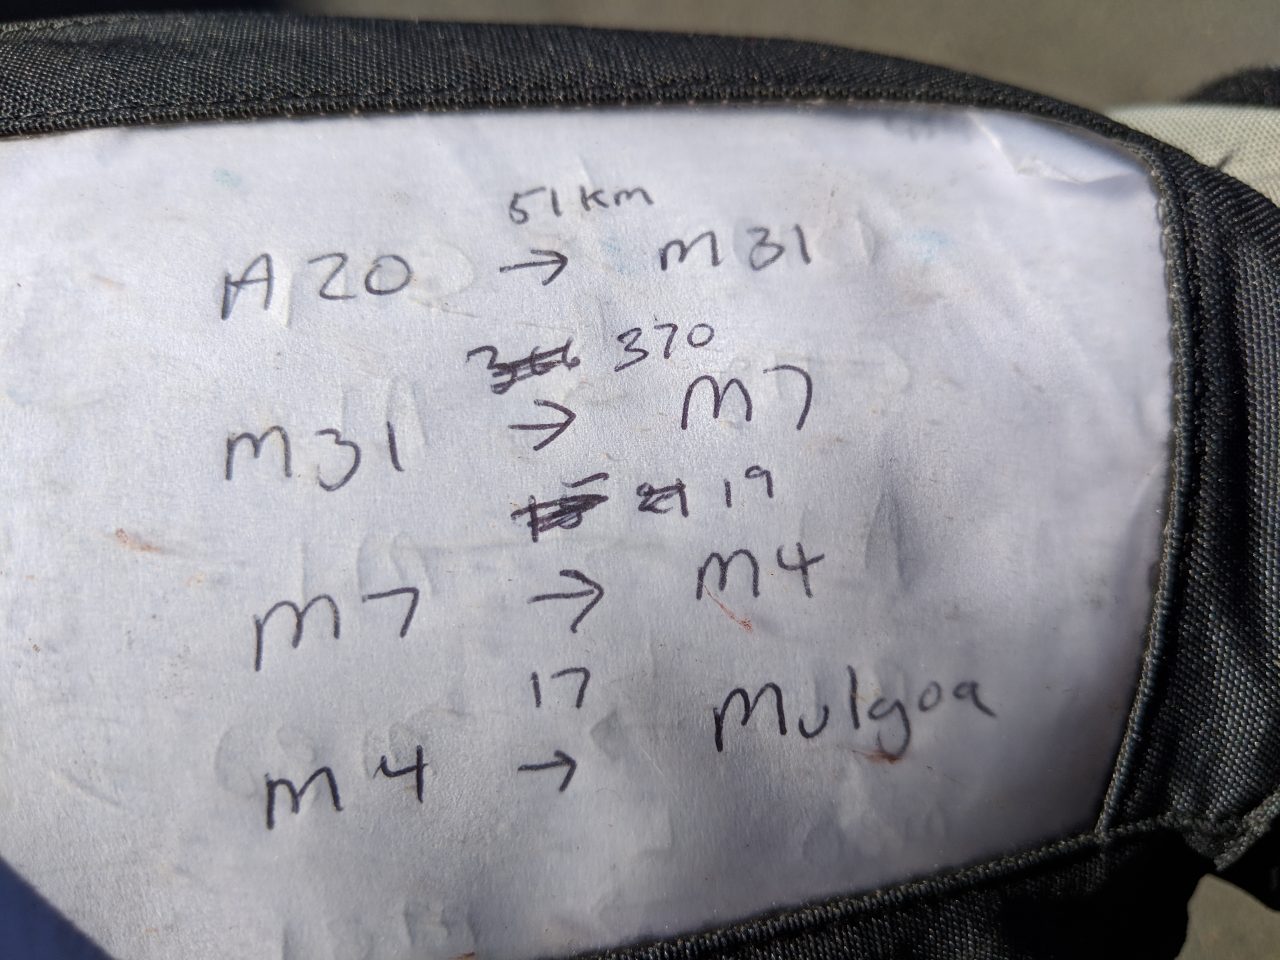
Packing up at the Blue Mountain campsite, it was time to head back. When I get back in to Melton I will have covered 1764 miles, but first I had one more night. I decided to spend that night at the Prince of Wales Motor Inn again. Making sure I had a room when I rolled in late the first time was appreciated. I felt choosing to stay there again was a good way to show that appreciation. And perhaps showing up at a reasonable time too.
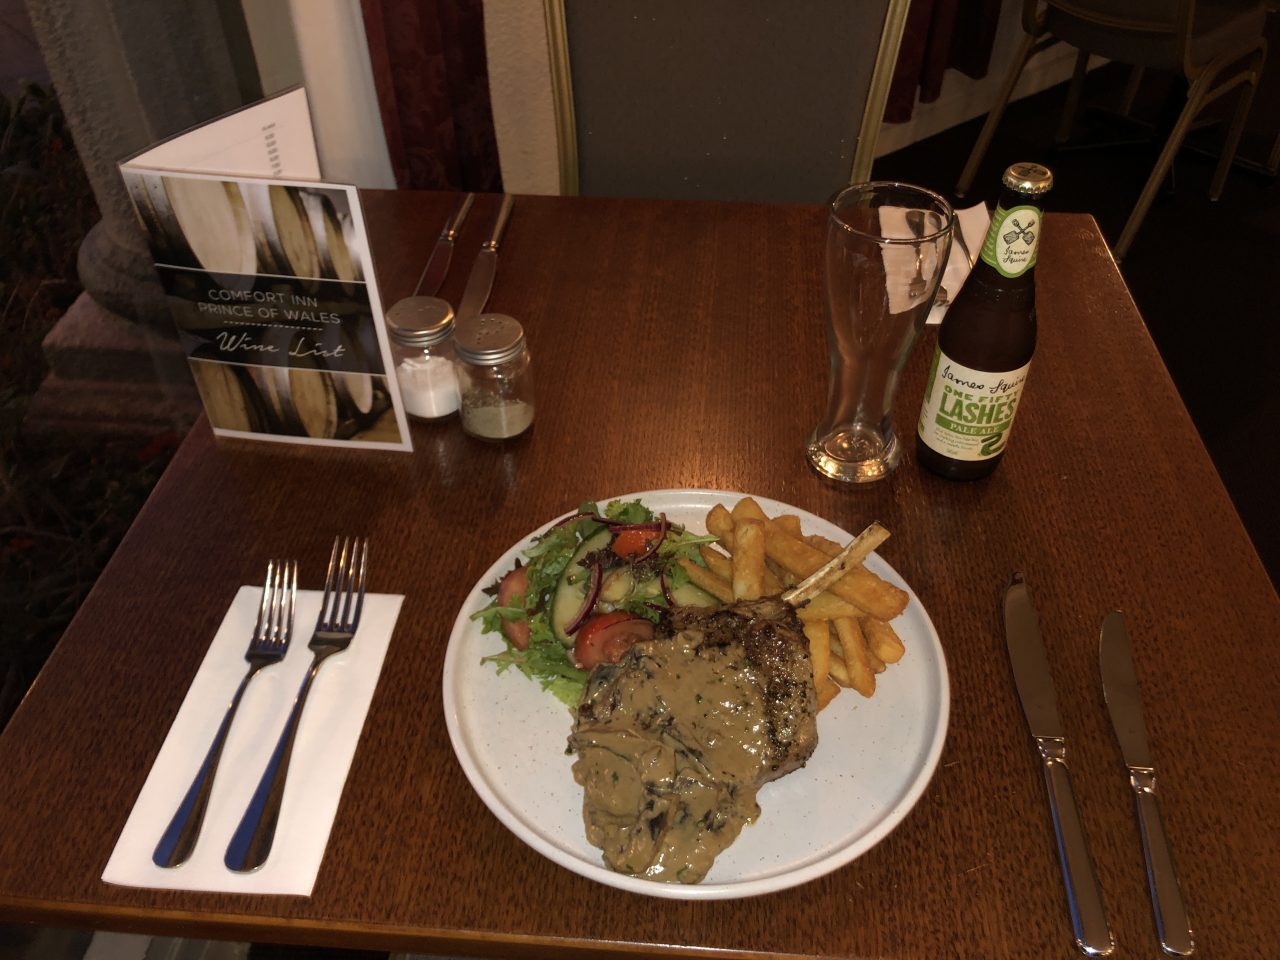
But I can’t say my motives were entirely altruistic. The first time I stayed there I noticed a brewery was right next door. When in Australia one must do as the Australians!
Logistics Again
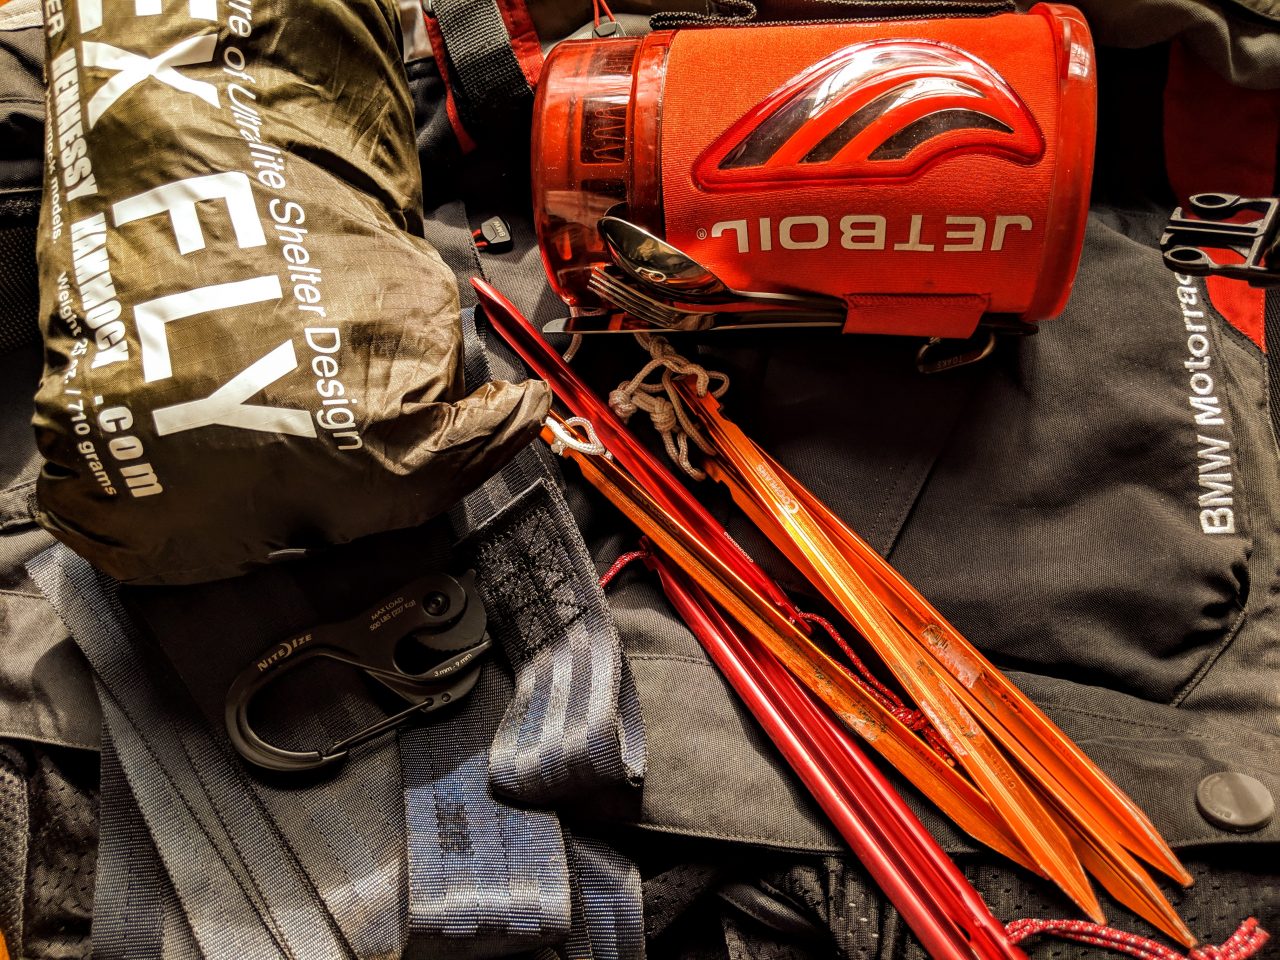
Back at Melton and BikeRoundOz it’s time to get back into street clothing and unpack the bike. Time to deal with the explosion of gear everywhere and then the repacking for the trip home. Cheers to BikeRoundOz for tolerating the use of your garage and office space for this. I also found out what happened to the Rallye. They had brought the bike to a dealer and had it serviced. After the code was cleared they couldn’t find anything wrong with the bike. Damn the luck.
An Epilogue to an Adventure
The first half of this adventure ends here. The second half of my trip was for the wedding of my Brother and his Fiancée. I’ll skip the wedding photos but there are parts that are relevant and would fit in well with any adventure tour of Australia.
Healesville Sanctuary
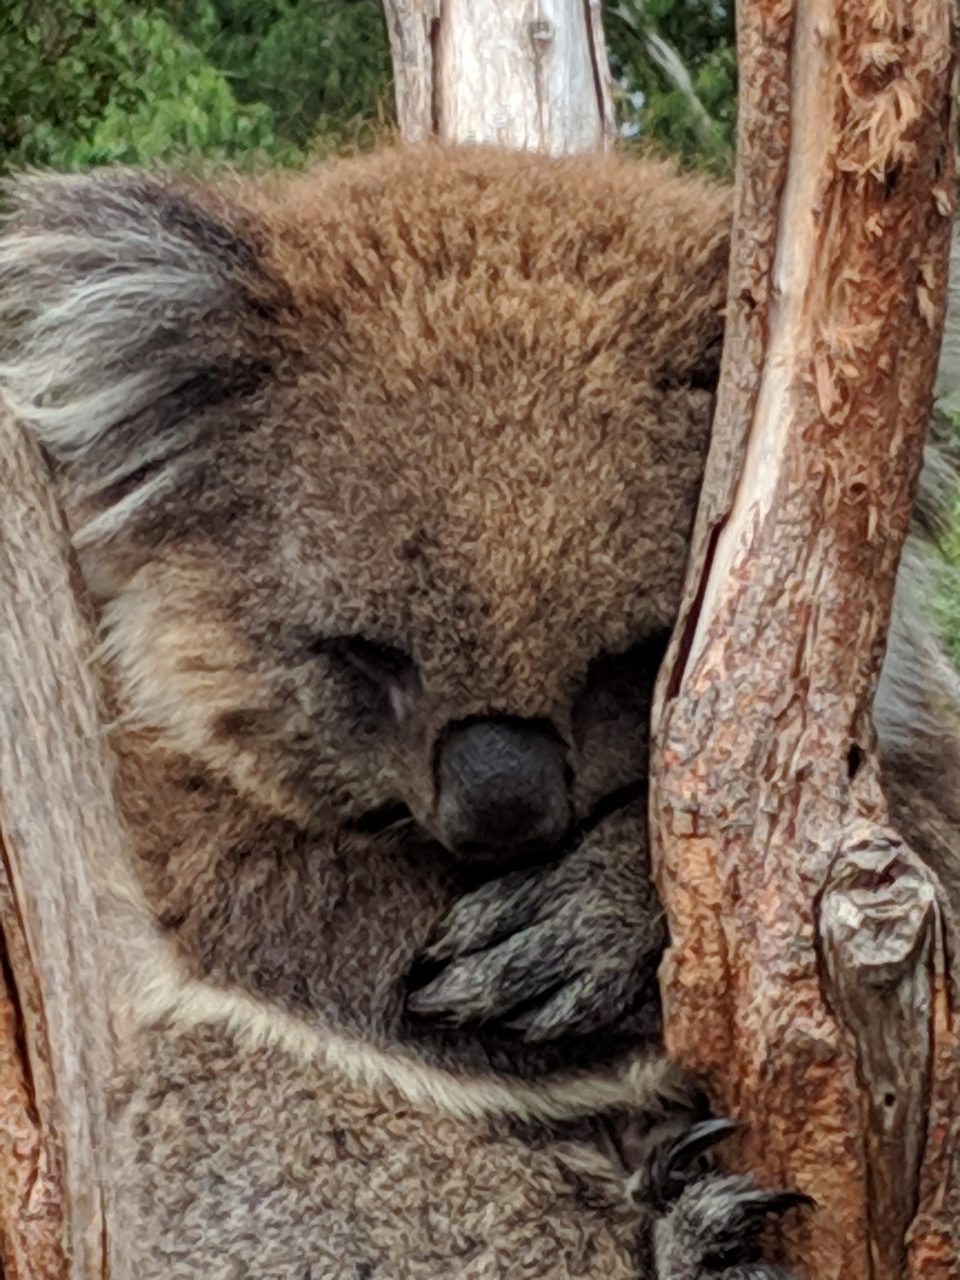
Formally known as the Sir Colin MacKenzie Sanctuary, it is located in Badger Creek, Victoria, Australia. About an hour’s drive east north east of Melbourne. Healesville Sanctuary specializes in native Australian animals. Keeper talks offer an opportunity to hear about the animals, their care, and the conservation work being done for various species in Australia.
Mount Martha Victoria, Australia
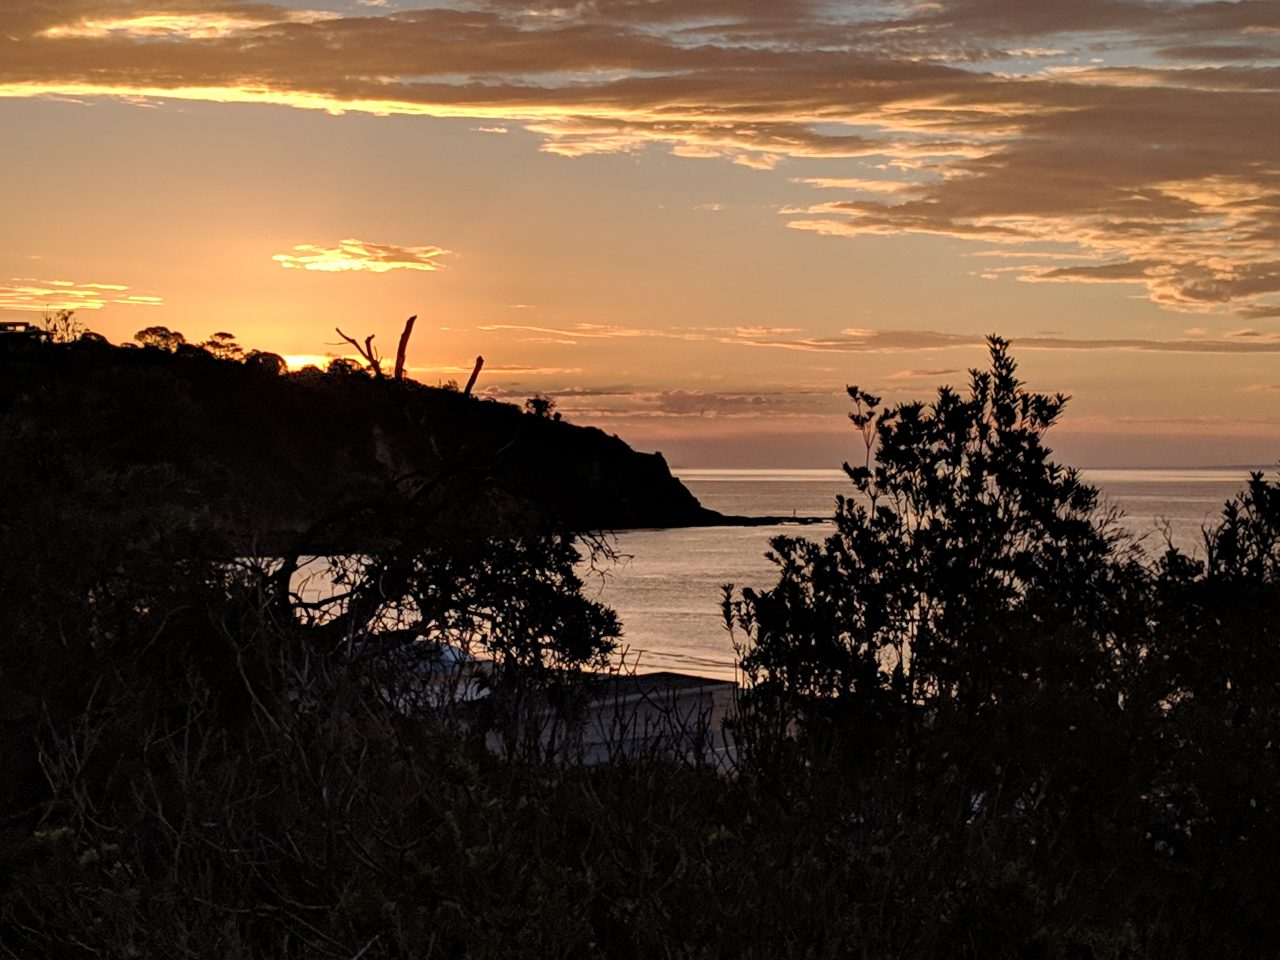
The town dates back to the 1840s and today it’s a vacationer’s beach town. If you are planning on following the Australian coastline on your Oz adventure it’s a good place to swap things up from camping and still put your toes in the sand and get your feet wet (far better than a cold and wet rain storm too).
Highway Travel in Australia
I stayed on the backroads as much as I could. I found it refreshing. The temptation to get from point A to B the fastest possible way to maximize your time is really strong. As a result you can make your way across the entire United States on our interstate system isolated from the local communities stopping only at gas stations, hotels, motels, and dining on fast food and chain restaurants. Honestly, you miss a lot of the U.S. that way. An Adventure isn’t just full throttle point A to B. It’s about exploring the spaces in between as well. Take the main streets of small towns.
Speeding
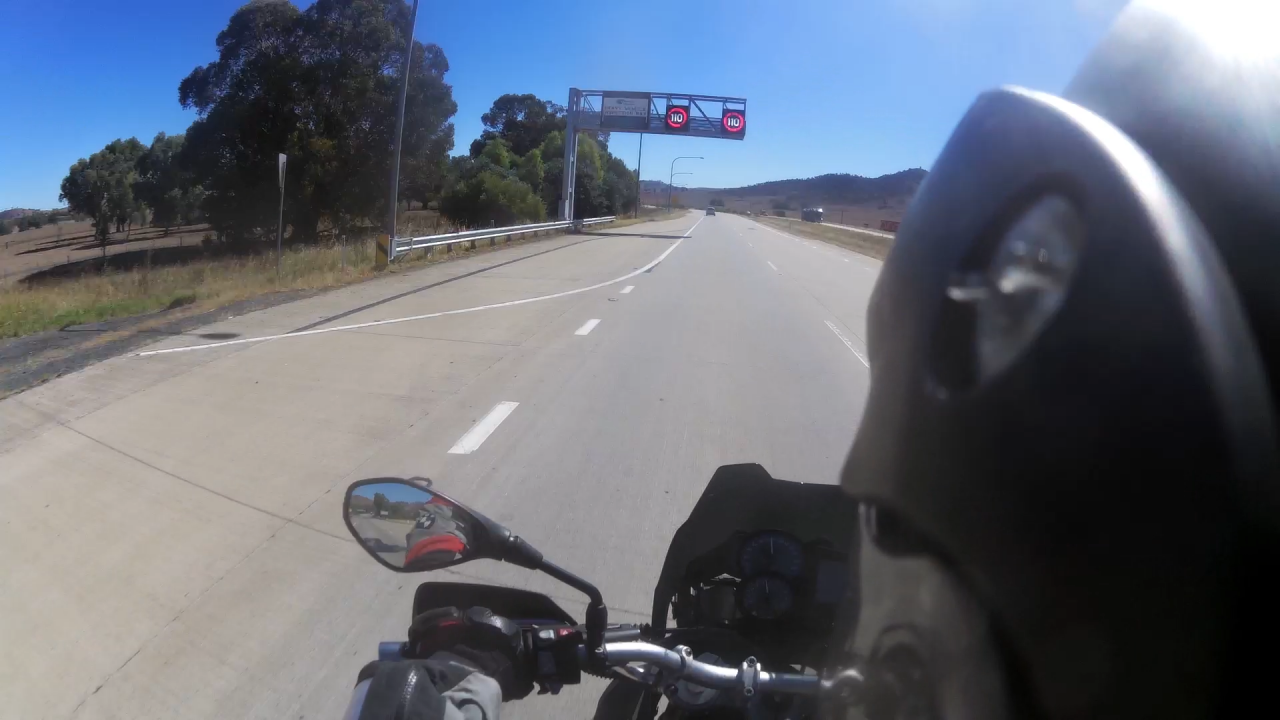
Don’t. There isn’t the leeway you will find here in the U.S., and there is no such thing as going 5 or 10 over the speed limit and being “ok”. The police are extremely rigorous when it comes to speeding, and speed cameras are used in cities and on the major highways. So keep to the limits and obey all traffic laws.
Dangerous Environments
You’ll hear the phrase “everything in Australia can kill you” before you go. Yes. It can happen but it’s rare. There are some simple things you can do to keep yourself out of trouble when in the wild. Most importantly if you see a sign warning you to avoid an area then don’t ignore it.
Wear appropriate boots that protect your ankles and toes from snakes when walking in the bush. Armored ADV boots are perfect. Snakes usually avoid being out in the open and are often hiding underneath bushes, stacks of leaves, or other ground debris. Keep your body parts off, out, and away from these areas and always look before you sit anywhere. If you are not a meal snakes will prefer to leave an area and avoid the encounter. Announce your presence by walking heavily.
Make it a habit to always keep mosquito net zipped up by closing it behind you as soon as you exit/enter. Don’t leave your gear outside your tent at night. Spiders or other critters may make a home out of them. If keeping your gear inside a tent isn’t an option then check the gear before putting it on or stowing it. Don’t place a hand inside or underneath. Flip and shake out your boots. Grab a camp chair by the back and flip it over to expose the underside before folding it up.
Getting There
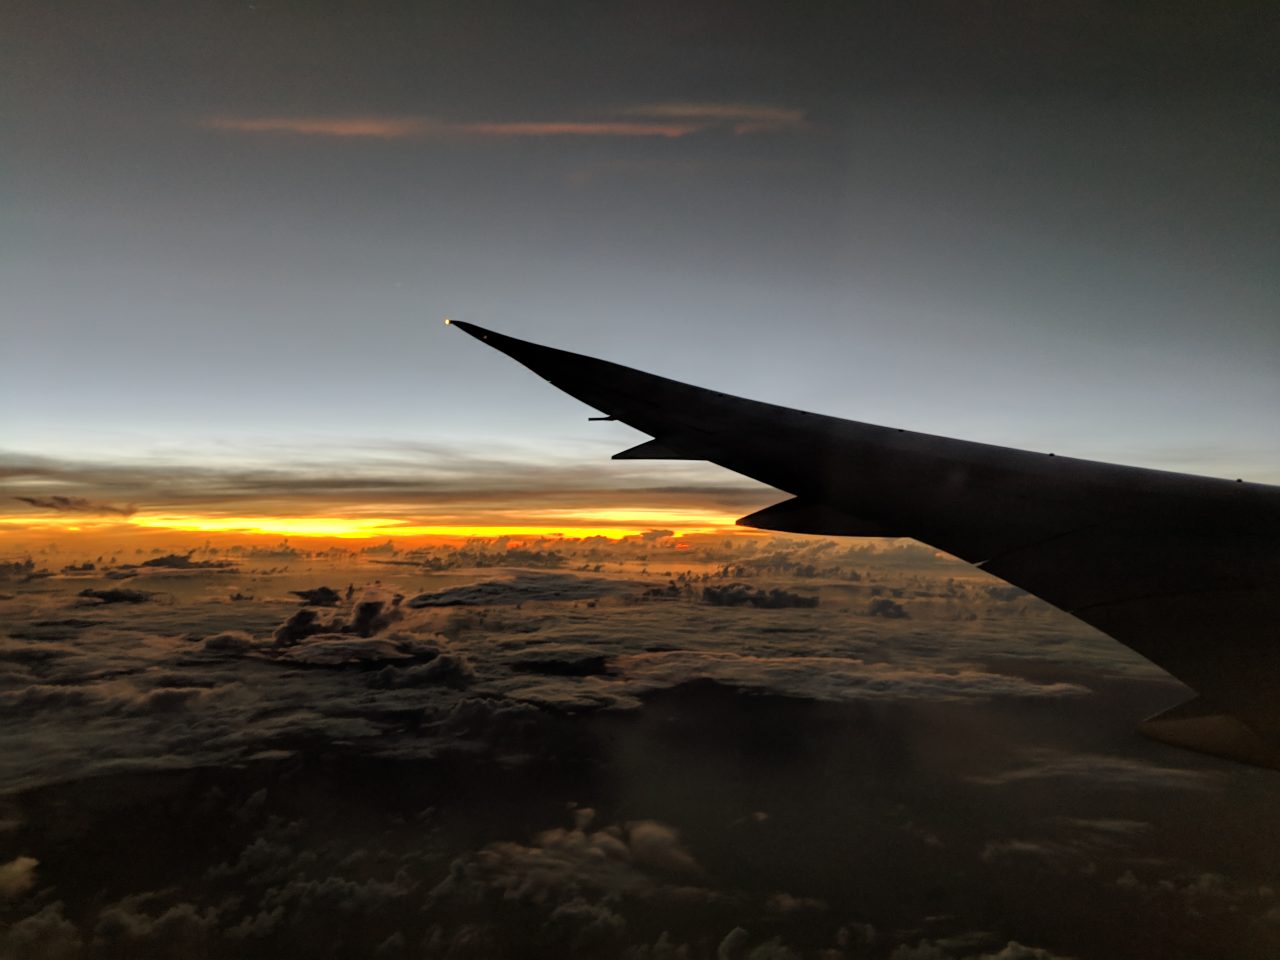
There is simply too much for me to cover every item and situation when traveling to Australia. What’s included here is the information that I needed for my trip, some general advice, and a list of basic resources to give you a head start for your Australian Adventure.
AU Government
- Australia Department of Agriculture and Water Resources
- Travelling or returning to Australia – Declare it
- Entering Australia
AU Parks
AU Camping
- New South Wales
- Victoria
- Great Otway Campground Maps
- Grampians National Park Map
- Blue Mountains National Park Map
AU Gear
US Government
- TSA What Can I Bring?
- TSA Travel Tips – Travel Tips for Backpackers, Campers and Fishers
- TSA Camping, Hunting & Fishing Gear On a Plane
Traveling With Medication
You must declare medication on your Incoming Passenger Card (IPC). Don’t bring someone else’s medication. Ensure the medication remains in its original packaging with the dispensing label intact. All medications containing codeine will require you to bring the prescription from your Doctor. Just to be on the safe side it is advisable to have a letter or a prescription from your doctor or practitioner. You will need special permission to bring more than a 3 months’ supply of medicine into Australia.
Backpacks
This was my carry-on. Why not? Right? In it I had placed my spare (uninstalled) lithium batteries. Spare lithium batteries (both lithium metal and lithium ion/polymer) are prohibited in checked baggage. My personal hygiene kit. My Spot and Garmin GPS electronic devices. Contact your airline in advance. Ensure the backpack conforms to their carry-on size restrictions. I don’t recommend it but if checking your backpack then ask if it can be placed in a container or use heavy duty wrapping plastic to secure the straps to keep them from getting caught in the conveyor belts and to deter theft of opportunity. Also consider how you will accomplish this if checking your backpack on the return trip as well.
Camp Stoves
Camp Stoves must be free from fuel fumes emitting from the stove. Camping fuel, burning paste, etc. are prohibited for obvious reasons. These items must be obtained at a camp store after you arrive.
Insect Repellent
It’s a must-have. The liquid limits apply when carrying these in your carry-on bags so pack it in your checked baggage.
Australian Biosecurity
Australian biosecurity laws are very strict. This is to protect agriculture and unique wildlife from invasive species and diseases. Check with the Australia Department of Agriculture and Water Resources for what you need to declare. When in doubt just declare it. Also make note that you must declare on your Incoming Passenger Card (IPC) if you have visited a rural area or been in contact with, or near, farm animals in the past 30 days. Clean your tent spikes before you pack!
Food Items
I brought freeze dried camping food and declared it on my Incoming Passenger Card (IPC) and had no issues. I could have gone through customs faster though so just leave food items at home. Plan on stopping by a camping store like Anaconda and/or a market after you arrive to get fuel, insect repellent and camp food.
Camping equipment, including backpacks
To protect Australia’s livestock industries from foot-and-mouth disease and African swine fever the biosecurity officer will be inspecting items for soil and/or manure that is being carried with them. Thoroughly clean and dry your equipment before you travel to Australia. Don’t forget to clean your tent pegs.
Freshwater recreational and water sport equipment
Didymo (Didymosphenia geminata) is a cool, freshwater algae that forms thick mats which smother river beds. It is almost impossible to eradicate and takes just a single live cell to establish and spread. While not present in Australia, it has invaded rivers and lakes in Europe, Asia, North America and New Zealand. Special care is therefore required when bringing equipment into Australia that has been used in fresh water overseas. You must declare freshwater equipment on your Incoming Passenger Card (IPC). It must be thoroughly cleaned to remove any algal clumps, and be completely dried for inspection in Australia.
