I like maps. The older the better. I’ve pored over them, studied them, and dreamed about far away places my entire life. My eye is irresistably drawn to the remote places on any map, the isolated, less traveled areas and the unknown. One such place is Isle Royale.

Isle Royale National Park was established in 1940, then protected from development by wilderness area designation in 1976, and declared a UNESCO International Biosphere Reserve in 1980. At 45 miles long and just shy of nine wide, Isle Royale is one of the least visited National Parks – Yosemite gets more visitors in one day then Isle Royale sees in an entire year. Located in the far north of Lake Superior near Canada, Isle Royale National Park is actually an archipelago that covers an area of 850 square miles or approximately 571,790 acres. It has 165 miles of trails, and no vehicles are allowed on the island.

The only way onto this remote island is a several hour long boat ride across Lake Superior to Rock Harbor or Windigo, or a 35 minute ride by bush plane. It was at that moment in my research that a rough plan began to form. I was within striking distance of the seaplane base at Houghton, Michigan, a mere 6.5 hour drive from our home north of Chicago. So, with school out for the summer we threw caution to the wind and booked the flight for the three of us. We’ve done a lot of family camping trips, but we wanted something truly different, off grid, and challenging. This huge leap of faith proved to be one of the best decisions I’ve ever made.


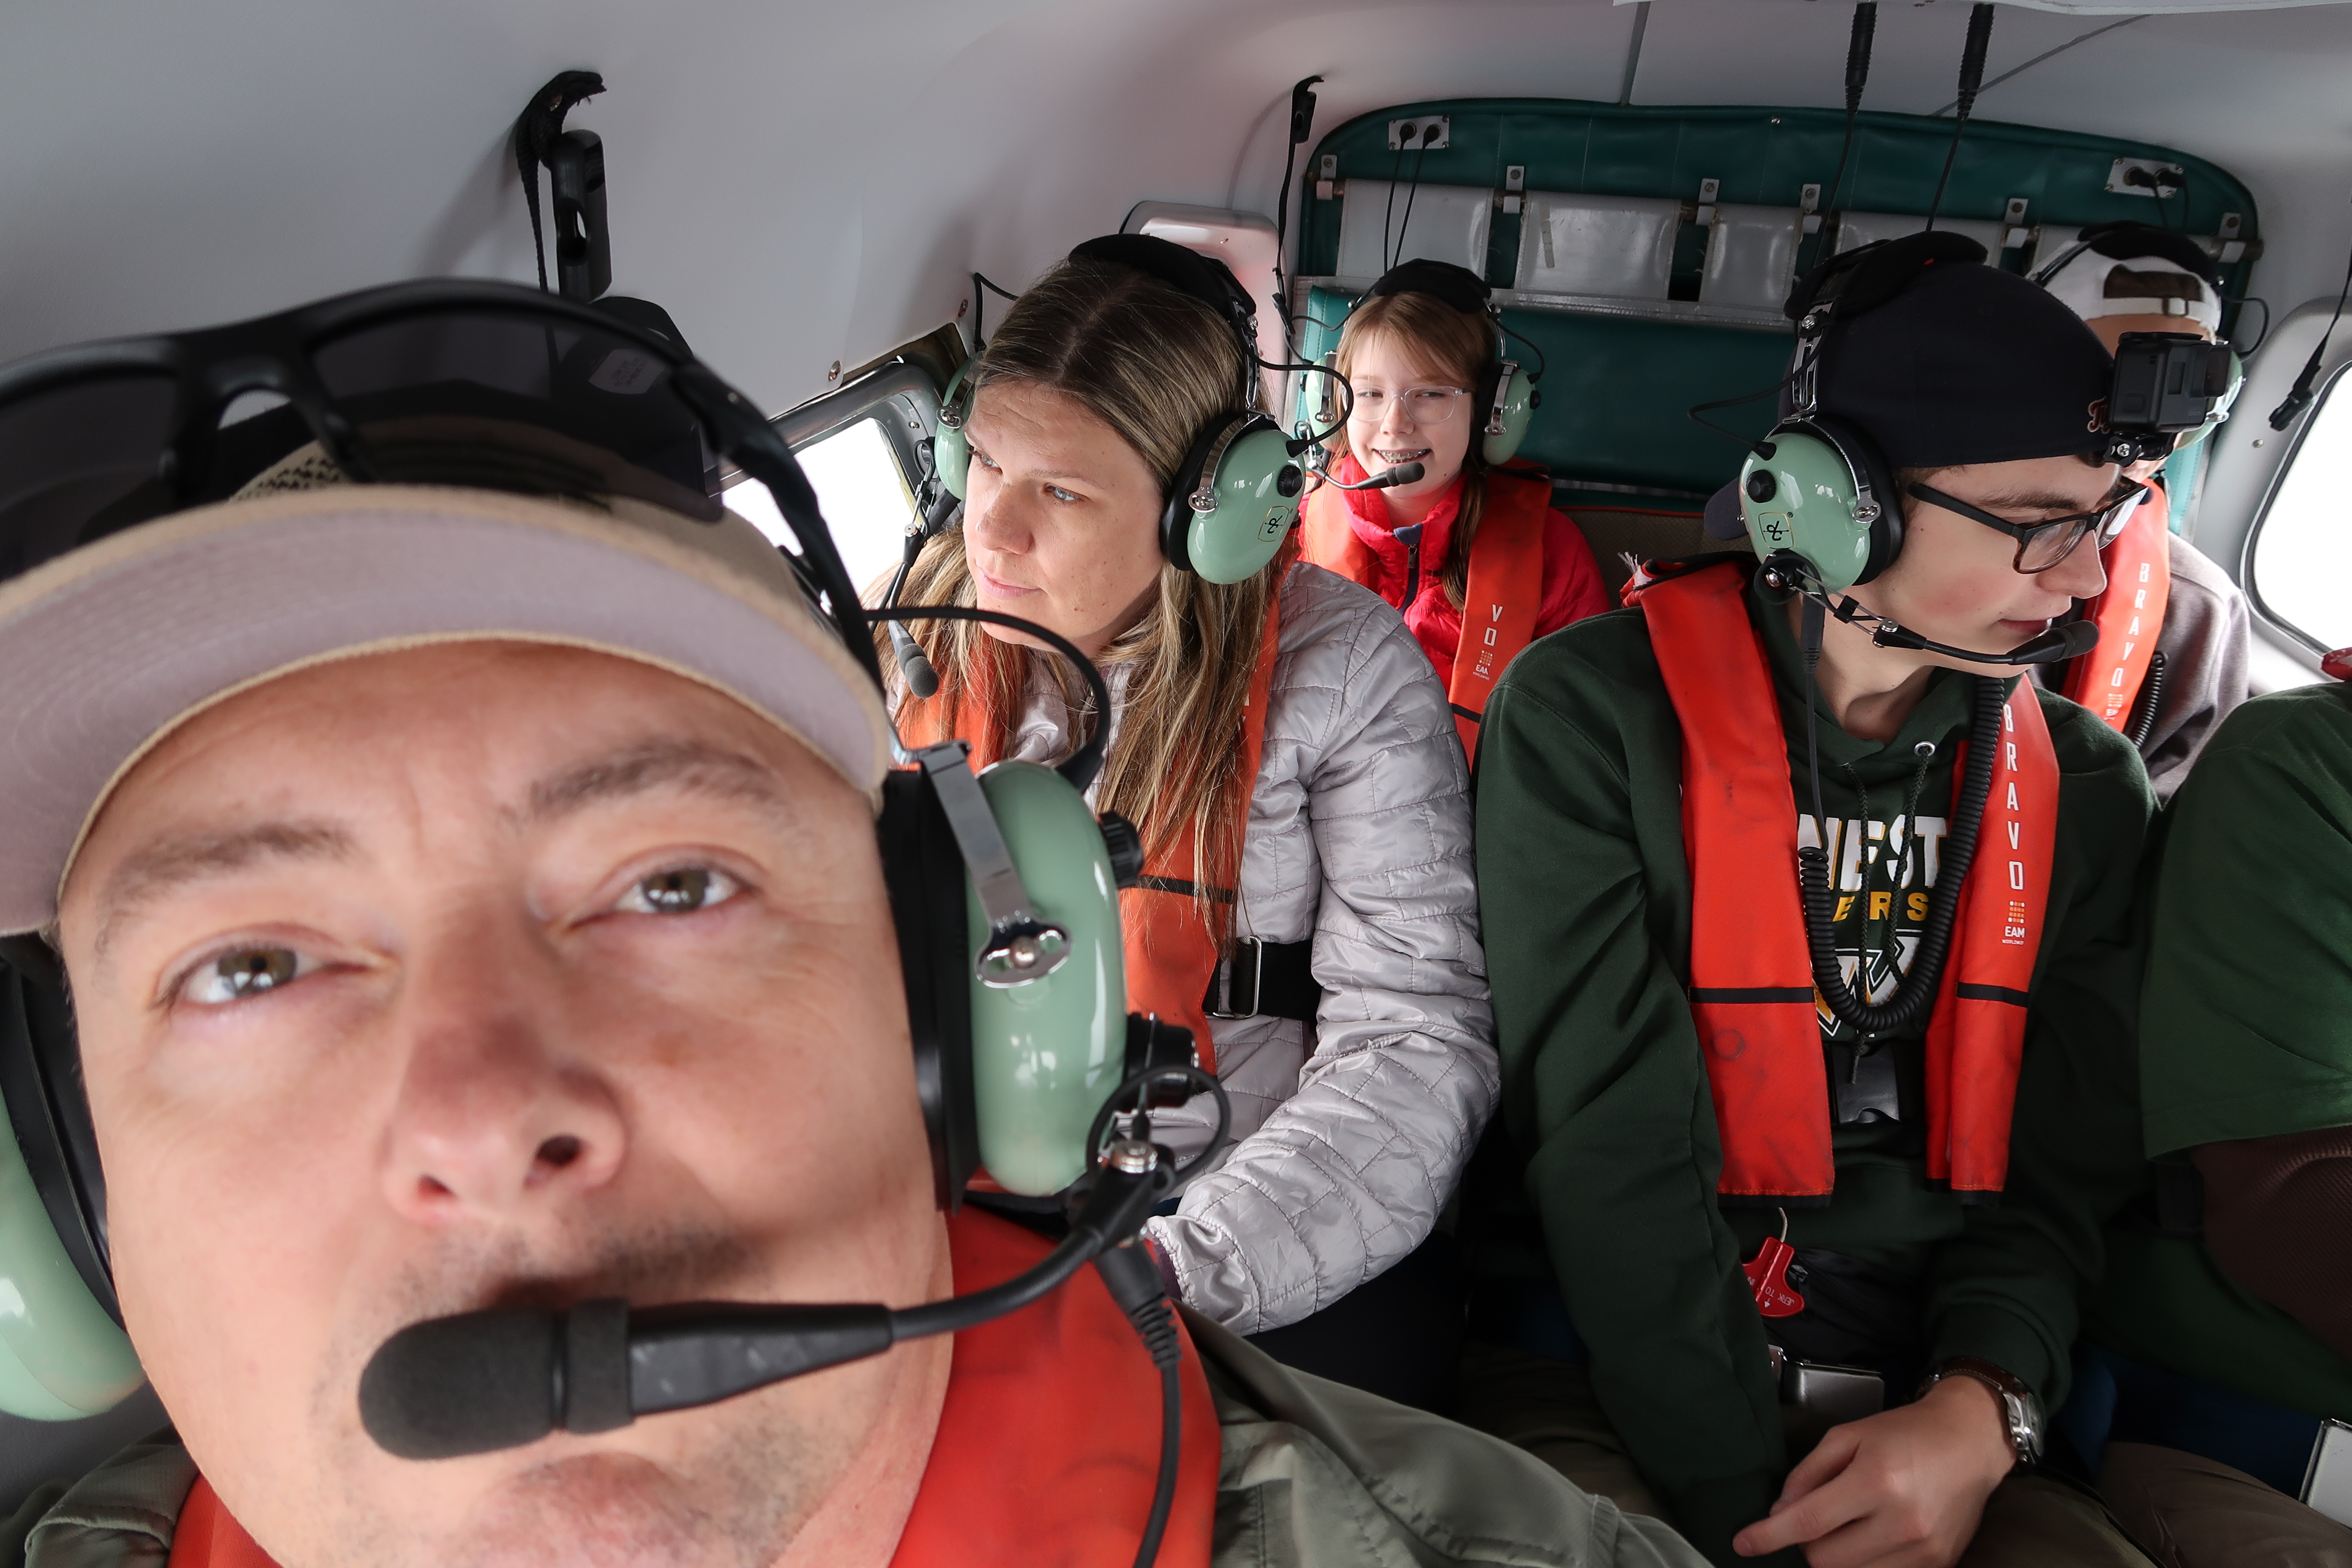
Arriving at Isle Royale Seaplanes I quickly realized that my expectations were going to be exceeded. Not only was the company extremely professional, we were flying across Lake Superior in the quintessential bush plane, a classic de Havilland DHC-2 Beaver. I may have squealed like a little girl when I saw it land and taxi towards the dock.

An aircraft from a more civilized age, it’s big rotary engine has a sound and feel like nothing else. Designed specifically for the unique needs of bush pilots and built in Canada after WWII, the de Havilland Beaver is a workhorse, carrying 6 passengers and all their gear into short landing strips or in our case, lakes. Our pilot, Ken, made us feel right at home and after a quick safety brief and life vest fitting we were on our way.


This was the first BIG backpacking trip for my 9 year old daughter, and our plans on the island were based around that fact. A bad experience backpacking now could sour her on the whole thing for the future, so we intended to take it easy over 4 days and 3 nights on the island. The idea was to hike 3-4 miles per day between campsites. So a round trip itinerary from Rock Harbor to Three Mile to Daisy Farm and back had been laid out as well as hydration and meal planning. Backpacking on an island like this is much different than truck camping in the lower 48, if you forget something you can’t just run back to town for it and there’s ZERO cell service anywhere on “the Rock” as it’s affectionately known. You’re out there in the elements with the clothes on your back and, as the old saying goes, you “run what you brung, son”.


Arriving at Rock Harbor, we were faced with the usual brief by the Park Rangers about NPS rules, Tread Lightly! and Leave No Trace principles, and we received our permit so they would know our itinerary. There is a small lodge and a very small store with supplies (fuel cannisters, food etc), so after a last call for snacks, water and gear checks we hoisted our packs and set off down the trail toward our first night’s destination at Three Mile.

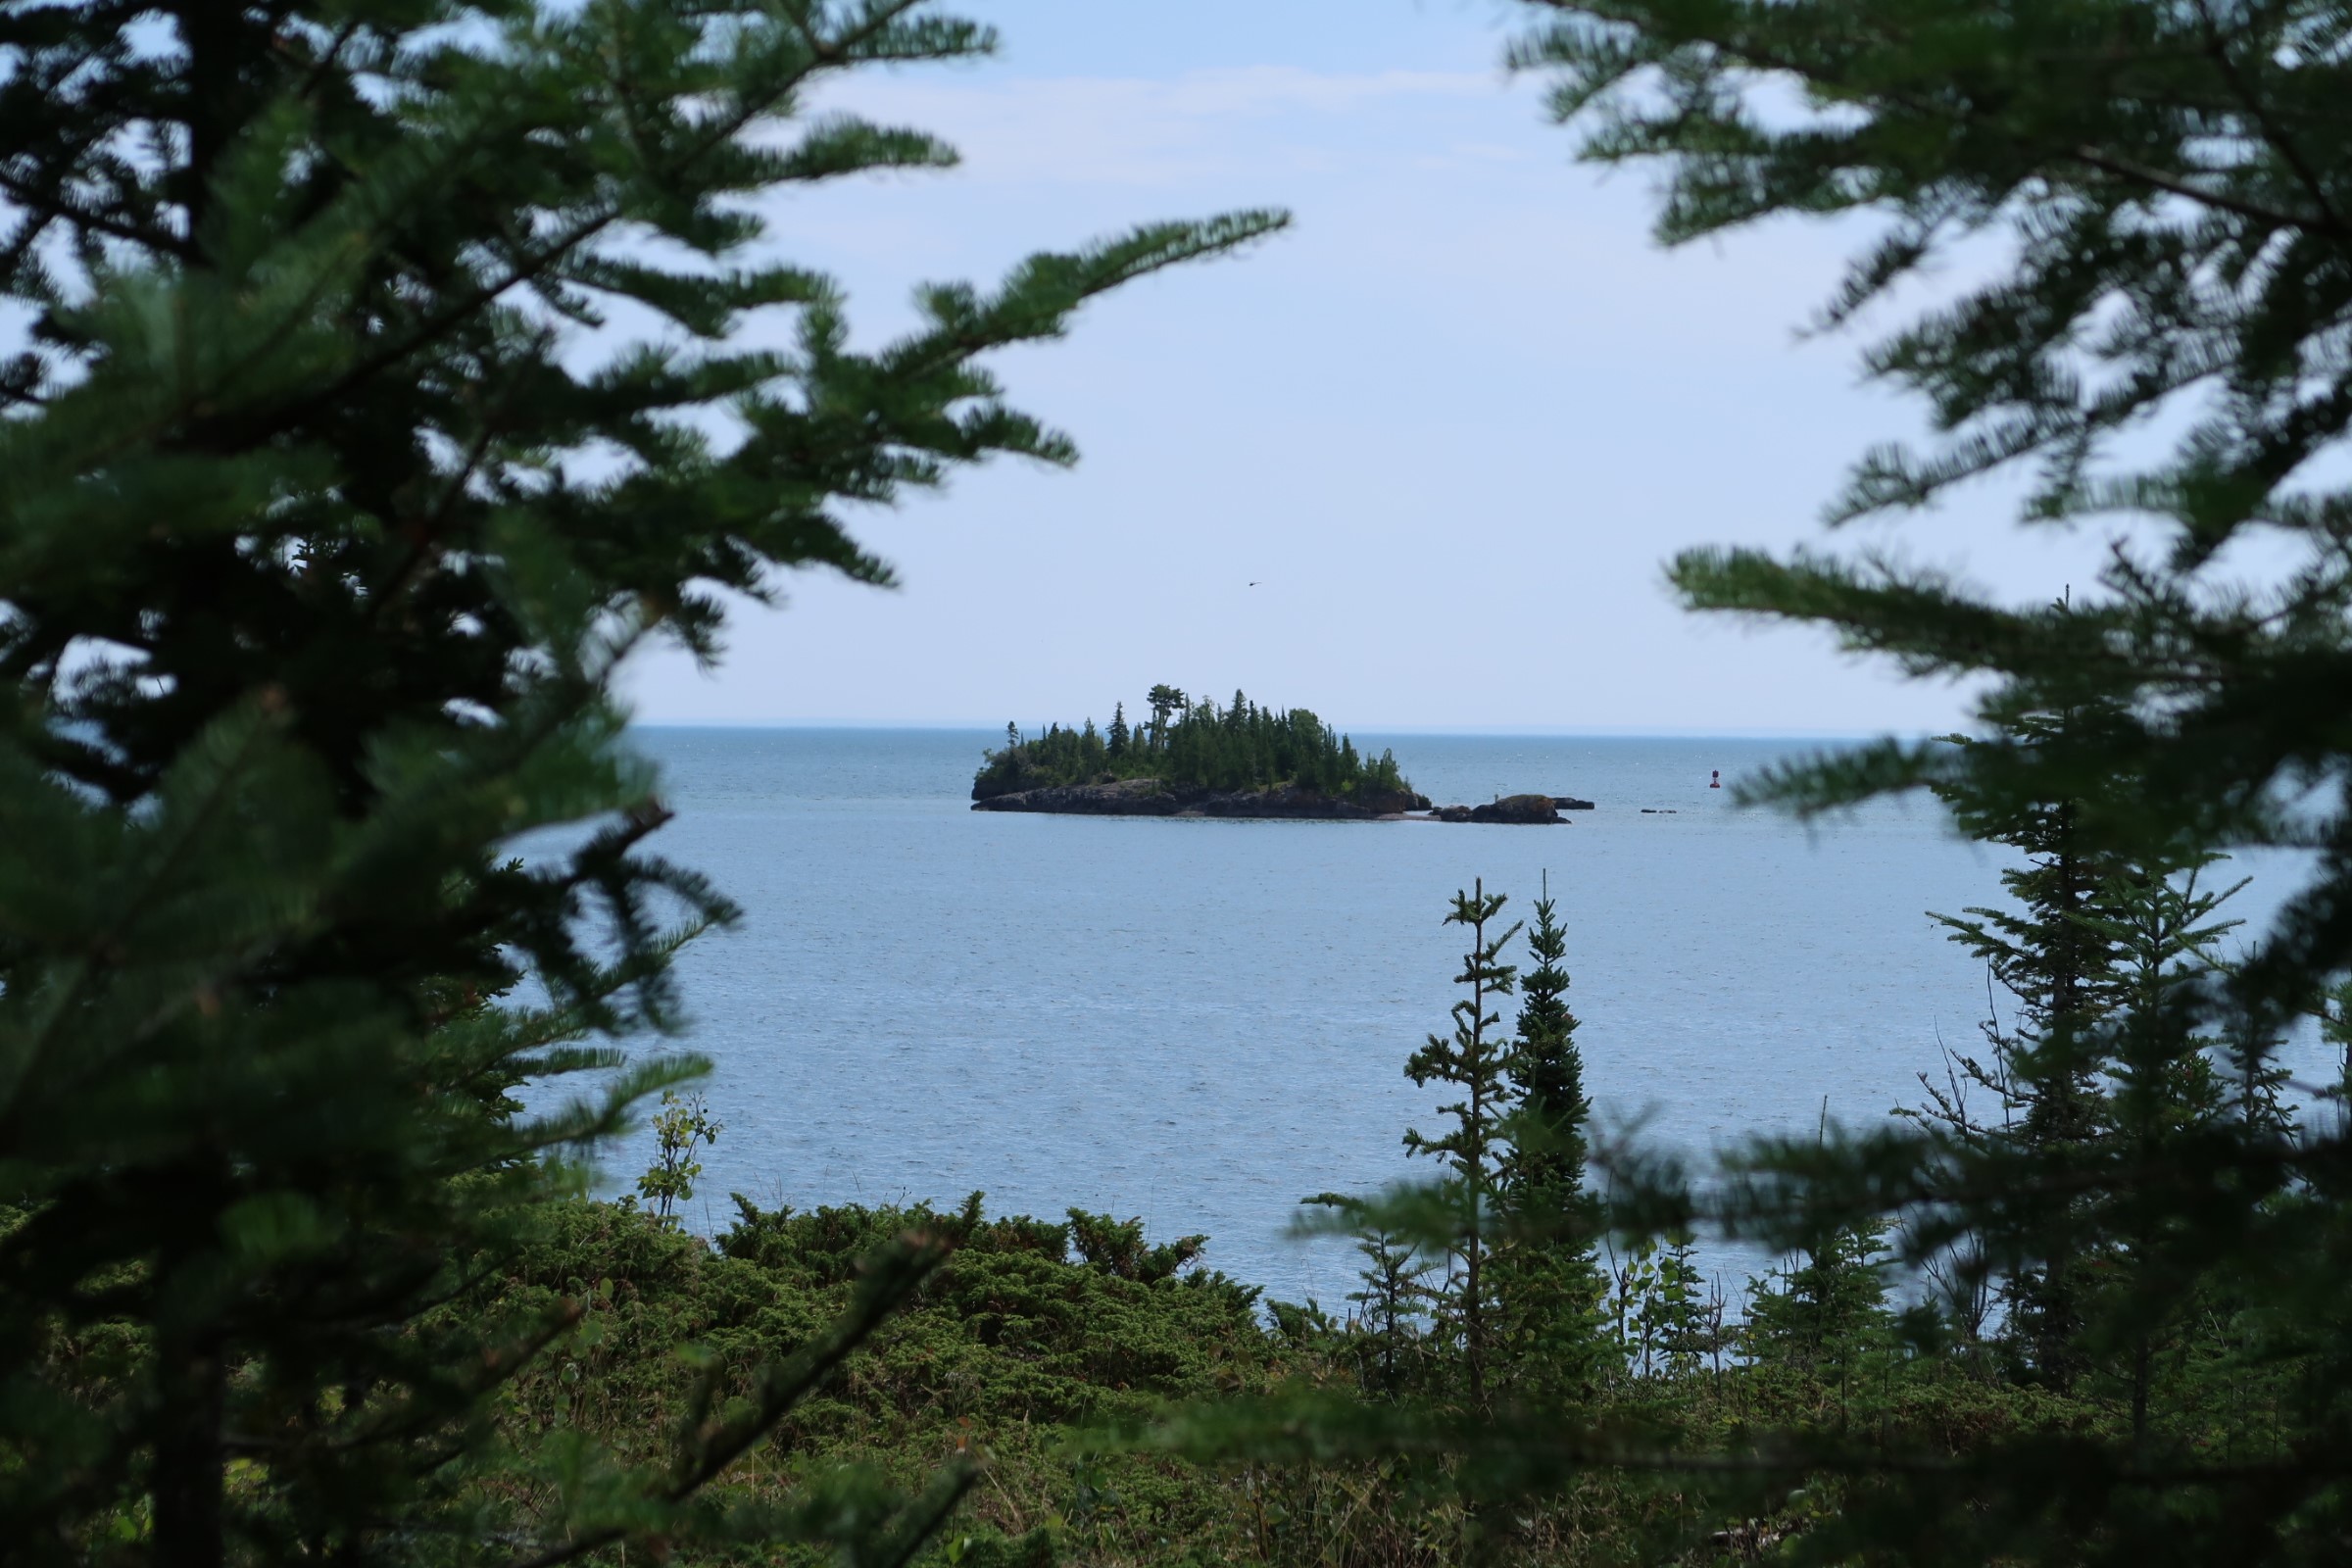
 The initial hike in was a bit of a challenge for us as the first day was all about acclimatization and getting our legs warmed up so I took less photos on the way in than I would have liked. Suffice it to say that the views of the surrounding islands, the sights and sounds of the forest, and the prodigious wildlife provided a stunning experience.


Once at Three Mile we were greeted with a very small and well organized campsite. Shelters make it easy on hikers, and we gladly settled right in to the first empty one we found. Lightweight gear from Nemo, Snow Peak, and Marmot would pay off now. Time for rest and relaxation!

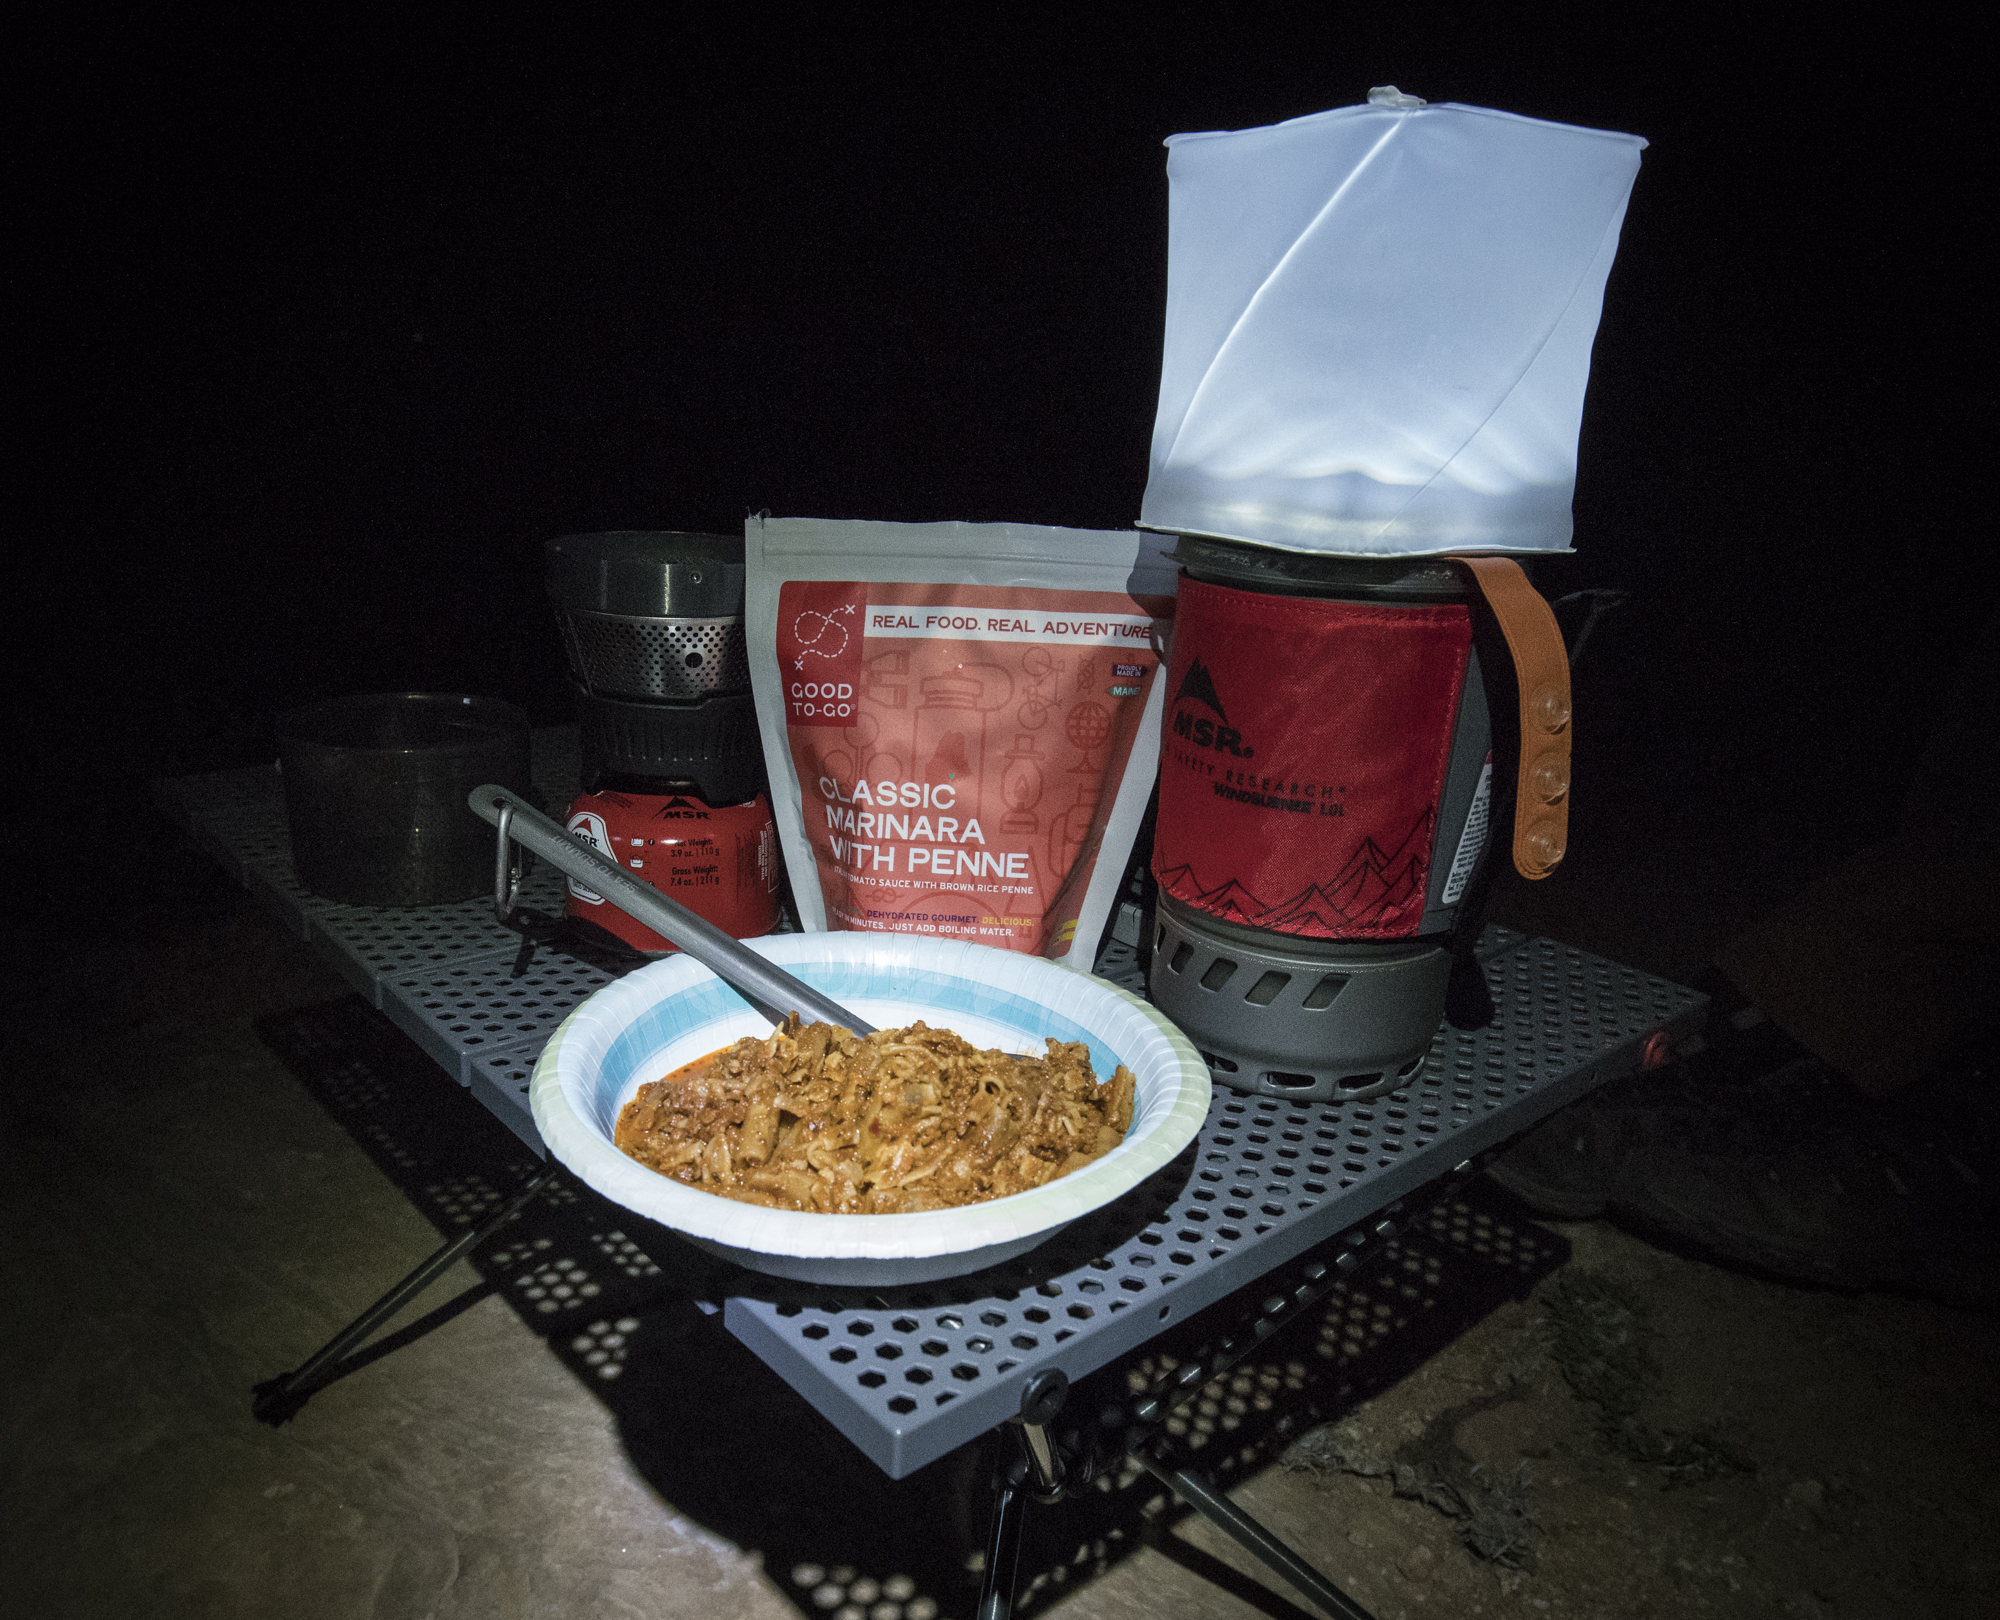
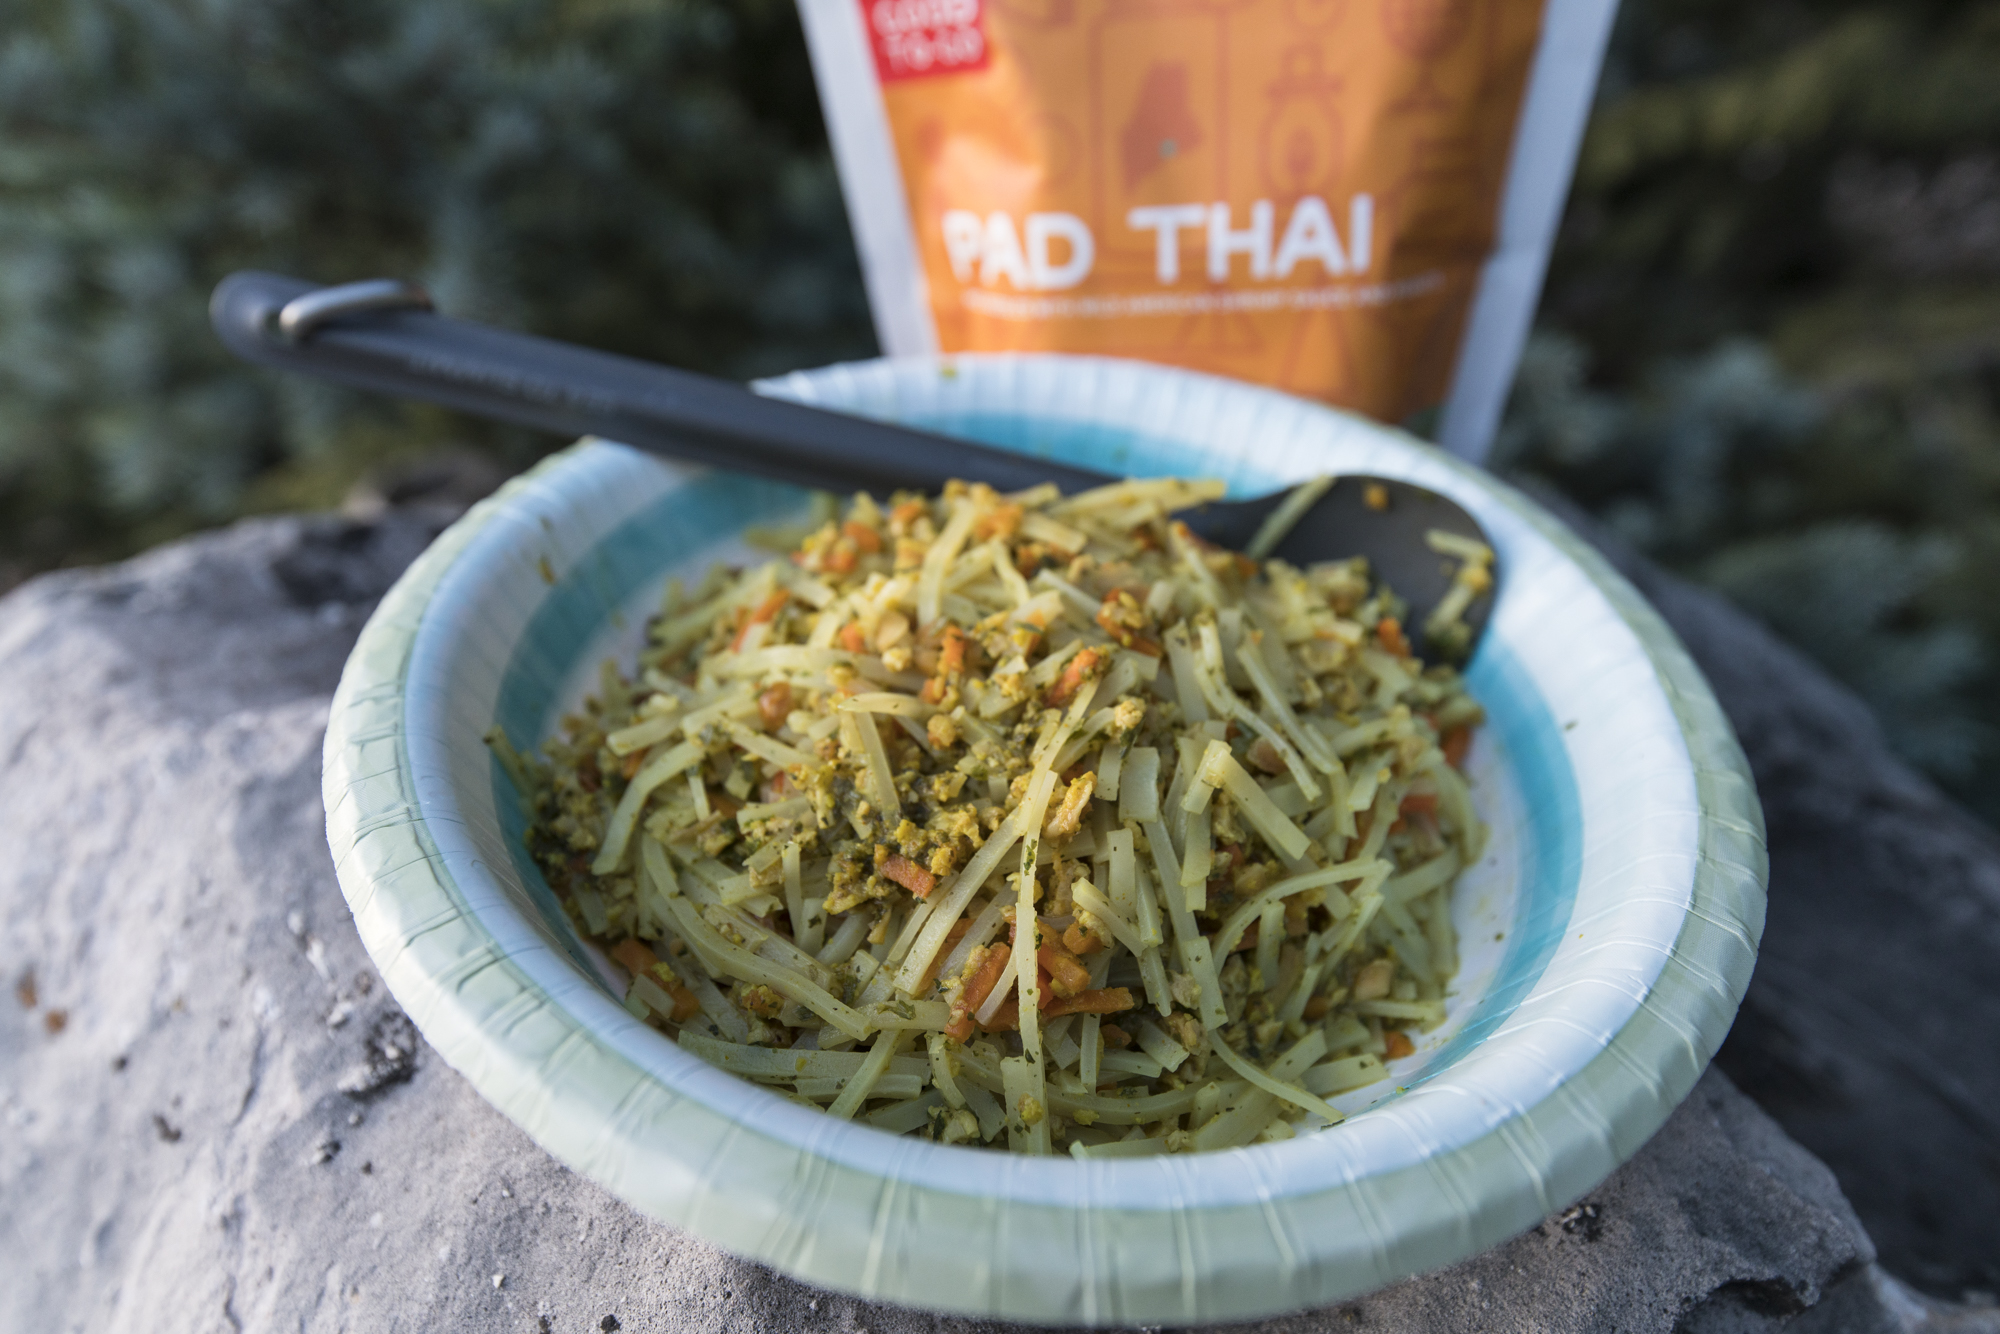
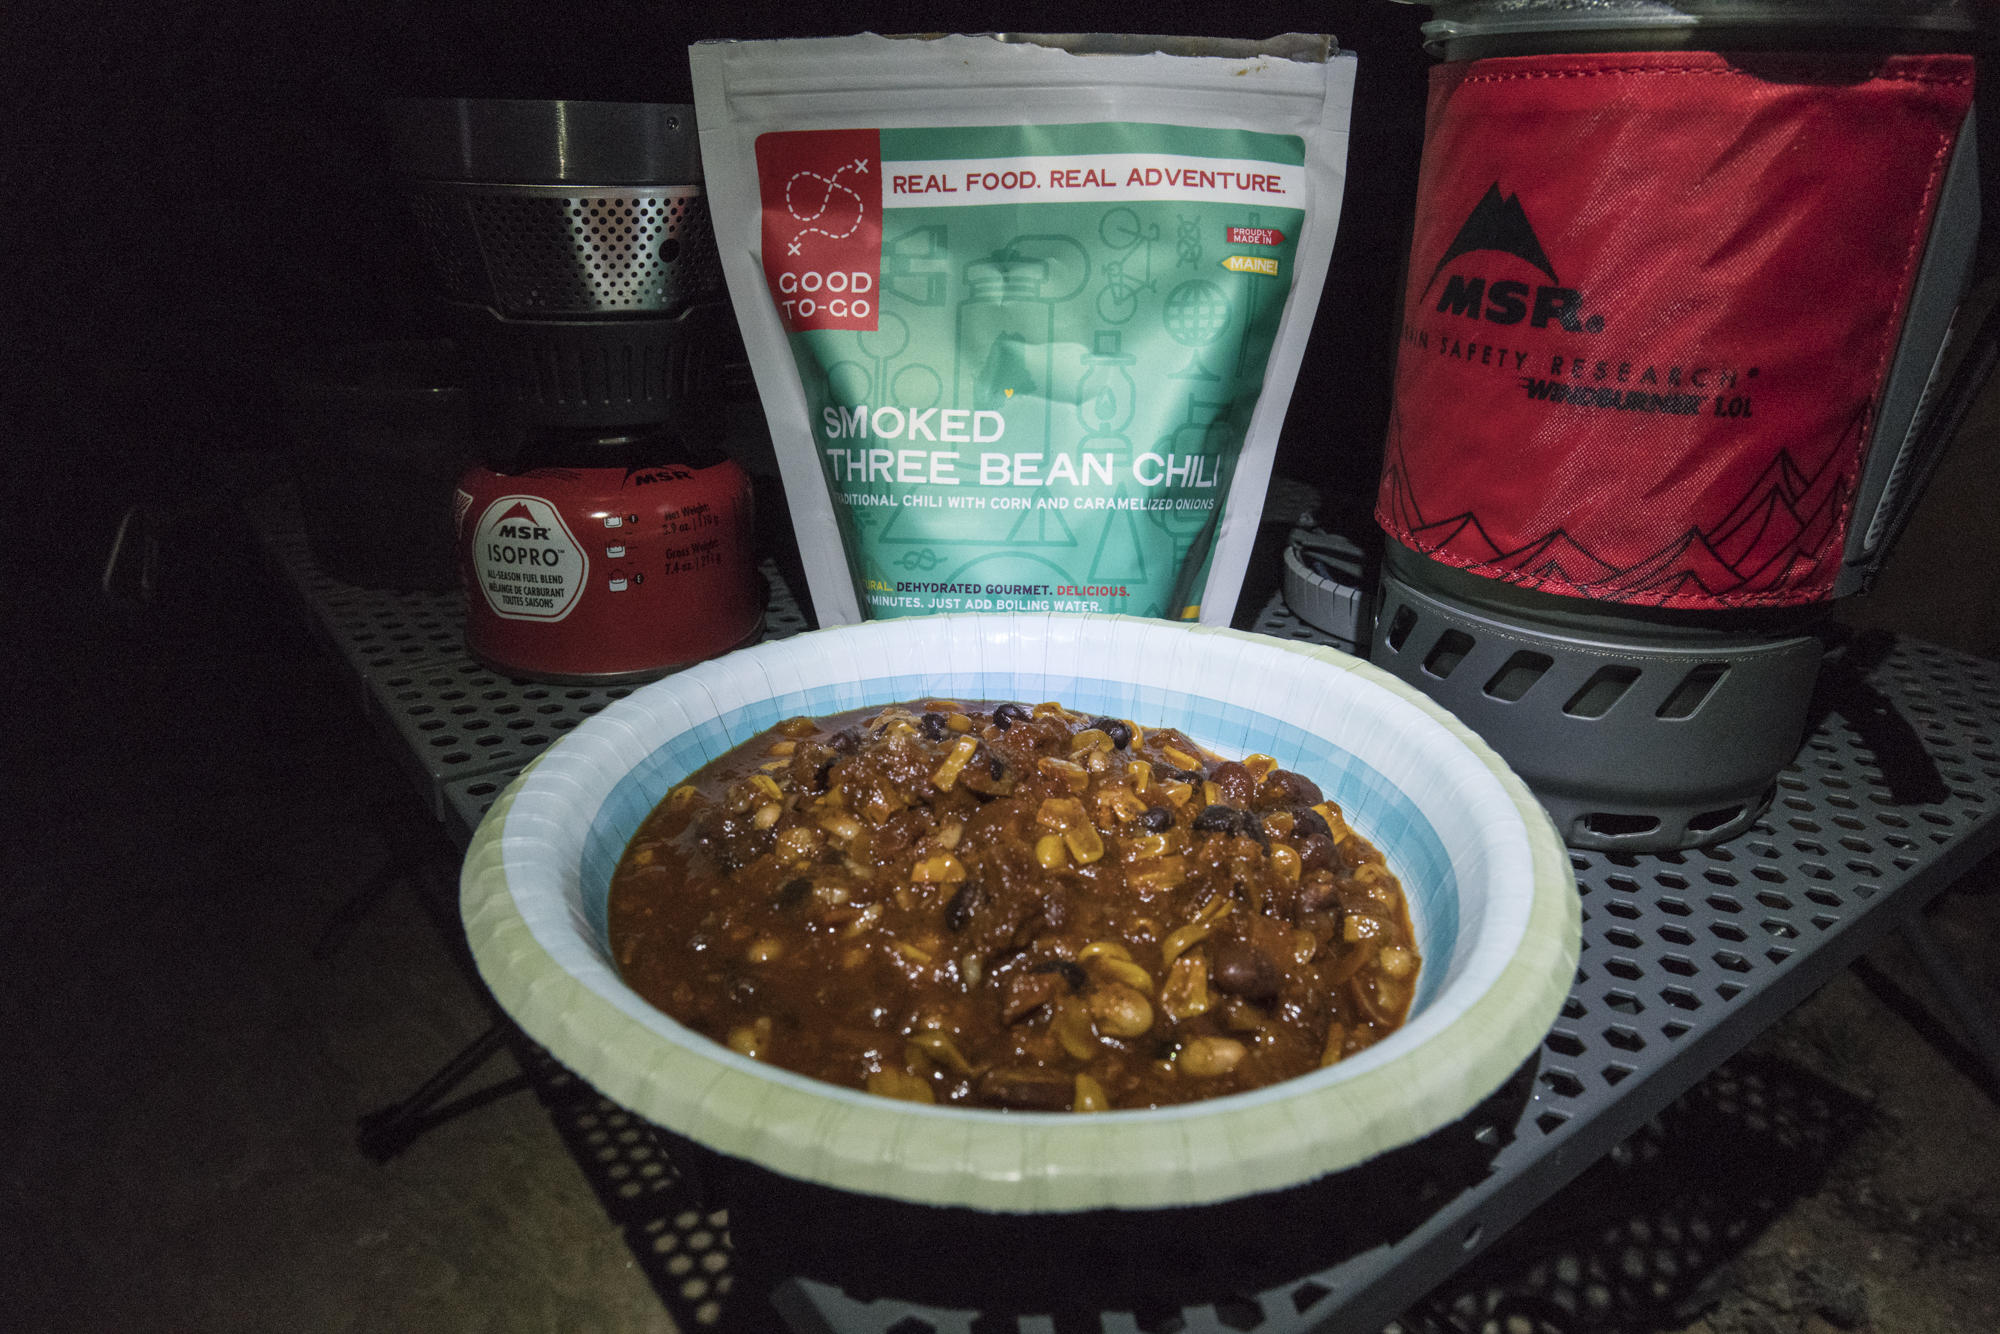
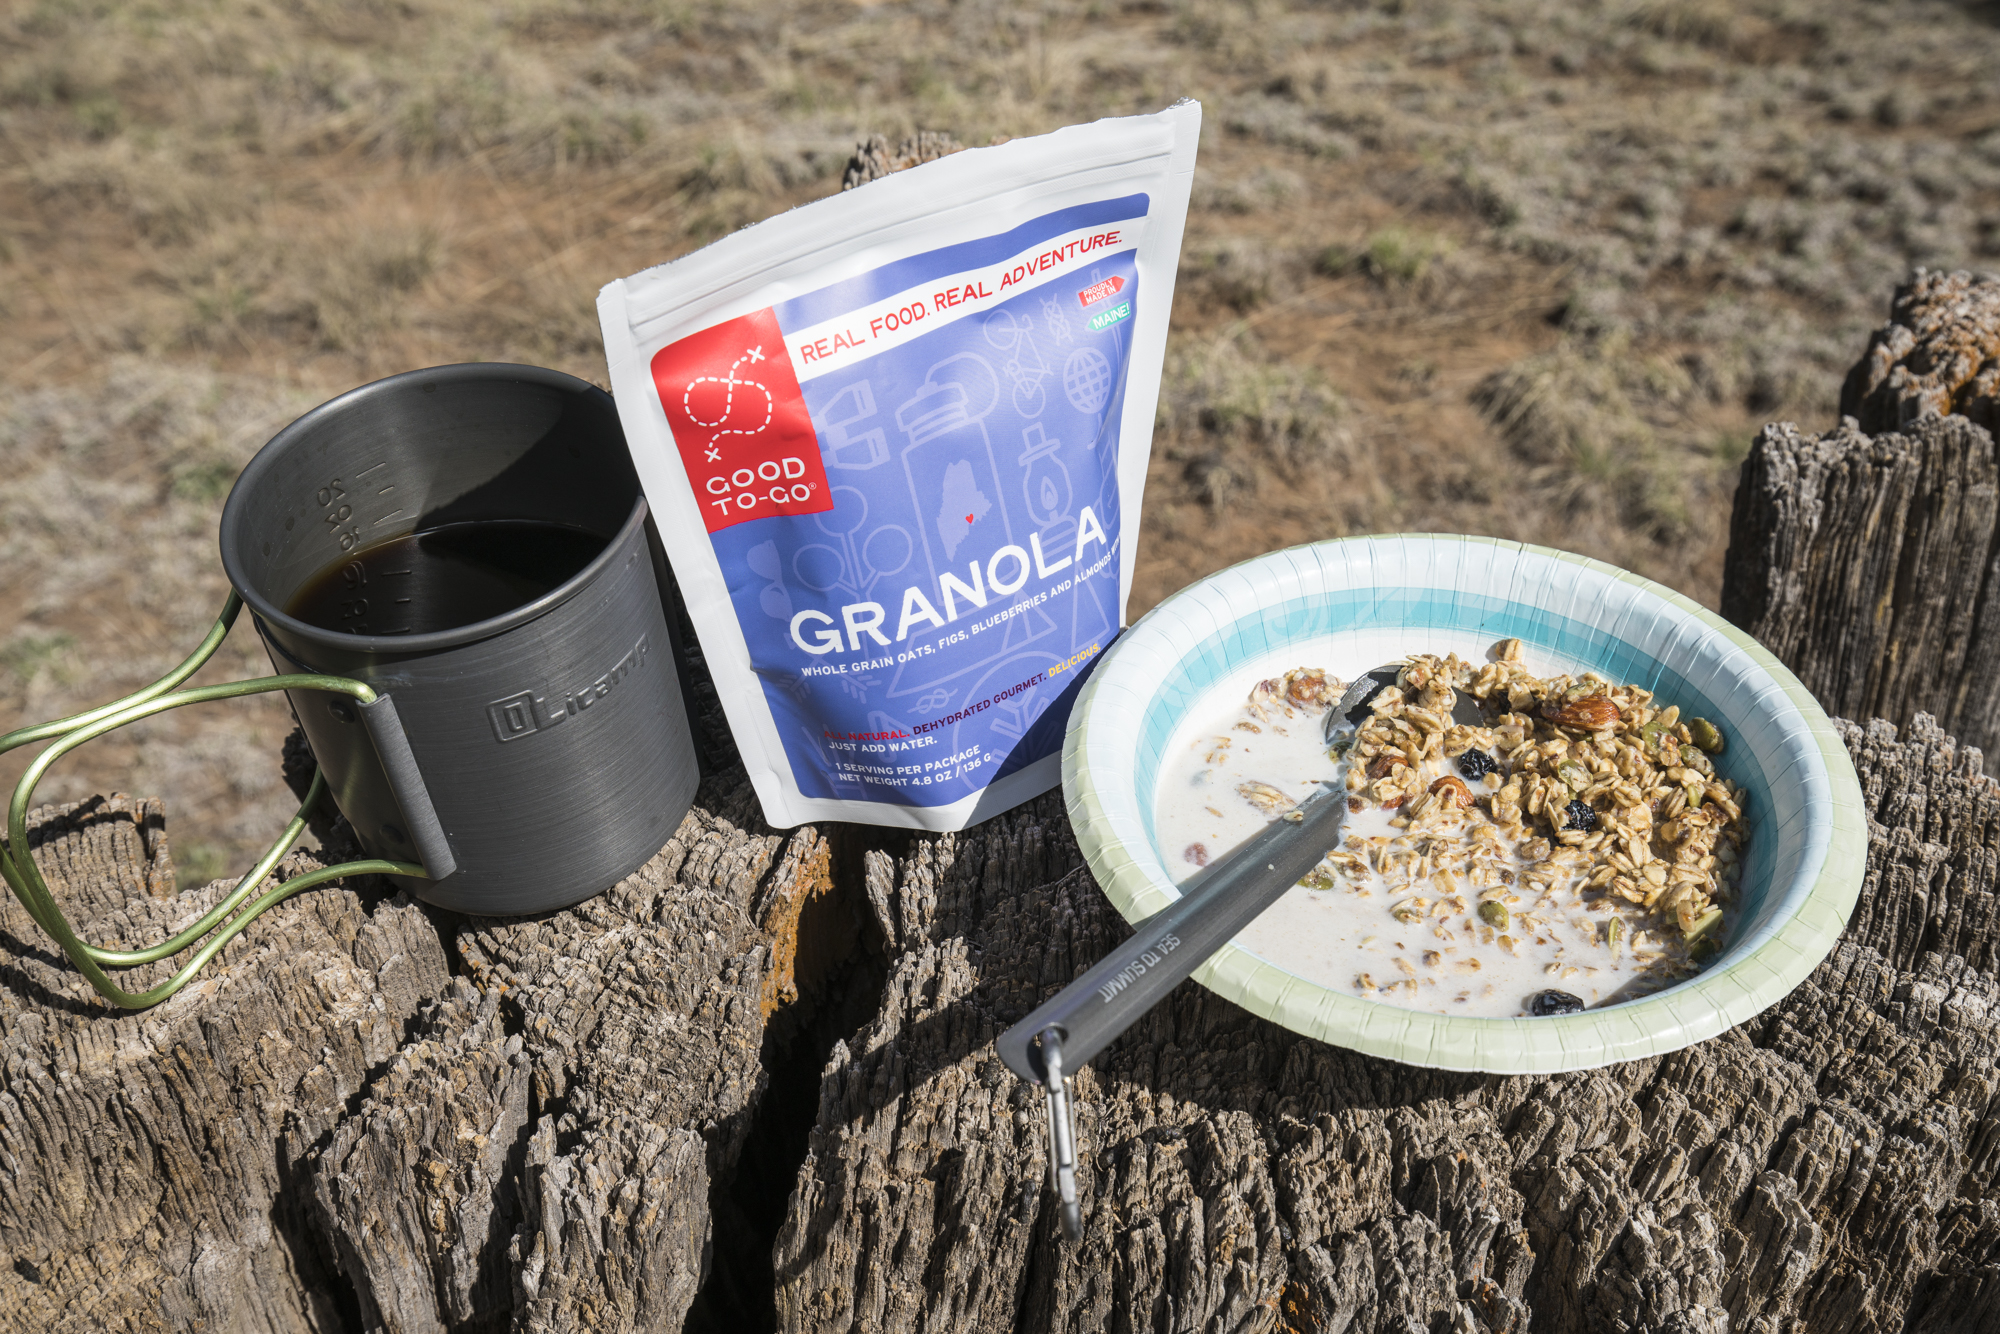
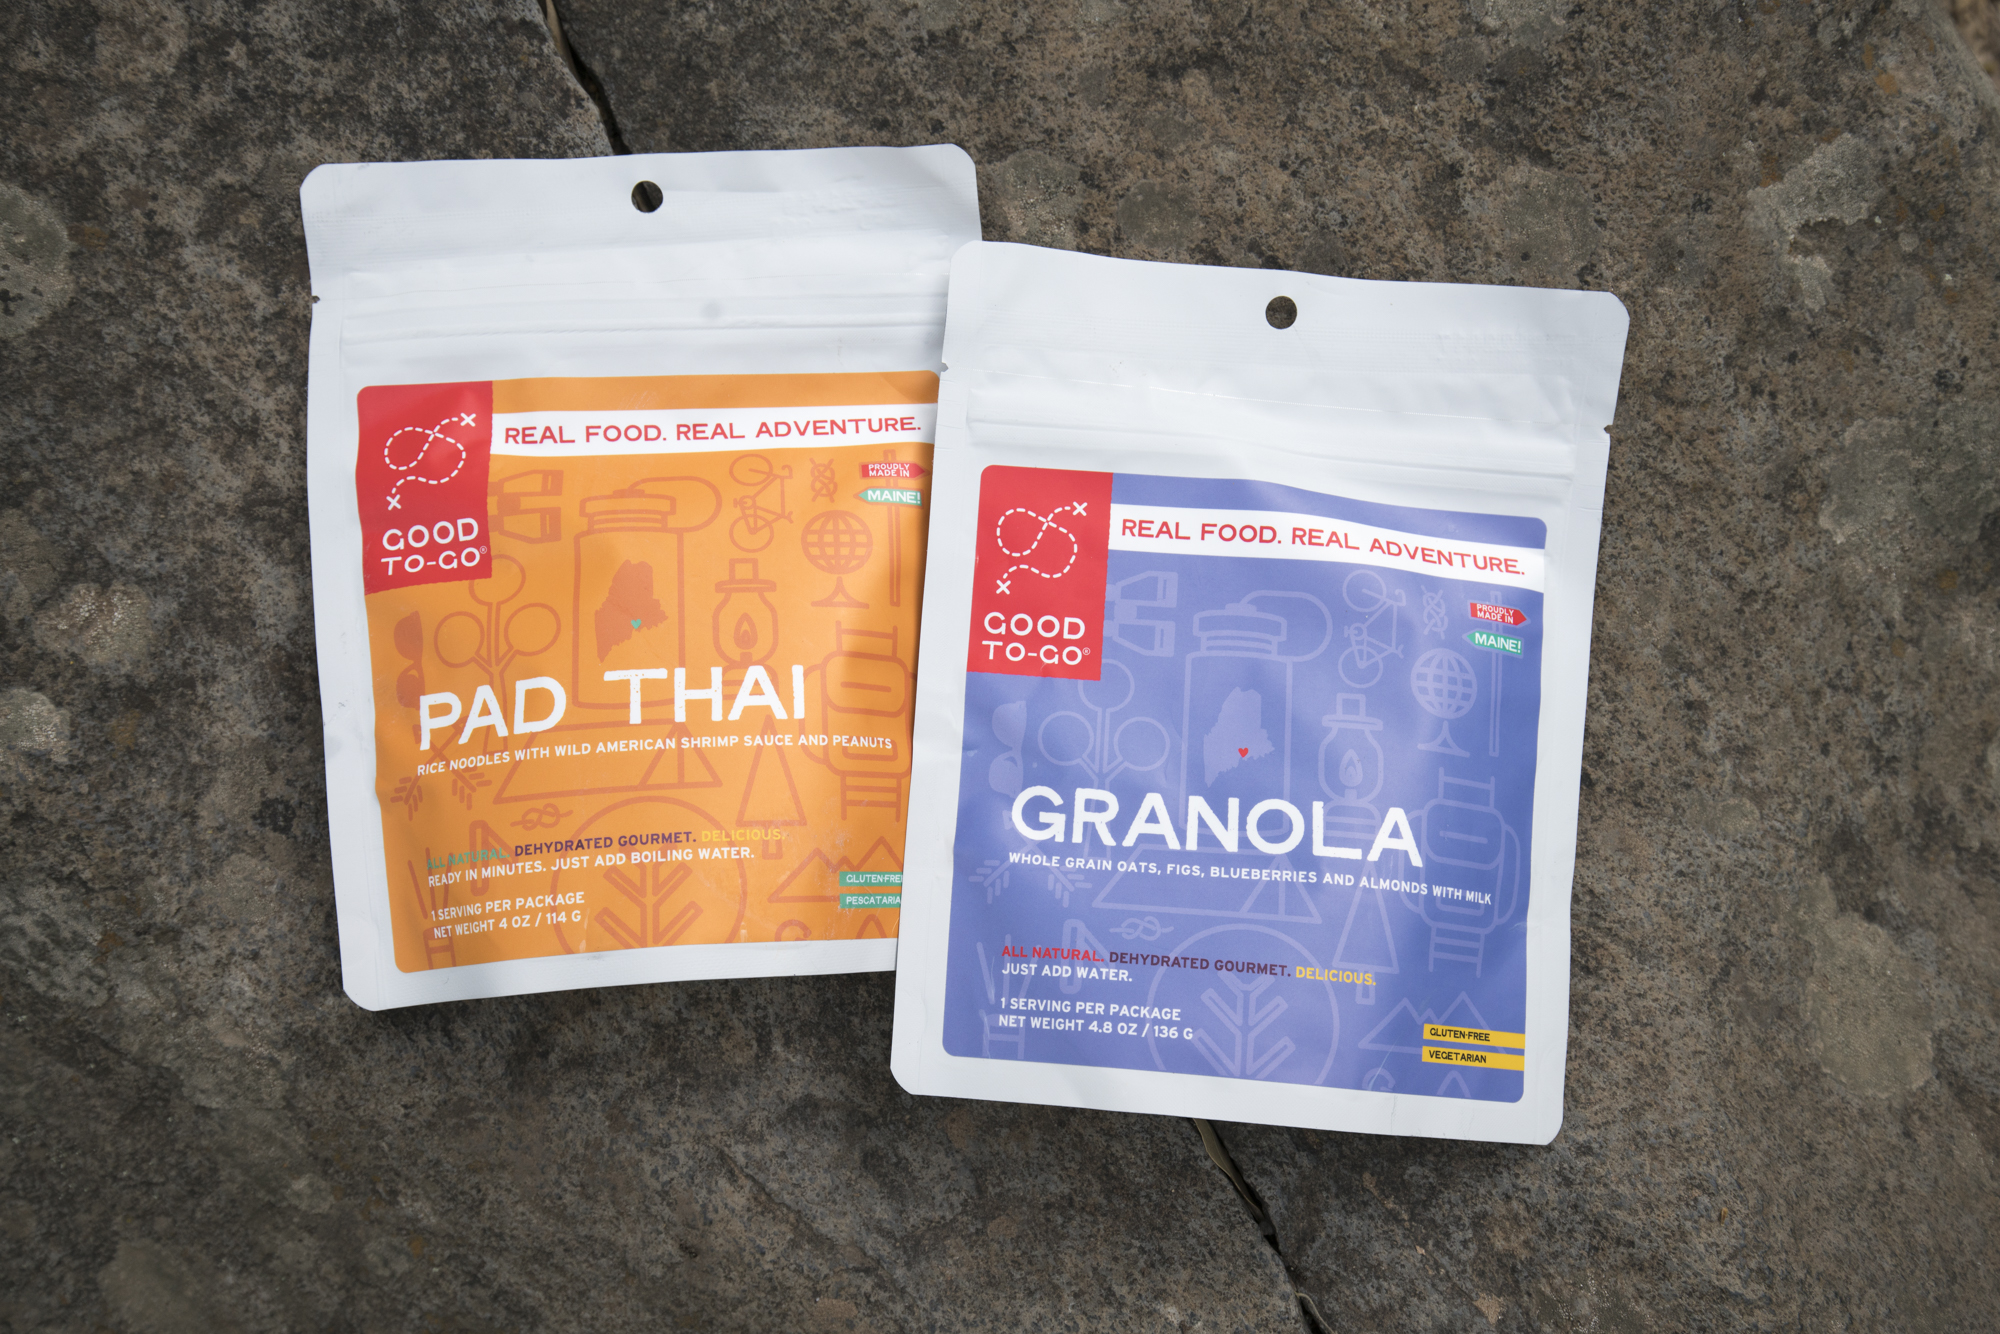
Of all the backpacking food we tried on this trip, NONE compared to Backpacker’s Pantry. To say that it was delicious after a long day on the trail is an understatement, and Savannah LOVED their Mac and Cheese! The Risotto with Chicken was my favorite meal of the entire trip so it gets 5 stars from me.

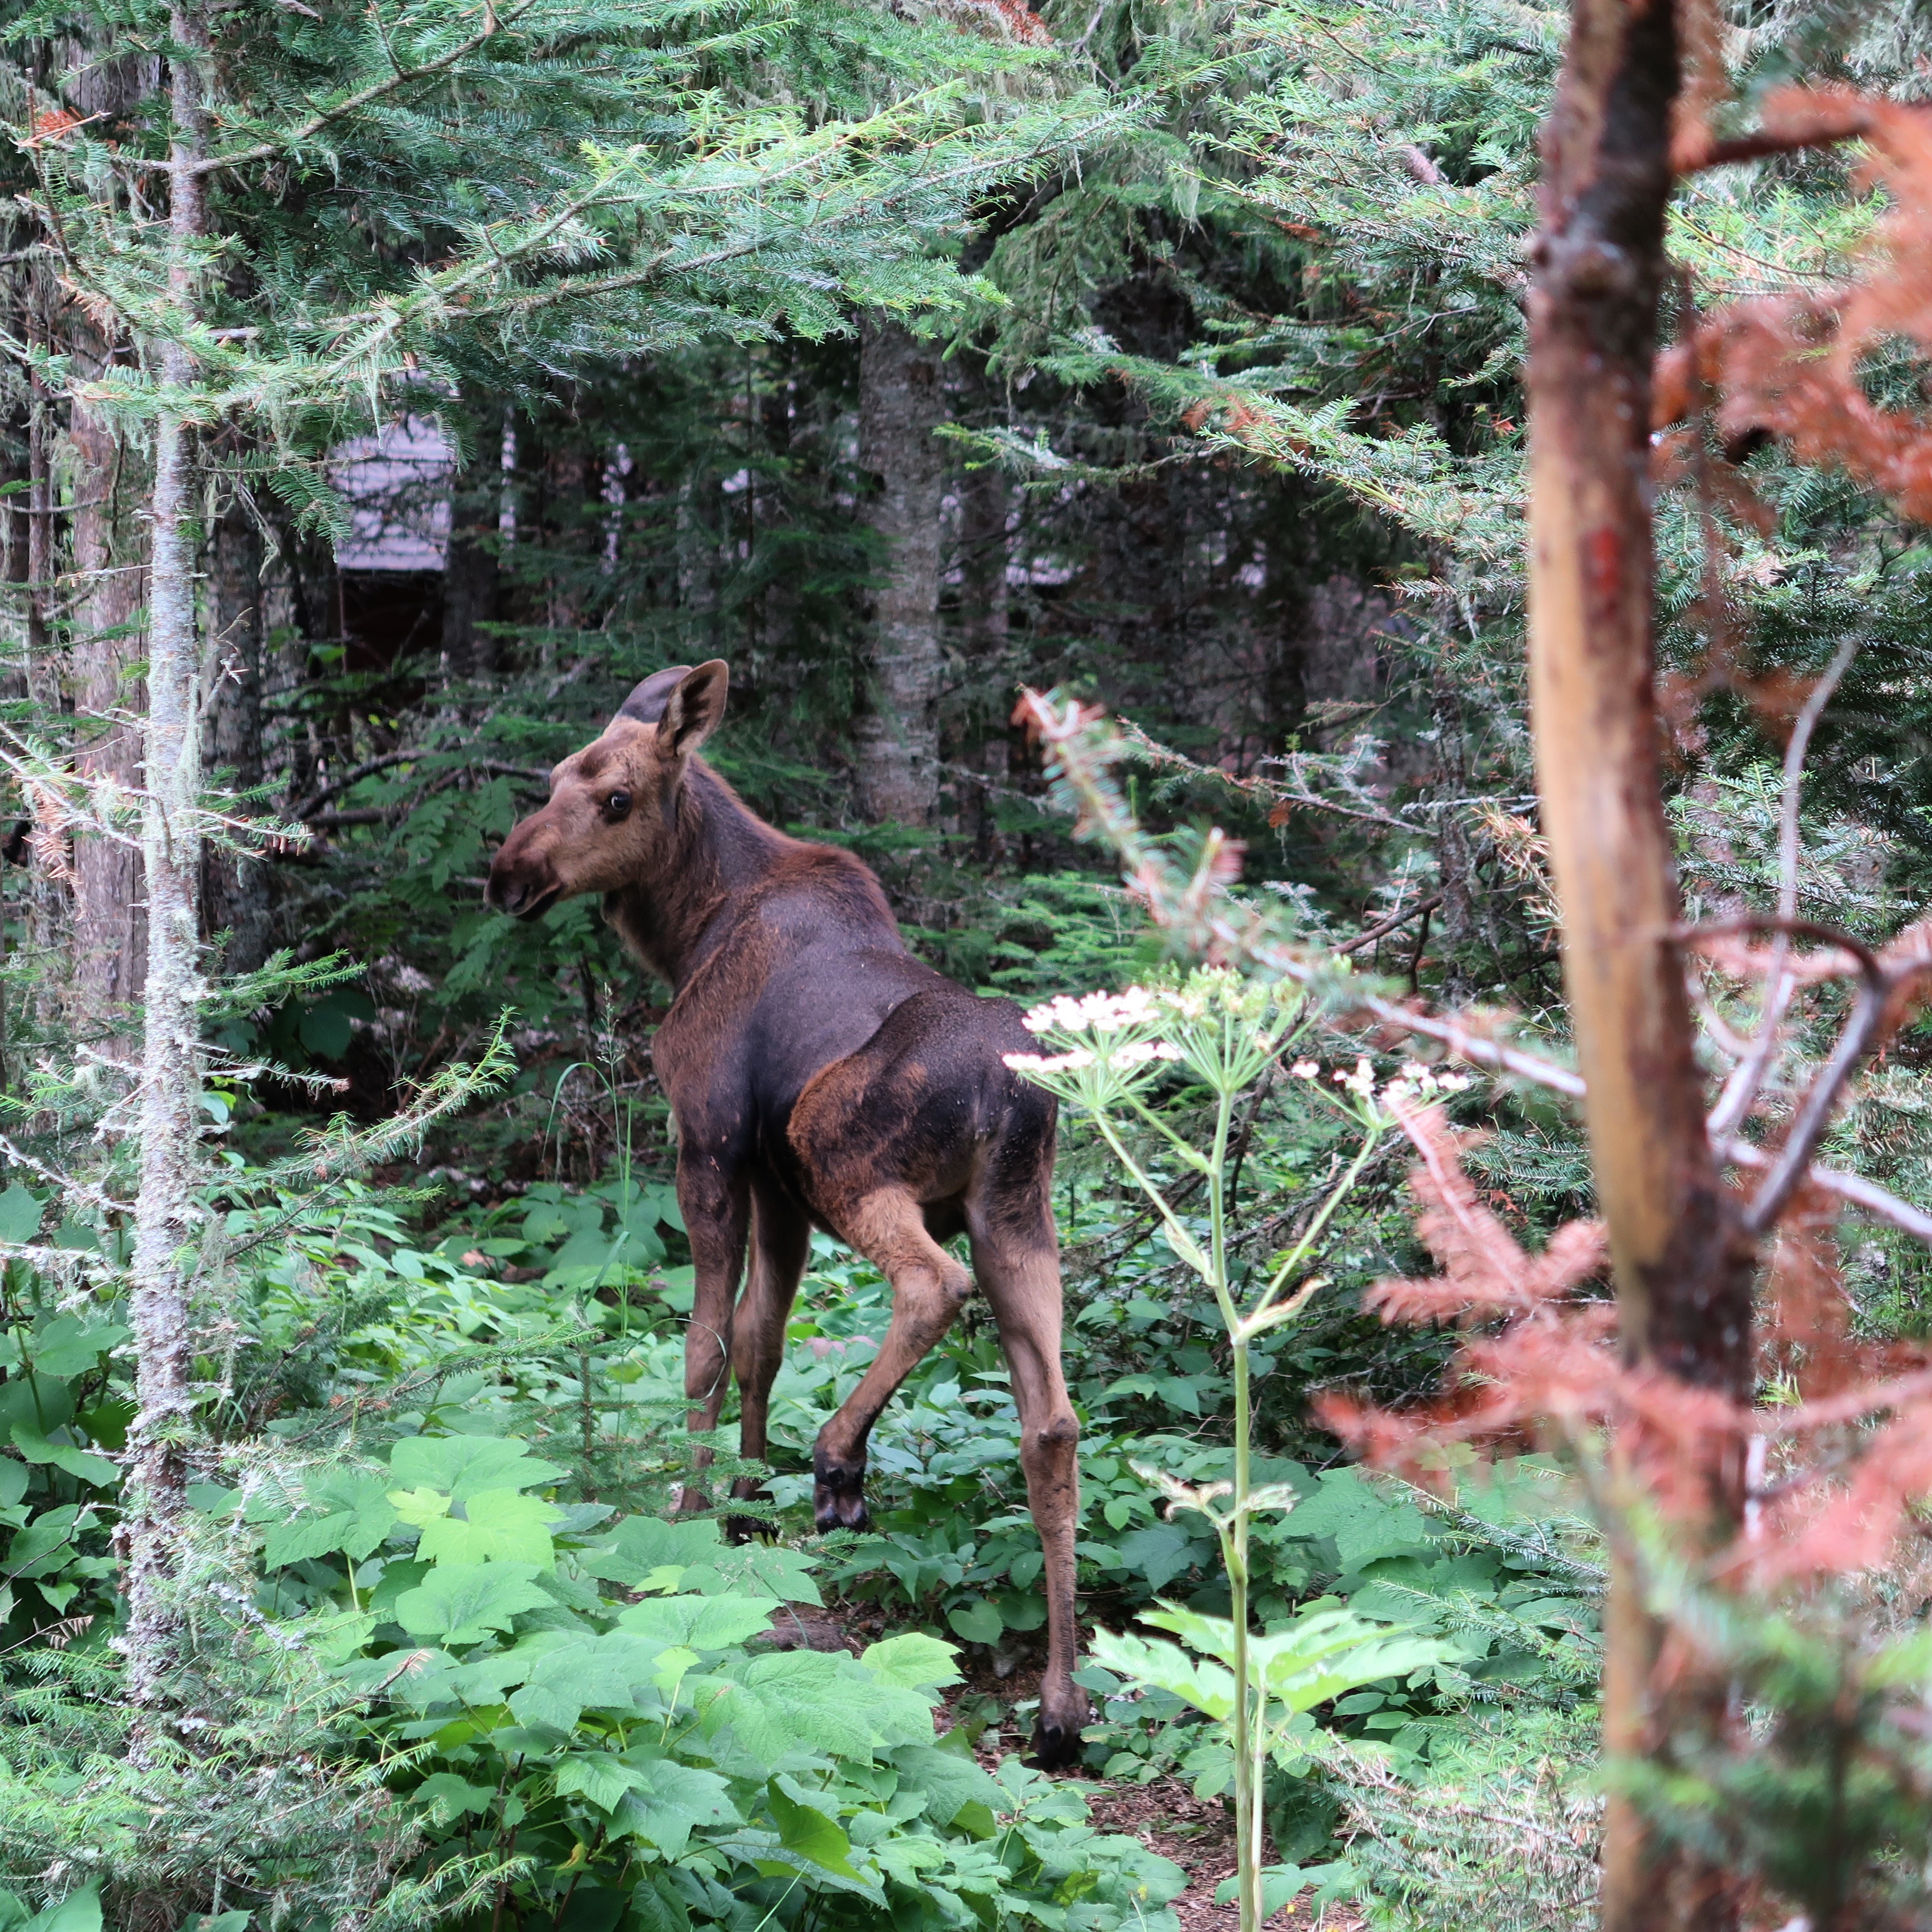
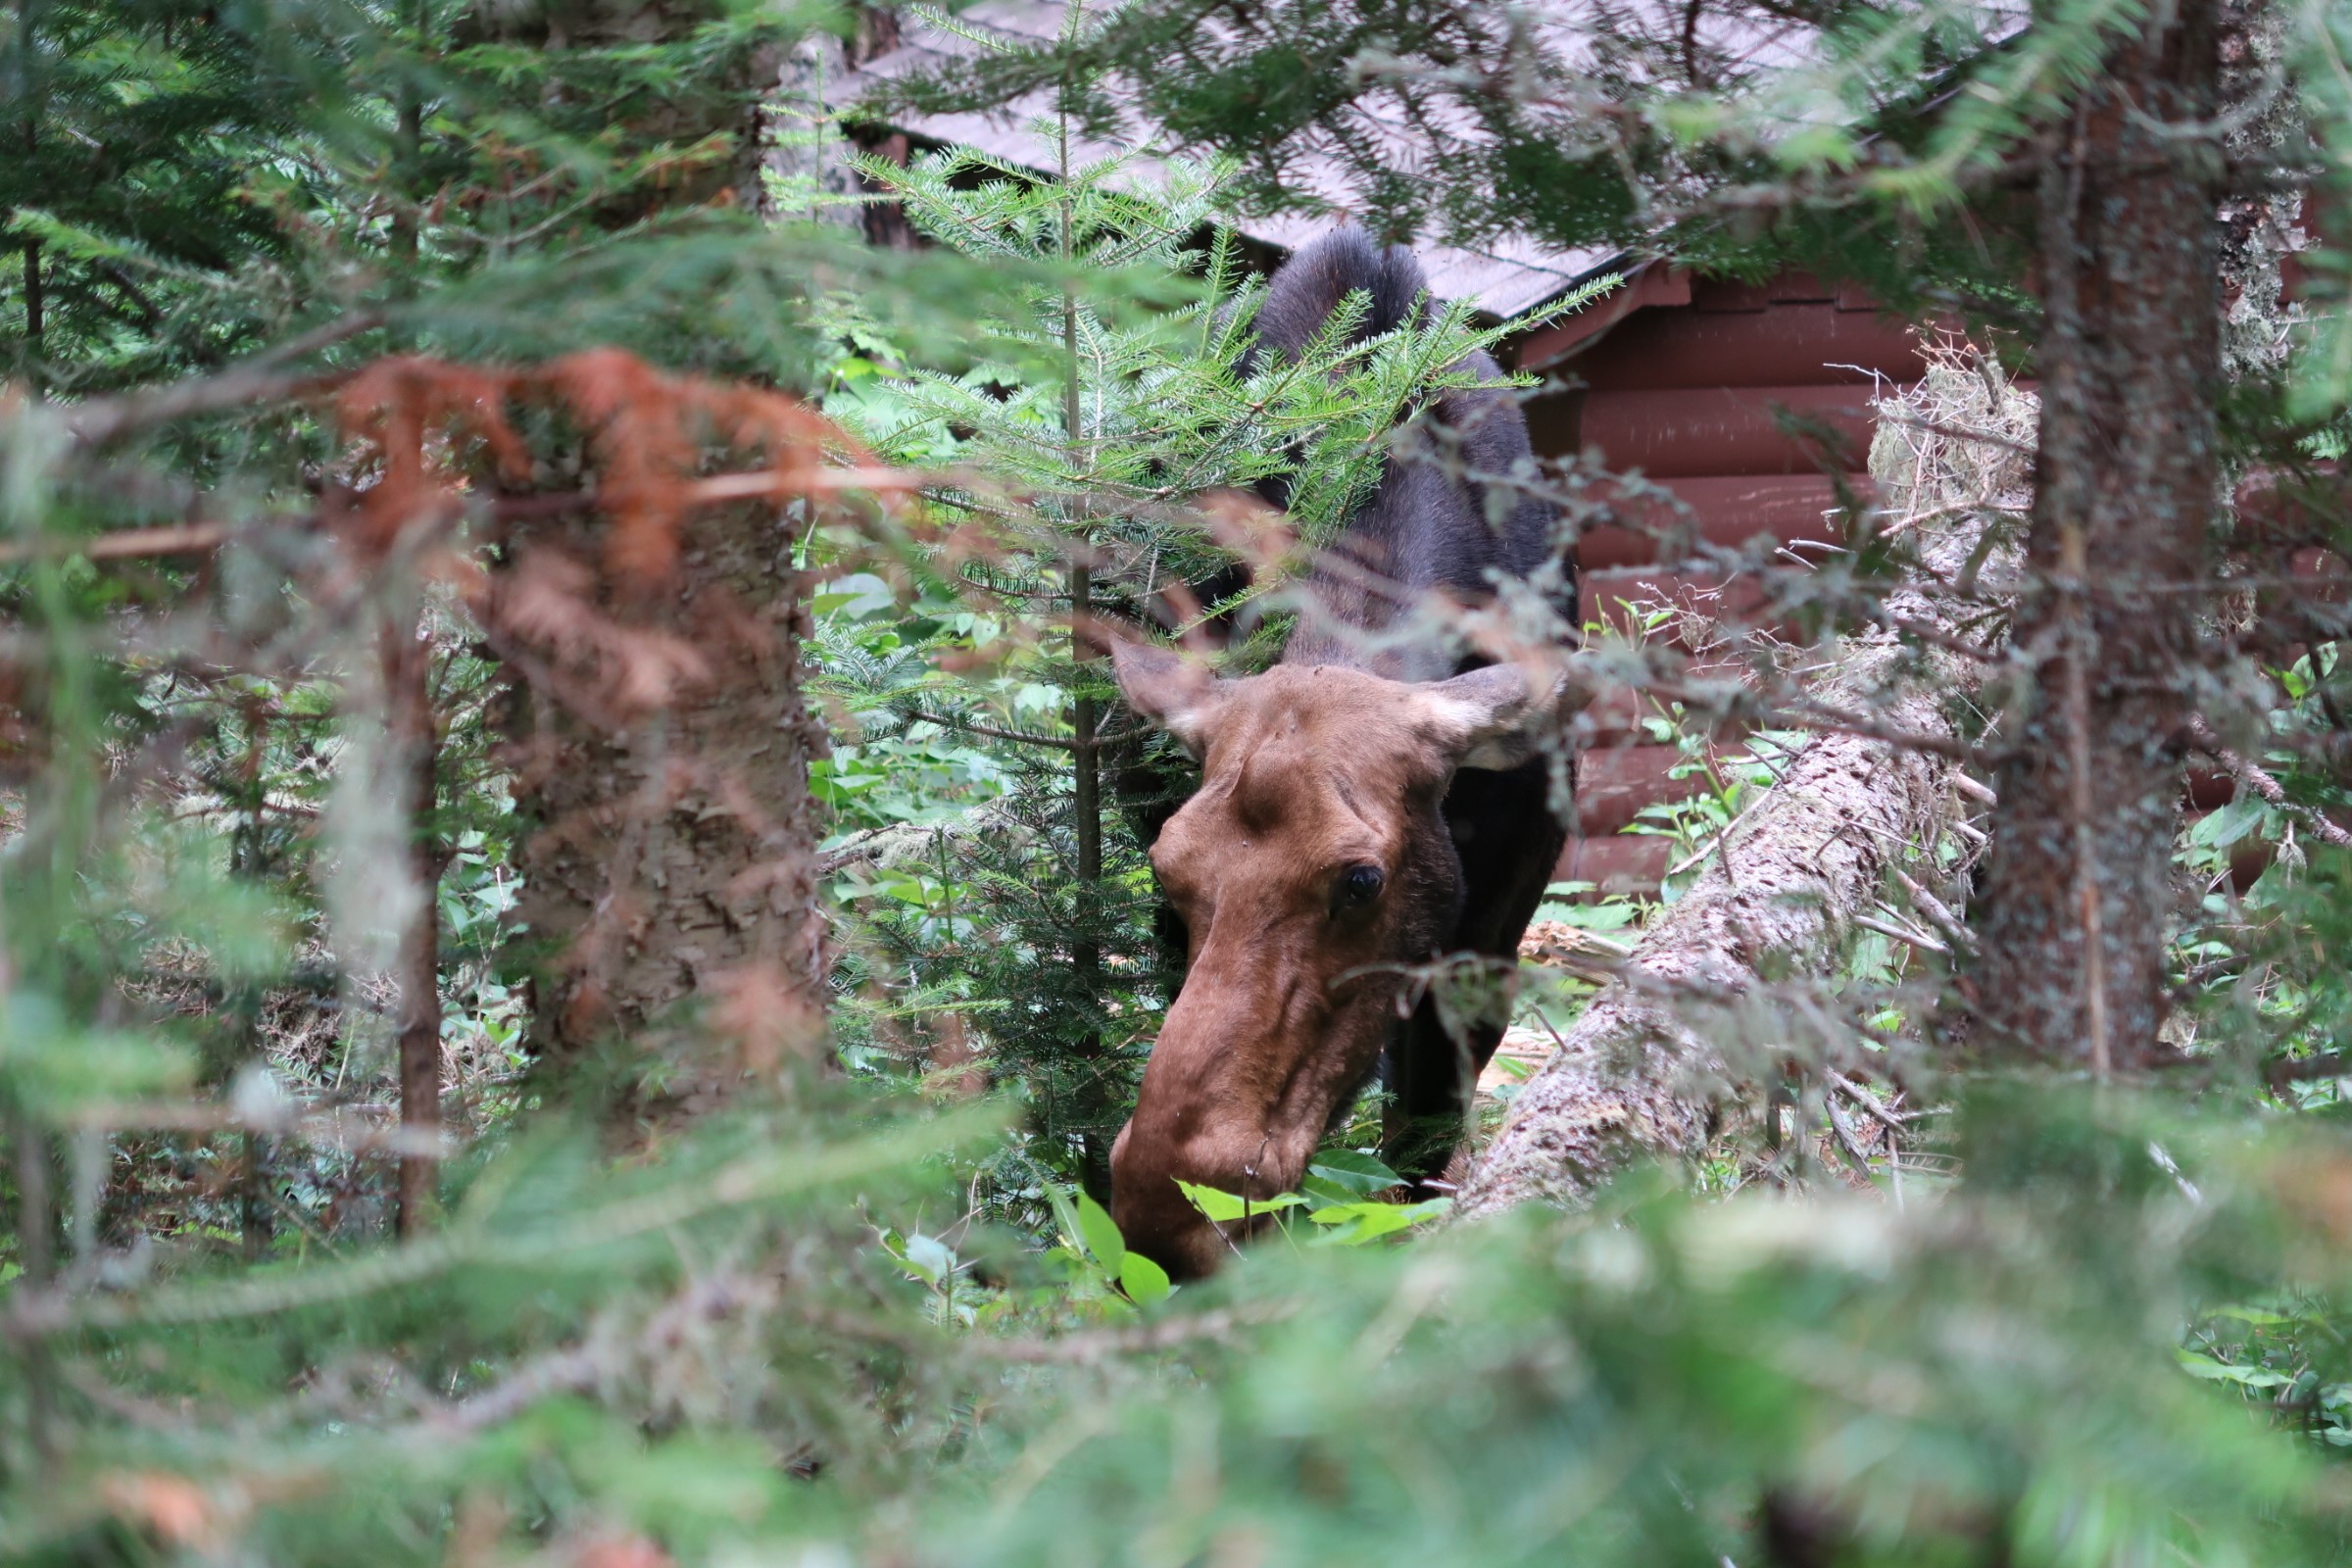
We hadn’t been in camp long when lo and behold, a moose cow and calf walked right up the shoreline and decided to have lunch with us. Right in camp. They roamed around nibbling this and that for about an hour amongst the campsites, clearly uninterested in us, before wandering further inland.
This was day one on Isle Royale!
To be continued…
