In a backcountry survival situation, fishing is an excellent source of food, and in some environments it may be your sole source of food. During normal times, trying your hand at fishing with some of the more arcane techniques covered here can also be a whole lot of fun!
As Hank Williams Jr once said, “We’re from North California and South Alabam’, And little towns all around this land. And we can skin a buck and run a trotline. And a country boy can survive“
Can you?
Fact: A good survival kit should have some basic fishing line and hooks, but it’s likely you won’t have a pole. Even if you do, there are other ways to catch fish.
There are three very basic ways to fish without a pole, or in a survival situation. Some are better in the still waters of a lake, pond or swamp, while others are better suited for running waters:
1. Limb Lines. Basically, the tree is your fishing pole. You can easily rig several limbs in sequence, varying the depth and type of bait to see what works in your area.
2. Trot Lines. As simple as a length of strong fishing line with hooked and baited drop lines hanging down every couple of feet and spread across a stream or pond.
3. Jug Fishing. Like a trapper setting traps, jug lines can be a very effective way of targeting specific fish hangouts, and can even be drug behind your raft or canoe on the move.
Each method requires adequate anchor weights to hold them in place if stationary, or drift weights that will help prevent the escape of a large, wriggling fish. Weights are used to restrain and/or control a fishing line and can vary from lightweight sinkers to a big rock. Basic baits include grubs, worms, shad, minnows, local shellfish, “stink” baits, big tasty bugs, or whatever you can find. You may have to improvise, adapt and overcome.
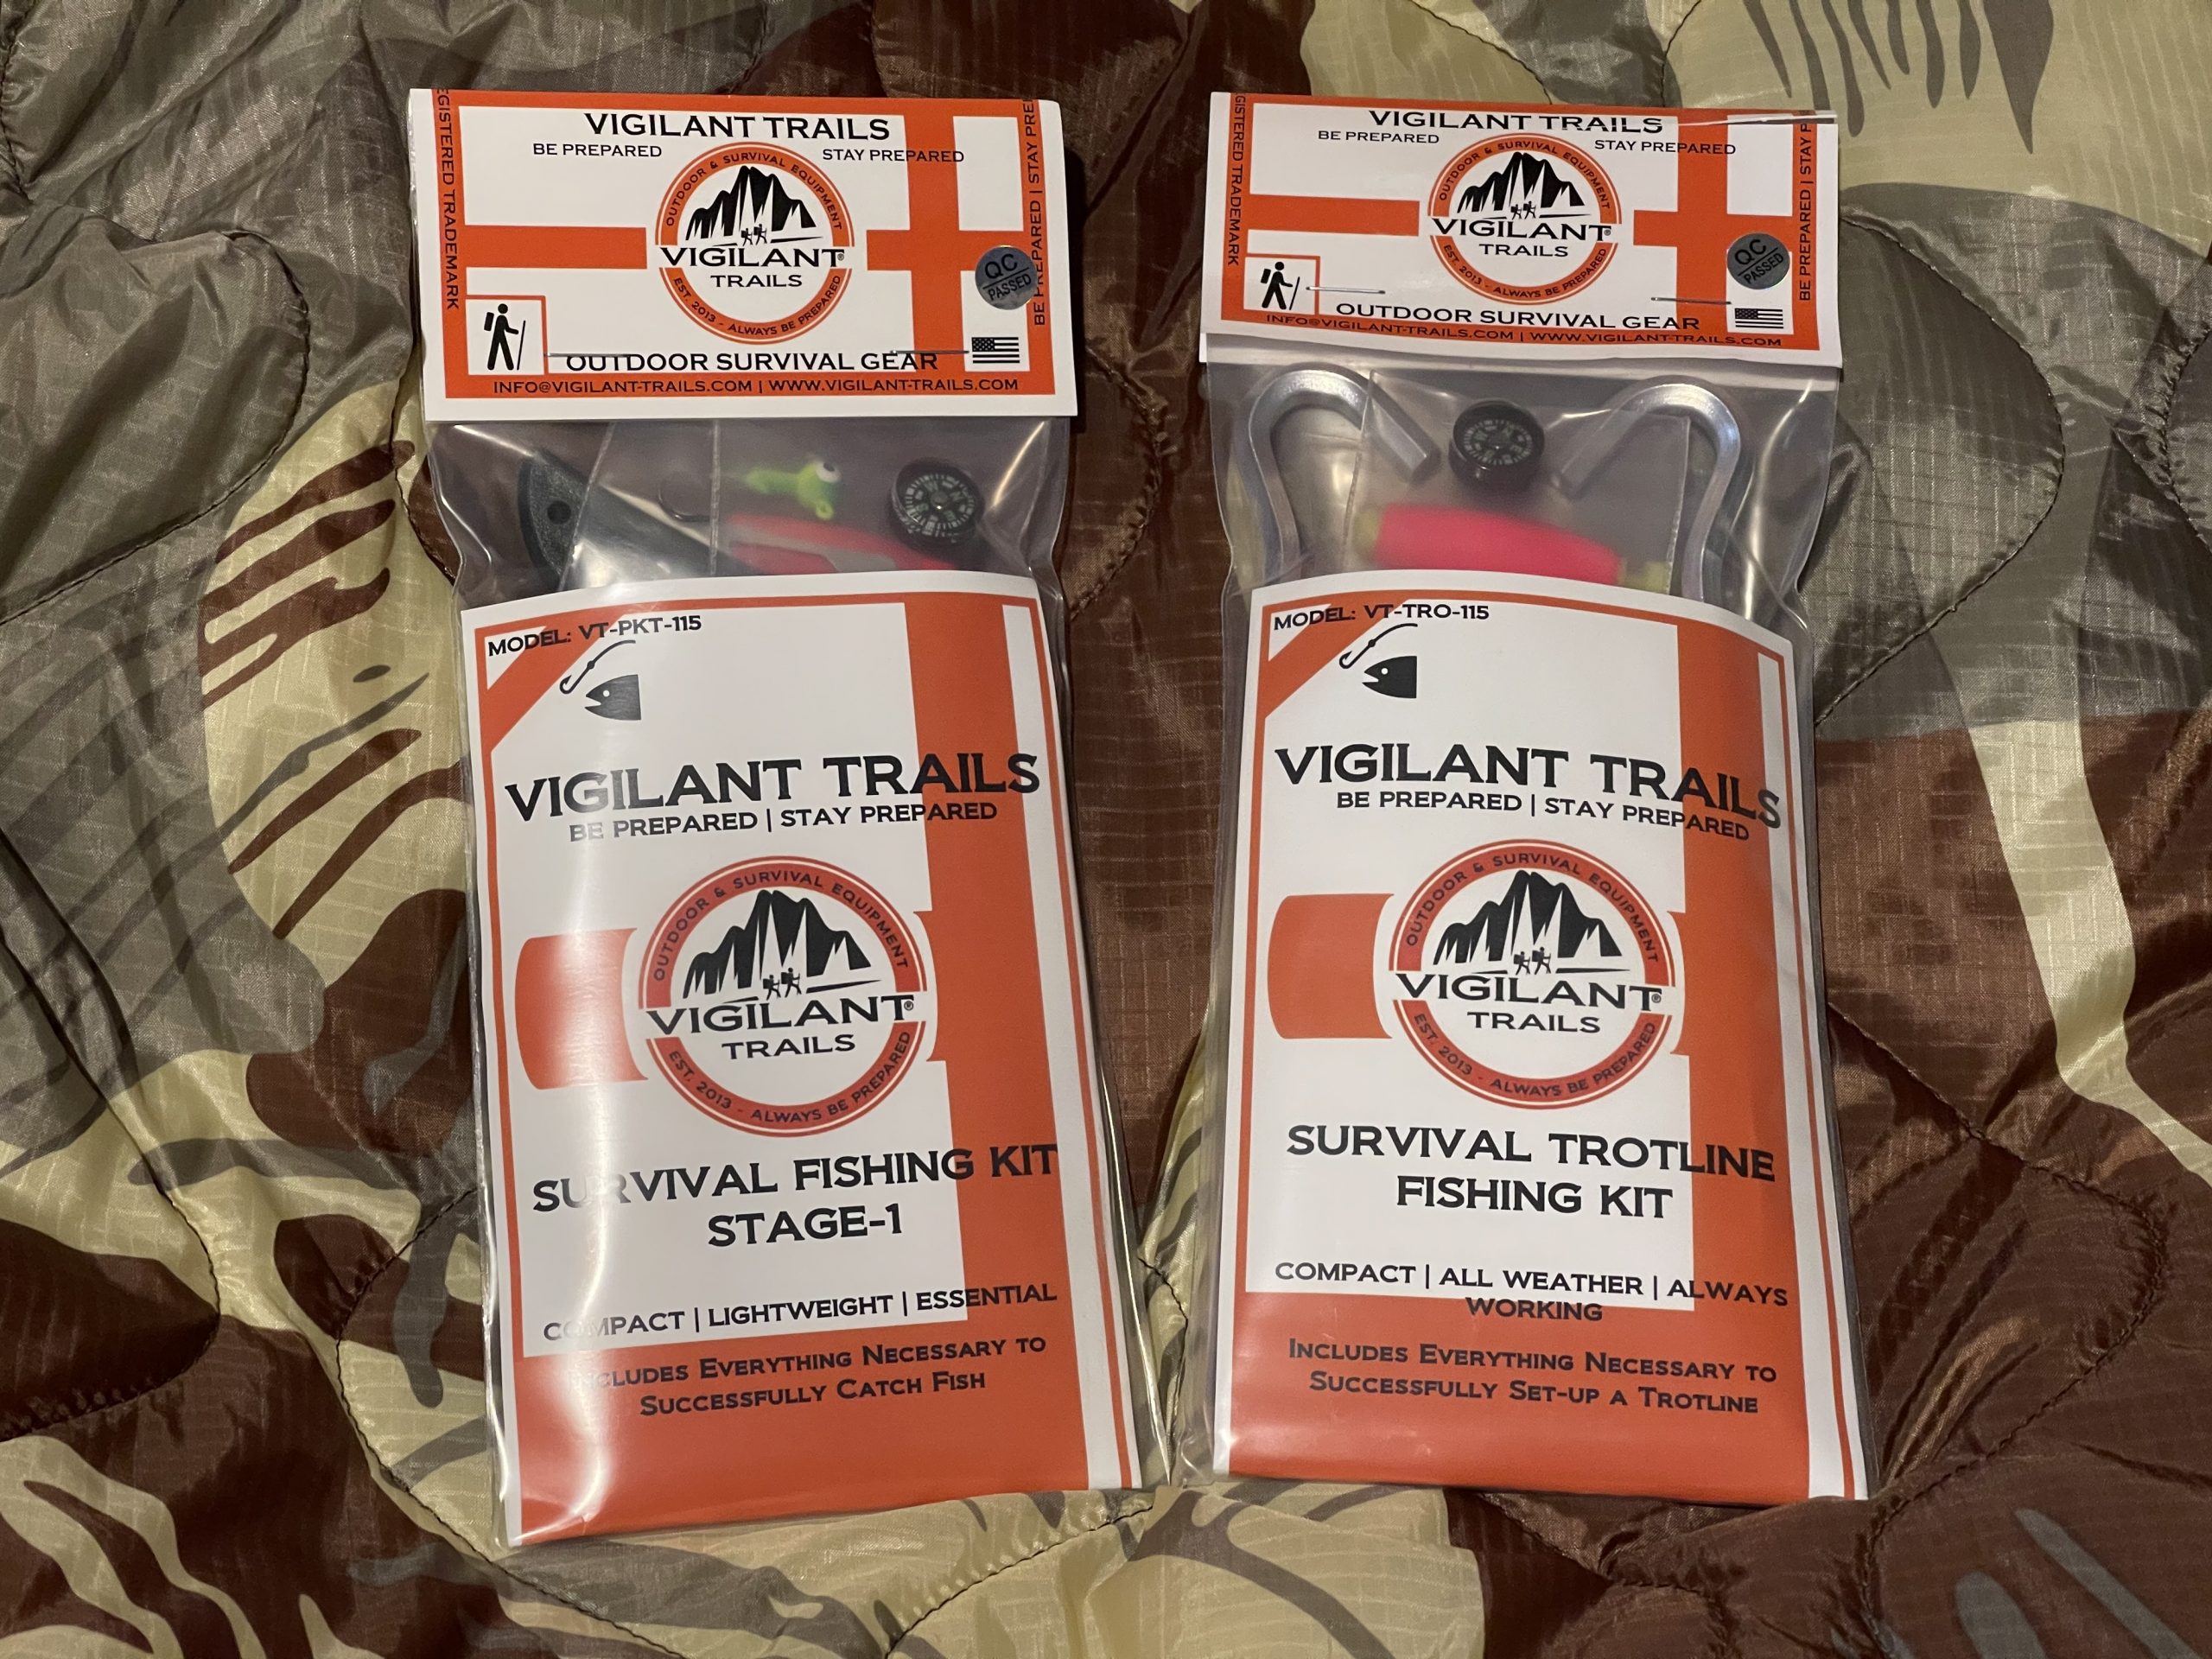
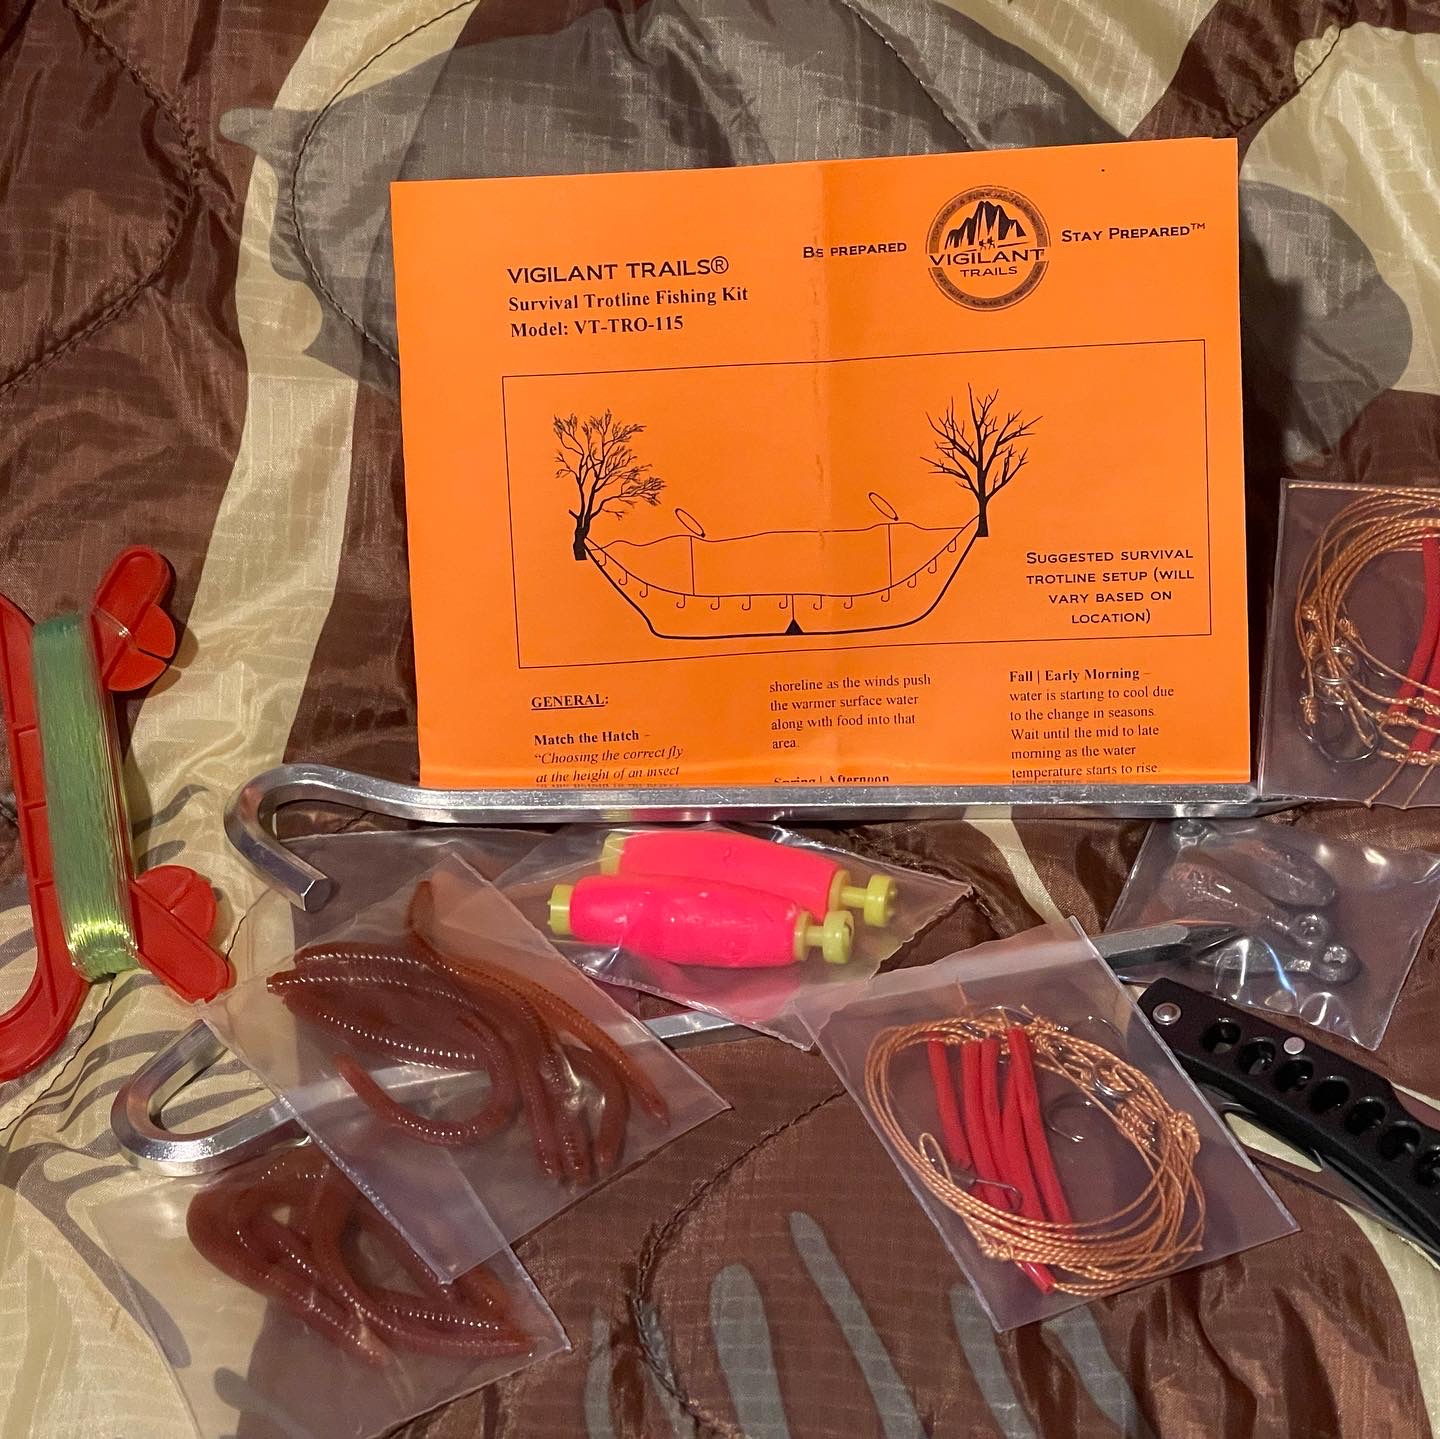
It’s wise to carry some basic fishing kit in your bag of tricks, and we’re big fans of Vigilant Trails. They make kits that are innovative, affordable, lightweight, and above all, functional. And they make them right here in the USA.
EDITOR’S NOTE: Some of these methods should be used with caution or for survival only as they may illegal in some locations.

Full of Info 
Light and Compact
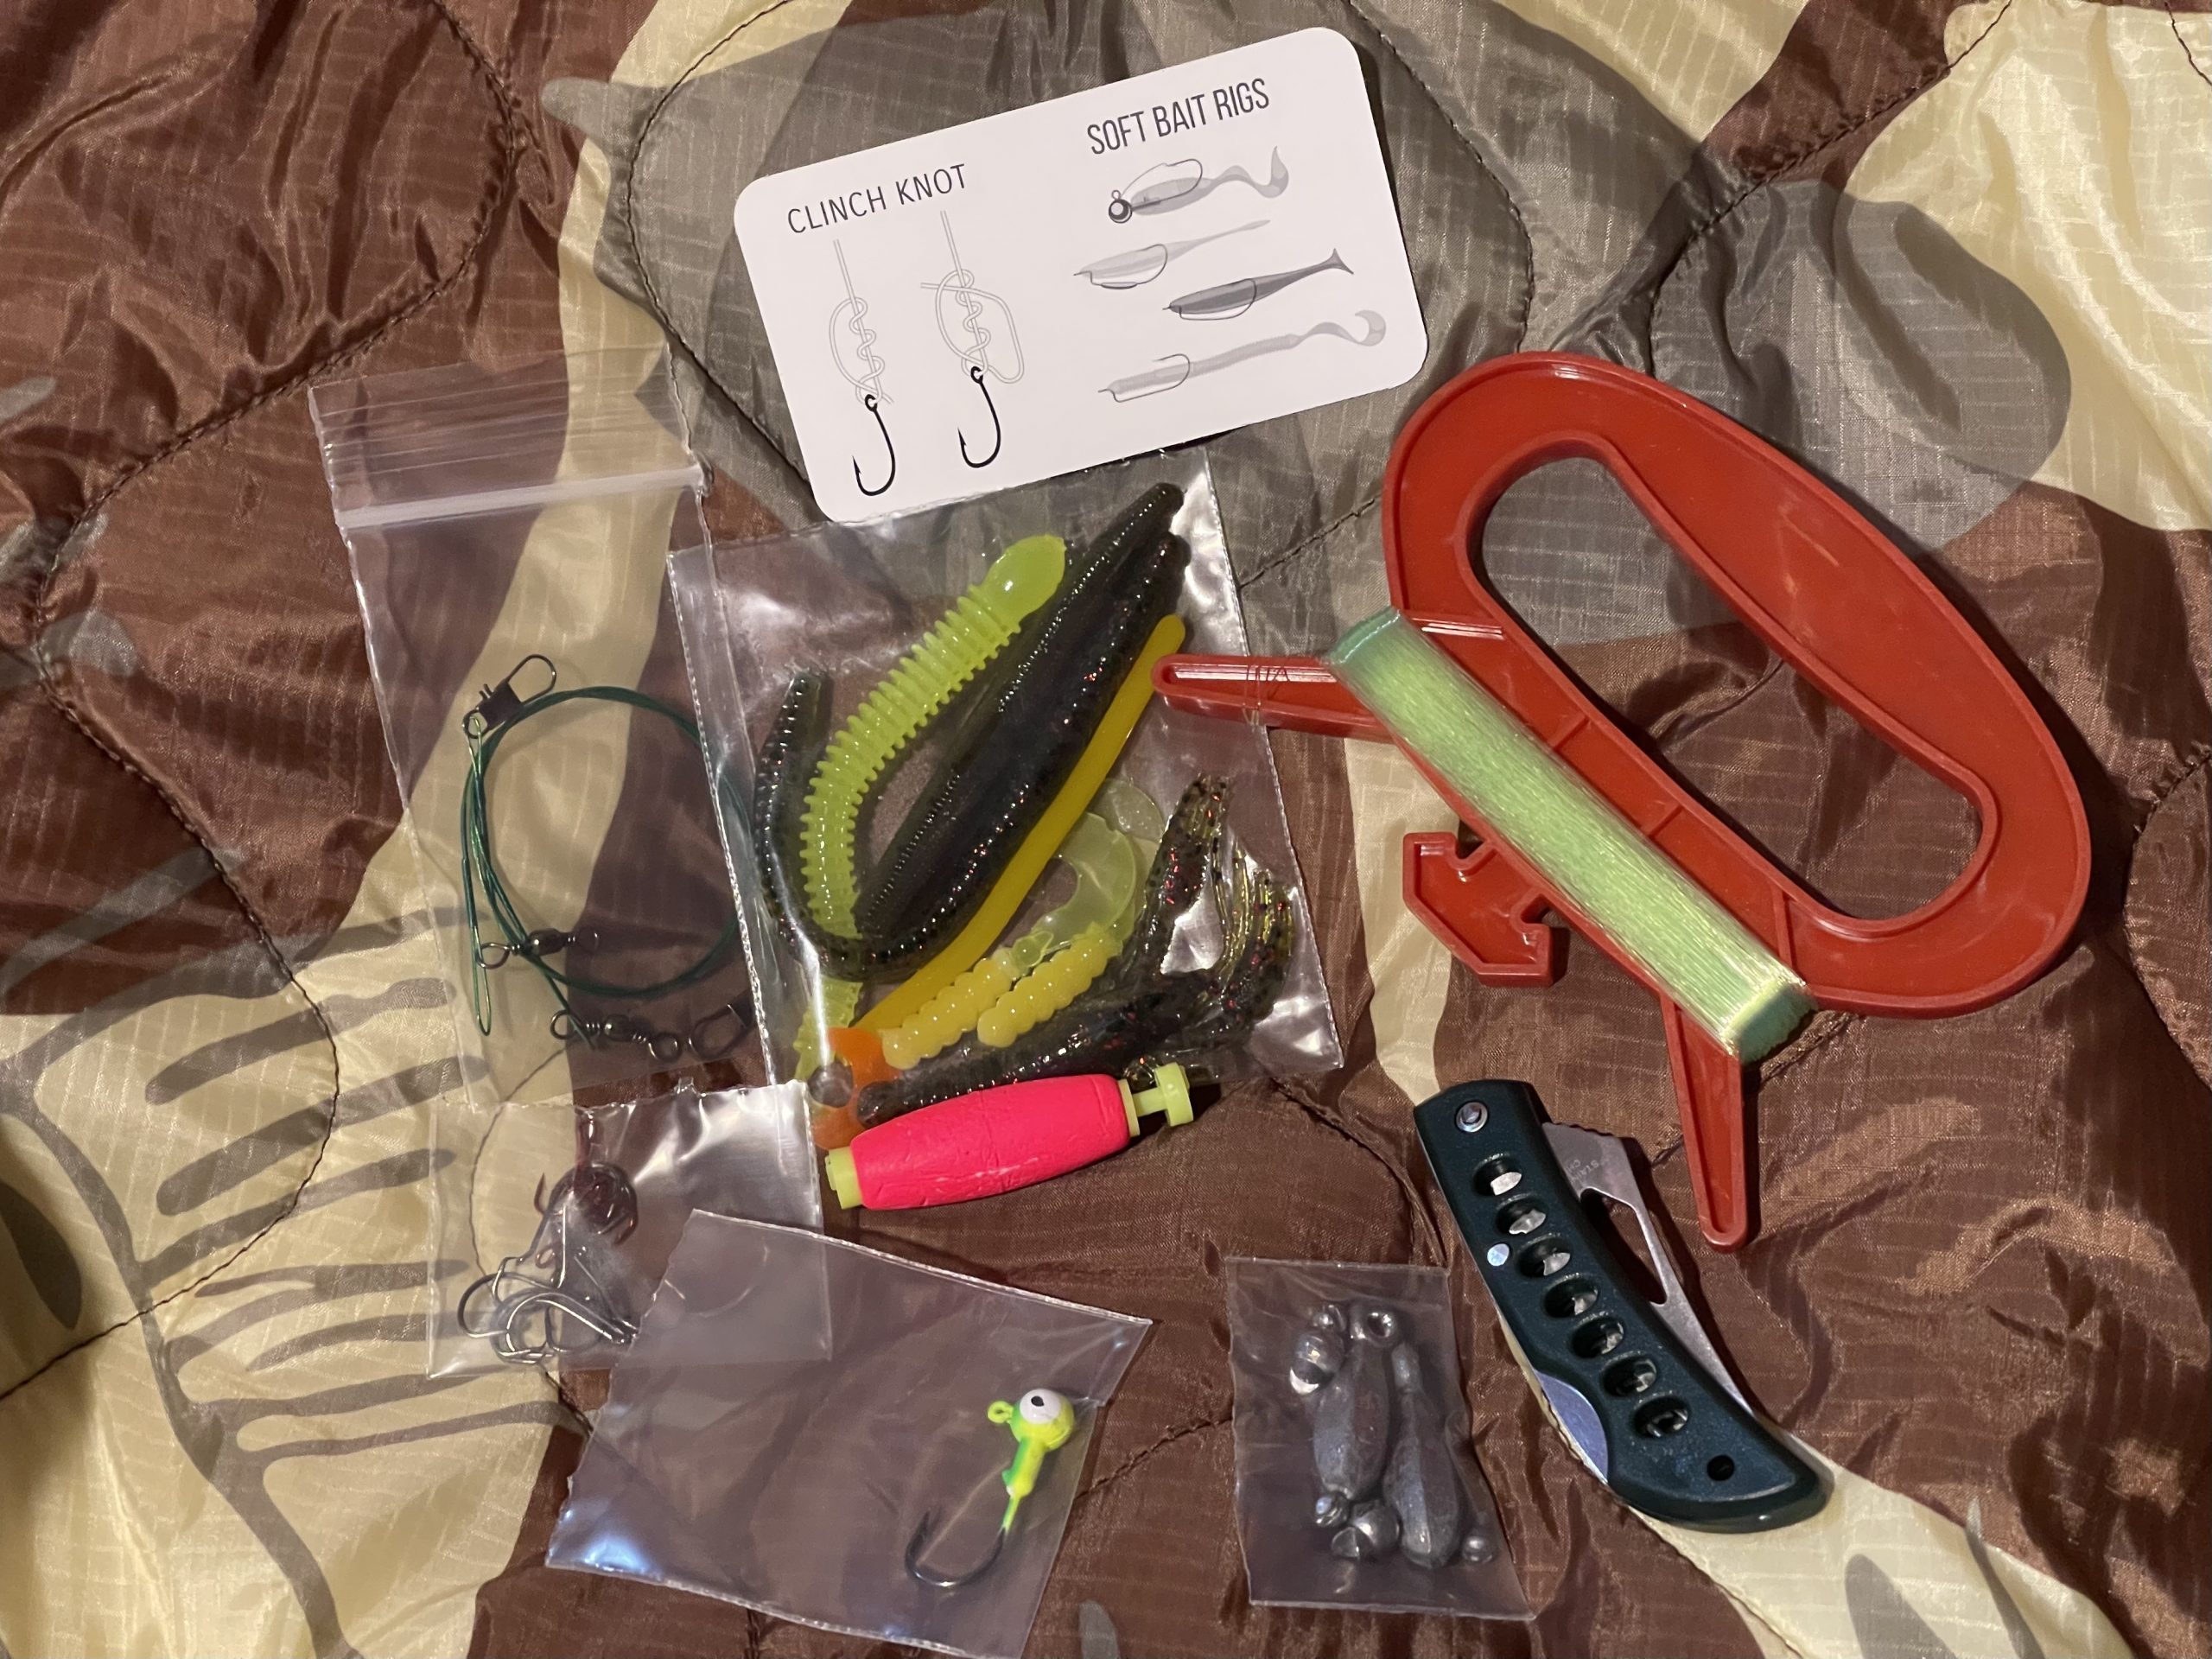
A trotline is a heavy fishing line with baited hooks attached at intervals by means of branch lines called snoods. A snood is a short length of line which is attached to the main line using a clip or swivel, with the hook at the other end.
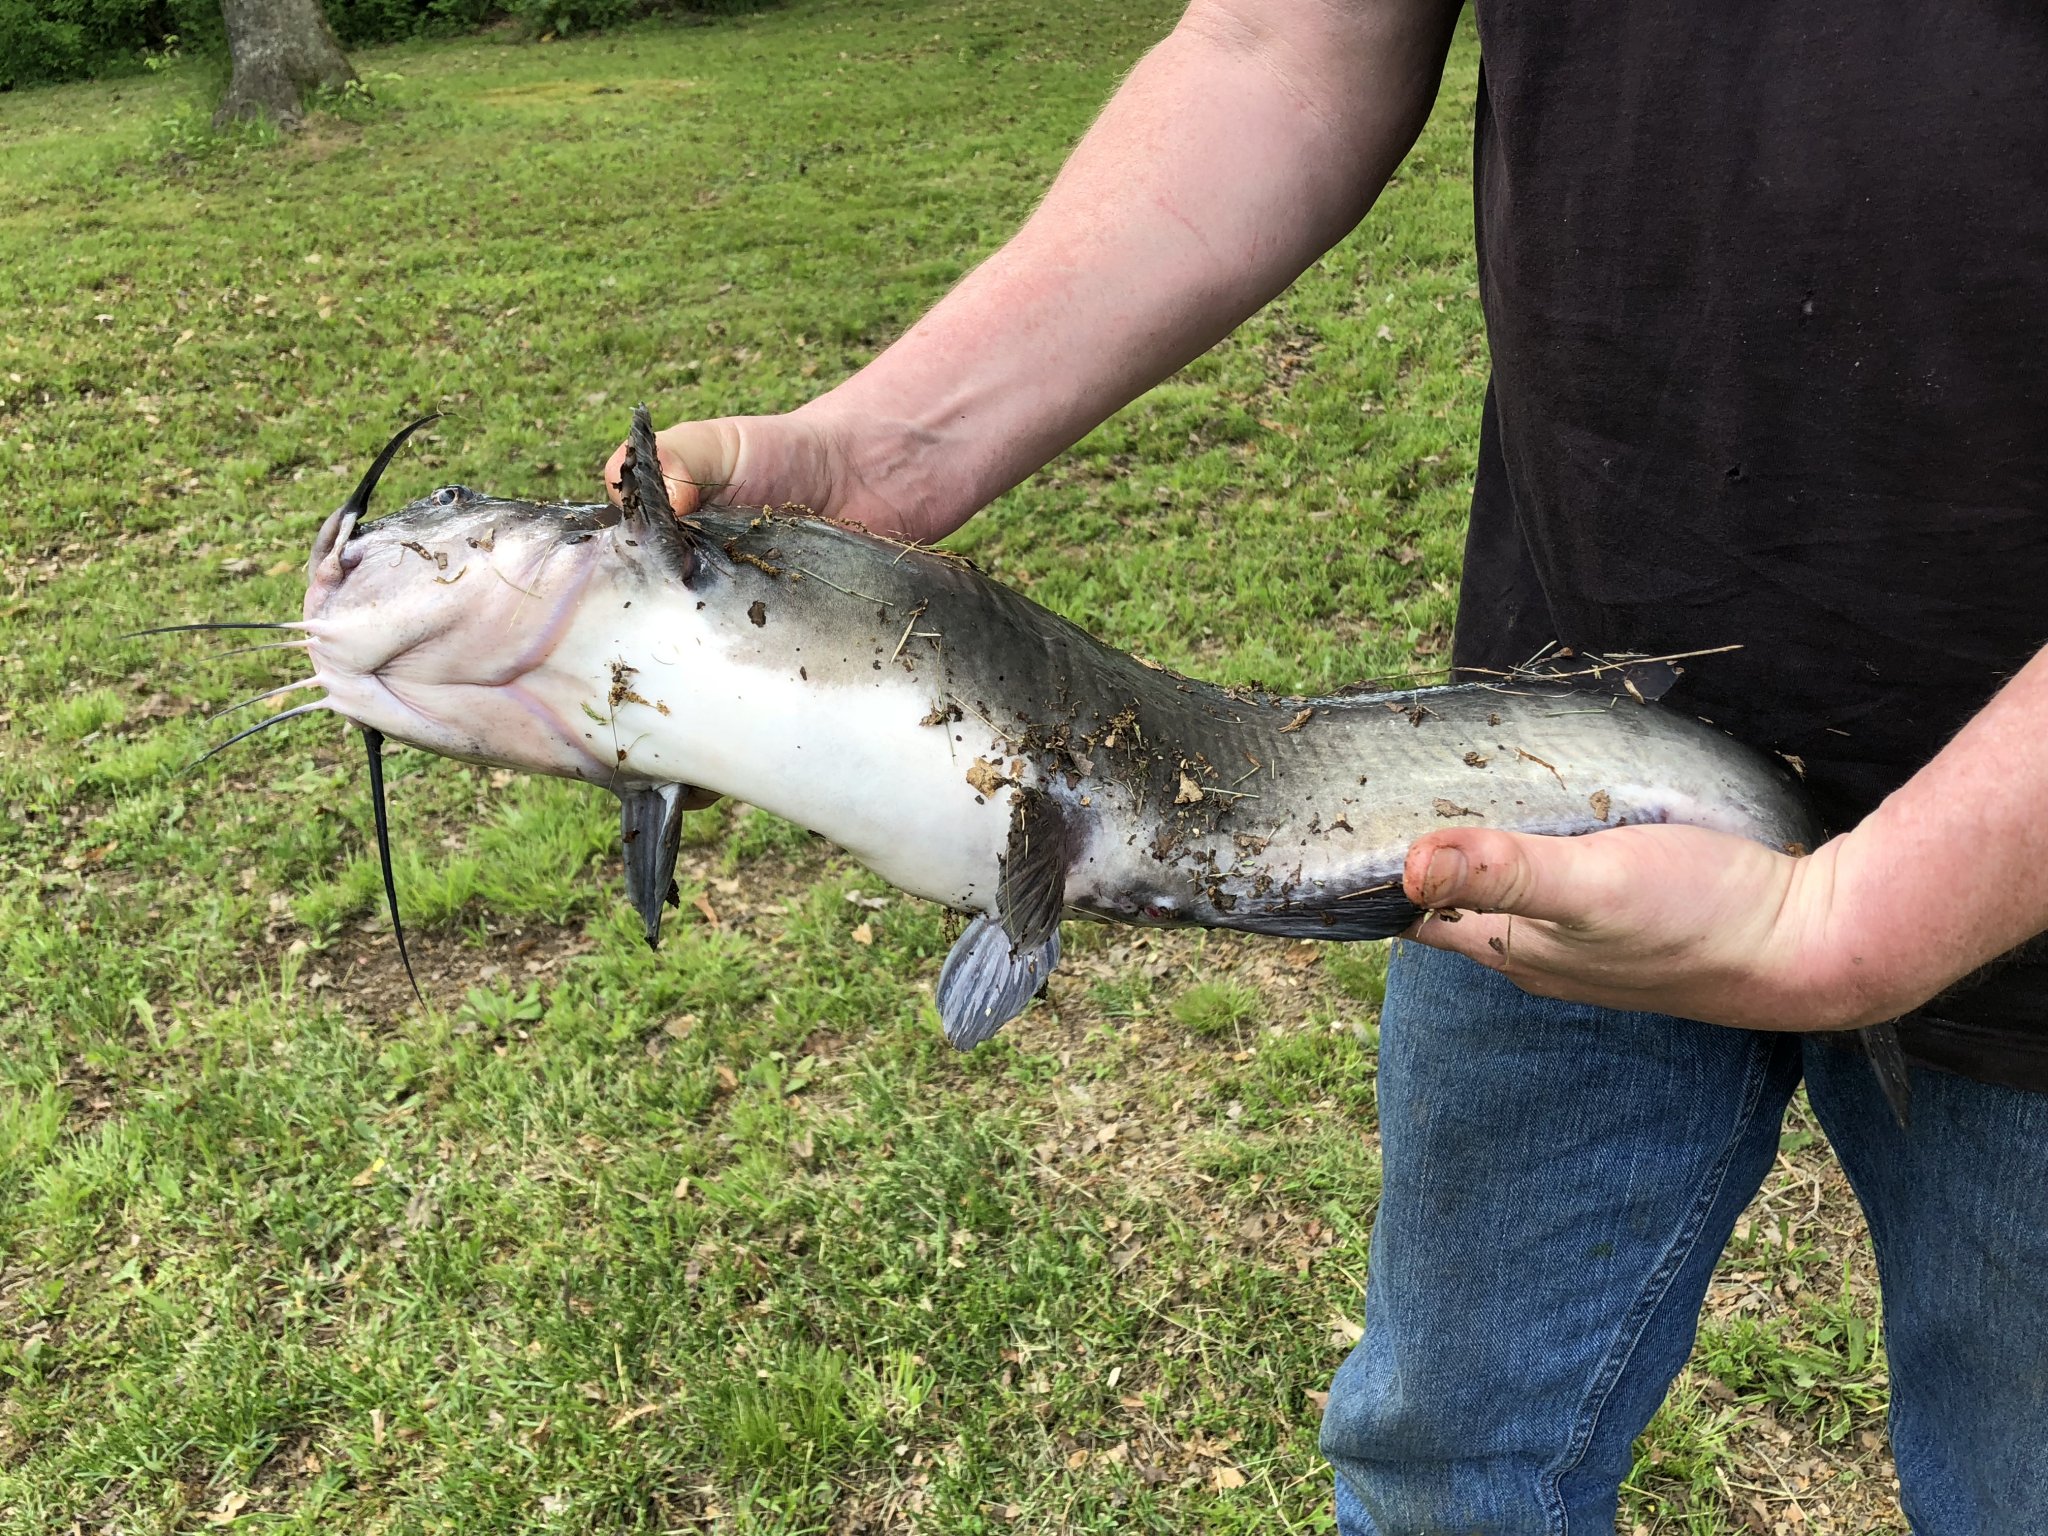
A trotline can be set so it covers the width of a channel, river, or stream with baited hooks. A big advantage of this method is that it can be left unattended in high traffic areas which increases your odds significantly in a survival scenario. There are many ways to set a trotline, with most methods involving weights to hold the cord below the surface of the water. They are used for catching crabs or fish (particularly catfish).

Beer can fishing is an effective, popular technique for those that don’t want to transport rods and reels, or when opportunity knocks and your gear isn’t with you that day. If you pay attention, you’ll see many a fish caught this way on the rivers and lakes in the Deep South and elsewhere.

A basic beer can rig 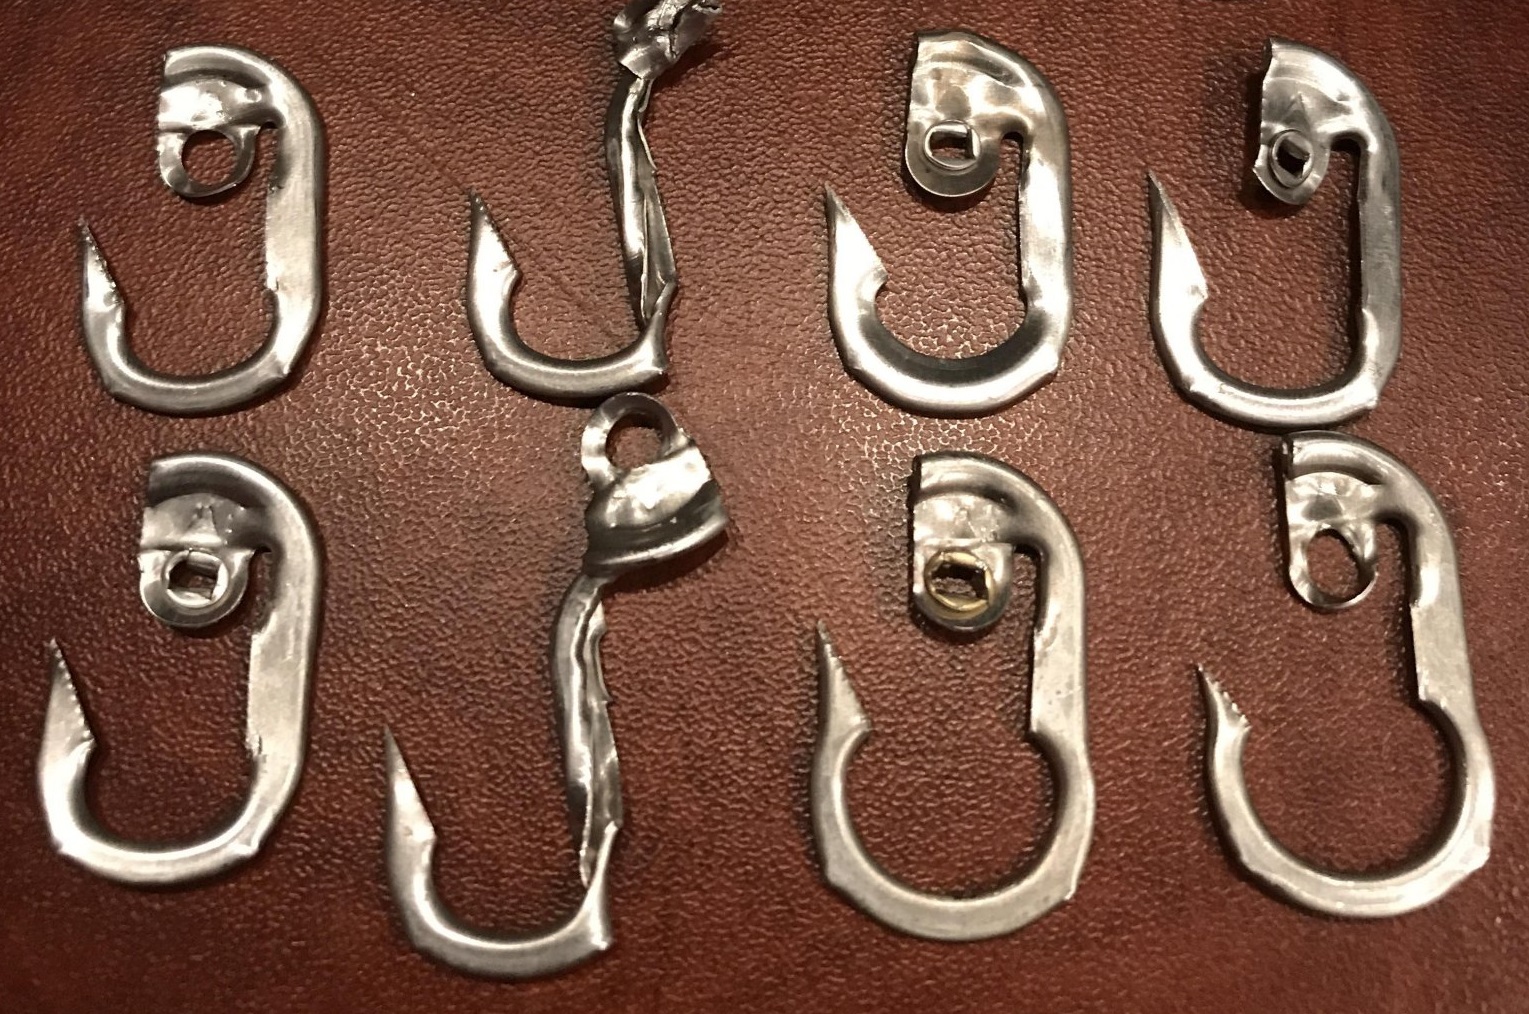
Handmade pull tab hooks
There are many other classic, non fishing pole techniques employed in the backwoods of America…
Hand Picking… Steathily approaching a stream bank or submerged rook and gingerly easing you hand undernearth feeling for fish, normally trout. Also known as Tickling as you softly reach around the belly of a Trout and than snatch it with your hands. Takes lots of practice to master and best results are in cold conditions or summer heat when the fish are more torpid. Larger trout species like Brown trout are easier to pick. Brookies are like atomic squirrels and are difficult for even the best picker.
Noodling… similar to the above but involves more open water and submerged stumps and other cover. Usually associated with bullheads and catfish. Instead of reaching under the belly with trout you are either grabbing them by the gills (smaller specimens) or jamming you fist in their mouths to pull them up. It can be unnerving and thrilling at the same time to grab a big ‘ol flathead like this. Also can be done with snapping turtles in their burrows. They go in head first and you reach up over their shells with one hand and and grab the tail with the other and drag them out. It’s a freaking insane tussle and can go sideways if you aren’t focused or tend to be unlucky.
Seining… basically mounting a net between two poles, adding weights to the bottom, grounding it in the stream bed and then overturning the rocks and logs upstream from the seine. It’s a two person affair as one holds the seine and the other rakes the current ahead. Anything tossed up in the current gets caught in the net. When the Raker is done the Netter raises the net to capture anything caught. Usually this is for catching crawdads for eating but also for bait like shiners, strawmen, or hellgrammites.
Damming… Found a hole on some smaller crick with fish you want to eat but can’t catch? Build an escape viaduct at the bottom of the hole that is small in size width wise but is as low as you can relative to the depth of the hole your targeting. Build a dam upstream of the hole to reduce water flow as much as possible with the intent of draining the fish laden hole as much as possible. If it’s successful, and you need to select a workable hole, you can either catch, spear or net the fish in the lower water levels or do the same as larger fish try and escape via the downstream aqueduct.
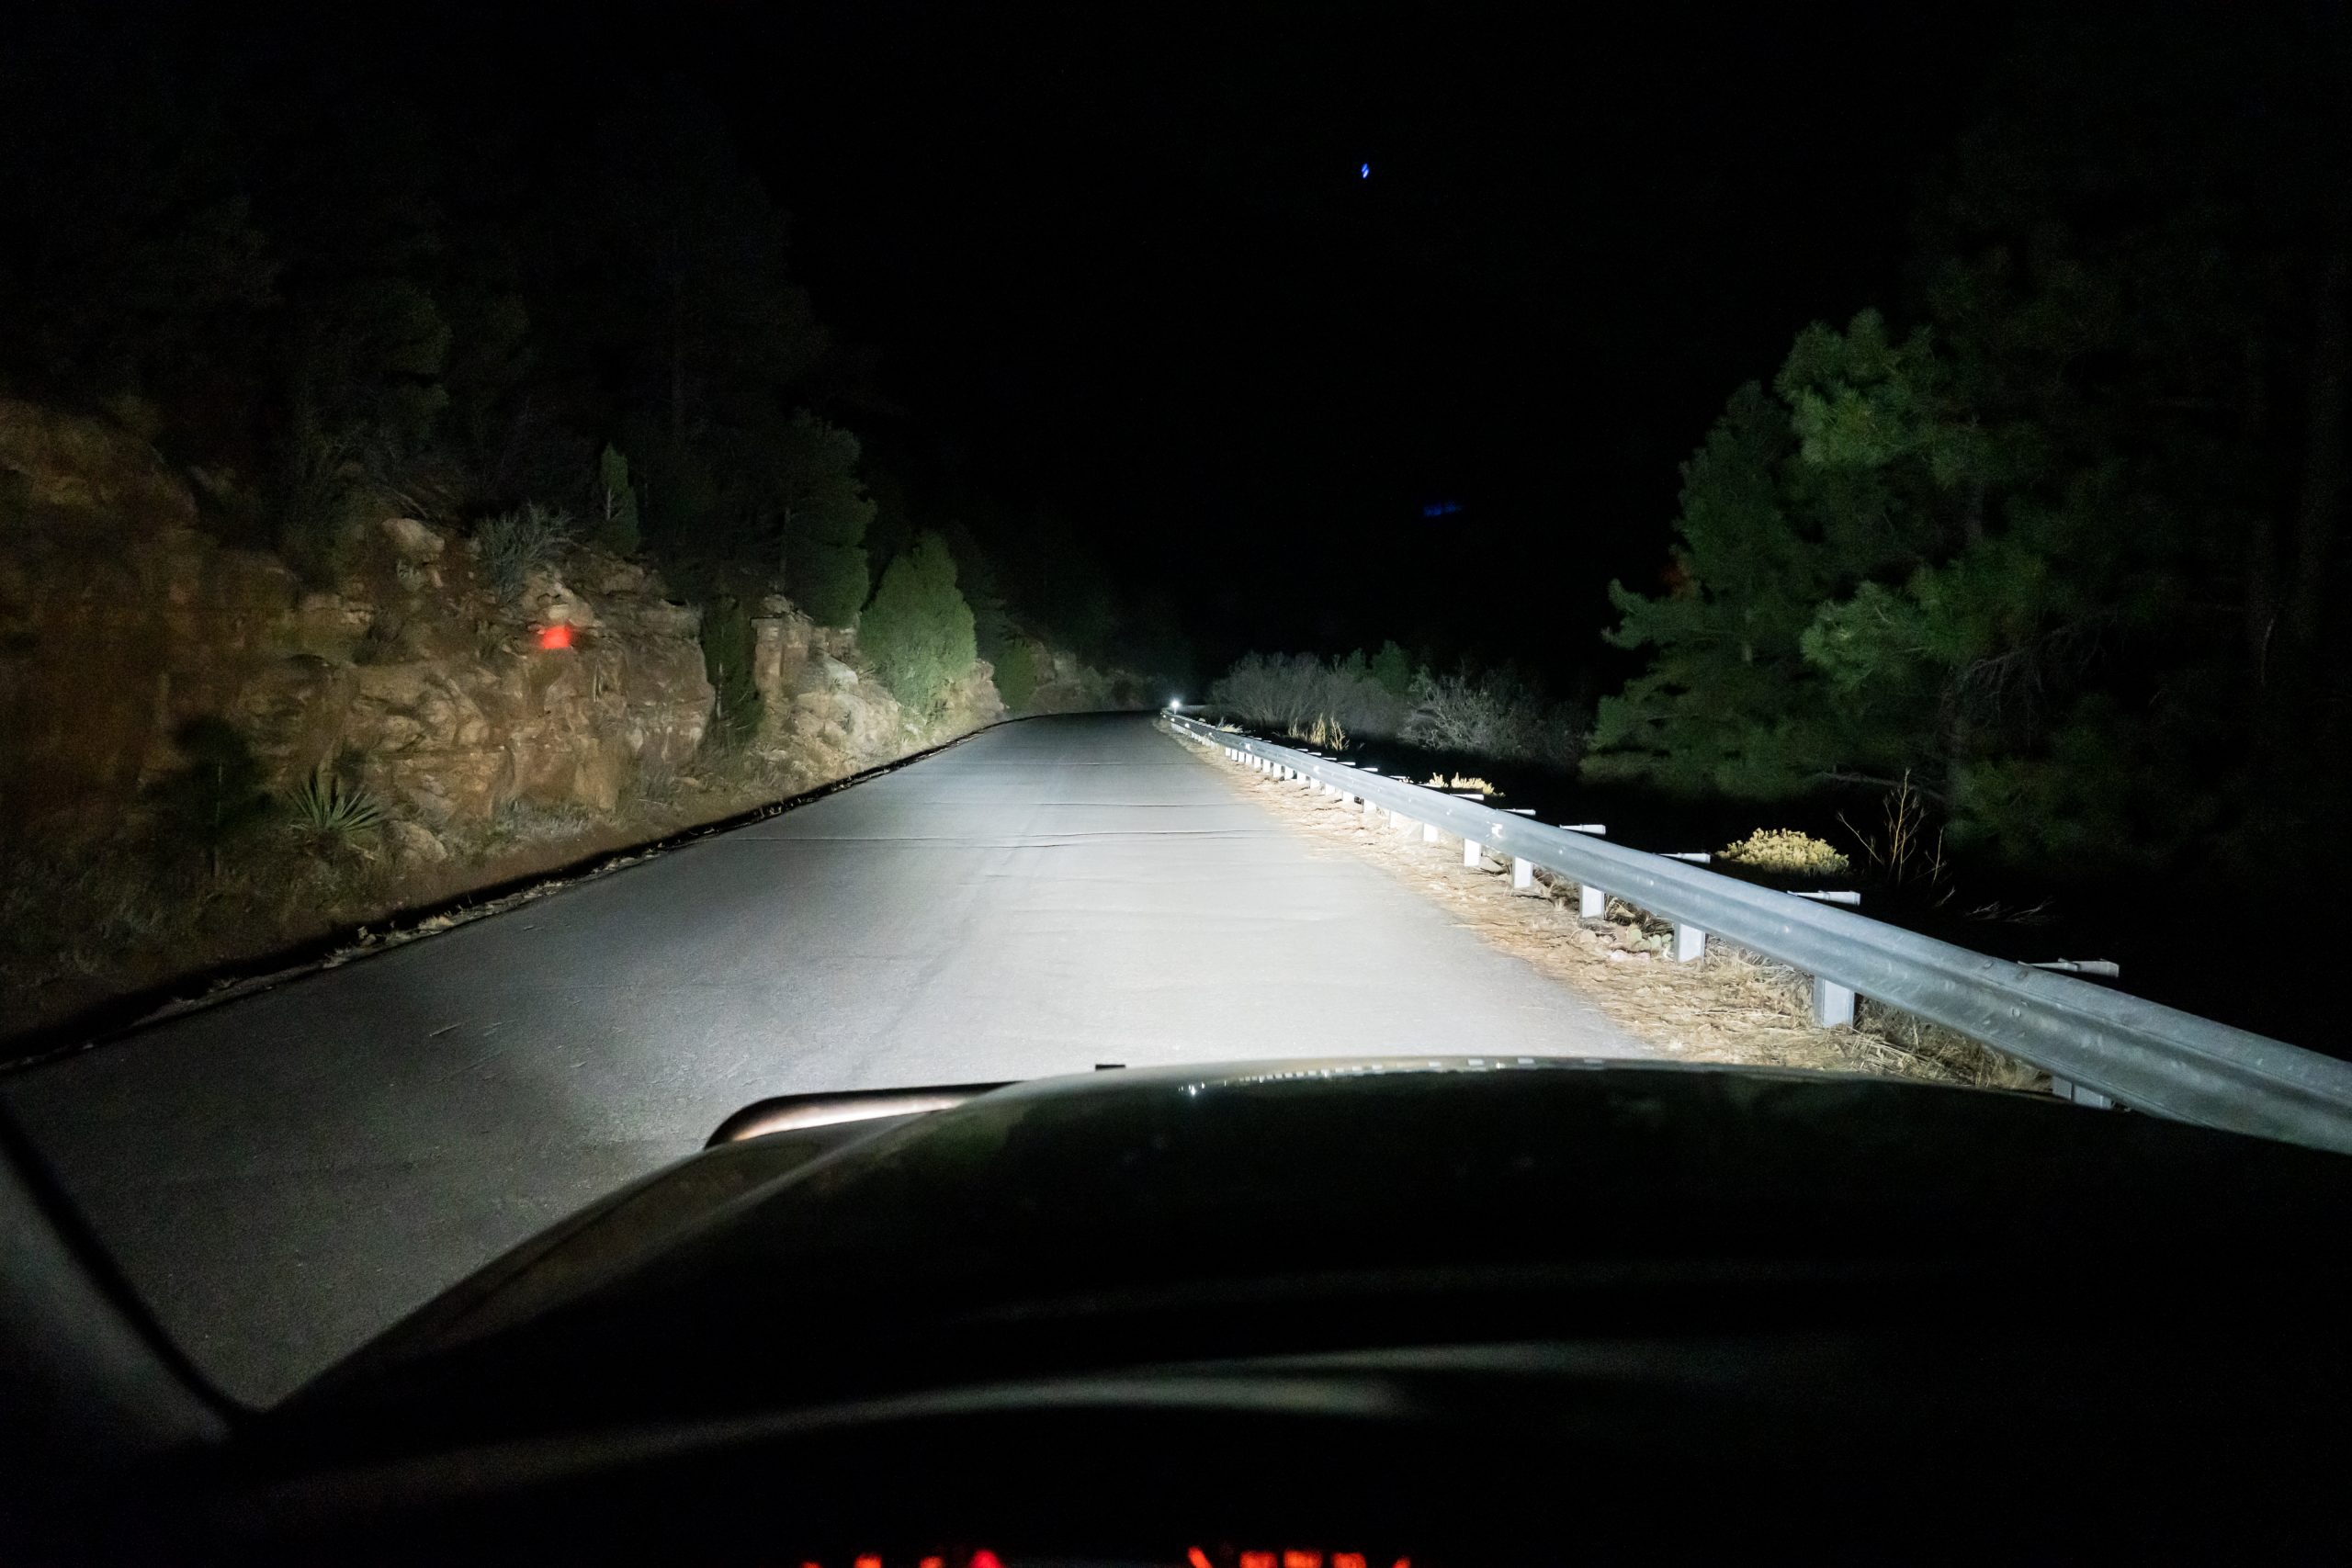
Spearing… like it says. Using a crafted spear, or store bought one you jab into the water. Doing so at night with a spotlight is the best method. You can use a modified fishing spear with added tines soldered in between the factory ones. One needs to be mindful of refraction and current strength when making a strike. Be fast and sure because any hesitation will be a missed fishy.
Boomflies… a long subtle branch and an M80…errr..that might be too much. Keep in mind that some of these methods are frowned upon by your local game and fish revenuers so survival use only.
Just some good old boys, never meaning no harm…
In winter conditions, you may consider ice fishing.
It can be as simple as knocking a hole in the ice (be careful!) and dropping a baited line in the hole and waiting. If you planned ahead and have extra hooks, line, bobbers and sinkers, you can get after the fish from multiple holes.
One technique is a tip up. This is made by placing a couple good size sticks in an “X” pattern over your hole while ice fishing to suspend a smaller pole with bait at a set depth through a hole in the ice. This helps detect when a fish strikes, without having to be in contact with this piece of gear.
You can see the “flag” or whatever from a distance and can thus manage multiple holes at once, covering a larger area to increase your chance of survival. When a fish does take the bait, a flag “tips up” or the flag can “tip down” to signal that a fish has taken the bait. It’s cold out on the ice so you may want to use a “tip-up” so you can set it and watch from a warmer, sheltered location onshore.
Try to suspend your bait in the “cruising lane” where you think fish may be traveling under the ice – they get hungry in winter so they’re moving around under there looking for food.
1. First, clip a 1-ounce depth finder or “sounder” weight to the hook and drop it so it falls through the weeds and hits bottom.
2. Pull the sounder up about 1 foot above the tops of the weeds. Clip on a small bobber at water level as your marker.
3. Raise the sounder an additional 3 to 6 inches (to compensate for the fact that the spool will be under the water) and slide the bobber down the line the same distance.
4. Remove the sounder. Hook the bait through the back and drop it through the hole. When you set the tip-up, the bobber should be visible on the last wrap of the tip-up spool. Wait and pray for dinner to arrive.

FULL DISCLOSURE: All endorsements and opinions in this article are unsolicited. Items featured in this article were privately purchased by the author for personal use. Tips and techniques discussed here are for educational purposes, and some of these methods should be used with caution or for survival only as they may illegal in many locations.
***Big thanks to Mark Collins for the fresh catfish photo and Ridgerunner editorial input on this here article***