Eastbound and Down

One fine summer day the wife came home and dropped an ultimatum on me – take some time off for the family or else.

Never one to be threatened by a good time I obediently put in for some time off and set to work planning a family road trip. Kind of. The truth is that I hate detailed planning of my time off, I’m much happier setting off in the general direction of my objective and finding random spontaneity along the way.

Luckily, we both agreed on the end point being a visit to see family over the 4th of July in New Jersey with the rest of the trip being up to me so with ten days to burn we loaded up the Torque Wagon on a Thursday afternoon and set out from the Midwest for the East Coast.

Leaving northern Illinois, the realities of the super slab quickly set in as we faced the debacle that is Chicago traffic head on. Moving south into Indiana we were hit with thundershowers and lightning as we made a bee-line for Ohio and our first night’s rest at Maumee Bay State Park. Arriving very late, our stay there was brief with a goal of maximizing sleep for the journey ahead and we drifted off to sleep listening to the monsoon rains beating on the roof of the Four Wheel Camper.

On the road early and bound for western Pennsylvania, we dropped the hammer through Ohio and headed to the heart of Oil Country and Titusville where we peeled off from the highways in search of the forested glens and hemlock hollers of our long time friends at Clan Haggis.

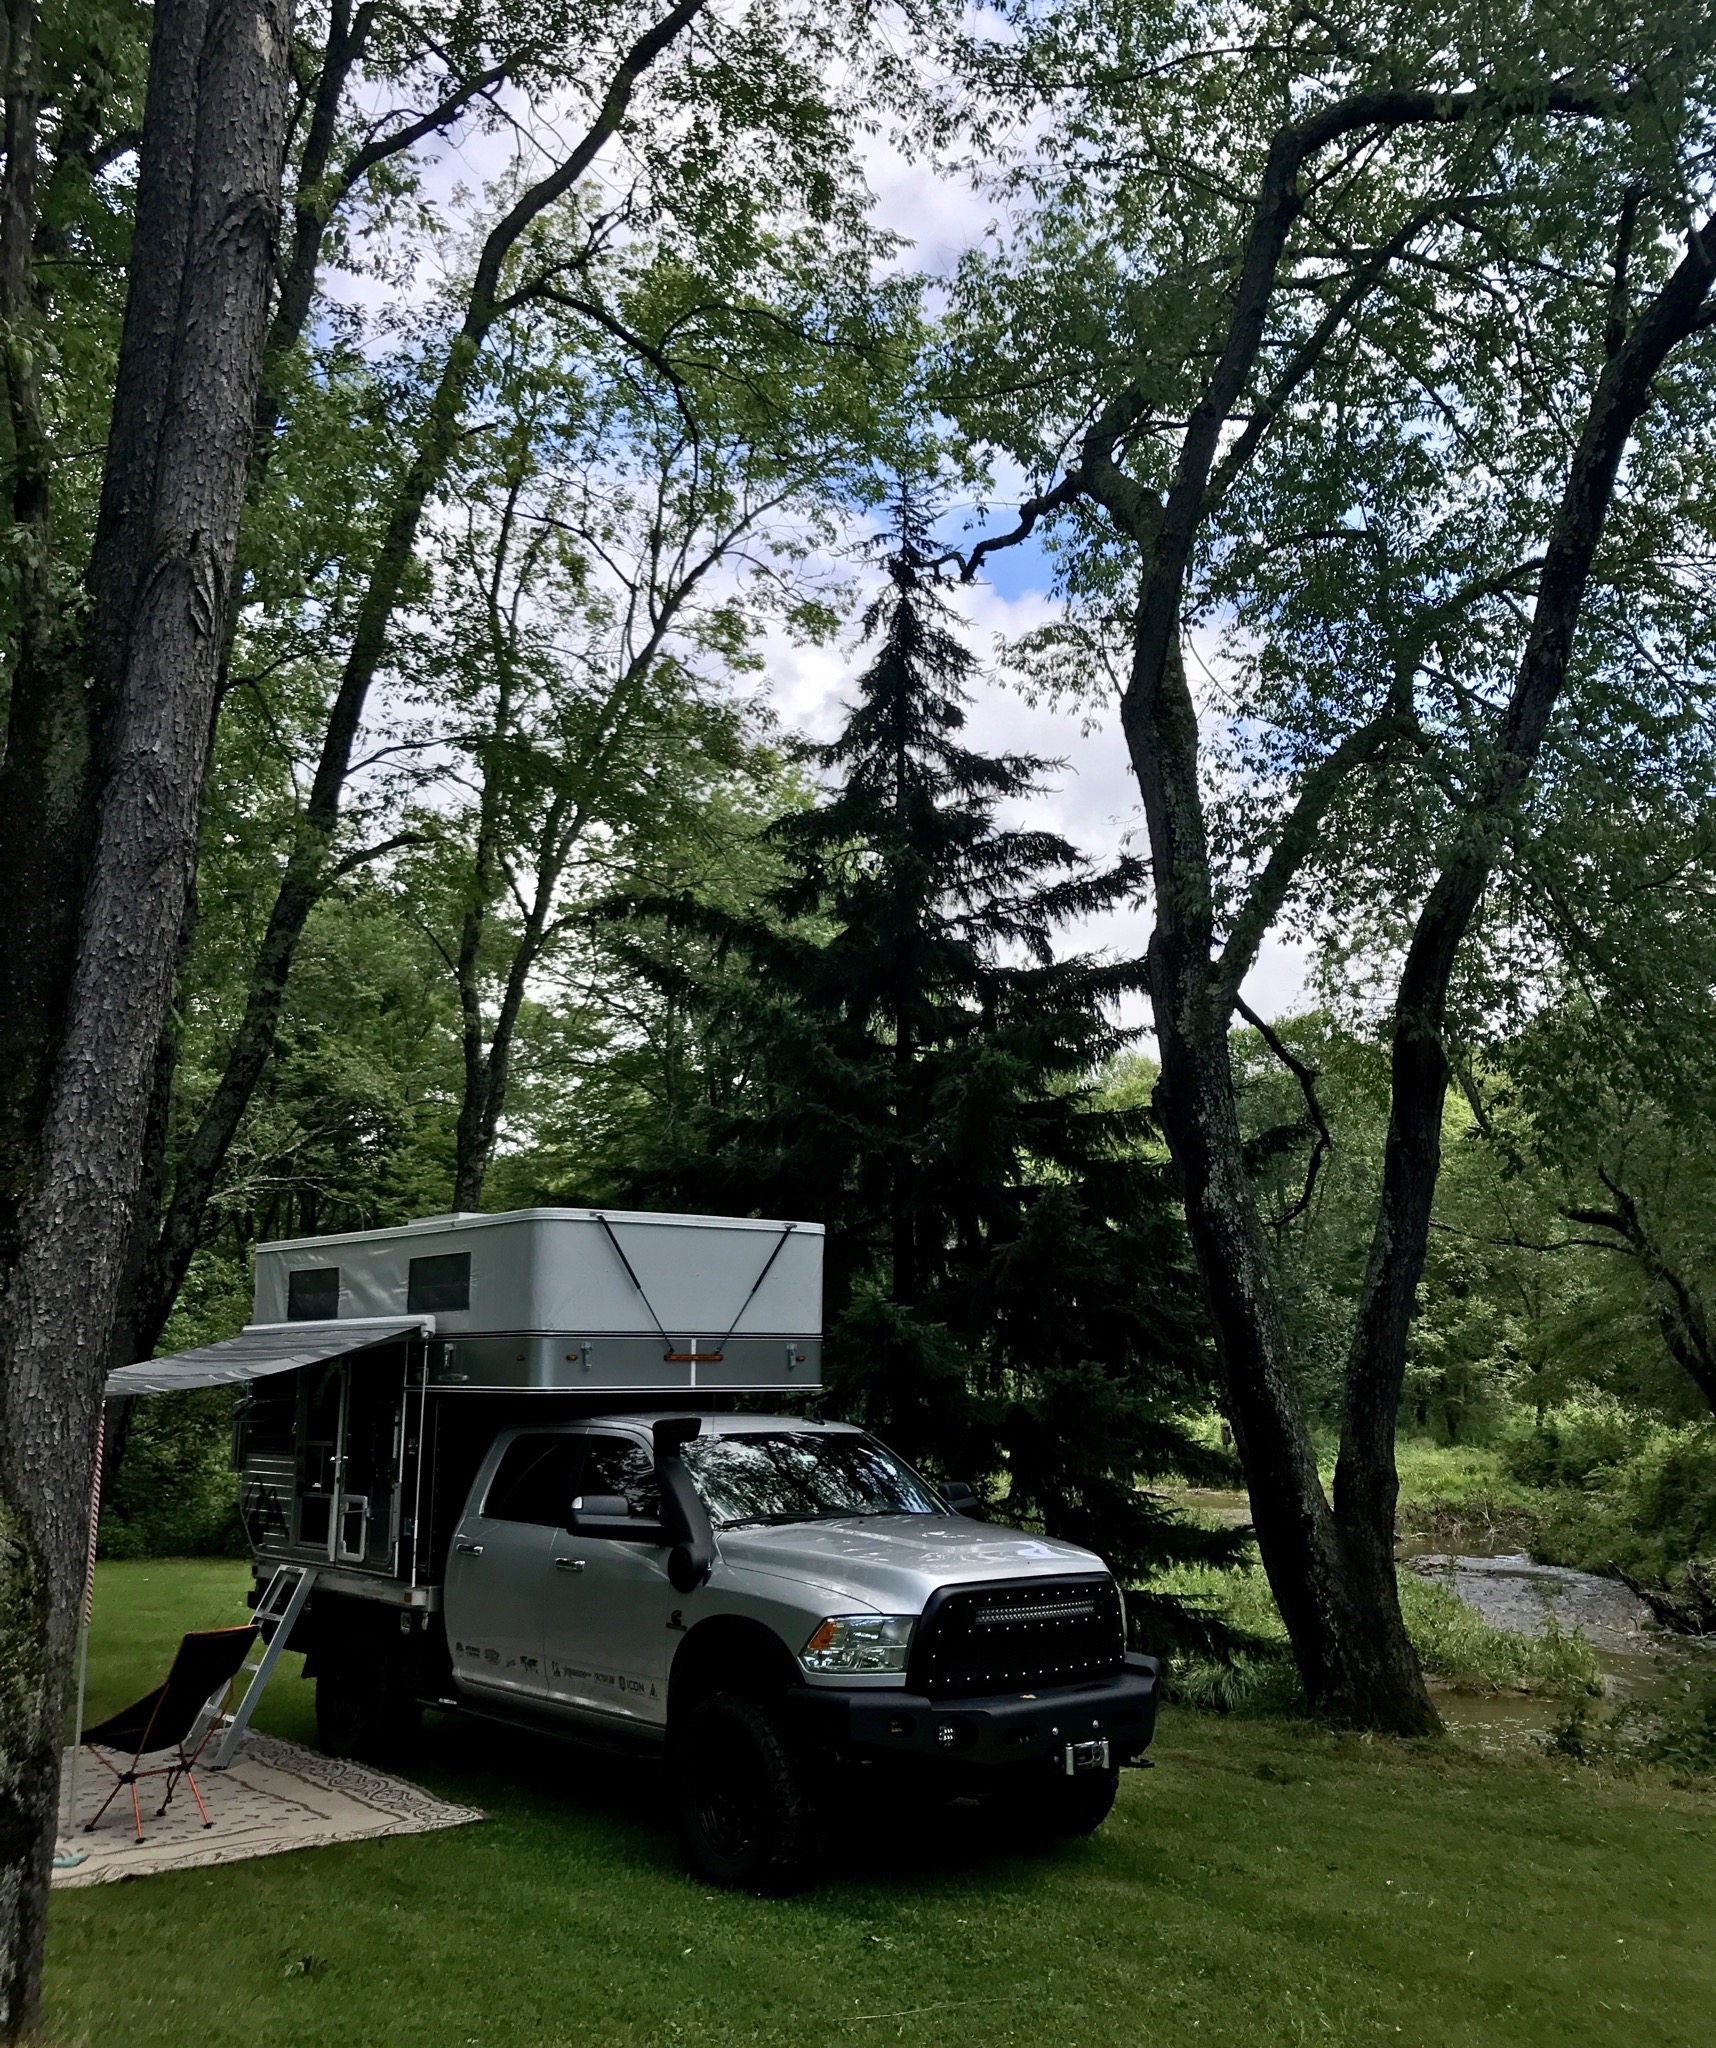
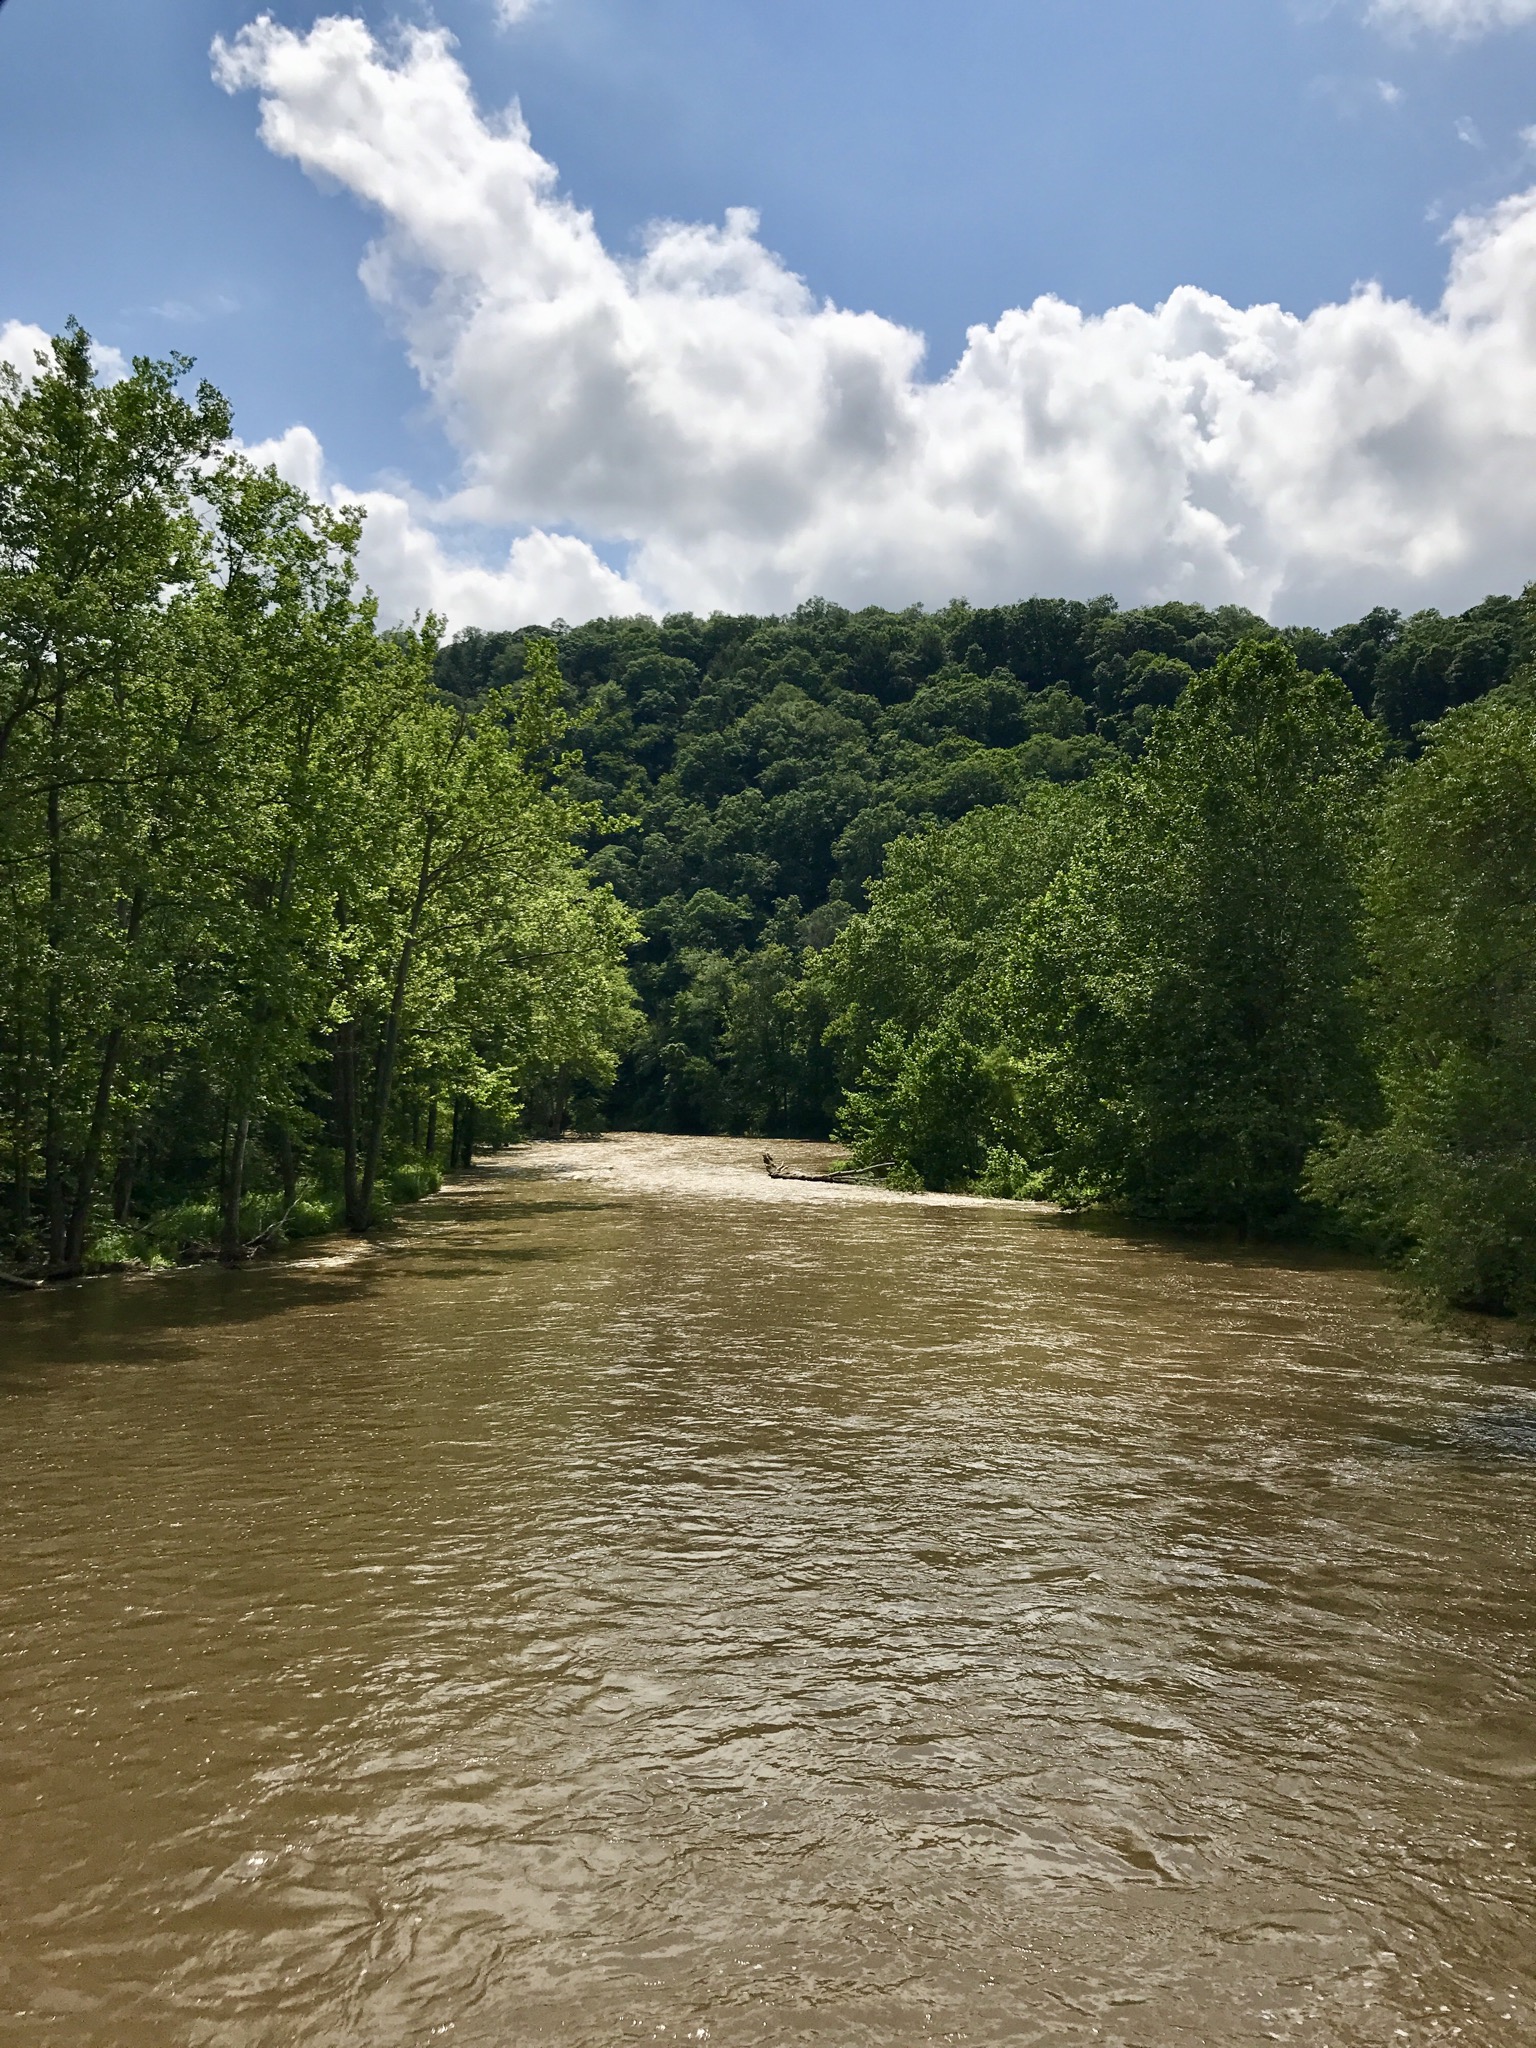
Mark and Michelle Collins are blessed to live deep in Penn’s Woods and their well known hospitality was in full effect as we dined on bear and other local victuals. We camped in a quiet, forested spot next to the creek on their property and were met yet again with torrential rains as the storms rolled over the Clanhold.

With a break in the weather, and their local knowledge, we were able to explore several sites around Oil Creek and learned first hand about America’s first Oil Rush in Pennsylvania.

The rains continued to fall intermittently as they do in these parts and the Four Wheel camper once again provided an ideal shelter from the tempest outside. We awoke well rested in time for departure and bid farewell to the Clanhold as we made our way east to Washington D.C. for a windshield tour of our fair Capitol.

We had an immense stroke of good luck here as we rounded a corner on the National Mall and found the rarest of things in that City of Magnificent Intent, a parking spot. And one large enough for the Dodge Mahaul to boot. Ensuring the meter was paid, we dismounted and took in the sights of this national treasure.

We stayed the night in Stafford, Virginia as guests at the Bleau Estate. Tim’s well known hospitality and penchant for cooking was well received by all as we were fed copious portions of some of the best food in Occupied Northern Virginia. This came in the form of shrimp and carnitas tacos for dinner and we spent a restful evening here, staying up late visiting before calling it a night. In the morning, Tim was at it again as we awoke to the smell of a French Toast breakfast feast fit for the Marquis de Lafayette himself. We considered trying to finagle a couple more days of this eat/sleep/eat routine out of our fine host but we decided to get back on the road before we wore out our welcome.

Moving on, we set course for New Jersey and the Pinelands where family awaited our arrival. Contrary to what I was led to believe growing up out West, New Jersey has a lot to offer and is an amazingly beautiful state with some great food and culture as well. Our stay was amazing.

No visit here is complete without a visit to WaWa and some tongue in cheek humor courtesy of the South Jersey Deviler. If you know, you know.

Our brief respite from the road over the 4th of July came to an end as we faced the reality that we had no further plans, and several days left to burn. Looking over some maps I drew my finger south from New Jersey all the way down to the Carolinas. My mind wandered as I realized it had been awhile since I had real sweet tea, pork tenderloin and Cheerwine.

We decided to take a ferry from New Jersey to Delaware and drift as far south as possible over the next few days. With fresh territory to explore in front of us I was chomping at the bit to get rolling so we said our goodbyes again and headed south through the forested backroads toward the Cape May ferry and Delaware. The Pine Barrens are another hidden gem on the East Coast with many forested trails and it’s own unique lore.

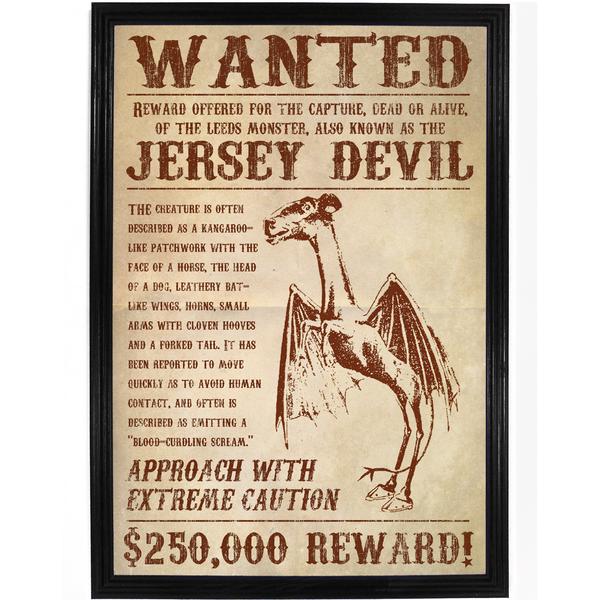
PSA: If you camp alone here in the pines, keep an eye out for the Jersey Devil. See, that ‘ol Jersey Devil is a thing in these here parts, and if’n you ask any old Piney down here if he’s real or not they won’t answer. People are scared of something out in those Pine Barrens…

Leaving the Pine Barrens behind we reached the southern tip of the state and Delaware Bay. As I mentioned earlier, New Jersey really is a “Garden State” and we’ll definitely be back to explore more of it later.

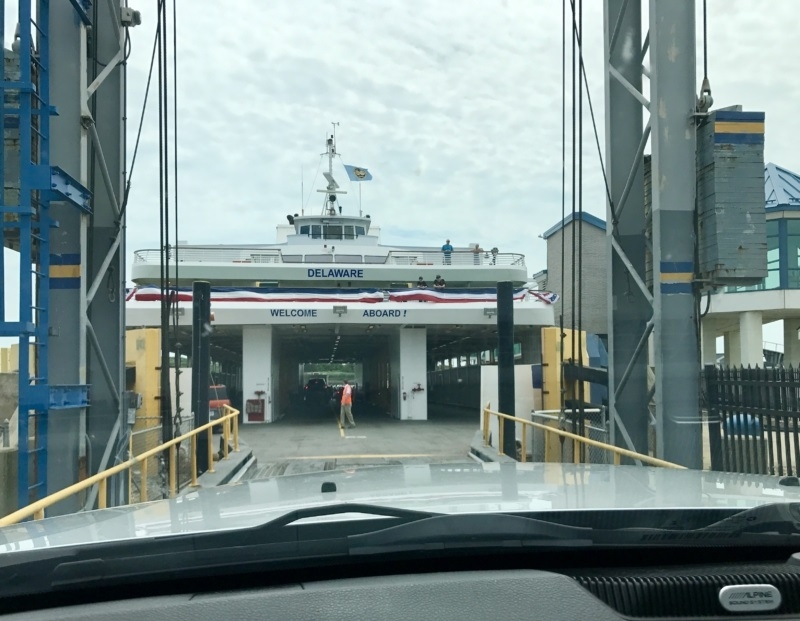
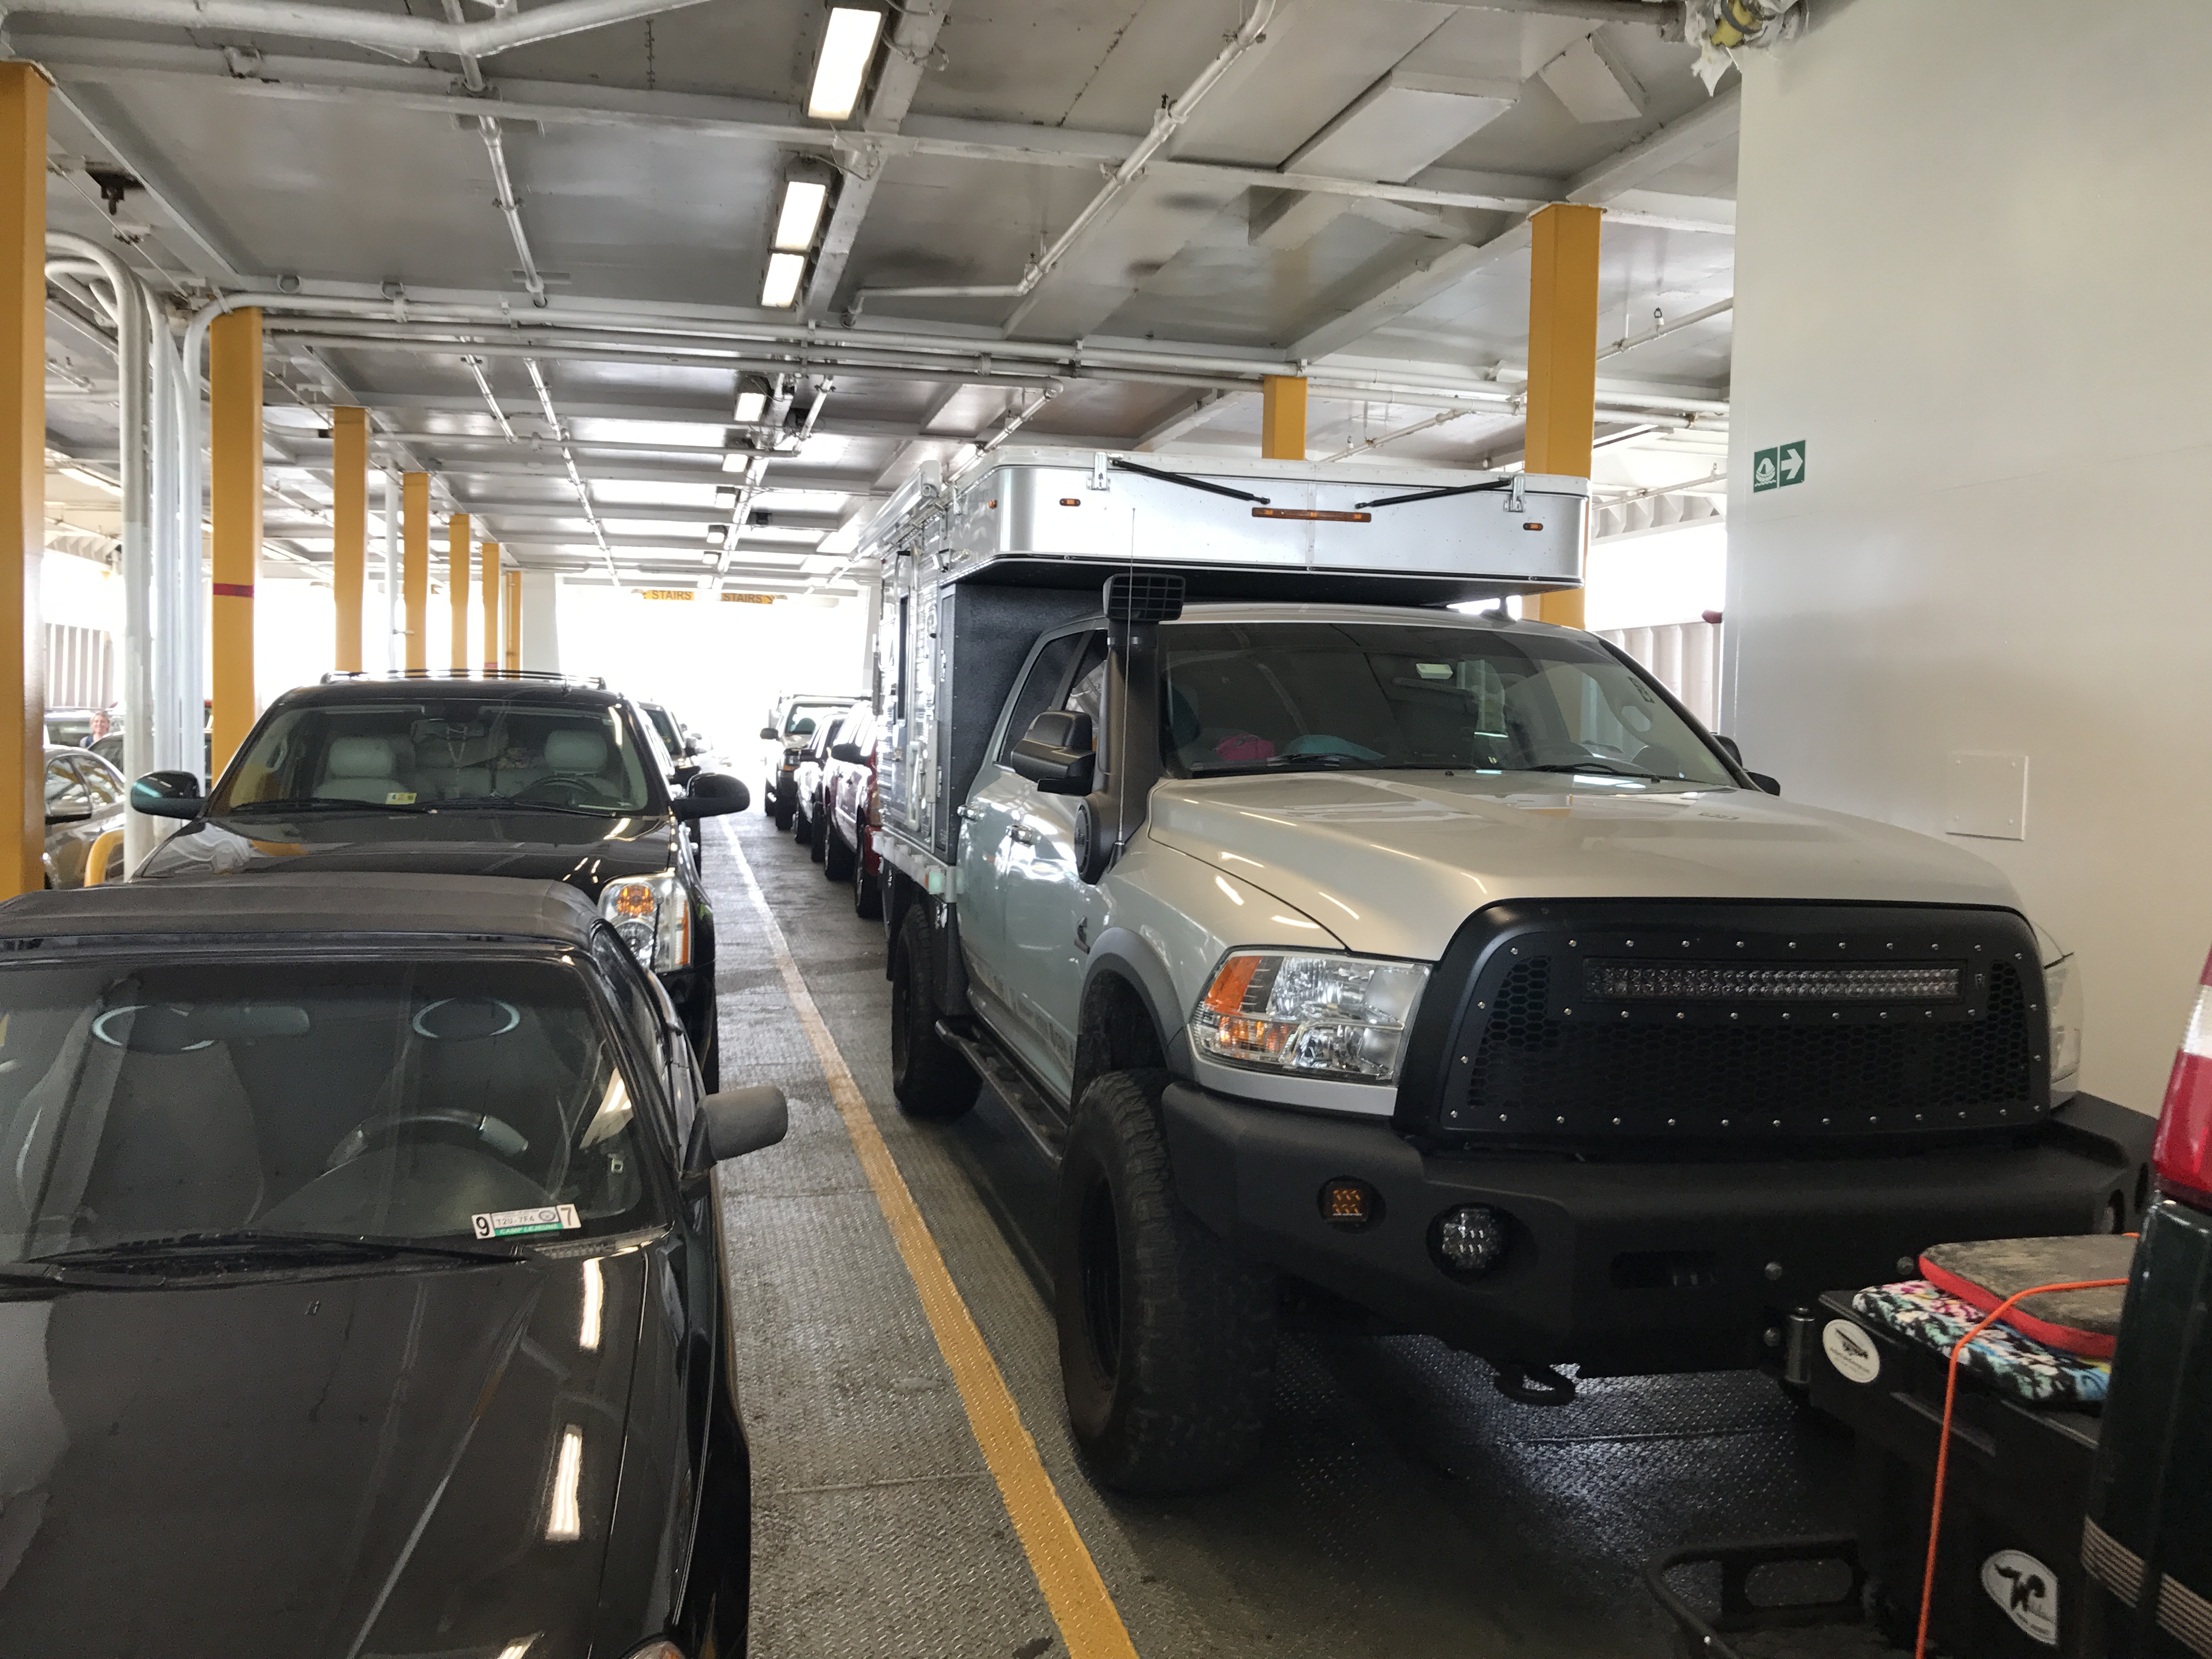
Arriving at Cape May, the Cape May-Lewes Ferry was our first of several ferry rides as we made our way south and the ride proved to be a lot of fun. It was well worth the price to “cheat” the road and take advantage of this coastal shortcut.

Once the Torque Wagon was all tucked away inside the belly of the beast we hit the lounge upstairs to relax and take in the sights as we crossed Delaware Bay.

Arriving ashore in Delaware, we proceeded to the nearby Cape Henlopen State Park and Historical Area. For the record, I despise established campgrounds as much as the next guy and it chafes me to pay for camping. That said, options for “dispersed” camping on the eastern seaboard are quite rare and Cape Henlopen State Park was in the perfect location on our itinerary. This was how we discovered Fort Miles.

Fort Miles was a key piece of our nation’s coastal defense from World War II through the early 1970’s.  Its dispersed gun batteries and secret installations built within the massive sand dunes of Cape Henlopen were designed to defend against the German submarine threat.

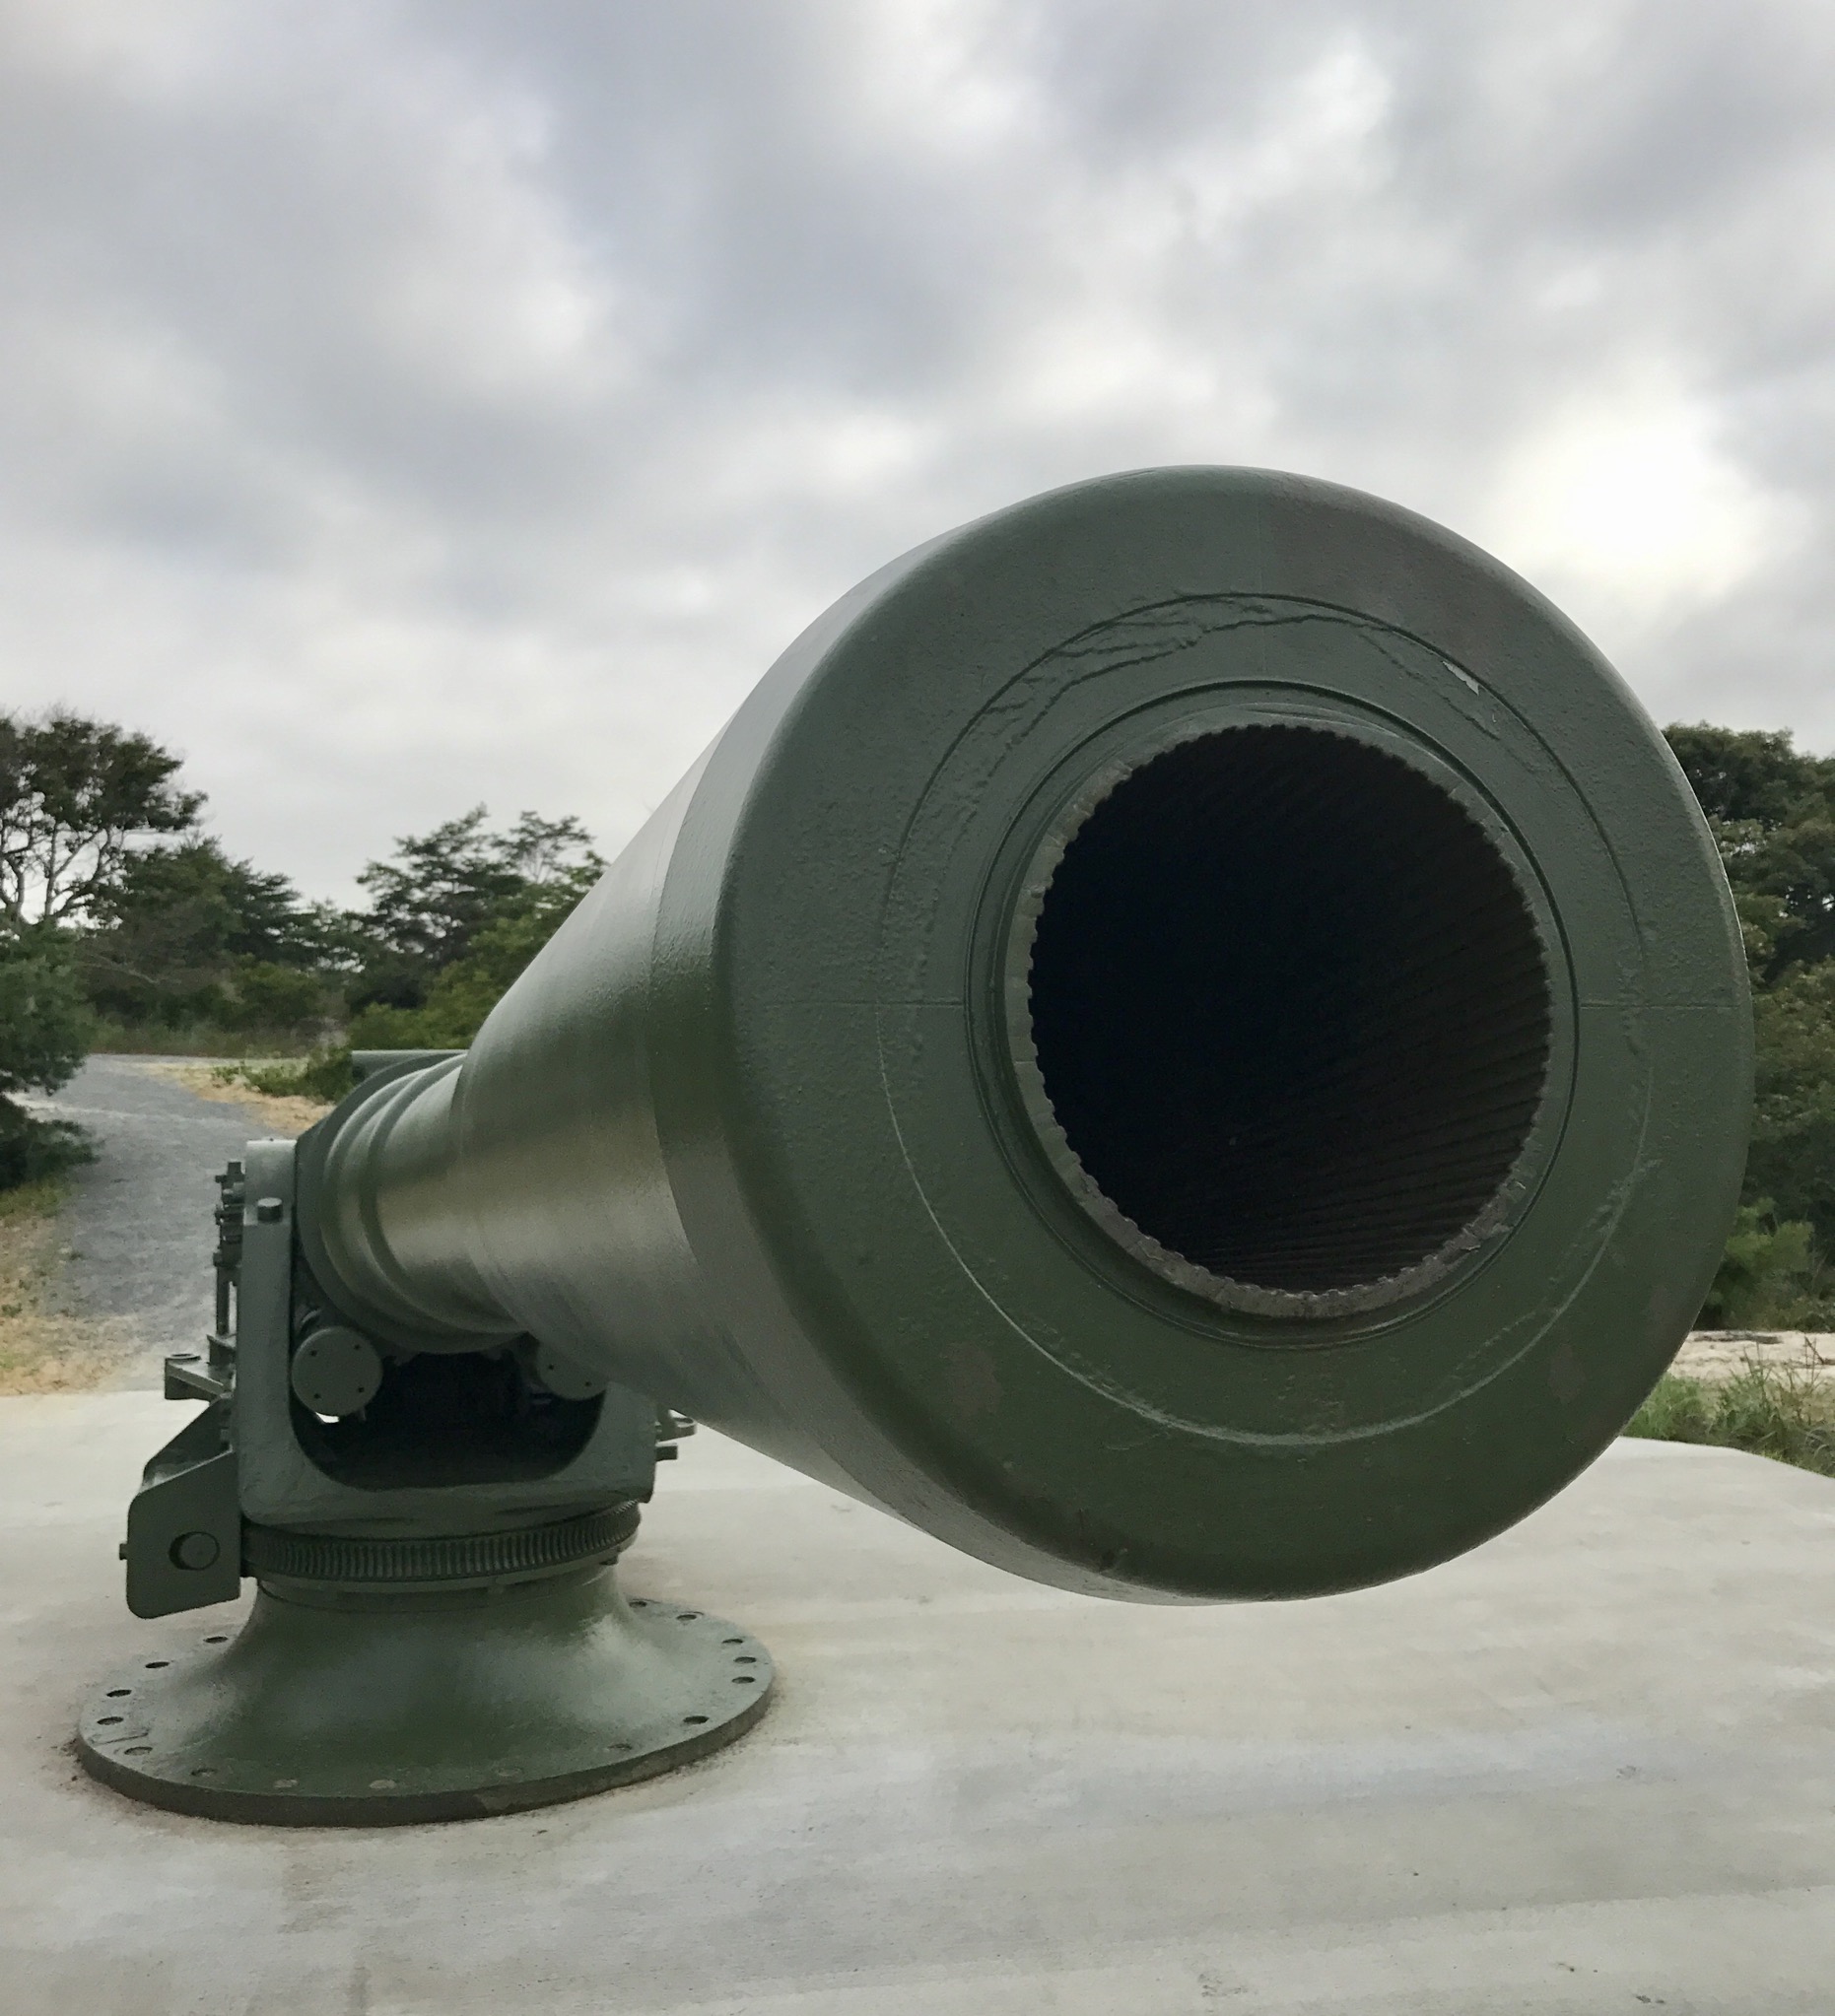
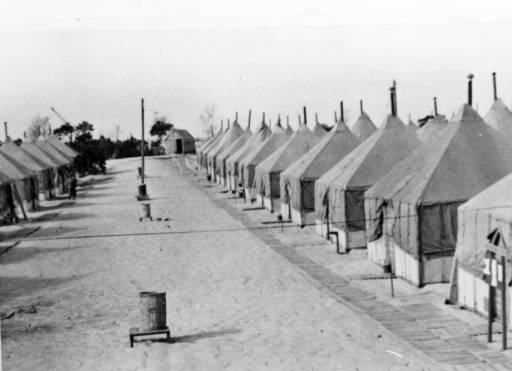
With more than 2,500 soldiers stationed on high alert, the heavy guns, mine fields and searchlights of Fort Miles defended the route to the vital trade centers of Wilmington, Philadelphia, and beyond.

As America moved into the Cold War, the role of Fort Miles shifted to highly classified missions defending against the threat of Soviet submarine operations off our coastline. Eyes and ears were focused on the sea here as soldiers stood the watch in bunkers and atop fortified towers.

Several of these silent sentinels remain, towering above the coastal pine forest at Cape Henlopen. This one is located near the campground by the beach and is open to the public. A climb up it’s interior spiral staircase rewards visitors with sweeping views of the Atlantic coastline and Delaware Bay.

Continued in Eastbound and Further Down, Part II

Meet the Maker Part II

GoPro cameras are pretty awesome things.  They’re durable (by camera standards) waterproof cameras that are small enough that you can put them just about anywhere to get cool shots we could only dream about a few short years ago.  Yet actually mounting a camera in some of the places that would make for a really unique shot can be an engineering challenge in actually making it happen.  Sometimes, you just need to make your own mount- and using a 3D Printer like the TAZ 6 happens to be the perfect way to do it.

There are exactly 2.4 kabillion companies out there who make no less than 9.33 zillion mounts and accessories for GoPro cameras.  Yet cameras can still end up looking like this—ask me how I know.  Suction cups and sticky mounts can work really well, but they can also cause your GoPro to jump ship, which is what brought Chazz Layne to me asking for a help with a GoPro mounting solution.  Chazz asked me to come up with a magnetic mount for a GoPro, so that he could stick a camera to literally any ferrous metal surface in his vehicle and capture all kinds of shots from time lapses while wrenching to axle-cam shots while rallying.

Since I needed to make these new magnetic mounts work with the GoPro ecosystem of mounts and accessories, it made sense to do a little bit of extra work and model all of the parts that I would need to make ANY GoPro part I could dream up.  A set of calipers and a few genuine GoPro mounts to measure off of were all that I needed to reverse engineer what I’m going to call the three-prong, and two-prong GoPro mounts in a CAD program.

All of the screen captures you’re going to see here are from SolidWorks, but any CAD program that can output a STL file will work great.  The design-build process from reverse engineering to printing is going to be the same no matter what CAD program you use.  Check out the first article in this series for a couple of free CAD programs to use.  Once I had my three-prong and two-prong mounts modeled, I made a test print of each to make sure that I had all of the dimensions correct, and that my parts worked properly with the genuine GoPro parts.  When you’re working with interference fits (like capturing the acorn nut) or when you’ve got parts that mate to one another, a test print it always a good call.

Now that I have the three-prong and two-prong mounts modeled correctly, I can put them on literally anything else I can dream up, so I started working on a magnetic base, and came up with two designs.  The first is a base that is designed to work in applications where the mount isn’t going to be bouncing around particularly hard: shooting timelapses, gentle driving, etc.  I focused on creating a smaller footprint and protecting the magnets, which can break if they hit something hard enough.  Once I had my base, I added the three-prong GoPro mount, saved the model as a .STL and loaded the model into Cura, the printer control software for the TAZ 6.

Cura is a great program to work with, and the process of going from CAD model to print can be as easy as choosing the type of print you want (standard / high speed / high detail) and whether or not you need support material or a brim and hitting go.  Cura’s filament profiles are the result of countless hours of testing by the folks at Lulzbot, and as a result their printers are as close to a plug-and-play printing solution as you can get.  However, Cura can also nerd out—if you want to tweak every last setting of a given print profile, simply flip over to expert mode where you can change any variable.  Once you have your settings dialed, you’ll load the model(s) you want to print, which will appear in the build area.  If you need to change the model’s orientation, simply use the rotate button in the bottom left corner to rotate the model on any of the three axes.  Moving a model is as simple as clicking and dragging.  When you’re happy with everything start your print and kick back and enjoy the stepper music.

The second design I came up with has twice as many magnets so that it will stay in place during aggressive driving, impacts, or greater wind loads.  I kept with the design style from my first mount and added spots for additional magnets. To protect paint and other surfaces that are prone to scratching, I applied a thin layer of silicon caulk to the base of the mount that can be easily wiped clean and will provide a little bit of additional grip.  While the prints were running, I modeled another GoPro part that I’ve been wanting to make, and it’s here were modeling the two-prong and three-prong mounts really paid off.

I’ve always wanted a mounting arm that was longer than the sub-two-inch arms that GoPro makes, so I designed a truss, and added my three prong, and two-prong mounts to the ends, and voila! I had a six-inch GoPro mounting arm.  While the truss looks cool and helps keep the weight down, it does pose a challenge for a 3D Printer in that there are sections where the printer would have to print into thin air, so I knew going into this print that I would have to use support material to get good results.  Support material uses more filament, and you have to go through and clean all of the support material off post-print, but this is how you can make parts that otherwise couldn’t be printed.  With all of my models now existing as physical parts, it was time to stick them to Project Trundra, and see what happened out in the dirt.

I started easy, and worked my way up.  Static shots and time lapses turned into moving shots of spirited driving down dirt roads.  Smarter me would have used safety lanyards while testing these mounts, because everything has its limits, and even magnetic mounts can be knocked off of something if they’re subjected to a great enough load.  Yet, by the time I turned back onto pavement, I still had all of my gear.

The real value of magnetic mounts is that they do not need a perfectly clean surface to stick to, like an adhesive mount or suction cup requires, and that makes magnetic mounts a great tool for run and gun shooting where you want to quickly setup a camera and get back to having fun.  Overall, the magnetic mounts worked great, and I’m excited to pass these parts on to Chazz.

3D Printing is such a powerful technology, and having a TAZ 6 is like having an entire workshop full of expensive tools and skilled craftsman at your disposal—except this workshop takes up just a few square feet on your desk.  With a measuring device or two, a little bit of planning, and some time spent in a CAD program, you can reverse engineer just about anything with a TAZ 6.  Likewise, when you’re creating new things, 3D printing can turn that brainstorm or bar-napkin sketch in to a real functional thing.

For our last article in this series, we’re asking you, our readers to let us know in the comments below what you would create for yourself if you had a TAZ 6.  Anything aside from weapons is fair game here.  The American Adventurist staff will pick our favorite ideas, and then I will work on making those ideas into printed parts.  We will open-source the files and send built parts to the folks who came up with the ideas.  Let’s hear what you want to see made!