The right tent can make all the difference on a trip, and there are many different styles of tents and modes of travel to consider before making a purchase. Choosing the wrong tent can be an expensive mistake, and make your camping experience memorable for all the wrong reasons. If you are new to all of this, or just buying a tent for the first time, these are some of the most important questions you will want to consider before you spend your hard earned cash.
How are you getting to camp?
Or what activity are you planning?
If it’s human powered then you’re walking/biking/climbing/etc. there. You’ll want a lightweight and compact backpacking tent since you will be carrying it and everything else you need to live. Ideally it should weigh about 2 pounds per person and fit inside a pack. Lightweight is GREAT. Groups can carry larger multiple person tents by splitting the load (and perhaps the cost) between people. Distributing the weight equally between packs and rotating the duty of carrying the heaviest components makes for a better trip. Another super lightweight option you may want to consider is a hammock, we’ll go over those later.
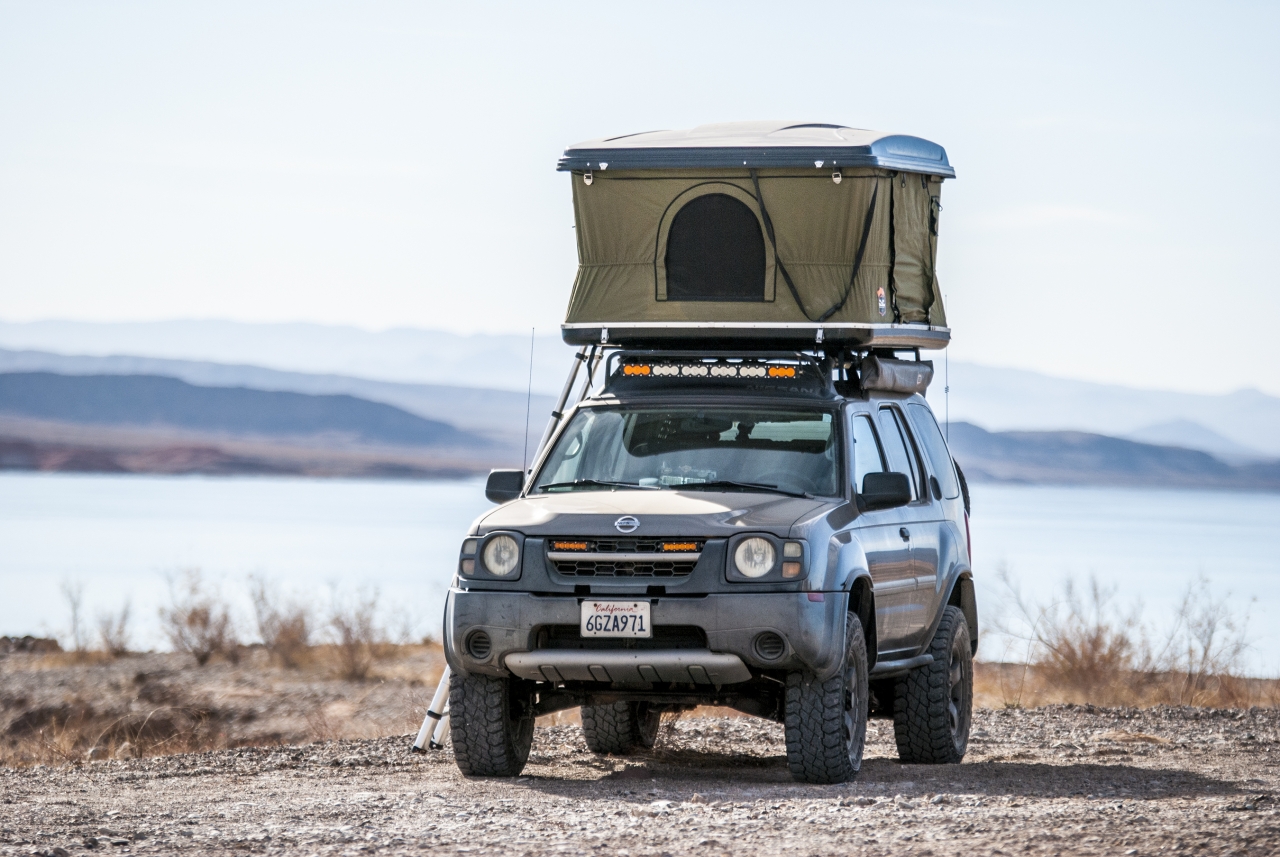
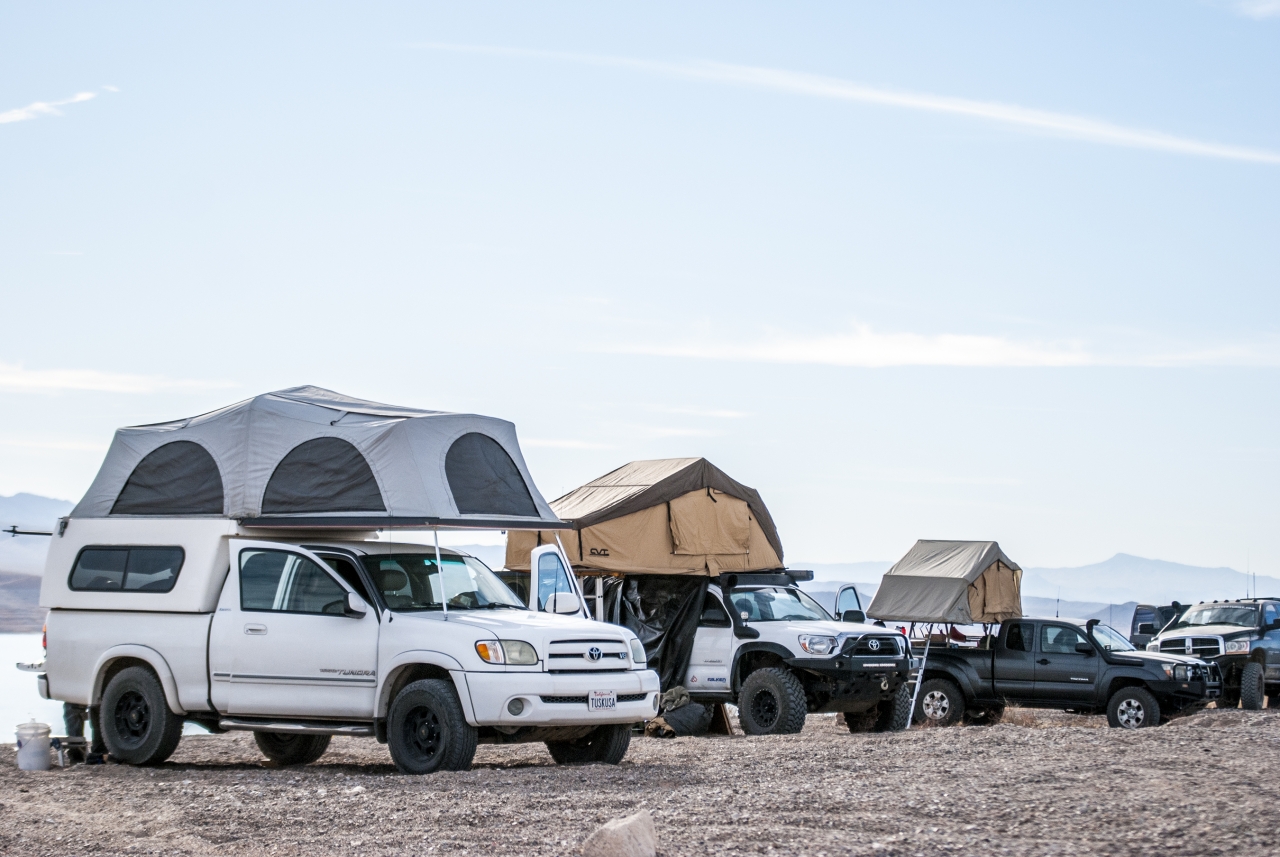
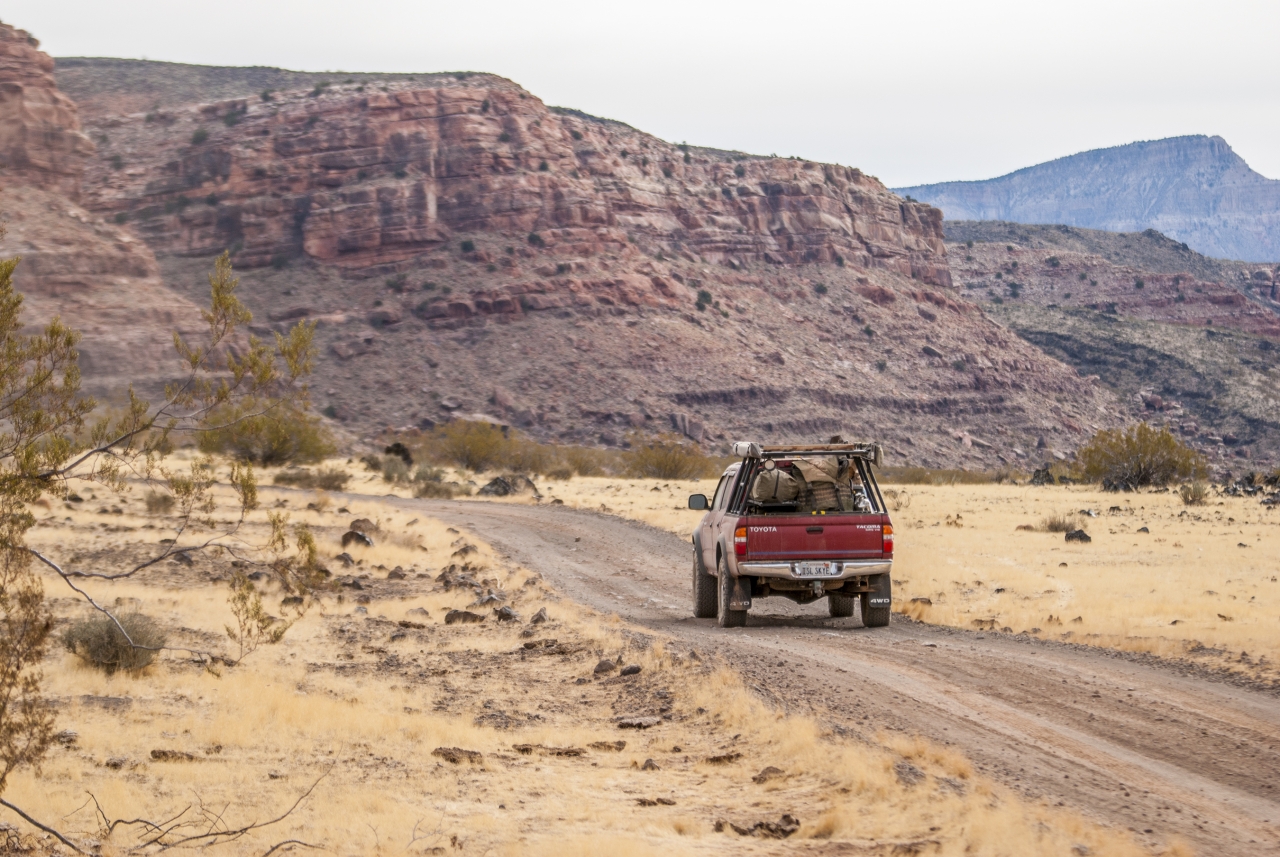
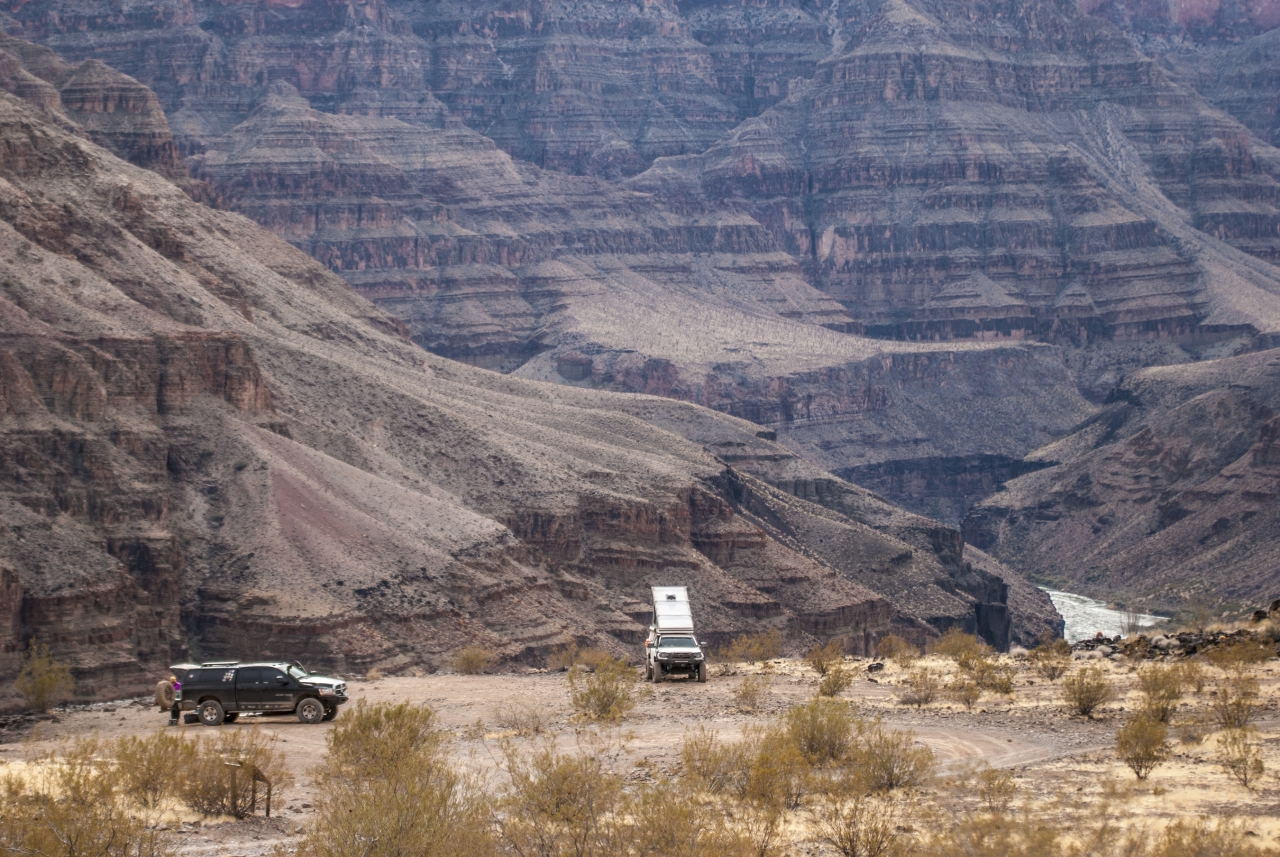
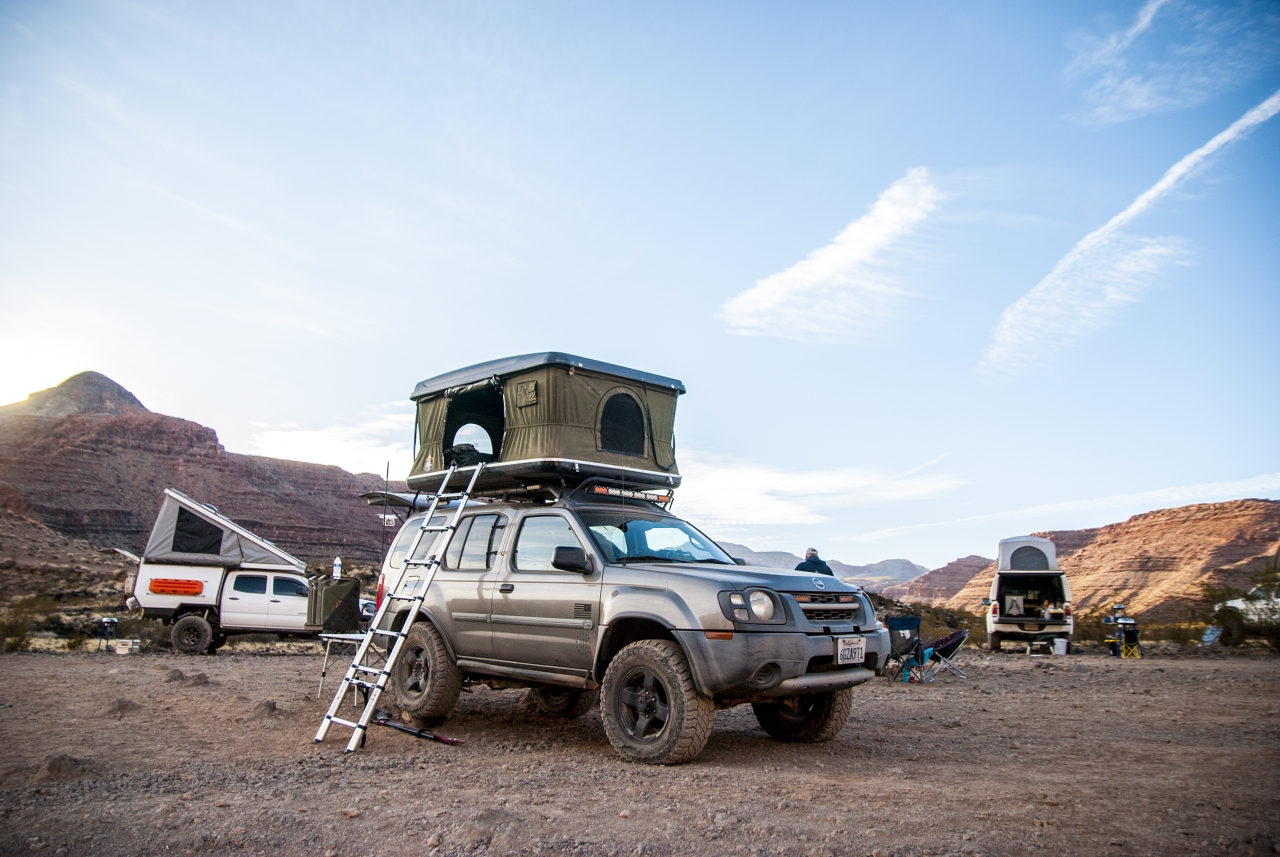
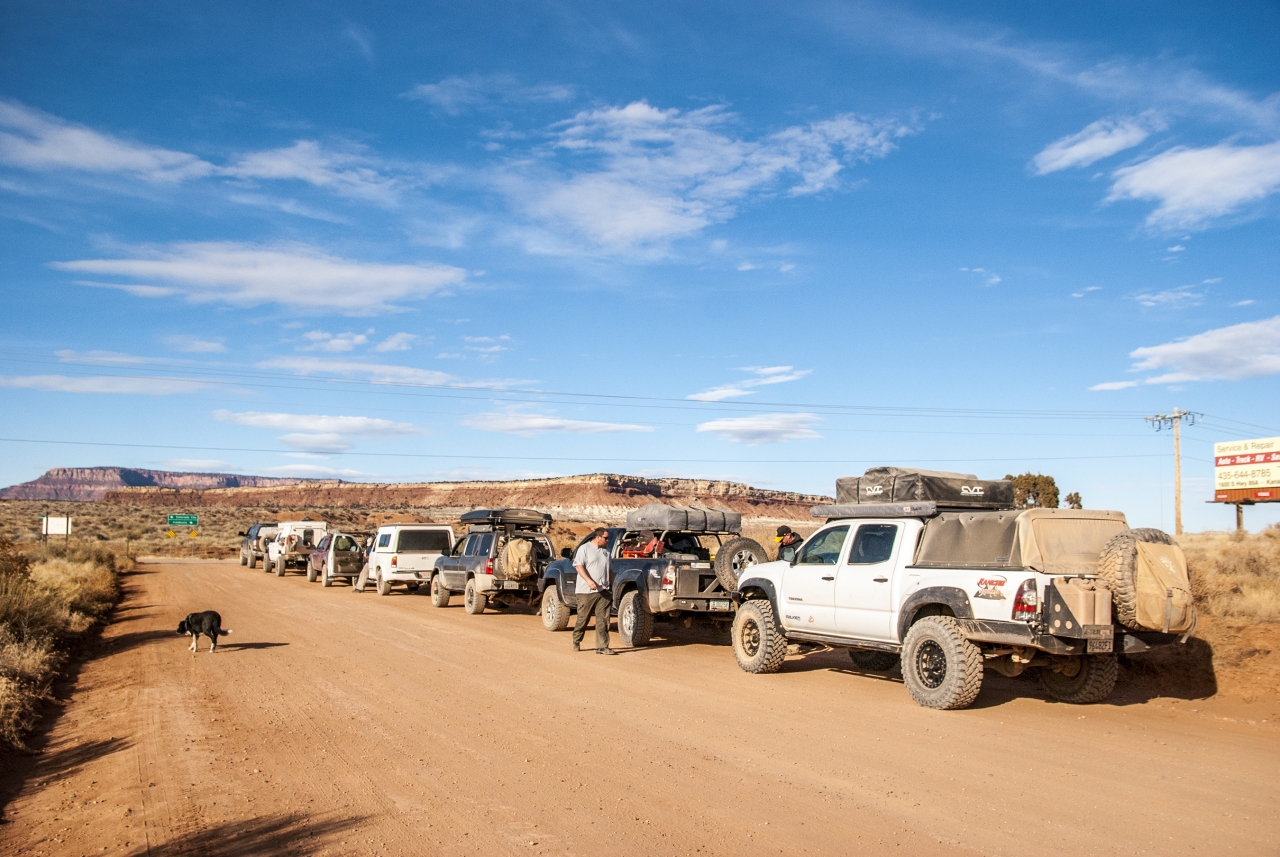
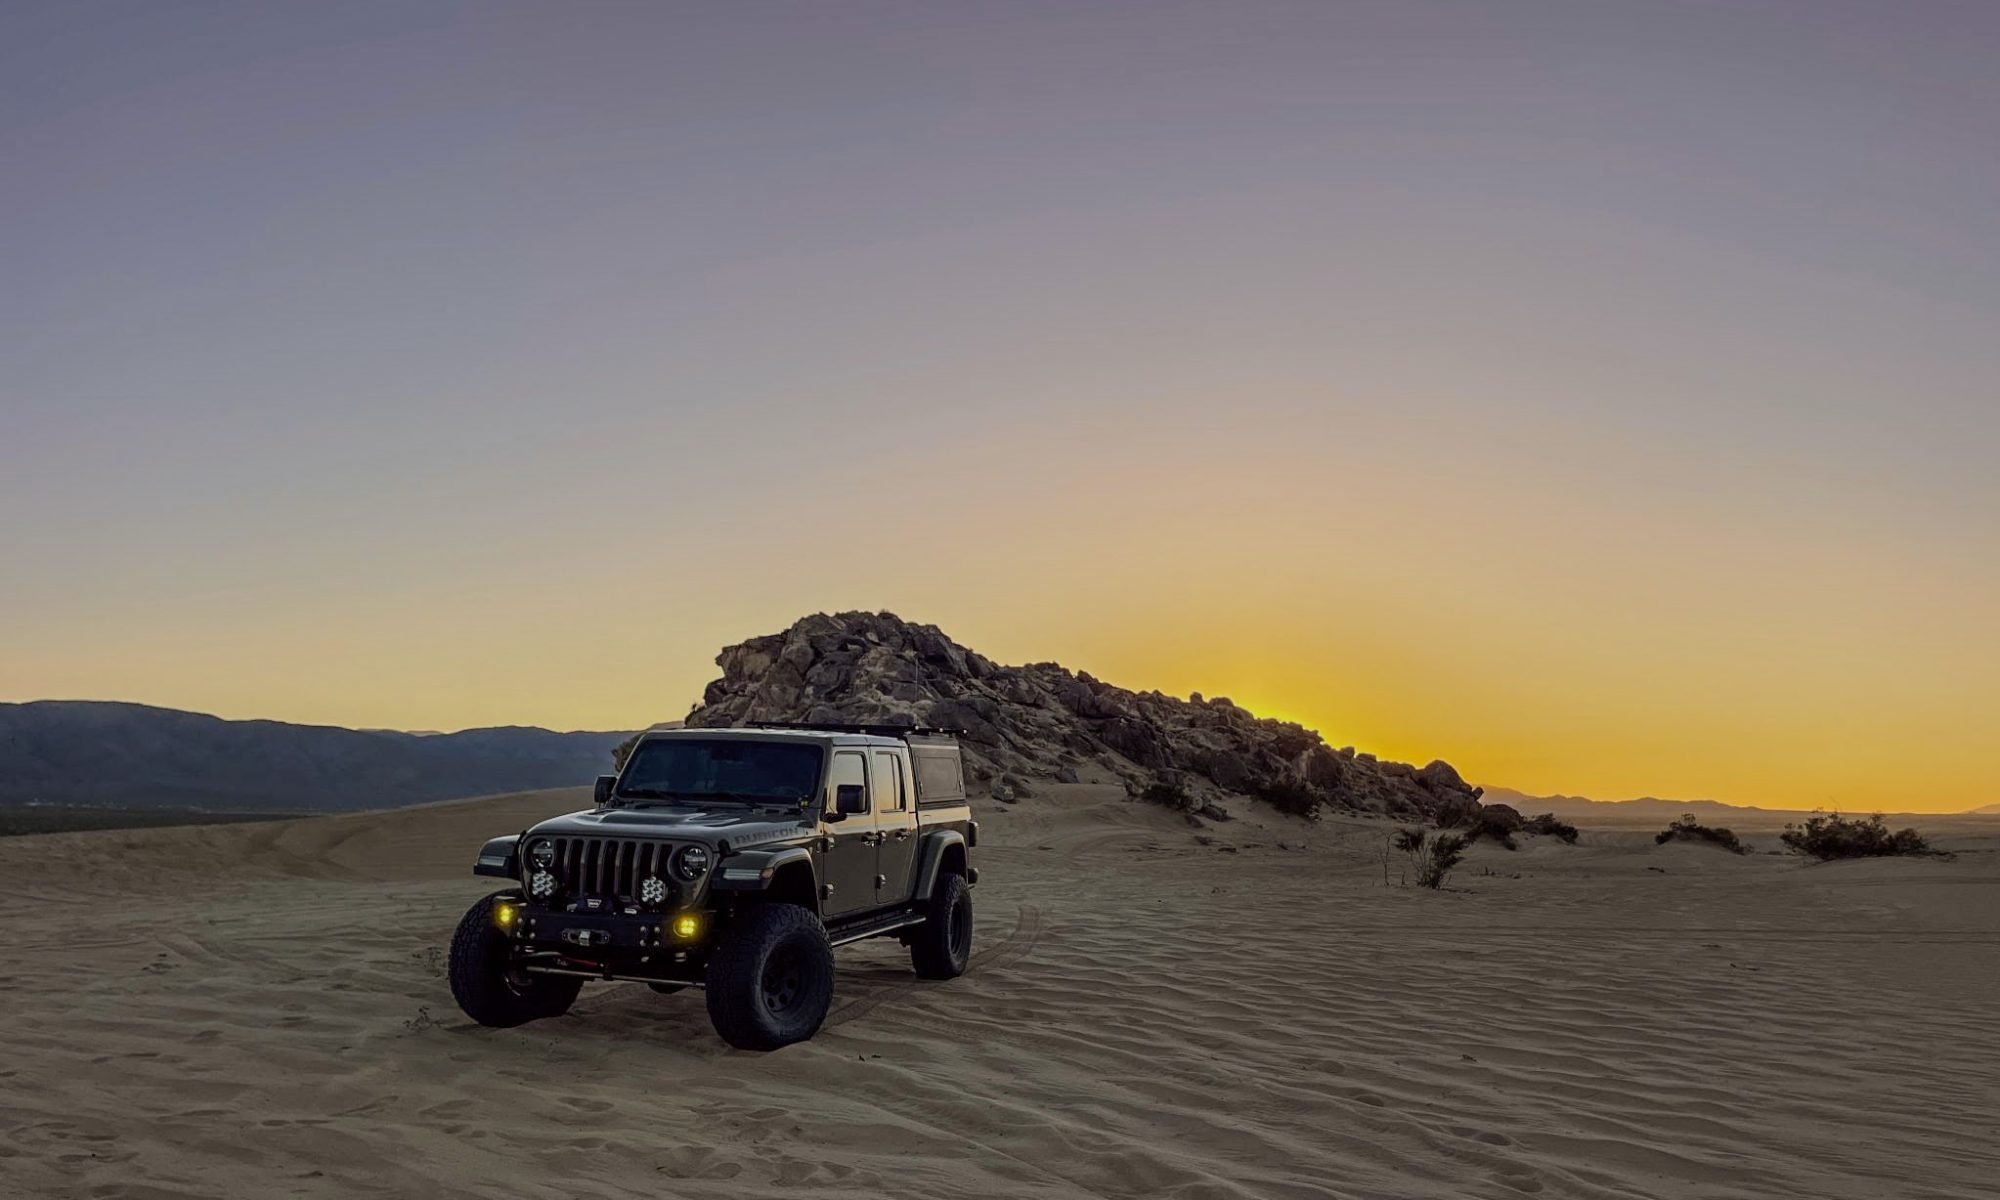
If you’re using a motor vehicle then you’re rolling up to the campsite and unloading from your car/UTE/motorcycle/etc… There is a temptation to throw caution to the wind and get the biggest tent you can fit in your vehicle. Don’t do this without considering how long your stay is going to be. If you plan on setting up a base camp from which you’ll be exploring from over the next few days then a tent with an emphasis on livable space and comfort makes sense. If you like overland style trips and move camp every day then do you really want to spend the time and effort setting up your ultra mega tent just to pack it away every morning?
When and where are you going?
The time of year, climate, and altitude at your destination are important considerations. You’ll see two basic types of ratings, 3-season and 4-season tents. A 3-season tent is best for mild conditions: spring, summer, and fall. They’re not suitable for winter camping. They are almost always “double-walled” tents. A 4-season tent is somewhat misleading. The construction that makes them ideal for winter camping tends to make them miserable in milder seasons as they are most often single-walled tents with less breathability. Most importantly, you should always pick a tent with the expectation of seasonal bad weather.
Single Walled Tents
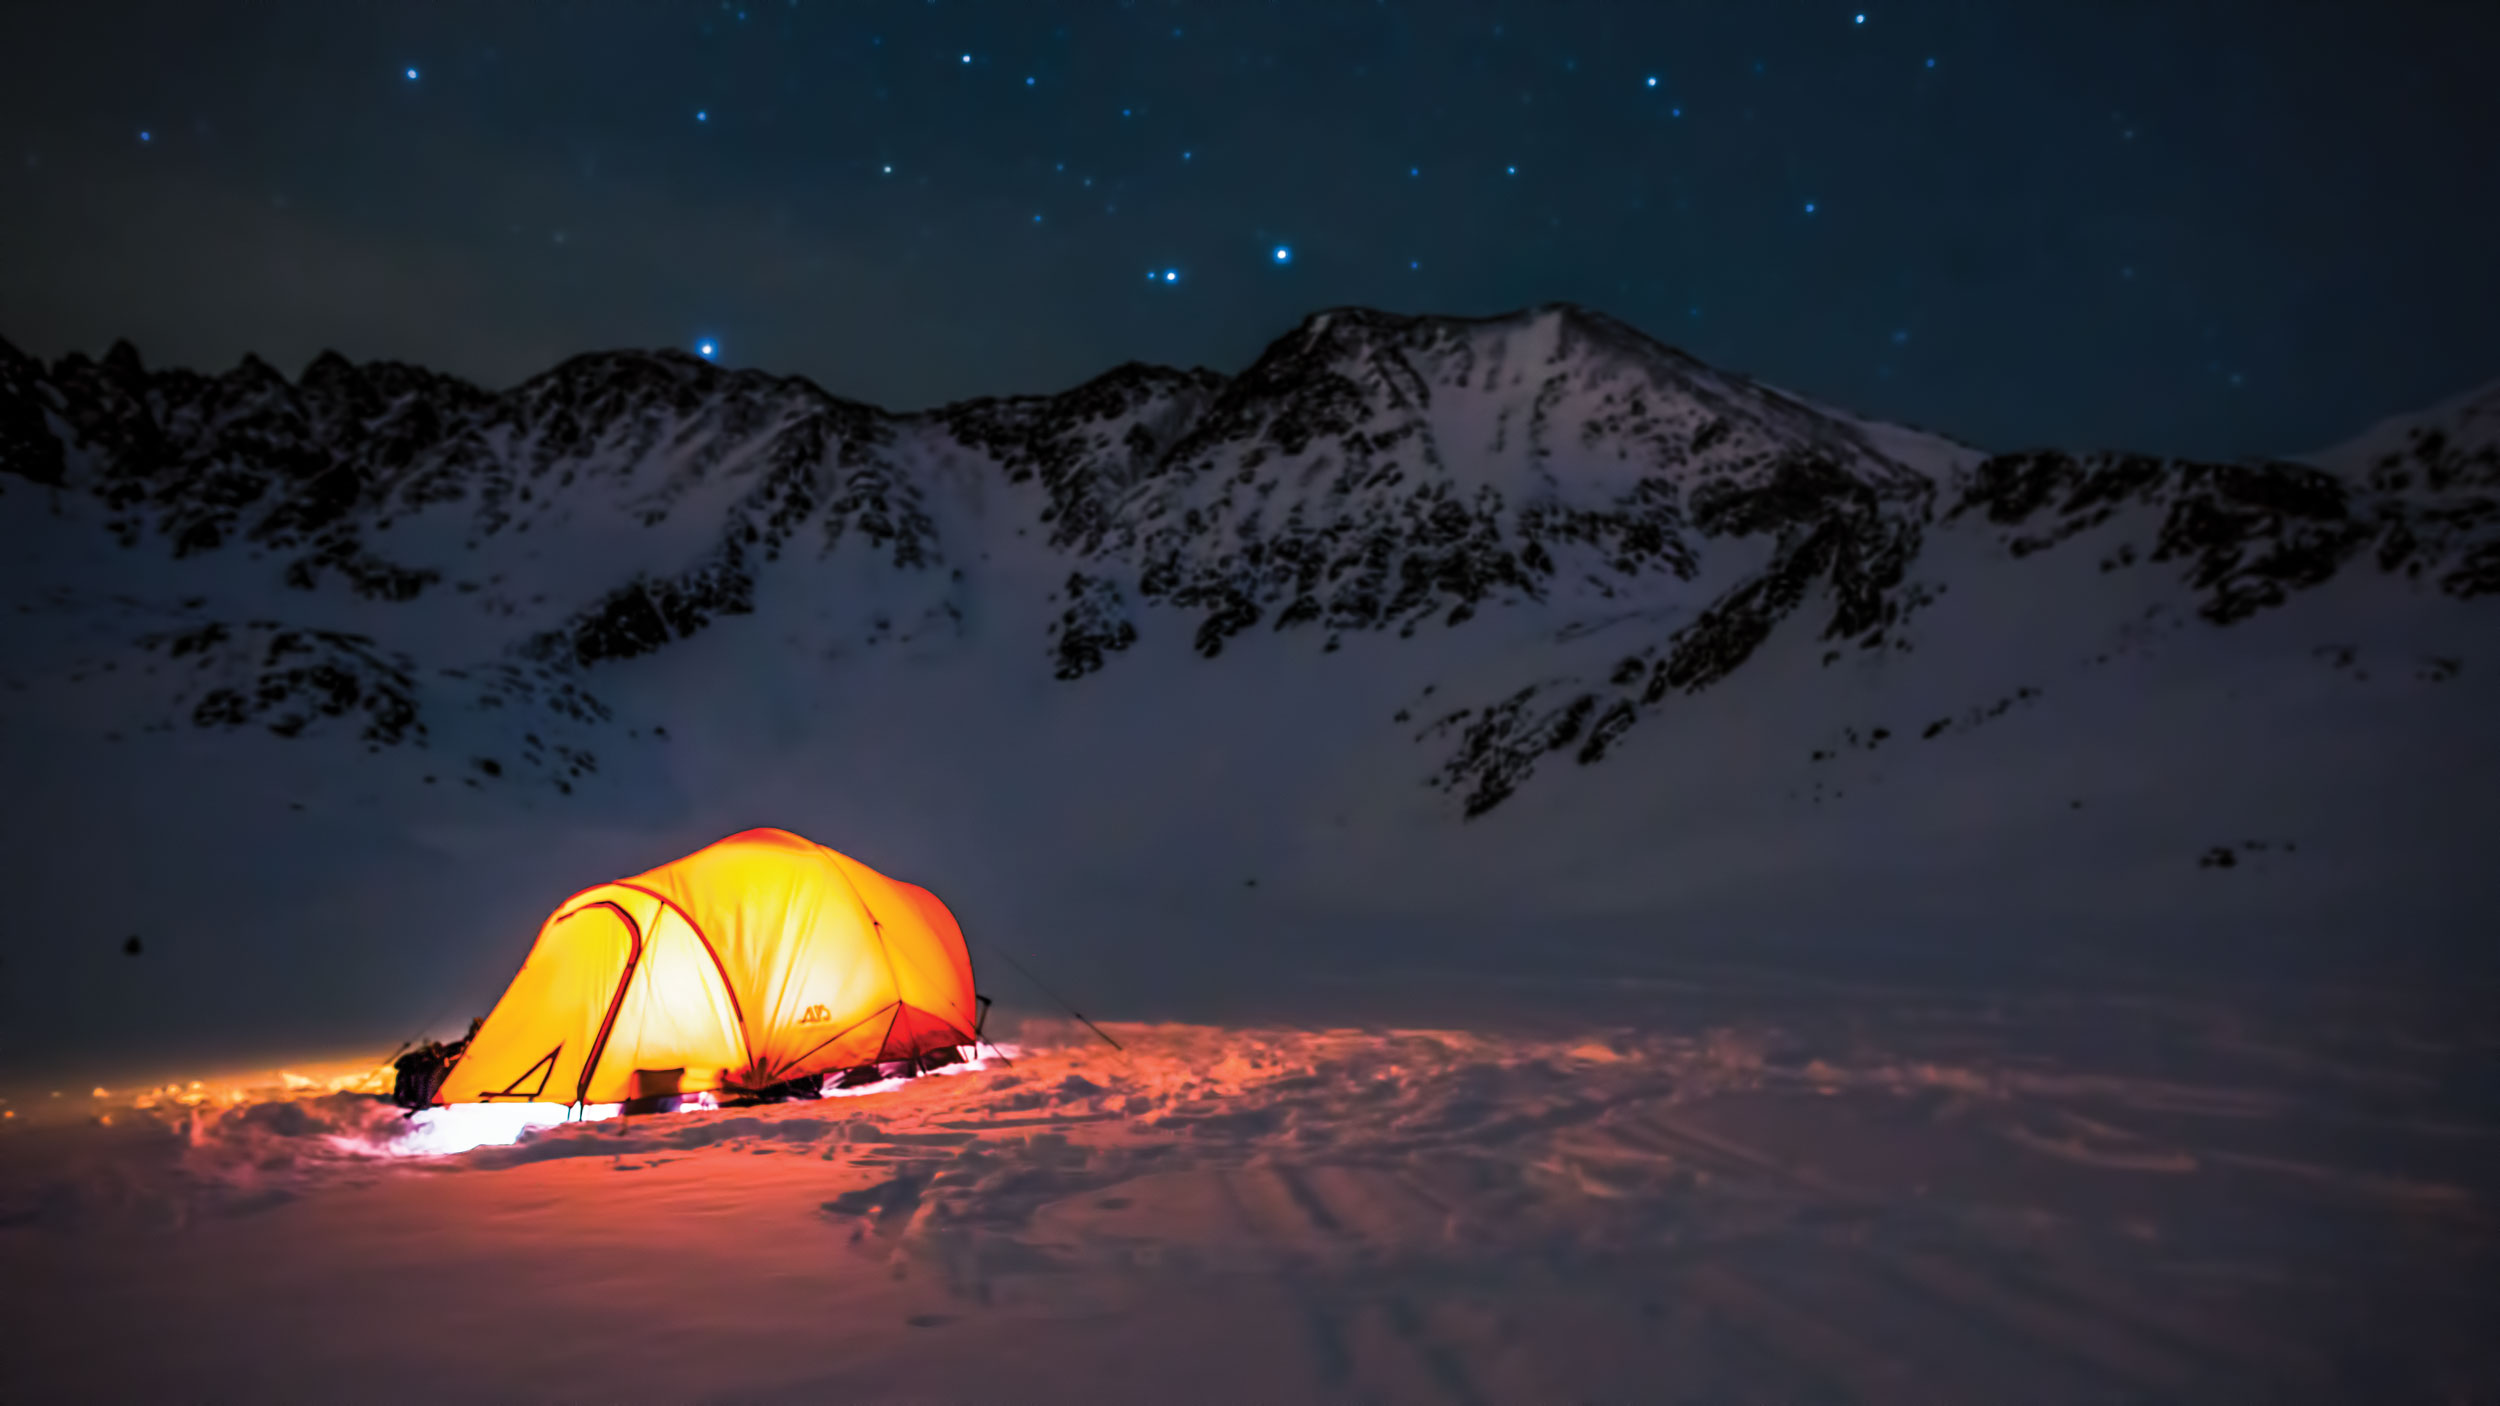
Single-walled tents offer weather protection in the tent body via a single waterproof, but not breathable, shell. This makes them better at heat retention. Single wall tents are also much more resilient against high winds because of the solid fabric wall to the ground without a rainfly to catch the wind. The lack of a second shell also makes them lighter and faster to set up when compared to a comparable sized double-walled tent. In a winter/alpine environment where the weather can get bad fast, a quick setup is really crucial.
Drawbacks for single-walled tents:
- The way the tent is constructed means condensation is a possible issue.
- As mentioned previously they can be miserable in milder / humid seasons.
Double Walled Tents
Double-walled tents consist of the tent body, which includes the floor and walls that are often a mesh, and the rainfly which covers the tent body and offers protection from the wind and rain. This construction of an external waterproof but not breathable cover with a breathable but not waterproof inner shell offers better ventilation and has less issues with condensation. There are some drawbacks.
- They don’t retain heat or resist wind as well as single-walled tents.
- They require more staking and attention to guying out the rainfly.
- Rainfly fabrics, particularly nylons, can stretch a little when exposed to moisture and require re-tensioning of the rainfly.
- They are typically heavier due to more materials/parts.
What type of ground will you be camping on?
Tent stakes are not all the same. You’ll need different stakes depending on the soil conditions. You don’t want to have to pound in a two foot long, broad tent stake designed for sand into the rocky ground or vice versa – a stake designed for rocky soil will not do anything for you in sand. The goal here isn’t to overwhelm you with every type of tent stake there is so I won’t be listing all the different types. The goal is just to make you aware that they exist and perhaps carrying different types will be necessary. Join the discussion Let’s talk tent stakes… if you have questions.
Tent Footprints
Tent footprints protect your tent. Specifically the tent floor by preventing the wear and tear of your tent against the ground. Instead they take the abuse. They are often sold separately from the tent so you need to check if one is included if you want one.
They are also two distinct types of tent footprints. The type most typically found are a solid material and act as a barrier to ground moisture for the tent. But under the right (wrong?) conditions you can end up with water pooling on top of the footprint under your tent. Because of this some give the advice that a footprint is not necessary. That since most tents have waterproof floors a waterproof footprint is redundant. Take note though that if you choose to forgo the purchase of a footprint you’ll need to avoid placing your tent on top of anything that can damage it. Another type is a mesh material. This allows moisture (and debris like sand) to pass through and prevents pooling of water between the tent and footprint. You retain the ground protection and avoid the potential for water pooling between the footprint and tent.
Whether you choose a solid or mesh footprint, it’s always best to get into the habit of picking a campsite with good drainage and avoid areas where water will flow and pool.
What am I going to do if the weather gets bad?
An important note that can not be emphasized enough is that you need to educate yourself about the environment you will be camping in, and exposing yourself to. Get weather forecasts and anticipate dramatic changes in the weather. Choose equipment appropriate for the conditions and altitude – there’s a BIG difference between camping in the woods at sea level versus 4,000 feet elevation. The right gear can make the difference between being mildly inconvenienced, or becoming a participant in a rescue operation over the weekend. Despite the weather forecast, always ask yourself and have an answer for this question: What am I going to do if the weather gets bad?
Okay. I get it. But what if it just rains?
Additional Resources
MSR has excellent articles going into much detail about fabrics and waterproof ratings.
Tent Fabrics Part 1: Fabric Specs
Tent Fabrics Part 2: Waterproof Ratings
Most tents made today use polyester fabric that, by itself, is not waterproof. To resist water penetration one or more polyurethane coatings are applied. This resistance to water penetration is measured by how high a column of water in millimeters (mm) can be held up against the fabric for one minute before a single drop of water seeps through and begins to form. There is a caveat here. No international standard defines a tent fabric as waterproof but 1500mm is widely accepted as a minimum and able to withstand almost all rain conditions. A rainfly rated at 1500mm means that a 1500mm, almost 5 feet, column of water will take at least 1 minute before water penetrates the fabric and a drop begins to form.
The floors or groundsheets of tents are often a heavier material. They take the most abuse. Polyester and Nylon floors should have a higher mm rating than the tent walls ranging from 1500mm to 10,000mm. Optionally they can also be made from a waterproof and non-breathable material such as polyethylene or heavy duty PVC. Most tents today also have bathtub floors. This is a type of floor design where the floor material extents up the sidewall of the tent a short distance forming a tub. This minimizes the chance of water entering into the tent.
Some tents will have storm flaps and skirts. These extend from the side of the tent at the base and direct water out and away helping to keep water out from under the tent.
Something to make note here is that unless the tent is made entirely from a non-breathable material your tent will leak given a long enough exposure to water.
How many are going?
Use the number of people a tent is rated for as a guide but pay attention to the floor space and peak height. Are you bringing your dog(s)? Don’t forget them during your selection process. Keep in mind that the rating is sort of a maximum occupancy under normal conditions. Two people in a two person tent will mean you’ll most likely be spooning with your camp buddy when you bring in all your gear to escape the rain.
In general you’ll want to at least +1 the number of people when selecting a tent. If you can, lay out your gear and sleeping bags on the floor of your home to know how much floor space you’ll need. Often this isn’t an option when first getting into camping but you can still guesstimate how much of your gear will count as an extra person.
Make yourself comfortable
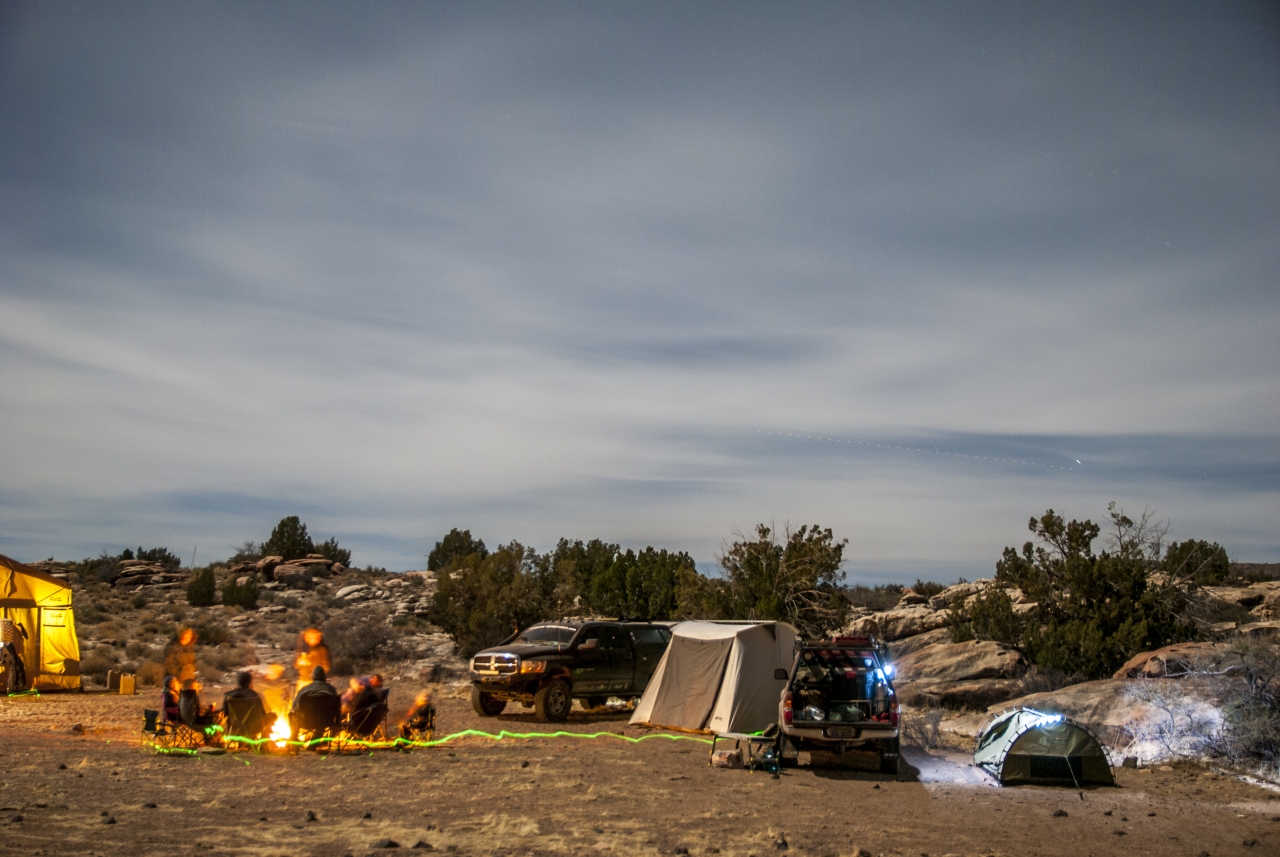
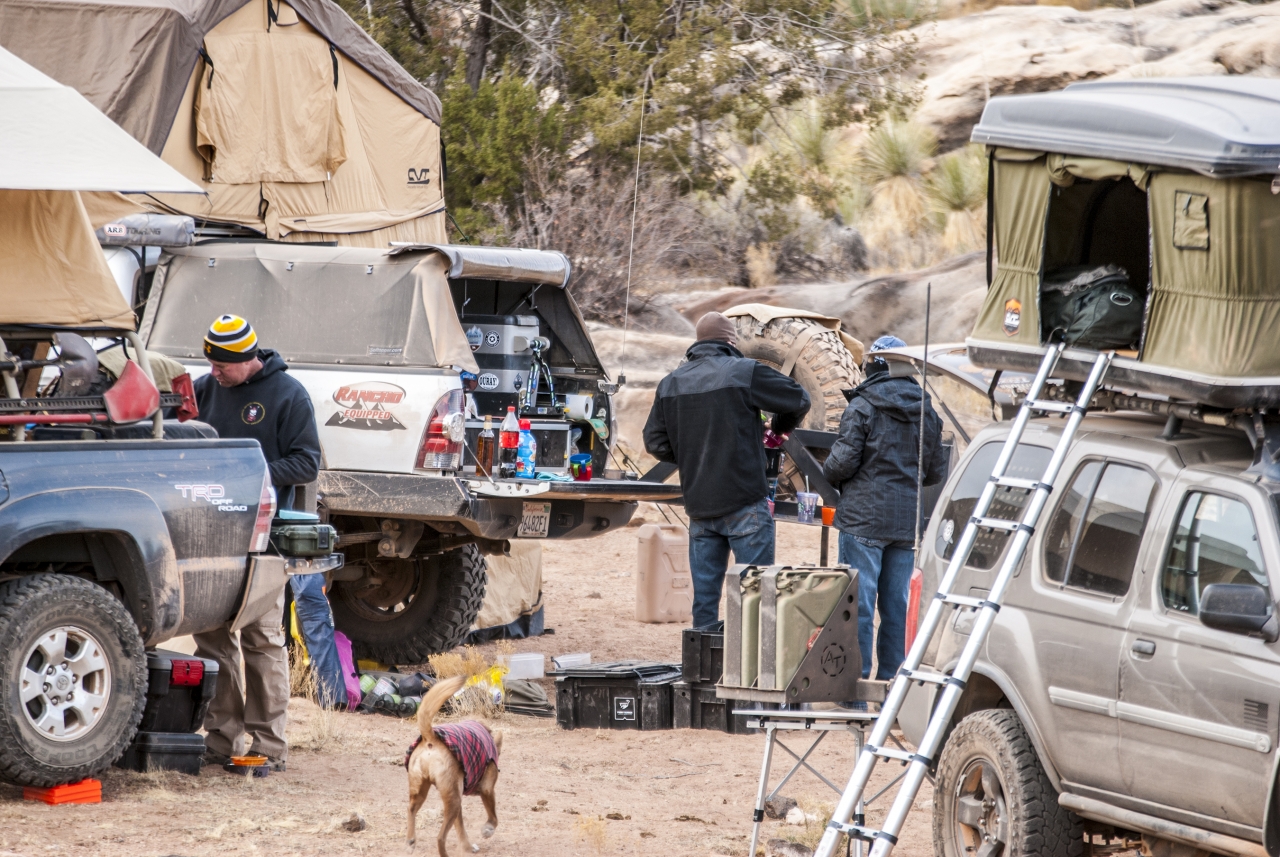
The peak height is the distance between the floor and its highest point. This is an important number to pay attention to in regards to livability. Depending on your height it denotes whether or not you’ll be able to sit up, crouch, or stand inside your tent. If your plan is to set up a base camp you’ll want to be able to stand in your tent. The Shiftpod pictured above is a great example of an overland style tent with plenty of peak height with room for everything and everyone.
Keep in mind that extra space comes with a cost to portability. This isn’t as much of a concern if you are getting to your camp via 4WD vehicle, but if it’s you expending the energy to haul that extra space around on your back you should try to select something lightweight and compact and deal with a smaller tent.
Additional Resources
TentPole Technologies can repair damaged poles and create custom pole replacements. A much better alternative than buying a new tent should you break a pole.
Nemo Equipment offers advice on how to store your gear.
REI provides great information to help you keep your tent for years.
Tent Care Basics
How to Repair a Tent
What else is there to consider?
More on tent construction
Vestibules are a nice feature that we look for in a ground tent. This space does not cost much in terms of portability or weight of the tent and is extremely useful for storing gear, and for providing a storage space for wet/dirty boots and gear.
Freestanding tents are not required to be staked to the ground as the tent structure supports itself. Generally heavier than non-freestanding tents, they are more popular. They can be moved easily if you discover you’ve placed your tent on an uncomfortable spot and they come with a bunch of nice features. They are dependent on the poles that come with the tent though, so consider carrying a repair kit for your tent poles.
Non-freestanding tents are required to be staked to the ground. Even with the higher learning curve they can be faster to set up when compared to a comparable sized freestanding tent. Non-freestanding tents either totally forgo tent poles, significantly pare down their tent poles, or allow you to improvise tent poles by using trekking poles, trees etc. This is why hammocks were mentioned previously. Some of them also double as non-freestanding tents. Hennessy Hammock is an example of such providing a tutorial to set up on the ground. If you want as light a pack as possible, but still require a shelter, then you should look into non-freestanding tents.
Other stuff
Hammocks can make good backups for your tent in mild weather and a easy alternative for short stays giving you the option of leaving the ultra-mega tent in your vehicle or at home. Join the discussion in Of Whoopie Slings and Tarp Worms..Hammock Camping Discussion if you have questions.
Ask a question about any particular tent you are considering in Ground tents… An open ended discussion or about any Camping Gear and Equipment. Take a look at our North America Field Guides for ideas for your next adventure.
Full Disclosure: American Adventurist was not paid for the contents of this article. Any and all endorsements or opinions in this article are unsolicited and based on the real world experience of the author.