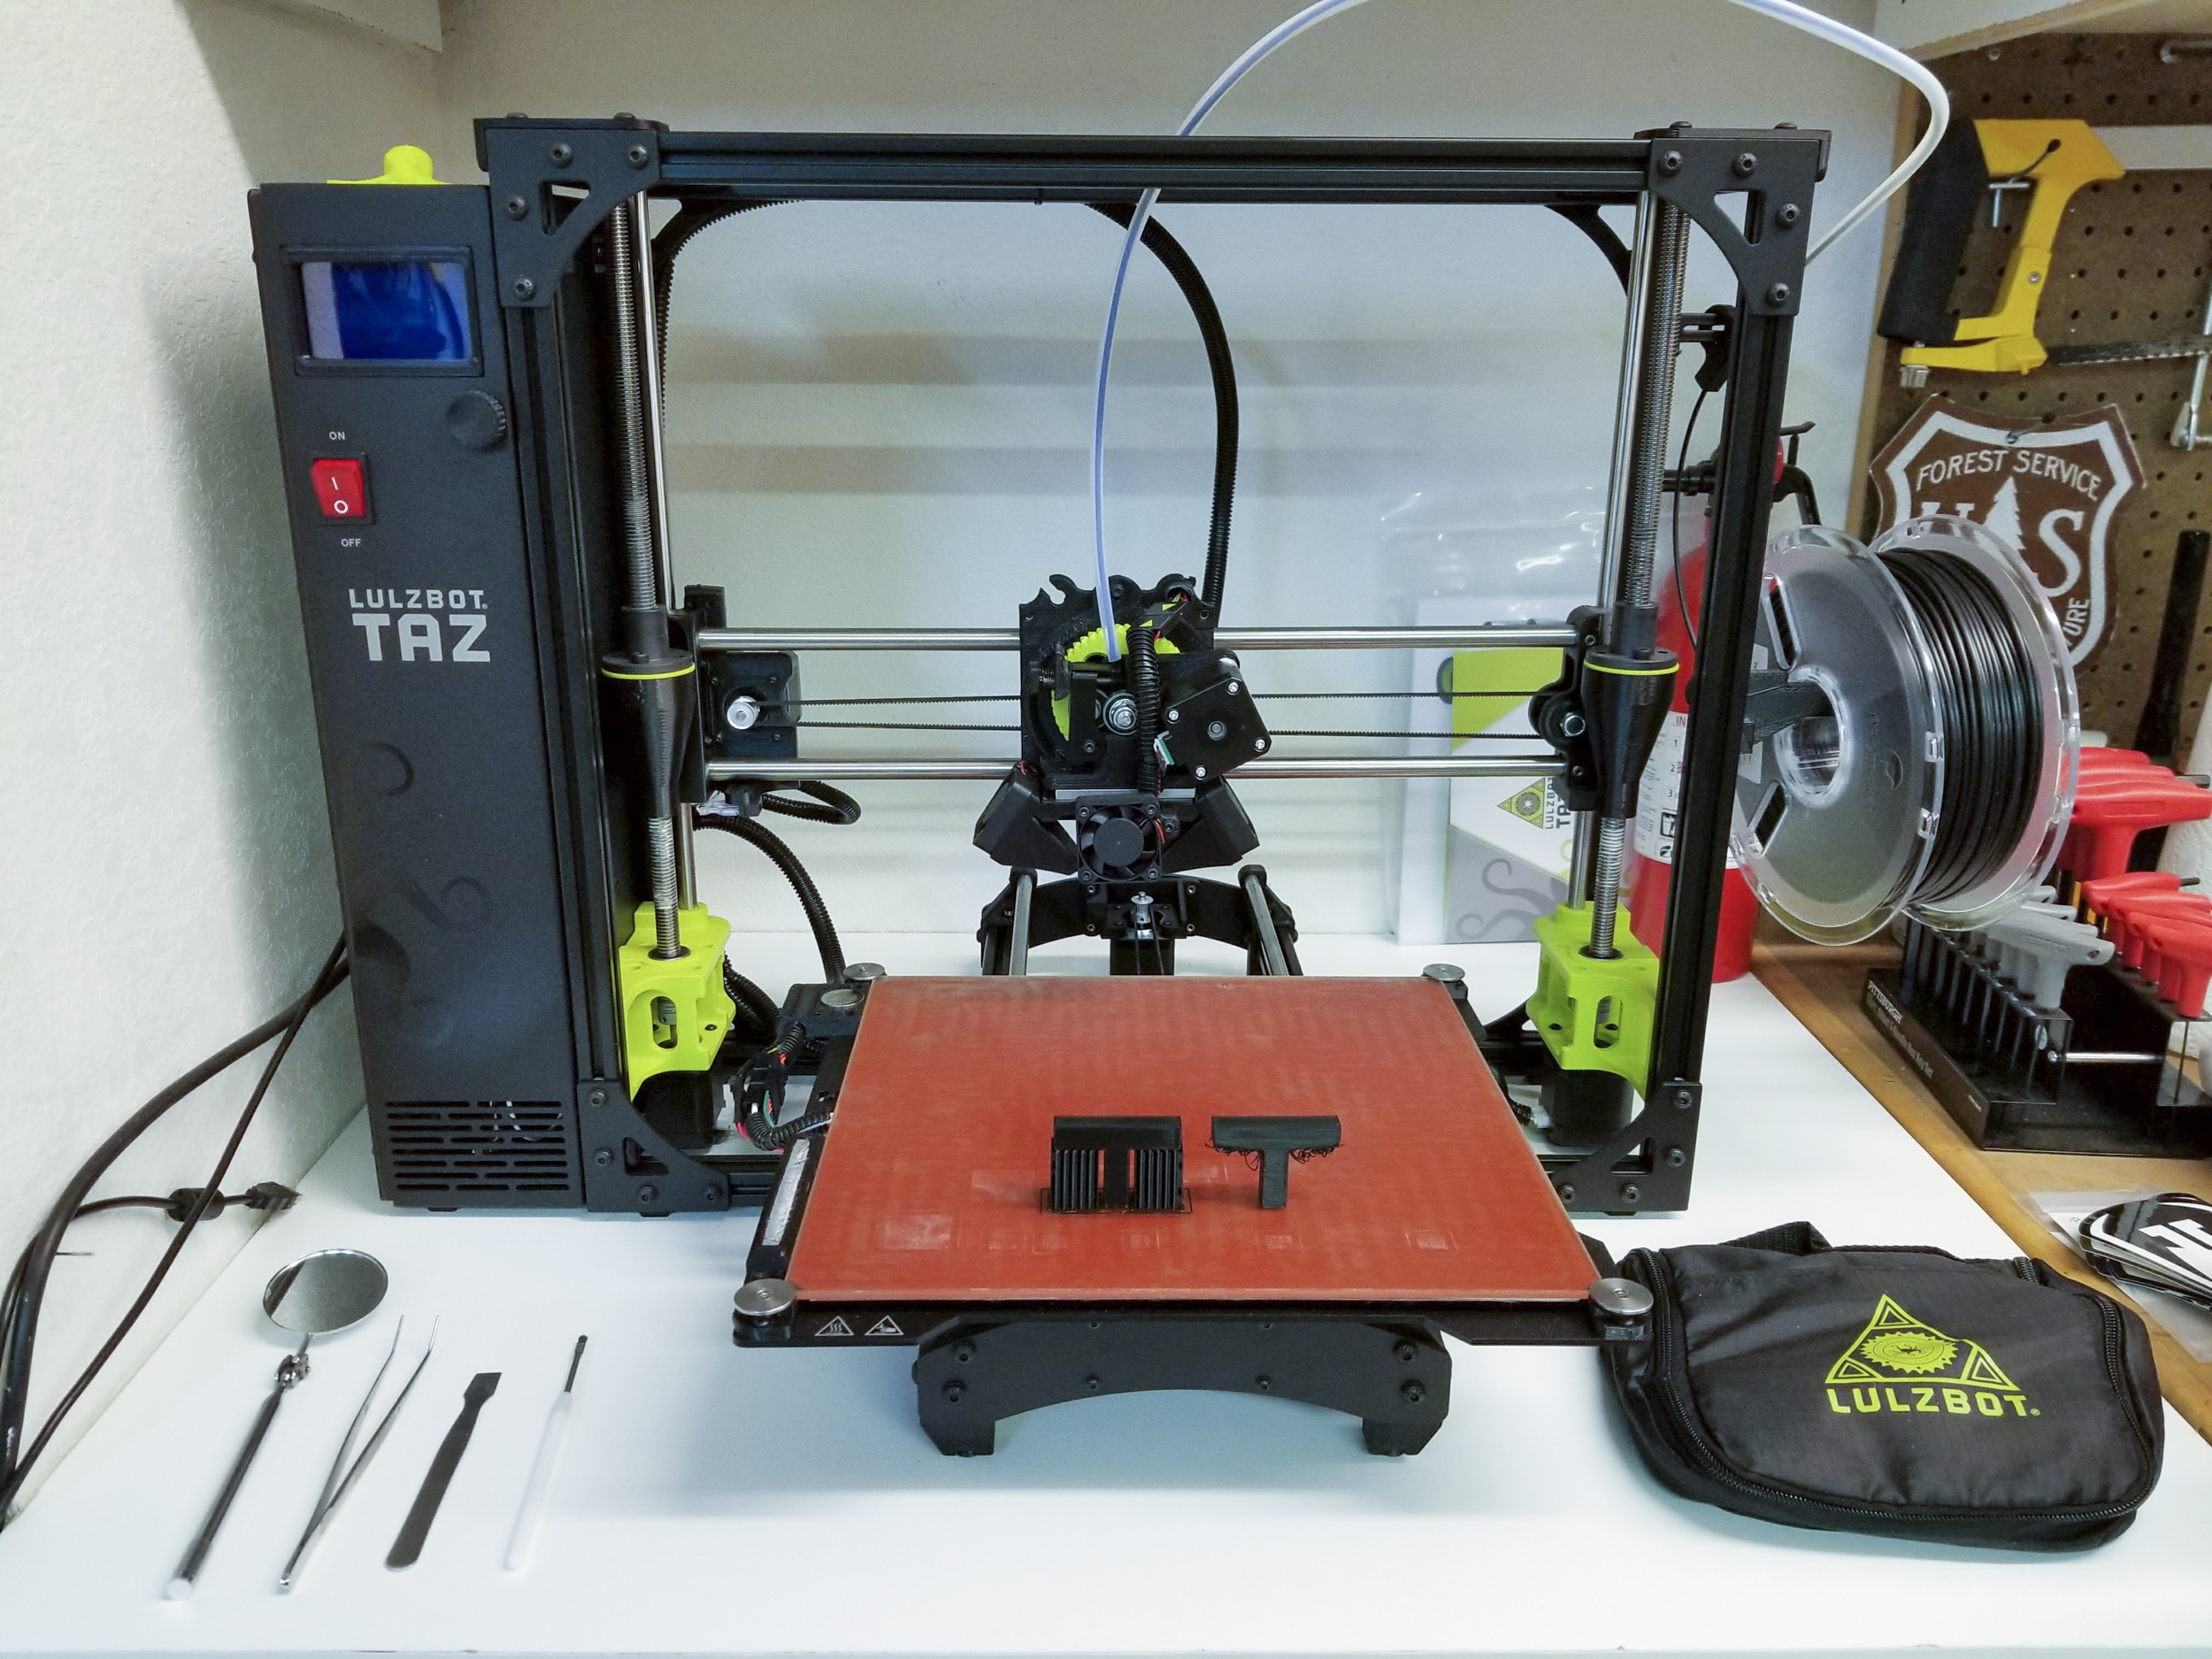
When I was a child, I often found myself wishing there was a tool that I could use to create the all of the random things that a child’s mind could conjure up. One day I would find myself wishing for some LEGO piece that I didn’t have, and on another, I needed one more part for some project I was working on. Yet, now that I’m an adult this tool that I’ve opined for since my youth exists, and it’s called a 3D printer. Specifically, it’s called the TAZ 6, made by Loveland Colorado-based LulzBot. With the TAZ 6, I can create nearly anything that I can dream up, and that capability allows me to solve a world of problems and improve countless experiences for myself and others. This is the first part in of a series of articles that will teach you how to use a 3D Printer and how to create things that will be of value to you. Let’s dig in.
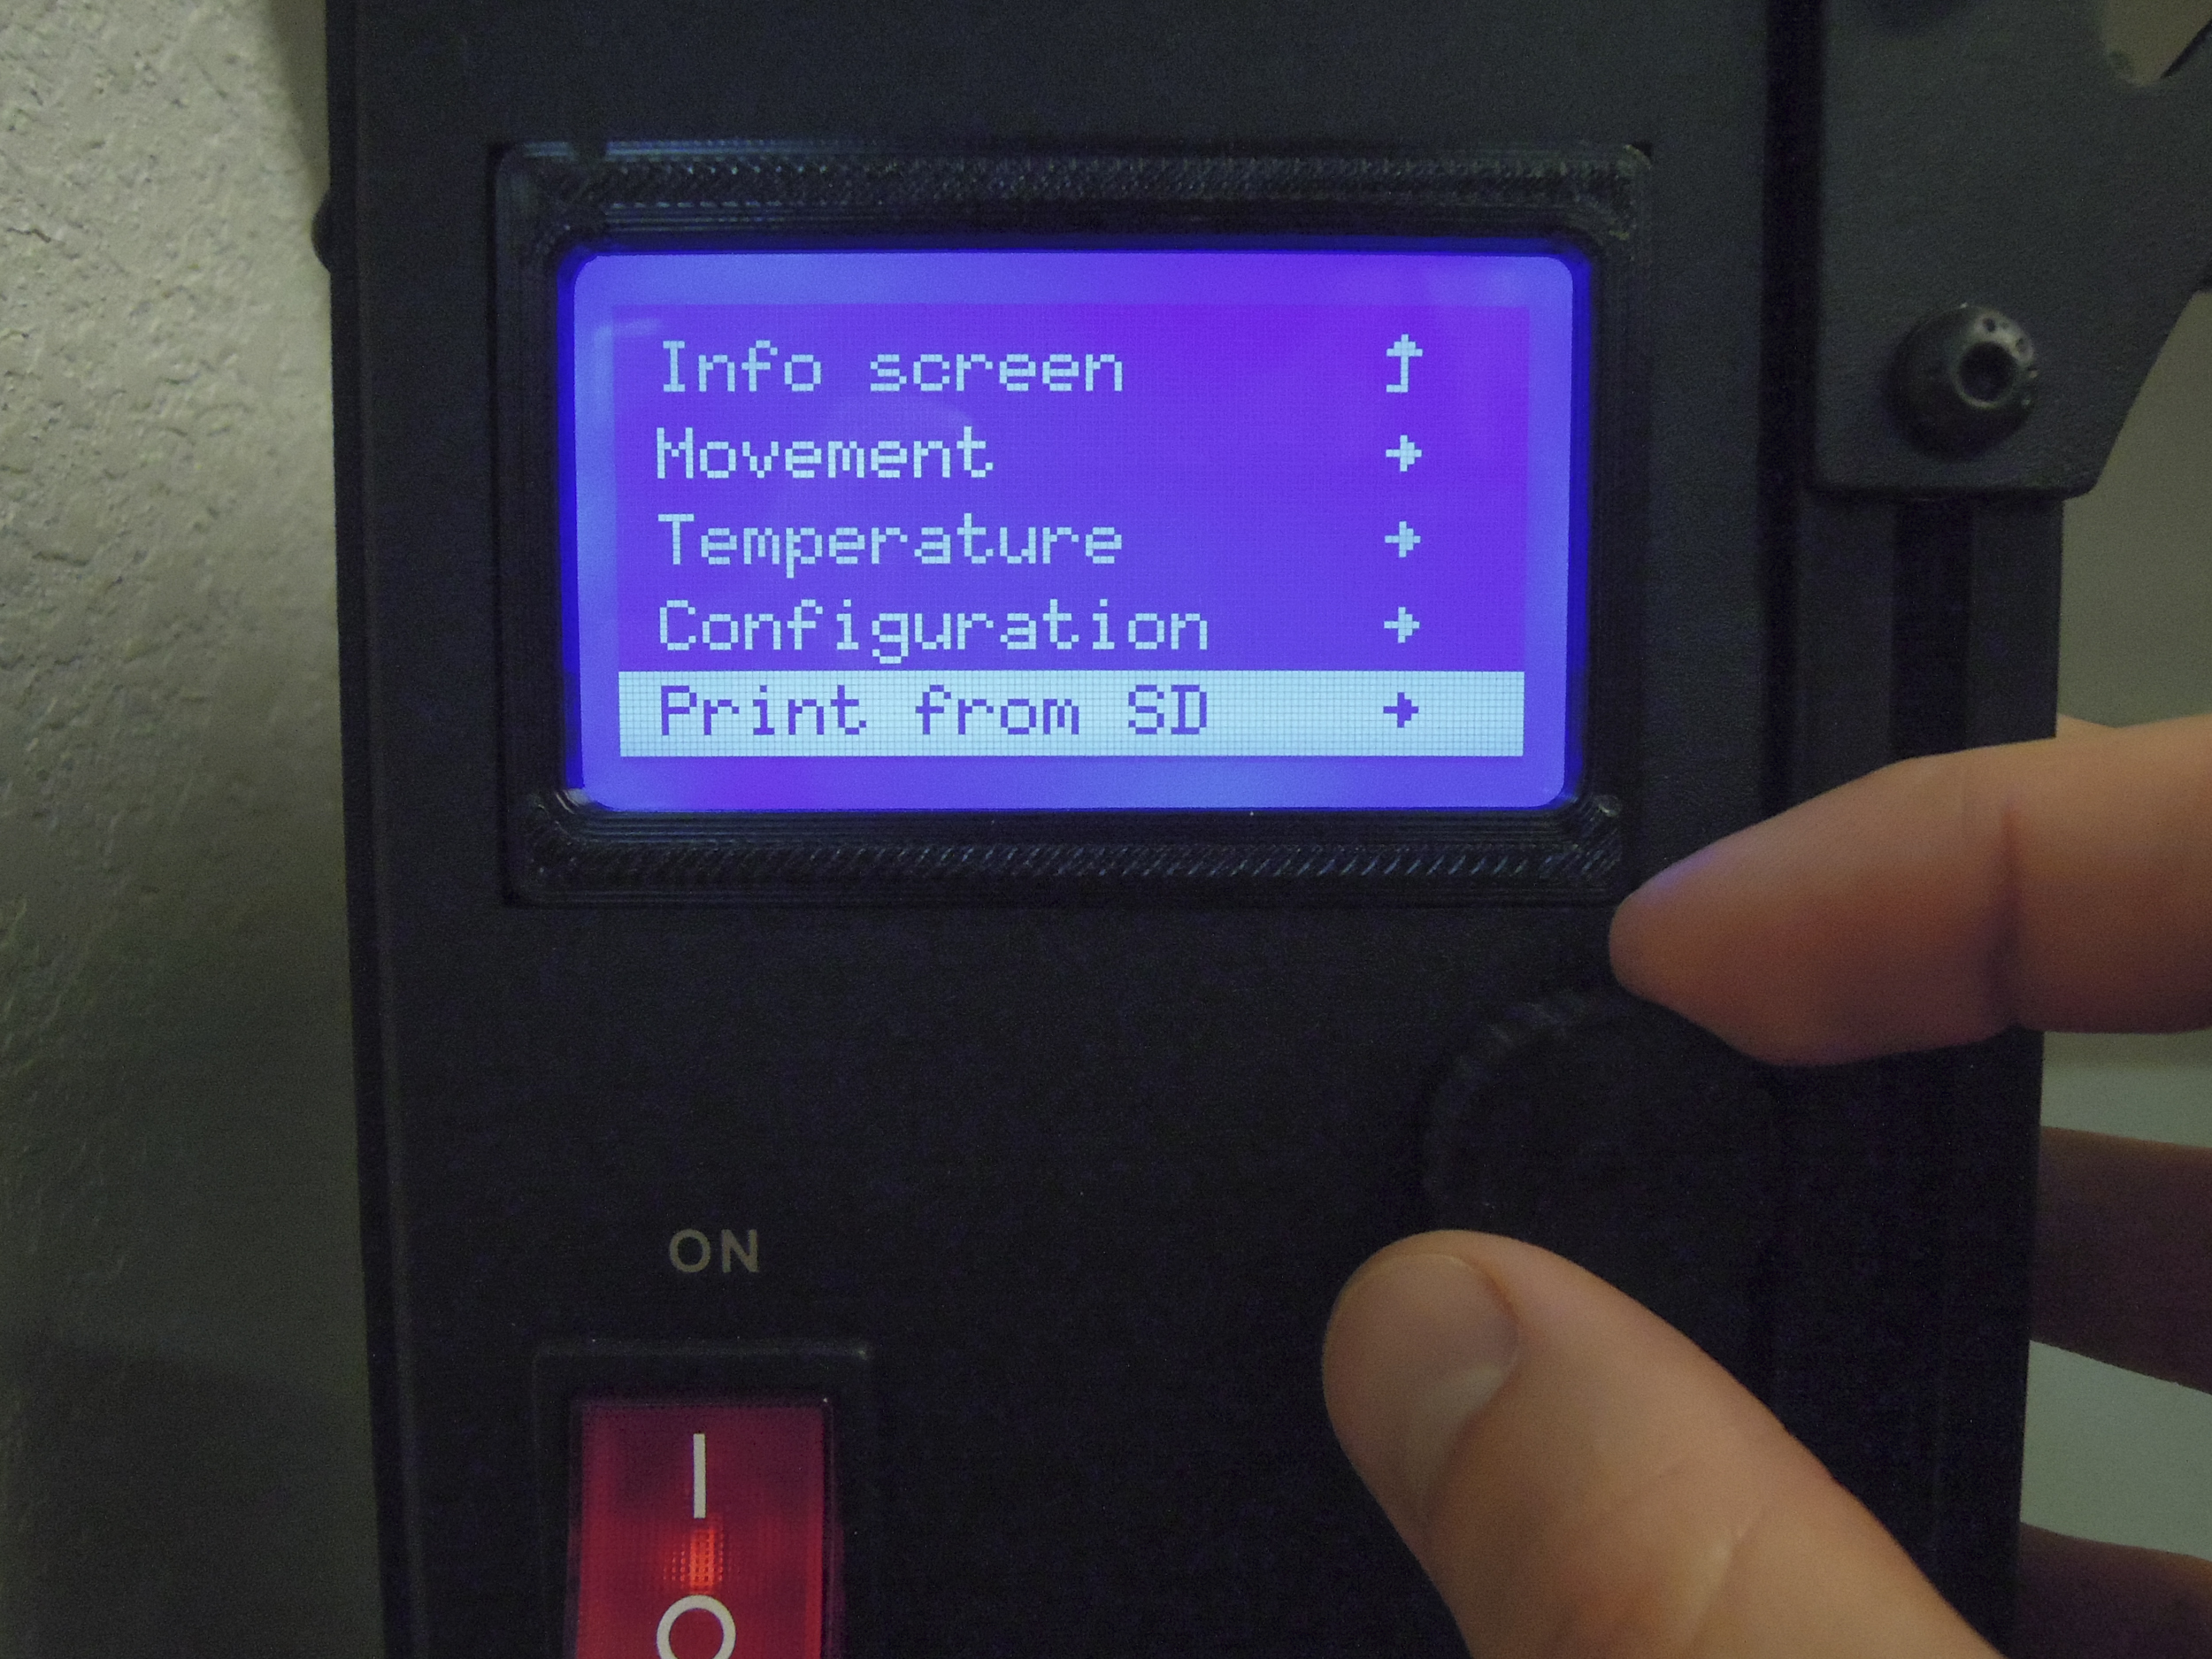
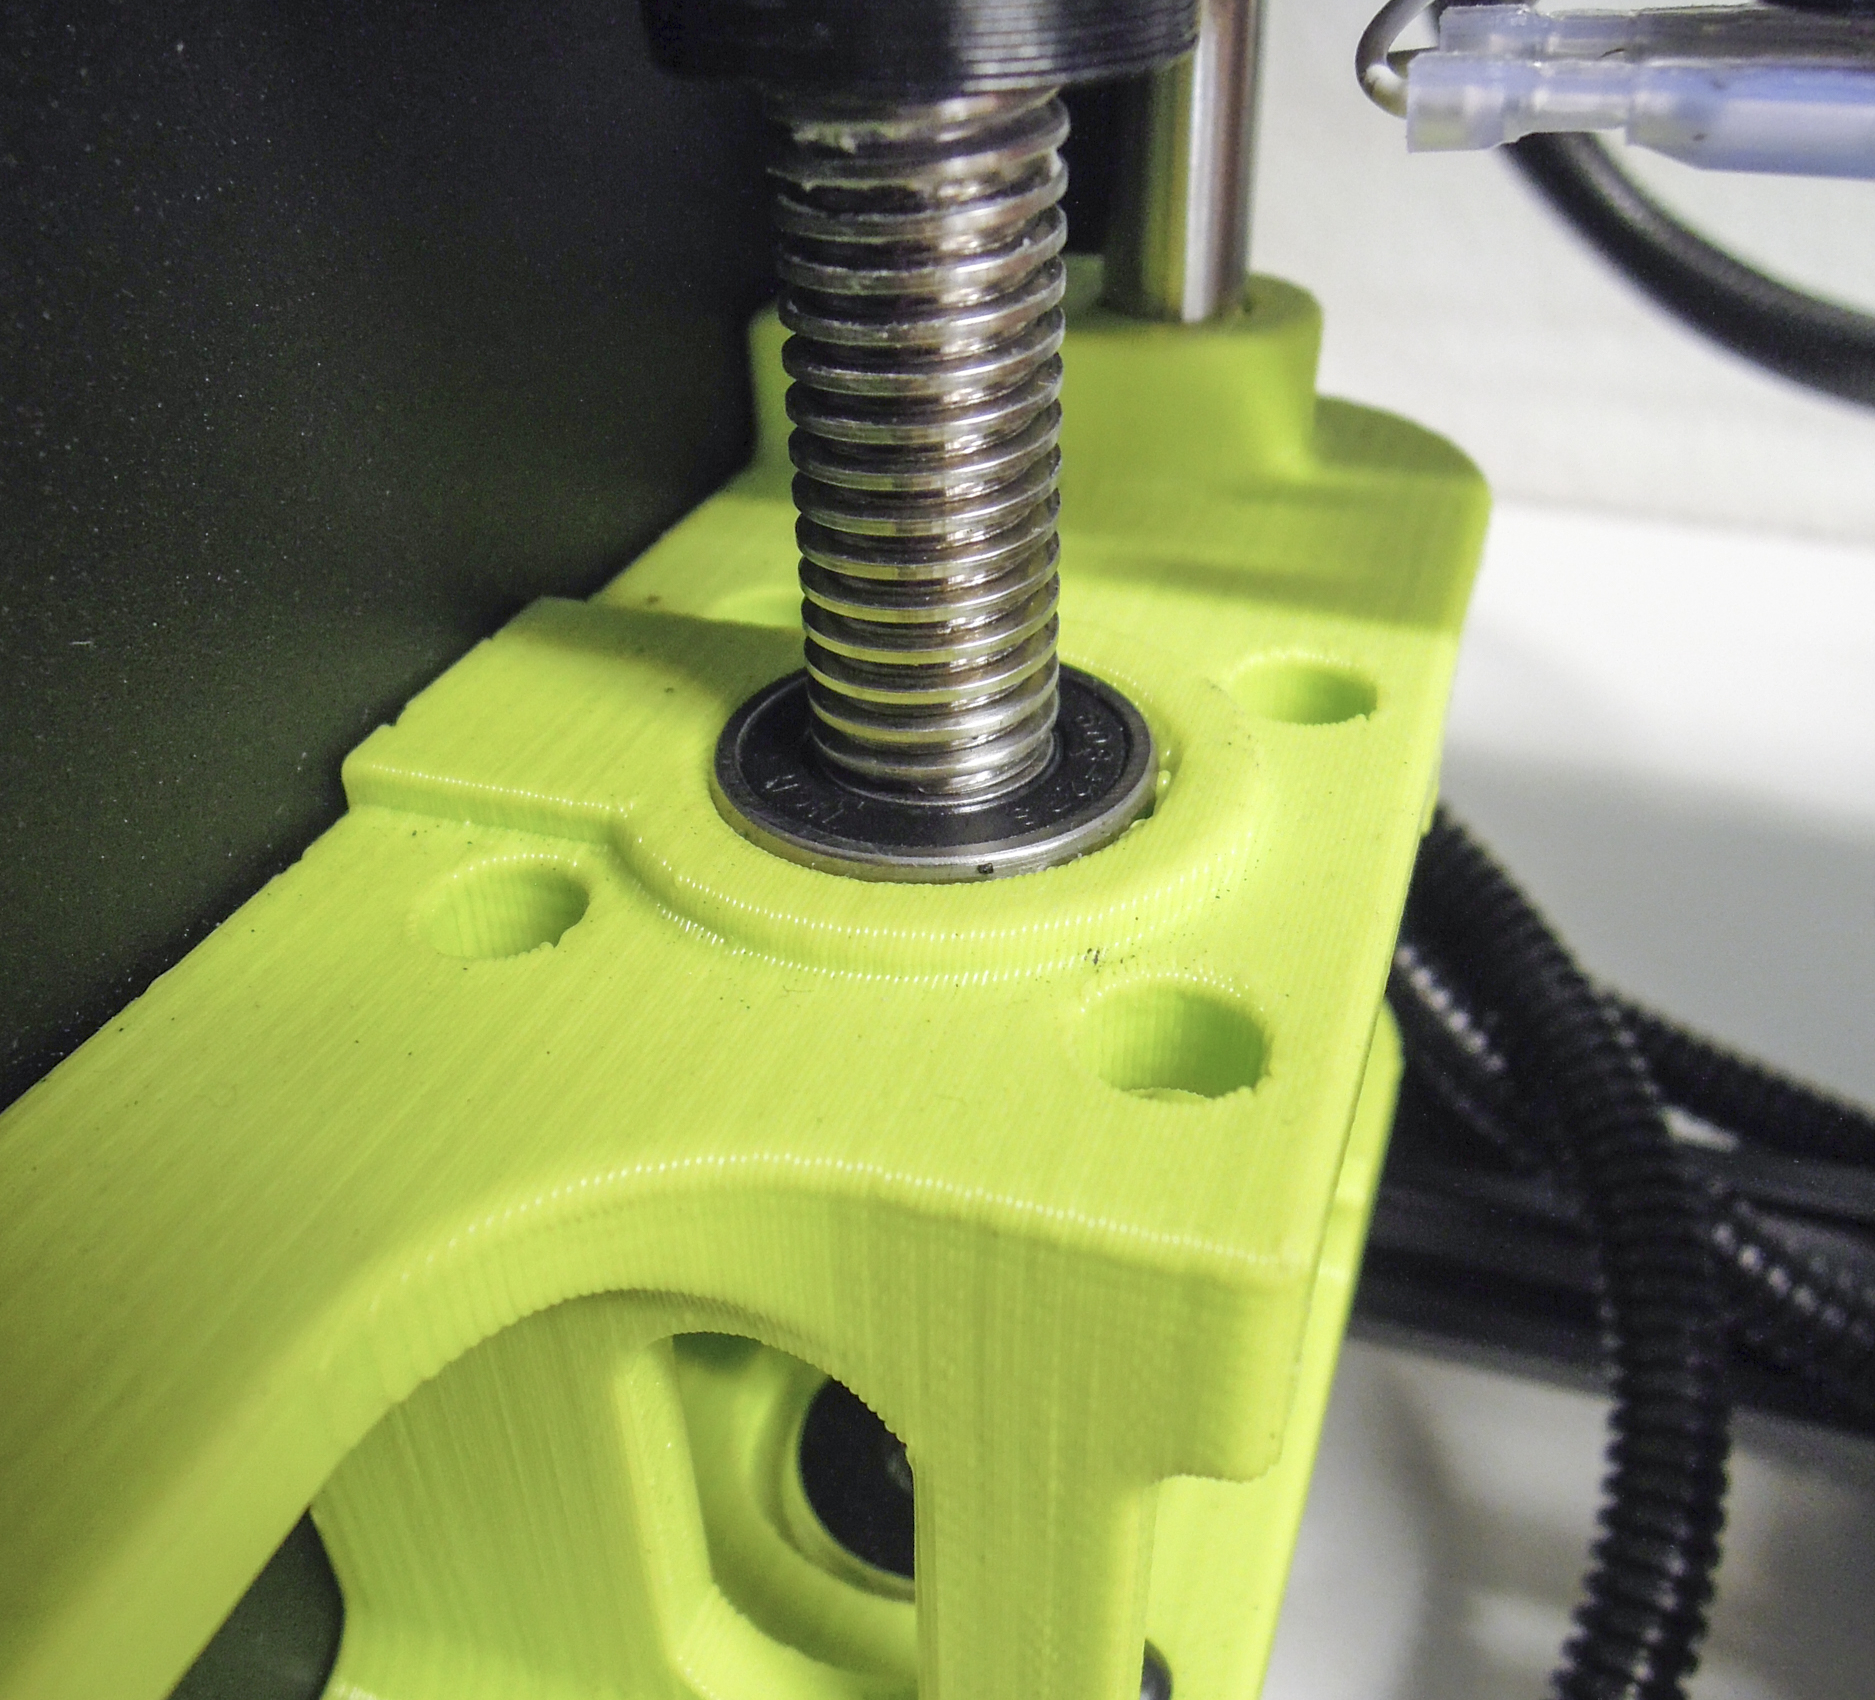
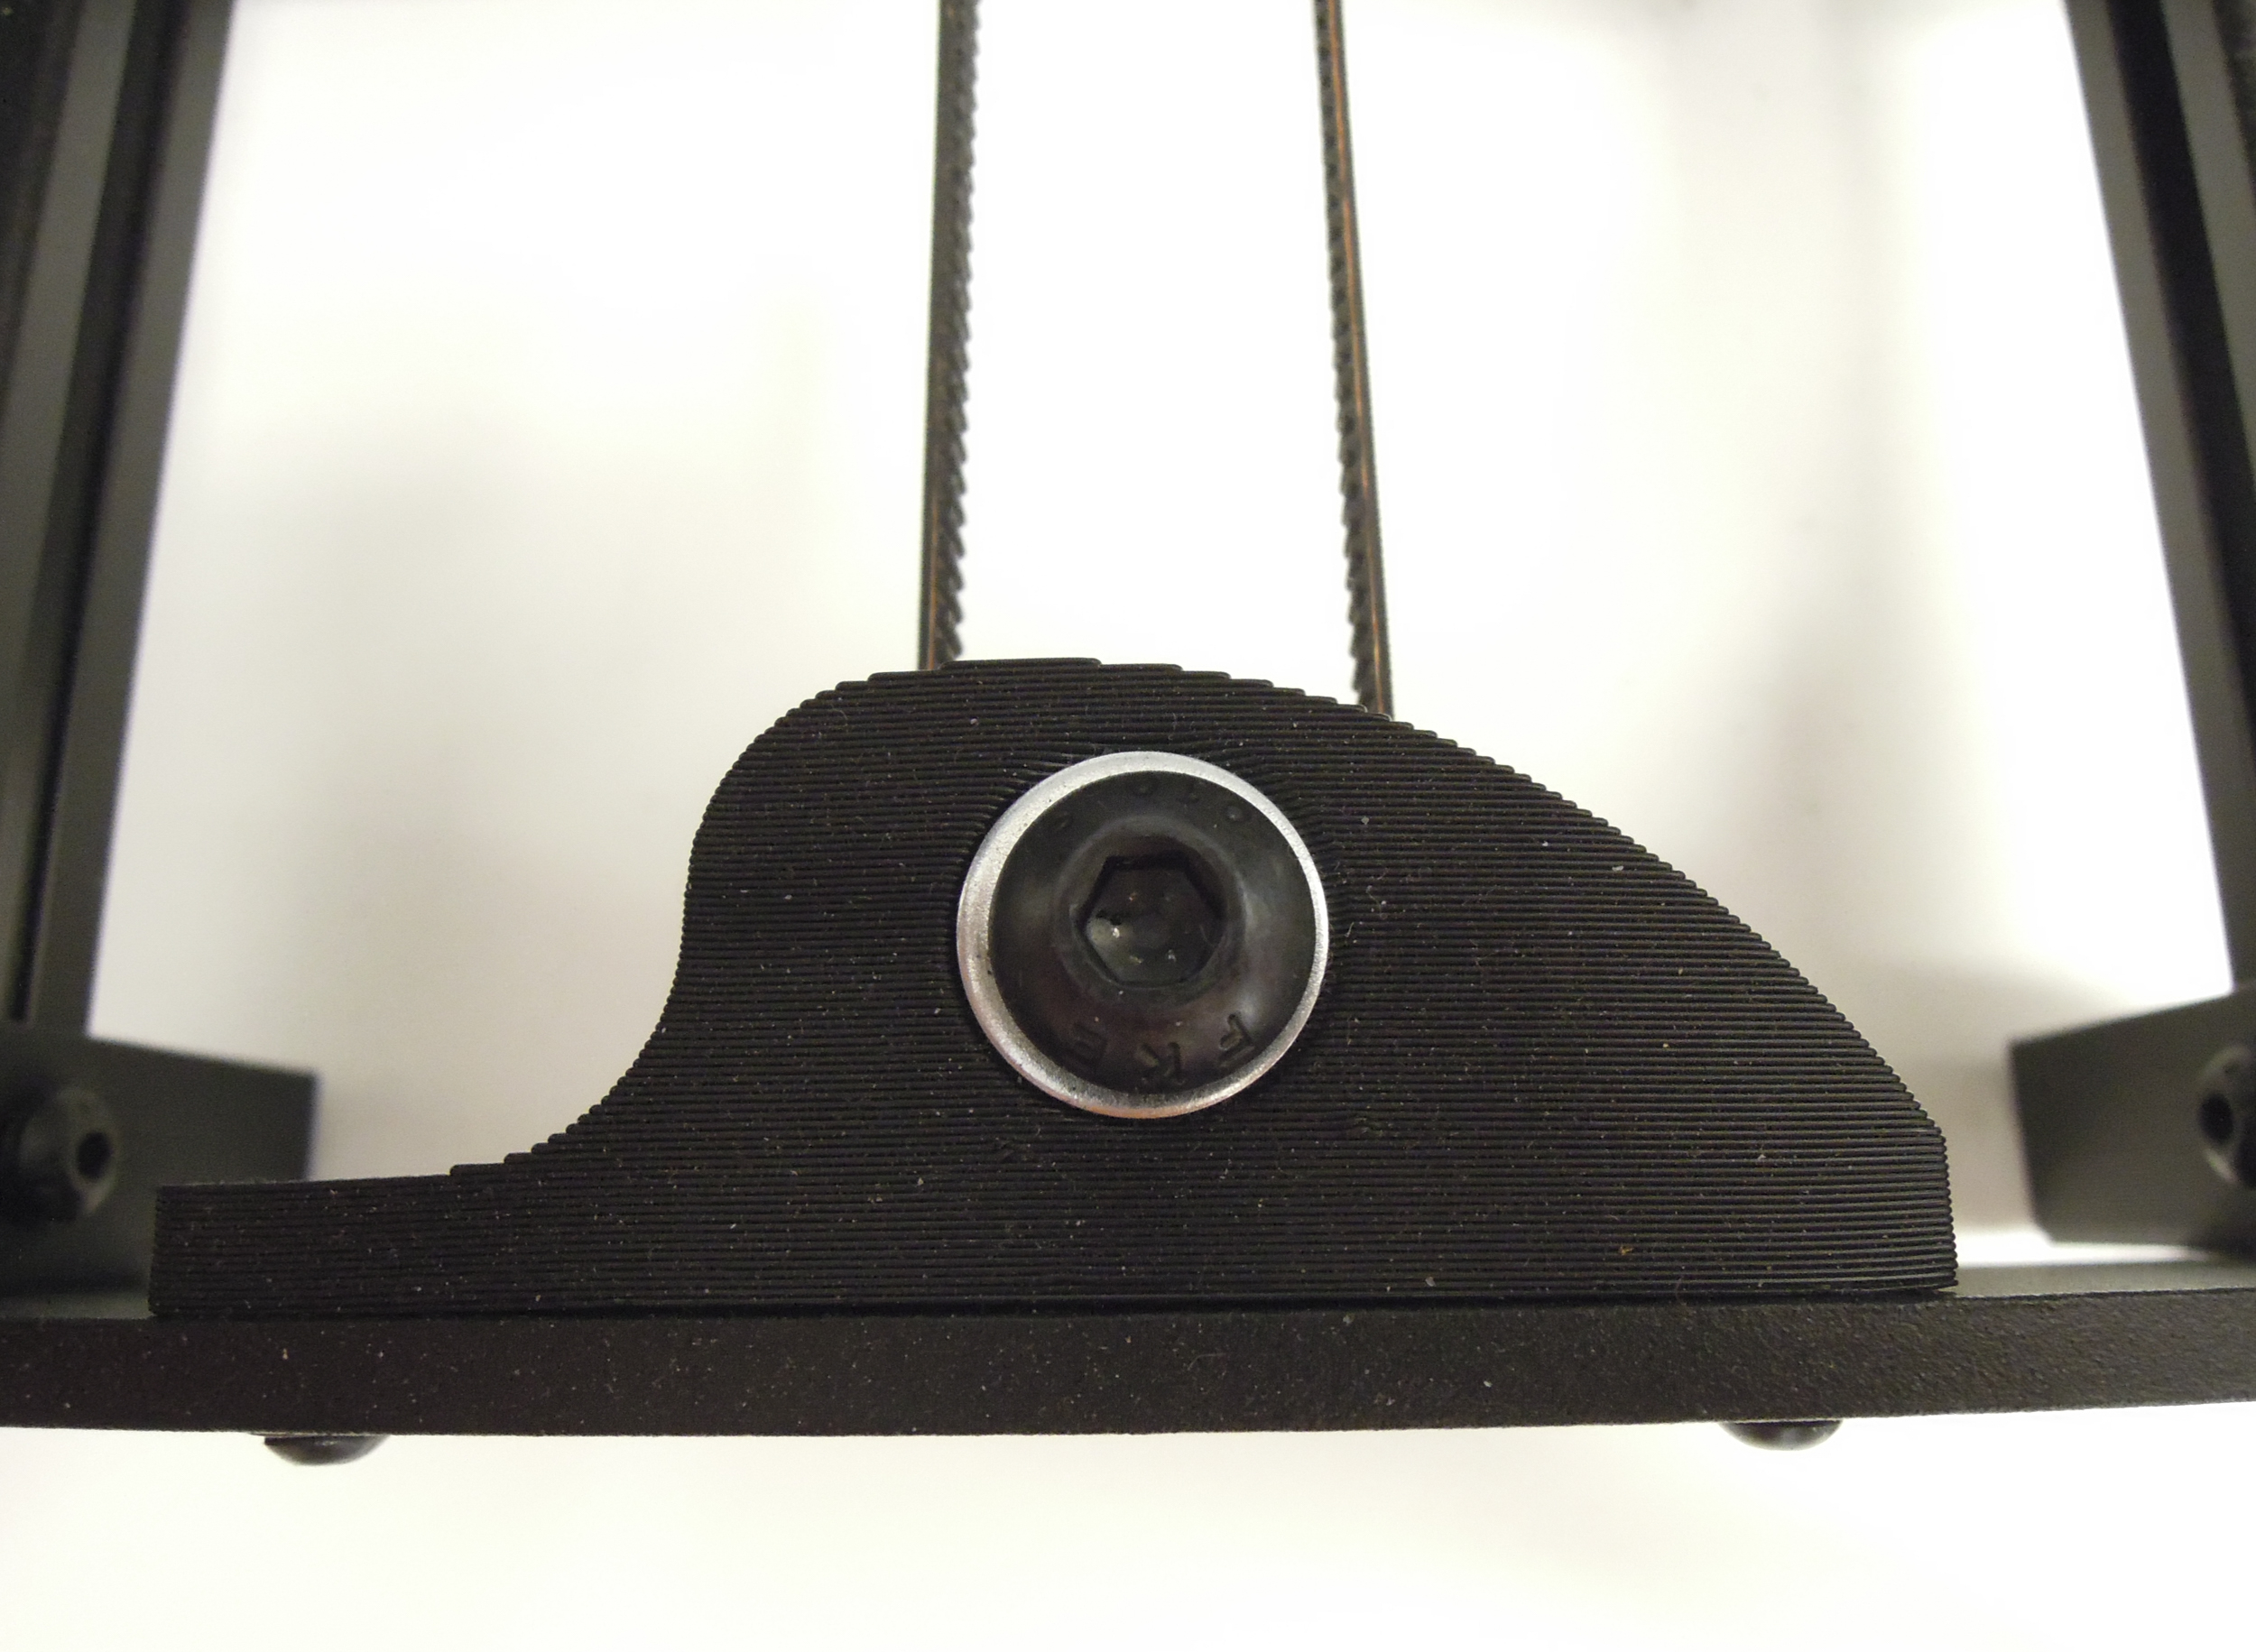
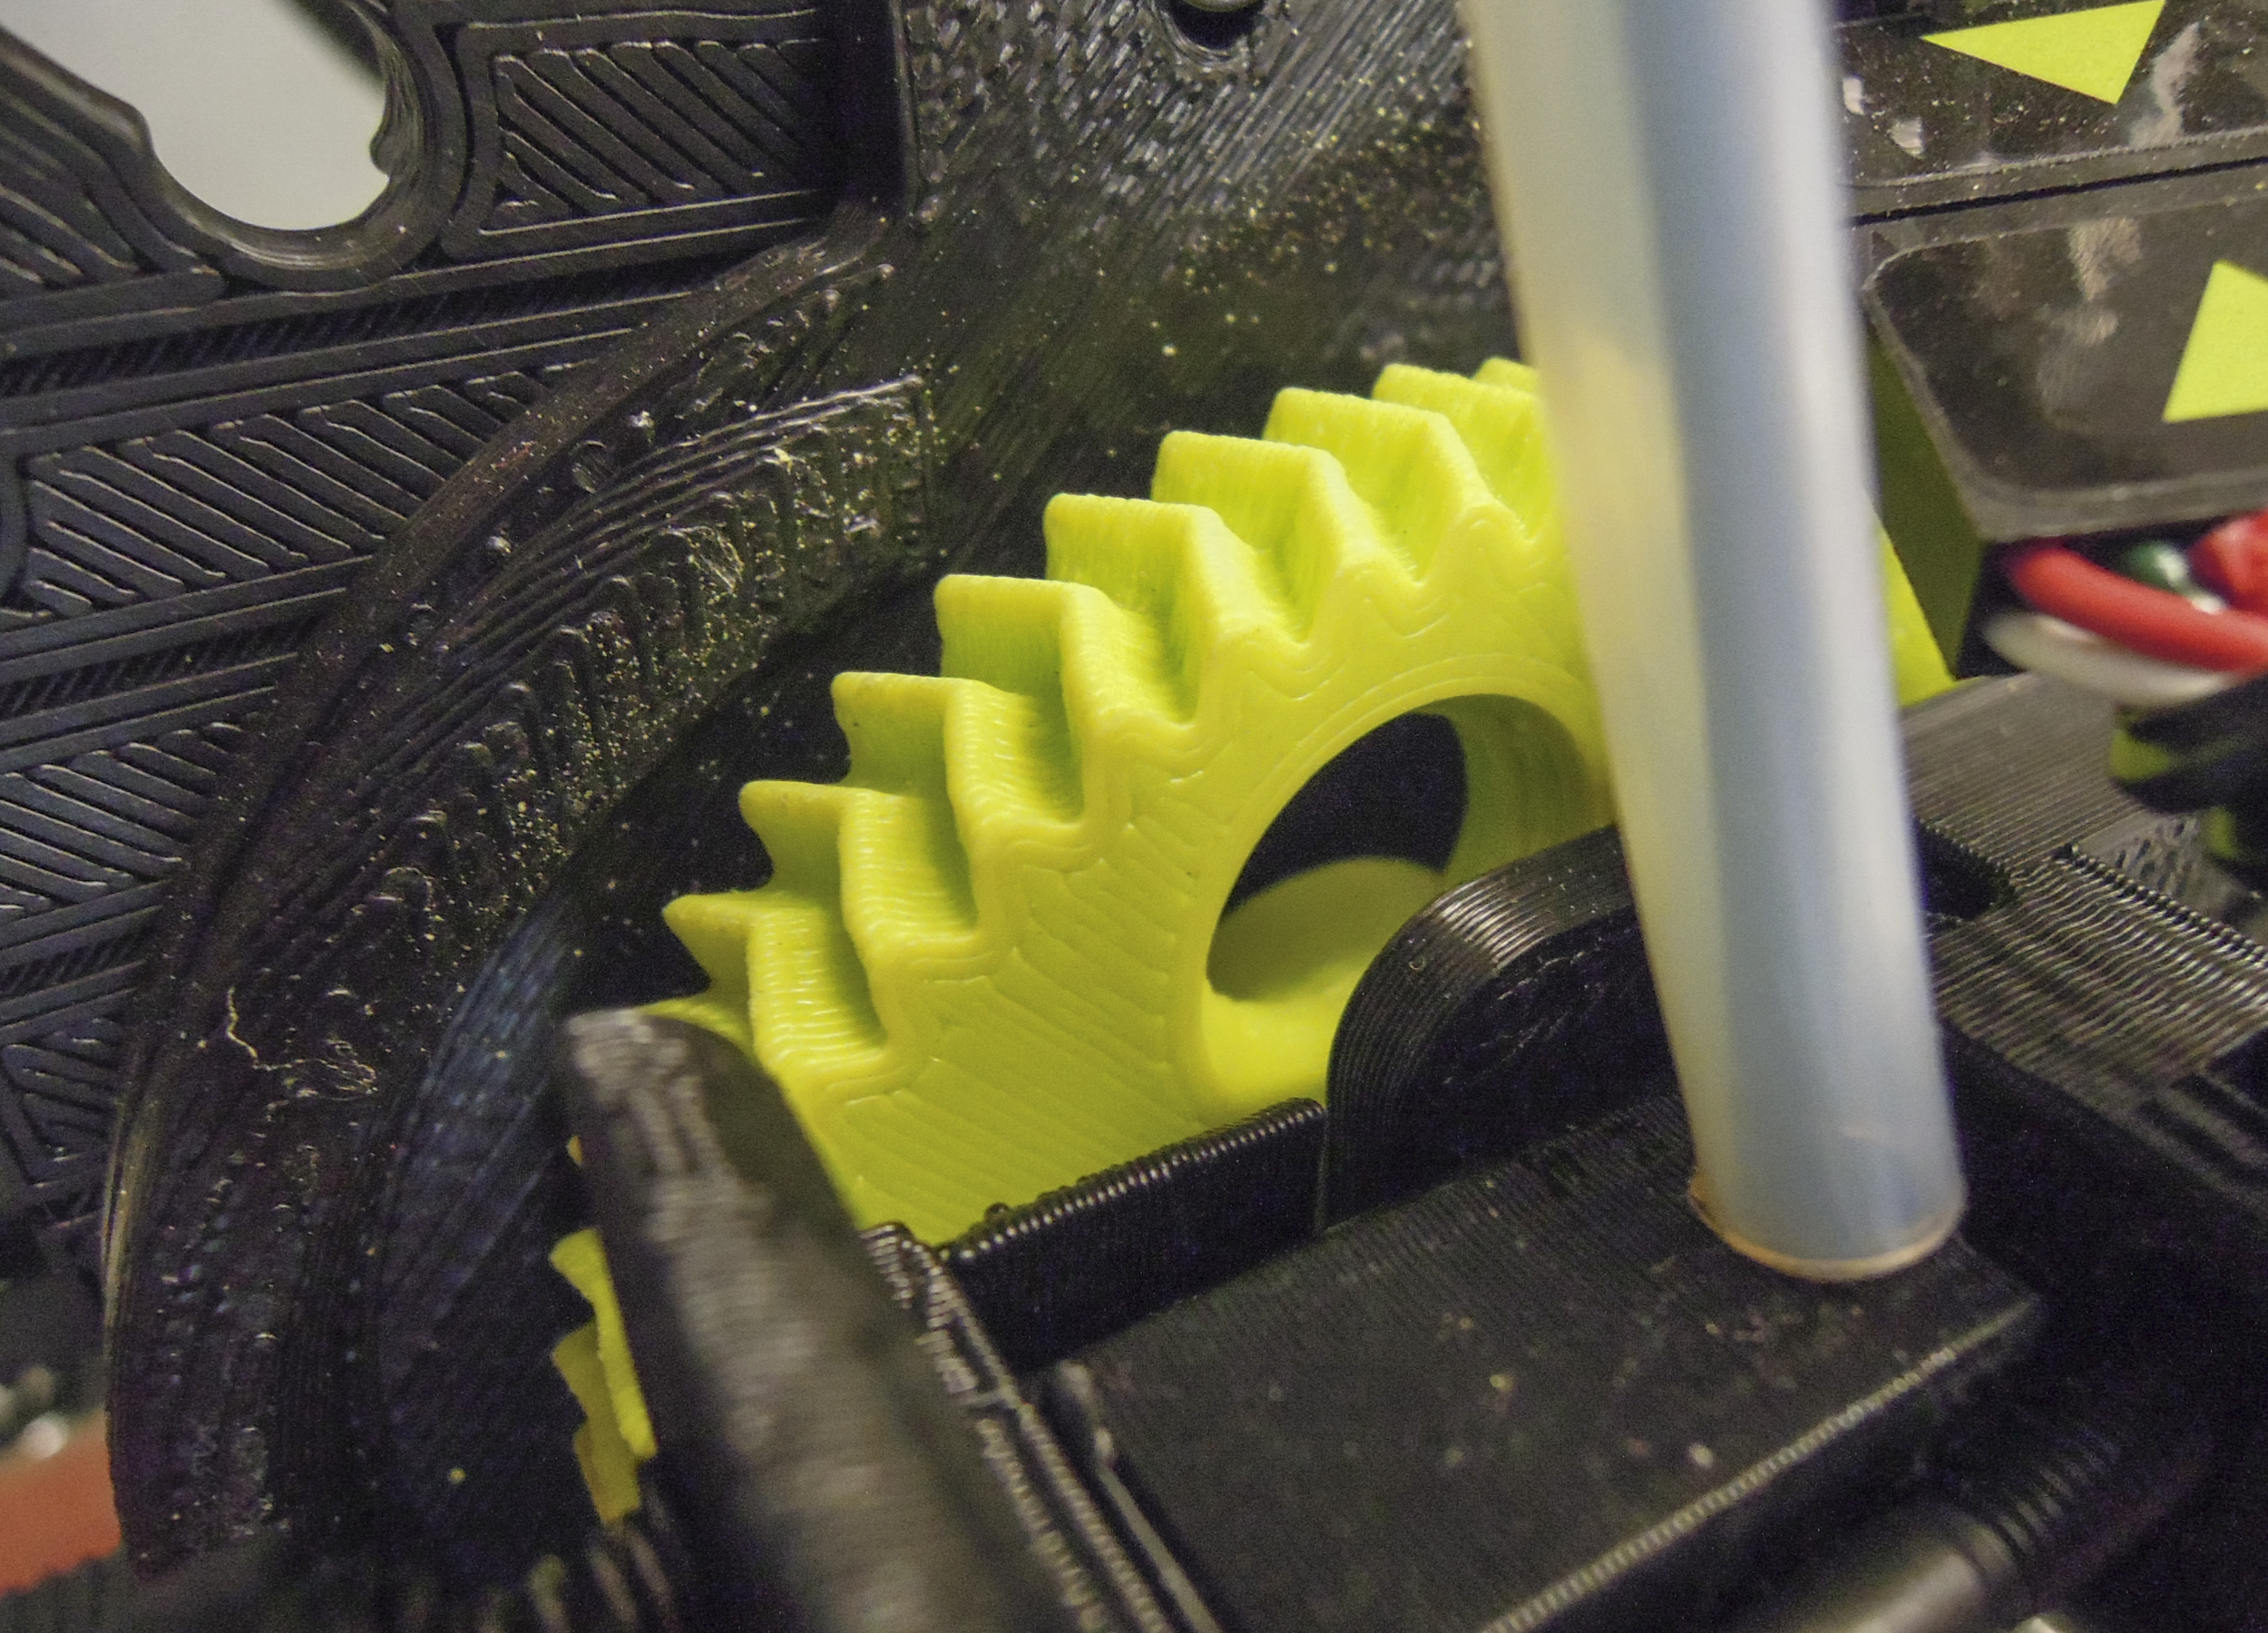
The TAZ 6 is an amazing machine, and working with it is hands down the best 3D printing experience I’ve ever had. In a few minutes, you can have the printer unboxed, setup, and working on your first print. Bed leveling, filament profiles, and all of the other things that can take up so much time and scare away new users are all automatically handled by the printer. The TAZ 6 also has a massive print volume (280mm x 280mm x 250mm) that allows you to print some truly impressive things. Just type 3D printer into Google, and take a look at the print volumes of a few other printers on the market and you’ll get what I’m on about. Not only is the feature list on the TAZ 6 impressive, but the underlying support for the printer is outstanding as well.

In a world where more and more products are made and supported overseas, LulzBot printers are designed, built, and supported in Colorado. If you have a question, LulzBot has great tech support that is just a phone call or email away to answer any questions you may have. I can’t emphasize just how valuable this support is. In the time that I’ve had the TAZ 6, I’ve made numerous calls to LulzBot and challenged their tech support folks with questions where I pretended to be a clueless newbie, on up to advanced topics looking for that last fractional bit of performance in a perfectly dialed filament profile. In case you guessed where this is going, every correspondence I had was a great and helpful experience. Rest assured, that if you’re new to this, the folks at LulzBot will help you succeed.
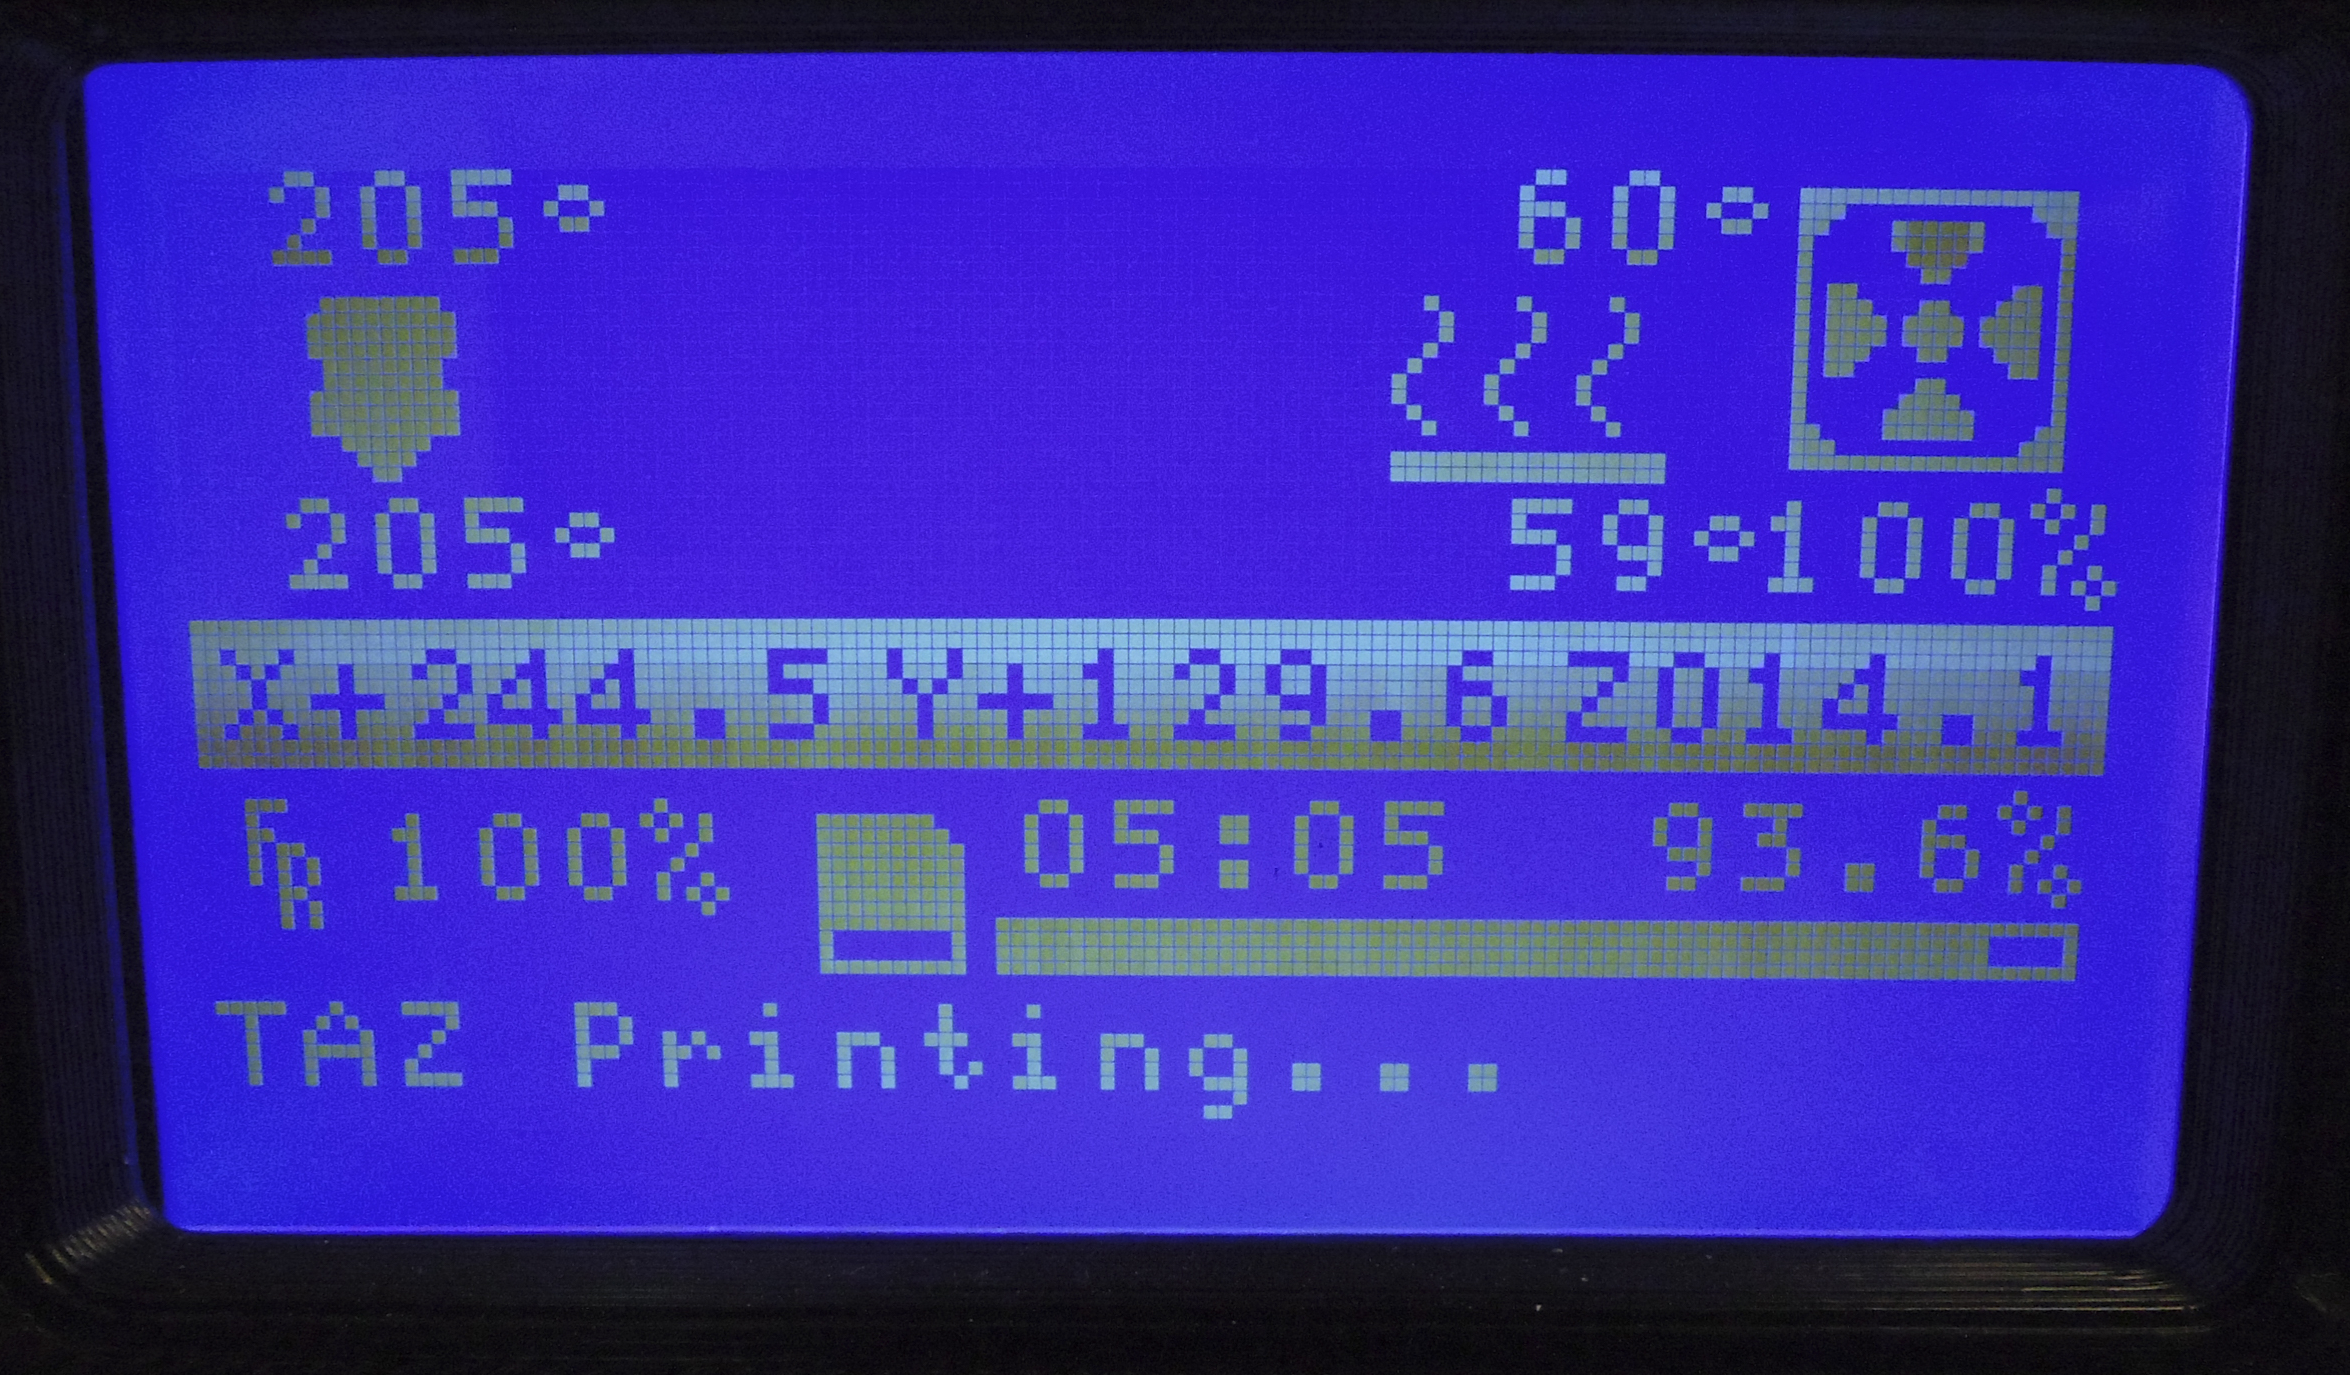
If you’re the type of person who loves to experiment and tinker, a few clicks in Cura, the printer companion software, will open up all of the expert settings for the printer where you can tweak and experiment to your heart’s content. The entire LulzBot ecosystem is open-sourced and LulzBot provides you all of the part files and software code for you to play with at will. Speaking of printer parts, the only thing that I can find on the TAZ to complain about is the design of the filament roll holder—and this is a very minor nit-picking complaint. The filament roll holder will loosen its self when you move it to the open position, and when you place your roll of filament on the holder, the holder will now slip down the printer frame. It’s nothing that a quick snugging with an allen wrench can’t fix, but it’s one extra thing to keep tabs on.
How It Works:
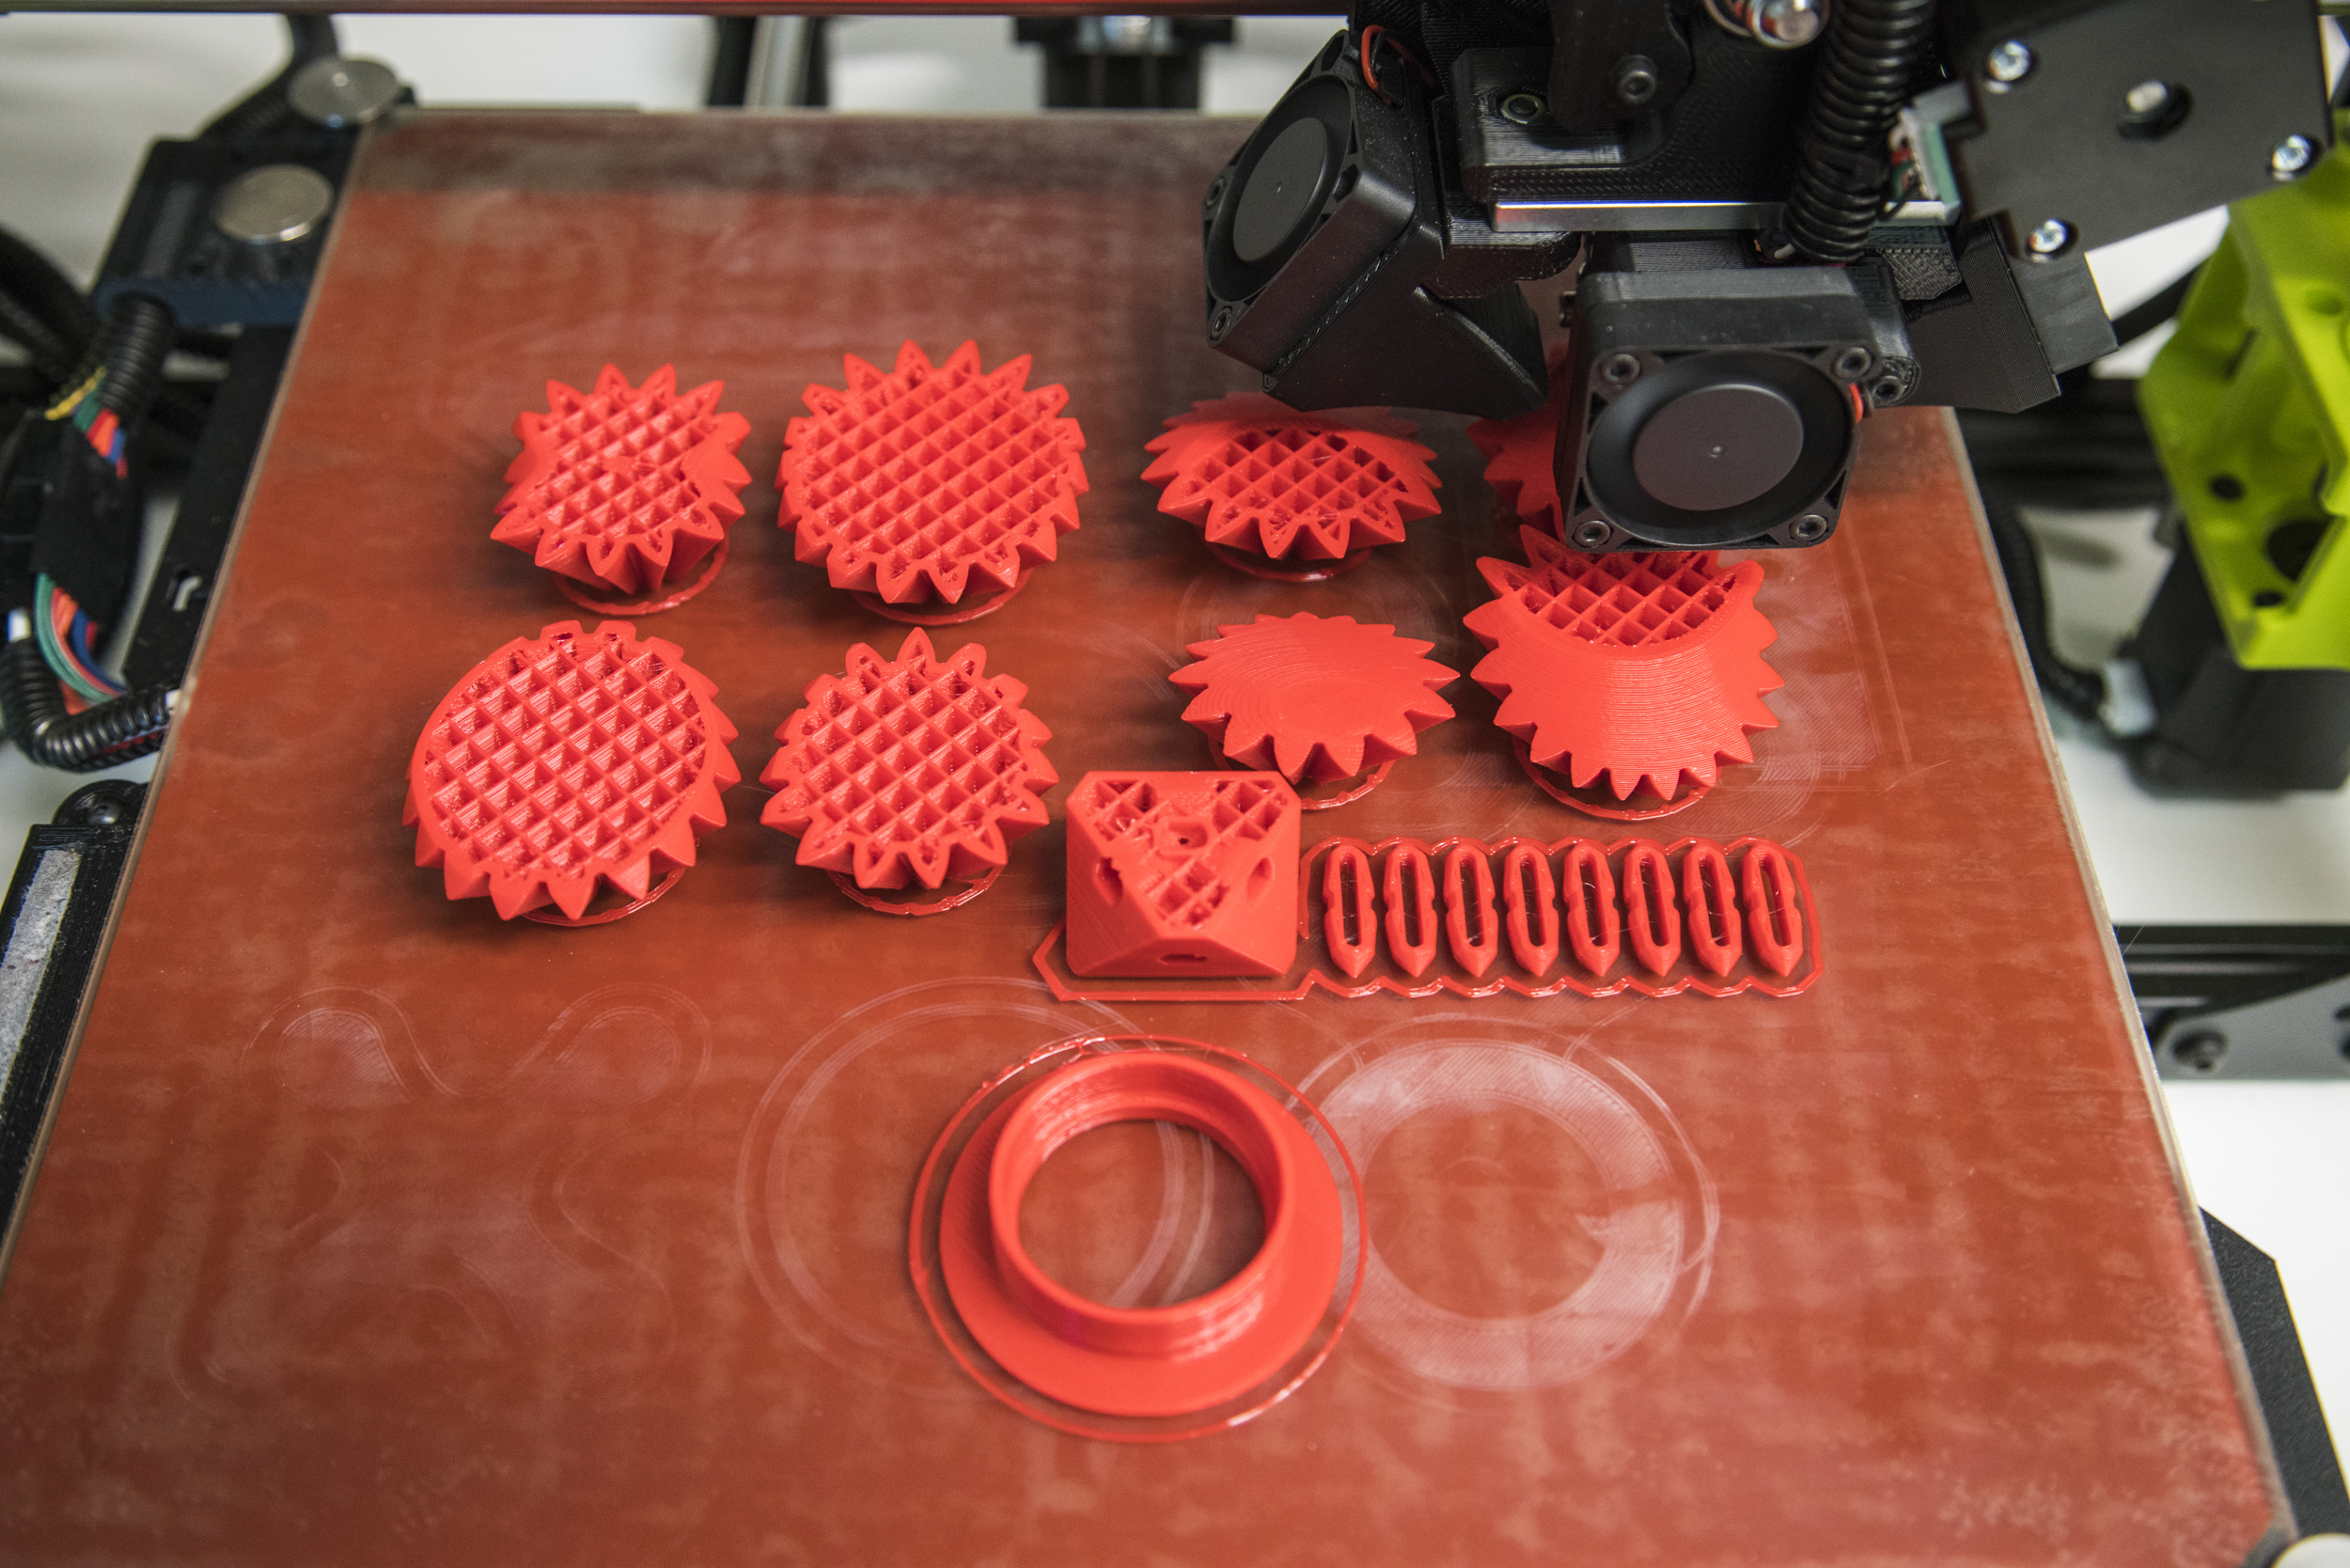
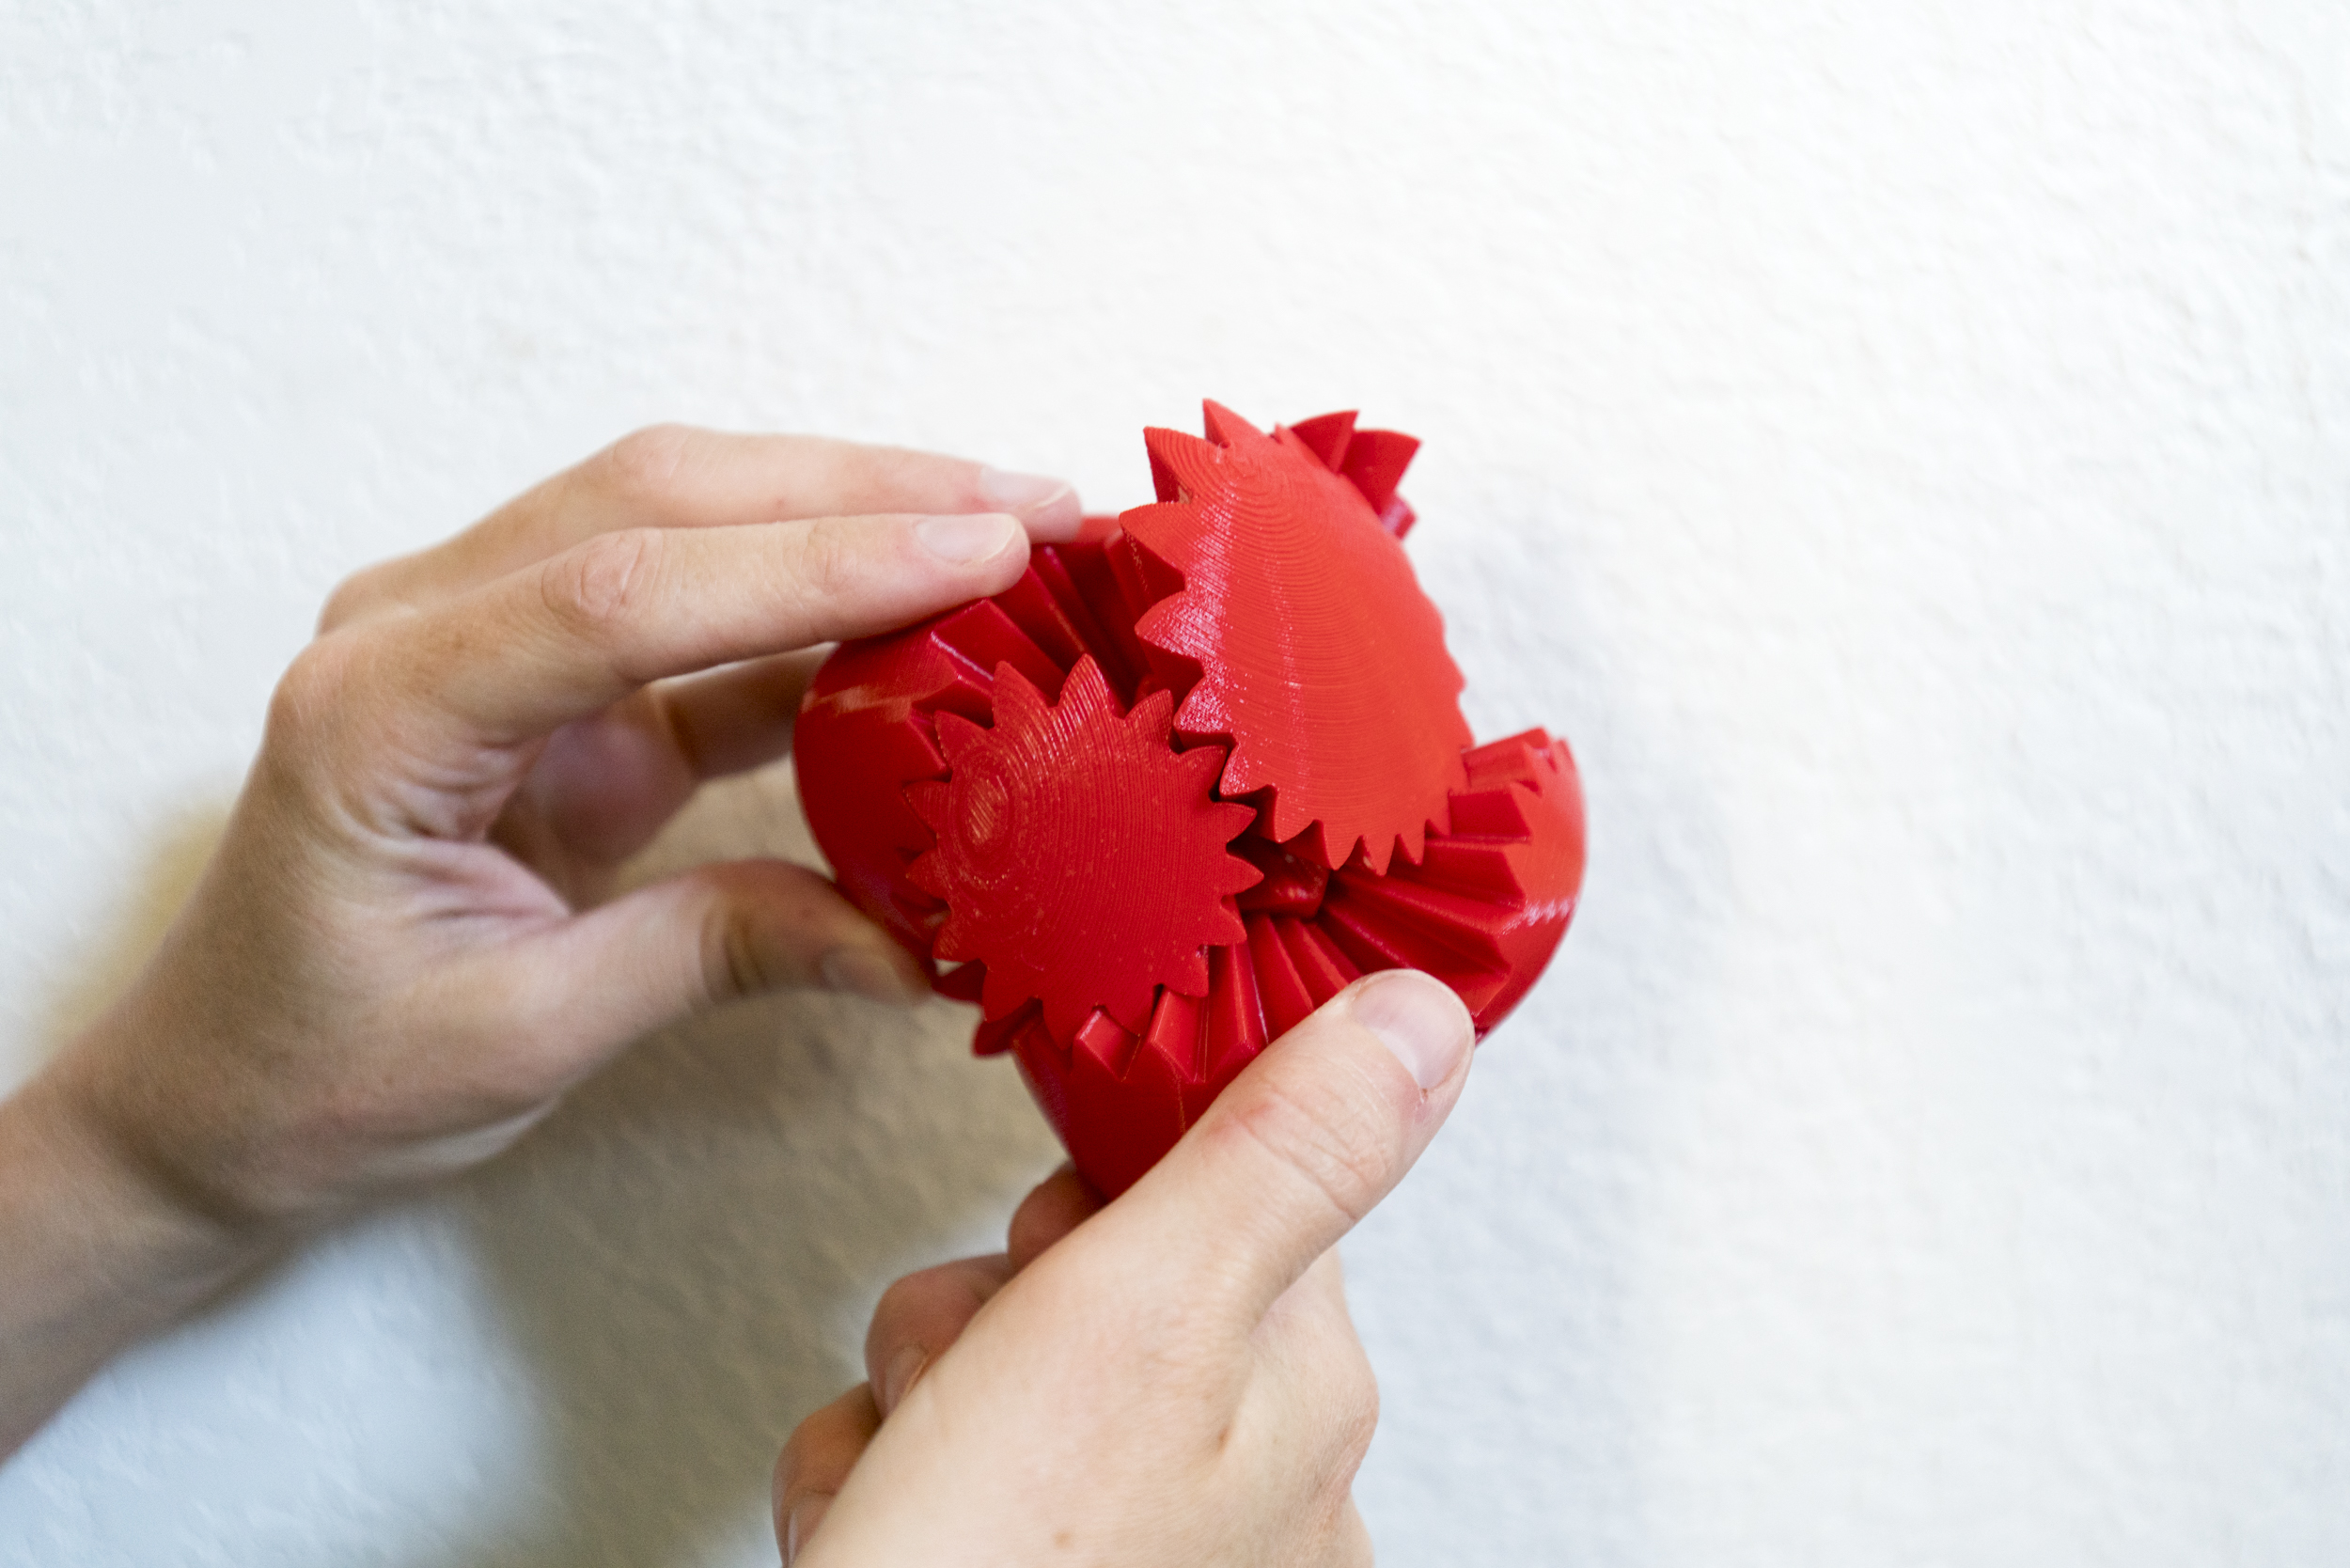
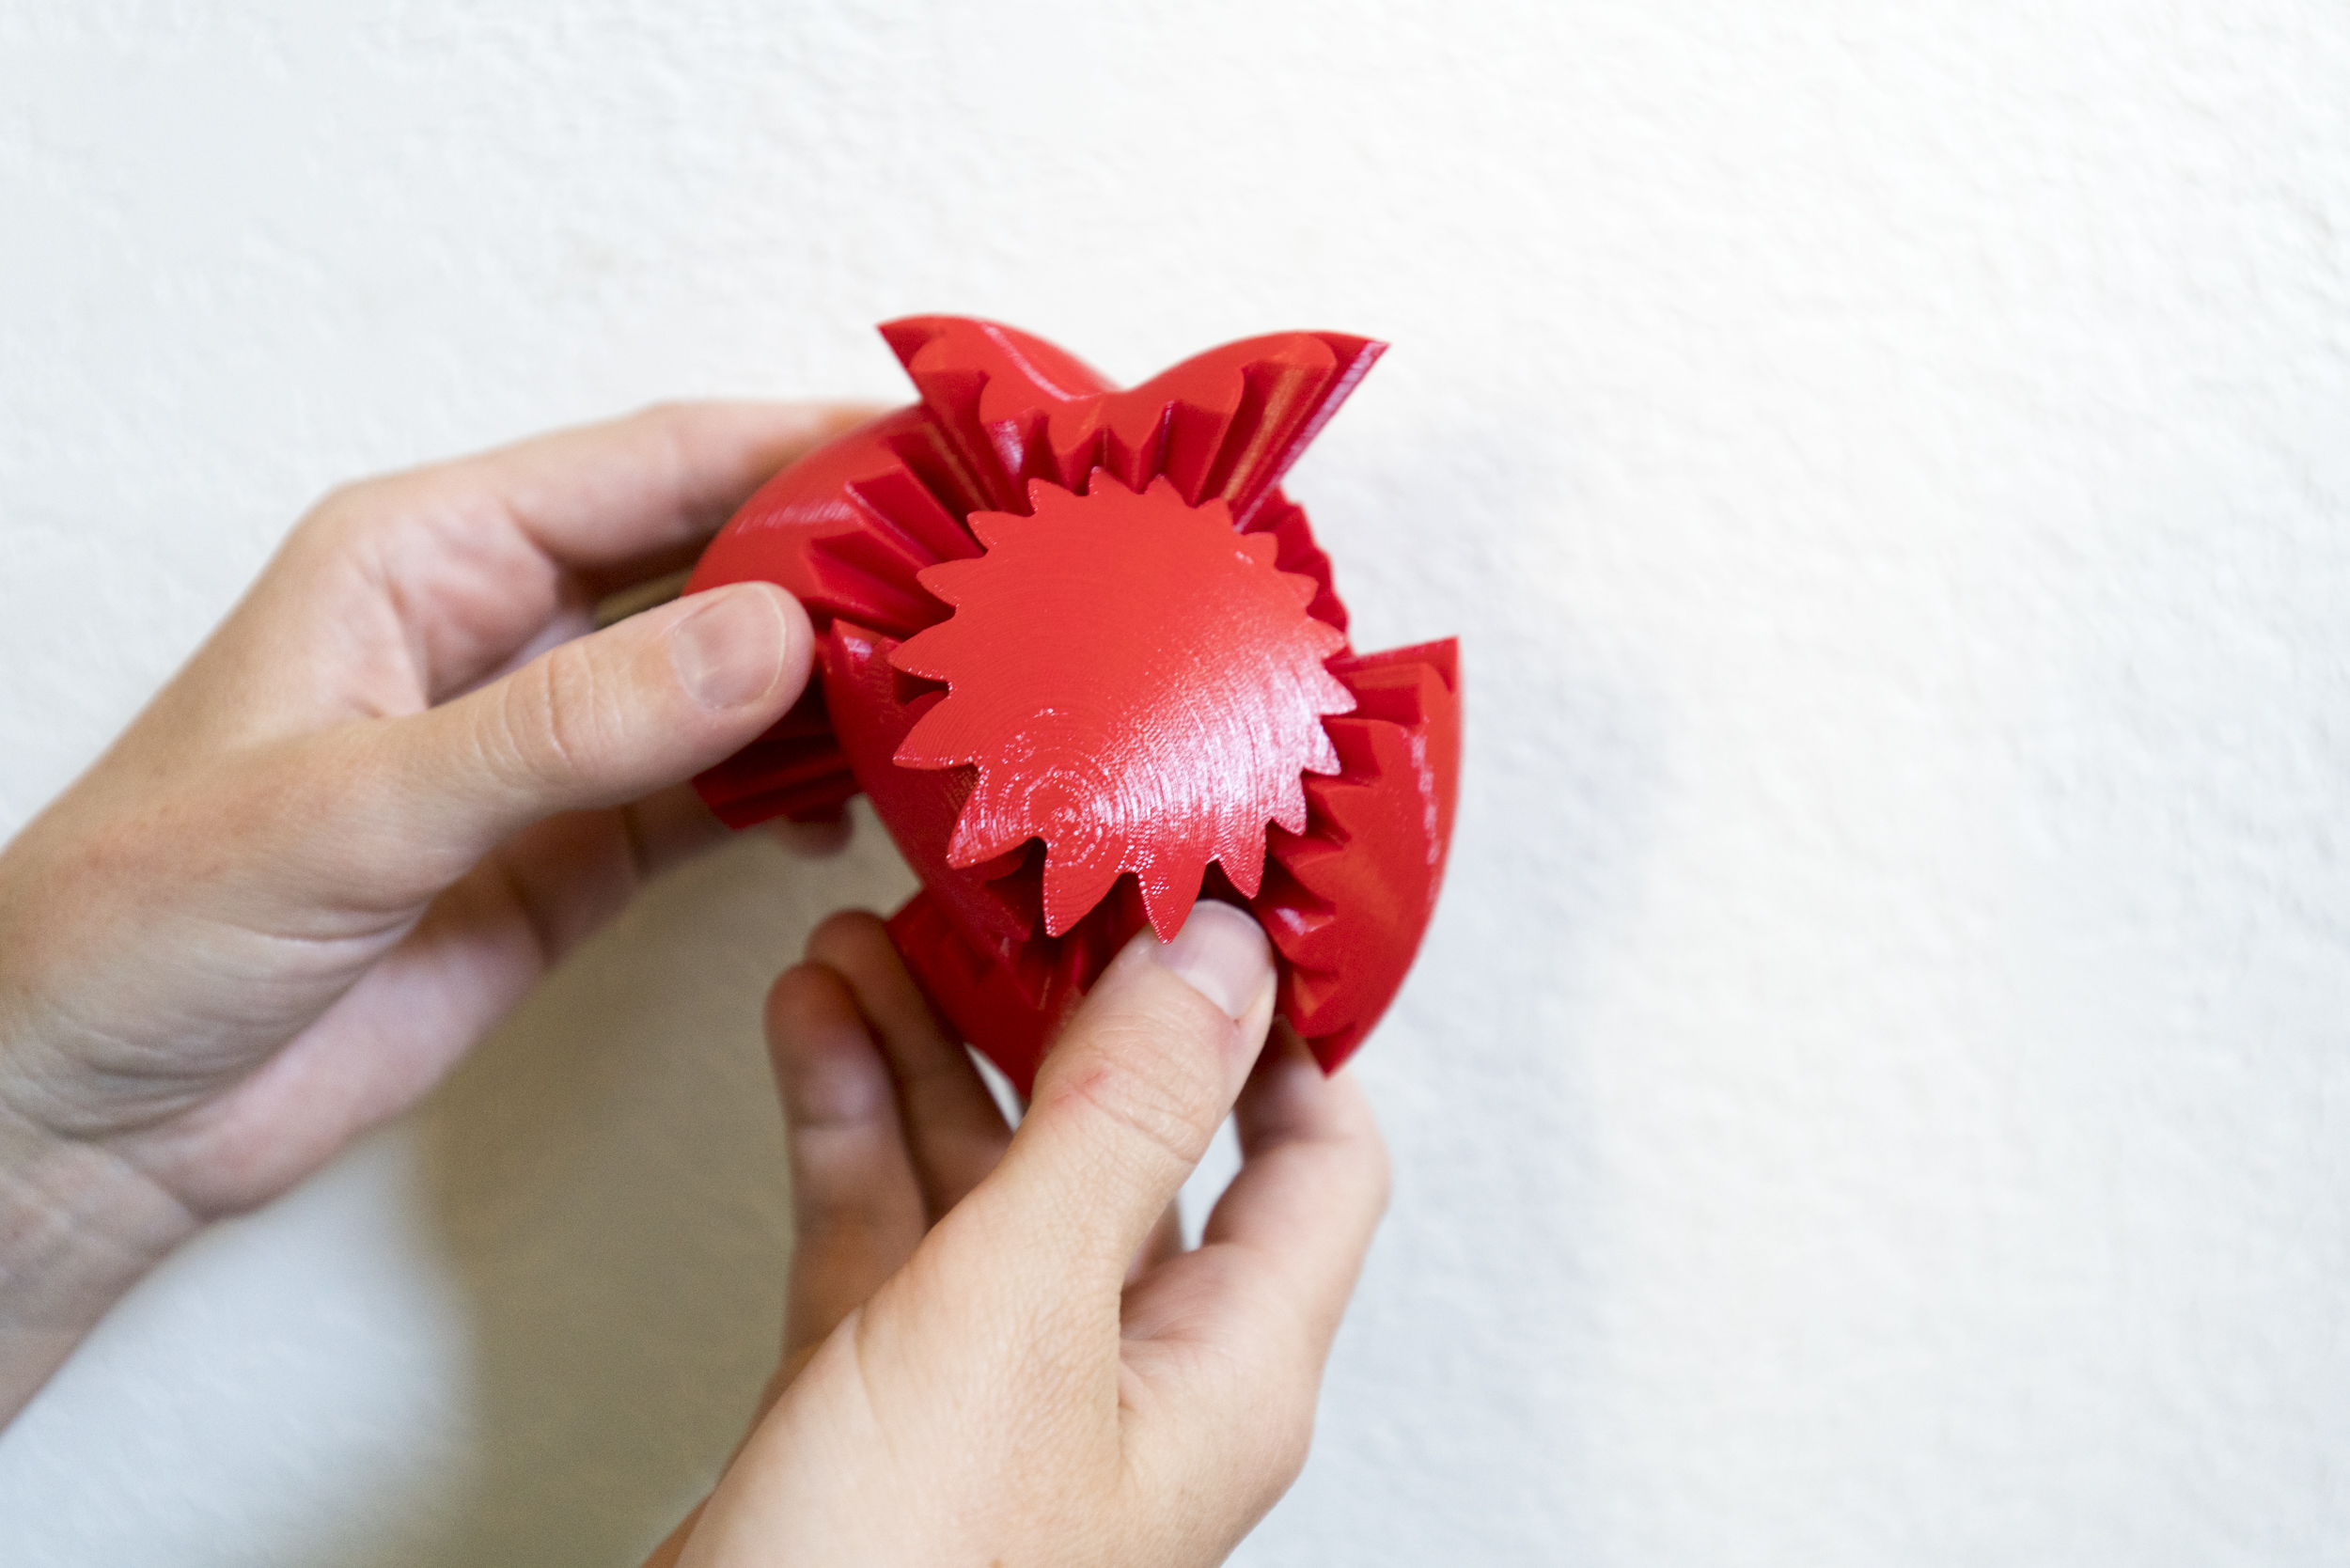
The TAZ 6 is what’s called a Fused Filament Fabrication (FFF) 3D Printer. This type of printer extrudes a melted filament onto a build surface, and just like a skyscraper is built floor-by-floor, the printer extrudes the filament layer-by-layer to create your part. The printing process is actually pretty easy; first you use computer design software to design your part or you can download a pre-designed file from a website like thingverse.com Once you have your part(s) designed or downloaded, you load your model(s) into the printer software, where the model is sliced—think of making a plan for each floor in the skyscraper. From there you take the sliced print file and load it into the printer, and just as a skyscraper is built from the garage to the penthouse, the printer lays down the successive layers of filament to create your print.


Designing A Thing:
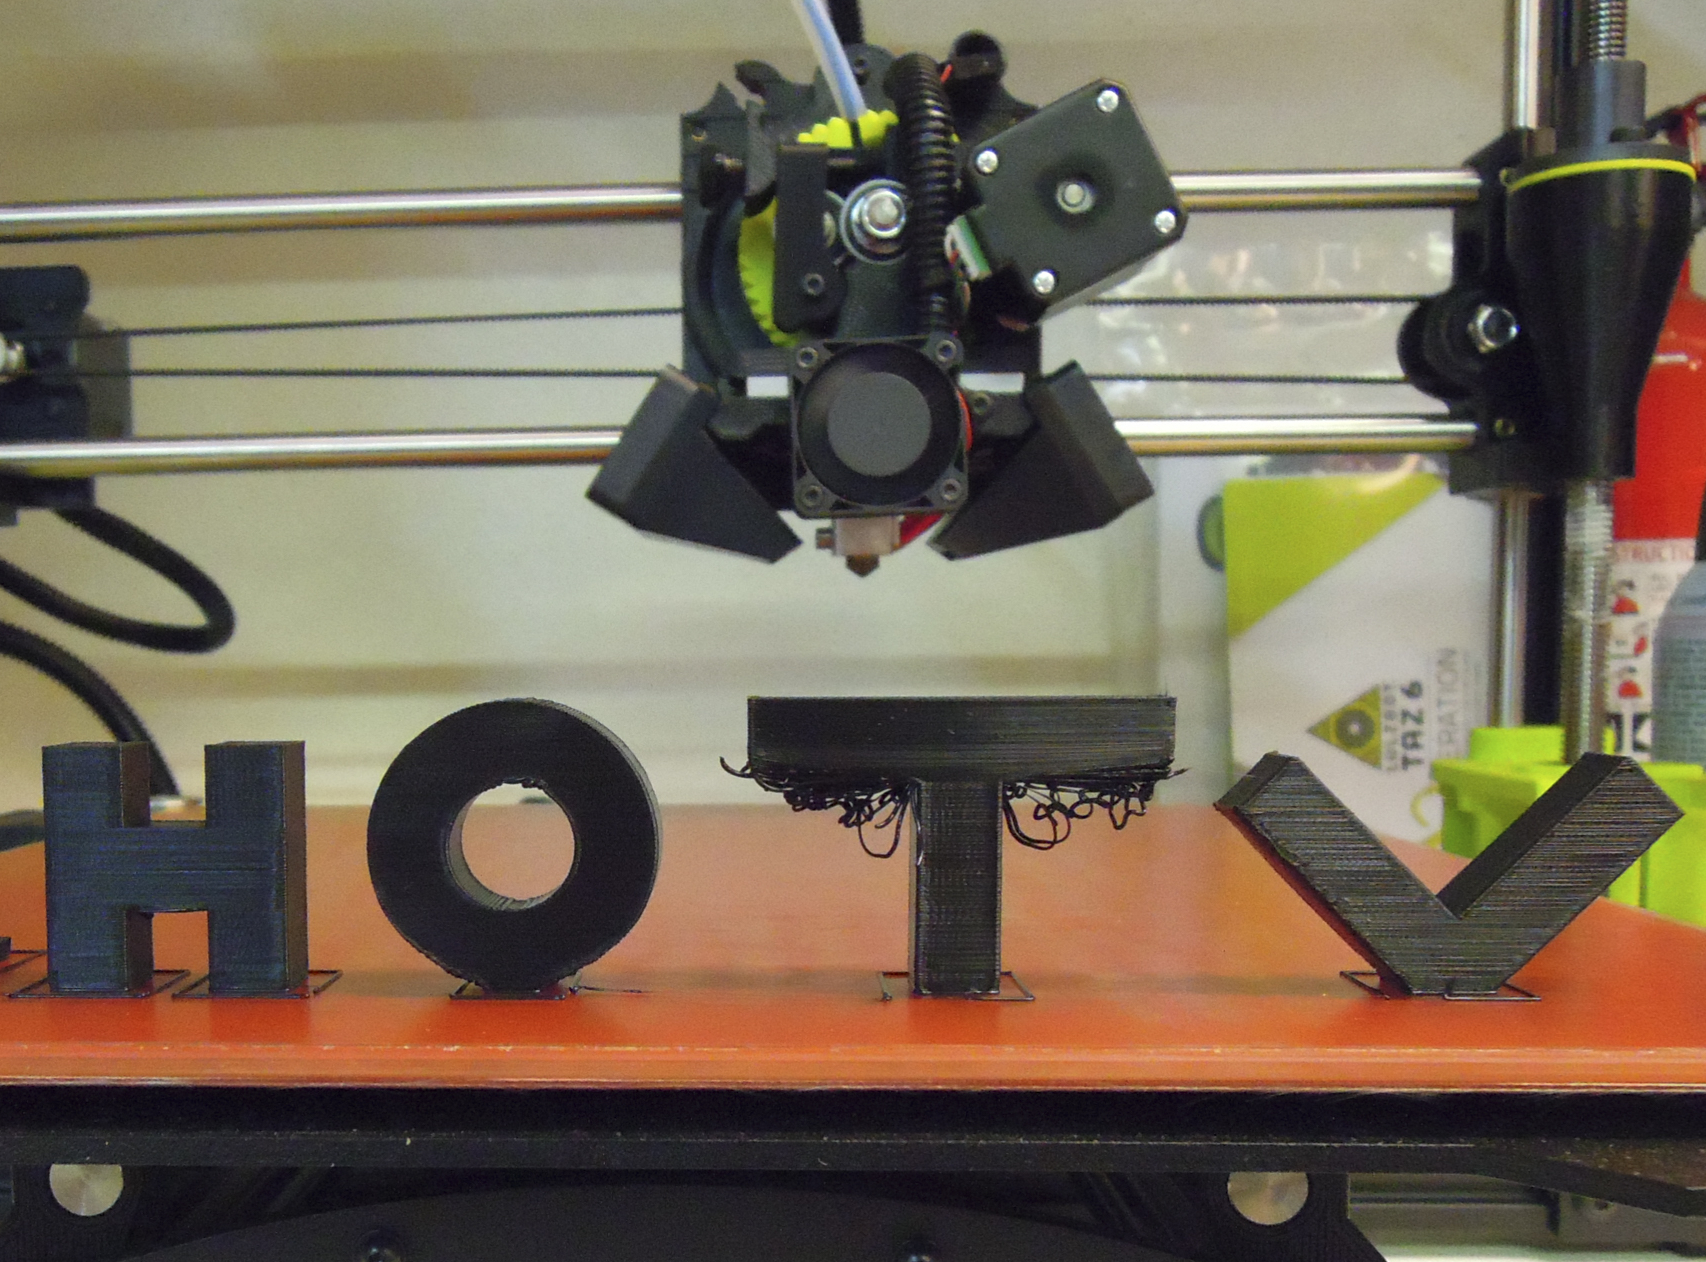
You can use any Computer Aided Design (CAD) program that can output a .STL file to design your things. Some great, free, open-source options are Blender and FreeCAD. Or you can use a purchased program like SolidWorks. Whatever program you choose, there are a few things that you need to bear in mind when you’re designing a thing. Since FFF printers build things layer-by-layer from the print bed up, any part of your print that has an overhang needs to be carefully considered. The best practice is to print at angles that are 45 – 90 degrees from the print bed. Yet, if you need to print something that has features that are less than 45 degrees from the print bed, the printer software can add in support material to support the overhanging features as they’re printed.
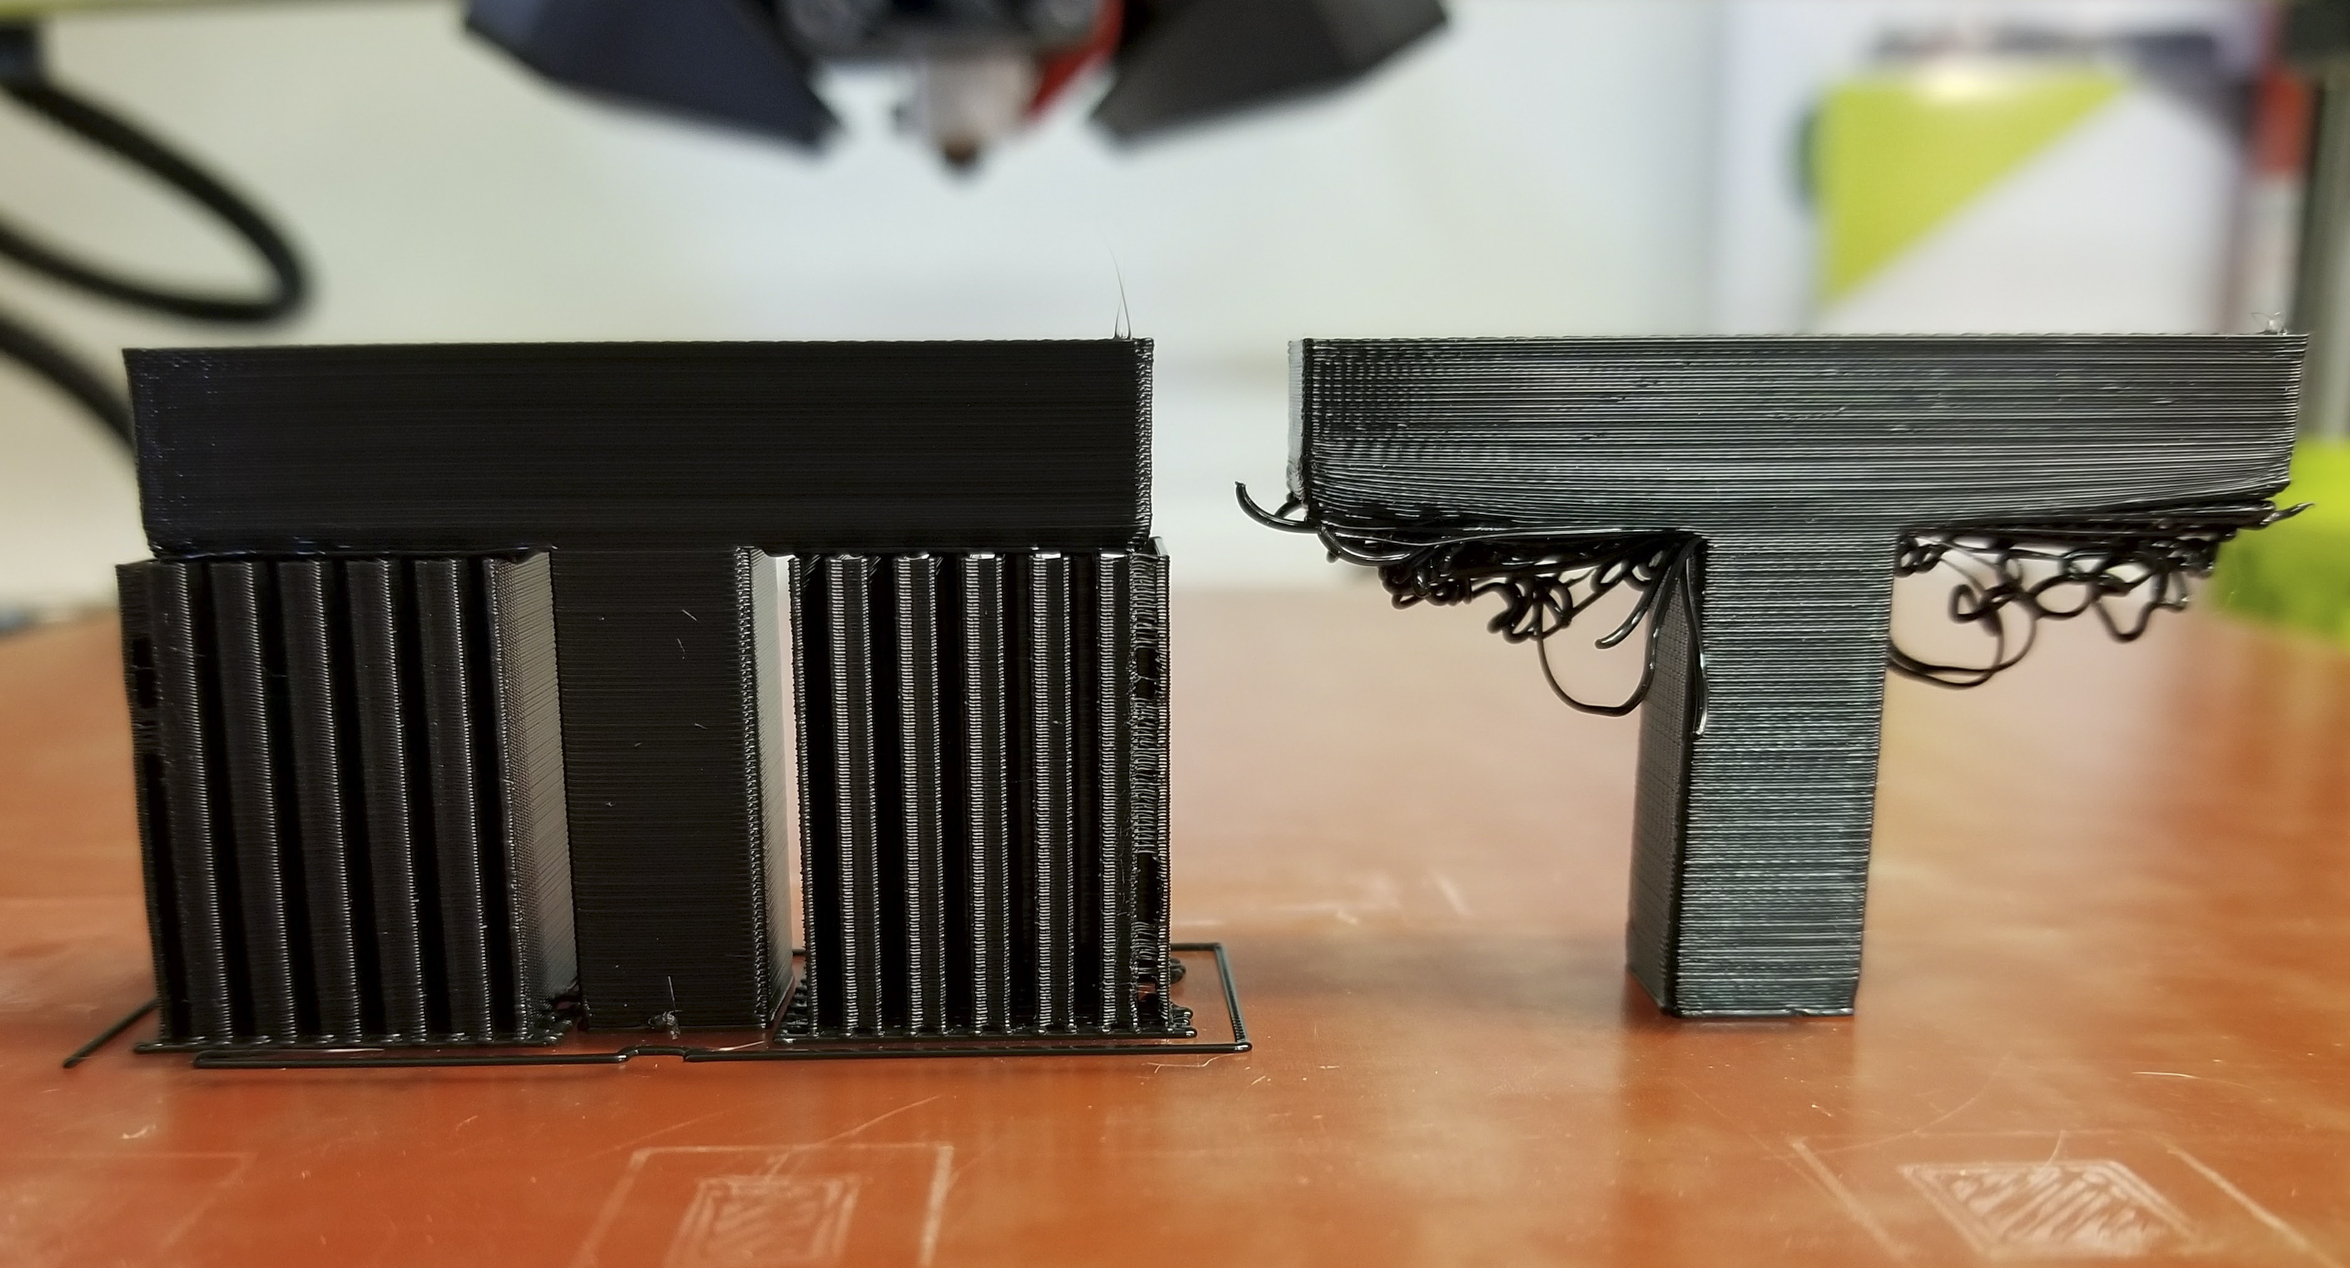
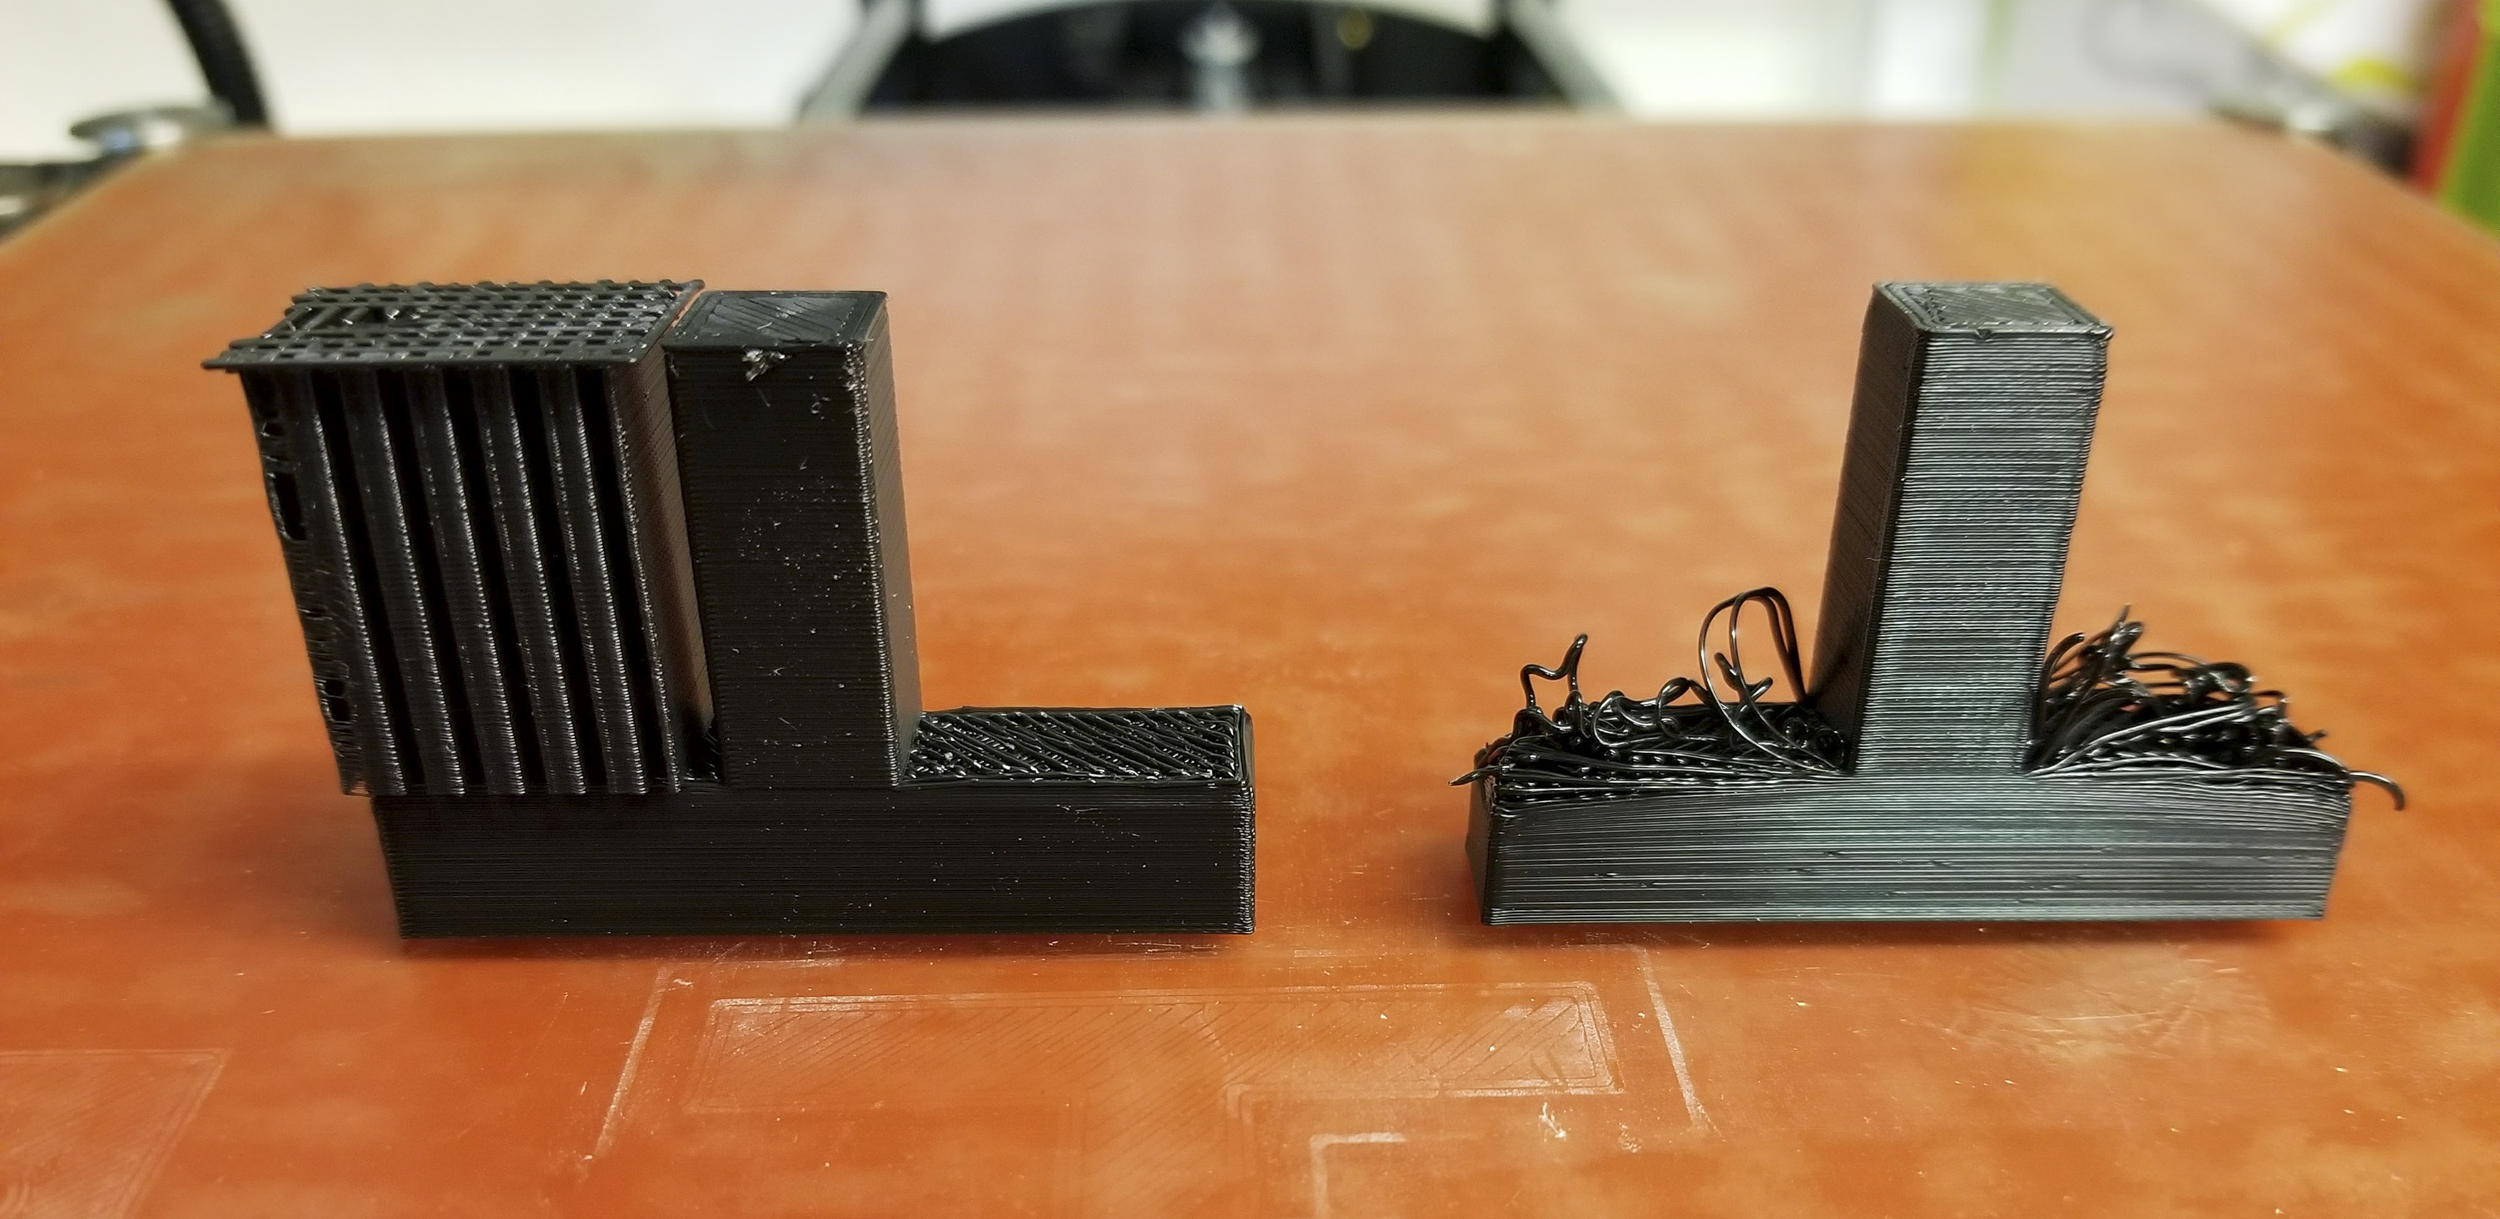
Just as scaffolding is used to support a structure that is being built, support material will hold up the overhanging elements of your print. Another way that you can avoid overhangs is to change the orientation of the print on the print bed as shown below. With proper orientation, you can avoid bridging gaps and overhangs that would otherwise create filament spaghetti. As long as you consider how the model you’re designing or downloading is actually going to be printed, you can print just about anything.

A TAZ 6 changes how you see the world. Where you would historically find yourself scratching your head to solve a problem, you’ll now go print the thing you need to solve your problem. Here are few exmples of things that I’ve made with the TAZ 6 to solve problems and challenges out in the world and around the home.
Broken Oven Parts
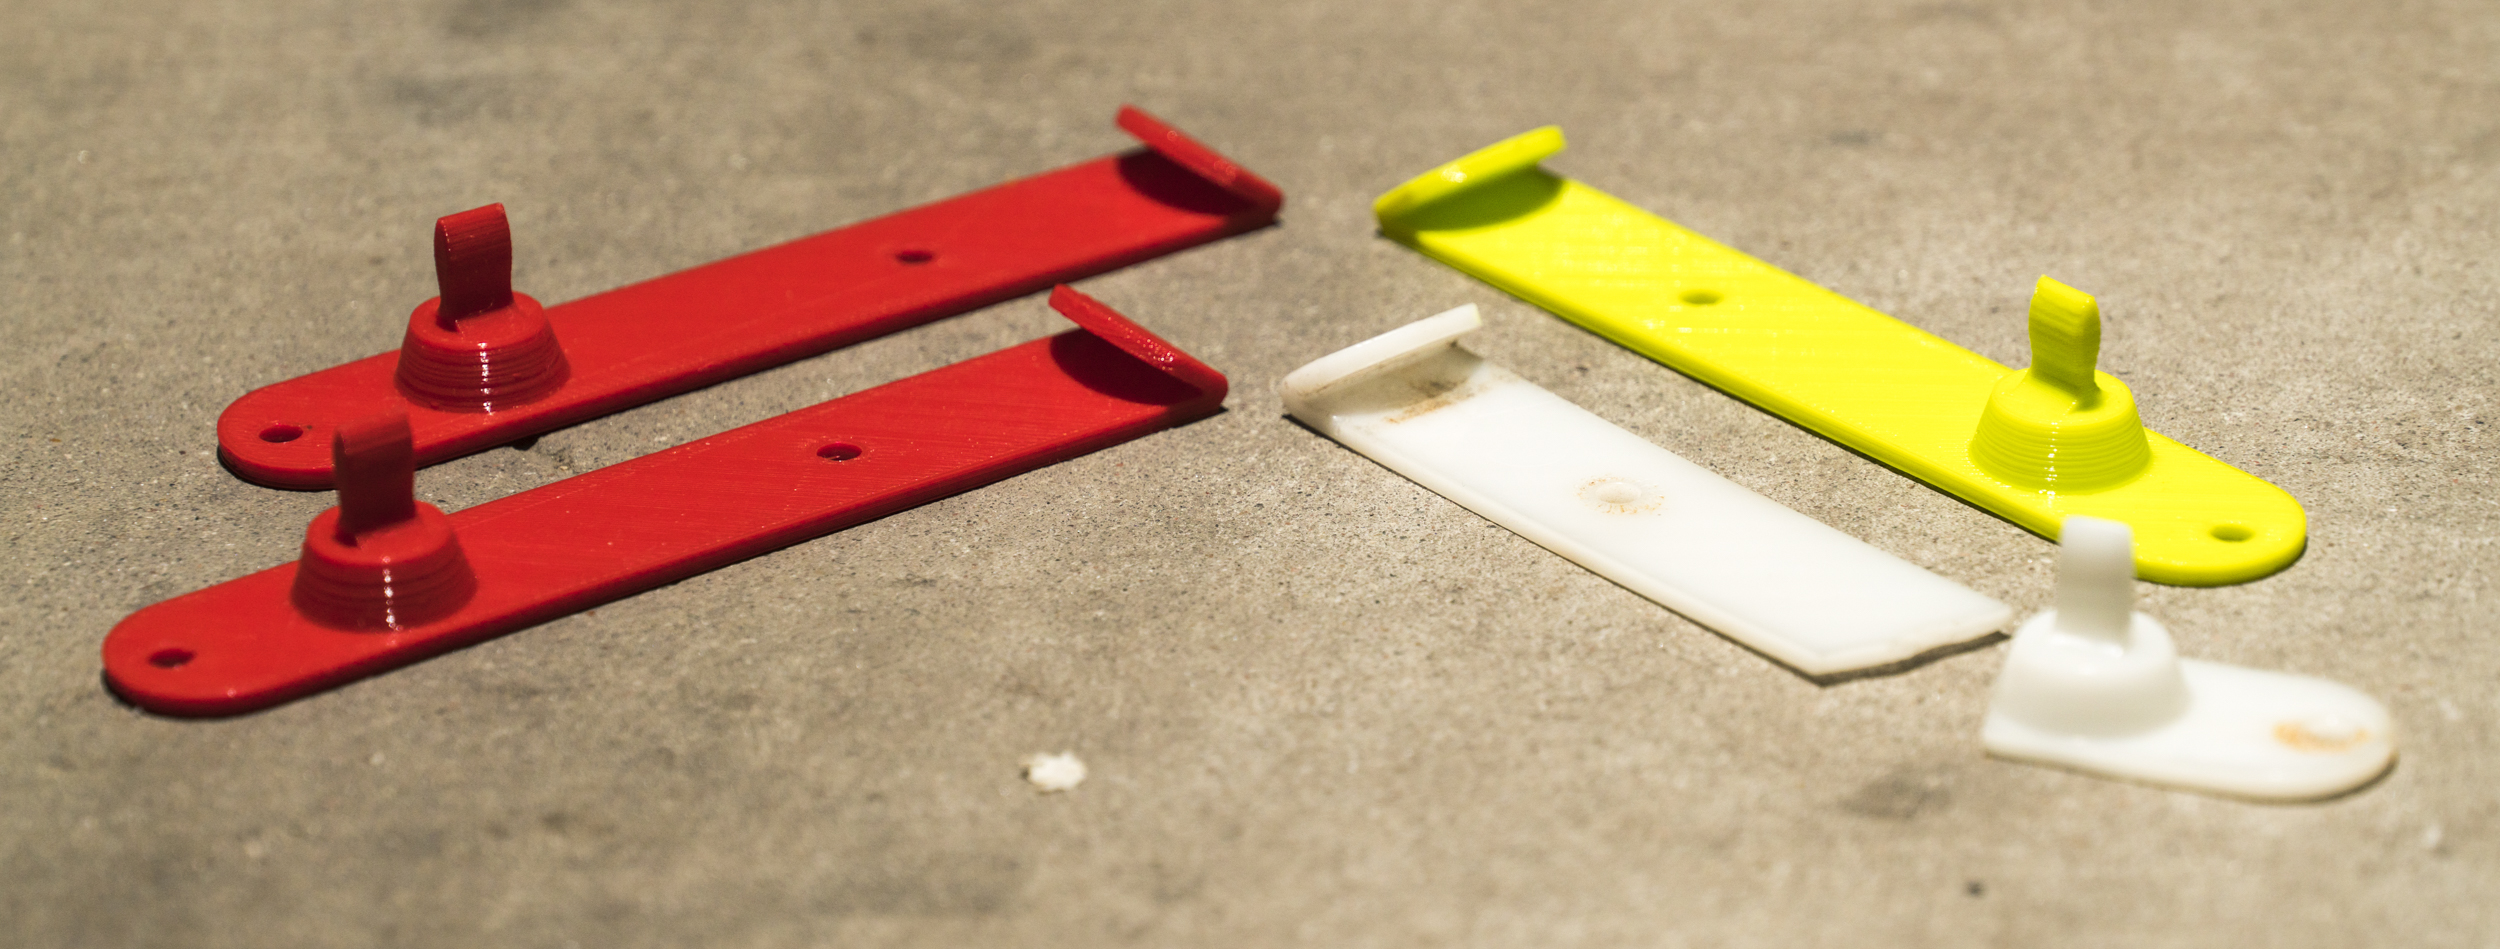
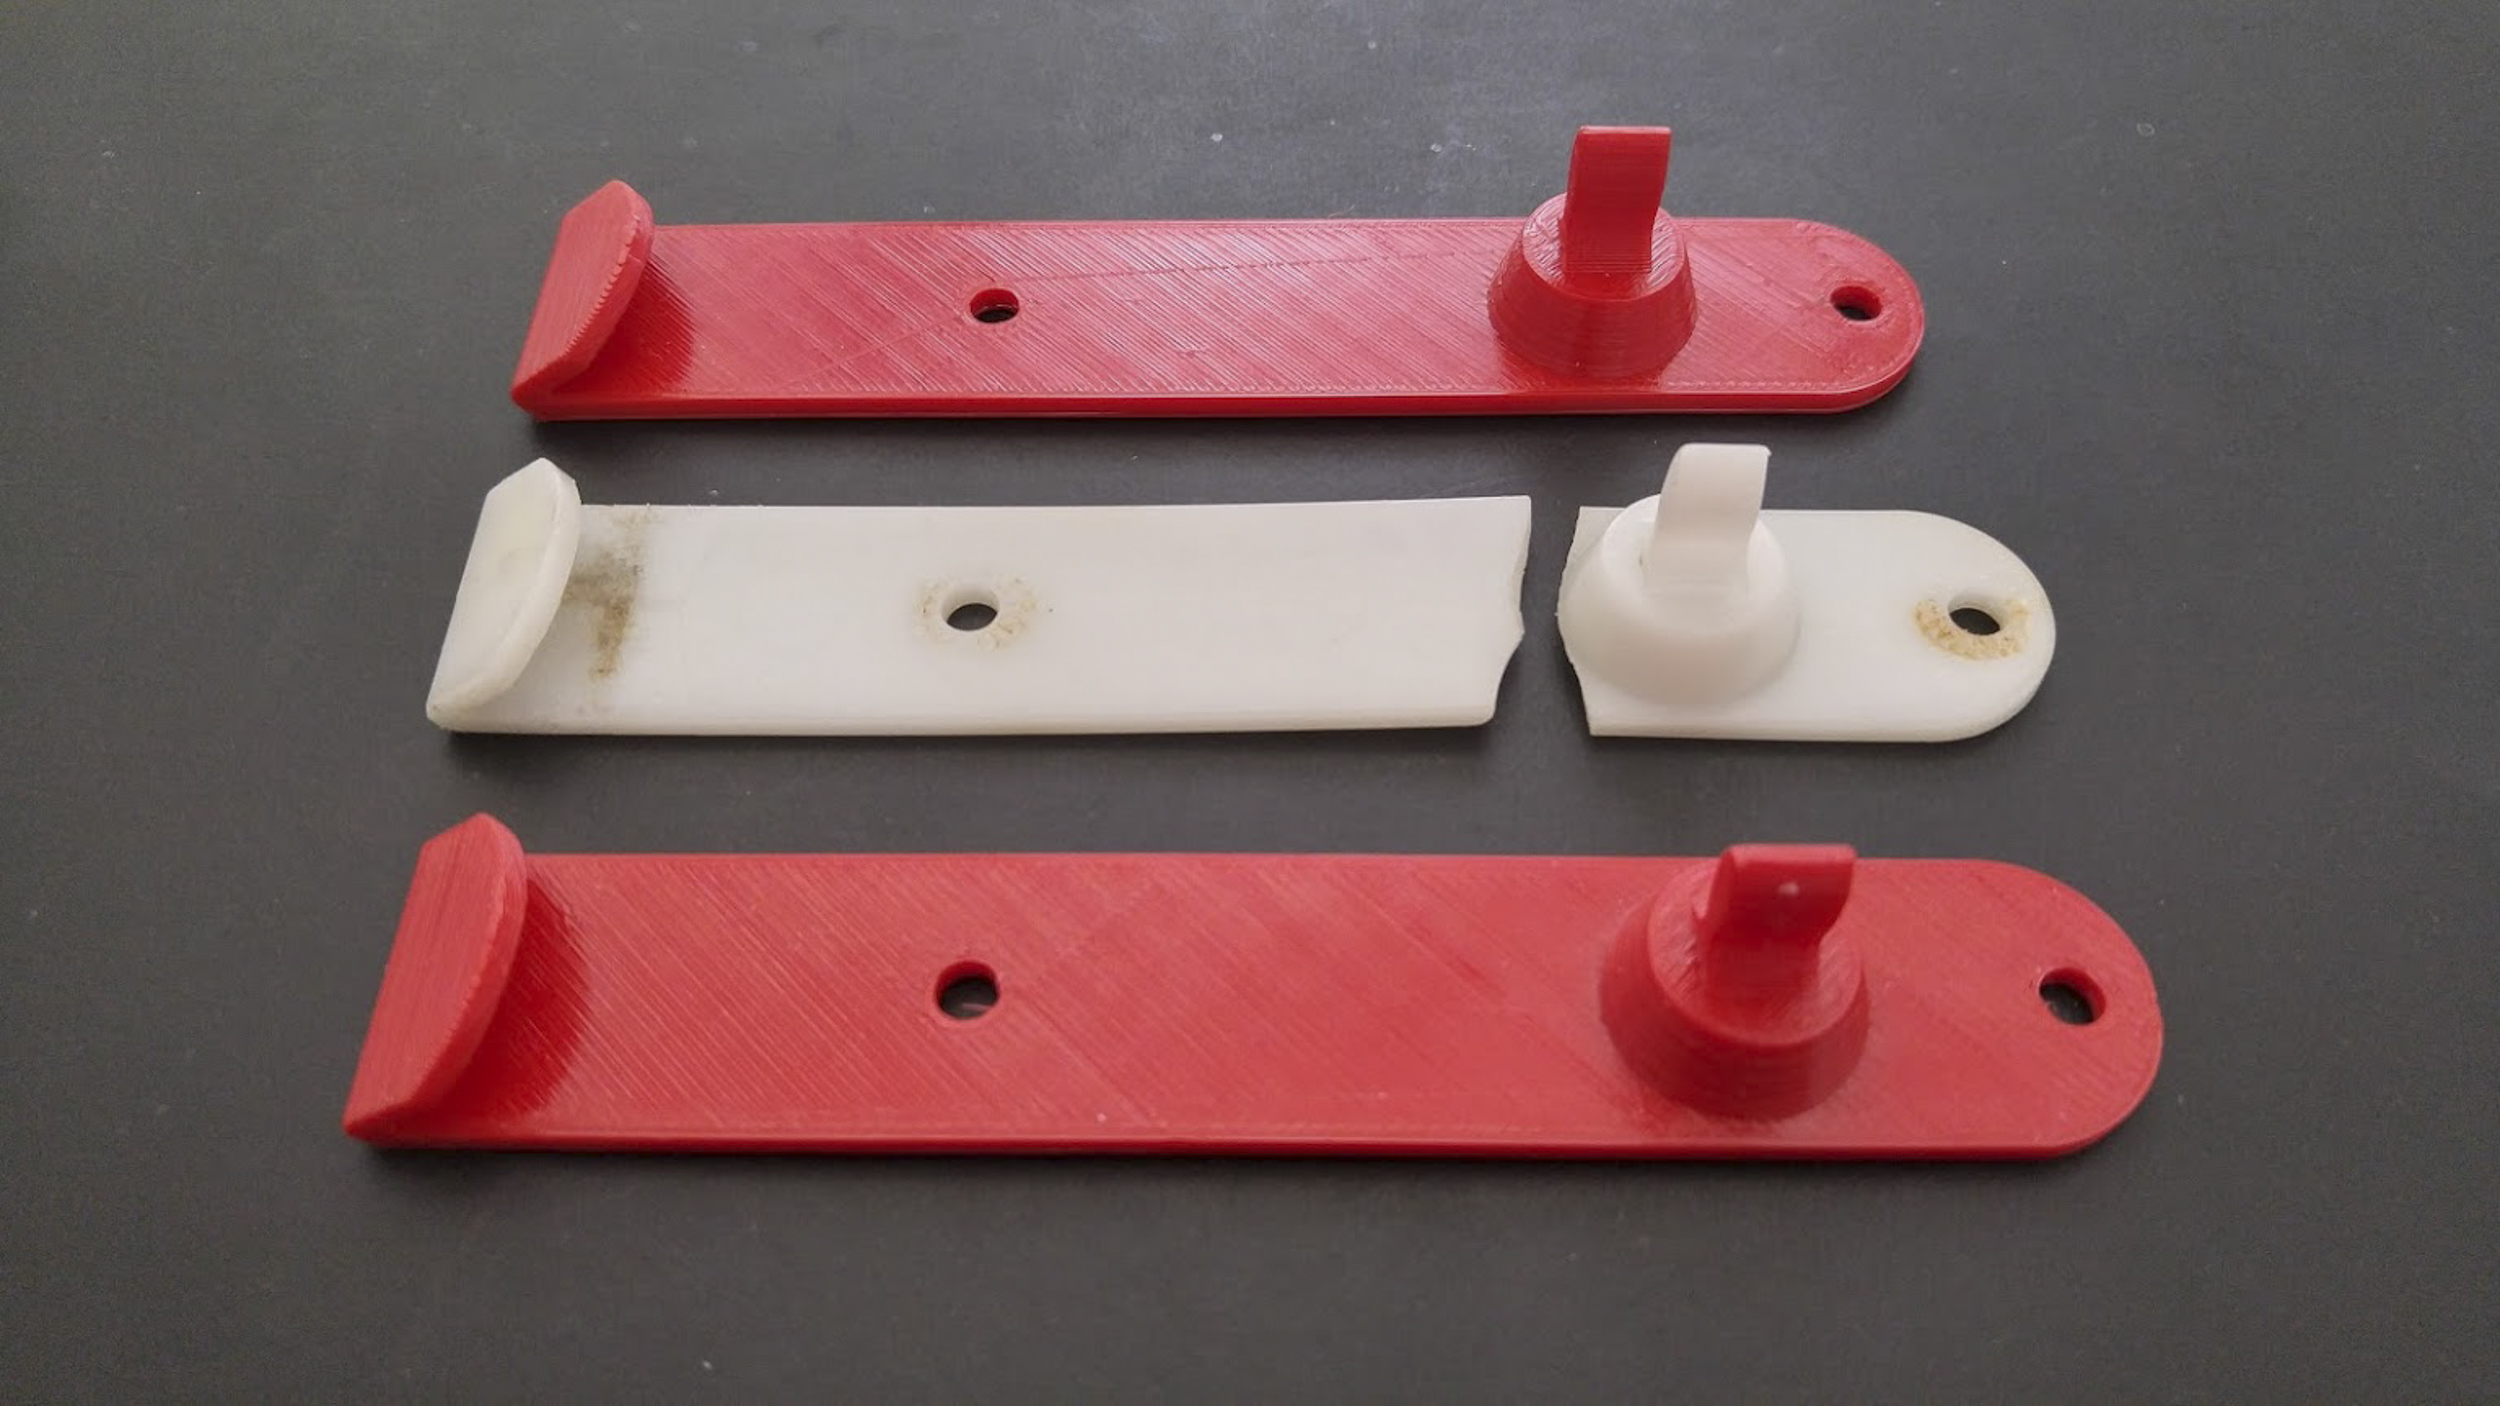
A good buddy was repairing an old oven when he accidentally broke the parts that held on the door cover. His first reaction was to google for replacement parts, but his oven is no longer made, and parts were not stocked anywhere. With a handful of broken parts, he came to me and asked if I could reverse engineer a few new brackets for him. With a pair of calipers and a few revisions to make sure I had the dimension exactly the same as the original, I was able to create a replacement part that worked out great.
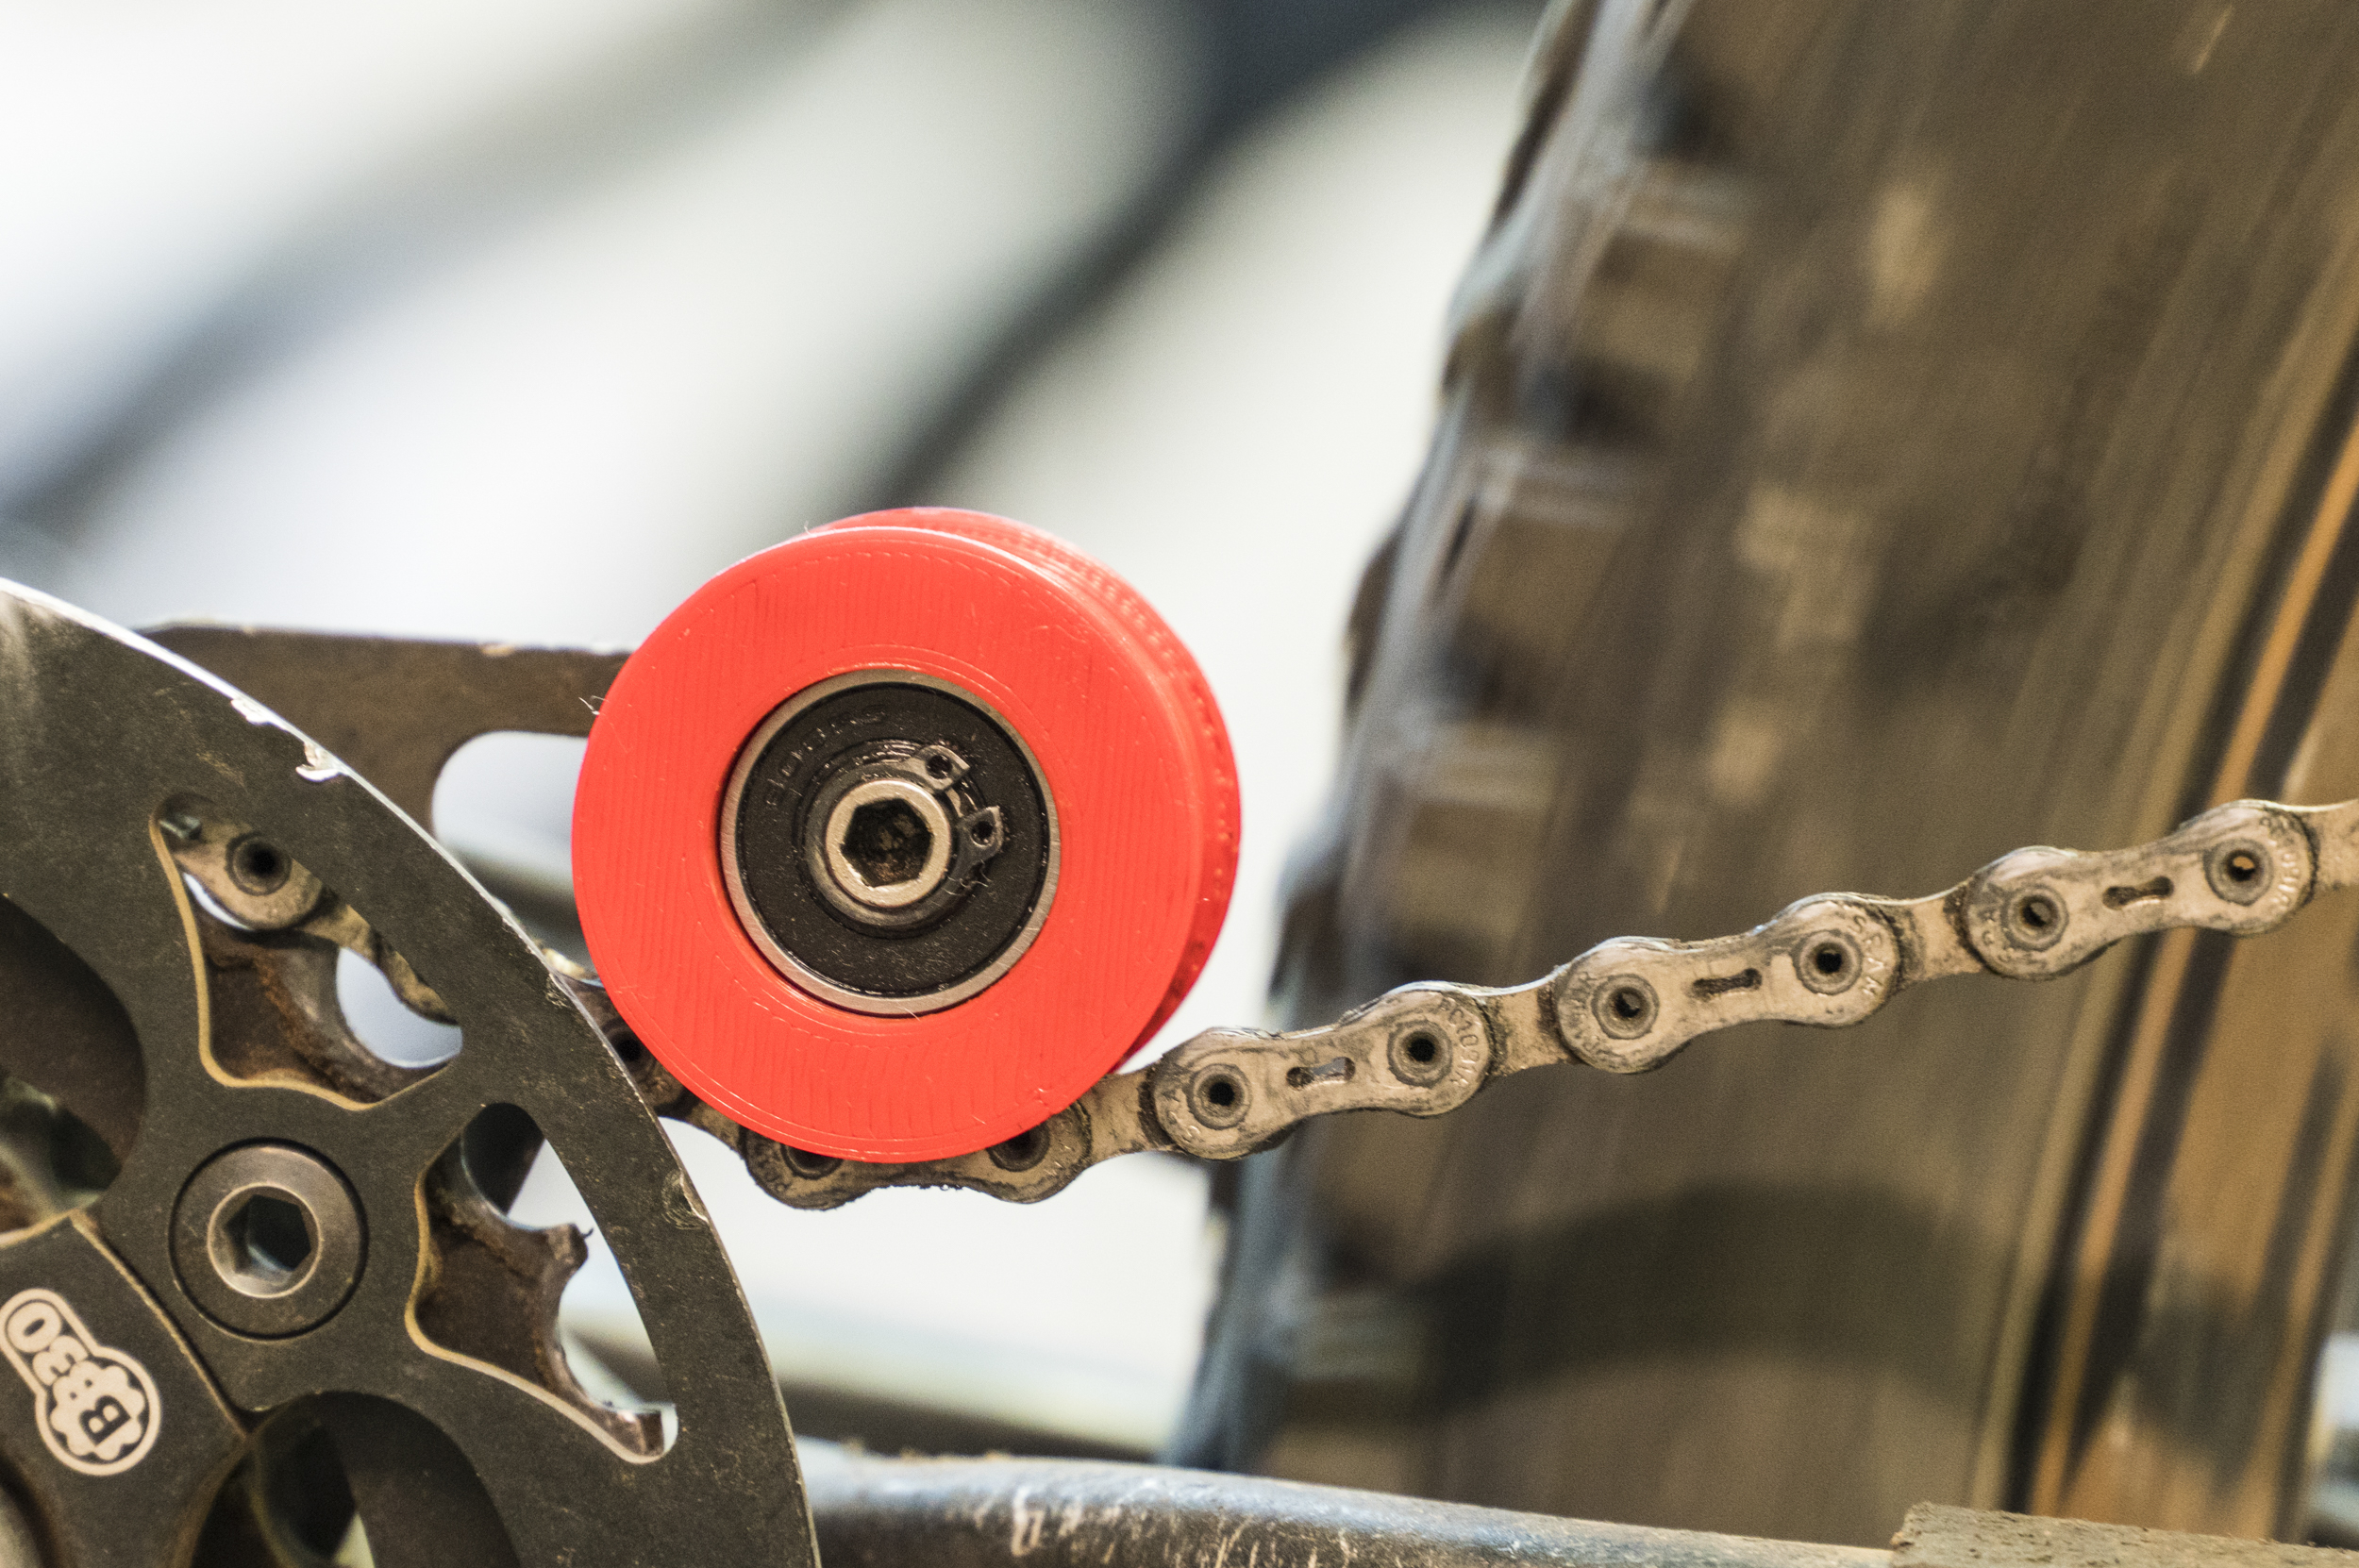
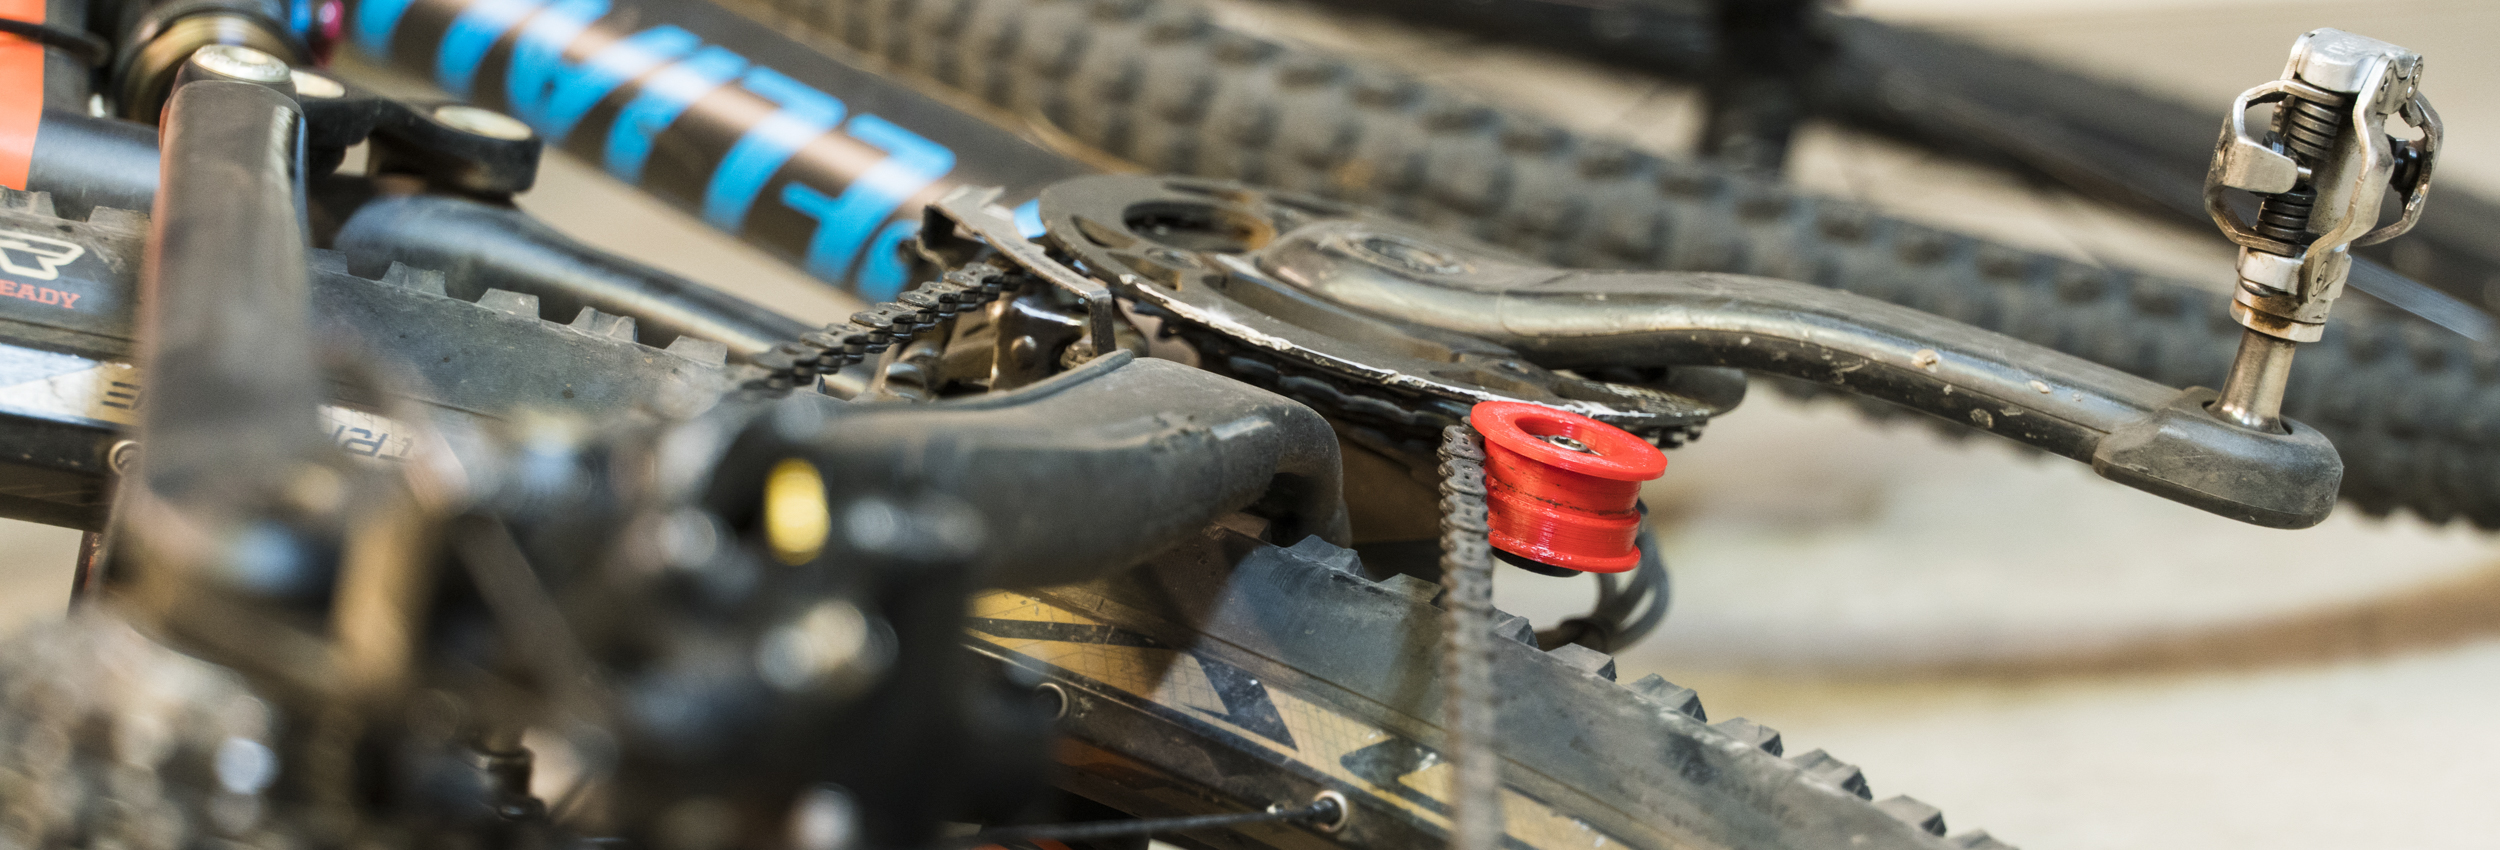
Gamut Roller
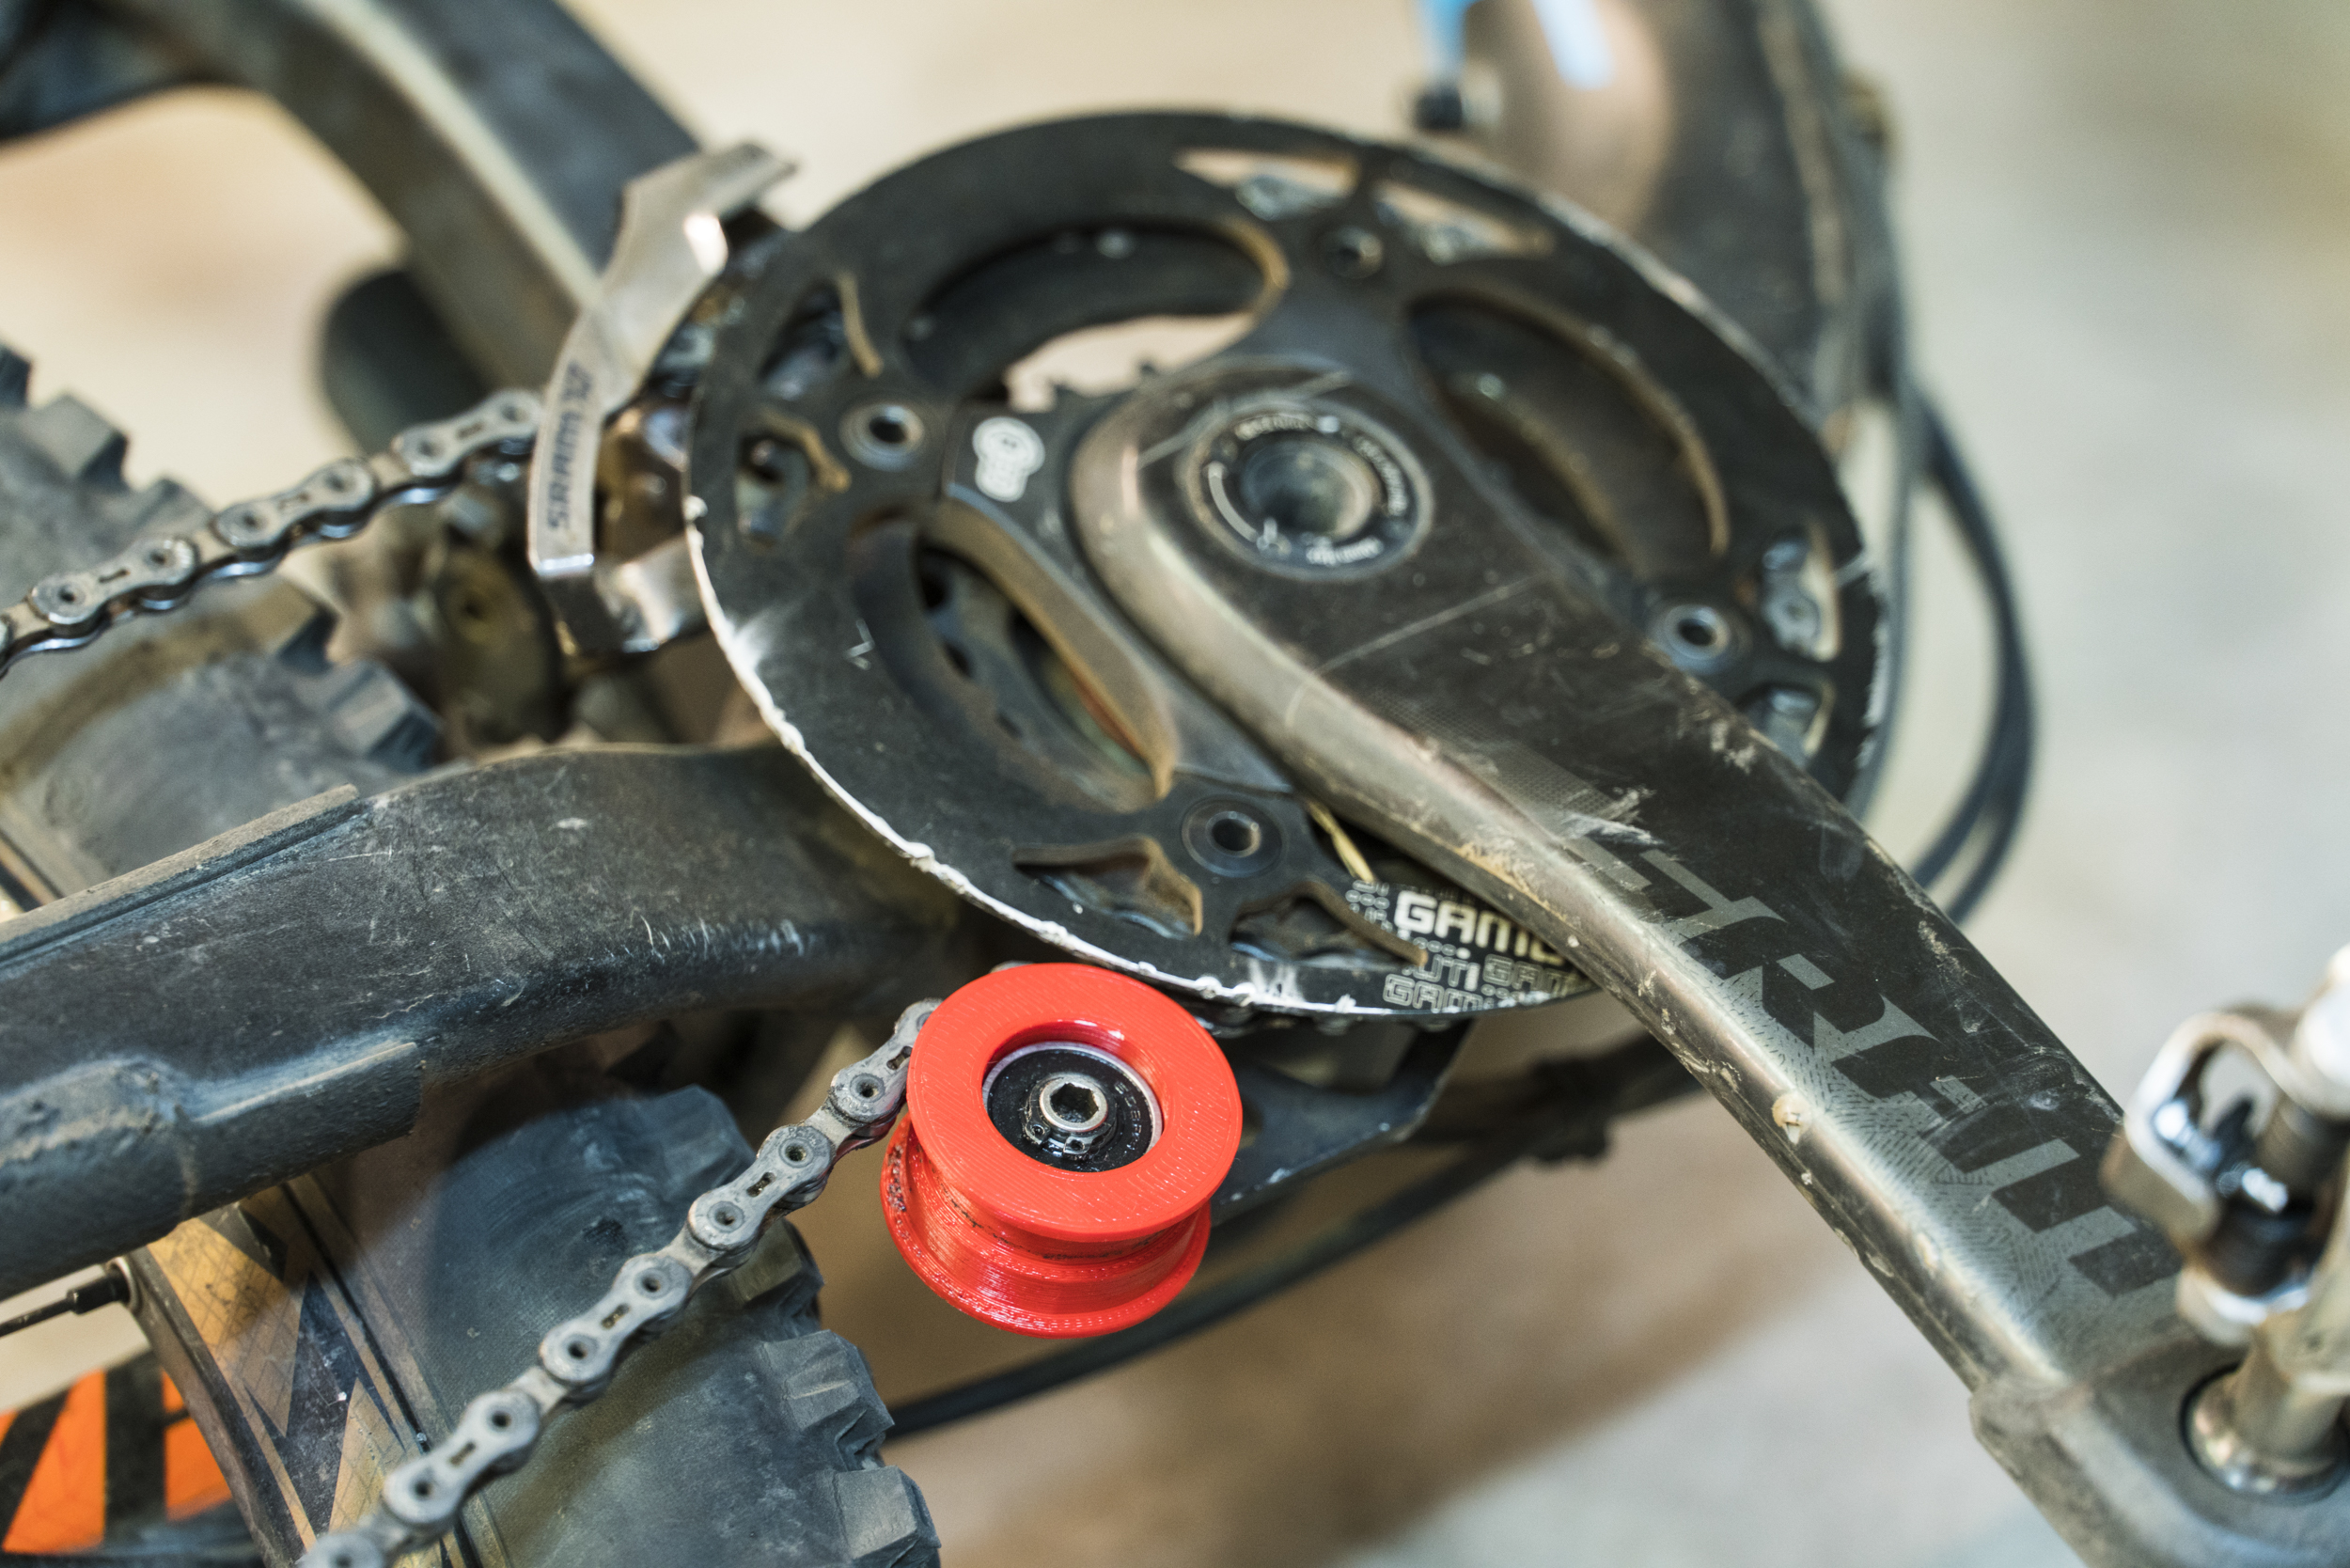
Another case of parts no longer being made for a given product, I 3D printed a few of these chain rollers to replace the factory one when it broke. In less than an hour, I had measured the broken part, drawn it in CAD and had the TAZ 6 working away on a couple of new rollers.
Phantom Angel Box
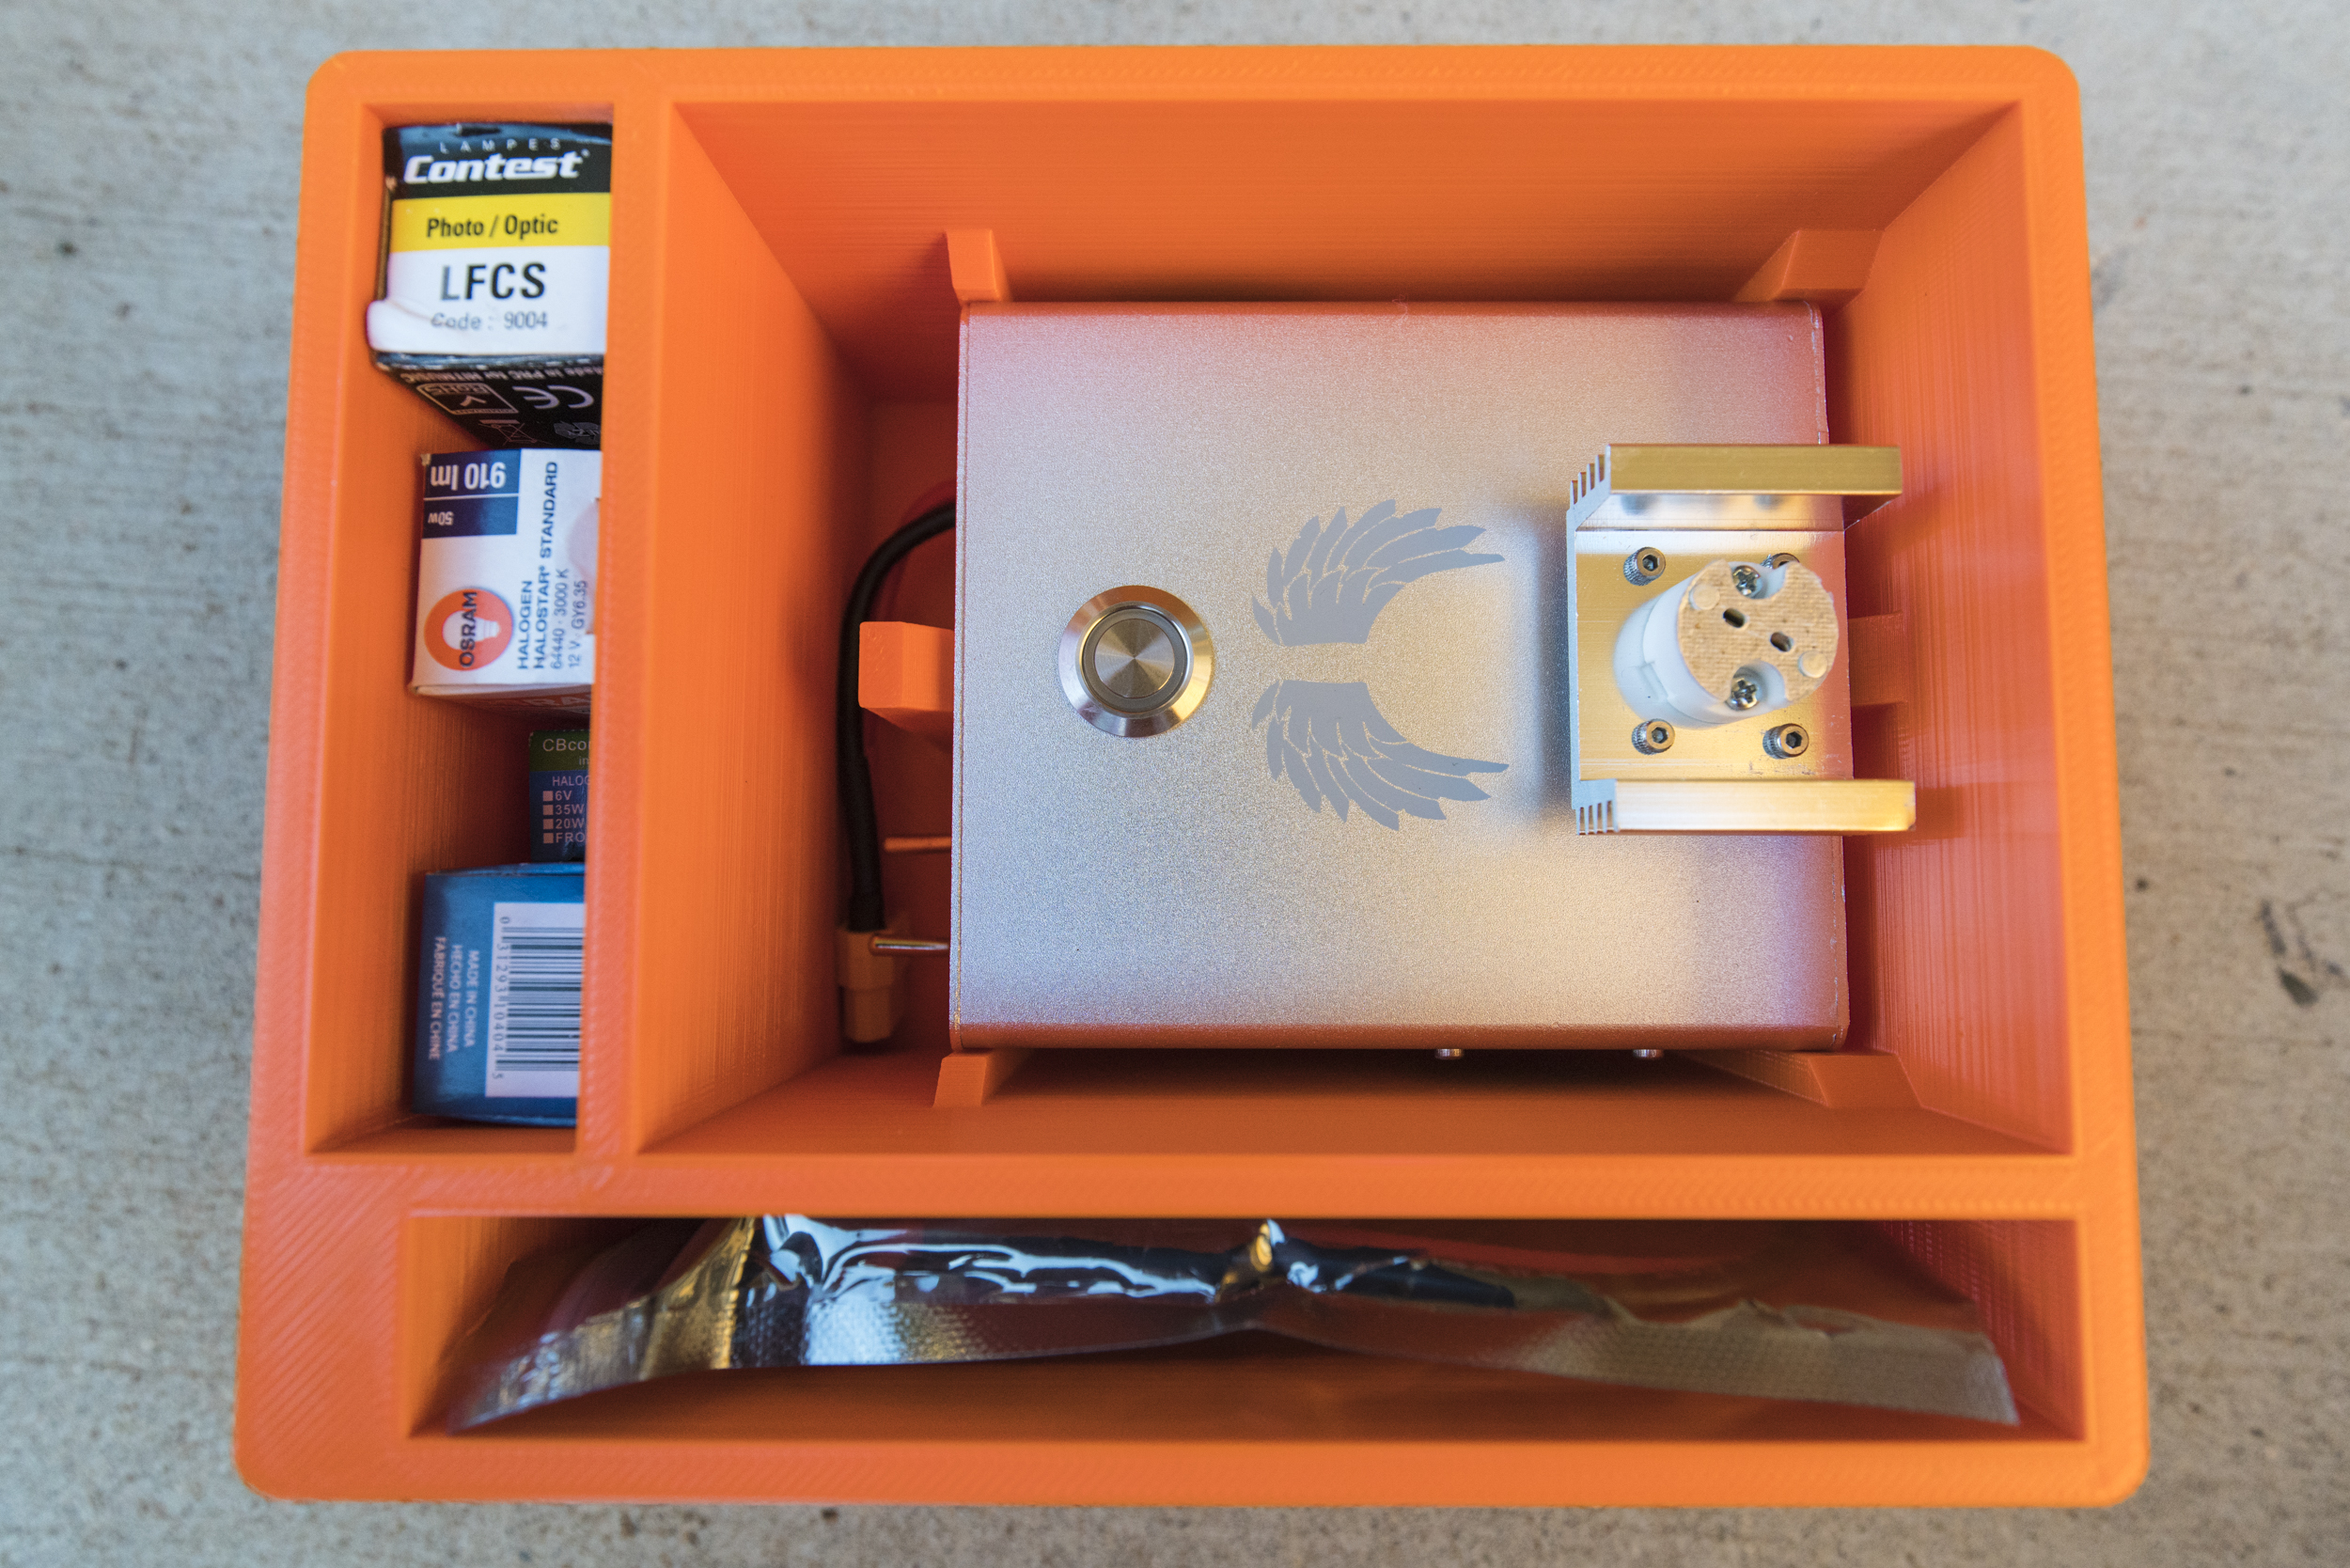
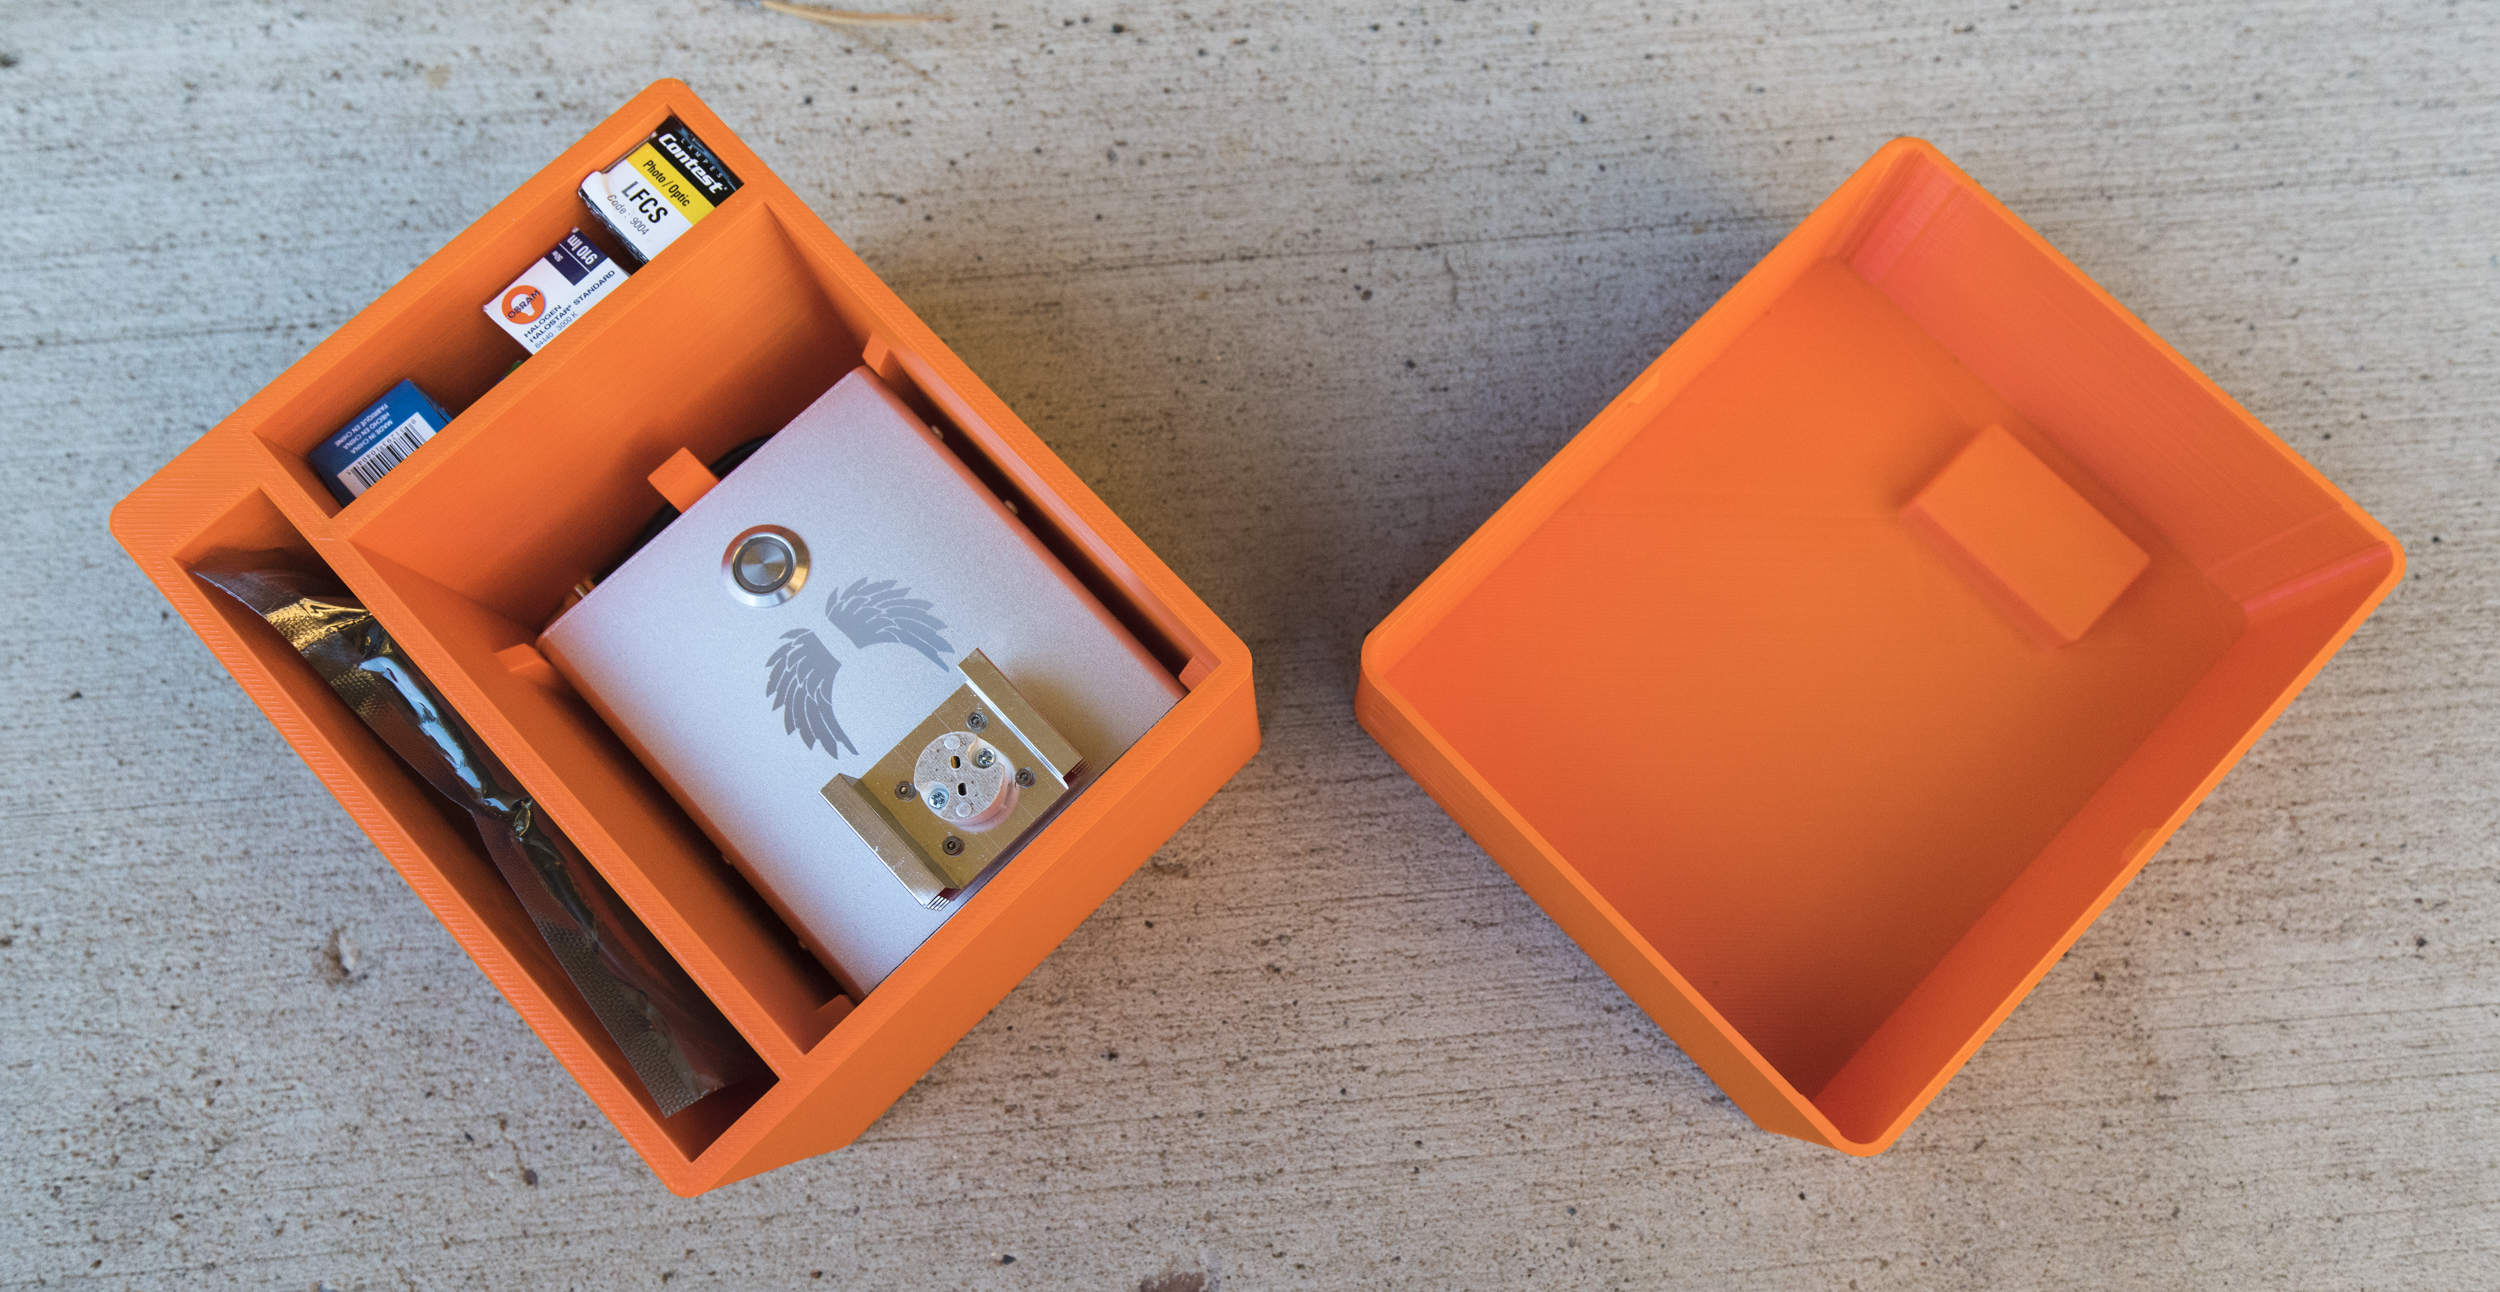
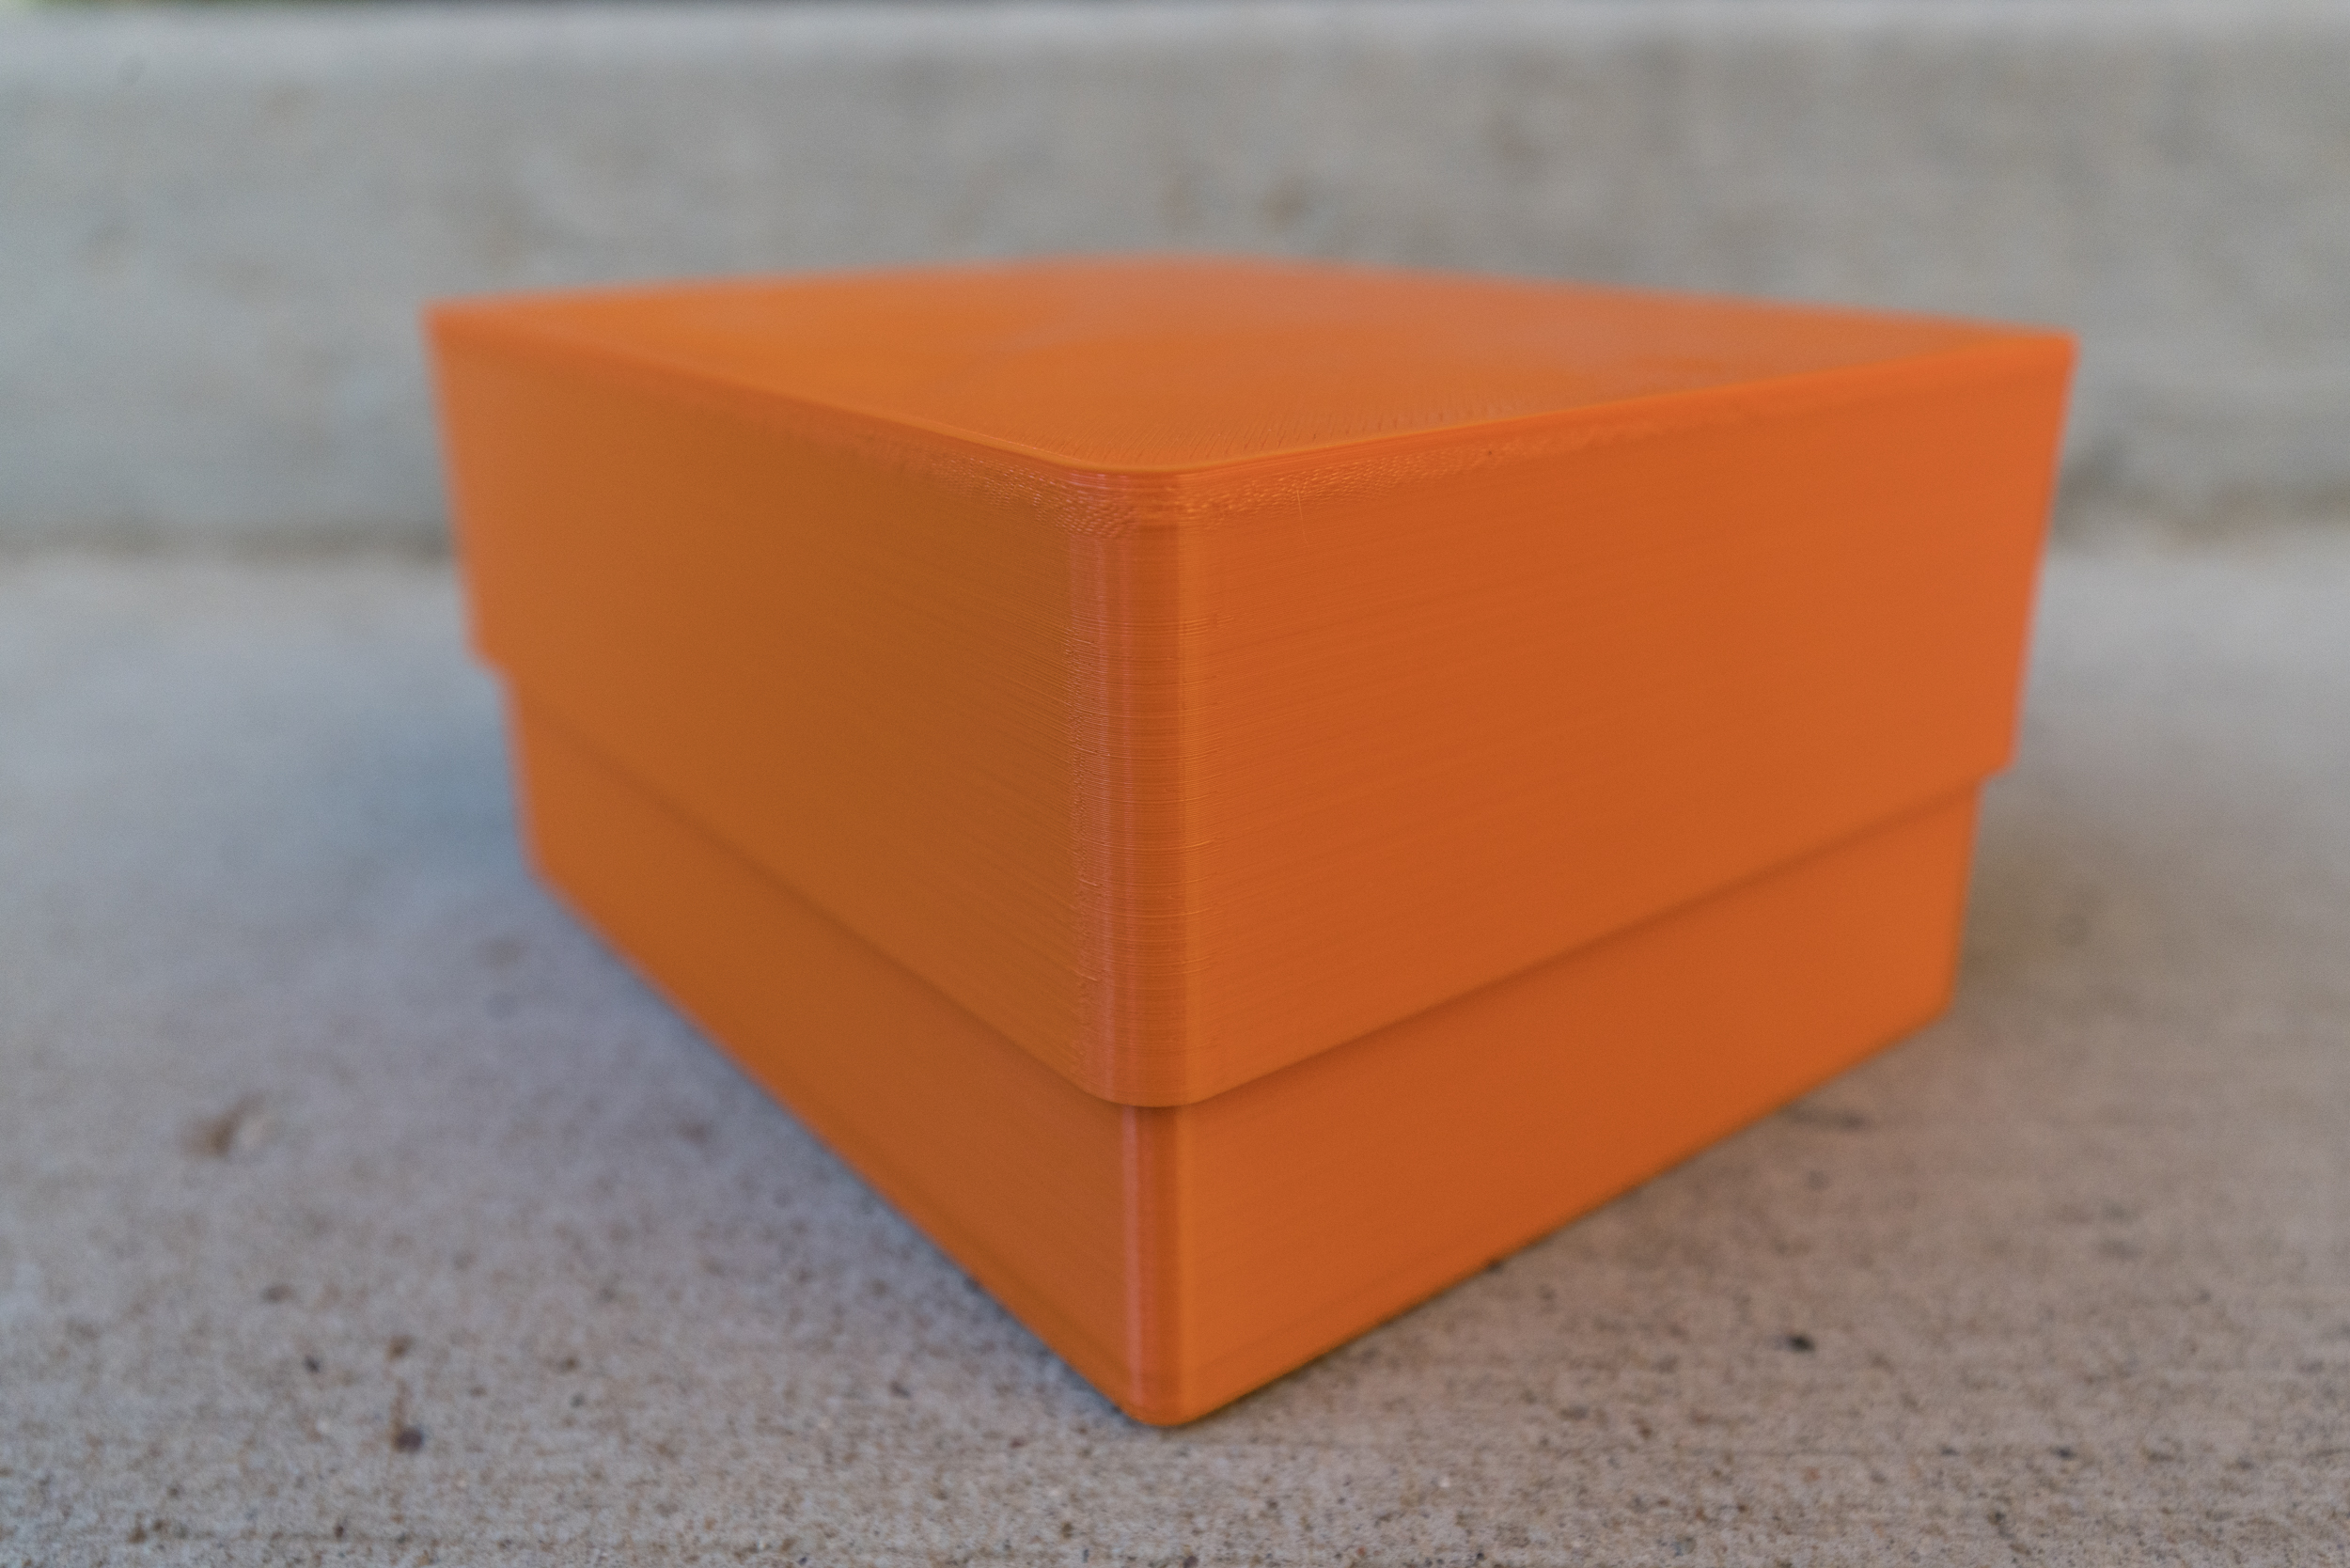
This is a great example of how awesome a large build volume is. I use this tool to place my expensive drone batteries at a storage voltage, because drone batteries are very particular about what cell voltage they’re left at. This tool uses delicate lightbulbs, and has a number of parts that have to go with it, so a box that organizes everything and protects the tool was an obvious thing to make. Now I have one easy to transport box that protects my kit.
Nalgine Thread to Sea-To-Summit Adapter
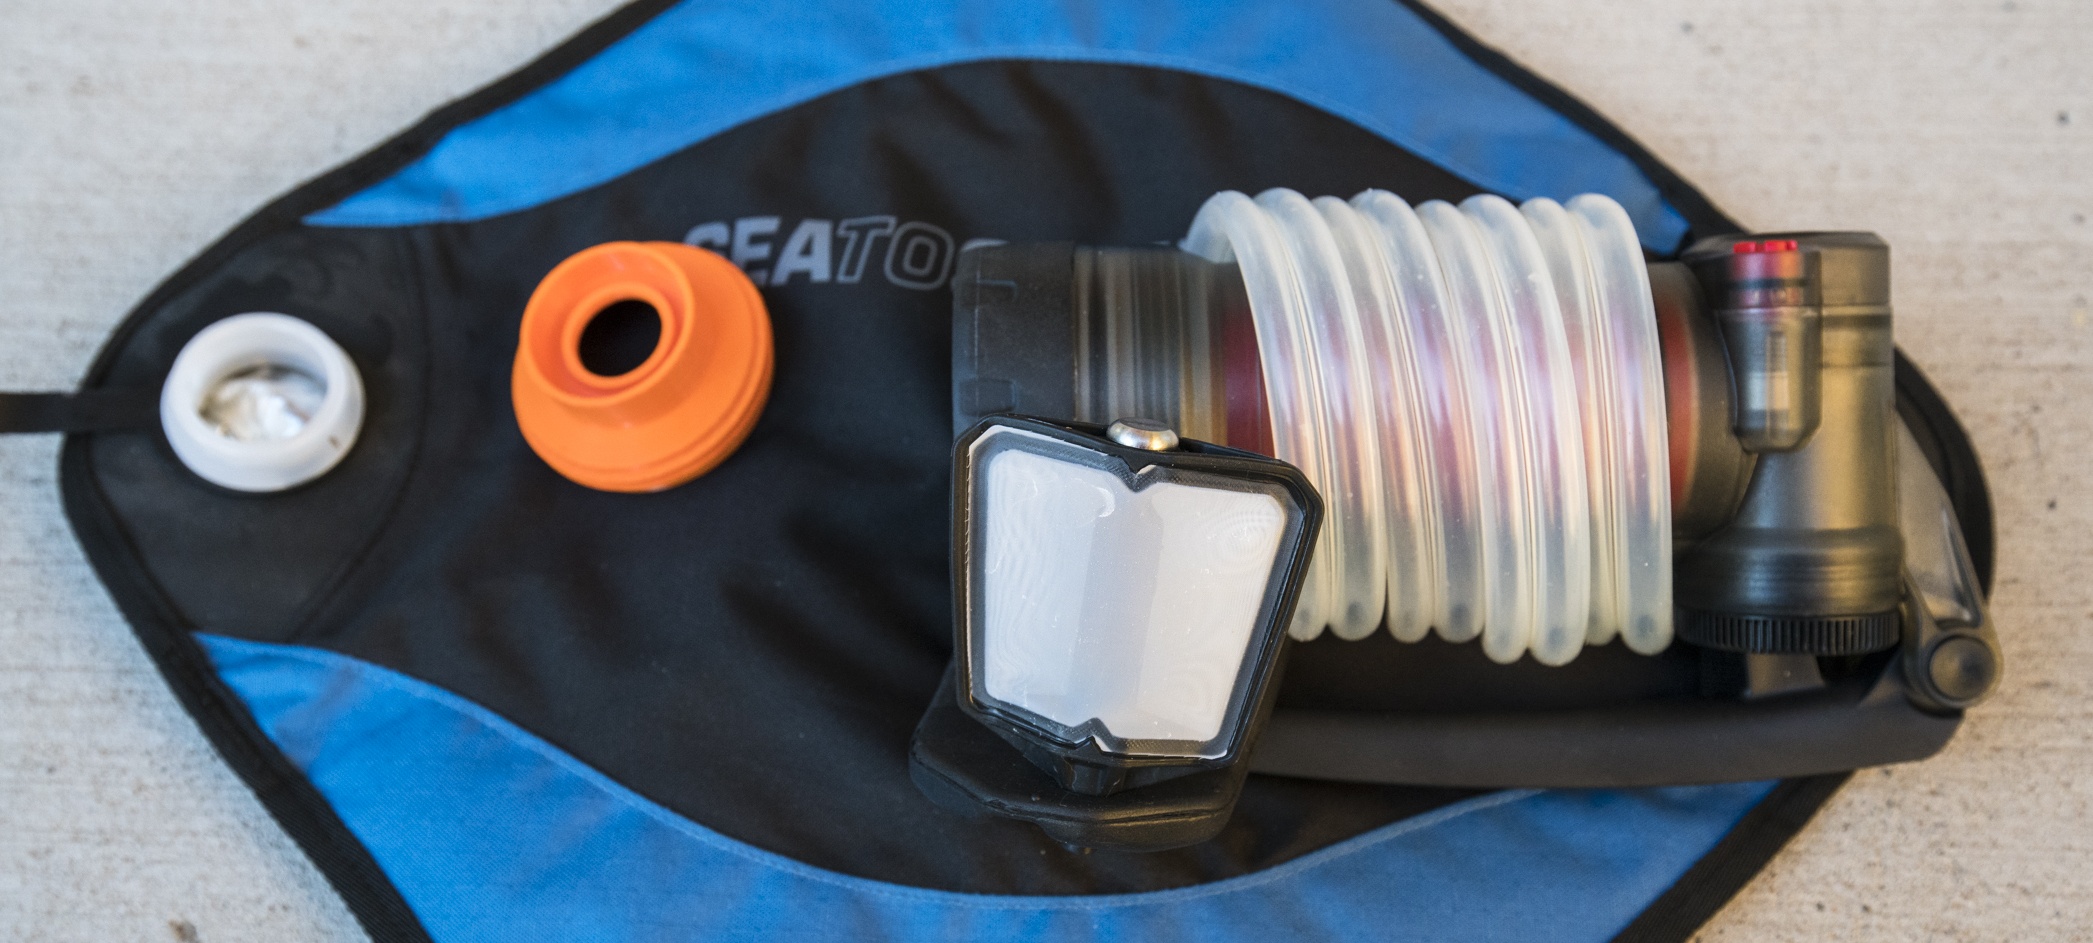
Ever wanted to make one thing mate to another thing? With a TAZ 6, you can easily whip up an adapter to mate your water filter to an awesome ultra light water bag from Sea-To-Summit.


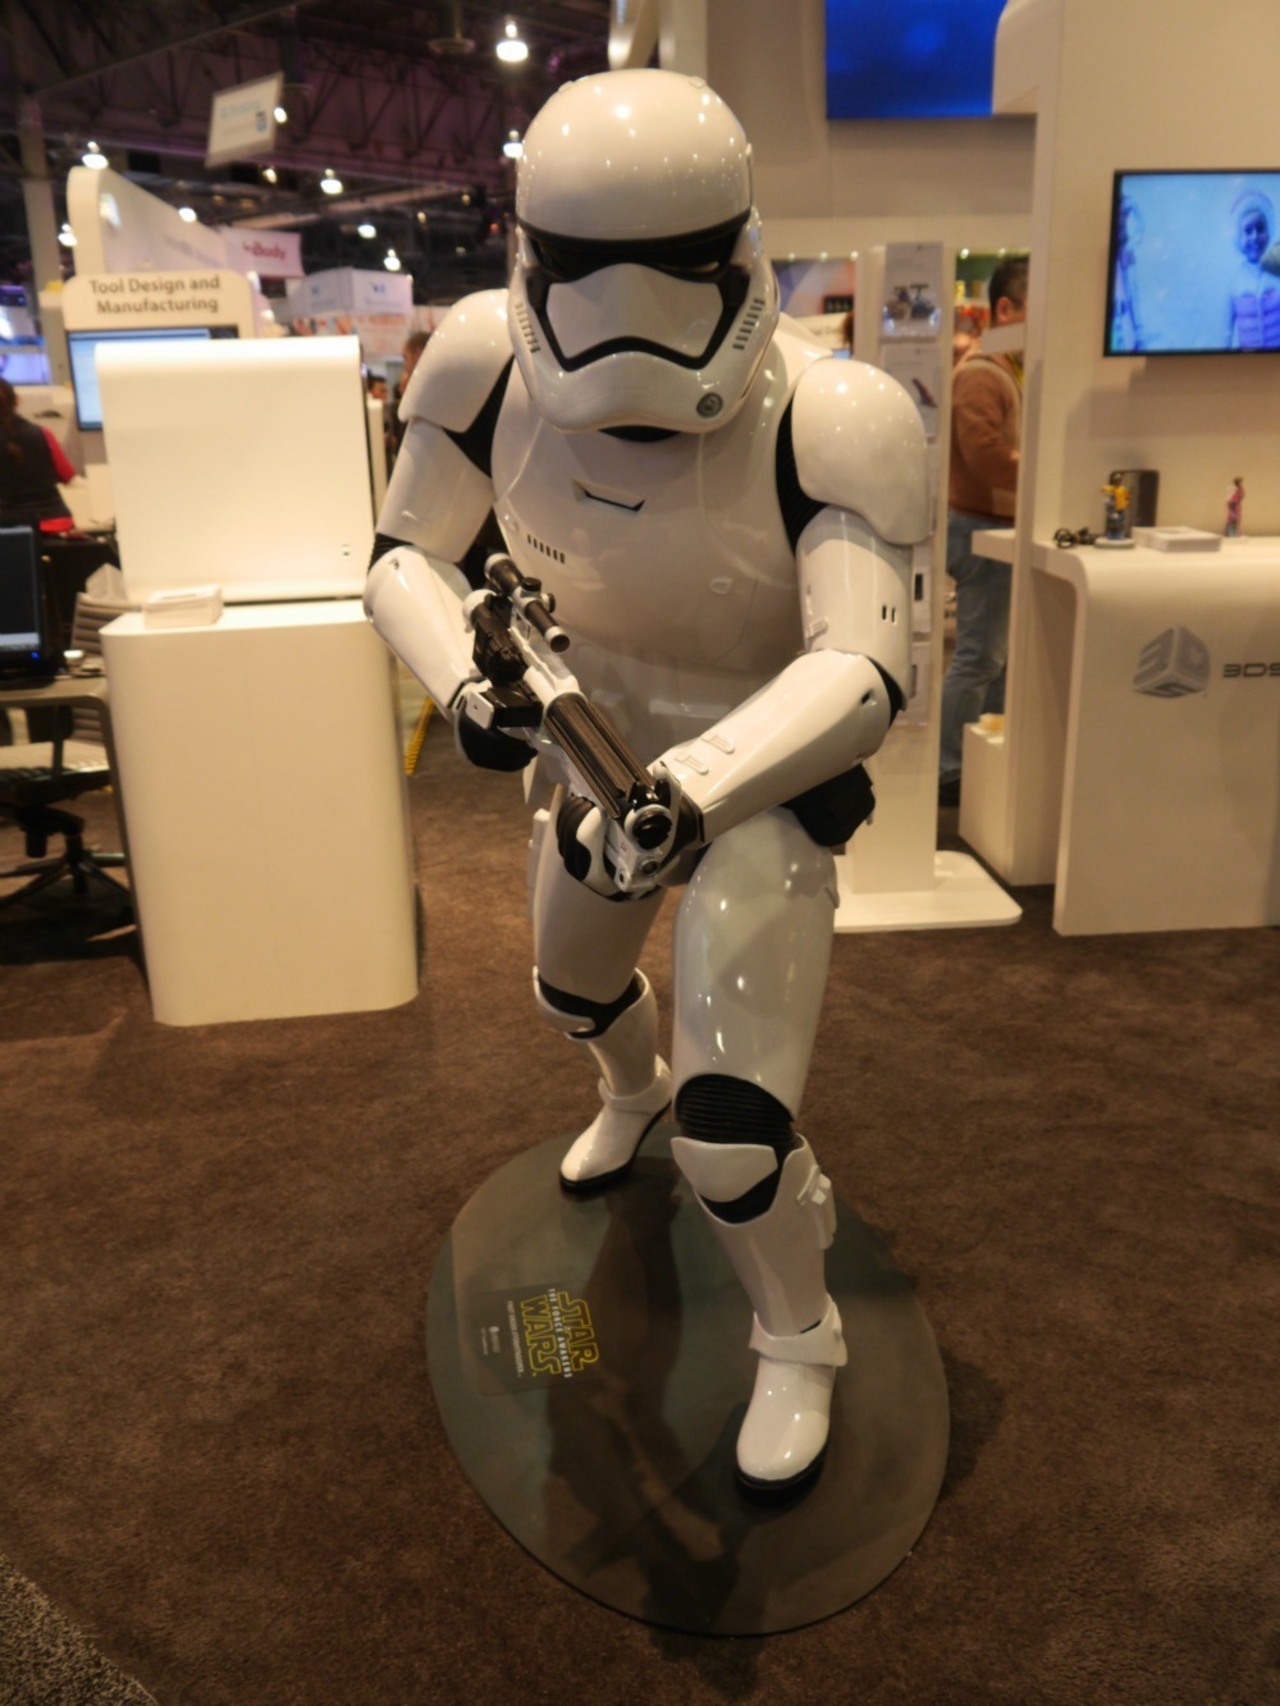
3D printing is an amazing technology that is really only limited by your imagination in terms of the problems you can solve and the things you can print. There are folks out there who use 3D Printing to make everything from wearable StormTrooper armor to prototype parts for vehicle restoration – the applications are quite limitless. At the top of the pile of desktop printers is the TAZ 6 – its just that good of a printer, and I’ve never had a better experience with a 3D printer in the five plus years I’ve been using them. Add in the support from the folks at LulzBot and the open source community, and the TAZ 6 becomes an even more valuable tool.
In the next article in this series, we’re going to be using the TAZ 6 to make few things for another American Adventurist member to show how the TAZ 6 3D printer is an invaluable tool for our community.
Stormtrooper image from Google.


