grantwilson
Adventurist
All my mugs, and titanium sporkspfft... it take a little more than a Skottle to be an Overlander, buddy.
Do you have any Snow Peak?
[...and that's when the fight started]
All my mugs, and titanium sporkspfft... it take a little more than a Skottle to be an Overlander, buddy.
Do you have any Snow Peak?
[...and that's when the fight started]
Sweet... you're wired for sound.All my mugs, and titanium sporks
not yet. One of these days ill finish my audio though (ba-dum-chi)Sweet... you're wired for sound.
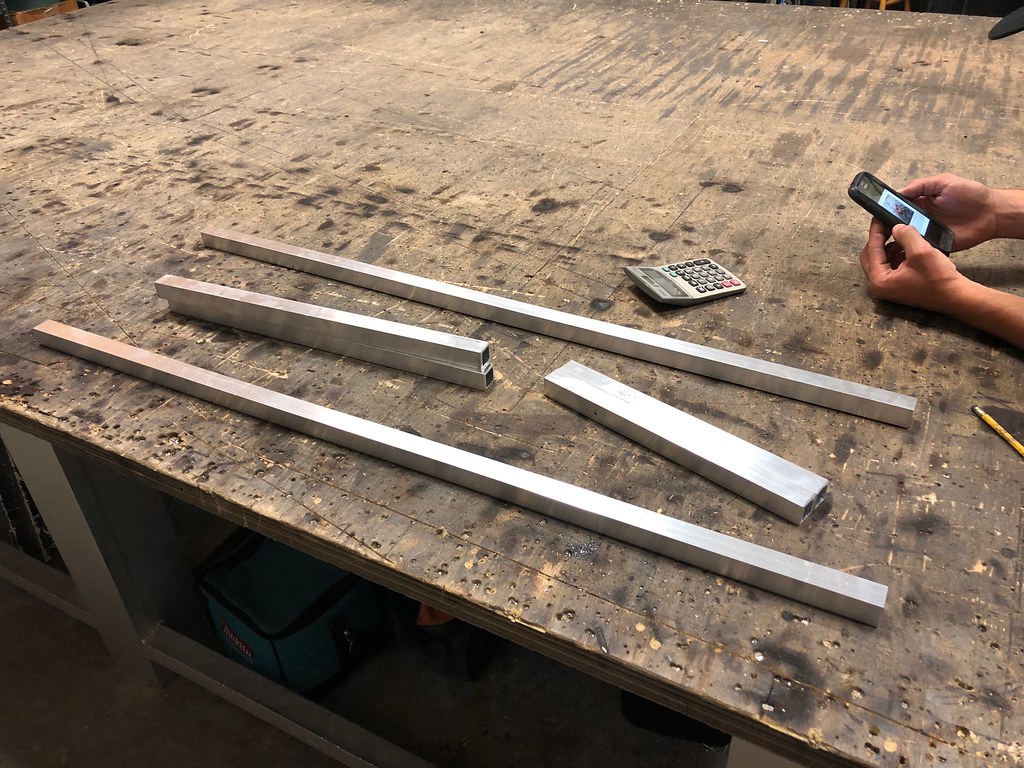 Untitled by Grant Wilson, on Flickr
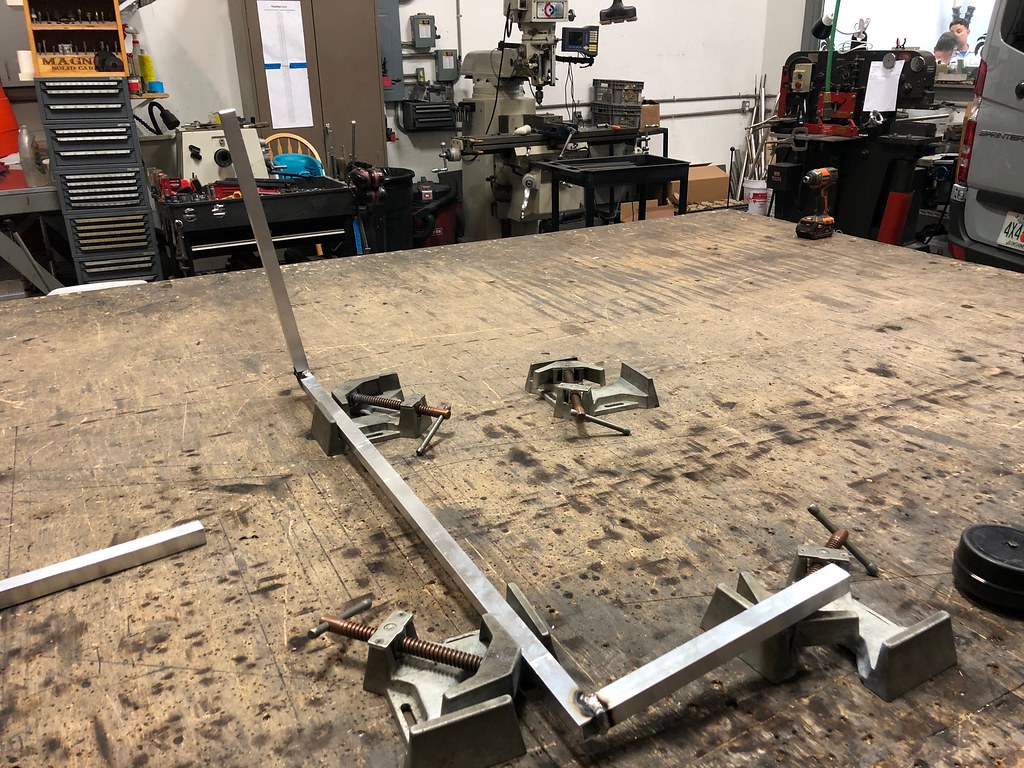 Untitled by Grant Wilson, on Flickr
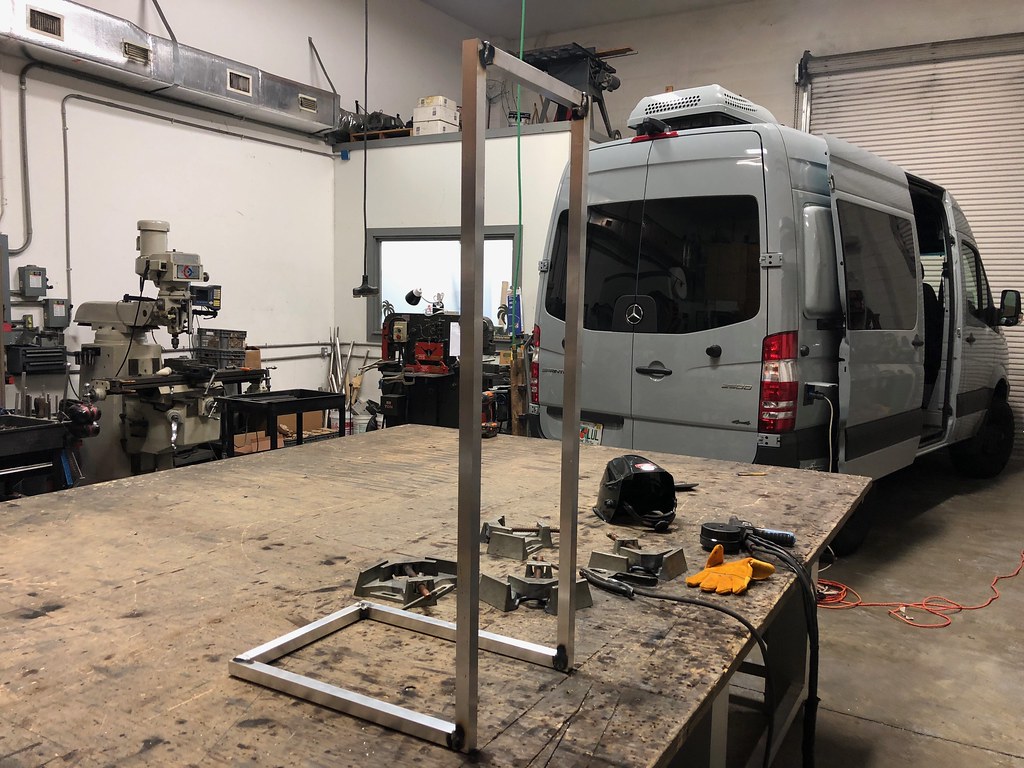 Untitled by Grant Wilson, on Flickr
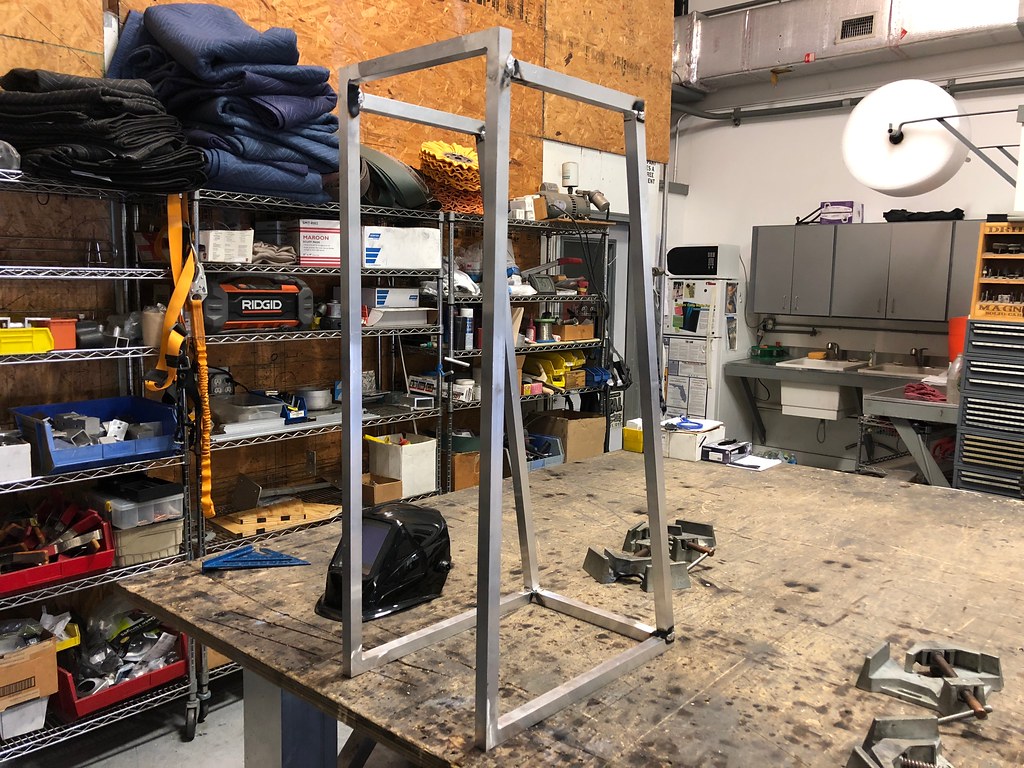 Untitled by Grant Wilson, on Flickr
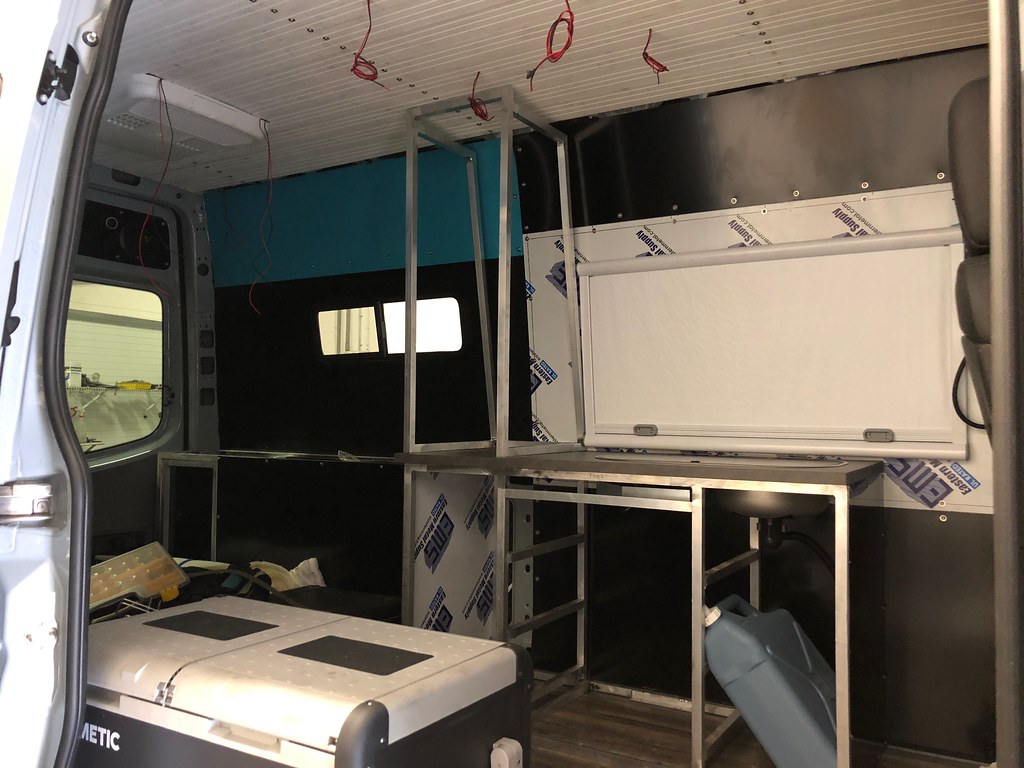 Untitled by Grant Wilson, on Flickr
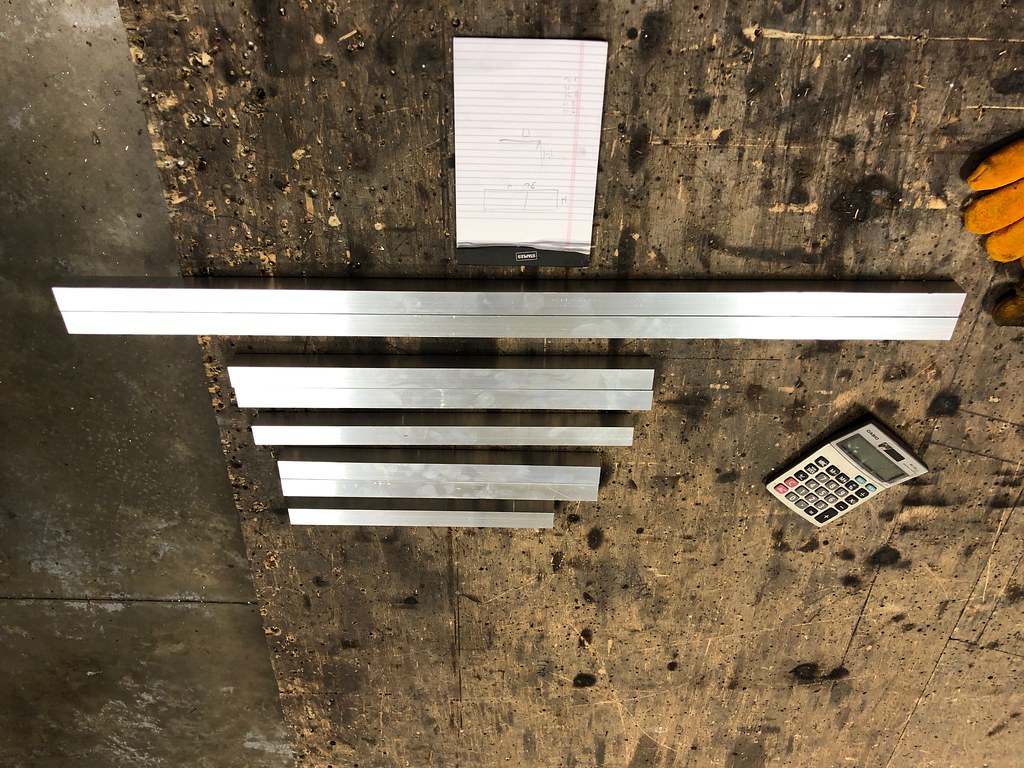 Untitled by Grant Wilson, on Flickr
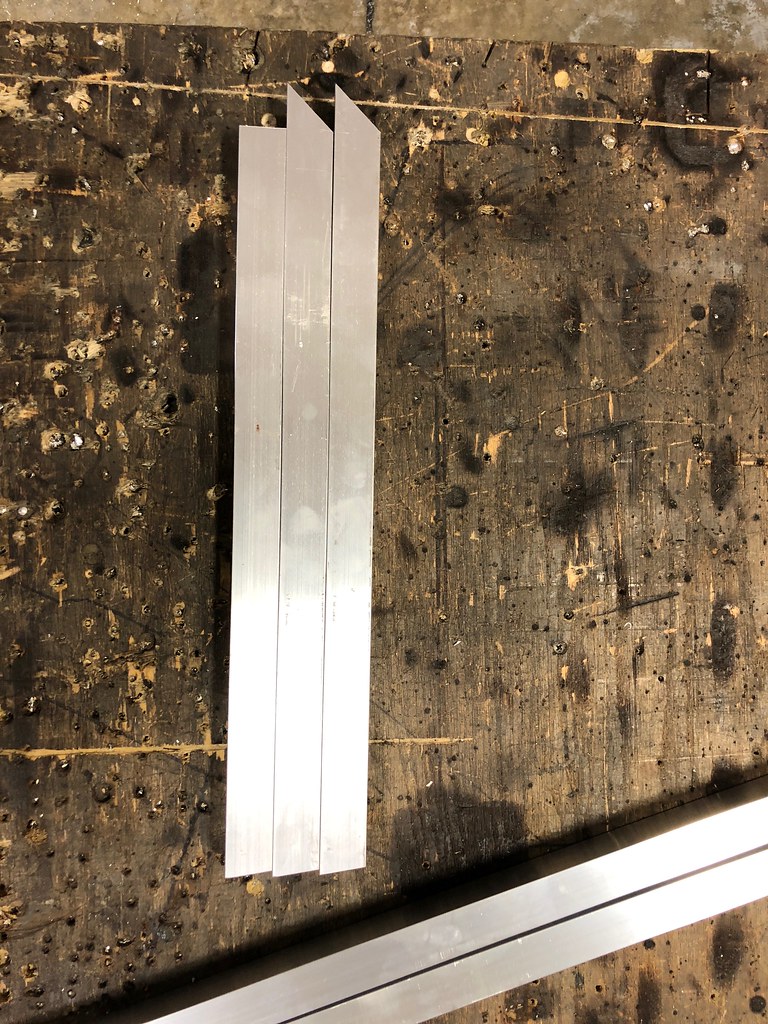 Untitled by Grant Wilson, on Flickr
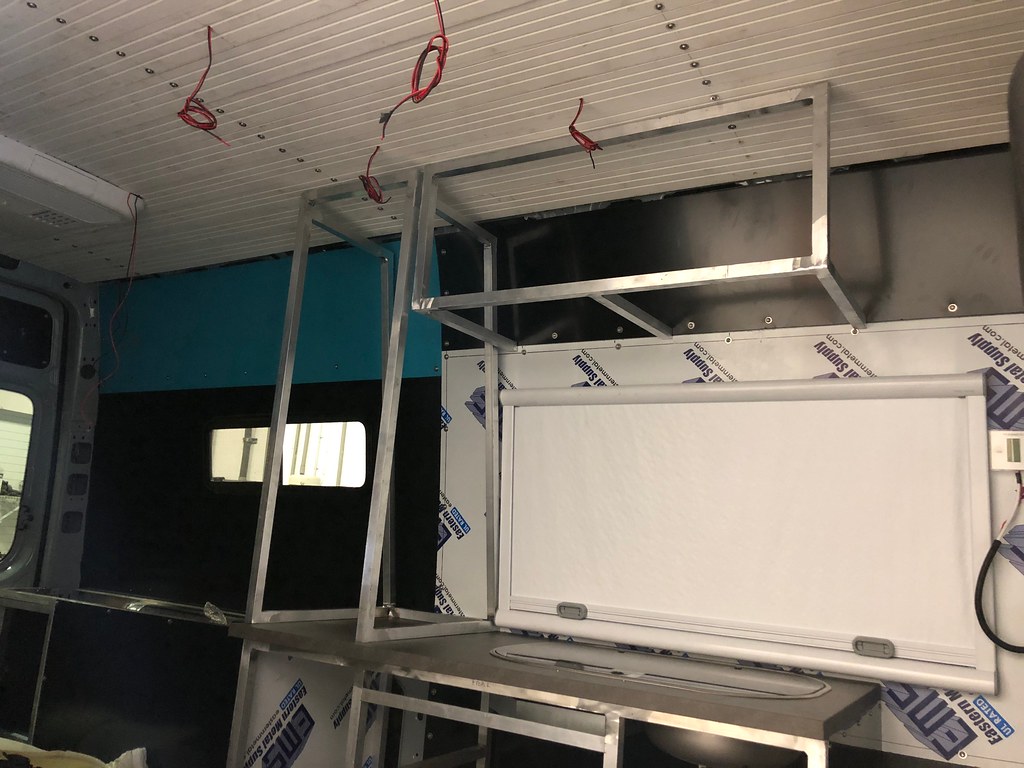 Untitled by Grant Wilson, on Flickr
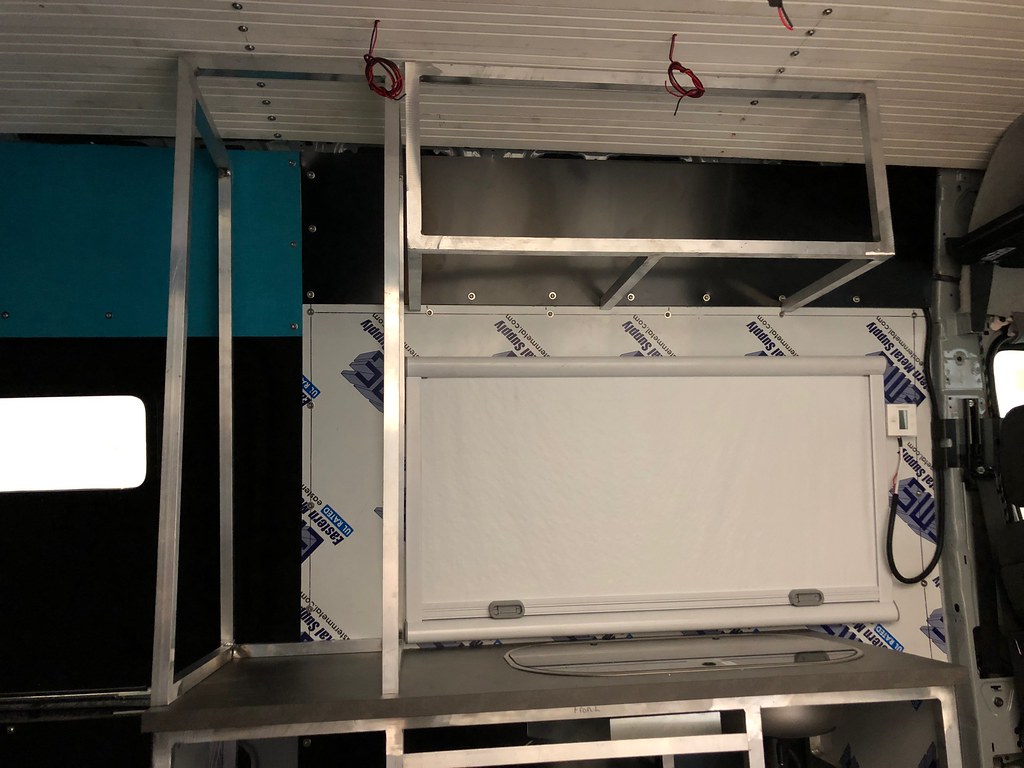 Untitled by Grant Wilson, on Flickr
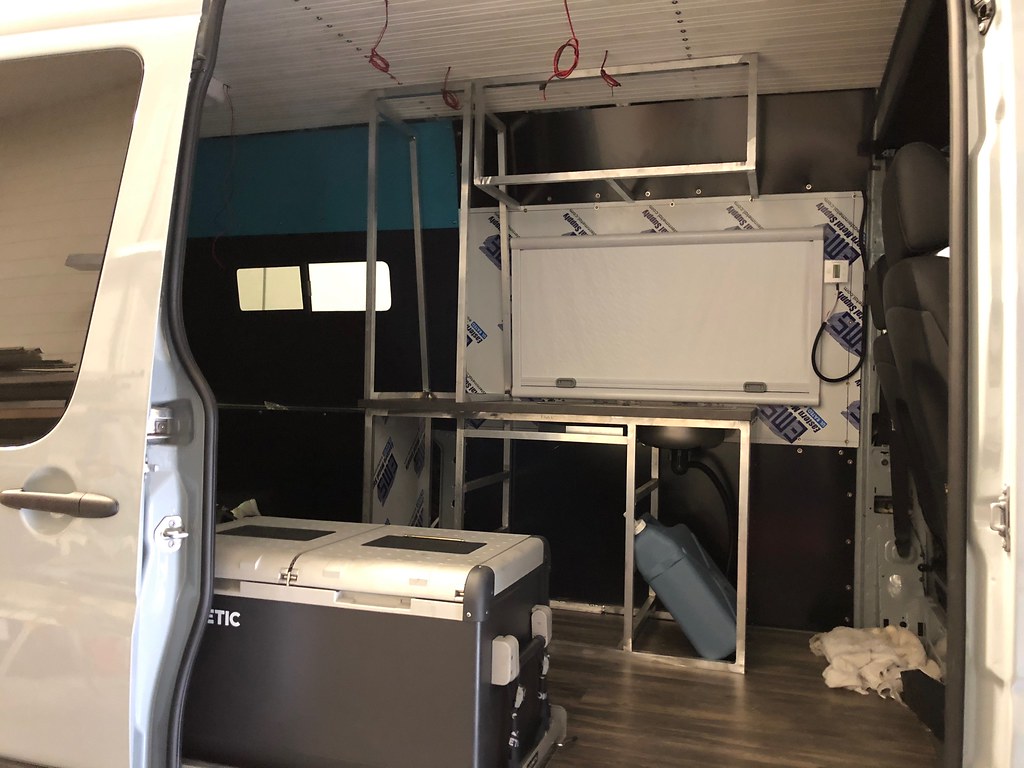 Untitled by Grant Wilson, on Flickr
So i run a place called Buildersstainless.com (its a physical store also).I think I remember you saying that you work on your van after hours in the shop where you work. What kind of business is it? Just curious.
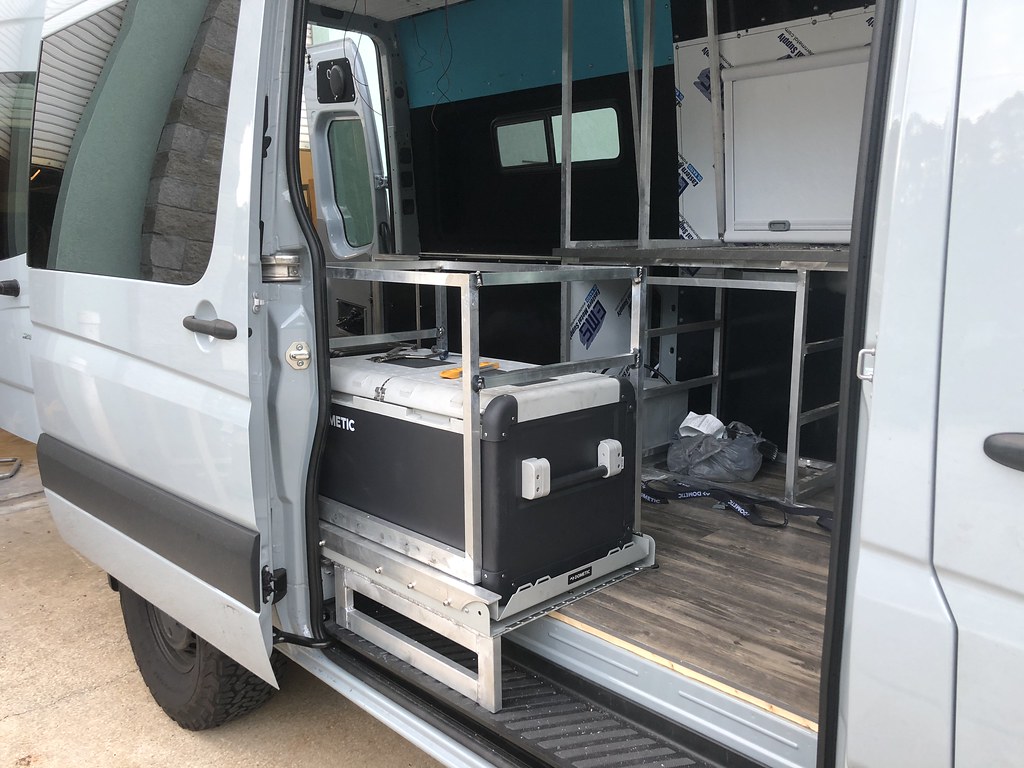 Untitled by Grant Wilson, on Flickr
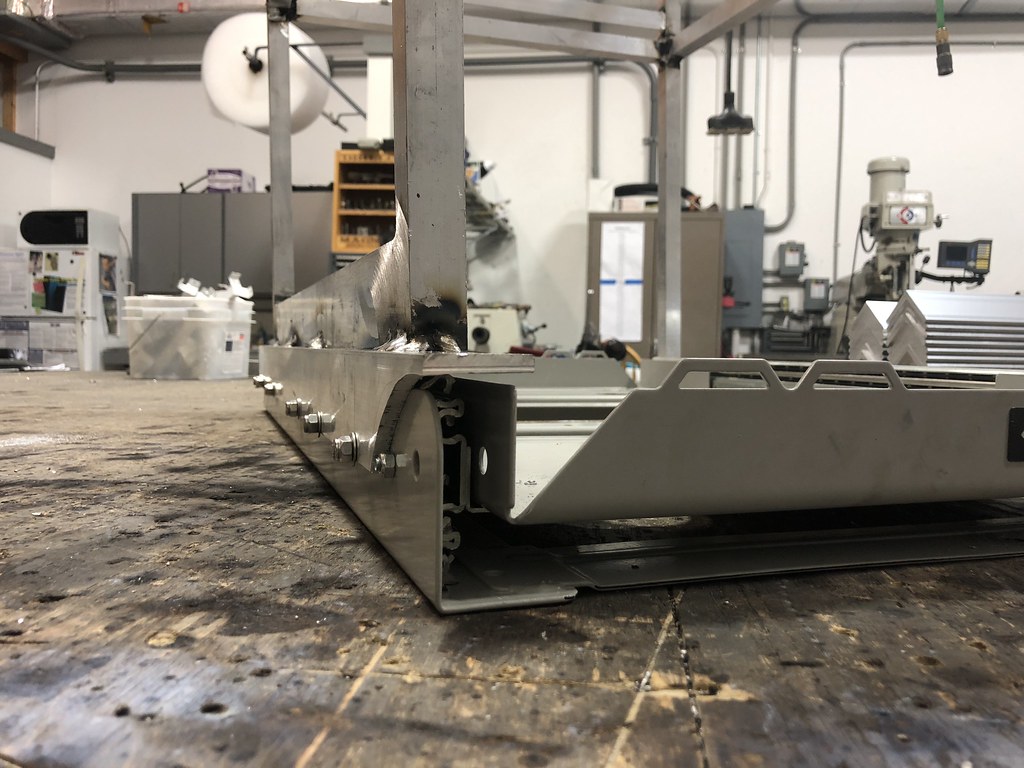 Untitled by Grant Wilson, on Flickr
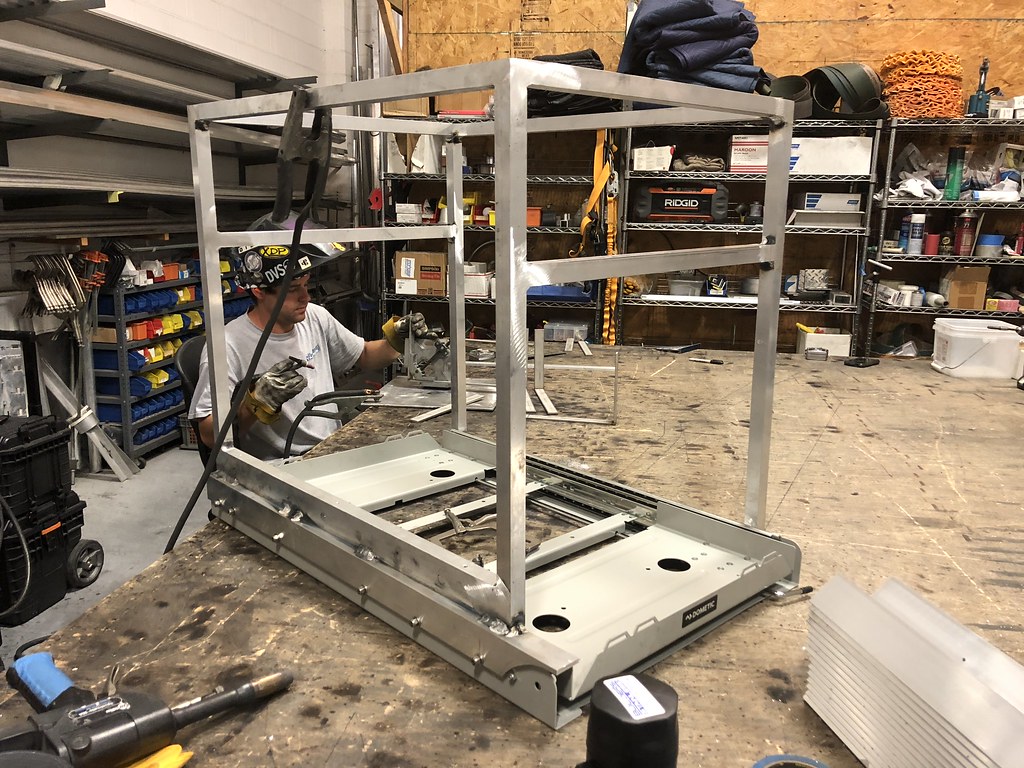 Untitled by Grant Wilson, on Flickr
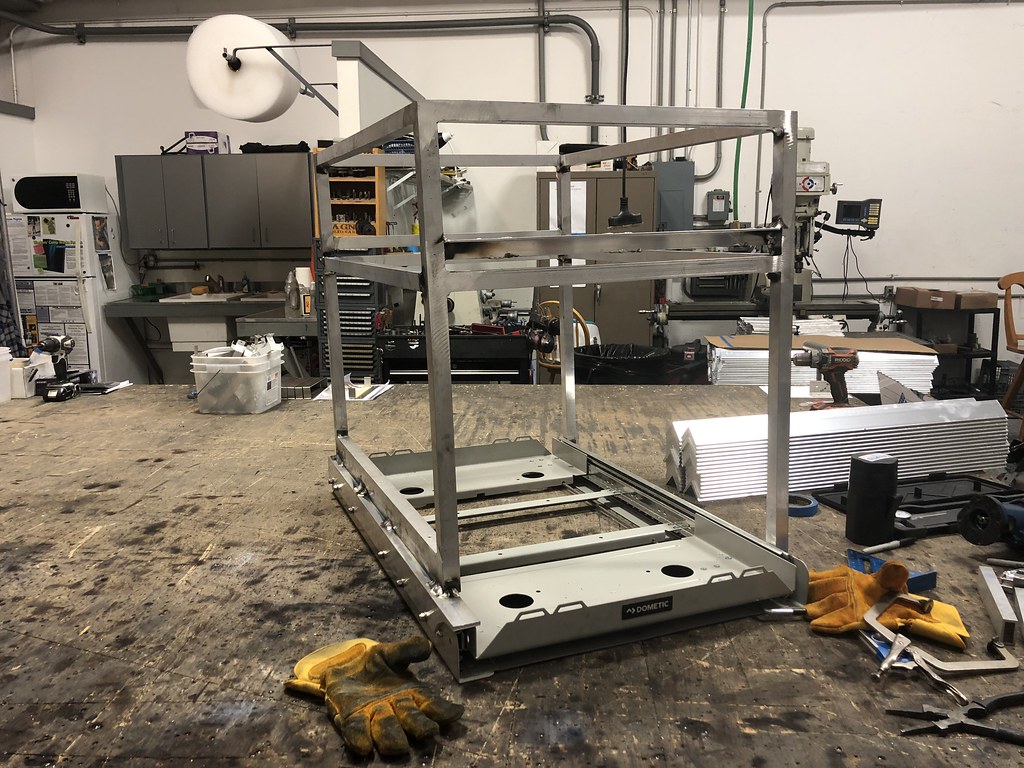 Untitled by Grant Wilson, on Flickr
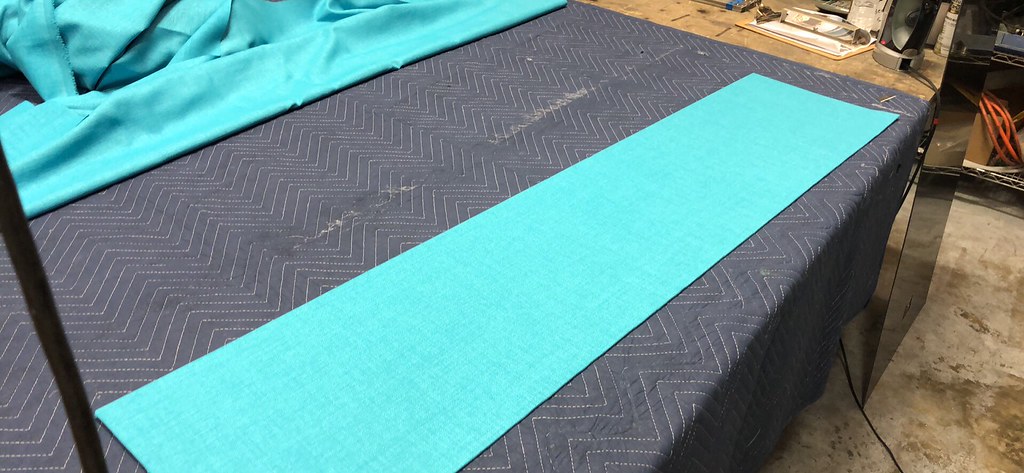 Untitled by Grant Wilson, on Flickr
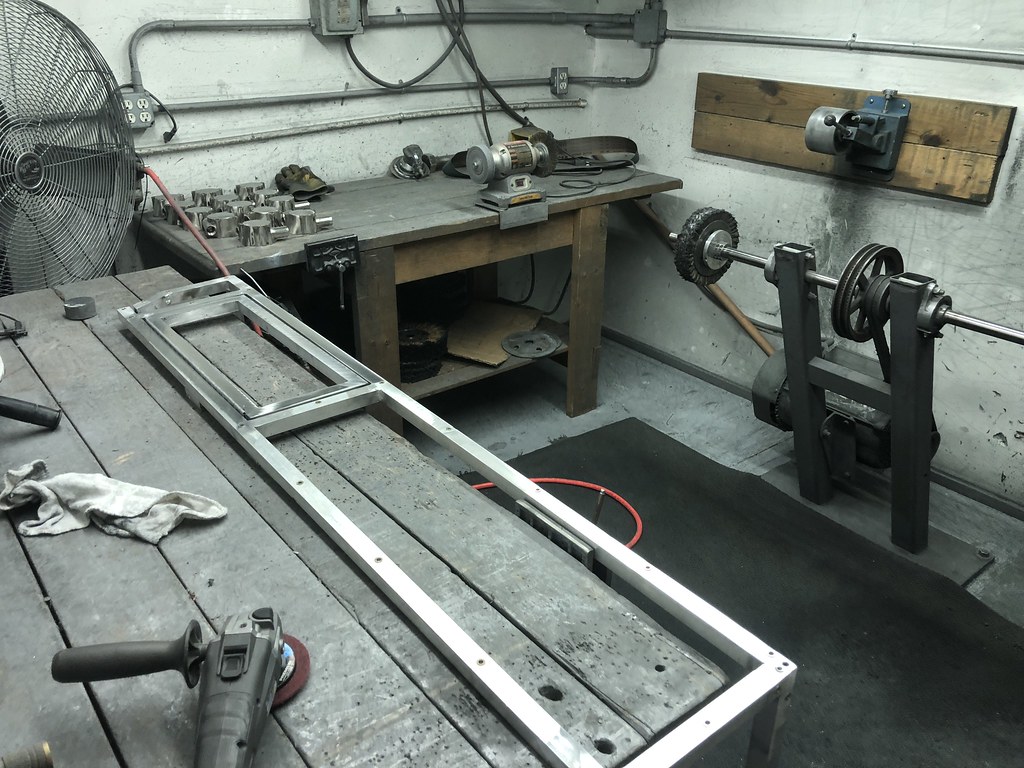 Untitled by Grant Wilson, on Flickr
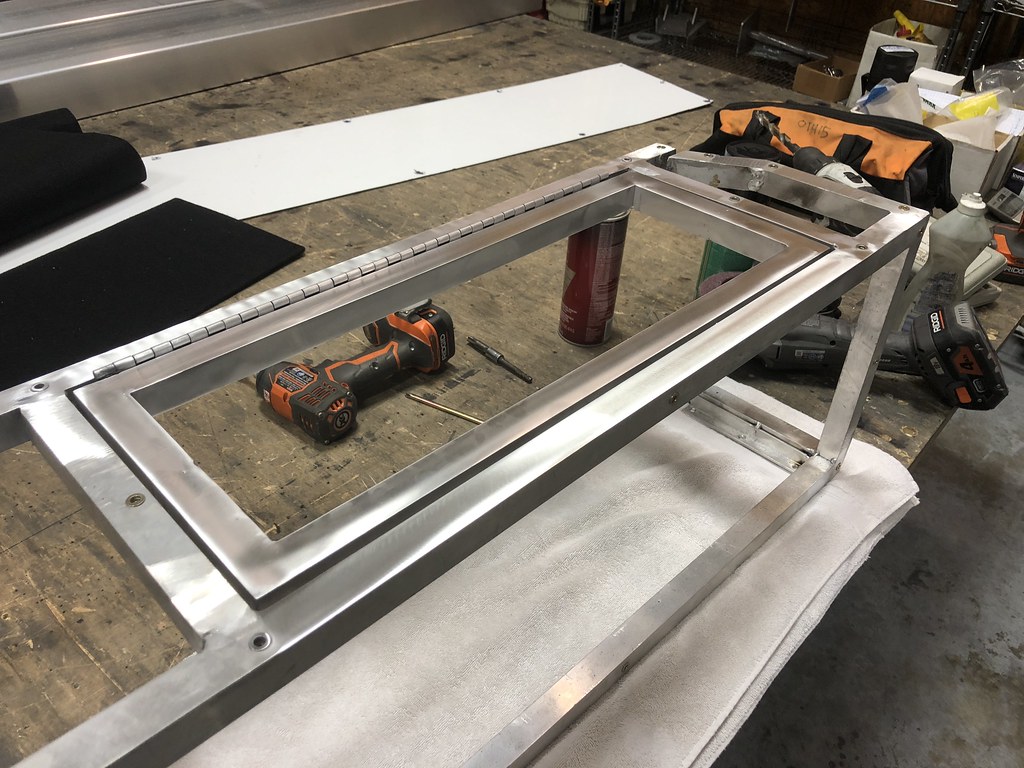 Untitled by Grant Wilson, on Flickr
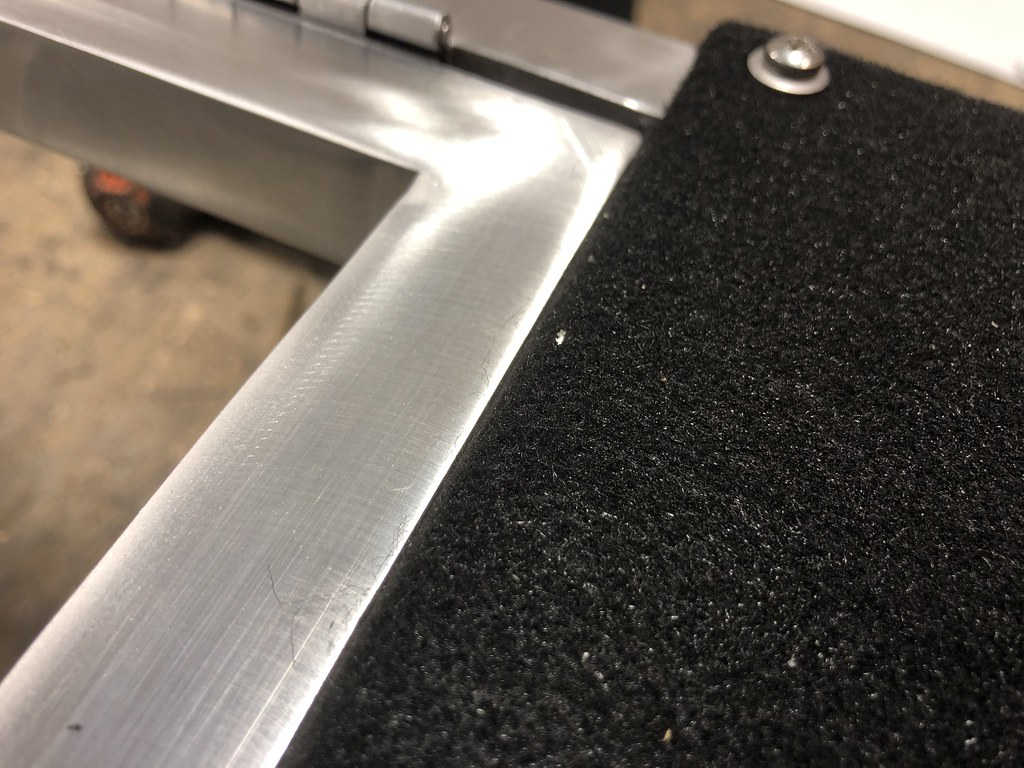 Untitled by Grant Wilson, on Flickr
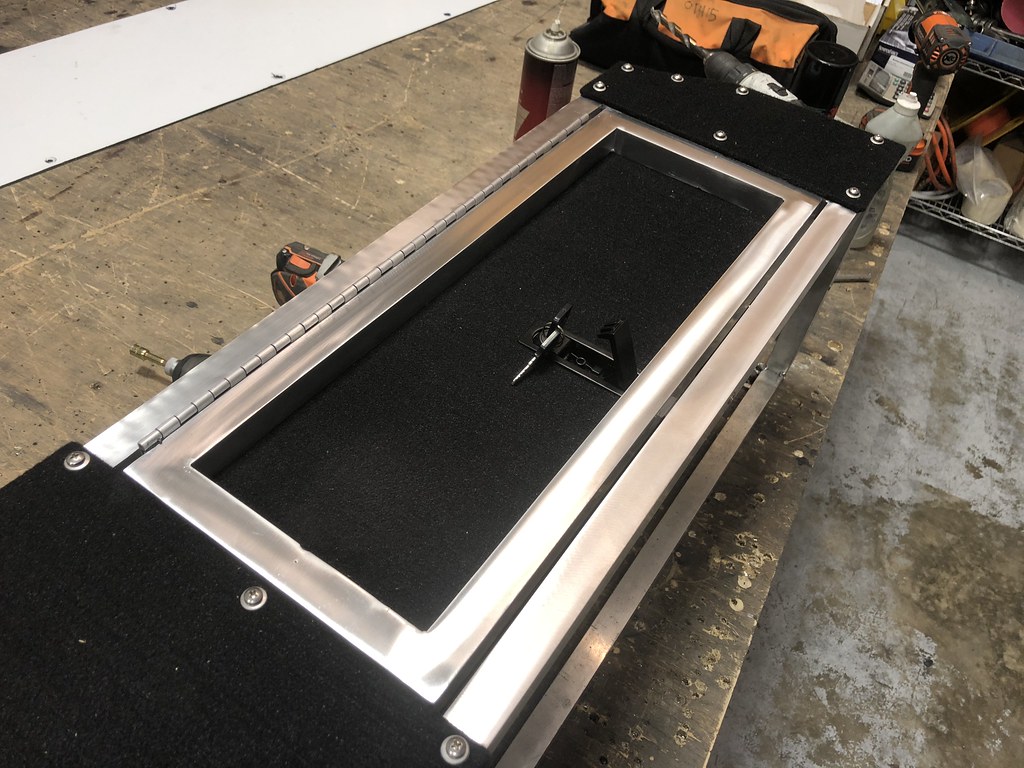 Untitled by Grant Wilson, on Flickr
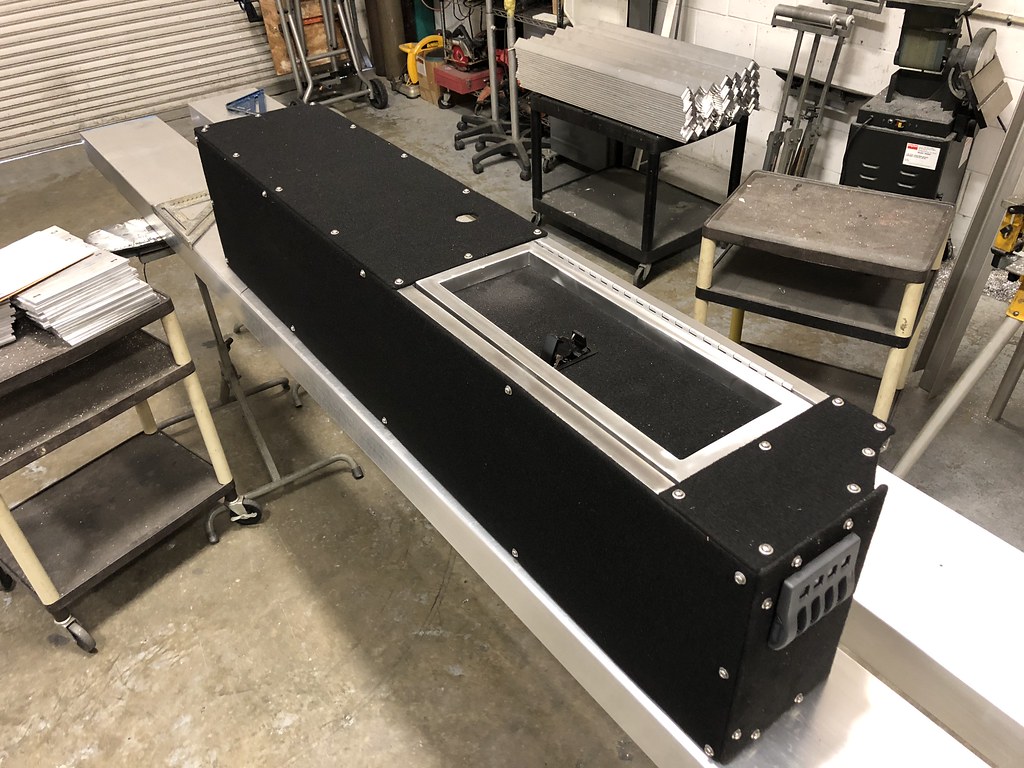 Untitled by Grant Wilson, on Flickr
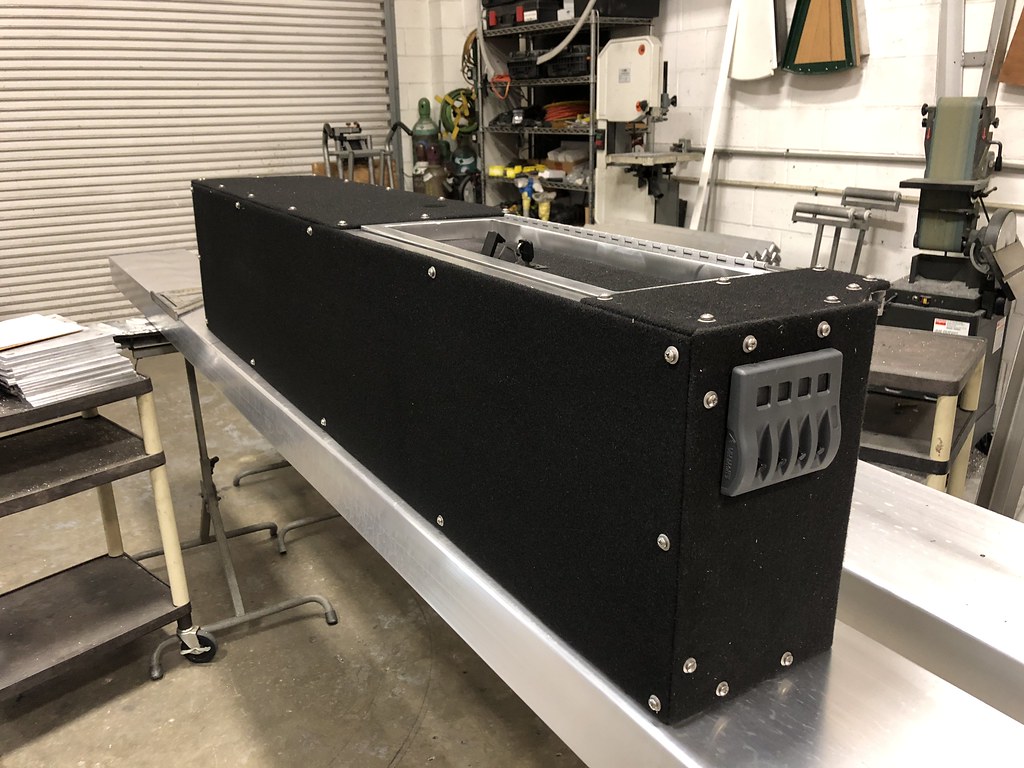 Untitled by Grant Wilson, on Flickr
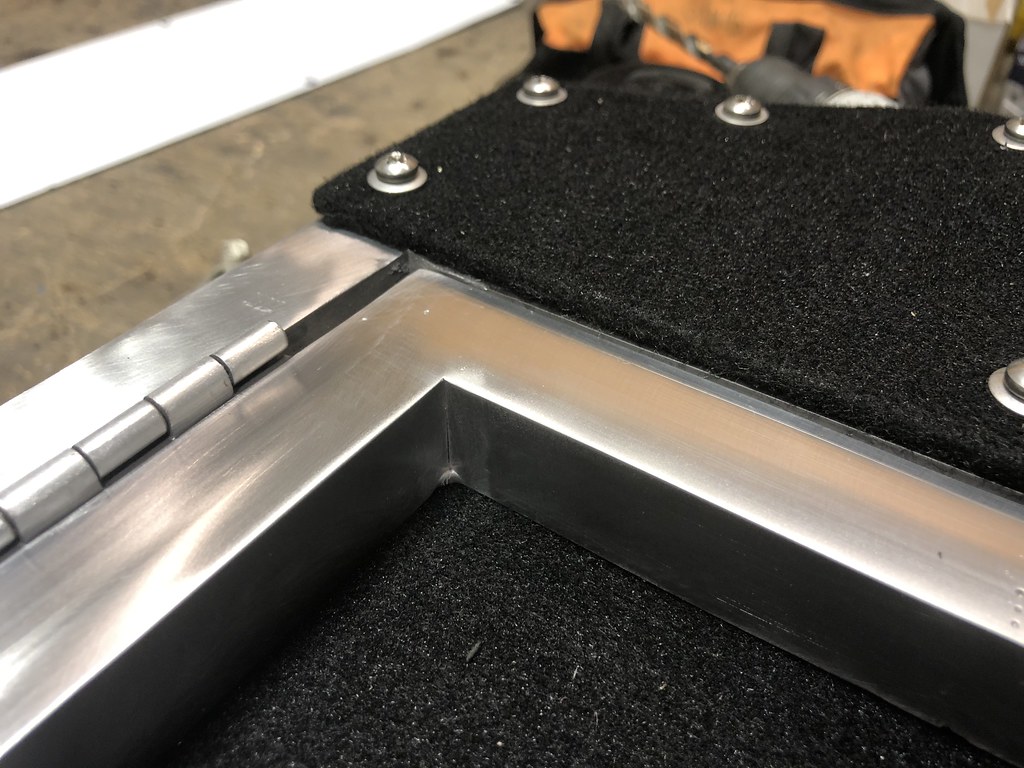 Untitled by Grant Wilson, on Flickr
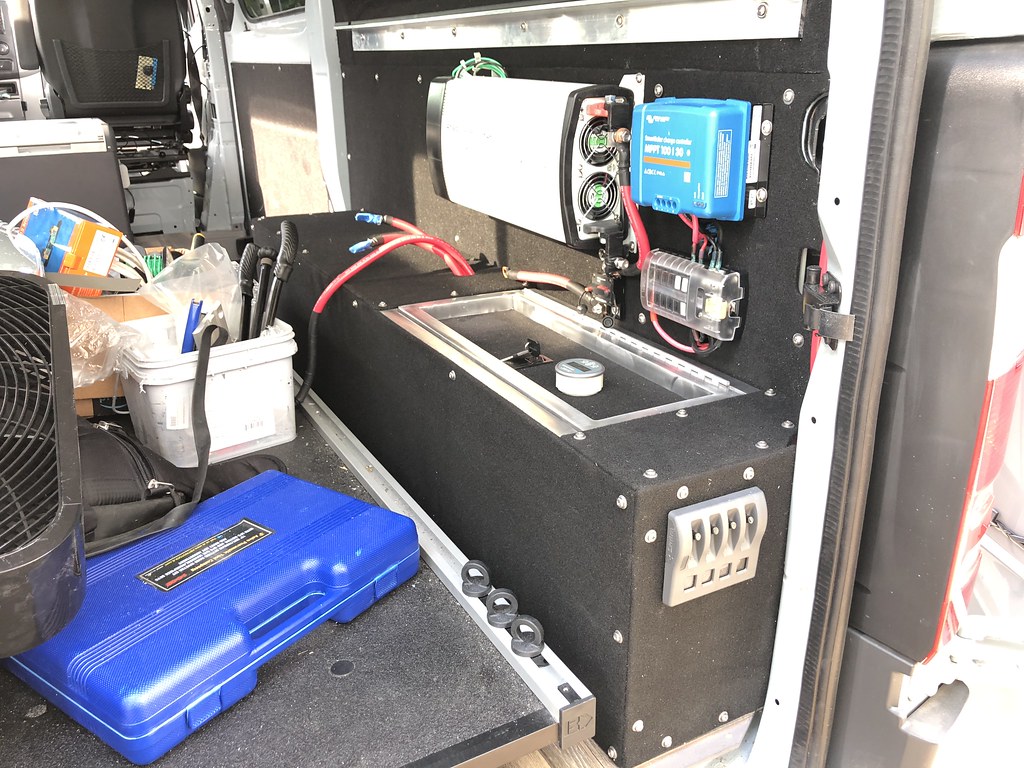 Untitled by Grant Wilson, on Flickr
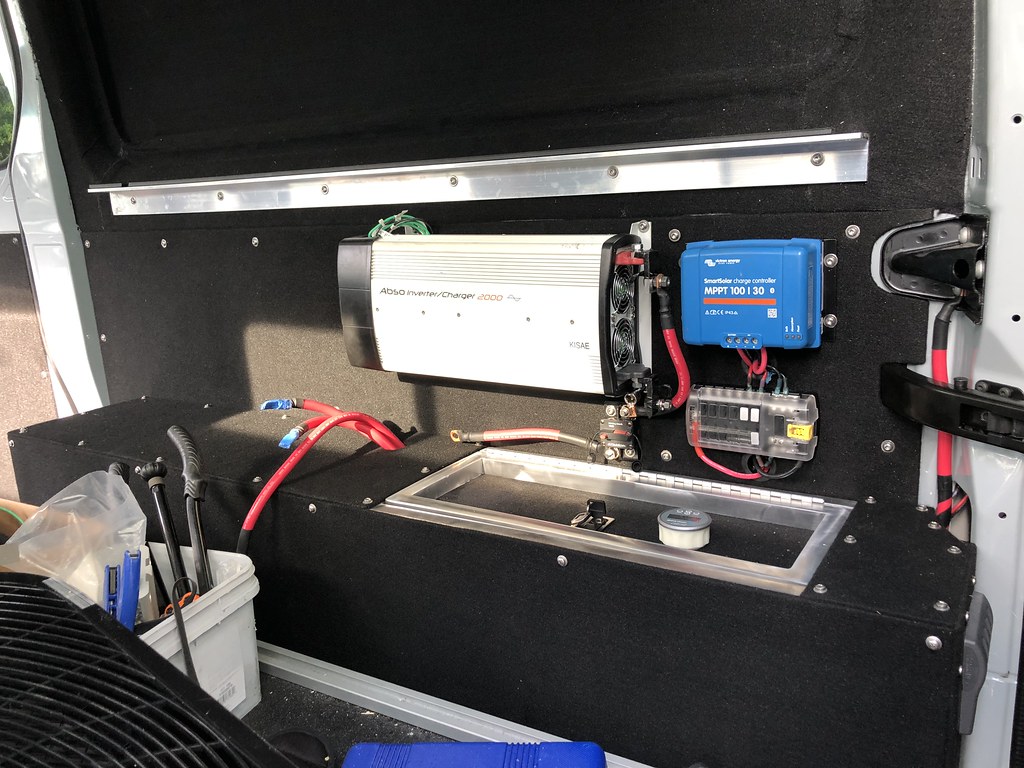 Untitled by Grant Wilson, on Flickr
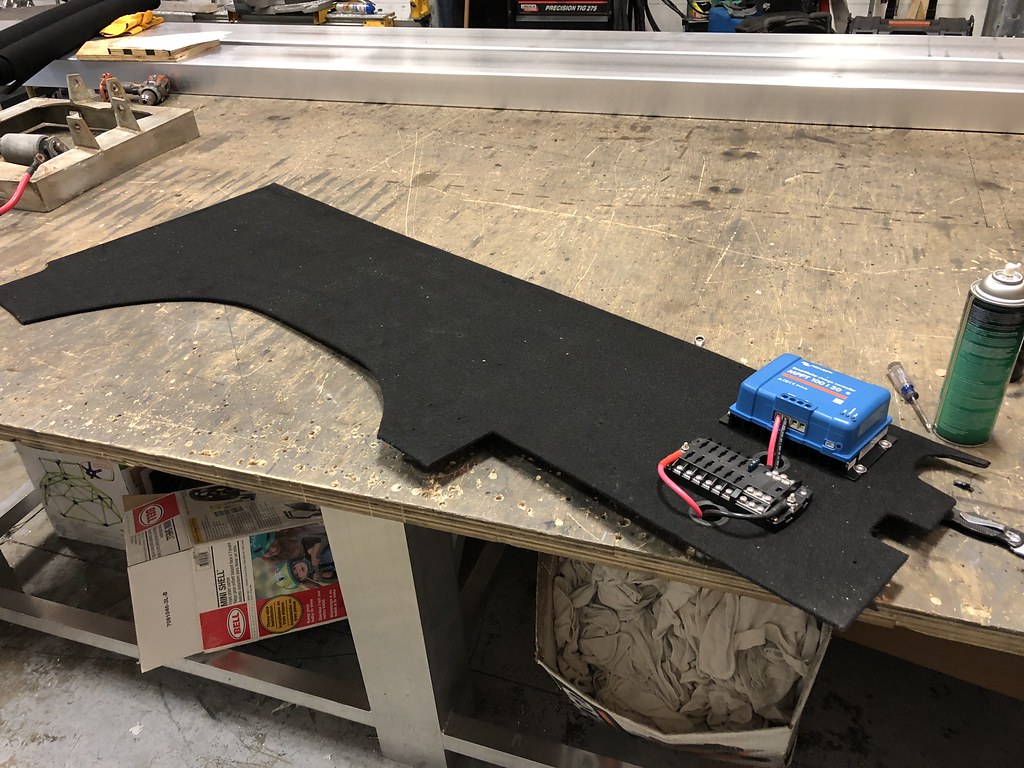 Untitled by Grant Wilson, on Flickr
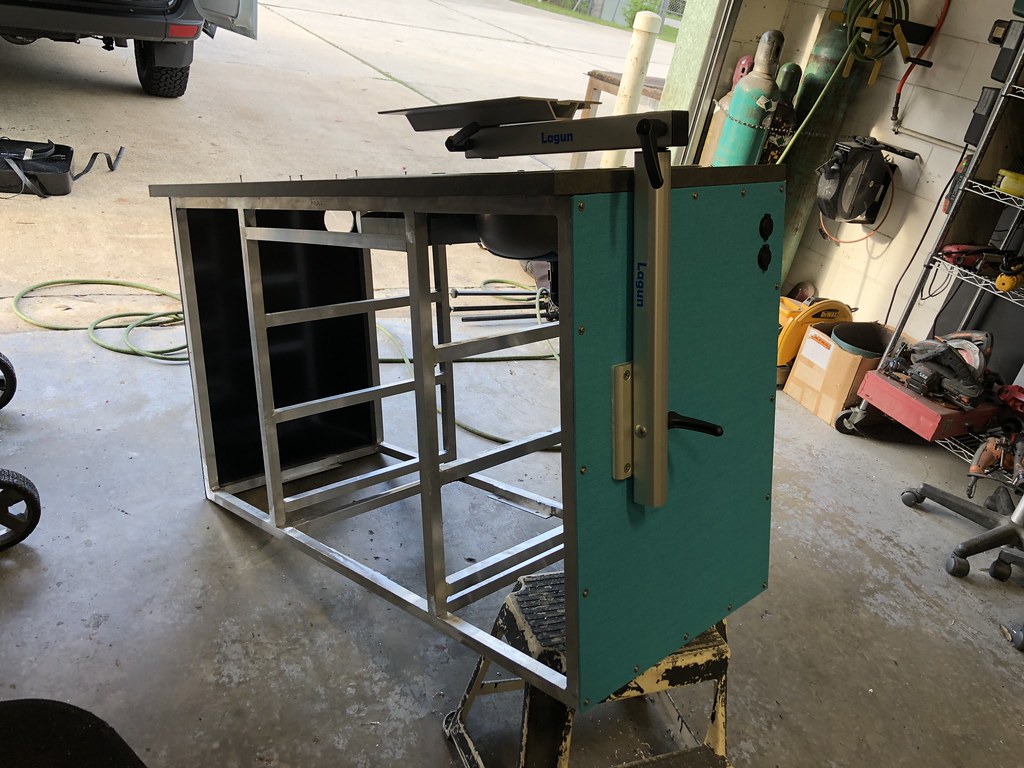 Untitled by Grant Wilson, on Flickr
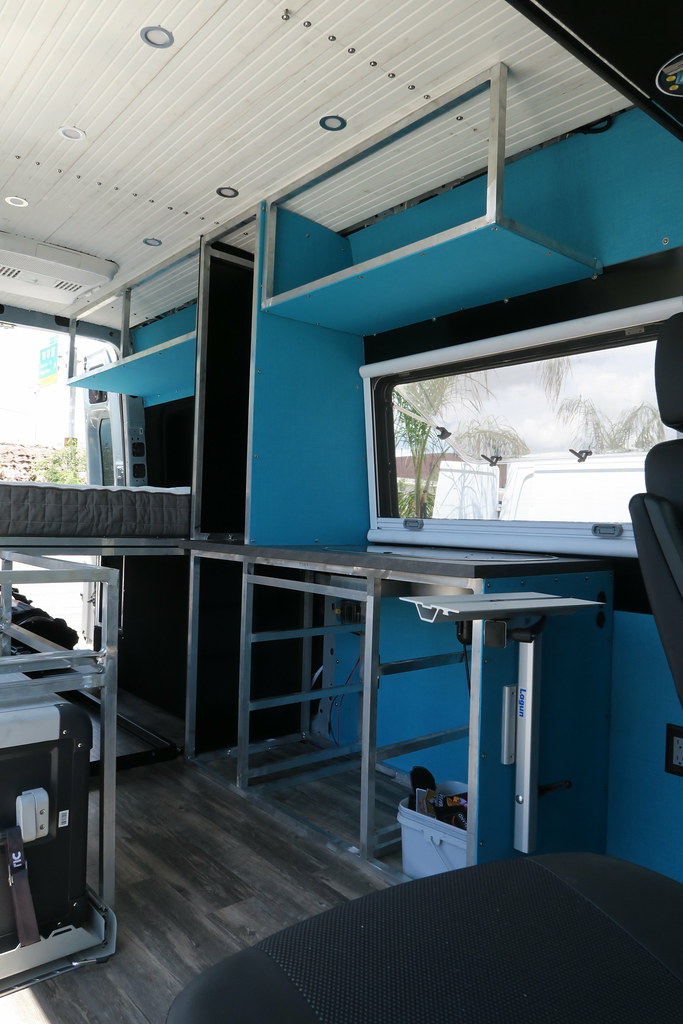 Untitled by Grant Wilson, on Flickr
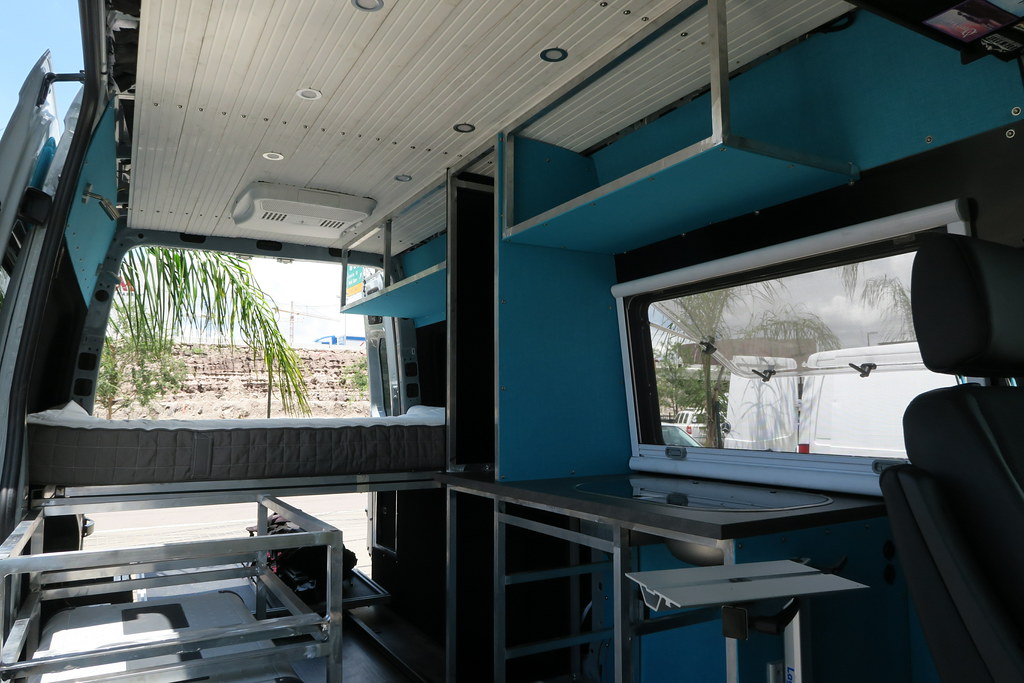 Untitled by Grant Wilson, on Flickr
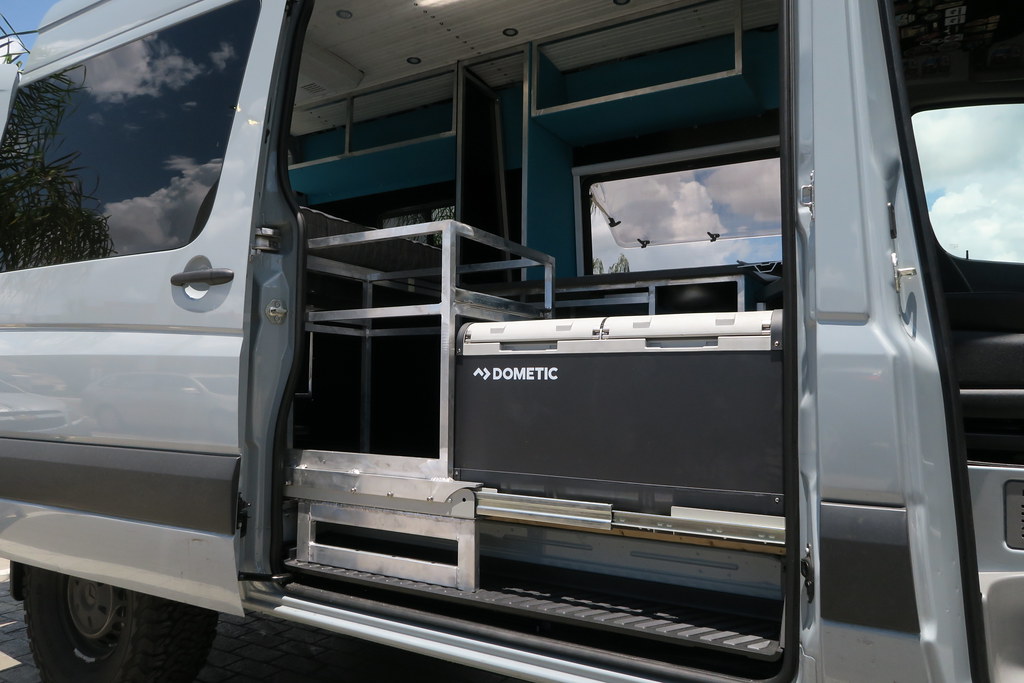 Untitled by Grant Wilson, on Flickr
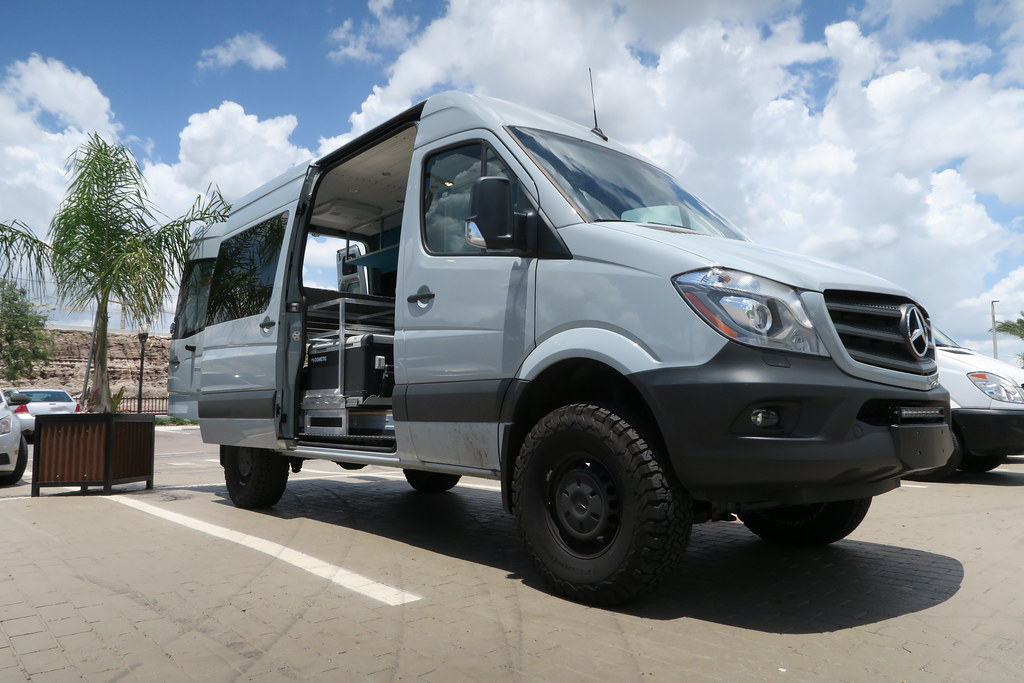 Untitled by Grant Wilson, on Flickr
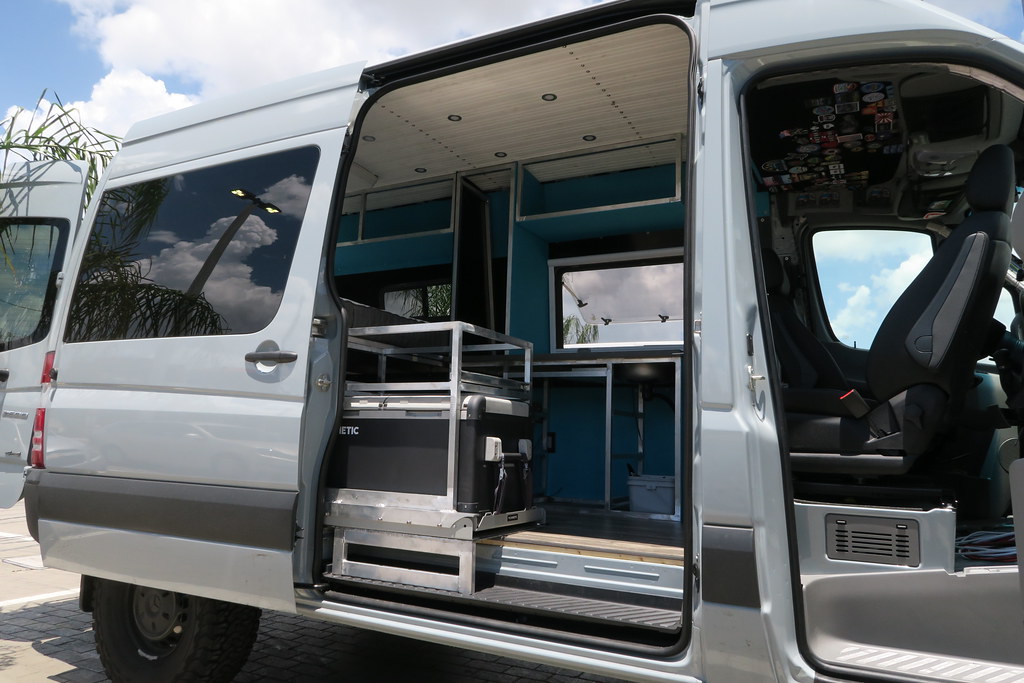 Untitled by Grant Wilson, on Flickr
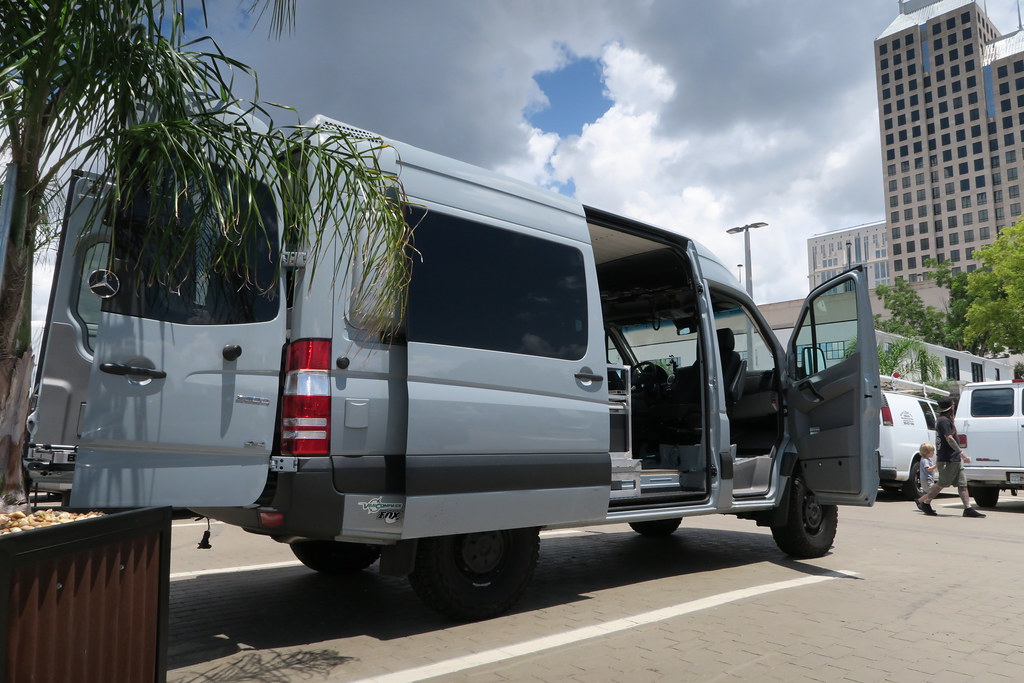 Untitled by Grant Wilson, on Flickr
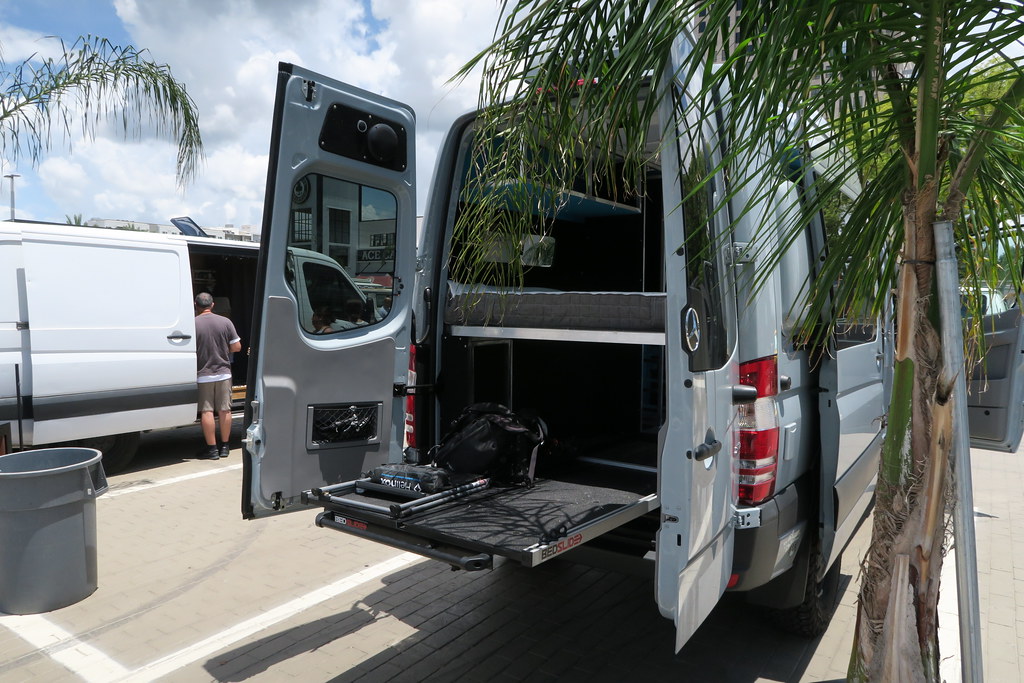 Untitled by Grant Wilson, on Flickr
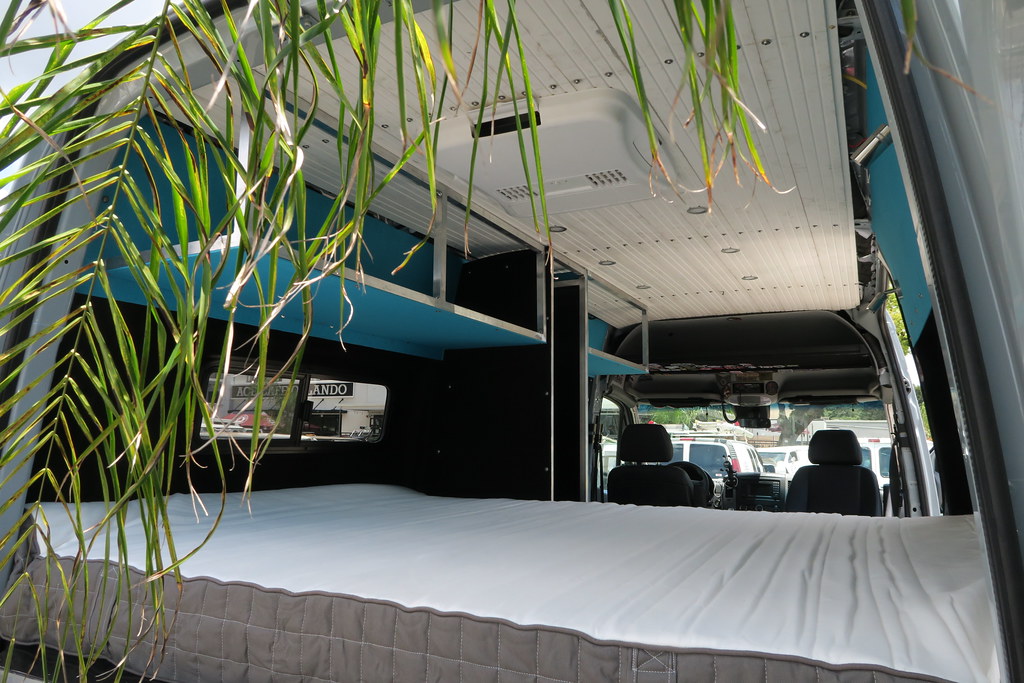 Untitled by Grant Wilson, on Flickr
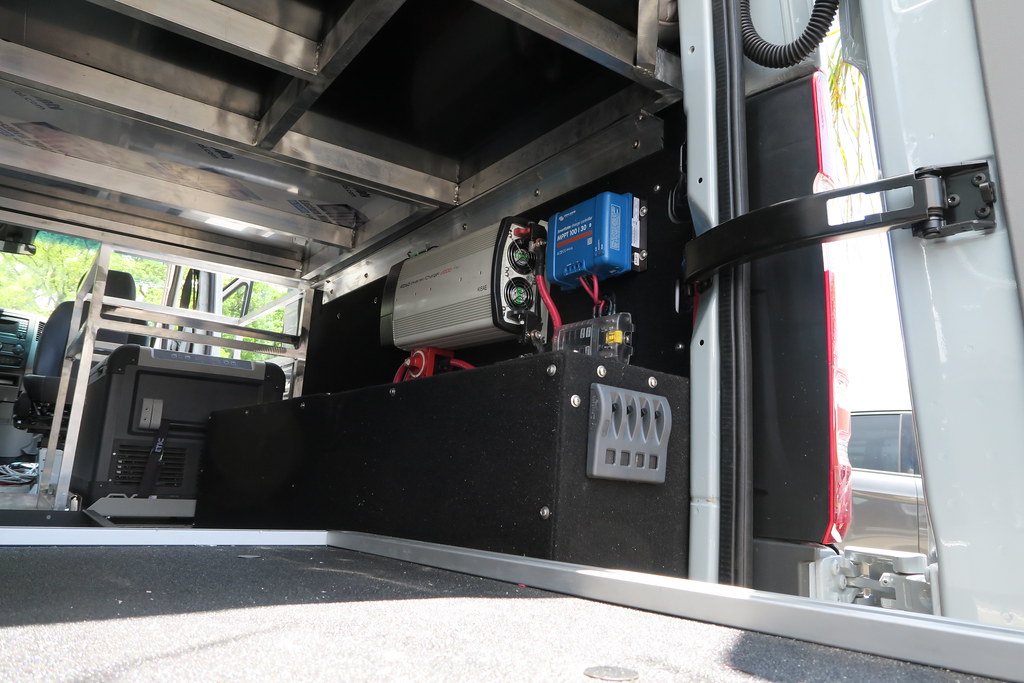 Untitled by Grant Wilson, on Flickr
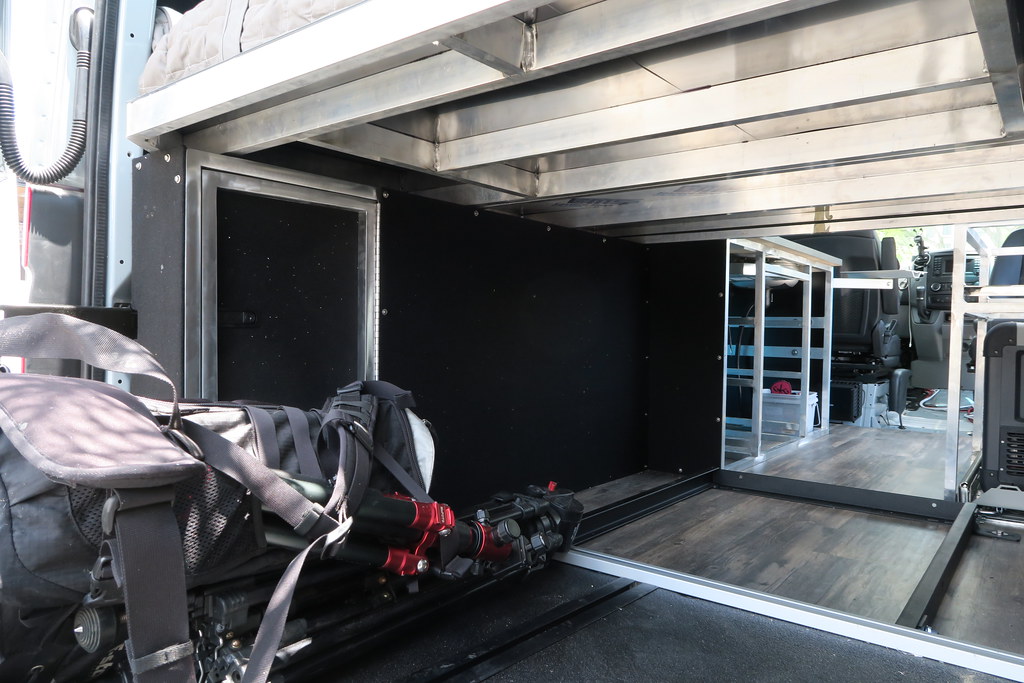 Untitled by Grant Wilson, on Flickr
And more progress!
Untitled by Grant Wilson, on Flickr
Needed to build the unit above the fridge
Untitled by Grant Wilson, on Flickr
actually used the slide itself to mount half the unit, saves about an inch and a half of walkway space by doing this.
Untitled by Grant Wilson, on Flickr
shane back there working on his stuff for something
Untitled by Grant Wilson, on Flickr
not my best work, and i have to take a half an inch out of the side not welded to the slide because im a dipshit. Or raise the slide platform up 1/2 an inch (most likely the way im going)
Untitled by Grant Wilson, on Flickr
this is the upper wall above the window.
Untitled by Grant Wilson, on Flickr
since part of this assembly is visible when it is all installed (door and surround around the door), took it into the polishing room and make it pretty
Untitled by Grant Wilson, on Flickr
Untitled by Grant Wilson, on Flickr
Untitled by Grant Wilson, on Flickr
Untitled by Grant Wilson, on Flickr
All assembled and ready to go in
Untitled by Grant Wilson, on Flickr
Untitled by Grant Wilson, on Flickr
Untitled by Grant Wilson, on Flickr
Installed into the van
Untitled by Grant Wilson, on Flickr
Untitled by Grant Wilson, on Flickr
also covered the wire wall
Untitled by Grant Wilson, on Flickr
covering the galley unit
And some 80% build pics!
Went to a van show in orlando today, thrashed 22 hours between friday at 12pm to saturday at 1am to get it from a bare shell to what you see. Had to take i tall apart to do some more wiring nad fabrication, so the time was the crunch!
Untitled by Grant Wilson, on Flickr
Untitled by Grant Wilson, on Flickr
Untitled by Grant Wilson, on Flickr
Untitled by Grant Wilson, on Flickr
Untitled by Grant Wilson, on Flickr
Untitled by Grant Wilson, on Flickr
Untitled by Grant Wilson, on Flickr
Untitled by Grant Wilson, on Flickr
Untitled by Grant Wilson, on Flickr
Untitled by Grant Wilson, on Flickr
should be under 8k fully loadedLooking good! Im interested to see how much weight your adding/saving by doing the alu frames.
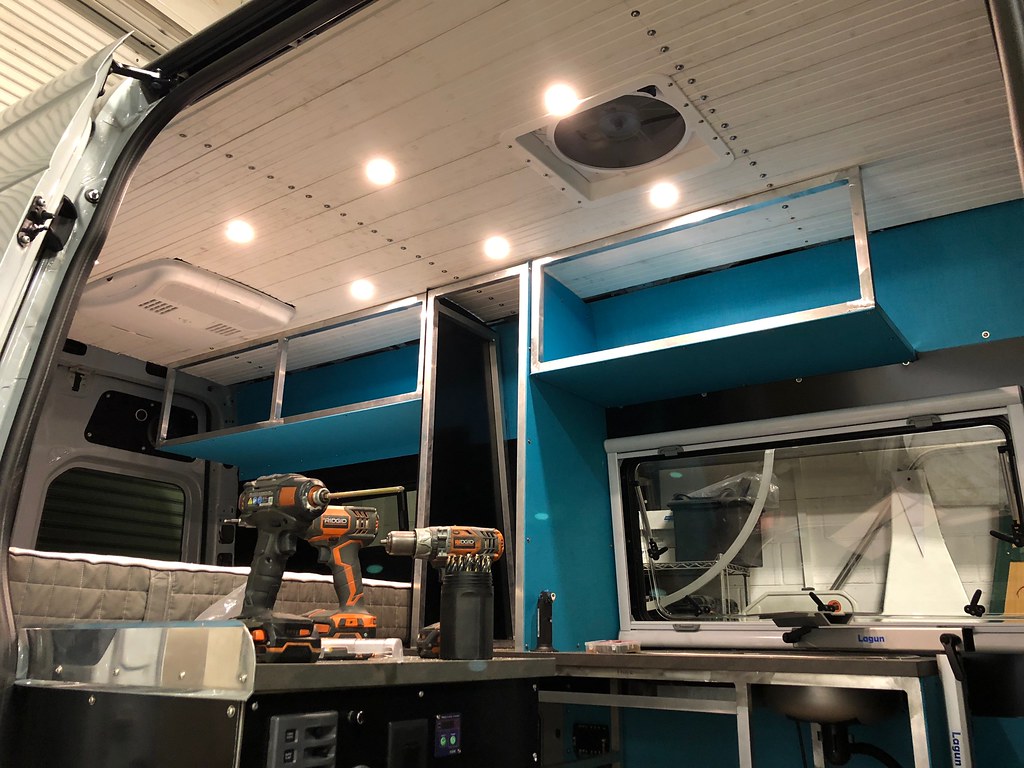 Untitled by Grant Wilson, on Flickr
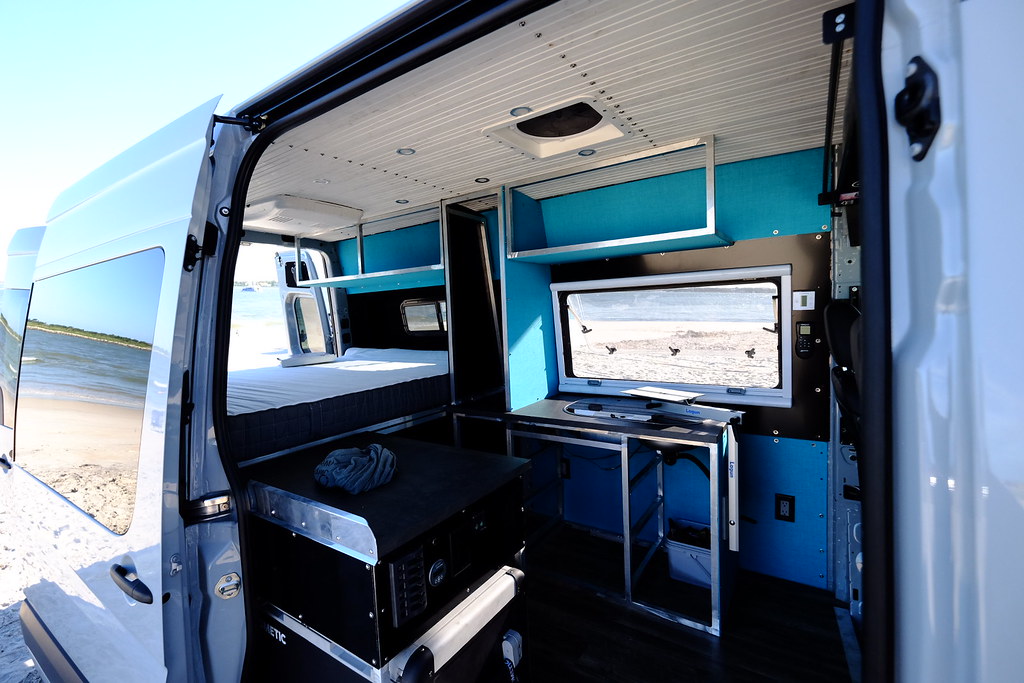 Untitled by Grant Wilson, on Flickr
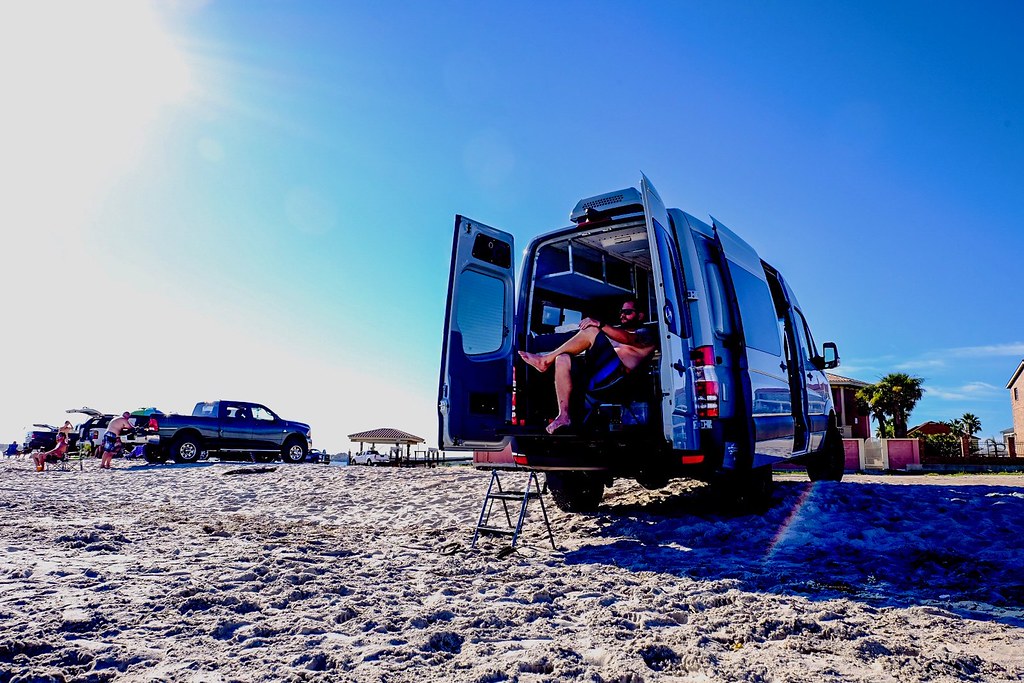 Untitled by Grant Wilson, on Flickr
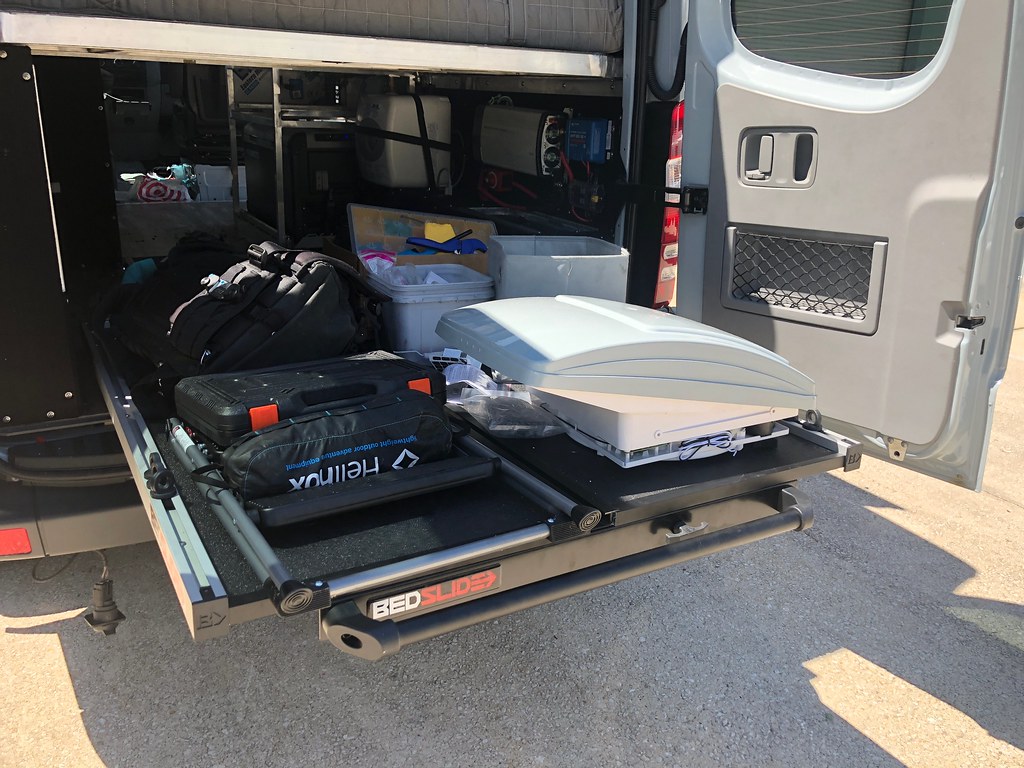 Untitled by Grant Wilson, on Flickr
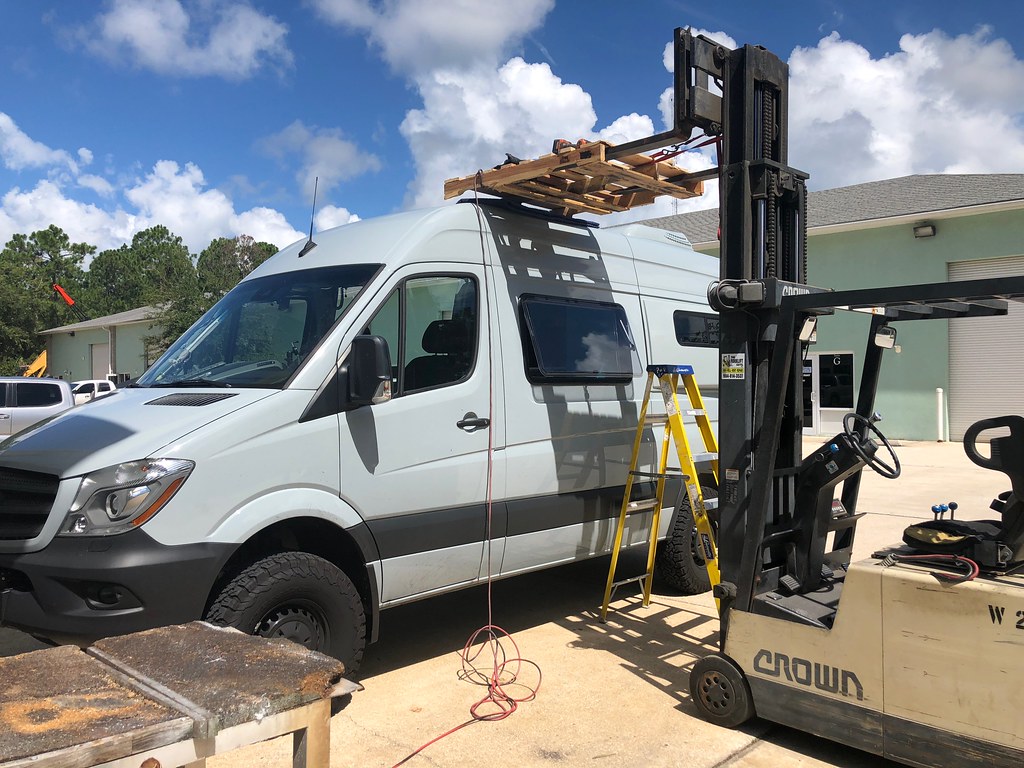 Untitled by Grant Wilson, on Flickr
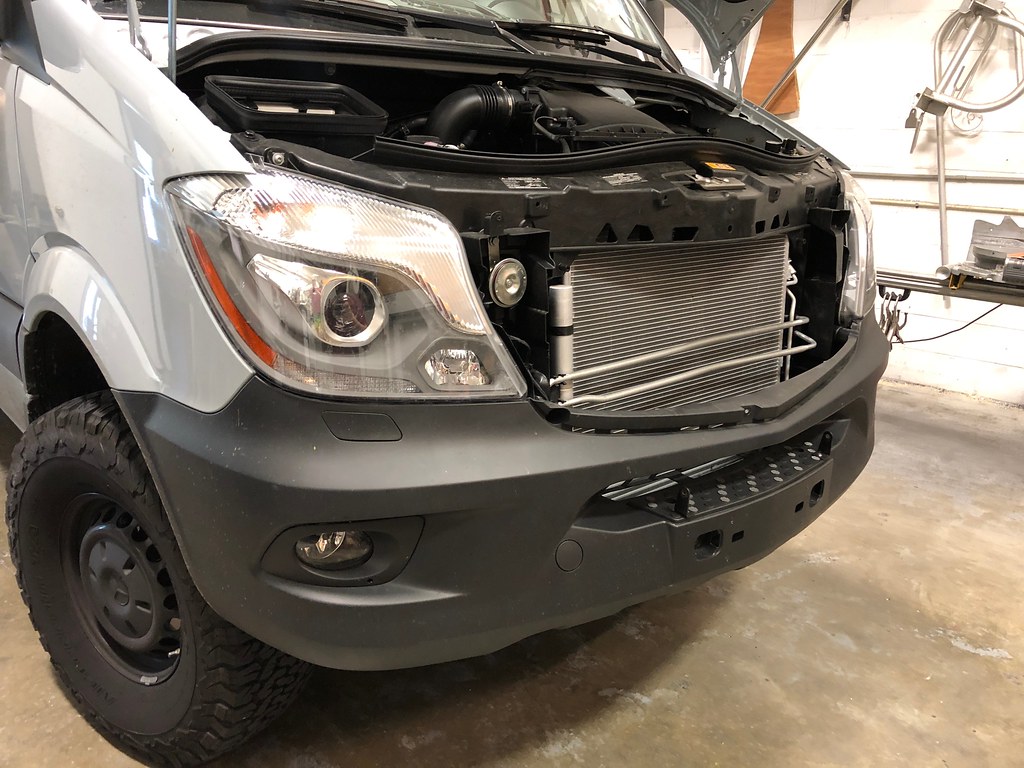 Untitled by Grant Wilson, on Flickr
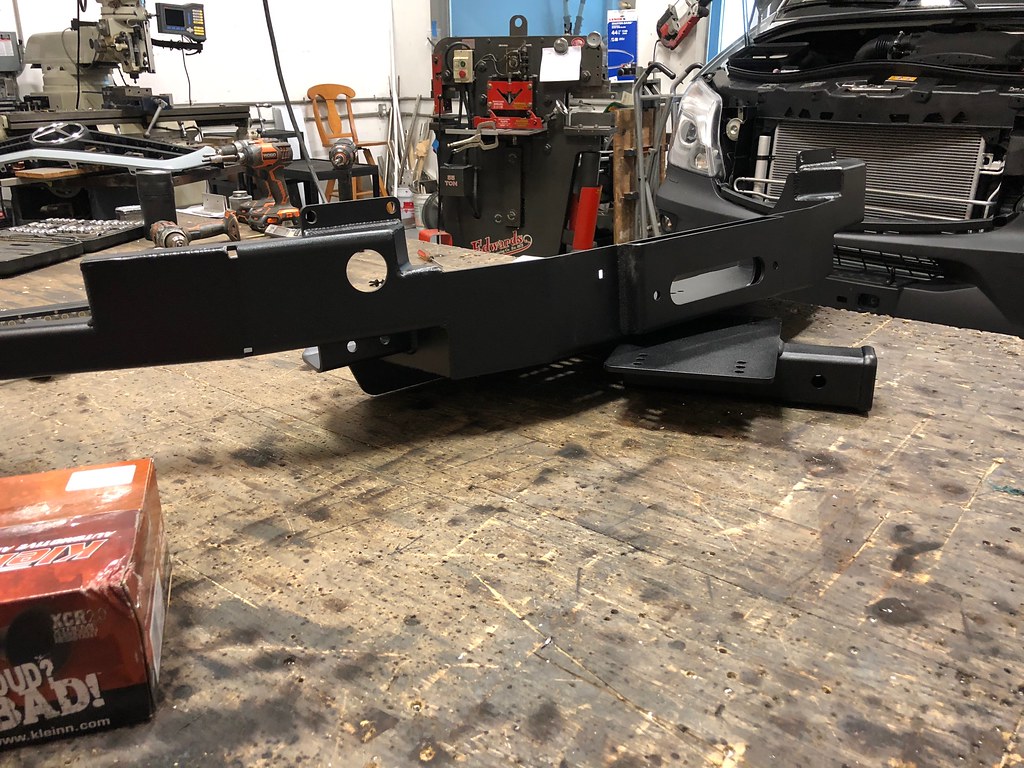 Untitled by Grant Wilson, on Flickr
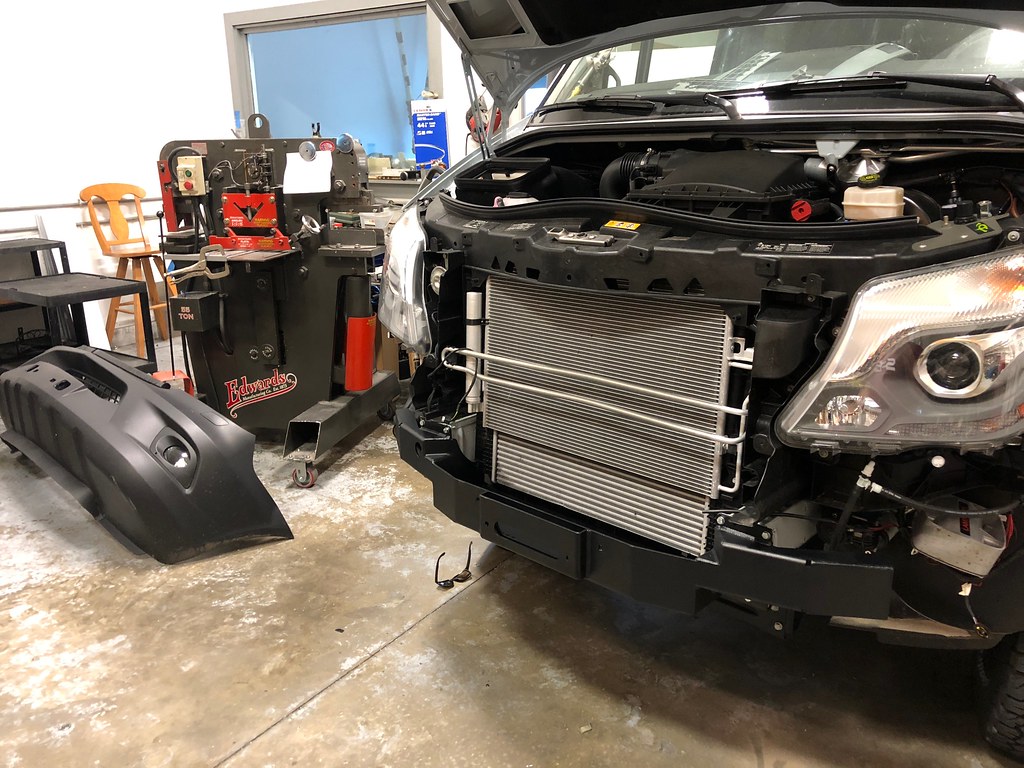 Untitled by Grant Wilson, on Flickr
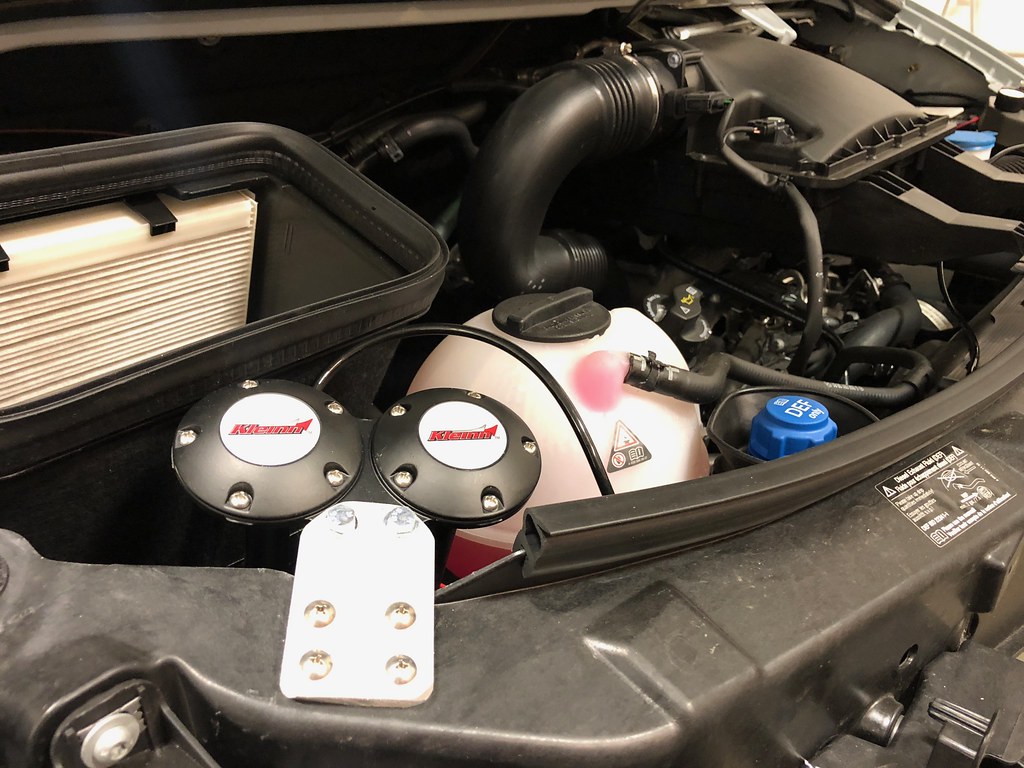 Untitled by Grant Wilson, on Flickr
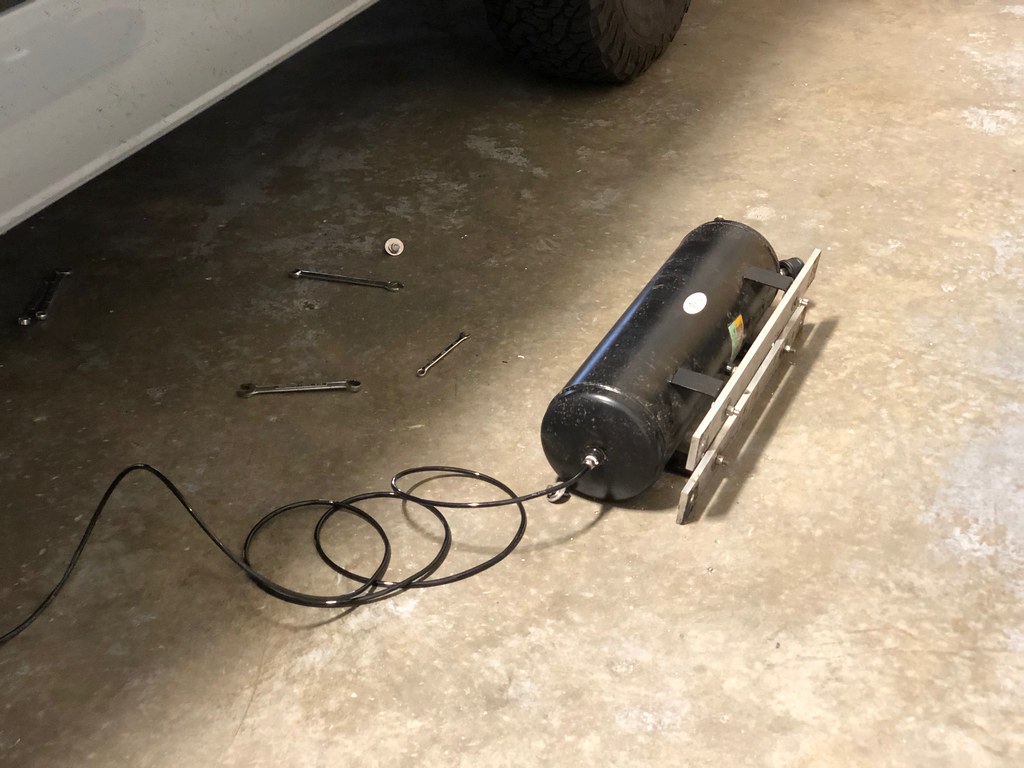 Untitled by Grant Wilson, on Flickr
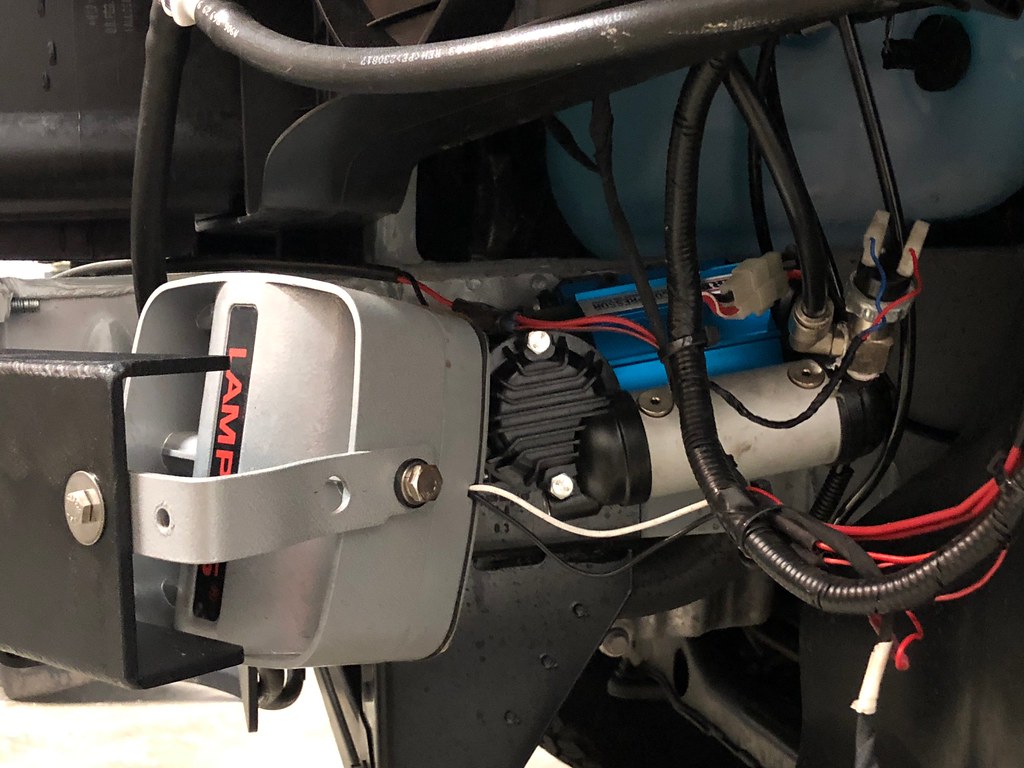 Untitled by Grant Wilson, on Flickr
Yesssss
come to the dark side

pfft... the answer you're looking for is already available through Rough Country at a fraction of the price and effort that Grant went through. Go with the illusion, not the solution.Yeah, if it wasn't for the $$$$$$, we would be there.... with cookies.
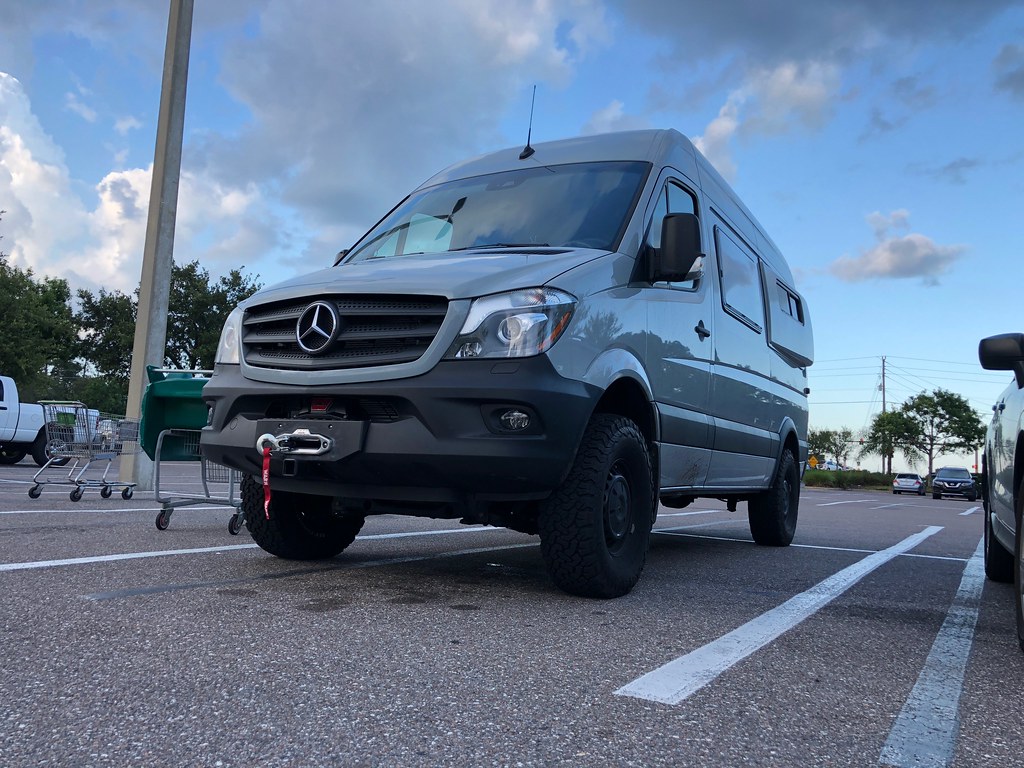 Untitled by Grant Wilson, on Flickr
 Untitled by Grant Wilson, on Flickr
 Untitled by Grant Wilson, on Flickr
 Untitled by Grant Wilson, on Flickr
 Untitled by Grant Wilson, on Flickr
 Untitled by Grant Wilson, on Flickr
 Untitled by Grant Wilson, on Flickr
 Untitled by Grant Wilson, on Flickr
 Untitled by Grant Wilson, on Flickr
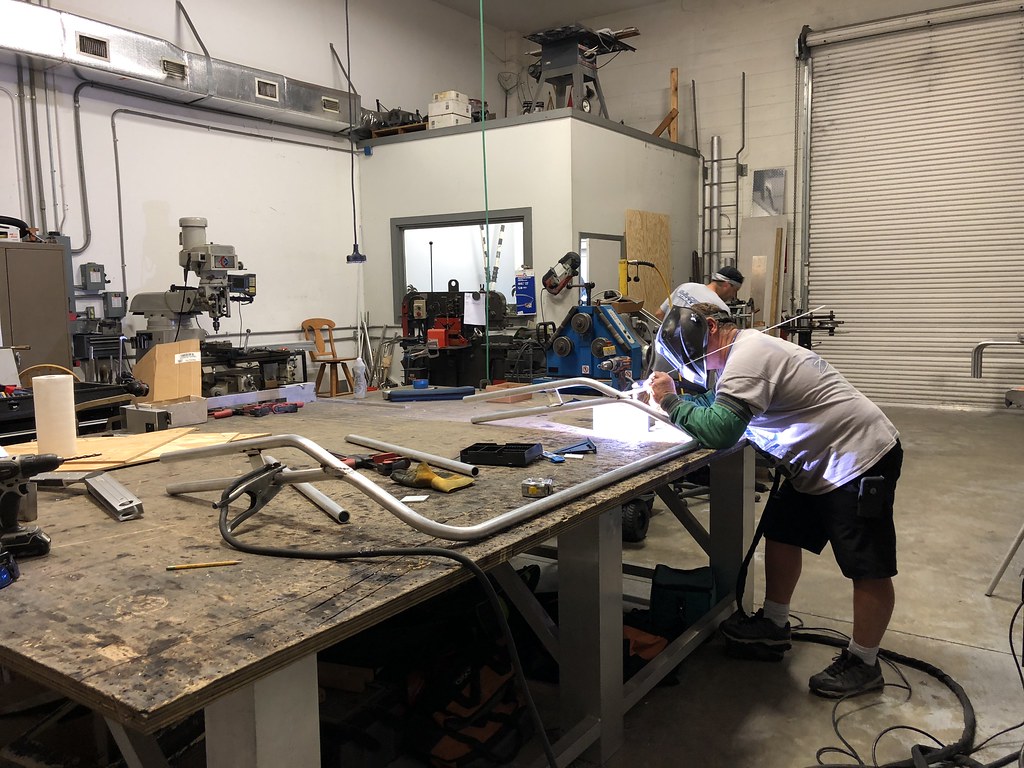 Untitled by Grant Wilson, on Flickr
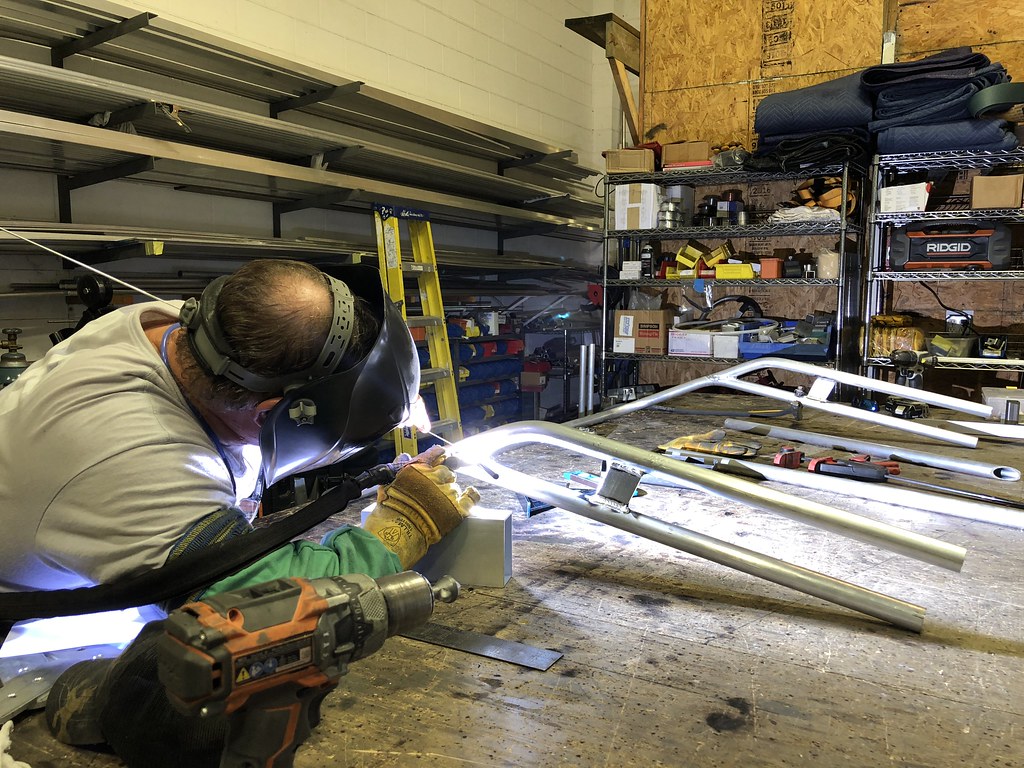 Untitled by Grant Wilson, on Flickr
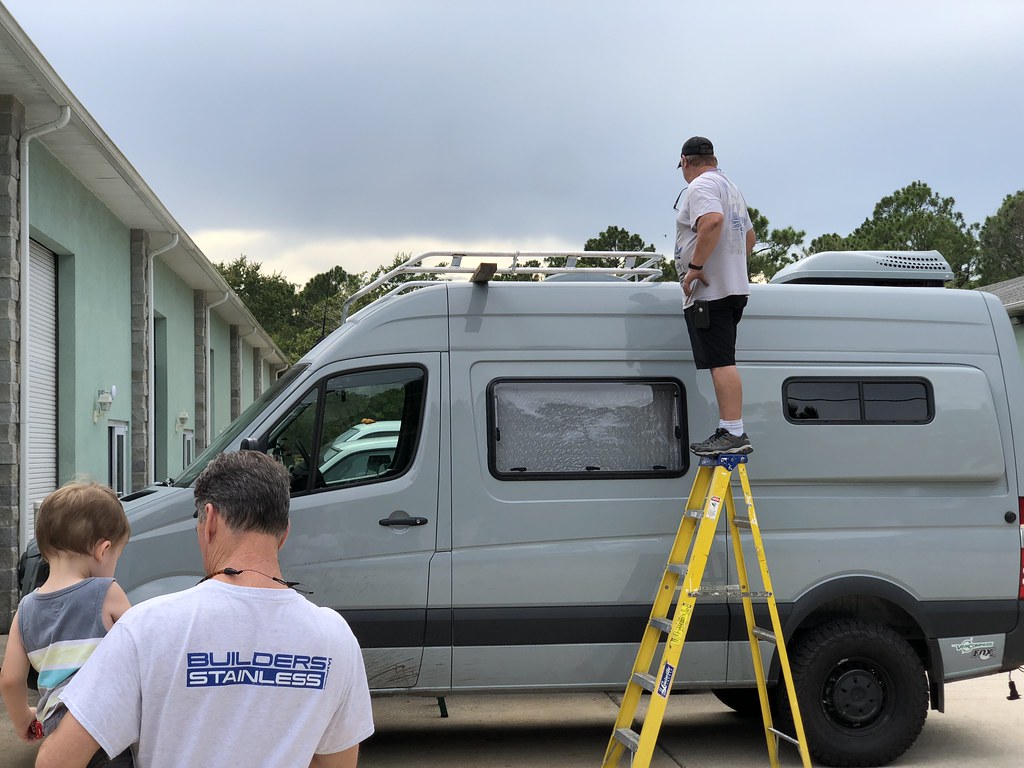 Untitled by Grant Wilson, on Flickr