
Along with good tires, your suspension is THE single most significant upgrade that you can make to a vehicle, and ICON Vehicle Dynamics (IVD) makes some of the best rebuildable off-road shocks around. Compared to the non-rebuildable OEM shocks on most vehicles, or from other aftermarket manufactures, ICON’s fully rebuildable shocks offer a number of big benefits. They provide significantly more performance, adjustability and durability thanks to the fact that they’re rebuildable which enables a much longer service life. But these rebuildable shocks fit into the same locations on many applications as non-rebuildable shocks, how can they really be so much better? To see what is inside an ICON shock that makes them work so well, and to see exactly what it’s like to rebuild an ICON shock I sought out ICON’s master shock builder, Adrian Aldama. He graciously allowed me to take a ton of photos of his hands while he worked his magic rebuilding the IVD shocks from our Project Tundra.


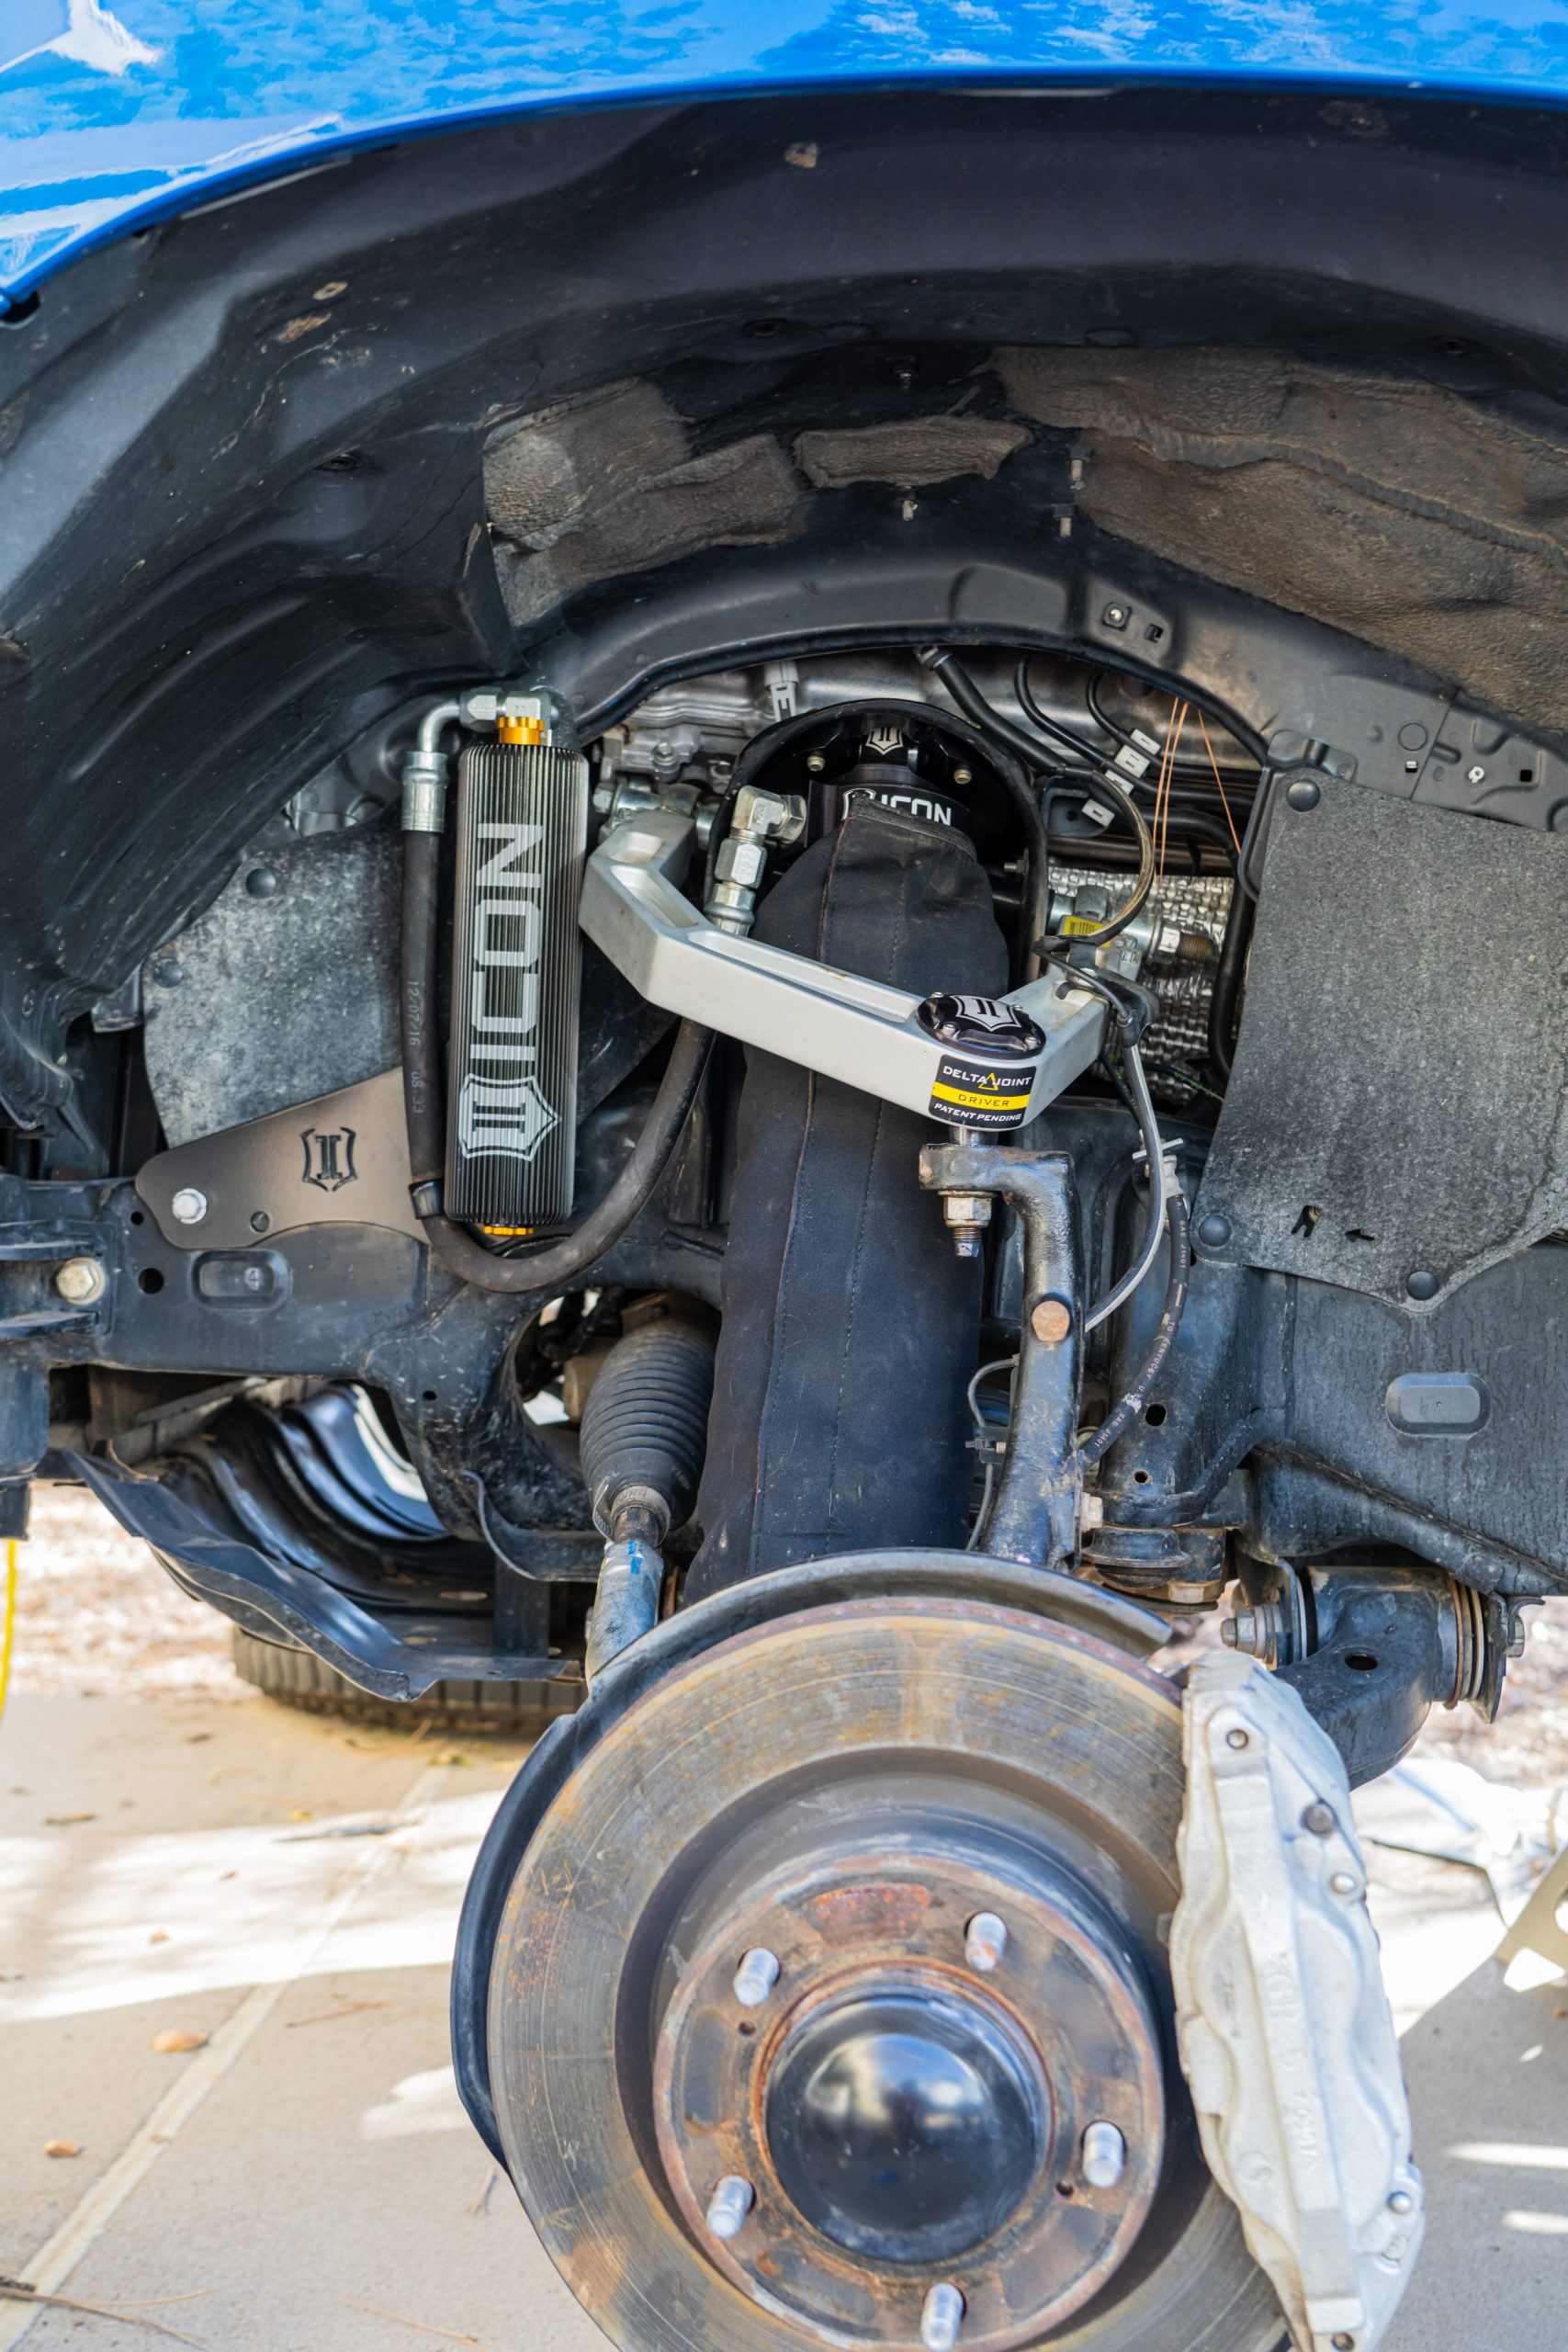
The first part of any shock rebuild is getting the shocks removed and off the vehicle. While you’re pulling the suspension apart, take the time to make note of any observed wear and the general condition of things. How are your bushings or rod ends holding up? Are your shock shafts or lower eyes showing signs of rock pitting or other damage? How are the hoses and shock bodies looking? Are there any visible cracks in anything, especially springs? Now is also the time to check out all of the other parts of your vehicle’s suspension too. Bushings, ball joints, rod ends, links, control arms – inspect all of the parts in your suspension system for visible wear, play, or damage. Even the best shocks in the world can fail, and will be hamstrung by other worn out suspension components. All of these parts work together as your suspension system, so whether you’re pulling your shocks for a rebuild, or doing a fresh install, make sure every part in the system is in good shape.
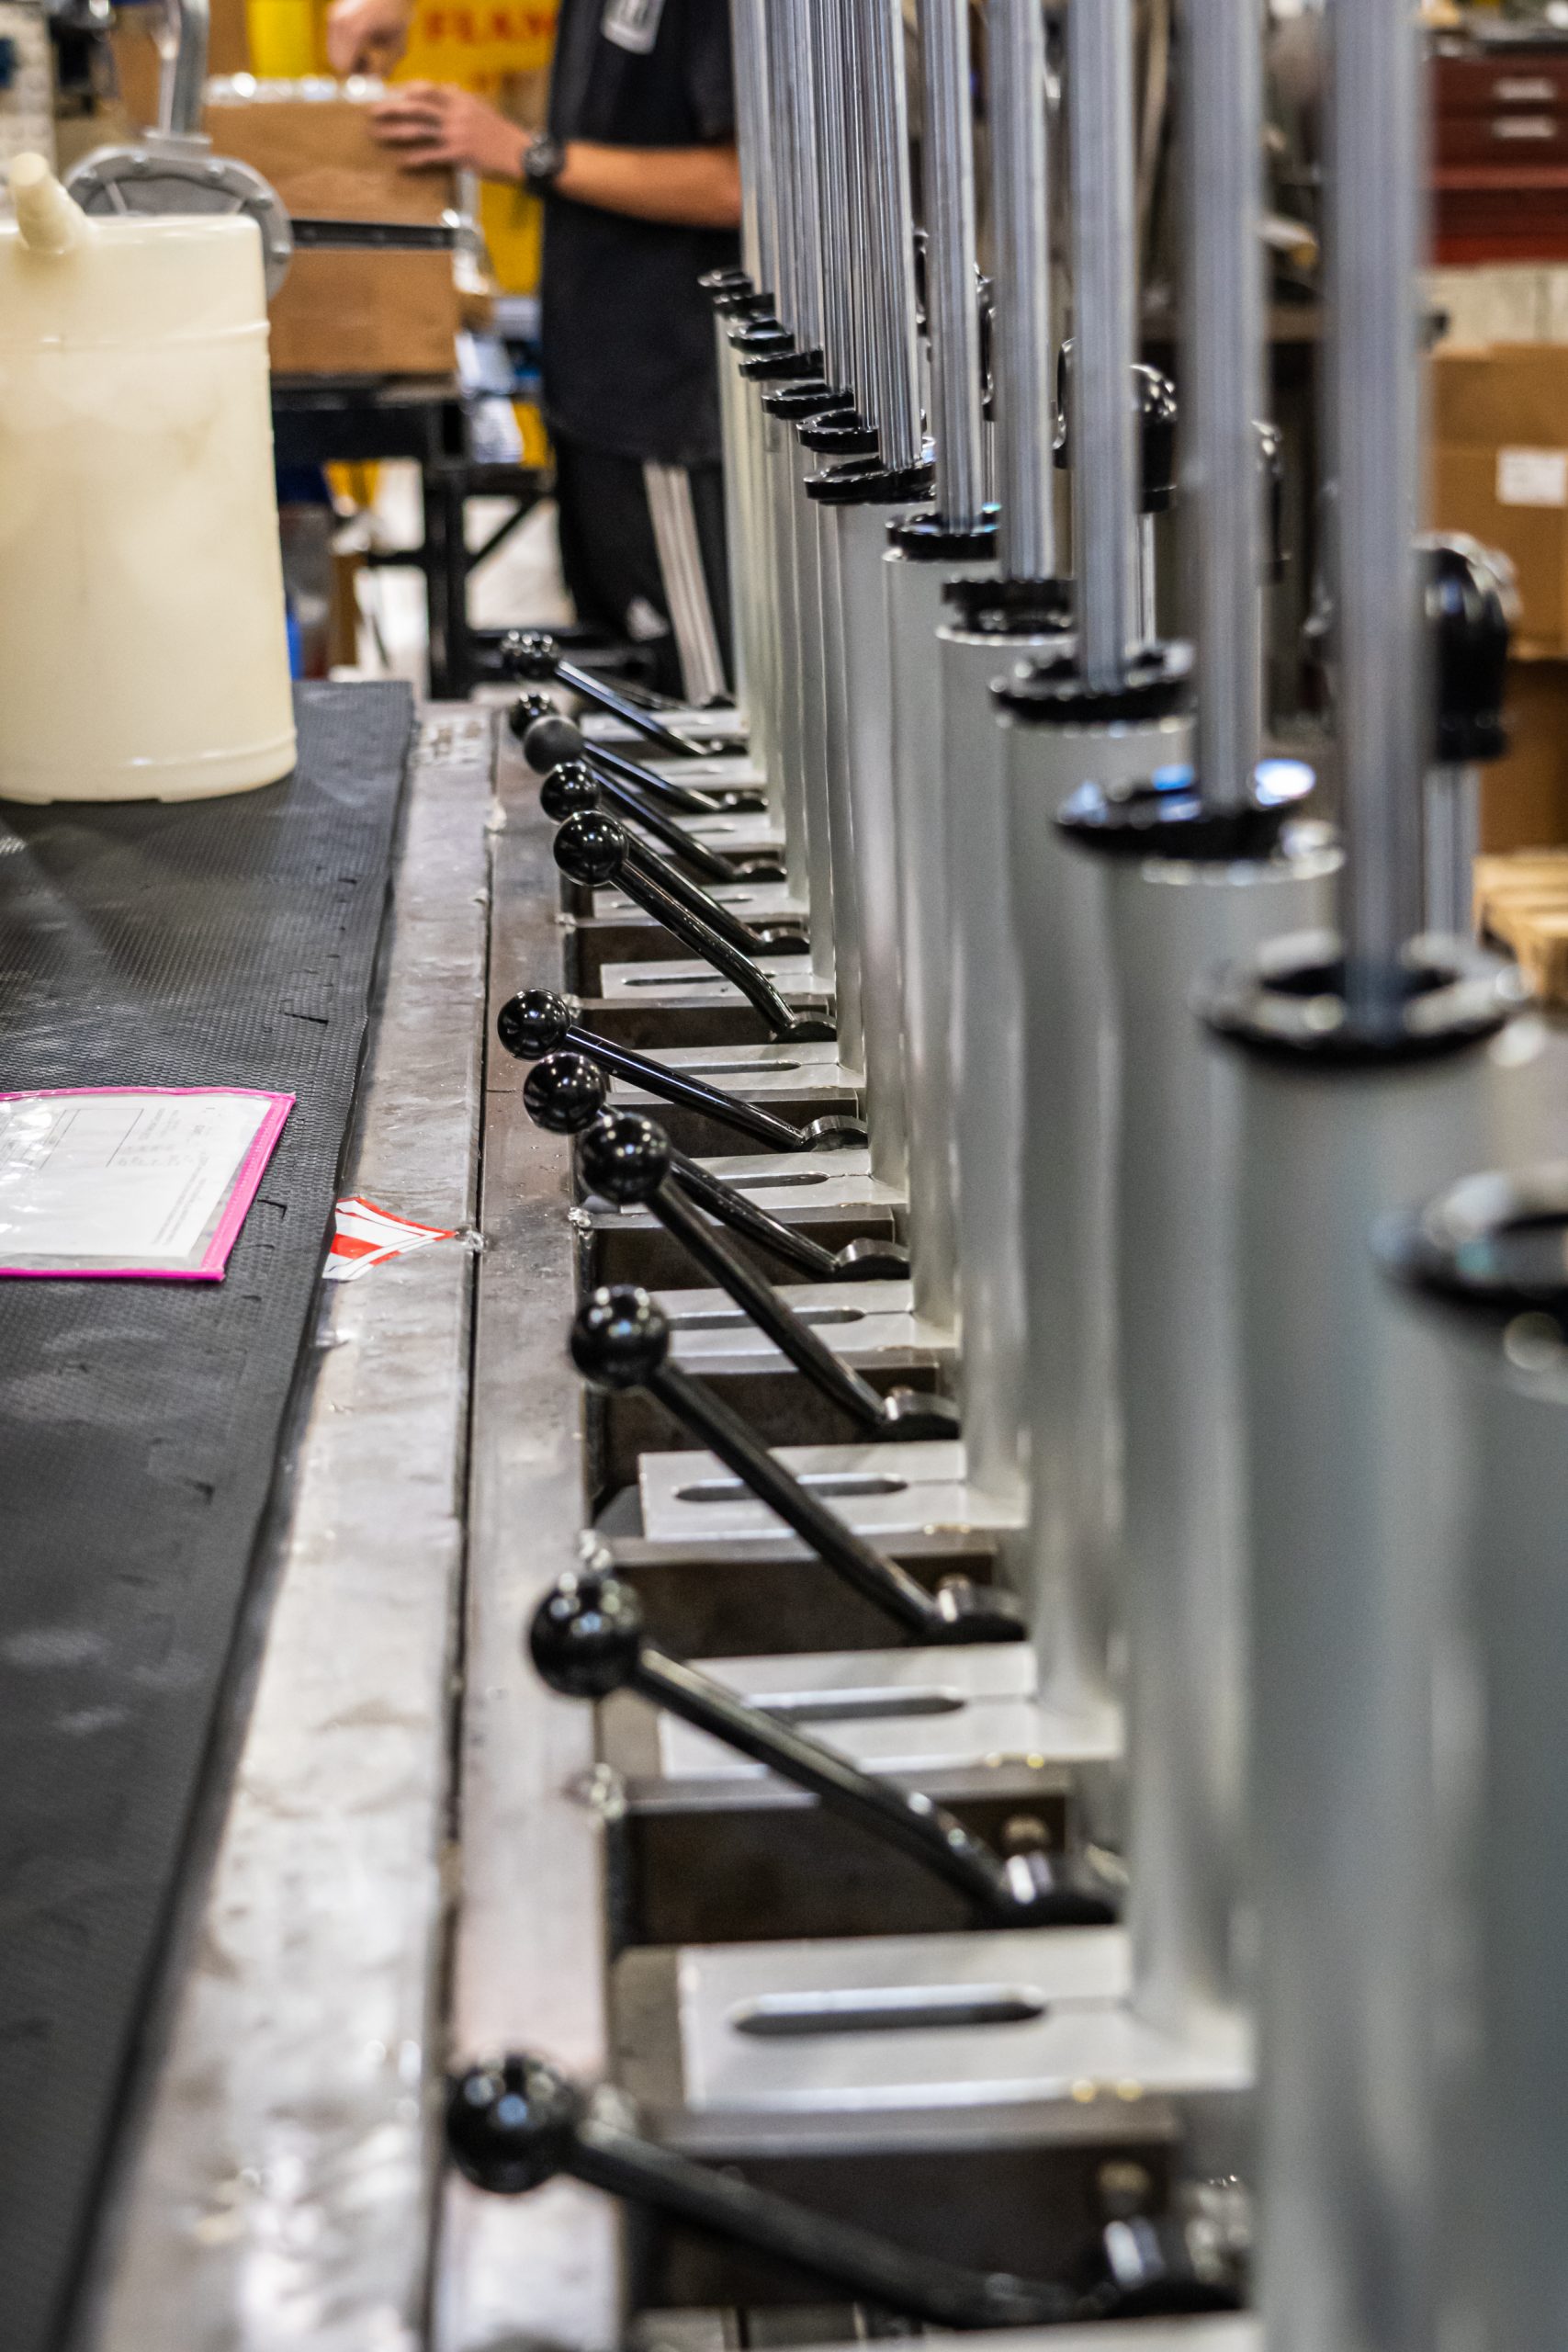

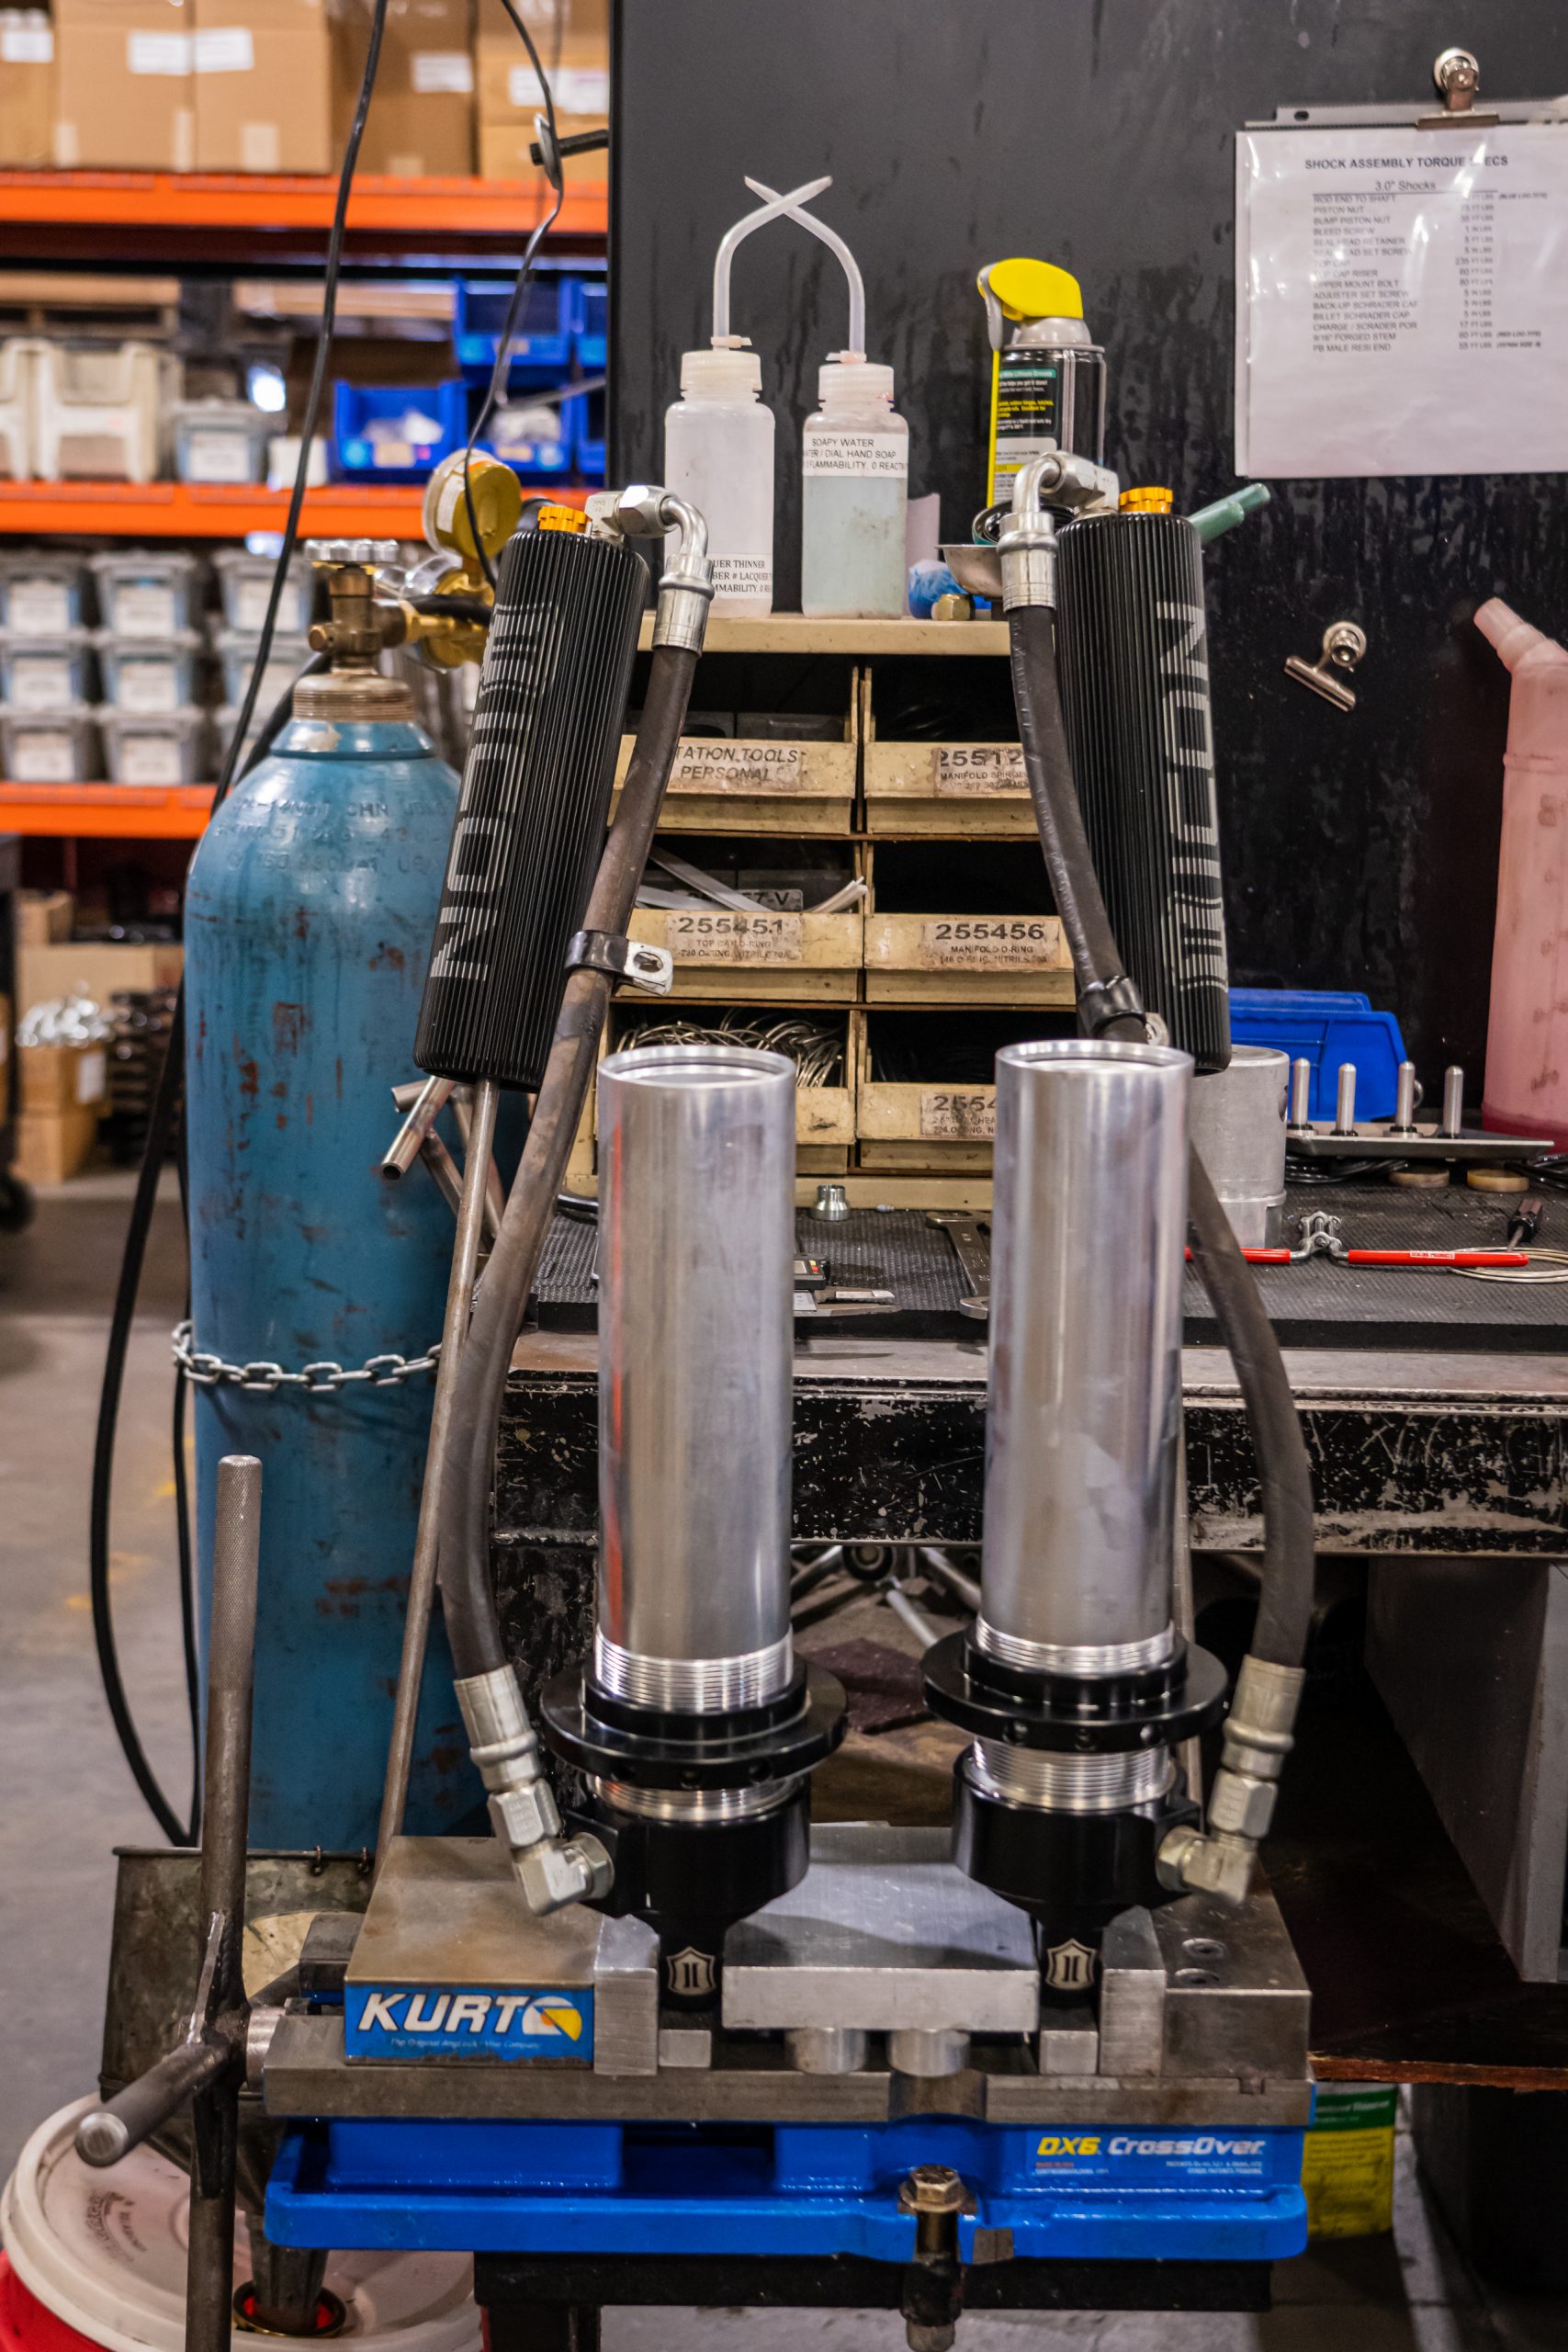
Once you have your shocks out, you have two paths you can pursue for your rebuild. You can take the rebuild on by yourself at home, or your can have an ICON service center handle the rebuild for you. Doing the rebuild yourself will take a number of specialized tools, like a coil compressor, special hand tools, and a nitrogen charging setup, so you should know that it’s not something you’re going to knock out without some some costs incurred for special kit, and knowledge. That being said, if you knowledge, tools and skills, ICON does sell full service kits with oil and replacement parts as needed. On the other hand, an ICON shock service center will have all of these tools and more, and the vast experience of rebuilding hundreds of these shocks. All you have to do is hand them your old shocks, and they’ll hand you back fully serviced shocks for a service fee. Here’s what happens behind the scenes when your shocks show up at ICON for a rebuild.
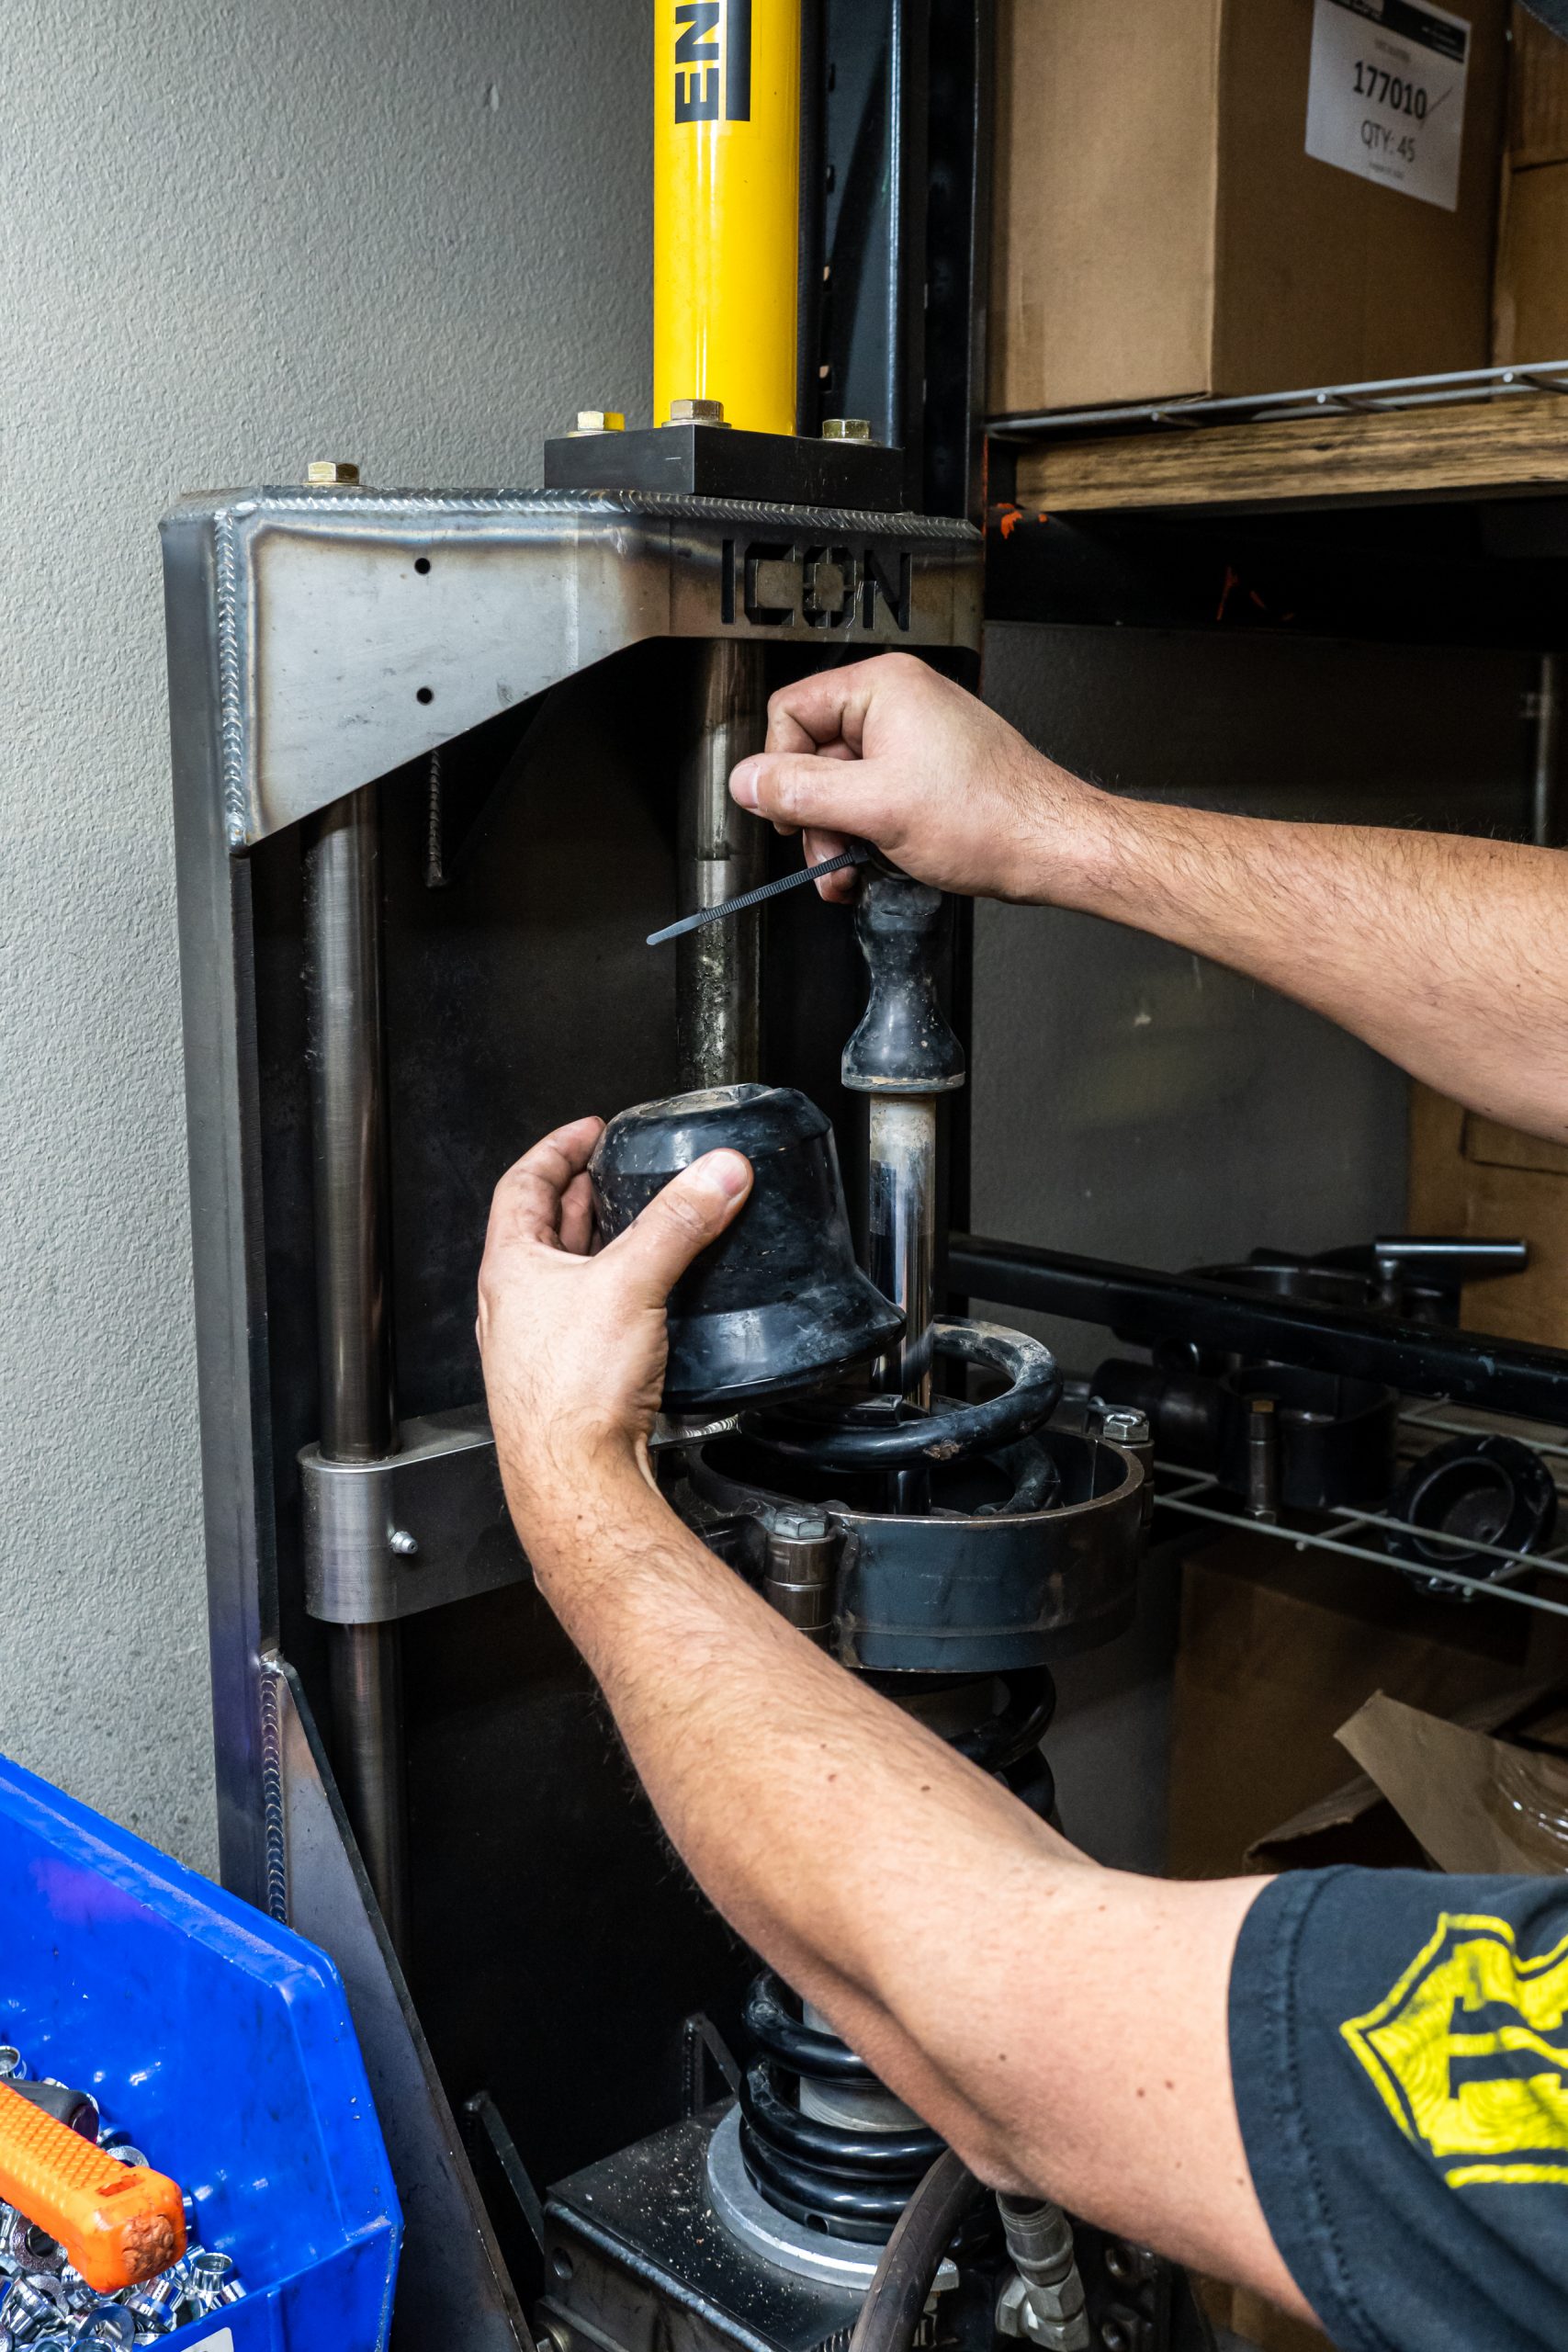
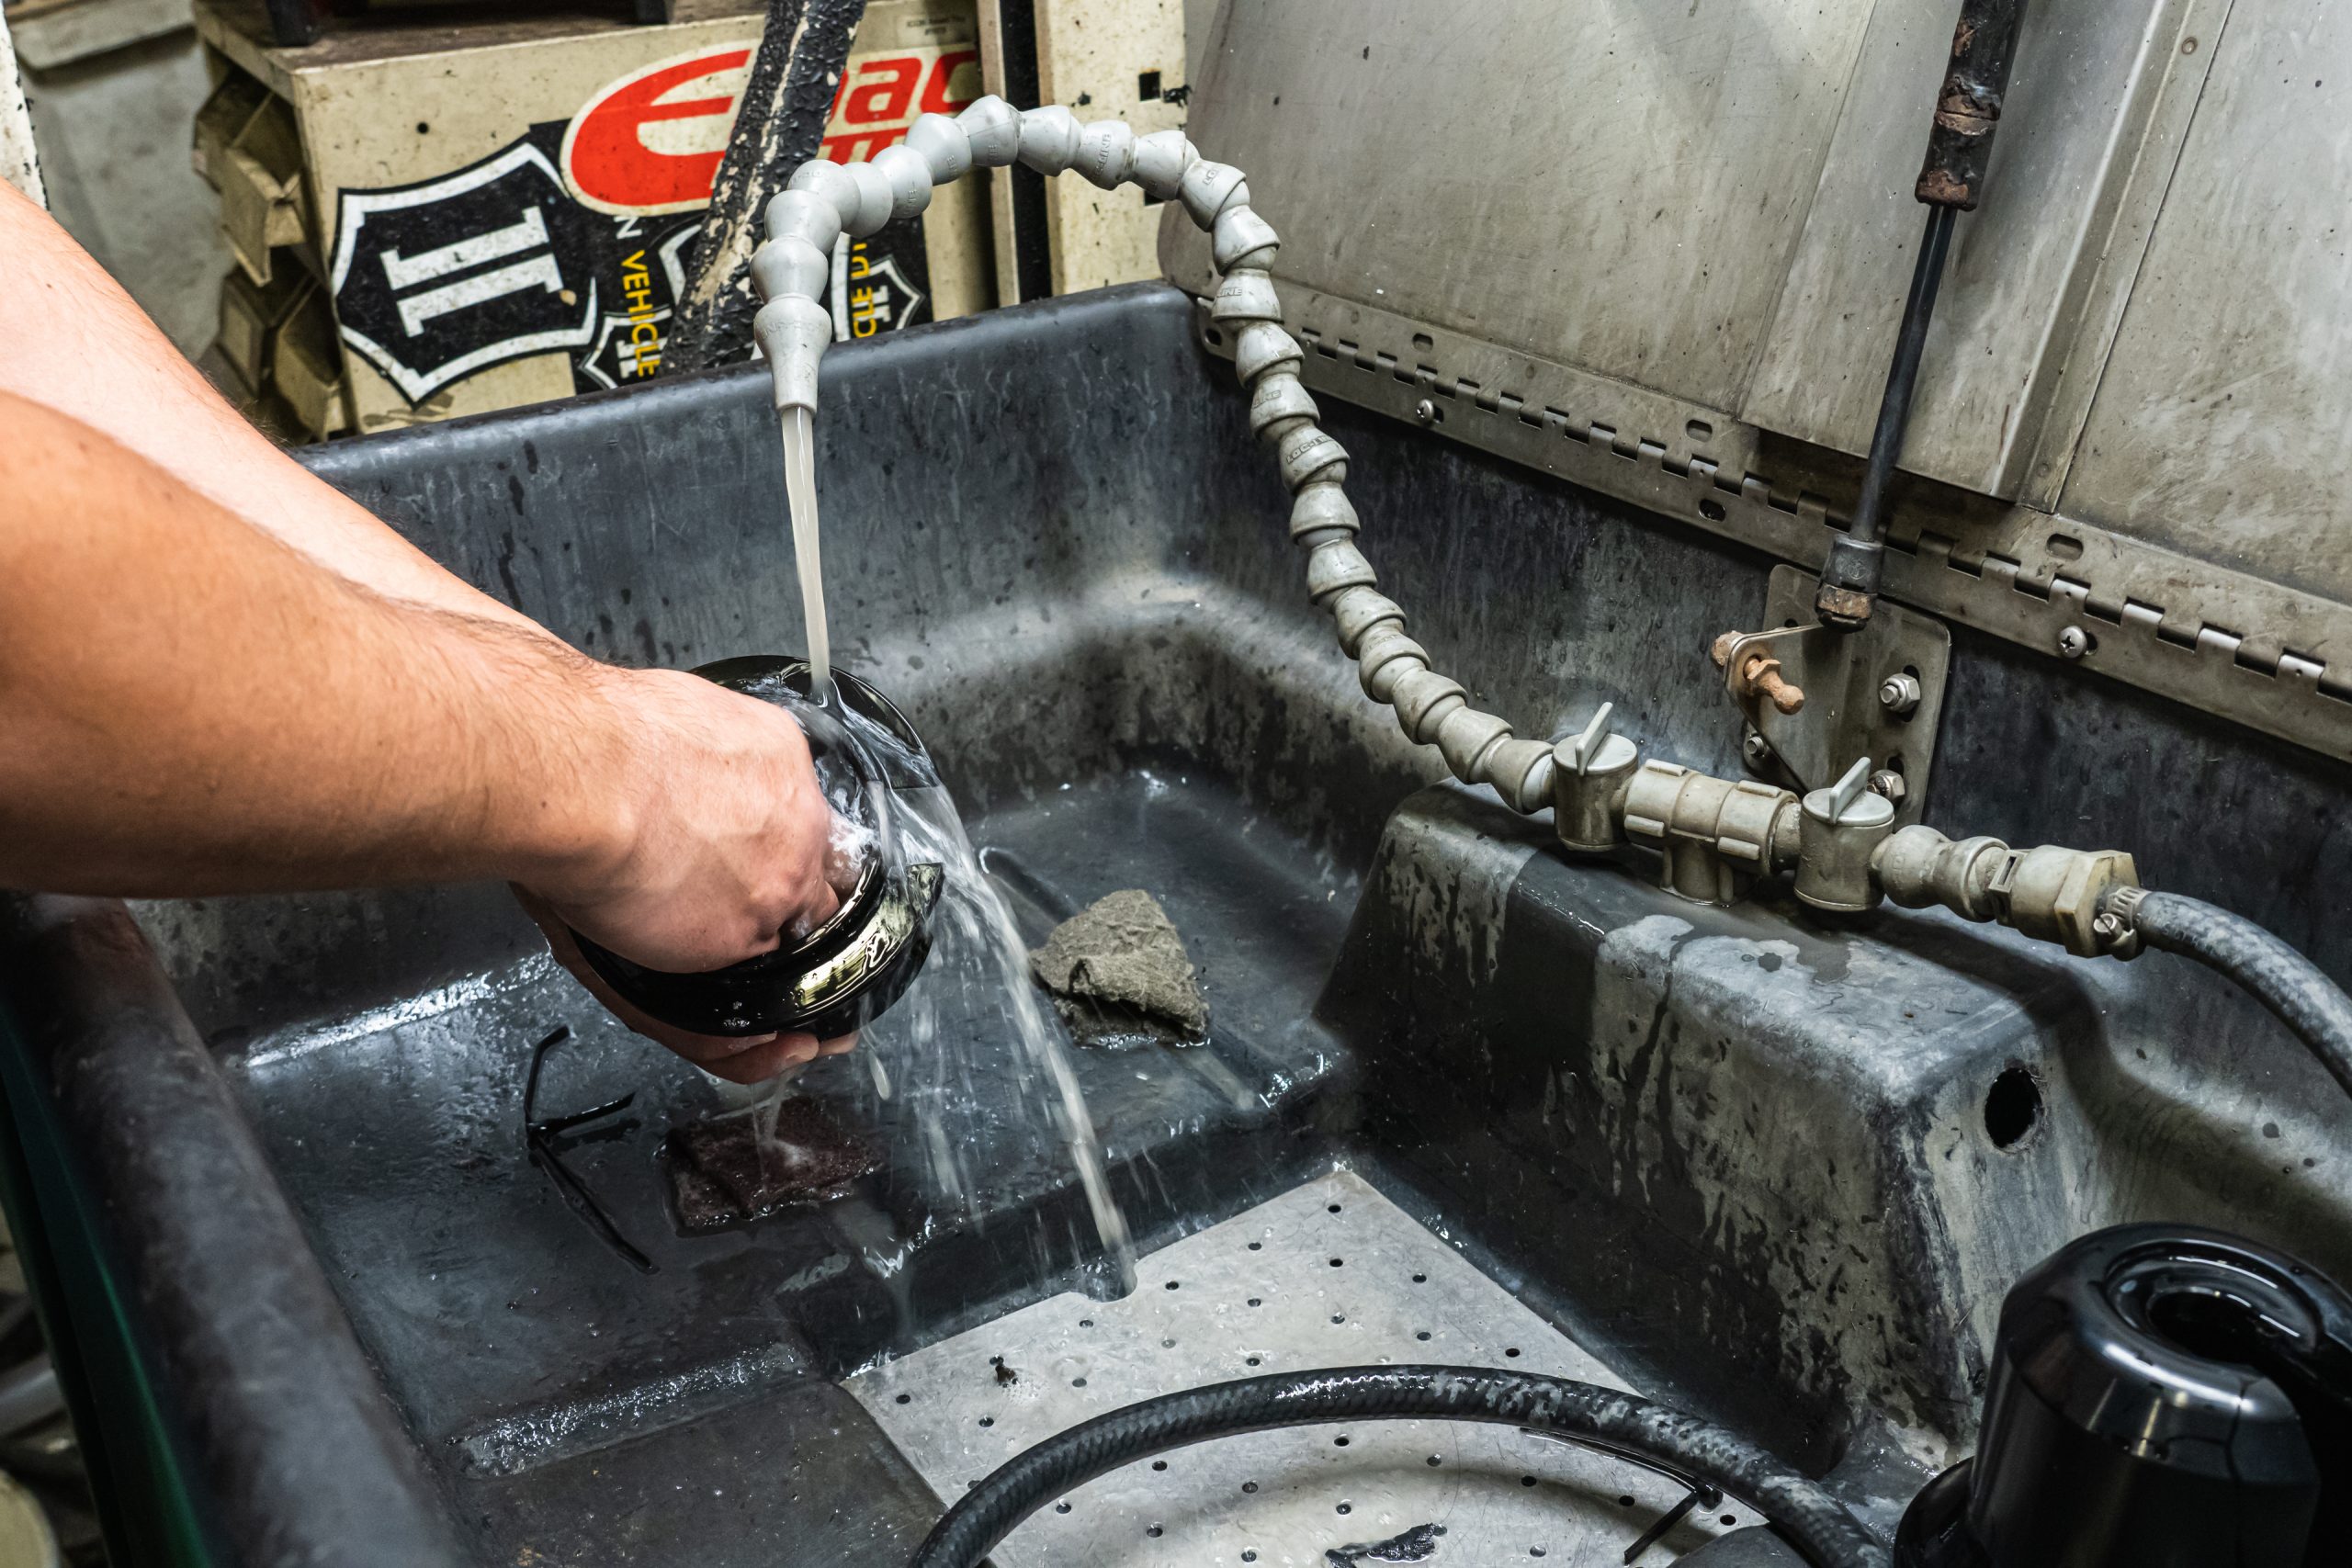
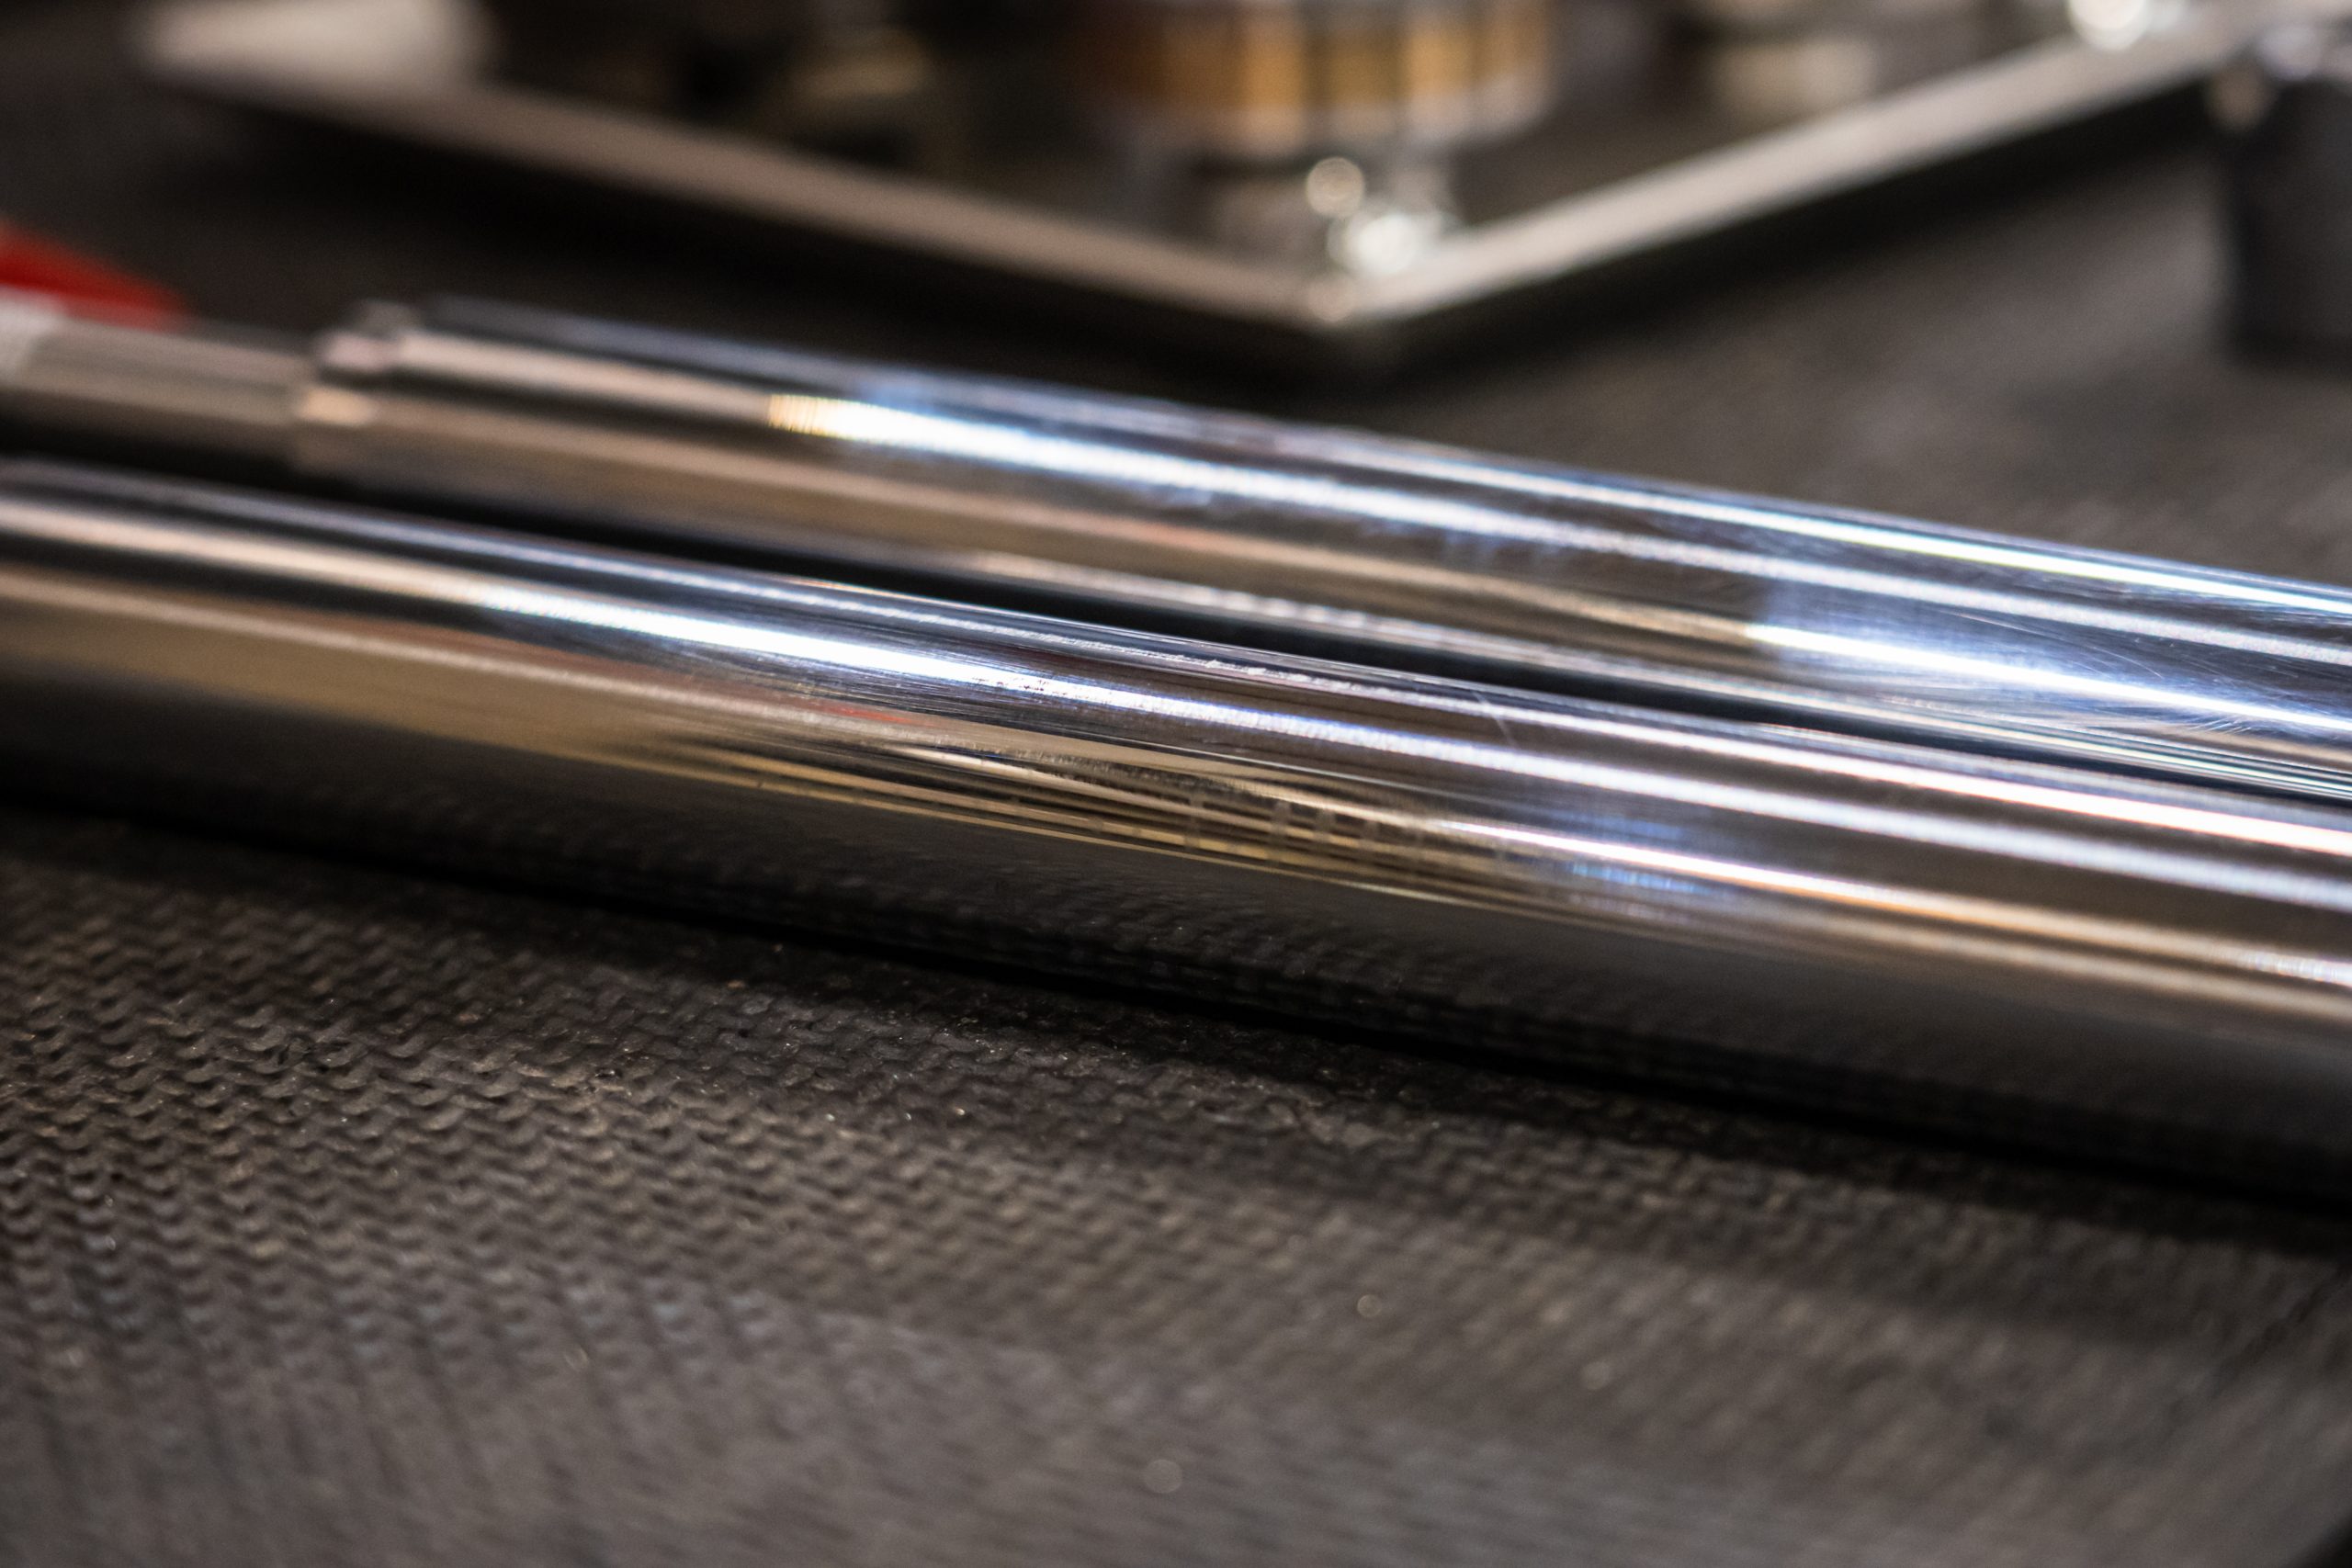
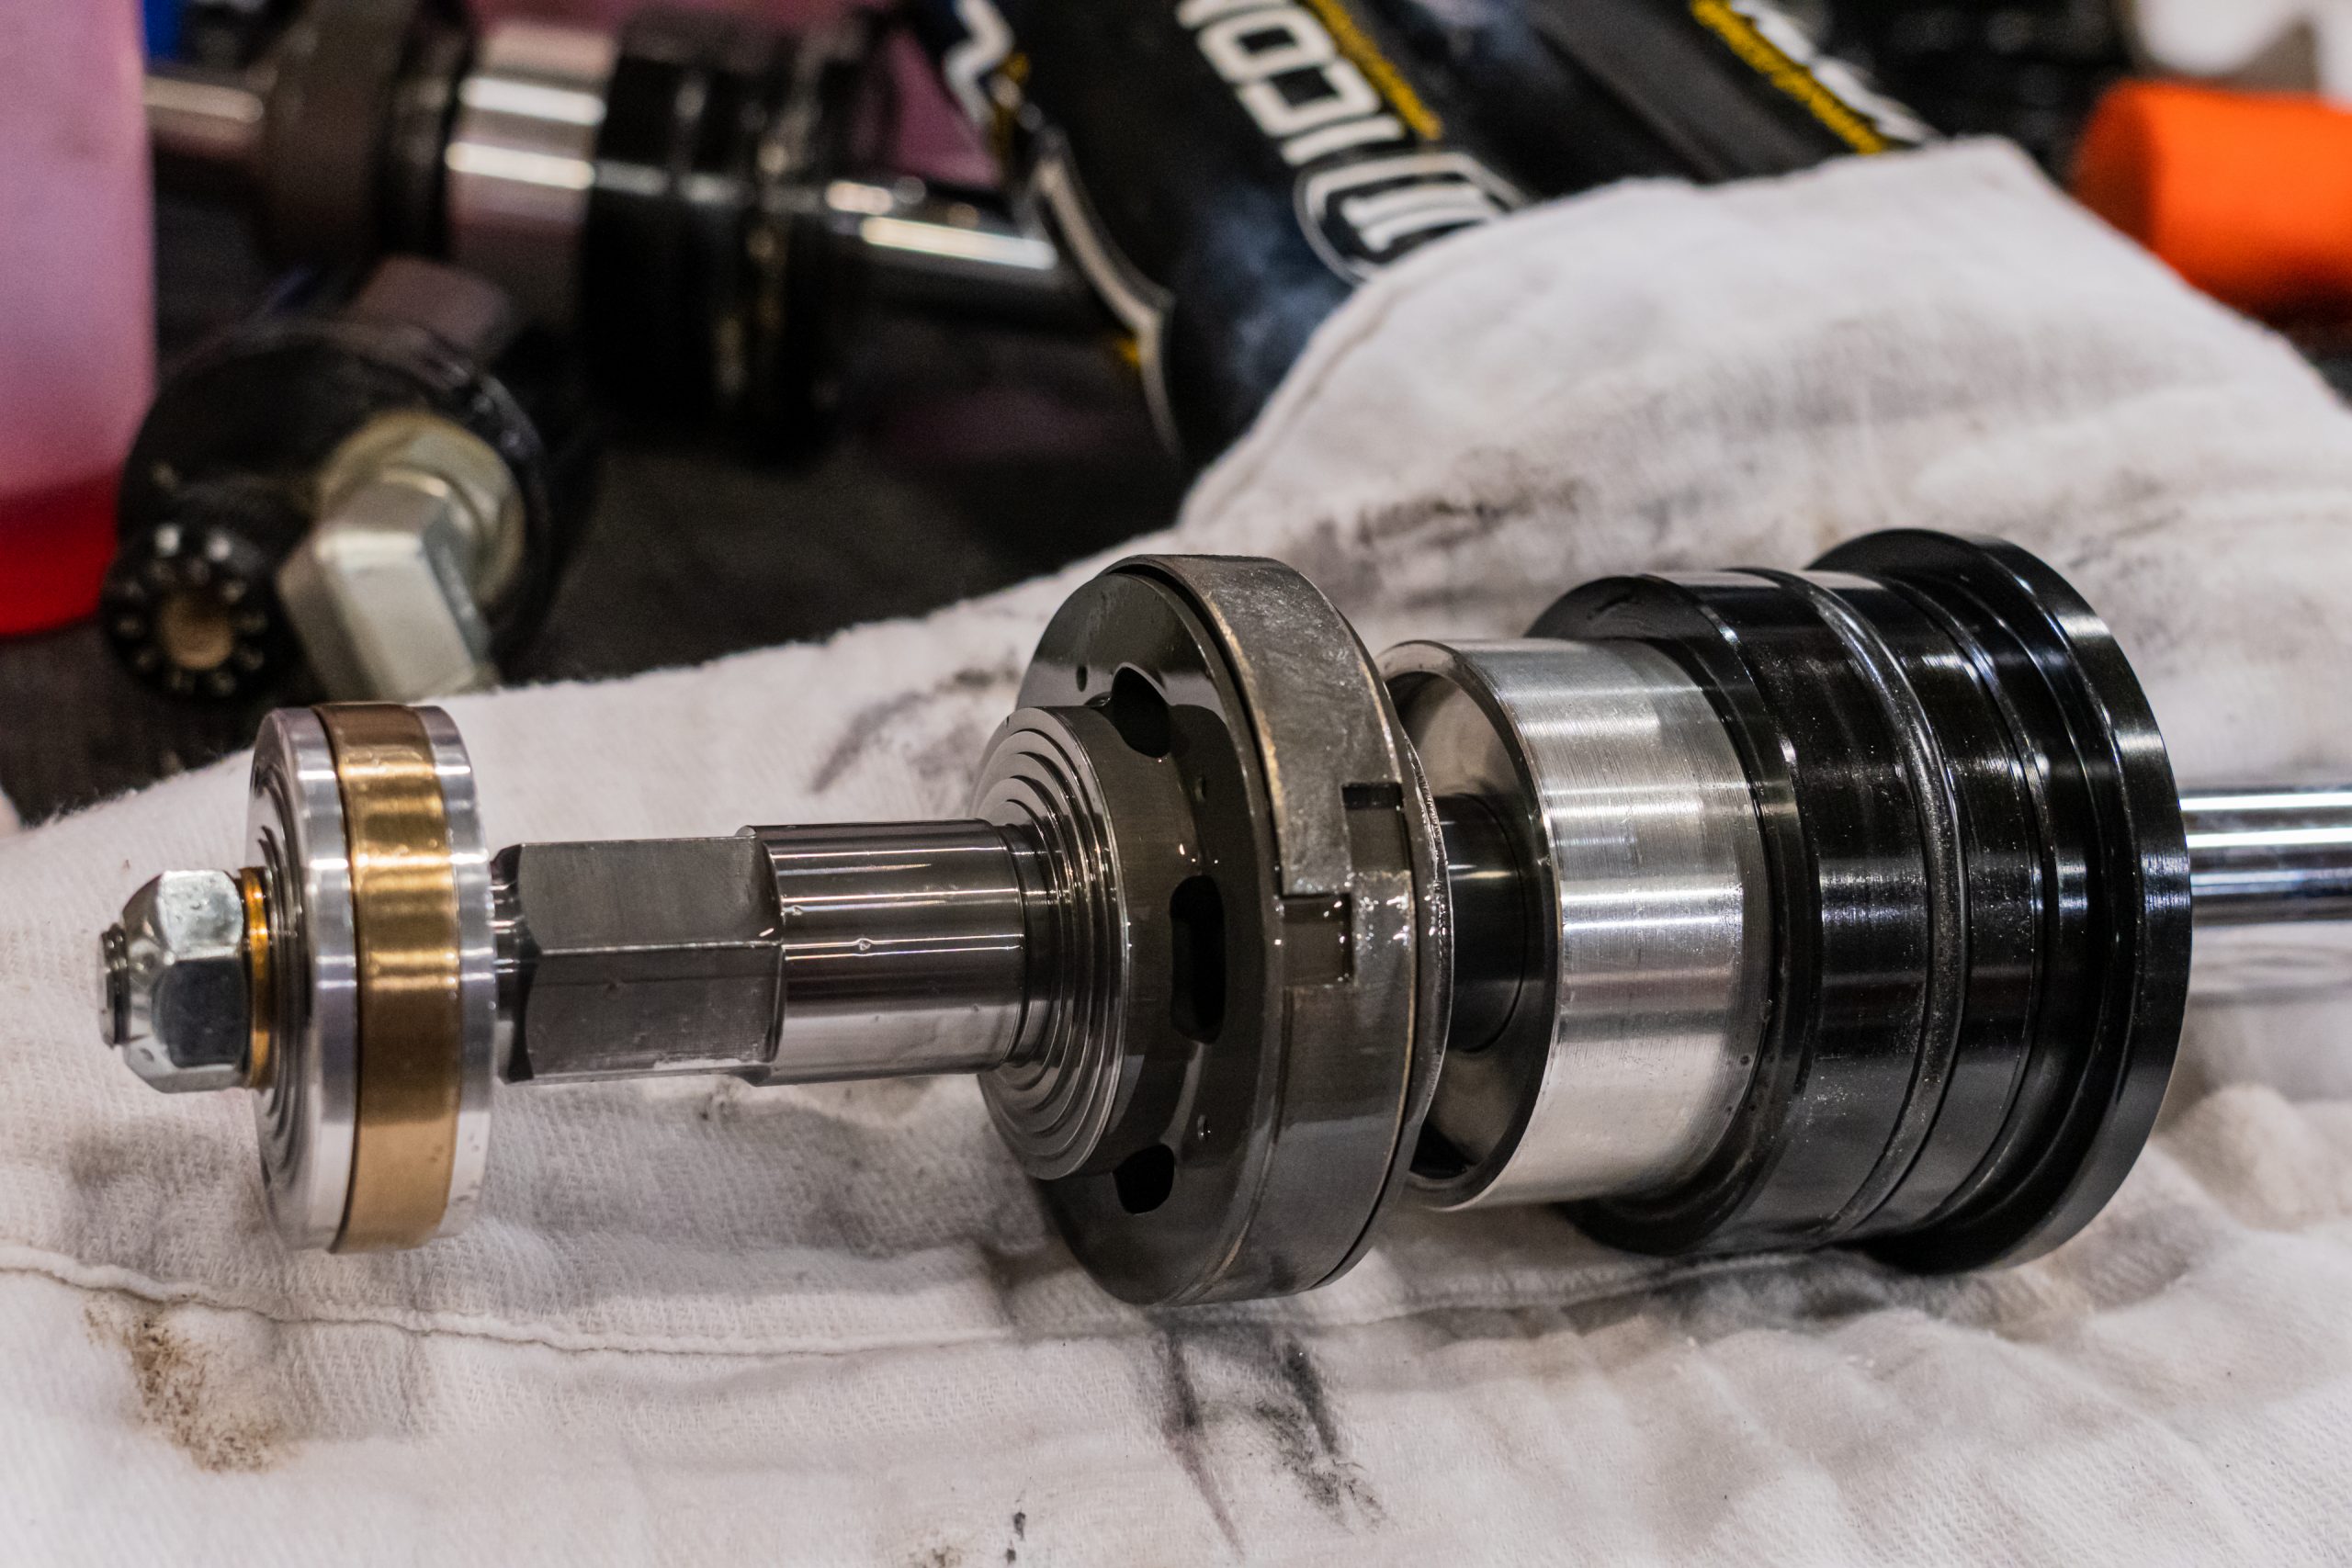
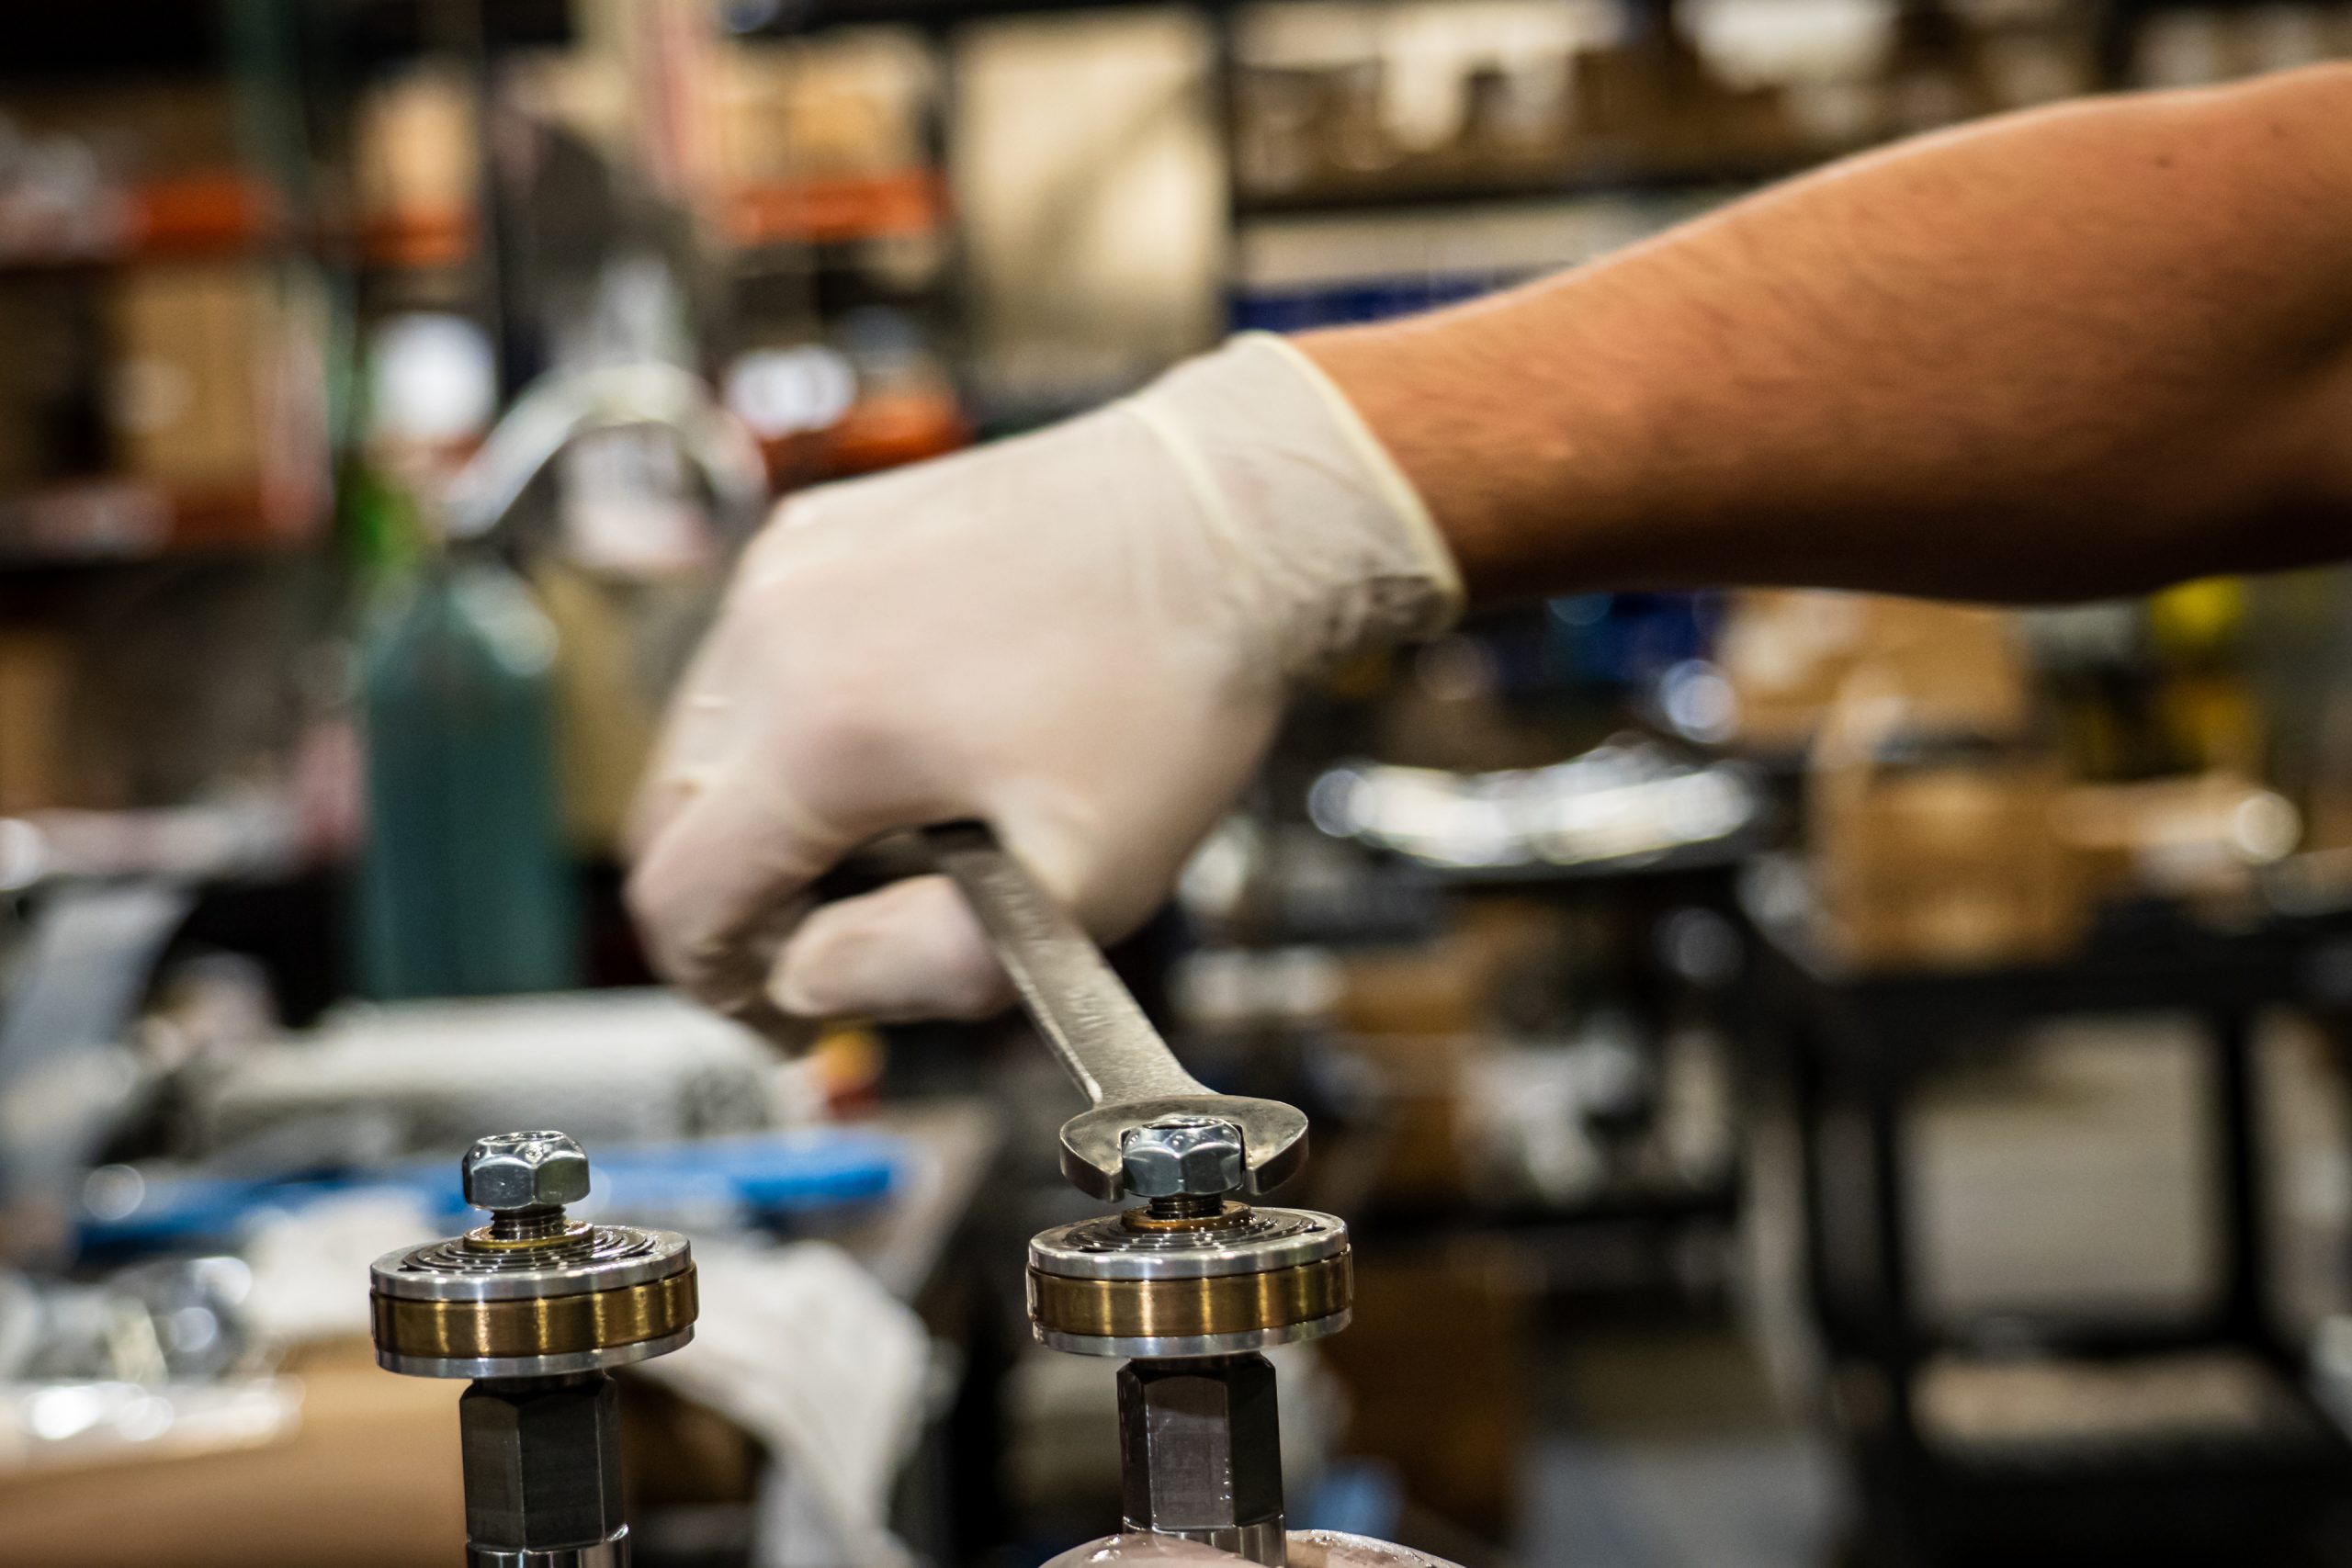
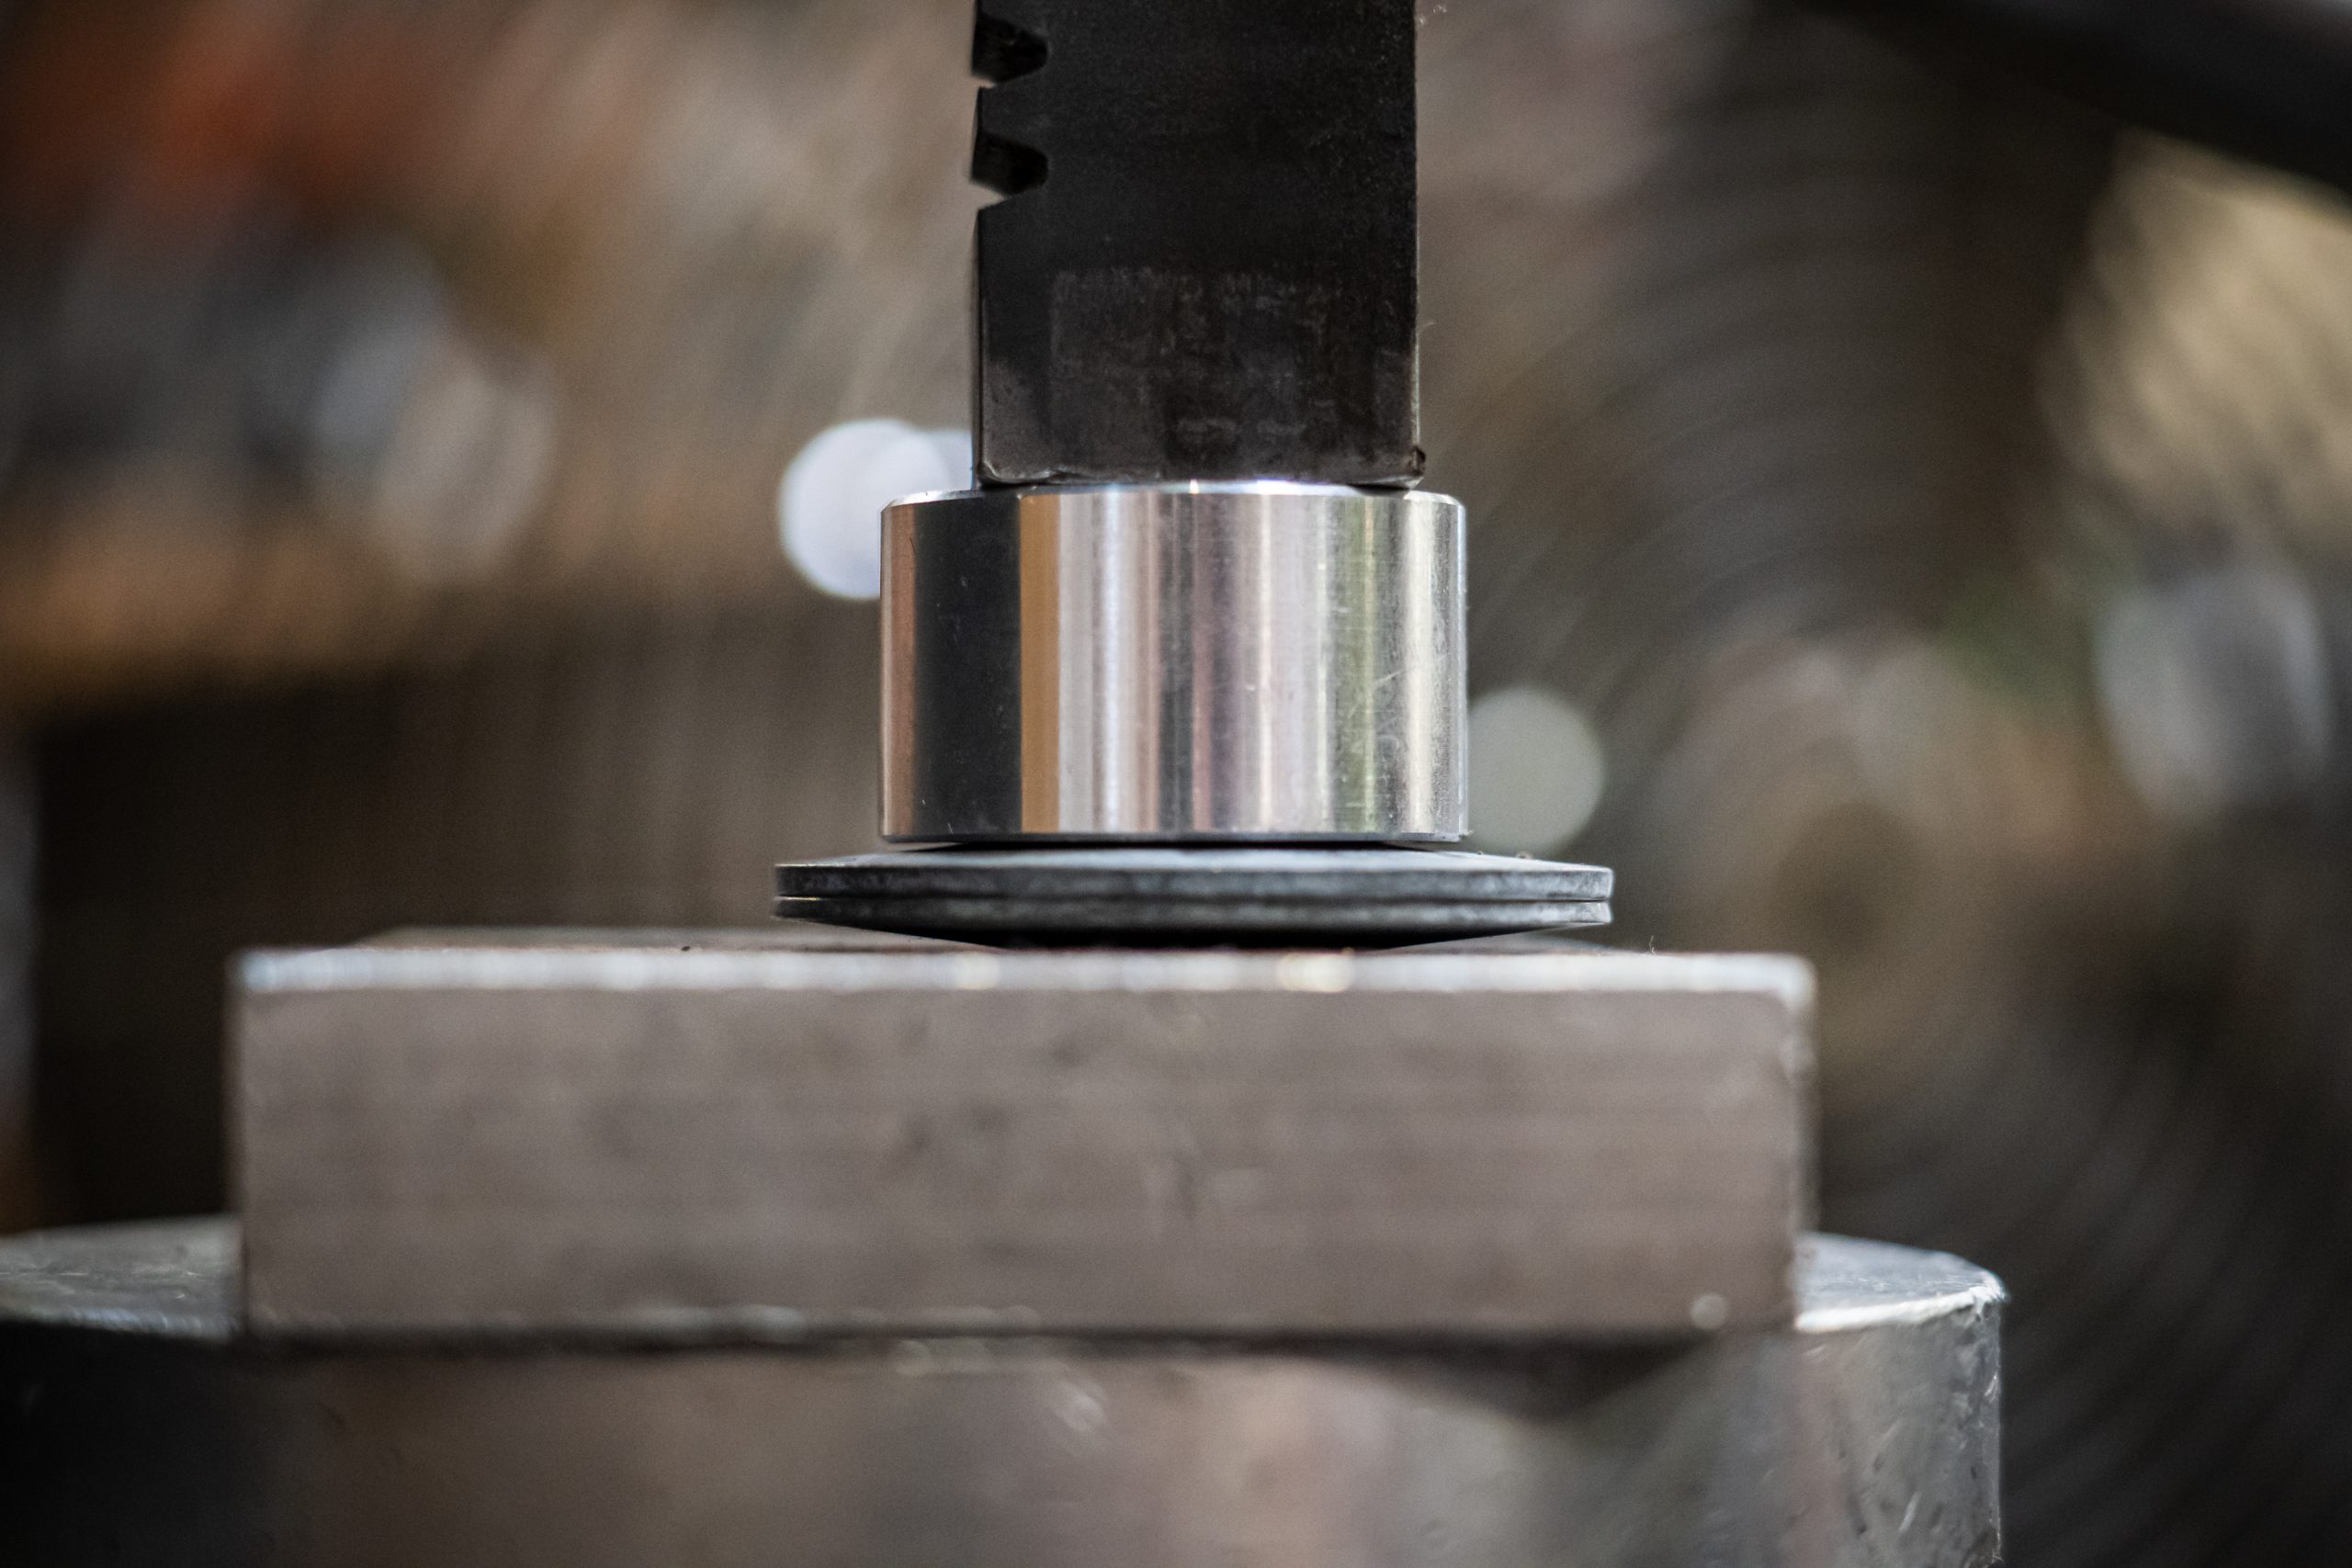
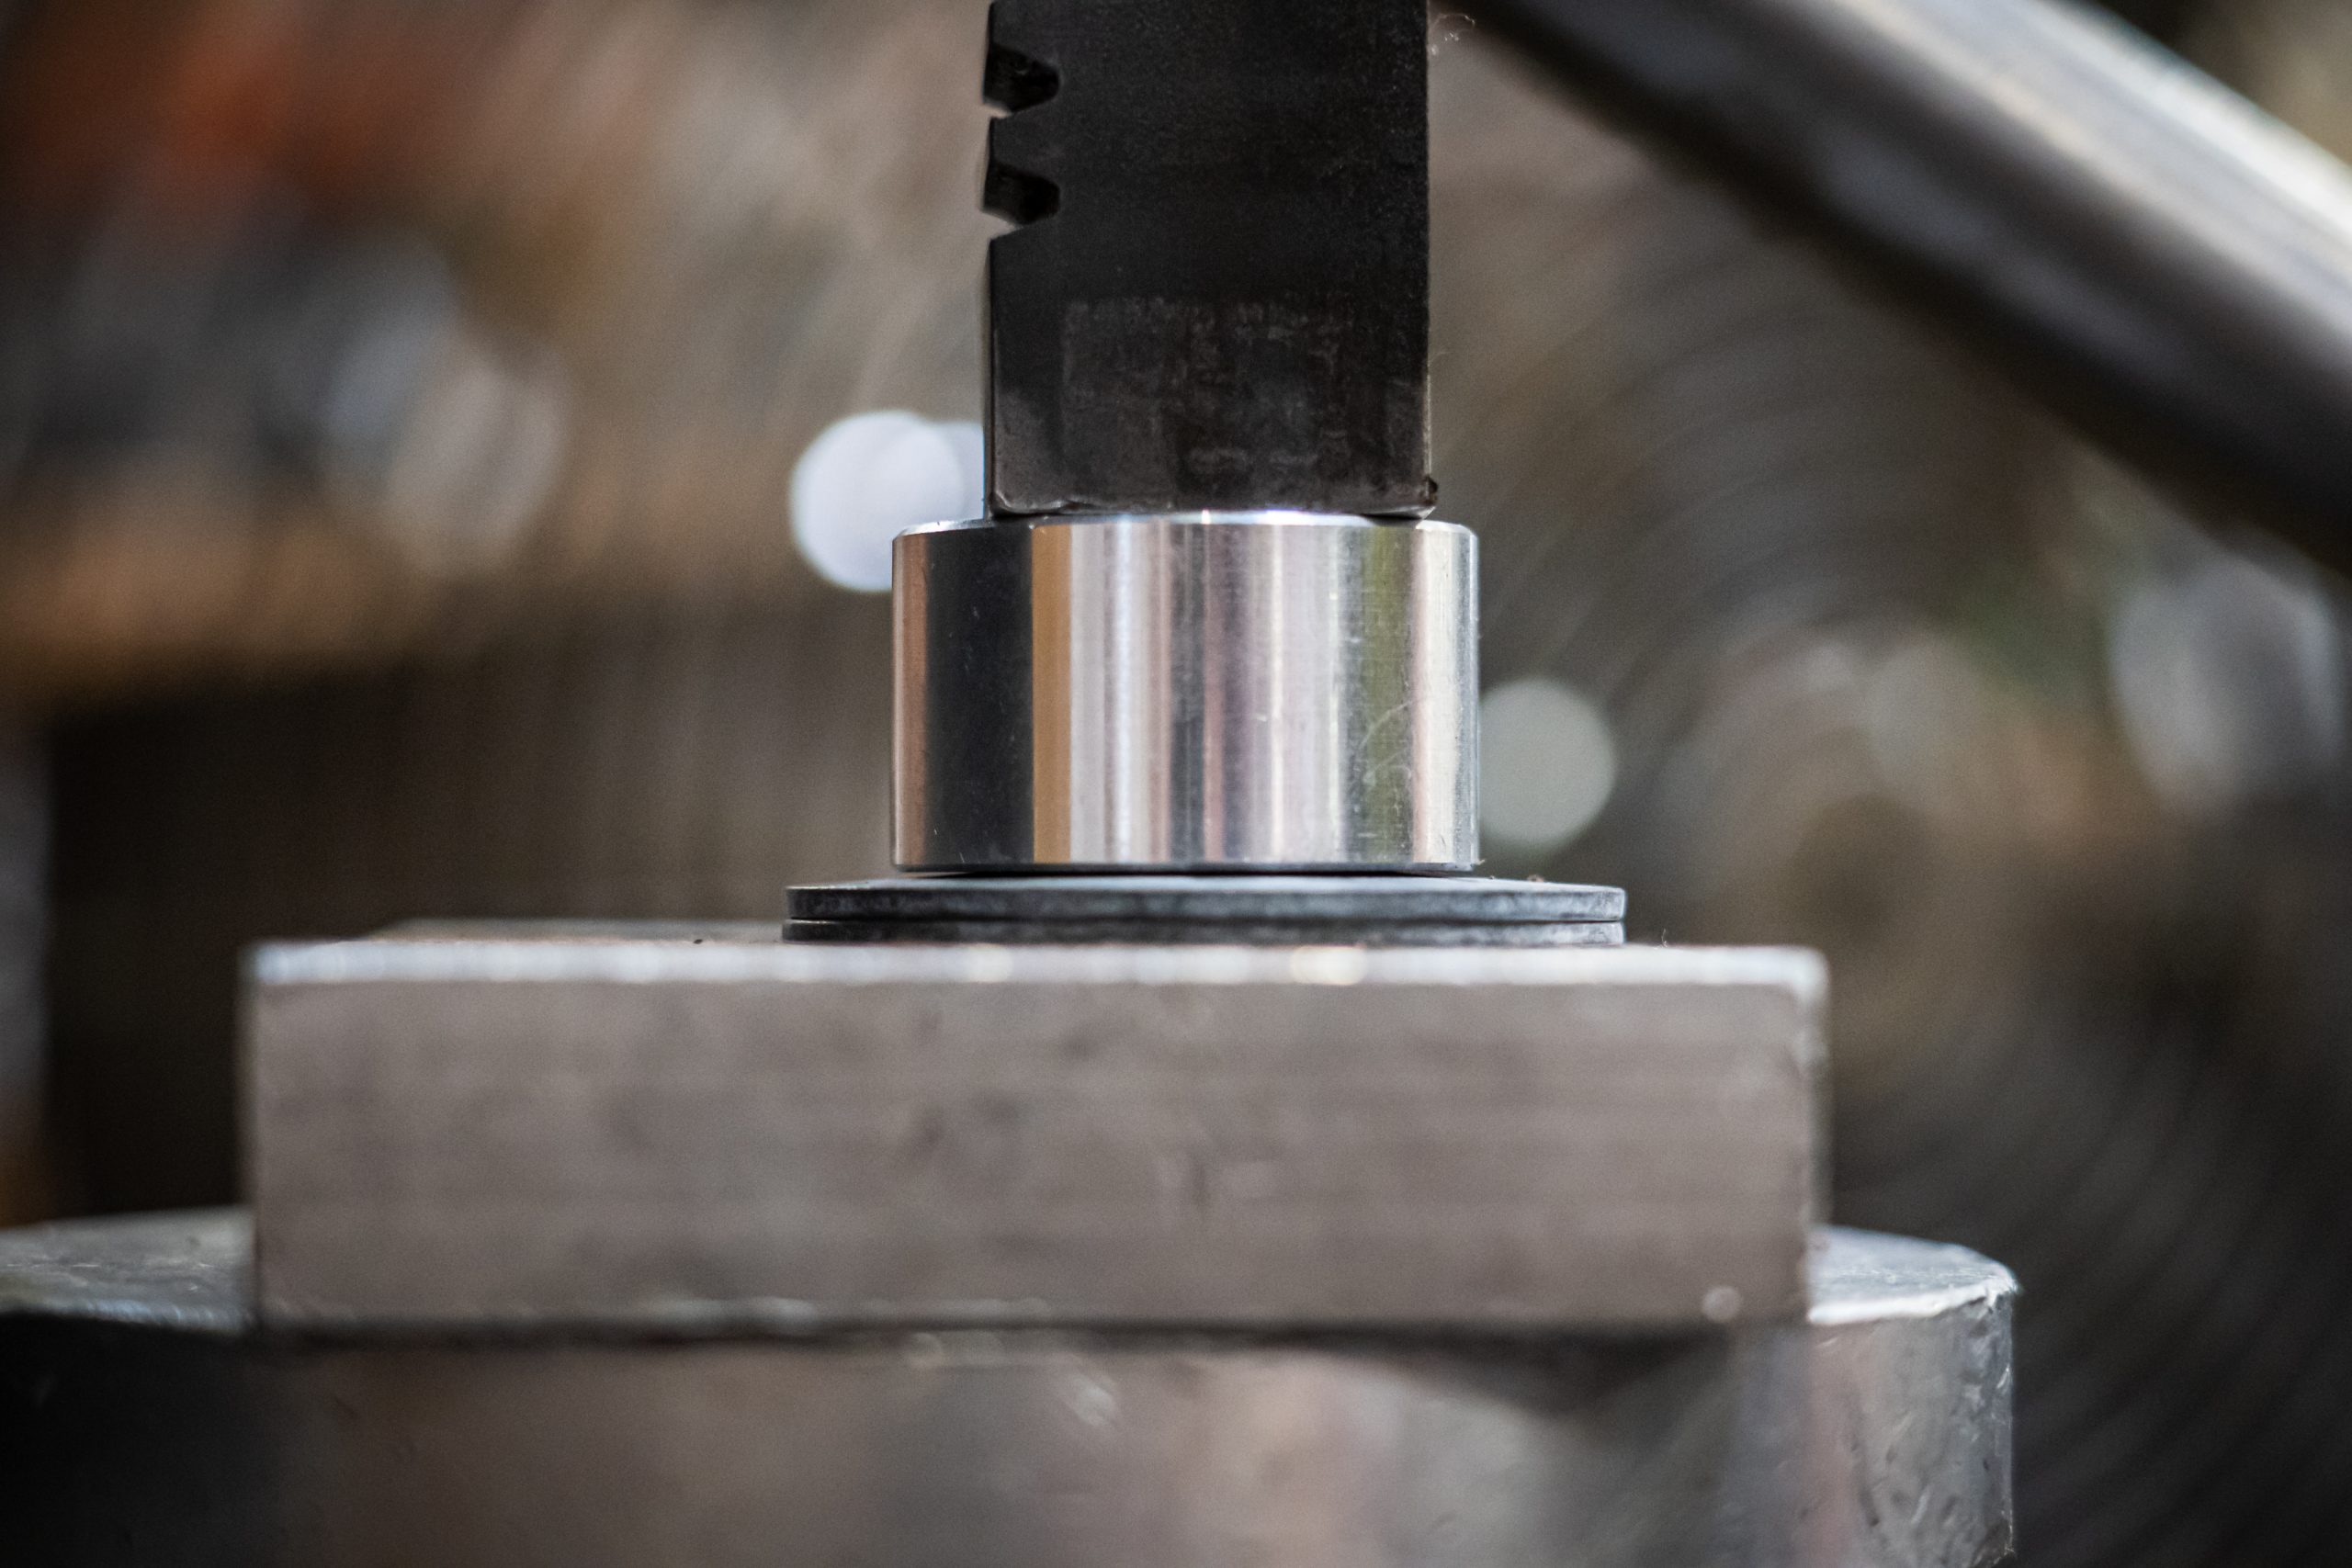
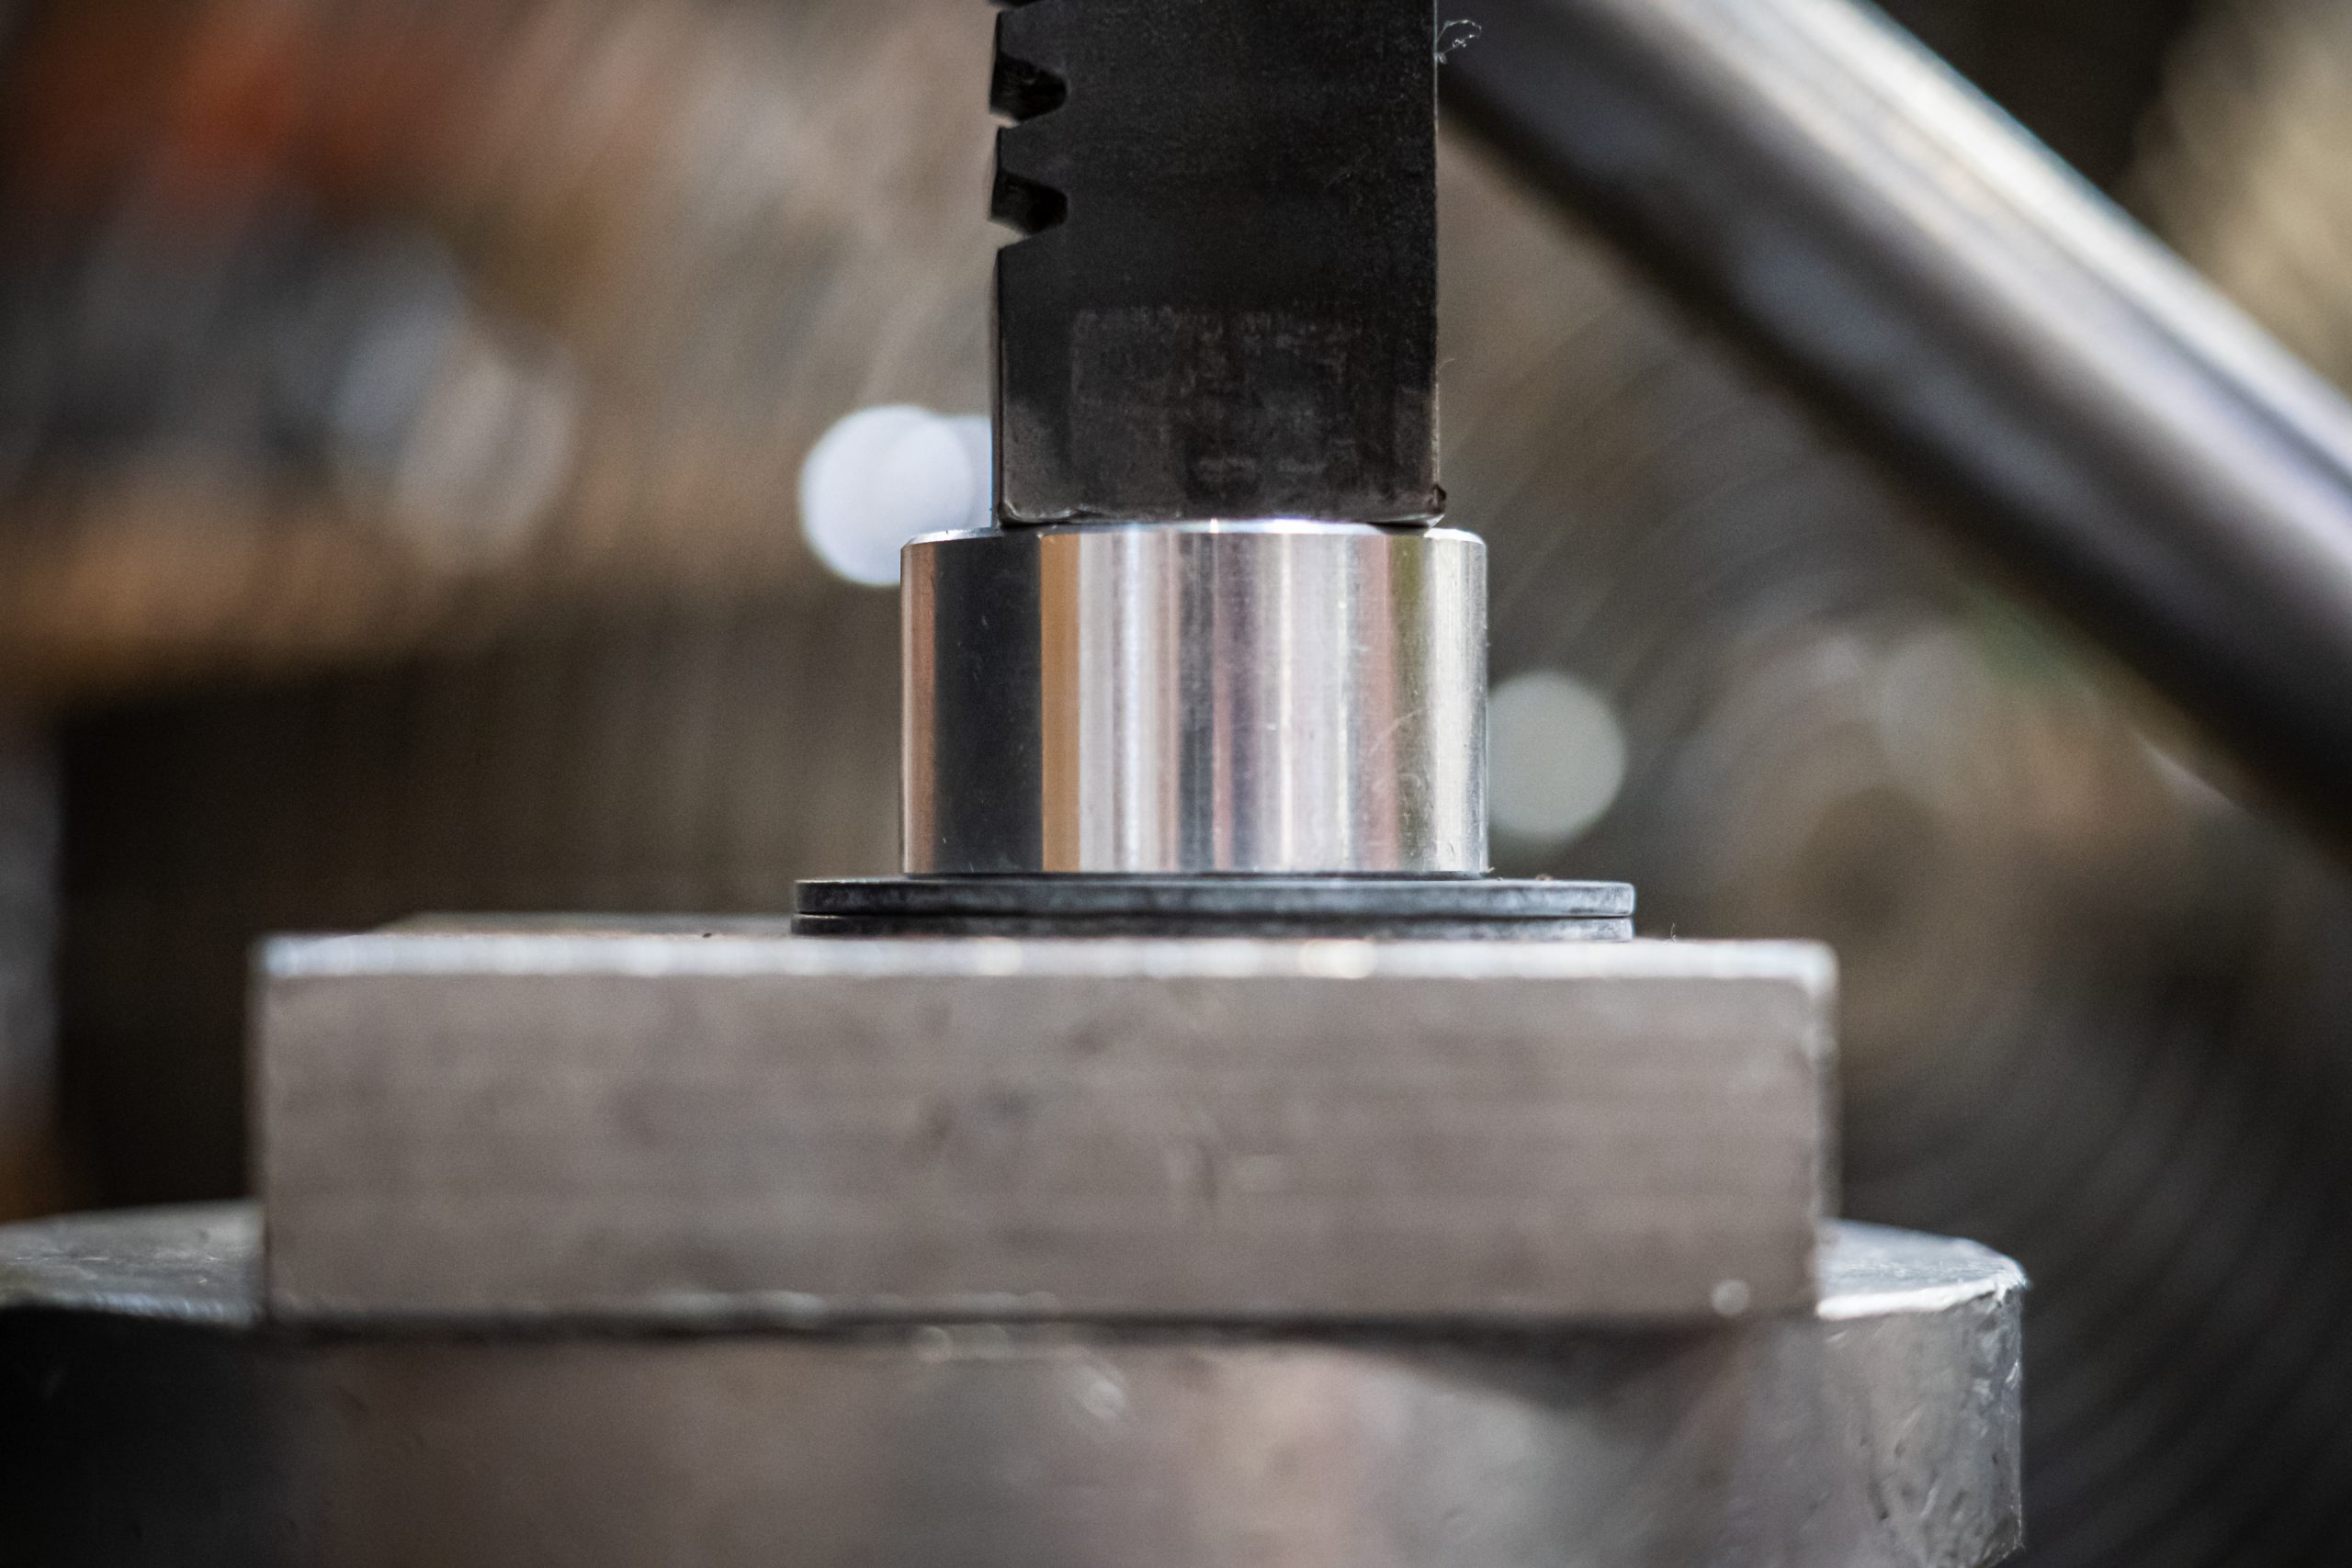
Step one is to remove the springs from any coilovers, and to thoroughly clean your shocks prior to disassembly. As a shock technician disassembles your shocks, they’ll make note of any parts that are damaged, worn or that should be replaced. In the case of the 3.0 coilovers on my Tundra, my shock shafts were starting to wear slightly where the oil seal sits on the shock shafts at ride height. If you look closely, you can see a difference in the chrome finish of the shock shaft. A non-rebuildable shock would just be permanently worn out, with a worn shaft and seal close to leaking your precious oil out. Yet on a rebuildable shock, simply replacing the seal extends the service life for quite some time, and you can go all the way back to like new performance by installing a new shock shaft if needed. The same goes for literally any other seal or part on the shock. If it’s wearing, it can be replaced. If it wears on a non-rebuildable shock, chances are you won’t know about it until the shock fails, breaks, or starts leaking oil everywhere and then it’s time to throw it out and buy a new one.


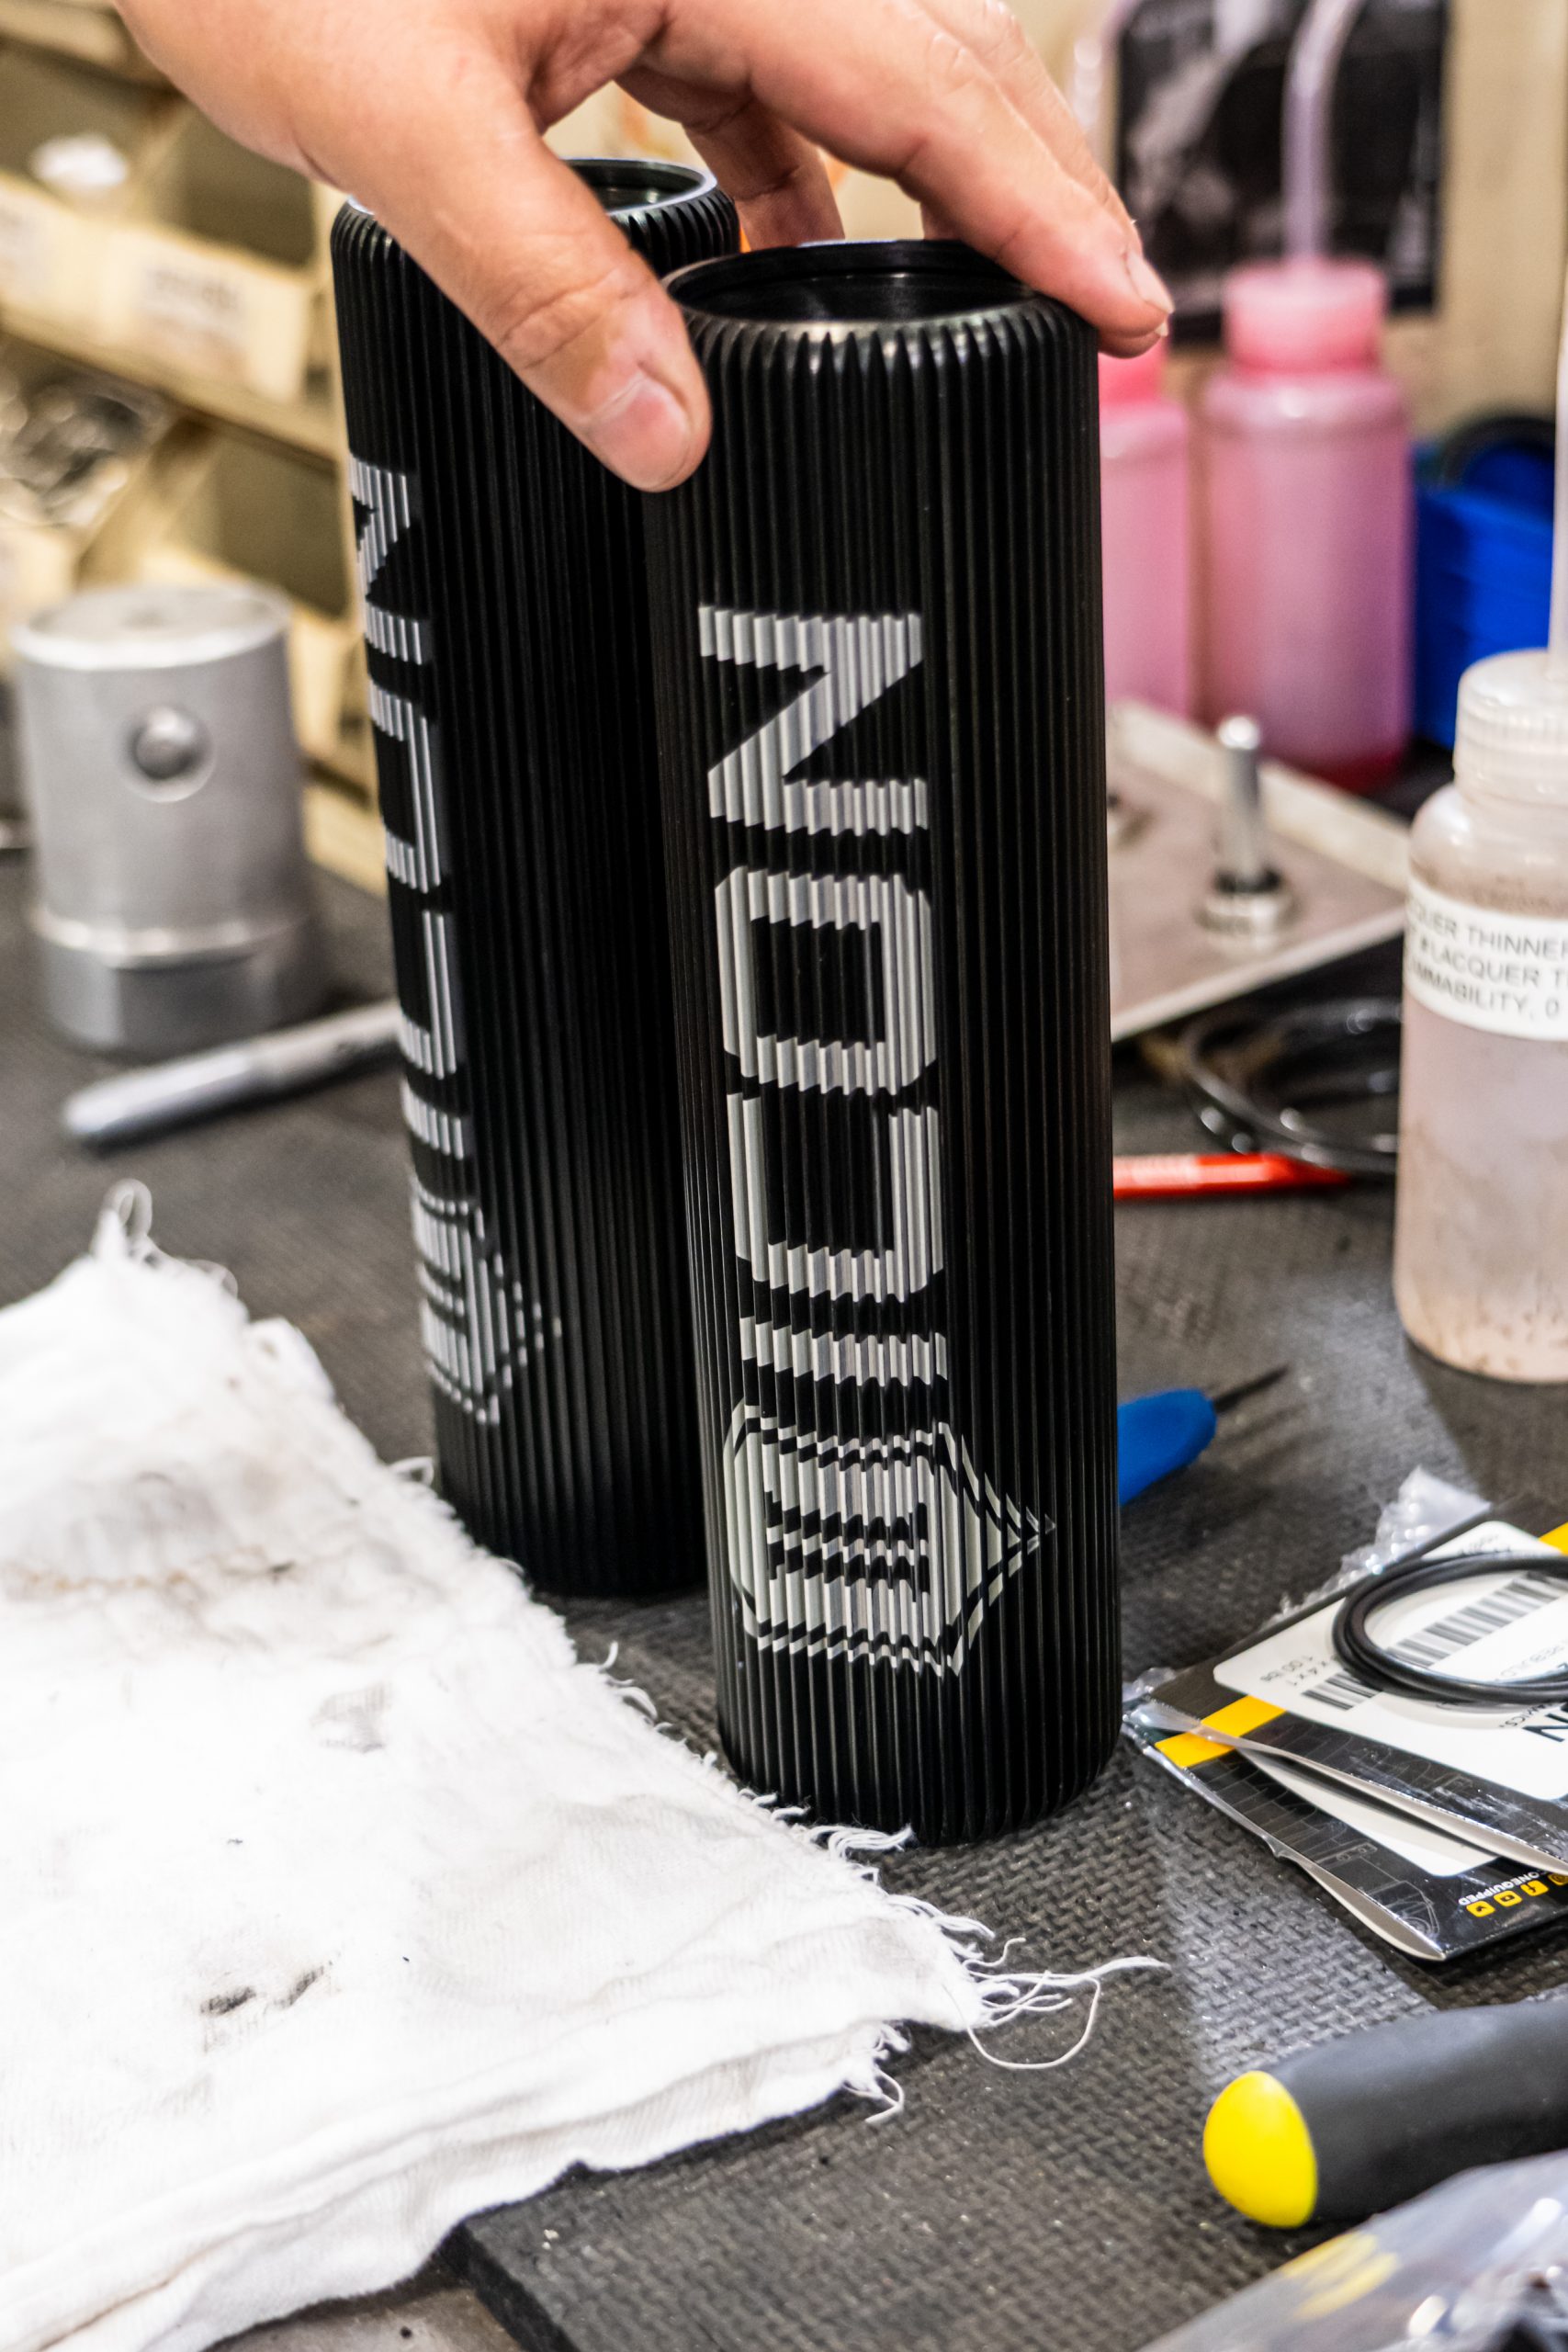
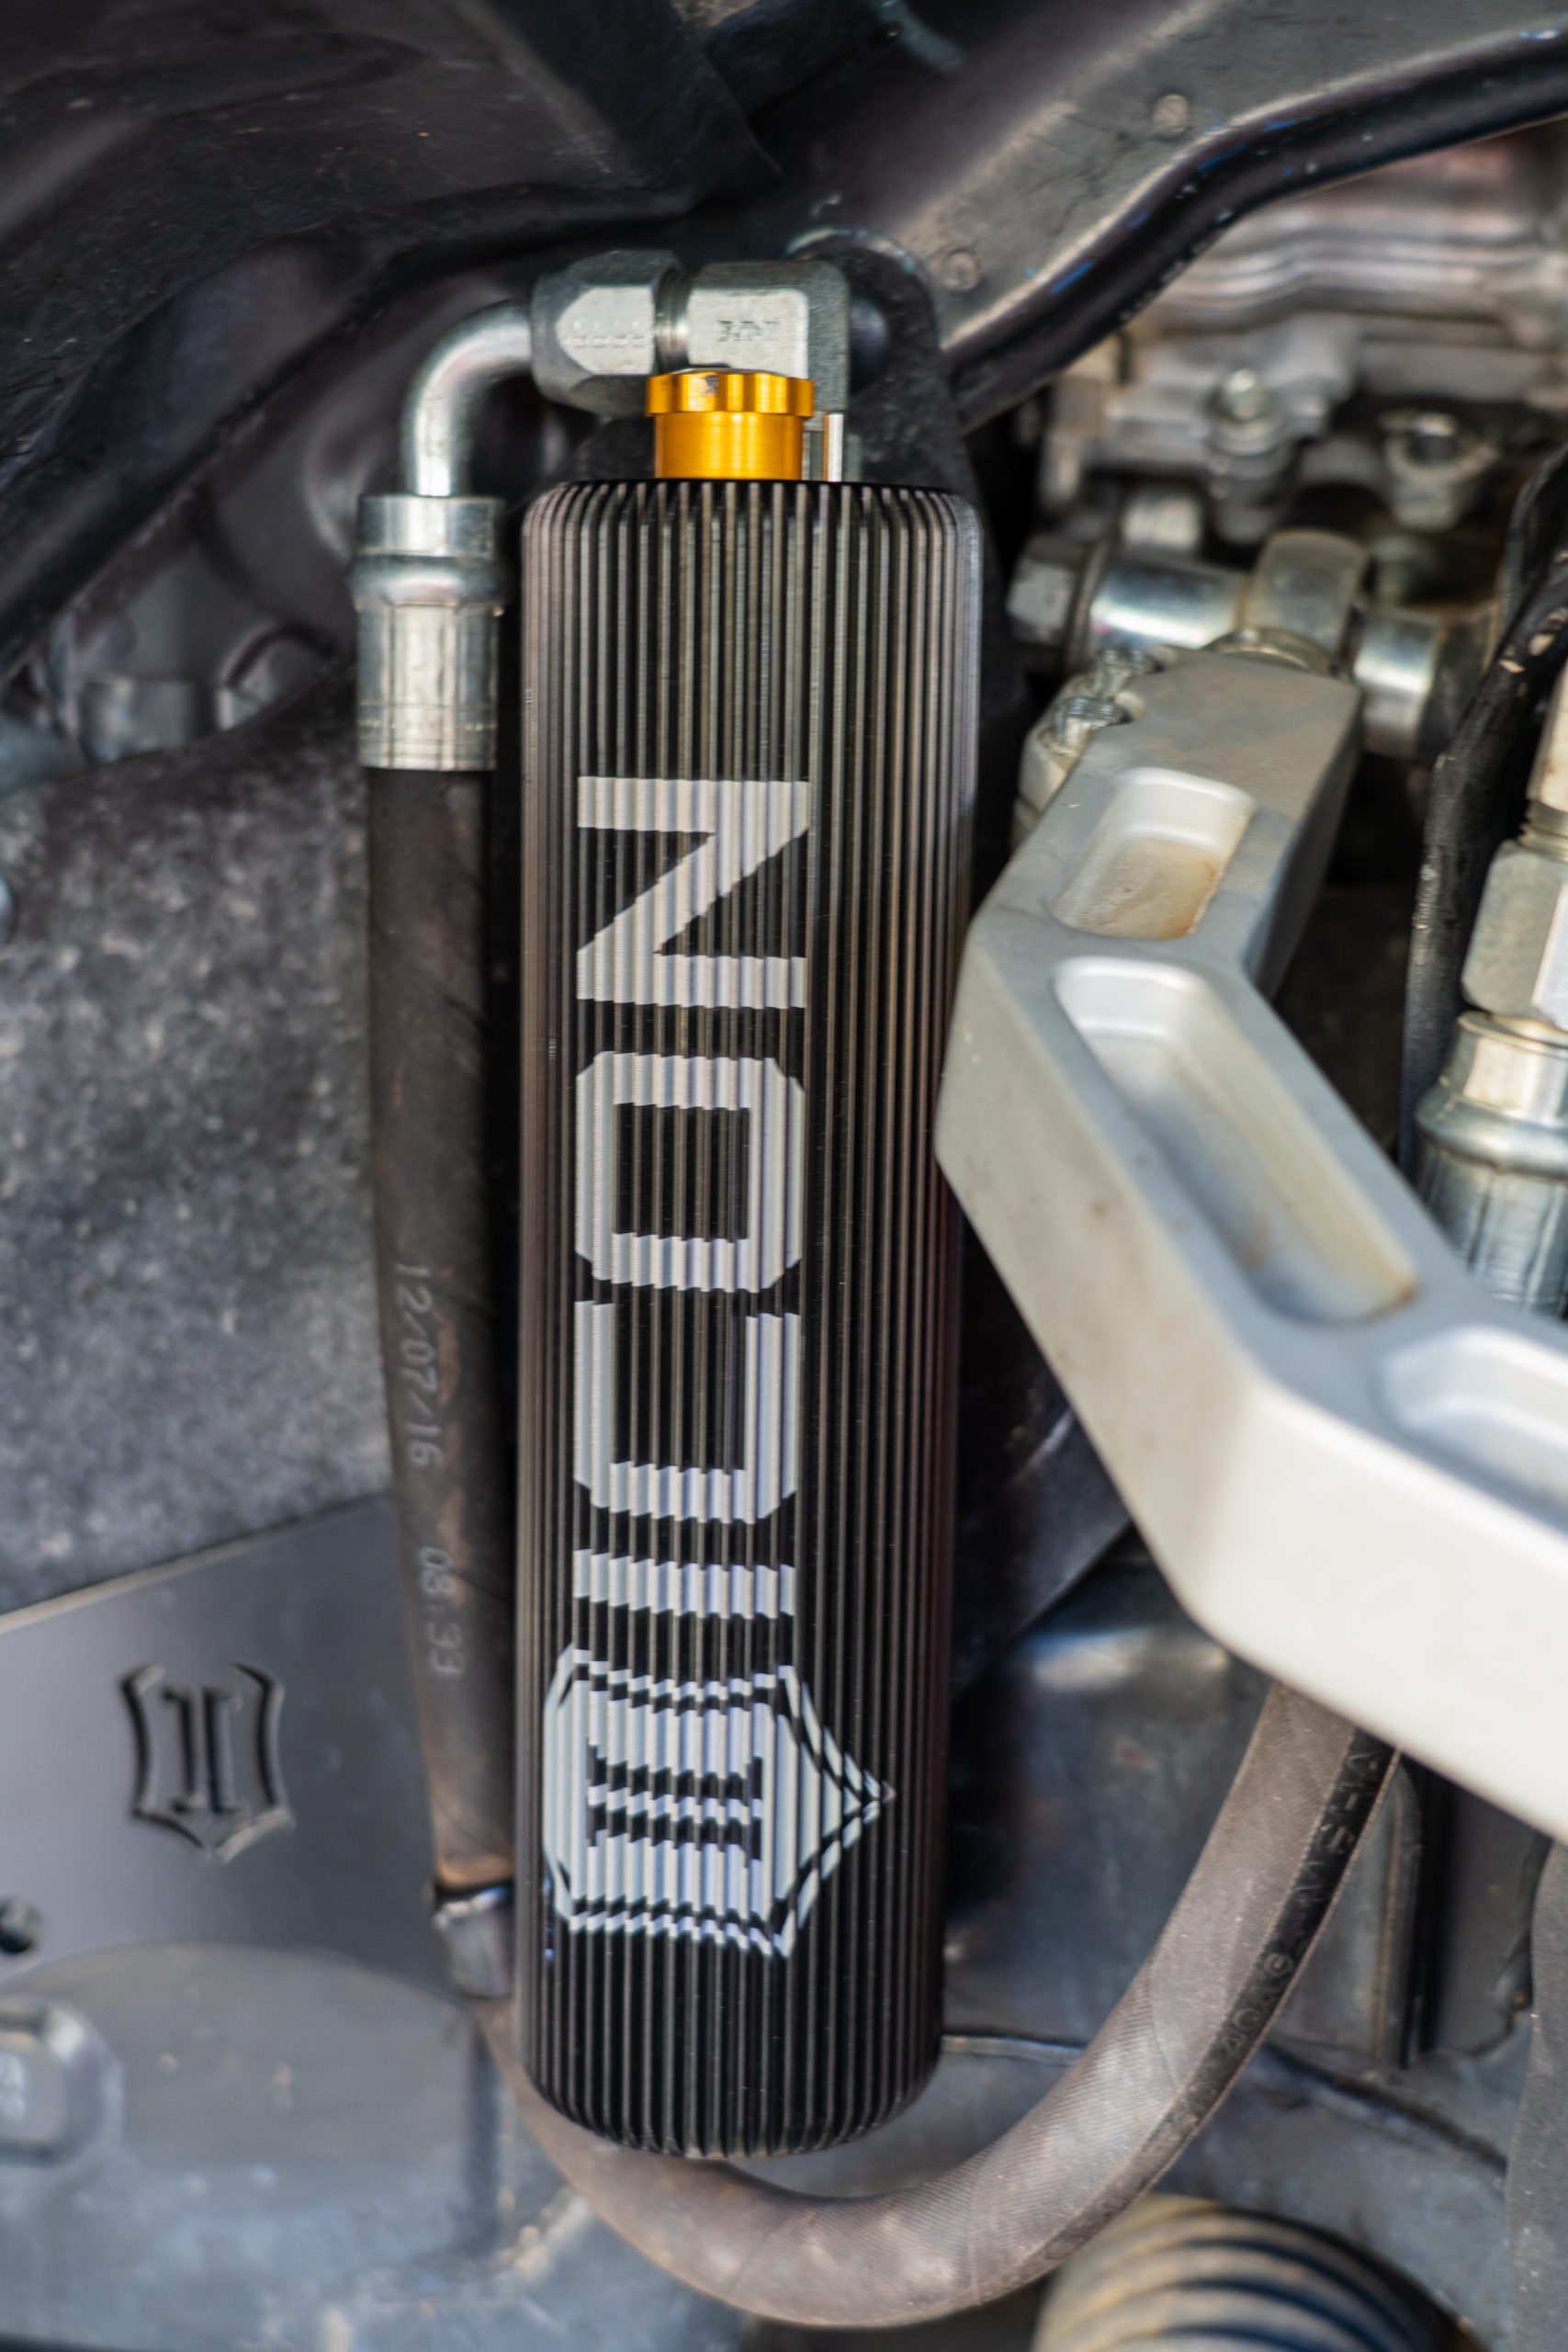
In the case of ICON shocks, a rebuild is also a great time to make upgrades to your shocks. Depending on the model of shock and vehicle application that you’re working with, there may be a number of performance upgrades that you can add to your shocks. For example, you can upgrade your remote reservoirs to finned reservoirs which significantly enhance oil cooling. More oil cooling capacity means that you can push your suspension harder and for a longer period of time before you start to experience shock fade. These finned reseviors also happen to look very good at cars and coffee too. You can also add ICON’s awesome Compression Damping Control (CDC) Valves to your reservoirs if they don’t already have CDC valves. This little adjuster can make a world of difference in your suspension’s performance by providing an externally adjustable clicker that allows you to make a very noticeable compression damping change.
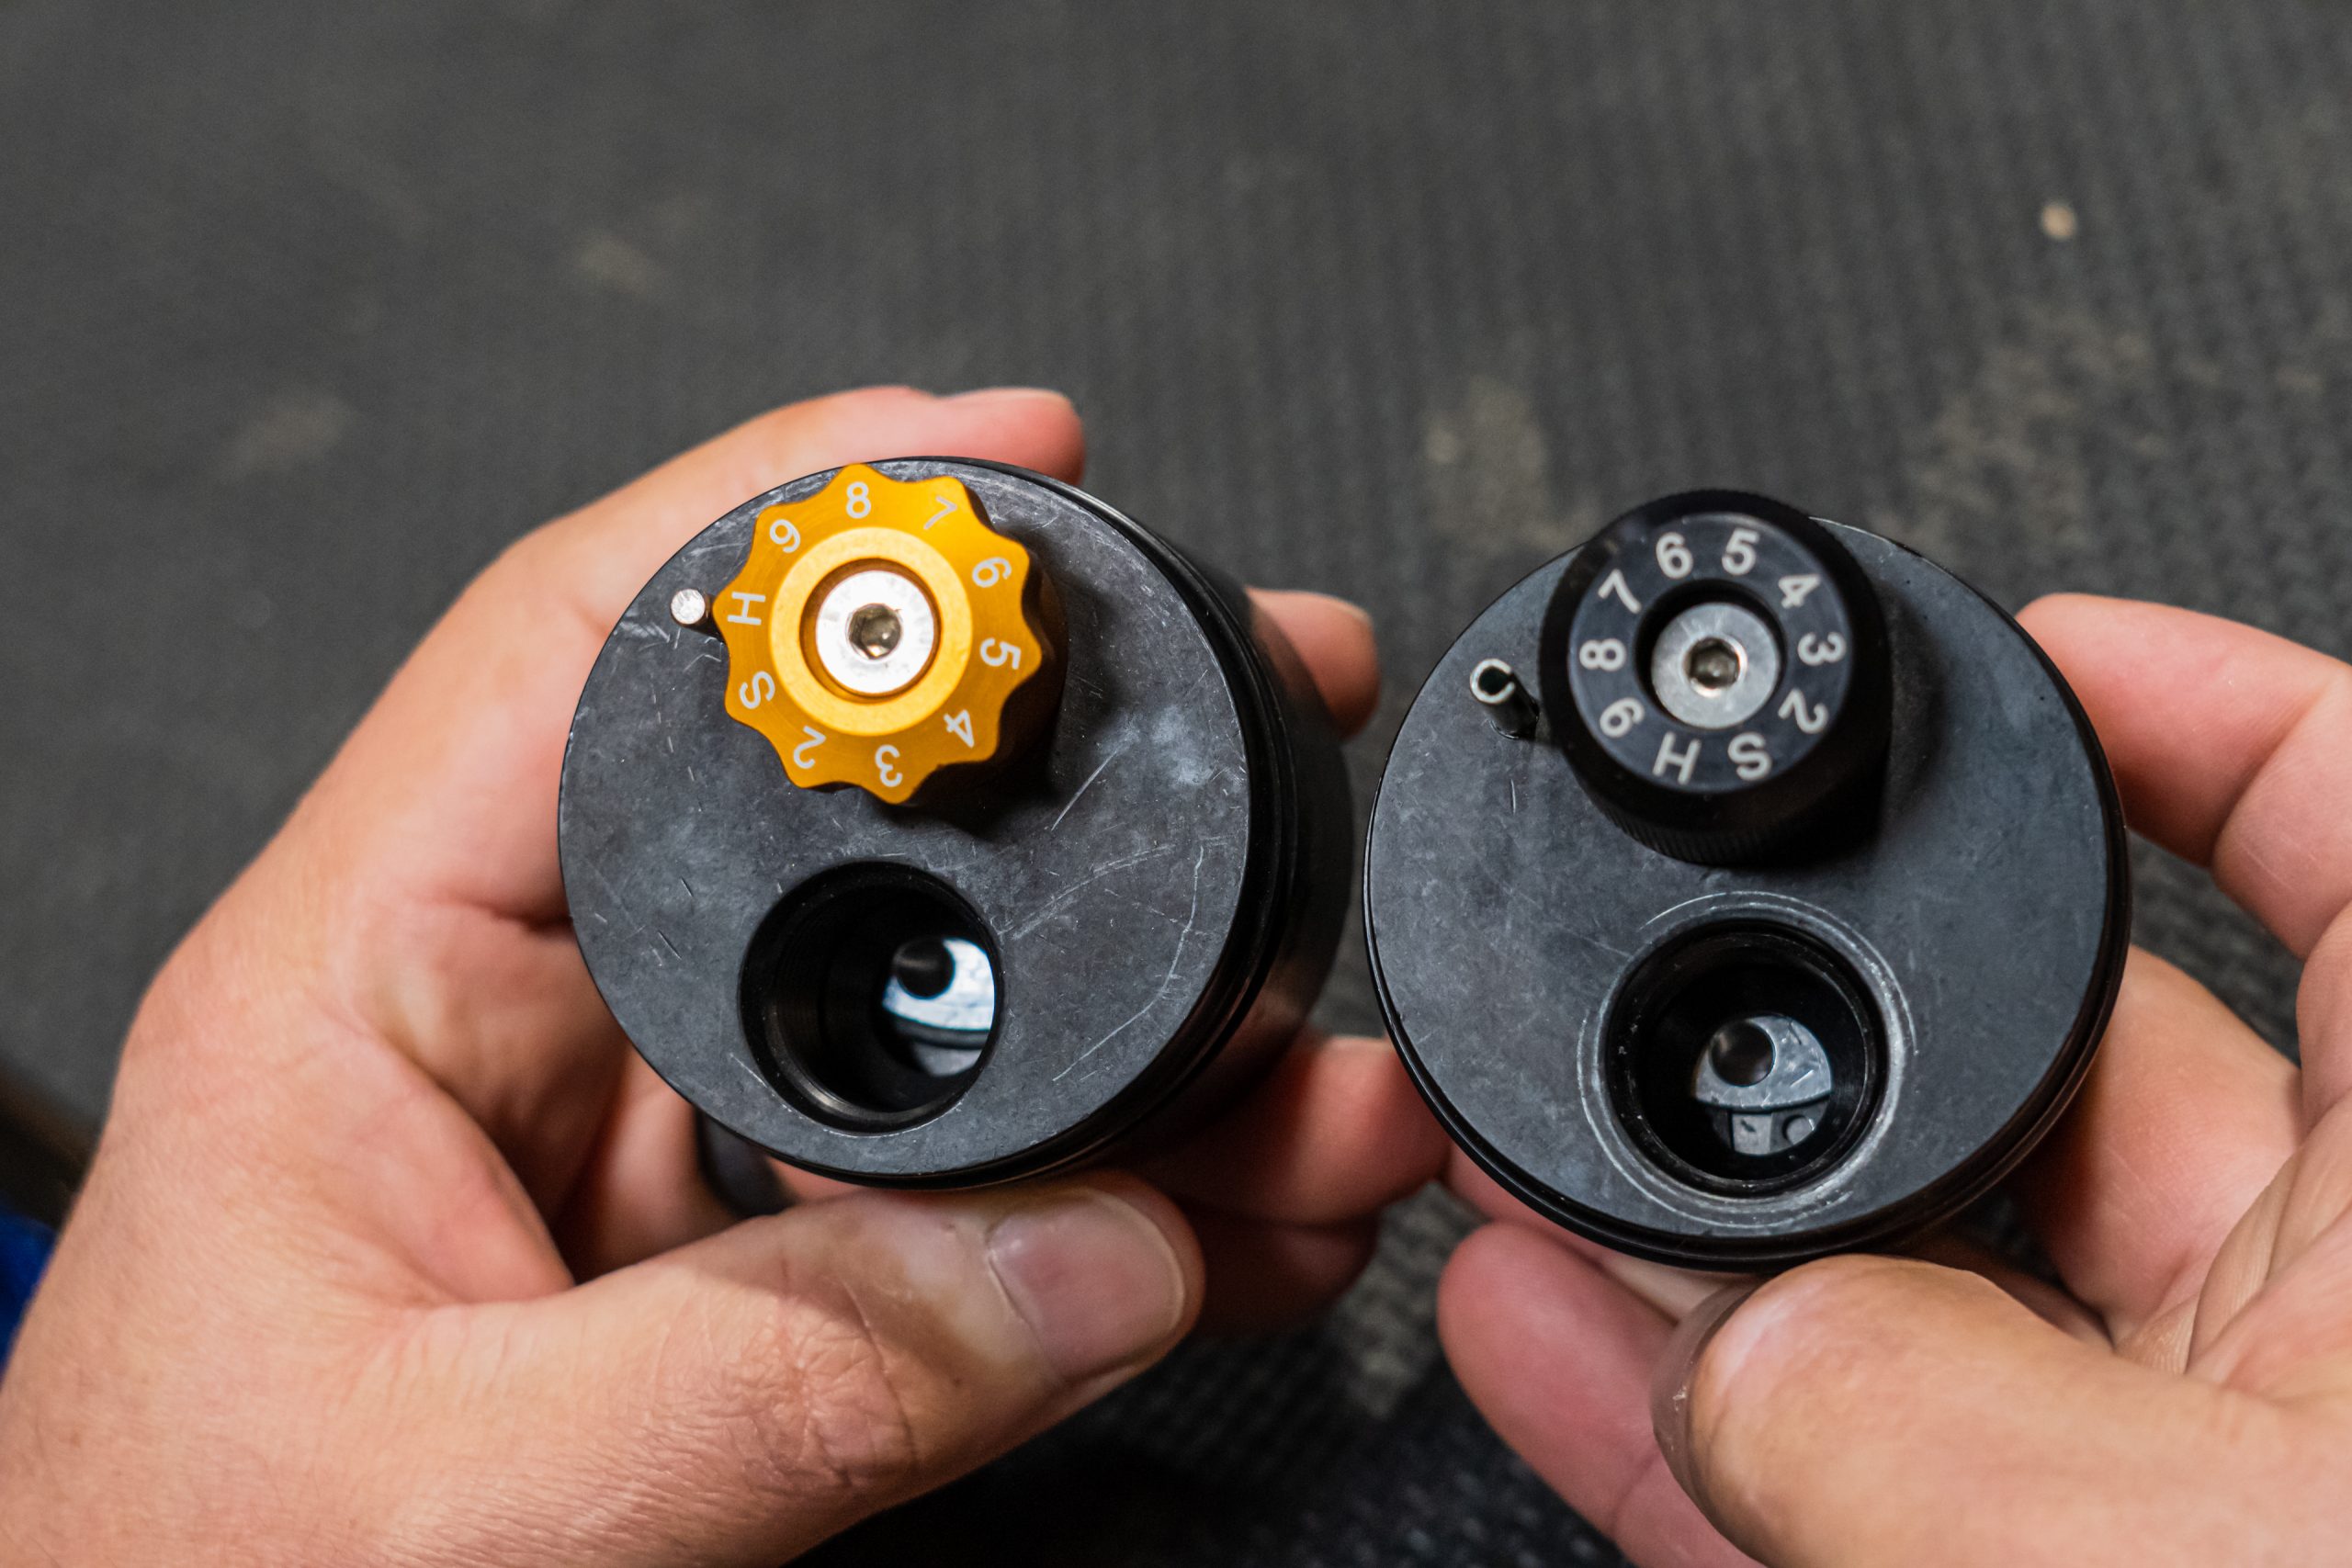

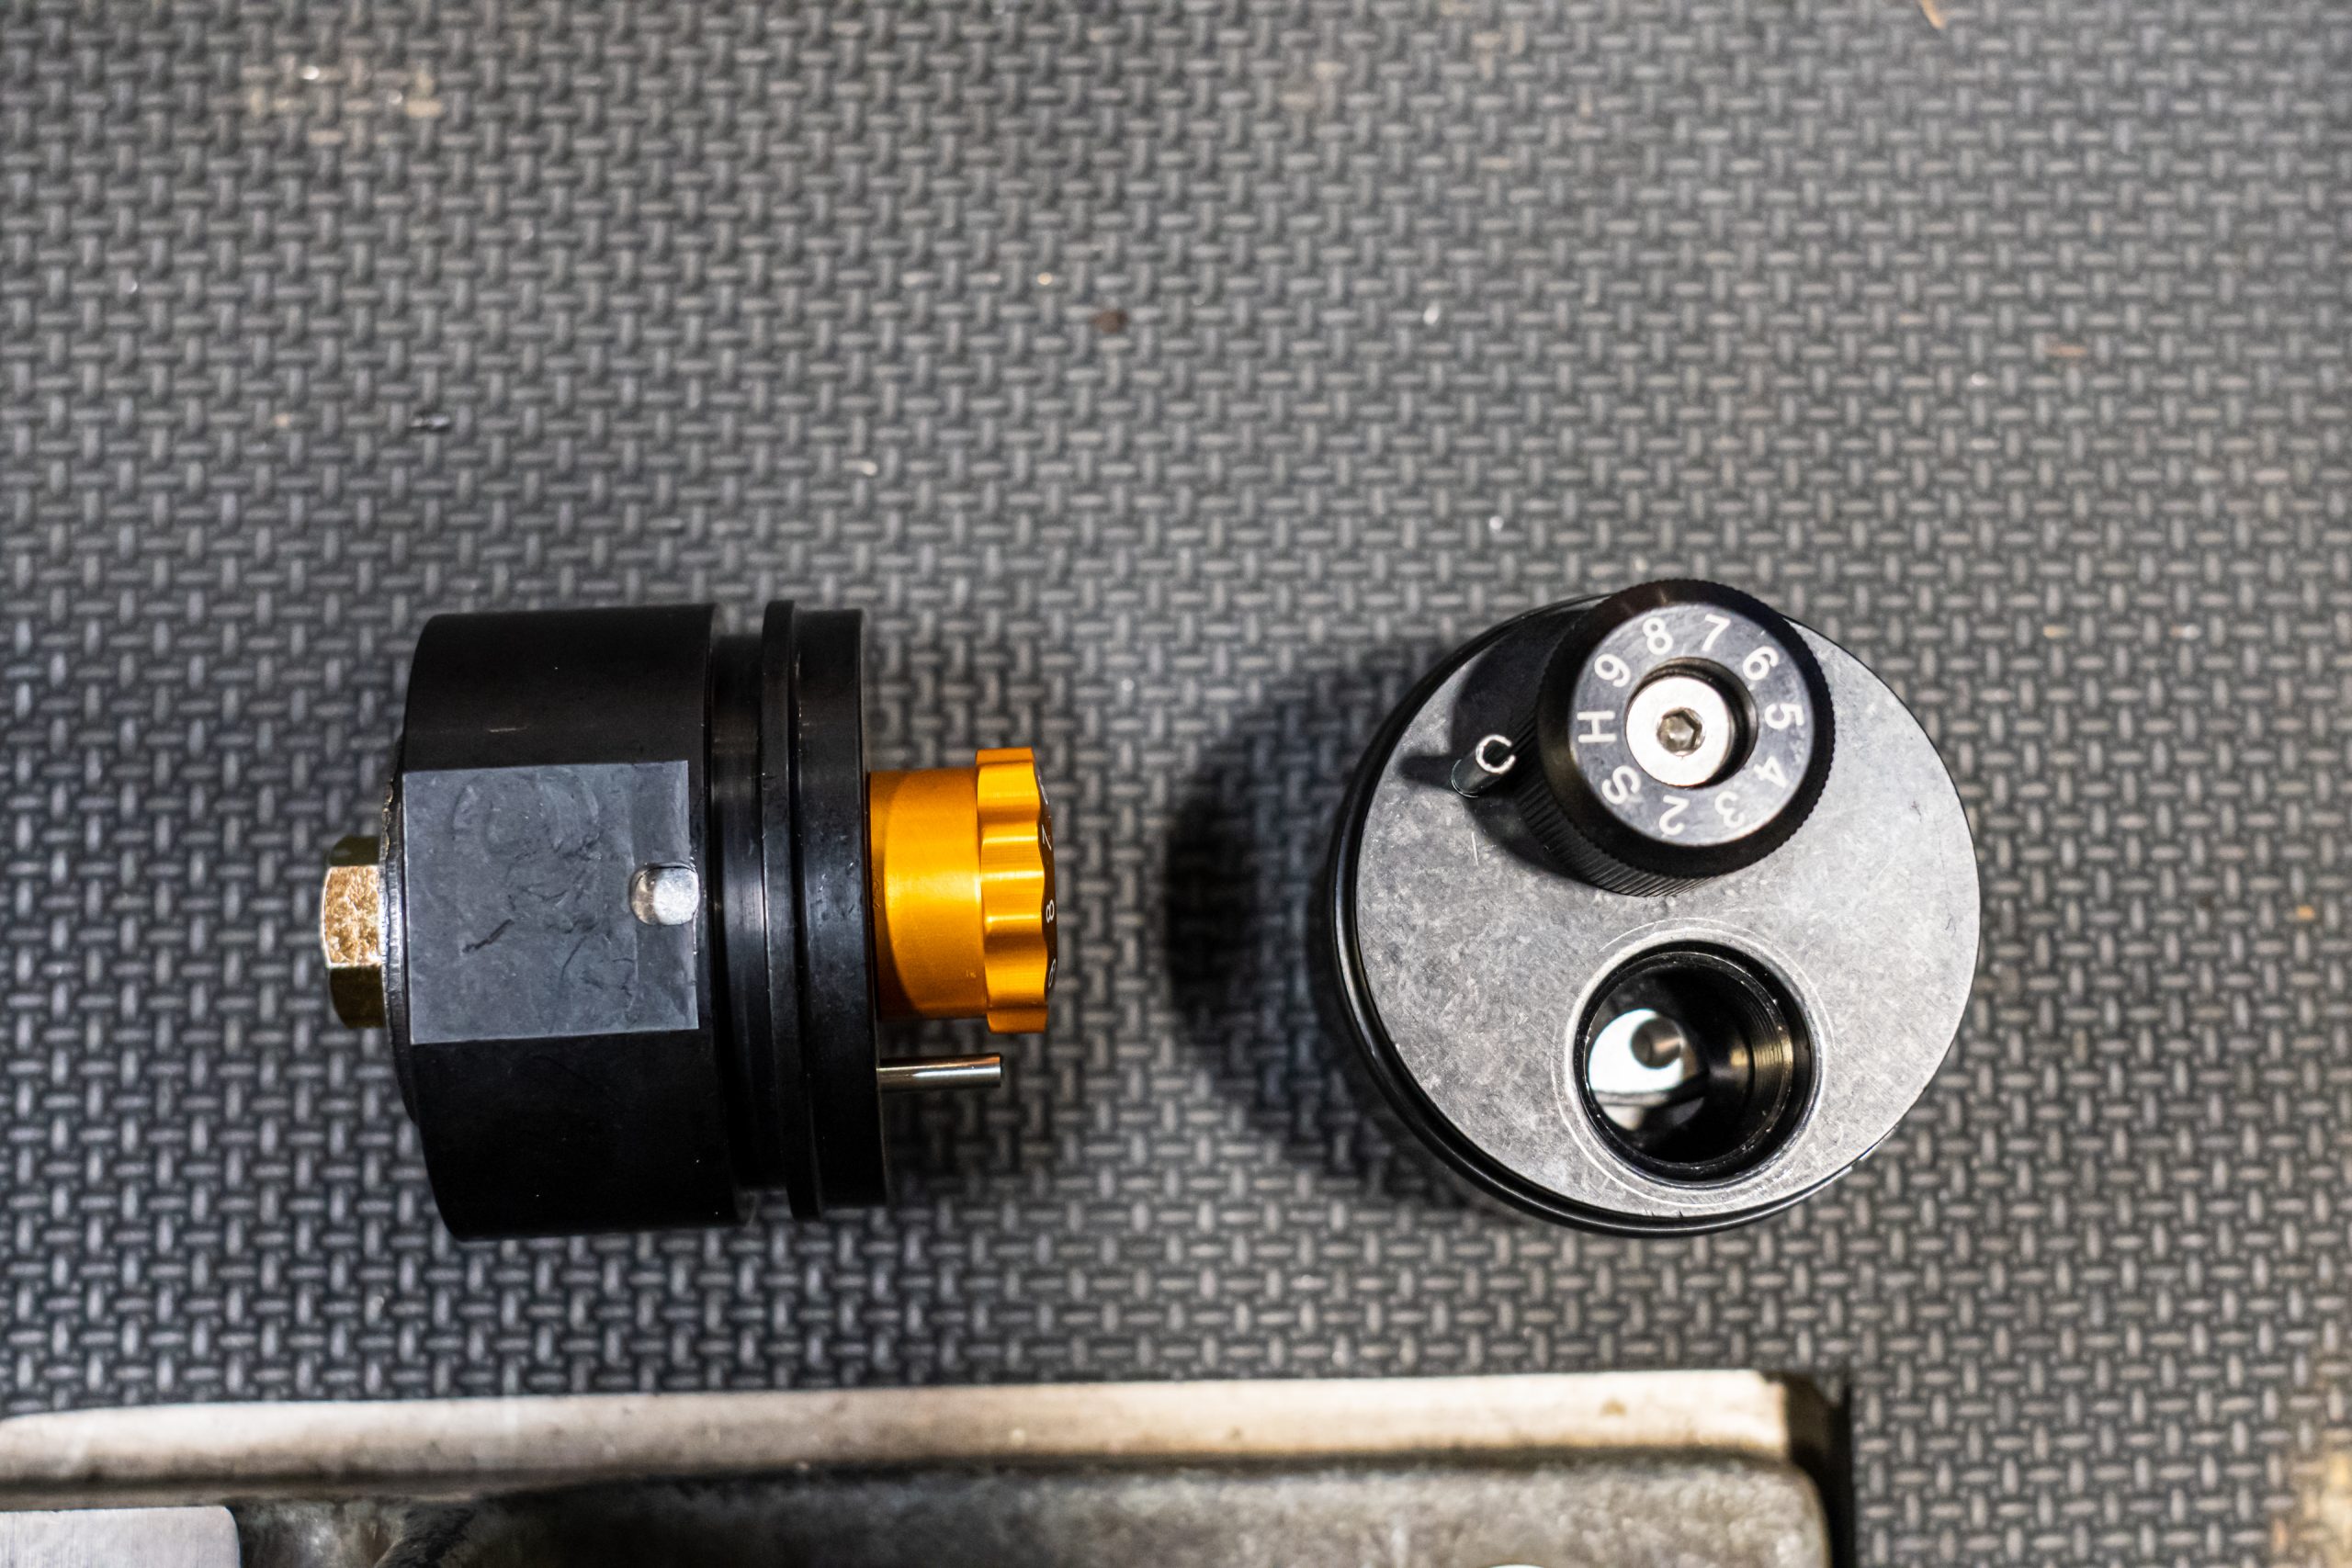

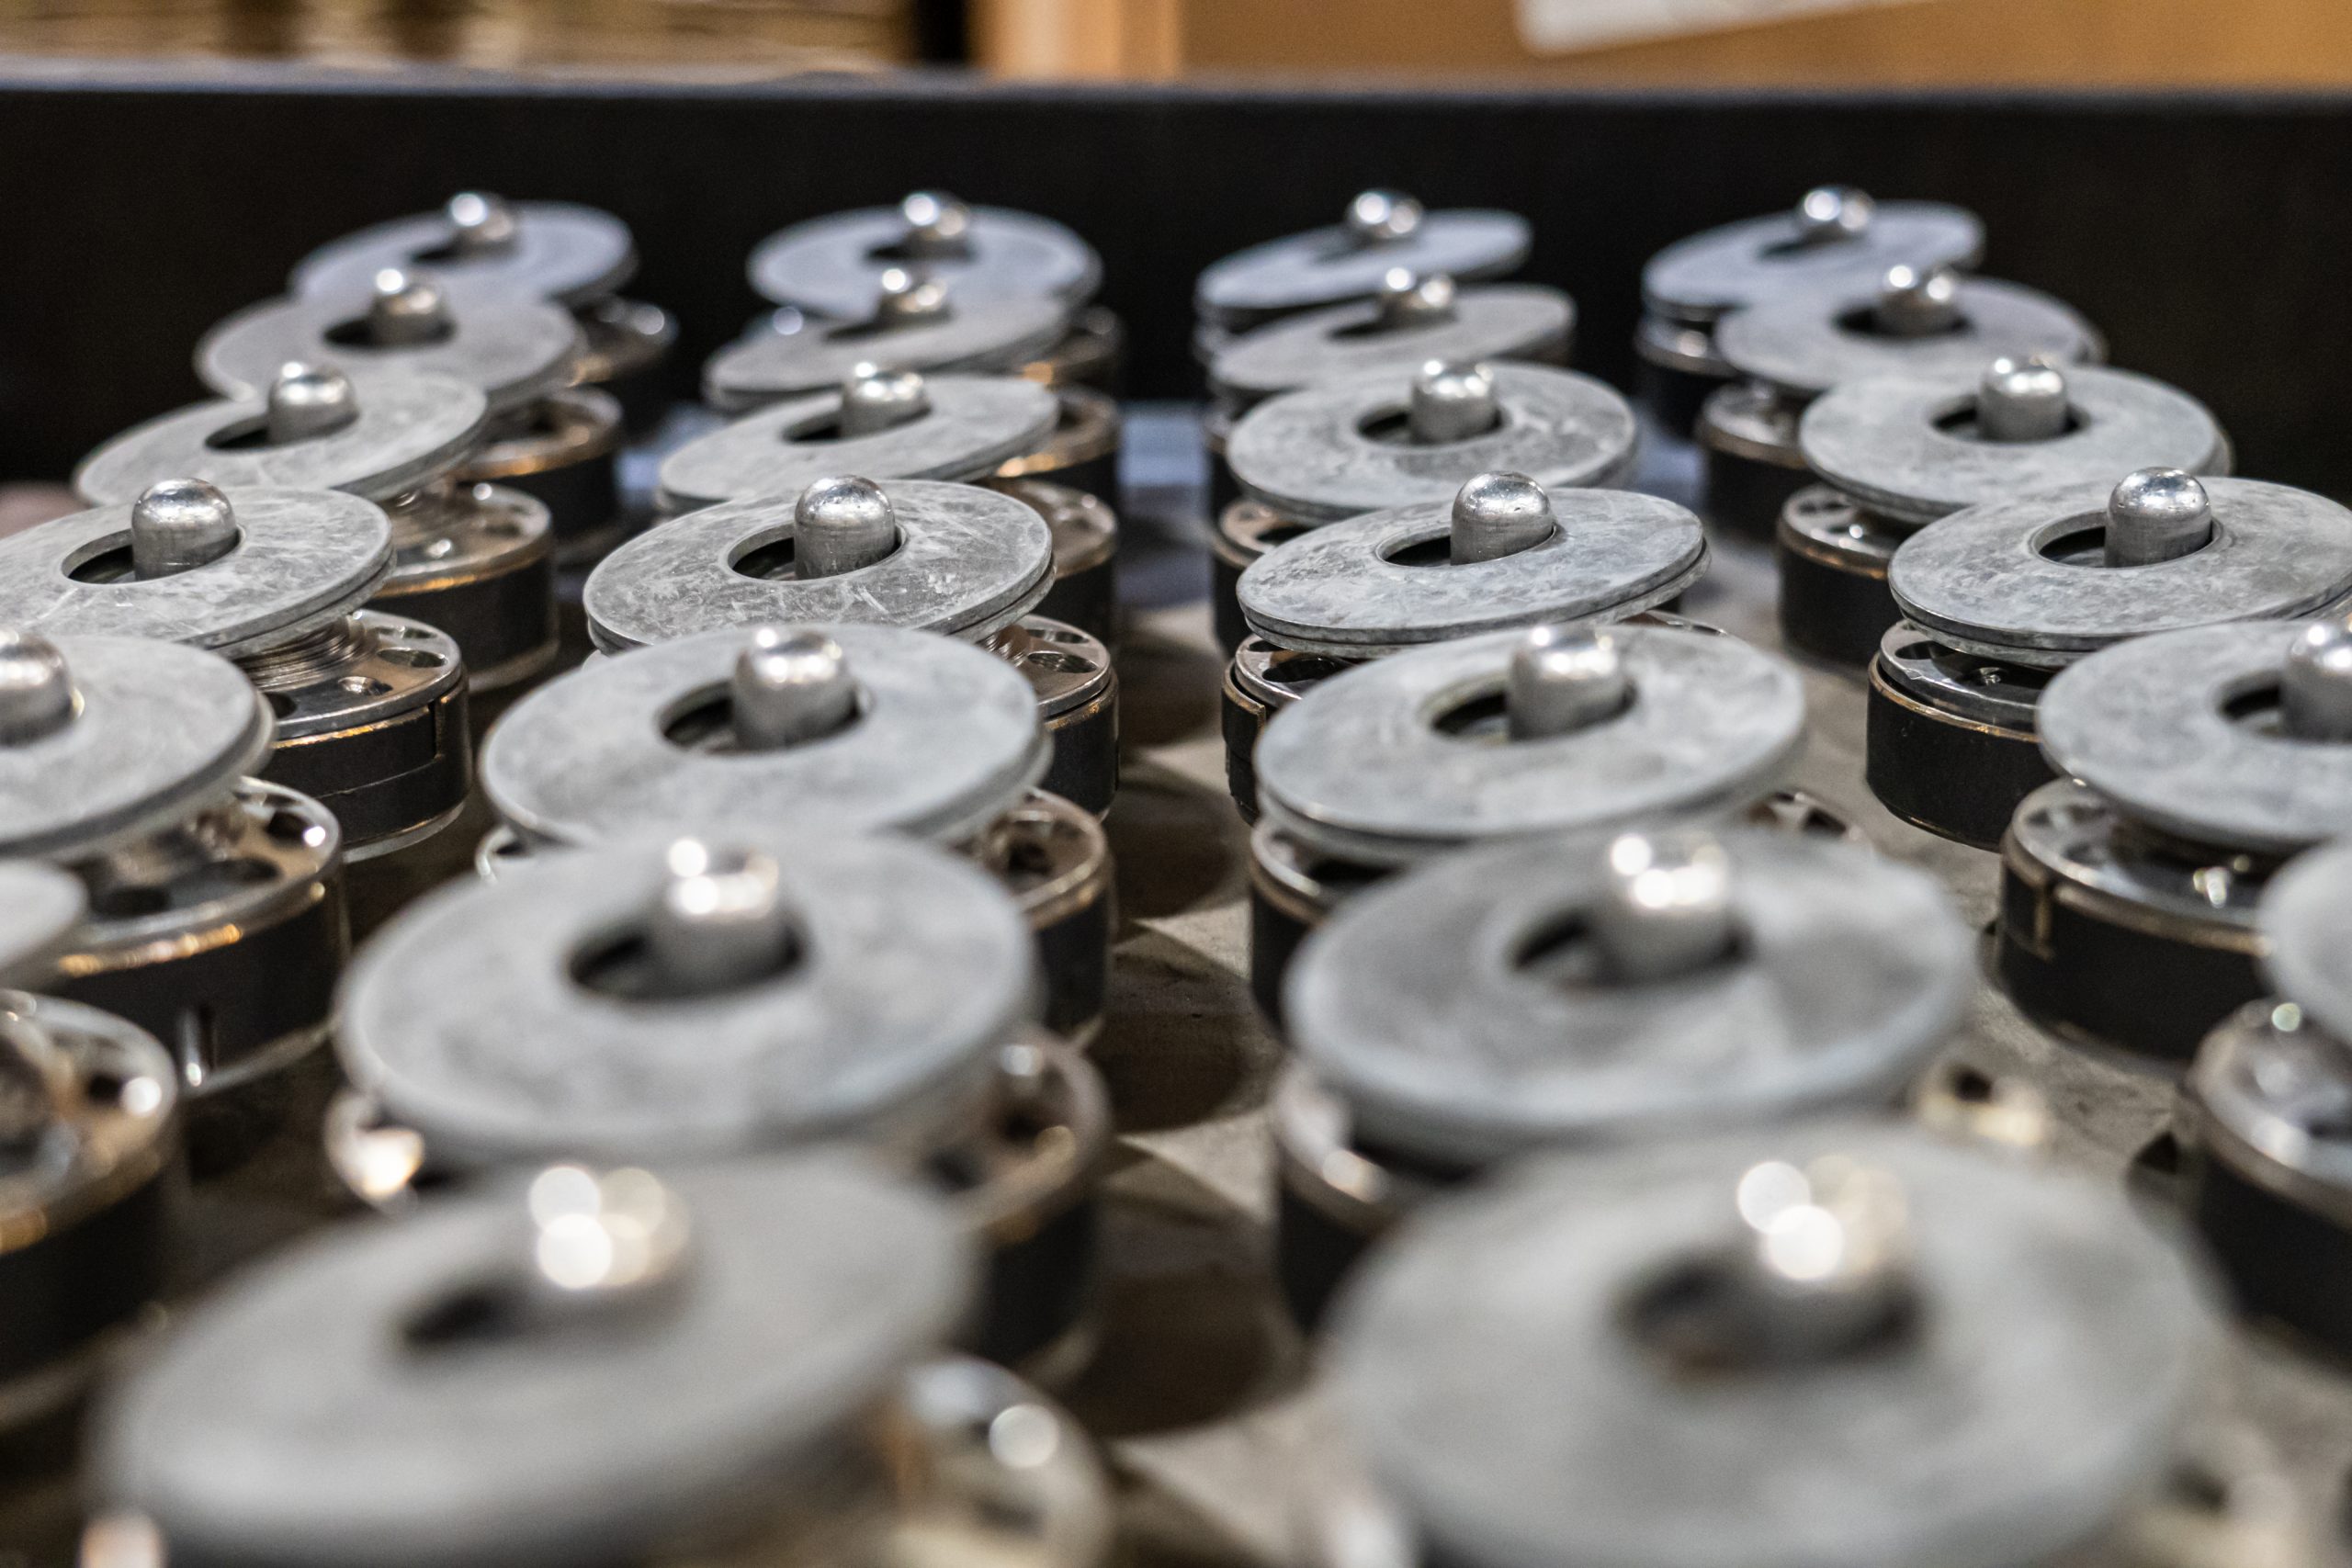
To explain the value of the CDC valve in real world use, this valve allows you to adjust your suspension to match the damping needed with the type of surface you’re driving on. For example, say you’re going to be spending a long time on a dirt road with a bunch of gravel and small embedded rock. You can back your CDC valves off toward the soft end of the adjuster to allow for more small bump compliance. Now lets say you’re going to go play in the sand dunes, which means you’re going to be spending time smashing whoops and experiencing big G-outs in bowls. You can add in a bunch of compression damping to keep your shocks from blowing through all their travel, which will allow you to carry more speed in the sand. The CDC Valve works by metering the flow of oil through a part that looks like the cylinder (the part that holds the bullets) of a 10-shot revolver. As you adjust the CDC Valve from soft you hard, you line up a port that restricts more and more oil, which increases compression damping with each click. The CDC Valve allows you to tune your suspension to match the load you’re carrying and the surface you’re driving on, and I would absolutely recommend adding them to your setup if you don’t have them.

Yet with or without a CDC Valve, both the compression and rebound of an ICON shock can be adjusted during a rebuild. By changing the valve shim stack that allows oil to flow through the piston attached to the end of your shock shaft, you can adjust the amount of compression and rebound damping that your shocks have. This is yet another thing that can’t be done with non-rebuildable shocks, where you’re just stuck with the shock manufacturer’s generic setting. In many cases, non-rebuildable shocks are valved much too soft for Adventure Travel use, and the loads these vehicles carry while traveling “overland”. ICON spends a great deal of time coming up with vehicle specific tunes for a number of their shocks, but additional performance can be obtained by tweaking the valving if you’ve modified your vehicle significantly from it’s stock form. You need more damping to control a heavier load, so if you’re regularly packing around several hundred pounds of payload, you could stand to adjust your valving to help better control that load. Likewise, if you’ve identified that your vehicle’s suspension is doing something that you don’t like, talking with a shock expert like Adrian can help your shock technician recommend valving changes that will correct any problems you may be experiencing.

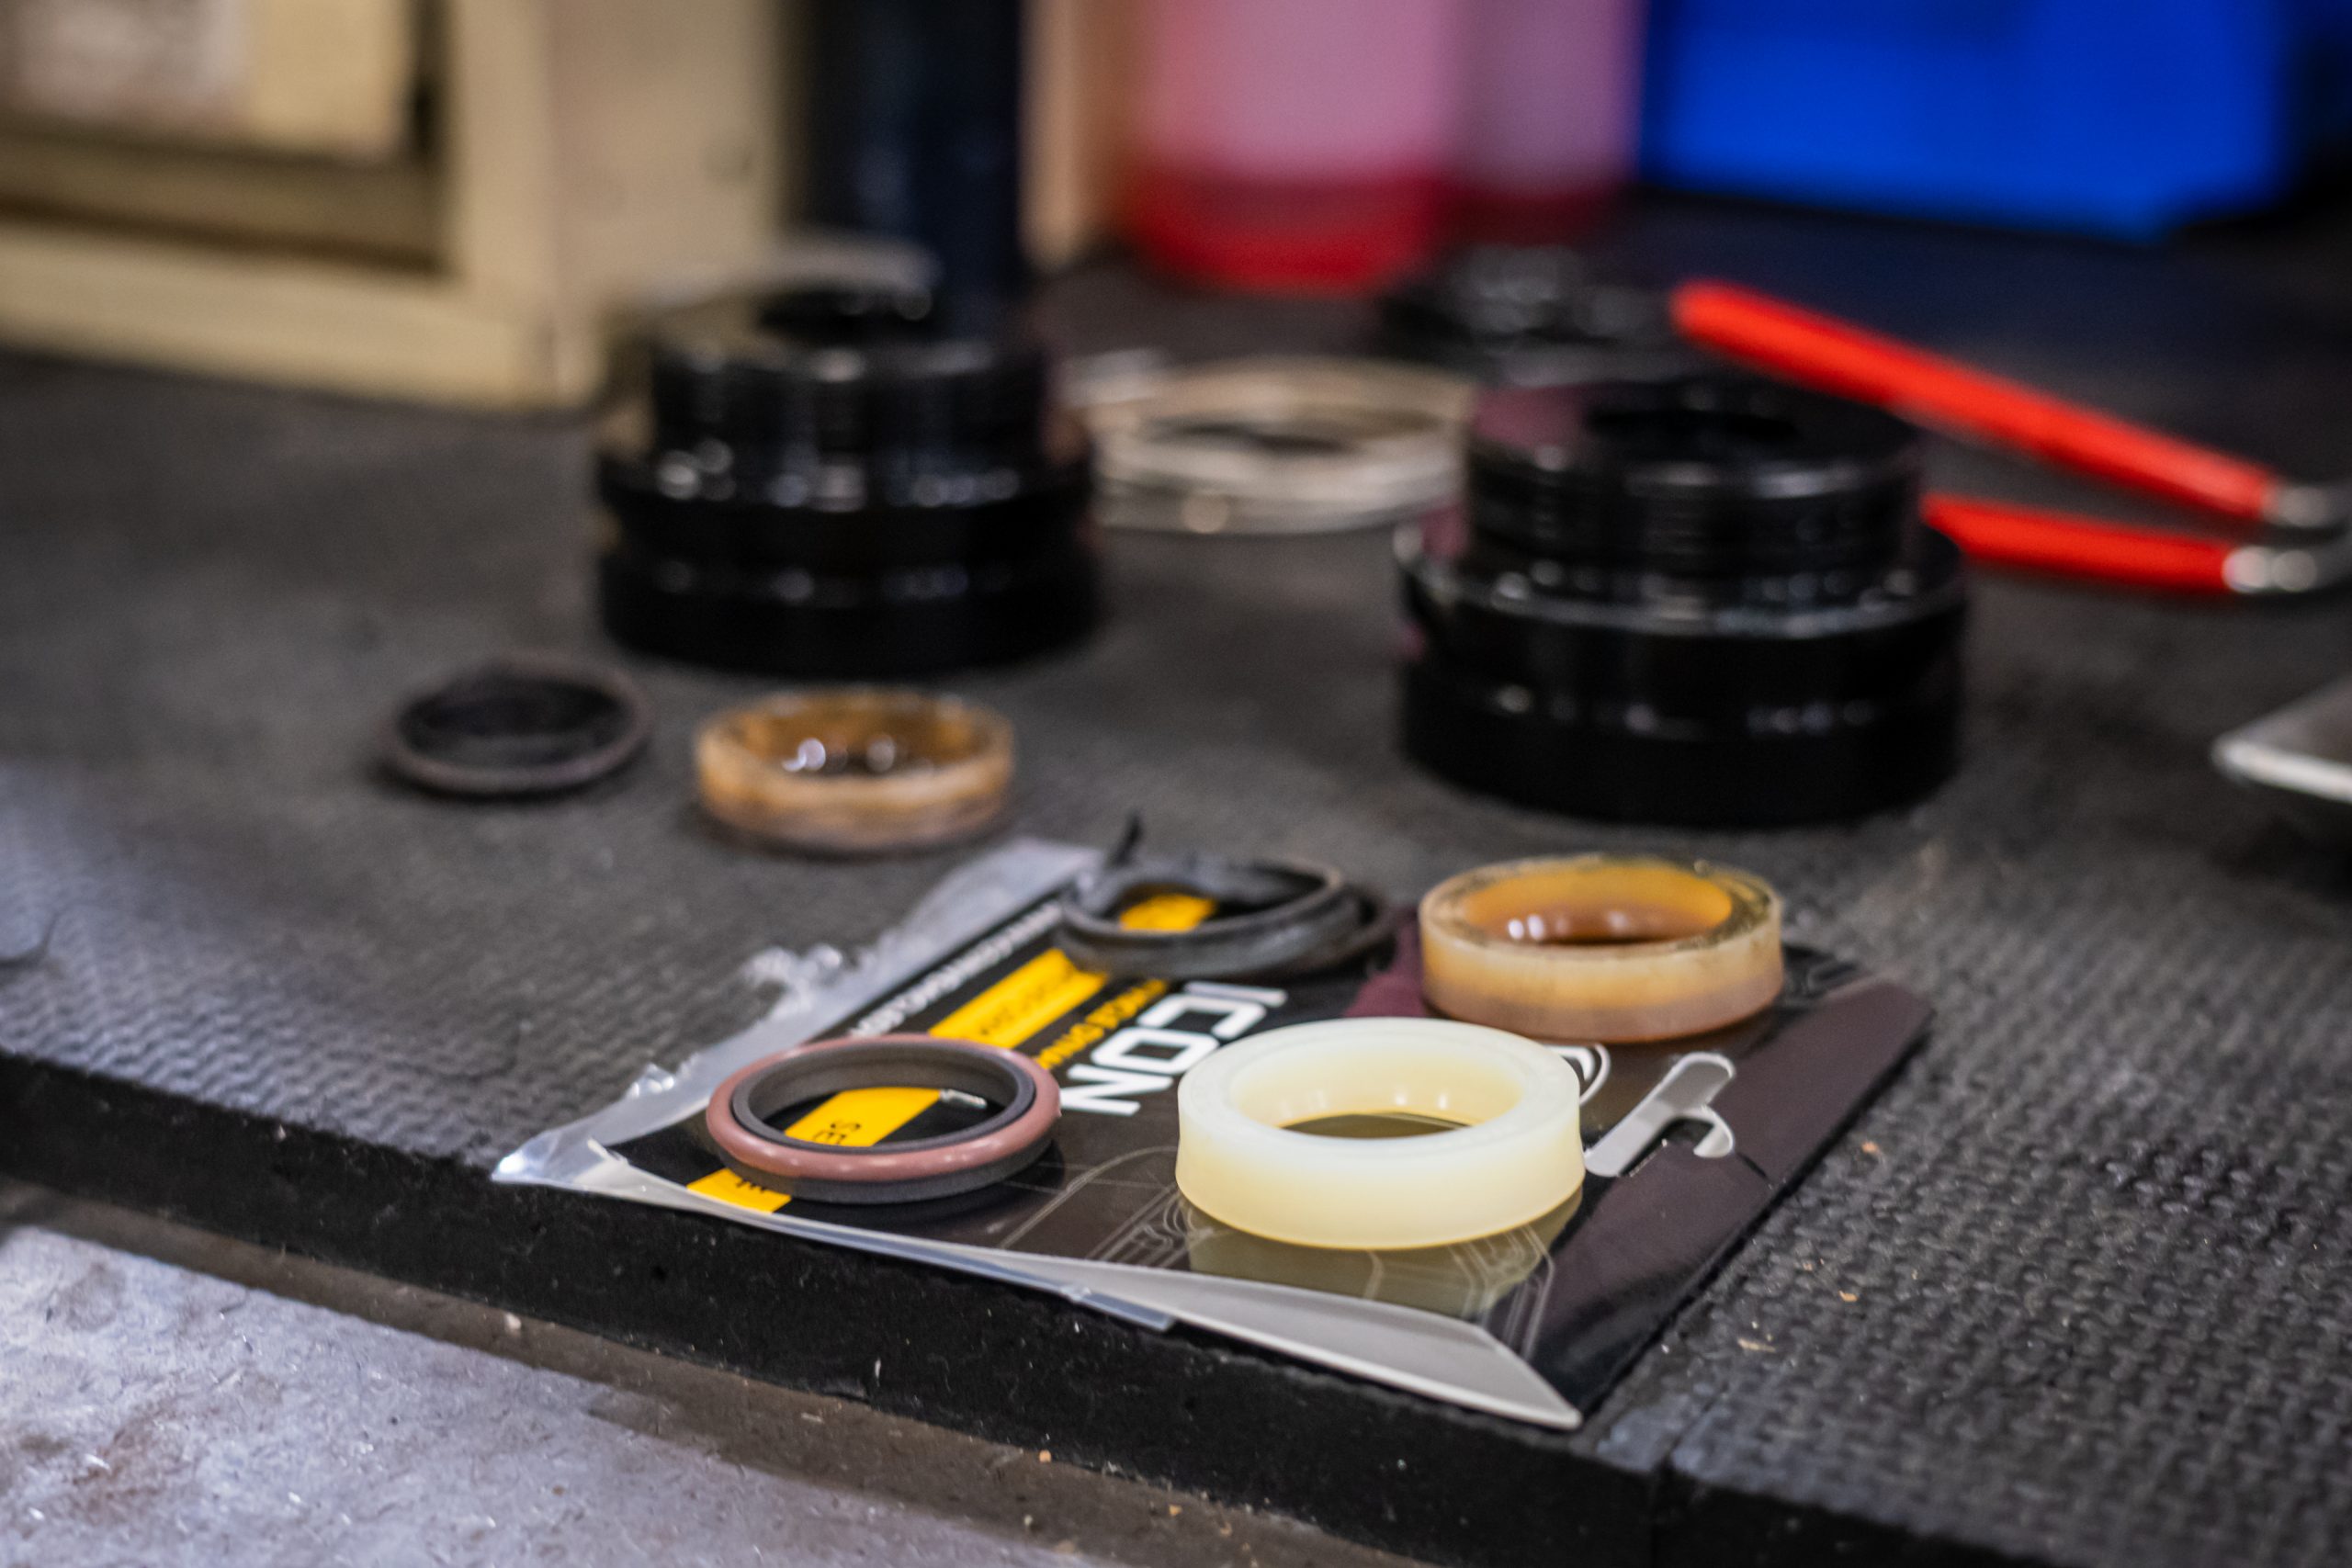
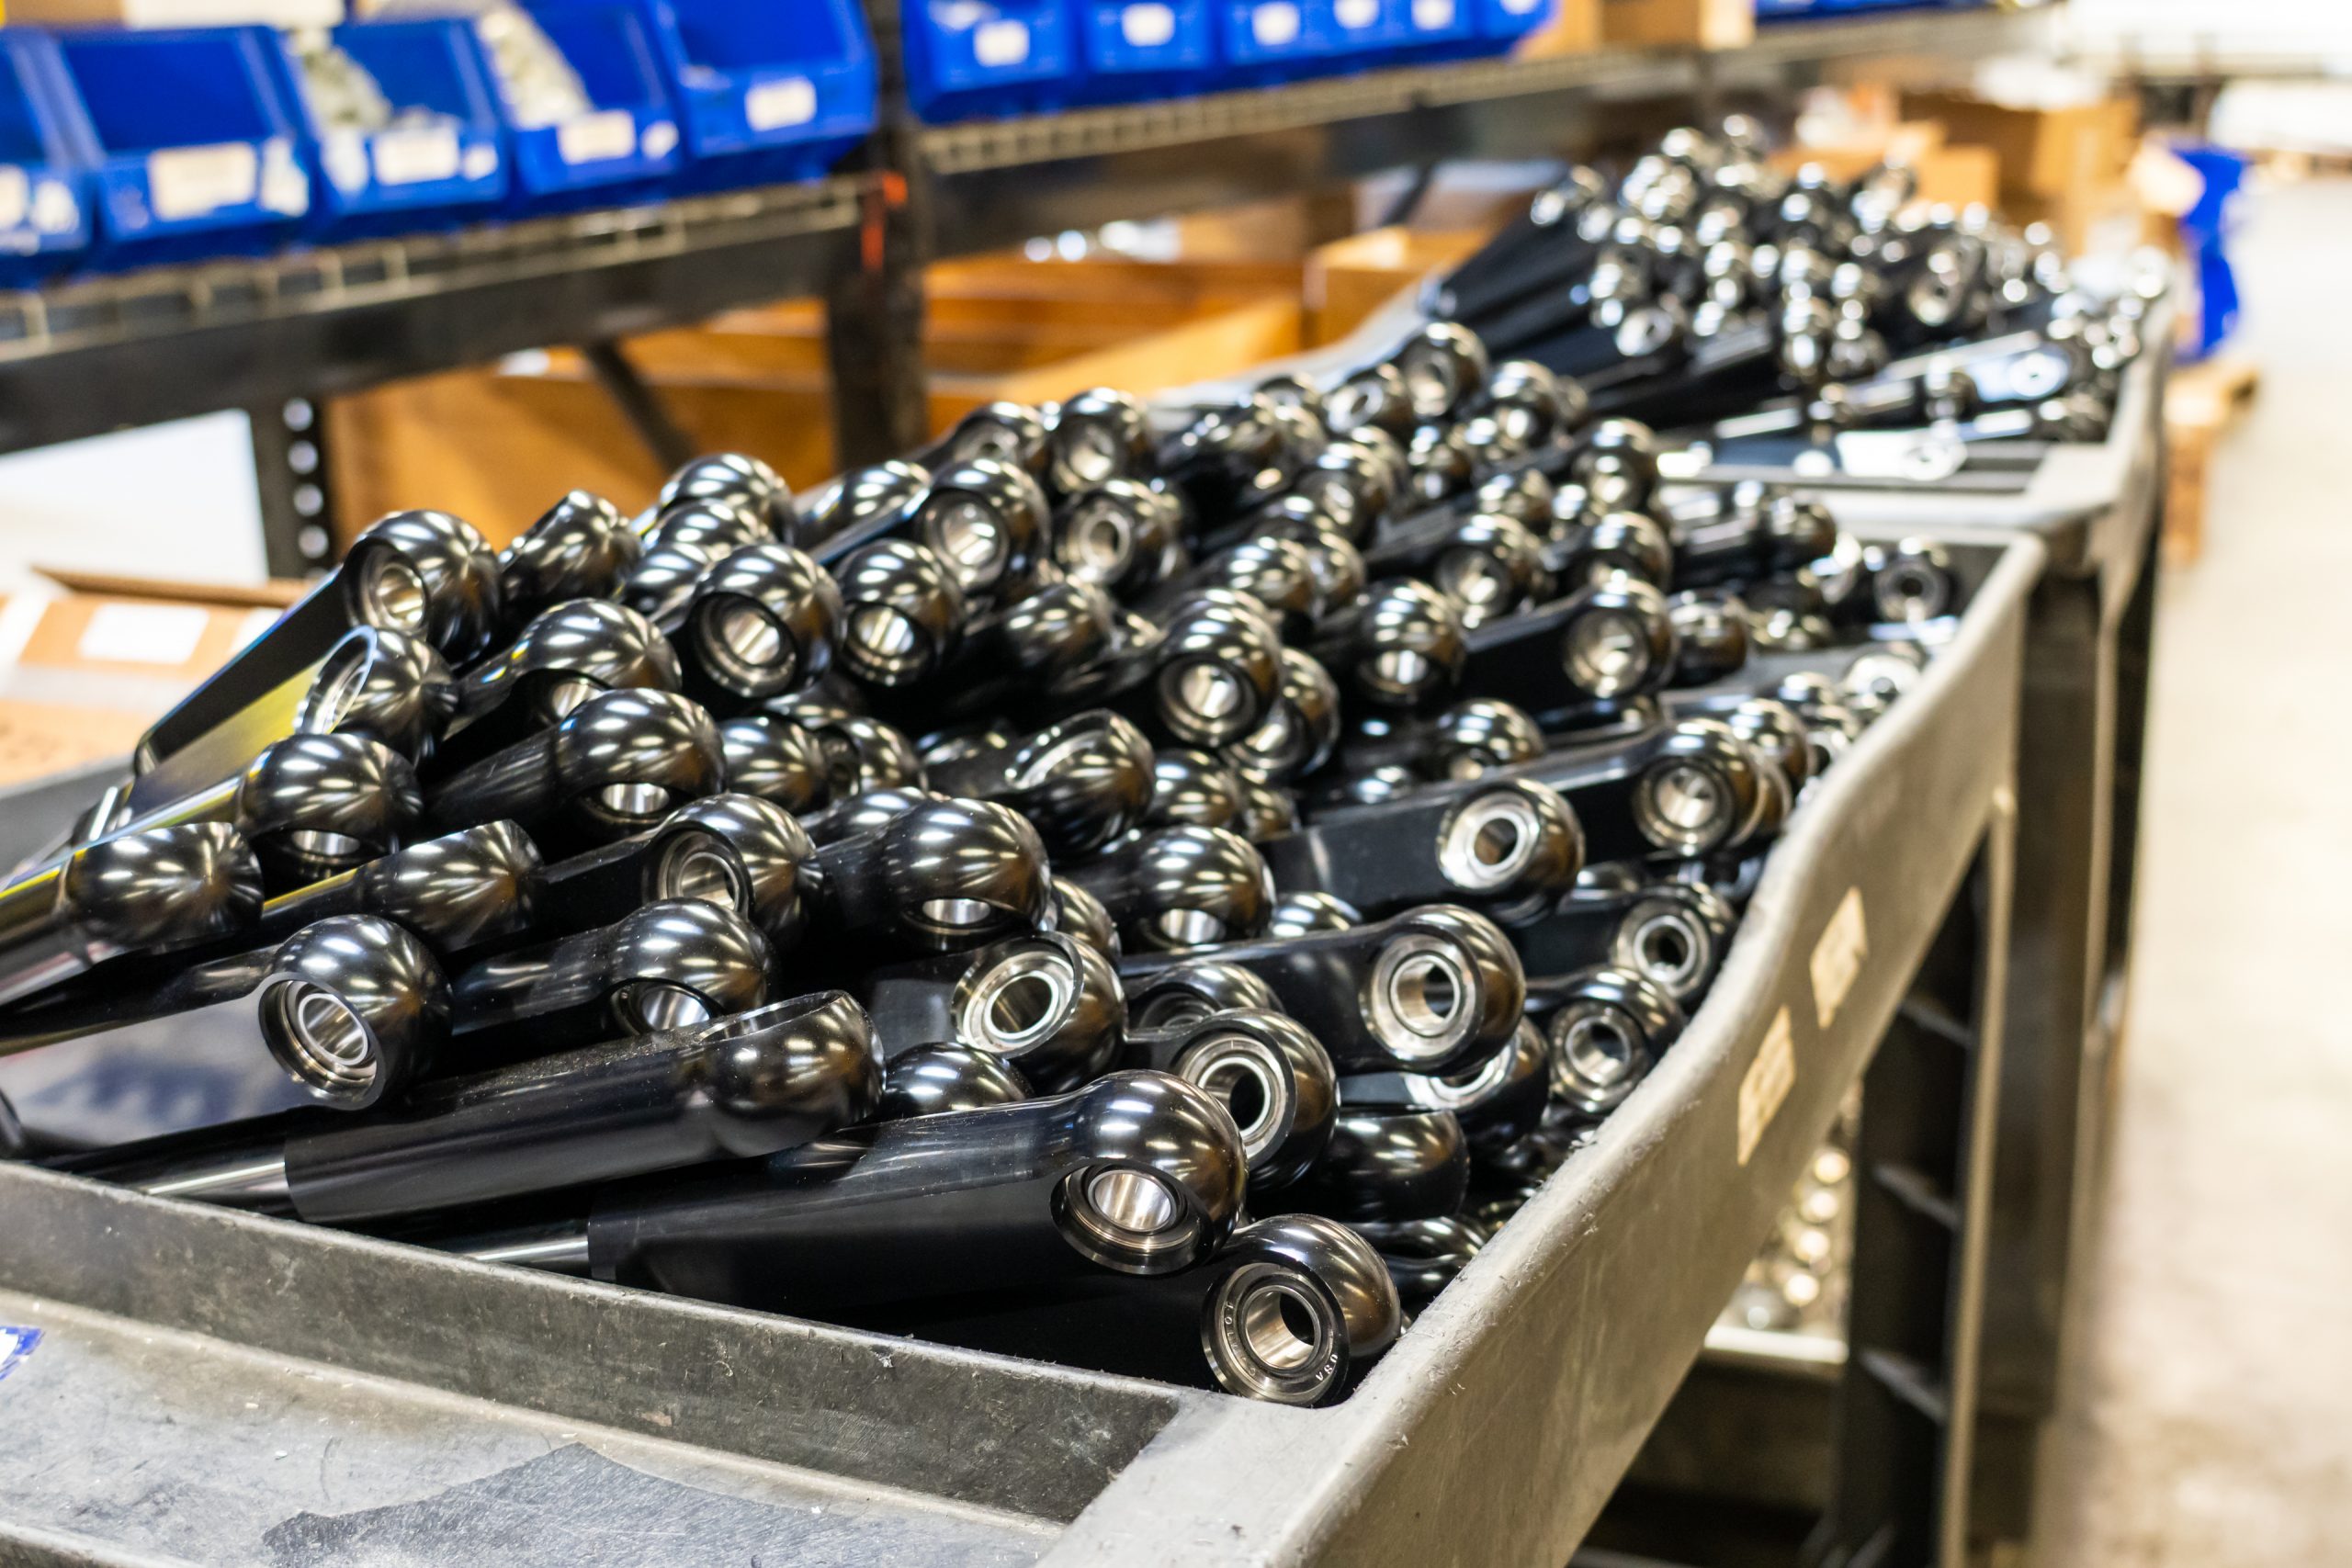
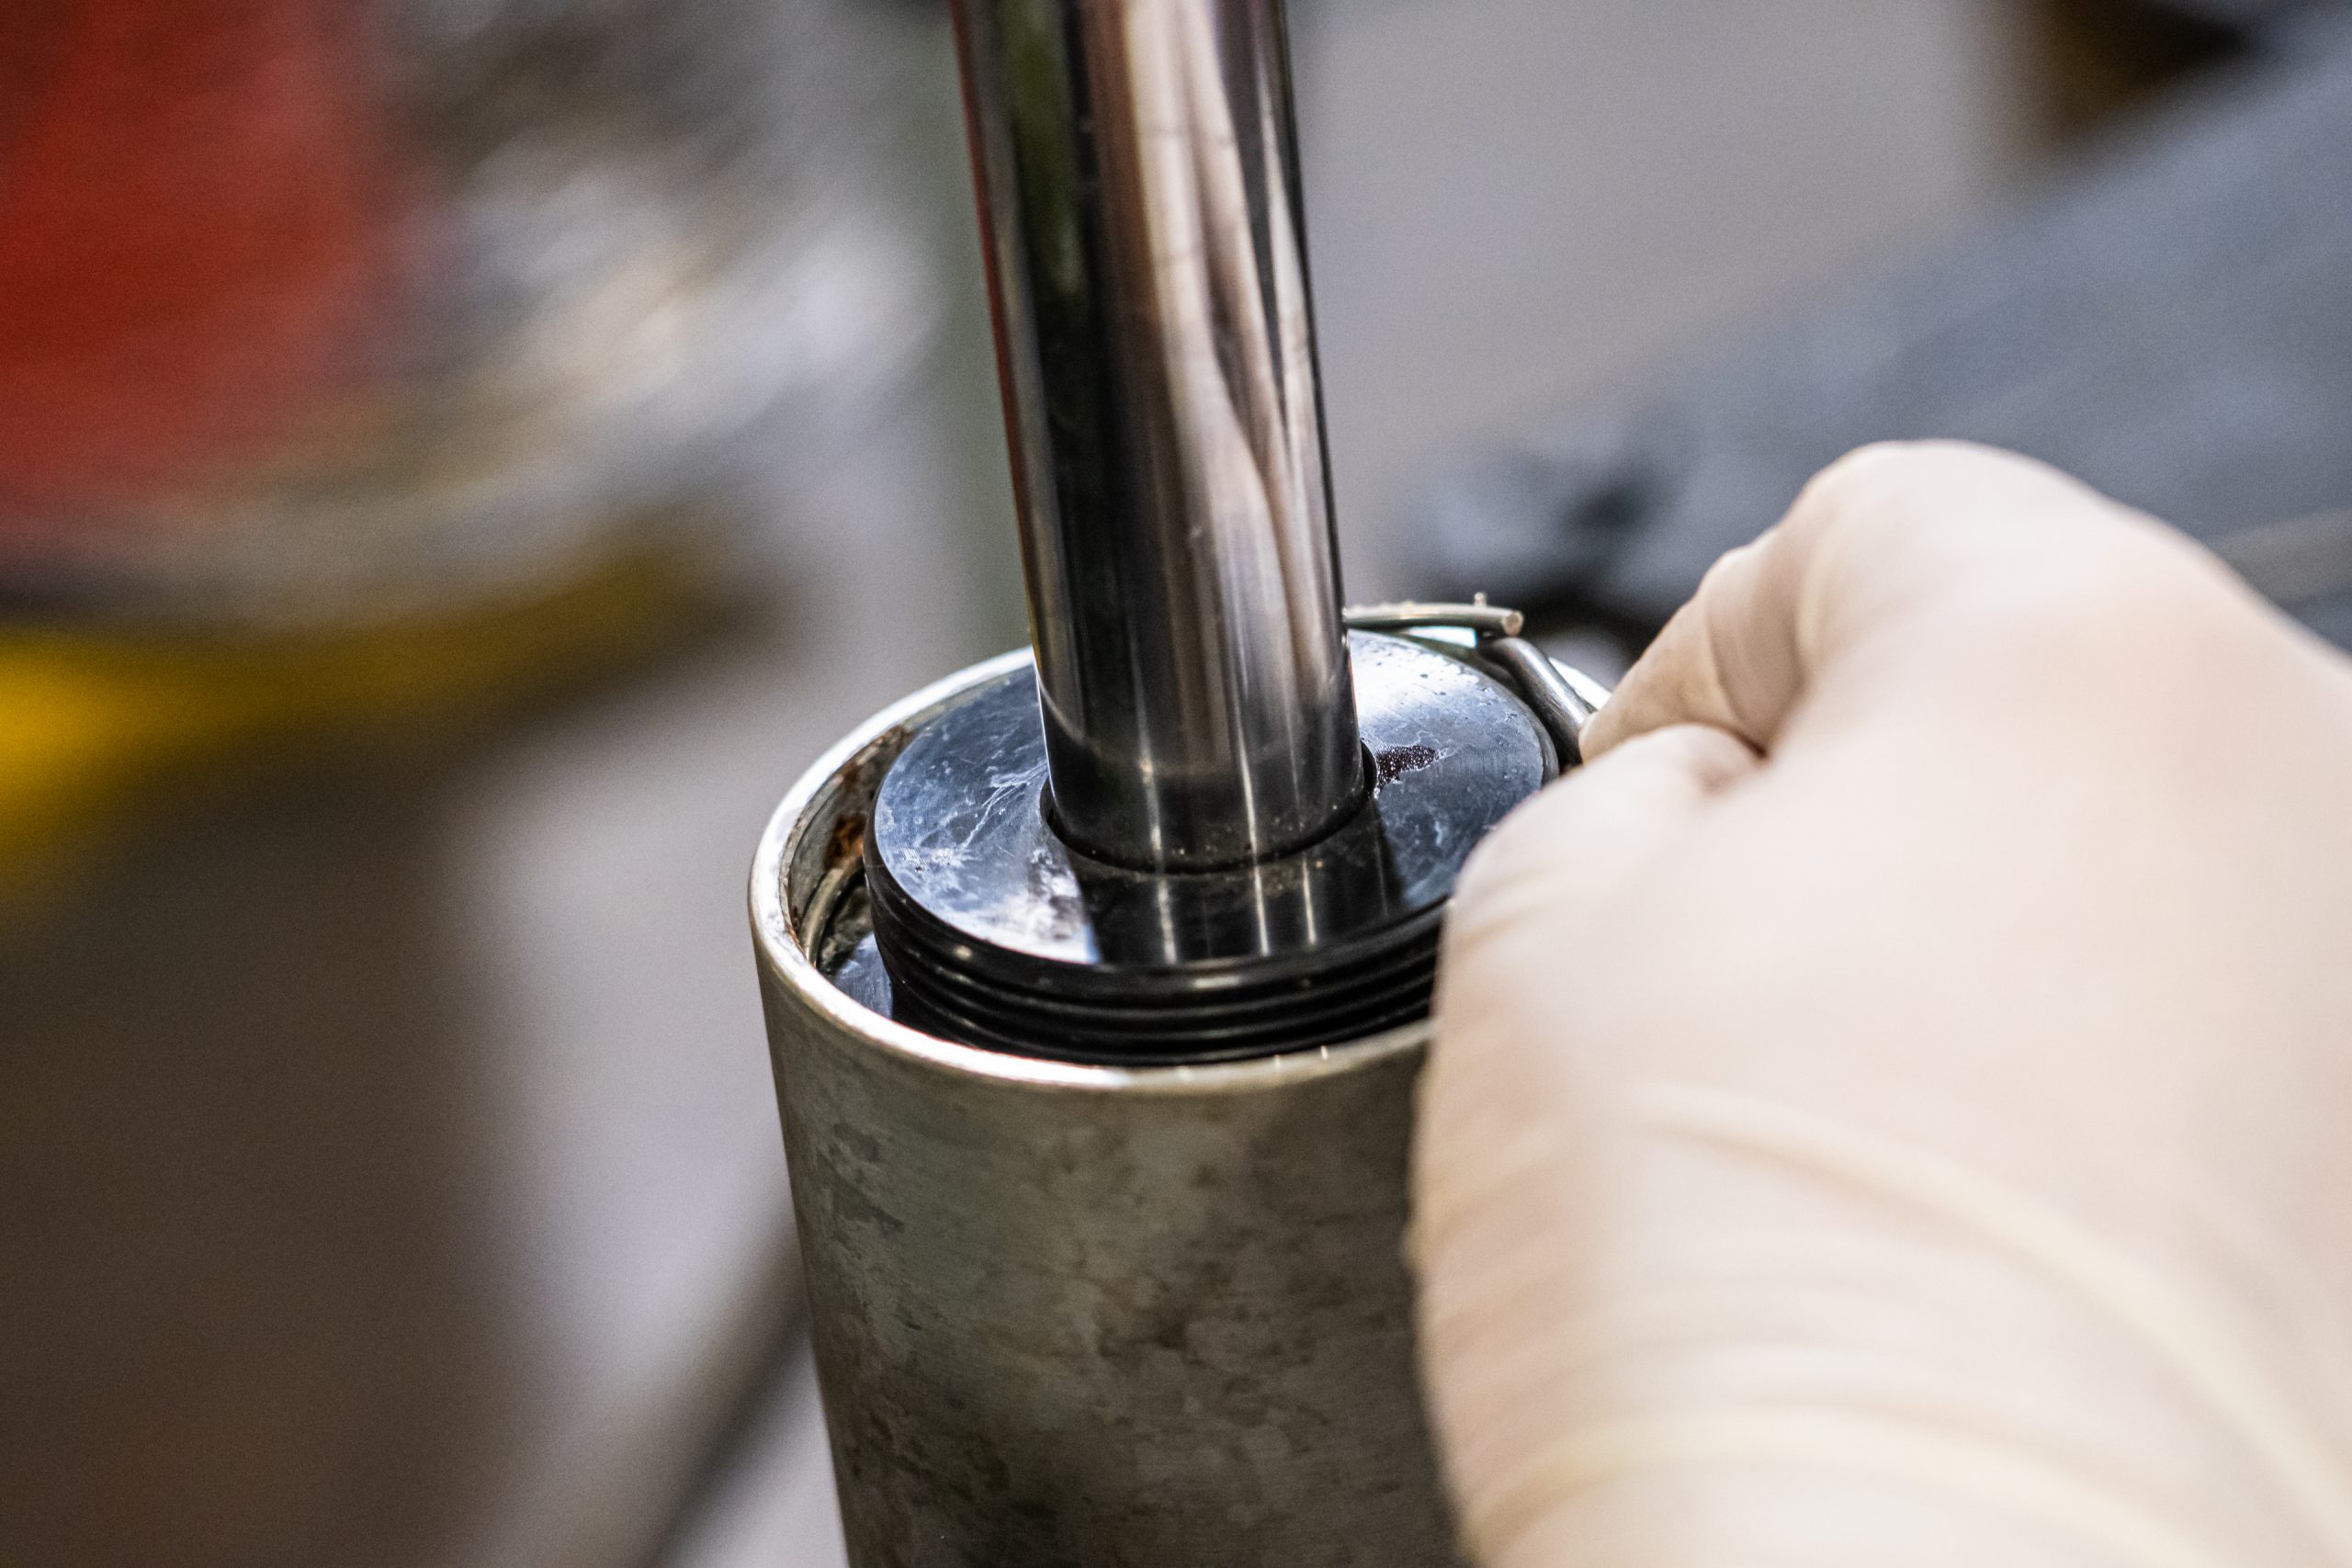
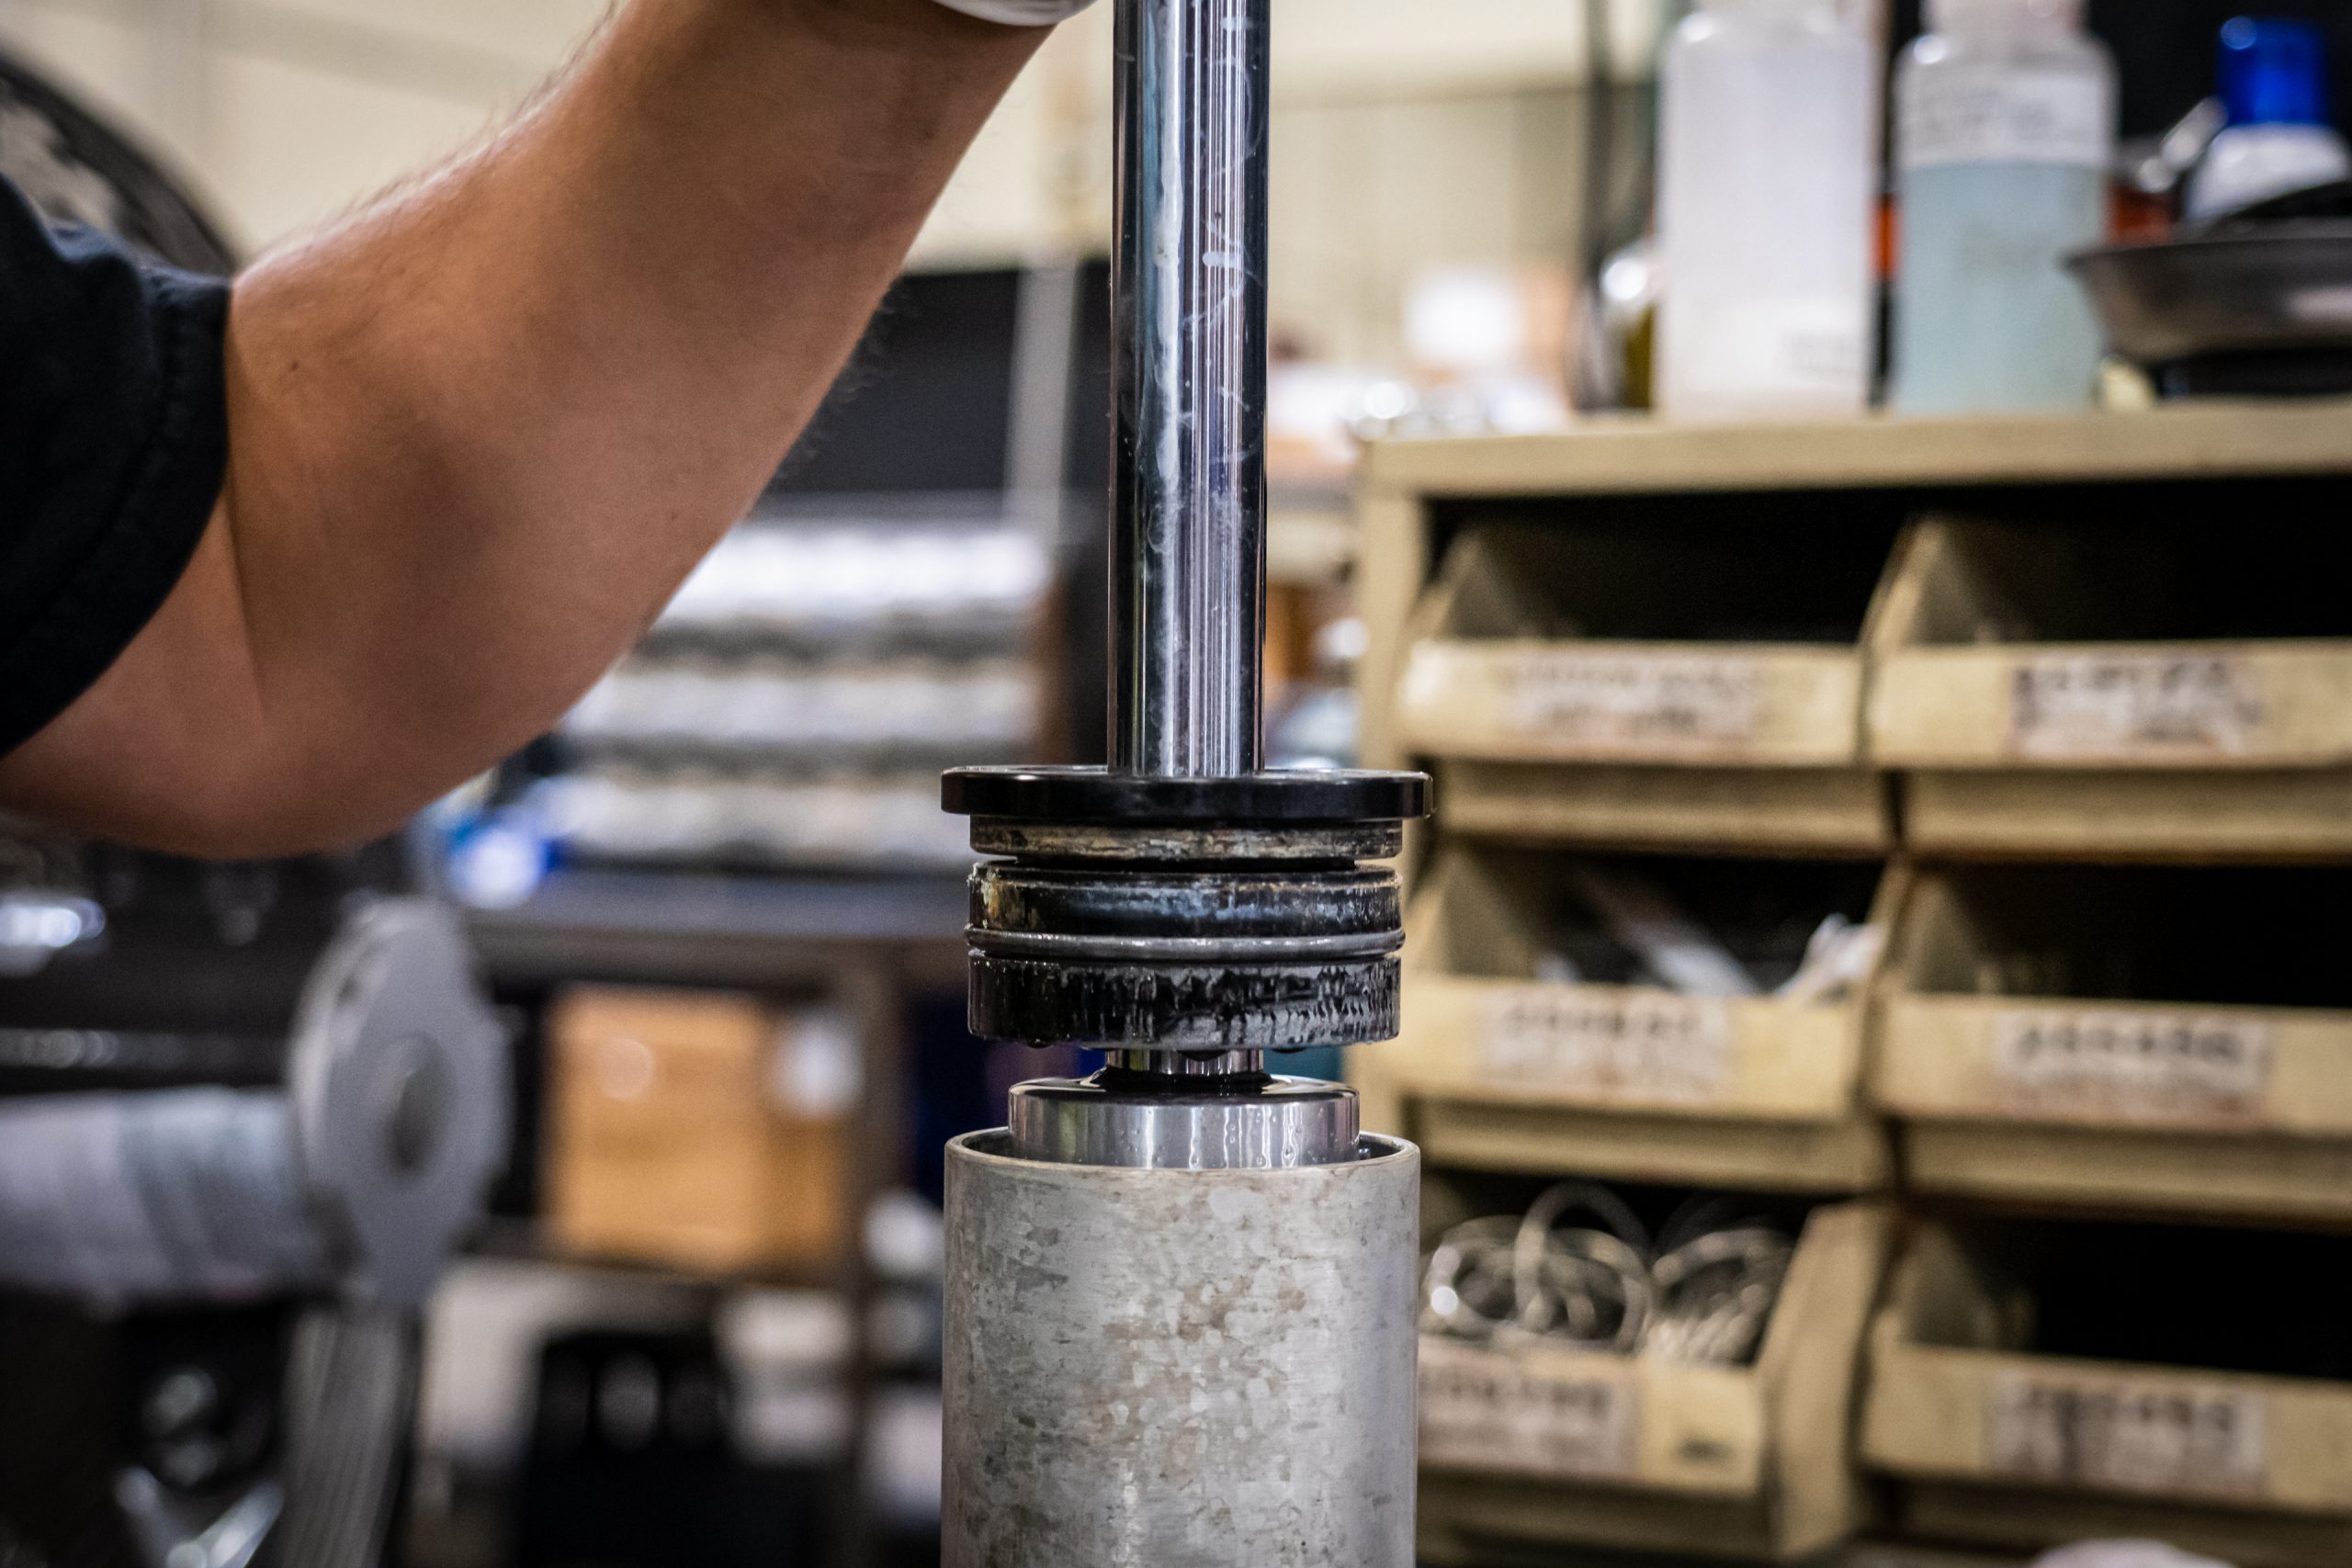
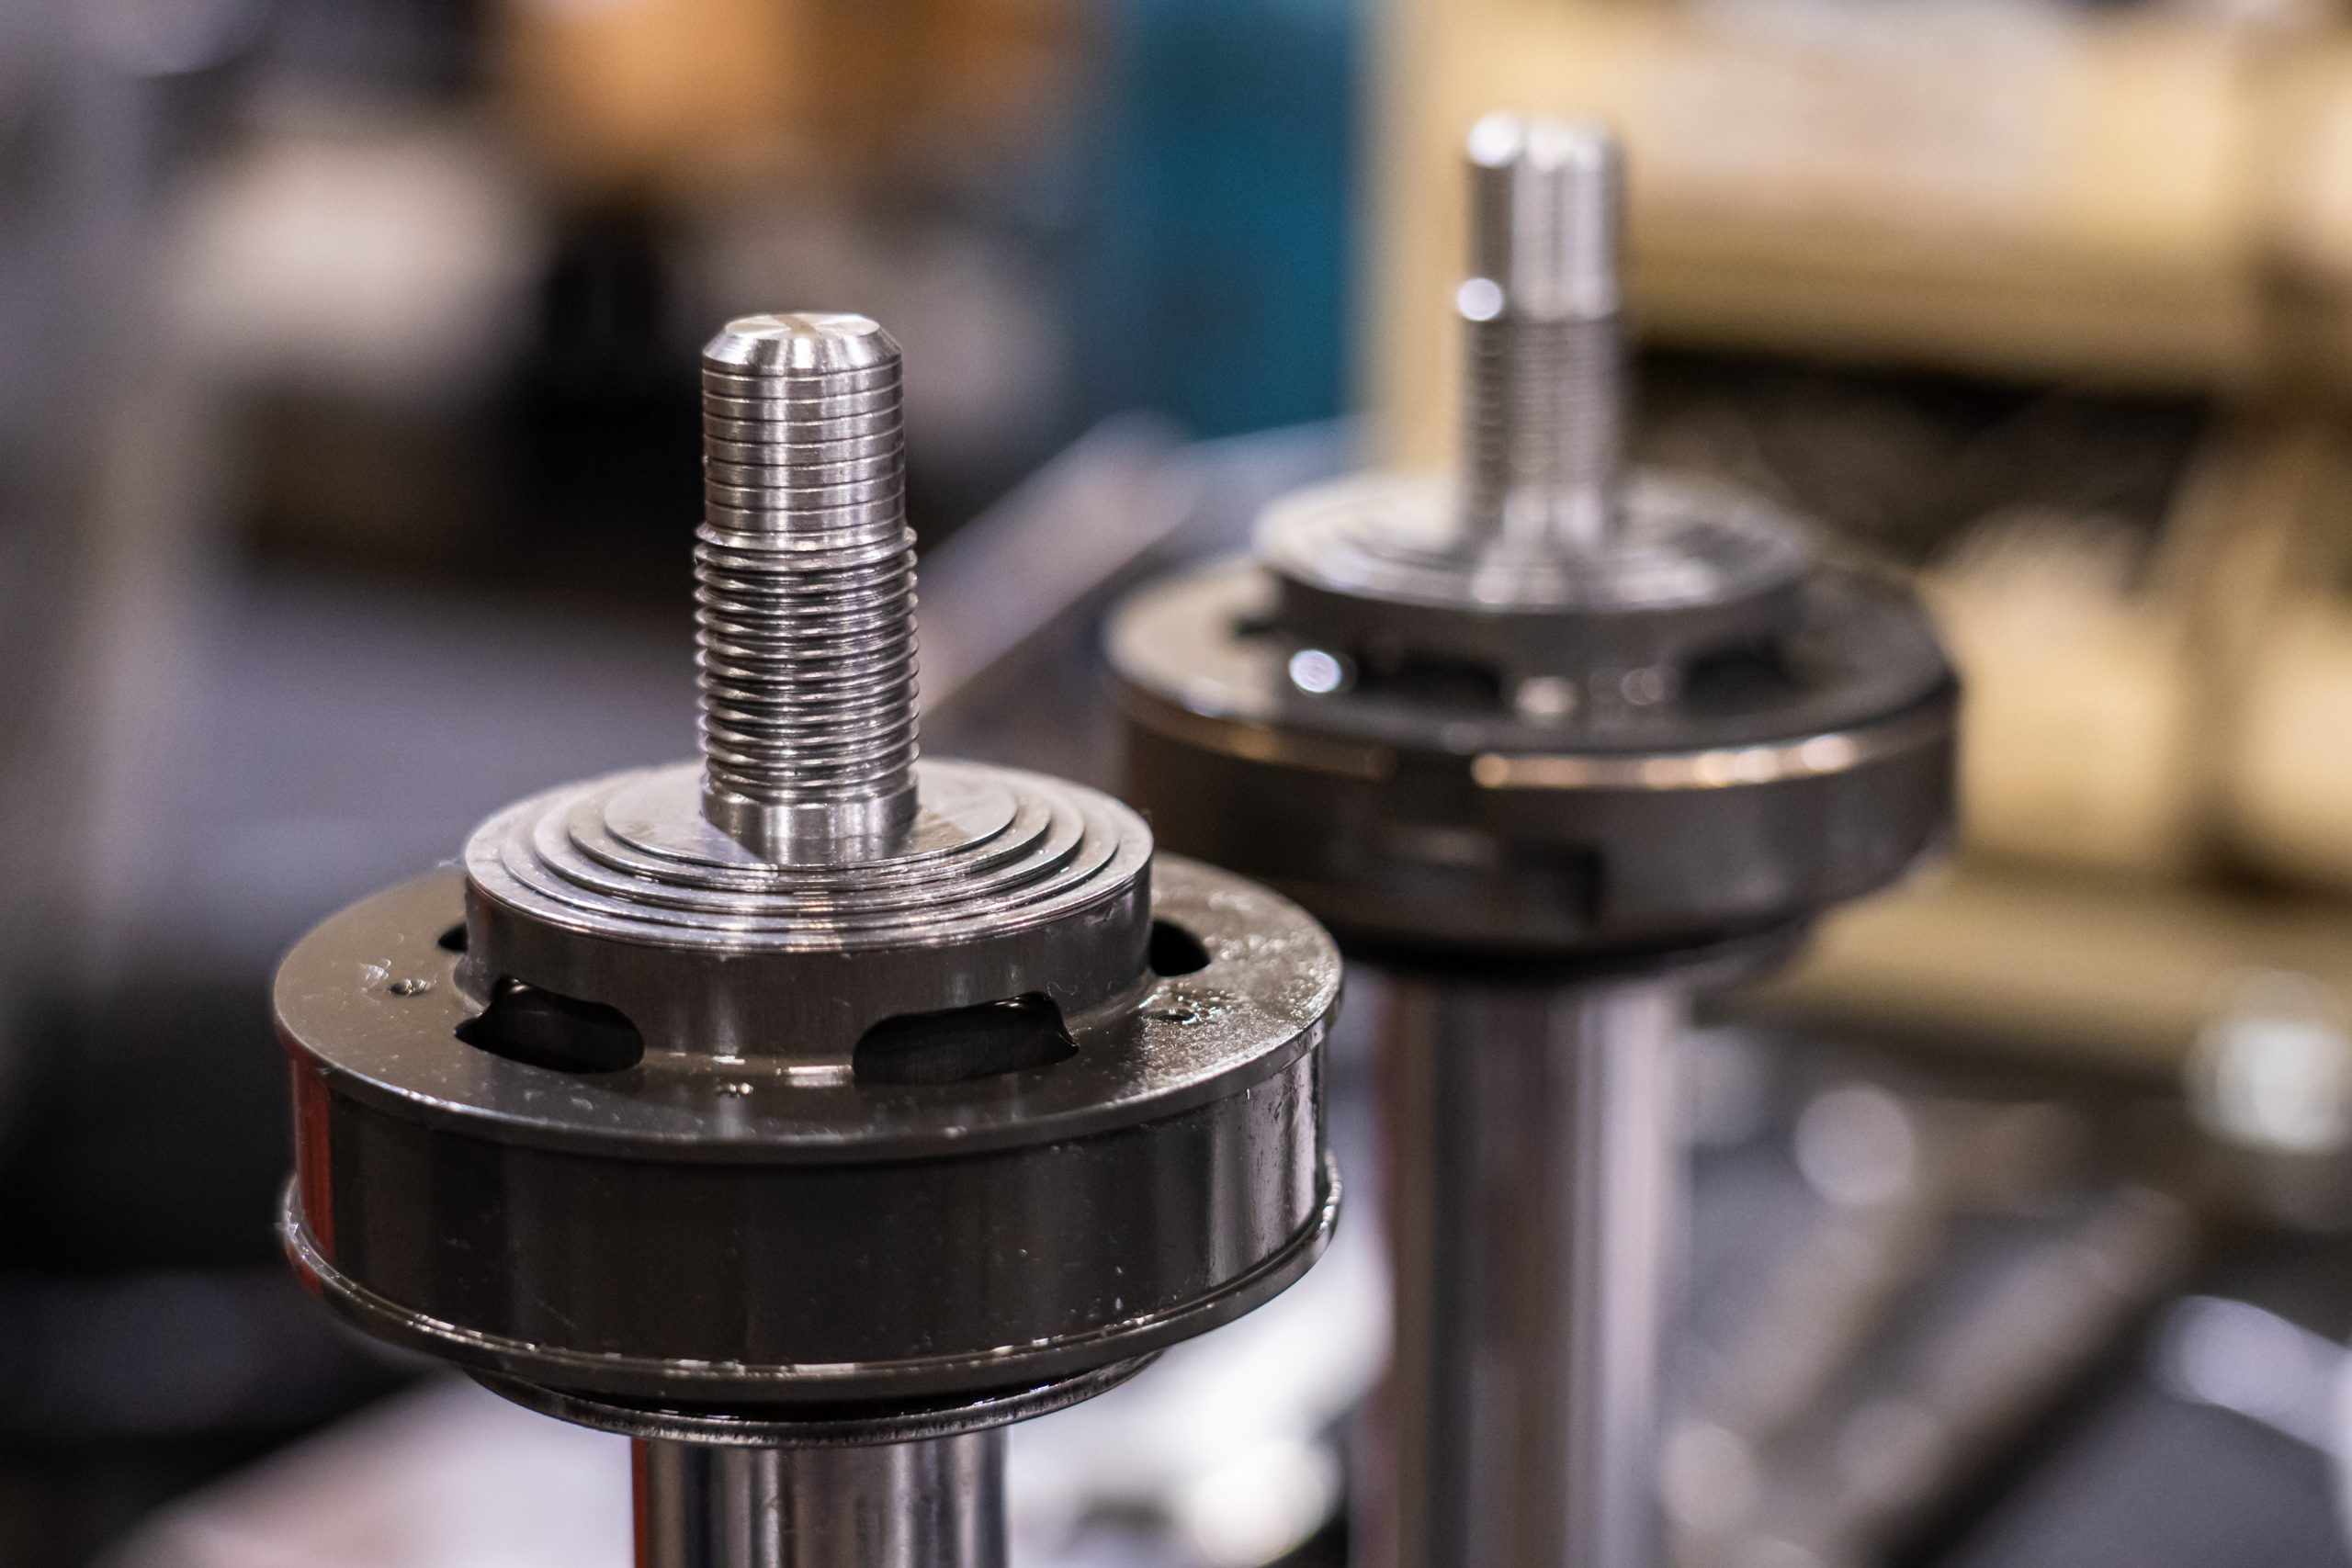
Once any upgrades, replacement parts, and valving changes have been identified it’s time to get into rebuilding the shock. New O-Rings and seals are installed along with any replacement parts. Speaking of parts, just take a minute to check out these pictures to appreciate how much stronger ICON shocks are than OEM shocks. As a point of reference, the 3.0 shafts are 1.0 inches in diameter which is more than twice the diameter of the factory Toyota TRD units. Other parts like seal heads, lower eyes, really put it all into prospective just how much these shocks can hold up to. As we go through this assembly process, Adrian shares with me how some of the unique features of ICON shocks work.
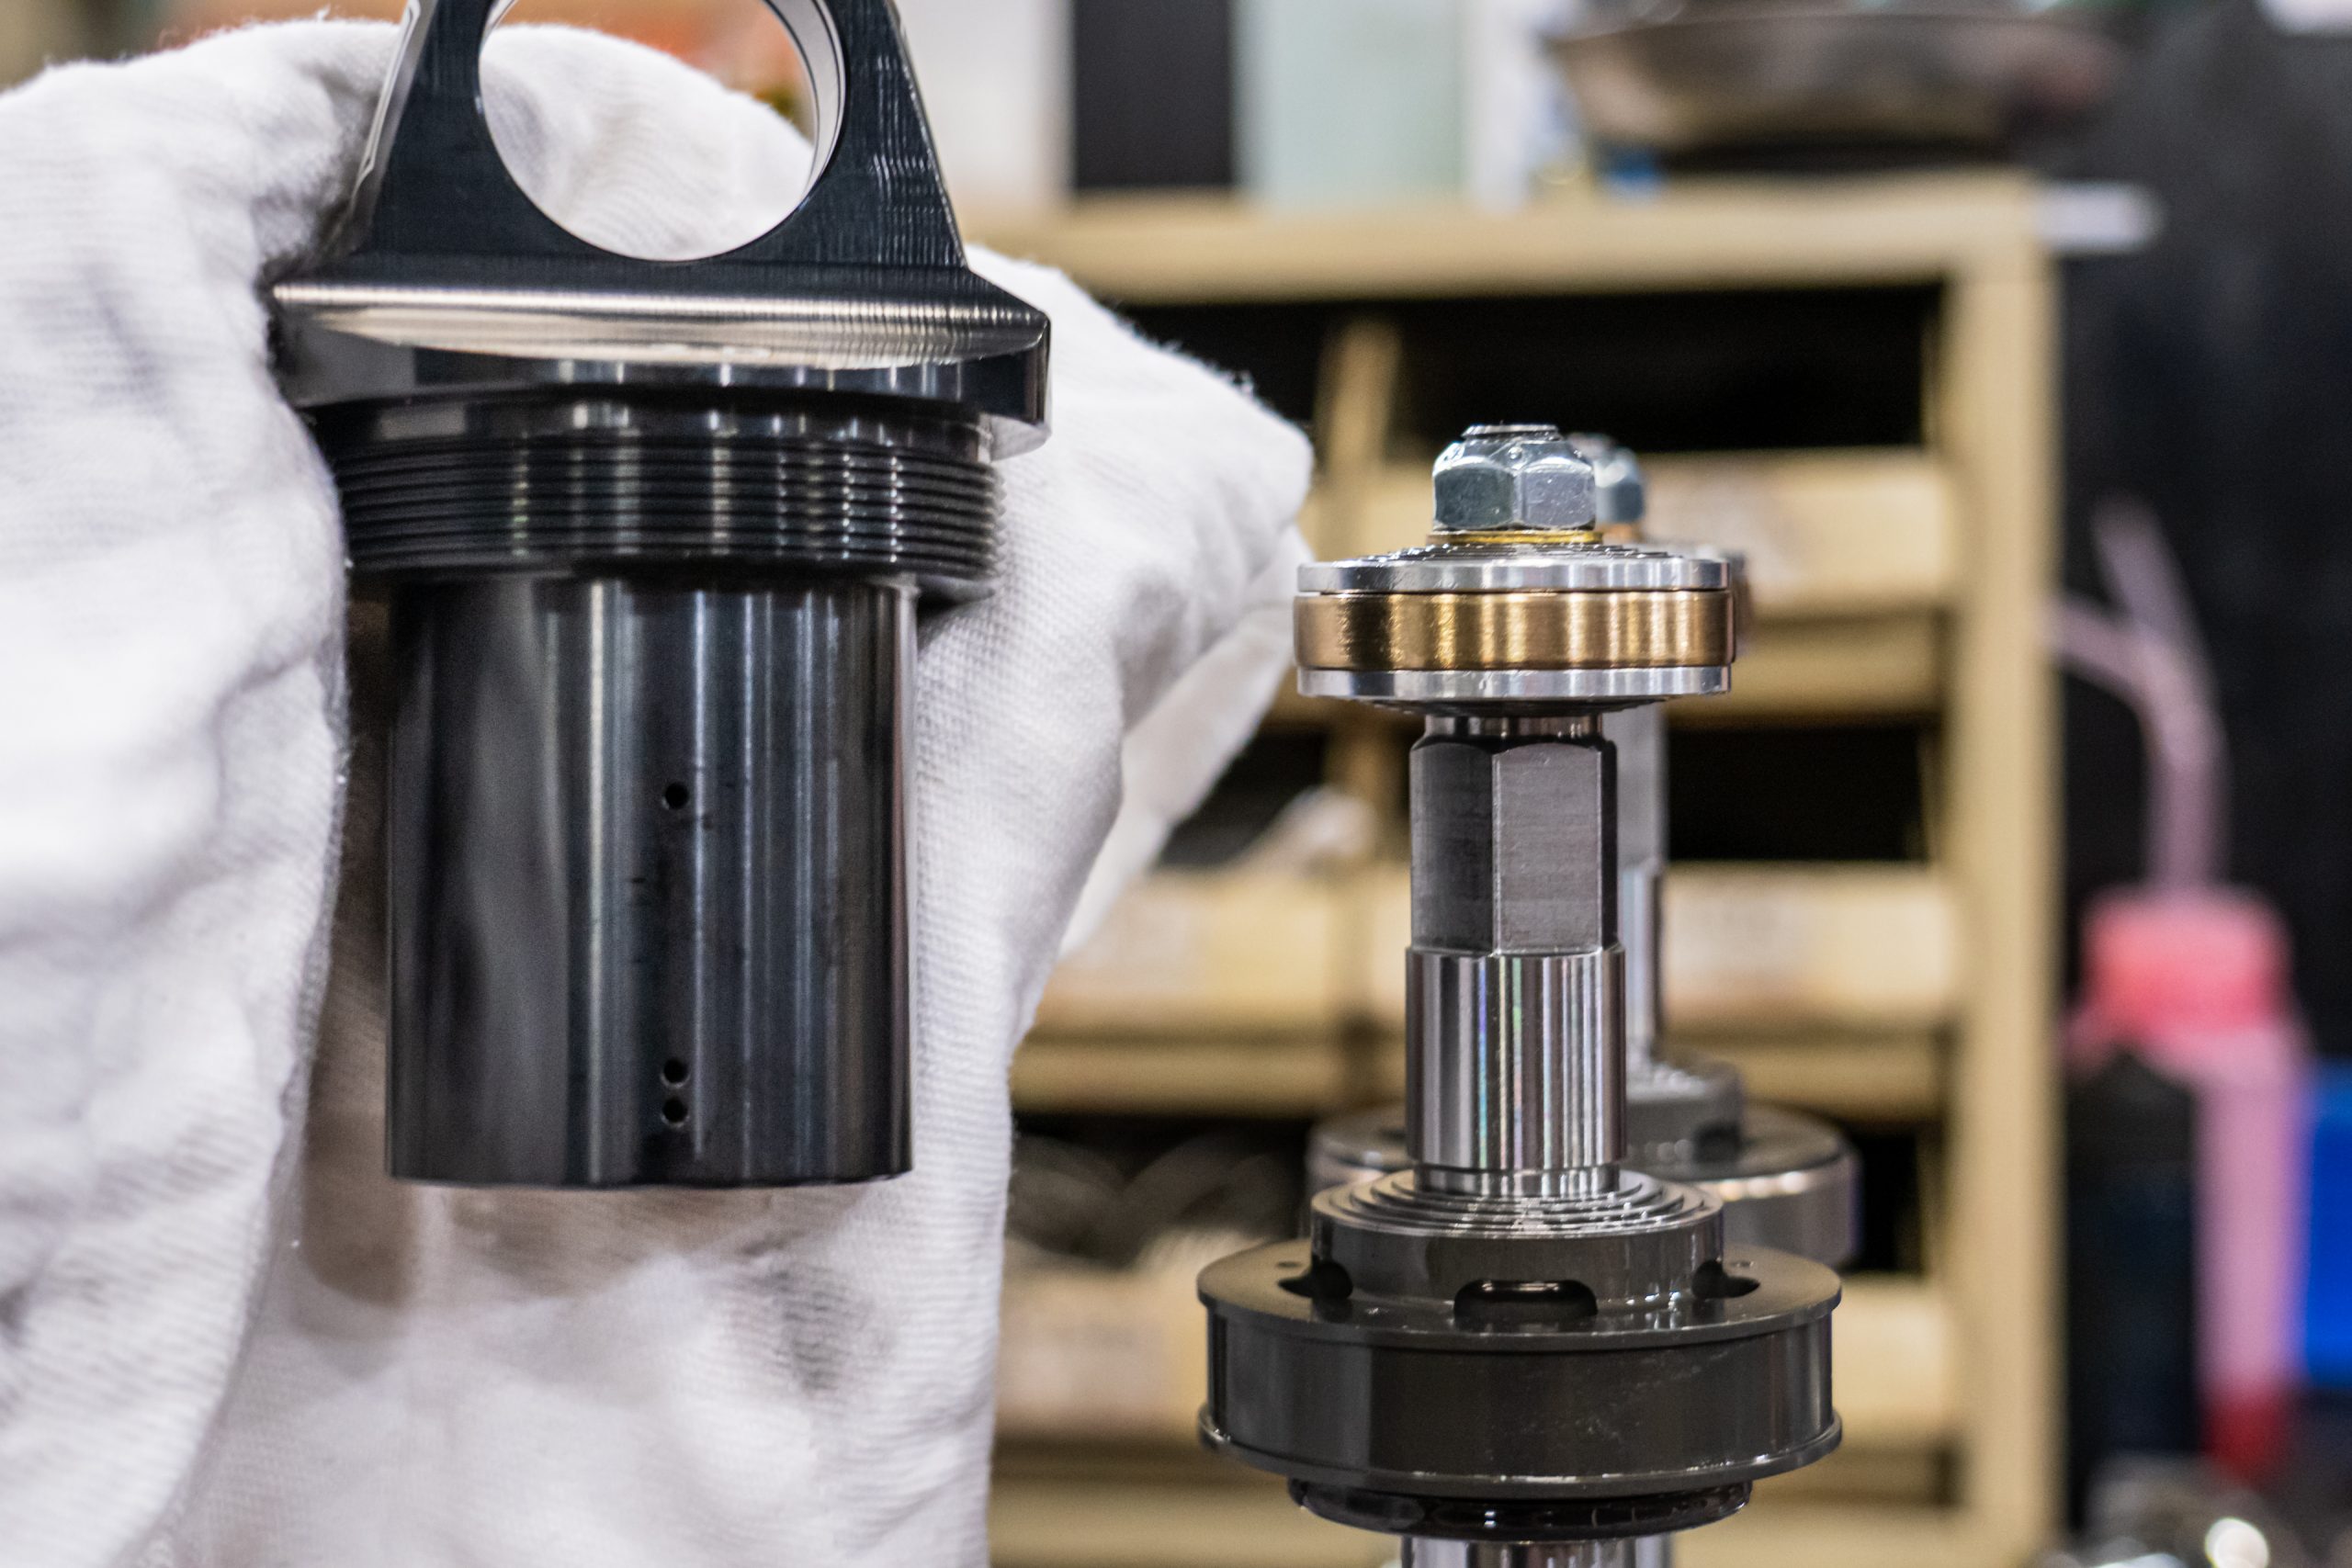

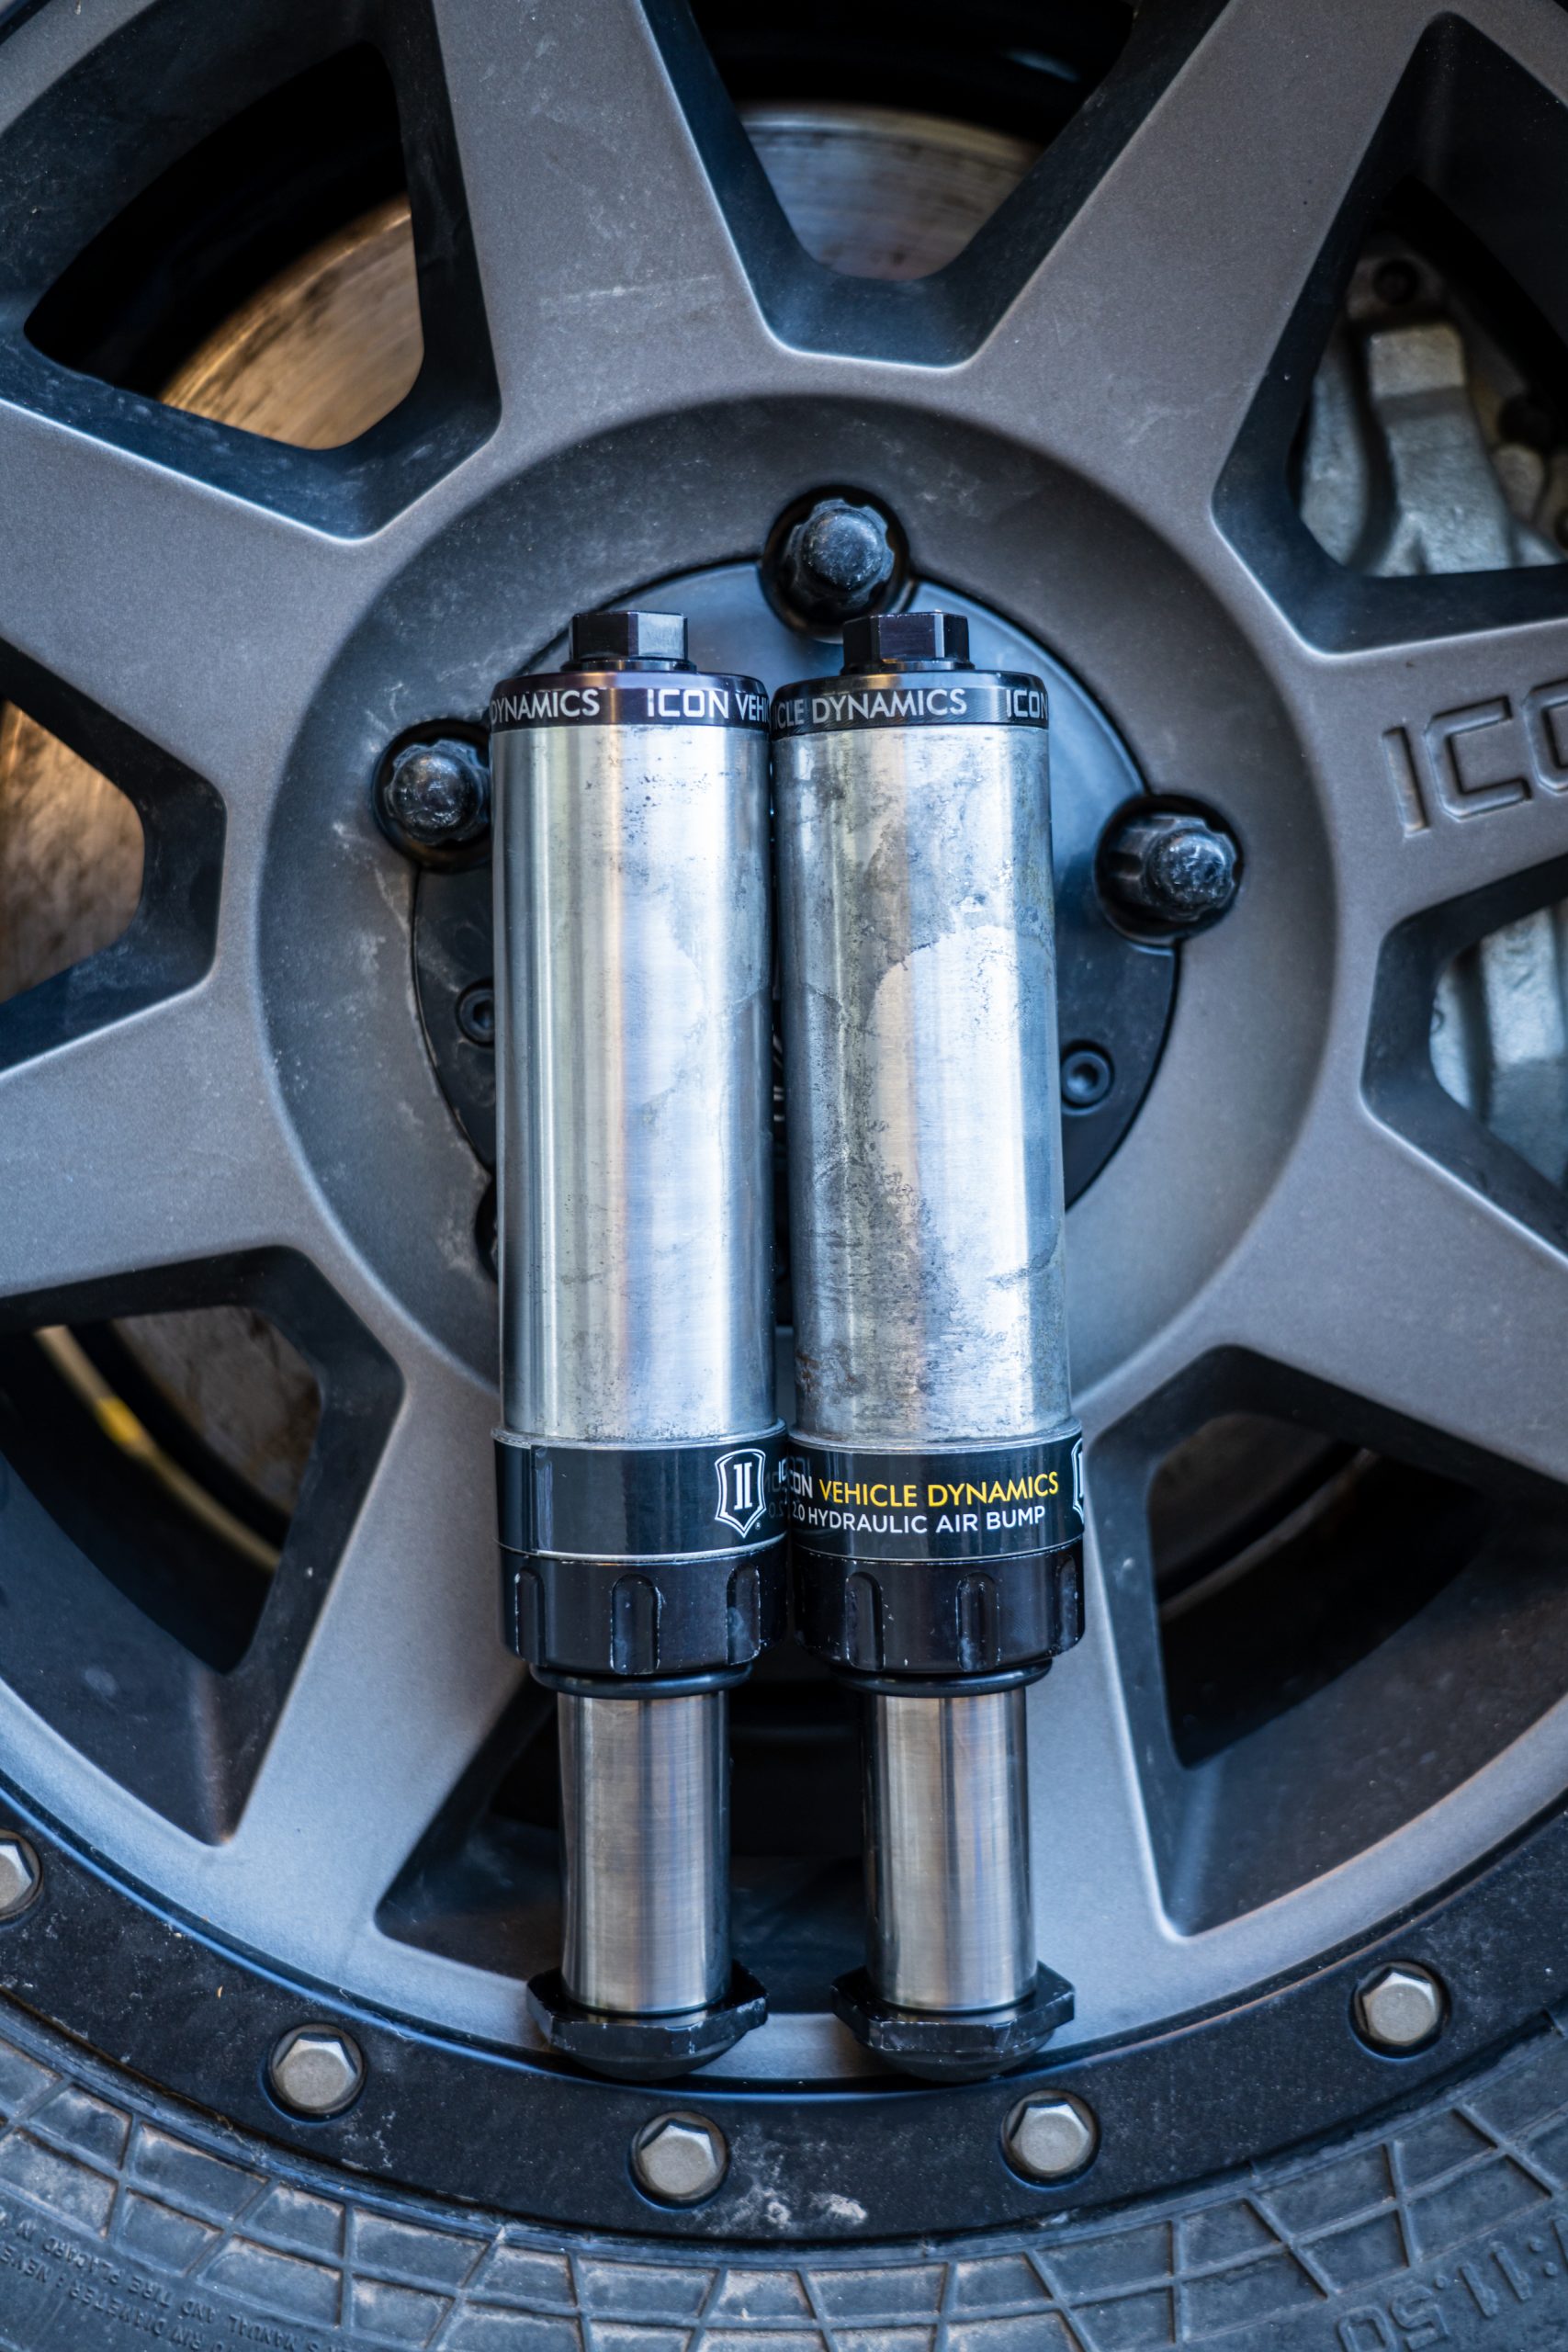
In the case of 3.0 coilovers, like those found on the Tundra, the shock actually has a second internal piston that works as an internal bump stop. In the first 60% of the stroke, the bump piston isn’t engaged, and therefore has no impact on damping. Yet once the shock is more than 60% compressed, the bump piston enters its own cylinder with two sets of bleed ports that significantly restrict the rate at which oil can escape the cylinder, which causes a significant increase in damping. Should the bump piston move past 80% of the stroke, the number of bleed ports is reduced even further, providing an additional level of damping to help soak up even the biggest of hits. Speaking from first hand experience, this internal bump system works quite well. It never gets old hearing passengers start to cringe for an upcoming bump only for the truck to soak it up like it’s hardly even there. Thanks ICON!
On the other end of the shock stroke (top out) ICON has another unique feature in place that helps prevent the harsh bang that can be experienced on other shocks when they reach full extension. By using two Belleville washers, which are conical washers and a cup similar to the bump cylinder on the 3.0, ICON has created a system that works much like a limit strap. As the shock starts to top out, the washers enter the cup which restricts oil flow and starts to slow the shaft. Then the thinner of the washers is compressed to a flat state, which is second level of additional damping. And finally, the thicker of the two washers compresses to a flat state, which combined with the oil displacement between the two washers creates a progressive top out damper. In use, this system works so well that you have to recalibrate yourself to recognize when your wheels aren’t on the ground as you no longer have the telltale bang, or feeling of suspension topping out harshly. This top out system is just one example of the little details that make running ICONs such a leap forward in trail performance.


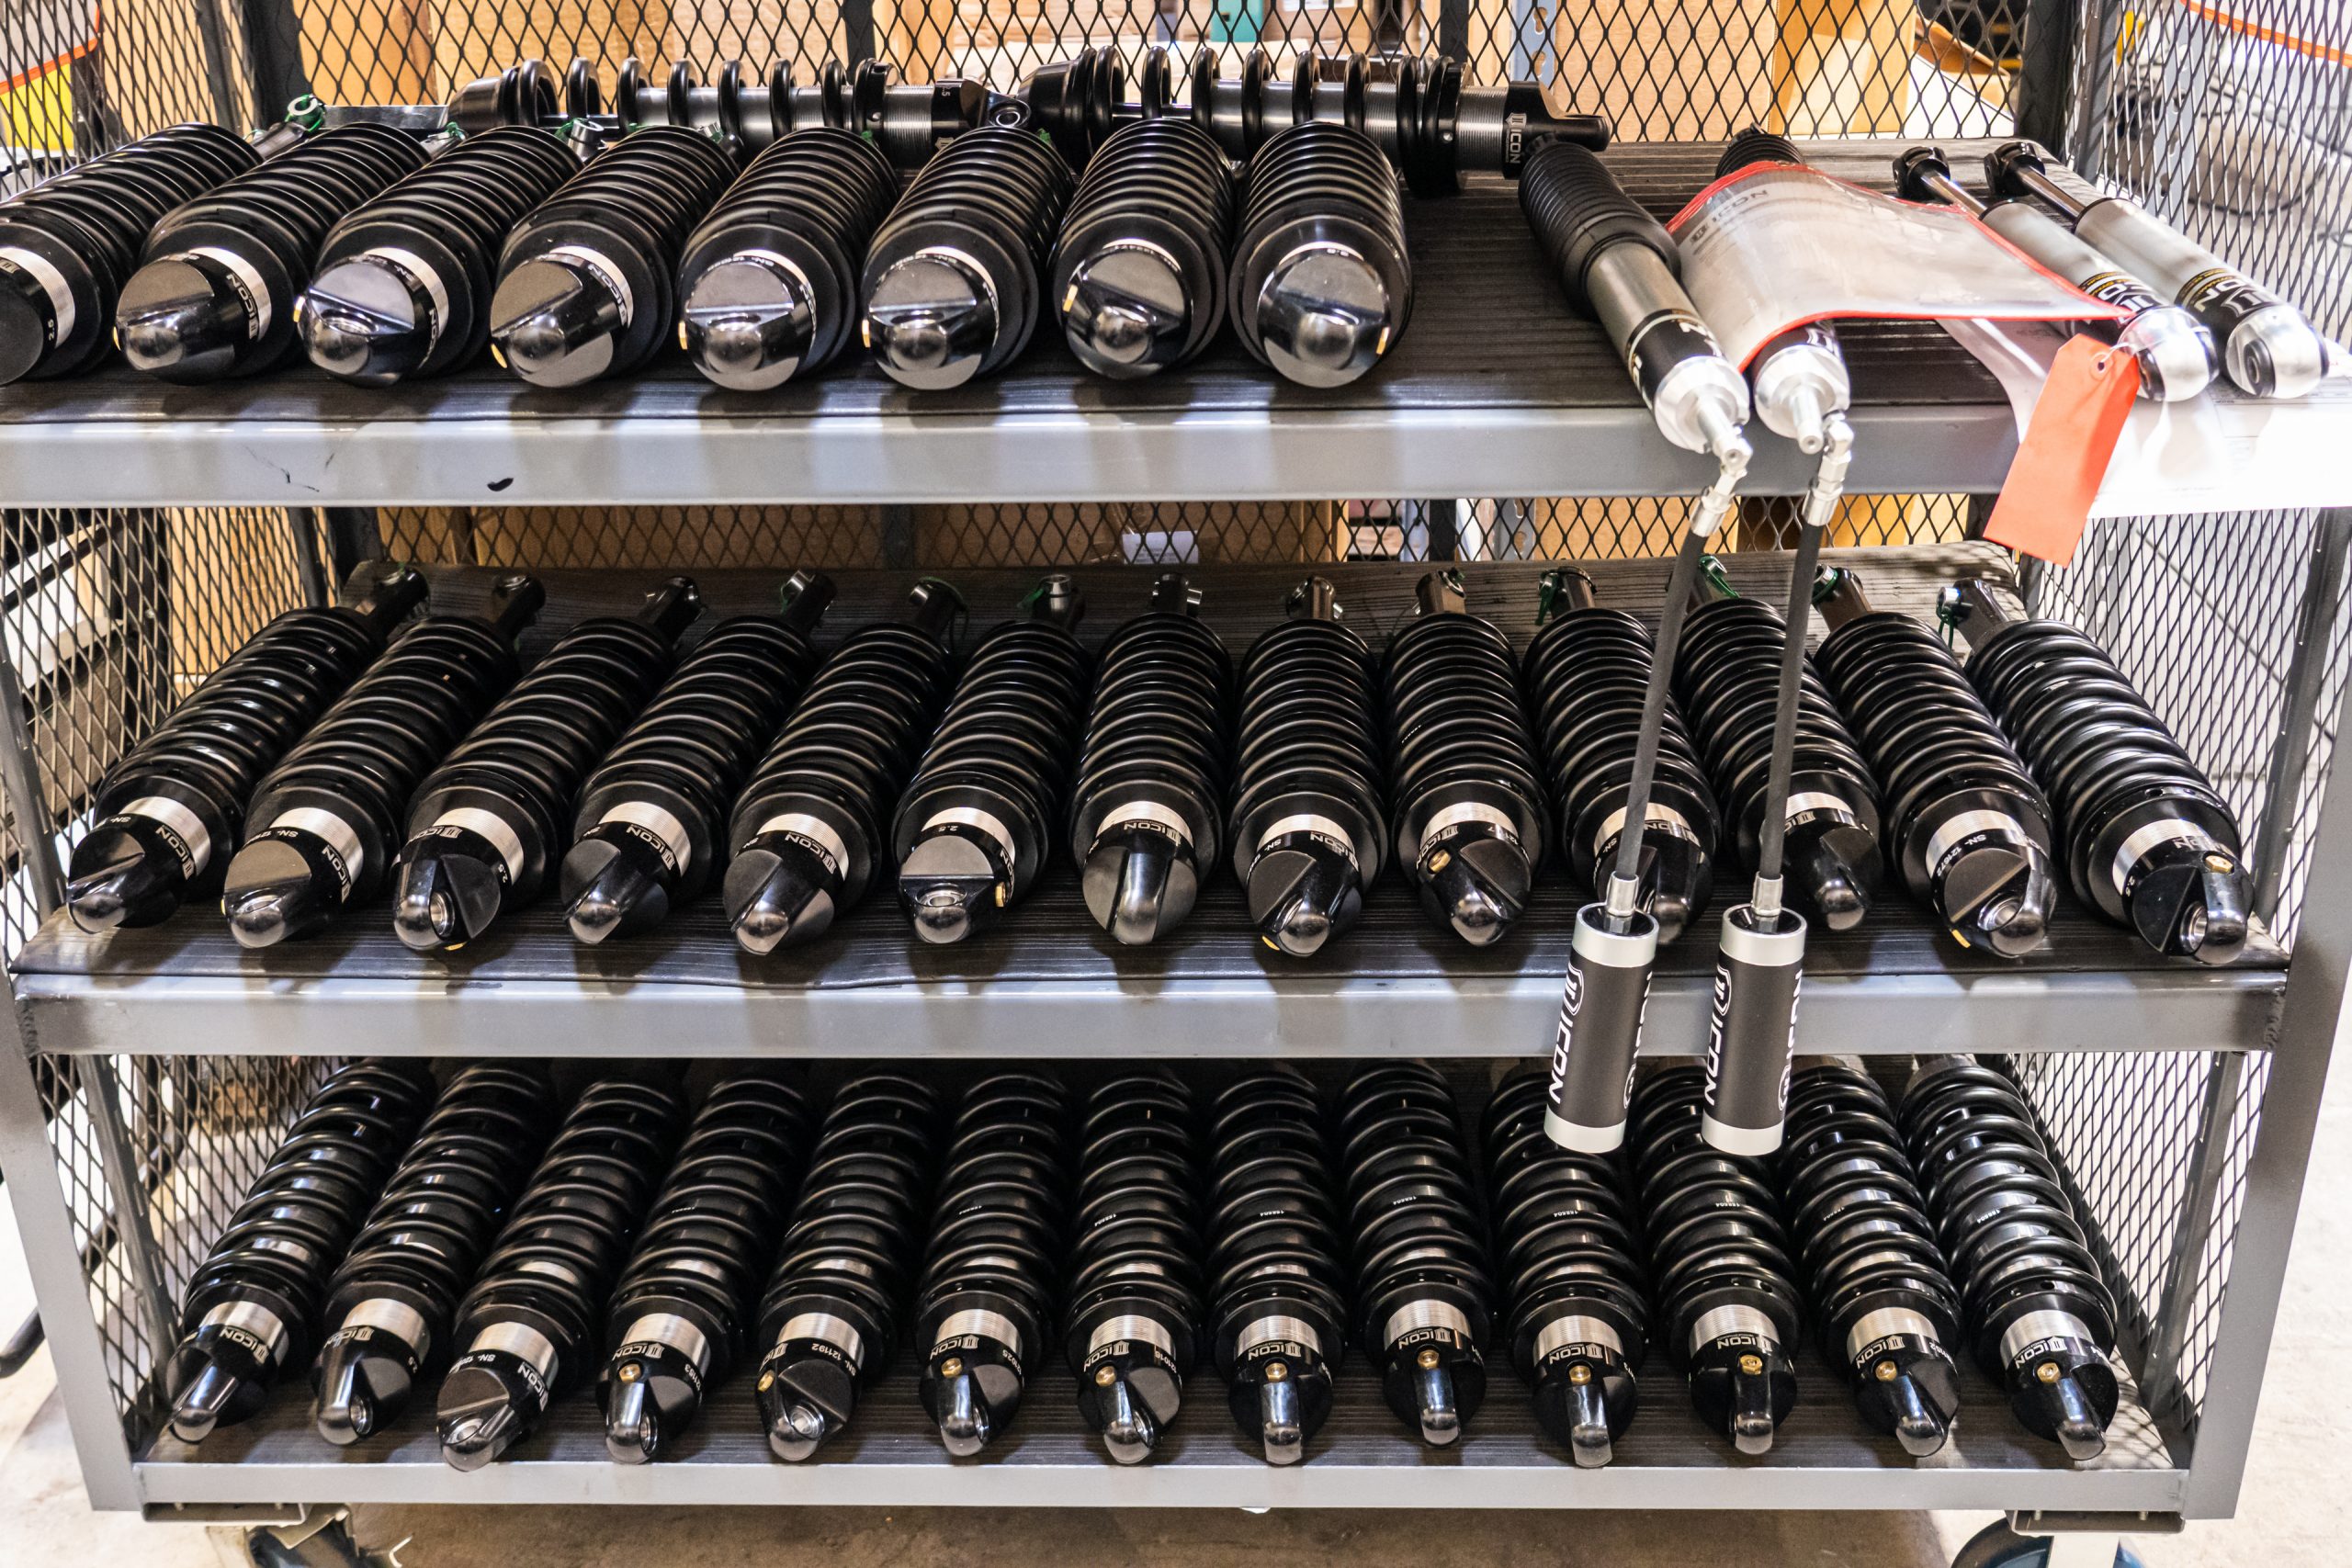
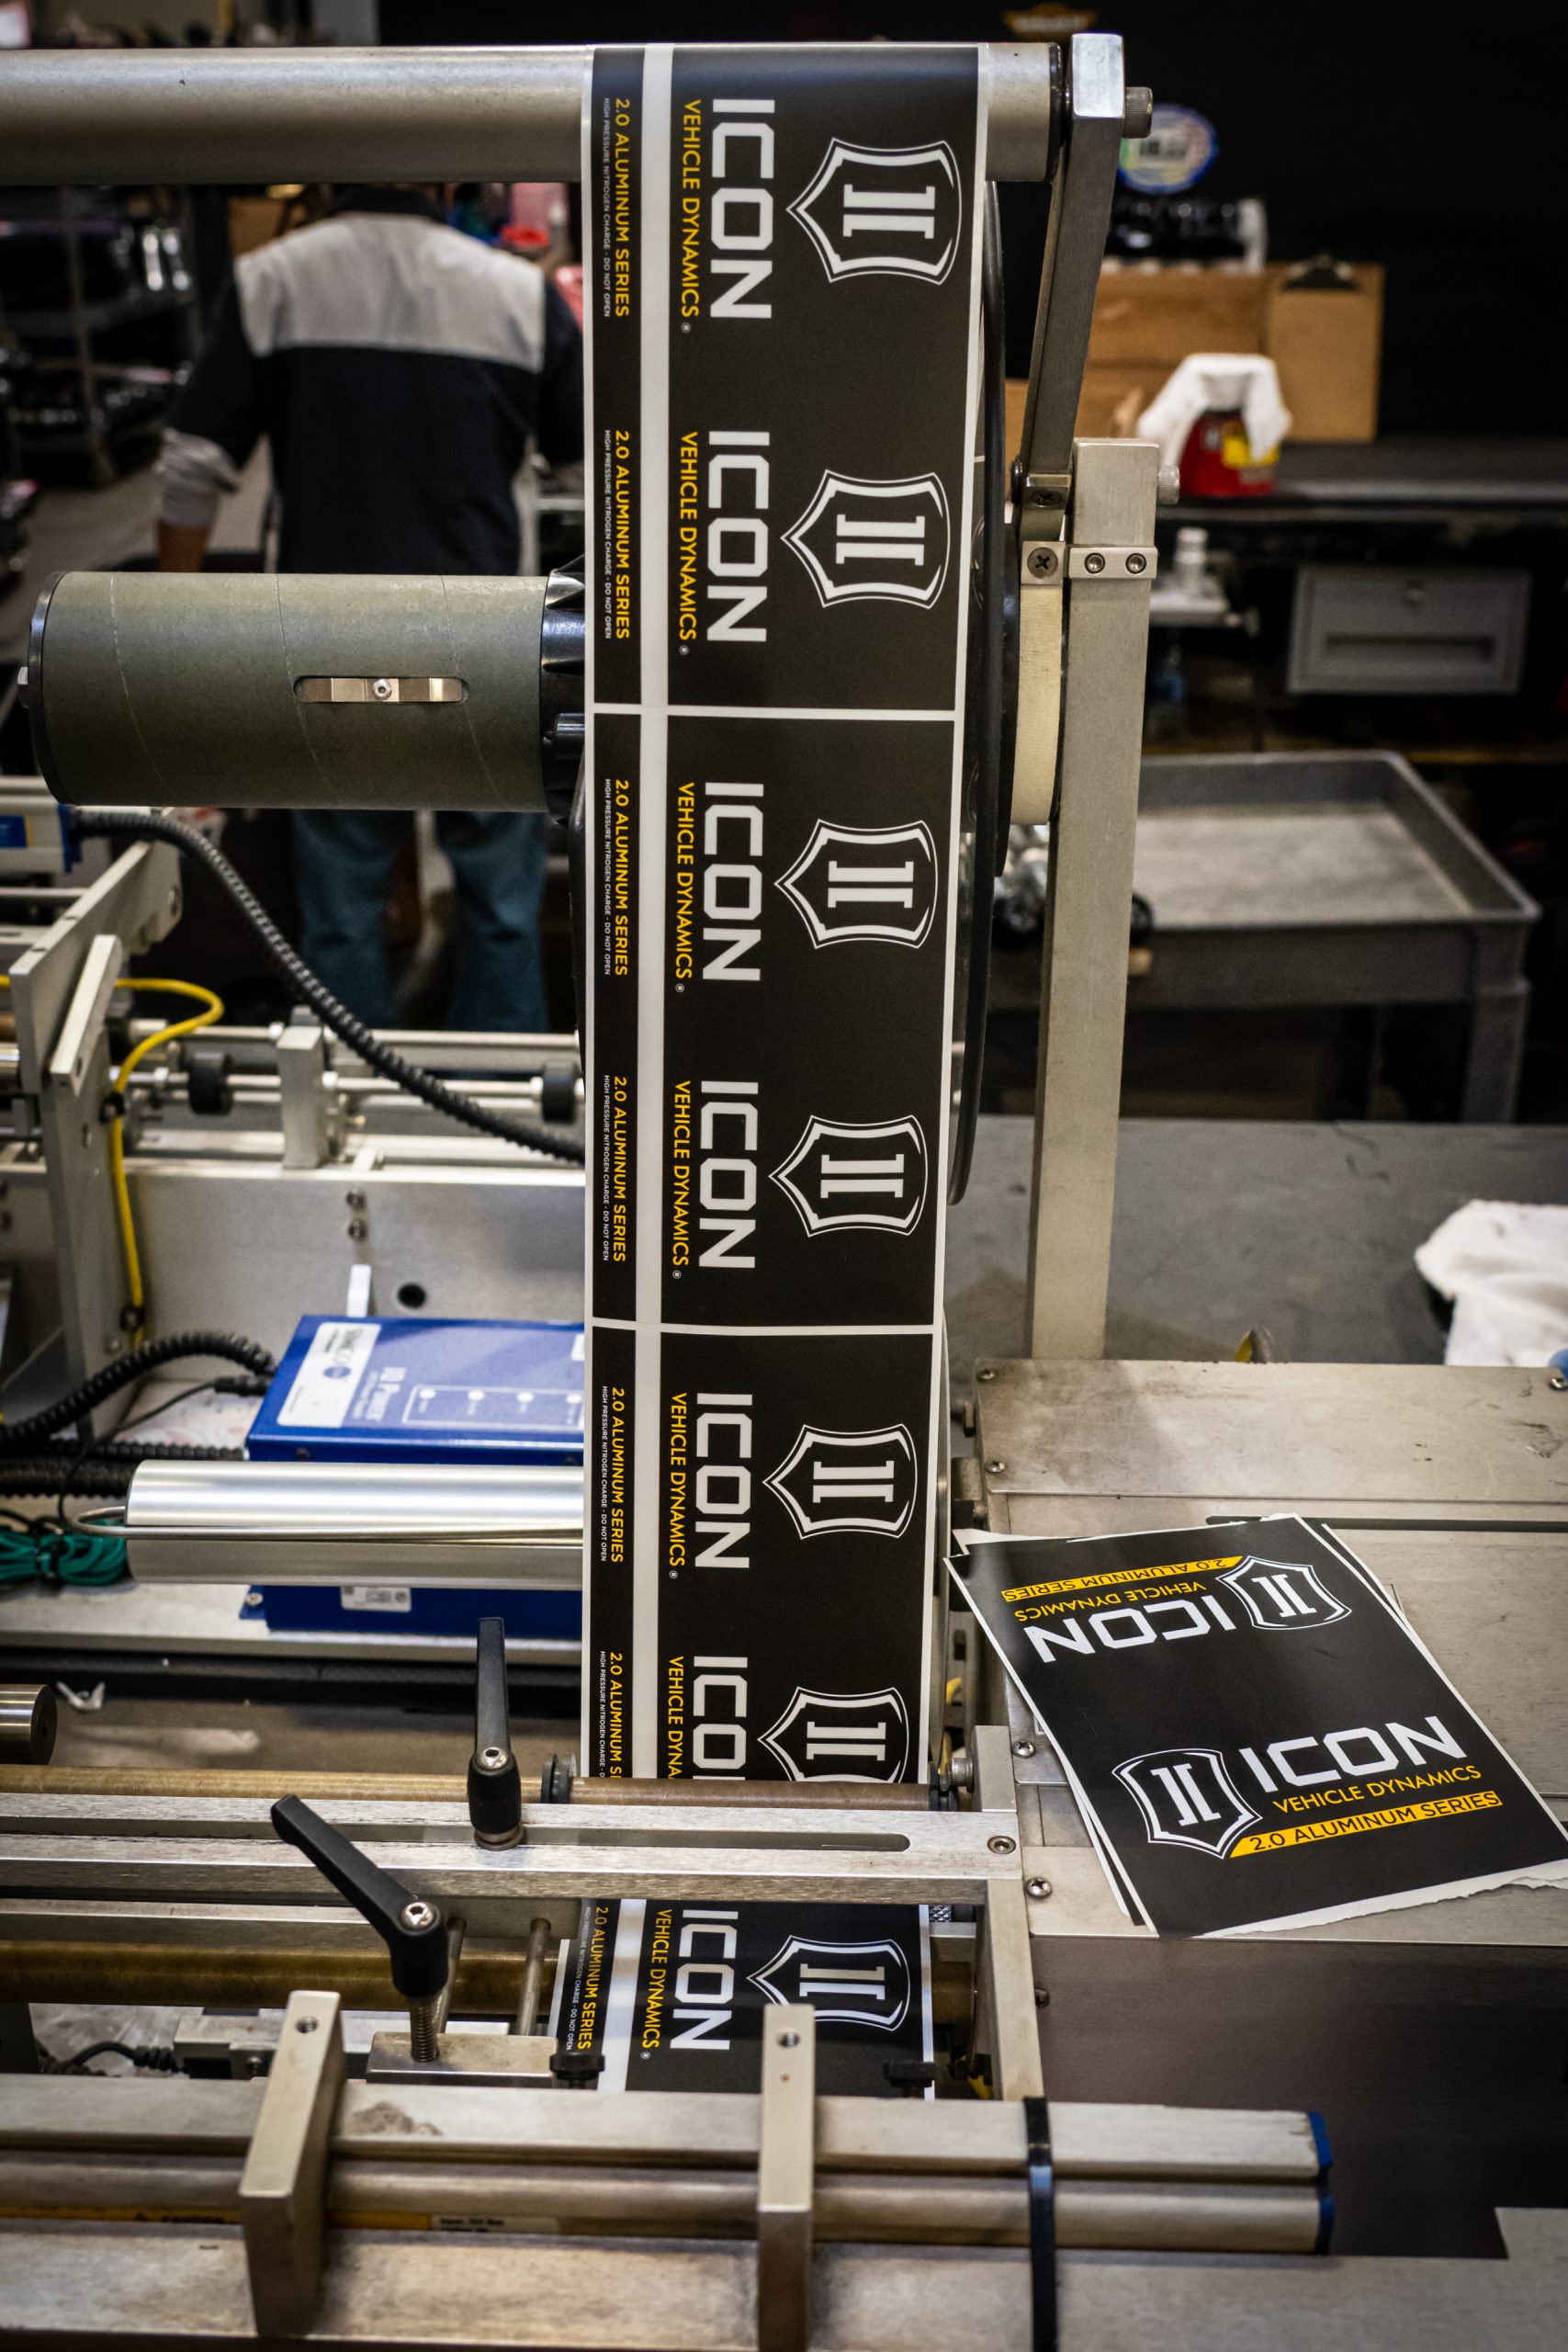
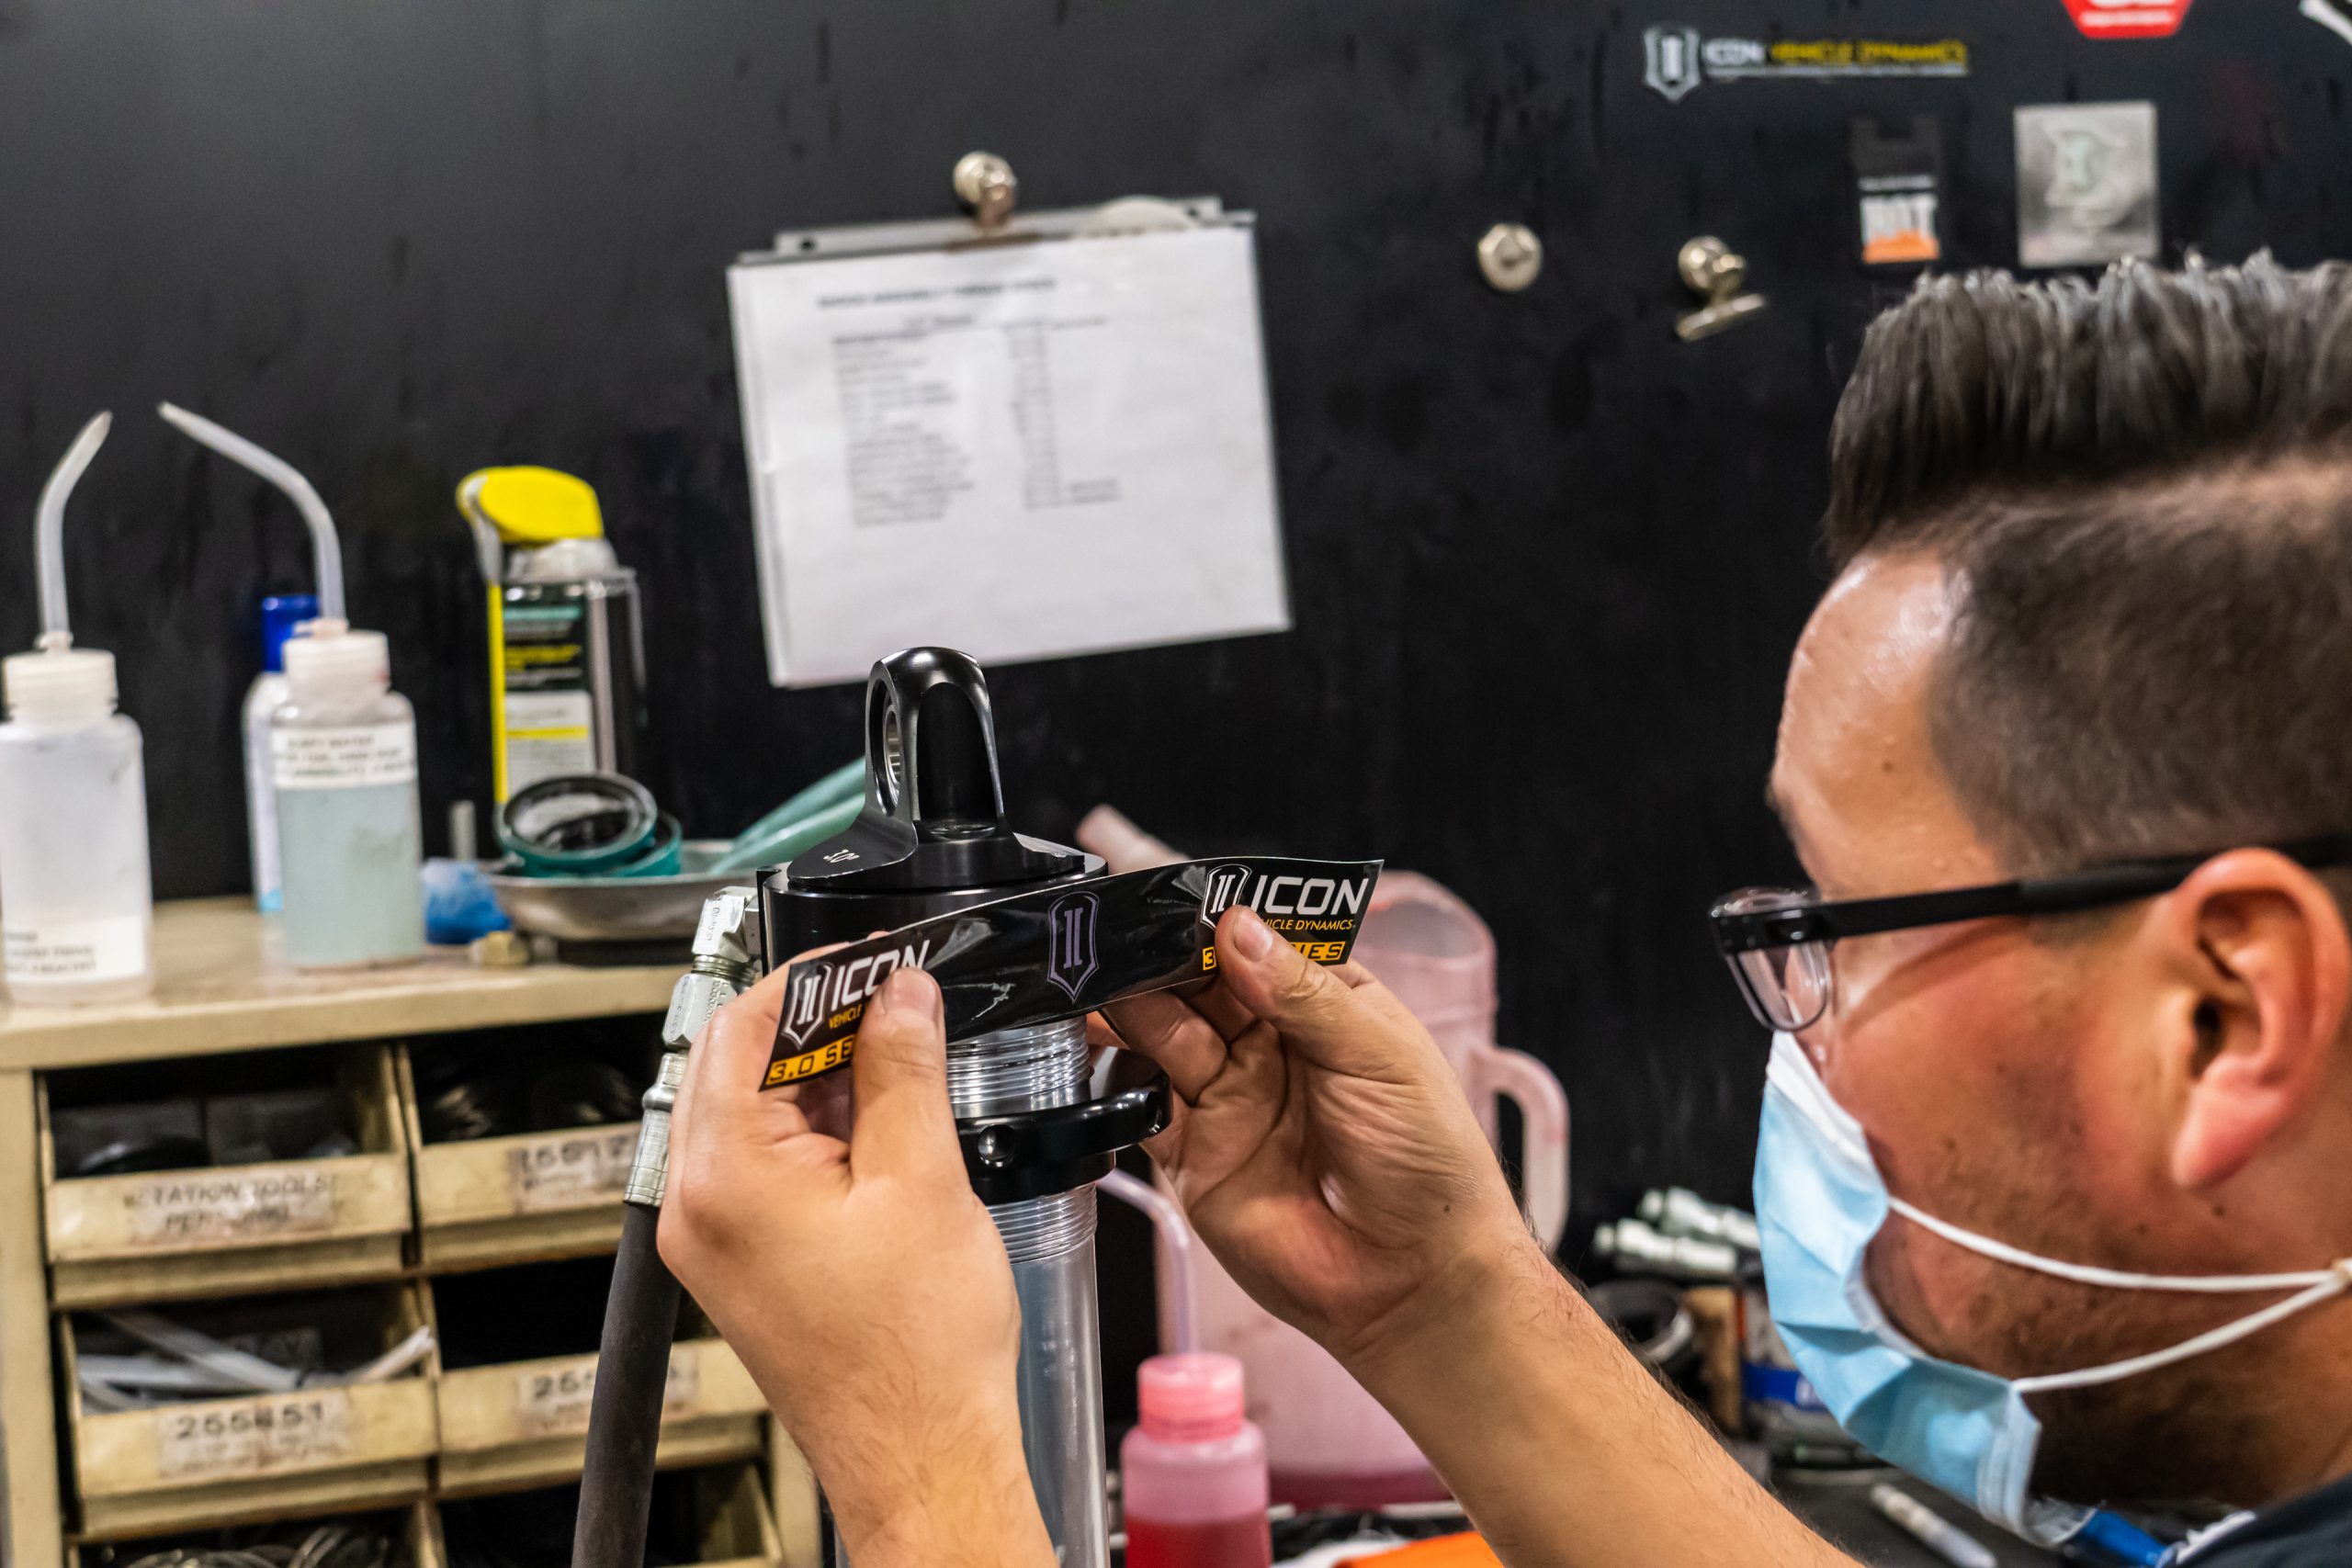
With everything rebuilt, its time to bleed the shocks with fresh oil and then charge them with nitrogen. Shock oil is like anything else in that it breaks down and loses performance as its used, so having fresh oil in your shock is just like fresh motor oil in your engine – a fresh serving of performance and protection. Once this is complete, the shocks are functionally like-new shocks, and their performance and feel should be quite close to brand new shocks. To help the rebuilds look as fresh on the outside as they are on the inside, Adrian adds new stickers as a finishing touch. Now all that’s left to do is install the shocks back in the truck and enjoy some more years of top shelf performance.

This level of suspension performance does come with a bit of extra maintenance, compared to running an OEM or non-rebuildable shock, but this trade off is a small price to pay for all of the performance you pick up. Really all that ICON shocks need is to be kept clean, and that’s as simple as using a pressure washer that’s just powerful enough to get the dirt and mud off. If you live where it snows, coil covers are a great way to keep the crap that melts ice from eating your suspension. Again, keep things clean and they’ll last you a long time. Three and a half years into running ICON suspension on the Tundra and I’ve experienced no failures. Tearing my shocks down did reveal signs of wear, but nothing was in imminent risk of failing. After the rebuild, all of my shocks are freshened up and ready to go for another few years. Were I running some kind of OEM shock, I would simply be stuck dealing with continually decreasing levels of performance until I finally caved and shelled out for new shocks, or had something fail on me that forced my hand.
If you’re running any brand of rebuildable shocks on your vehicle that haven’t been serviced in a few years, it might be time to consider getting your suspension freshened up. Rebuildable shocks should not be used like they’re a consumable product where performance starts new at 100% and then slowly ticks down towards 0%, or a failure sooner. Get your shocks rebuilt when you notice a change in performance, or you start to notice signs of wear. Something as simple as new bushings and fresh oil and seals can ensure that you never see performance levels fall more than a few points from new, and having shocks that are operating at 80% – 100% sounds much better than running non-rebuildable shocks from 100% down to 40% or so before you get sick of crappy performance and replace them.
A good shop can help you identify any changes you want to make to your valving and spot any internal parts that may need replacing – so even if you’re an accomplished wrench, there is value in working with a shock service shop. Either way, servicing a rebuildable shock is an easy way to ensure that the rad suspension that you invested in continues it’s optimal performance year after year. We all change our oil when we’re supposed to, so there is no reason that we shouldn’t be changing our suspension oil and other bits on the recommended intervals too. Not doing so is quite literally leaving performance on the table, and given how good a properly setup and tuned suspension can make a vehicle – it’s a shame not to have it running at it’s peak.
FULL DISCLOSURE: Icon Vehicle Dynamics provided suspension rebuild services at no charge to the author for the purposes of this article.