All-Purpose Scout 80 Build

Tonight I was able to get the front axle cycled up to what I think will be full bump + a bit. At this point the steering tie rod will be damn near getting into the frame. There seems to be pretty decent clearance in the wheel well, I’ll throw a fender on tomorrow to see how much trimming its going to take but it looks alright so far.

2013-12-11%252021.17.07.jpg


2013-12-11%252021.16.36.jpg


The new motor mount is doing its job, plenty of clearance
2013-12-11%252021.19.16.jpg


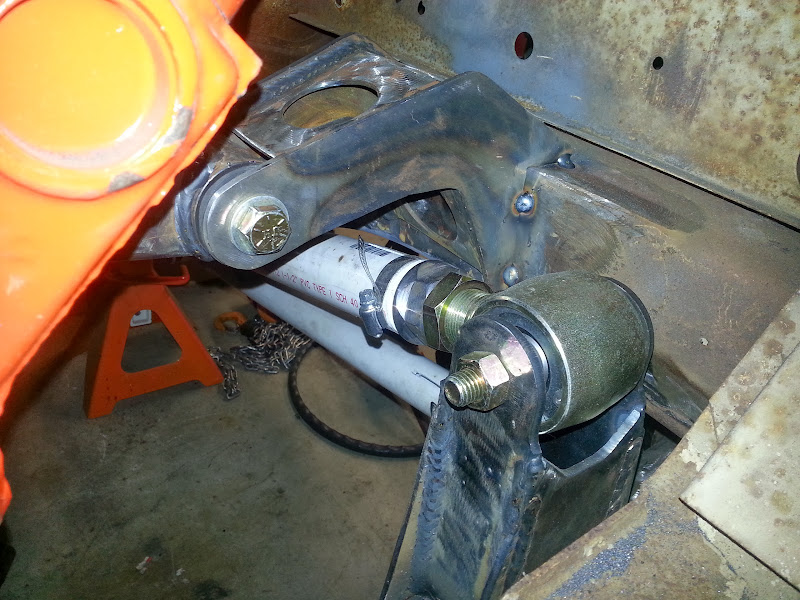
I need to see what this looks like with the axle articulated, but it looks like the coilover has enough room.
2013-12-11%252021.17.27.jpg


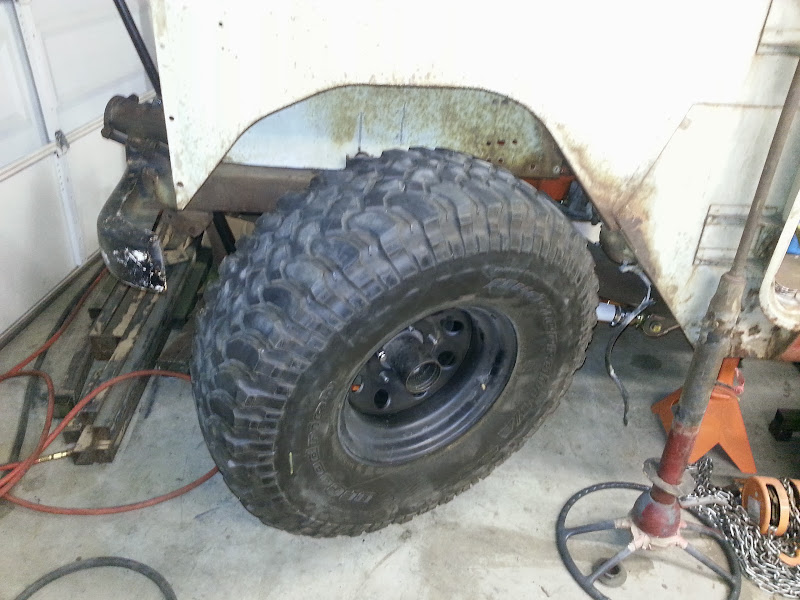
The front of the wheel well will get trimmed as needed, cant check it yet because the bumper is in the way. Here’s how it looks turned hard driver
2013-12-11%252021.15.50.jpg


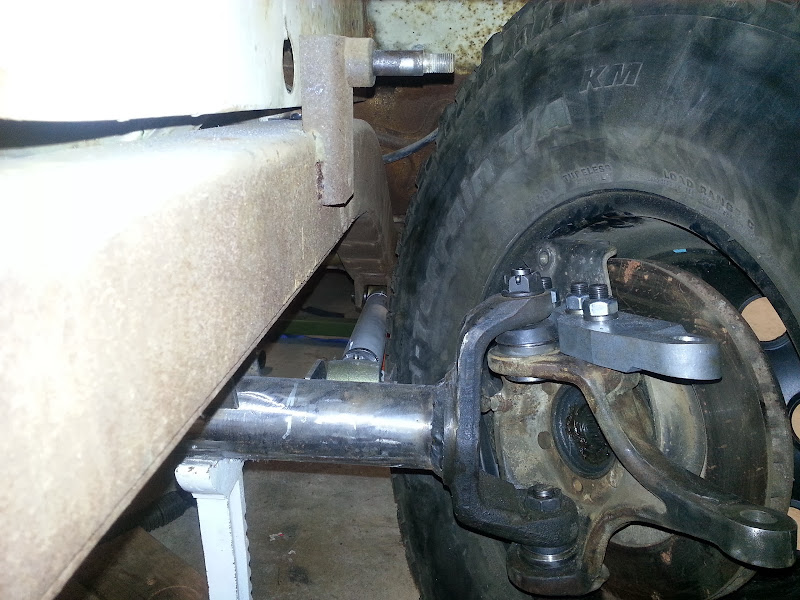
I’m going to try to get the lower link tubing bent to get rid of this issue
2013-12-11%252021.16.12.jpg


If anyone knows what sort of bender it takes to bend 2” OD, ¼” wall tube let me know. I’m assuming the typical JD2 bender won’t be very happy?
 
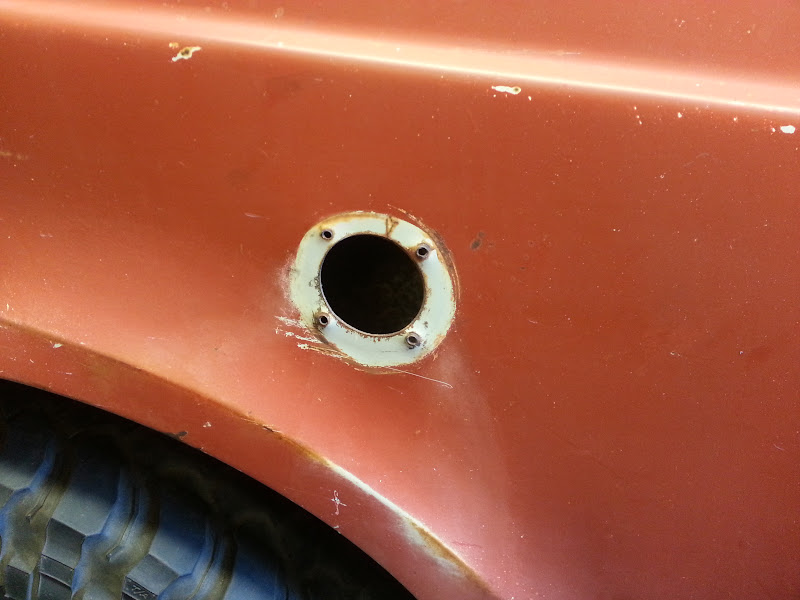
I've never really liked the look of the old school gas caps that came on the Scout, they stand off of the body quite a bit. Plus mine are missing, and not trivial to find NOS. So a while ago I came across some sweet looking flush mount fuel filler caps, intended for homebuilt aircraft :)
http://www.aircraftspruce.com/pages/ap/fuel_caps_zacs/acstlockffc.php

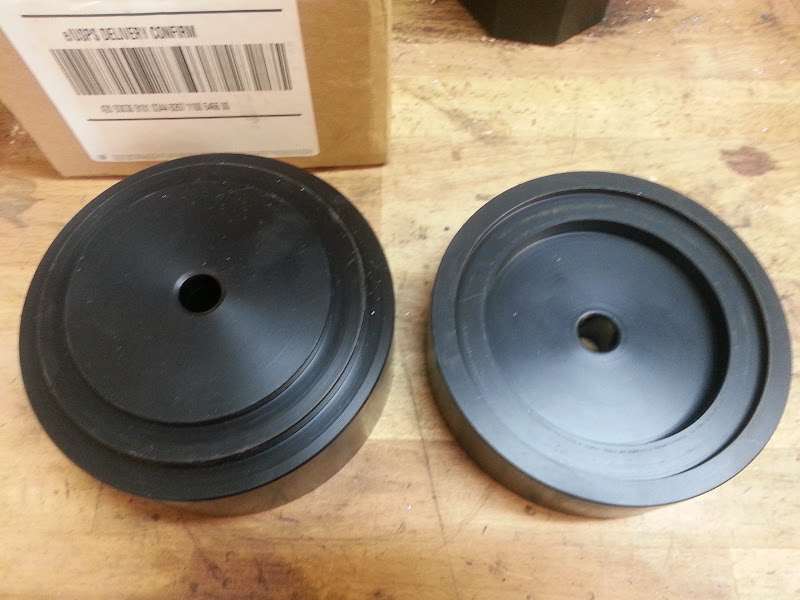
Now, if i'm putting airplane parts on a crappy old truck, I better make them look good, right? The easy answer is to mount them on the face of the body, but I really wanted them flush. I had a big chunk of delrin left over from a project at work that came home with me, and a 5 gallon bucket of chips later I have a 2 piece die set:
2013-07-13%252014.03.31.jpg


I made another quick tool to center the hole saw on the existing fuel filler hole.
2013-07-14%252011.55.46.jpg

2013-07-14%252011.56.10.jpg


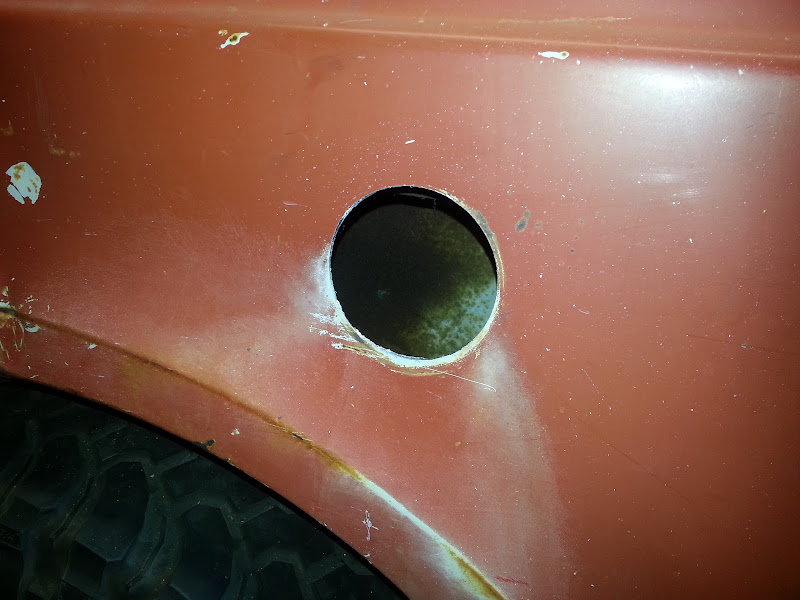
Slow and steady with the big wrist breaker drill, and we have a concerningly large hole in the side of the body
2013-07-14%252011.57.25.jpg


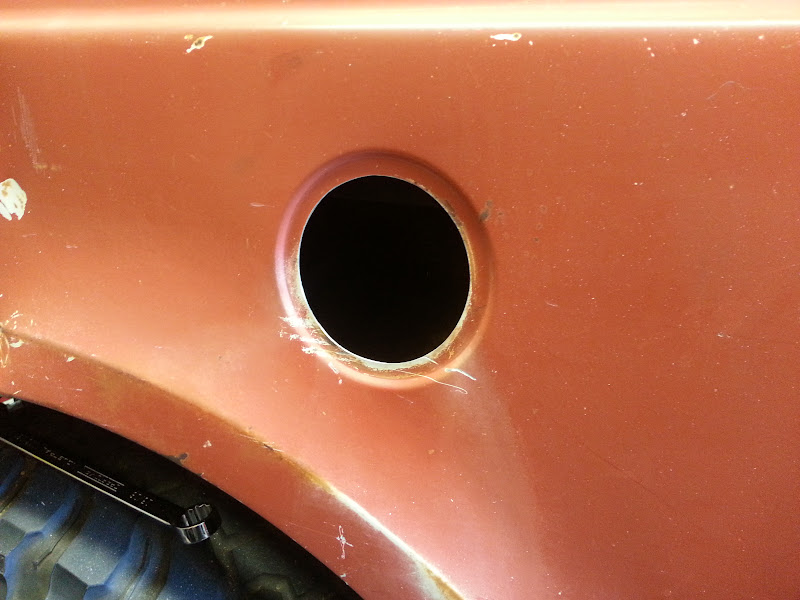
Using a 9/16 bolt to draw the dies together and my impact gun, the recess in the body is formed
2013-07-14%252012.06.56.jpg


Finished result came out better than I had hoped for using plastic tooling.
2013-07-14%252012.07.37.jpg


This is just crazy awesome work! The die set did a perfect job! Way to go!
 
Your engineering background is really showing on this project. No way I would tackle some of the more complex design work you have done.
 
This is a totally awesome build! Love the fabrication documentation. That is going to be one sweet Scout!
 
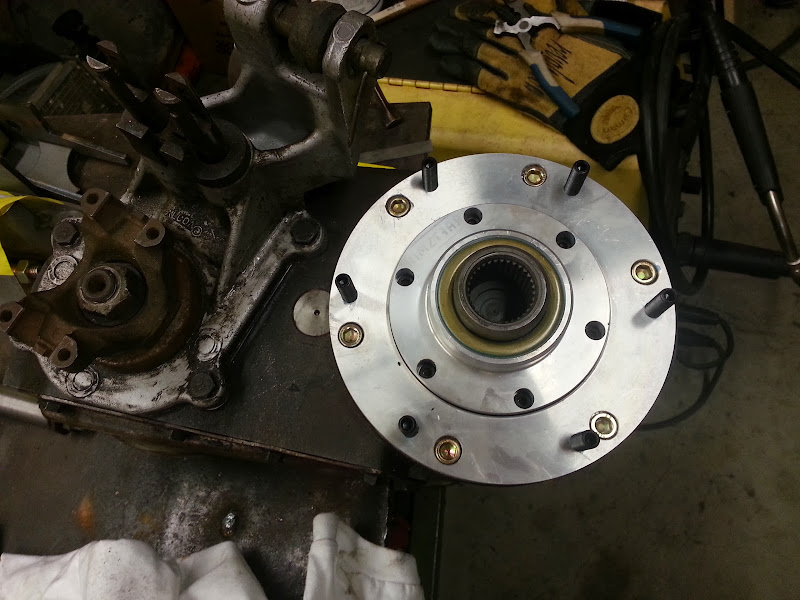
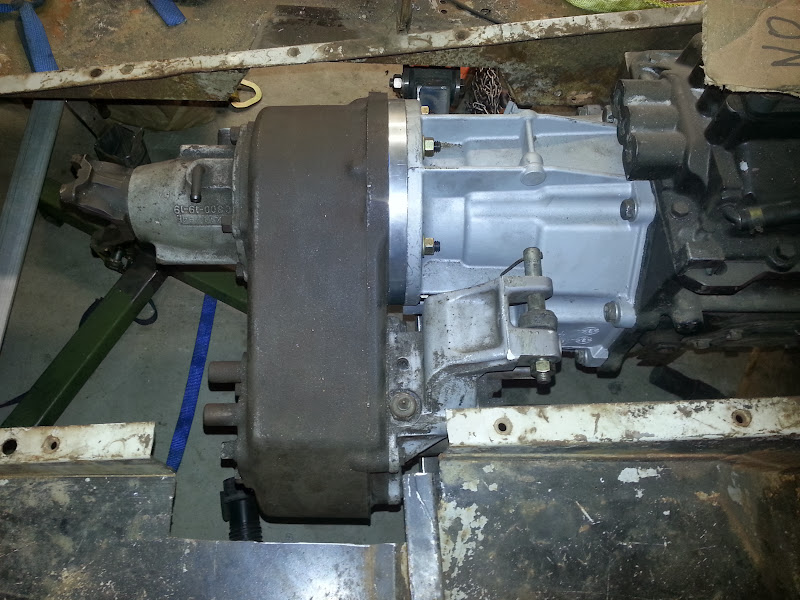
As mentioned earlier, in order to mate the Dana 300 to the GM NV4500, I needed both a clocking ring and also a 5/8" spacer to keep the output shaft from bottoming in the input of the transfer case. Also, the input bearing retainer on the Dana 300 was screwed up, so I needed a new one which are hard to find. Novak came out with both a standard and an extrnded length version, which I used (Novak P/N 8131681-C)
Parts for the Jeep & IH Dana 300 Transfer Cases

The extended length has a ~7/8" long pilot diameter, which allows me to keep the factory pilot of the transfer case into the transmission tailhousing. I got it all installed last night, works out perfectly.

Stock input bearing retainer showing how the clocking ring eliminates the factory pilot
2013-12-08%252011.59.10.jpg


Novak extended length input bearing retainer installed
2013-12-15%252017.37.06.jpg


2013-12-15%252017.37.01.jpg


2013-12-15%252017.52.54.jpg
 
Some really great work going on with this build. My best friend used to own a '63 Scout 80 and we had some great times in that rig.

Keep up the great work and pics. :)
 
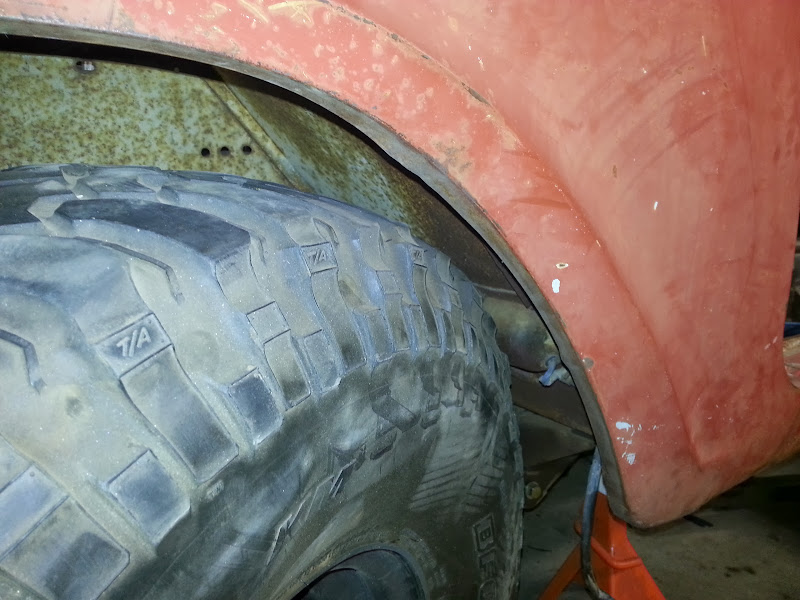
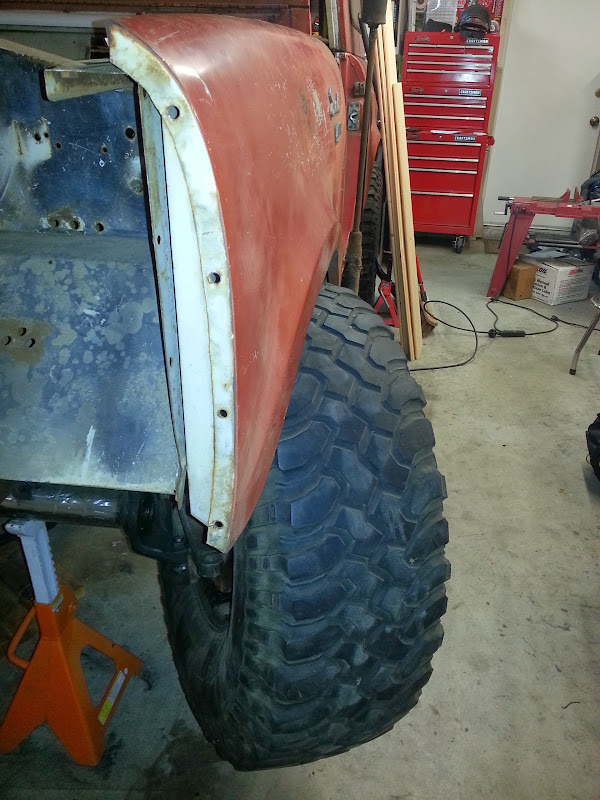
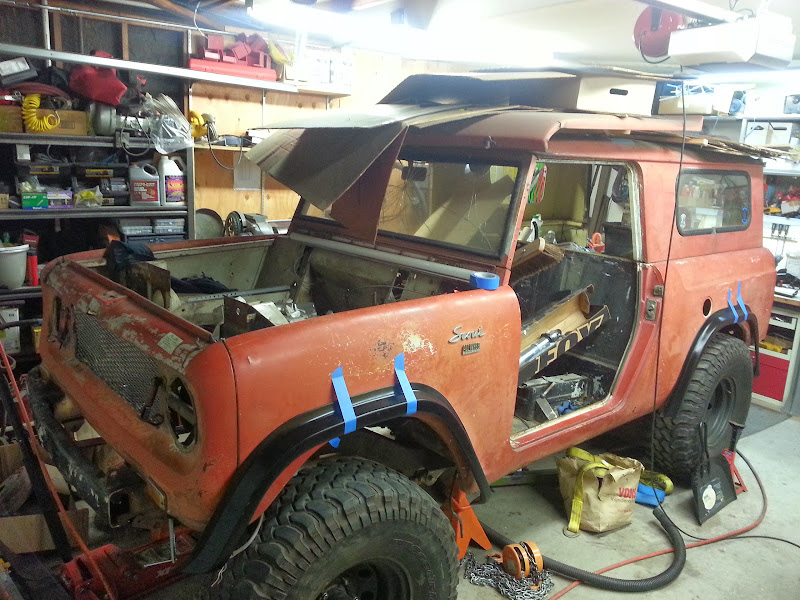
I threw a front fender on last night to see how much I'm looking at trimming, and it still looks better than expected. It looks like I need to lose 2-3" at the front edge of the fender, but the back clears OK. I believe the front axle is ~1" forward of the stock location, which is definitely helping. Wheel base is around 103-104".

2013-12-19%252021.10.34.jpg


2013-12-19%252021.10.49.jpg


This is at full bump, I'm waiting to get the coilovers and steering joints for the front end to be able to cycle through articulation and see how everything clears.

Right now the tire hitting the lower link is limiting my steering to ~25° in one direction, 50° total.

2013-12-19%252021.10.59.jpg


According to my maths if I use a 5.5" long TJ/YJ pitman arm I can get 44° of steering at the knuckle. If use the 6.25" long WJ pitman arm I will get 48° steering at the knuckle, and I can run the knuckle steering stops out to limit this so that I'm not hitting the internal stops in the steering box. Can anyone with more experience than me tell me if I'm thinking this through right?
 
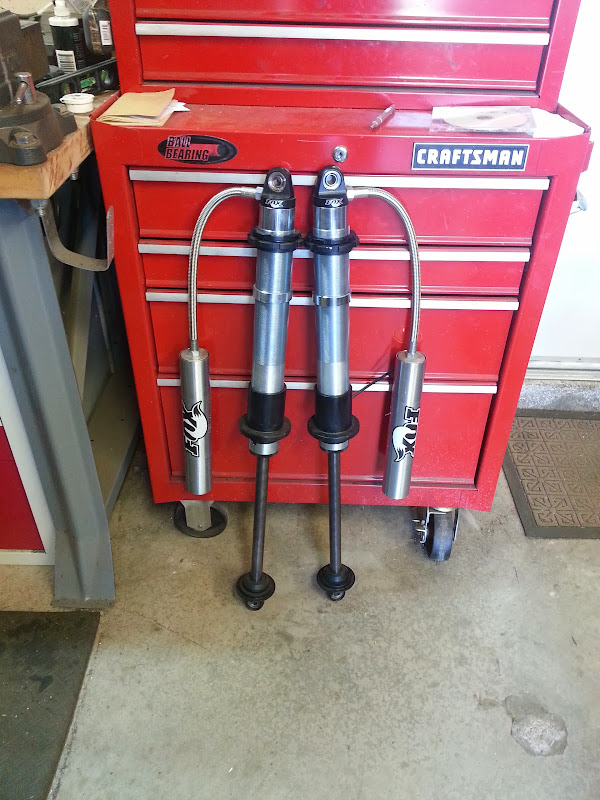
I picked up some 12" travel Fox coilovers for the front end:
2013-12-30%252011.36.46.jpg


I also ordered the wild horses gorilla warflares, I've been holding off on cutting the fenders until I had the flares in hand, so I finally bit the bullet.

Lastly I've got the steering tie rod ends on order. Hoping all of this gets here in the next few days and I can wrap up the location of the panhard bar brackets and start thinking about cutting and welding the final links. I am looking forward to getting the truck back to being a roller.
 
Awesome build ! Great fab work and very well thought out. Coming from a parts swap out guy, it is really wild to see what is really possible when someone takes their time and thinks it through.
 
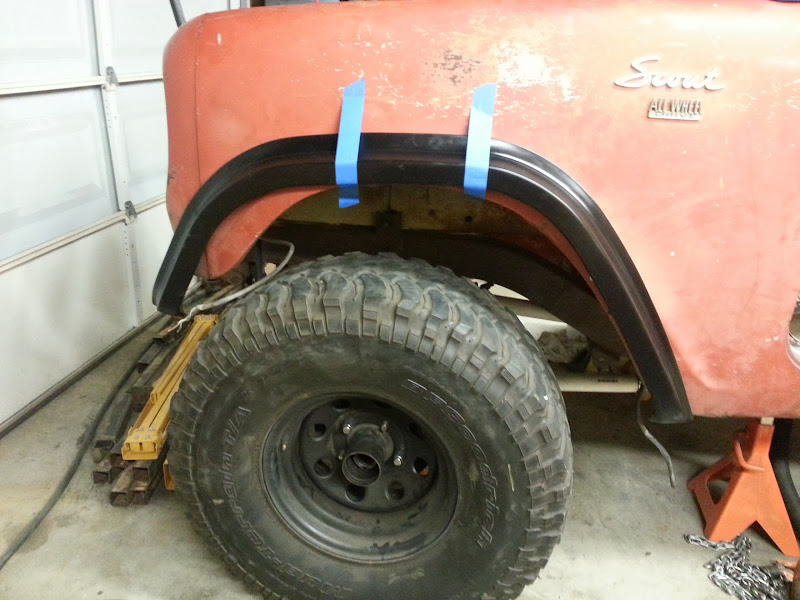
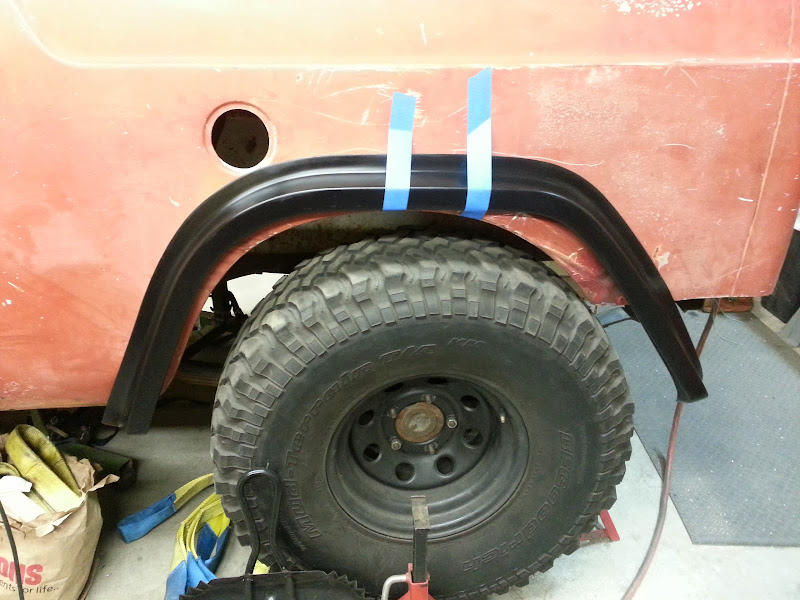
I got the fender flares in, they're the Wild Horses Gorilla Warflares. They are urethane and seem like they'll conform well to the scout body.

Been a while since I've had the fenders and grille in place, its actually starting to look like a real truck again.
2014-01-08%252020.57.59.jpg


Front flare fitment, I think this may come forward a little more.
2014-01-08%252020.57.46.jpg


2014-01-08%252020.57.34.jpg


Rear, I think this needs to come a bit further back.
2014-01-08%252020.57.14.jpg
 
Thanks guys - sorry the progress will be slow from here on out, between the real job and welding school I won't have too much Scout time this semester.

Didn't get anything picture worthy done this weekend, just measured for the steering link lengths, should get those ordered this week. Spent a little time trying to find a local source for 2" x 1/4" wall DOM tube for the links, and got the axle shafts built with new ujoints.
 
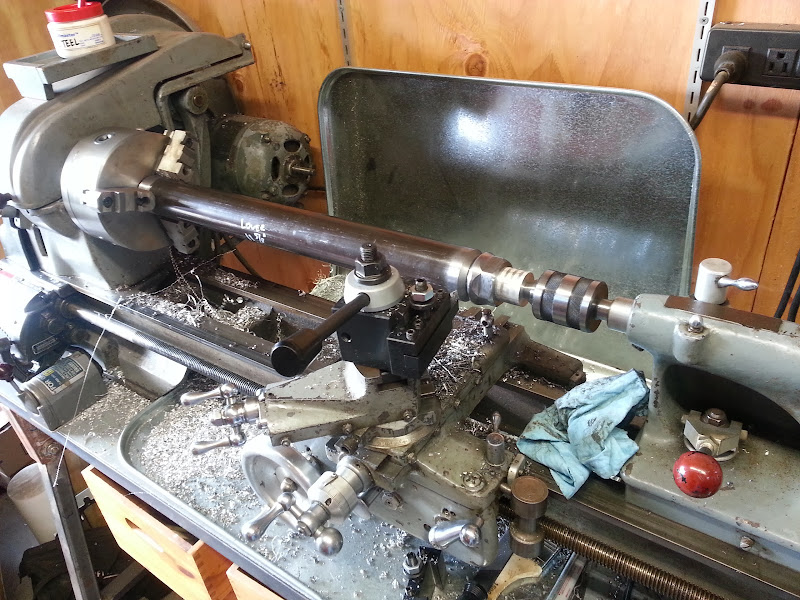
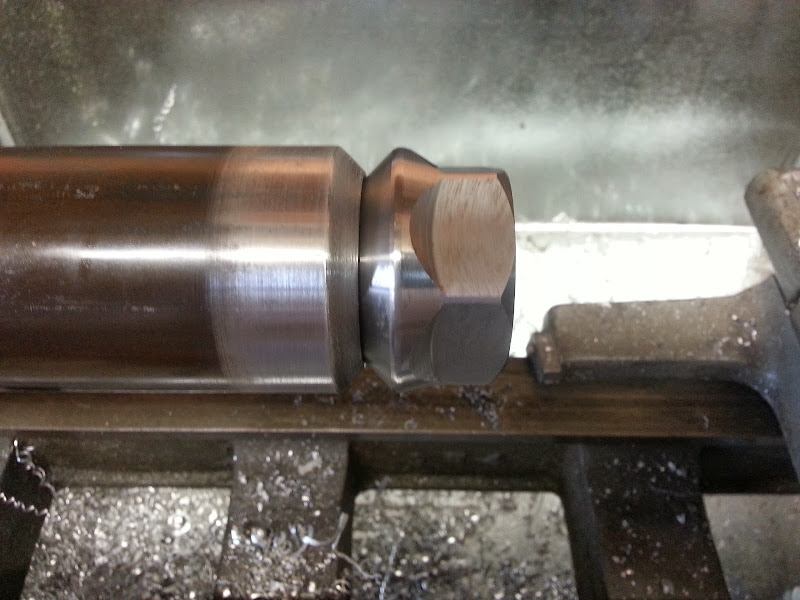
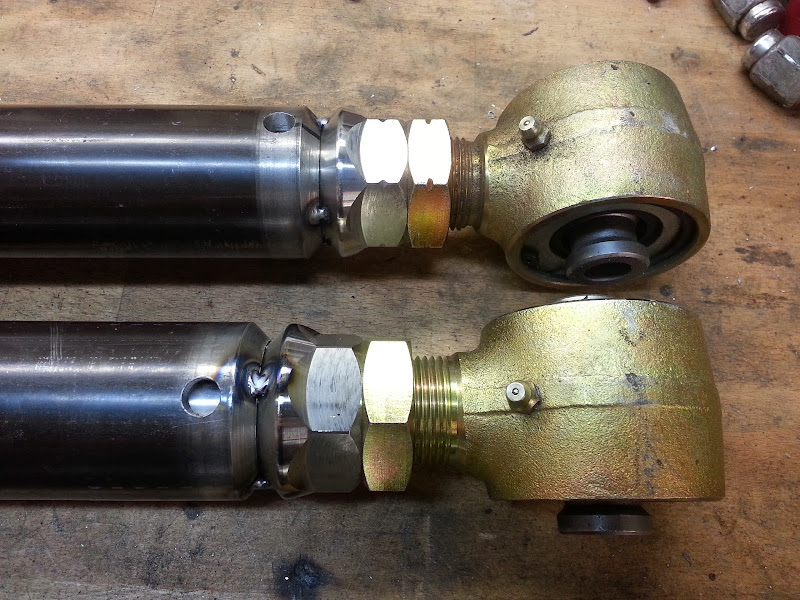
I bought all the DOM tubing for the links this week, and set up my lathe to cut a matching bevel to the tube inserts.

2" x 1/4" wall for the upper and lower links
2014-01-19%252015.09.29.jpg

2014-01-19%252013.20.46.jpg


1.5" x 1/4" wall for the panhard bar
2014-01-19%252013.35.39.jpg


I tried out the rollers I built as a make shift welding positioner, and had some issues with the ground wanting to pull the tube in one direction or another. Sort of solved it by wrapping some ground strap around the tube and letting it unwind. I still wish I had a real rotary positioner, I think it'd make the end product much more consistent. I tried both MIG and TIG on some extra joints I ordered, and was happier with the results using TIG, so that's how I'll do the rest of the joints. I doubt they will end up in the pretty weld thread, but I am getting solid penetration with the current setup so it will hold.

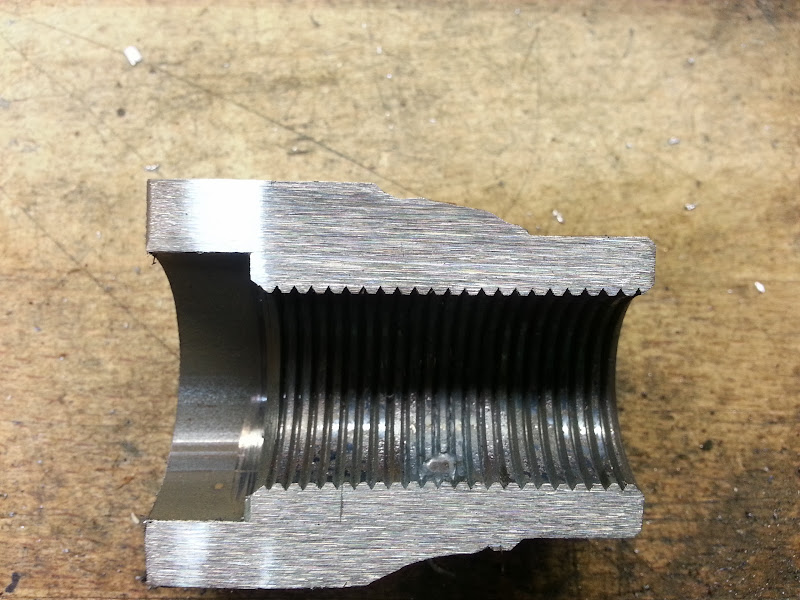
Cut one in half to check penetration and make sure I'm not getting any porosity/gaps
2014-01-19%252020.24.05.jpg
 
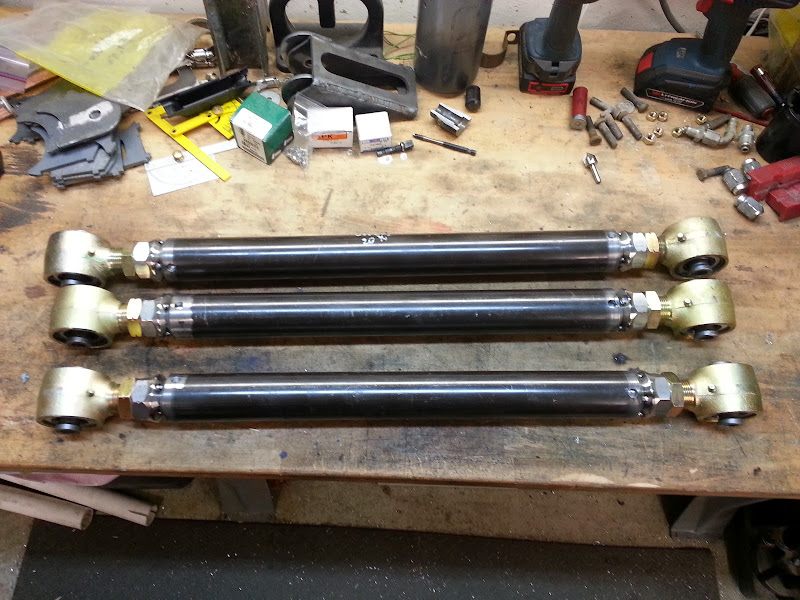
Got the rest of the links tacked up last night and bolted back in under the truck.
2014-01-20%252020.33.21.jpg


2014-01-20%252020.33.38.jpg


Ordered the tie rod and drag link from WFO Concepts, they sell them cut to your specs, tapped and with milled wrench flats for less than I could have bought tubing and taps myself. Last piece of the puzzle will be to build the panhard bar mounts, which I'm waiting on getting the drag link into place for, so that I can try to match the length and angle as best as packaging allows.
 
Subscribing to this epic build.. Loving where it's going brother! Keep on keepin on! Incredible engineering here!
 
Back
Top Bottom