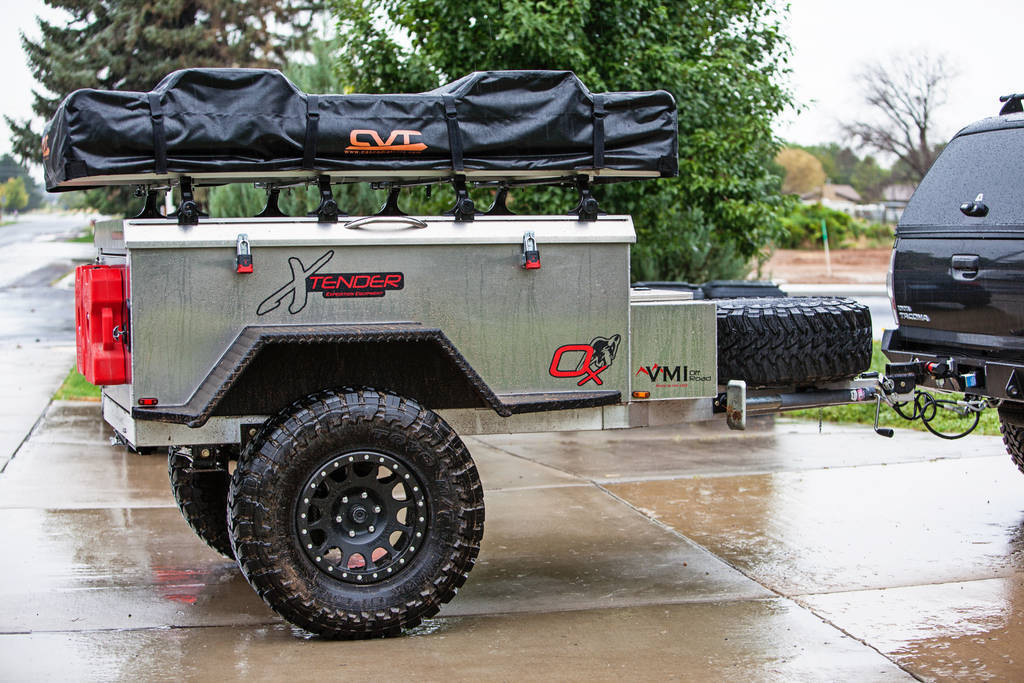
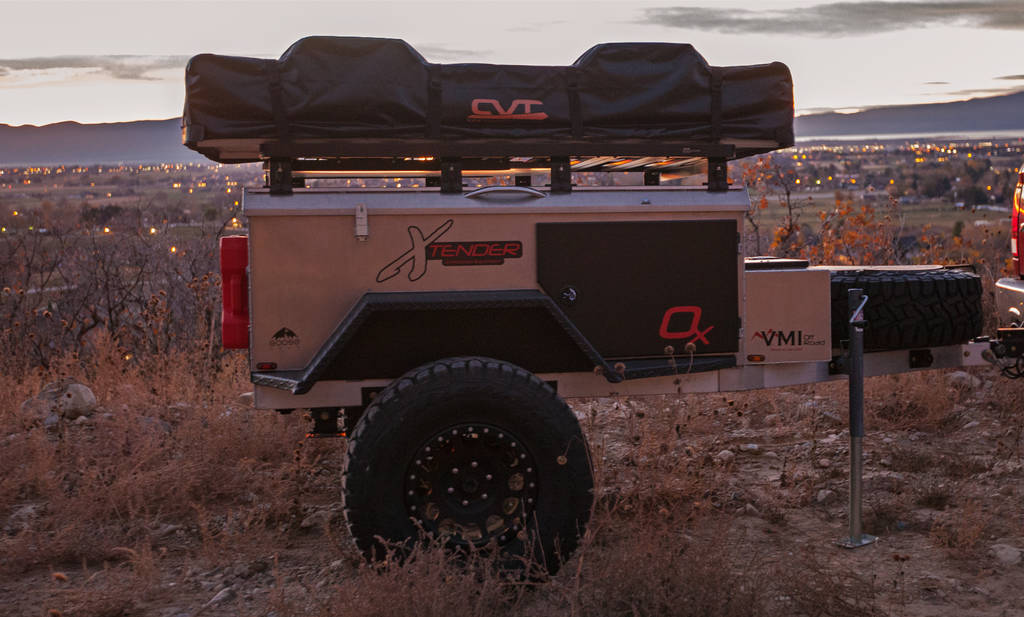
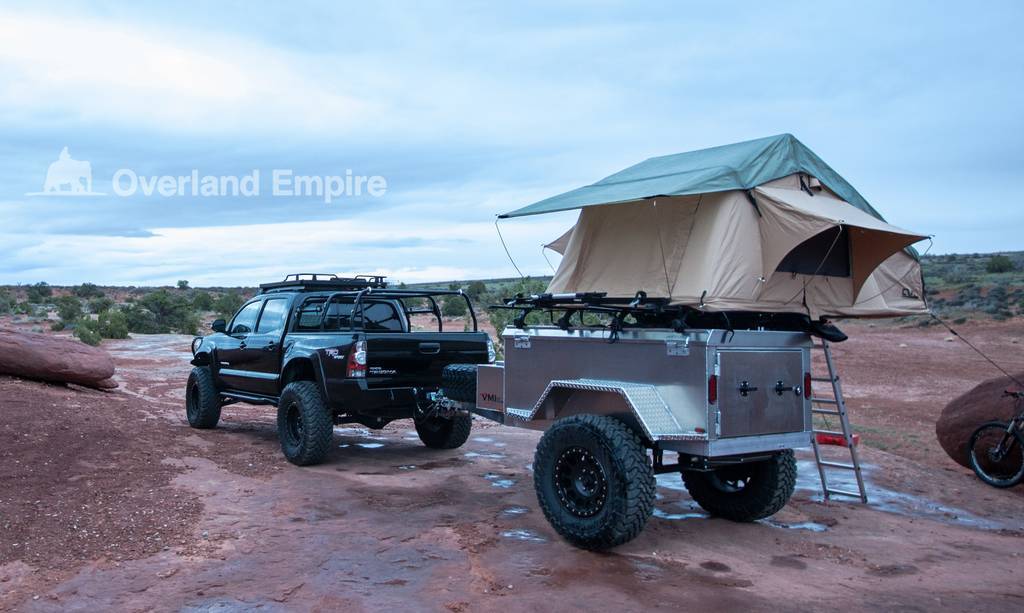
VMI Offroad OX custom trailer build for DefconBrix

Thanks everyone!

Here is how she sits right now. Getting ready to bring it back to VMI to start stage 2 of the build and get some of the conveniences added like refrigerator, batteries etc
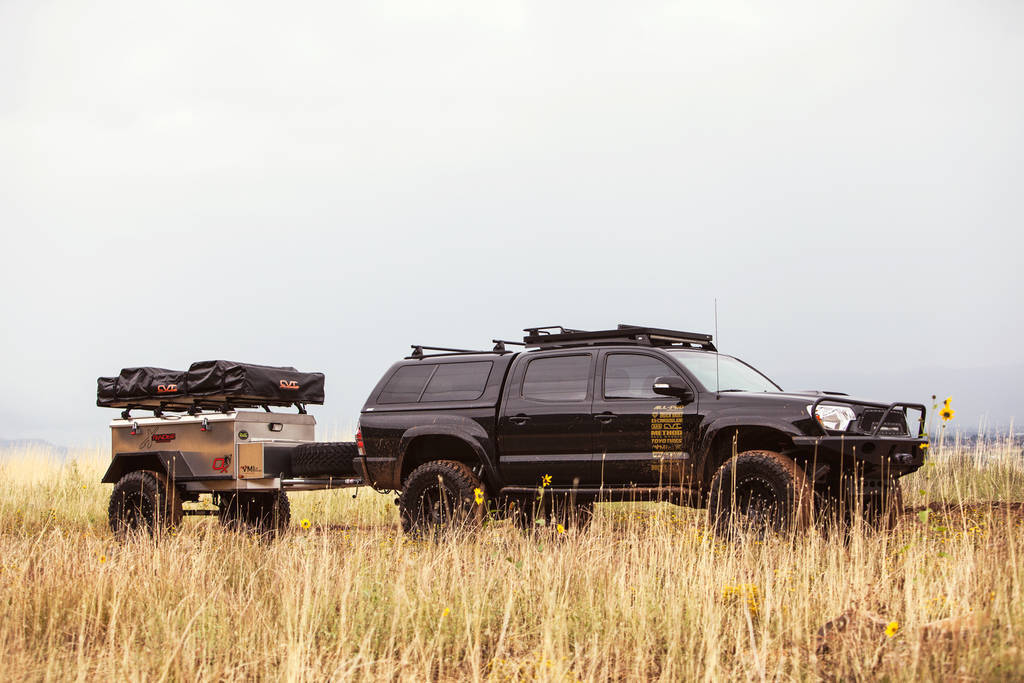
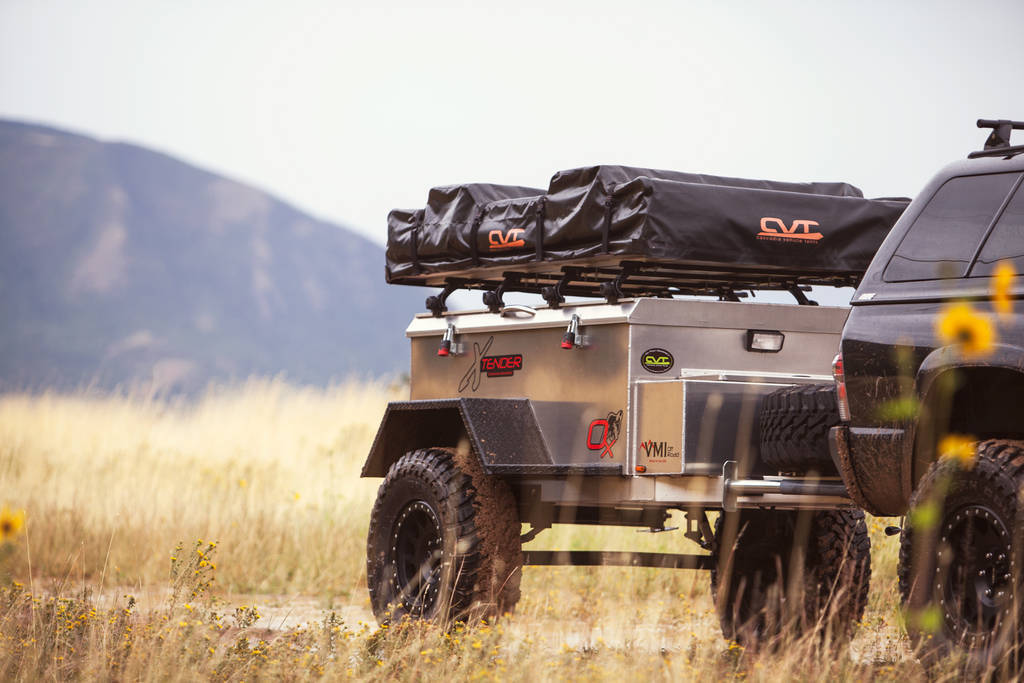
IMG_78201.jpg


IMG_7822.jpg


IMG_7832.jpg


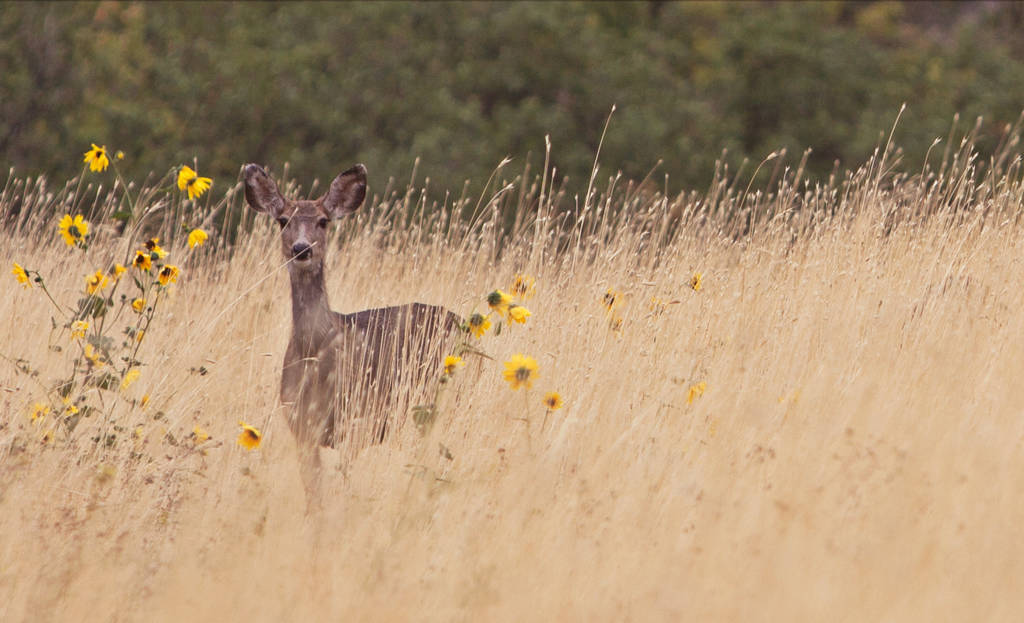
...and this is just a random deer I saw while out exploring in Utah.
Seeing wildlife while out exploring is one of my favorite things.
IMG_7816.jpg
 
Big things are happening!!

I got in a few big packages last week!

NorCold NR751 Stainless Steel Refrigerator
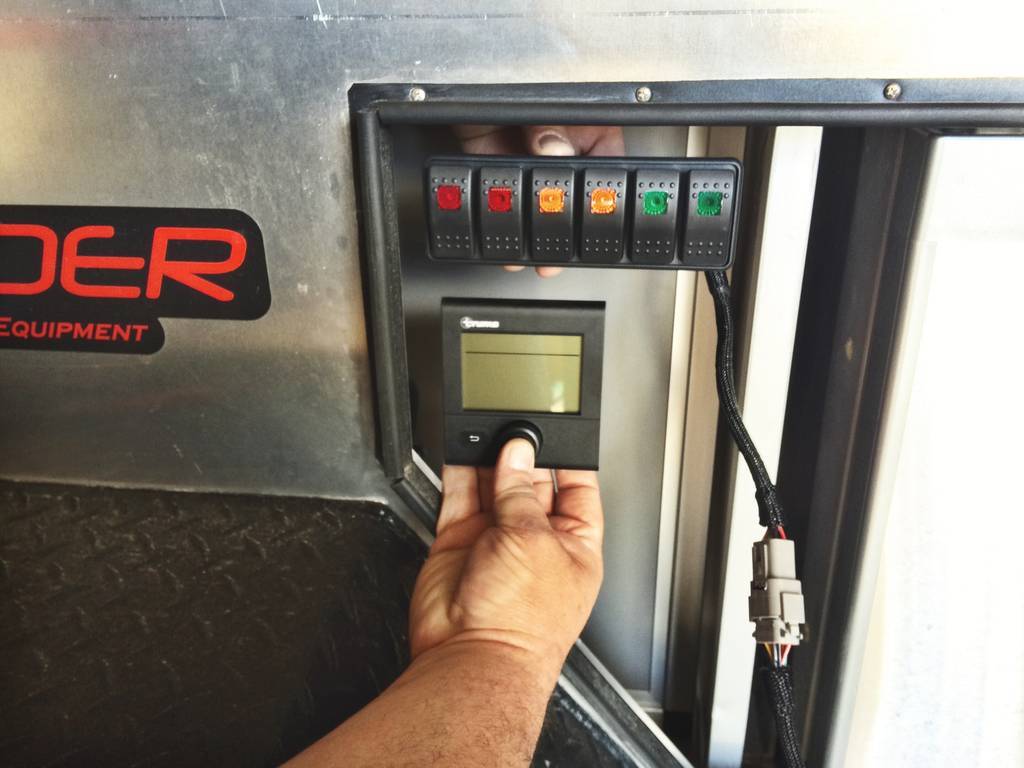
Truma Combi 4 forced air heat and water heater unit

Currently in the works:

Goose Gear custom walls/bulkhead and modular drawer unit
(2) Odyssey PC1800 Batteries
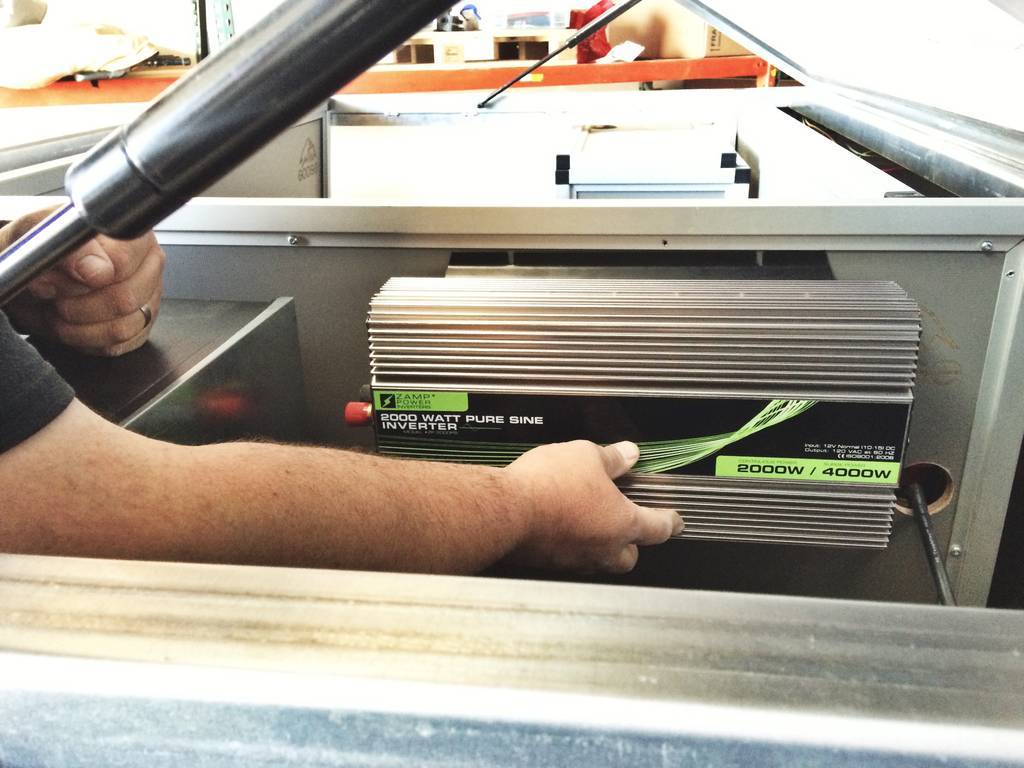
Zamp Solar 2000 Inverter & 200watt Portable Solar Panels

Stay tuned for photo updates!

- - - Updated - - -

Here is the trailer empty. I chose to go this "unfinished" route to start with so that I could best layout my wants and needs after a few camp trips out.

Now its time to complete it.

IMG_8005.jpg


IMG_8006.jpg


IMG_8007.jpg


IMG_8017.jpg
 
Guess who is getting Goose-Gear Equipped!

goose logo.png


After seeing Dave's interior build I knew what the next steps on my build would be.
Tossed out the idea of the home depot wood special.

I dropped off my trailer with Brian at Goose-Gear a couple of weeks ago to do all the finish work (side walls and bulkhead) and add some storage solutions.

Here are some sneak peak photos from the test fitting of the drawer unit.

unnamed-1.jpg


unnamed.jpg


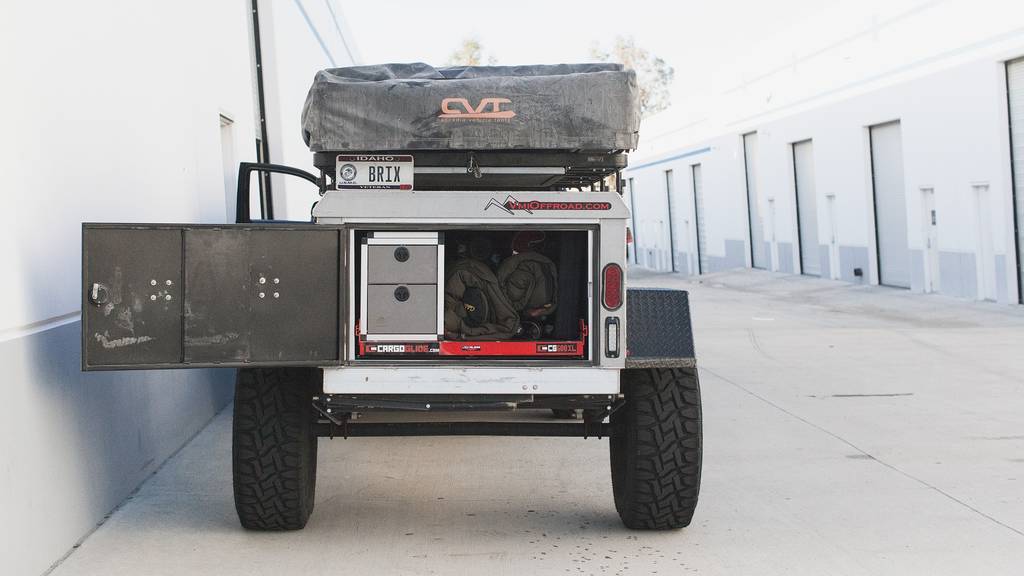
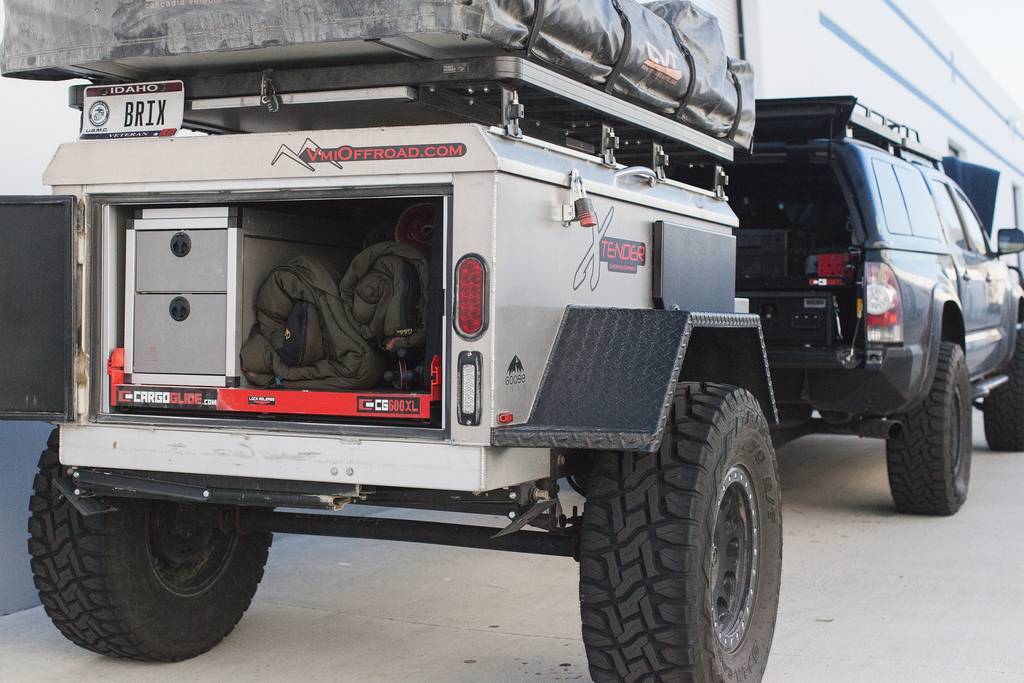
I wanted the top to also open and the rear section of the unit will have a kind of "hidden" compartment for me to store taller gear and likely the stuff I don't want my wife or kid getting into.

My plans include adding the TrekPak system to the inside of the drawers to help keep everything even more organized and secure.
 
The finished drawer unit from Goose-Gear at the Toy 4 Tots event at Camp Pendleton.

More photos coming soon.

goosegearequipped.jpg


Here is a close up photo from @IronWorksTactical's instagram page.


goosegear_drawer1.jpg
 
Mock-up photos from some of the other recent additions.
Now on to mounting and plumbing.

FullSizeRender.jpg


IMG_1763.jpg


Above: Dual Odyssey Batteries will be mounted above the axle on each side for proper weight distribution.
Perfect fit with these specialties batteries!
IMG_1826.jpg


FullSizeRender-2.jpg


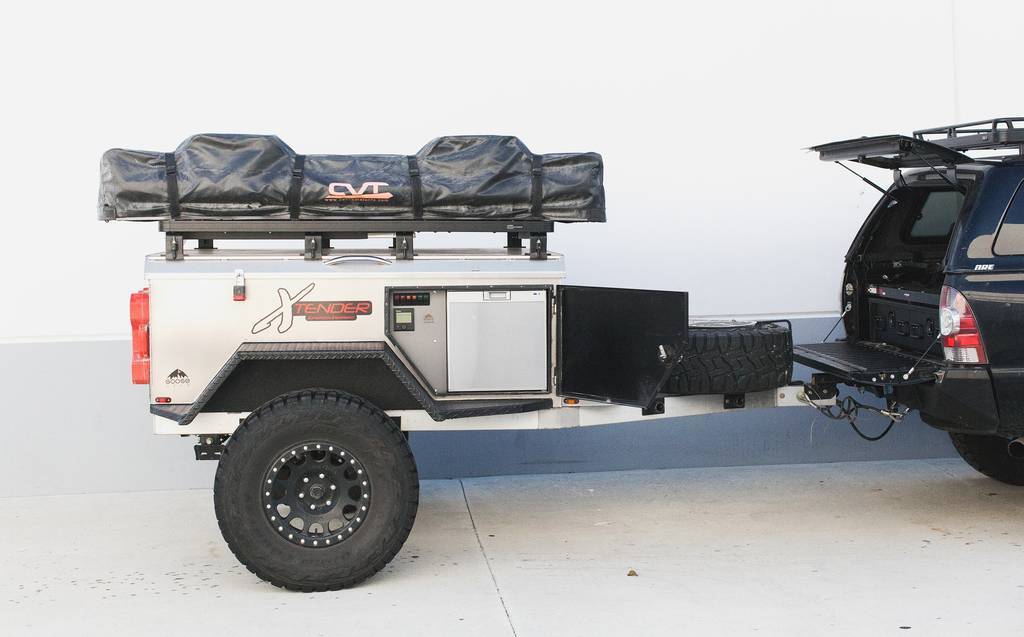
Above: Side door has been cut and added allowing access to the new Norcold fridge and room for a control panel.
This wood piece was added for mockup reasons and will actually be finish with Goose-Gear materials to match.

IMG_1759.jpg


Above: Mockup of the side panel to finish off the interior.
These panels will hide the plumbing and wiring keeping my cargo area clean.
There will also be a bulkhead separating the fridge and Truma unit from the Cargo area.
I plan to put some outlets on the walls as well.
 
Side profile of the trailer with the newly added side entry door.


This was taken right before dropping the trailer off for the Goose-Gear treatment :D


IMG_98052.jpg
 
You'll be very happy with those batteries!

Definitely want to put a good size charger in to keep up with those!
 
You'll be very happy with those batteries!

Definitely want to put a good size charger in to keep up with those!

I can't wait to get these hooked up and running!

I'll be using the Zamp Solar charger/inverter & portable solar panels to keep these bad boys running strong.
 
Good choice. Odyssey is NO JOKE when it comes to charging. You're going to the amps to maintain 14.4@40amps bulk charging they crave.

Having them on opposite sides is little tricky on the wiring, since running parallel (to stay 12 volts) you want to draw ground from one battery, and positive from the other.

Example:
BATTER~4.gif

Here, the leads between the batteries are short. I suppose you could choose to go under the trailer in a channel or conduit.

If you do not wire the batteries in this way, one will drain before anything is drawn from the other. Causing a nightmare to recharge the system, and abuse the first battery in the system, instead of forcing the batteries to work together evenly as shown in the diagram. They will recharge evenly as well this way.

Not shown very well in the diagram, but the linking wires should be the same length, however long that needs to be, as should the supply wires, however long they need to be as well.
 
Good choice. Odyssey is NO JOKE when it comes to charging. You're going to the amps to maintain 14.4@40amps bulk charging they crave.

Having them on opposite sides is little tricky on the wiring, since running parallel (to stay 12 volts) you want to draw ground from one battery, and positive from the other.

Example:
View attachment 10698
Here, the leads between the batteries are short. I suppose you could choose to go under the trailer in a channel or conduit.

If you do not wire the batteries in this way, one will drain before anything is drawn from the other. Causing a nightmare to recharge the system, and abuse the first battery in the system, instead of forcing the batteries to work together evenly as shown in the diagram. They will recharge evenly as well this way.

Not shown very well in the diagram, but the linking wires should be the same length, however long that needs to be, as should the supply wires, however long they need to be as well.


Mitch, this is great information! Electrical is not my forte by any means.

I plan to run the cables under the CargoGlide (there is room between the frame).

What would you charge to get this system all hooked up for me? The trailer is currently in your area with Brian at Goose Gear.

Drop me an email if you this is something you might want to tackle in the next few weeks before it comes back to Utah.
 
Wow! Great trailer

NO !#@*!
1) Nice truck
2) Beautiful Trailer!
3) Your camera takes WAAAY better pictures than I do!!!
4) What's your secret?

How much do I have to save for my next camera? LOL

Seriously great rig, thanks for the tread, I hope see you in the mountains/trail/woods.
Woodienut
 
Last edited by a moderator:
Back
Top Bottom