TESTED: Dometic PLB 40

Editor’s Note:  This article was updated on 2/10/2020 to include cold weather testing, as requested by our members.  Find it below.  -Chad

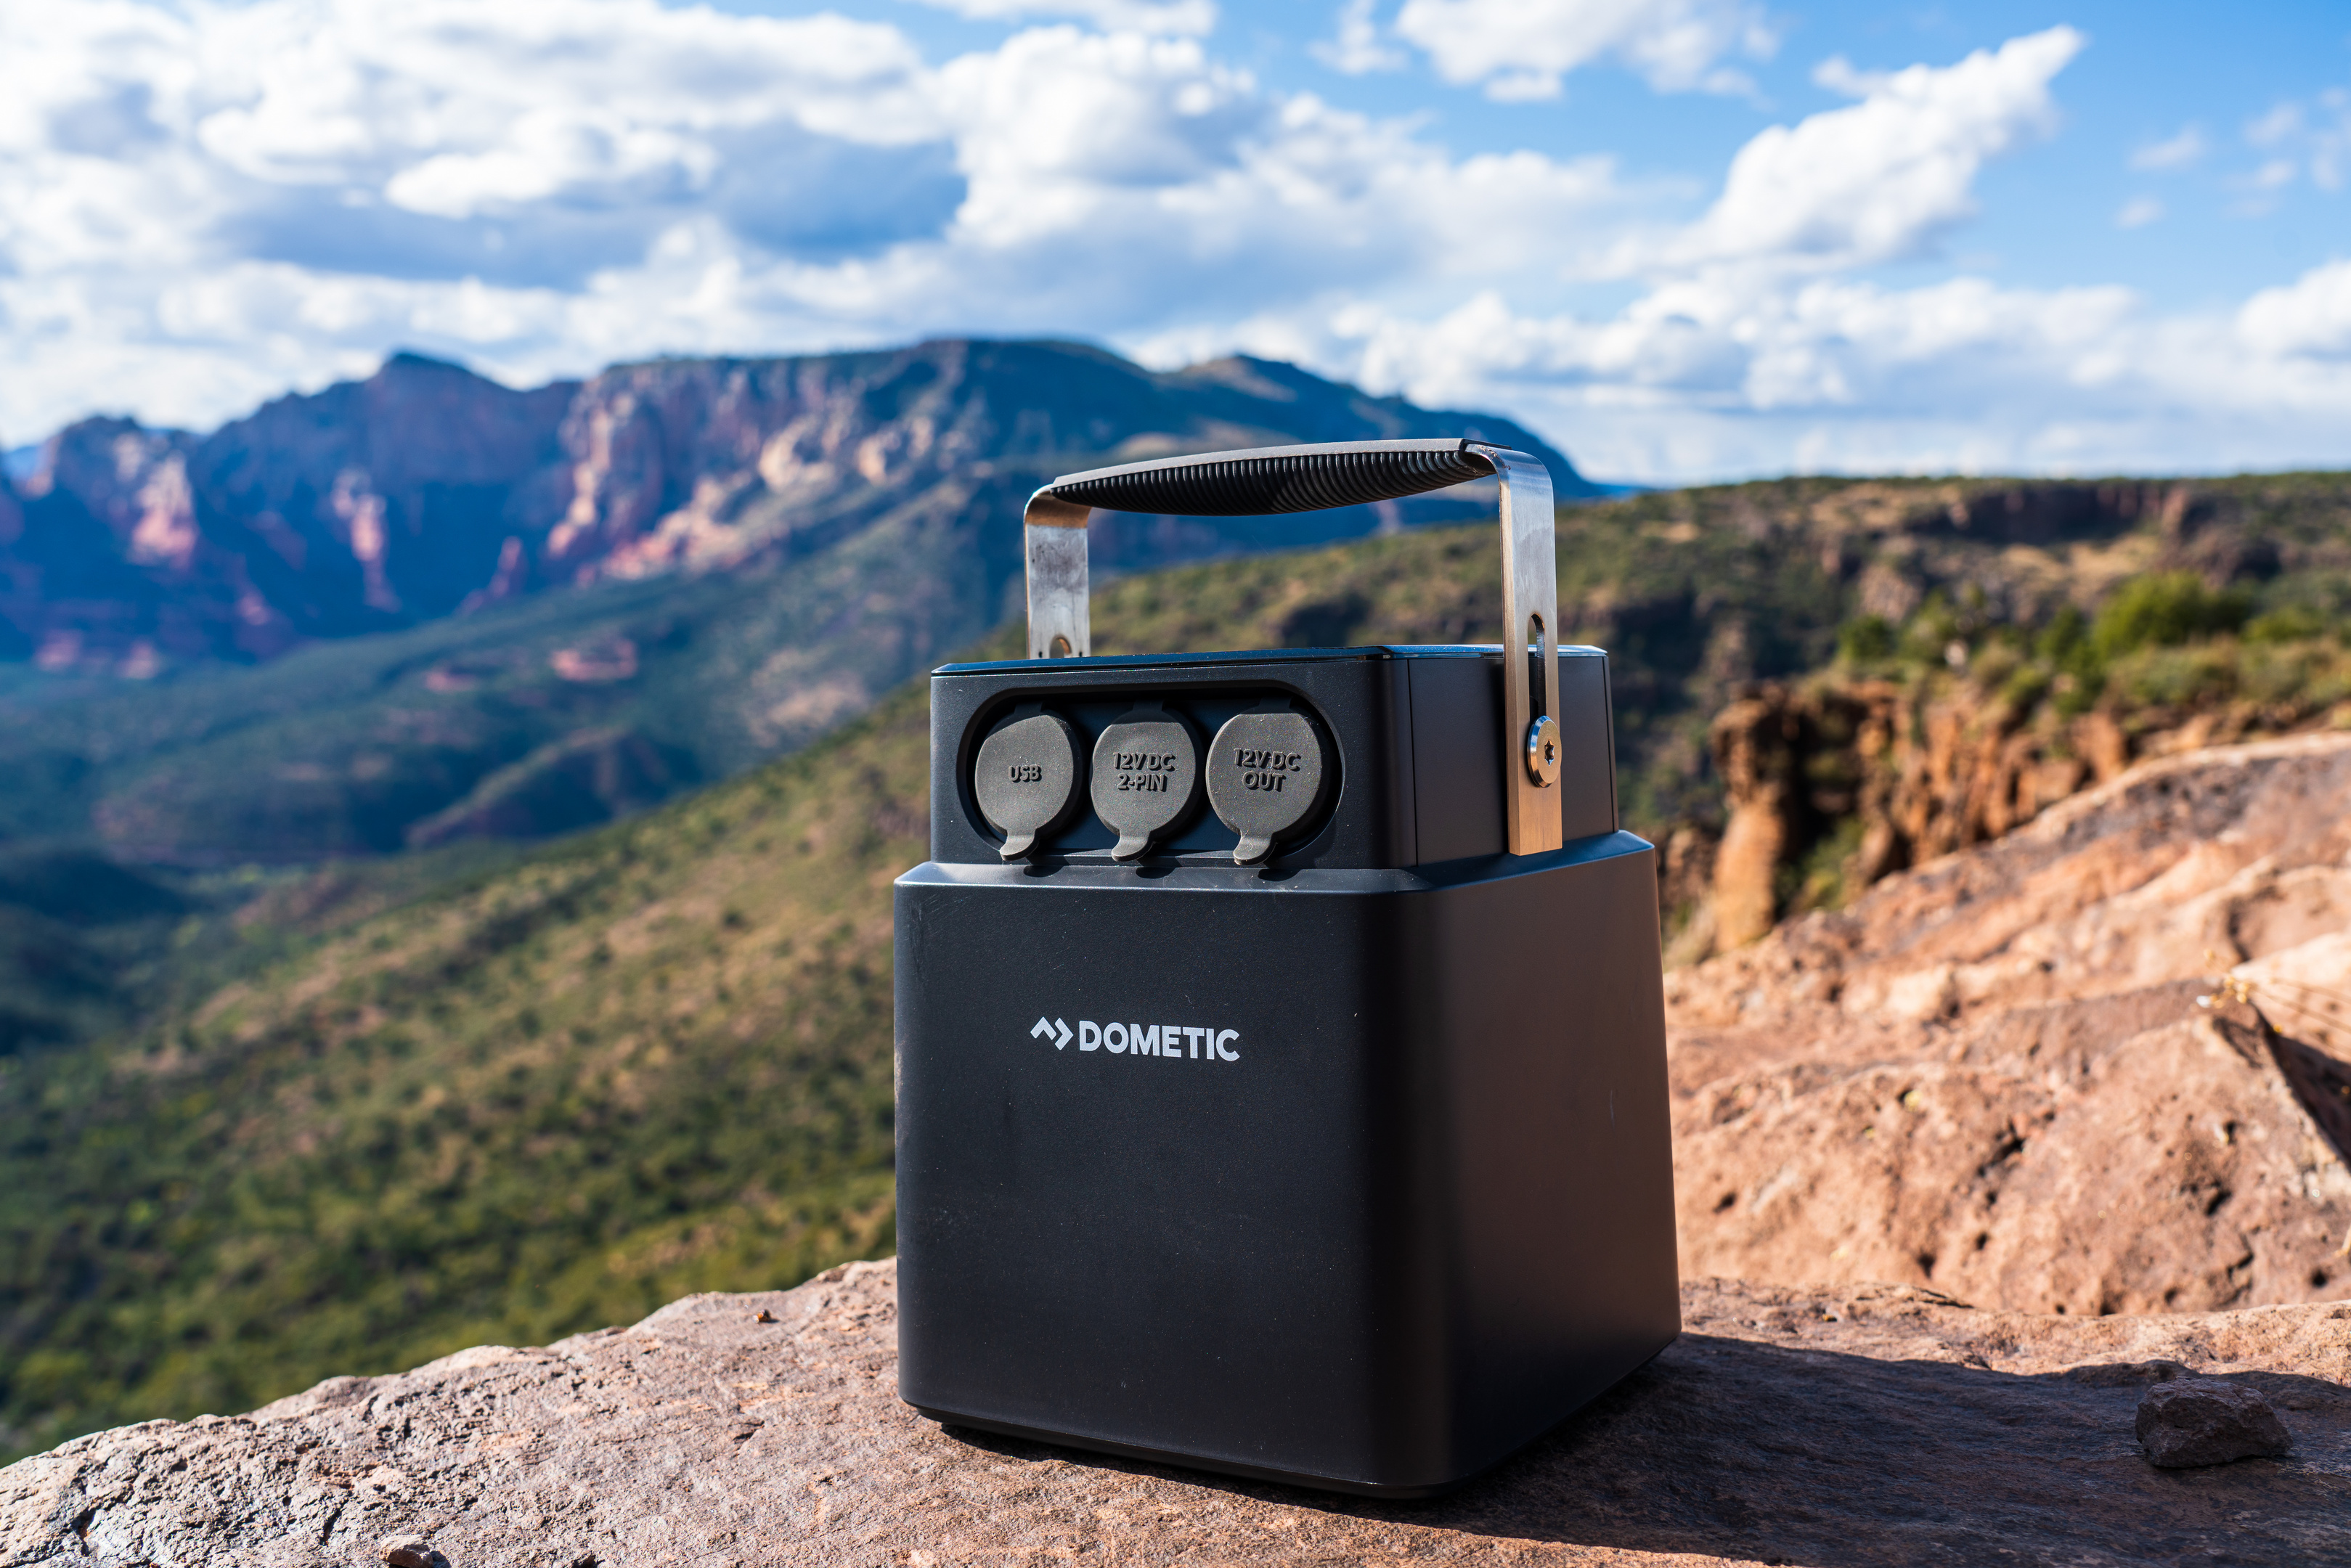
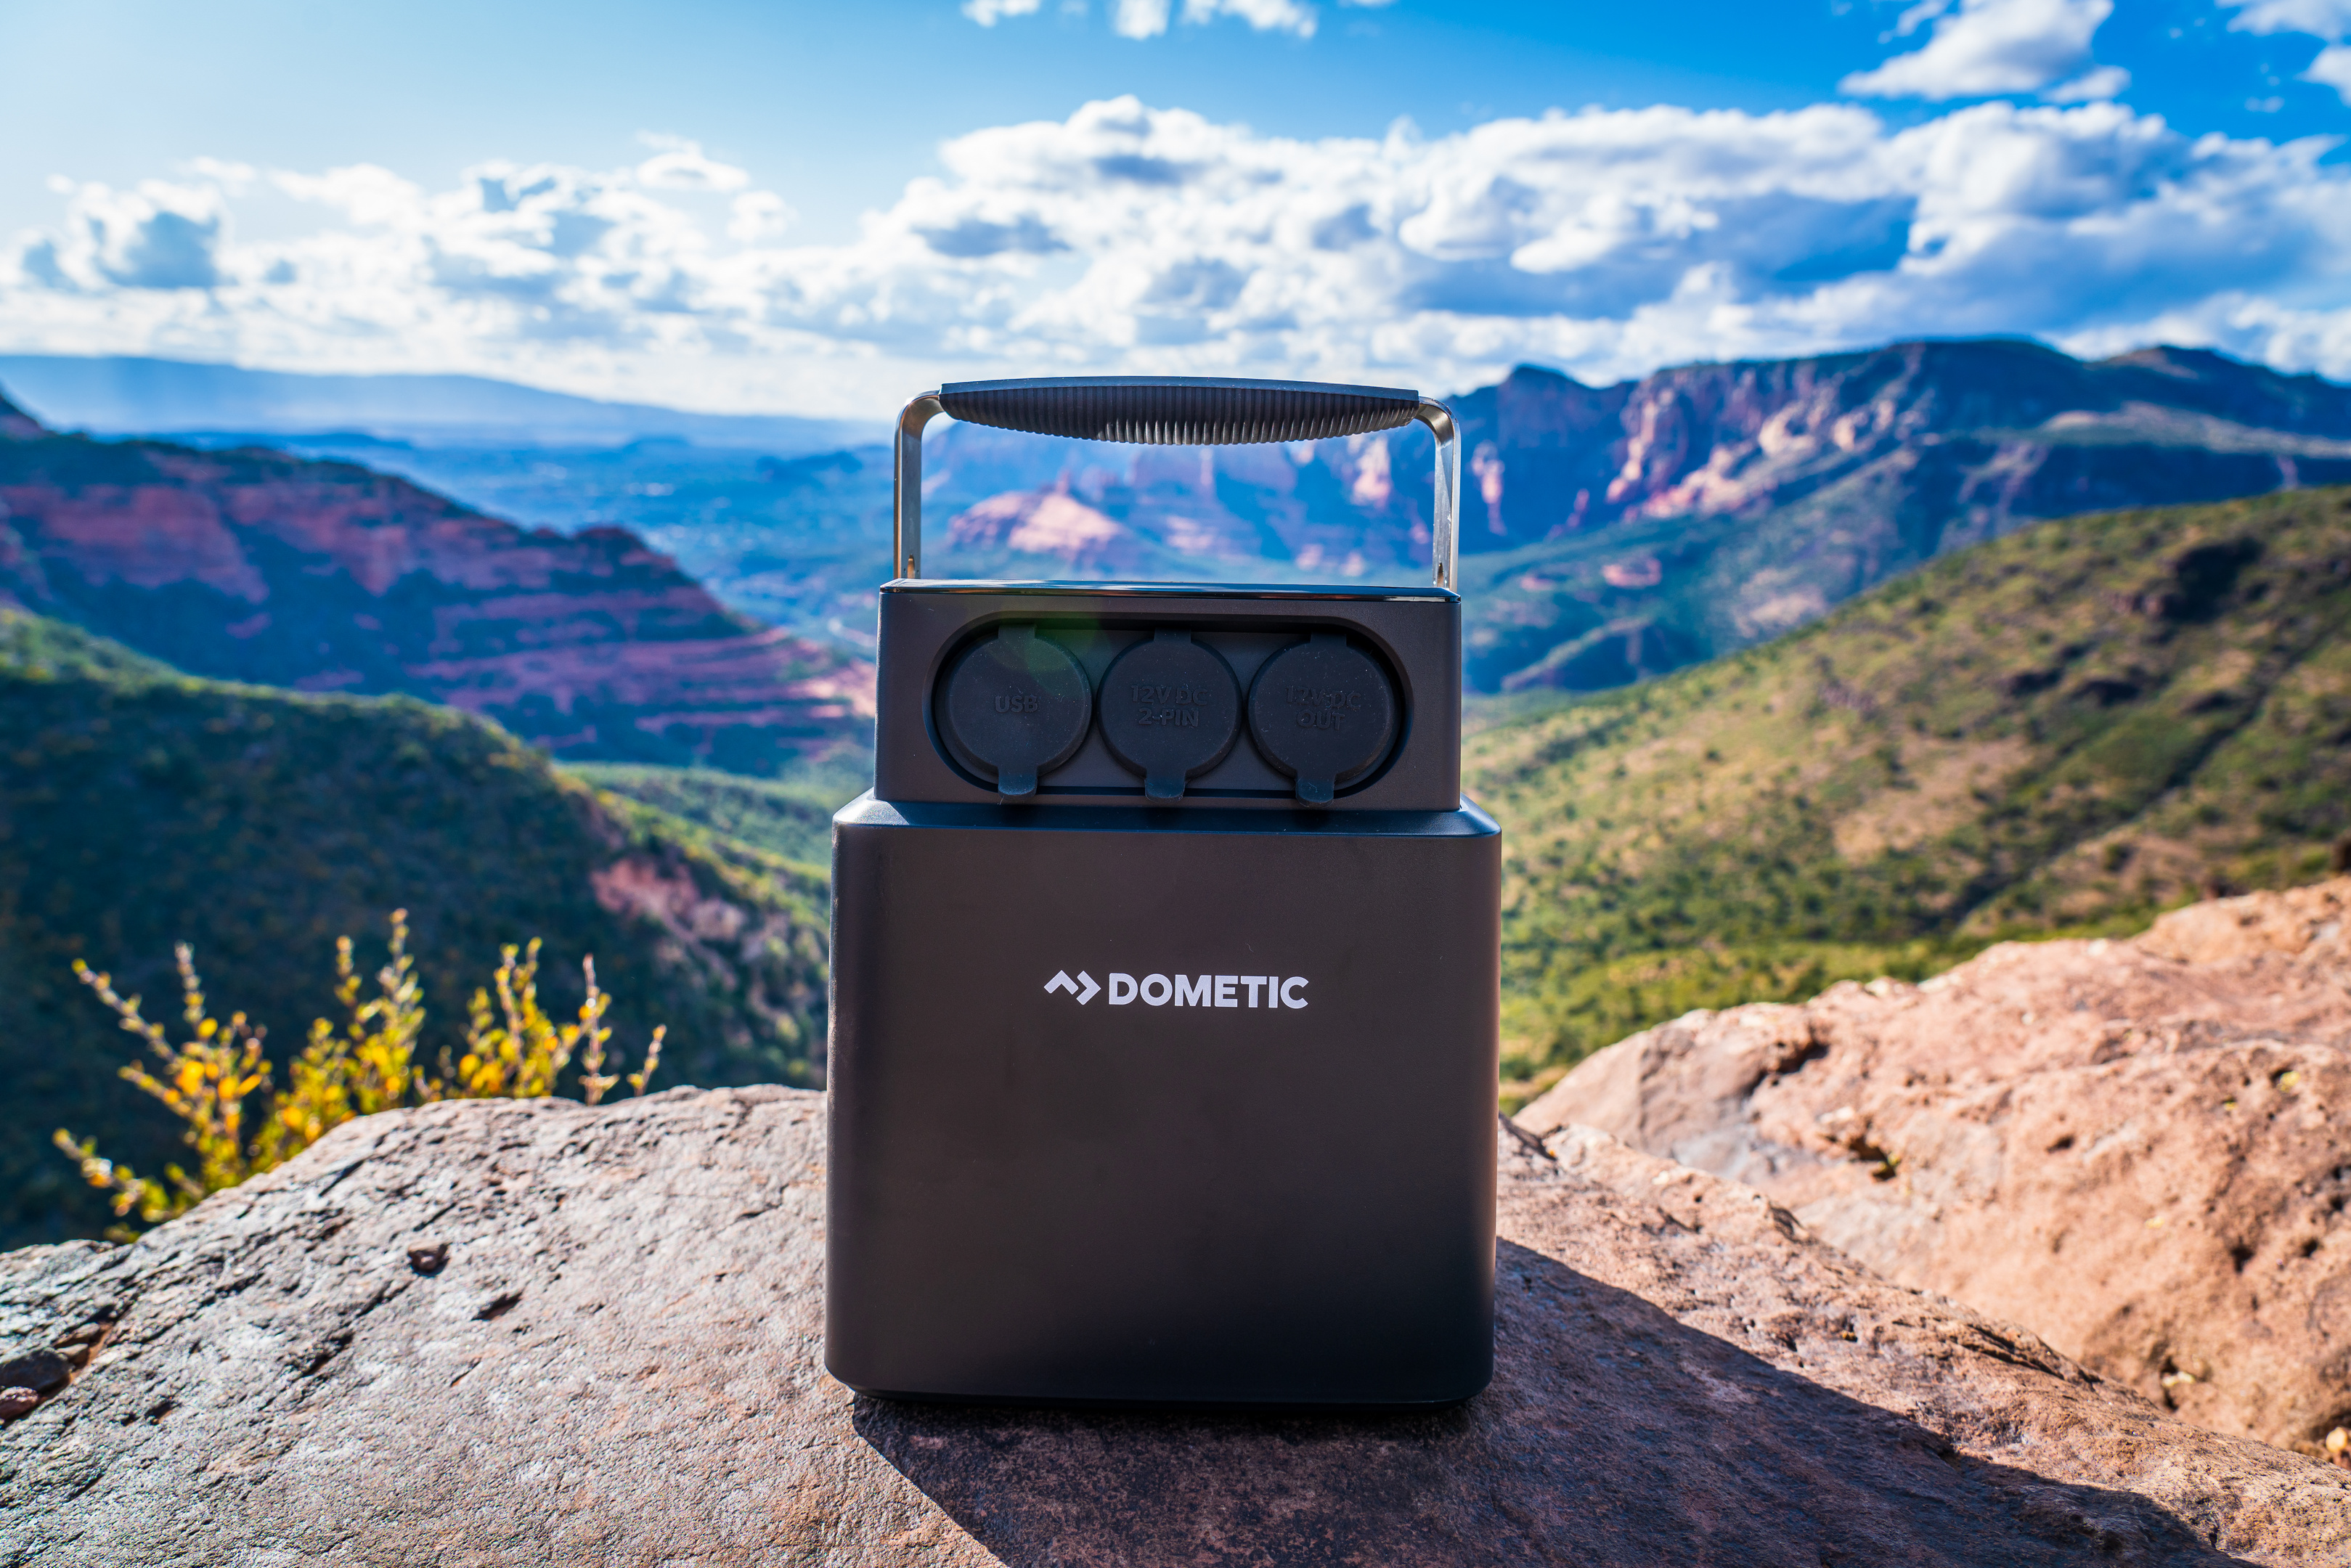
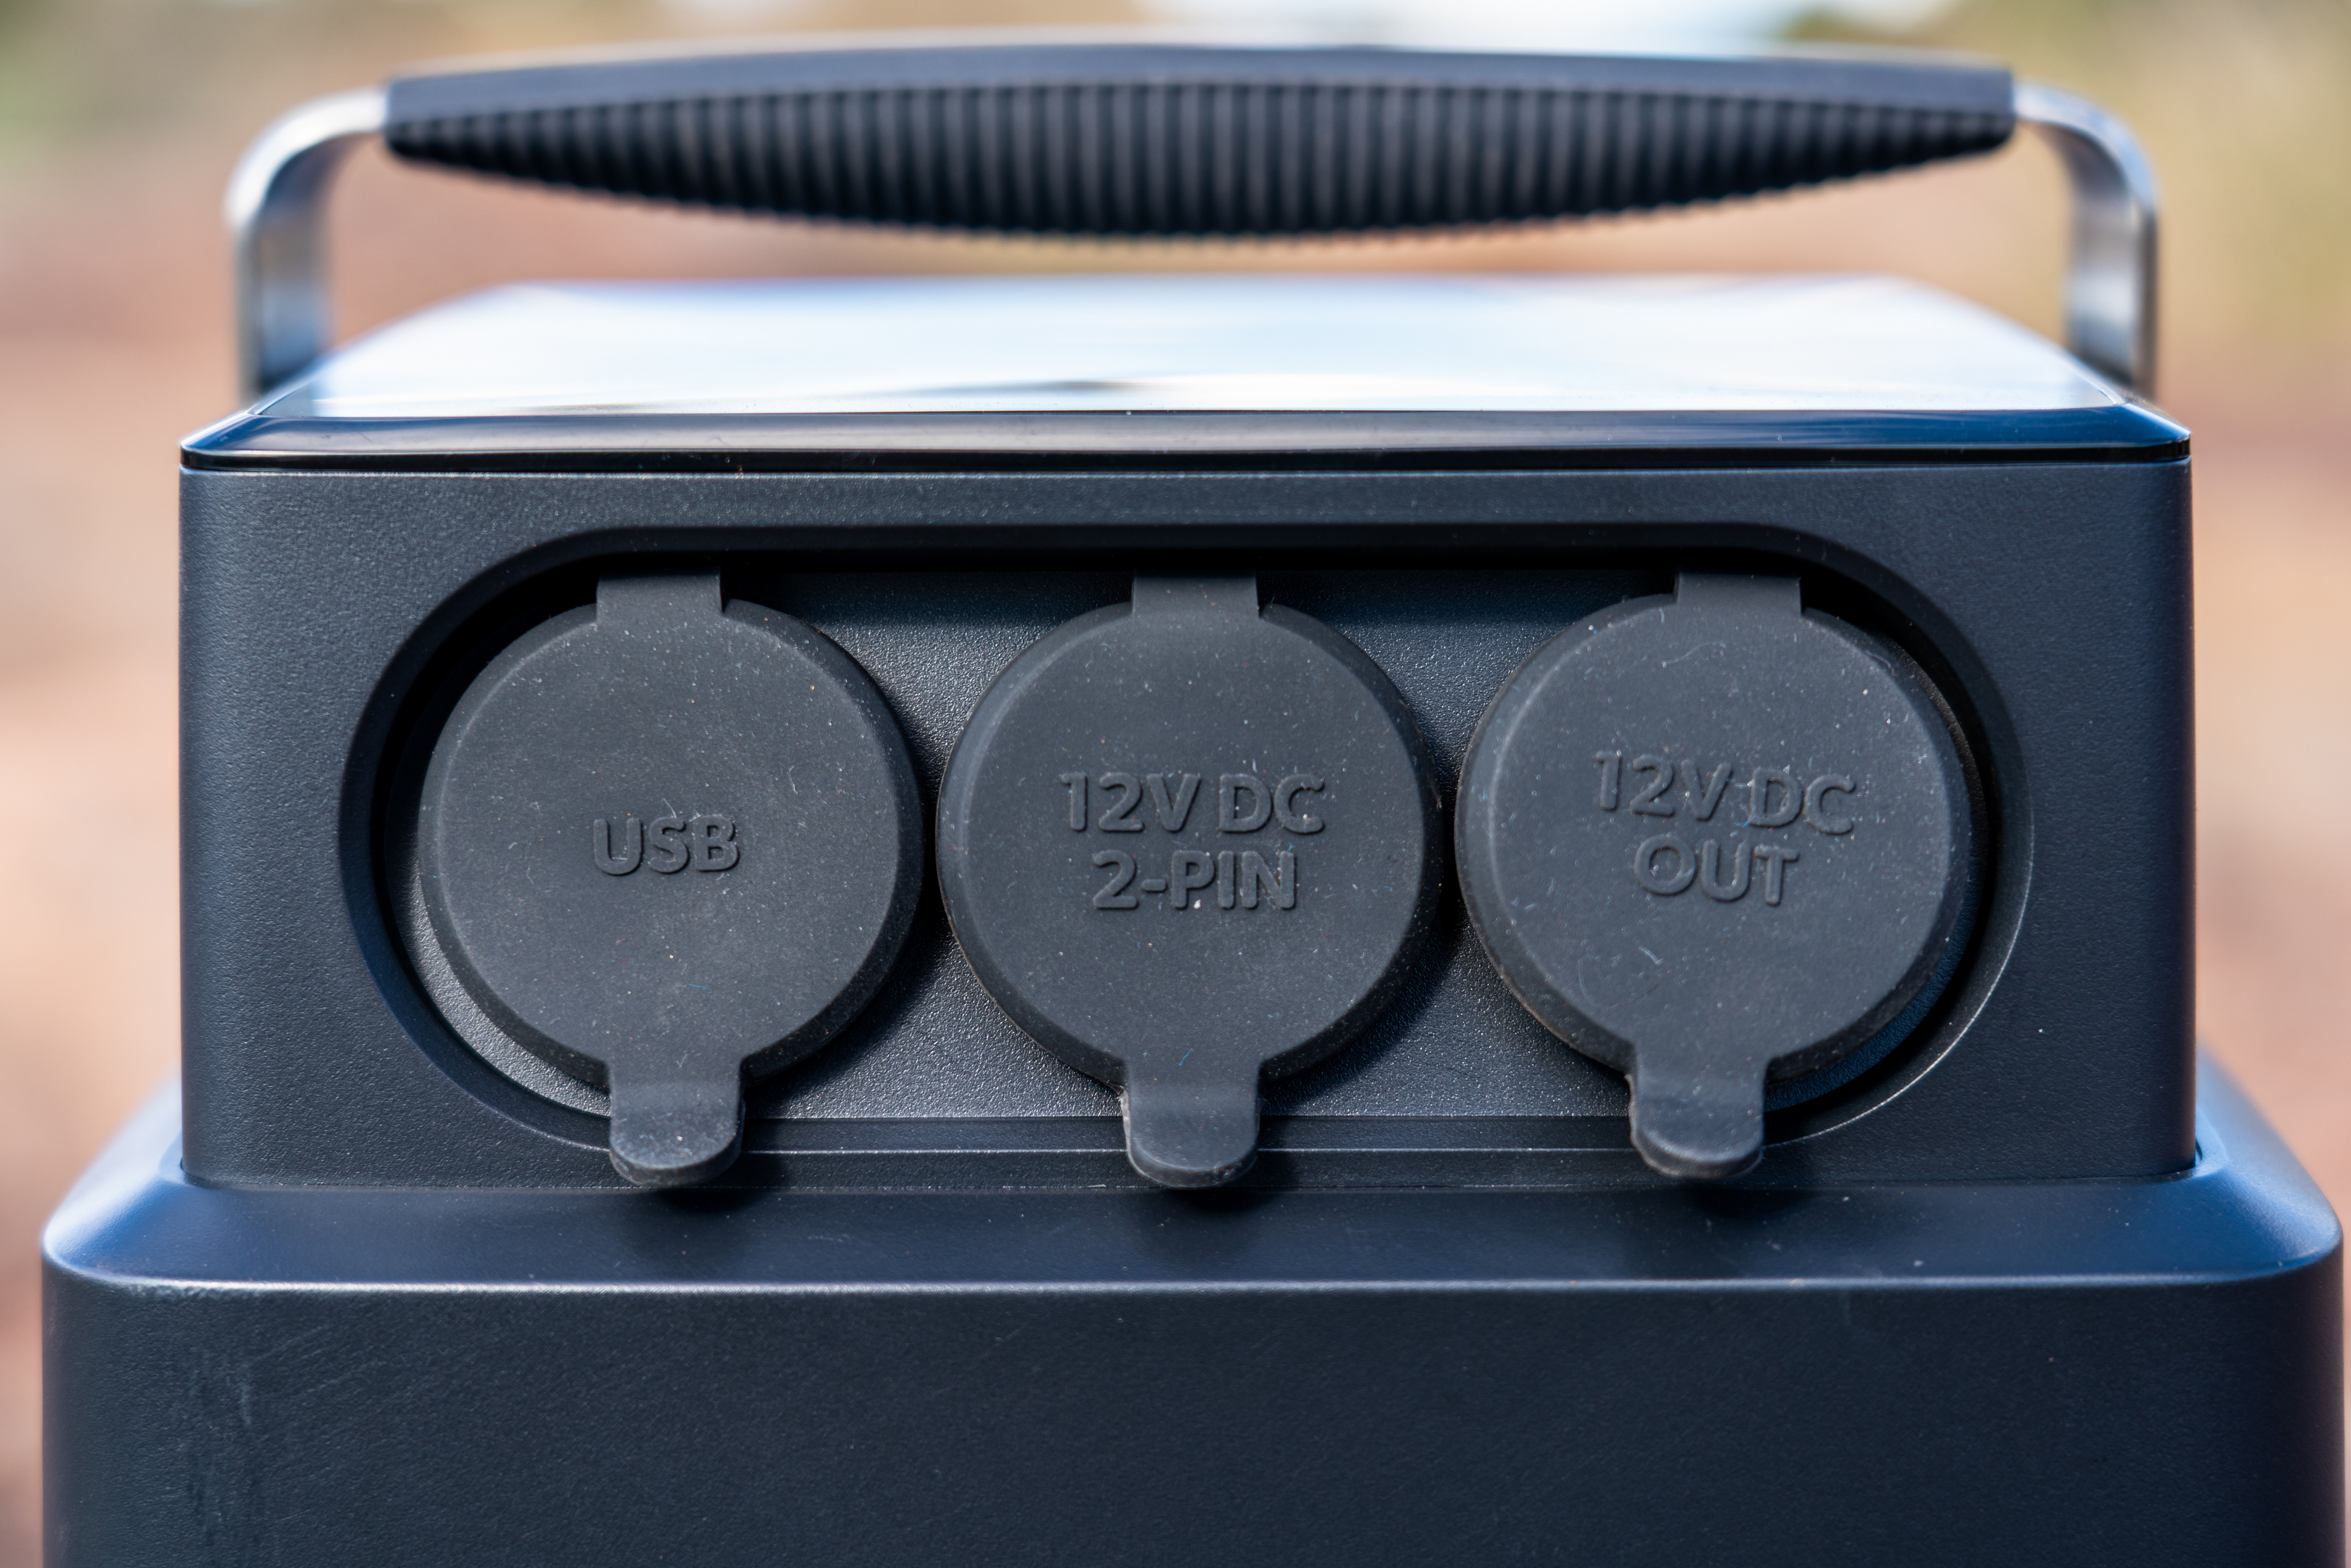
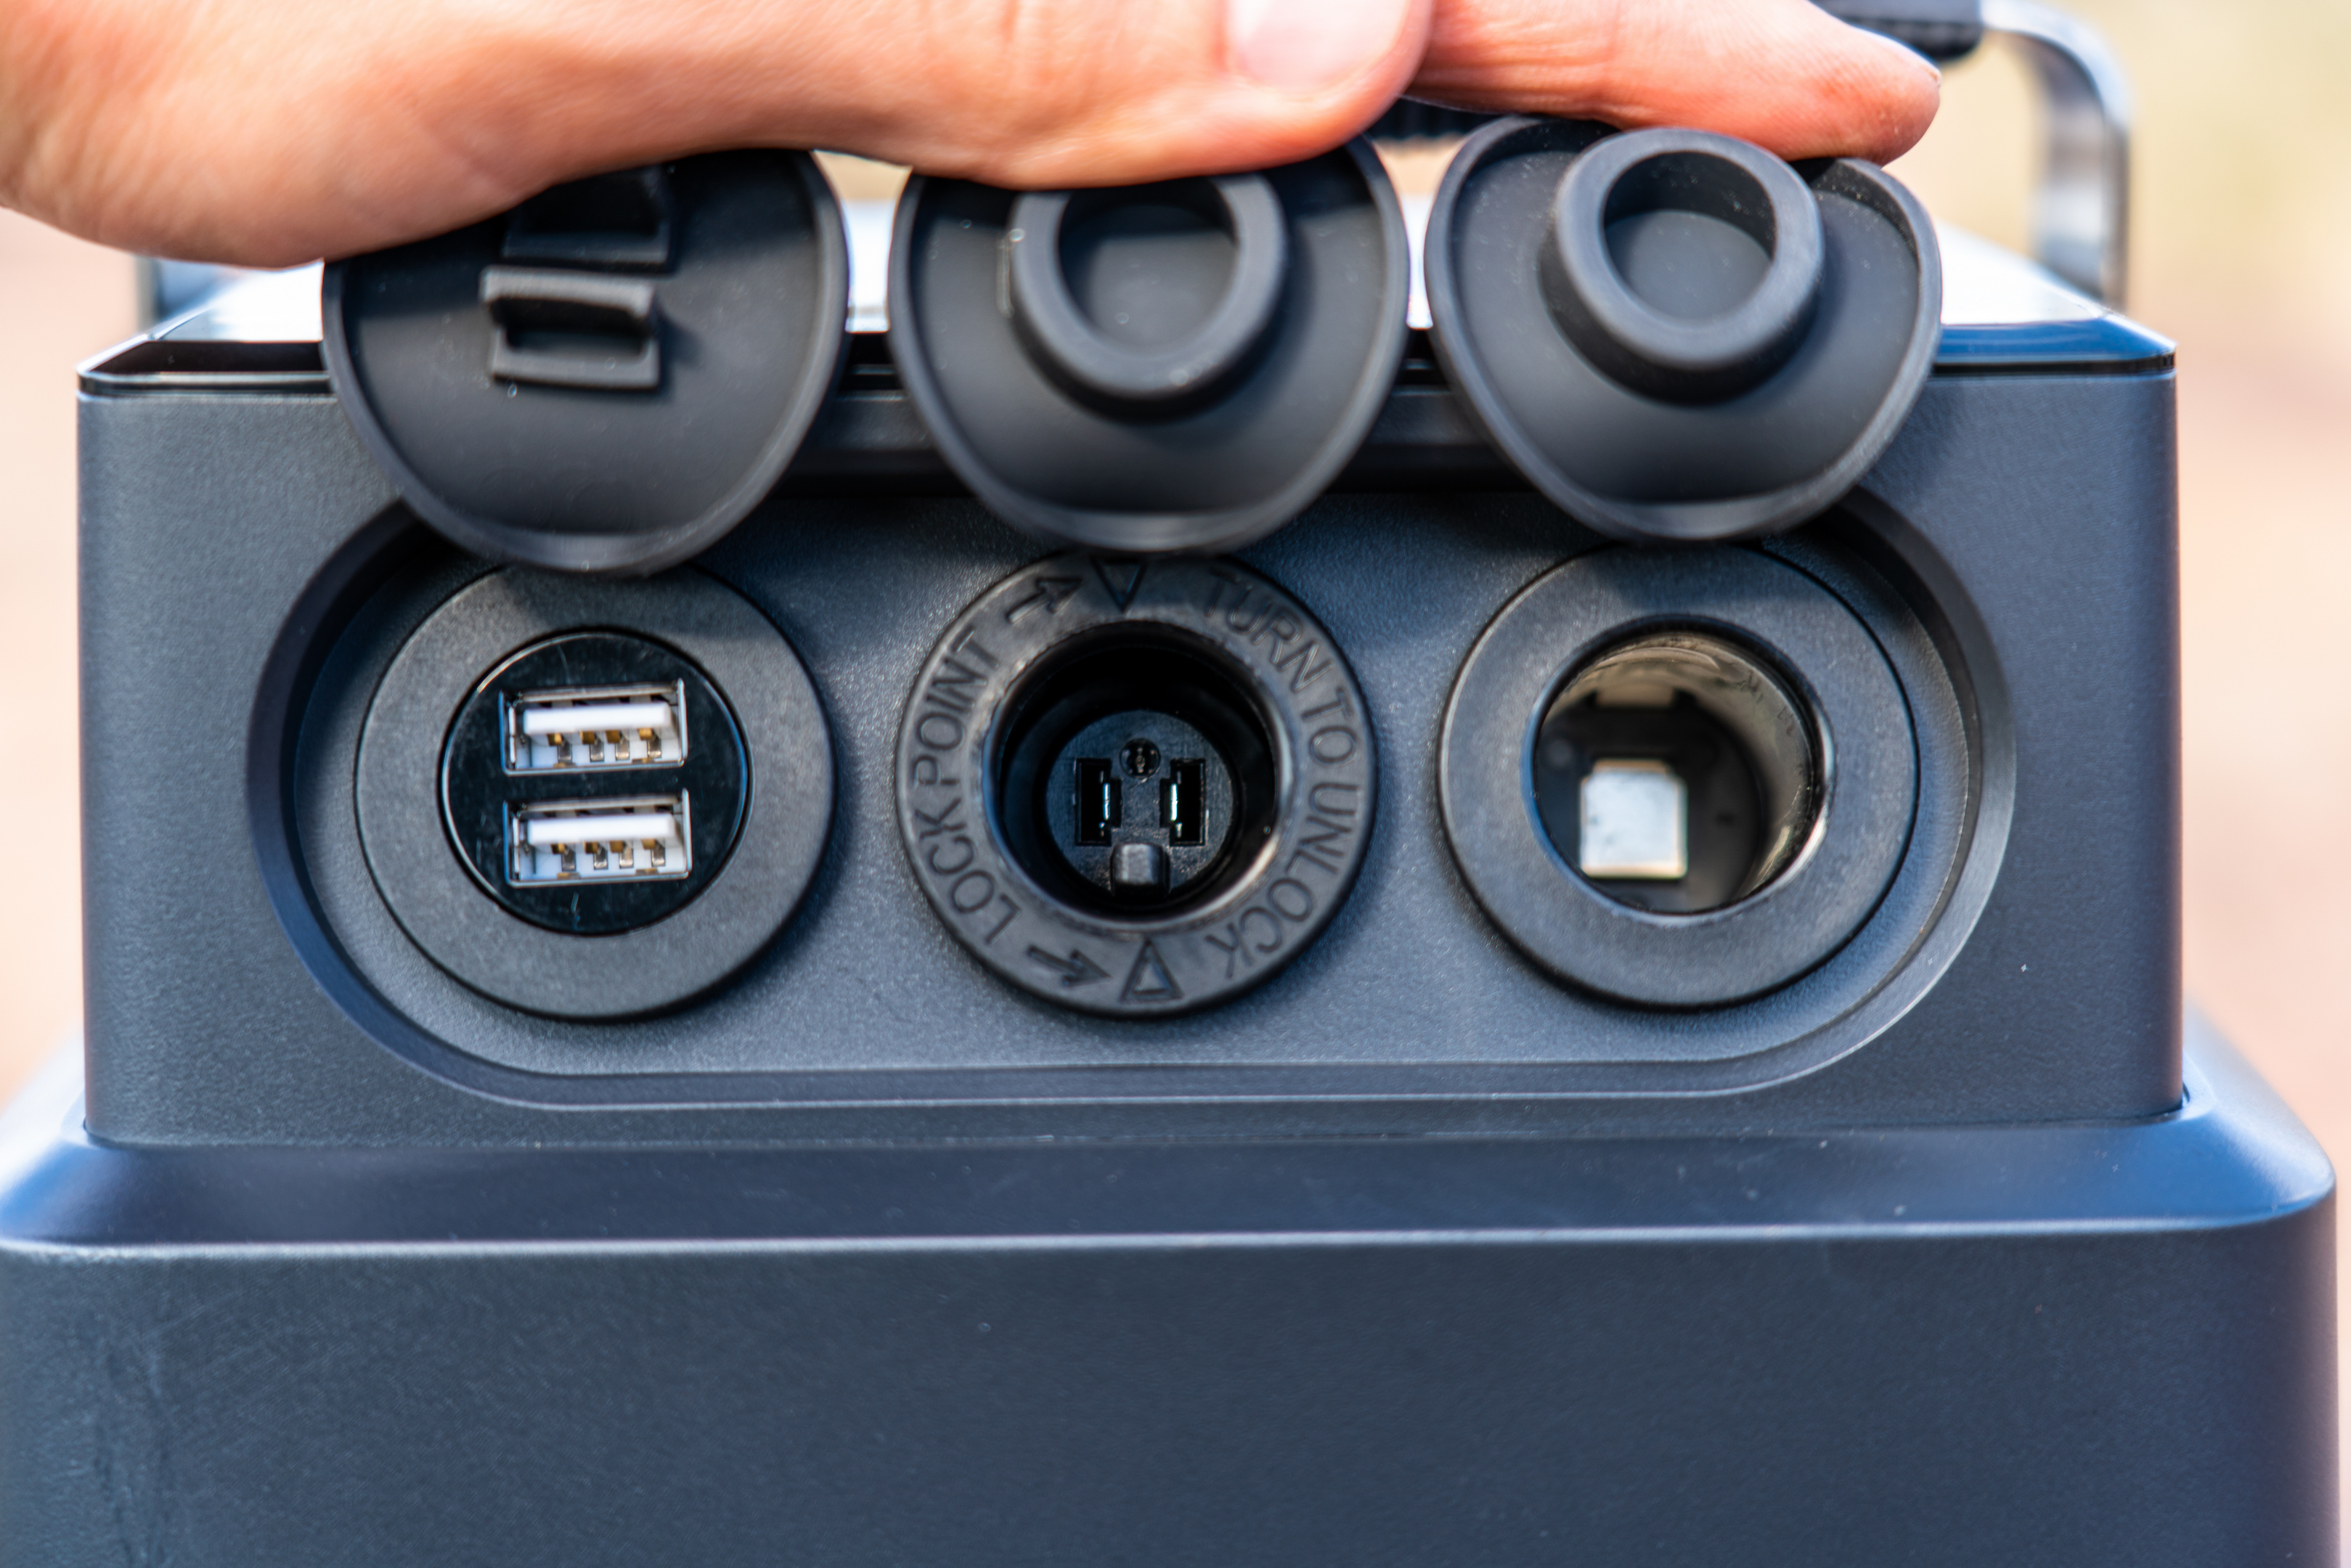
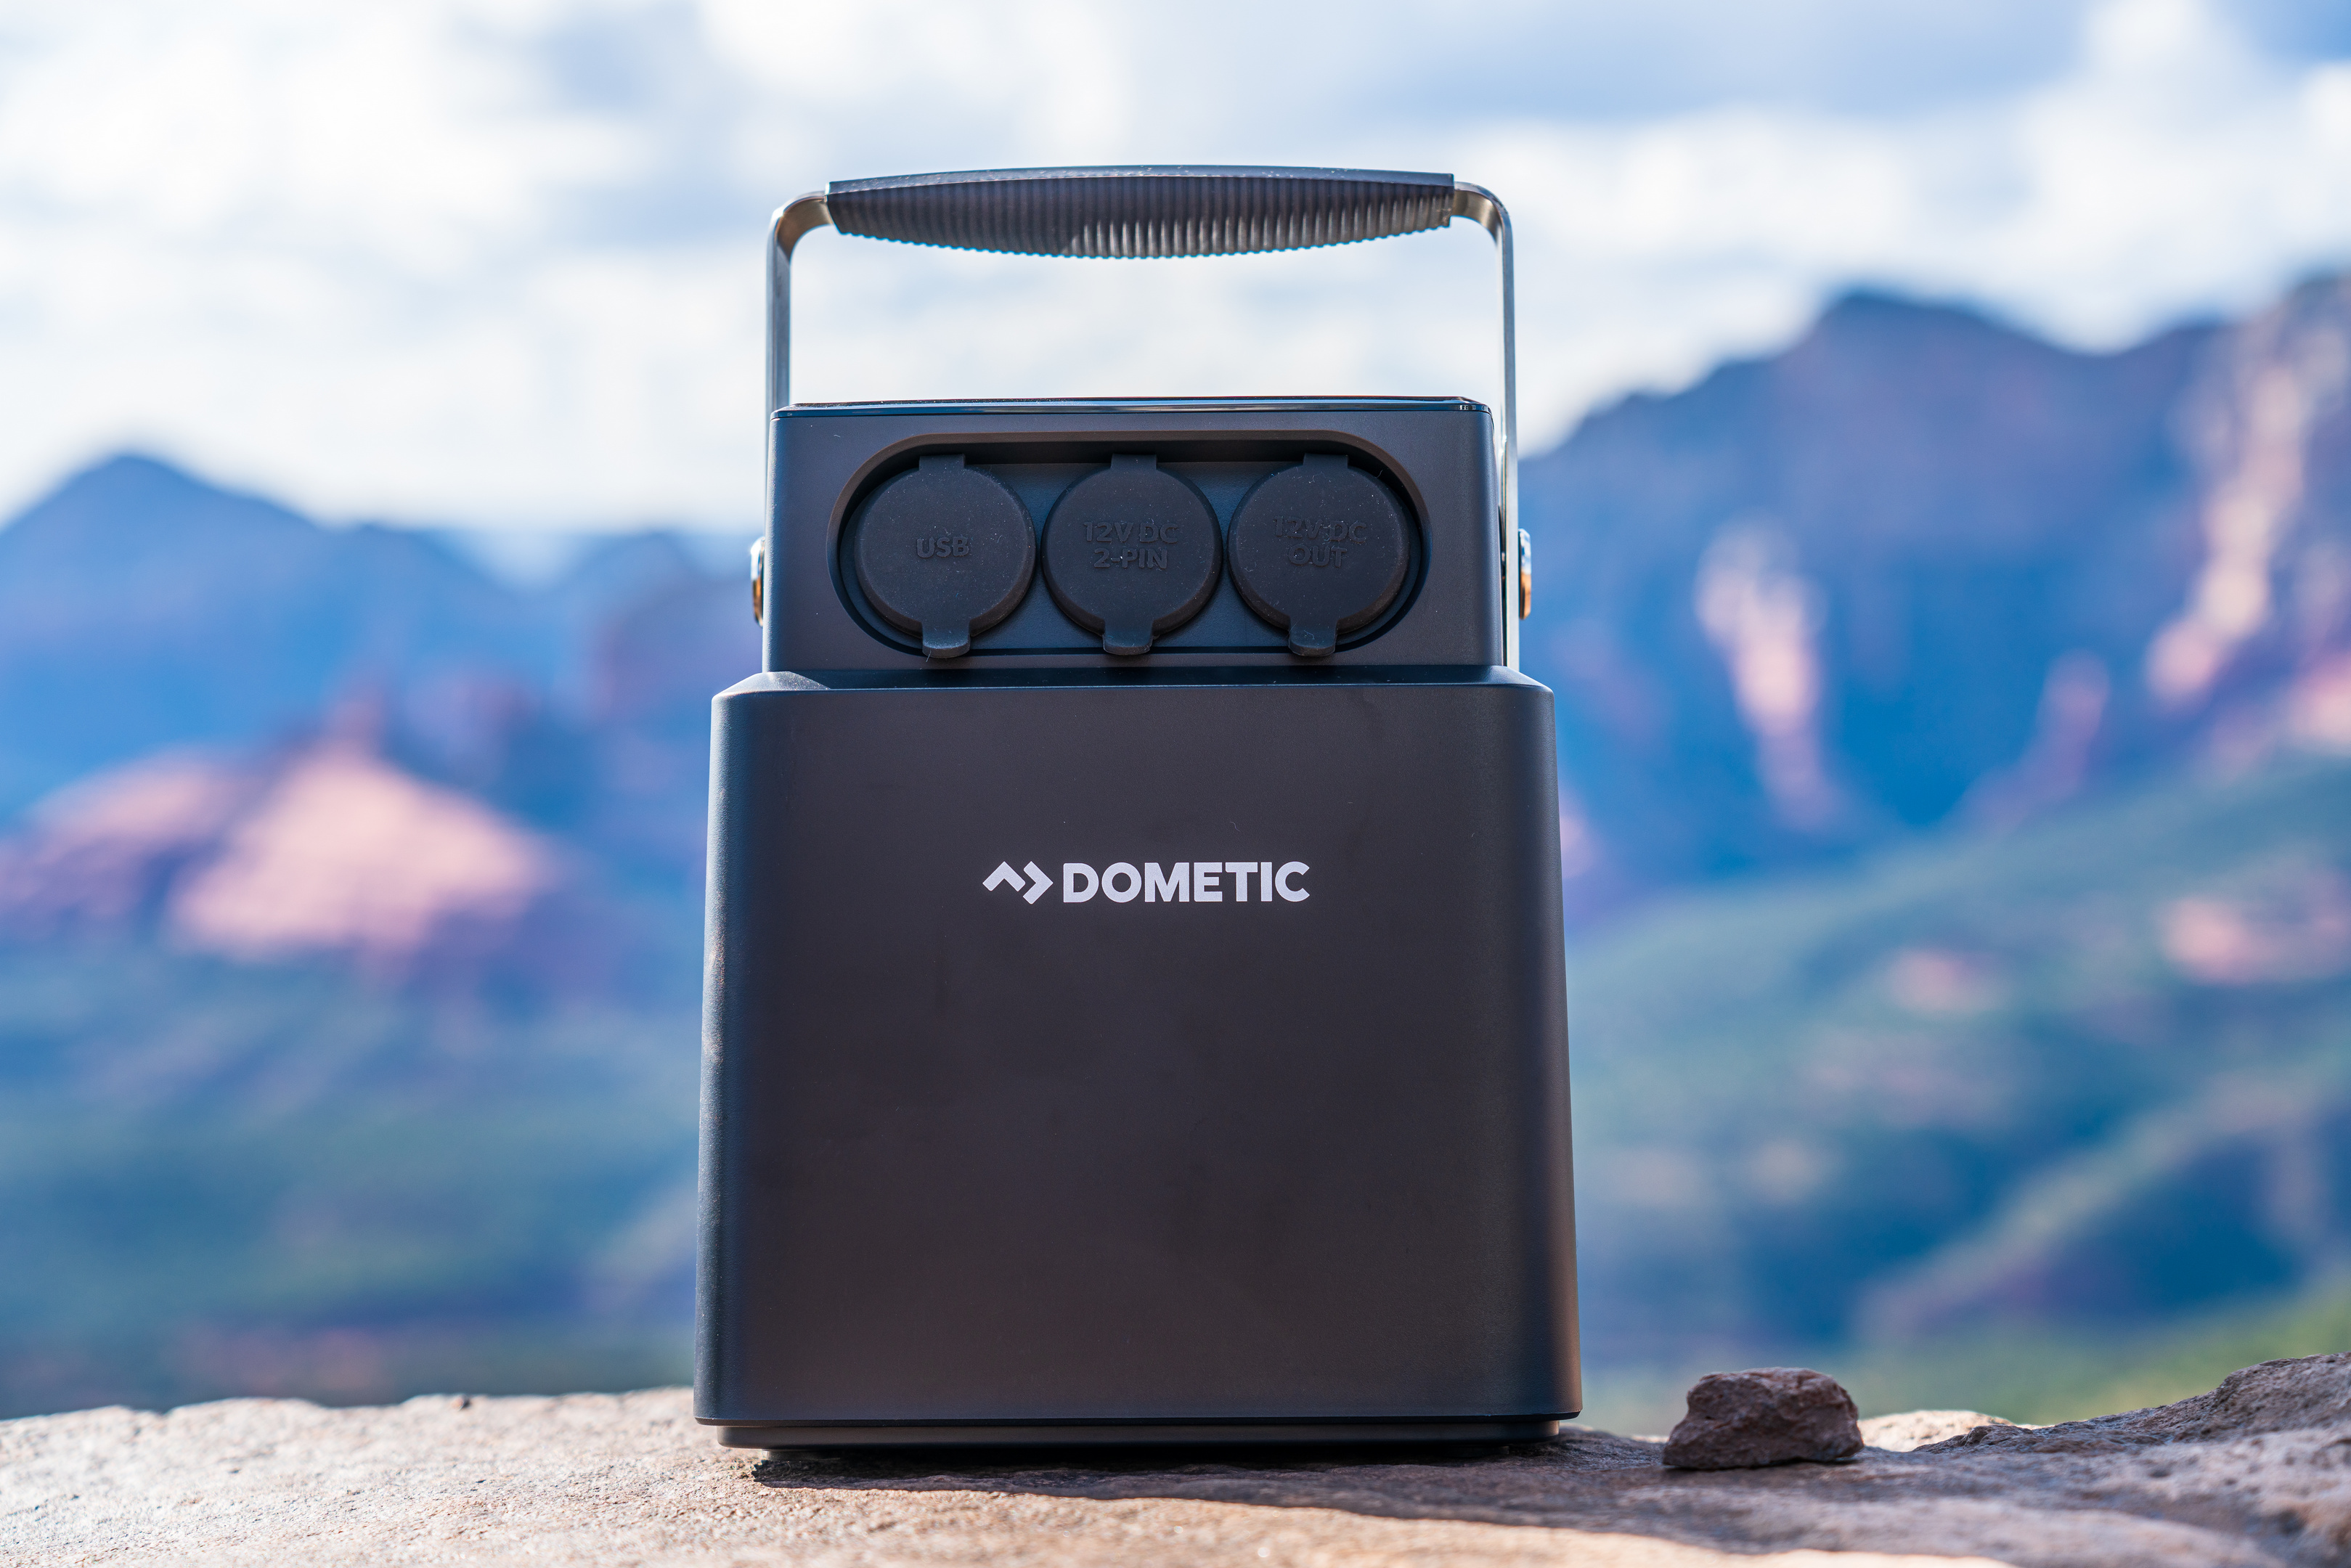
Dometic’s PLB 40 is a truly plug and play portable battery solution that allows anyone to have a dual battery system in any vehicle.  That’s right – no custom wiring or additional purchases required.  As long as you have a 12V outlet in your rig that can supply 100W, you can plug in the PLB 40 and enjoy an additional 40 Amp-Hours of power that can be used to power whatever you want.  This means that you can power 12 V cigarette-style devices like an electric cooler, your USB devices, and two-pin 12V appliances without pulling from your vehicle’s starting battery.

Dometic certainly isn’t the first company to make a portable battery, but the ease of use and a few electric cooler-specific optimizations to the PLB 40 make it a great choice for folks who want to be able to use their electric coolers in just about any vehicle, or have a versatile supply of power in anywhere they may need it.
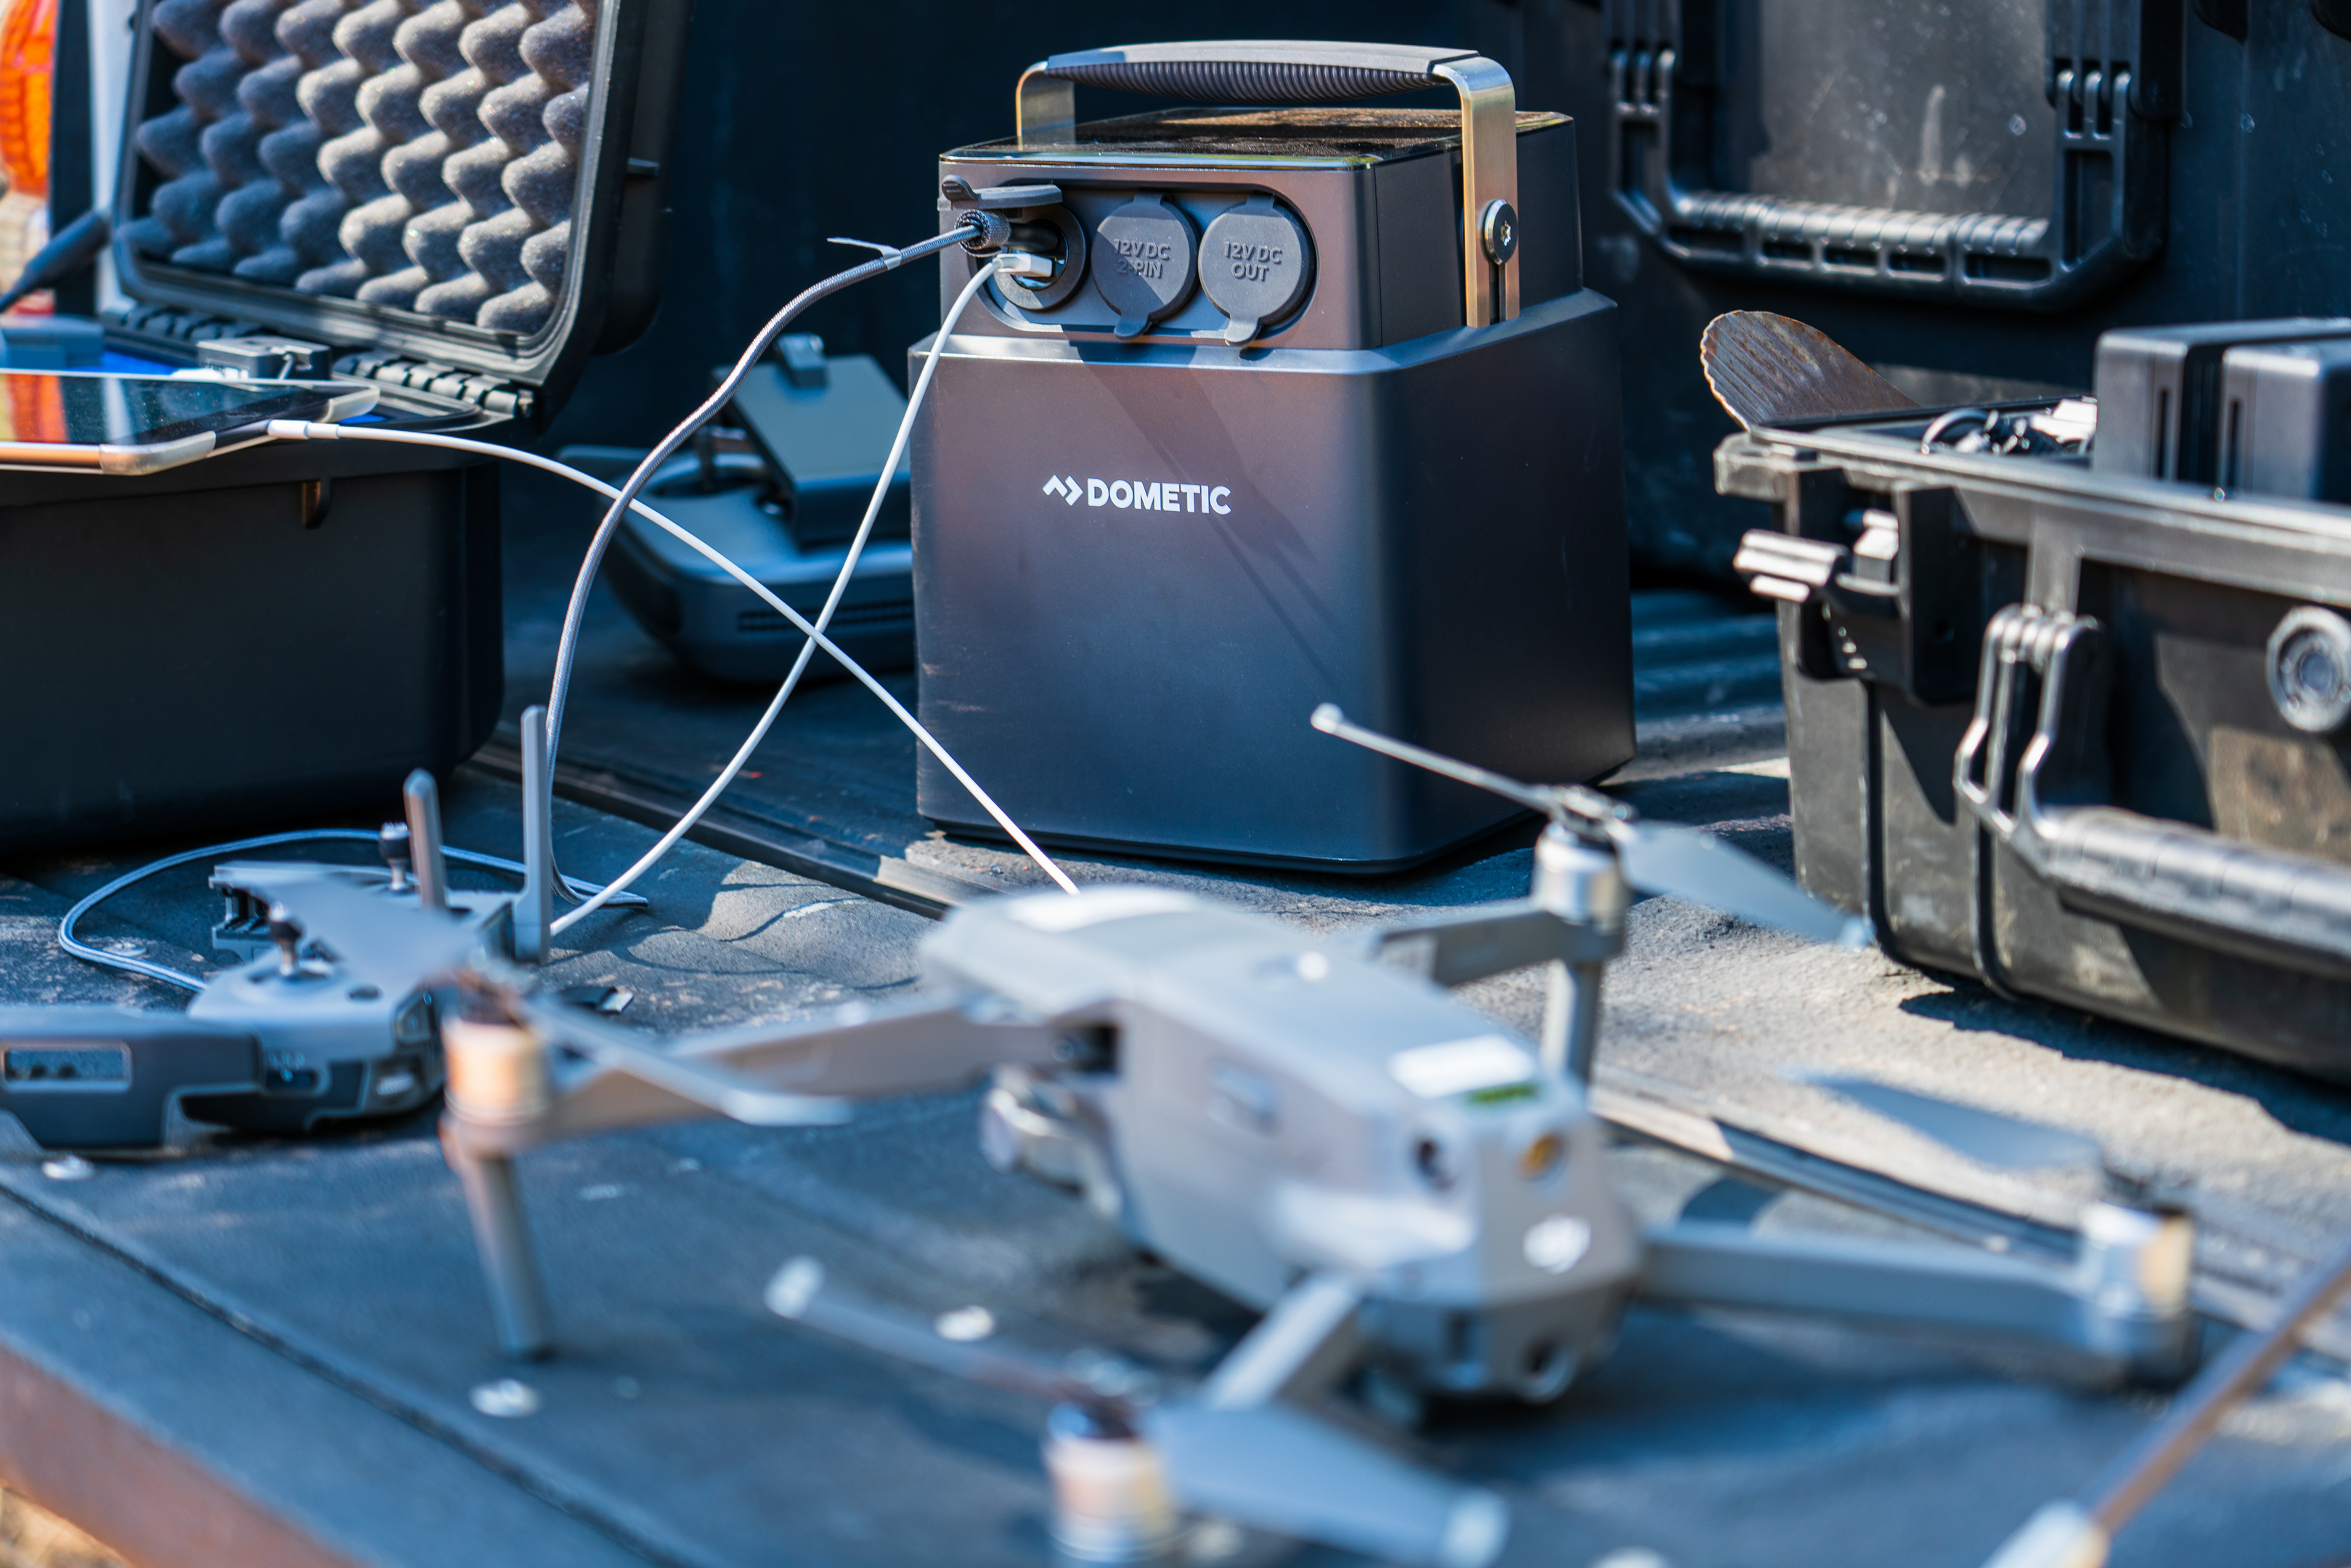
The number one reason I hear from folks against getting an electric cooler is that they don’t want to have to deal with wiring in a second battery or a adding a dedicated circuit for their electric cooler.  While a second battery certainly isn’t required to run an electric cooler in a vehicle, having a constant supply of power is.  Since most vehicles have all of their 12V circuits switched by the ignition (for obvious reasons), adding a non-switched circuit has been the minimum effort required to keep an electric cooler powered up when your vehicle is not running.  A switched circuit, a quality battery, and utilizing the low voltage cutoff on your electric cooler will work, but you’re still limited in how long you can stay out by the capacity of your starting battery.  Yet, by adding a PLB 40 to your system, you don’t have to touch your vehicle’s wiring, and you’re able to add a considerable power reserve.
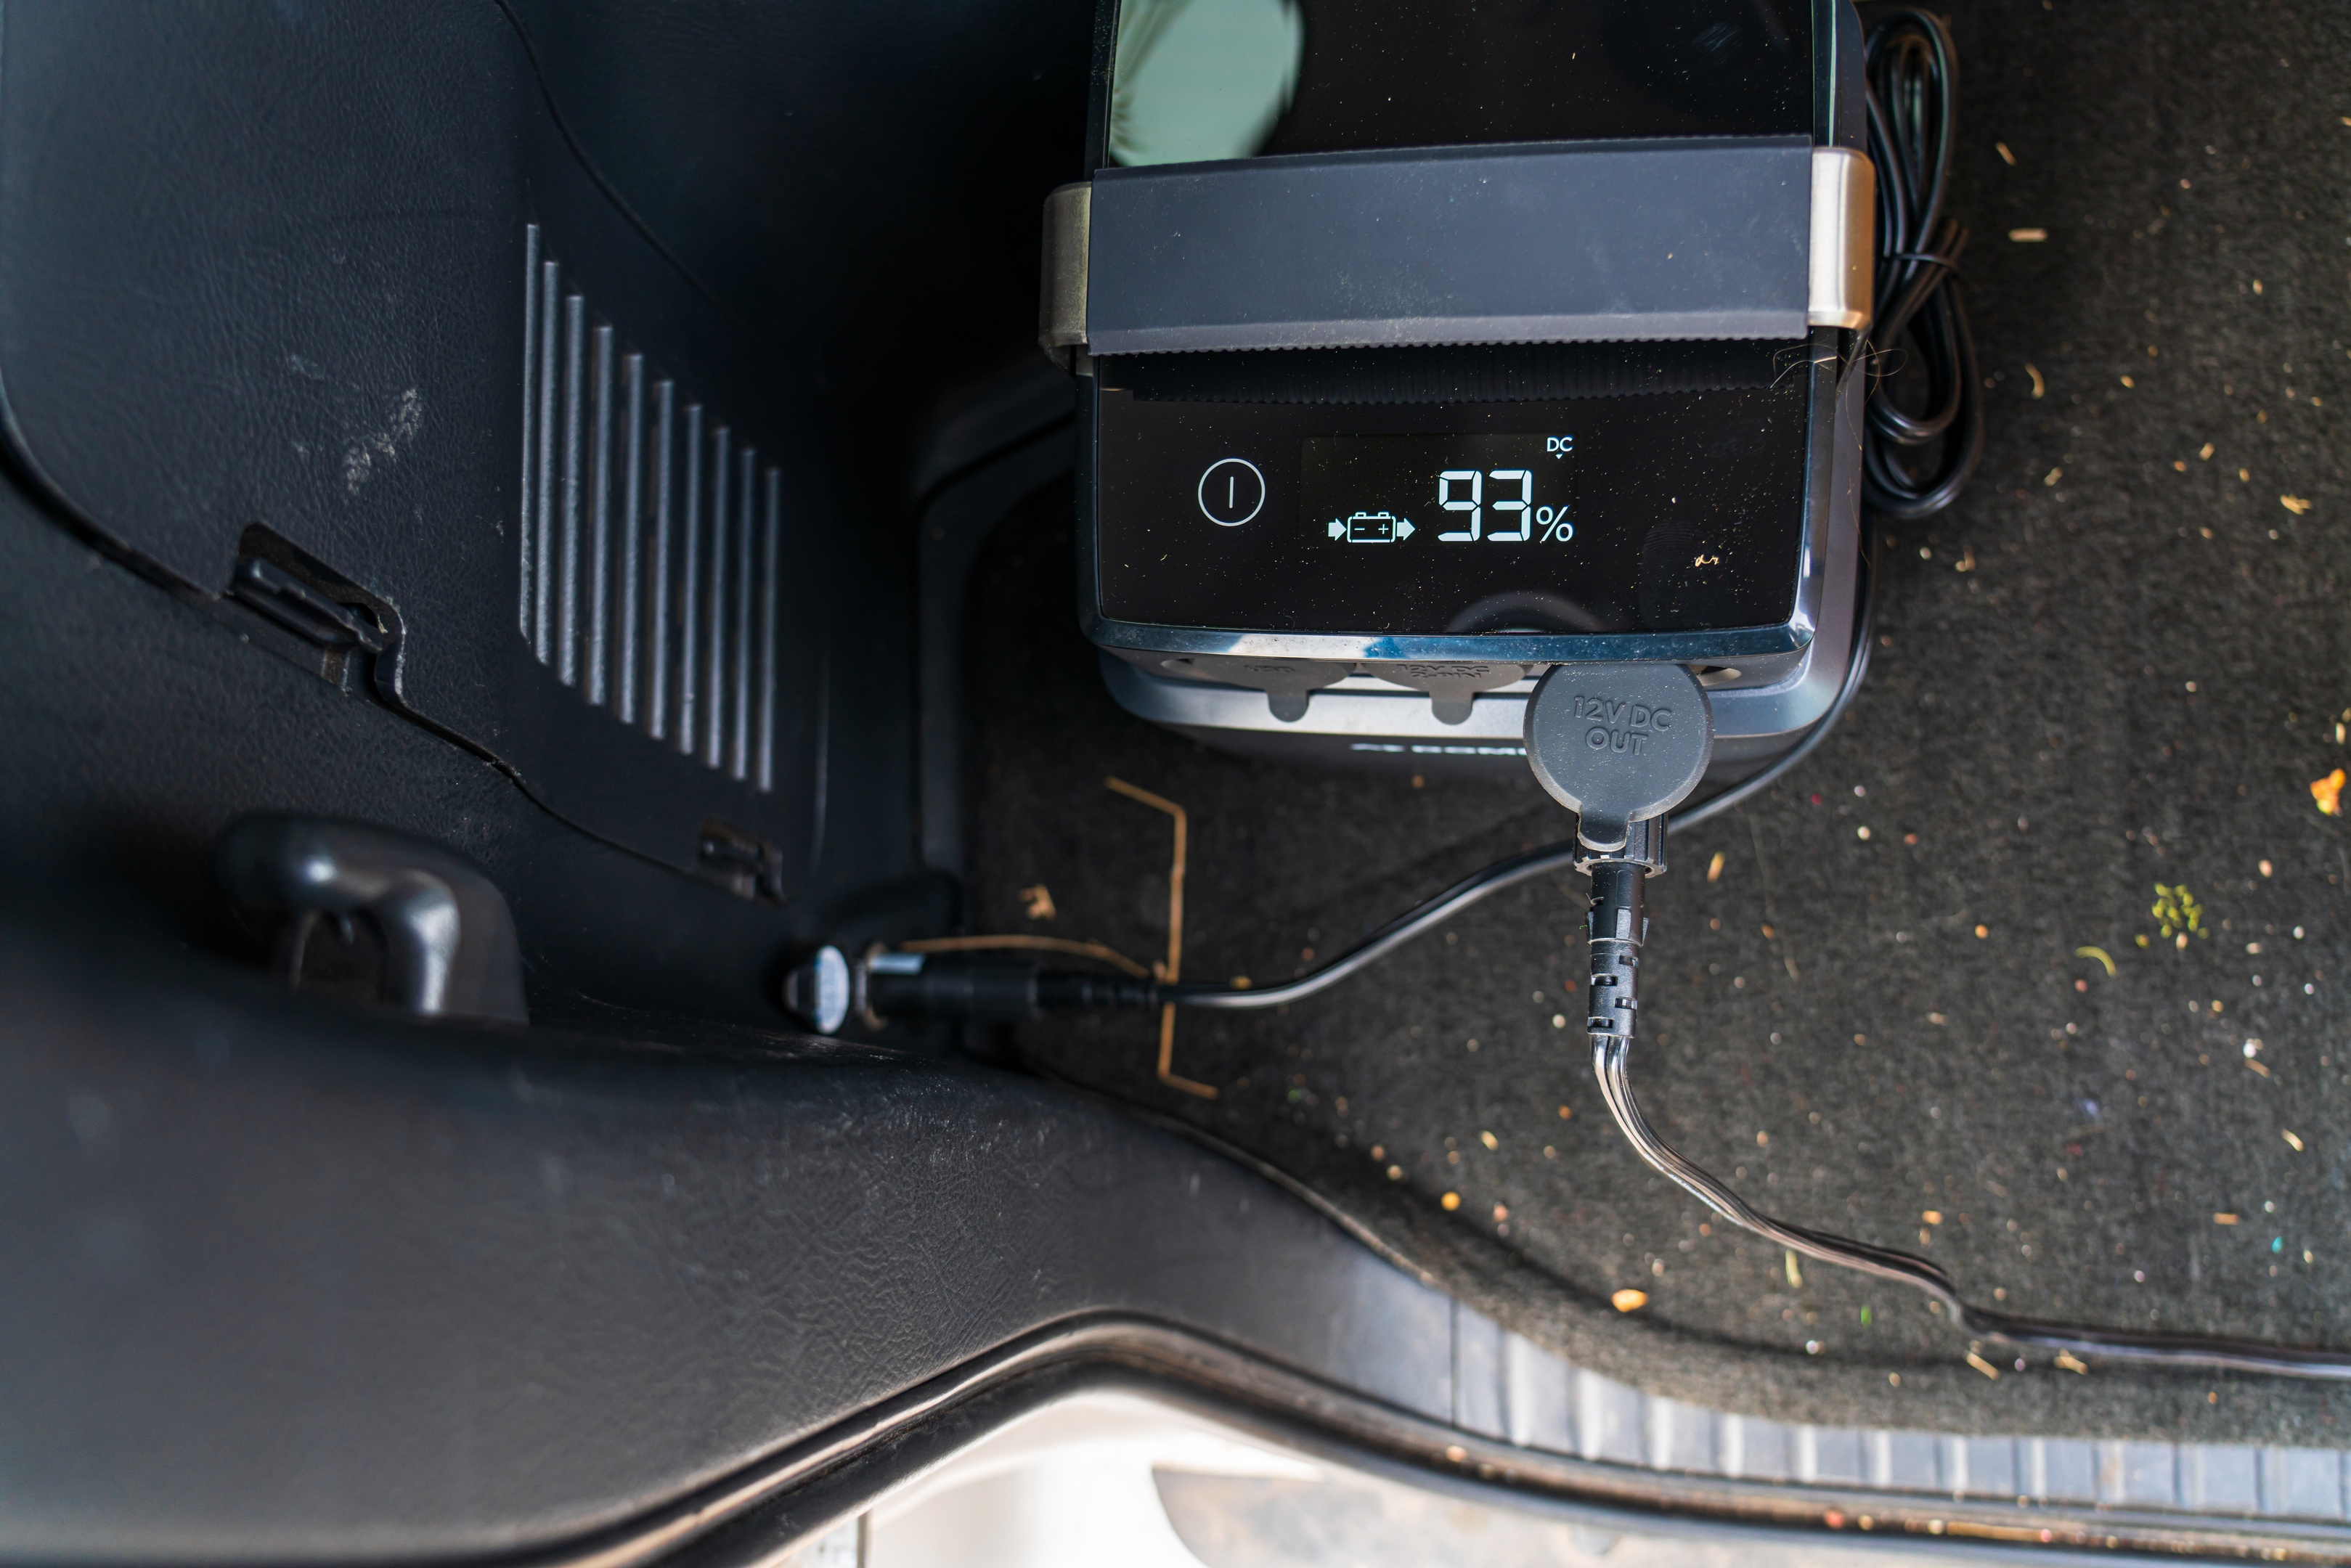
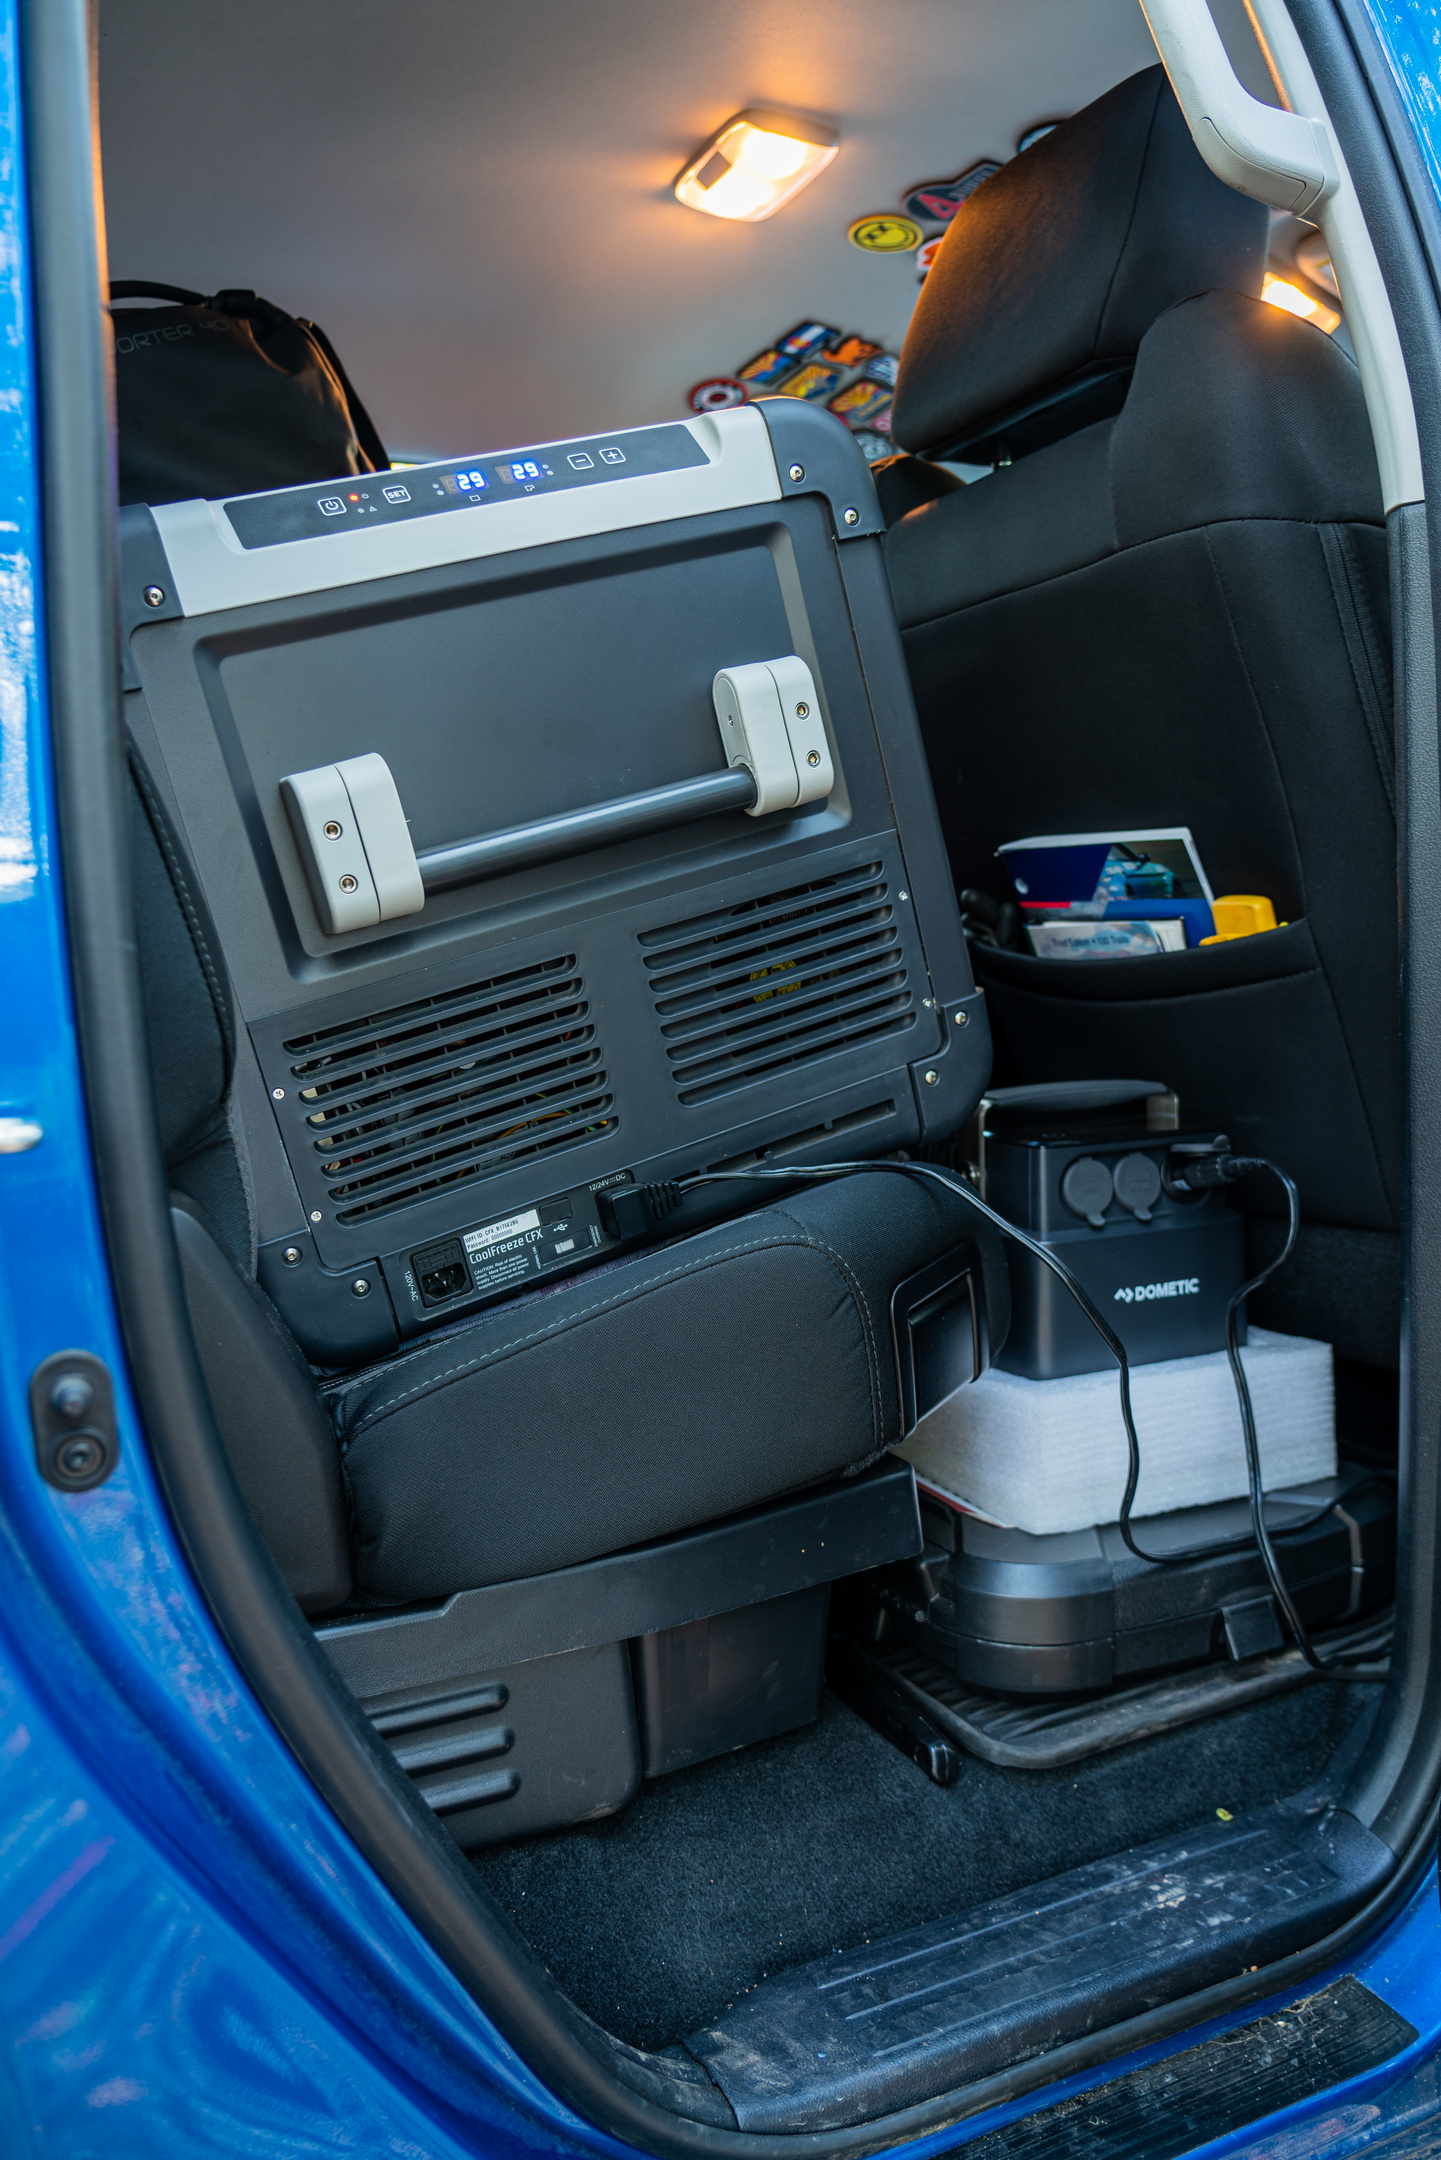
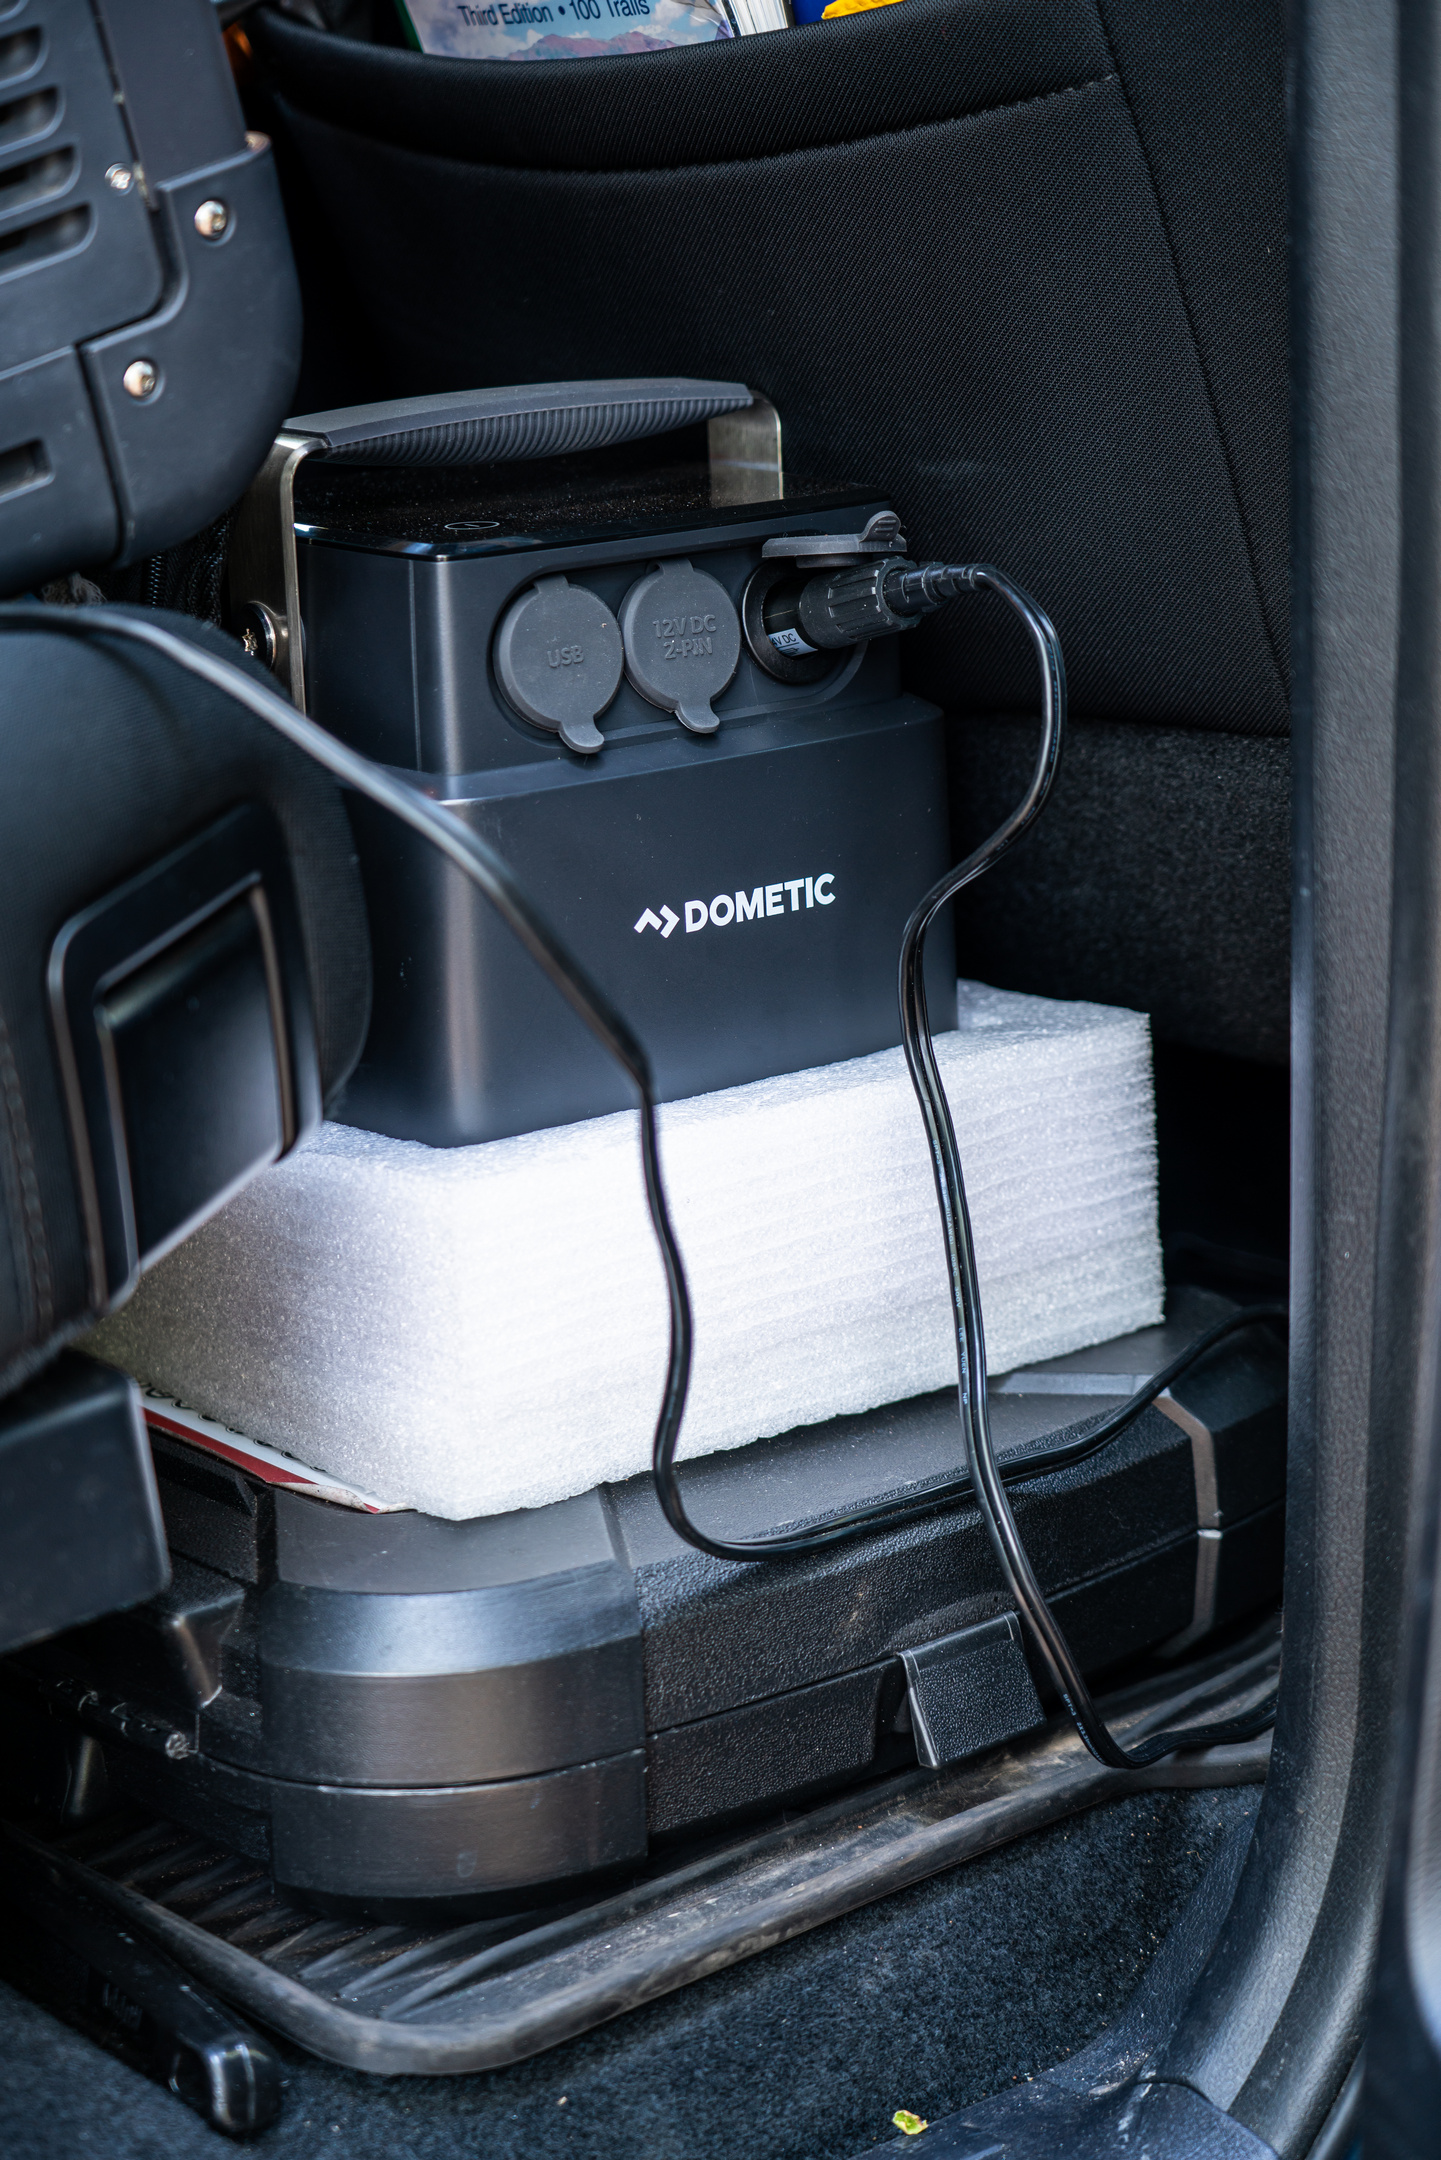
Literally all it takes to use the PLB 40 to power an electric cooler is to plug it into a 12V outlet on the vehicle and to plug your electric cooler into to the PLB40.  The end.

It’s really that simple.  While the vehicle is on, the PLB 40 charges up, and once the vehicle is parked, the PLB 40 becomes the power supply for your cooler and anything else you want to plug in, leaving your vehicle’s starting battery topped off.  The PLB 40 means that you can run an electric cooler in any vehicle that has a 12V outlet, so whether you’re traveling in your buddy’s rig, or even a rental car, the PLB 40 lets you bring all of the benefits of an electric cooler into any car with a 12 V outlet.  Want to use your fridge in the wife’s car for a grocery run on a hot day? Add a PLB 40 and you’re all set.  No need to worry about groceries spoiling in the back of a hot car while you’re running errands.
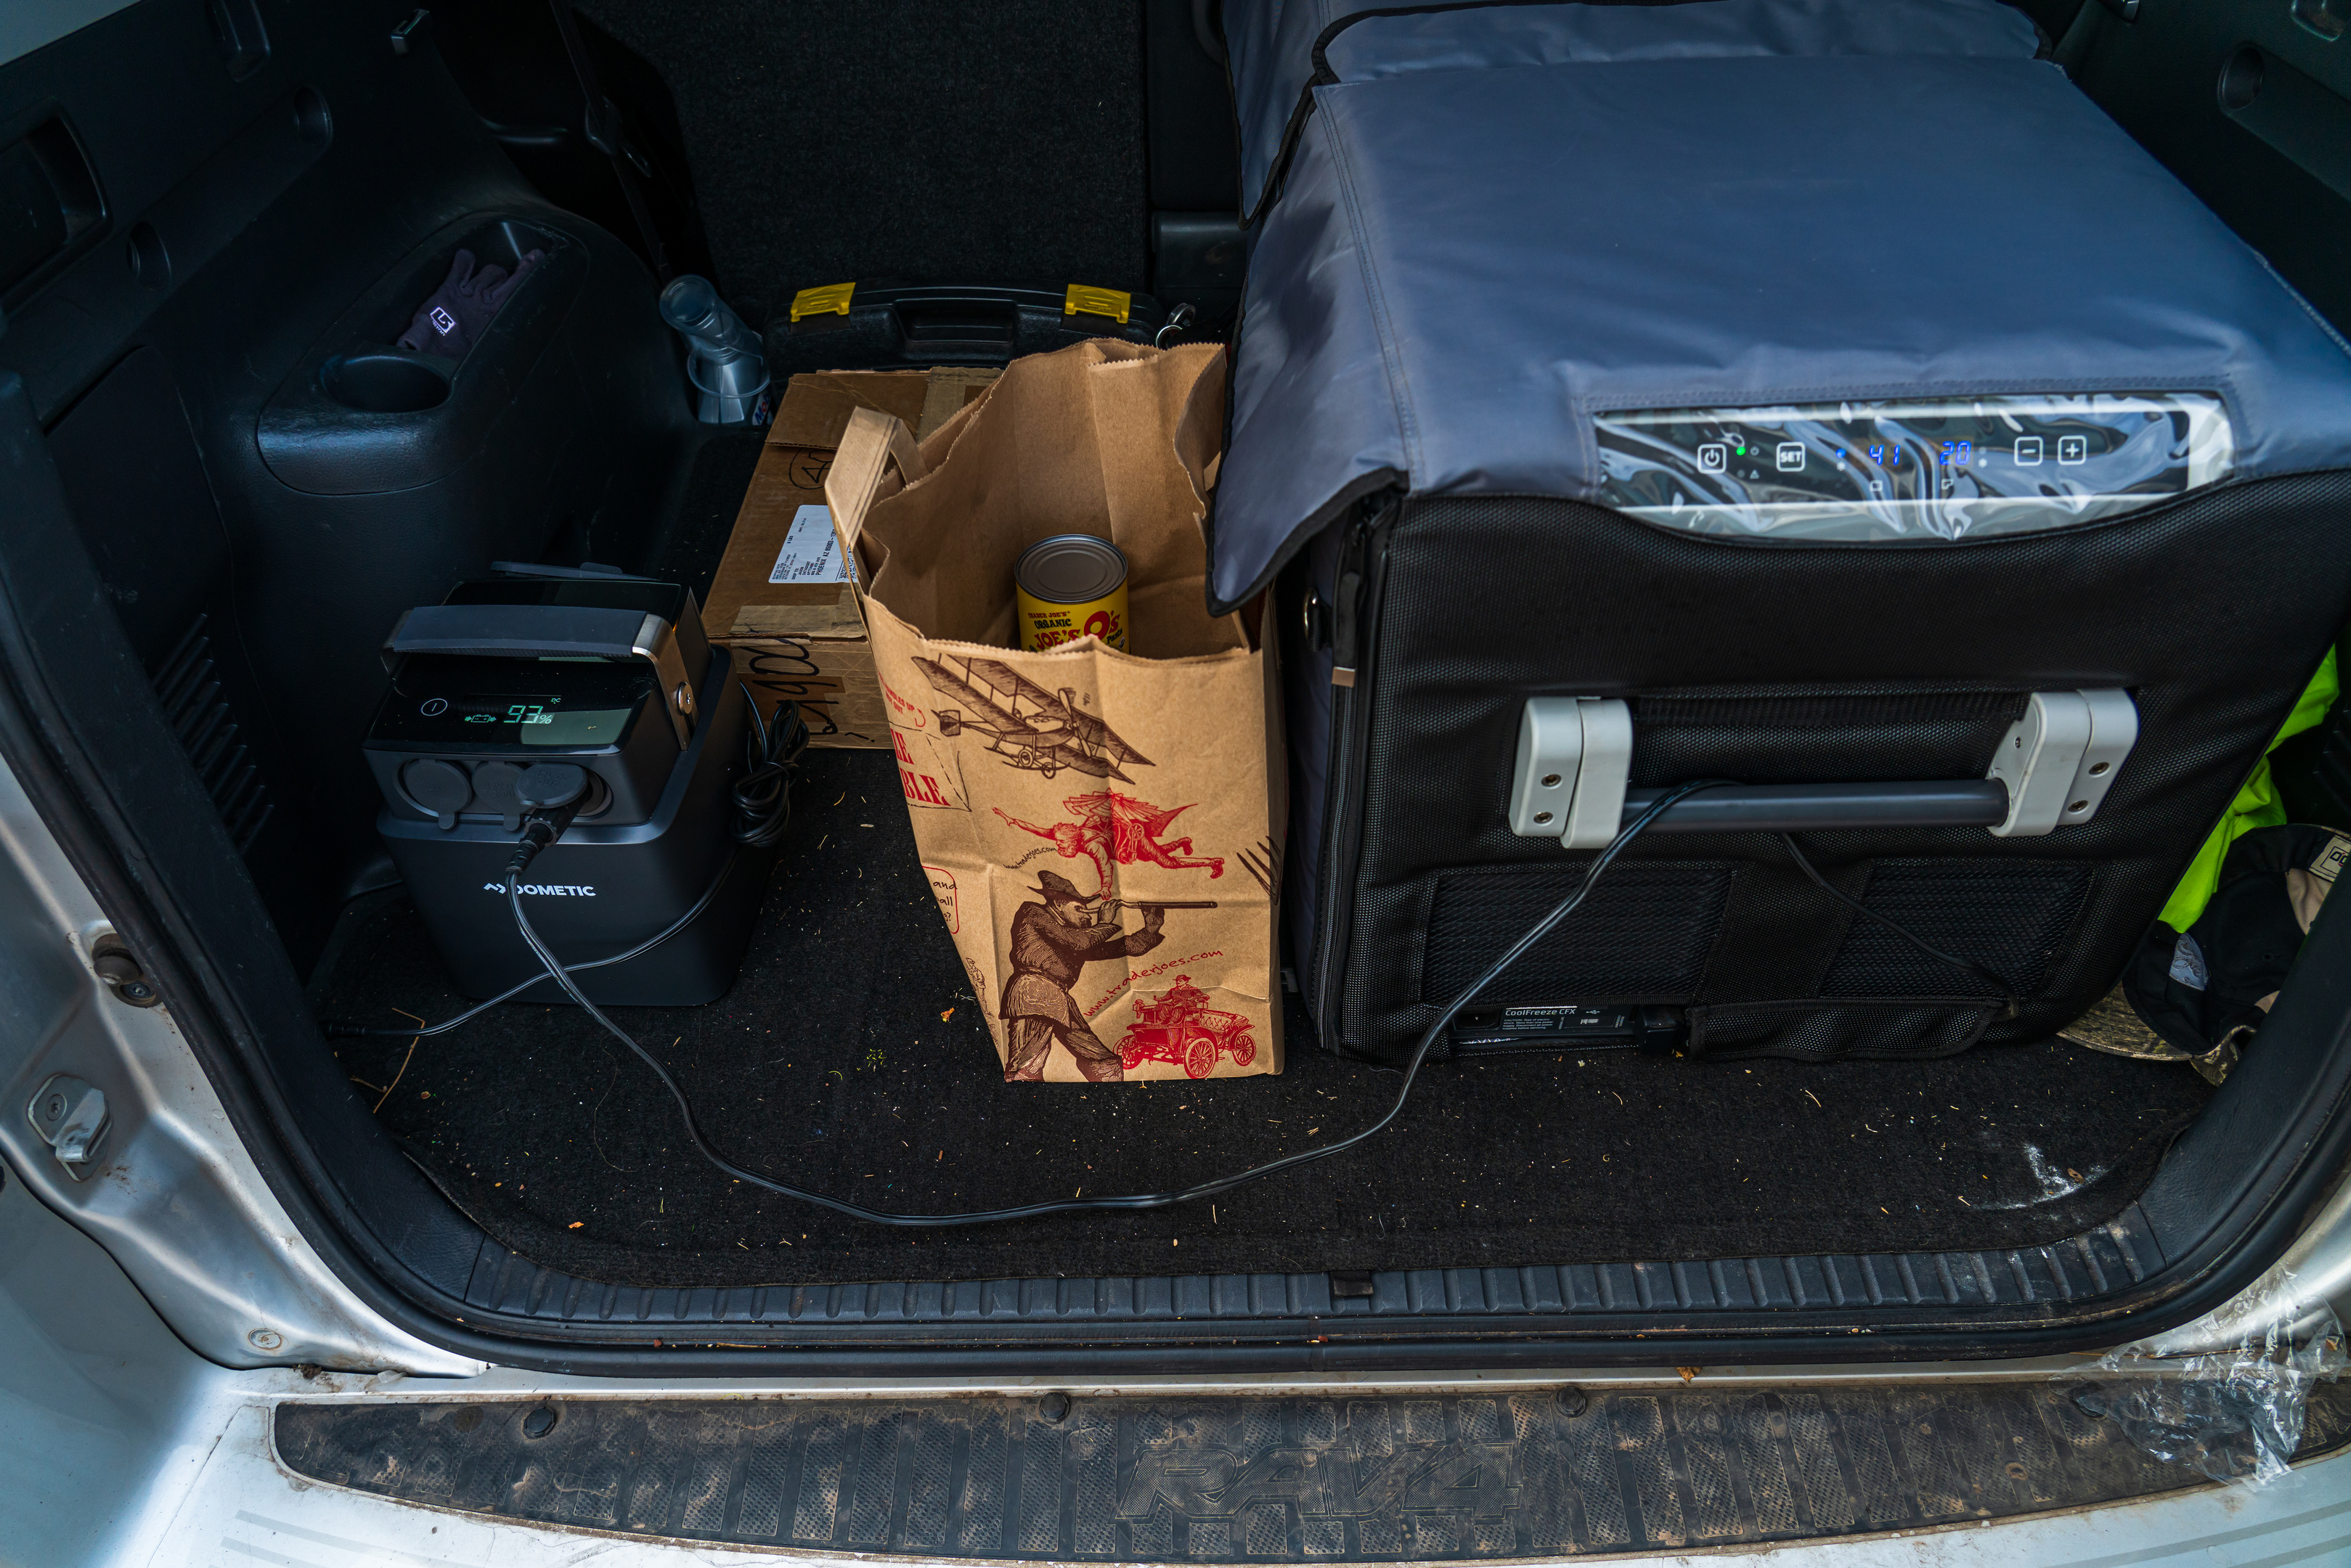
If you’re wondering how long 40 Amp Hours lasts, the answer is – it depends.  The size of your electric cooler, how efficient it is, how hot the environment is, and how much you’re getting into your cooler, and what you’re putting into your cooler are all things that will impact the runtime you’ll see from the PLB 40.  Dometic advertises 40 hours of runtime when powering a CFX 40 electric cooler for a baseline reference.  I’ve been running my PLB 40 with my CFX 75 DZW and as you would expect that with nearly twice the volume of the CFX 40, my runtimes are considerably shorter.  I’m also typically running one compartment as a freezer, which requires even more power than a refrigerator temperature setting.

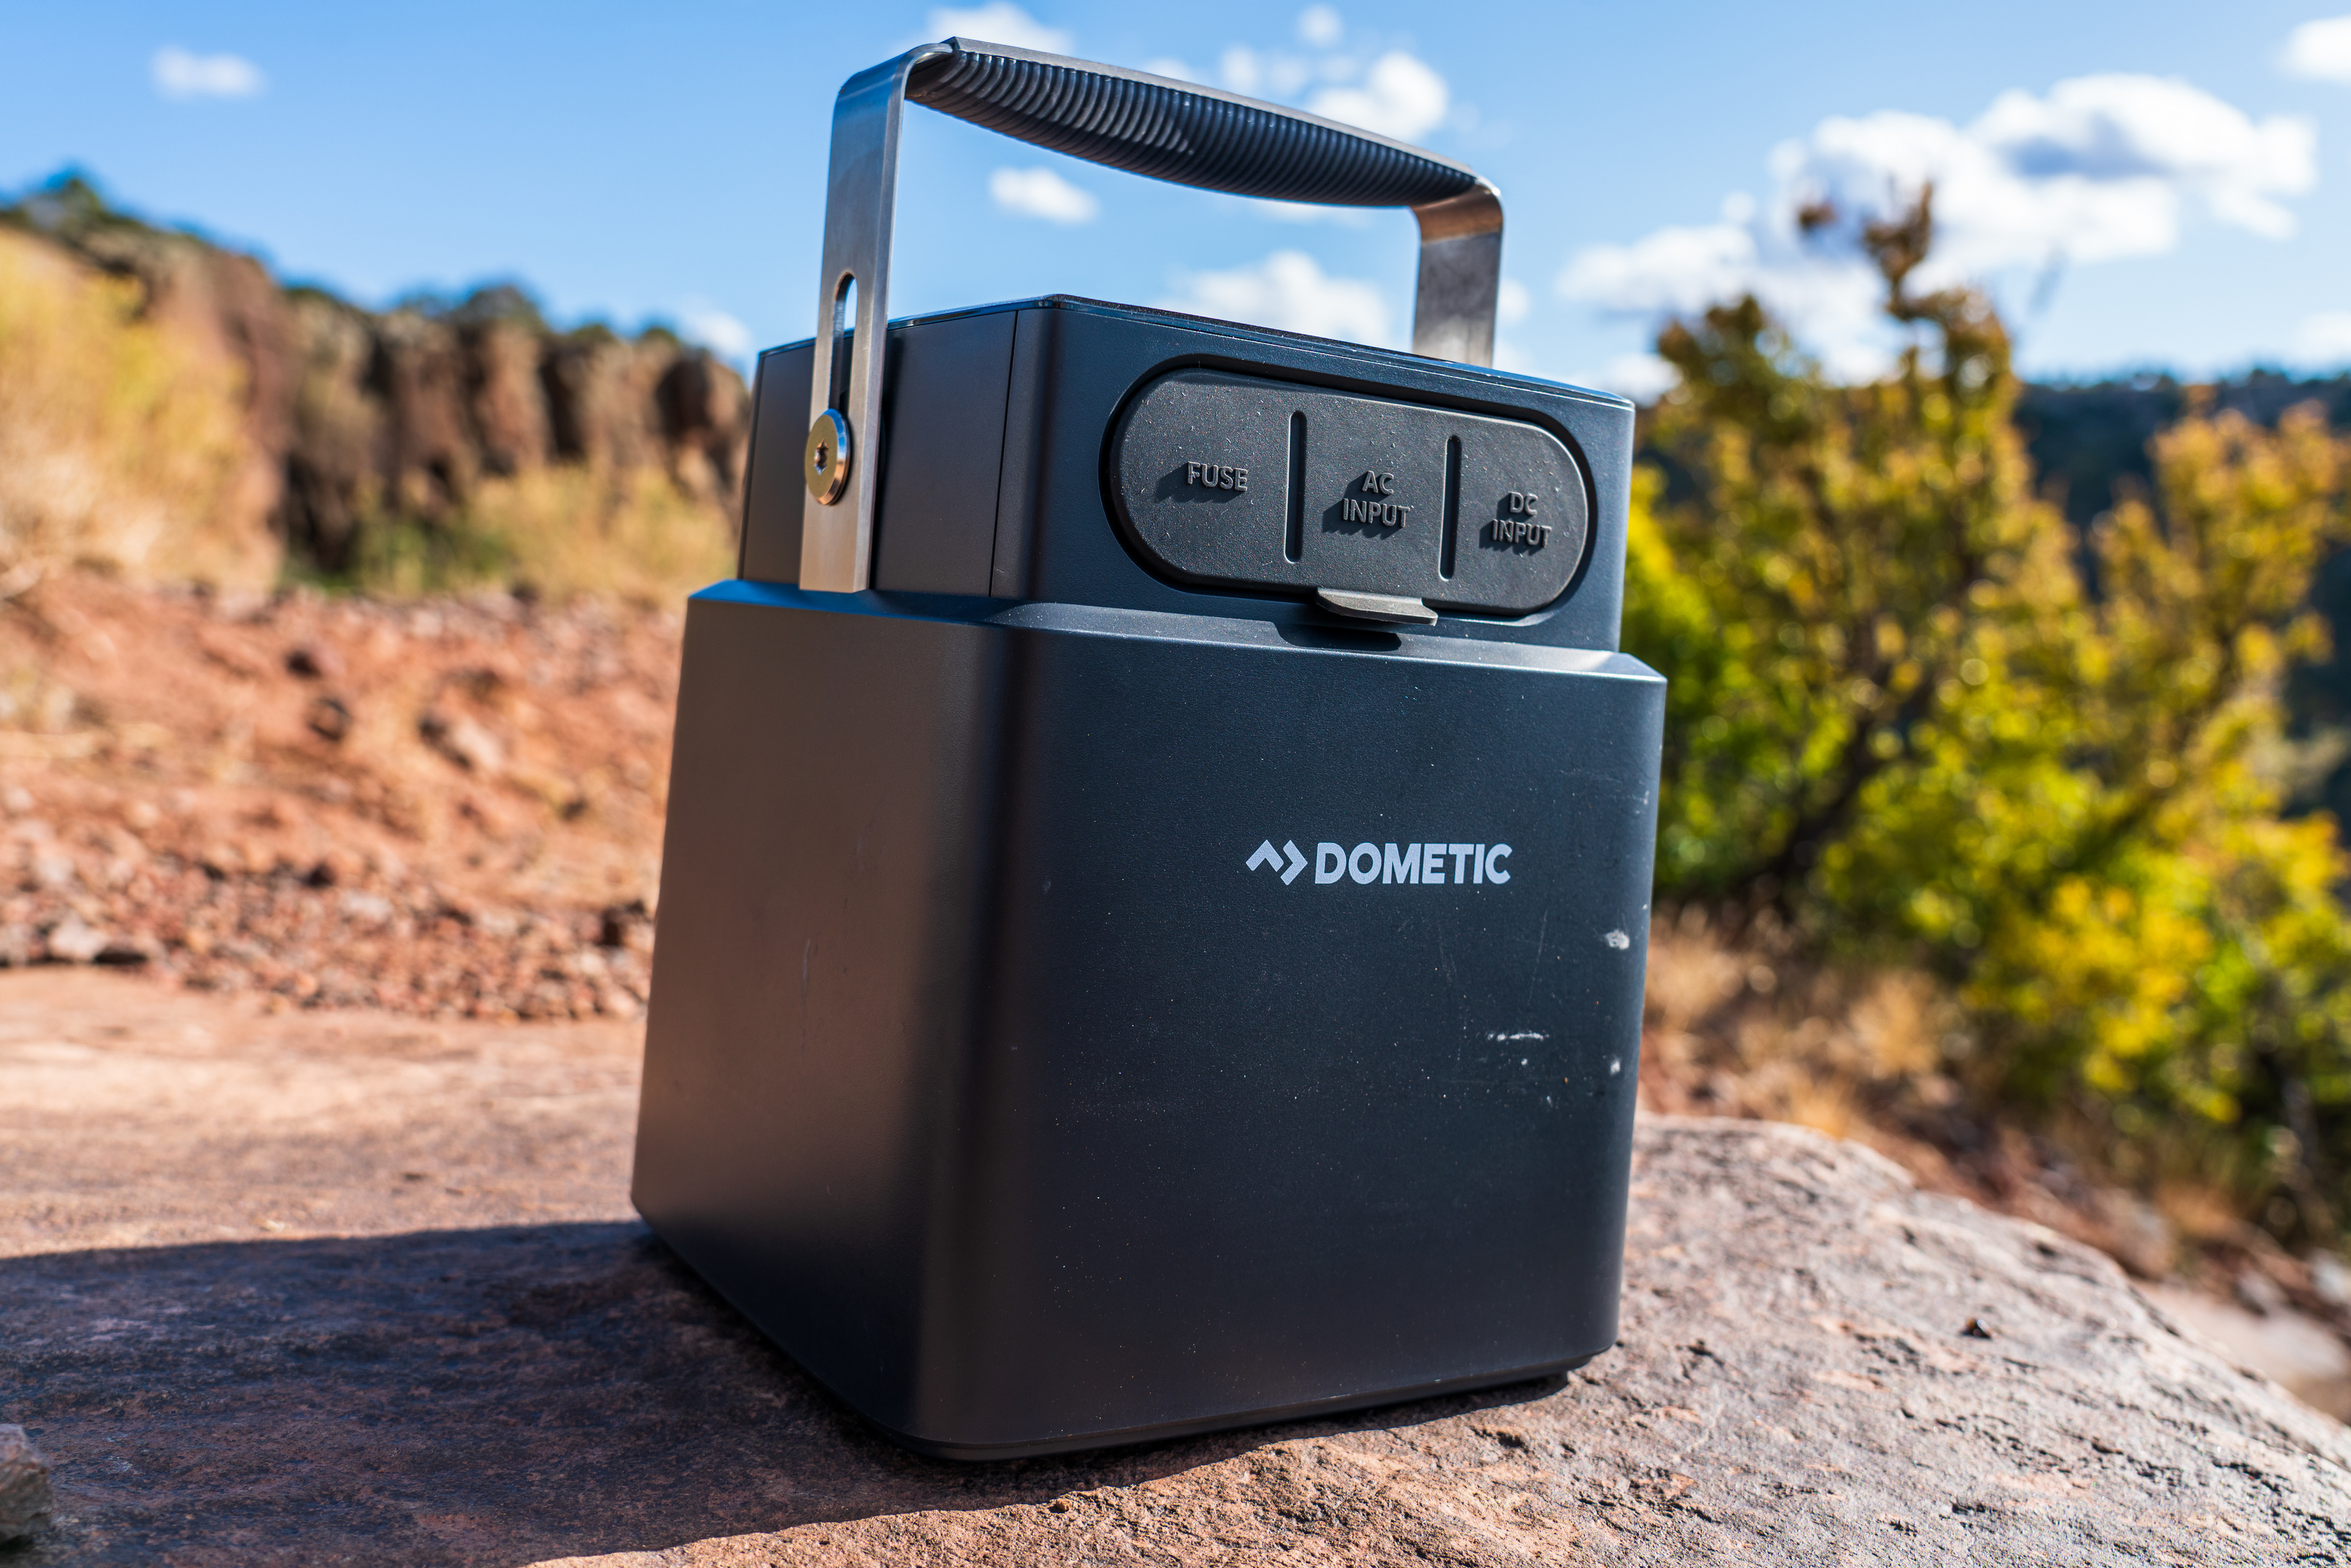
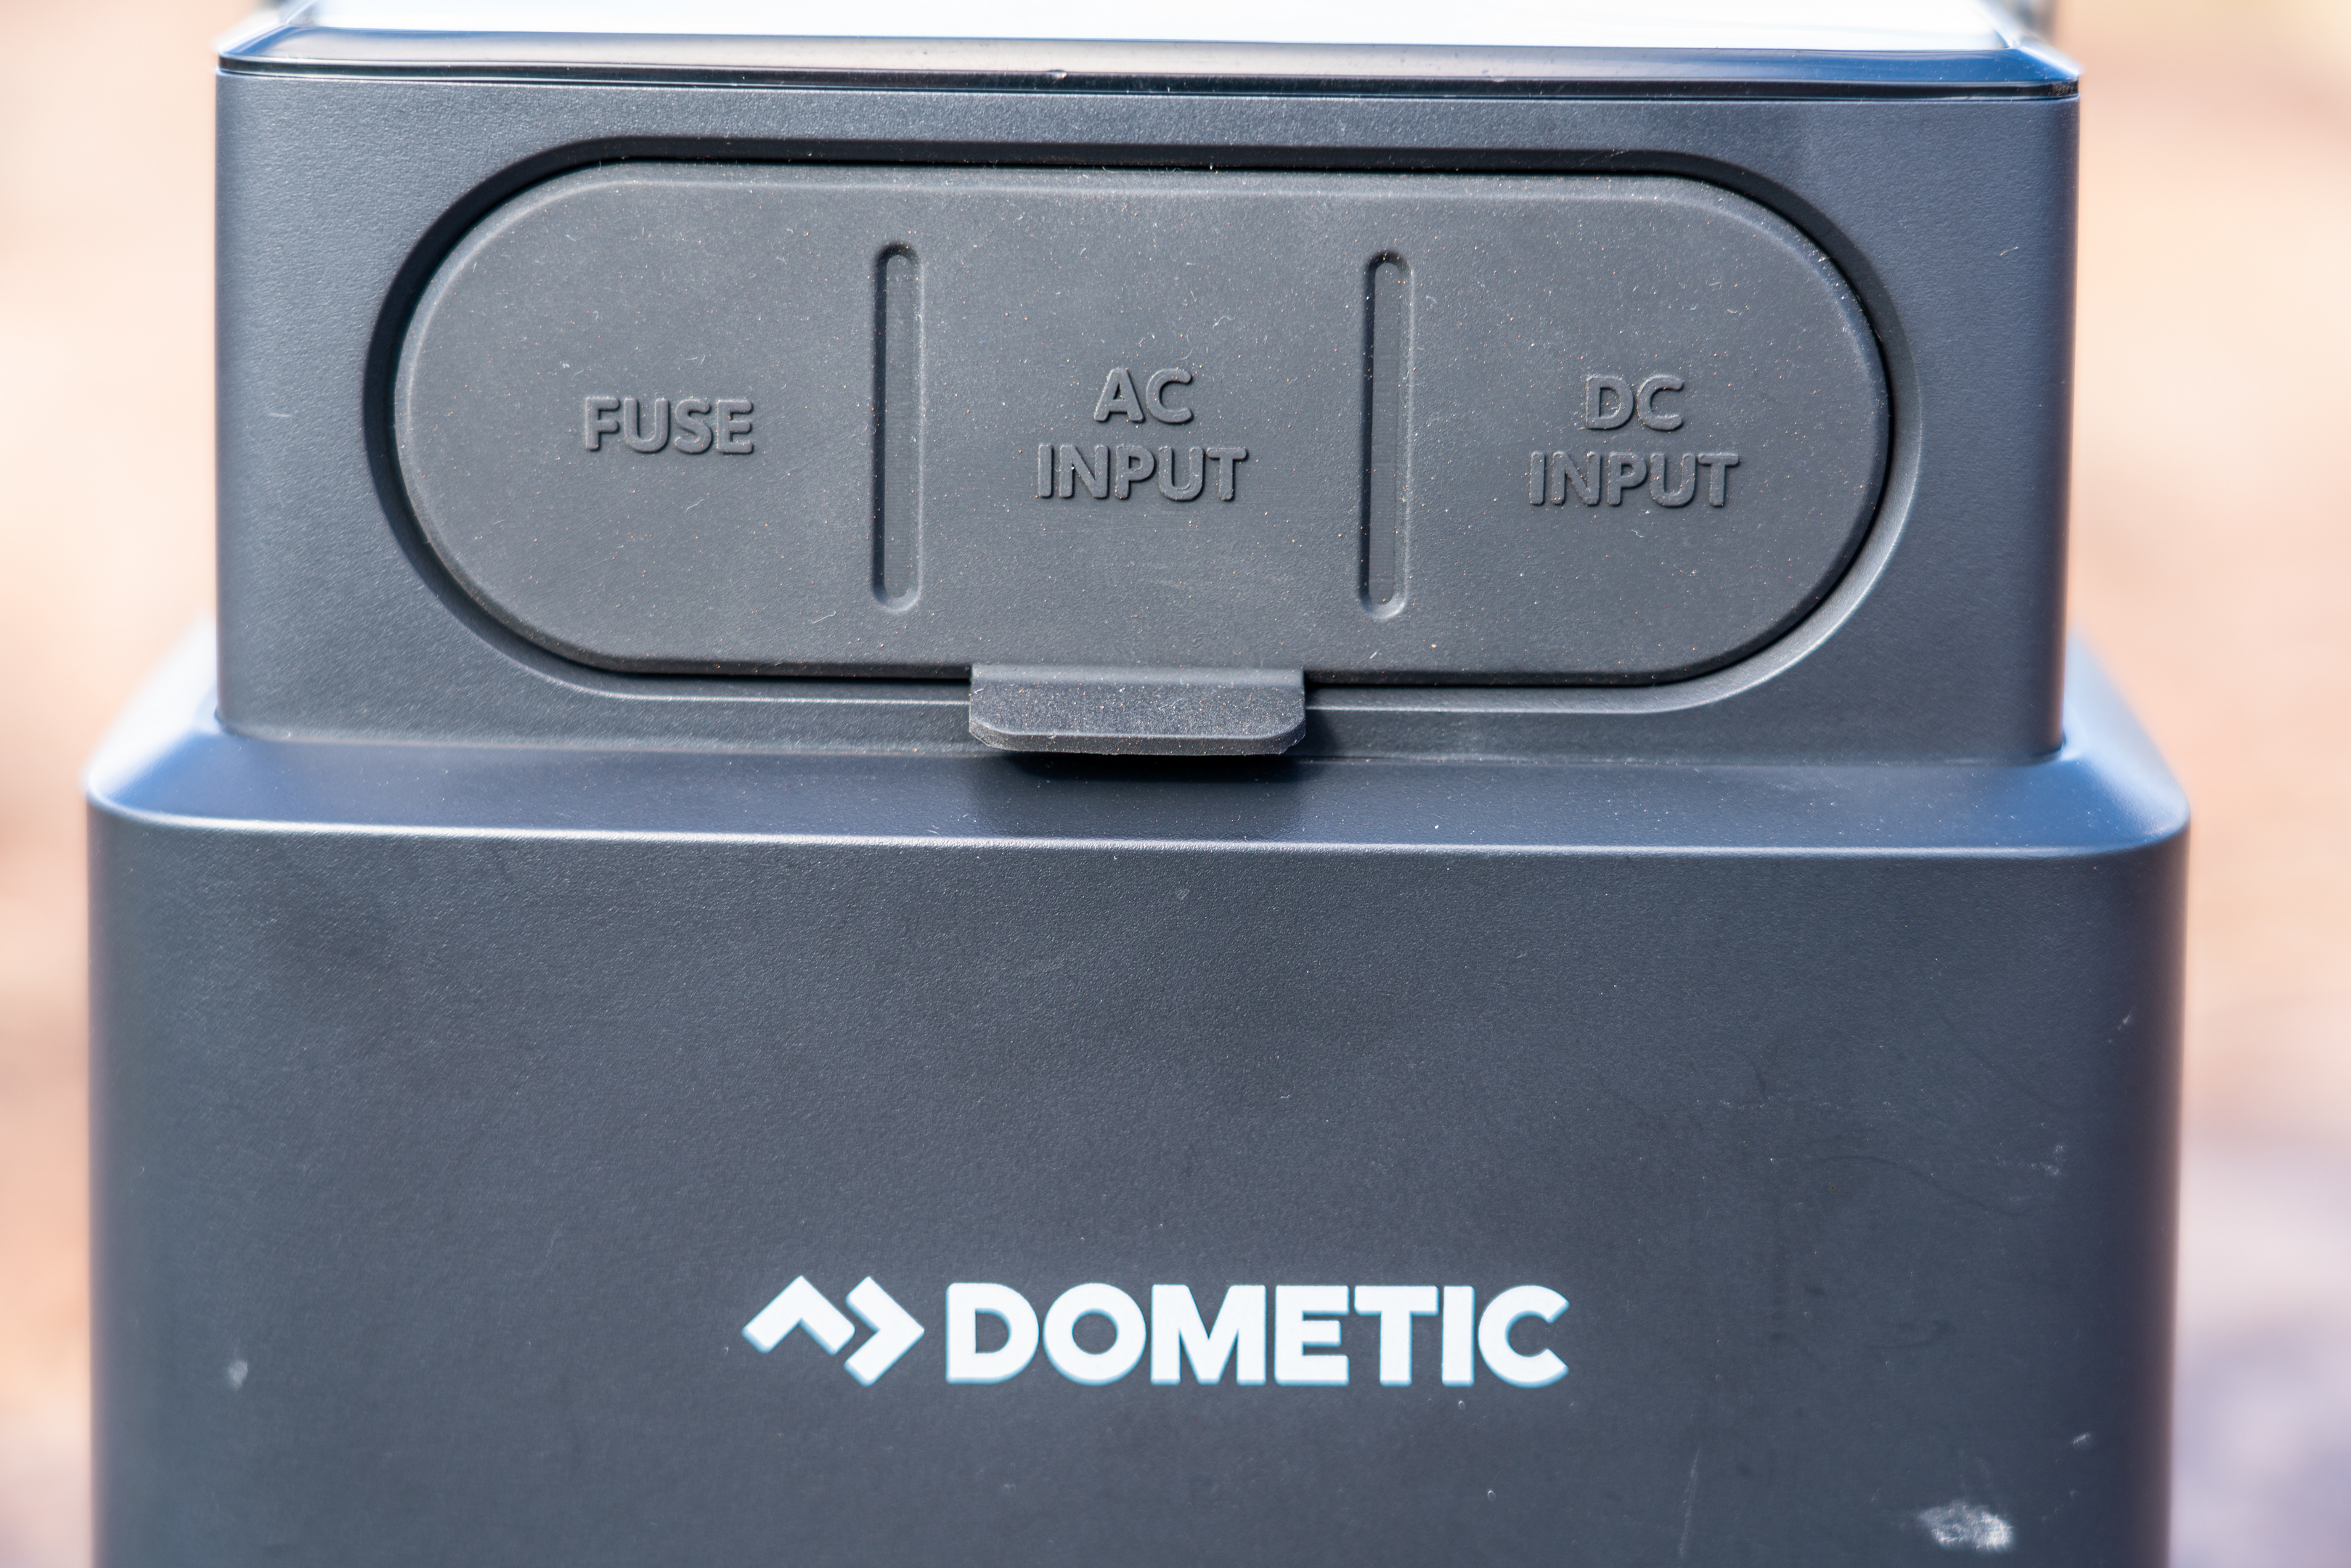
All that being said, PLB 40 is able to keep my Dometic CFX 75 powered up without being replenished for at least 24 hours.  If you know the average draw of whatever you want to power, doing the Amp-Hour math is pretty easy, just divide 40 Ah by your total draw.  If I’m going to be in the same place for longer, I’ll plug in a solar panel to the back of the PLB 40 using the Anderson SB 50 port, or I’ll plug the PLB 40 into an always energized 12v outlet in one of my trucks.  The PLB 40 also accepts AC charging, so if your destination for the night is a hotel or someplace with grid power, you can charge the battery from a 120V source so it’s ready to go in the morning.
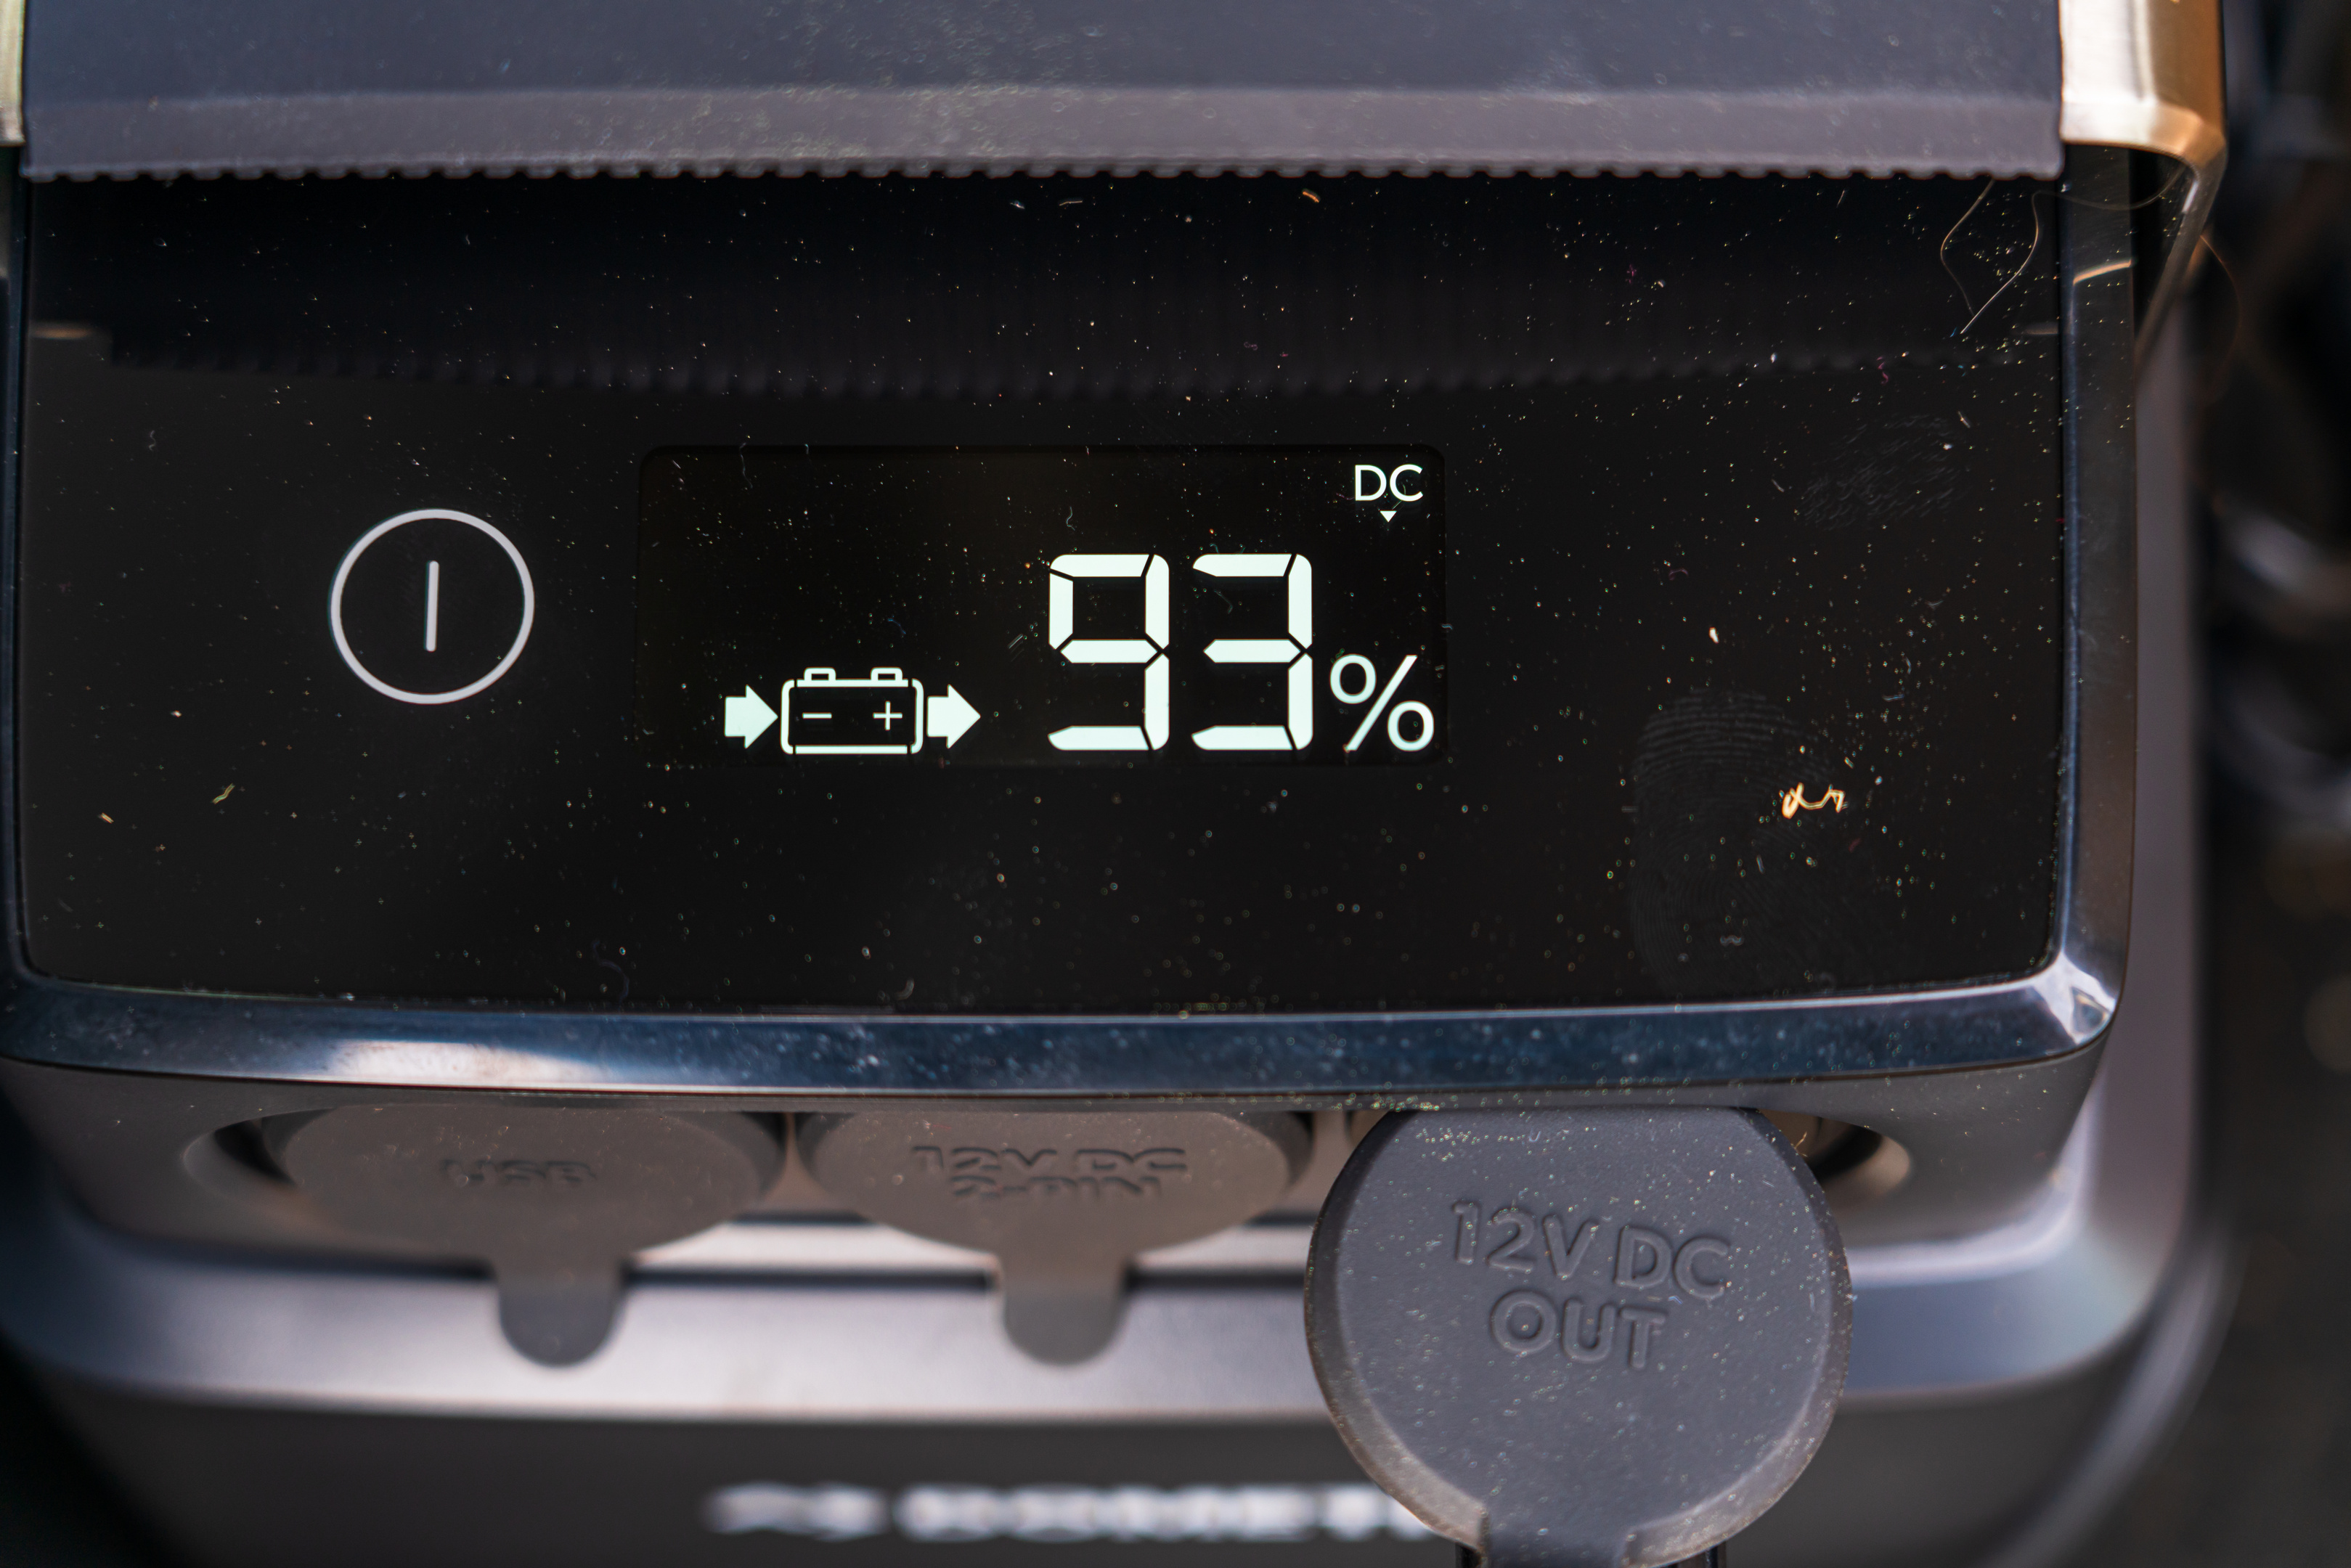
The charge controller on the PLB 40 will continue to accept DC input all the way down to 8 VDC, so if you have your PLB 40 drawing from your rig’s starting battery through an always-energized circuit, make sure that you’re keeping an eye on your starting battery’s voltage.  Depending on how large your vehicle’s starting battery is, pulling 30 + Ah from it could make quite a dent in your starting battery, and it’s ability to crank your rig over.   Having a jump start battery with you is also always a good call.  Dometic has this 8 VDC cutoff in place to allow for solar charging the Lithium Iron Phosphate Battery in the PLB 40.  This LiFePO4 battery has a couple of advantages over other types of Lithium batteries found in other portable batteries, namely an increased lifespan and the chemistry is more stable (safe) than other lithium designs.  Being powered by a lithium battery also means that the PLB 40 is lightweight, and very portable.
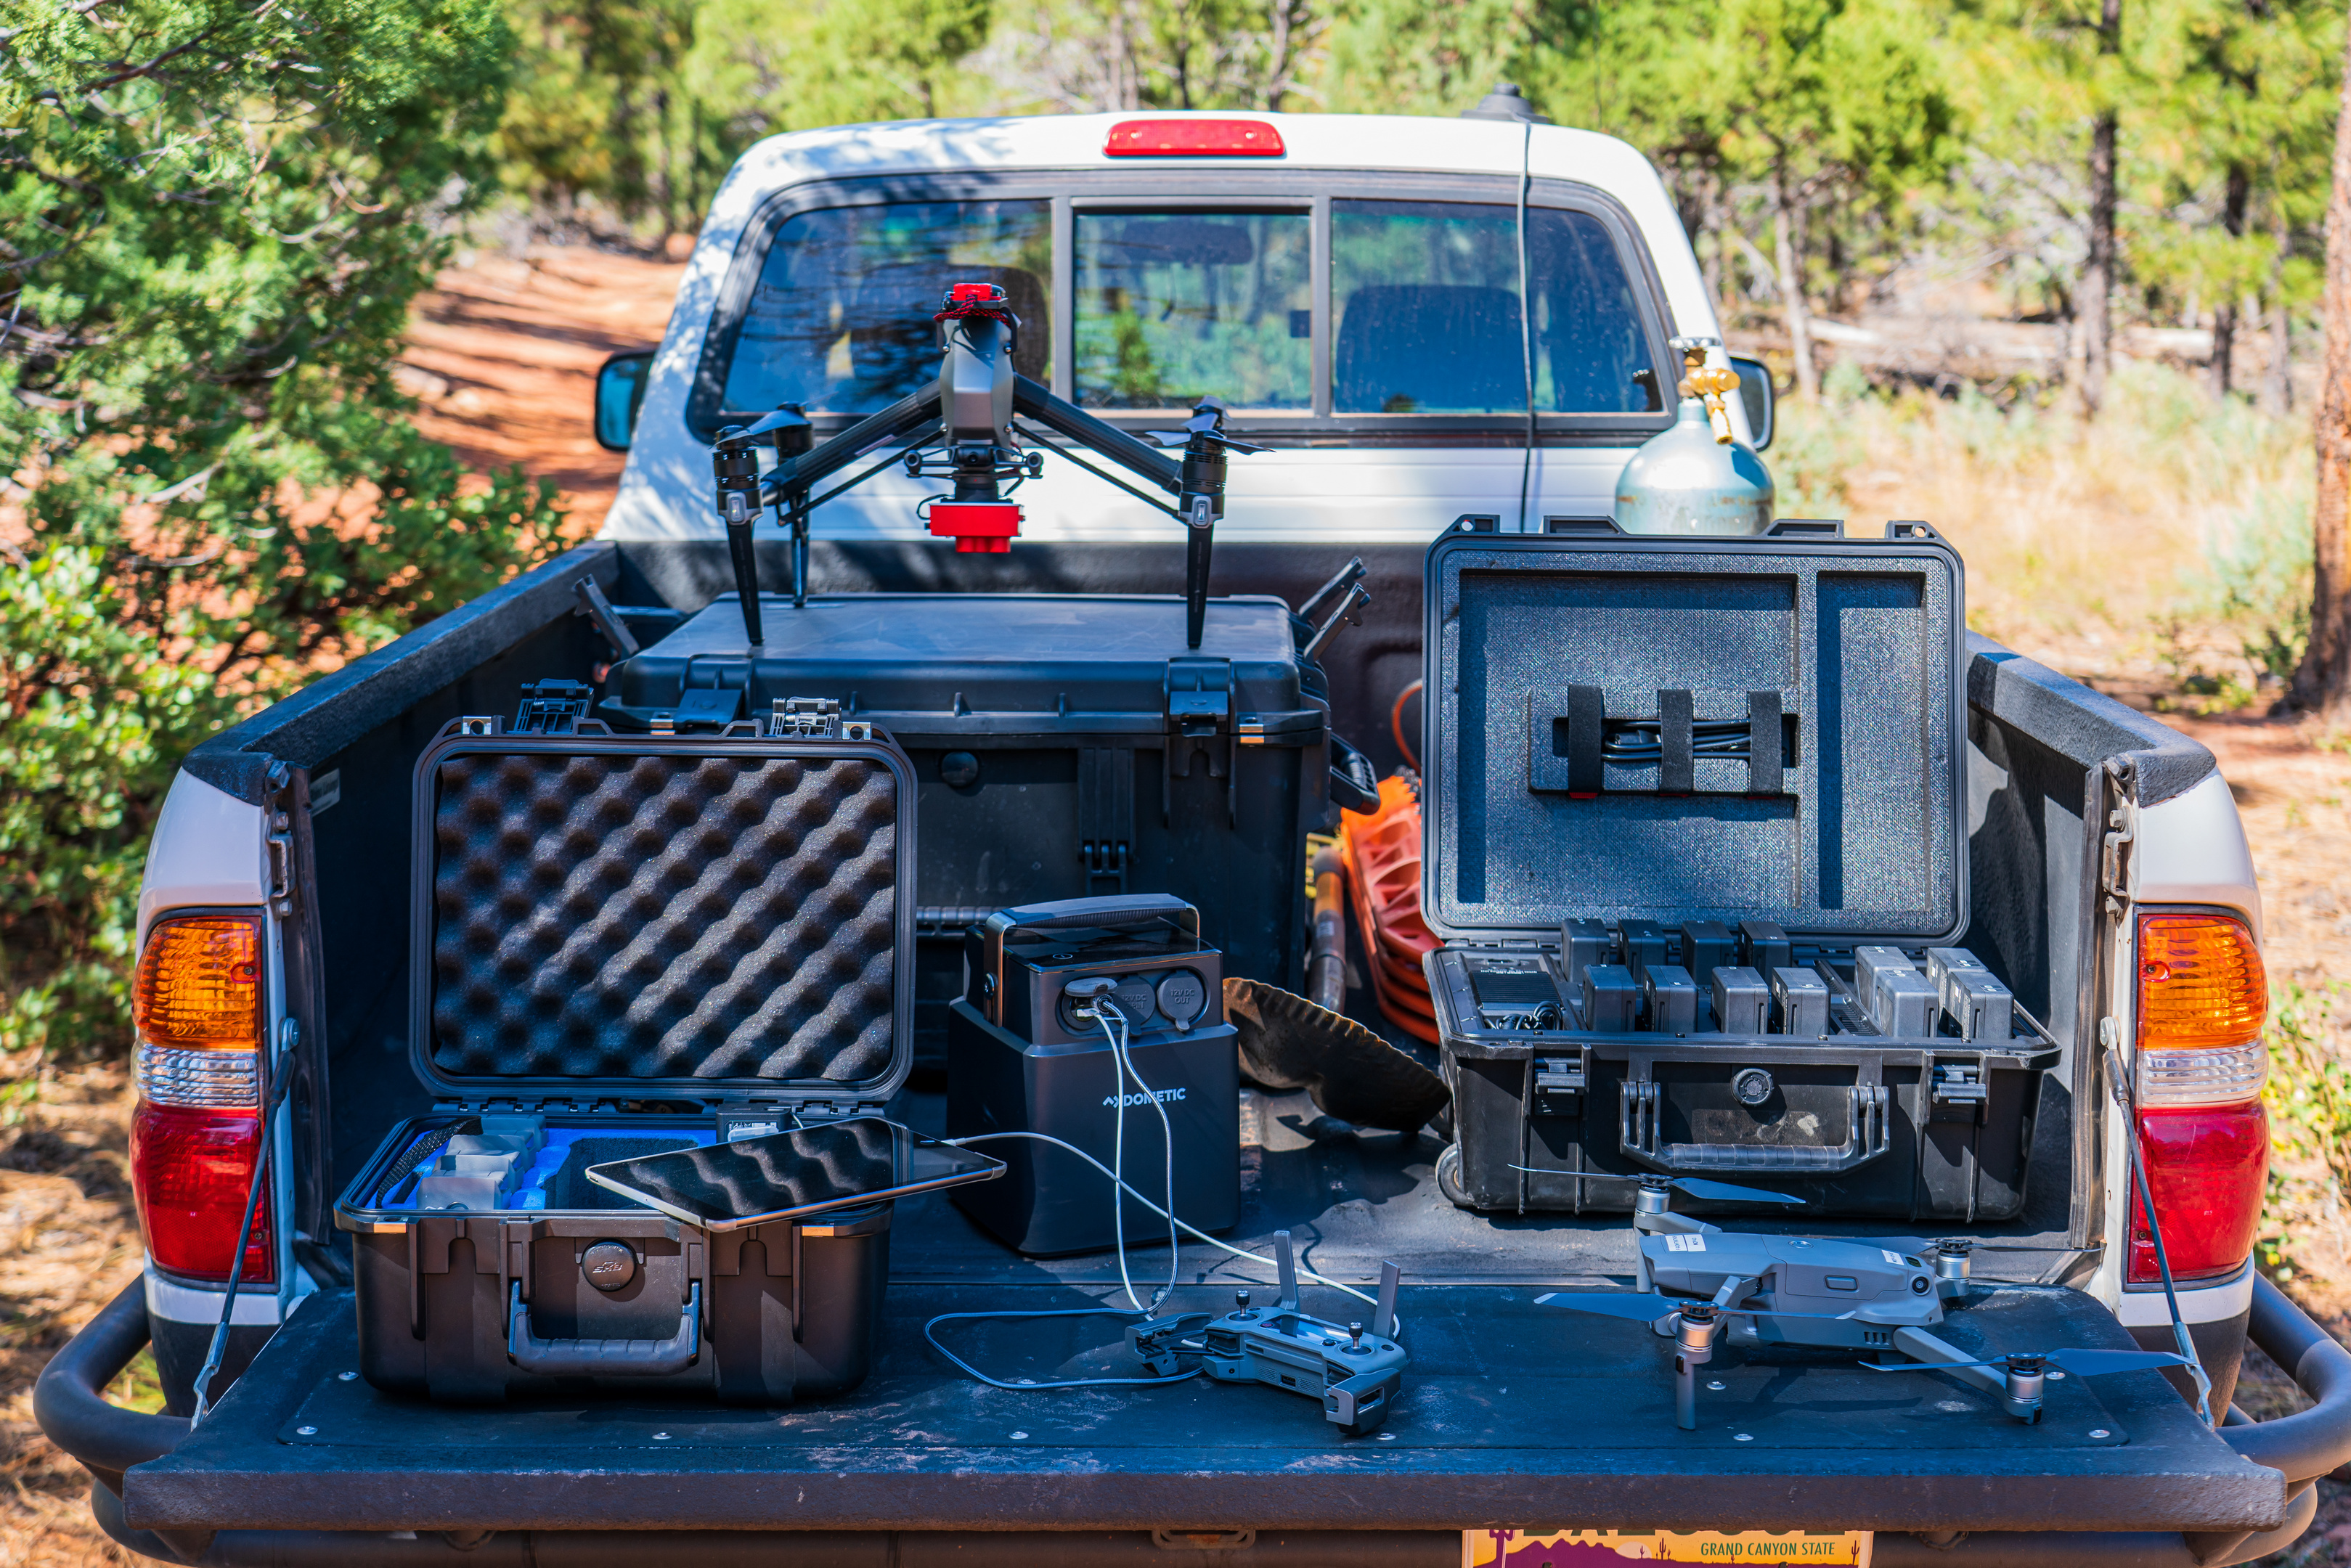
The PLB 40 is so easy to move around thanks to its beefy top handle, that you’ll find yourself using it all the time, and you’ll never have to convince yourself to go lug your battery around.   Tipping the scales to just past 16 pounds, the PLB can easily be moved anywhere it’s needed by almost anyone.  Not only it is lightweight, but it has a small footprint that’s less than eight inches on a side, so it can be stashed in all kinds of places where power is needed.

This size and weight opens doors for how this thing can be used.  No power outlets in reach of the kid’s seats in the family hauler?  Stick the PLB with the kids, and let them run their devices for the entire duration of your drive (if that’s your thing).  Need power someplace in camp that’s not your rig?  Grab your PLB.  Hosting a BBQ in the backyard, and want to use your electric cooler for easy to access beverages, but don’t feel like dealing with all of the extension cords? You get the idea.  If you’ve been lugging around other battery battery boxes where you supply a car battery – you need to experience the PLB’s size and portability. It’s a game changer.
That ease of use however, does come with a price tag and the PLB 40 isn’t cheap.  Googling the PLB at the time of this writing turns up prices from $765 USD, and up.  With that money, you’re in striking distance of other solutions out there, so just make sure that you’re getting the product solution that best meets your needs.  If you’re shopping the PLB 40 against other portable batteries, Dometic has this handy chart that helps potential customers assess the return on investment of a PLB 40 vs. other popular options:
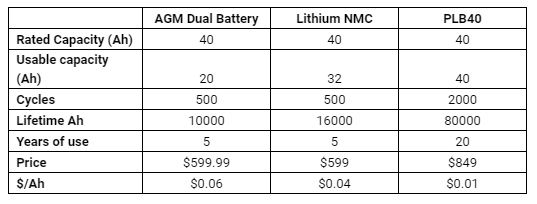
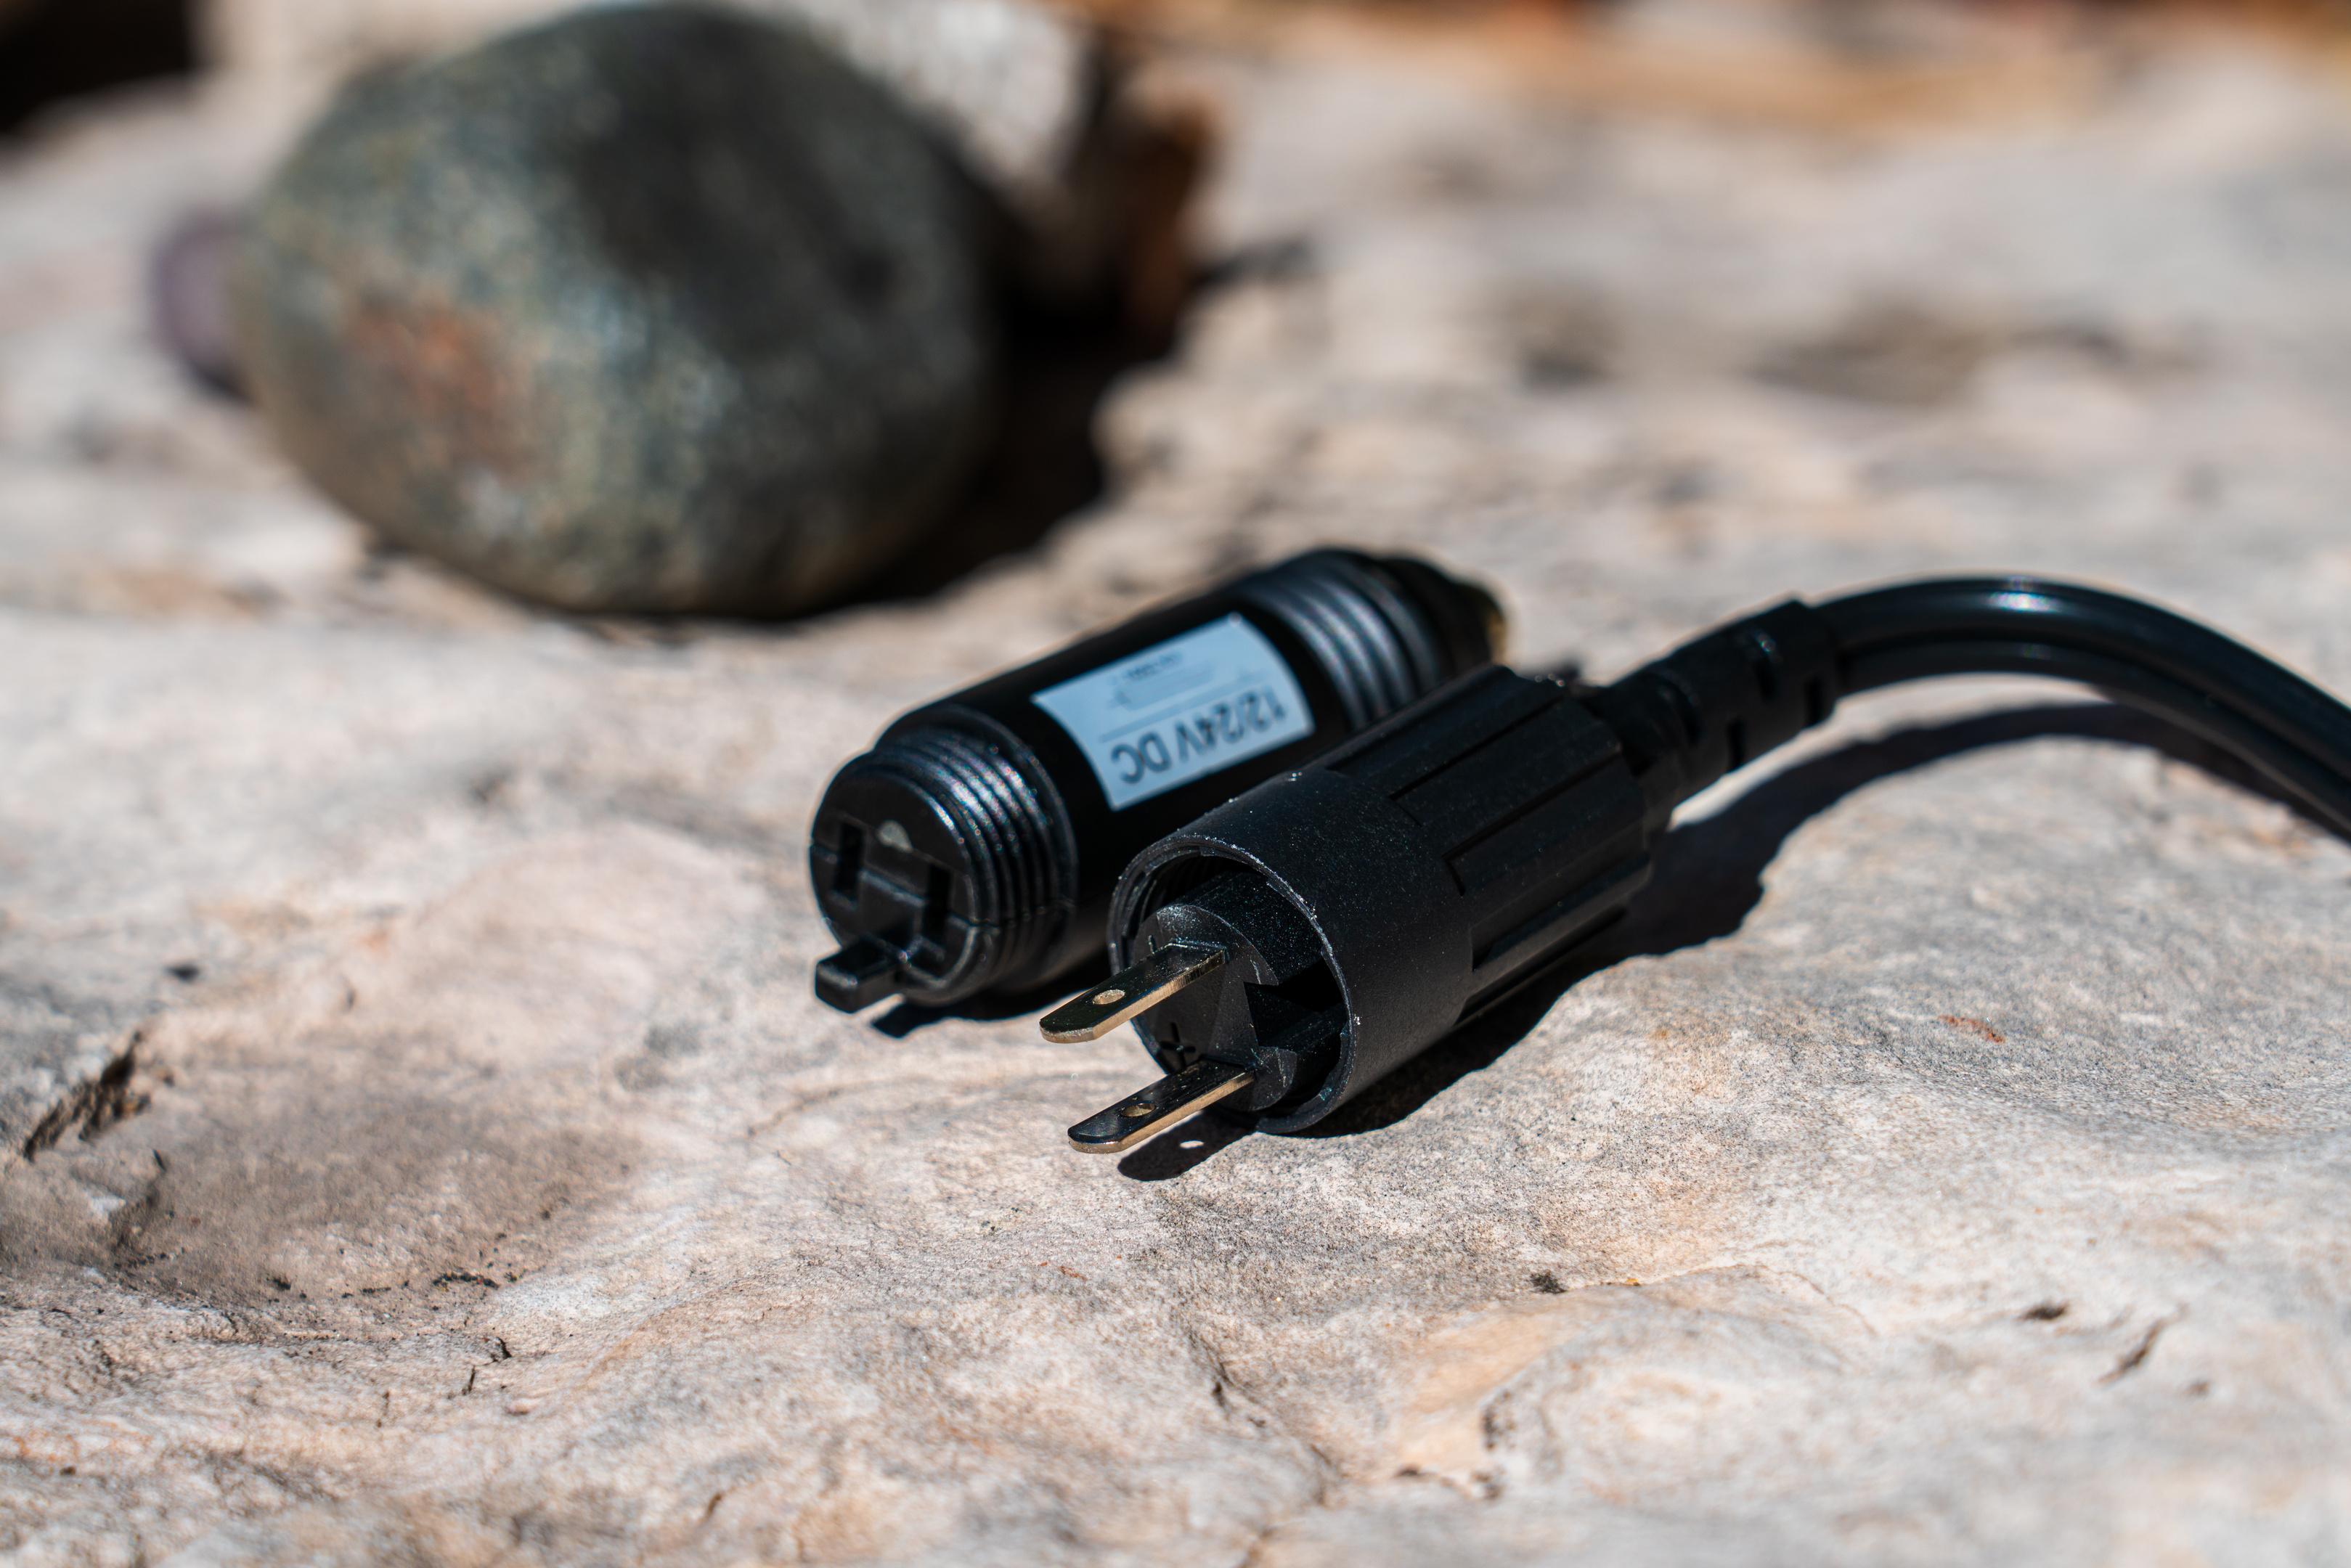
Speaking of value, it would be awesome to see Dometic offer a version of the PLB 40 that had two 12 V cigarette-style ports instead of one 12 V cigarette and one 12 V two-pin.  Or at least a two-pin to cigarette-style dongle with the current PLB 40.  If you’ve ever unscrewed the 12 V plug from your Dometic electric cooler, you’ve no doubt discovered the two-pin connector hidden inside, but I have far more 12 V cigarette style devices than two-pin devices, so it would be nice to have the added flexibility of 2 cigarette-style ports.  The one redeeming part of the 2-pin connectors is that they screw in, so you don’t have to worry about accidentally knocking your plug out.  Depending on how you pack your rig however, this may be a clutch feature or it may not make that much difference for you.  A screw in connection definitely adds piece of mind, but I have yet to knock out a 12 V cigarette style plug – and I’m probably jinxing myself by saying that.

Yet, for a plug and play, as easy as it gets, “I just want the thing to work”, you can’t go wrong with the PLB 40.  Other solutions are going to require purchasing other chargers, adjusting cut-offs, or taking other steps to get the function that the PLB 40 comes with out of the box – and it’s just so nice to just be able to plug two things in and go.
Dometic’s PLB 40 is a pretty awesome piece of technology.  Based on conversations I’ve had with other folks who’ve shelled out for one, it’s been exactly the thing that they were looking for to be able to get into the electric fridge game, and they couldn’t be happier.  It doesn’t have all of the outputs that other portable batteries have, but it’s true plug and play functionality, portability, and reliable performance make it any easy choice for folks who don’t want to touch their vehicle wiring to be able to run an electric cooler.

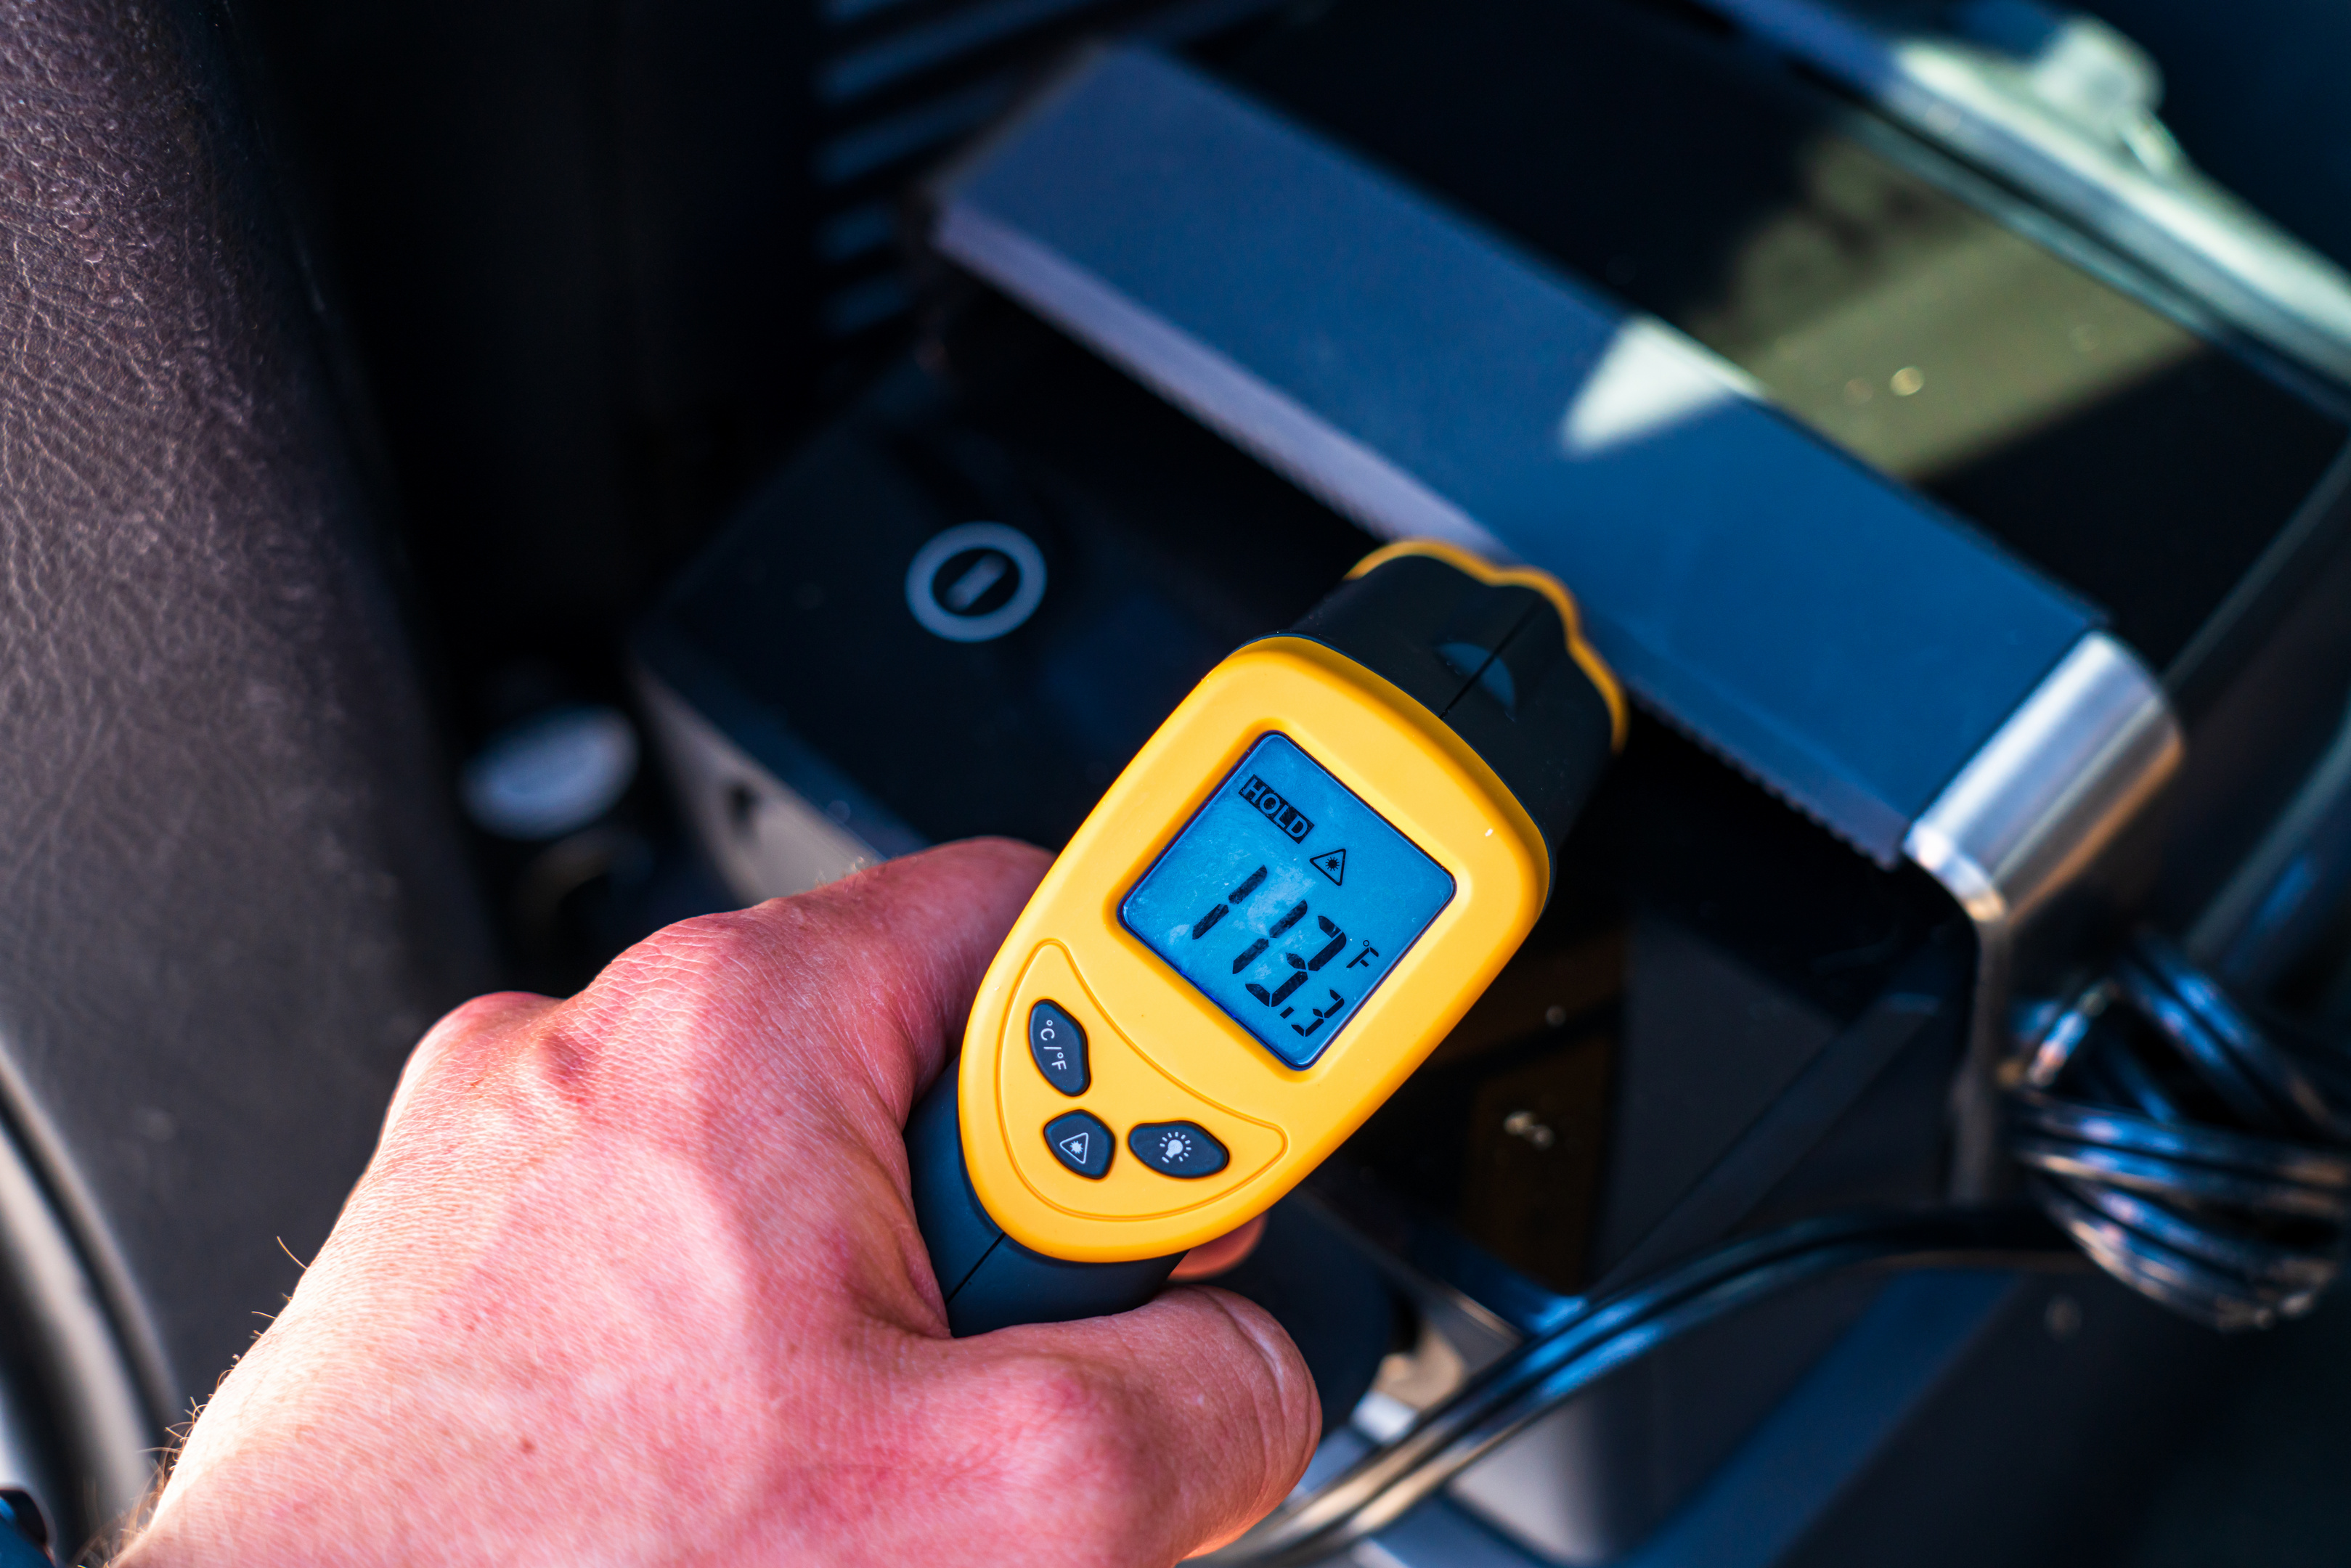
The PLB 40 hasn’t missed a beat in my use, which has included multiple trips to Phoenix in the middle of summer.  Even when the unit was well heat-soaked with a surface temperature that meant the unit would start to experience diminished performance, the PLB 40 didn’t slow down or indicate on it’s display that it was getting too hot.  It’s small size and weight means that you can actually take the unit to just about anywhere you need power, and the PLB 40 is flexible enough to power all kinds of DC and USB powered devices.

Cold Weather Testing:

It’s important to set the stage when it comes to talking about battery performance in cold weather.  Most folks figure that cold weather will severely impact the performance of their batteries, based on past experiences starting (or attempting to start) a vehicle in cold weather with a Lead-Acid or other common car battery chemistries.  When you attempt to start a vehicle in the cold, your vehicle’s starter needs hundreds of amps from your battery to crank a cold motor over, and at lower temperatures the chemistry of a given battery cannot provide as much current as it can when it’s warm.  This is the exact reason that there is a Cold Cranking Amps (CCA) spec on vehicle batteries.  When it comes to a high current load, you’ll absolutely notice a difference in battery performance when it’s cold out.

Powering an electric cooler in cold weather is completely different, as an electric cooler is only going to pull a couple of amps or less, no matter how cold it is outside.  Plus, the colder the outside temperature is, the lower the temperature difference is between the compartment(s) of your electric cooler and outside, which means that your cooler’s compressor is going to have to run less often to keep your electric cooler temps where you want them. This means less energy is required from your battery.  In my testing, I was able to get longer run times out of a PLB 40 with temps near freezing than I was when temps were in the 70’s, and I attribute this to the compressor running less often.

To quantify exactly what kind of difference temperature has on the PLB 40, I ran two tests.  In the first test, I used the PLB 40 at 70 degrees F, and applied a constant load of 100 watts, which I pulled through a power meter to see how many kilowatt-hours I could get out of the battery before it hit 50% state-of-charge.  I then repeated this experiment with the PLB 40 being cold-soaked and held at 32 degrees F.  The warm battery was able to provide a few hundreths of a kilowatt-hour more power before hitting 50% state-of-charge.  So yes, the the cold does impact the power output of the PLB 40, but the devices that you’re most likely powering with a PLB 40 don’t pull enough current and will require less energy when it’s cold out, so the difference will come out in the wash.

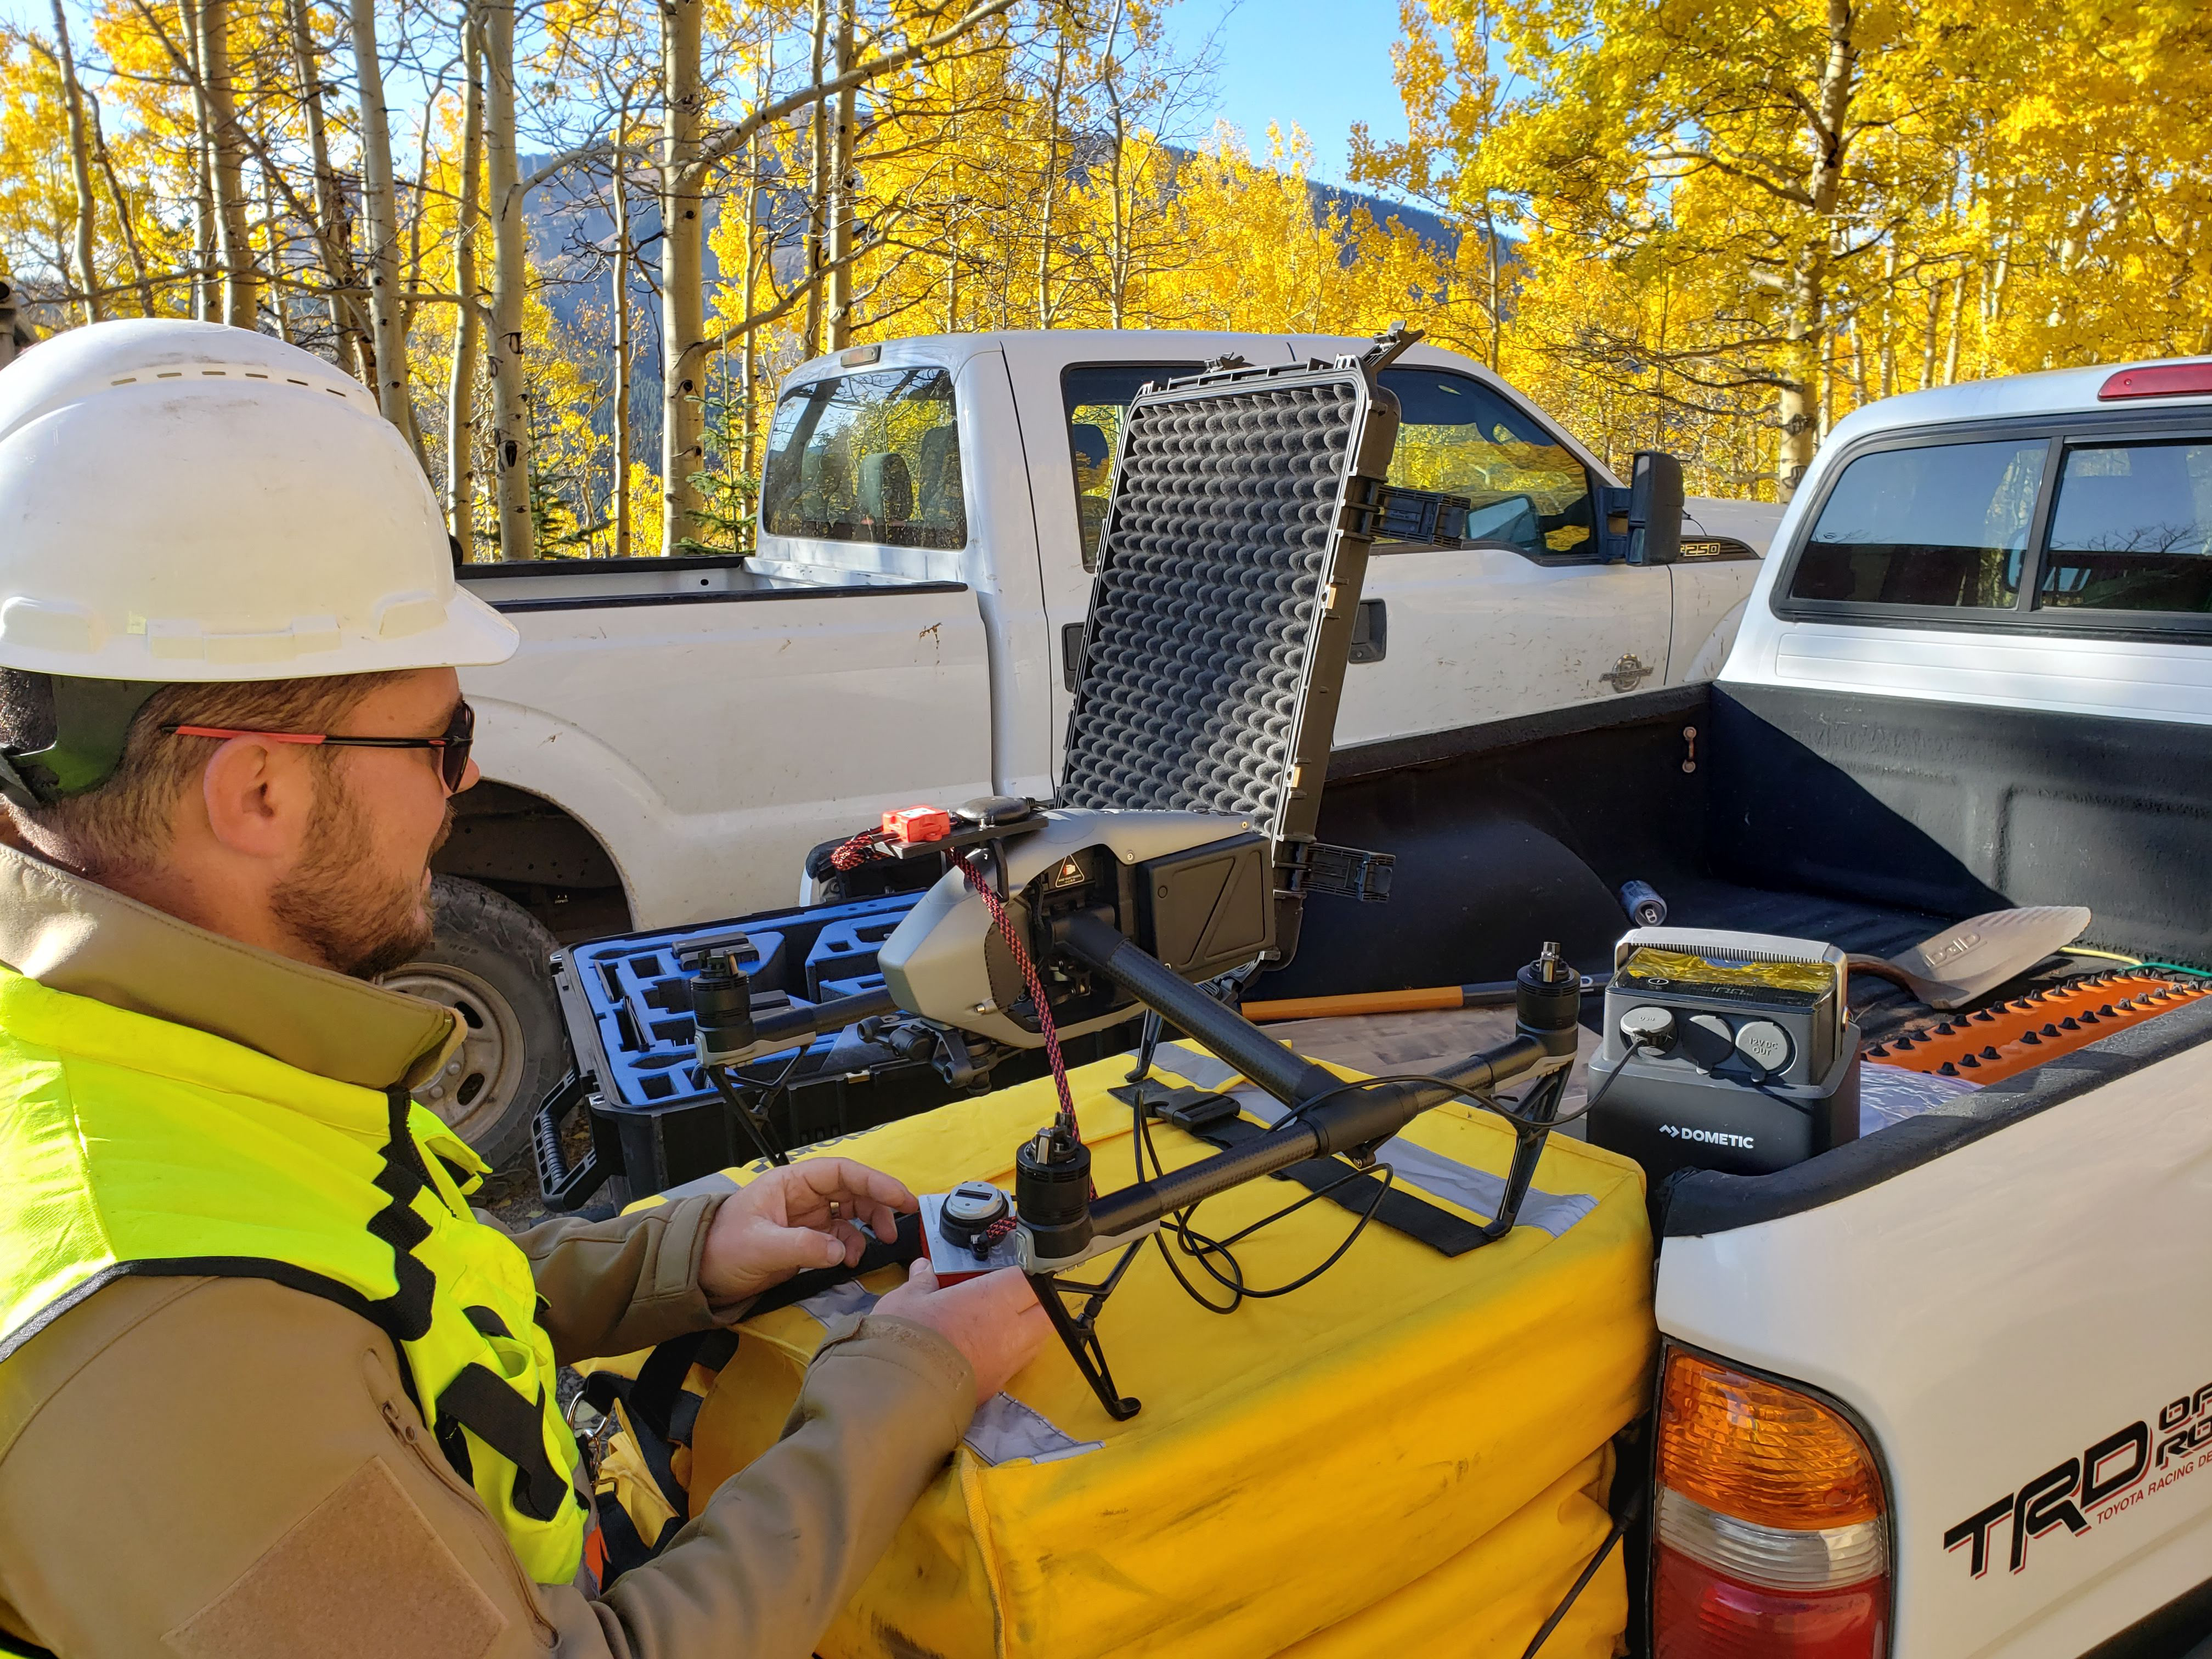
The PLB’s LiFePO4 battery will hold up to thousands of charging cycles, which means that you can have that many adventures fueled by whatever awesome stuff you can keep in your electric cooler.  If you’ve been looking for that missing link in the power supply chain for an electric cooler, or for charging media devices or drone batteries, the PLB 40 is definitely worth checking out.
Full Disclosure: Dometic provided a sample PLB 40 at no charge to the author for the purposes of this review.
10 Years Gone: Overland Expo, Then and Now

Enjoy the ride as we look back at TEN YEARS of Overland Expo! Lodestone Events has entered the game, and 2019 is shaping up to be even bigger than previous years so please stop by and say hi at the American Adventurist booth at site PS1. We’ll have a cold beer ready for you courtesy of Wanderlust Brewing in Flagstaff, bring your cup!

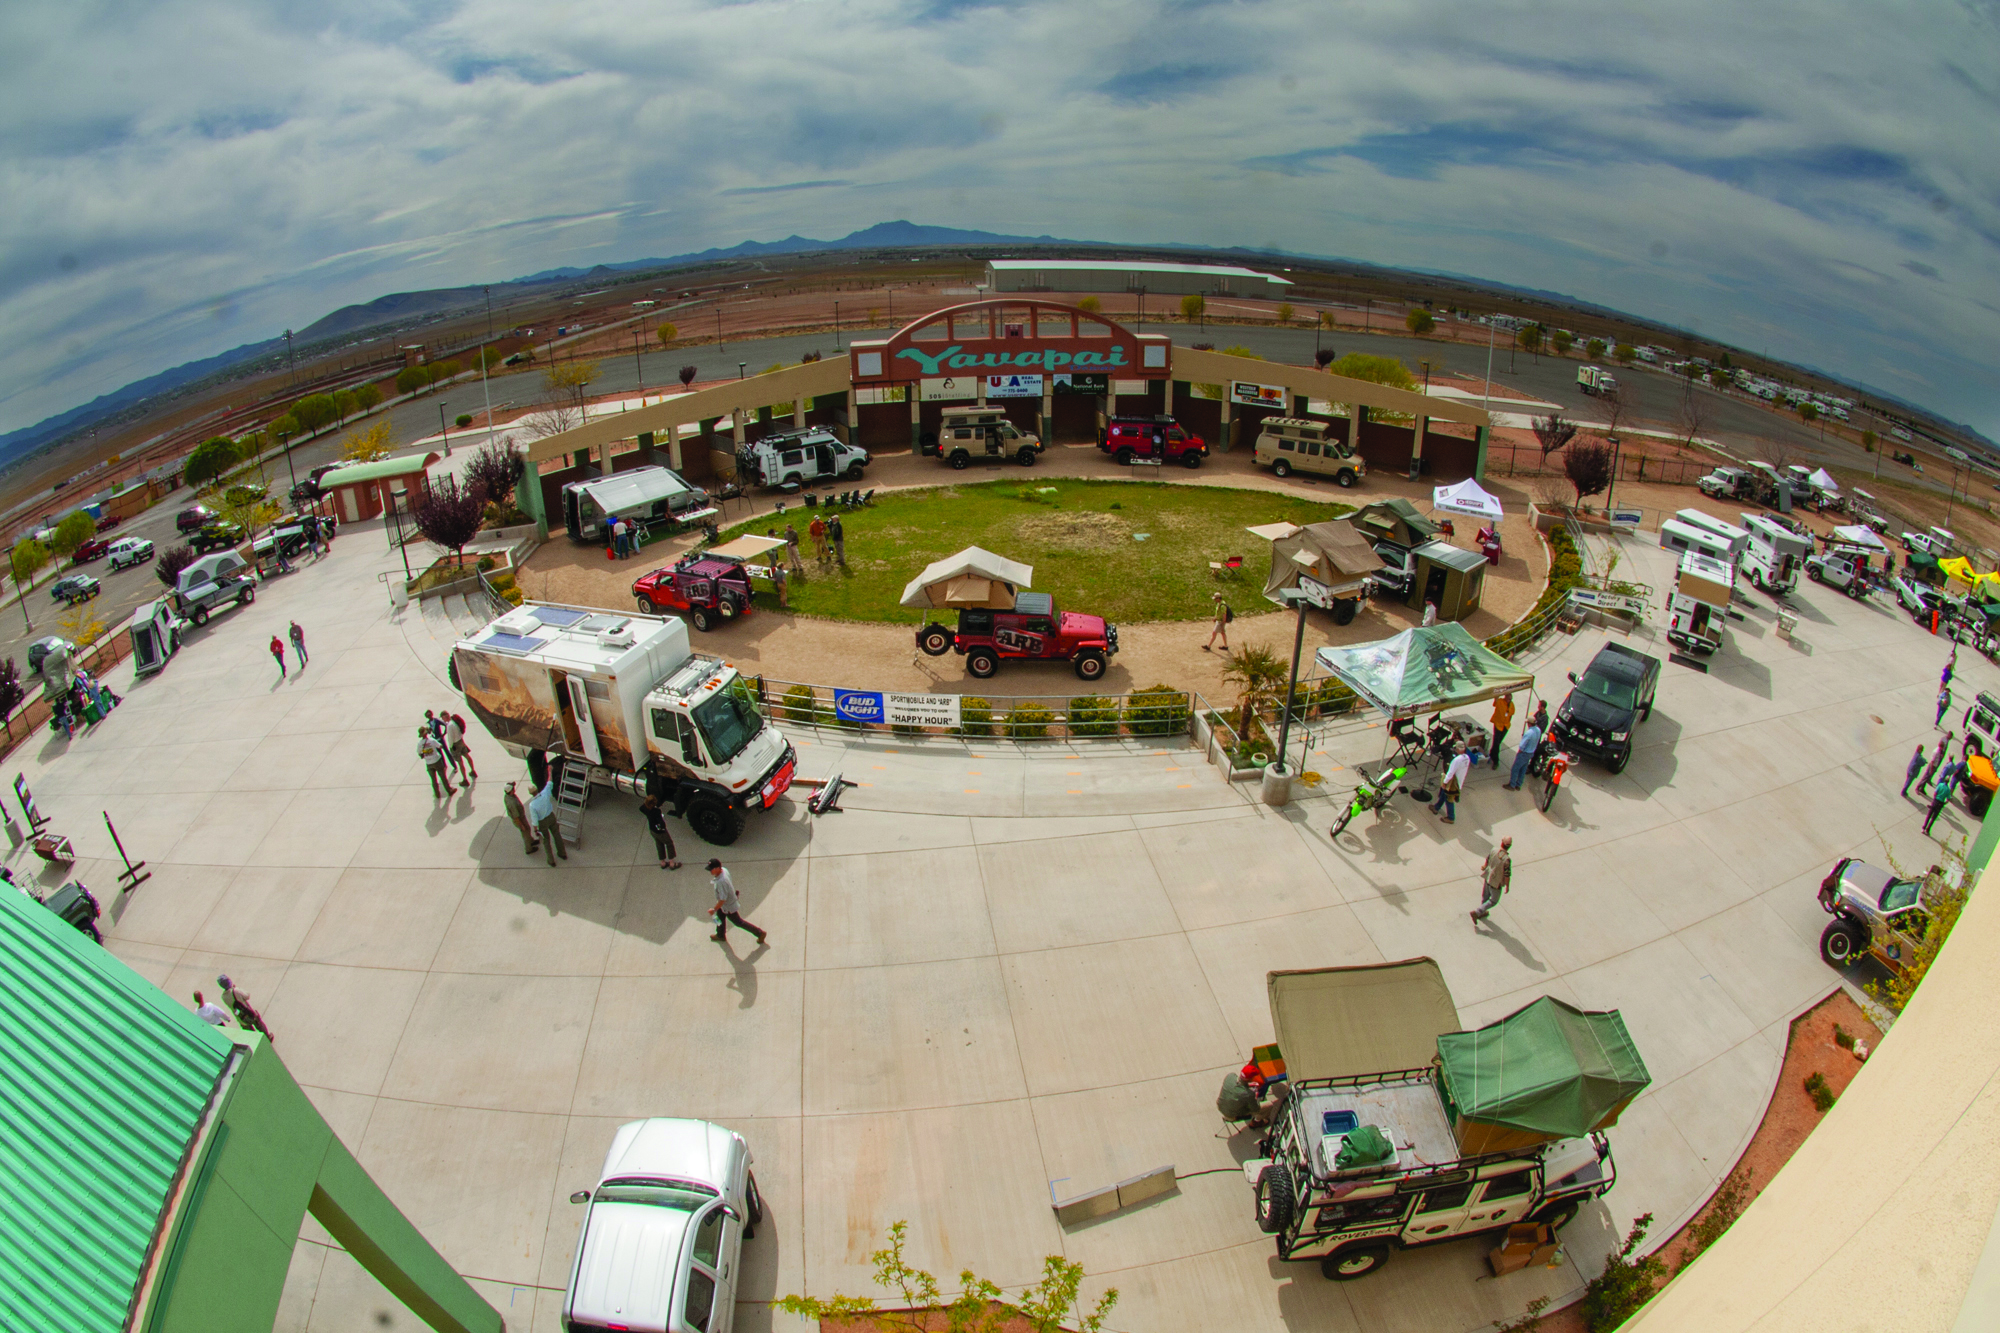
In 2009 at the Yavapai Fairgrounds in Prescott, Arizona, an ambitious group of like minded travelers gathered for something new. Something called Overland Expo.

Before 2009, roof top tents, 4WD vans, off-road campers, Glamping, Overlanding, all of it was virtually unknown in North America. Yes, some of the gear was around, and car camping was hardly a new thing, but Yakima didn’t sell awnings yet, and Walmart wasn’t dabbling in 12 volt fridge/freezers. It was more of a “you need to know a guy” to get a roof top tent or 12 volt fridge back then.

Overland style gear and builds were quite rare in the mid to late 2000’s, and gathering them all in one place was unheard of. Even more exotic were the tales some of these people told, with many miles traveled by 4WD in Africa, Australia and other distant lands.

Legend says that around 900 people attended that first event along with a handful of pioneering companies: Equipt, Adventure Trailers (AT Overland), Land Rover, Baja Designs, ARB, Viking Offroad, Four Wheel Campers, Ursa Minor, KC Hilites, Autohome USA, Sportsmobile, Overland Journal, Aluminess, and Global Expedition Vehicles. These are the Plank Owners of Overlanding in America as we know it.
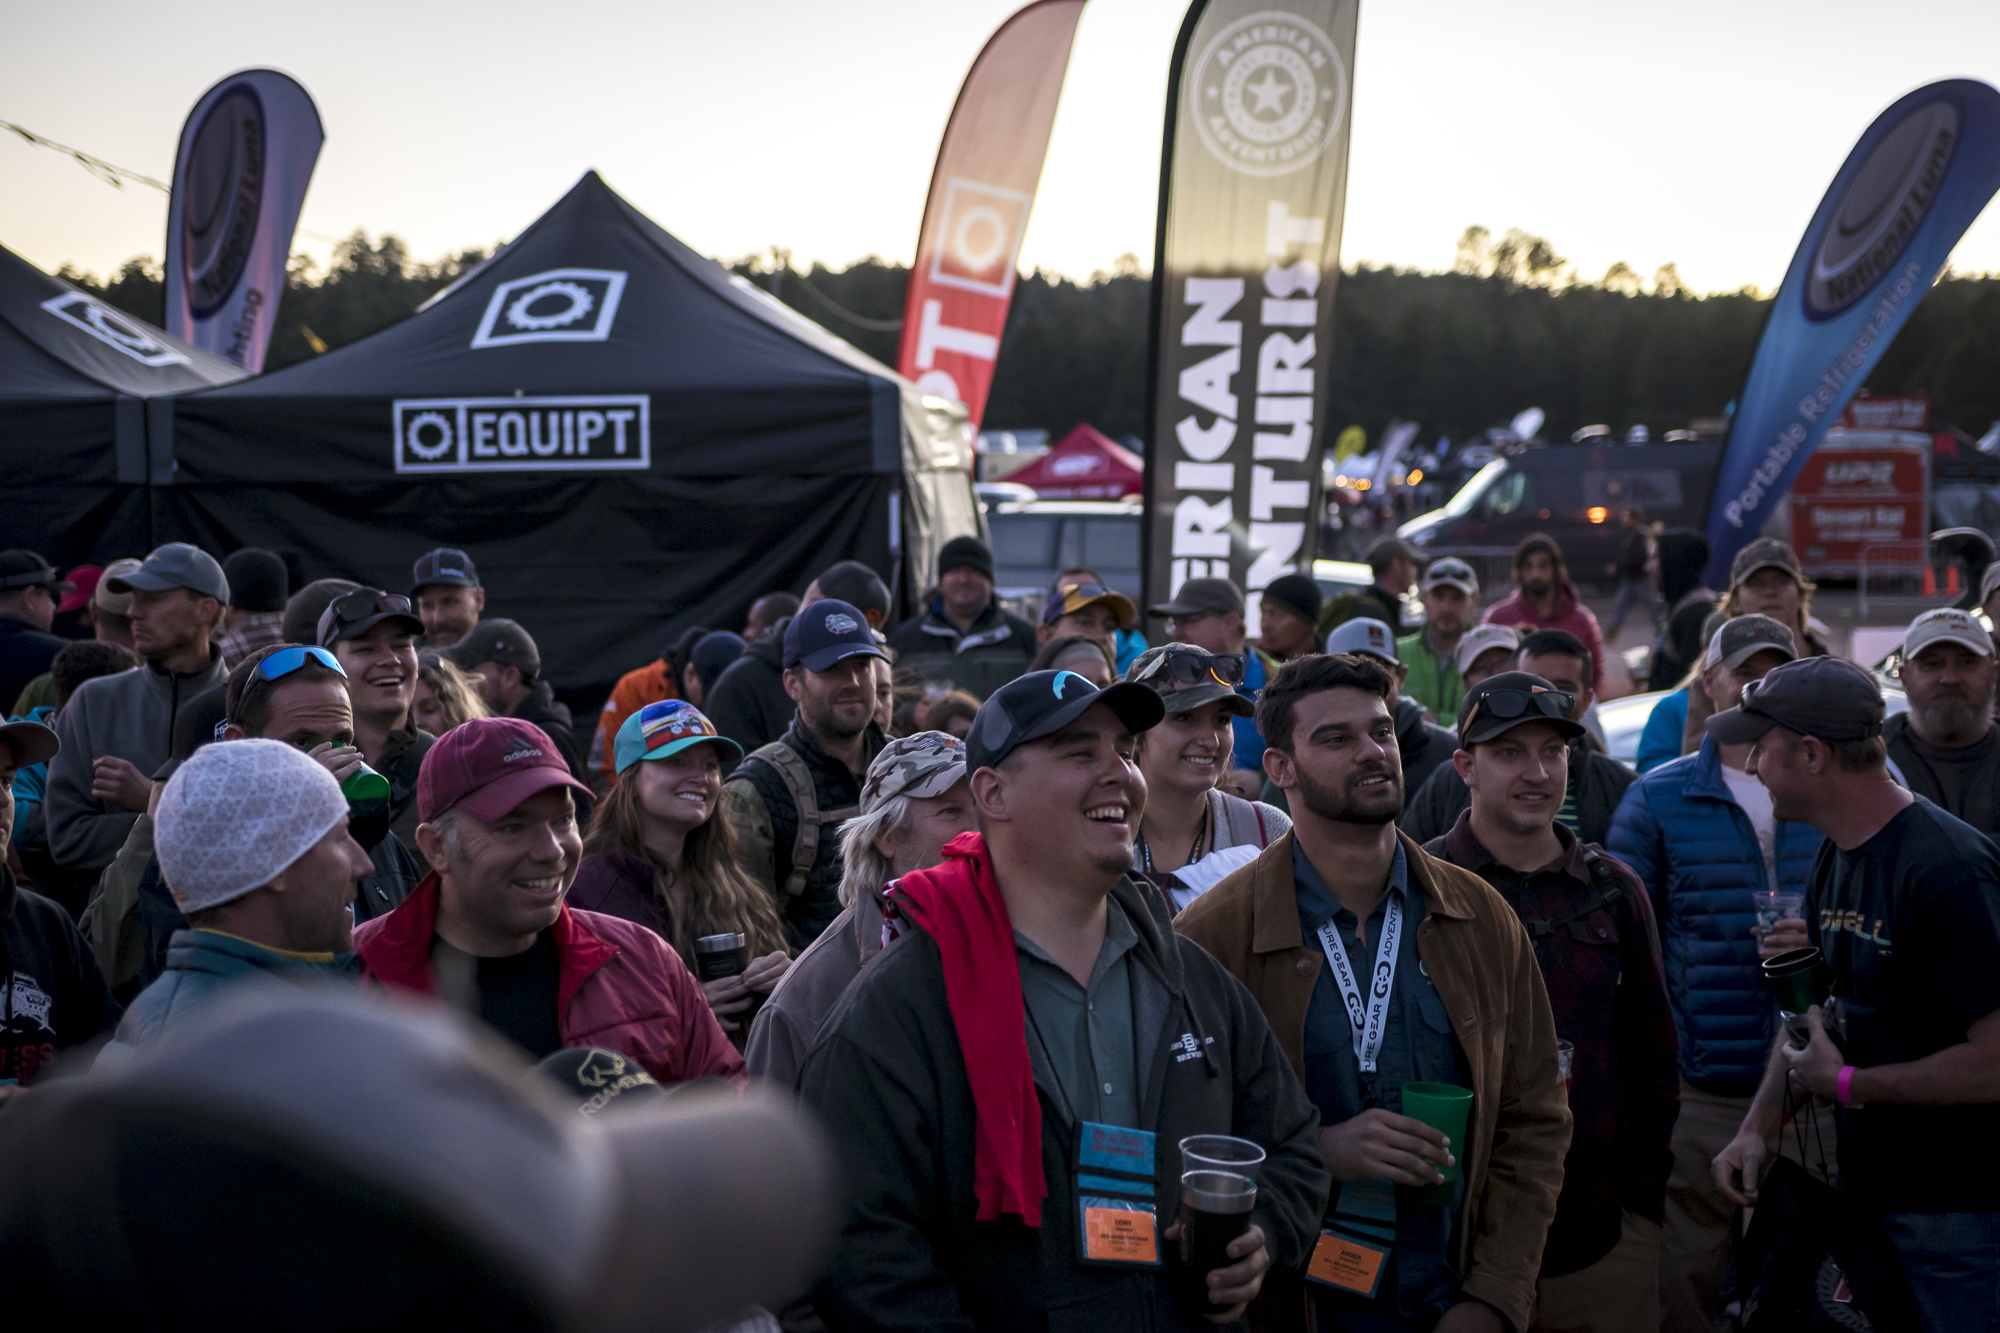
Organized and led by Jonathan and Roseann Hanson, that first Overland Expo was the catalyst for the Overland mania that is now mainstream. Today, this event draws top automakers, hundreds of outstanding companies, and tens of thousands of eager enthusiasts.  Few dared to imagine back then that it would have grown to be the largest event of it’s kind in the Western Hemisphere, fueling a global, multi-million dollar Overland Industry.

Mark Twain said ““Travel is fatal to prejudice, bigotry, and narrow-mindedness, and many of our people need it sorely on these accounts. Broad, wholesome, charitable views of men and things cannot be acquired by vegetating in one little corner of the earth all one’s lifetime.” I think if Mark Twain were here today he would be proud of the community that grew up around Overland Expo.

Photo by Chris Collard.

[vc_row][vc_column][vc_column_text]I still remember their second Overland Expo in 2010 at the Amado Territory Ranch in Arizona like it was yesterday. The entire Overland thing was still in it’s infancy and it was there that I met Jerry from Tembo Tusk, before anyone ever heard of a skottle. It was in Amado that I contracted the Snow Peak virus, a mishap that cost me more than a few dollars in “must have” glamping equipment over the next decade.

I shared midnight tequila with the late Al Walter and company in Amado, remembering favorite Baja trips while Al regaled us with his vast knowledge of obscure places and desert history. It was at Overland Expo that I got to hang out with people like Chris Marzonie, the Baja Taco himself. I had a beer with Scott Brady from Expedition Portal, and partied with the likes of Mario Donovan from Adventure Trailers and Paul May from Equipt before they were Overland Rock Stars.

All the coolest people were there, and it was there that I realized I wasn’t that weird, and I found many others just like me, eager to follow the paths less traveled while exploring the most remote places in the world.[/vc_column_text][vc_media_grid grid_id=”vc_gid:1557774108123-abc7103f-1d6e-3″ include=”9042,9036,9034″][/vc_column][vc_column][vc_column_text]Overland Expo was also my first look at many, many exotic 4WD’s and top-shelf vehicle builds. As a career military guy, “vehicle dependent expeditions” were nothing new to me but this new Overland thing was very, very different. I learned that I could eat well in the field, have hot coffee and cold beer, and above all I didn’t have to sleep on the ground unless I chose to. It was even possible to have a hot shower in camp.

So many things that I loved were blending together in one place: travel, 4WD’s, camping, cooking, training, gear, motorcycles, and the stories these activities produced. The Expo was blurring all the lines and I was all in.[/vc_column_text][vc_masonry_media_grid grid_id=”vc_gid:1557774108130-aa9ac40c-8be1-1″ include=”9098,9097,9095,9062,9094,9096,9054,9056,9092,9068,9067,9065,9066,9064,9063,9061,9046,9041,9045″][/vc_column][/vc_row][vc_row][vc_column][vc_column_text]More than just a trade show, the Hanson’s brought in concepts like education, hands-on training, environmental responsibility, community service, and film festivals making the event greater than the sum of it’s parts. Above all, I was fascinated by the quality of people that I met at the Expo, and I left that event personally inspired to become better educated and better traveled. This all came at a time in my life when I was suffering from some combat related survivor’s guilt as well as recovering from my own deployment injuries and really needed “something” to focus my own surplus energy on.

Attending that Overland Expo in Amado inspired me to found American Adventurist, and I started organizing my own Desert and Mountain Rendezvous events that same year.

Thank you Jonathan and Roseann for inspiring us.

[/vc_column_text][vc_media_grid grid_id=”vc_gid:1557774108155-db63c481-078e-1″ include=”9075,9076,9077″][/vc_column][/vc_row][vc_row][vc_column][vc_media_grid element_width=”6″ grid_id=”vc_gid:1557774108159-9512a648-87f3-10″ include=”9044,9057″][vc_media_grid element_width=”6″ grid_id=”vc_gid:1557774108162-9b88b2d2-e723-3″ include=”9040,9052″][vc_column_text]Fast forward a bit as Overland Expo grew. And grew. The American Adventurist crew attended every year in Mormon Lake and then at Fort Tuthill. When they added Overland Expo East at Taylor Ranch, we expanded too with our first Appalachian Rendezvous in North Carolina. We attended Overland Expo East at the Biltmore and then at the Reeb Ranch. We met thousands of amazing people and became involved in land stewardship and access issues.

I am unaware of any other events that have inspired such a fast growing, diverse, and dedicated following as Overland Expo.[/vc_column_text][vc_media_grid grid_id=”vc_gid:1557774108165-918ed293-5e06-0″ include=”9091,9086,9090″][/vc_column][/vc_row][vc_row][vc_column][vc_column_text]Looking back now on 10 years of events we have nothing but good memories – Underwater Expo, Snowverland Expo and Mudderland Expo included. For those of you who were there well… if you know, you know!

Challenging weather, the tyrannies of time and distance to travel to these events, in our experience it was all worth it to attend these grand family reunions. The one family reunion that you don’t have to dread going to each year. Where else in the world can you learn so much, see so much, and do so much in one weekend?[/vc_column_text][vc_masonry_media_grid grid_id=”vc_gid:1557774108168-f602e6c7-a740-6″ include=”9058,6362,9069,7070,9060,9050,9051,9070,9049,9052,9059,9055,9043,9054,9085,6597,6578,6589,6566,6560,6562,6559,6543,6508,6492,6479,3790,3762,3767,1679,1676,1677,1650,1699,1688,1638,3855,3854,3840,3838,3848,3835,3825,3817″][/vc_column][/vc_row][vc_row][vc_column][vc_column_text]So what did we learn along the way at Overland Expo? Too much to list really, but here’s a few salient points that may be of help to anyone attending for their first time:

  1. The 7P’s aka Proper Prior Planning Prevents Piss Poor Performance. Always be prepared for the wind, the wet, and the cold. Or blazing heat. Or monsoons and mud. There are no guarantees when it comes to weather, and there’s no such thing as bad weather, only bad gear.
  2. Site Selection. Just in case weather happens, select a camp site that provides for good, rapid water runoff and wind-blocking protection if at all possible. Tent and vehicle placement to take advantage of prevailing wind conditions is critical to maintain a stable structure. Arrive early for best results.
  3. Meal Planning. Plan your meals carefully in advance to save time and preparation, you’re going to be on your feet a lot at an Expo and being prepared with easy meal plans pays off.
  4. Be prepared to have FUN. We’ve made so many great friends at Overland Expo, and every year brings a wild bazaar of the latest goods and services sprinkled with happy hours with friends old and new. Bucket list trips and new business partnerships take root here every year.
  5. Bring some walking around money. You don’t know it yet, but there’s something shiny there that you need that you’ve never seen before. Trust us when we say shiny squirrels abound.

[/vc_column_text][vc_media_grid grid_id=”vc_gid:1557774108218-de3af5f0-cee8-9″ include=”7347,7399,7343″][/vc_column][/vc_row][vc_row][vc_column][vc_masonry_media_grid element_width=”3″ grid_id=”vc_gid:1557774108223-77a3125c-8be6-8″ include=”7440,7439,7437,7433,7428,7429,7423,7418,7420,7397,7391,7372,7353,7349,7340,7335,7345,7997,7954,7580,7456,7333,7426,7443,7377″][vc_column_text]Today, the Hanson’s have handed over the keys, and Overland Expo West 2019 marks the first year with Lodestone Events at the helm. We’re confident that it’s in good hands, and we look forward to seeing what they do to take it to the next level. With well over 10,000 like-minded enthusiasts headed to Overland Expo West, it’s guaranteed to be a show for the record books. Again.

So stop by and have a beer with us at Overland Expo West 2019 courtesy of Wanderlust Brewing in Flagstaff. Grab some swag from us, trade some patches, grab a raffle ticket to win a set of Falken Wildpeak tires at 3pm on Saturday, we’d love to hear your story and how this community of interest impacts YOU.

See you out there!

[/vc_column_text][/vc_column][/vc_row][vc_row][vc_column][vc_column_text]

[/vc_column_text][/vc_column][/vc_row][vc_row][vc_column][vc_column_text]

[/vc_column_text][ultimate_ctation ctaction_background=”#110600″ ctaction_background_hover=”#4c4842″ ctaction_padding_top=”10″ ctaction_padding_bottom=”10″]

Event photos used with the express permission of Overland Expo and Exploring Overland.
Additional photo credits and thank you to: Chris Collard, Chad de Alva, Richard Soohoo, Chris Griggers, Bryon Dorr, Chazz Layne, David Croyle, Bosque Bill, Adventure Trio, Mike Petrucci and Gary Haynes.

[/ultimate_ctation][/vc_column][/vc_row][vc_row][vc_column][/vc_column][/vc_row][vc_row][vc_column][/vc_column][/vc_row]

2019 Socal Desert Rendezvous

Location: Somewhere in the California Desert

With the coordinates dispatched to those who were in the know, the stage was set for the 9th Annual Desert Rendezvous presented by American Adventurist.

Day 00:

Local weather reports had been giving out mixed readings regarding rain, and our team needed to meet early at the Rendezvous site in the desert and get set up for the large gathering to come during the weekend. Staff members Cris Mateski, Doug Robertson, and Stuart Mc Williams headed down Wednesday afternoon amidst a mixture of weather. It was a constant on and off rain, with peeks of sunshine and then more rain. Rain in the desert is always amazing. And messy. In the meantime, Brett and I would arrive to meet them the next day.

Day 01:

On Thursday camp was setup by the time Brett and I arrived on site. The weather we encountered was a steady on/off rain all the way from Los Angeles to Anza Borrego State Park. The roads were wet and so was the fire road on the way in. It was a bit muddy but nothing to deter us from getting to where we needed to go. American Adventurist had provided a cord of wood on site again this year, and there were a few Adventurists already setup around the main fire ring getting settled in. The spotty rain continued throughout the day, but the reports stated the rest of the weekend would be clear and cool. This was definitely something we had not had for quite sometime at Desert Rendezvous as we were used to heat, wind and dryness.

This day was an arrival day for Adventurists, so we kicked back and relaxed the entire day as there was nothing scheduled. It was perfect.

At American Adventurist we have an enduring commitment to give back to the local community at every Rendezvous event we host, and in previous years we’ve conducted a desert cleanup with the Bureau of Land Management where we removed about 4 tons of trash from public lands each year at Desert Rendezvous. This changed in 2019 with the government shutdown and it’s effects on the Bureau of Land Management.

This year we shifted gears to support CORVA, the California Off Road Vehicle Association with some of the proceeds from this event. They’ve been working at all levels of government for off-road interests since 1969, and CORVA was the first organization to file for intervenor status in the lawsuit filed against off road recreation at Ocotillo Wells SVRA in California. It took 4 years, and despite the odds they prevailed in court and kept Ocotillo Wells open. Take a moment to pause and think about your OHV land access and consider supporting CORVA.

We advocate on behalf of our membership to promote, protect and preserve off-road recreation and automotive access on public lands throughout California. CORVA’s main purpose is to work with the land managers for responsible off-highway vehicular access and recreation opportunities. Secondarily, we educate our membership on the constantly changing rules and regulations and promote clean-up and trail maintenance projects.

Day 02:

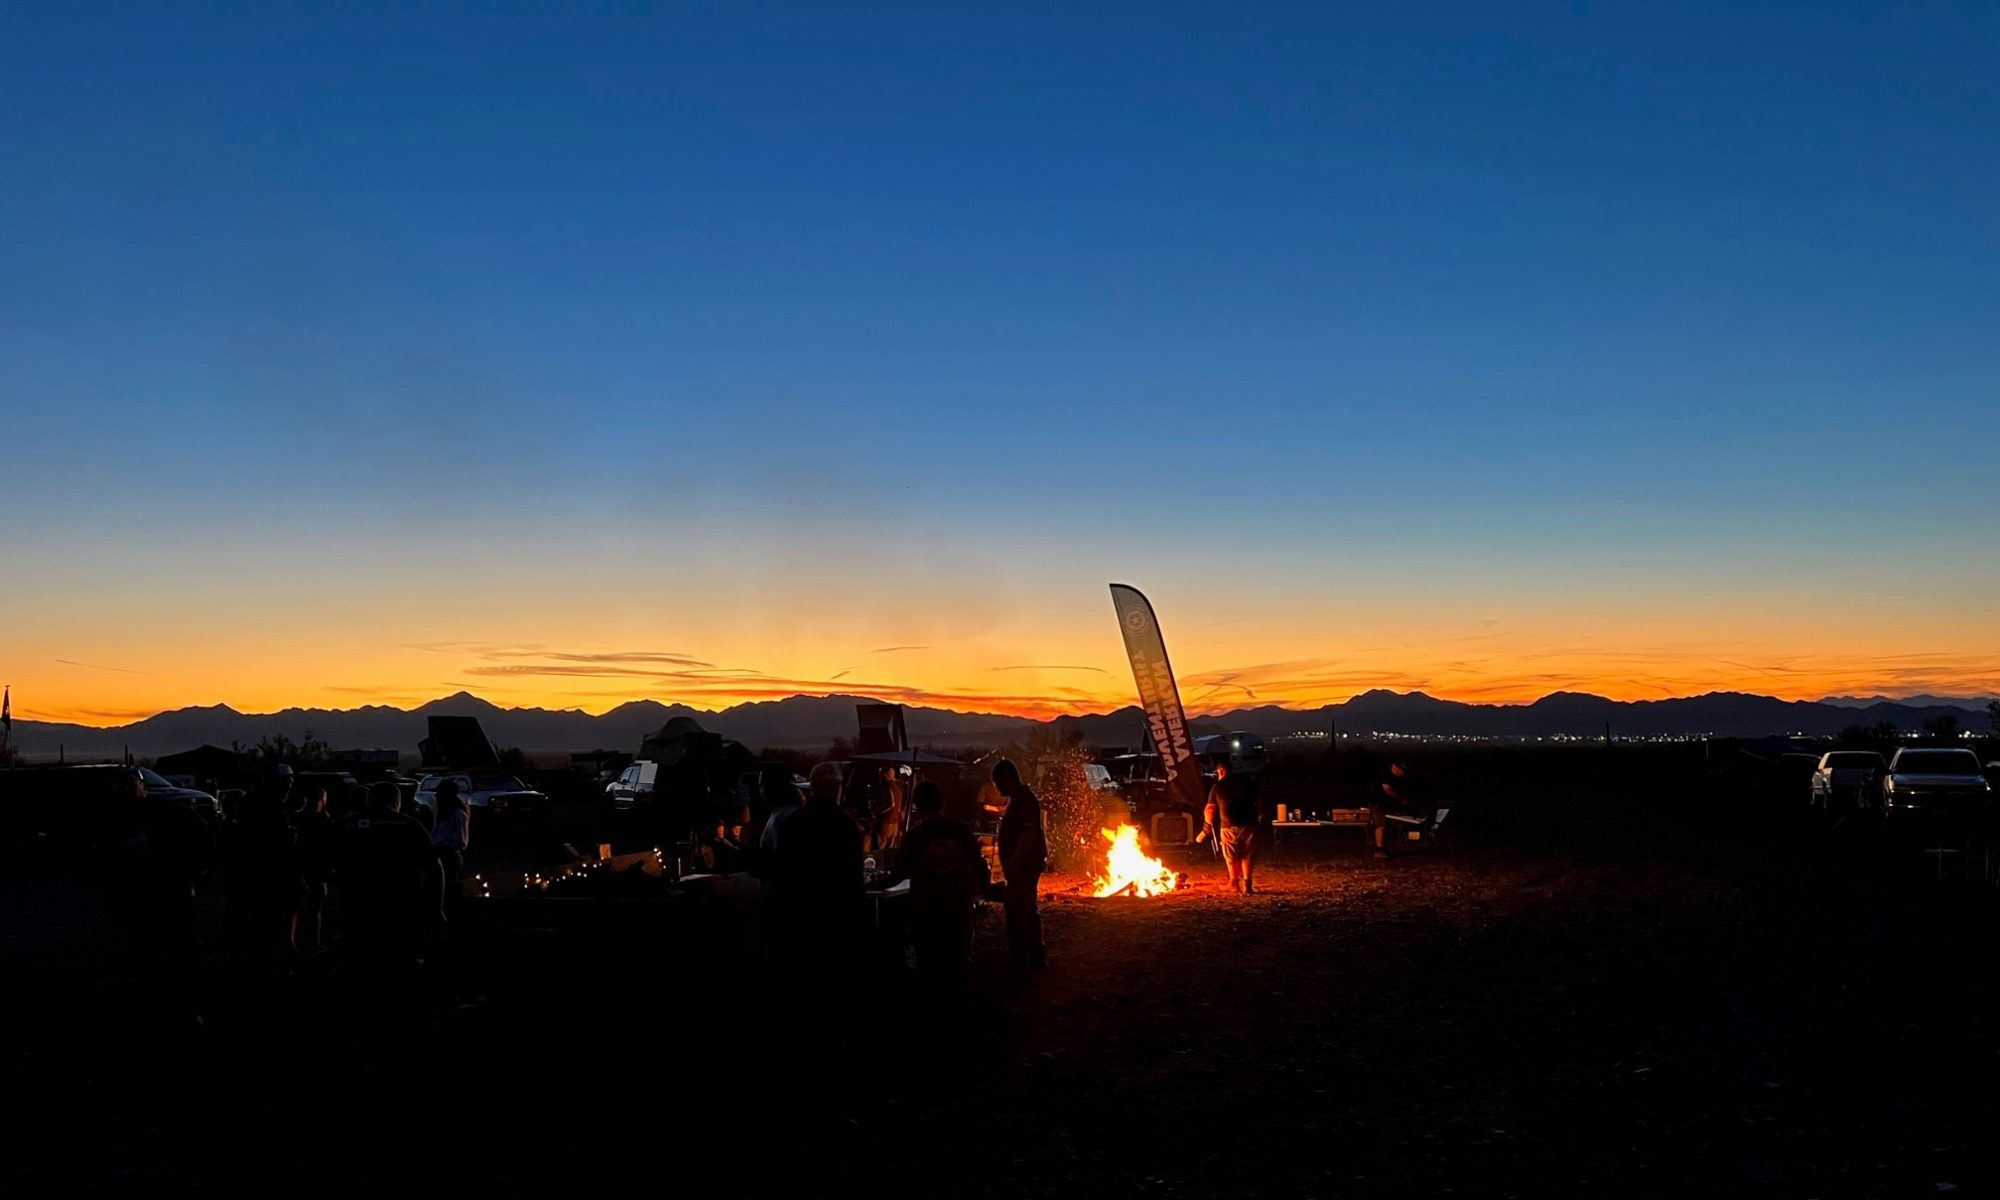
Friday morning we awoke to a brisk and cool morning with partly cloudy skies and no rain. The sun was barely peering over the horizon so I was able to snag a few photos of our campground before the hustle & bustle of the morning’s happenings. The increasing brightness revealed a number of new, very muddy rigs that had arrived the previous night, plowing through the muddy desert in 4WD to get here. Daylight also revealed a stunning view of snow covered mountains off in the distance. If you’ve never been to the desert in California, you really must go.

As the sun began to warm our campsite, the rest of us began to rise and prepare for the day’s events, starting with coffee and breakfast. Or at least coffee. Looking around, it’s always nice to see the smiling faces and wagging tails at a Rendezvous event. These are the ones who made it, escaping the grind and the “real world” to get outside and do what they dream about all day while they’re slaving away at their day jobs. Time to Travel. Time to Explore. Time to Live.

The main event on Friday was a trail run to Superstition Mountain OHV area, which was to be led by one of our Adventurists: @Yumafolks. Those who wanted to partake in the trail run prepped and arrived at the main fire pit at 0830 for a driver’s safety brief, map reconnaissance, comm check, and planning. It was a great turn out for this trail run as experience levels ranged from first-timers to very experienced drivers. Thanks to Yumafolks and everyone who made this run such a great success! Although I wasn’t able to join in on the run, we did hear that the group were able to get front row seats for the Navy’s Blue Angels, who were flying around our area all weekend long. From camp, we were able to see the demos from a distance and hear the roar of the Navy’s F-18’s engines.

The remainder of the day on Friday was left for check-ins, relaxing, and socializing. The weather was fully cooperative and everyone was enjoying themselves out in the desert. As the day progressed, other Adventurists began to arrive and our campsite soon began to resemble a small town.

With the sun setting and evening just around the corner, Erika LeFiell began prepping a big round of S’mores for the kids, and even the adults. The menu was provided by American Adventurist (thanks Erika!) and consisted of a variety of different types of S’mores, so customization could be done to your hearts content. While the S’mores were happening, the fire pit was being prepped to accommodate the large group. This turned out to be a delicious hit, and we even caught Brett stealing them from the kids and eating them so the peanuts came out. If you know you know.

Right after the S’mores roasting, the BBQ Social would commence, which was graciously sponsored this year by Goose Gear. BIG THANKS to Brian at Goose Gear for hosting this year’s BBQ Social! The team quickly started cooking up the burger patties on Tembo Tusk Skottles (headlamp time!), and folks soon began lining up to fill their plates. One thing we know how to do right at a Rendezvous is cook, and Friday night with Goose Gear was another great example of teamwork making the dream work.

Once our bellies were full, we all convened around the warmth of the fire and socialized until the moon rose and the fire burned down to a smolder.

Day 03

Saturday would typically be our morning desert cleanup but this time around, we mostly had the day to ourselves. There were a number of activities planned, including a few trail runs of 4×4’s and ADV moto’s, the kids scavenger hunt, and the famous American Adventurist Camp Cooking Competition hosted by Tembo Tusk. Other than those milestones, the day was for yourself and whatever you wanted to do, or not do. Sitting back and enjoying your time here is always nice with so many amazing vehicles to see and so much awesome gear on display. You can learn a lot at a Rendezvous just by seeing how others travel.


The first event on Saturday was the morning trail run to Canyon Sin Nombre and Arroyo Seco Del Diablo. Thank you to Adventurist @Sage Bromax for organizing and leading this run. This run was a little more advanced than the previous mornings’ run to the Superstition Mountains, but that didn’t stop this even larger group from going. New people are always welcome at a Rendezvous event, and runs like this help the new people learn from our experienced “old hats”.


Once the trail run group headed off into the hills, it was business as usual around camp. Kicking tires, telling stories, playing with toys, taking naps.

At around mid-morning, a small group of adventure moto riders had assembled to coordinate a trail ride. Clearly, they were having fun and one of these days I’ll have to join them.


The afternoon sun marked the start of the Camp Cooking Competition sponsored by Tembo Tusk.  Whether you decided to cook with coals on a Dutch Oven, or over your camp stove, whatever the modality, it must be cooked within the confines of camp. Dishes must be completed and presented on the serving table to be qualified for the competition, Those who weren’t participating in the competition were welcomed to participate in the Community Potluck, which we highly encourage. This year, we received a large variety of delicious dishes, ranging from salads to main dishes and desserts. A big thank you to all the Adventurists who participated in this feast; YOU who make this event what it is!

The tables were set for the dish arrivals as the competitors and potluck participants began finishing their dishes. The fire pit was cleaned out and an even larger fire pit was created to make room for the many hungry people to come! Once the cutoff time was hit, dishes began arriving and the tables quickly became crowded from all the food. Another delicious sight to see with many smiling and hungry faces.


We all gathered around the campfire, with plates full and beverages in hand. This is a classic part of any Rendezvous event and is what really makes it special. You can see everyone interacting with each other whether it’s their first event or if they are long time members. The whole scene unfolding before me would give any outsider a warm, welcoming feeling like it’s one big extended family reunion. With the temperature dropping, the fire was expanded to Viking Longfire status which made more room for chairs and really kept everyone around it nice and toasty. Winners of the Camp Cooking Competition were announced, prizes were handed out by Tembo Tusk, and the socializing continued further into another clear and crisp night.

Winners of the Camp Cook-off Competition:

Congratulations and a HUGE thank you to all those that cooked and competed in our 9th Annual Camp Cookoff sponsored by TEMBO TUSK!!! The community voted, and the competitive spirit was great. After much deliberation (and seconds just to be sure) the winners were decided:

1st Place – Bald Taco winning a Tembo Tusk Adventure Skottle Kit w/burner and Tembo Tusk apron.

2nd Place – Tim R. winning a Tembo Tusk prize pack with Wine Tote, official Cookbook, and Buzzy Wax

3rd Place – Dave Pike winning a Tembo Tusk prize pack with official Cookbook and Buzzy Wax

Day 04:

Sunday was the last day of the 2019 SoCal Desert Rendezvous. A few Adventurists had left early in the morning with long road trips home in front of them, but many had remained for the last event of the weekend. Although it was the last day, this was what many were waiting for, their big chance to win at the raffle. While everyone packed up their campsites, the American Adventurist staff began organizing the enormous amount of prizes and gathering everyone in the camp for one last hurrah.

SO MANY WINNERS and so many smiling faces at the end of a long weekend – must be present to win!

And finally, the group photo. We can’t leave without one last shot of the weekend. A huge thank you to all the Adventurists who came down to support CORVA, and for keeping the American Adventurist Desert Rendezvous going year after year!

Also another huge thank you to all our sponsors for your steadfast and continuing support for American Adventurist!


We’ll see you all at the next Rendezvous!

A special note from the Editor: These events don’t happen in a vacuum, and at the end of the day 3 groups of people make it happen. The Members (thank you!), the Sponsors (thank you again!) and last but not least, the STAFF at American Adventurist. BIG thanks to Cris, Brett, Stuart, Richard, Doug, and Erika for busting their butts to make this happen way out in the desert! You guys ROCK! – Dave Bennett


DIY: The Ultimate Headlamp (Or Practically Anywhere Lamp)

LIGHTBULB MOMENT:

Inspiration comes at the most random times, and in the most random of places.  At the 2017 SEMA show, I was talking to the crew at Baja Designs when I noticed that one of the guys had built a battery powered Squadron light, and it got me thinking.  What if I could take a small Baja Designs light like the S2 Pro, and 3D-print a mount for it that would make the light work with the GoPro ecosystem of mounts?

This way I could mount the light on my helmet, or any place a GoPro mount could be used, including the magnetic mounts we covered in our meet the maker series of articles.  The S2 Pro’s 2,450 Lumens of light mounted on a helmet, bike, or in any dark place would make a huge difference in visibility and safety (in being able to see further at night), and the compact size and minimal power consumption meant that running the light off a battery would not require lugging a car battery around.  I could power the S2 with some of the dozens of LiPo batteries I have (Drone pilot problems) and any 9-30V DC power source.  With this bright idea in my head, I fired up Solidworks, and started raiding my various parts bins in the shop for materials.  Here’s what I came up with:

First off, I reverse engineered the metal S2 mounting bracket to create a bracket that is GoPro compatible.  Then I pulled the factory WeatherPak connector off of the S2 and swapped in a XT60 connector and added on another foot of wire. This way, the light can be mounted on the top of a helmet and the connector will come to the wearer’s shoulder.  On the wearer’s shoulder I placed a switch so that turning the light on and off is as easy as flicking a switch, as opposed to having to find a connection to pull apart.  From the switch, I made a meter-long XT60 extension cable so that the wearer could carry a battery in the bottom of their backpack.

This system allows the light to be configured minimally as a light and a power source (battery), or with the switch and extension cable for a slick setup that works great for a number of pursuits.  I’ve also found myself using the light while working on vehicles at night, and I’ve even taken the light on a Grand Canyon River Trip – because good light is quite helpful when setting up camp in the dark.  I have no doubt that as time goes on, I’ll continue to find more uses for this light – so without further adieu, here’s how you make your own:

SHOPPING LIST:

  • Baja Designs S2 Pro.  I recommend the Combo lens for dirtbiking, mountain biking and most sports.  If you’re going to build a dedicated camp light, I would get a wide lens instead.
  • XT60 connectors.  I chose to use XT60 because I have so many batteries and power supplies that use this connector, but any quality connector will work.
  • Wire.  A couple of meters of quality multi strand copper wire.  18 gauge is plenty large enough.
  • Wire sleeving.  Helpful for keeping things clean and organized.
  • Switch.  I used these switches since they’re rated for the DC current in this circuit.
  • 3D Printed S2 GoPro Mount.  Download an STL part file here.

TOOLS REQUIRED:

  • Wire cutters
  • Wire strippers
  • Soldering Iron and electrical solder (get the good stuff with silver)
  • Heat Shrink Tubing
  • Hot Glue Gun and Glue Sticks
  • Electrical Tape (Get the good stuff, Super 88)
  • Multimeter (Helpful for figuring out poles on your switch)

DIRECTIONS:

Step one is to obtain a mounting bracket for the S2 Pro.  We’ve posted the file HERE where you can download it, so print it yourself, borrow a buddy’s printer, use a local maker space, or use an online printing service.  The factory hardware will carry over to the new bracket.

Step two is all about wiring.  Disassemble the weatherpak connector on the end of the S2, and solder on an extension to suit your needs.  I used 18-2 security wire, as it’s a multi strand copper wire with two conductors and a second sleeve providing extra durability.  Make sure to note the polarity of the S2, and ensure that you have the polarity correct (!) before soldering on a XT60 connector to the end of your extended wire.

If you want to add a switch to your system you’ll need a male XT60 connector, a female XT60 connector, a few inches of wire, and a switch that can handle at least two Amps at 12V DC.  The switch I used is a single pole switch, so I tied the ground from both XT60 connectors to the ground pole on the switch (silver wire in photos.  I then wired the male XT60 (The male connector has the male gold parts inside the yellow plastic.) to the input on the switch and a female XT60 to the output of the switch.  I designed and printed a simple box to encase all of these parts, but some careful wrapping with electrical tape or any other method you have at your disposal to create a solid switch assembly will work.

Lastly, I created a one meter extension cable to allow me to carry a battery in my backpack, have the switch strapped to my shoulder strap of my pack, and have the light on my helmet.  I used two 1 meter long pieces of “wet noodle” silicone wire I had and soldered a Male XT60 connector to one end of the wires.  I then slid the wires into a length of expandable sleeving to protect the wires and create a single cable.  I covered the end of the sleeving at the connector with a piece of appropriately sized heat-shrink.  I then repeated the process at the other end of the cable, except I used a Female XT60.

The S2 Pro will work with DC current from 9-30 volts, which makes all of the 4 cell Lithium Polymer (LiPo) batteries that I have great options for powering the light.  To calculate runtime for a given battery simply take the S2’s power consumption of 21 watts at 12V and divide 21/12 to get 1.75Amps of current required to run the light.  I have a few 10,000 miliamp-hour (mAh) 4 cell LiPo batteries that I opted to use, so if we take 80% of the batteries’ capacity (80% is the safe useable capacity of LiPo chemistry batteries) we get 8000 mAh, or 8 Amp Hours.  Divide 8 Amp hours by our Amps (1.75) and we get 4.5 or 4 and a half hours of safe runtime off of a full battery charge.  To determine runtime for a given battery you may have on hand, swap in the capacity and voltage of your battery in place of the numbers in my example. Easy.

The S2 can also be powered from an AC-DC inverter capable of putting out sufficient DC current and DC volts.  This inverter is used to power a small LiPo battery charger, and happens to put out 3A at 12VDC, which makes it a perfect choice for powering the S2 from the grid or a large solar battery pack, like a Goal Zero Yeti.

The S2 Pro can literally be powered by anything outputting the correct voltage and current.  Hard wiring a plug into your dirtbike, UTV, or other powersports machine would be an easy way to give your light a limitless supply of power – so I encourage you to use this article as a starting point to make this light exactly the tool that will suit your needs.

The above two images were taken on a tripod with the same exposure settings.  The shot on the left is the stock headlight on a KTM 300 XC and the shot on the right is with the S2 Pro mounted on the helmet switched on.

If you’ve ever tried to ride your dirtbike at night, chances are you’ve felt like you were outrunning your lights unless you were idling along in first gear.  Never mind the additional challenge that comes from only being able to see where your front tire and headlight are pointed.  Yet, with an S2 on your helmet, you can confidently navigate at night with plenty of light that is always pointed in the same direction that you’re looking.  Having this light is a huge comfort and confidence boost that will help you find your way and safely navigate the trail, road, or wherever you happen to be riding – being able to see is critical if you choose to play outside at night.

When you make it back to your truck, you can swap the S2 over to a different mount in a matter of seconds and have ample light to make the process of loading your bike in the dark as easy as doing it in the daytime.  This GoPro compatable S2 Pro has become something I find myself using constantly – from the obvious uses of sports at night, to working around camp and the shop, having powerful light that I can truly mount anywhere is invaluable. Do yourself a favor a make one of these lights.

Full Disclosure:  Baja Designs provided the S2 Pro used in this article at no charge to American Adventurist or the author.  All other equipment, tools, and parts used to build this light were purchased by the author.

Disclaimer:  You’re responsible for yourself and your actions, so if you blow up a battery, melt your hand with a soldering iron, or do anything bad as a result of reading this article – that’s on you.  American Adventurist, Chad de Alva, and Baja Designs can’t be held responsible.  Only you can prevent stupid.