Hi internet: My name is Chad, and for the last couple of months, I’ve been burying dead things. That last sentence could make for some interesting search engine optimization, but it’s the truth. You see, I’ve been testing out the new ruggedized Deadman Earth Anchor, which is as you might have guessed, is a beefed-up version of the original Deadman. The original Deadman wears many hats, all of which expand the functionality of your winch and recovery kit. You can bury the Deadman when there are no trees or rocks around to create an anchor point anywhere you need one, or you can use it as a tree saver or rock strap when such features exist or need removed from the trail. You can also use it to do a castaway with a Hi-Lift jack and all kinds of other things that help facilitate a vehicle recovery, making life outdoors a little easier. The original Deadman has proven to be a versatile piece of gear, and now it’s time to get to know his burlier brother.
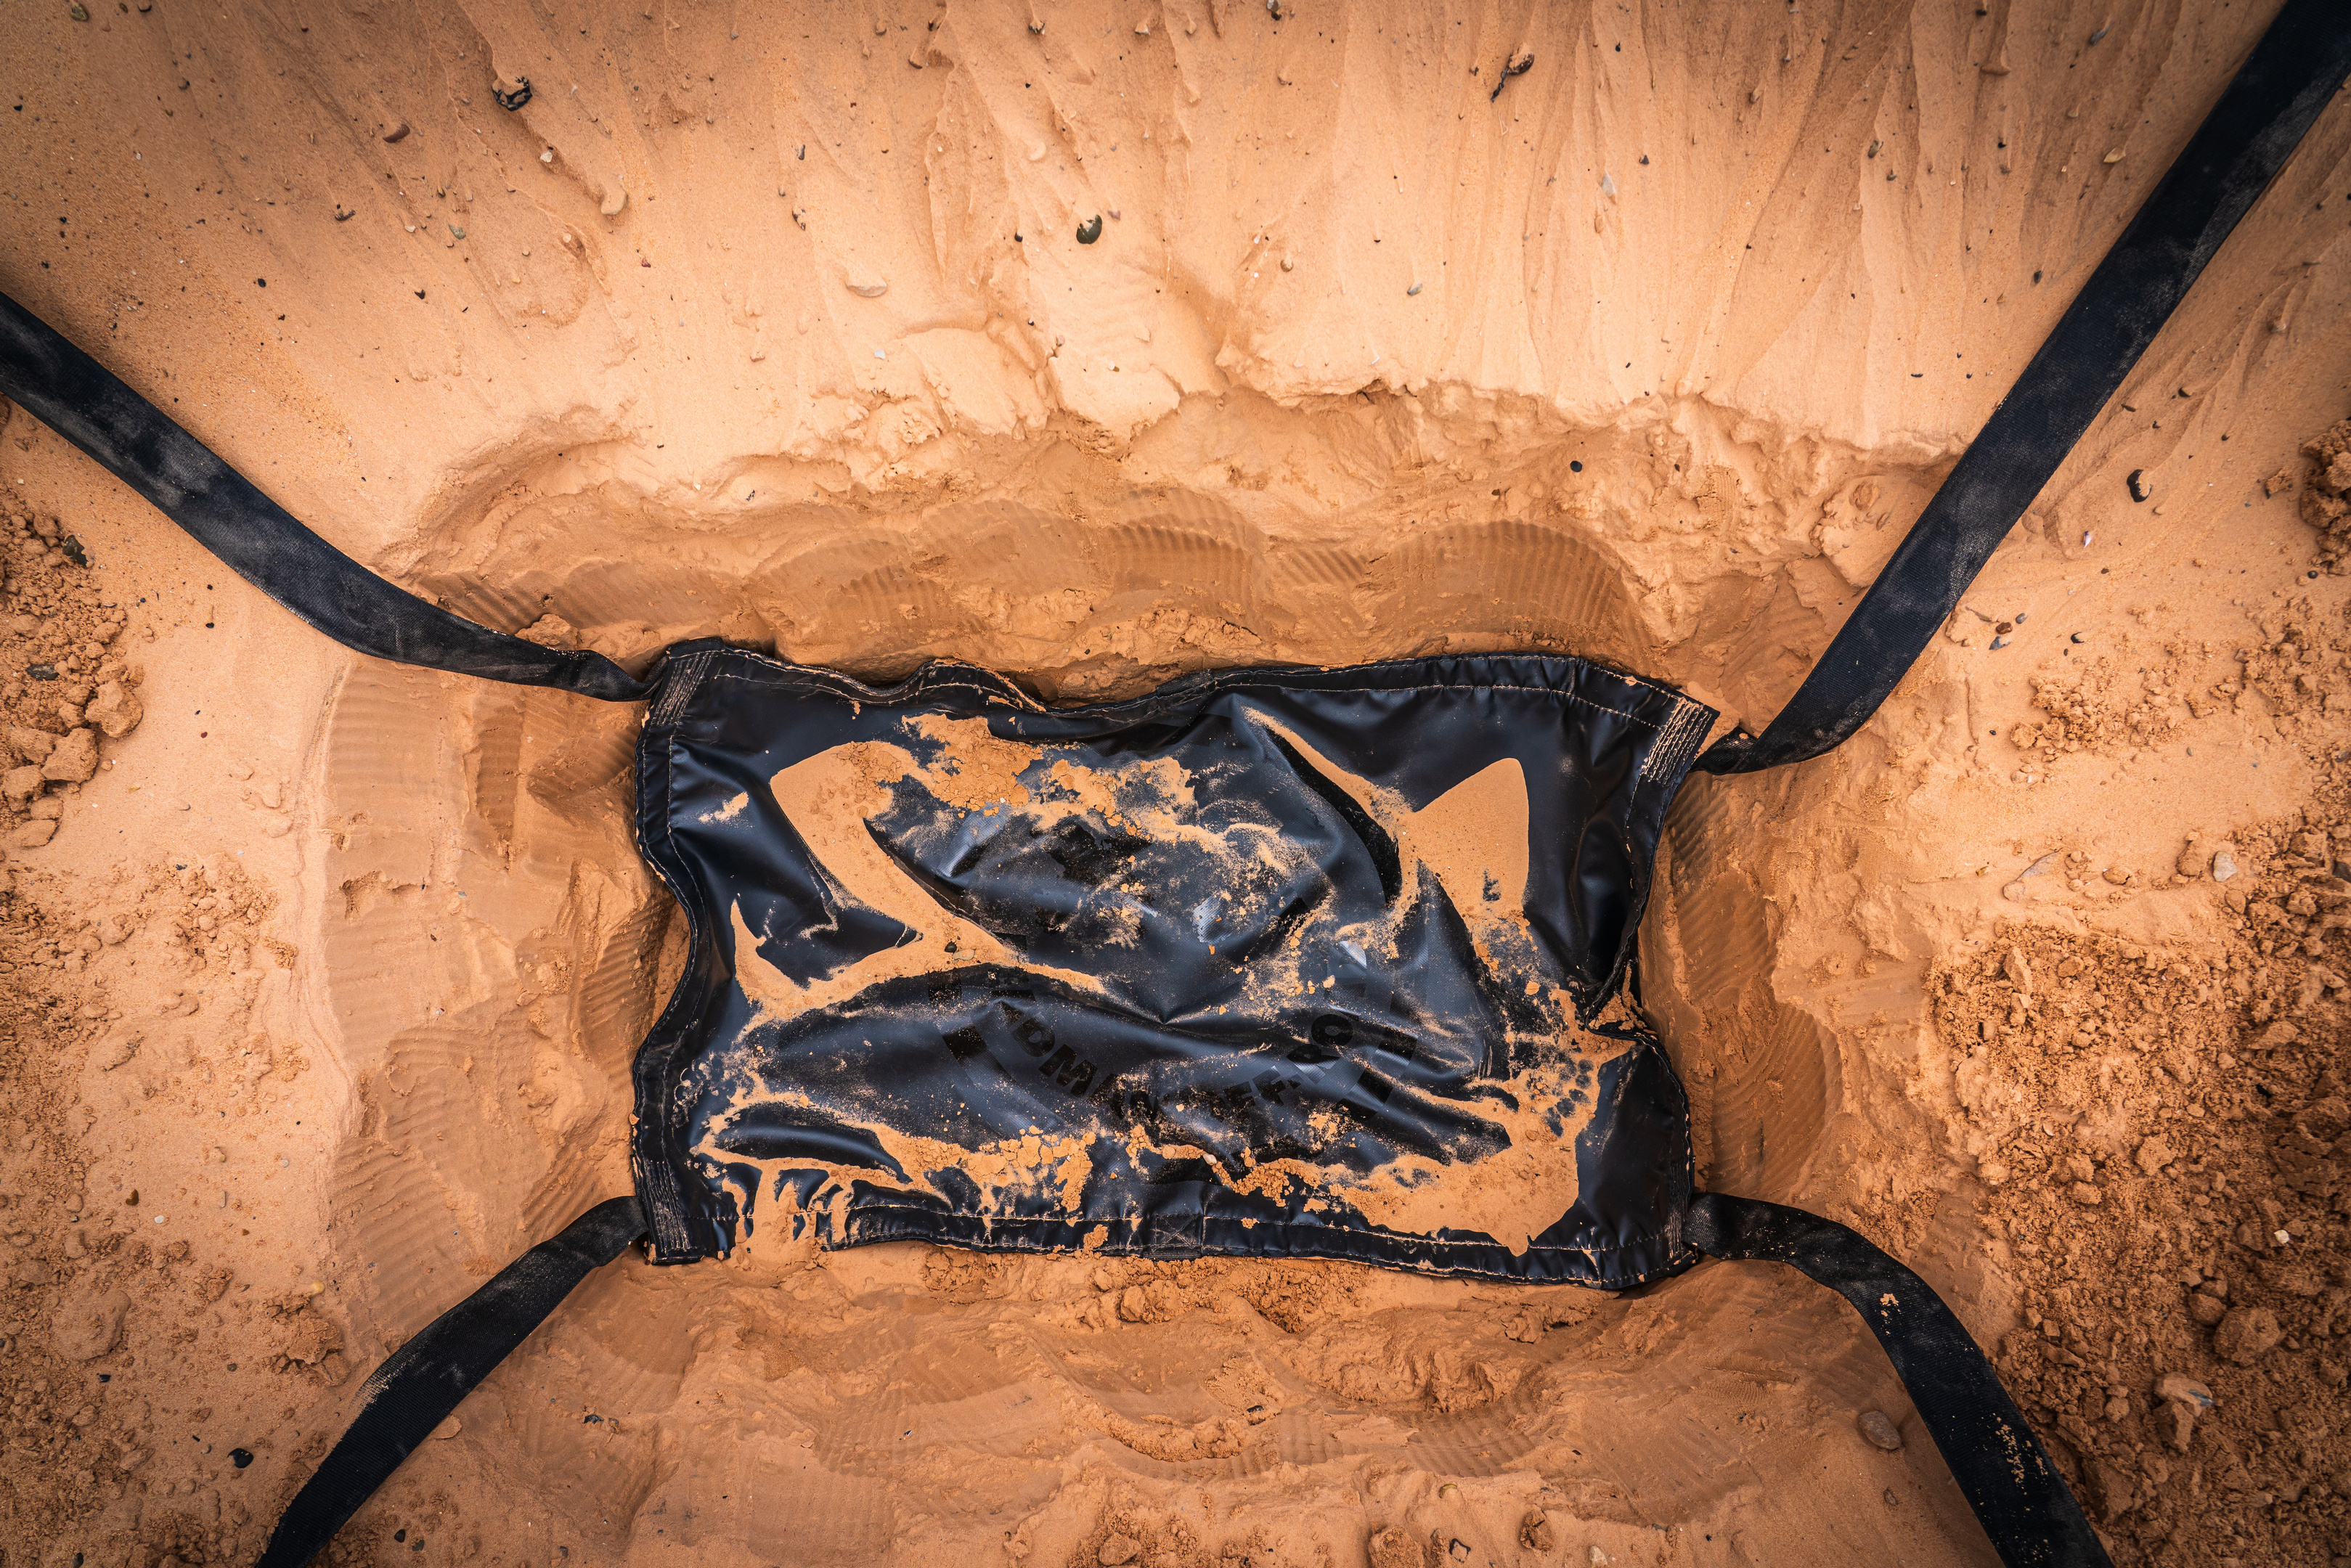
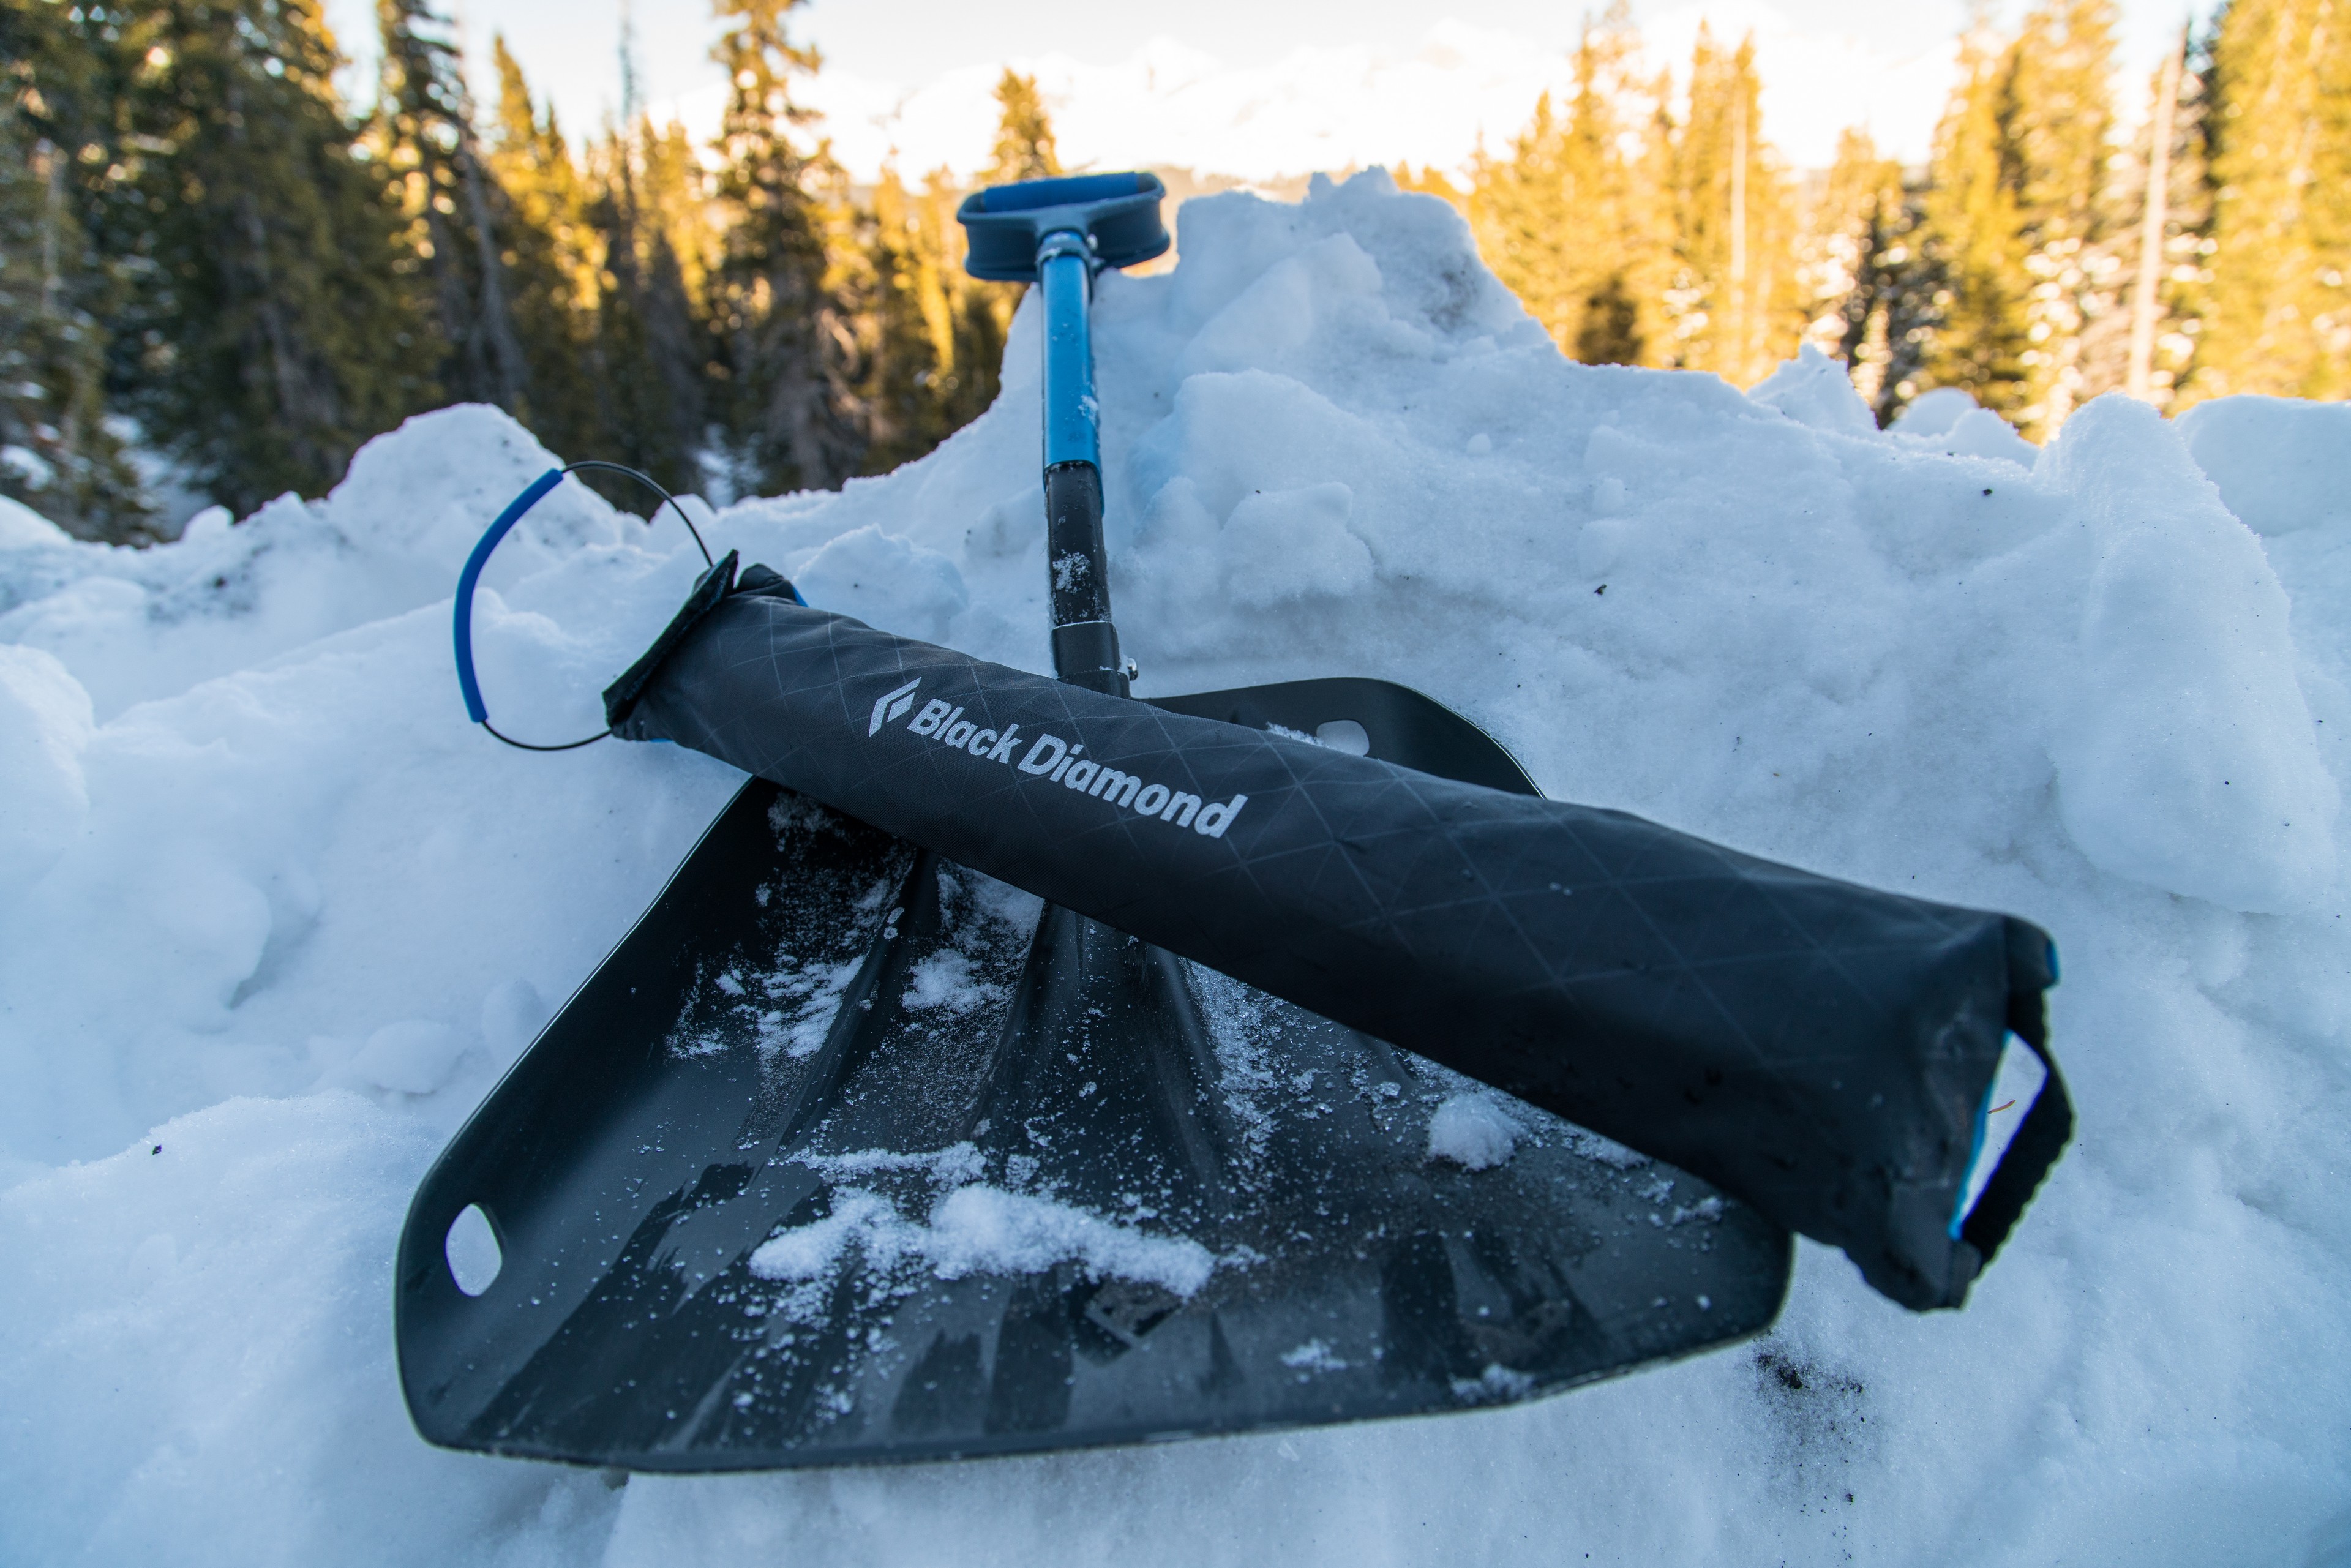
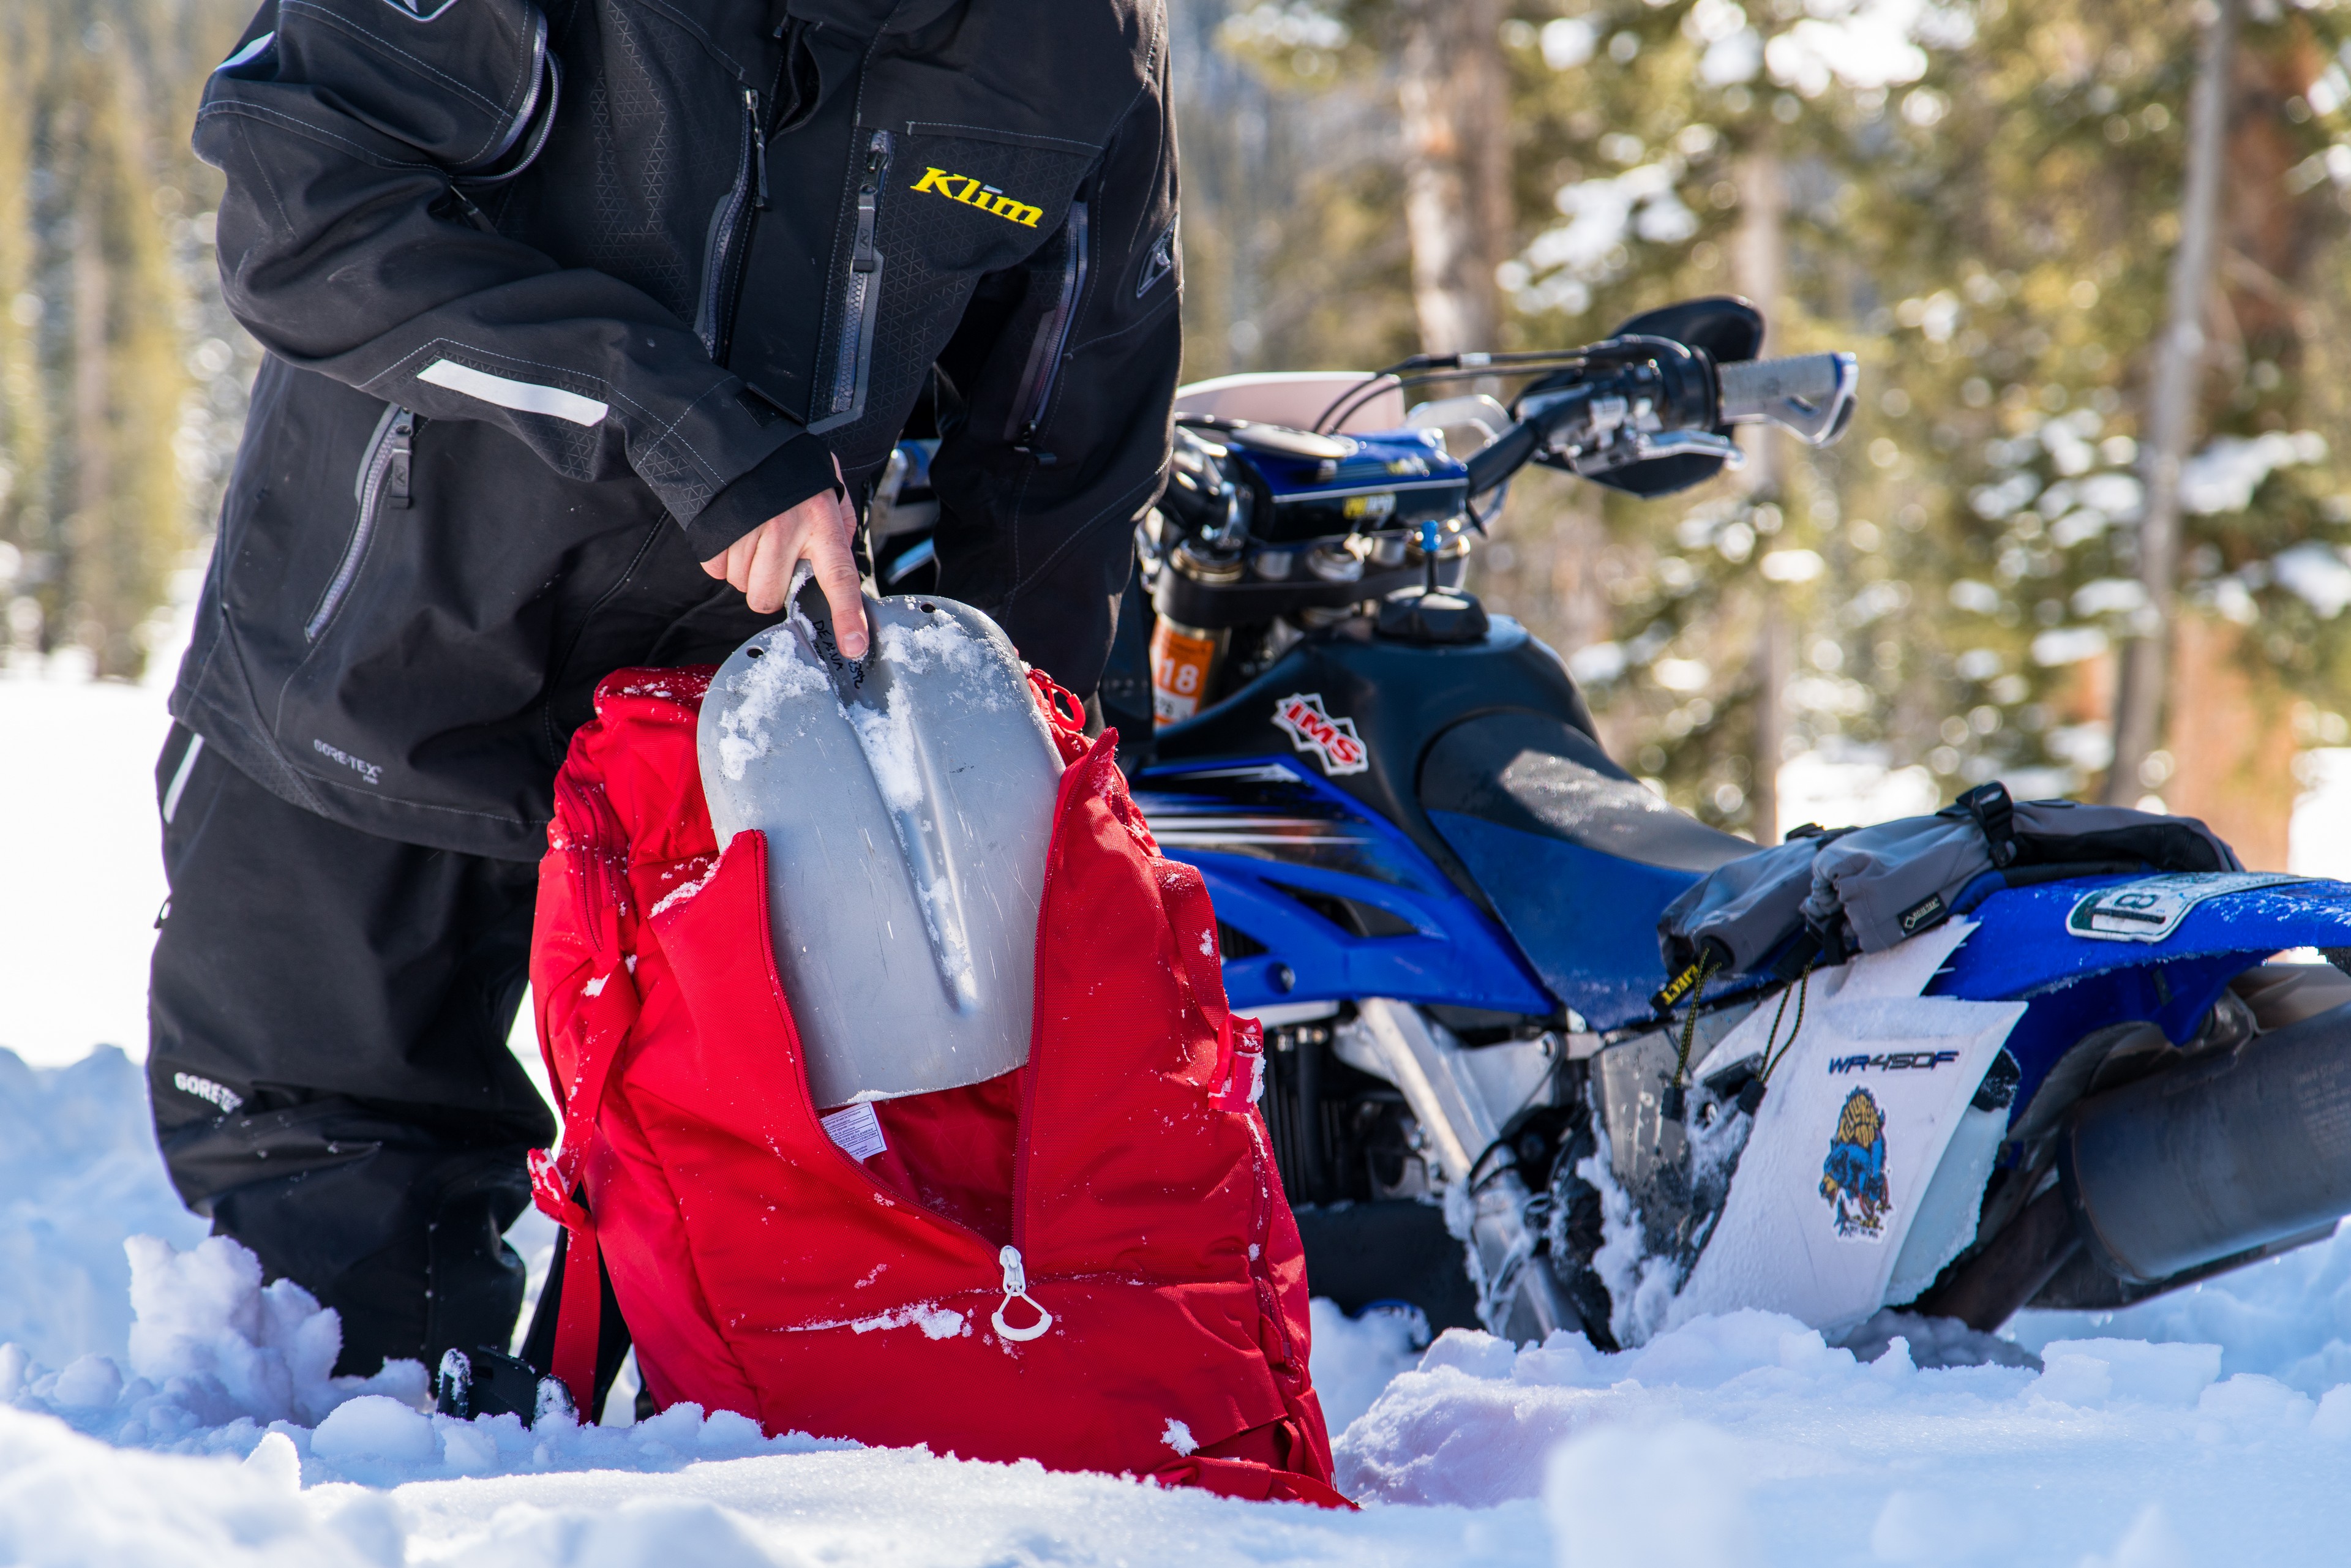
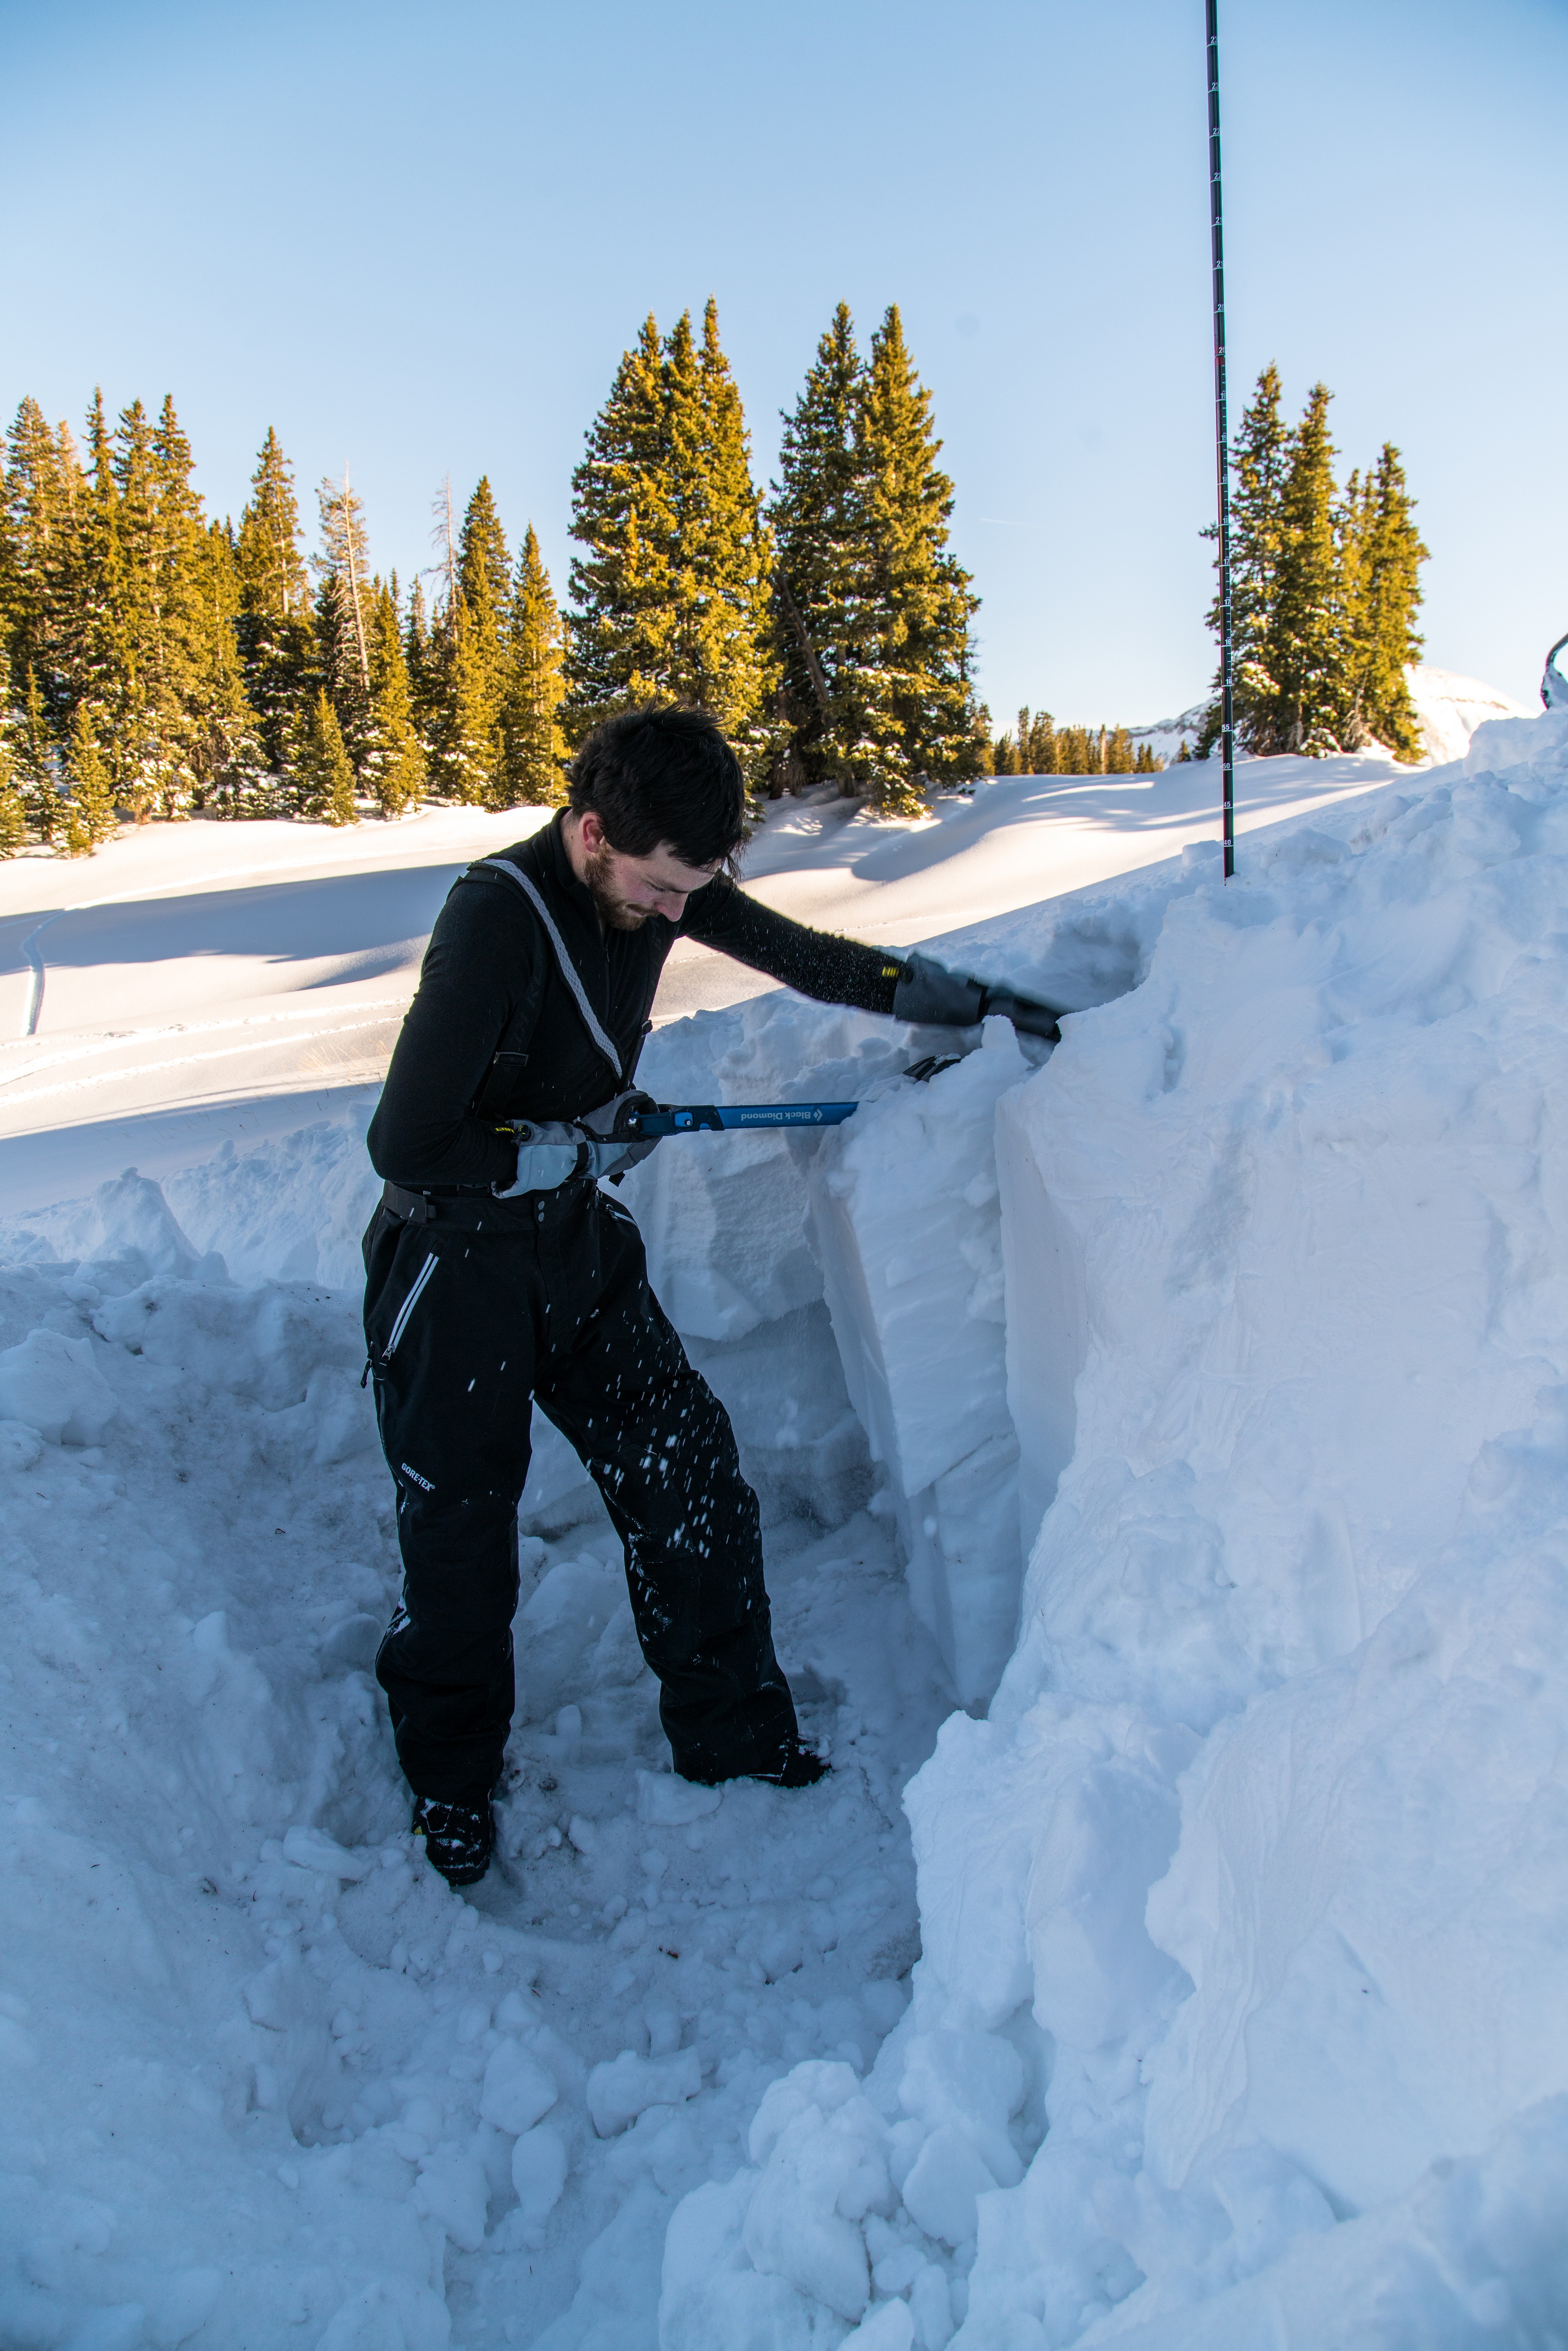
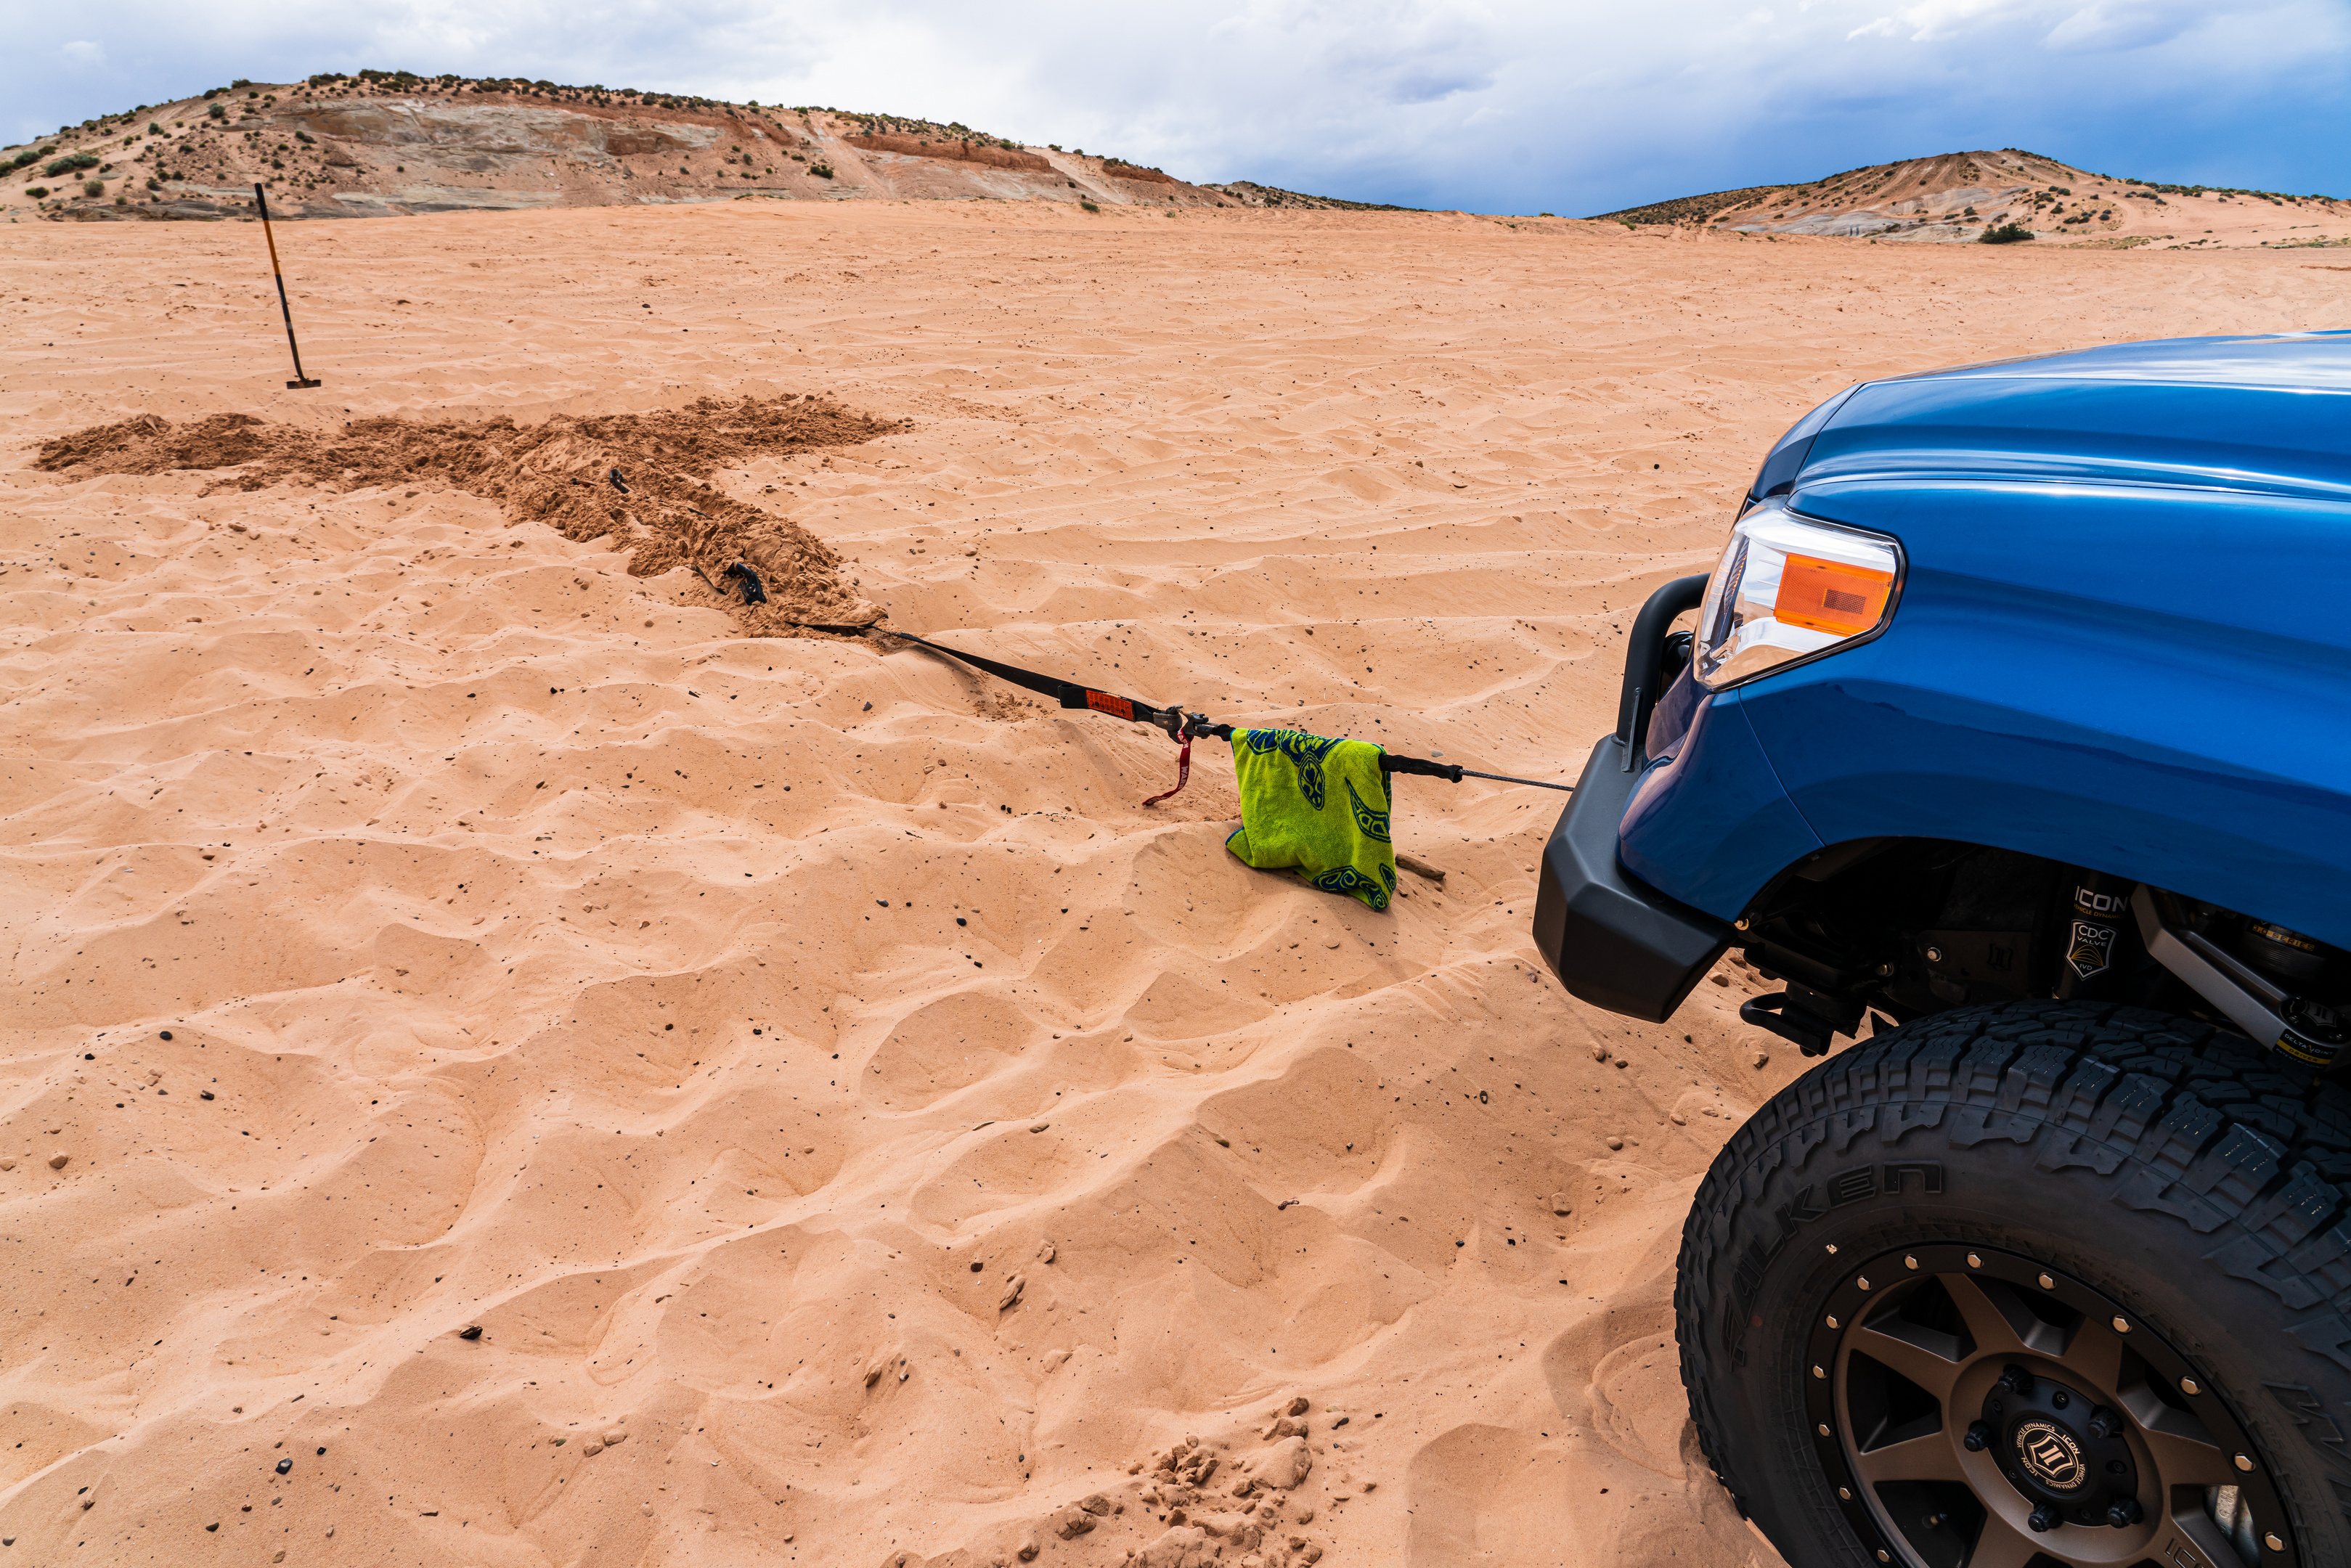
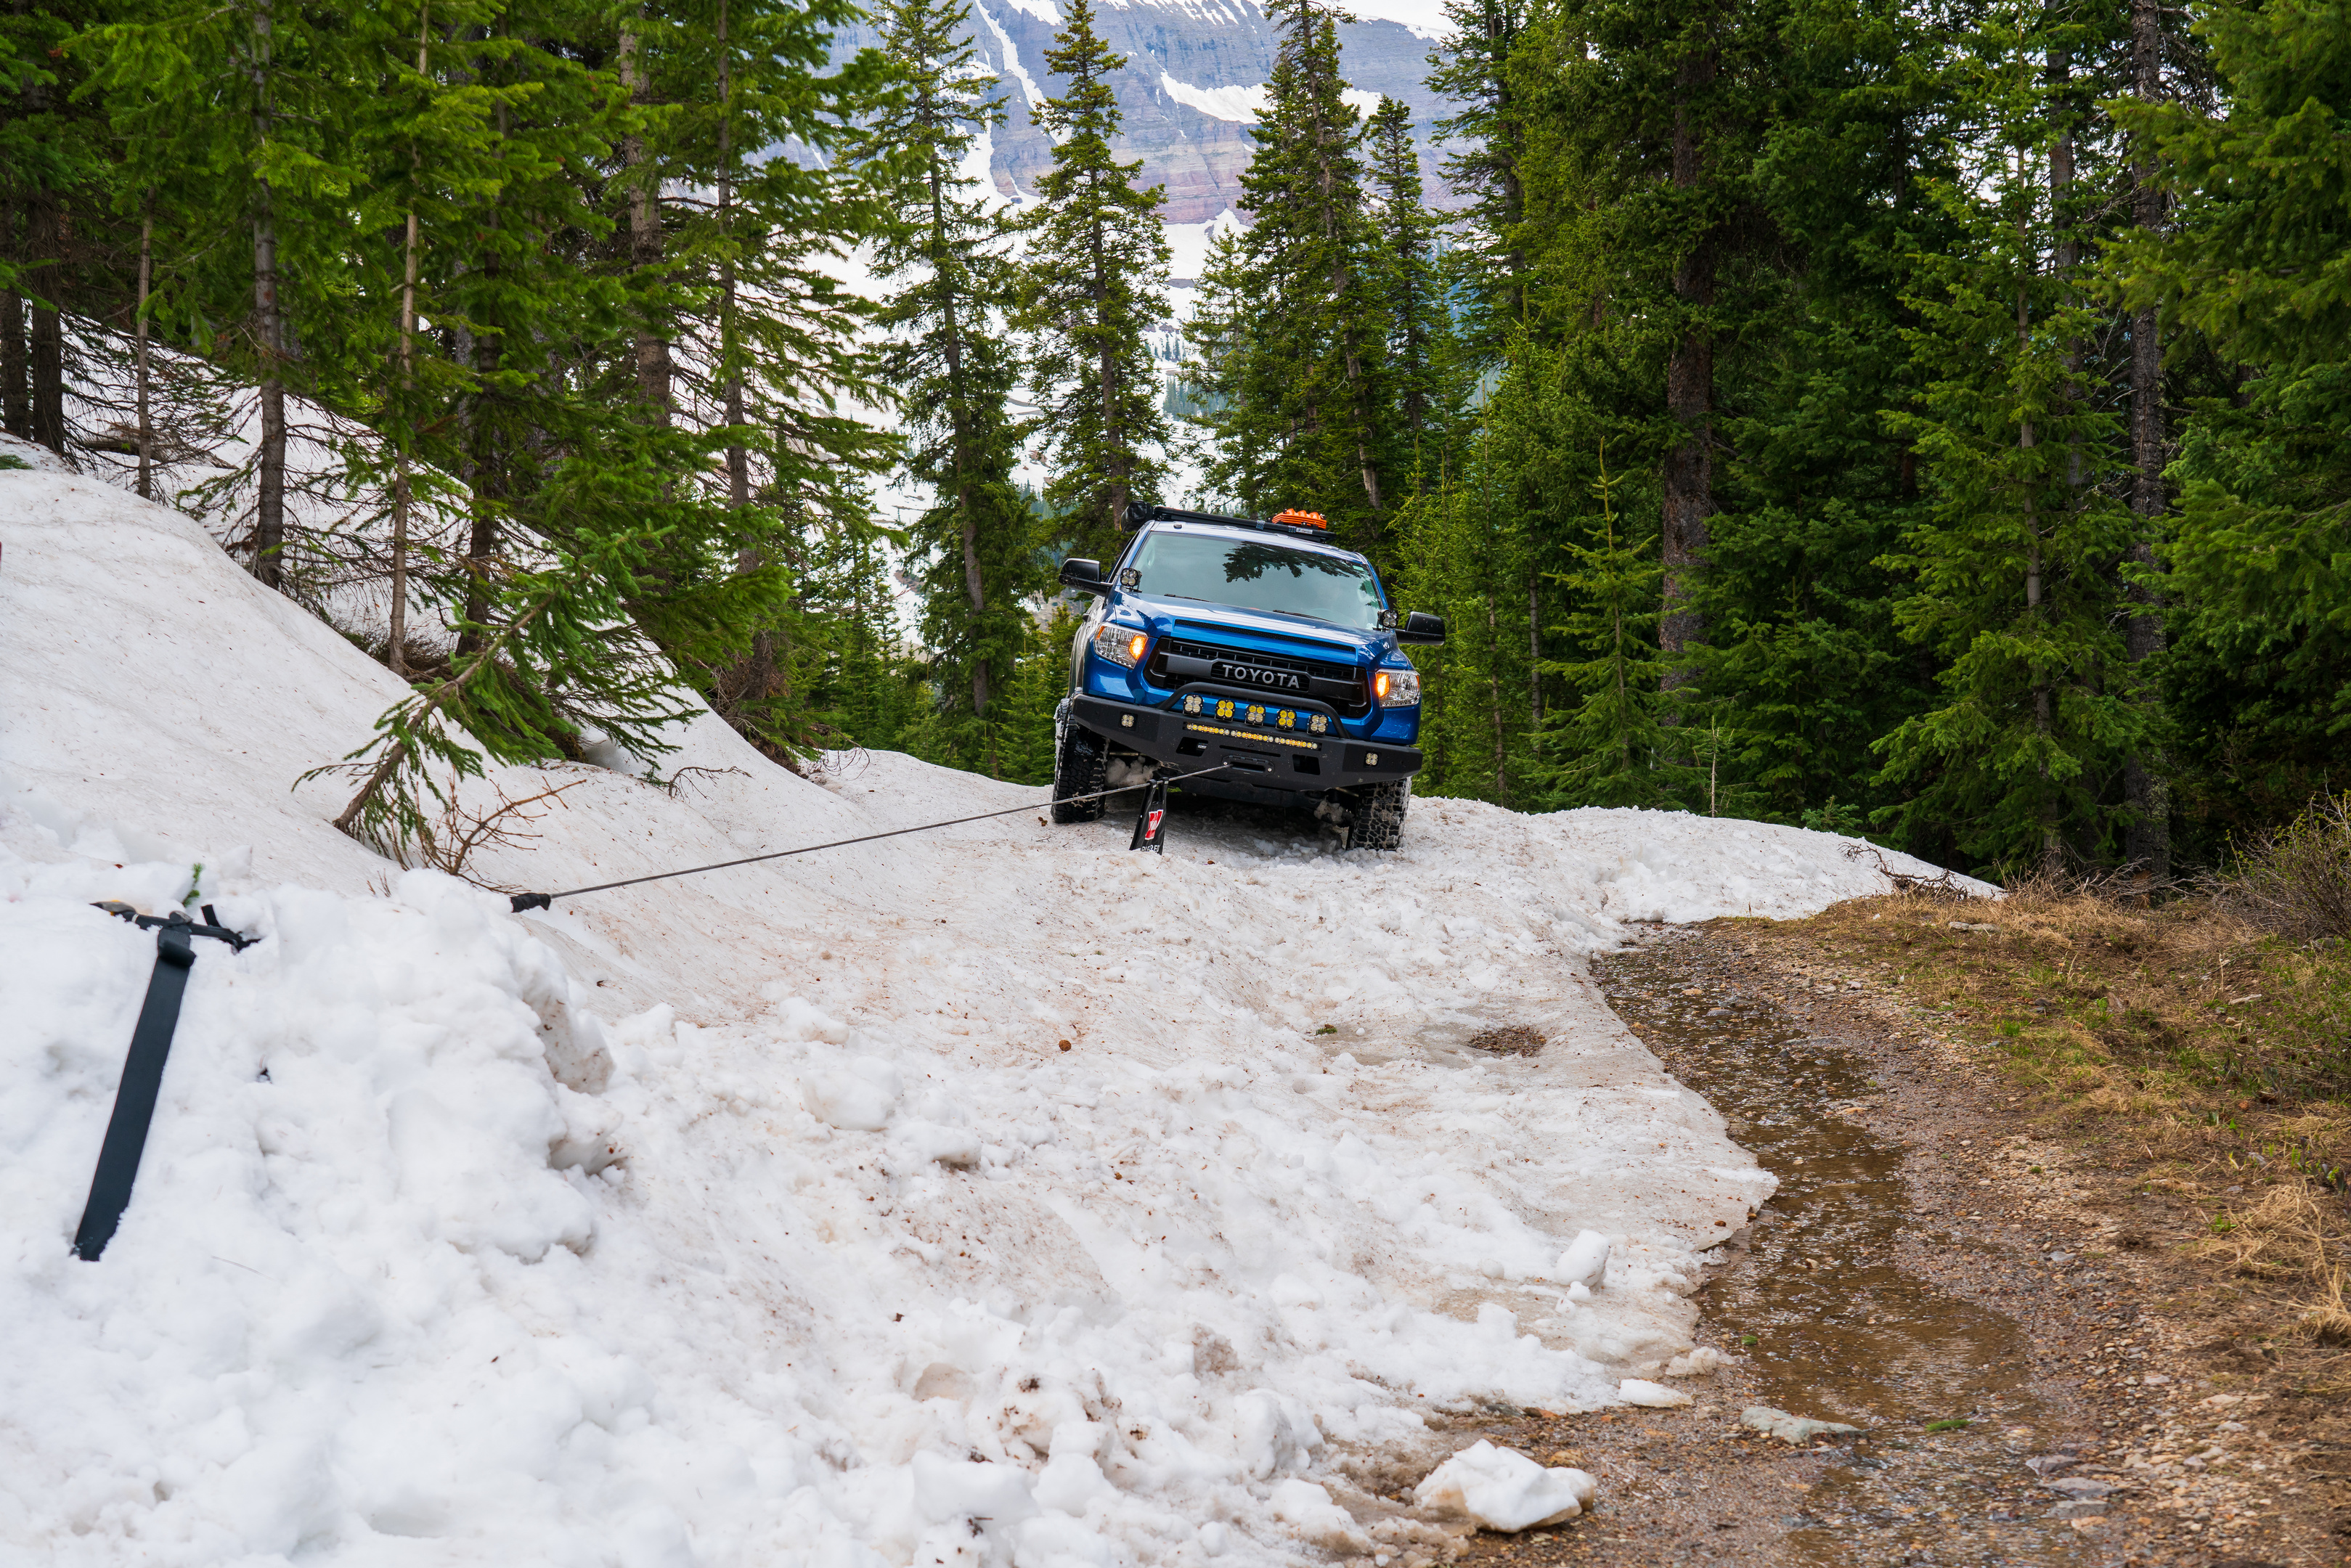
Despite what some folks on the internet may tell you, the world isn’t a place where there’s always a tree or big rock conveniently in reach of your winch when you get stuck. Even if there are trees or other possible anchors near where you’re stuck, will winching to said features help you out, or are you setting yourself up for more work and or problems by having to make a less than ideal pull? Being able to place an anchor exactly where you need it can be game changing – and that’s exactly what the Deadman Earth Anchor allows you to do. To create an anchor, start by laying the Deadman out on the ground next to where you want to place your anchor to get an idea of how big of a hole you’re going to need to dig. This will also help you with orientation so that you’ll end up with the Deadman’s arms and legs pointing the right way when it comes time to winch. Depending on the surface you’re digging into, how heavy your rig is, and how stuck you are, you may have to dig a fair bit, or surprisingly little. Having a good shovel with you will make all the difference here, so make sure you’re packing one that can actually dig a hole and not just look good on the ‘Gram.

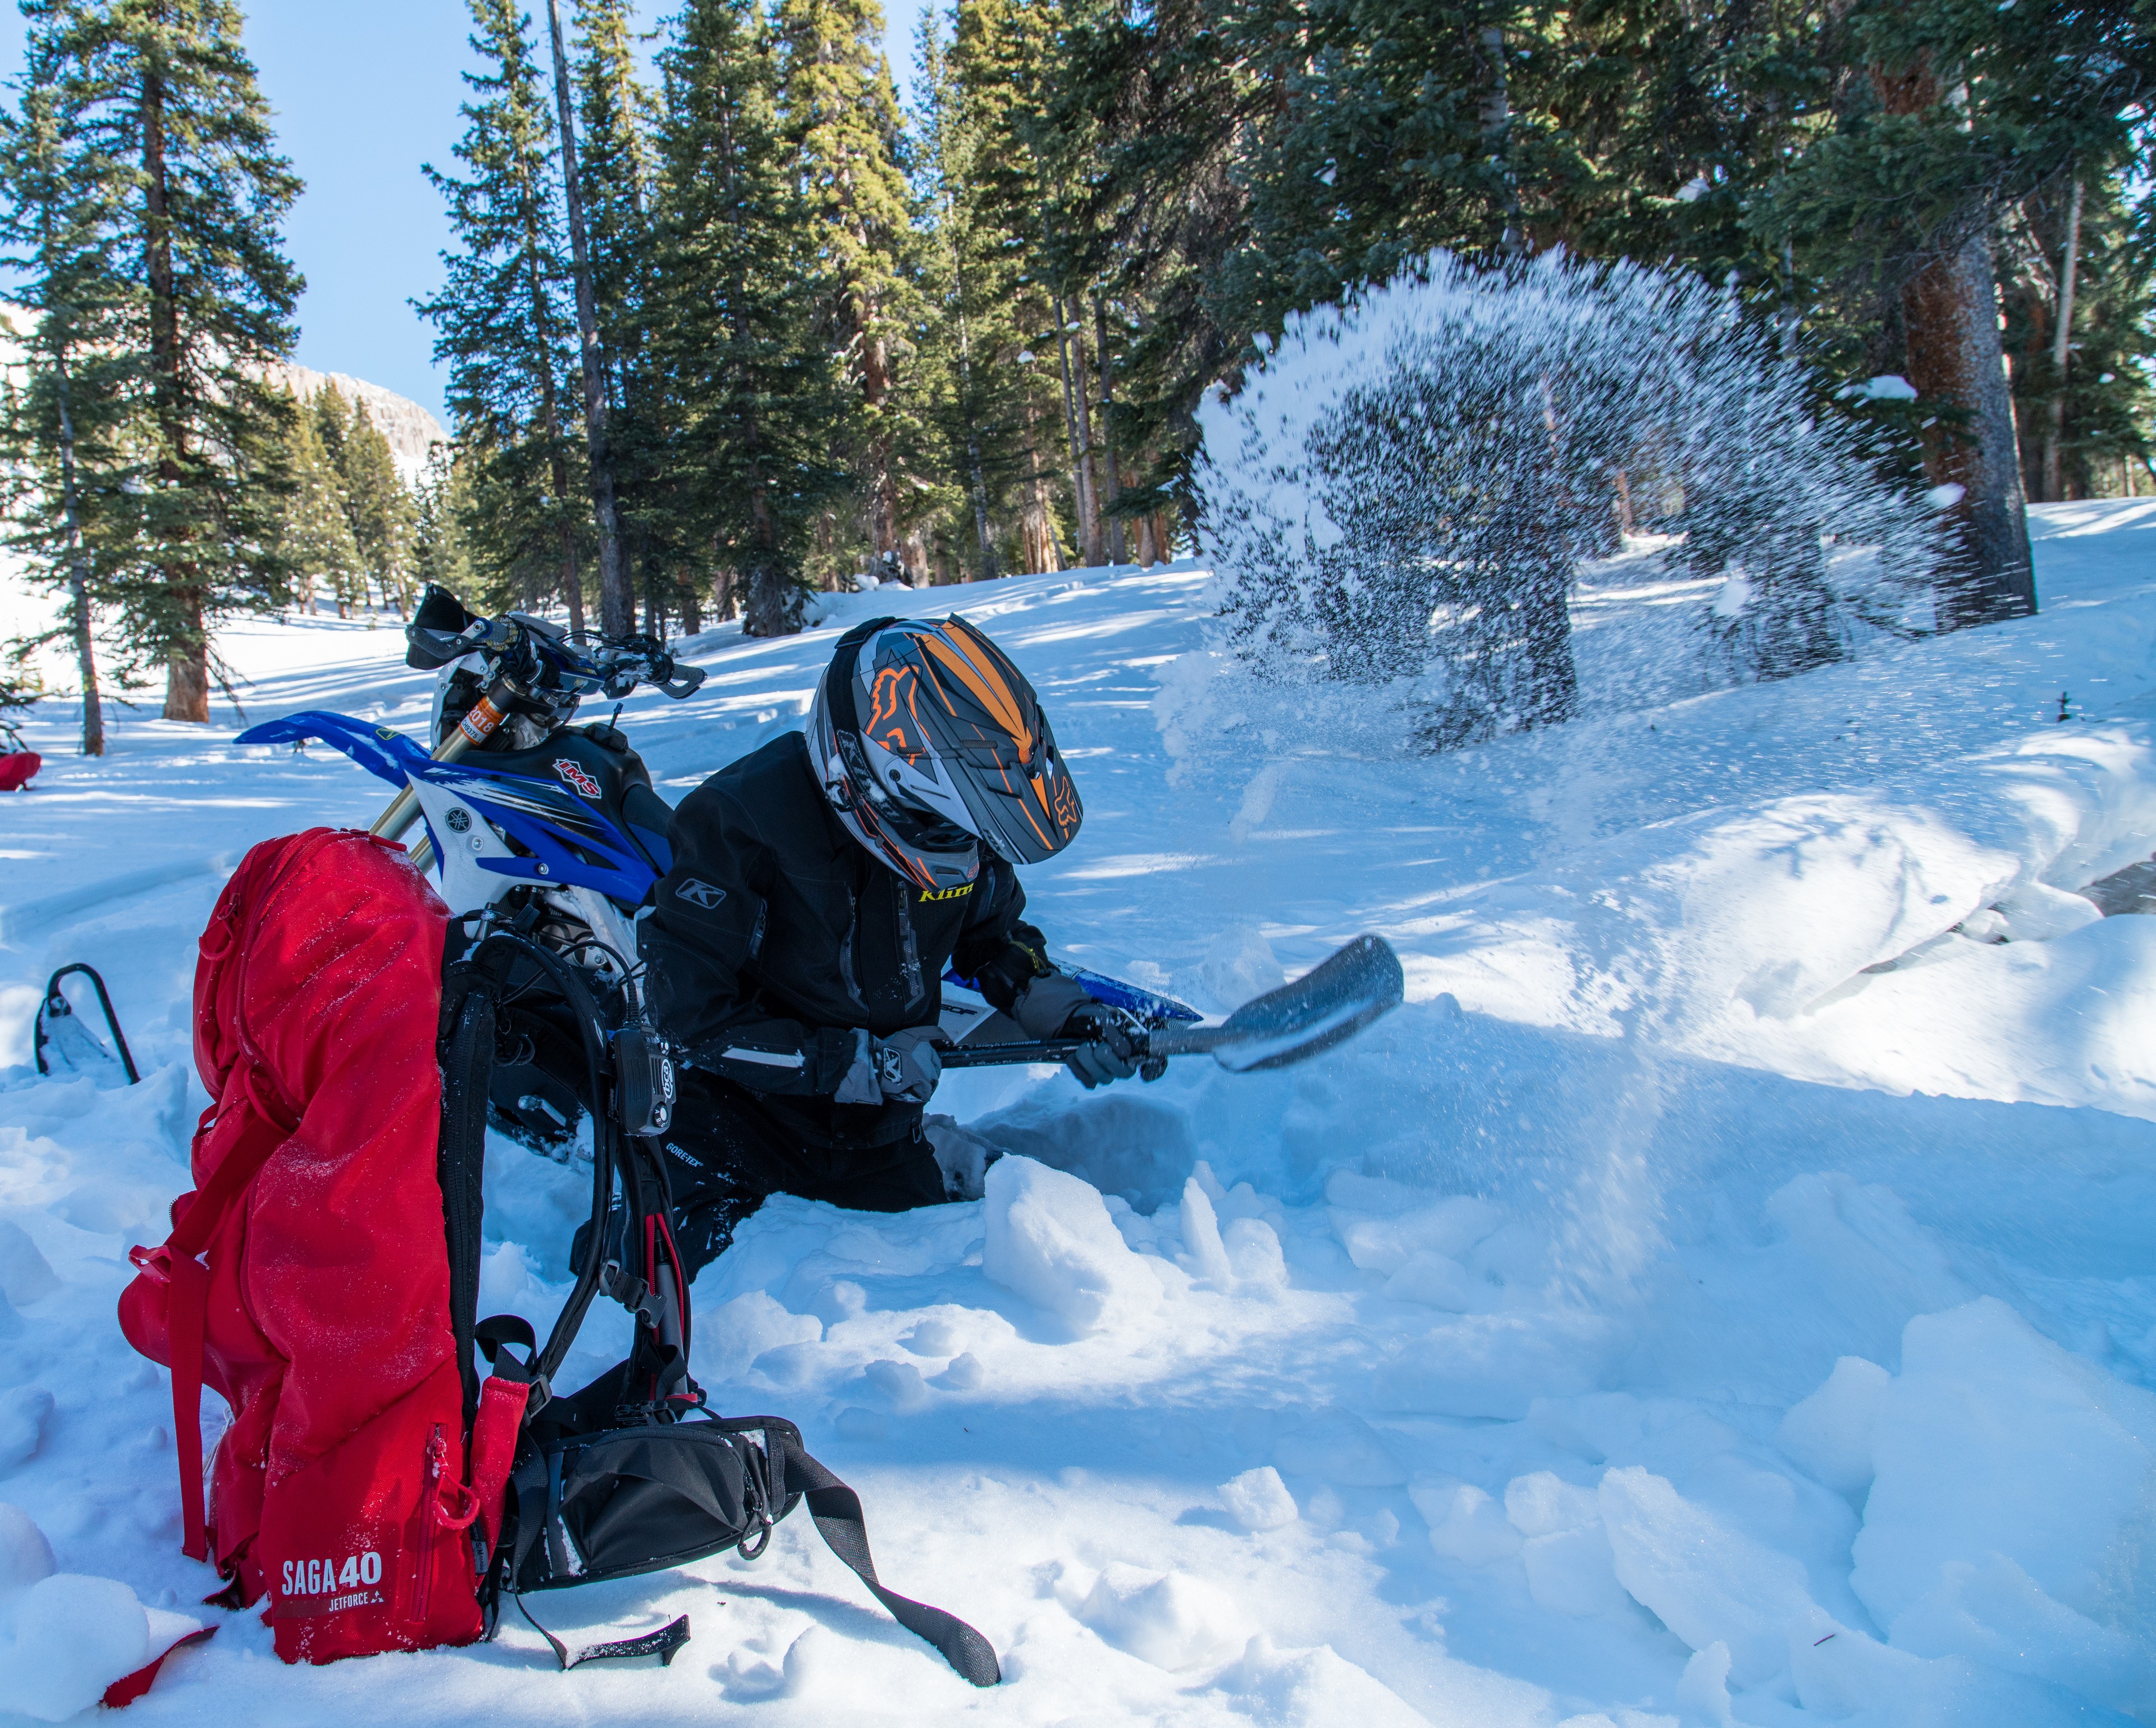
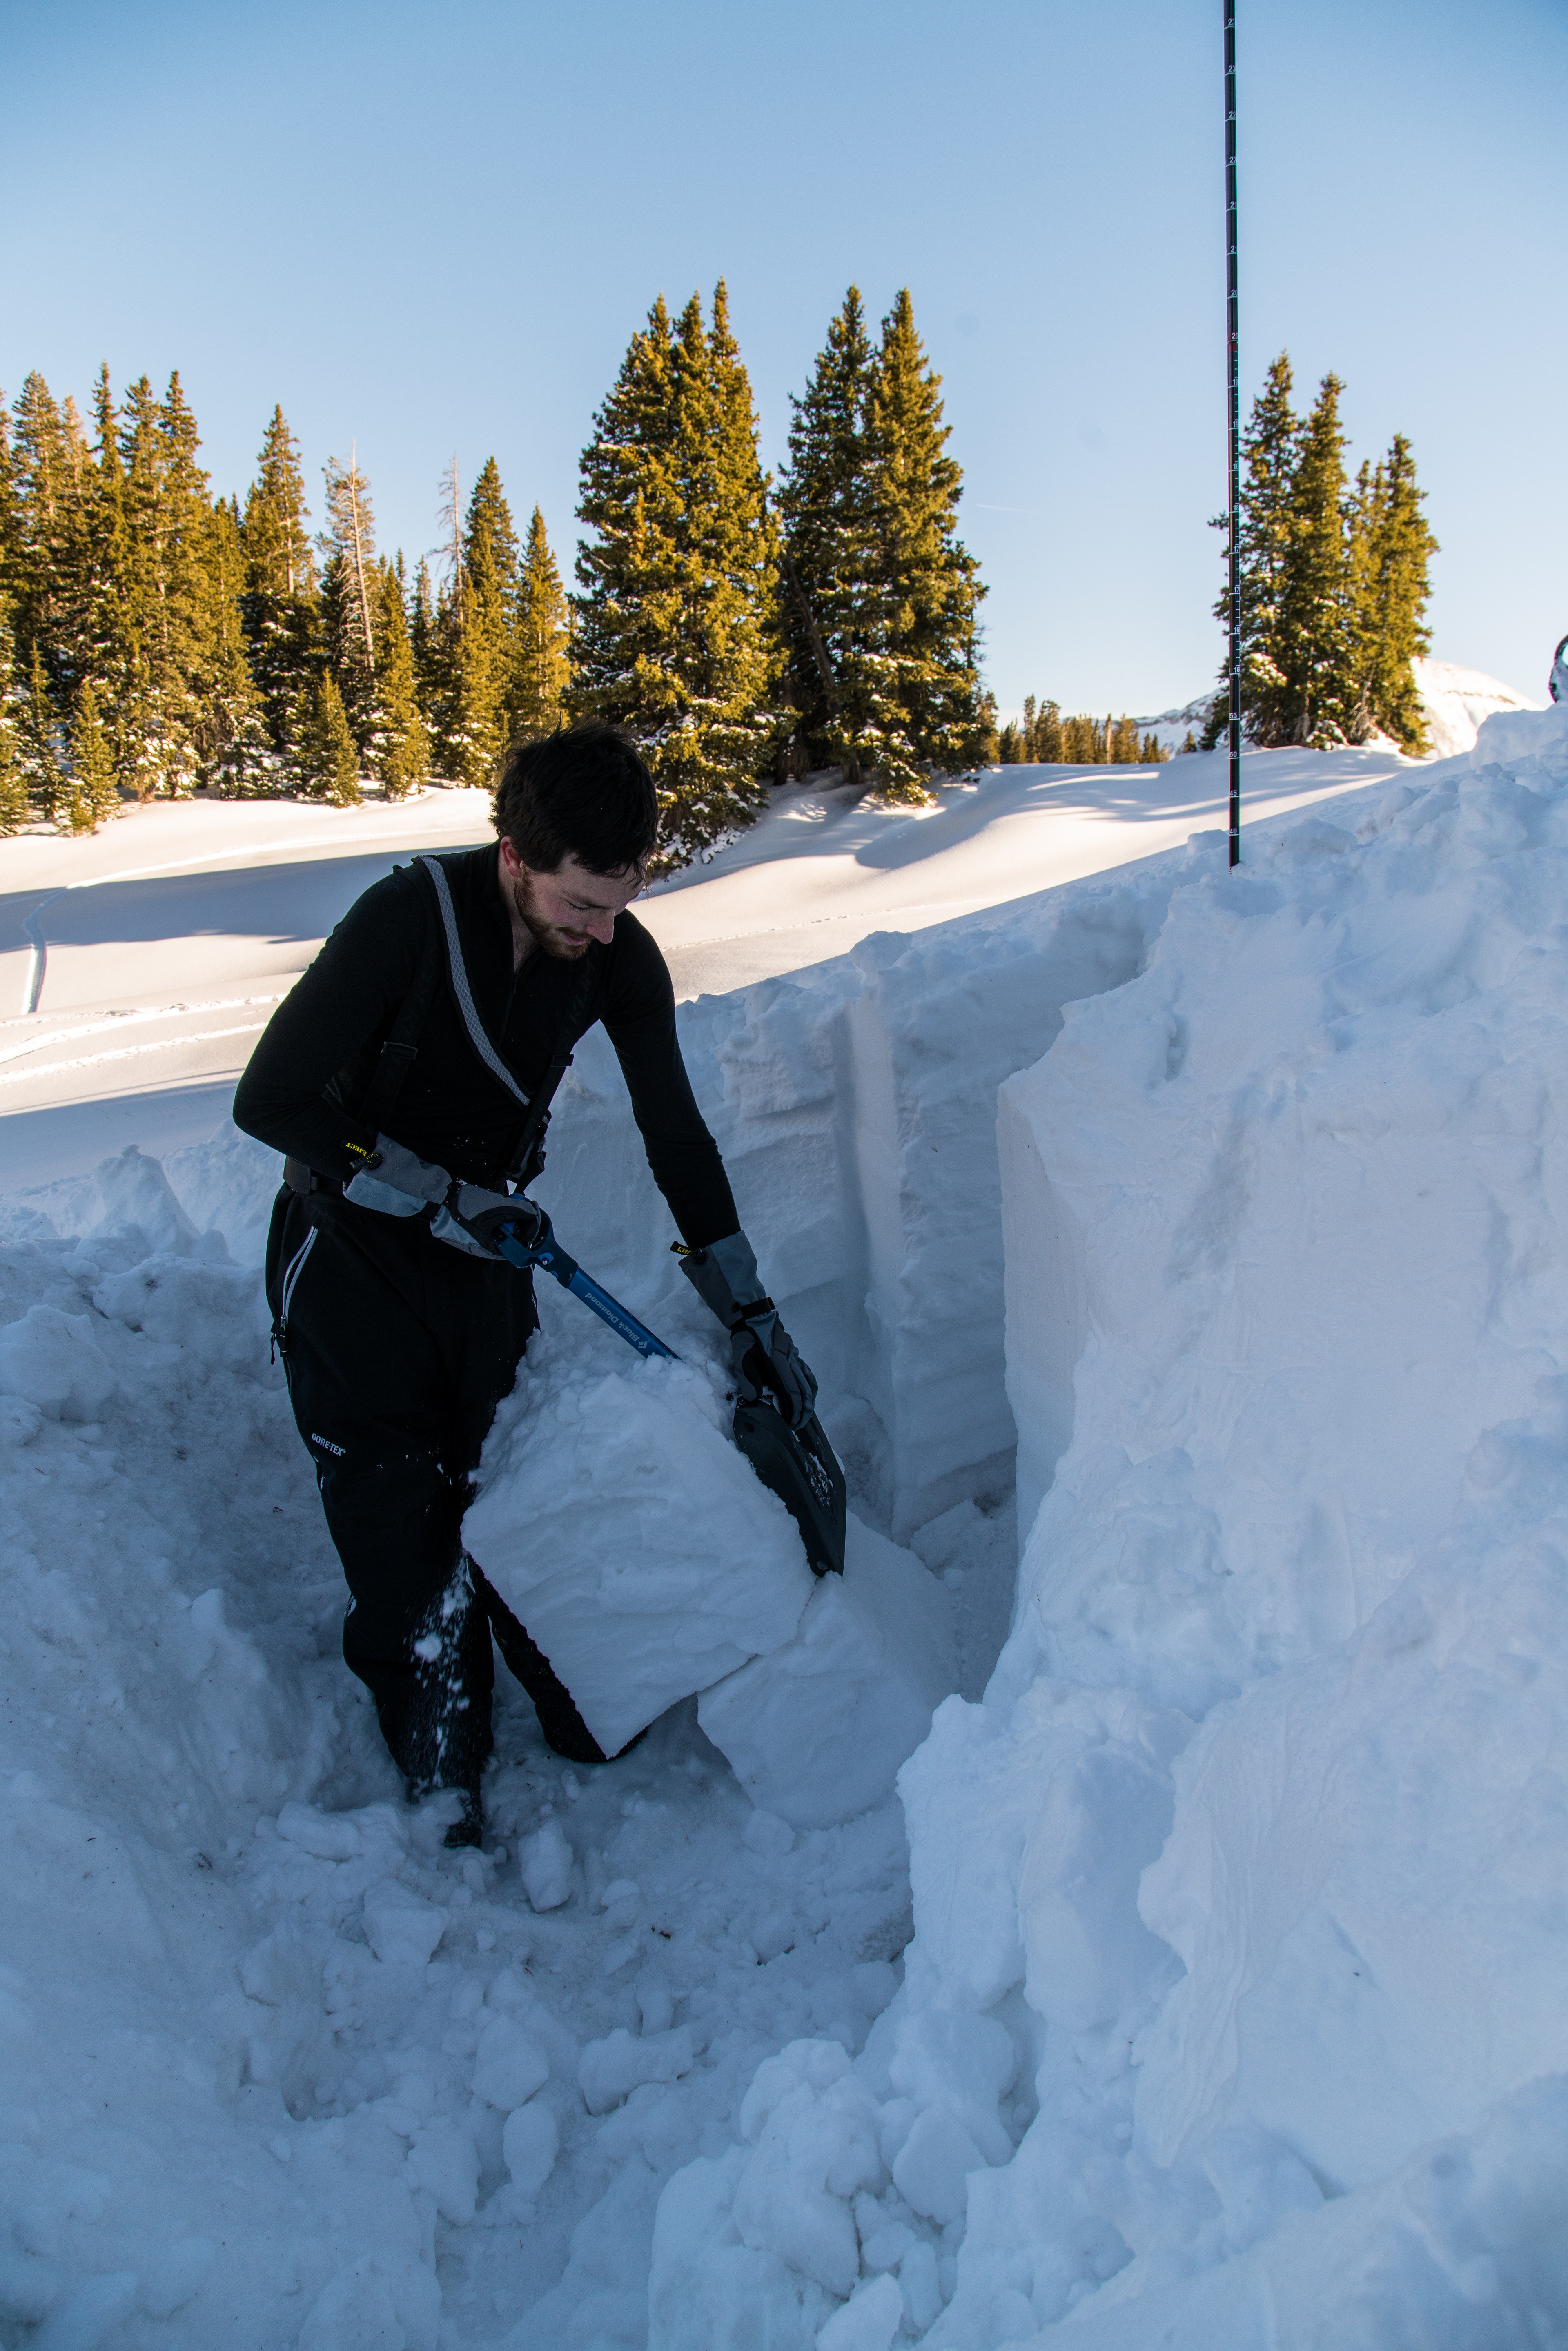
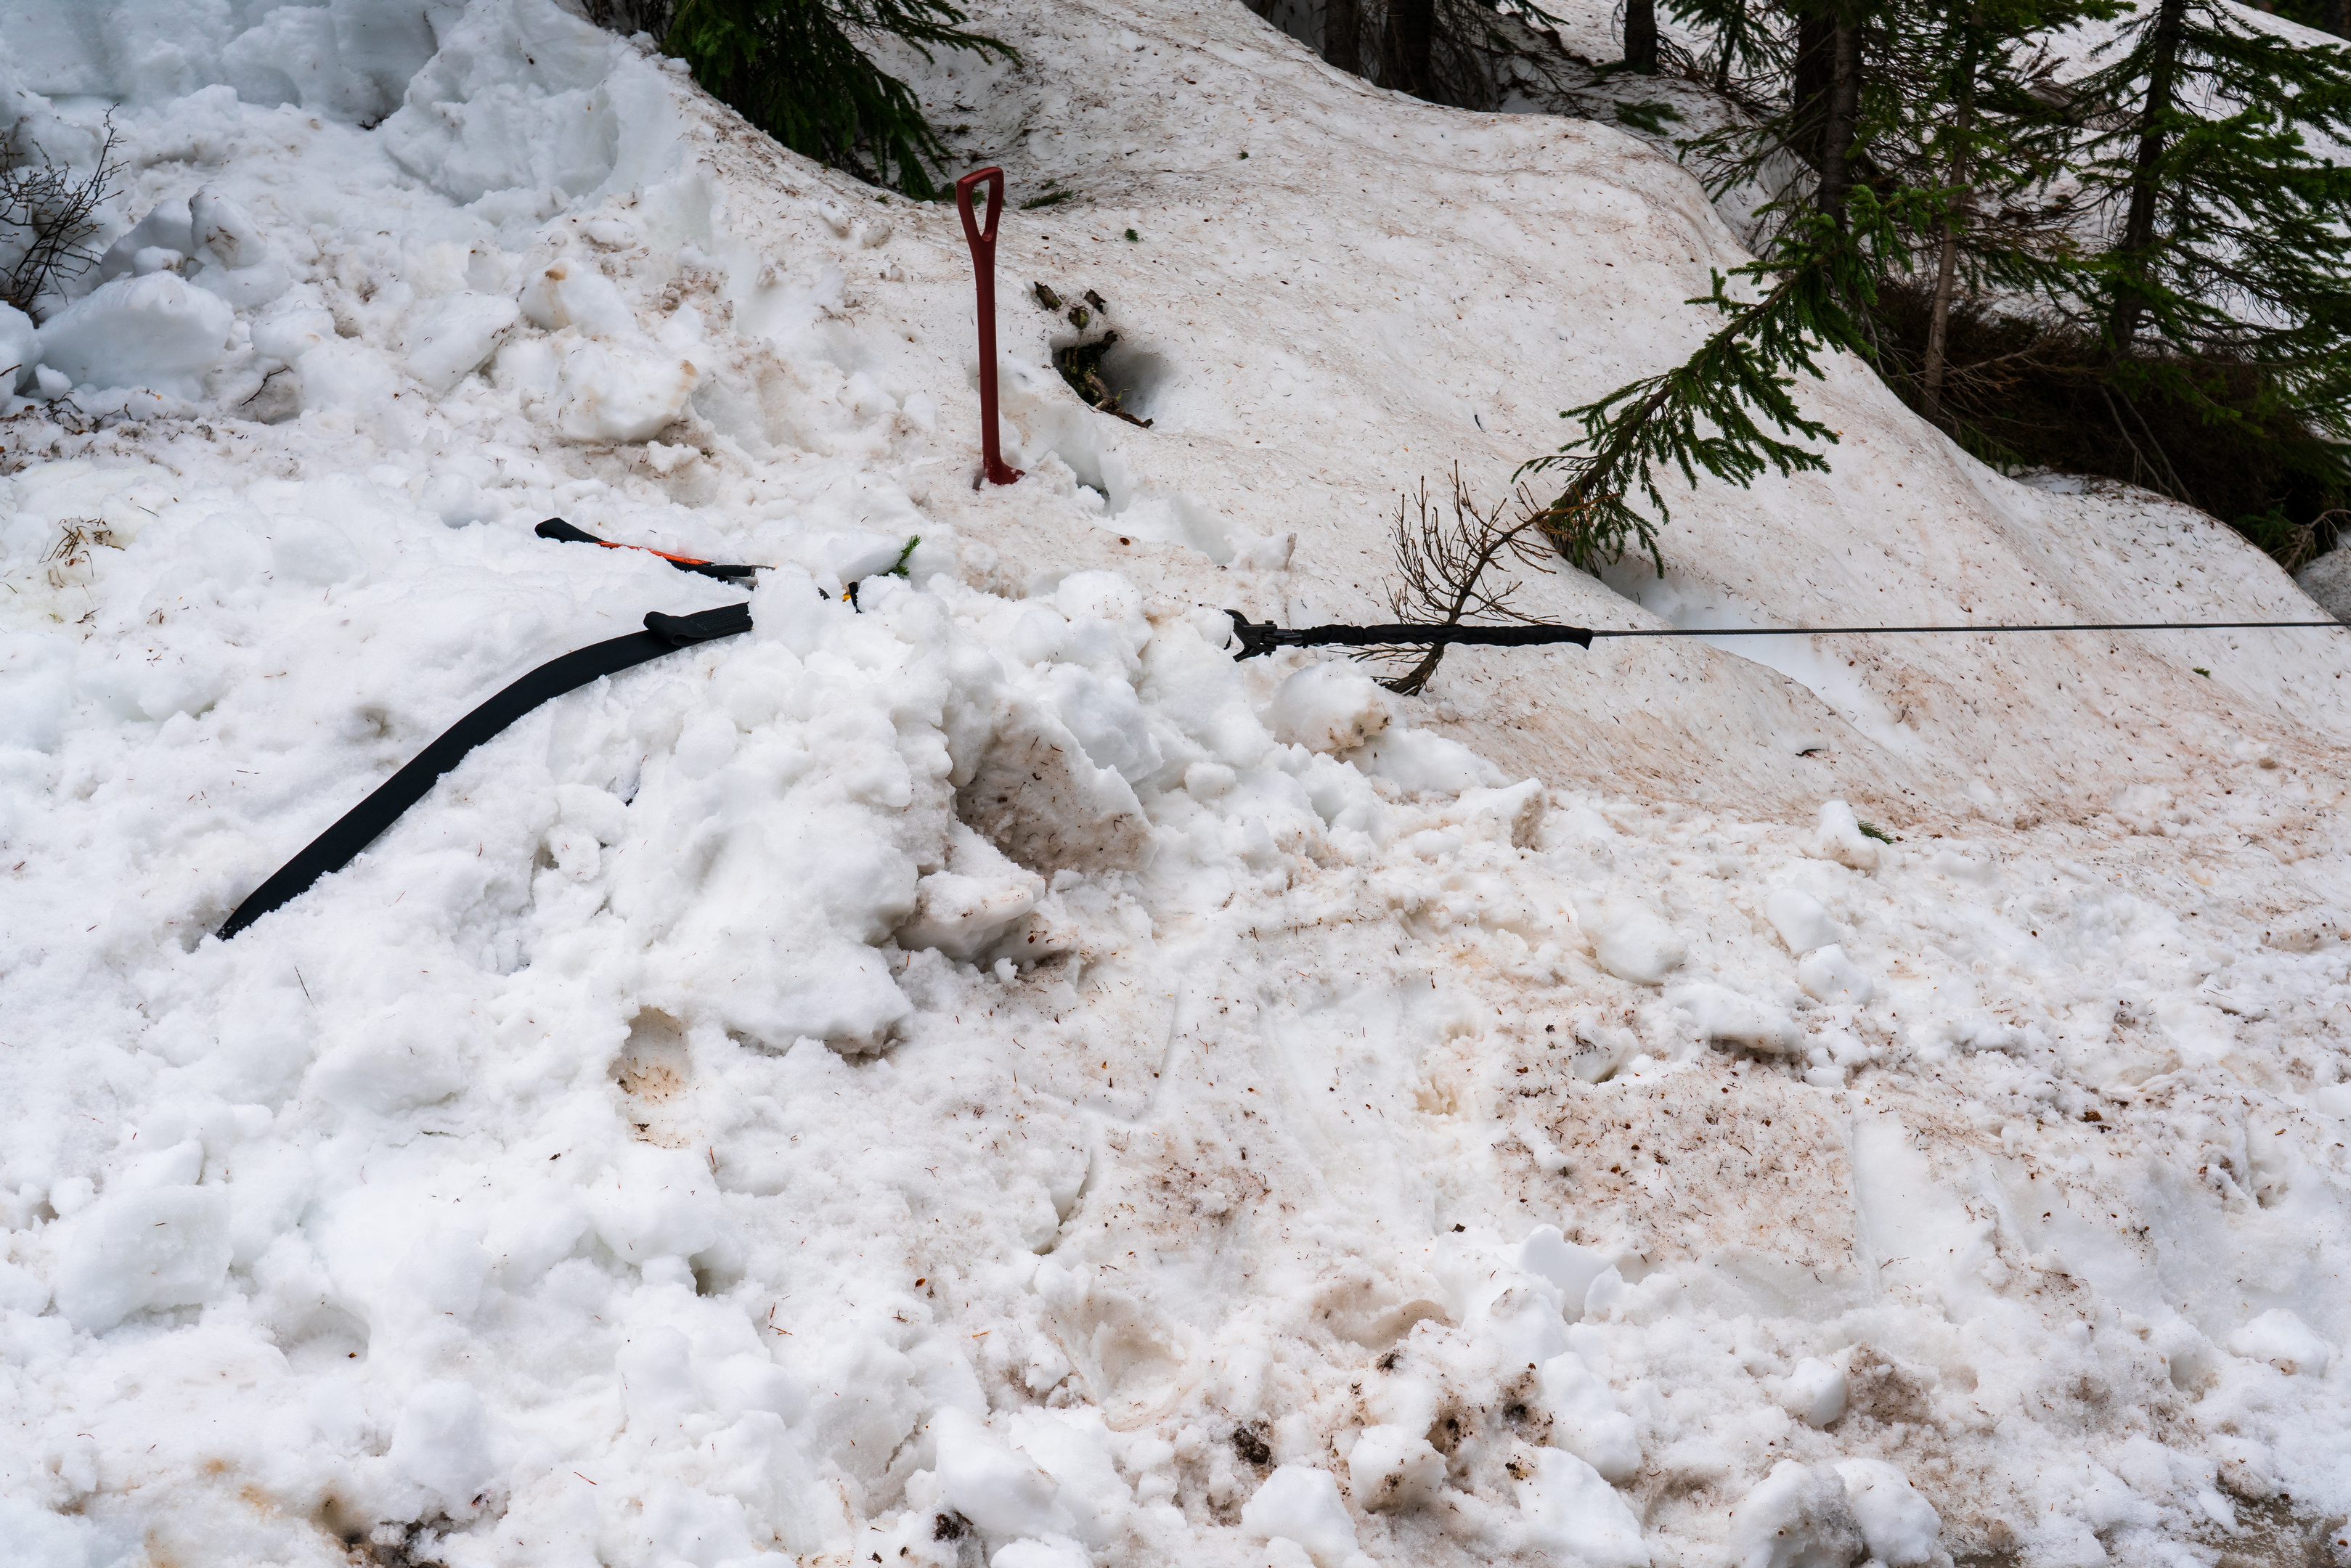
 Every recovery situation is unique, so there’s no way I can say if you’re stuck on X-surface dig down to Y-inches and you’ll magically get out. There are just too many factors in play for a hard and fast answer like that. The general guidance is that if you’re in soft surfaces you’re going to need to dig deeper than in harder pack surfaces. When I was using the Deadman in wet beach sand, I was able to get away with digging a ~16 inch deep hole on my second pull, after realizing that my first hole at over two feet was way more than I needed to do. Good thing my inner child likes to dig holes. Likewise, in spring snowpack (a very wet, packable snow that’s great for making snowballs) I started with a hole that was nearly three feet deep which was seriously overkill too. But, I’d rather err on the safe side – and besides, digging is good exercise. The good news is, that if you pull the Deadman out while winching, you can just bury him deeper, which is more than can be said for other earth anchors which can only hold on to so much soil.

Before you use the Deadman for the first time, I would absolutely recommend that you spend a few minutes with the manual to get up to speed on everything that goes into properly burying dead things. The manual is a triple-fold brochure that can be consumed in a matter of minutes, and is so entertaining to read that I had to give it a mention. Once you’ve armed yourself with the manual’s wisdom, you’ll be able to employ your Deadman to greater effect and the get most out of it. The process of using a Deadman isn’t complicated, but you need to know how the whole process works – if you don’t you could hurt yourself or even the ruggedized Deadman. Likewise, you should know how to use your winch and all of the other items in your recovery kit. Knowing how your gear works and what it can endure, before you need it, can be the difference between making it out or having to call in a lifeline.

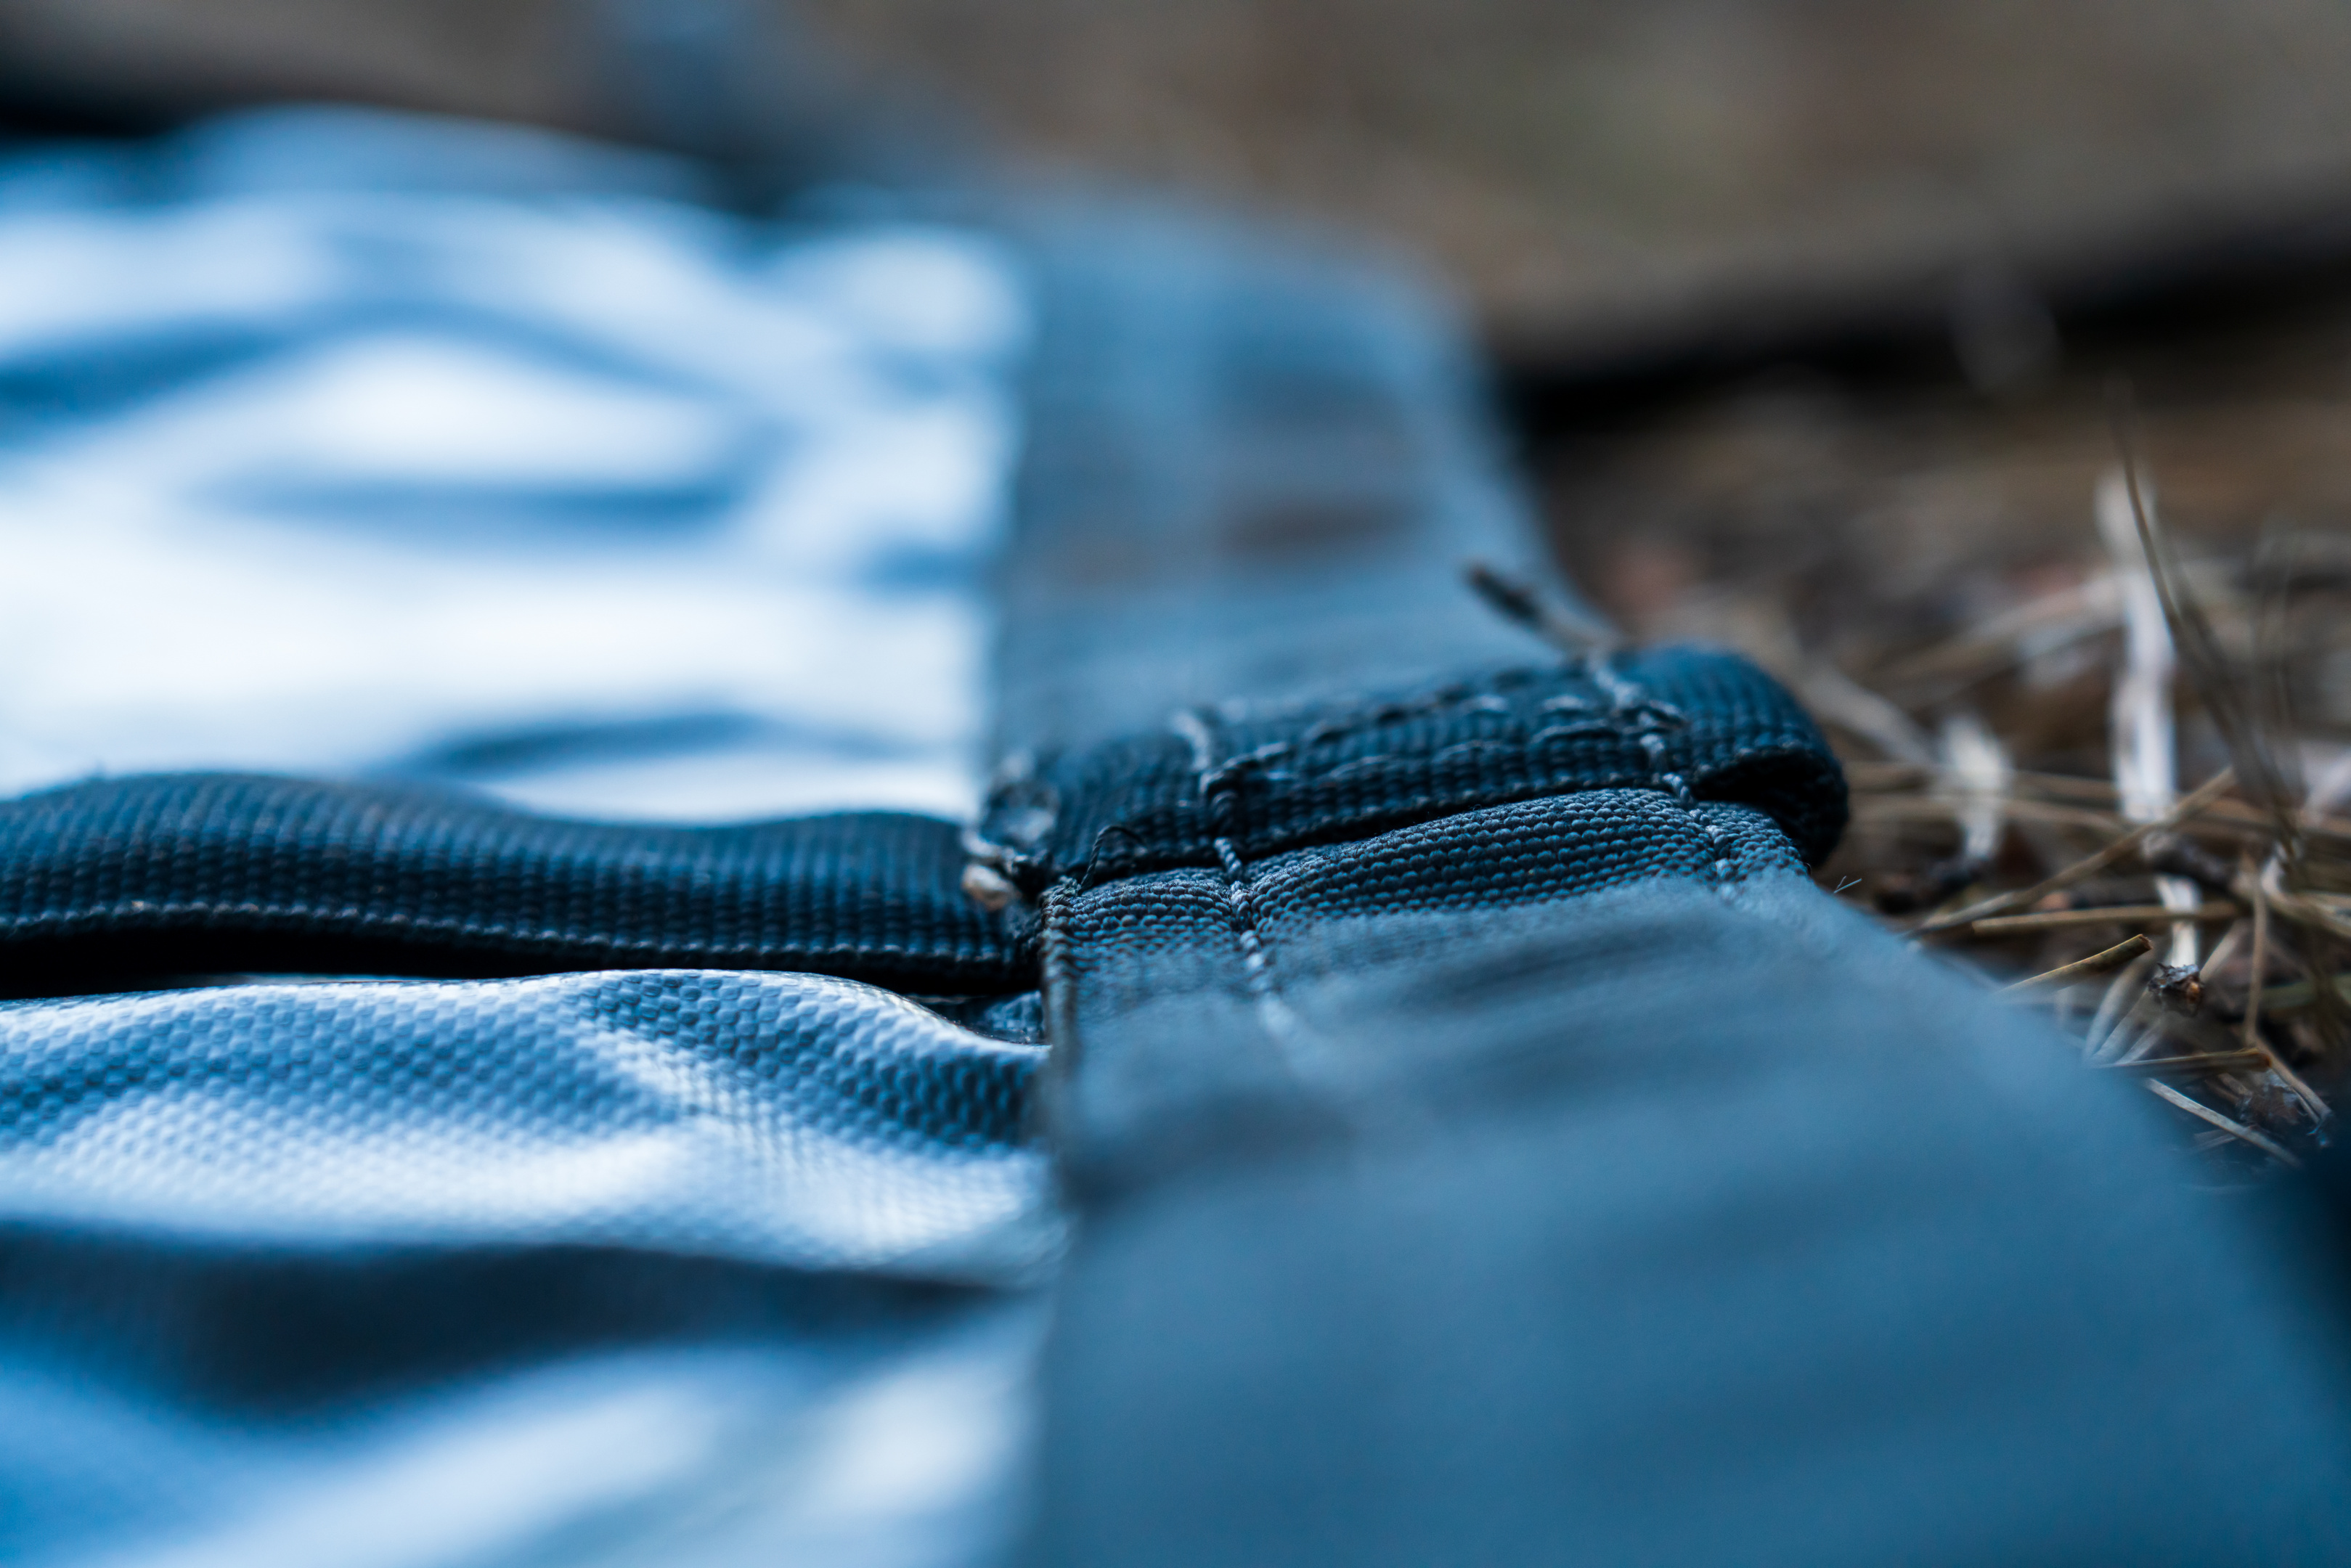

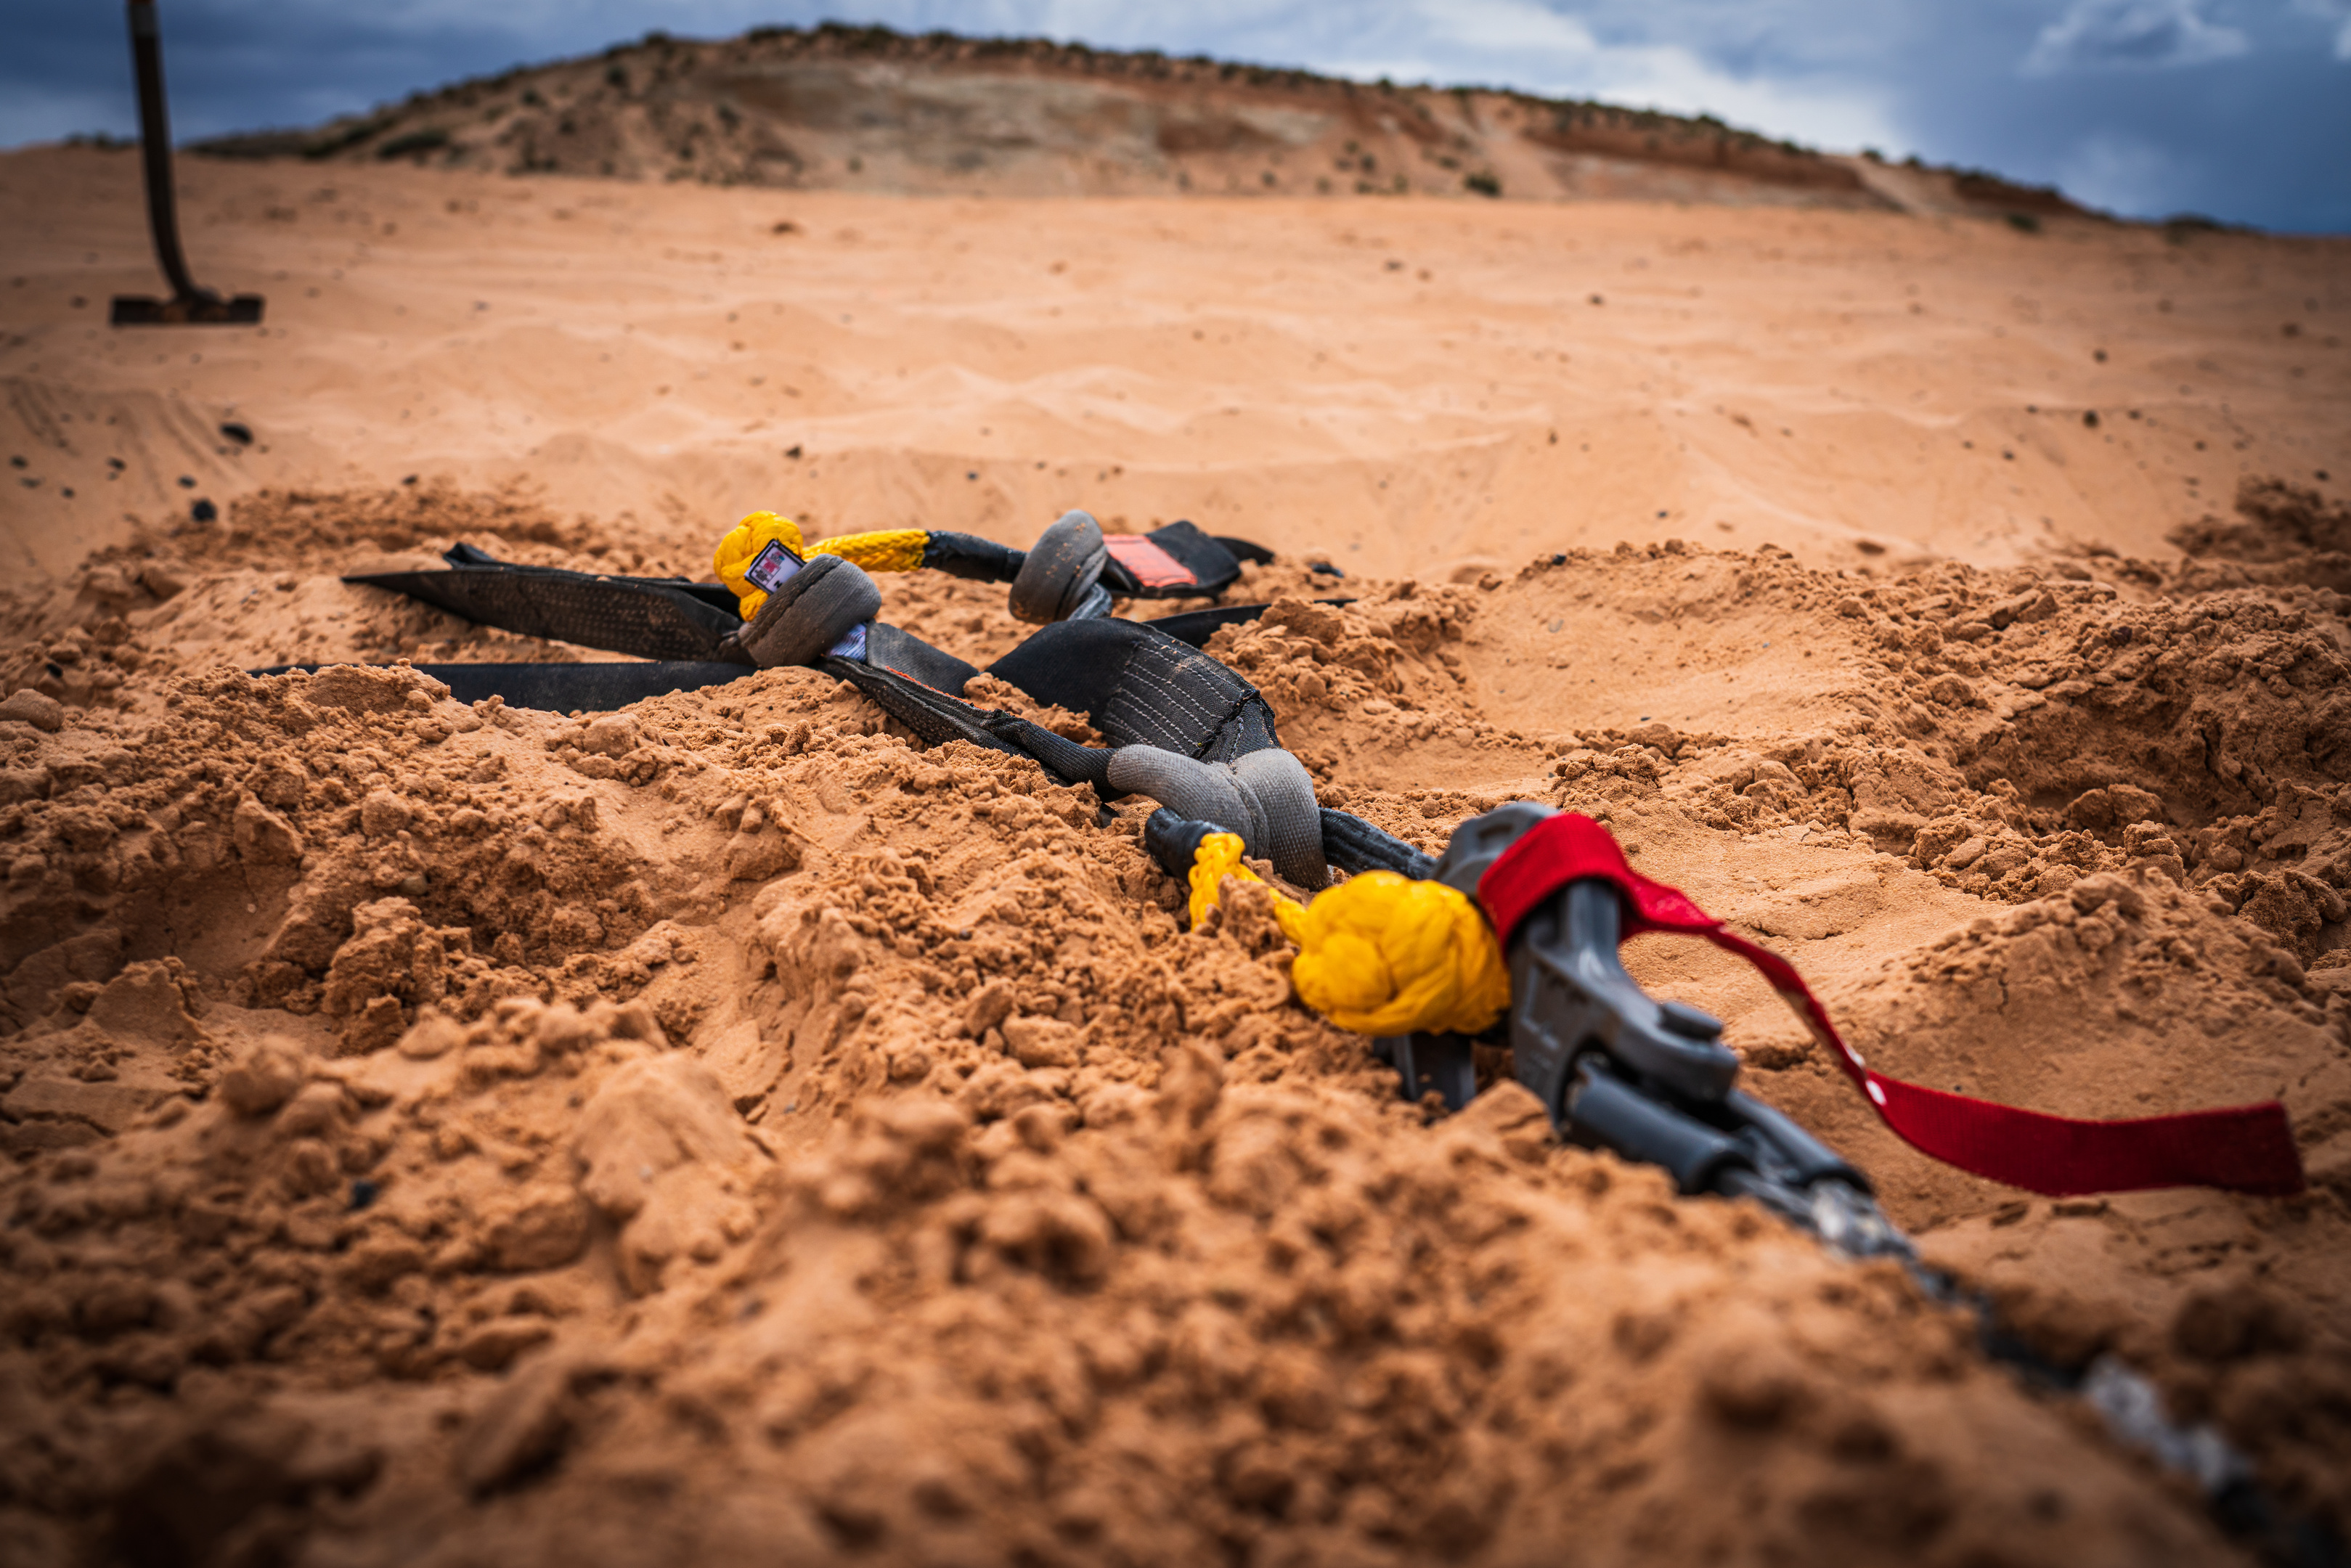
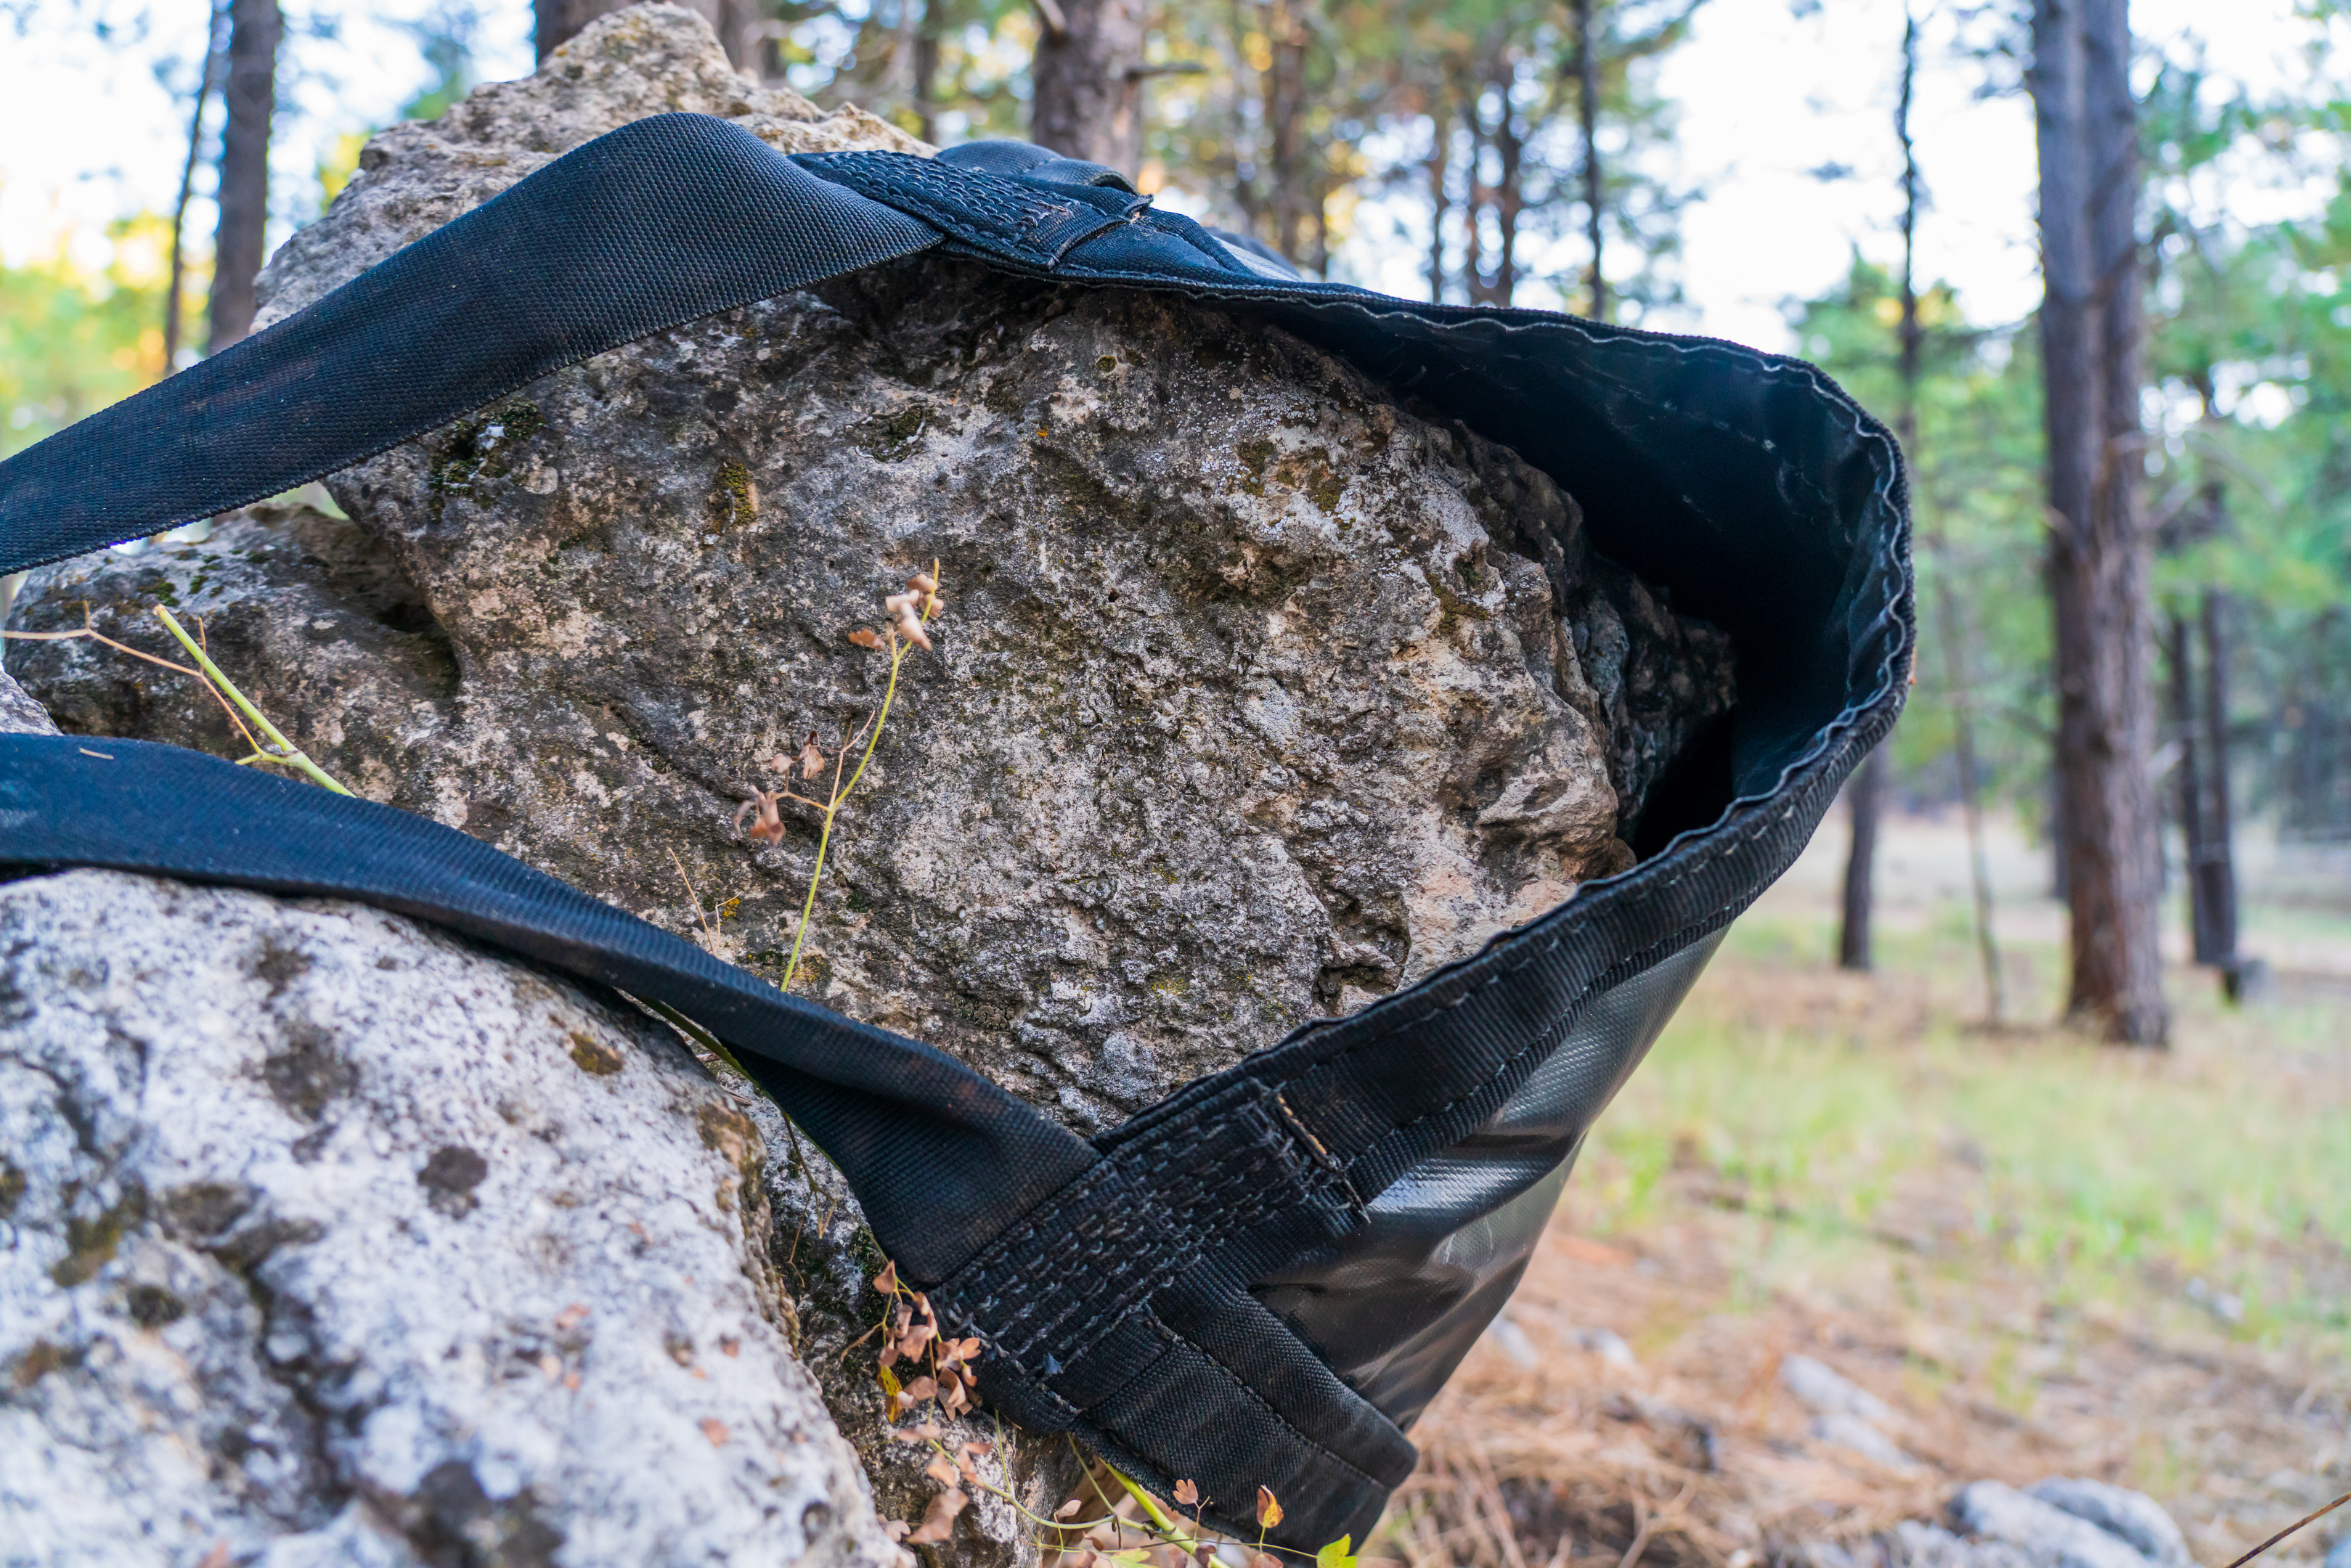
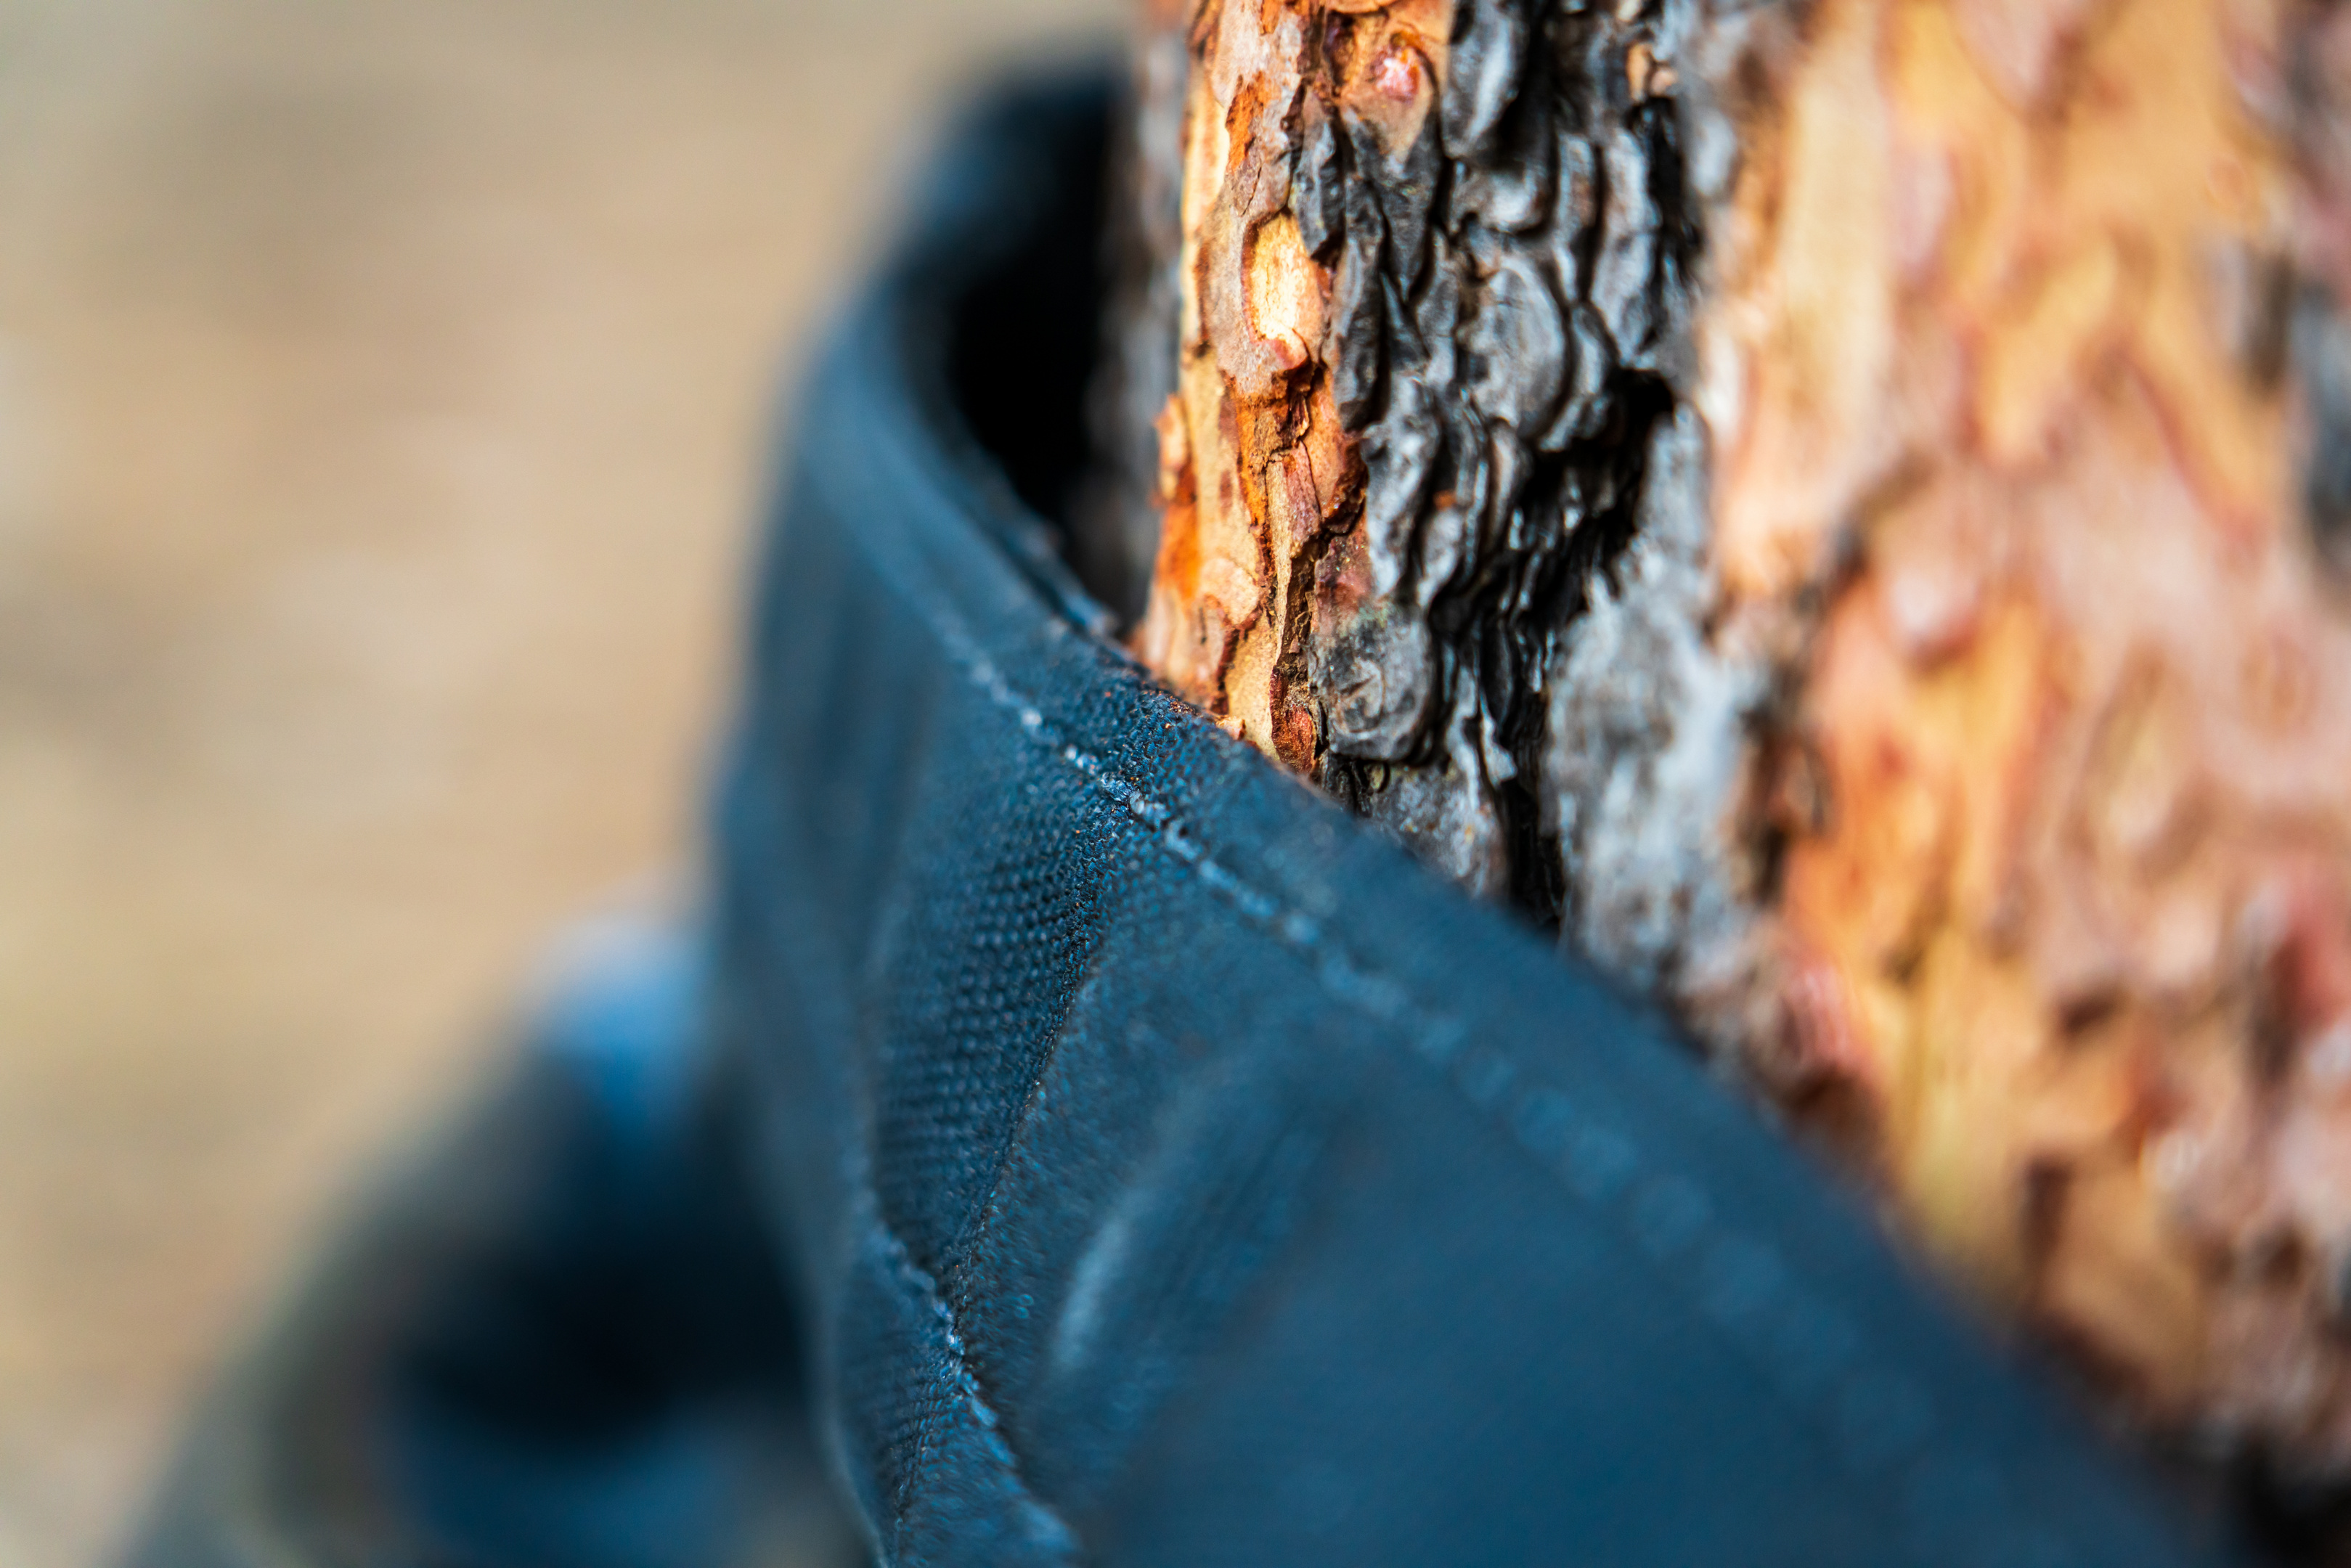 The original Deadman has arms and legs that are made of polyester, much like you would find on a quality recovery strap. While polyester straps can certainly take some serious use, they’re also prone to damage by abrasion and grit exposure, which is why the ruggedized Deadman has his arms and legs sleeved in beefy Cordura nylon. Think of a Cordura winch protector for your synthetic winch line, and you’ll get the idea. Soil loves to work it’s way into your straps and abraid them from within each time the strap is put under tension, and likewise running a strap over a sharp root, rock, or other sharp thing can cut the fibers and compromise the strap. The ruggedized Deadman has completely sleeved straps, so everything from the loop ends at the ends of his arms and legs to the middle of his body is protected. That’s right, there’s no exposed polyester to worry about damaging. Whether you’re burying the ruggedized Deadman in soil that has sharp embedded rocks, or using it to ‘hug’ something like a tree (think tree saver) or boulder, the addition of Cordura nylon “armor” allows the Deadman to better withstand use in abrasive conditions. If that perfect anchor point looks like it might hurt if you were to hug it, tag the Deadman in to do the hugging for you.

 Even when you’re not in need of a winch anchor, the Deadman can prove to be a useful piece of kit. If you’re just a few feet short of where you need to tie your winch into, the Deadman can also work as a winch extension. Tree down in the trail? Use the Deadman to drag it out of the way. Need to haul a boatload of firewood back to camp? Get a buddy and use the Deadman as a giant litter. Taking on some trail repairs on your rig? Unpack the Deadman and use it like a tarp so you don’t have to crawl in the mud under your rig. It’s extremely versatile – just remember to respect his Working Load Limit and you’ll be good to go. NOTE: Although both the original Deadman and the Ruggedized Deadman can be used as winch extensions, they are NOT rated for use in snatching a vehicle or in a kinetic recovery situation.
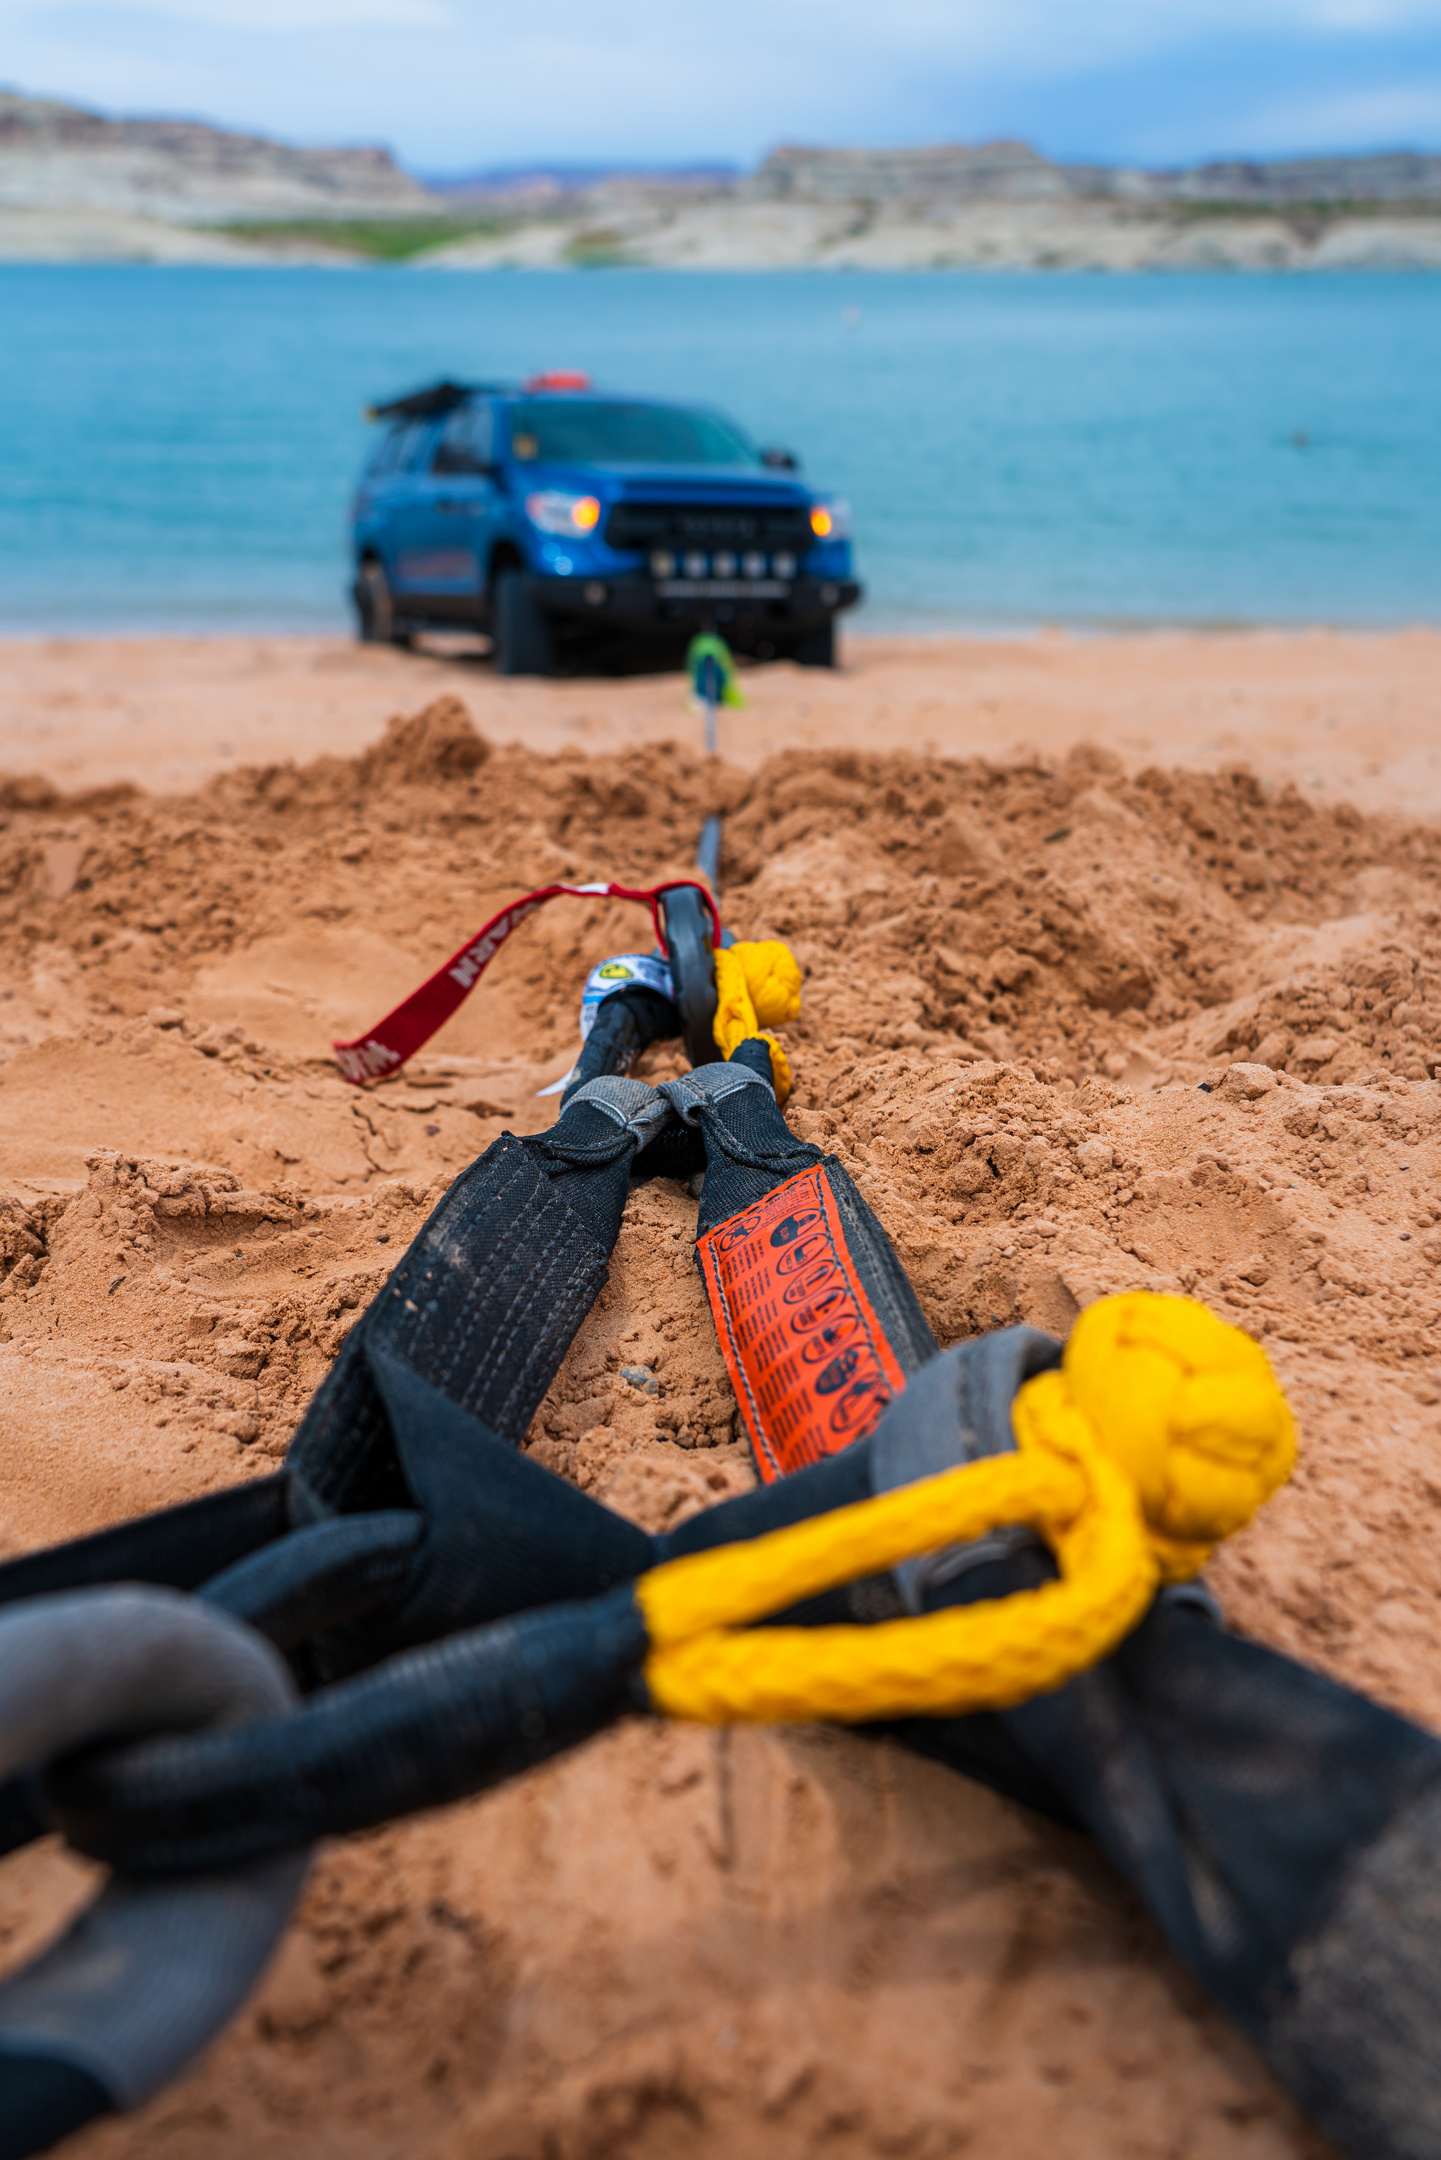
 About the only downside to the Deadman, ruggedized or not, is that you have to provide the hole to bury him in in when you’re burying dead things to create an anchor. Depending on the type of surface you’re digging in, this can be a quick process, or something that’s going to take some real work. If you have serious aversion to physical labor, make sure you’re aware that the Deadman doesn’t just automatically create an anchor for you – you have to do the burying. And likewise, make sure you’ve got enough water on hand to keep yourself in good order if you’re going to be working hard digging a hole on a hot day. As with any recovery situation, doing a proper stuck assessment before wasting any energy can make a significant difference in how much human powered work is required to get out. For example: If you’re stuck in sand up to your frame, taking the time to remove resistance (sand) from the underside of the vehicle and around the tires, will mean that you need less winching force to get out, which means that you won’t need to dig as big of a hole to bury the Deadman in, and your winch won’t emit the dreaded magic smoke. Each recovery situation is unique. Do a good assessment, and figure out how to best employ the tools and skills you have.
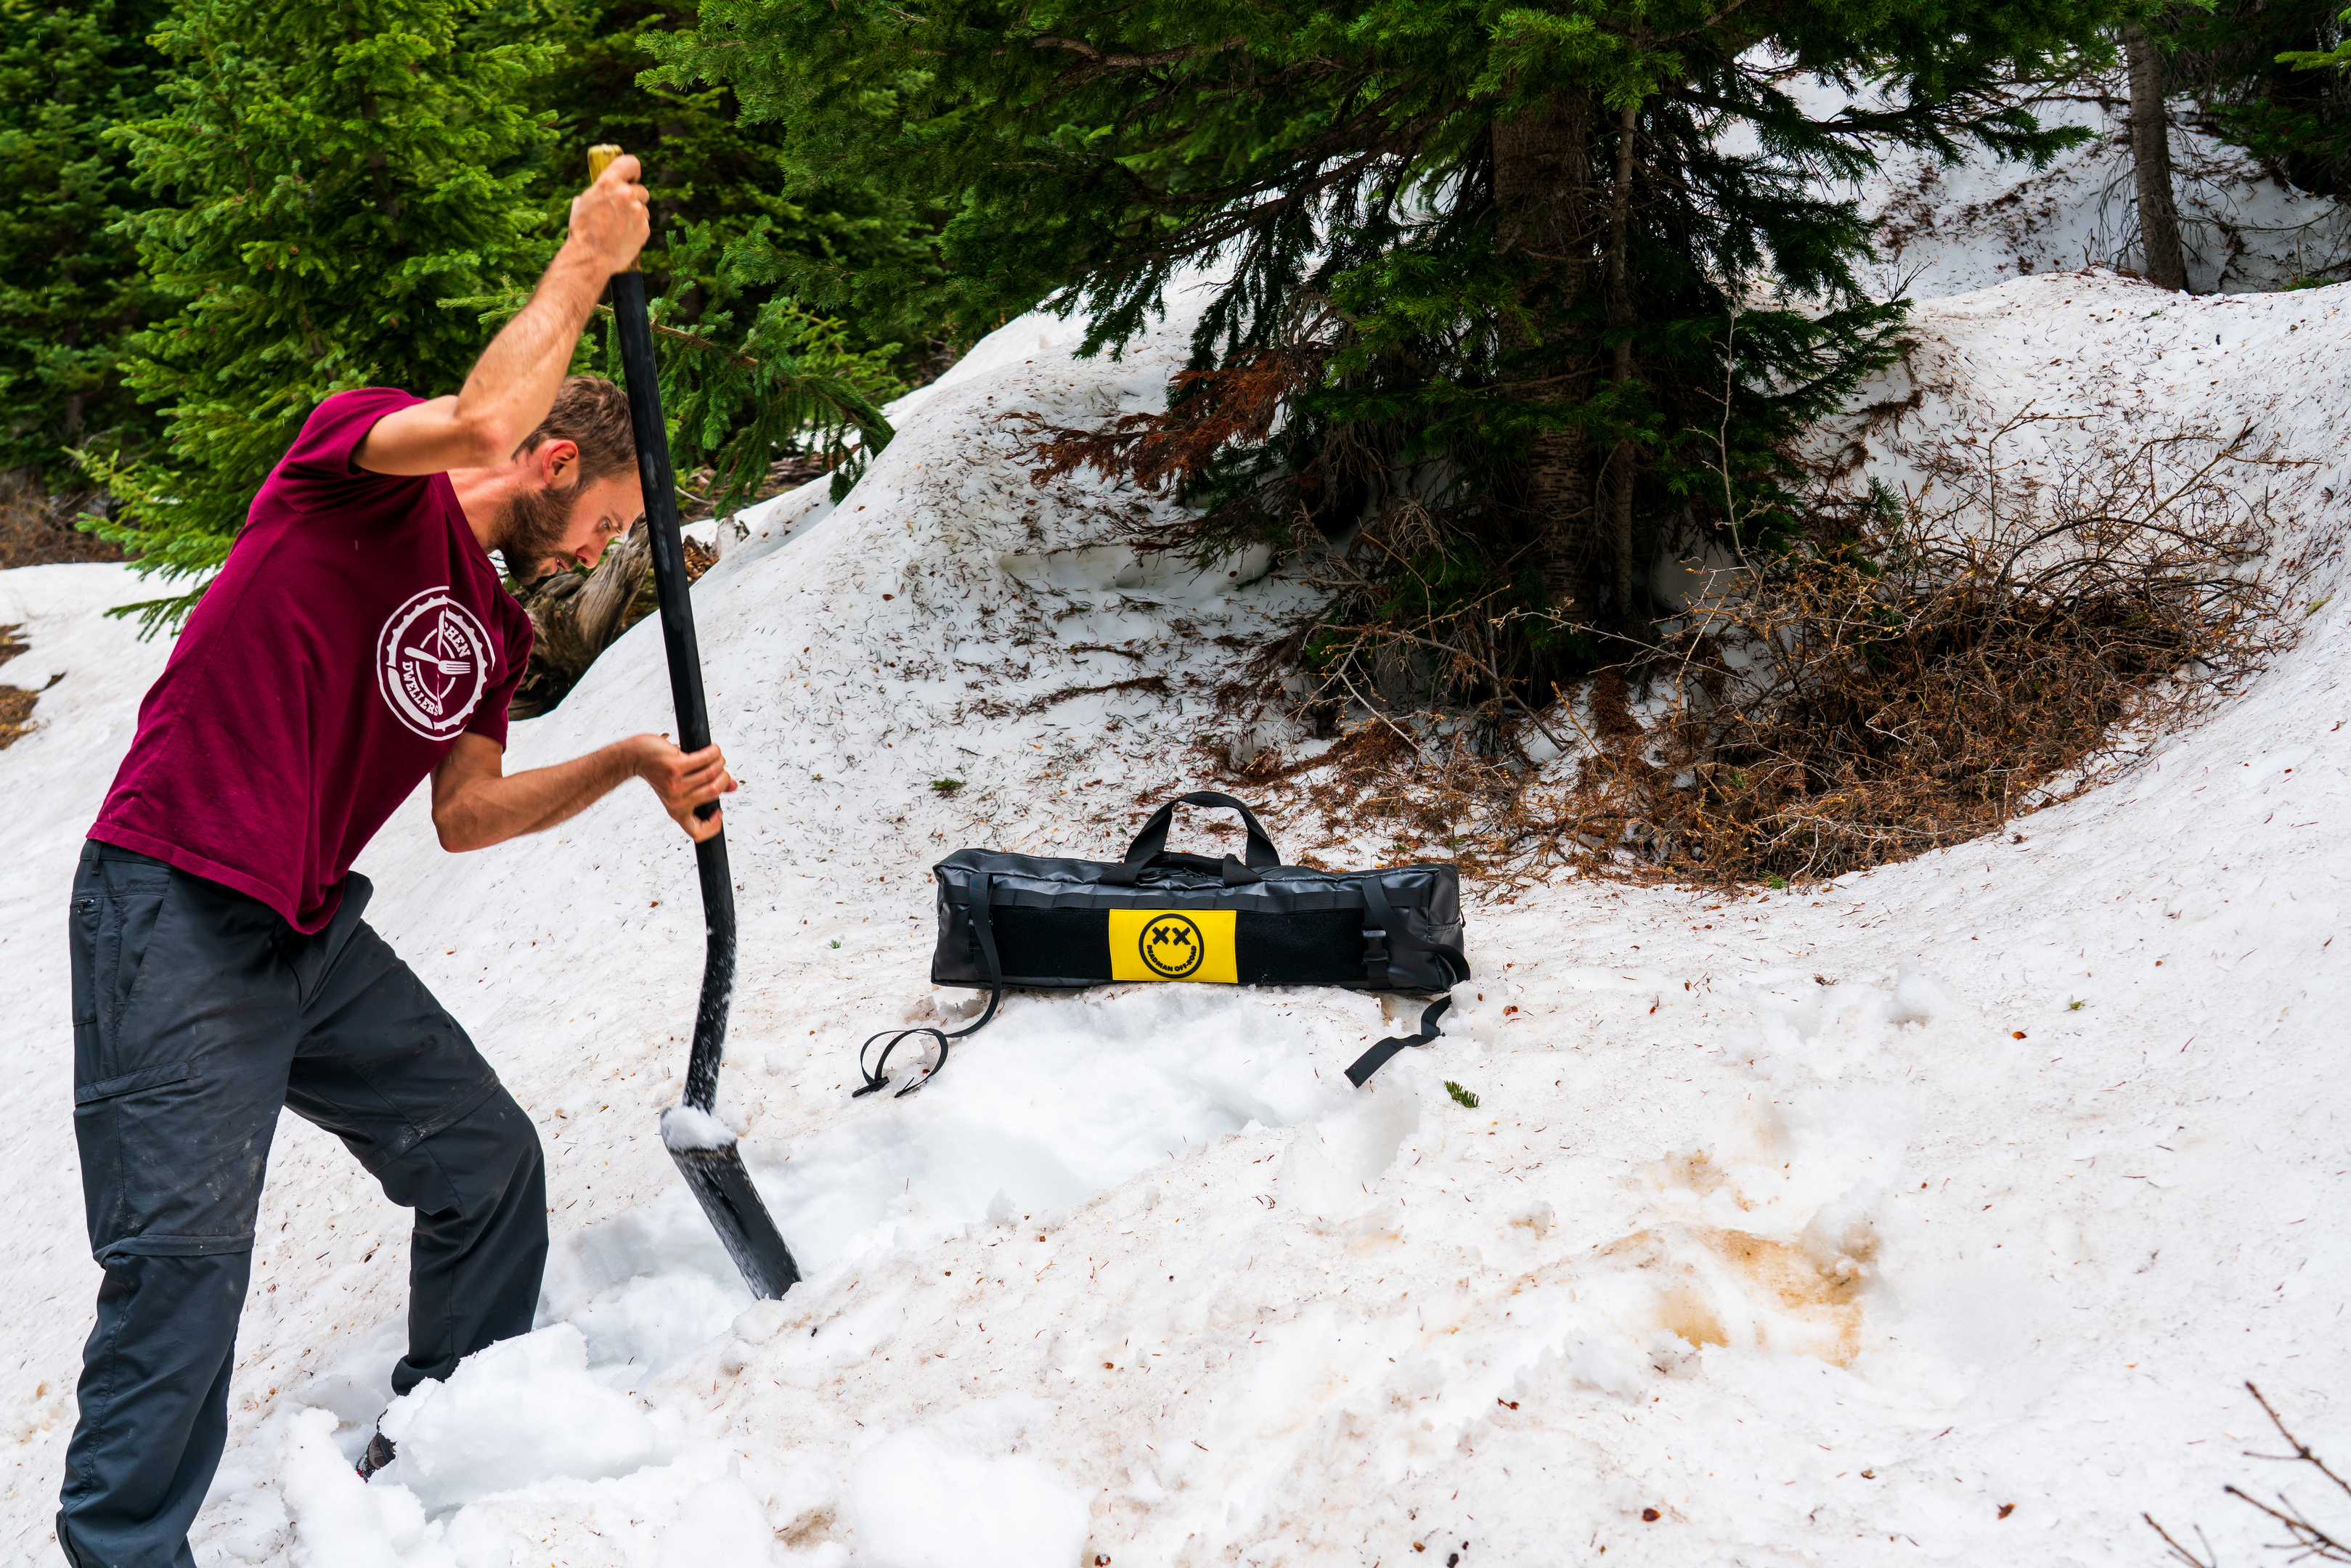

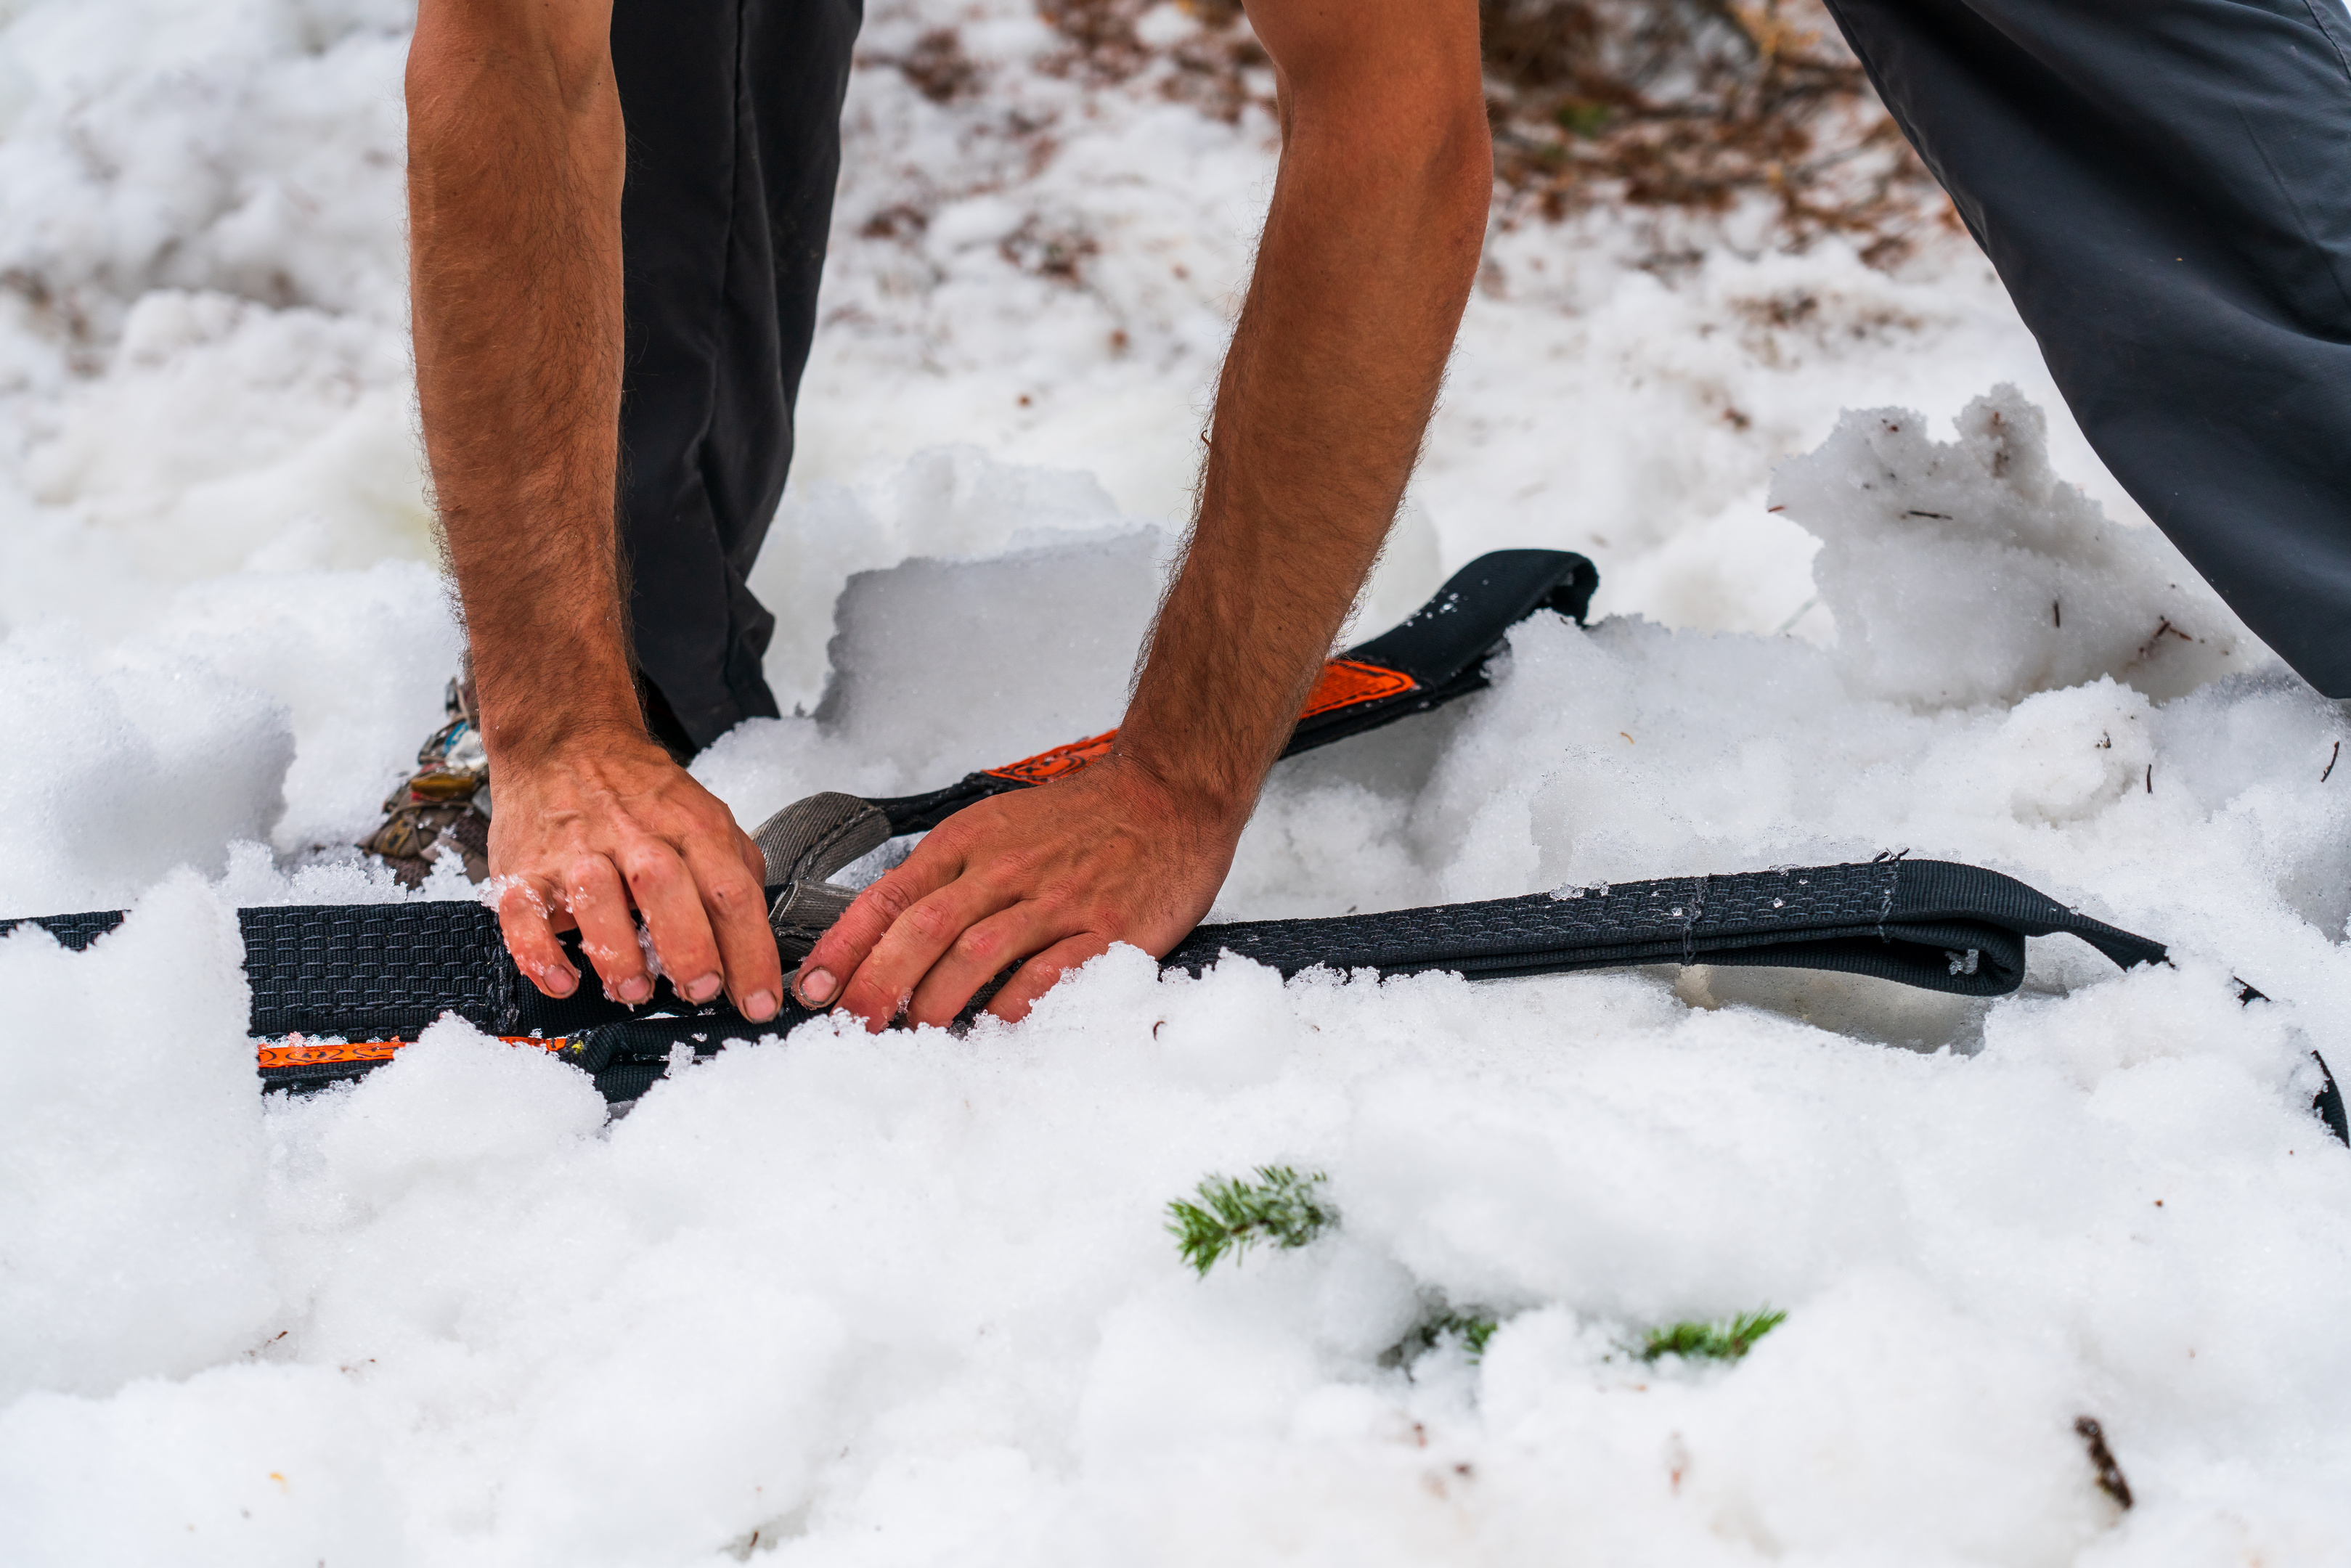
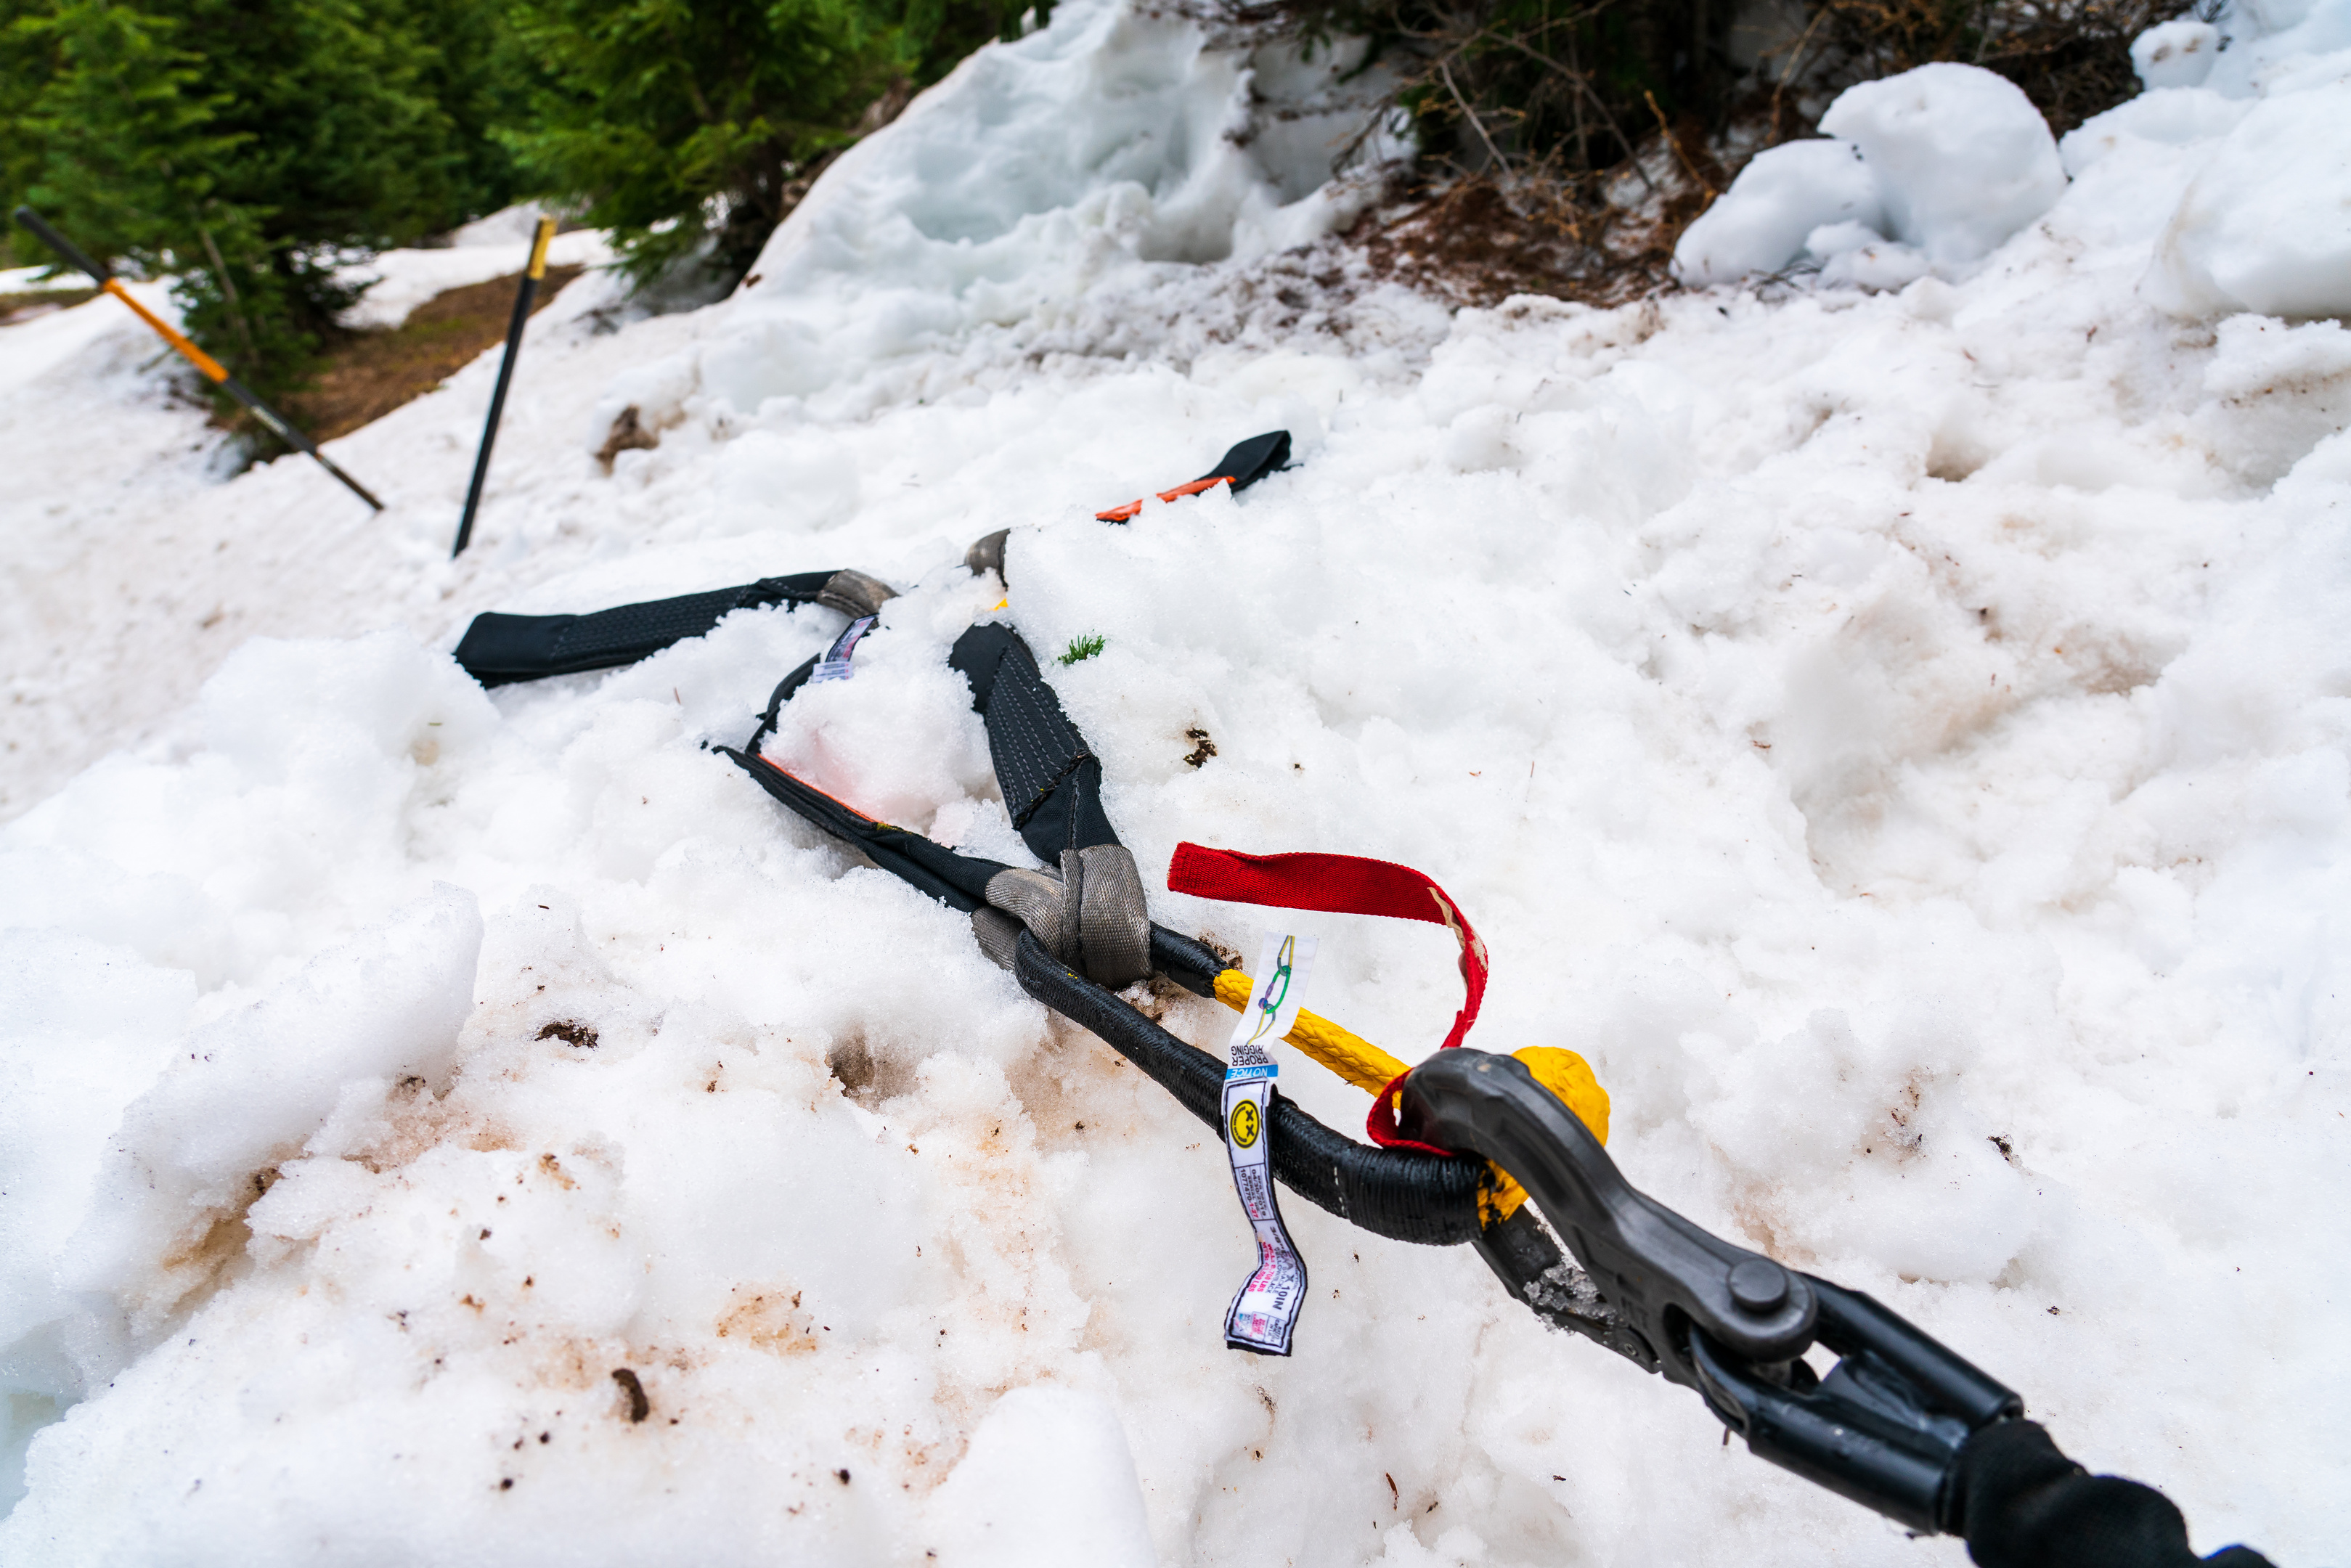


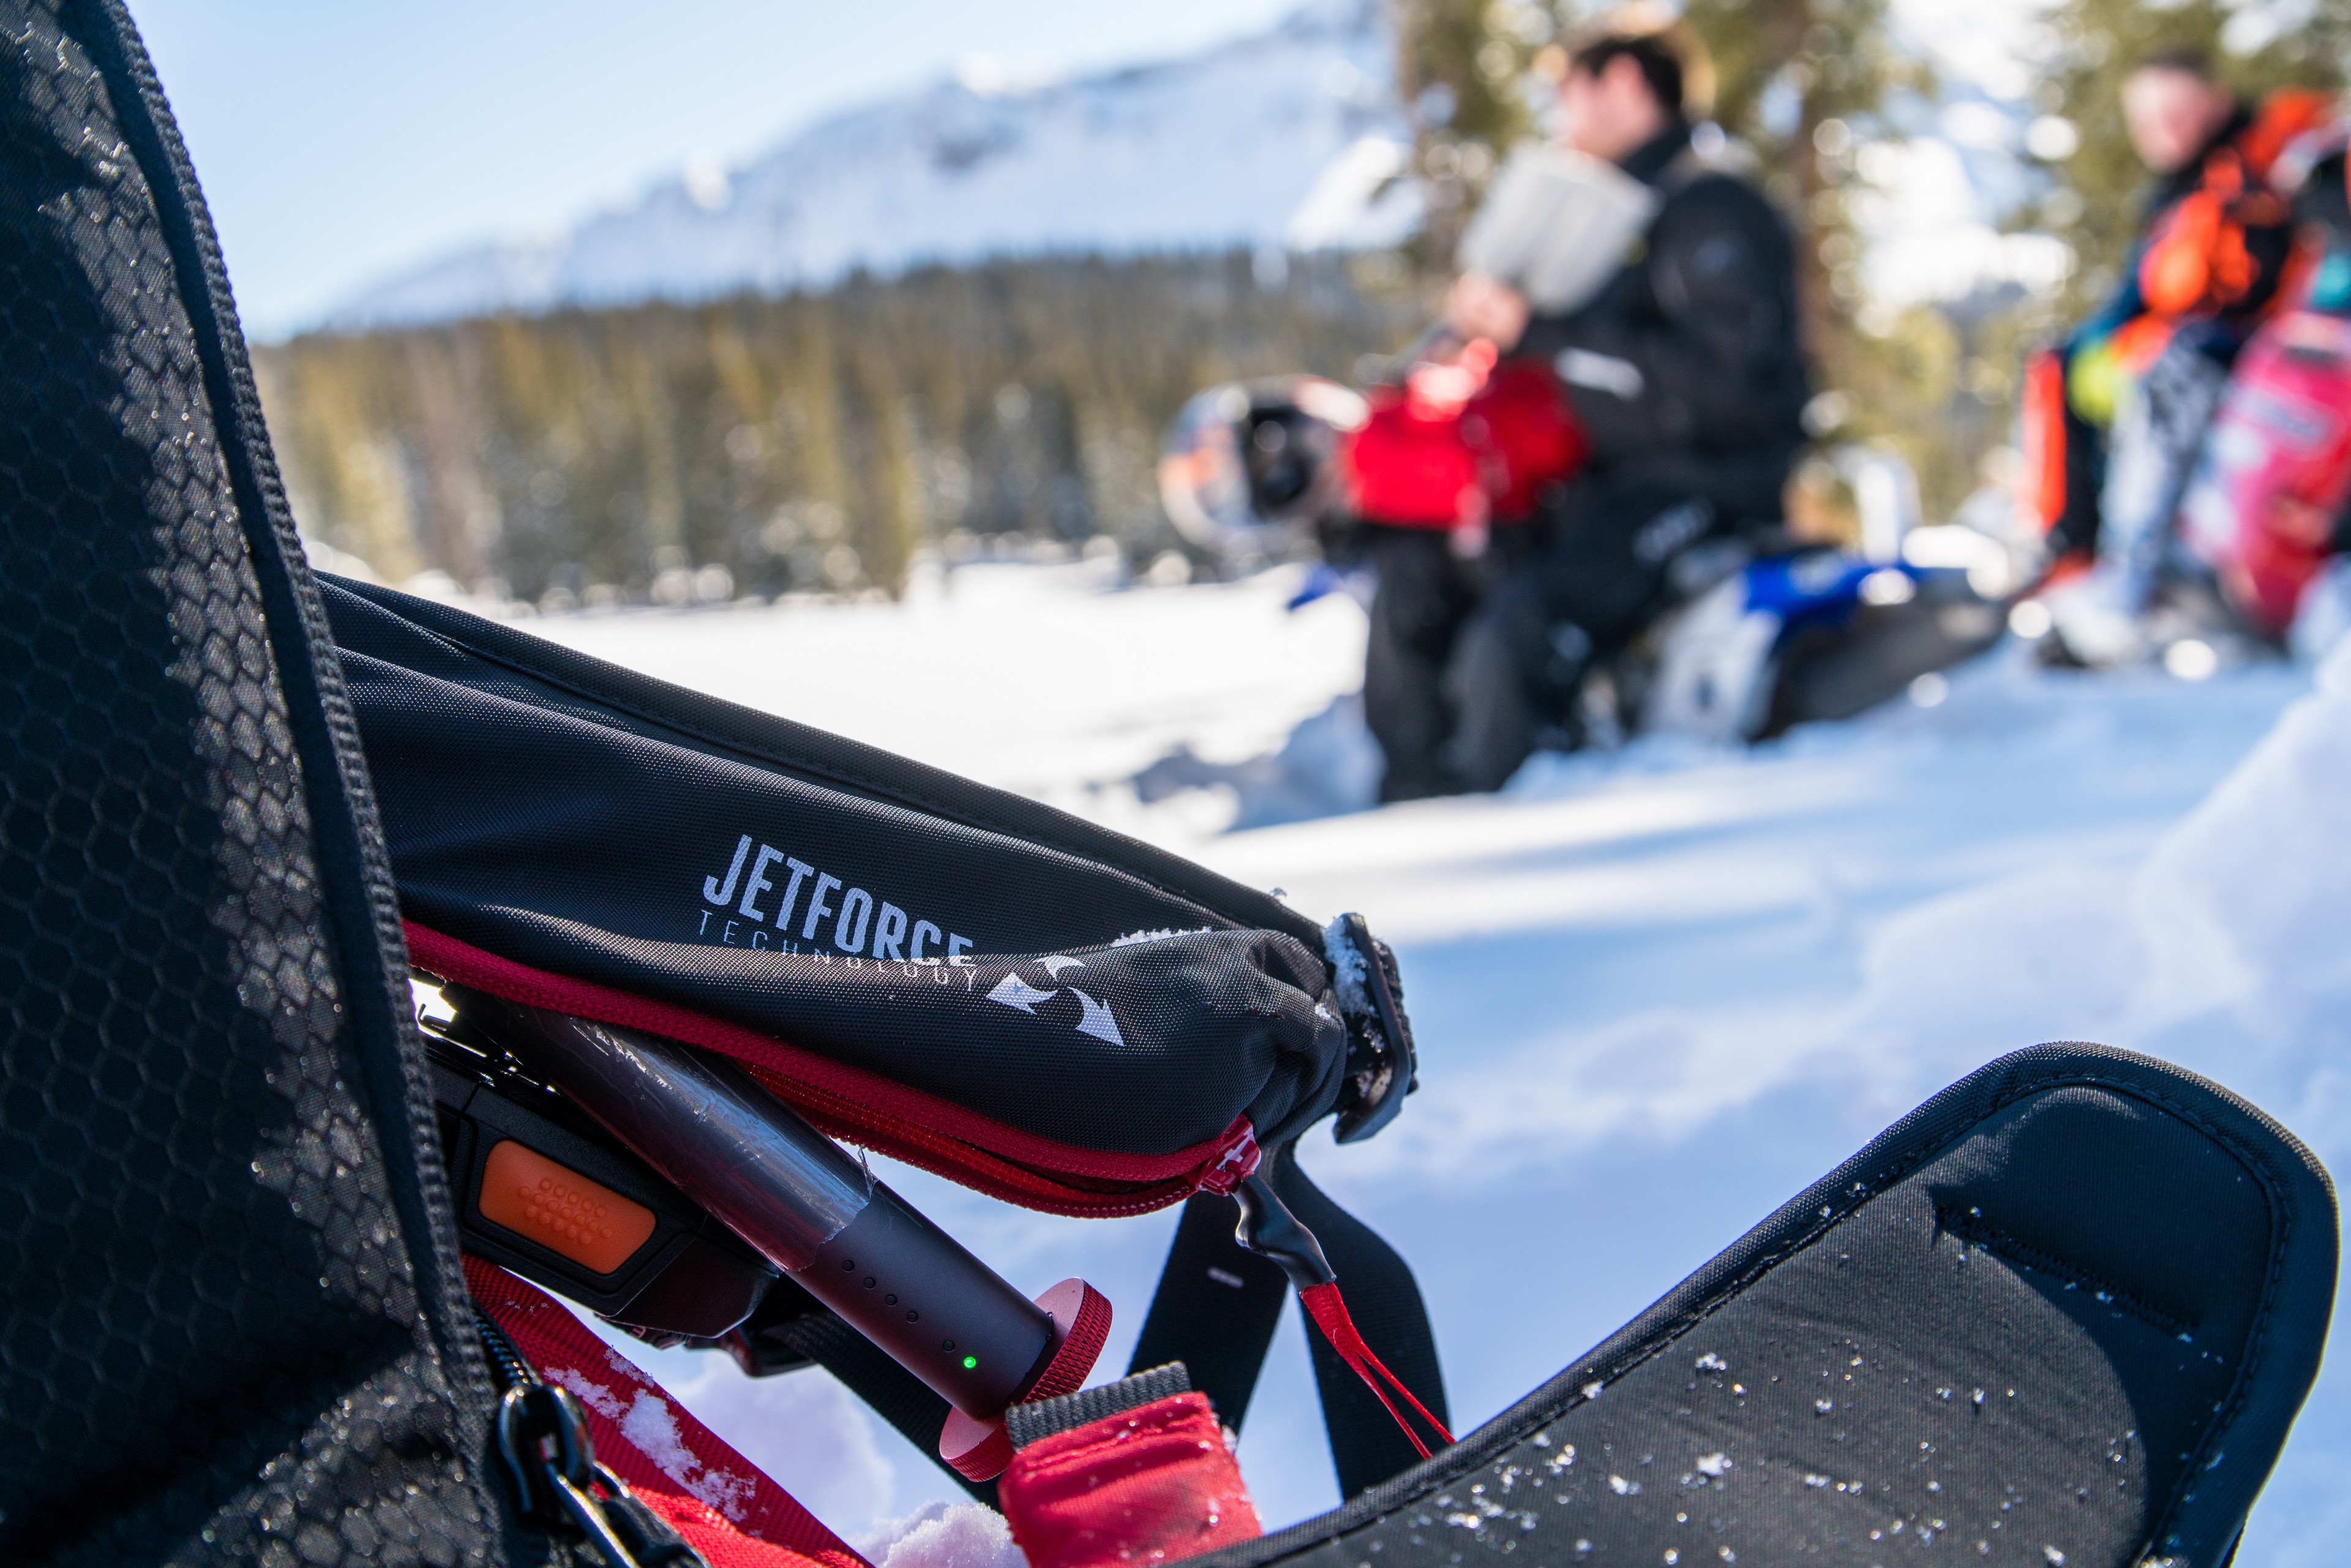
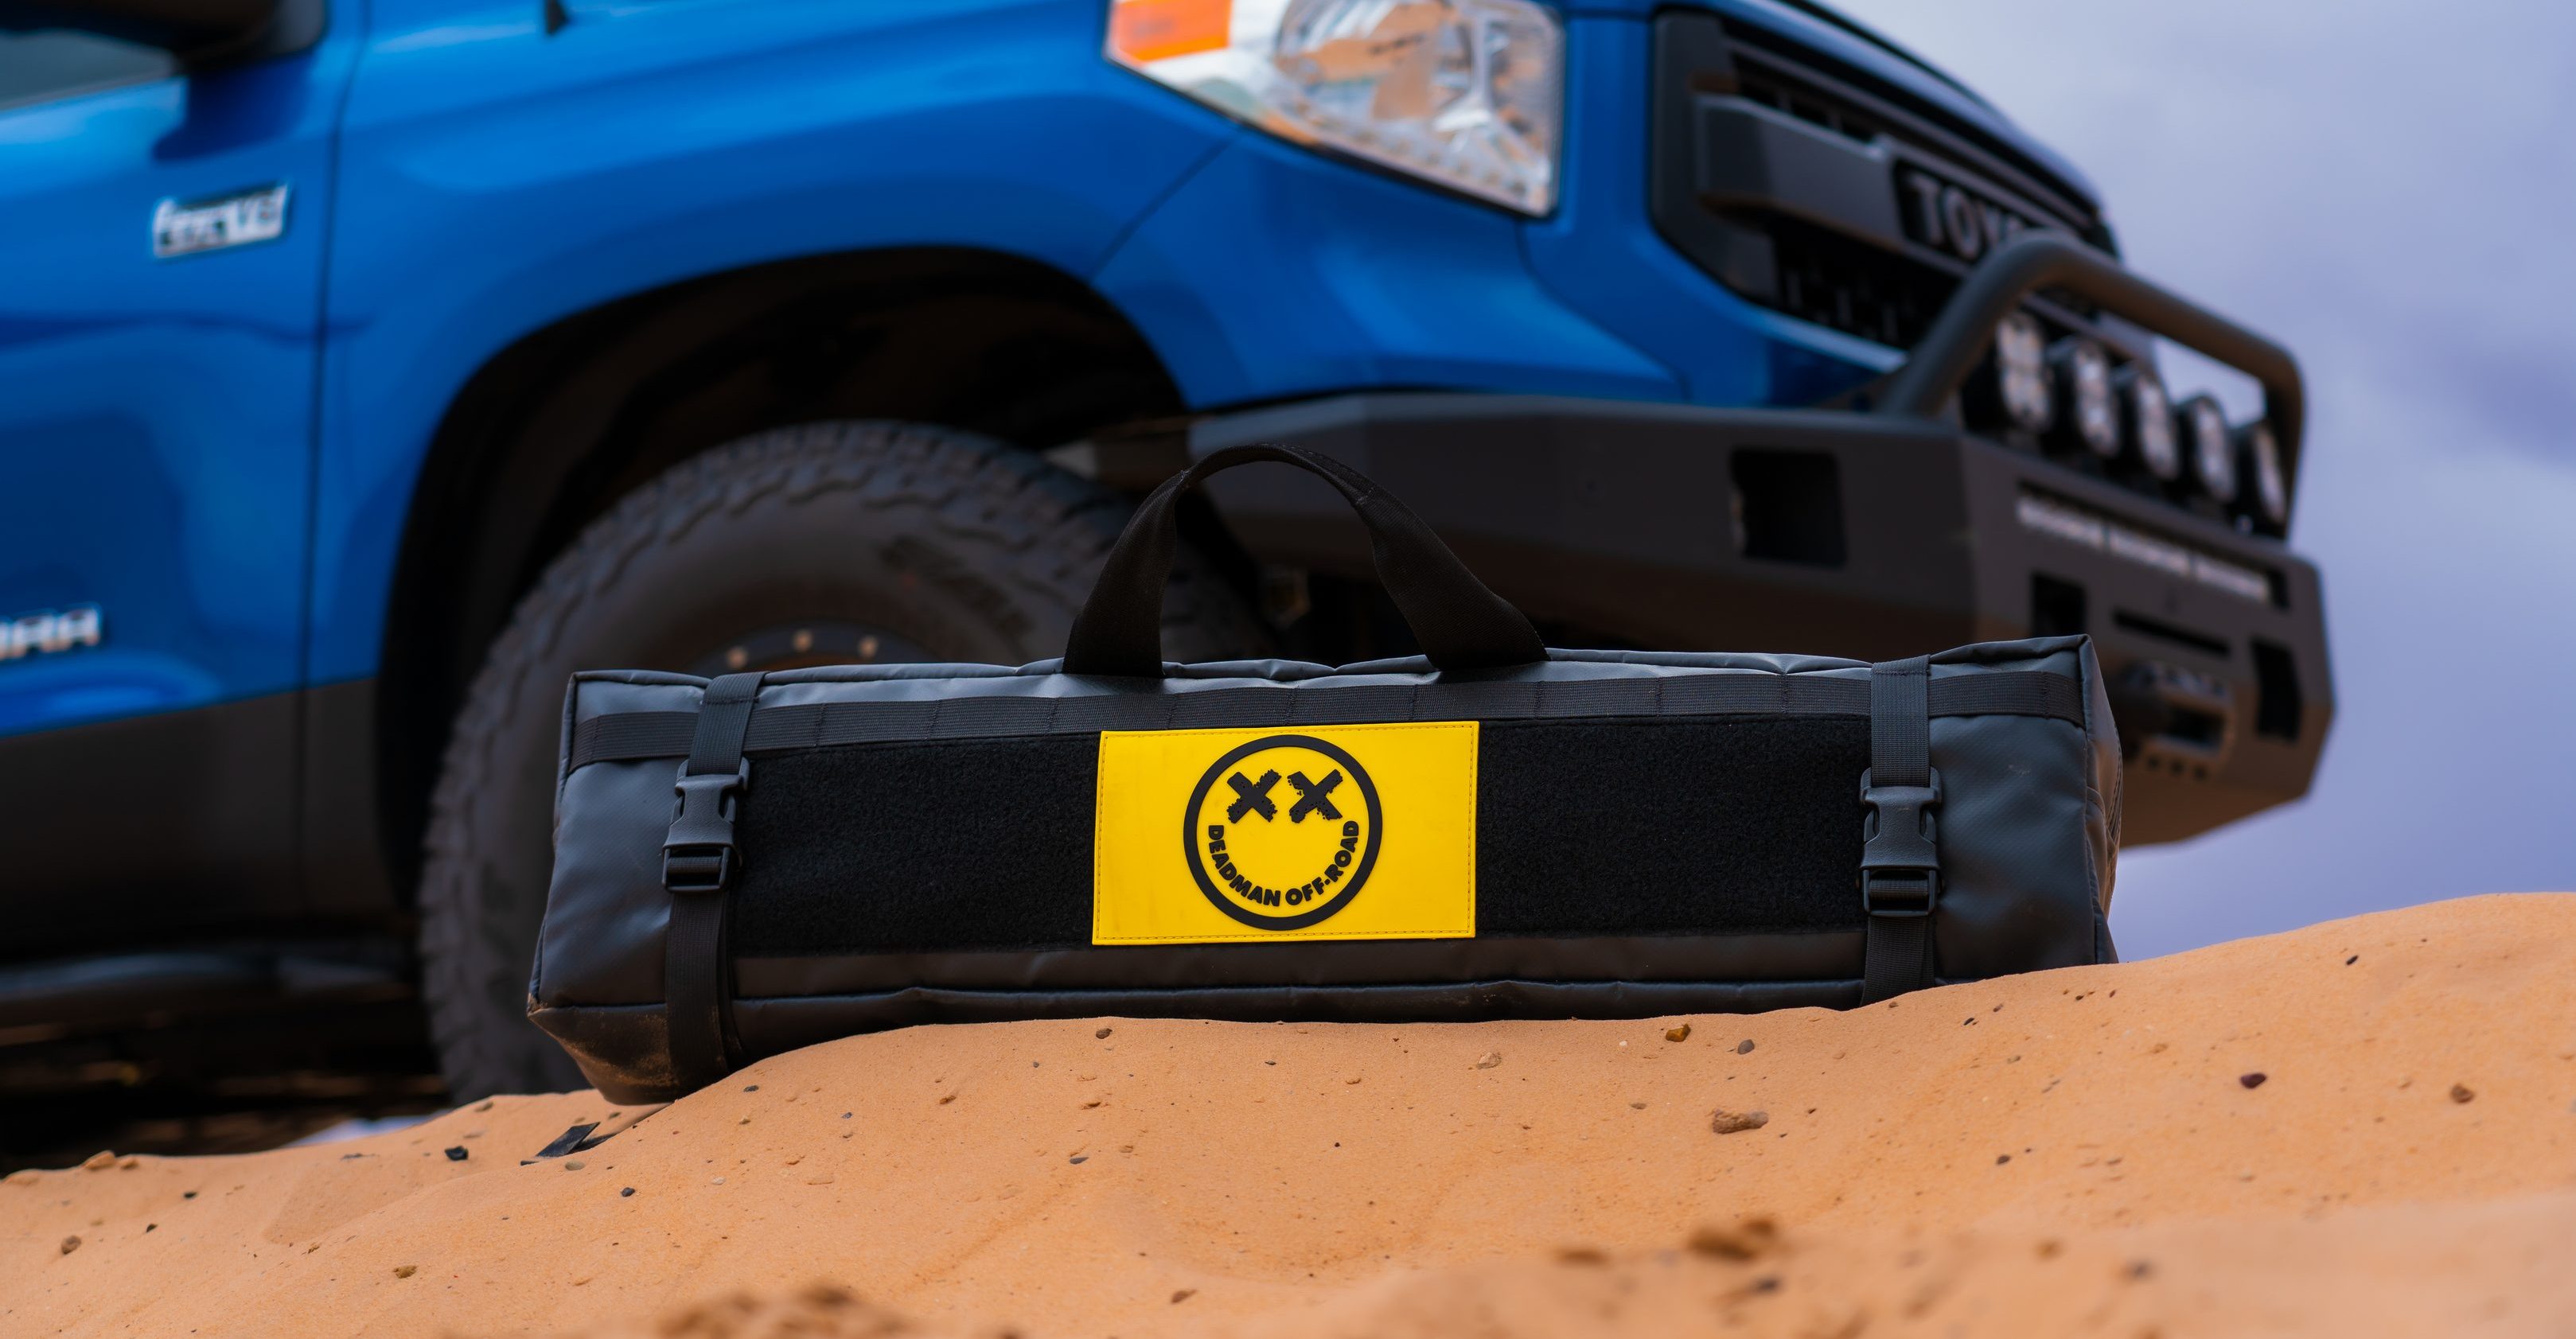
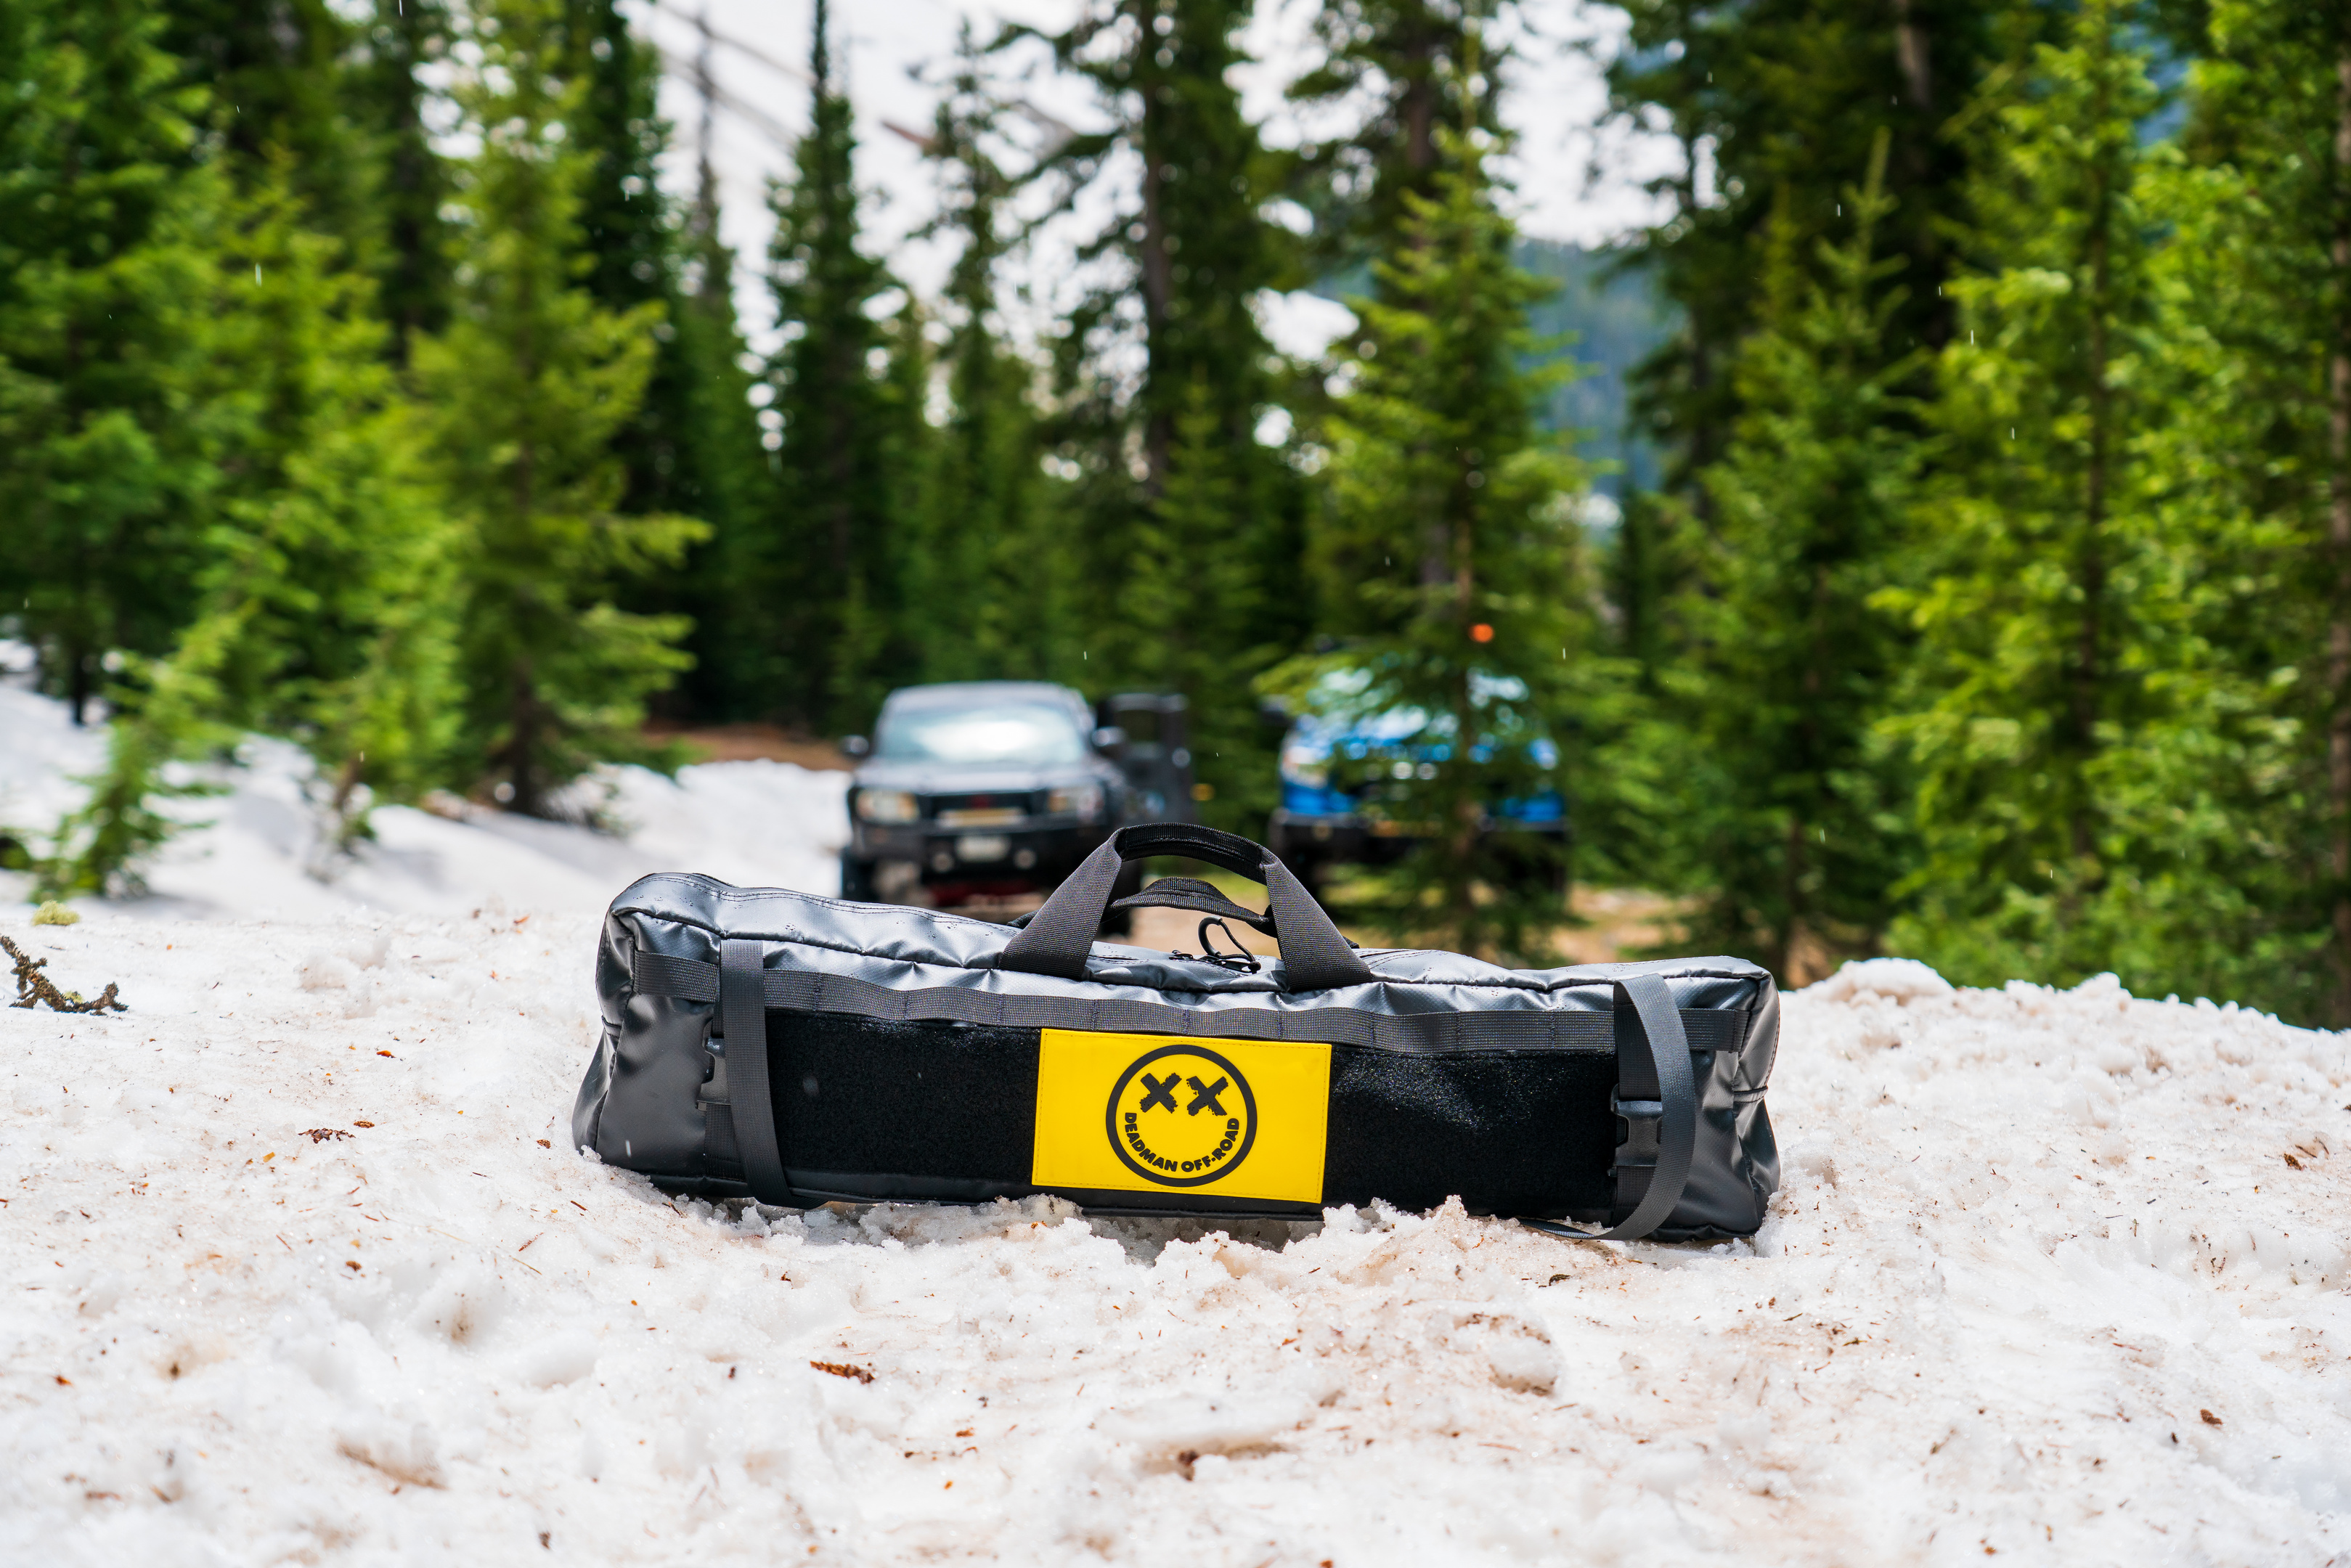
If you’ve been turned off on the idea of carrying a portable winch anchor in your rig because of the space (storage volume), and weight, know that the Deadman packs up fairly small into a bag that’s just as beefy as the actual Deadman. Unlike other anchor systems that like to clank around when all the parts are hanging out together, the Deadman and a couple of shackles (Speaking of shackles, you’ll need two to properly tie into the Deadman, and the shackles that Deadman Off-Road sells are top shelf.) can ride in total silence in the included bag that can be strapped to a roof rack or roll bar to keep everything easy to get to. Even if the Deadman is stashed in his bag, the whole system is light enough that you don’t have to worry about gear that’s adjacent to, or under the Deadman getting beat up or damaged as you’re bouncing down the trail. This means that you can actually have the Deadman somewhere that’s in reach as opposed to the folks who in my experience like to bury their portable anchors at the bottom of their vehicles where a serious gear explosion is required for access.
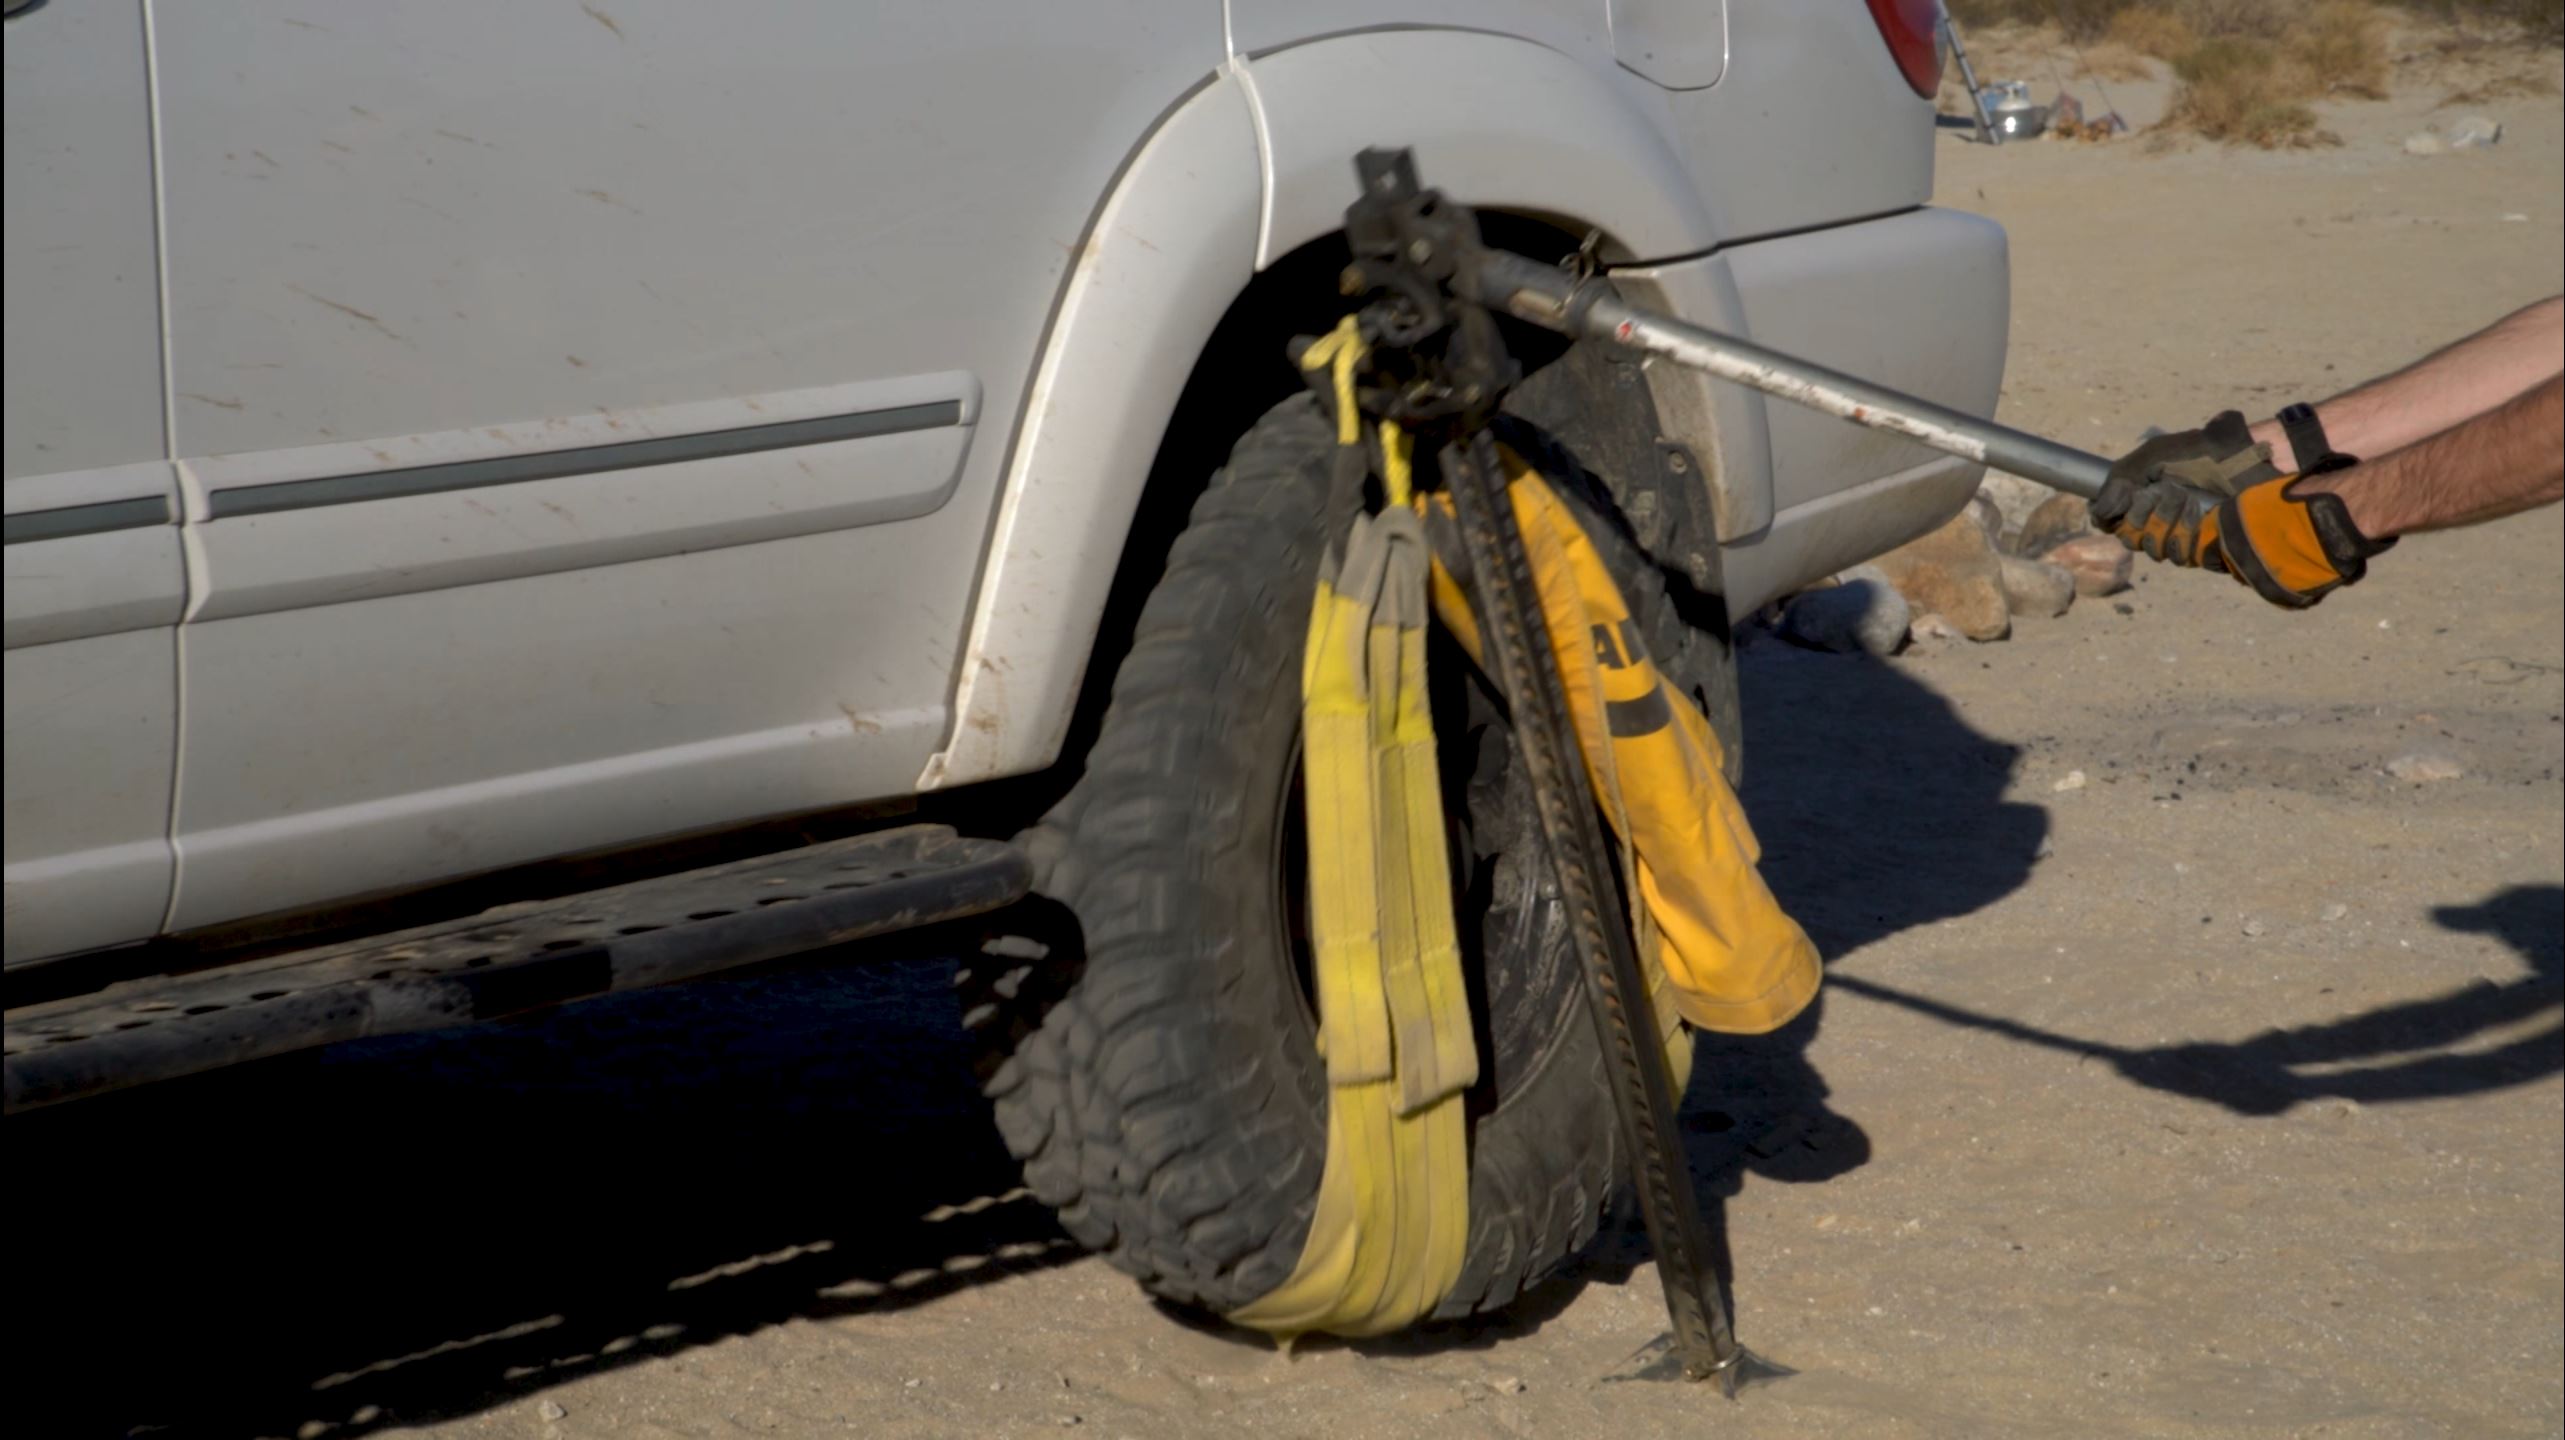
The Deadman Earth Anchor is like a Swiss Army Knife for your winch – and that makes it value added. When trees or big rocks are around, the Deadman is the go-to piece of gear for tying into such anchors, and after repeated use on Ponderosa, Doug Fir, and Blue Spruce bark, he’s a little sappy but no worse for wear. I can’t say the same for the polyester tree saver I recently retired. Likewise, the Deadman holds onto boulders and rocks much better than a single tree-saver strap that could slip on the anchoring feature. When you want to impress your buddies with your fancy Hi-Lift skills, the Deadman can also be used to do a castaway with a Hi-Lift jack, and be employed to help out in so many ways in a recovery situation. Adding ruggedization to the original Deadman takes a great product and armors it up to withstand even more use. If you’re the type of person who uses their winch regularly, or who regularly participates in recovery situations, the ruggedized Deadman is a no-brainer. If you have either Deadman with you, you can travel the world knowing that as long as you’re not afraid of a little exercise, you have a light weight option with you that can save the day. The question is, how will you use your Deadman Earth Anchor?
 FULL DISCLOSURE:
Deadman Off-Road provided a sample Ruggedized Deadman Earth Anchor at no charge to the author or American Adventurist for the purposes of this review.