
Editor’s Note: This article was updated on 2/10/2020 to include cold weather testing, as requested by our members. Find it below. -Chad
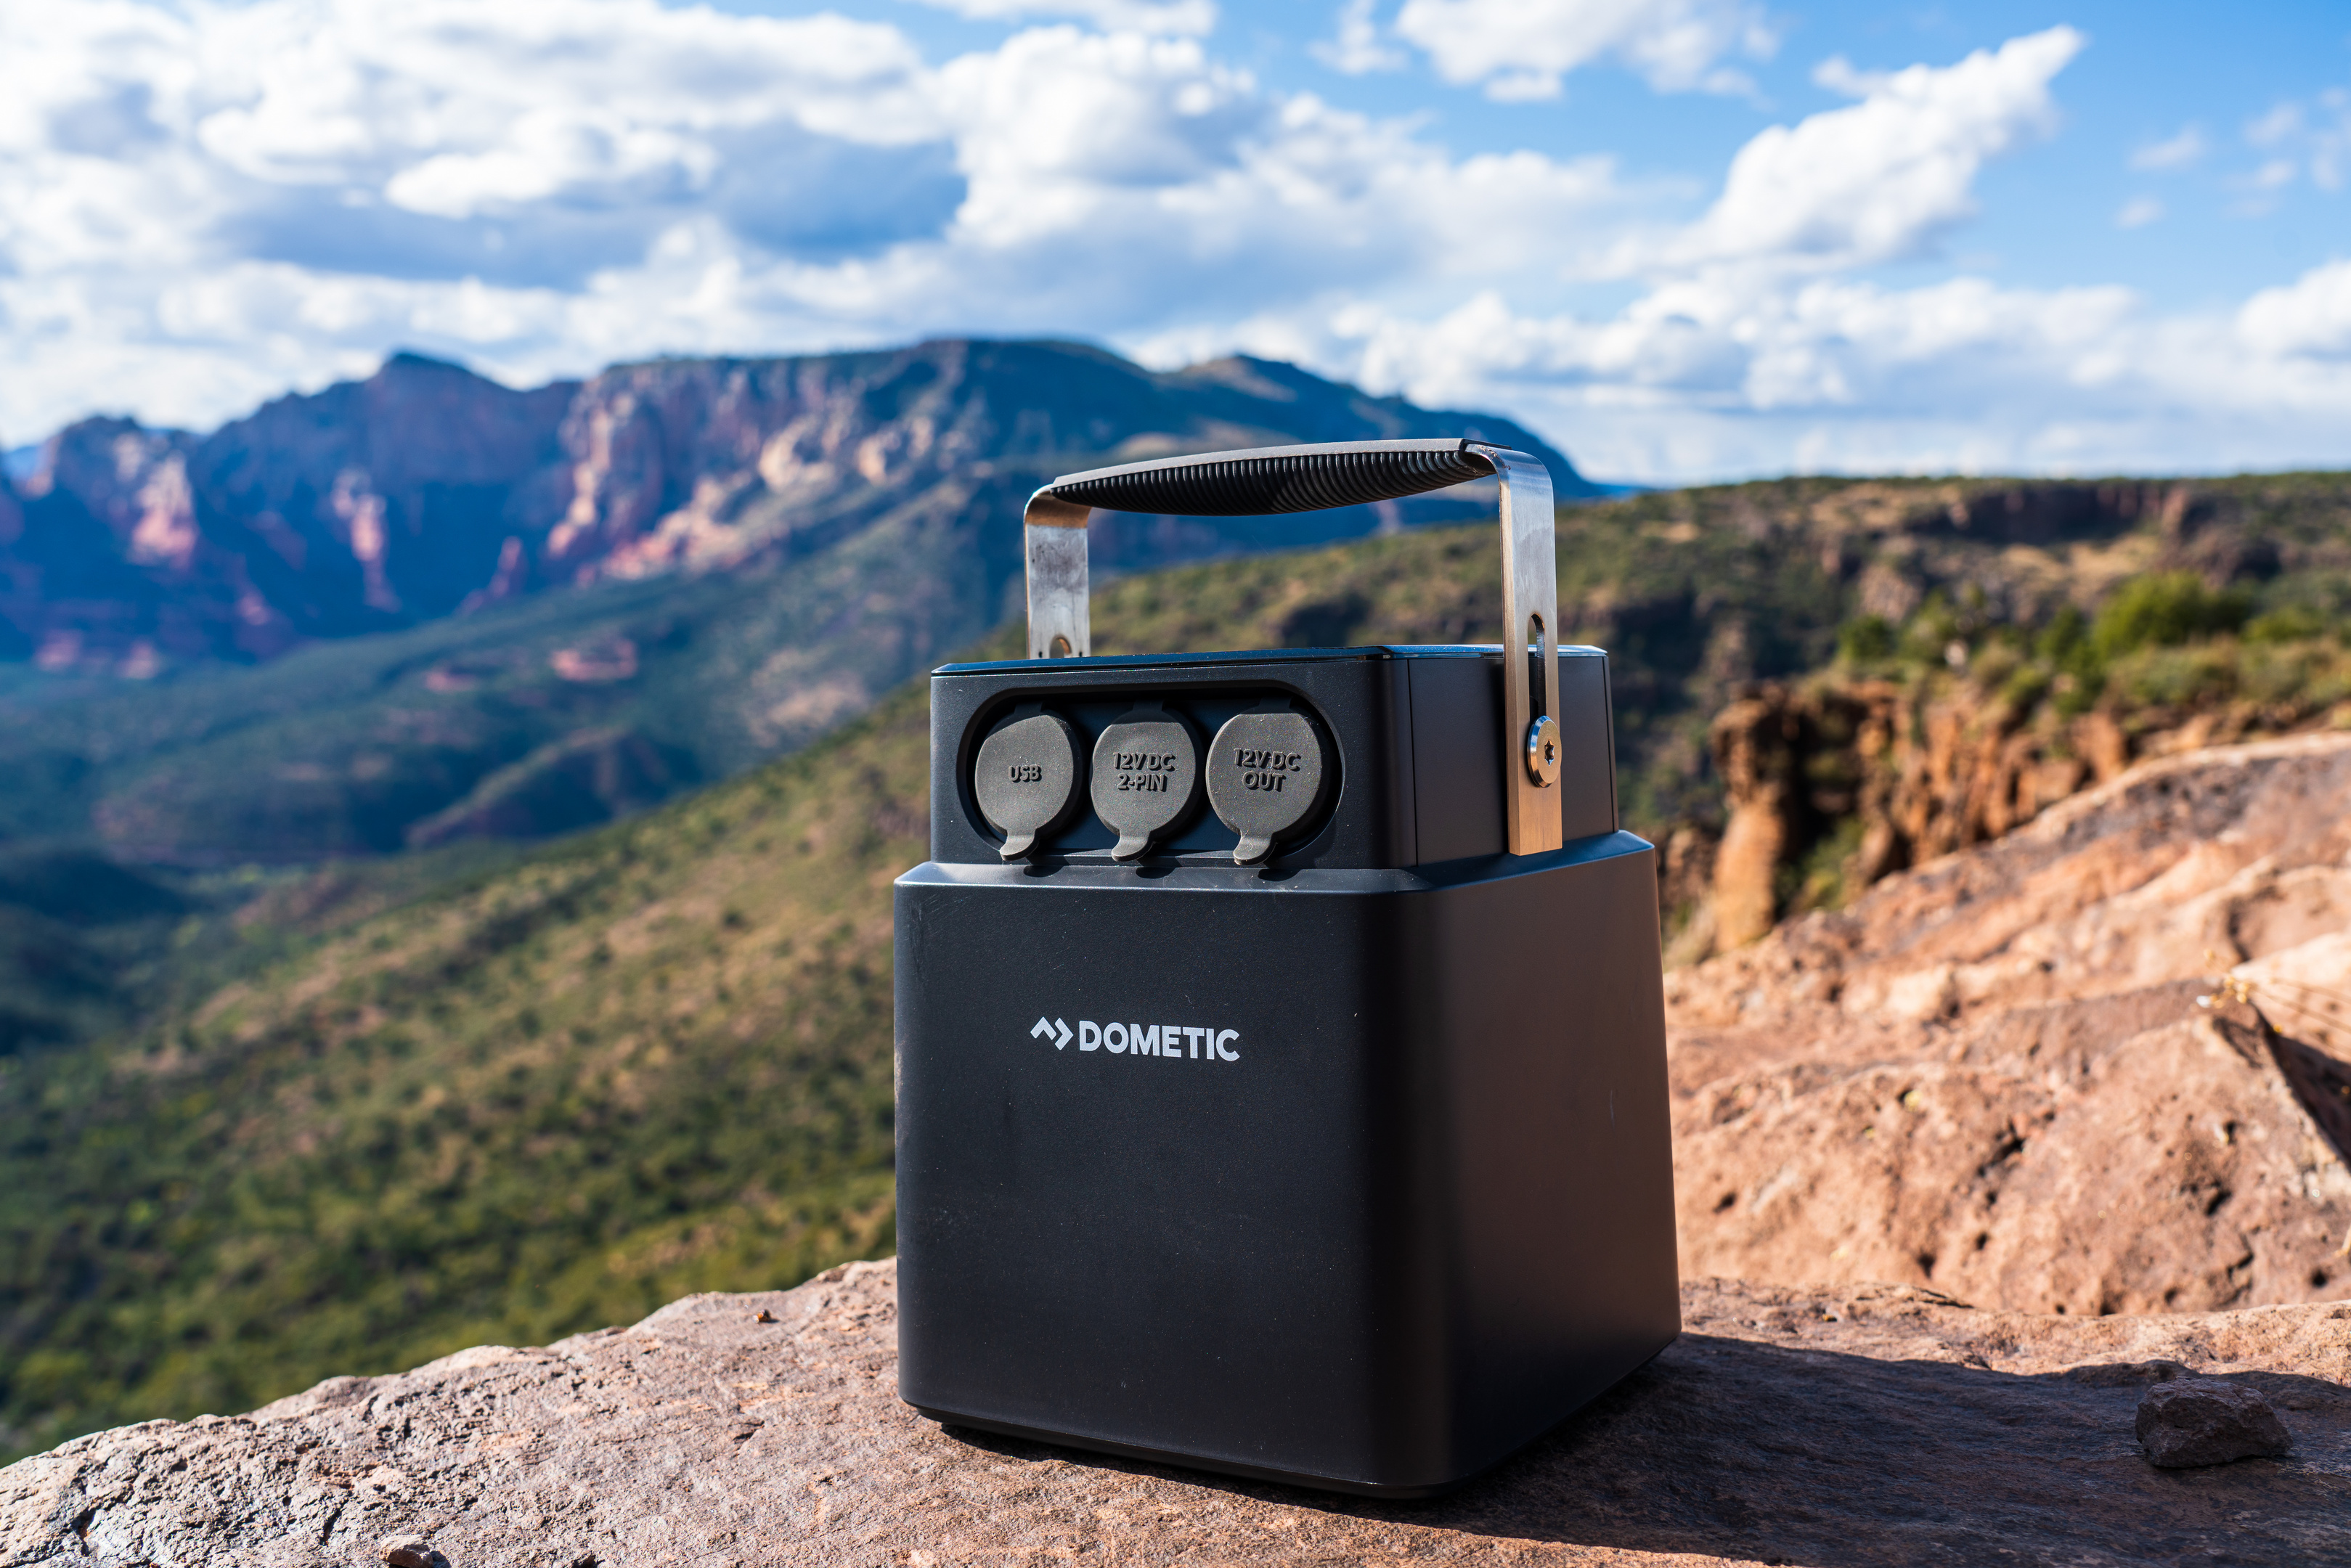
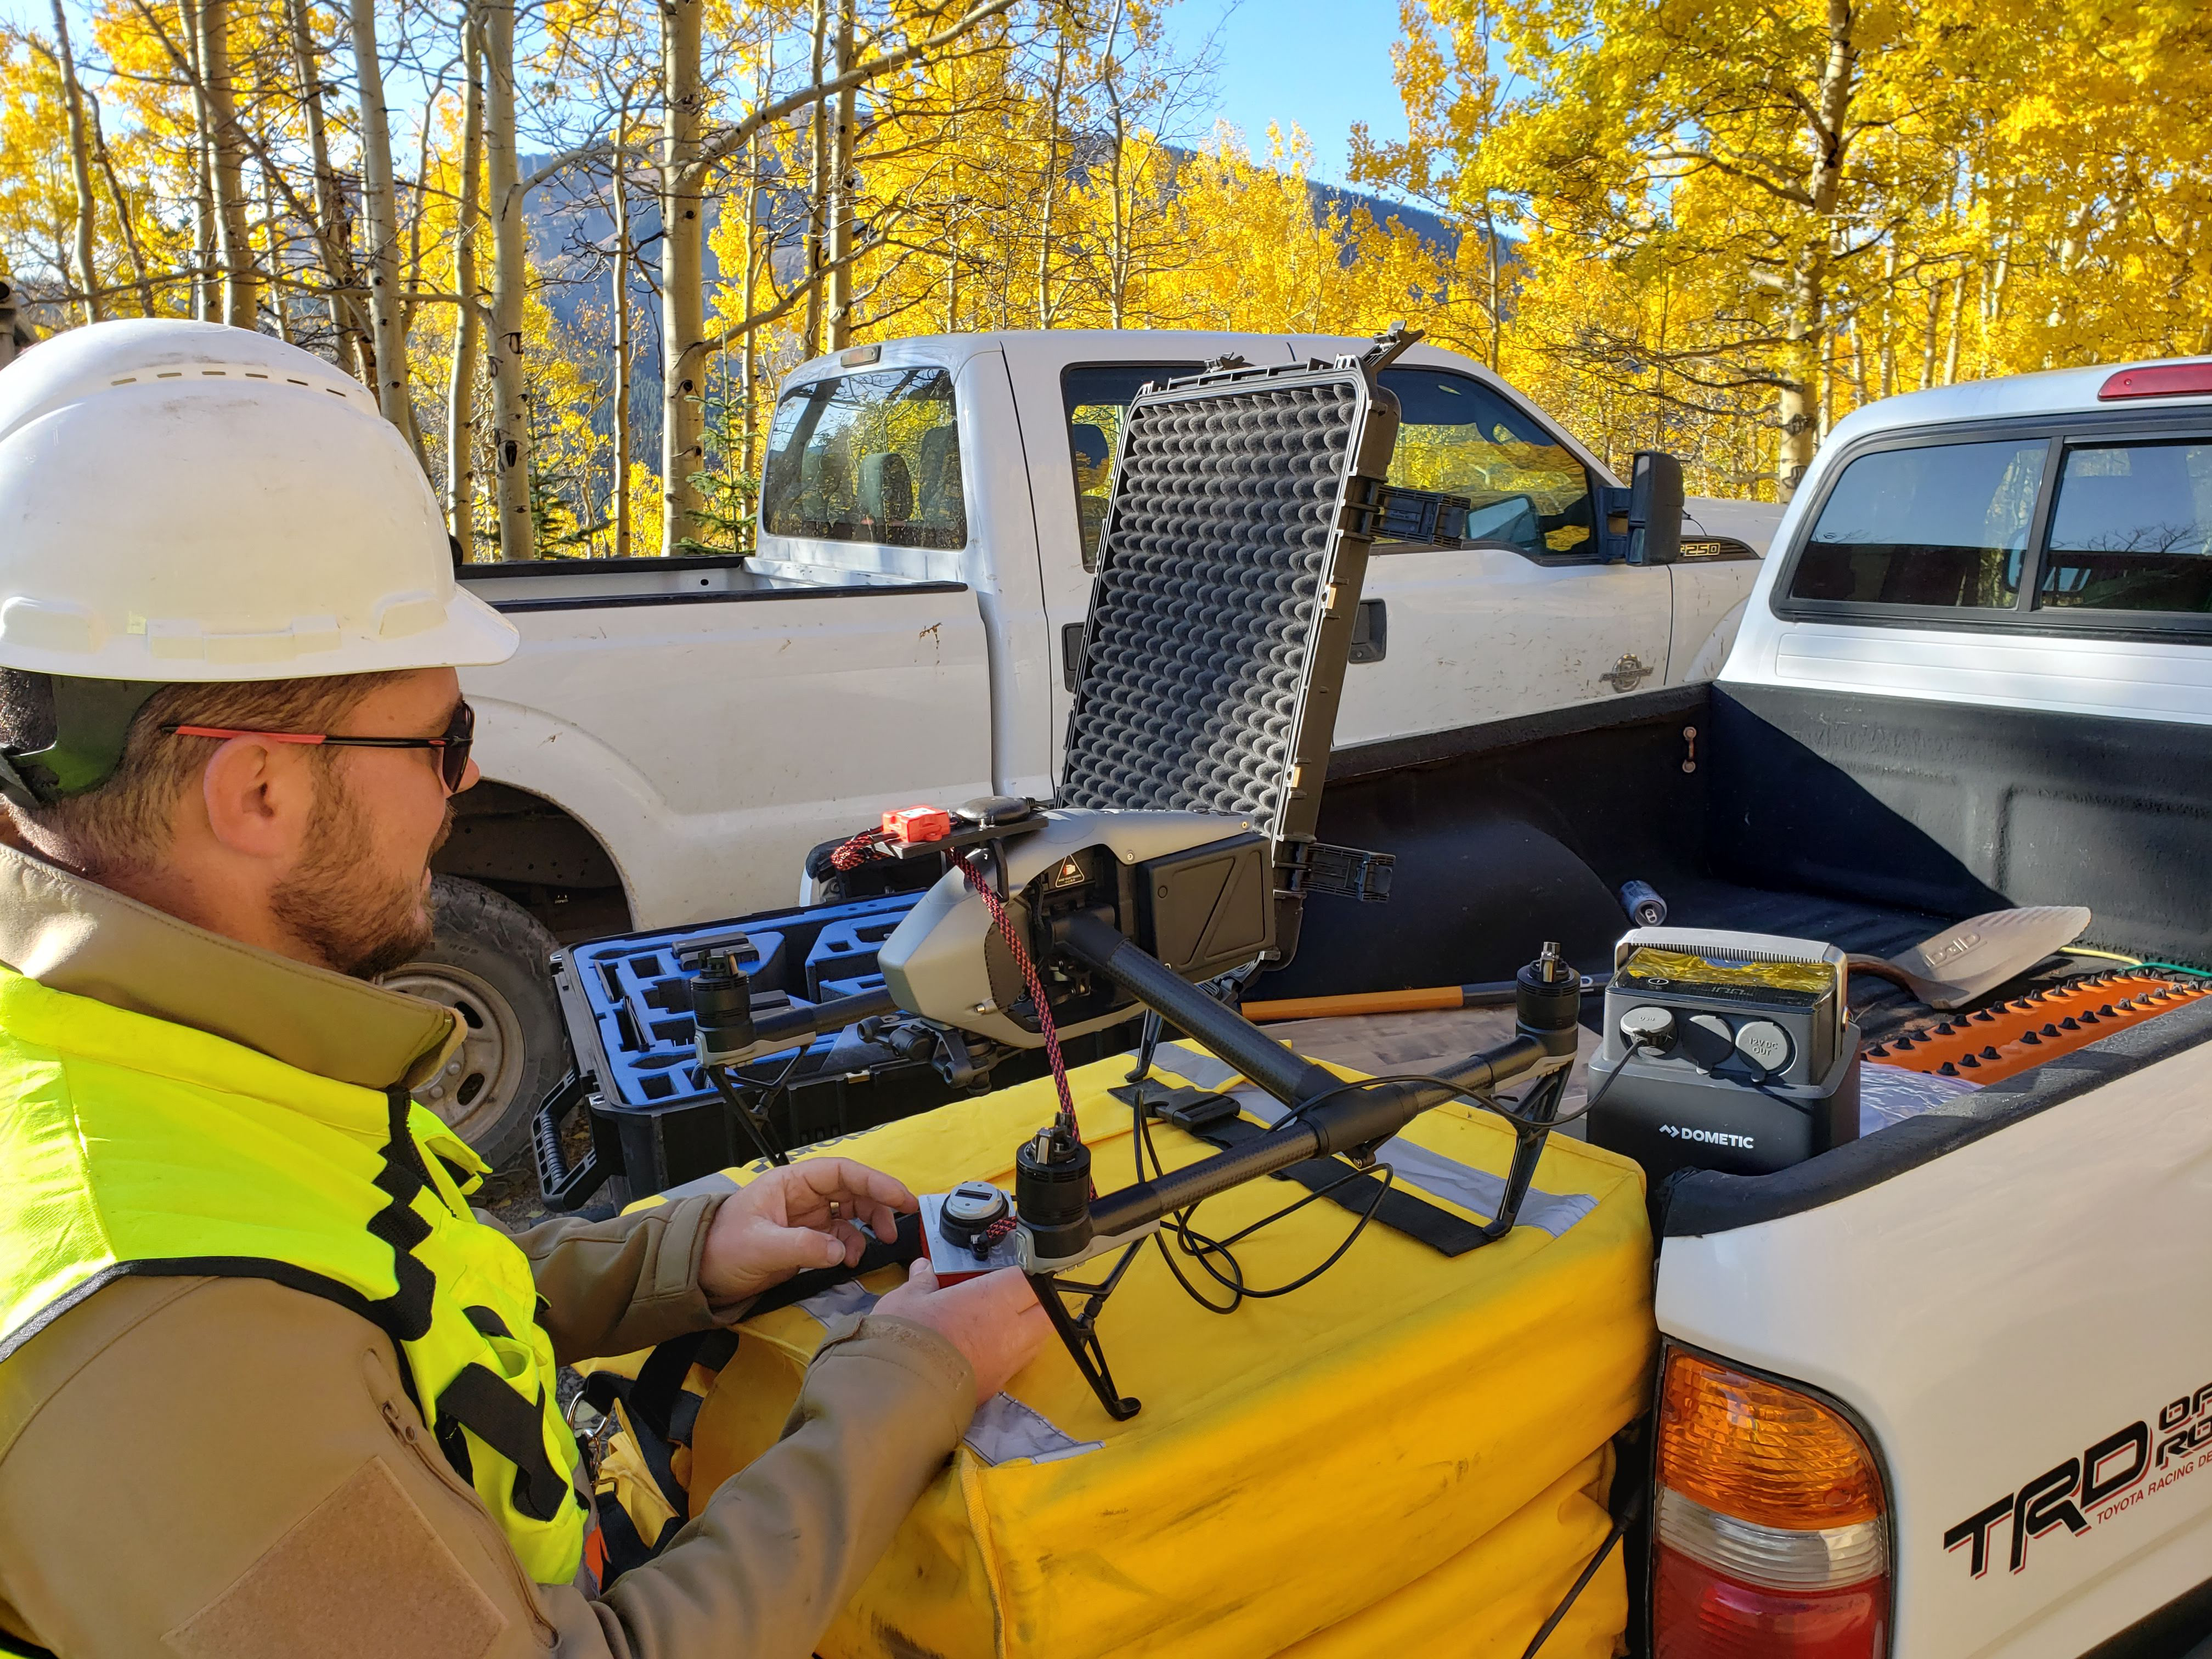
Dometic’s PLB 40 is a truly plug and play portable battery solution that allows anyone to have a dual battery system in any vehicle. That’s right – no custom wiring or additional purchases required. As long as you have a 12V outlet in your rig that can supply 100W, you can plug in the PLB 40 and enjoy an additional 40 Amp-Hours of power that can be used to power whatever you want. This means that you can power 12 V cigarette-style devices like an electric cooler, your USB devices, and two-pin 12V appliances without pulling from your vehicle’s starting battery.
Dometic certainly isn’t the first company to make a portable battery, but the ease of use and a few electric cooler-specific optimizations to the PLB 40 make it a great choice for folks who want to be able to use their electric coolers in just about any vehicle, or have a versatile supply of power in anywhere they may need it.

The number one reason I hear from folks against getting an electric cooler is that they don’t want to have to deal with wiring in a second battery or a adding a dedicated circuit for their electric cooler. While a second battery certainly isn’t required to run an electric cooler in a vehicle, having a constant supply of power is. Since most vehicles have all of their 12V circuits switched by the ignition (for obvious reasons), adding a non-switched circuit has been the minimum effort required to keep an electric cooler powered up when your vehicle is not running. A switched circuit, a quality battery, and utilizing the low voltage cutoff on your electric cooler will work, but you’re still limited in how long you can stay out by the capacity of your starting battery. Yet, by adding a PLB 40 to your system, you don’t have to touch your vehicle’s wiring, and you’re able to add a considerable power reserve.
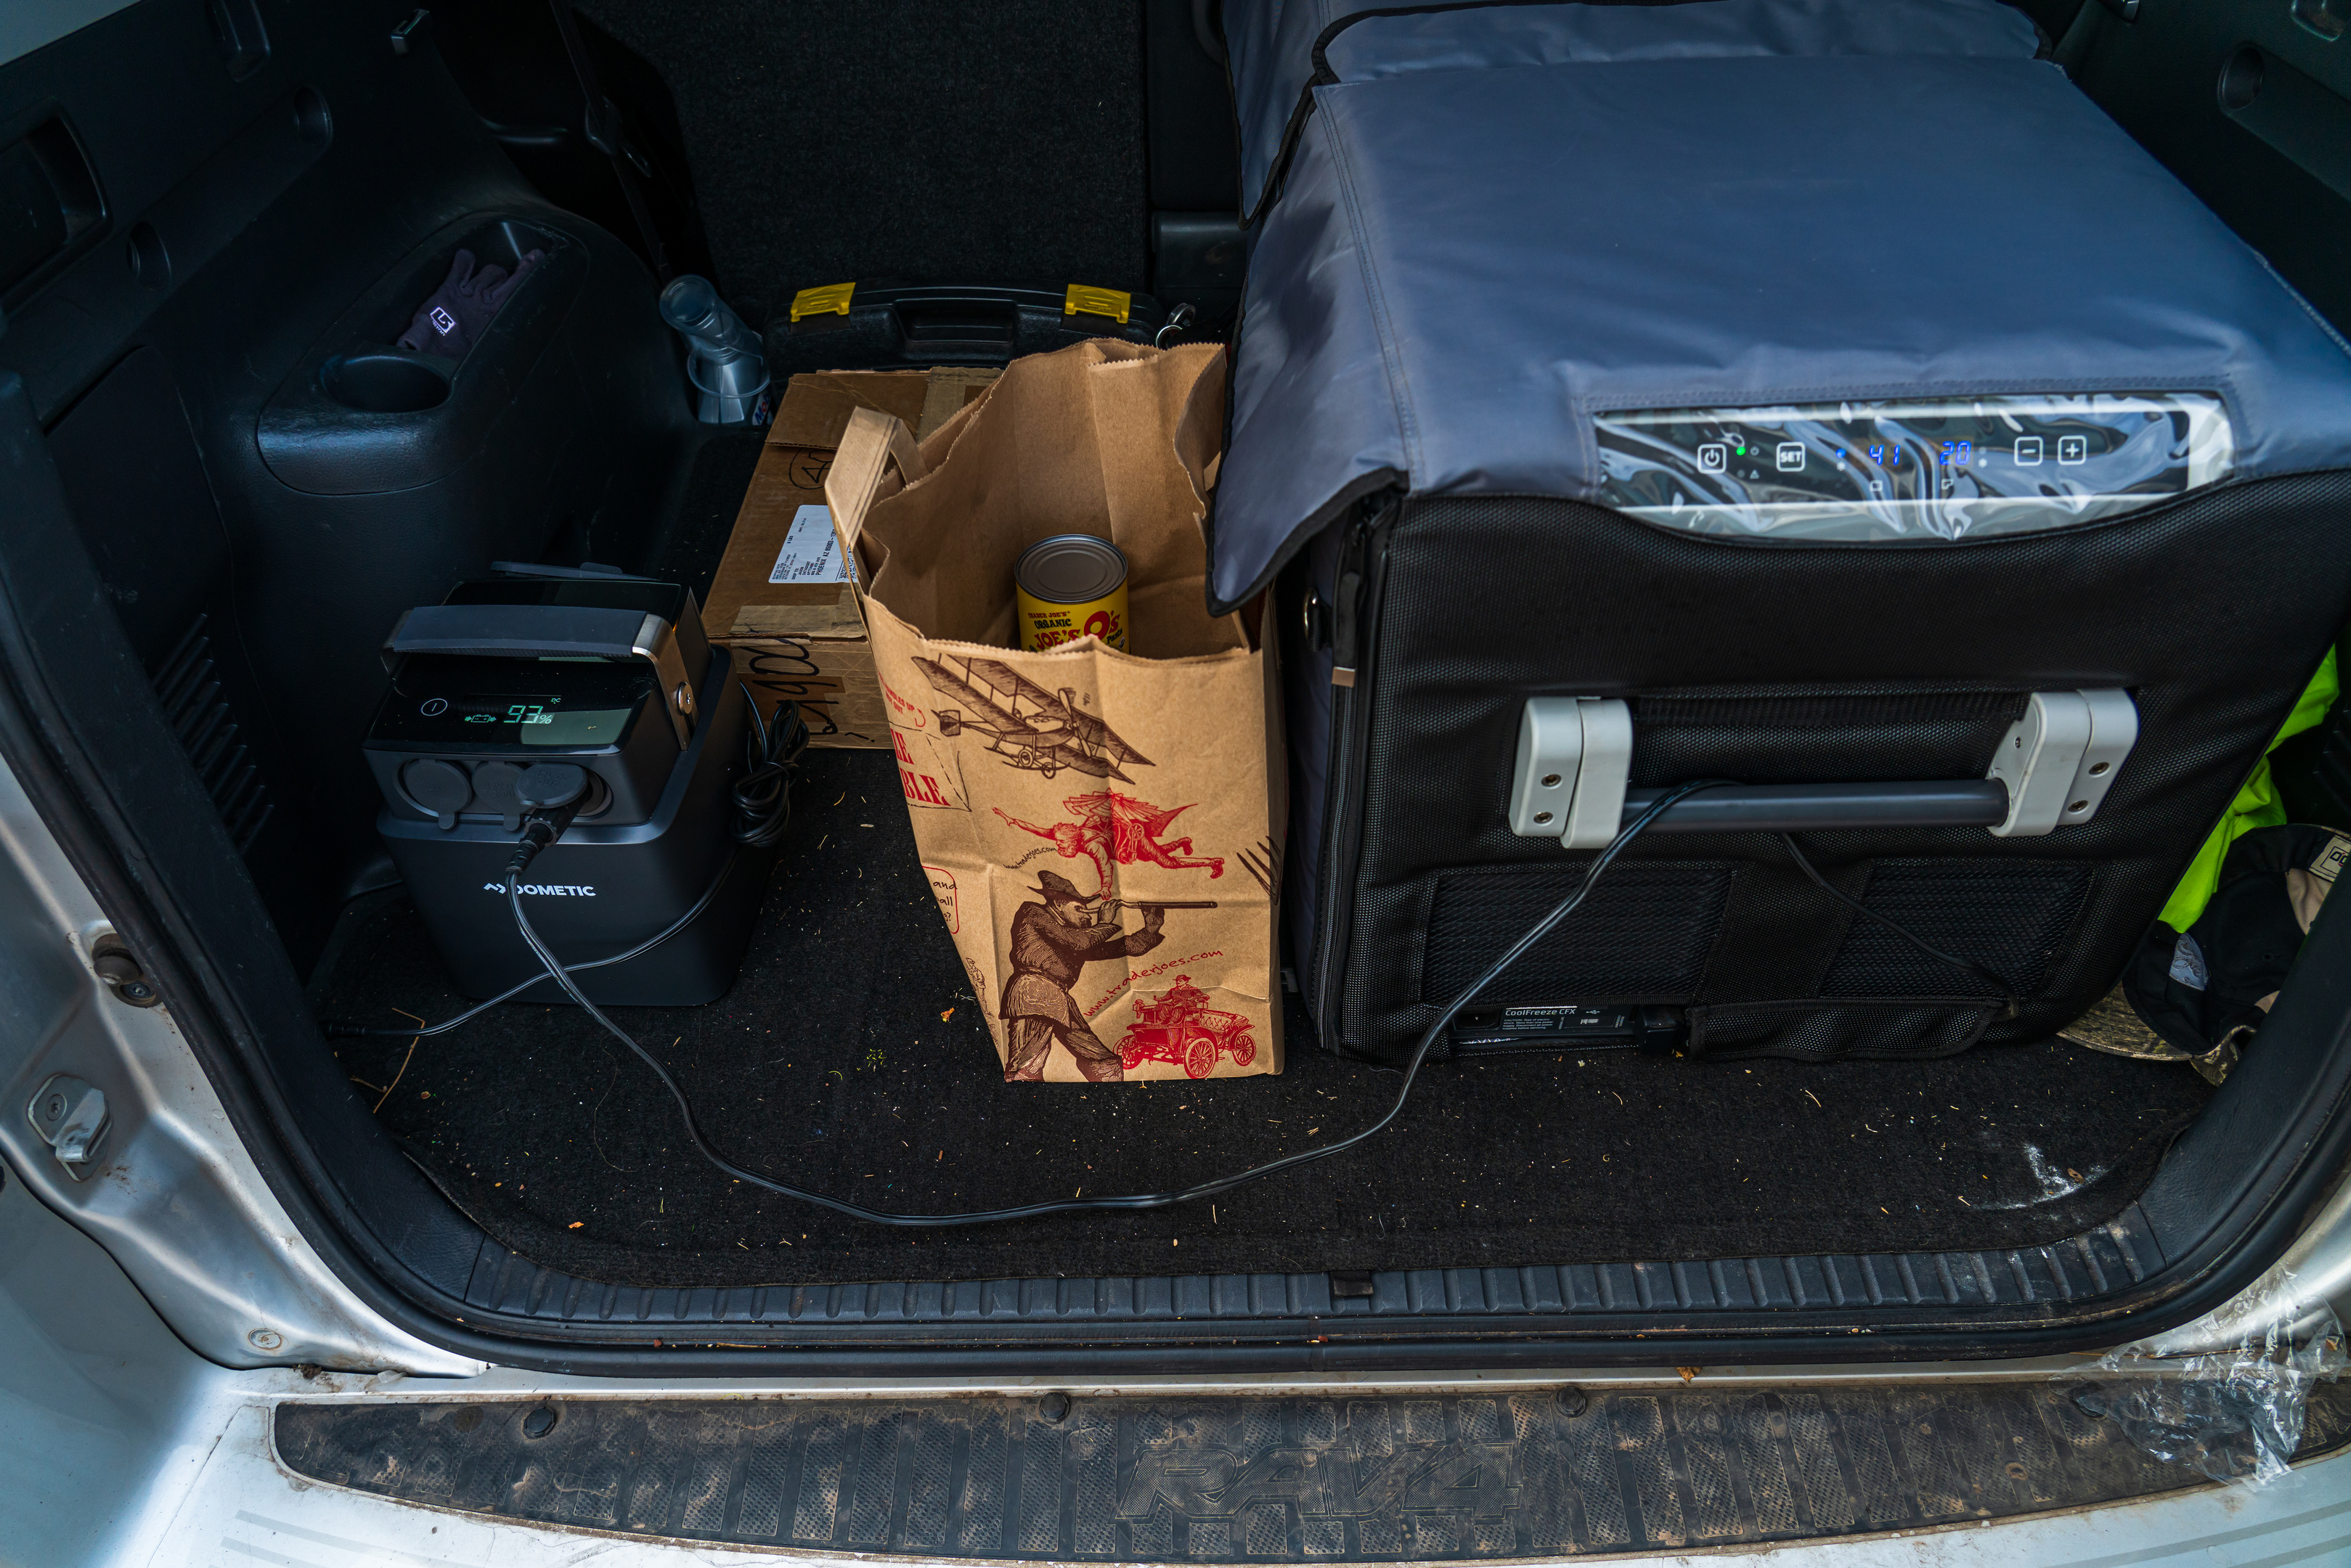
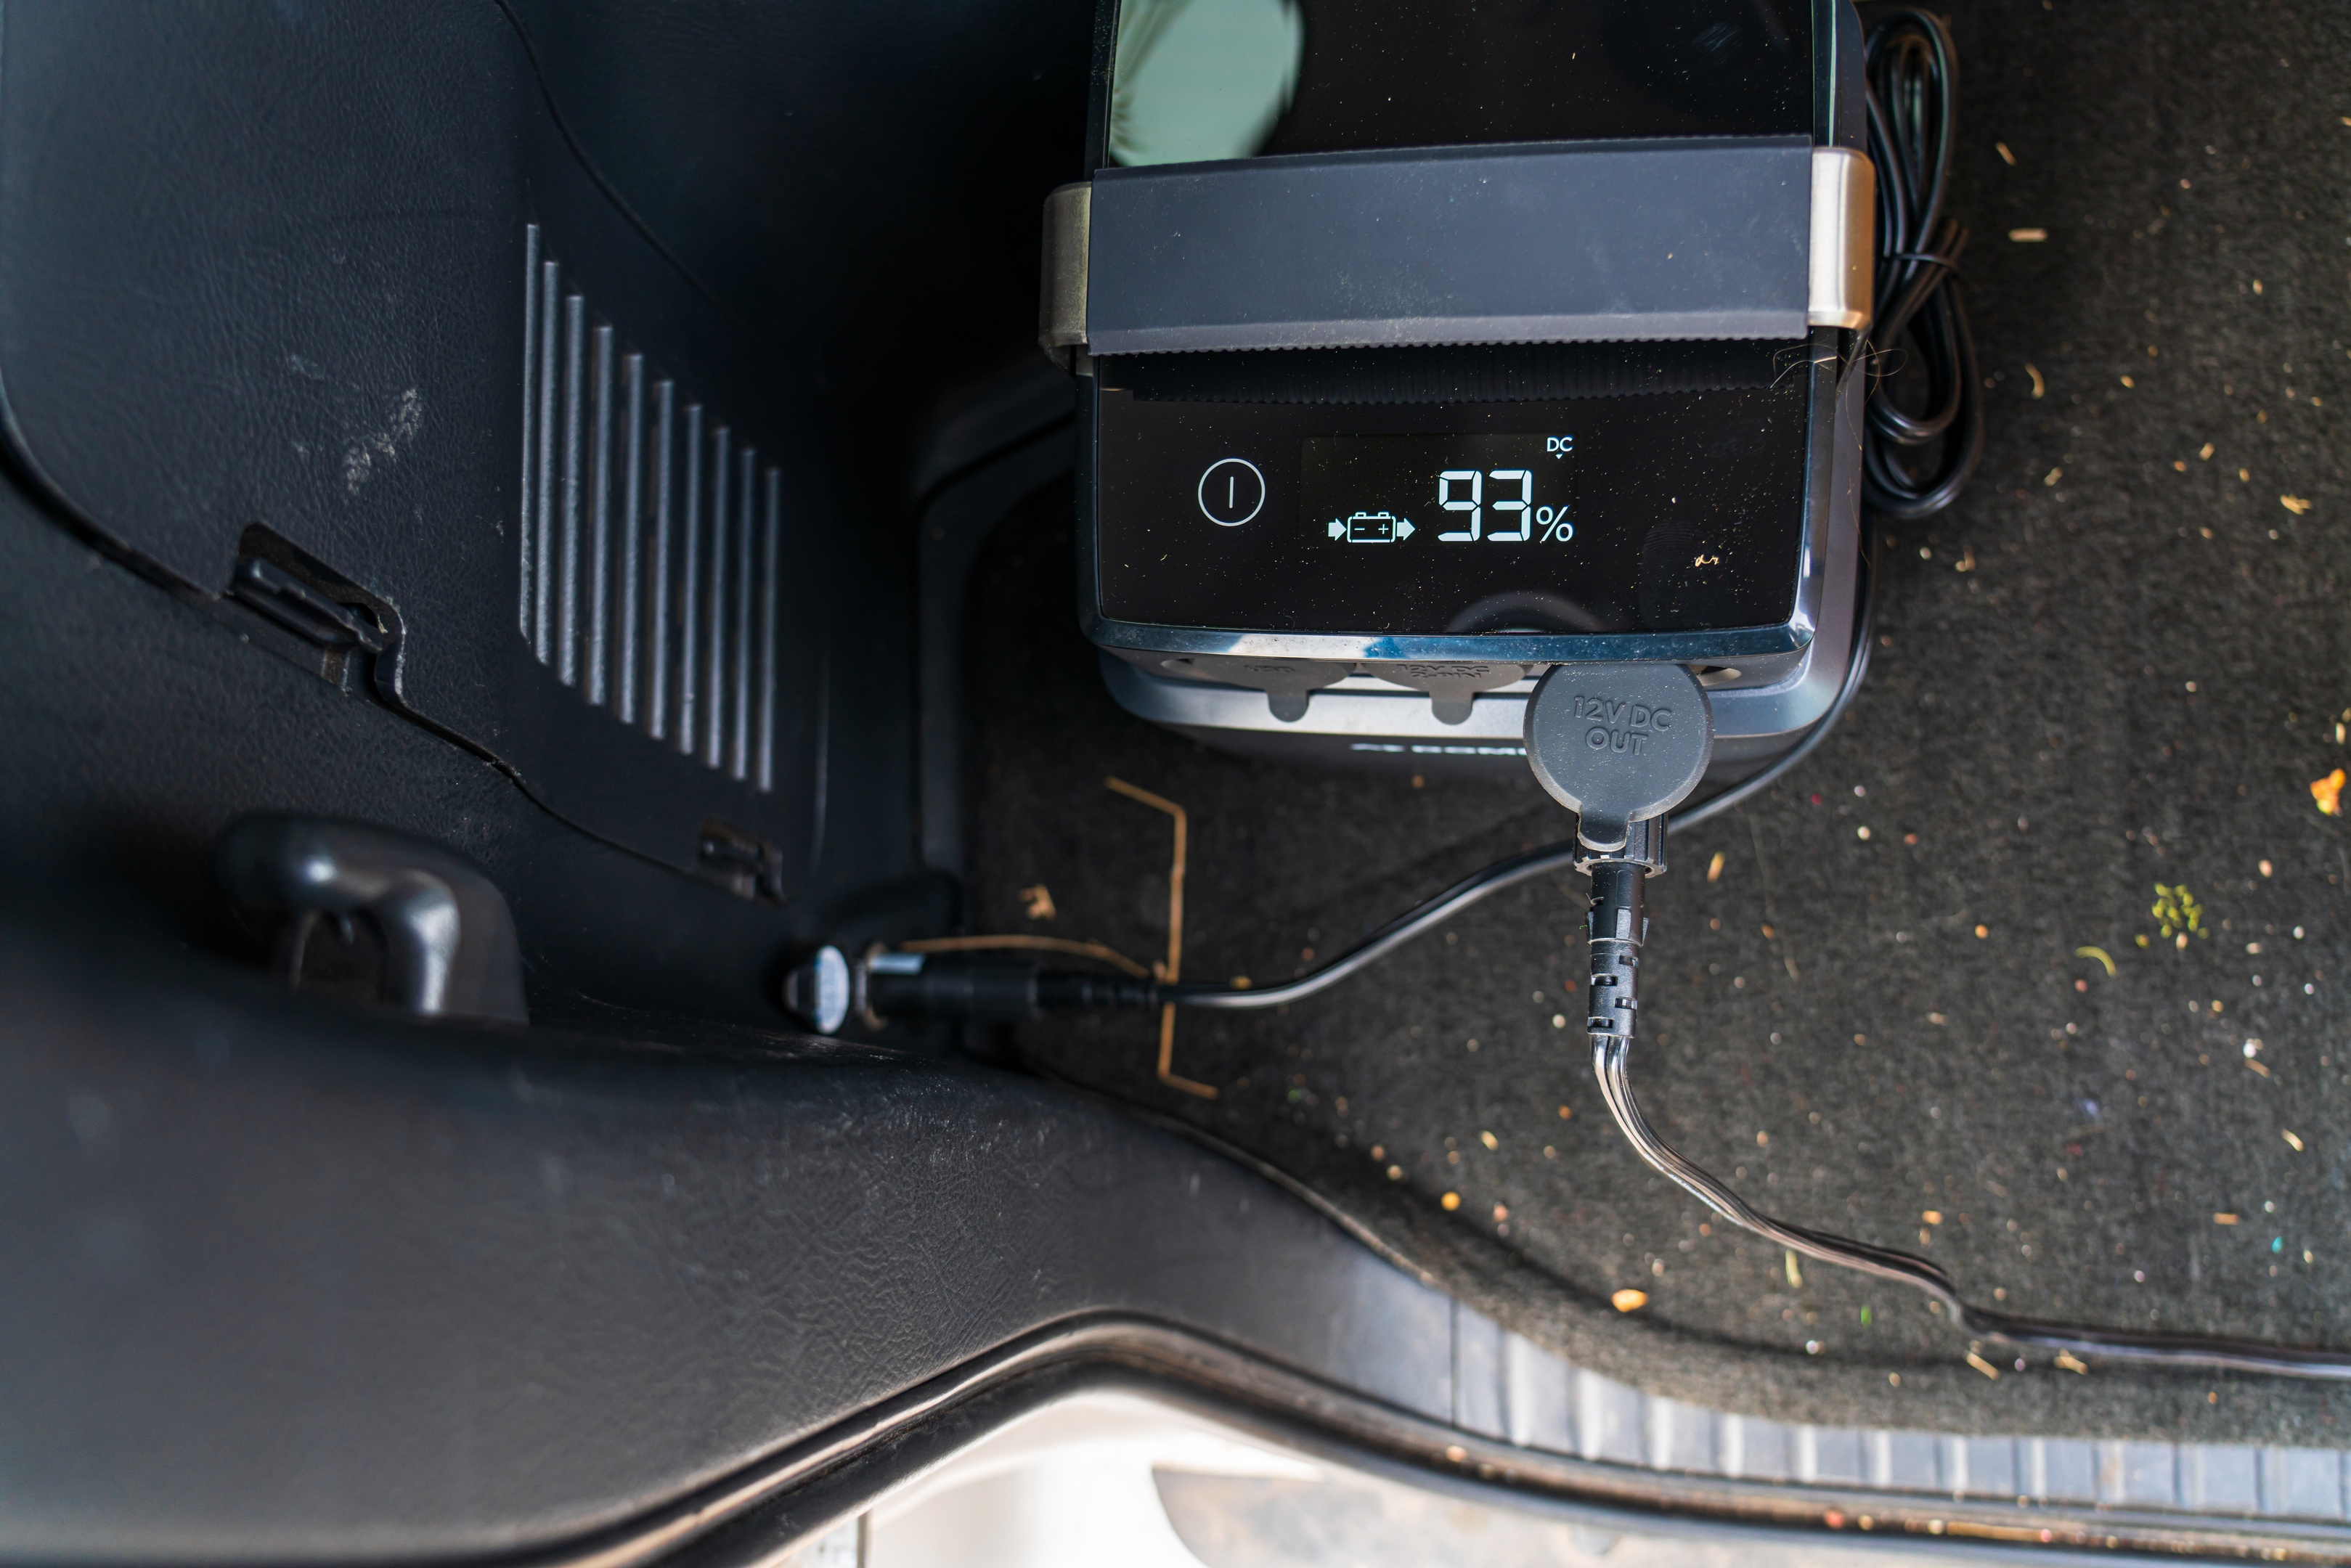 Literally all it takes to use the PLB 40 to power an electric cooler is to plug it into a 12V outlet on the vehicle and to plug your electric cooler into to the PLB40. The end.
It’s really that simple. While the vehicle is on, the PLB 40 charges up, and once the vehicle is parked, the PLB 40 becomes the power supply for your cooler and anything else you want to plug in, leaving your vehicle’s starting battery topped off. The PLB 40 means that you can run an electric cooler in any vehicle that has a 12V outlet, so whether you’re traveling in your buddy’s rig, or even a rental car, the PLB 40 lets you bring all of the benefits of an electric cooler into any car with a 12 V outlet. Want to use your fridge in the wife’s car for a grocery run on a hot day? Add a PLB 40 and you’re all set. No need to worry about groceries spoiling in the back of a hot car while you’re running errands.
If you’re wondering how long 40 Amp Hours lasts, the answer is – it depends. The size of your electric cooler, how efficient it is, how hot the environment is, and how much you’re getting into your cooler, and what you’re putting into your cooler are all things that will impact the runtime you’ll see from the PLB 40. Dometic advertises 40 hours of runtime when powering a CFX 40 electric cooler for a baseline reference. I’ve been running my PLB 40 with my CFX 75 DZW and as you would expect that with nearly twice the volume of the CFX 40, my runtimes are considerably shorter. I’m also typically running one compartment as a freezer, which requires even more power than a refrigerator temperature setting.
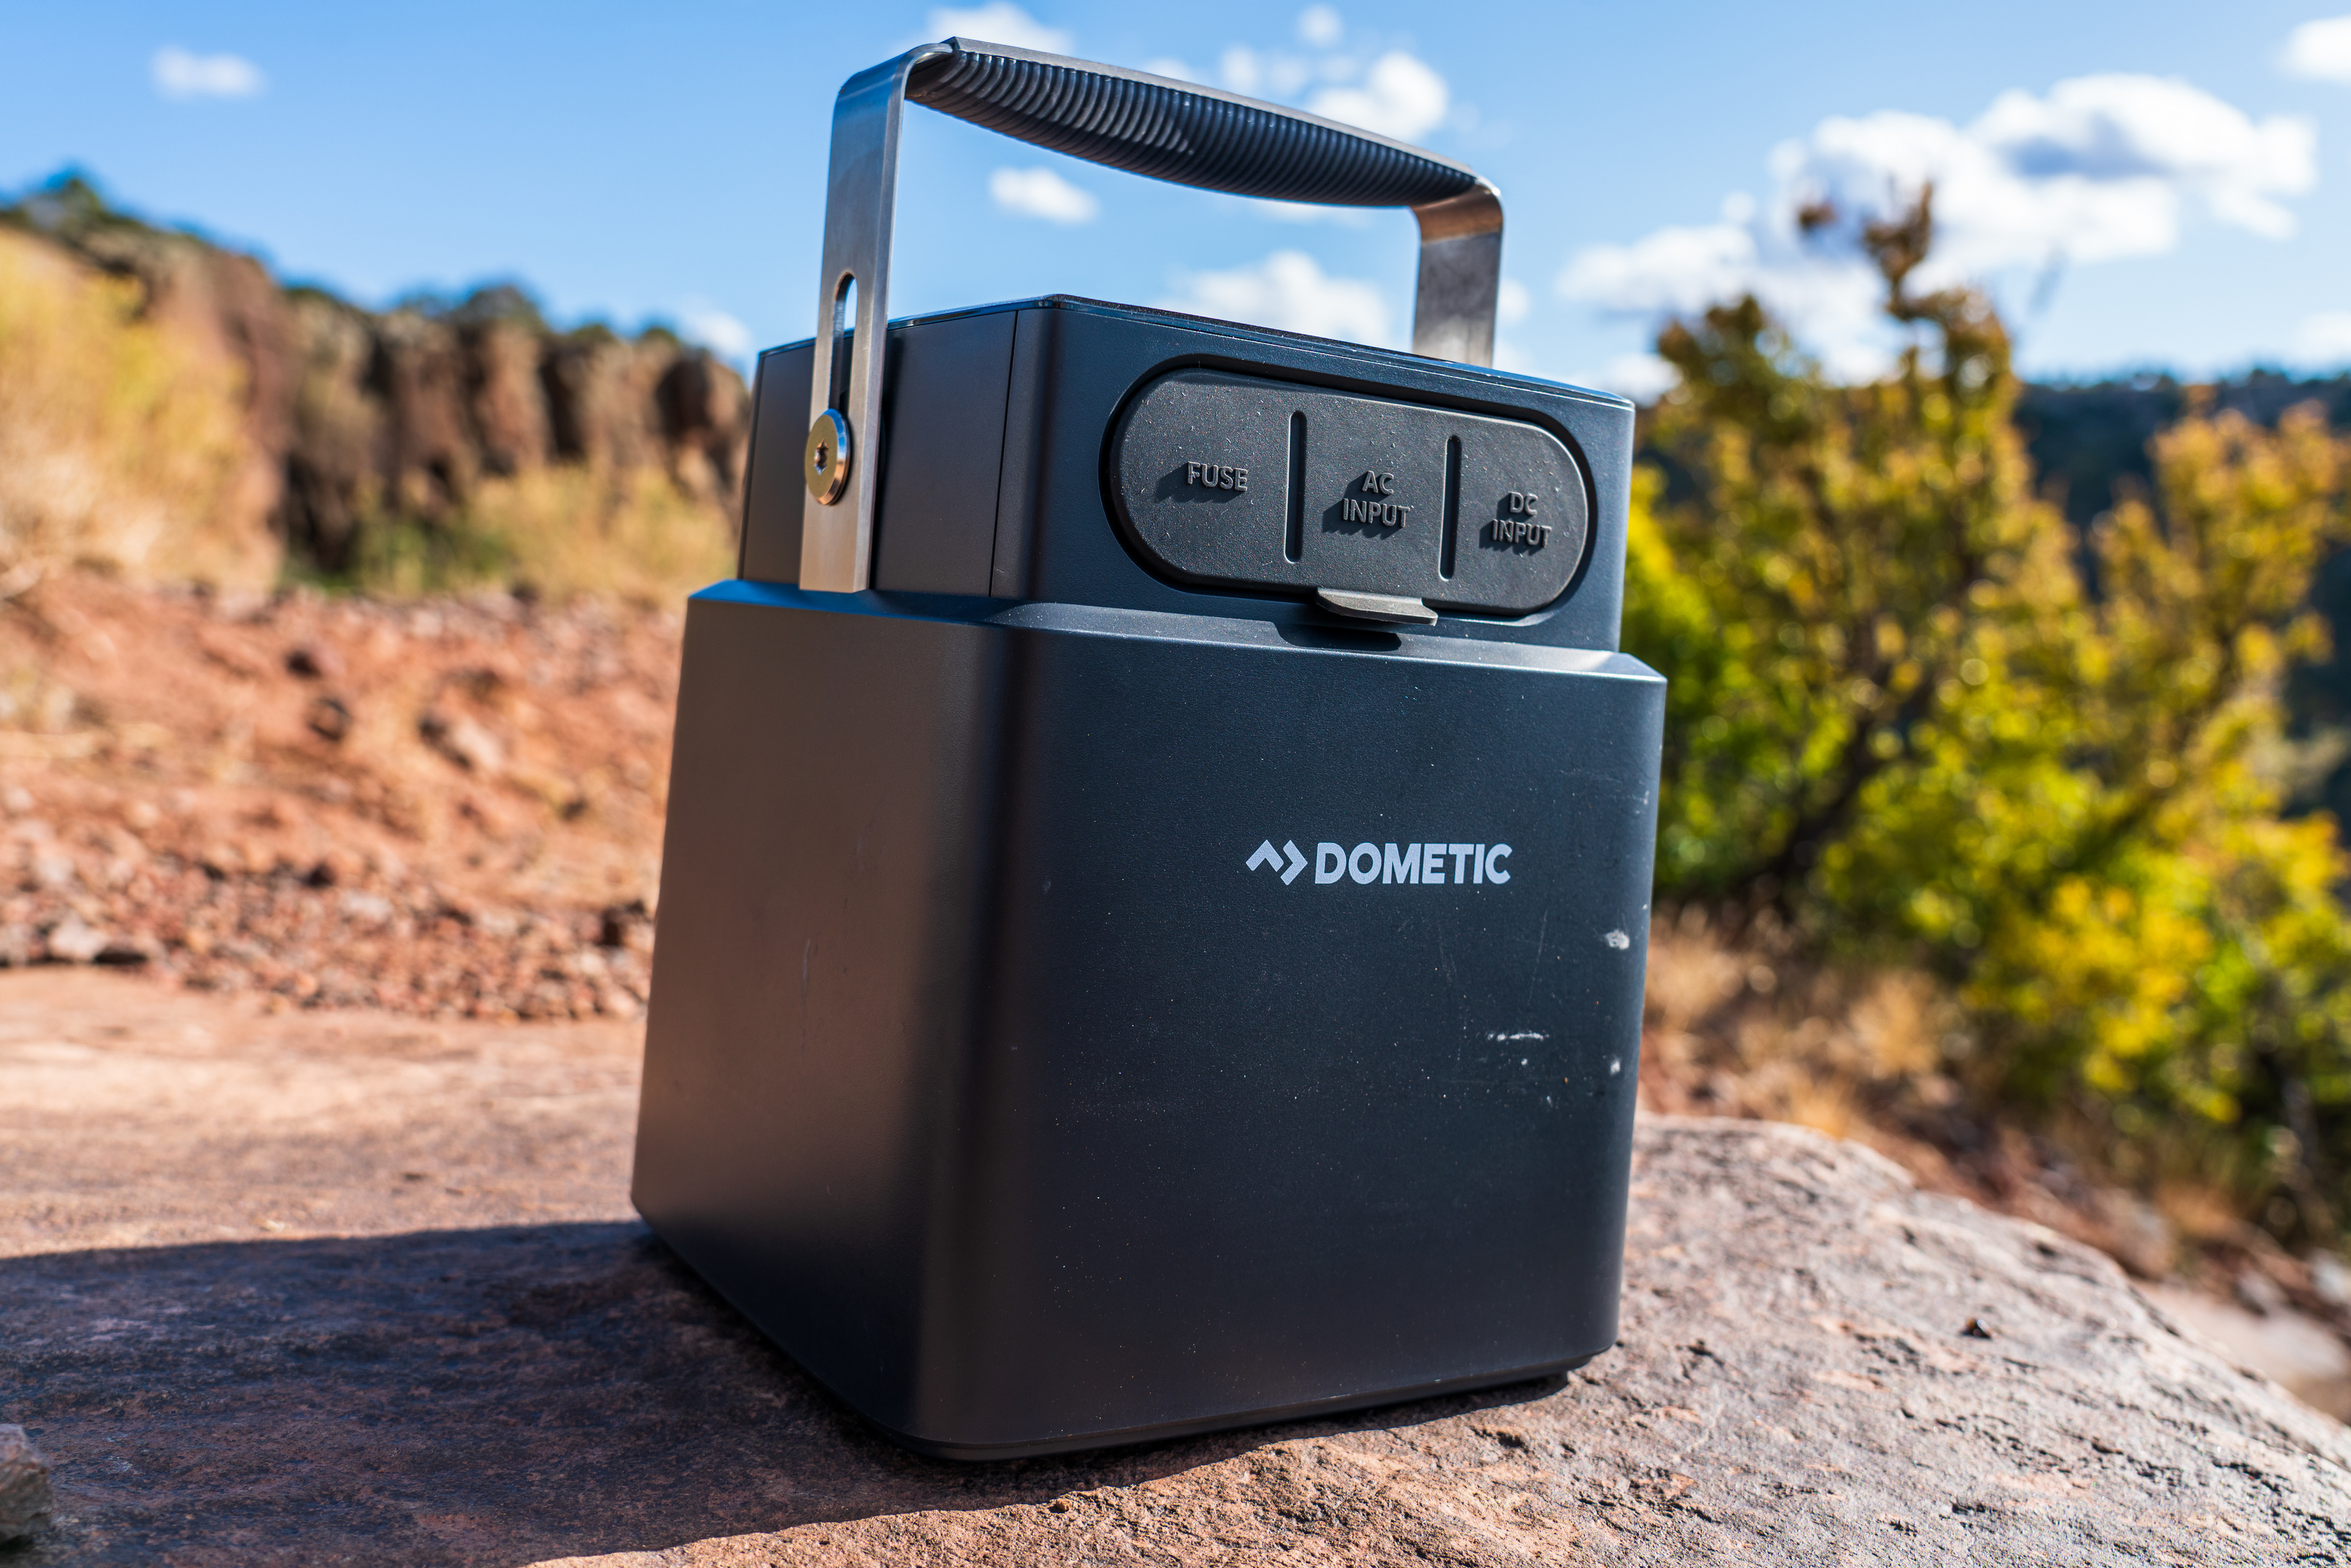
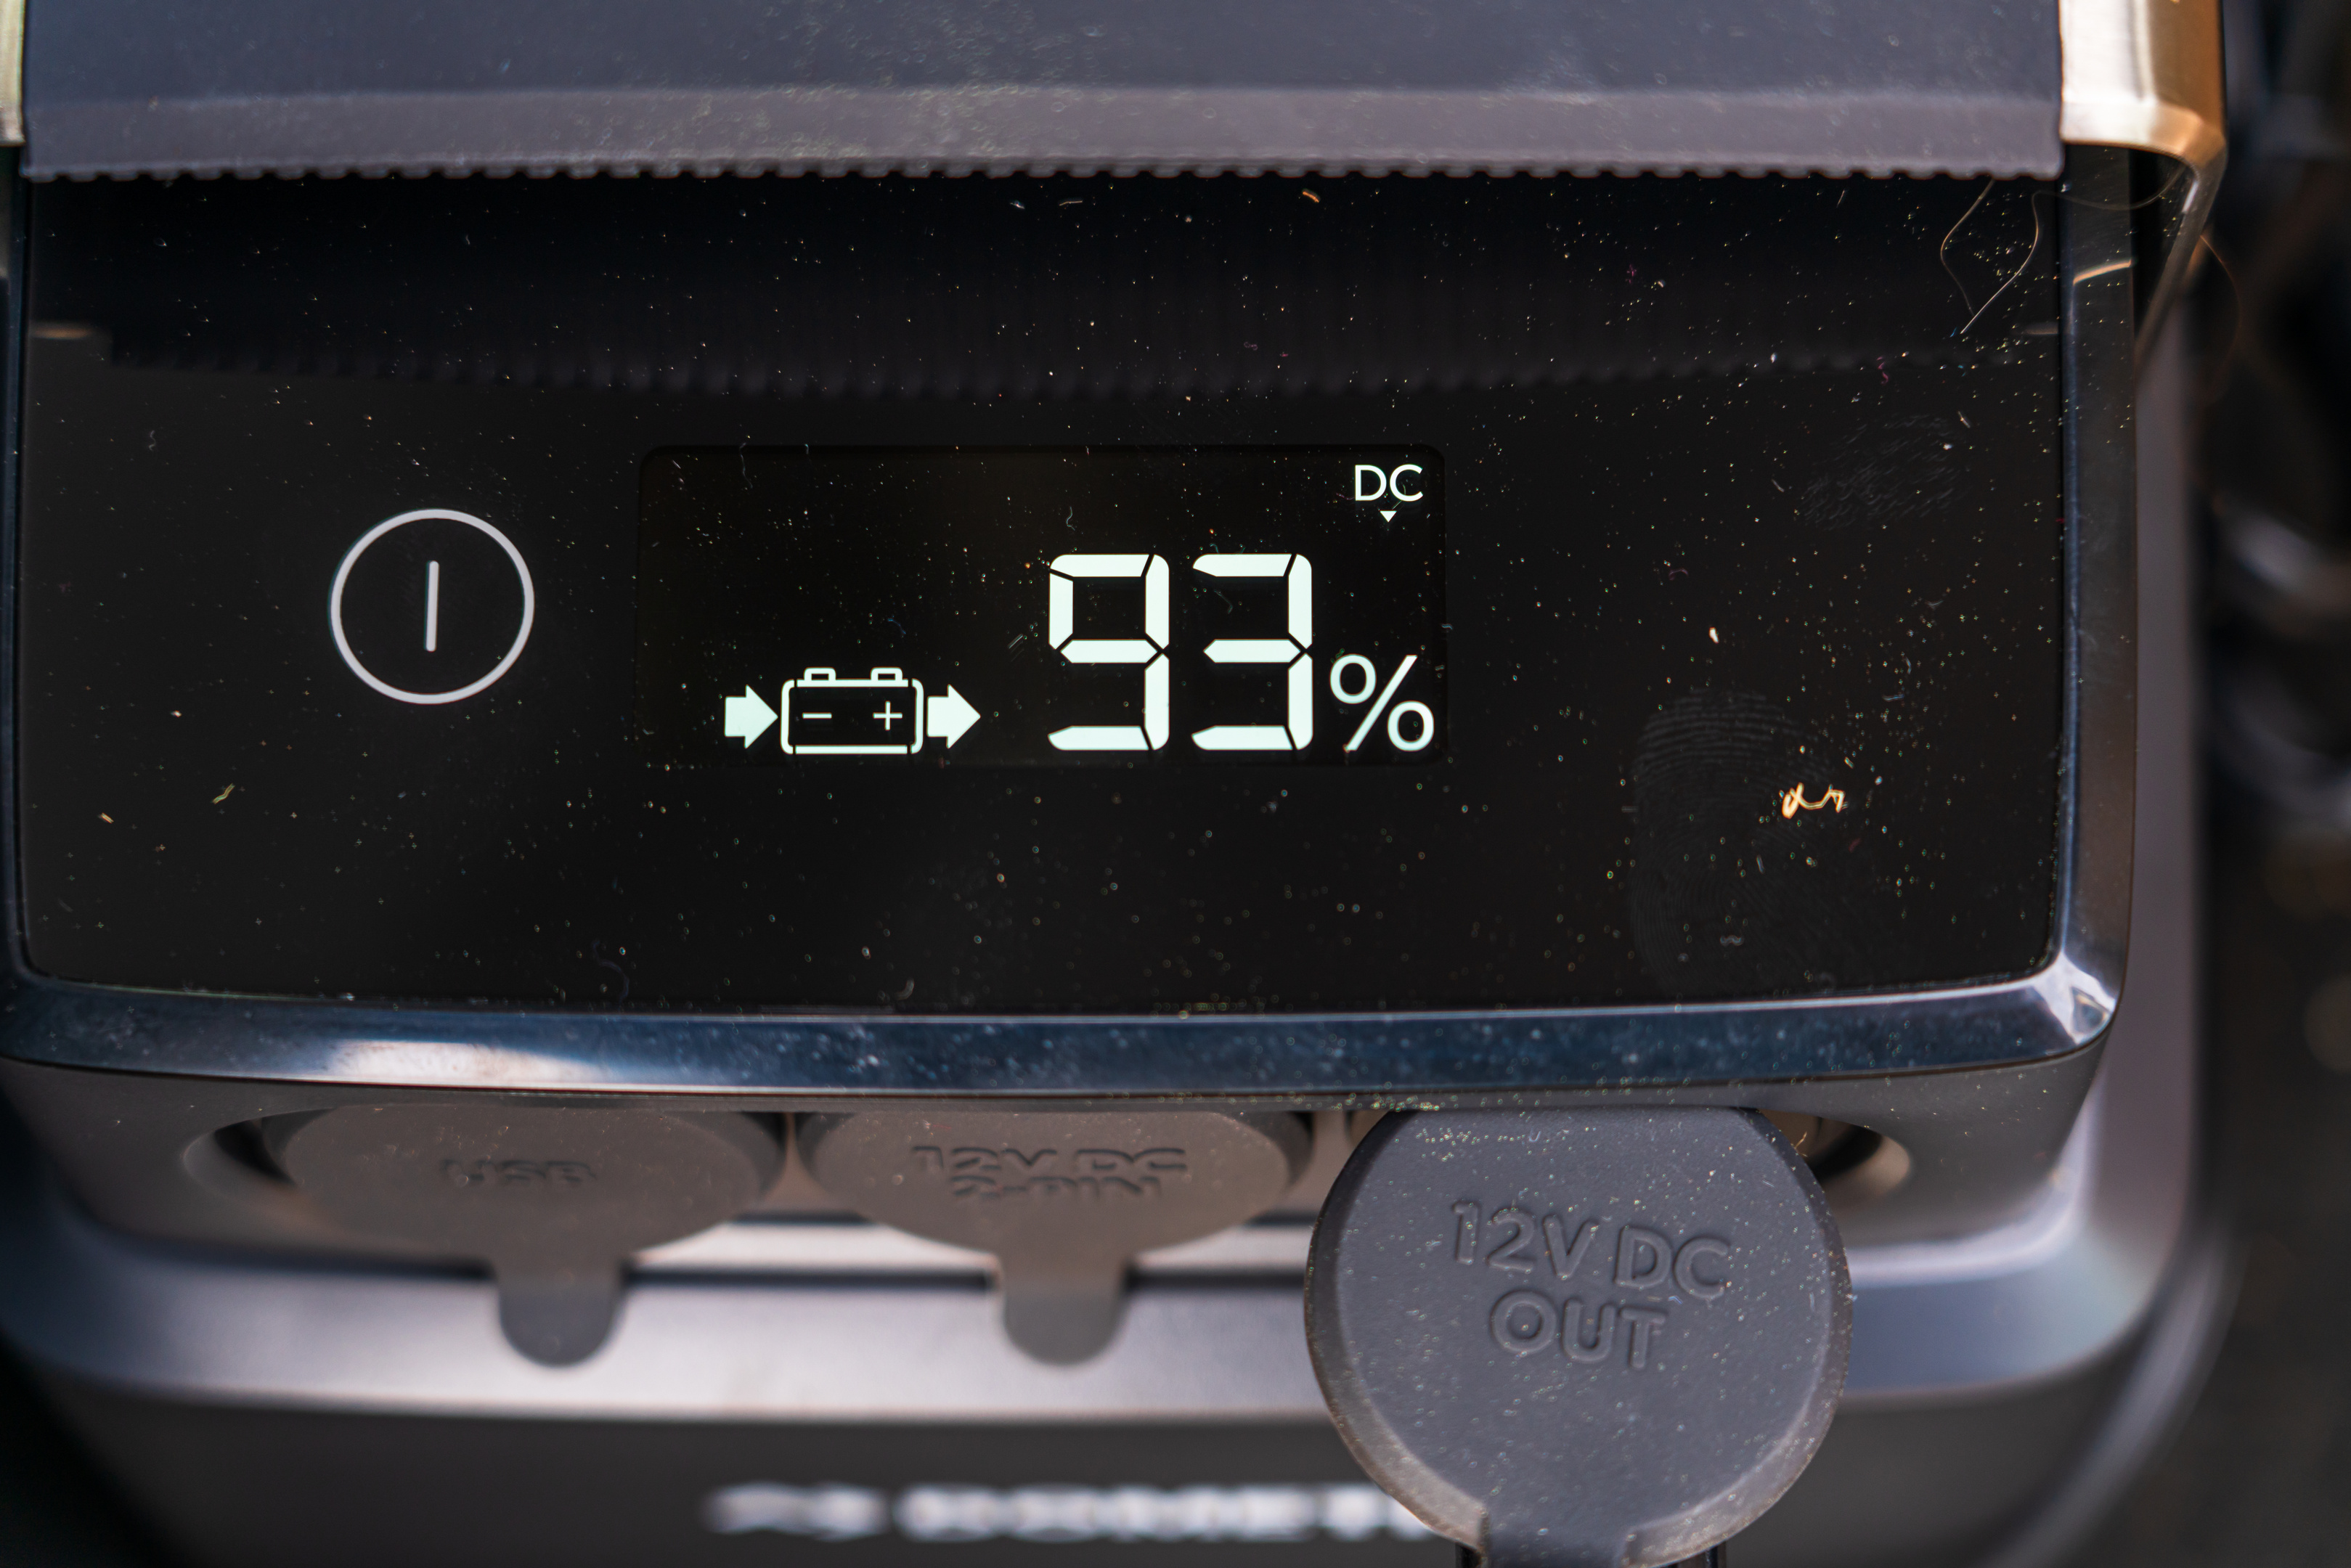
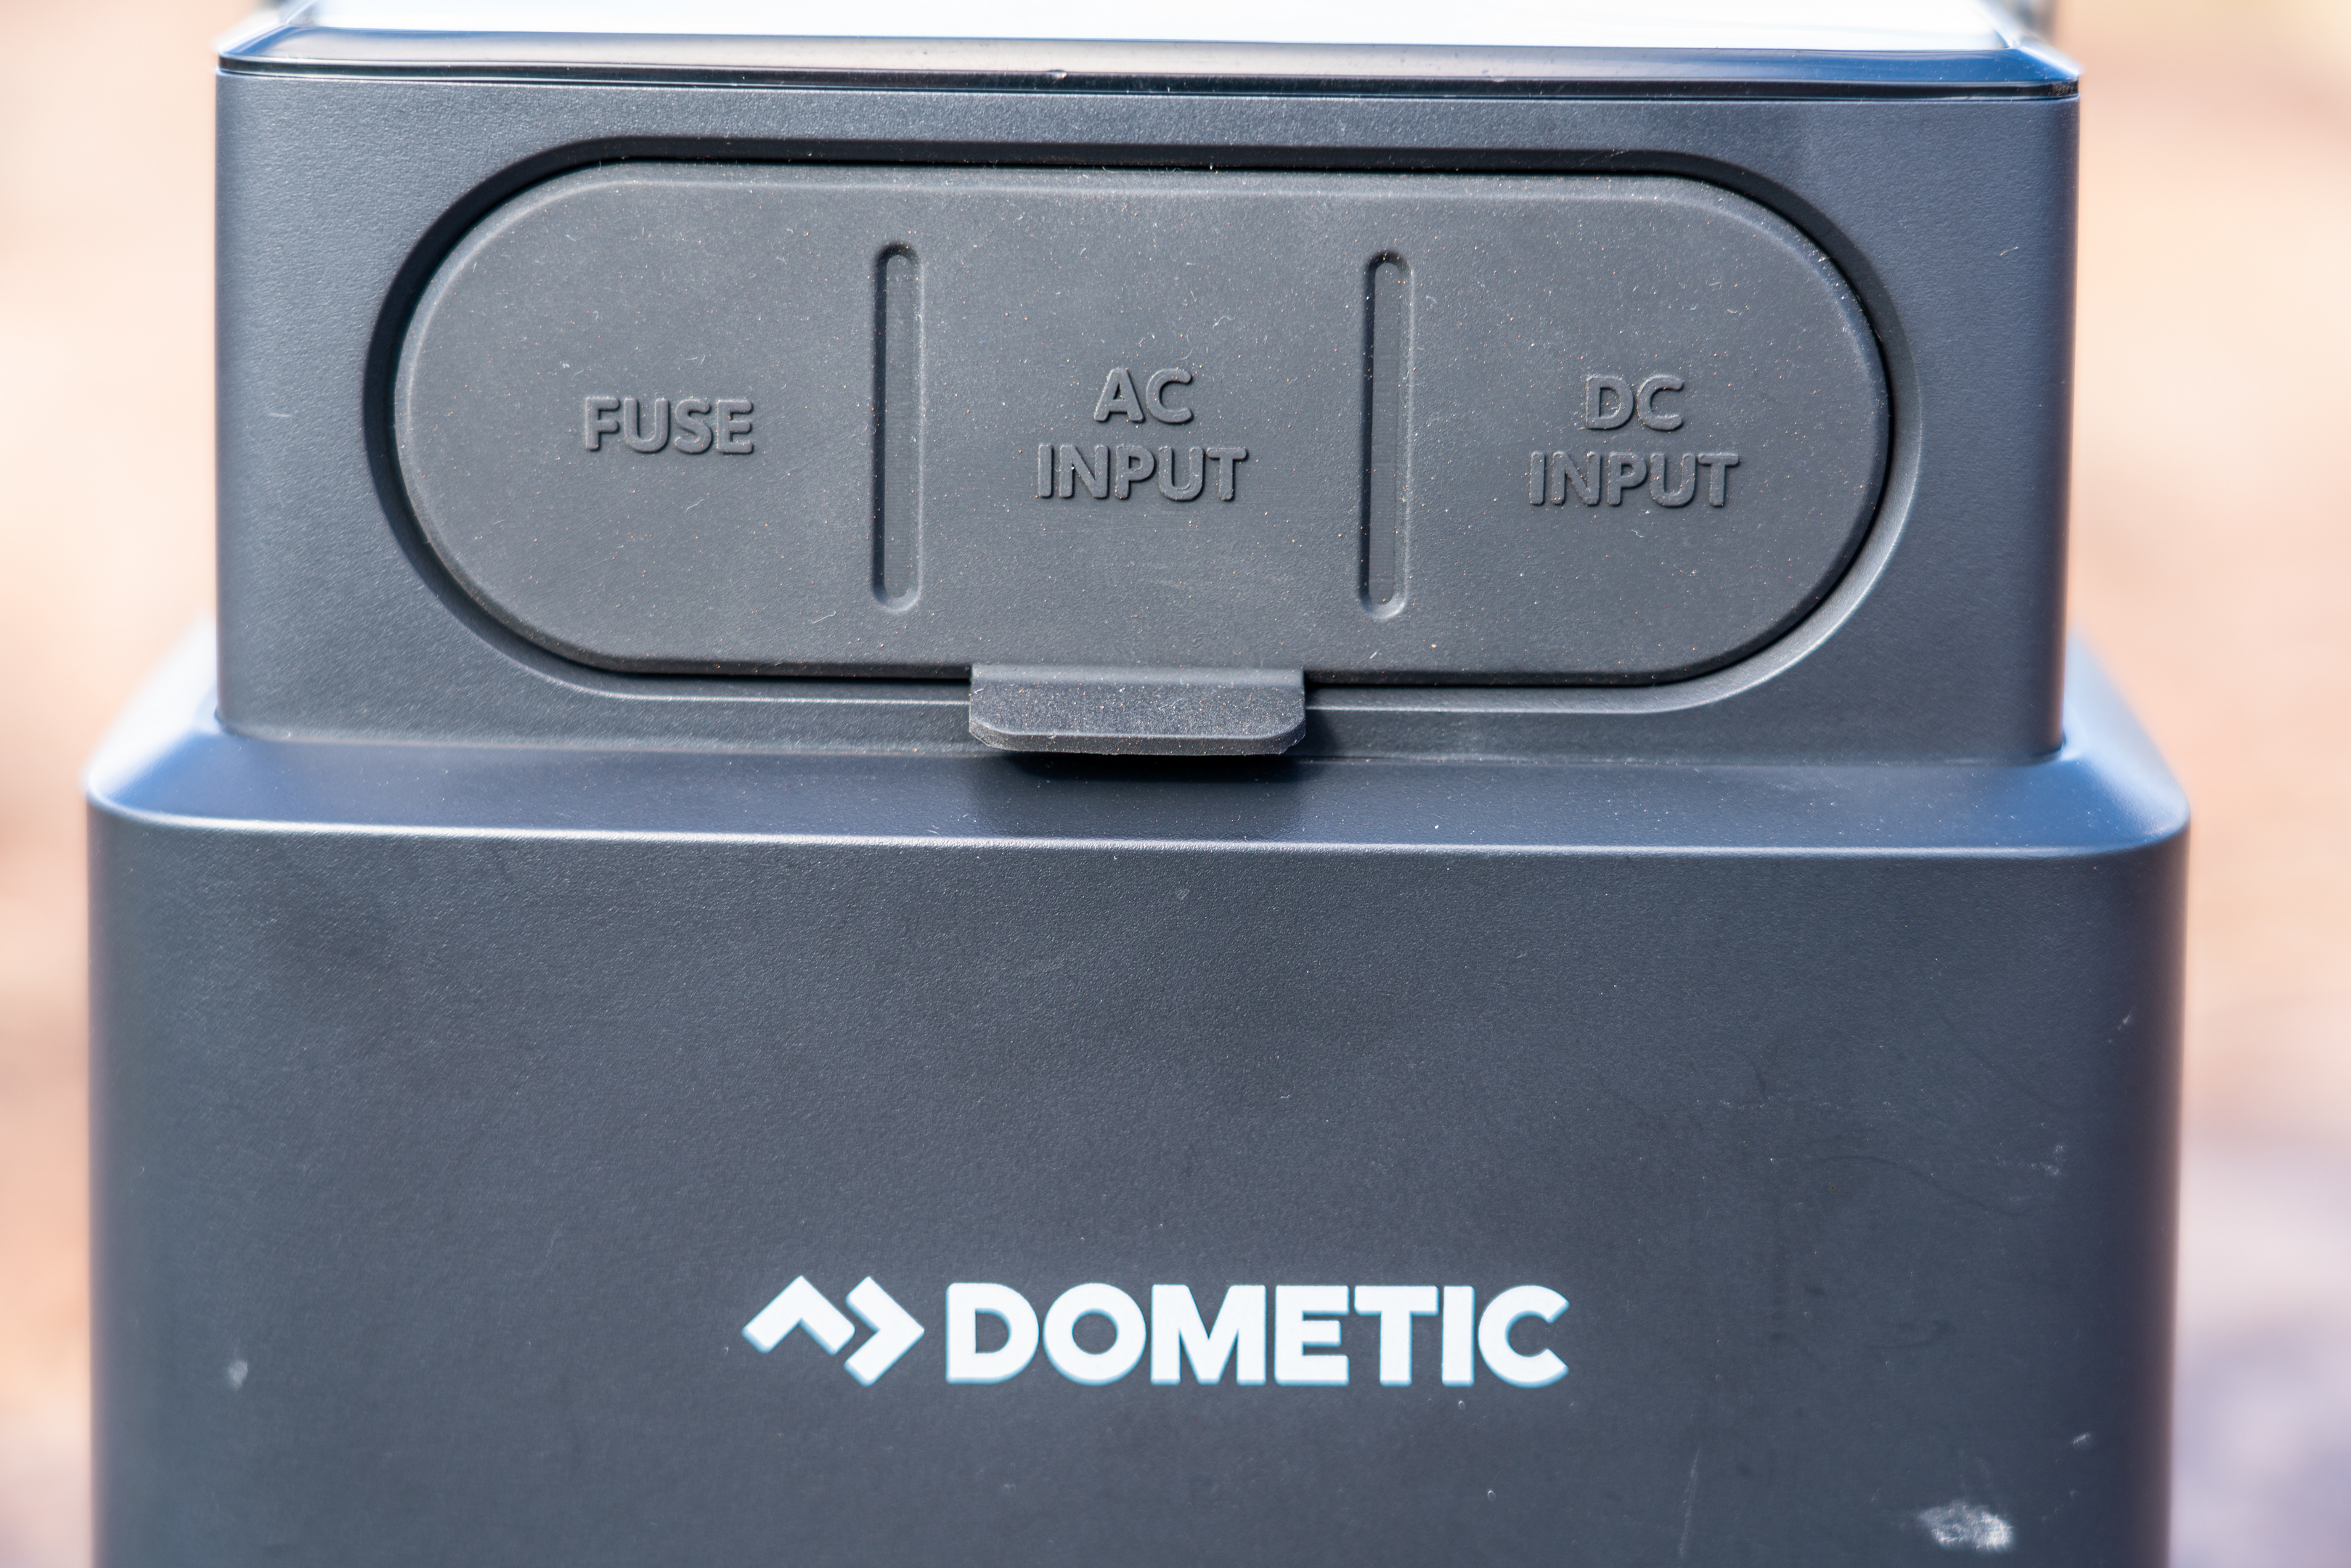
All that being said, PLB 40 is able to keep my Dometic CFX 75 powered up without being replenished for at least 24 hours. If you know the average draw of whatever you want to power, doing the Amp-Hour math is pretty easy, just divide 40 Ah by your total draw. If I’m going to be in the same place for longer, I’ll plug in a solar panel to the back of the PLB 40 using the Anderson SB 50 port, or I’ll plug the PLB 40 into an always energized 12v outlet in one of my trucks. The PLB 40 also accepts AC charging, so if your destination for the night is a hotel or someplace with grid power, you can charge the battery from a 120V source so it’s ready to go in the morning.
 The charge controller on the PLB 40 will continue to accept DC input all the way down to 8 VDC, so if you have your PLB 40 drawing from your rig’s starting battery through an always-energized circuit, make sure that you’re keeping an eye on your starting battery’s voltage. Depending on how large your vehicle’s starting battery is, pulling 30 + Ah from it could make quite a dent in your starting battery, and it’s ability to crank your rig over. Having a jump start battery with you is also always a good call. Dometic has this 8 VDC cutoff in place to allow for solar charging the Lithium Iron Phosphate Battery in the PLB 40. This LiFePO4 battery has a couple of advantages over other types of Lithium batteries found in other portable batteries, namely an increased lifespan and the chemistry is more stable (safe) than other lithium designs. Being powered by a lithium battery also means that the PLB 40 is lightweight, and very portable.
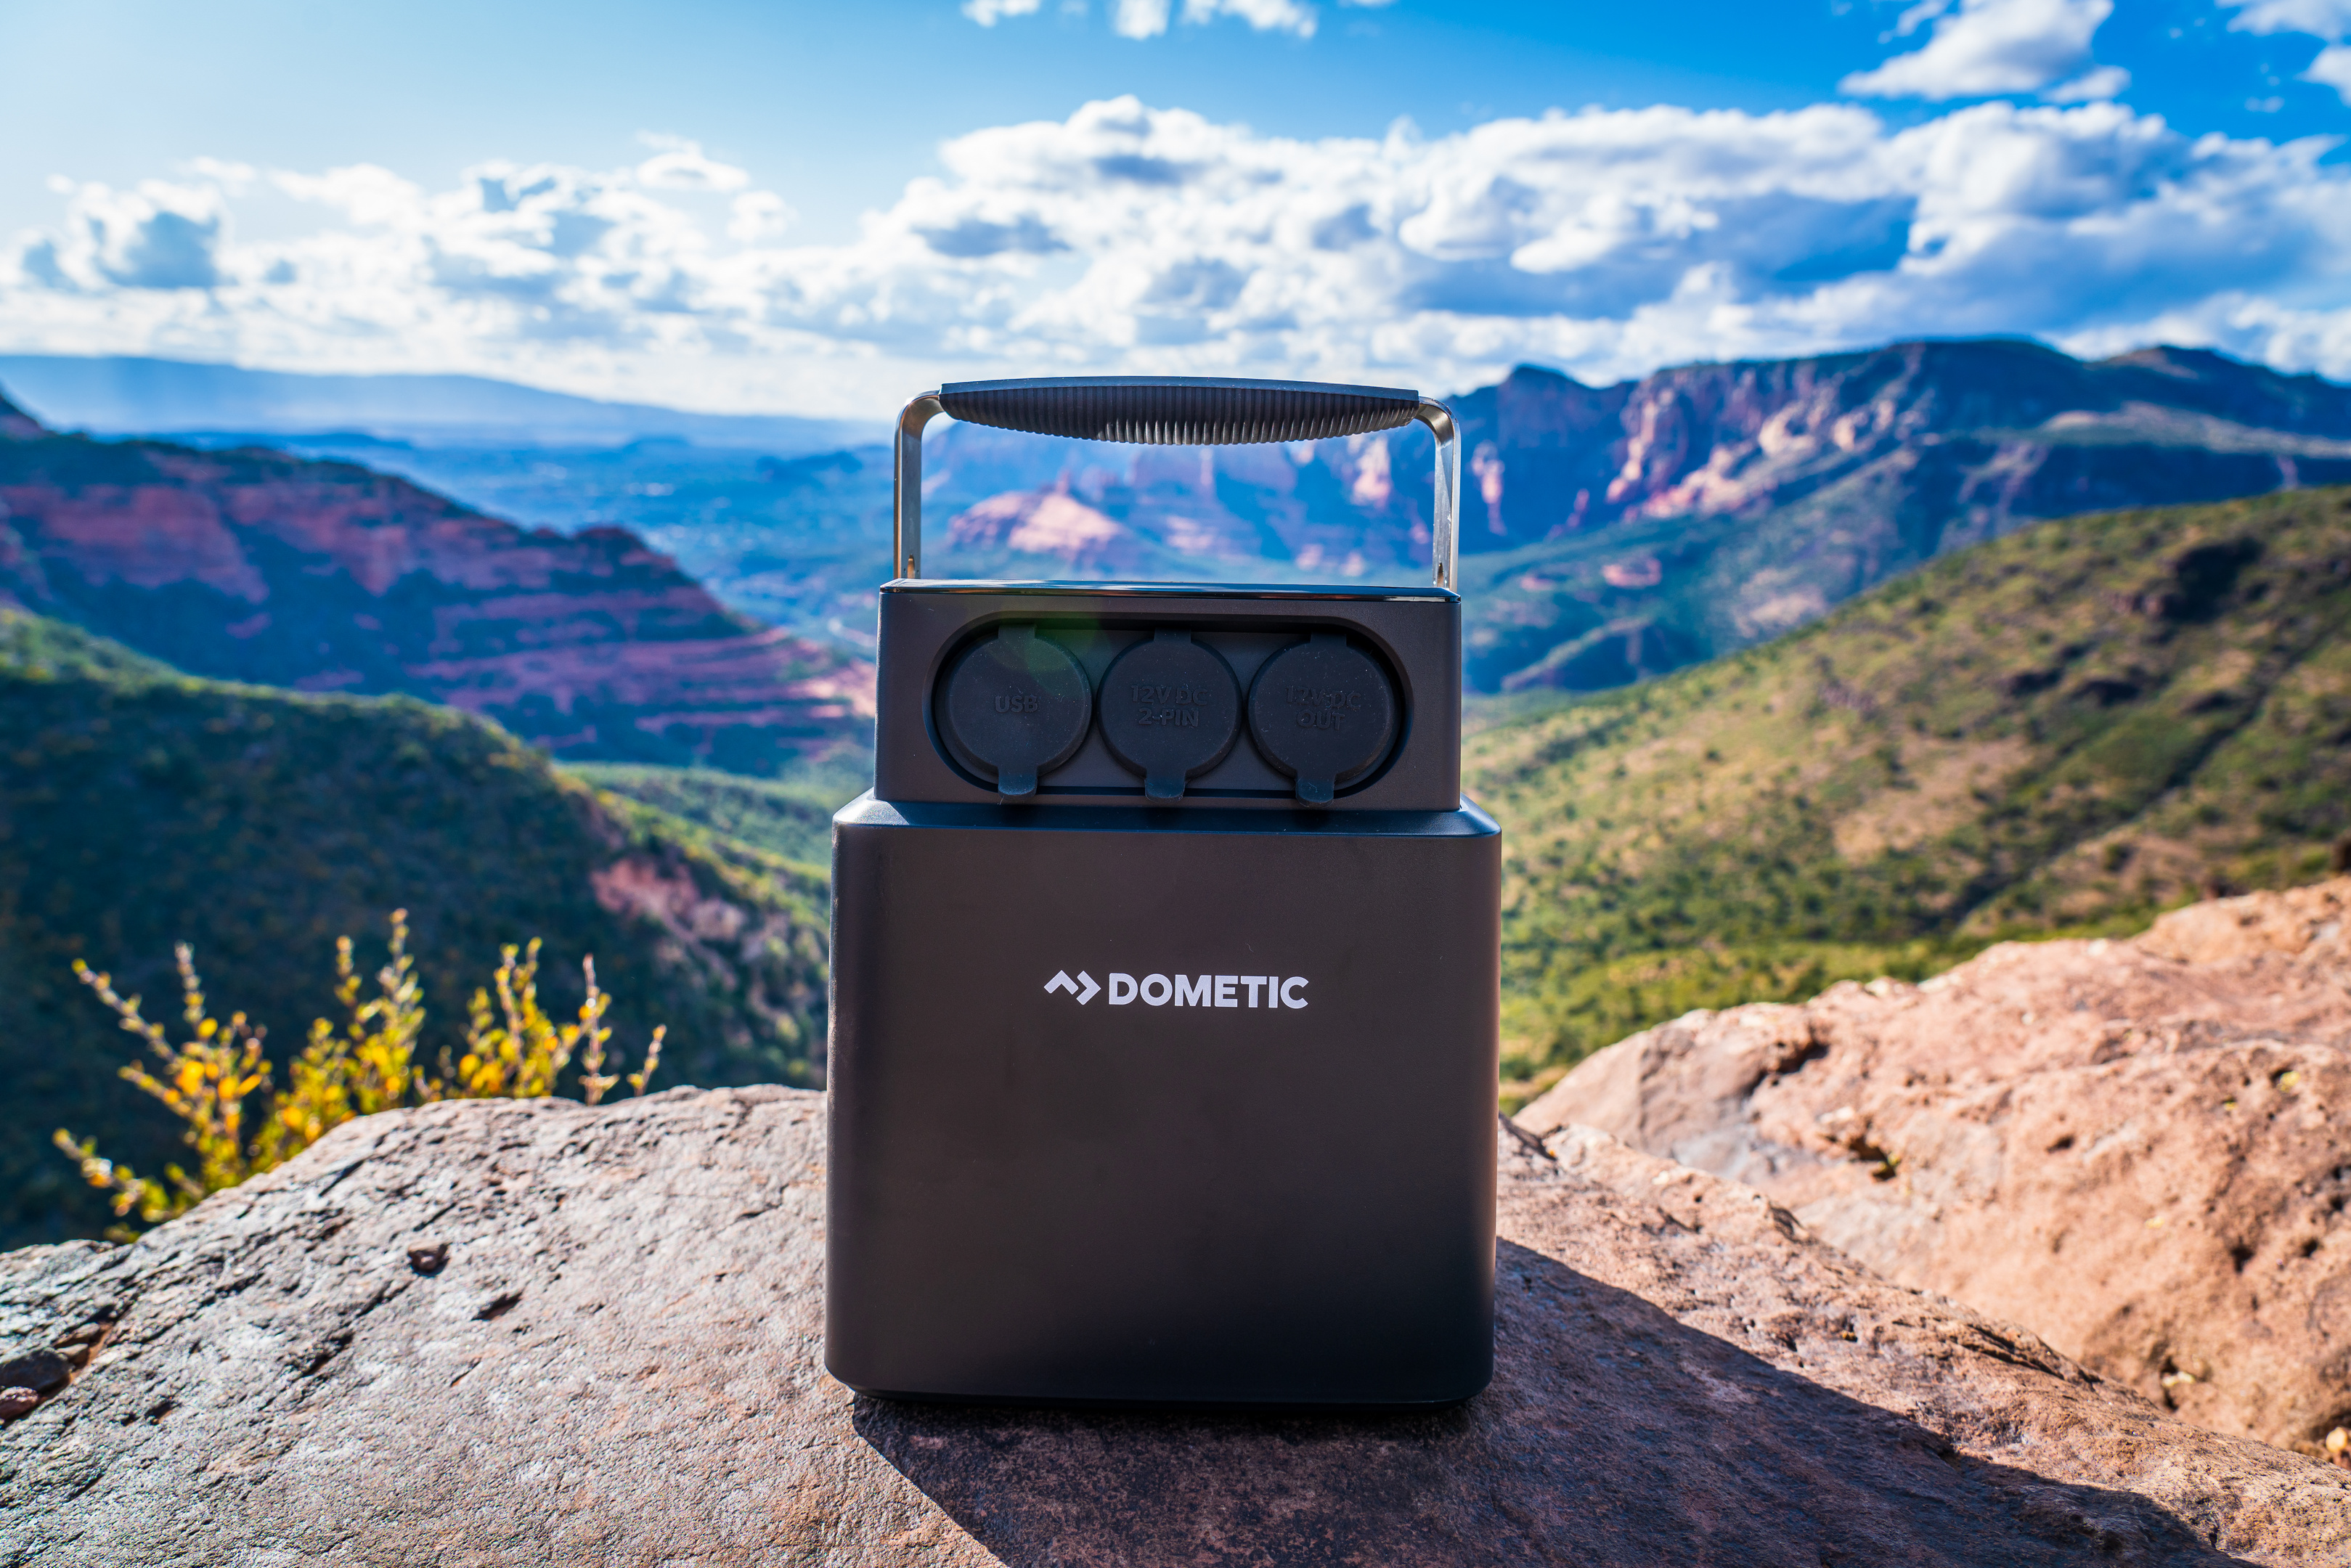
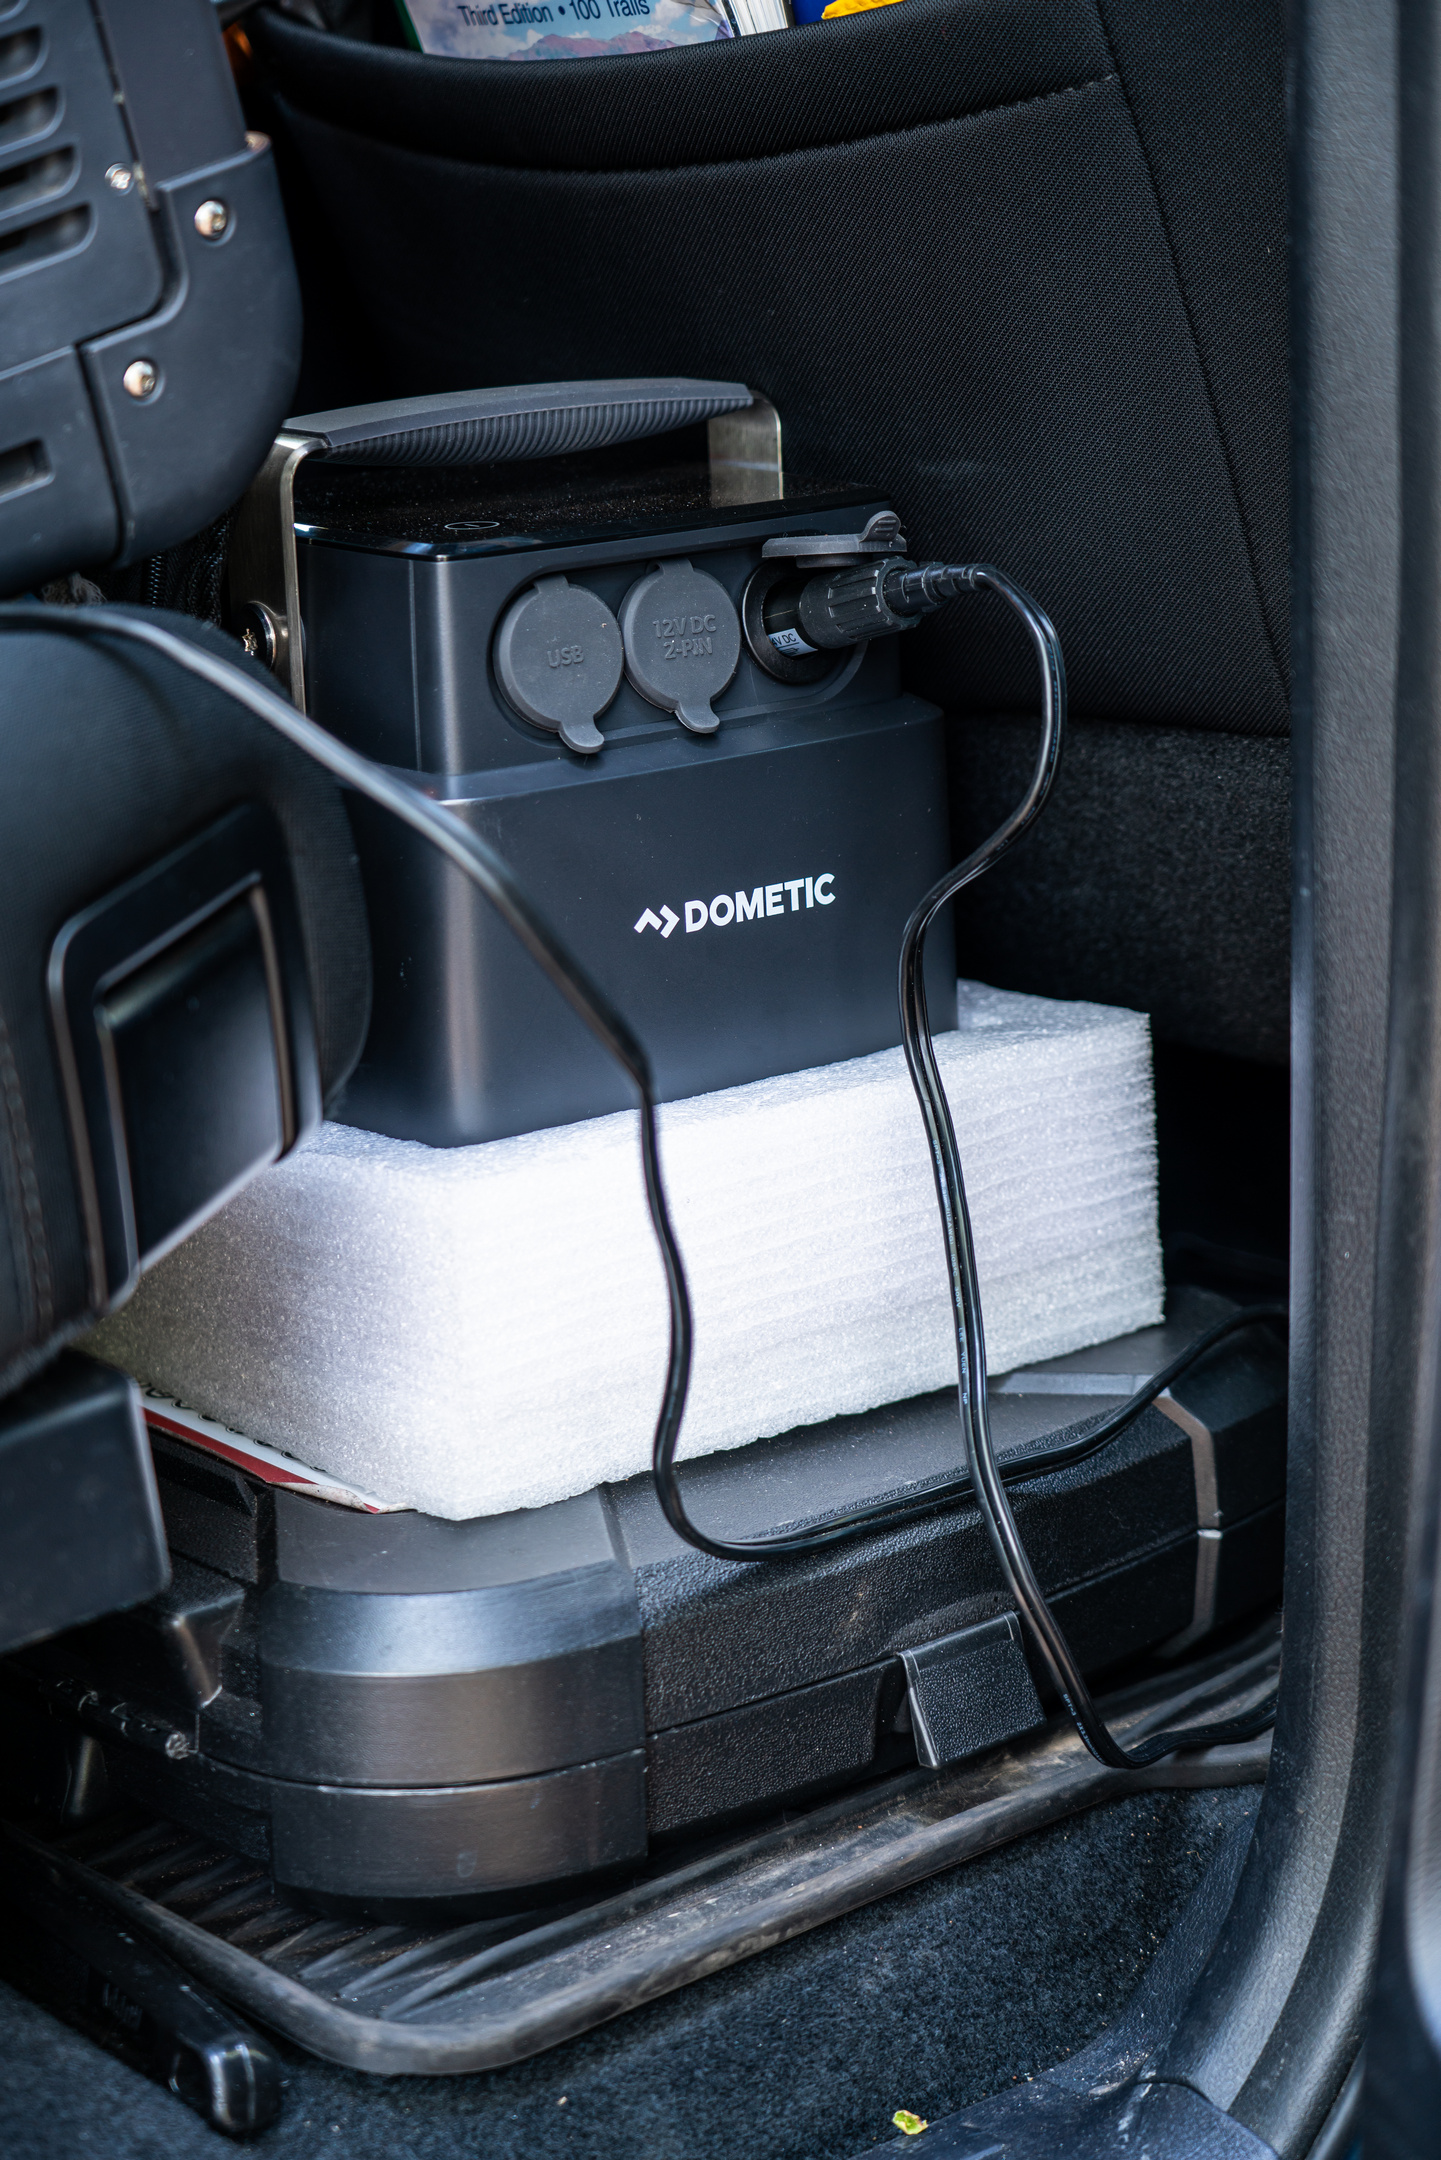
 The PLB 40 is so easy to move around thanks to its beefy top handle, that you’ll find yourself using it all the time, and you’ll never have to convince yourself to go lug your battery around. Tipping the scales to just past 16 pounds, the PLB can easily be moved anywhere it’s needed by almost anyone. Not only it is lightweight, but it has a small footprint that’s less than eight inches on a side, so it can be stashed in all kinds of places where power is needed.
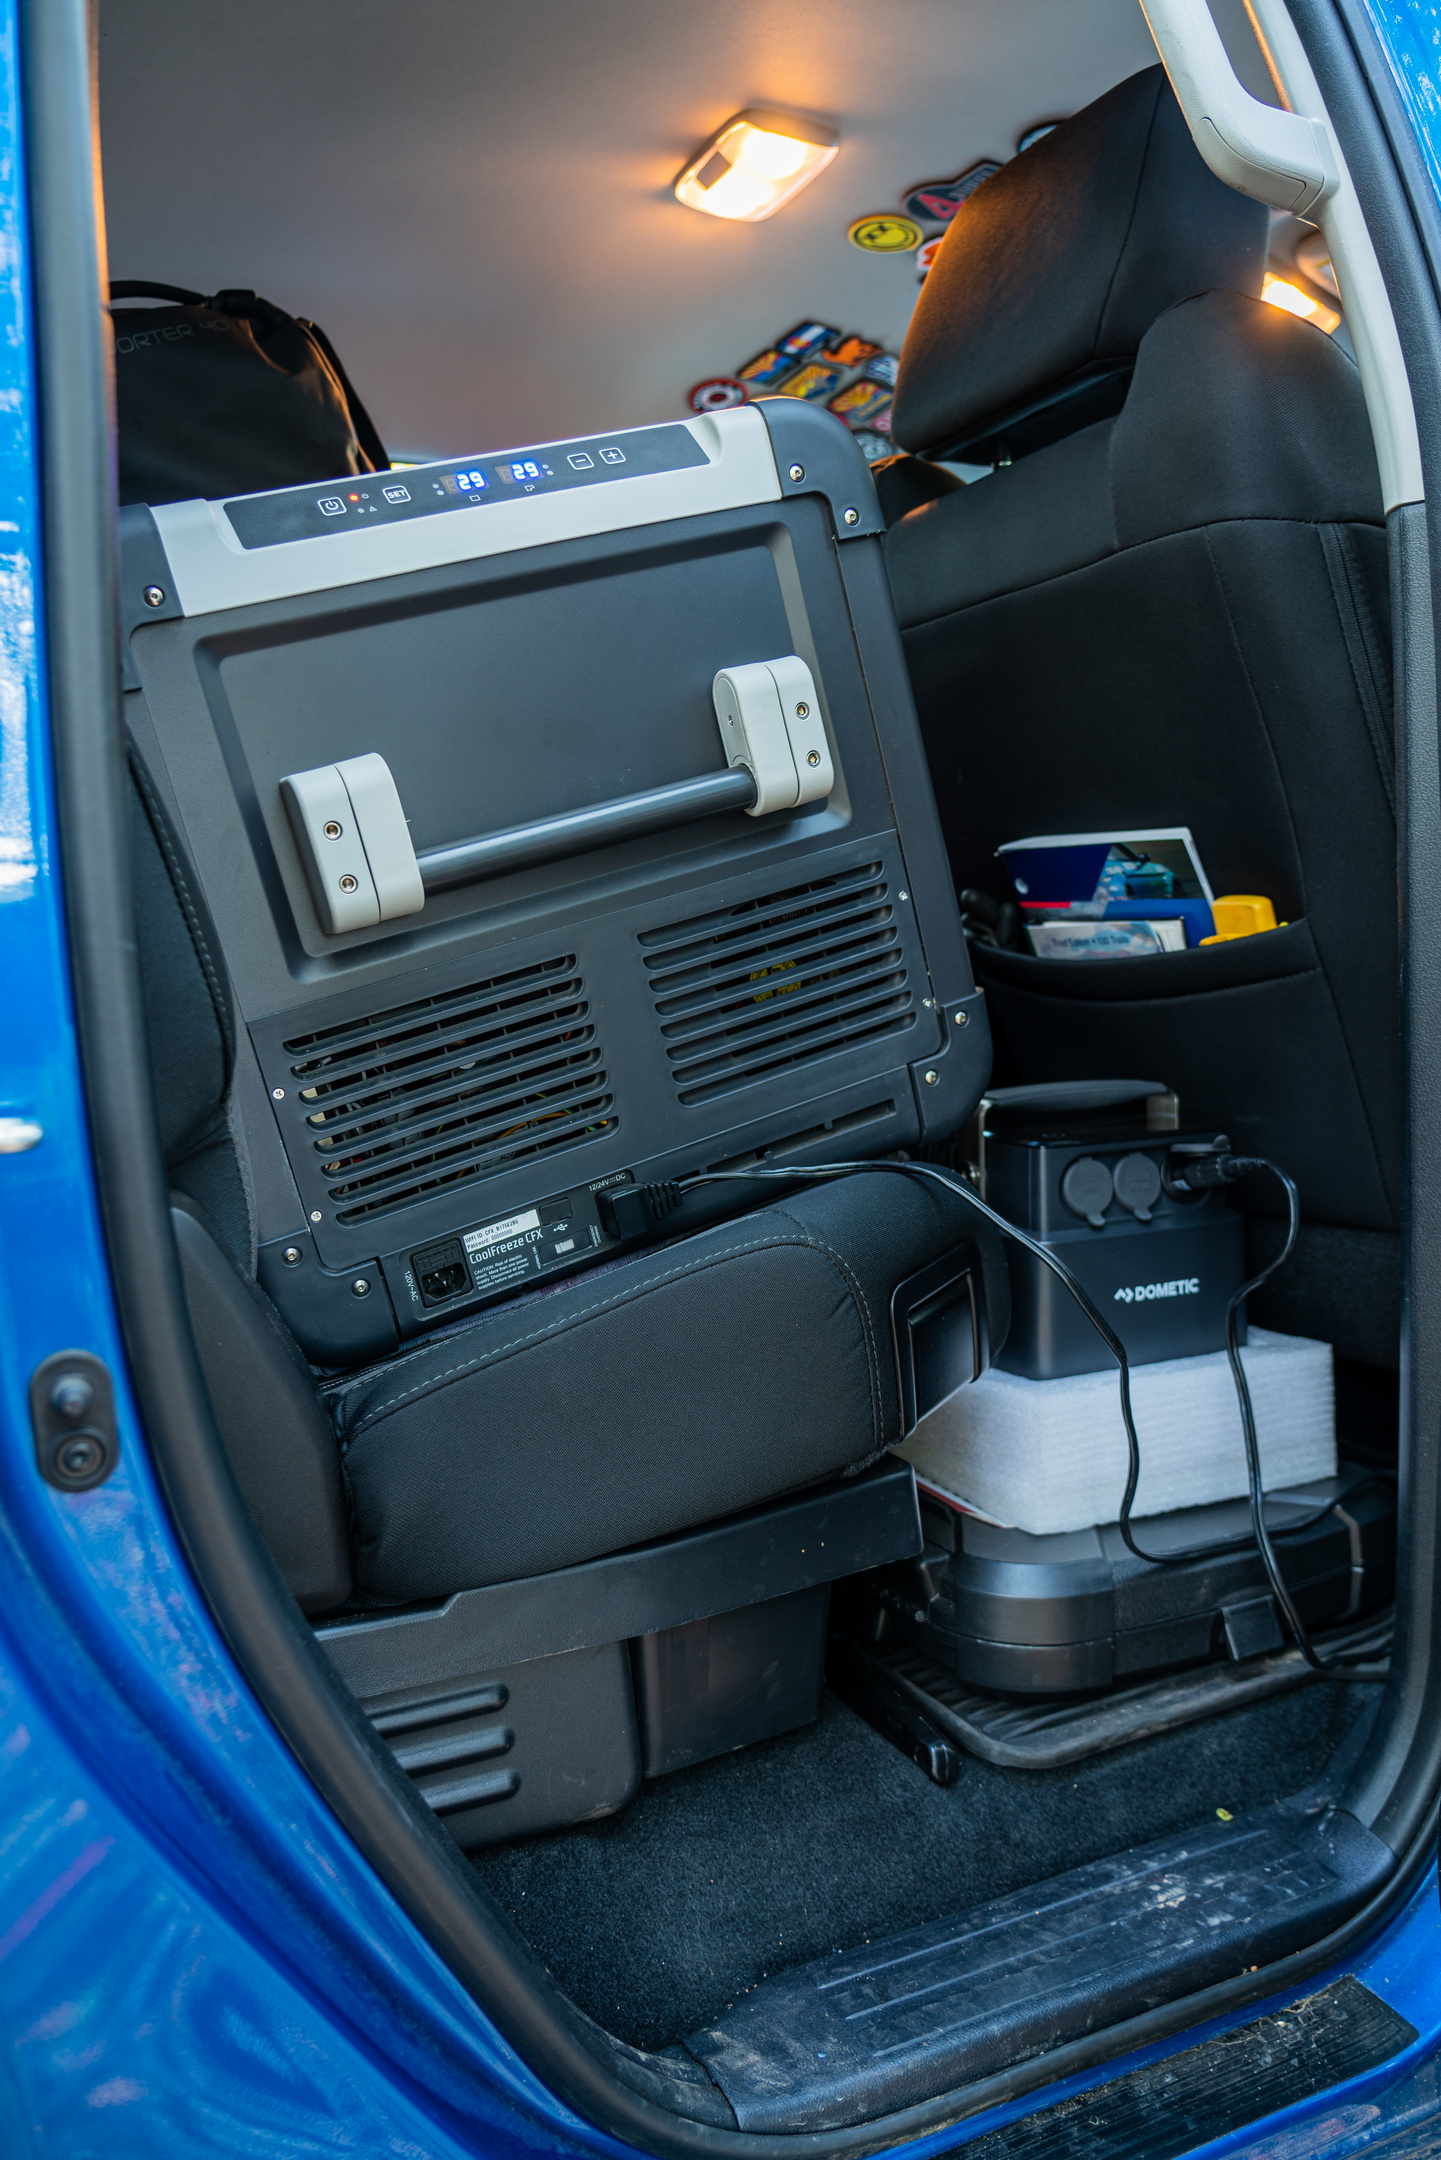
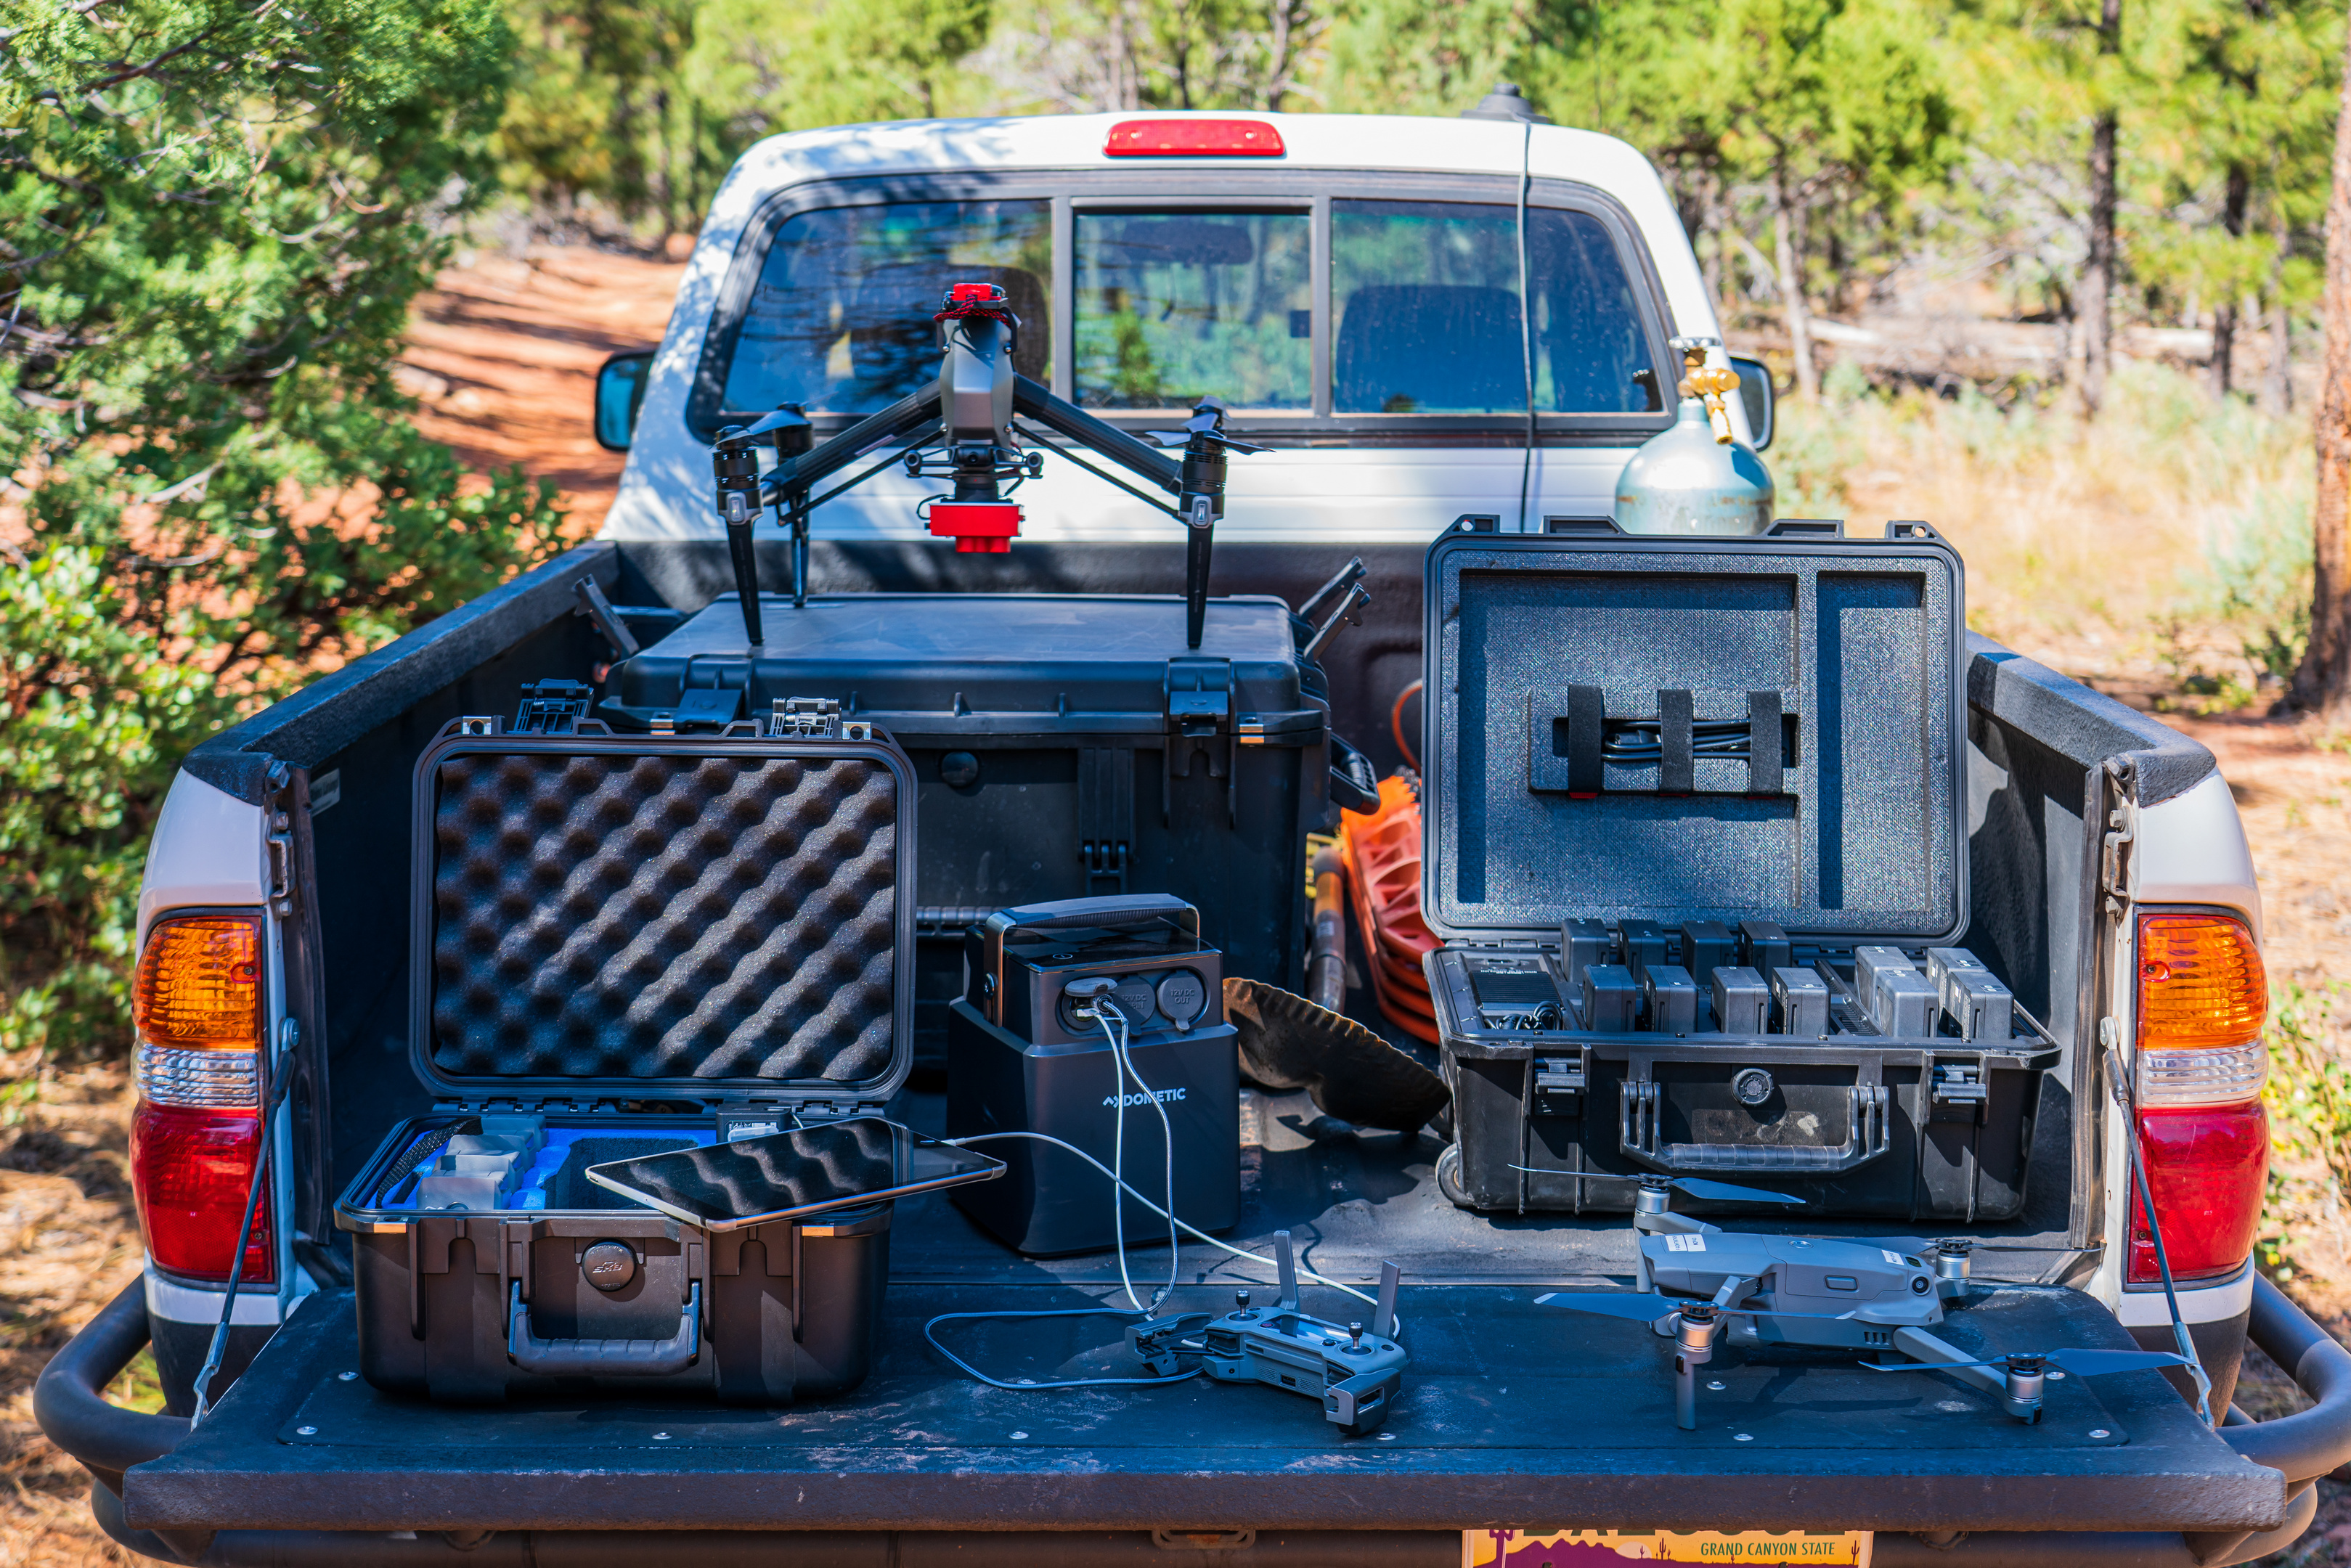
This size and weight opens doors for how this thing can be used. No power outlets in reach of the kid’s seats in the family hauler? Stick the PLB with the kids, and let them run their devices for the entire duration of your drive (if that’s your thing). Need power someplace in camp that’s not your rig? Grab your PLB. Hosting a BBQ in the backyard, and want to use your electric cooler for easy to access beverages, but don’t feel like dealing with all of the extension cords? You get the idea. If you’ve been lugging around other battery battery boxes where you supply a car battery – you need to experience the PLB’s size and portability. It’s a game changer.

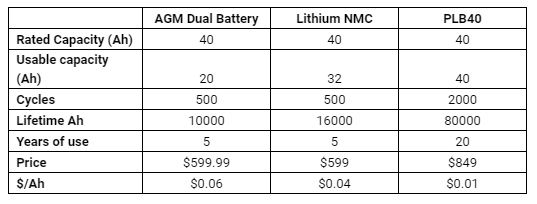
 That ease of use however, does come with a price tag and the PLB 40 isn’t cheap. Googling the PLB at the time of this writing turns up prices from $765 USD, and up. With that money, you’re in striking distance of other solutions out there, so just make sure that you’re getting the product solution that best meets your needs. If you’re shopping the PLB 40 against other portable batteries, Dometic has this handy chart that helps potential customers assess the return on investment of a PLB 40 vs. other popular options:
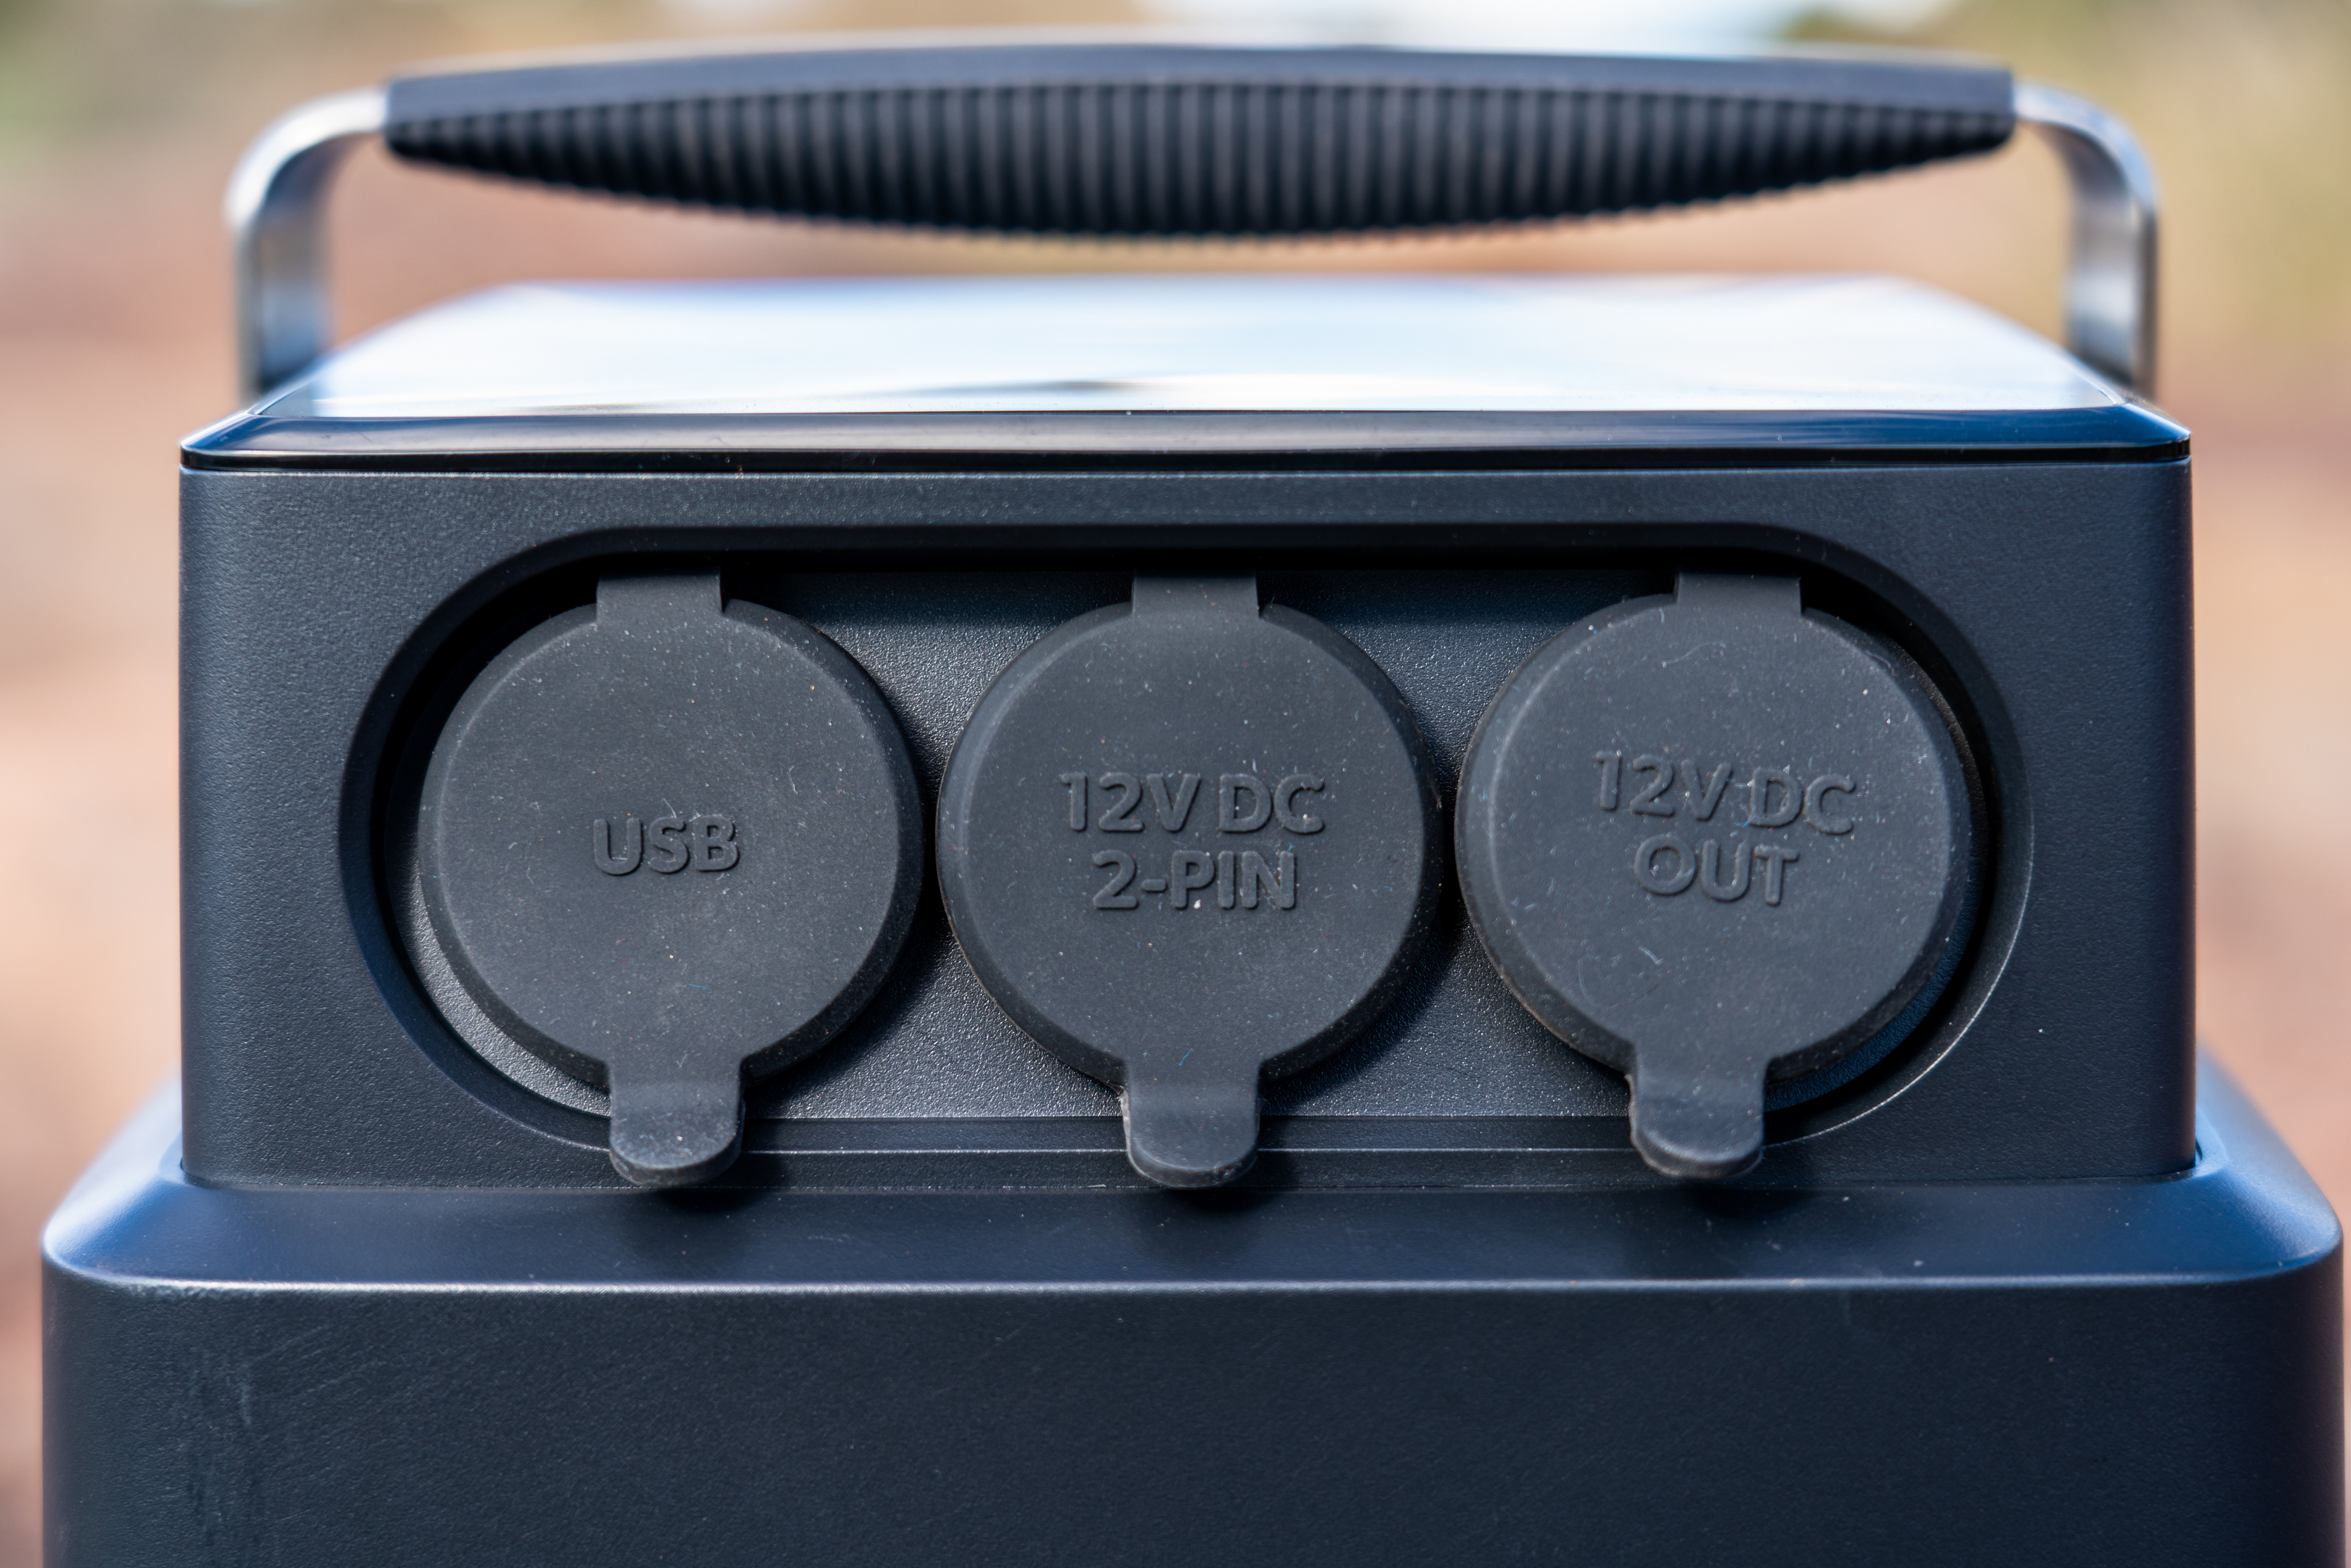
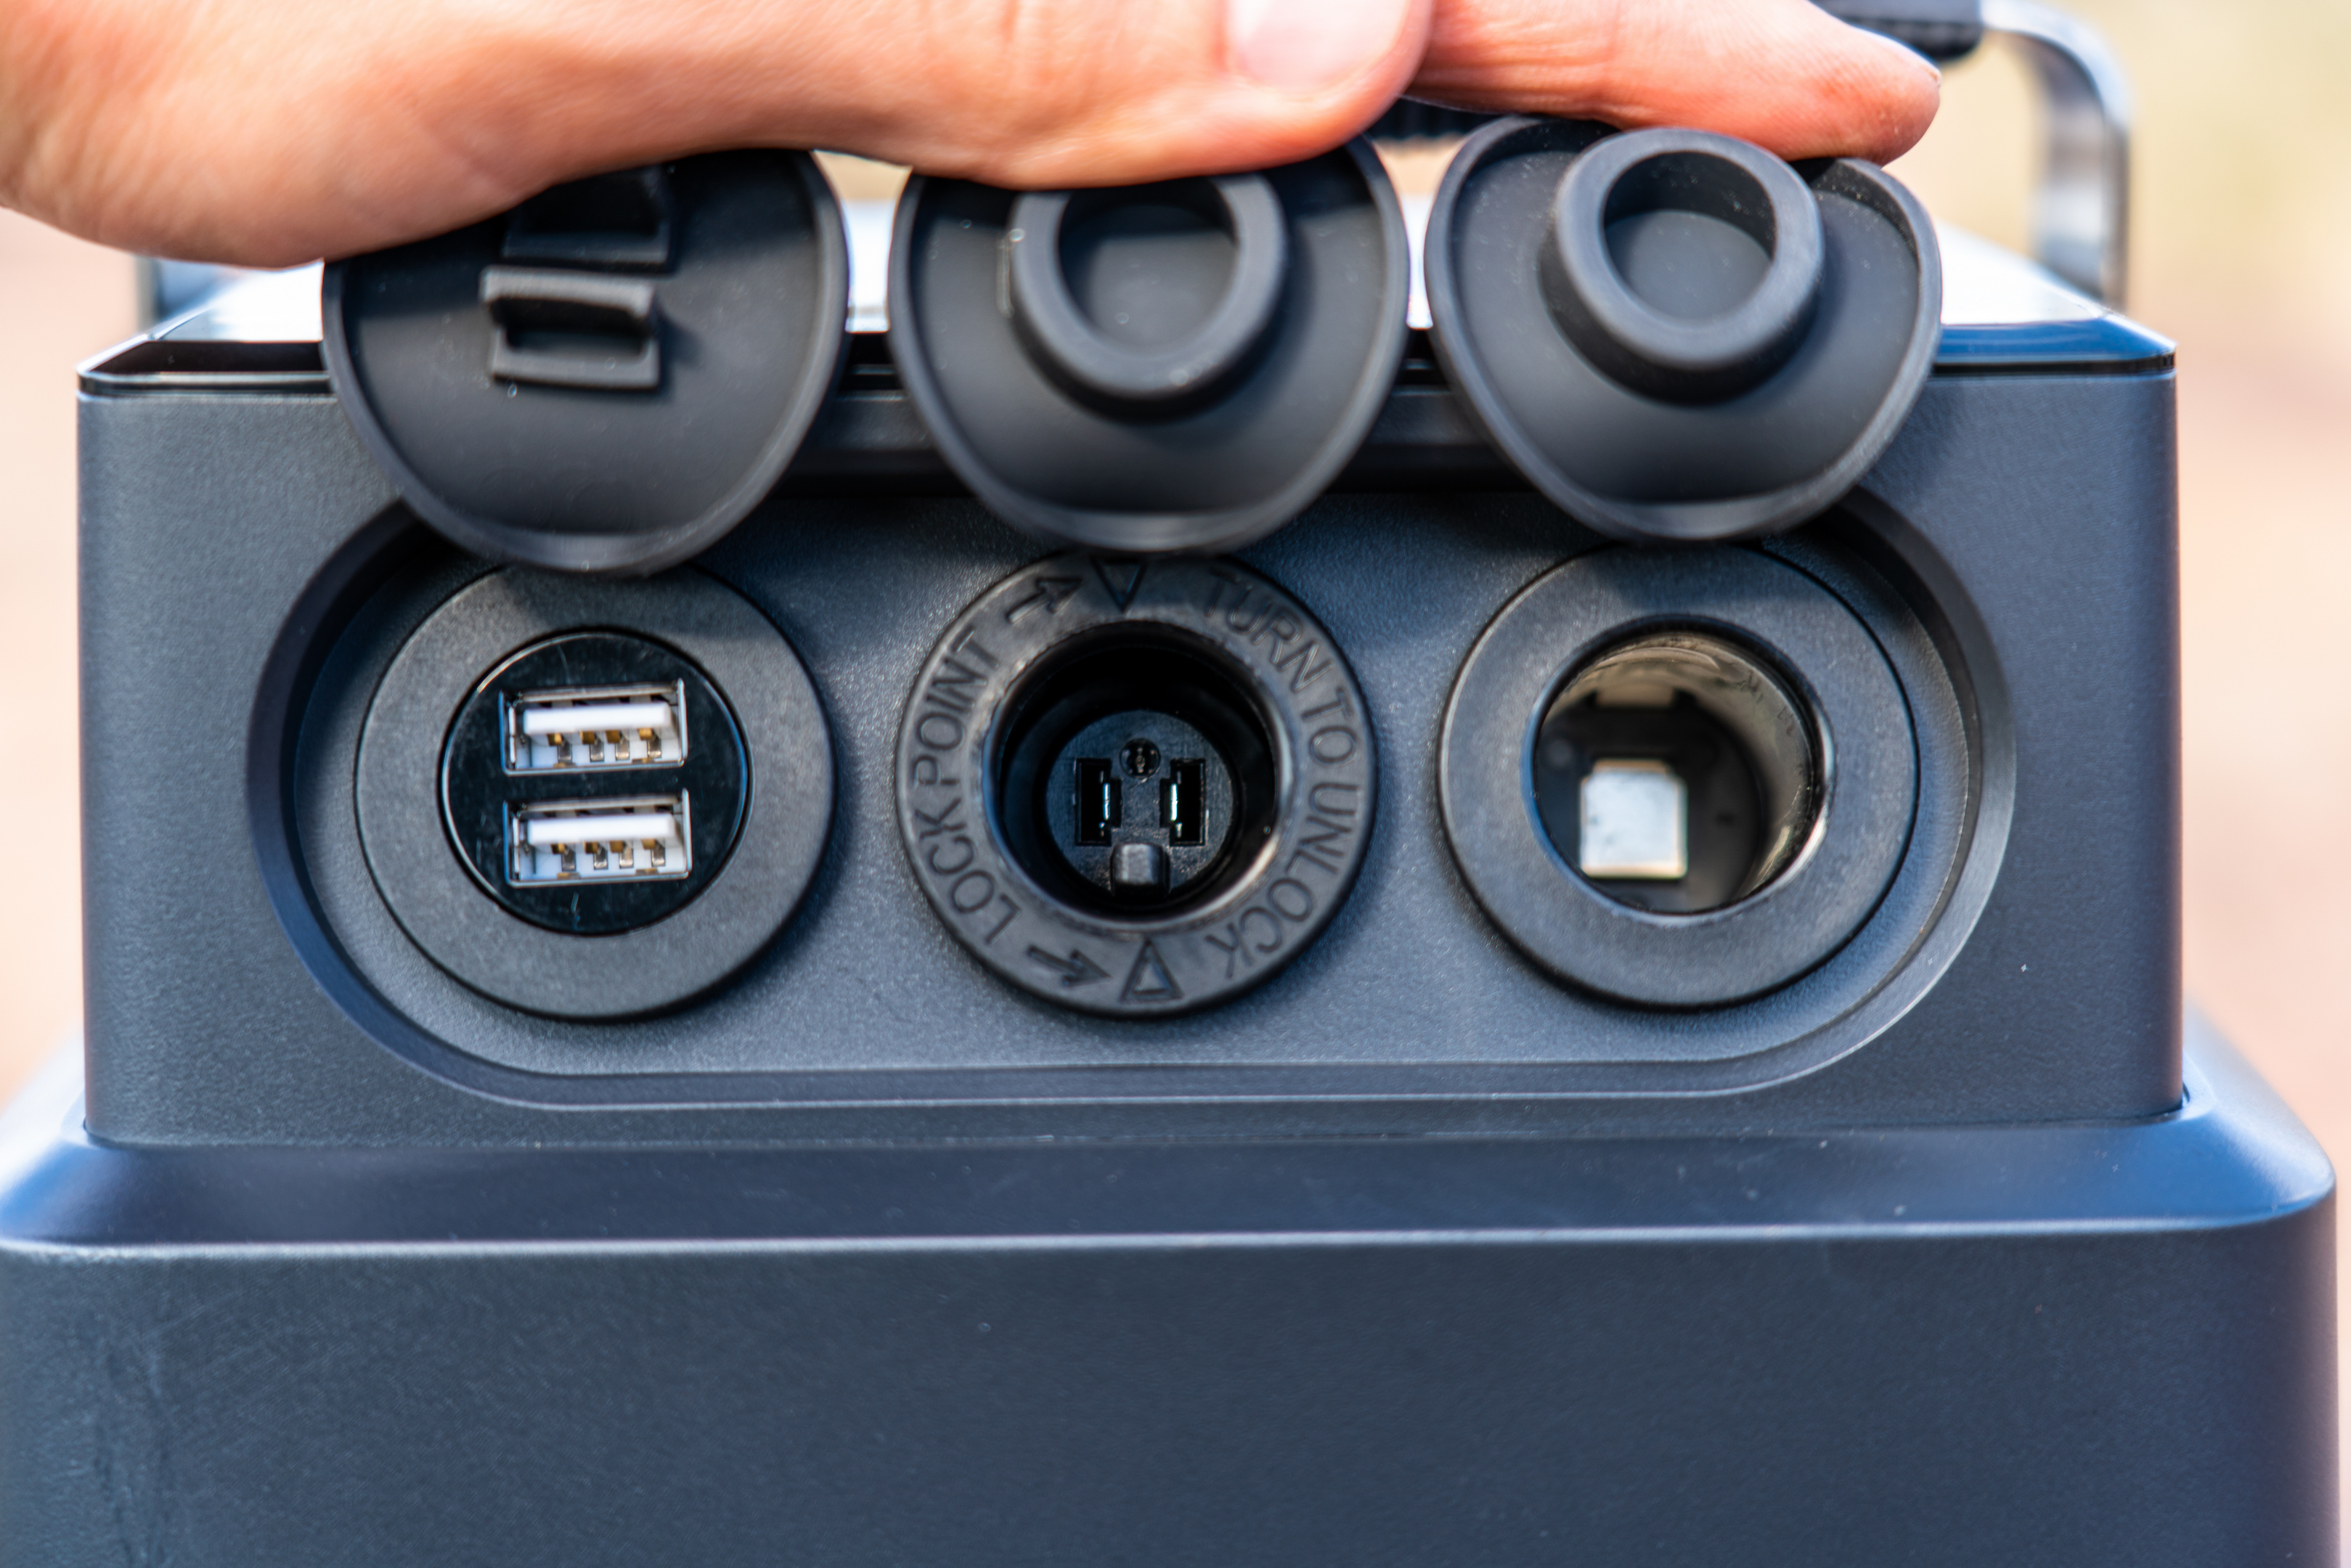
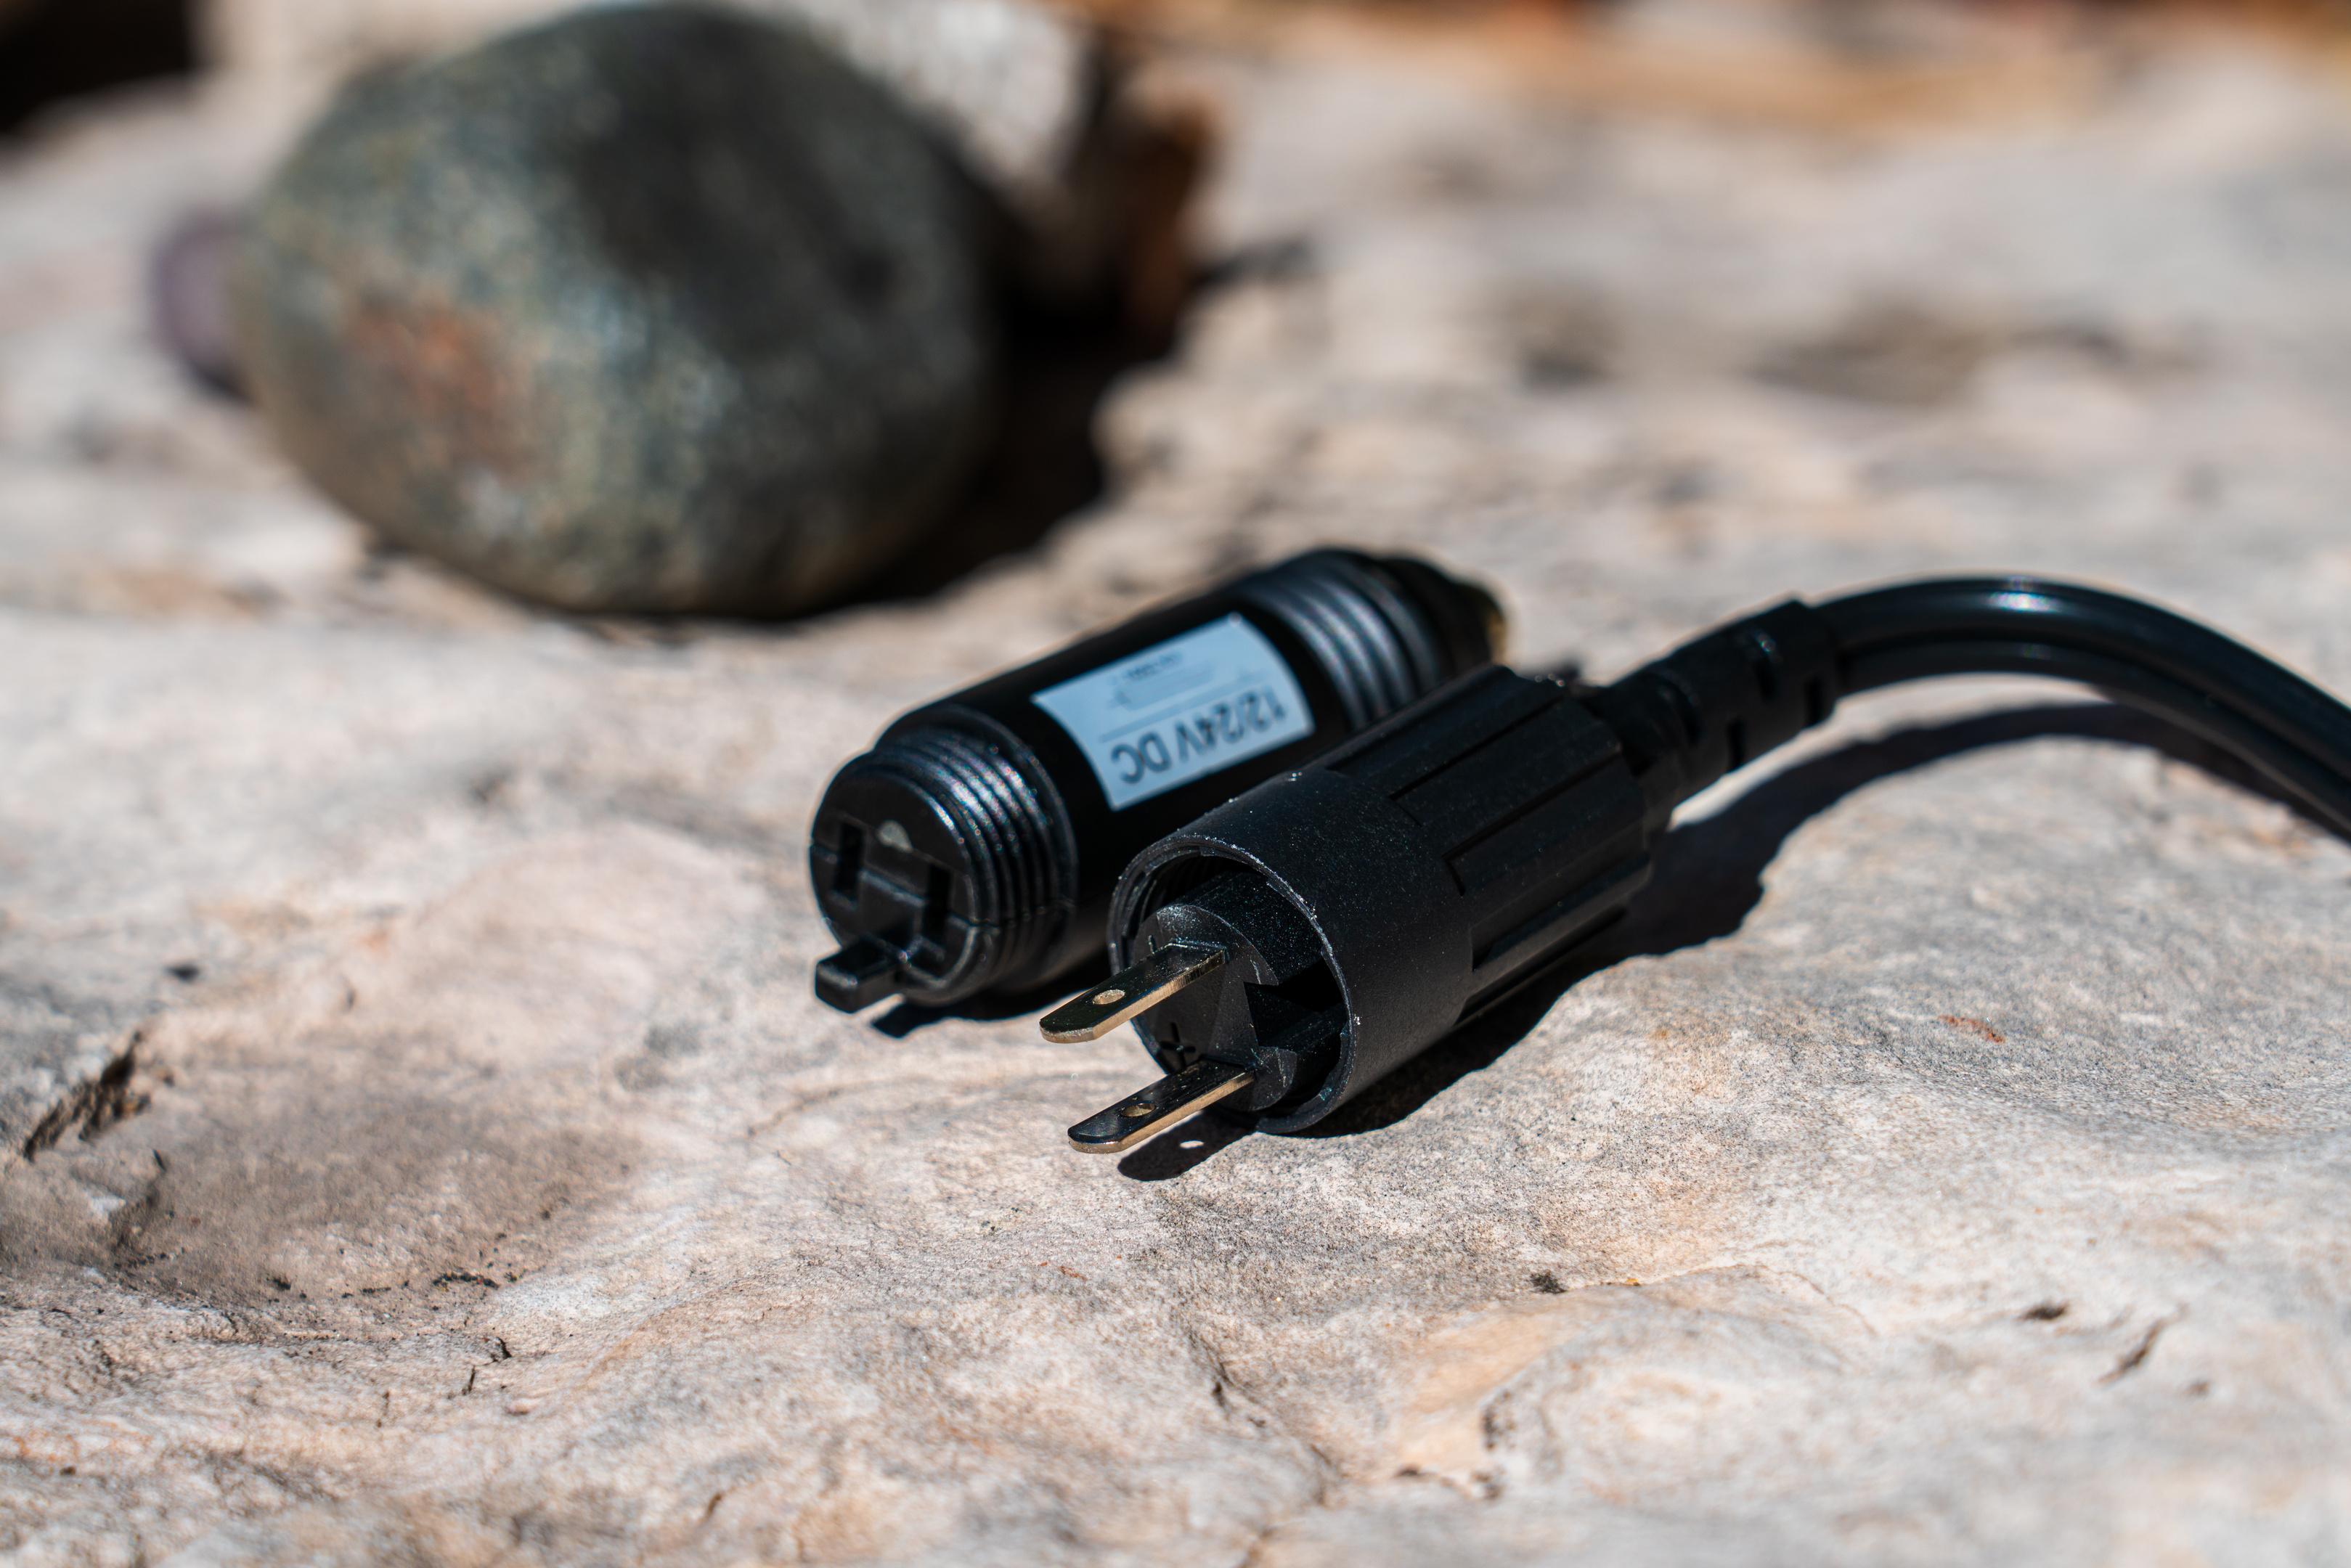
Speaking of value, it would be awesome to see Dometic offer a version of the PLB 40 that had two 12 V cigarette-style ports instead of one 12 V cigarette and one 12 V two-pin. Or at least a two-pin to cigarette-style dongle with the current PLB 40. If you’ve ever unscrewed the 12 V plug from your Dometic electric cooler, you’ve no doubt discovered the two-pin connector hidden inside, but I have far more 12 V cigarette style devices than two-pin devices, so it would be nice to have the added flexibility of 2 cigarette-style ports. The one redeeming part of the 2-pin connectors is that they screw in, so you don’t have to worry about accidentally knocking your plug out. Depending on how you pack your rig however, this may be a clutch feature or it may not make that much difference for you. A screw in connection definitely adds piece of mind, but I have yet to knock out a 12 V cigarette style plug – and I’m probably jinxing myself by saying that.
Yet, for a plug and play, as easy as it gets, “I just want the thing to work”, you can’t go wrong with the PLB 40. Other solutions are going to require purchasing other chargers, adjusting cut-offs, or taking other steps to get the function that the PLB 40 comes with out of the box – and it’s just so nice to just be able to plug two things in and go.
 Dometic’s PLB 40 is a pretty awesome piece of technology. Based on conversations I’ve had with other folks who’ve shelled out for one, it’s been exactly the thing that they were looking for to be able to get into the electric fridge game, and they couldn’t be happier. It doesn’t have all of the outputs that other portable batteries have, but it’s true plug and play functionality, portability, and reliable performance make it any easy choice for folks who don’t want to touch their vehicle wiring to be able to run an electric cooler.
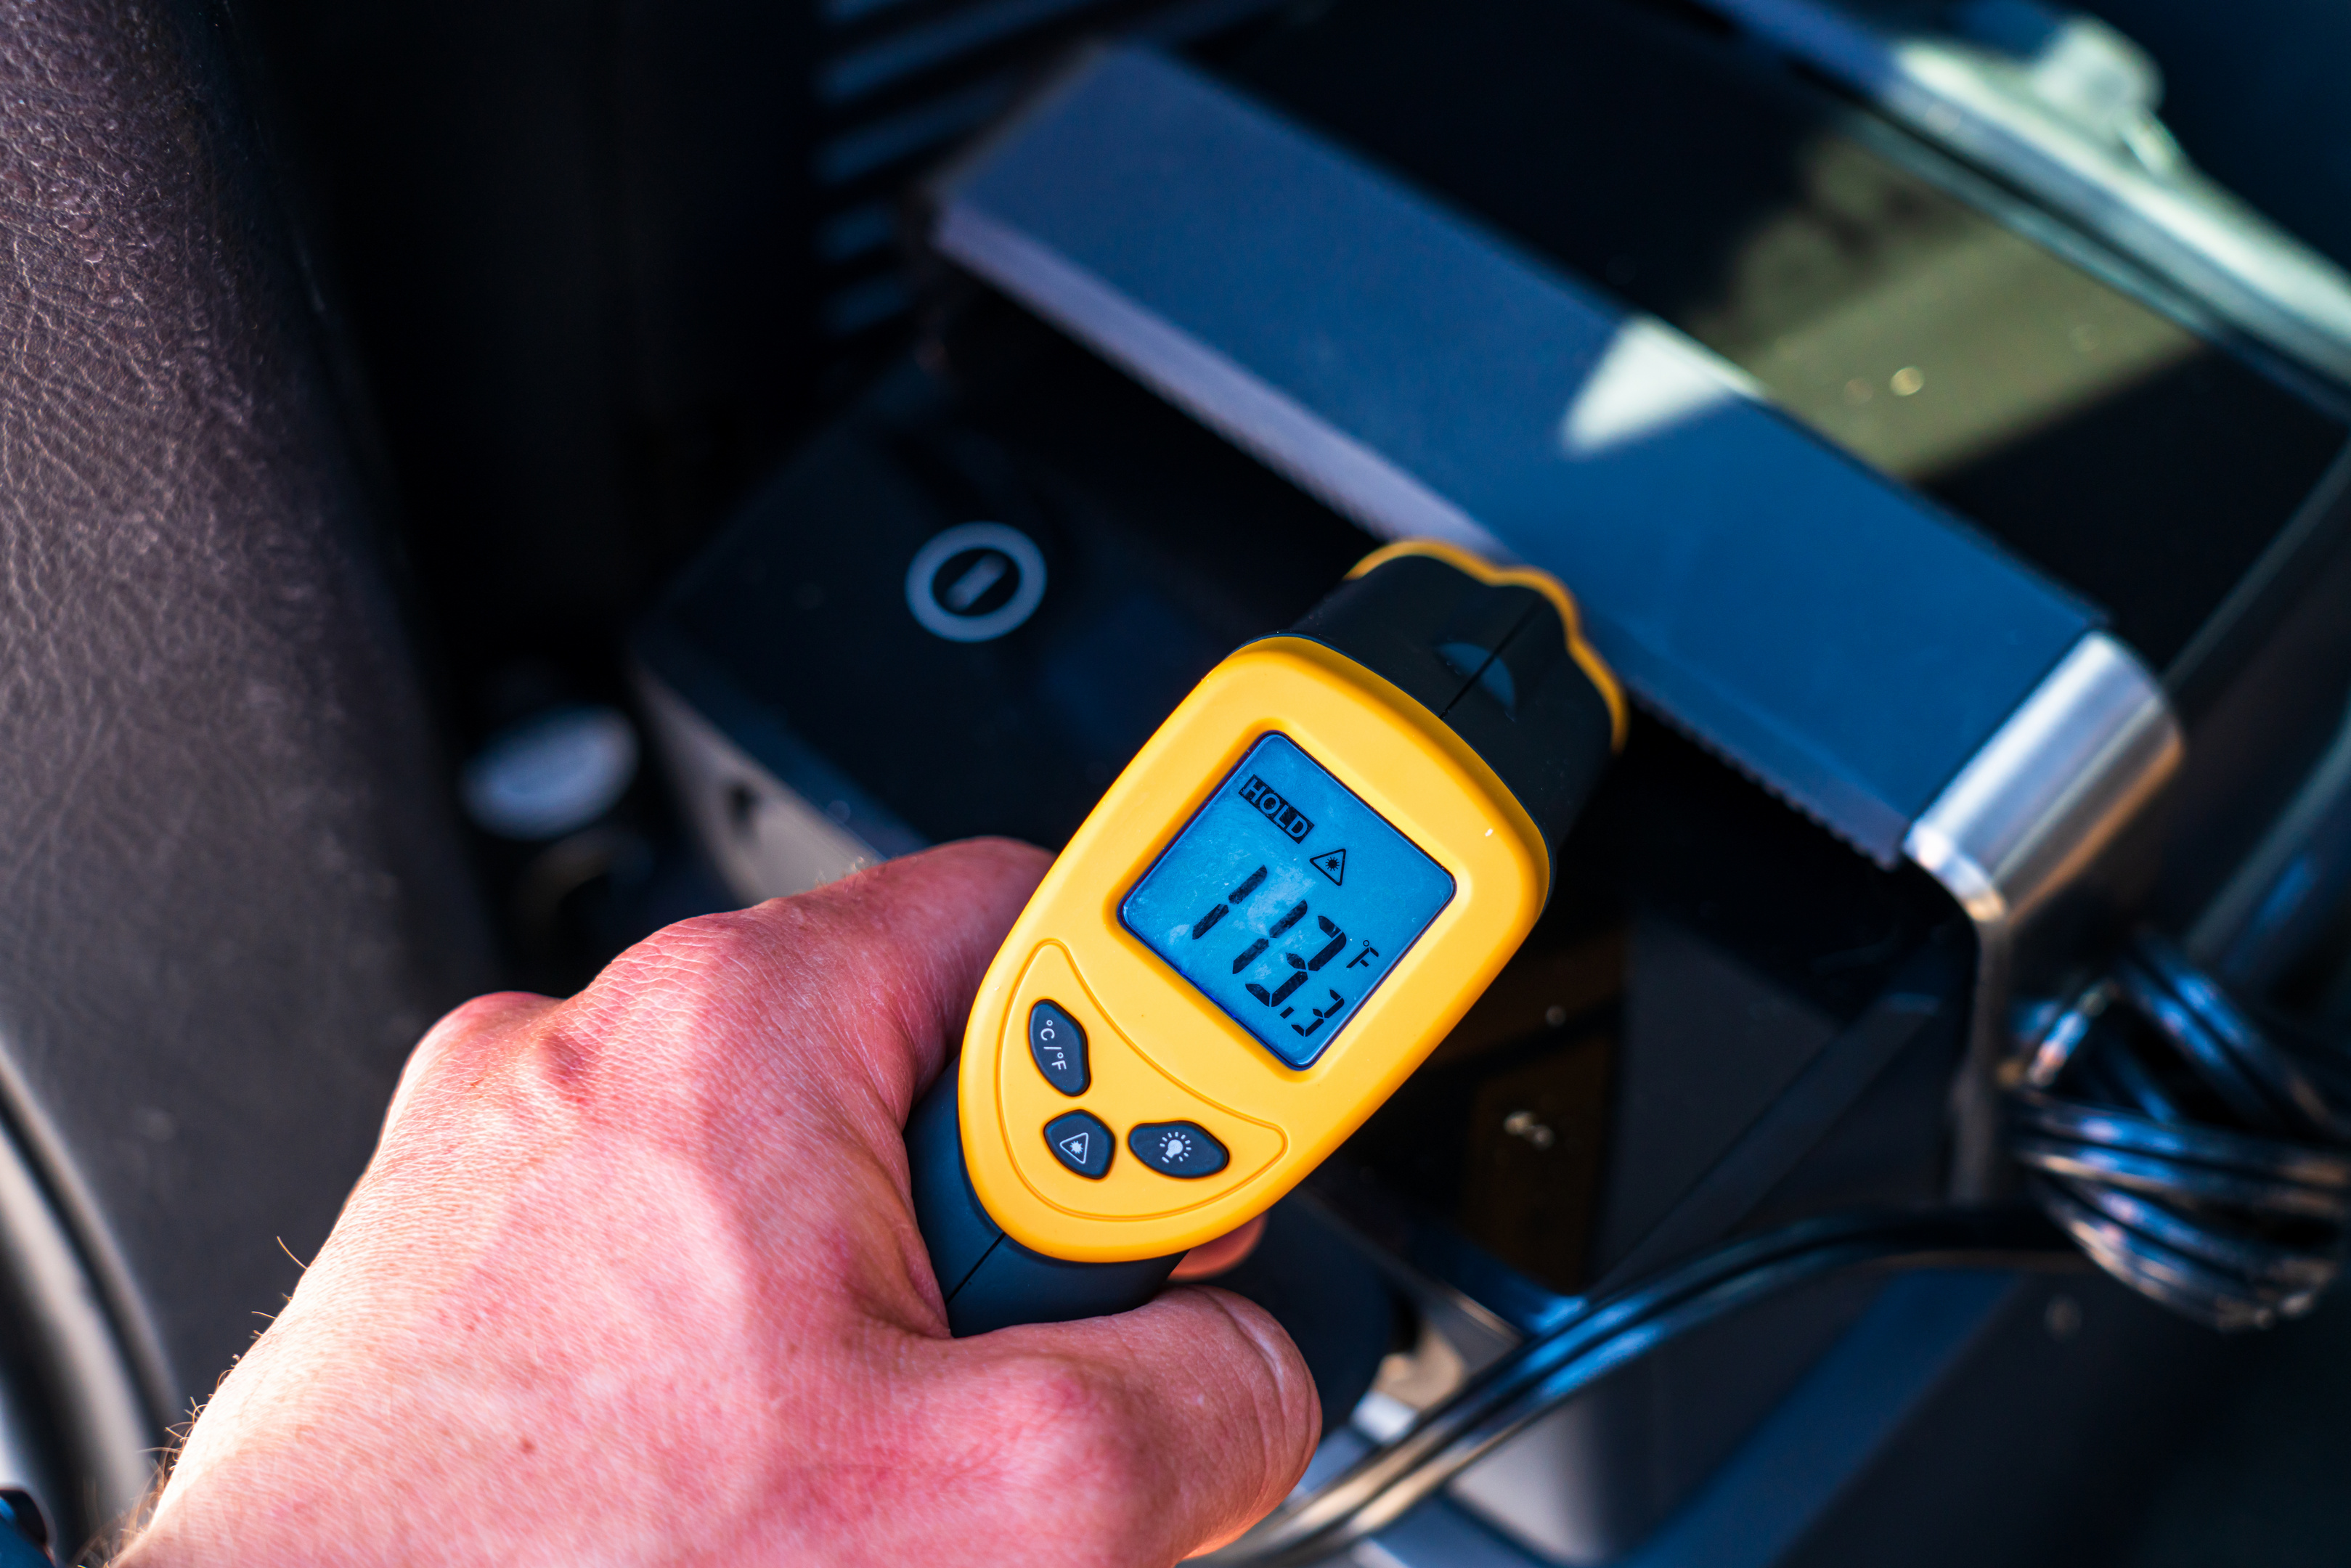
The PLB 40 hasn’t missed a beat in my use, which has included multiple trips to Phoenix in the middle of summer. Even when the unit was well heat-soaked with a surface temperature that meant the unit would start to experience diminished performance, the PLB 40 didn’t slow down or indicate on it’s display that it was getting too hot. It’s small size and weight means that you can actually take the unit to just about anywhere you need power, and the PLB 40 is flexible enough to power all kinds of DC and USB powered devices.
Cold Weather Testing:
It’s important to set the stage when it comes to talking about battery performance in cold weather. Most folks figure that cold weather will severely impact the performance of their batteries, based on past experiences starting (or attempting to start) a vehicle in cold weather with a Lead-Acid or other common car battery chemistries. When you attempt to start a vehicle in the cold, your vehicle’s starter needs hundreds of amps from your battery to crank a cold motor over, and at lower temperatures the chemistry of a given battery cannot provide as much current as it can when it’s warm. This is the exact reason that there is a Cold Cranking Amps (CCA) spec on vehicle batteries. When it comes to a high current load, you’ll absolutely notice a difference in battery performance when it’s cold out.
Powering an electric cooler in cold weather is completely different, as an electric cooler is only going to pull a couple of amps or less, no matter how cold it is outside. Plus, the colder the outside temperature is, the lower the temperature difference is between the compartment(s) of your electric cooler and outside, which means that your cooler’s compressor is going to have to run less often to keep your electric cooler temps where you want them. This means less energy is required from your battery. In my testing, I was able to get longer run times out of a PLB 40 with temps near freezing than I was when temps were in the 70’s, and I attribute this to the compressor running less often.
To quantify exactly what kind of difference temperature has on the PLB 40, I ran two tests. In the first test, I used the PLB 40 at 70 degrees F, and applied a constant load of 100 watts, which I pulled through a power meter to see how many kilowatt-hours I could get out of the battery before it hit 50% state-of-charge. I then repeated this experiment with the PLB 40 being cold-soaked and held at 32 degrees F. The warm battery was able to provide a few hundreths of a kilowatt-hour more power before hitting 50% state-of-charge. So yes, the the cold does impact the power output of the PLB 40, but the devices that you’re most likely powering with a PLB 40 don’t pull enough current and will require less energy when it’s cold out, so the difference will come out in the wash.
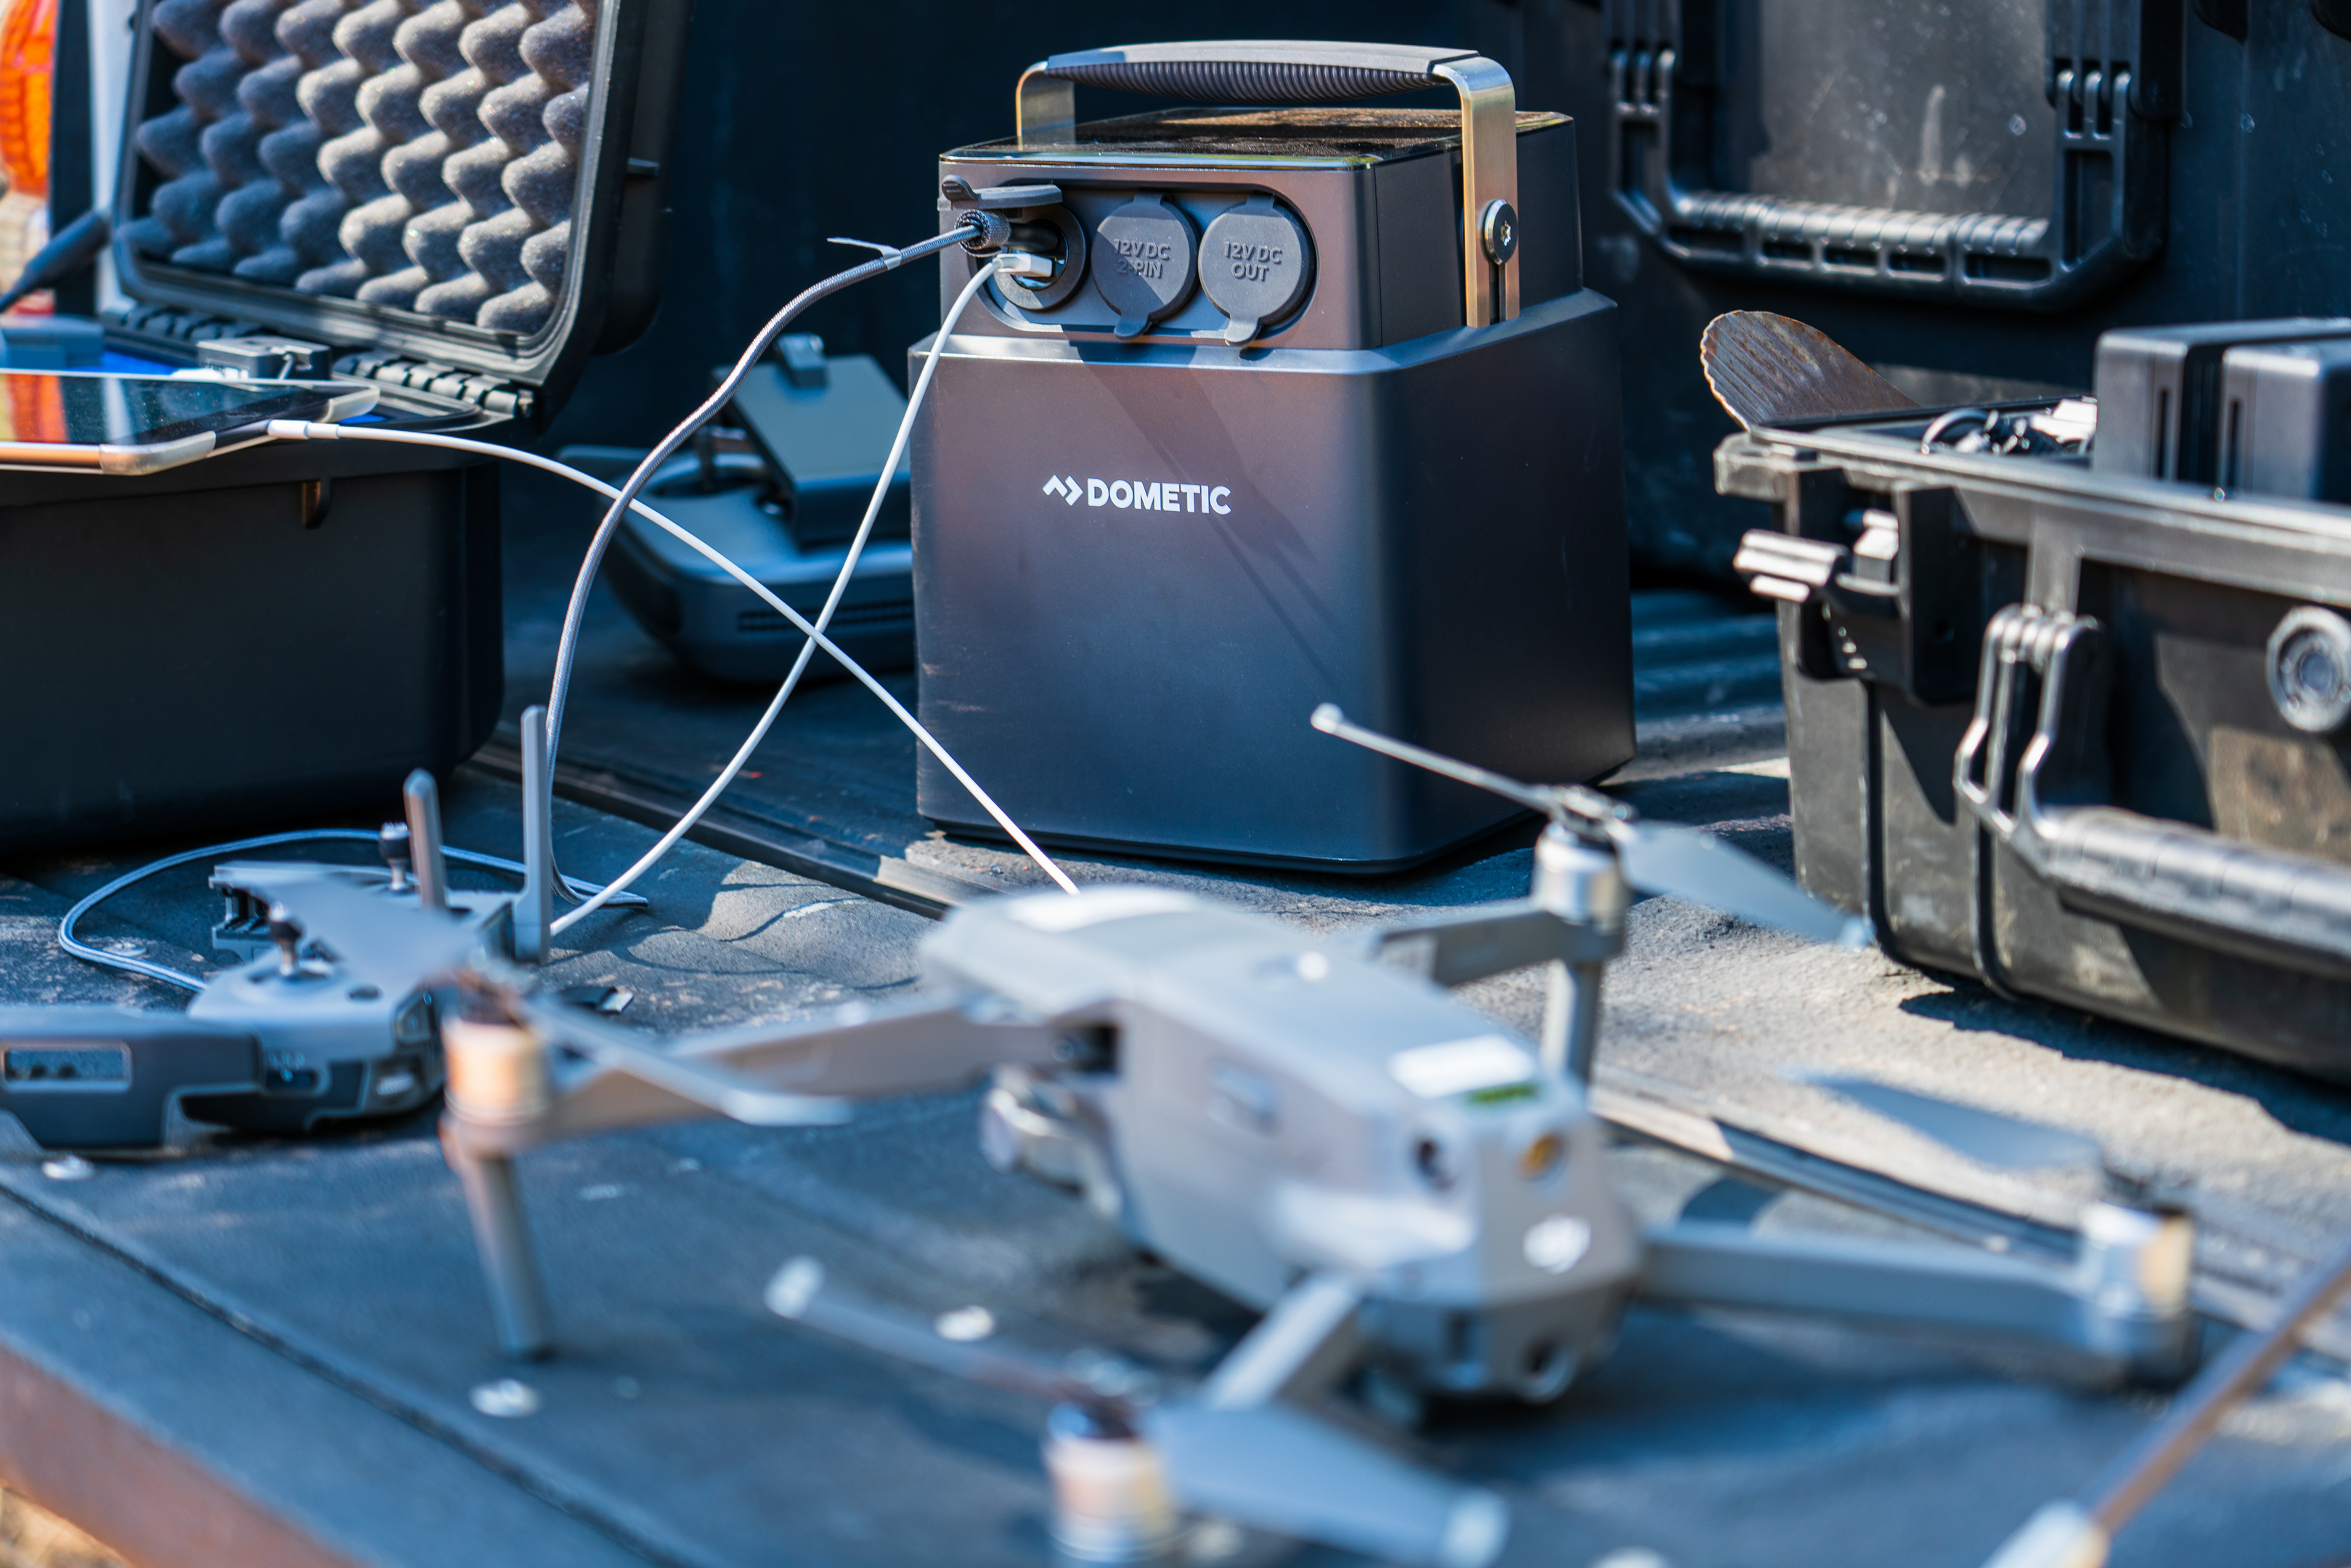
The PLB’s LiFePO4 battery will hold up to thousands of charging cycles, which means that you can have that many adventures fueled by whatever awesome stuff you can keep in your electric cooler. If you’ve been looking for that missing link in the power supply chain for an electric cooler, or for charging media devices or drone batteries, the PLB 40 is definitely worth checking out.
 Full Disclosure: Dometic provided a sample PLB 40 at no charge to the author for the purposes of this review.


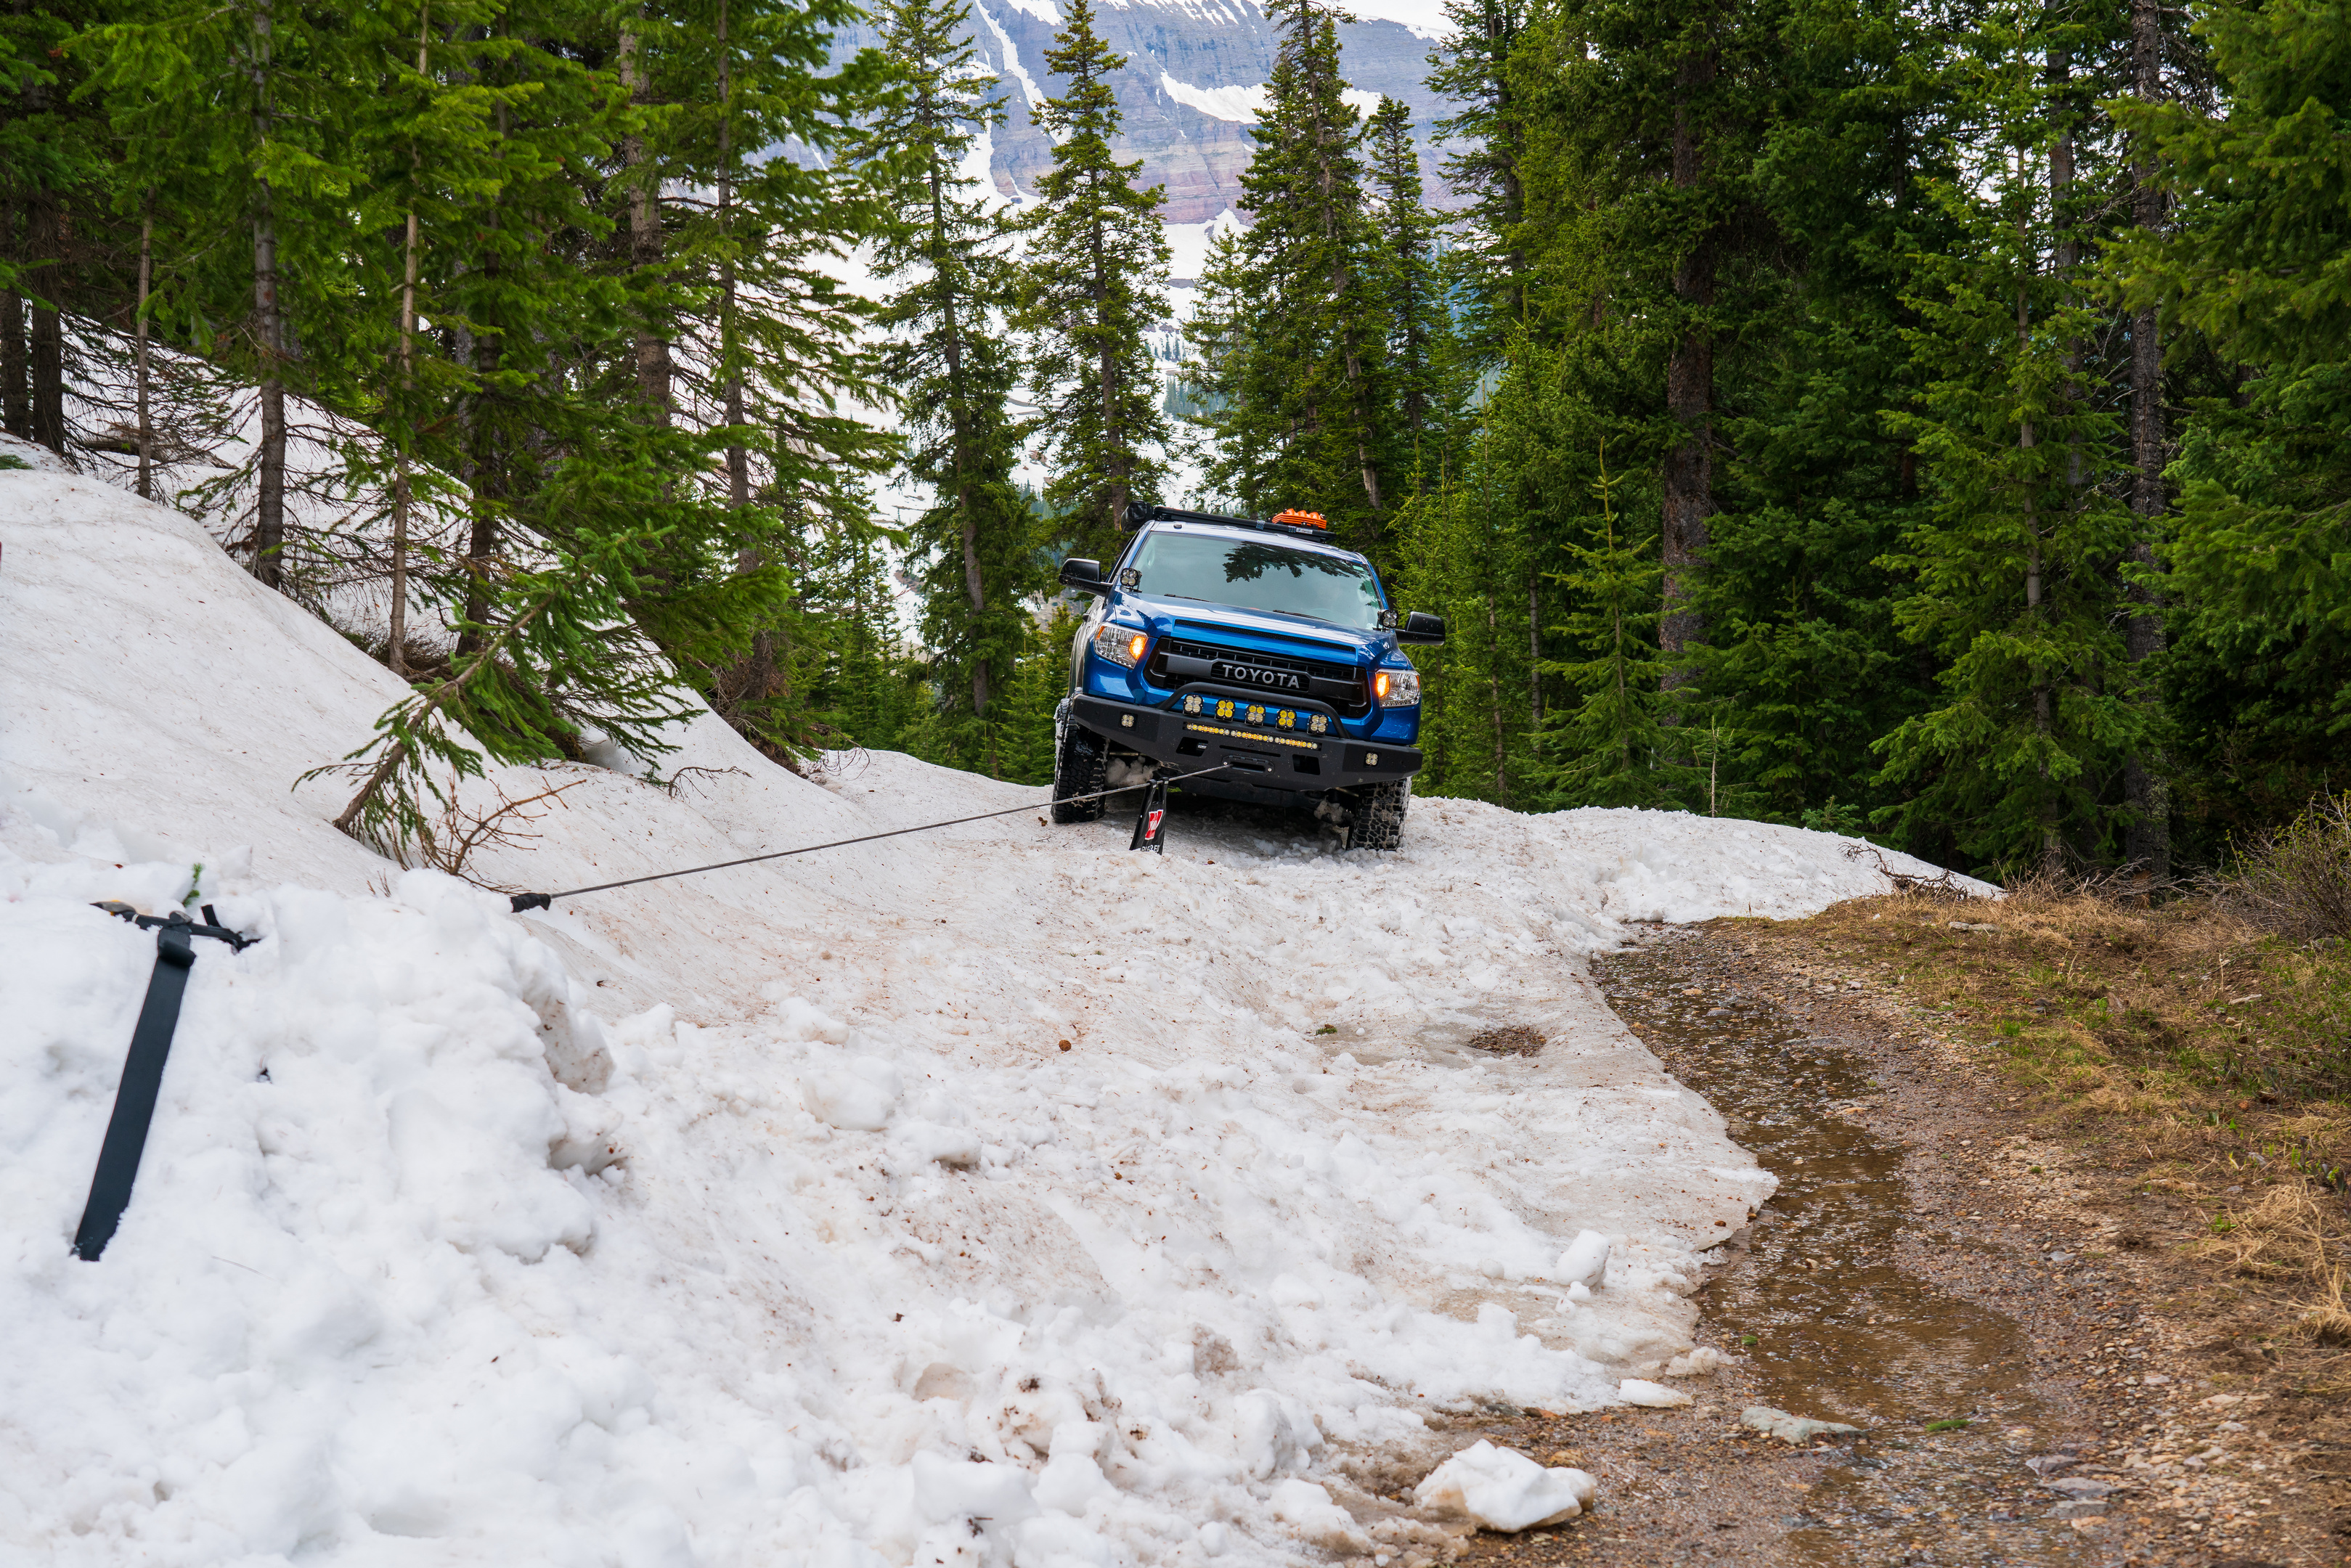
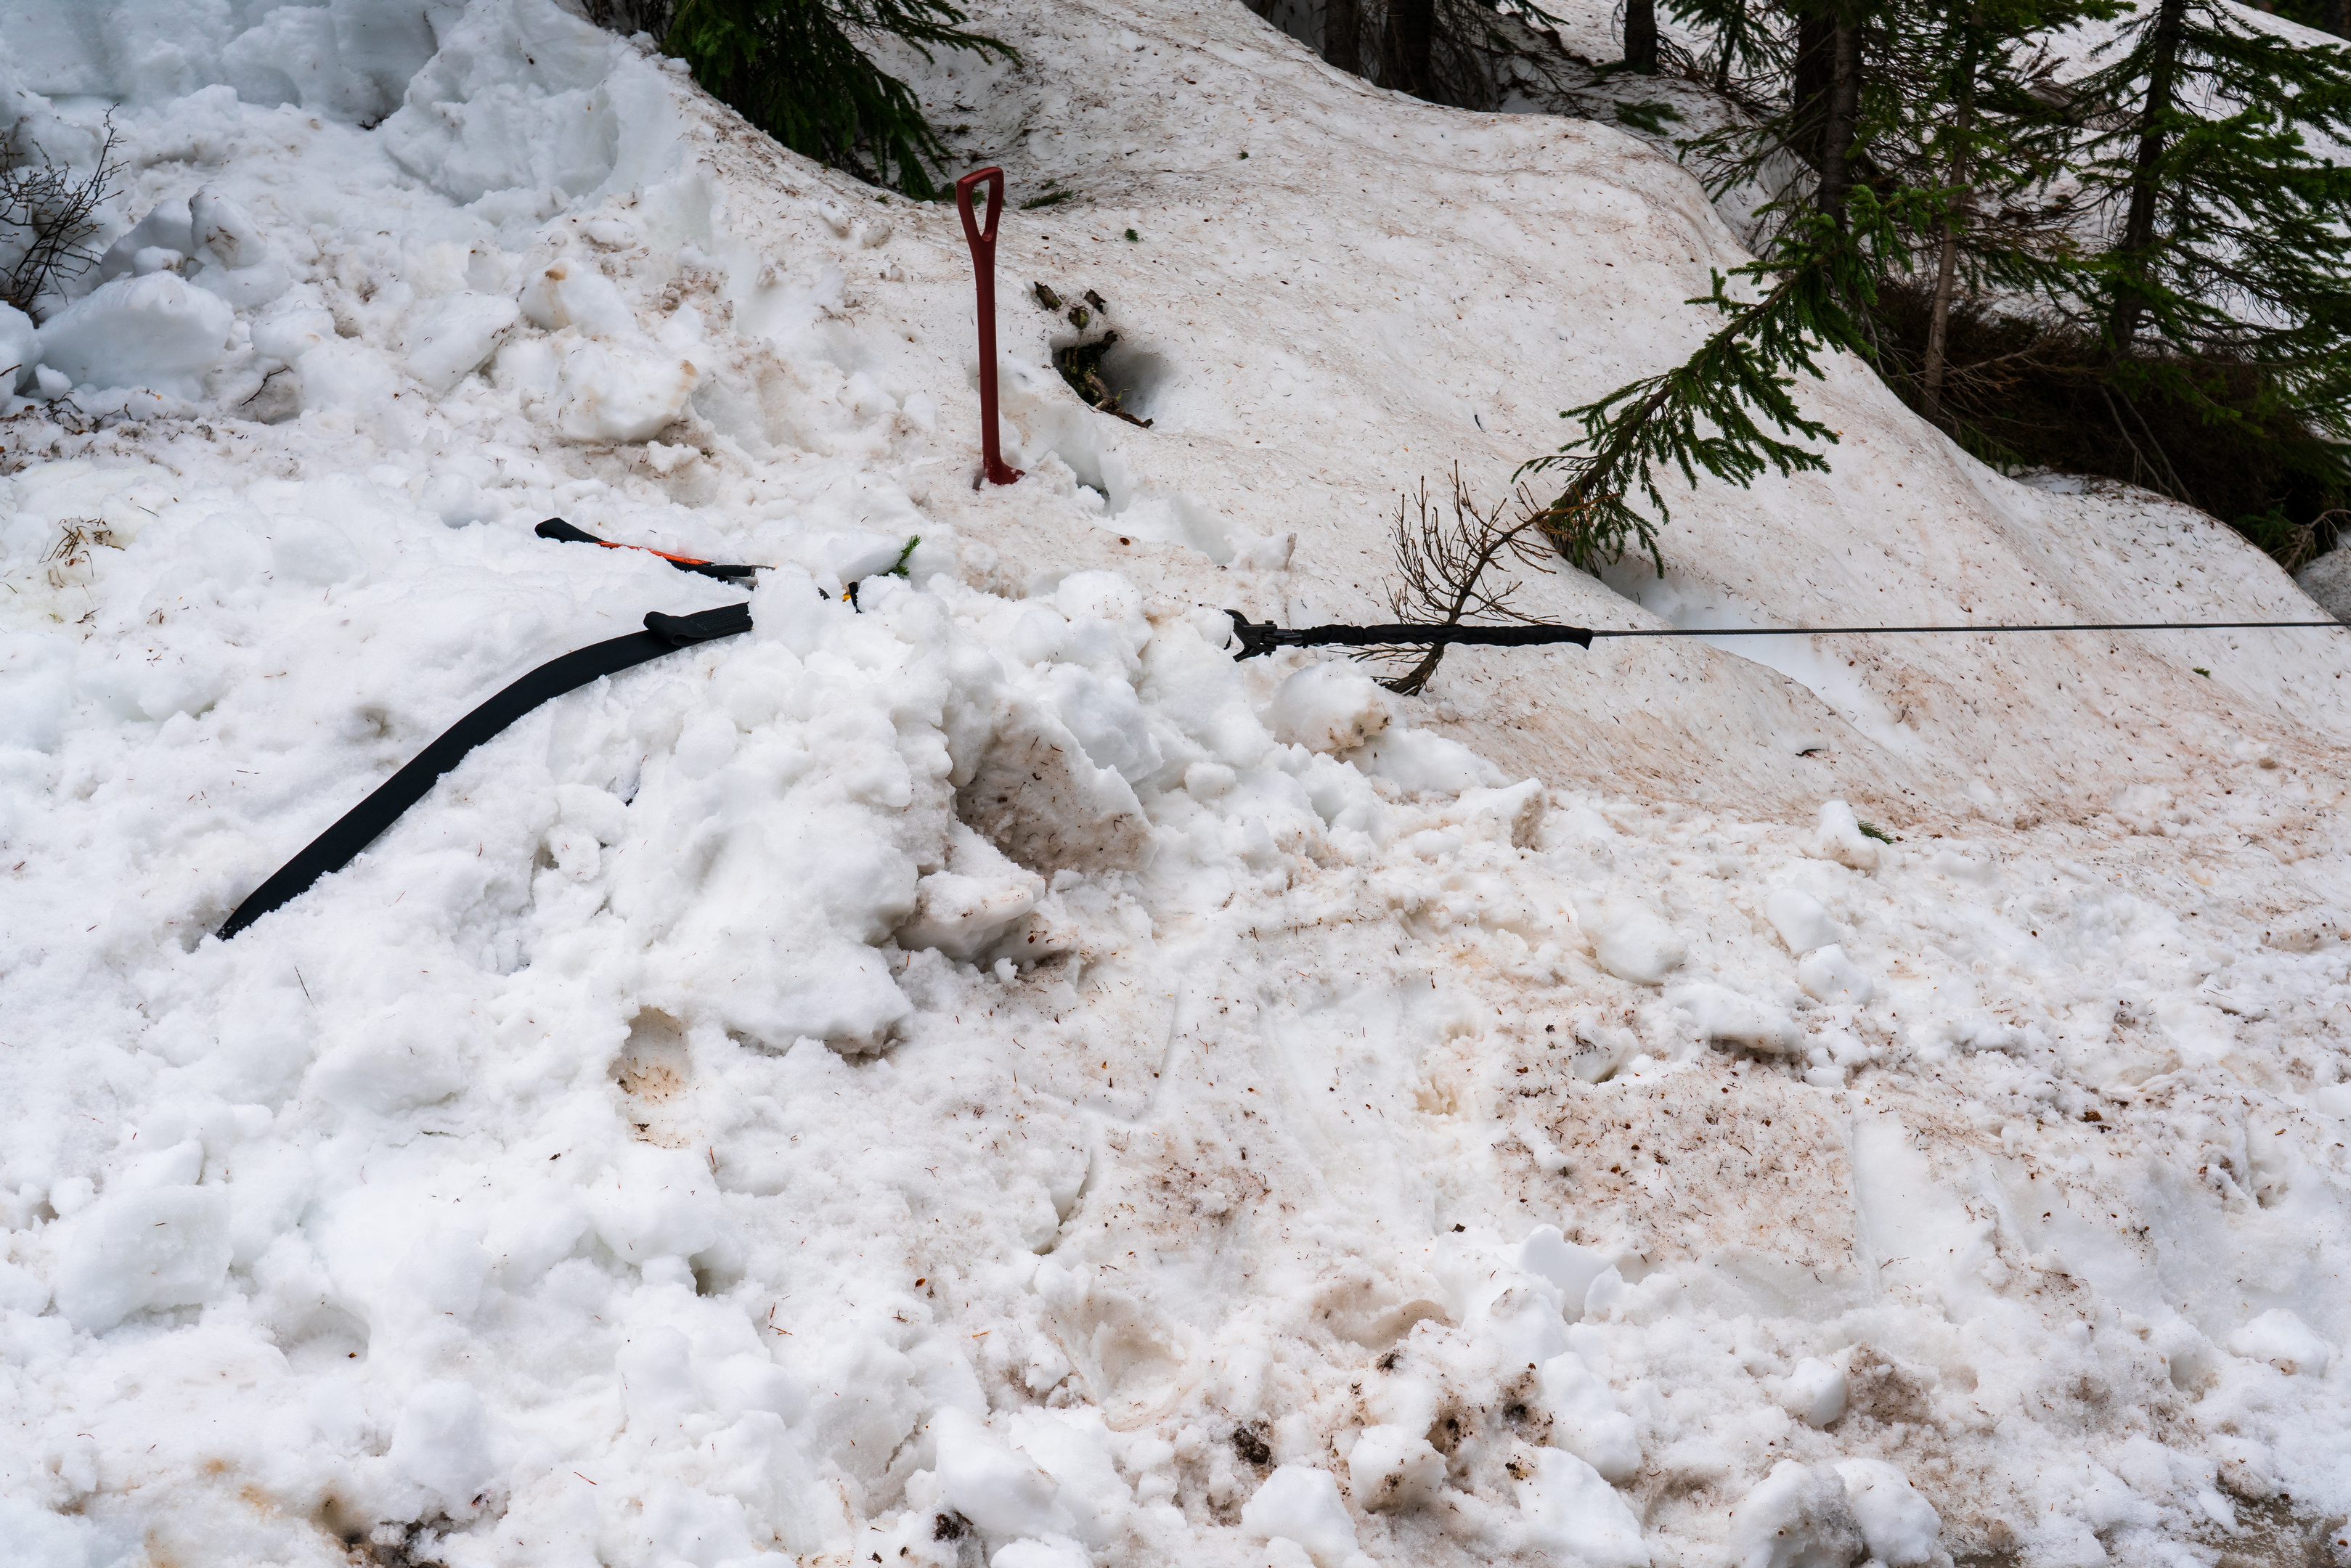
 Every recovery situation is unique, so there’s no way I can say if you’re stuck on X-surface dig down to Y-inches and you’ll magically get out. There are just too many factors in play for a hard and fast answer like that. The general guidance is that if you’re in soft surfaces you’re going to need to dig deeper than in harder pack surfaces. When I was using the Deadman in wet beach sand, I was able to get away with digging a ~16 inch deep hole on my second pull, after realizing that my first hole at over two feet was way more than I needed to do. Good thing my inner child likes to dig holes. Likewise, in spring snowpack (a very wet, packable snow that’s great for making snowballs) I started with a hole that was nearly three feet deep which was seriously overkill too. But, I’d rather err on the safe side – and besides, digging is good exercise. The good news is, that if you pull the Deadman out while winching, you can just bury him deeper, which is more than can be said for other earth anchors which can only hold on to so much soil.
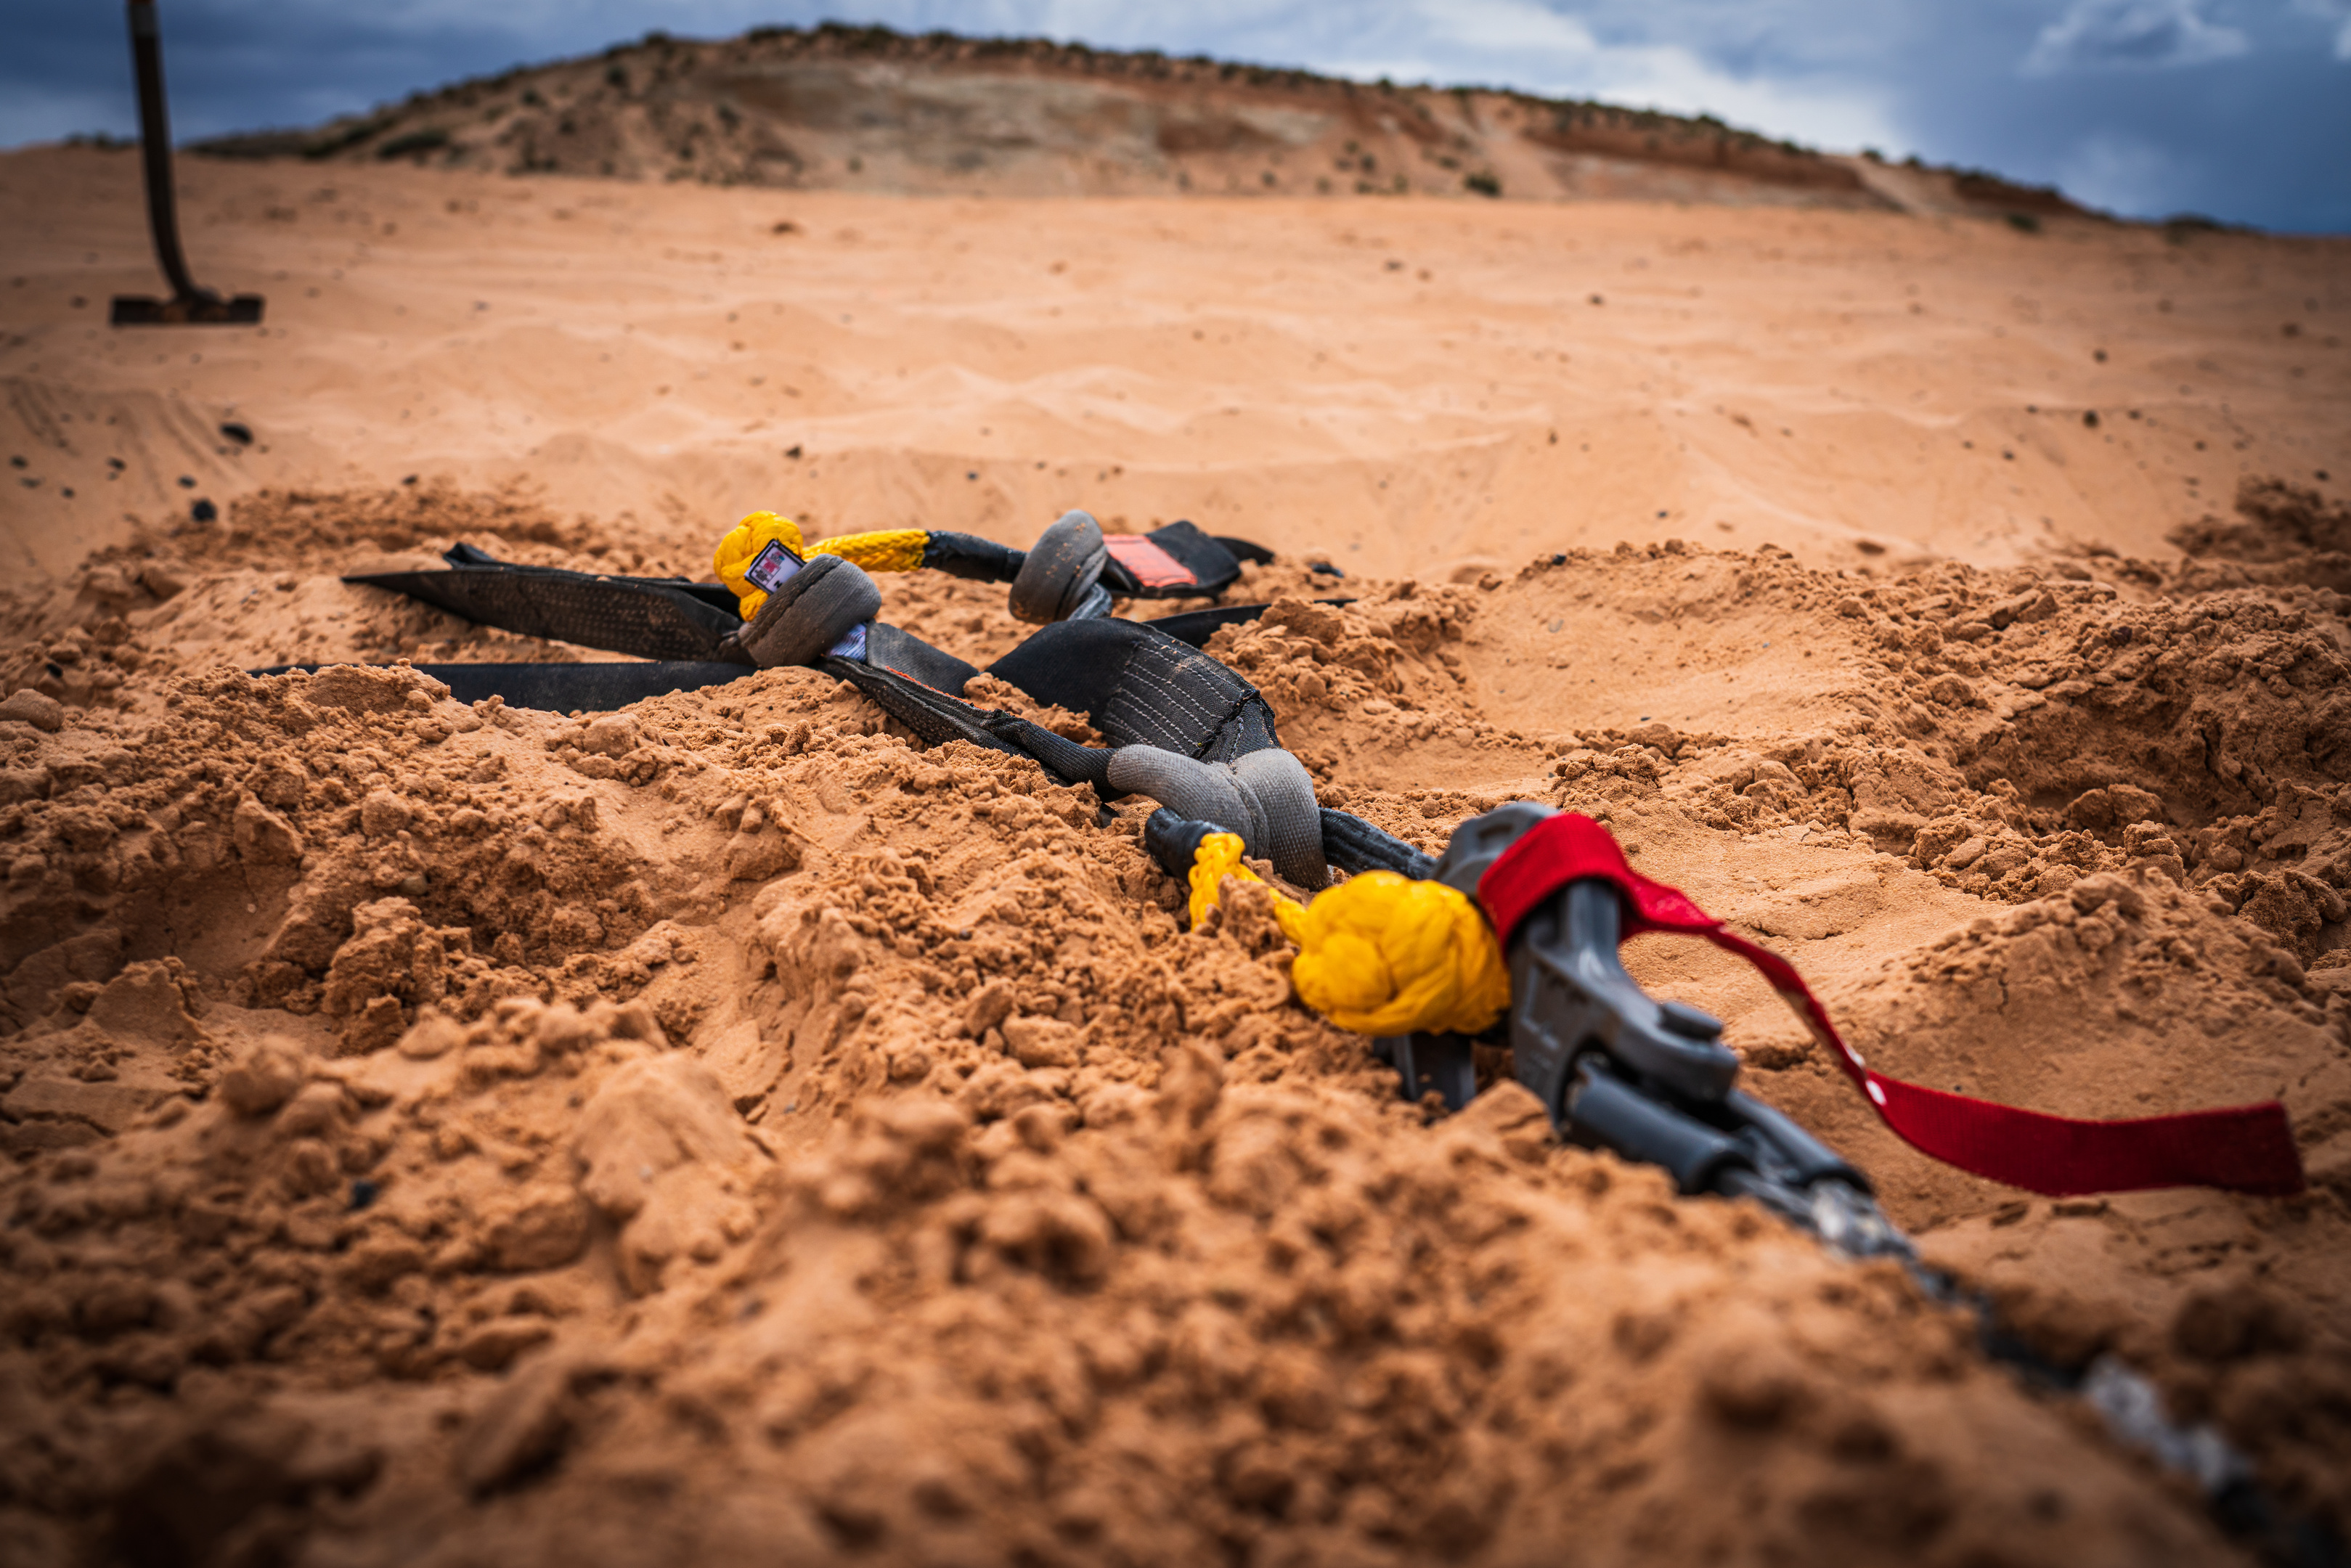

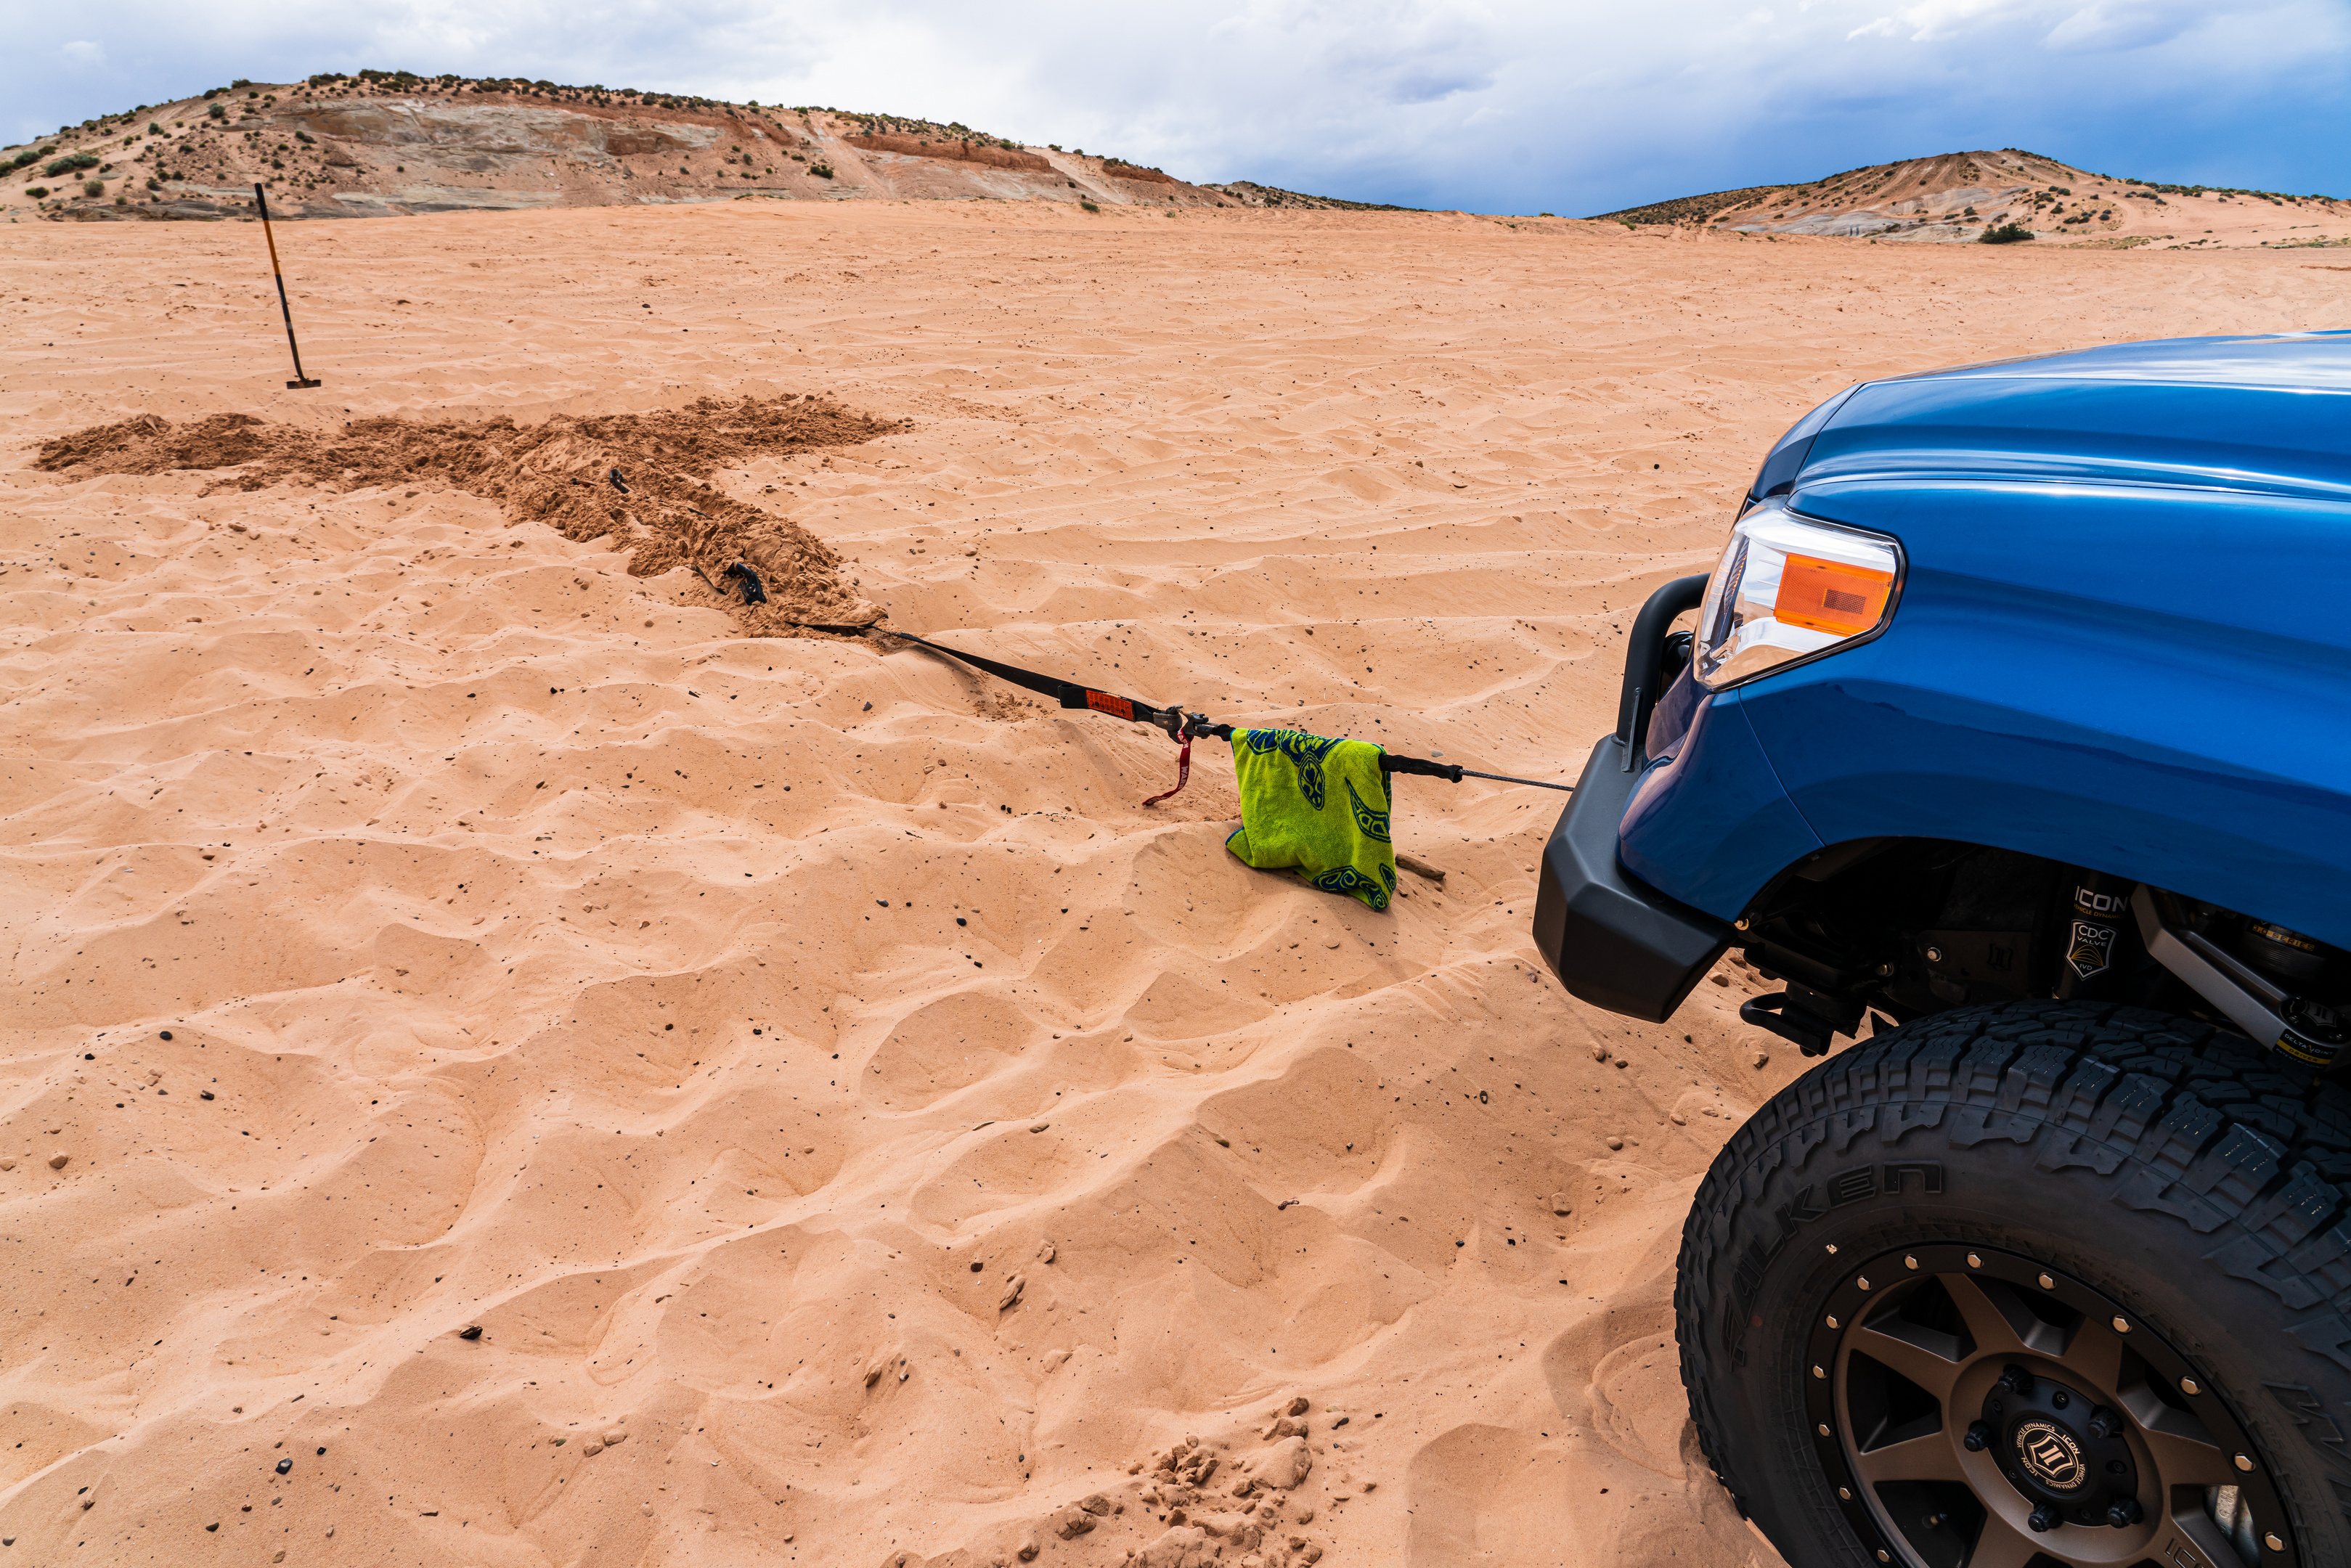


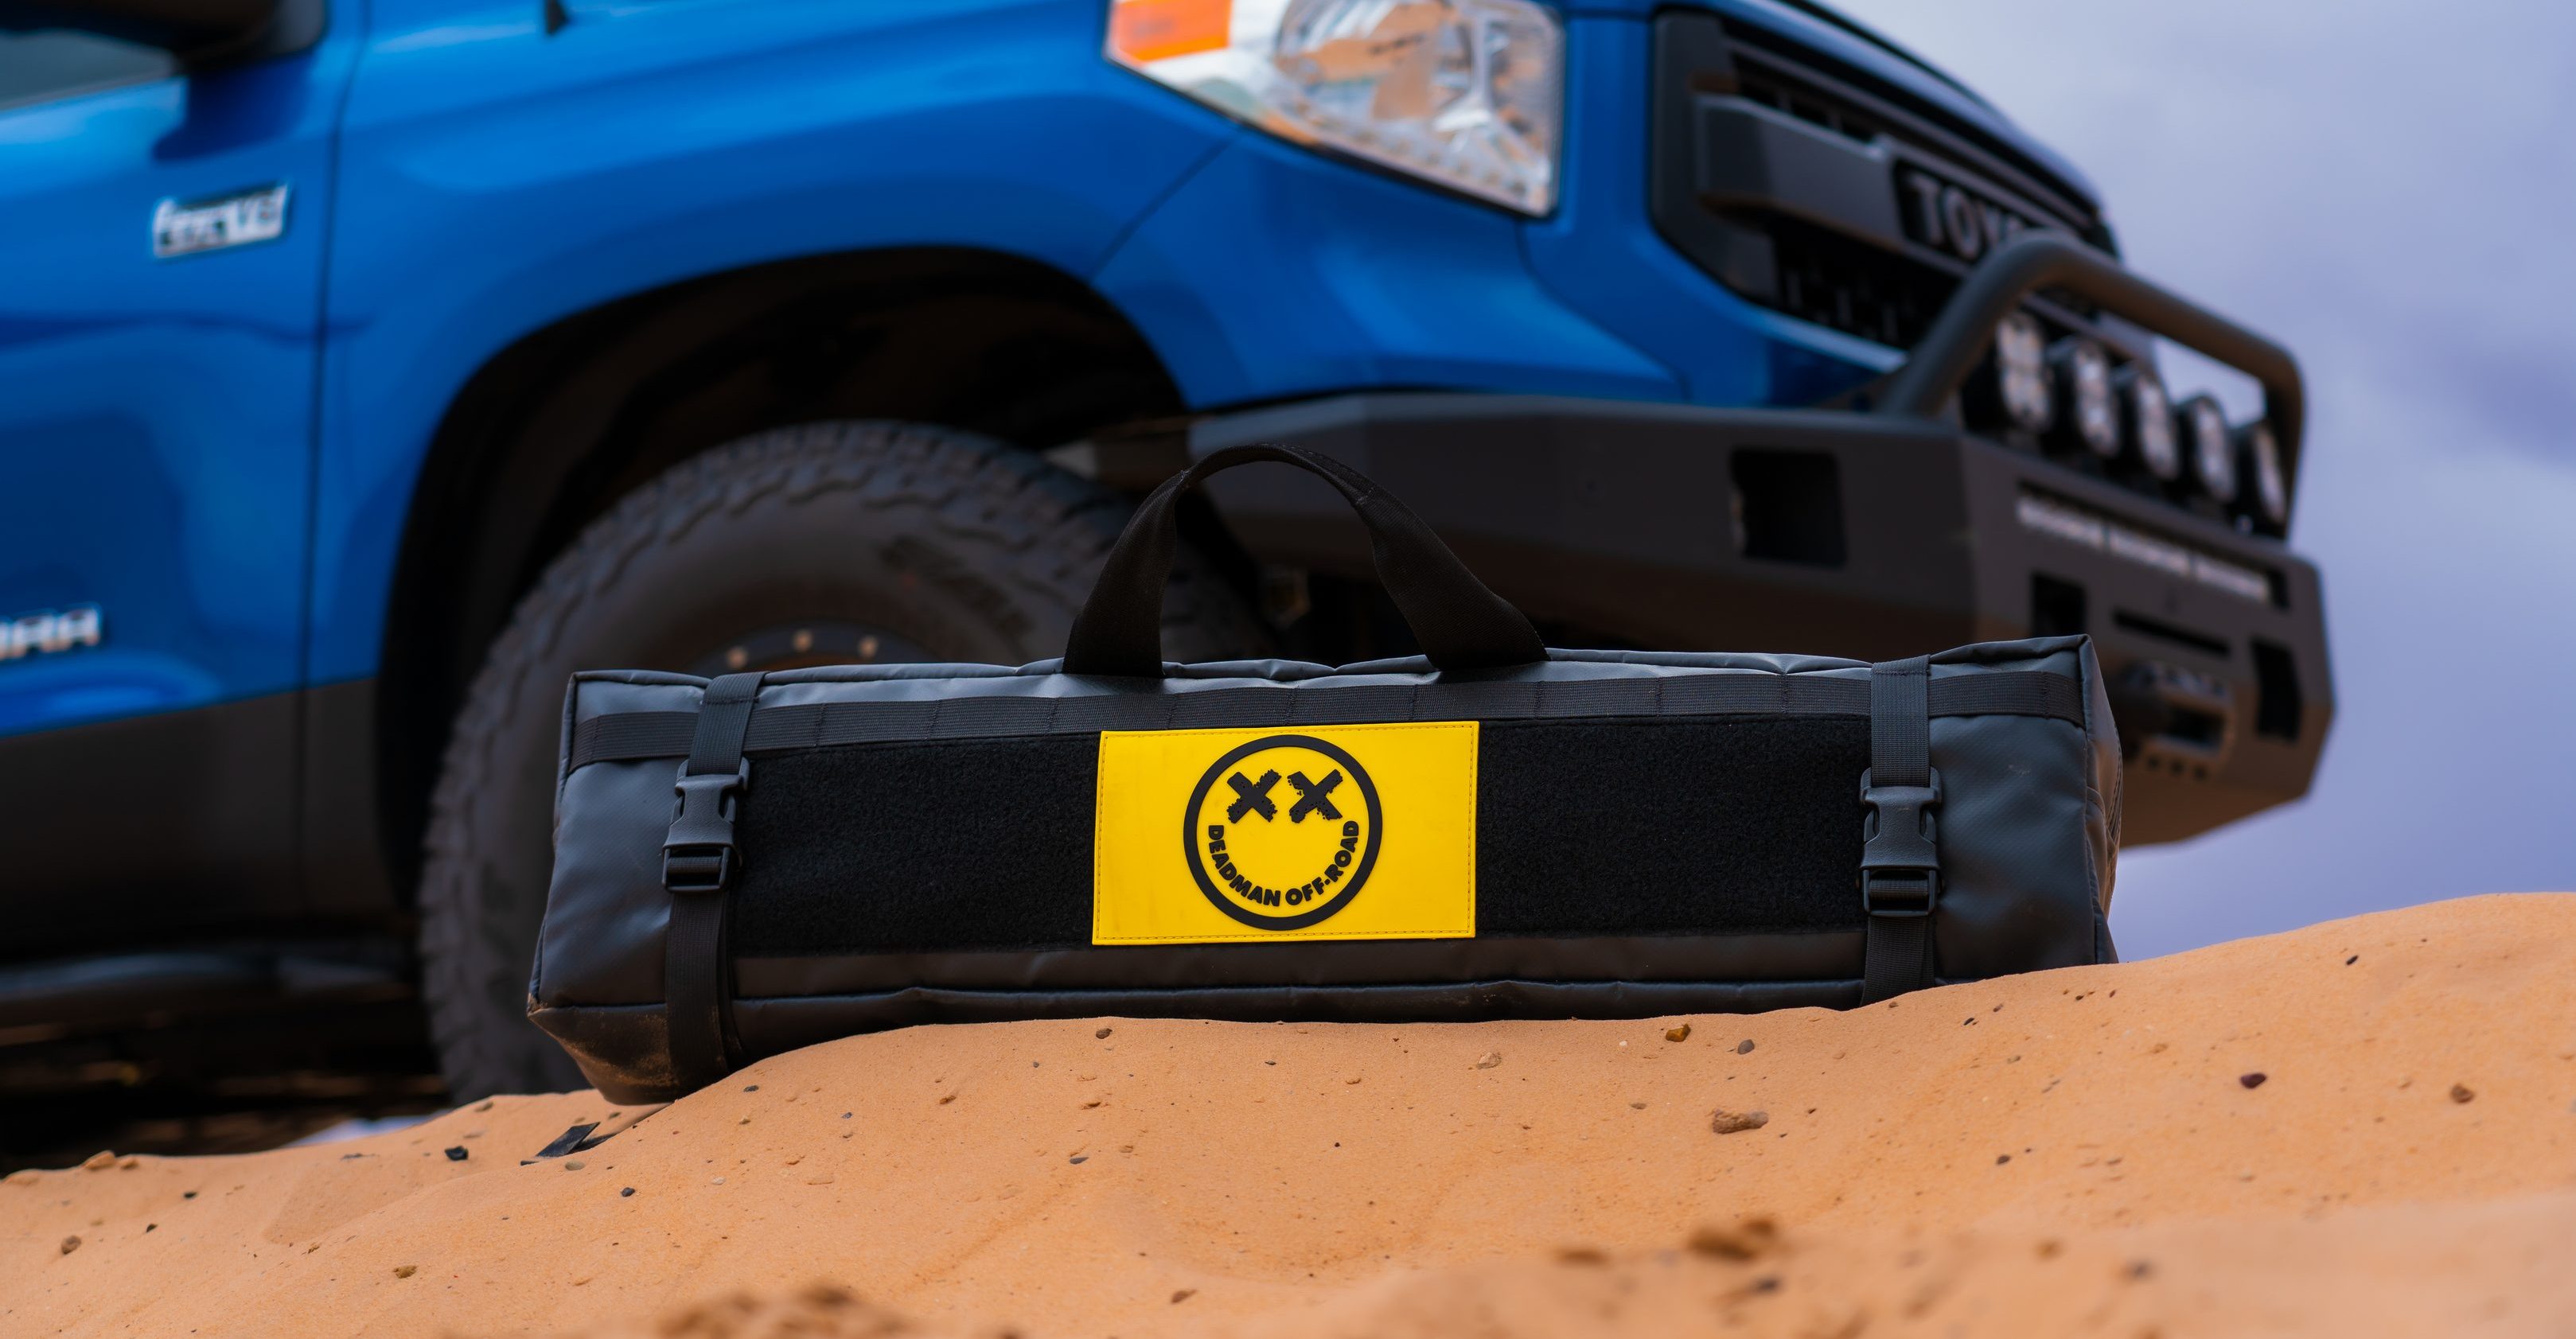
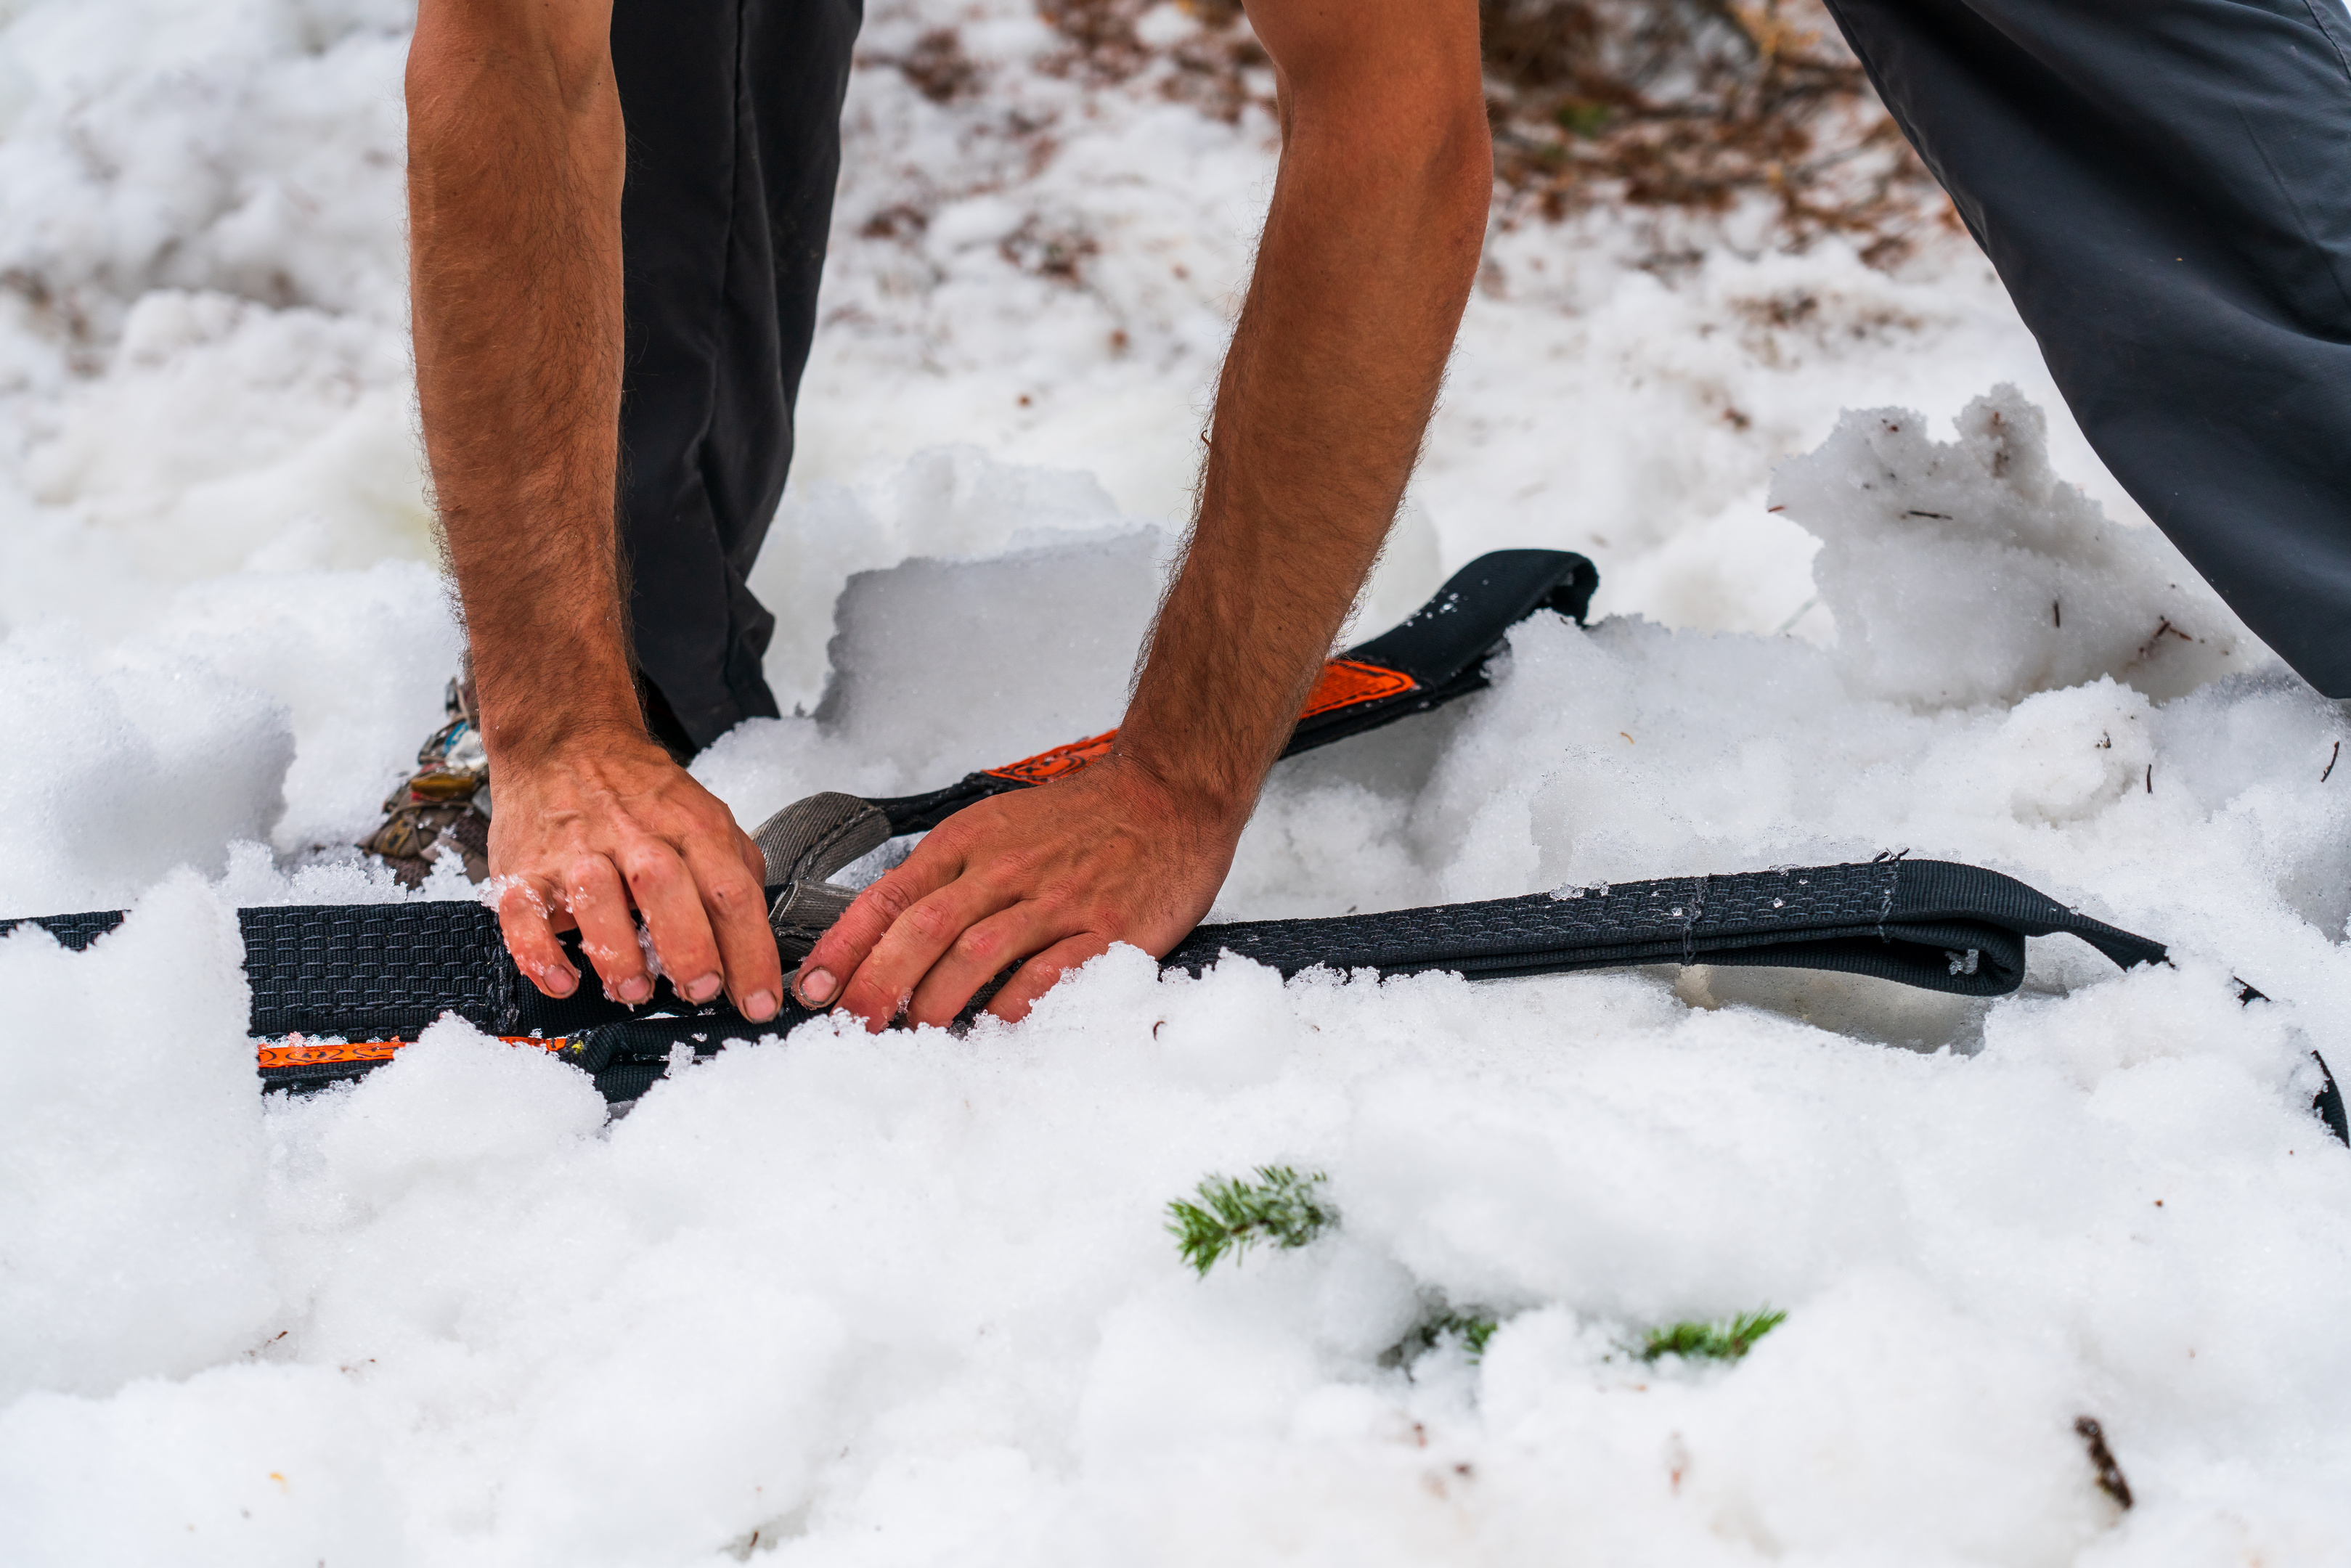
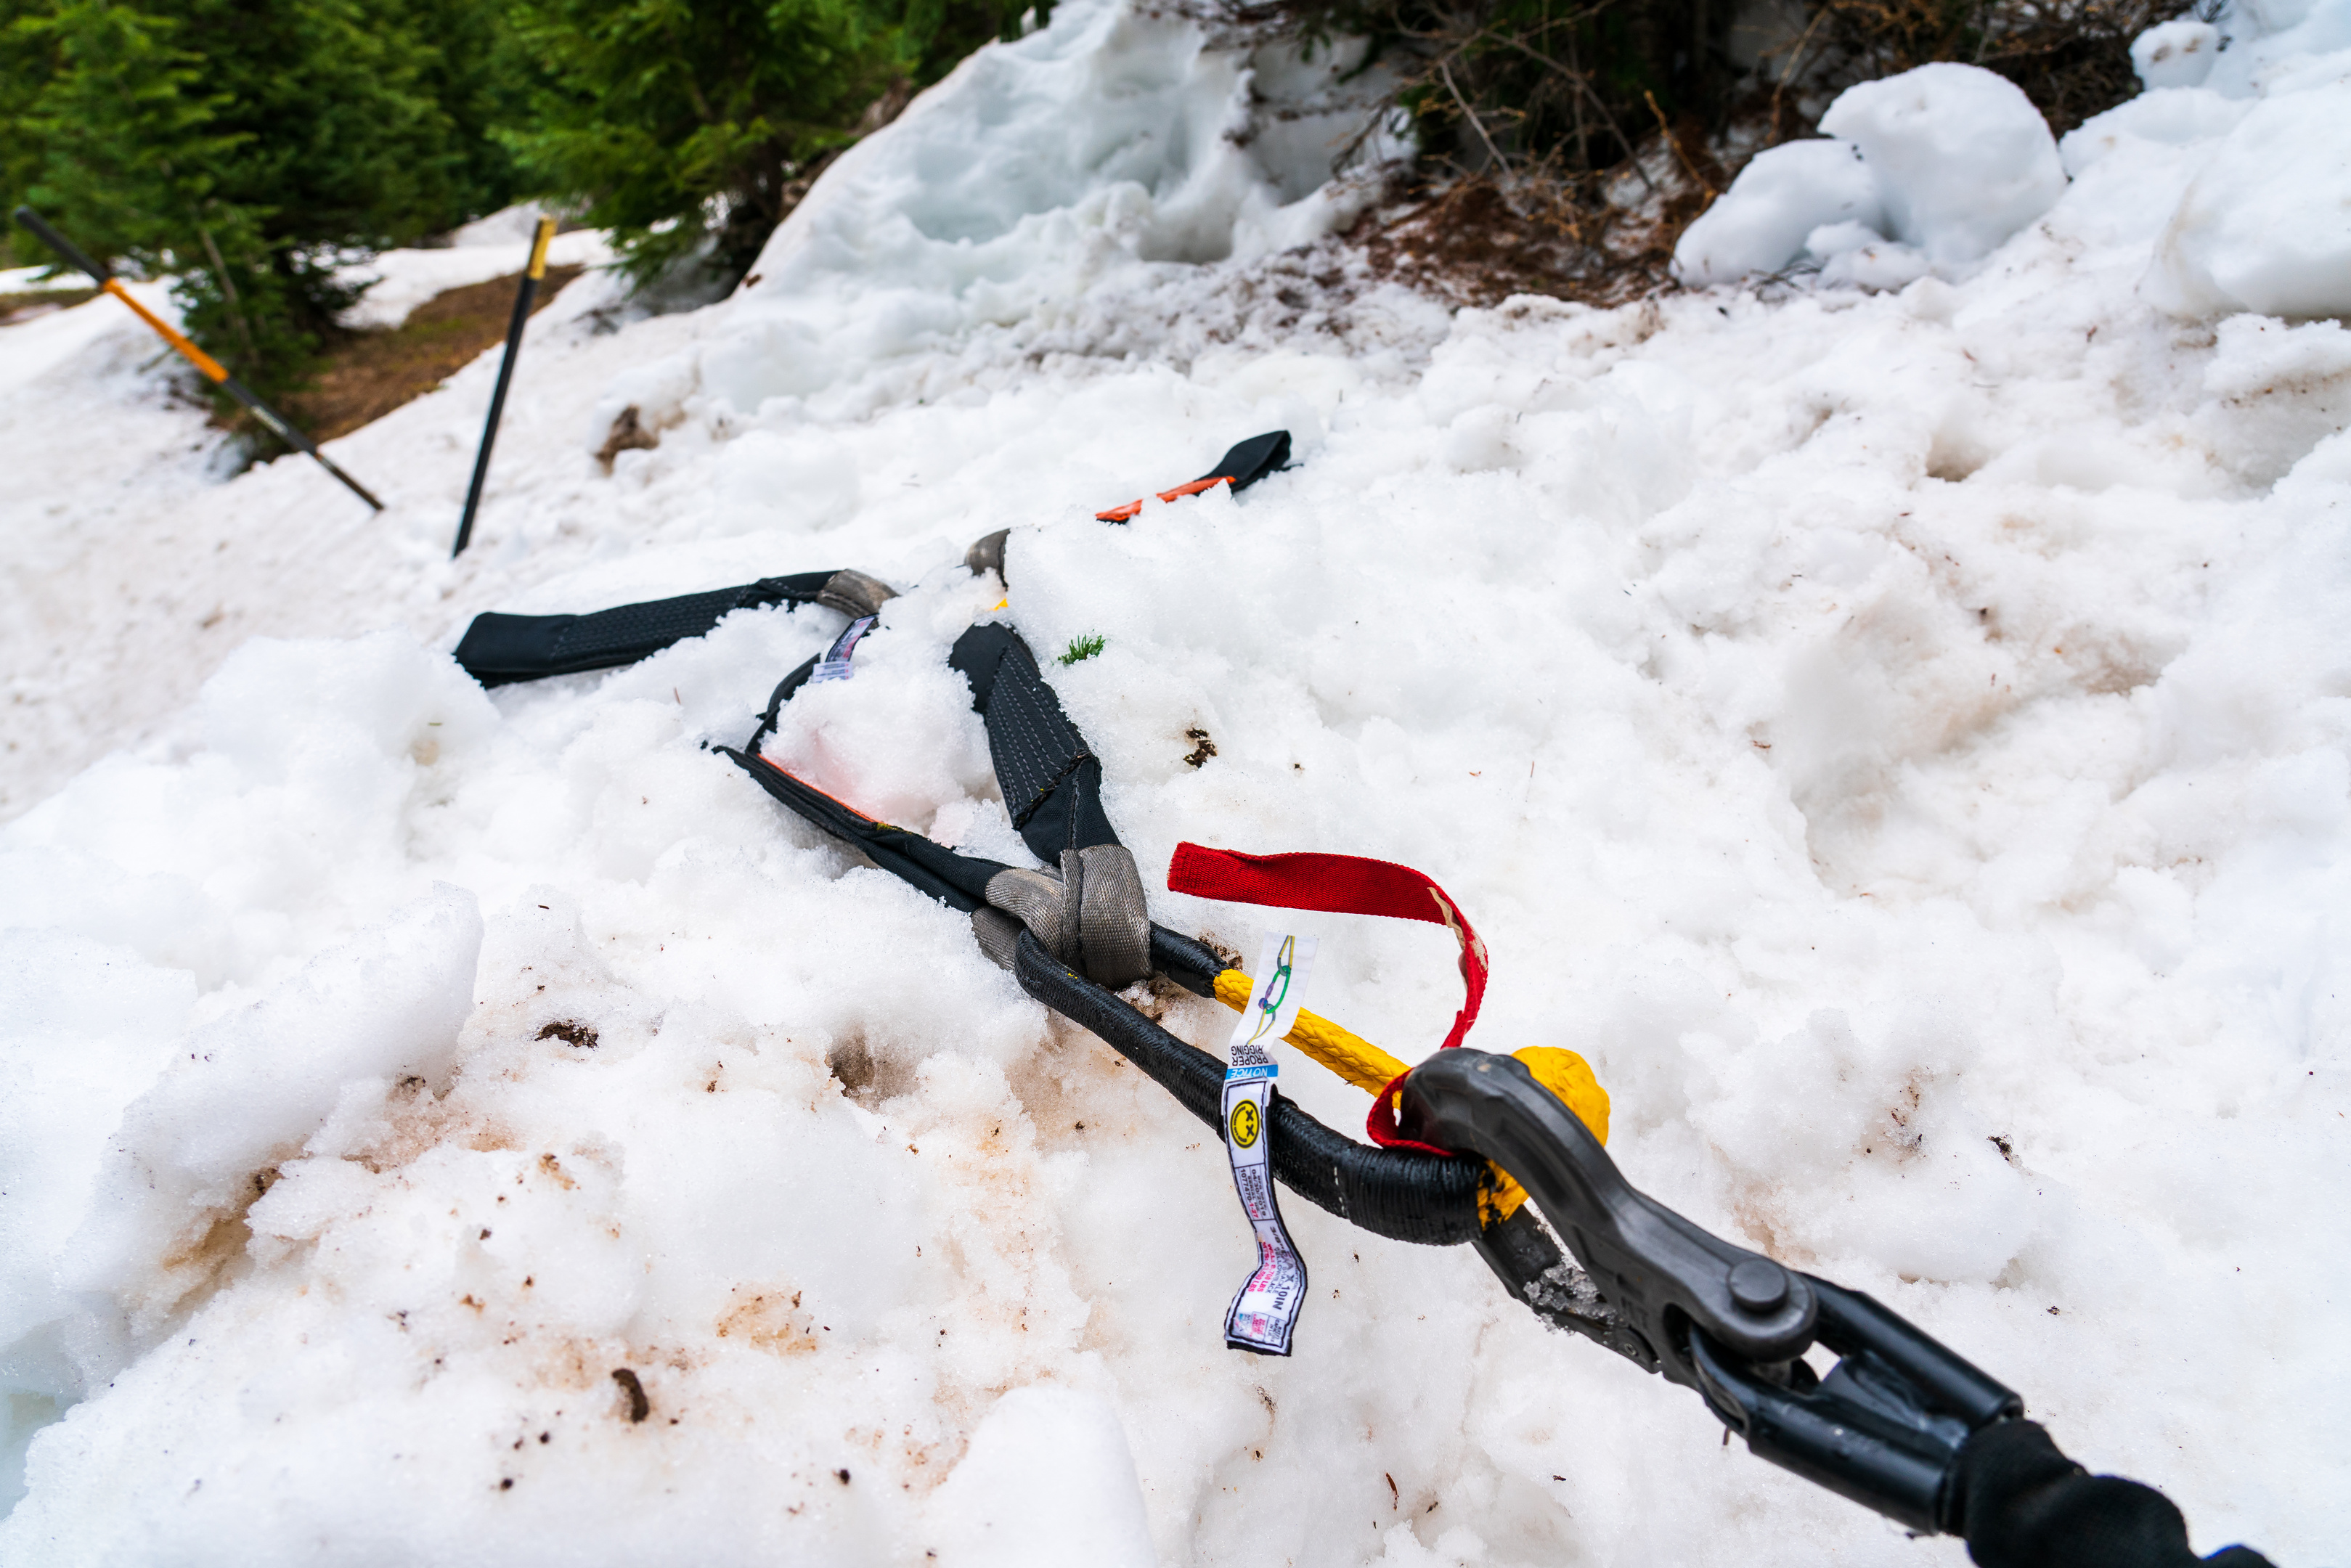
 The original Deadman has arms and legs that are made of polyester, much like you would find on a quality recovery strap. While polyester straps can certainly take some serious use, they’re also prone to damage by abrasion and grit exposure, which is why the ruggedized Deadman has his arms and legs sleeved in beefy Cordura nylon. Think of a Cordura winch protector for your synthetic winch line, and you’ll get the idea. Soil loves to work it’s way into your straps and abraid them from within each time the strap is put under tension, and likewise running a strap over a sharp root, rock, or other sharp thing can cut the fibers and compromise the strap. The ruggedized Deadman has completely sleeved straps, so everything from the loop ends at the ends of his arms and legs to the middle of his body is protected. That’s right, there’s no exposed polyester to worry about damaging. Whether you’re burying the ruggedized Deadman in soil that has sharp embedded rocks, or using it to ‘hug’ something like a tree (think tree saver) or boulder, the addition of Cordura nylon “armor” allows the Deadman to better withstand use in abrasive conditions. If that perfect anchor point looks like it might hurt if you were to hug it, tag the Deadman in to do the hugging for you.
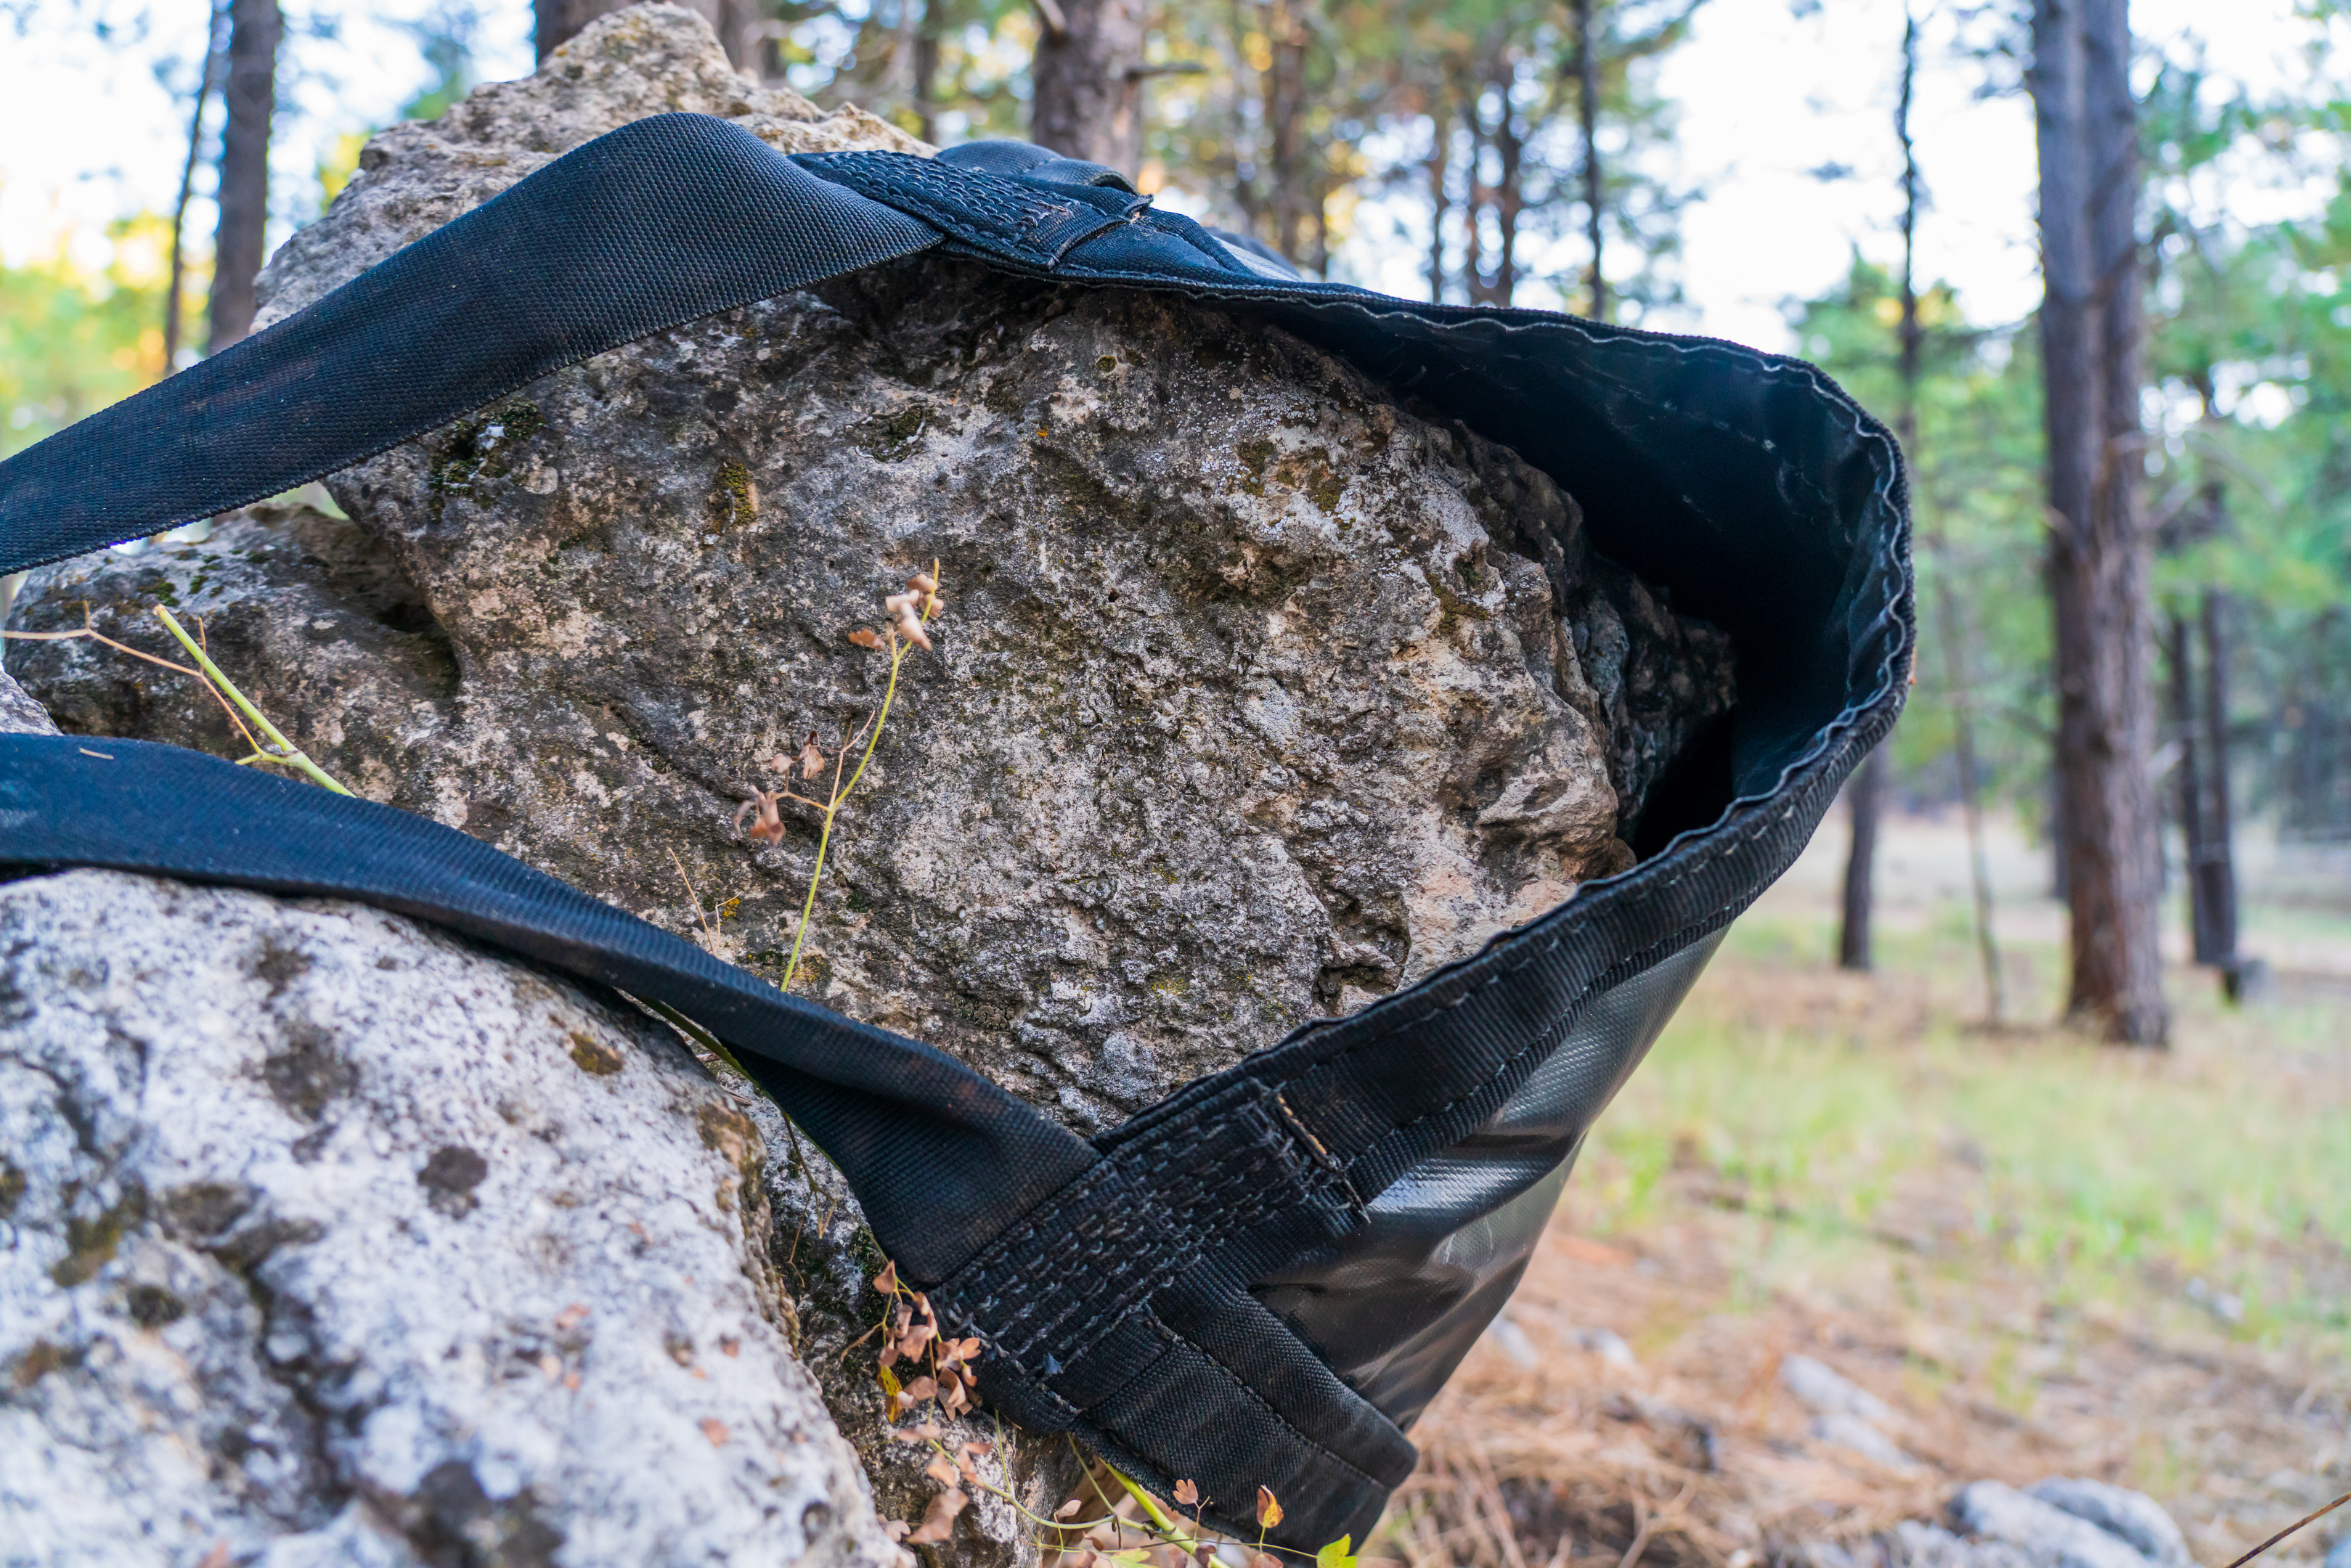
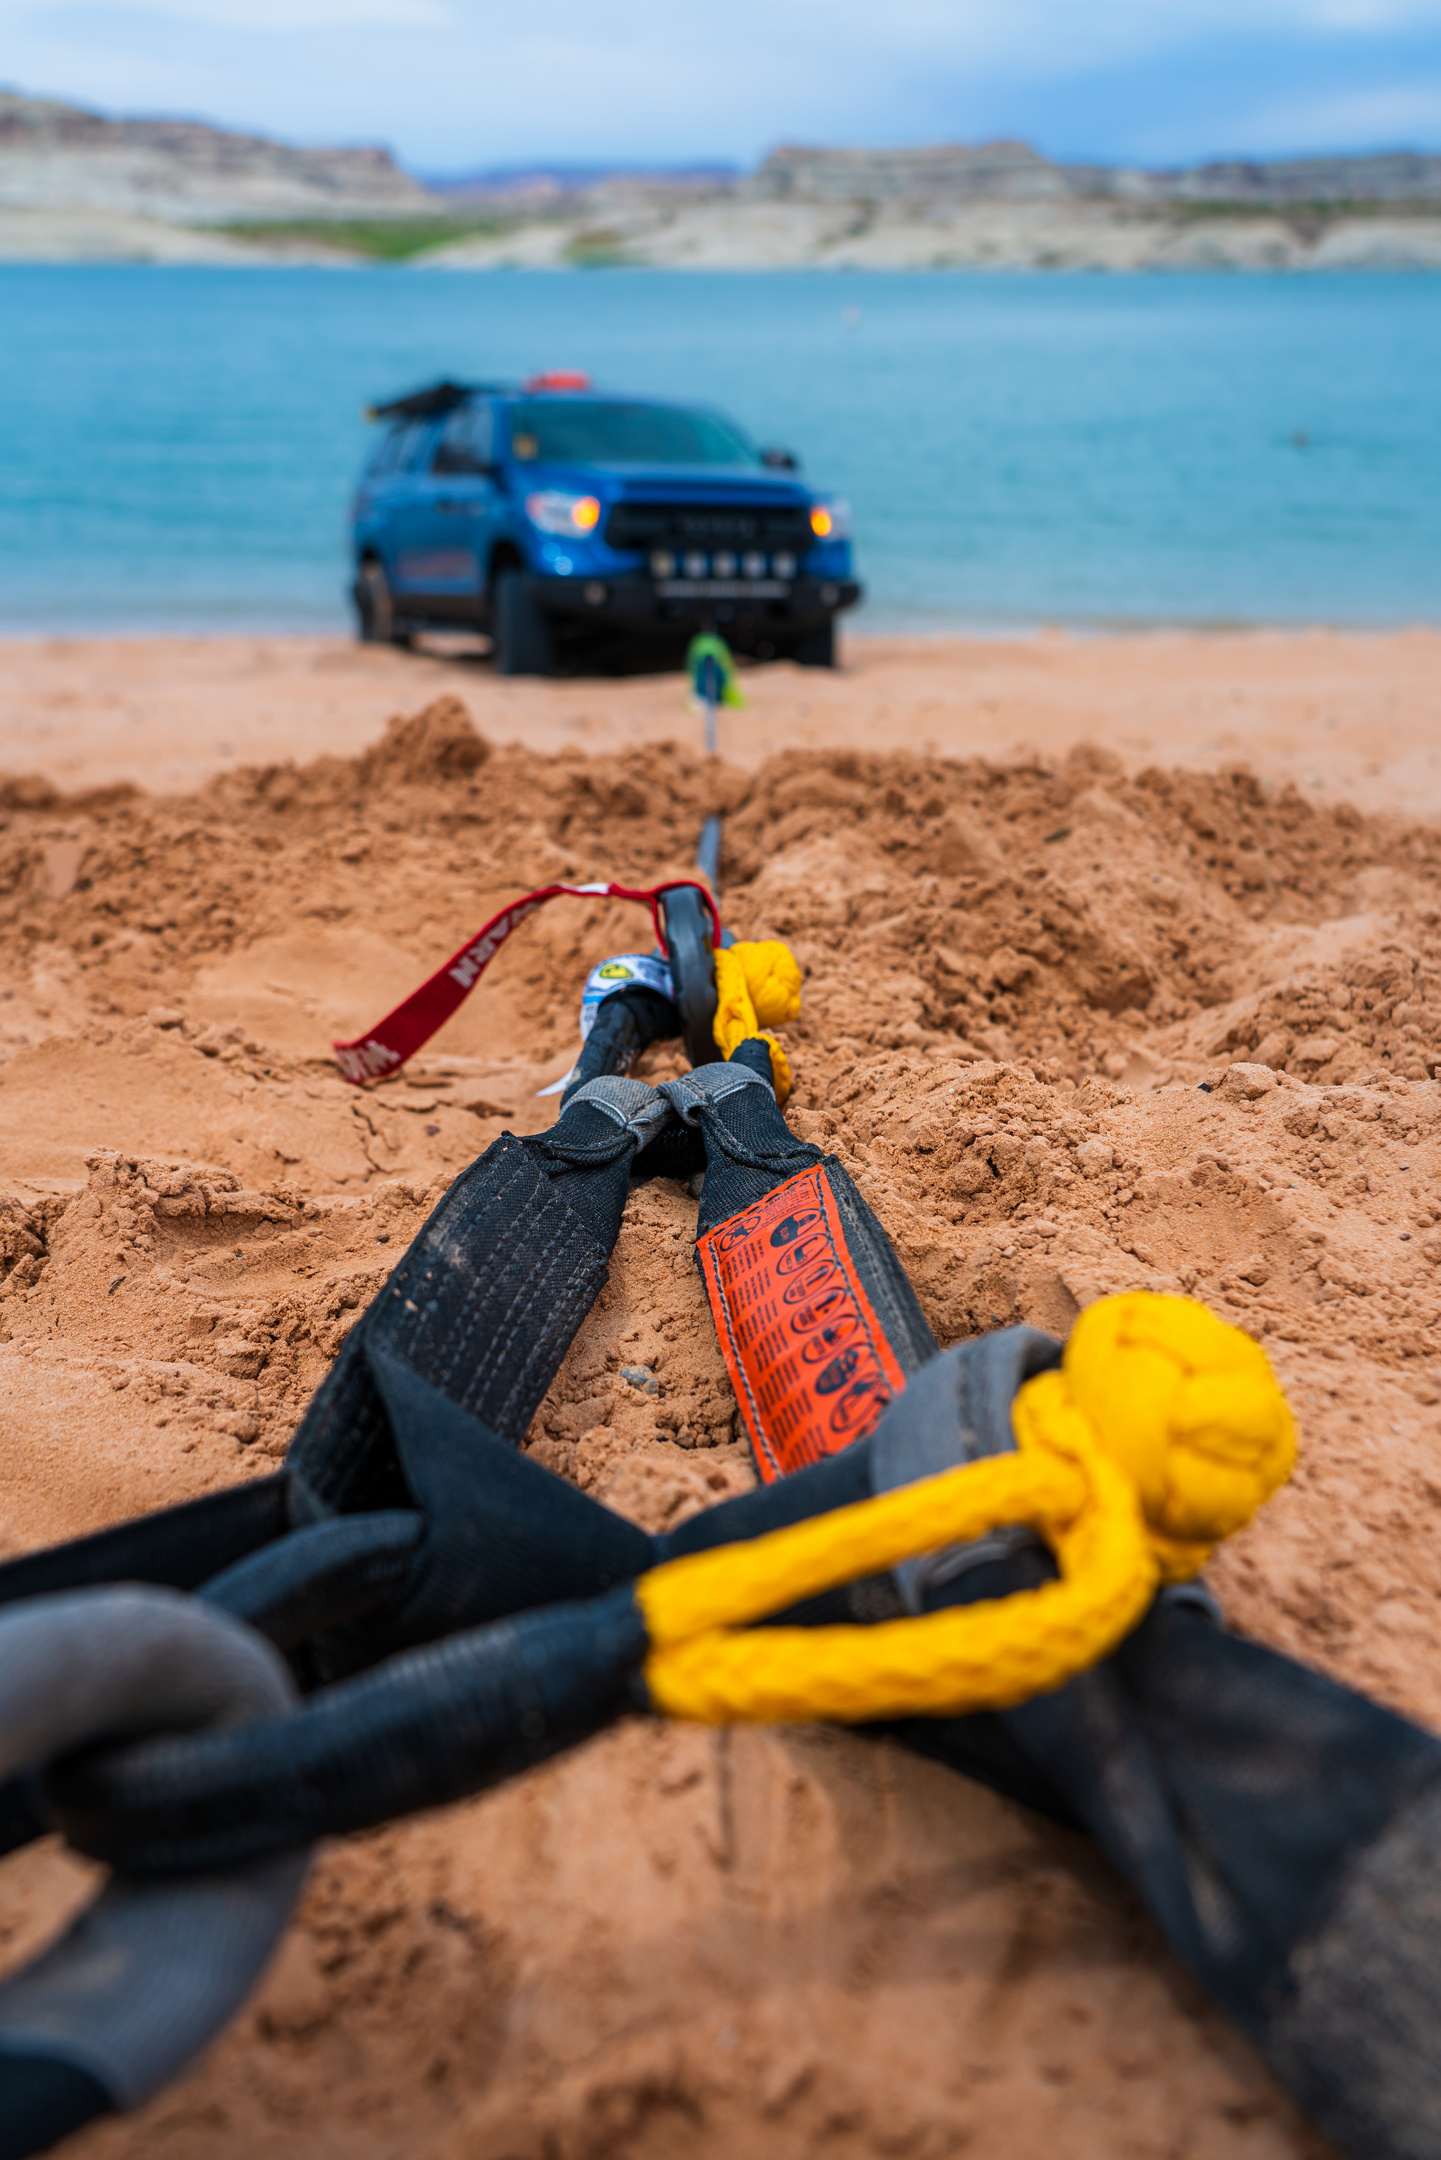
 Even when you’re not in need of a winch anchor, the Deadman can prove to be a useful piece of kit. If you’re just a few feet short of where you need to tie your winch into, the Deadman can also work as a winch extension. Tree down in the trail? Use the Deadman to drag it out of the way. Need to haul a boatload of firewood back to camp? Get a buddy and use the Deadman as a giant litter. Taking on some trail repairs on your rig? Unpack the Deadman and use it like a tarp so you don’t have to crawl in the mud under your rig. It’s extremely versatile – just remember to respect his Working Load Limit and you’ll be good to go. NOTE: Although both the original Deadman and the Ruggedized Deadman can be used as winch extensions, they are NOT rated for use in snatching a vehicle or in a kinetic recovery situation.
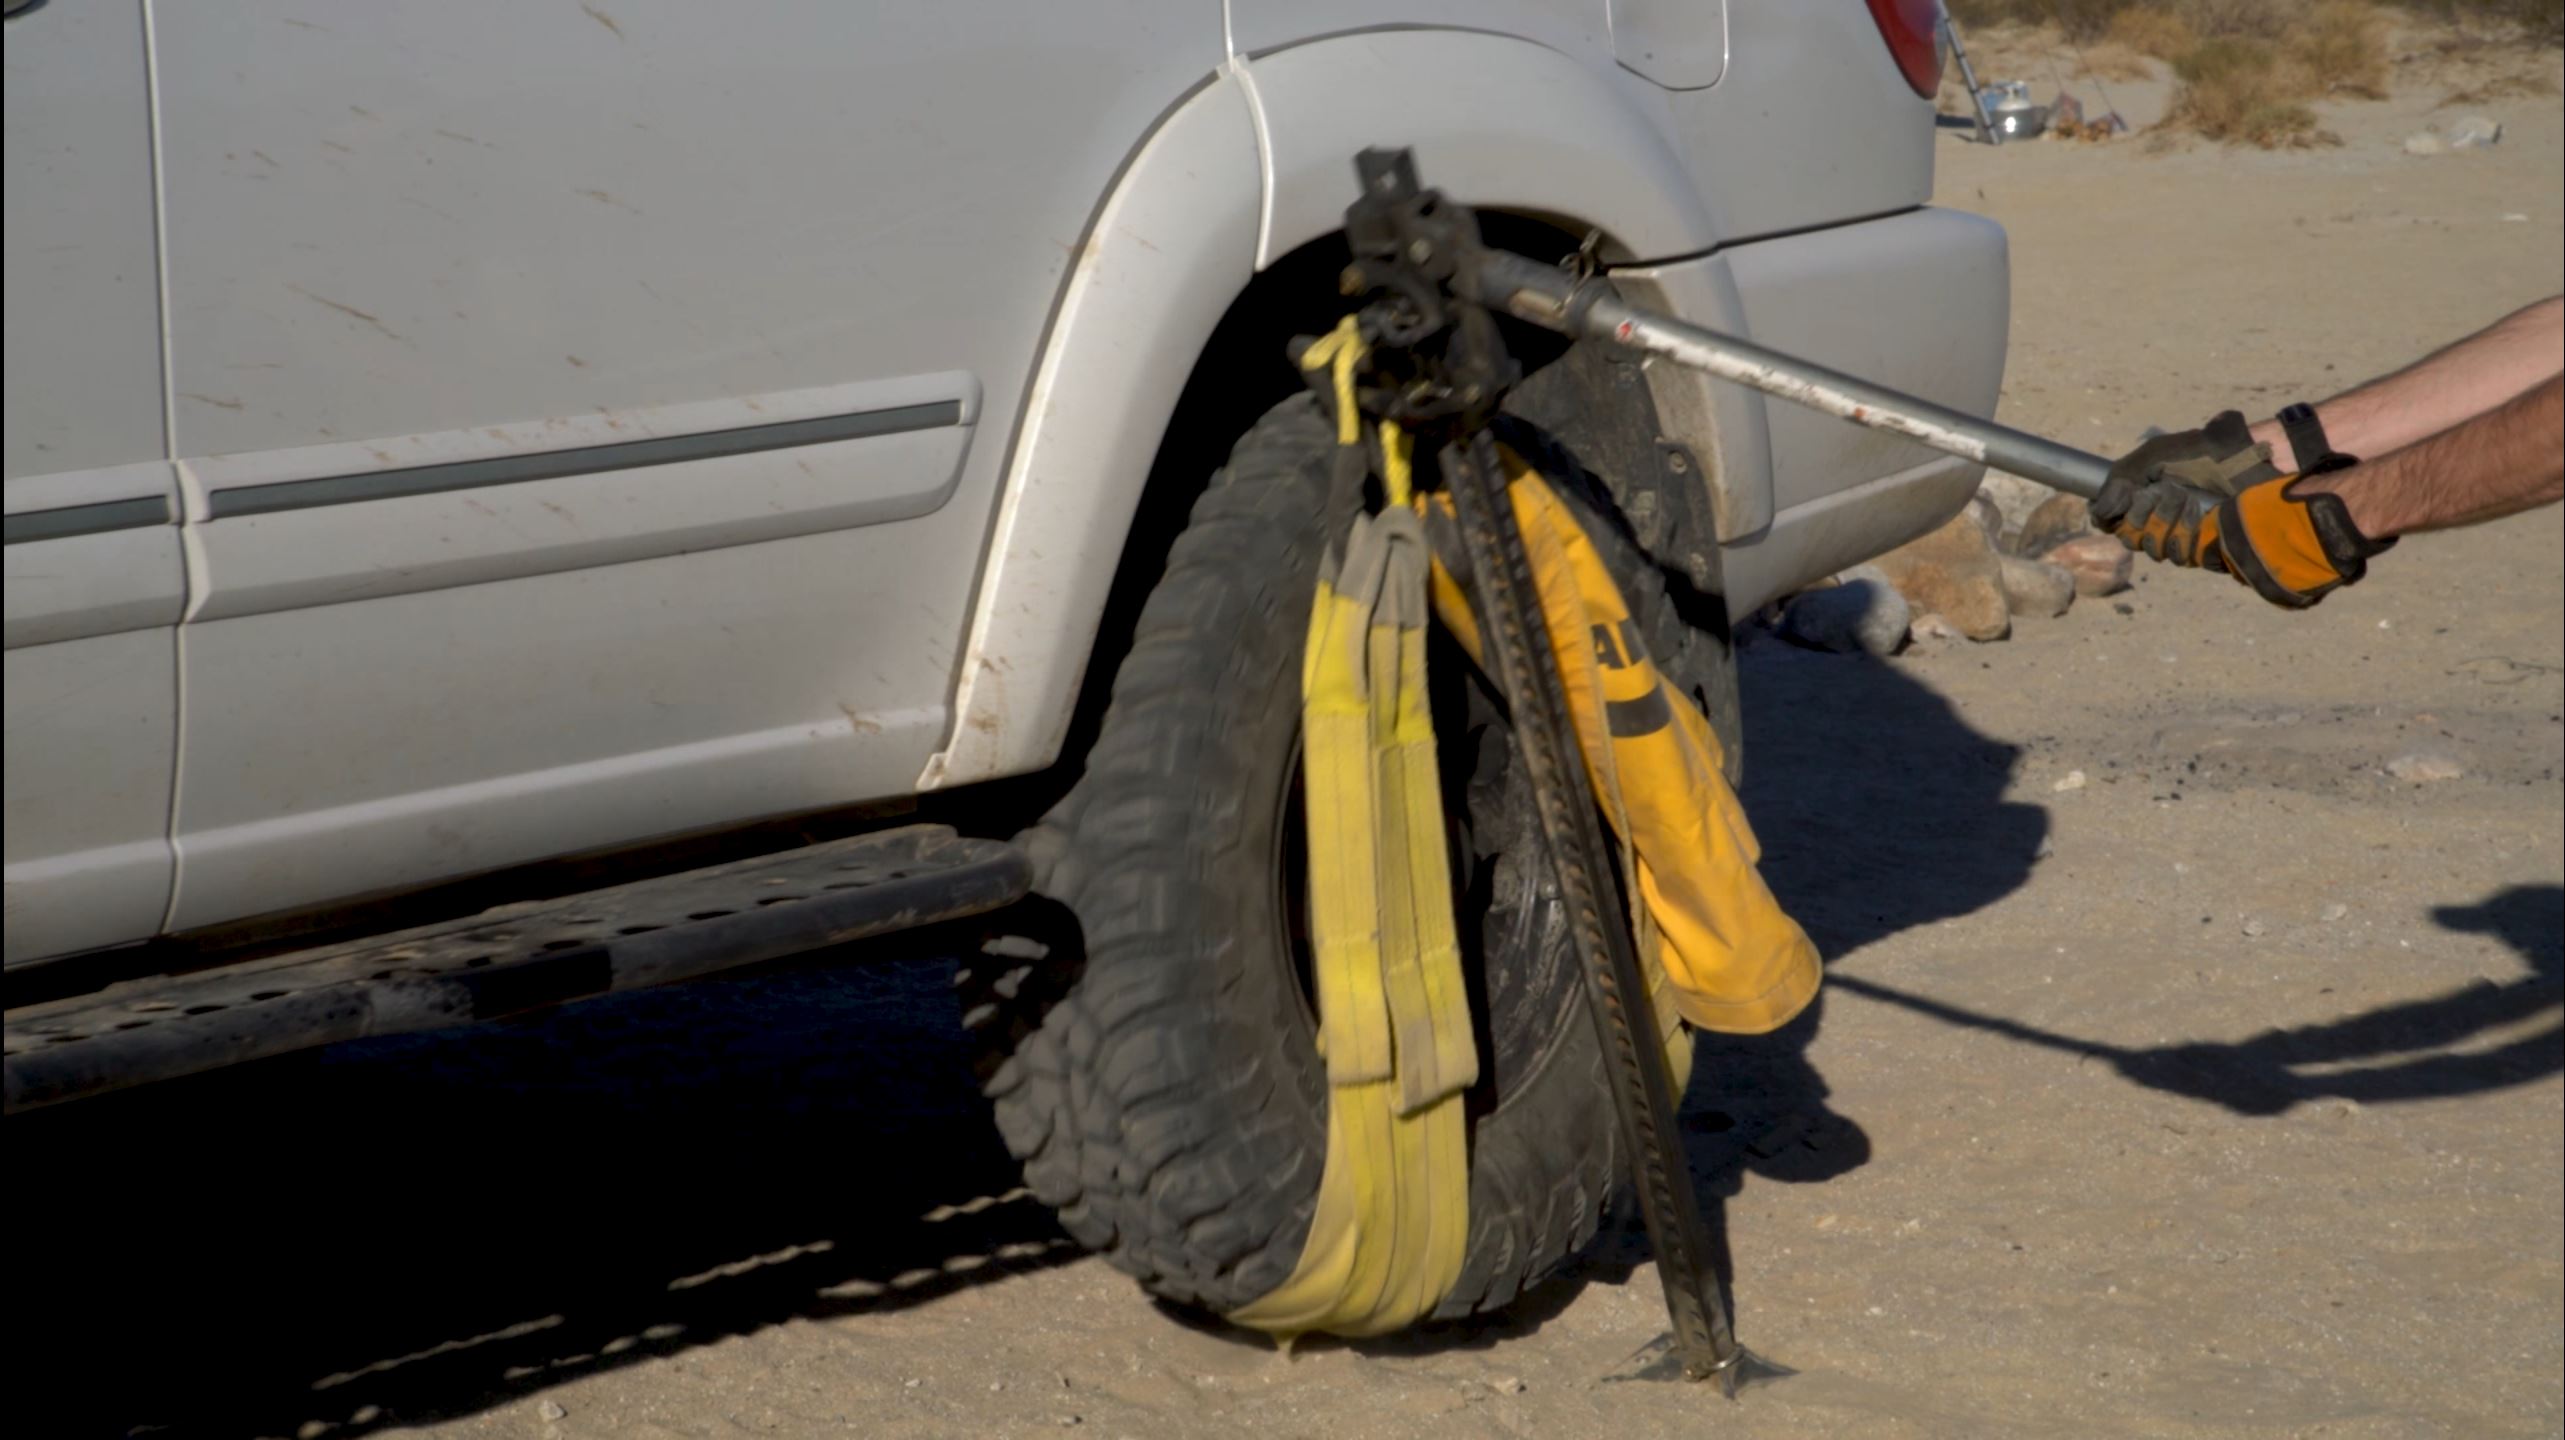
 About the only downside to the Deadman, ruggedized or not, is that you have to provide the hole to bury him in in when you’re burying dead things to create an anchor. Depending on the type of surface you’re digging in, this can be a quick process, or something that’s going to take some real work. If you have serious aversion to physical labor, make sure you’re aware that the Deadman doesn’t just automatically create an anchor for you – you have to do the burying. And likewise, make sure you’ve got enough water on hand to keep yourself in good order if you’re going to be working hard digging a hole on a hot day. As with any recovery situation, doing a proper stuck assessment before wasting any energy can make a significant difference in how much human powered work is required to get out. For example: If you’re stuck in sand up to your frame, taking the time to remove resistance (sand) from the underside of the vehicle and around the tires, will mean that you need less winching force to get out, which means that you won’t need to dig as big of a hole to bury the Deadman in, and your winch won’t emit the dreaded magic smoke. Each recovery situation is unique. Do a good assessment, and figure out how to best employ the tools and skills you have.
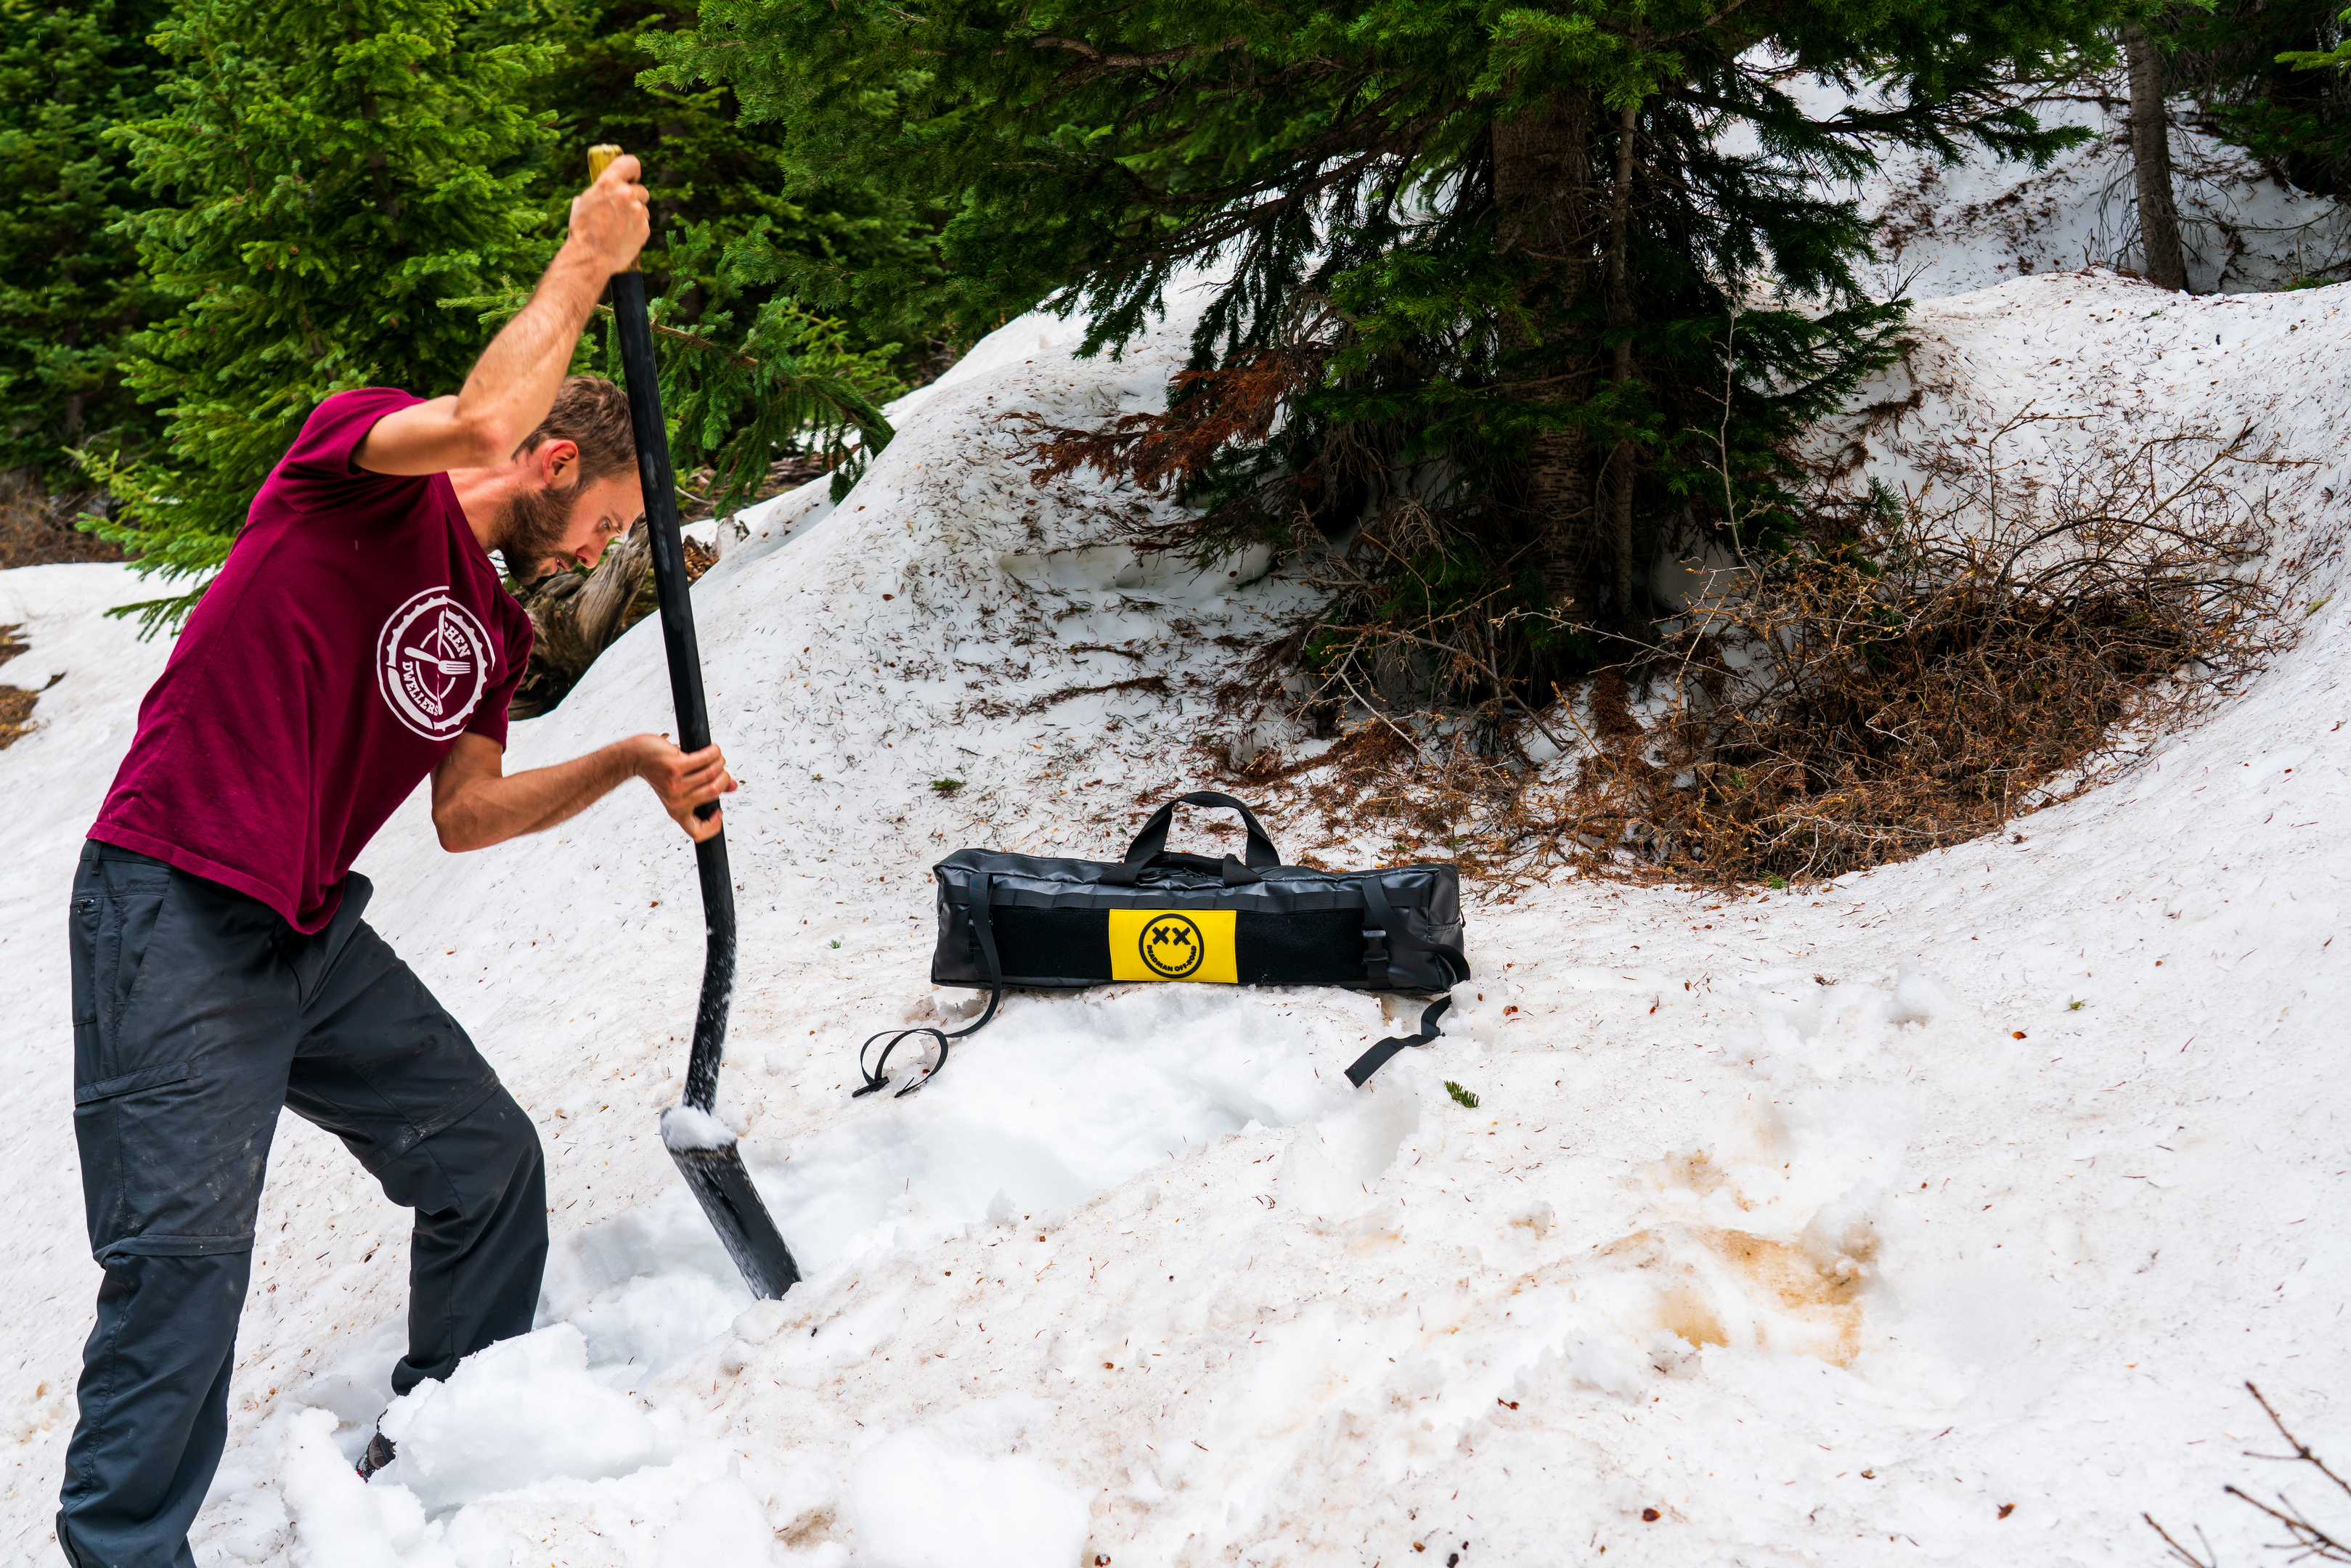


 FULL DISCLOSURE: