Therm-A-Rest NeoAir XLite Max SV

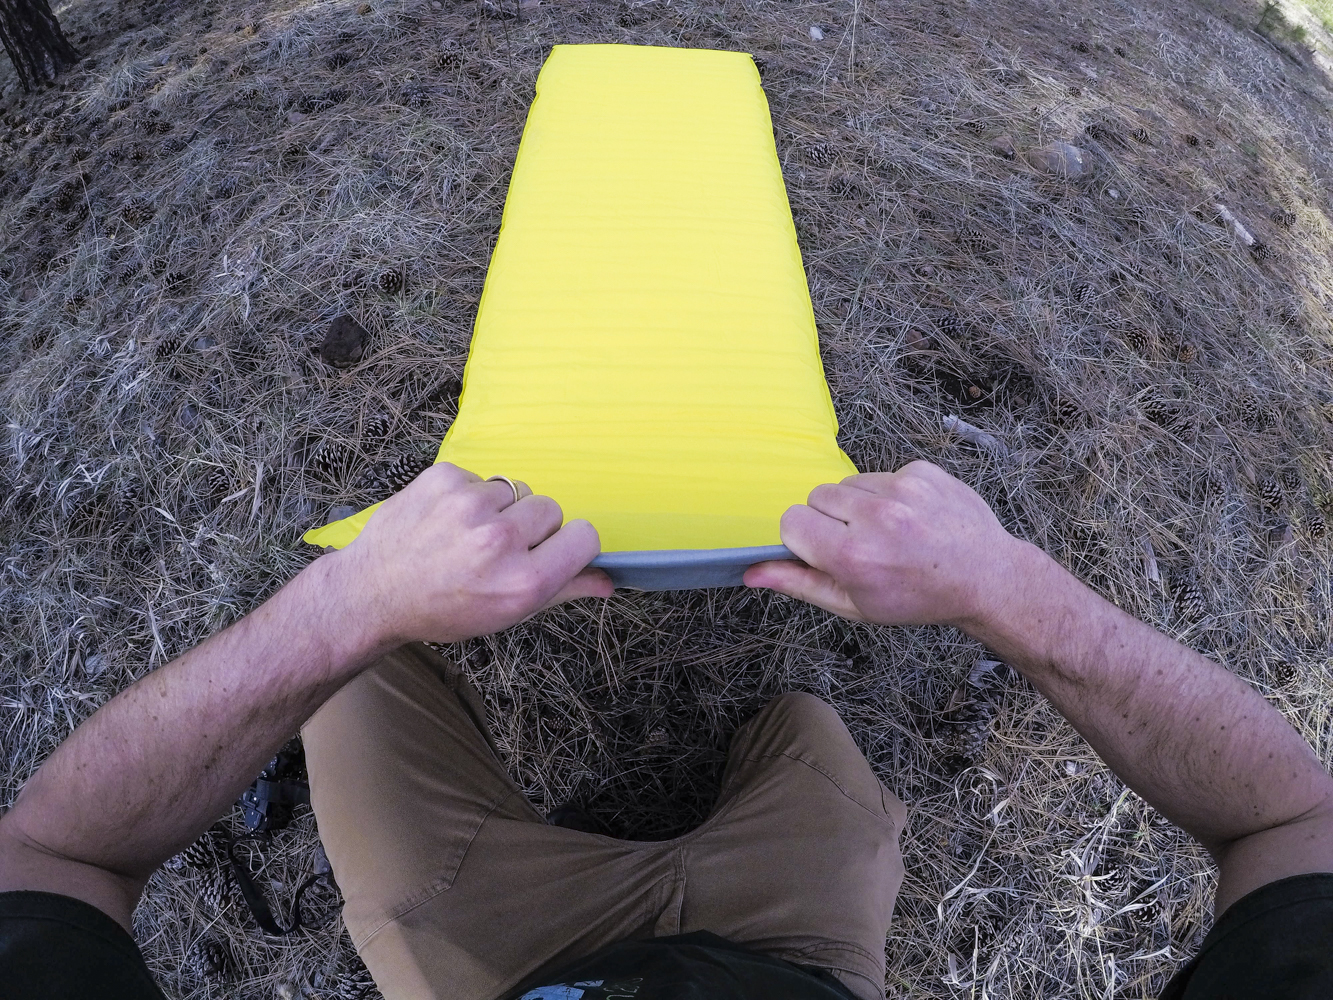
There’s a new way to inflate a sleeping pad, and it’s called the SpeedValve.  We all know of the traditional way to inflate a sleeping pad:  Unscrew the pad’s valve, wrap your lips around said valve, and start puffing.  Depending on the volume of the pad that you’re inflating, this may take just a minute, or it may take several minutes and leave you feeling slightly hypoxic by the time your pad is fully inflated.  However, if you have a Therm-a-Rest pad equipped with a SpeedValve, such as the NeoAir XLite Max SV, inflation and deflation happen a whole lot faster.

The SpeedValve uses science (Bernoulli’s principle of fluid dynamics) to inflate your sleeping pad much faster than a traditional sleeping pad valve would allow.  With a traditional valve, you are supplying 100% of the air going into the mattress from your lungs.  The SpeedValve uses all of the air from your lungs and it draws additional air from the atmosphere into the sleeping pad.  The end result is that much more air goes into the pad per breath, and your pad inflates faster.  Once you’ve got the pad almost full, you close the SpeedValve just like a drybag, and use the traditional valve on the corner of the pad to dial in your desired pad pressure.  Deflating a SpeedValve pad happens much more quickly than with a traditional pad valve too, and the days of slowly rolling a pad up as you bleed out air are over.  The SpeedValve is awesome, but it does have a learning curve.

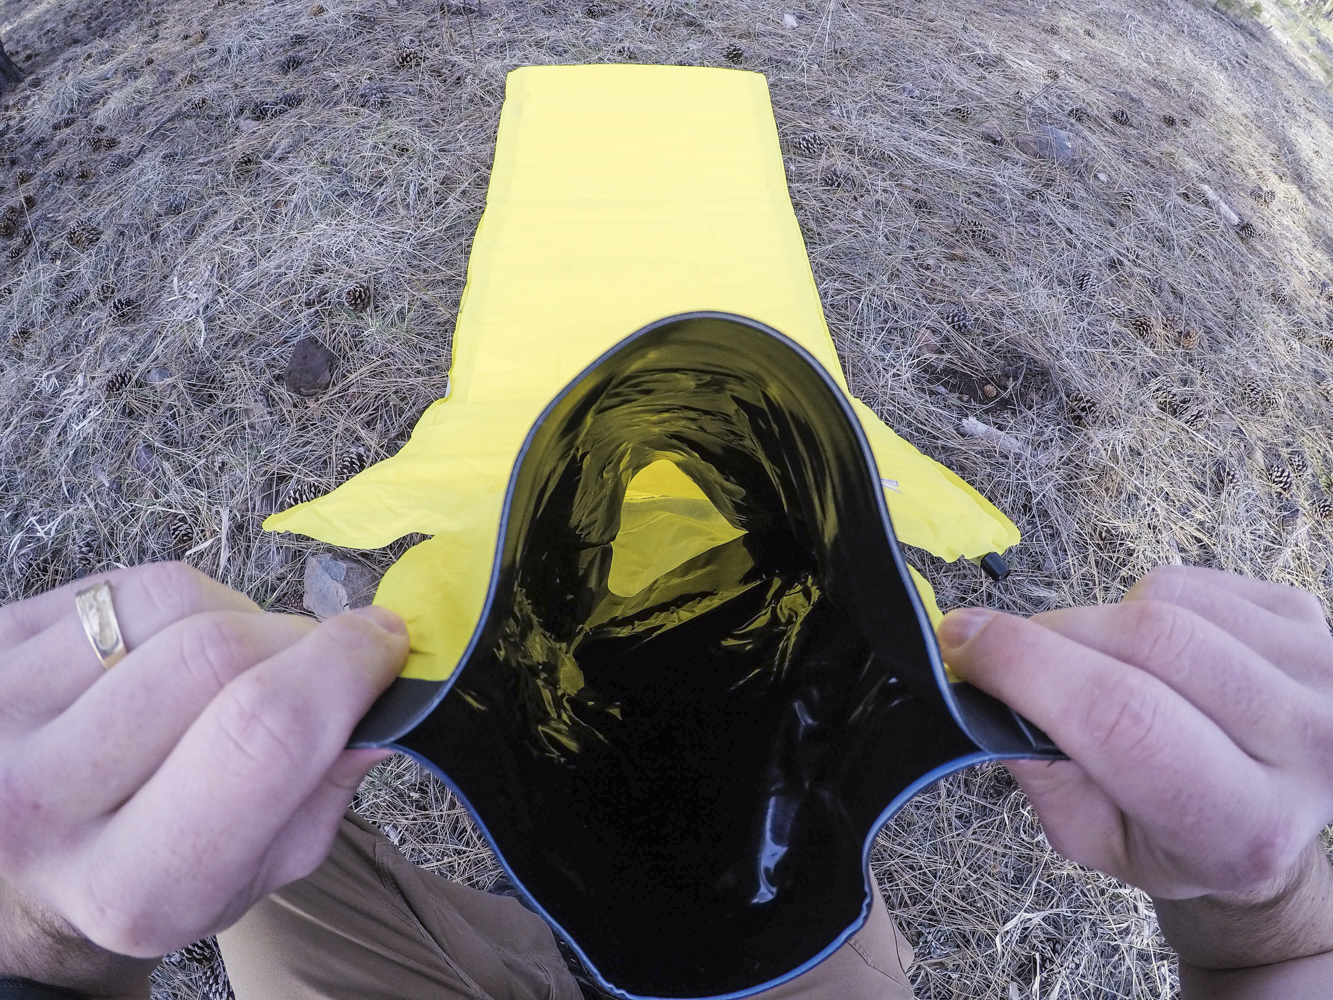
Entertaining situation: Ask your friends to try inflating your NeoAir XLite Max SV without telling them how to use the SpeedValve.  Some people will try and blow as hard as they can into the pad, like they’re playing toot the bottle.  Others will just stick their face into the SpeedValve and blow.  When you’re ready to enlighten your friends, hold the SpeedValve a few inches away from your face and blow slowly, like you’re trying to blow out 100 candles on a birthday cake in one breath.  You’ll know when you’ve got your technique dialed because you will feel air moving past your face as you blow, and your pad will inflate surprisingly fast.  Closing the SpeedValve is the other thing that requires technique, as the dry bag style rolling process must be done right, or you’re going to be waking up on the ground.  As with any new piece of gear, the SpeedValve takes some learning, but once you get it figured out you’ll feel bad for folks who still have to work with traditional valves.

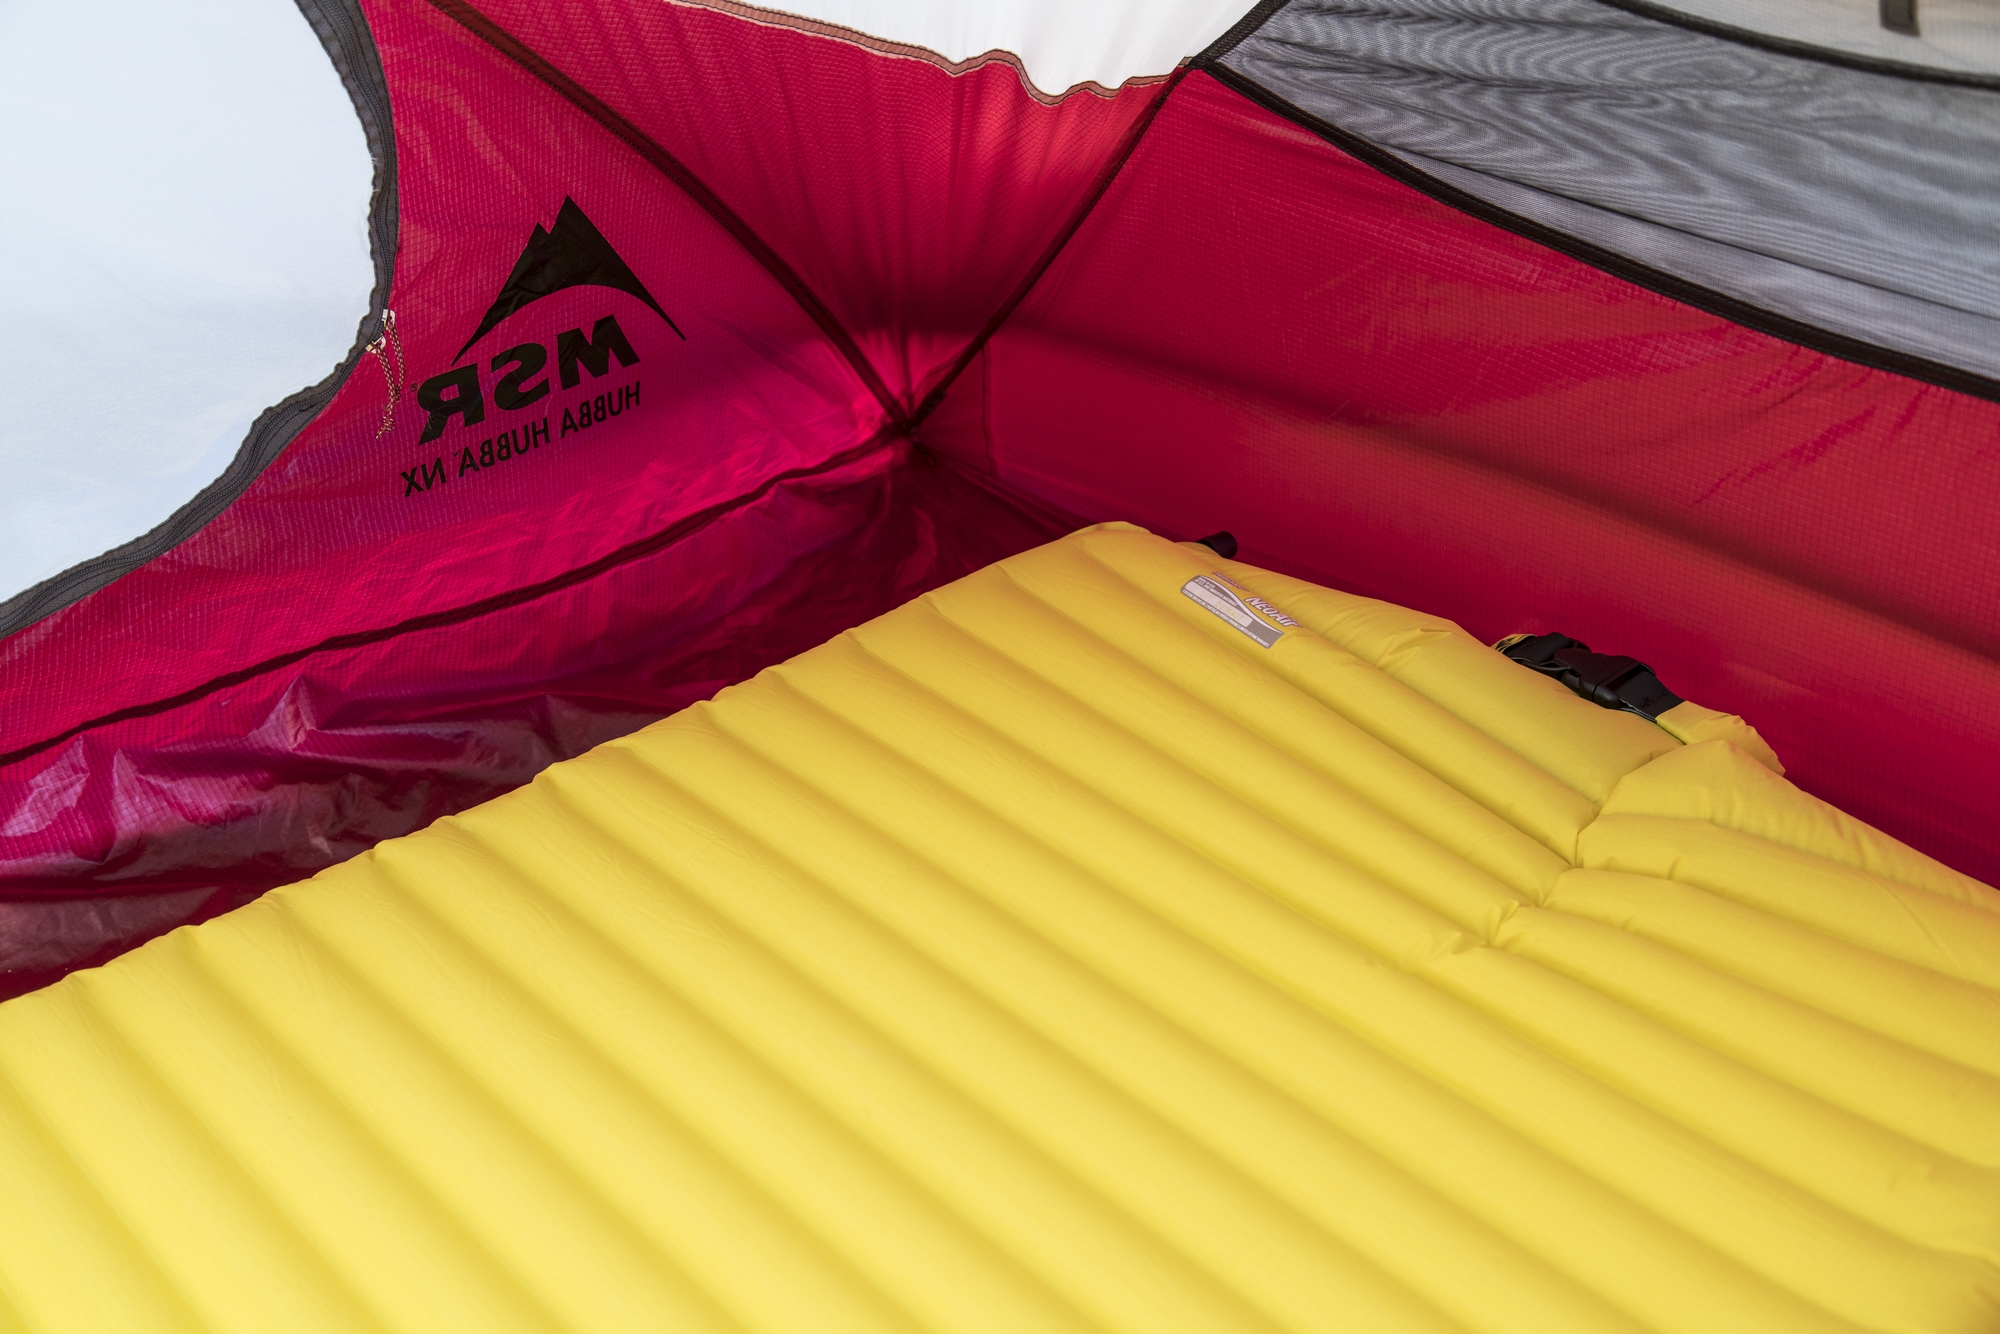
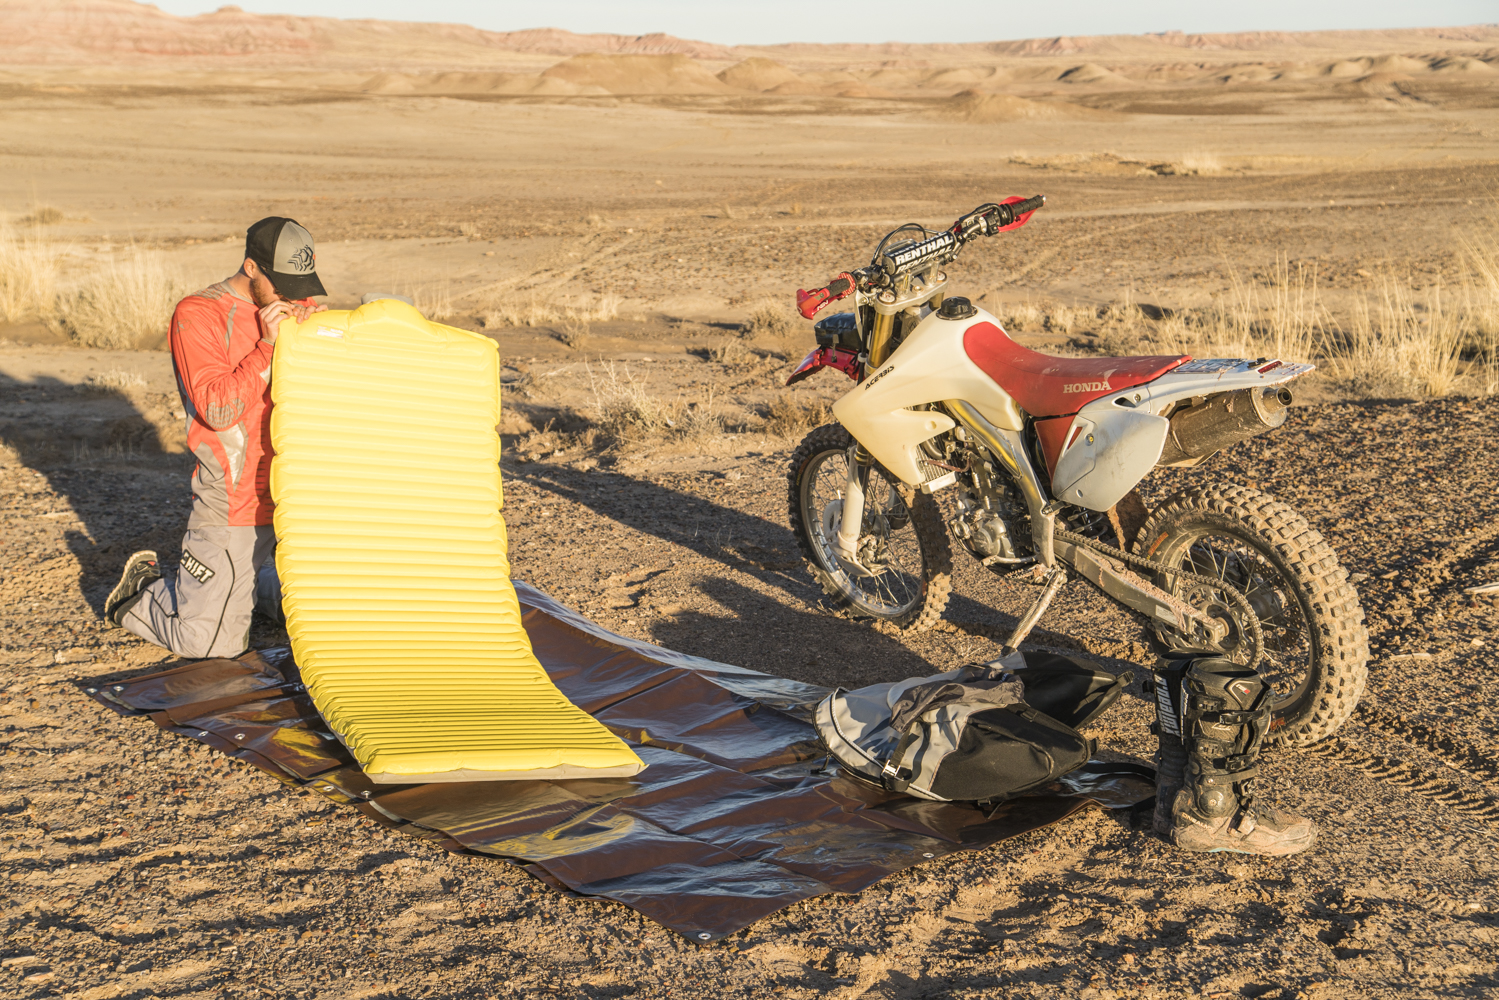
The NeoAir XLite Max SV is a terrific sleeping pad in terms of comfort, and with the L size pad weighing in at one pound five ounces, it’s become my go to pad every time weight is a consideration.  The L size allows for my 6’2” frame to stretch out with my entire body on the pad, and at 2.5” thick I can sleep on my side without contacting the ground.  With an R value of 3.2, the NeoAir XLite Max SV is a three season pad that will make a bit of noise when you move around on it, but it’s much more quiet than the ‘crunching bag of chips’ sound that other lightweight sleeping pads are known for.  Every night I’ve had on the NeoAir XLite Max SV has been a night of restful sleep.

https://www.youtube.com/watch?v=IDIH7CiofUw

Therm-A-Rest has applied science to give us a new and faster way to inflate and deflate a sleeping pad, and I have to say that I’m a fan of this new system.  Granted, there is a bit of a learning curve and the second valve is technically one more point of potential failure, but these points are overshadowed by the performance the SpeedValve offers.  Less time inflating a pad is a convenience feature, but the first time you nail the inflation technique you’ll find yourself saying “worth it!”  Likewise, deflation is a much more enjoyable experience too.  No longer will you spend time doing the slow knee-press roll-up of your old sleeping pad.  Comfort and support have been outstanding for me sleeping on my back and my side, and a good night’s rest in the backcountry is invaluable on multi-day missions.  I’ve routinely found myself opting for the NeoAir XLite Max SV over a thicker (3.5”) and much heavier sleeping pad that was previously my favorite.  With the NeoAir XLite Max SV, I sleep great and I’ve cut over a pound from my kit.  Therm-A-Rest offers the SpeedValve in a number of their field proven pads, so go check one out at your local gear shop, or at http://www.cascadedesigns.com/therm-a-rest

MSR Windburner

Sometimes, all you want in the world is for the water that you’ve been cooking on your backcountry stove for the last fortnight to actually boil. I’m pretty sure that whoever came up with the saying that “a watched pot never boils” was on the side of a mountain in less than ideal conditions [read: it was really cold and windy] and their stove never actually succeeded in boiling water, so they had to eat cold freeze dried food—or maybe that was me. Yet, now that I have a MSR Windburner stove system, I’ve made a hobby out of trying to find an environment where I can’t boil water. Spoiler alert: I haven’t found one yet.

The Windburner isn’t subtle about what it can do to some water that needs cooking. Just take a look at the actual burner, and you’ll understand what I’m on about. The radiant burner uses the same Reactor technology that is found in MSR’s flagship stove, the Reactor. What this means is that you’ve got a massive, yet highly efficient isobutene-powered burner that still packs everything you need into a 1-liter pot. The pot itself is very well thought out, and little features like a lid that has a very solid engagement ensure that the lid isn’t coming off unless you pull it off. On the other end of the pot is a graduated cup that you can use for measuring and for storing the screen for the French press.

Talking about even heat distribution and radiant burner heat output is one thing, but in an effort to really show you what we’re talking about, we utilized a FLIR® Thermal Imaging Camera (TIC) to show you what your eyes can’t see. Here’s the Windburner Stove System, the Windburner Skillet, a popular stove from another manufacturer, and bacon cooking…because, bacon. When environmental conditions cause other stoves to just burn fuel and never boil water, the Windburner still produces boiling water without fail. Yet boiling water isn’t the only thing that the Windburner excels at.

There are a number of optional parts that really expand on the versatility of the Windburner stove system. First up is the Windburner Skillet, which does a great job of distributing heat evenly over the entire skillet. This even heat distribution allows you to actually cook or evenly heat food that isn’t liquid-based; which is a challenge on other stoves where it’s easy to just burn the food right over the burner, while the surrounding food stays cold. The Windburner’s throttle allows you to make very finite adjustments to heat output, which gives you great simmer control. If you want to make coffee (or loose-leaf tea) to go with your meal, the Windburner Coffee Press Kit turns the 1-Liter pot into a French press that works quite well with anything larger than espresso-fine coffee grounds. MSR also makes a 1.8-Liter pot for when you’re with a larger group, and a hanging kit that will allow you to securely hang the stove when a flat surface isn’t handy.

Lighting the Windburner is different from most other stoves, as the flame isn’t always visible. Thankfully, MSR installed a small indicator wire on the burner that starts glowing just a second after the burner is lit. In my experience, you can hear and feel the burner light, but the indicator wire is a nice visual indicator that will help you keep the hair on your hand. It’s also worth mentioning that the Windburner has no form of onboard ignition, so if you’re used to a stove that has a built-in igniter make sure you’ve got a way to light the Windburner in the field. Anything that makes a spark, arc, or flame will work. Note: you should always have a backup method of making fire with you anyhow, as built-in igniters can fail.

I’ve taken the Windburner Stove System from the bottom of the Grand Canyon to over 13,000 feet above sea level in the Colorado Rockies on my quest to get the stove to fail. Yet, I haven’t found any environmental conditions where the stove has let me down. Under ideal conditions, the Windburner is quicker to a boil with the same volume of water than other ‘everything packs into the pot’ stoves. When the wind kicks up, the temperature drops, and other stoves start struggling, the Windburner has water boiling in just a few minutes. The size and finite control of the burner’s heat output make using the Windburner Skillet a realistic option, and your days of ruining backcountry cookware by scorching are over. The skillet also opens the door to a whole host of other meal options in the backcountry, which is a huge value-add and morale booster. MSR’s Windburner Stove System is great choice for a versatile, reliable, water-will-get-boiled stove system. Find out more at msrgear.com »

Note from the editor: It is our goal to use science whenever we can while conducting gear reviews to show you quantitative information. In the case of this article, we utilized the FLIR® TIC to show you exactly how warm each stove is at a boil, and how the heat really dissipates through the Windburner Skillet. Please let us know in the comments if you found this information valuable, and if there’s anything else you’d like to see.