 Goal Zero knows a thing or two about powering gear in the field. From backpacking-friendly solar panels that can keep your phone topped off on a through-hike, to much larger solar panels and batteries that can run Hollywood-caliber film productions in the bottom of the Grand Canyon for 21 days, the Goal Zero ecosystem can power all of the things. I’ve been using their Lead-Acid AGM-powered Yeti Portable Power Stations for years, so when Goal Zero released a line of Yetis with Lithium-Ion Nickel-Manganeese-Cobalt (NMC) batteries, I had to get my hands on one and put it though a long-term test to see how it compared to the OG Yeti’s that have proven themselves with me. To round out the test, I also got a Boulder 100 Solar Briefcase to harvest the sun for the new Yeti.
 Meet the Lithium Yetis
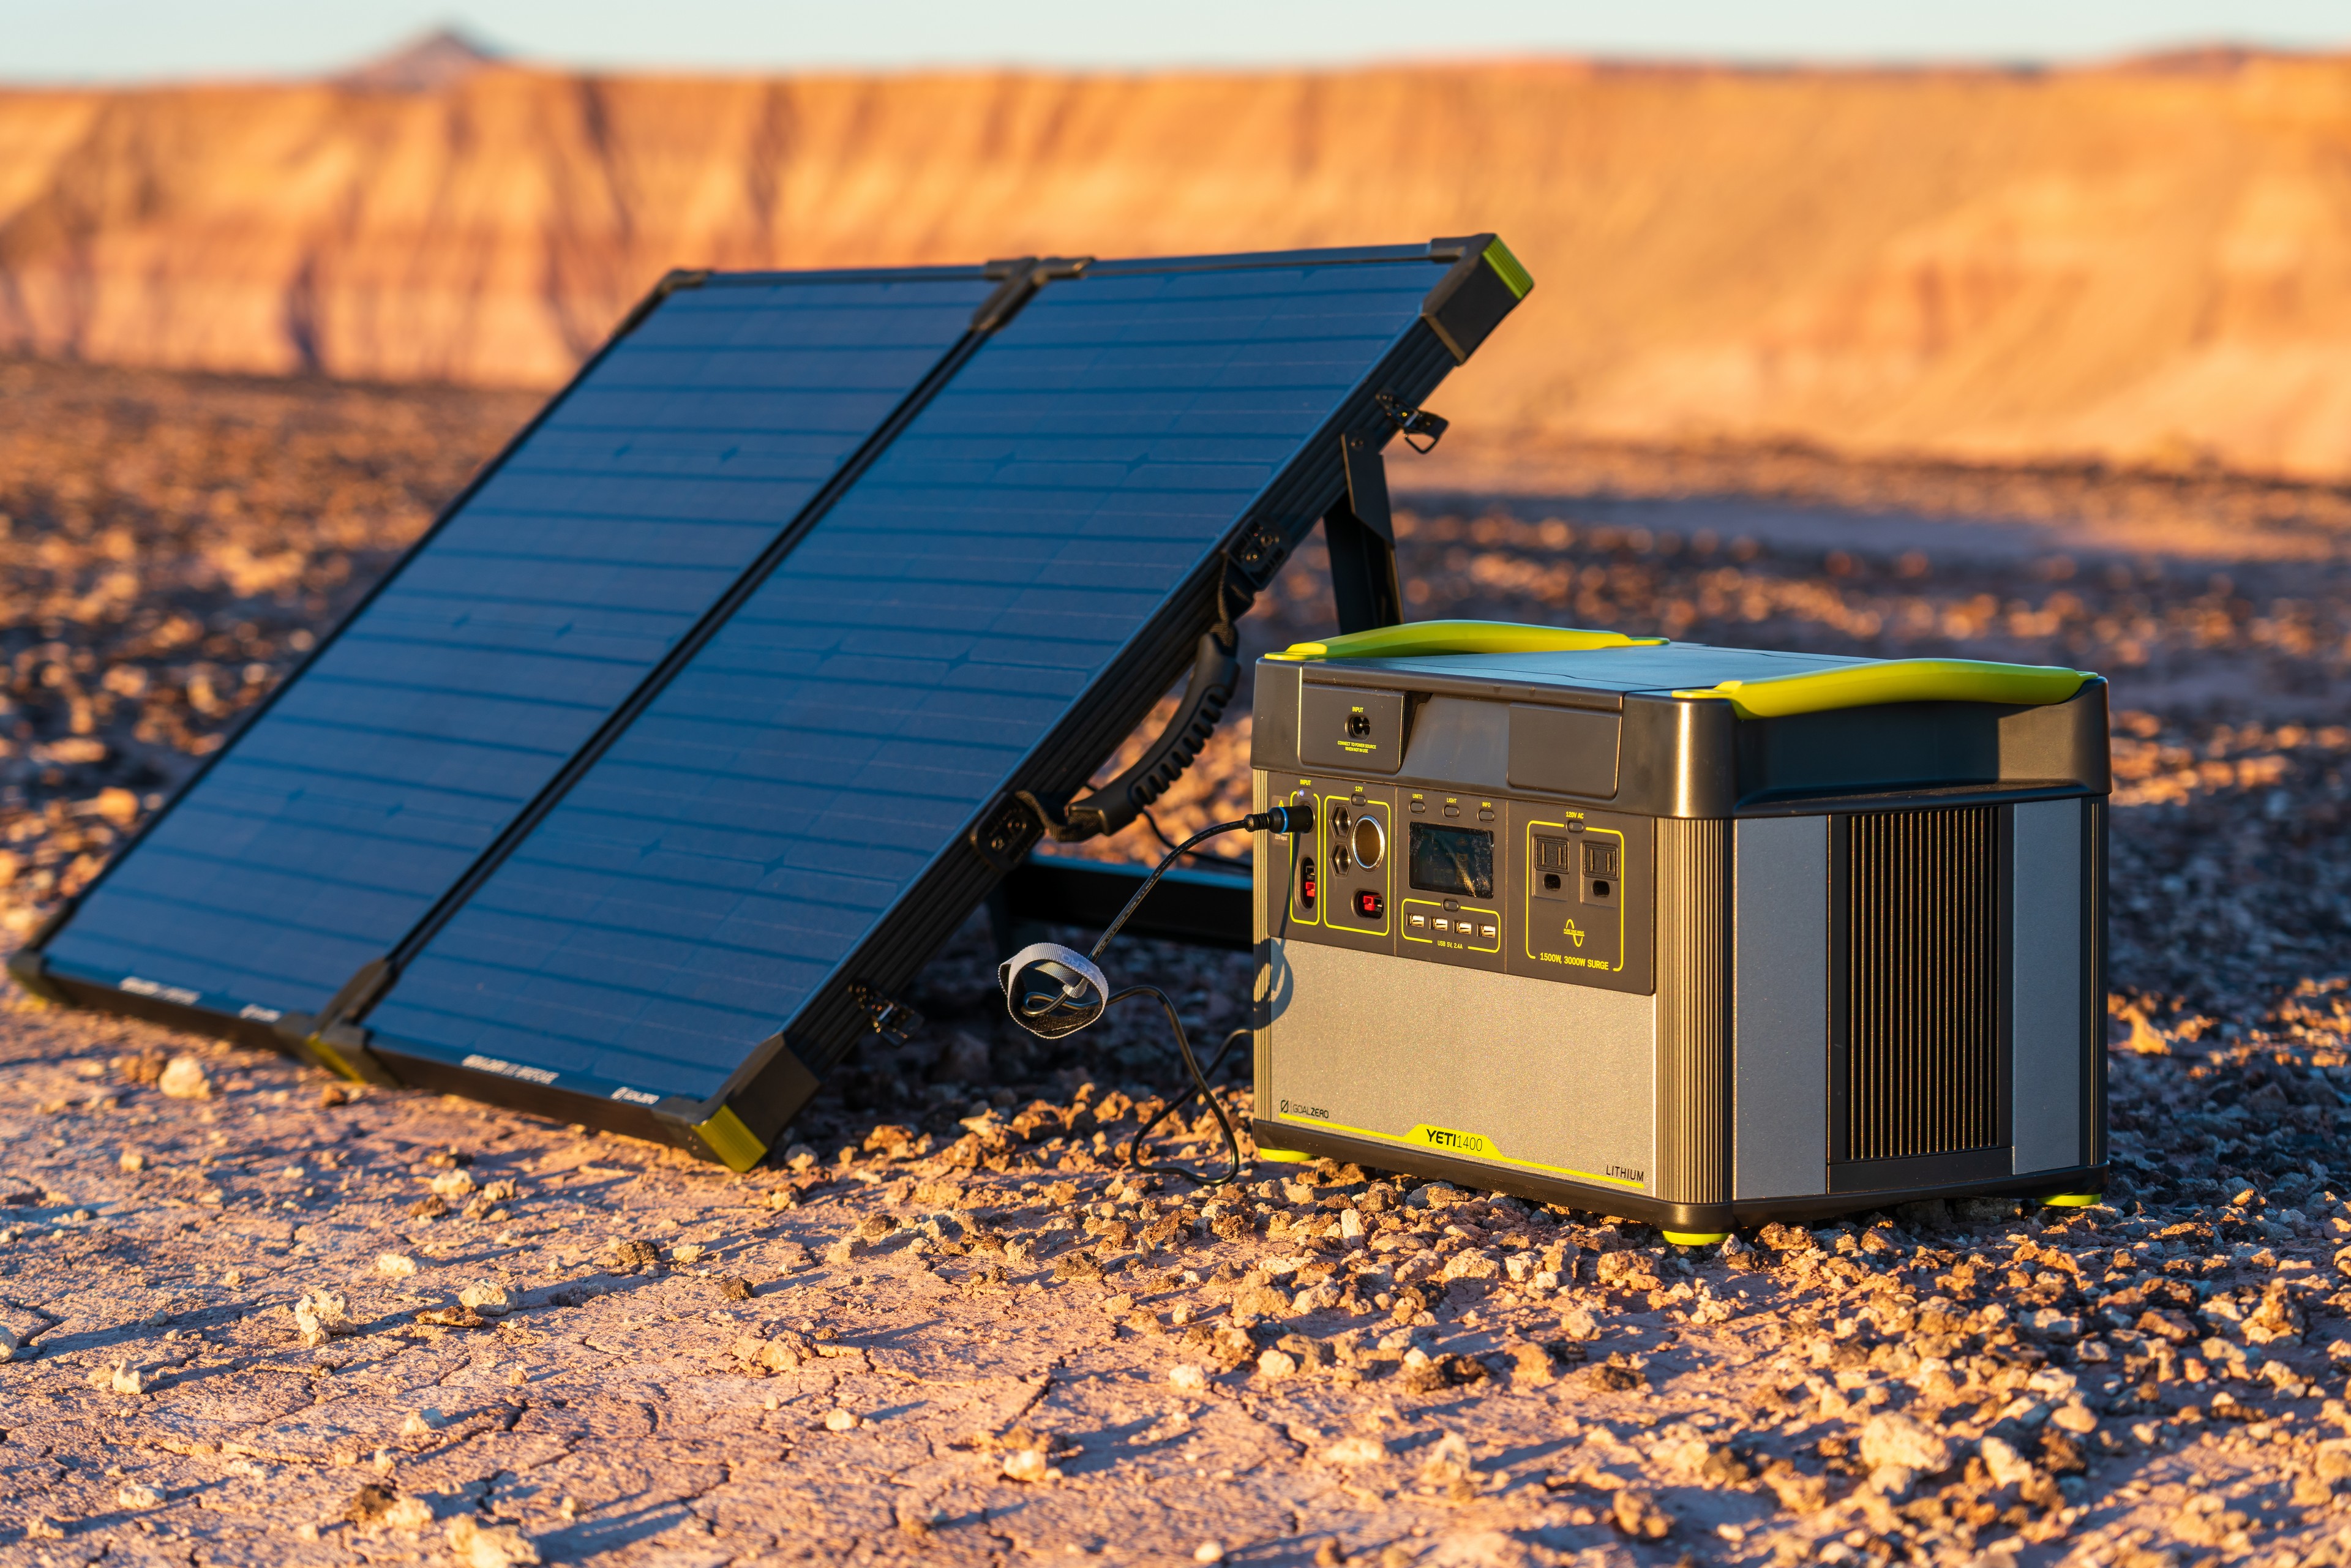
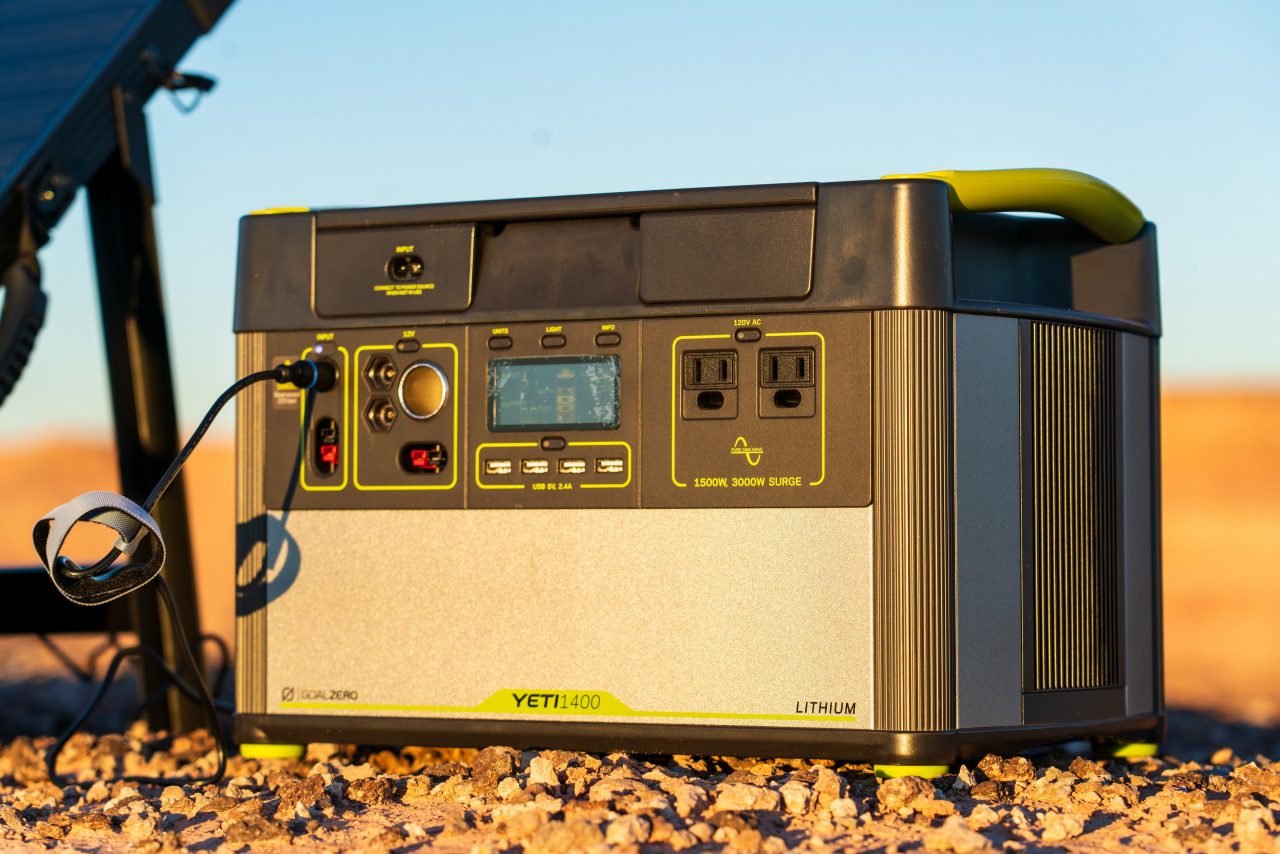
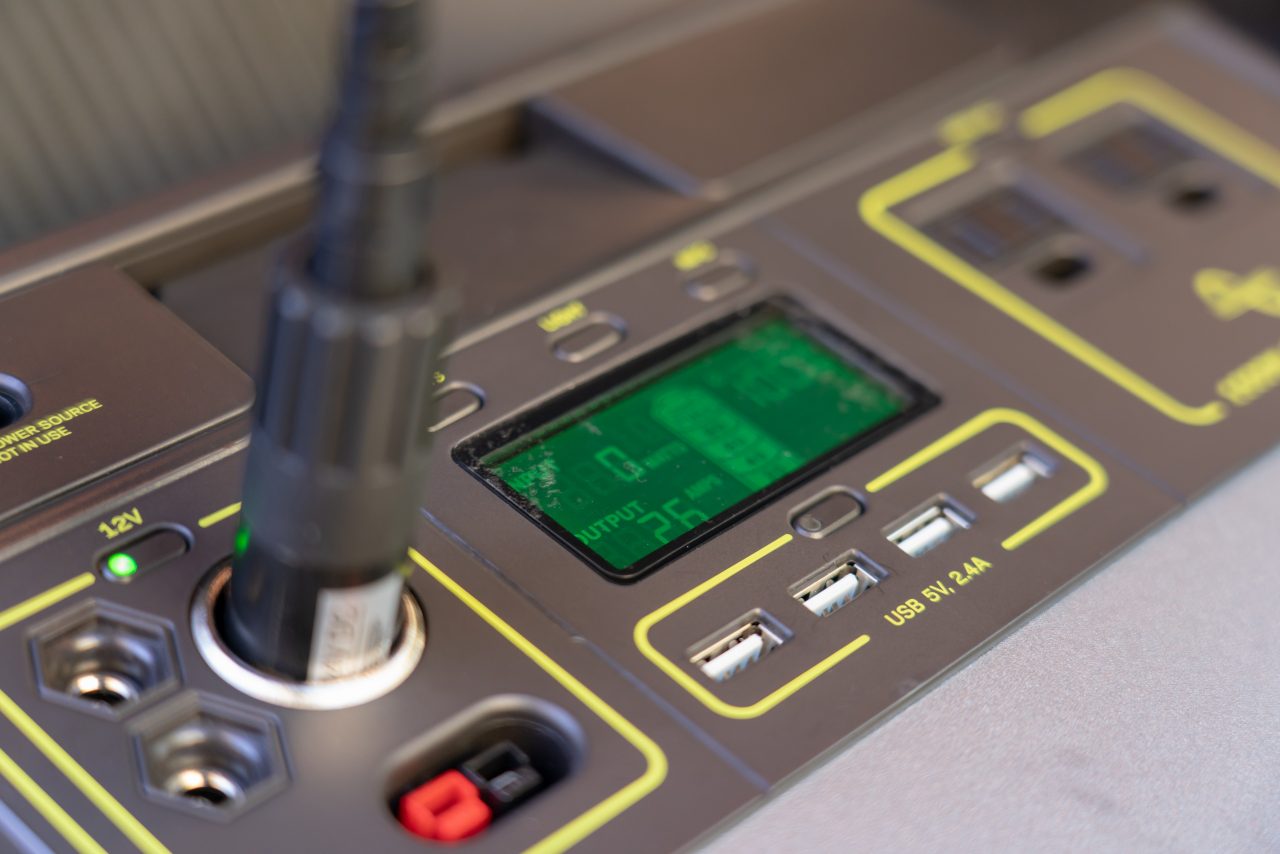
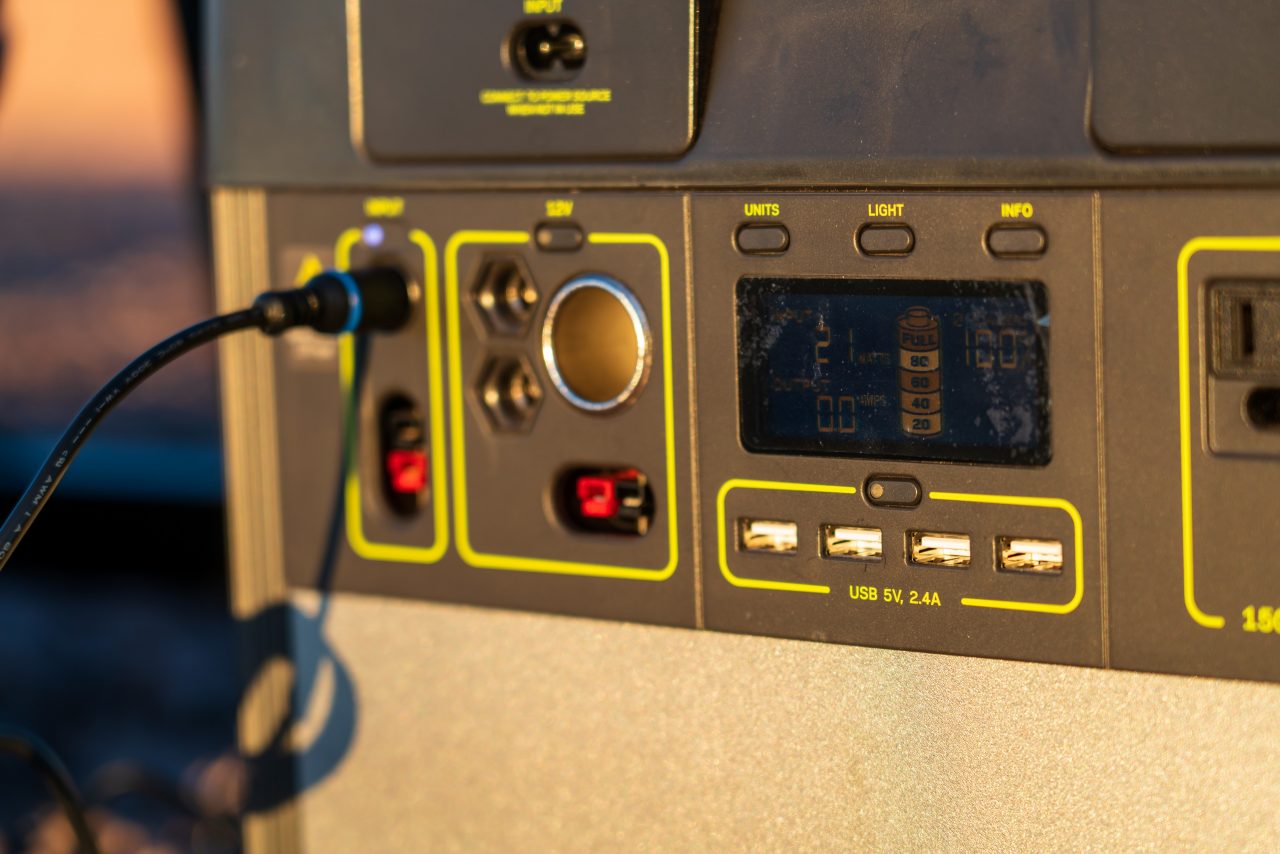
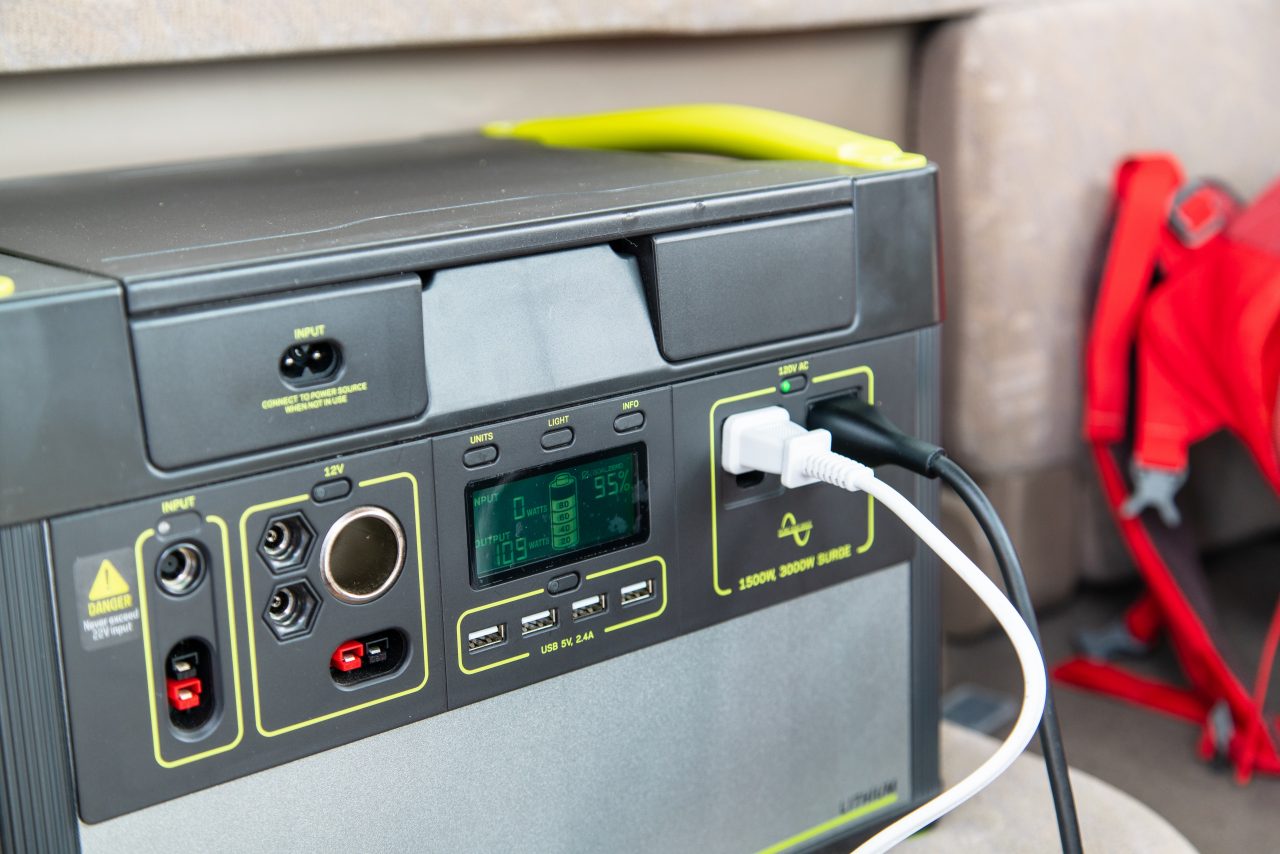
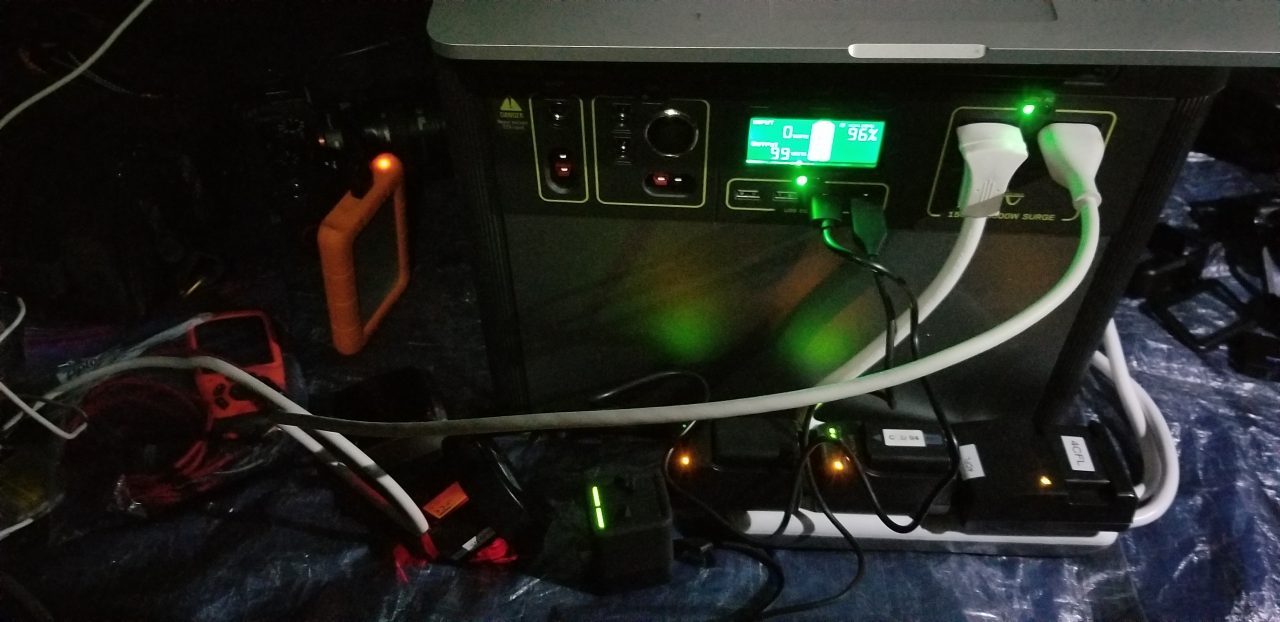
The Lithium Yetis are available in four sizes, with the 1400 being the second largest battery behind the Lithium Yeti 3000. The Lithium Yeti 1400 packs 1,425 Watt Hours (Wh) into a unit that weighs 43.7 pounds, which is less than half the weight of the Lead Acid-powered Yeti 1250 (1,200 Wh) that weighs 103 pounds. Power outputs on the 1400 are: a two-outlet 120V pure sine wave AC inverter rated at 1500 W (3000 W surge), a 12V 10Amp car-style (cigarette-style) port, two 6mm ports at 10 Amps, a Power Pole port at 20 Amps, and four 2.4 Amp USB ports. Goal Zero has since revised the Lithium Yet 1400 and 3000, adding Wi-Fi connectivity that will allow you to remotely monitor your Yeti with the Goal Zero app, and reconfigured the USB ports – you now get a USB-PD (Power Delivery), a USB-C at3.0 Amps, and two USB-A ports at 2.4 Amps. In other words, the Lithium Yeti can charge all kinds of things in the field. But enough tech-talk, lets discuss how the thing actually works.


Bring the Power
Bringing a Lithium Yeti 1400 Portable Power Station with you on your adventures is almost like bringing the power grid with you. So don’t be surprised if you find yourself thinking about powered gadgets not on the “needed” ended of the spectrum, but on the “wouldn’t it be fun if” end of things. Case in point, this big bad Yeti can run your Margaritaville blender, or other AC-powered gadgets that might make consumer grade cigarette lighter style DC-AC inverters emit magic smoke. The pure sine wave inverter also means that sensitive electronics can safely be run from the Yeti’s AC outlets. (Just remember to do the energy math before you hit the switch – running a 1500 Watt appliance will use power quickly.) For those of us not trying out for Overland Bartender of the Year, the Yeti 1400 will handle days of recharging your essentials like a phone, comms, GPS, and camera batteries, while still having the power on tap to keep a fridge cold throughout your trip.

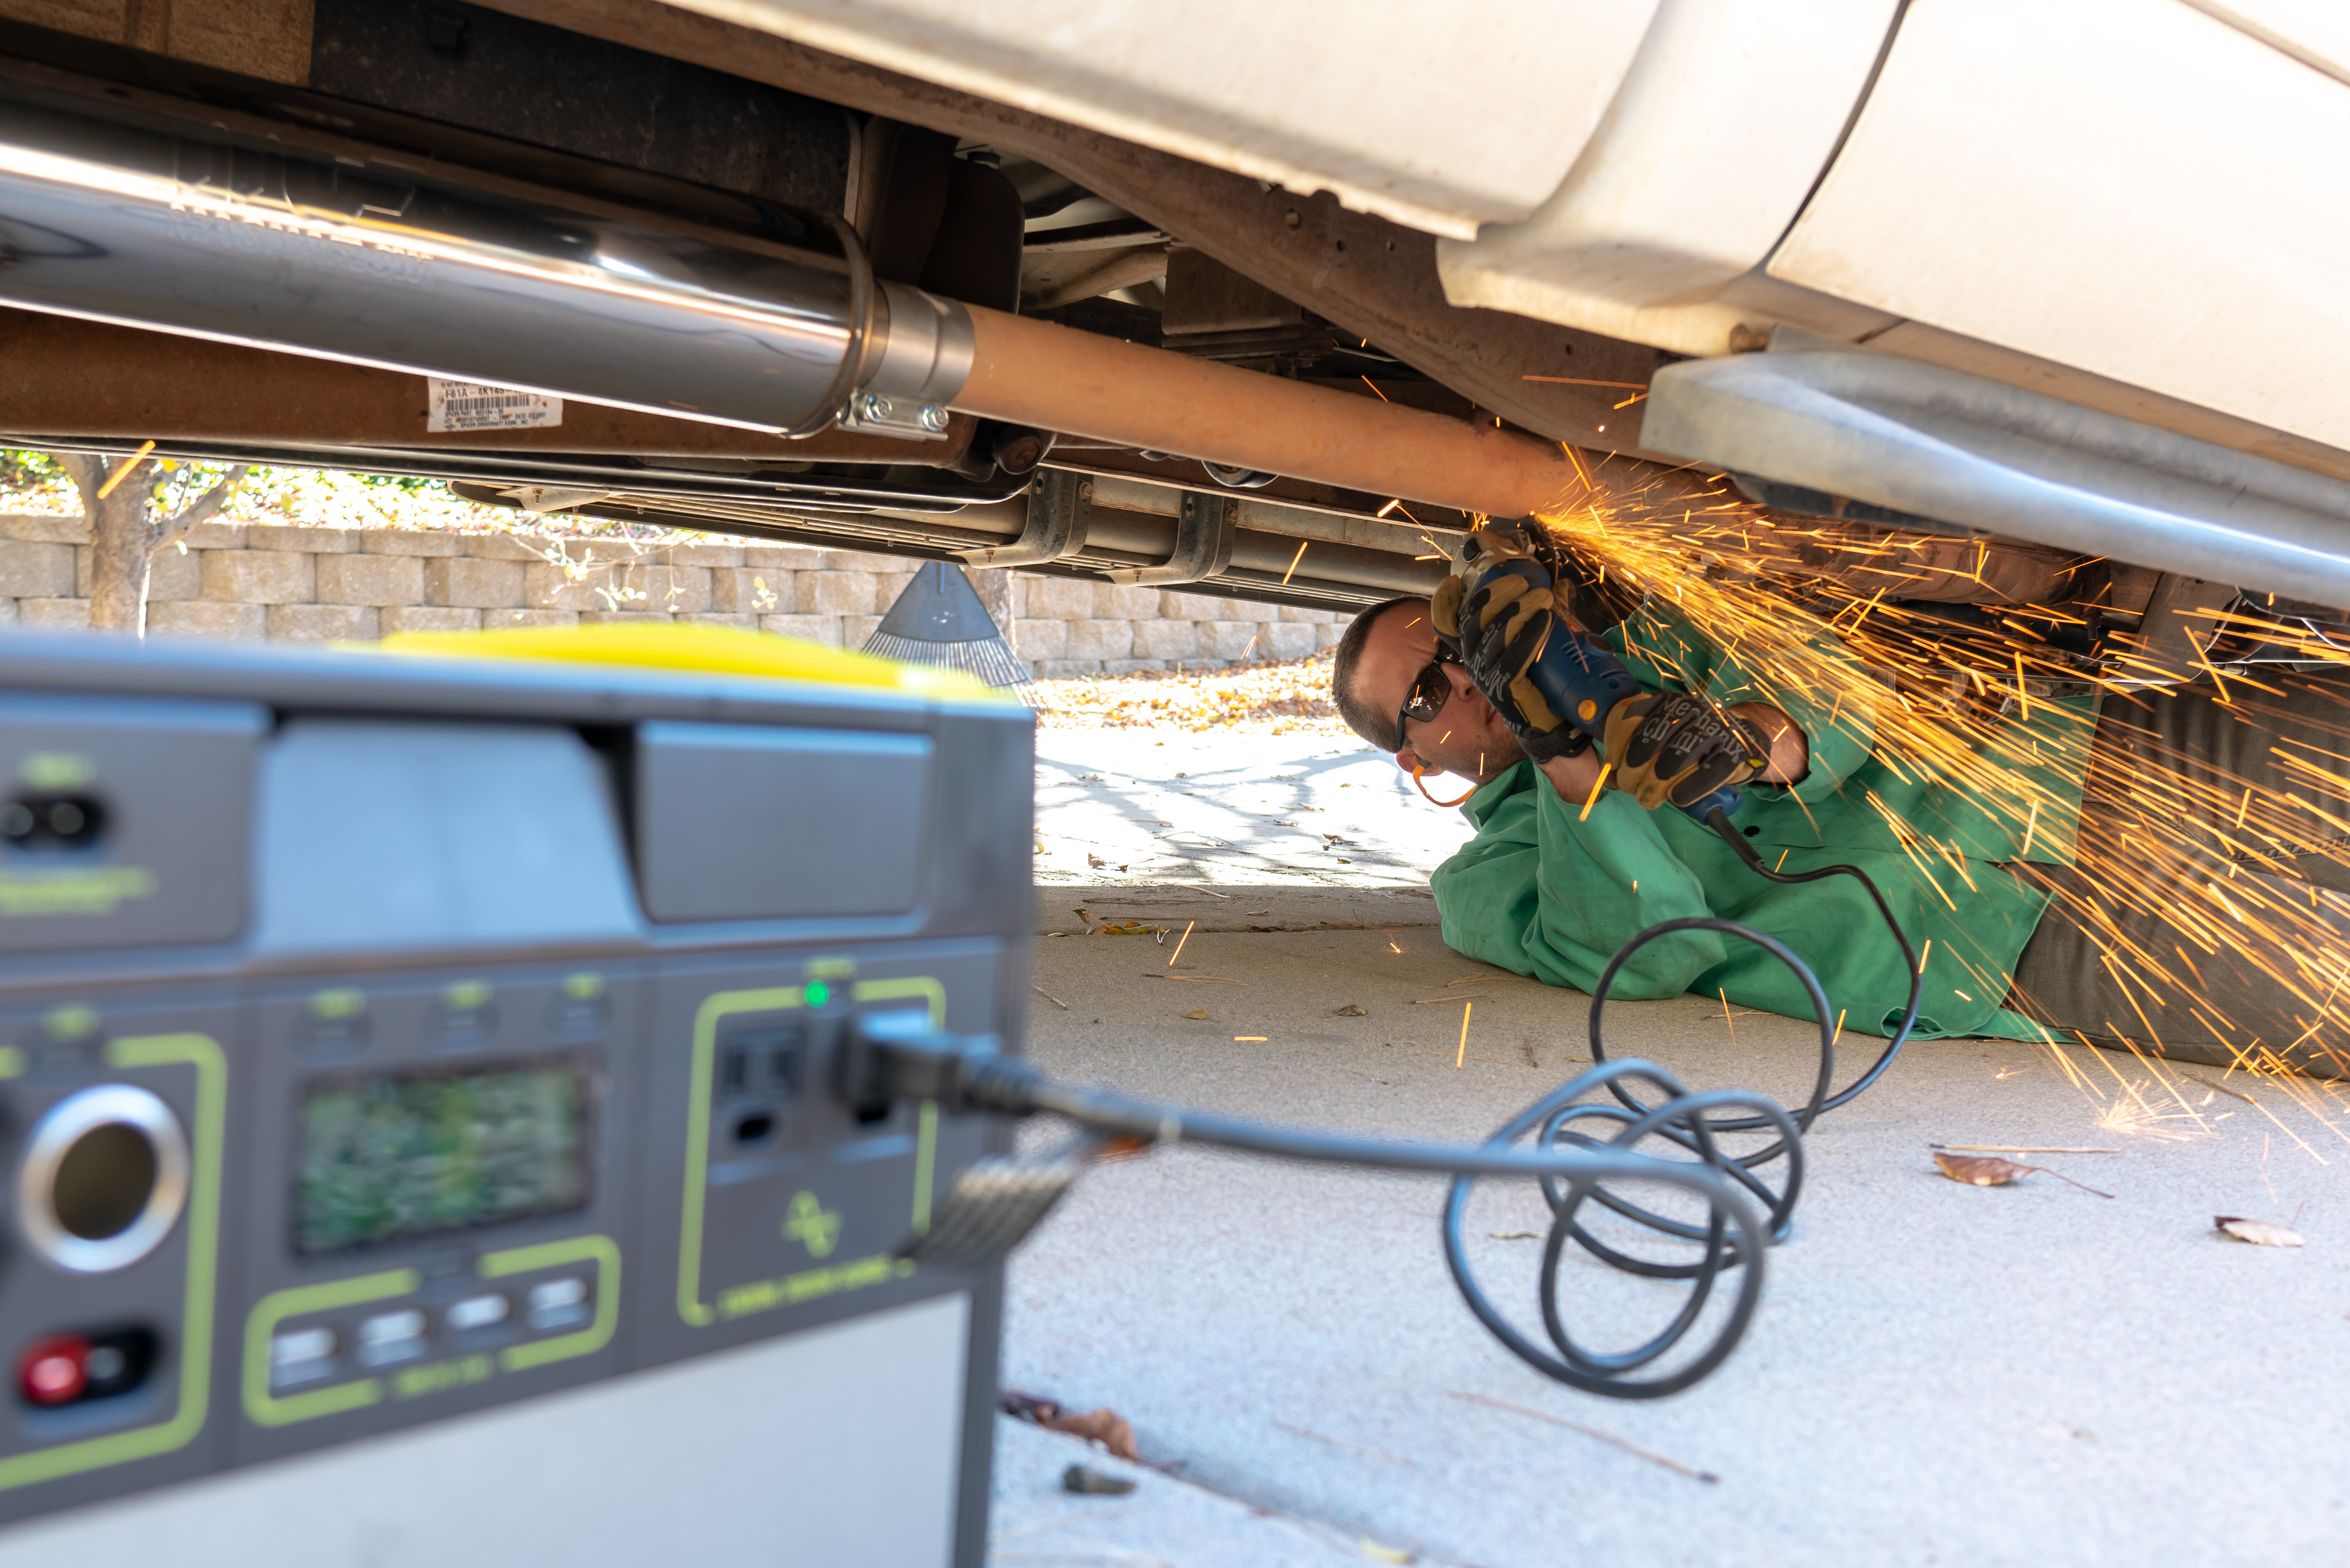
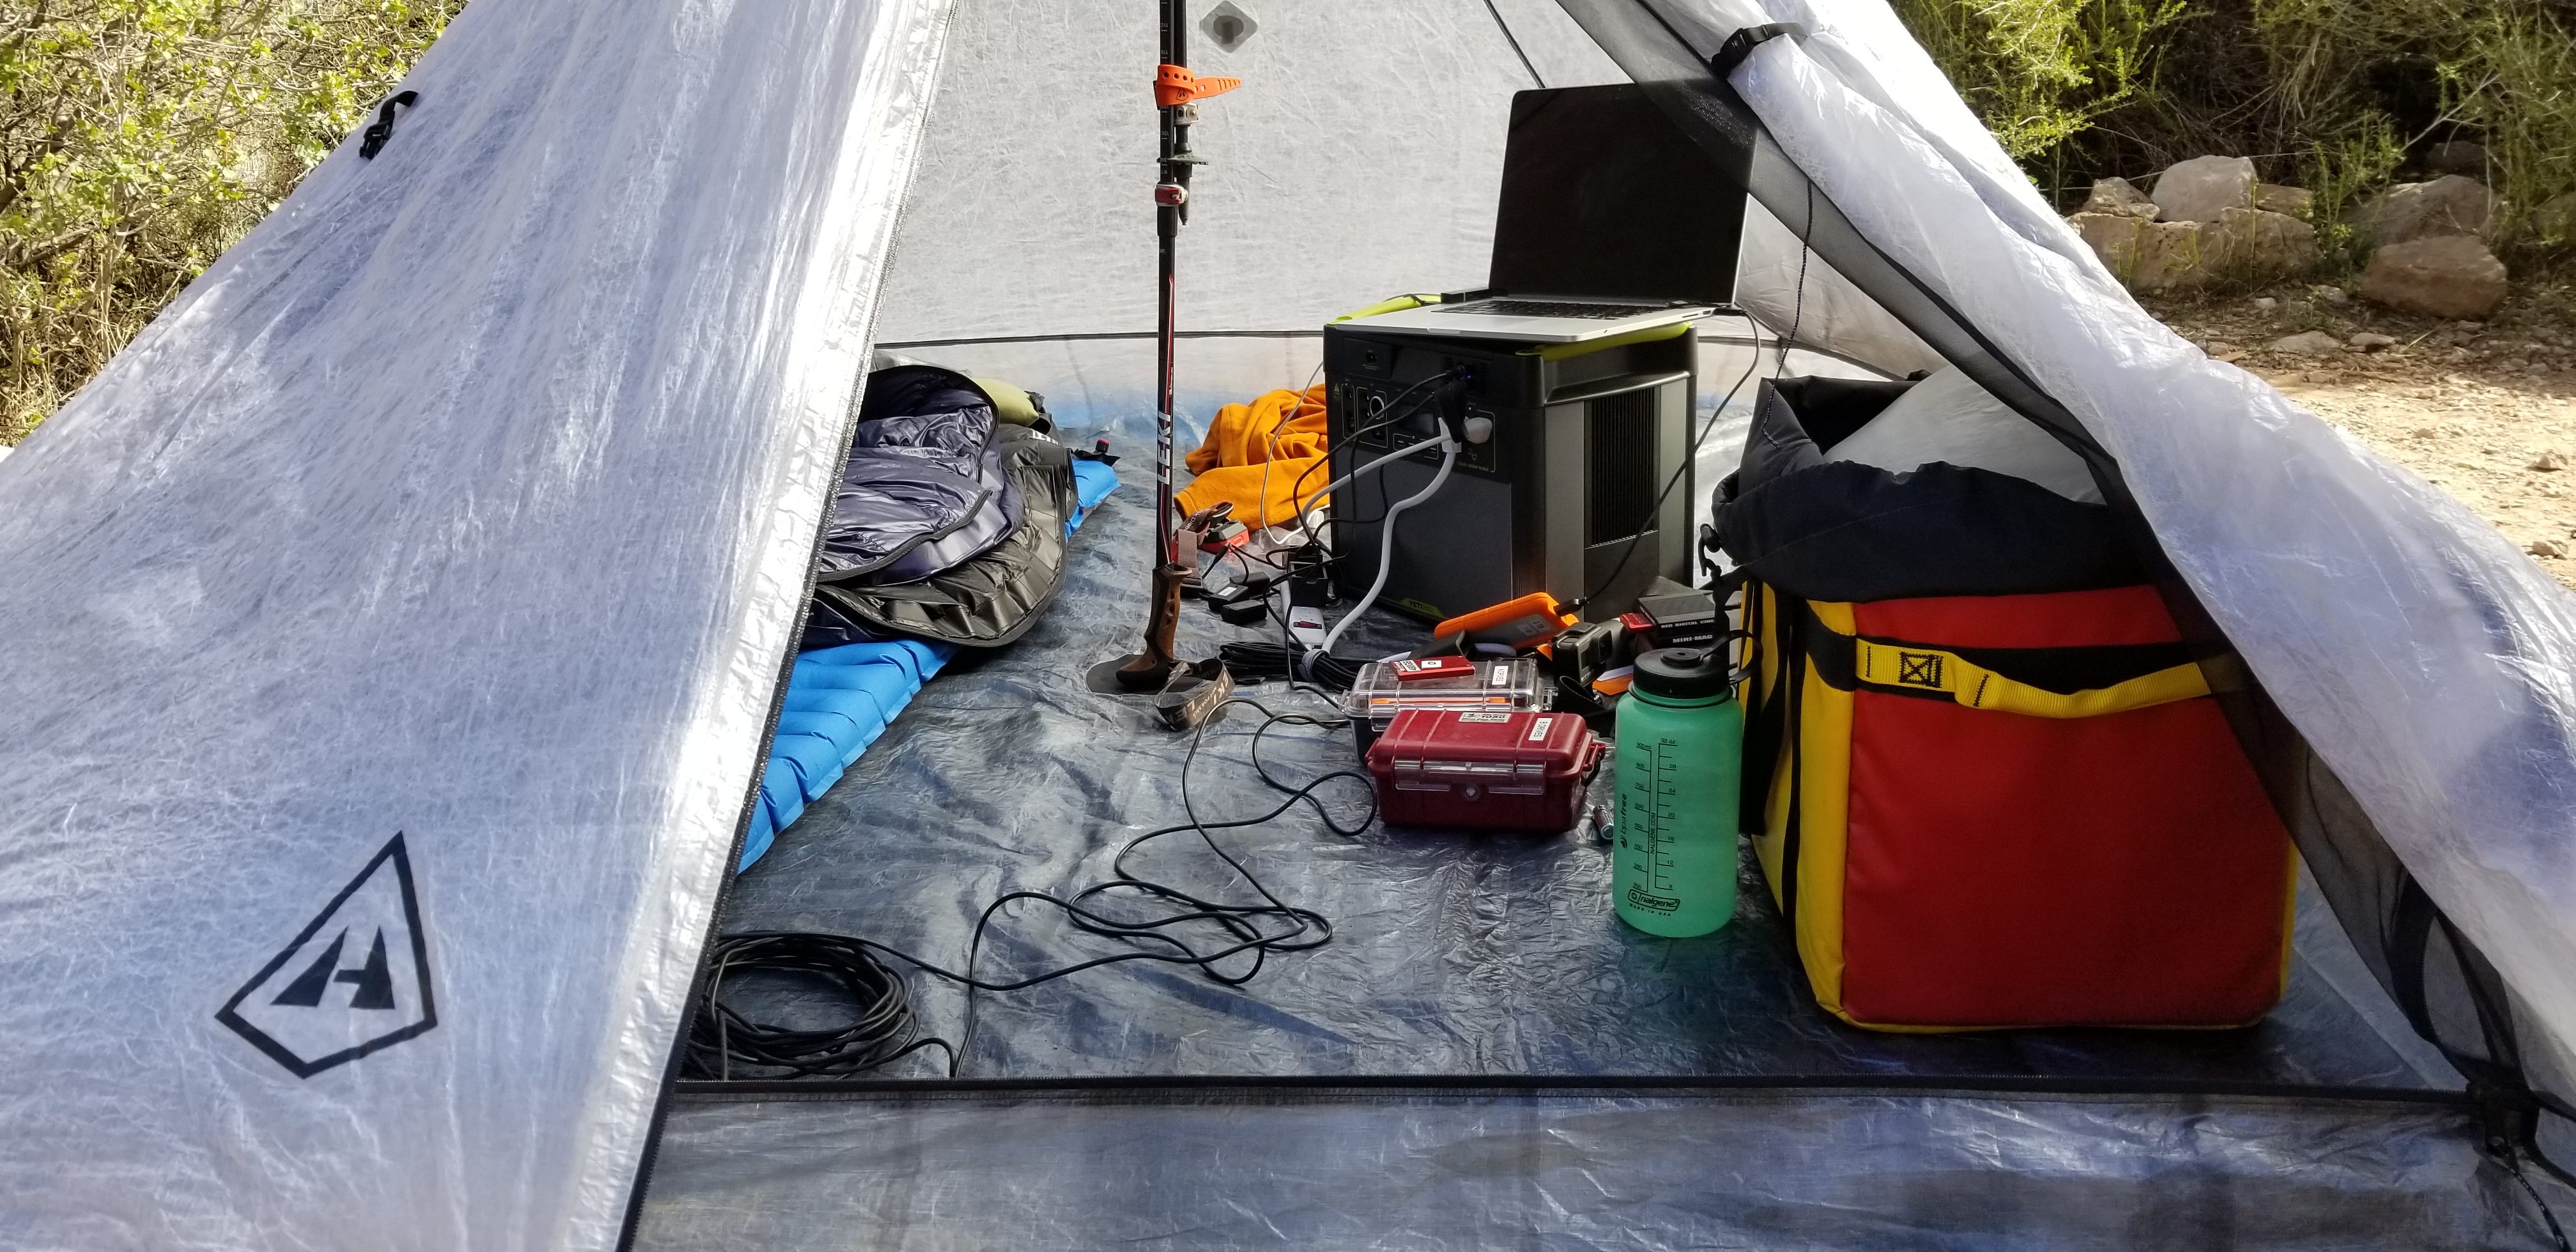 The Yeti 1400 can also be moved around easily thanks to it’s very manageable weight, so bringing the unit into your tent, out to a table, or really anywhere you need power isn’t a major hassle, or a team lifting exercise. Once you have the Yeti where you want it, the spectrum of power outlets allows you to power so many different things. Modern USB standards enable phones and other devices to charge just like they would with their factory chargers, which means more time using gear and less time charging in the field. From charging power tool batteries for that backcountry cabin you’re working on, to running mission-critical equipment as a first responder, or keeping the lights on at an aid station for an Ultra – the Yeti can bring the power reserves, and the power outputs you need to run your equipment. Anywhere.

Even when you’re at home and the power goes out for an extended period of time, the Yeti can power appliances around the house. Goal Zero has even taken this concept a step further with a dedicated add-on breaker panel for your house which will allow your Yeti to supply power directly to your home breaker panel – so you don’t have to drag the fridge out to keep it powered up when the grid goes down. This is an impressive feature that adds unique value to this unit.
 Harvest the Sun
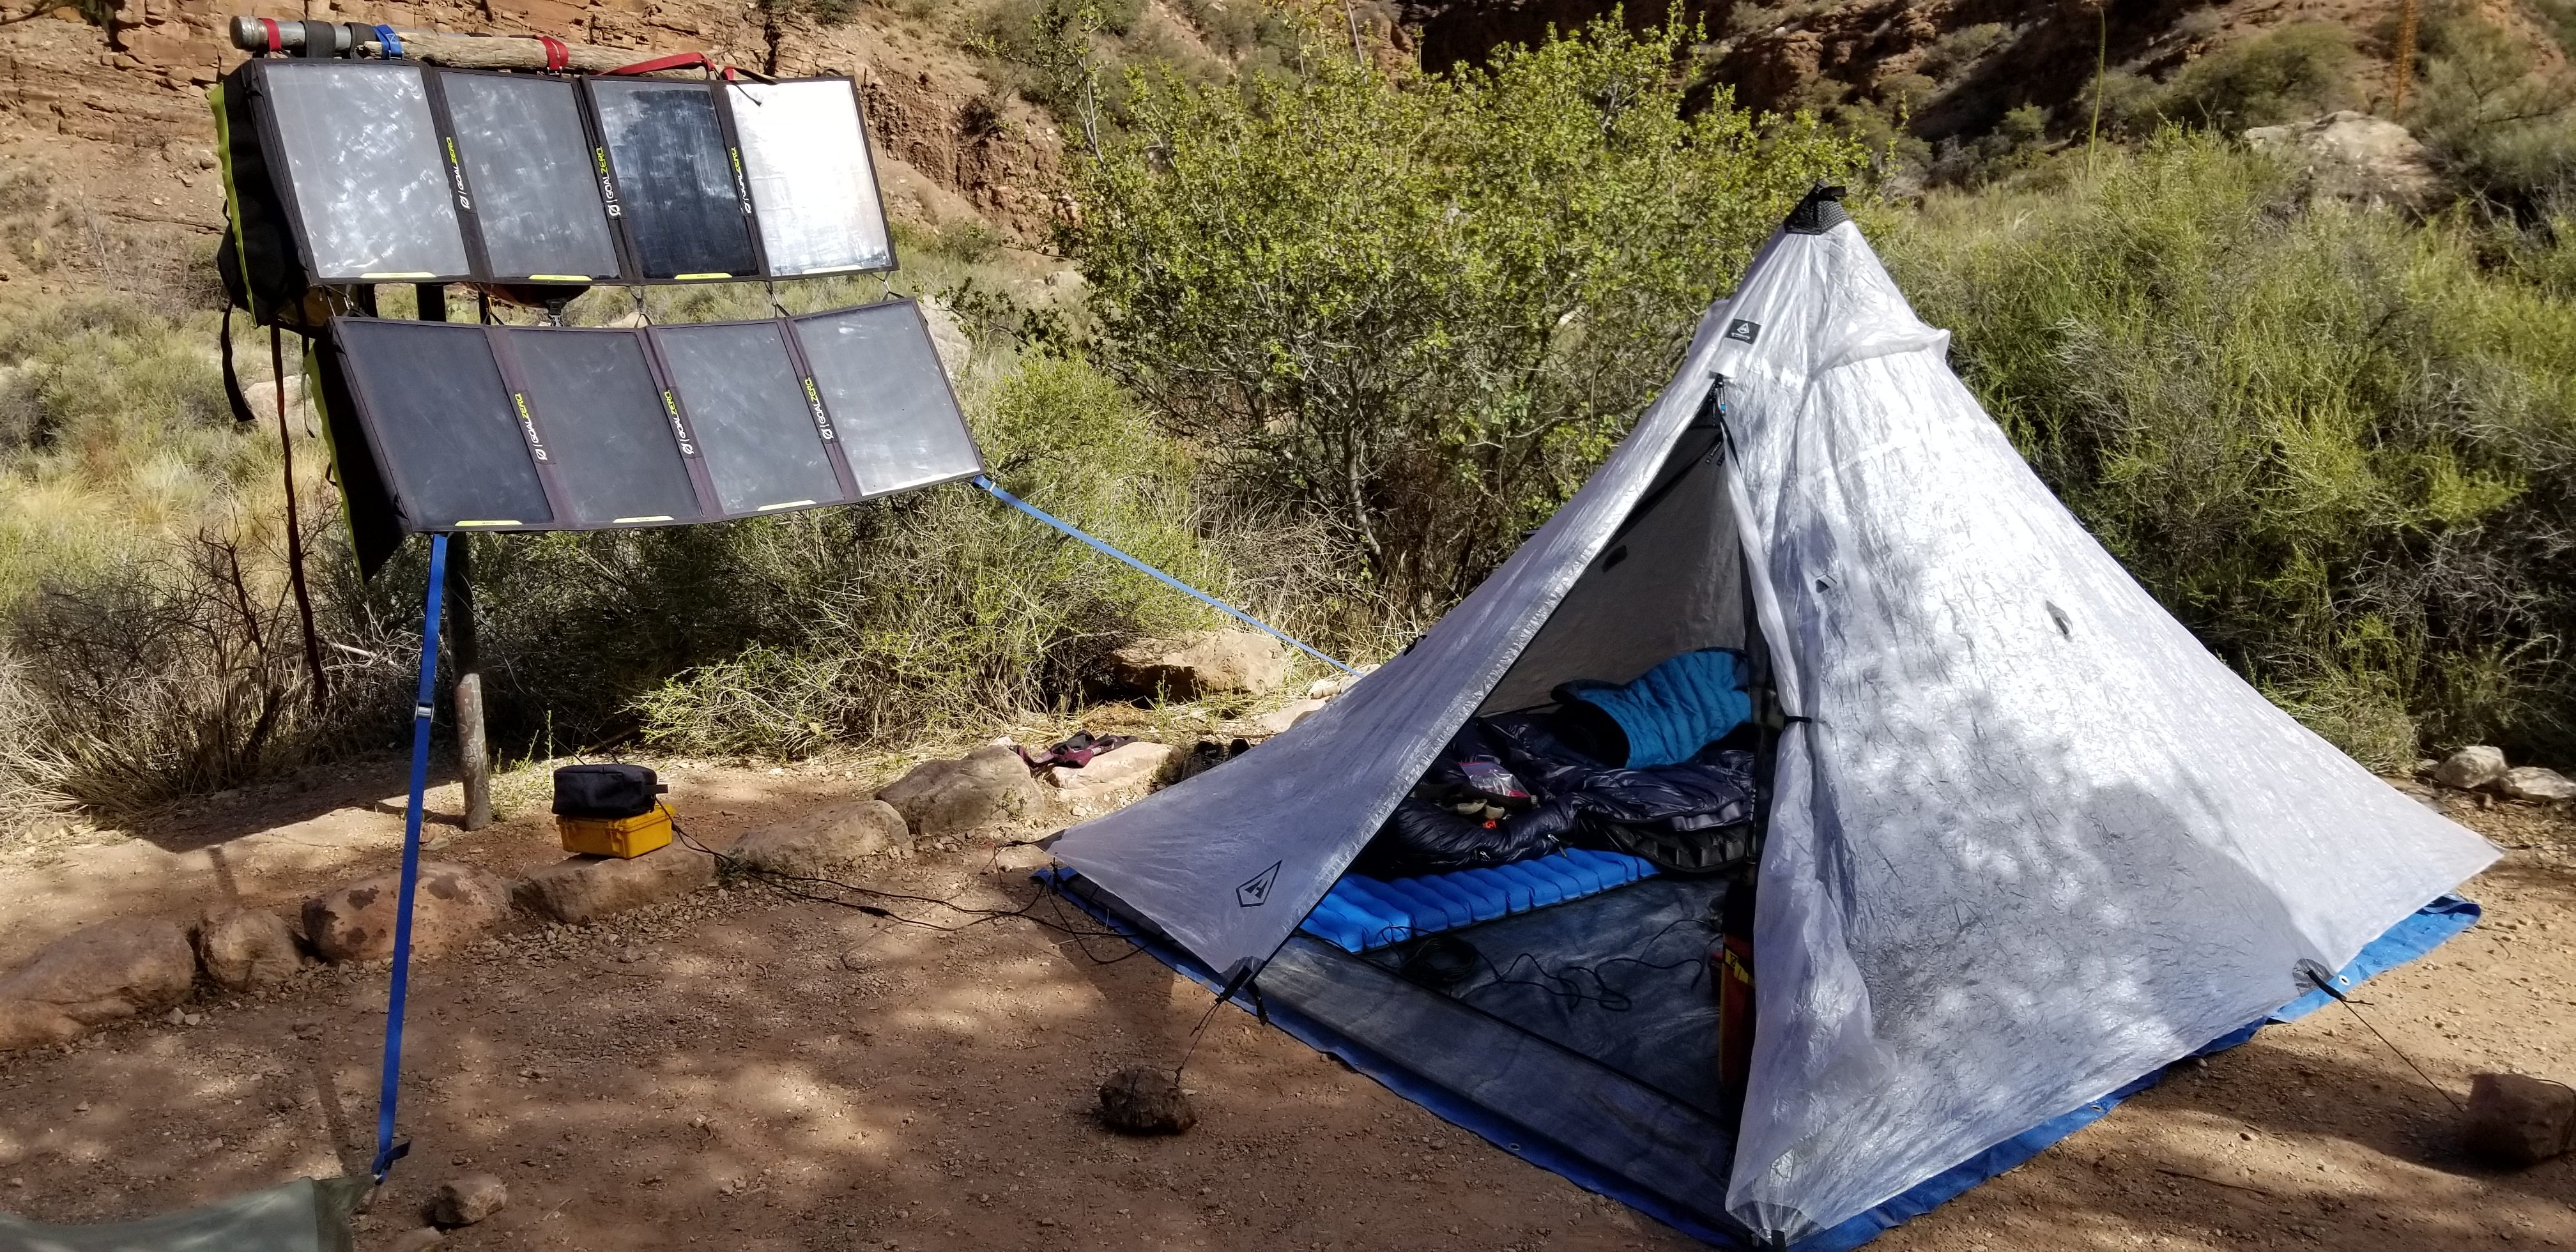
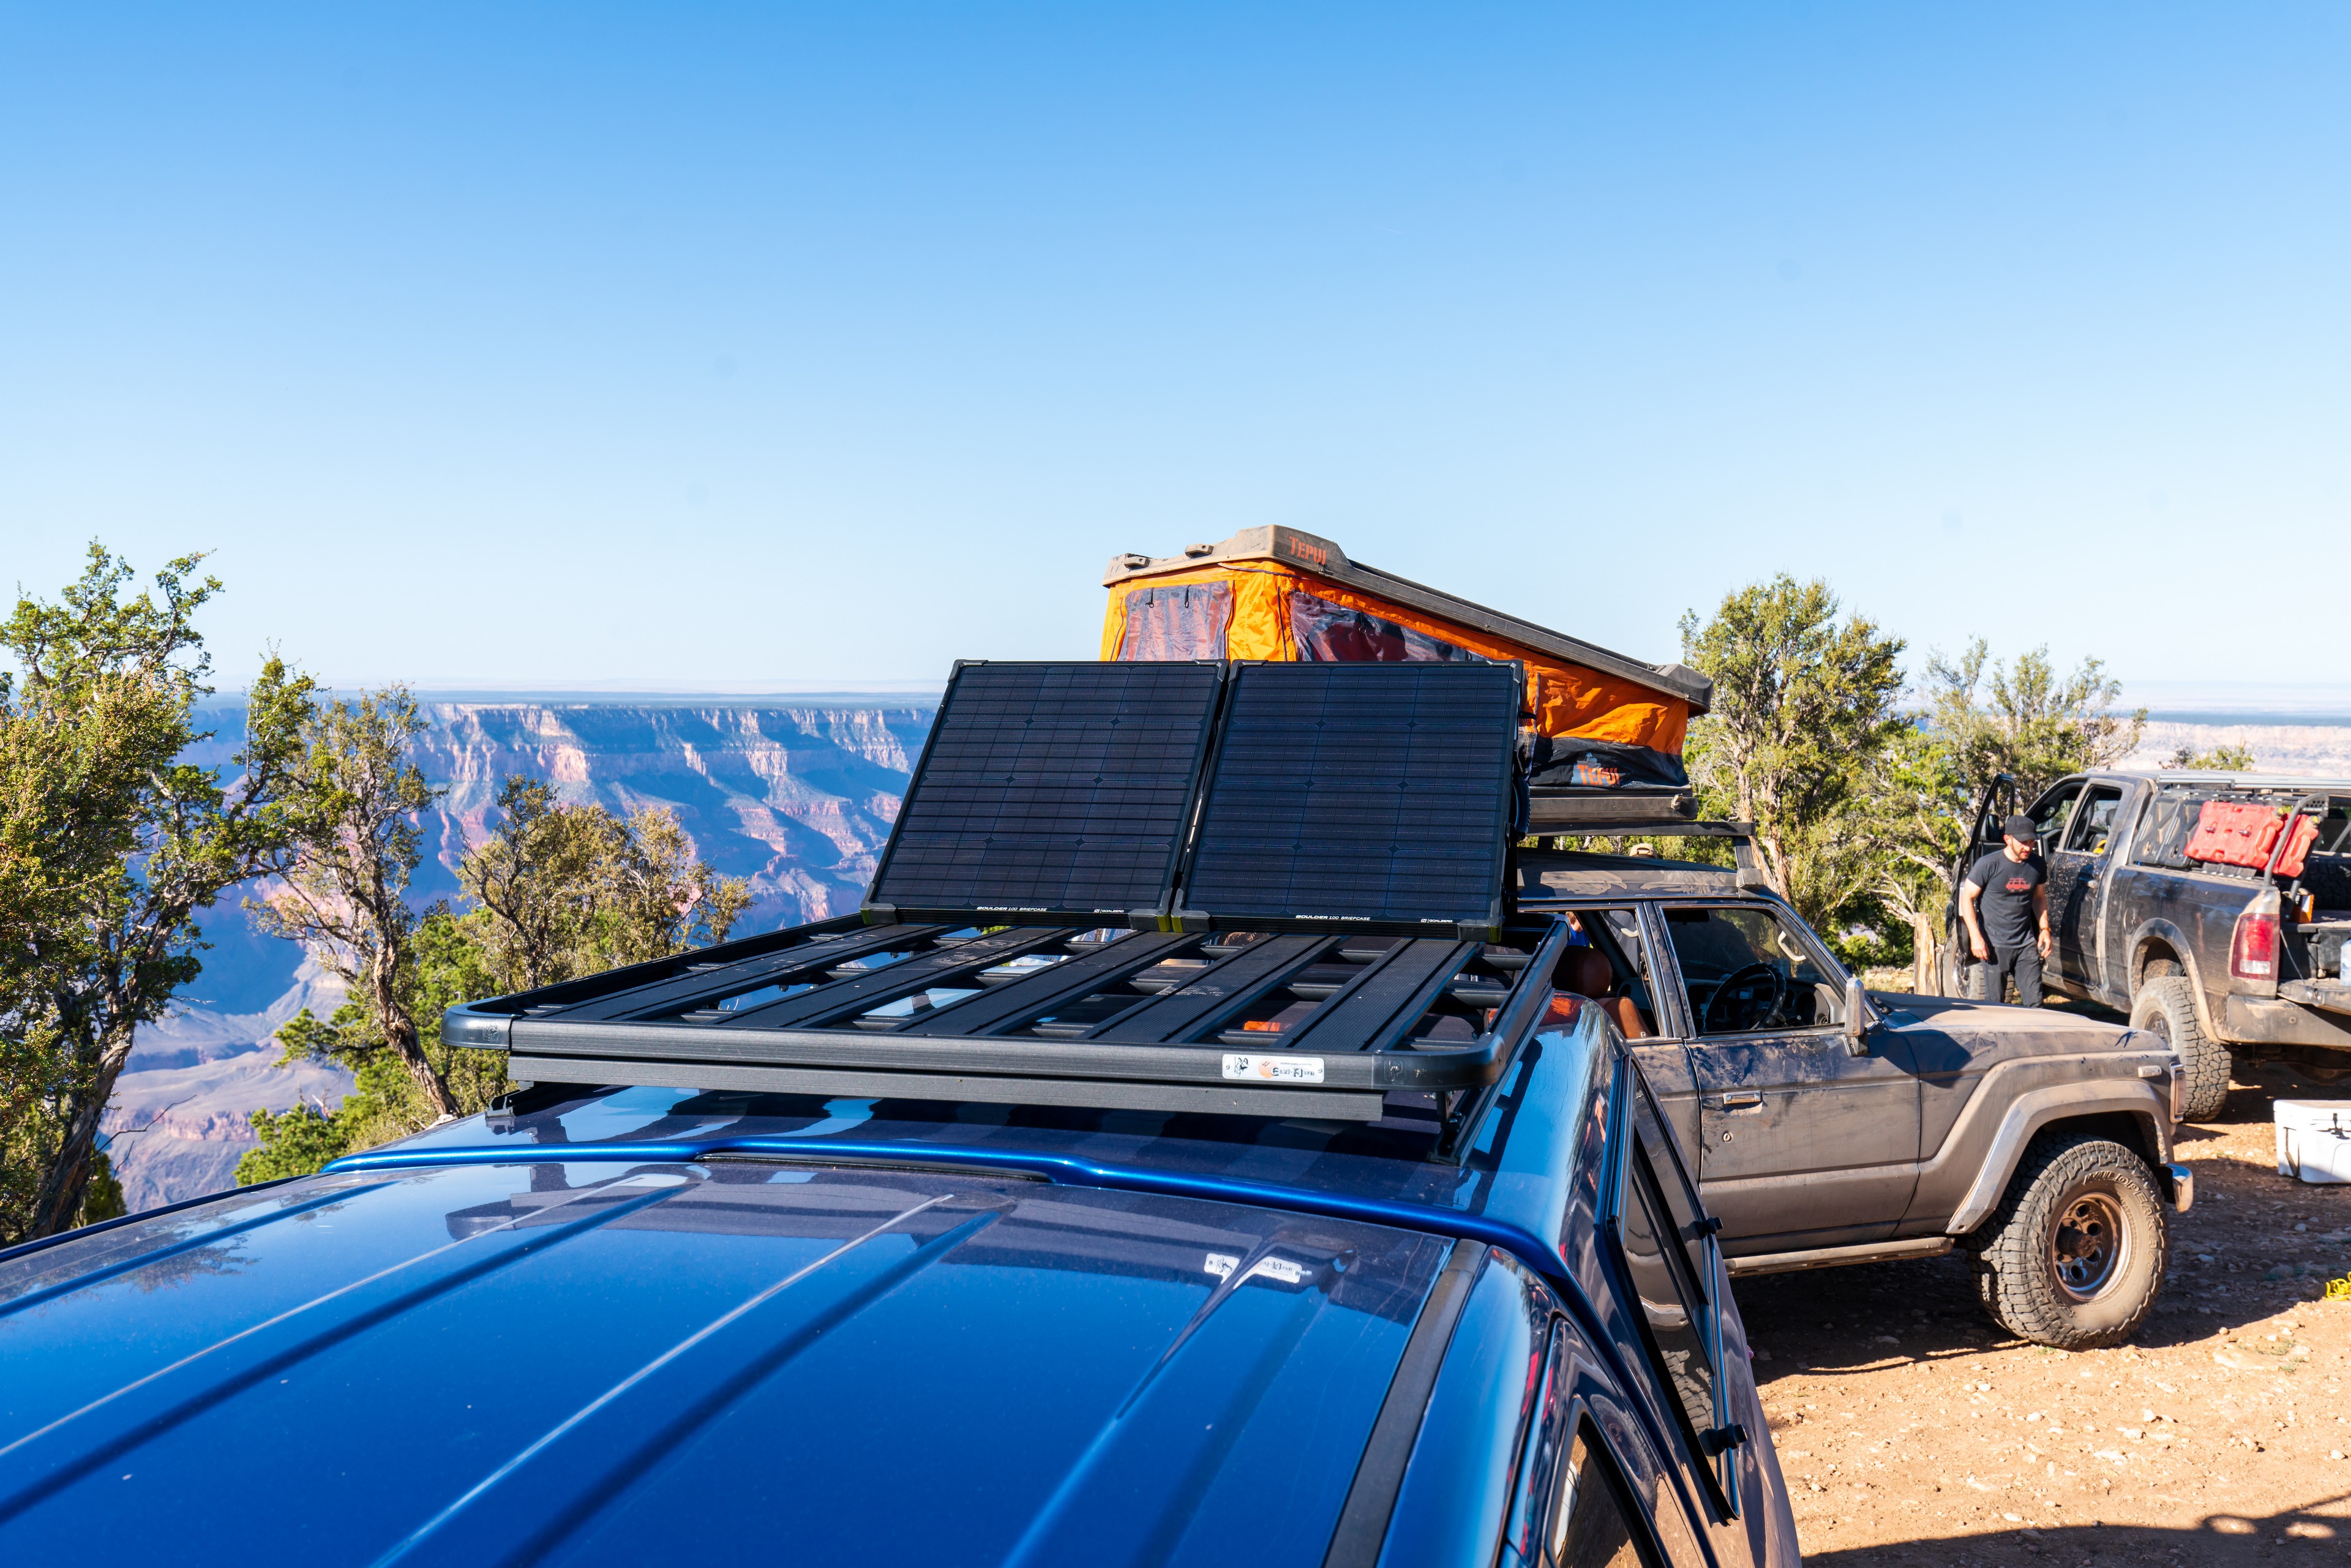
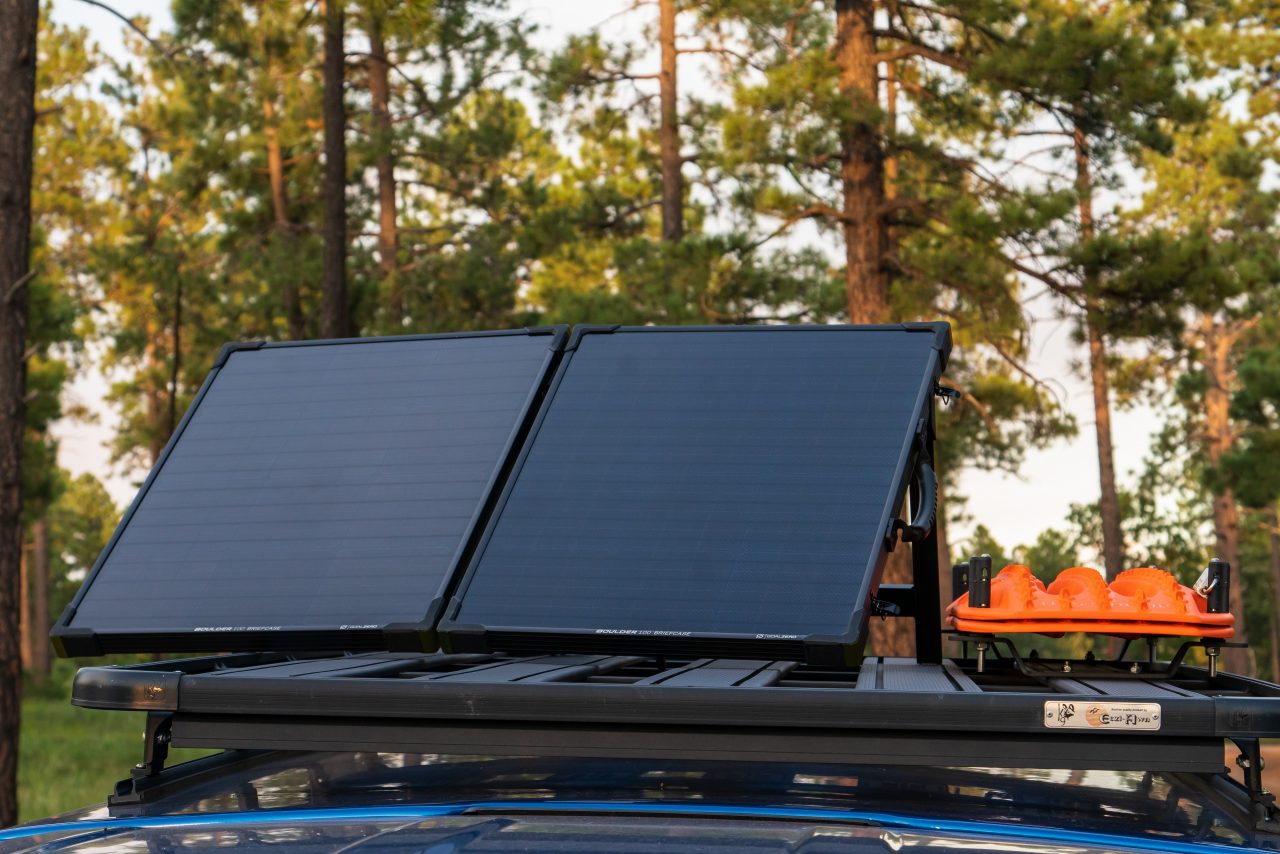
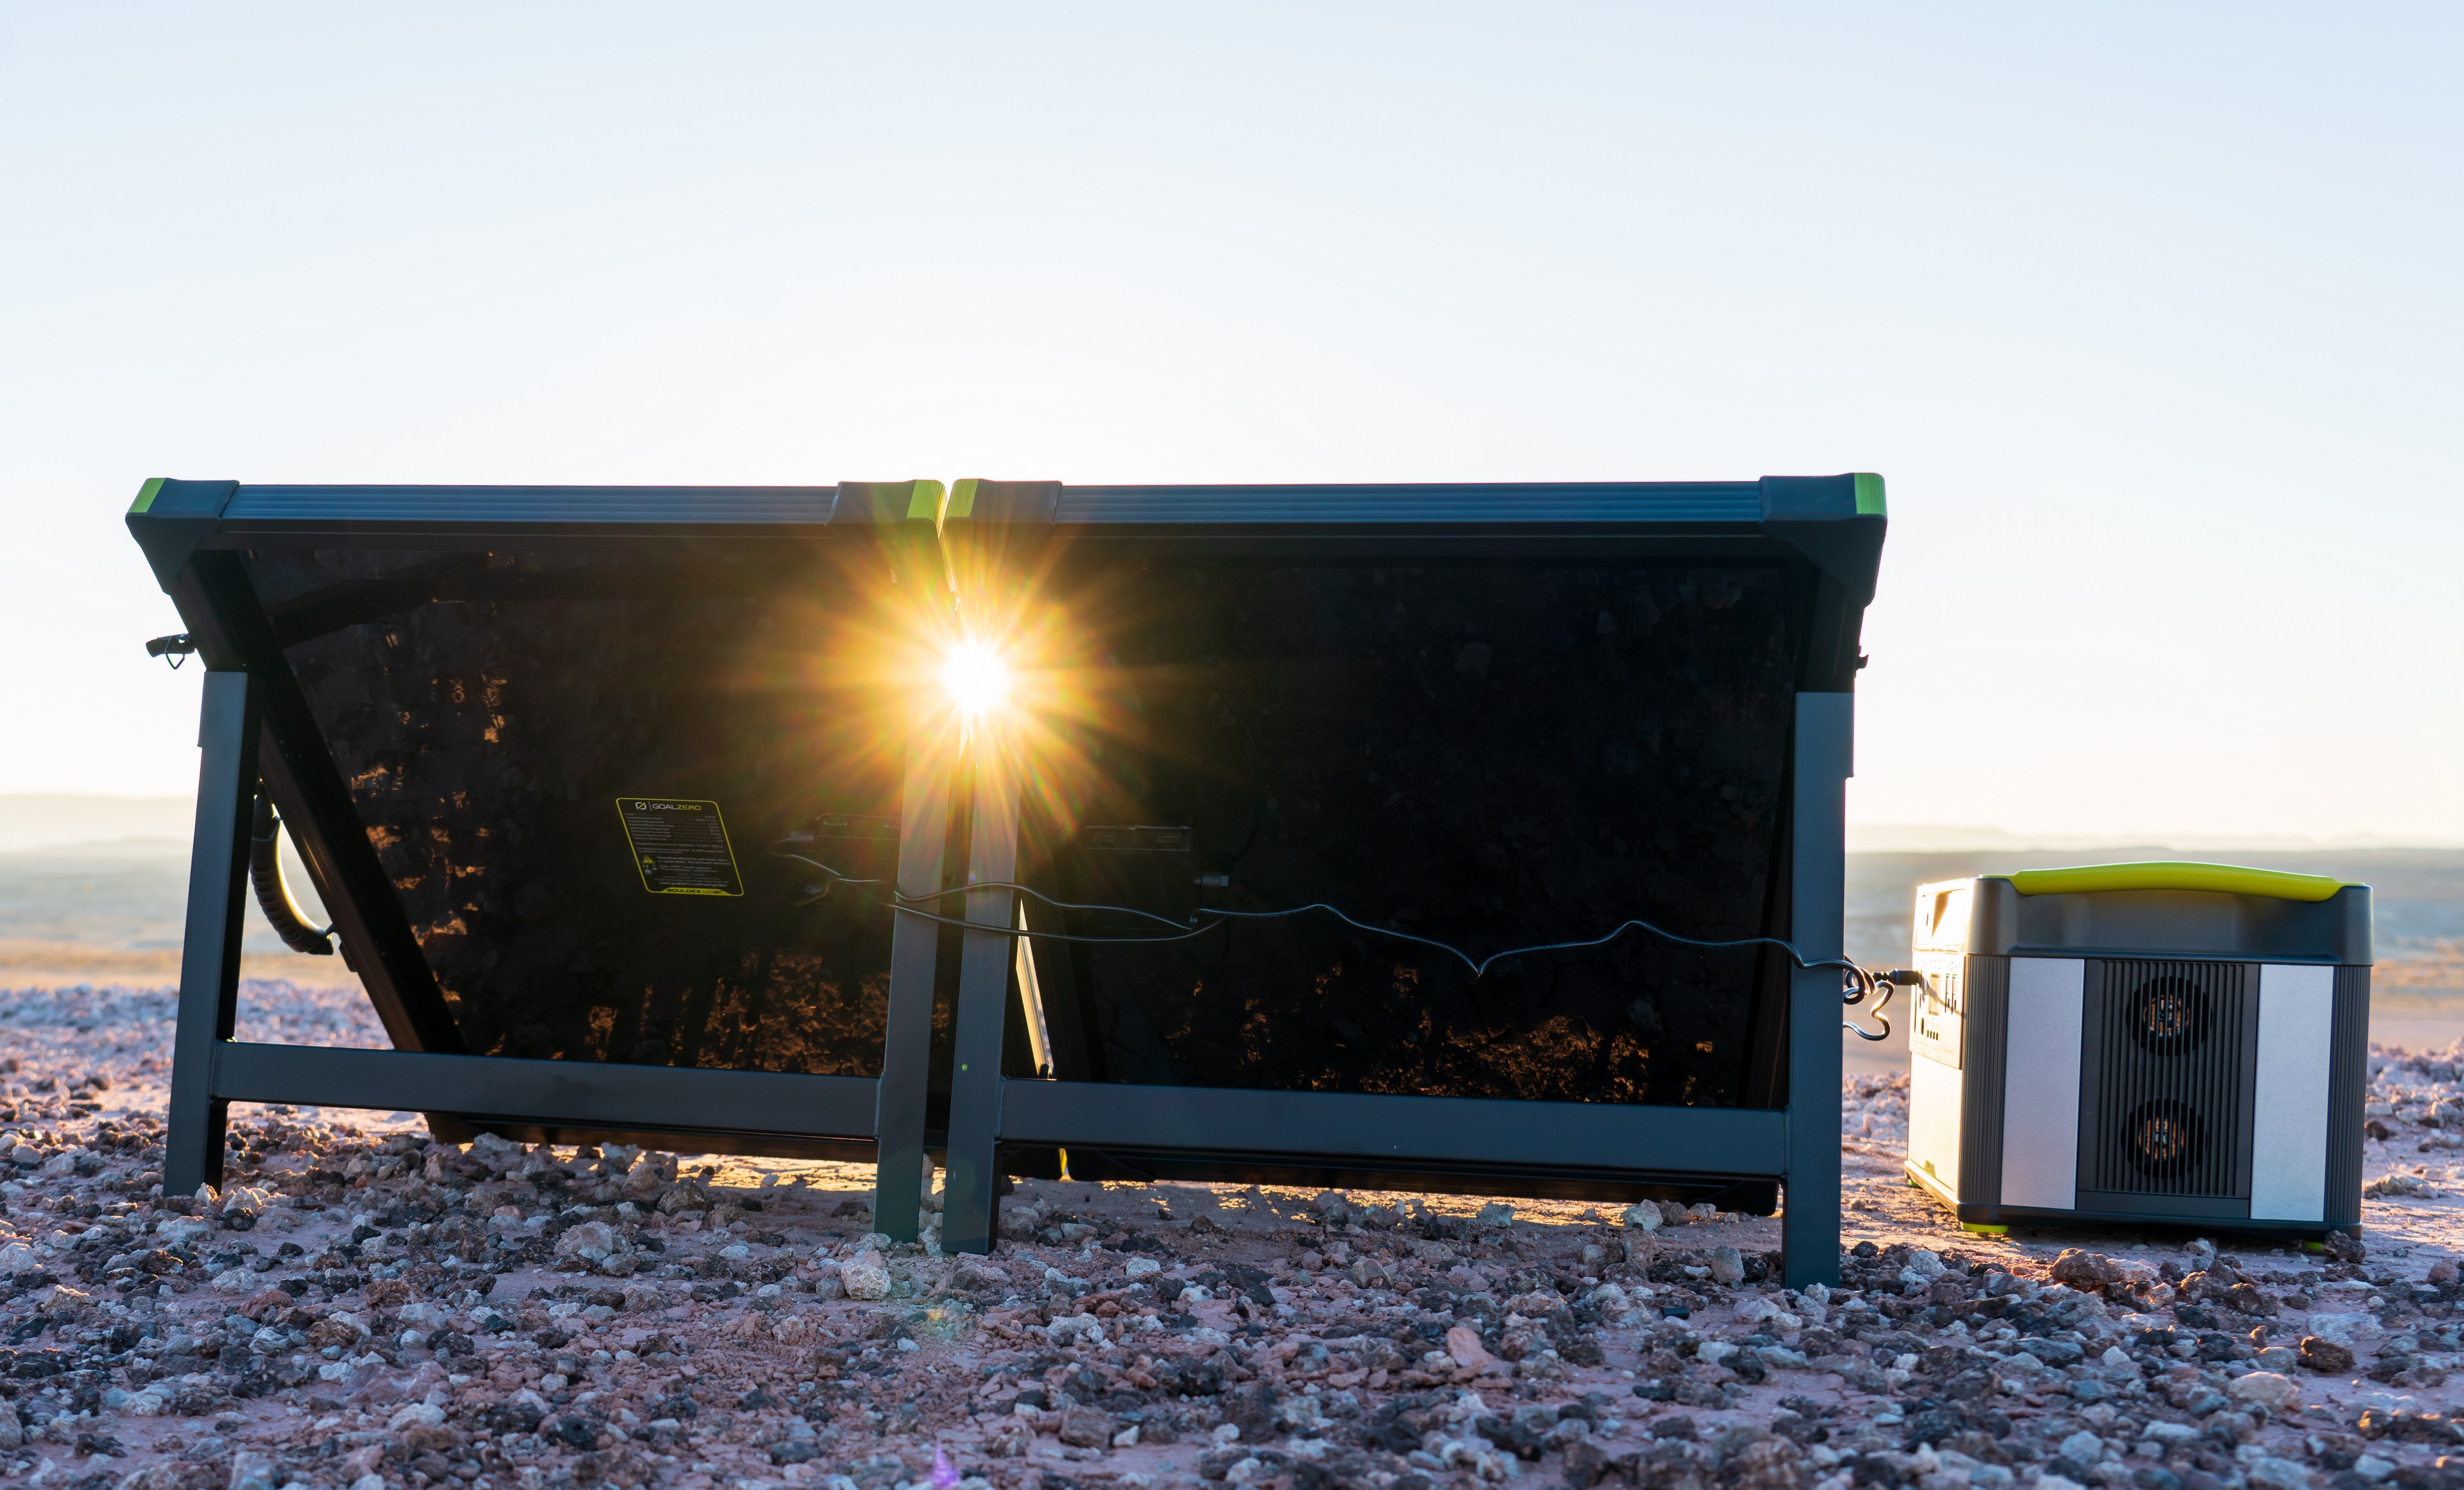
Recharging the Yeti 1400 can be done from either an AC power source or from the Sun using a number of different Goal Zero solar panels, and I’ve been using the Boulder 100 Solar Briefcase to keep the Yeti 1400 powered up while I’m out in the field. The Briefcase part means that the panel is actually two 50 Watt panels that fold up back-to-back which reduces the footprint of the panel when stored. Setting up the Boulder 100 Solar Briefcase can be done in a matter of seconds, and I’ve really come to appreciate the legs on the panel that help me get a better angle to the sun as opposed to having to constantly hunt for something to lean the panel up against, like I watch many of the folks I travel with having to do. The free-standing ability of the panel really helps when you’re trying to collect every last Watt possible from the sun, as you can simply turn the panel to track the sun across the sky, as opposed to having to constantly adjust your support like you would with a other panels.


Another thing that I really appreciate about Goal Zero is that their products are designed to work together in as many ways as possible. We’ve all run into a situation where a given cable is too short, which is why I always make sure that I’ve got an 8mm extension cable with me in the field. This way, I can put the Boulder 100 where it is going to get the best sun exposure, and I can keep my Yeti wherever I happen to be using it, instead of having to move closer to the panel. Goal Zero also makes a 12 V battery charger called the Guardian, which turns your solar panel into a lead acid battery charger that works great for keeping your vehicle batteries topped up if you’re going to be parked for a few days, or keeping the battery in your boat or other toy ready to go.

 Gear That’s Grand Canyon Rated
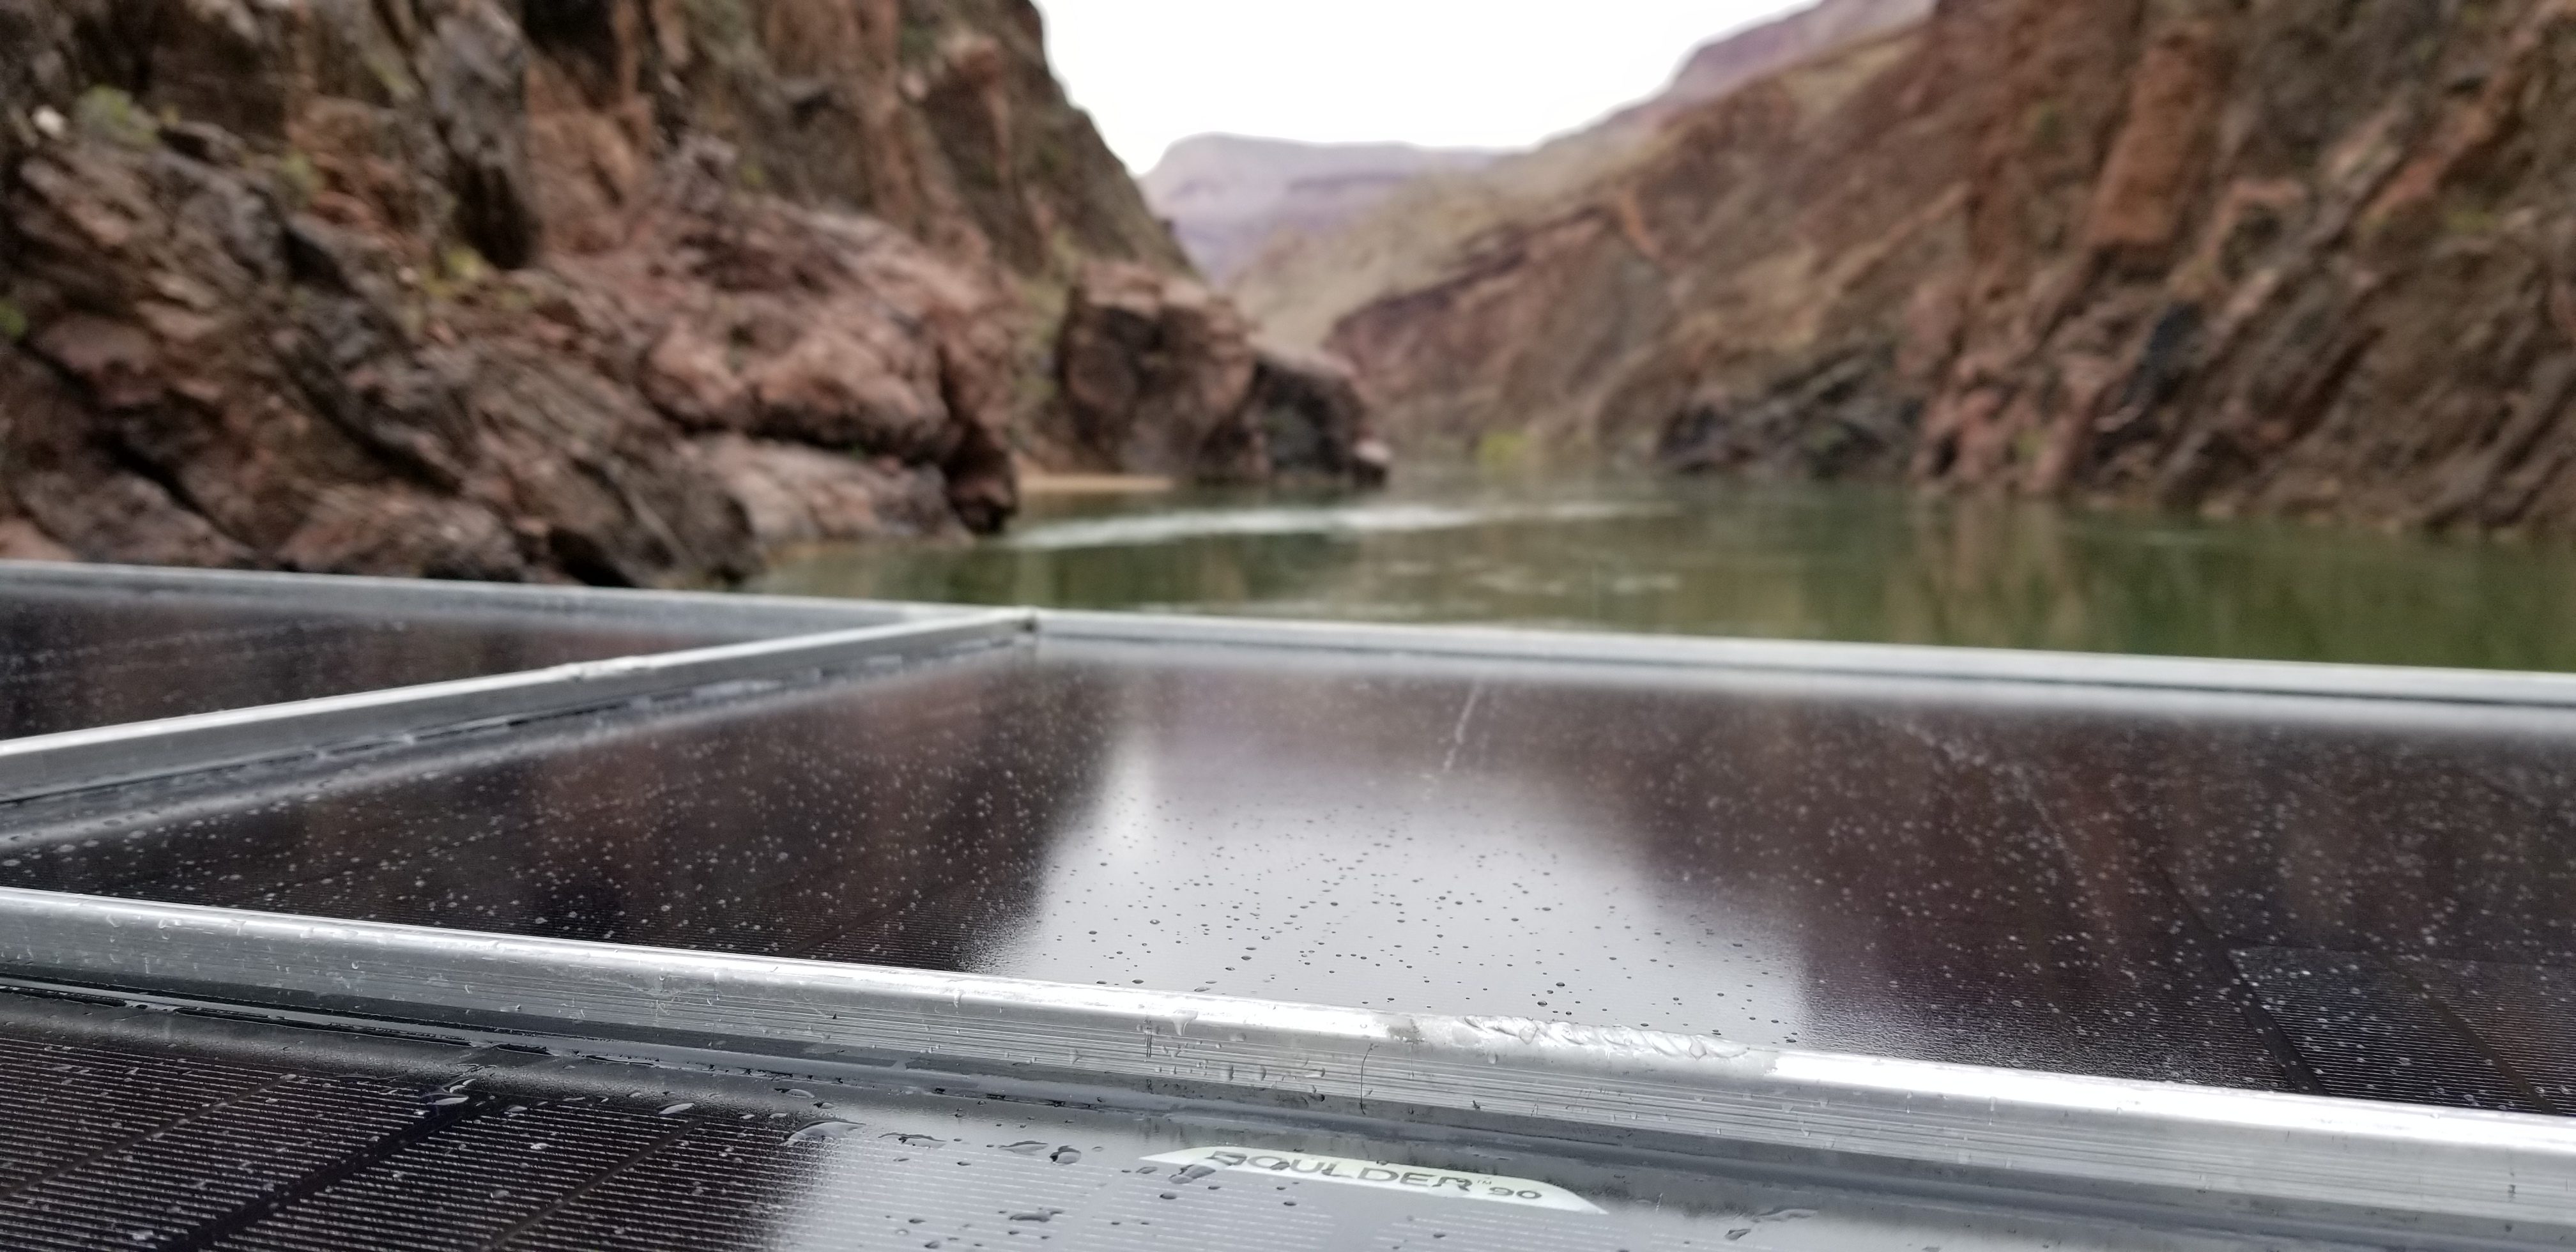
The Grand Canyon is a wonderful place to destroy gear. Cameras, electronics, even analog items like life jackets, cam straps, and boats all suffer serious wear and tear in this environment. Here you’ll find some of the biggest whitewater in North America combined, with sand that gets into everything, and wind that can reshape an entire beach in a few hours… You get the idea. Despite this challenging environment, Goal Zero equipment has held up to multiple trips and been our mission critical system for powering cameras, hard drives, and laptops used on our film expeditions. Our production boat uses six Boulder 90 (older generation panels) solar panels piped into two Yeti 1250s, each of which has additional deep cycle batteries chained in, giving our productions thousands of Watt Hours to use (chaining in additional battery capacity is a feature of the Yeti 1250). This setup has handled multiple river trips in the Grand Canyon without so much as a hiccup, so I’m sold on this gear holding up to real adventure use.
 So What’s The Catch?
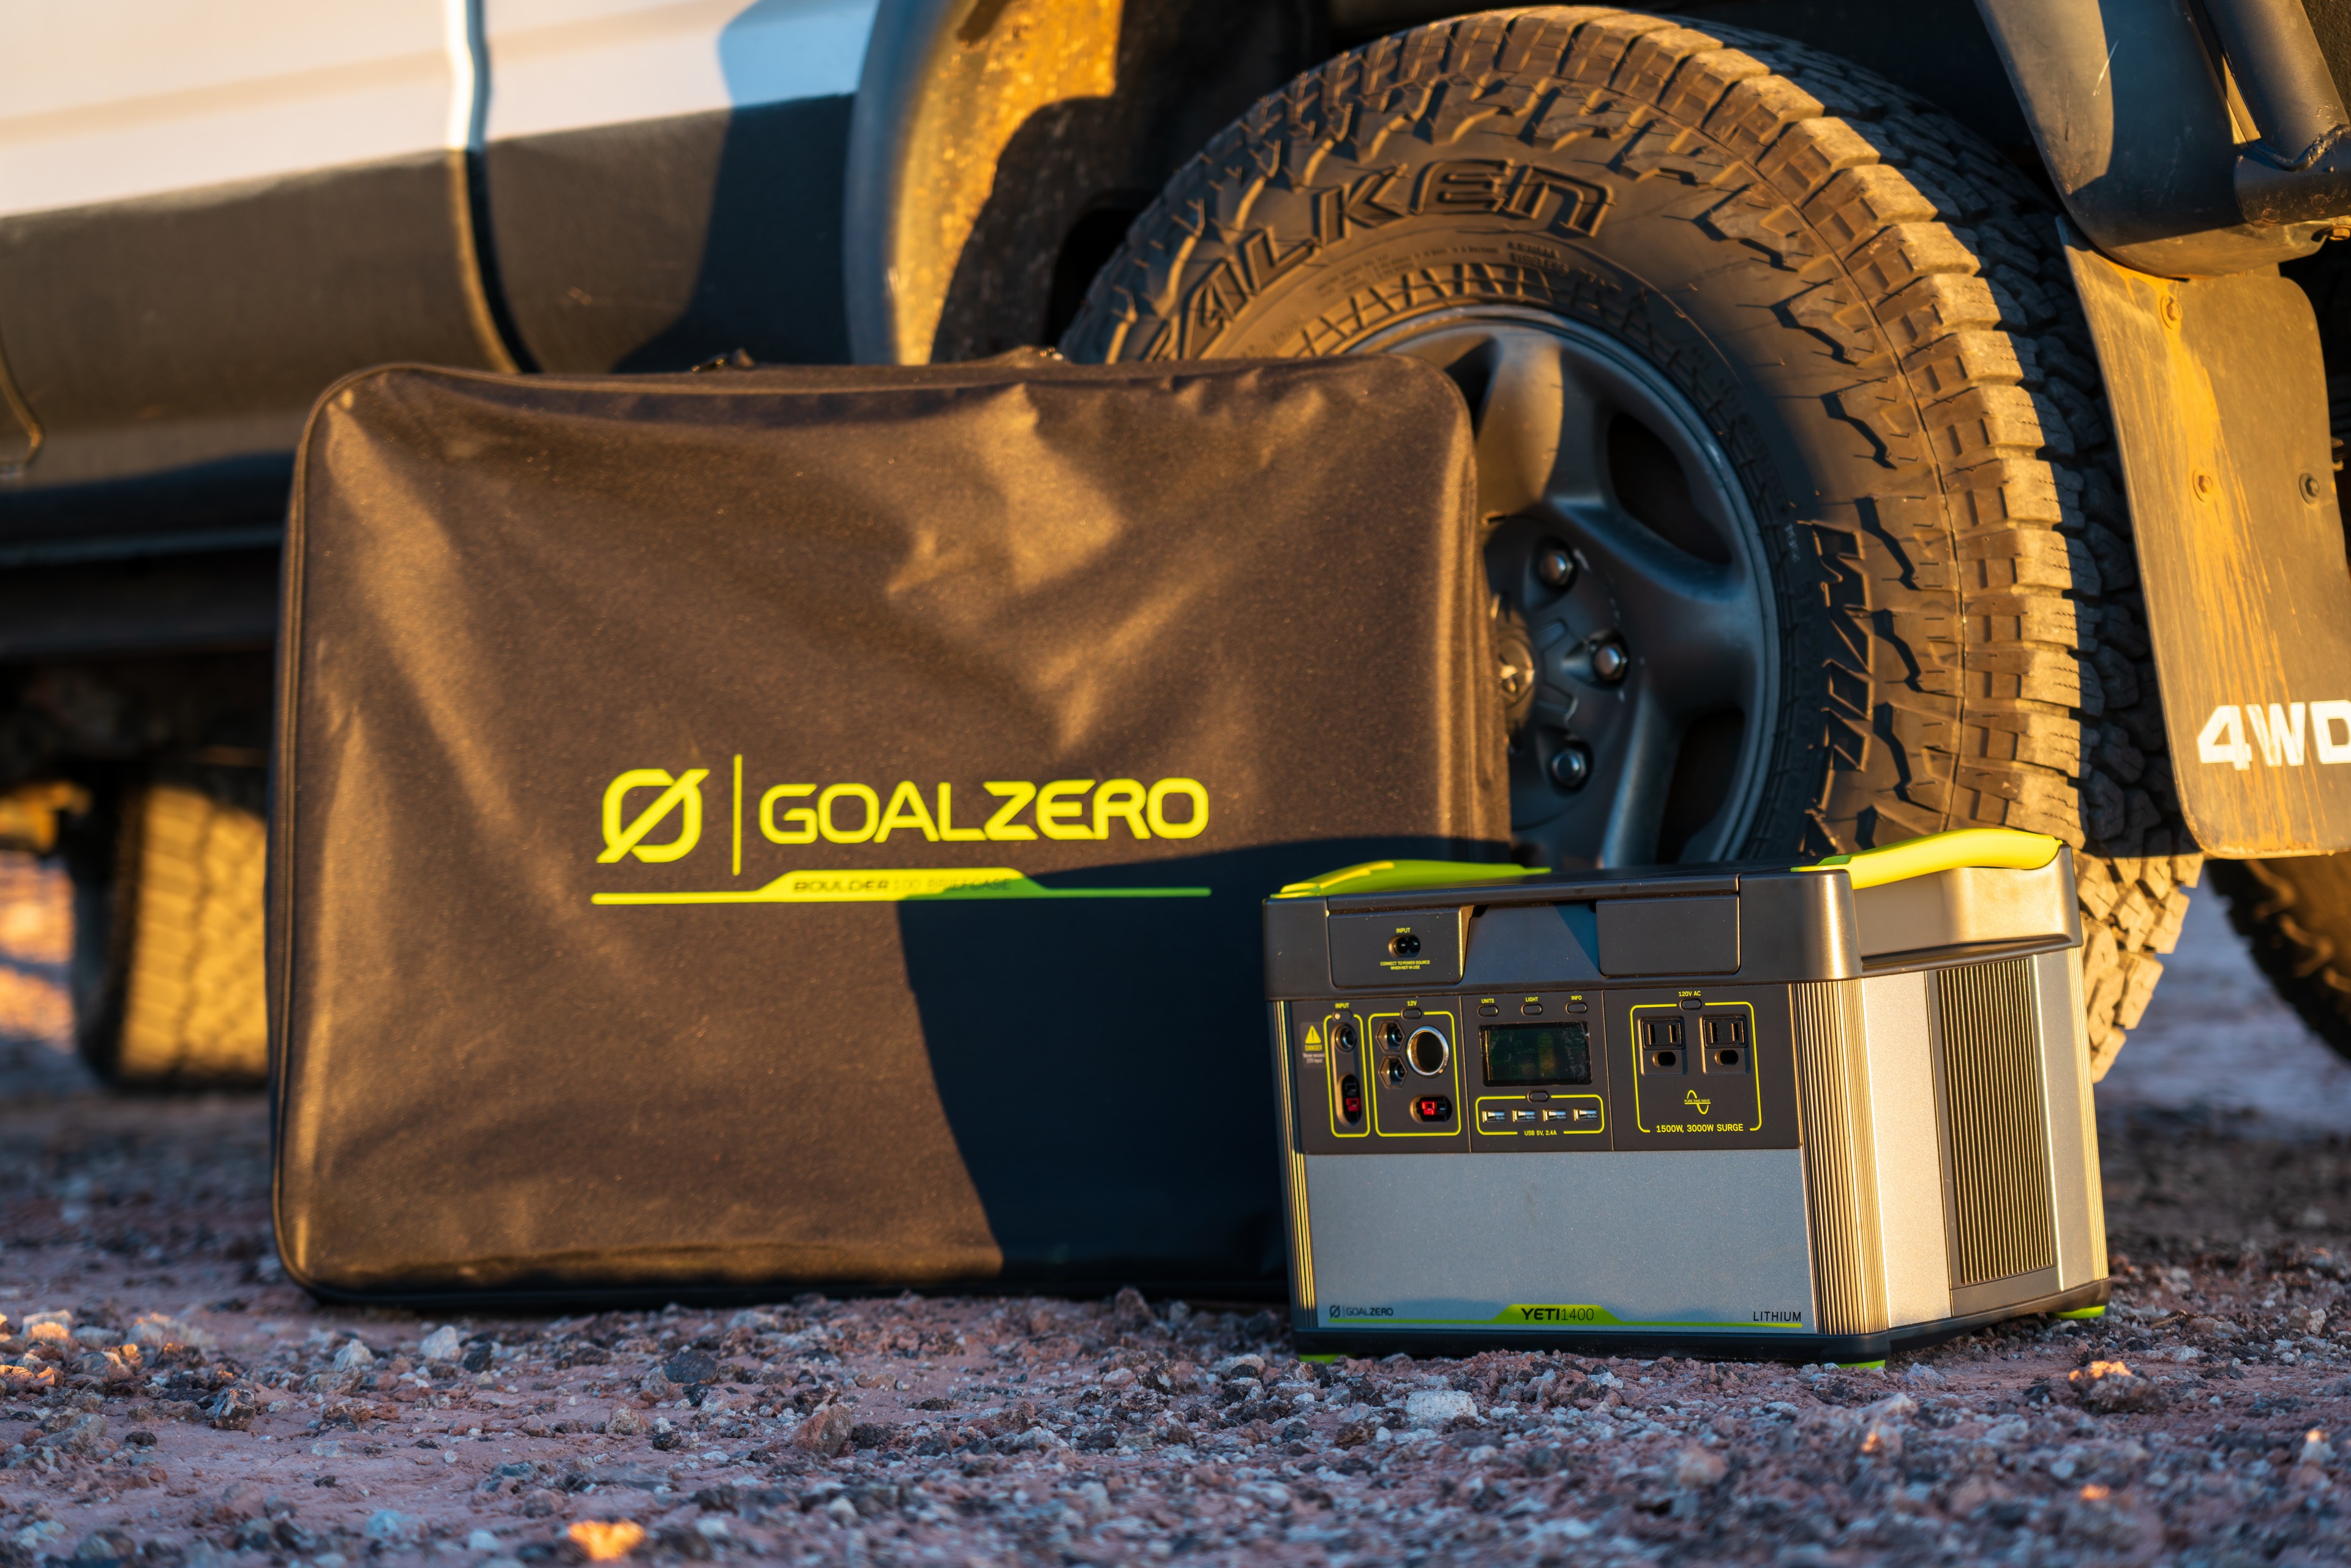
The Lithium Yeti 1400 and the Boulder 100 Solar Briefcase are both awesome pieces of gear. The Yeti is like the battery equivalent of a swiss army knife or your favorite multi-tool – it can do so many things and will last you for a long time. From powering your house when the power goes out to keeping almost anything powered up in the field, the Yeti is an incredibly powerful piece of gear that’s well complimented by the Boulder 100 solar panel for general use. Yet, the biggest pain point for folks looking to pick these items up is the price. The Yeti 1400 will set you back $1800 USD, and the Boulder 100 Briefcase is $300 USD. The Boulder 100 Briefcase can also be somewhat tedious to fold up, as you need to ensure that the latch loops stay up and out from between the two panels, and that the cables don’t go where they can get pinched. However, with a bit of practice checking for these things when stowing the panel will become automatic, so they’re certainly not a deal breaker.
 The Bottom Line
Buying into the Goal Zero ecosystem with a Lithium Yeti 1400 Portable Power Station and a Boulder 100 Solar Briefcase is an investment that will provide some very dynamic and long-lived utility. The Lithium Yetis harness the increased energy density of the Li-Ion NMC battery chemistry to provide power outputs that let you run all kinds of devices and appliances in the field. The Boulder 100 is a great option for keeping the Yeti topped up in the field, or when paired with the Guardian to keep your rig or your other toys ready to go. Goal Zero’s product ecosystem allows products of different generations and capacities to work together, meaning that nearly any Goal Zero solar panel with an 8mm plug can be used to charge the Yeti 1400, which is a huge value add. (More on product selection to follow.)

From a basic single power station and panel setup to a complex multi panel, multi Yeti power system, Goal Zero’s products can be configured to meet almost any power need you can come up with. These same products have held up to Grand Canyon backcountry and River trips, and thousands of miles driven all over North America. They’ve reliably charged hundreds of camera batteries, drone batteries, and V-Lock batteries, powered laptops and hard drives, charged and run power tools, kept the lights on at remote aid stations, and of course a house and a Margaritaville once in a blue Moon. As folks continue to bring more and more battery powered gadgets into the field, power and charging needs will only increase, and Goal Zero’s Lithium Yetis and Boulder Solar panels are hard to beat for meeting that need.
 A Word On Product Selection
The first step in choosing the right size Yeti and panels is taking an honest look at what your power needs really are. If you have lighter power needs when you’re in the field, a Boulder 100 and maybe a Yeti 1000 will do the trick for you. Yet if you’re like me and unable to escape technology, going for a bigger panel such as a Boulder 200, or having multiple panels feeding a larger Yeti (1400 or 3000) will help prevent you from outrunning your power supply. Doing the math is easy, so take a few minutes to outline what gear you’re going to charge, and how often you’re going to charge it (or run it constantly, like a fridge), and how you’re going to recharge your system to get an idea of what you really need. Take comfort in the fact that if your needs grow, you can simply add more charging capacity in the form of more panels to keep up with increased energy demands.
Full Disclosure:
American Adventurist nor the author were paid for the contents of this article. Goal Zero provided the Yeti 1400 and Boulder 100 Briefcase for review. All other products are owned by the author.