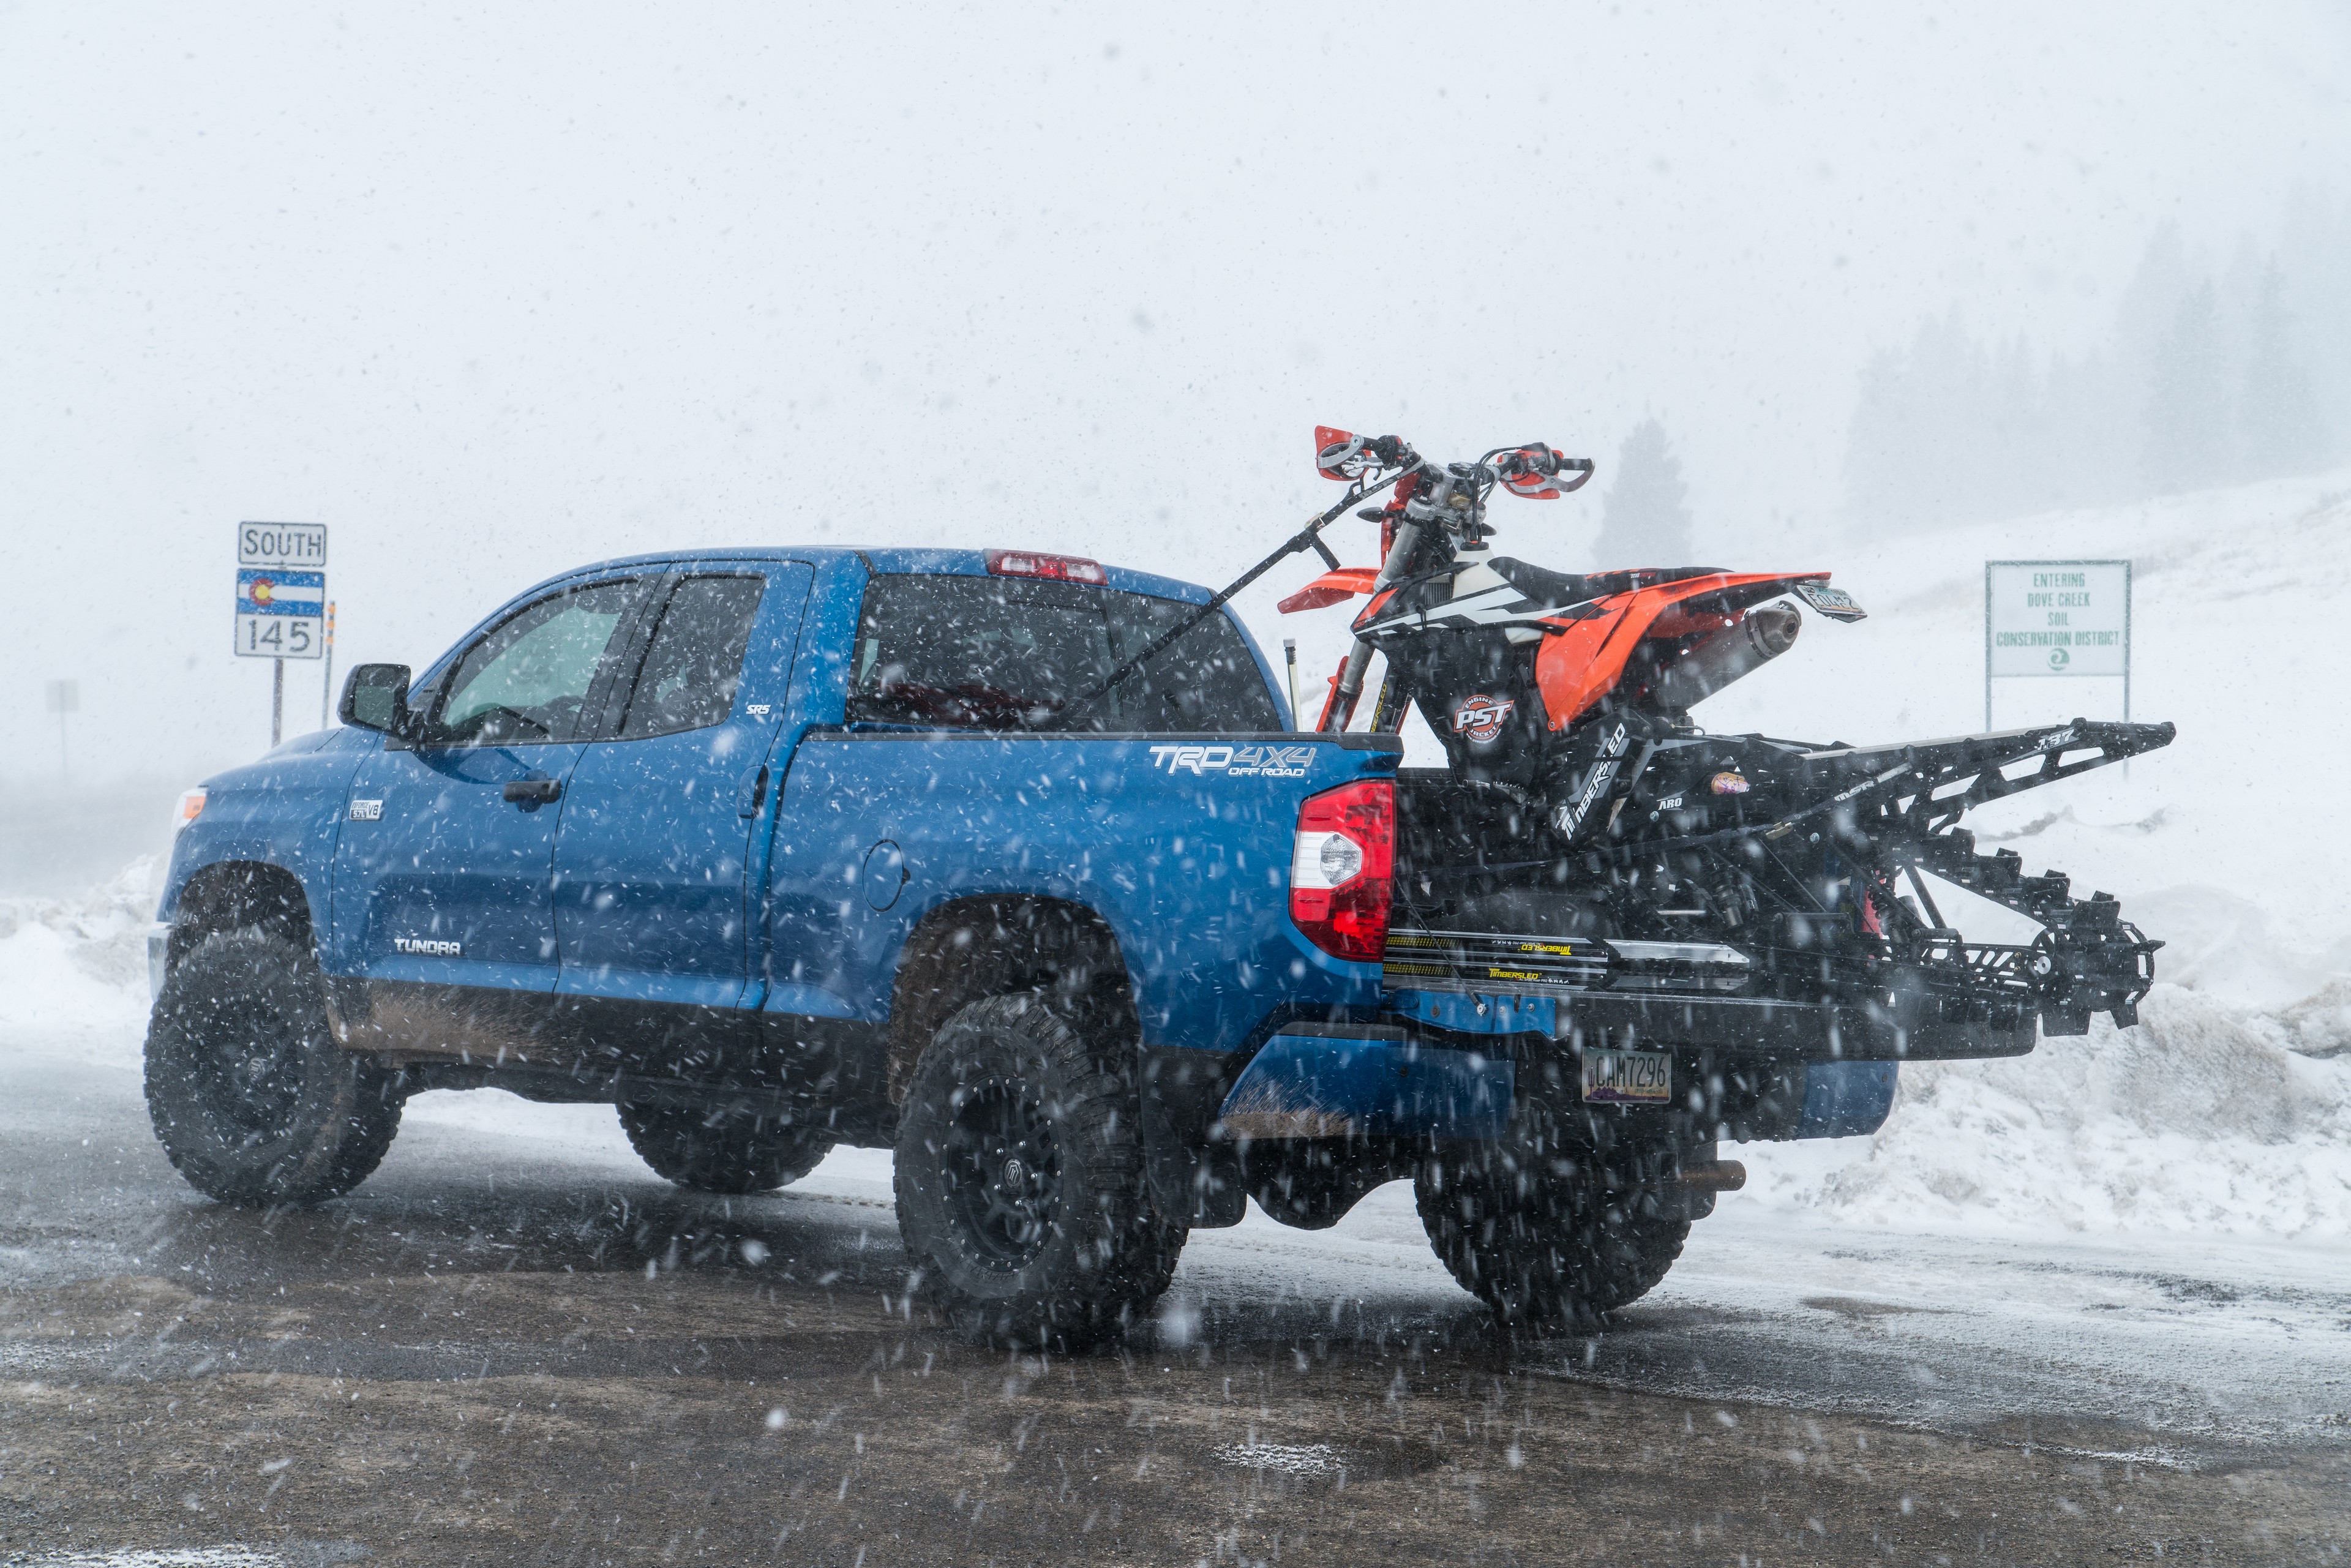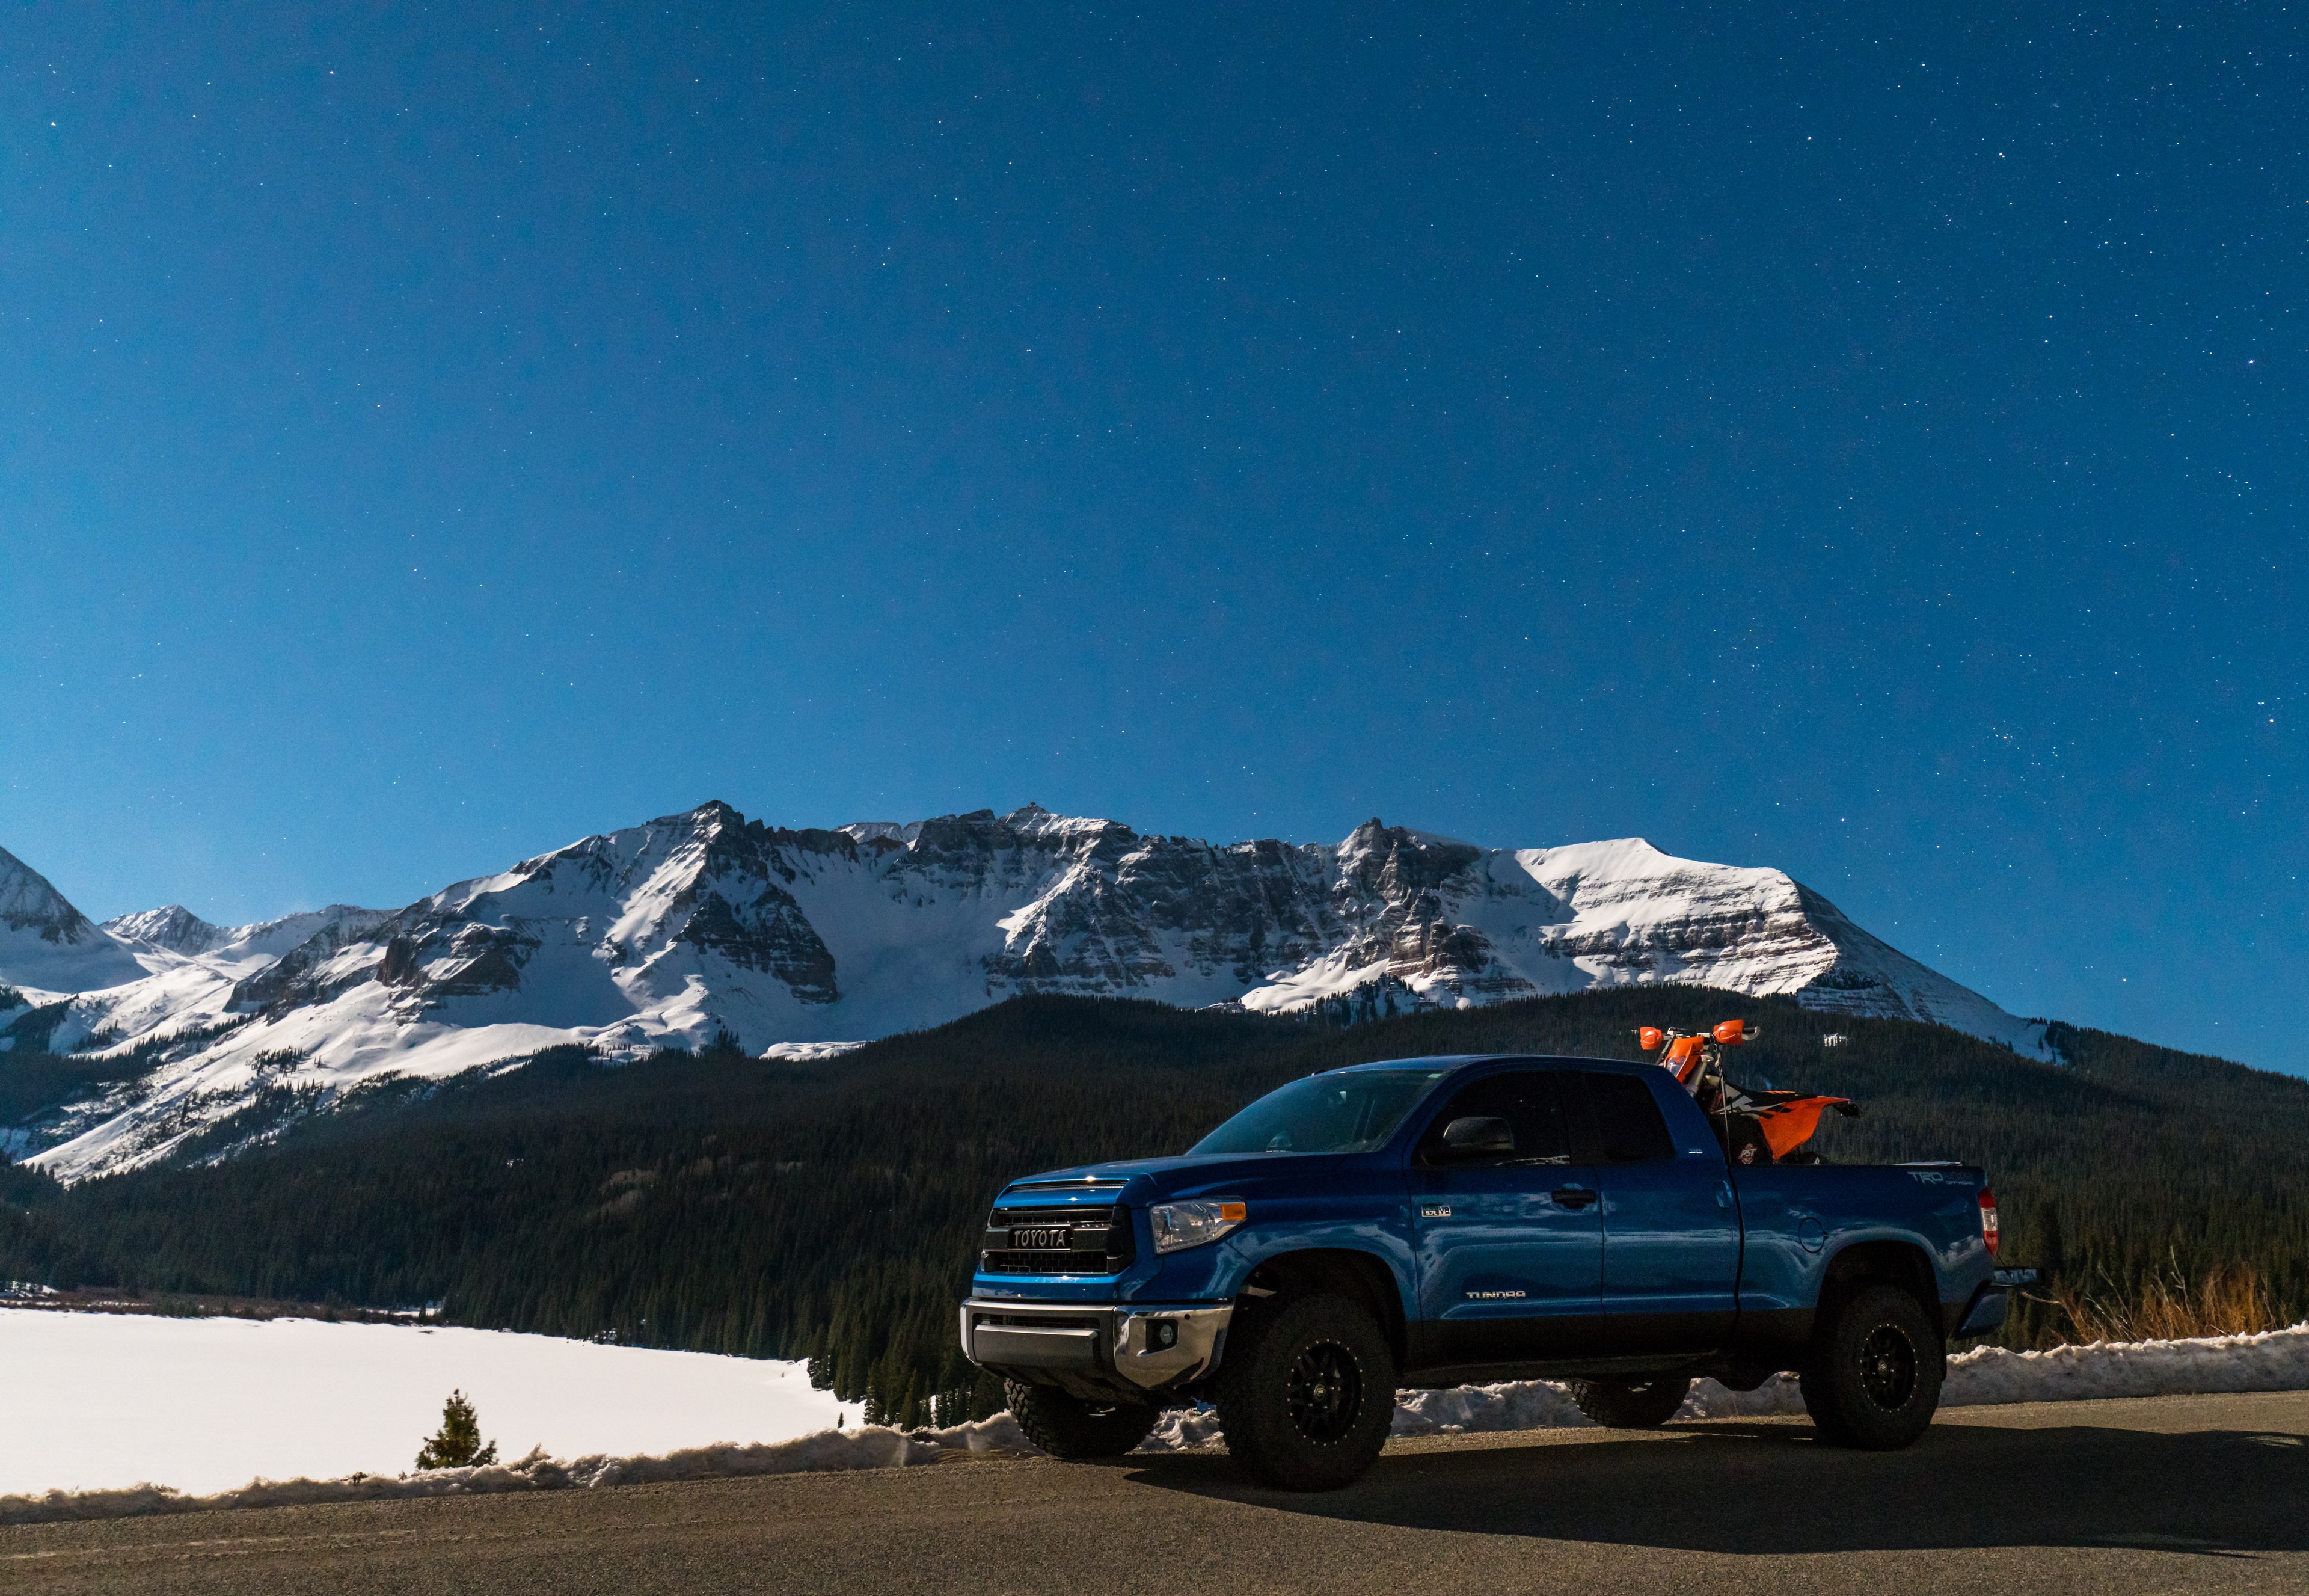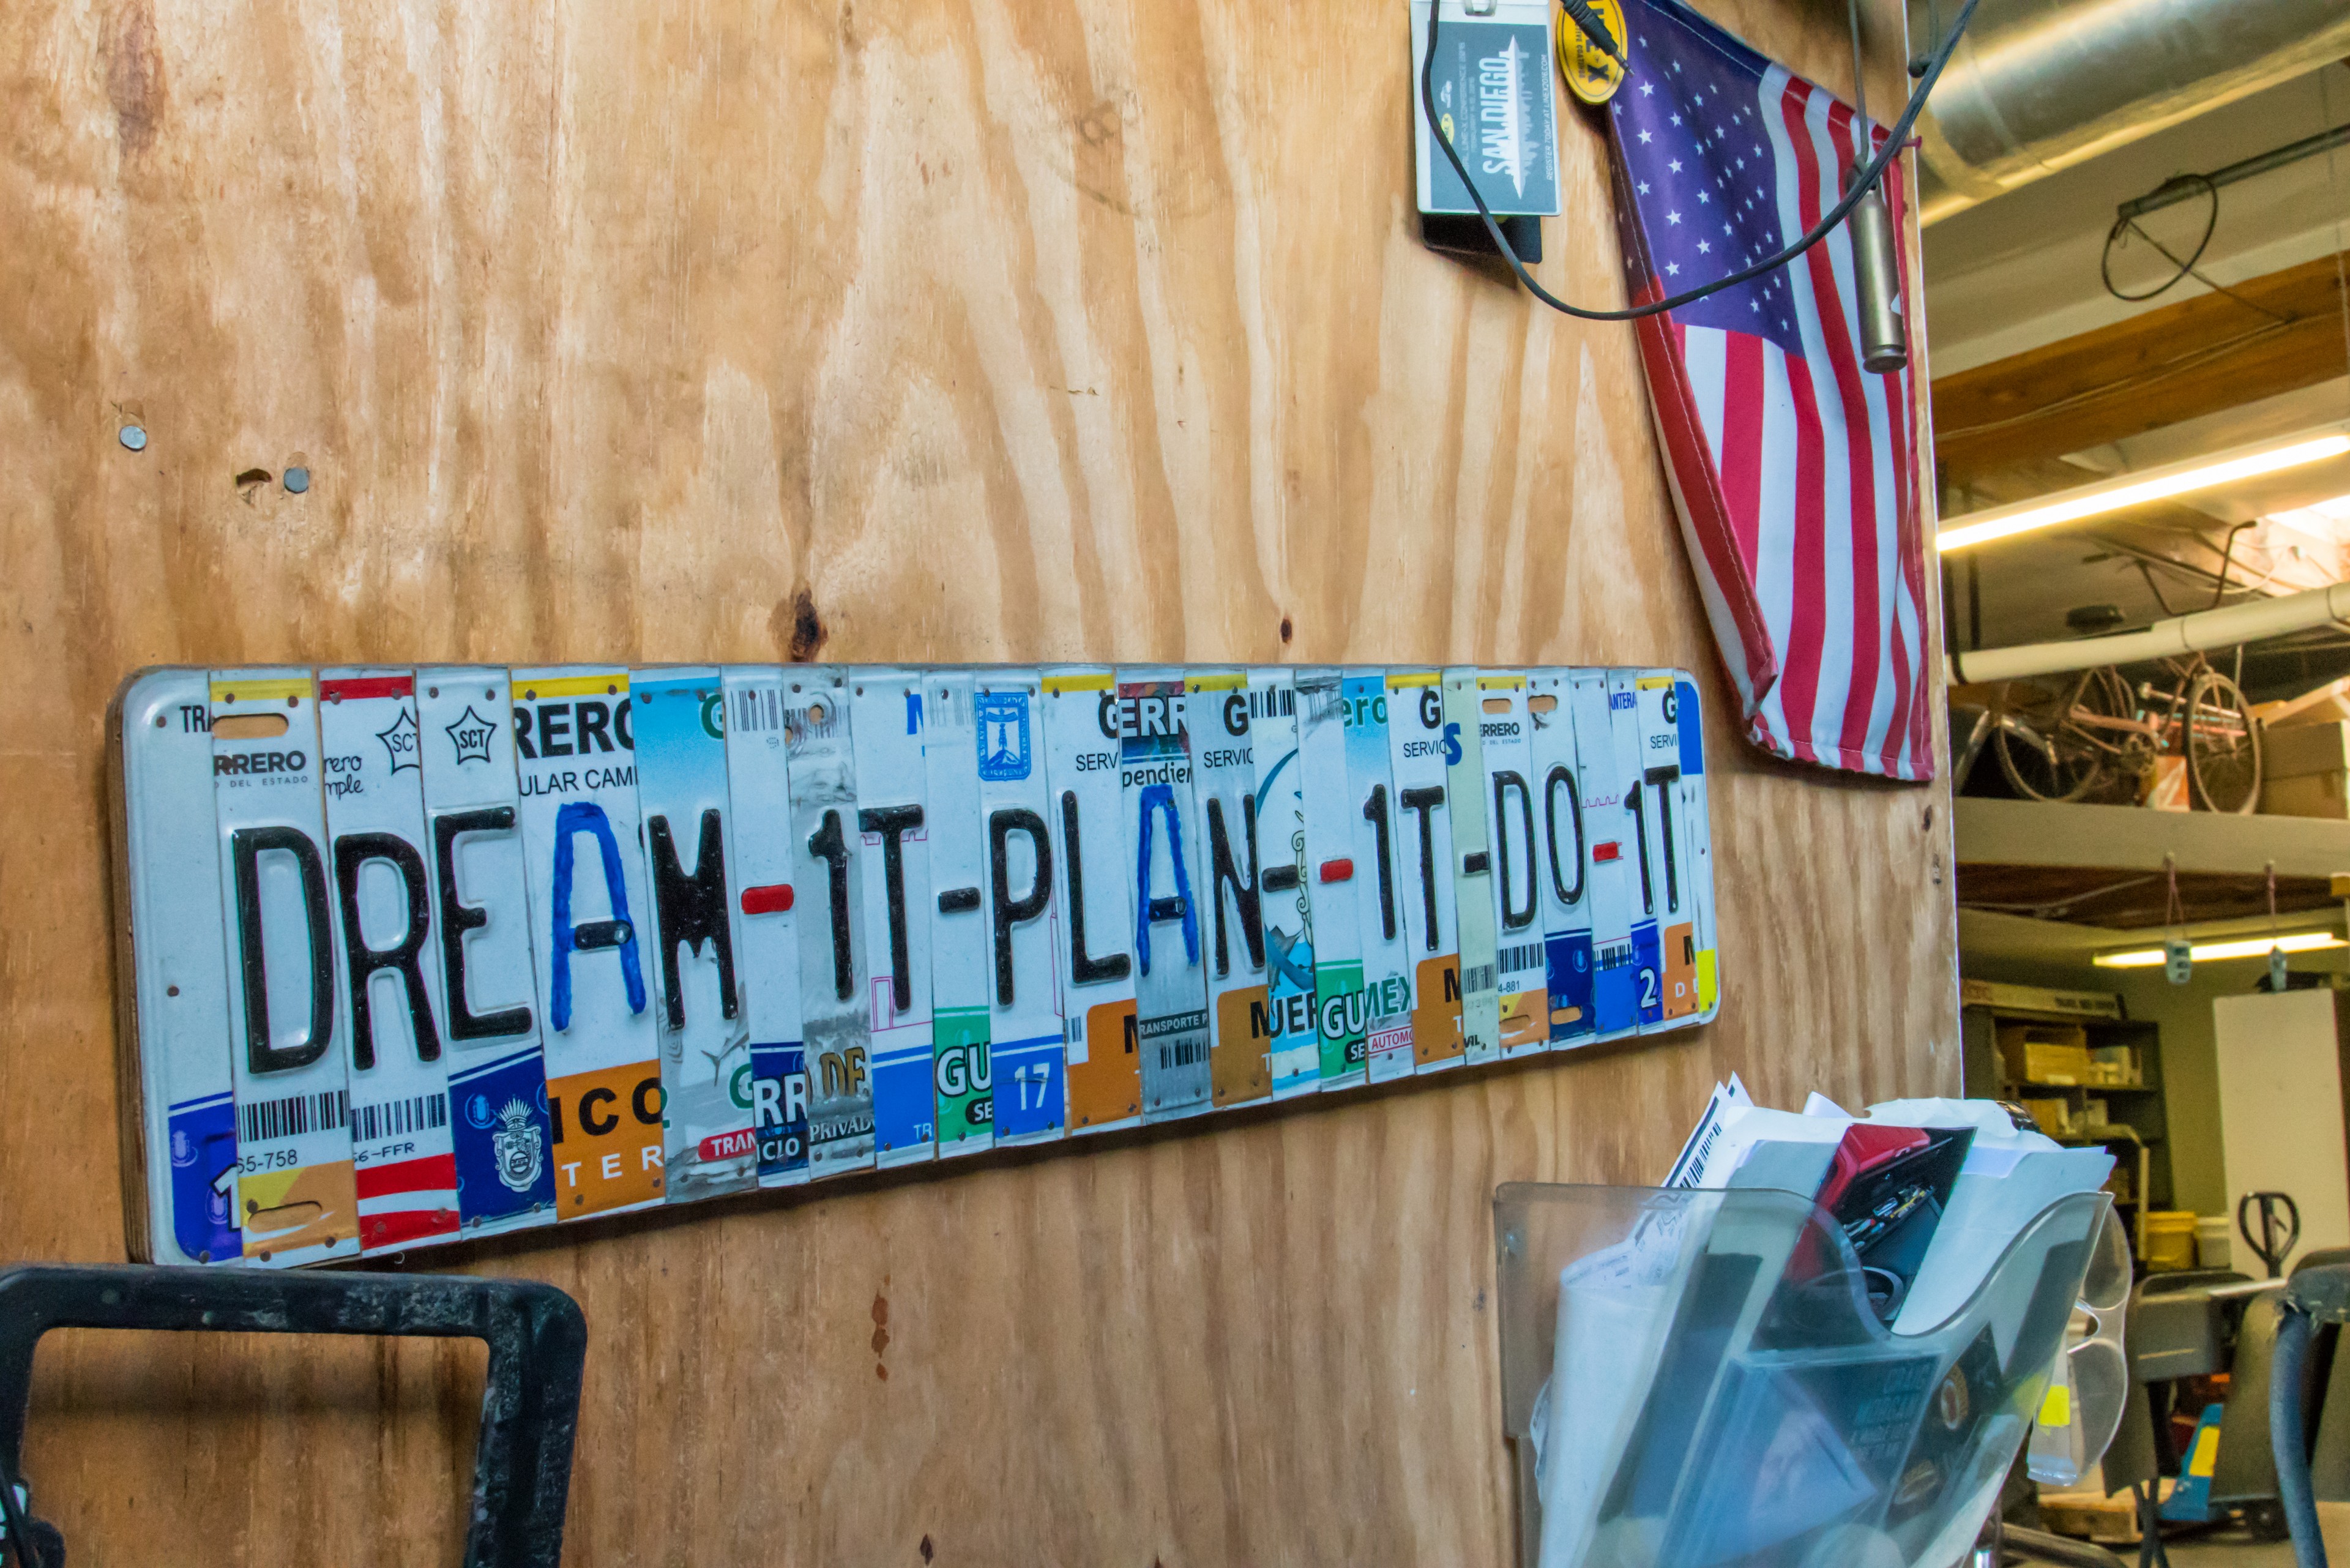

In the past few years, we’ve taken to planning a small annual trip that lasts approximately a week long during the winter time. Destinations are unknowns (new to us) and planned throughout the year as rough locations and POI’s that we would like to hit. Routes in between are roughly formed and there are times where we improvise and have to call an audible.
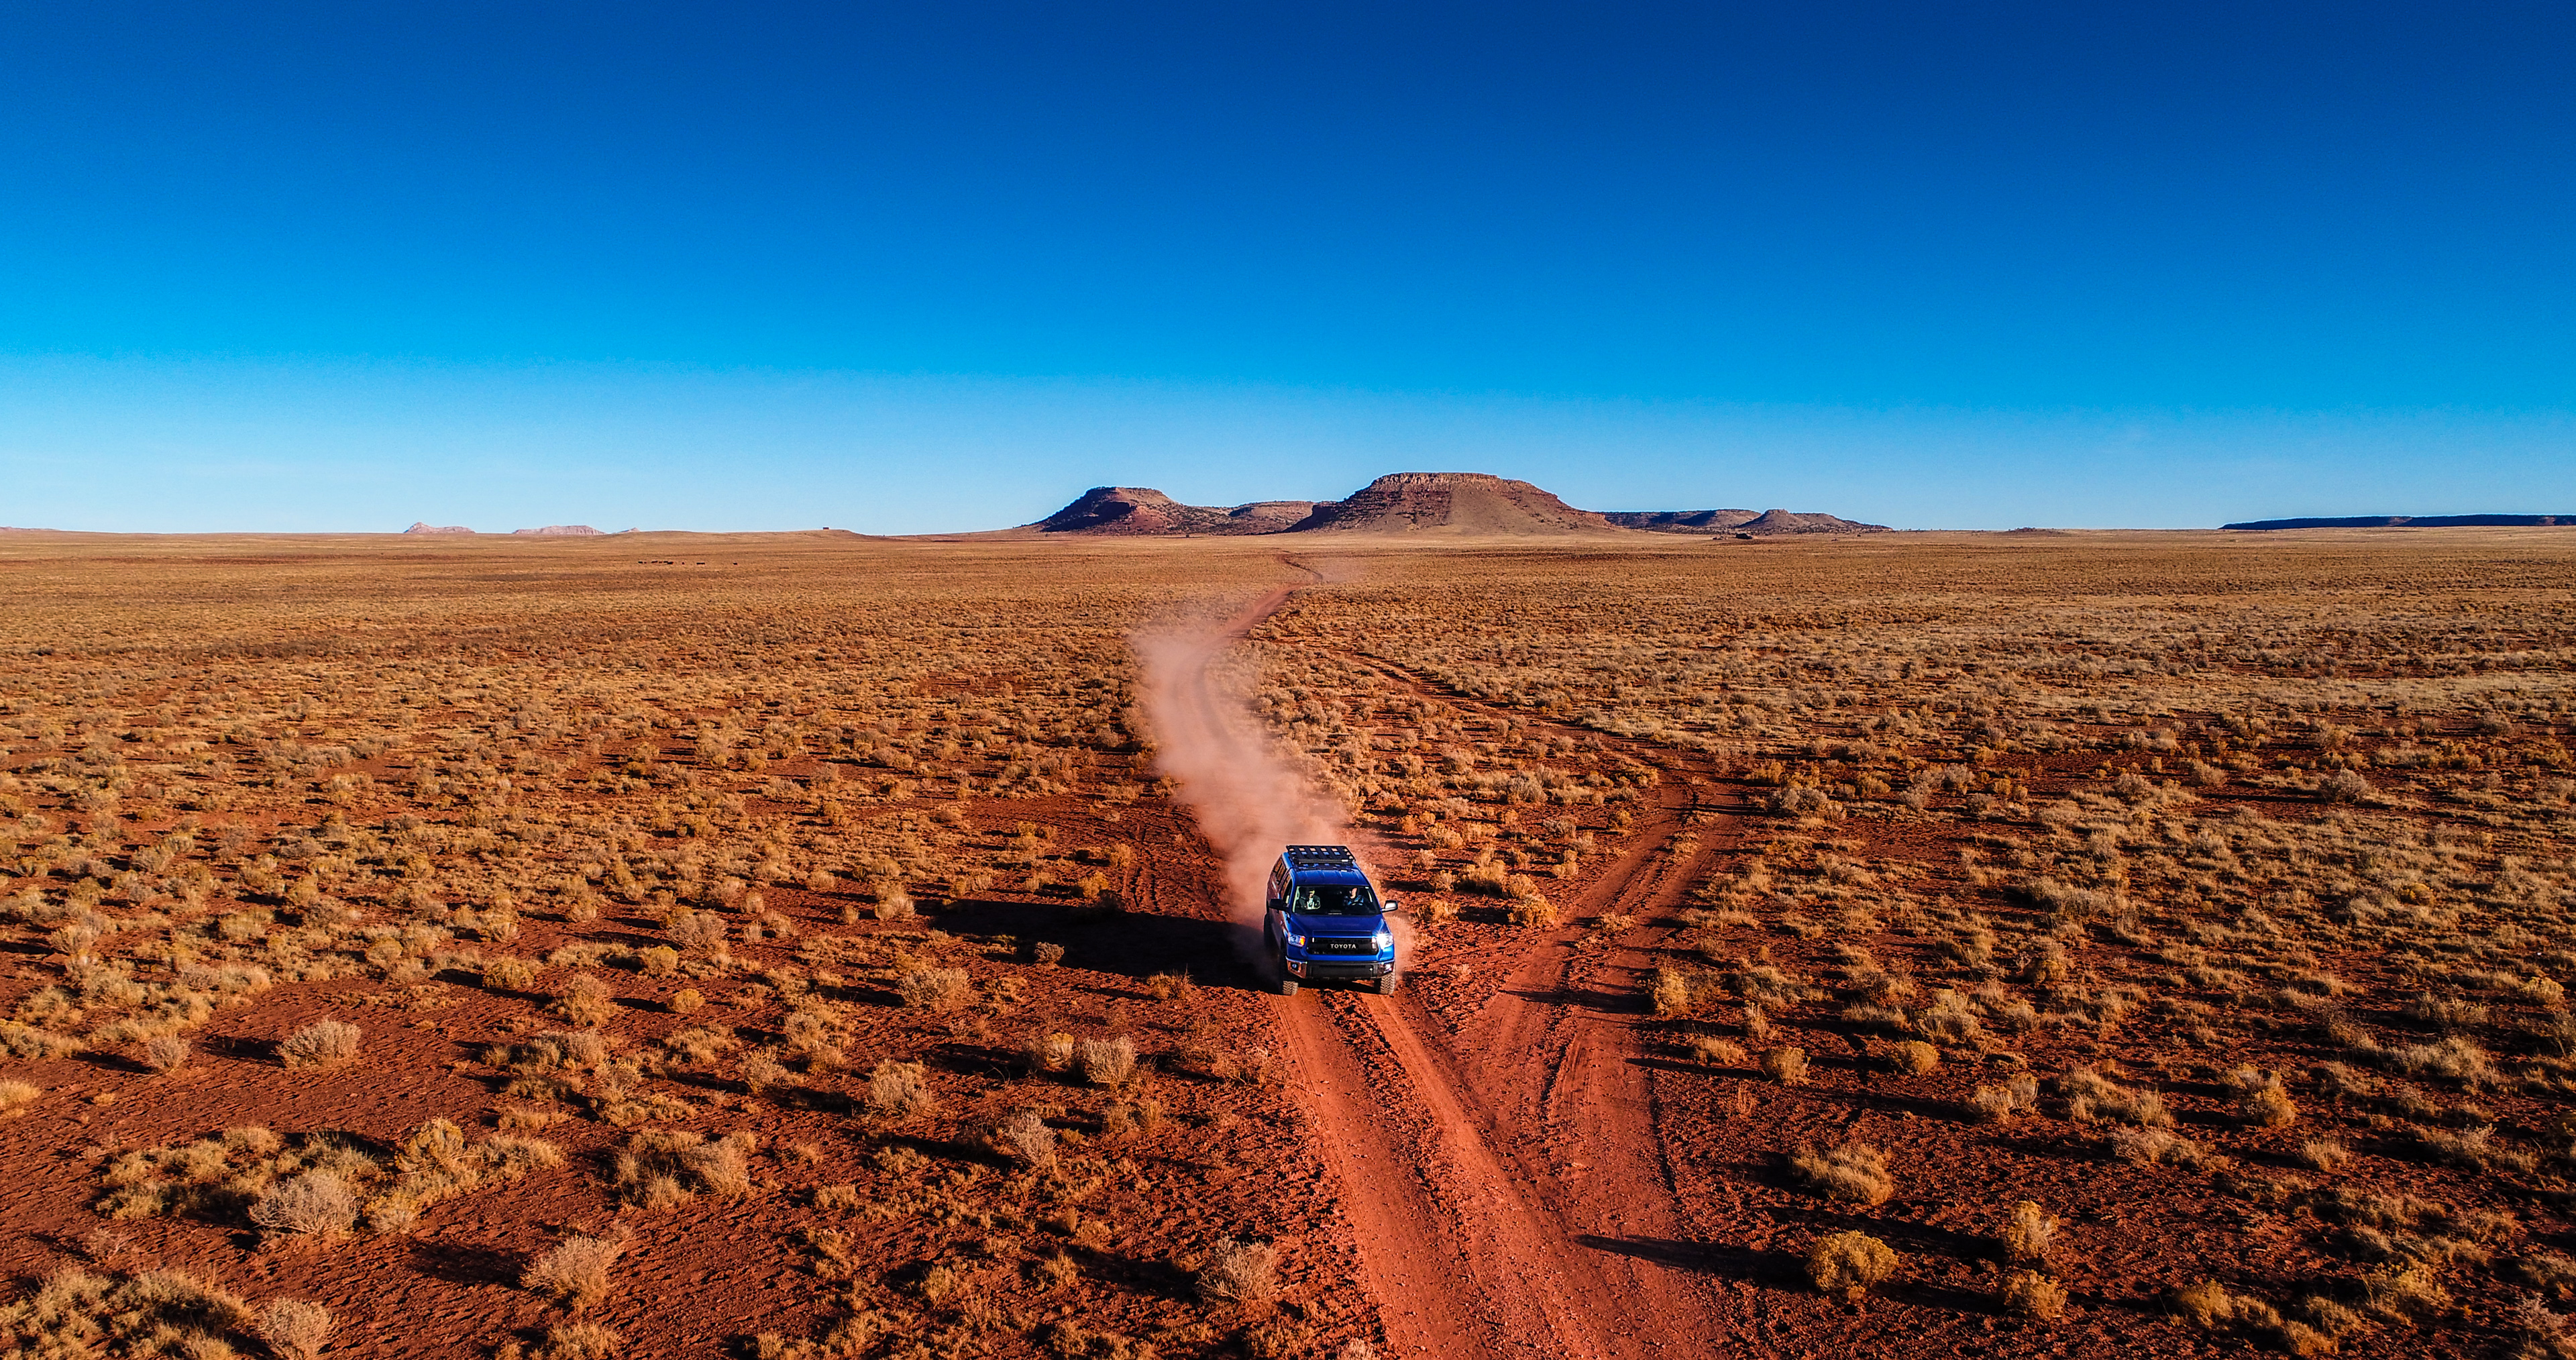
Our previous trips: Death Valley Expedition 2015 (DVX15) and California Coastal Expedition 2016 (CCX16), and many other small trips to Anza Borrego, Trona, Thomas Mountain and other sites, have really helped us form a template as to how our trips are planned, what works and what doesn’t. Our plan for the winter of 2017 had us traveling from our home base in Southern California through Nevada, Utah, and Arizona. We wanted to utilize as many dirt roads as we could, while also hitting certain POI’s, so hardball wasn’t entirely out of the question. This is what we came up with for our Utah Winter Expedition 2017 (UWX17):
Day 01- A Late Start with a Late Entrance.
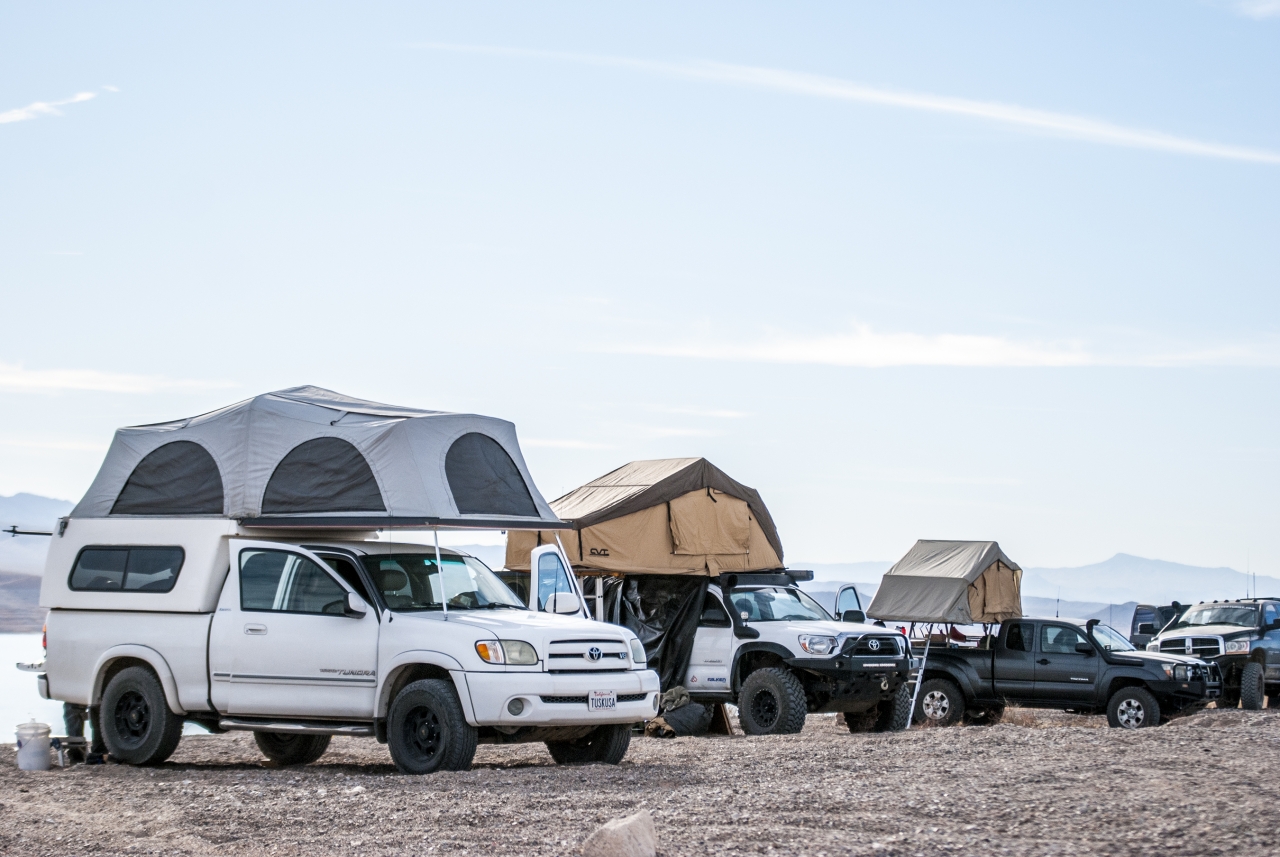
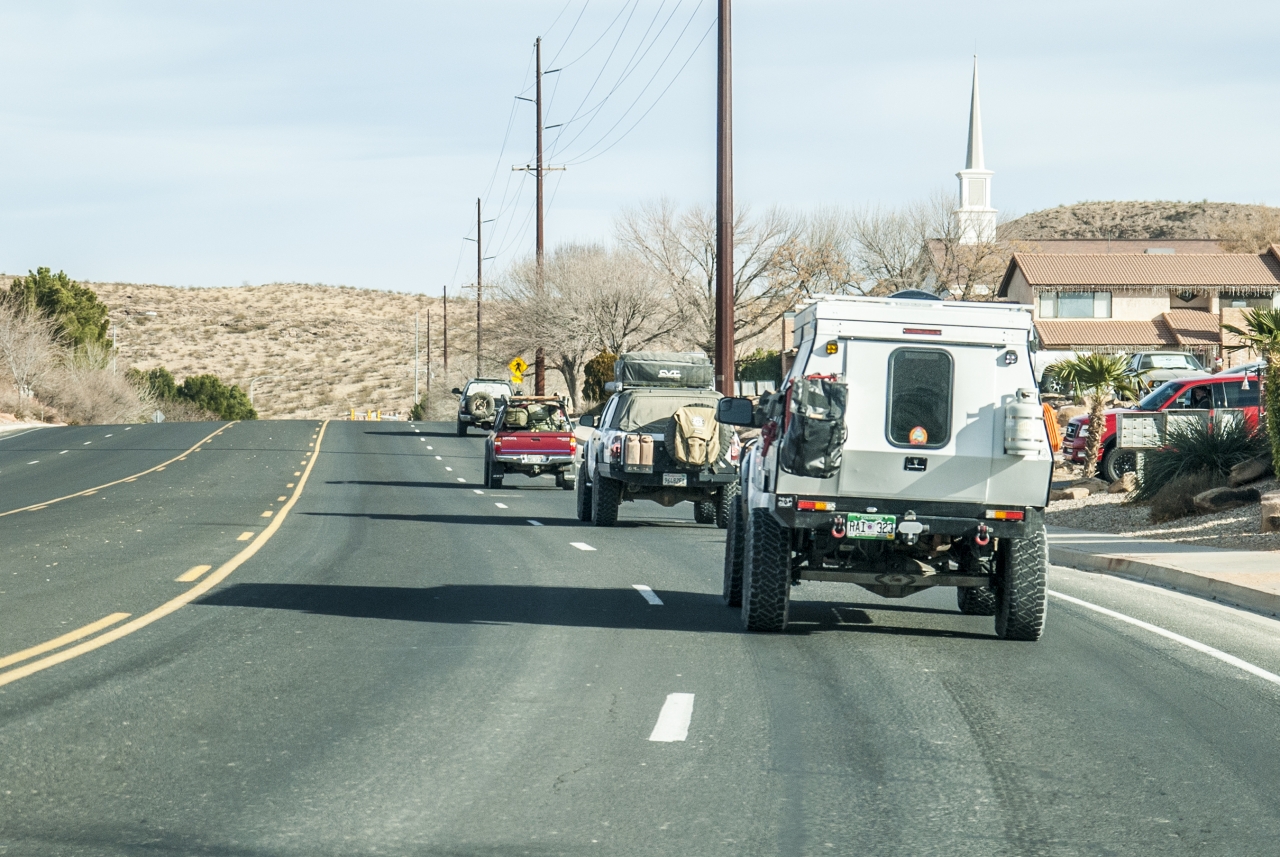
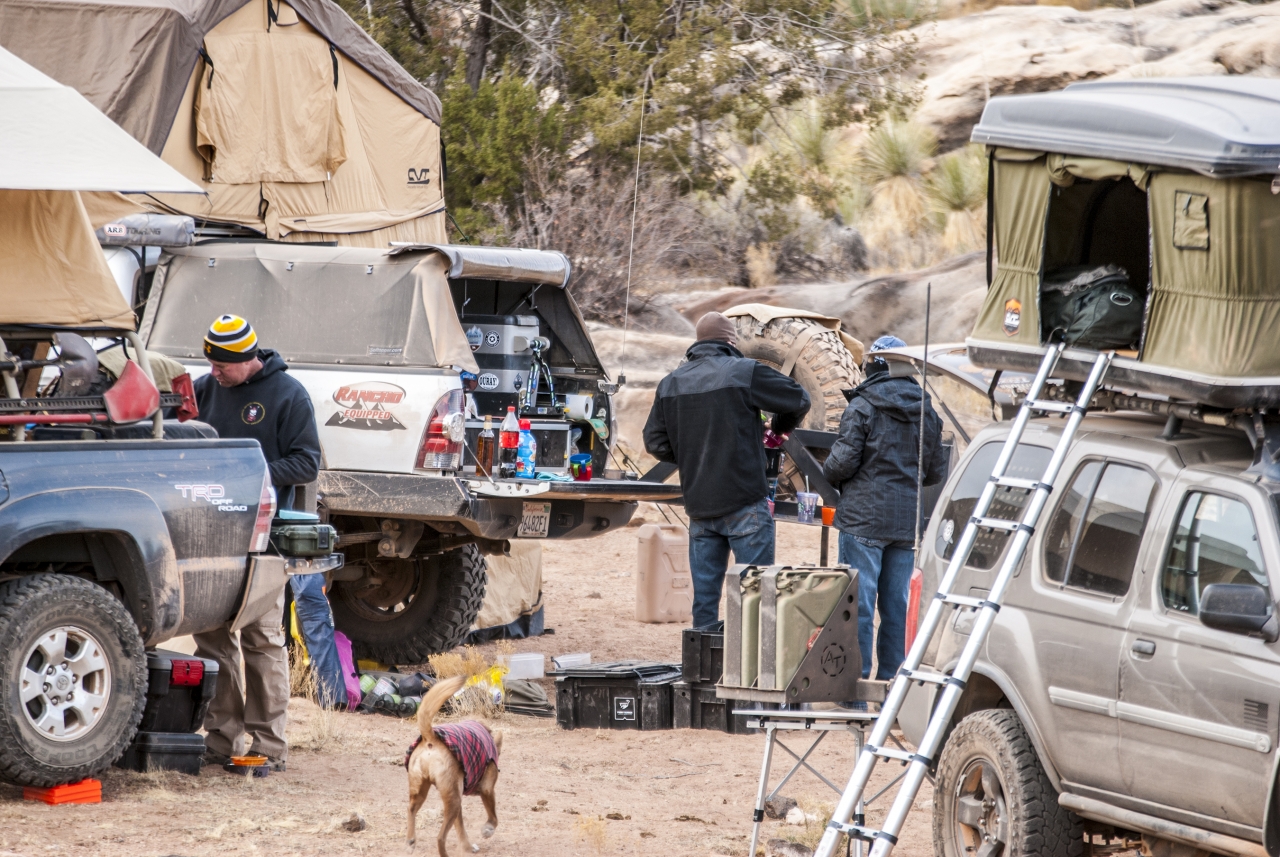
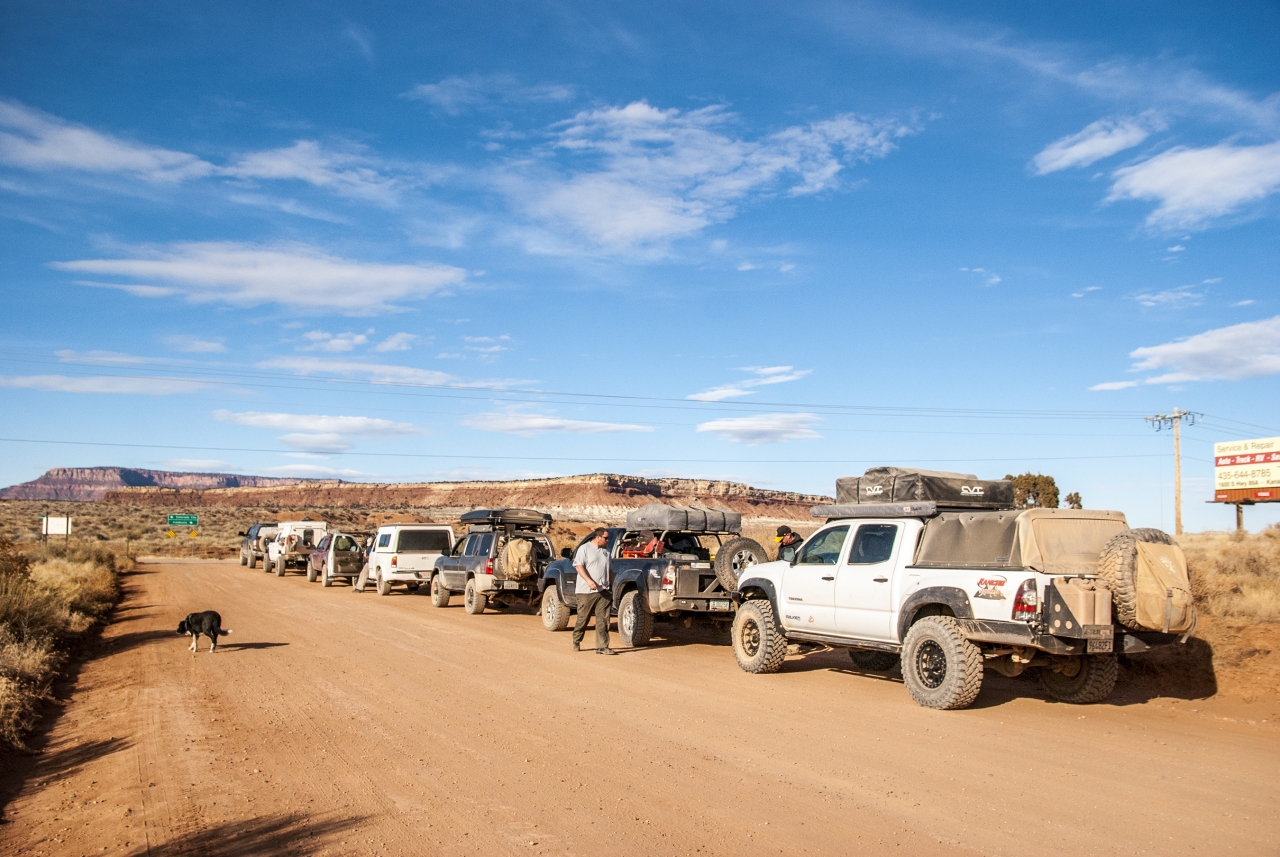
After a late start of last minute packing and getting ready, I hit the road about 4pm on my way to the meeting spot just north of Lake Mead. I linked up with Cris and family at the El Cajon Pass McDonald’s right around dinner time for a quick meal. We hit the pavement hard and arrived in the area just before midnight. It was pitch black dark and all we had to navigate by were maps and the GPS point. It took us a little bit to find the exact camp spot, but we eventually found it. Everyone had already called it a night and had gone to sleep, instead of waiting for us, so Cris and I quietly setup camp and called it a night ourselves.
Day 02- A Dusty Blast to a Wrong Whitmore
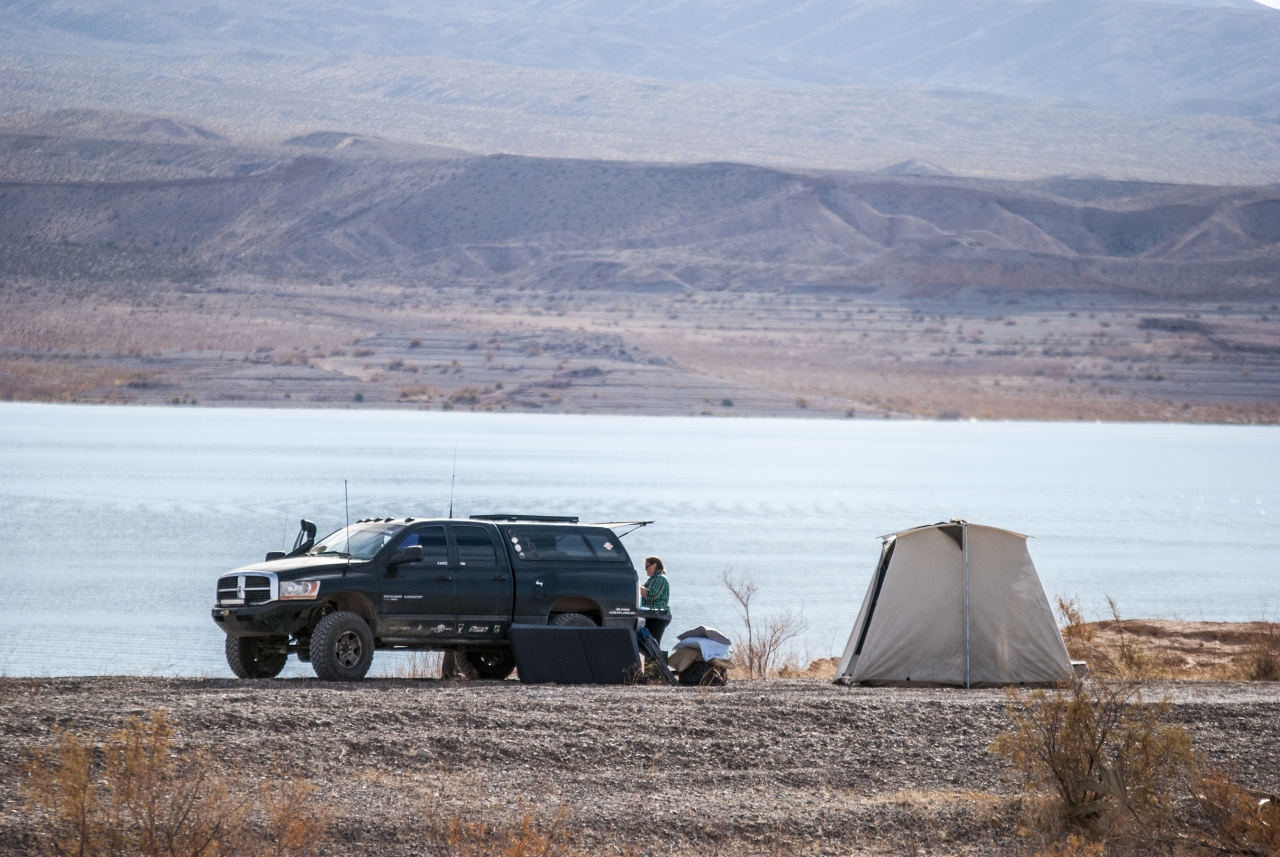
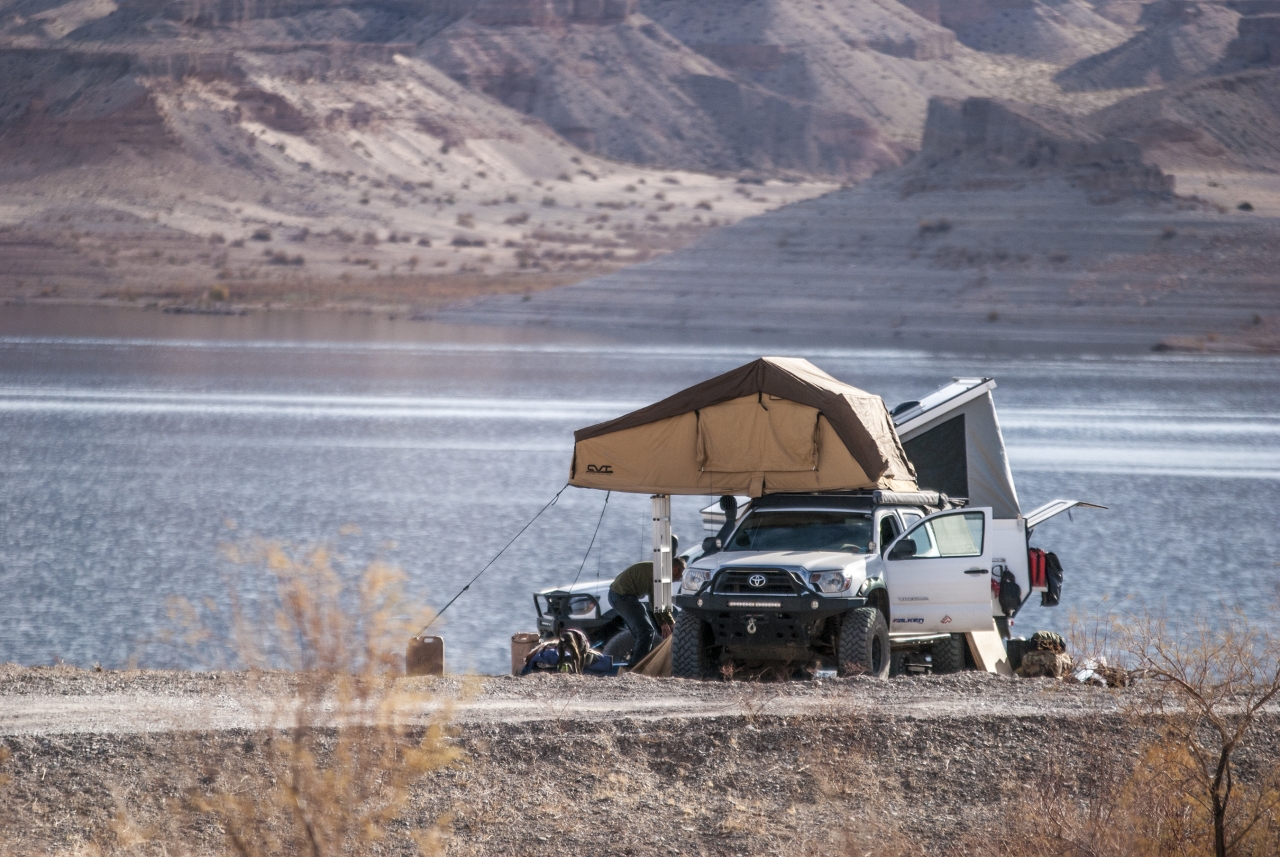
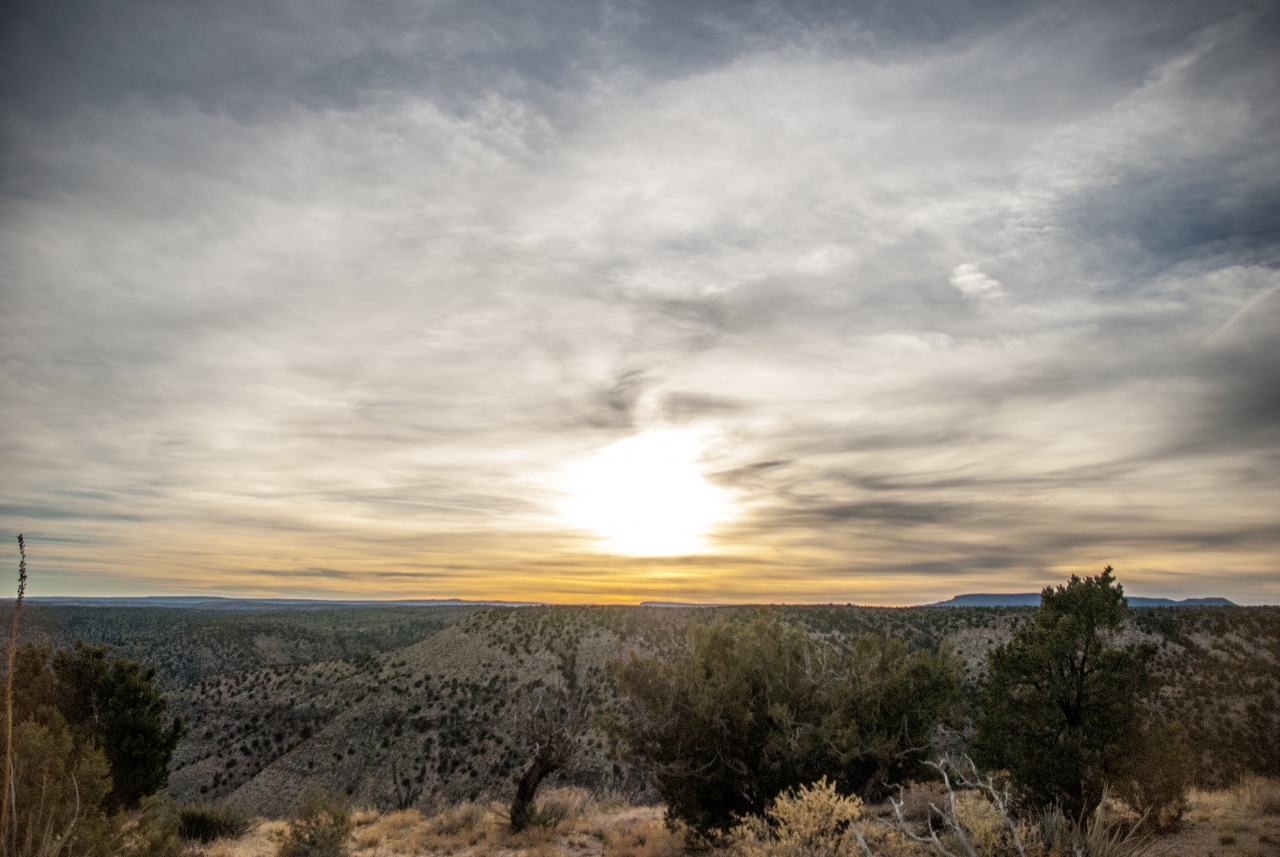
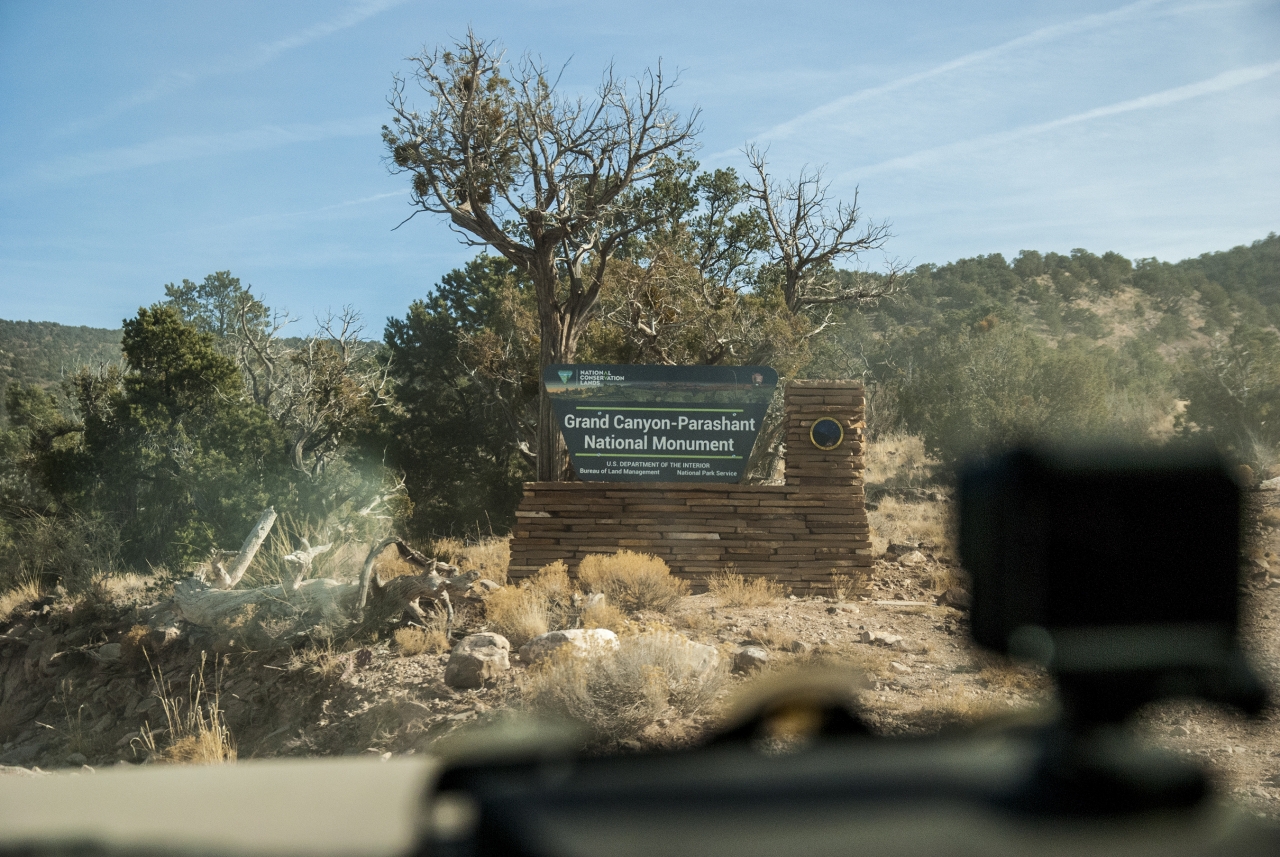
We awakened to a very chilly morning, but were instantly rewarded with an awesome view of the lake. We had camped in the dark just above the lake shoreline and it paid off now with a spectacular view of the entire area. We had a comfortable start to our day and enjoyed the area while eating breakfast before we set off. We had a driver’s meeting to go over the day’s route, which would be Whitmore Canyon just on the North side of Grand Canyon.
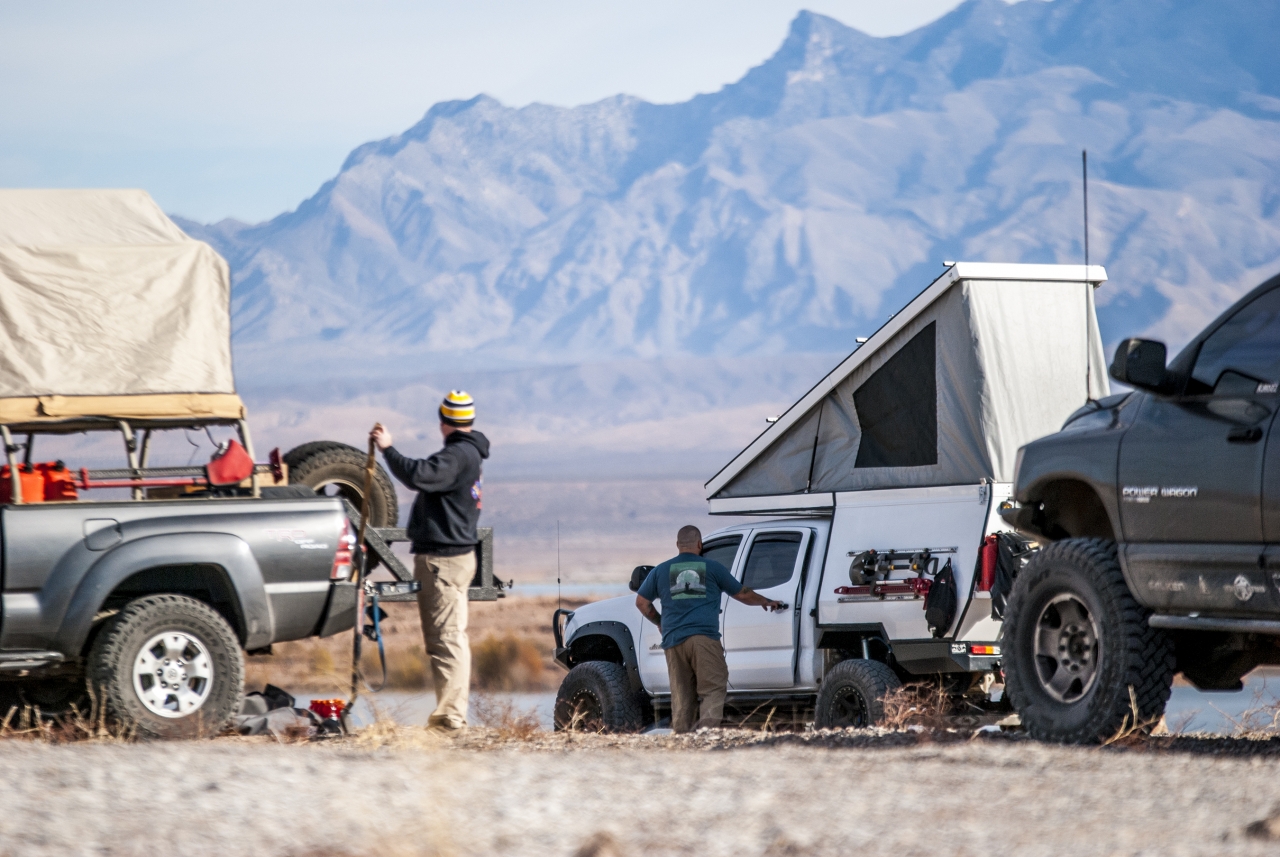
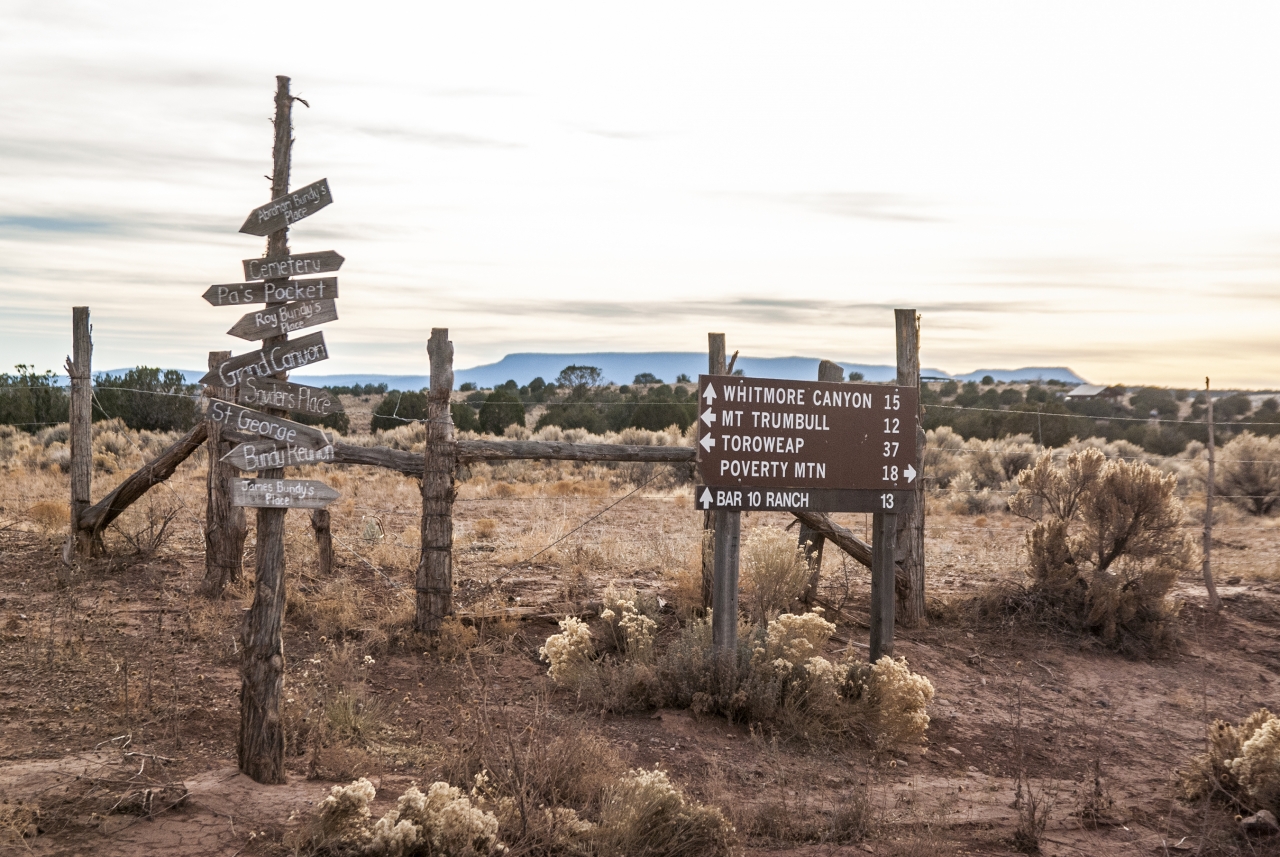
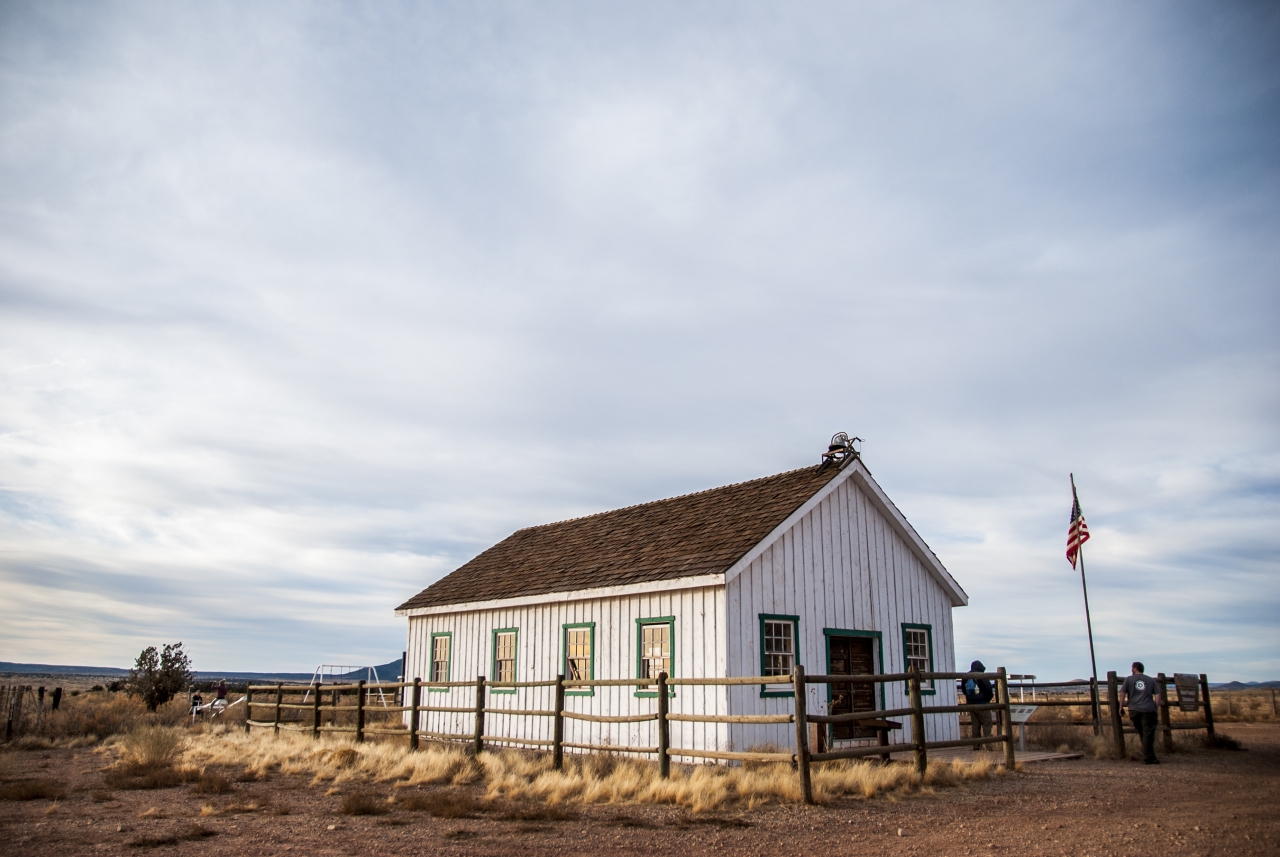
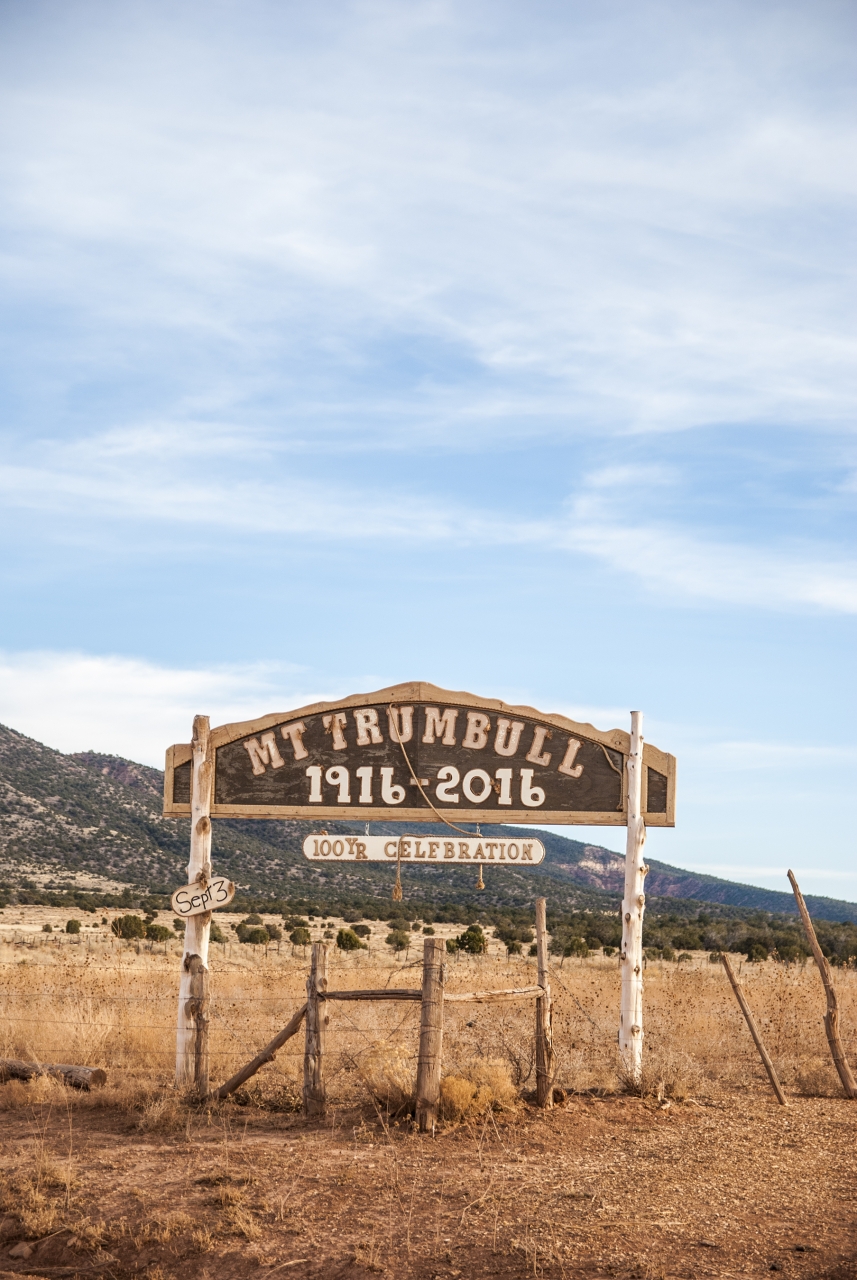
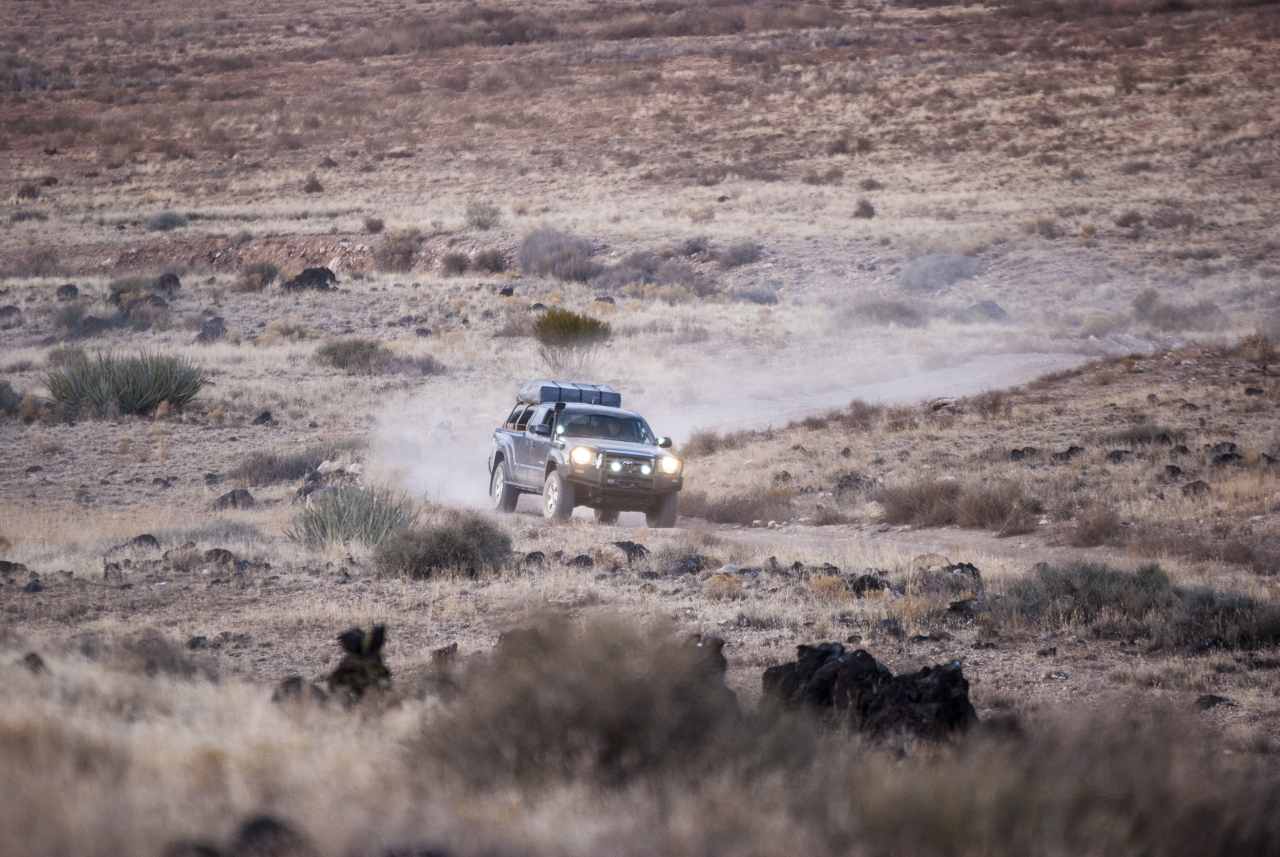
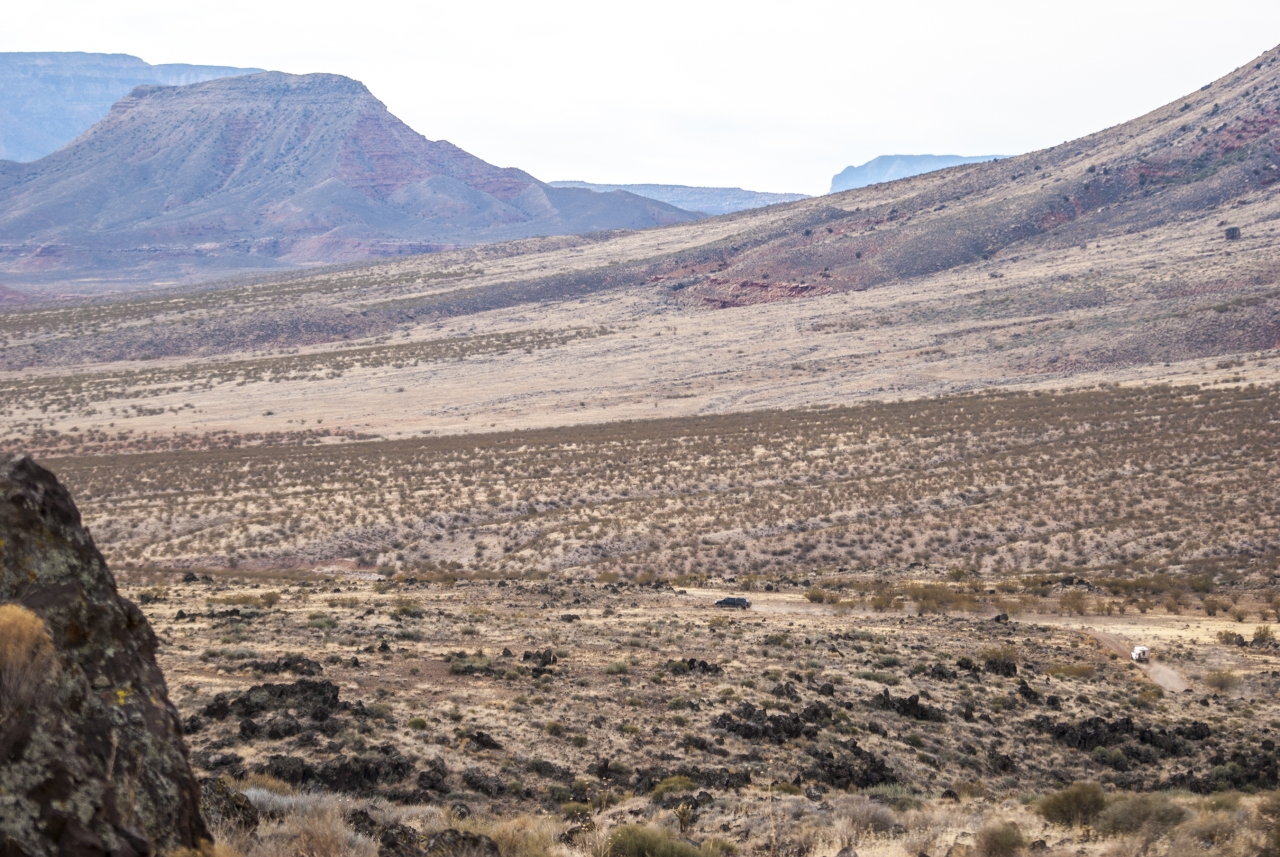
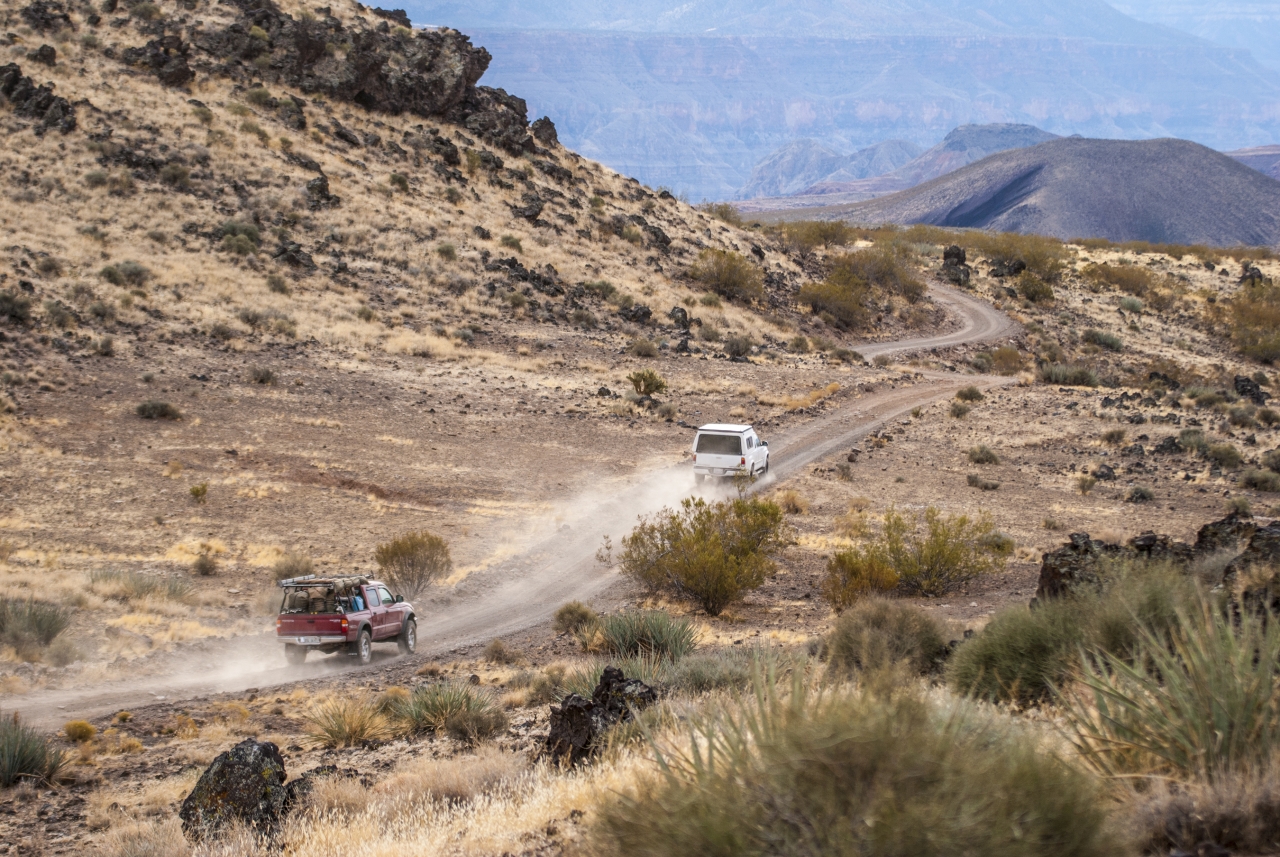
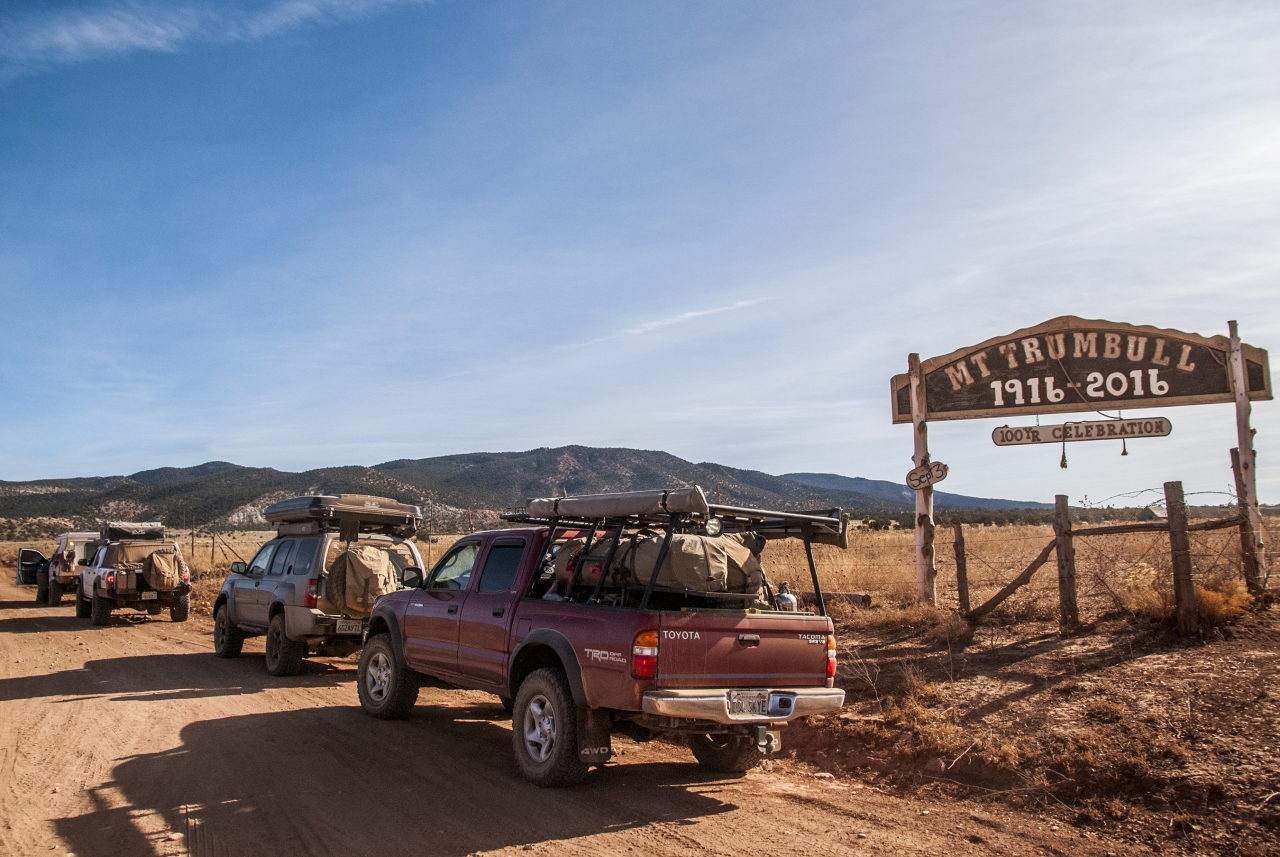
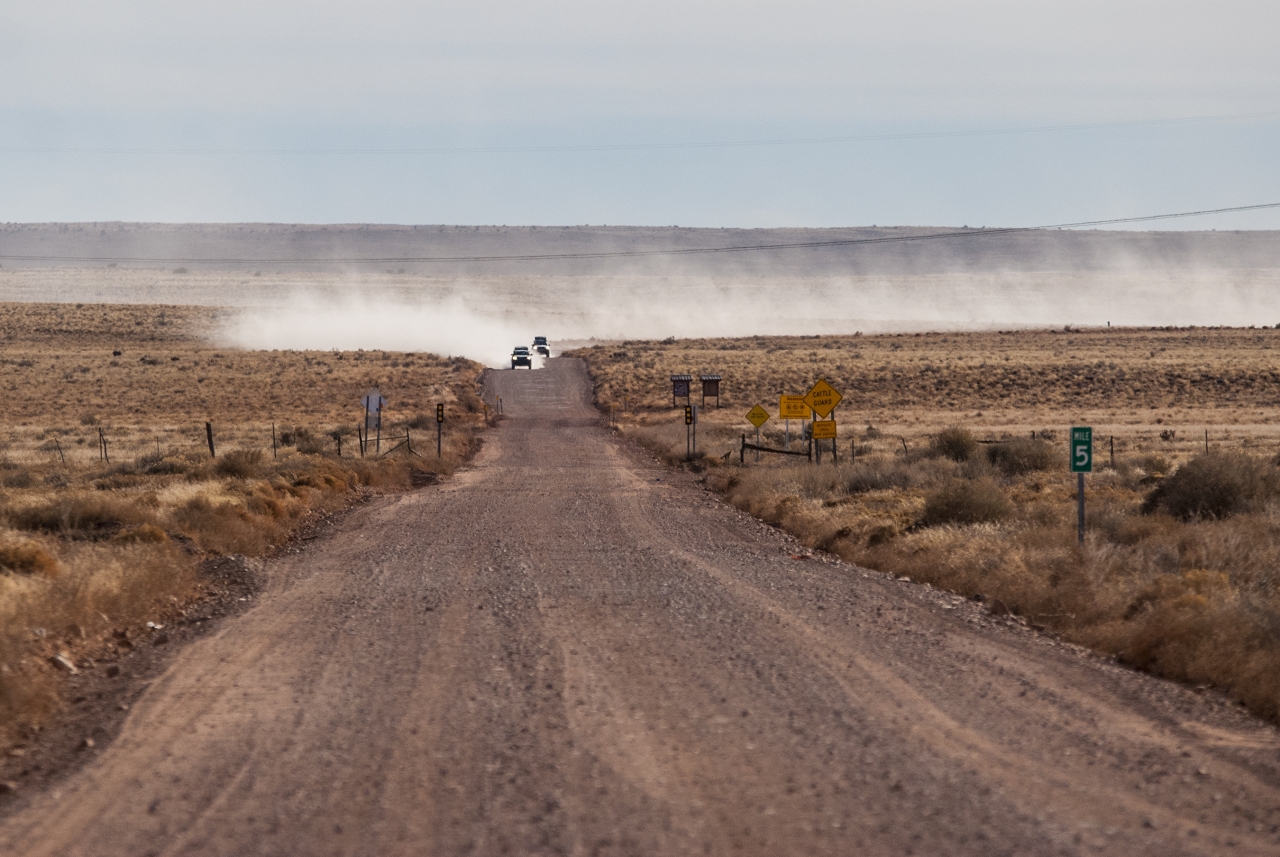
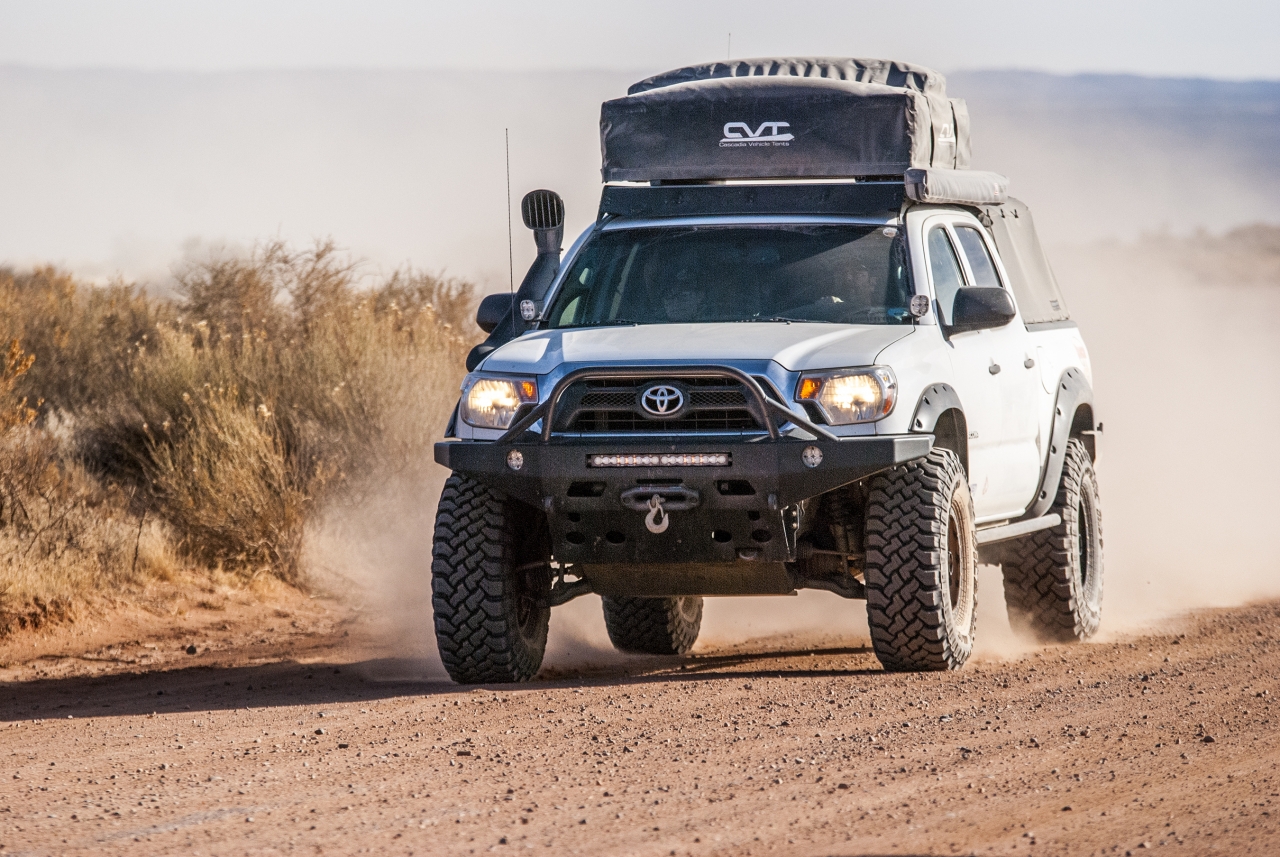
We set off just before noon and headed up to St George, Utah to restock and make last minute meet ups. We made a nice stop at Walmart and had lunch before we proceeded south and hit the dirt. The dirt road in was a good one, dusty but well maintained. We blazed in towards Mt. Trumbull and hit the school house to reconvene since we became so spread out along the way. The wind was nonexistent so our trail of dust was so thick that visibility was near zero in places.


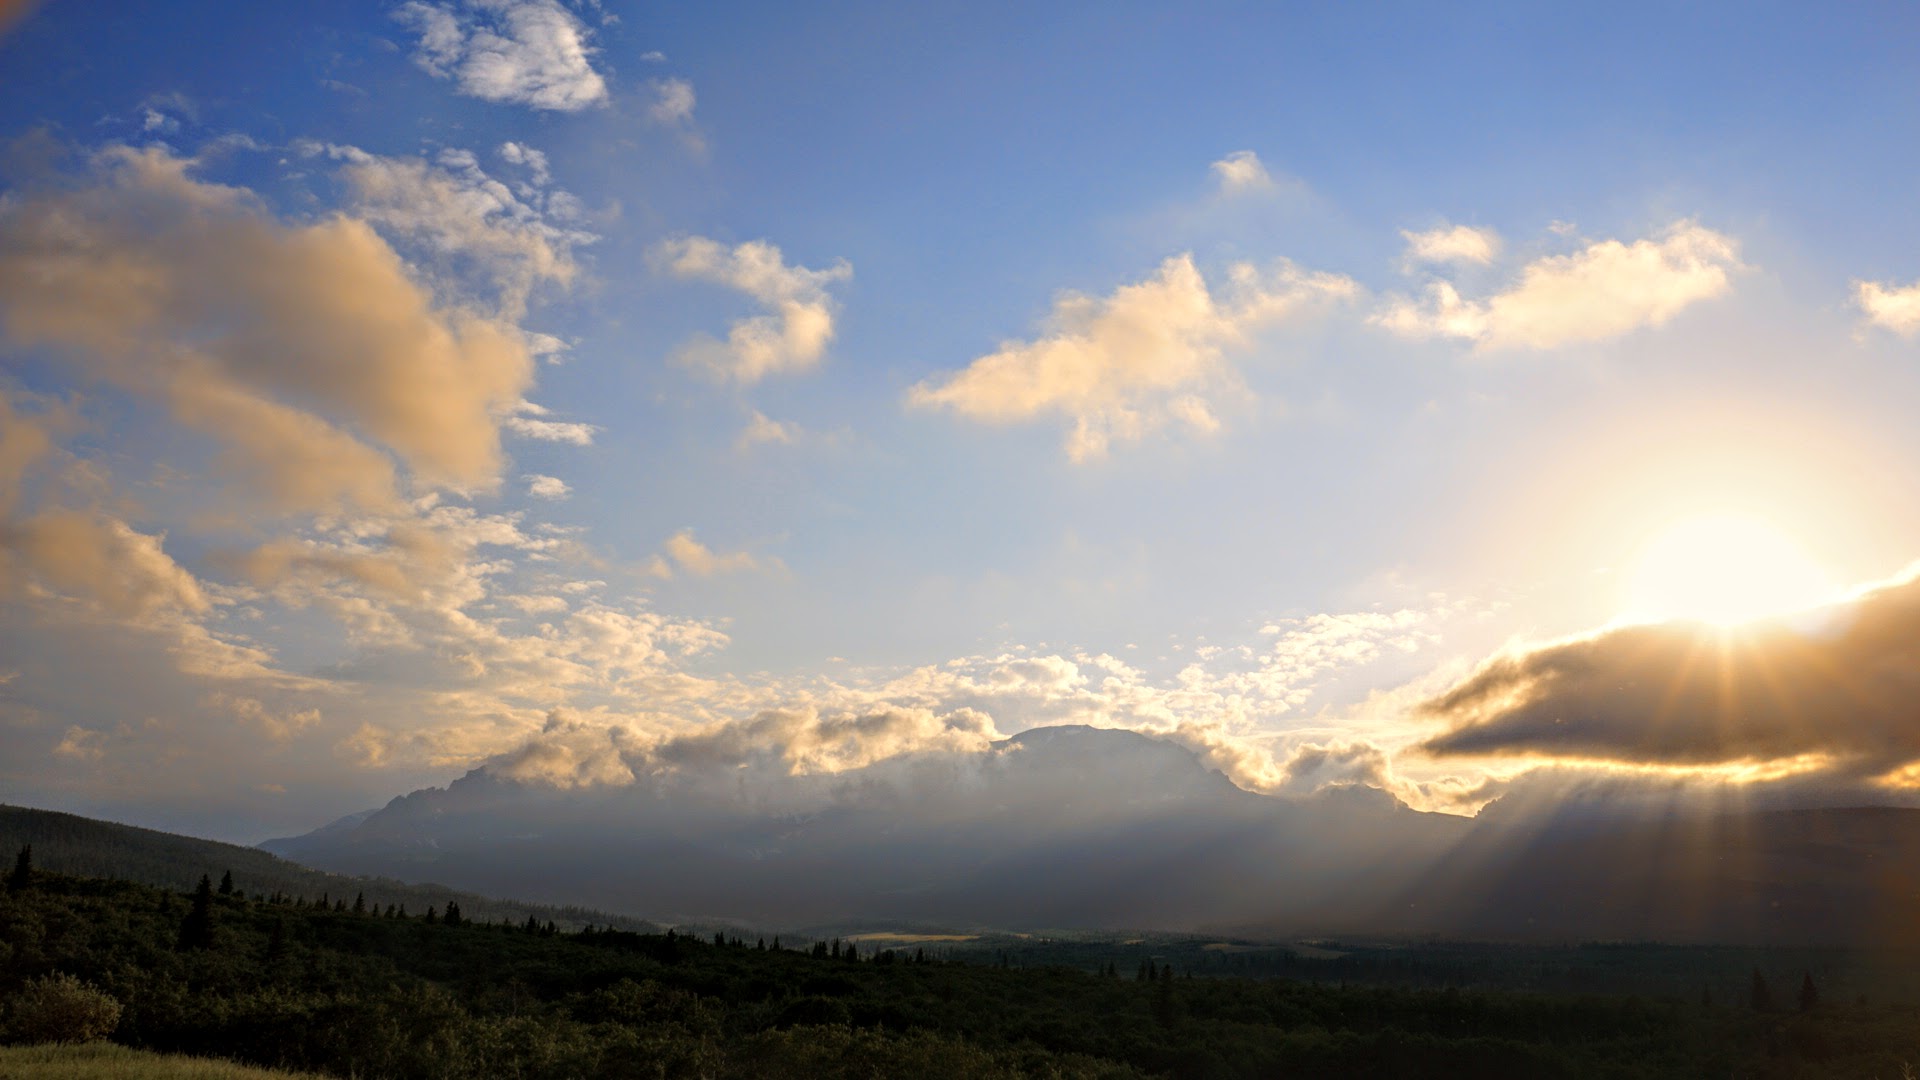
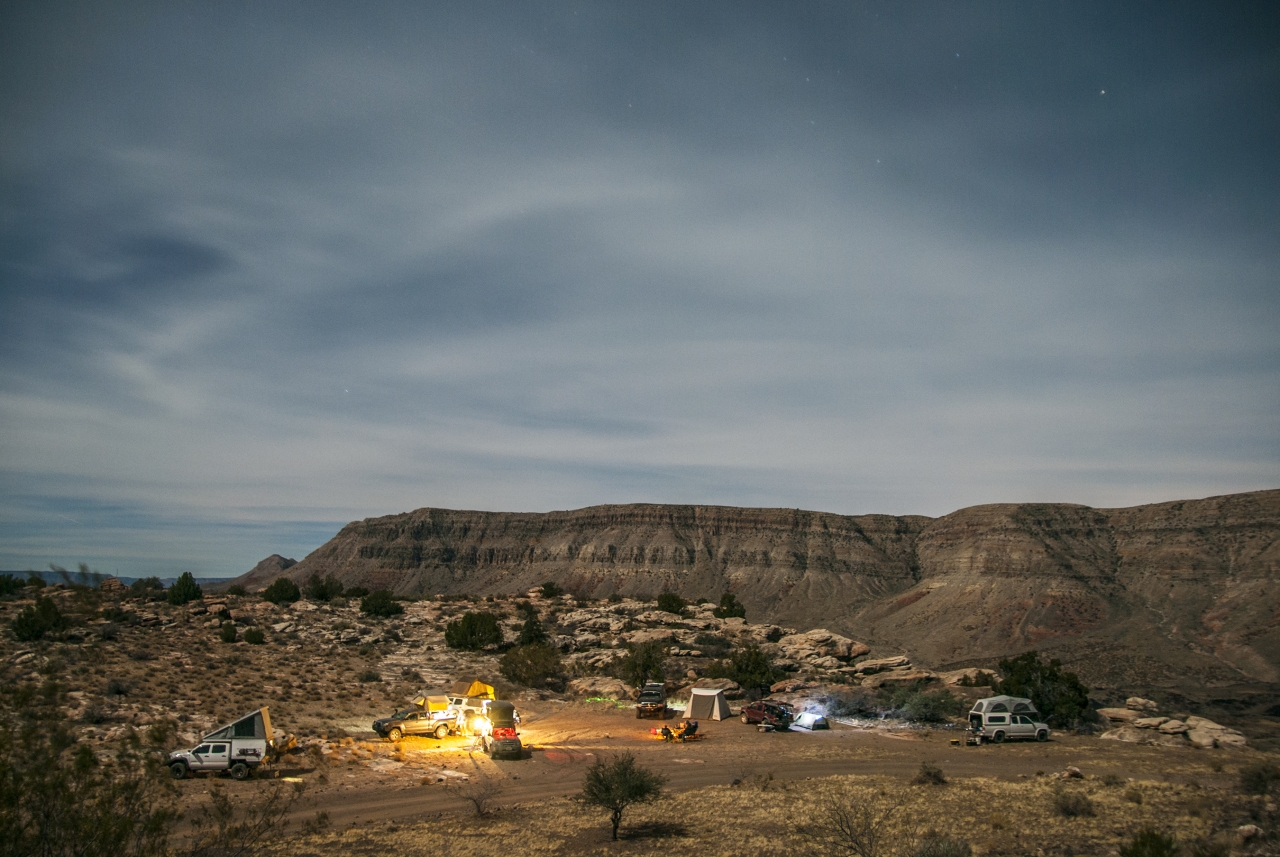
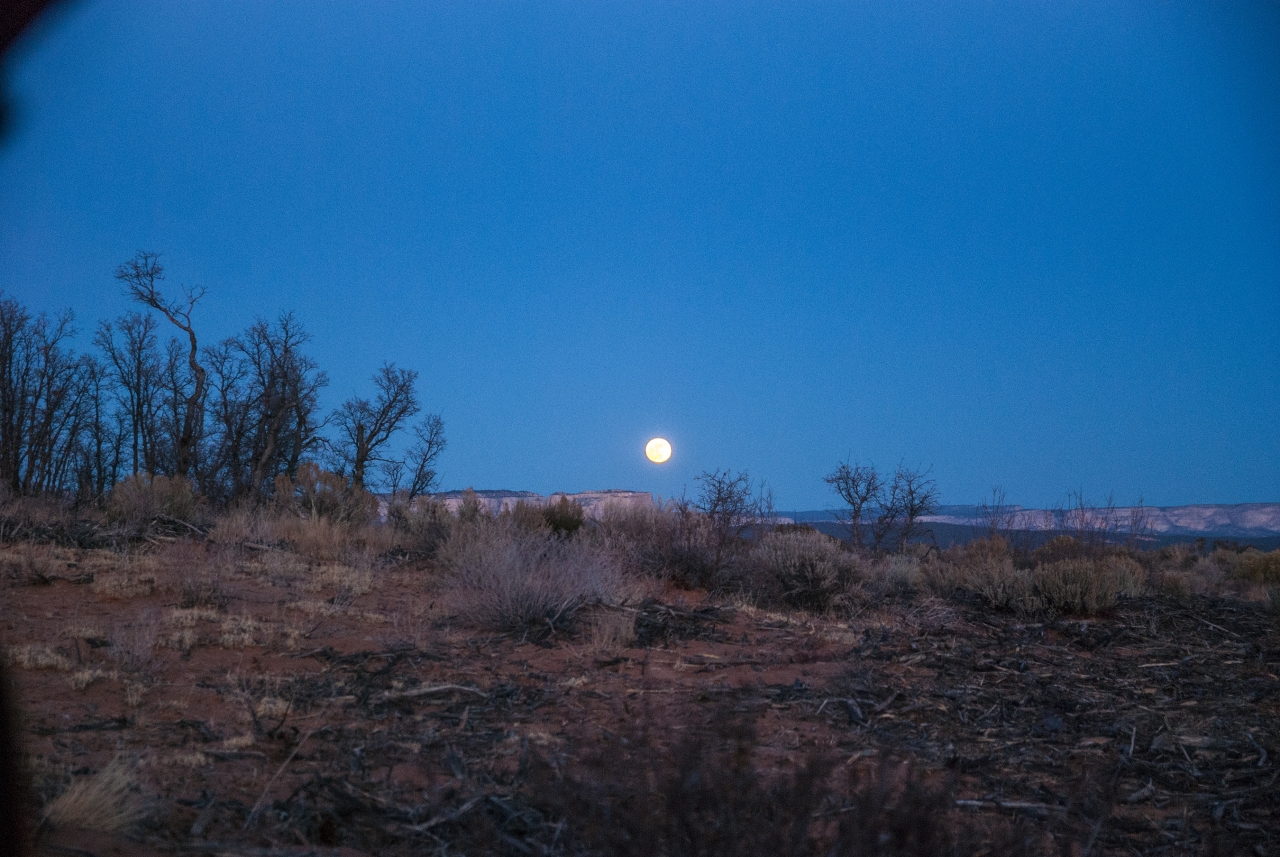
Continuing south as the sun began to set, we took a wrong turn and started gaining elevation instead of dropping down to 1500-ft or so where the overlook is. We doubled back towards the trail split but opted for a nice, safe, open spot along the way since darkness had already arrived, the first of several unplanned audibles on this trip. We set up camp in the dark and started the campfire. A bright moon rose over the mountain as we had dinner, and it would continue illuminate our night skies for the rest of our trip.


Day 03 – New Years Eve at the Correct Whitmore Canyon
We woke up to another sweet view as we camped just a short stroll to a cliff side, which opened up to a beautiful view of the valley below, and the road we were supposed to be at last night. The sun had not yet crested the ridgeline, so the weather was chilly again. It was a calm morning as we had time to explore the immediate area on foot and view the spectacular valley below us. We gathered just after breakfast for a driver’s meeting to make a call on where to go next. The general consensus was to hit the spot that we totally missed the previous night and spend the rest of the day there. It ended up being a great call.

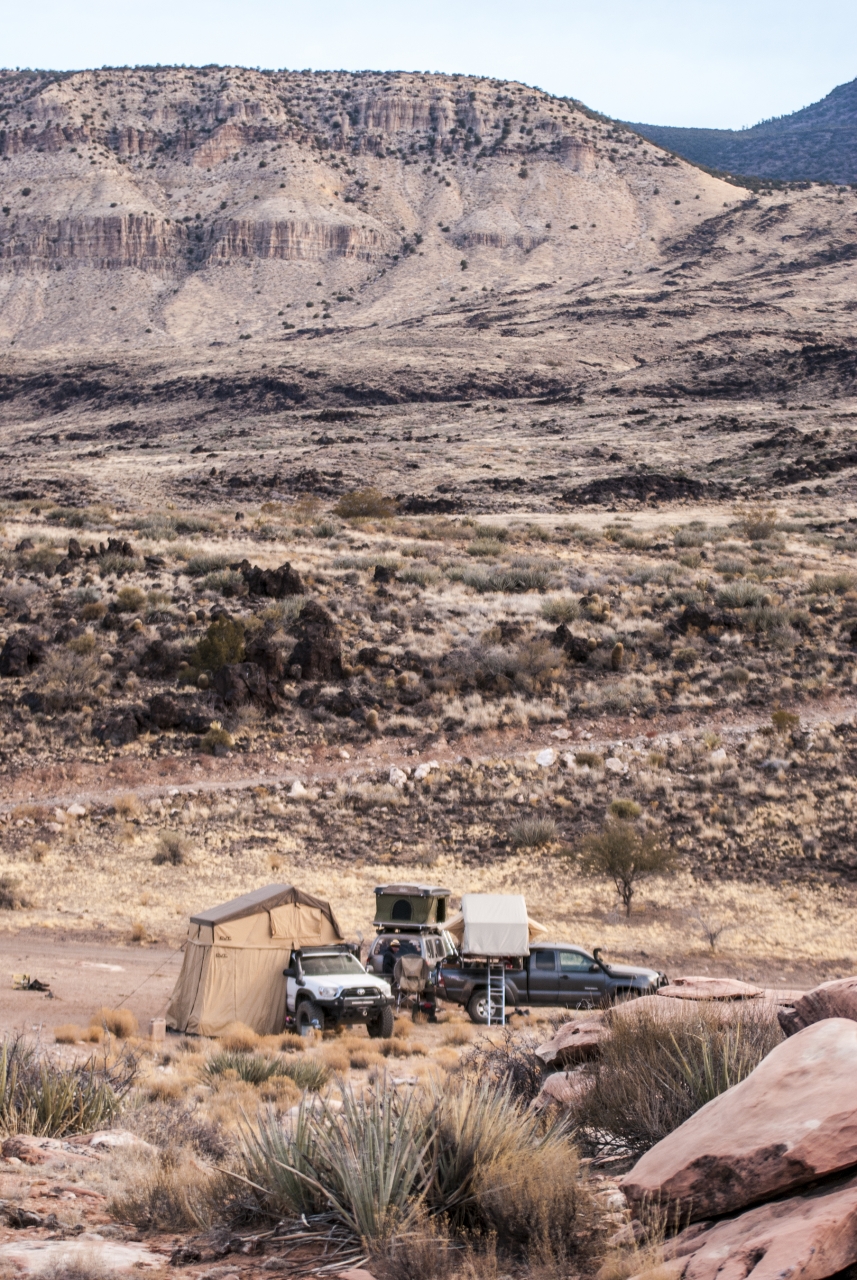
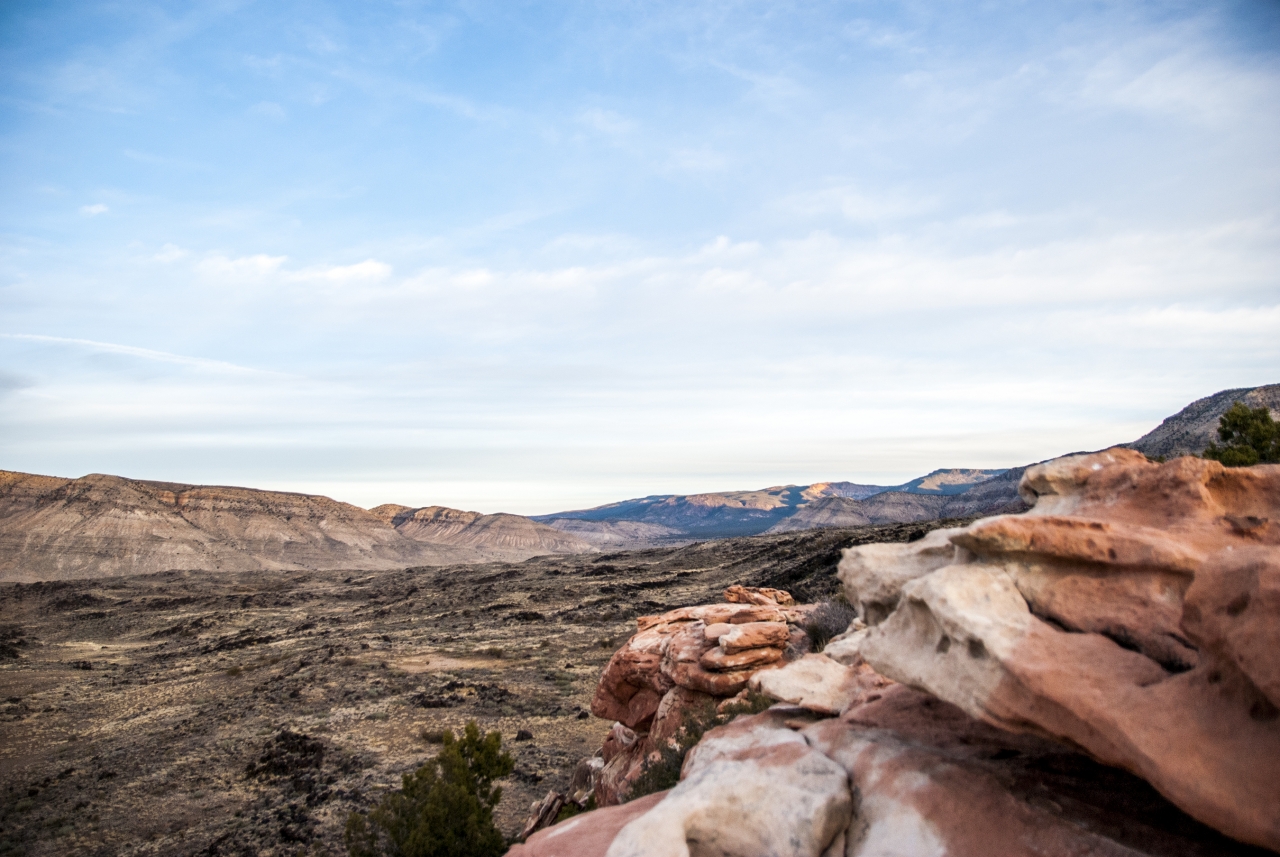
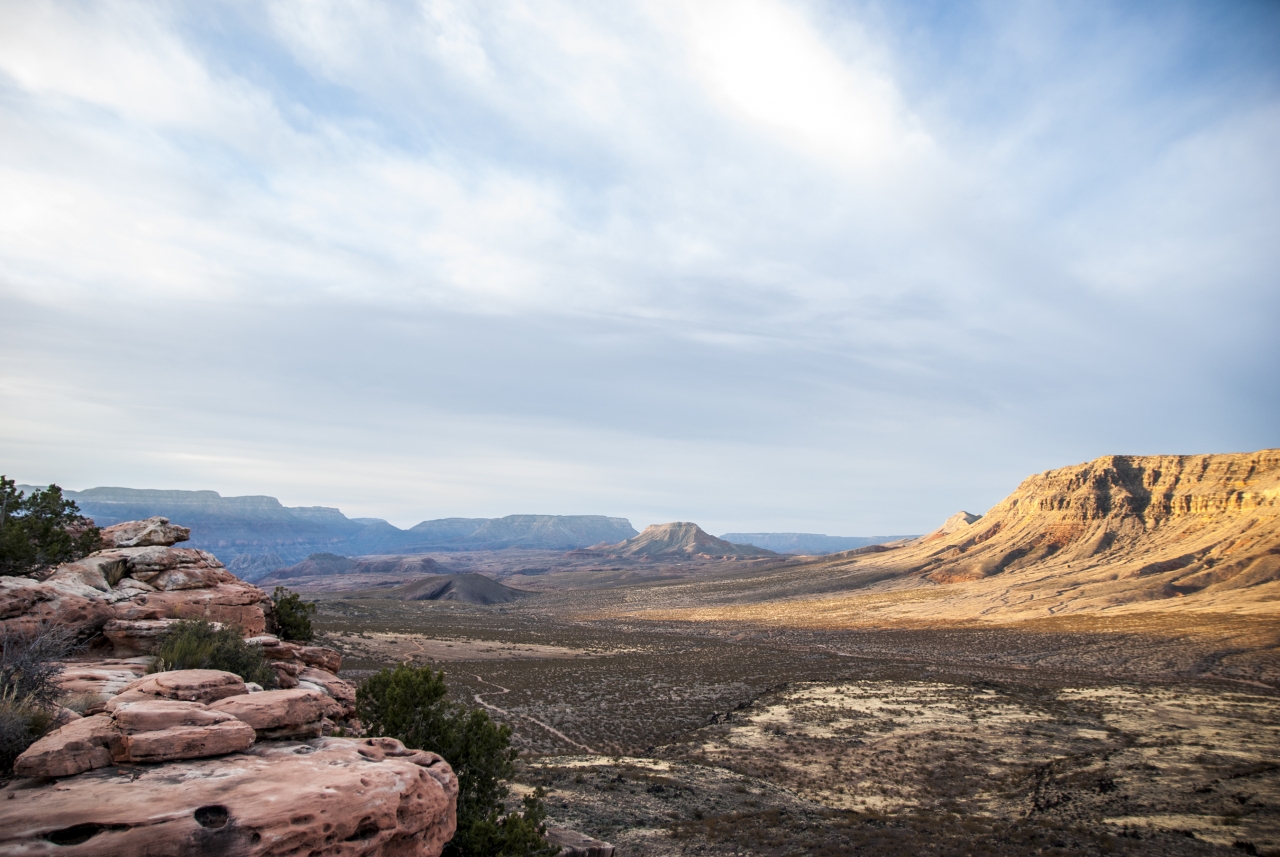
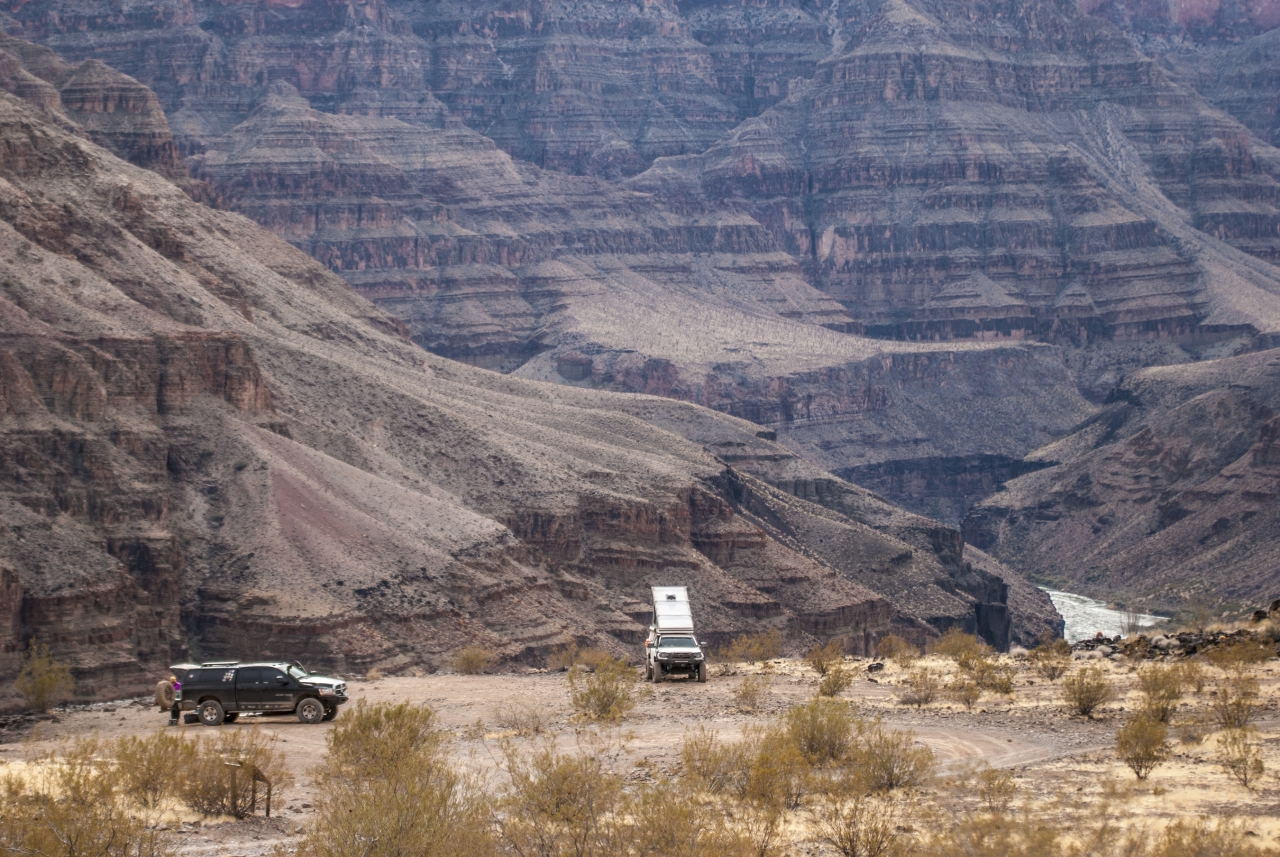
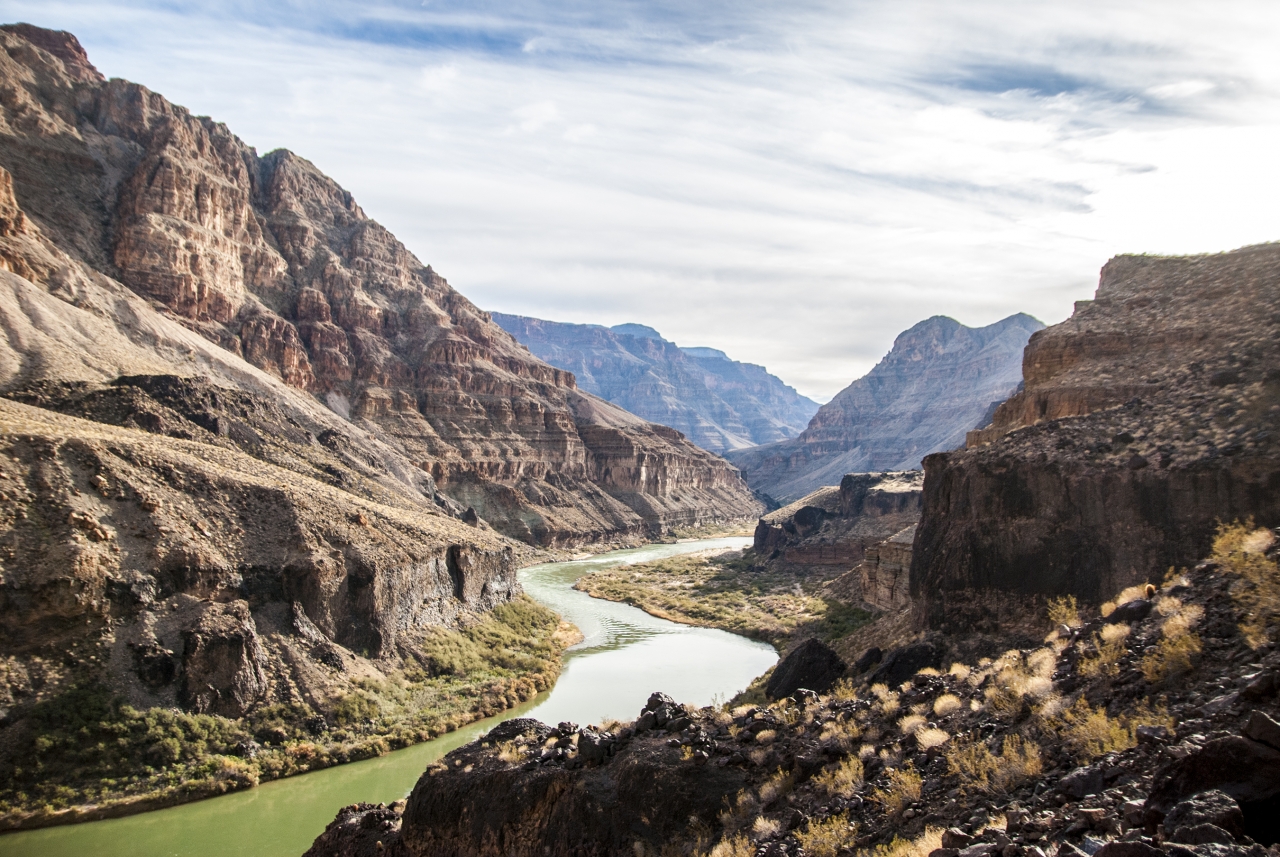
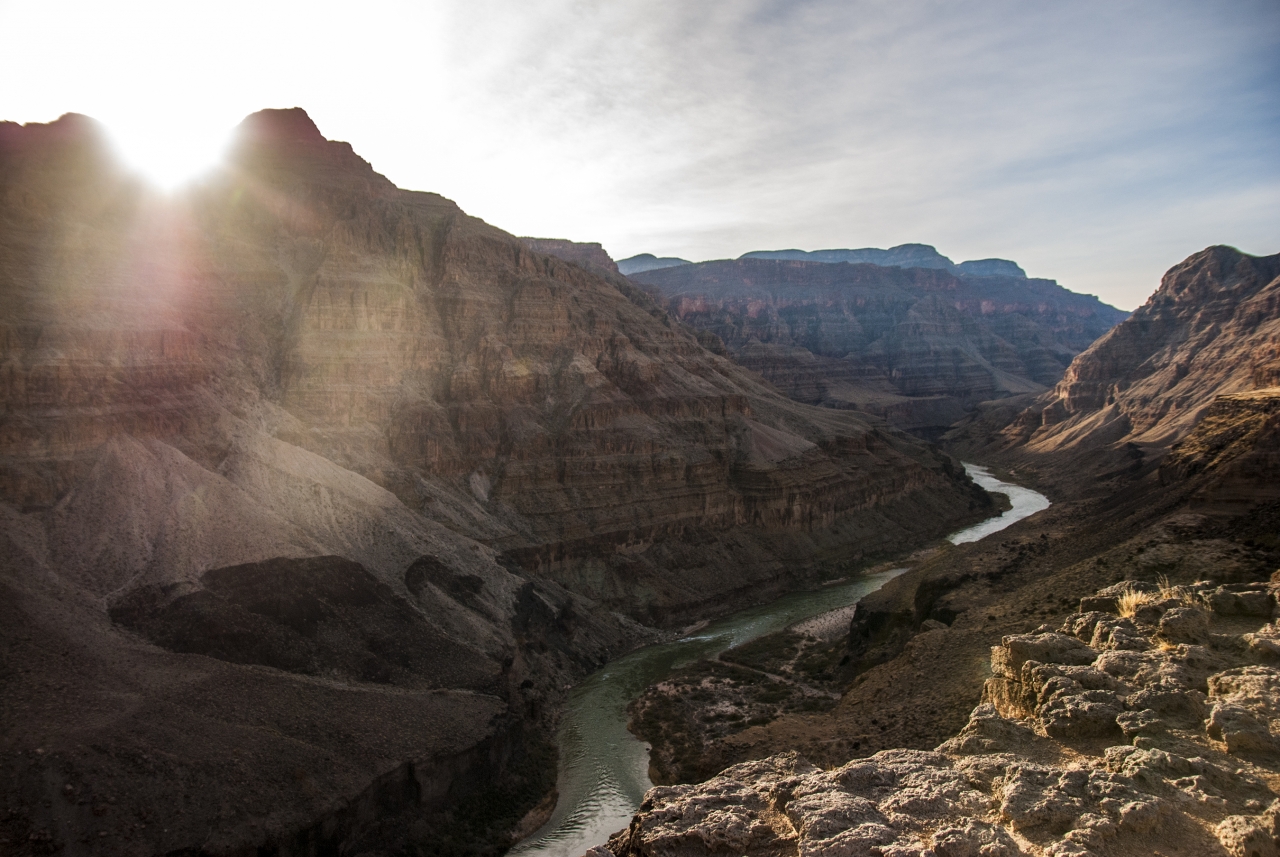
We hit the road around 11am and began the short drive to Whitmore Canyon. The road in was smooth but turned to slow and rocky. It eventually led us to a breathtaking view of a portion of the Grand Canyon. There was a slow, rocky switchback descent into the campsite. Cris and Jon led the way and setup camp as we all made our way down. The camp site was just terrible (read sarcasm)… It was right on the cliff’s edge above the Colorado River with a 180-degree view. This was a perfect day. We all got settled in, made lunch and relaxed the rest of the day.


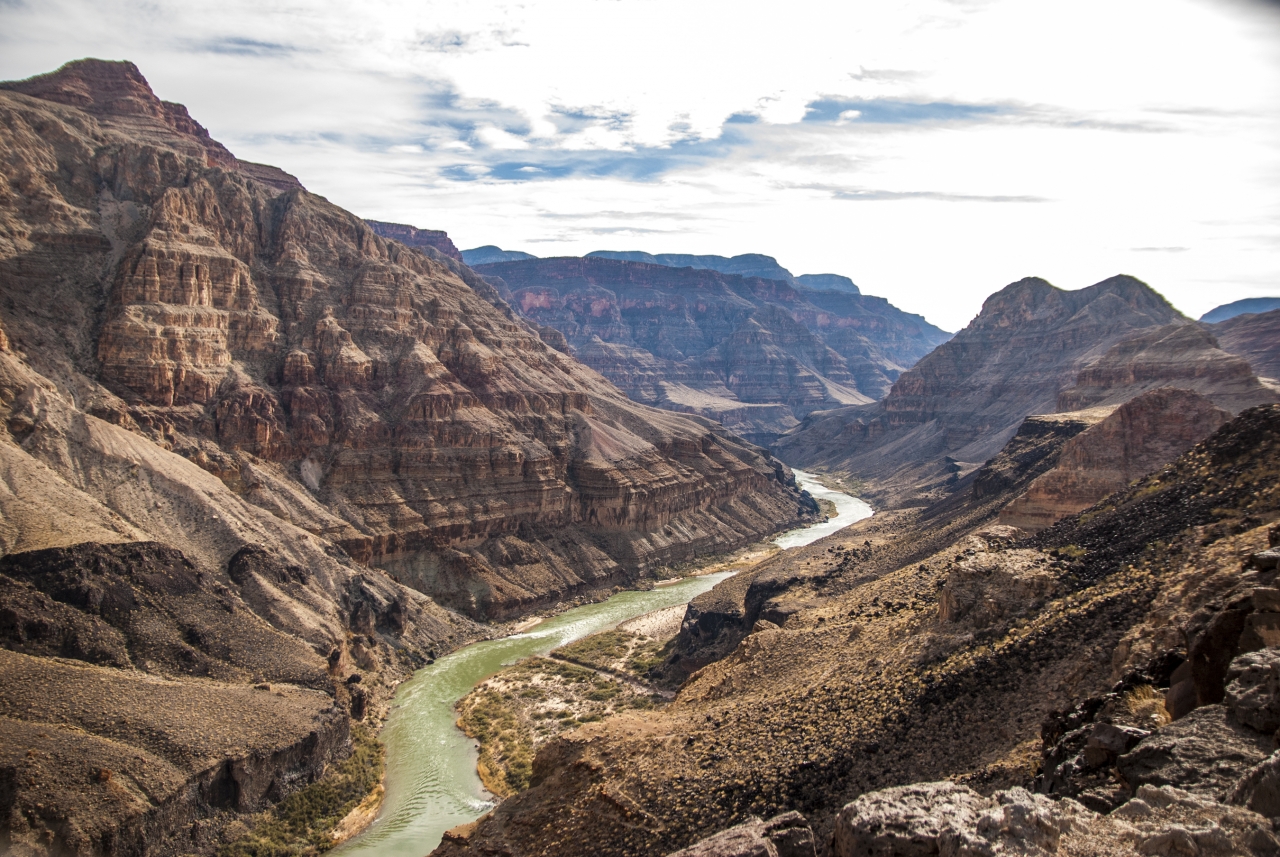
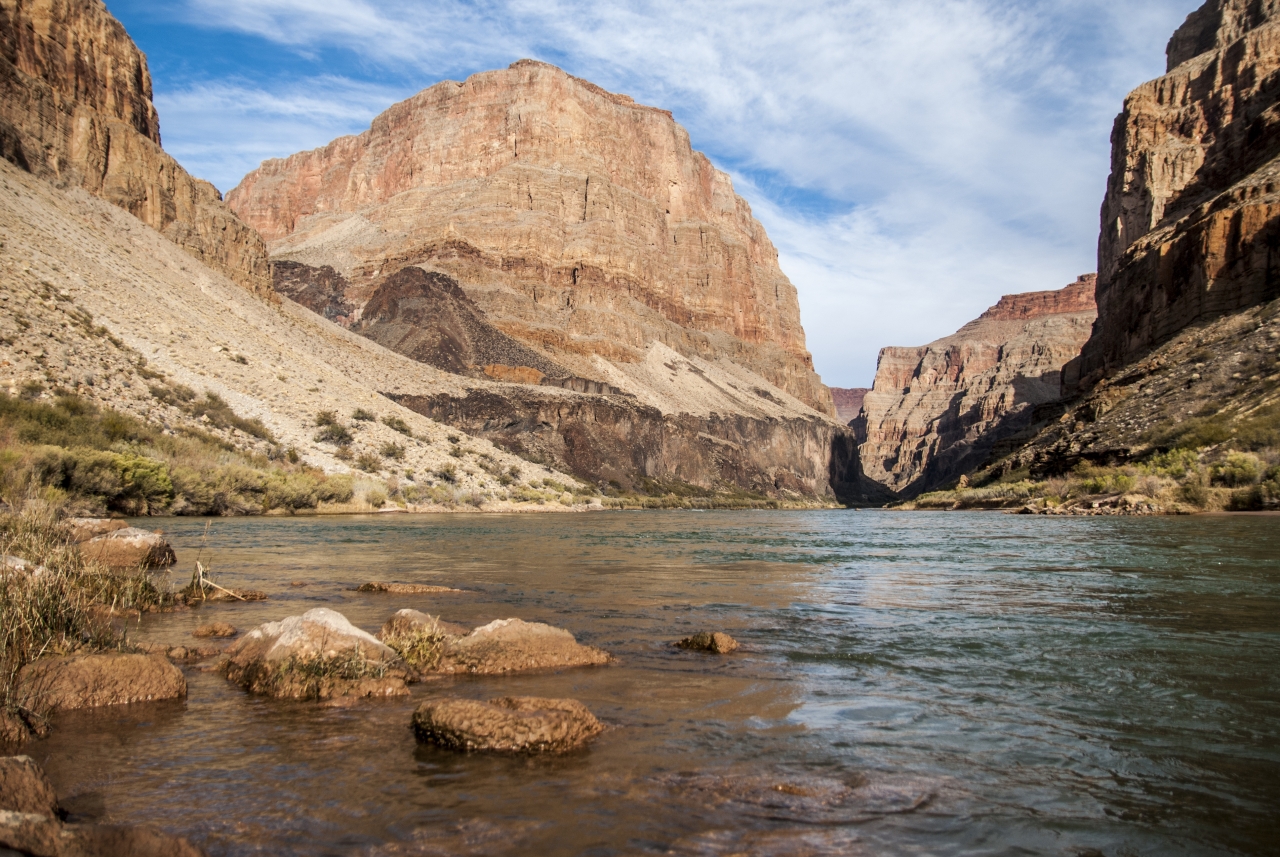
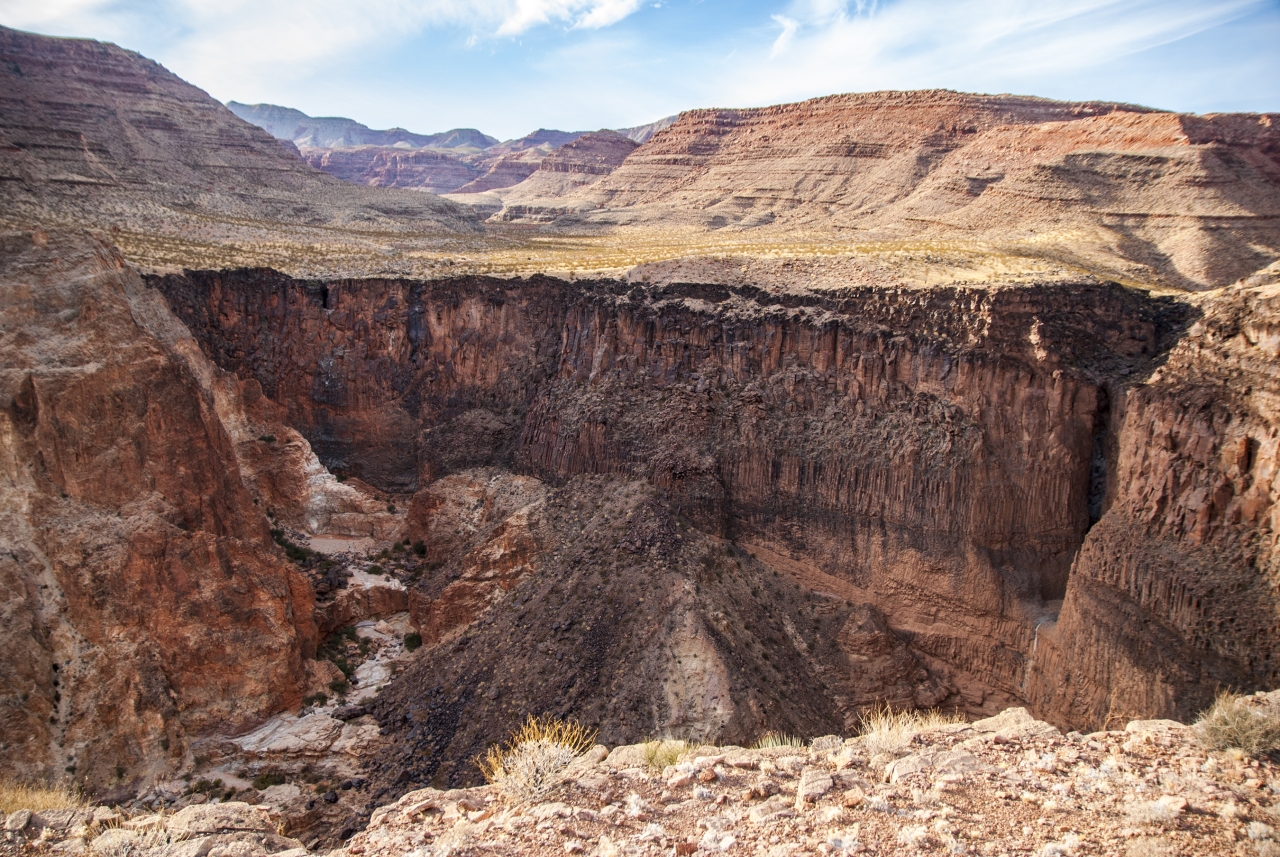
After lunch, a few of us relaxed around the fire ring, while Andy and I made the hike down to the bottom and the Colorado River. It was about 45min, 917ft down, and about 1.2miles one way. It was a great little hike to see the river and experience how the views changed as you make your way down. The water was definitely chilly but refreshing. Oddly enough there was a cactus garden right before the water’s edge, so maneuvering to the water was a bit tricky without getting poked by the many needles.


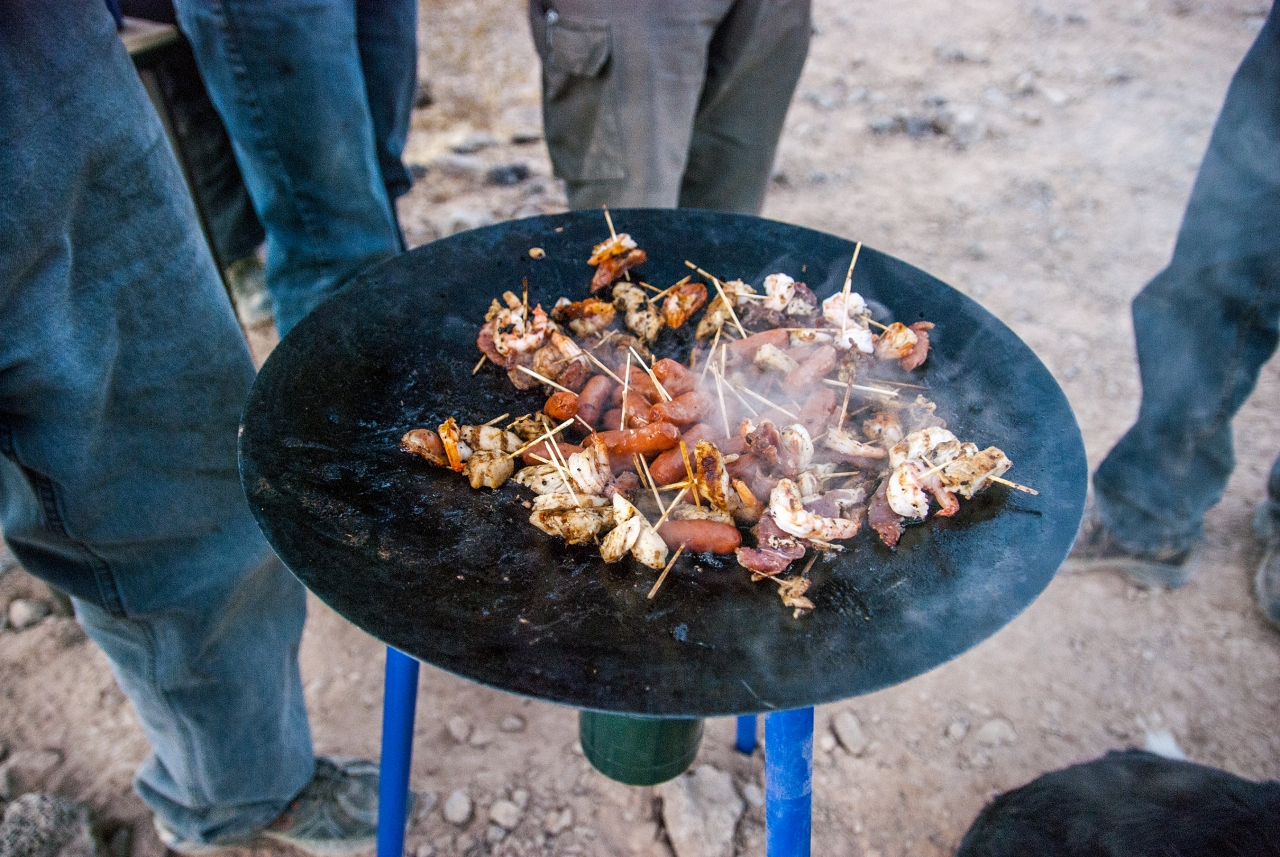
The hike out is always tougher than the hike in, but we got back into camp just before sunset and joined the others relaxing around the fire ring, just in time for appetizers, cold beverages, and dinner.


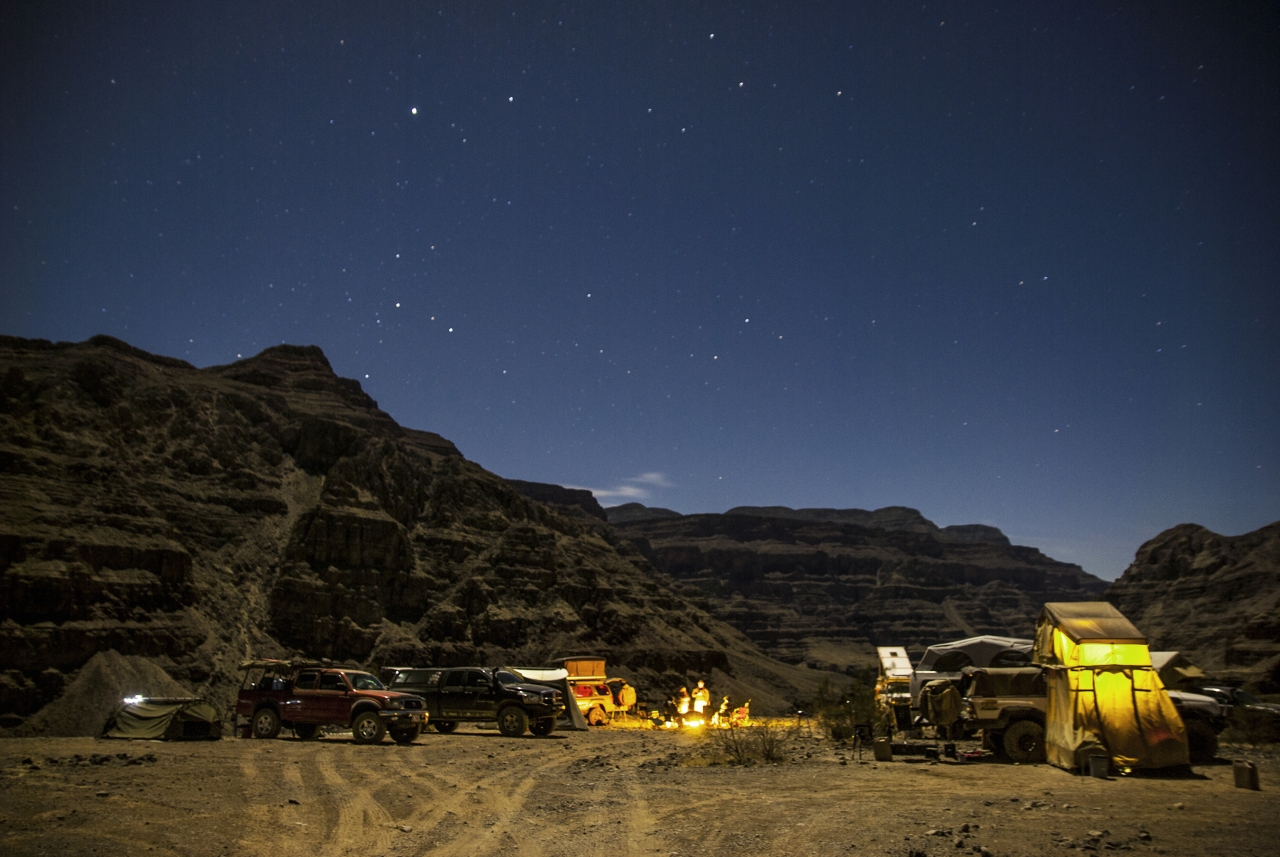
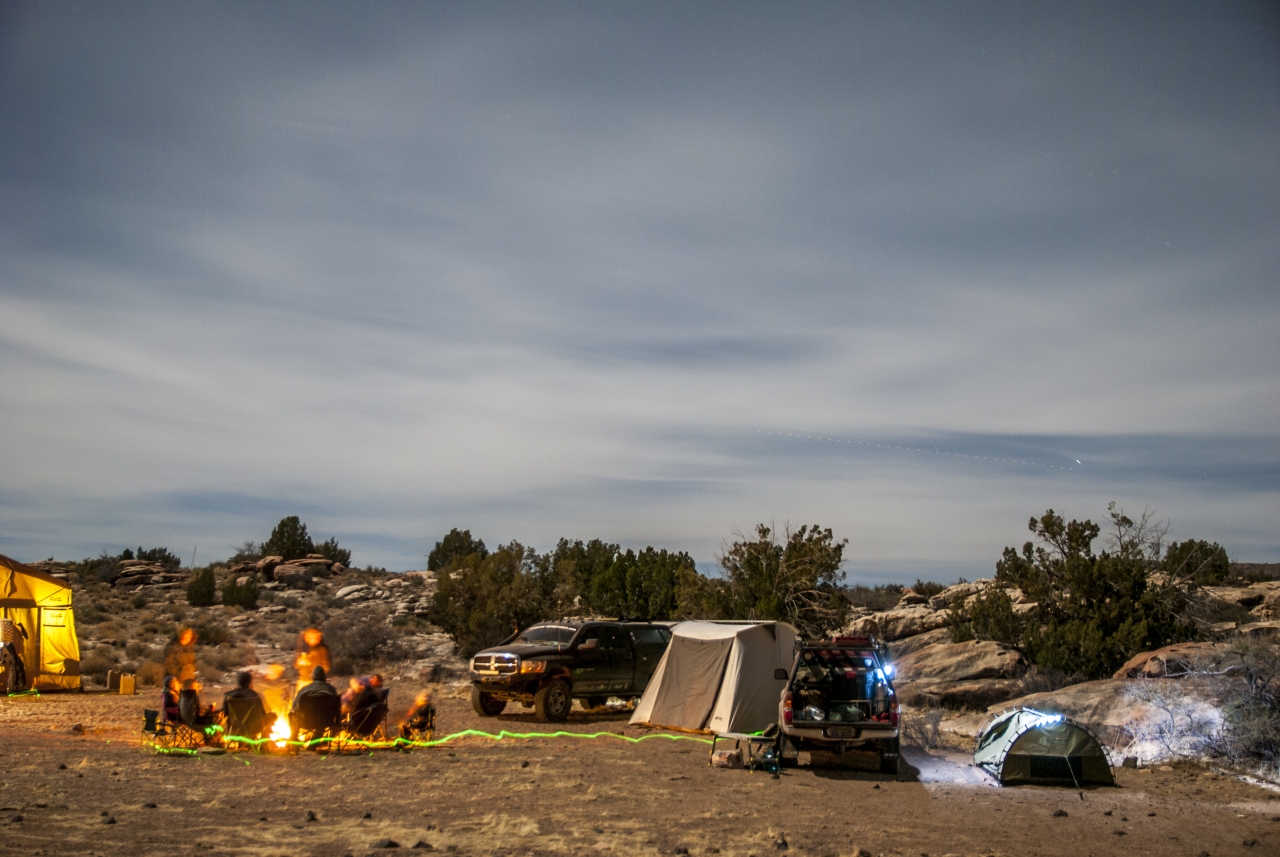
As the night went on and we were enjoying the campfire, we saw a set of headlights coming down the hill that we rolled in from. We became very hesitant when they rolled straight up to our campfire in the middle of our camp. Two guys walked out, cups in hands and a decent slur in their talk. As they were introducing themselves, and us keeping our distance, a third guy came out as well.
Luckily they just came down to make themselves known and told us that they were going to setup camp not too far away from us. They thought we were someone they knew as they were meeting someone down there. They left our area and rolled about ¼ mile away and setup camp. Later that night as we were still around the campfire, we saw another pair of headlights coming down. We walked out to meet them in a somewhat defensive position so they wouldn’t roll into our camp. They found their friends and we continued our night a little less relaxed. We called it a day as one by one, we left the fire and went to bed.
Day 04 – Attempting to Beat the Setting Sun and Rising Moon
We awoke to a another splendid view with an epic sunrise, so we decided to take another easy morning. We soaked in the rising sun cresting over the canyon as we had breakfast. After a comfortable start, we decided to get our trip on the road again. But before we headed out, we decided to take a group photo of this epic campsite so we staged up on the cliff’s edge, and snapped a few for the books.

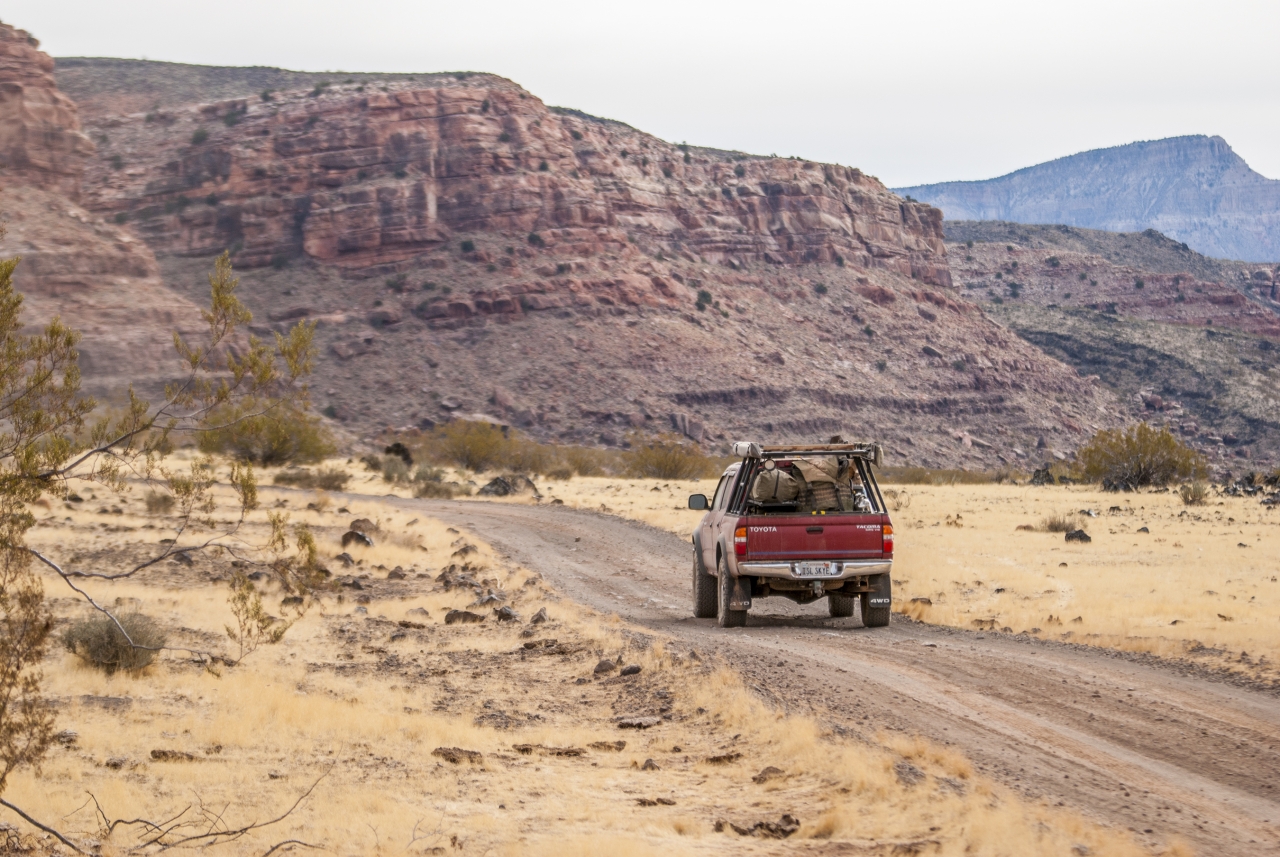
Once on the way out, we doubled back from where we drove in. We hit the 4-way intersection at the schoolhouse for a quick break around 11am. We reconvened a quick driver’s meeting to discuss the route and the rough area of where we would be heading to. We decided to head east after talking with a local as they said it is much more scenic than double backing the exact way we came in to get back on the highway.

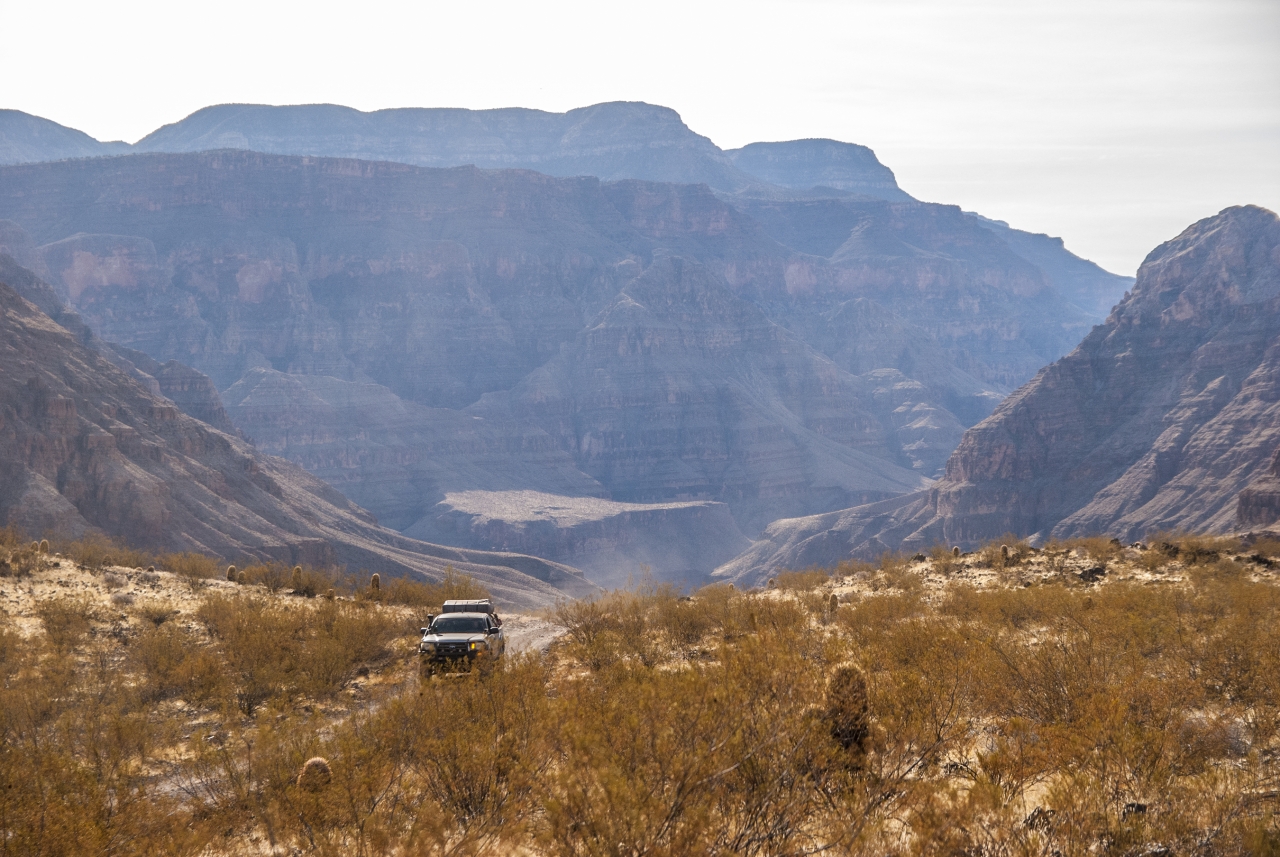


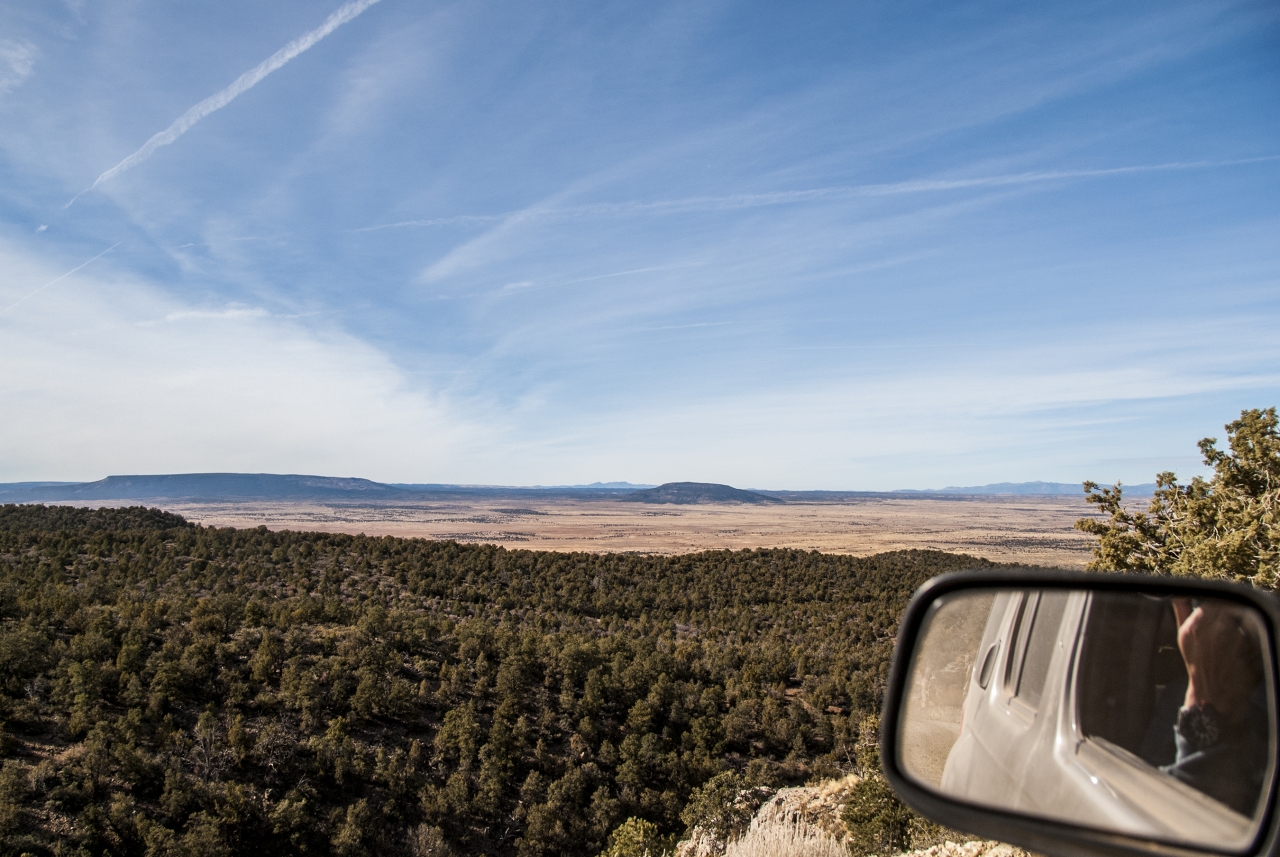
Mt Trumbull Loop was extremely scenic with a steady incline in elevation. Once we hit the top, we drove along the ridgeline for a bit until it opened up into flatlands and a nice wide-open fire road. Once we hit Antelope Valley Rd, we hit the gas and zoomed our way back to Highway 389, a very smooth and great driving road. Definitely one of the better dirt roads of the trip thus far. We aired up before we hit the pavement and we hit it hard towards Kanab for our late lunch.

Once we entered Kanab, we decided to hit up a burger joint which was VERY good. After filling our bellies, we all split off for different errands to run and decided to rendezvous at the market before we hit the road again.
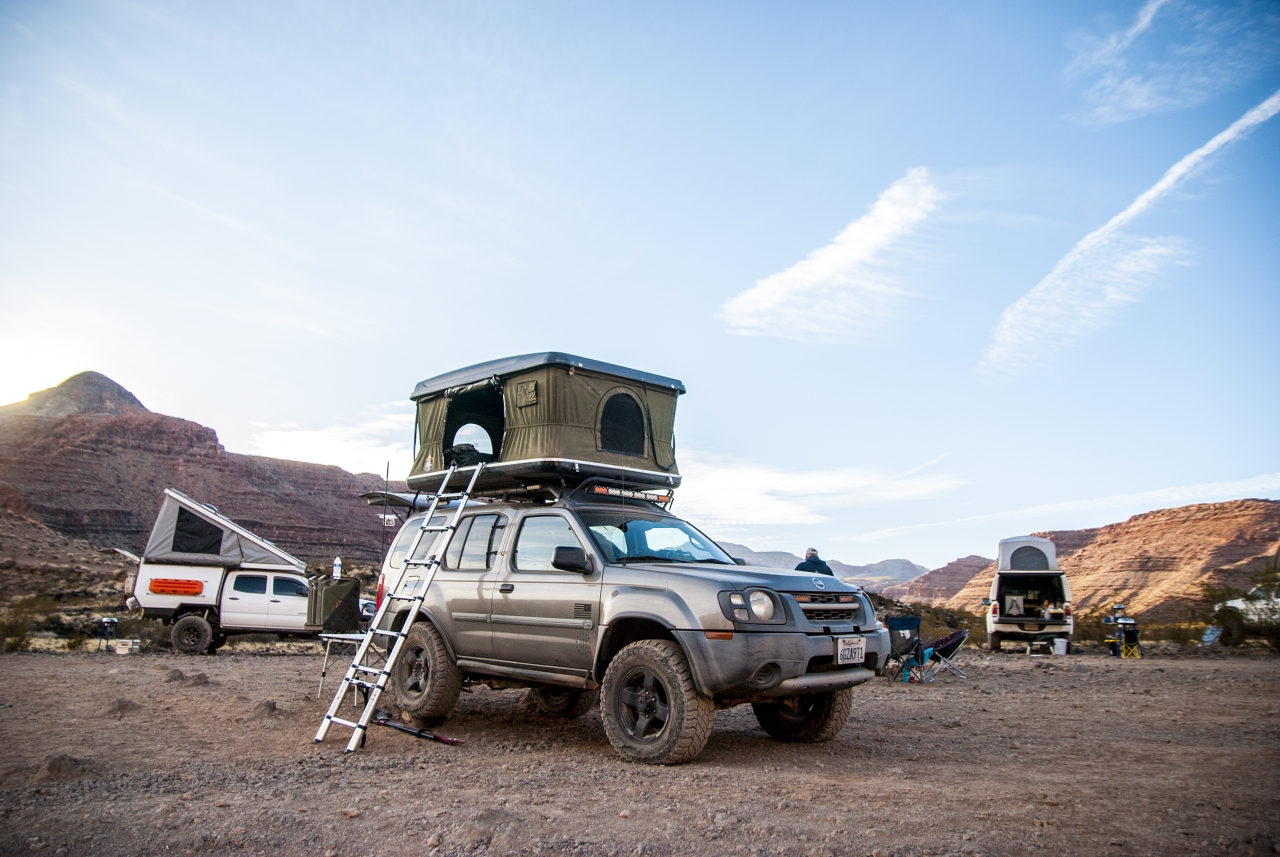
We hopped onto the road after a long but relaxing pitstop as the sun was beginning to set. Jon had a site set in his mind, so we followed him up Hwy 89 to Hancock Road towards the Pink Coral Sand Dunes. We drove around a bit through a very scenic fire service road with a full moon rising over on the east, and the sun setting in the west. He found a spot, but it was small and along a hillside. Not very spacious for all of us to camp in. I scouted around being tail-gunner on offshoot paths we had passed but couldn’t find a tangible spot for us all to camp in comfortably.
With night falling very quickly, we double backed to the main road and found a campsite along the road from which we came in. It was a large spot and about fifty yards off the road with good cover. We were happy with this spot so we setup camp and enjoyed the night while waiting for Brian to link up with us that night.
To be continued in Part II…