I have a love-hate relationship with tank bags. They’re great for keeping all of the essential things you need right where you can easily access them, but then all of the things in the bag tend to become a tangled mess. If you have a larger tank bag things can all but disappear, and looking for that second ear plug or tube of chapstick can quickly turn into a pull over and dig in your bag affair. Thankfully, Mosko Moto has taken a completely difference approach to how a tank bag is organized, and fused it with so many innovative features that calling it a tank bag feels like an understatement.
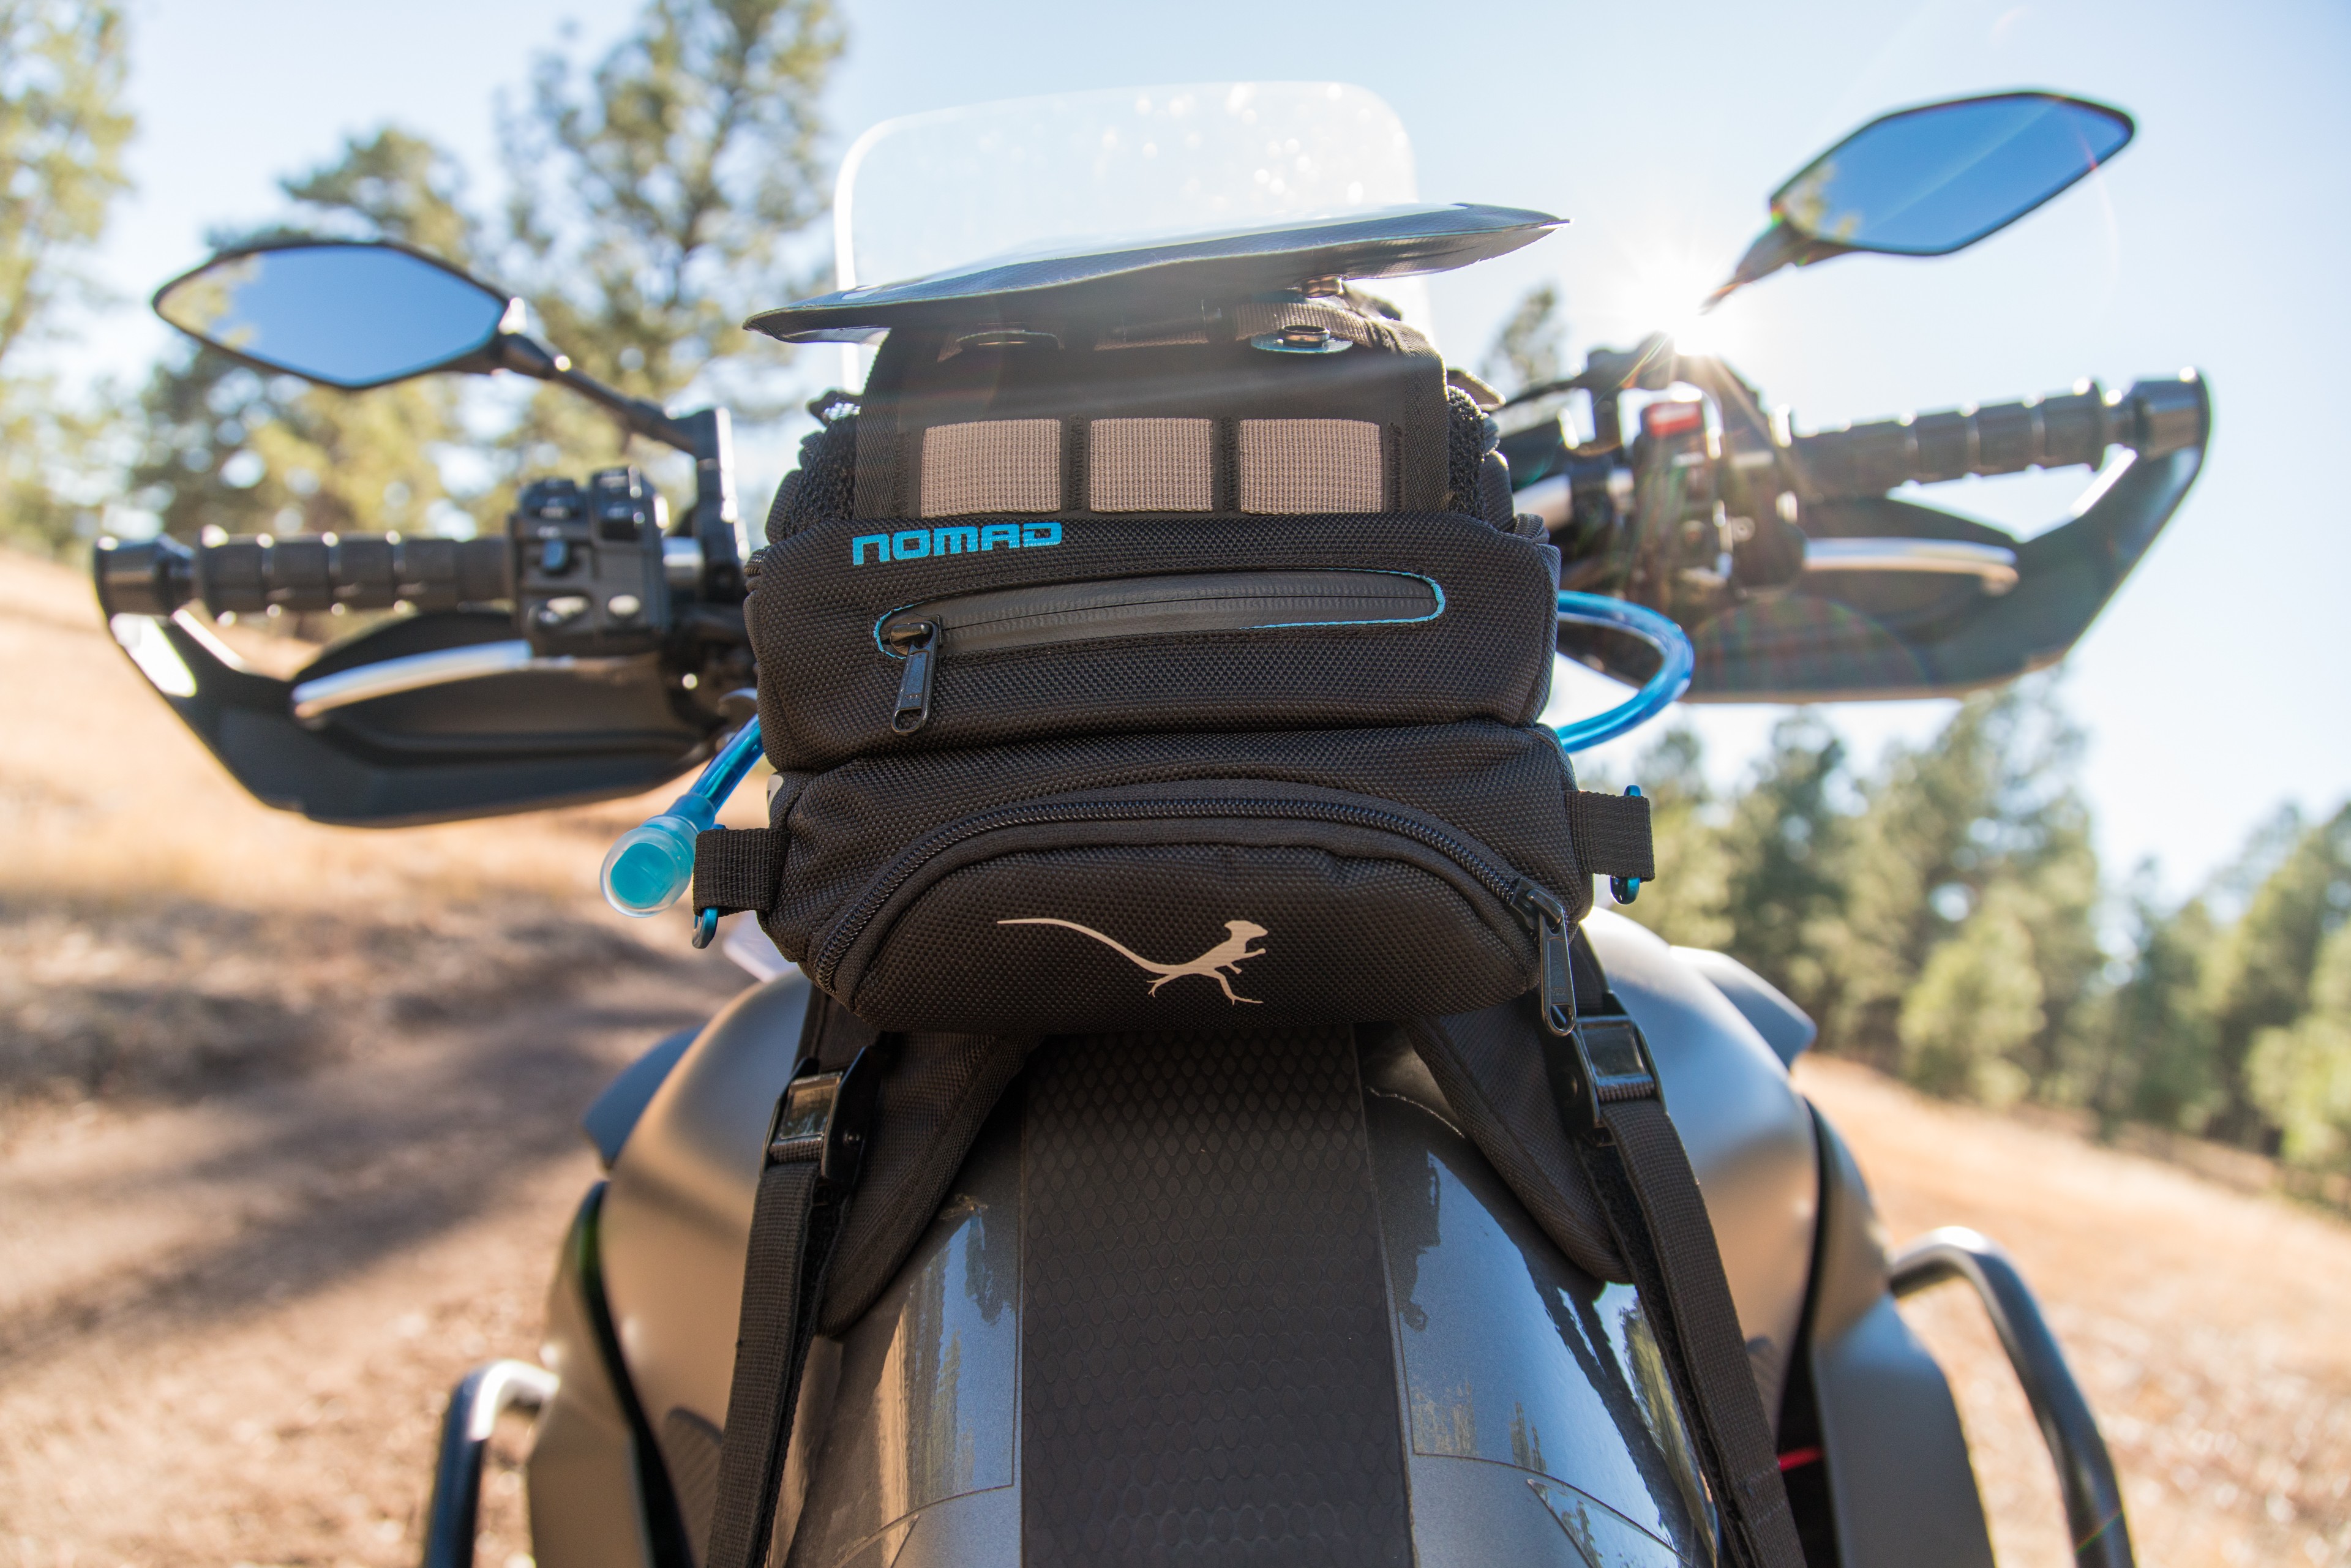
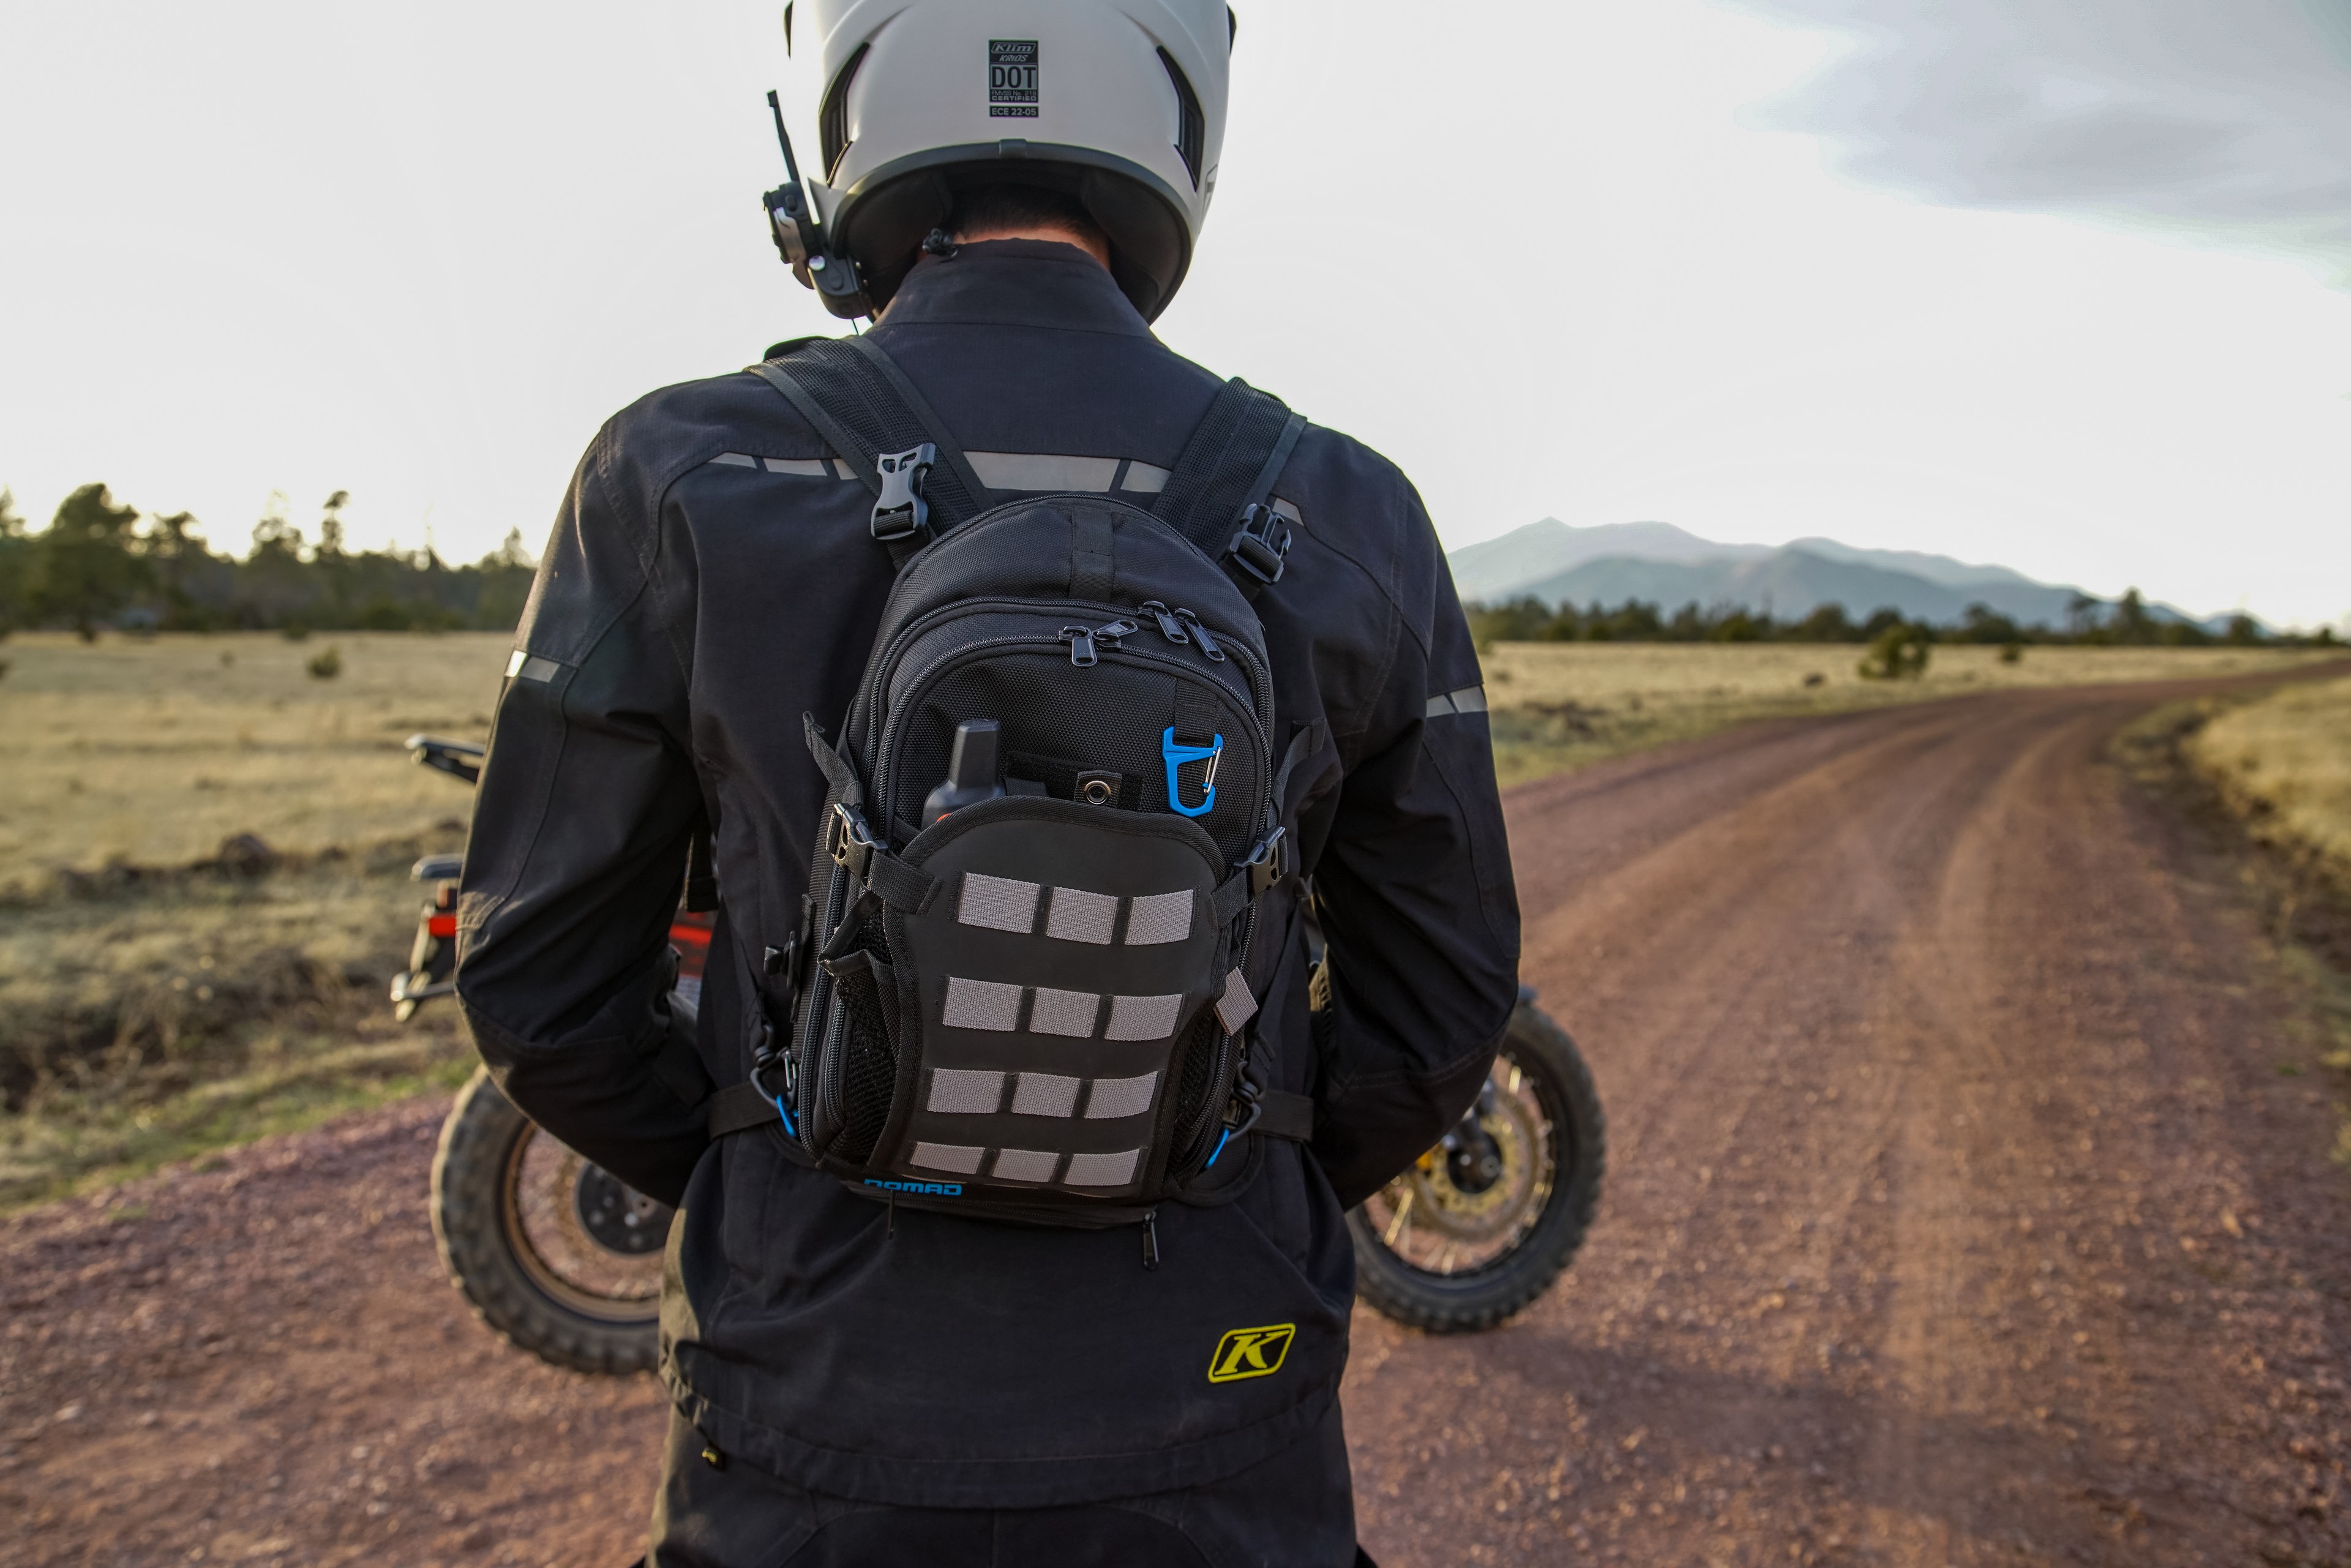
The Nomad is a dynamic, multi-layer, gear swallowing and organizing tank bag that can be suited to any type of ride and any type of rider. You can stuff the thing full of gear and load up the MOLLE on the top, or you can go fast and light and carry just the essentials, sucking the tank bag down on to the bike to go “high speed, low drag” in tacti-cool parlance. Literally, this thing can be configured however you want to use it, allowing it to be the tank bag for just about everyone.
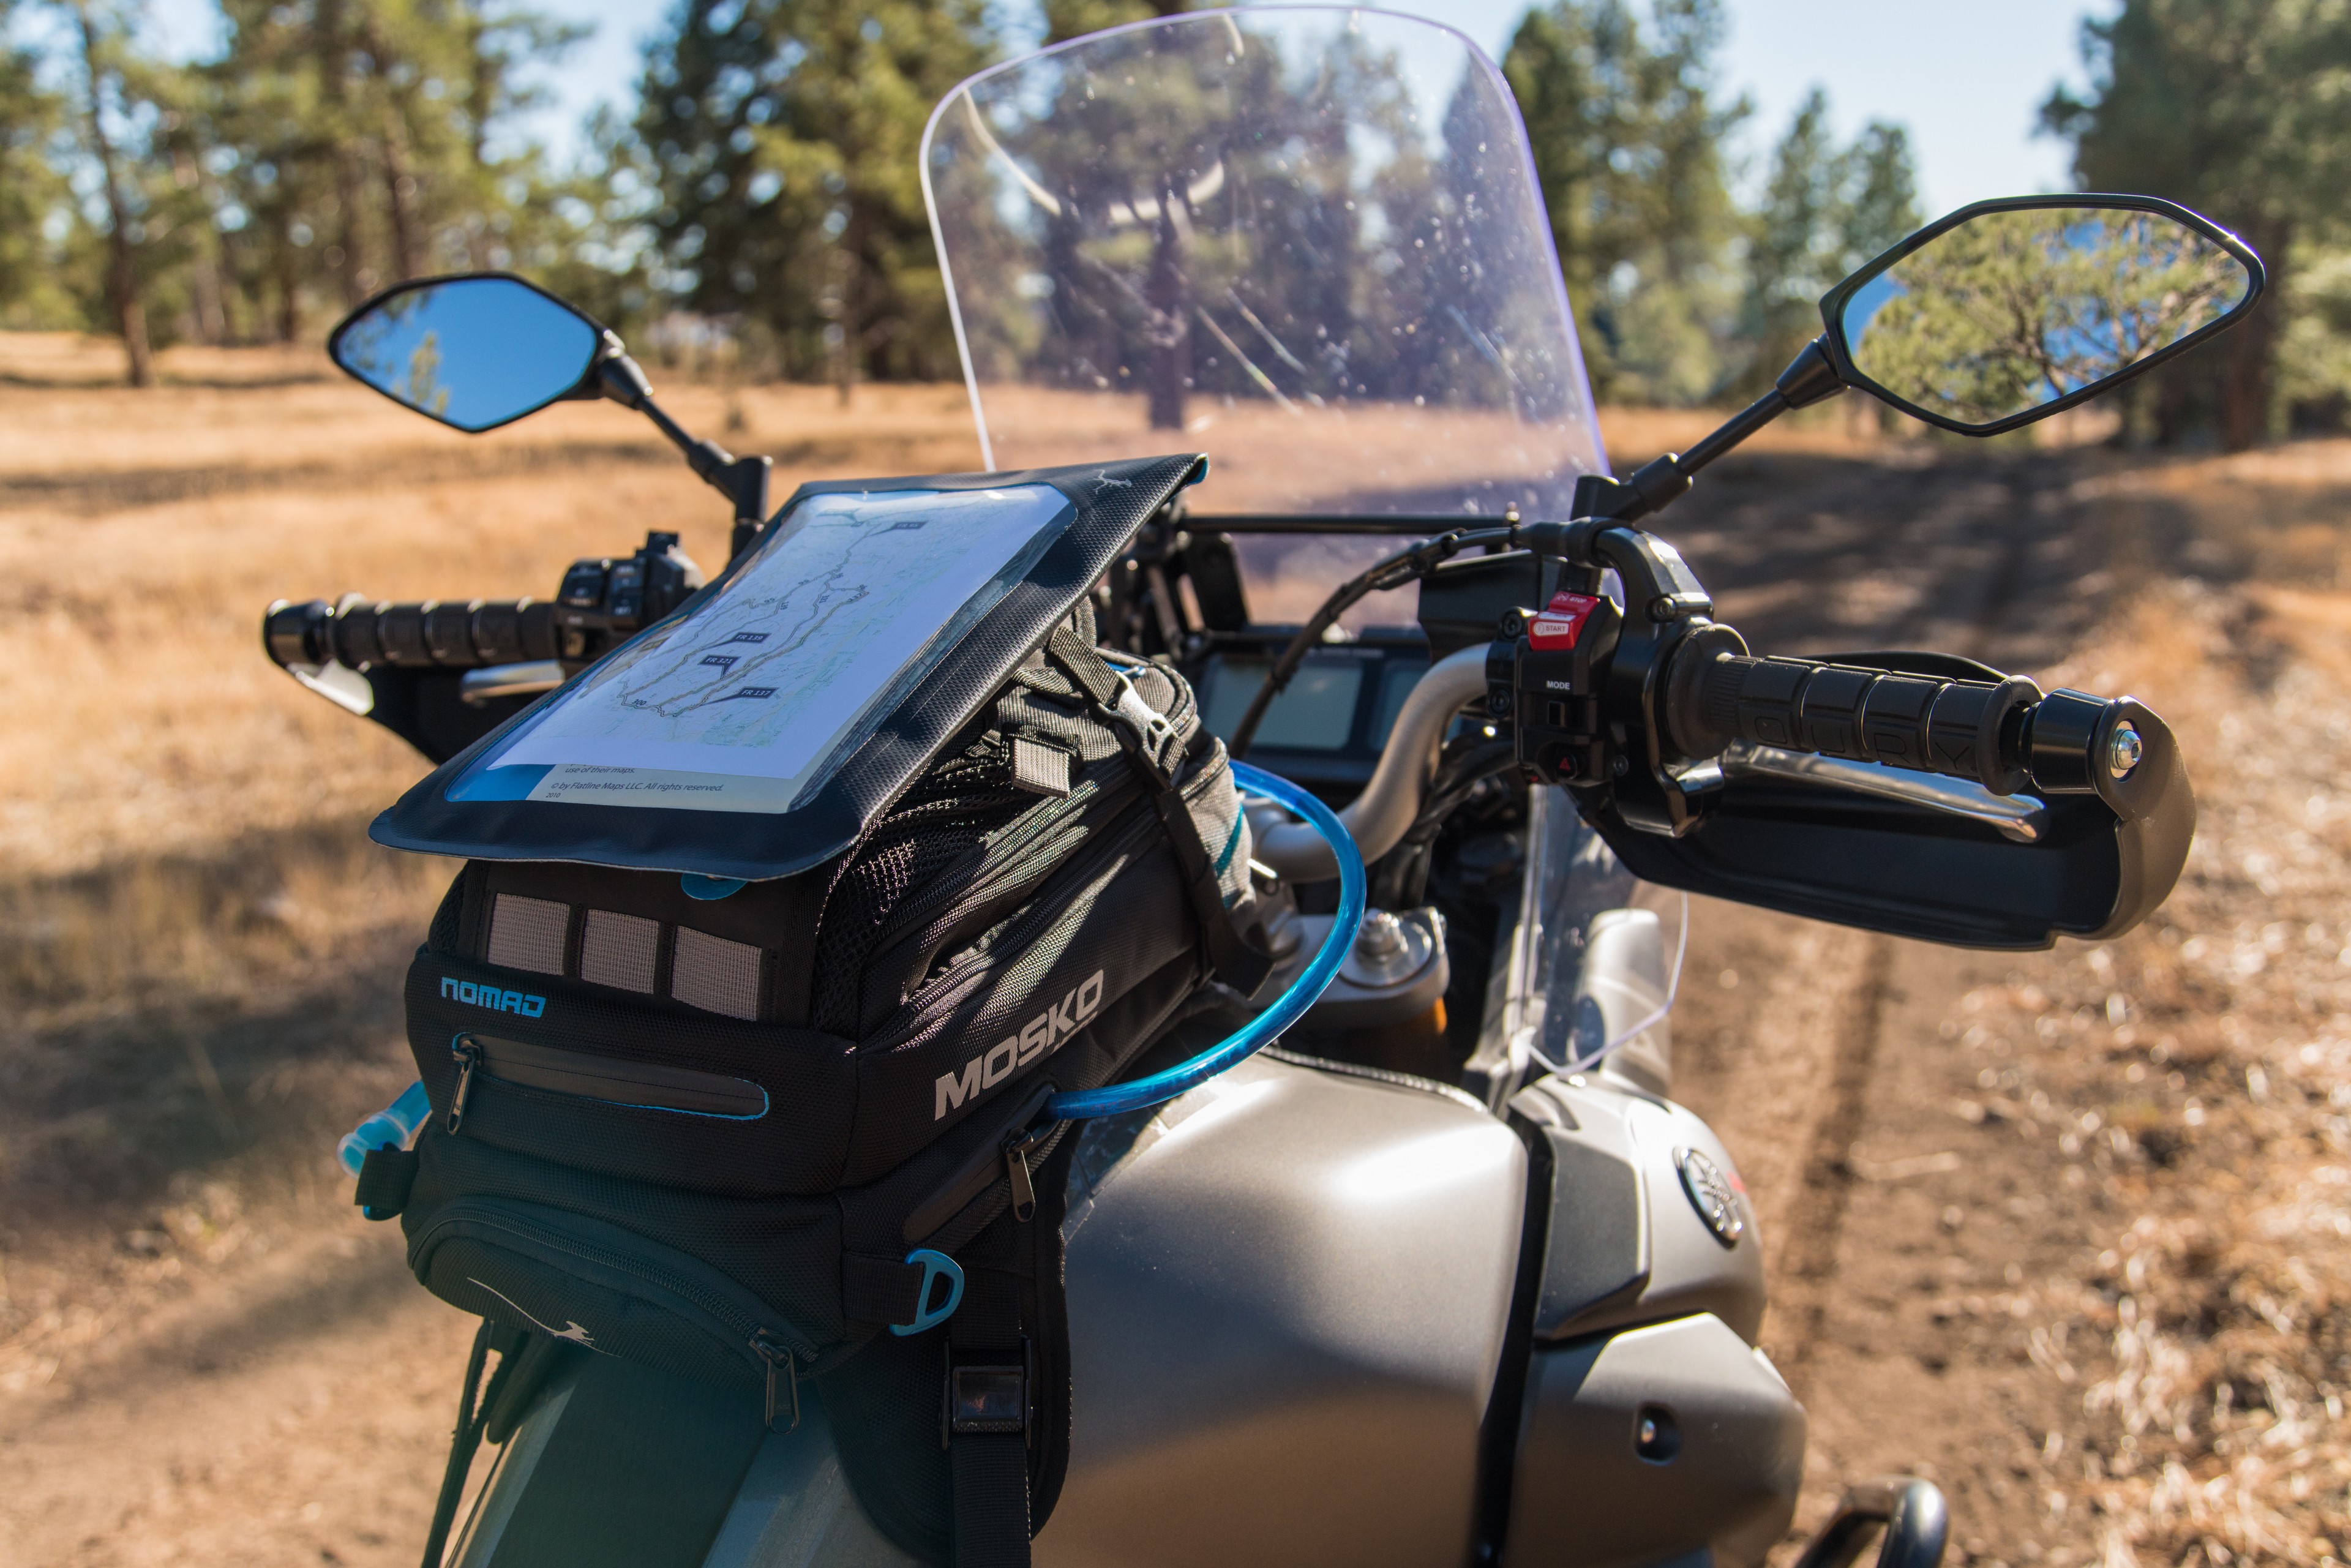
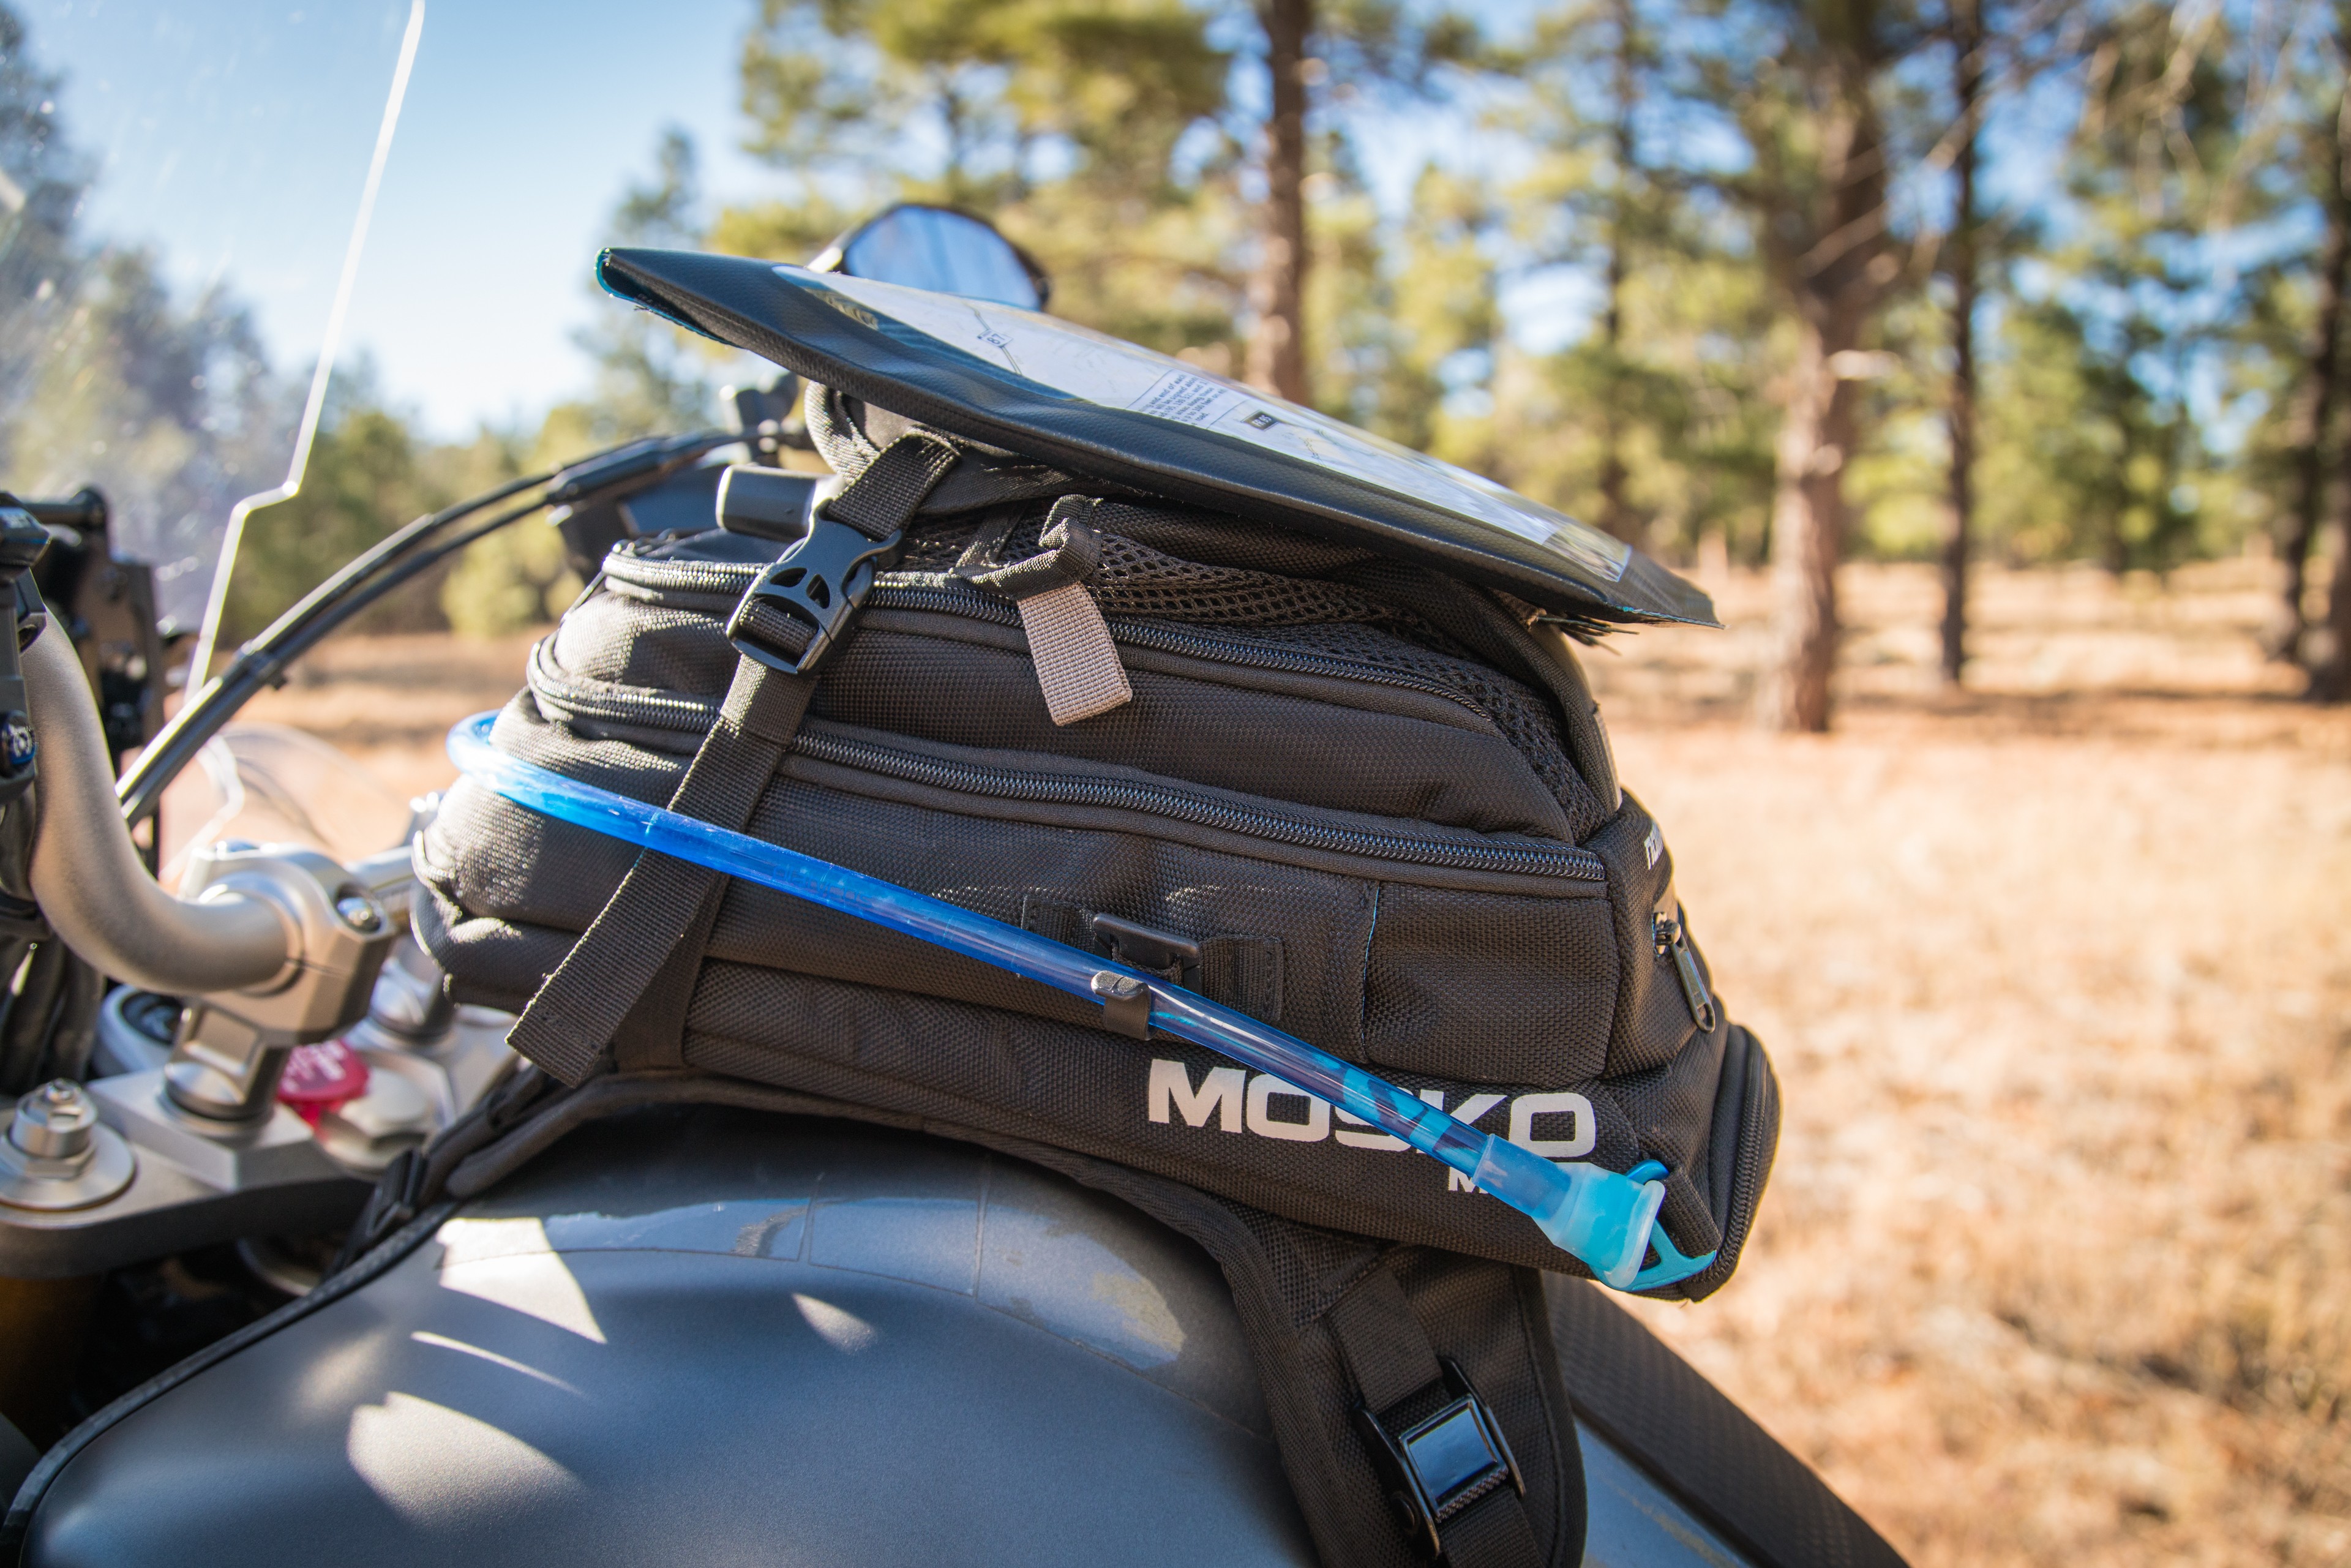
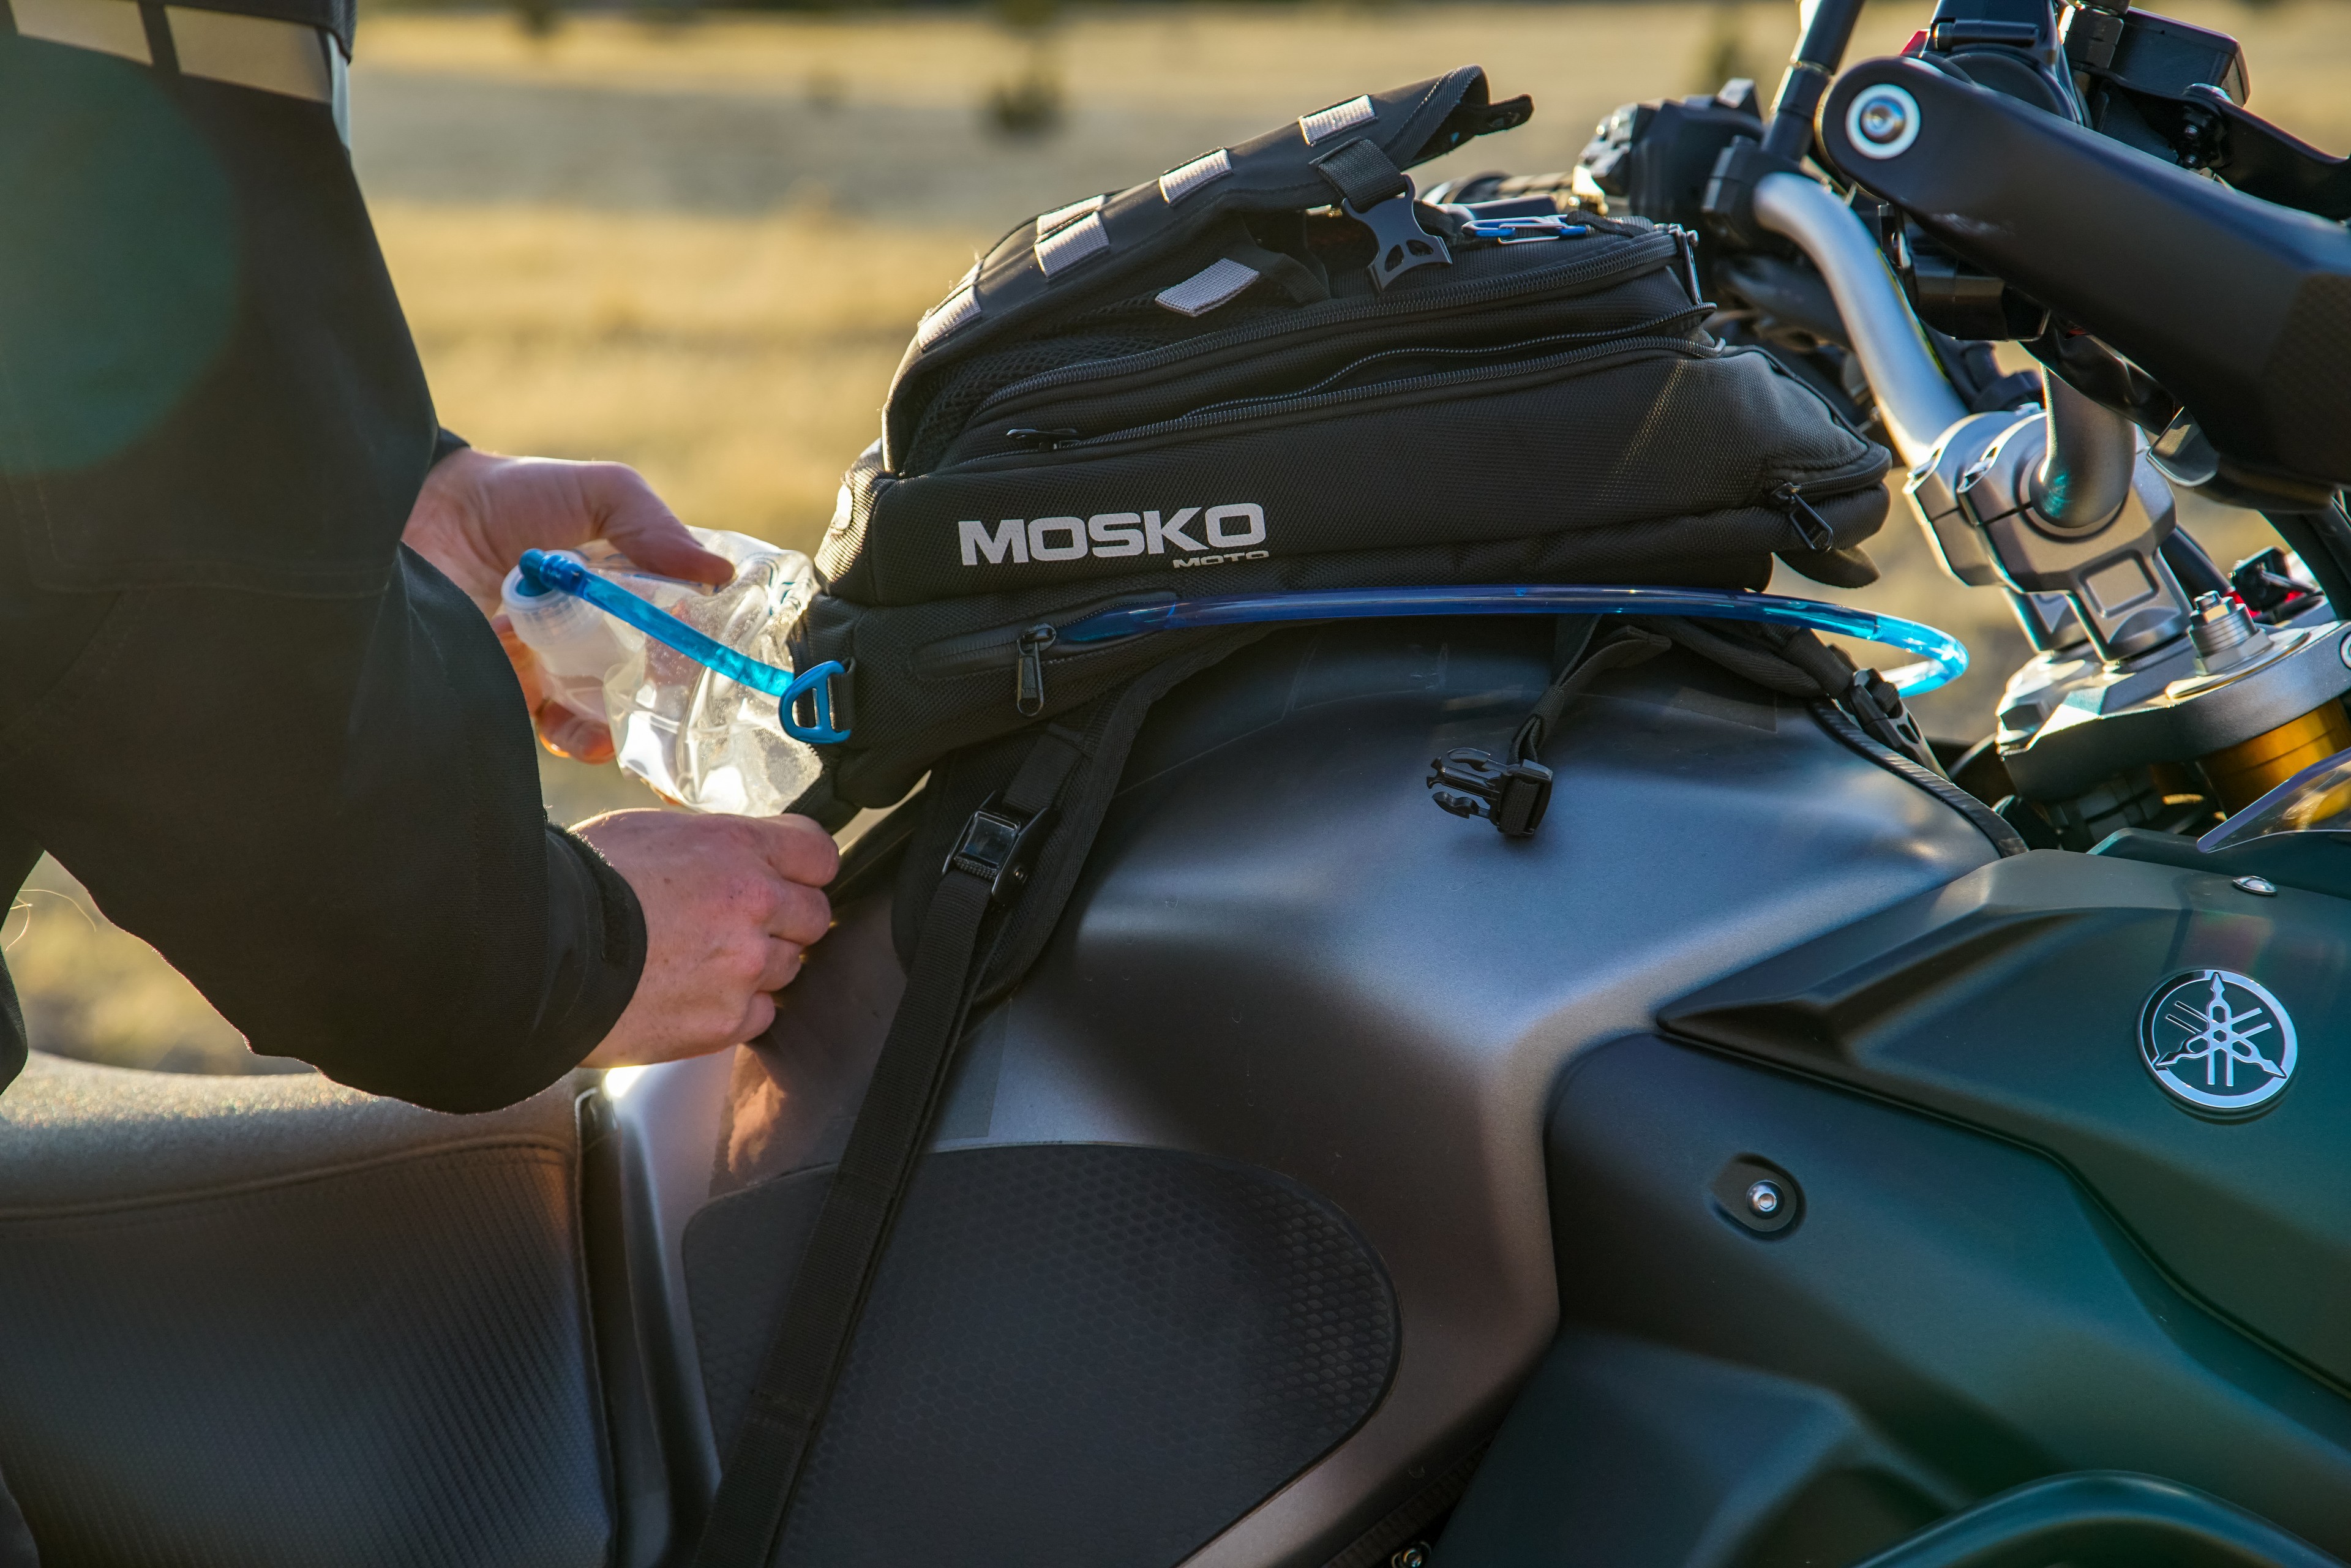
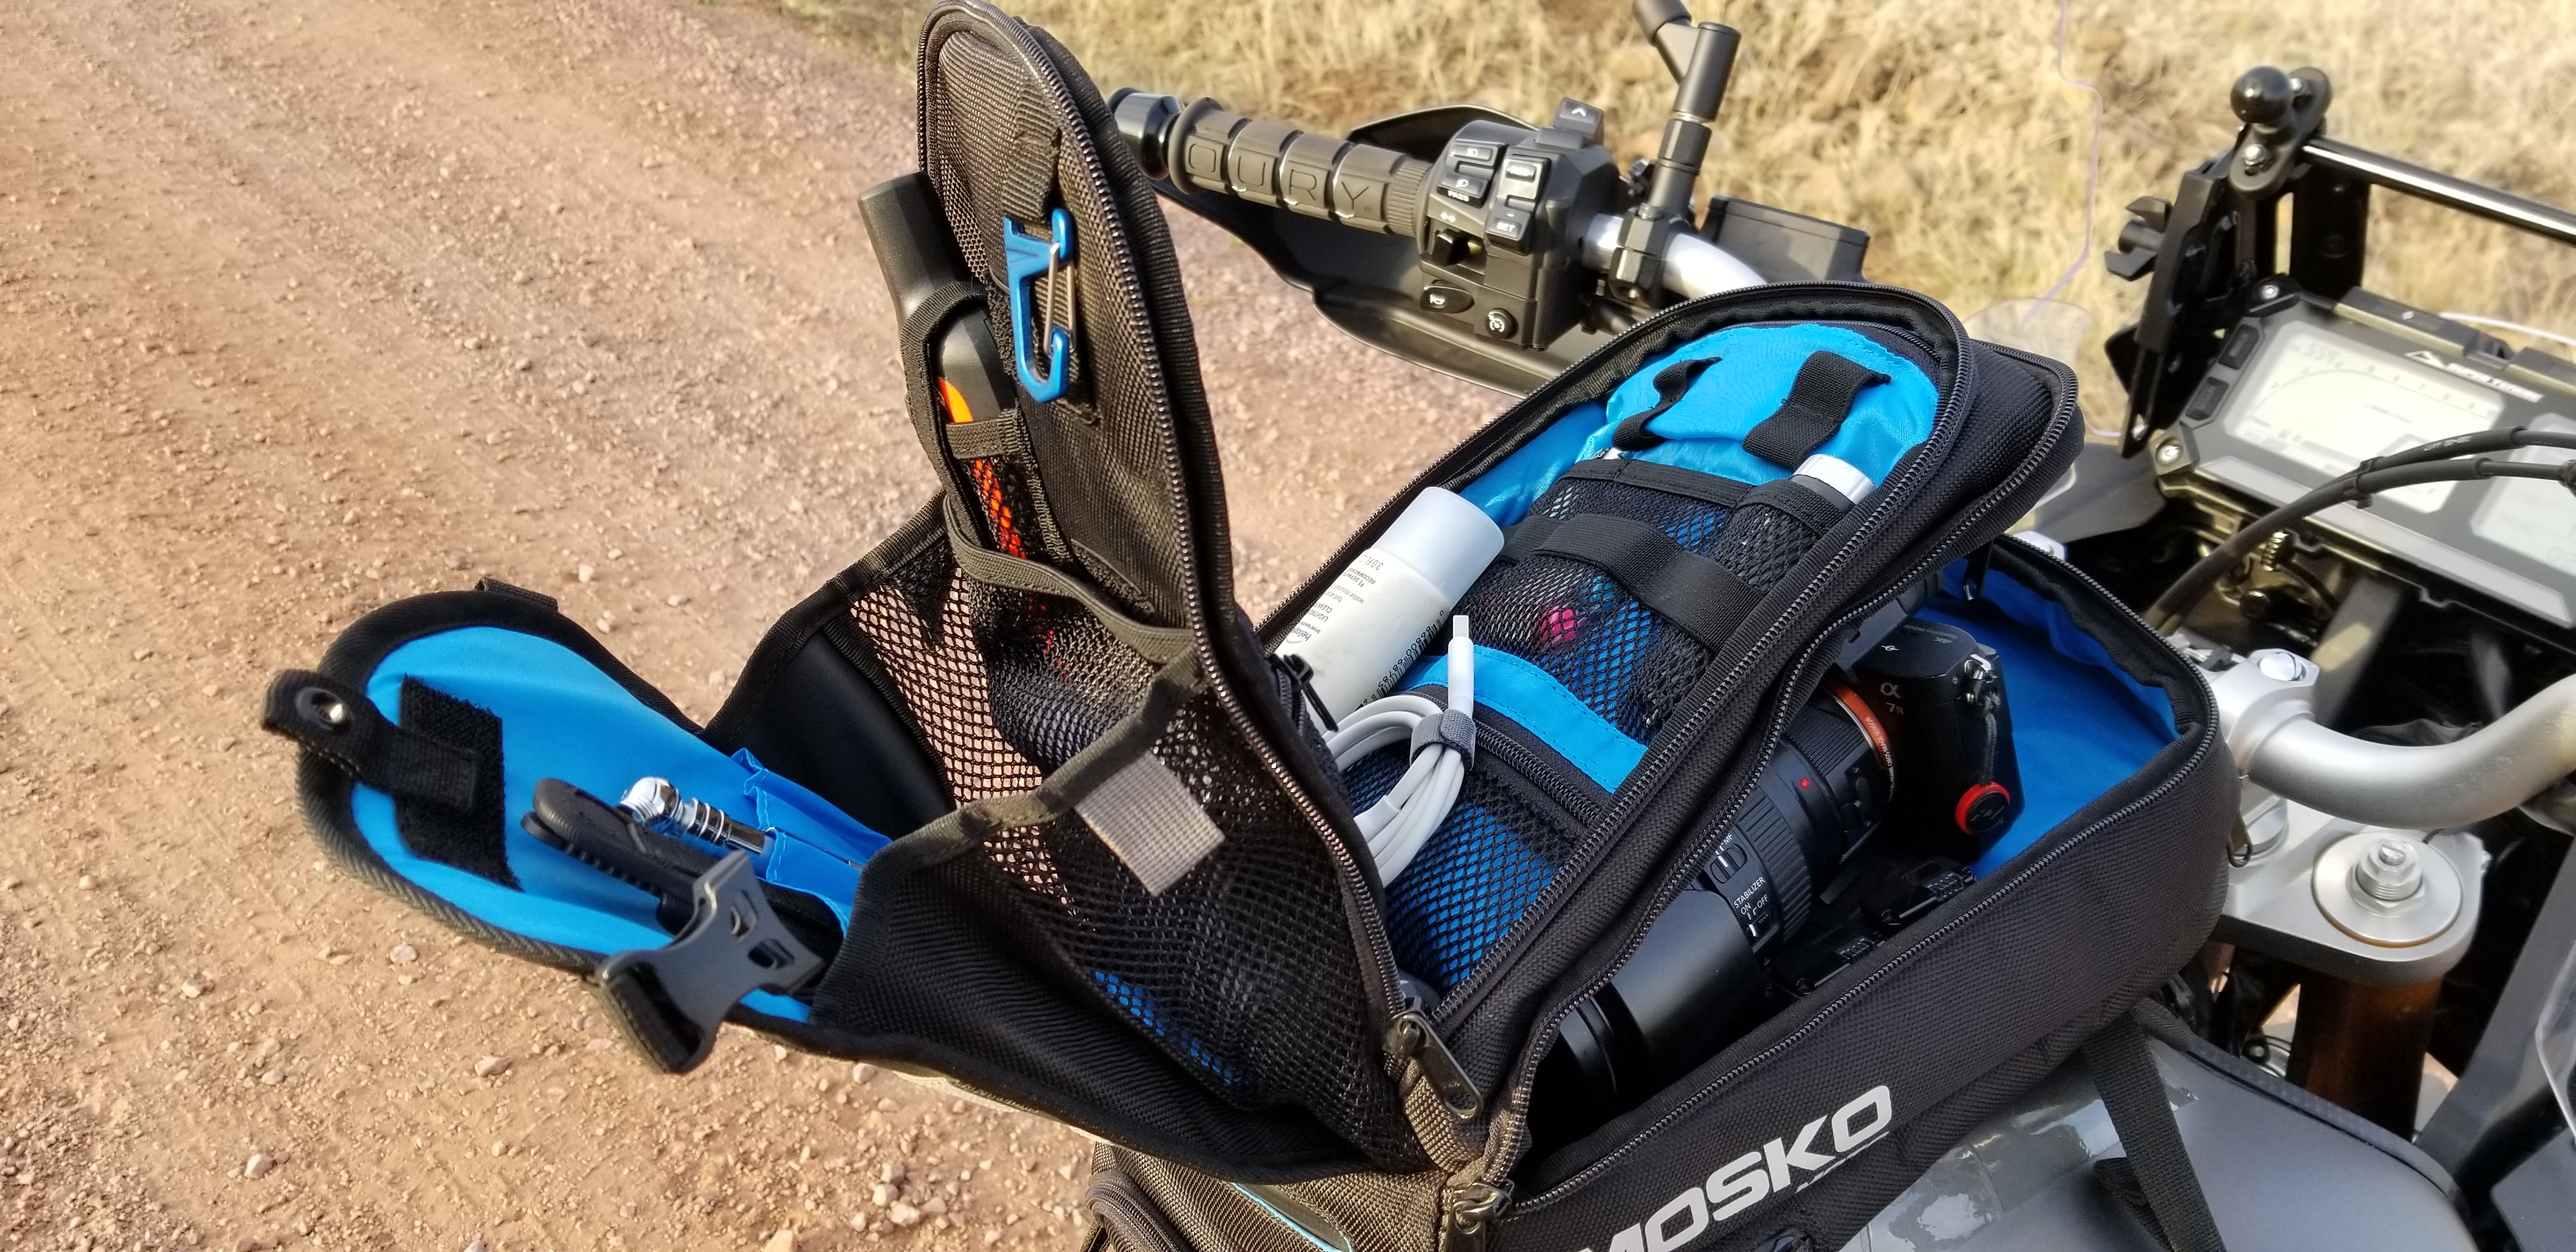
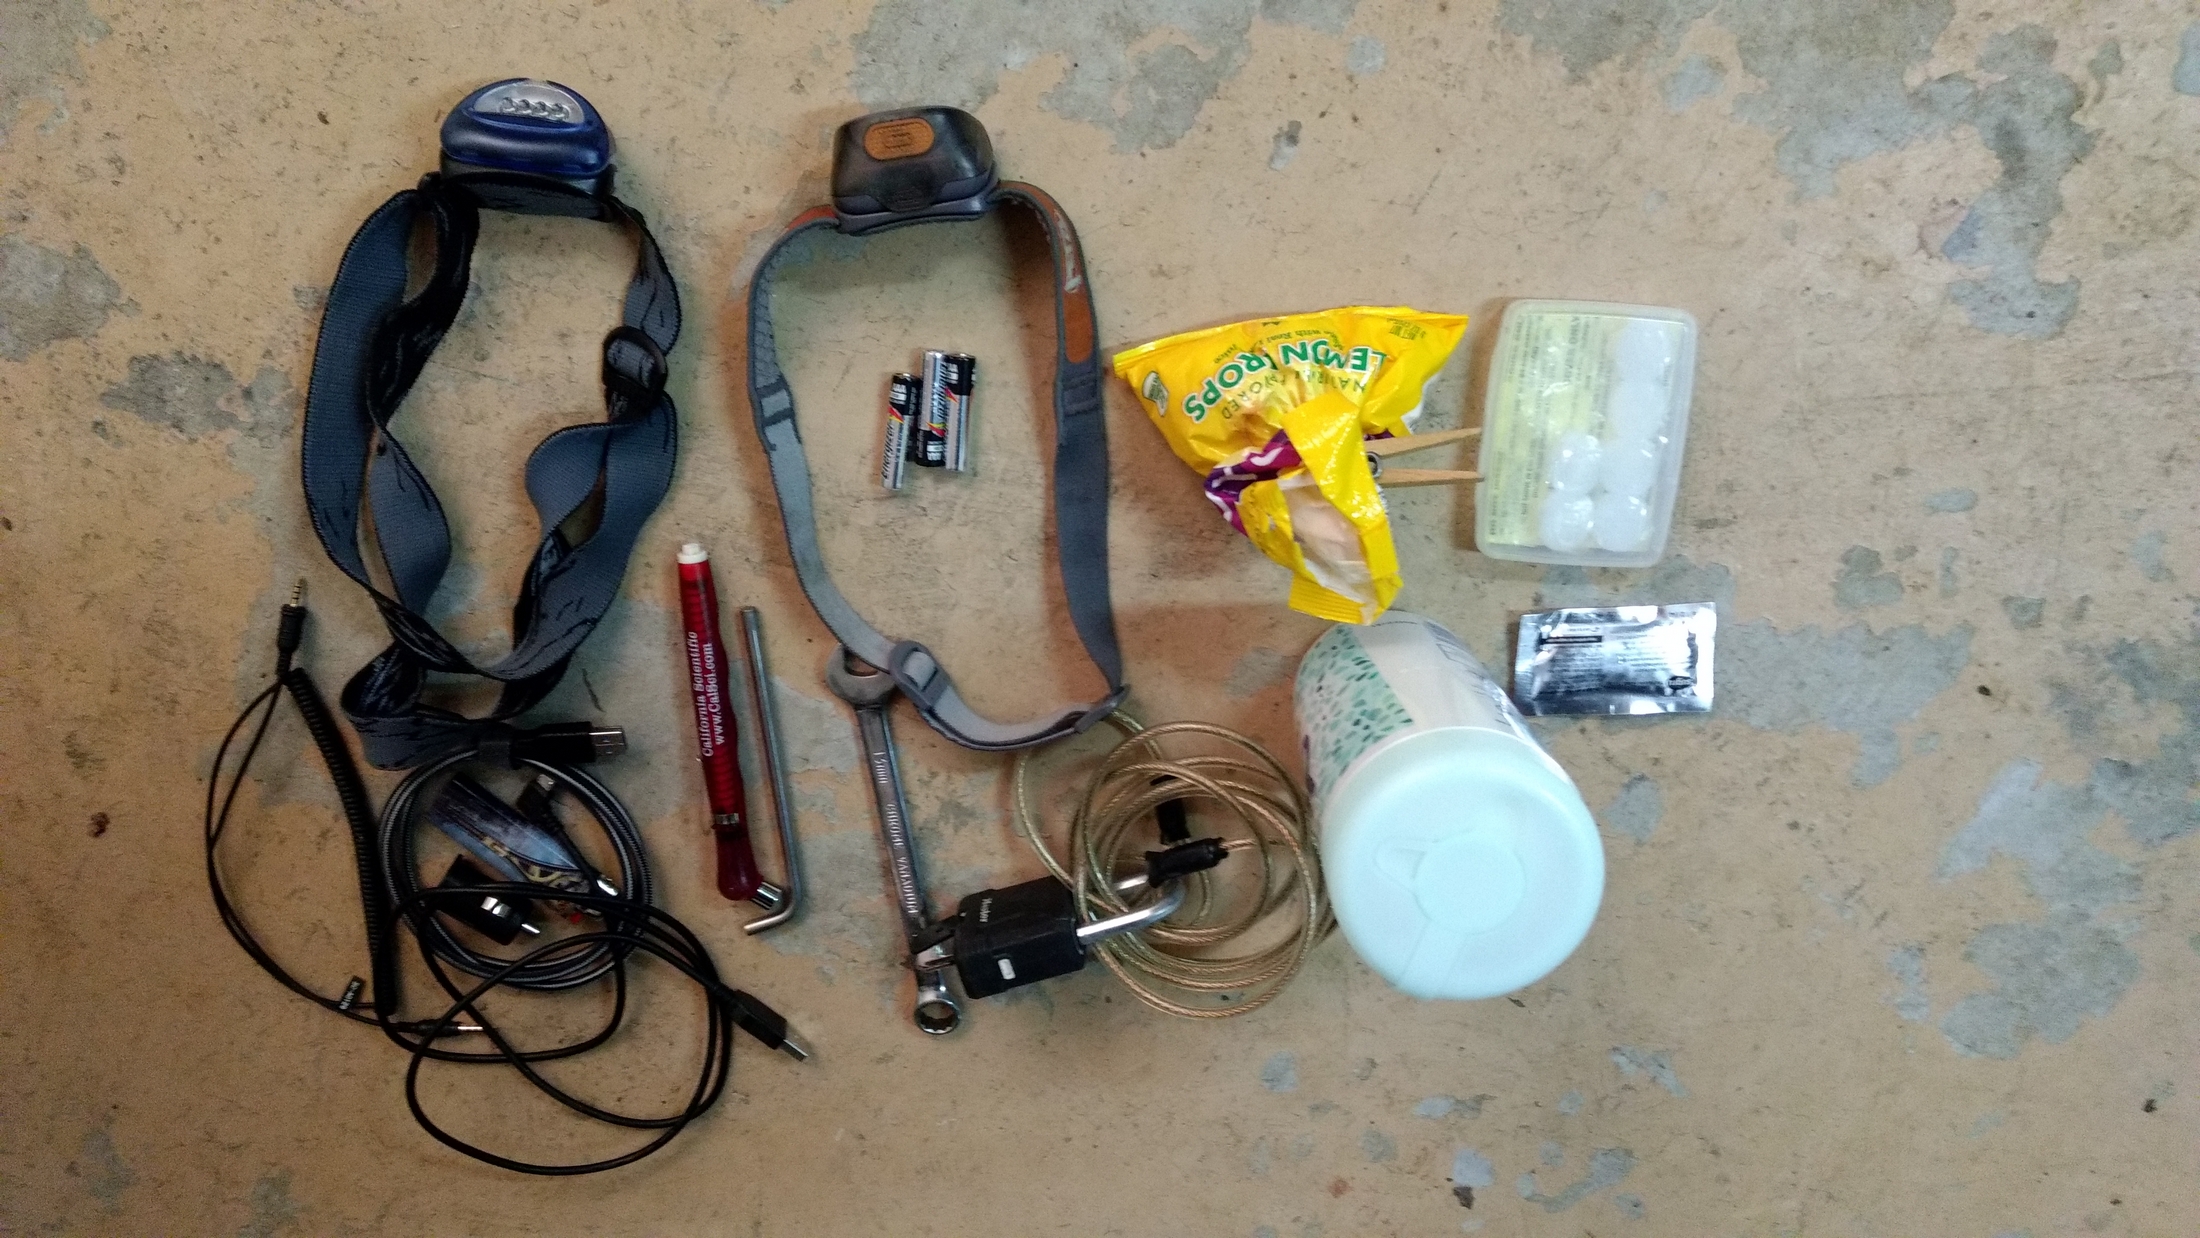
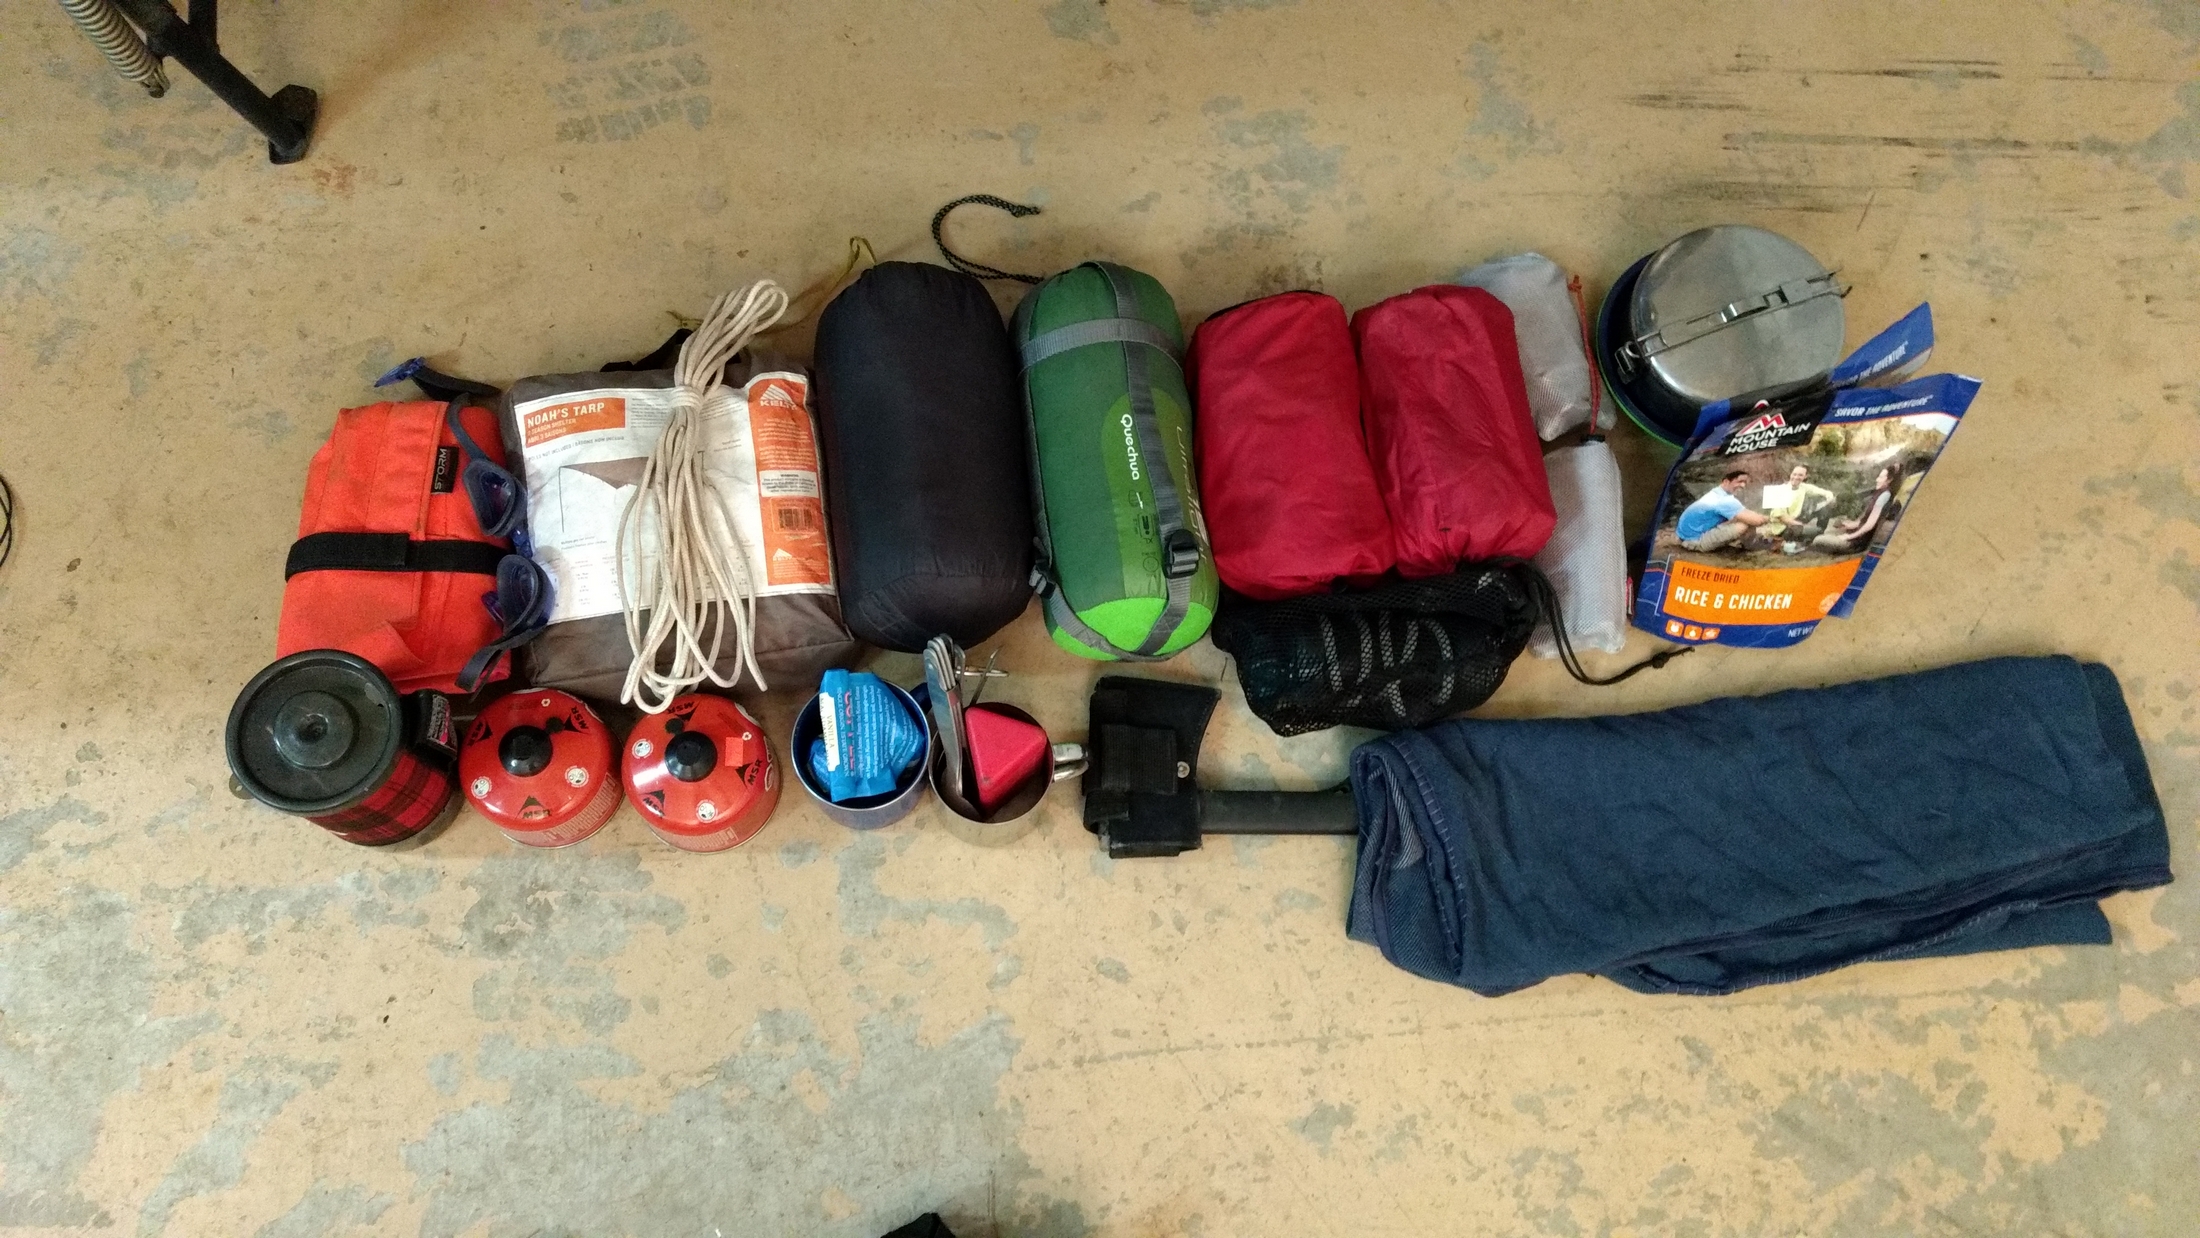
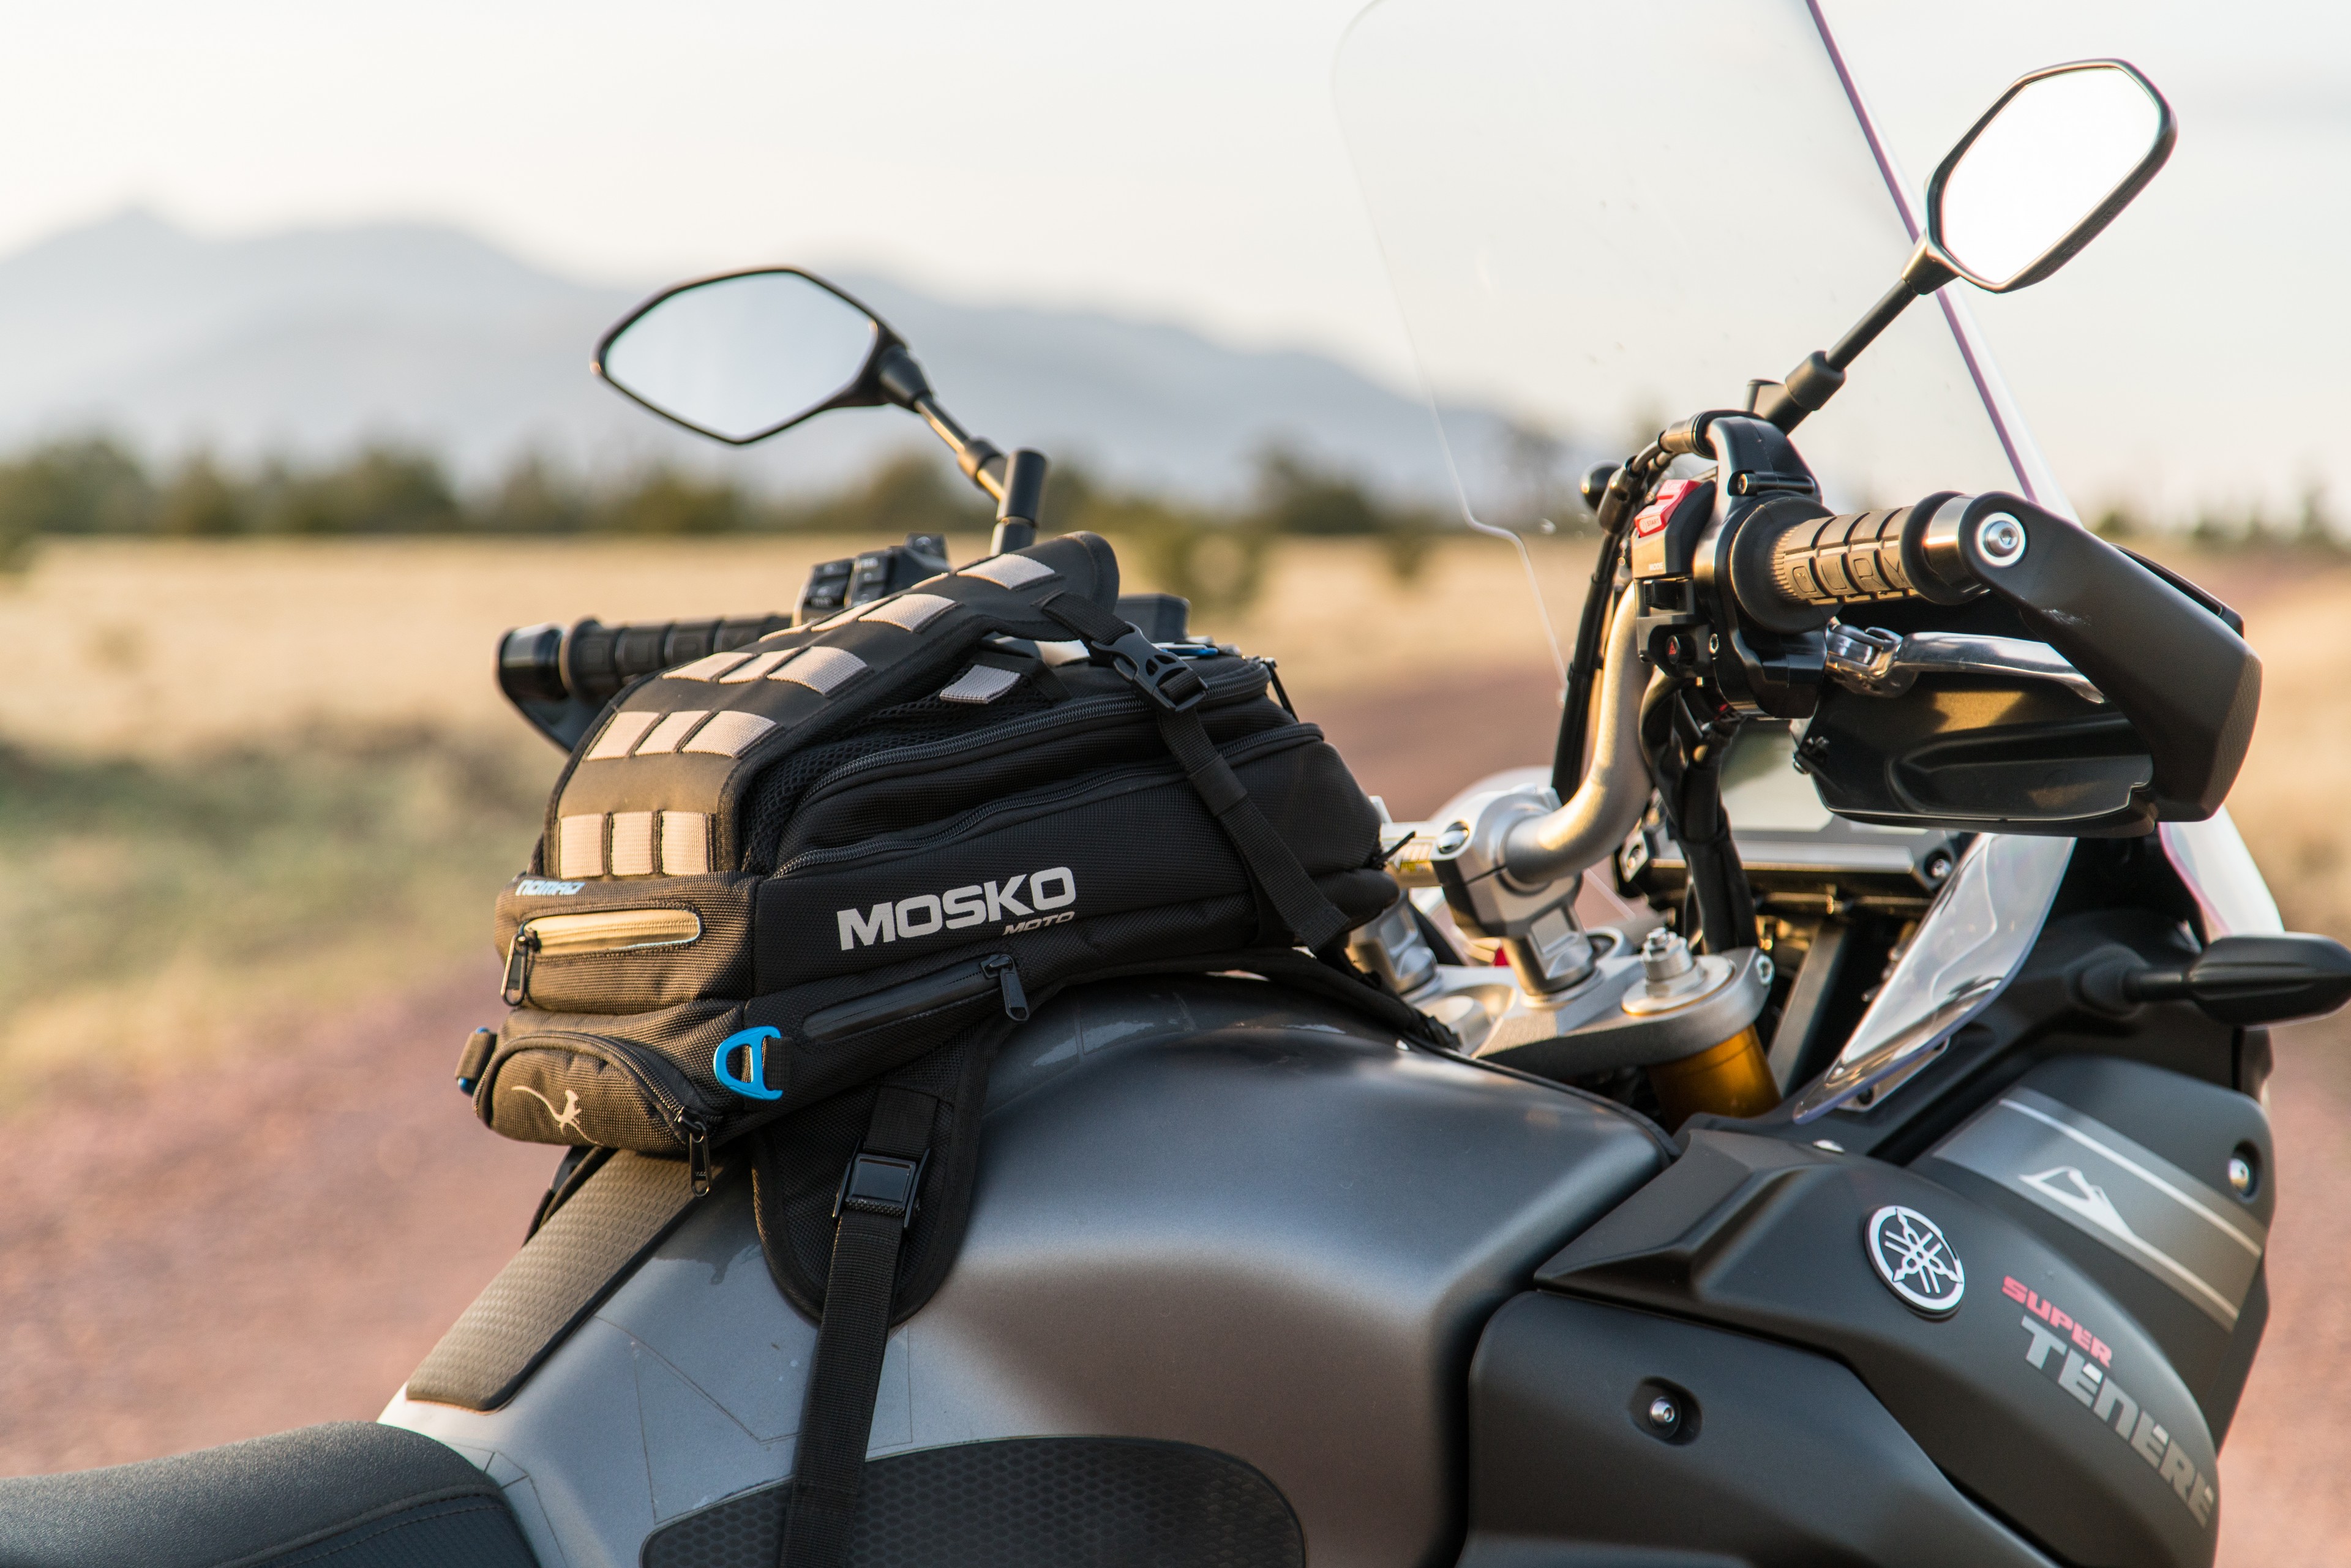
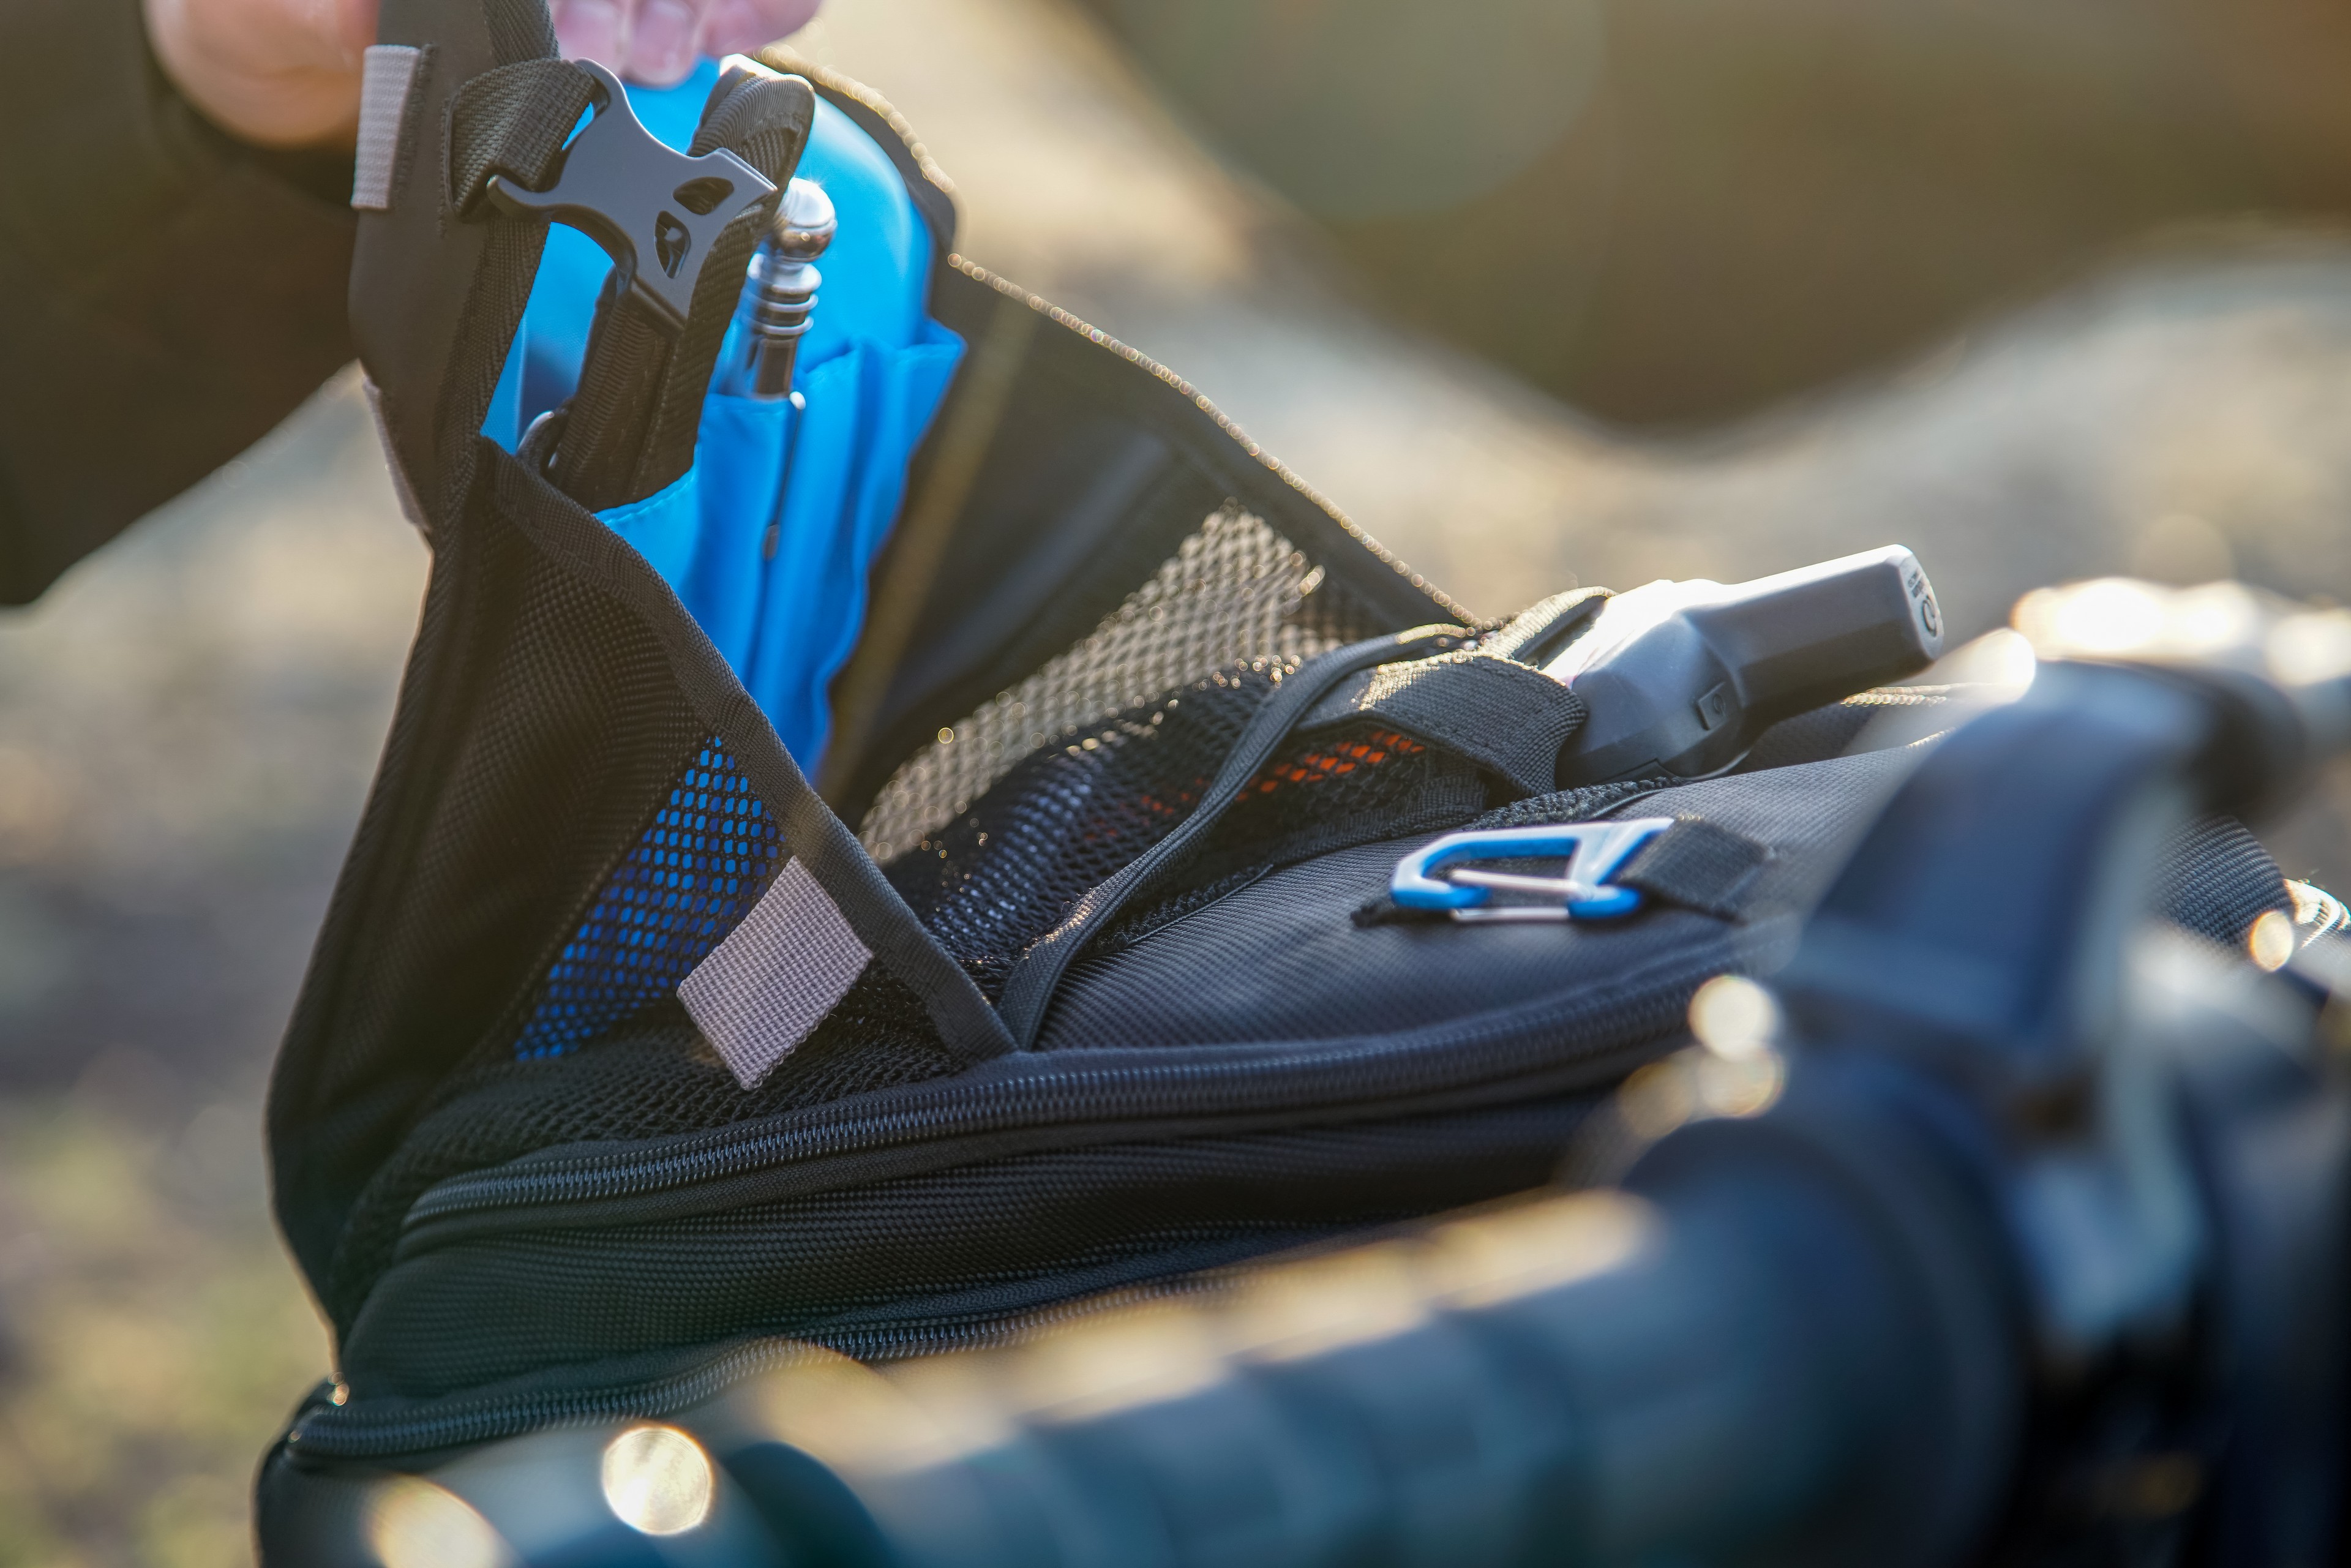
As with any other piece of Mosko Moto gear, a container ship of thought was poured into this bag, and it shows in the product’s final design. The MOLLE on the top layer lets you install the included map pouch, or you can run whatever MOLLE compatible accessory you choose up top. The MOLLE is sewn on to a beaver tail—open it and you’ll have access to your quick access items like your maps or GPS. The next layer down is all about organizing your small items like charging cables, a tire pressure gauge, and earplugs. Below that you’ll find the main compartment that can swallow up a DSLR camera (without a battery grip), your rain gloves, or other large items you need to stash. Below that is a sleeve that will accept the included 1.8L Platypus water bladder which is awesome for when you don’t want to have to wear your water. And finally, all the way at the bottom of the bag, you’ll find two straps that turn the Nomad into a backpack, so you can park your bike and easily take your tank bag with you.
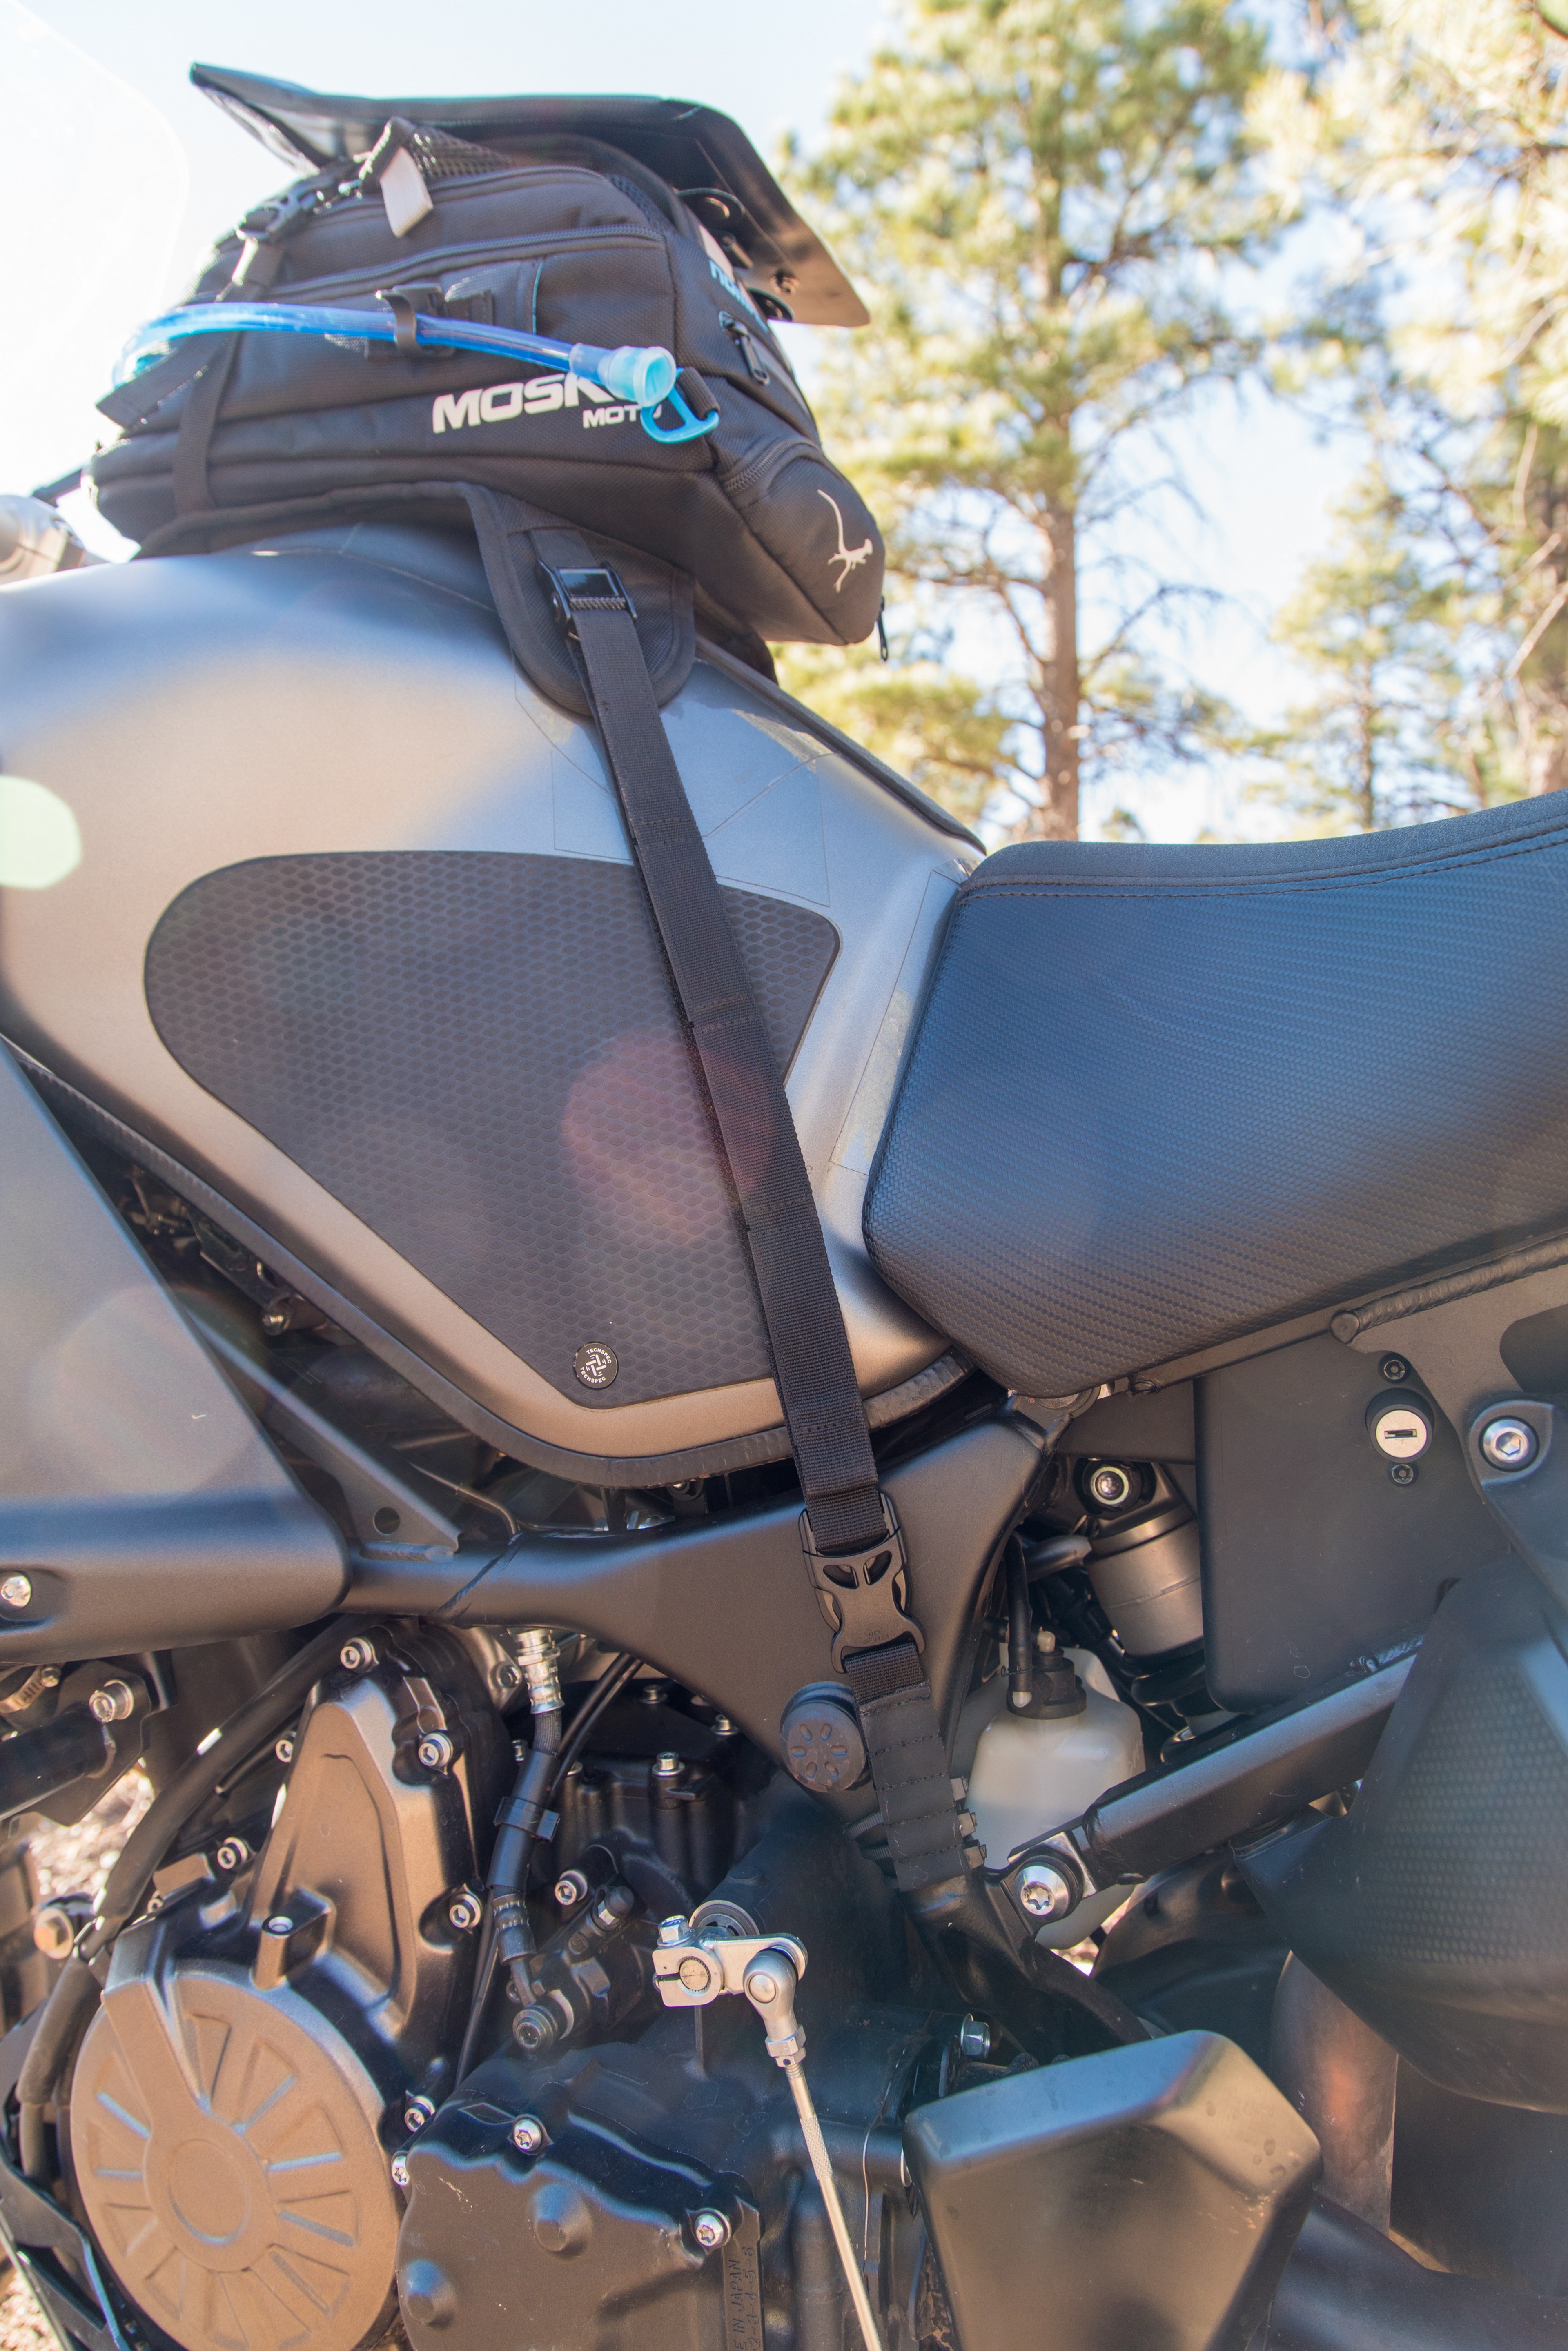


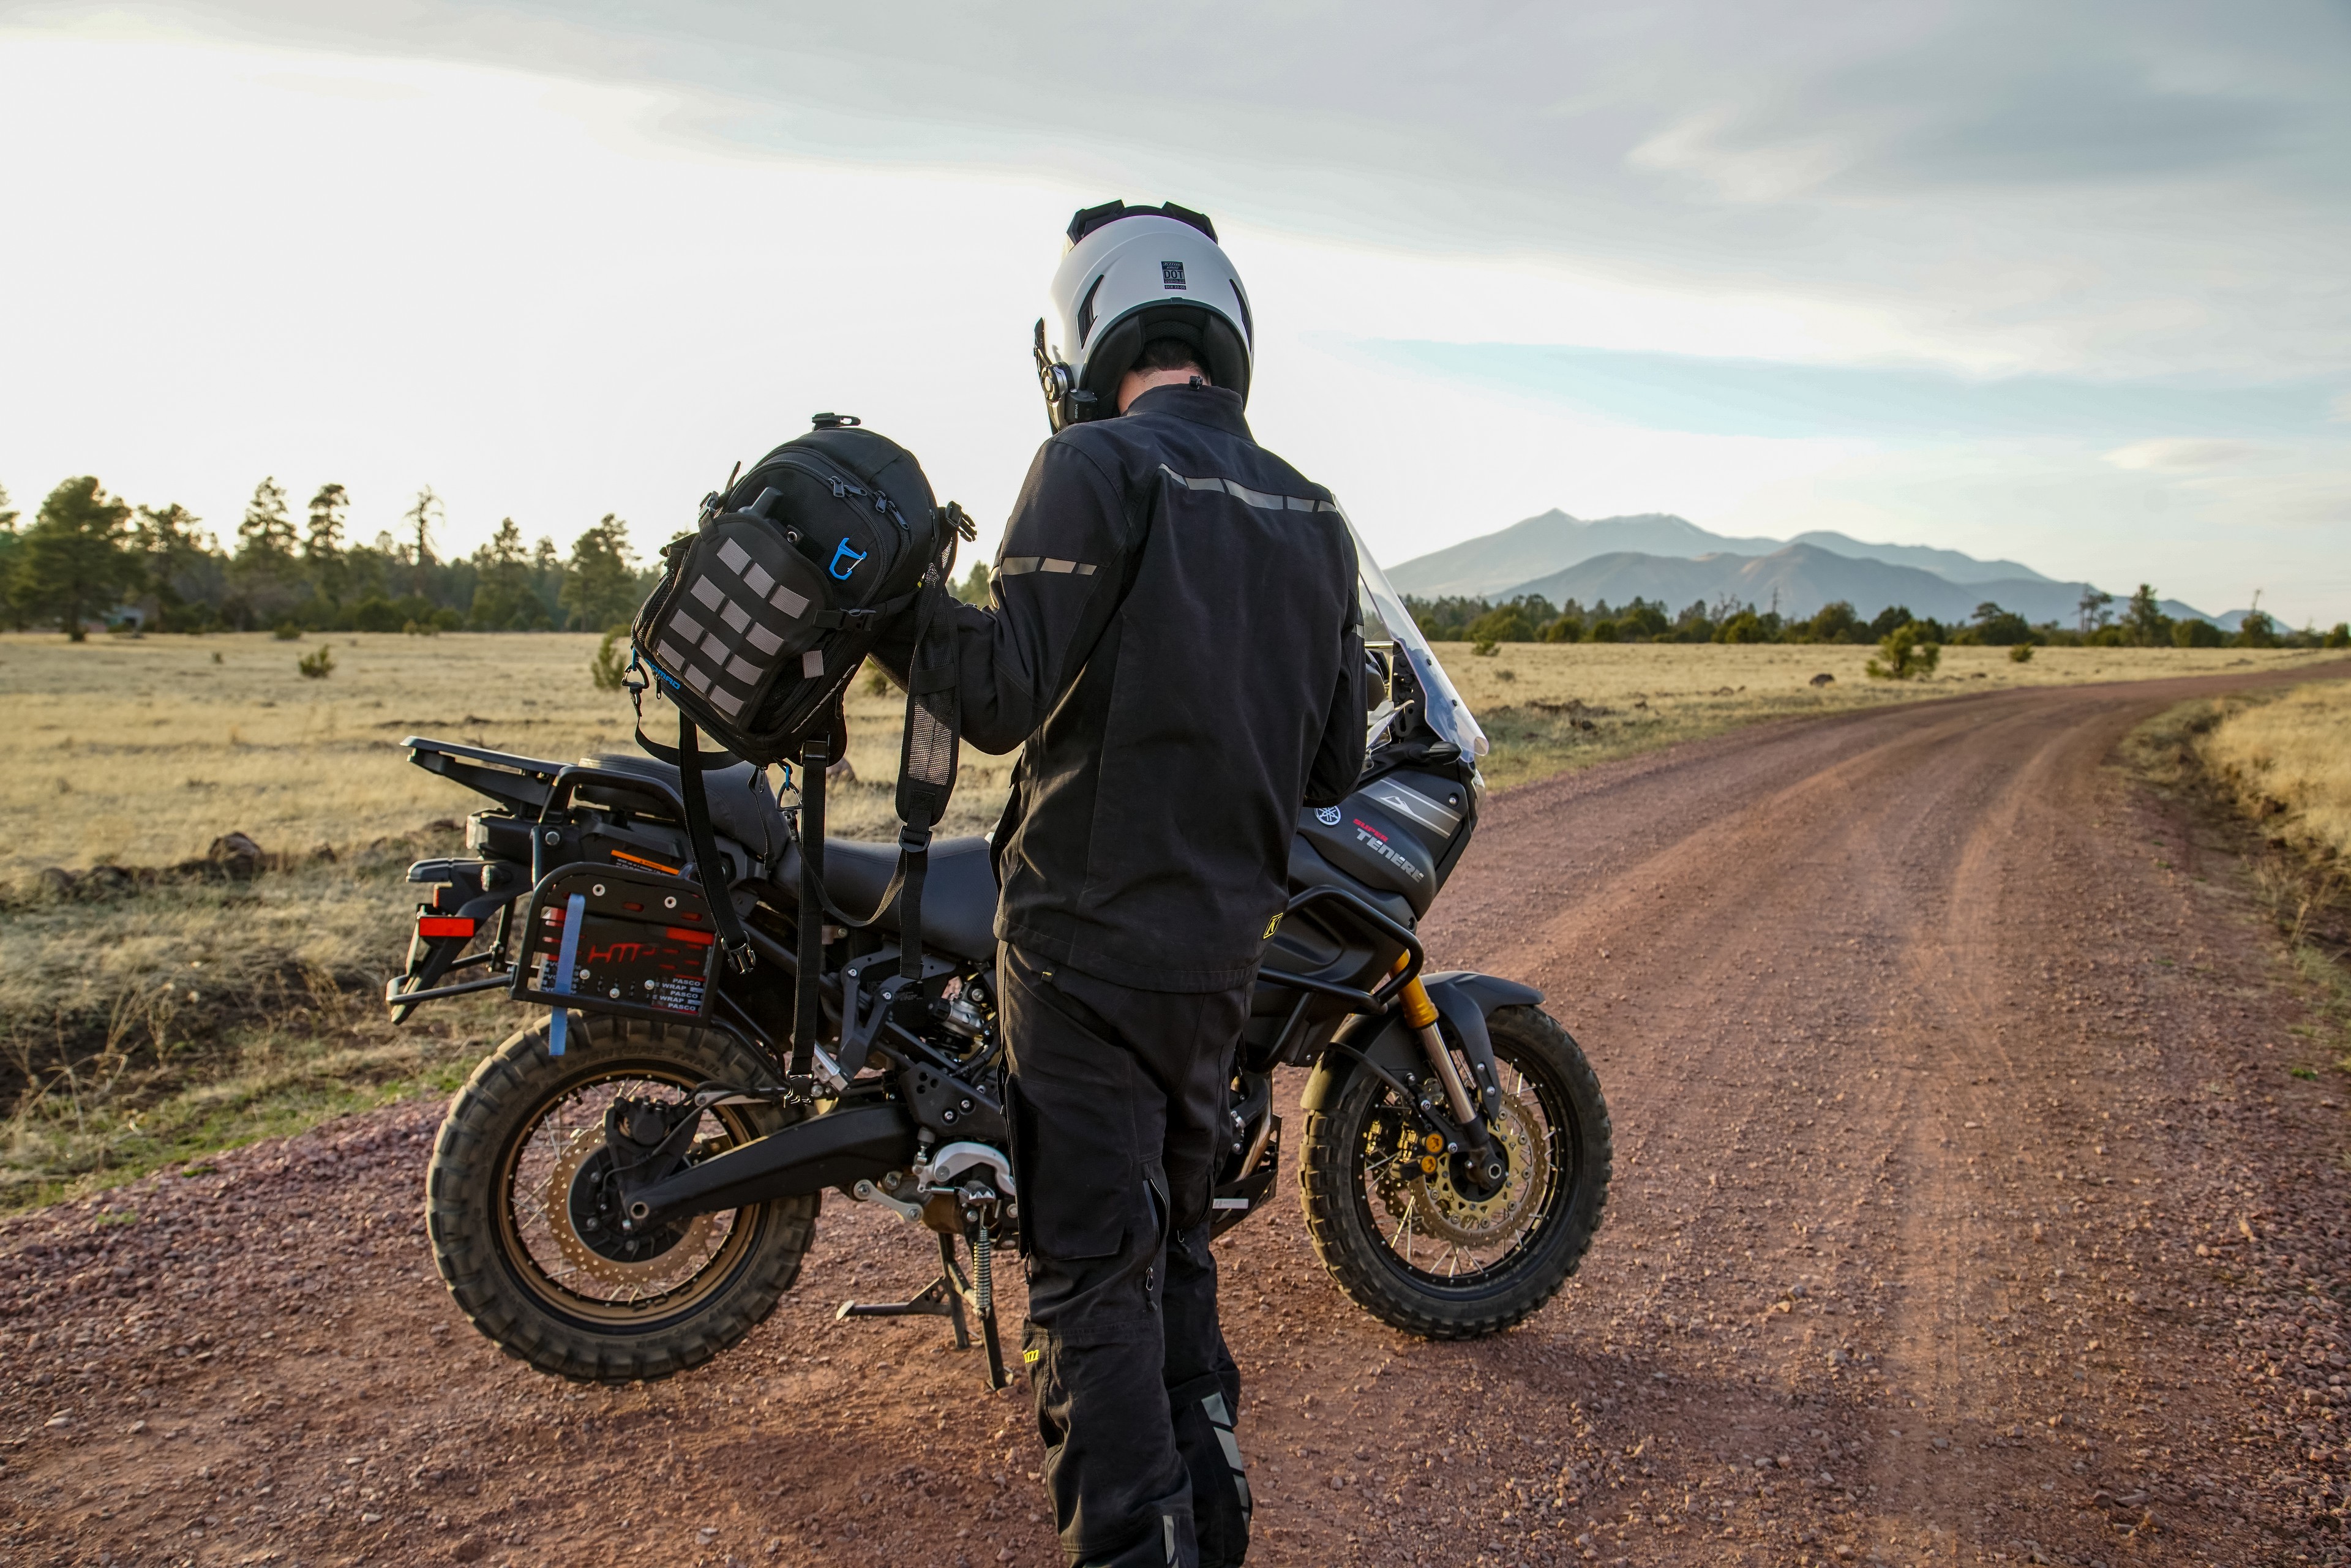

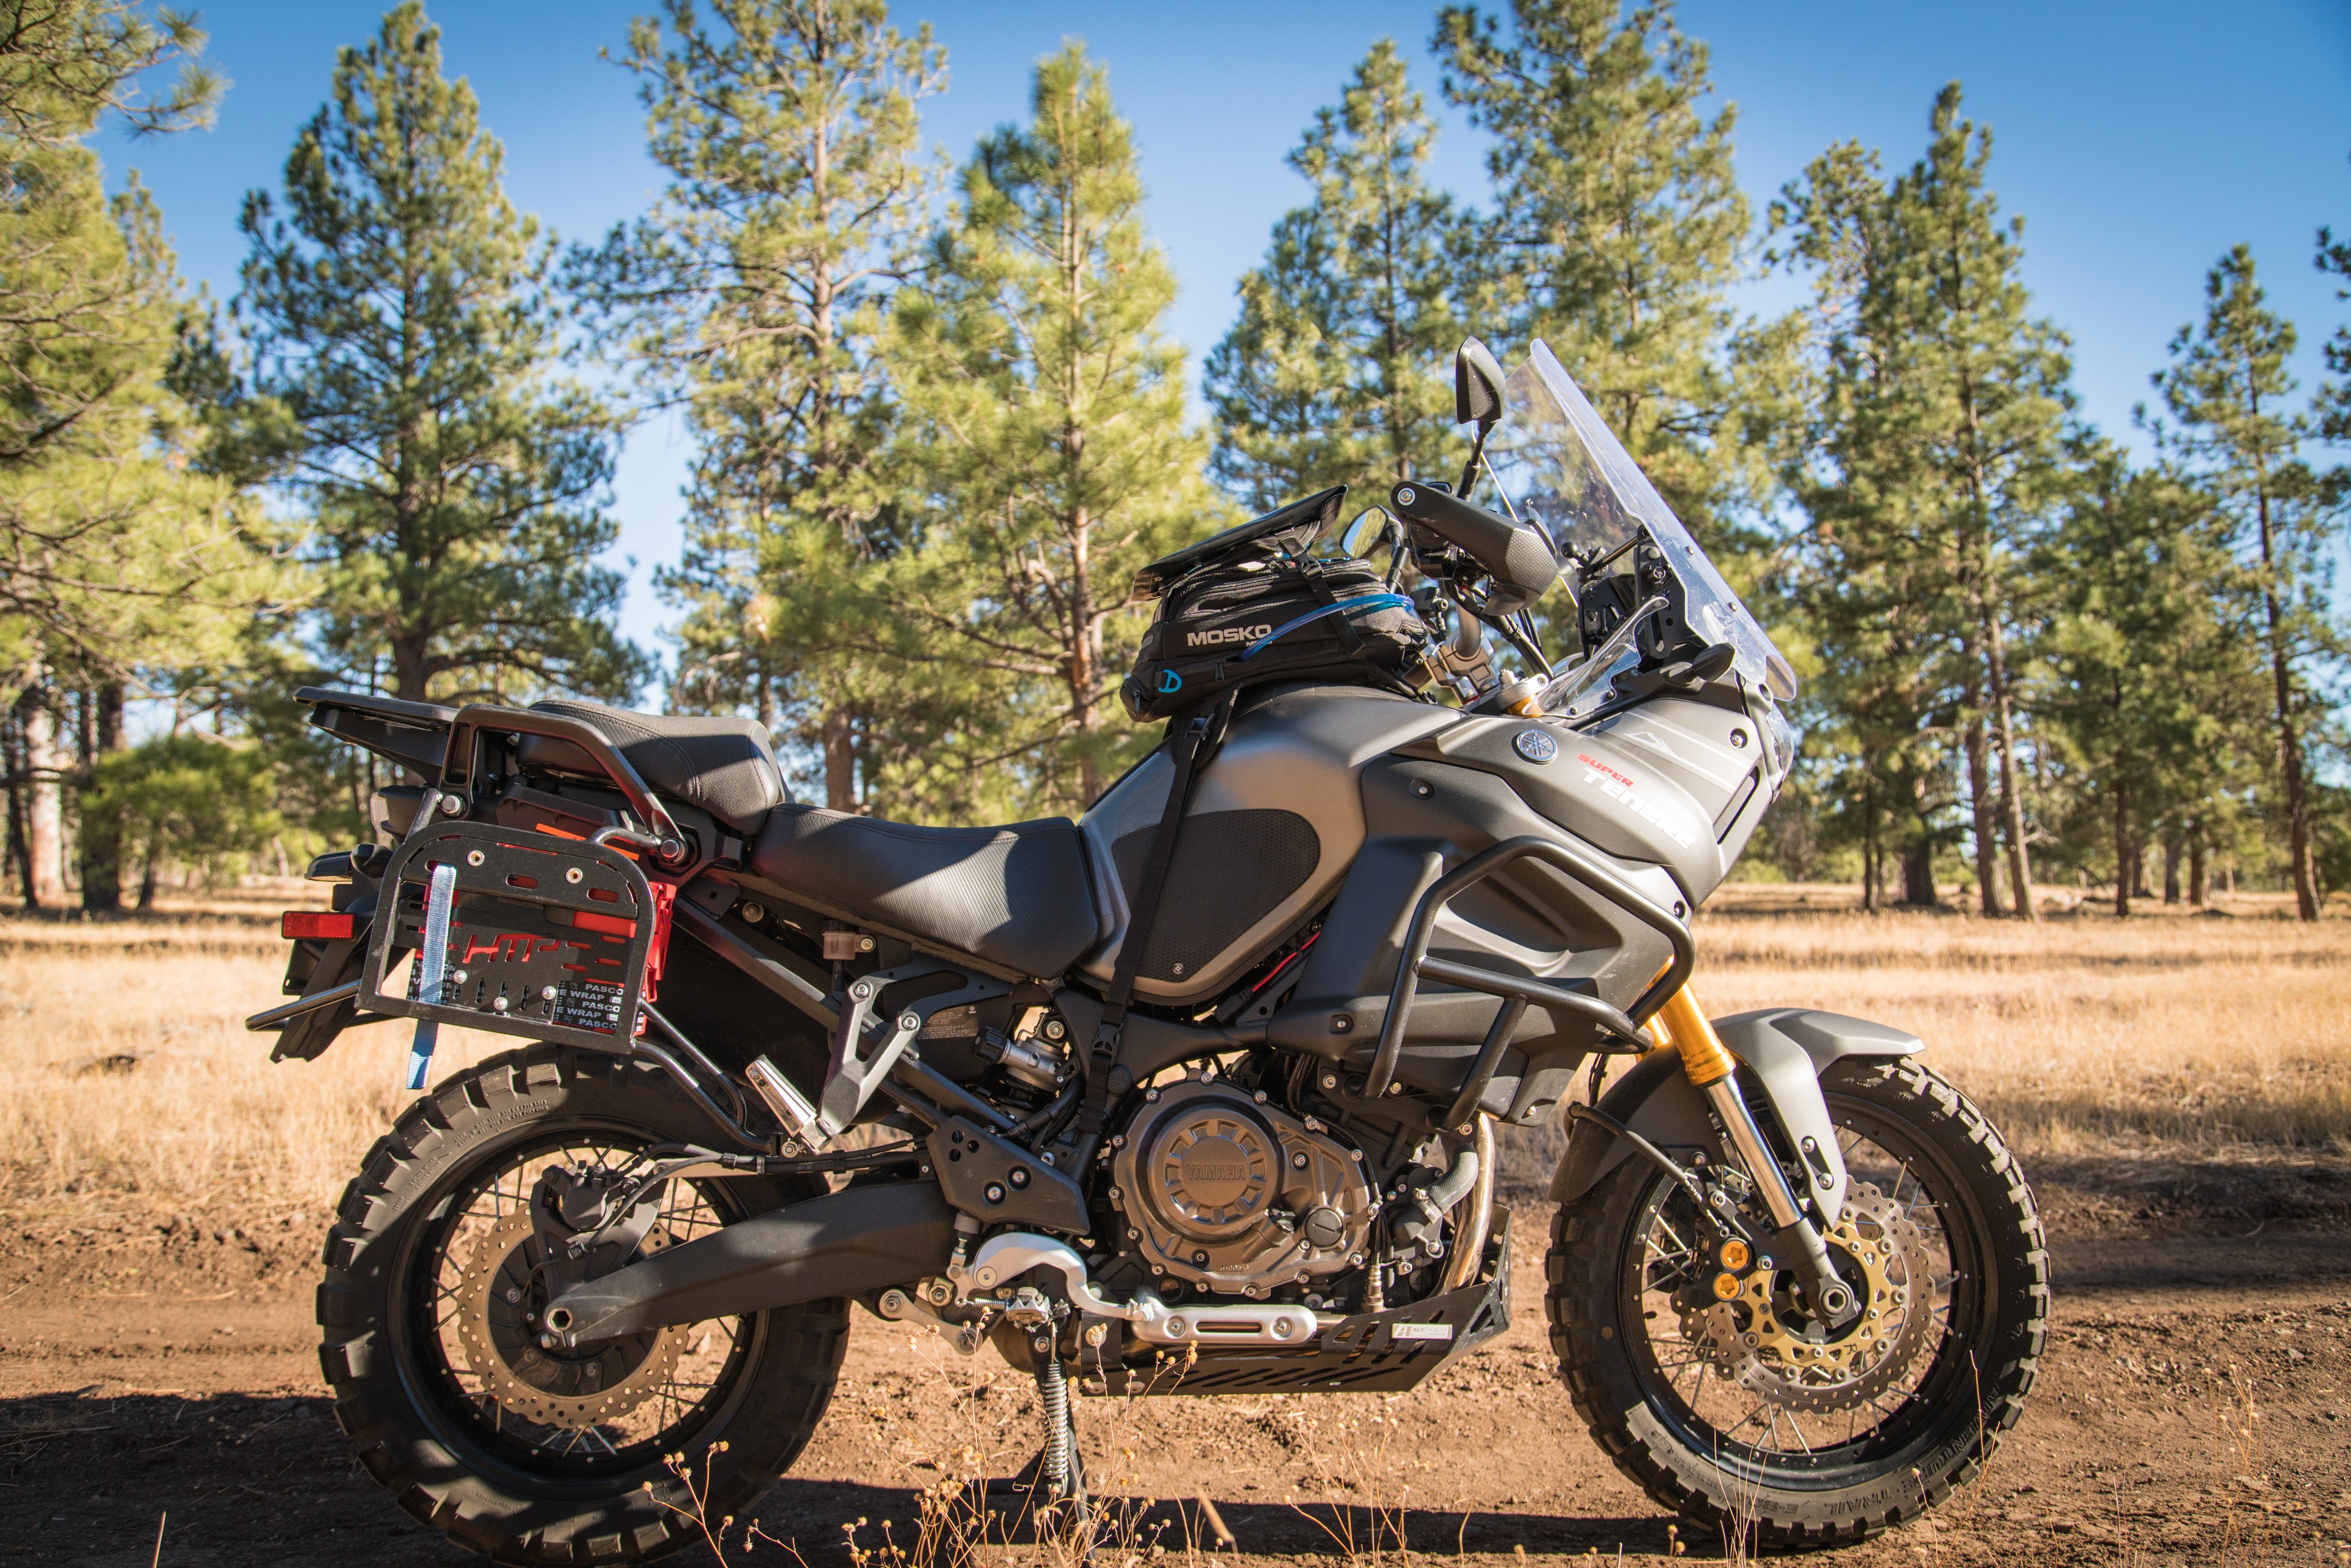
Backpack mode is something you’ll start using all the time. Want to ride to a hike? Just pack your Nomad. Parking your bike in someplace sketchy? Just engage backpack mode so your tank bag and its contents can stay with you. Want to easily bring all your gear from your tank bag into your tent? You get the idea. The Nomad is held onto your bike with a fully adjustable harness that goes around your frame up top, and has plenty of adjustment to fit on everything from my Super Tenere to a dirtbike—if you’re willing to stay back on your seat. At the bottom end, you’ll find two cam straps (which are far superior to plastic strap adjusters) with Velcro that keeps the strap tails tidy. One side has a male buckle and the other has a female buckle so these straps turn into your waist band when you’re in backpack mode. I told you this thing was well thought out.
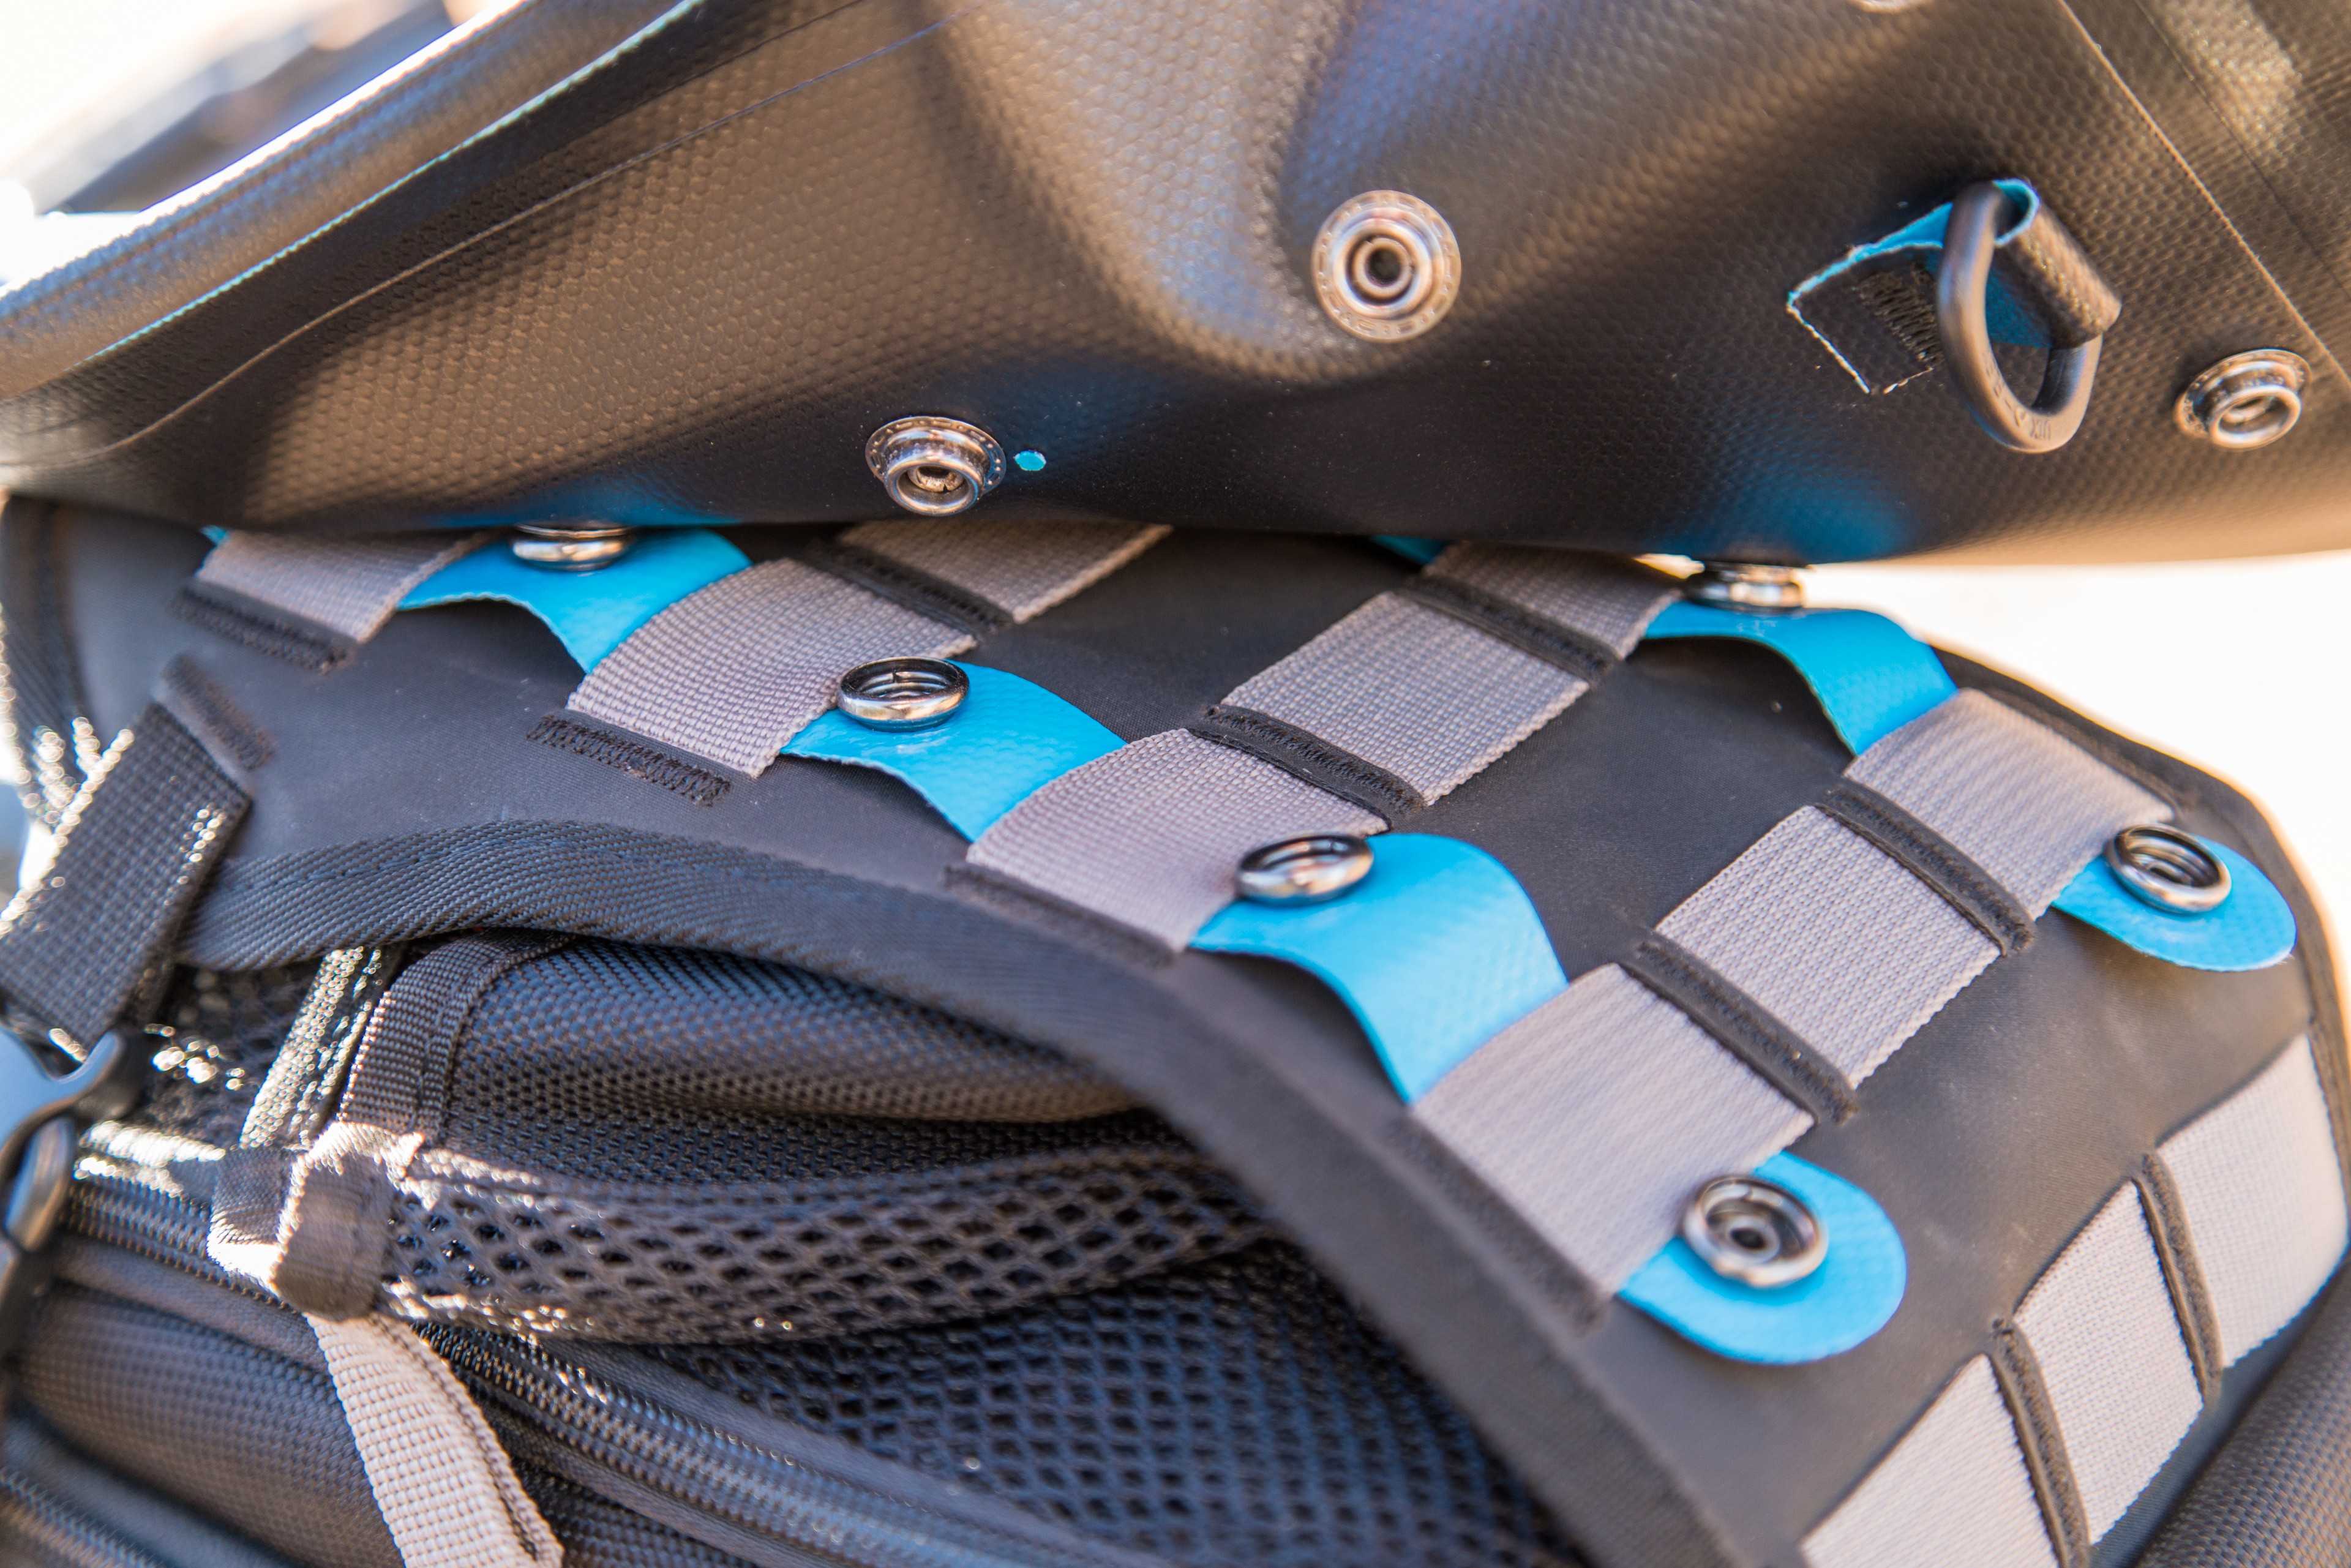
In use, the Nomad has proven to be an outstanding piece of gear. With the exception of the tedious process that is installing or removing the map pouch (the snaps catch on the sung MOLLE bands; Pro Tip: use a MOLLE stick or a long flathead screwdriver to lift the straps over the snaps), the Nomad is hands down the most versatile and useful tank bag I’ve ever had. There are too many other features to list in this review, as things like strategically placed Velcro patches and mesh pouch dividers would require 1000s of words to explain properly. Trust the fact that Mosko Moto did their homework on this bag. They’ve figured out how to add in all this versatility without taking up all of the gear room in their bag. In other words, they’ve put in a perfect amount of organization so my days of rat’s nest gear tangles are over.


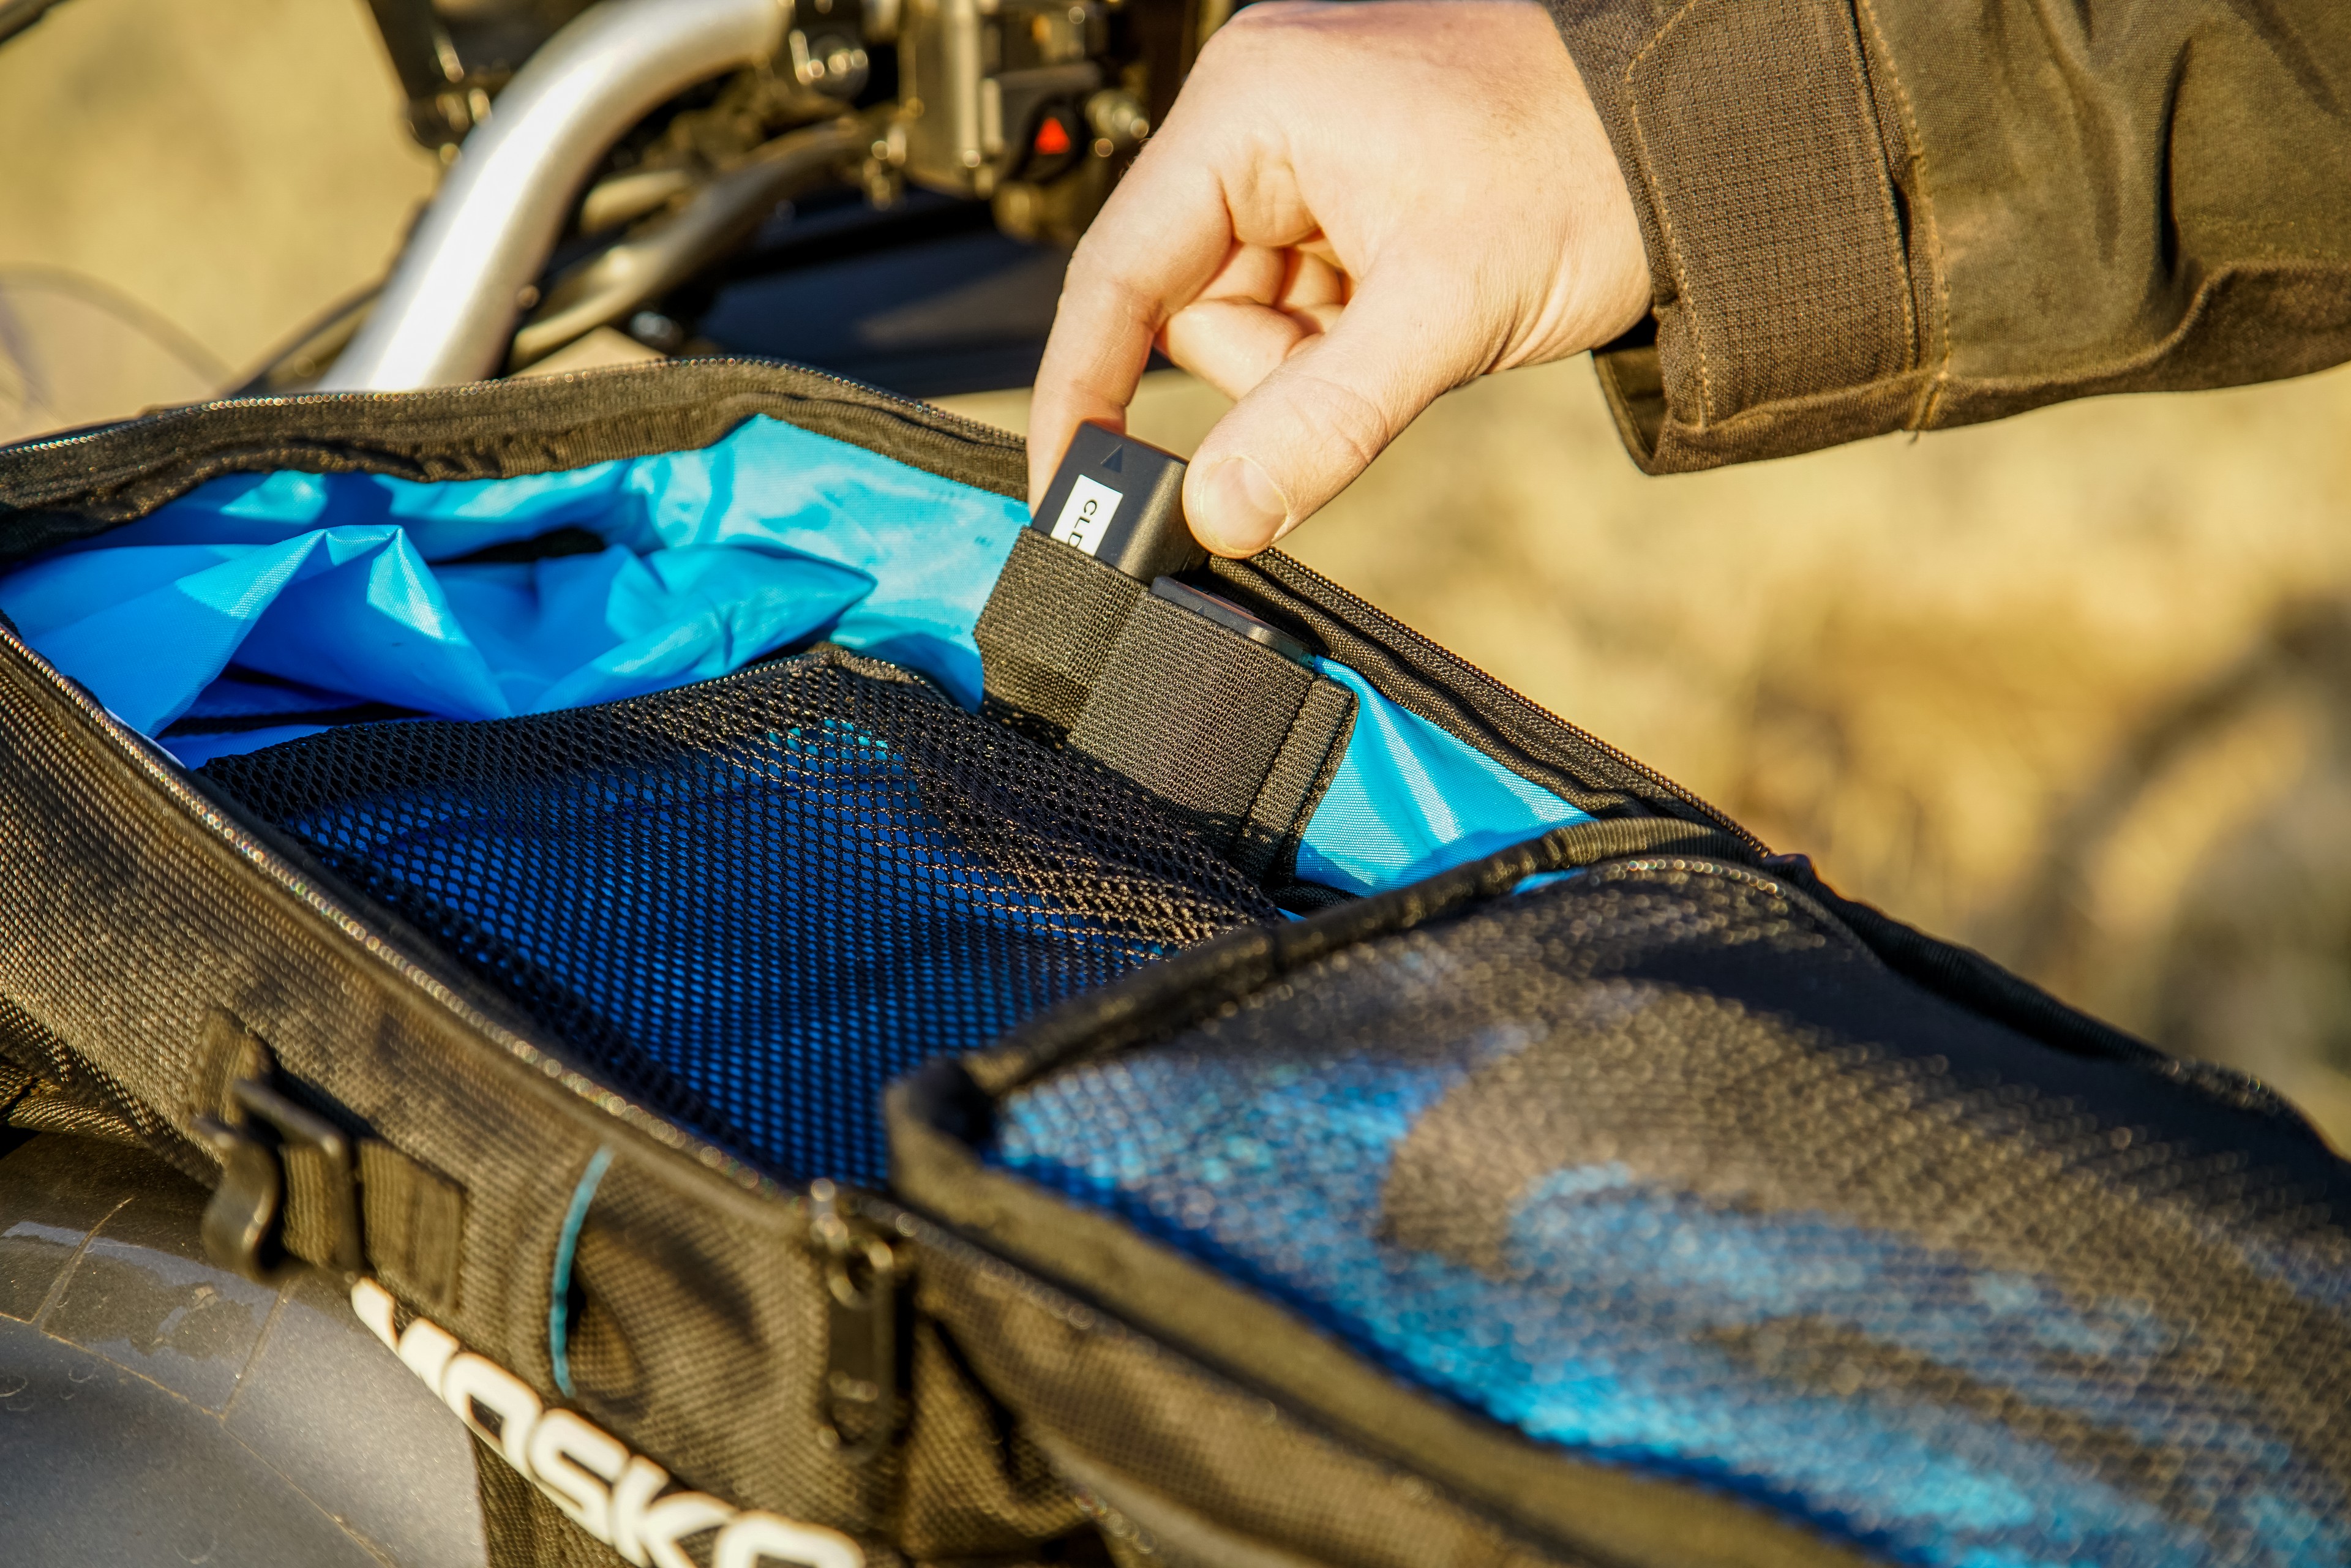
When you first get your Nomad, spend some time exploring the bag and playing with loadouts to figure out the best way to pack the bag. That container ship worth of thought that went into designing and making the Nomad means that you won’t get the most out of it without taking some time to get to know the bag. Try out backpack mode, put the map pouch on, put the raincover on, (it has a window so you can read whatever’s on top of your bag even with the cover on.) and you’ll be able to get much more out of this bag.

Mosko Moto’s Nomad Tank Bag is a great piece of gear. You can pack the thing to the gills and expand the beavertail to handle quite a lot of kit, or you can run it scrunched down and out of the way with just the essentials. Accessing your gear is quick and easy, and knowing that you’re not reaching into a tangled mess or accidentally pulling out extra unwanted items is a huge bonus—especially when you’re fishing for gear while under way. The ability to carry a water bladder and backpack mode really expand on the use of this bag, and are features you’ll find yourself using all the time. The bottom line is that the Nomad is an incredibly dynamic piece of gear that’s quite possibly everything you need to carry everything you need.