Return of the Thumper: The new 2022 Kawasaki KLR650

When I heard the news that Kawasaki had discontinued the venerable KLR650, I was pretty bummed.  As a KLR rider myself, I was always a big fan of the platform but it seemed that time and emissions standards had finally caught up with my favorite old school thumper. Honestly, it had been in production virtually unchanged since 1987 (with a mid-lifecycle refresh in 2008) so an overhaul and redesign was long overdue in my opinion.

Thankfully, after a two year hiatus, they’ve redesigned it and much to my surprise, they didn’t ruin the original recipe. Luddites will malign changes like EFI, ABS and heated grips, but it’s still a basic, affordable adventure bike with a reliable 652cc thumper engine – and that’s a GOOD thing.

Changes are numerous in this redesign, while mostly subtle and well thought out. But make no mistake, this bike is still all about durability and ease of maintenance in the field.
Whether it’s traveling long distances or making the daily commute, this adventure-hungry, on-and off-road machine has a long history of versatility and toughness required for most any adventure.  My 2008 was a beast (see it HERE) and this remix of an old favorite has me SERIOUSLY thinking about getting another KLR!

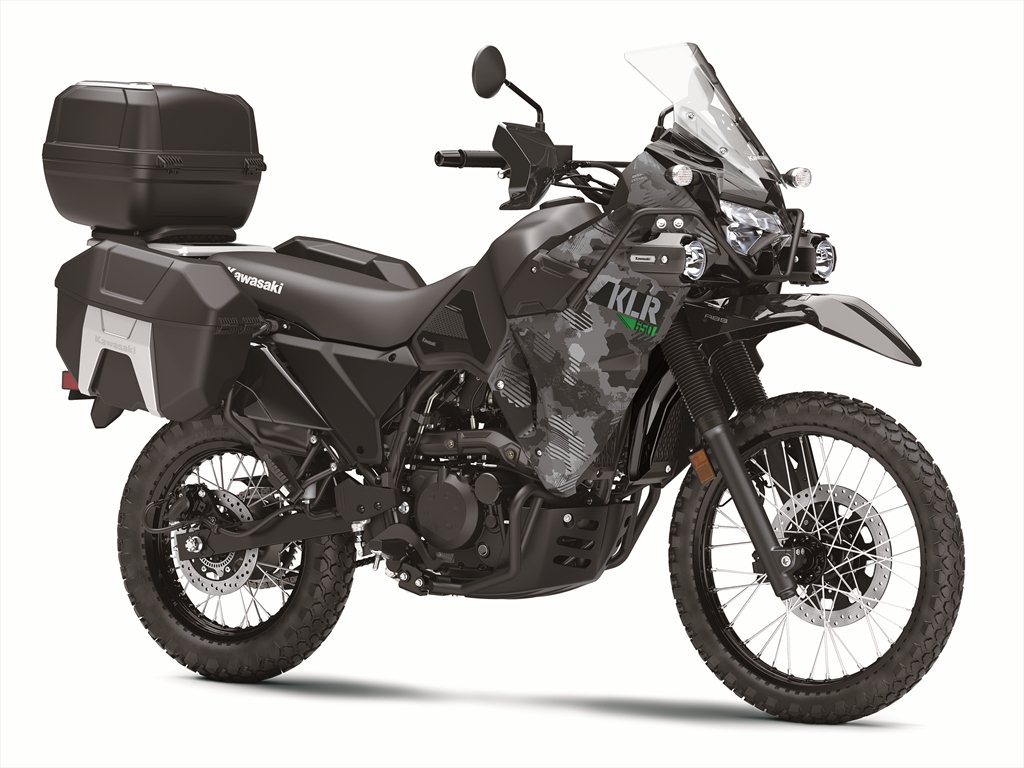
There will be two standard 2022 KLR650 models, one with ABS and one without, as well as two travel-ready models with some cool factory options, the KLR650 Traveler and the fully loaded KLR650 Adventure.

The all-new 2022 KLR650 receives the addition of a tried and true Keihin fuel injection system to the 652cc single-cylinder engine which results in increased reliability in cold weather and at altitude along with better fuel efficiency. A new multi-functional digital instrumentation panel with a fuel gauge is paired with a new fuel tank design with greater useable volume. Numerous parts have been updated for increased riding confidence when carrying luggage, reduced vibrations, and increased generator capacity, contributing to the improved performance and ride comfort that riders will appreciate.

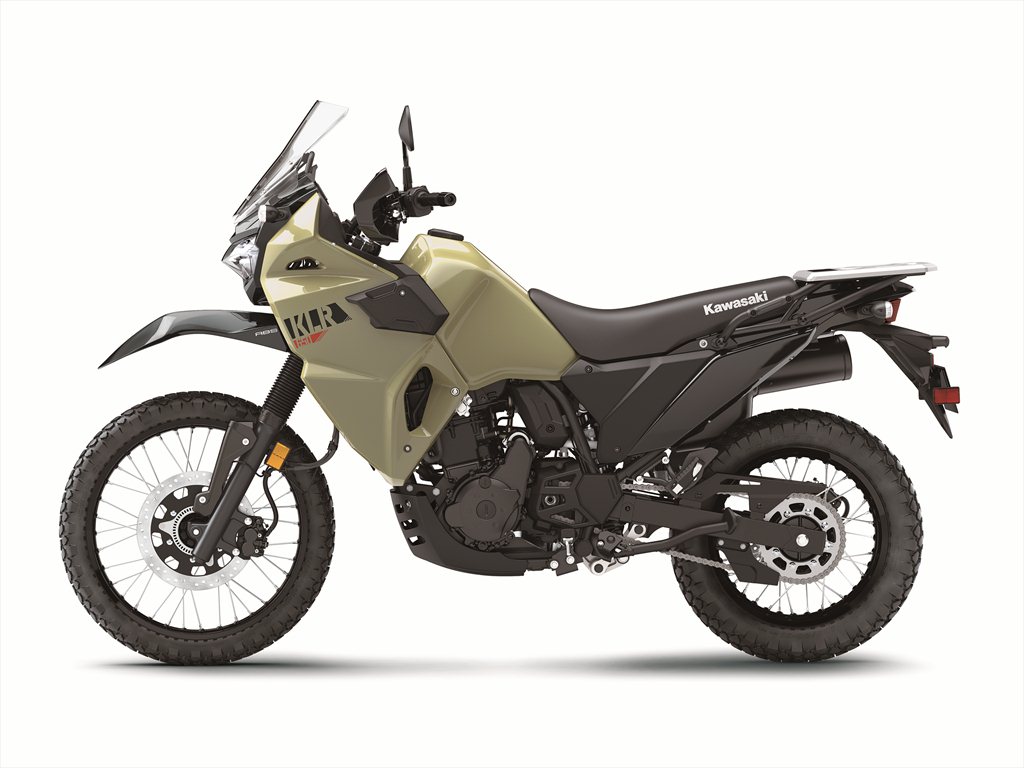
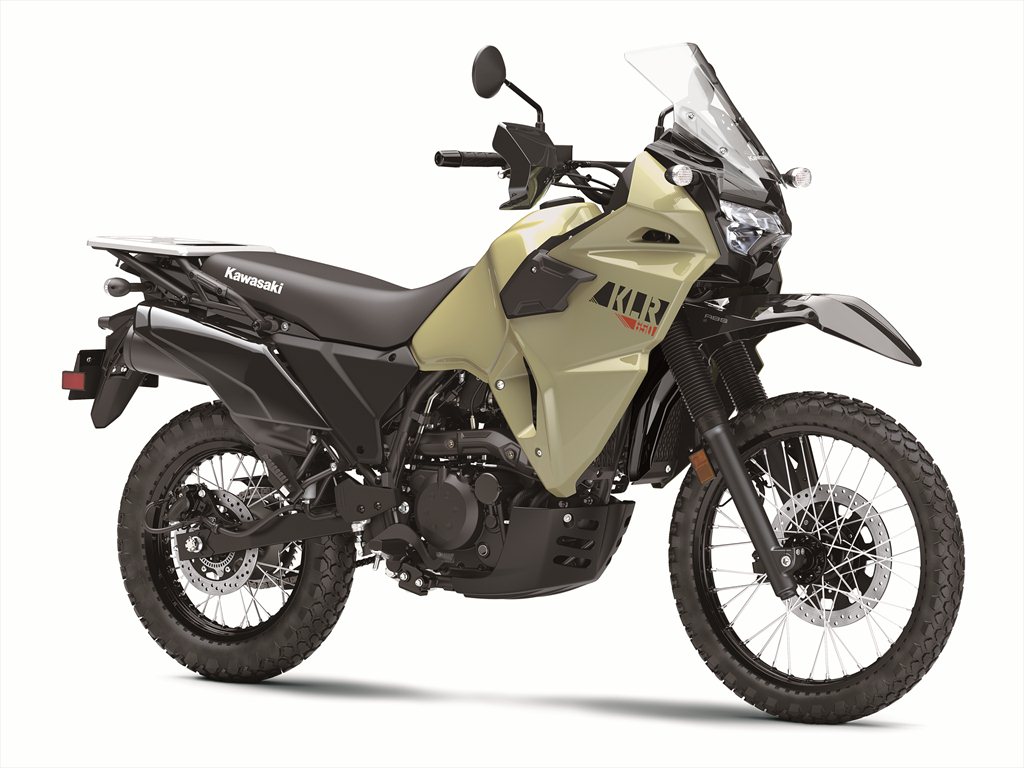
The all-new KLR650 features a new LED headlight, is available with optional ABS, provides a terrific riding position for all-day riding comfort and boasts plenty of carrying capacity. For 2022 the KLR650 motorcycle will also be available in two new special editions featuring a number of Kawasaki Genuine Accessories including side cases, engine guards, LED auxililary light set, and more.

2022 KLR650 HIGHLIGHTS

  • NEW Fuel Injected 652 cc Single-Cylinder Engine
  • NEW Multi-Functional Digital Instrumentation With Fuel Gauge
  • NEW LED Headlight
  • NEW Bodywork including fuel tank
  • NEW Larger Front Disc And Optional ABS
  • NEW Greater Wind Protection
  • NEW Increased Carrying Capacity

ENGINE UPGRADES

  • NEW Fuel Injection
  • NEW Revised Cam Profiles
  • NEW Exhaust Pipe Diameter
  • NEW Updated Clutch
  • NEW Increased ACG Output
  • NEW Low Maintenance Battery
  • NEW Lightweight Starter, Ignition Coil, And Evaporator Canister
  • NEW Honeycomb Catalyzer

The KLR650 is powered by one of the most well-known, reliable, and trusted engines in the motorcycle industry.  Its liquid cooled, four-stroke, 652 cc single-cylinder engine features a DOHC cylinder head and produces a flat power curve that lets you navigate challenging roads and cruise at freeway speeds .  As stated earlier, the 2022 model is now equipped with Keihin fuel injection, which, combined with the fuel tank’s greater useable volume, contributes to an increased range between fuel stops, an important consideration for us long range nomads.

Starting the KLR650 has never been easier thanks to EFI, especially at high altitude or in cold conditions, and its reliability and performance have been increased.  A 10-hole fine-atomizing injector sprays 60 µm droplets, which contributes to efficient air-fuel mixing for efficient combustion.  Revised intake and exhaust cam profiles improve mid-range power and torque characteristics.  A stronger cam chain guide material and shape add to the increased reliability.

The exhaust pipe diameter has been reduced by 7.7 mm to improve mid-range torque characteristics to better suit everyday riding.  An oxygen sensor provides feedback to the fuel injection system, contributing to cleaner exhaust emissions and increased fuel efficiency.

Several updates have been made to improve shifting feel and reduce weight.  In the clutch and transmission, the clutch release bearings were changed from ball to thrust-needle bearings, the gear dogs and shift fork have been revised on third gear, and a new finishing treatment is now used for fourth and fifth gears.

A new sealed battery adds to the convenience and is significantly lighter than the previous battery. The starter, ignition coil, and evaporator canister have all been revised and are now lighter than on previous models.

CHASSIS

  • NEW Rear Frame
  • NEW Swingarm
  • NEW Larger Swingarm Pivot Shaft

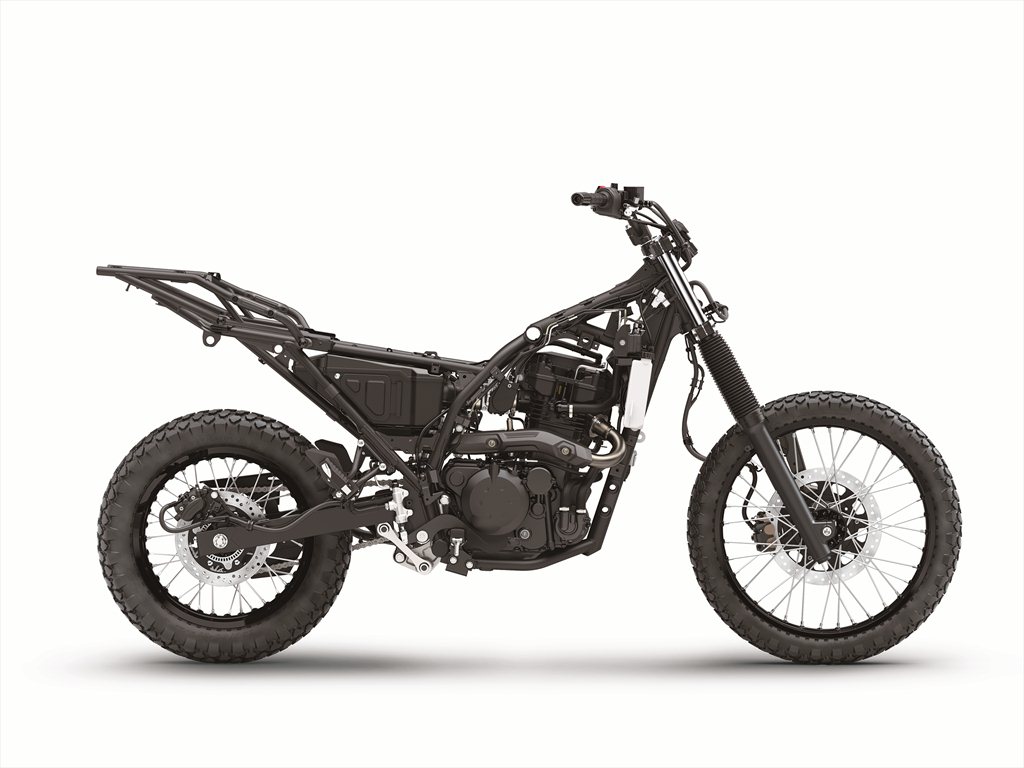
The motorcycle’s proven, high tensile, semi-double-cradle frame receives several updates on the 2022 model. The updates now include a rear frame that is integrated with the main frame to increase torsional rigidity for a more composed ride and a 30mm longer swingarm with a 2mm larger diameter swingarm pivot shaft that also contributes to better handling.

SUSPENSION & WHEEL UPGRADES

  • NEW Front and Rear Suspension Settings
  • NEW Larger Front Brake Disc
  • NEW Thicker Rear Brake Disc
  • NEW Optional ABS Models
  • NEW Stronger Rear Wheel Rim Material
  • NEW Larger-Diameter Axle Shafts

Both front and rear suspension settings complement the new frame to help provide a more planted feel.  In order to meet the demands of both on and off-road riding, 41 mm front forks with 200 mm of suspension travel handle the suspension duties up front and add the rigidity needed for superb performance.  Firm fork springs provide excellent bump compliance and bottoming resistance while also reducing front-end dive under heavy braking.

An adjustable Uni-Trak system with 185 mm of suspension travel can be found on the rear and complements the front fork settings,offering progressive rear suspension action while contributing to a low center of gravity.  Firm rear shock settings help resist bottoming in rough terrain and accommodate heavy loads.  Rear spring preload and rebound damping adjustments allow riders to fine-tune suspension settings to suit the riding conditions and rider’s preference.  The front fork and rear shock settings complement each other for light, sharp handling on smooth roads while providing the capability needed off-road.

Complementing the KLR650 motorcycle’s more powerful engine is a larger 300mm front brake disc that delivers more substantial braking power.  The disc shape has been changed from a petal-type disc to a round disc.  On the rear brakes, the disc has been thickened to provide better heat dissipation when under heavy braking.  Similar to the front, the back disc shape is now round. Models with and without ABS are now available and the ABS offers additional rider reassurance when riding on low-friction surfaces.

The KLR650 comes equipped with a 21” front wheel and 17” rear wheel that allows riding to be continued even when the pavement turns to dirt.  A stronger material can now be found on the rear wheel rim, delivering improved torsional rigidity and increased durability.  The front and rear tires are tube types, making it possible for the rider to carry out any necessary roadside repairs.  A larger-diameter front and rear wheel axle contribute to both durability and handling.

EVOLVED ERGONOMICS

  • NEW Fine-Tuned Handlebar And Footpeg Positions
  • NEW Rubber Mounts On Handlebars And Footpegs
  • NEW Fuel Tank Design With More Useable Volume
  • NEW Taller Windshield For Increased Wind Protection
  • NEW Seat Design And Materials For Improved Comfort
  • NEW Pillion Grab Bars For Passenger Comfort
  • NEW 30 mm Shorter Side Stand

The KLR650 has long been known for its comfortable, upright riding position, and for 2022 it has been fine-tuned to deliver a stress-free position for a longer adventure.  One significant improvement has been the reduction of vibration from parts that come in contact with the rider, further contributing to comfort when on long rides.

Fine-tuned handlebar and footpeg positions have each been moved 10 mm outwards to provide adjustability and put the rider in a slightly more relaxed position, to support longer hours in the saddle for those “Iron Butt” rides across state lines.  The handlebars and footpegs are now rubber-mounted, reducing vibration for improved comfort.  A new fuel tank design has been fitted to the KLR650 chassis, offering a natural fit with the rider’s knees for comfort and increased controllability.  While the volume of the new fuel tank remains the same, the useable volume has been increased through redesign and a new fuel pump that draws from the very bottom of the tank, contributing to a longer cruising range.

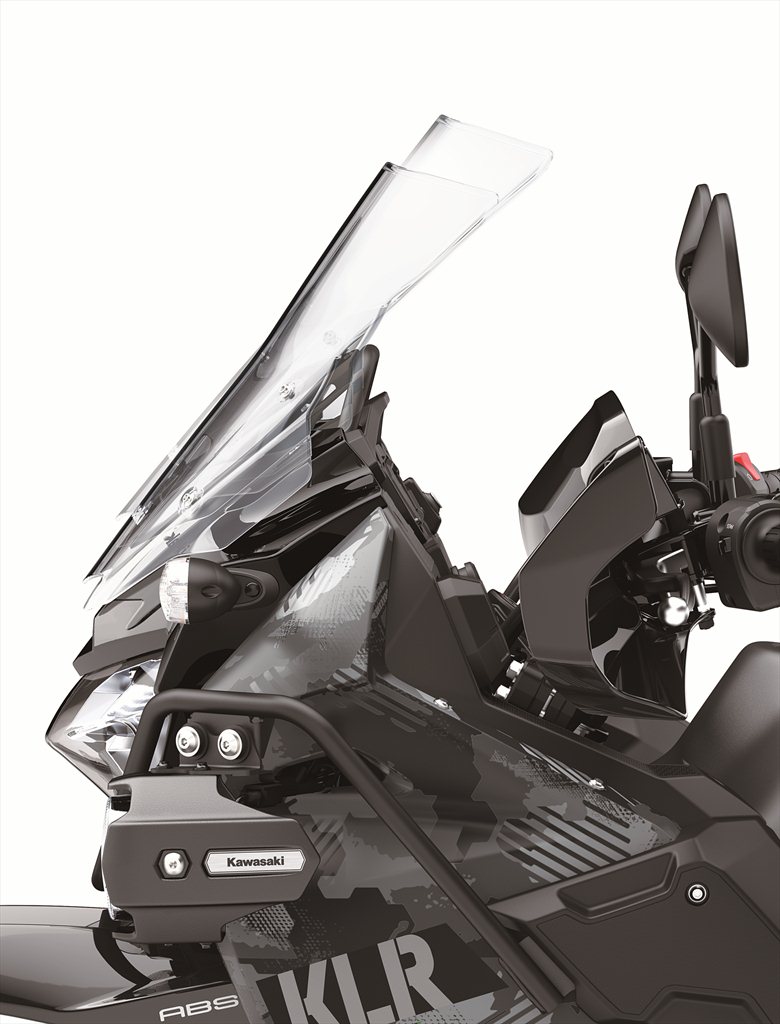
Aiding the rider up front, a new windshield can be found, which is now 50 mm taller for better wind protection and features two-position bolt-on adjustability that allows windshield height to be conveniently increased a further 30 mm.  The seat shape and cover have been revised and the optimized urethane thickness and firmness all contribute to increased ride comfort.  Under the seat, rubber dampers have been added to further isolate vibrations and aid in rider comfort.  Passenger grab bars have been reshaped, improving passenger comfort for the occasional two-up ride.  The side stand has been shortened 30 mm, making it easier to deploy when on the bike.

BODYWORK & STYLING

  • NEW Shroud, Side Cover, And Tail Cowl
  • NEW Bright LED Headlight
  • NEW Tail light And Turn Signal
  • NEW All-Digital Instrument Panel
  • NEW Longer Mirror Arms

The KLR650’s robust design reflects the bike’s capabilities for a no-nonsense adventure. New colors and modern styling includes a protector-equipped shroud design that contributes to a functional and rugged look, while a new side cover design and tail cowl tie the new package together.

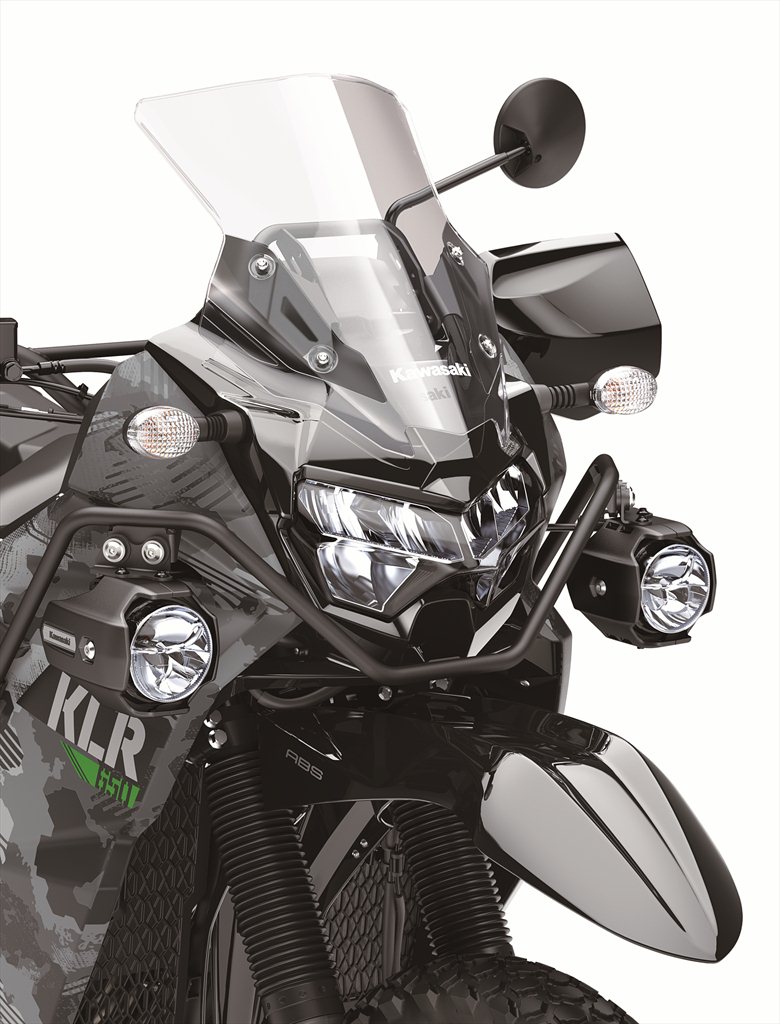
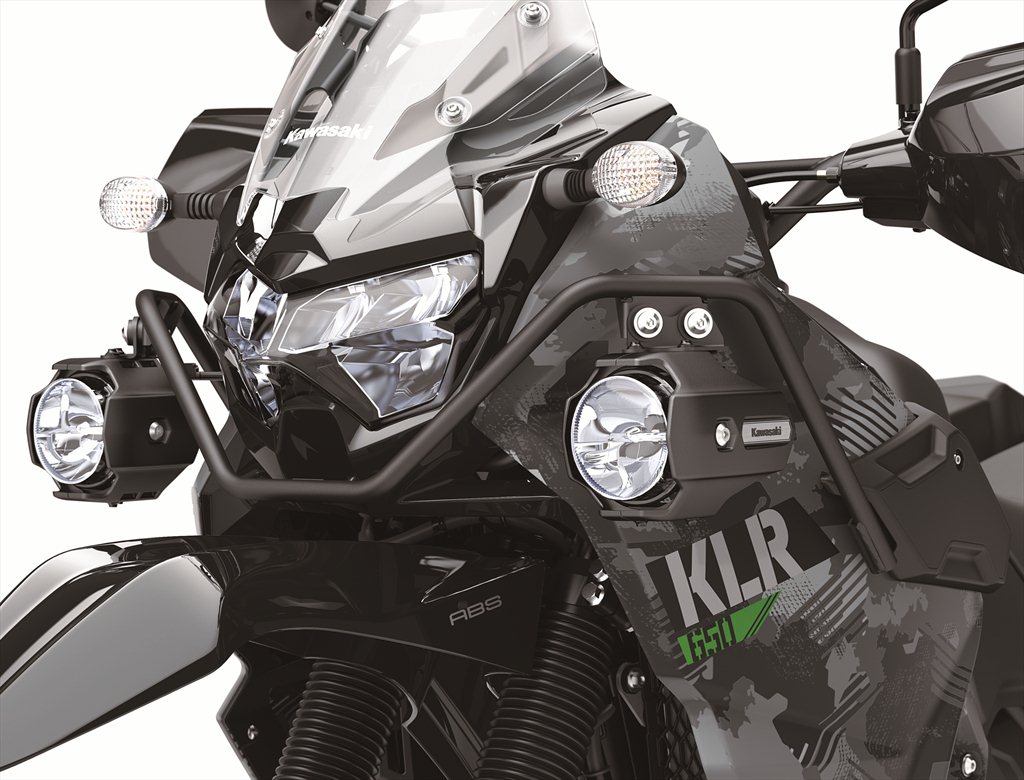
A new bright LED headlight illuminates the way when the ride continues past sunset and also contributes to the intended adventure styling makeover. In the back, a revised taillight and turn signal design can be seen while rearward field of vision has been improved thanks to longer mirror arms.

An all-digital instrument panel offers information at-a-glance through a large display and easy-to-read LCD screen with white backlighting.  The instrument panel features a speedometer, odometer, dual trip meters, fuel gauge, clock, and indicator lamps.  The narrowed-down display list prioritizes visibility of the speedometer and fuel gauge. Imagine, a KLR with a fuel gauge!

ACCESSORIES

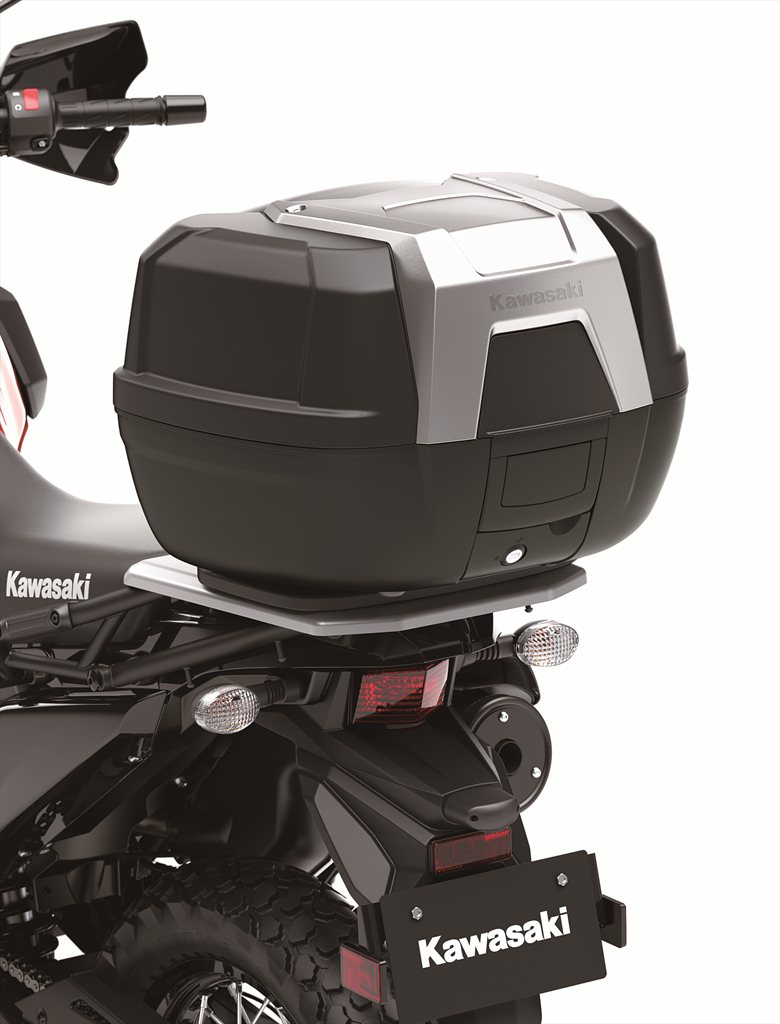
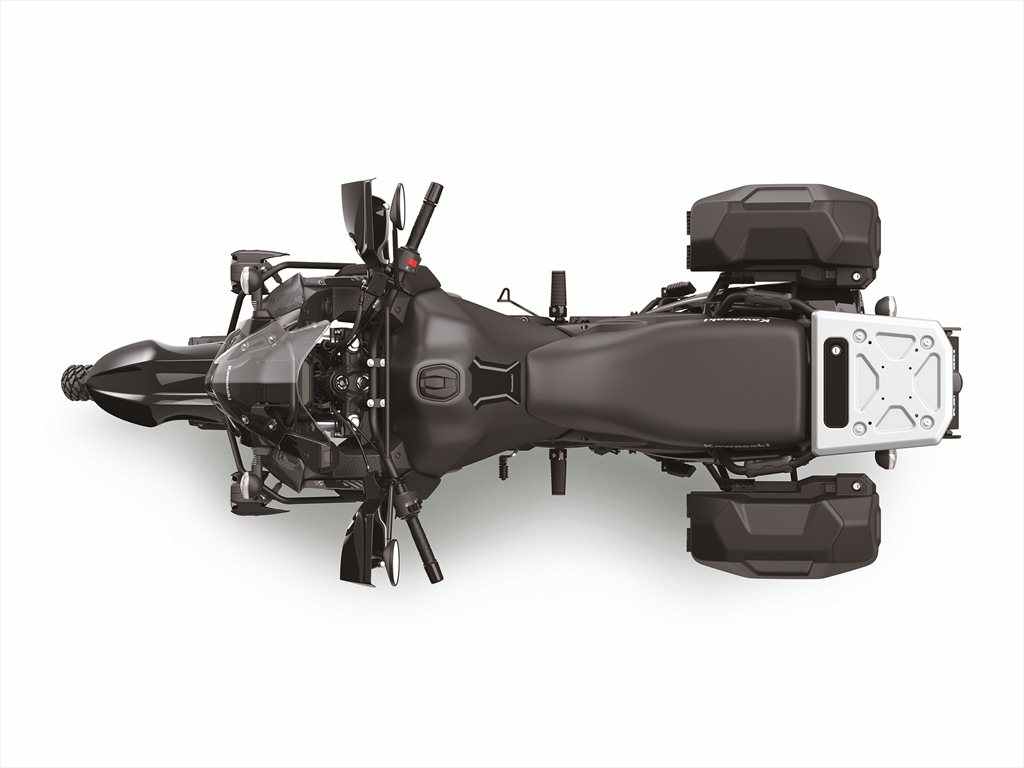
A number of Kawasaki Genuine Accessories (KGA) will allow riders to personalize the looks of their KLR650 and offer added comfort and convenience. Kawasaki accessory side cases and top case were developed to provide a clean look with their well-matched design.

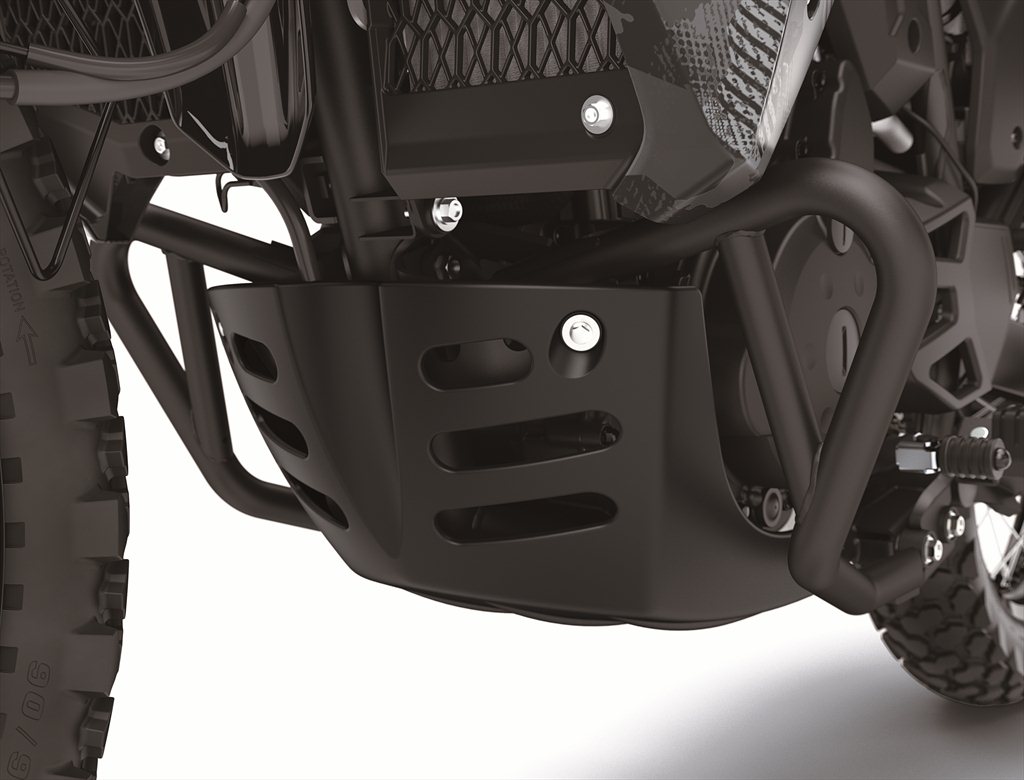
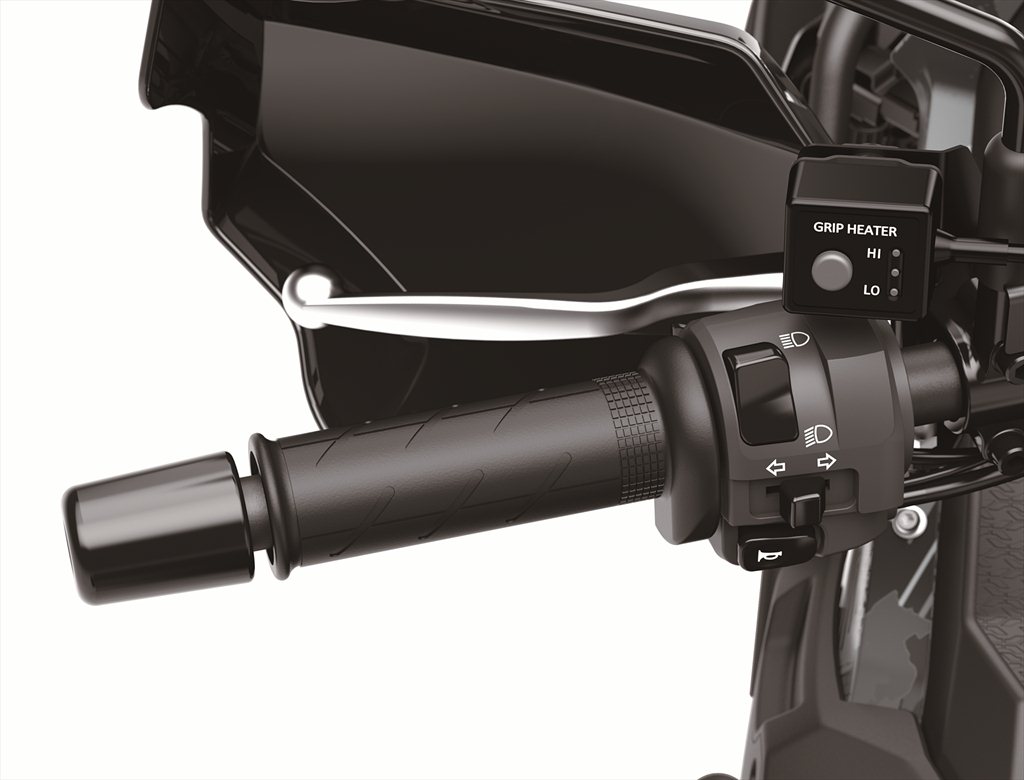
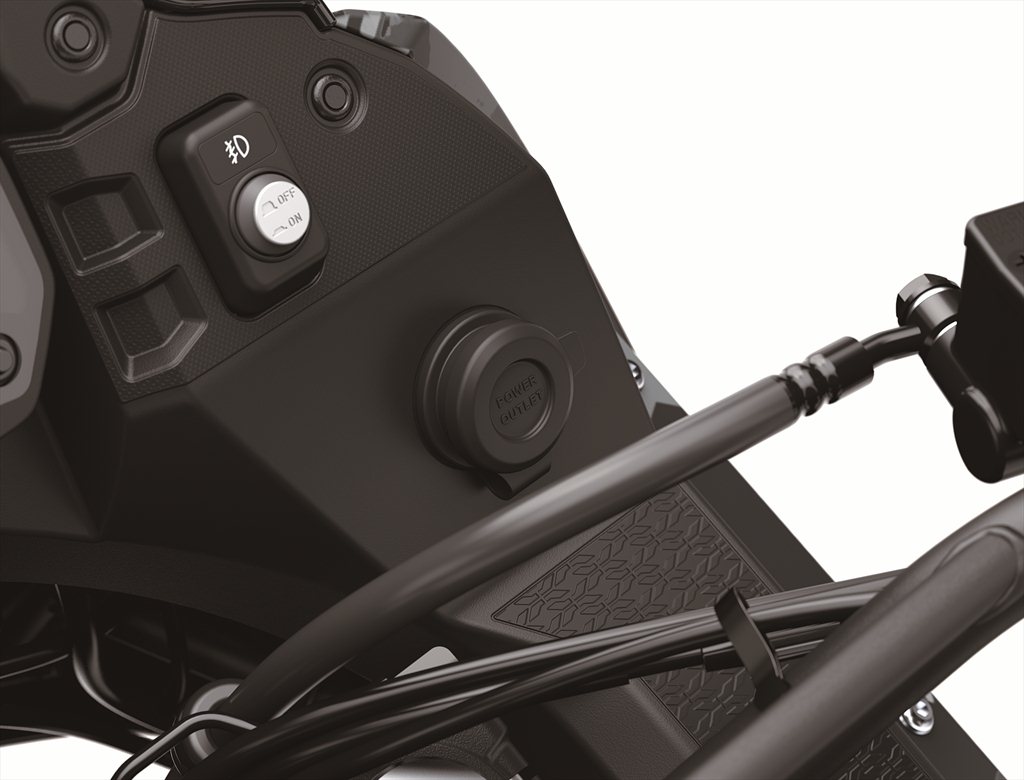
The side cases feature a top-opening design that makes it easy to add and remove items when they are mounted on the bike. The side cases easily clip onto their mounting brackets for a secure fit. The top case is large enough to accommodate an off-road style helmet. Improving convenience, side cases and the top case can be fitted with a one-key system. Complementing the accessory luggage, a larger aluminum rear carrier offers improved carrying capacity. In addition to its exclusive luggage, accessories include grip heater set, LED auxiliary light set, engine guards, DC power outlet, and USB socket.

SPECIAL EDITIONS

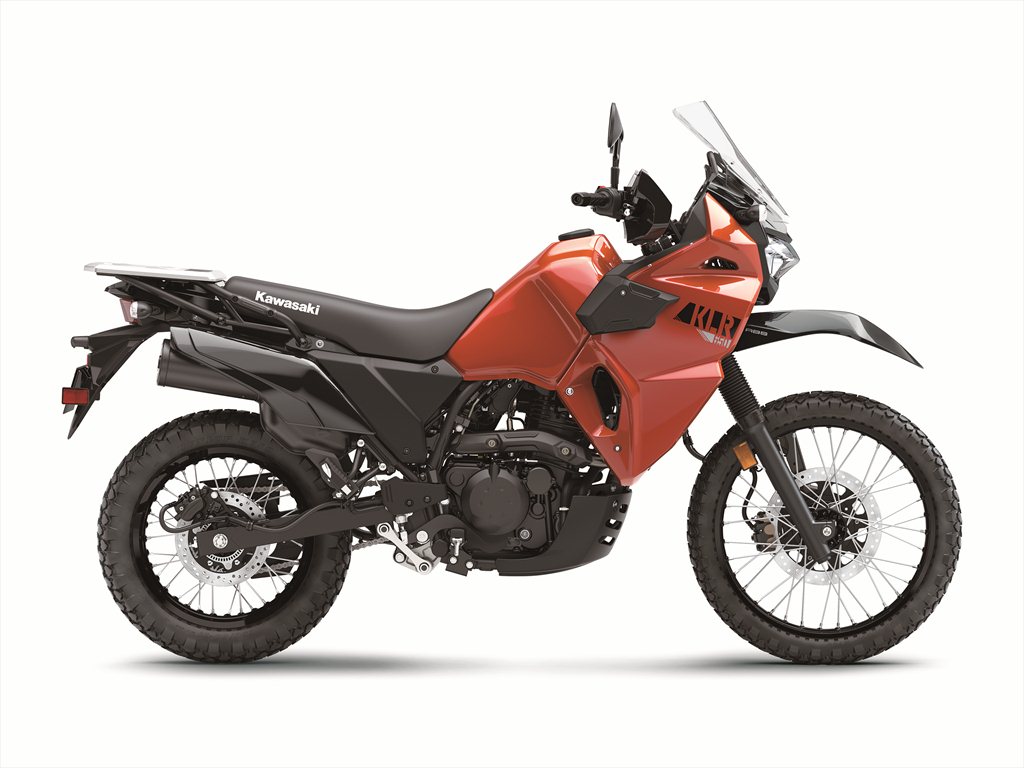
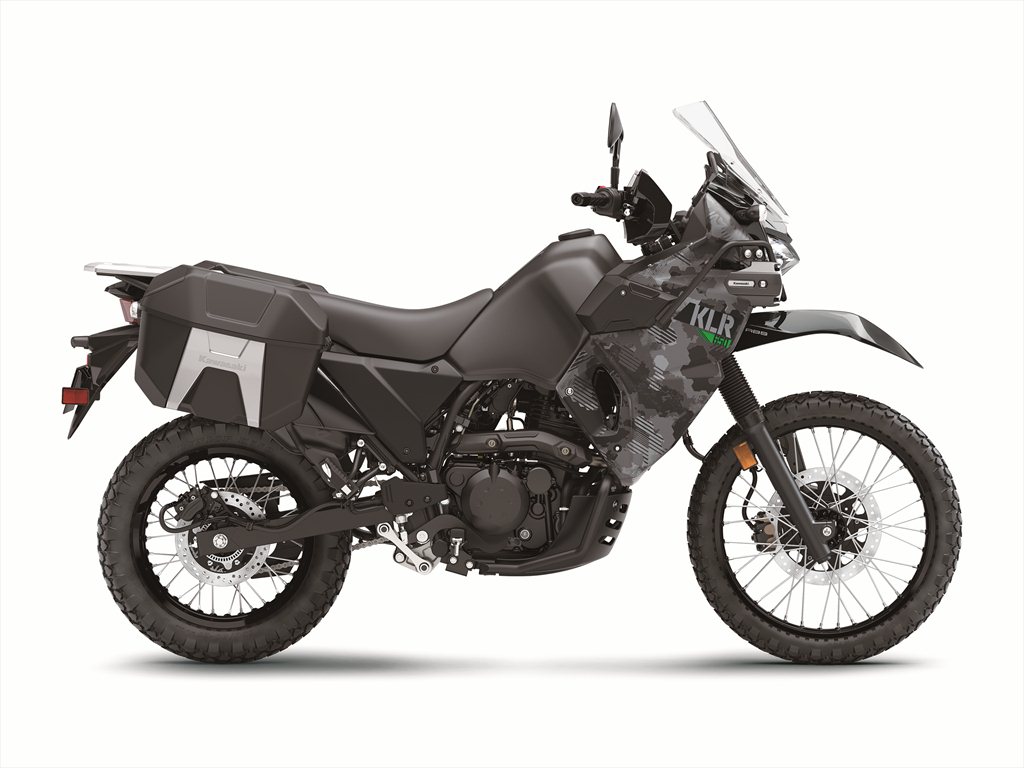
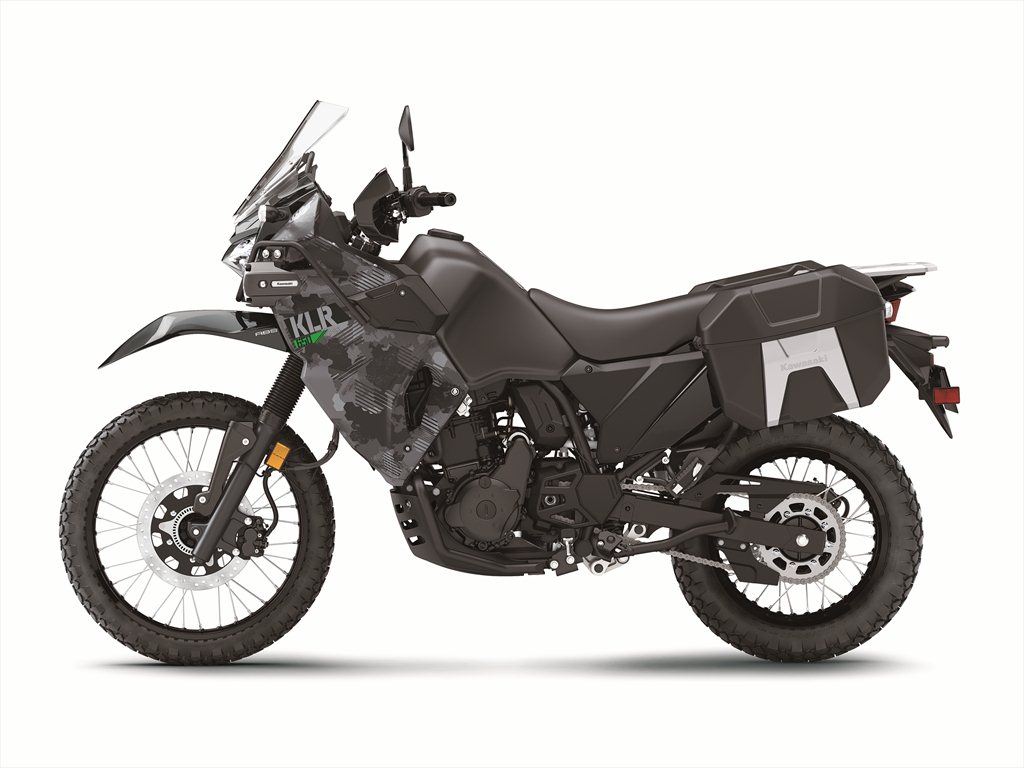
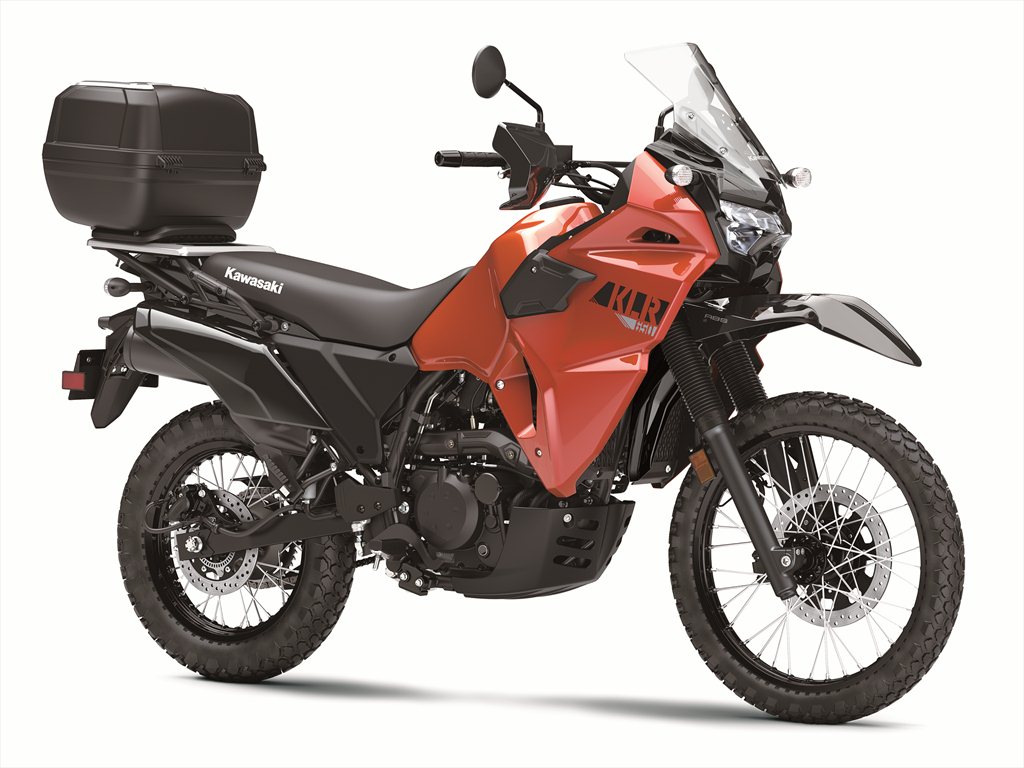
Also new for the 2022 KLR650 are two model variations that feature factory-equipped accessories and both come standard with ABS. The KLR® 650 ADVENTURE model comes equipped with factory-installed side cases, LED auxiliary light set, engine guards, tank pad, and both DC power outlet and USB socket and is available in the Cypher Camo Gray colorway. This model is designed for the adventurer who is looking for increased carry capacity and convenience.  The KLR® 650 TRAVELER model features a factory-installed top case and both DC power outlet and USB socket and comes in Pearl Lava Orange colorway.

COLORS

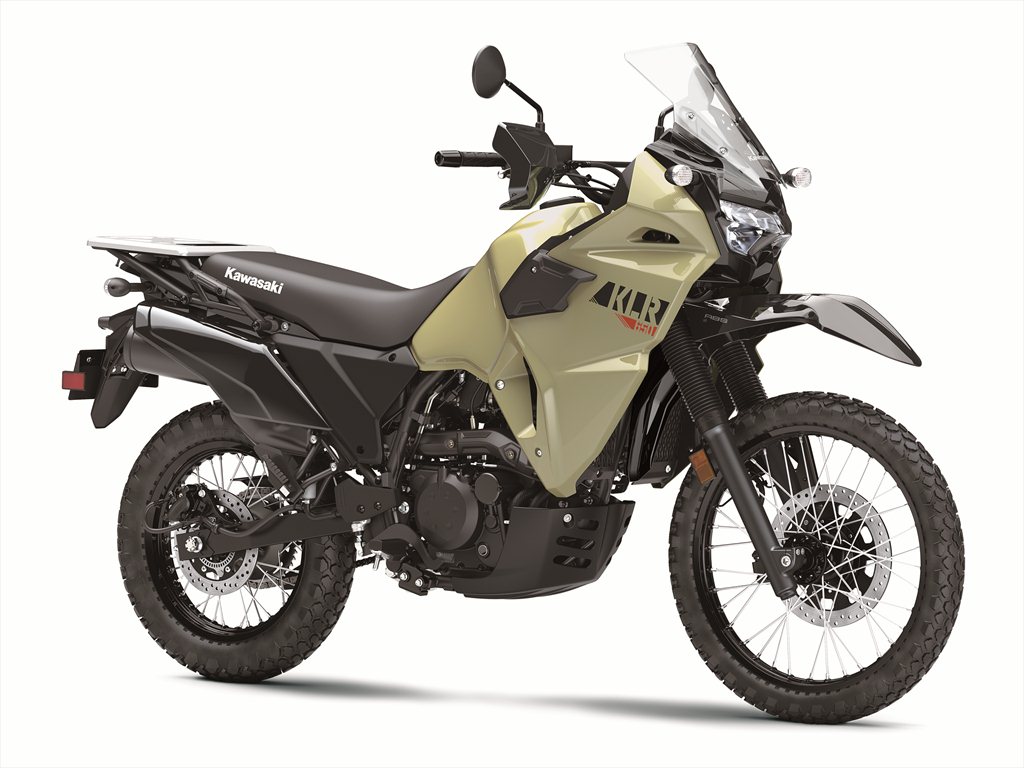
The 2022 KLR650 base model is available in Pearl Sand Khaki and Pearl Lava Orange. The KLR650 ABS is available in Pearl Sand Khaki. The KLR650 TRAVELER model is available in Pearl Lava Orange, and the KLR650 ADVENTURE model is available in Cypher Camo Gray.

I WANT ONE! HOW MUCH WILL IT COST TO RIDE A KLR?

KLR650 – $6,699

KLR650 ABS – $6,999

KLR650 TRAVELER – $7,399

KLR650 ADVENTURE – $7,999

ABOUT THE BRAND

Kawasaki Heavy Industries, Ltd. (KHI) started full-scale production of motorcycles over a half century ago.  The first Kawasaki motorcycle engine was designed based on technical know-how garnered from the development and production of aircraft engines, and Kawasaki’s entry into the motorcycle industry was driven by the company’s constant effort to develop new technologies. Numerous new Kawasaki models introduced over the years have helped shape the market, and in the process have created enduring legends based on their unique engineering, power, design and riding pleasure. In the future, Kawasaki’s commitment to maintaining and furthering these strengths guarantees new legends like the reborn 2022 KLR650.

Kawasaki Motors Corp., U.S.A. (KMC) markets and distributes Kawasaki motorcycles, ATVs, side x sides, and JET SKI® watercraft through a network of approximately 1,100 independent retailers, with close to an additional 7,700 retailers specializing in general purpose engines. KMC and its affiliates employ nearly 3,100 people in the United States, with approximately 260 of them located at KMC’s Foothill Ranch, California headquarters.

Kawasaki’s tagline, “Let the good times roll®”, is recognized worldwide. The Kawasaki brand is synonymous with powerful, stylish and category-leading vehicles. Information about Kawasaki’s complete line of powersports products and Kawasaki affiliates can be found on the Internet at www.kawasaki.com.

FULL DISCLOSURE:  American Adventurist is not affiliated with or sponsored by Kawasaki. We just like motorcycles!
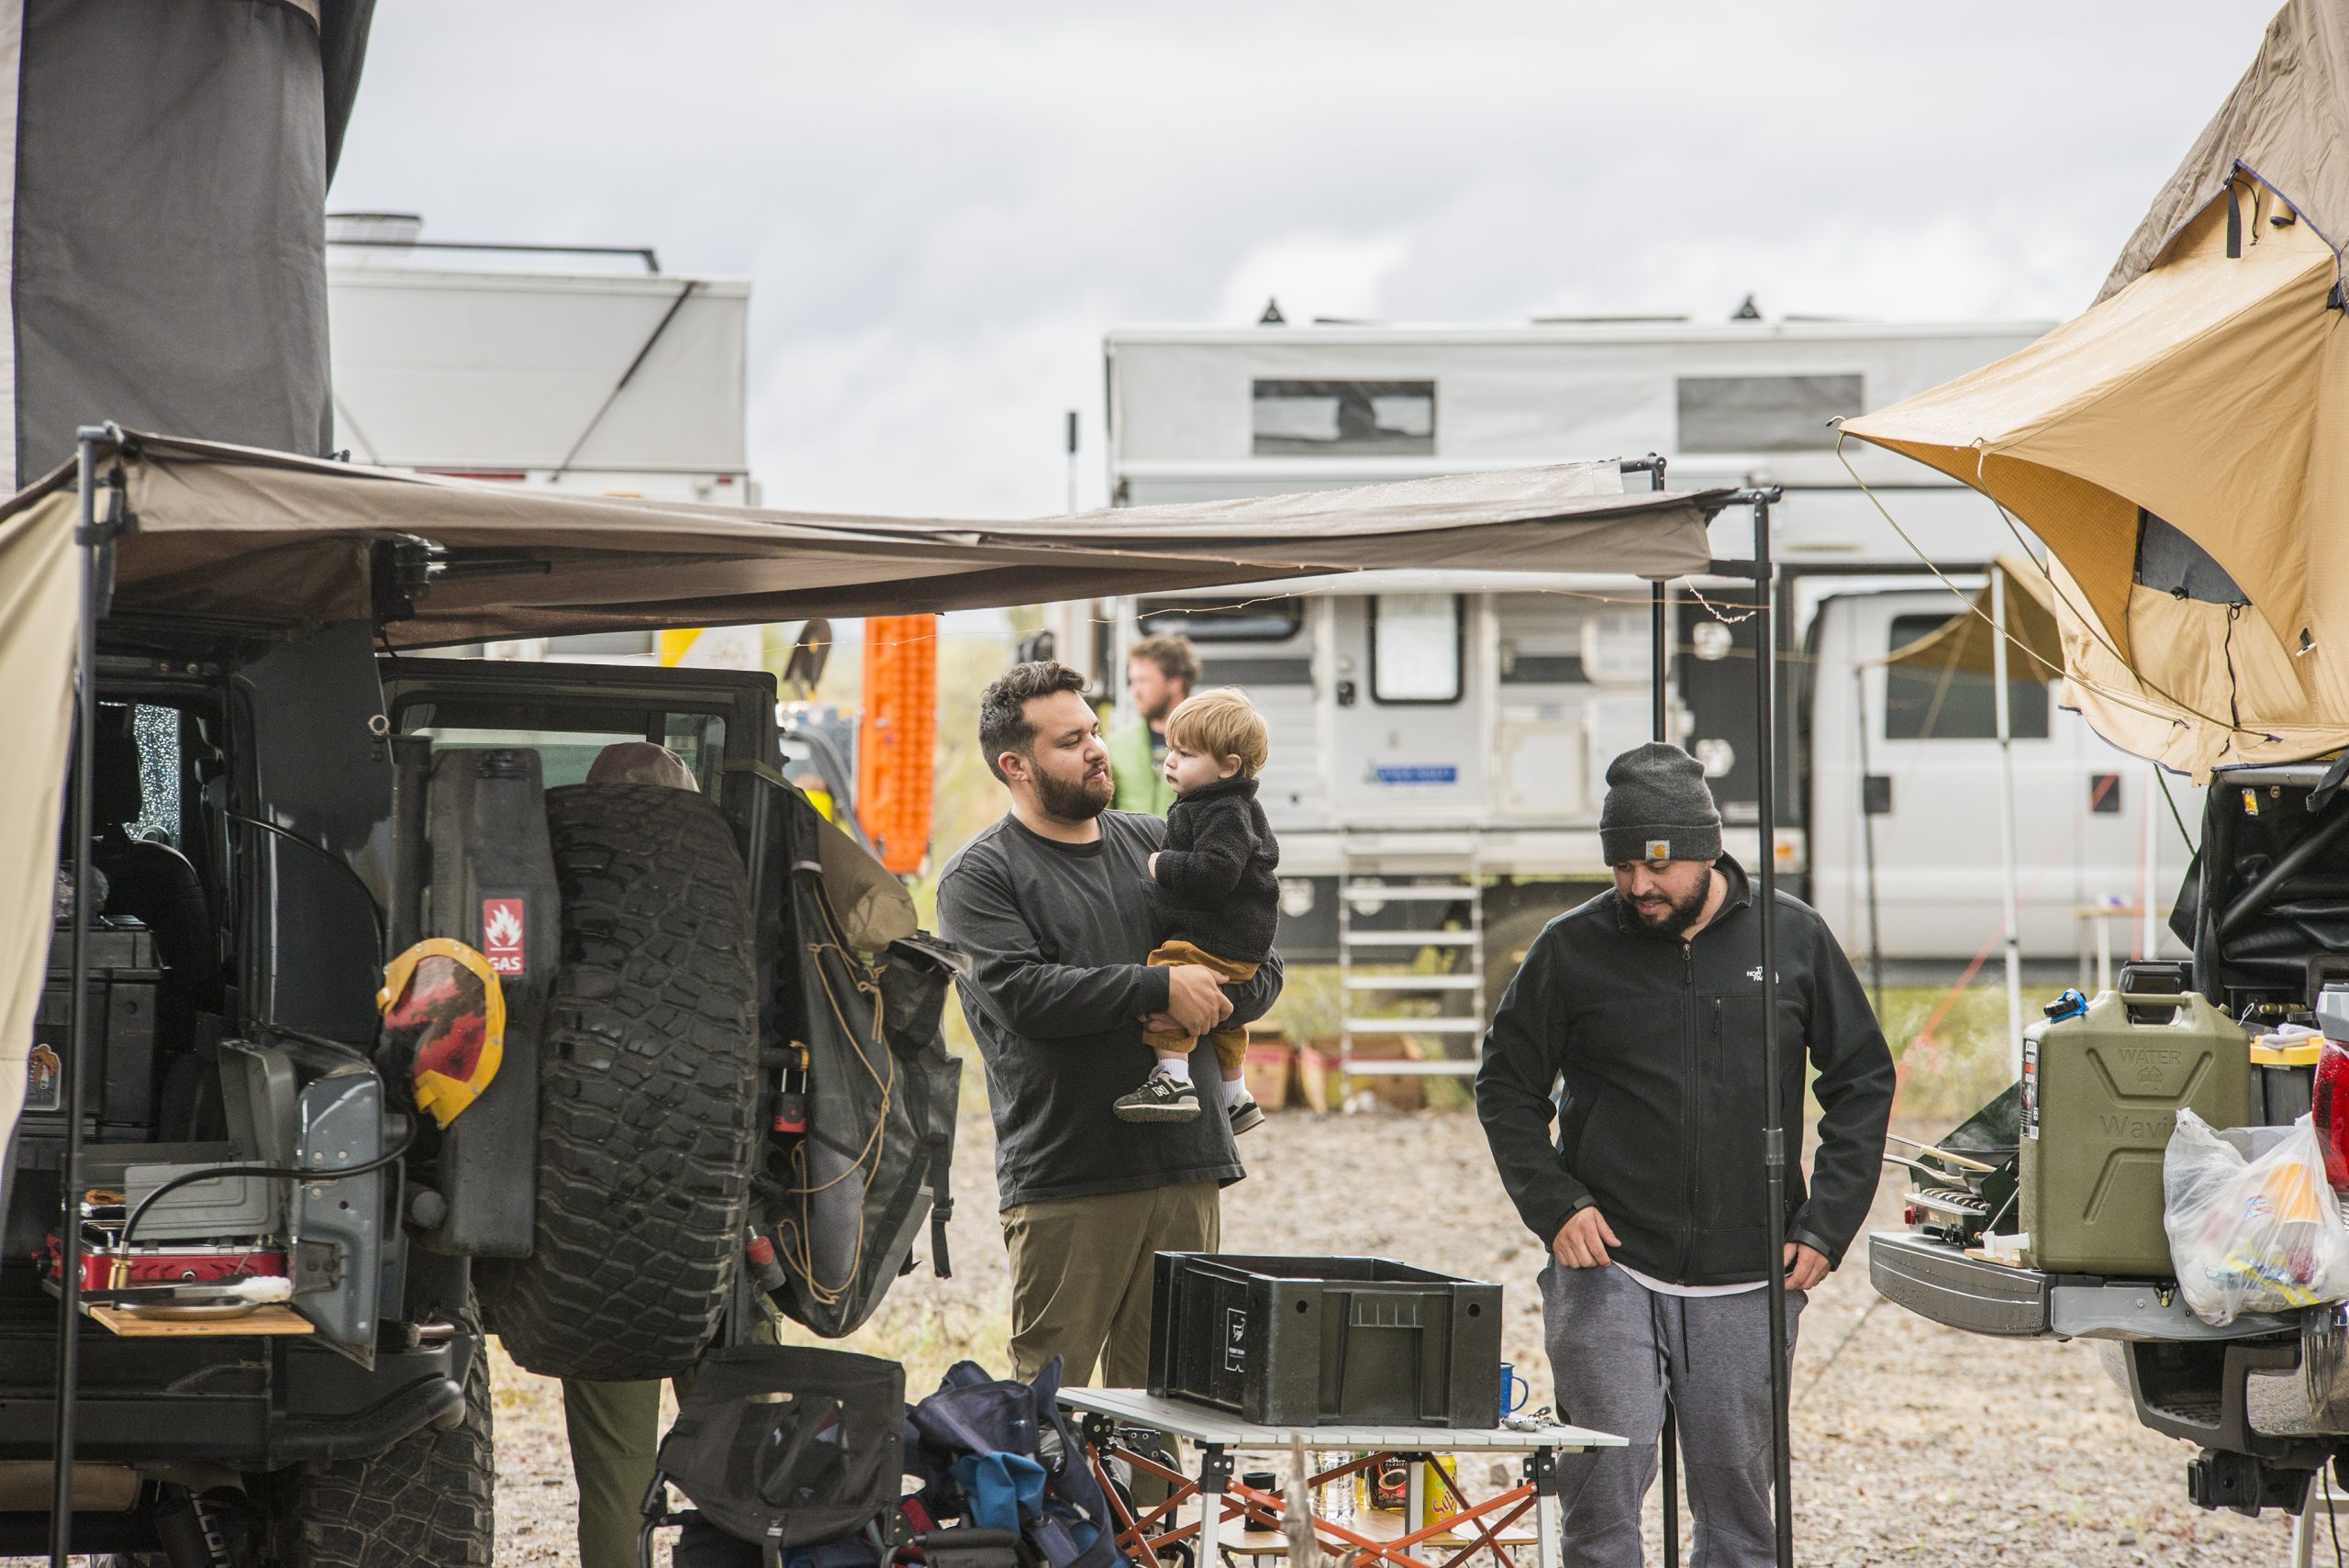
The 2020 Desert Rendezvous

Editor’s note: Back in 2010, our “Rendezvous Conspiracy” of like minded Adventurists sat around a campfire in the Southern California desert dreaming up ideas to get out and explore more often. That quiet conversation resulted in the first Desert Rendezvous. Fast forward ten years and American Adventurist grew to tens of thousands of followers across the social media spectrum with members in all 50 states. Early on we made it our business to promote responsible outdoor recreation, 4WD education, and Tread Lightly principles and we’re still doing it today – I honestly never imagined that so many other people had similar dreams and interests, or that this would grow to be what it is. We’ve held Rendezvous events in California, North Carolina and now Arizona and partnered with dozens of amazing brands and events like Overland Expo along the way. So this year’s theme is gratitude – we’re grateful for those who believed in us and what we’re about, and for all of you who chose to be a part of this journey. In the end, it’s the people, the family and friends that made this all possible, and you are why we do what we do. THANK YOU for making these last 10 years, and this Community that we’ve built, something that we can all be extremely proud of. 

Dave Bennett, Founder

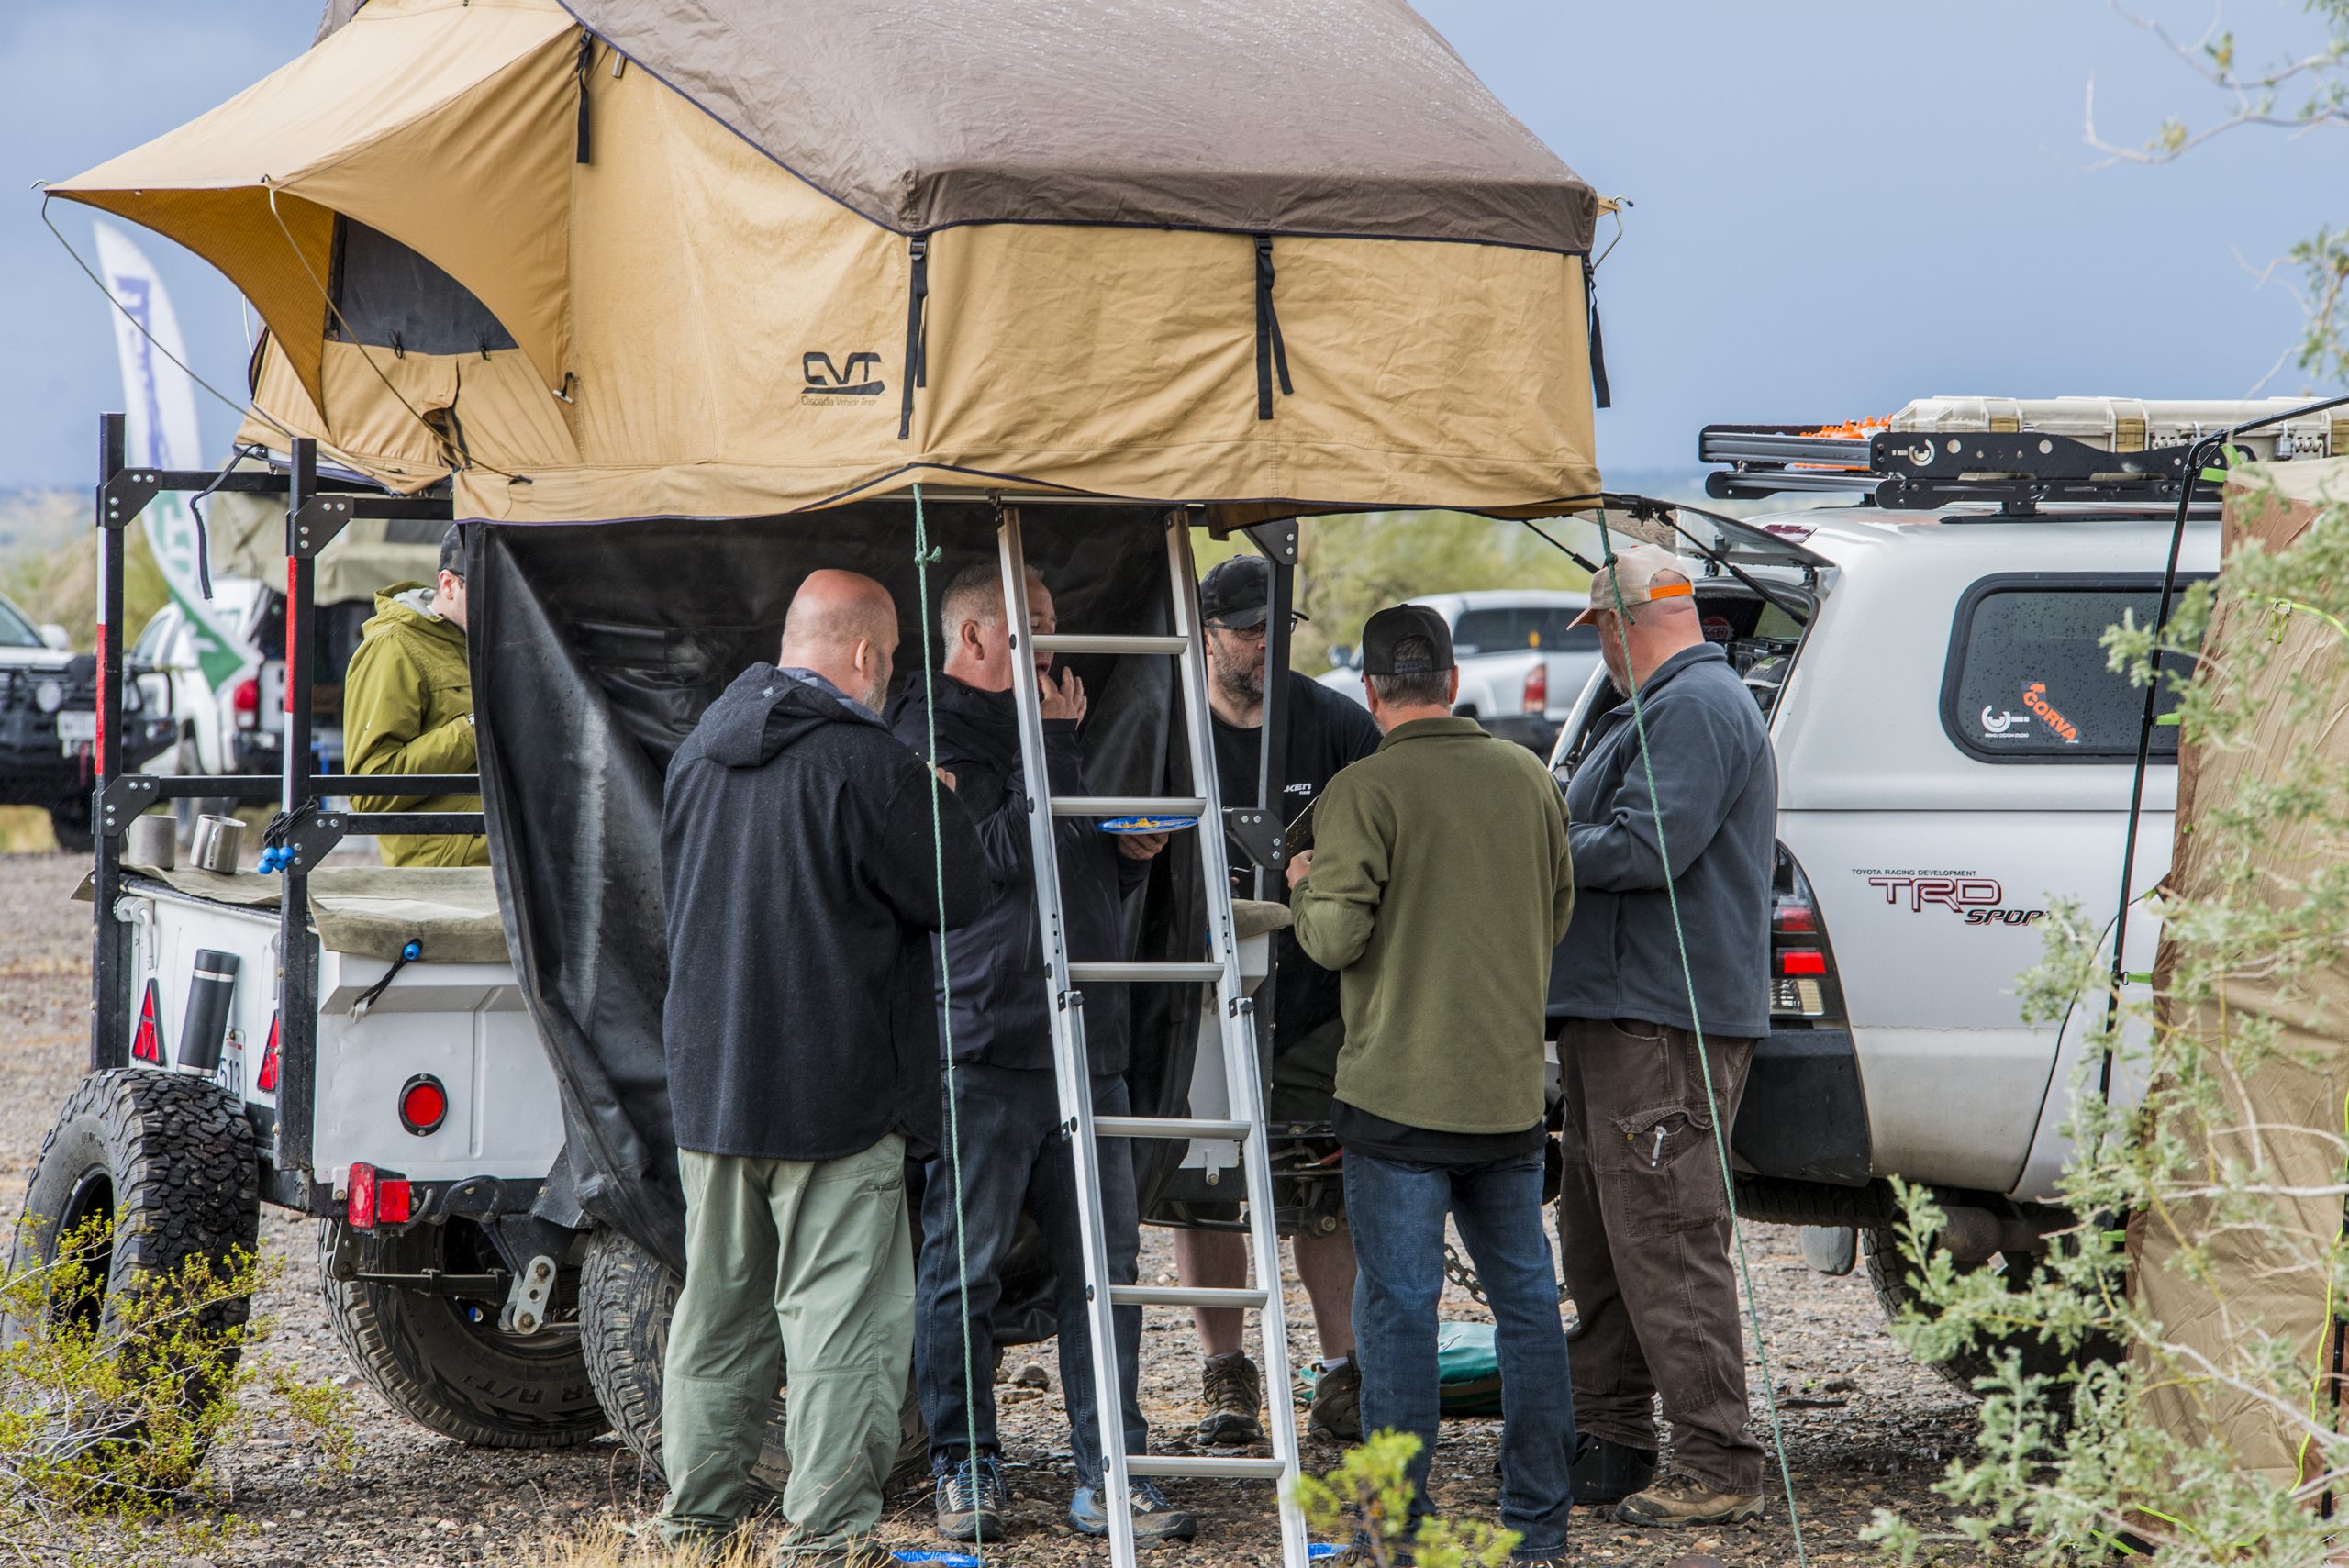
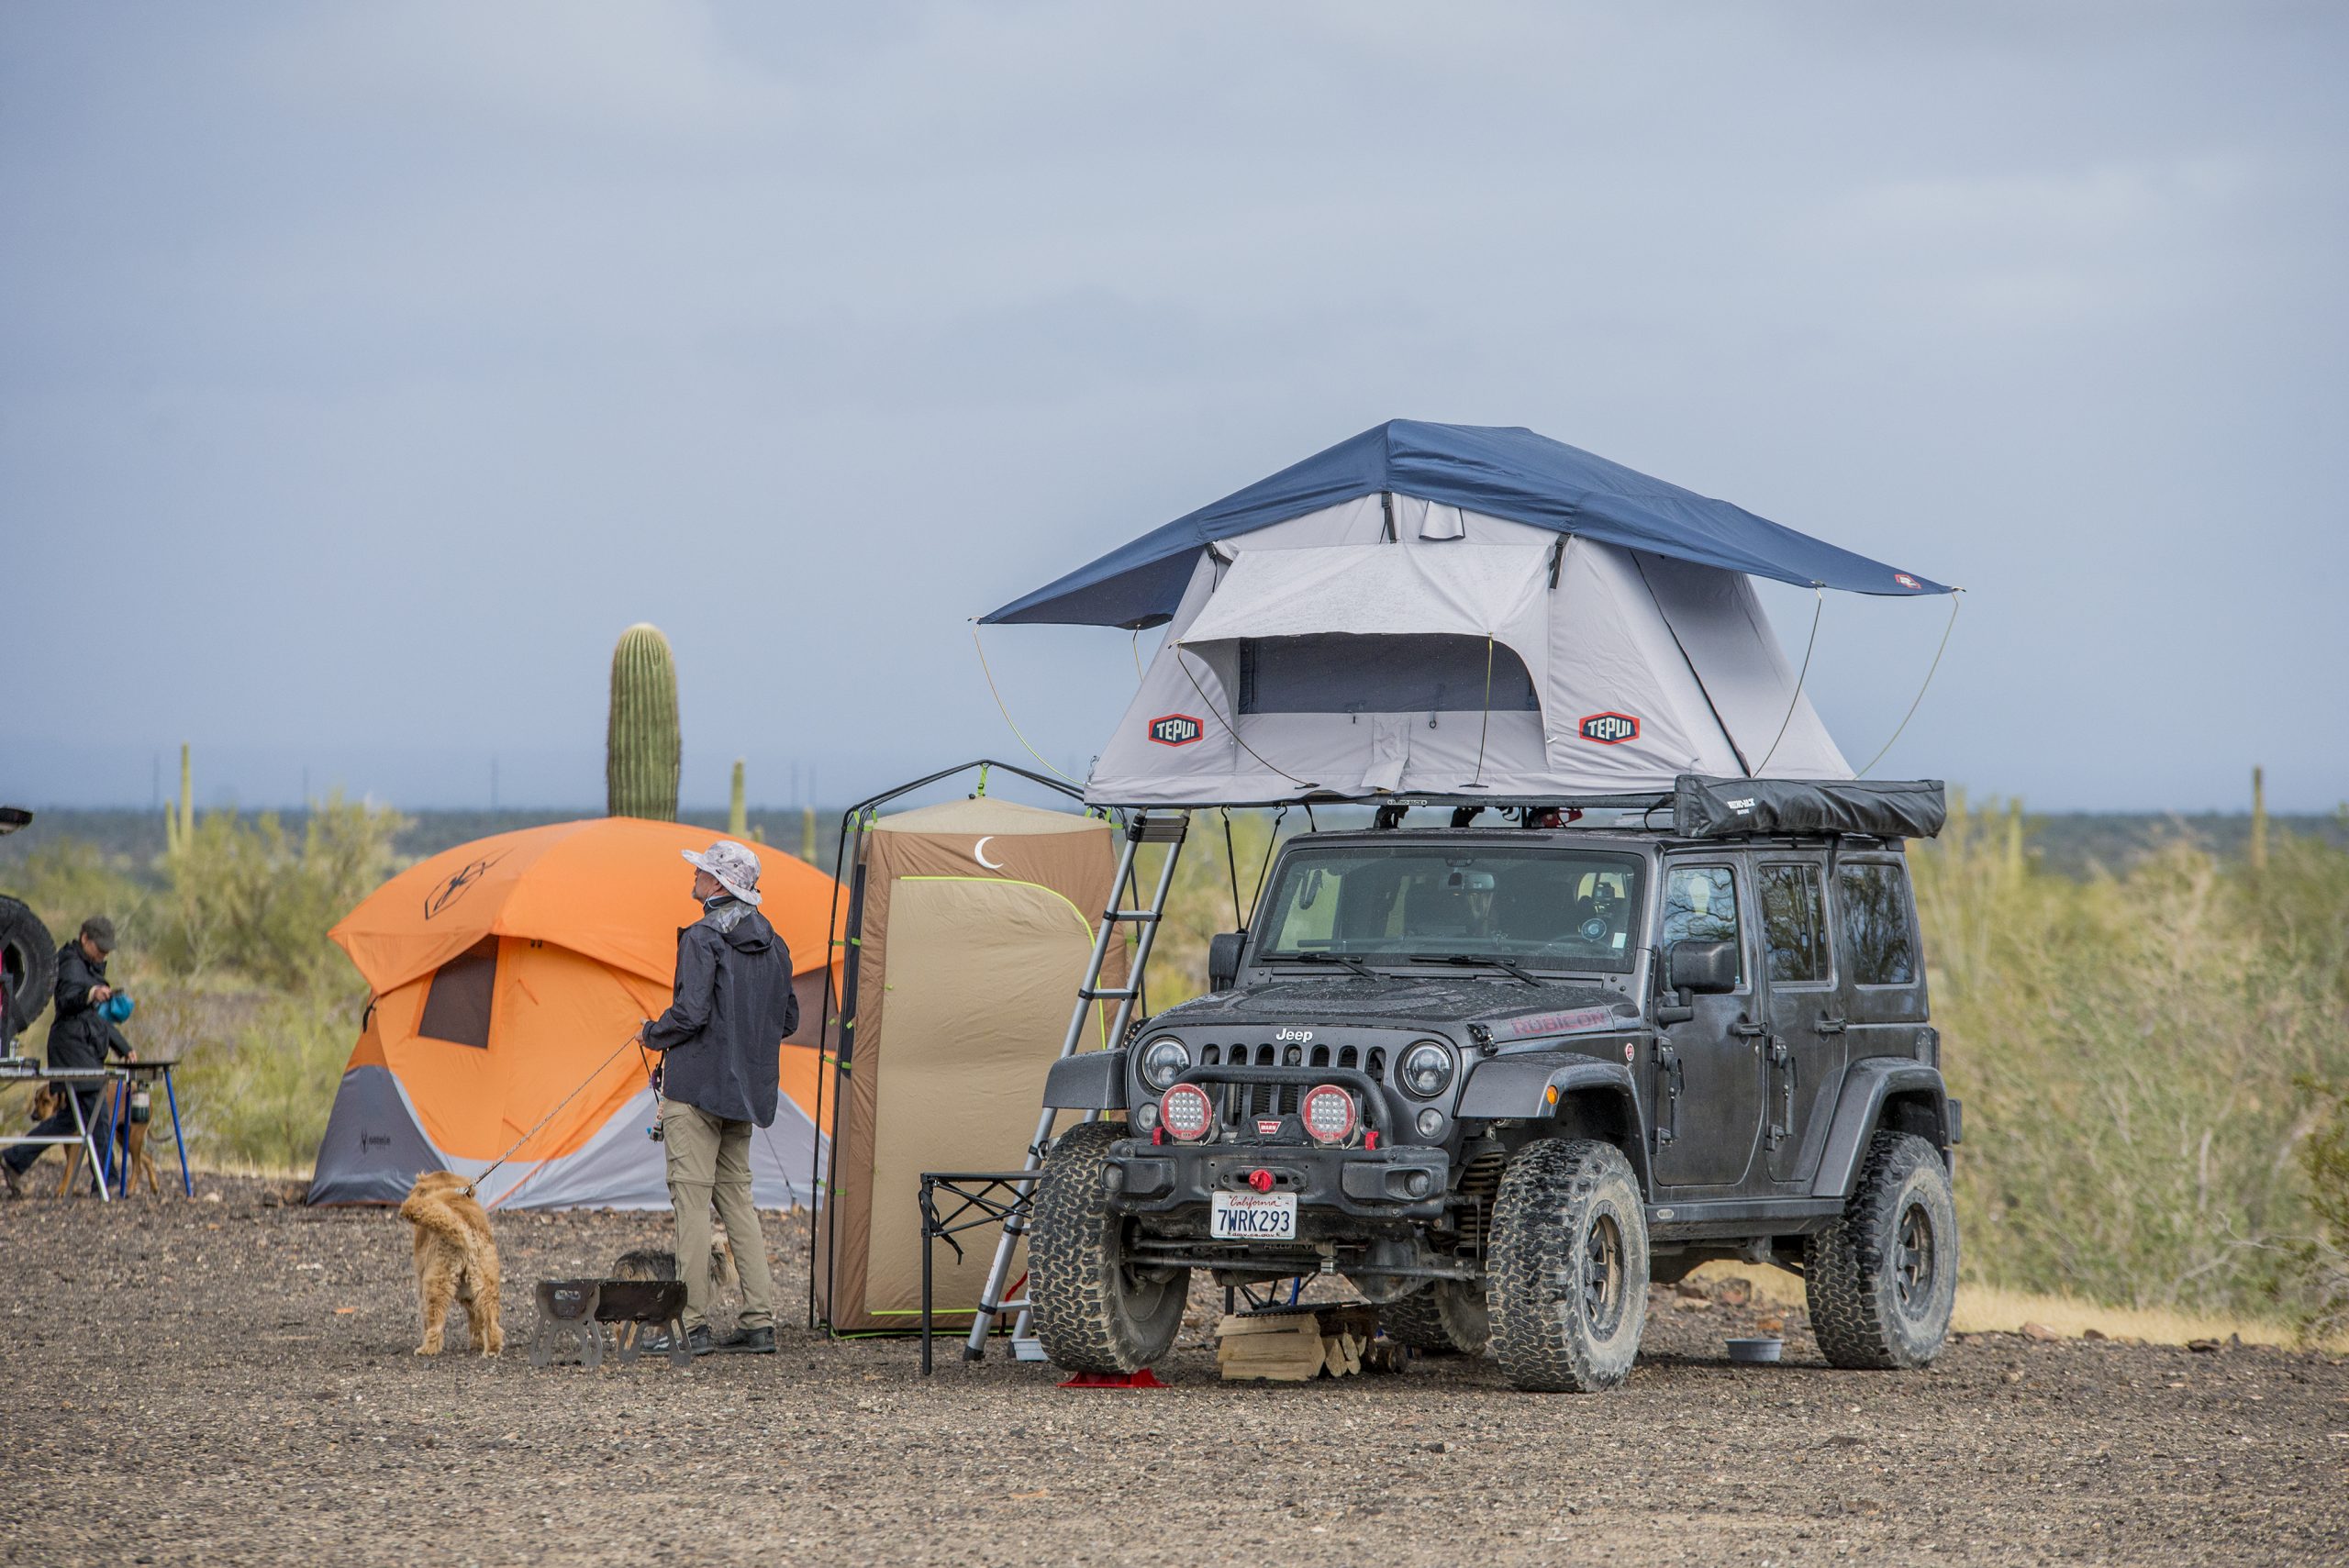
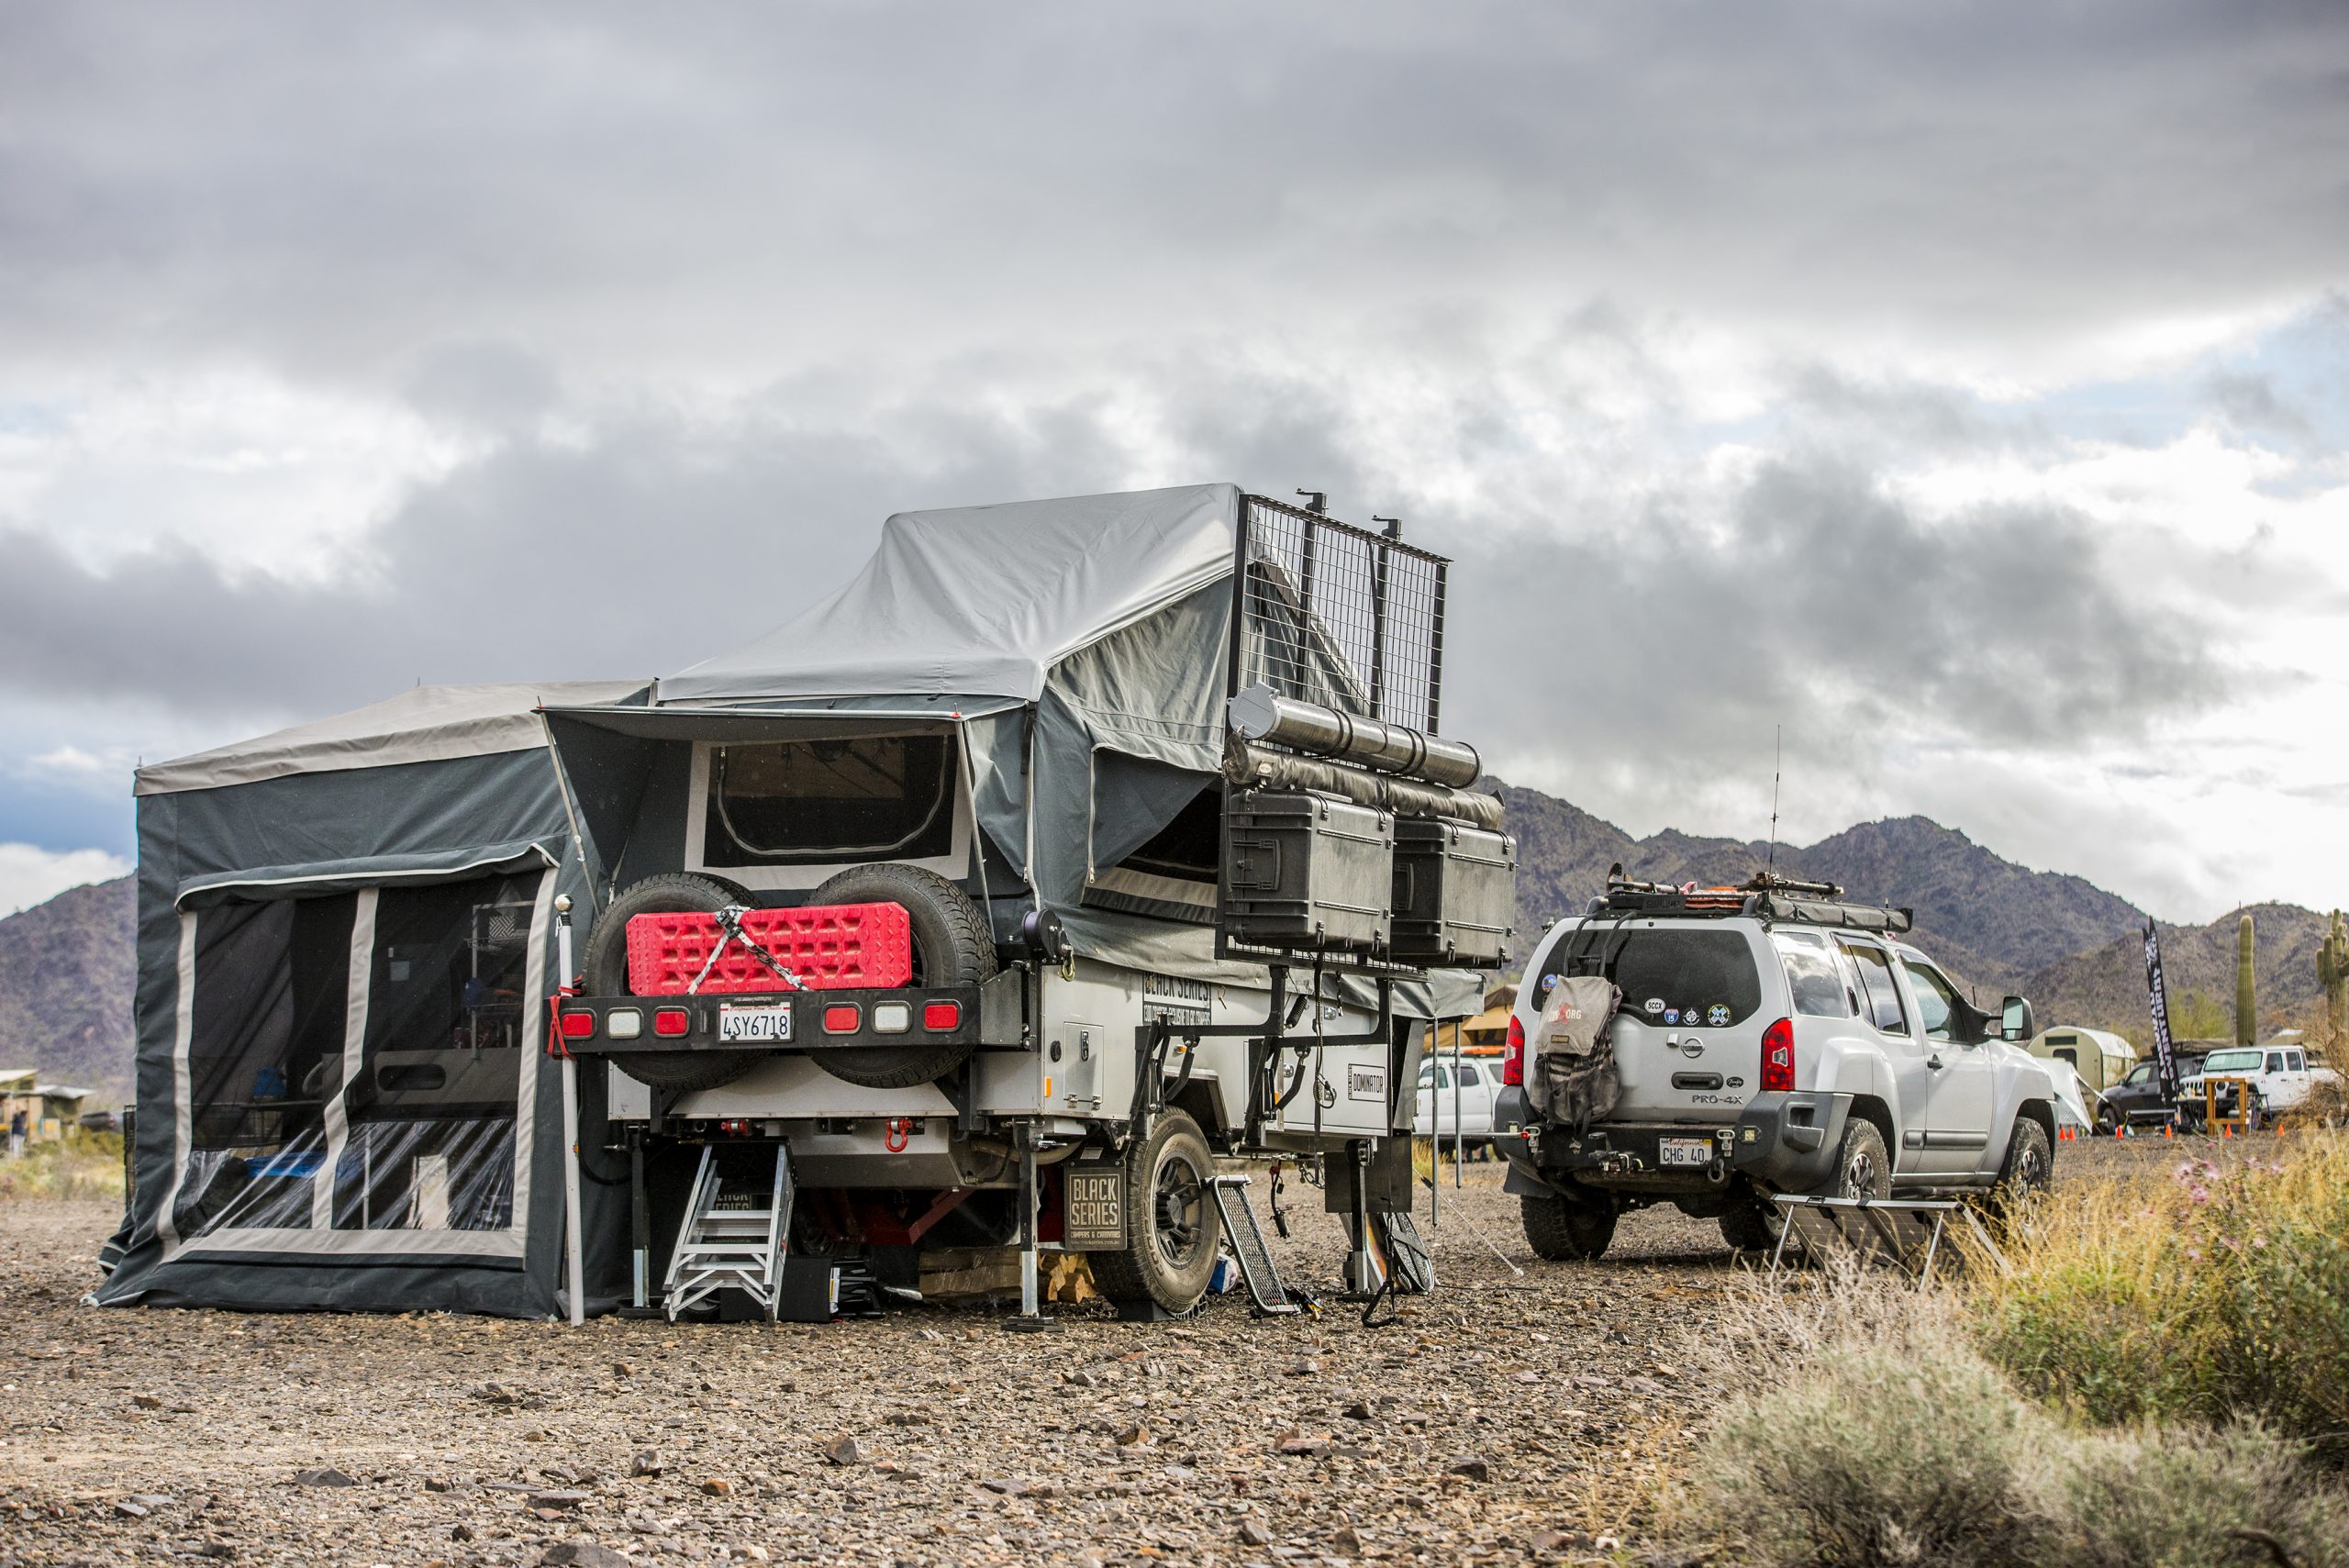
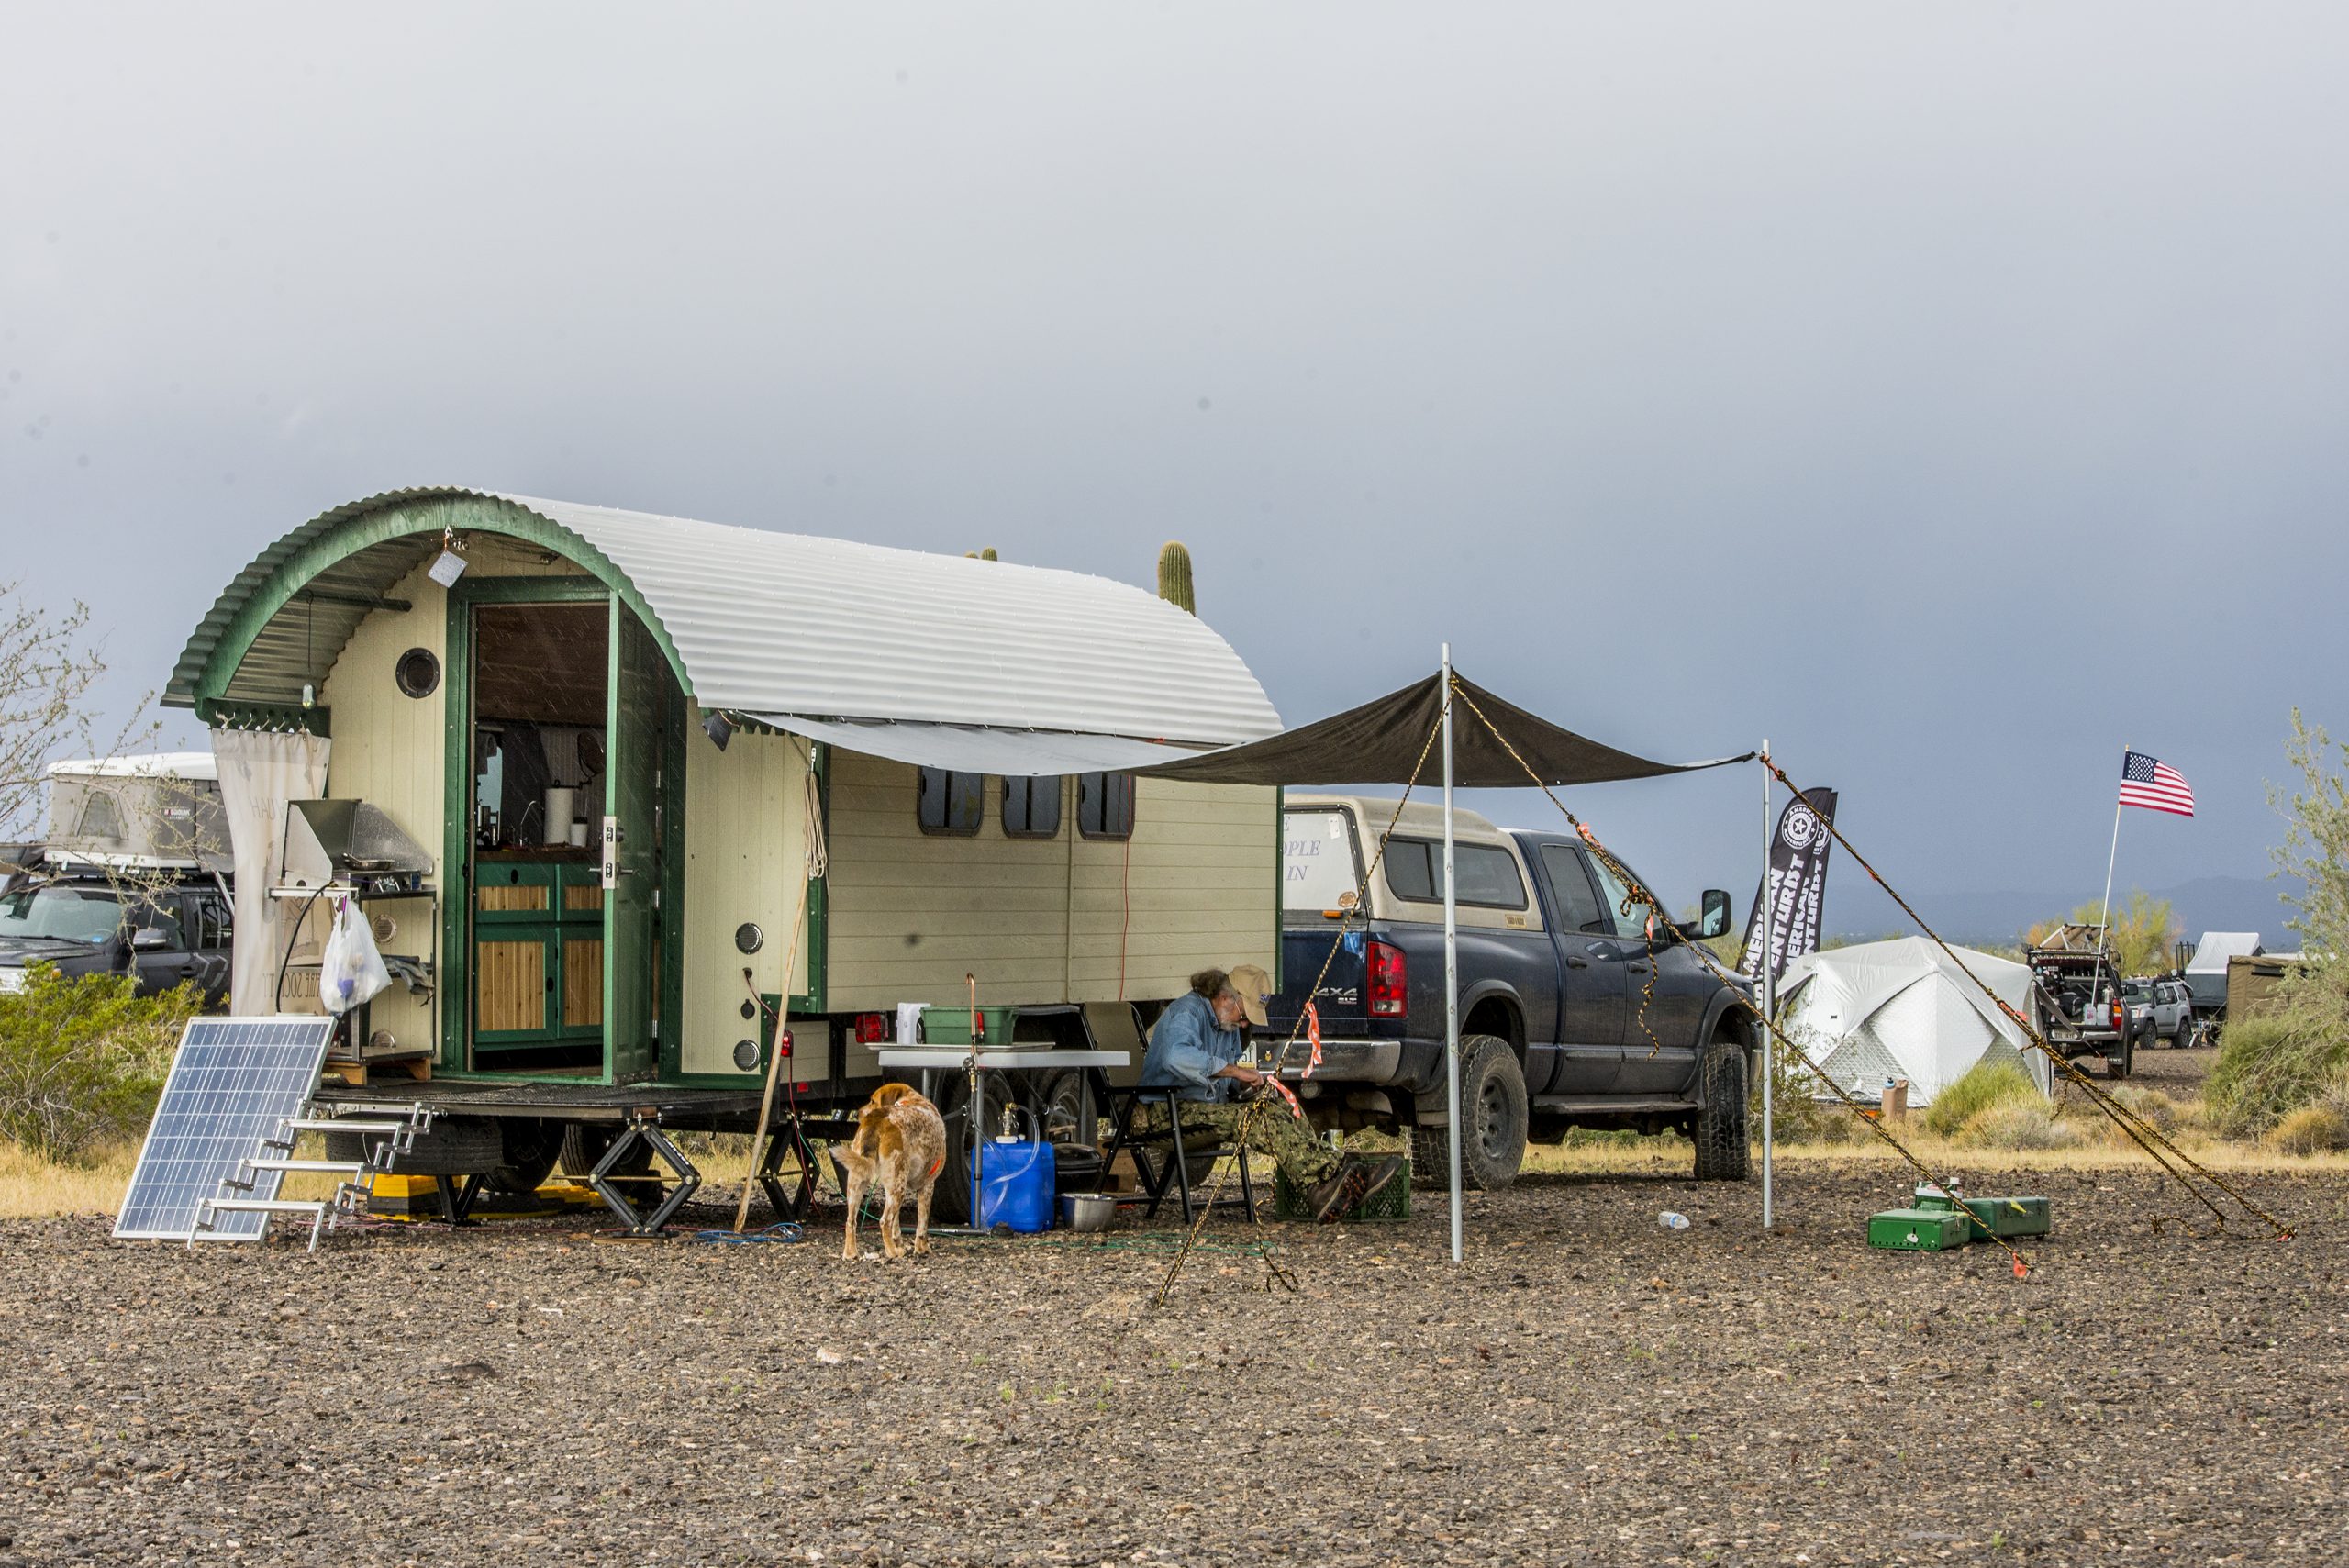
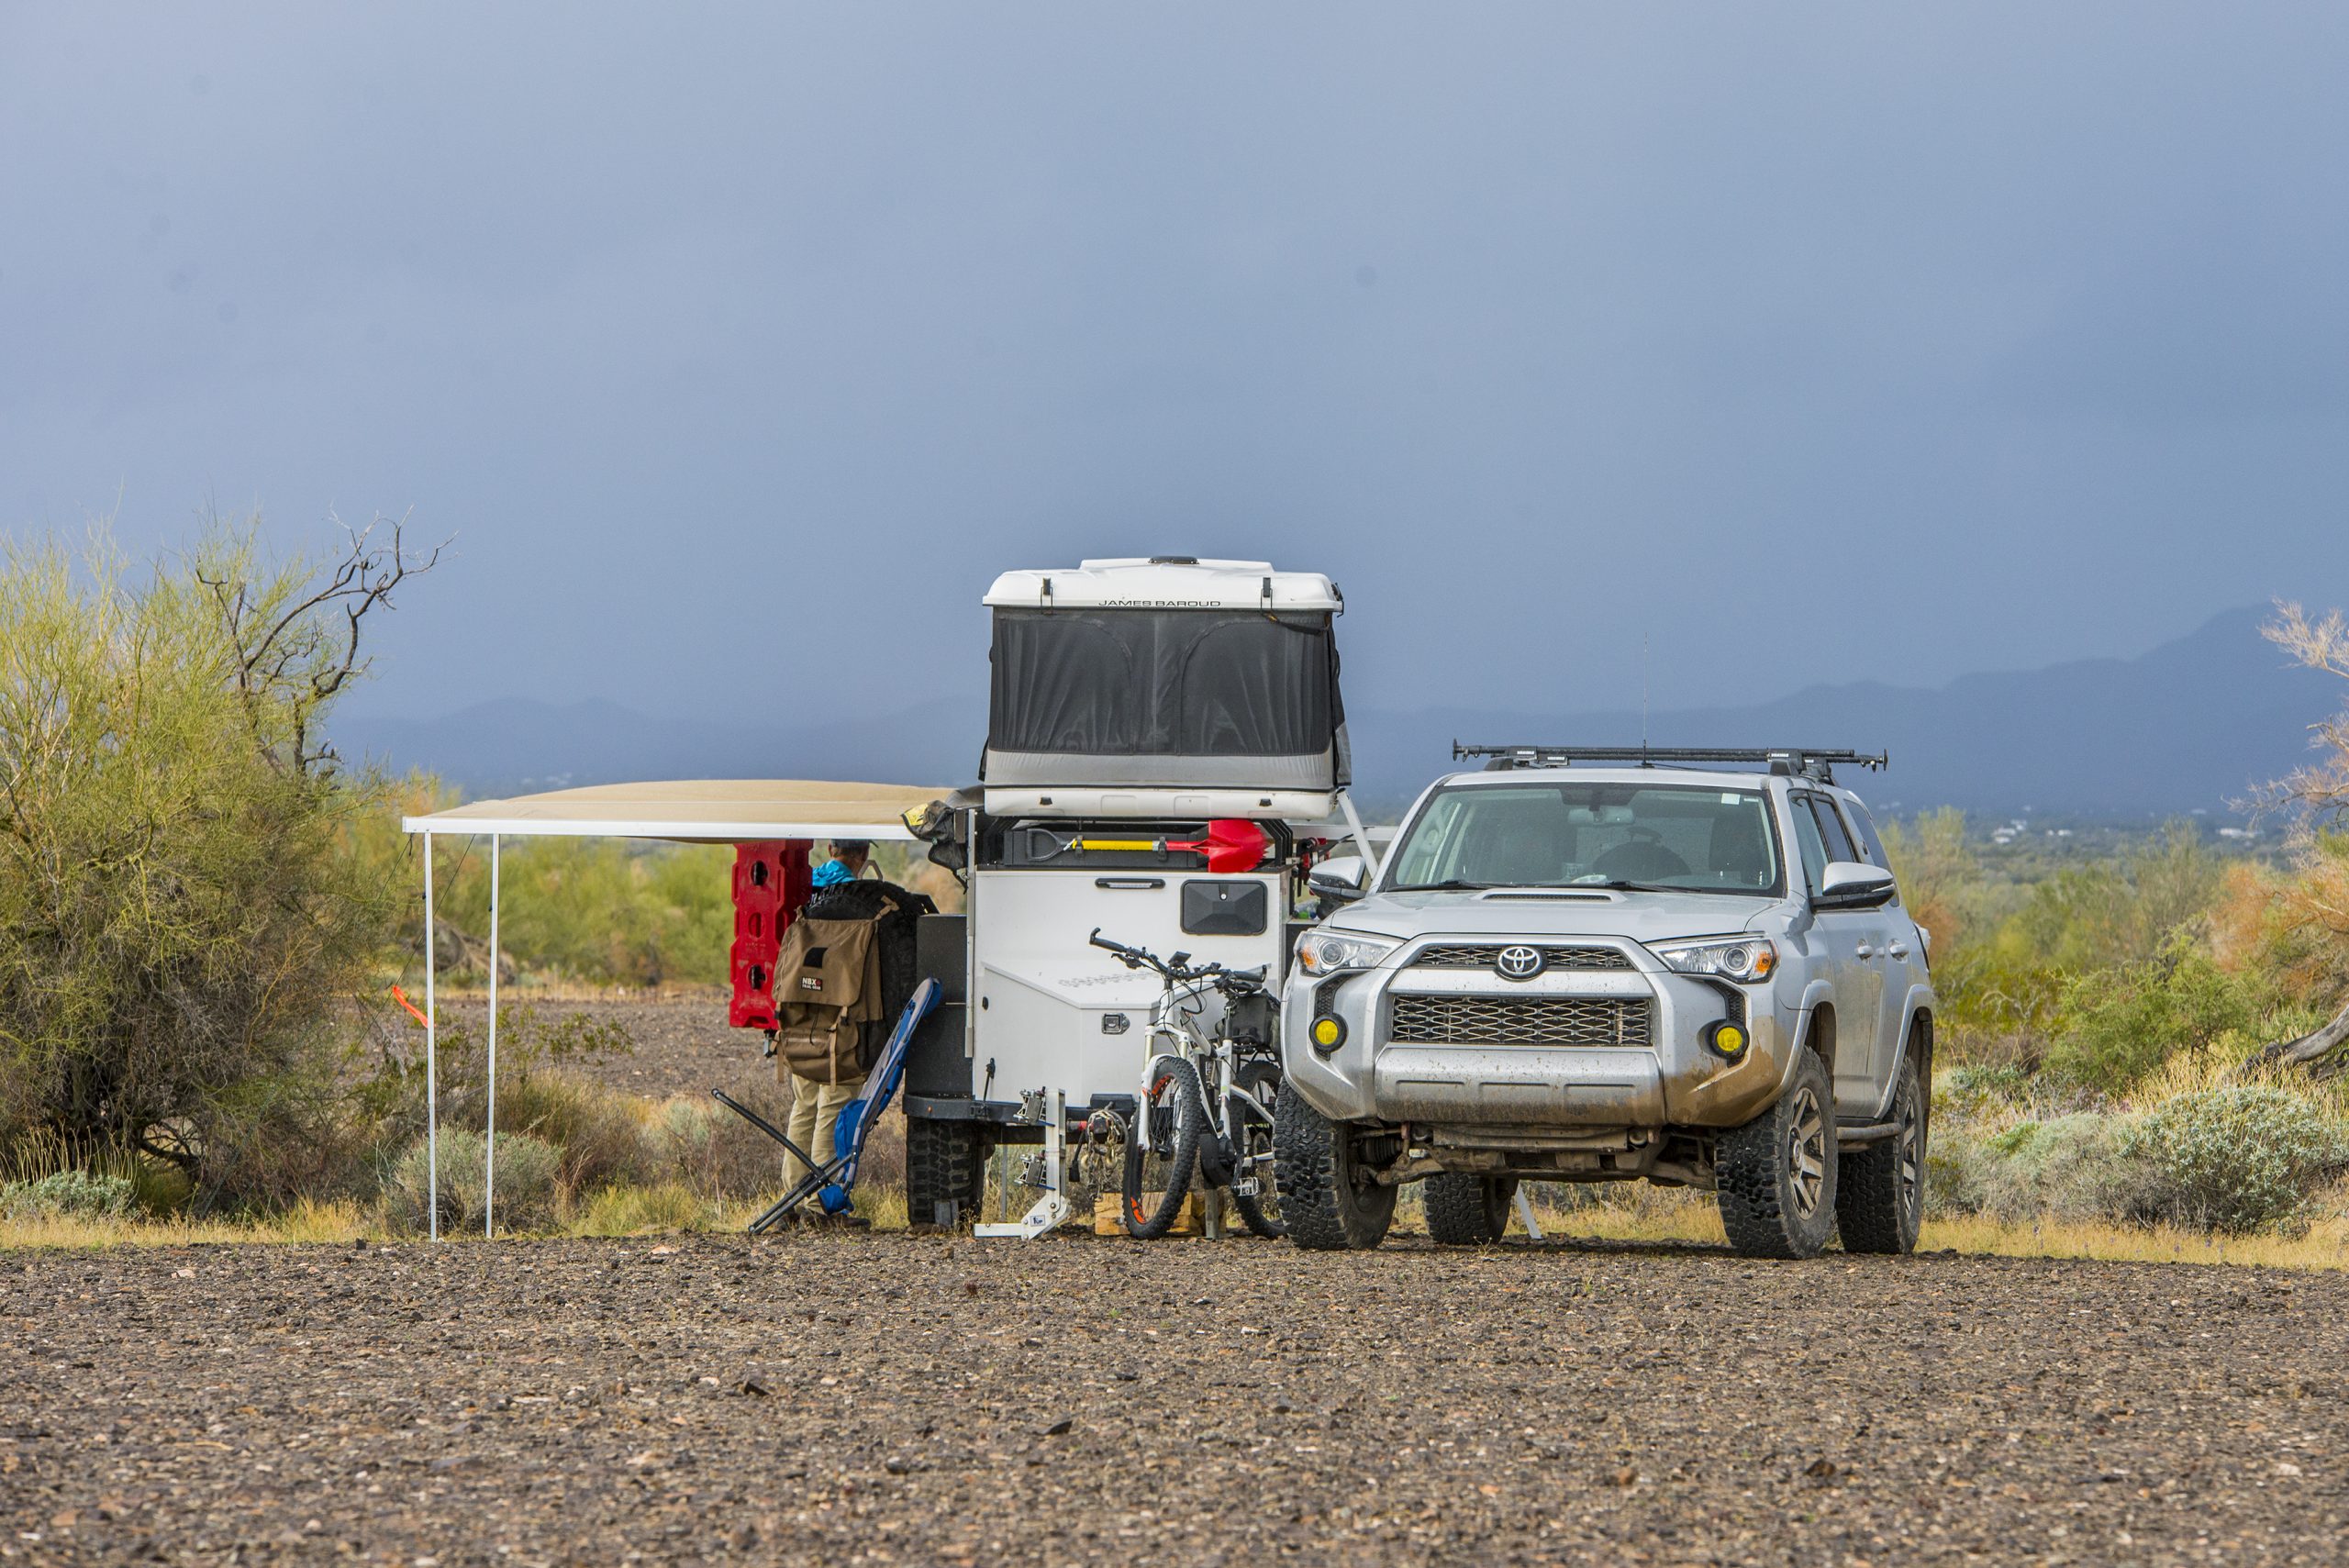
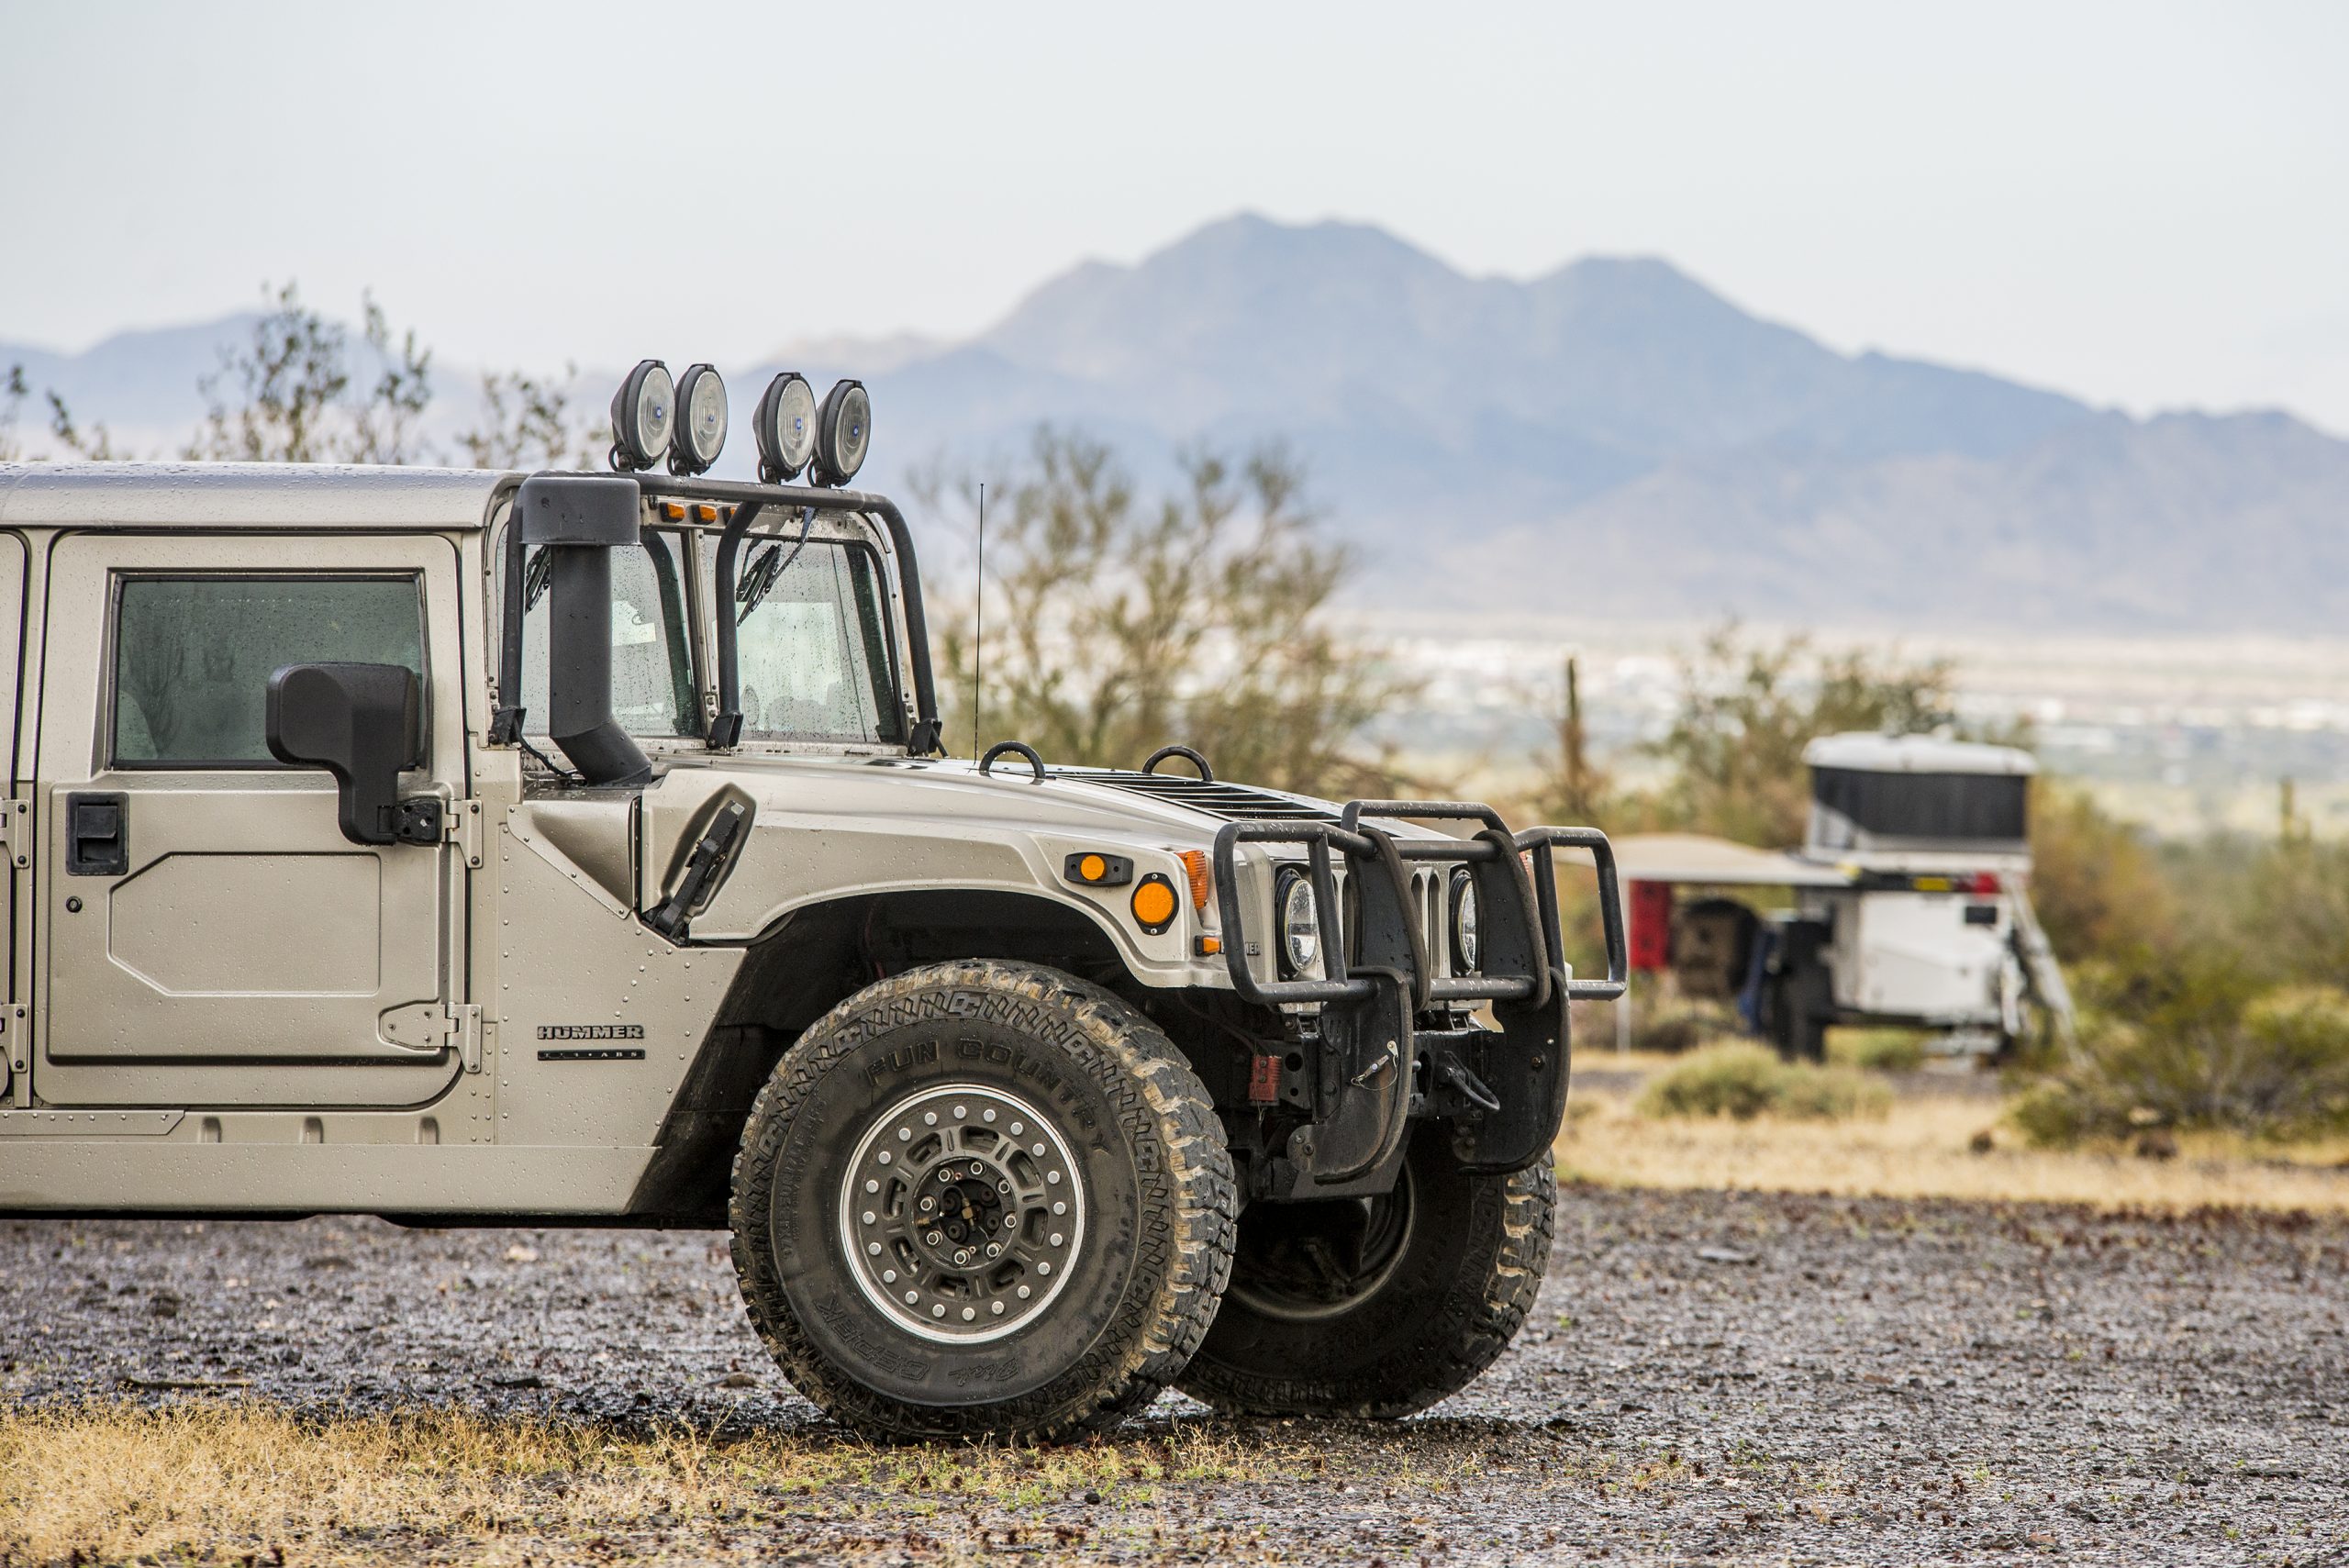
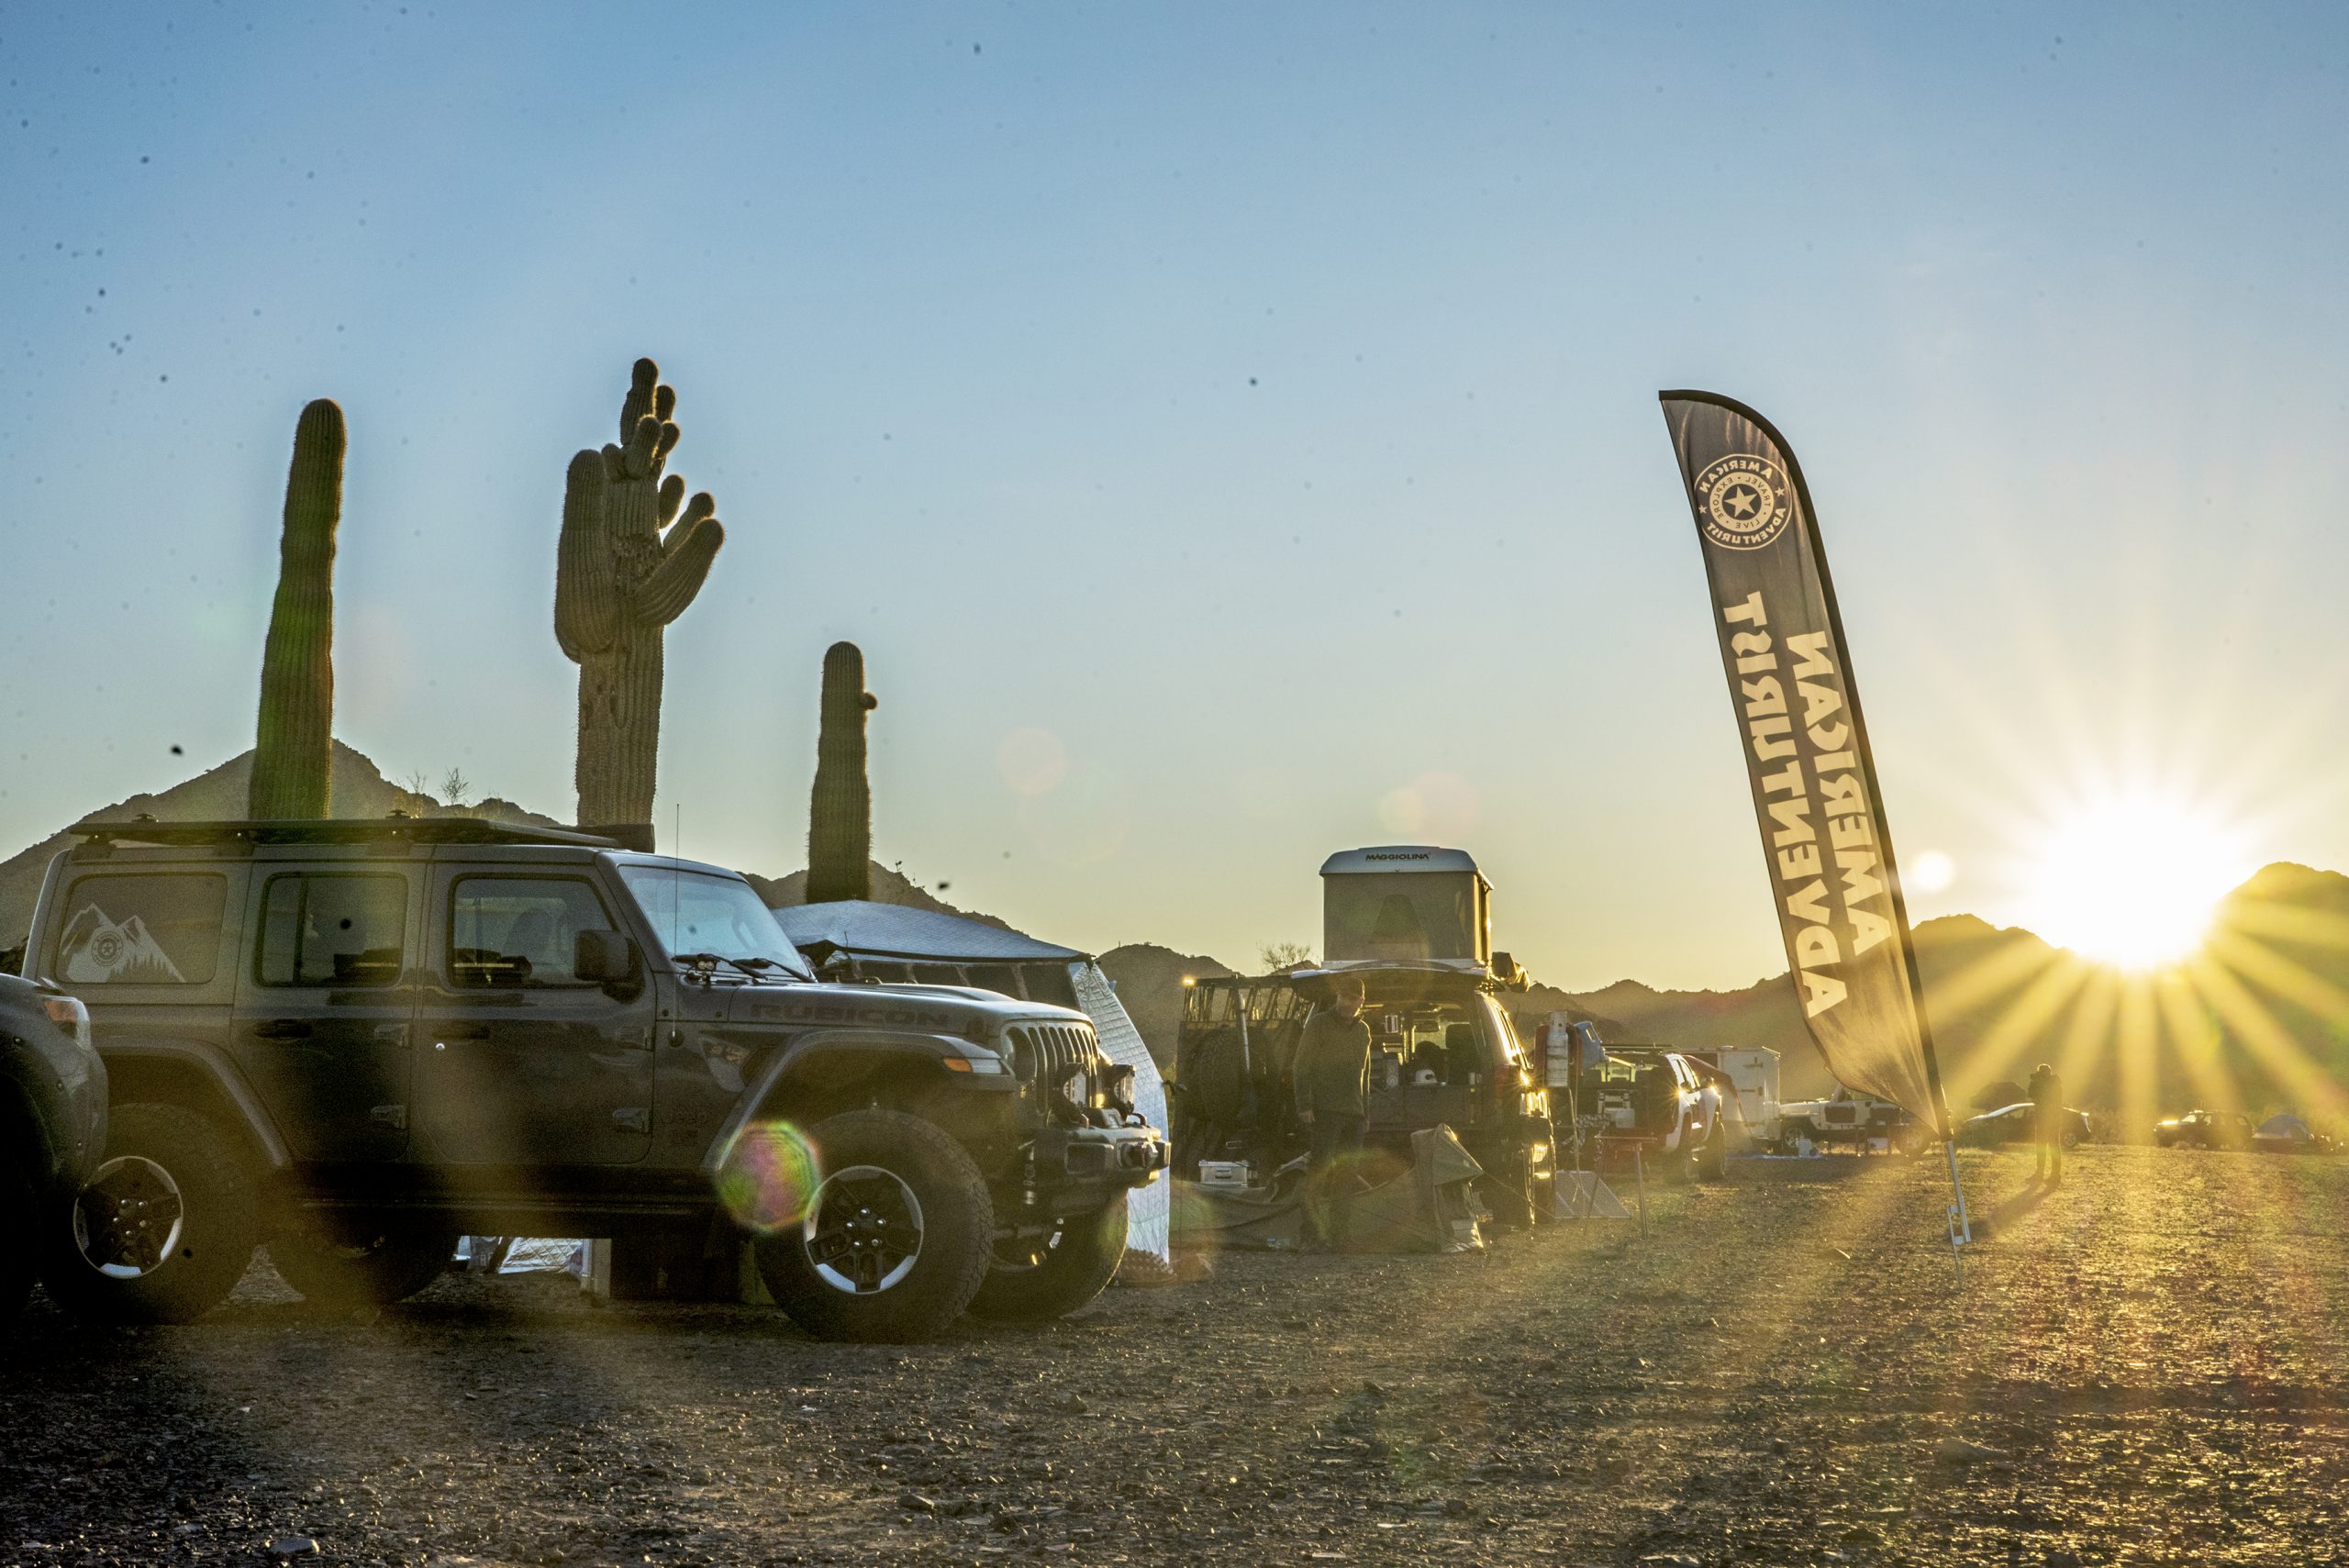
Since this was our 10-year anniversary of Rendezvous events, we wanted to give this event a special touch. After bouncing around several desert locations in SoCal over the last decade, the consensus was to change it up a bit and shift the event to just north of the KOFA Wildlife Refuge on BLM land near Quartzsite, Arizona. Luckily, we had a good man there to do some reconnaissance and boots on the ground coordination, our fellow Adventurist and staff member John Rhoades. Many, many thanks to John for putting in the legwork and finding this wonderful spot for the 10th Annual Desert Rendezvous.
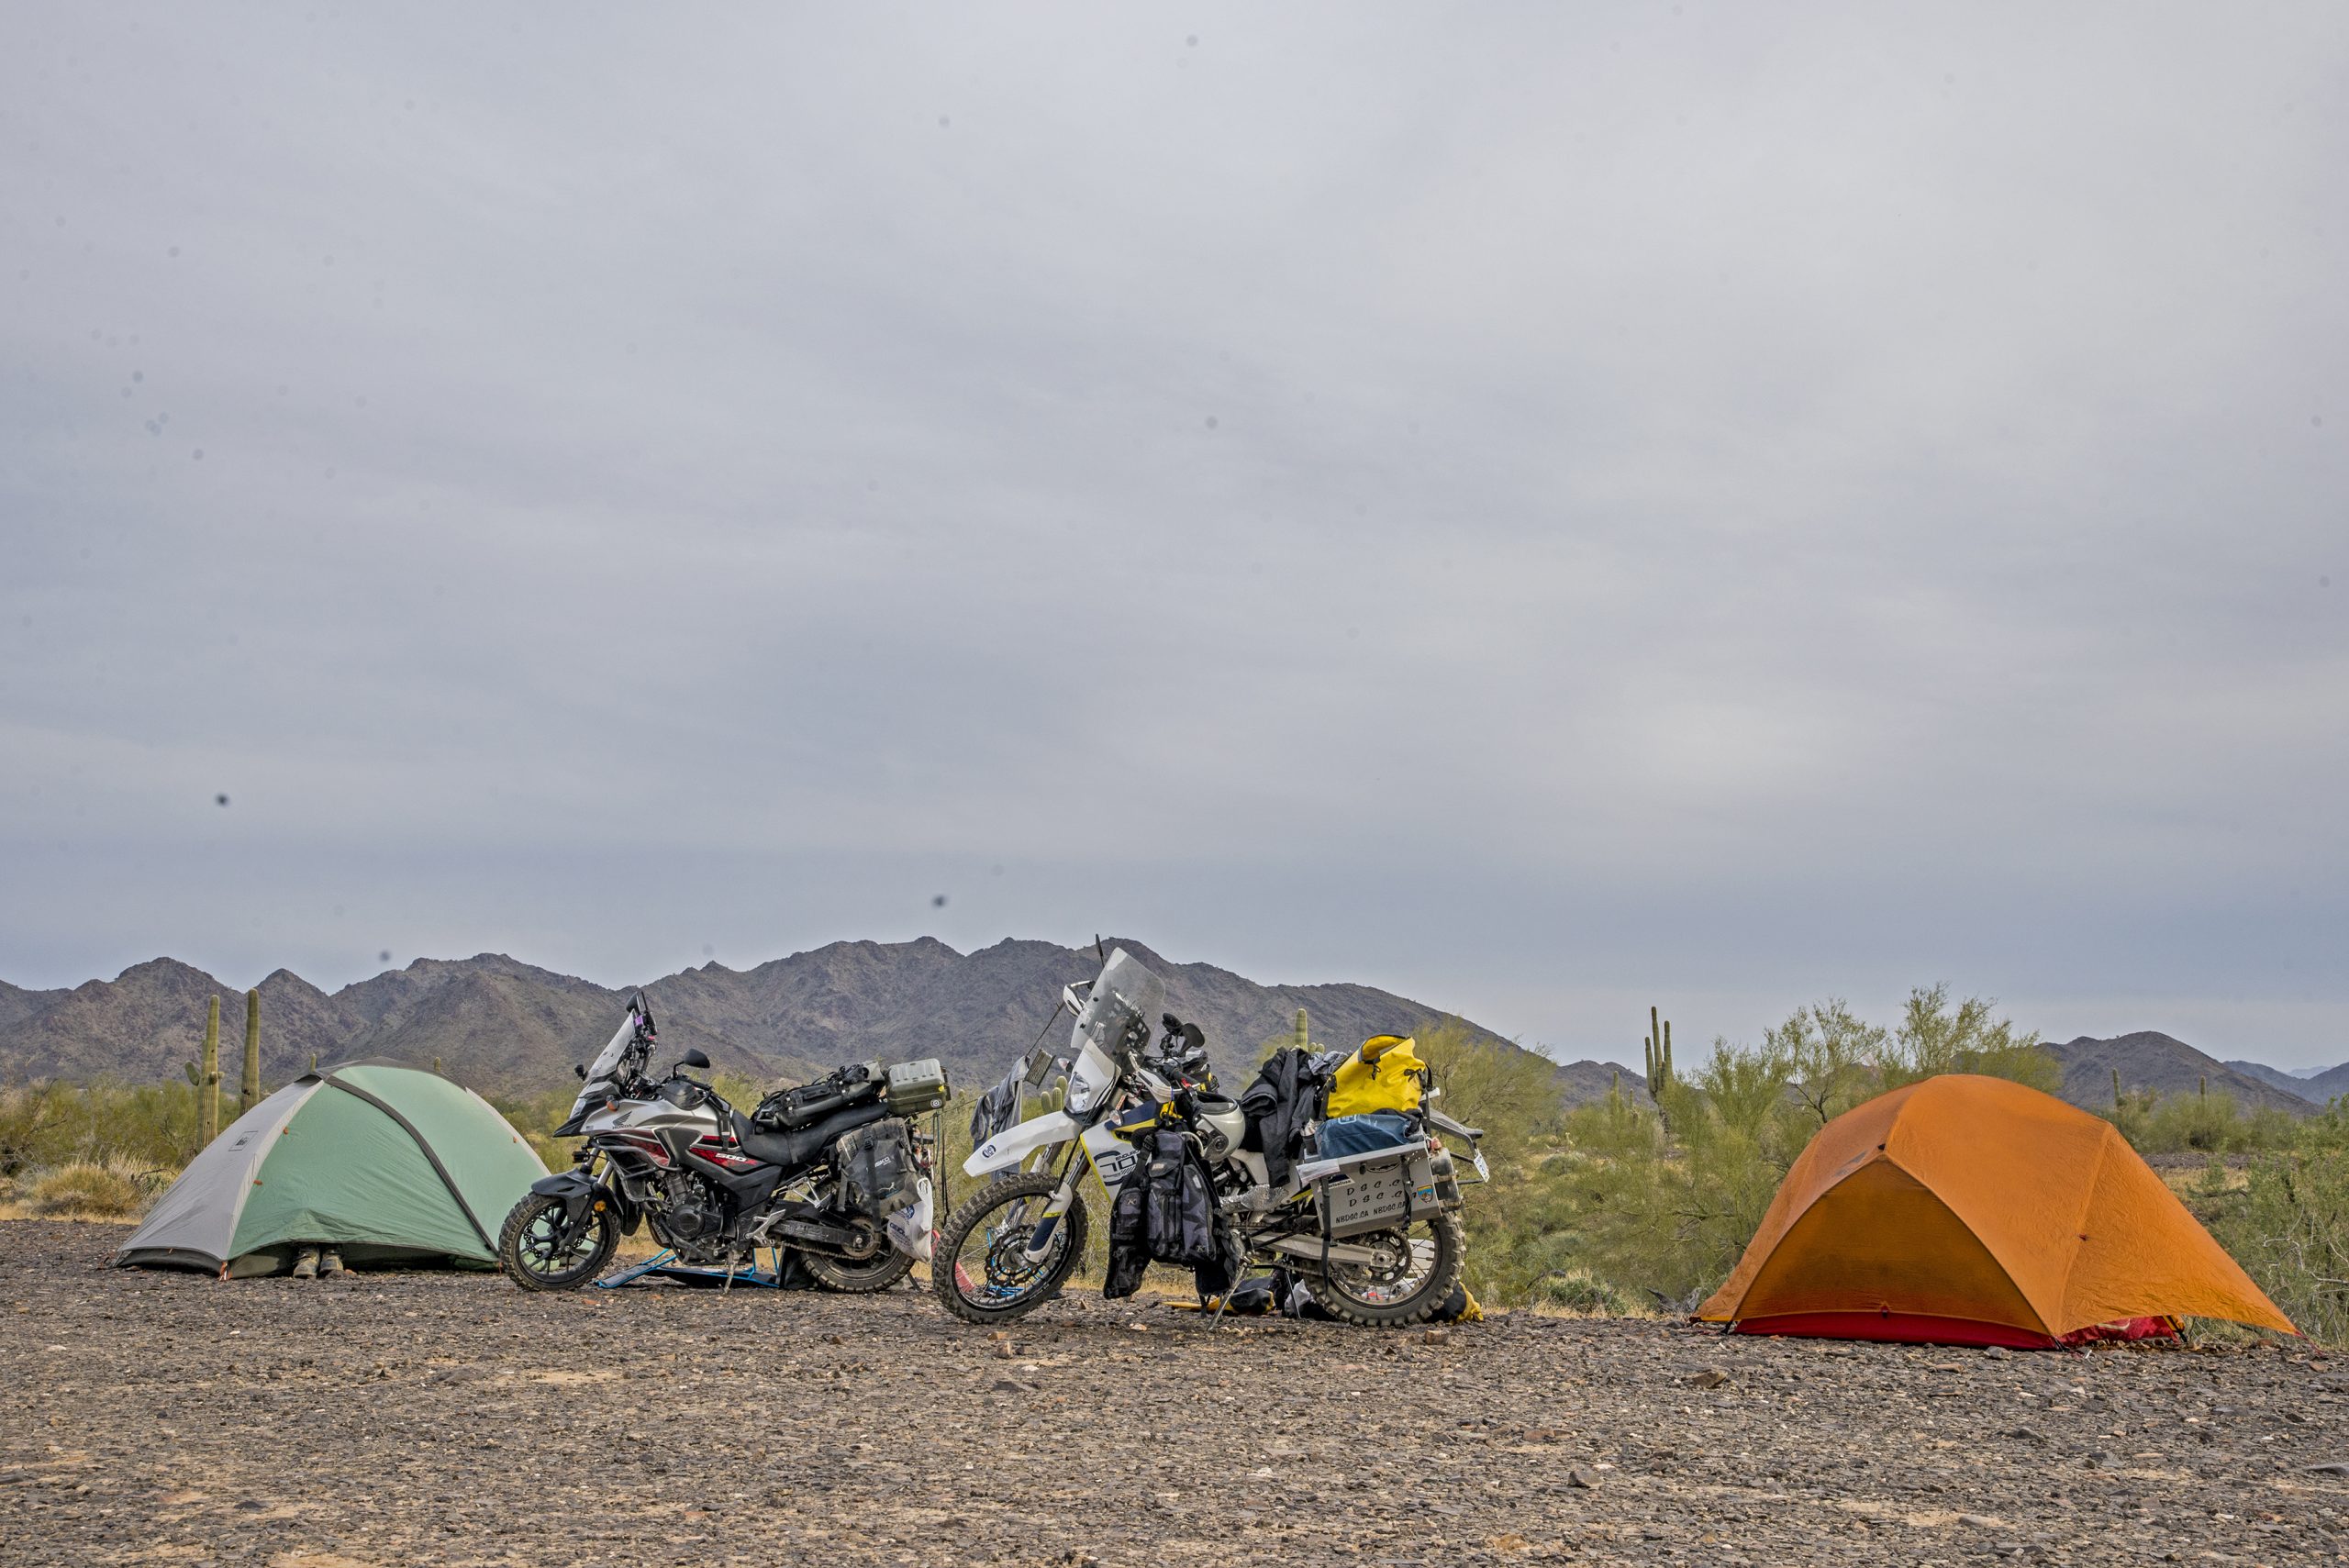
With the Rendezvous site finally nailed down, and the planning and coordination completed, it all came down to how we were going to get there. For most of us, we’d either take a few dirt roads in our 4WD vehicles, or just hardball it straight from home direct to the coordinates. For myself, I decided to take on a slightly different adventure for most people here, and that was to get there by motorcycle a few days earlier. I had coordinated with another member and friend here at American Adventurist, Tim S. and we had decided to take a portion of the Nevada Backcountry Discovery Route from Pahrump, NV to Oatman, AZ and from there we’d hard slab it down to Quartzsite, AZ.  Now, this would be my first big trip on a motorcycle, and not only that, but the longest ever in the saddle, and my first time on dirt, and on a Back Country Discovery Route no less… this would truly be an adventure for me!

You can read about my short Moto Adventure on the way to Desert Rendezvous [here]

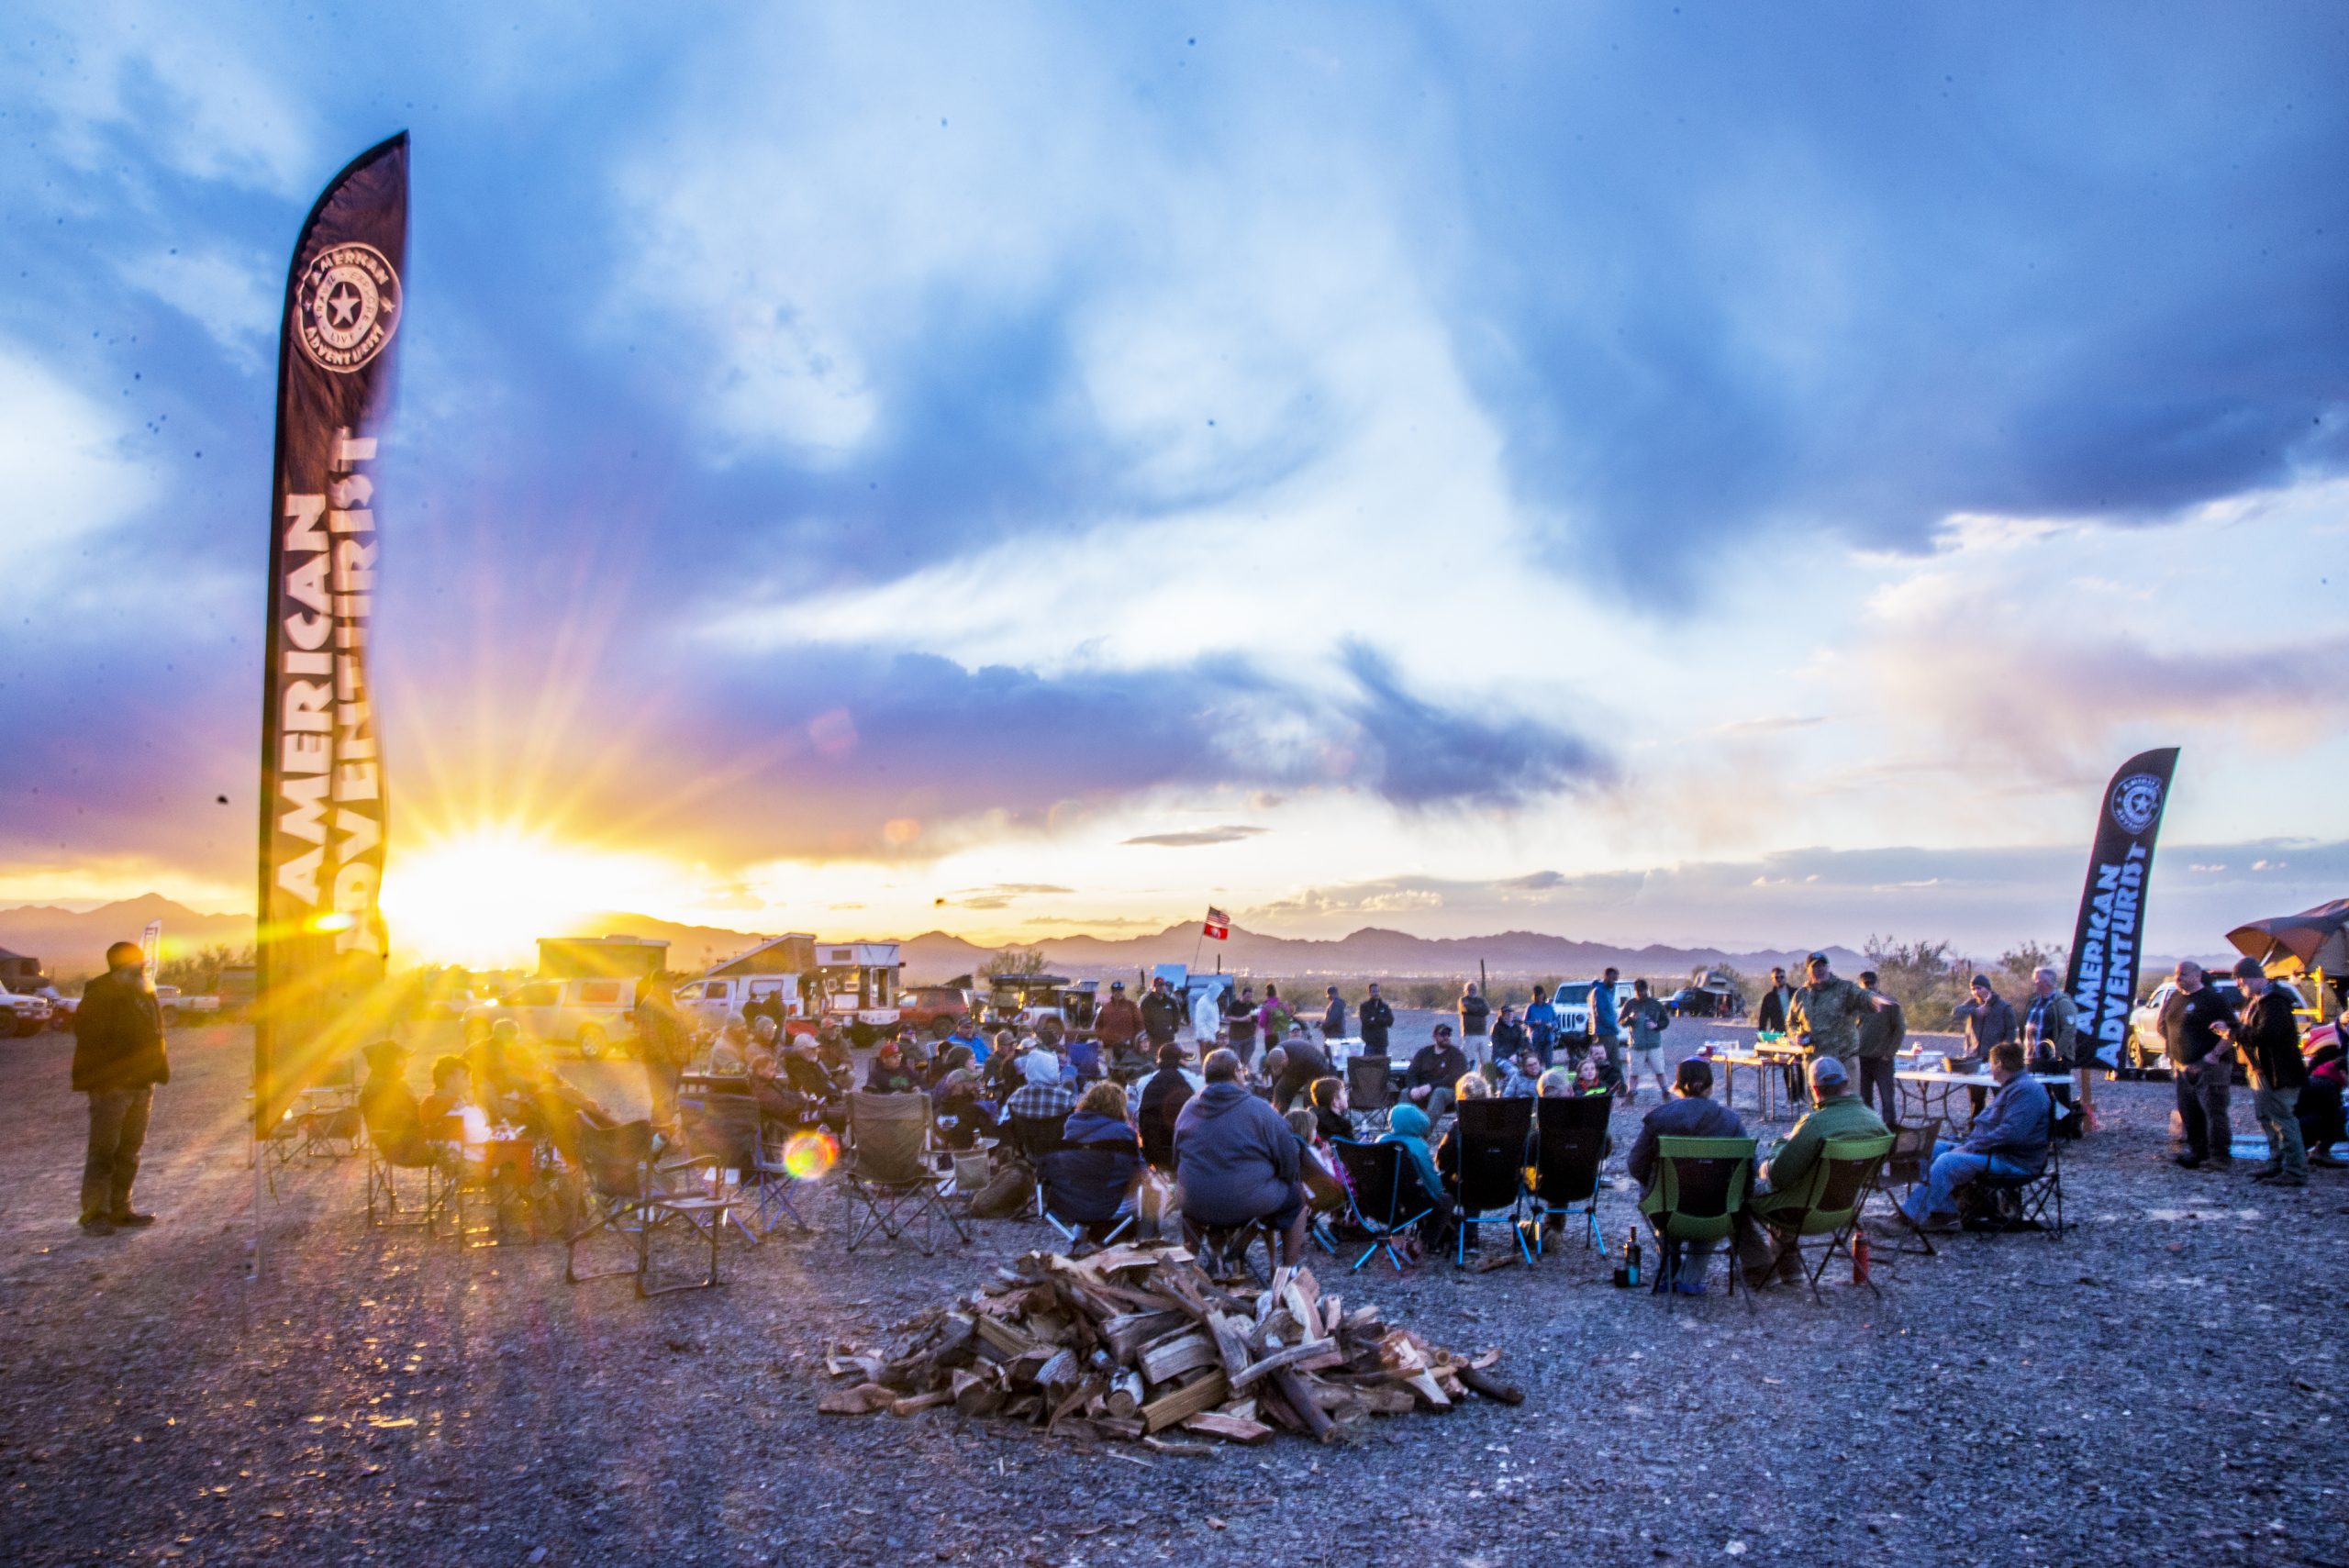
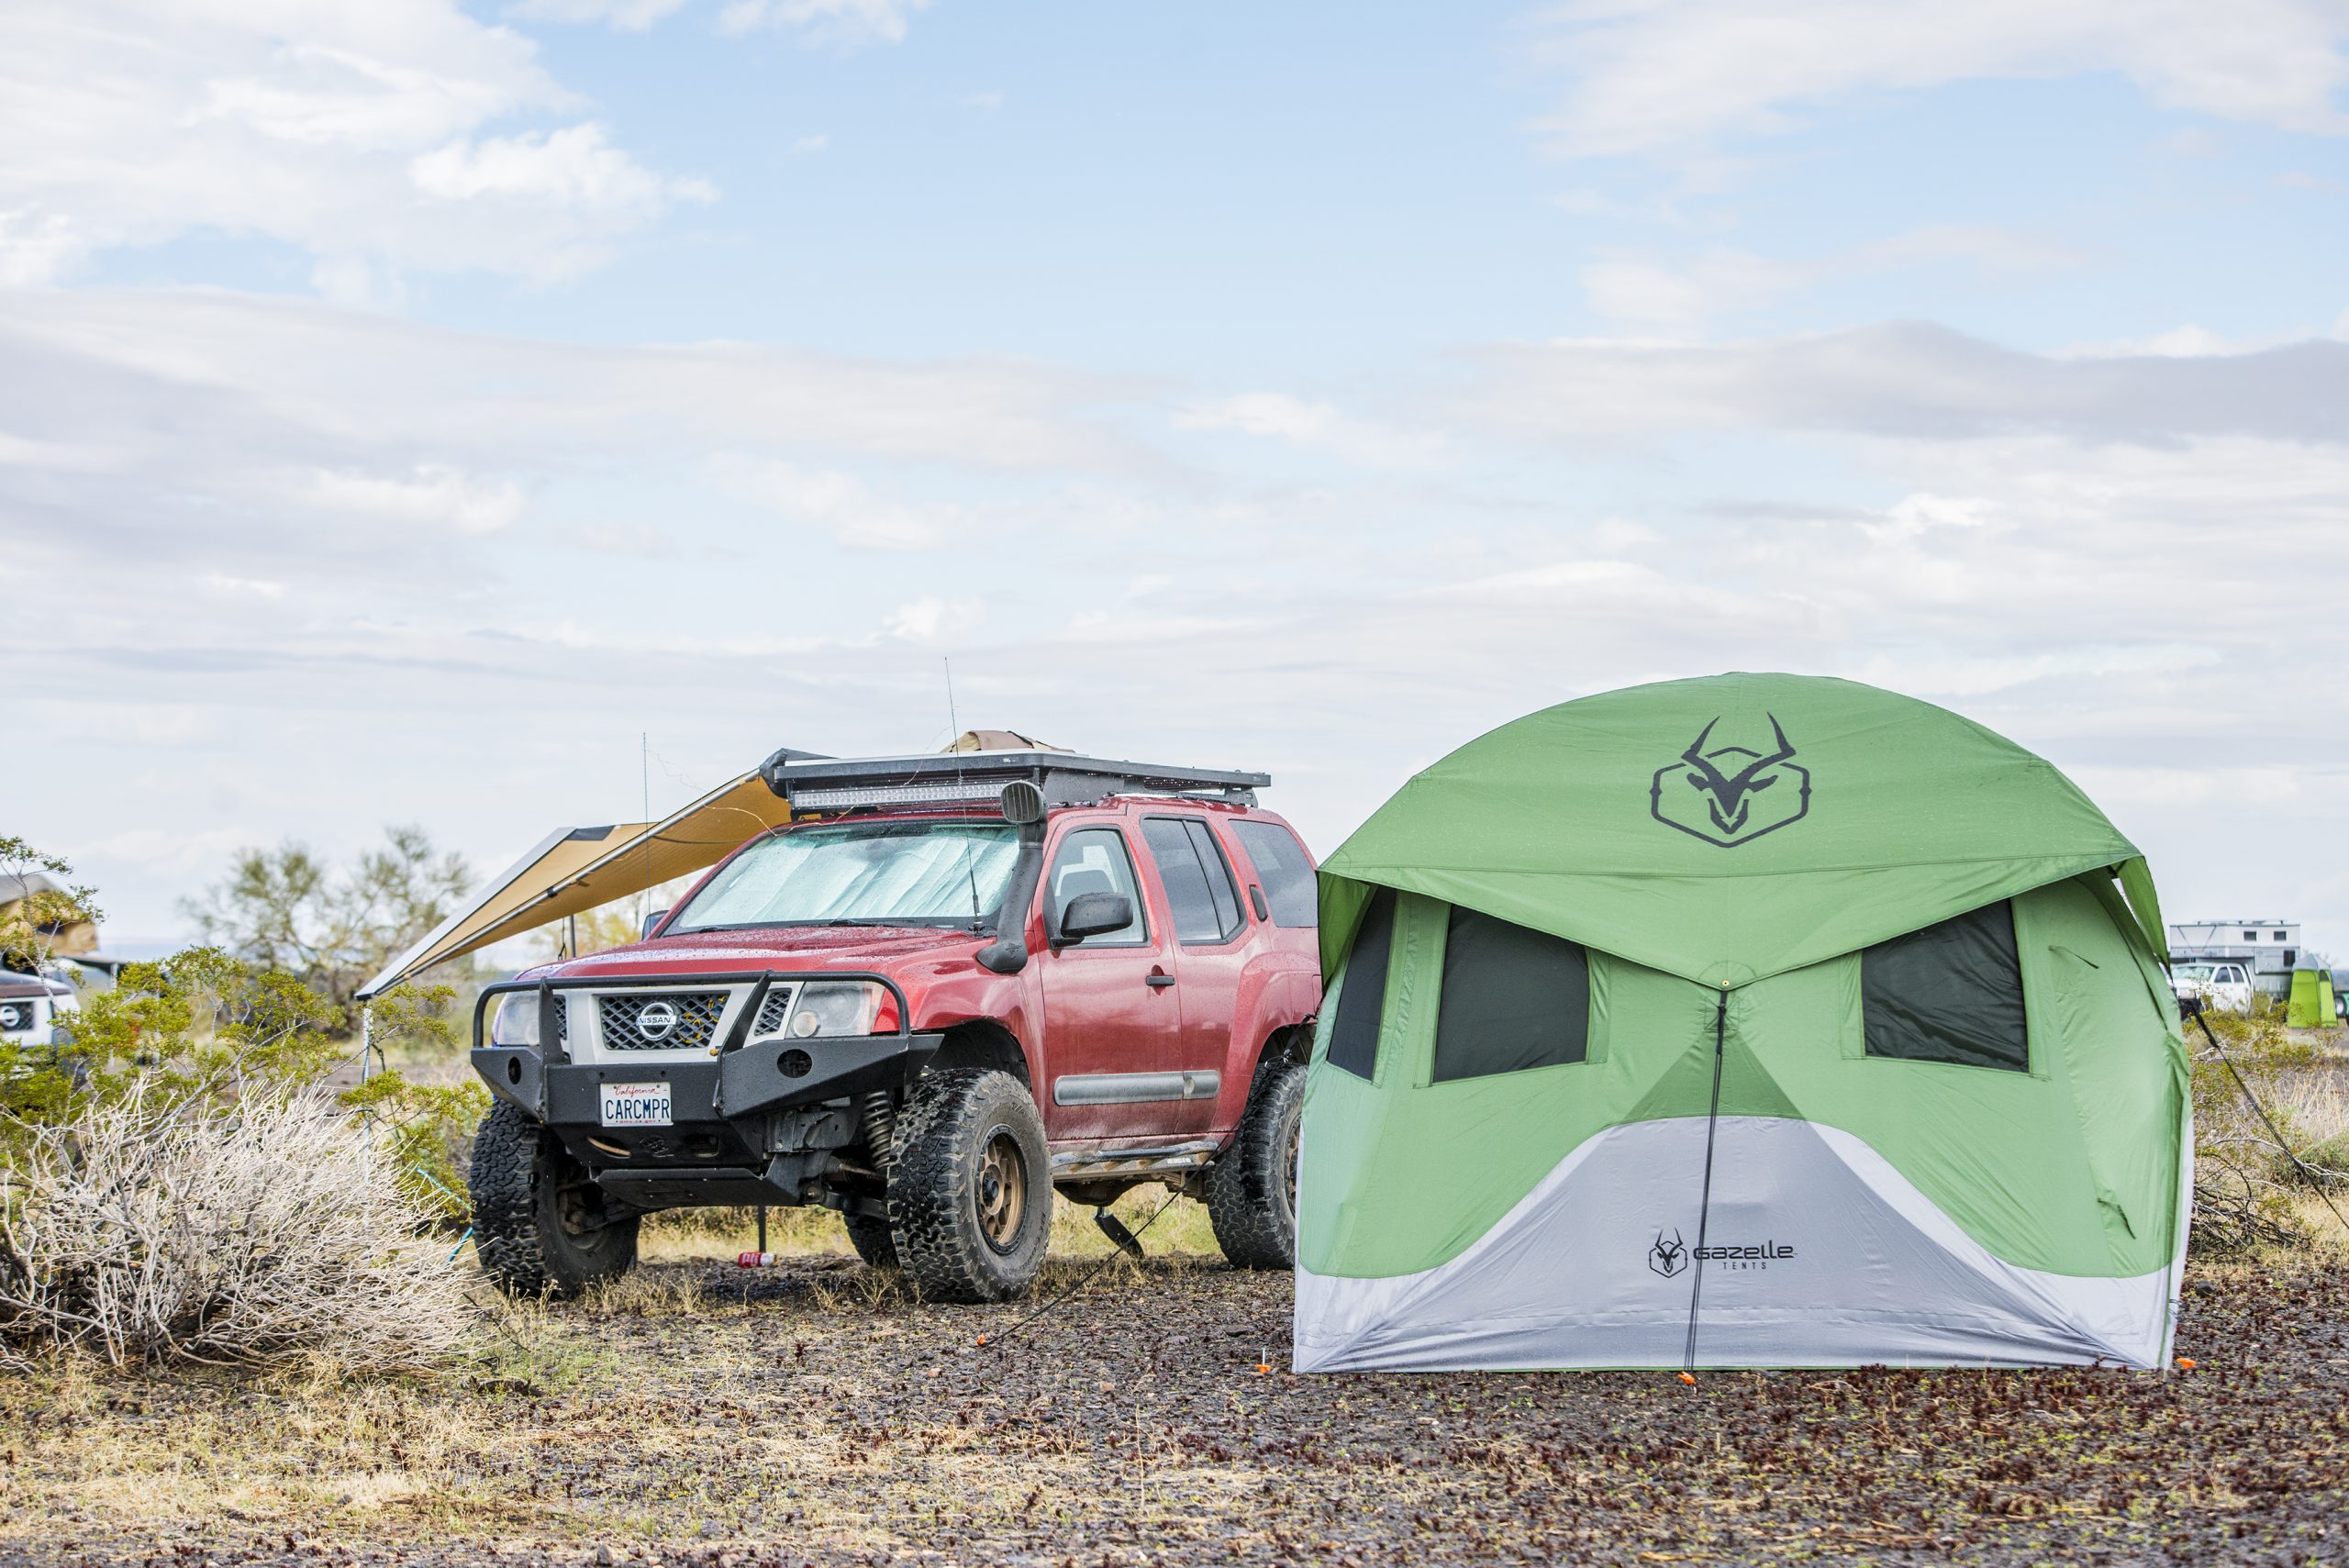
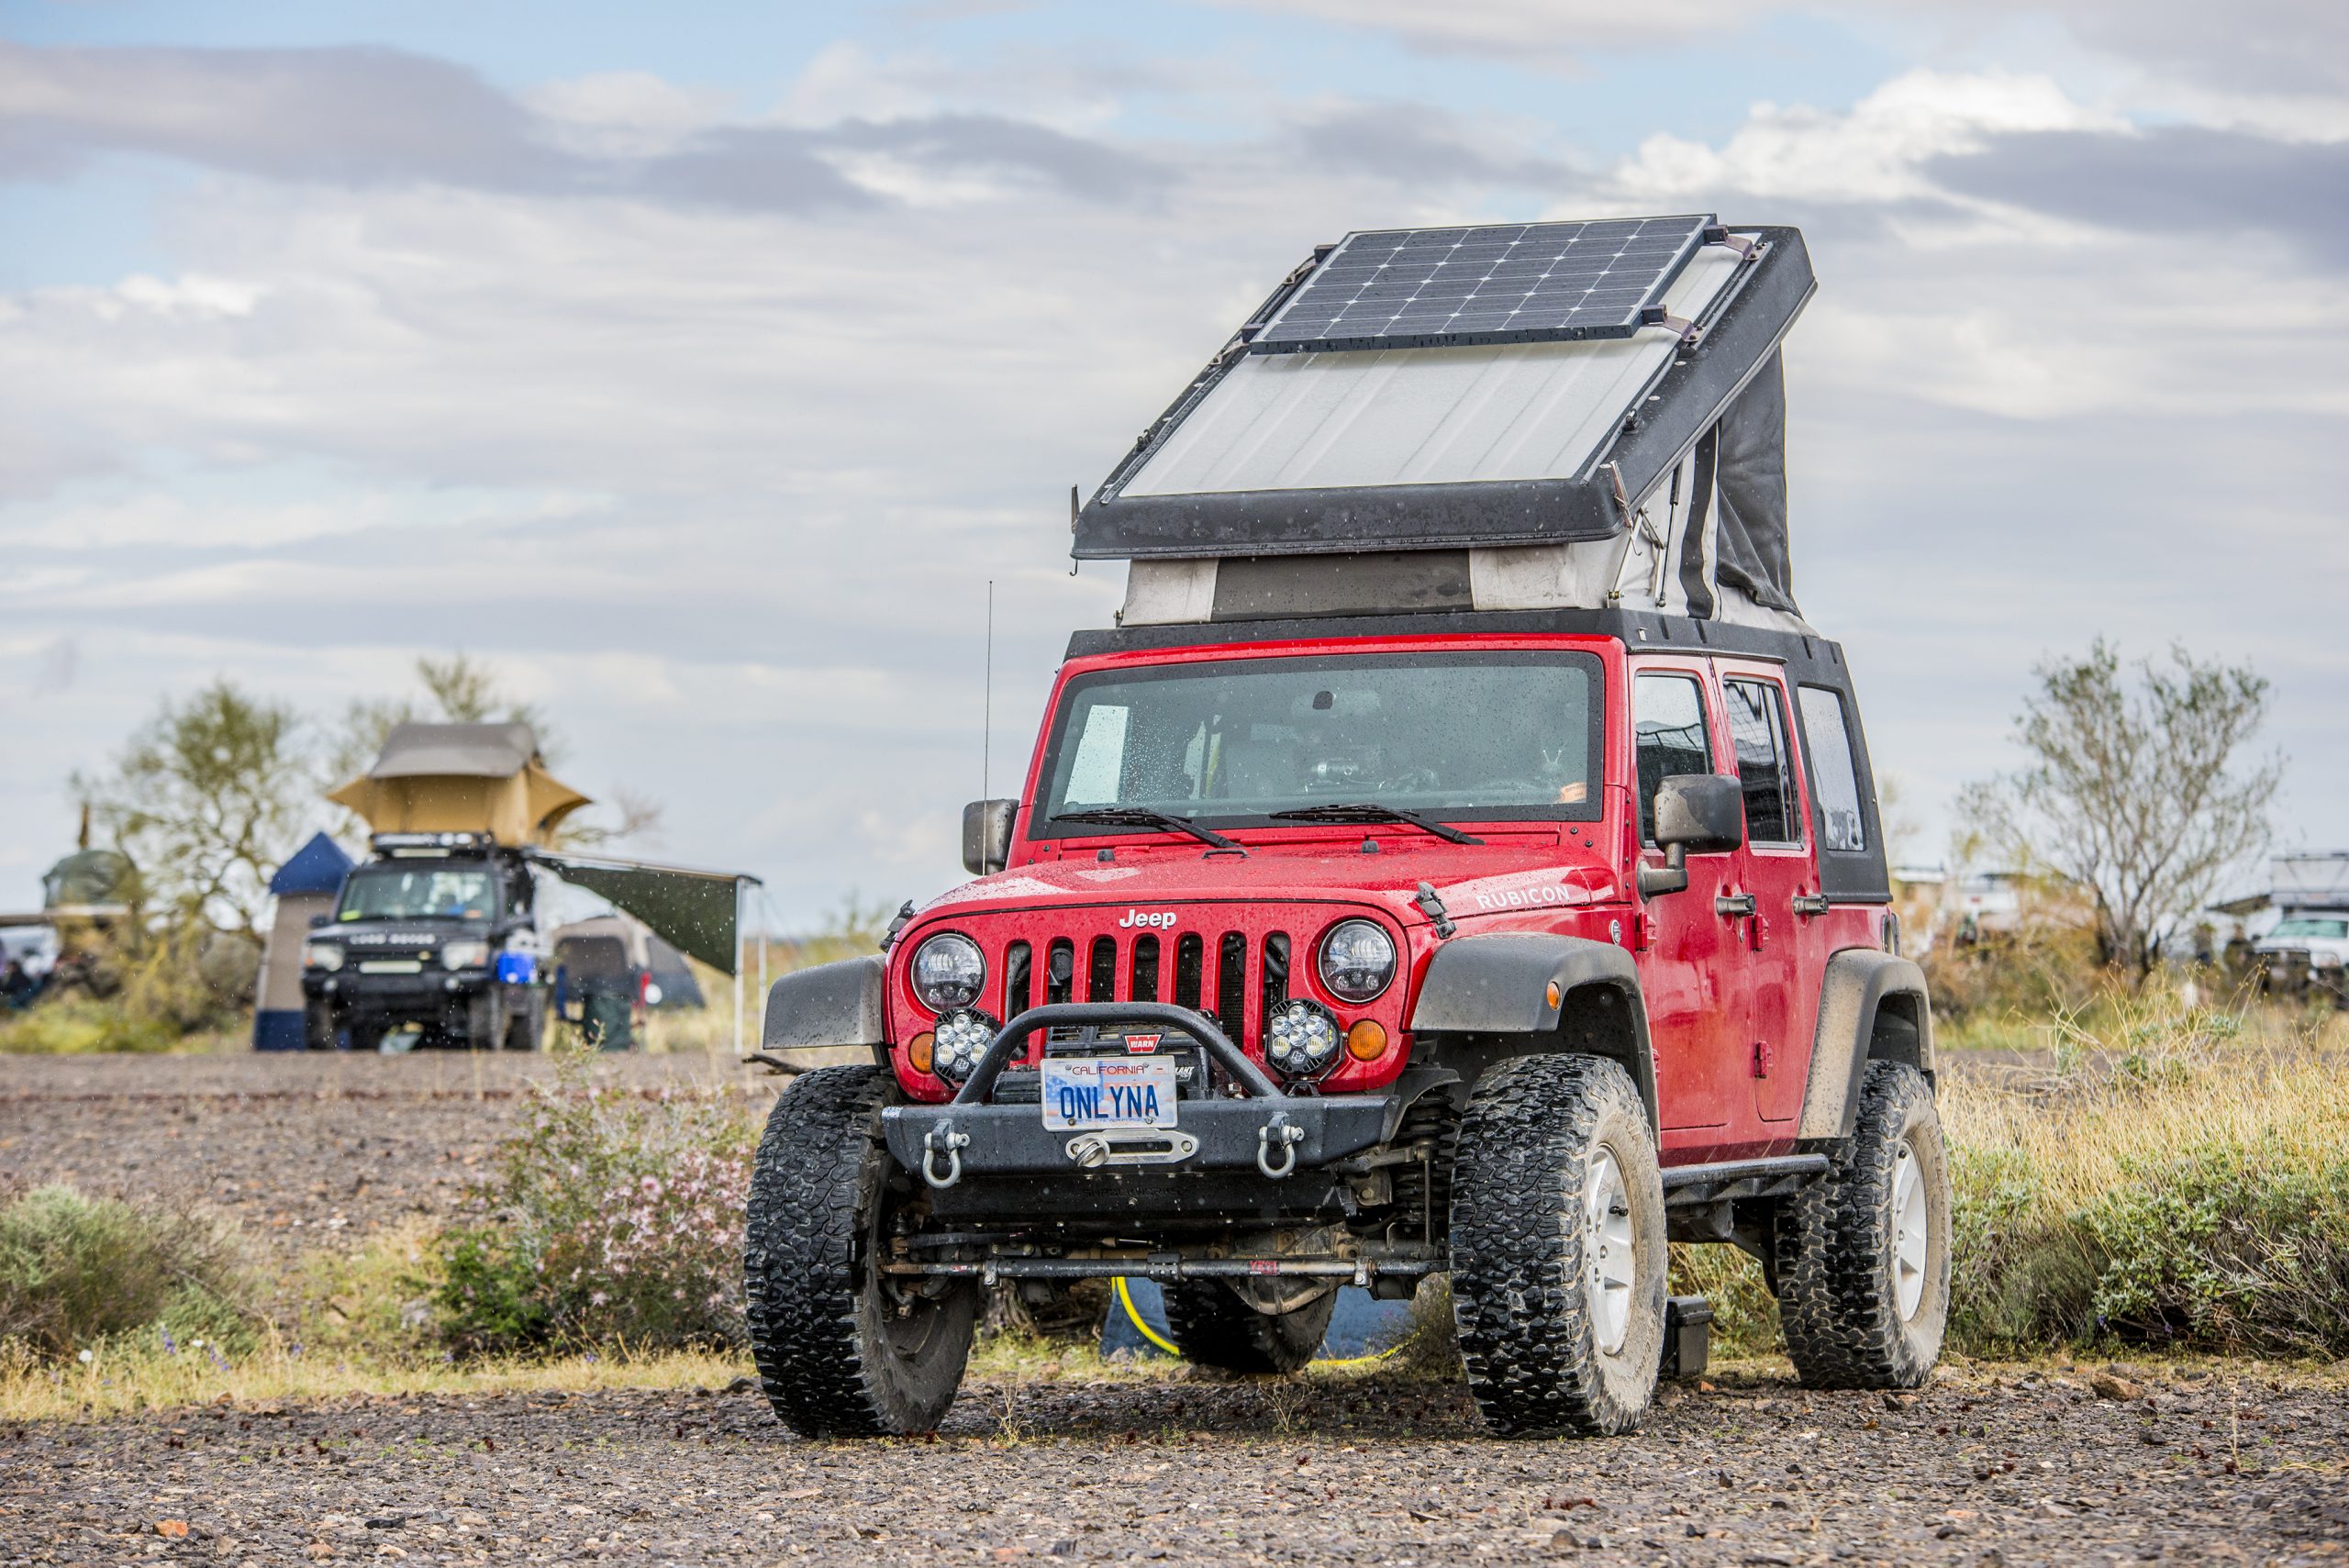
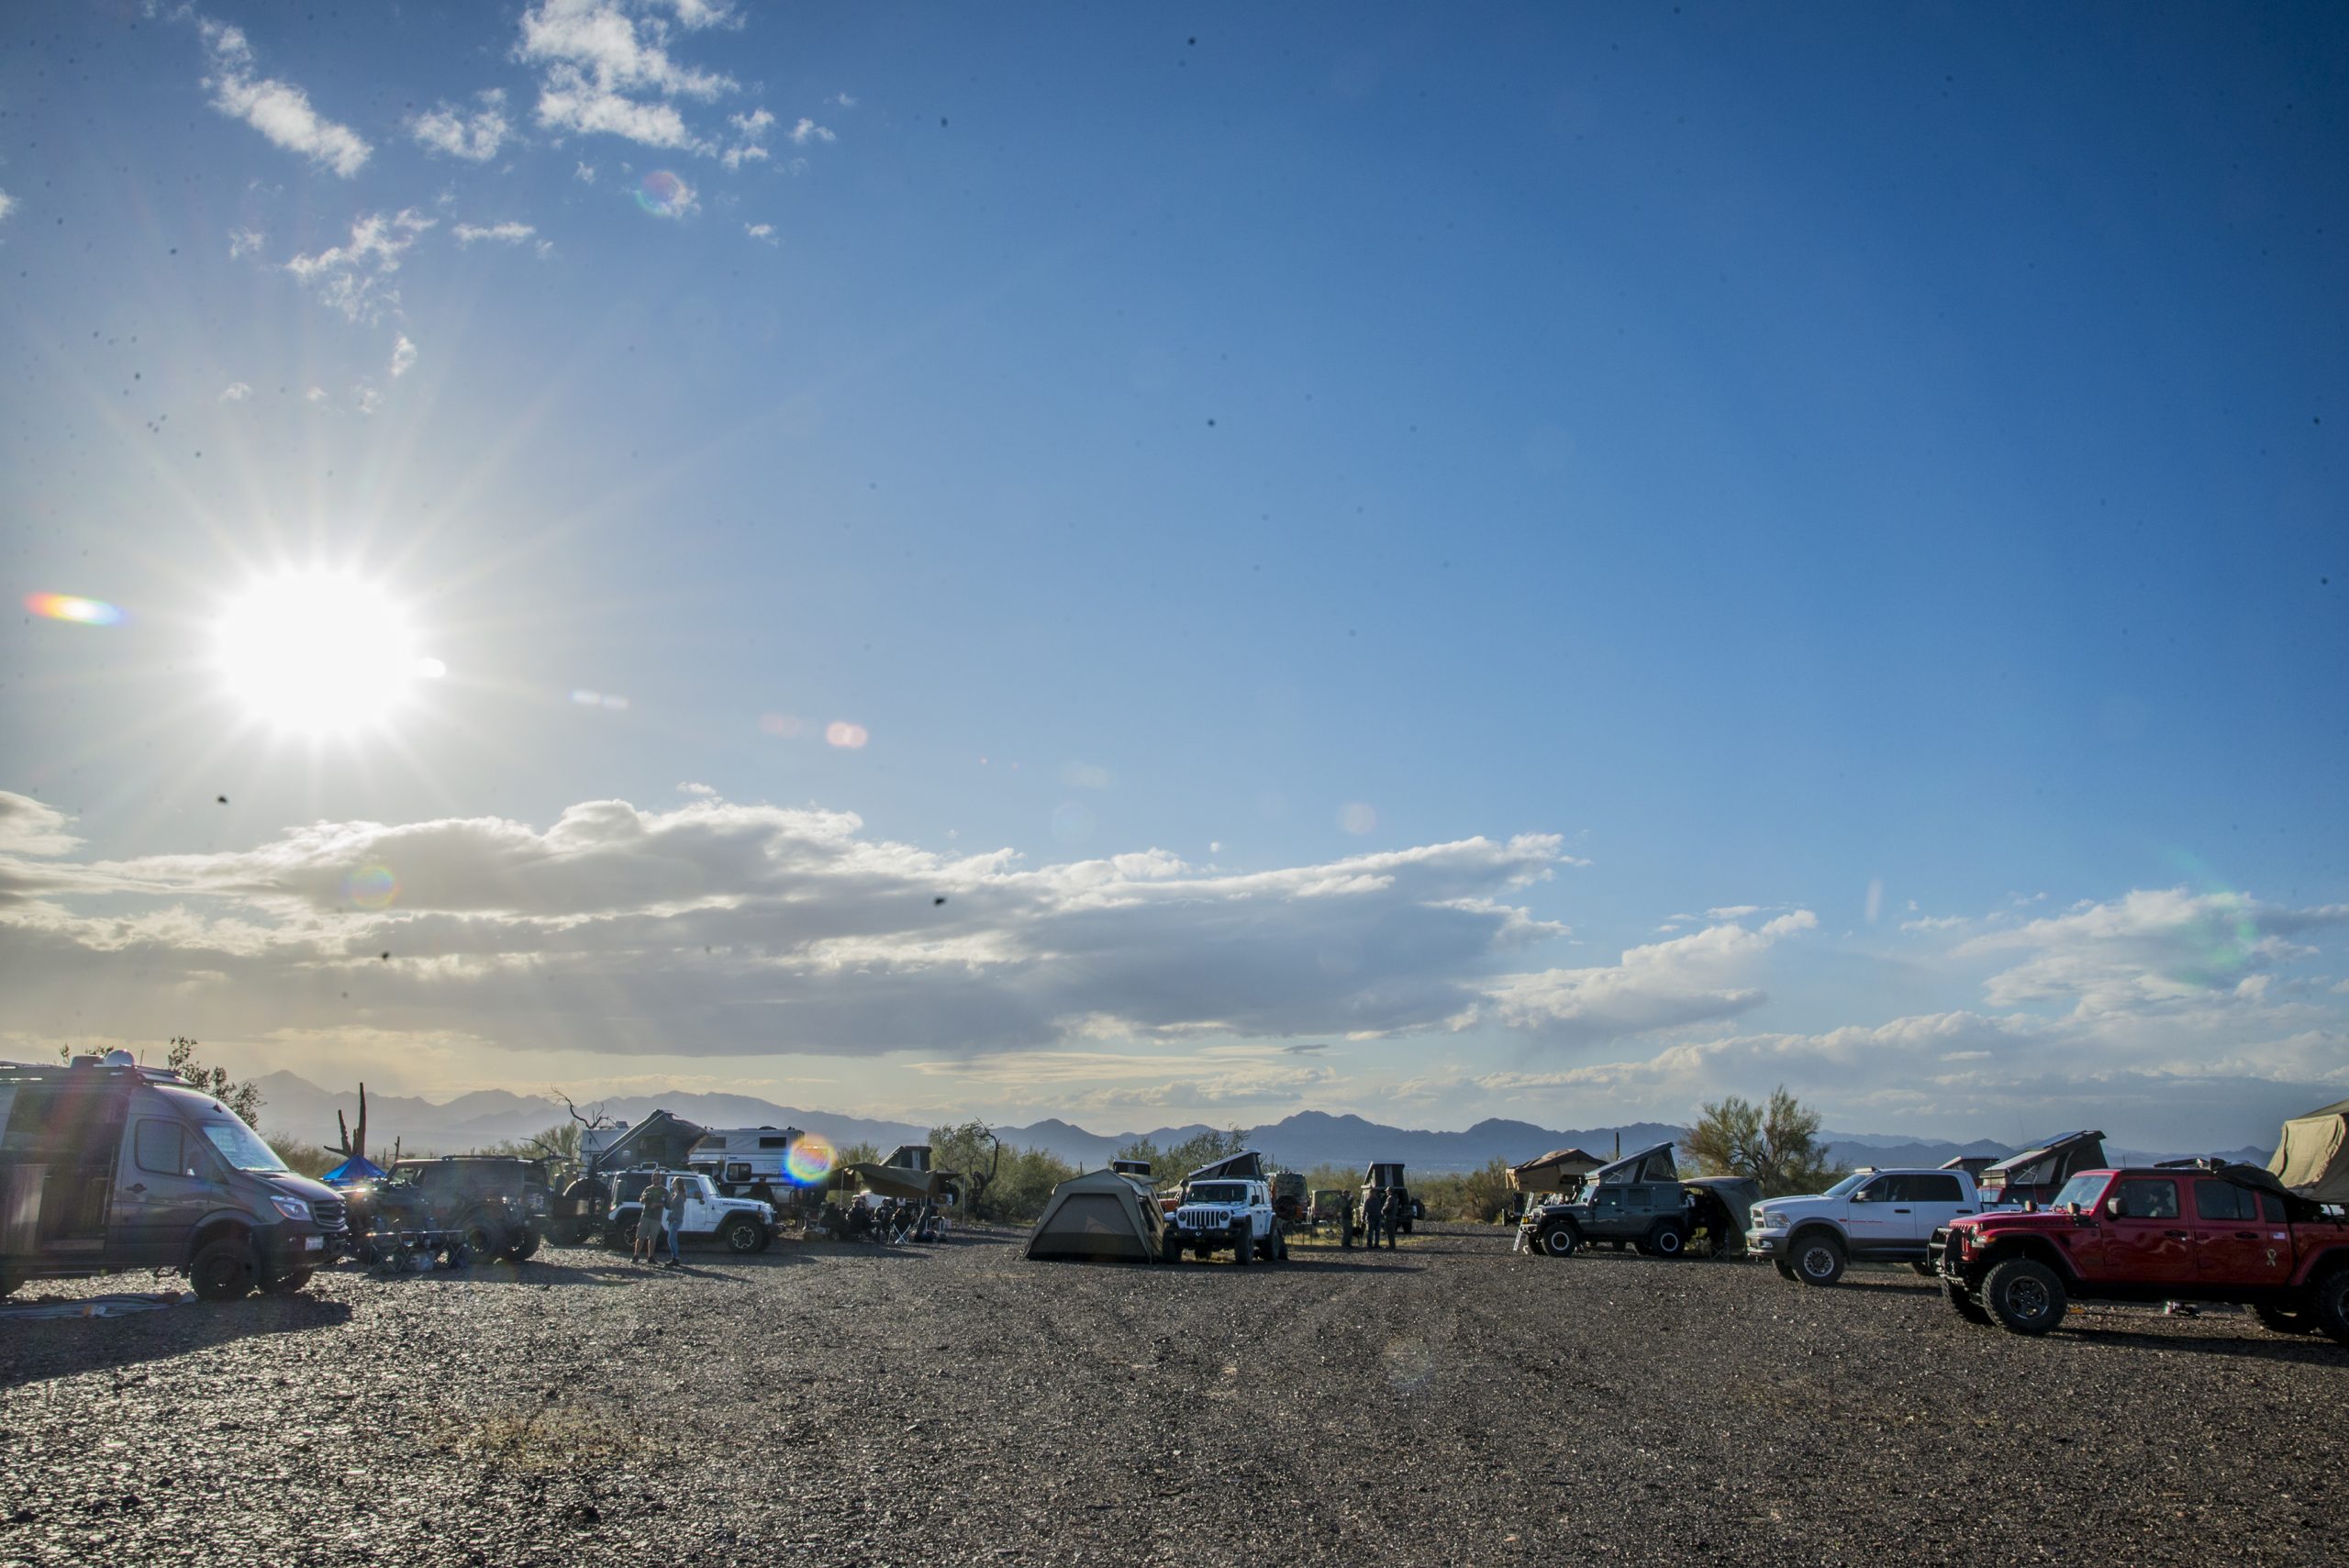
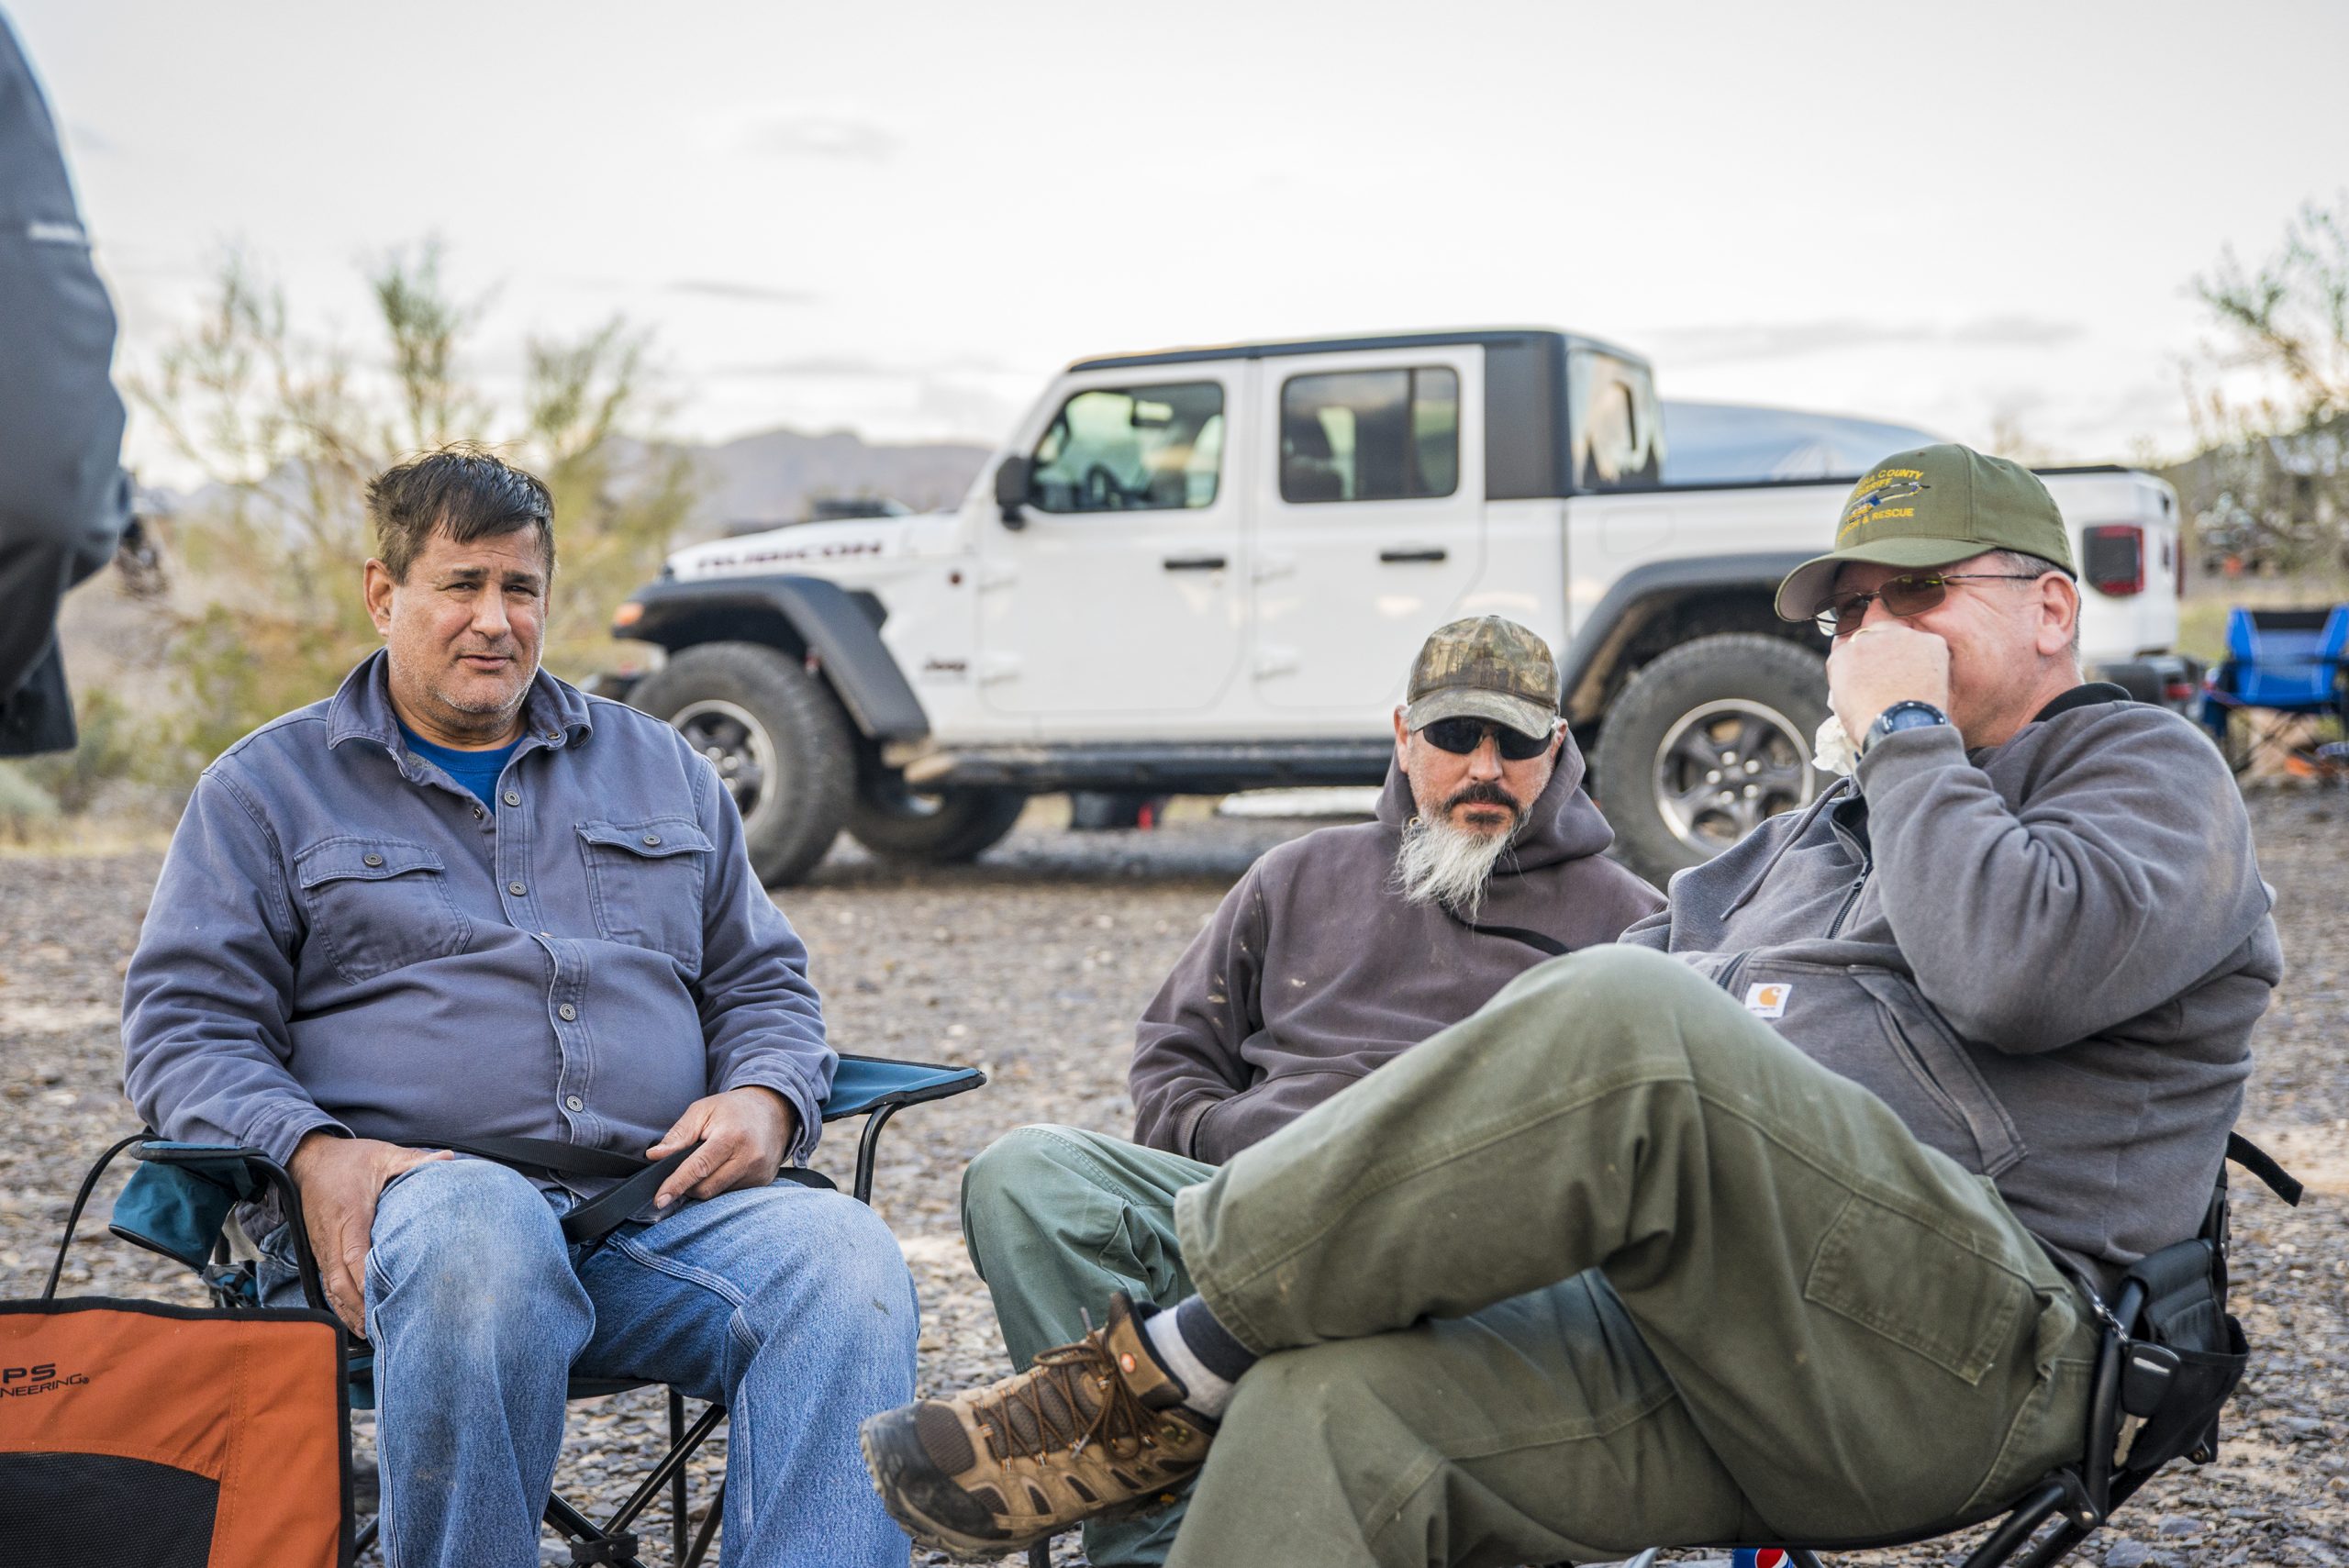
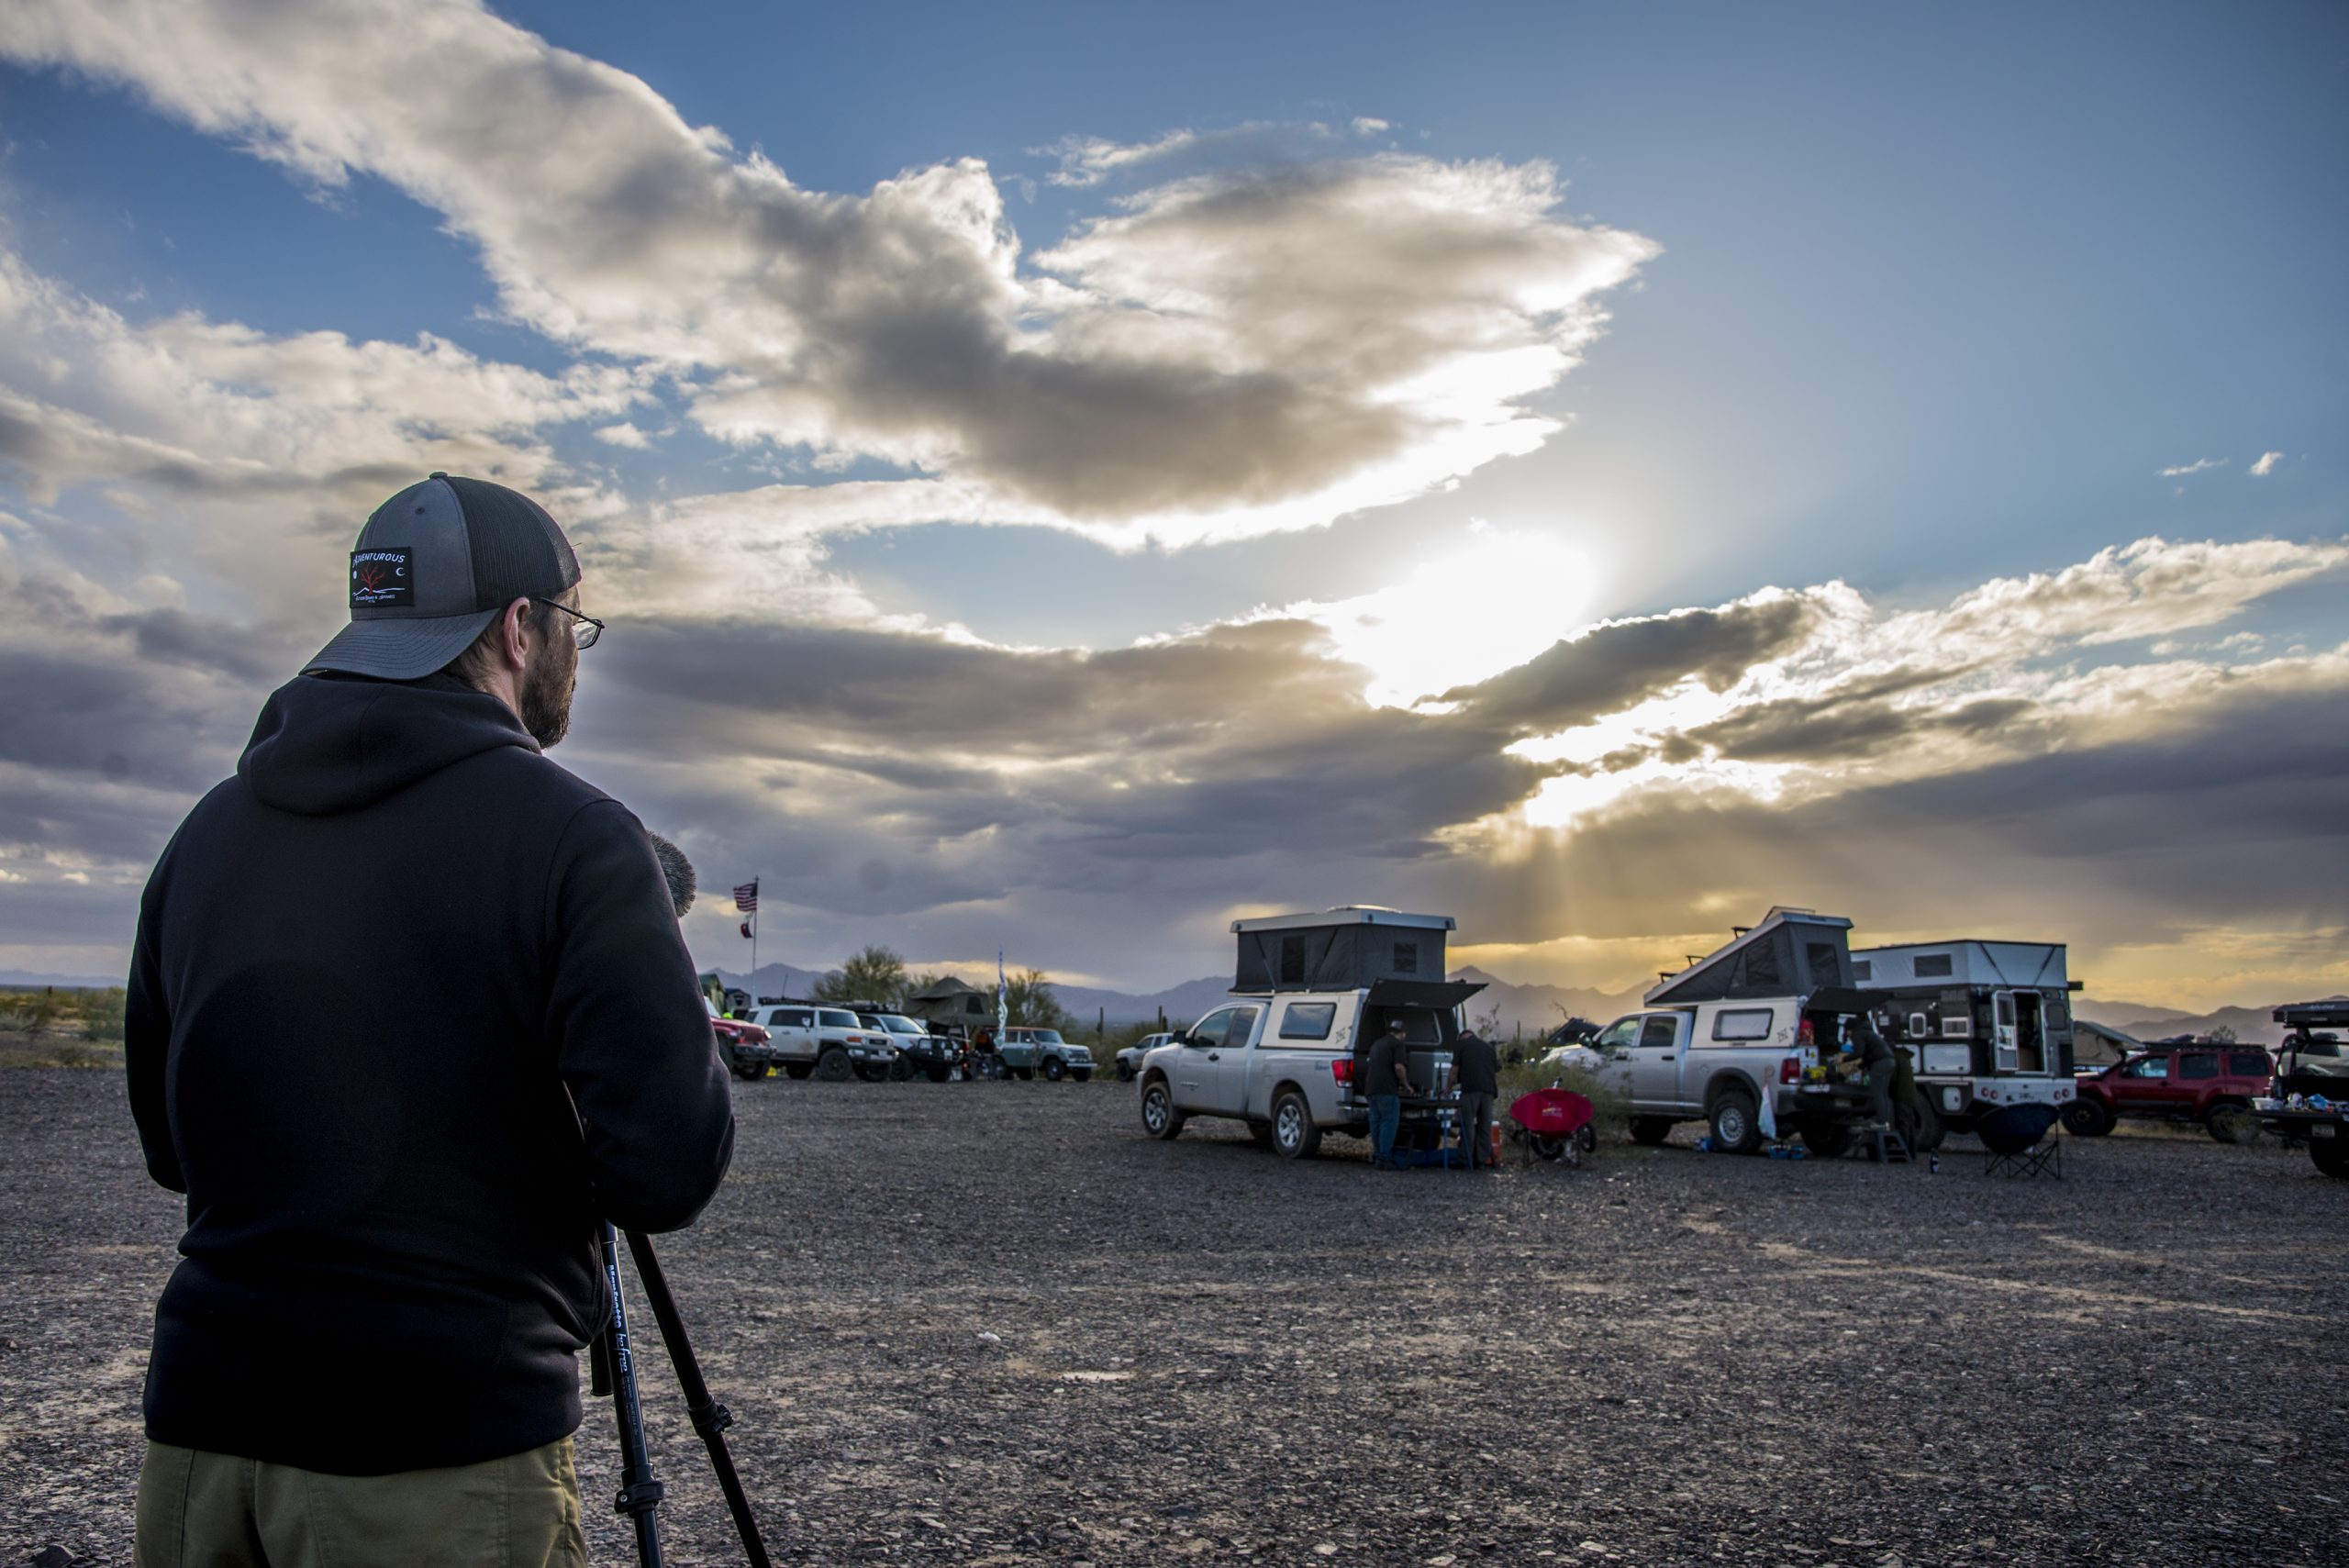
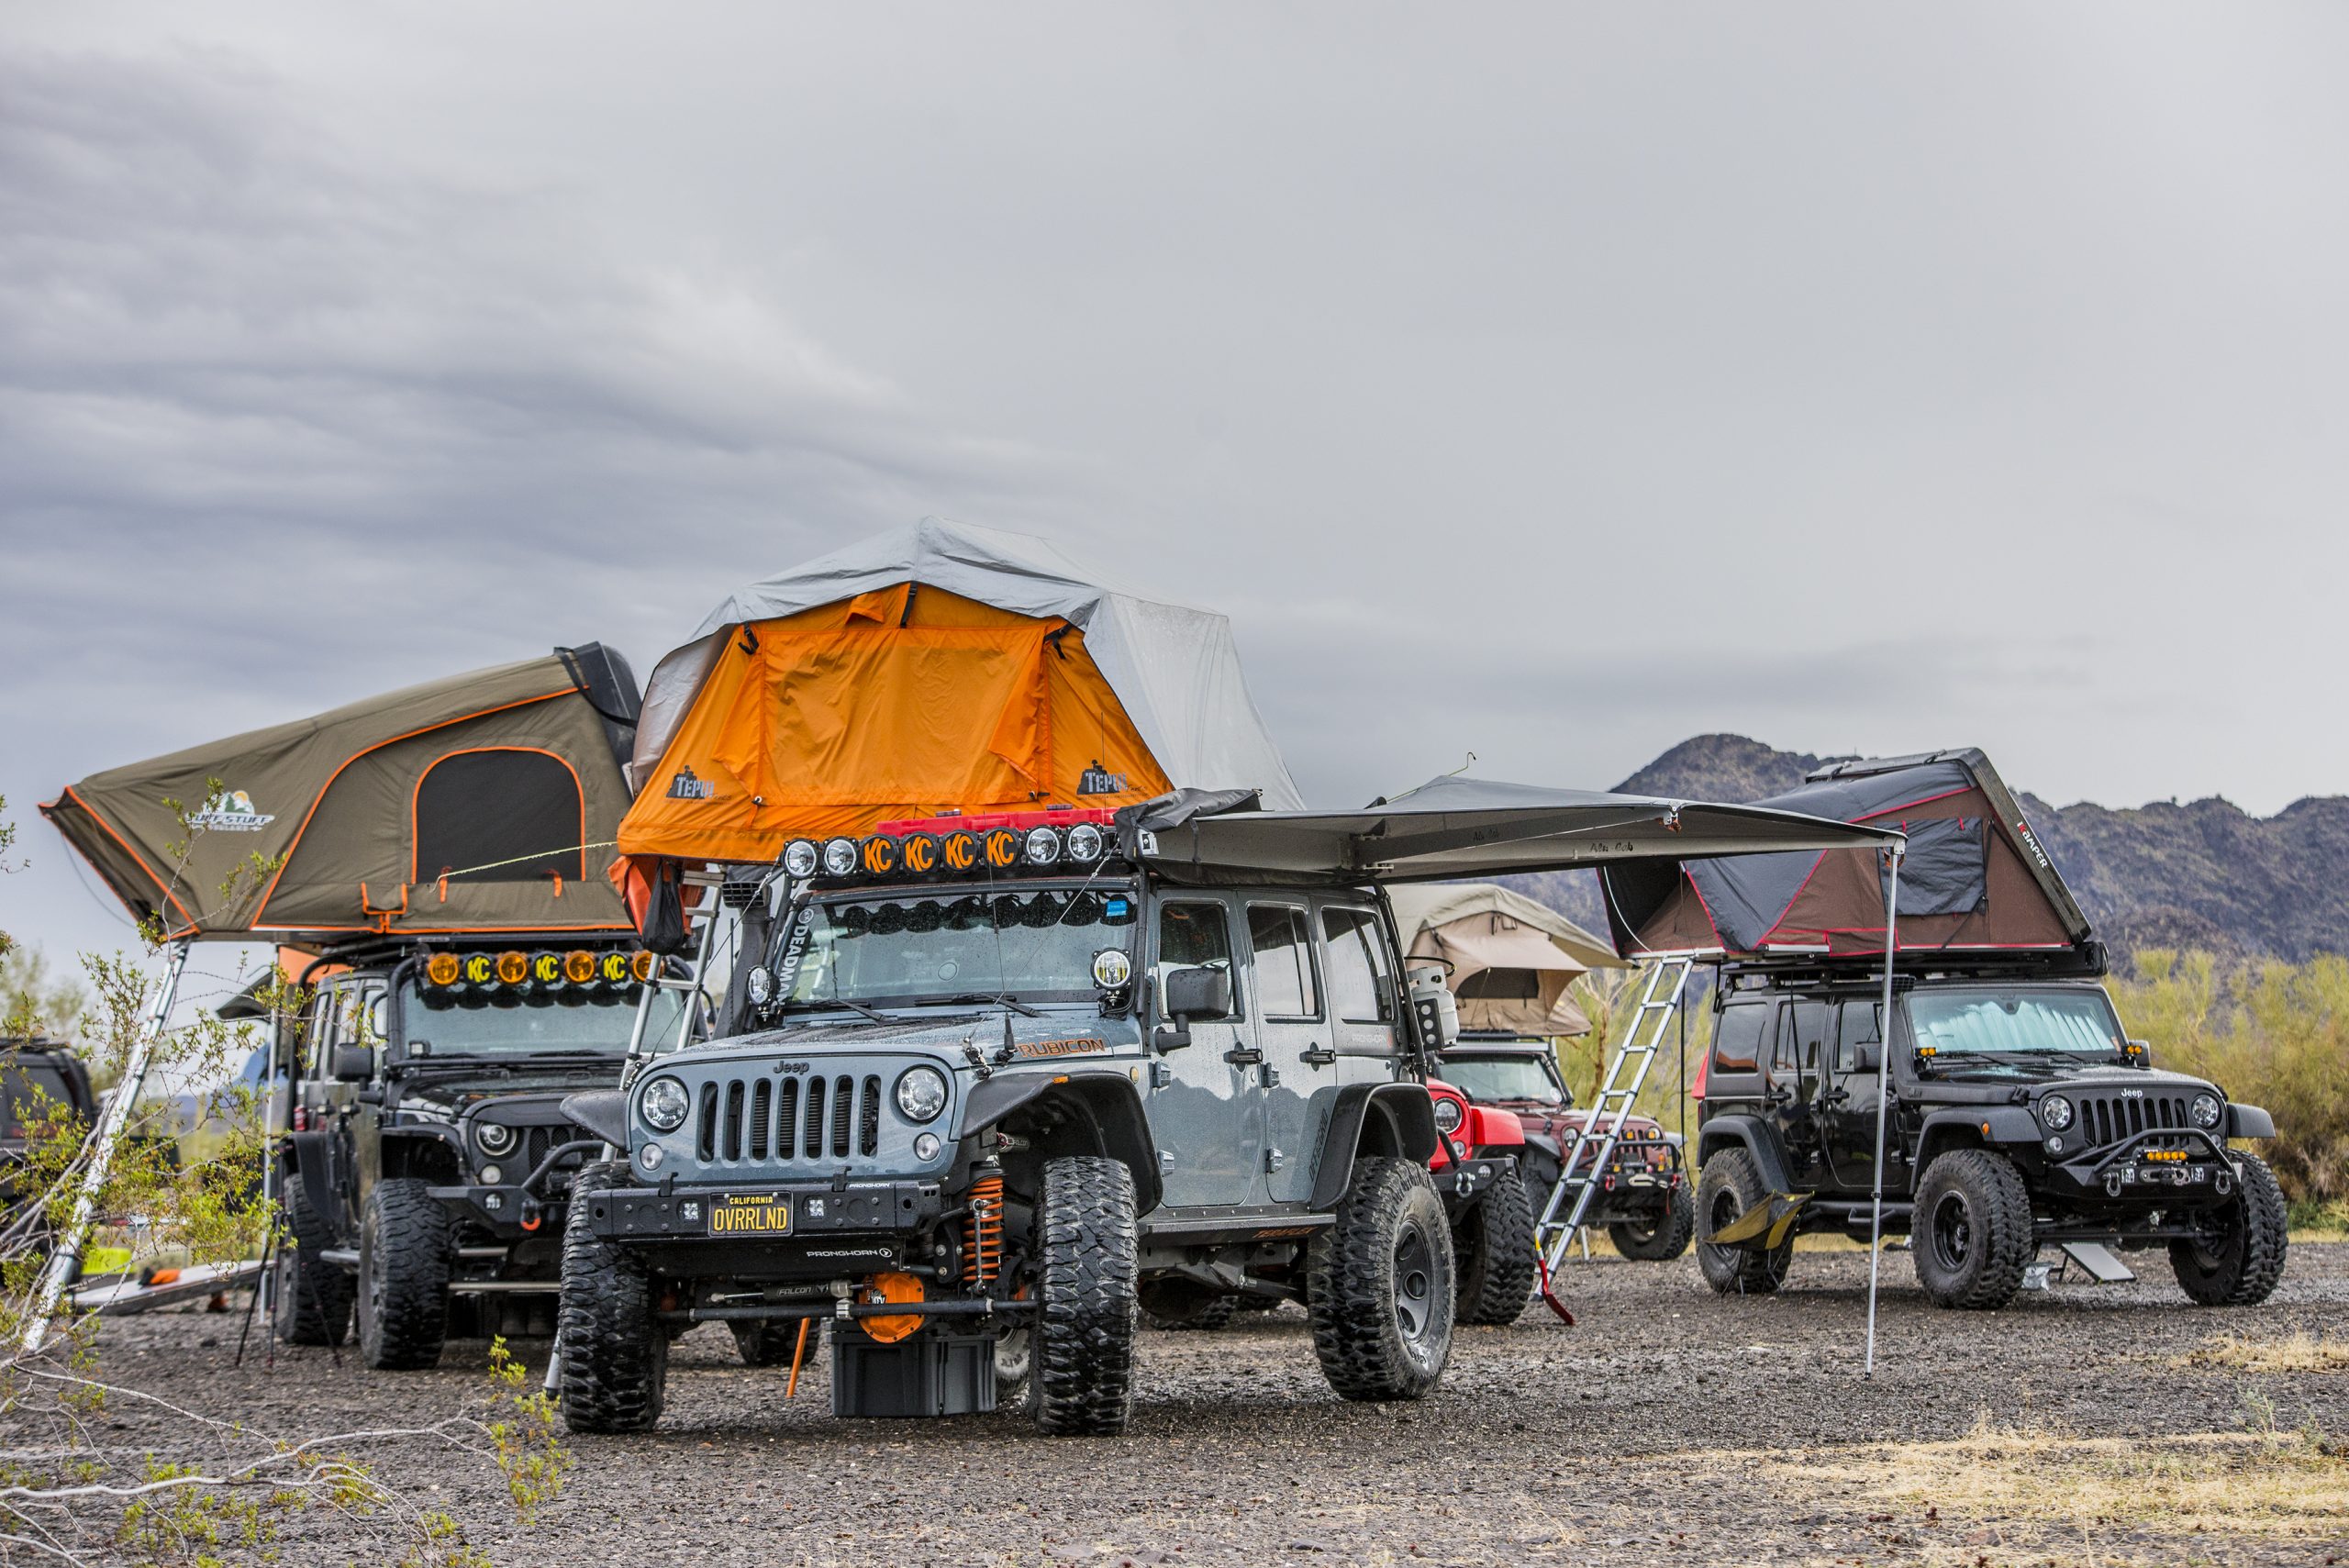
Our arrival at the Desert Rendezvous was fairly late in the day on Friday afternoon, but we were just in time for the start of the festivities. There were already a good number of Adventurists there and all set up, which made for a very welcoming sight. Just as we finished unloading our bikes and setting up camp, the BBQ social was about to begin as a large group of 4WD’s was just returning from their days’ planned trail run out to the KOFA Wilderness area led by the fine folks at Canyon State Overland. Thank you for putting the trail run together!

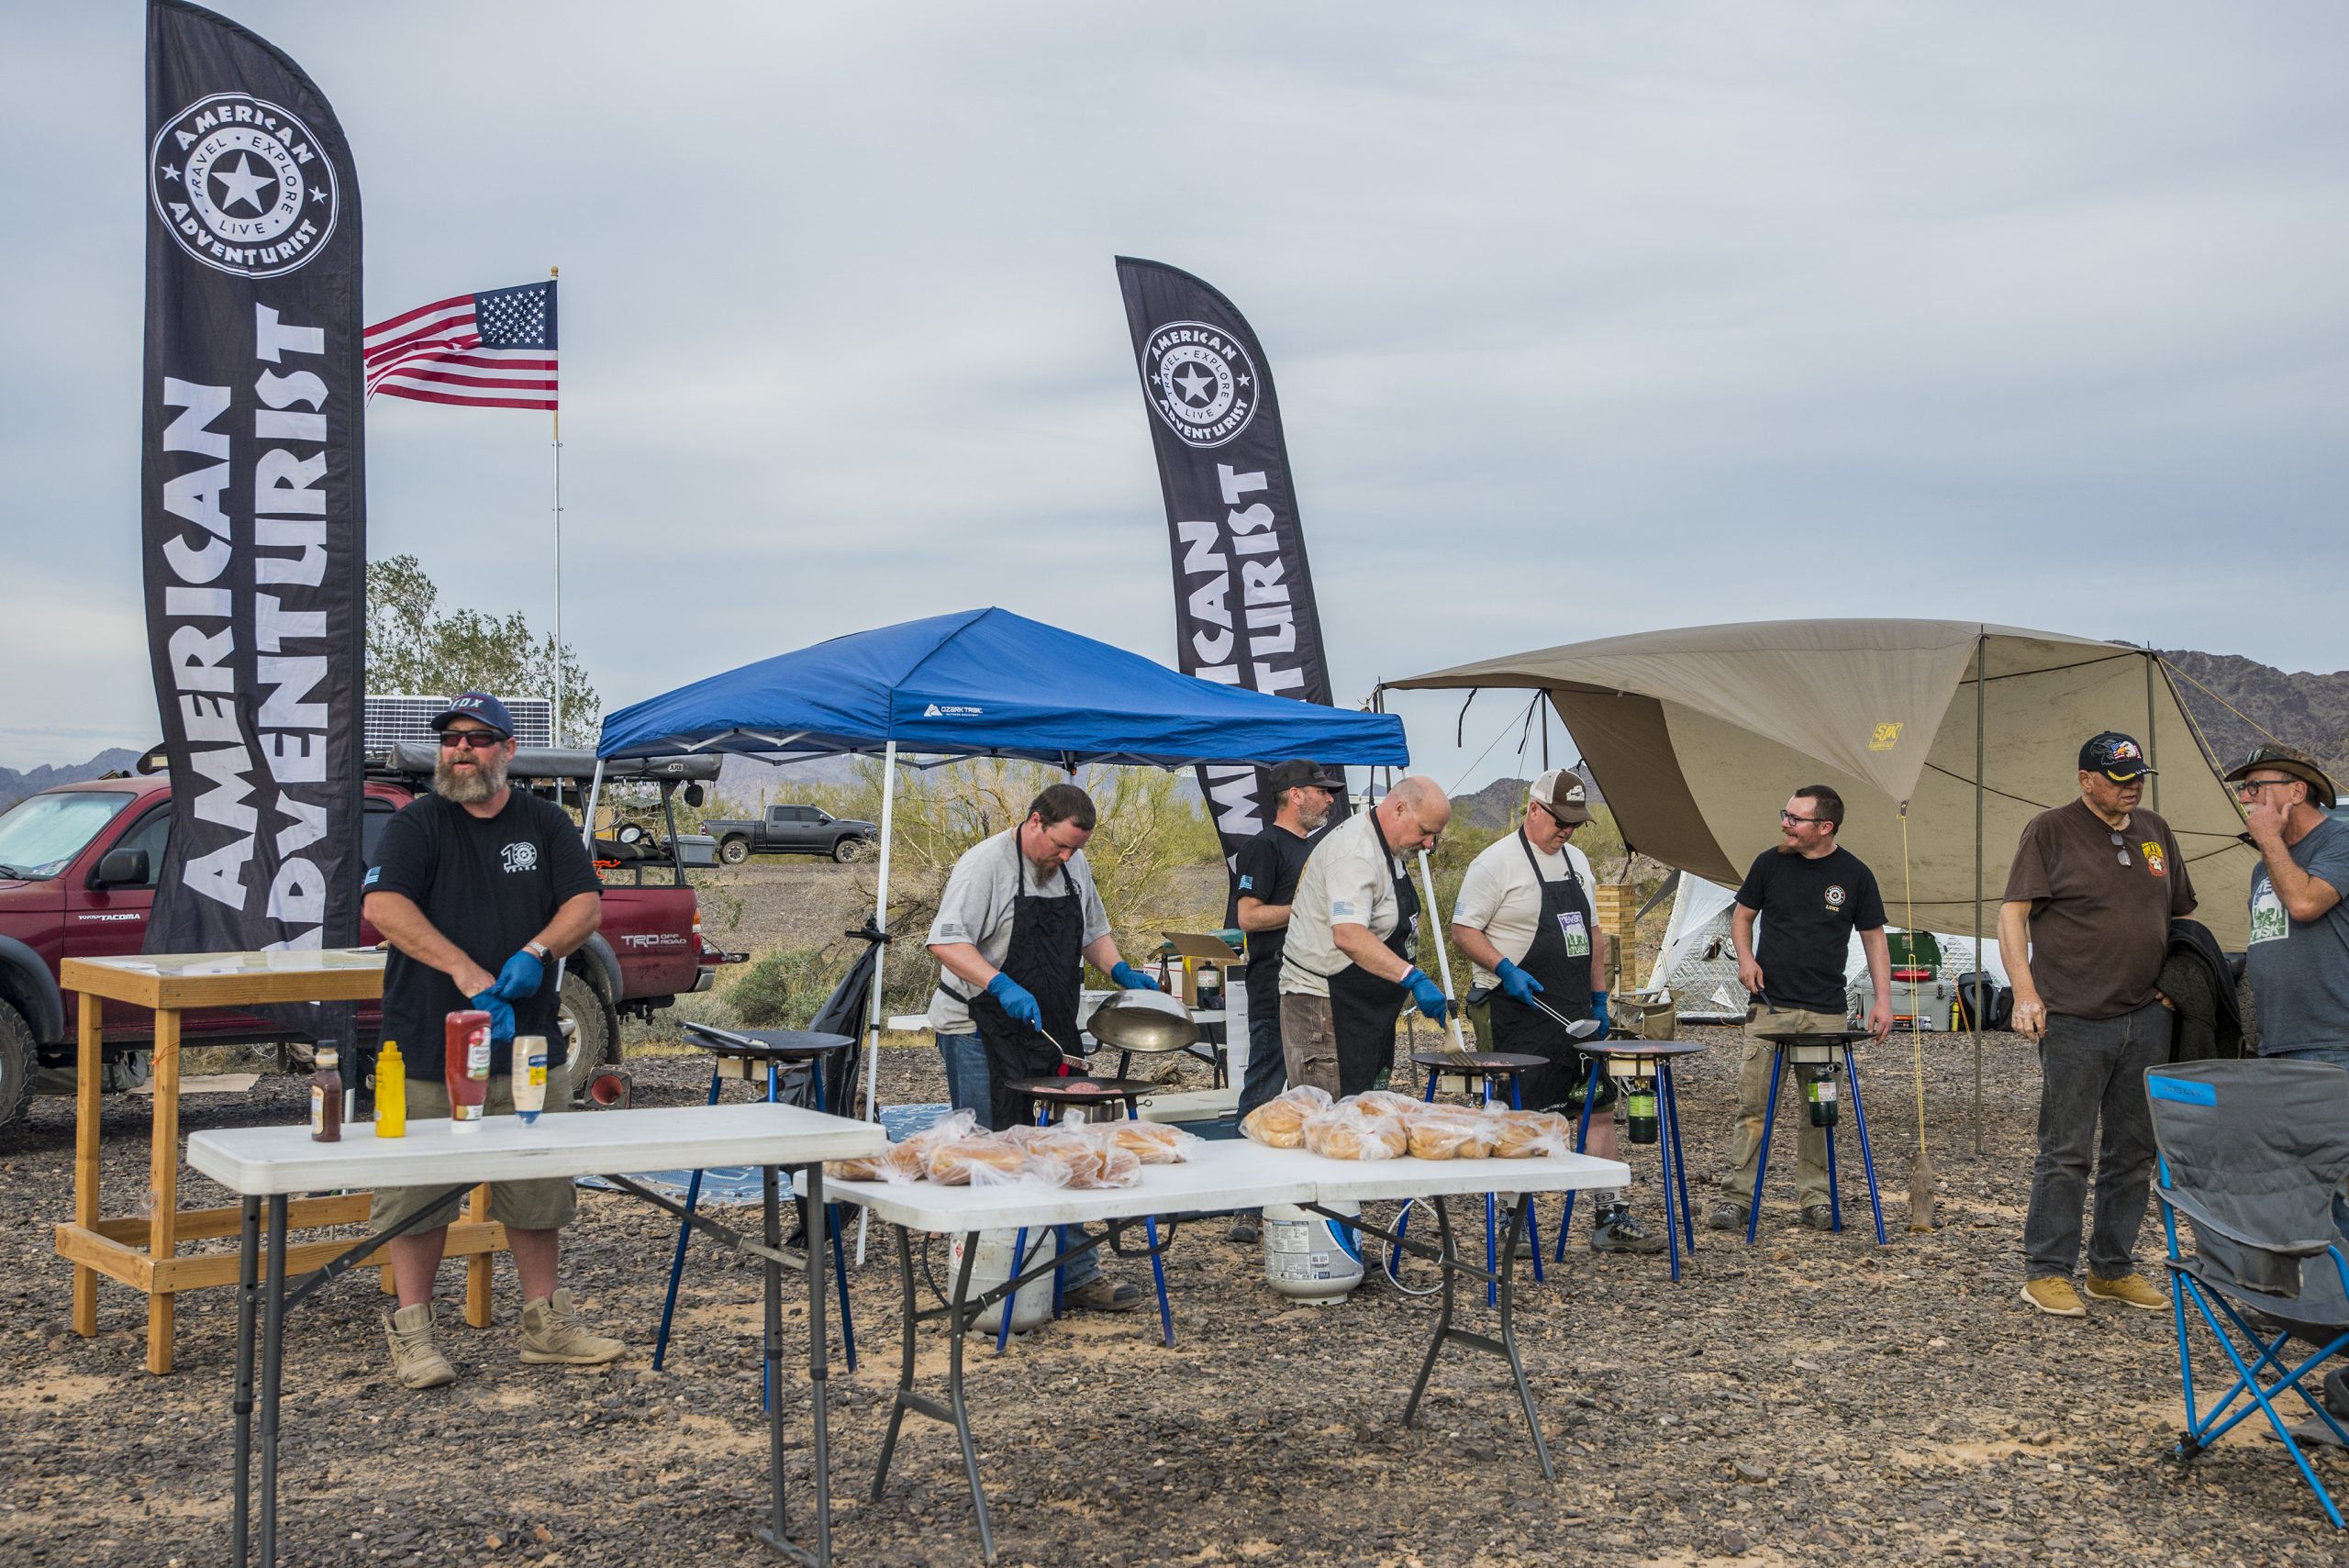
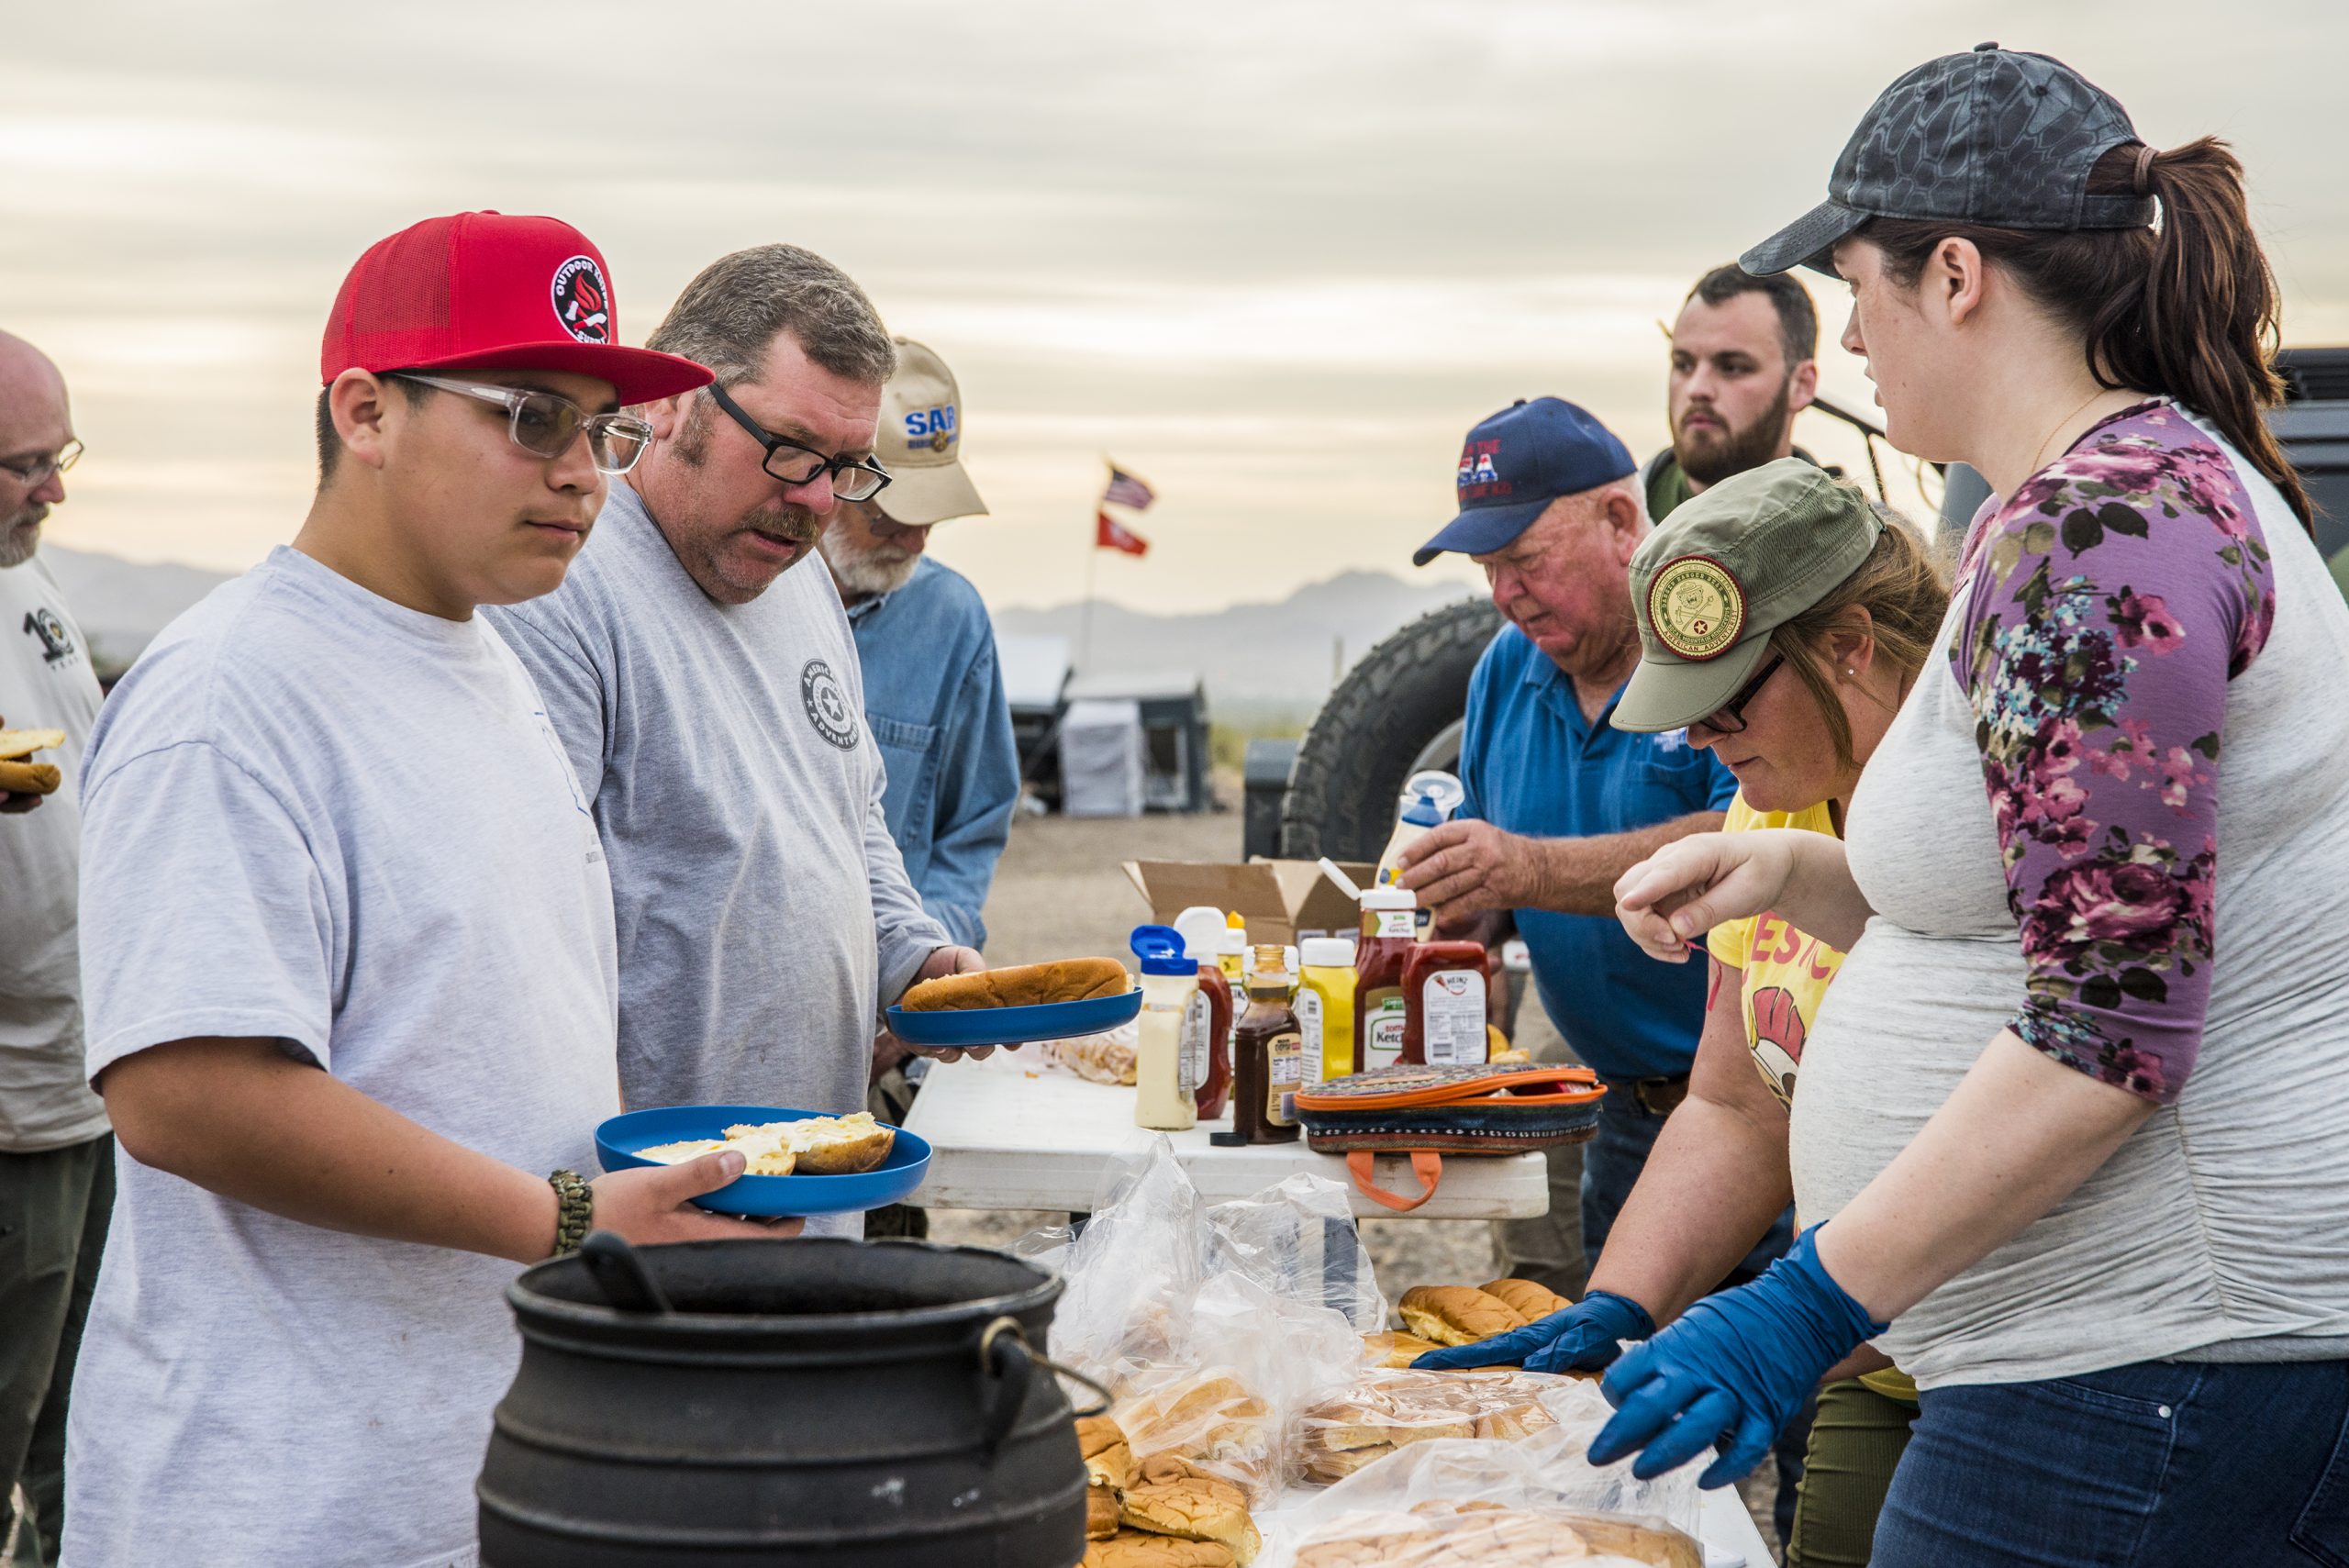
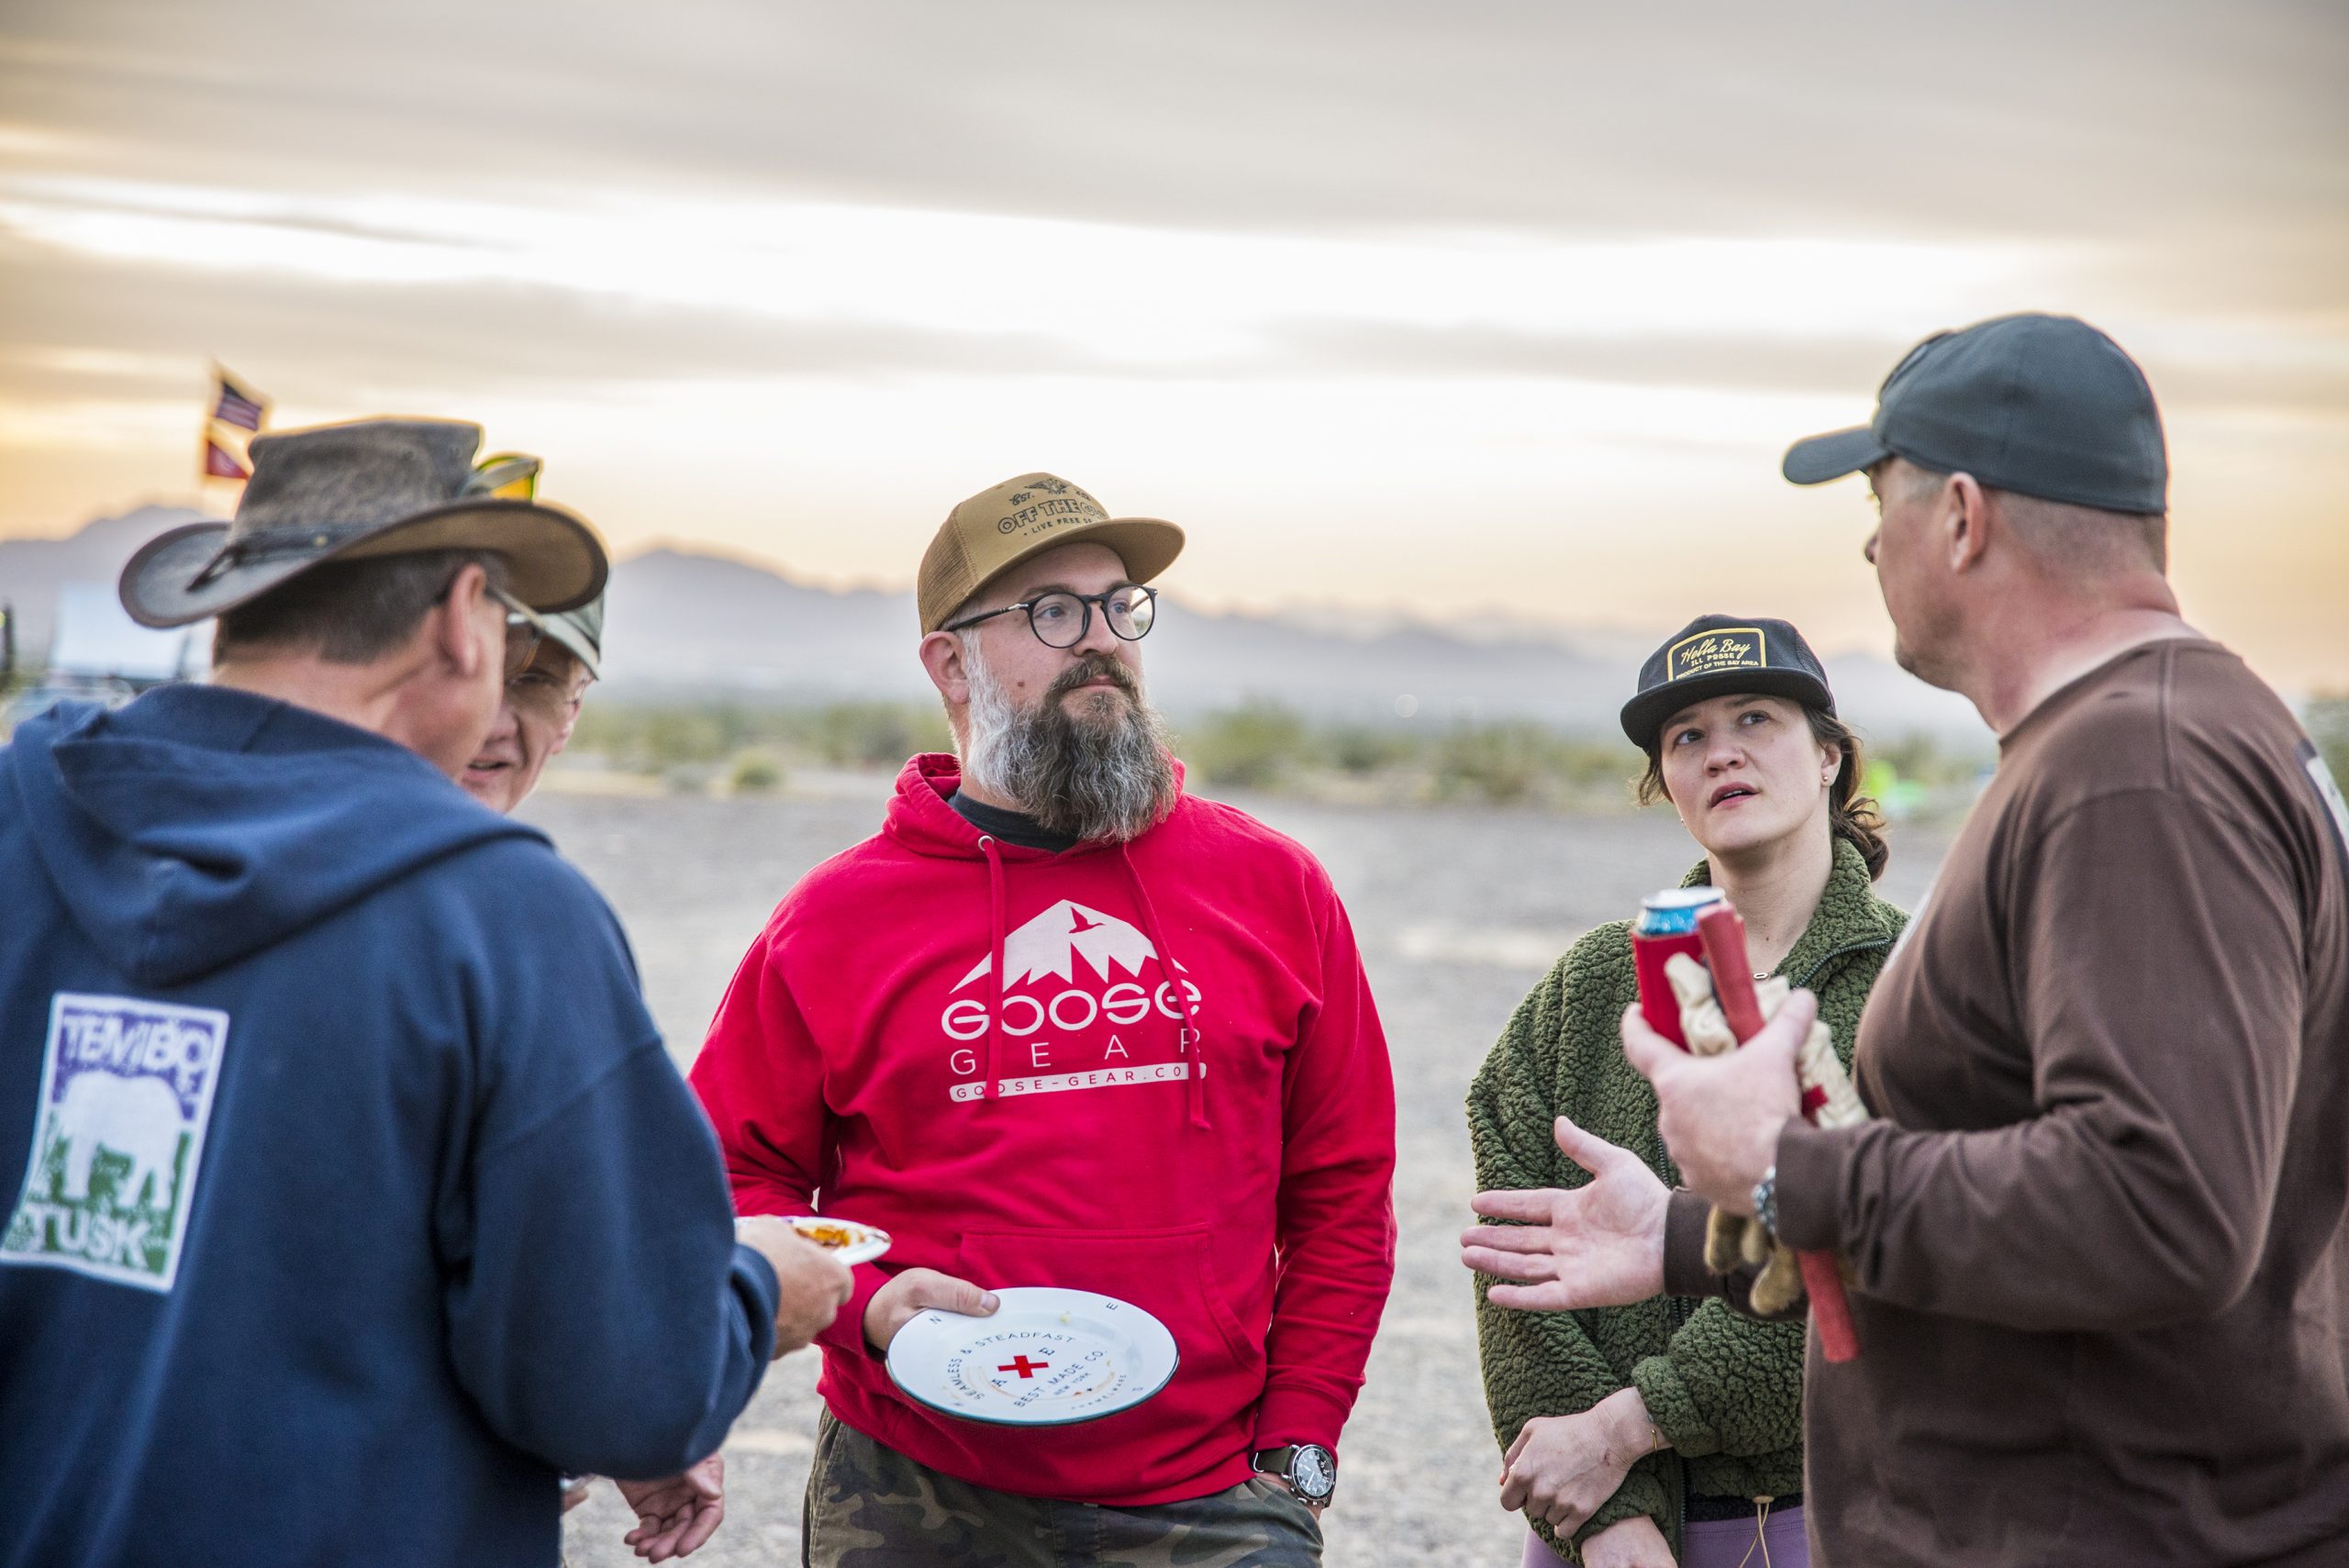
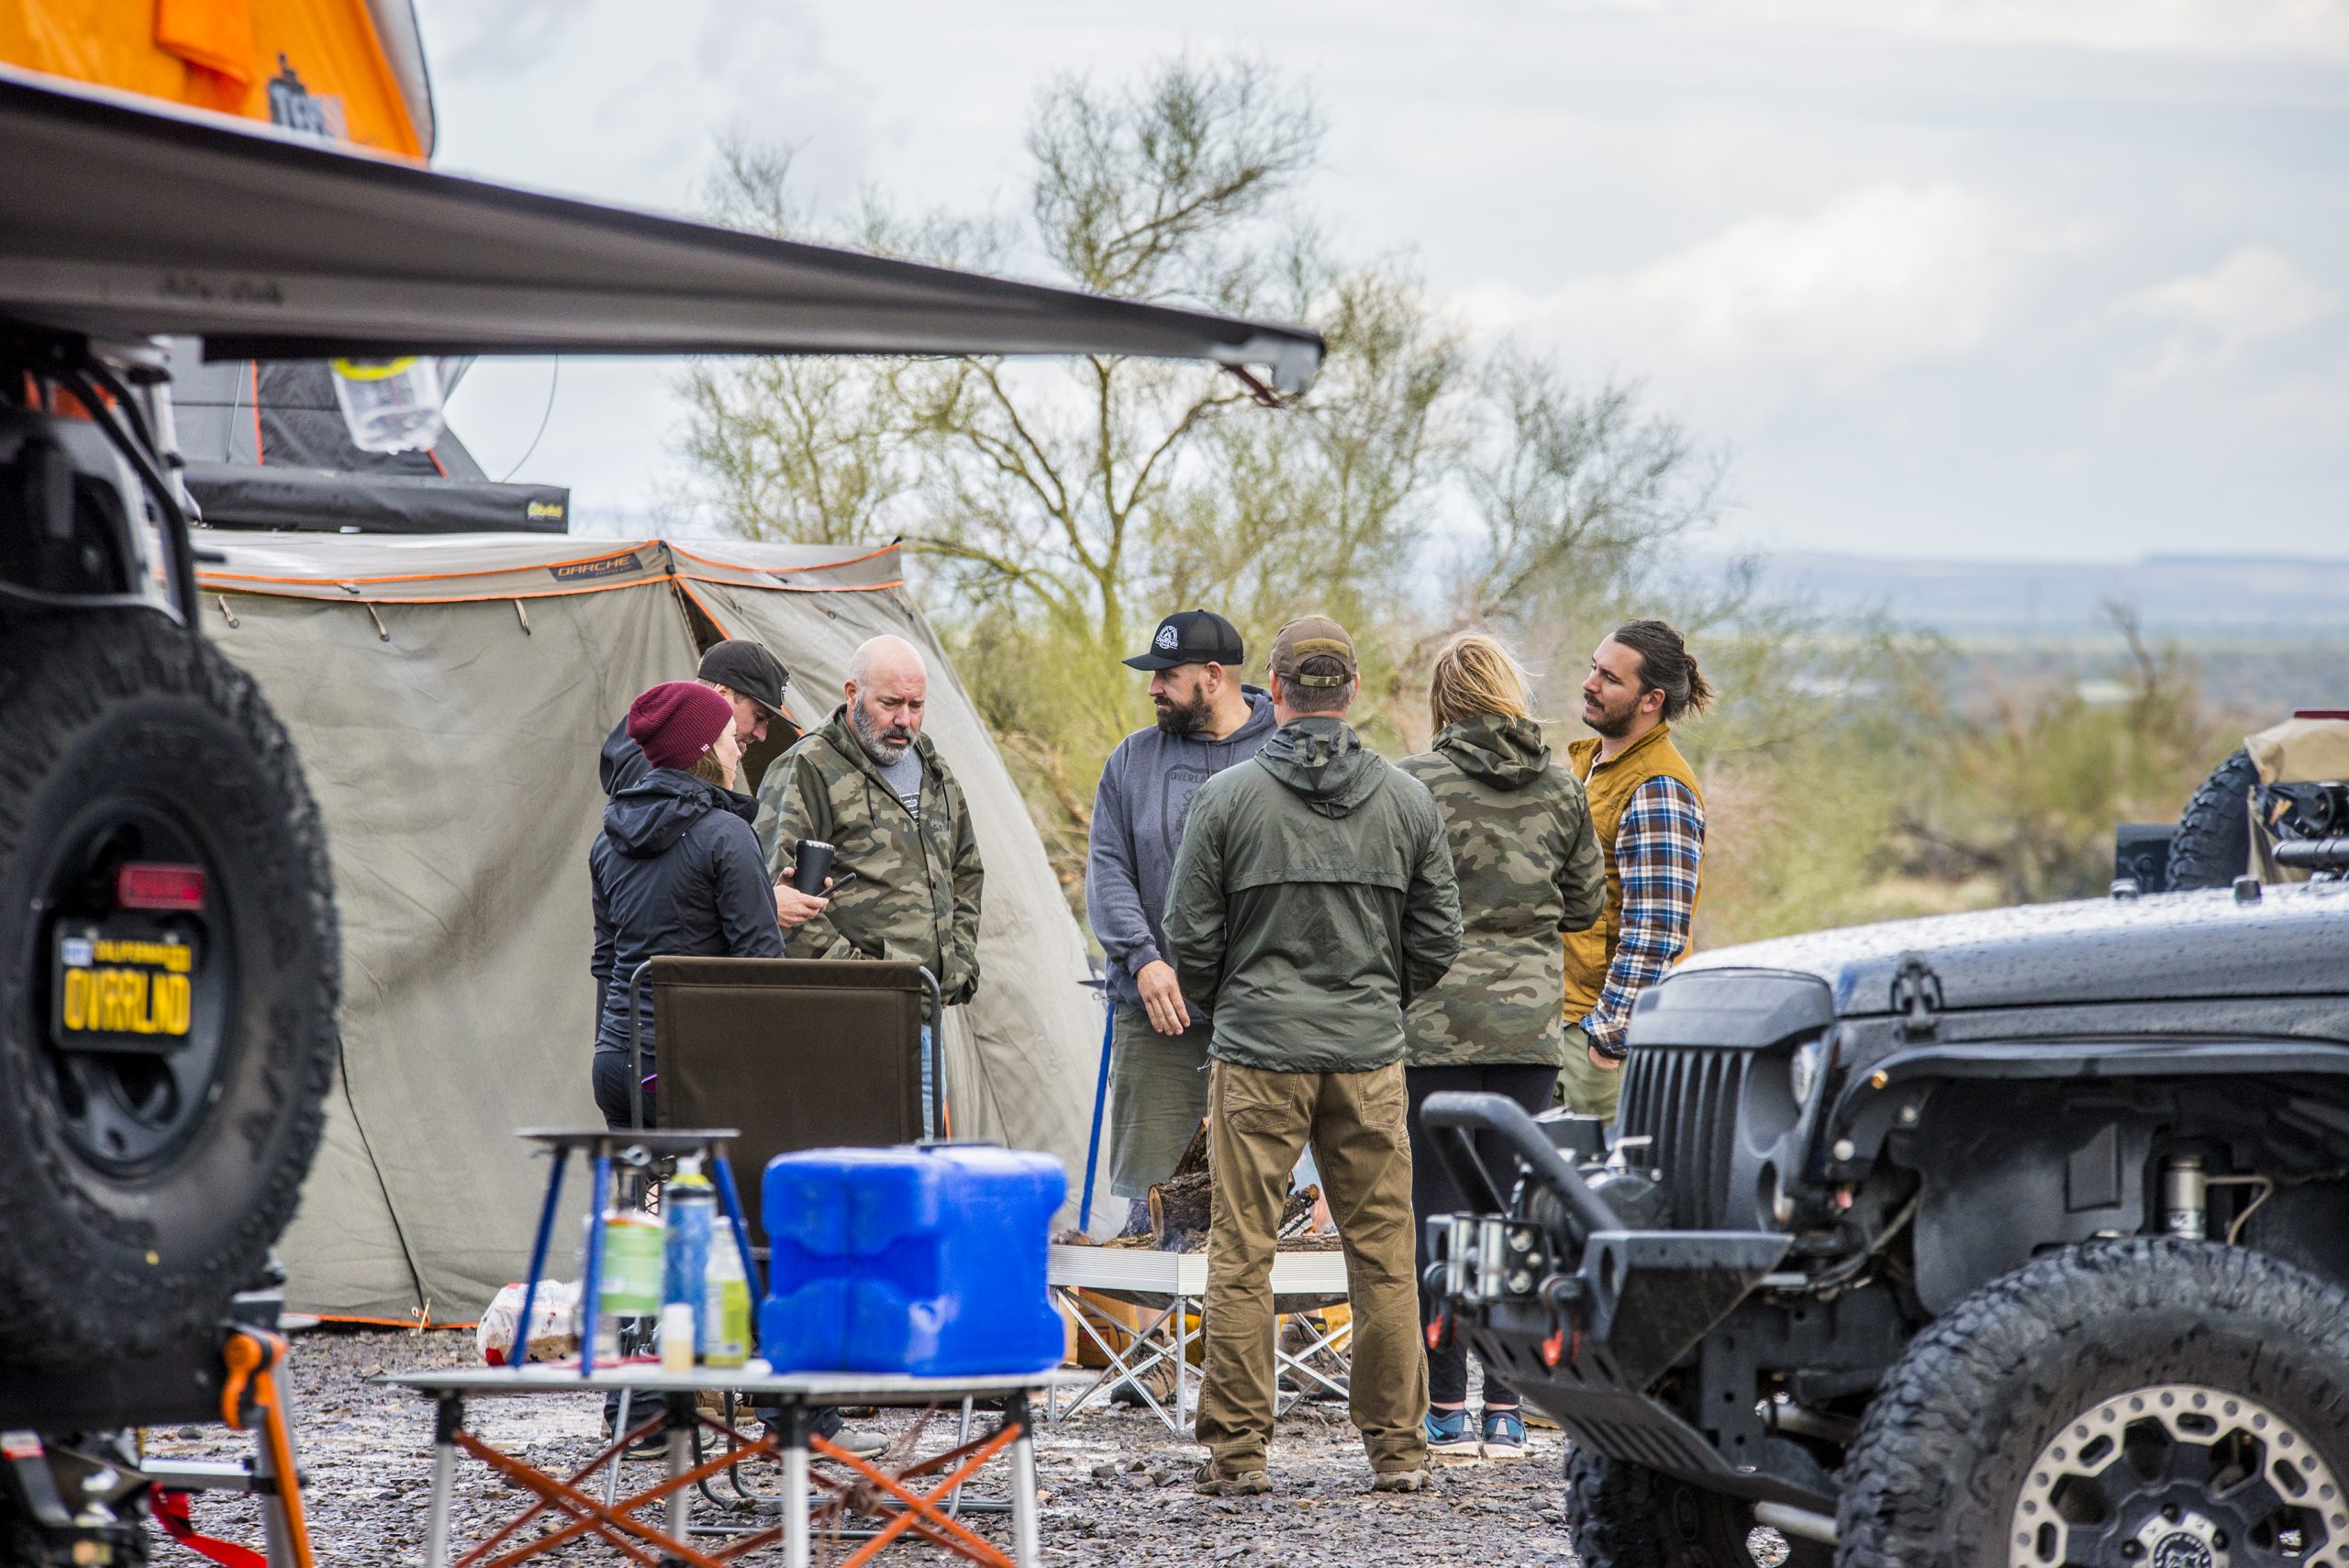
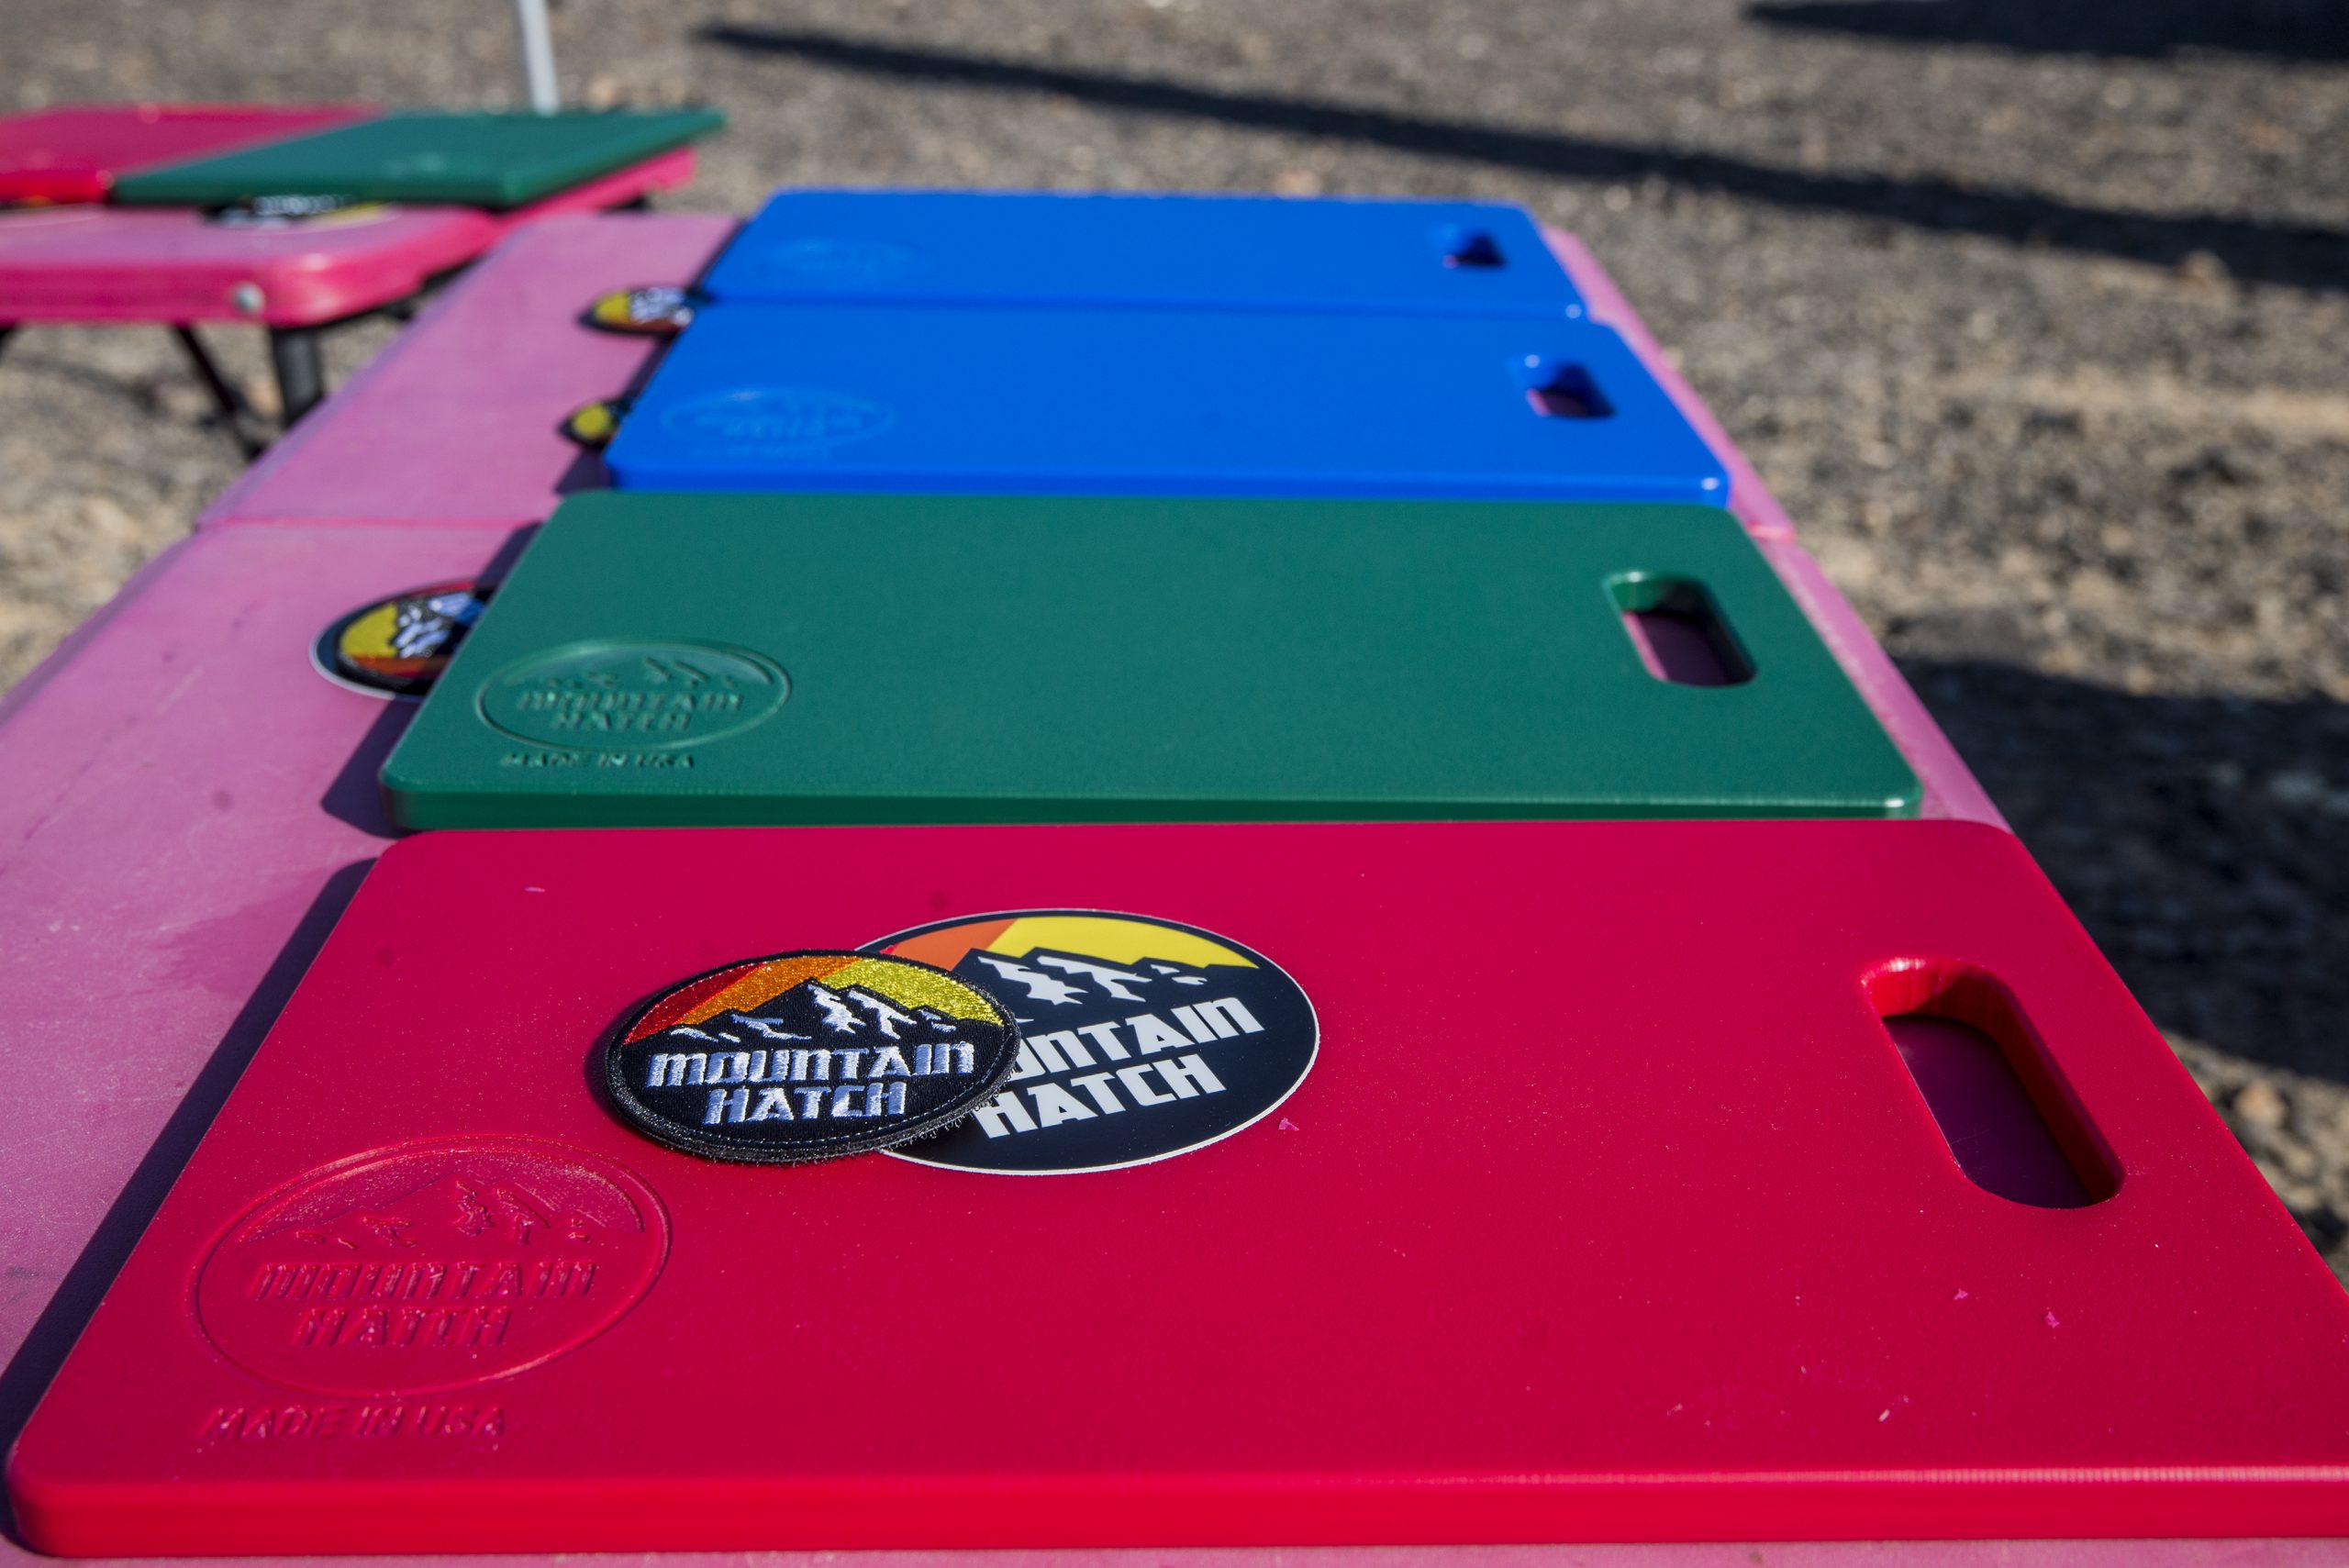
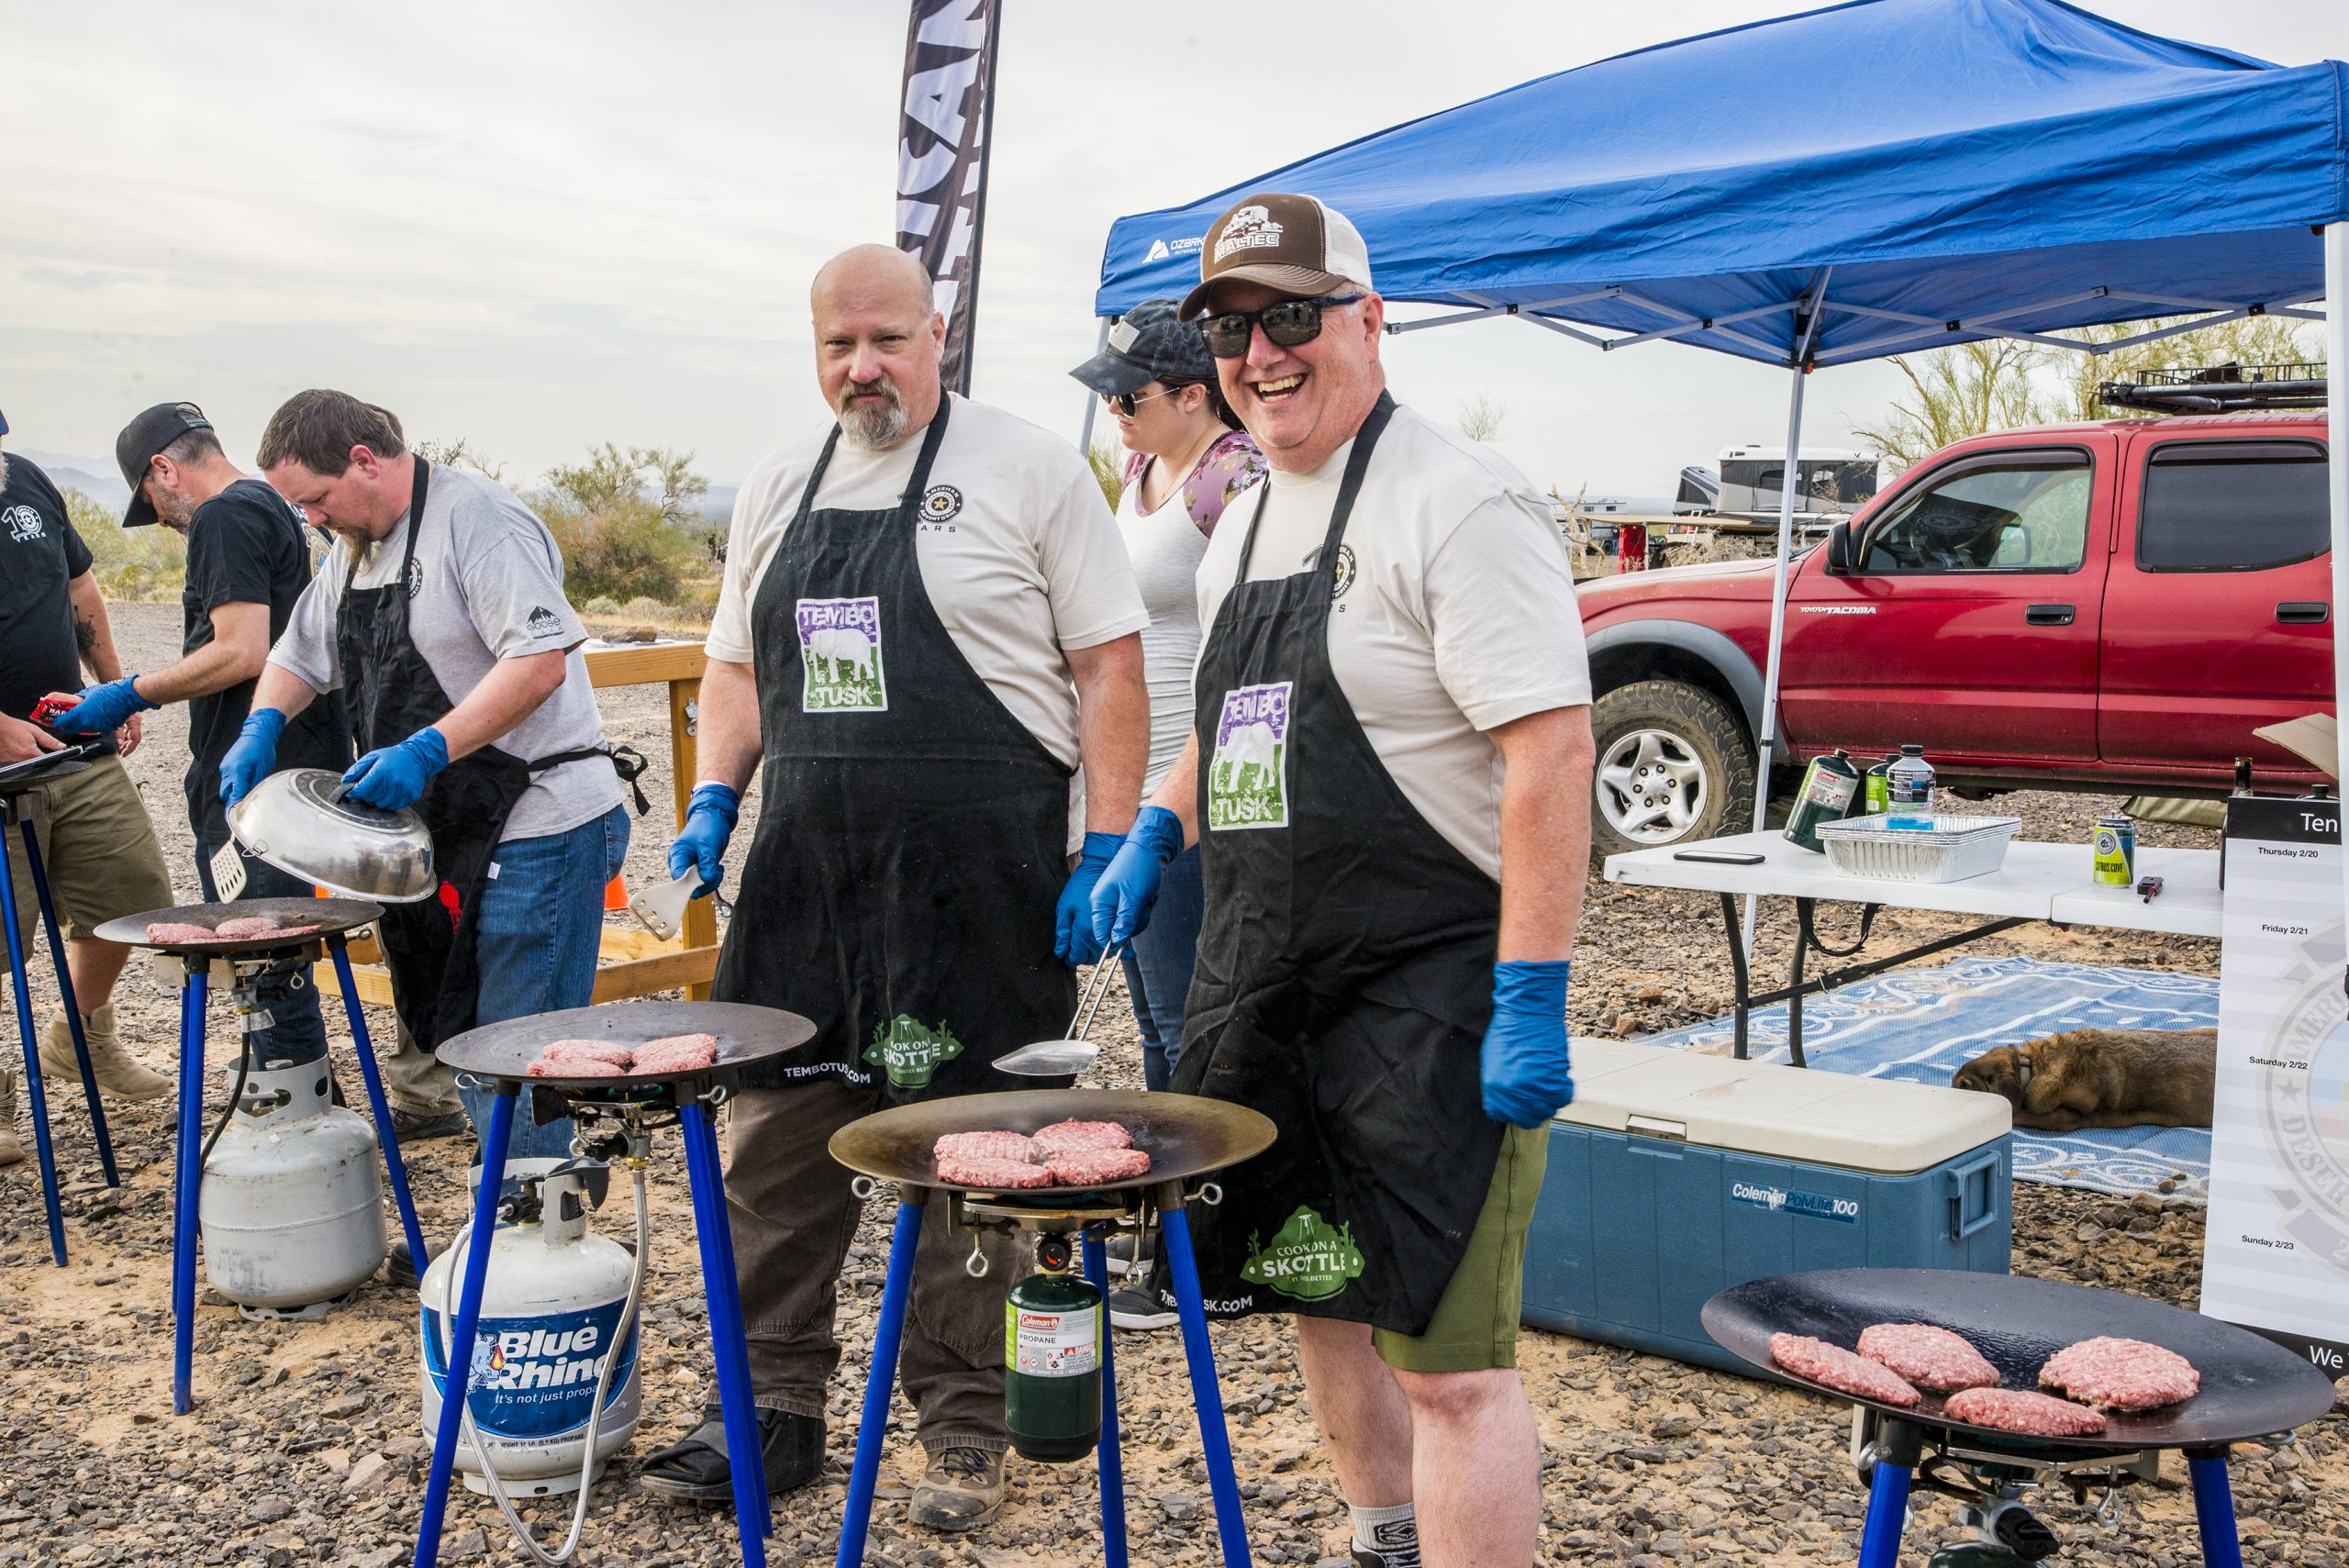
With everyone back in camp, the smell of cooking burgers and dogs drew the hungry folks toward the main camp area. Many props to Mountain Hatch for sponsoring the BBQ social, as we sourced the beef for the burgers and dogs, and the freshly made buns from a local butcher and bakery nearby. Skottles were lined up and even chili was being cooked over the fire as everyone gathered around.

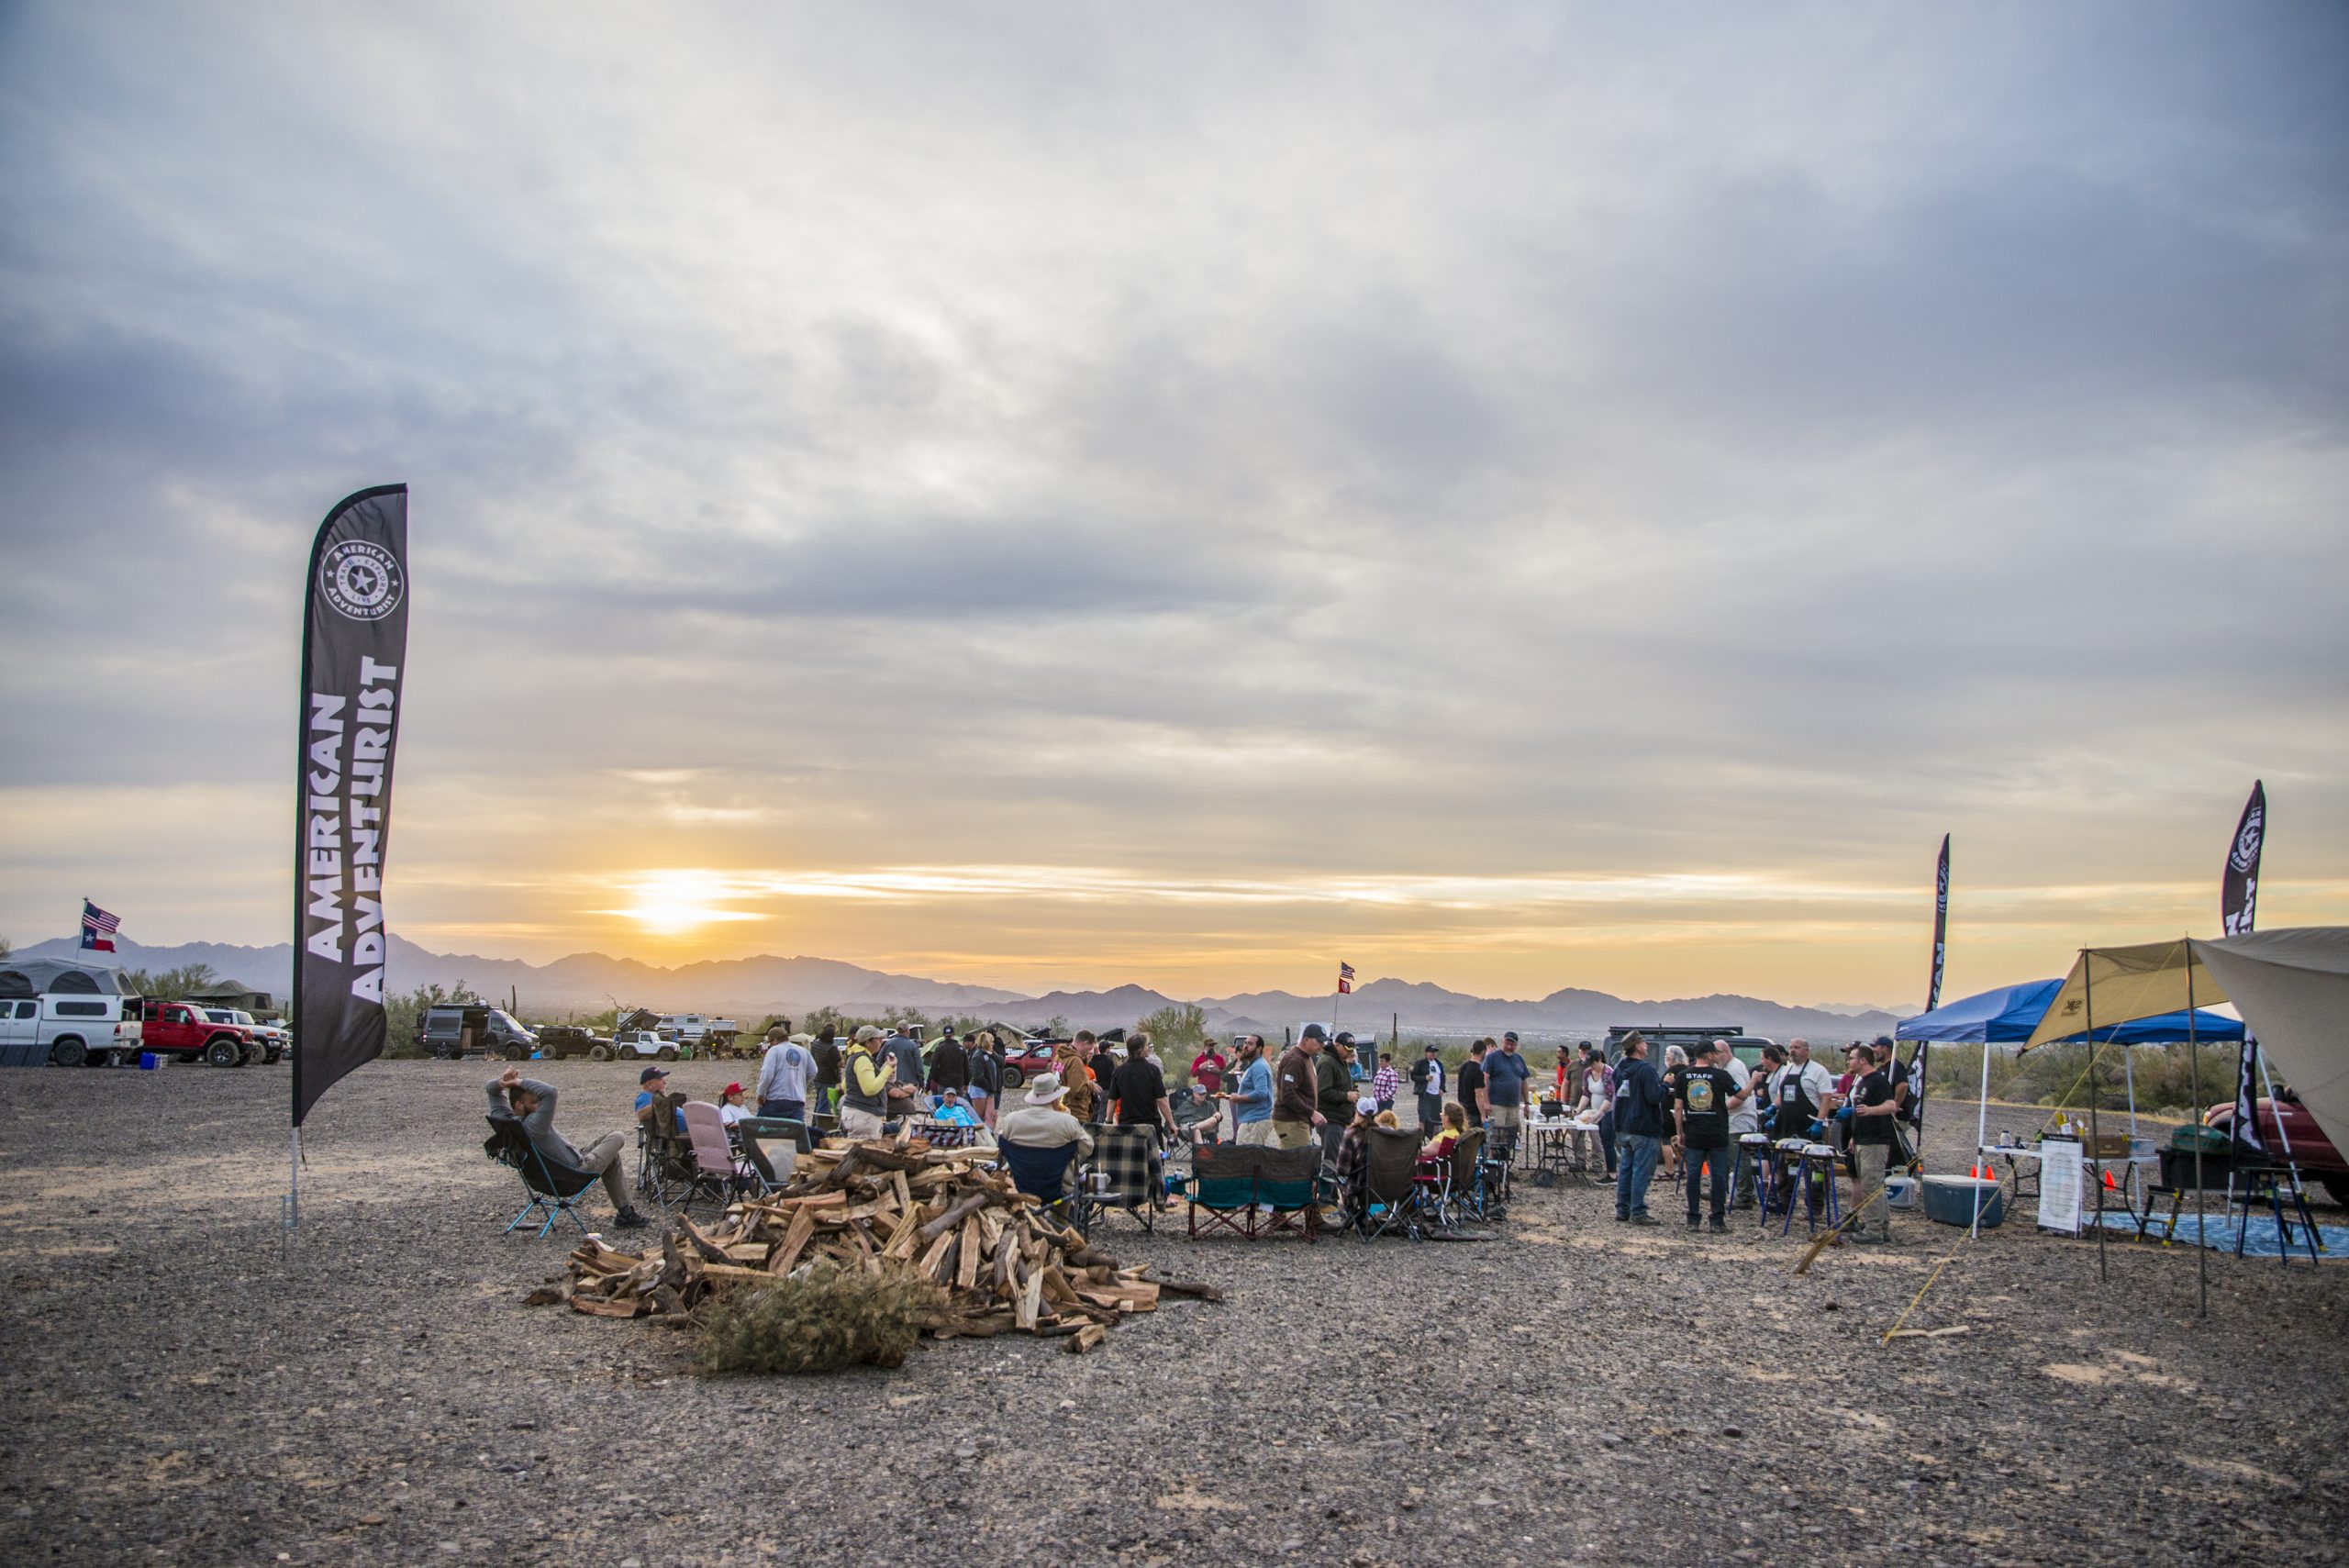
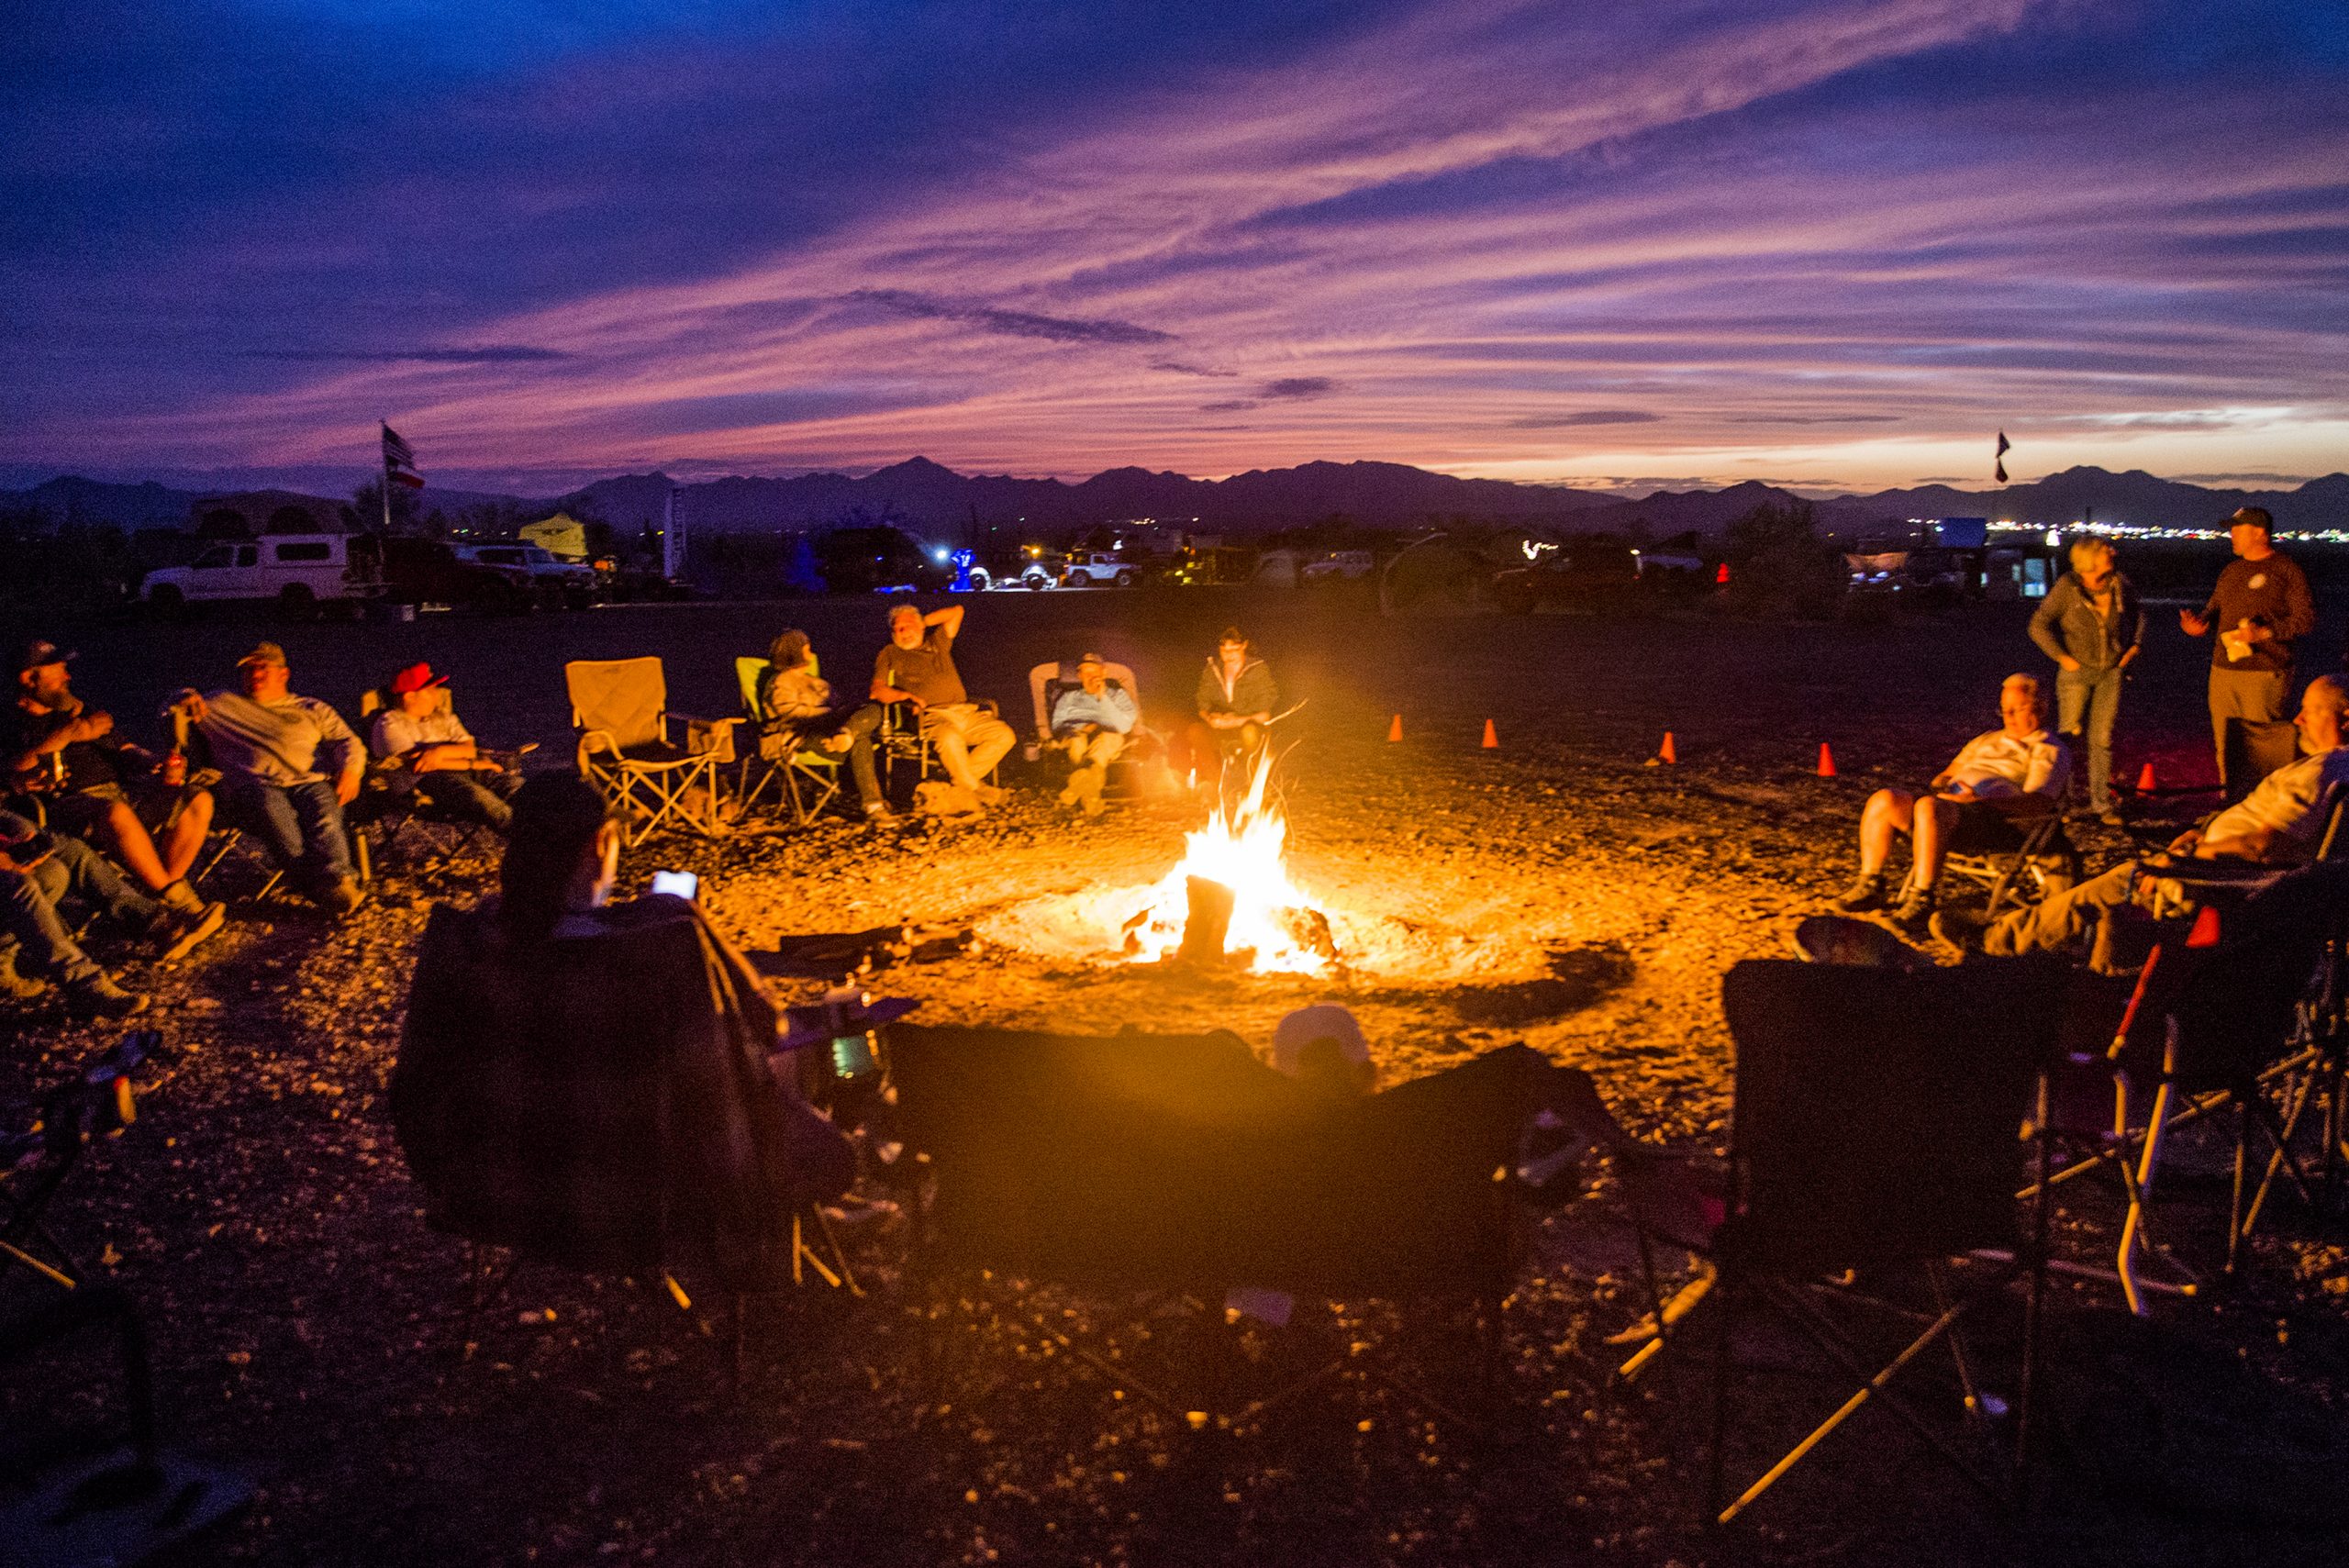
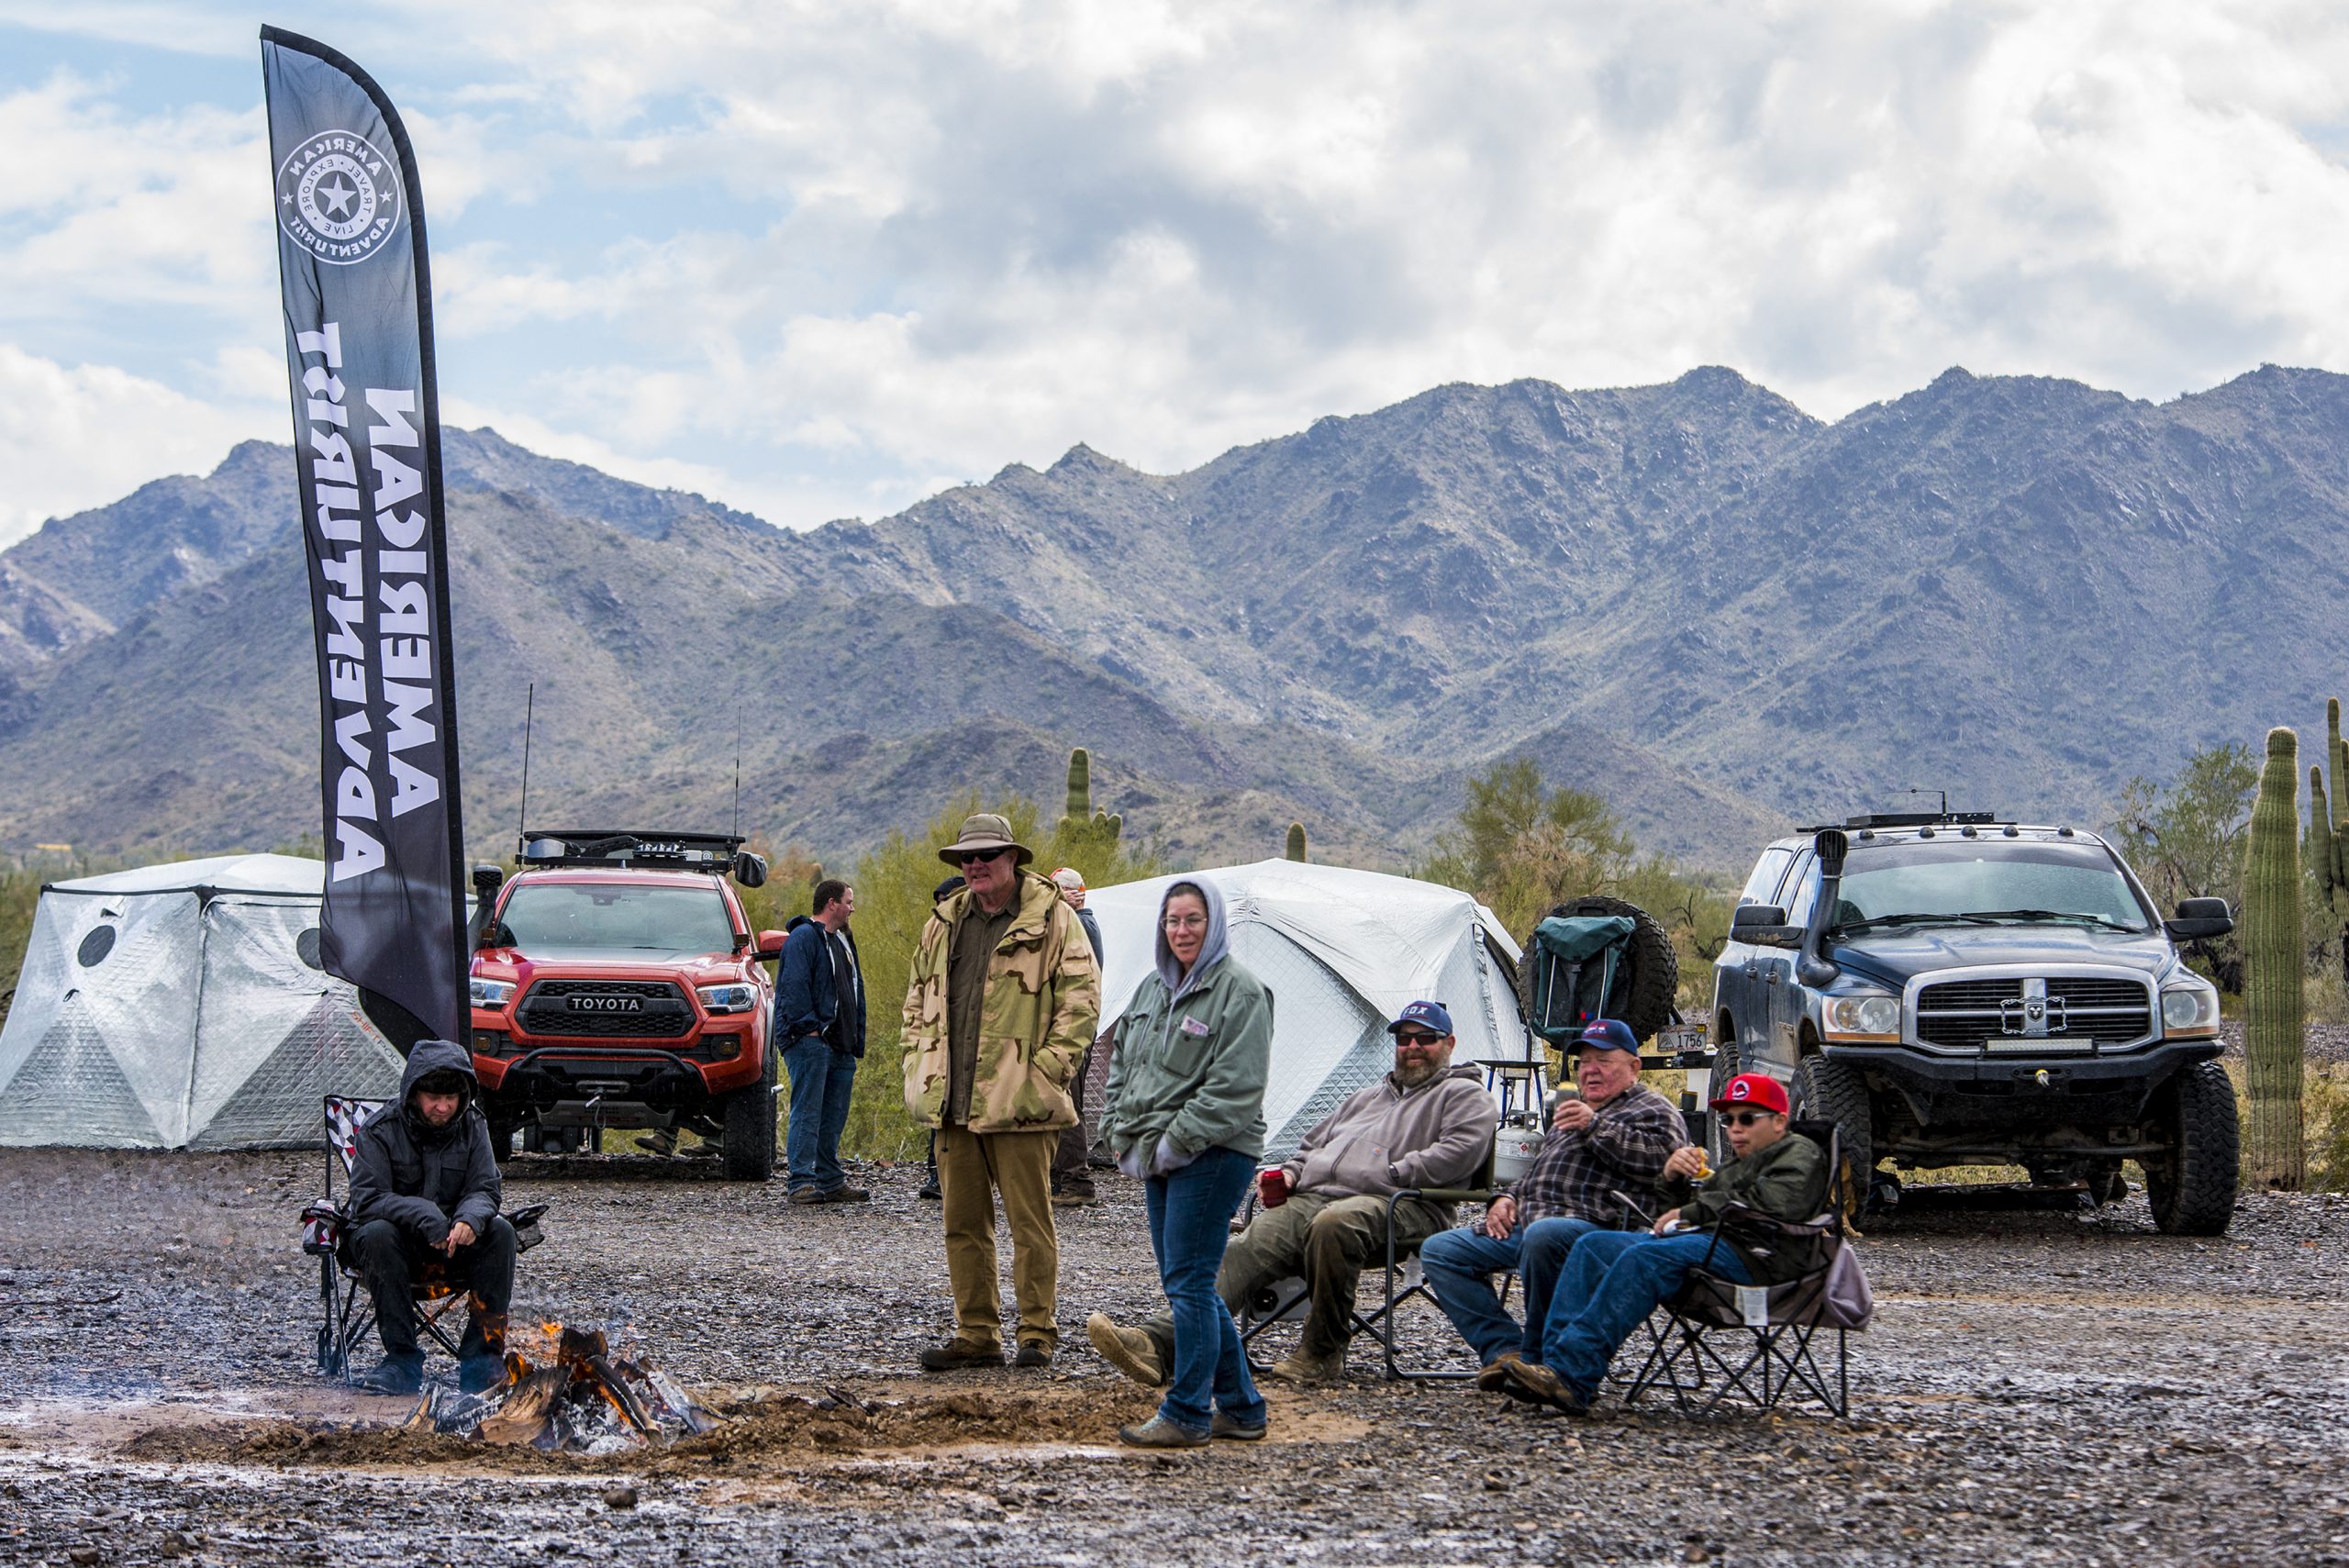
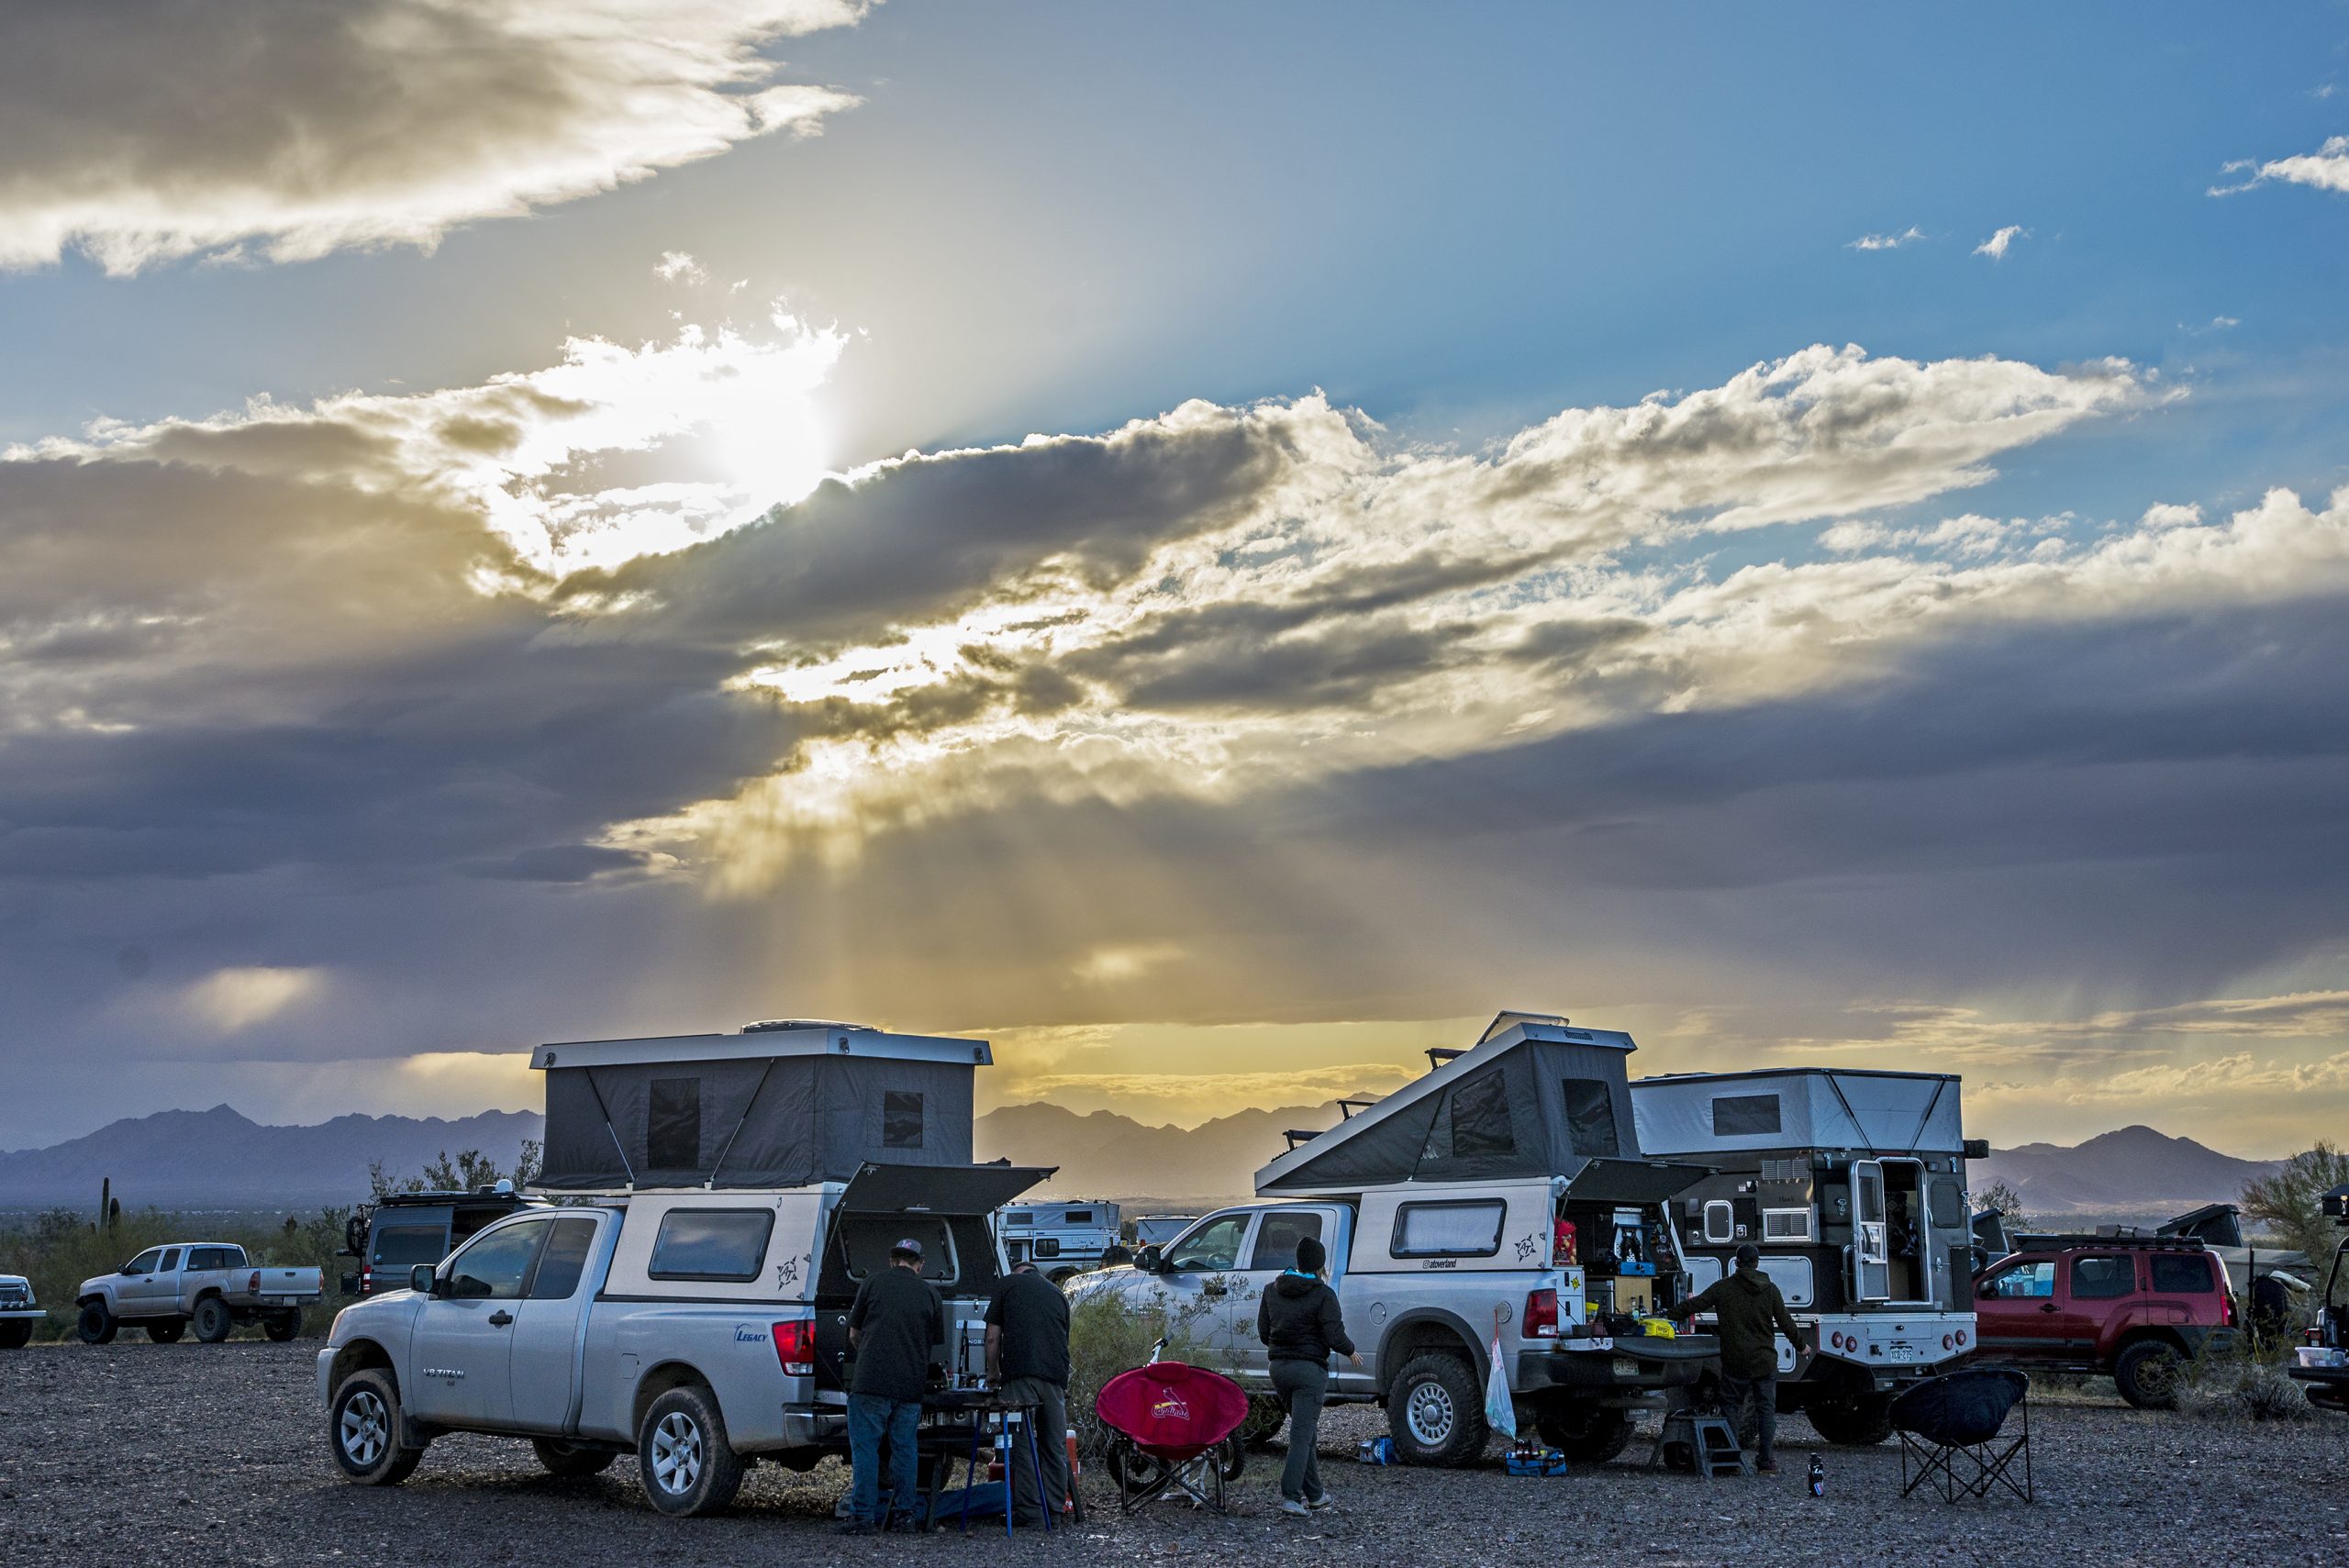
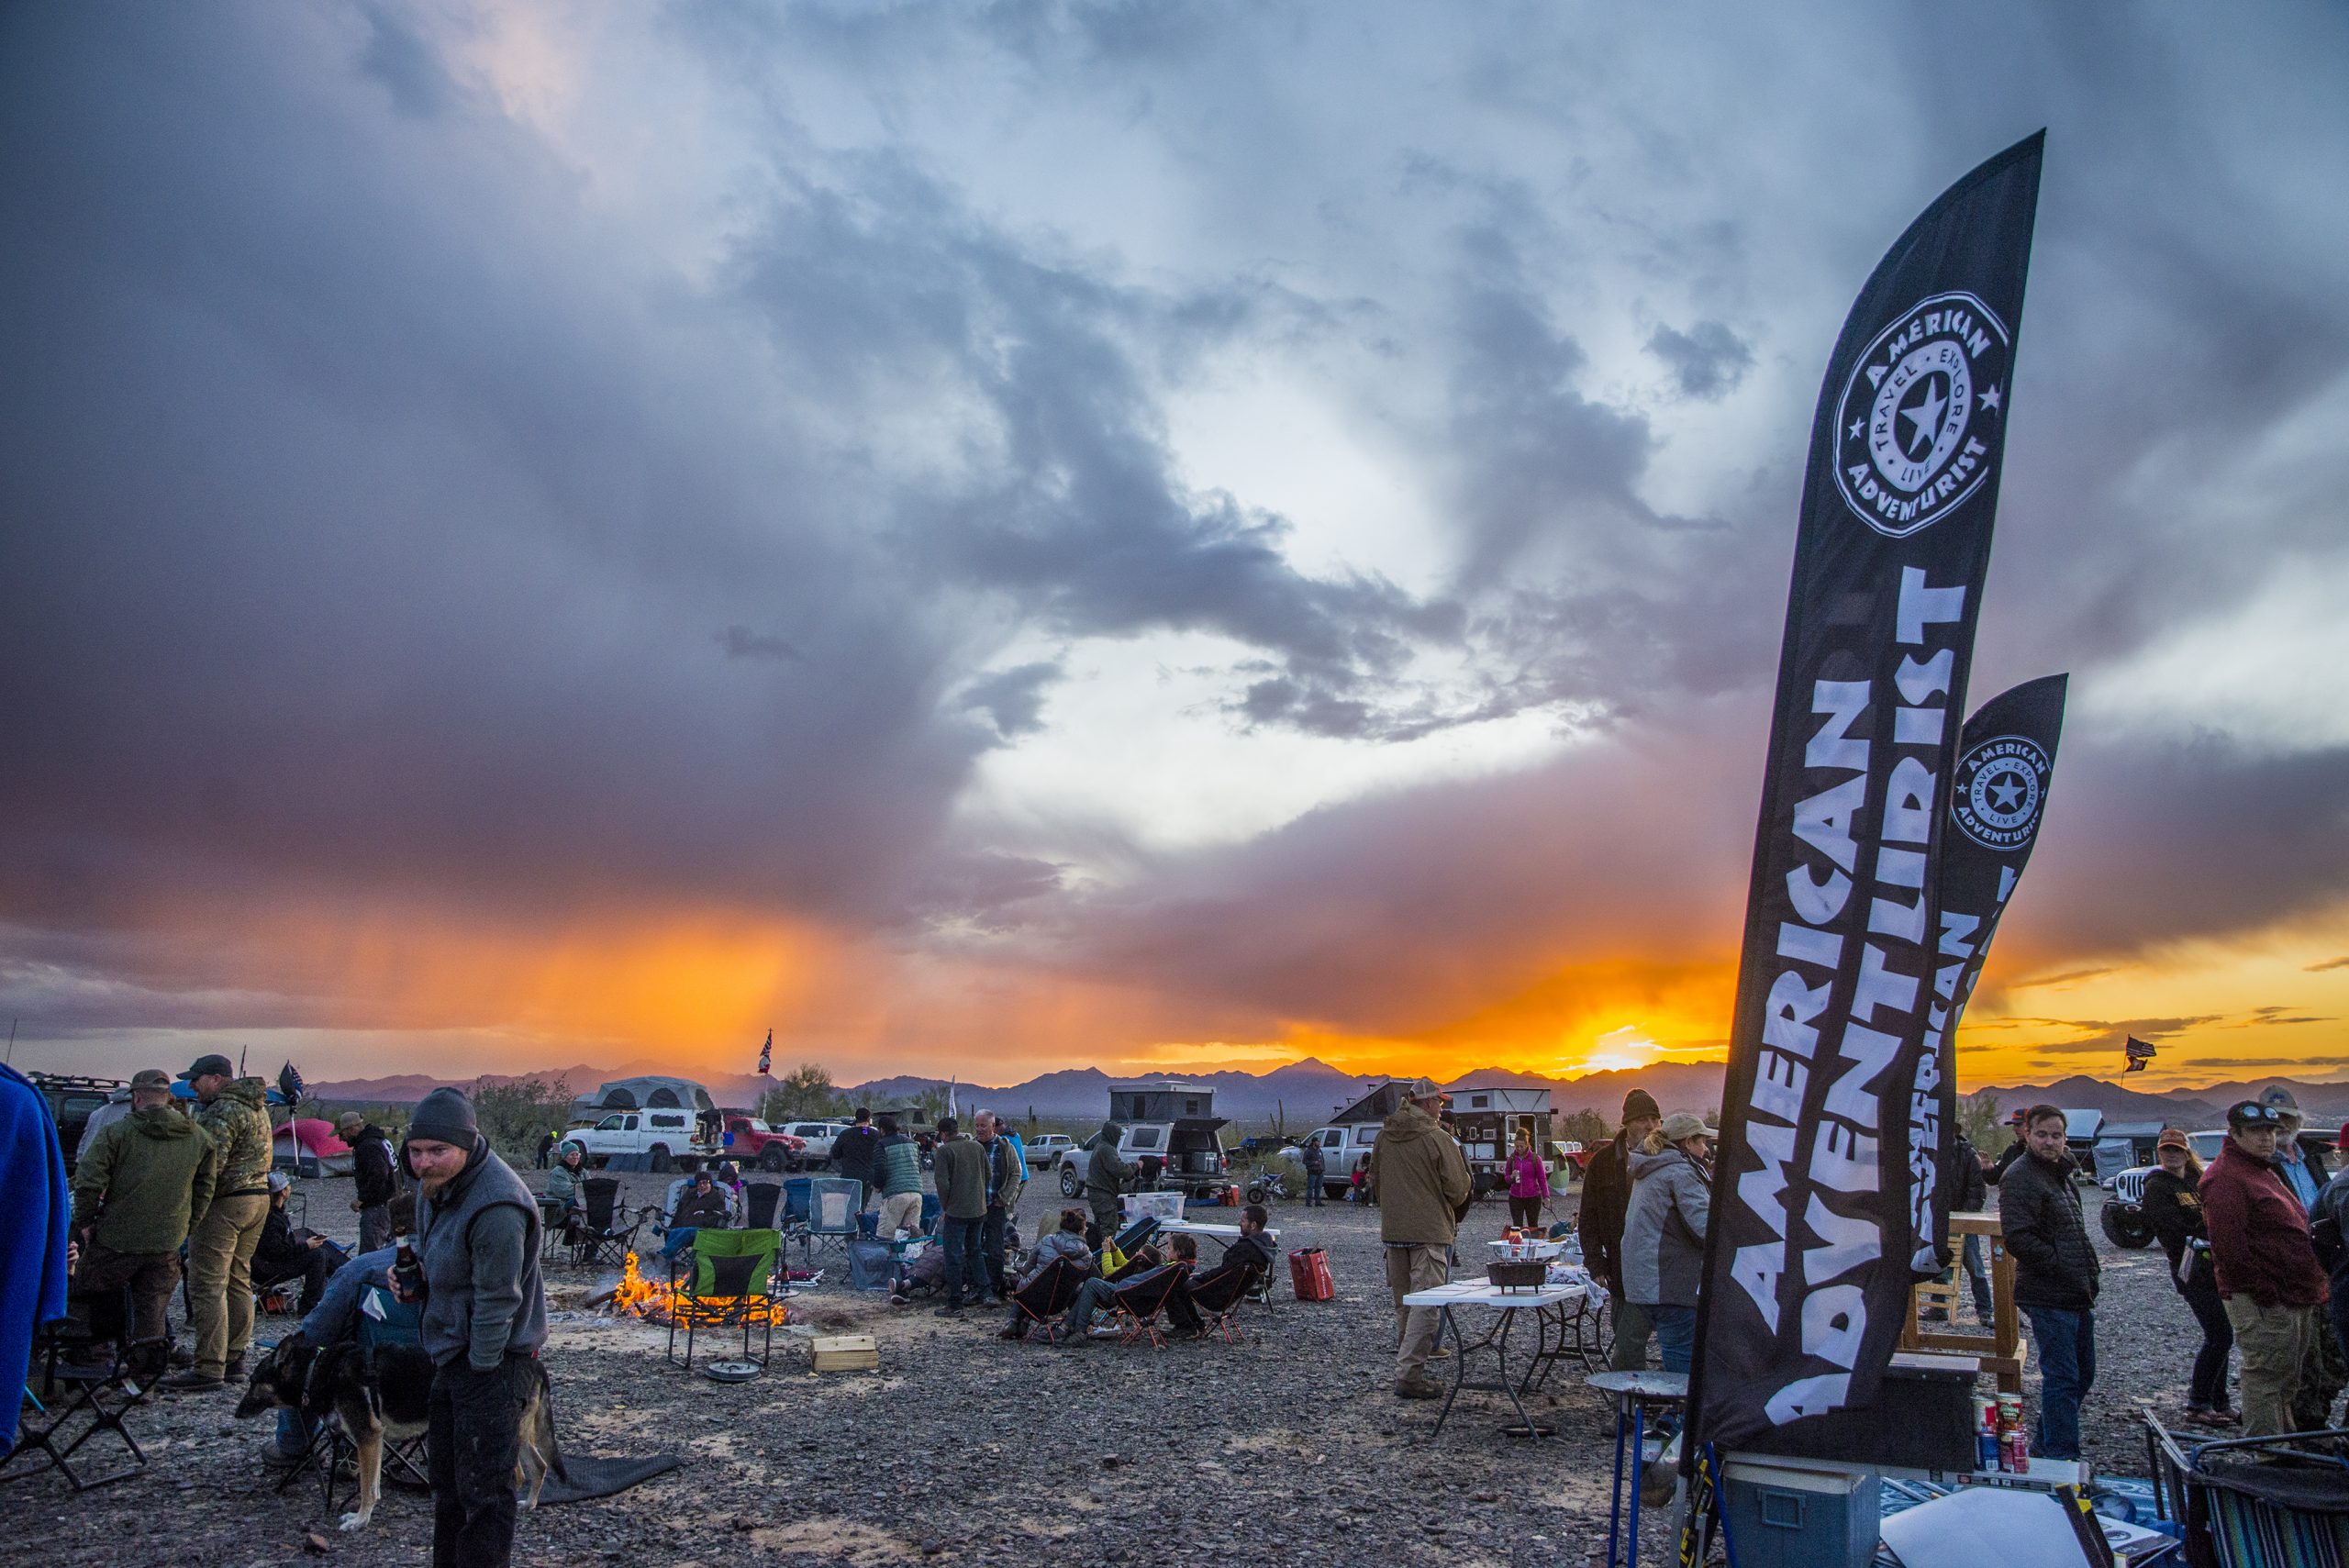
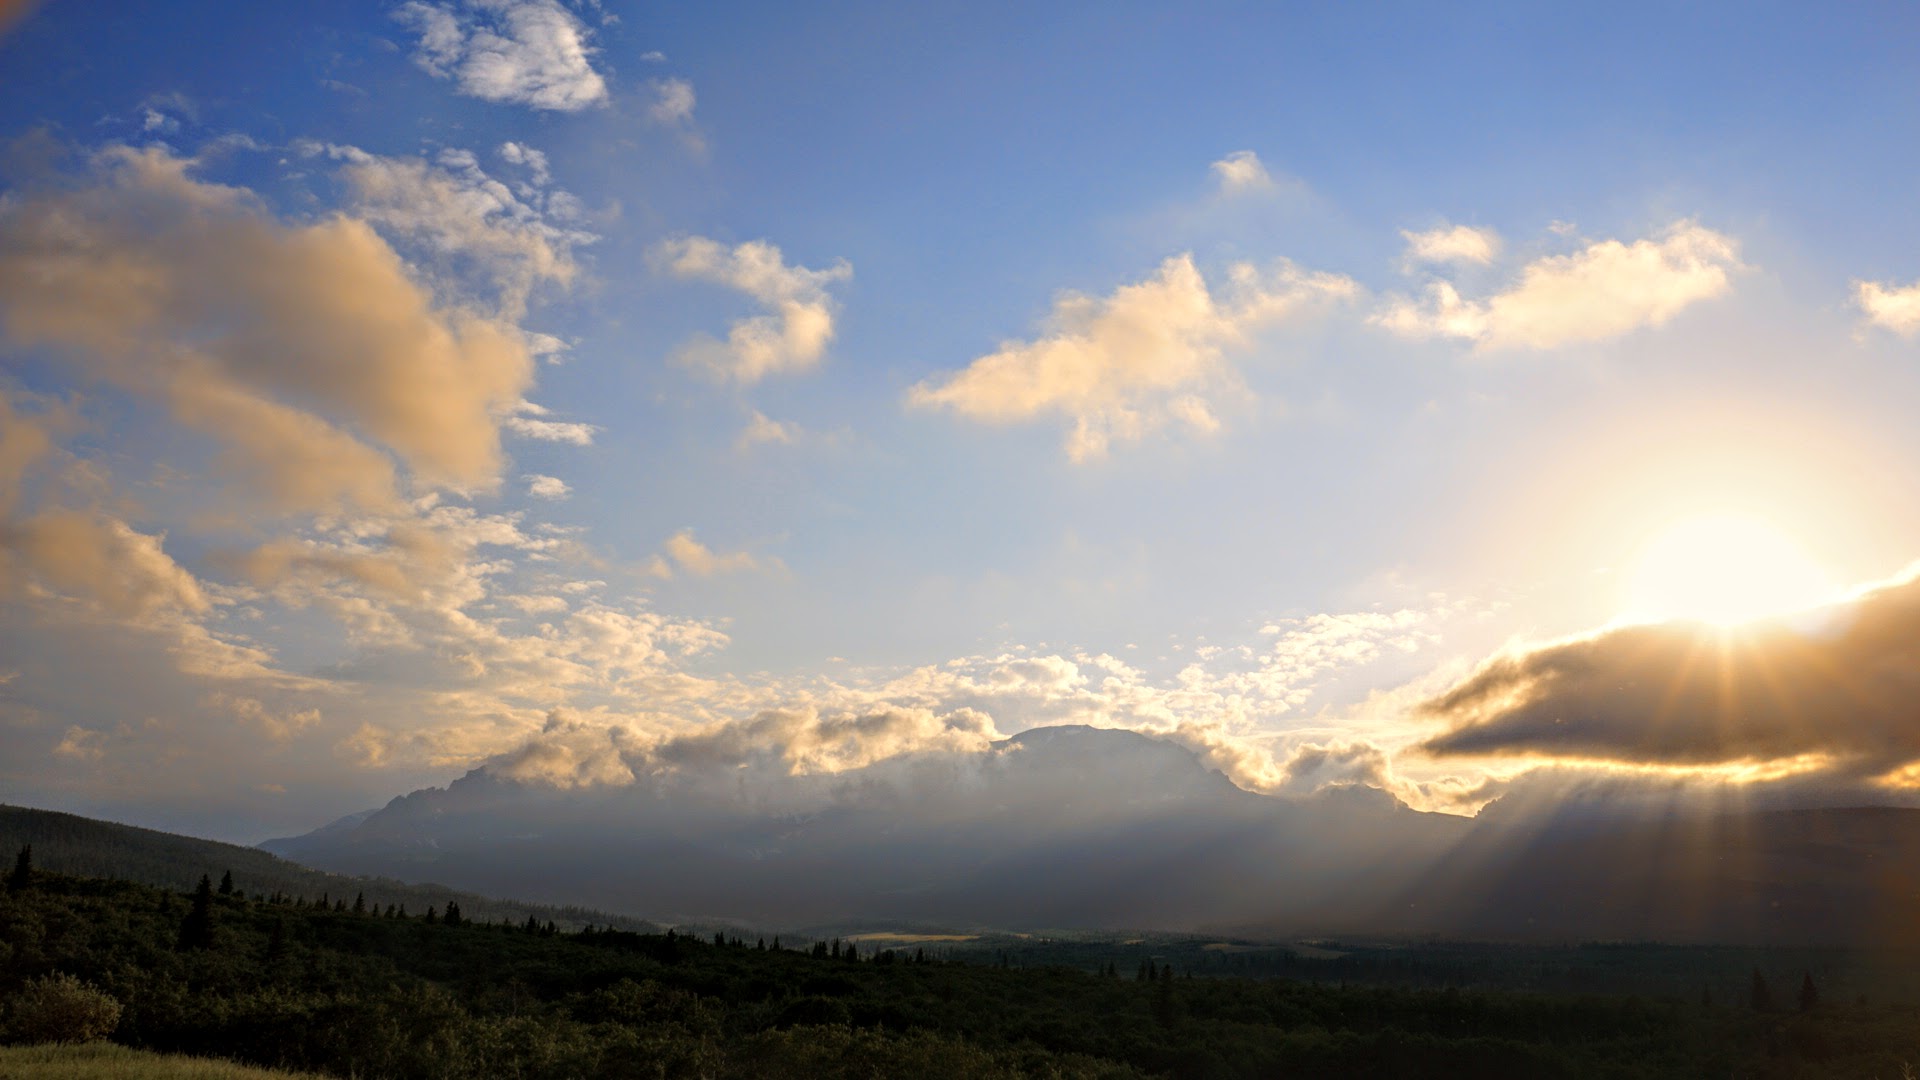
We love travelling and visiting the towns and cities that we pass through, and we love to support local mom and pop businesses whenever we can. The local beef made for the most delicious burgers we’ve had in a long time and those freshly baked old west style buns were incredible. The campfire was set, bellies were full, beverages in hand, and the social continued throughout the night with another spectacular sunset.

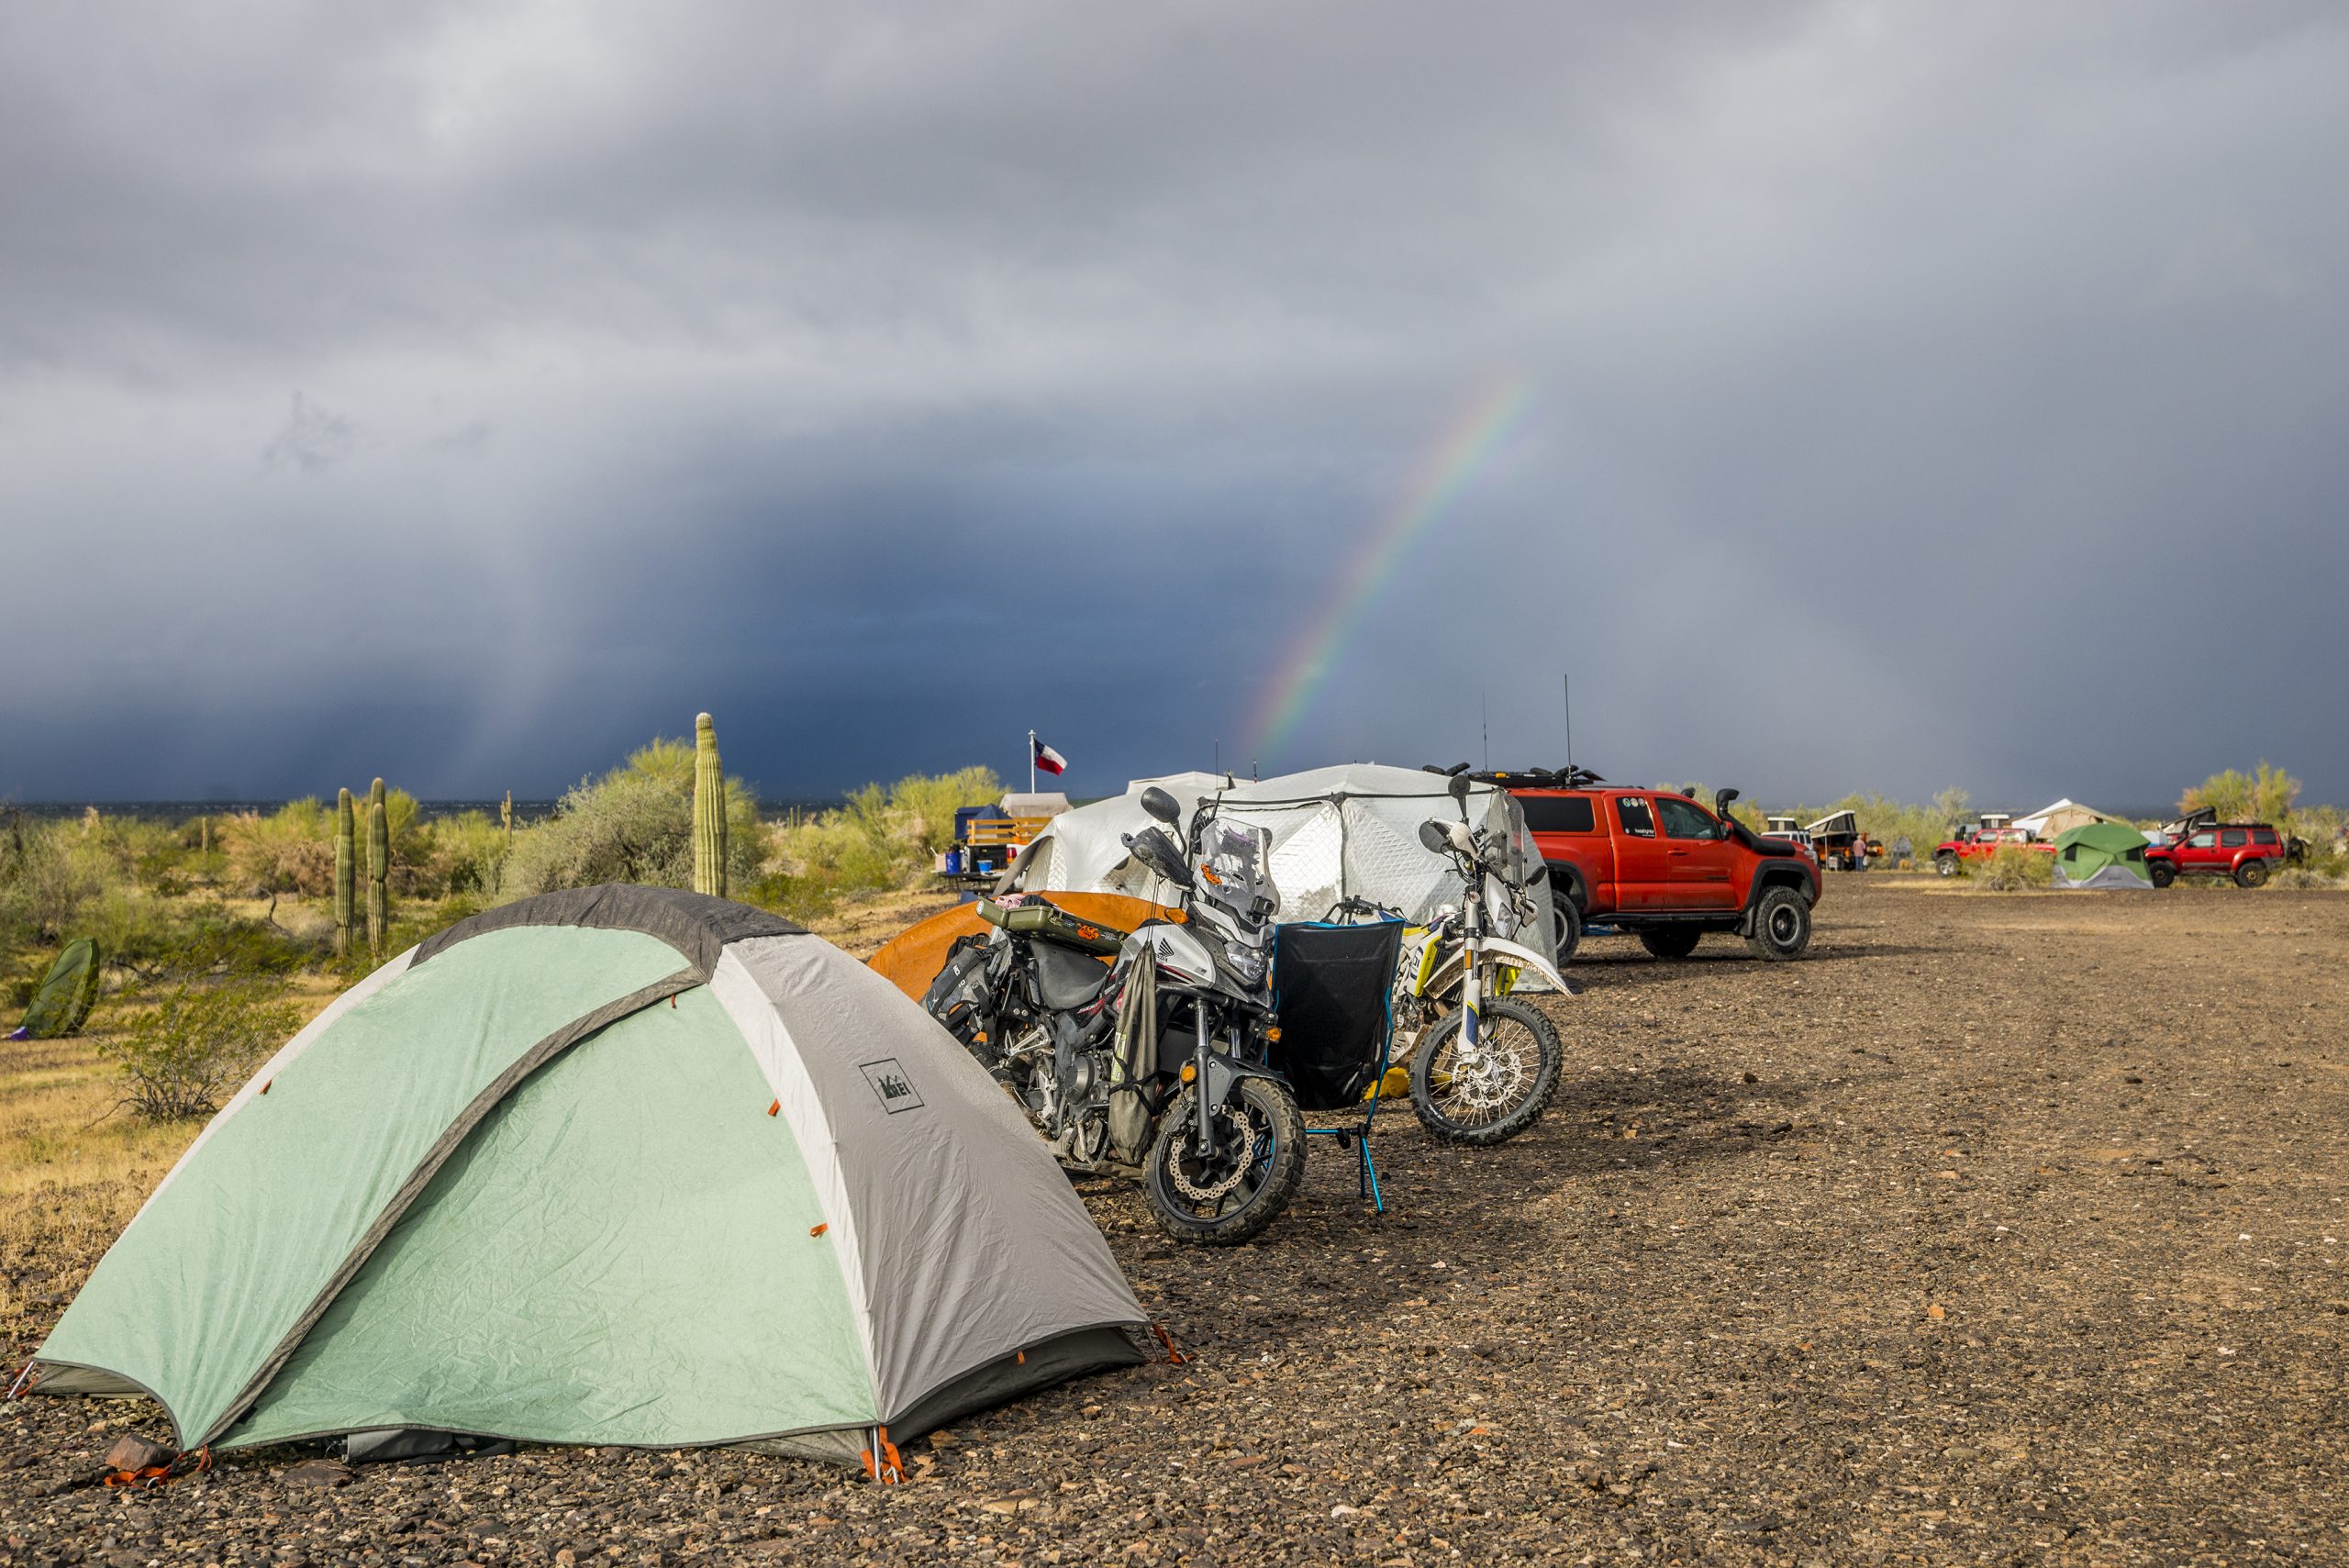
A small rain storm passed through in the night so it made a bit of pitter patter on the ground tent. It had been very a long time since I’ve camped in a ground tent, and especially when it was raining. But it was sublime after a long three day ride to get here.

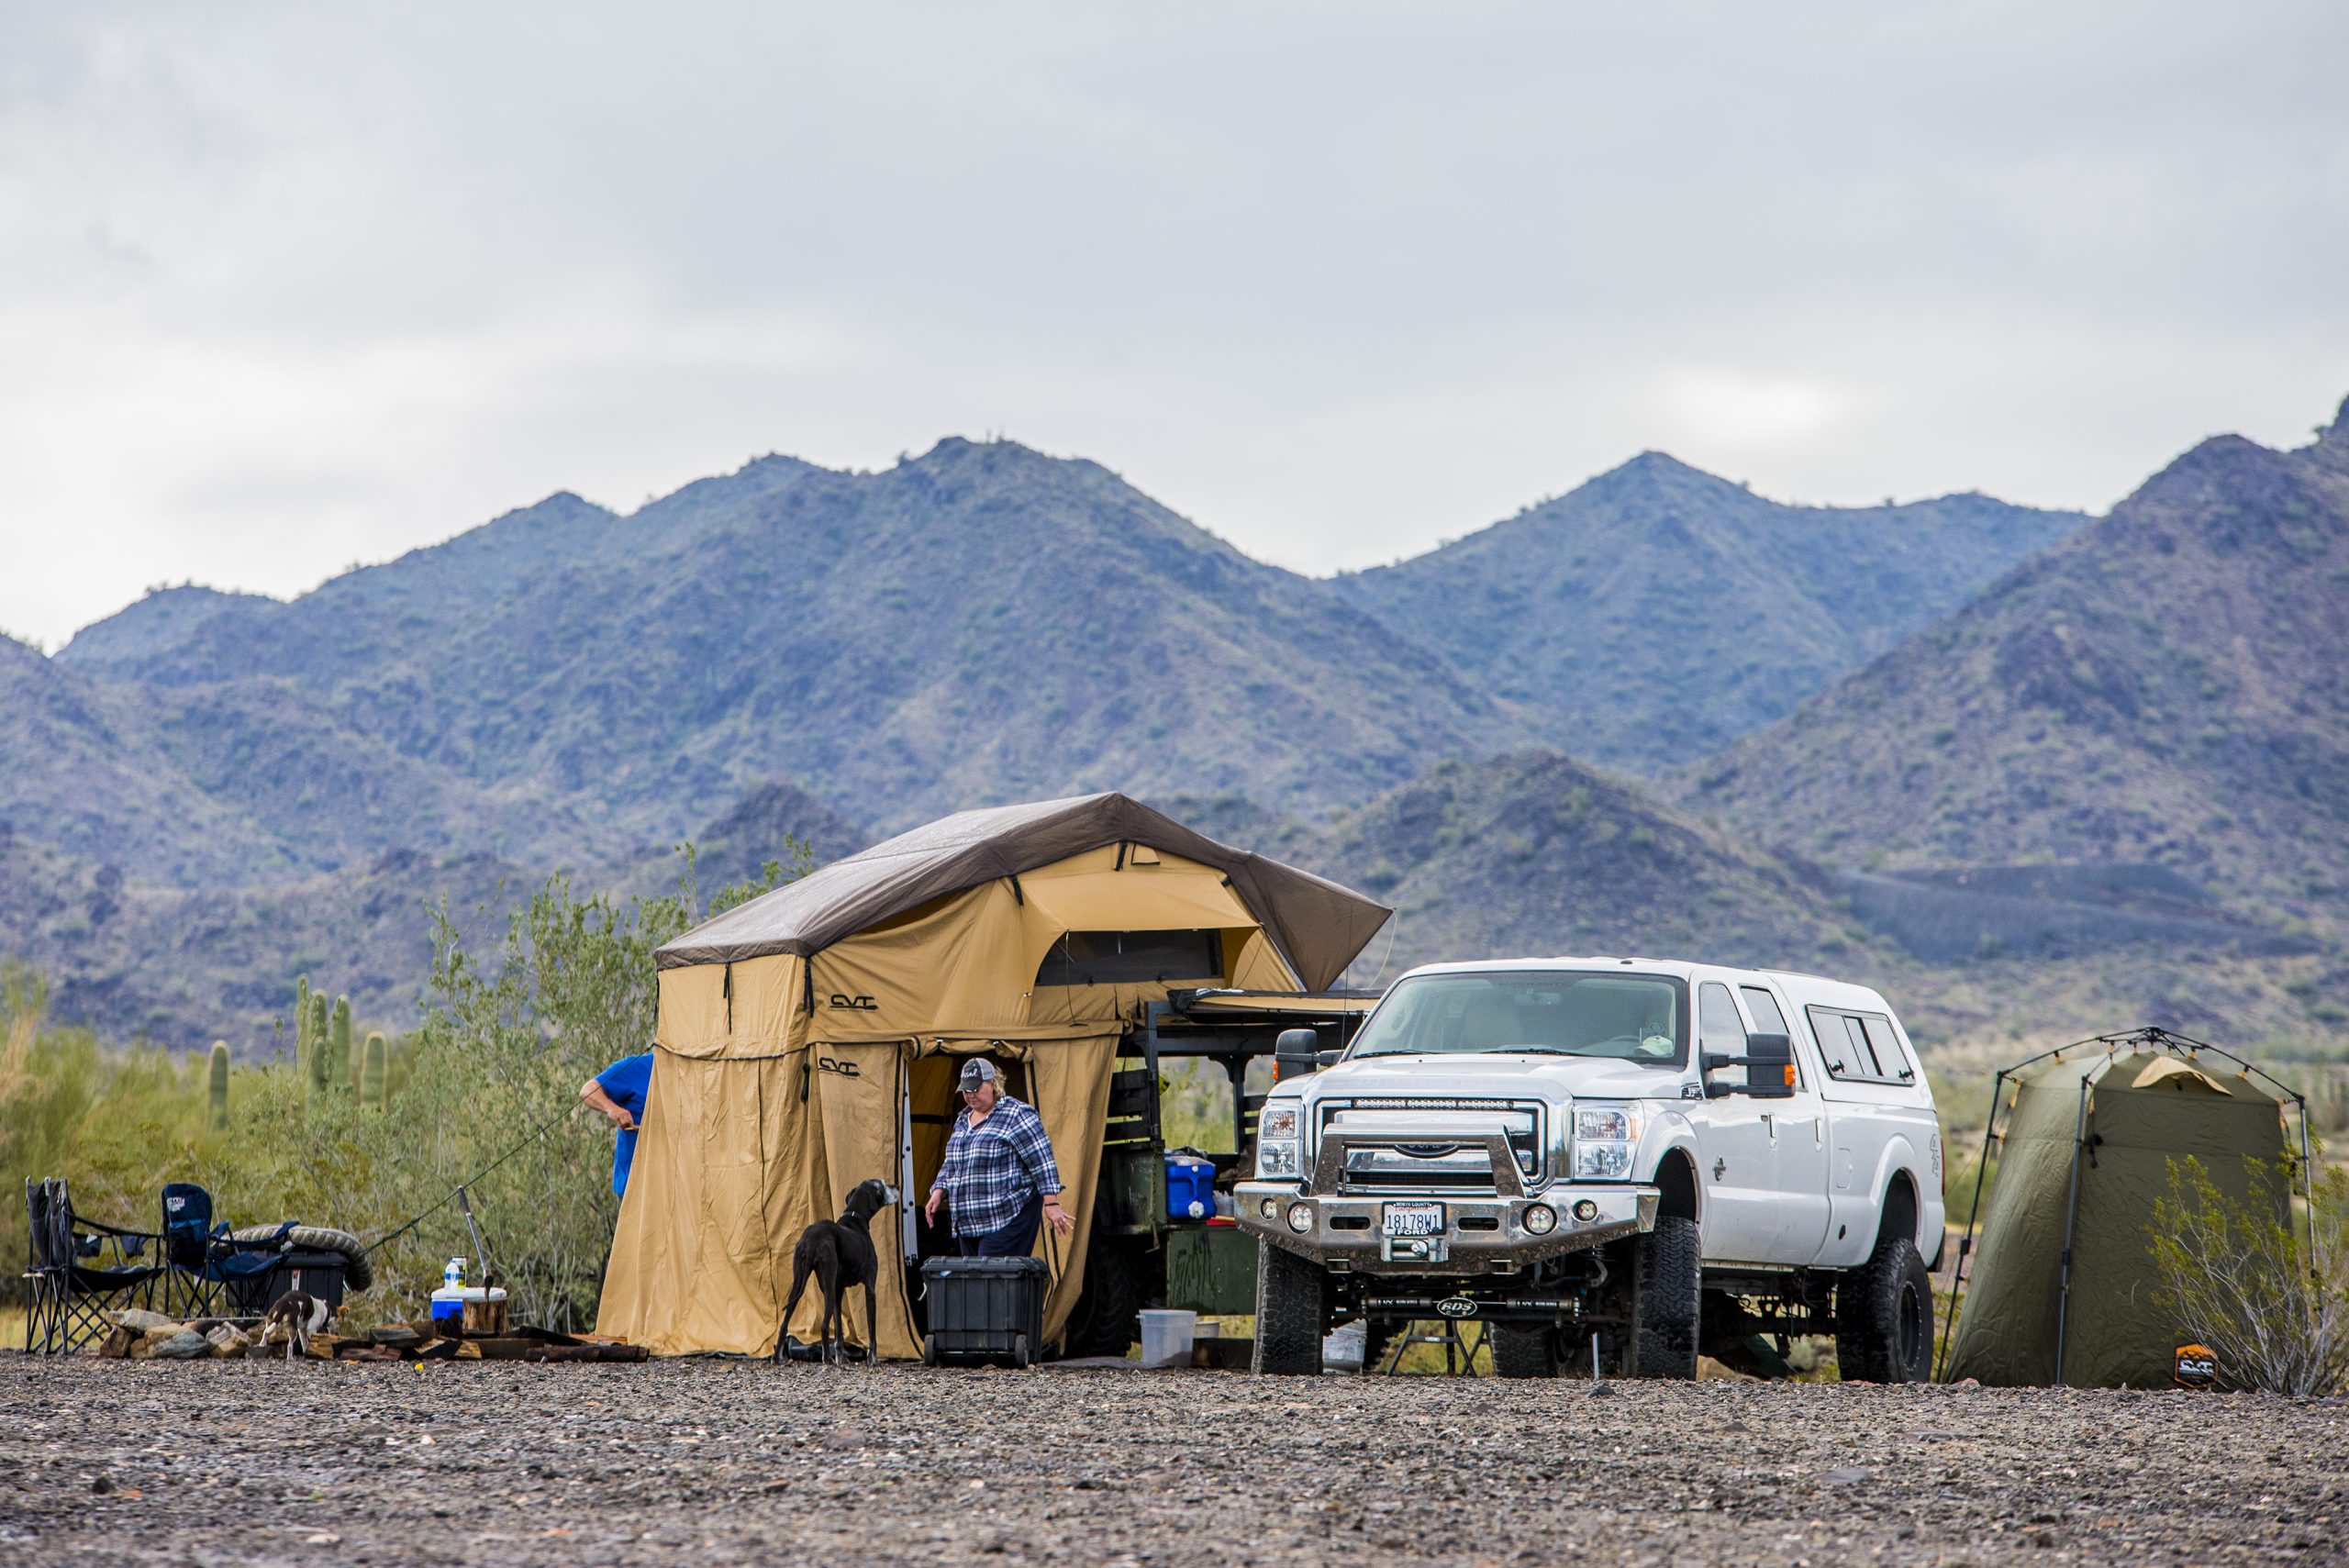
We awakened Saturday morning to a break in the rain, damp ground, and nice rainbow off to the West. While the coffee was brewing and breakfast was being cooked around camp, we could see dark looming clouds off in the distance and the wind constantly changing directions. A small swirl just off camp began forming and the next thing we knew, it began raining pretty hard. This rain continued for the next couple hours so many folks took shelter under awnings or in their tents until the storm passed through, brewing lots of hot coffee and making sure all the Bailey’s Irish Creme in camp was accounted for. Small rivers began to form through the many satellite camps spread around but luckily the ground was hard and dry enough to allow the water to absorb quickly.

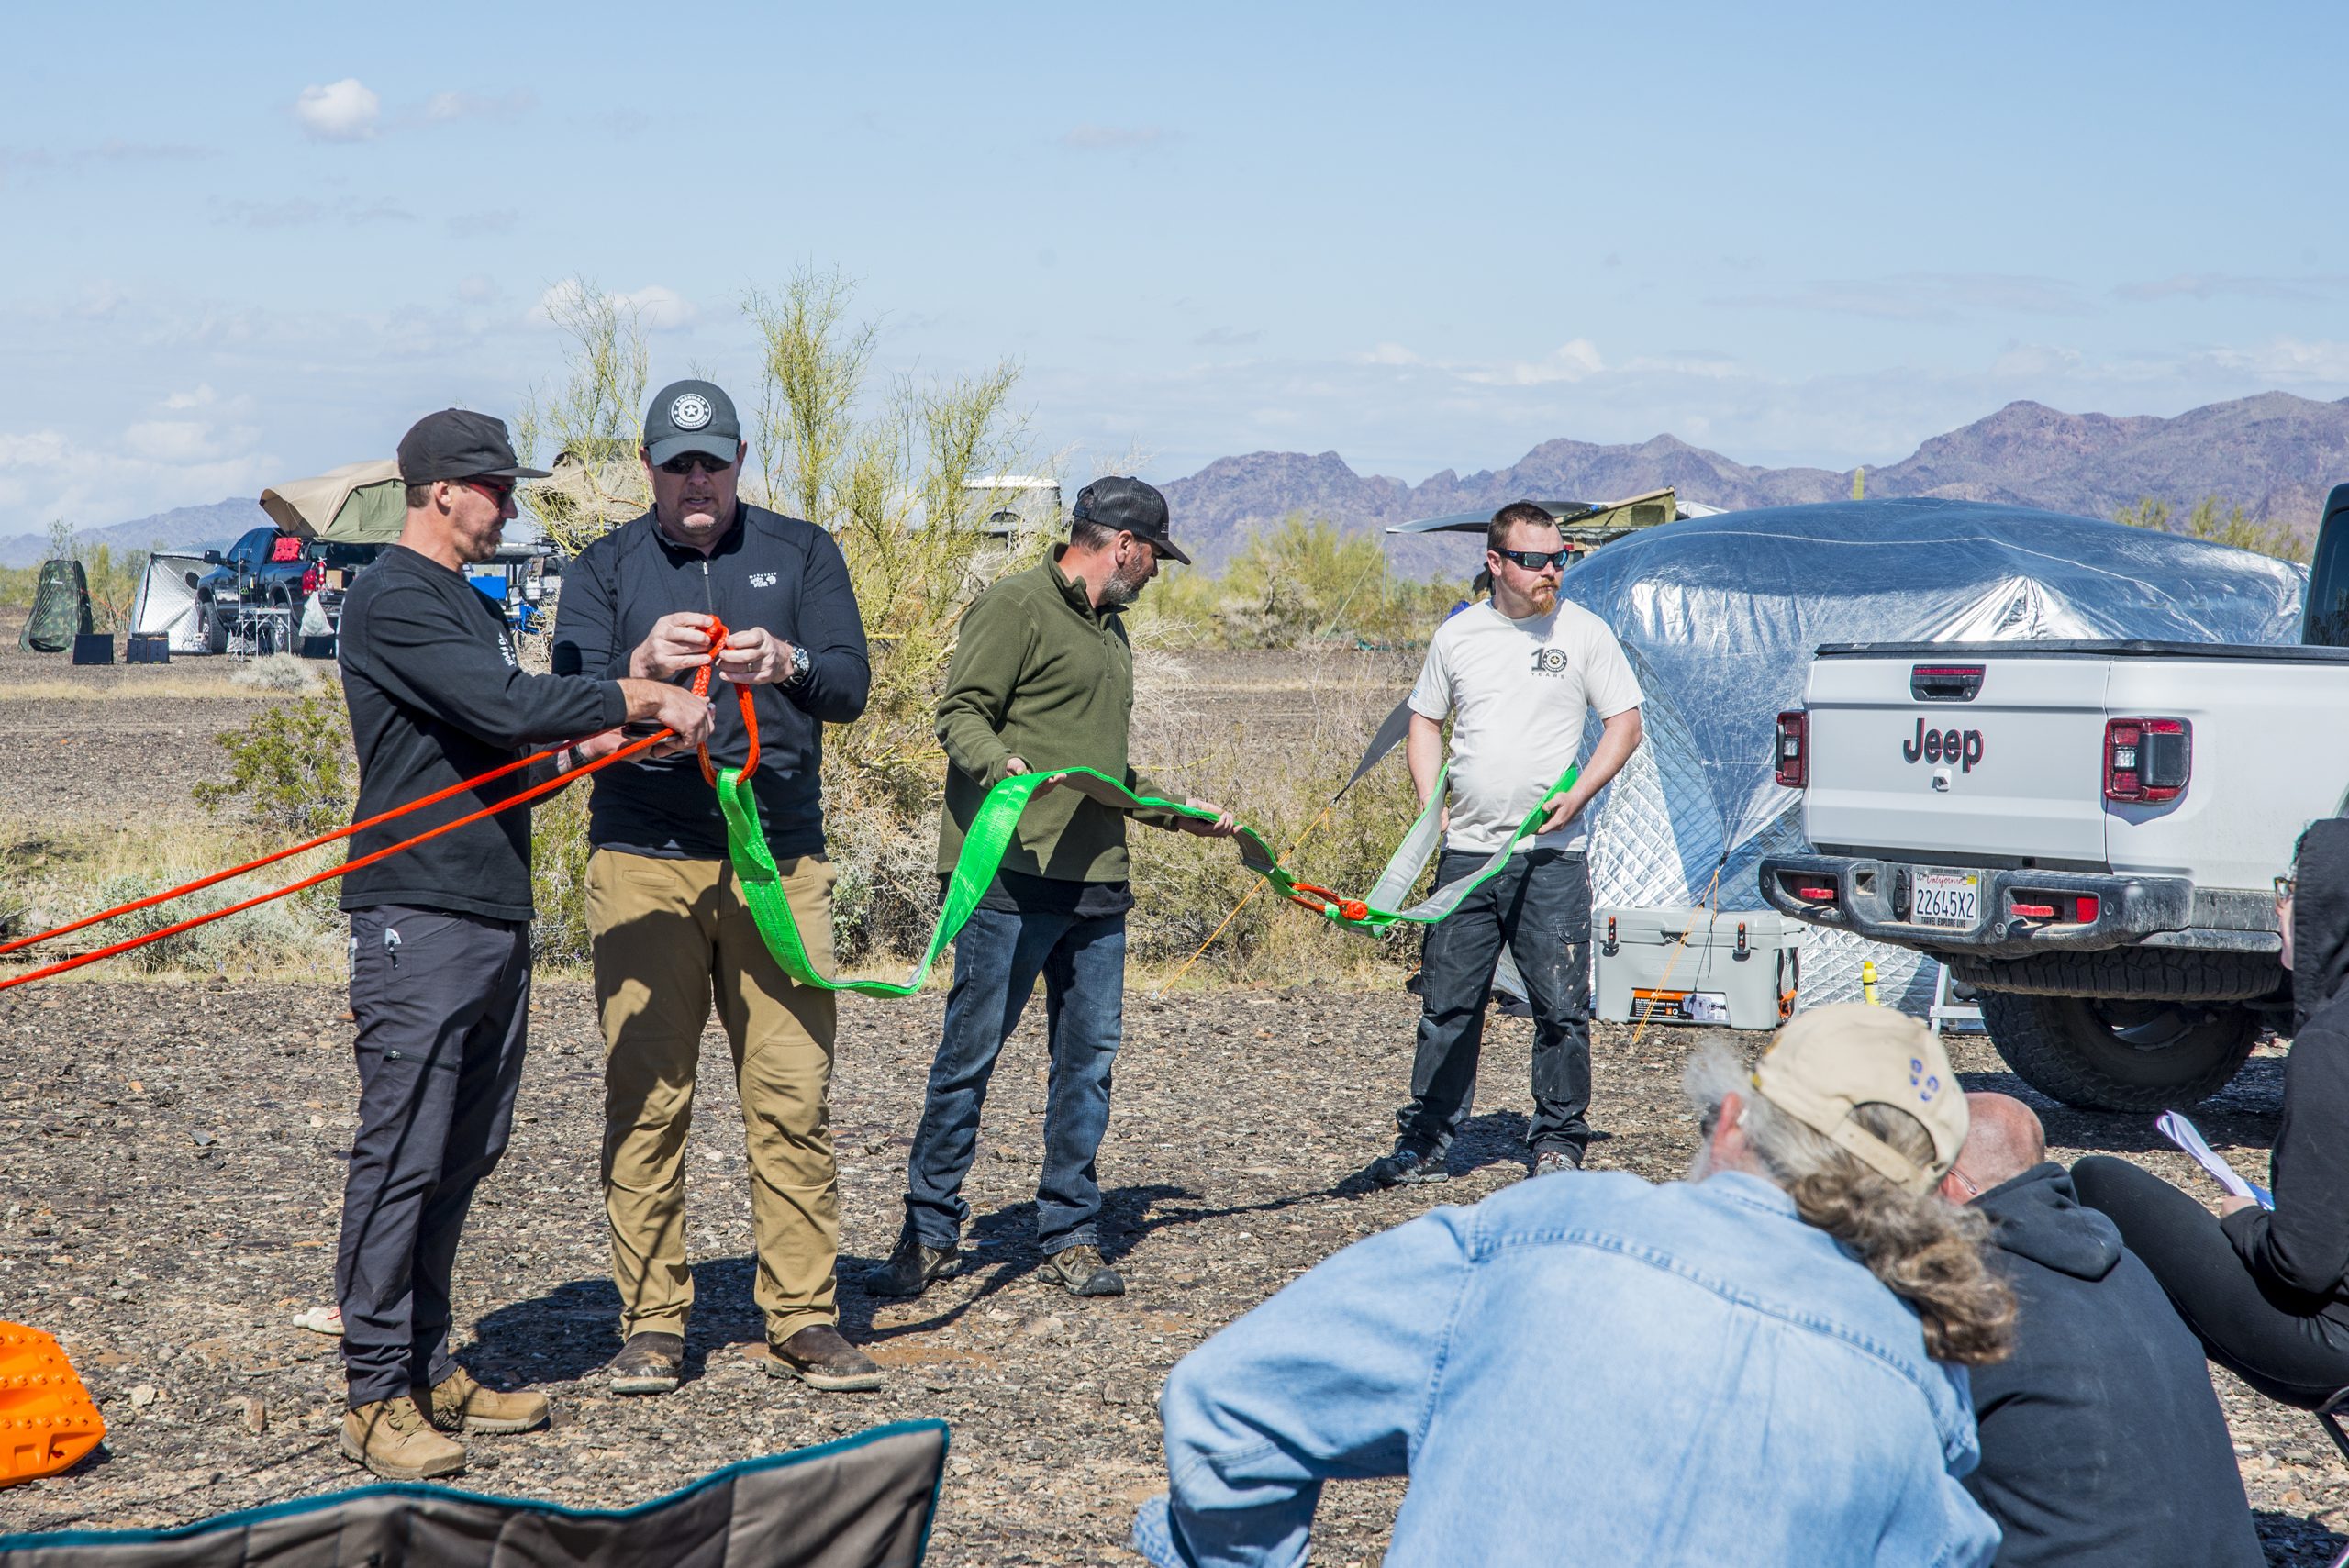
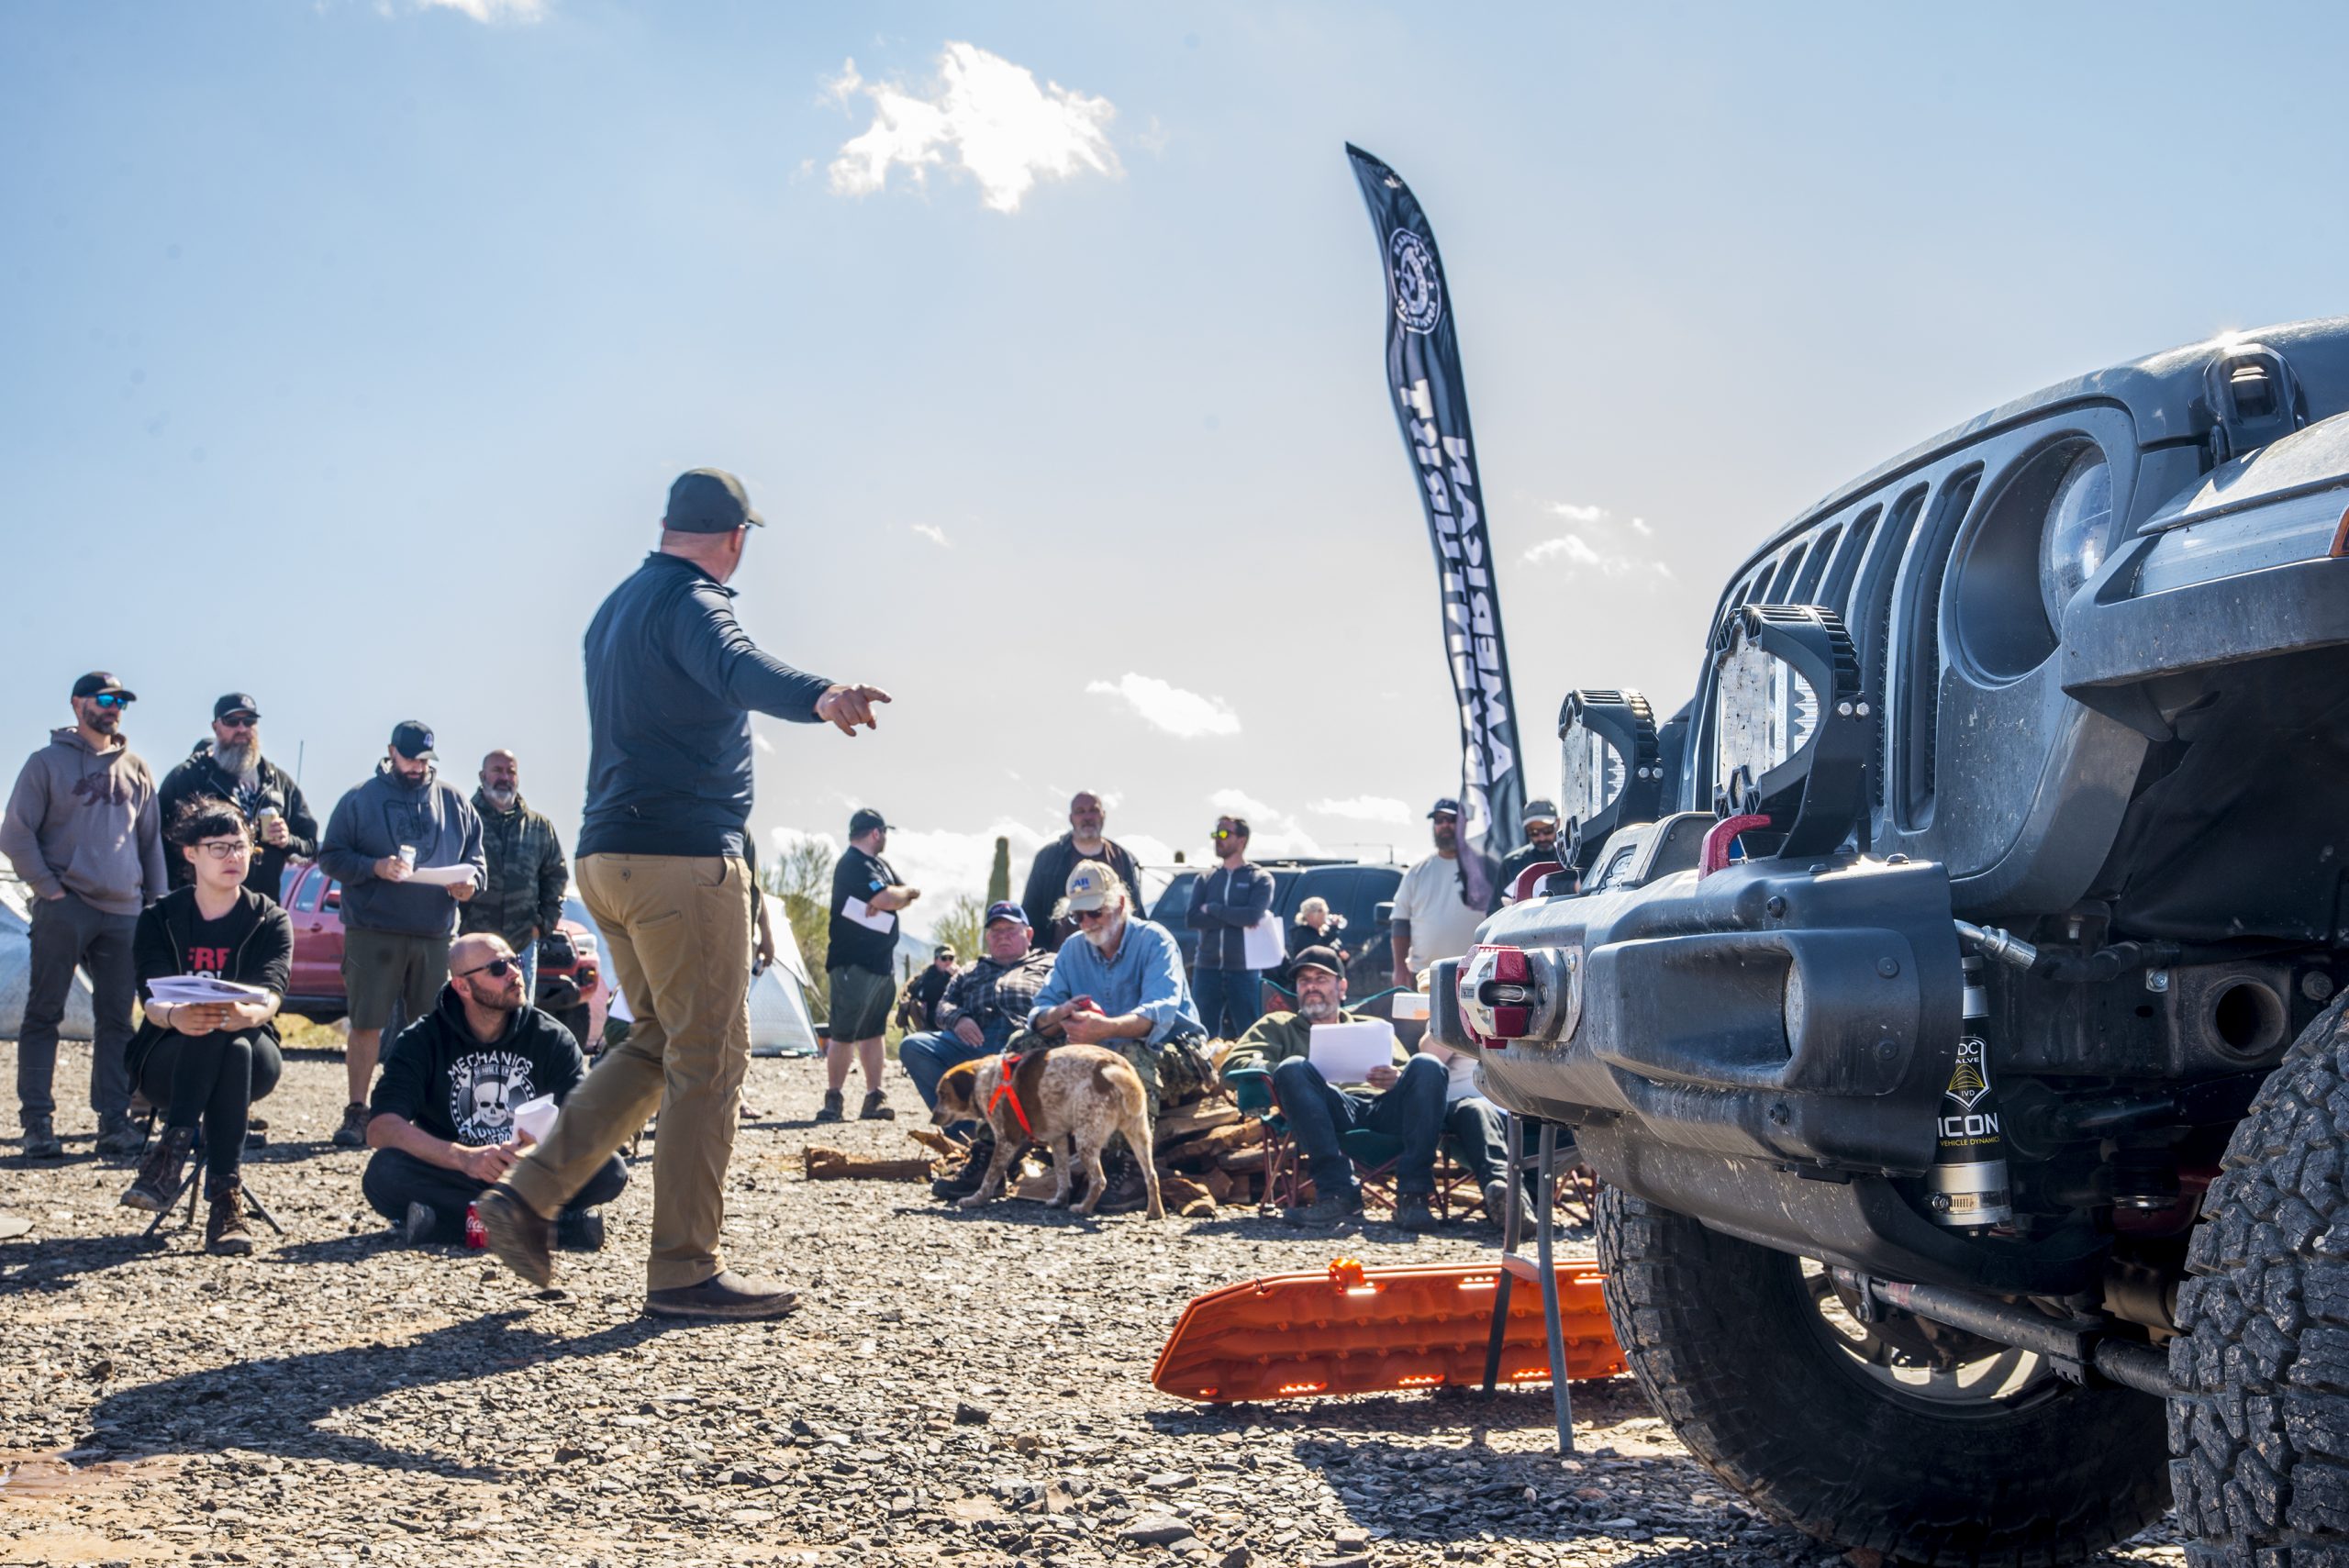
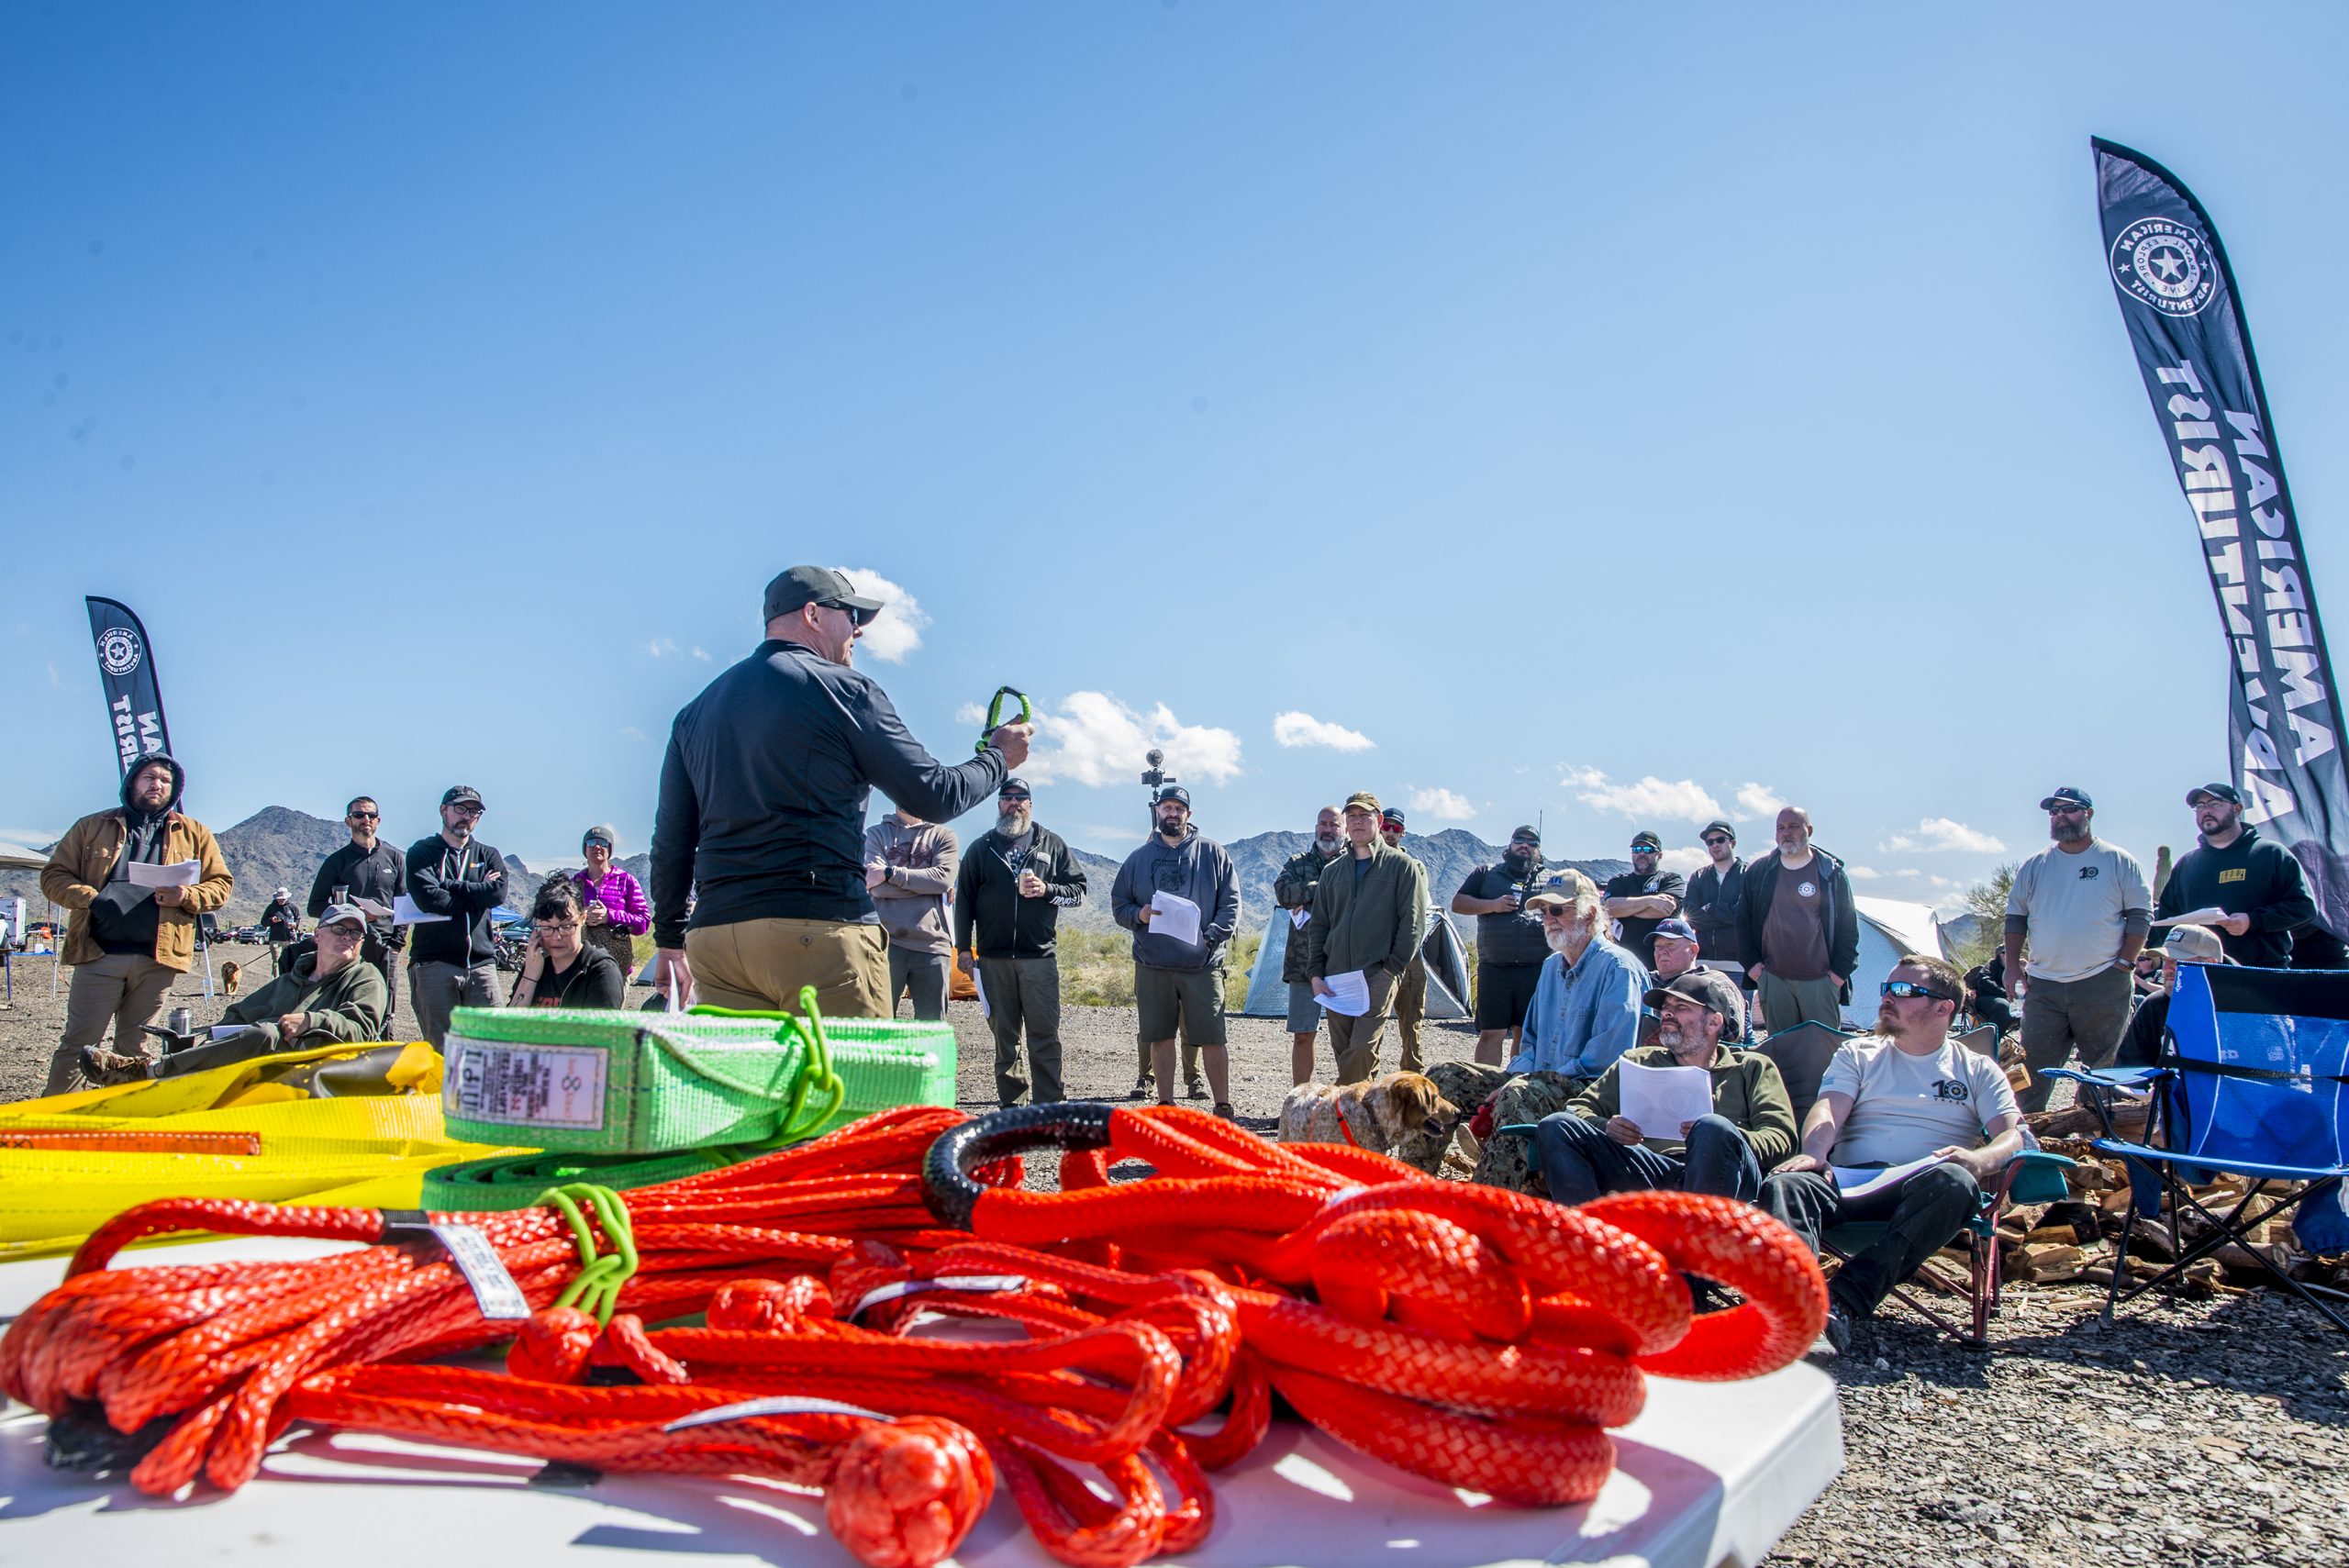
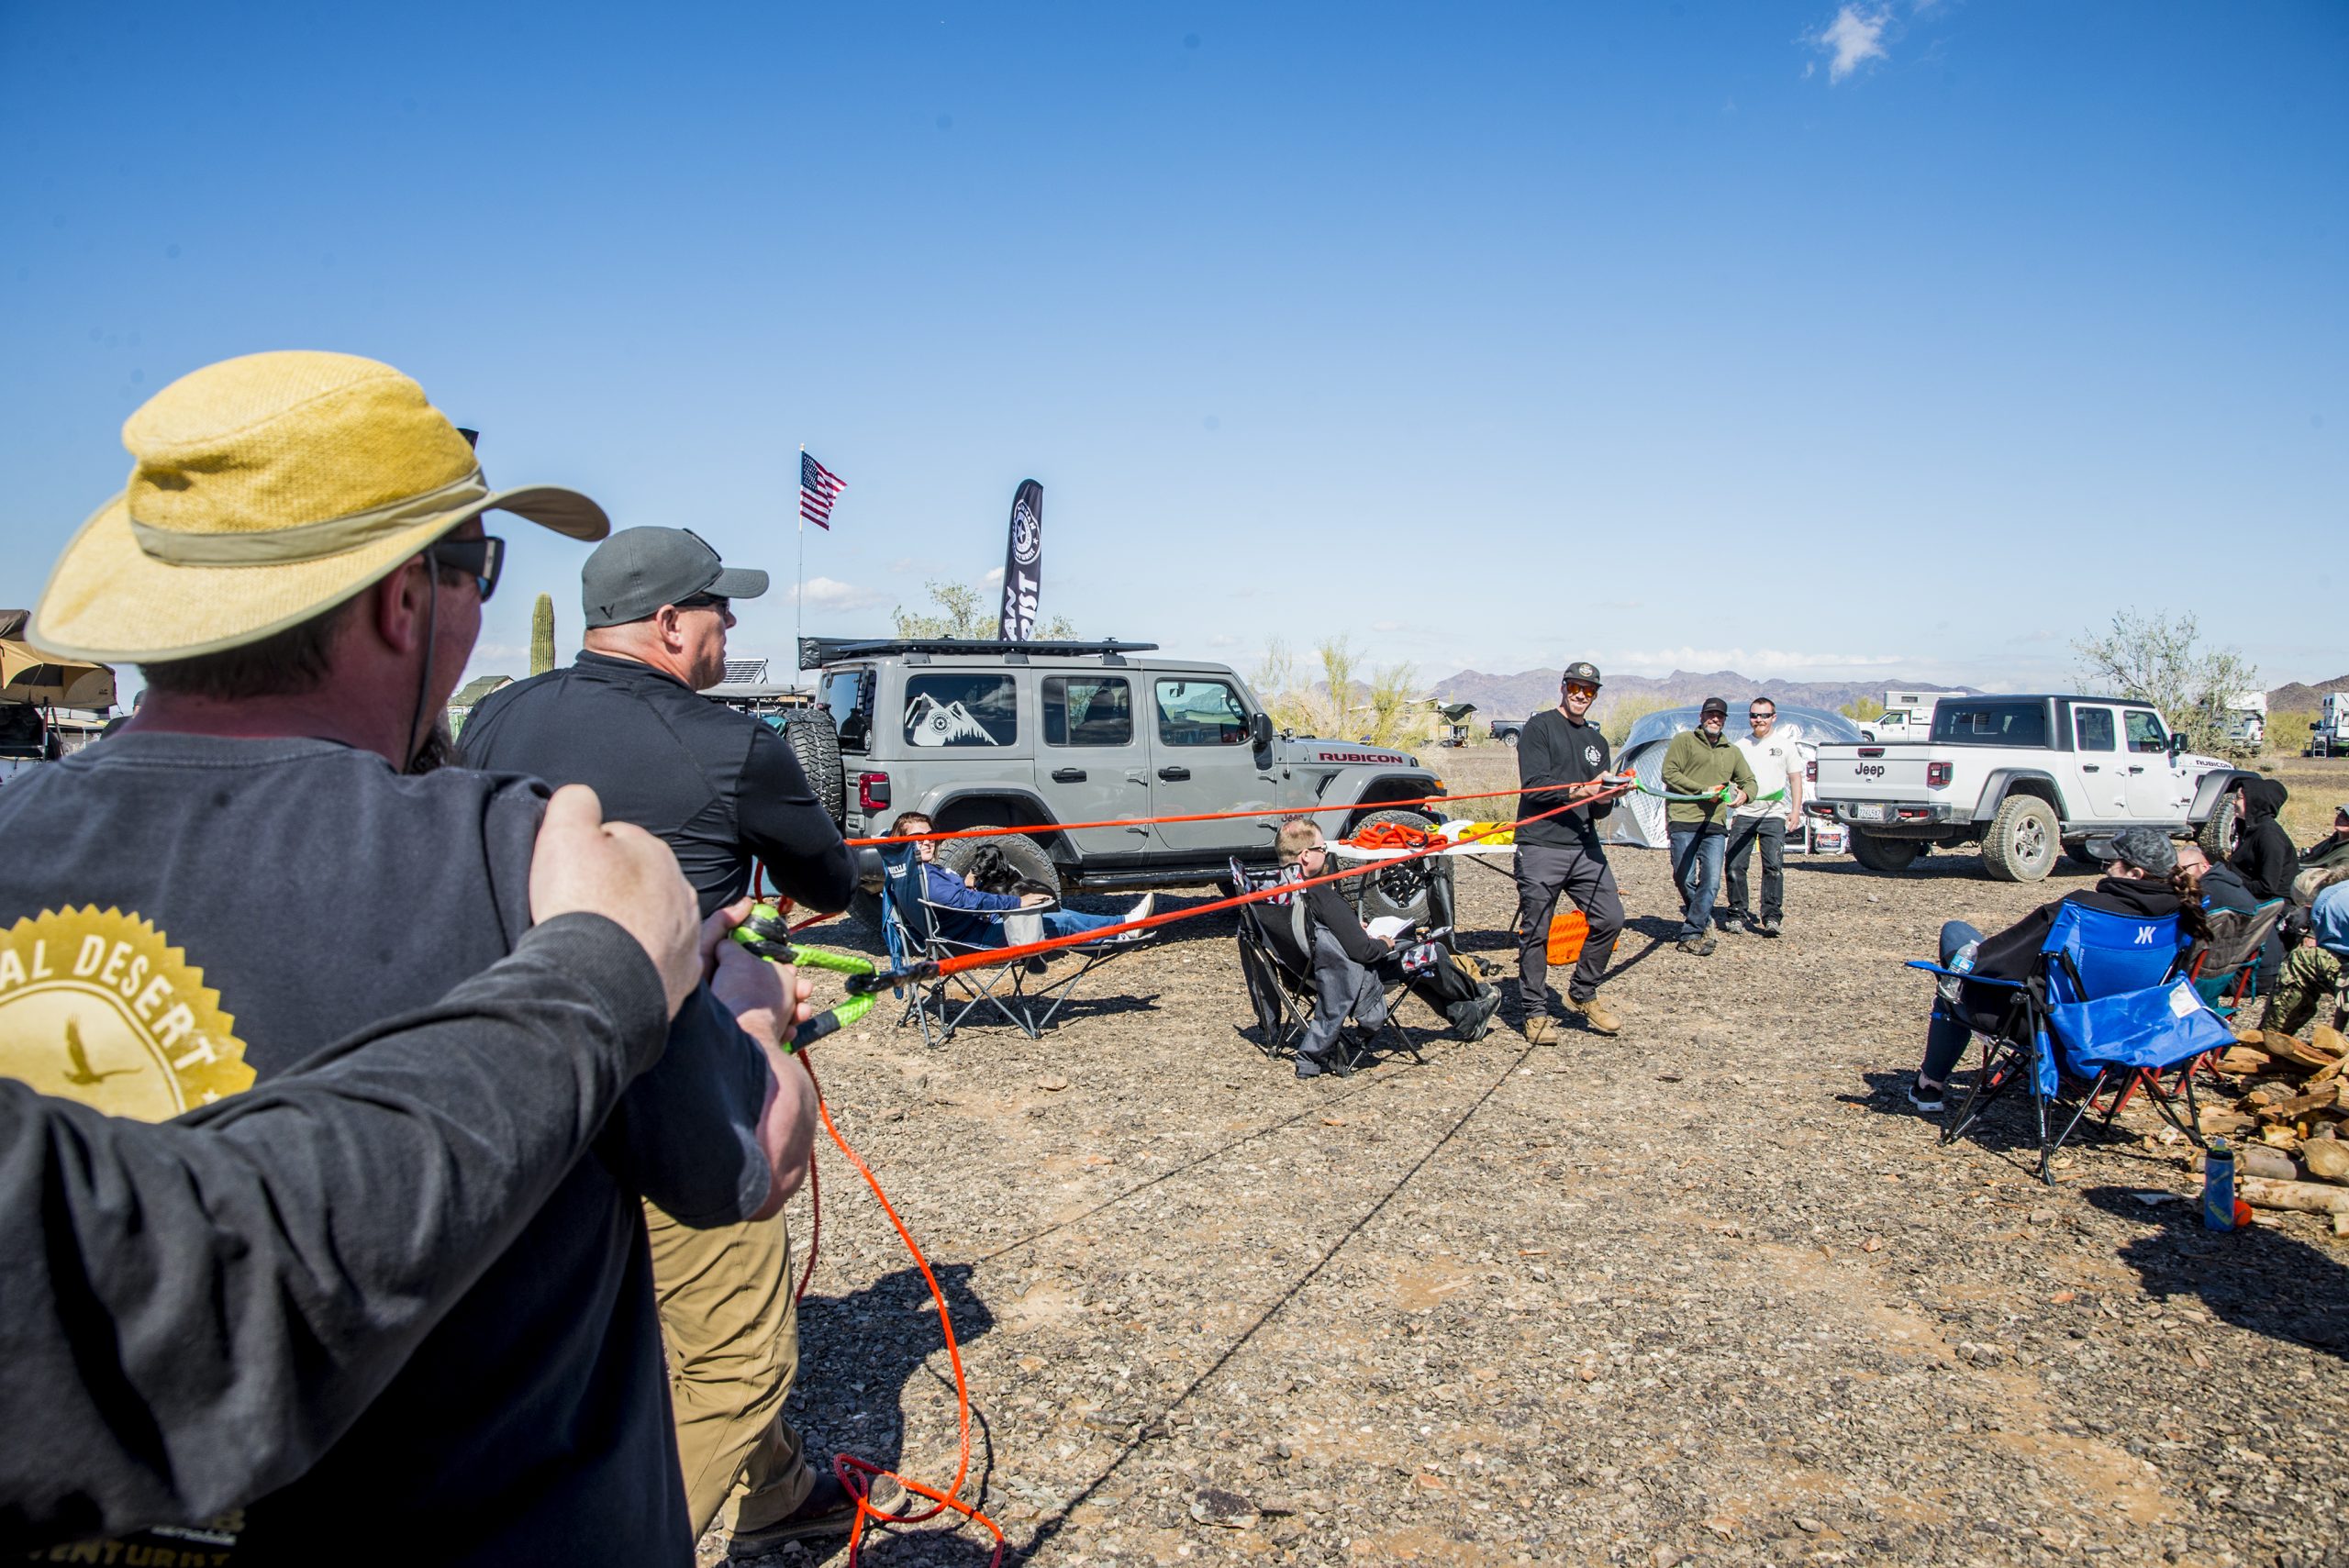
As the clouds parted and clear skies were just off in the distance, the rain let up and folks began coming out from their covers. Kids were launched in every direction on our Scavenger Hunt, and it was just about time for Dave’s 4WD Recovery Basic Course. Dave is a Certified Trainer with the  International 4WD Trainers Association, and his class covered a 202 Level class based off his previous 101 Level class presented at the last Rendezvous. These events are great to attend, as not only do they help you brush up on current knowledge and new ideas, but they also give you an edge on doing things right. The devil is in the details… especially with people’s safety and lives at stake.

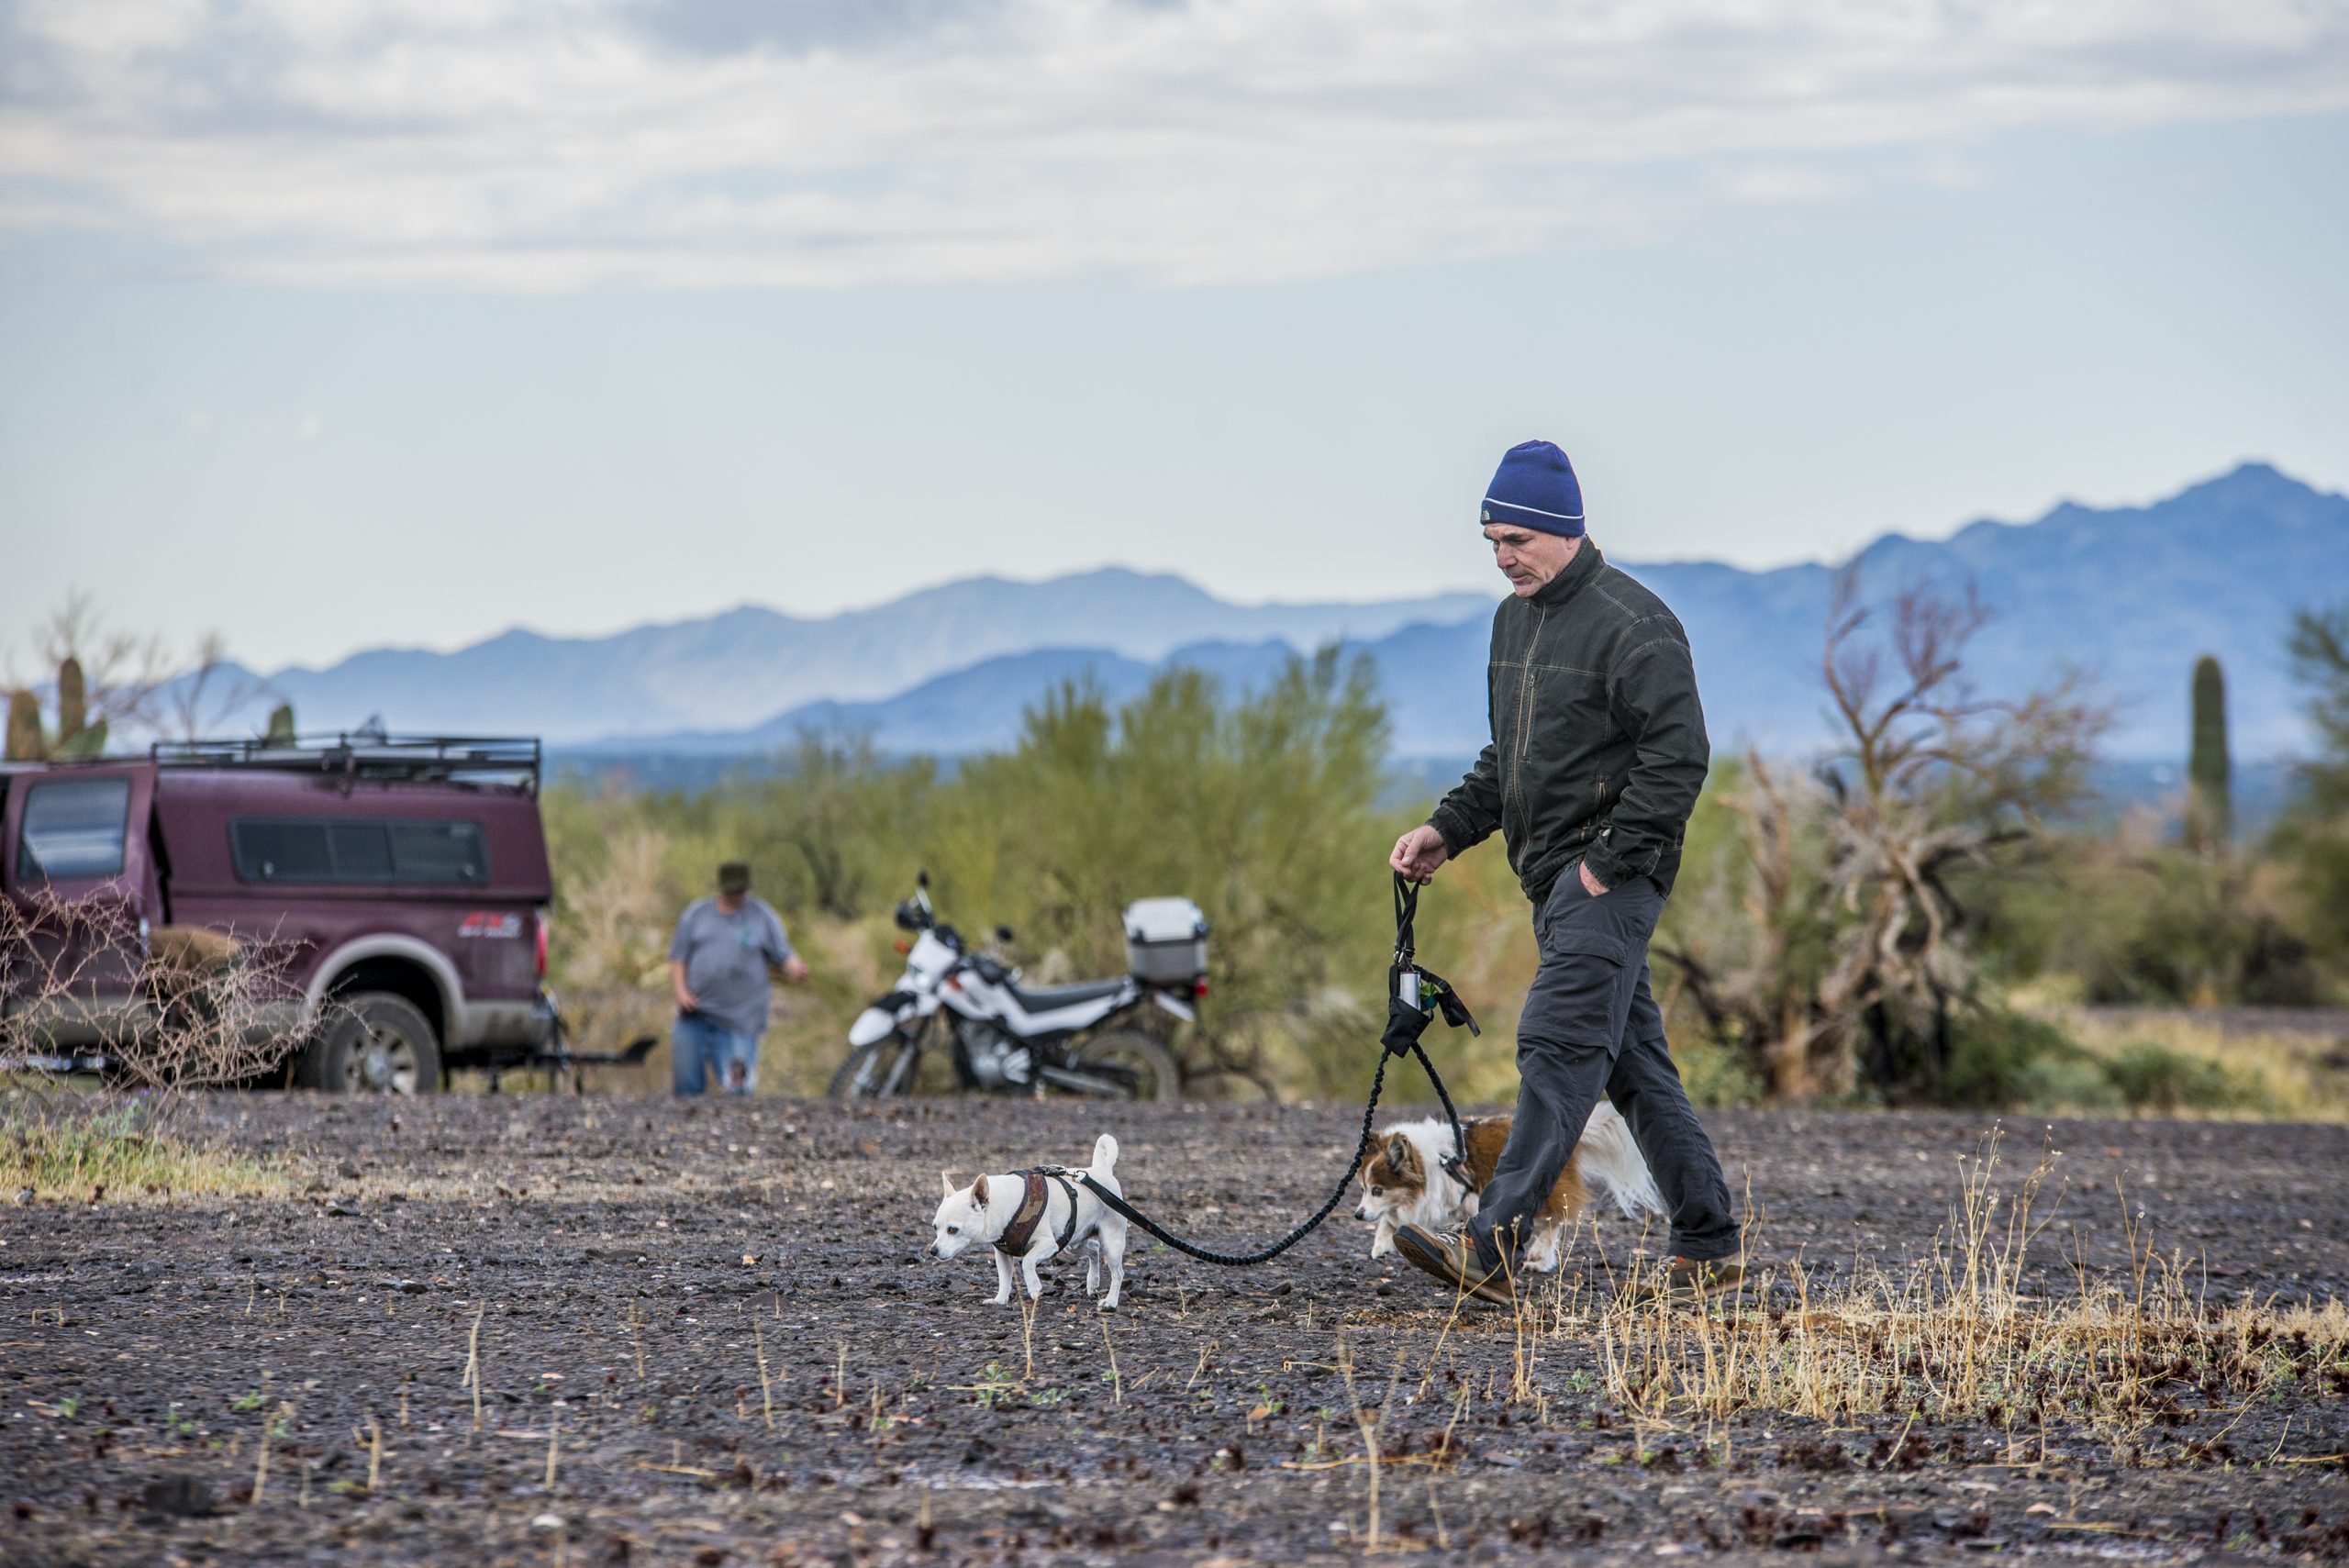
At the same time of the 4WD Recovery Course, a few of the other adventure moto riders had formed up to go for a trail run off to the East of camp. Even though I could have joined them with my bike, I figured it would be too technical considering my setup, plus I had to shoot photos for the event. When they returned, it was a good choice as Tim had mentioned it was not ideal for my bike and I probably would not have had a good time, but the guys who went out had a great time of course!

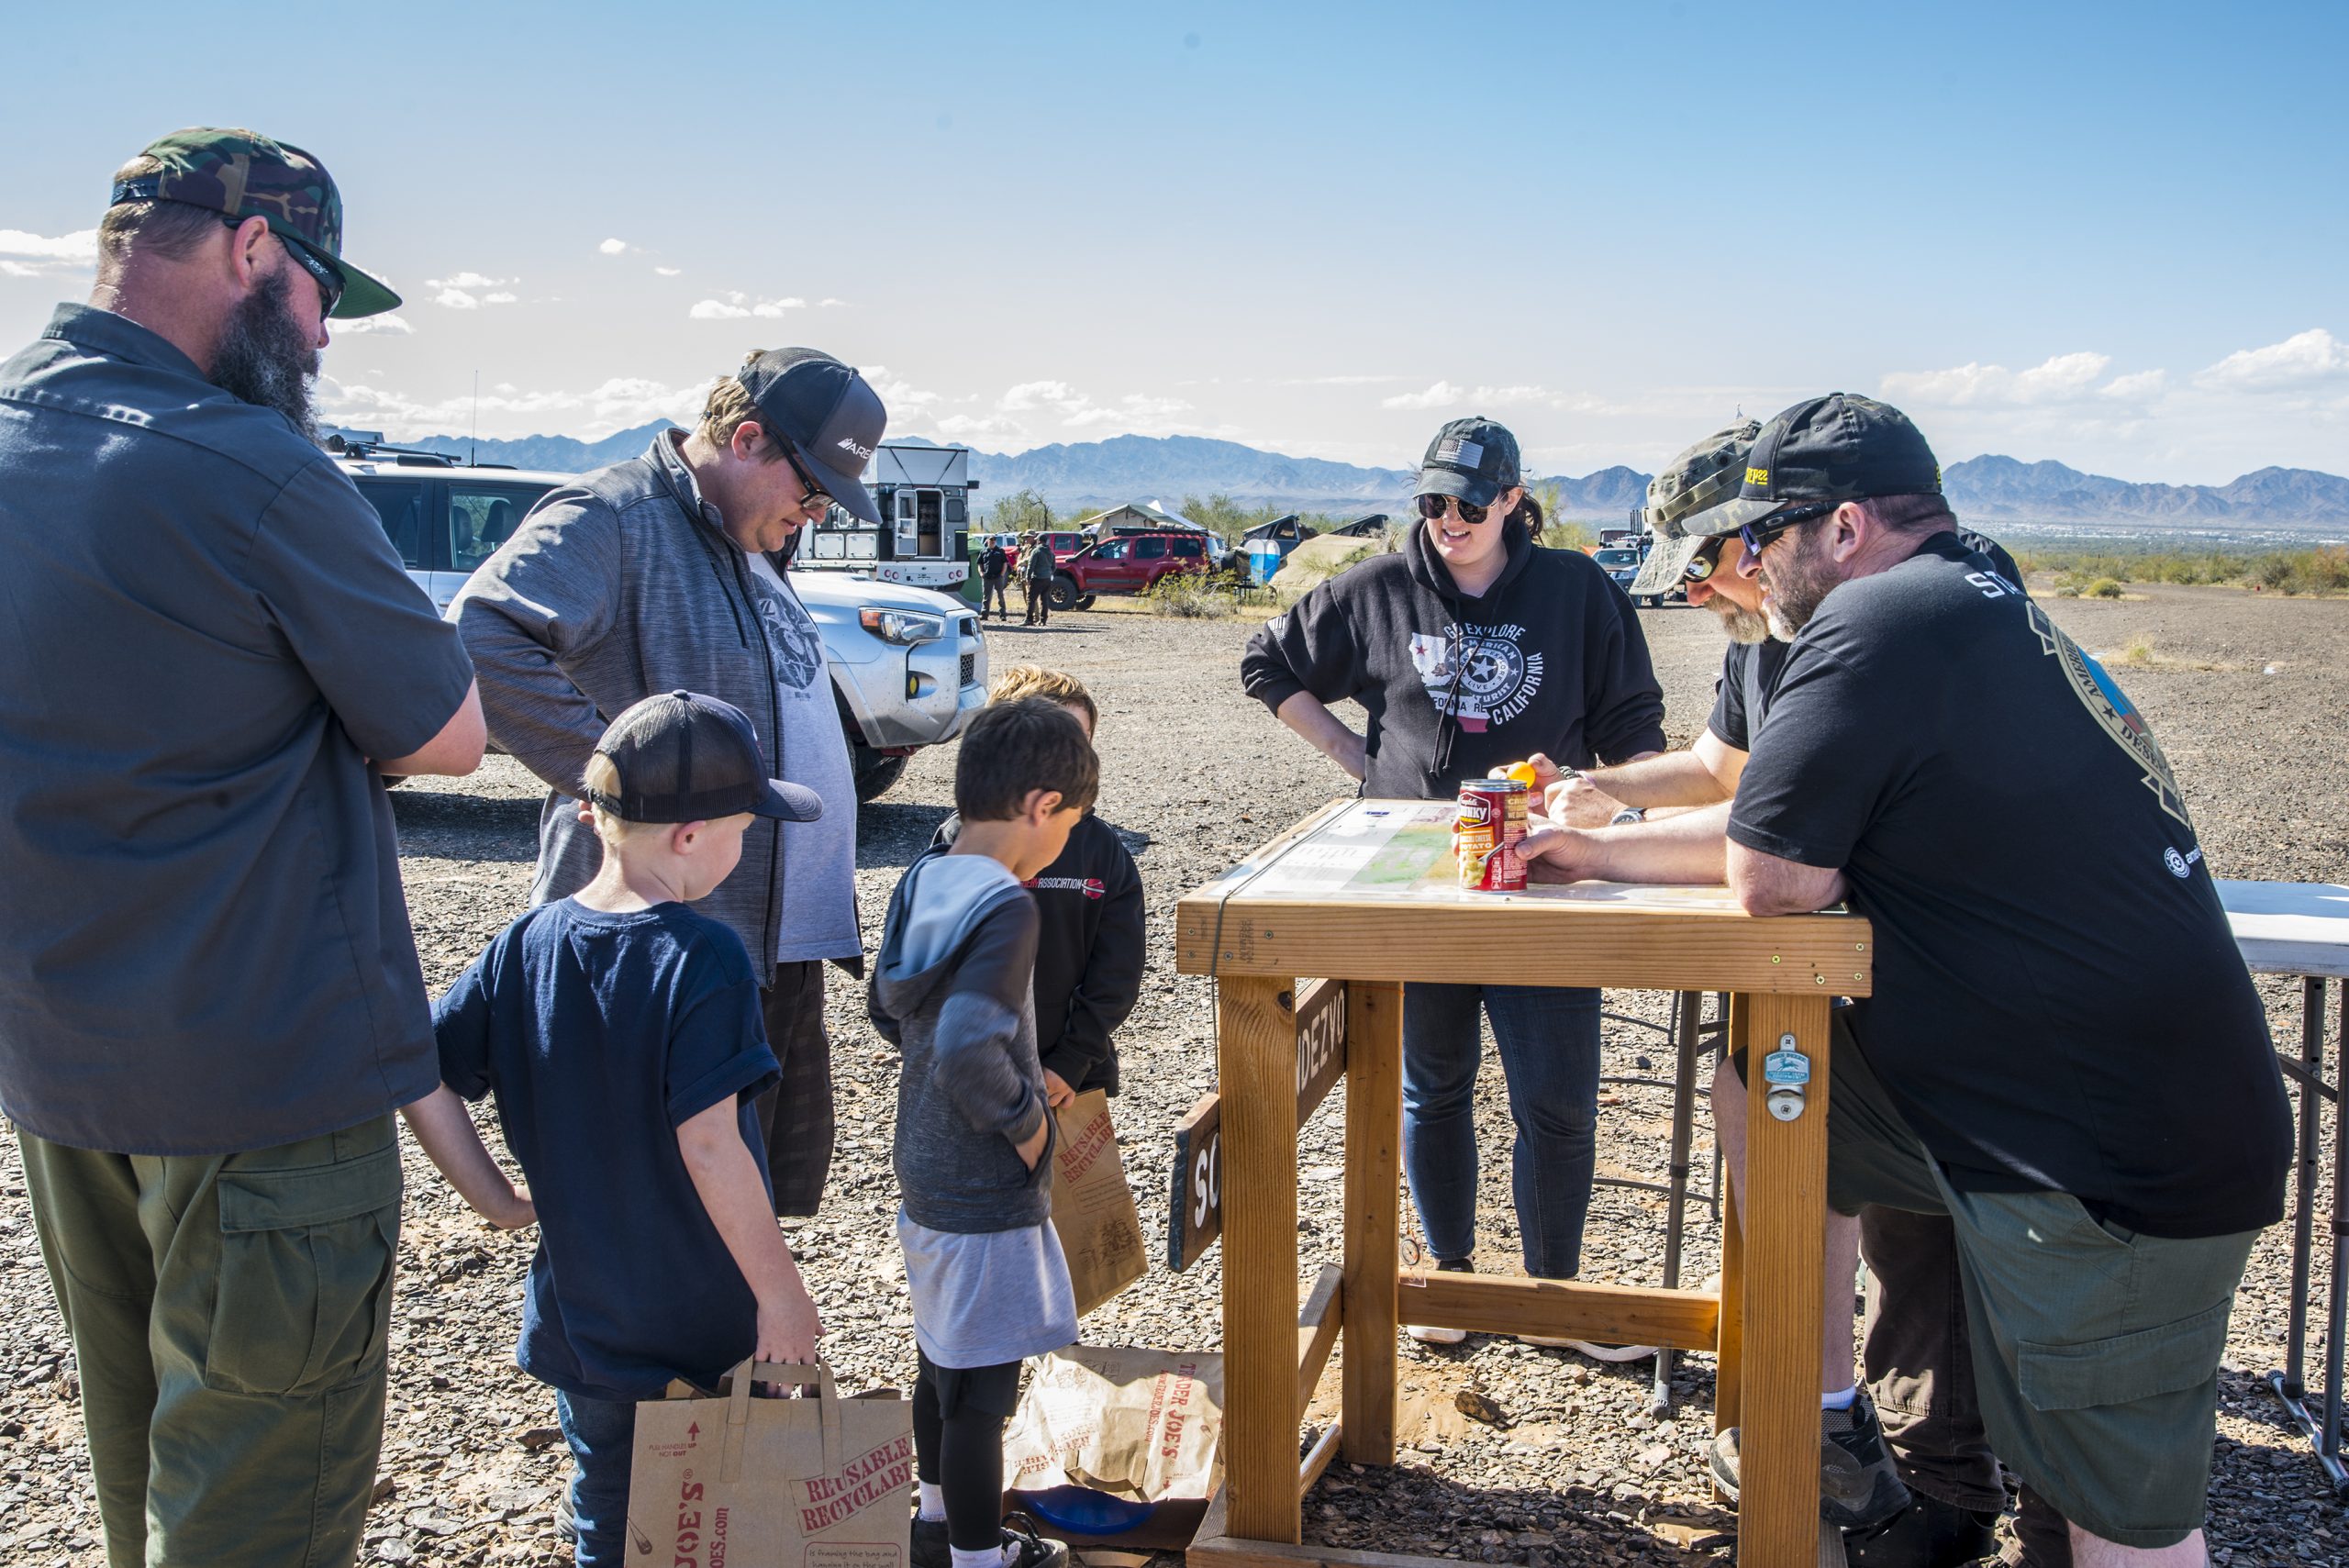
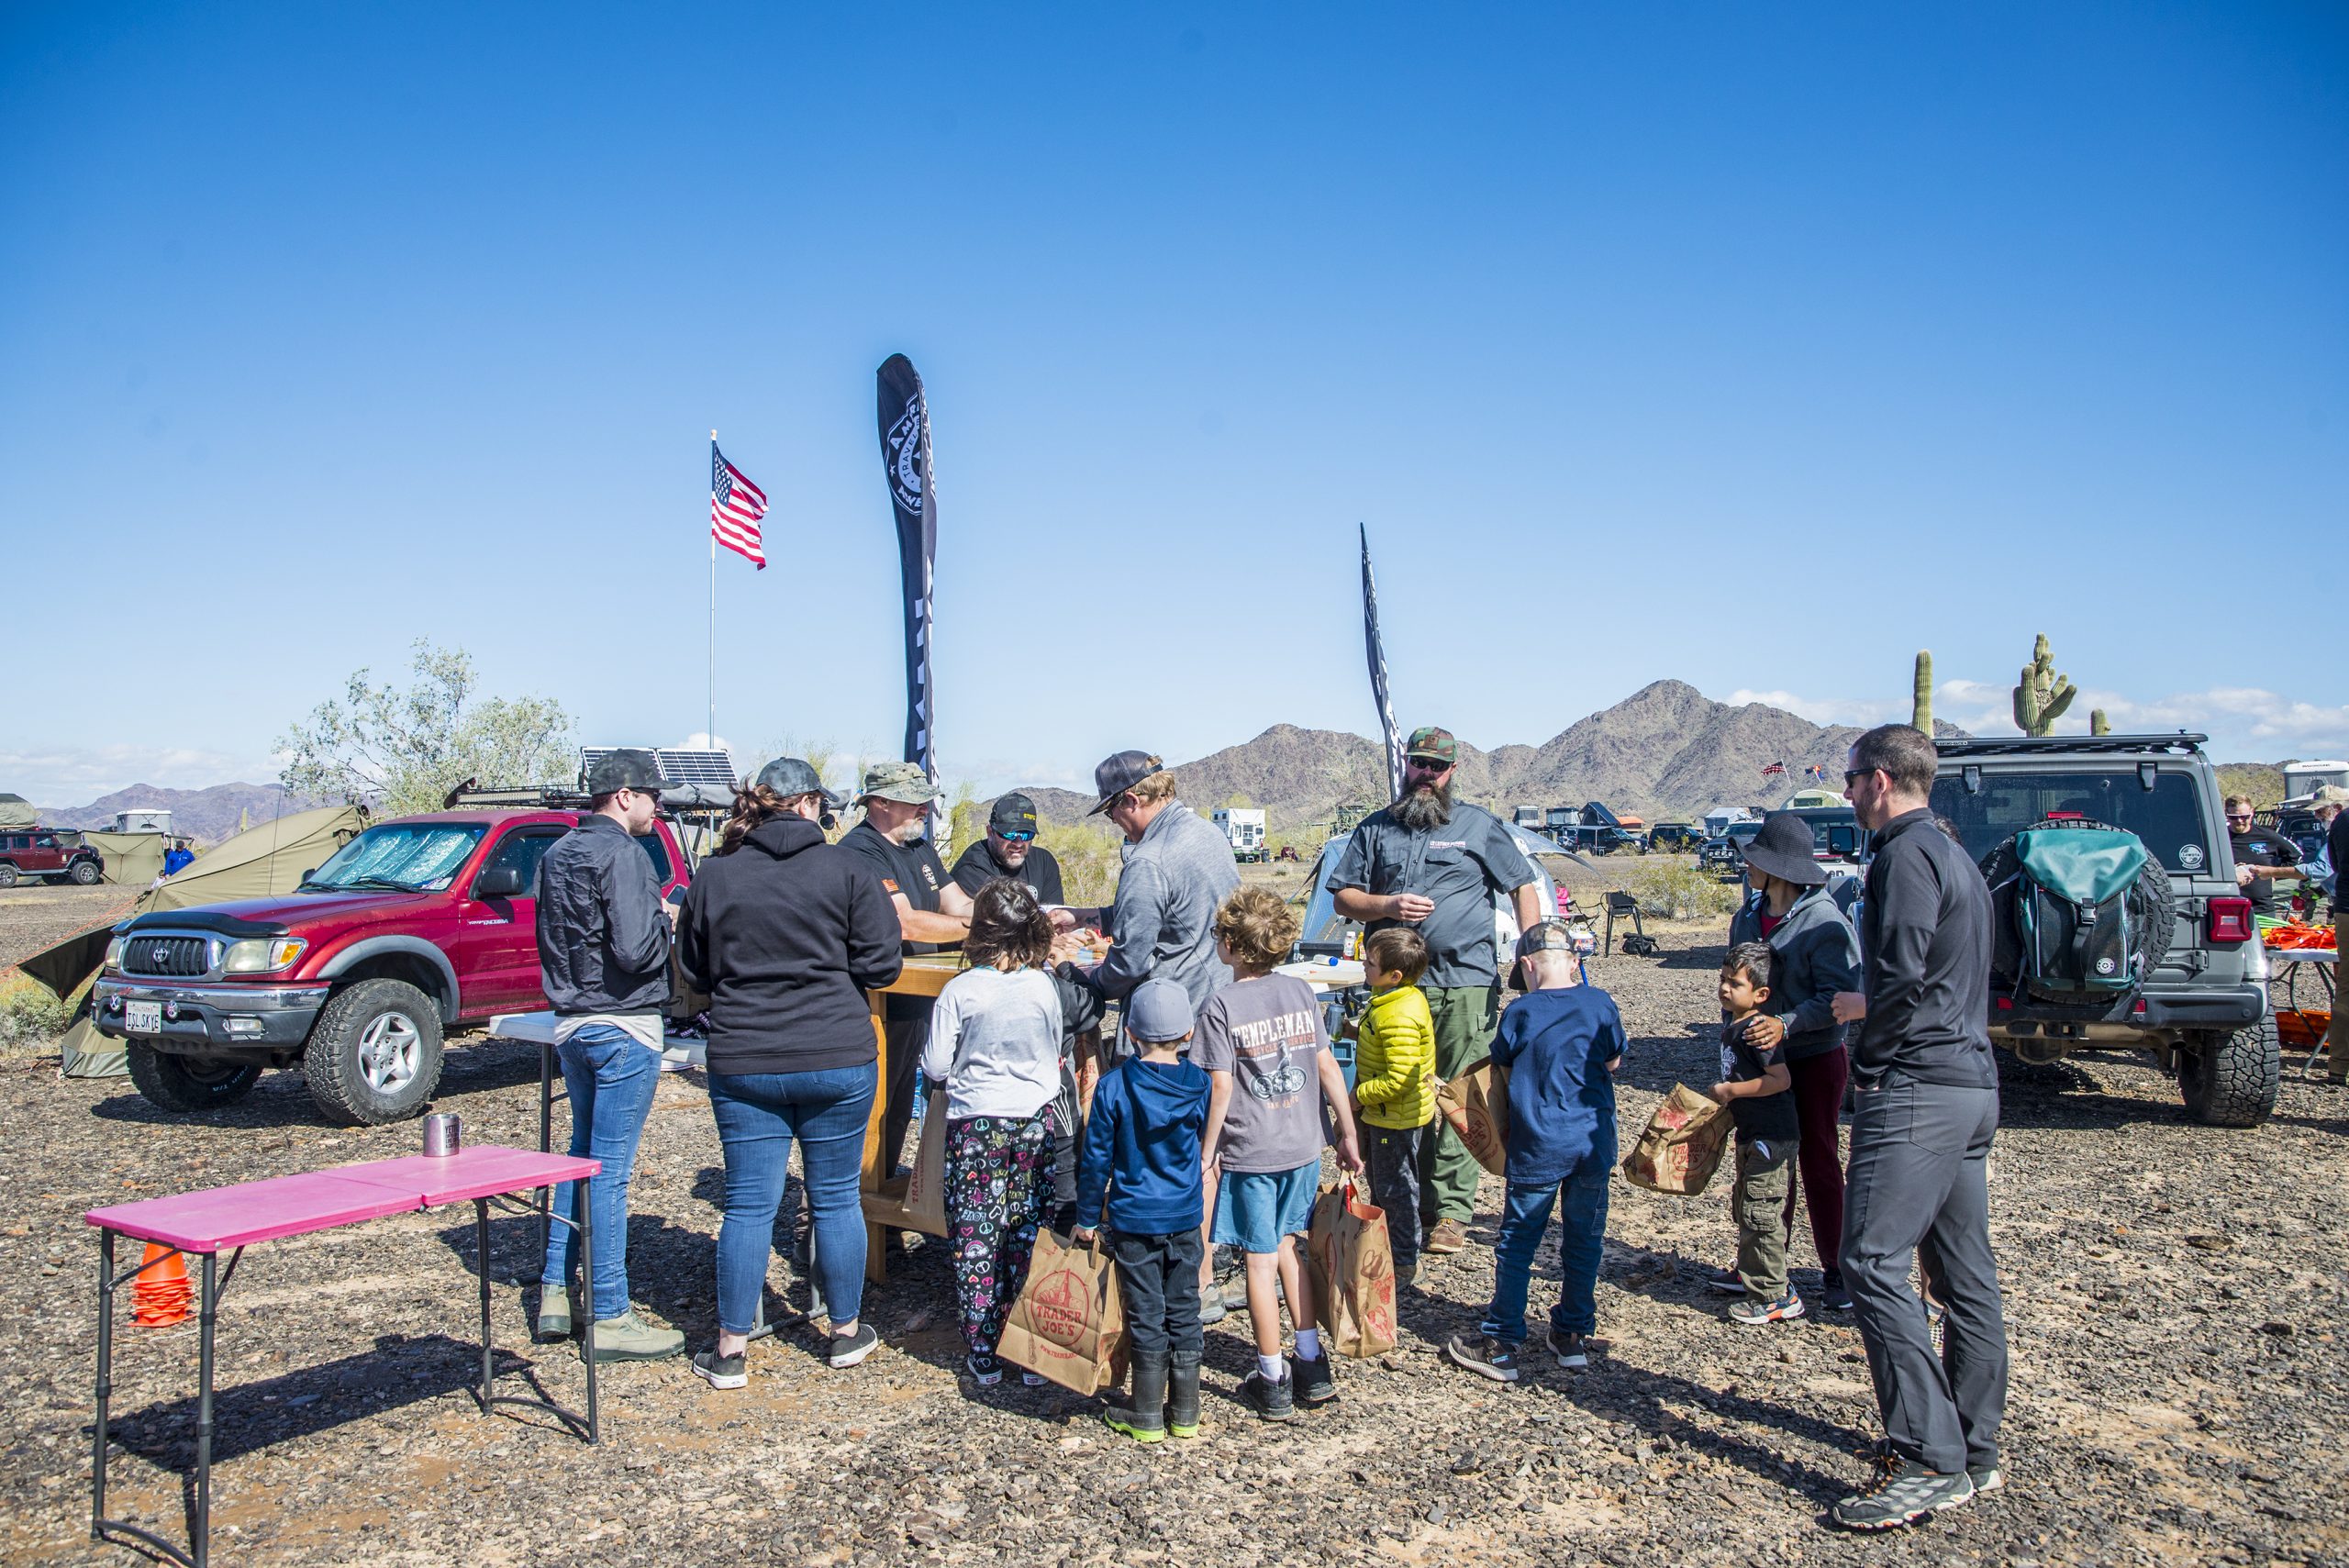
As Dave’s period of instruction came to an end, the Kid’s Scavenger Hunt was wrapping up and the many kids began lining up at Stuart’s camp to collect their prizes. This part of the Rendezvous is always a big hit with the children and the parents. To keep the kids interested and challenged, this particular scavenger hunt was an evolution from the previous years’ and it turned out great!

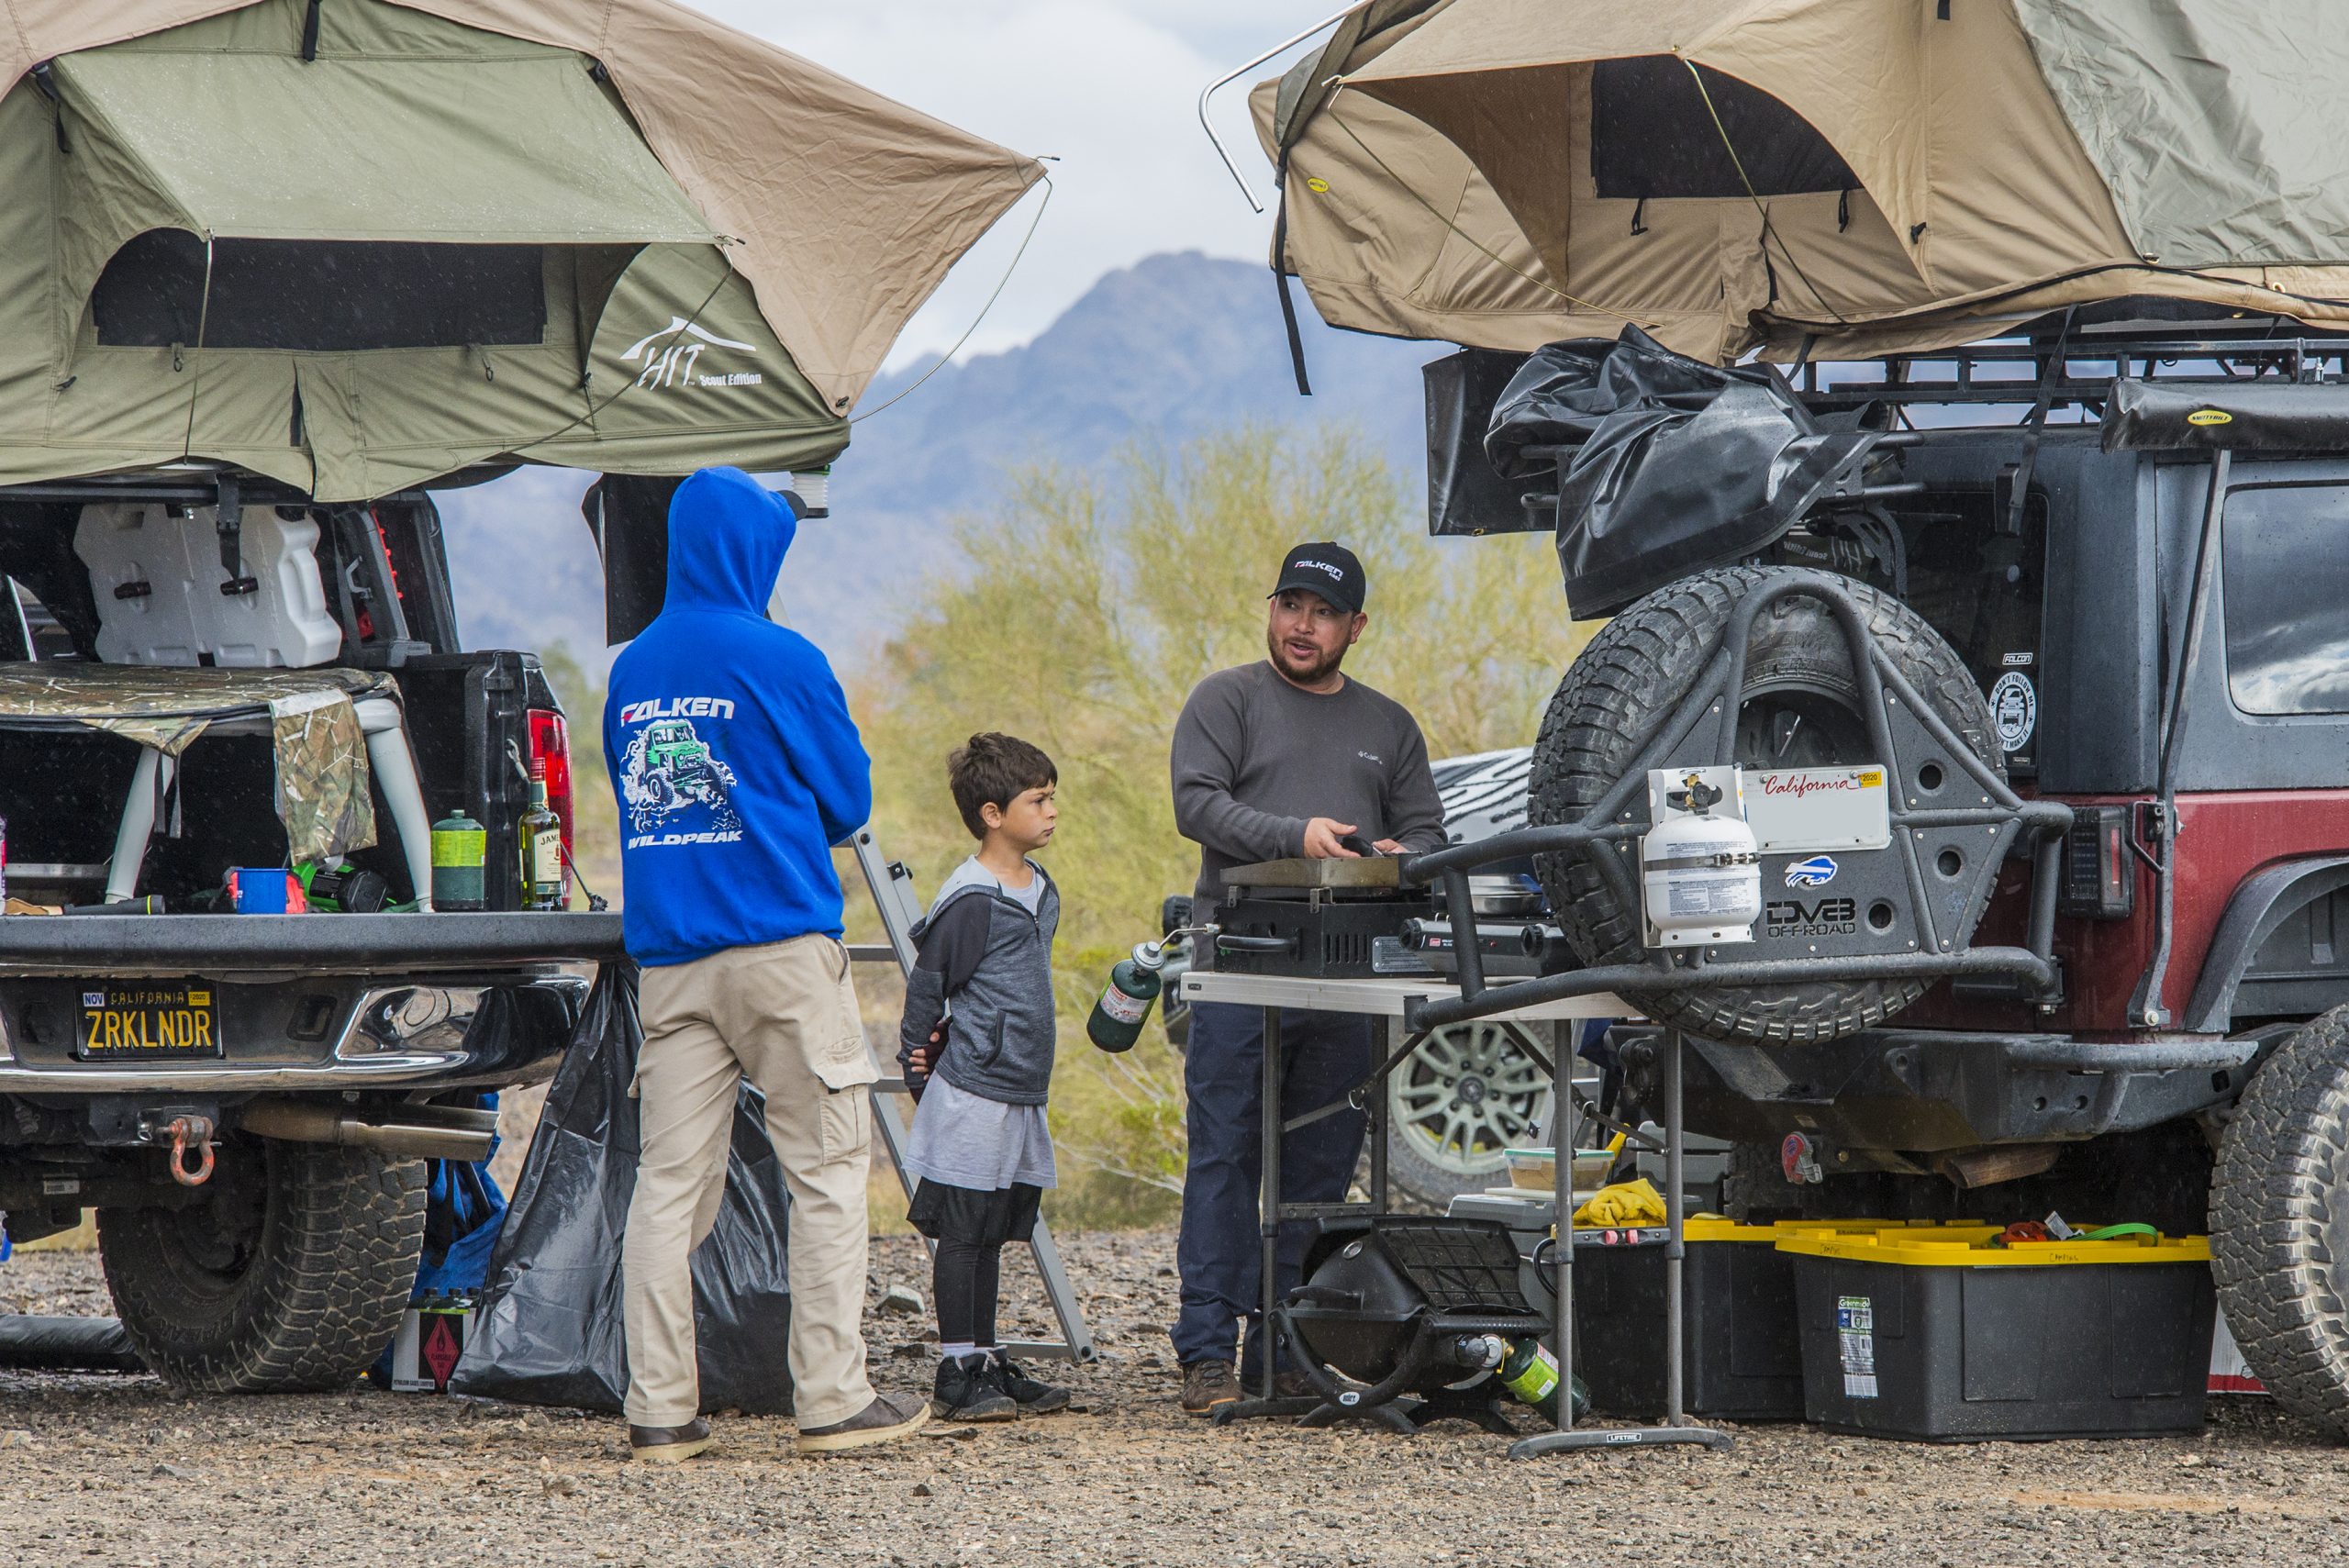
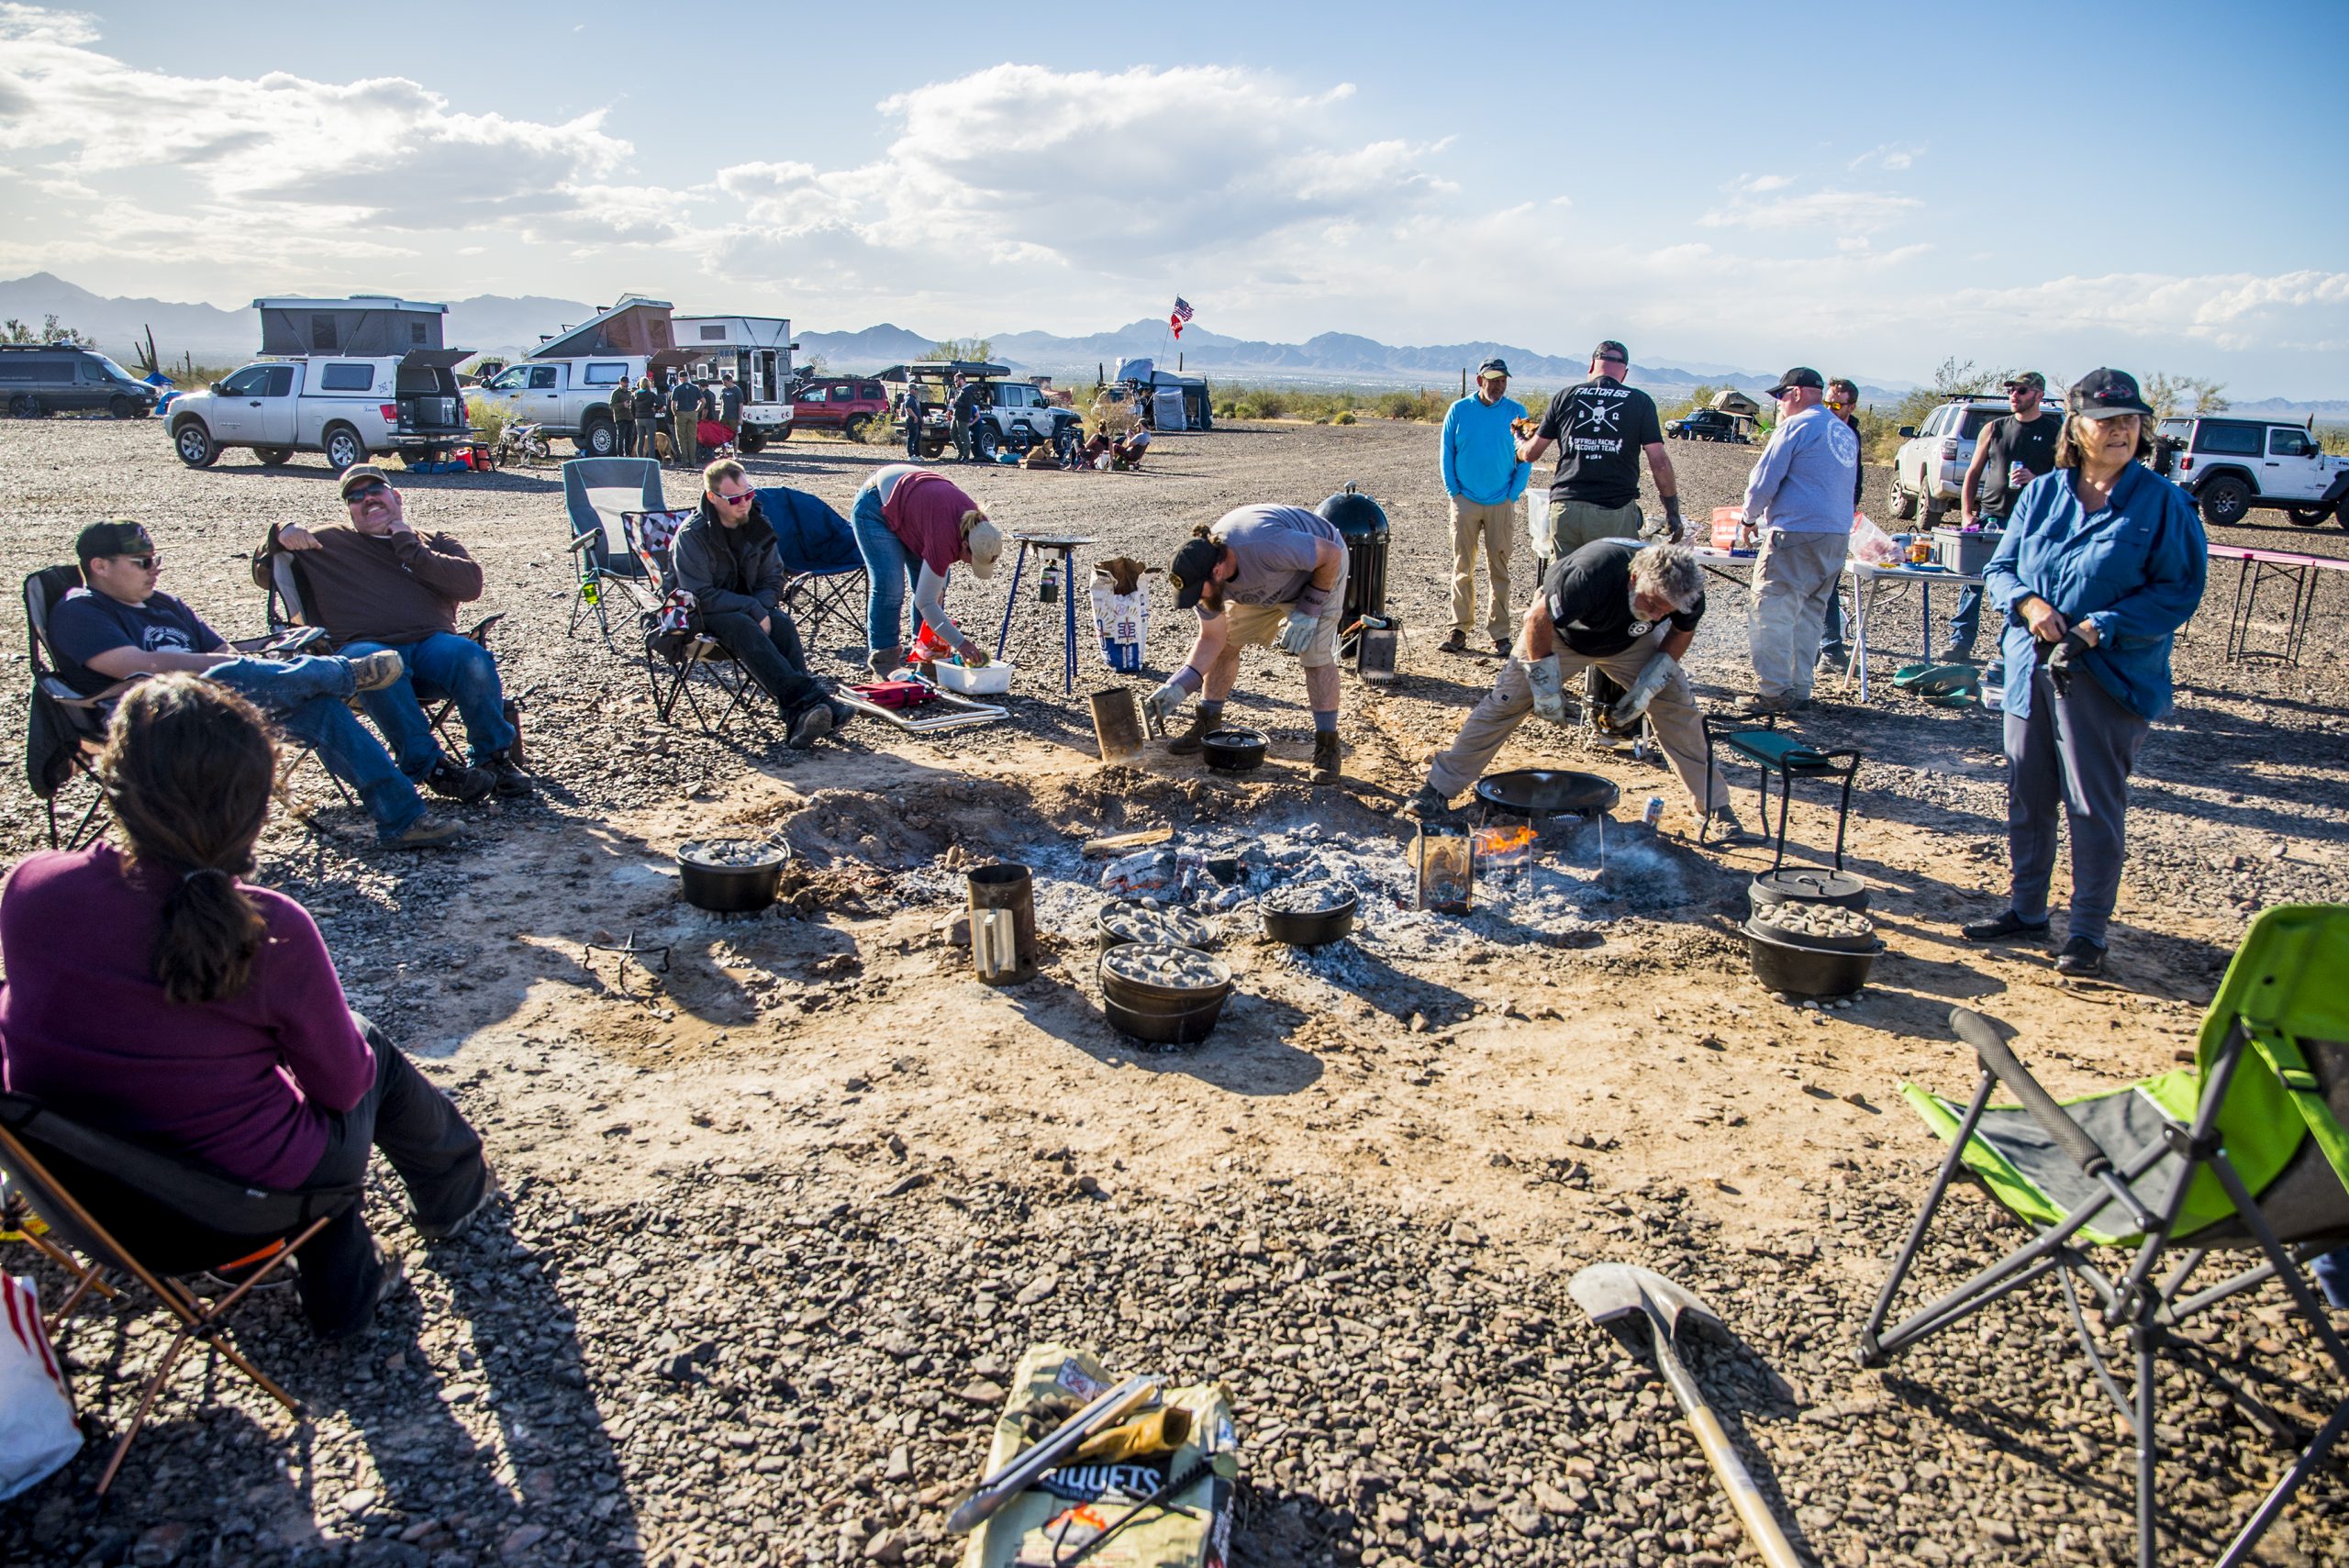
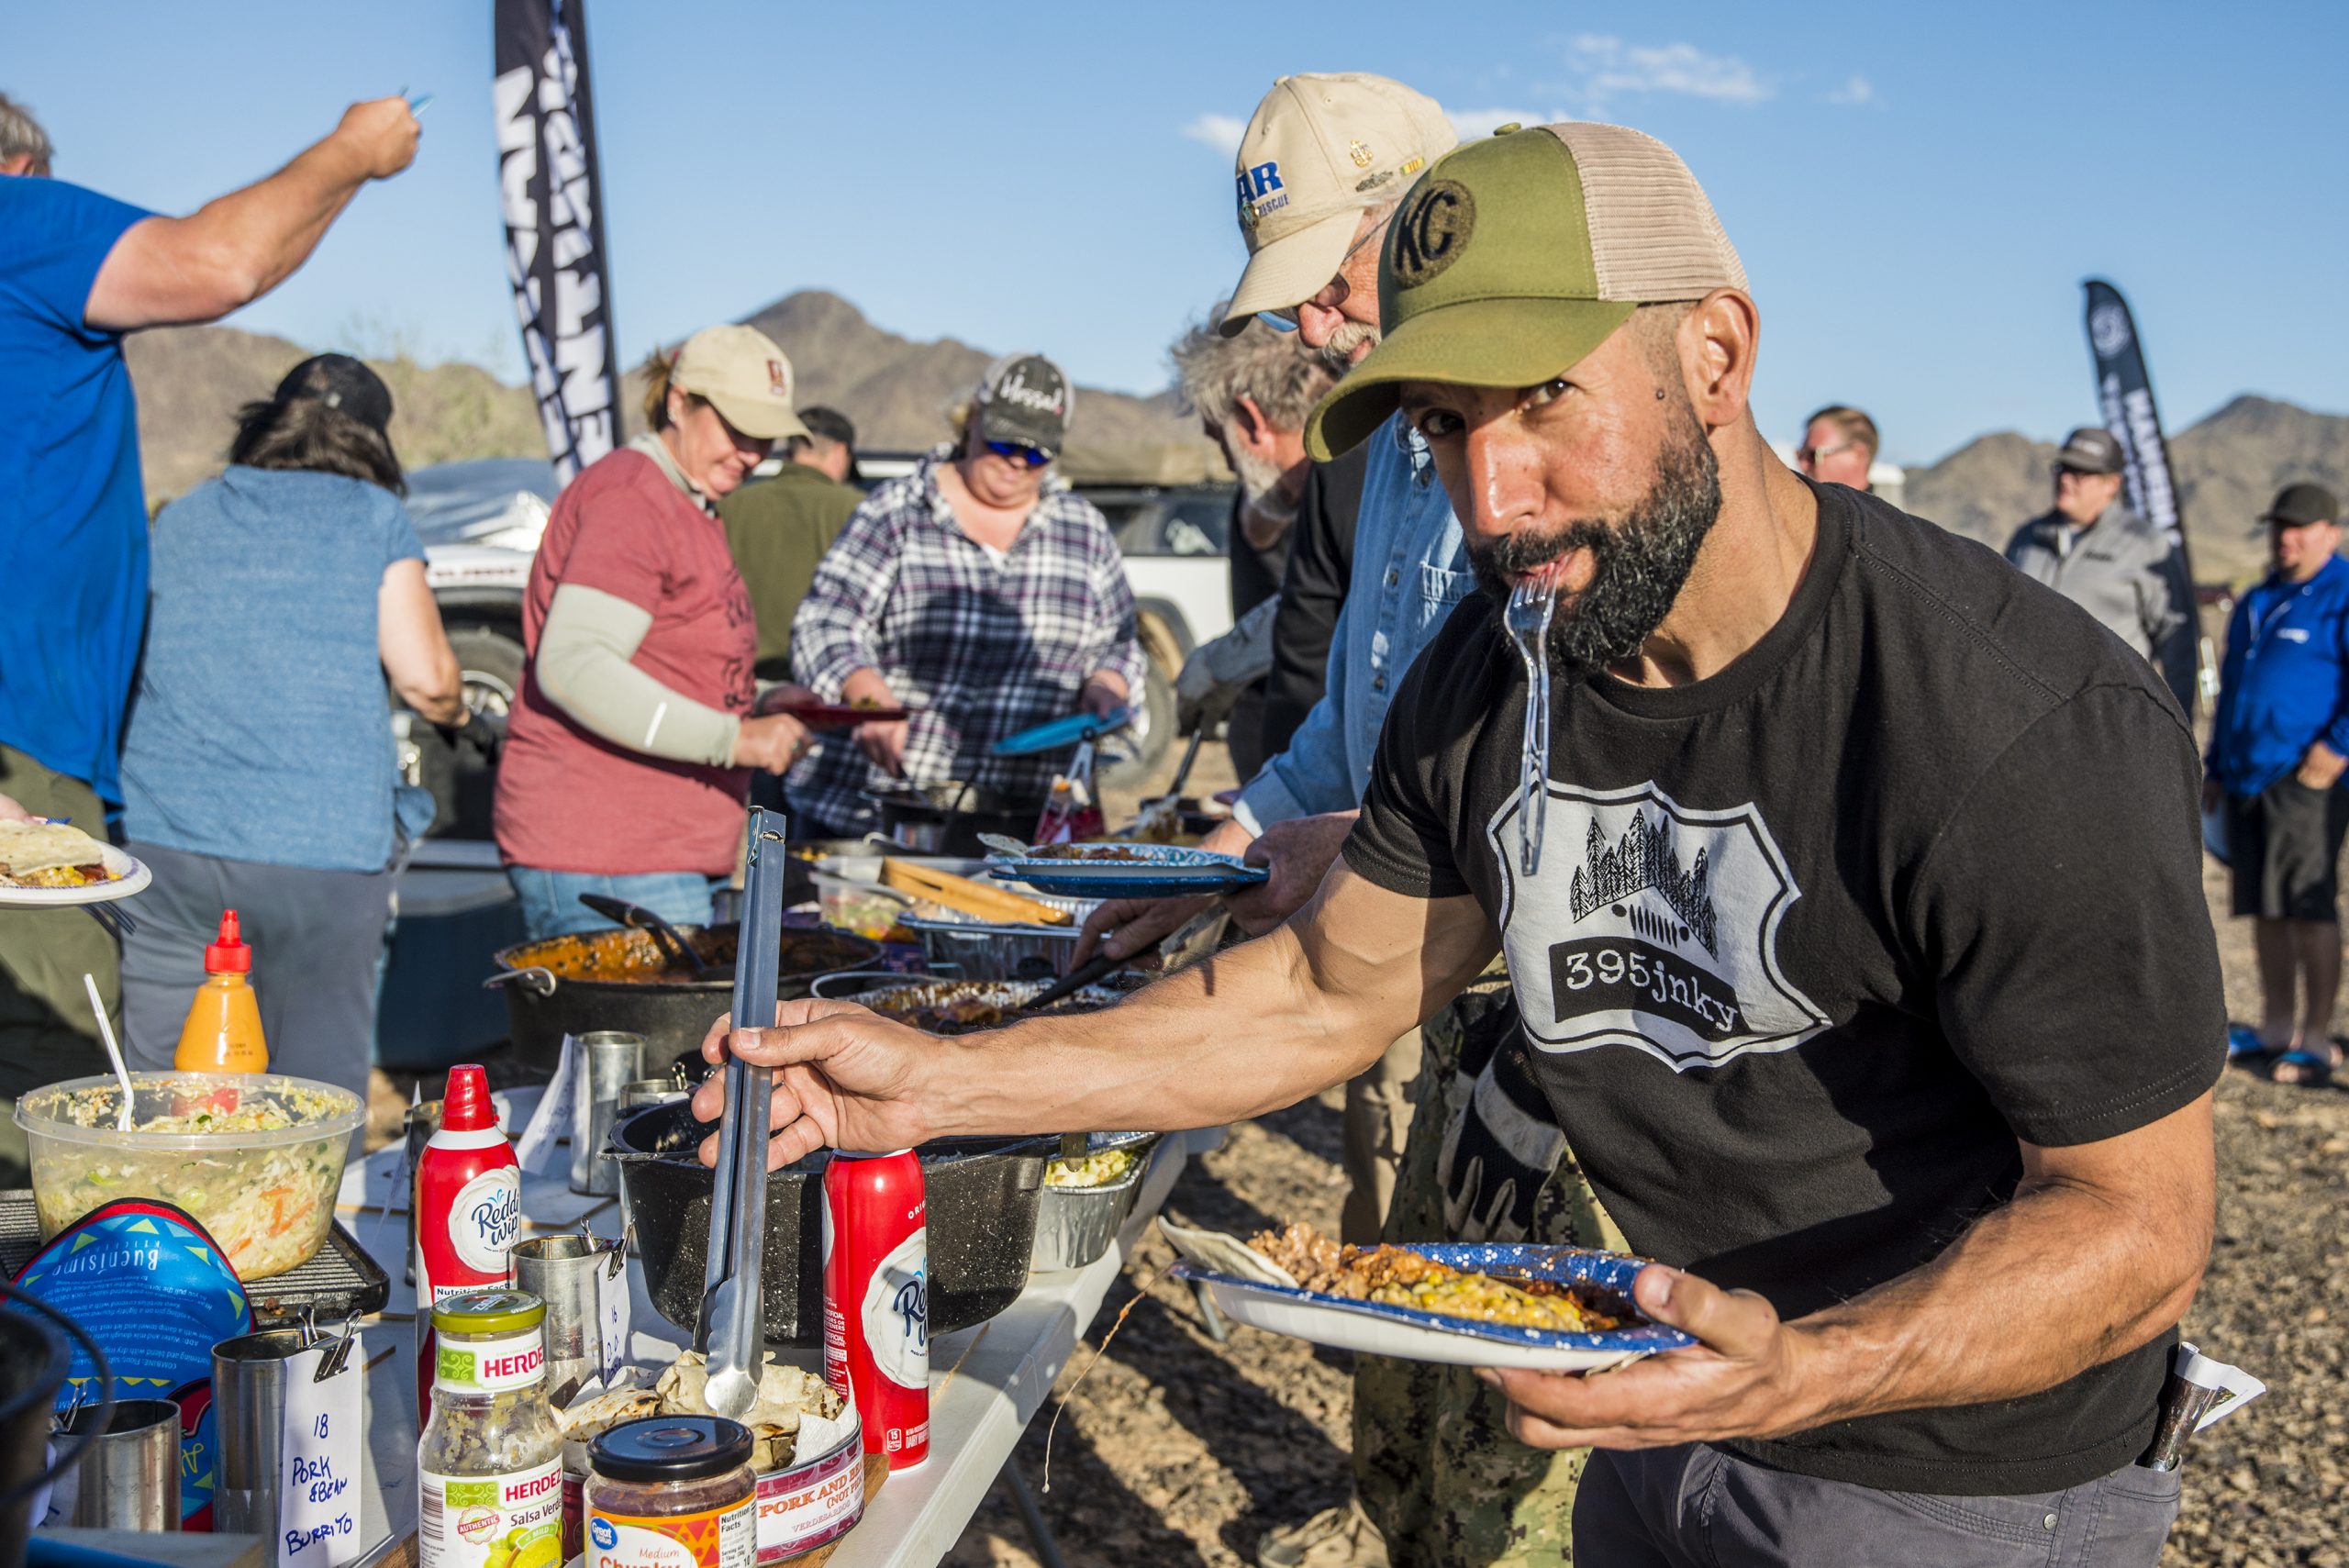
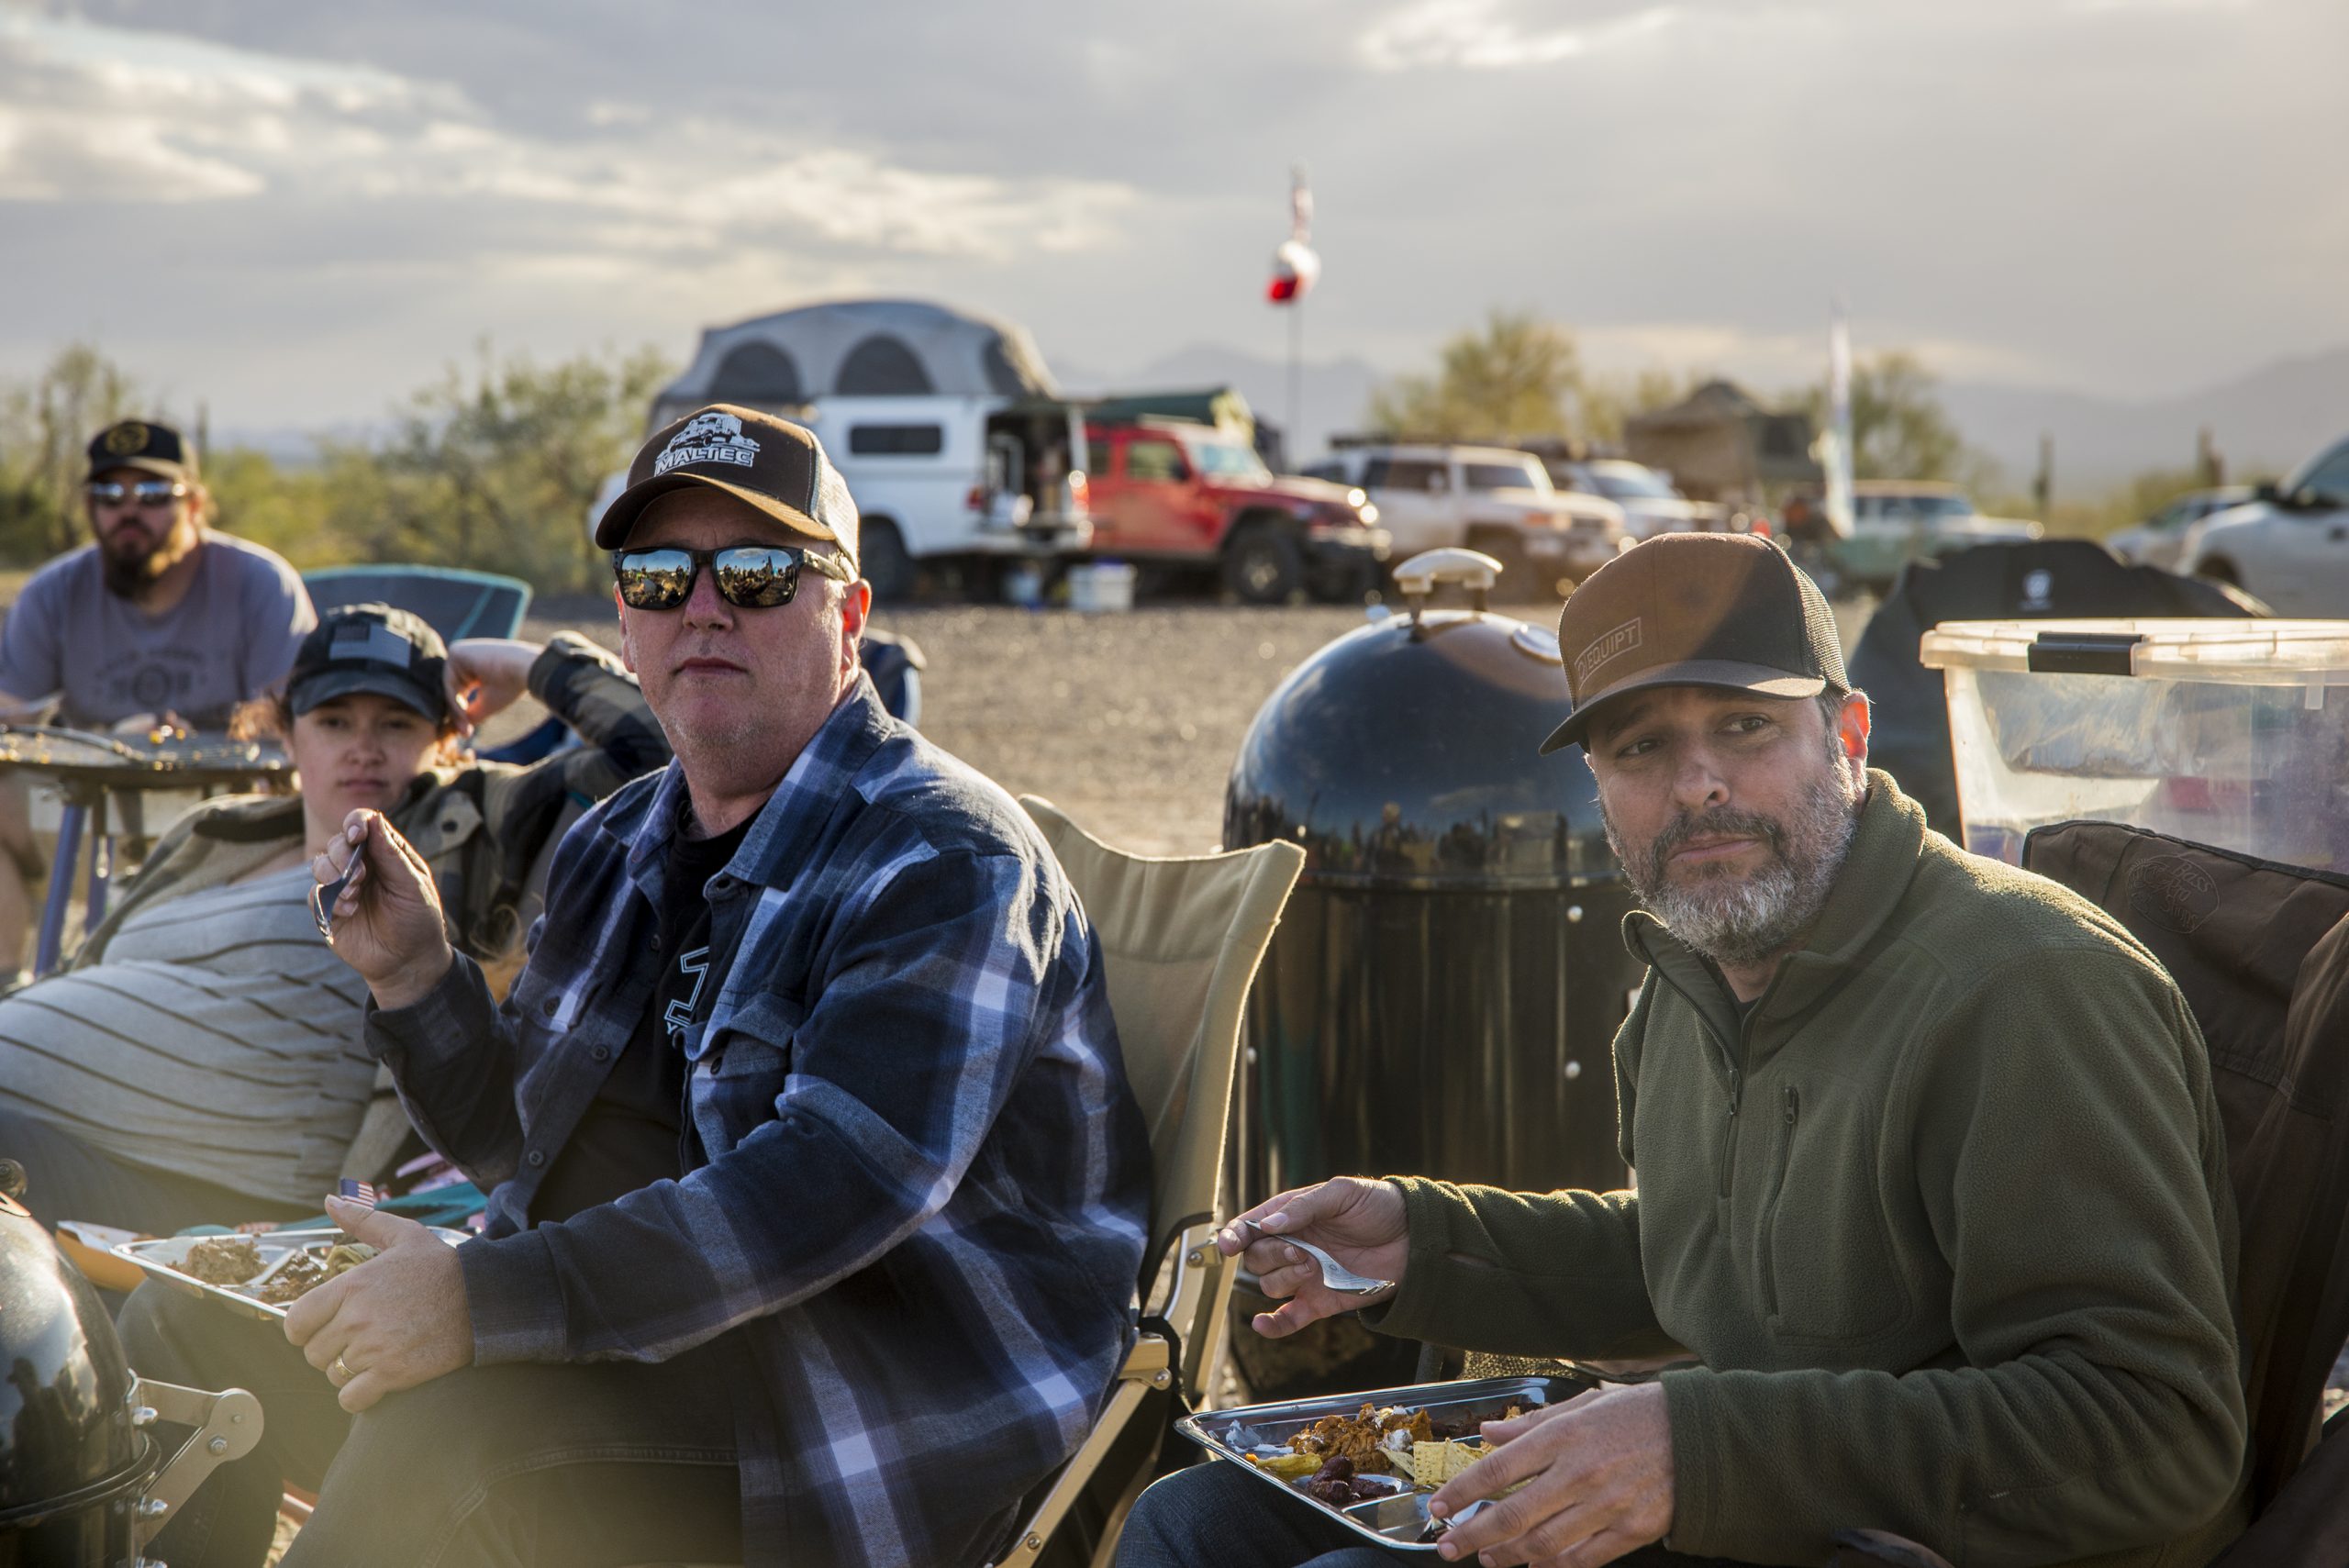
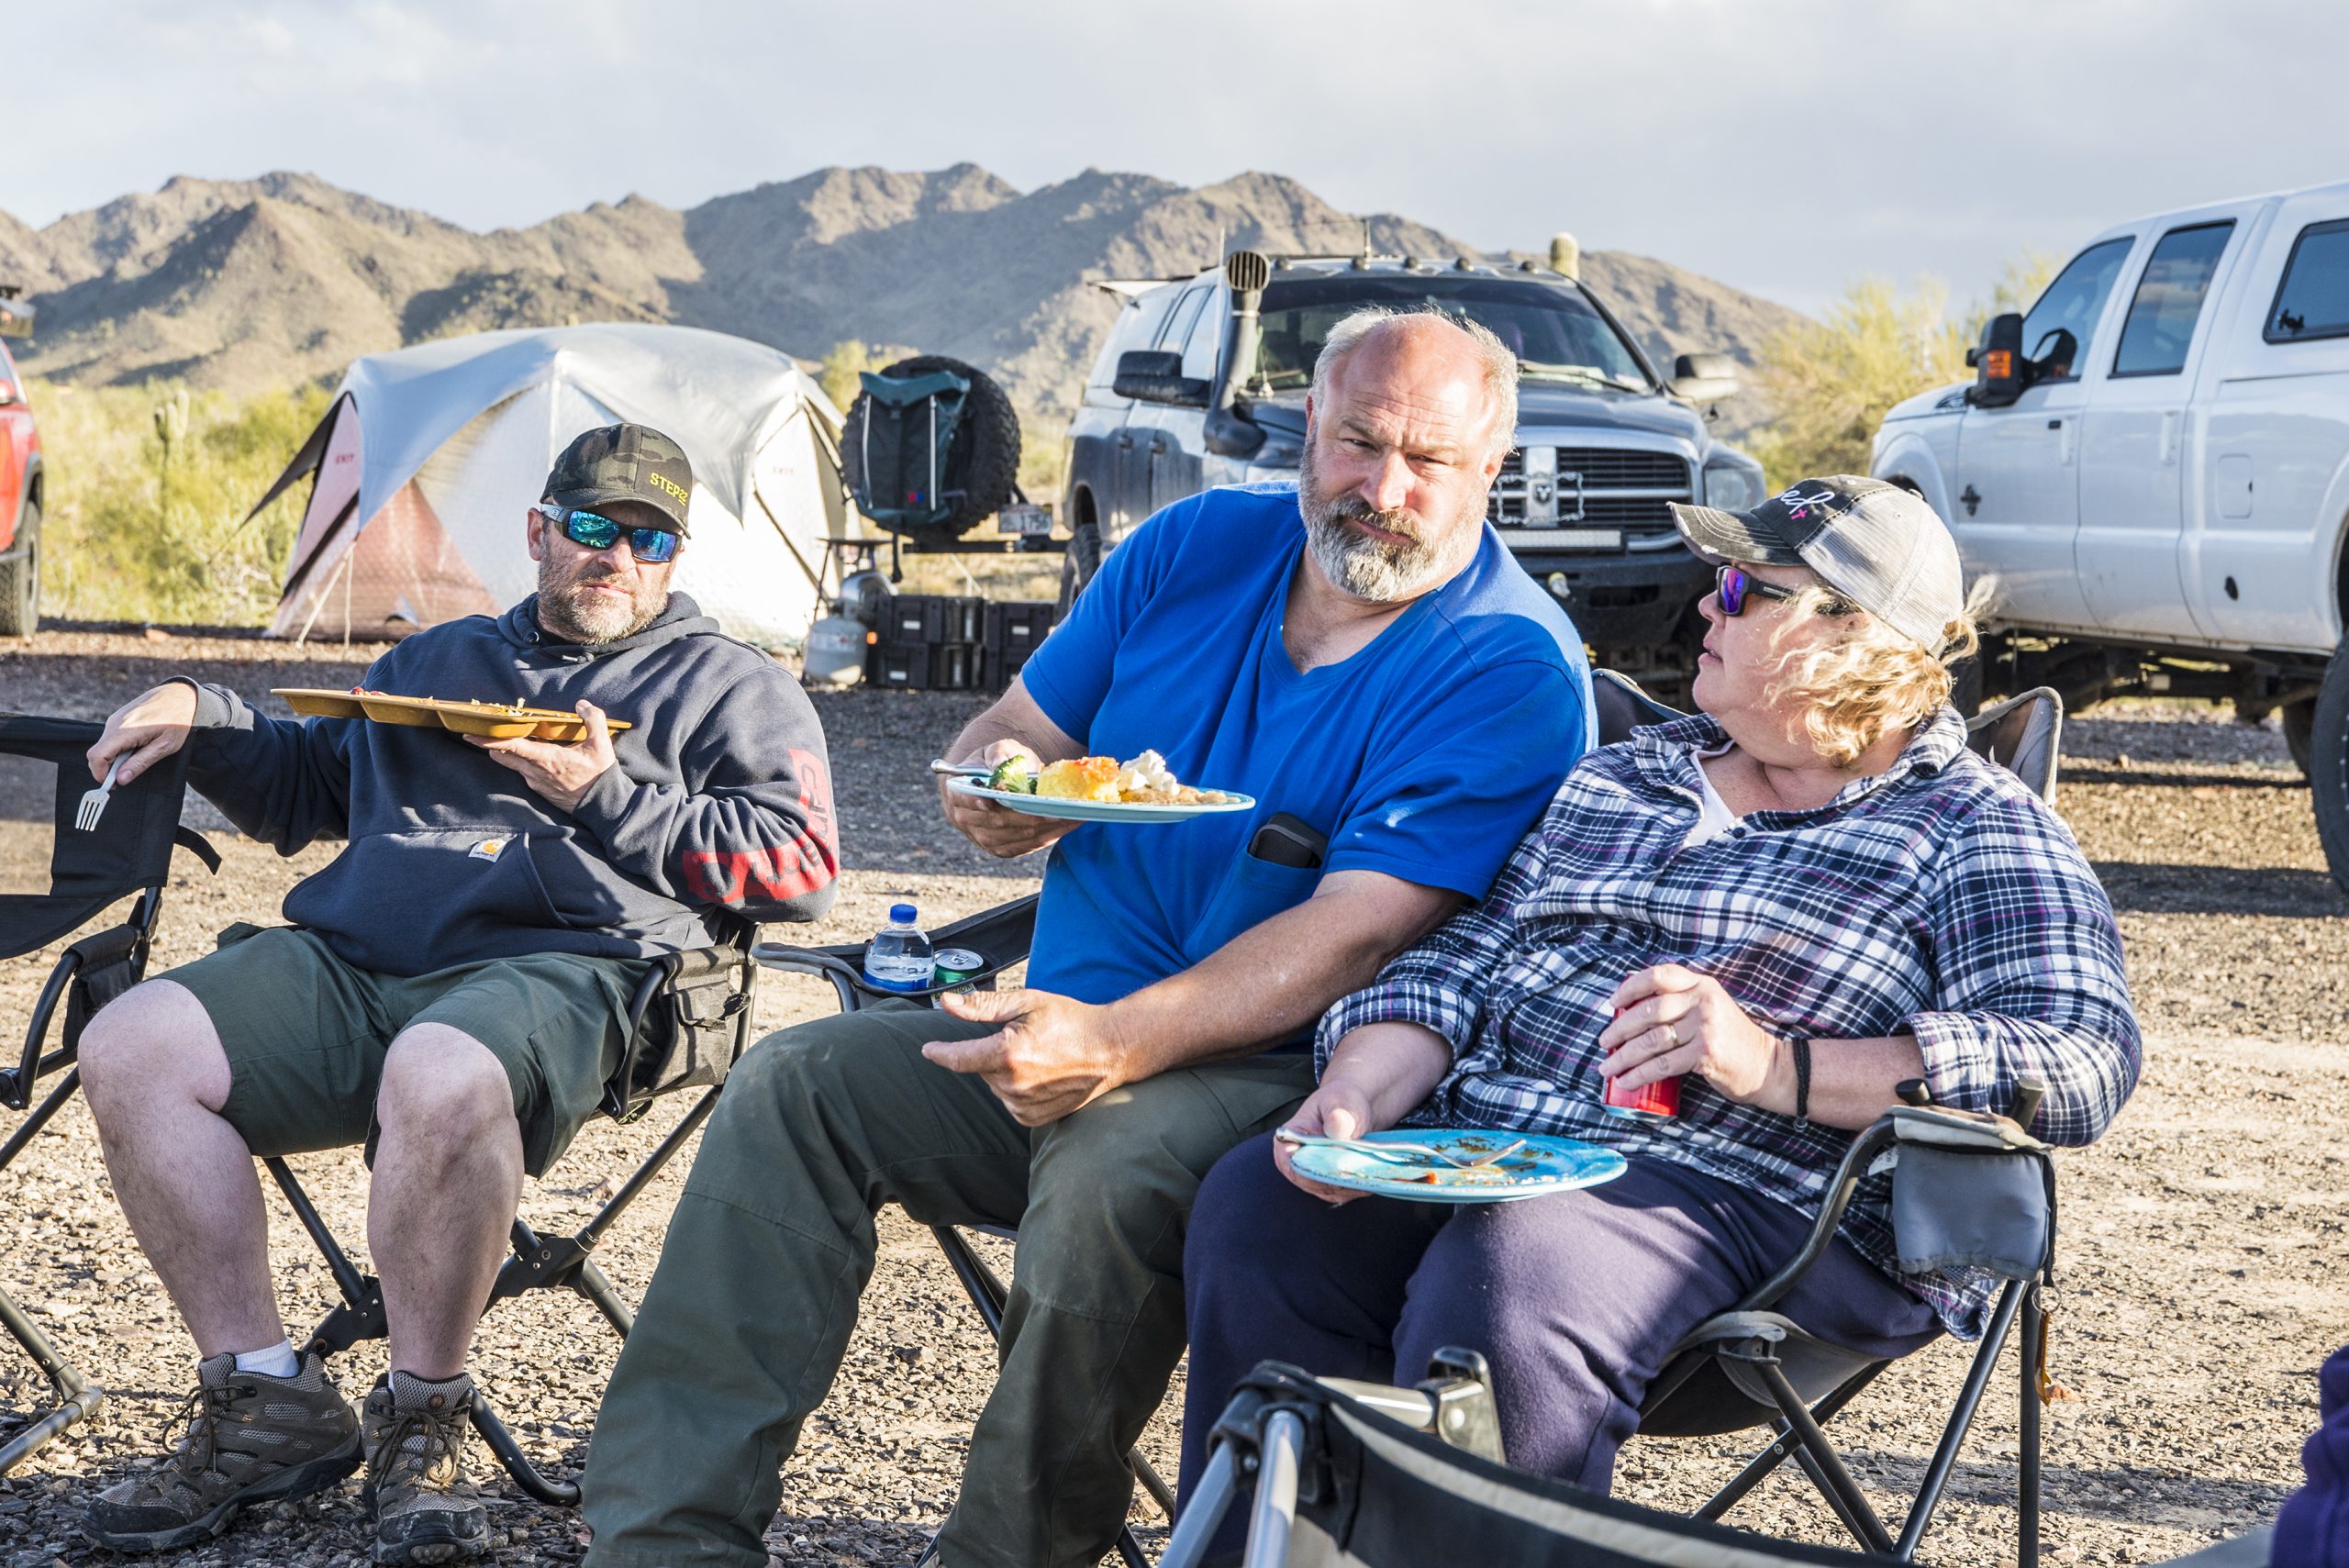
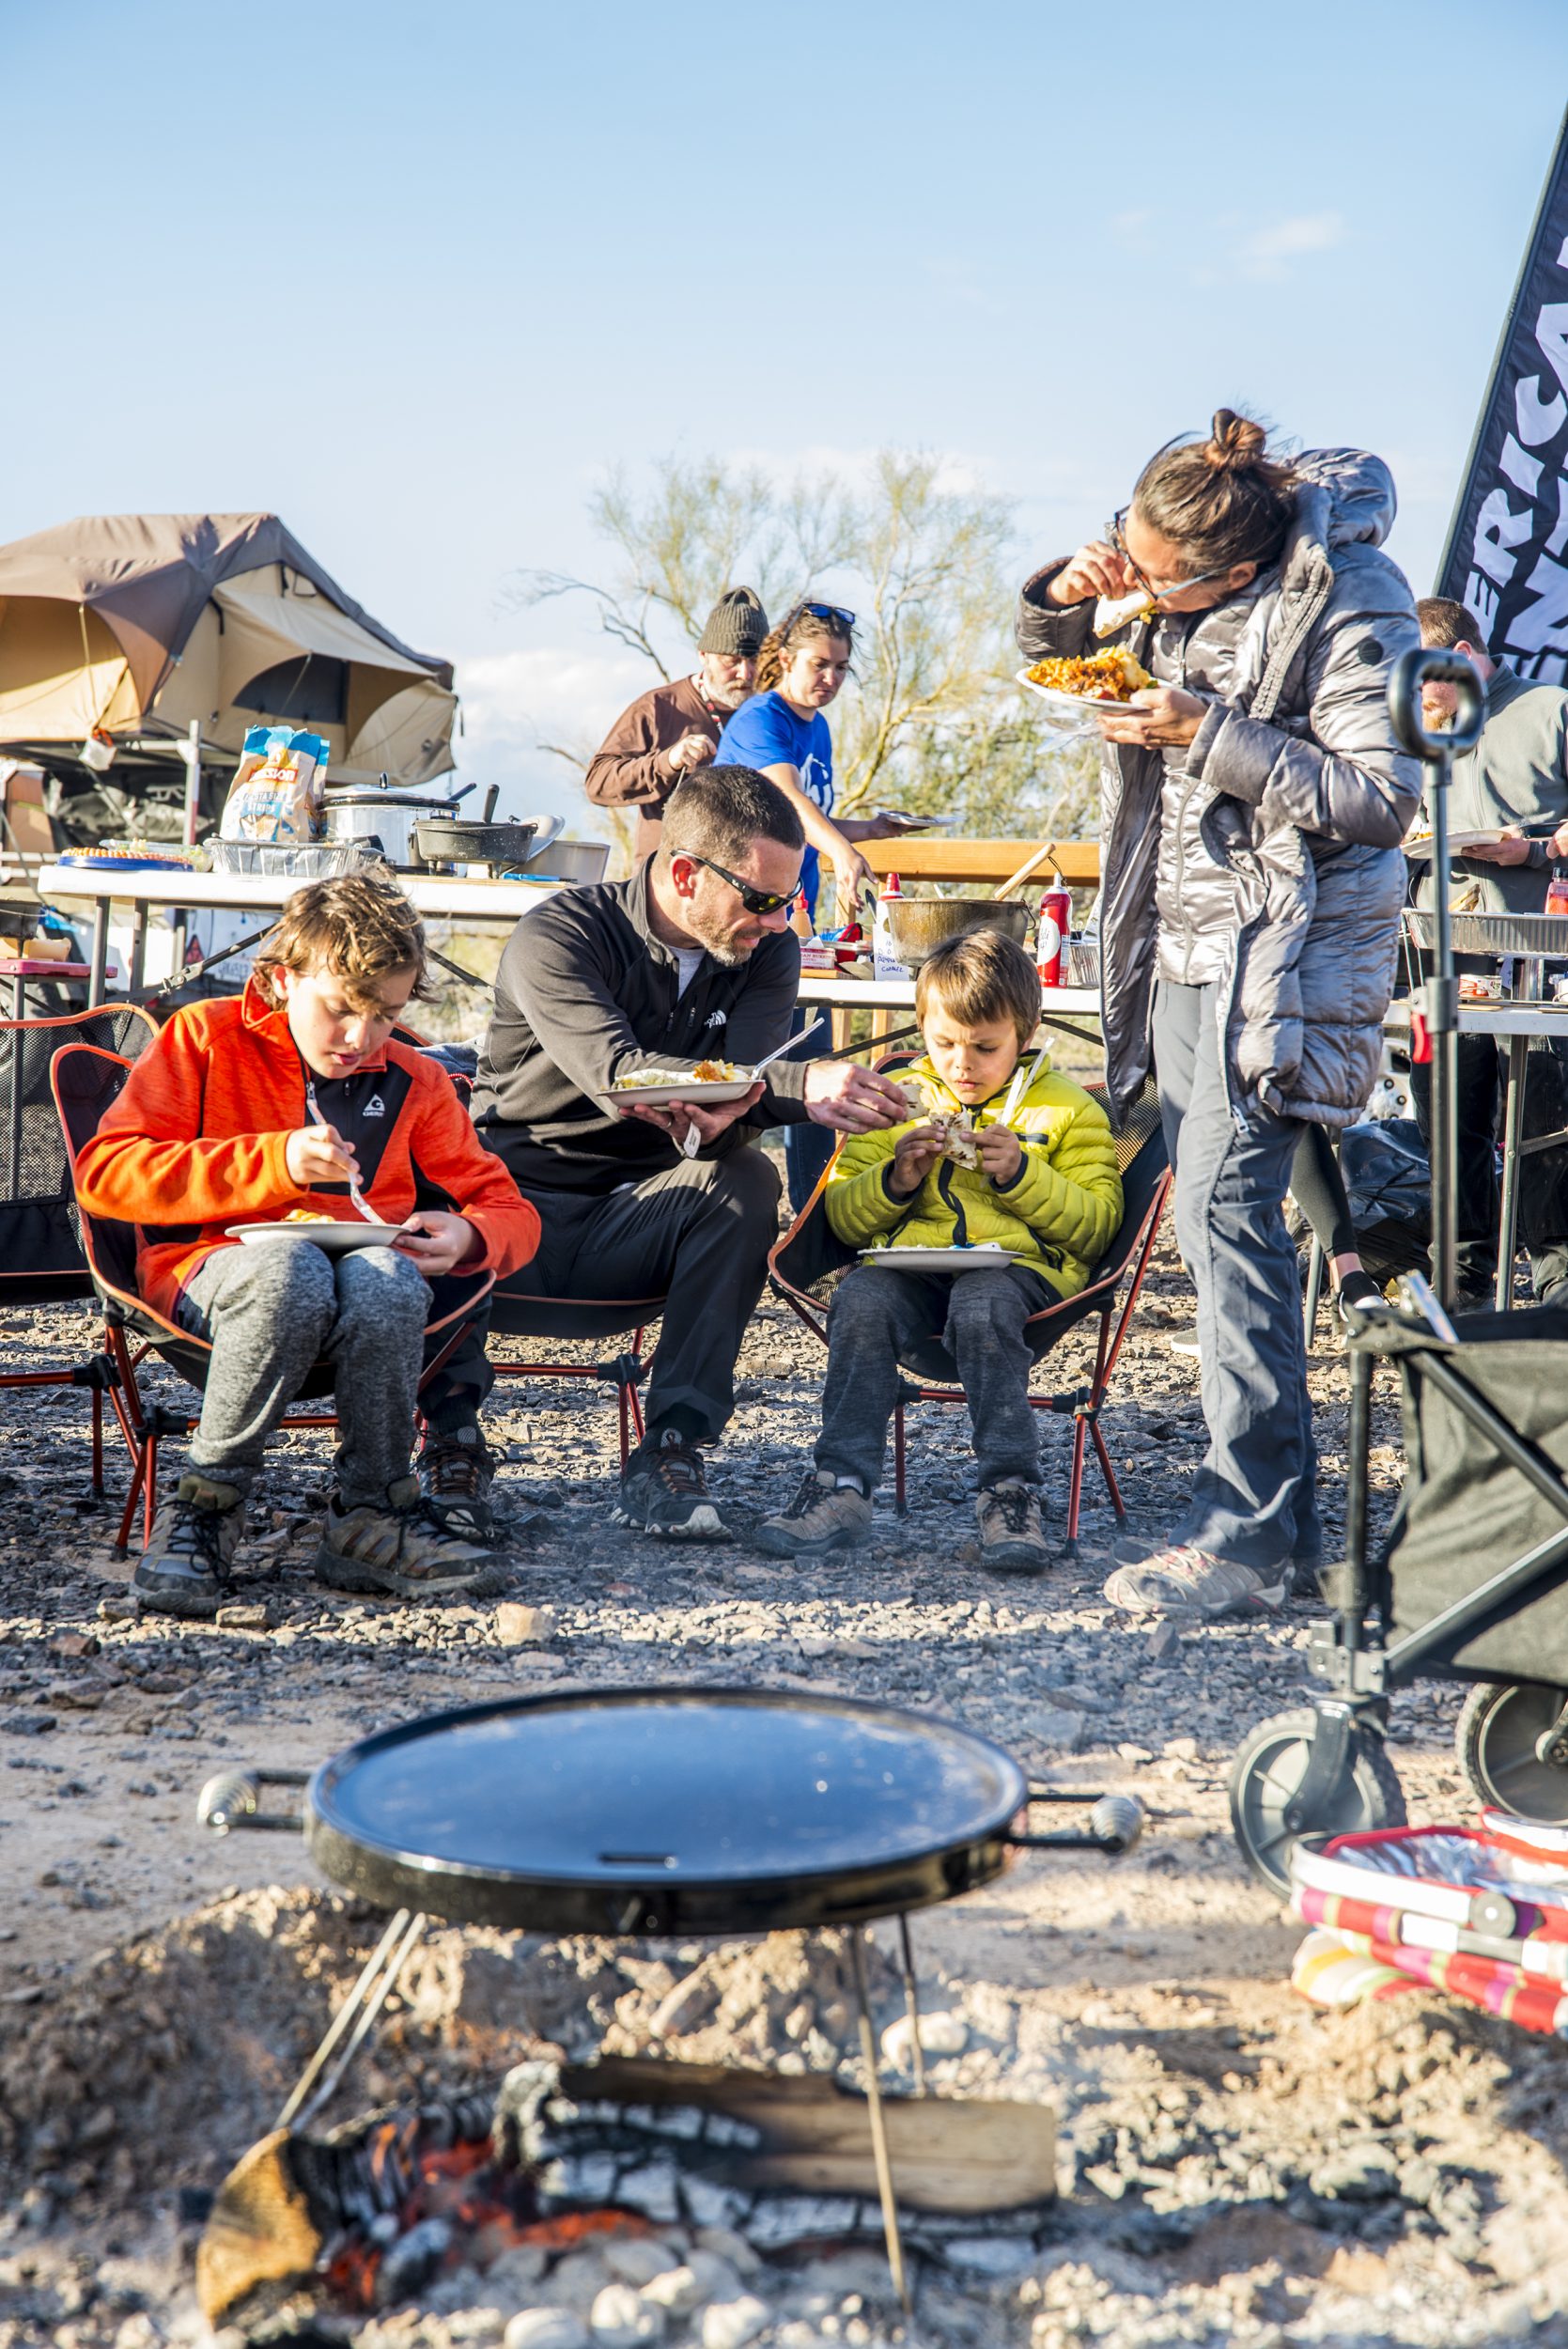
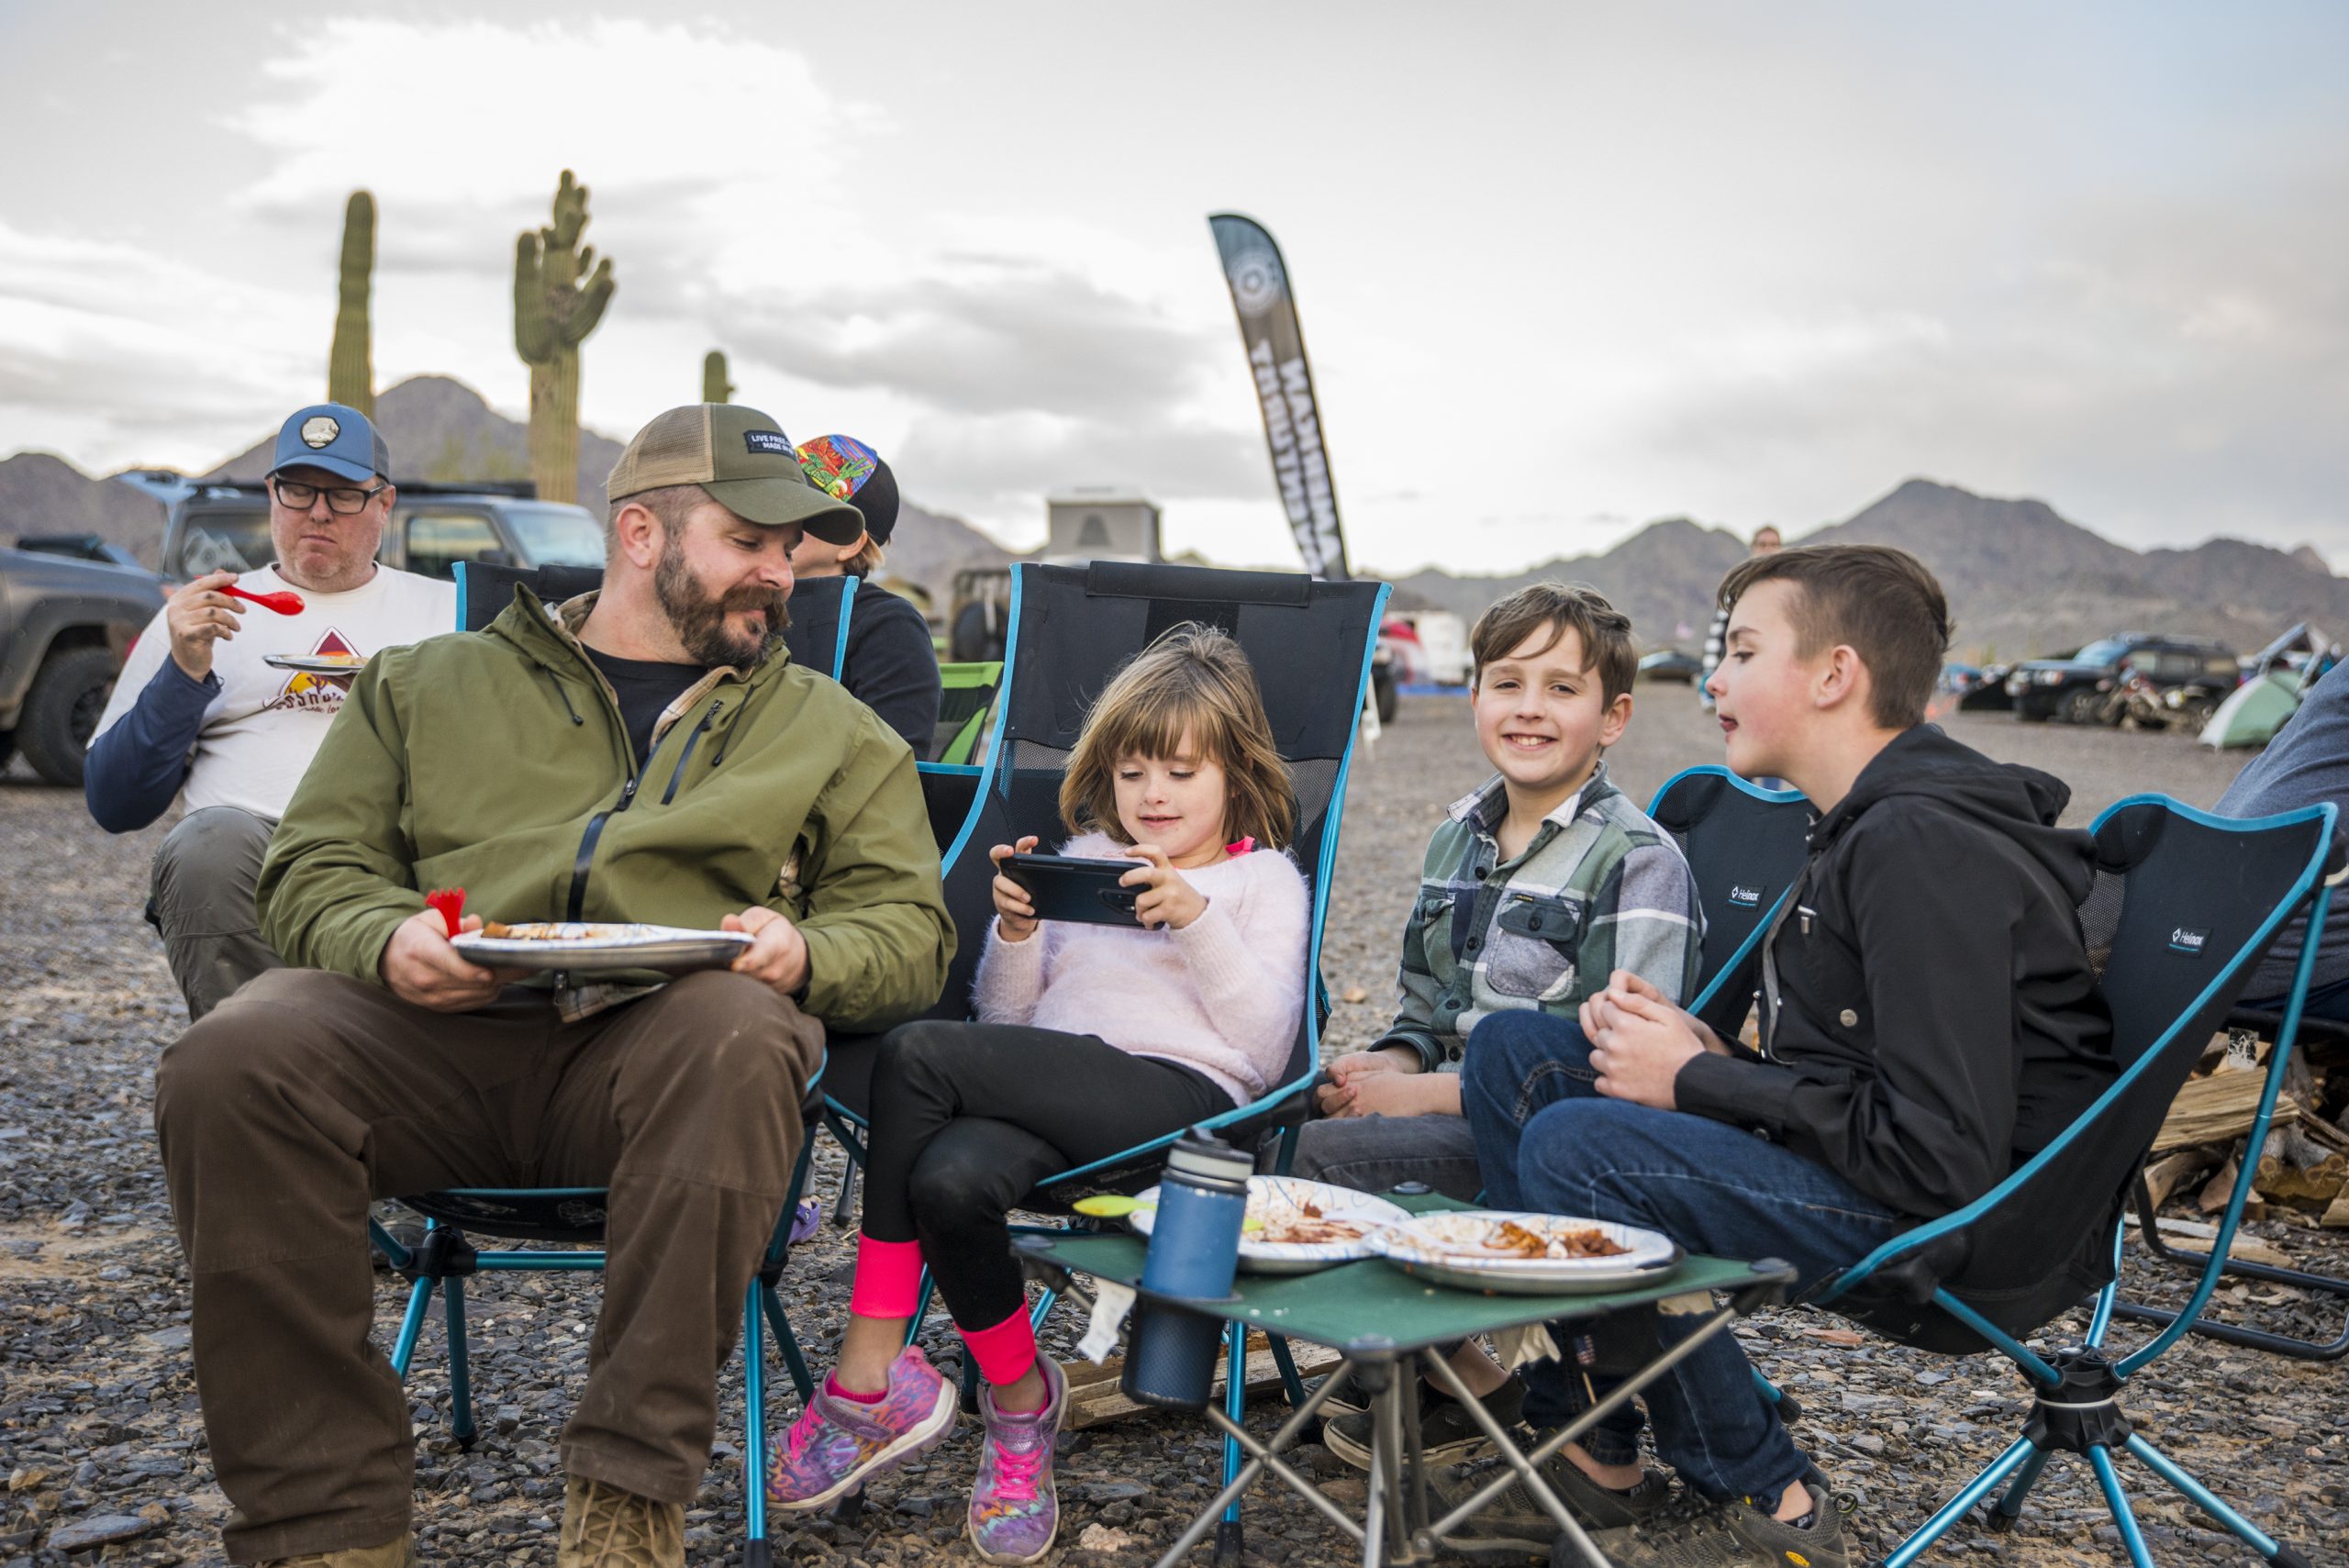
The rest of the day was left to your own devices and whatever you’d like to do. Naps are authorized and even encouraged at a Rendezvous. With a good break midday, the only event left for the day was the Camp Cooking Competition and Potluck. Even by just after lunch, folks were already prepping around the main camp fire and getting their meals ready to go. It wasn’t long before the entire area was infused with the various aromas of special dishes and secret recipes.
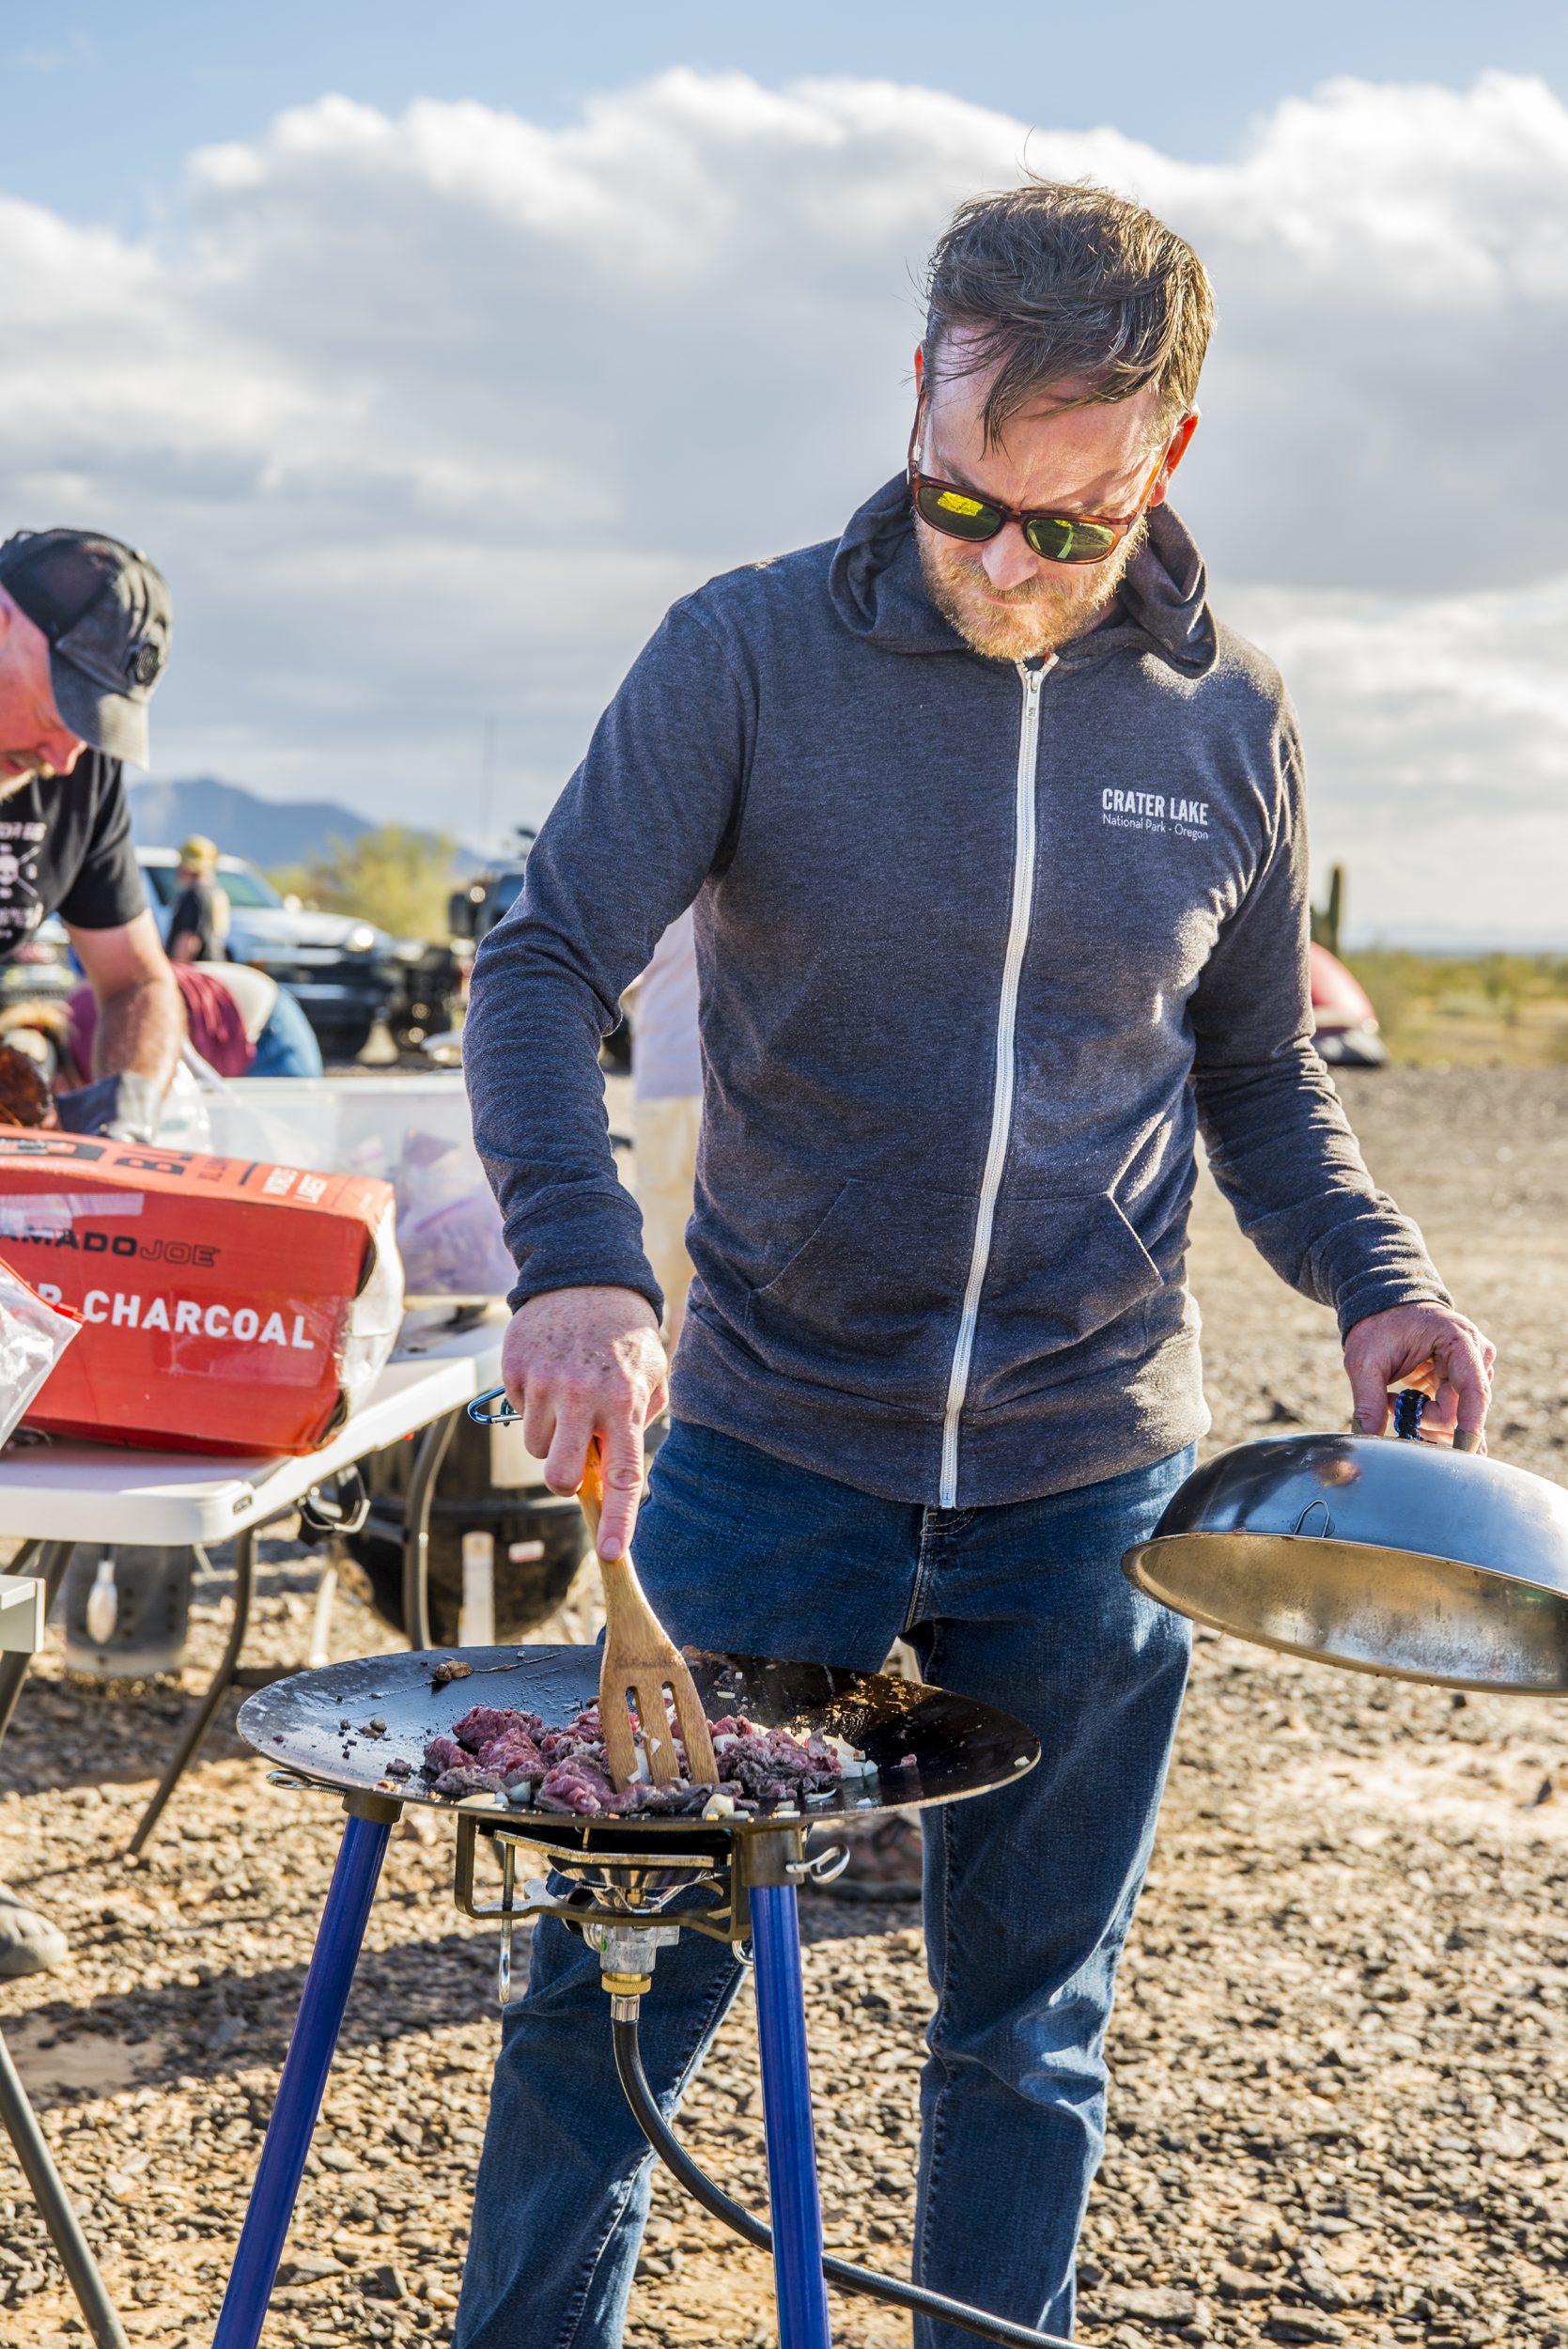
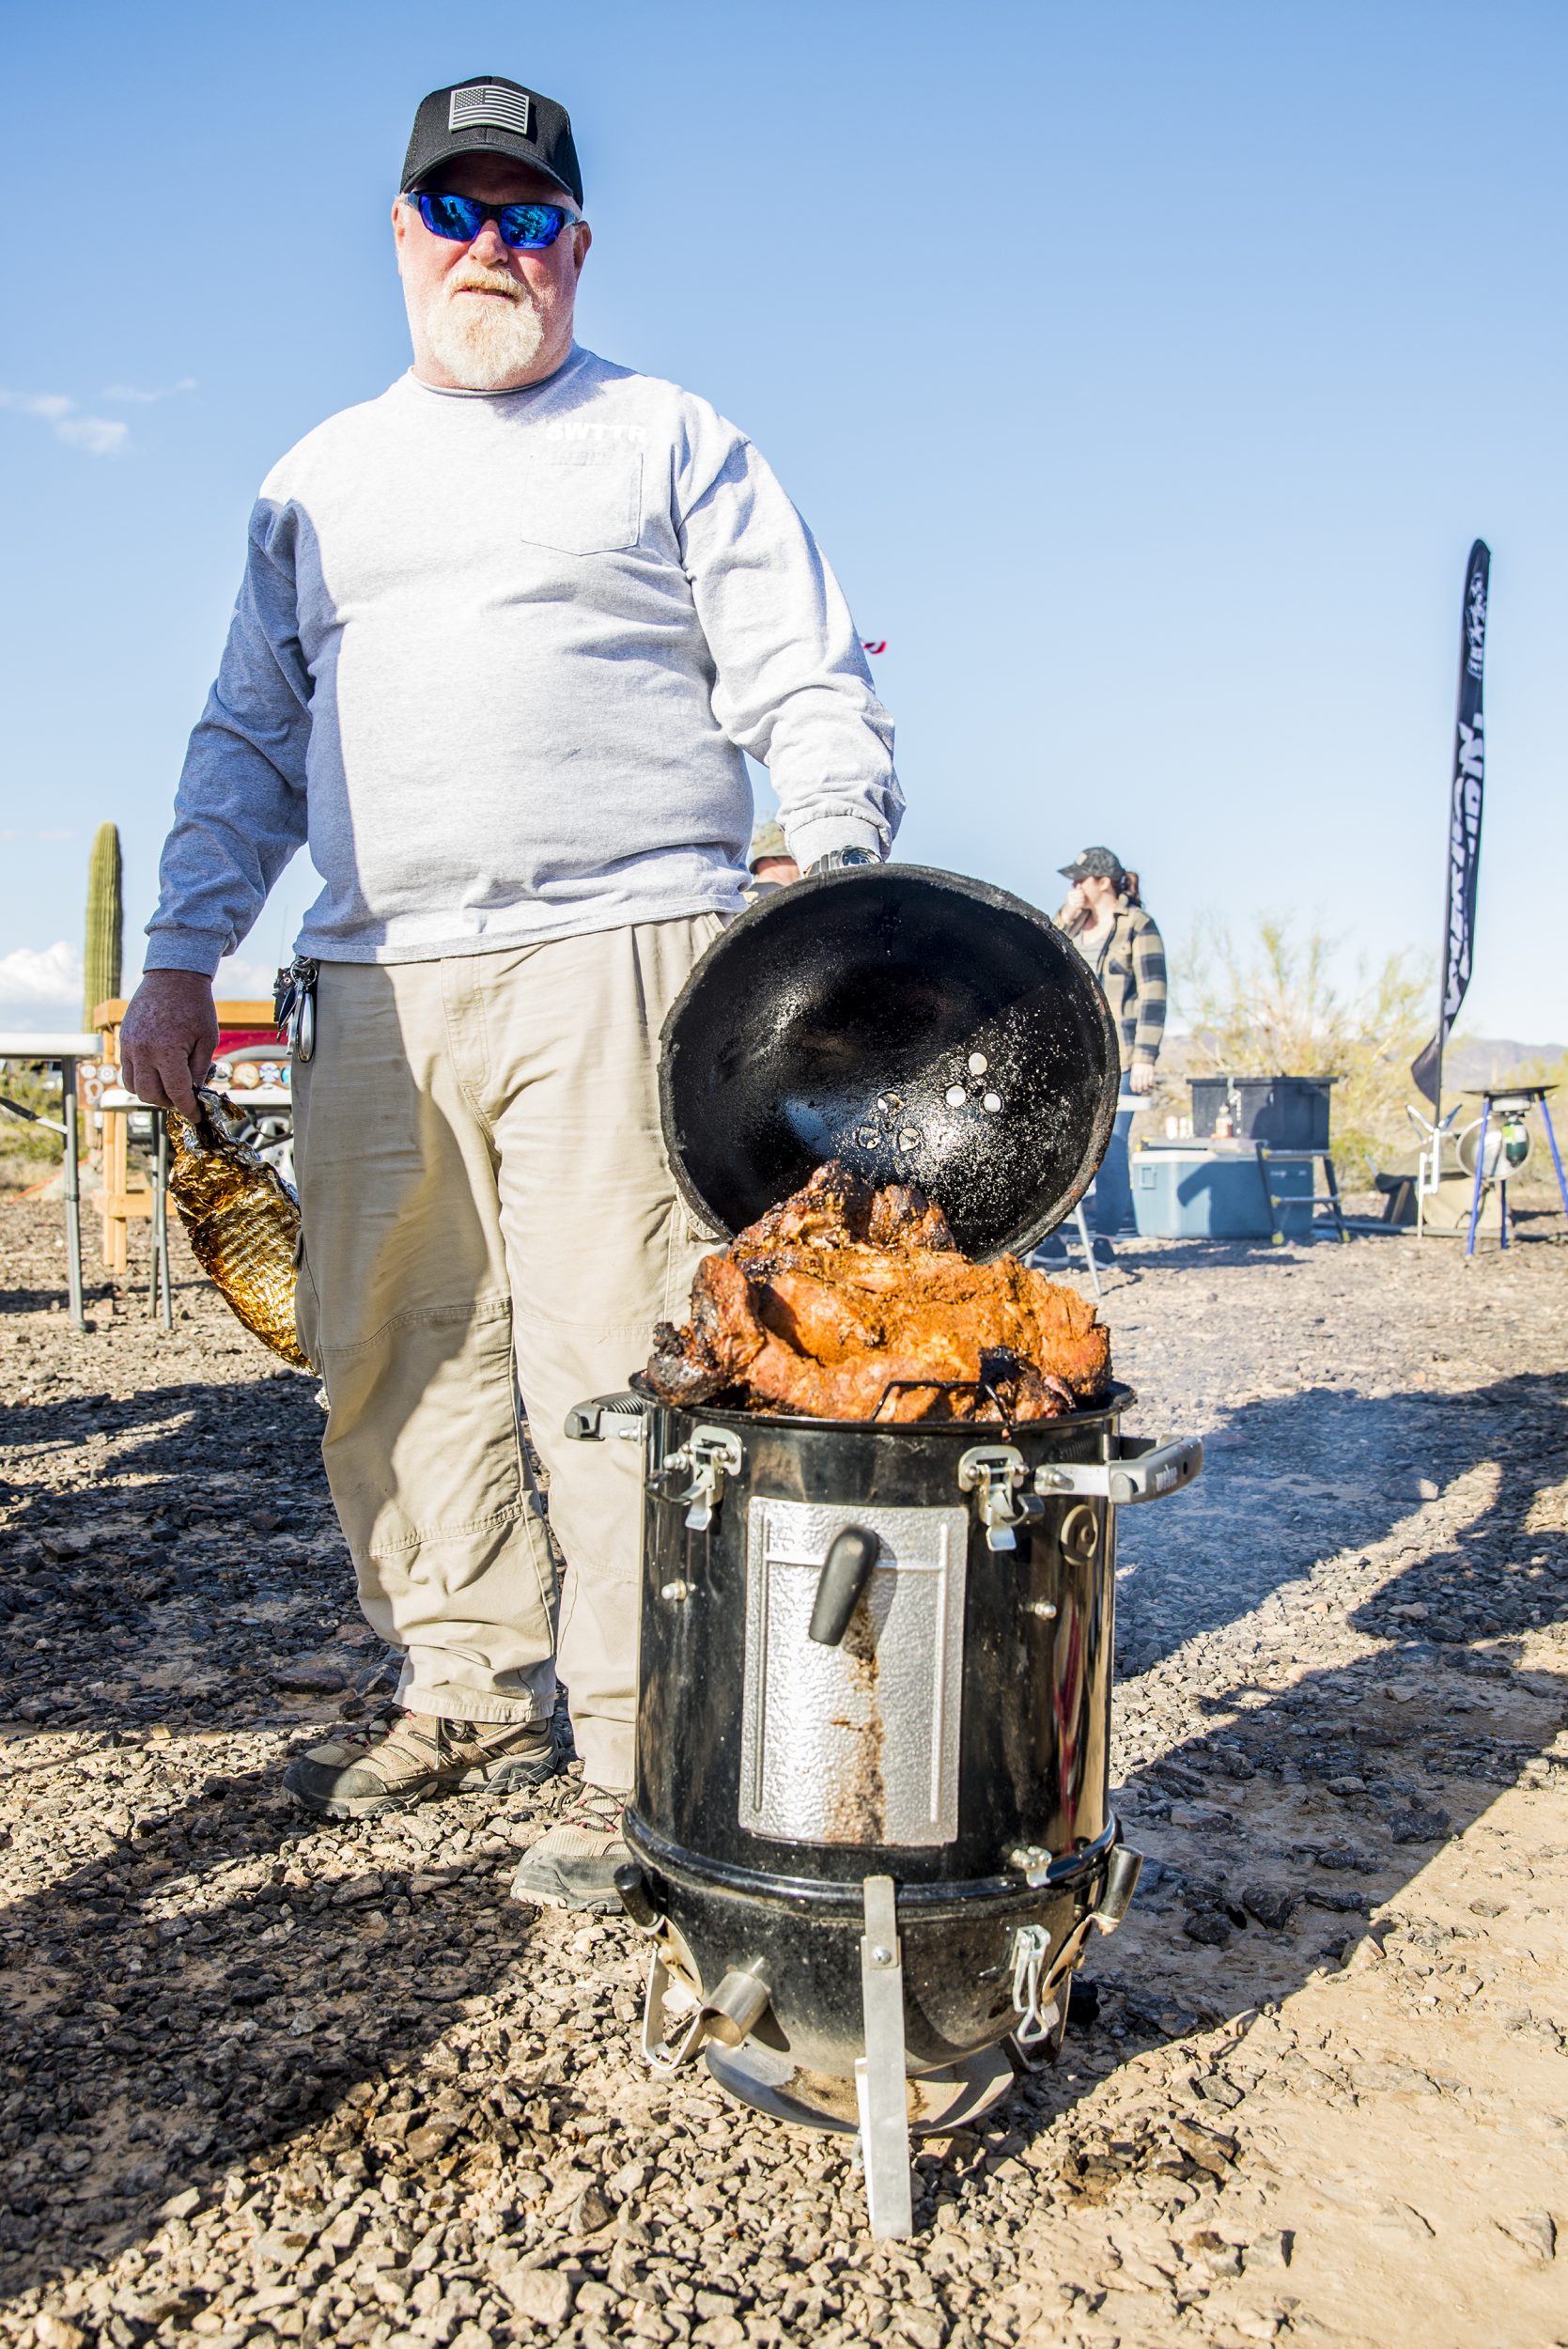
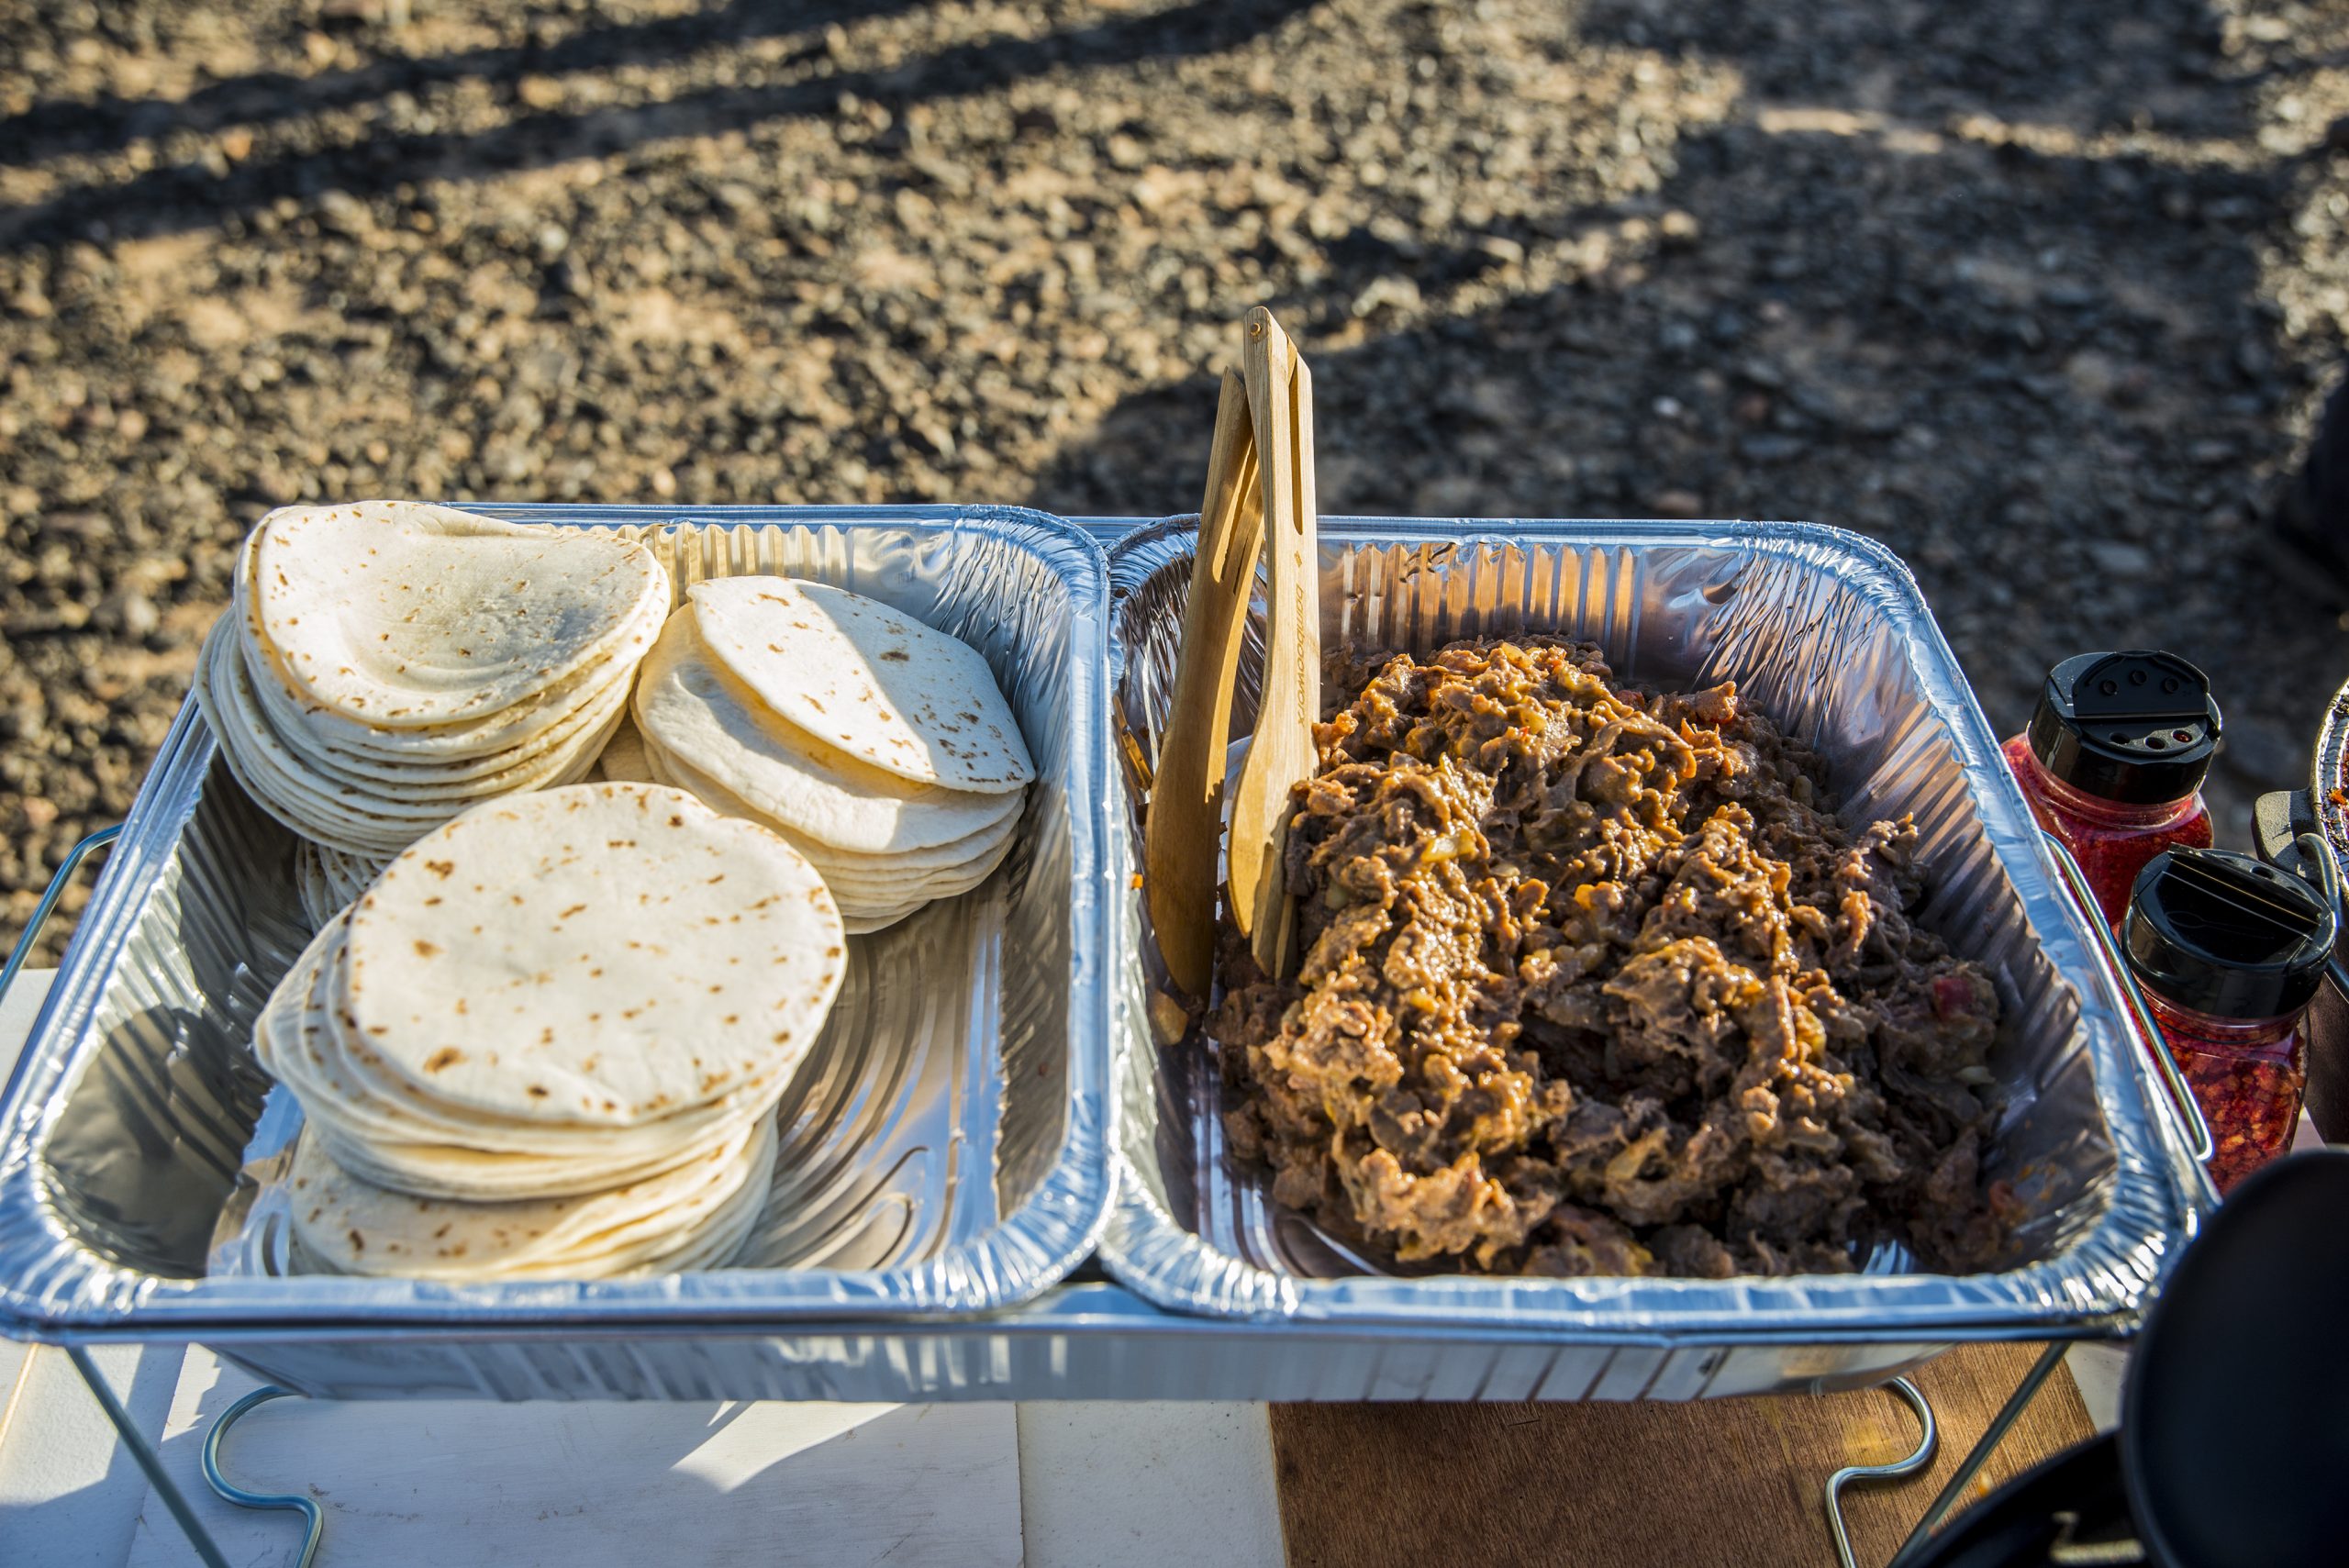
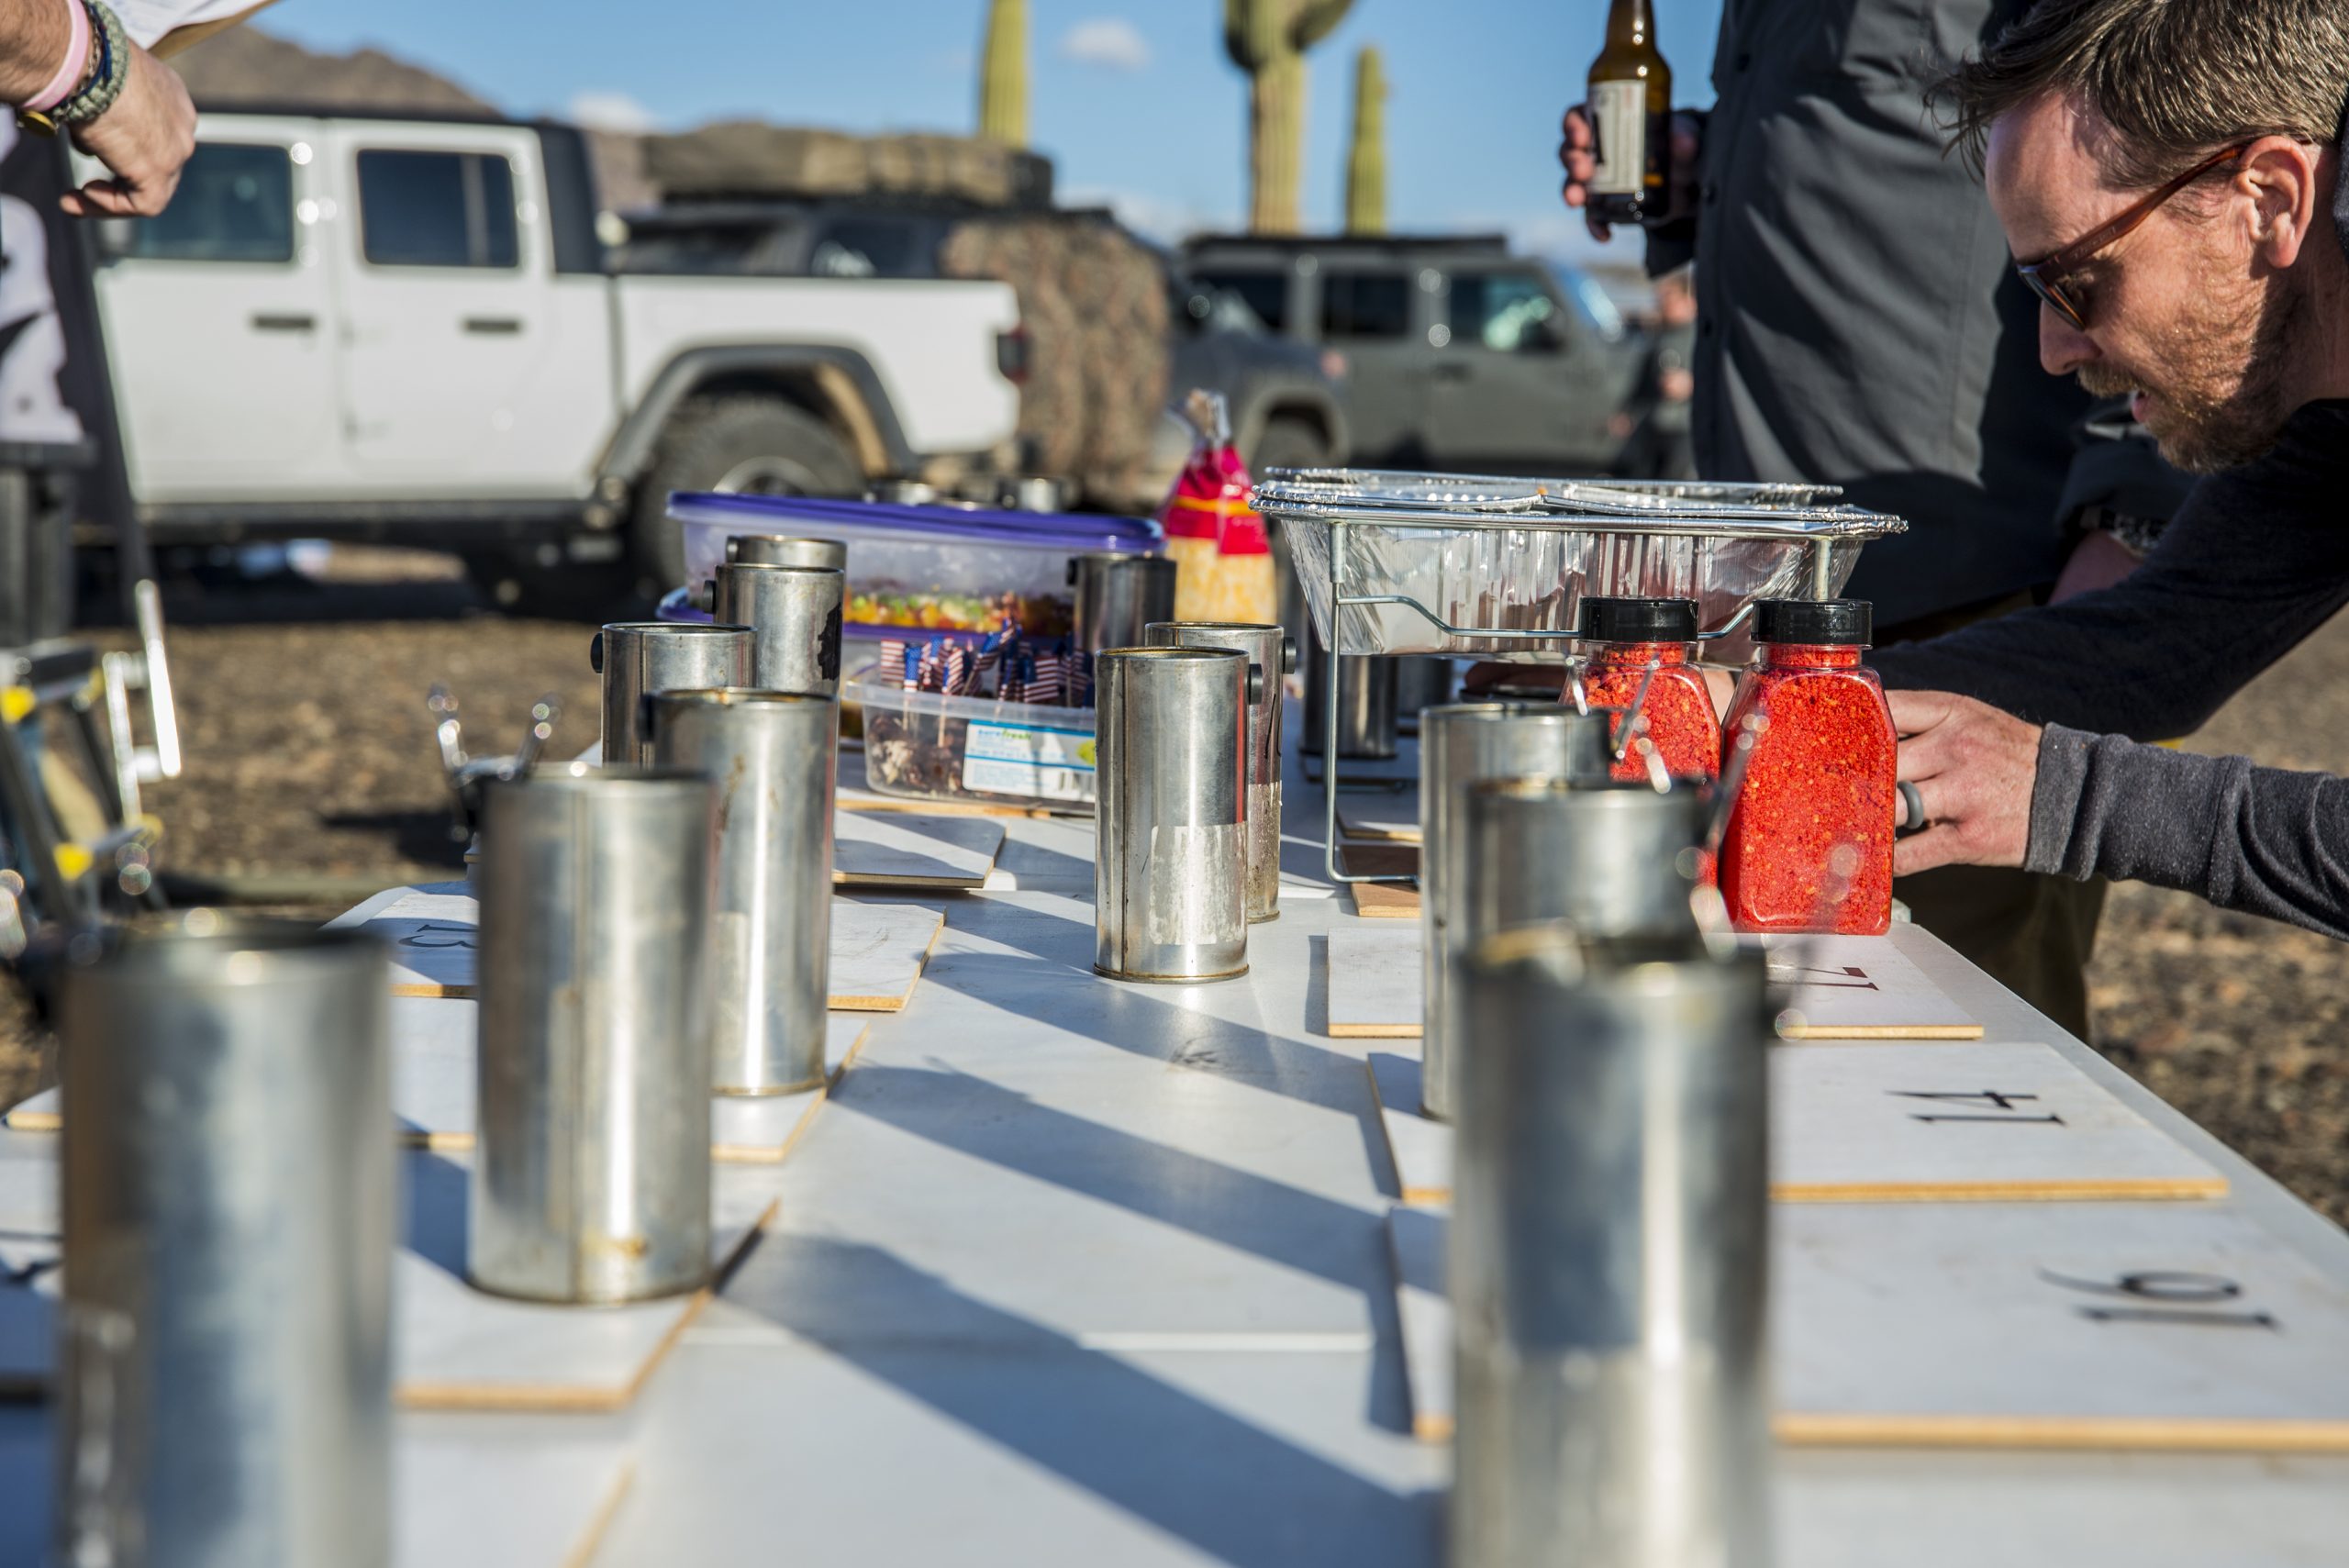
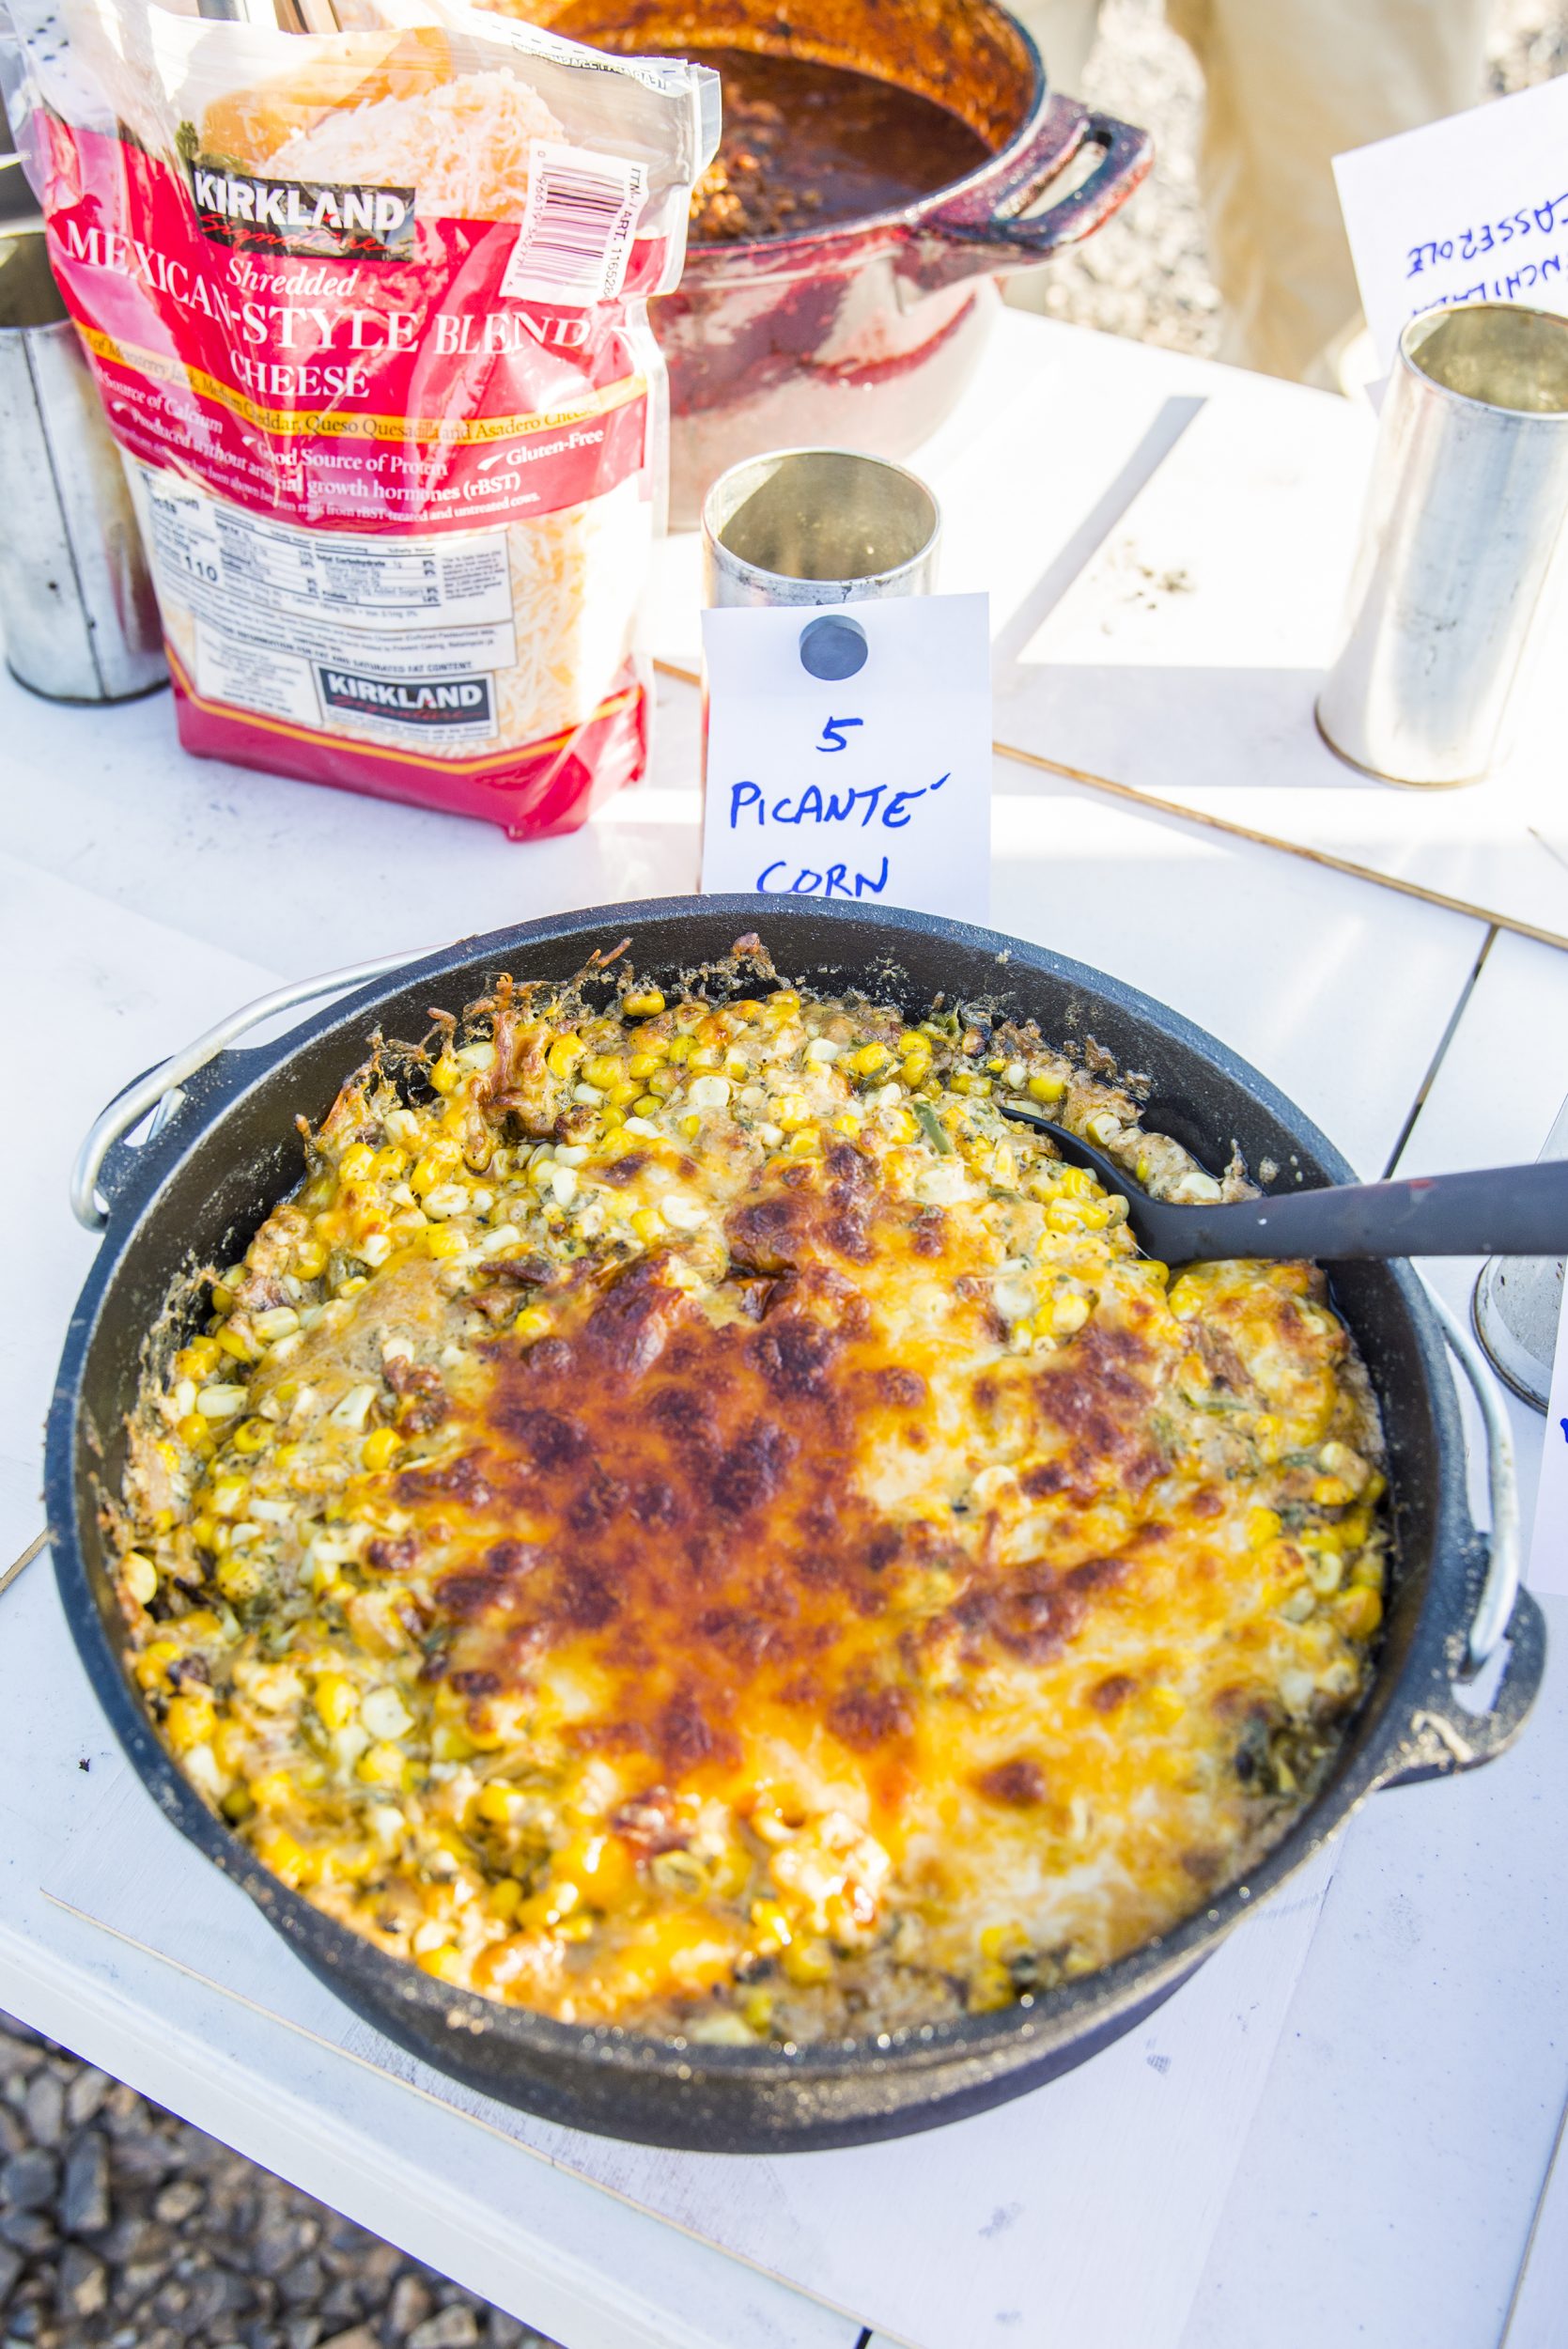
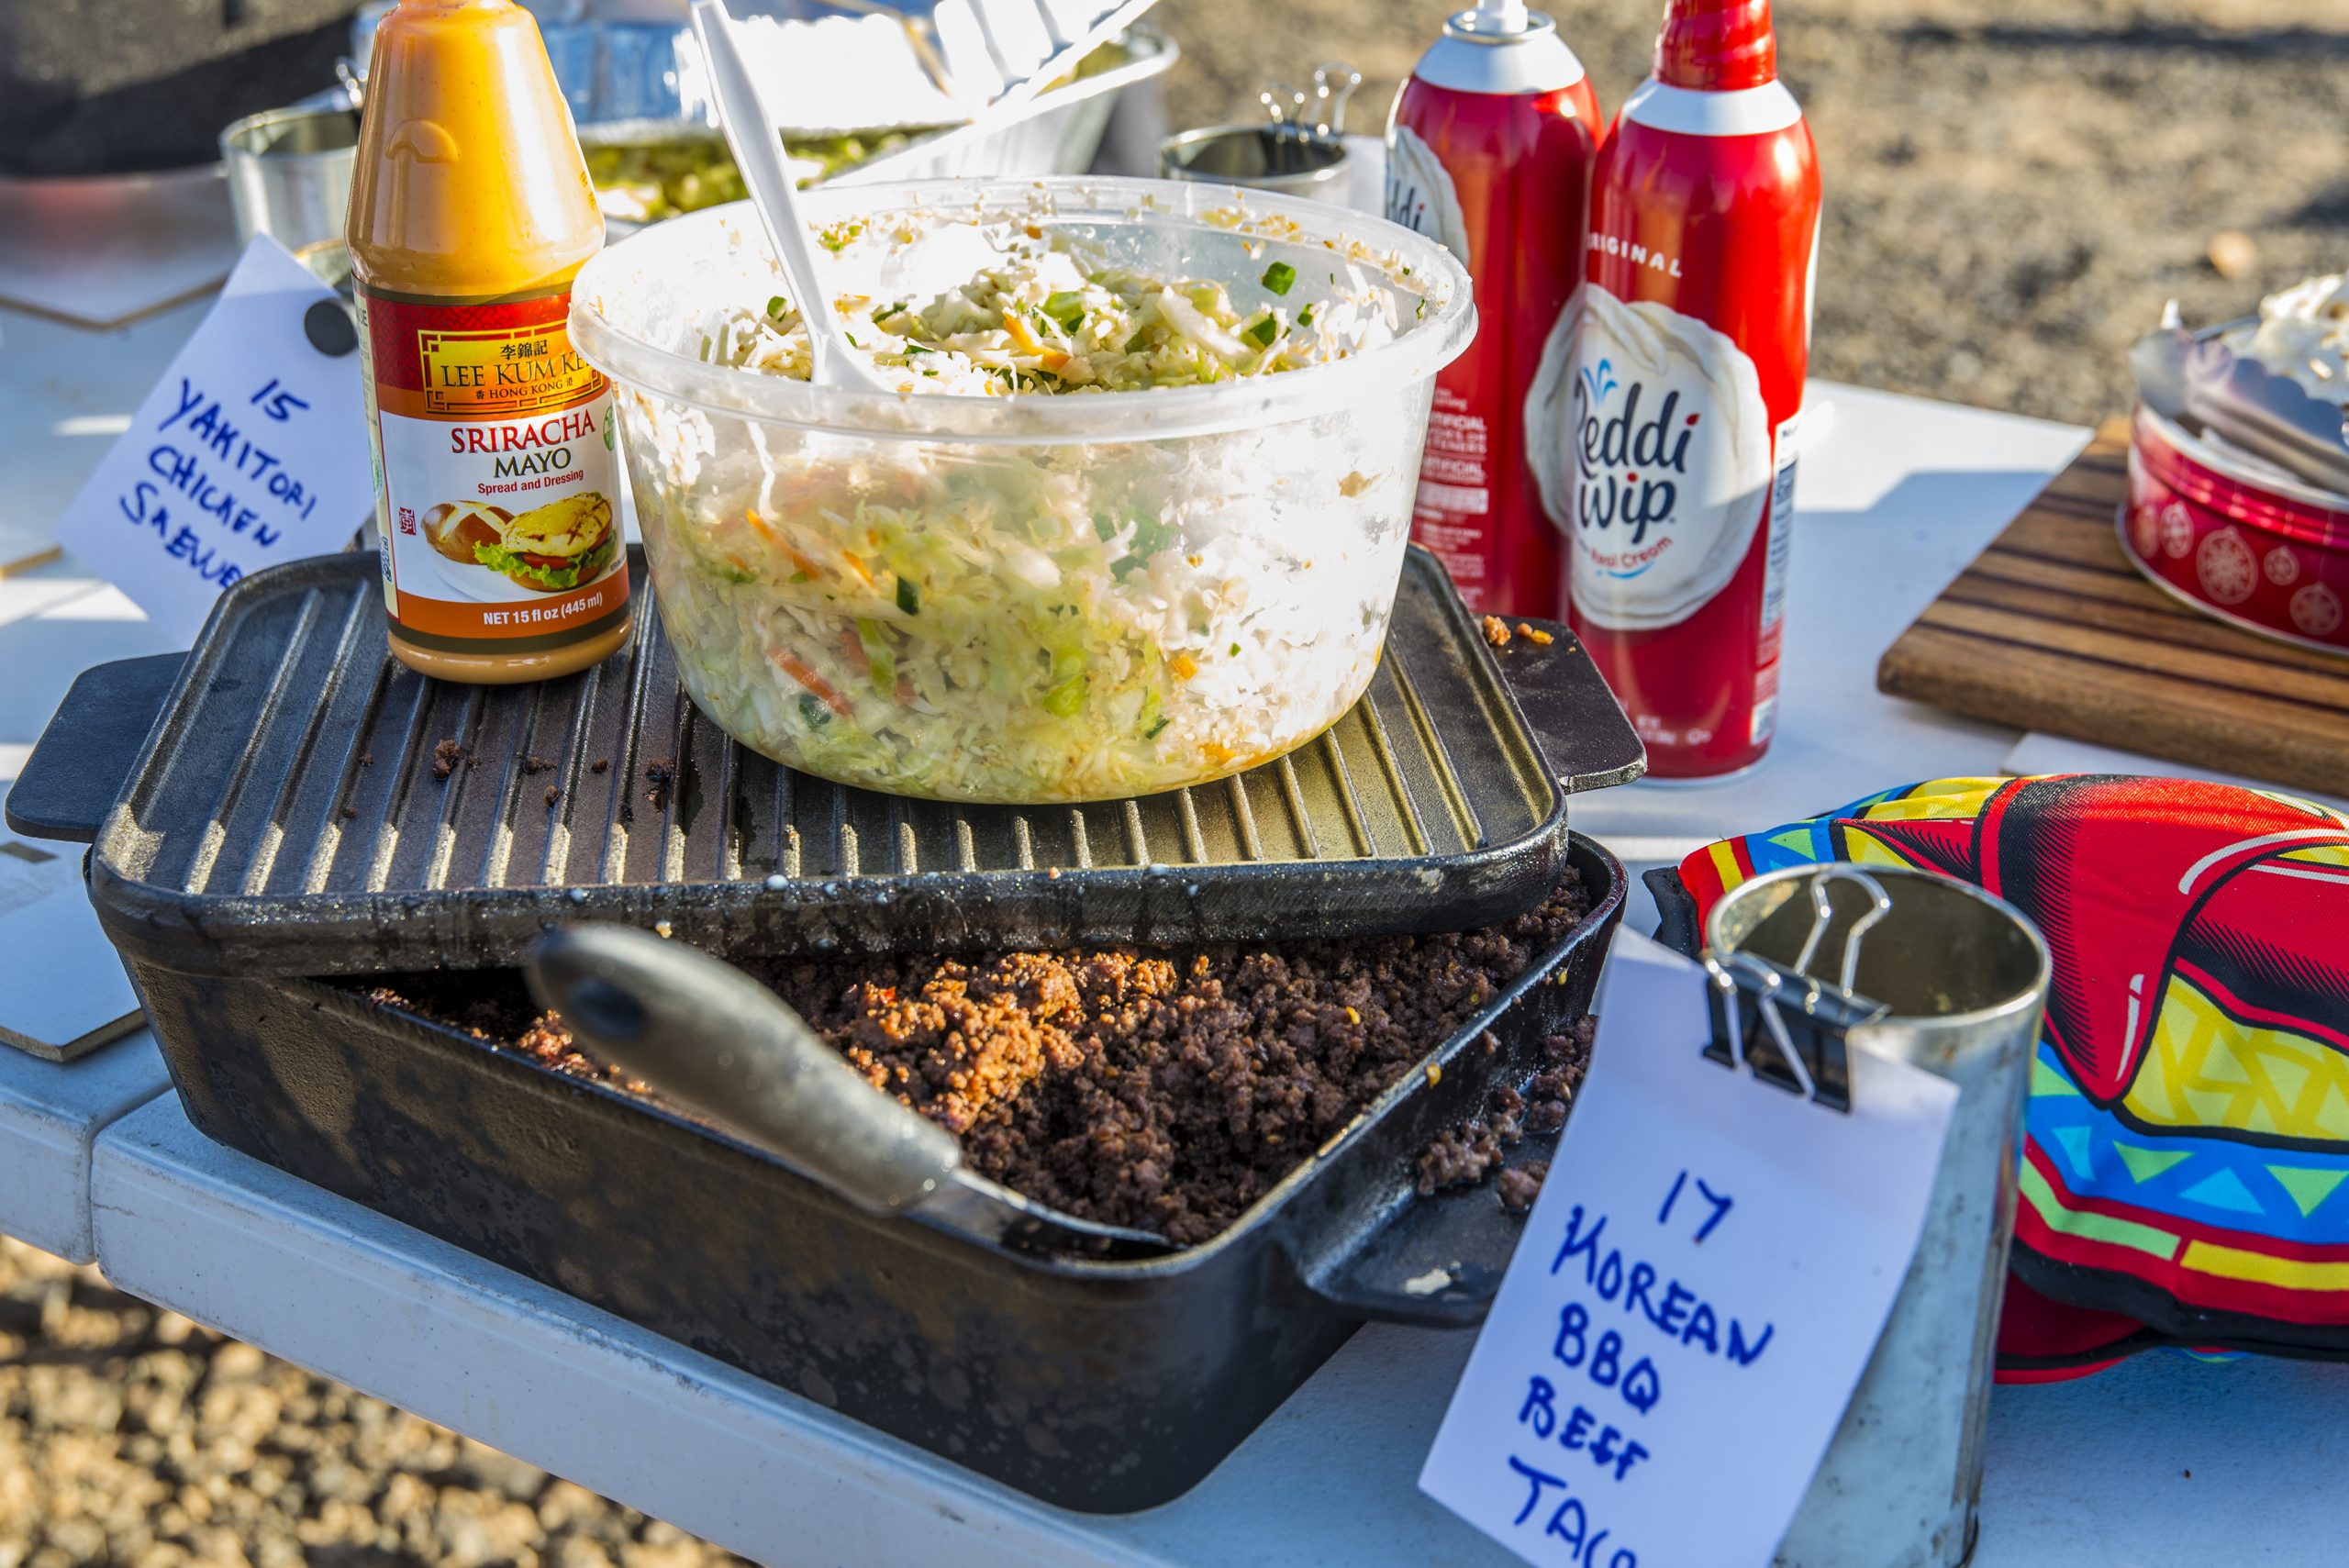
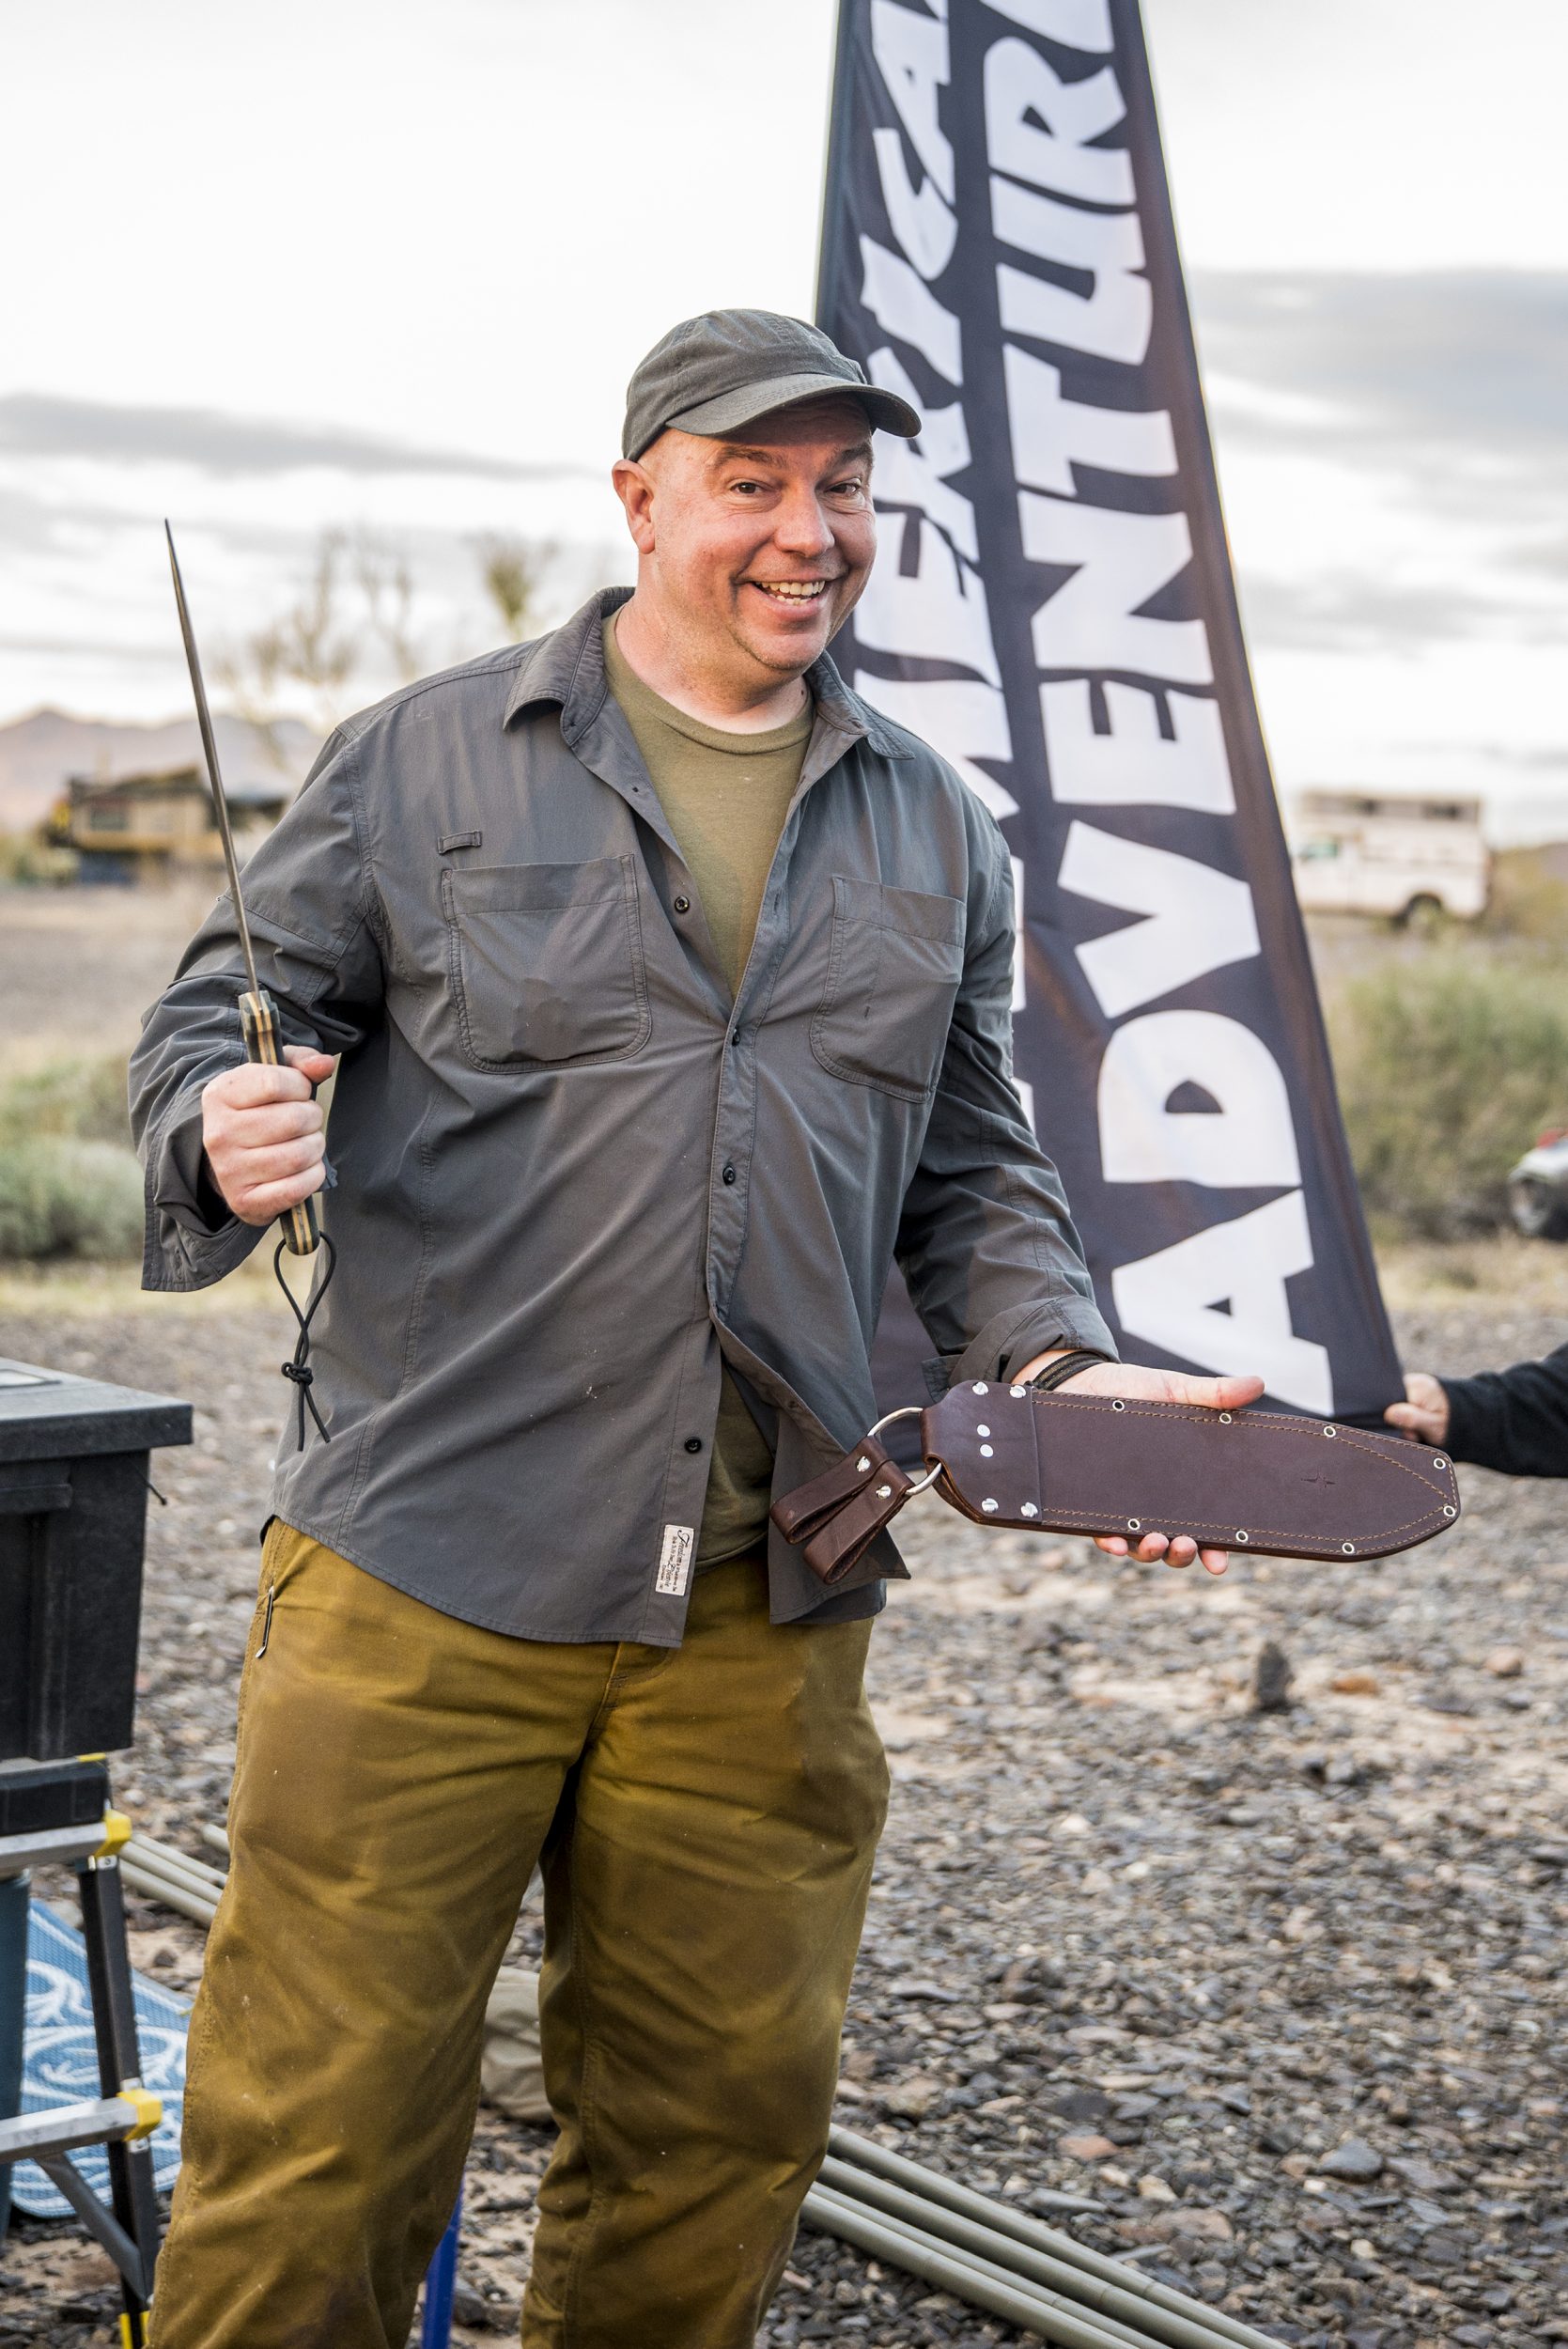
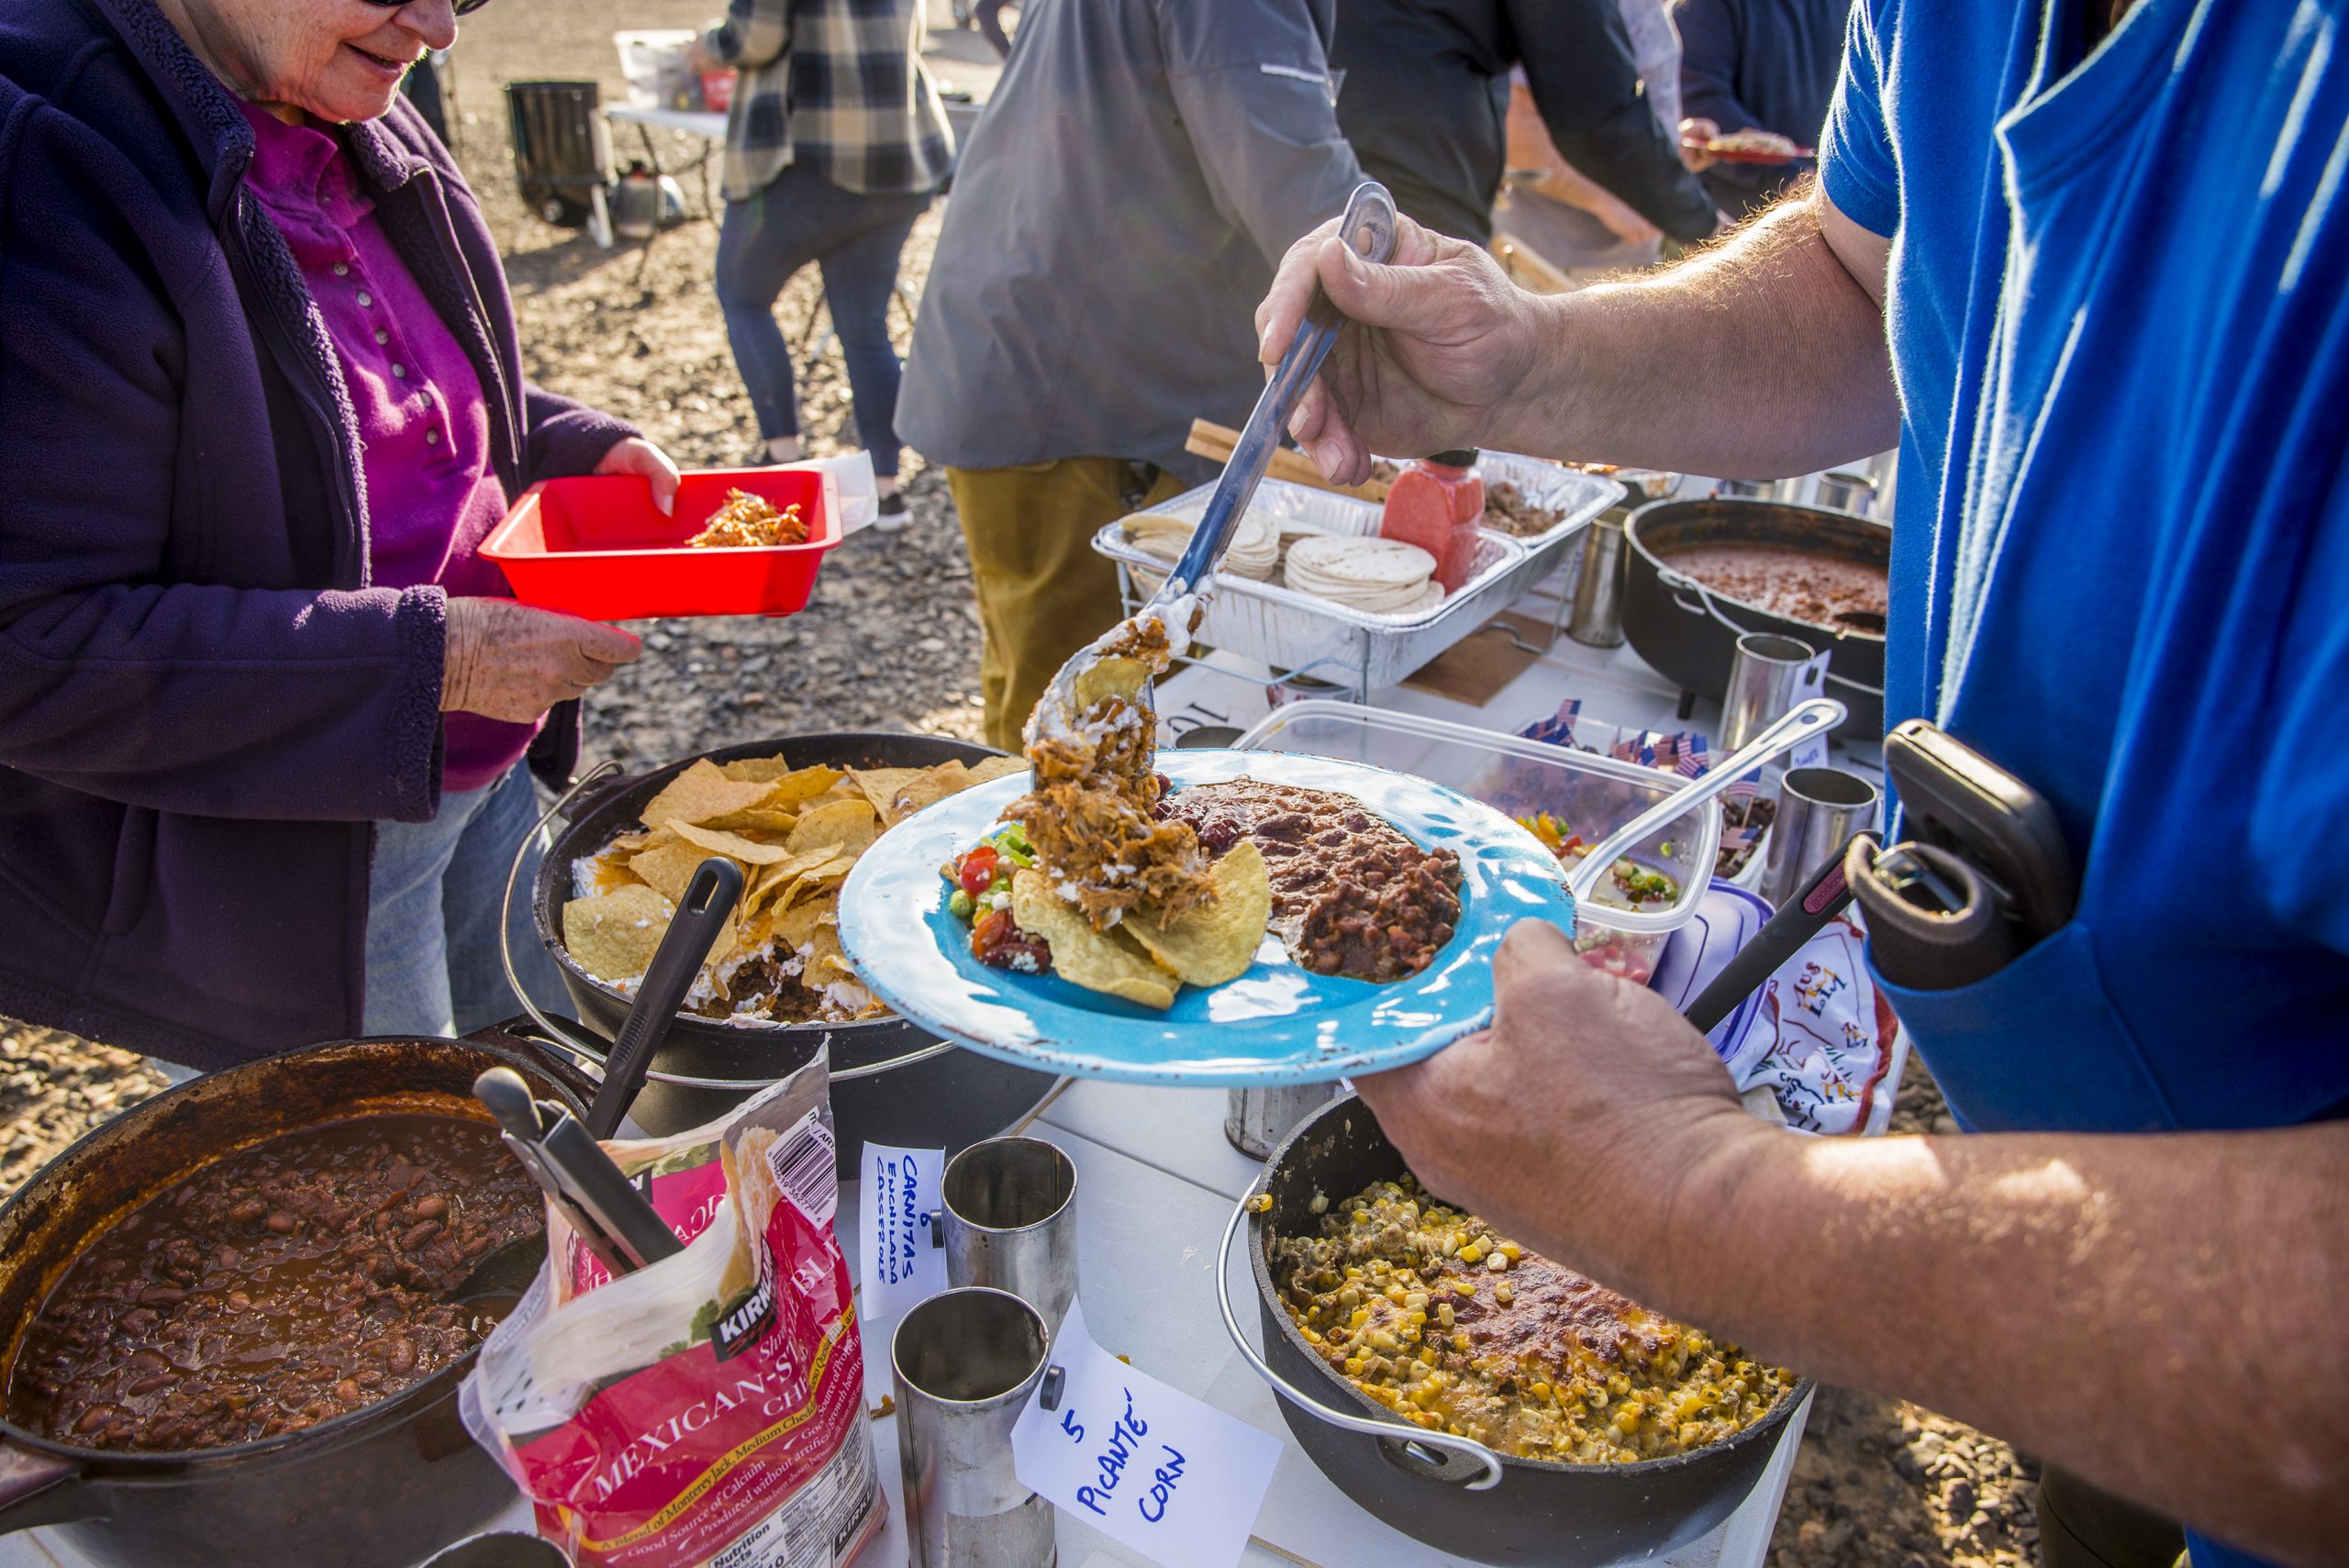
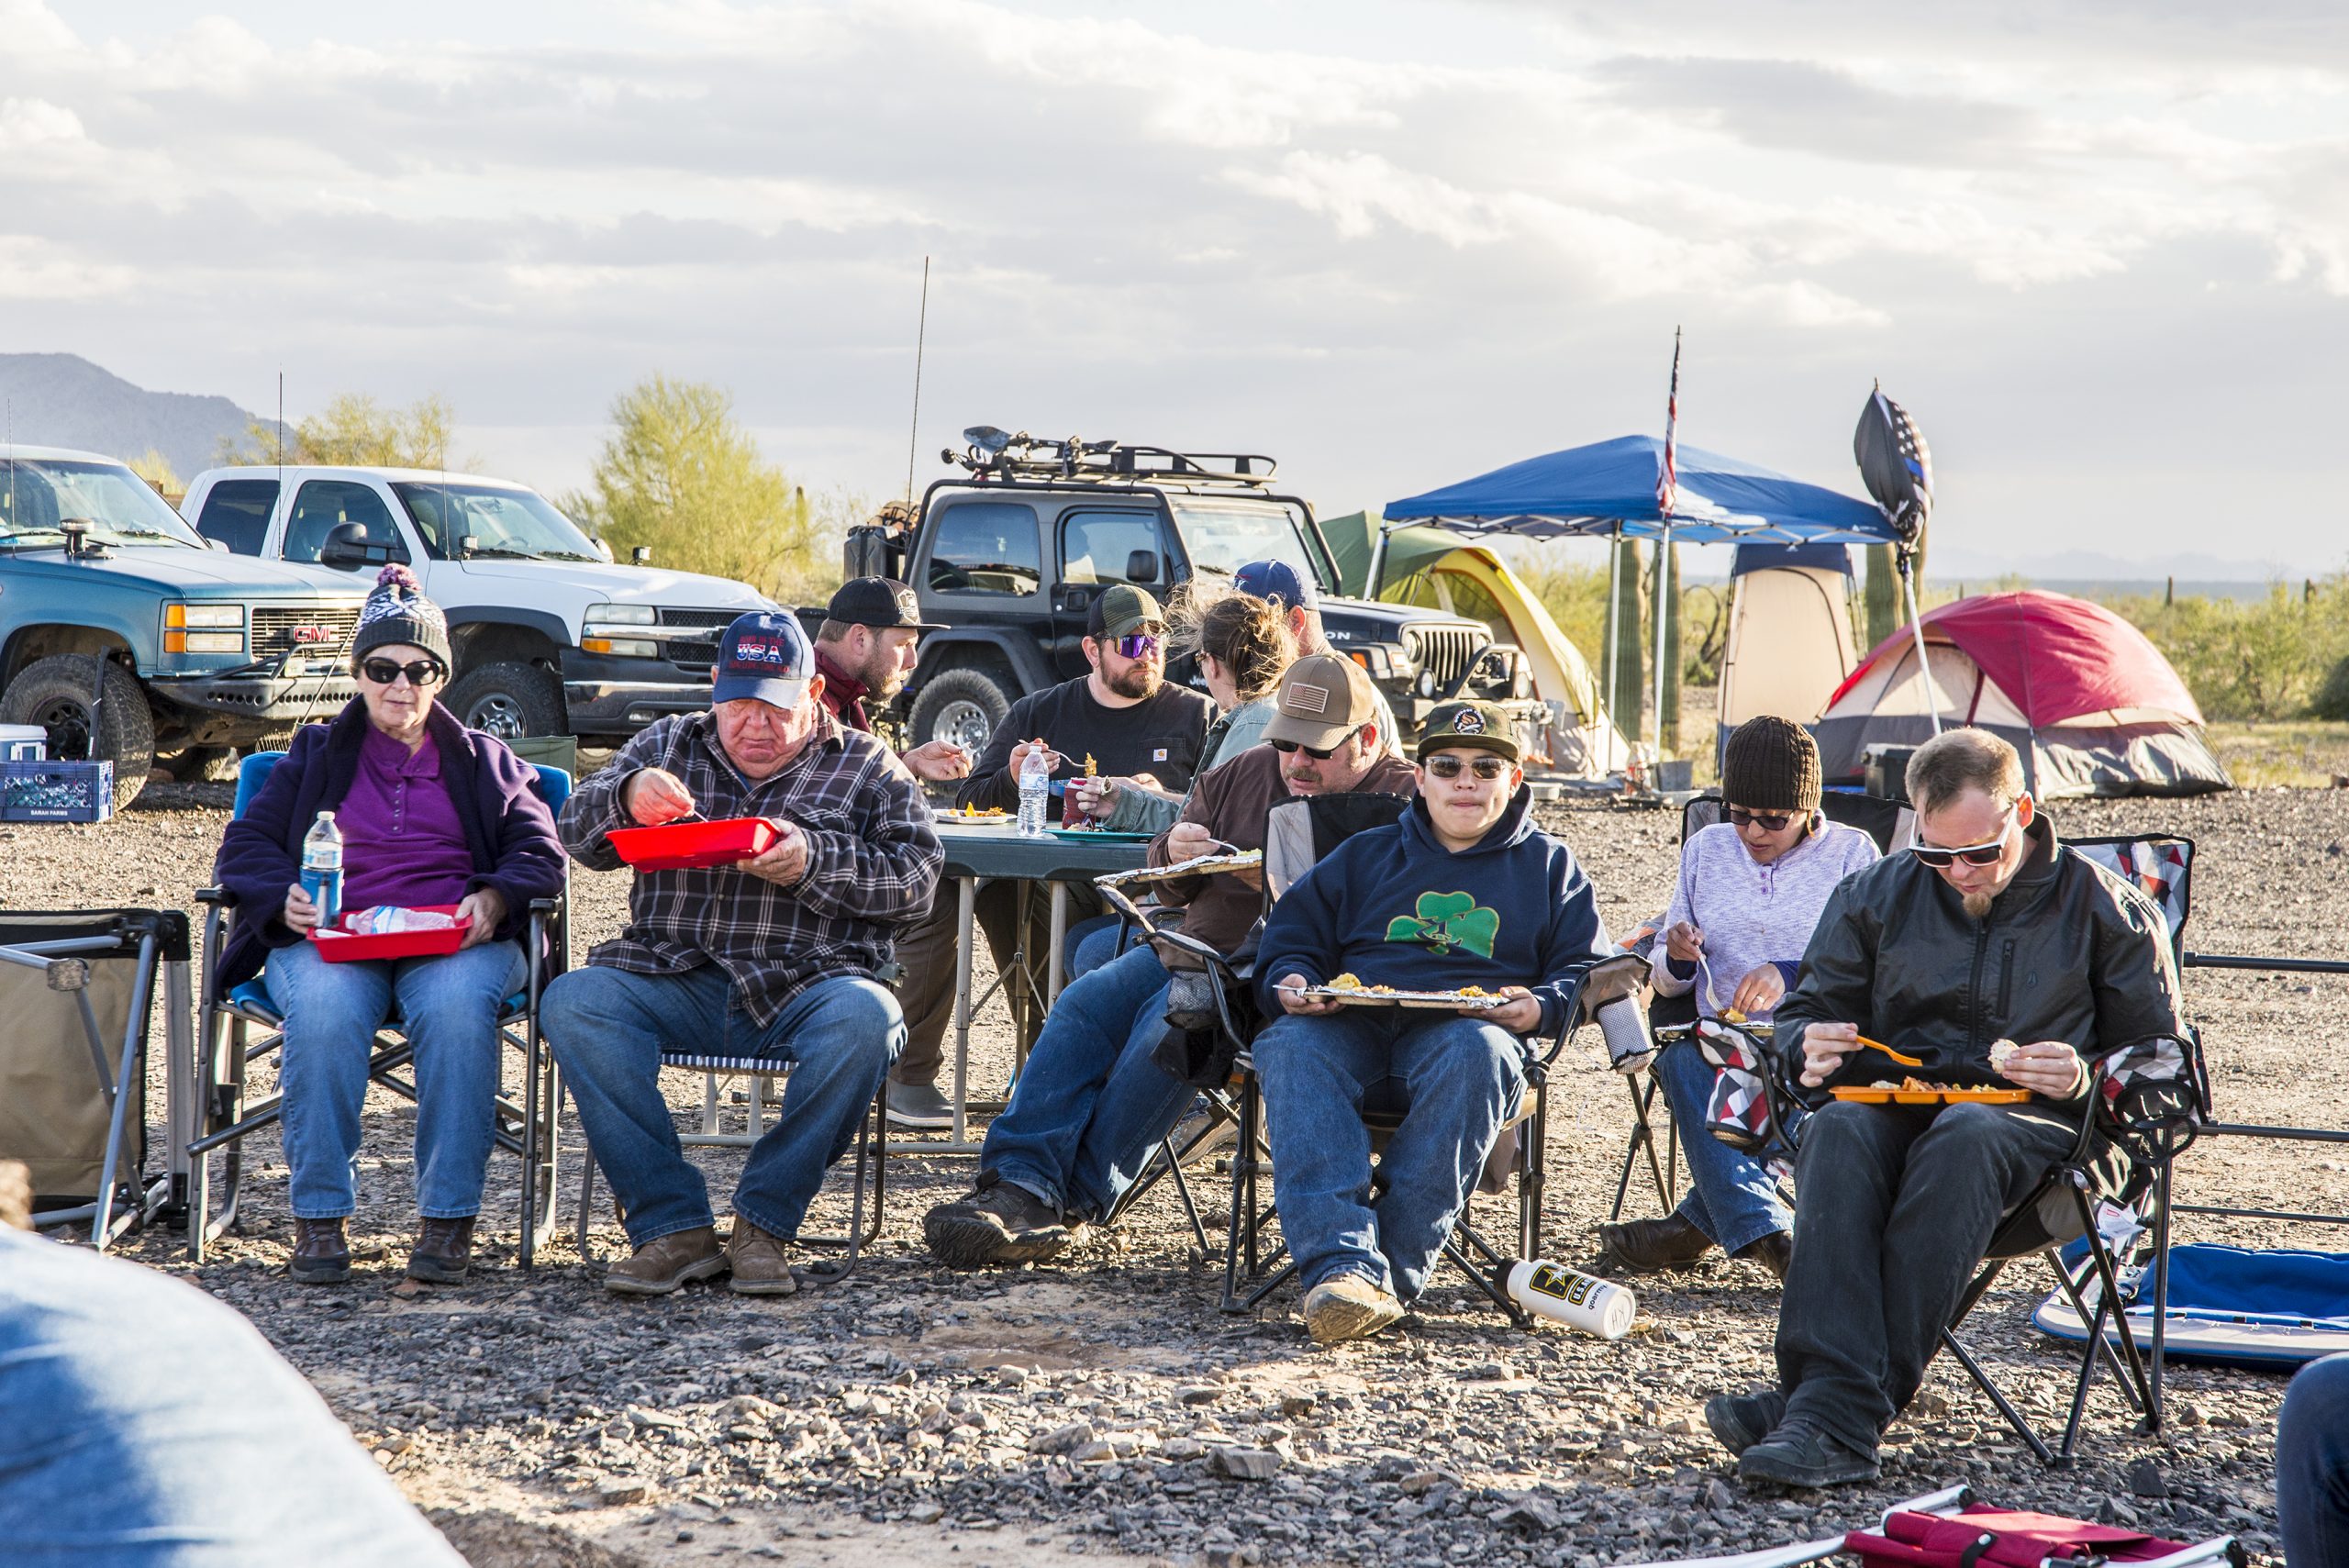
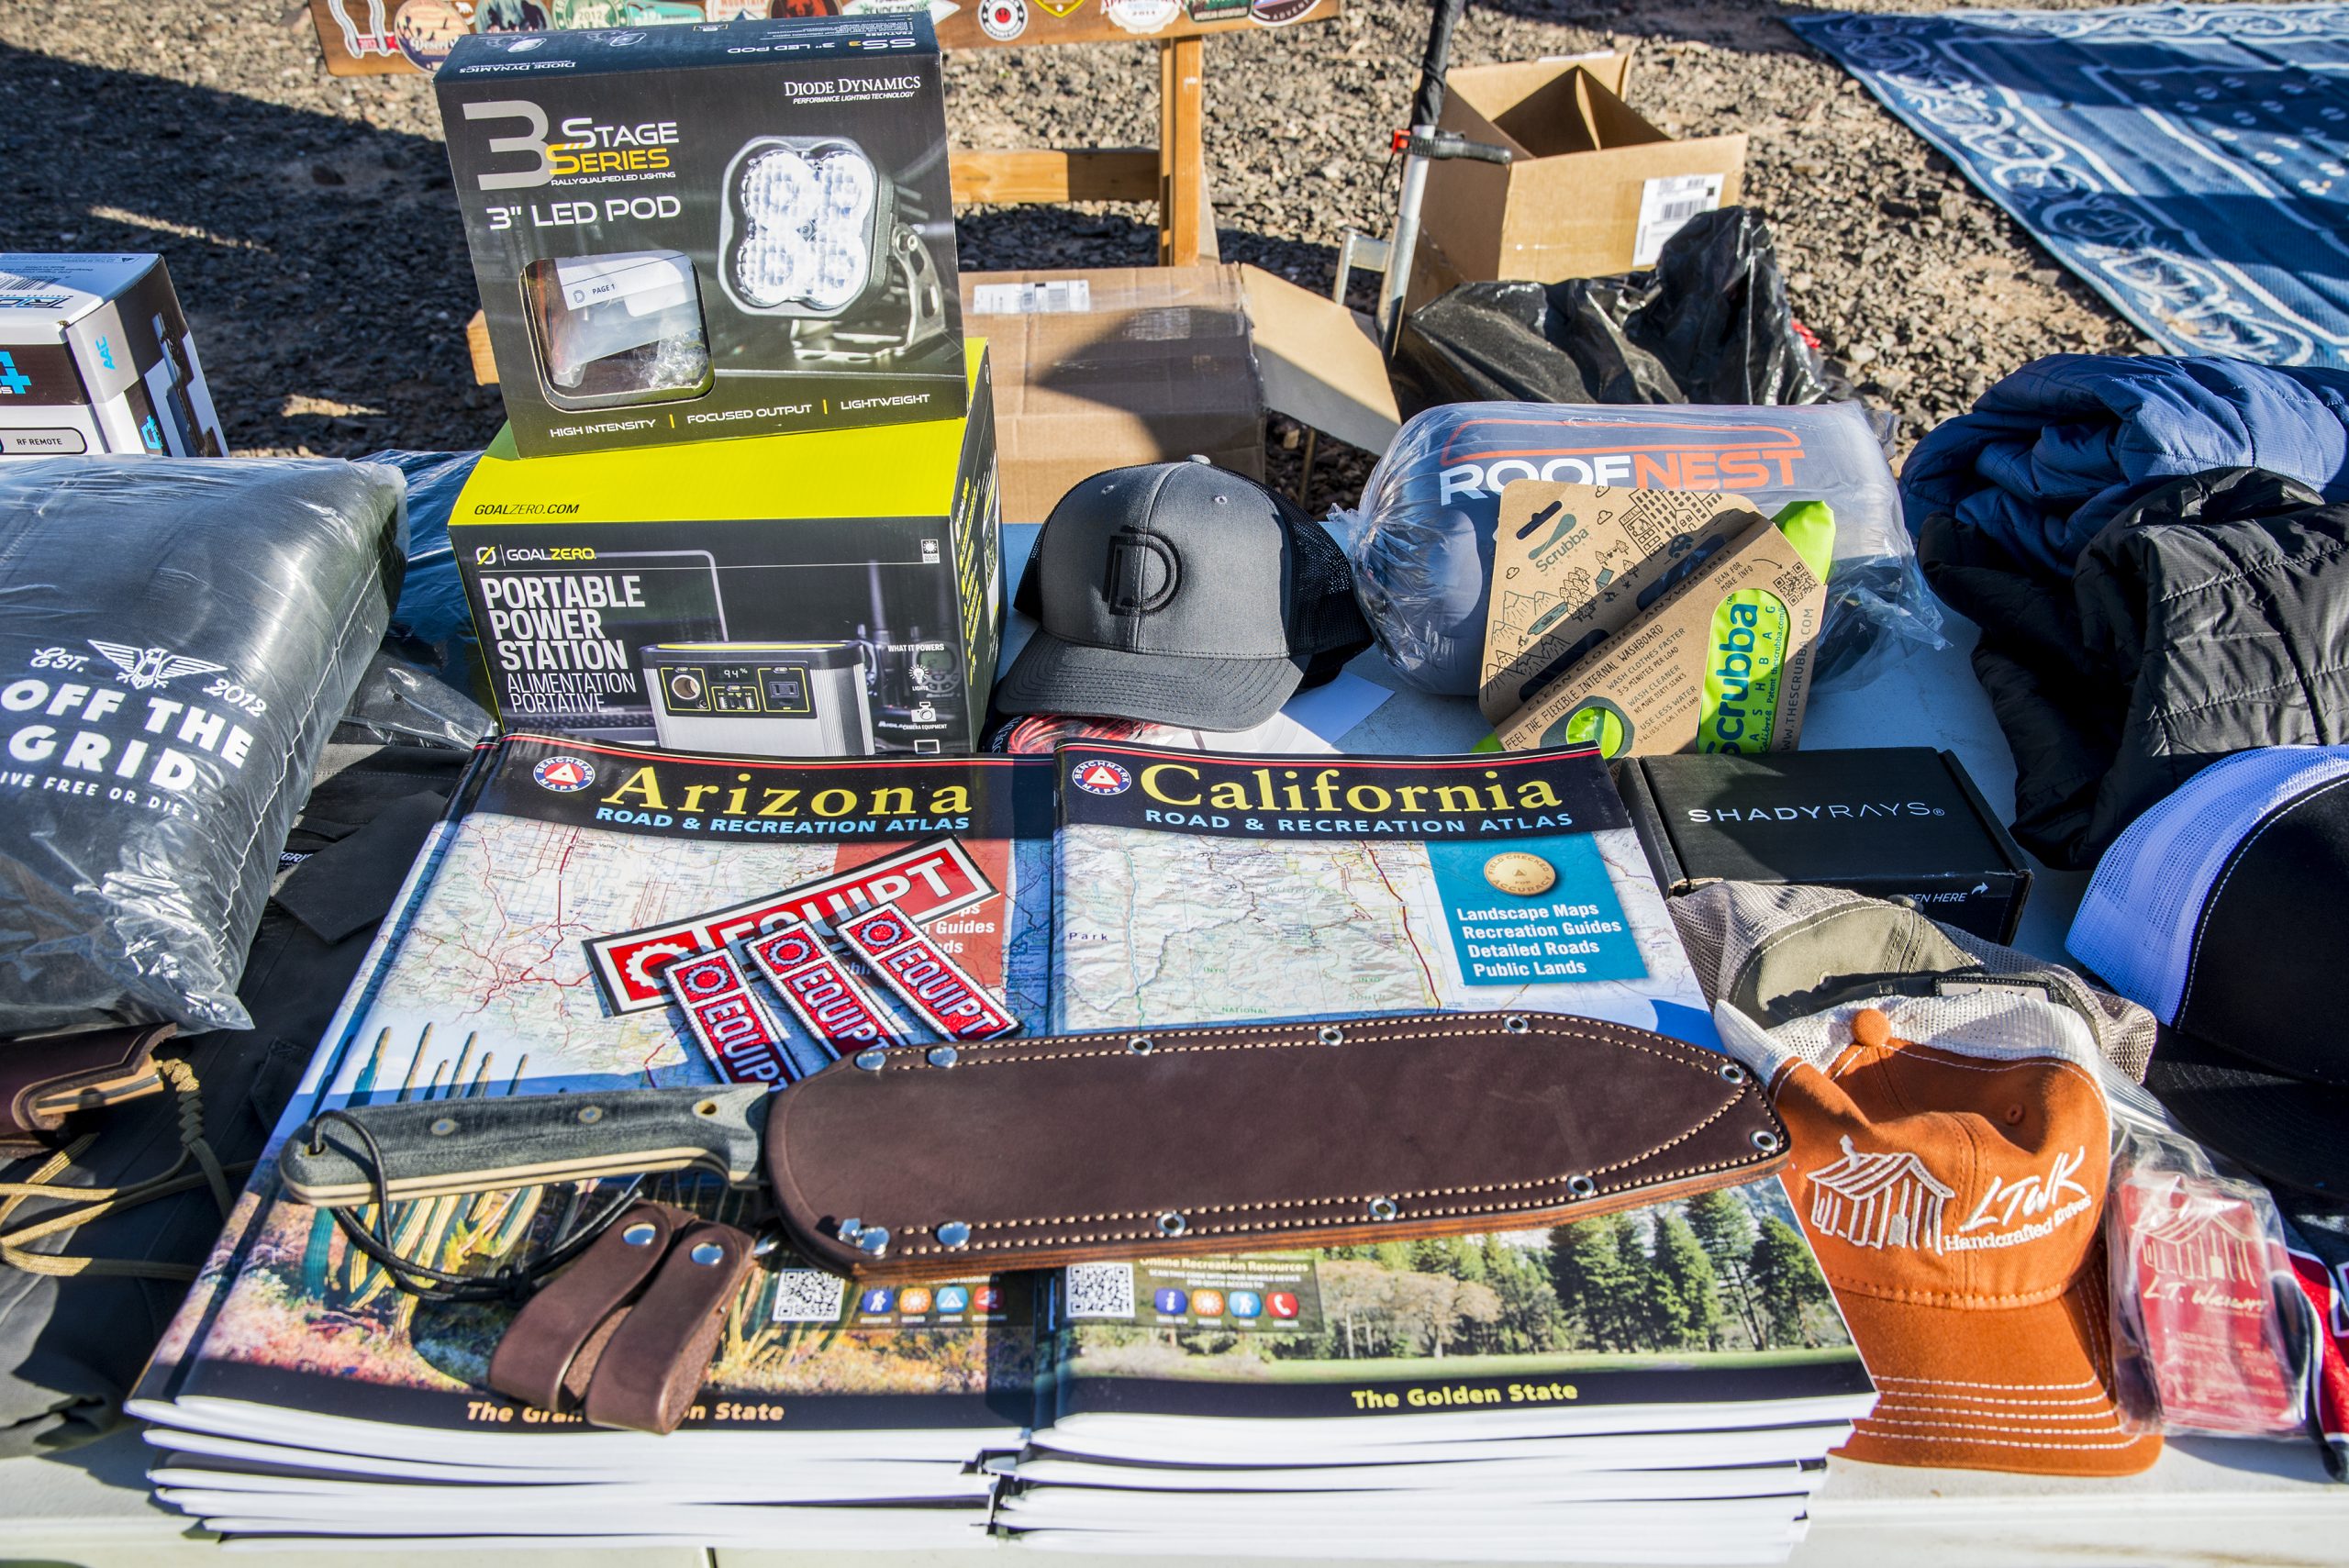
As the time for the Camp Cooking Competition/Potluck started closing in, more dishes began showing up on the table whether they were main dishes, side dishes, or even contributions to the potluck for all to share. There was a great variety of dishes from the numerous competitors, from several varieties of excellent chili to Korean tacos, ramen salad, and even apple cobbler. All the dishes were mouth watering as the Adventurists cast their votes, dropping their tickets into their chosen dishes. A massive thank you to all those who participated as this one really brings the community together. The prizes for this competition were sponsored by L.T. Wright Knives and the competitors were itching to reach the top three and win one of their amazing, handcrafted made in USA blades.
Through community vote, the winners of this years 2020 Desert Rendezvous Camp Cooking Competition are:

Third Place: @aherrera with his Lazy Lasagna, winning a Kitchen/Boning Knife from L.T. Wright Knives

Second Place: @ TACMEDIC with his Dutch Oven Apple Cobbler, winning the Machete from L.T,Wright Knives

And First Place: @Bald_taco and their Korean BBQ Beef Tacos, winning the Grand Prize pack of a Boning Knife, Machete and Hat from L.T. Wright Knives.

Congratulations to the winners! And again, a HUGE thank you to those who participated in this very important part of every Rendezvous event. It’s always fun to try new things but also even more fun to one-up the last winner’s dish. Don’t forget that you can use whatever means you’d like to use to cook with (dutch oven, camp stove, smoker, open flame etc), but we always encourage you to bring the cooking over to the main fire pit so as to bring the competitors together to see what others are doing and to possibly stir up fun and new ideas for next time. And don’t forget to bring your own plate – no one goes hungry at a Rendezvous!

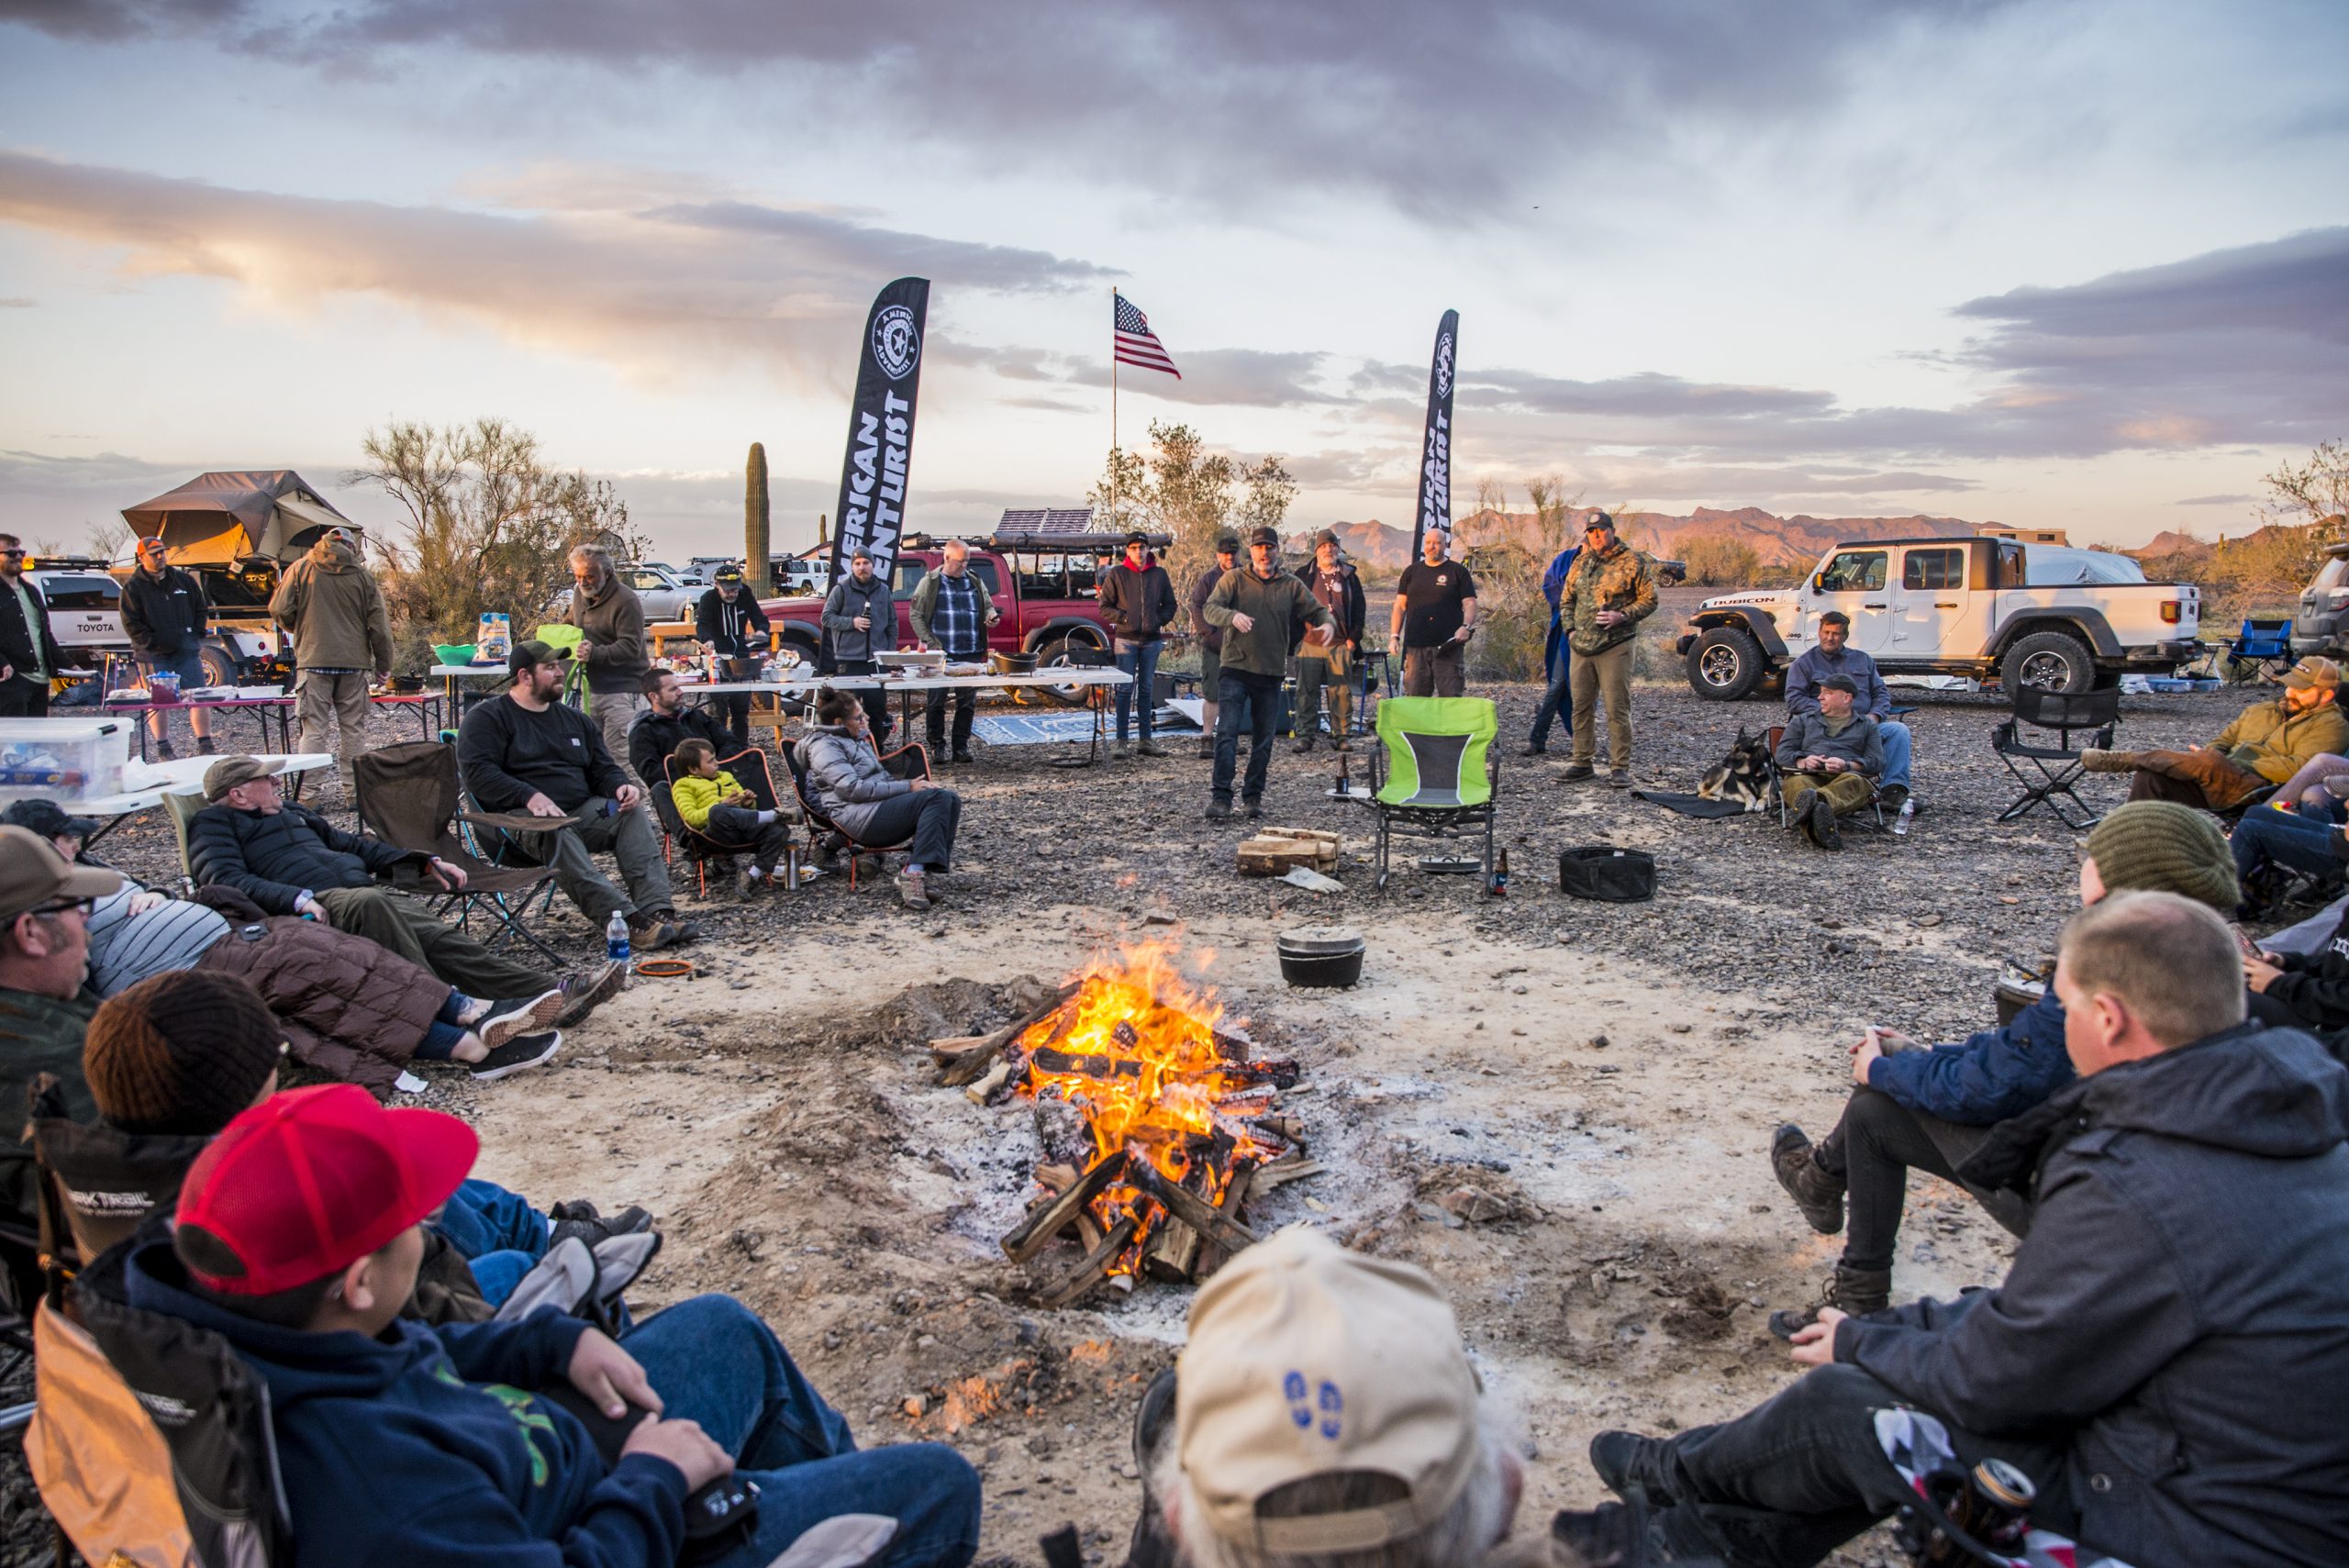
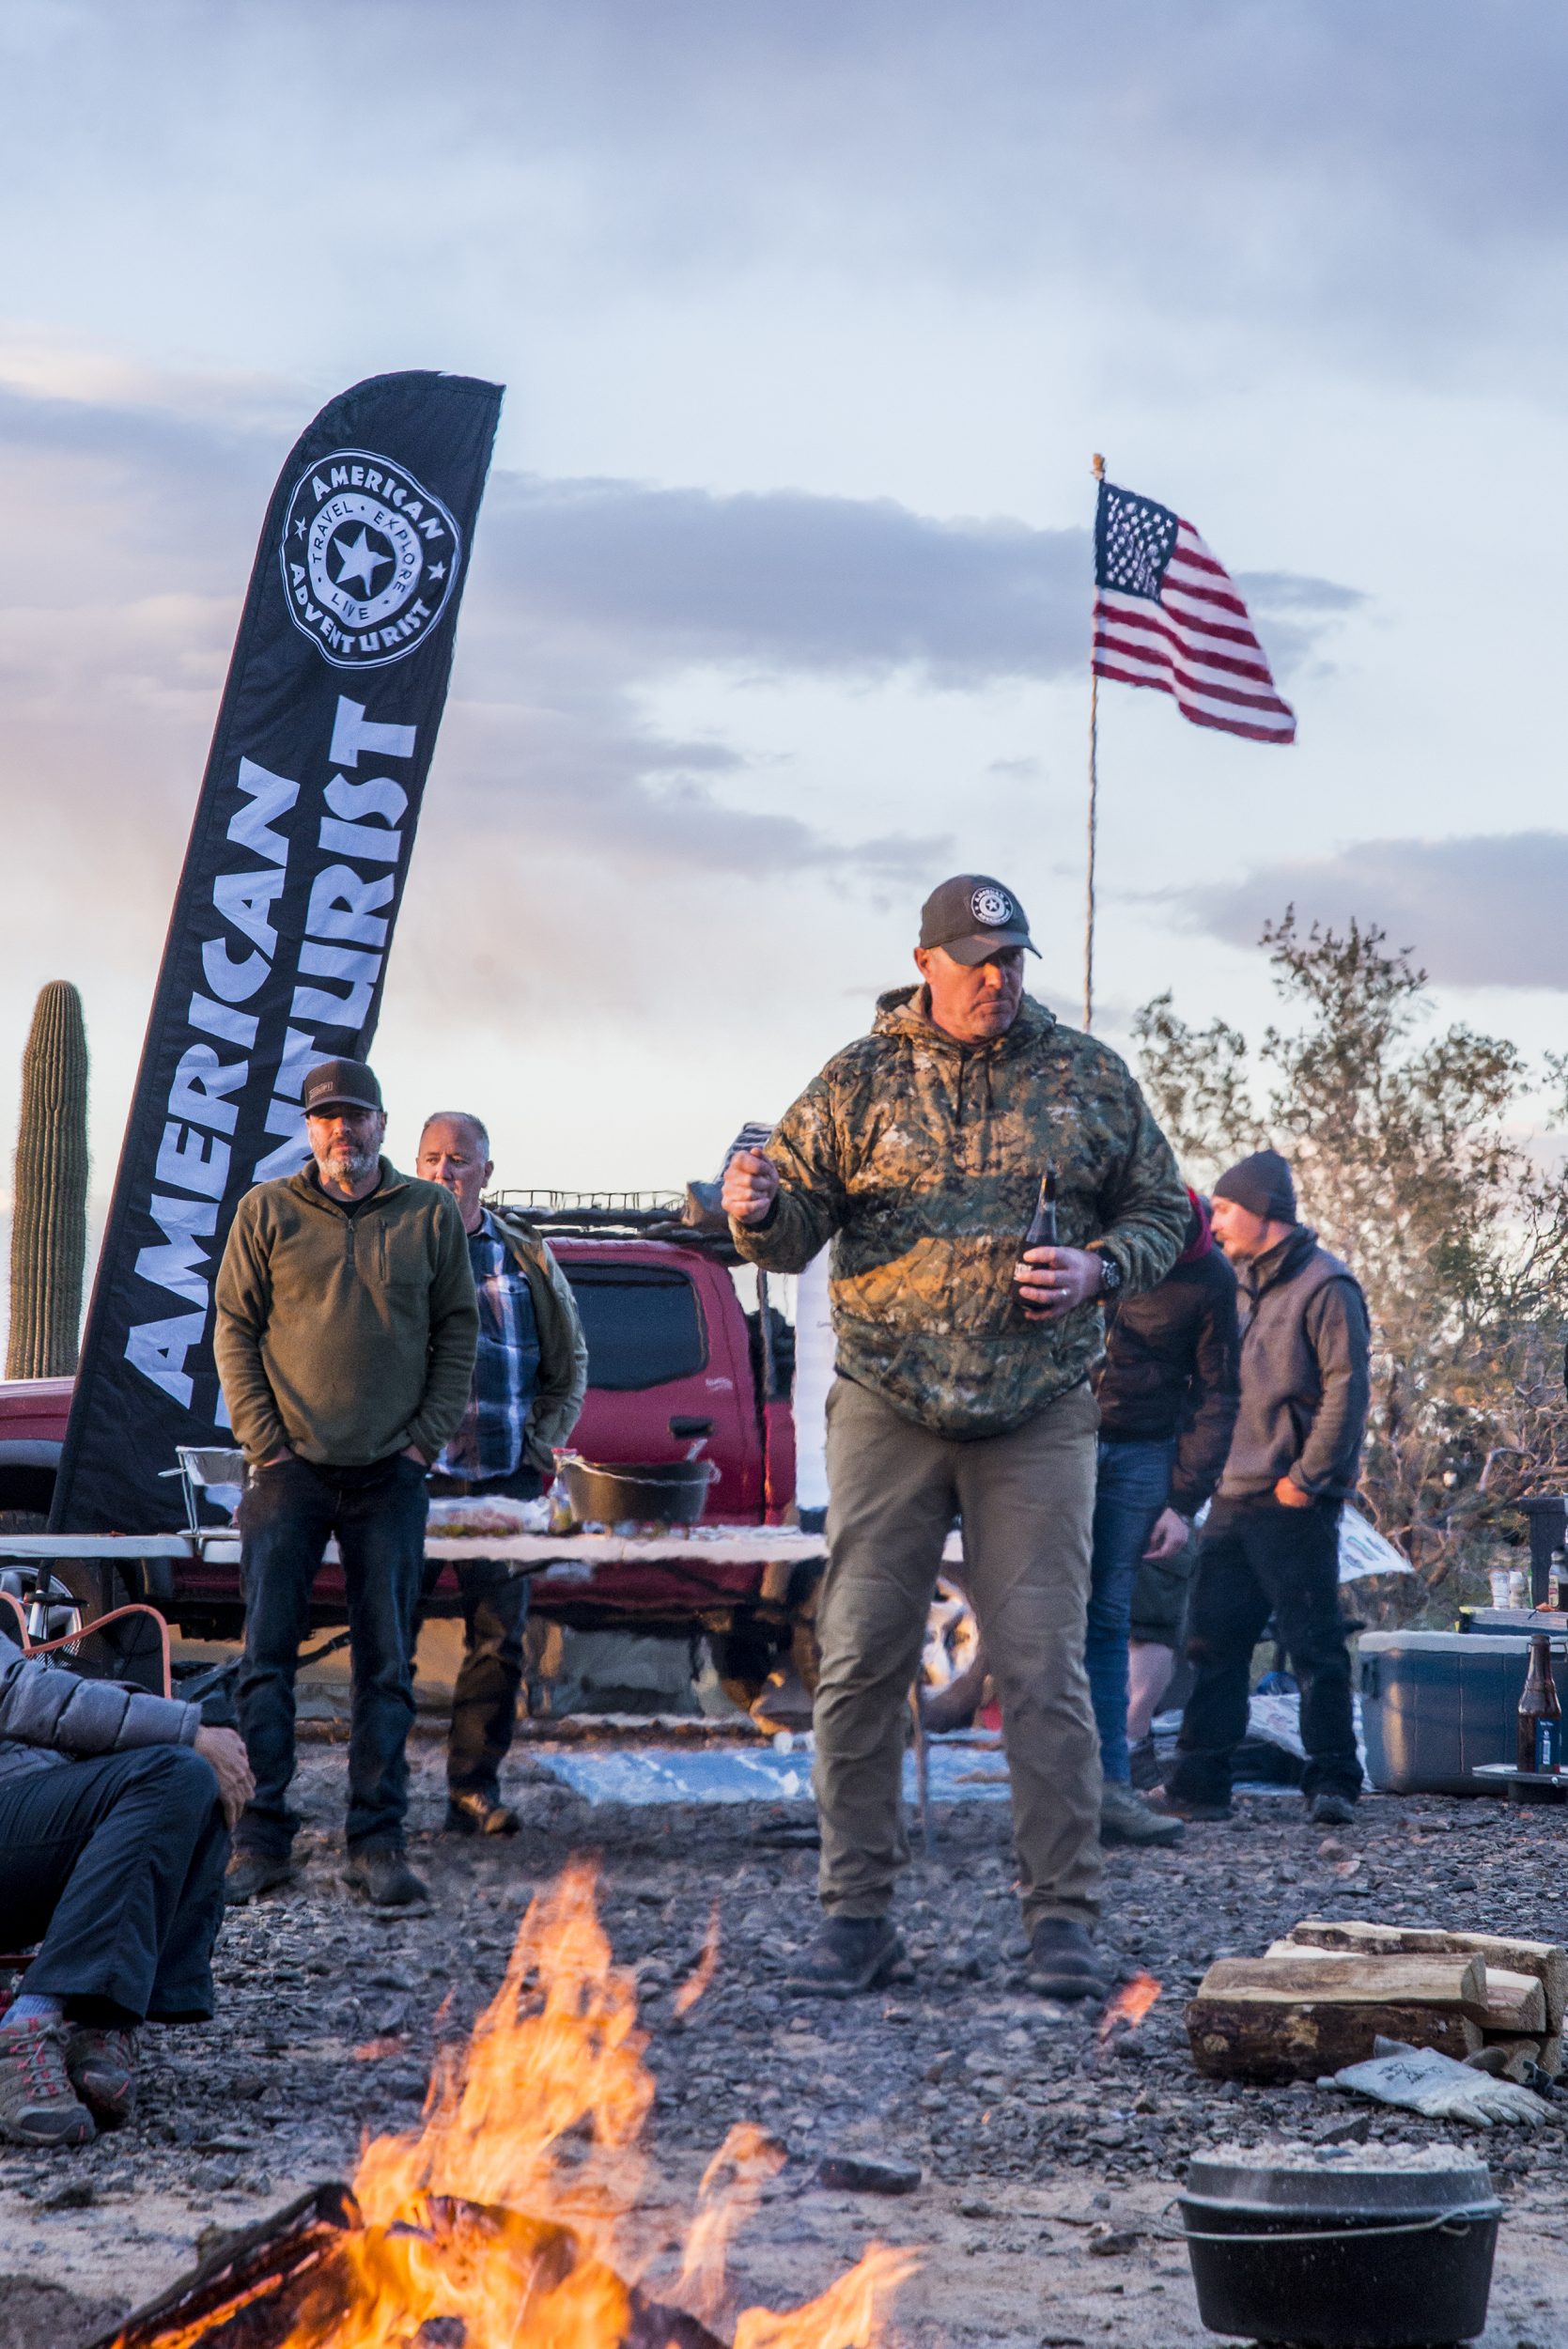
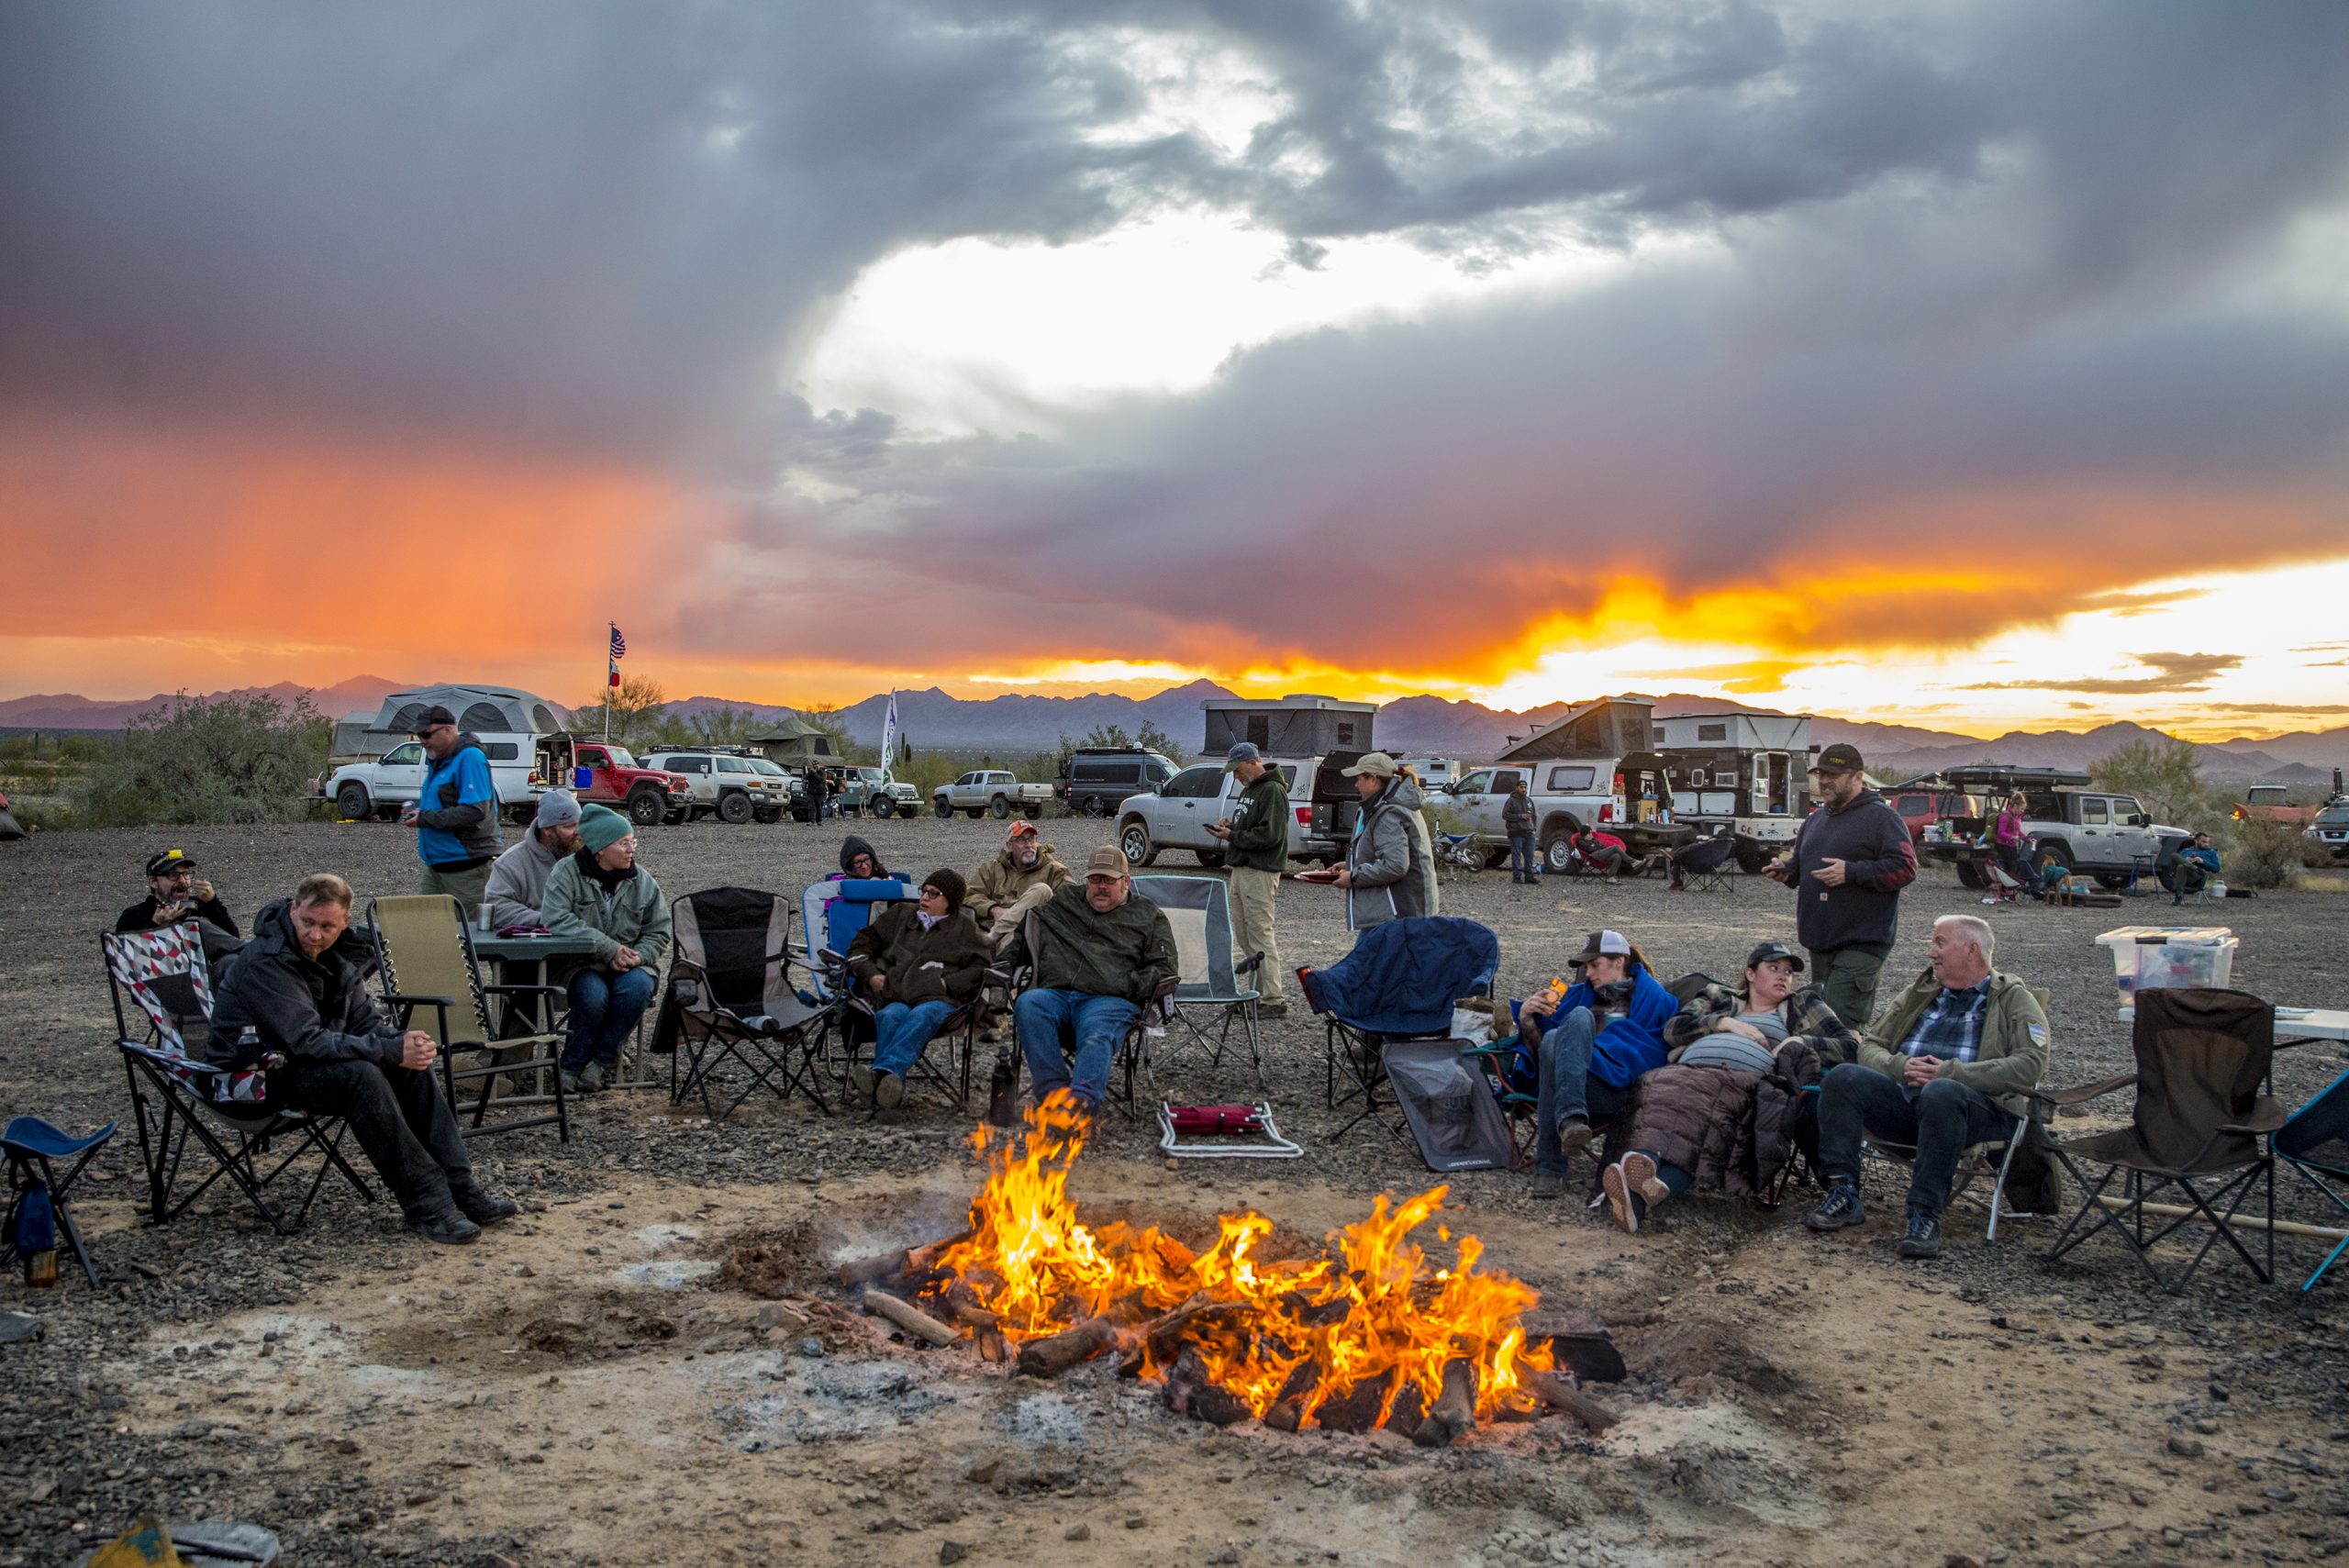
With half a cord of wood left for Saturday night, locally sourced and graciously brought to camp by the Mr. John Rhoades, we needed to burn the rest of it as this would be our last night before we needed to pack up and head home the next day. We all gathered around the main camp fire, while others gathered around satellite campfires, and with beverages in hand and full bellies, the socializing continued into the night.

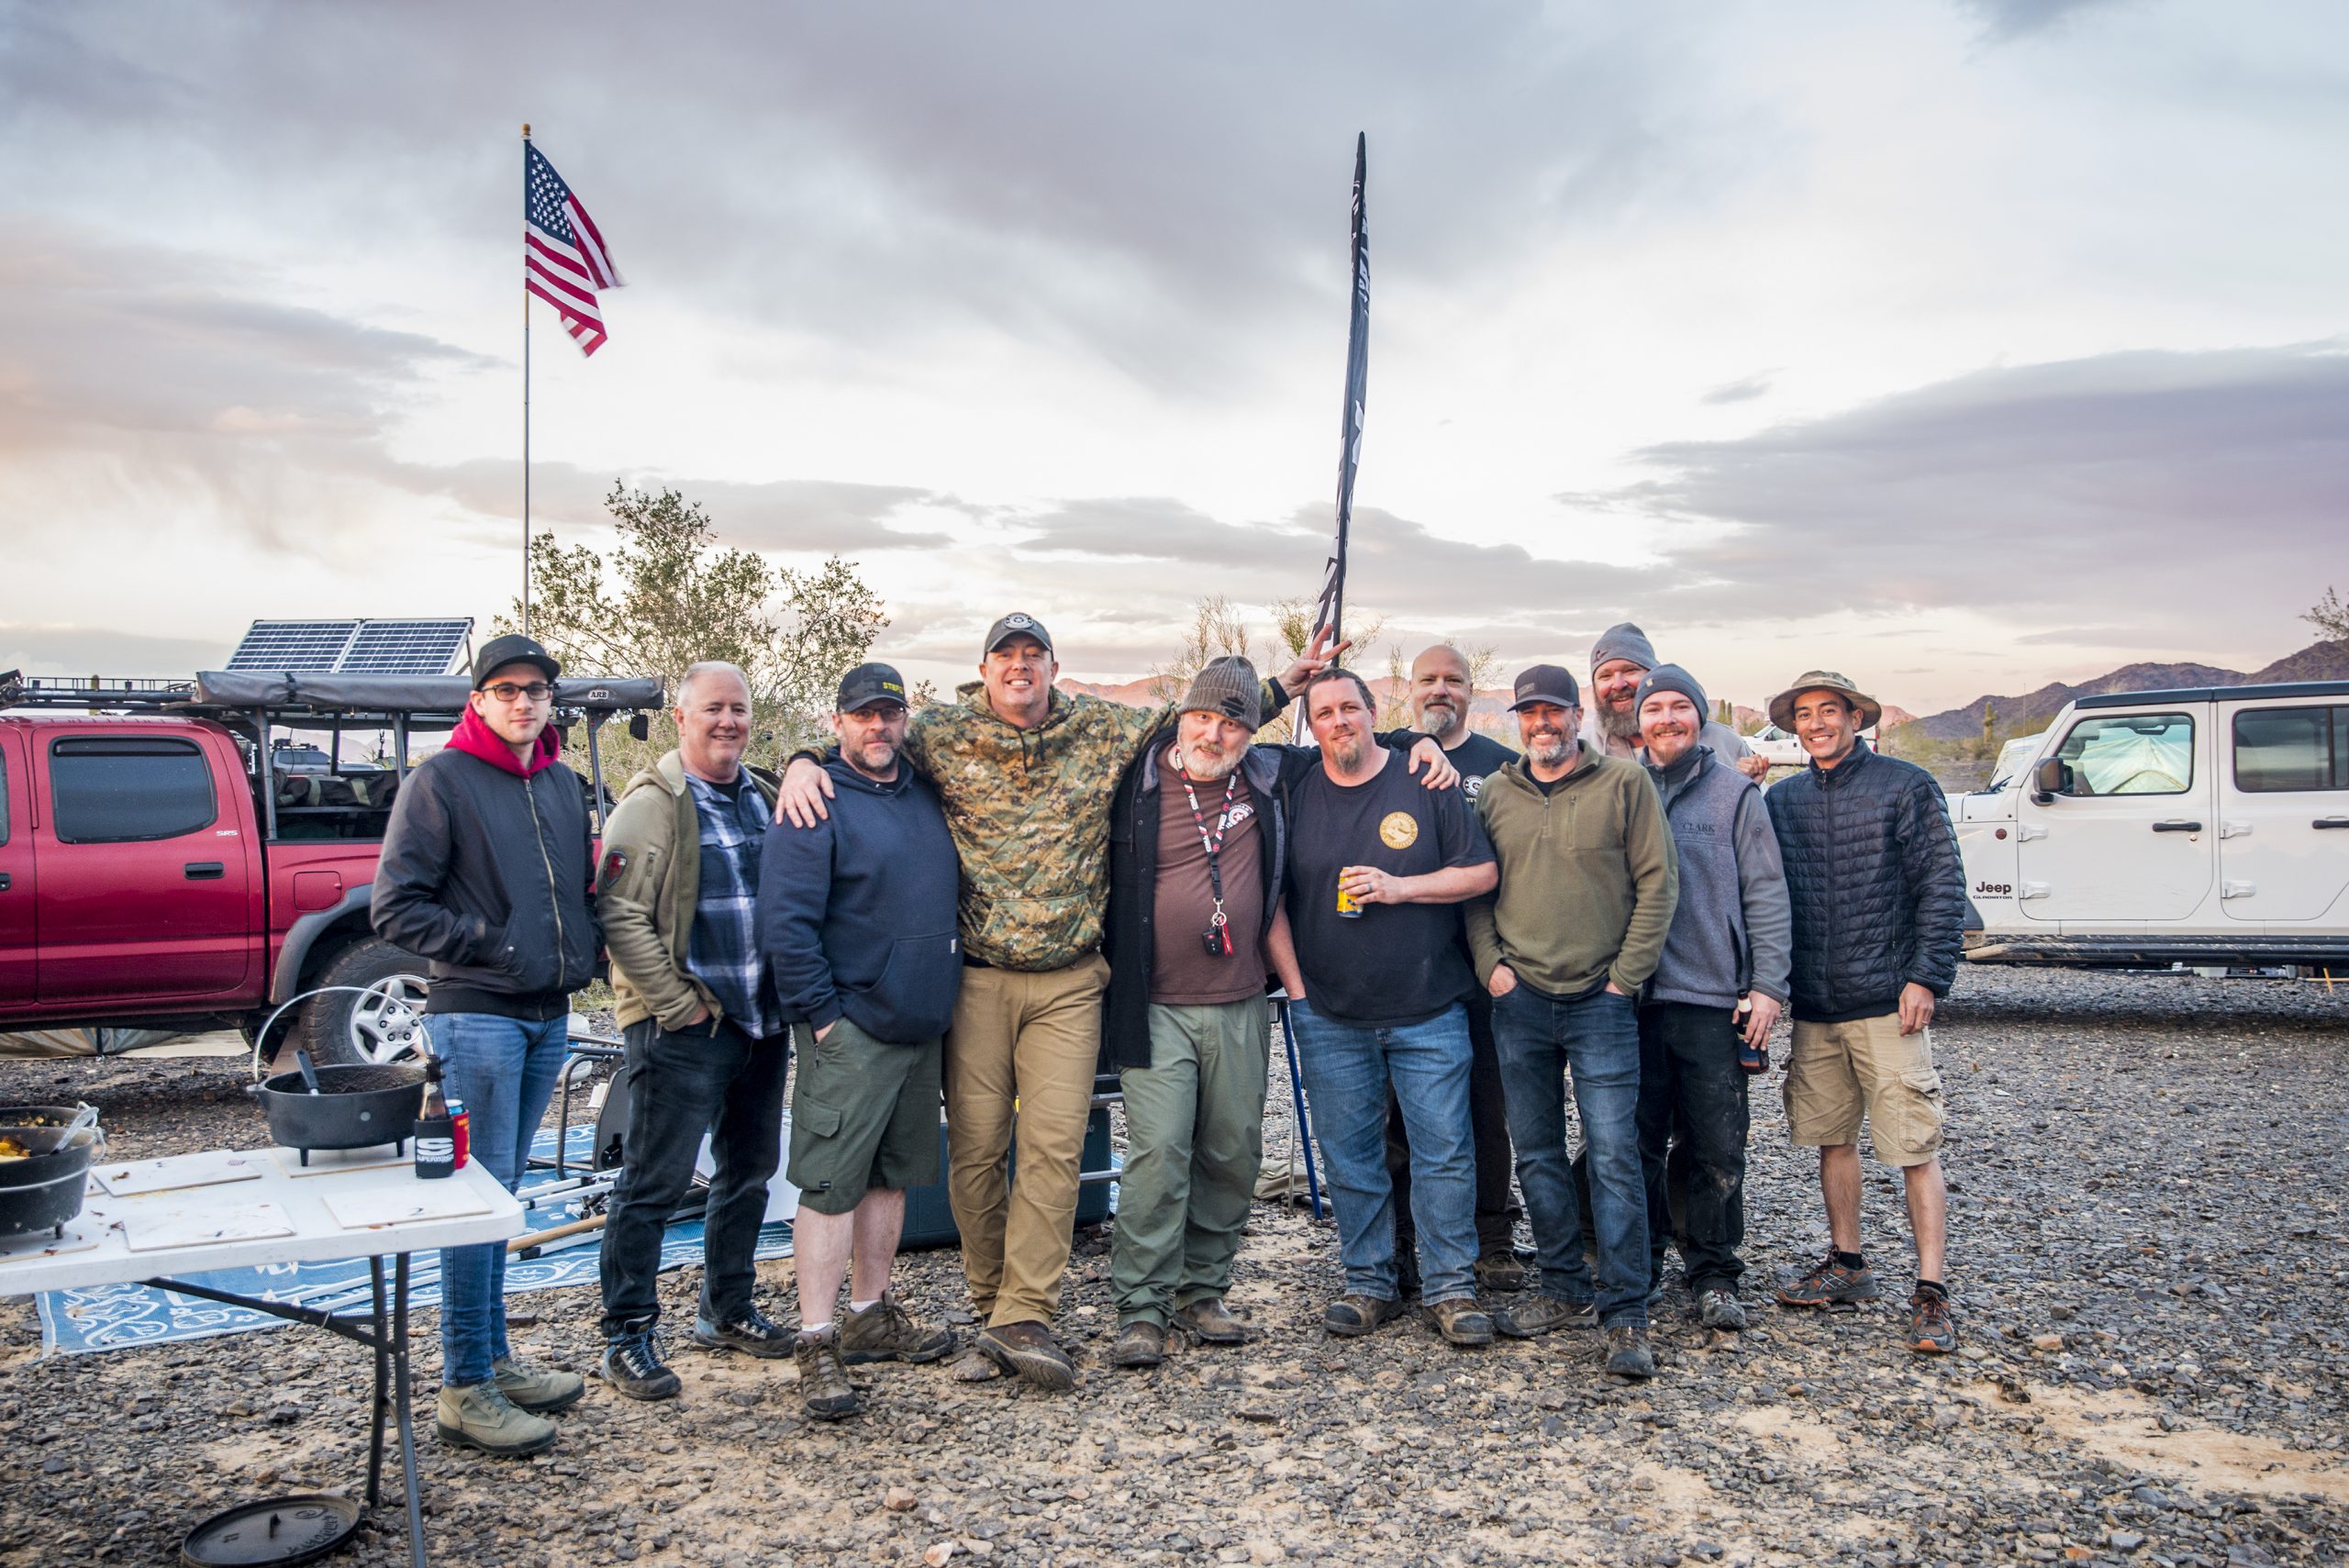
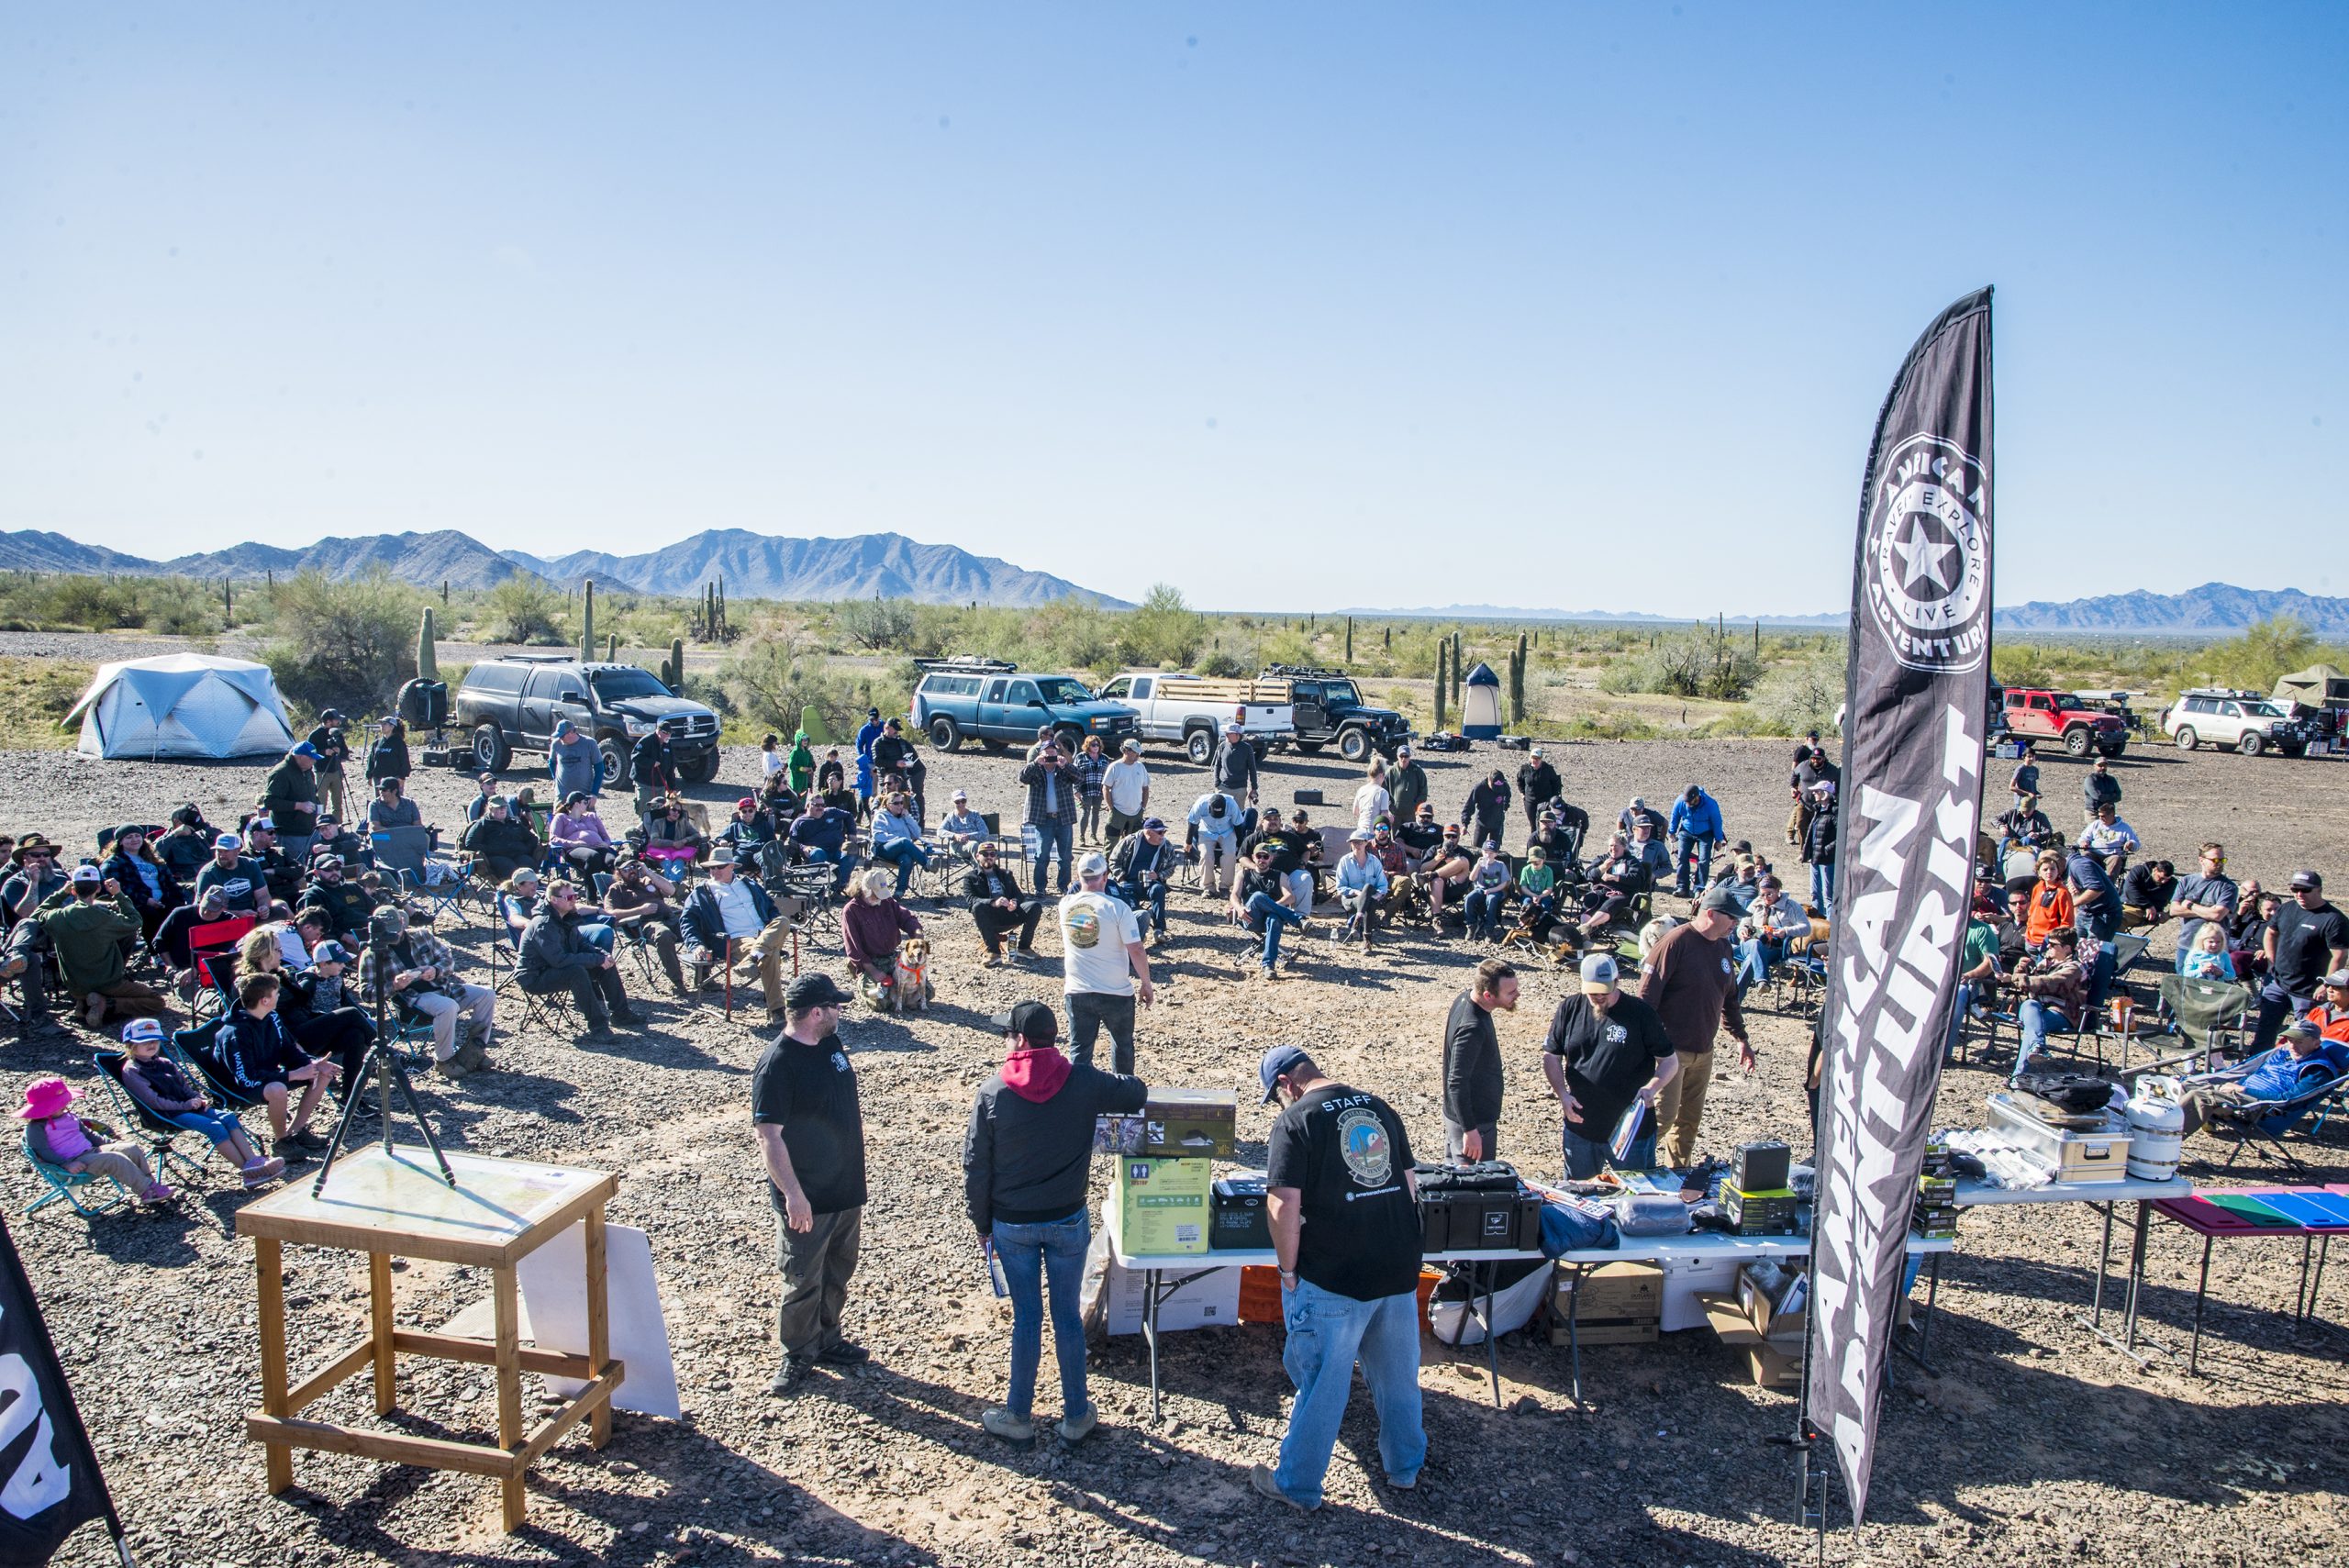
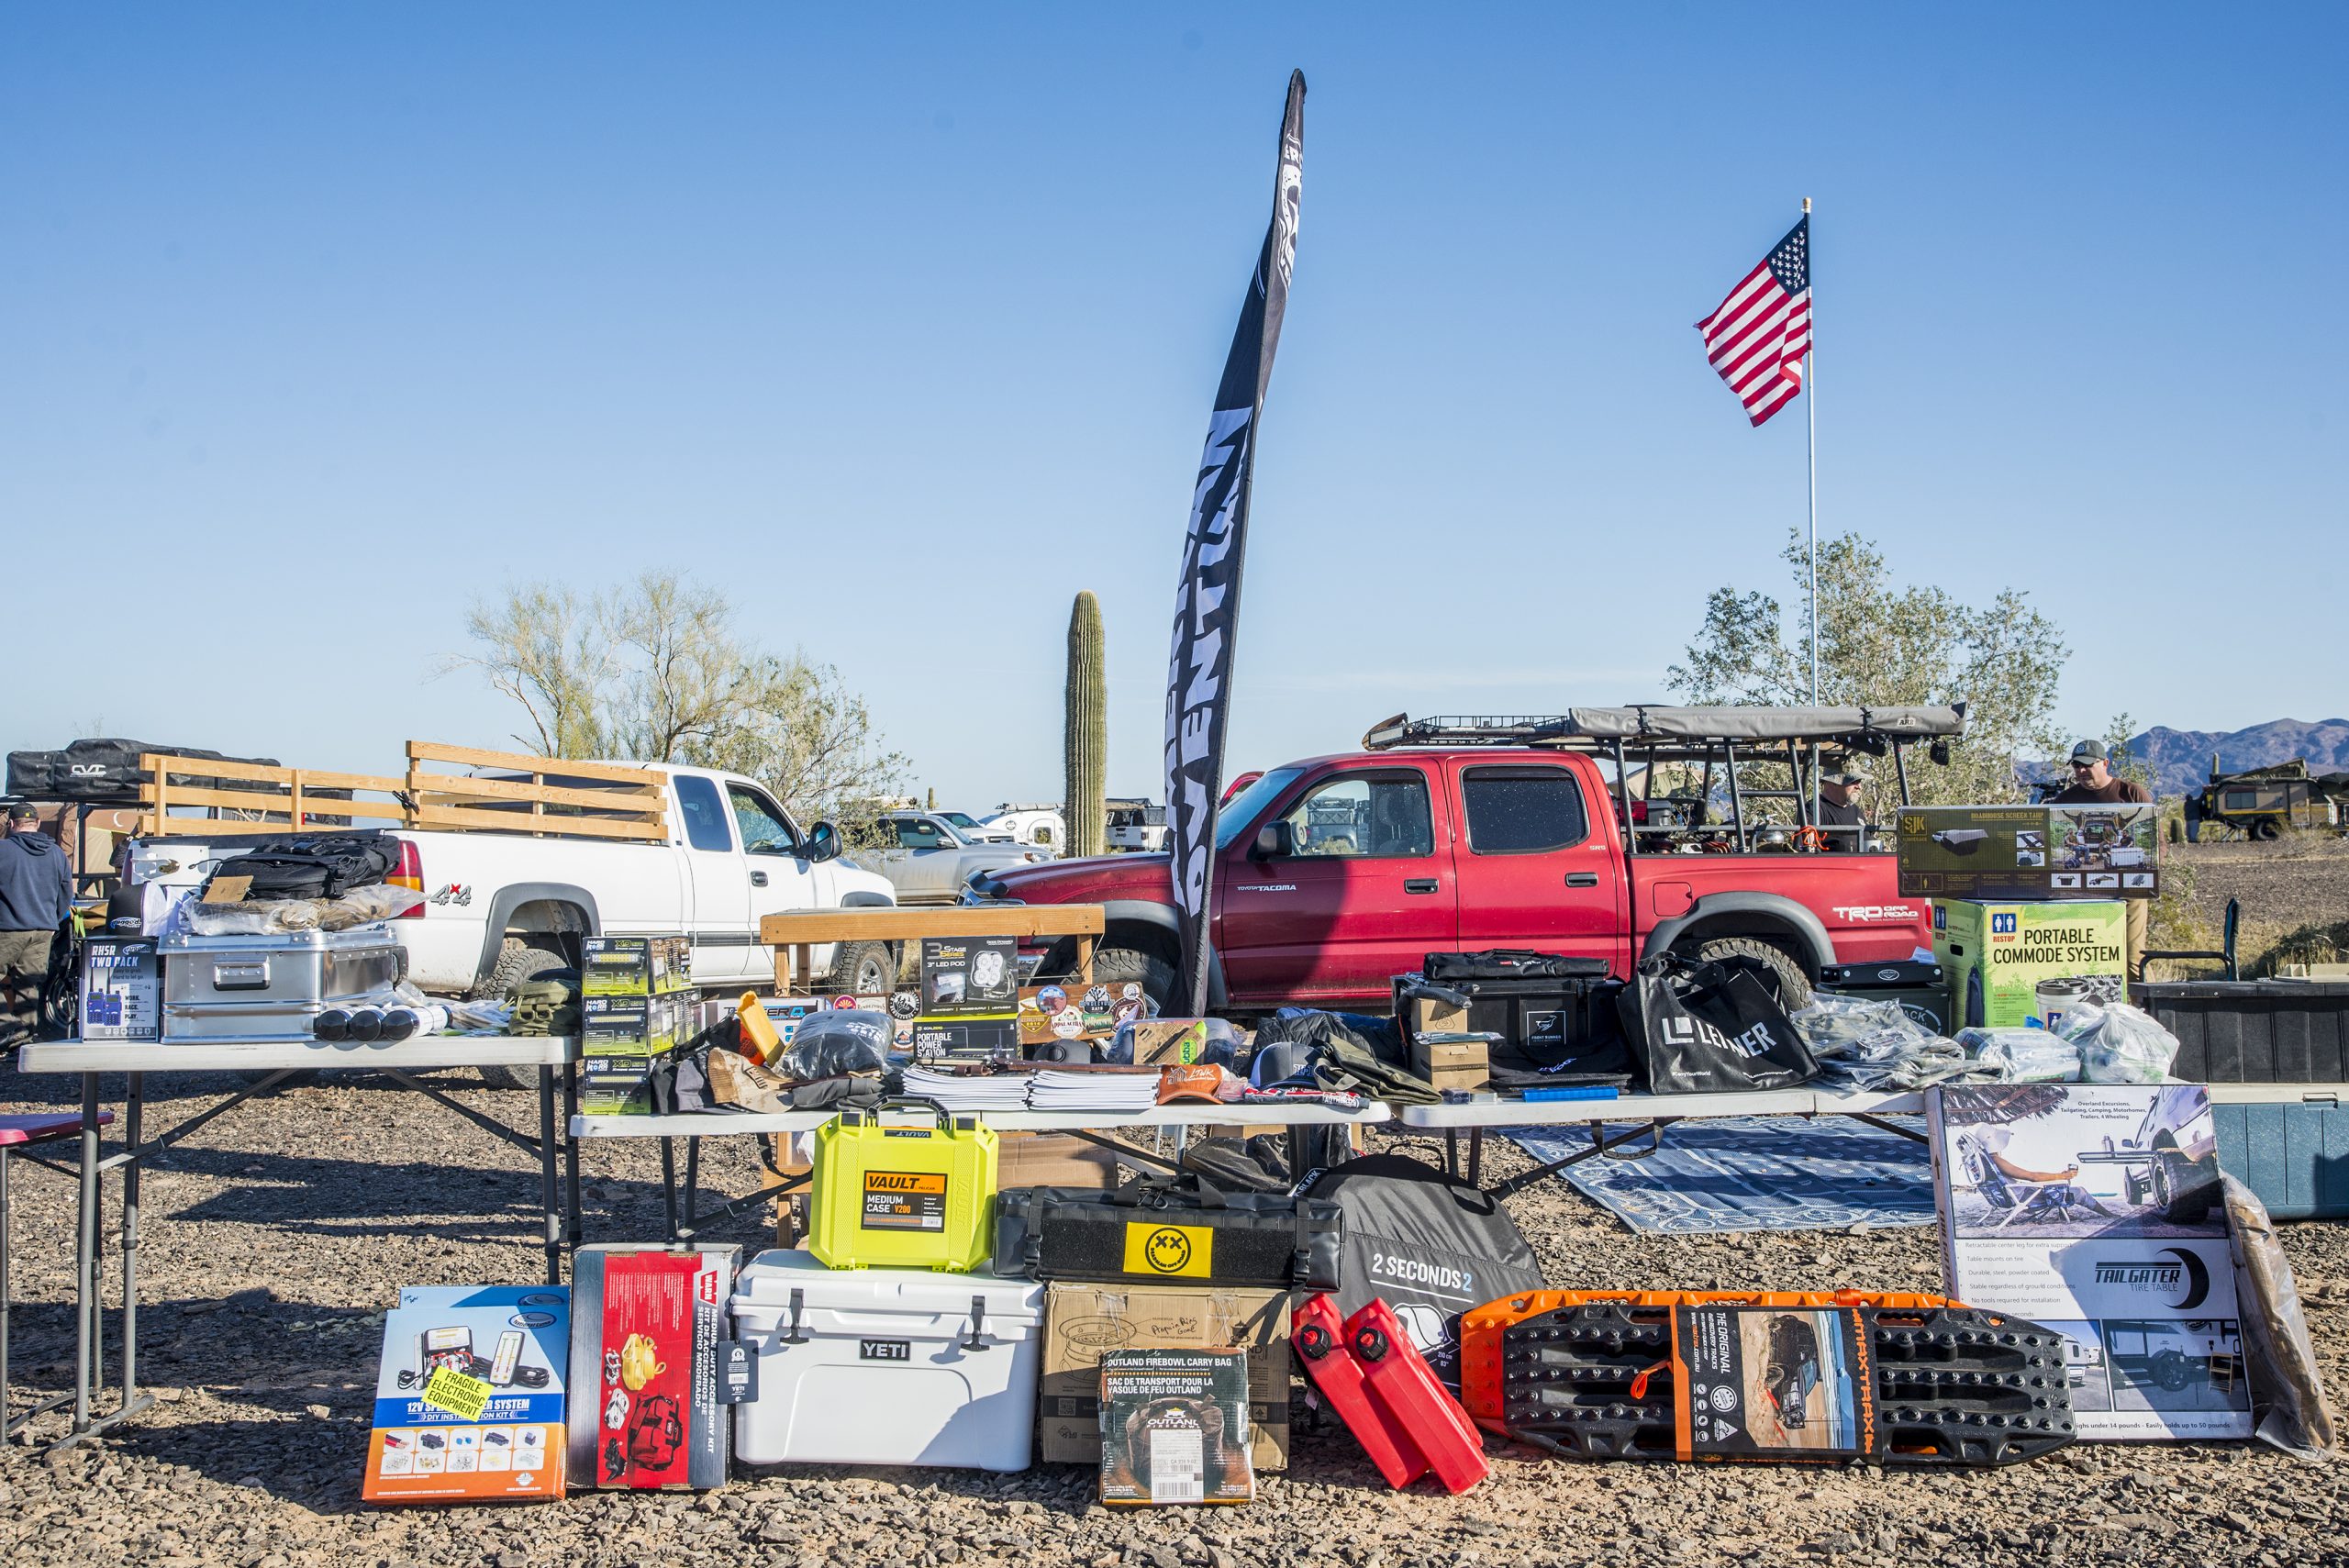
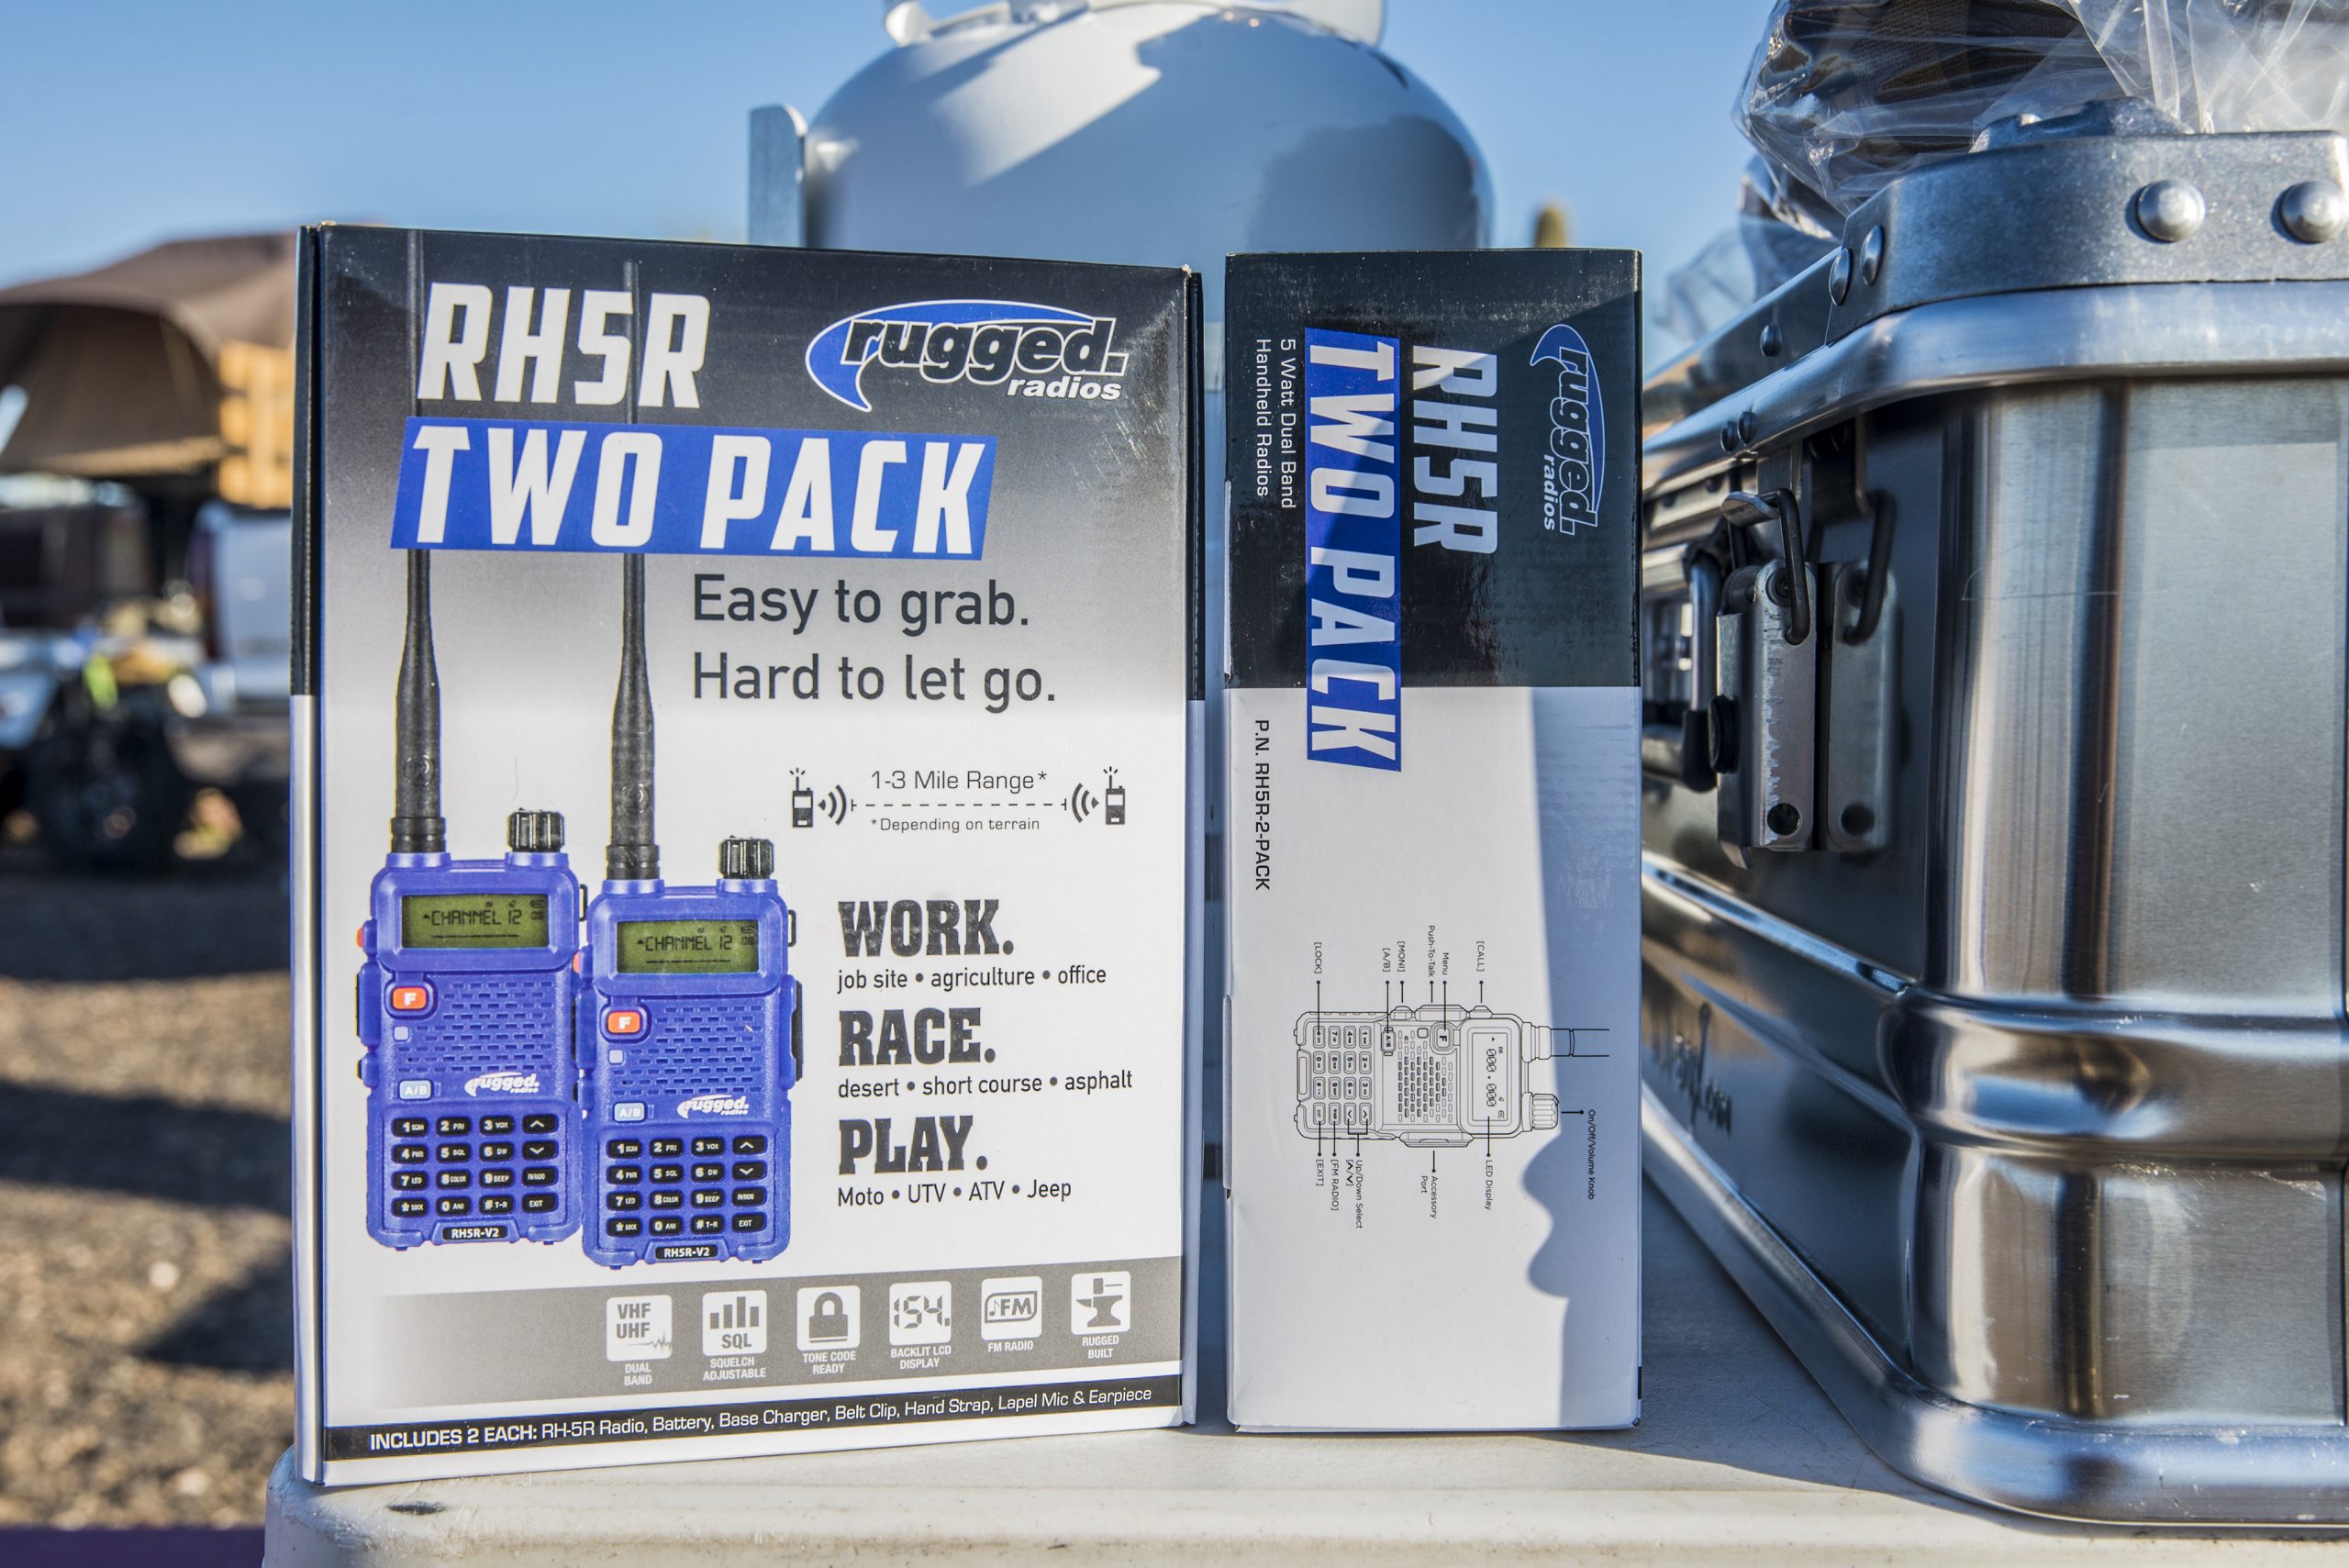
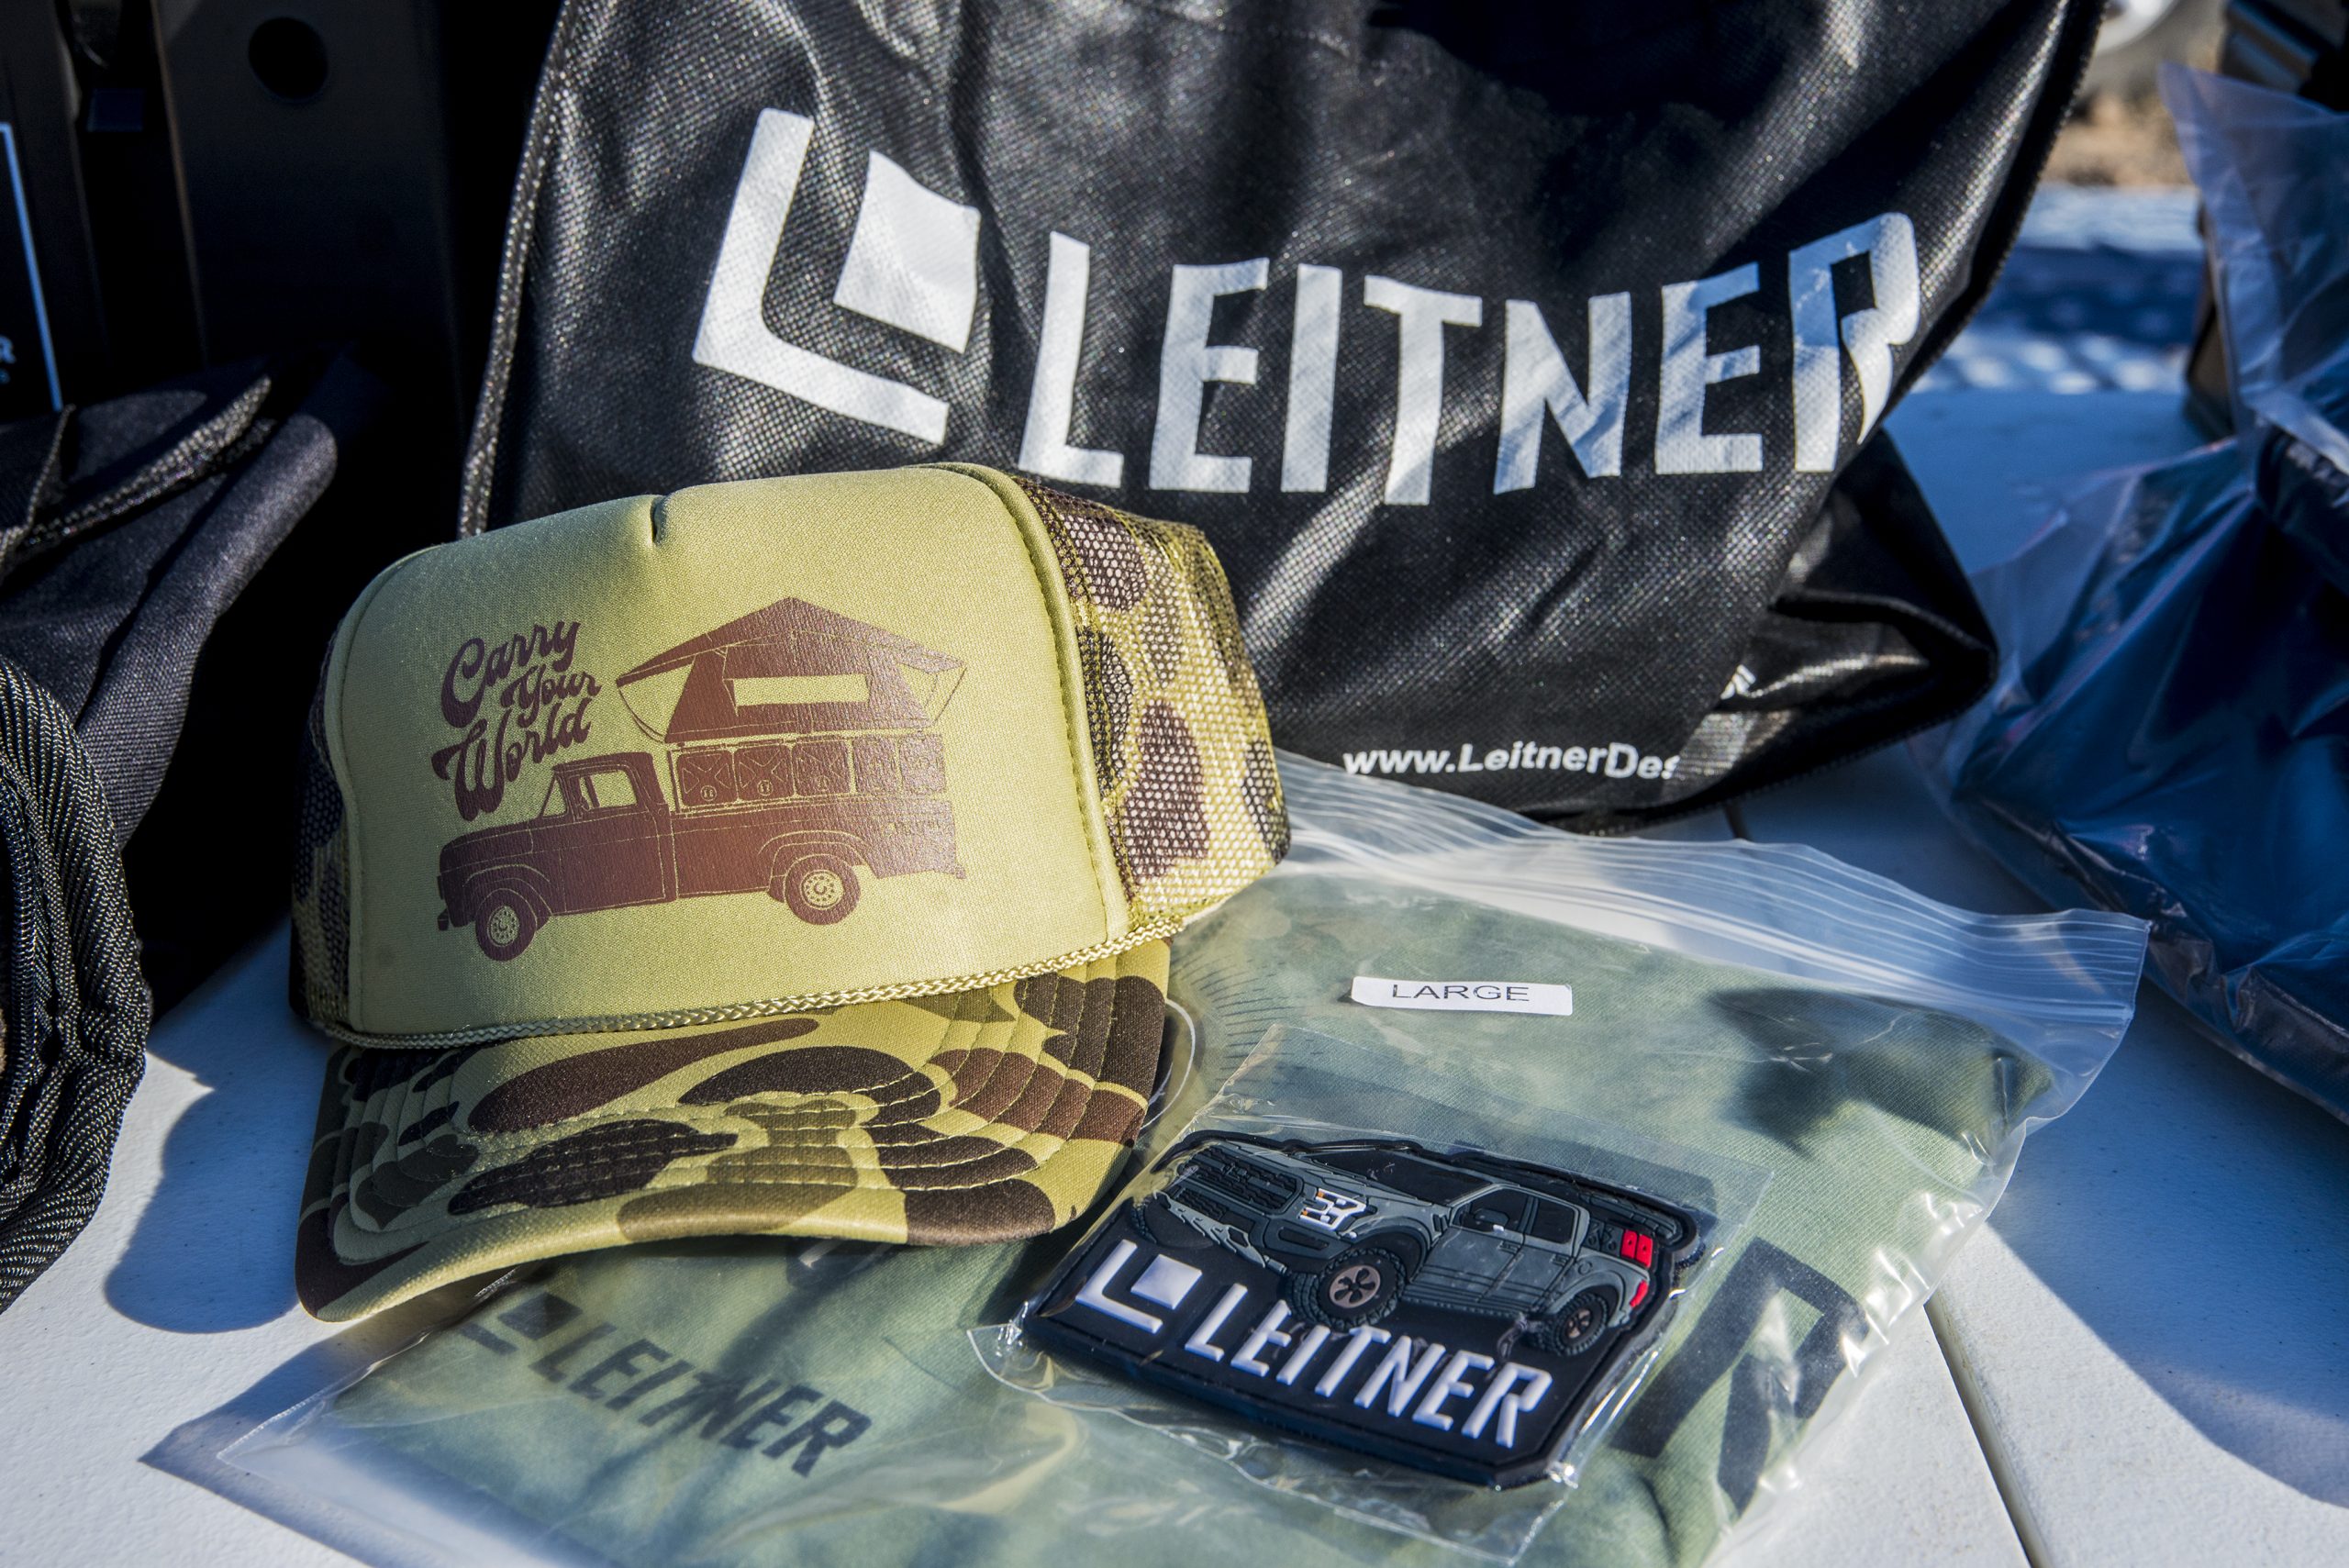
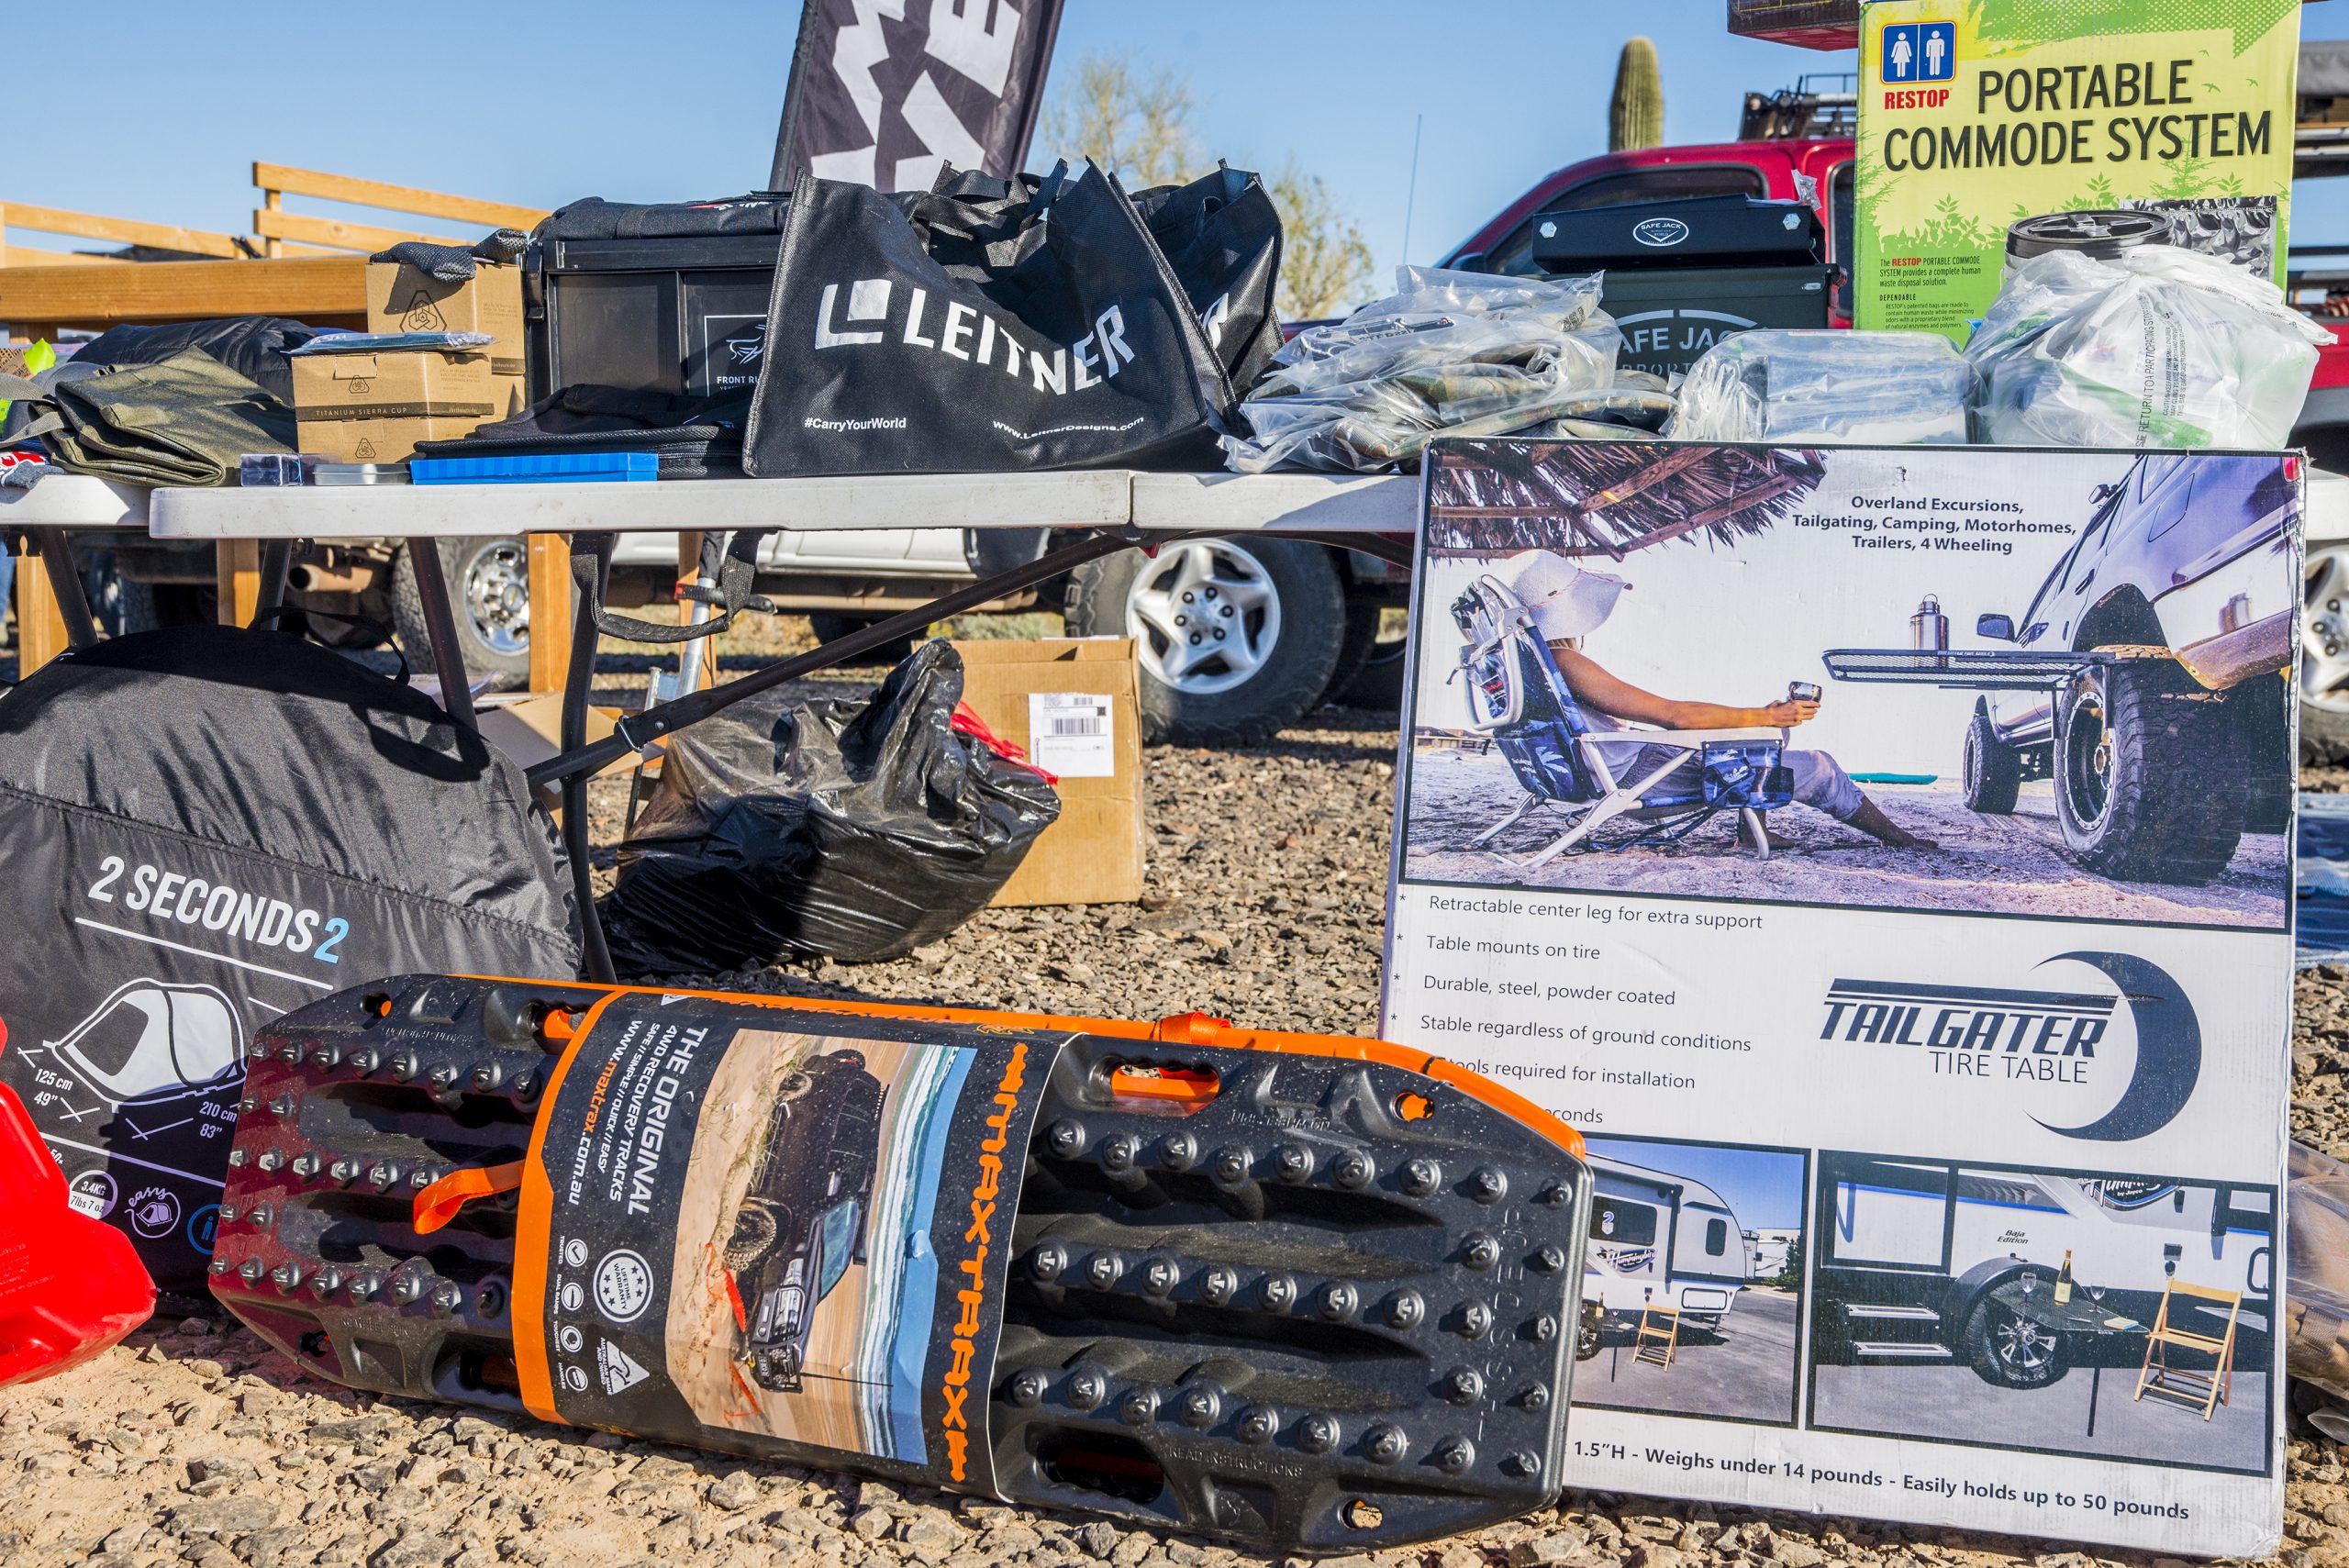
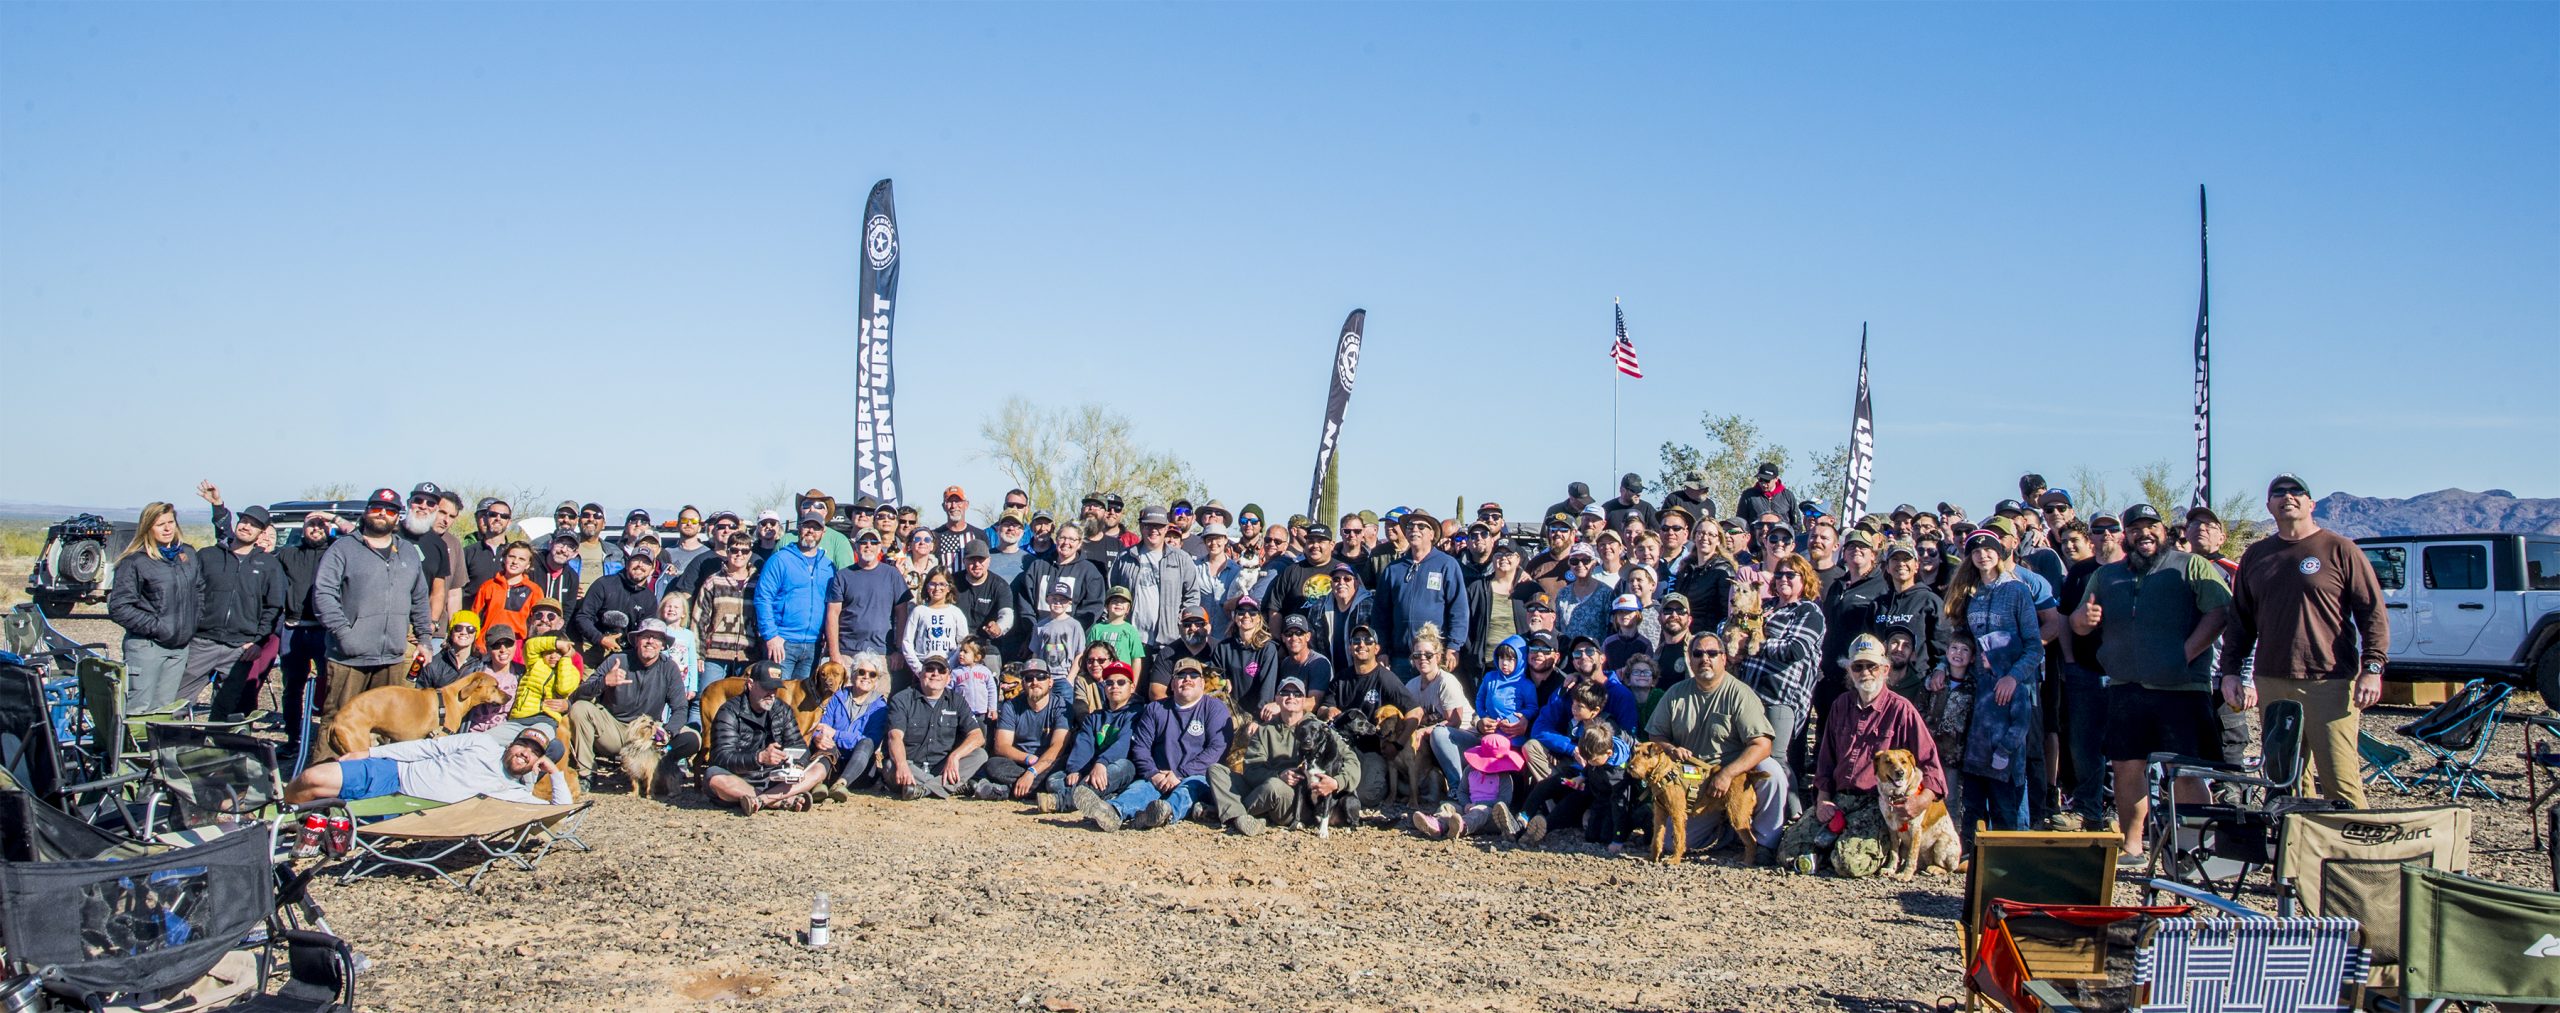
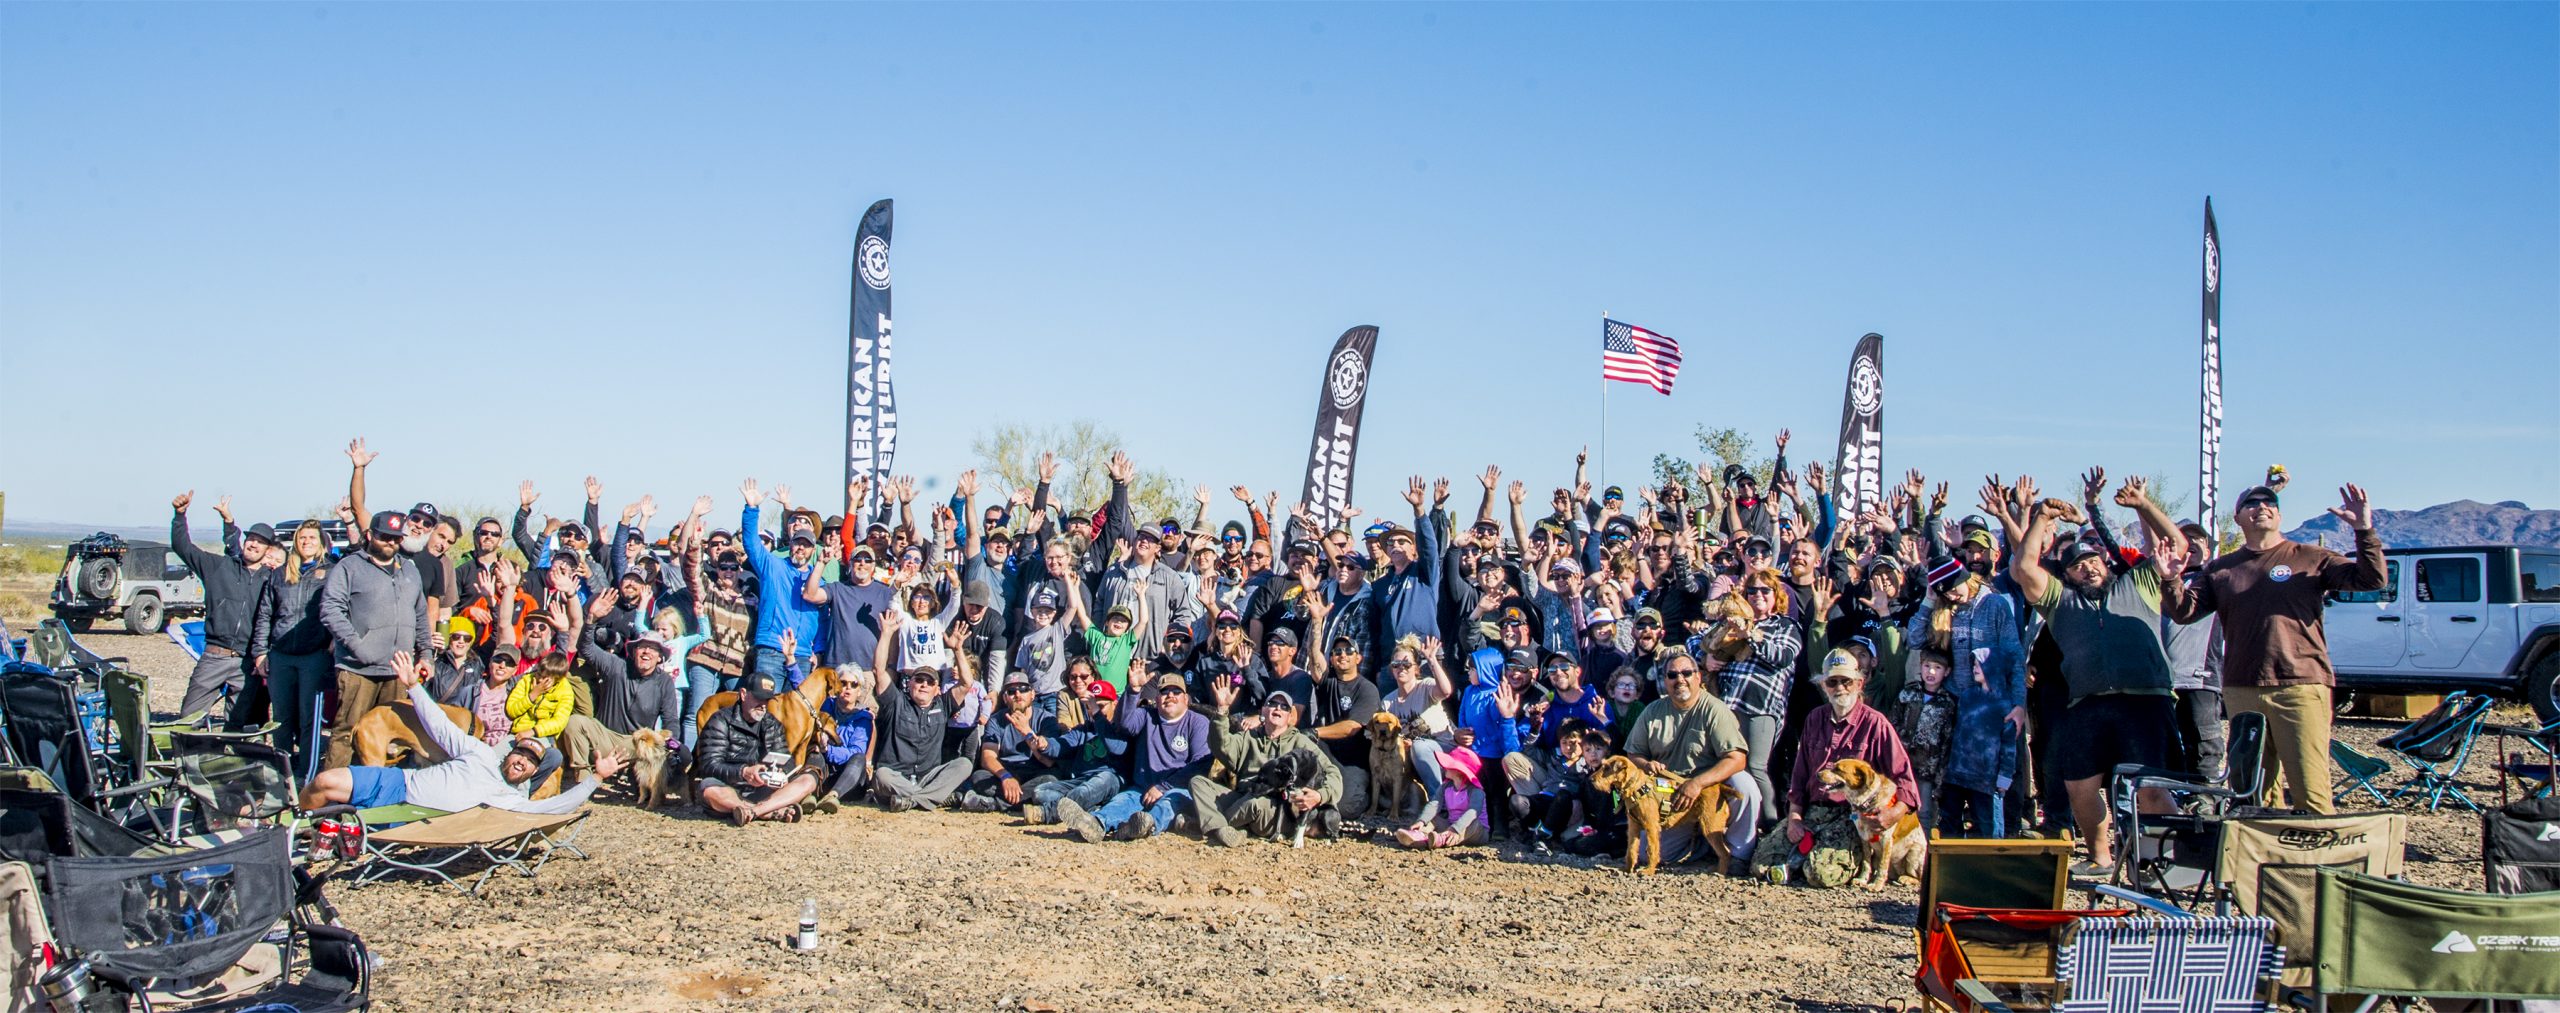
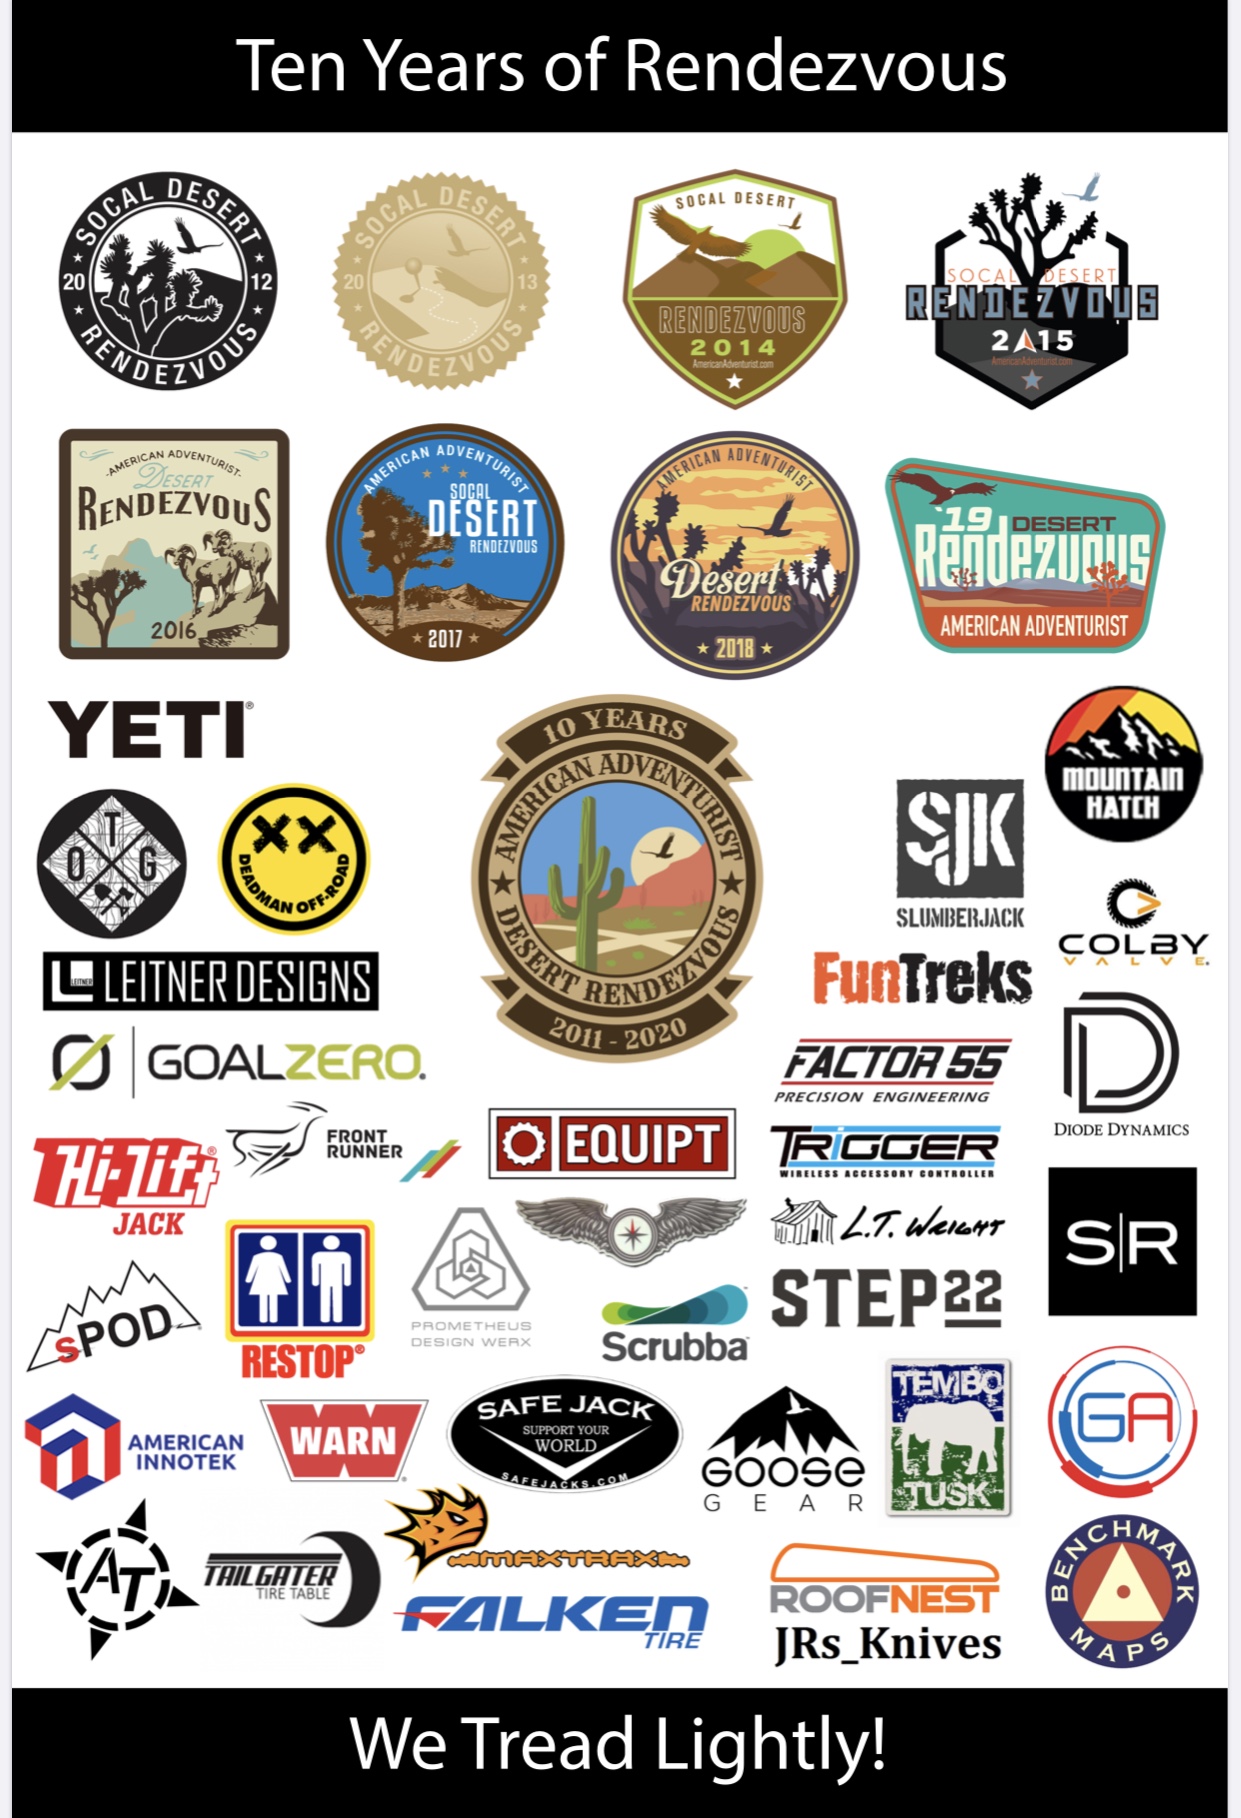
With a clear and crisp morning, eventually all the Adventurists were ready for the raffle after their breakfast and social meanderings. But first we had to take our traditional group photo taken by our good friend and fellow Adventurist Brent Haywood of Brent Haywood Photography. With the group wrangled, group photos/videos taken, and folks back in their seats, the raffle began. We want to massively thank our many, many sponsors for contributing to the American Adventurist raffle for the many years we’ve held these Rendezvous events. Thank you!!

As everyone packed up and left (some with MAJOR new loot!), the staff started breaking camp as well, but first making sure to police the area for cleanliness to abide by our Tread Lightly! principles. No trace of our Rendezvous was left behind, fires were out, doused, stirred and scraped. You could not tell that hundreds of people had spent four days there in the Arizona desert.

Thank you to our wonderful Community for supporting American Adventurist for the 10 years we’ve had thus far, and to the many more years to come!


American Adventurist Down Under

Halls Gap

A seven day solo motorcycle adventure touring Australia’s Grampians National Park, Great Ocean Road, and Blue Mountains National Park with resources and advice on what to bring, what not to bring, and suggestions for what to do when you get there.

[vc_row][vc_column][vc_column_text]

Day 1: Arrival and Picking Up the Bike

I had reserved a BMW R1200GS with BikeRoundOz since I currently own and ride the same bike. I wouldn’t be dealing with becoming familiar with it or how it handles while at the same time getting learning to ride on the left. What I didn’t know was that they had set me up with a Rallye. This is a sweet bike.

[/vc_column_text][/vc_column][/vc_row][vc_row][vc_column][vc_single_image image=”8471″ img_size=”full” add_caption=”yes” alignment=”center”][vc_column_text]One reason why I brought a JetBoil was that I knew Anaconda in Melton had the fuel. I would have to leave the fuel behind when I flew home, but the stove itself would be free of fuel residue and I could bring it back. I spent some time in the hotel checking everything again before repacking it on the bike.[/vc_column_text][vc_single_image image=”8475″ img_size=”full” add_caption=”yes” alignment=”center”][vc_column_text]After the bike was packed I needed to pick up the few things I could not bring with me. Isobutane fuel for my JetBoil, etc.. After that I’d head back to the hotel. Get something to eat. The next day I hit the road early.

Anaconda is a relatively small store and I wasn’t expecting the gold mine I found inside. A far cry from the average sporting goods store back home in the states.[/vc_column_text][vc_single_image image=”8469″ img_size=”full” add_caption=”yes” alignment=”center”][/vc_column][/vc_row][vc_row][vc_column][vc_column_text]

Day 2 & 3: Grampians National Park

[/vc_column_text][vc_column_text]Finally! After months of planning and waiting, after endless mundane logistical details, I’m on the open road in search of Adventure in Australia![/vc_column_text][vc_video link=”https://youtu.be/6RG63JnL19c” align=”center”][vc_video link=”https://youtu.be/mAG54DHQwwM” align=”center”][vc_column_text]This was the first area that I set out to explore. Dirt roads in every direction beckoned me and tempted me to explore further. I did some exploring, but I had to remind myself that I was there riding solo, that even though I did have a Spot 3 satellite GPS messenger with me that I wasn’t invulnerable. Alone in a foreign country it’s always wise to use the KISS principle and stick to your plan as much as possible.

I camped at Smiths Mill Campground in Grampians National Park. Very close to the MacKenzie Falls which requires a reservation. Plenty of trees for the hammock and providing shade. There’s even a bush shower.[/vc_column_text][vc_single_image image=”8535″ img_size=”full” add_caption=”yes” alignment=”center” onclick=”img_link_large”][vc_video link=”https://youtu.be/Qx2MOu9svlk” align=”center”][vc_single_image image=”8215″ img_size=”full” add_caption=”yes” alignment=”center” onclick=”img_link_large”][vc_single_image image=”8439″ img_size=”full” add_caption=”yes” alignment=”center” onclick=”img_link_large”][vc_column_text]The second day was a hike down to the base of MacKenzie Falls is about 1.6 miles (2.6 km) round trip. It’s an in and out trail with narrow steps that will allow only one person to pass at a time in either direction. The total descent is approximately 270 feet. After my day hike it was time for packing up and heading out.[/vc_column_text][vc_single_image image=”8438″ img_size=”full” add_caption=”yes” alignment=”center” onclick=”img_link_large”][vc_single_image image=”8658″ img_size=”full” add_caption=”yes” alignment=”center” onclick=”img_link_large”][vc_column_text]On my way out of Grampians National Park I encountered an Emu wandering down the middle of the road. One piece of advice given to me was avoid traveling at night because Kangaroos and these guys like to hang out on the road and can ruin your night.

You’ll also notice the black fire scars on almost all the tree trunks here. Late evening on 19 January 2006 a lightning strike on Mount Lubra (later renamed to Mount Warrinaburb) started a bush fire. By the time it was extinguished it had burned for approximately two weeks and covered approximately 130,000 hectares of land.[/vc_column_text][vc_video link=”https://youtu.be/_eFI_natfUY” align=”center”][/vc_column][/vc_row][vc_row][vc_column][vc_column_text]

Day 4: The Great Ocean Road, Rain, and a Malfunction

[/vc_column_text][vc_column_text]Of the two days I encountered rain I would compare both to the spin/rinse cycle of a washing machine. It would pour. Then the sun would come out and I would quickly dry off. Then it would pour again. Rinse. Repeat. Thankfully, I did get a chance to visit the ocean again later and in much better weather.

I camped at Parker Hill in Great Otway National Park. This is an awesome campsite overlooking the beach and reservations are required. Given the inclement weather I had arrived cold and wet and it took me a while to dry out. Thankfully, the hill is protected by substantial tree cover that helps shield against ocean winds.[/vc_column_text][vc_video link=”https://youtu.be/_rqOzy99lPY” align=”center”][vc_single_image image=”8545″ img_size=”full” add_caption=”yes” alignment=”center” onclick=”img_link_large”][vc_single_image image=”8539″ img_size=”full” add_caption=”yes” alignment=”center” onclick=”img_link_large”][vc_single_image image=”8540″ img_size=”full” add_caption=”yes” alignment=”center” onclick=”img_link_large”][vc_single_image image=”8541″ img_size=”full” add_caption=”yes” alignment=”center” onclick=”img_link_large”][vc_column_text]

Being Prepared

In my previous article Choosing the Right Tent The First Time, I stressed anticipating dramatic changes in the weather and this is why. Seasons are reversed in the Southern Hemisphere so January and February are Melbourne’s hottest months with the interior seeing temps of 110° F. Given that I have limited carrying capacity on a motorcycle, I had contemplated bringing just the Klim mesh suit but that left me without rain protection so that thought was immediately dismissed. The BMW Rallye suit would be hotter and uncomfortable at times but I would have to deal. This decision paid off with the unseasonably cold and wet weather. After putting the rain liners into the jacket and pants I was warm again and drying out.[/vc_column_text][vc_video link=”https://youtu.be/ZofvQEIsu0Q” align=”center”][/vc_column][/vc_row][vc_row][vc_column][vc_column_text]

Day 5: A Pit Stop to Change Bikes then on to Wagga Wagga

Parker Hill camp the next day. The bike wasn’t liking the weather either. In the morning the bike’s throttle was sluggish and the check engine light came on. After breaking camp and packing I let the bike idle for a bit. A few miles later things were back to normal but the code wasn’t clearing. Nothing but guesses as to the cause. As I rode on I had an internal debate about the merits of heading back to Melton to swap out bikes and losing a day, or continuing on as-is with a check engine light on. The entire time the debate raged in my head I was heading back to Melton. I will miss the Loch Ard Gorge and the day I had planned to tour the coast.

The Melton Pit Stop

BikeRoundOz had me back on the road pretty quick. From rolling into the depot on the R1200GS Rallye, to moving panniers and everything over to an F800GS, to rolling out was only an hour and 30 minutes. The trip back to Melton itself had cost me most of the day. I’m quite familiar with marathon miles on a bike. 500-700 miles in a day is my typical ride in the states. I could make up the lost time if I hustled and that was my plan. I made reservations at the Prince of Wales Motor Inn over in Wagga Wagga New South Wales and hit the road. The weather had turned for the better and I was feeling good with the wheels turning and the miles stacking up behind me.

(At this point I also decided to swap the helmet camera to time lapse. The SD card was filling quickly. Battery drain for video was also an issue.)[/vc_column_text][vc_single_image image=”8477″ img_size=”full” add_caption=”yes” alignment=”center”][vc_single_image image=”8505″ img_size=”full” add_caption=”yes” alignment=”center”][vc_column_text]I rolled into hotel’s parking lot at 9:40 pm with about a half gallon of fuel in the tank. I was on fumes as well. The proprietor had stashed the key to my room and told me where he hid it. There was even milk for tea. Every battery was in need of a full charge, and I was in need of a hot shower and sleep so I wasted no time.[/vc_column_text][vc_single_image image=”8481″ img_size=”full”][vc_single_image image=”8550″ img_size=”full”][/vc_column][/vc_row][vc_row][vc_column][vc_column_text]

Day 6: Blue Mountains National Park

[/vc_column_text][vc_column_text]The small part of Grand Canyon track lays ahead of me. The Blue Mountains are a hiker’s paradise. The trails date back to 1825 and features one of the most extensive trail systems in Australia. What little exposure I give it here does not do it justice!

This night I stayed at Murphys Glen campground in Blue Mountains National Park. It’s a free primitive campground reachable only by 2 track or 4WD.[/vc_column_text][vc_single_image image=”8224″ img_size=”full” add_caption=”yes” alignment=”center” onclick=”img_link_large”][vc_single_image image=”8462″ img_size=”full” add_caption=”yes” alignment=”center” onclick=”img_link_large”][vc_single_image image=”8225″ img_size=”full” add_caption=”yes” alignment=”center” onclick=”img_link_large”][vc_single_image image=”8463″ img_size=”full” add_caption=”yes” alignment=”center” onclick=”img_link_large”][vc_single_image image=”8543″ img_size=”full” add_caption=”yes” alignment=”center” onclick=”img_link_large”][vc_single_image image=”8508″ img_size=”full” add_caption=”yes” alignment=”center” onclick=”img_link_large”][vc_single_image image=”8509″ img_size=”full” add_caption=”yes” alignment=”center” onclick=”img_link_large”][/vc_column][/vc_row][vc_row][vc_column][vc_column_text]

Day 7: Wagga Wagga Again

Packing up at the Blue Mountain campsite, it was time to head back. When I get back in to Melton I will have covered 1764 miles, but first I had one more night. I decided to spend that night at the Prince of Wales Motor Inn again. Making sure I had a room when I rolled in late the first time was appreciated. I felt choosing to stay there again was a good way to show that appreciation. And perhaps showing up at a reasonable time too.

But I can’t say my motives were entirely altruistic. The first time I stayed there I noticed a brewery was right next door. When in Australia one must do as the Australians![/vc_column_text][vc_single_image image=”8770″ img_size=”full” add_caption=”yes”][vc_column_text]

Logistics Again

Back at Melton and BikeRoundOz it’s time to get back into street clothing and unpack the bike. Time to deal with the explosion of gear everywhere and then the repacking for the trip home. Cheers to BikeRoundOz for tolerating the use of your garage and office space for this. I also found out what happened to the Rallye. They had brought the bike to a dealer and had it serviced. After the code was cleared they couldn’t find anything wrong with the bike. Damn the luck.[/vc_column_text][vc_single_image image=”8500″ img_size=”full”][/vc_column][/vc_row][vc_row][vc_column][vc_masonry_media_grid initial_loading_animation=”none” grid_id=”vc_gid:1553294904596-ba85d8ea-2af2-8″ include=”8525,8636,8635,8634,8633,8637,8632,8645,8653,8638″][vc_column_text]

An Epilogue to an Adventure

The first half of this adventure ends here. The second half of my trip was for the wedding of my Brother and his Fiancée. I’ll skip the wedding photos but there are parts that are relevant and would fit in well with any adventure tour of Australia.

Healesville Sanctuary

Formally known as the Sir Colin MacKenzie Sanctuary, it is located in Badger Creek, Victoria, Australia. About an hour’s drive east north east of Melbourne. Healesville Sanctuary specializes in native Australian animals. Keeper talks offer an opportunity to hear about the animals, their care, and the conservation work being done for various species in Australia.[/vc_column_text][vc_single_image image=”8218″ img_size=”full” alignment=”center” onclick=”img_link_large”][vc_single_image image=”8431″ img_size=”full” alignment=”center” onclick=”img_link_large”][vc_single_image image=”8430″ img_size=”full” alignment=”center” onclick=”img_link_large”][vc_single_image image=”8432″ img_size=”full” alignment=”center” onclick=”img_link_large”][/vc_column][/vc_row][vc_row][vc_column][vc_column_text]

Mount Martha Victoria, Australia

The town dates back to the 1840s and today it’s a vacationer’s beach town. If you are planning on following the Australian coastline on your Oz adventure it’s a good place to swap things up from camping and still put your toes in the sand and get your feet wet (far better than a cold rain storm wet too).[/vc_column_text][vc_single_image image=”8548″ img_size=”full” add_caption=”yes” alignment=”center” onclick=”img_link_large”][vc_single_image image=”8449″ img_size=”full” add_caption=”yes” alignment=”center” onclick=”img_link_large”][vc_single_image image=”8450″ img_size=”full” add_caption=”yes” alignment=”center” onclick=”img_link_large”][vc_column_text]You really can’t expect me to travel all the way to Australia and not try a meat pie.[/vc_column_text][vc_single_image image=”8560″ img_size=”full” alignment=”center” onclick=”img_link_large”][/vc_column][/vc_row][vc_row][vc_column][vc_column_text]

Highway Travel in Australia

There isn’t an extensive interstate highway system in Australia like you will find in the U.S. I found this refreshing. The temptation to get from point A to B the fastest possible way to maximize your time at those locations is really strong. As a result you can make your way across the entire United States on our interstate system isolated from the local communities stopping only at gas stations, hotels, motels, and dining on fast food and chain restaurants. Honestly, you miss a lot of the U.S. that way. An Adventure isn’t just full throttle point A to B. It’s about exploring the spaces in between as well, and Australia will force you down main street in the small towns.[/vc_column_text][vc_video link=”https://youtu.be/IigTOewrvd8″][vc_column_text]

Speeding

Don’t. There isn’t the leeway you will find here in the U.S., and there is no such thing as going 5 or 10 over the speed limit and being “ok”. The police are extremely rigorous when it comes to speeding, and speed cameras are used in cities and on the major highways. So keep to the limits and obey all traffic laws.[/vc_column_text][vc_single_image image=”8515″ img_size=”full” add_caption=”yes” alignment=”center”][/vc_column][/vc_row][vc_row][vc_column][vc_column_text]

Dangerous Environments

You’ll hear the phrase “everything in Australia can kill you” before you go. Yes. It can happen but it’s rare. There are some simple things you can do to keep yourself out of trouble when in the wild. Most importantly if you see a sign warning you to avoid an area then don’t ignore it.[/vc_column_text][vc_column_text]Wear appropriate boots that protect your ankles and toes from snakes when walking in the bush. Armored ADV boots are perfect. Snakes usually avoid being out in the open and are often hiding underneath bushes, stacks of leaves, or other ground debris.  Keep your body parts off, out, and away from these areas and always look before you sit anywhere. If you are not a meal snakes will prefer to leave an area and avoid the encounter. Announce your presence by walking heavily.[/vc_column_text][vc_single_image image=”8221″ img_size=”full” add_caption=”yes” alignment=”center”][vc_column_text]Make it a habit to always keep mosquito net zipped up by closing it behind you as soon as you exit/enter. Don’t leave your gear outside your tent at night. Spiders or other critters may make a home out of them. If keeping your gear inside a tent isn’t an option then check the gear before putting it on or stowing it. Don’t place a hand inside or underneath. Flip and shake out your boots. Grab a camp chair by the back and flip it over to expose the underside before folding it up.[/vc_column_text][vc_single_image image=”8465″ img_size=”full” add_caption=”yes” alignment=”center”][/vc_column][/vc_row][vc_row][vc_column][vc_column_text]

Getting There

[/vc_column_text][vc_column_text]There is simply too much for me to cover every item and situation when traveling to Australia. What’s included here is the information that I needed for my trip, some general advice, and a list of basic resources to give you a head start for your Australian Adventure.[/vc_column_text][vc_single_image image=”8564″ img_size=”full” add_caption=”yes” alignment=”center”][/vc_column][/vc_row][vc_row][vc_column width=”1/4″][vc_column_text]

AU Government

AU Parks

AU Camping

AU Gear

US Government

[/vc_column_text][/vc_column][vc_column width=”3/4″][vc_column_text]

Traveling With Medication

You must declare medication on your Incoming Passenger Card (IPC). Don’t bring someone else’s medication. Ensure the medication remains in its original packaging with the dispensing label intact. All medications containing codeine will require you to bring the prescription from your Doctor. Just to be on the safe side it is advisable to have a letter or a prescription from your doctor or practitioner. You will need special permission to bring more than a 3 months’ supply of medicine into Australia.

Backpacks

This was my carry-on. Why not? Right? In it I had placed my spare (uninstalled) lithium batteries. Spare lithium batteries (both lithium metal and lithium ion/polymer) are prohibited in checked baggage. My personal hygiene kit. My Spot and Garmin GPS electronic devices. Contact your airline in advance. Ensure the backpack conforms to their carry-on size restrictions. I don’t recommend it but if checking your backpack then ask if it can be placed in a container or use heavy duty wrapping plastic to secure the straps to keep them from getting caught in the conveyor belts and to deter theft of opportunity. Also consider how you will accomplish this if checking your backpack on the return trip as well.

Camp Stoves

Camp Stoves must be free from fuel fumes emitting from the stove. Camping fuel, burning paste, etc. are prohibited for obvious reasons. These items must be obtained at a camp store after you arrive.

Insect Repellent

It’s a must-have. The liquid limits apply when carrying these in your carry-on bags so pack it in your checked baggage.[/vc_column_text][vc_column_text]

Australian Biosecurity

Australian biosecurity laws are very strict. This is to protect agriculture and unique wildlife from invasive species and diseases. Check with the Australia Department of Agriculture and Water Resources for what you need to declare. When in doubt just declare it. Also make note that you must declare on your Incoming Passenger Card (IPC) if you have visited a rural area or been in contact with, or near, farm animals in the past 30 days. Clean your tent spikes before you pack!

Food Items

I brought freeze dried camping food and declared it on my Incoming Passenger Card (IPC) and had no issues. I could have gone through customs faster though so just leave food items at home. Plan on stopping by a camping store like Anaconda and/or a market after you arrive to get fuel, insect repellent and camp food.

Camping equipment, including backpacks

To protect Australia’s livestock industries from foot-and-mouth disease and African swine fever the biosecurity officer will be inspecting items for soil and/or manure that is being carried with them. Thoroughly clean and dry your equipment before you travel to Australia. Don’t forget to clean your tent pegs.

Freshwater recreational and water sport equipment

Didymo (Didymosphenia geminata) is a cool, freshwater algae that forms thick mats which smother river beds. It is almost impossible to eradicate and takes just a single live cell to establish and spread. While not present in Australia, it has invaded rivers and lakes in Europe, Asia, North America and New Zealand. Special care is therefore required when bringing equipment into Australia that has been used in fresh water overseas. You must declare freshwater equipment on your Incoming Passenger Card (IPC). It must be thoroughly cleaned to remove any algal clumps, and be completely dried for inspection in Australia.[/vc_column_text][/vc_column][/vc_row]

Mosko Moto Nomad Tank Bag

I have a love-hate relationship with tank bags.  They’re great for keeping all of the essential things you need right where you can easily access them, but then all of the things in the bag tend to become a tangled mess. If you have a larger tank bag things can all but disappear, and looking for that second ear plug or tube of chapstick can quickly turn into a pull over and dig in your bag affair.  Thankfully, Mosko Moto has taken a completely difference approach to how a tank bag is organized, and fused it with so many innovative features that calling it a tank bag feels like an understatement.

The Nomad is a dynamic, multi-layer, gear swallowing and organizing tank bag that can be suited to any type of ride and any type of rider.  You can stuff the thing full of gear and load up the MOLLE on the top, or you can go fast and light and carry just the essentials, sucking the tank bag down on to the bike to go “high speed, low drag” in tacti-cool parlance.  Literally, this thing can be configured however you want to use it, allowing it to be the tank bag for just about everyone.

As with any other piece of Mosko Moto gear, a container ship of thought was poured into this bag, and it shows in the product’s final design.  The MOLLE on the top layer lets you install the included map pouch, or you can run whatever MOLLE compatible accessory you choose up top.  The MOLLE is sewn on to a beaver tail—open it and you’ll have access to your quick access items like your maps or GPS.  The next layer down is all about organizing your small items like charging cables, a tire pressure gauge, and earplugs. Below that you’ll find the main compartment that can swallow up a DSLR camera (without a battery grip), your rain gloves, or other large items you need to stash.  Below that is a sleeve that will accept the included 1.8L Platypus water bladder which is awesome for when you don’t want to have to wear your water.  And finally, all the way at the bottom of the bag, you’ll find two straps that turn the Nomad into a backpack, so you can park your bike and easily take your tank bag with you.

Backpack mode is something you’ll start using all the time.  Want to ride to a hike?  Just pack your Nomad.  Parking your bike in someplace sketchy? Just engage backpack mode so your tank bag and its contents can stay with you.  Want to easily bring all your gear from your tank bag into your tent?  You get the idea.  The Nomad is held onto your bike with a fully adjustable harness that goes around your frame up top, and has plenty of adjustment to fit on everything from my Super Tenere to a dirtbike—if you’re willing to stay back on your seat.  At the bottom end, you’ll find two cam straps (which are far superior to plastic strap adjusters) with Velcro that keeps the strap tails tidy.  One side has a male buckle and the other has a female buckle so these straps turn into your waist band when you’re in backpack mode.  I told you this thing was well thought out.

In use, the Nomad has proven to be an outstanding piece of gear.  With the exception of the tedious process that is installing or removing the map pouch (the snaps catch on the sung MOLLE bands; Pro Tip: use a MOLLE stick or a long flathead screwdriver to lift the straps over the snaps), the Nomad is hands down the most versatile and useful tank bag I’ve ever had.  There are too many other features to list in this review, as things like strategically placed Velcro patches and mesh pouch dividers would require 1000s of words to explain properly.  Trust the fact that Mosko Moto did their homework on this bag.   They’ve figured out how to add in all this versatility without taking up all of the gear room in their bag.  In other words, they’ve put in a perfect amount of organization so my days of rat’s nest gear tangles are over.

When you first get your Nomad, spend some time exploring the bag and playing with loadouts to figure out the best way to pack the bag.  That container ship worth of thought that went into designing and making the Nomad means that you won’t get the most out of it without taking some time to get to know the bag.  Try out backpack mode, put the map pouch on, put the raincover on, (it has a window so you can read whatever’s on top of your bag even with the cover on.) and you’ll be able to get much more out of this bag.

Mosko Moto’s Nomad Tank Bag is a great piece of gear.  You can pack the thing to the gills and expand the beavertail to handle quite a lot of kit, or you can run it scrunched down and out of the way with just the essentials.  Accessing your gear is quick and easy, and knowing that you’re not reaching into a tangled mess or accidentally pulling out extra unwanted items is a huge bonus—especially when you’re fishing for gear while under way.  The ability to carry a water bladder and backpack mode really expand on the use of this bag, and are features you’ll find yourself using all the time.  The bottom line is that the Nomad is an incredibly dynamic piece of gear that’s quite possibly everything you need to carry everything you need.

Full Disclosure:  Mosko Moto provided the Nomad Tank Bag to American Adventurist at no charge for the purpose of this review.