
GoPro cameras are pretty awesome things. They’re durable (by camera standards) waterproof cameras that are small enough that you can put them just about anywhere to get cool shots we could only dream about a few short years ago. Yet actually mounting a camera in some of the places that would make for a really unique shot can be an engineering challenge in actually making it happen. Sometimes, you just need to make your own mount- and using a 3D Printer like the TAZ 6 happens to be the perfect way to do it.
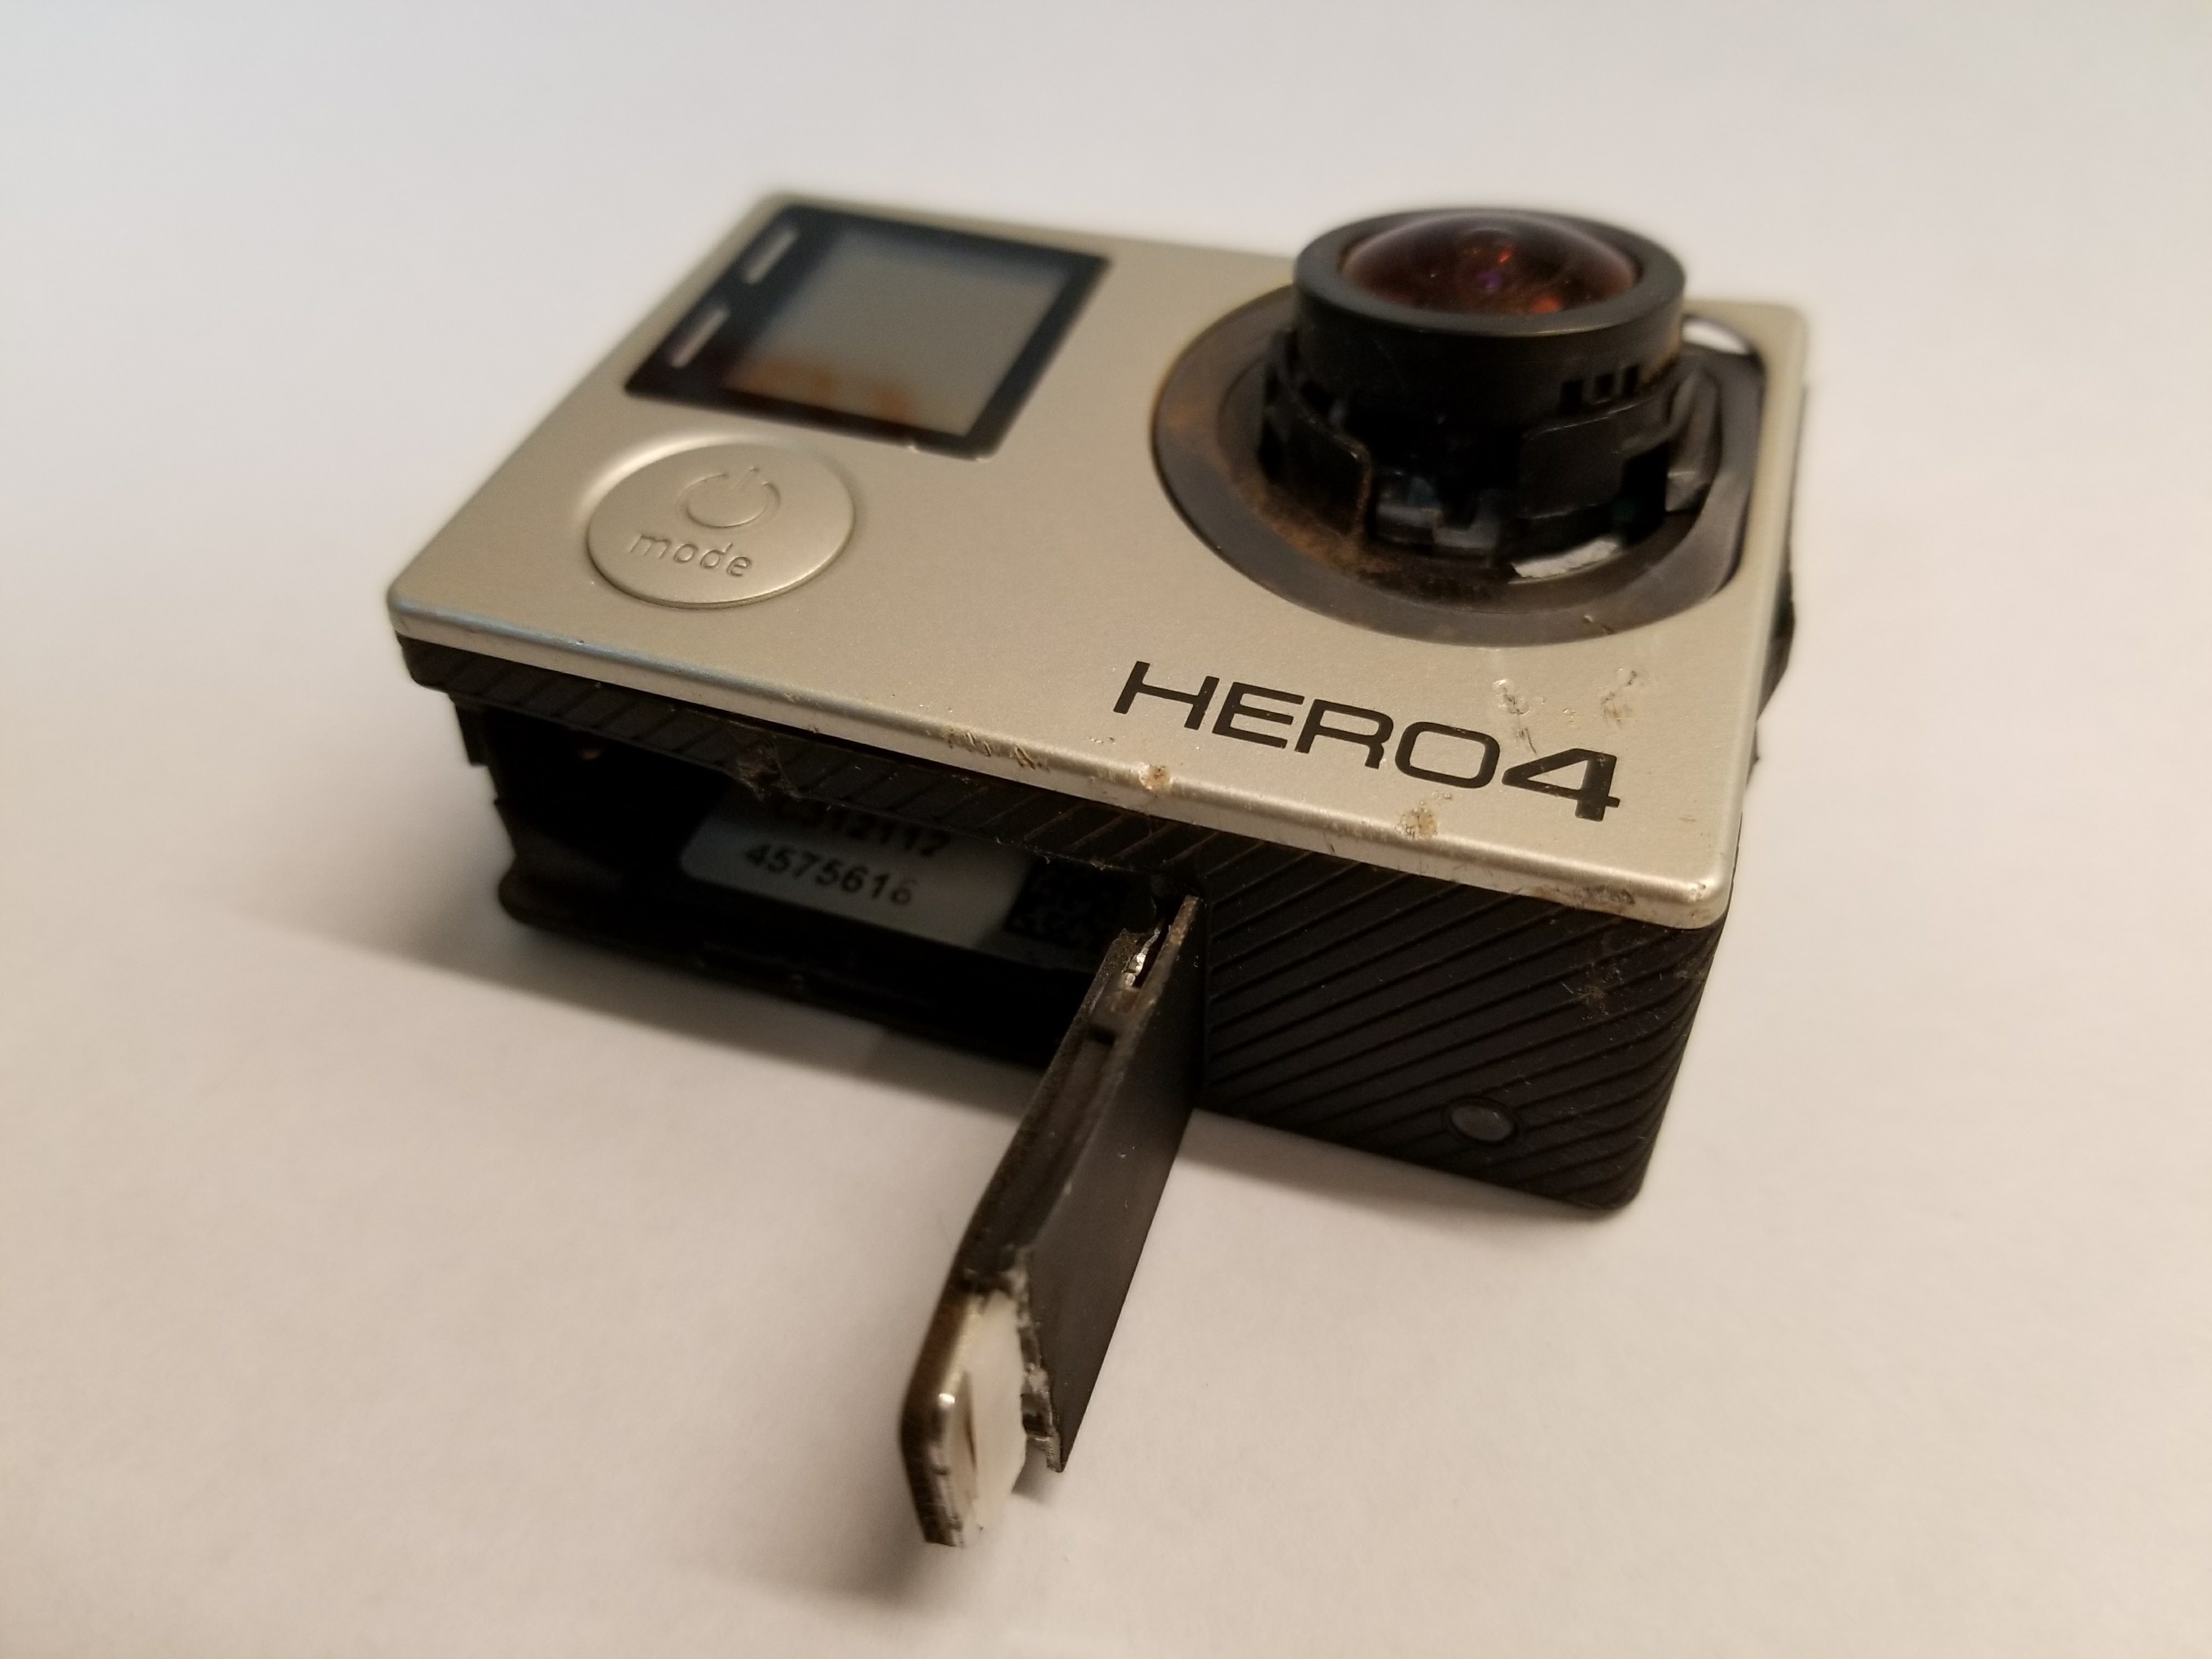
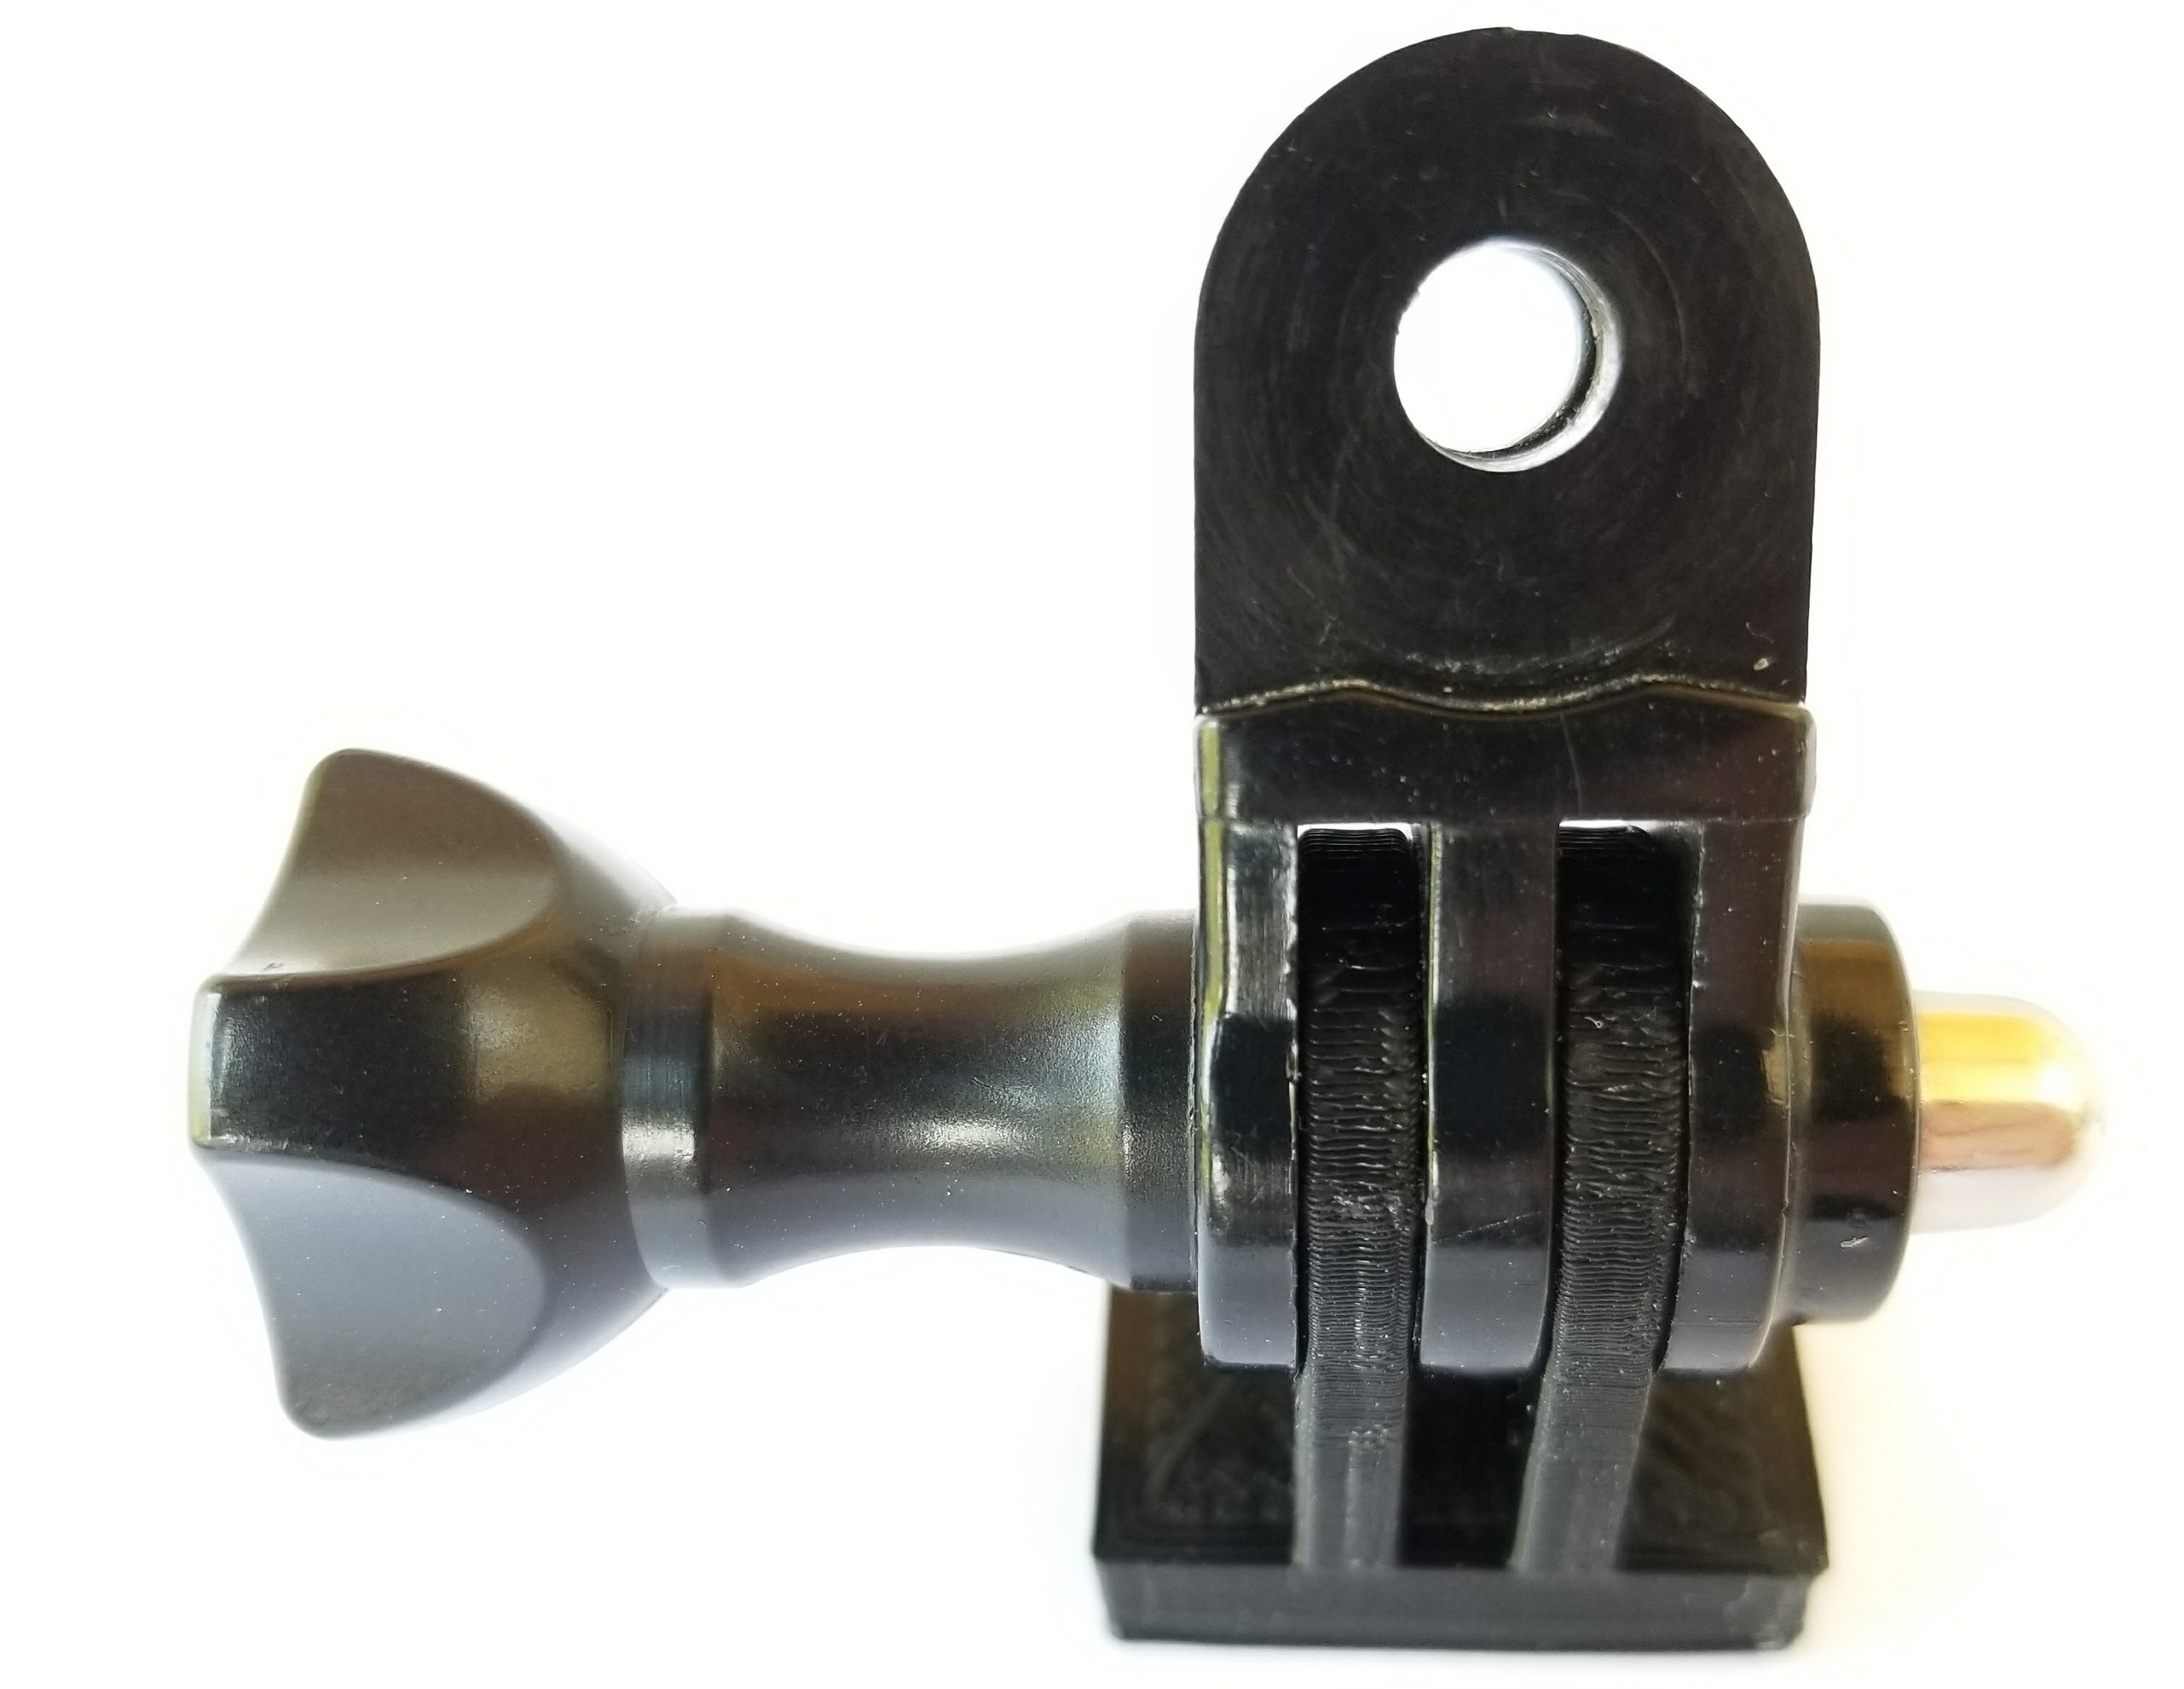
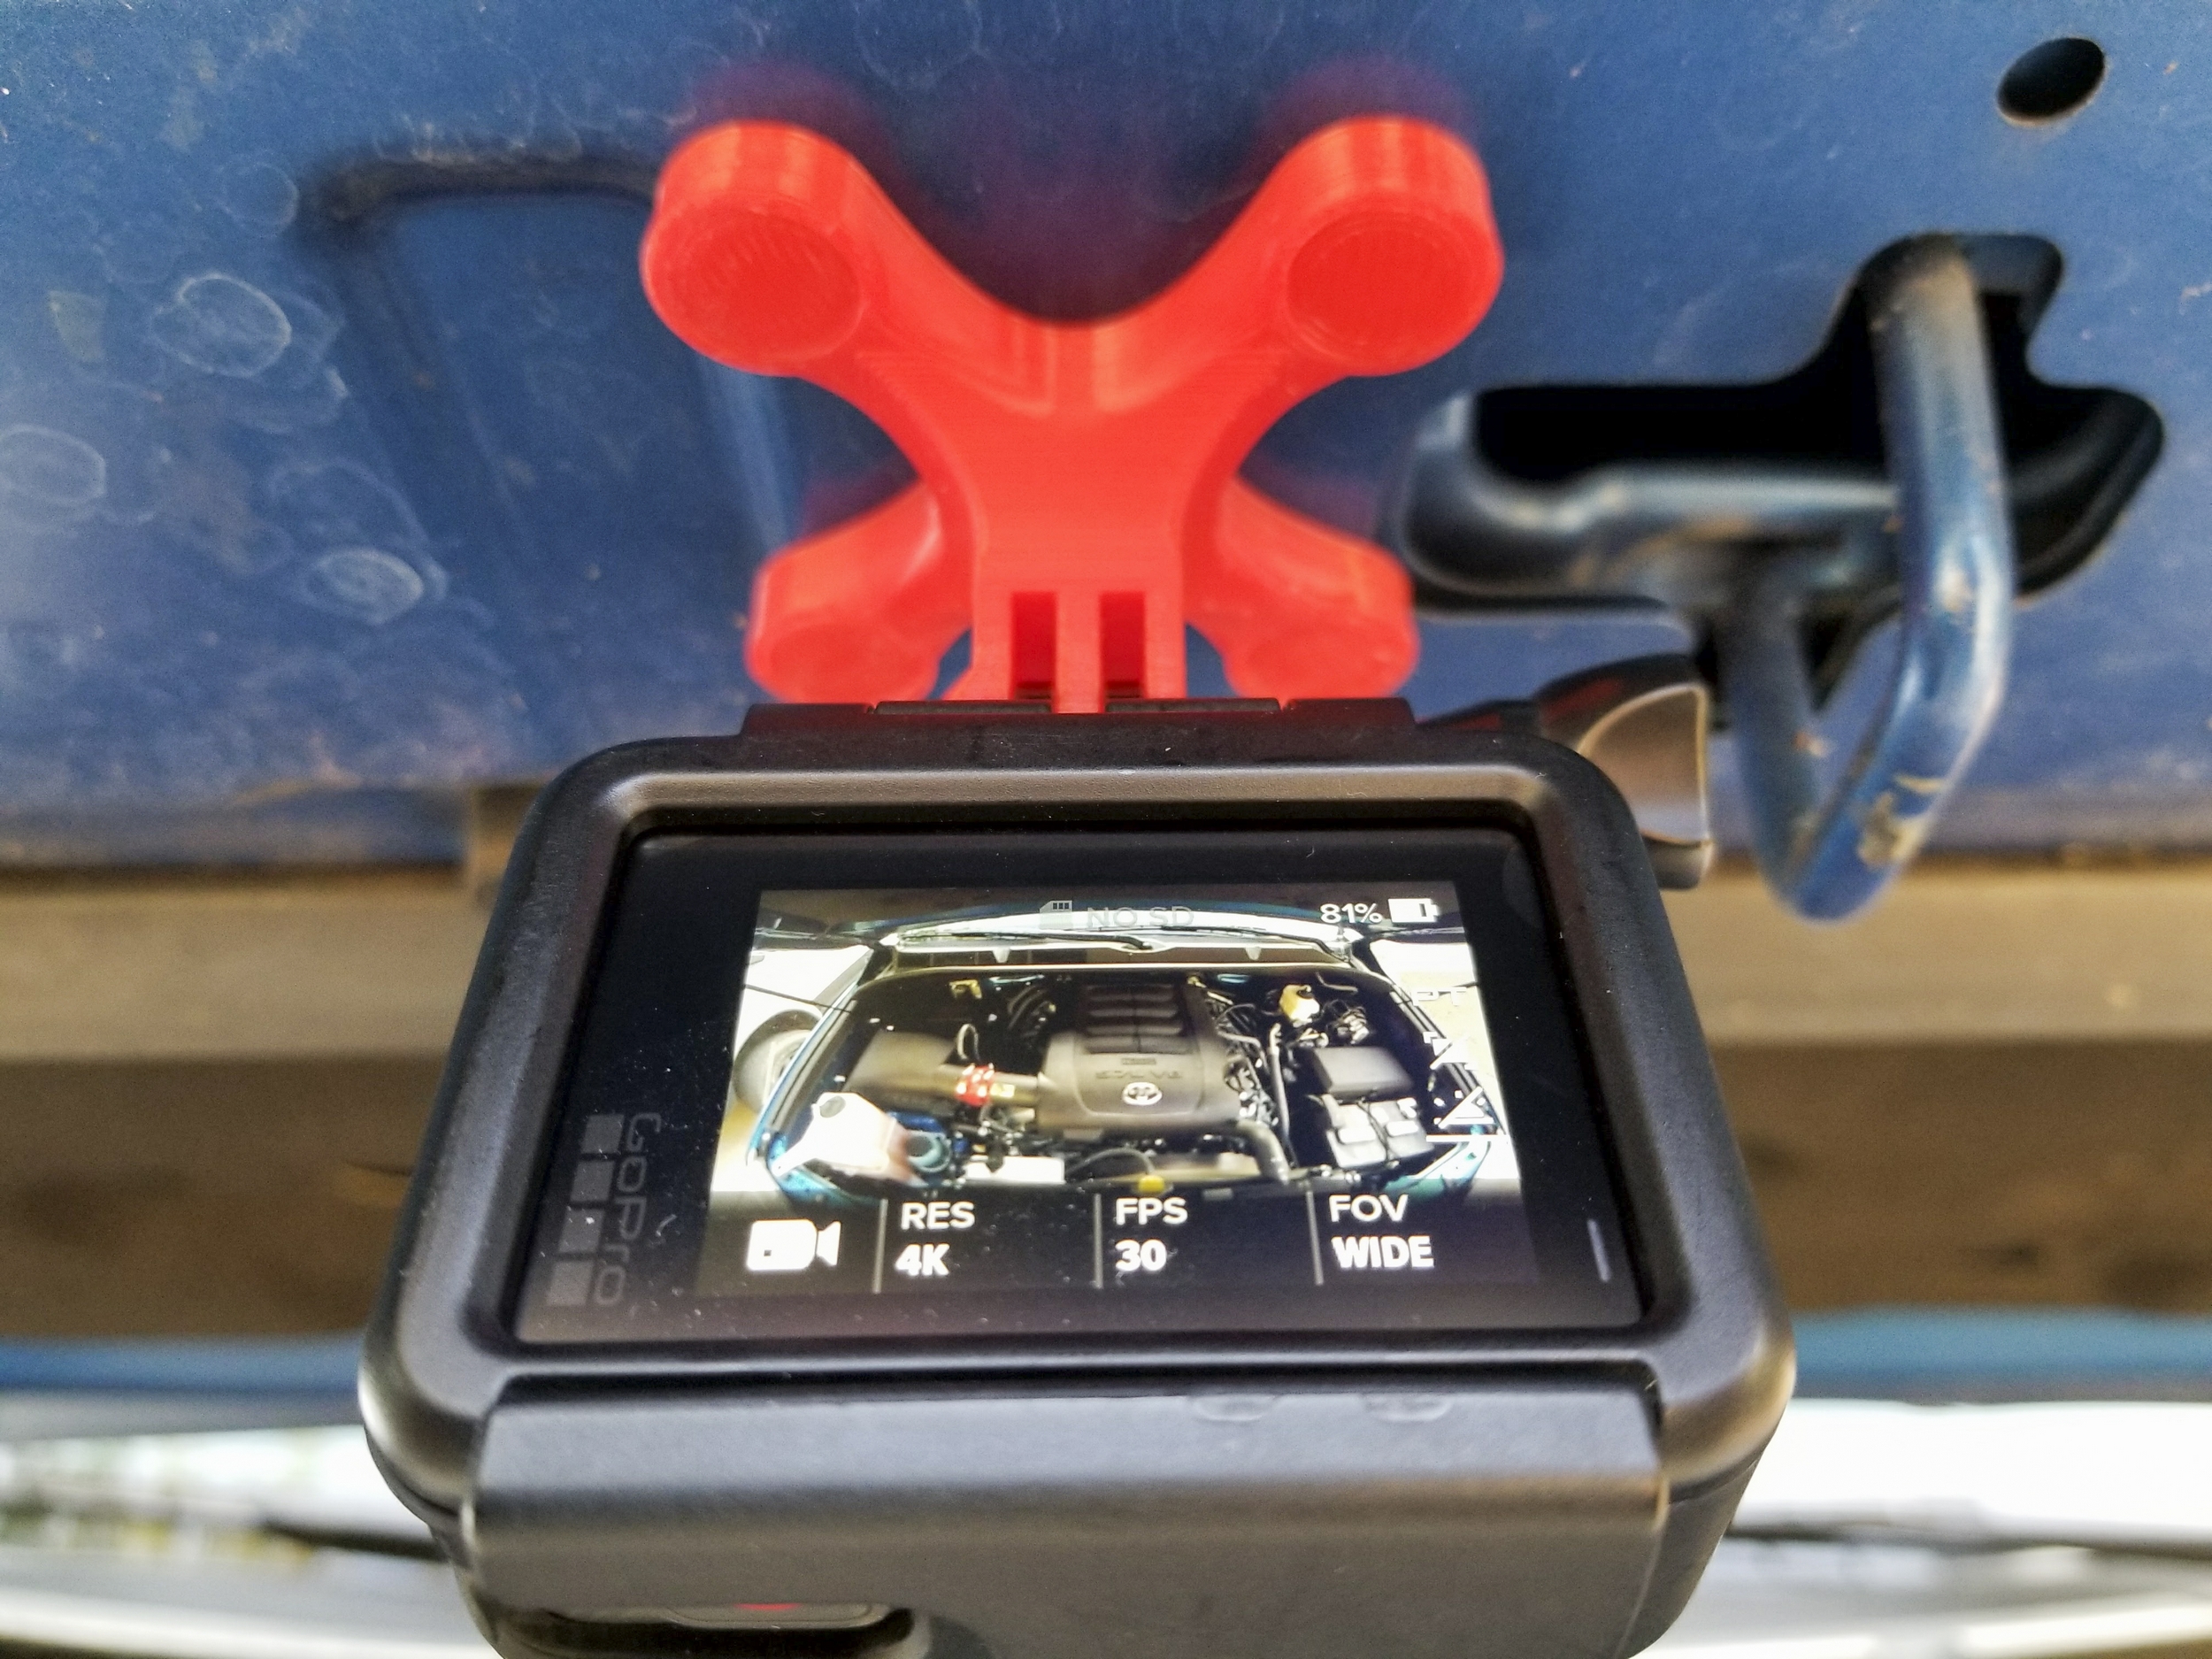
There are exactly 2.4 kabillion companies out there who make no less than 9.33 zillion mounts and accessories for GoPro cameras. Yet cameras can still end up looking like this—ask me how I know. Suction cups and sticky mounts can work really well, but they can also cause your GoPro to jump ship, which is what brought Chazz Layne to me asking for a help with a GoPro mounting solution. Chazz asked me to come up with a magnetic mount for a GoPro, so that he could stick a camera to literally any ferrous metal surface in his vehicle and capture all kinds of shots from time lapses while wrenching to axle-cam shots while rallying.
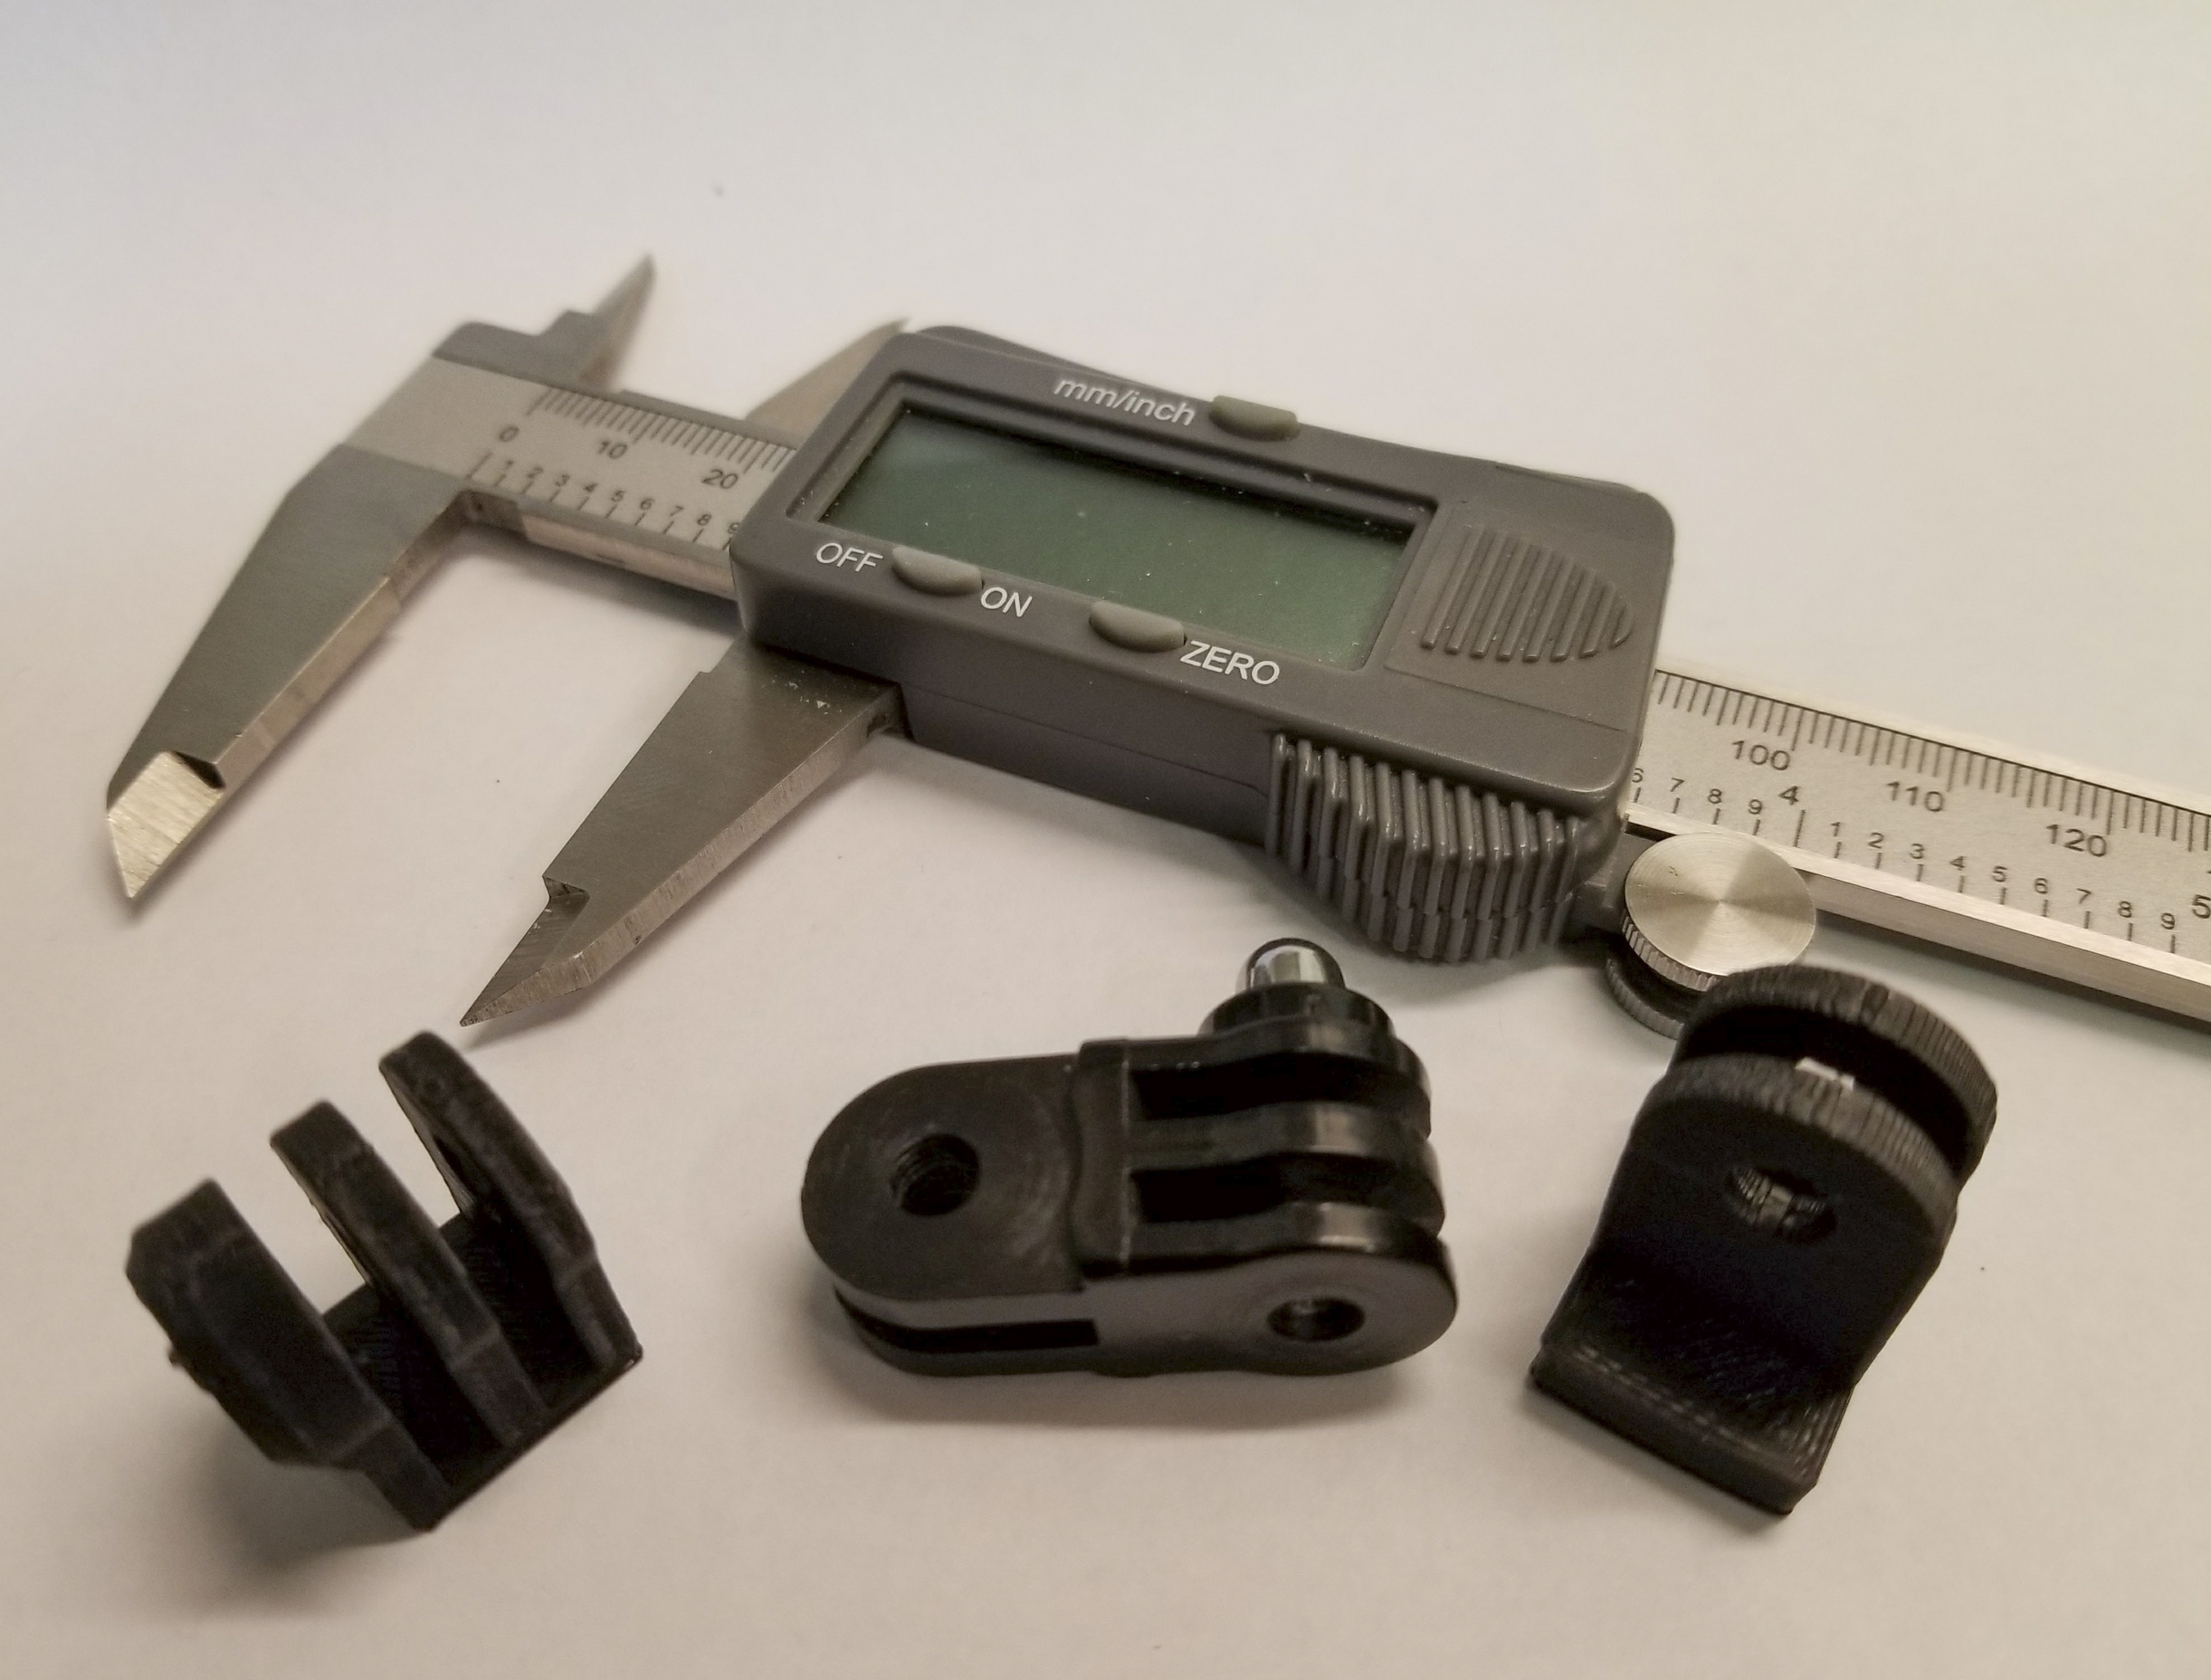
Since I needed to make these new magnetic mounts work with the GoPro ecosystem of mounts and accessories, it made sense to do a little bit of extra work and model all of the parts that I would need to make ANY GoPro part I could dream up. A set of calipers and a few genuine GoPro mounts to measure off of were all that I needed to reverse engineer what I’m going to call the three-prong, and two-prong GoPro mounts in a CAD program.
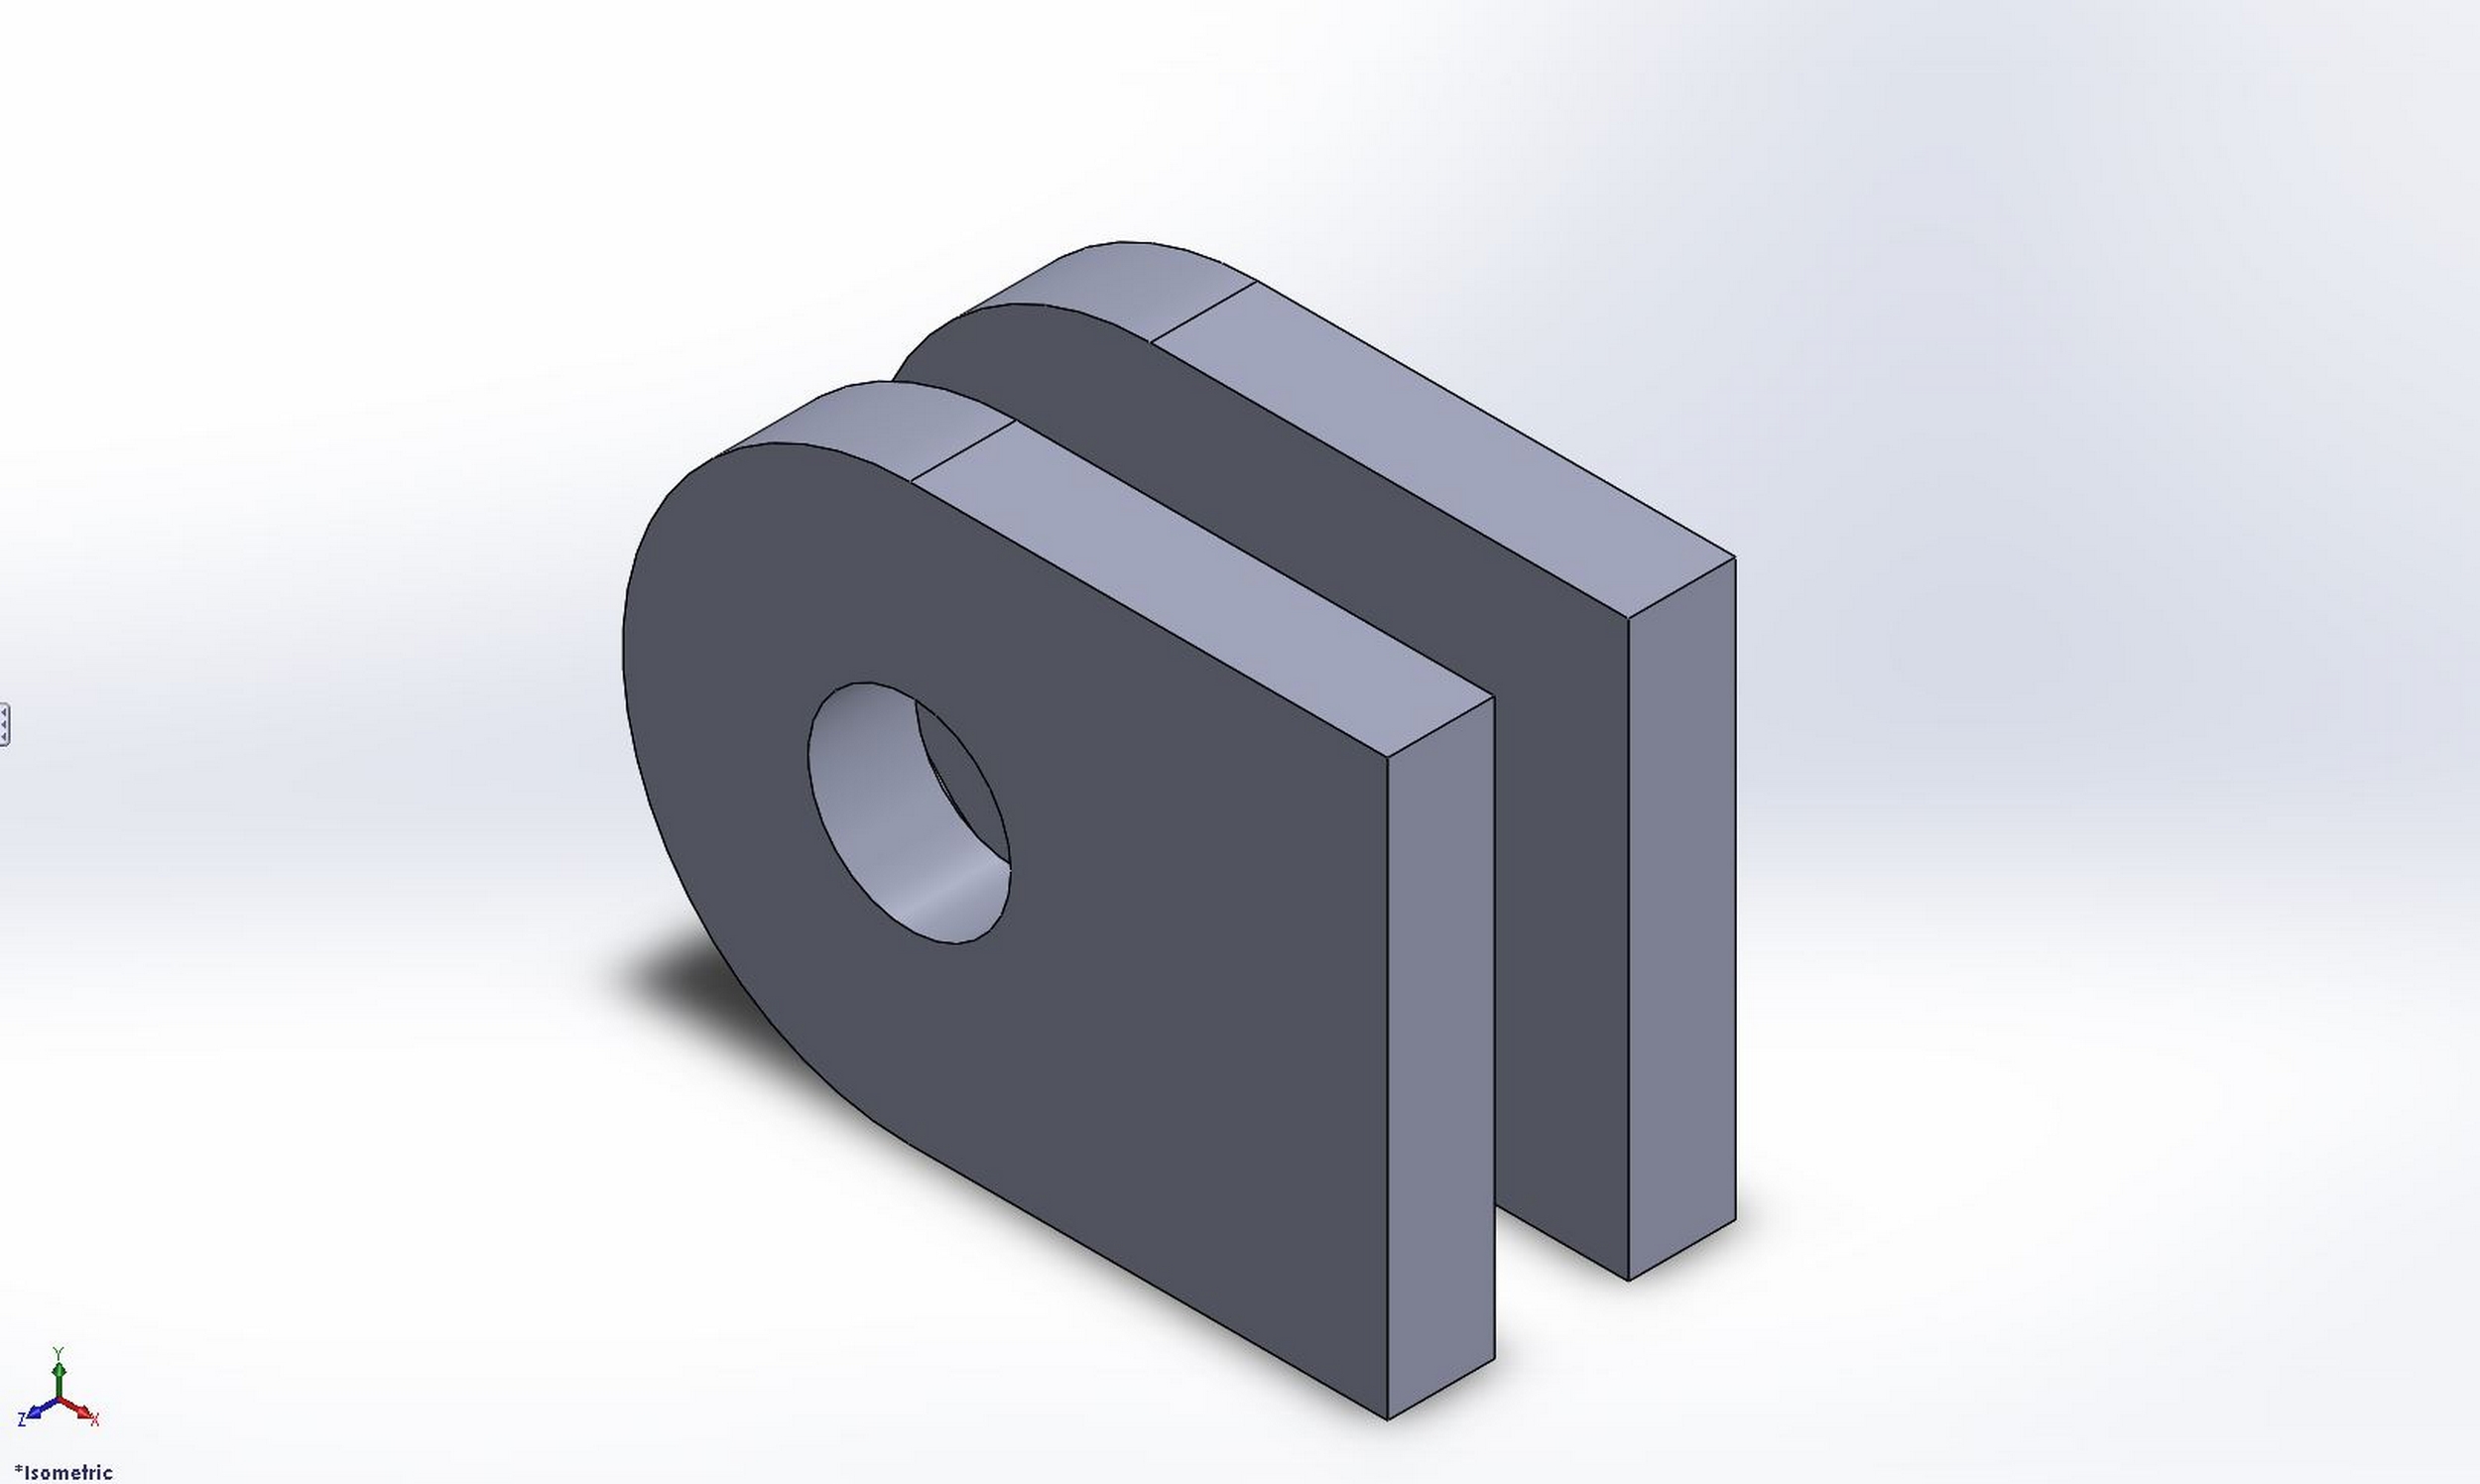
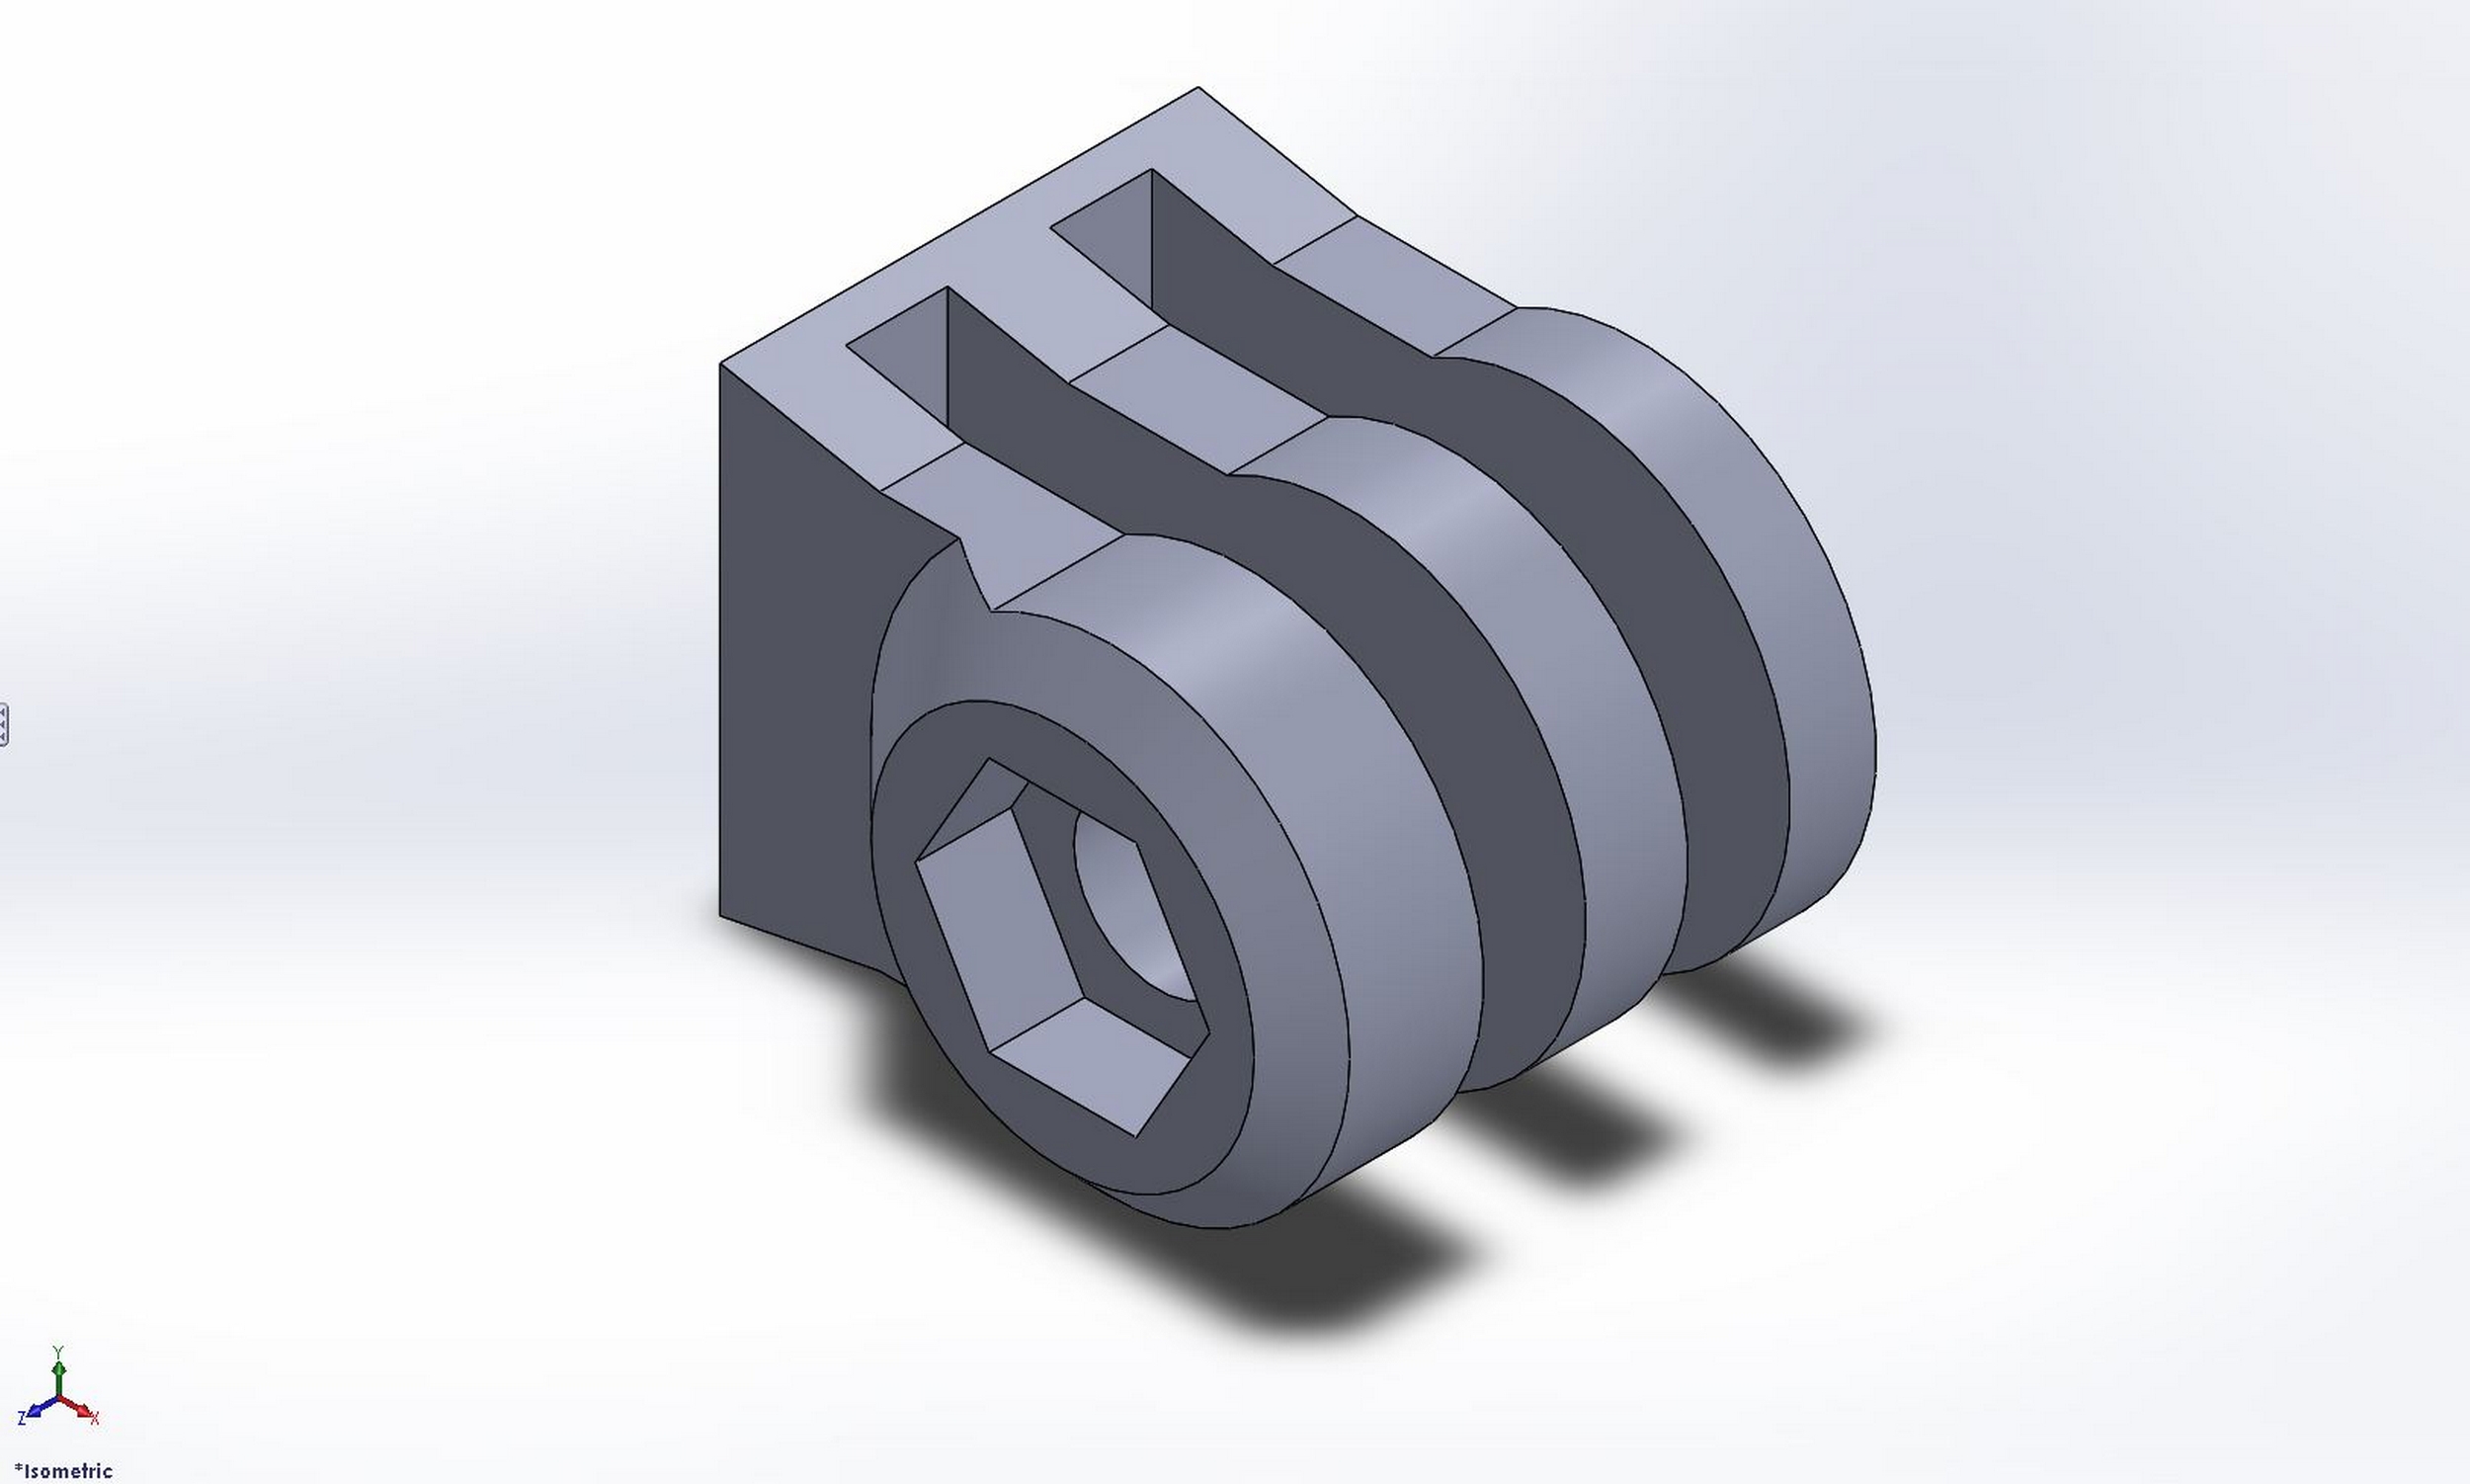

All of the screen captures you’re going to see here are from SolidWorks, but any CAD program that can output a STL file will work great. The design-build process from reverse engineering to printing is going to be the same no matter what CAD program you use. Check out the first article in this series for a couple of free CAD programs to use. Once I had my three-prong and two-prong mounts modeled, I made a test print of each to make sure that I had all of the dimensions correct, and that my parts worked properly with the genuine GoPro parts. When you’re working with interference fits (like capturing the acorn nut) or when you’ve got parts that mate to one another, a test print it always a good call.
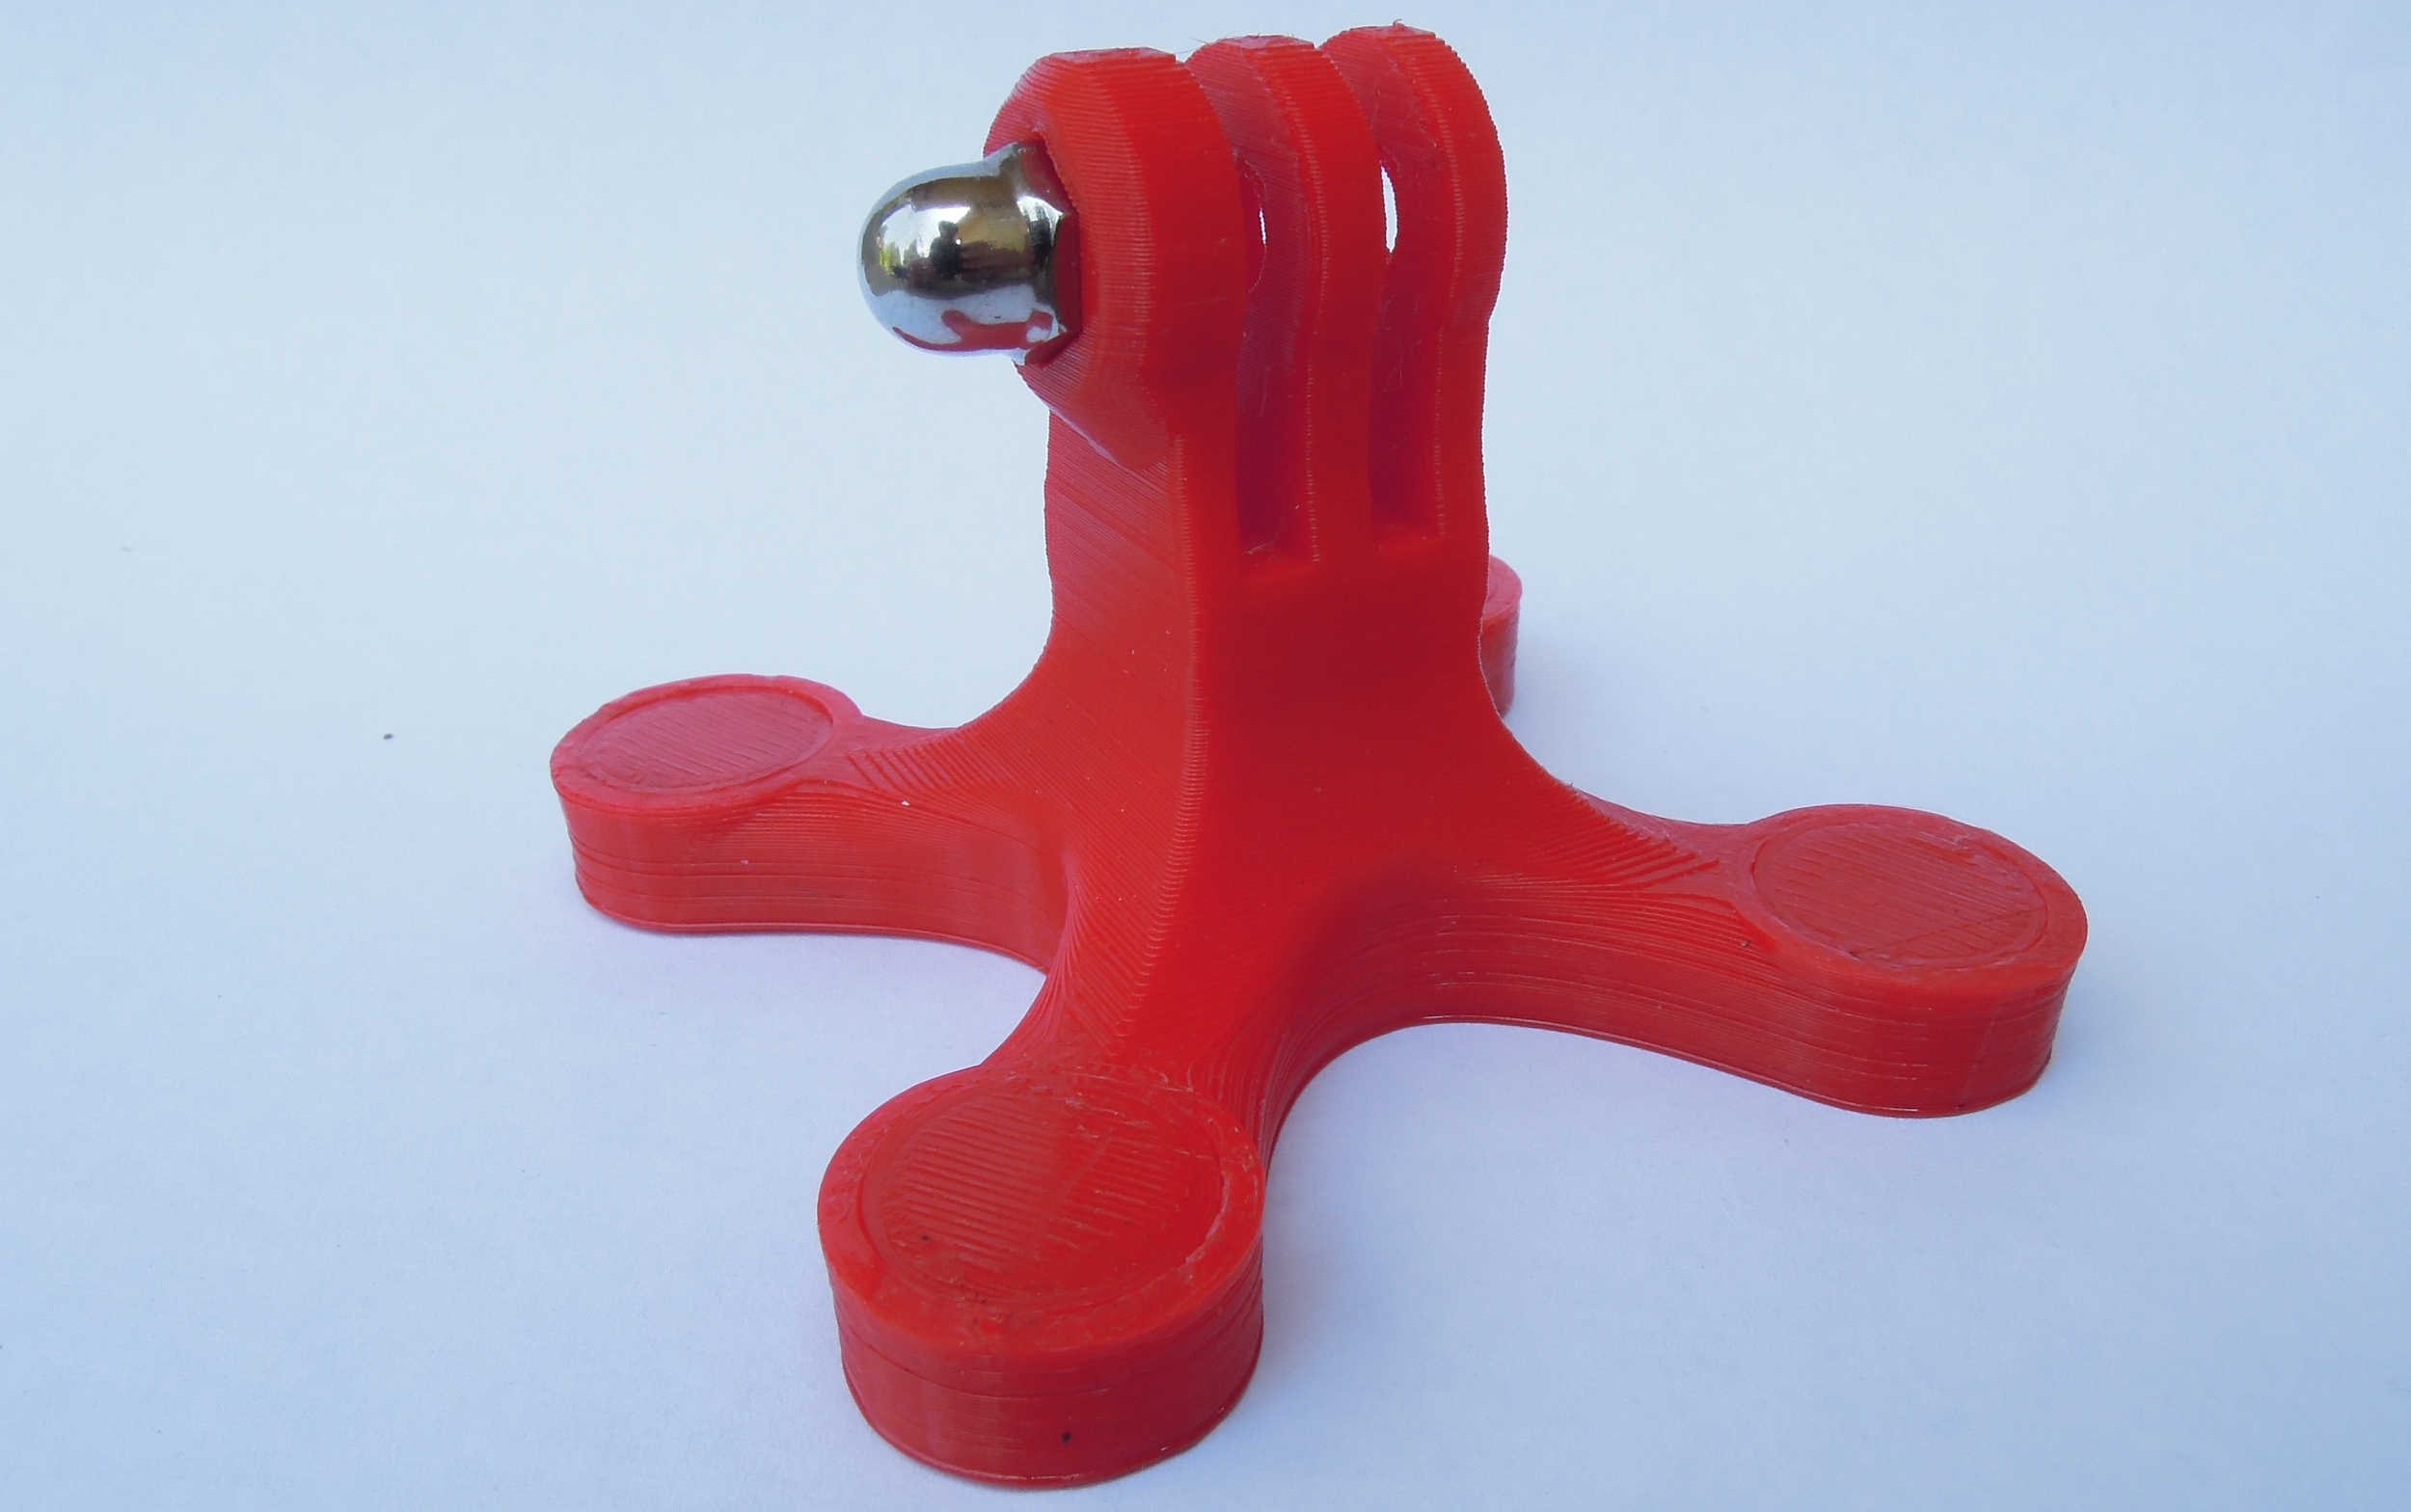

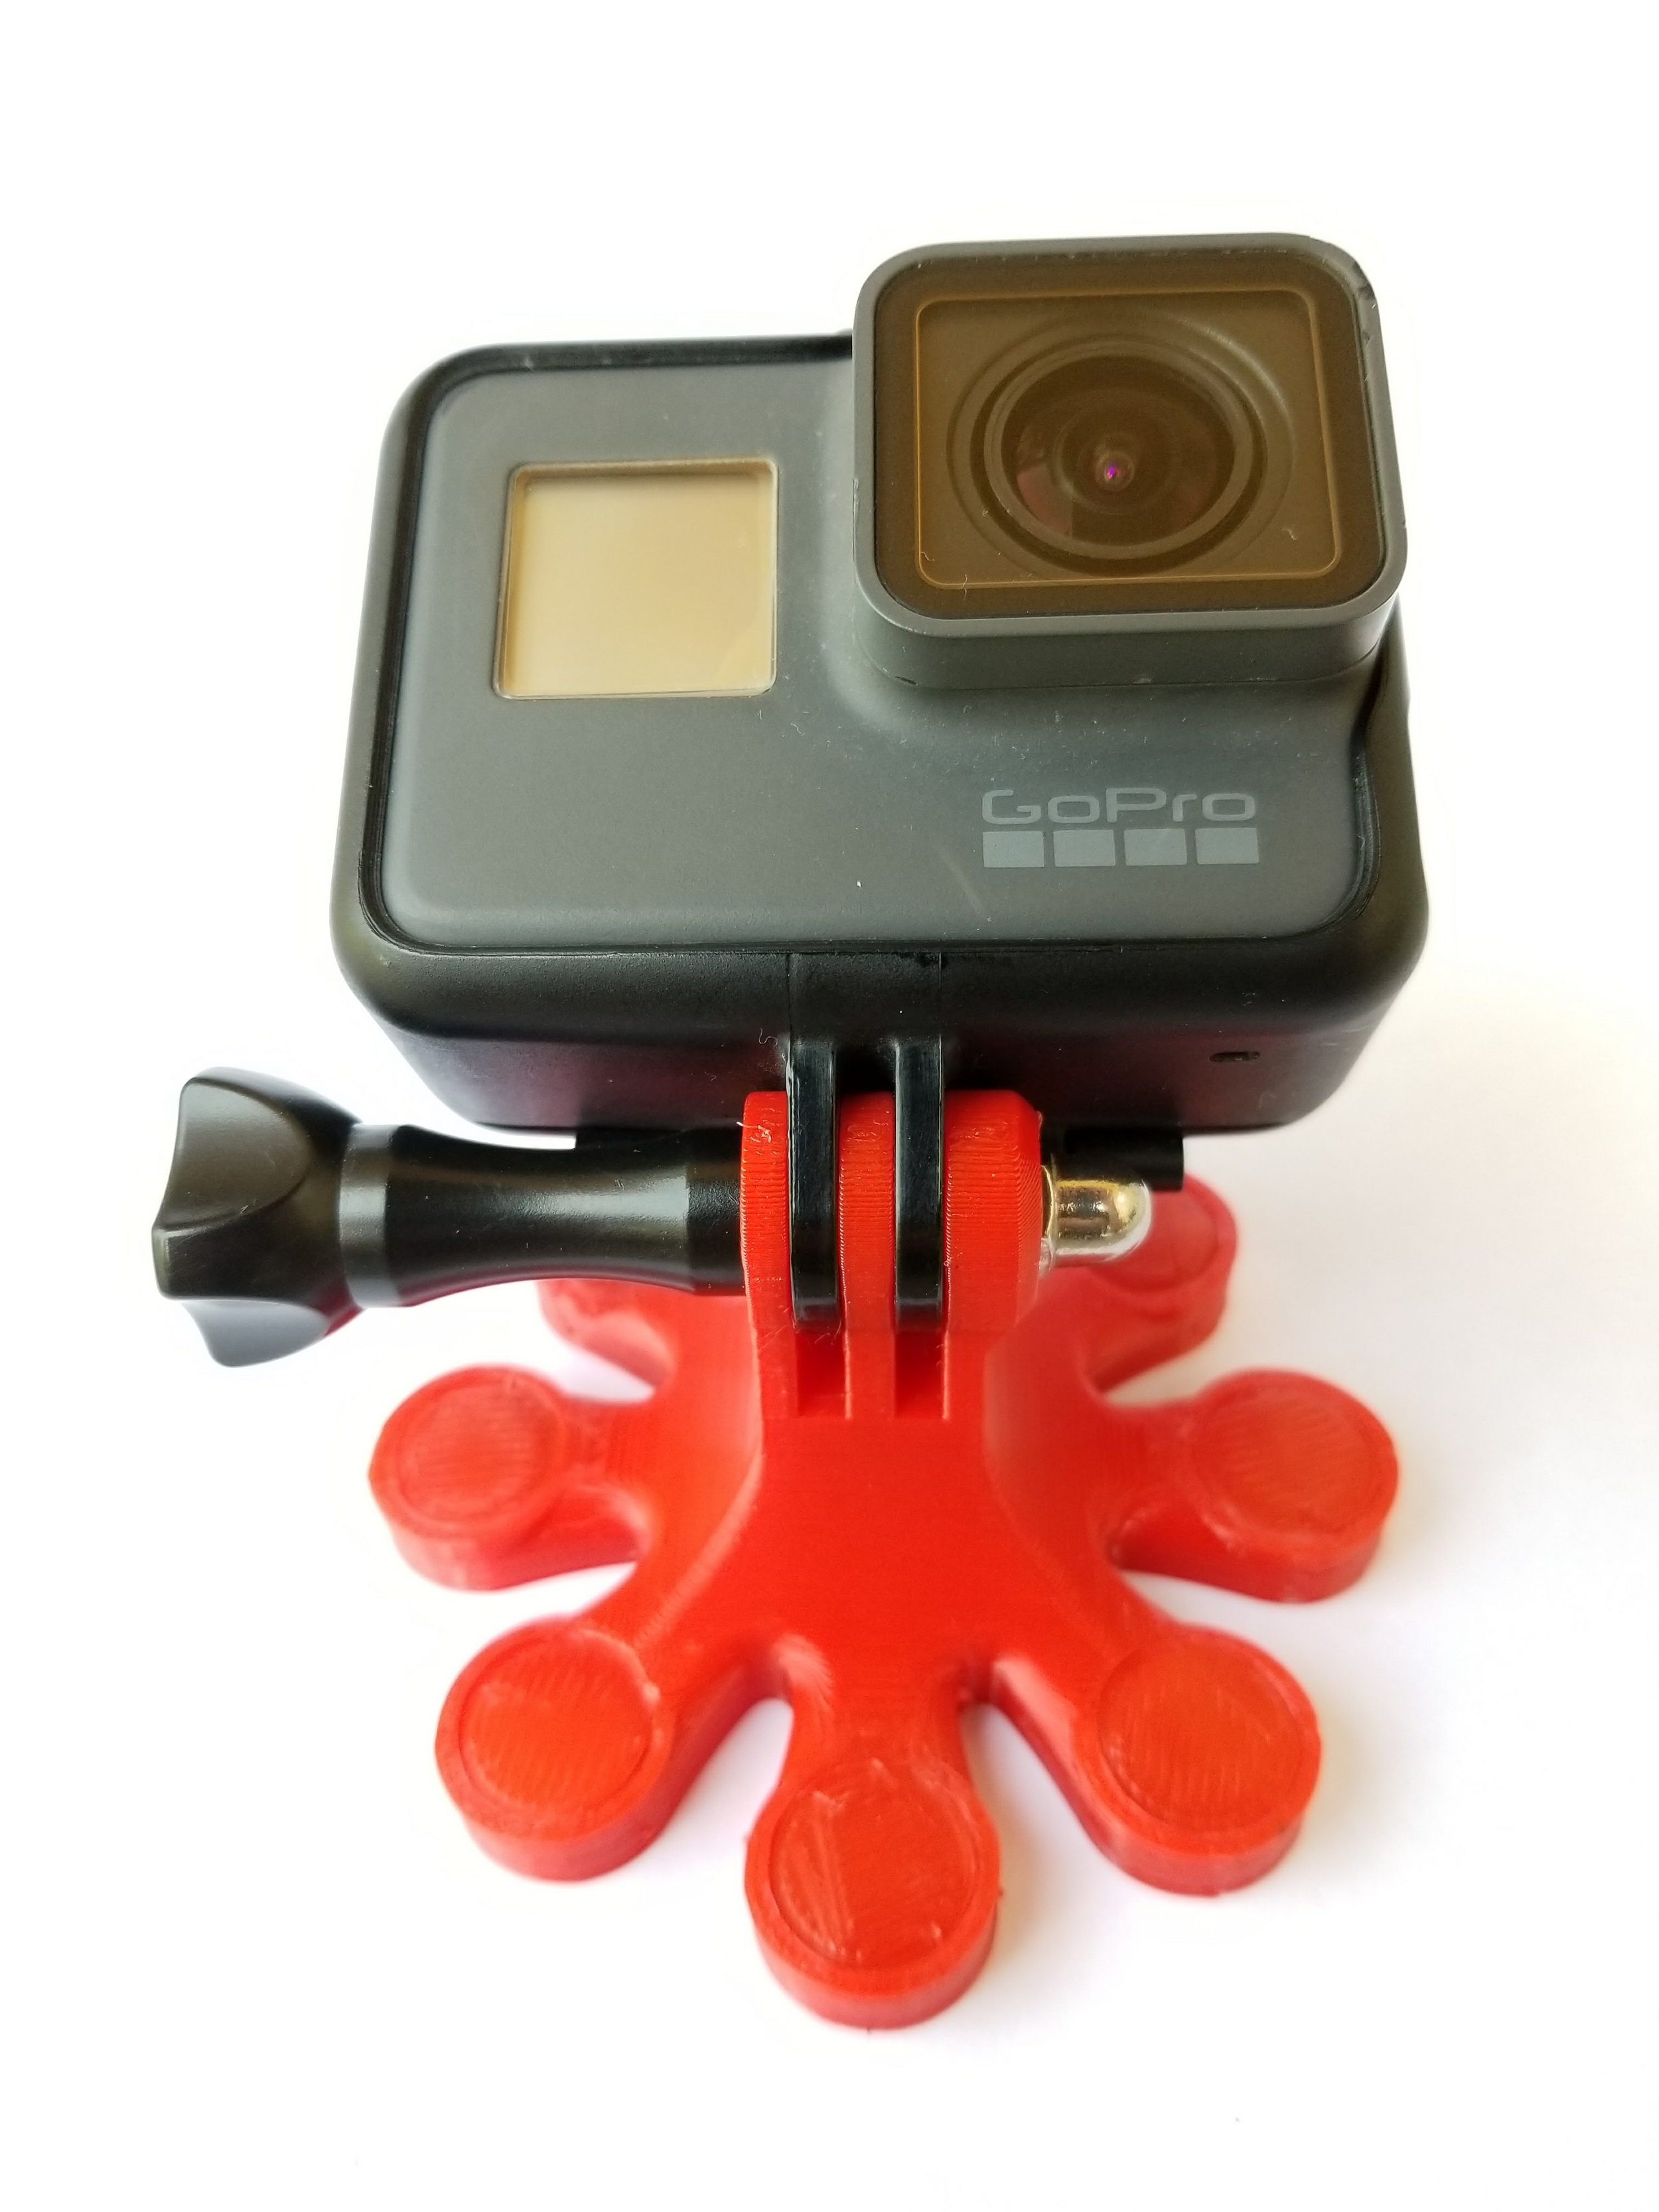
Now that I have the three-prong and two-prong mounts modeled correctly, I can put them on literally anything else I can dream up, so I started working on a magnetic base, and came up with two designs. The first is a base that is designed to work in applications where the mount isn’t going to be bouncing around particularly hard: shooting timelapses, gentle driving, etc. I focused on creating a smaller footprint and protecting the magnets, which can break if they hit something hard enough. Once I had my base, I added the three-prong GoPro mount, saved the model as a .STL and loaded the model into Cura, the printer control software for the TAZ 6.


Cura is a great program to work with, and the process of going from CAD model to print can be as easy as choosing the type of print you want (standard / high speed / high detail) and whether or not you need support material or a brim and hitting go. Cura’s filament profiles are the result of countless hours of testing by the folks at Lulzbot, and as a result their printers are as close to a plug-and-play printing solution as you can get. However, Cura can also nerd out—if you want to tweak every last setting of a given print profile, simply flip over to expert mode where you can change any variable. Once you have your settings dialed, you’ll load the model(s) you want to print, which will appear in the build area. If you need to change the model’s orientation, simply use the rotate button in the bottom left corner to rotate the model on any of the three axes. Moving a model is as simple as clicking and dragging. When you’re happy with everything start your print and kick back and enjoy the stepper music.

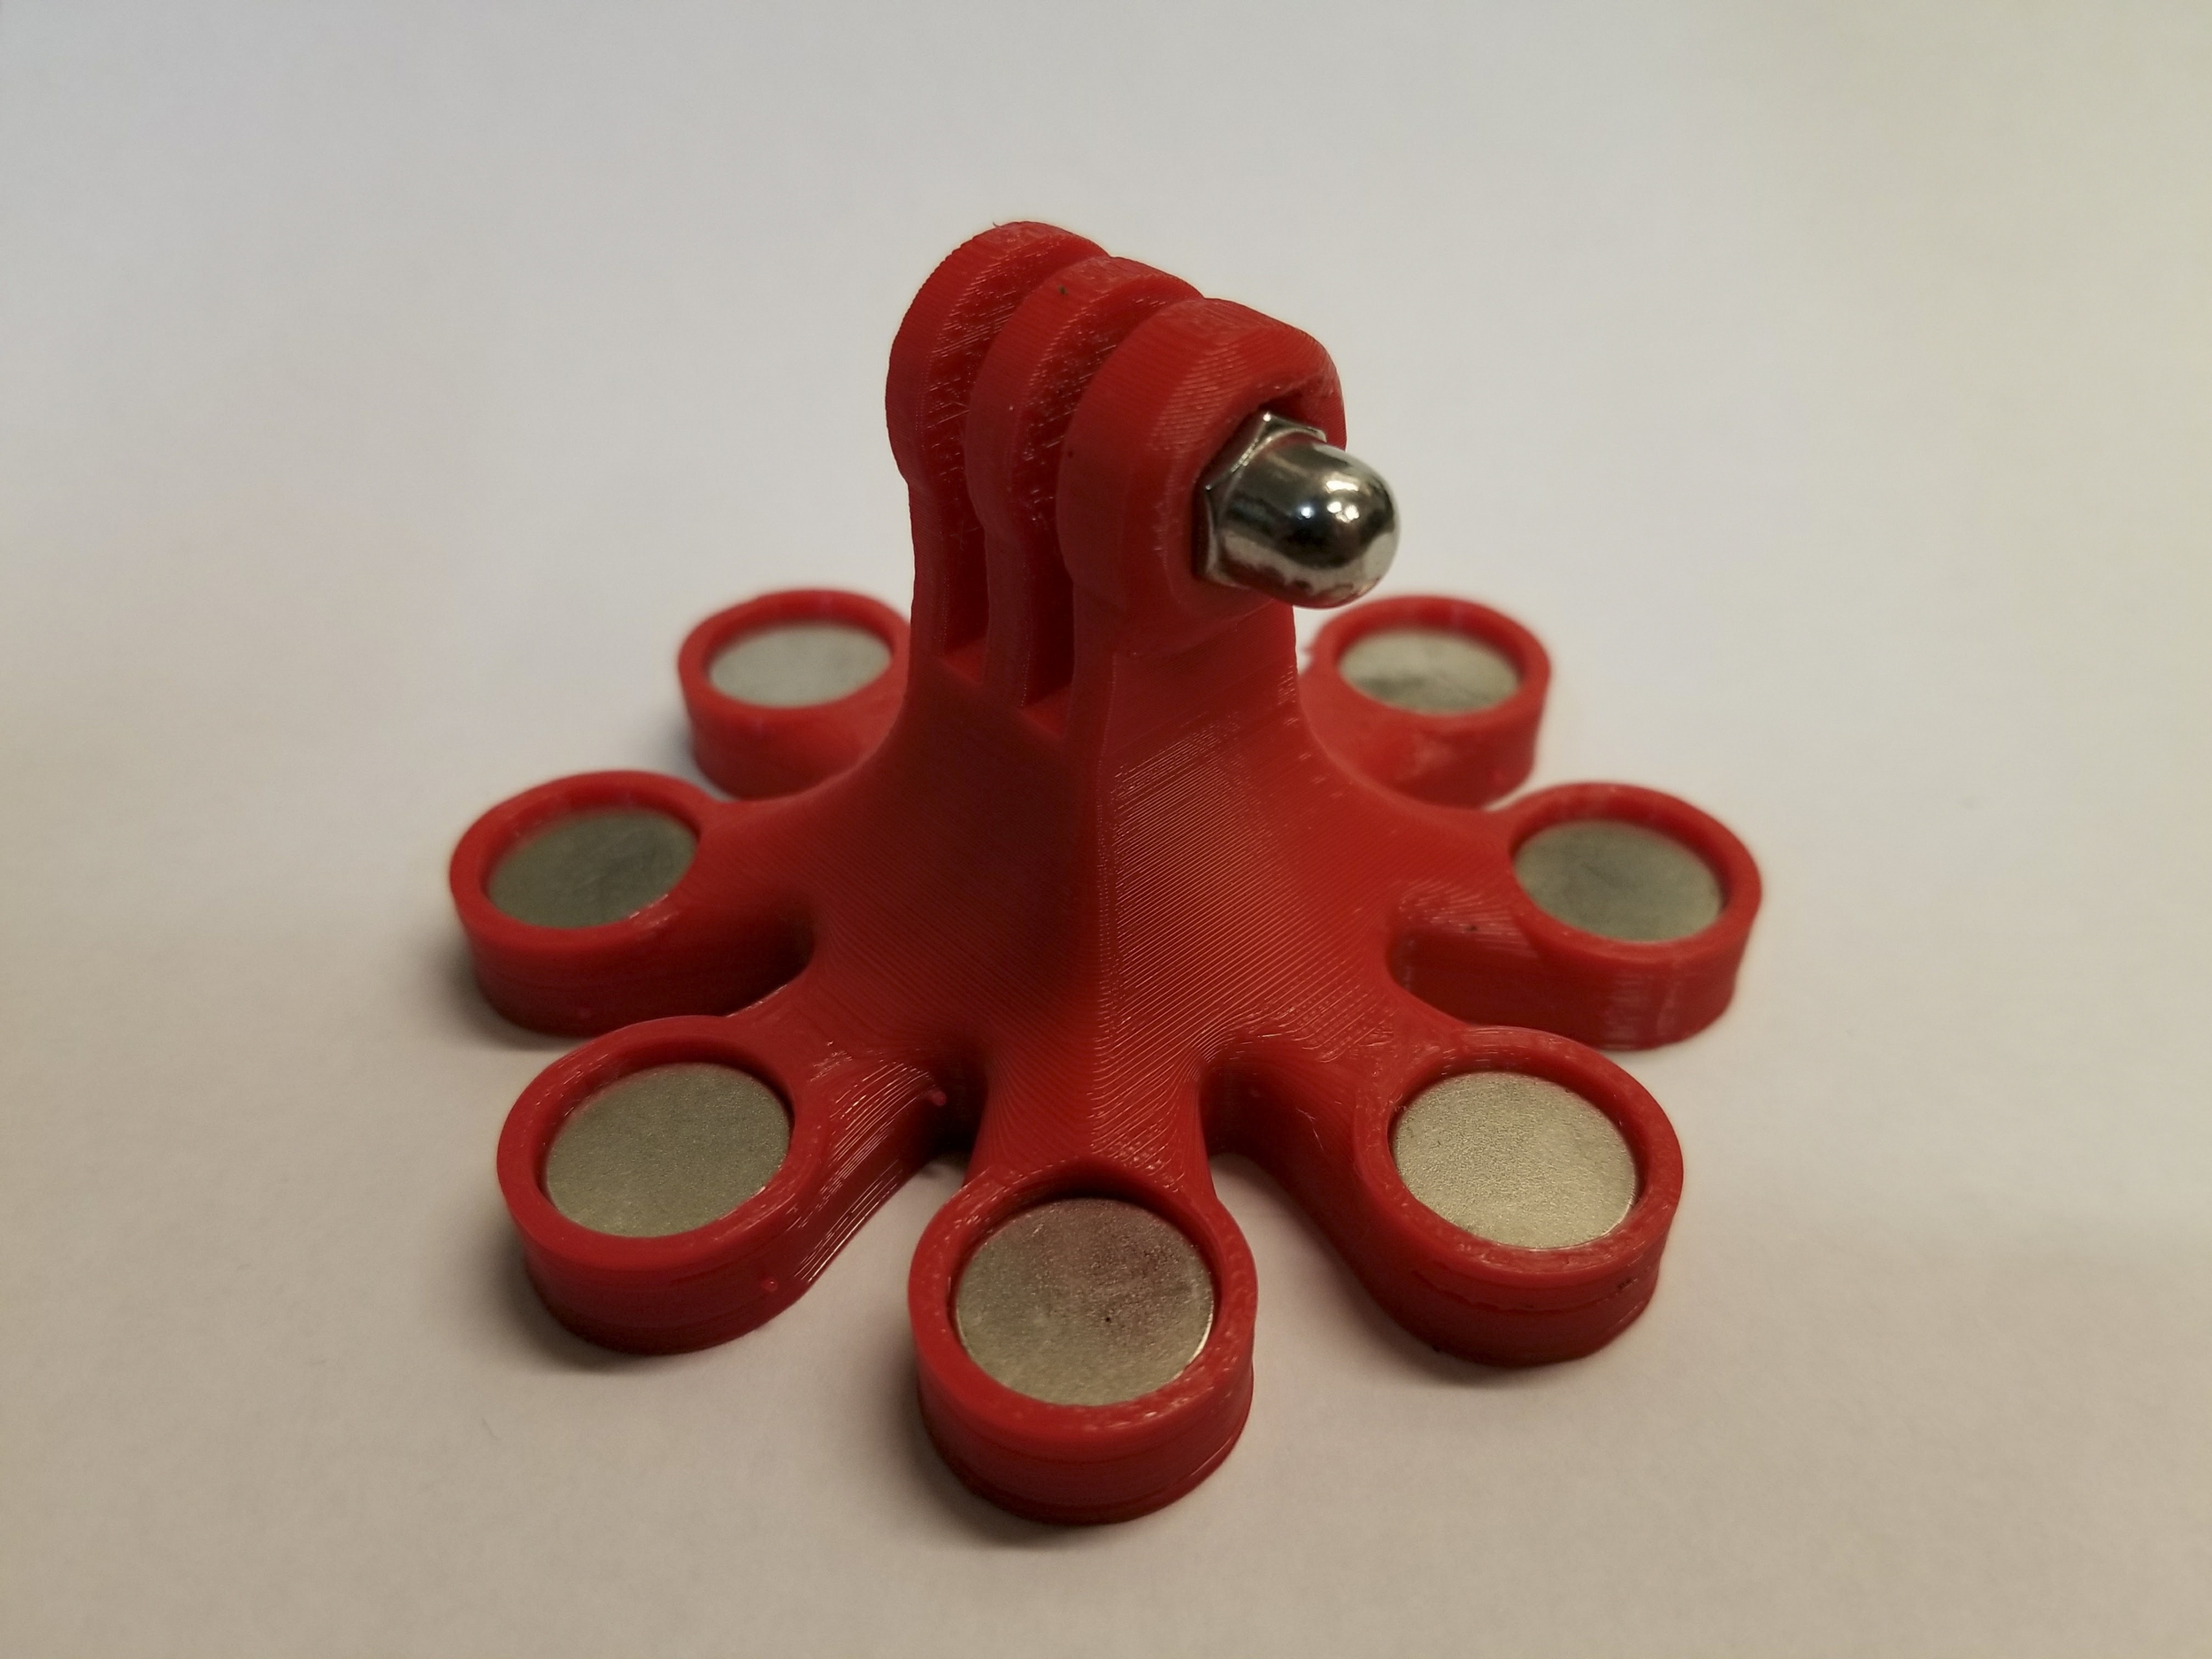
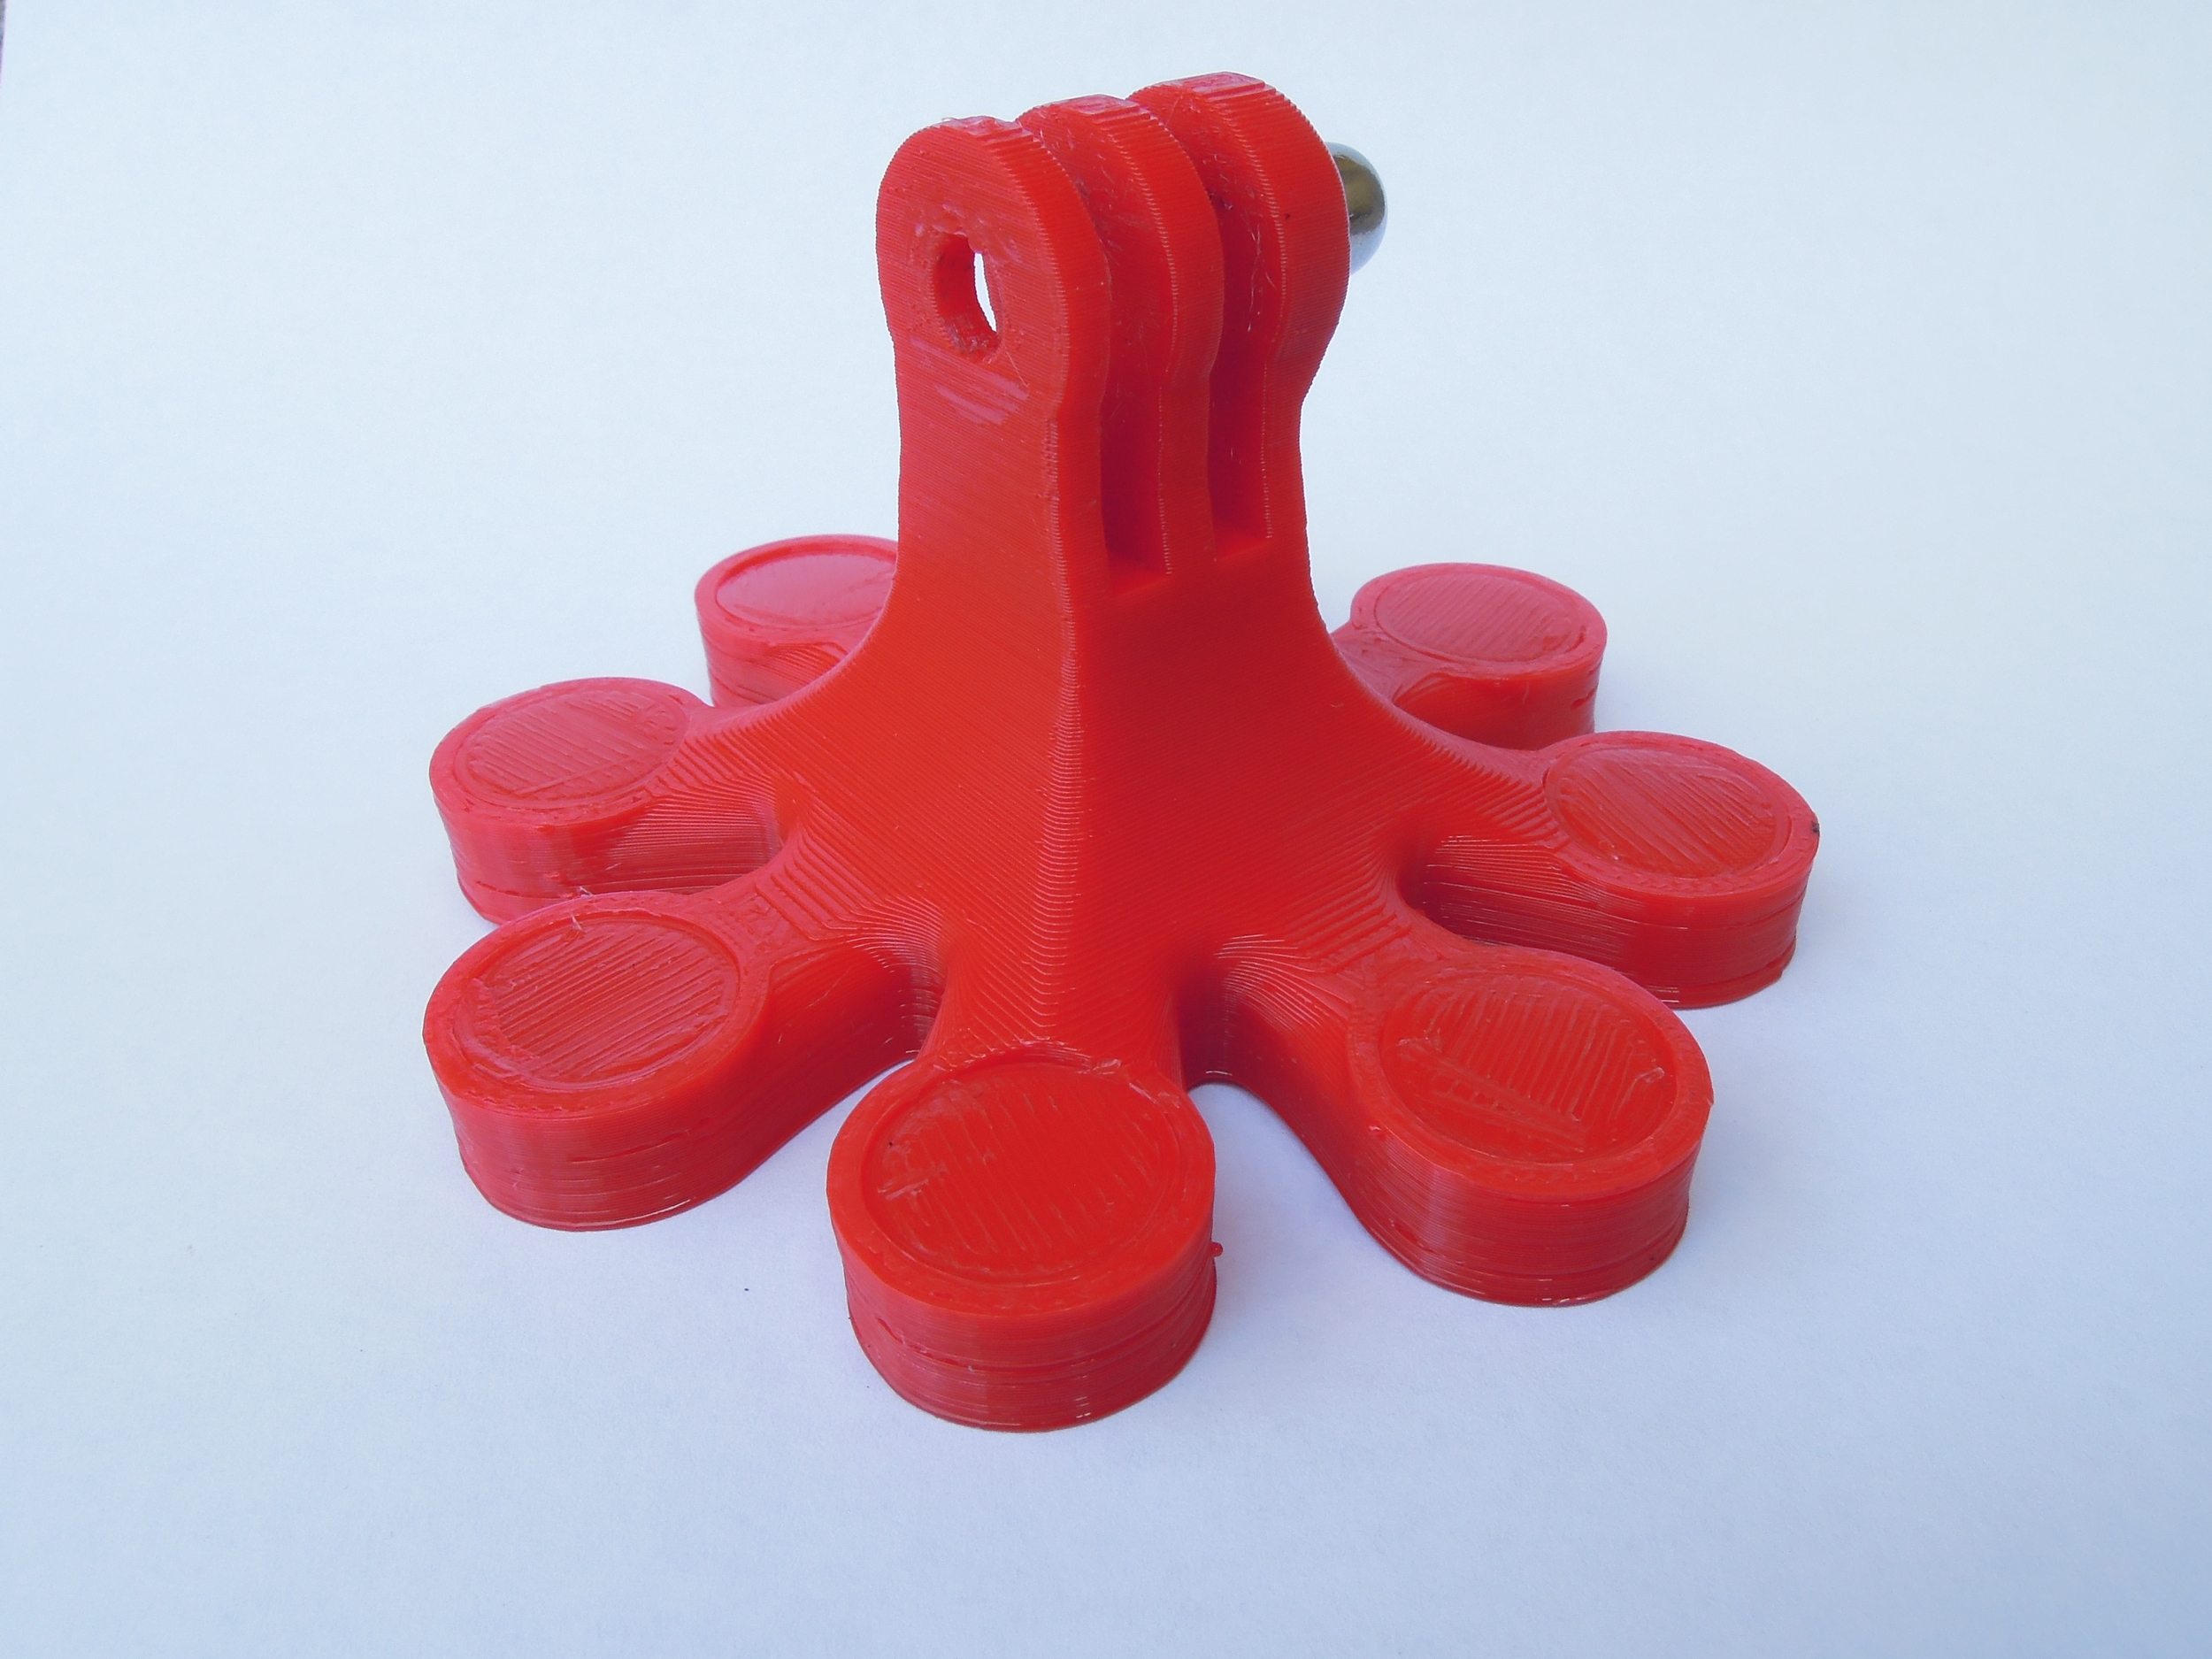
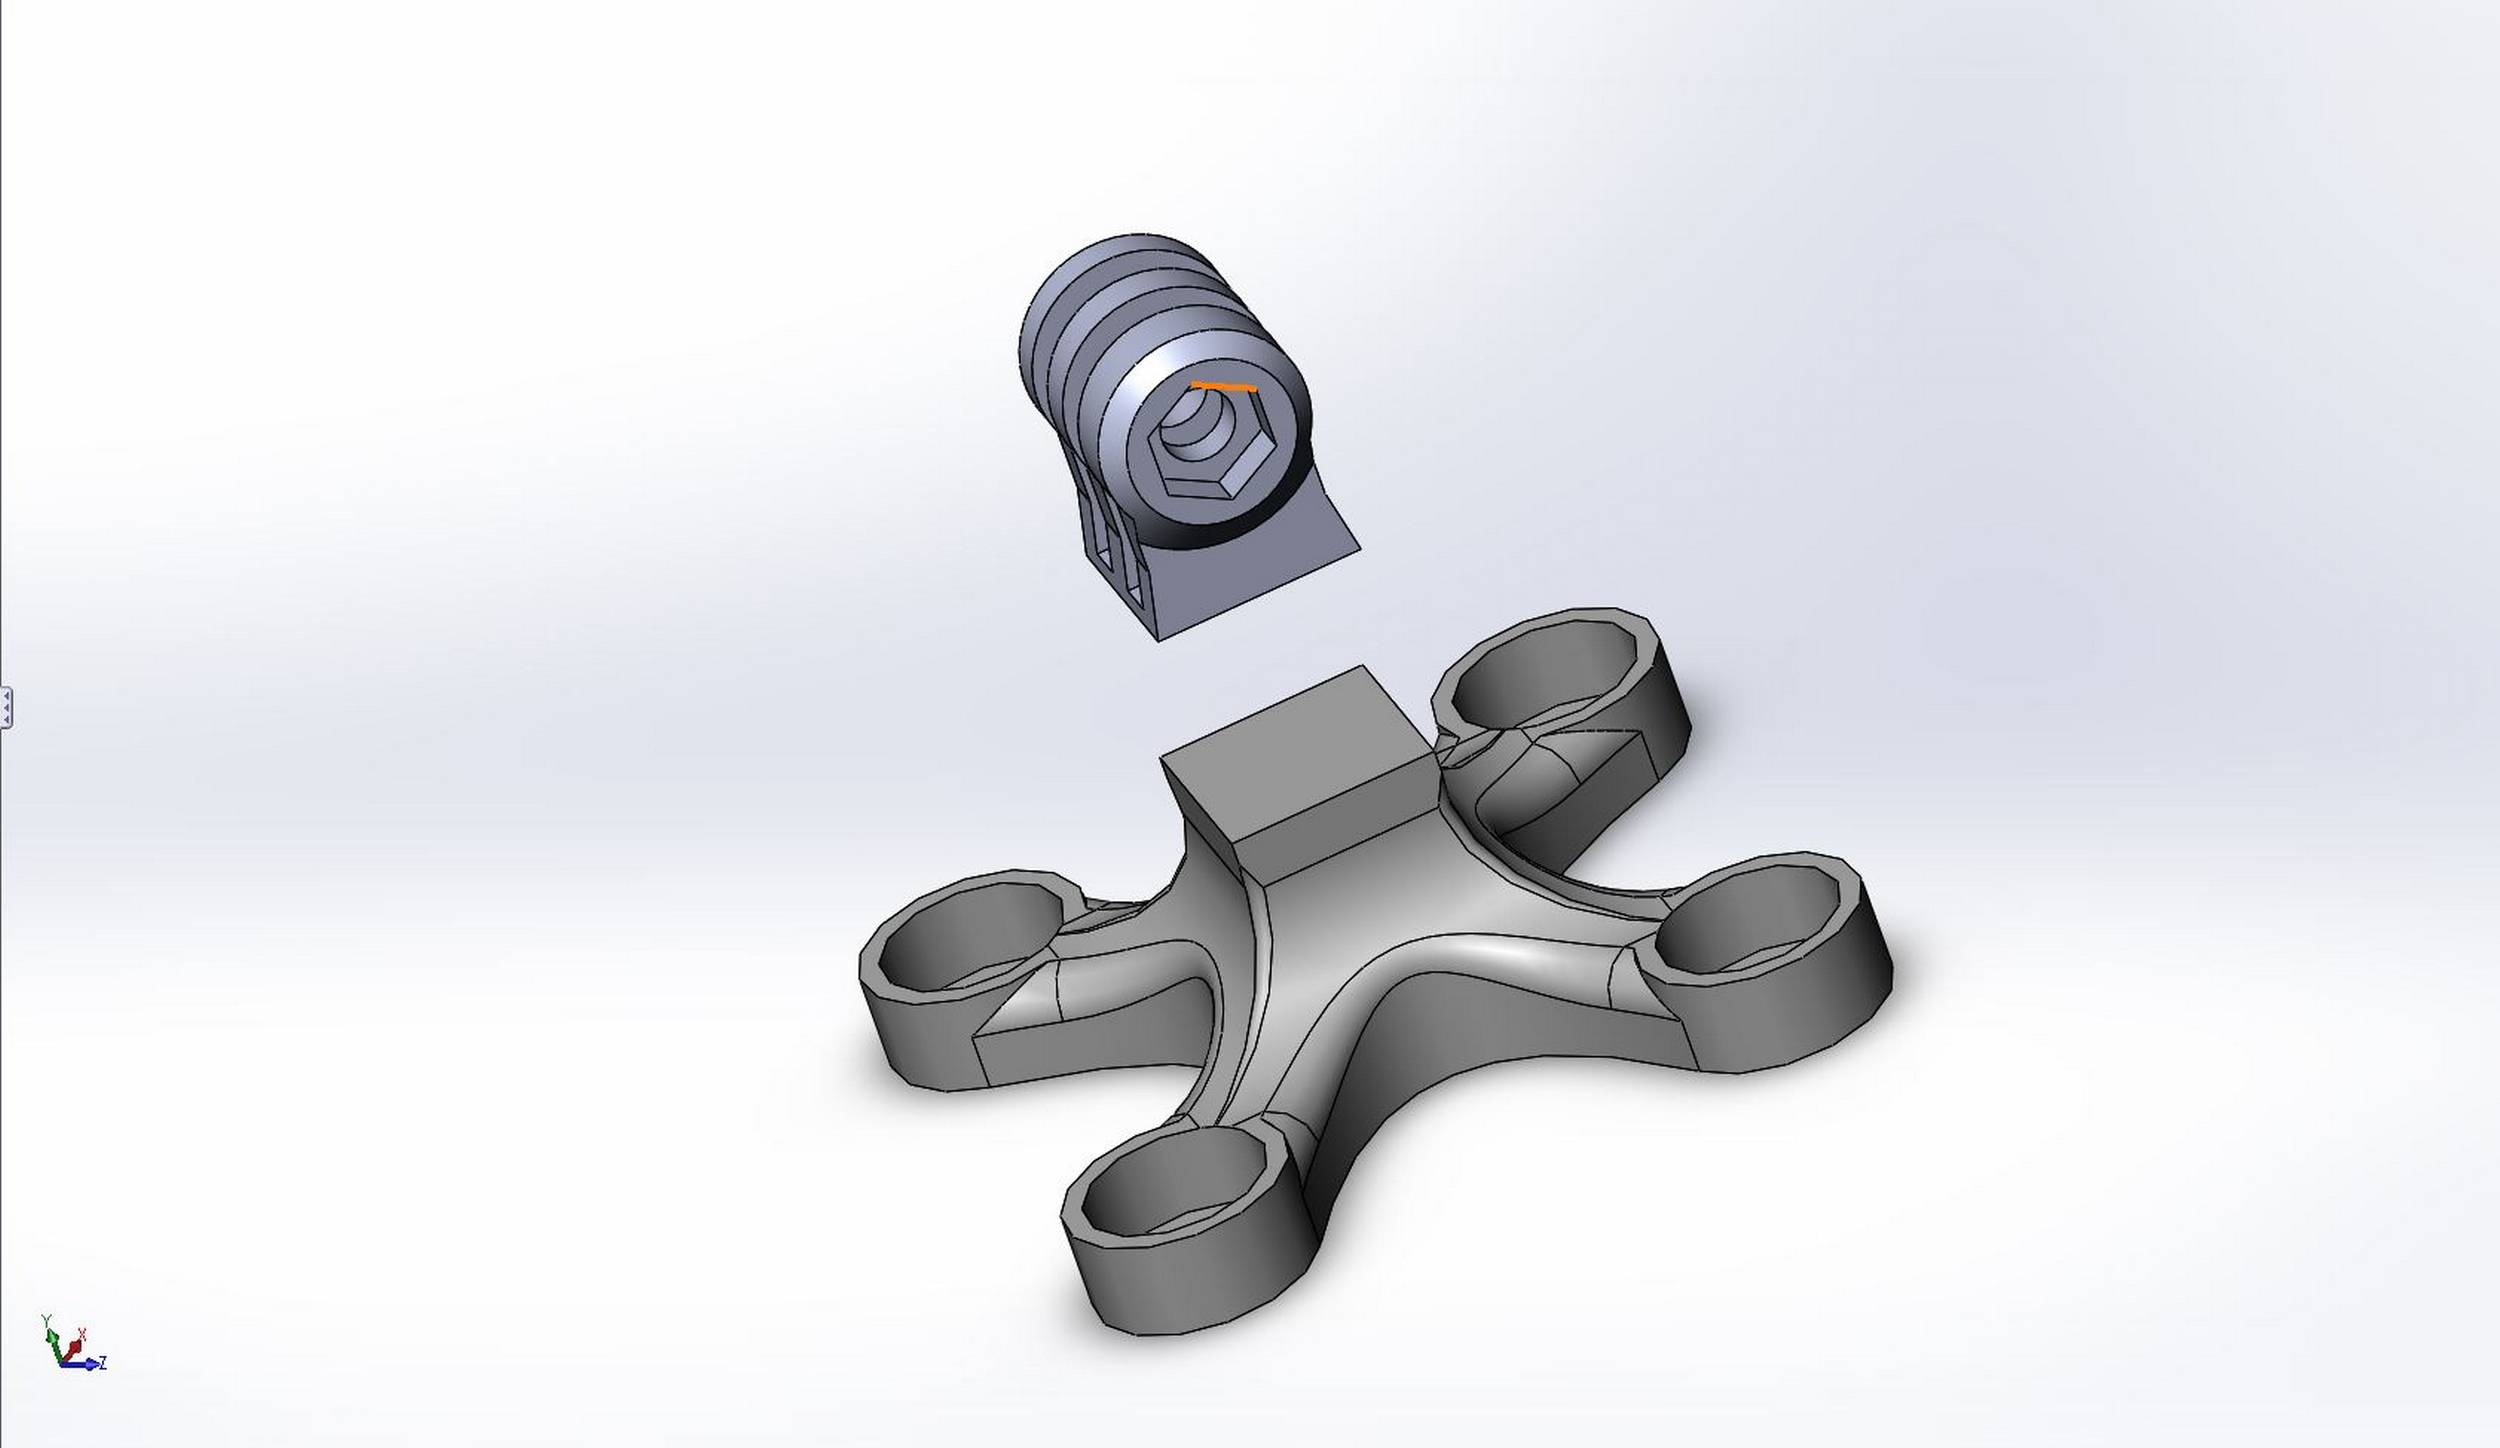
The second design I came up with has twice as many magnets so that it will stay in place during aggressive driving, impacts, or greater wind loads. I kept with the design style from my first mount and added spots for additional magnets. To protect paint and other surfaces that are prone to scratching, I applied a thin layer of silicon caulk to the base of the mount that can be easily wiped clean and will provide a little bit of additional grip. While the prints were running, I modeled another GoPro part that I’ve been wanting to make, and it’s here were modeling the two-prong and three-prong mounts really paid off.
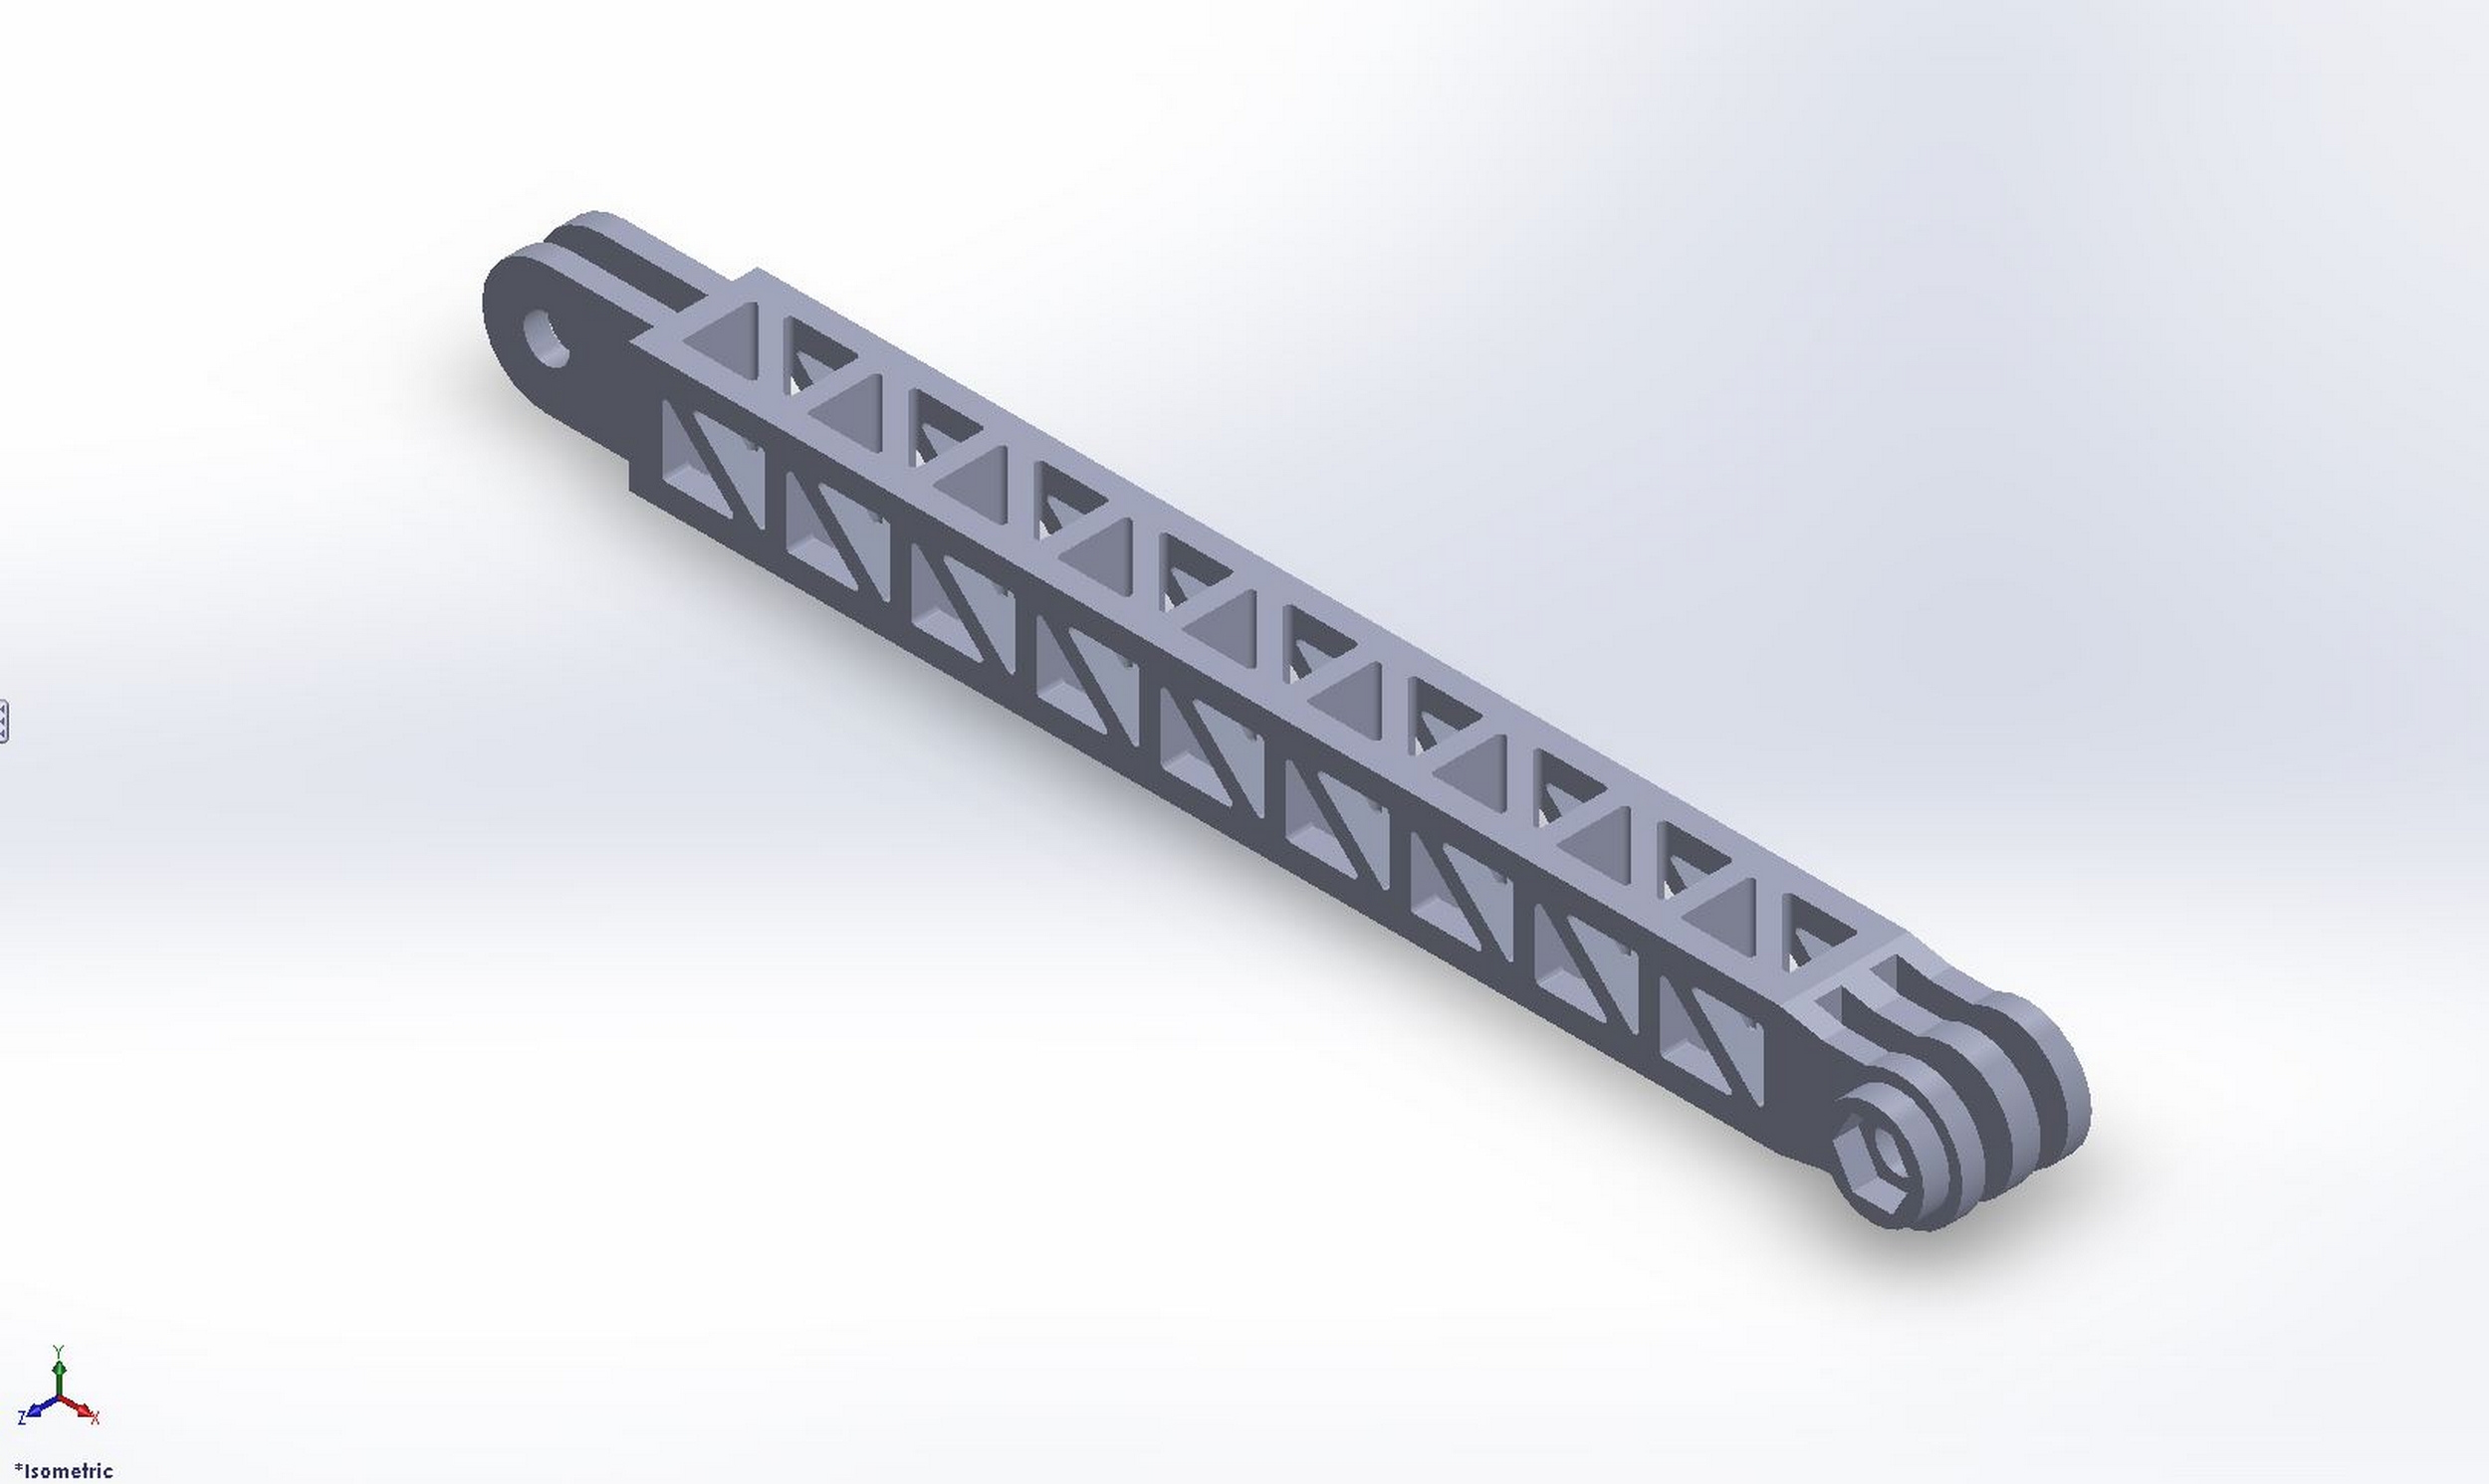
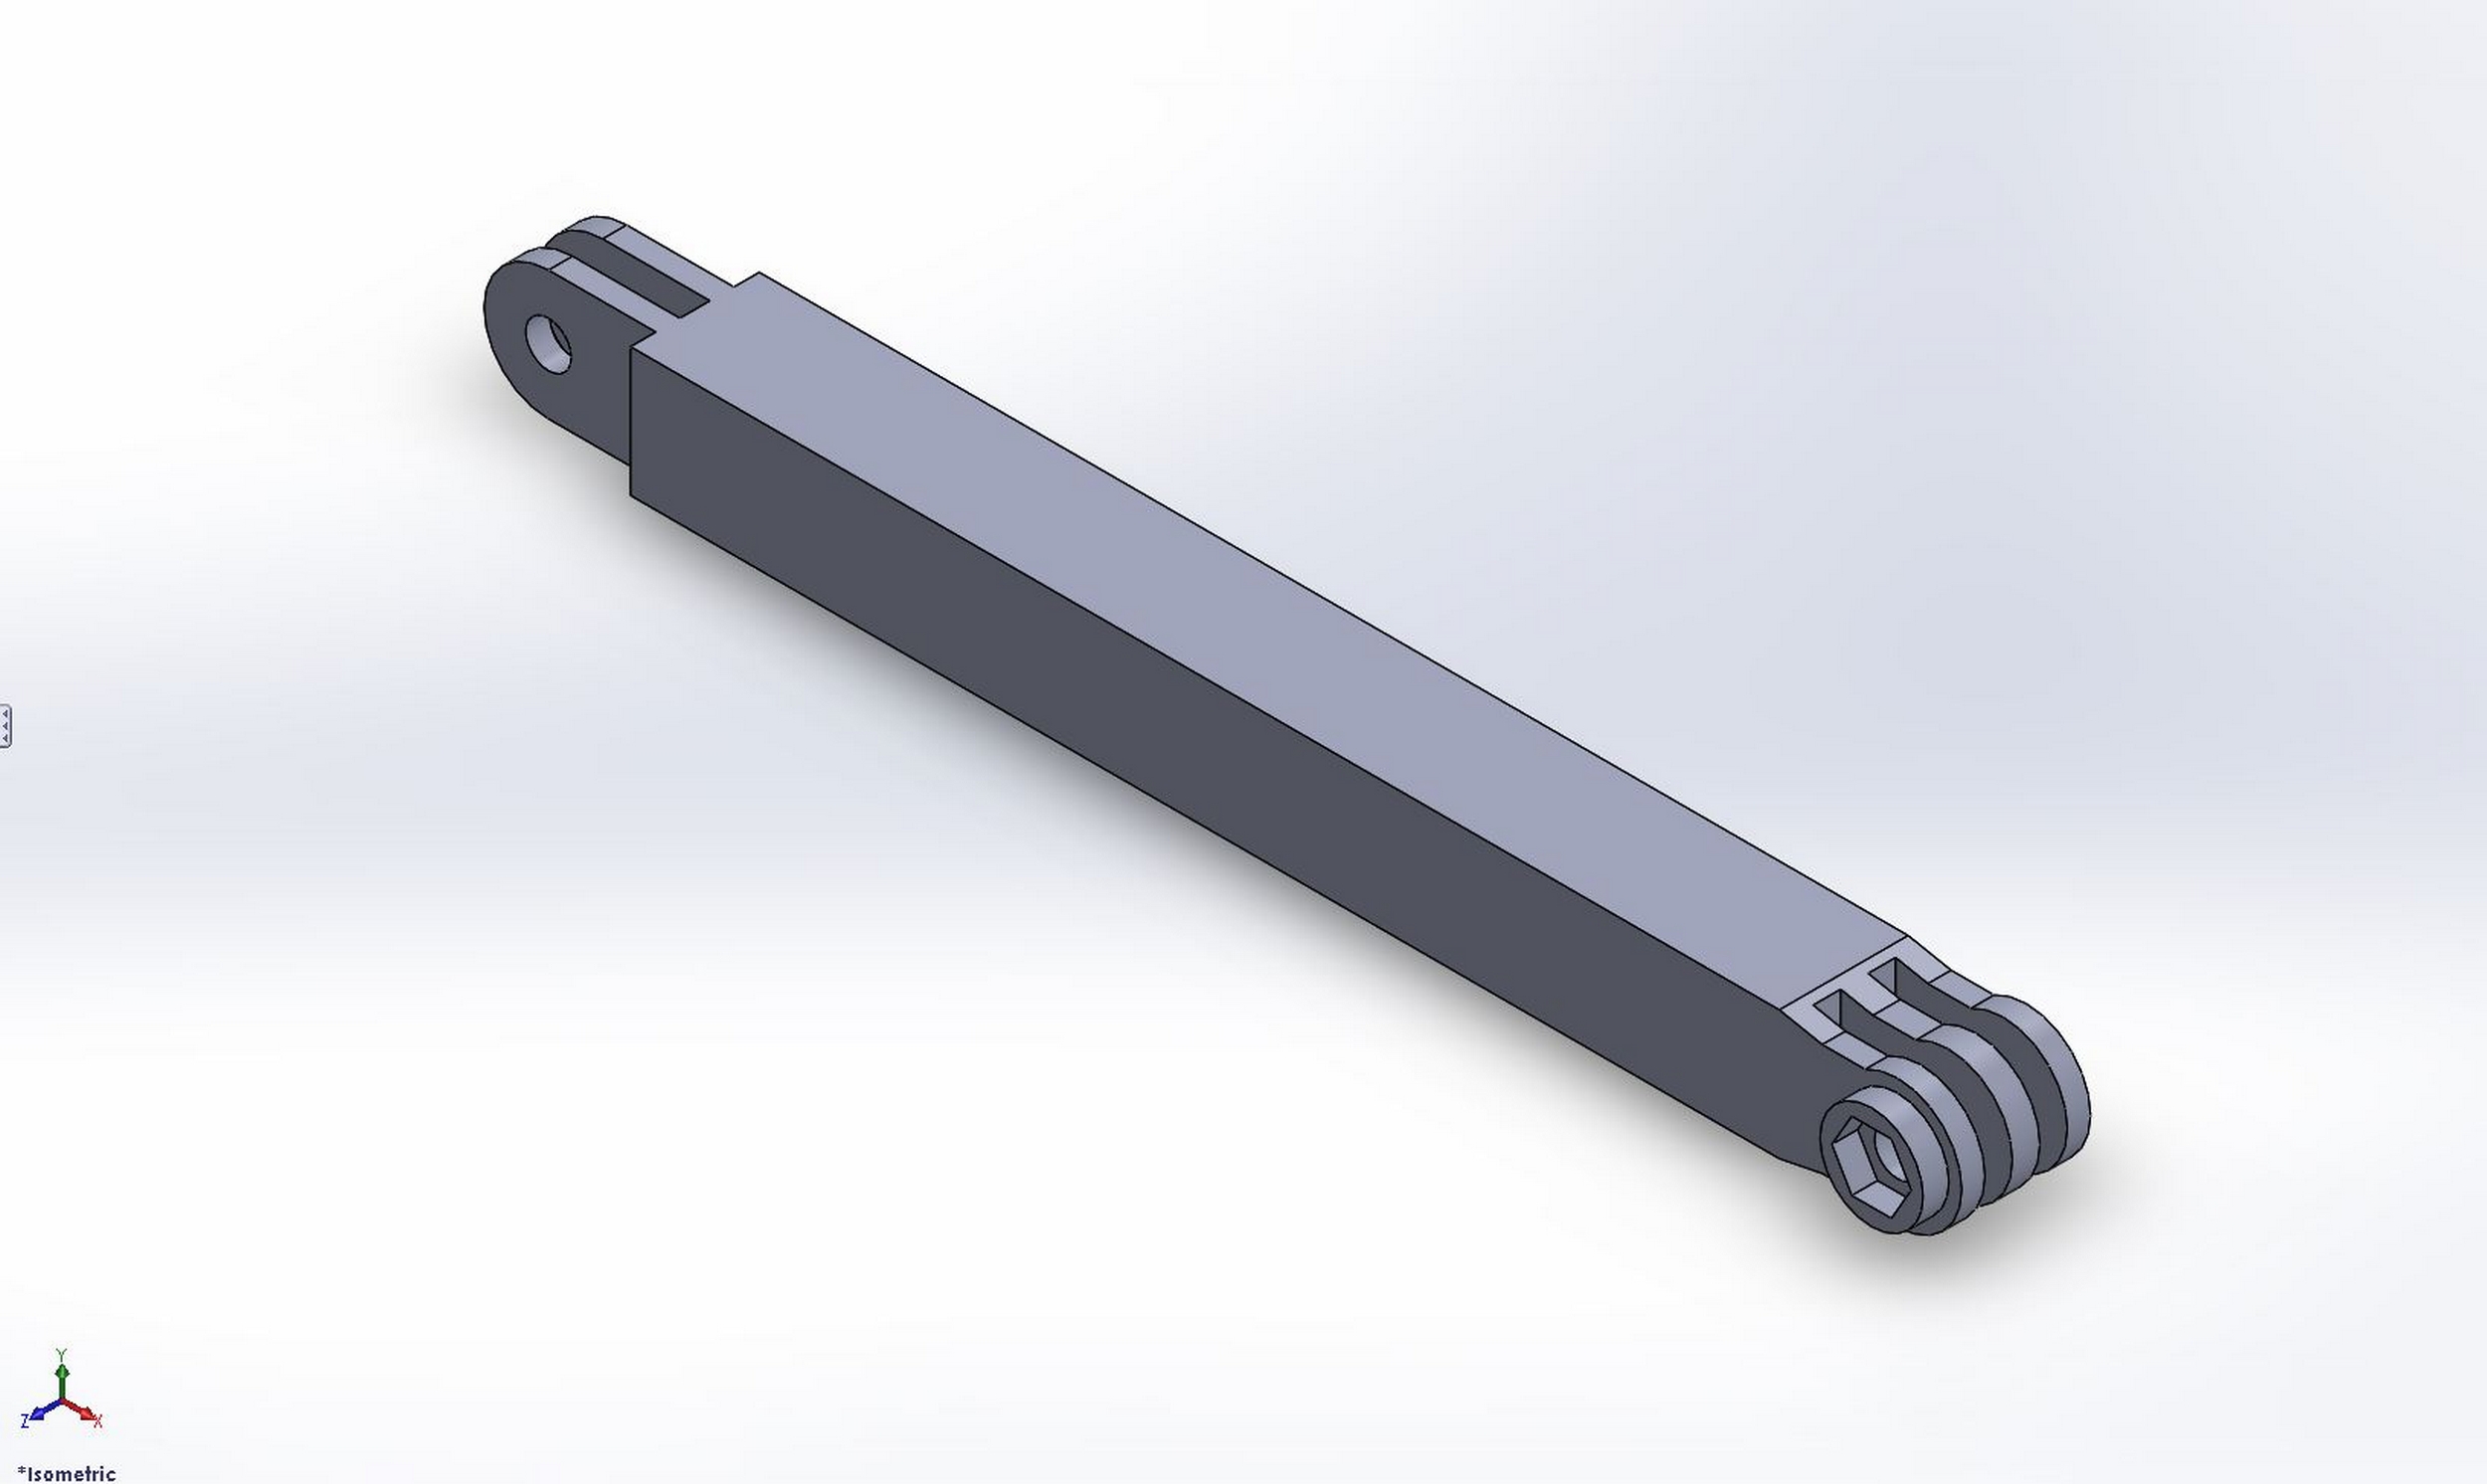
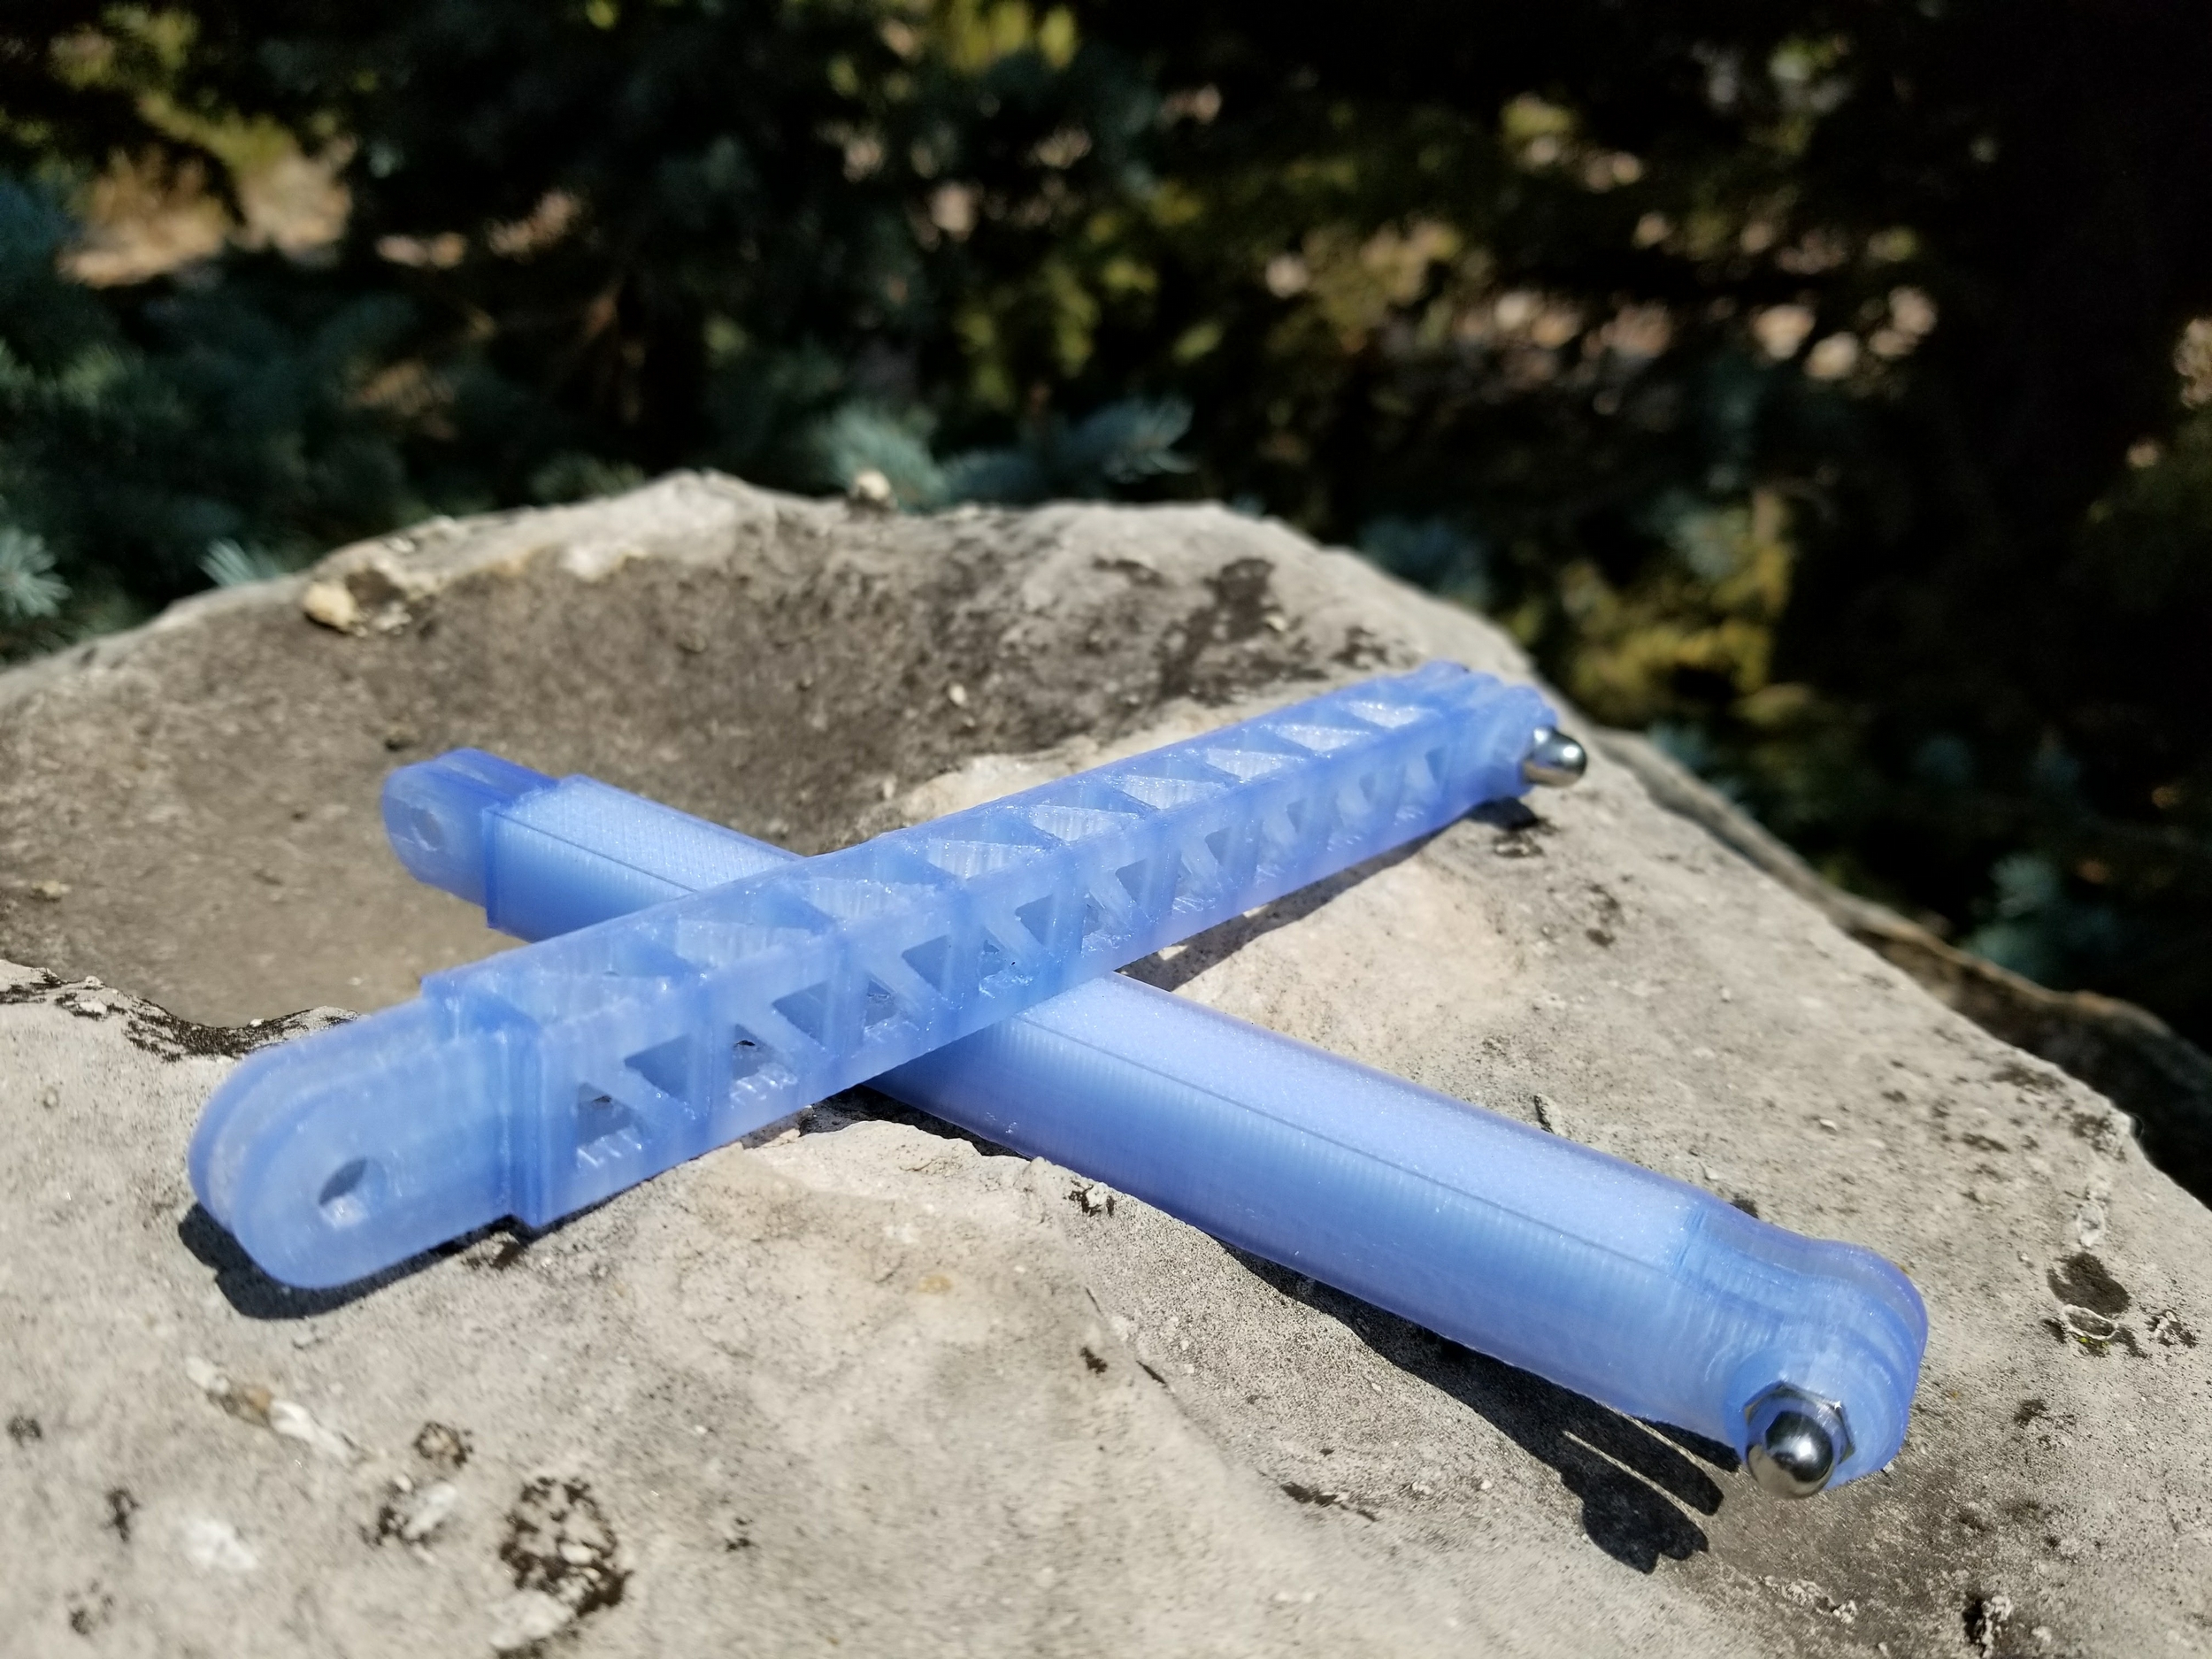
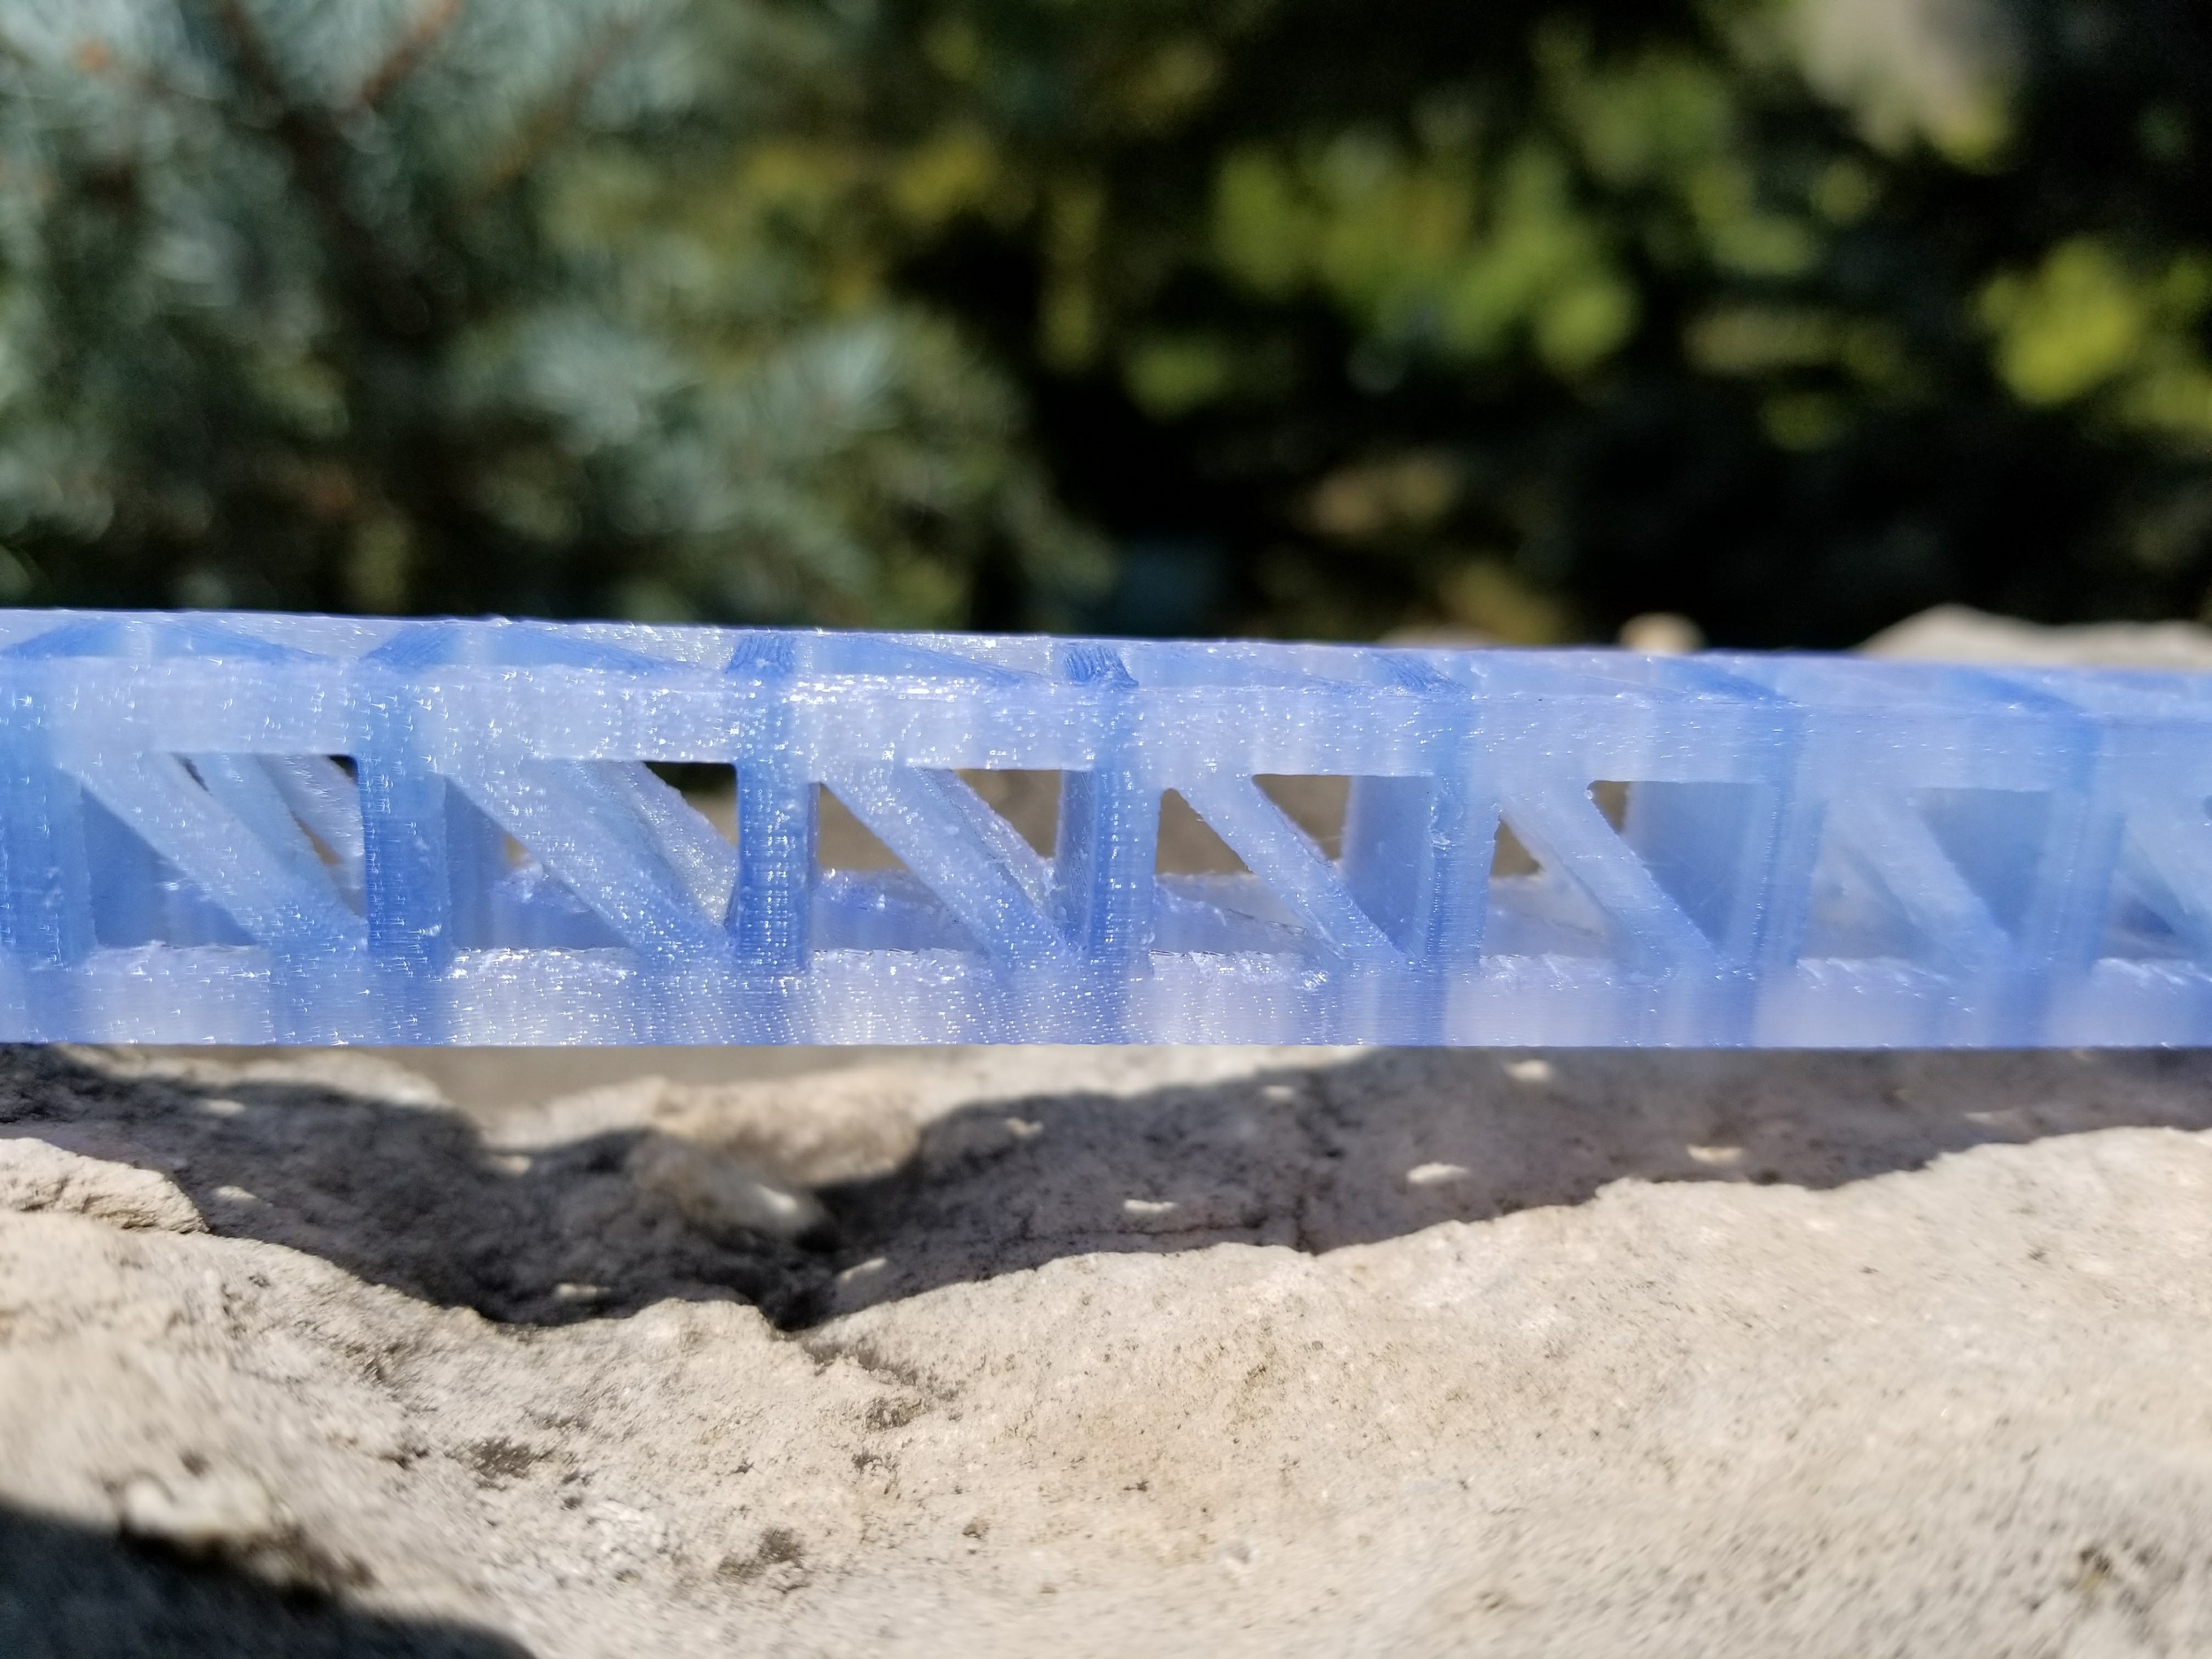
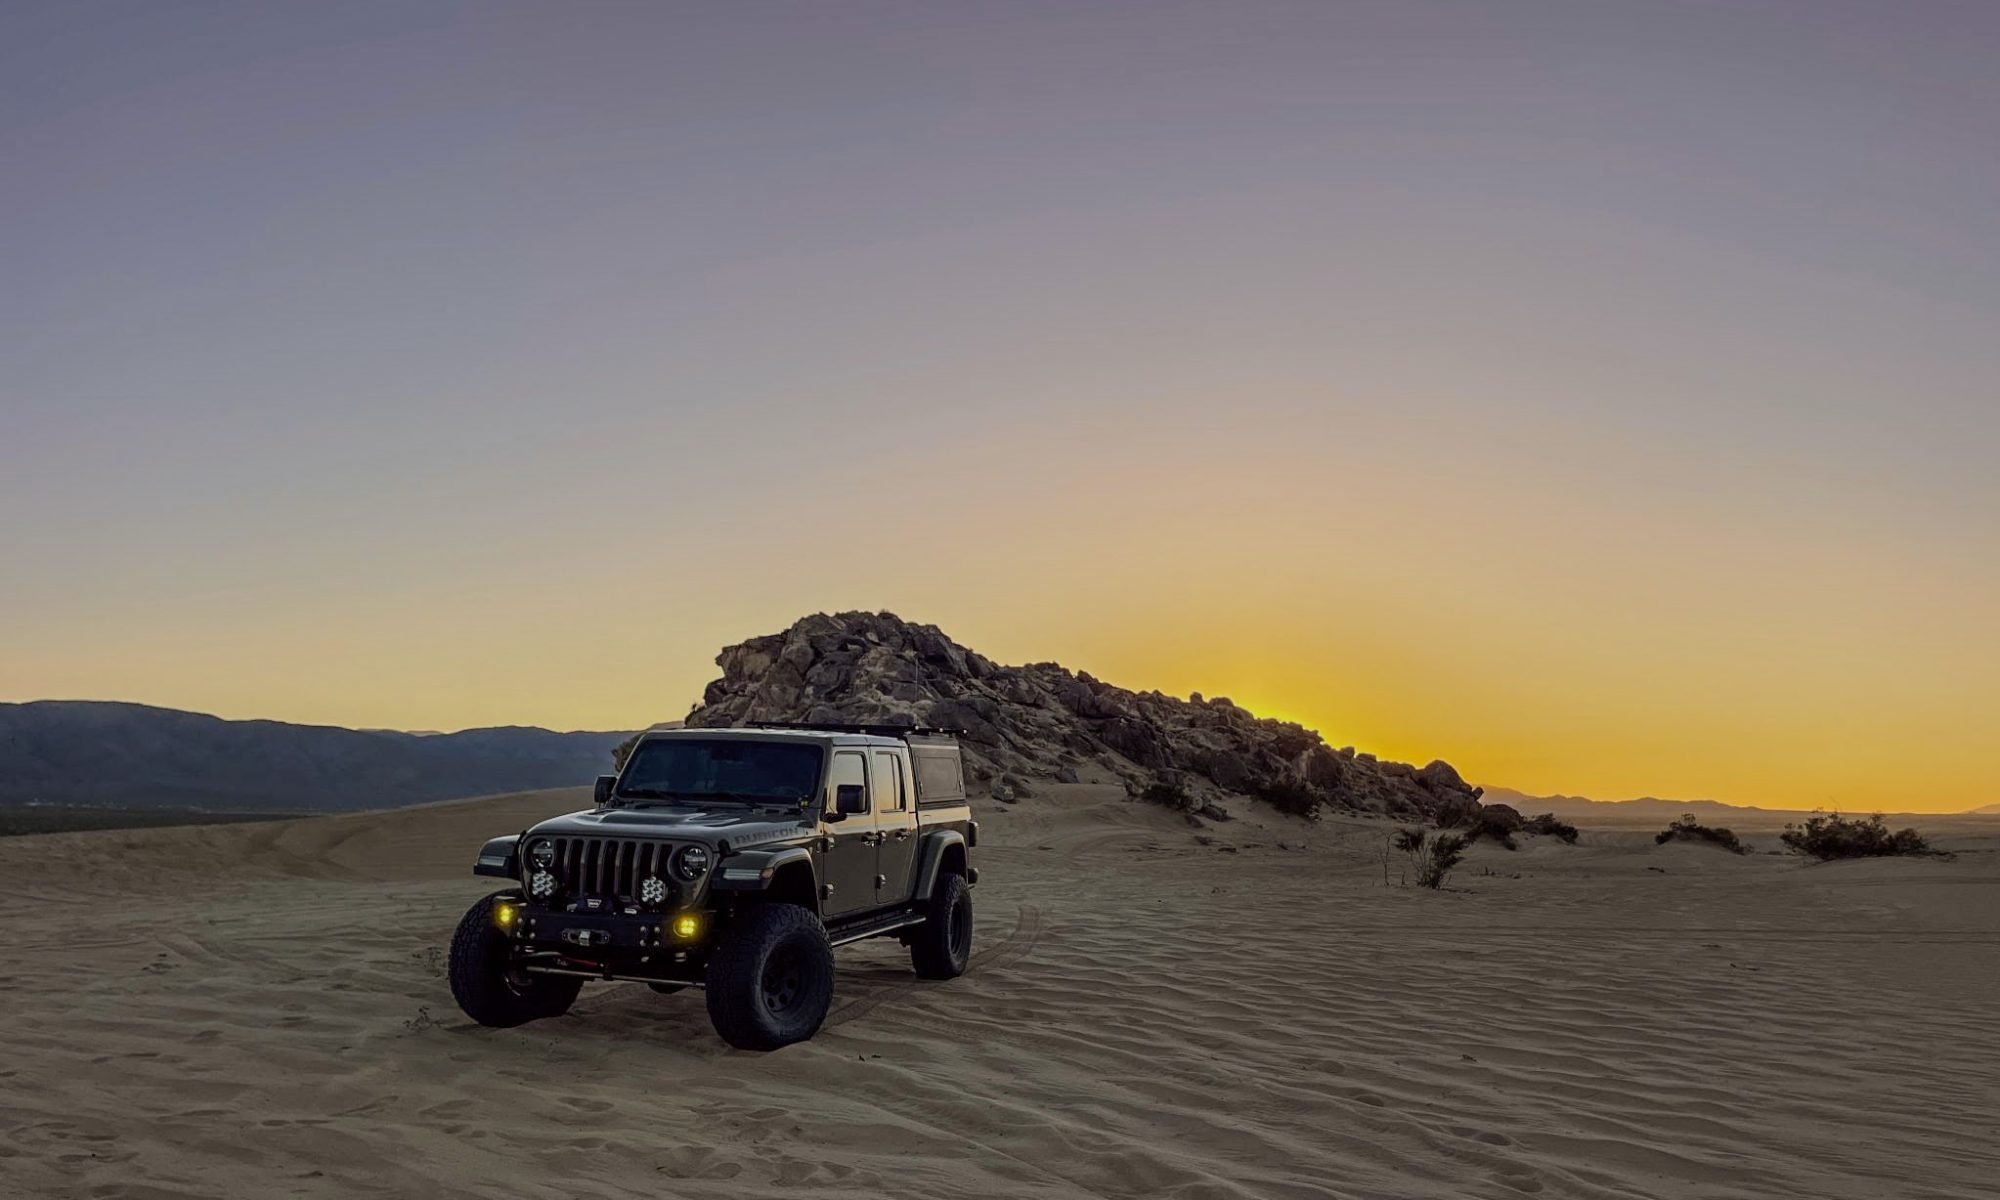
I’ve always wanted a mounting arm that was longer than the sub-two-inch arms that GoPro makes, so I designed a truss, and added my three prong, and two-prong mounts to the ends, and voila! I had a six-inch GoPro mounting arm. While the truss looks cool and helps keep the weight down, it does pose a challenge for a 3D Printer in that there are sections where the printer would have to print into thin air, so I knew going into this print that I would have to use support material to get good results. Support material uses more filament, and you have to go through and clean all of the support material off post-print, but this is how you can make parts that otherwise couldn’t be printed. With all of my models now existing as physical parts, it was time to stick them to Project Trundra, and see what happened out in the dirt.

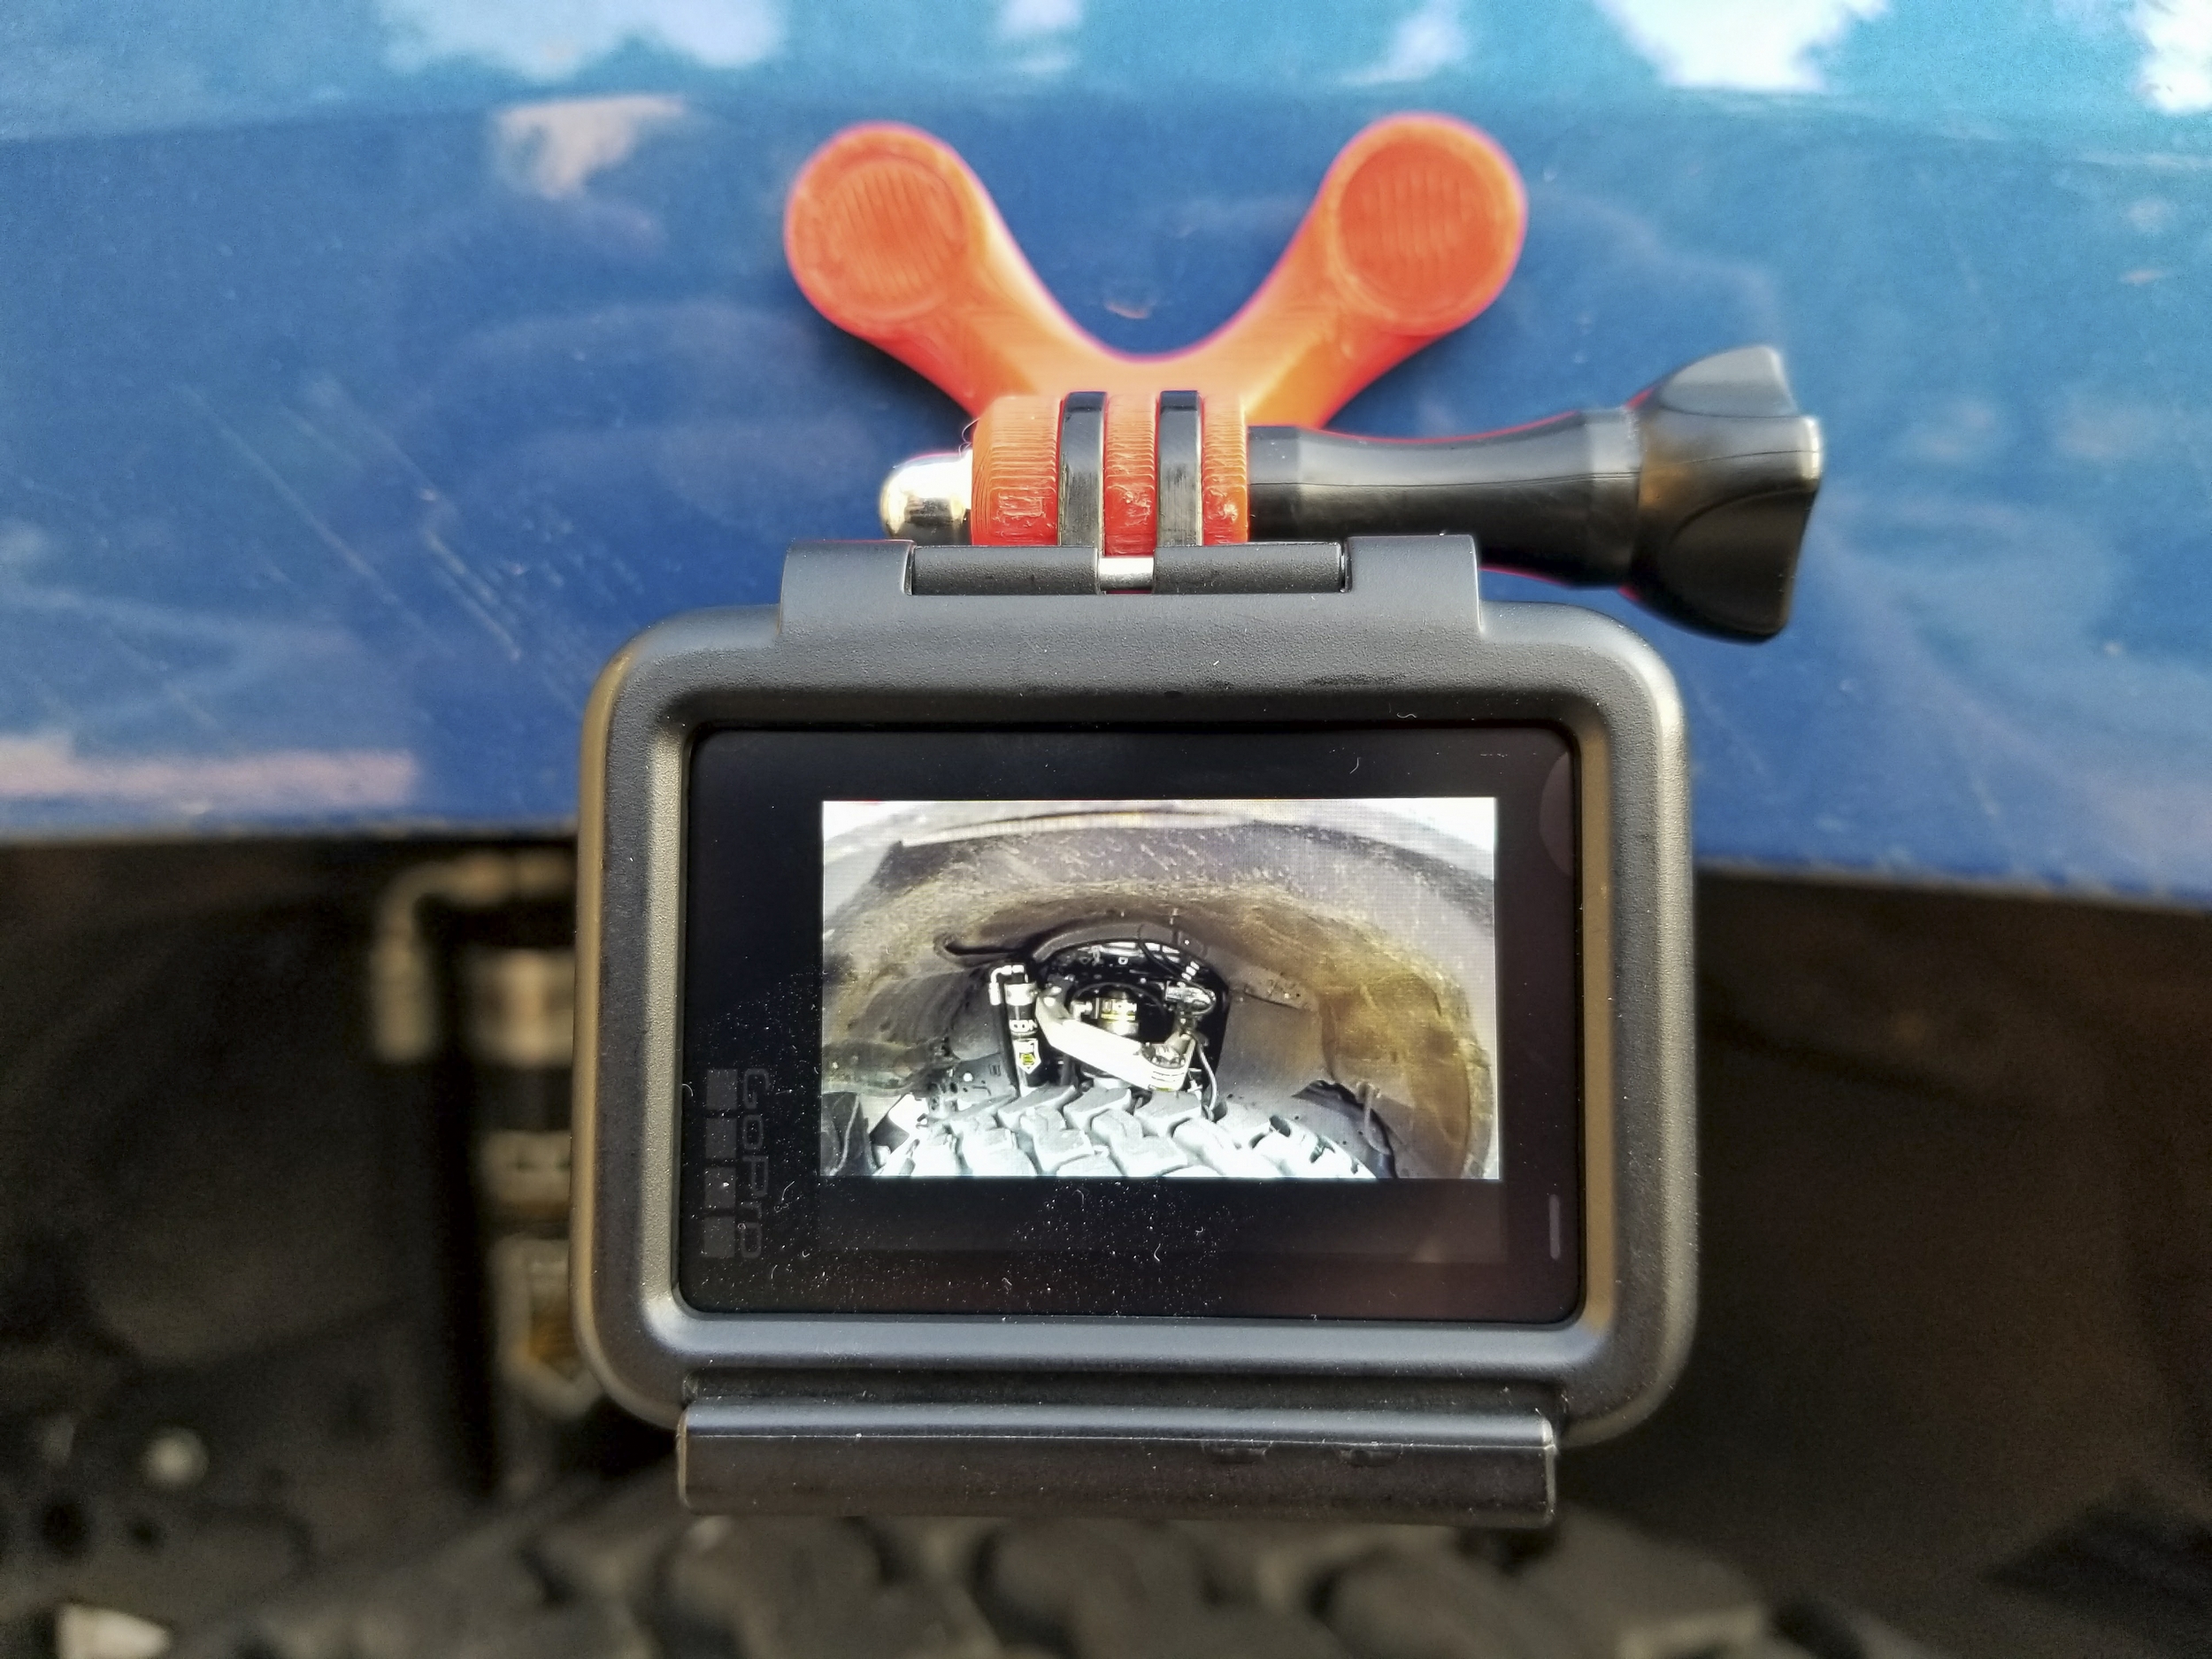
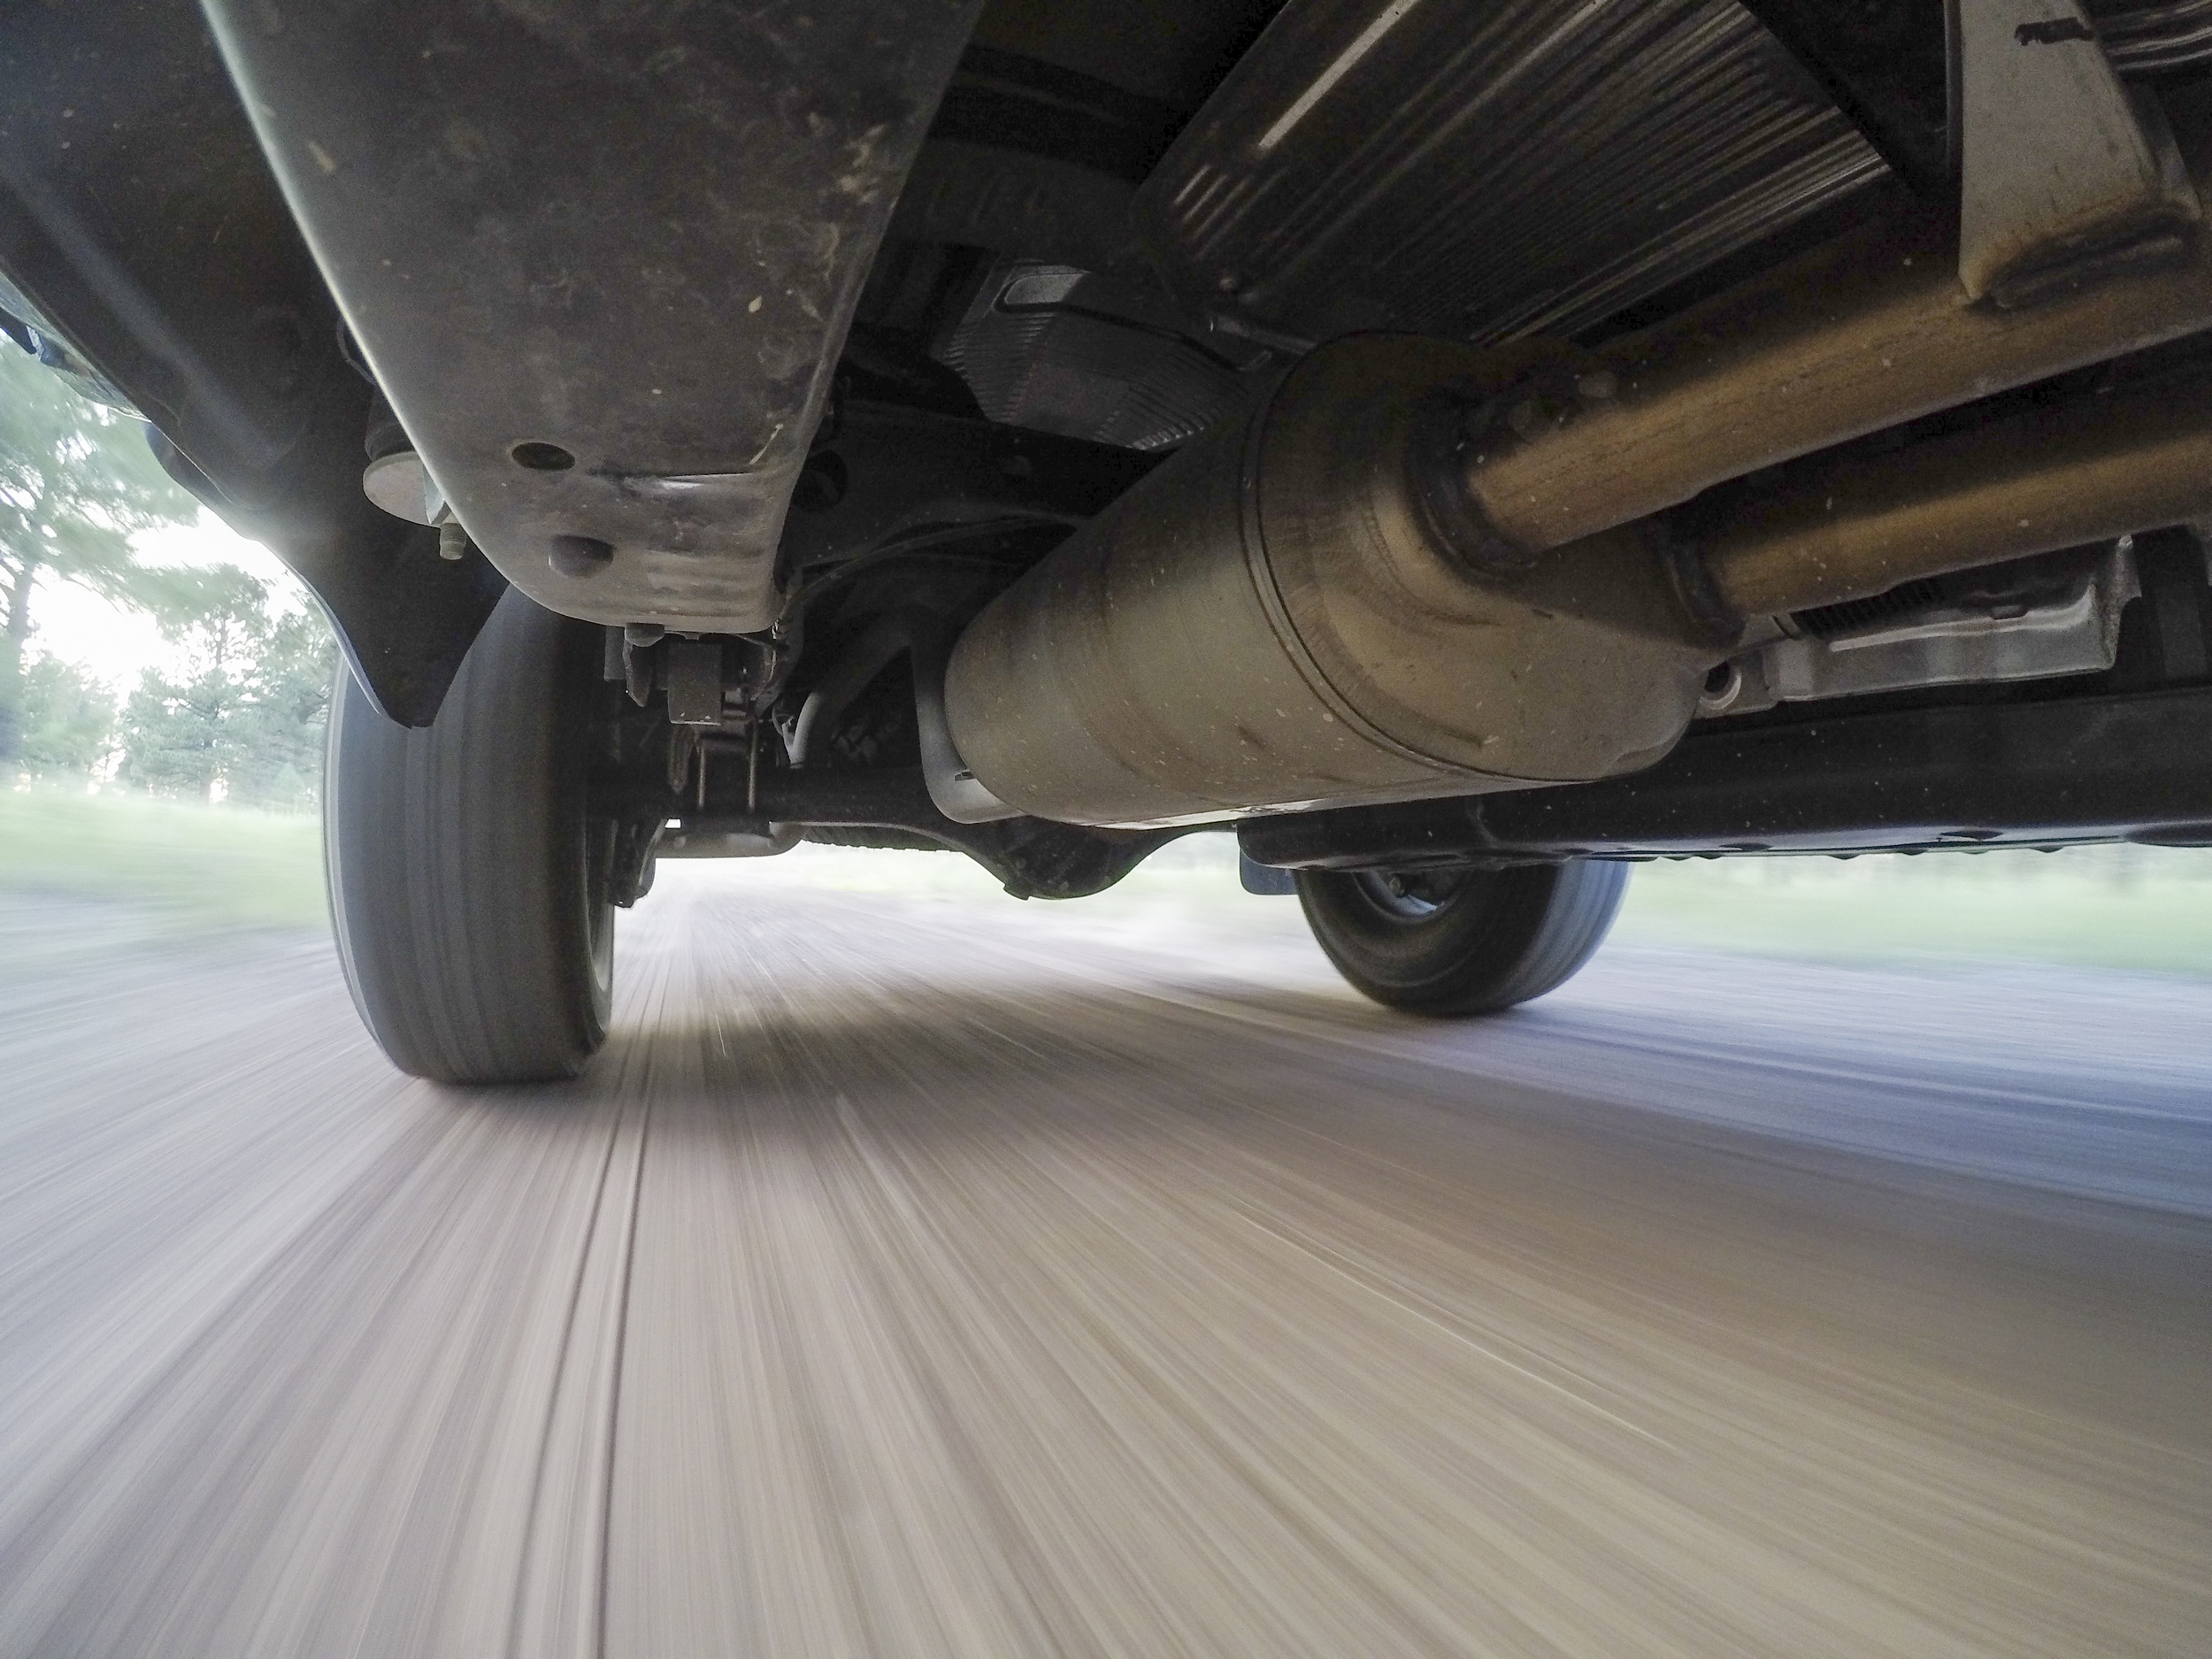
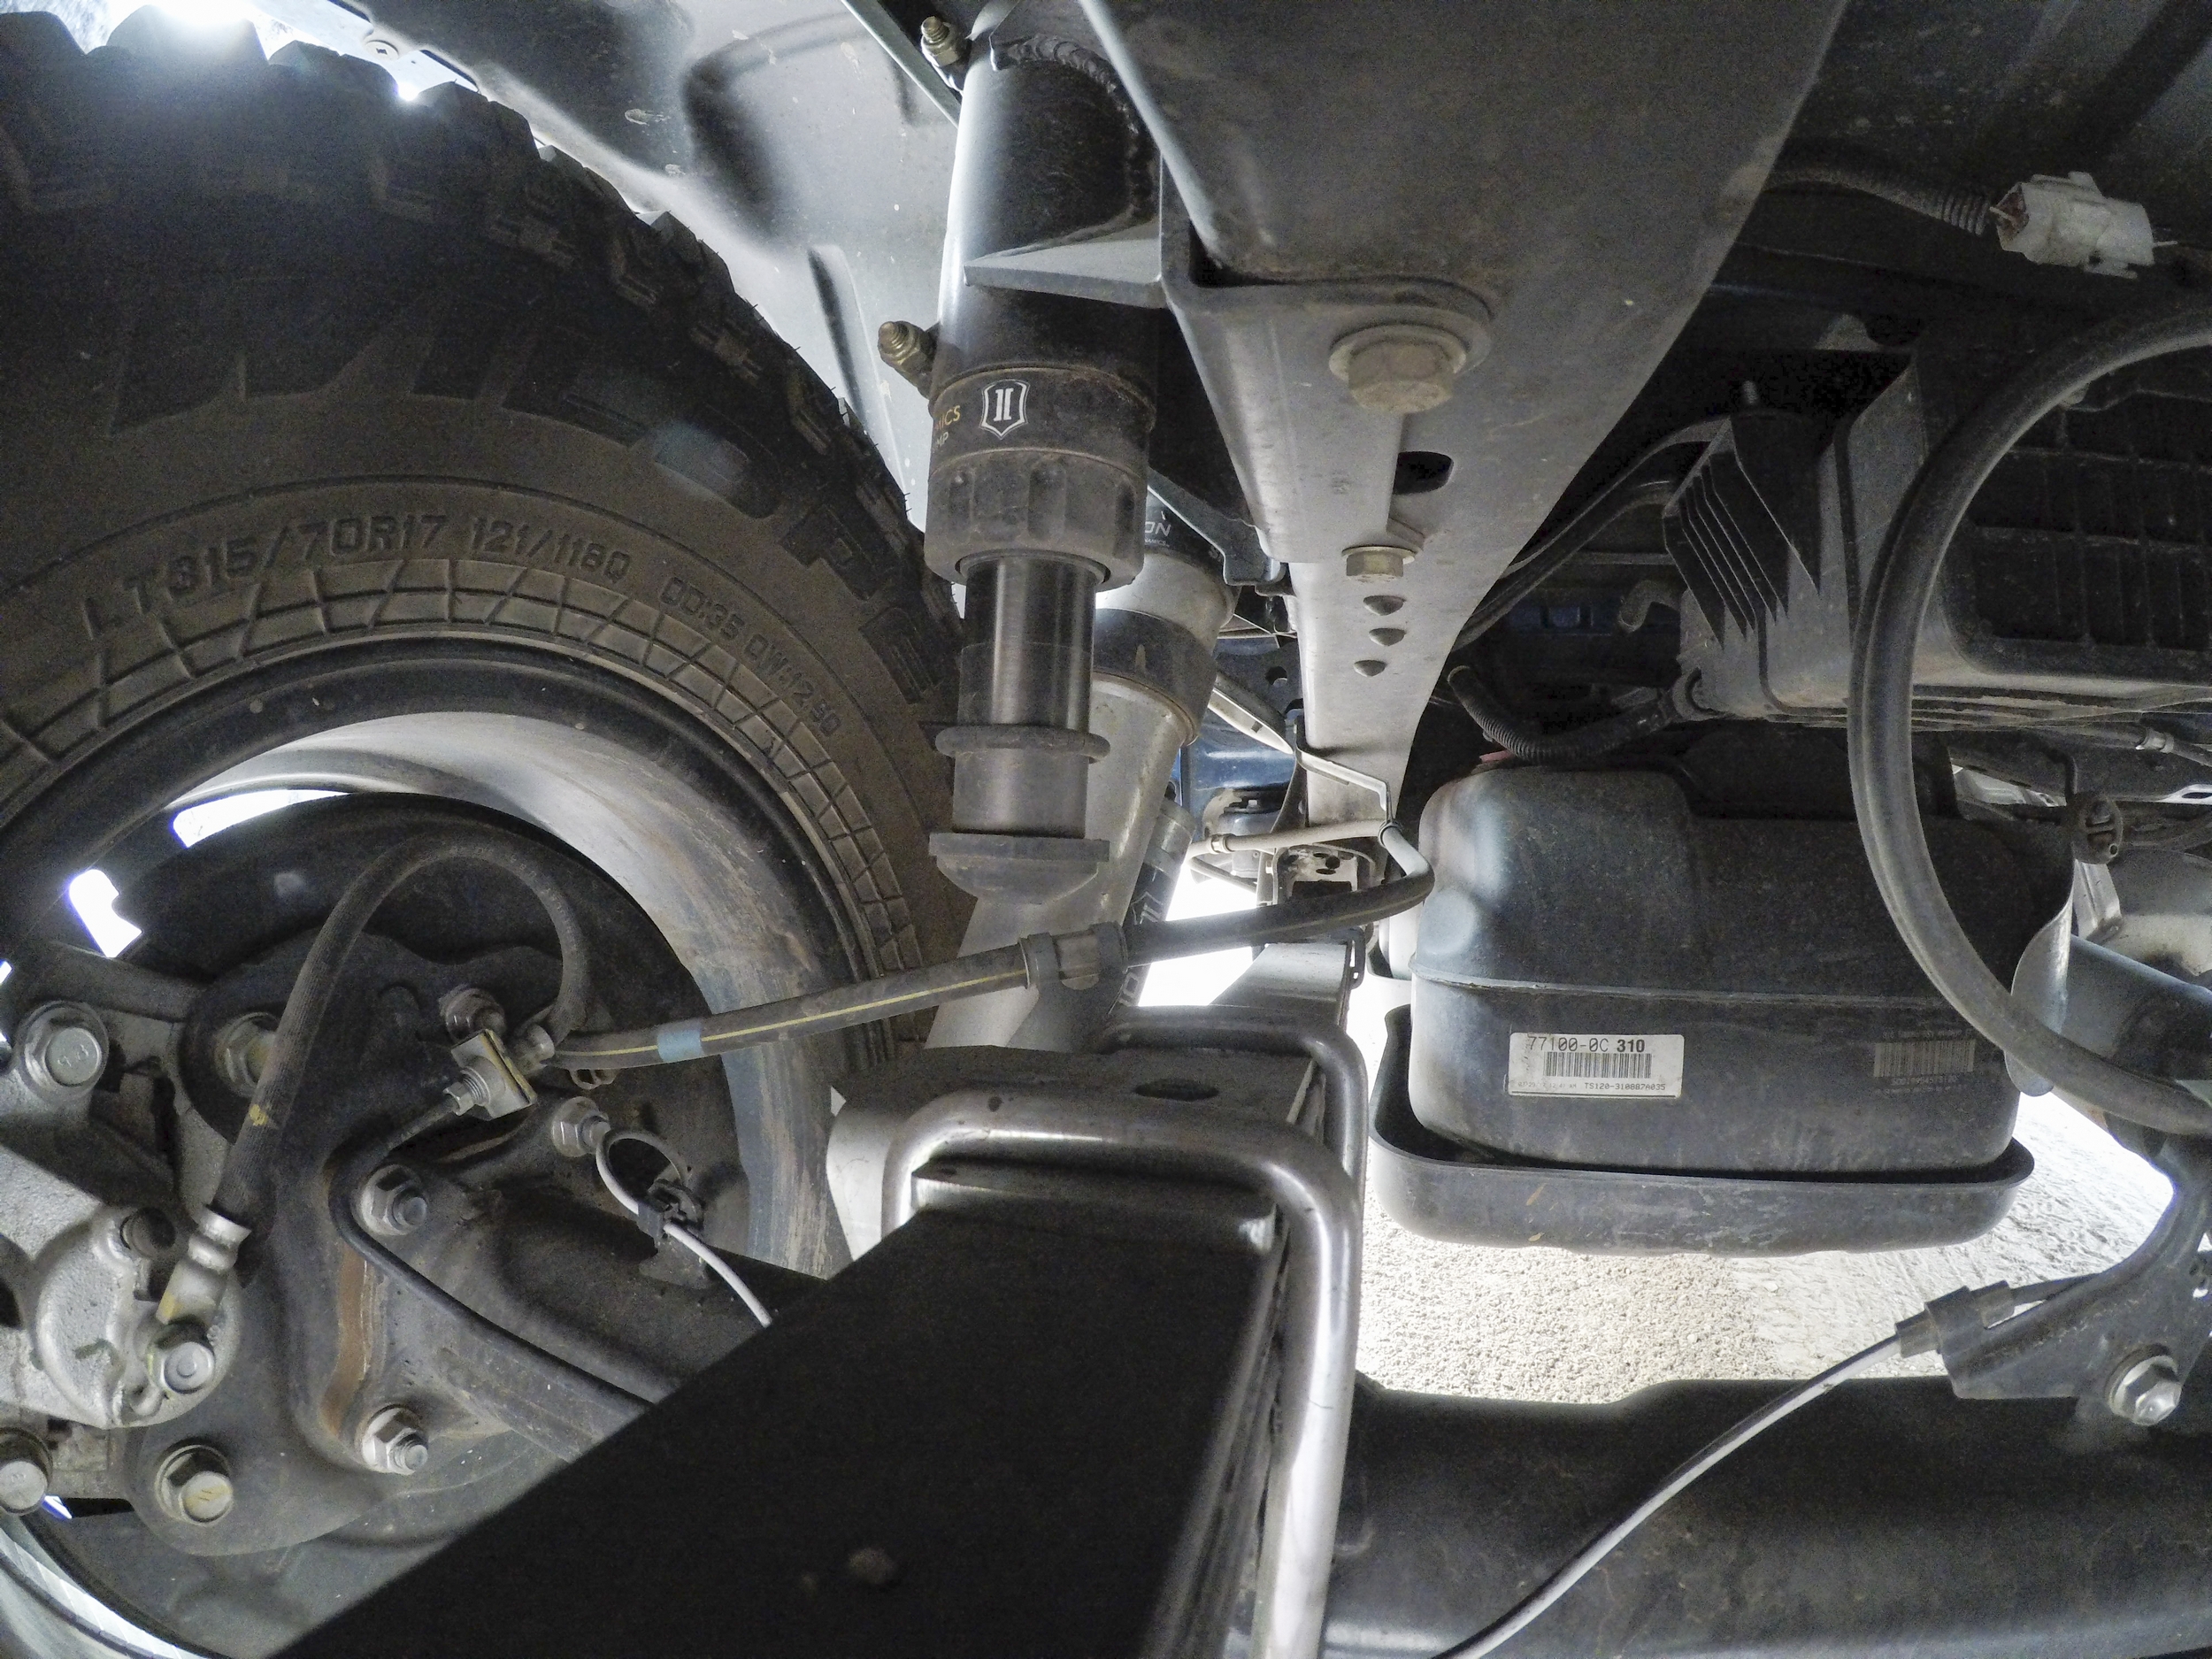
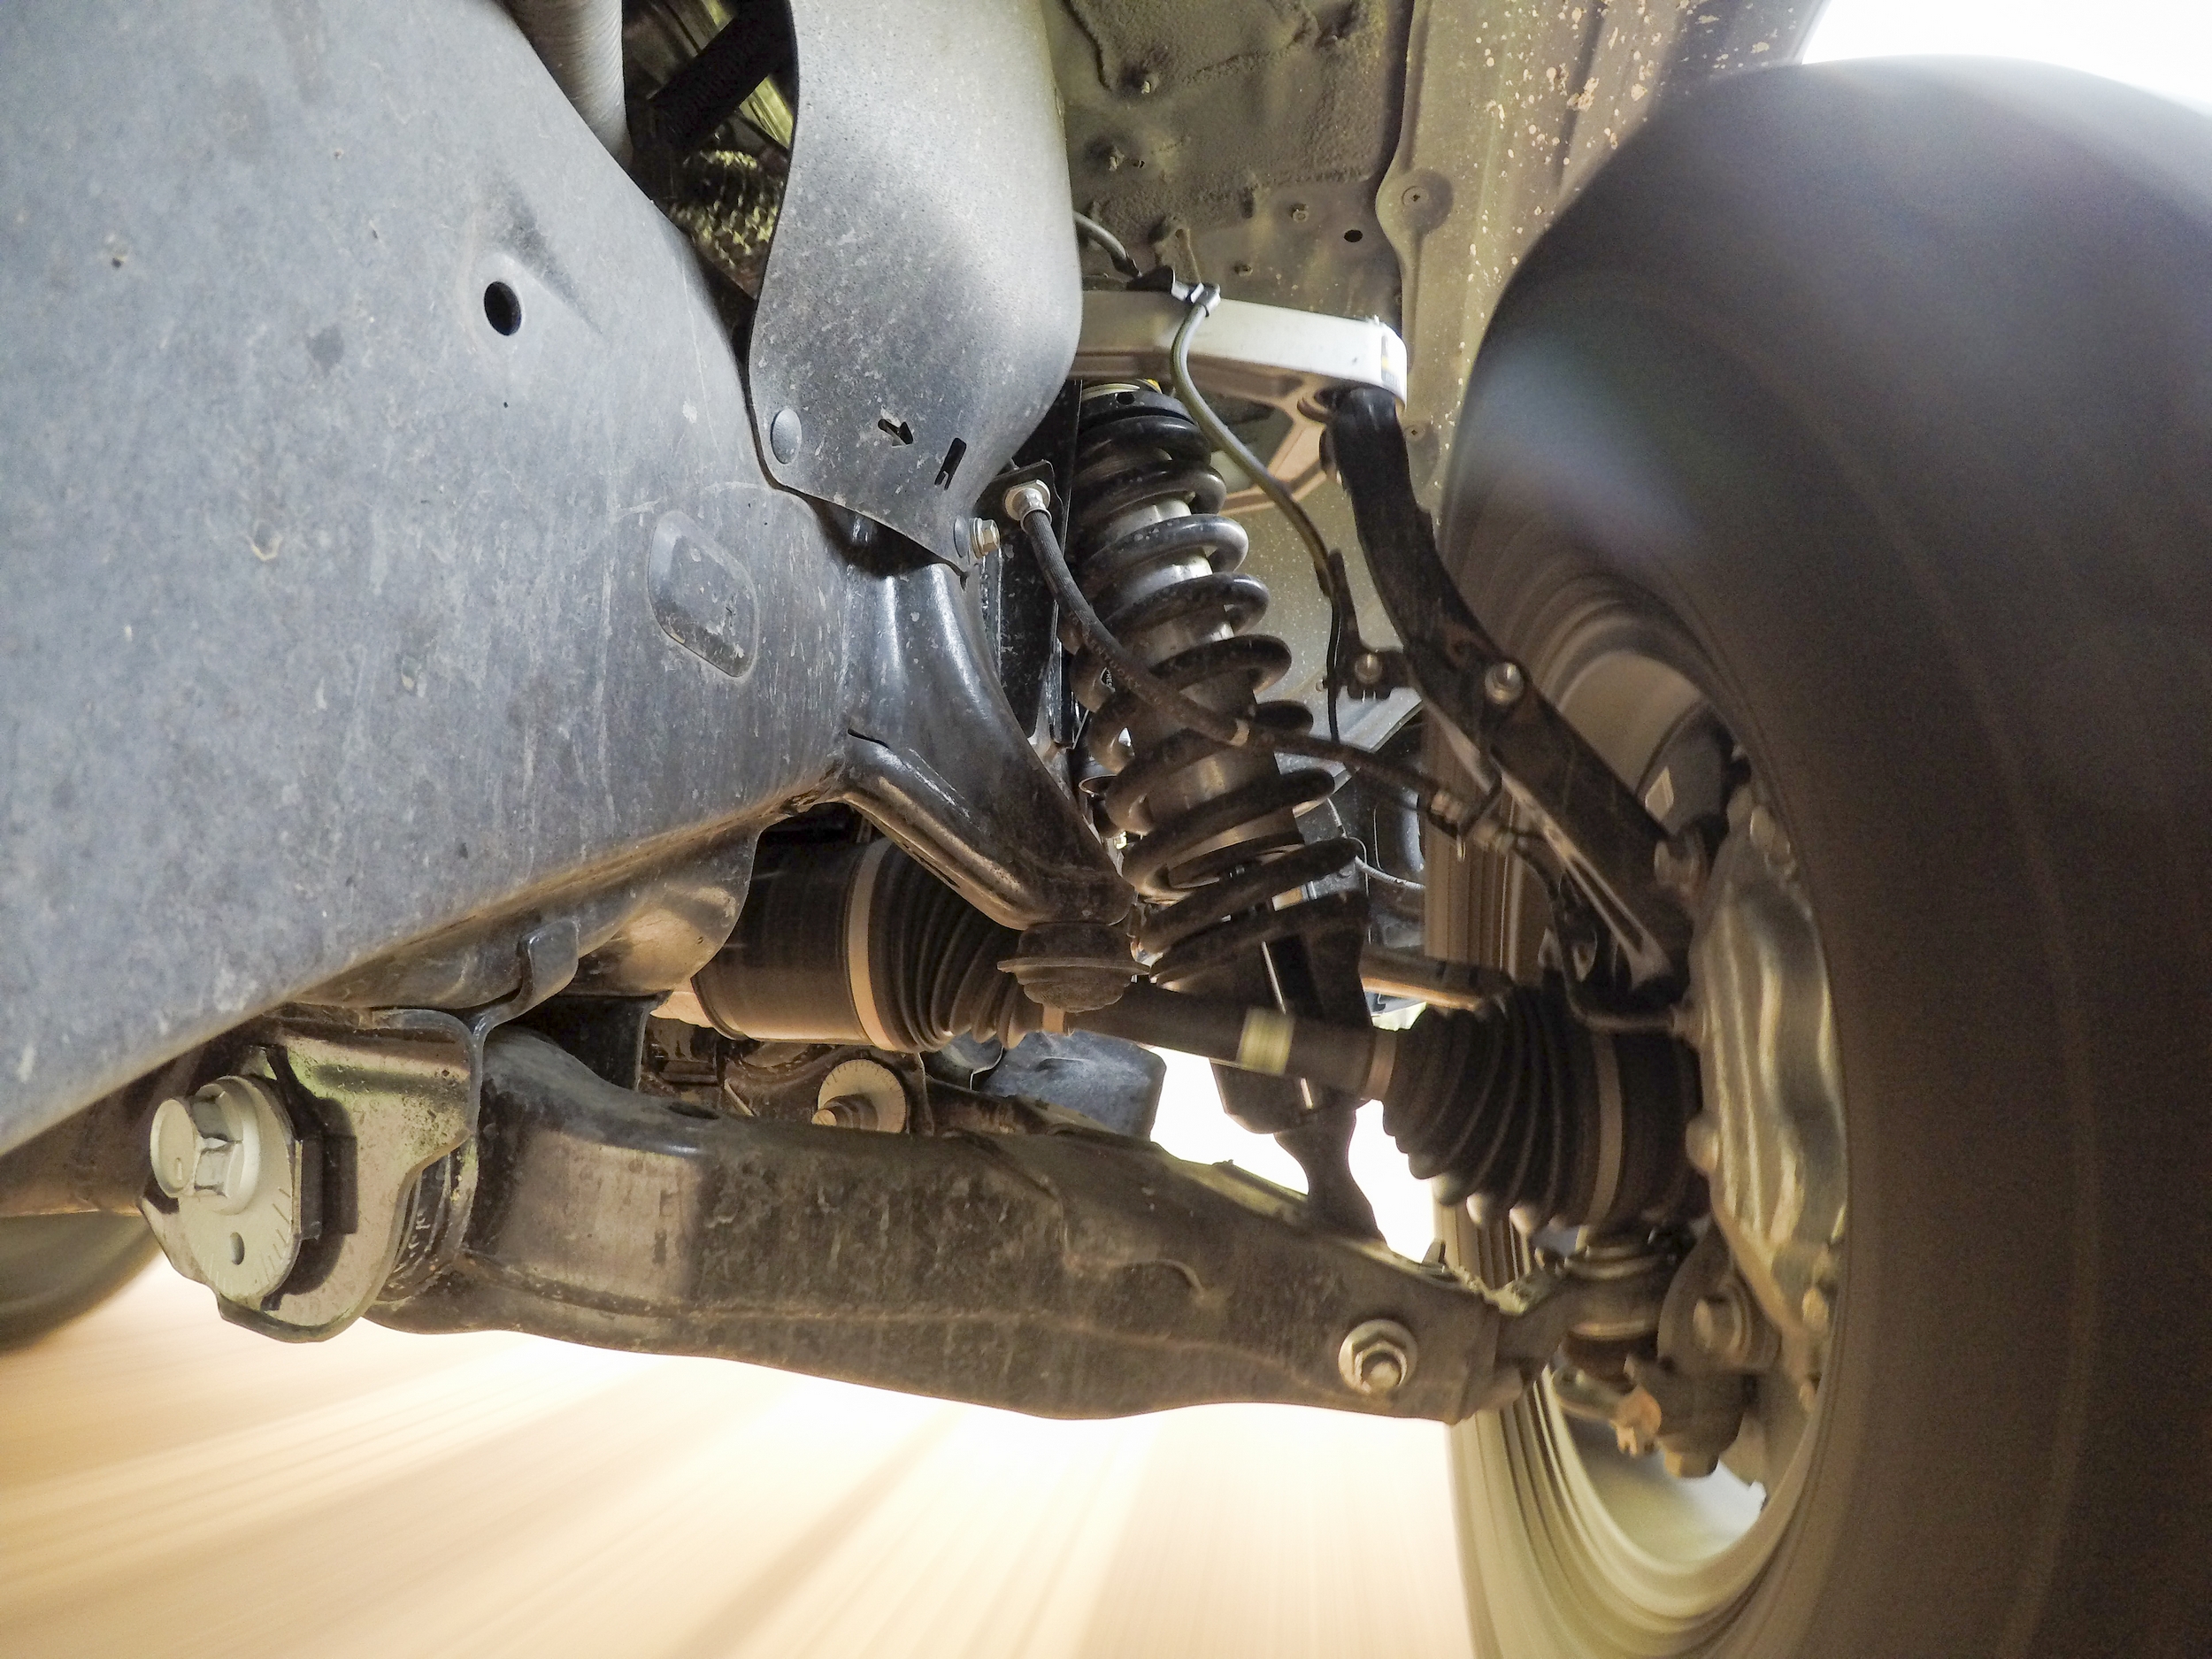
I started easy, and worked my way up. Static shots and time lapses turned into moving shots of spirited driving down dirt roads. Smarter me would have used safety lanyards while testing these mounts, because everything has its limits, and even magnetic mounts can be knocked off of something if they’re subjected to a great enough load. Yet, by the time I turned back onto pavement, I still had all of my gear.

The real value of magnetic mounts is that they do not need a perfectly clean surface to stick to, like an adhesive mount or suction cup requires, and that makes magnetic mounts a great tool for run and gun shooting where you want to quickly setup a camera and get back to having fun. Overall, the magnetic mounts worked great, and I’m excited to pass these parts on to Chazz.
3D Printing is such a powerful technology, and having a TAZ 6 is like having an entire workshop full of expensive tools and skilled craftsman at your disposal—except this workshop takes up just a few square feet on your desk. With a measuring device or two, a little bit of planning, and some time spent in a CAD program, you can reverse engineer just about anything with a TAZ 6. Likewise, when you’re creating new things, 3D printing can turn that brainstorm or bar-napkin sketch in to a real functional thing.
For our last article in this series, we’re asking you, our readers to let us know in the comments below what you would create for yourself if you had a TAZ 6. Anything aside from weapons is fair game here. The American Adventurist staff will pick our favorite ideas, and then I will work on making those ideas into printed parts. We will open-source the files and send built parts to the folks who came up with the ideas. Let’s hear what you want to see made!
Is this comment contest still on? I’d love to see you 3D print a closable lid for my Ozark Trail 20oz tumbler. Love the tumbler, but it spills a lot when driving in rough terrain due to the open cap design. A closable lid would be quite nice!
After reading both of your articles on this printer I want one. I’m always looking for new ways to organize gear and being able to 3D print exactly what I want would be amazing. I would love to 3D print an insert for my pelican case to drop all my drone equipment into their own little spot. One day I will have one of the fancy 3D printers.
I just helped my girls elementary school get a 3D printer for their "maker space". I really like the idea and I'm hoping to see something cool from them at some point this year!
So, uh, when can we purchase some? 🙂