
ramonortiz55
Adventurist
Time to install the switchpros and power tray!
This writeup will be picture heavy, so multiple posts will probably need to be created.
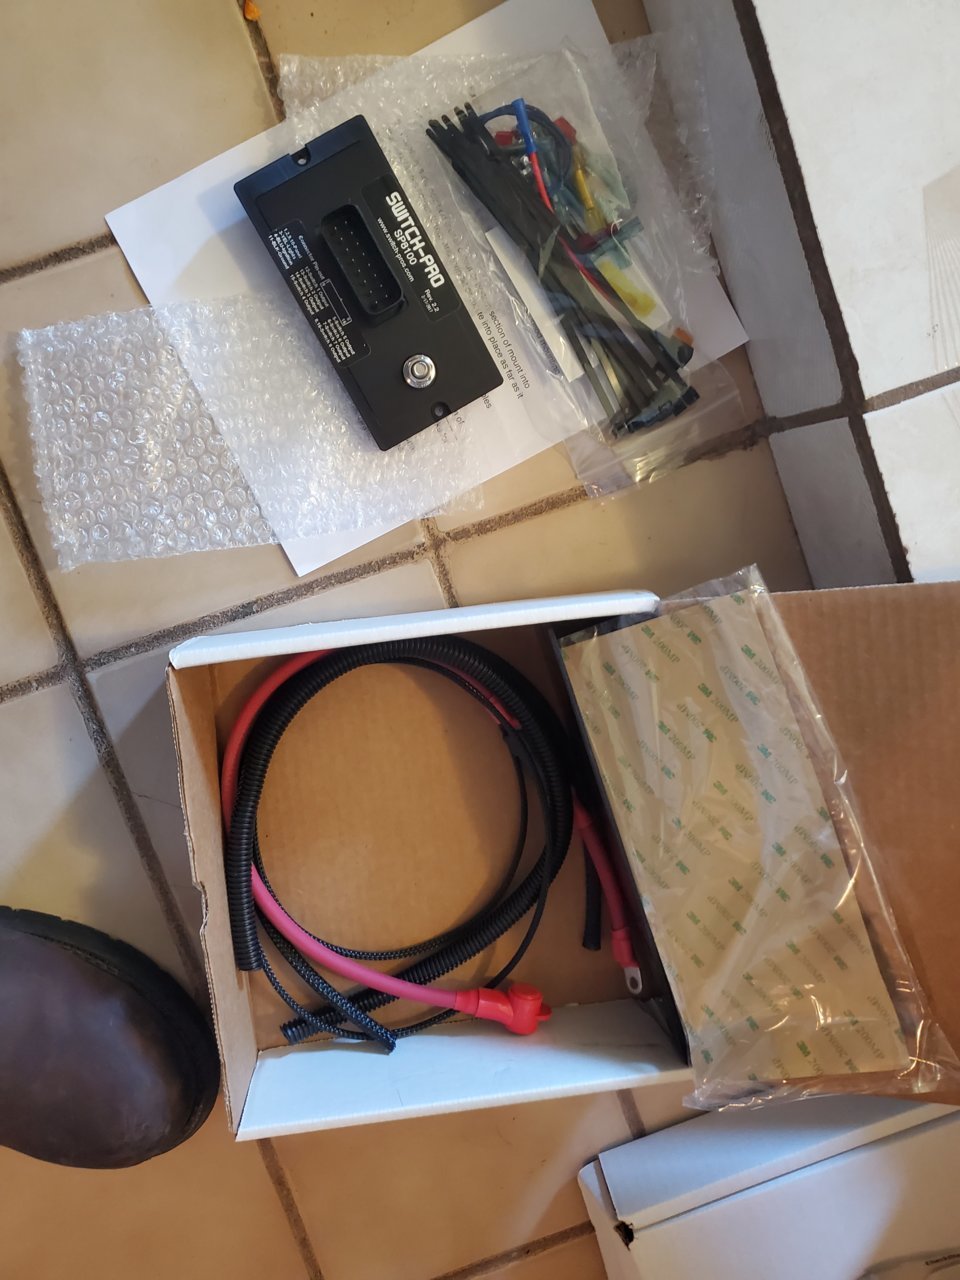
I purchased the following powertray kit and expedition essentials switch pro bracket:
https://www.powertrays.com/collecti...-powertray-05-current-tacoma-trd-off-road-pro
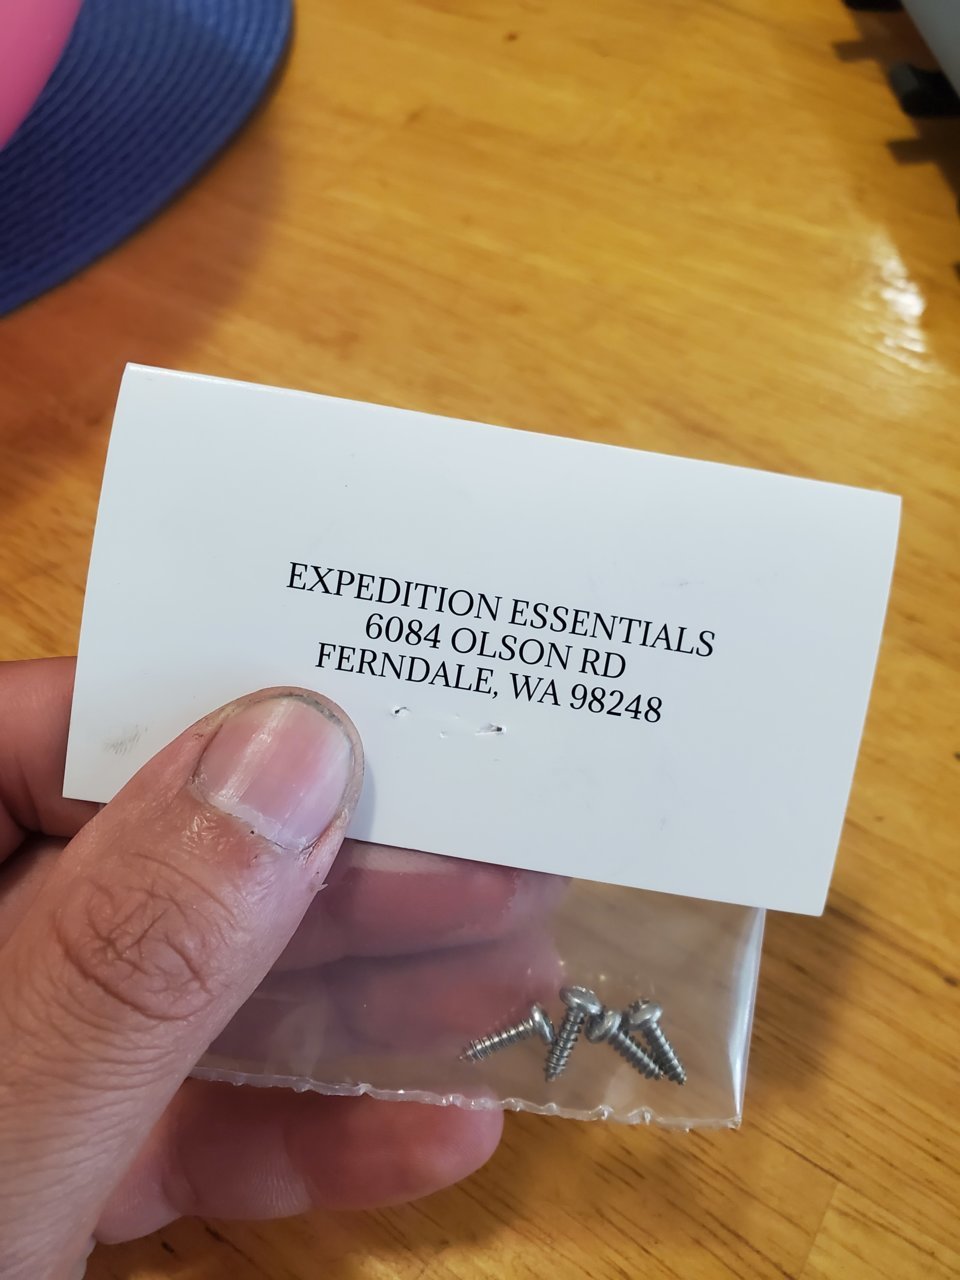
https://expeditionessentials.com/co...ts/switch-pros-mount-toyota-2nd-gen-2005-2015
A good power station install is vital at the beginning of every build. Pretty much every mod done to a vehicle will include some sort of wiring. I decided to use a switchpro that I had in the garage for a few years and mount it to a powertray and expedition essentials bracket.
That being said, let's start with the meat and potatoes of this install.
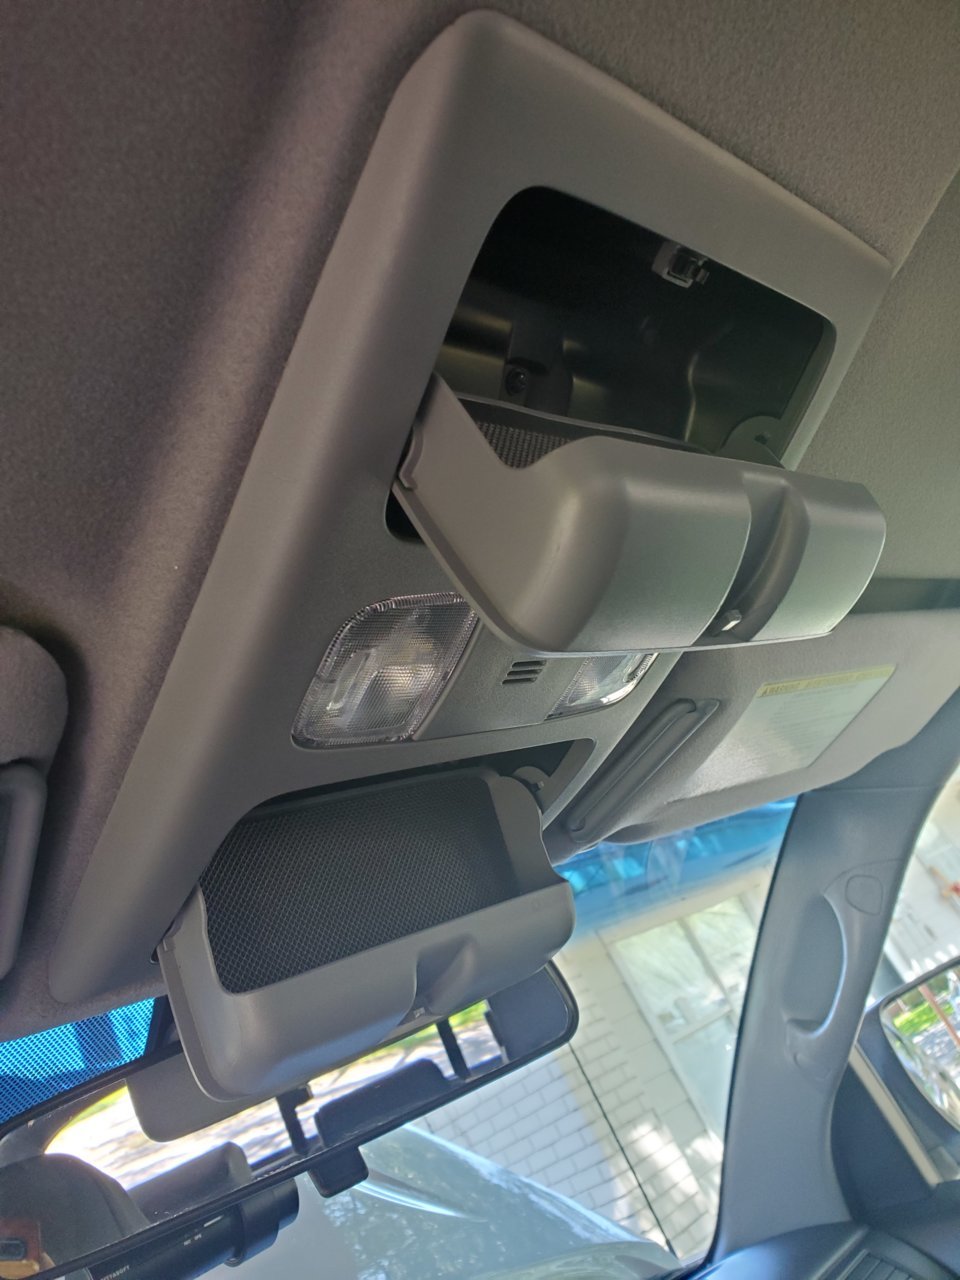
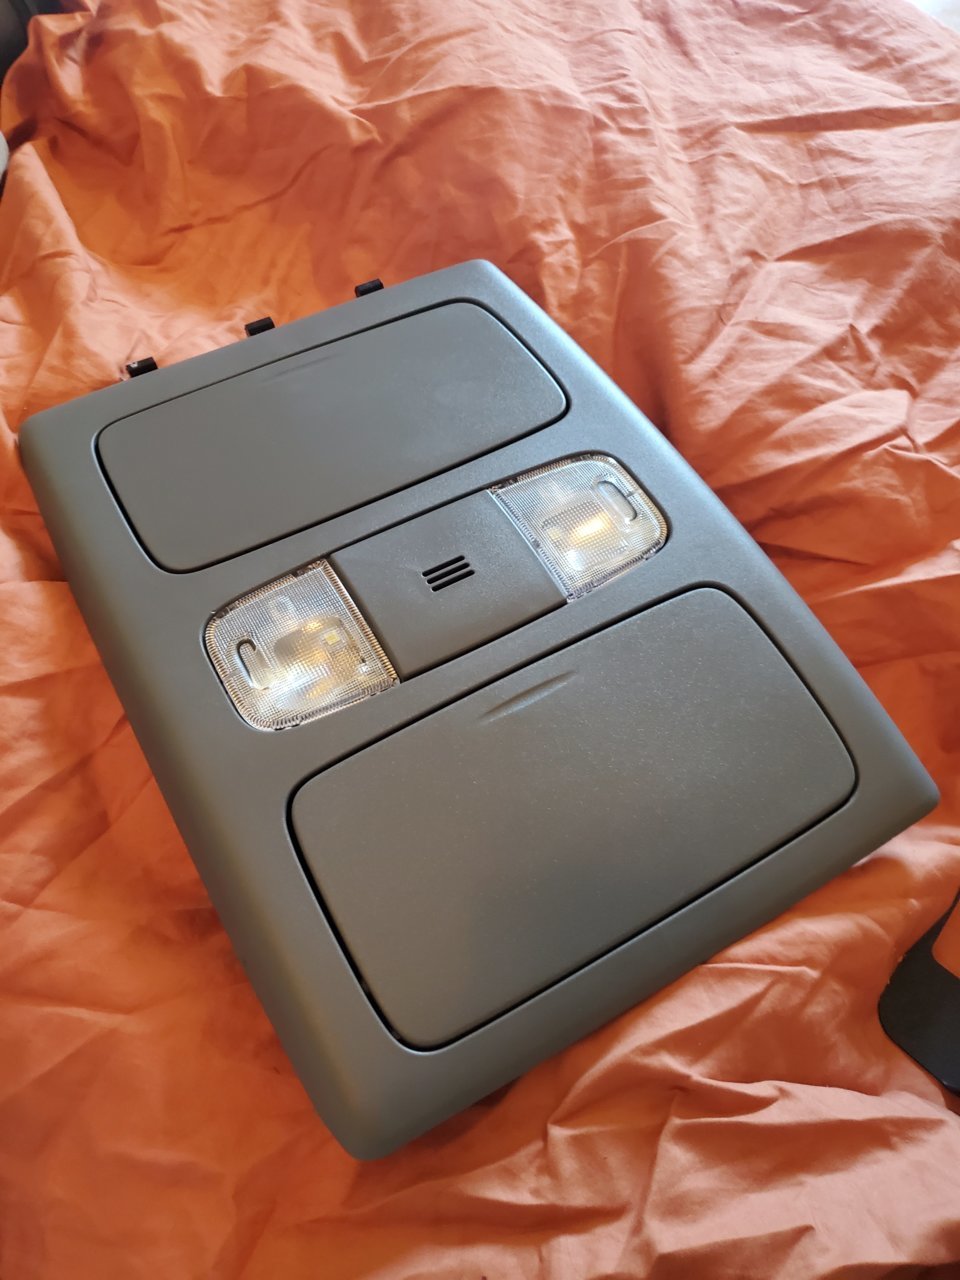
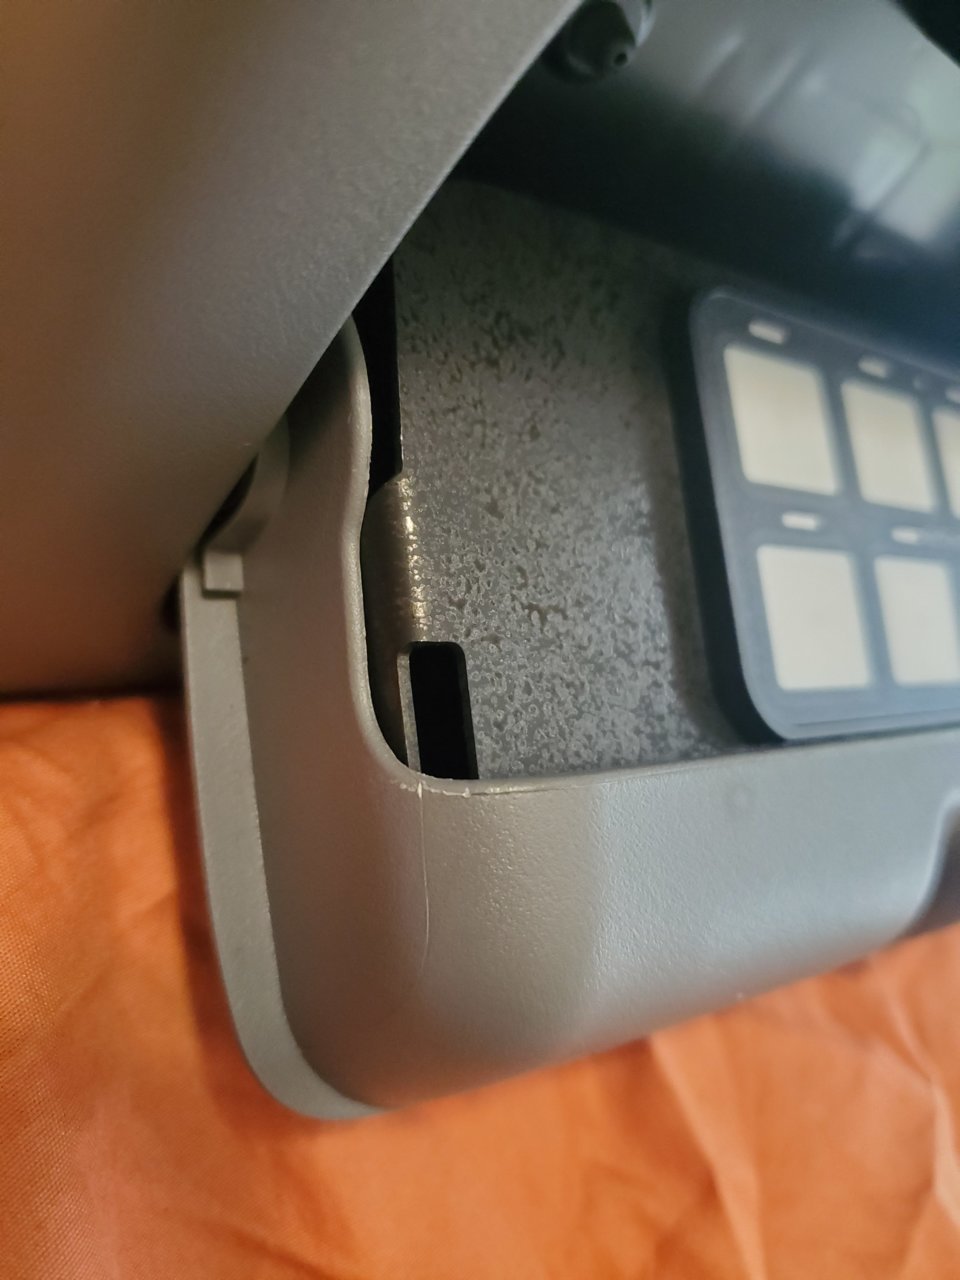
First thing was to remove the overhead console.
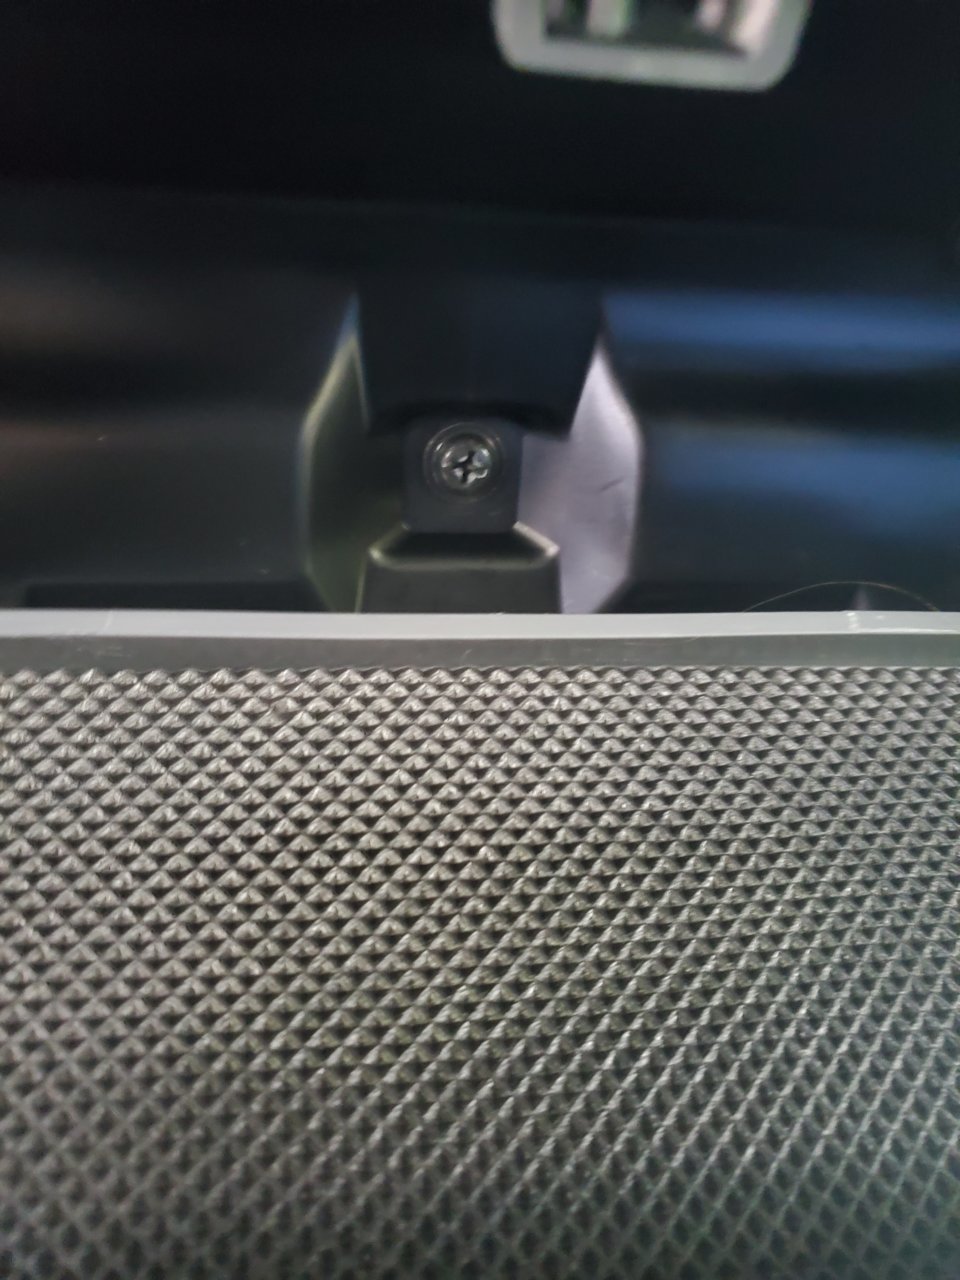
There is a screw in the rear sunglass holder that needs to be removed:
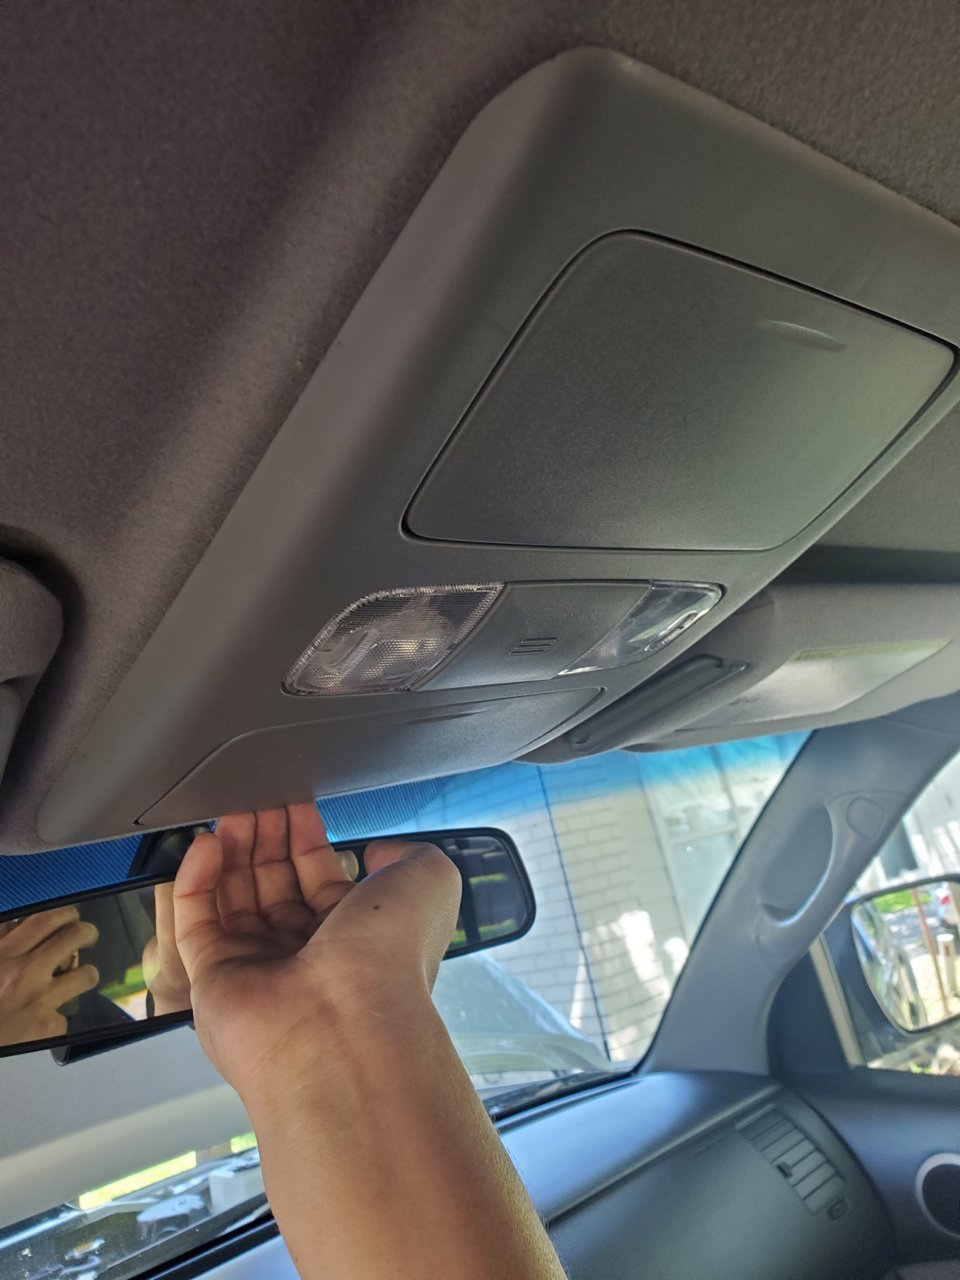
Once it is removed, grab the console firmly from the front and tug firmly but carefully:
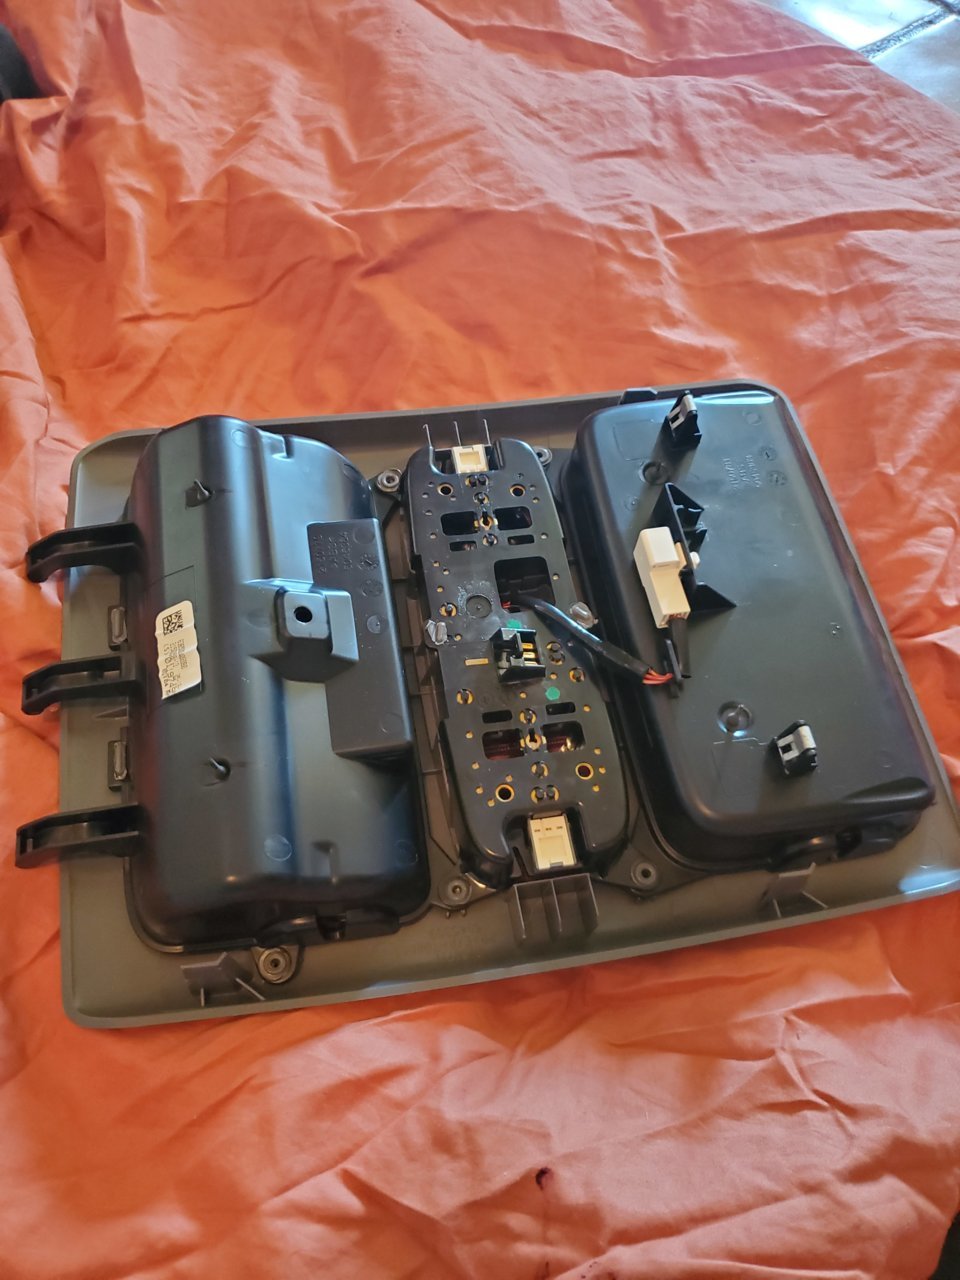
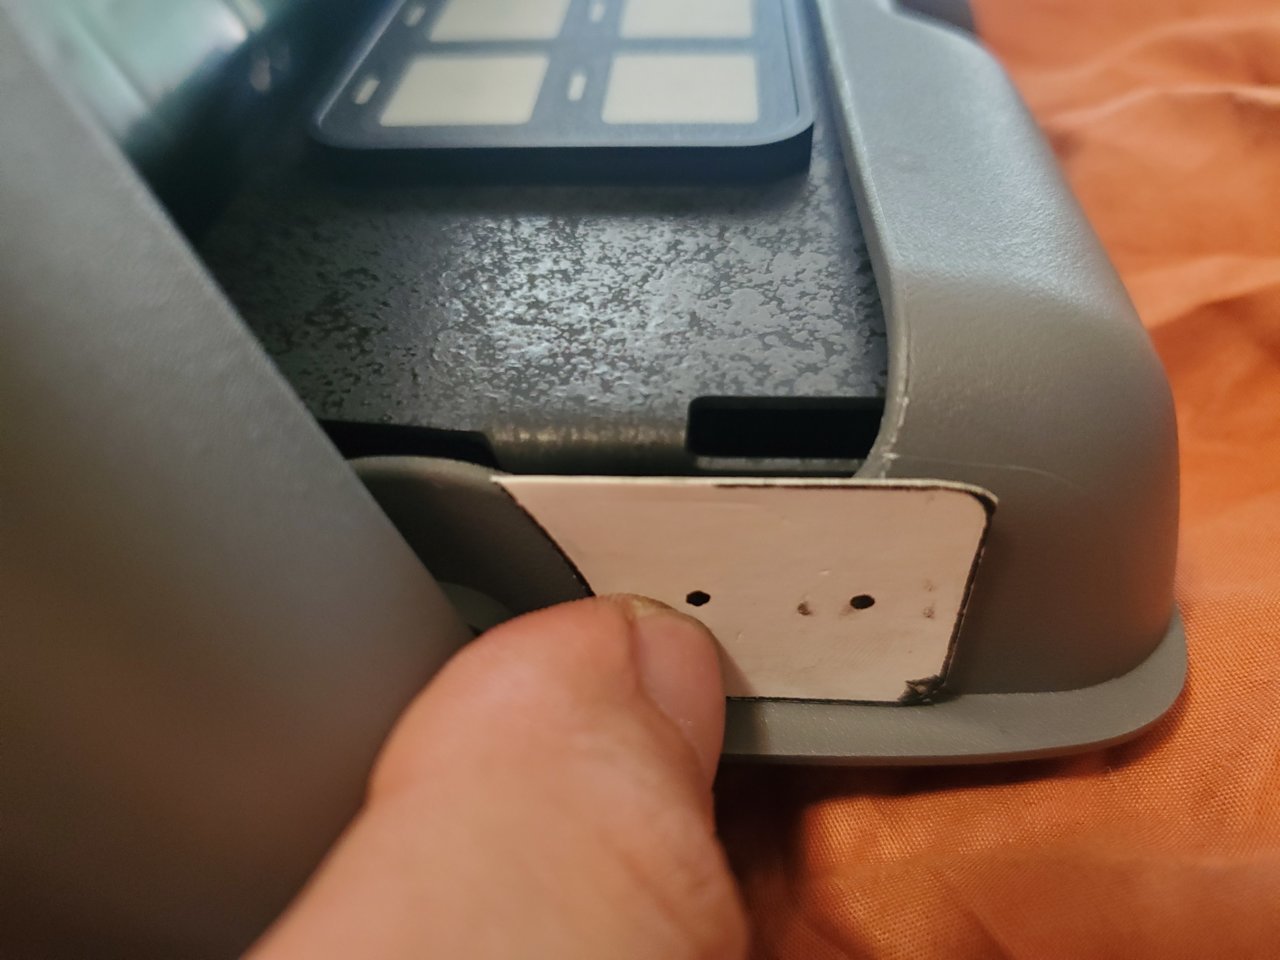
The overhead console is held by these rear claws:
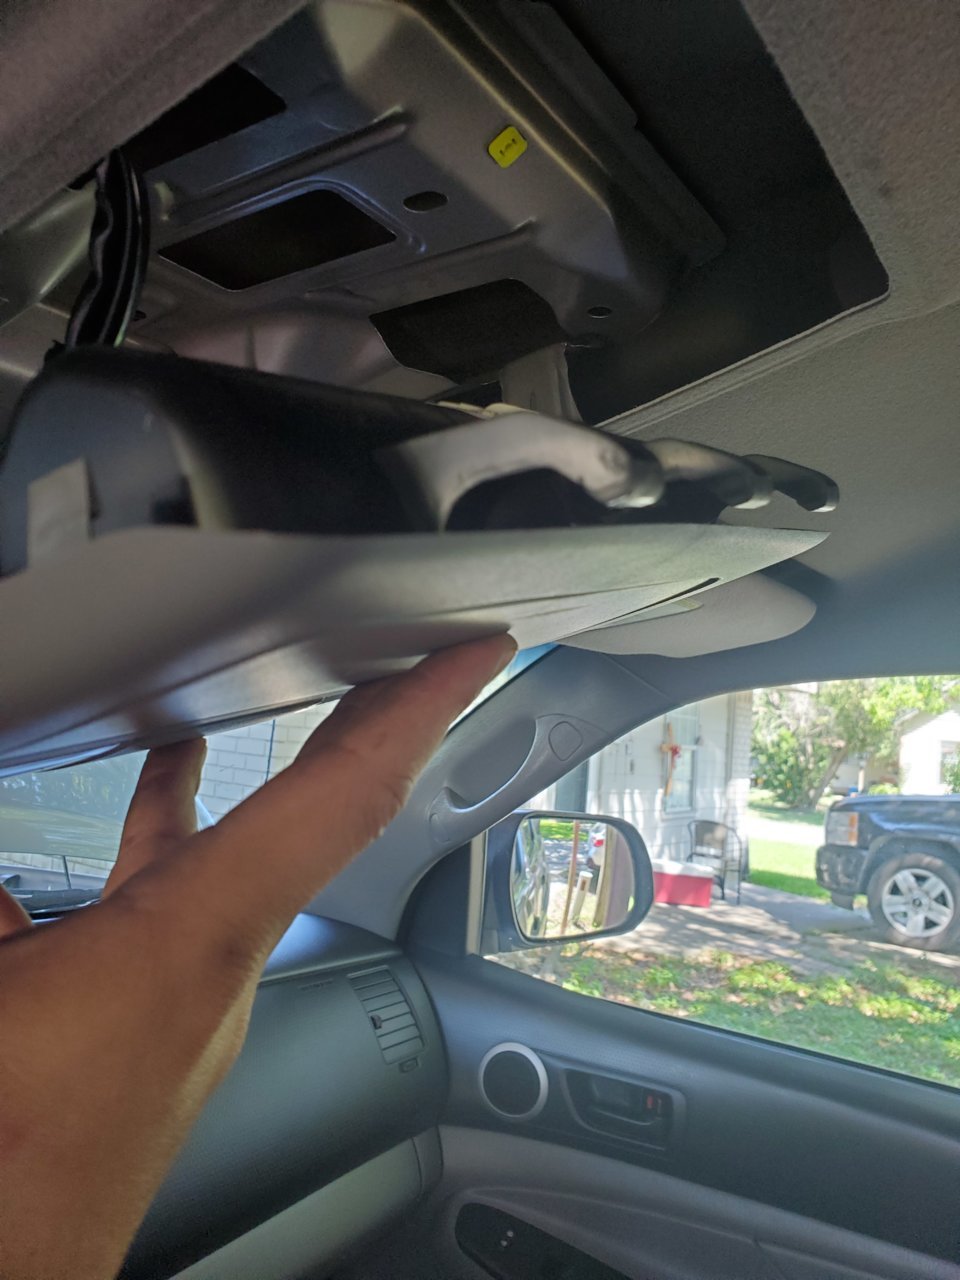
and
These front tabs:

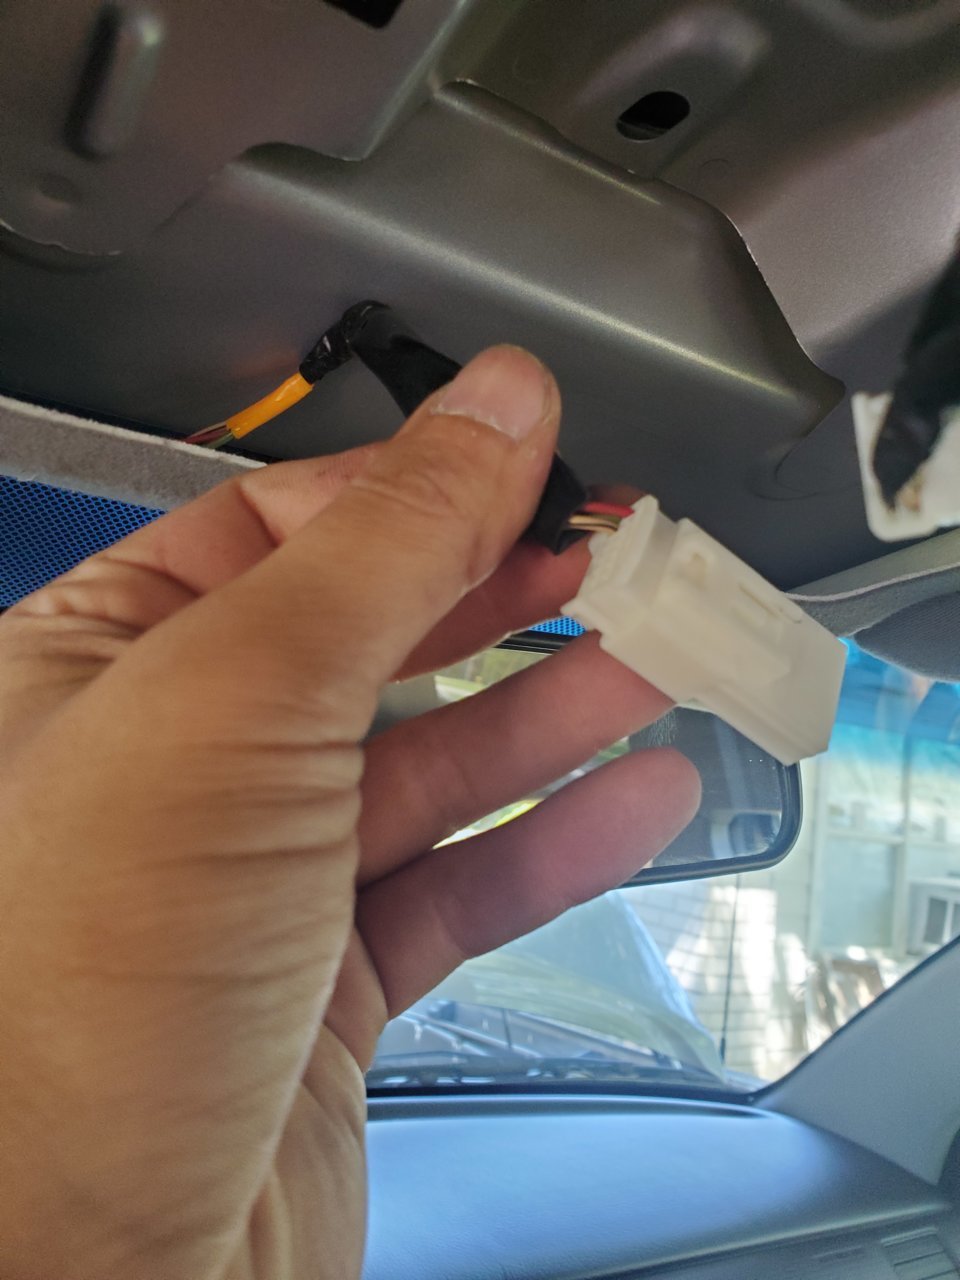
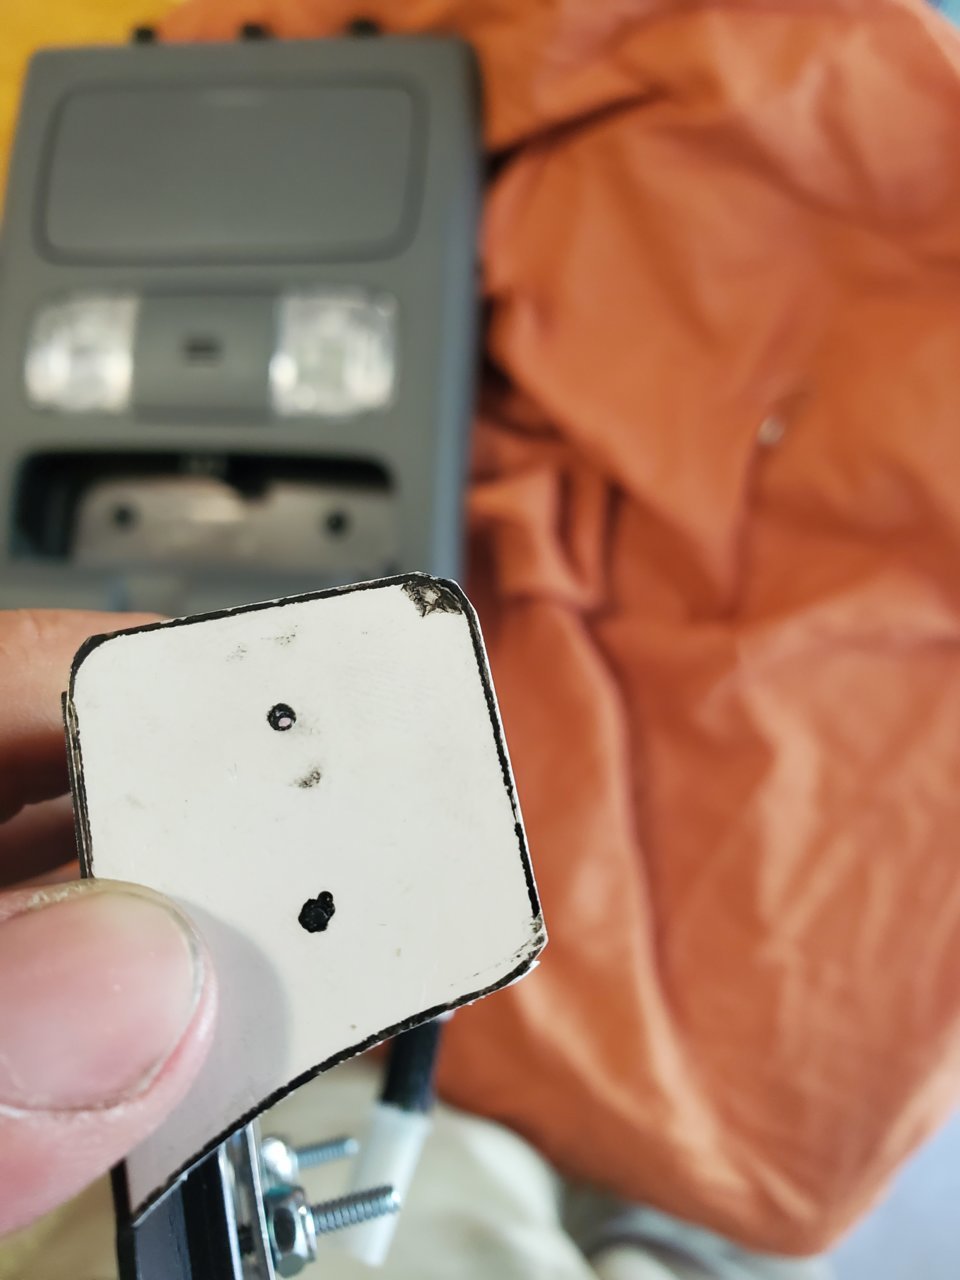
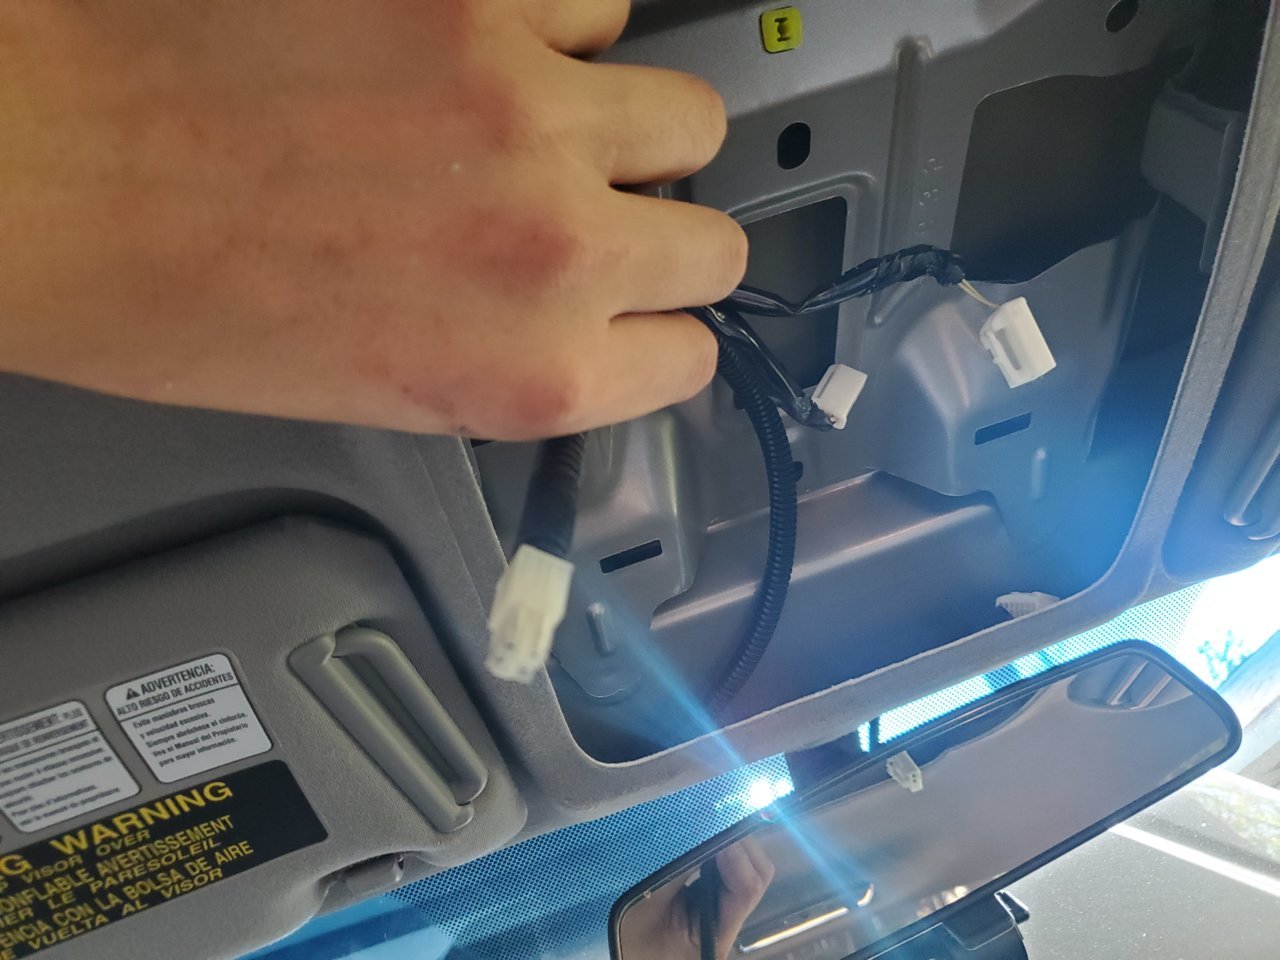
Unplug two wires:
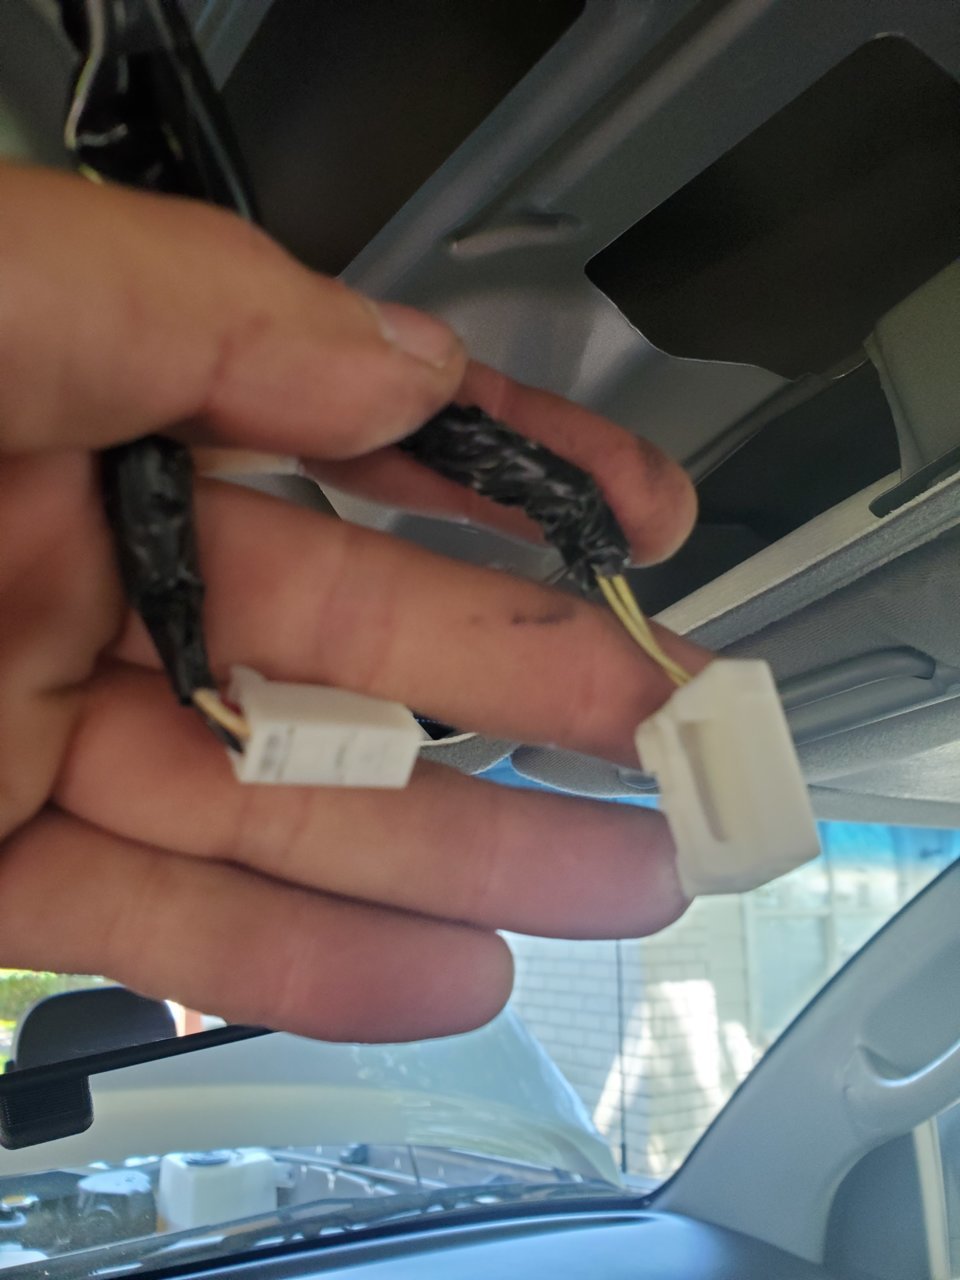
This "abandoned" plug is for a compass/temp mirror if you ever wondered what it's doing up there.
Time for surgery:
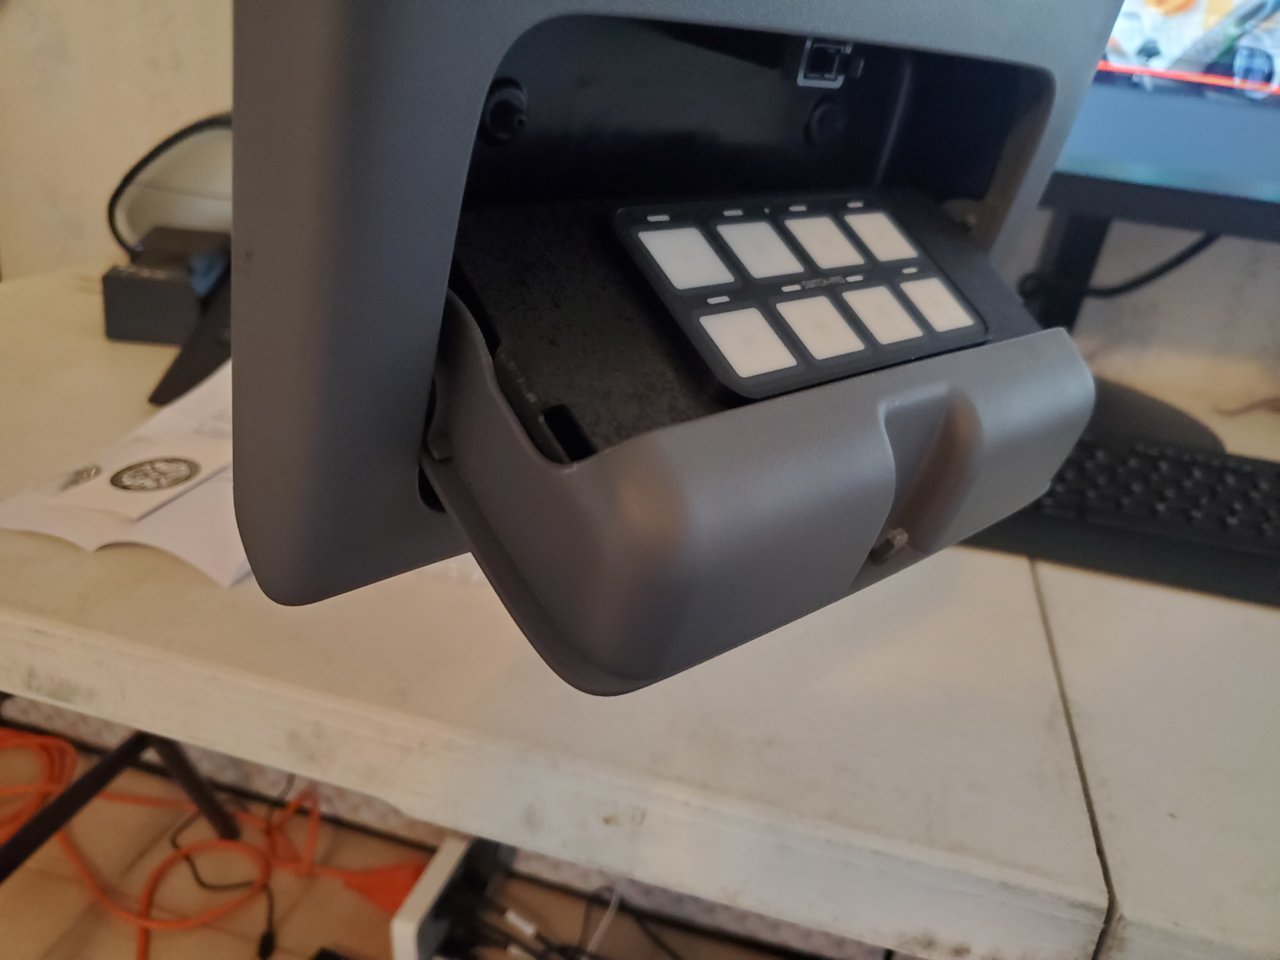
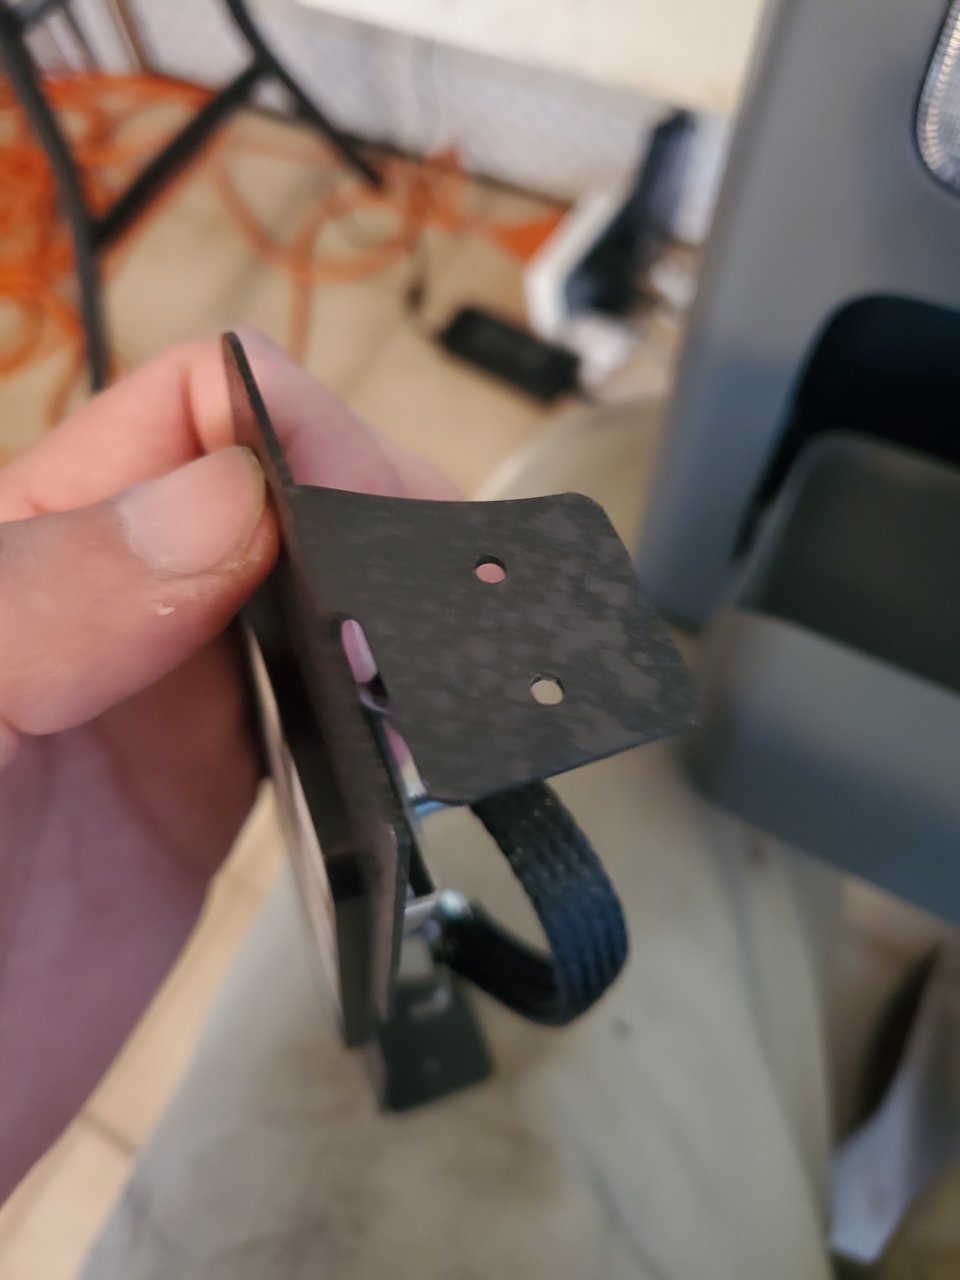
Here is our expedition essentials switch pro mount:
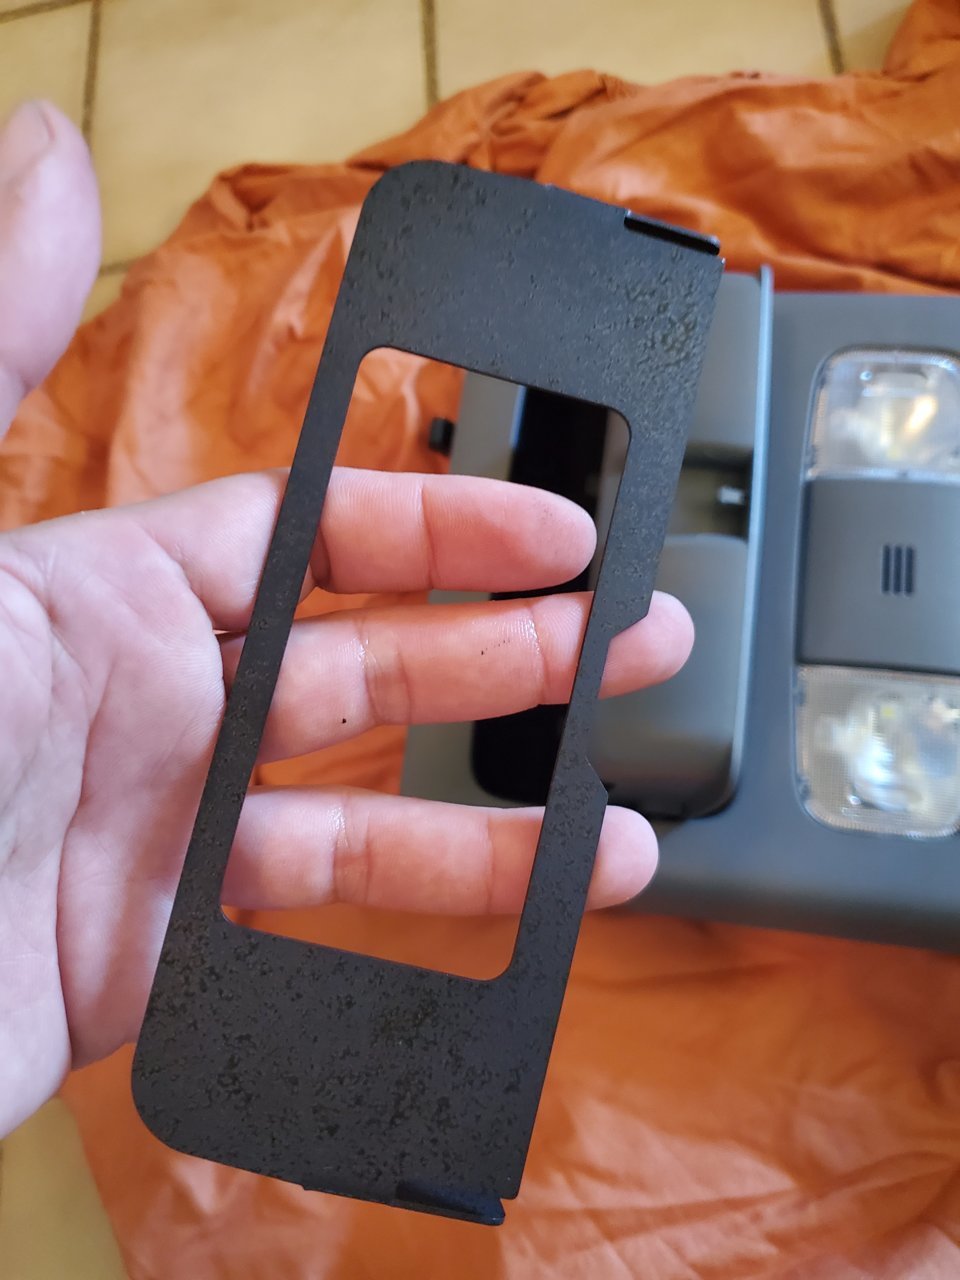
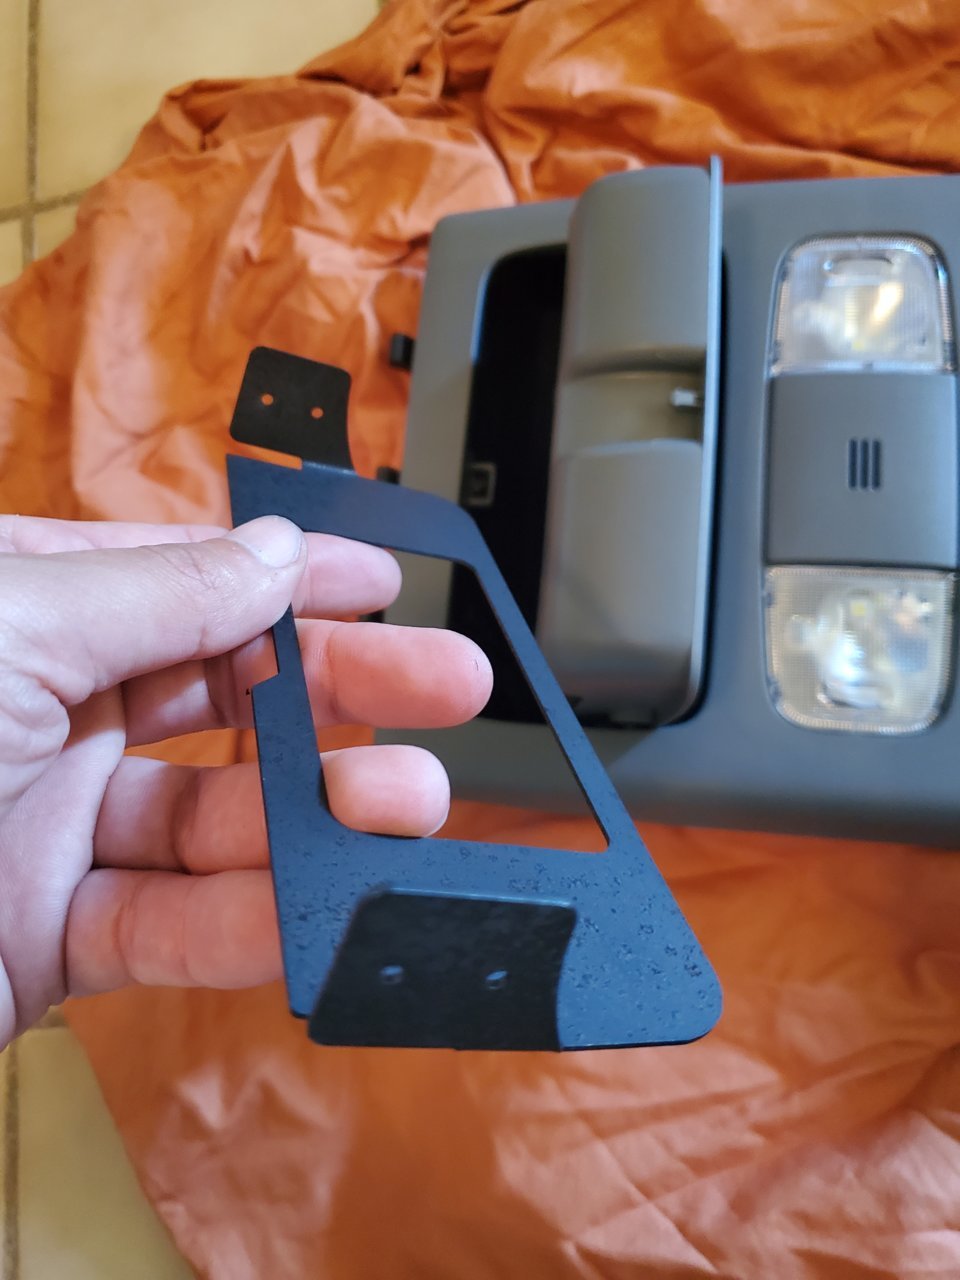
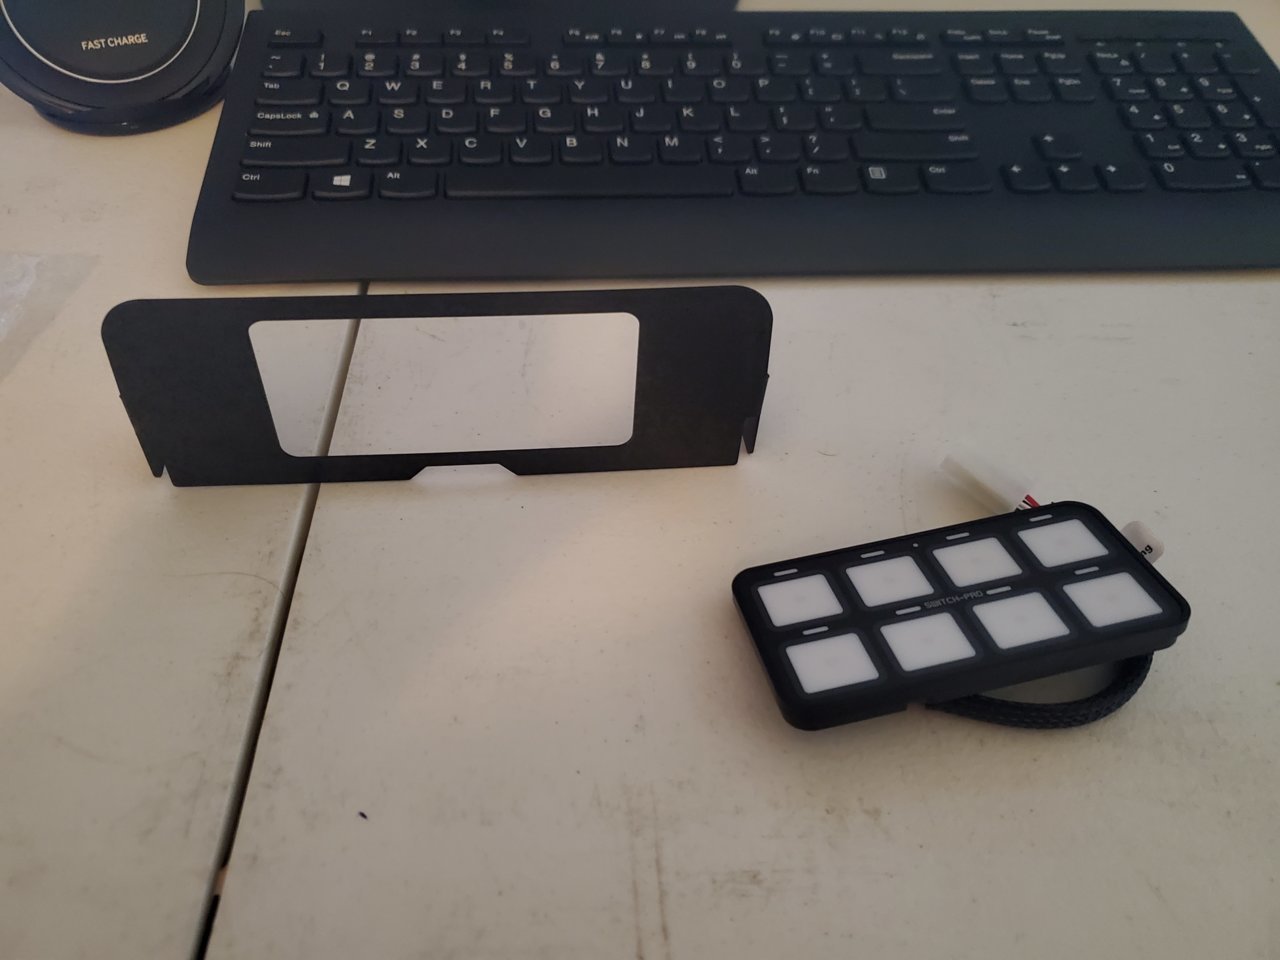
The switchpro fits very snug in the mount, love it.
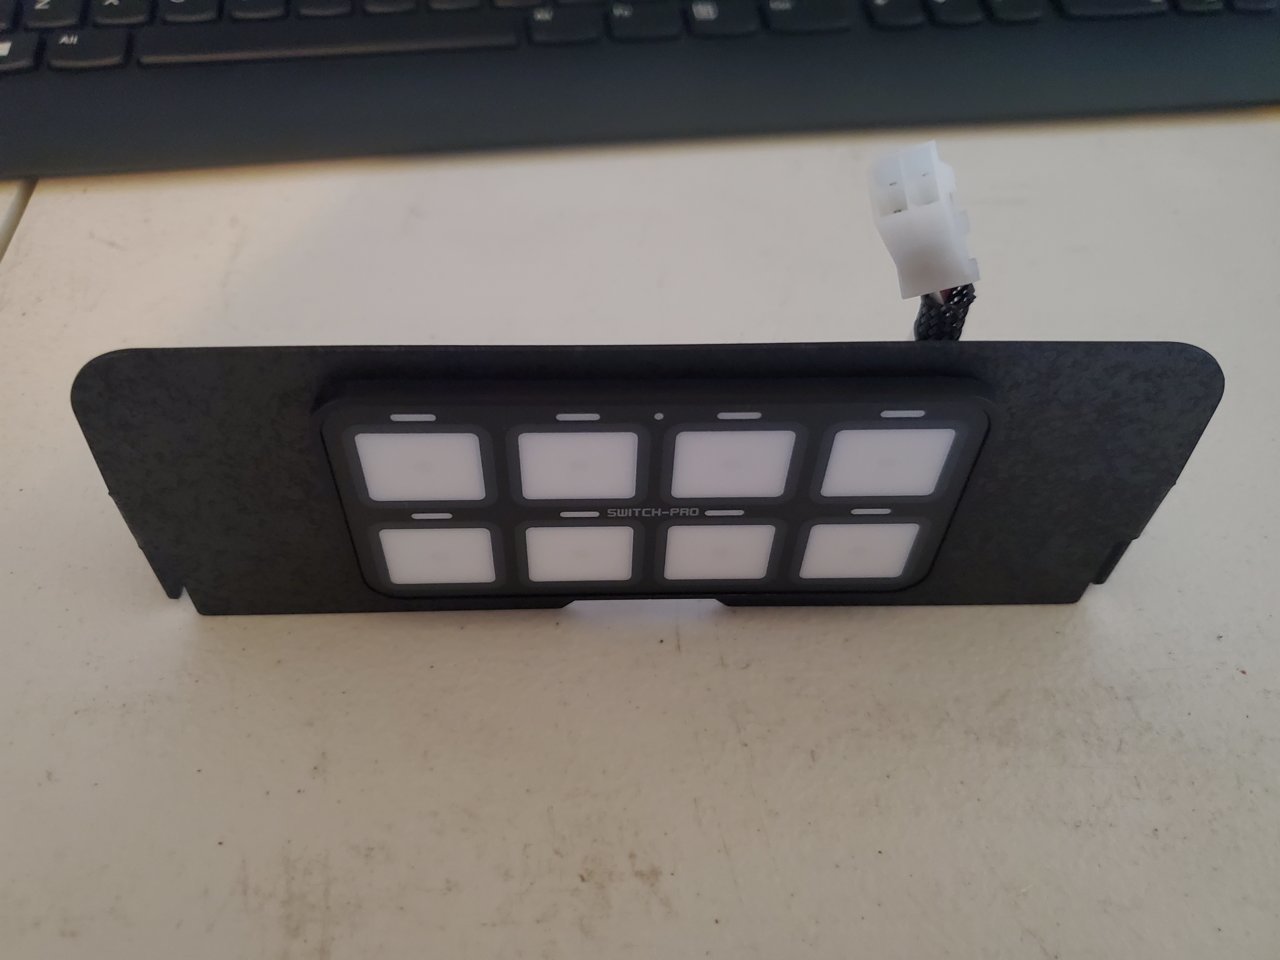
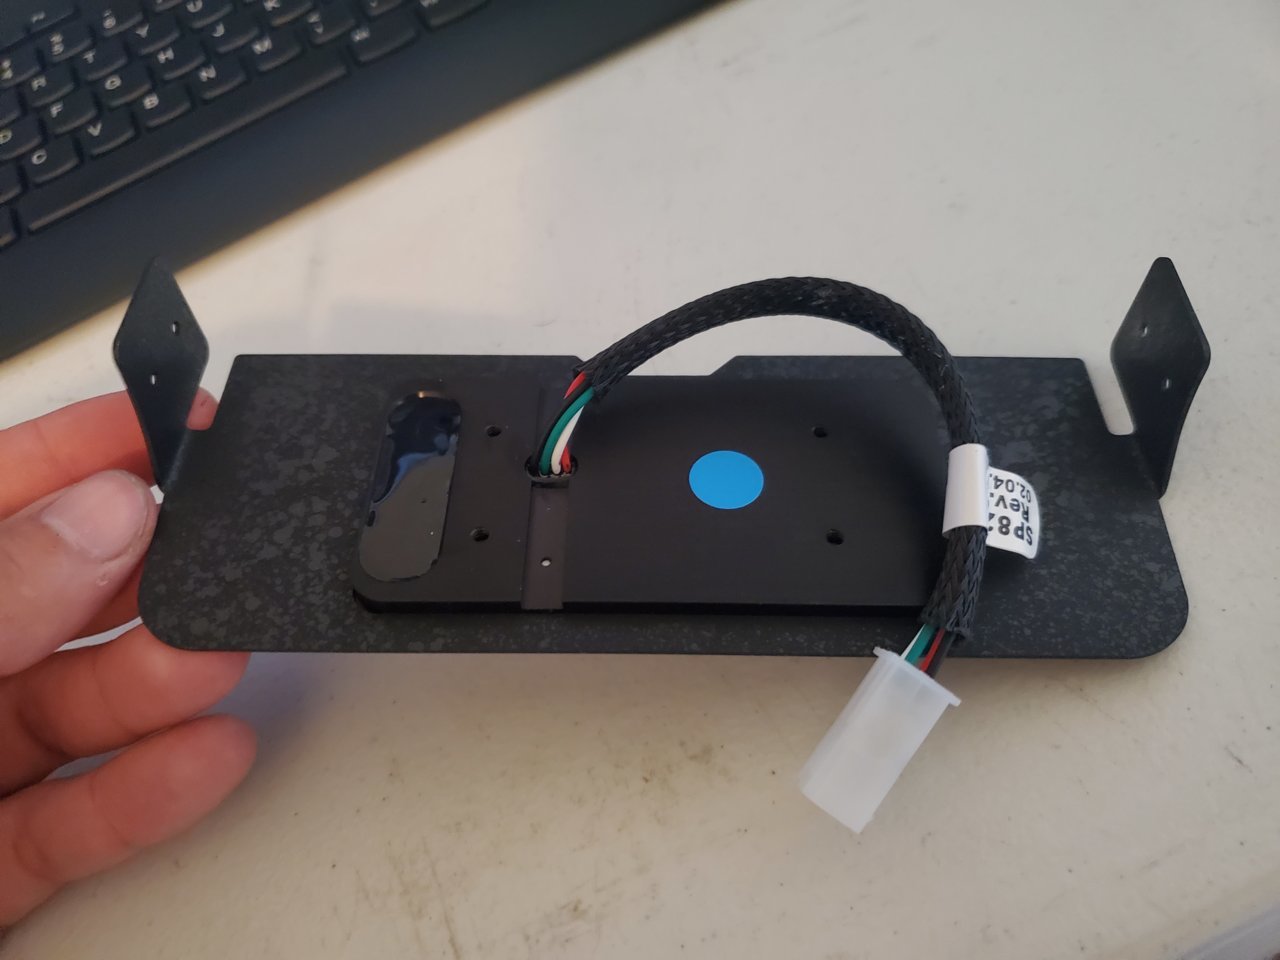
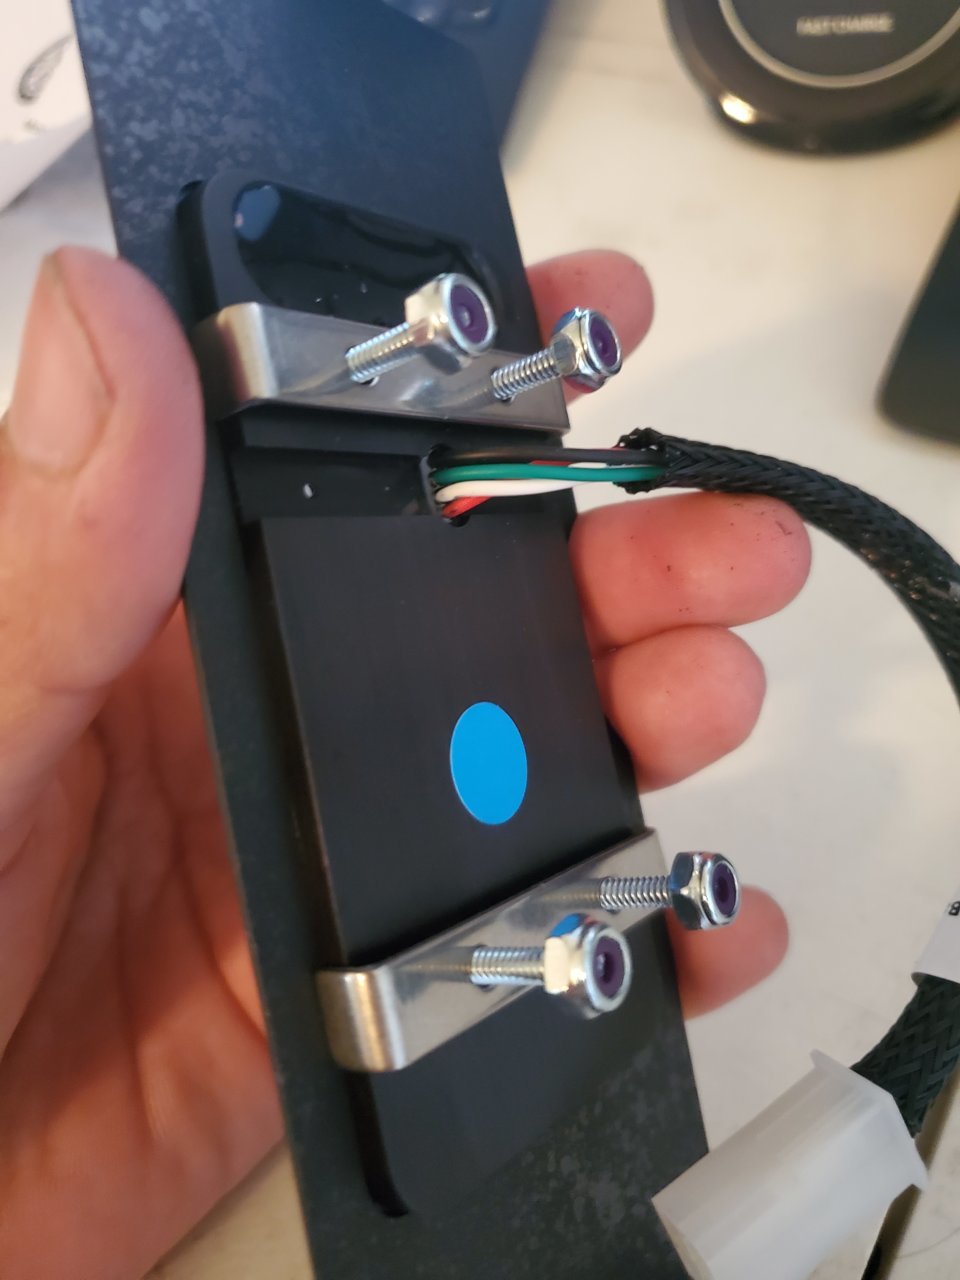
Install switchpro supplied brackets and screws to secure it in place
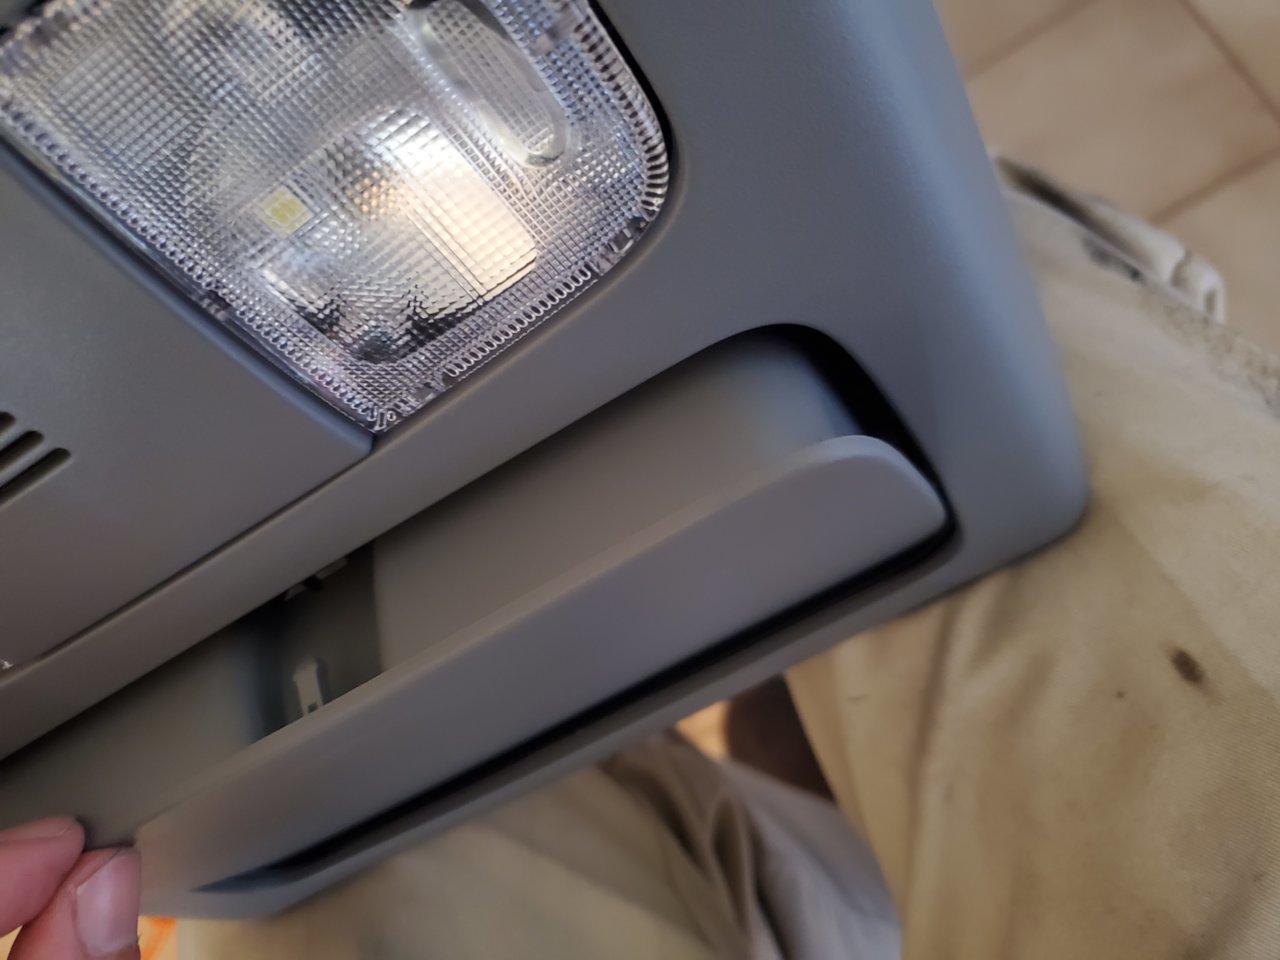
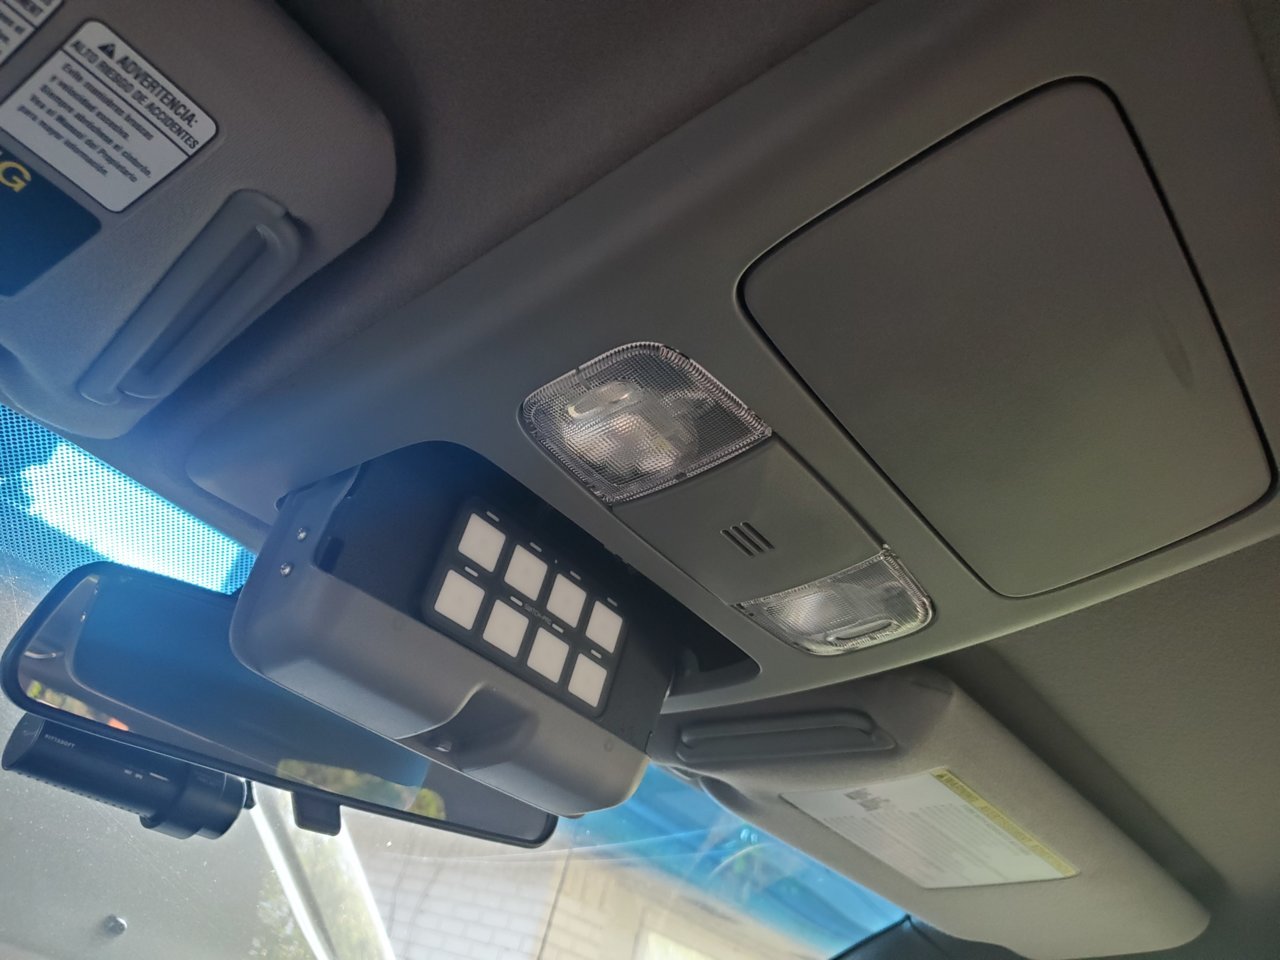
Once it is in place, I put it in the sunglass holder and played around with the fitment.
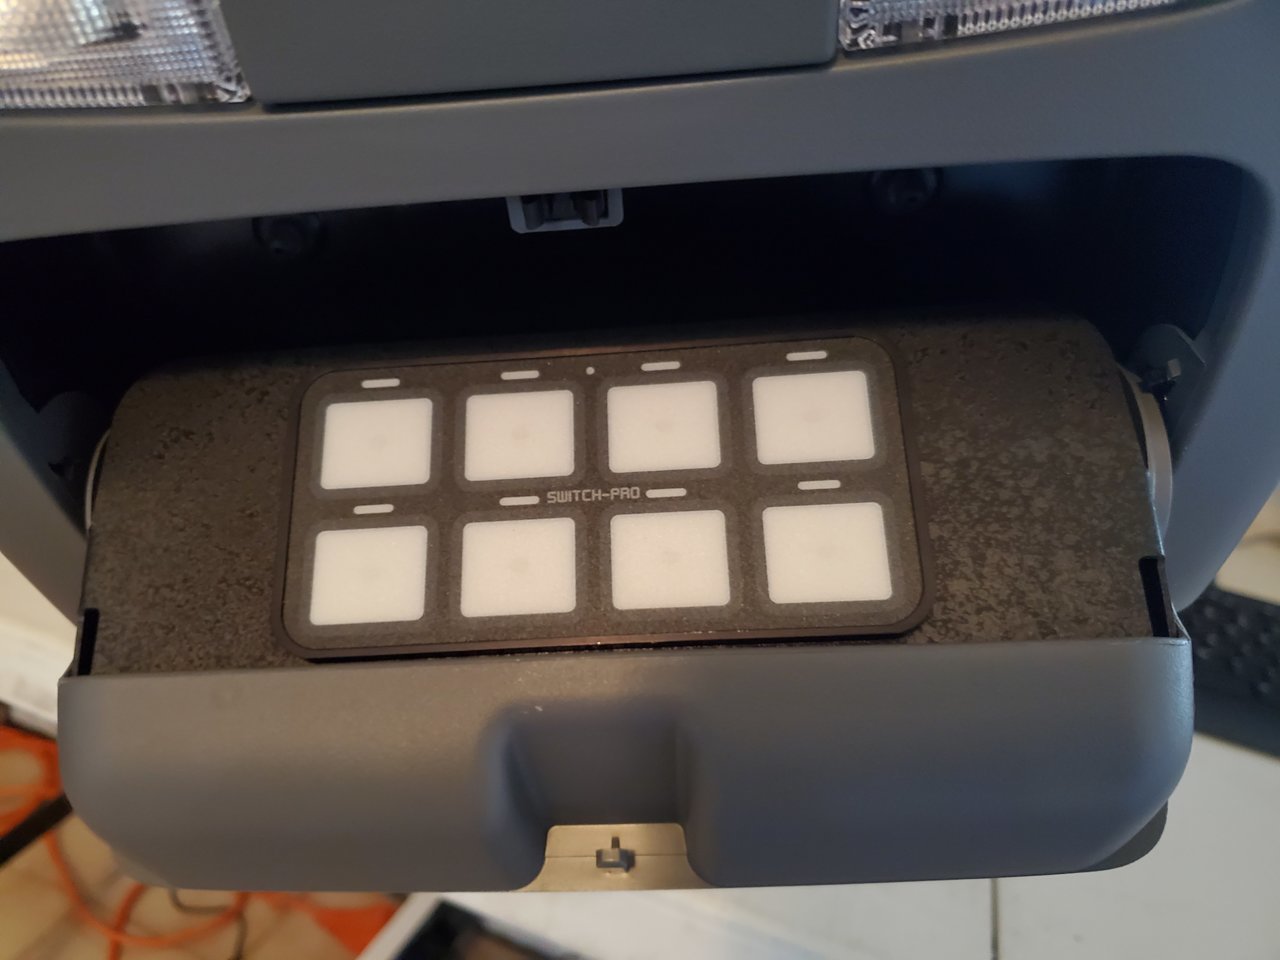
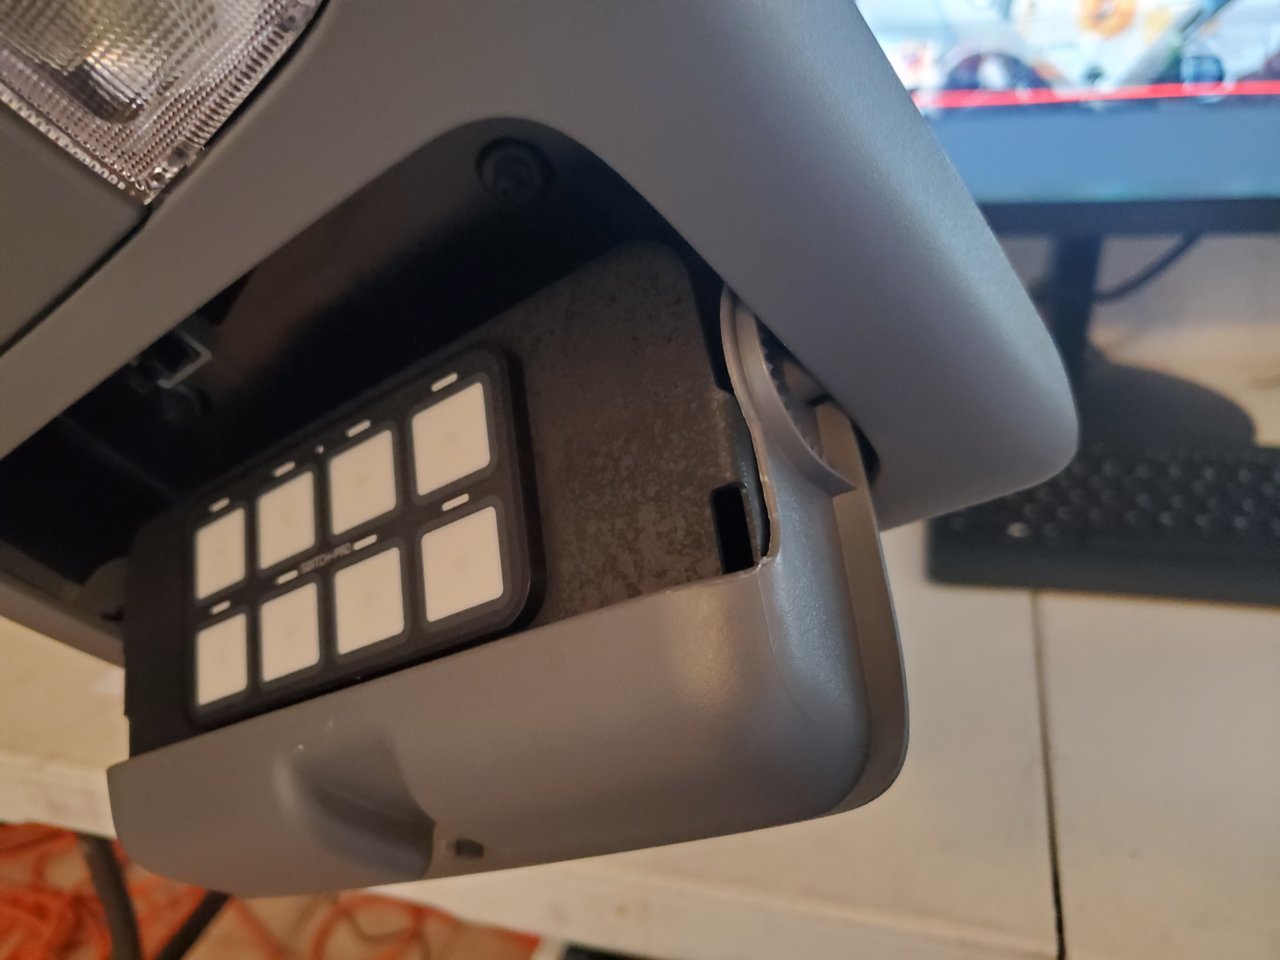
Open/Close, make sure that it clears and does not rub any

Now we need to make some templates for these screws:
Use the supplied Expedition Essentials template paper:
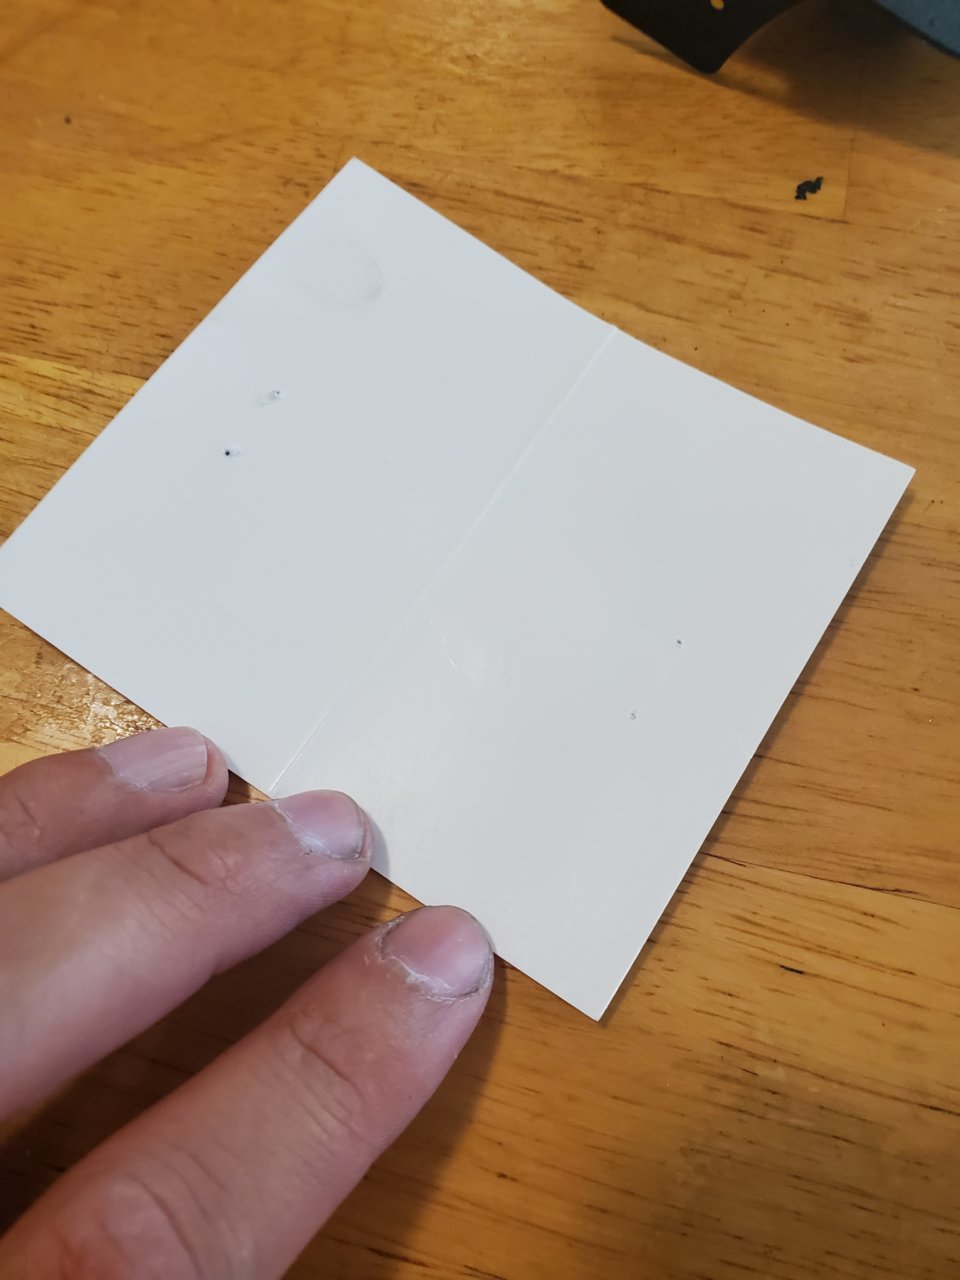
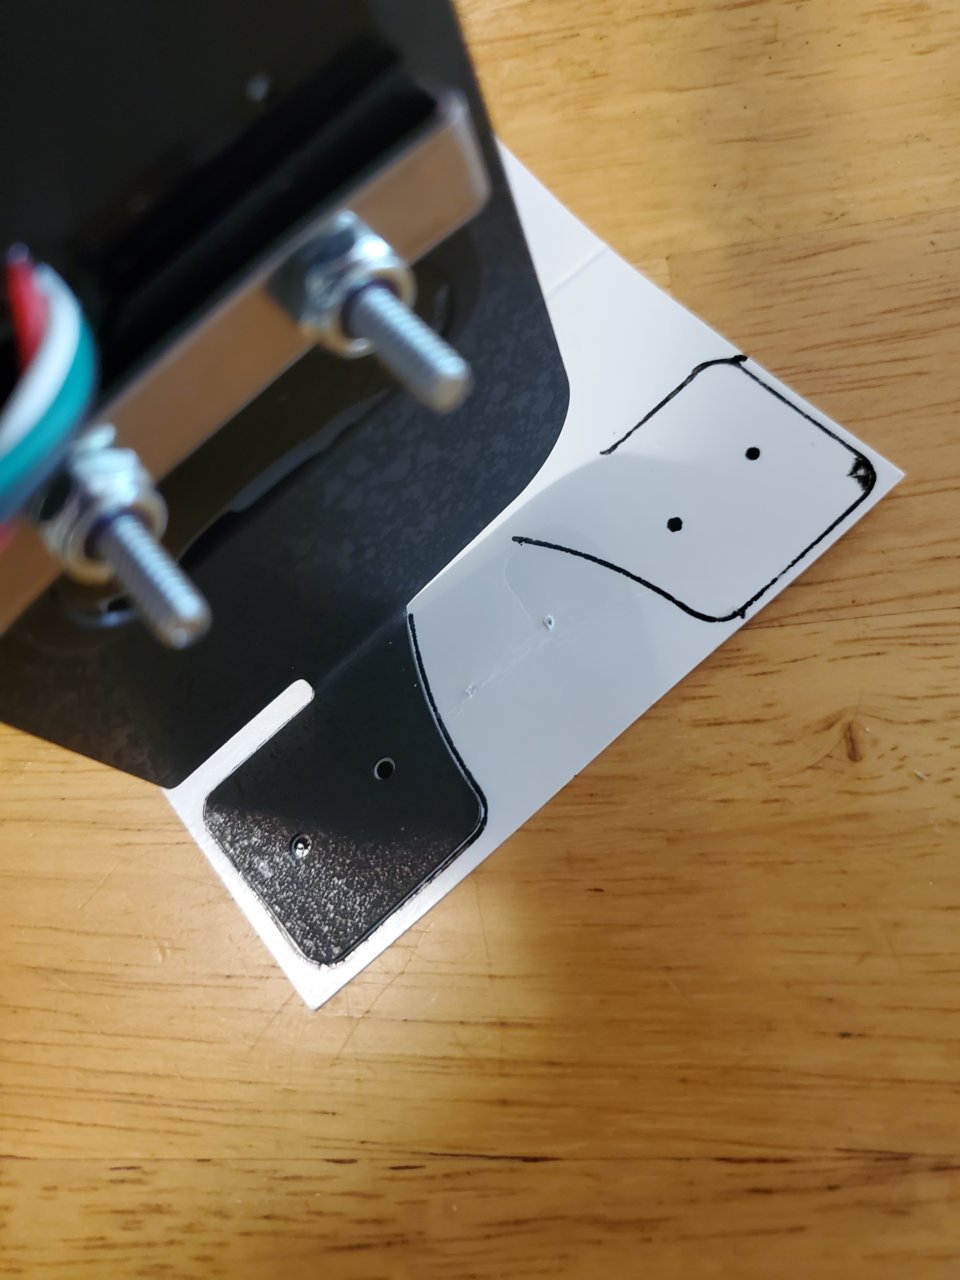
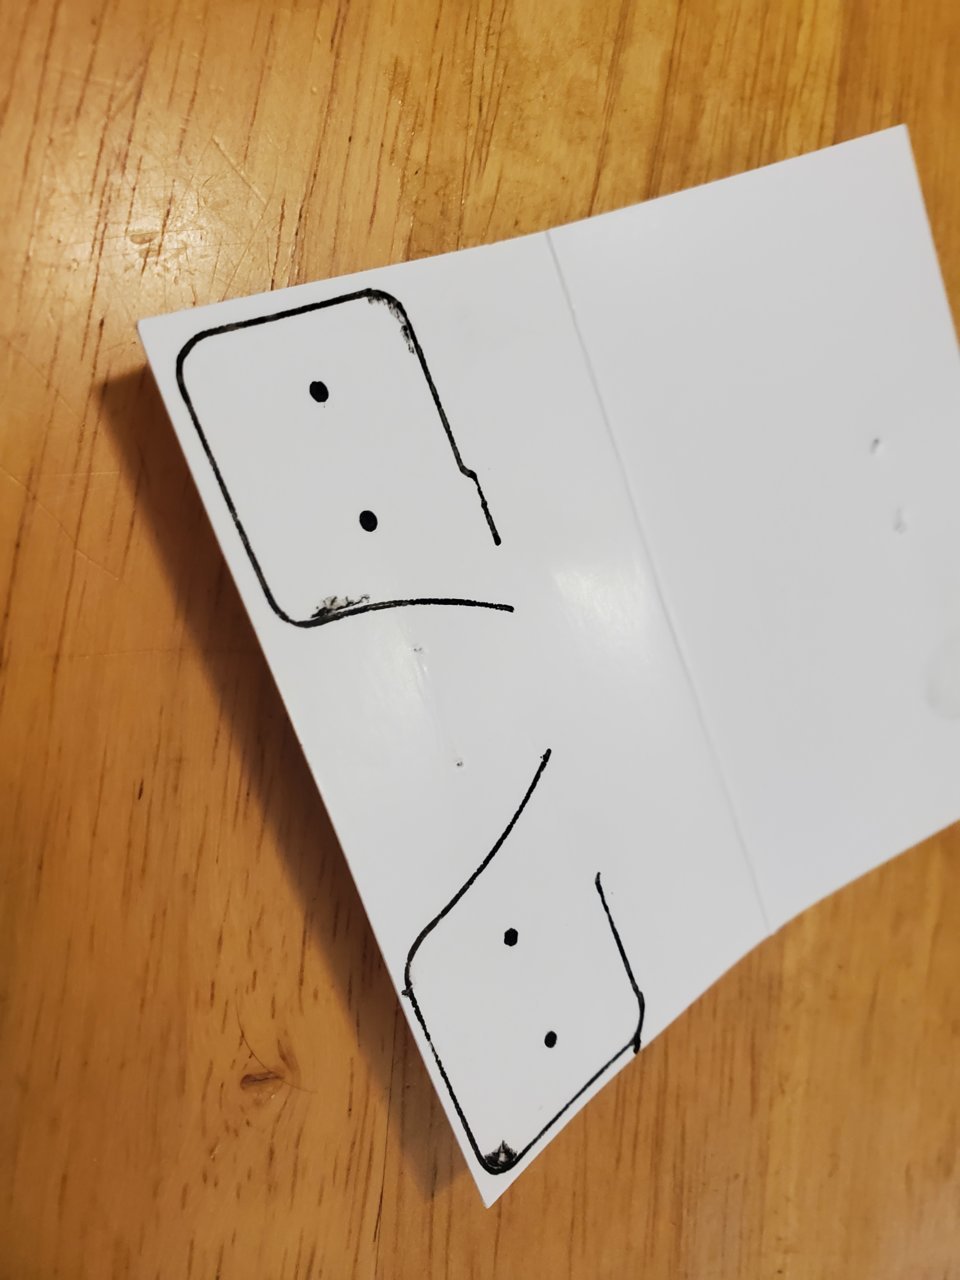
I traced each of these ears onto it and located the screw holes:
Cut them out:

I then fit them against the sides of the sunglass holder like this:
You kinda notice when the template lines up with the actual bracket ears. I had to trim the template once or twice to get it right.
Time for some pilot holes:
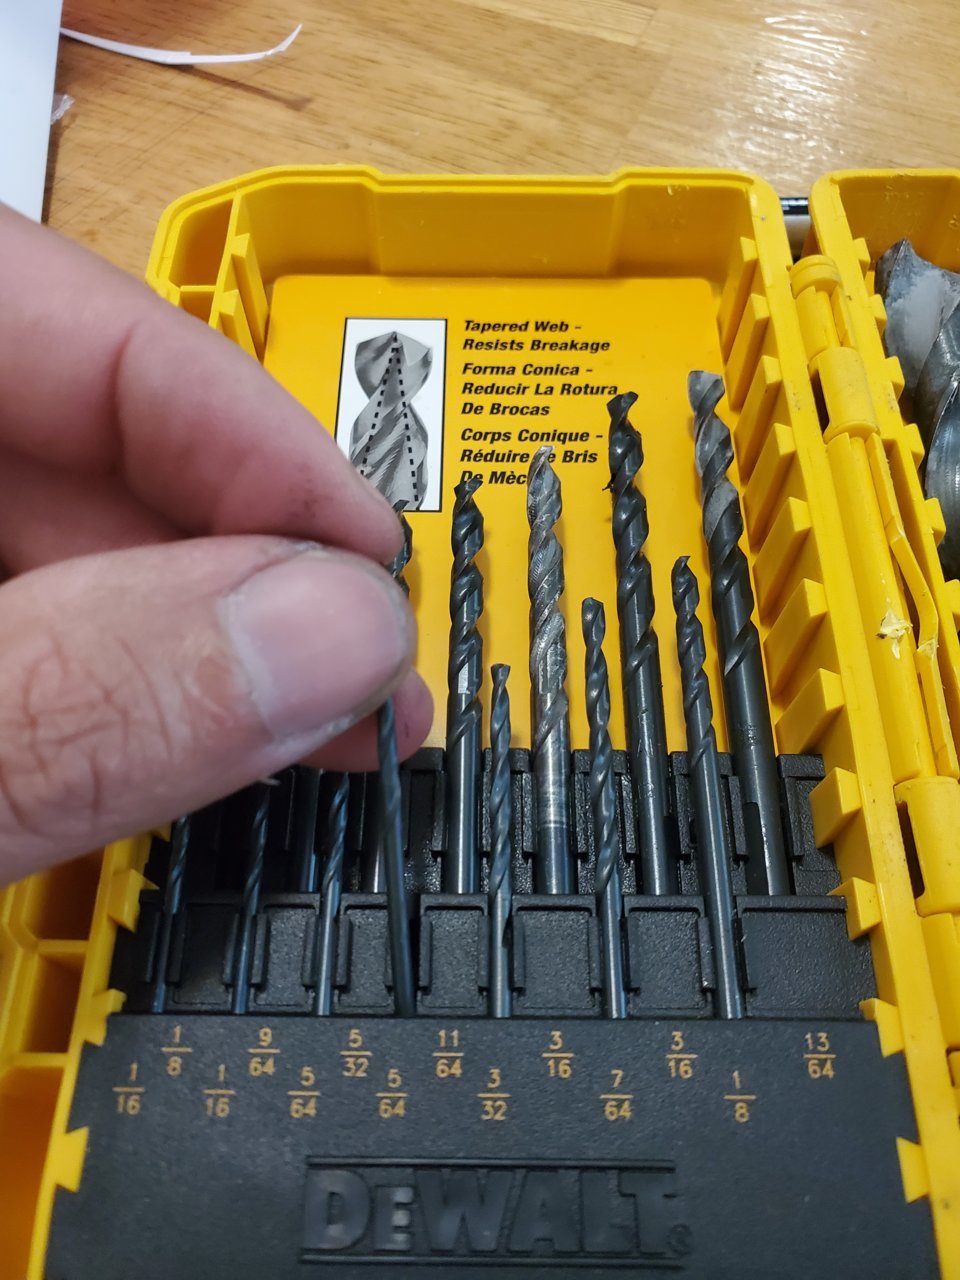
Perfect!

Thread in screws:
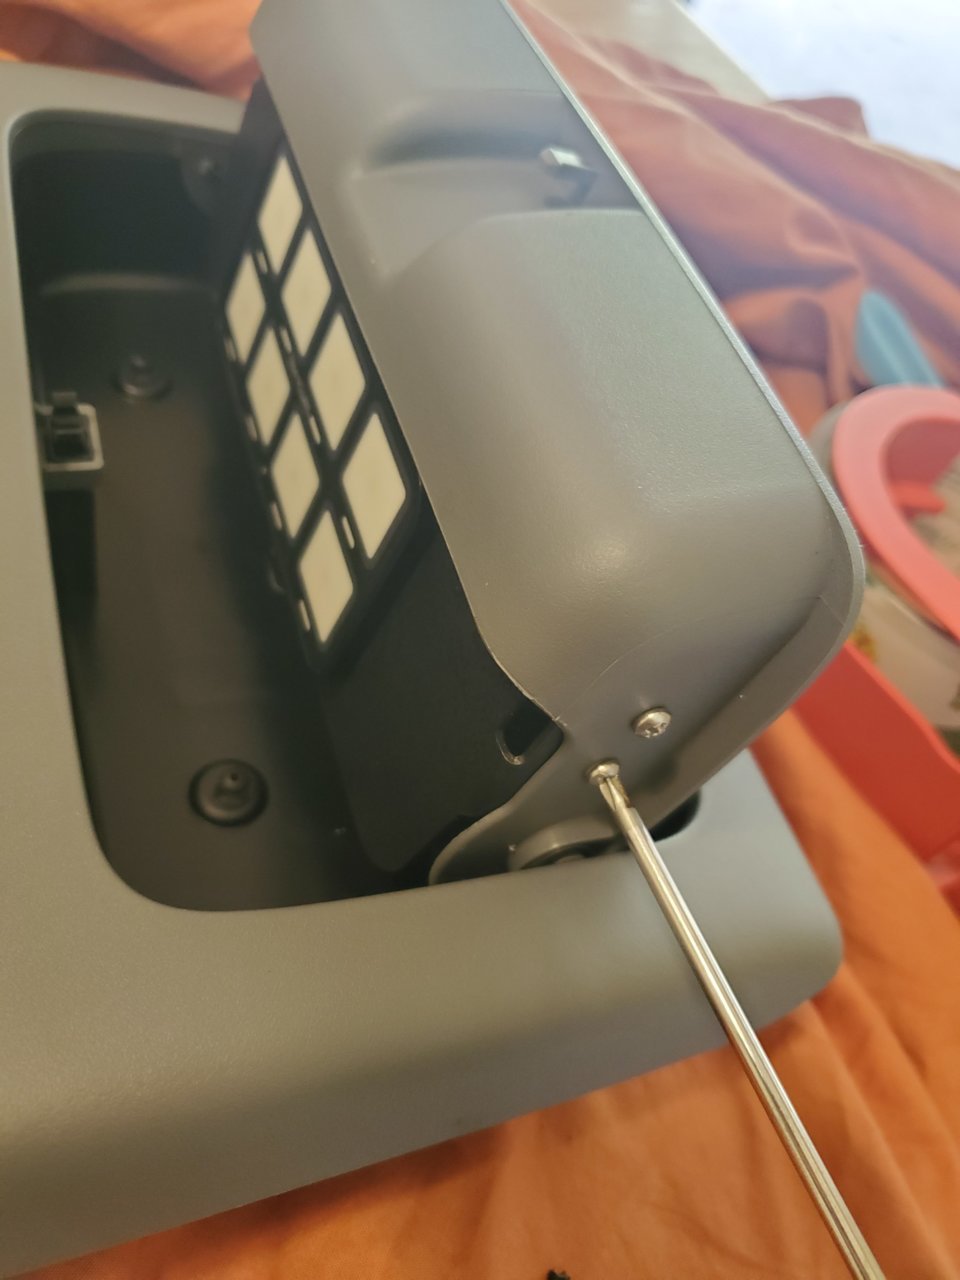
Now time to notch out the back end of the console to allow the pigtail connection:
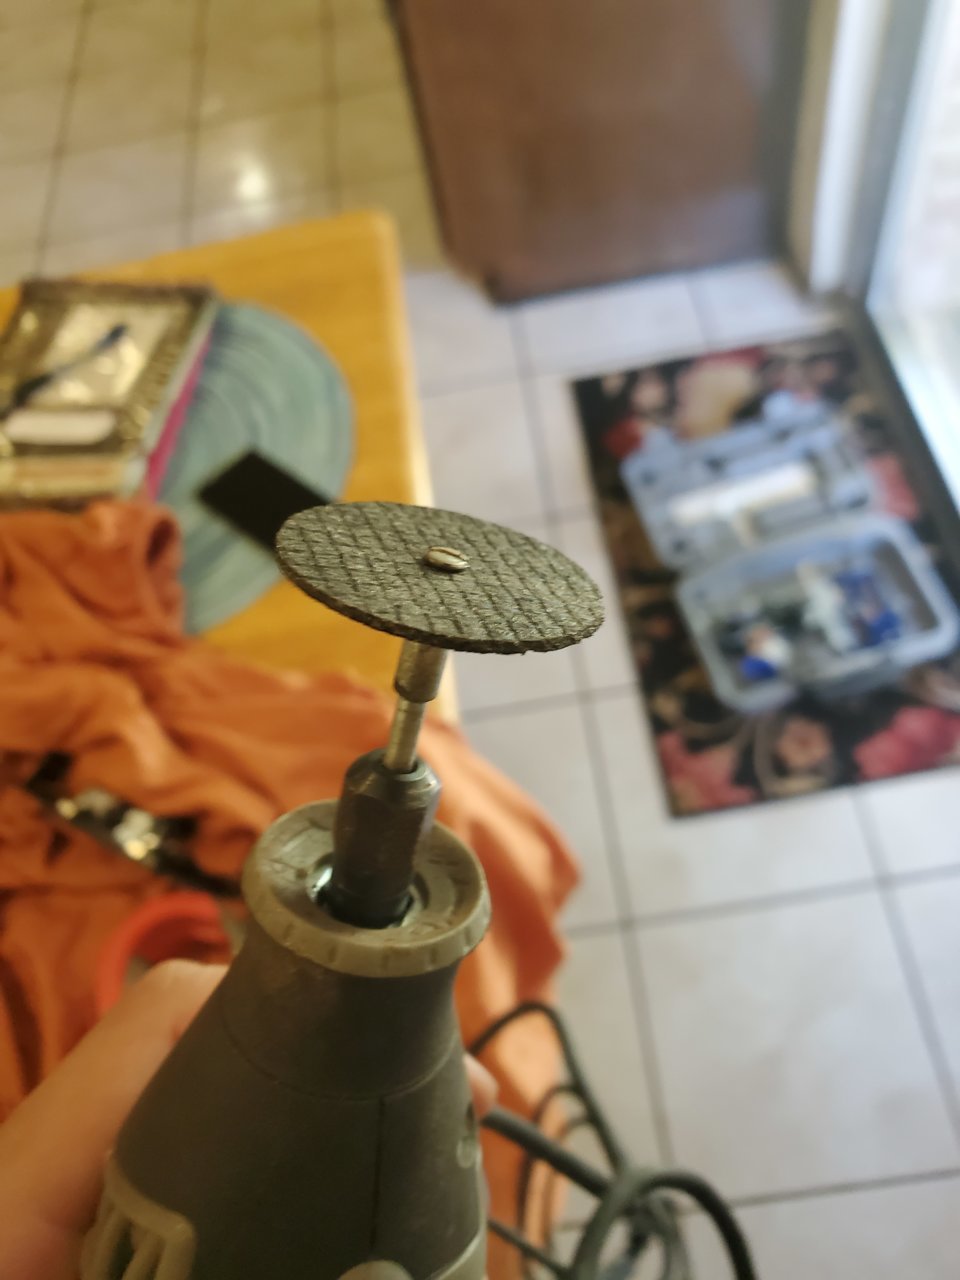
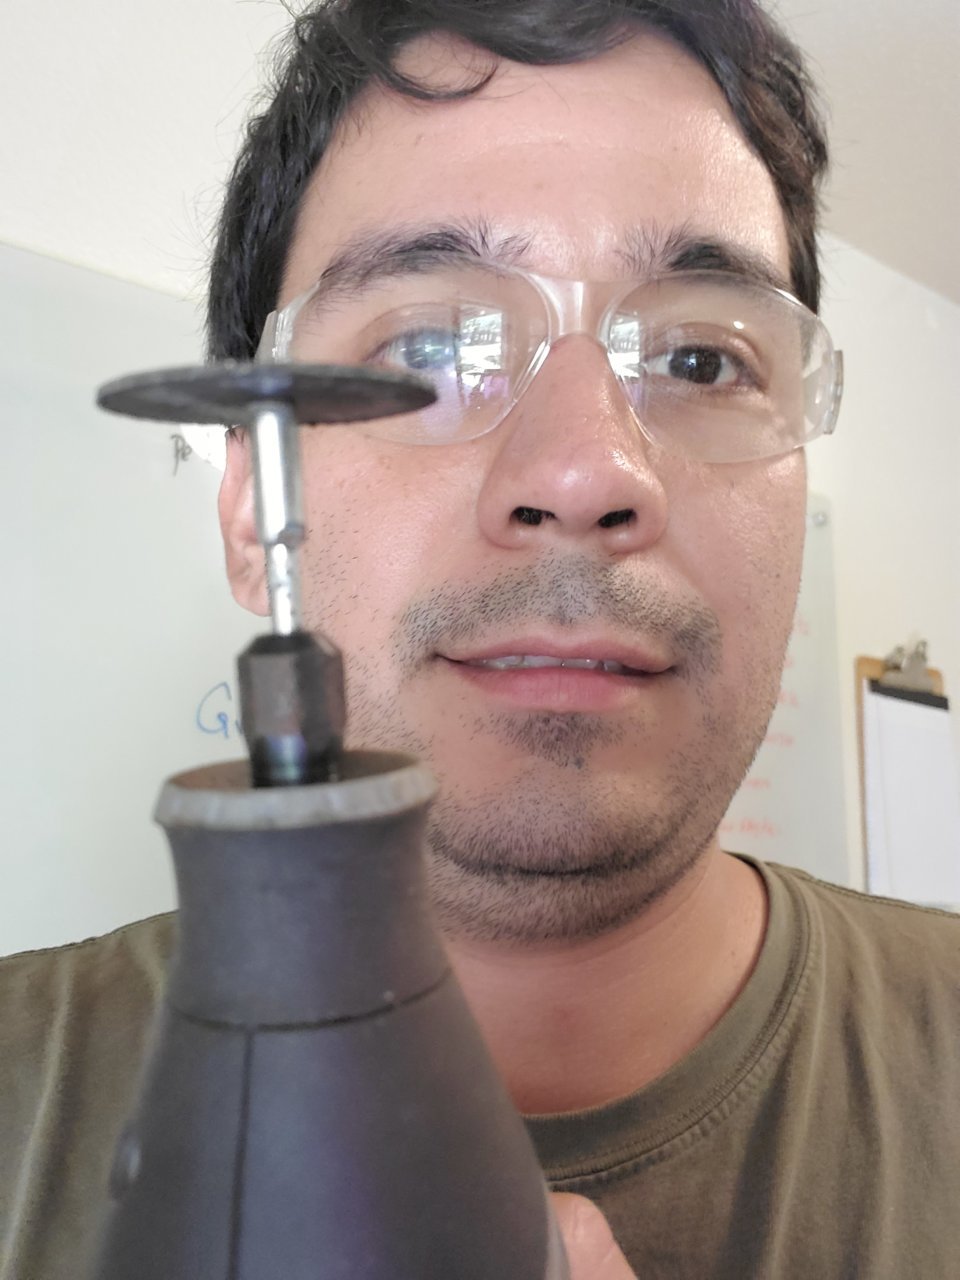
As always, safety first:
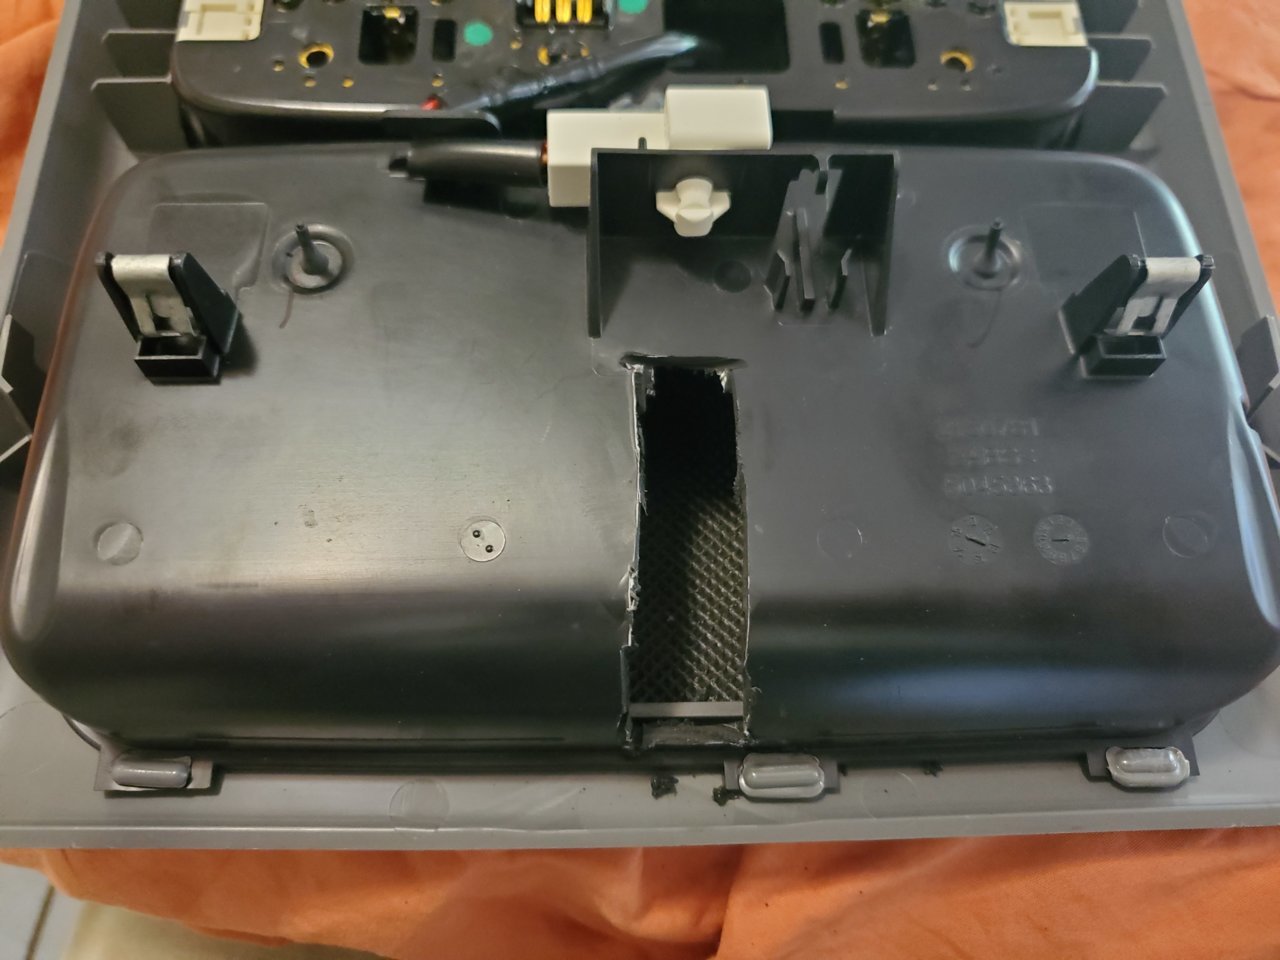
Notched!
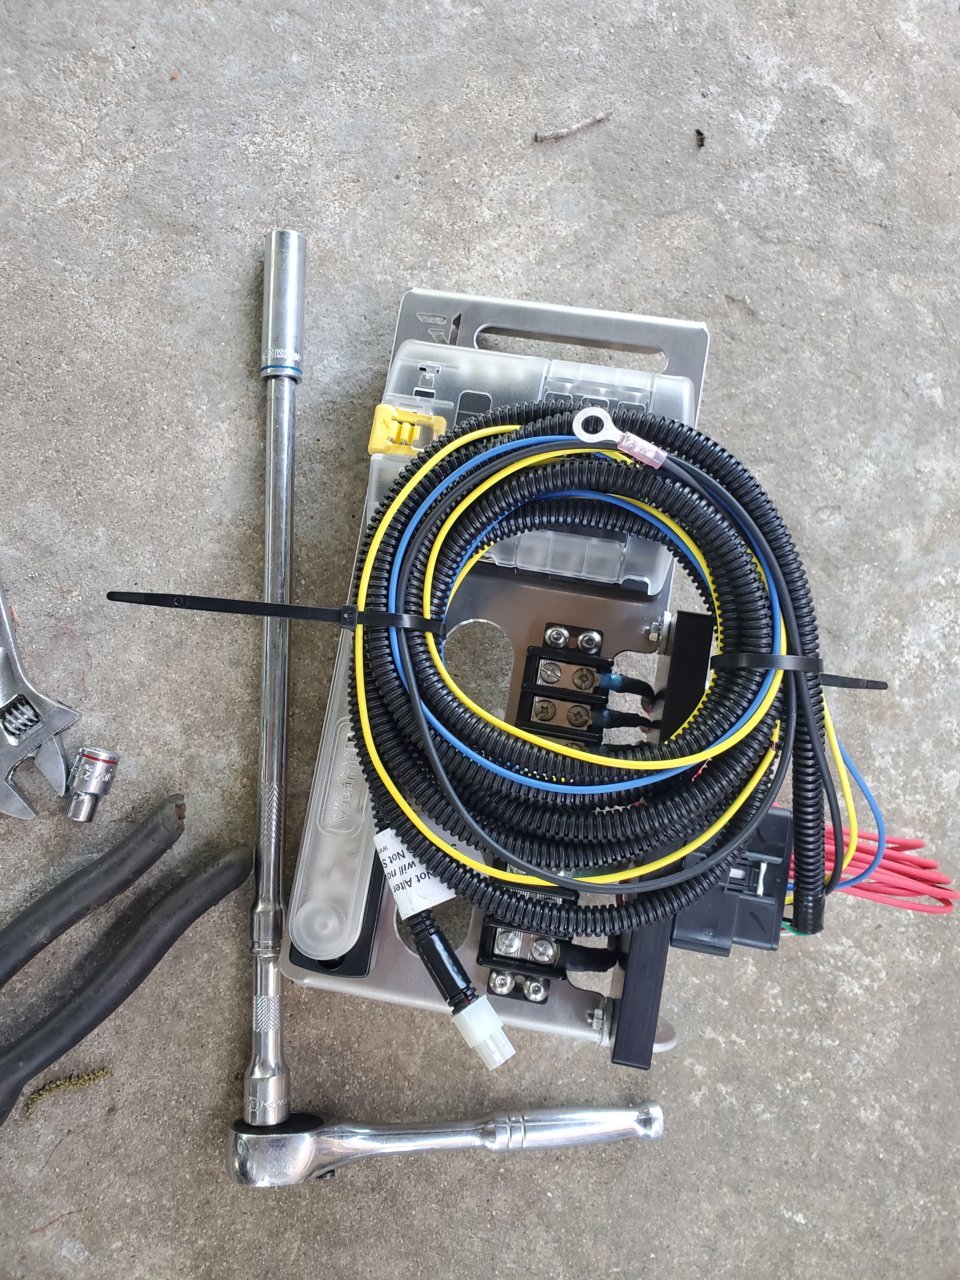
Now move on to the actual Power Tray build!
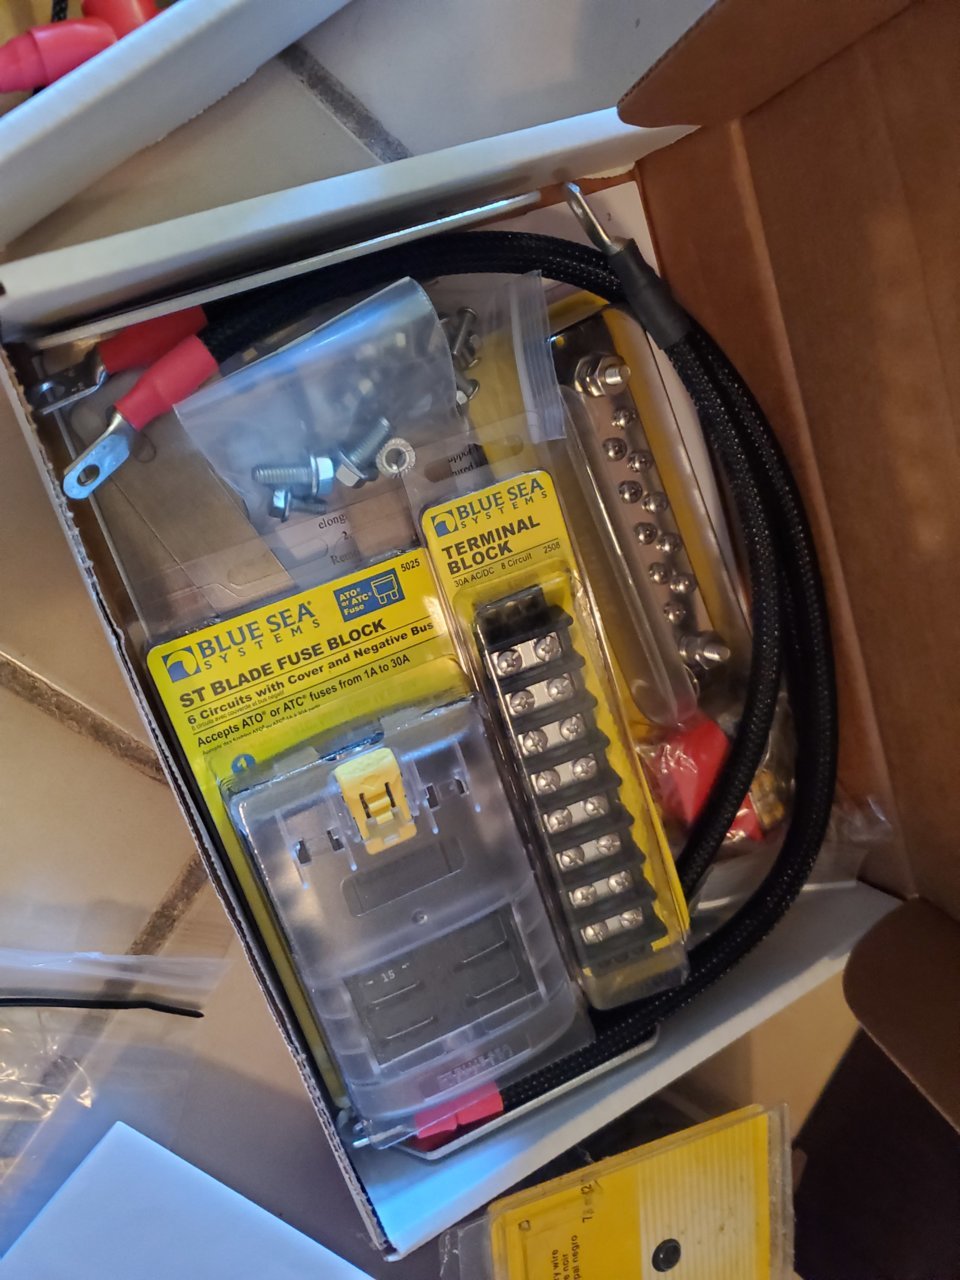
Building the Power Tray is pretty much straighforward, plenty of pictures for reference:
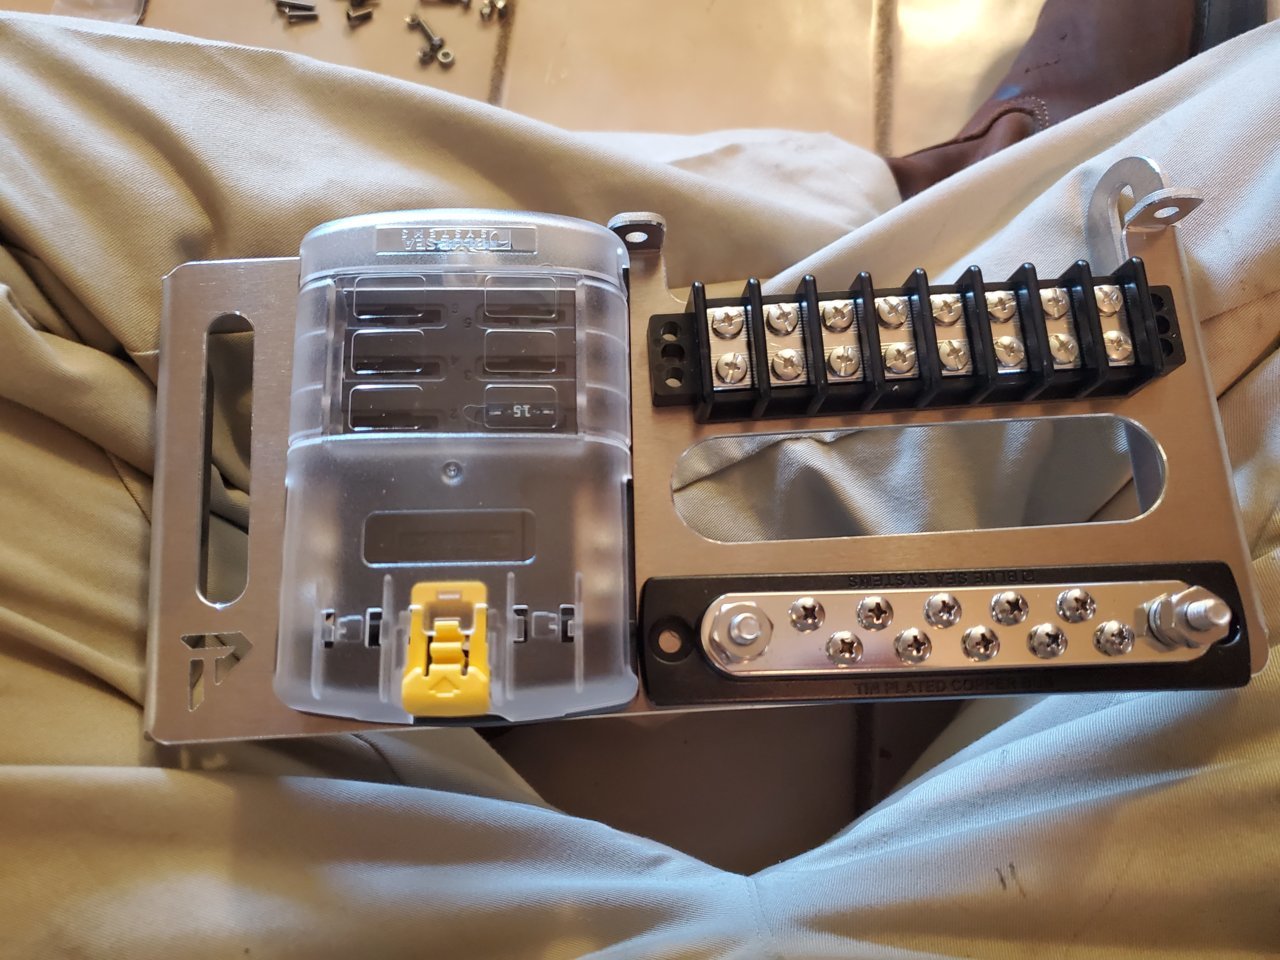
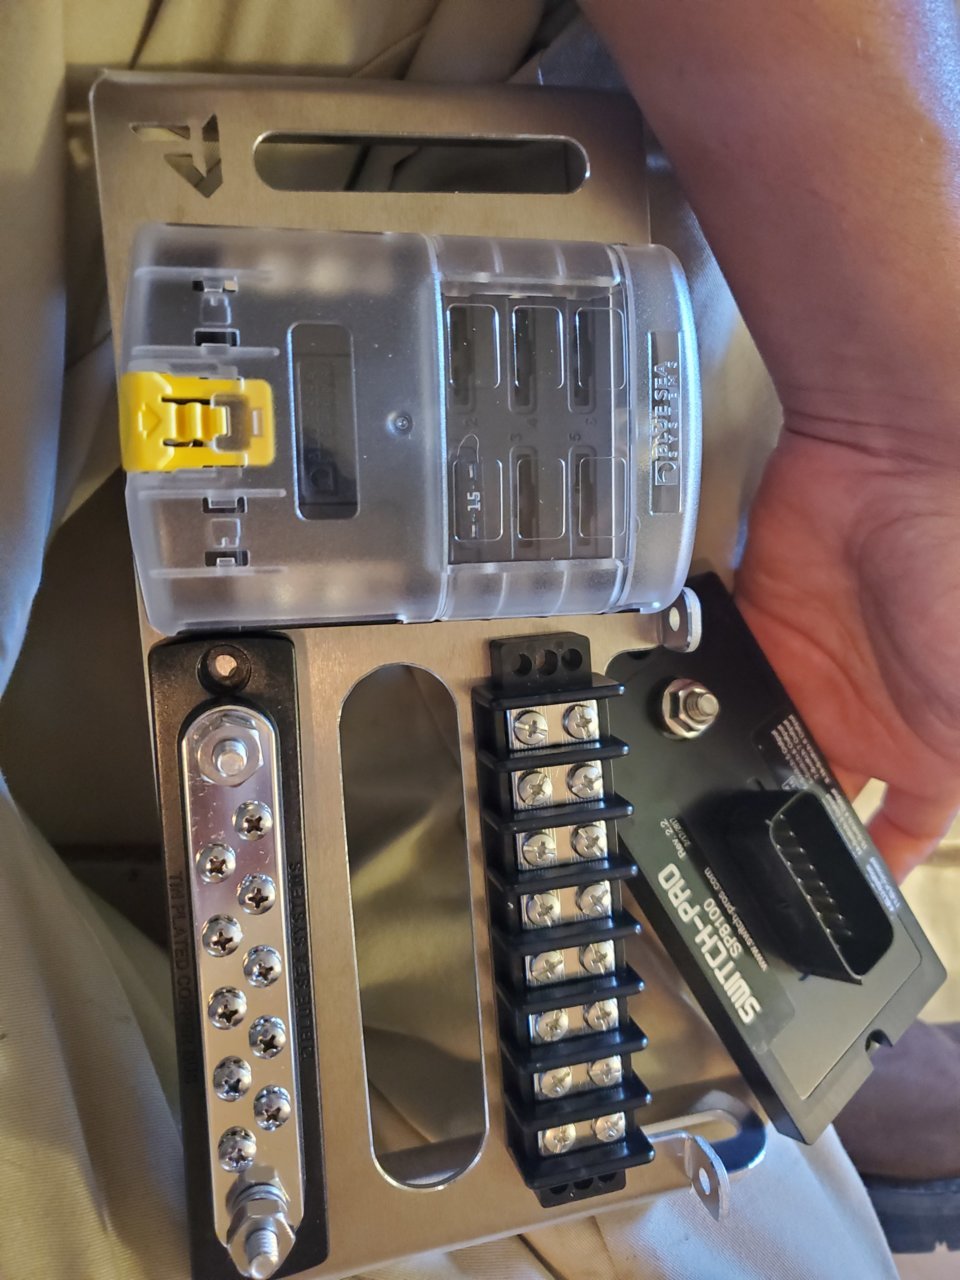
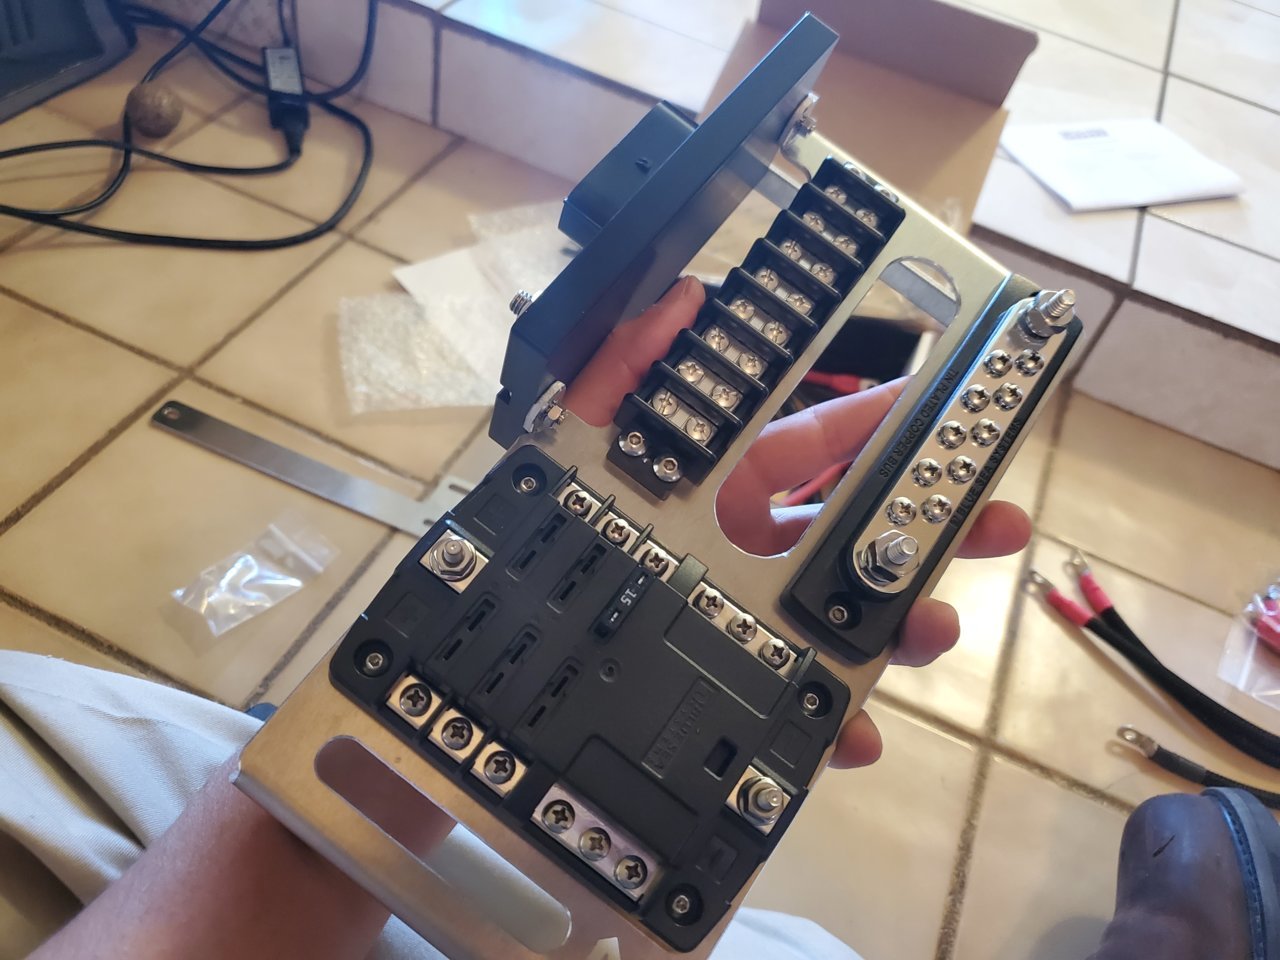
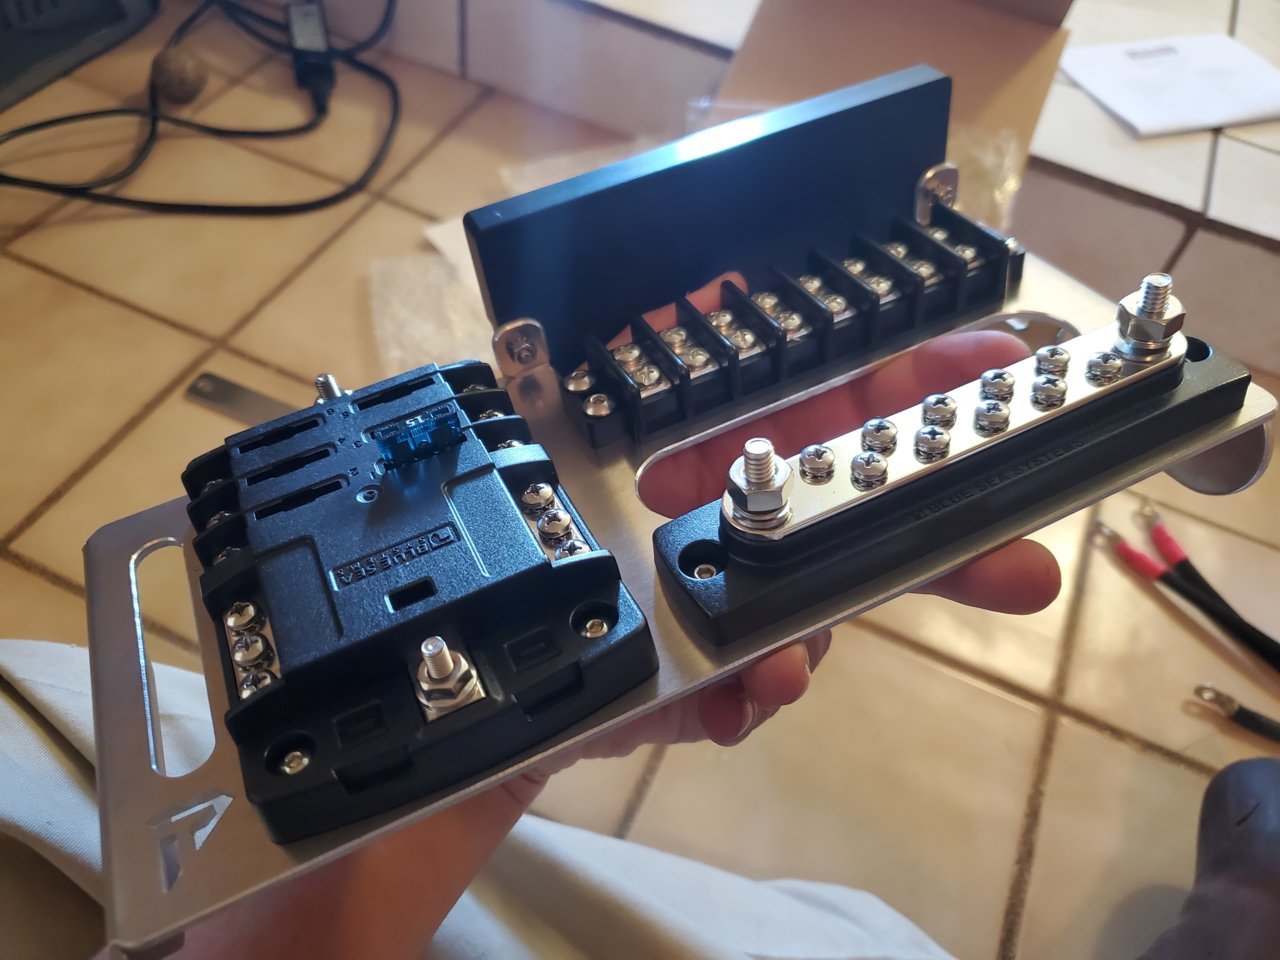
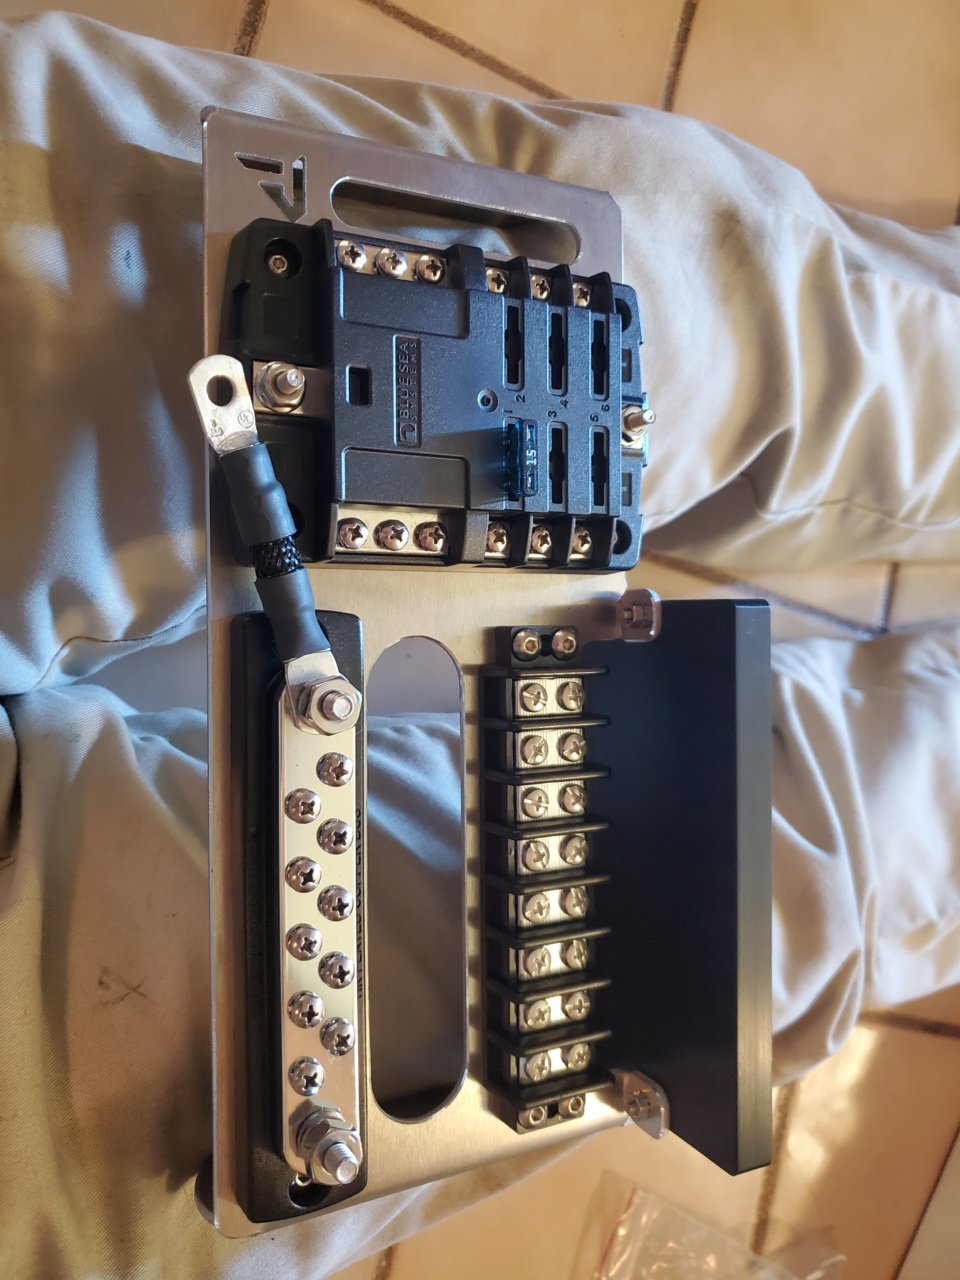
Attach the ground link between the Blue Sea Fuse Box and Bus Bar
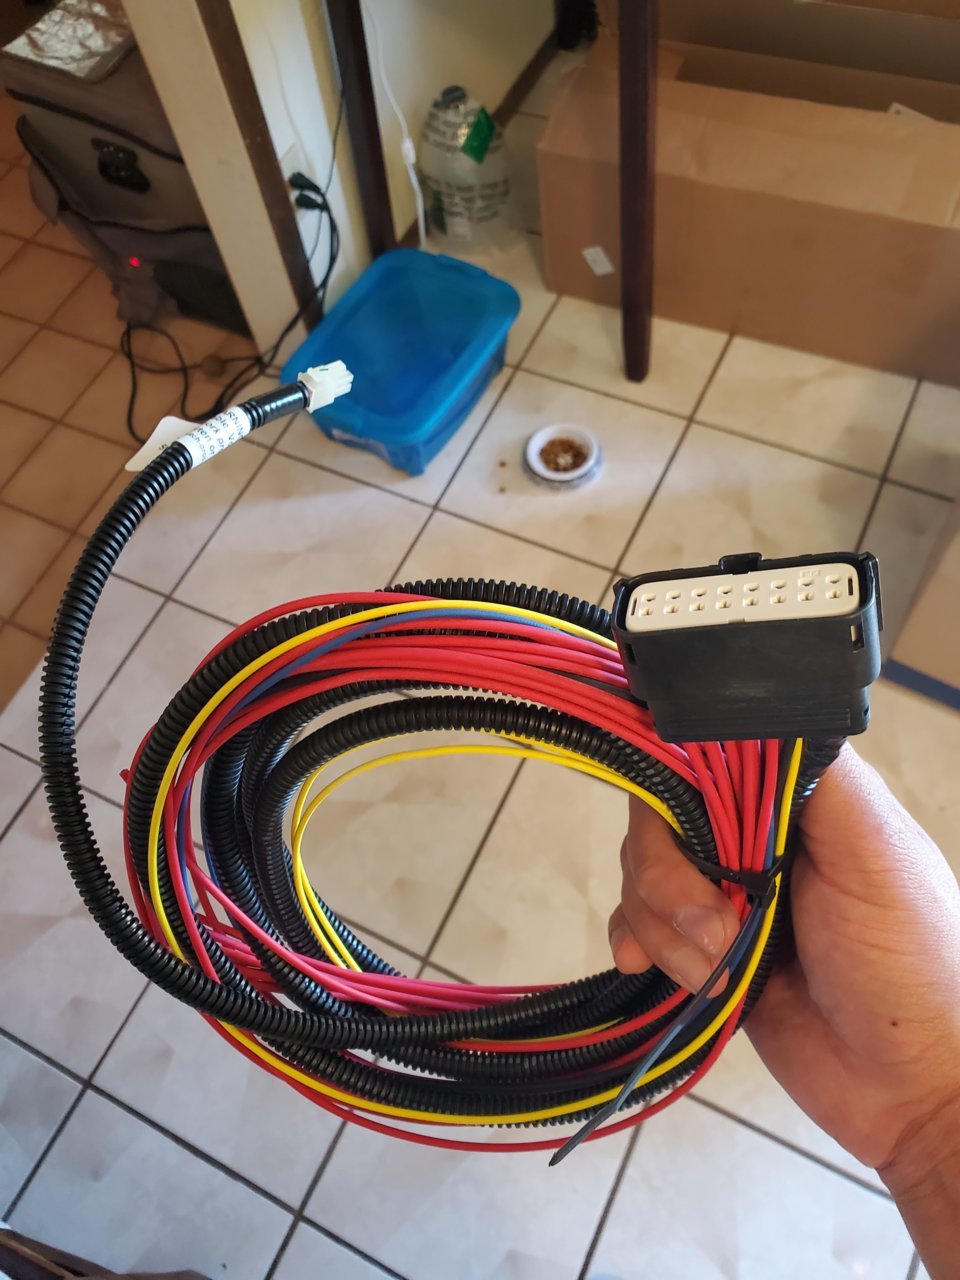
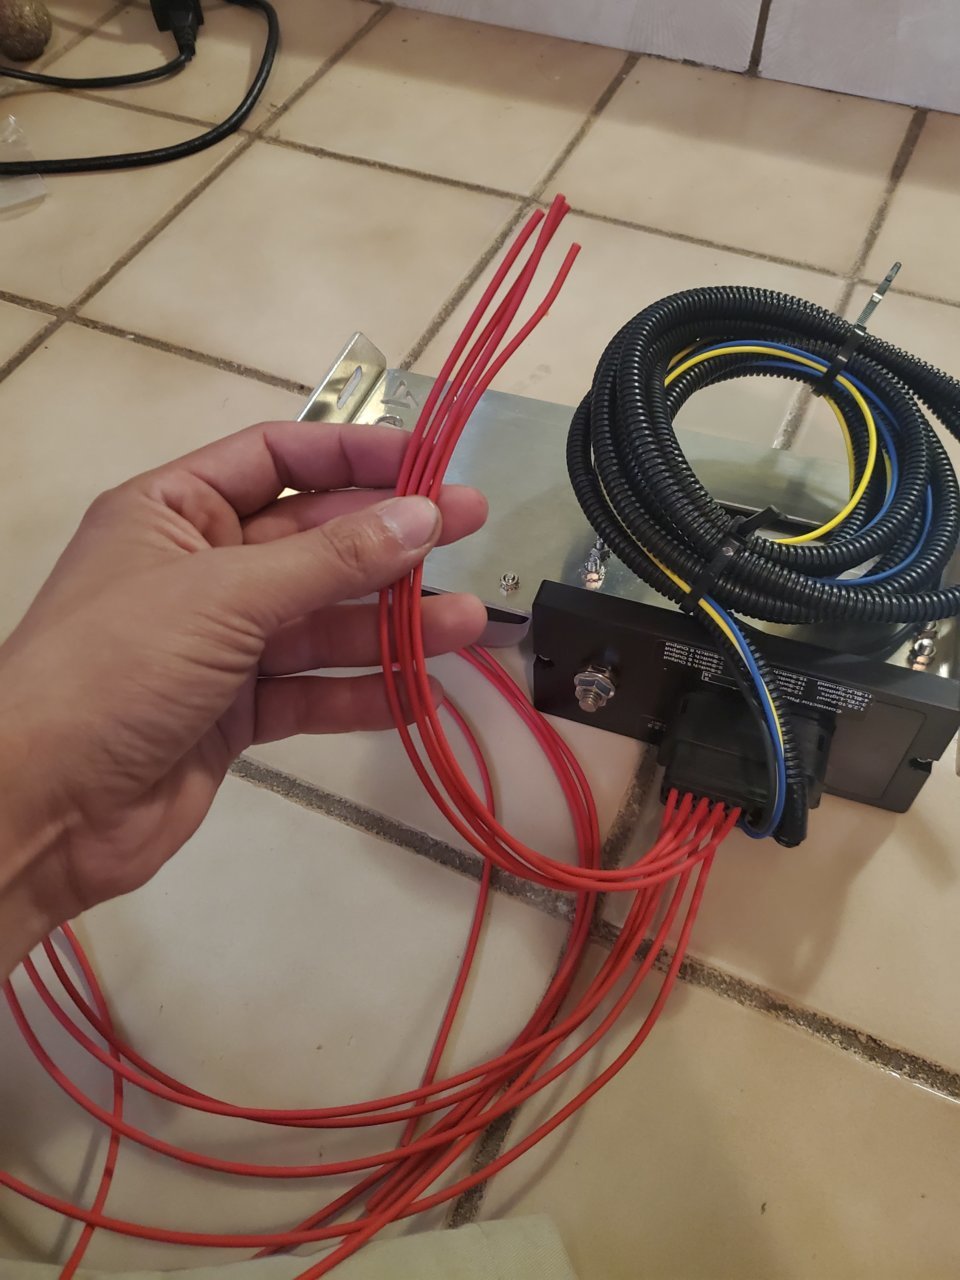
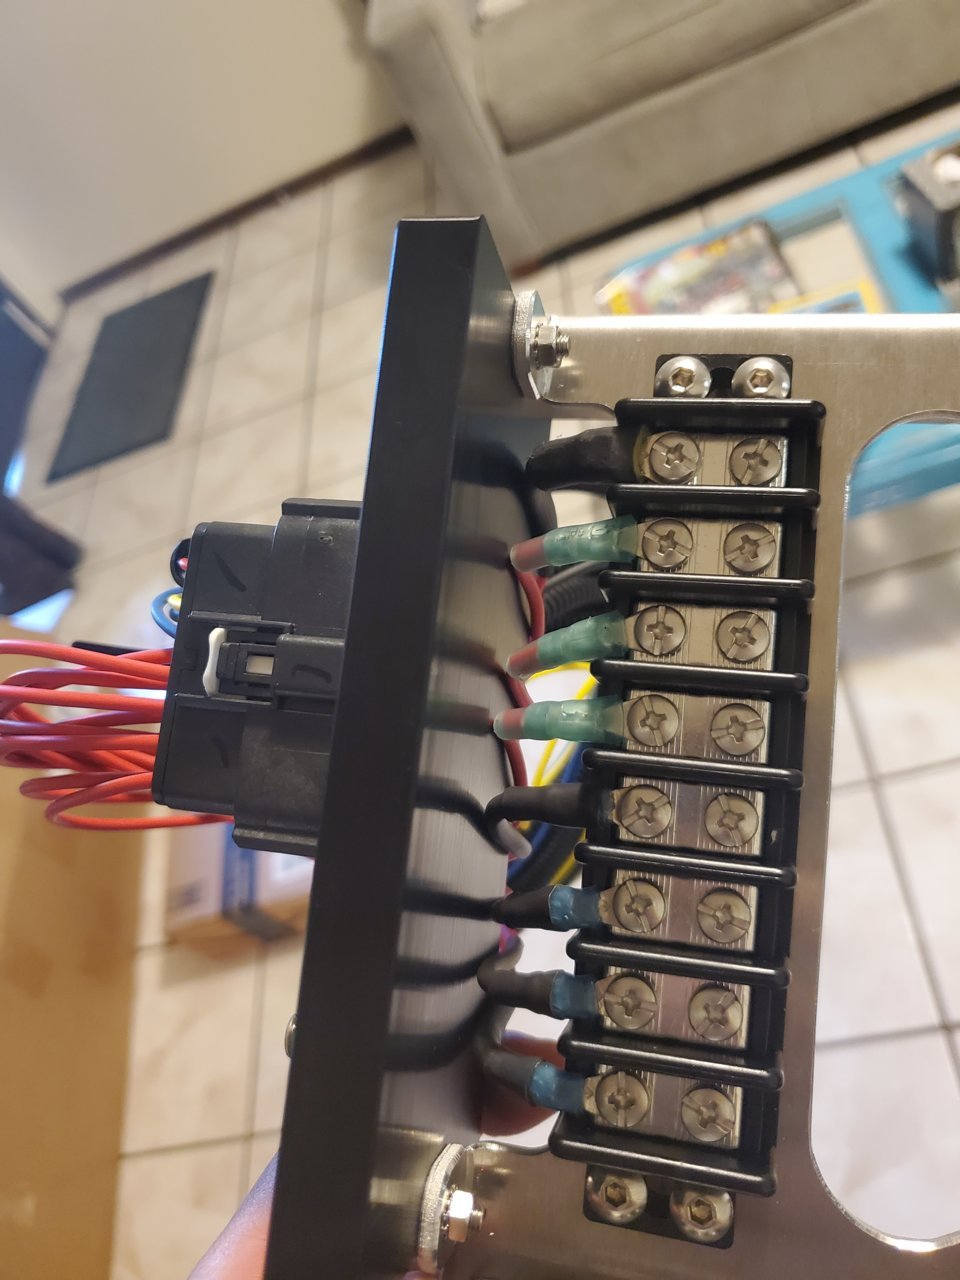
Connect the Switchpros wiring and start building the connections!
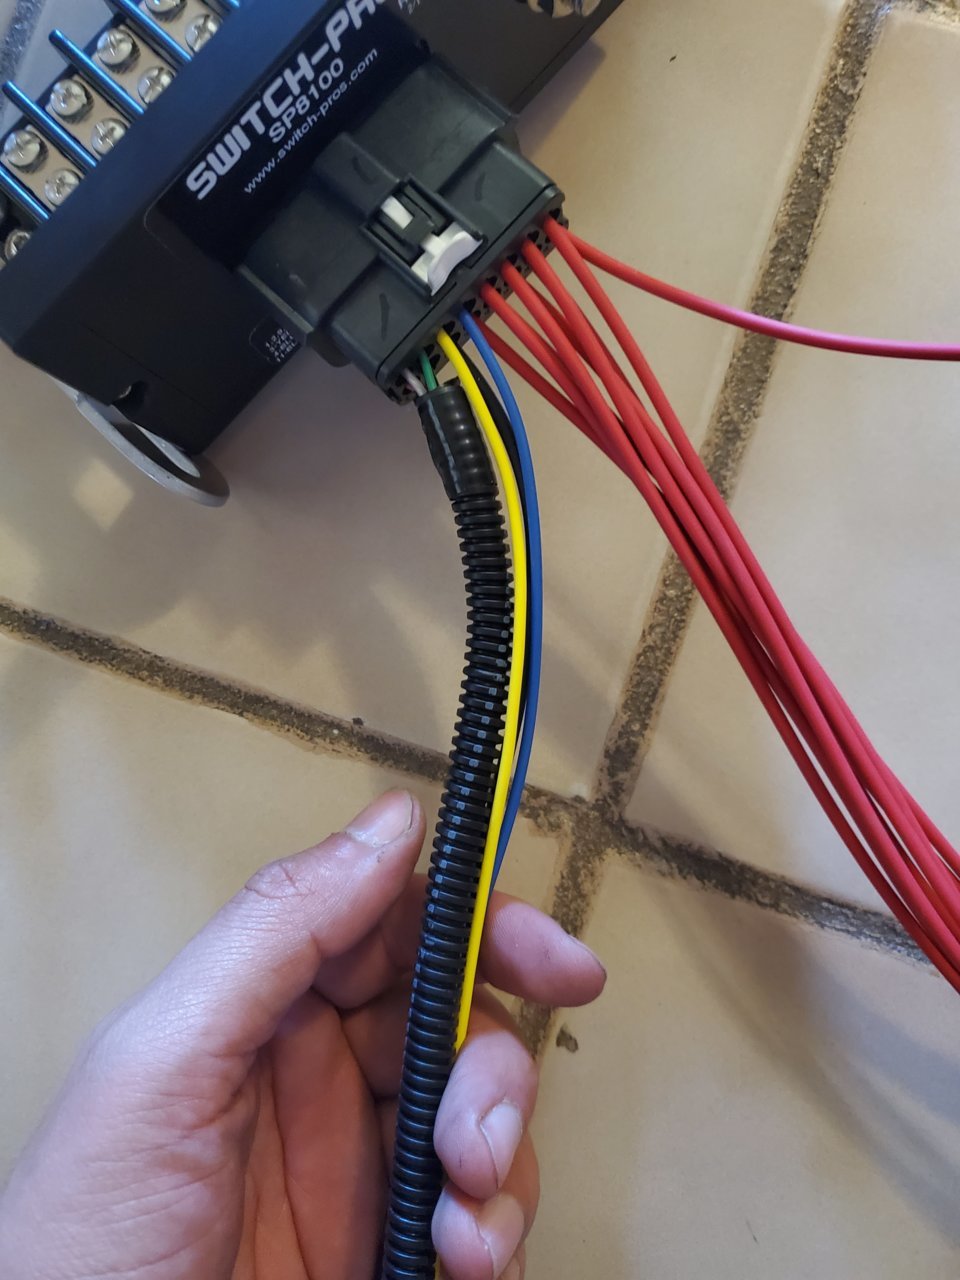
For this switchpros model, I only need to build the red wiring for now. I zip tied the loom, blue wire, yellow, and black wire just to get them out of the way.
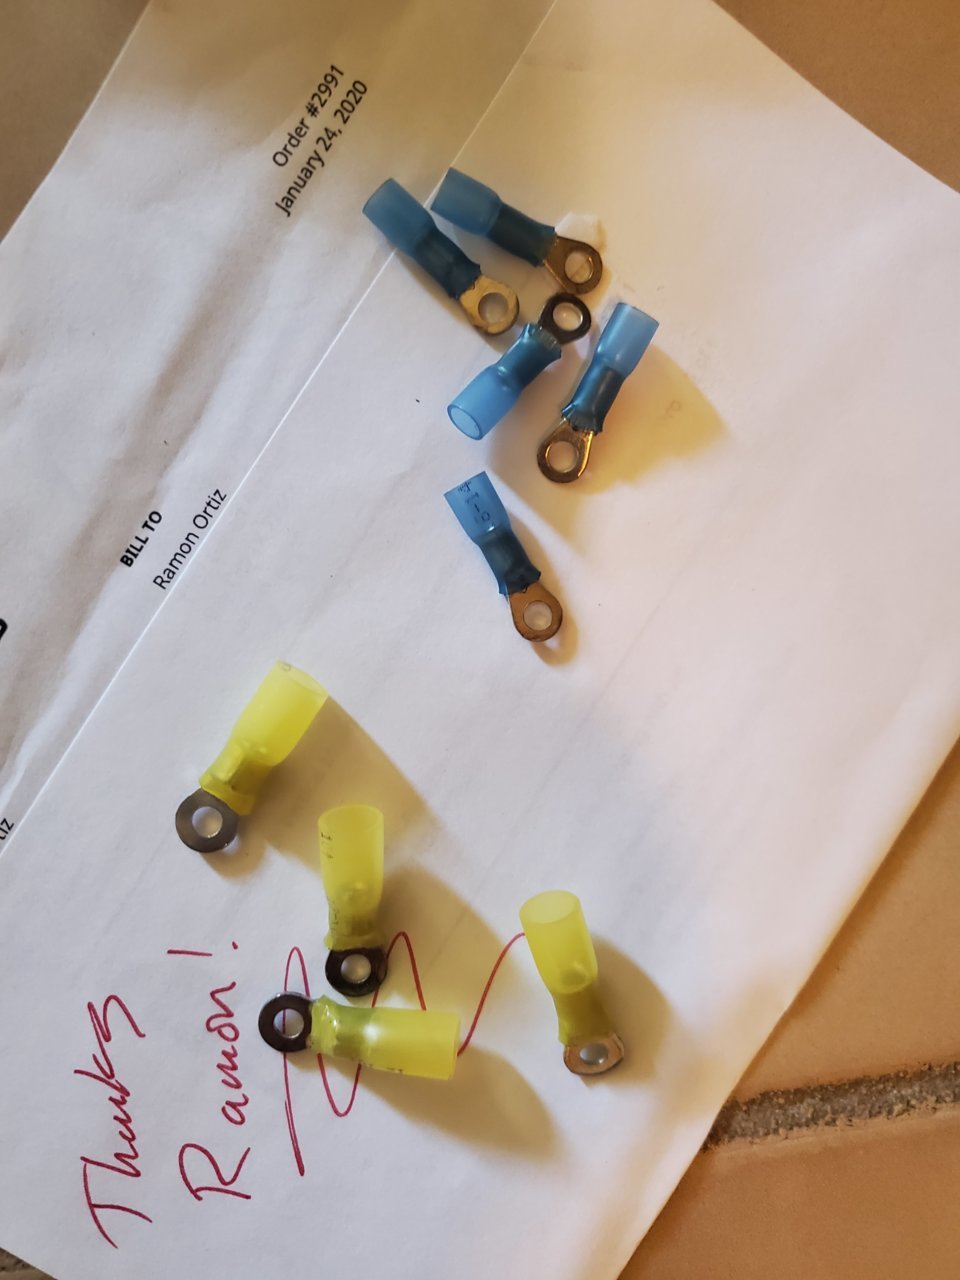
Powertrays will provide the needed connectors!
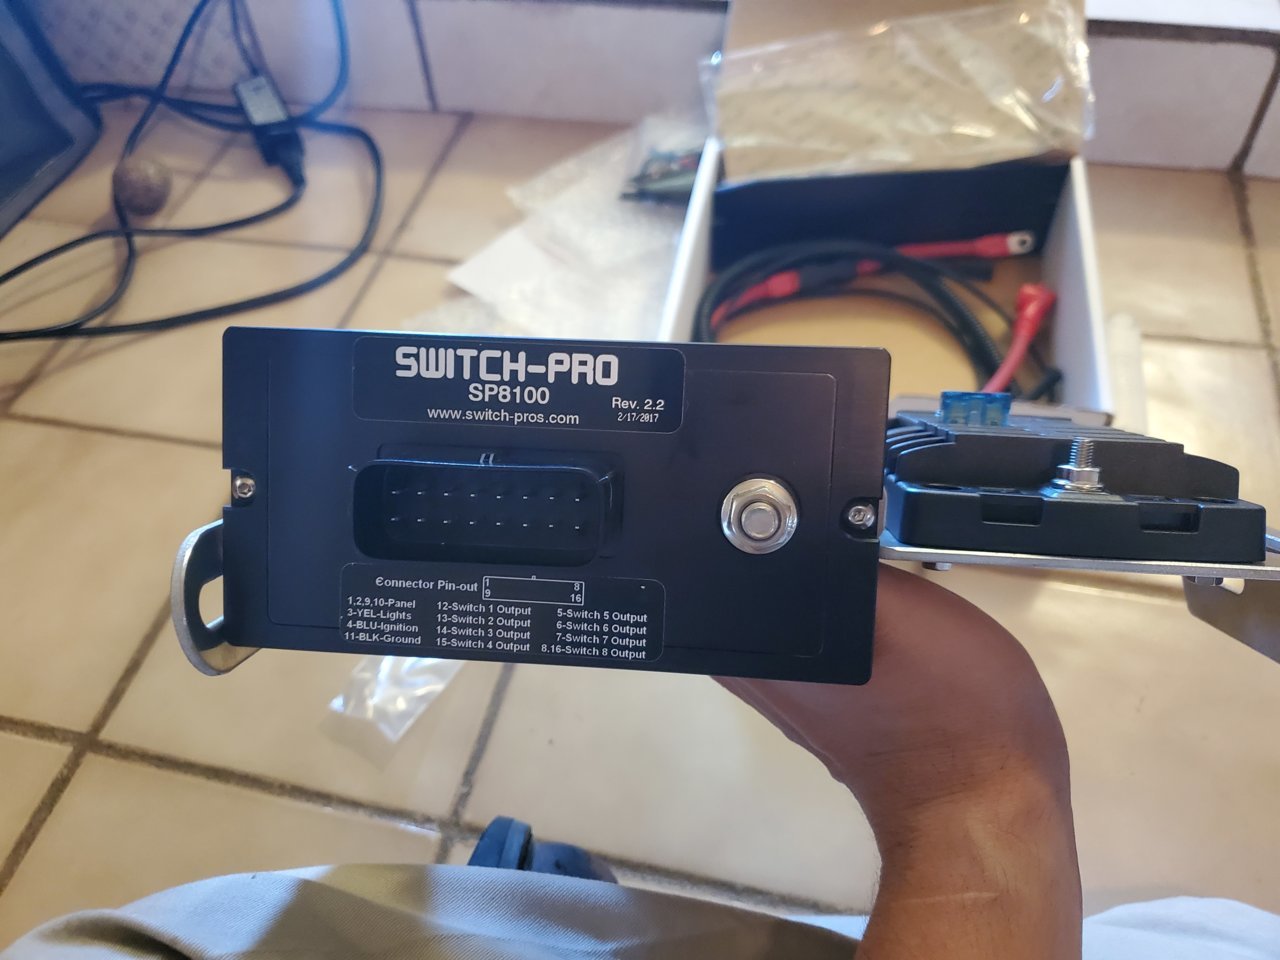
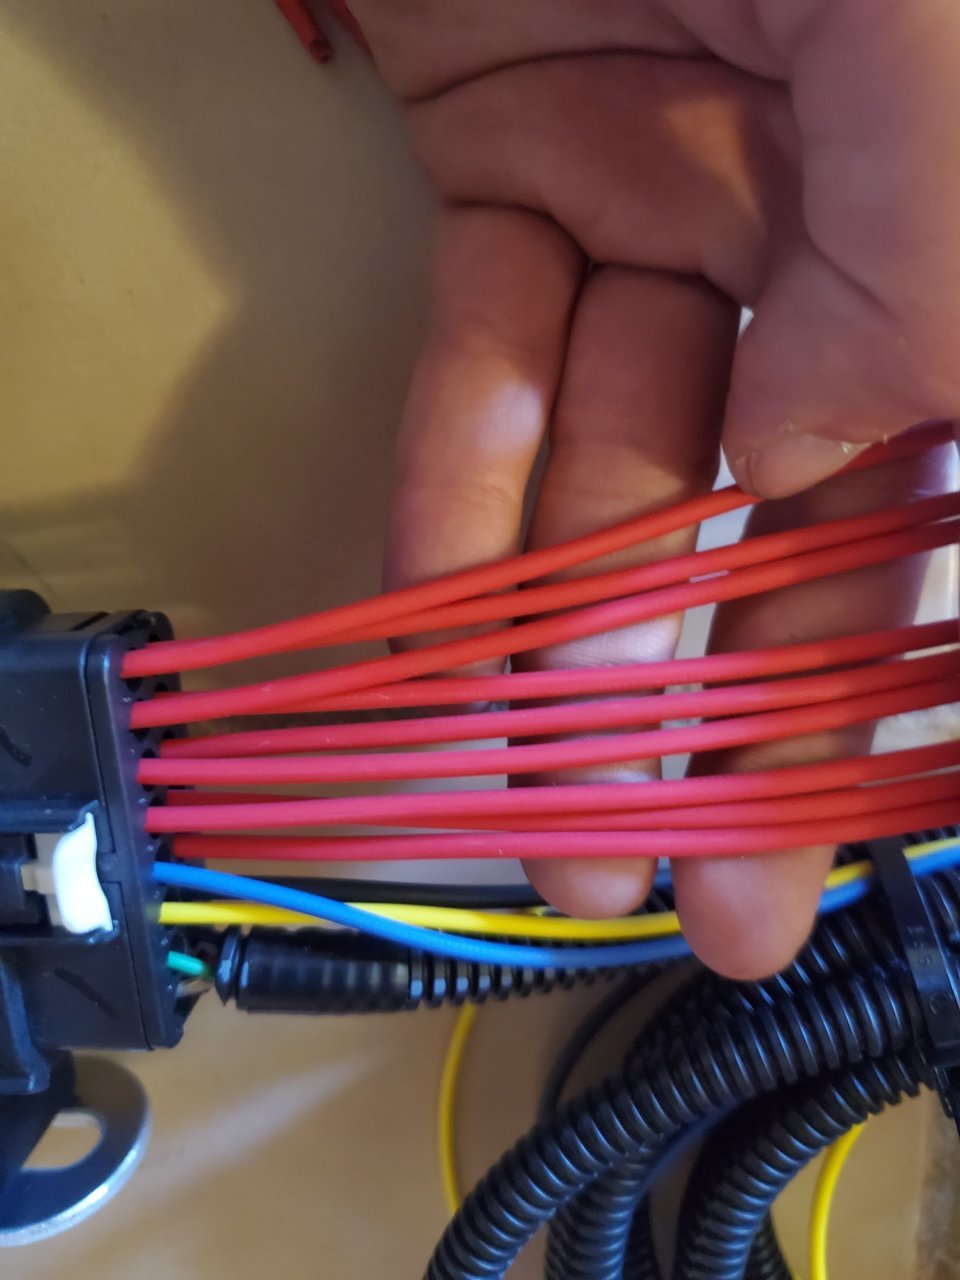
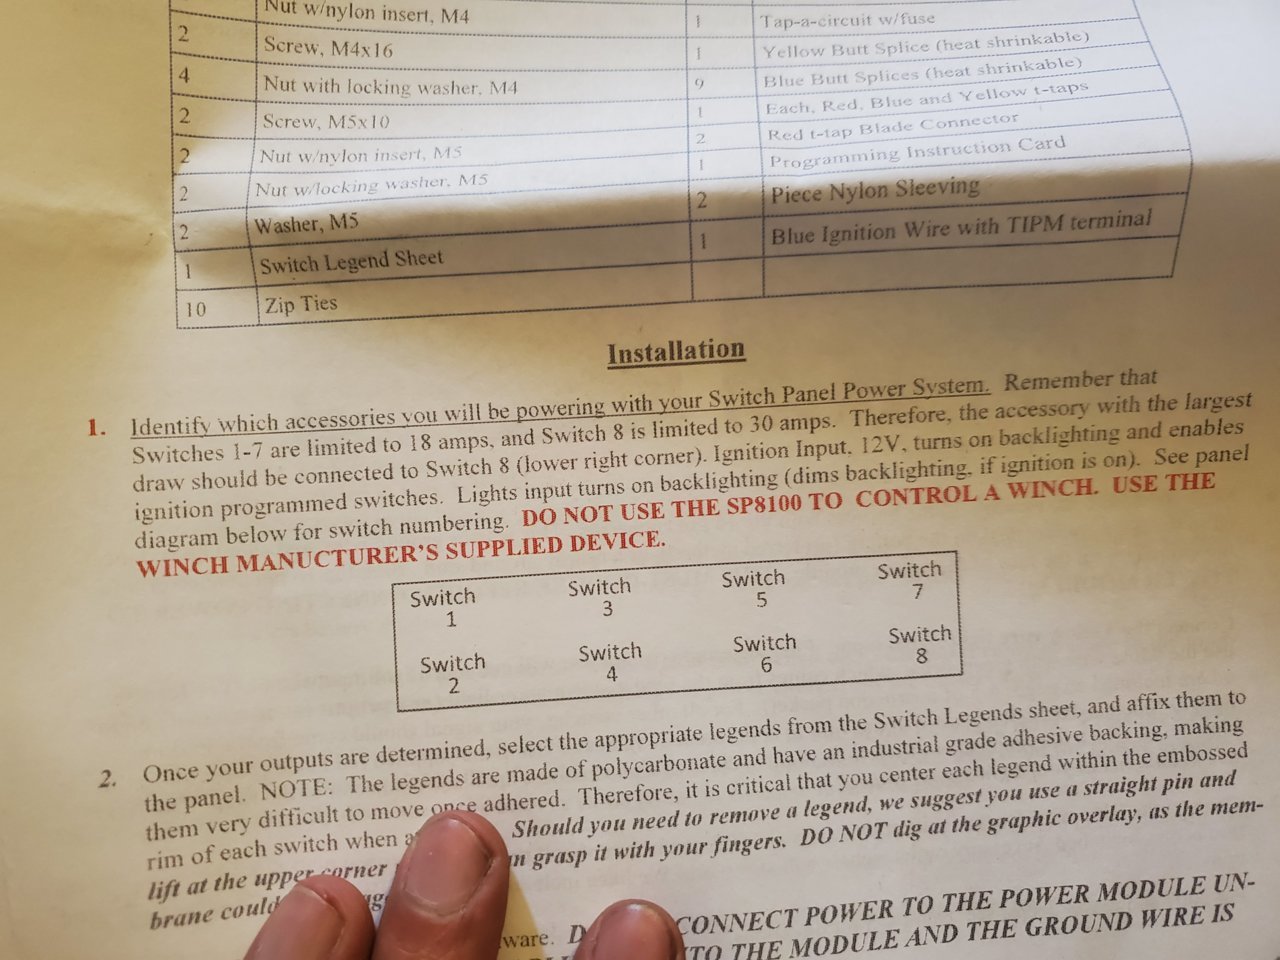
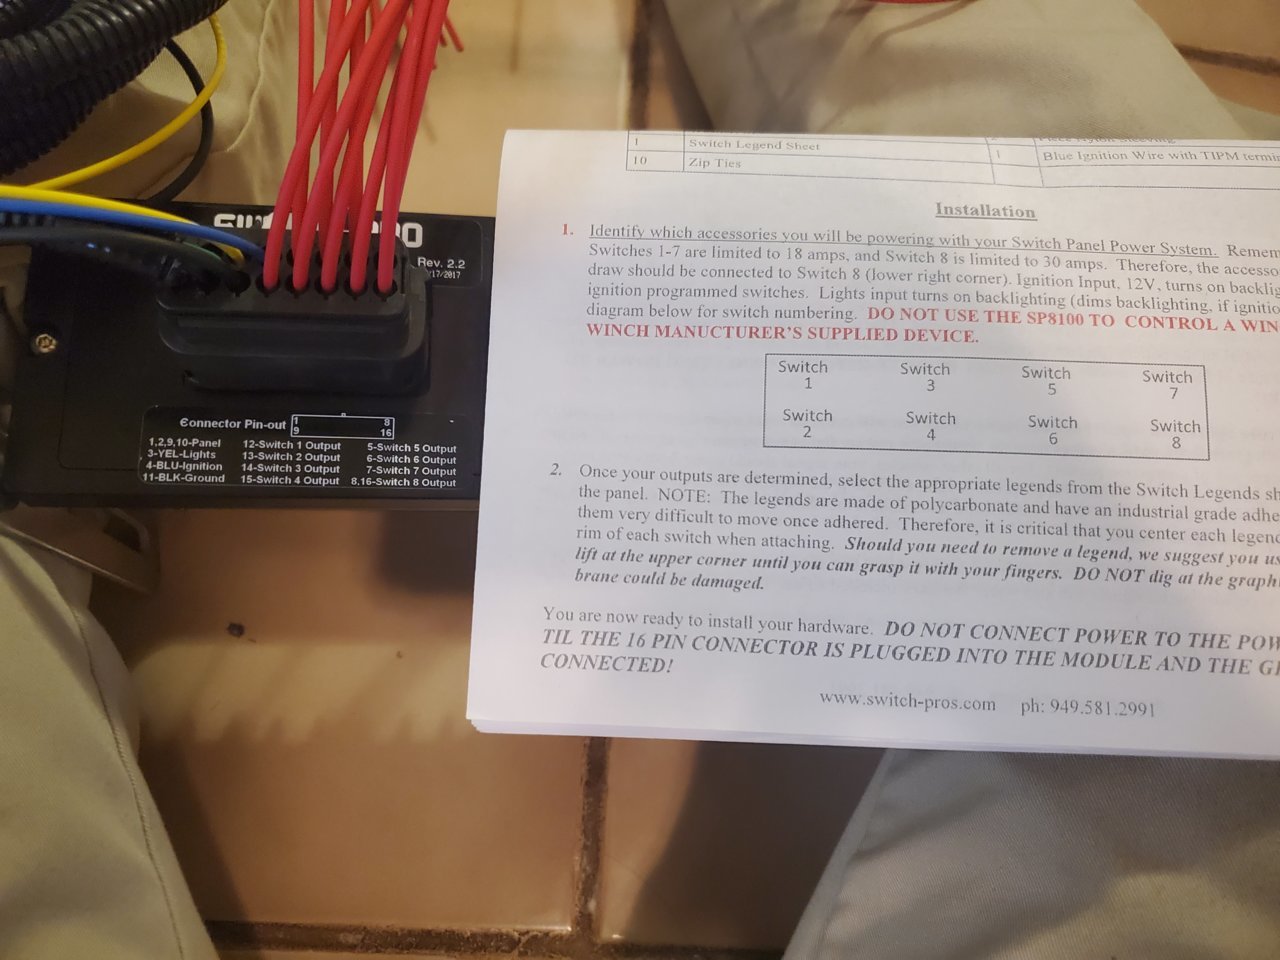
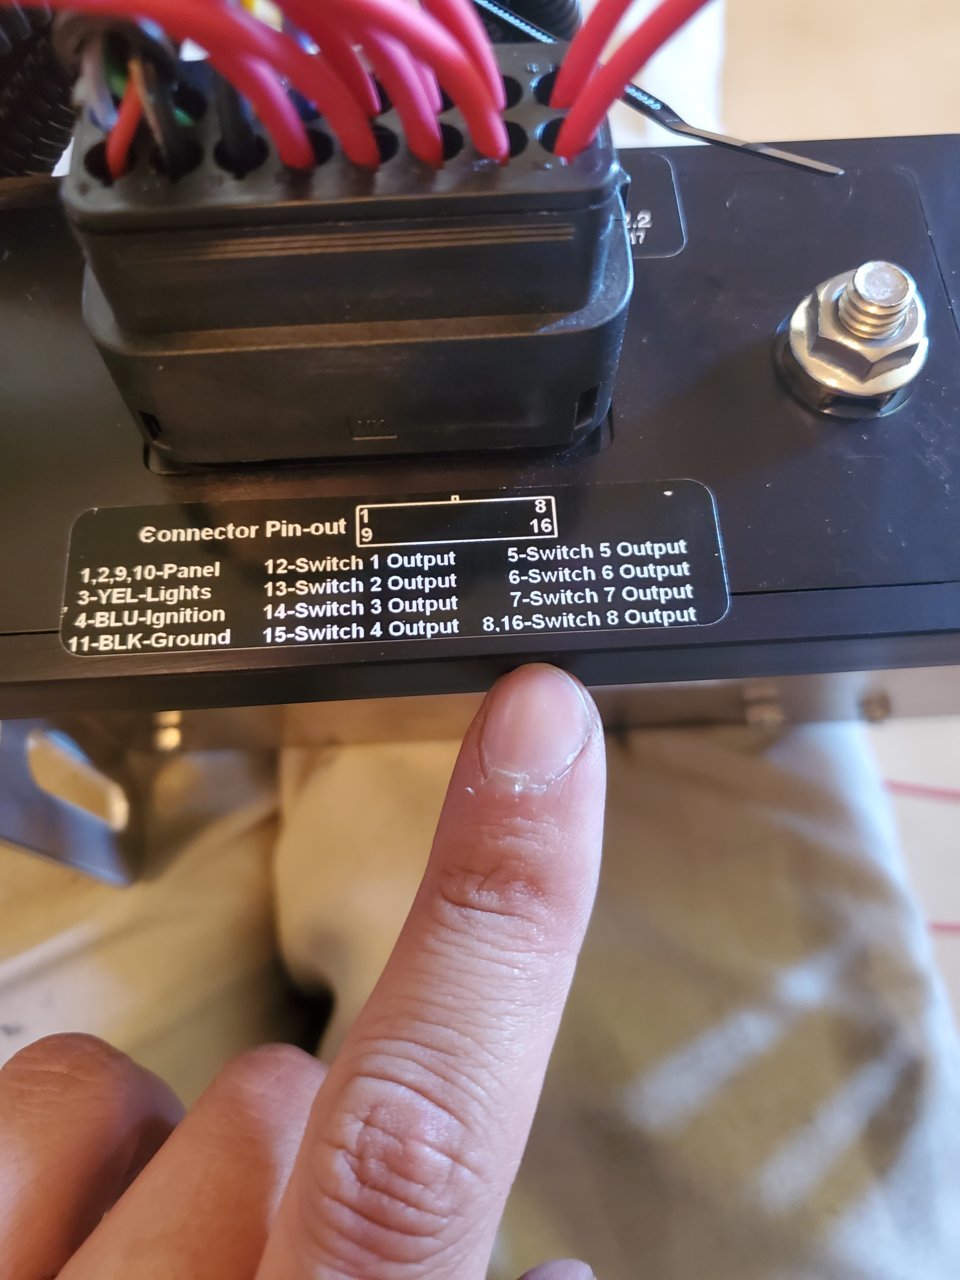
Pay attention to the wiring notation in the instruction booklet and the back of the plug, this will ensure that you know what goes to what accessory in the future:
Notice 8,16 for switch 8 output? - Those will be crimped together at ONE connector.
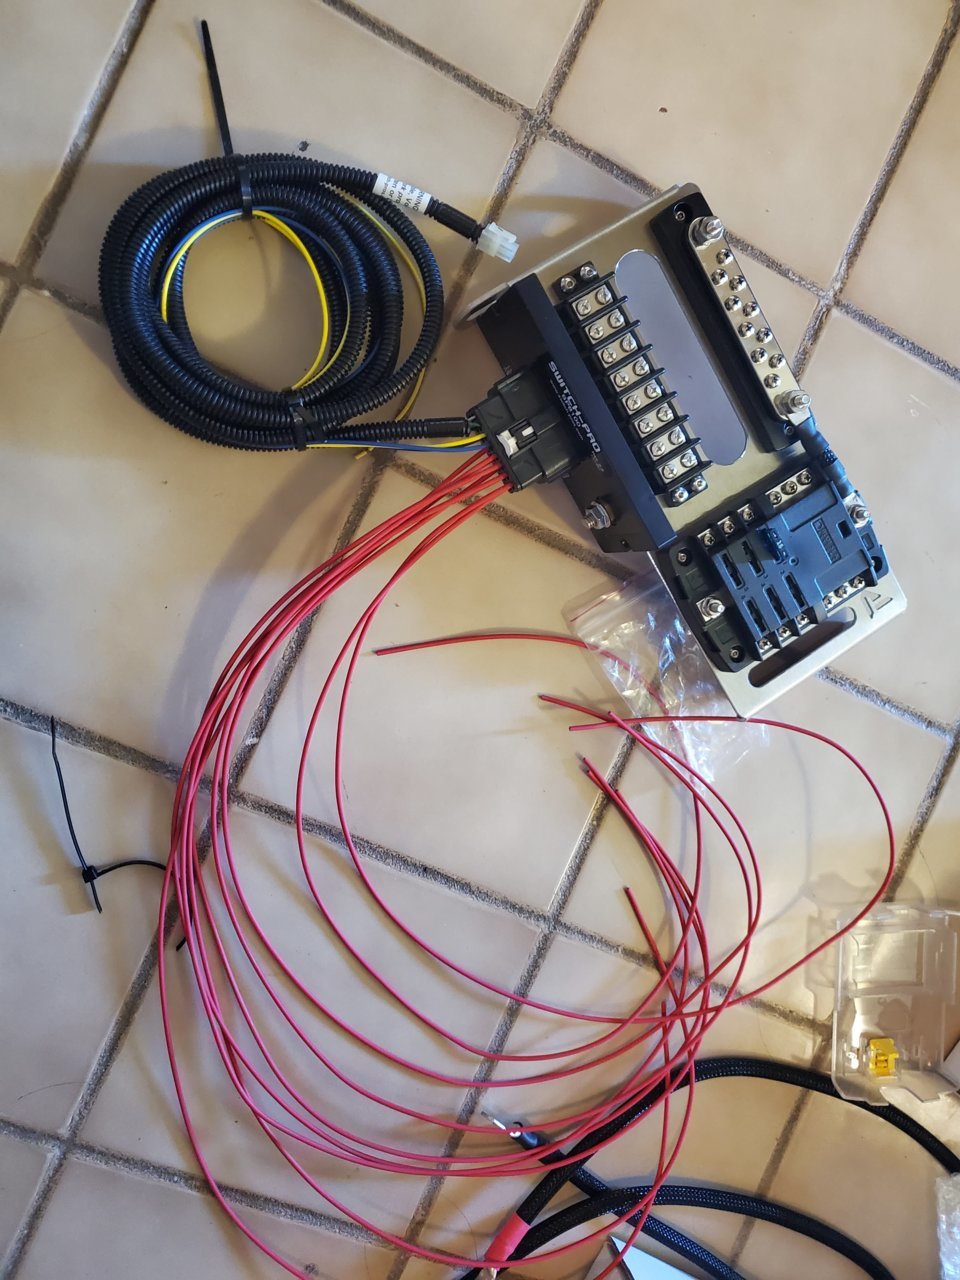
These will not be needed, Power Trays has provided the required cables:

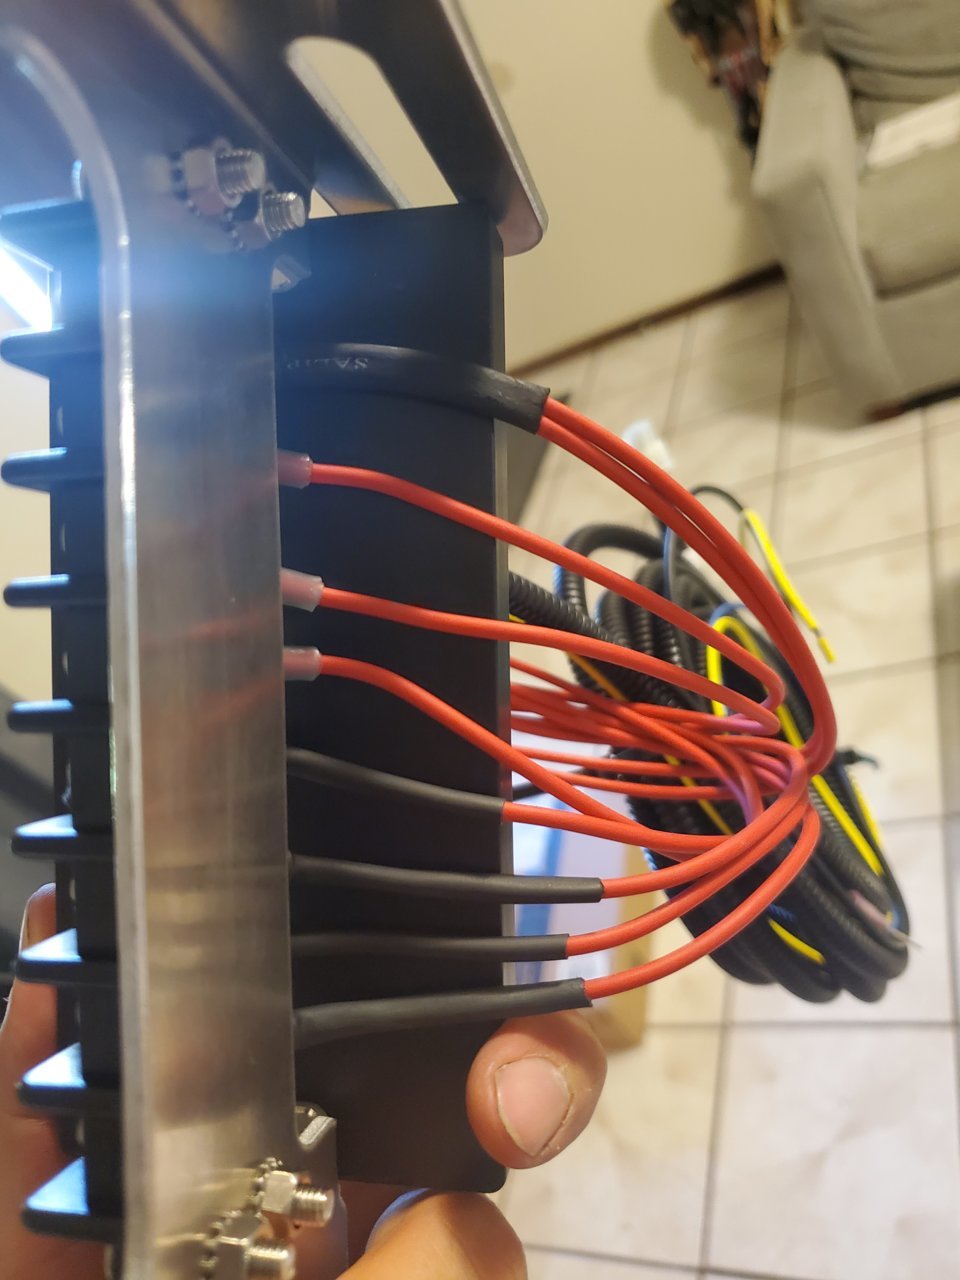
I trimmed down the red wires to about 13", this allows plenty of slack for future trims and modifications.
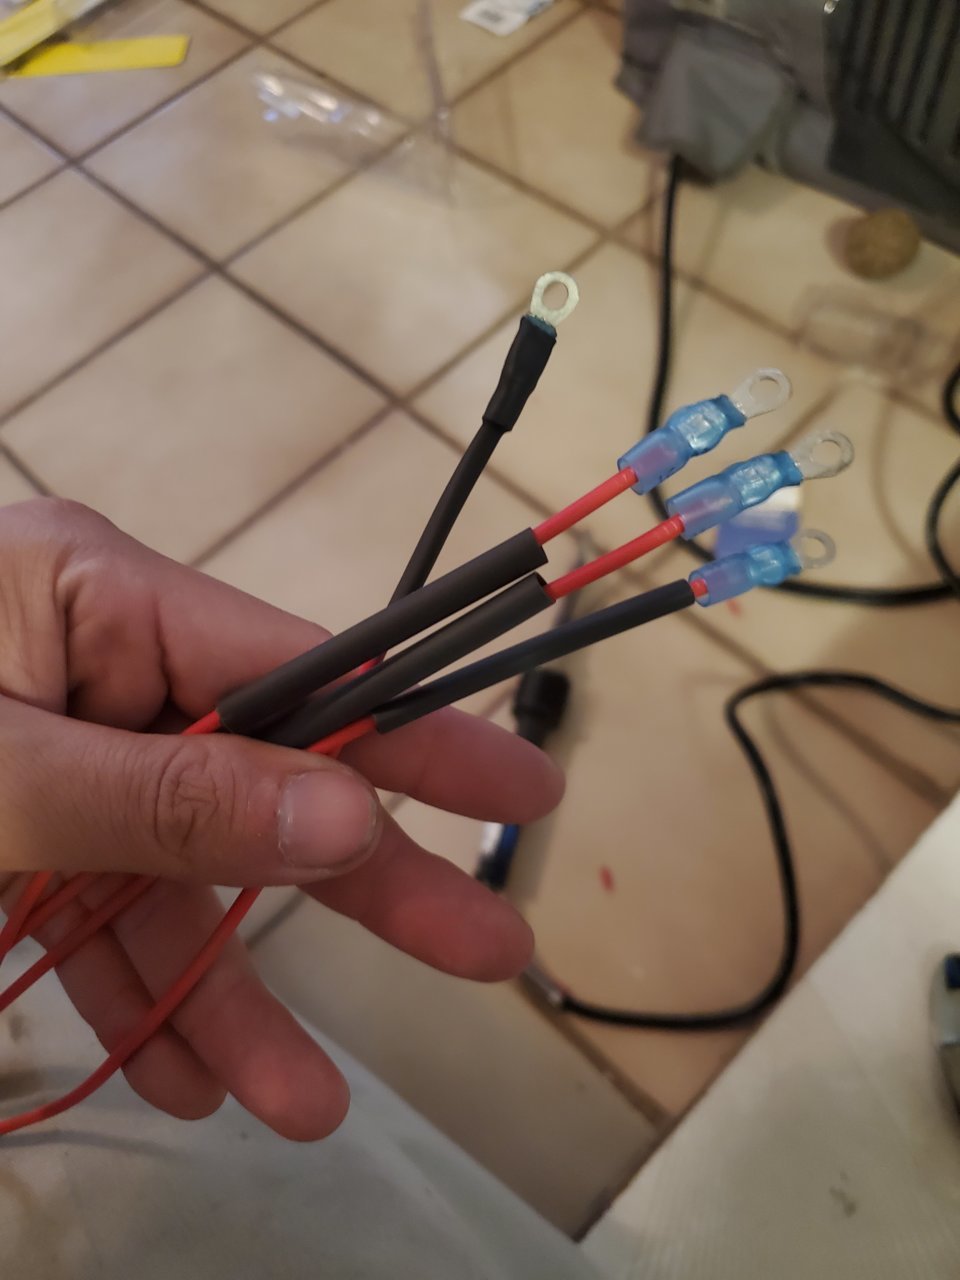
Adding connectors:
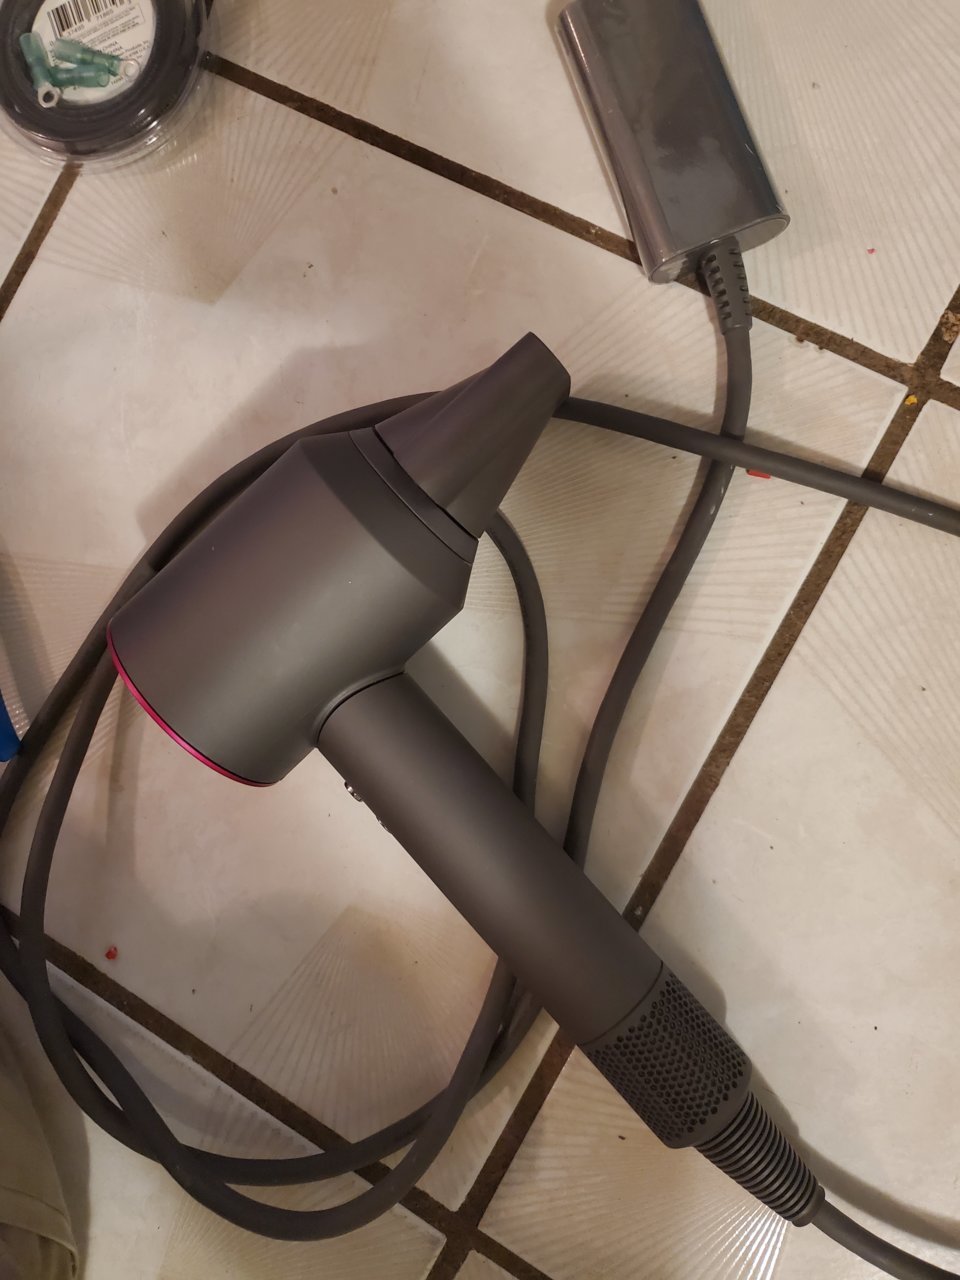
Don't tell the wife we are using her blow dryer for shrink wrap:
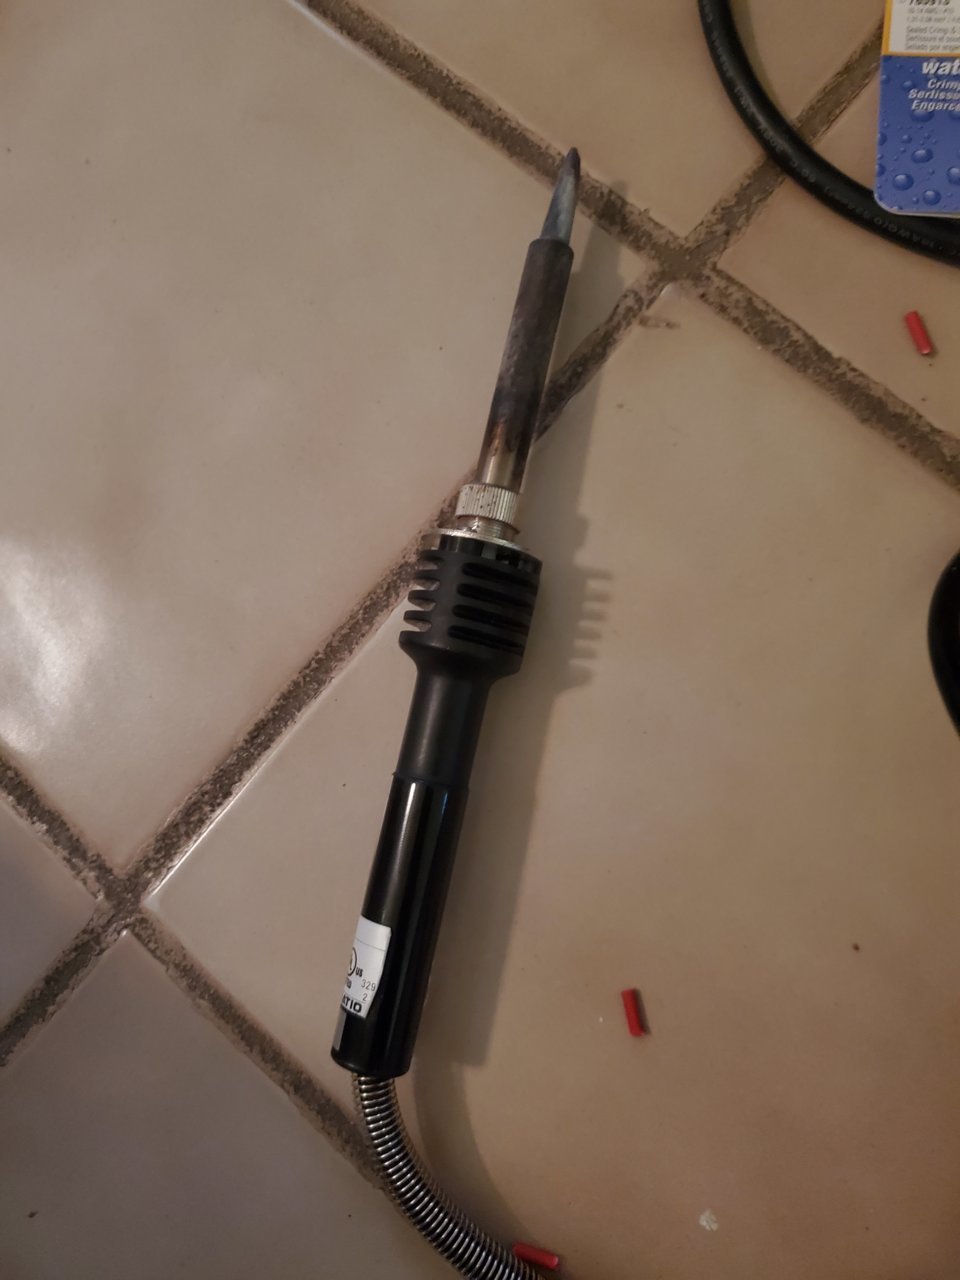
I am using this soldering iron to melt the connectors and provide a waterproof seal. I am not using the tip, just the side of the ... shaft. The thicker portion of the....shaft:
Sex:
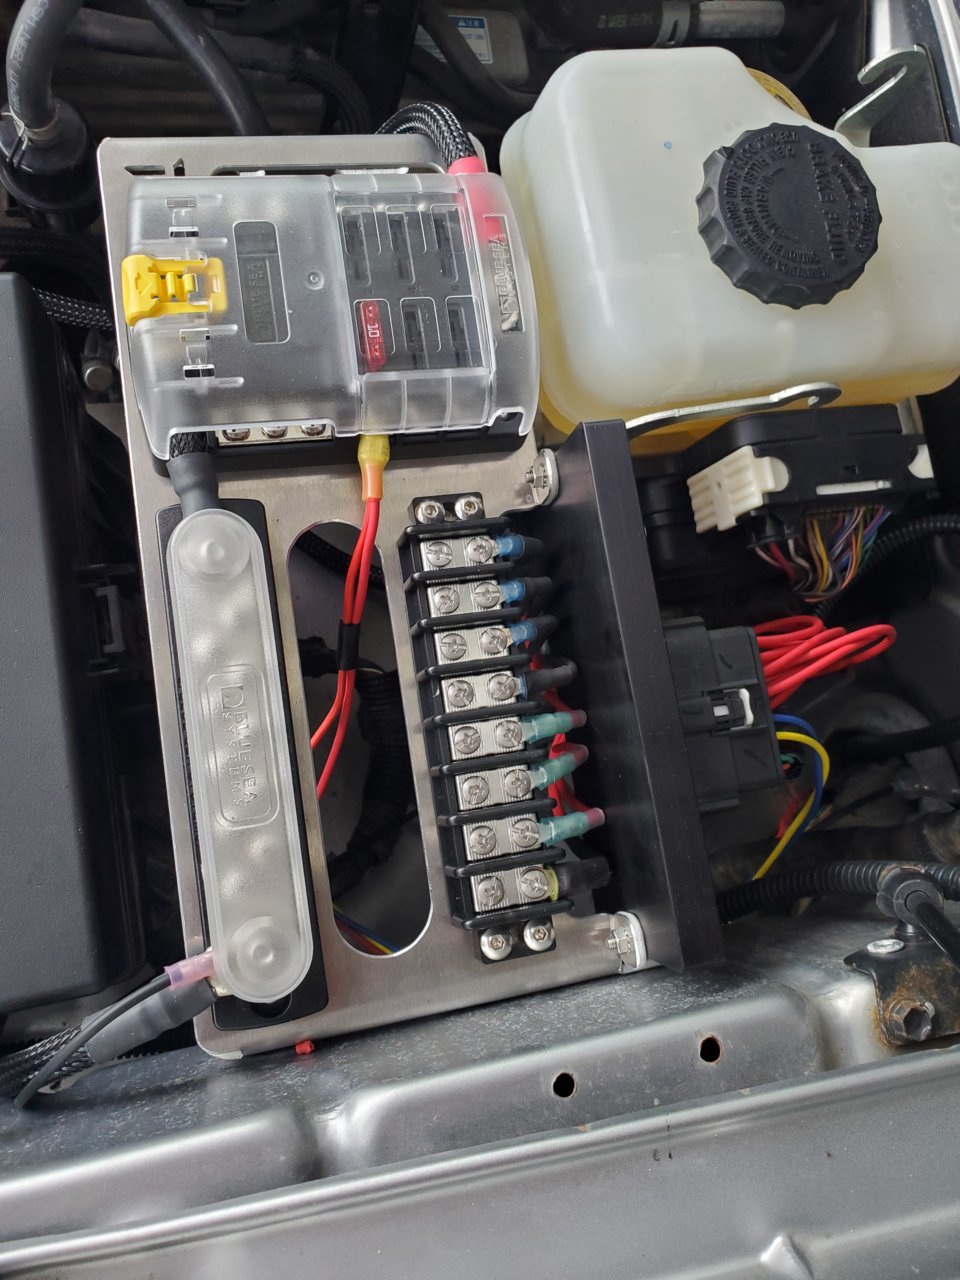
Time to mount the powertray:
It BARELY Clears the hood strut:

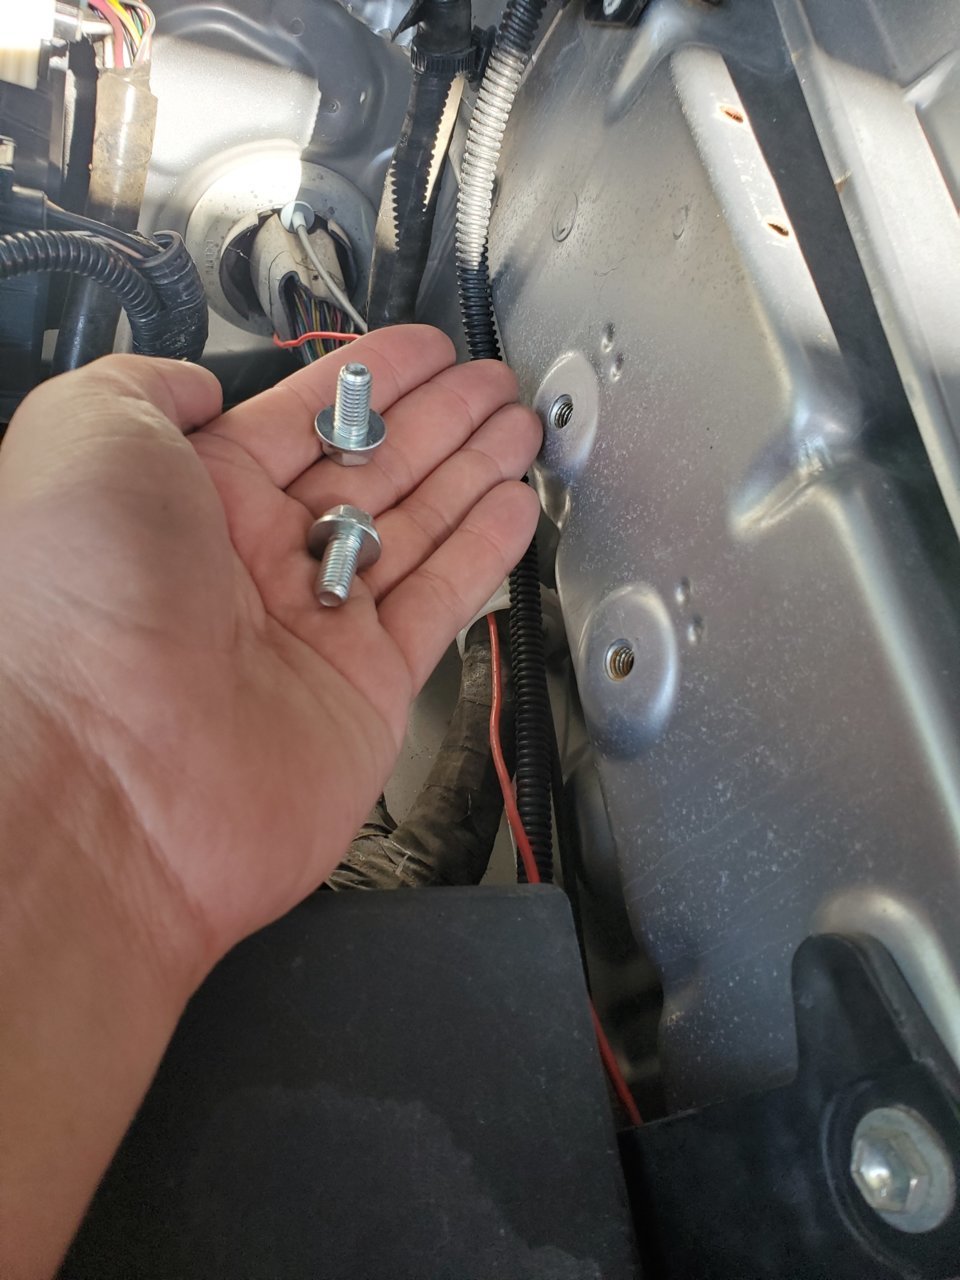
See these breathers? - Remove the bracket that holds them:
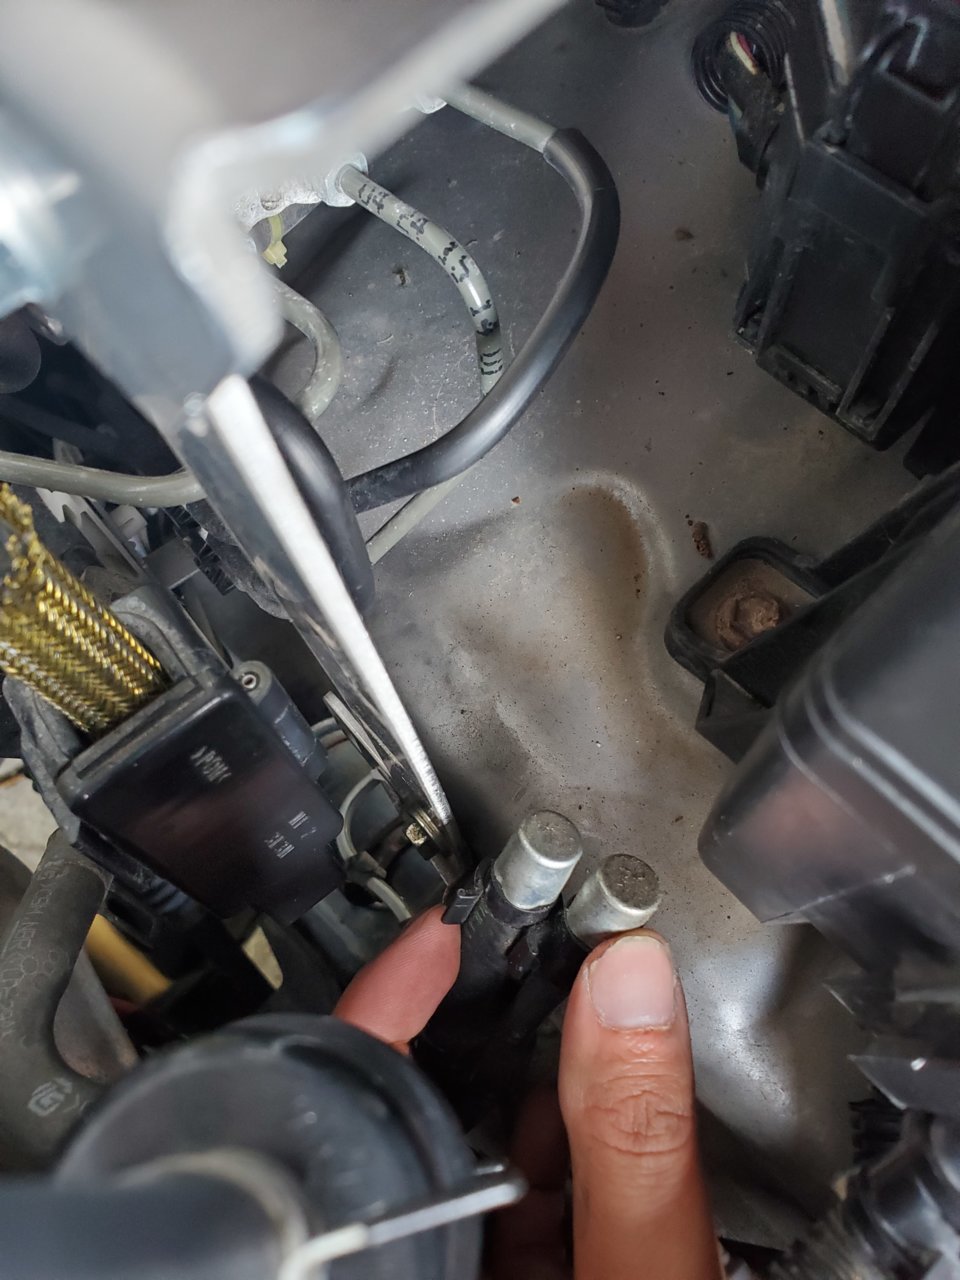
The existing hole will be used to mount the Power Tray leg as shown:
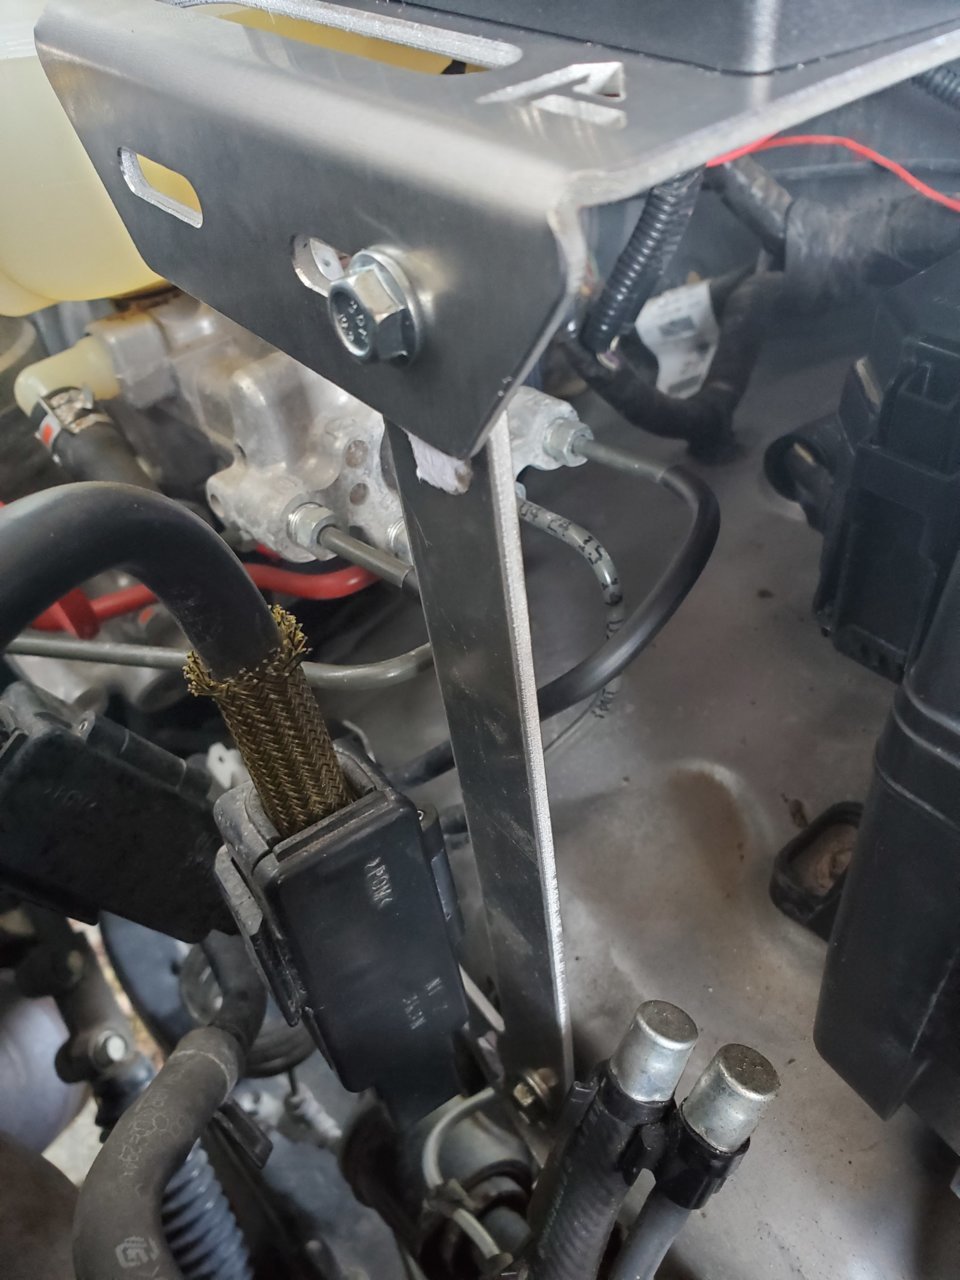
Installing that tray is a pain in the nalga, but man does it look GREAT!

Now to run the wiring!
Remove the bottom and side kick panels:

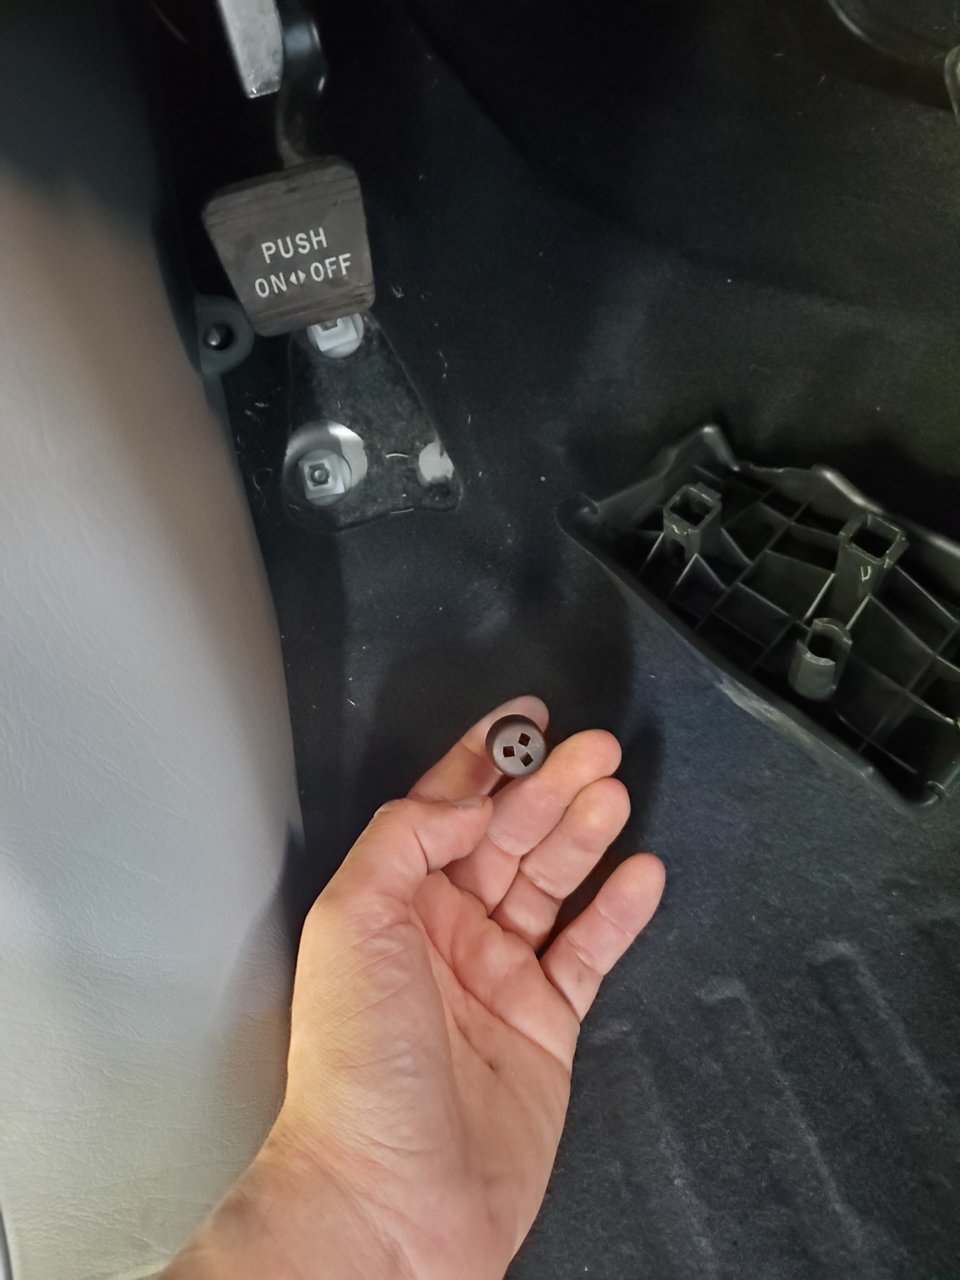
The side panel is held by these

Prepare the wiring:
See that grommet? - Run the wiring thru there:
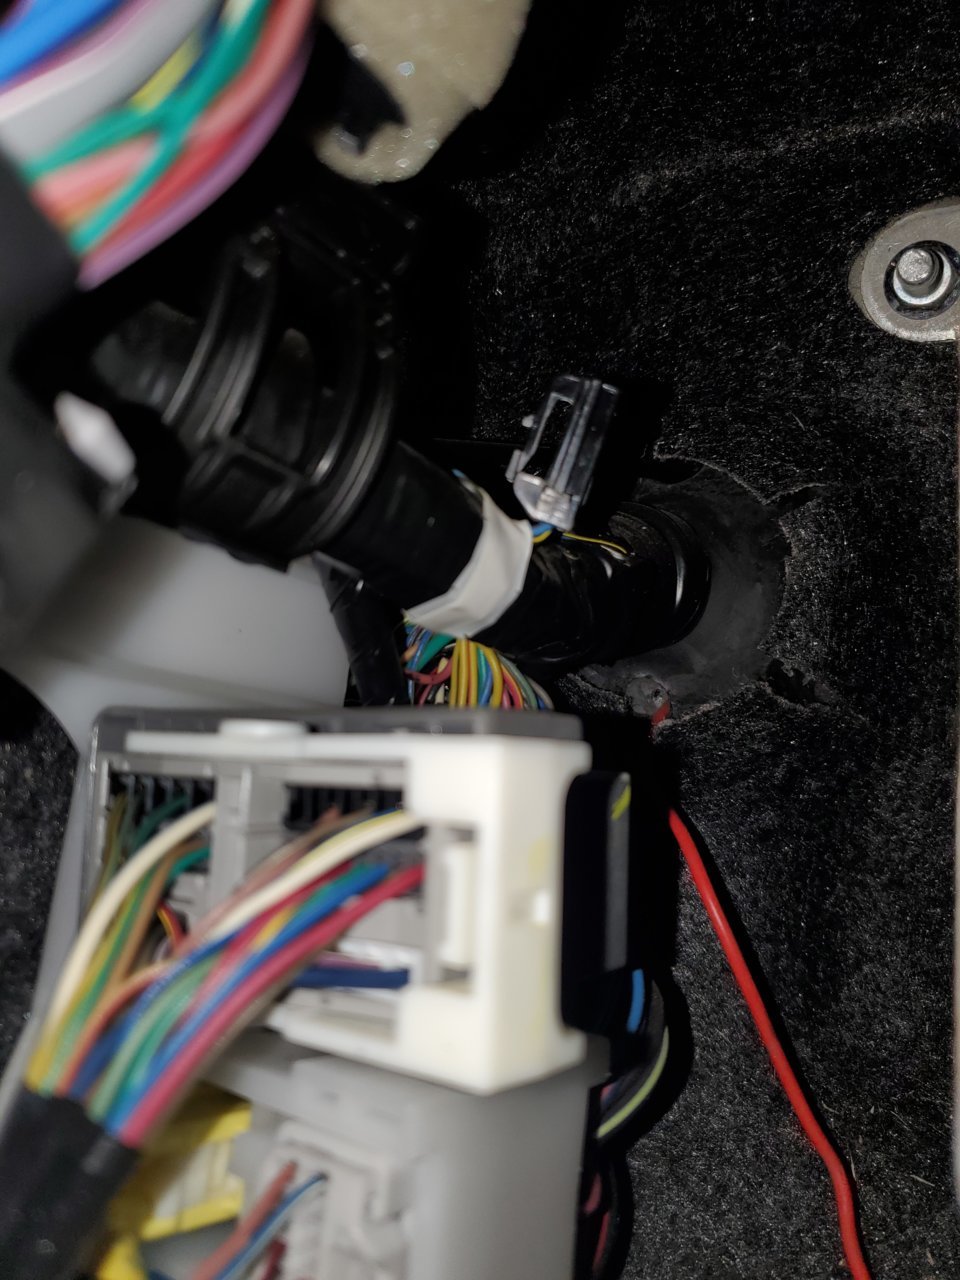
I used a hangar to run it thru the grommet, it was a PAIN:

You can barely see where it comes thru the grommet, sorry for the weird orientation:
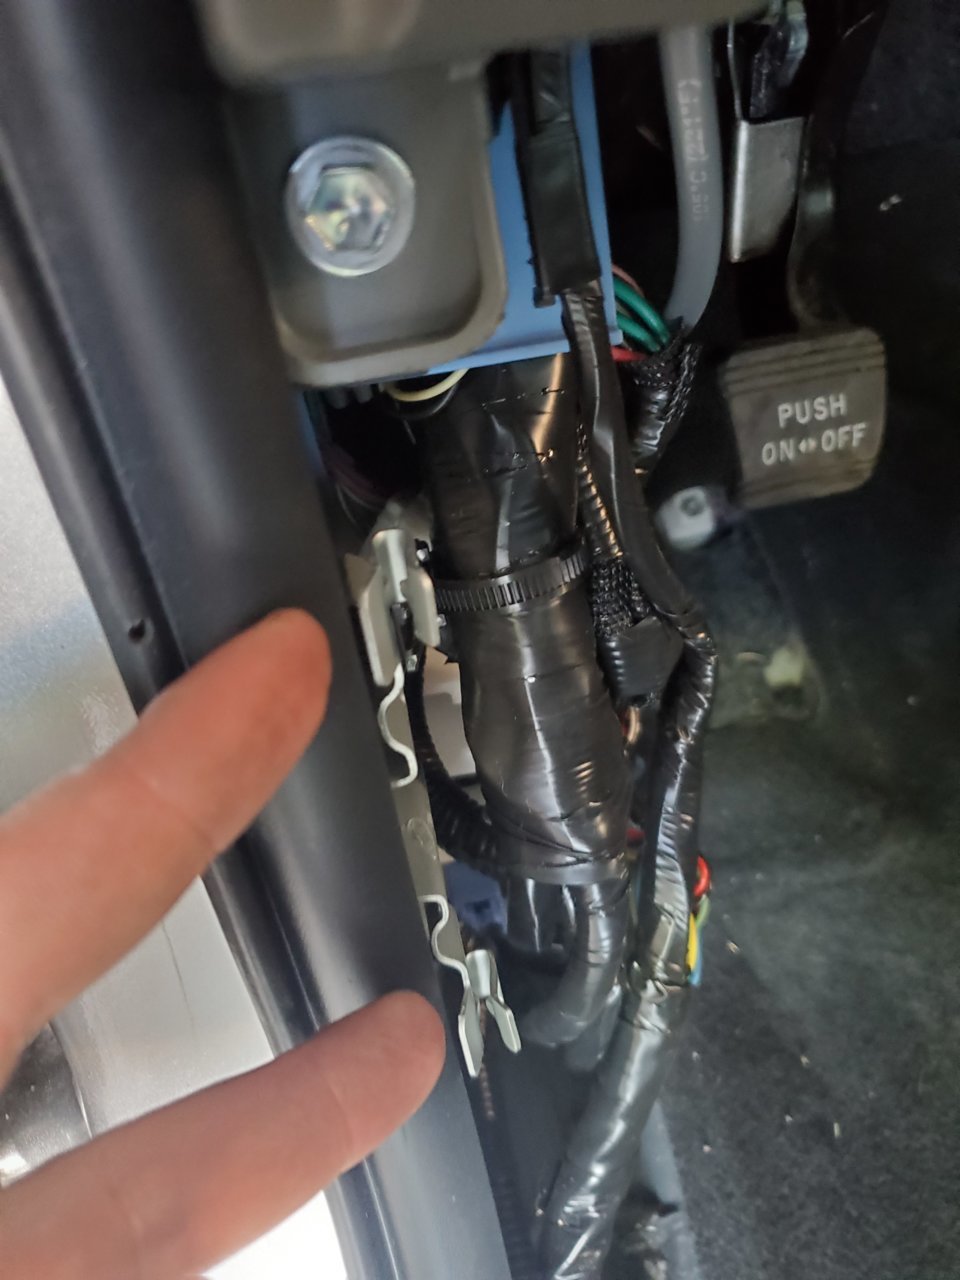
Ran the loom behind all the electrical boxes in the left kick panel area:
Thru this void in the fuse panel area:
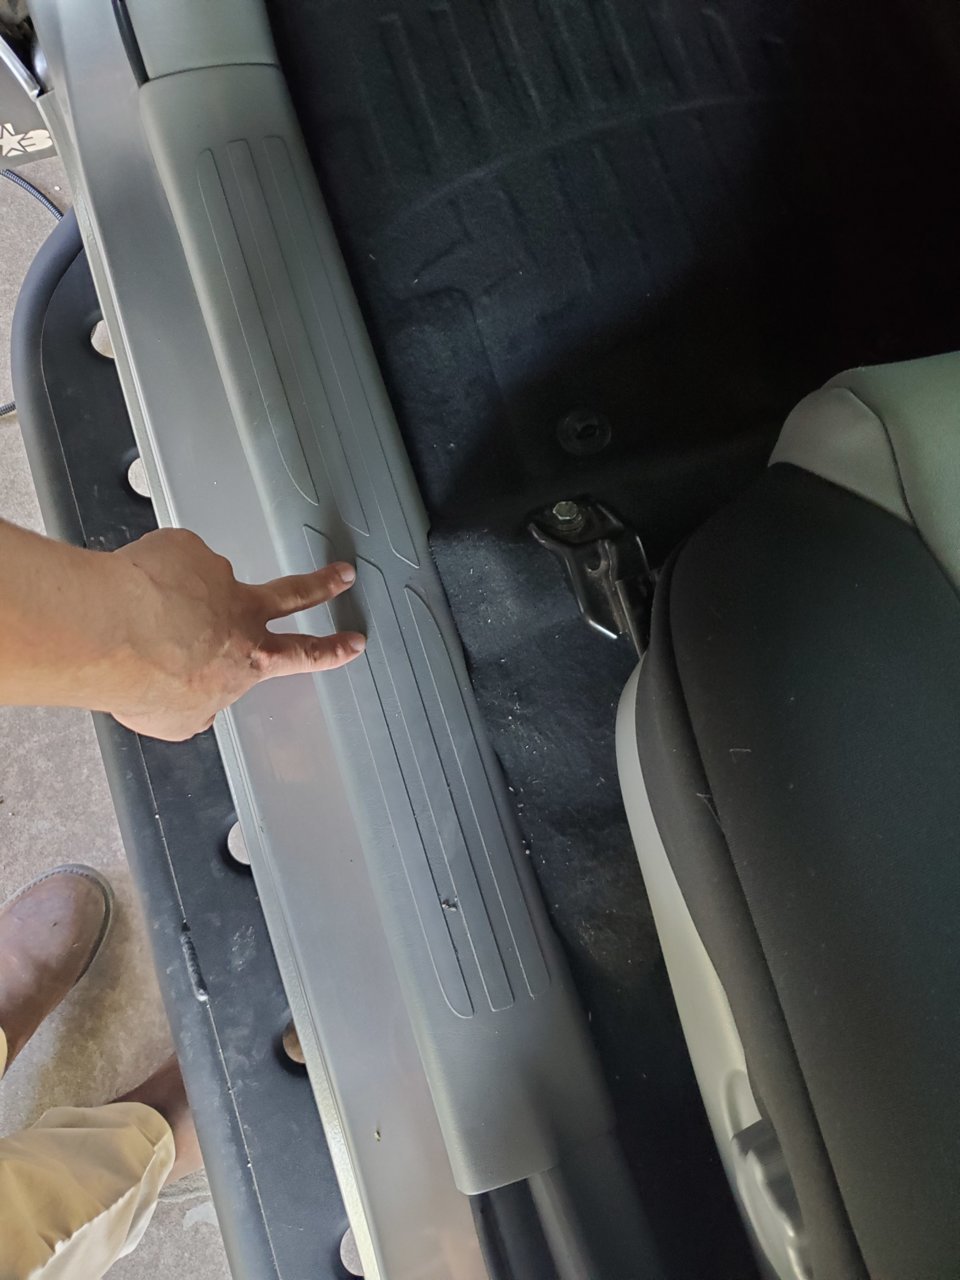
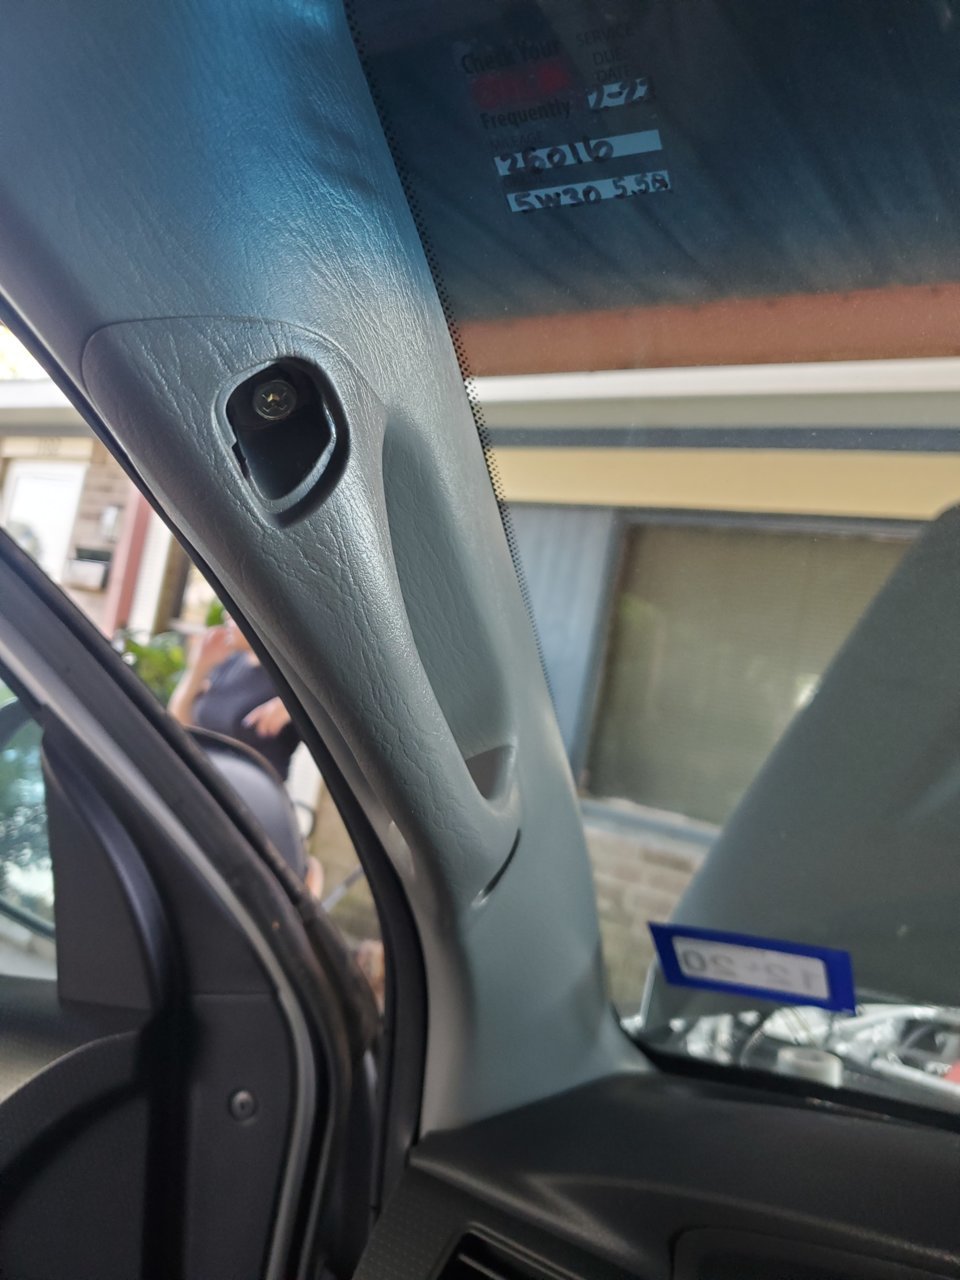
At this point I removed the grab handle:
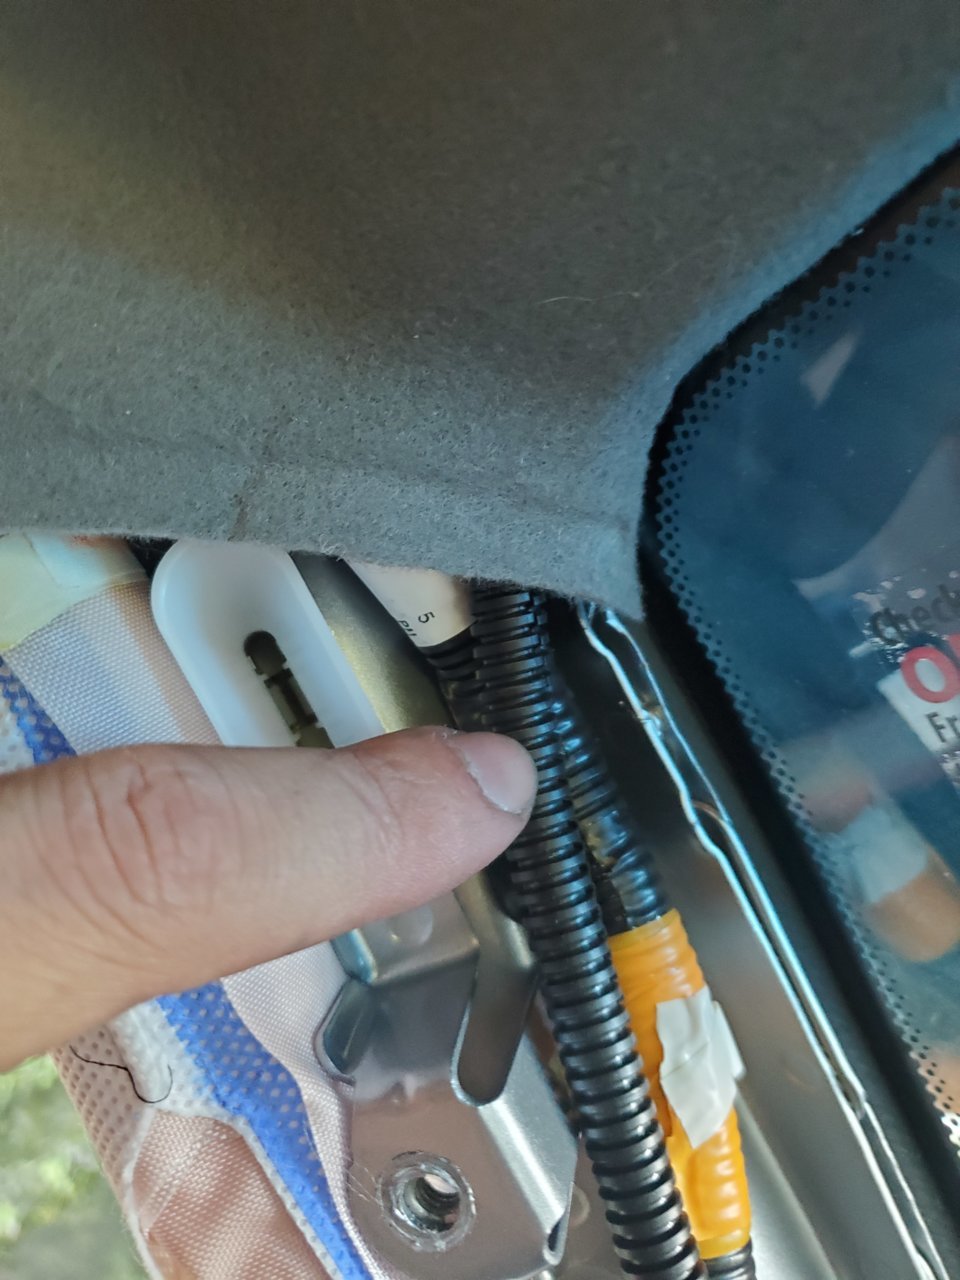
Pulled the loom thru this hole:
Traced it along an existing loom, I later zip tied both together (pictures not shown)
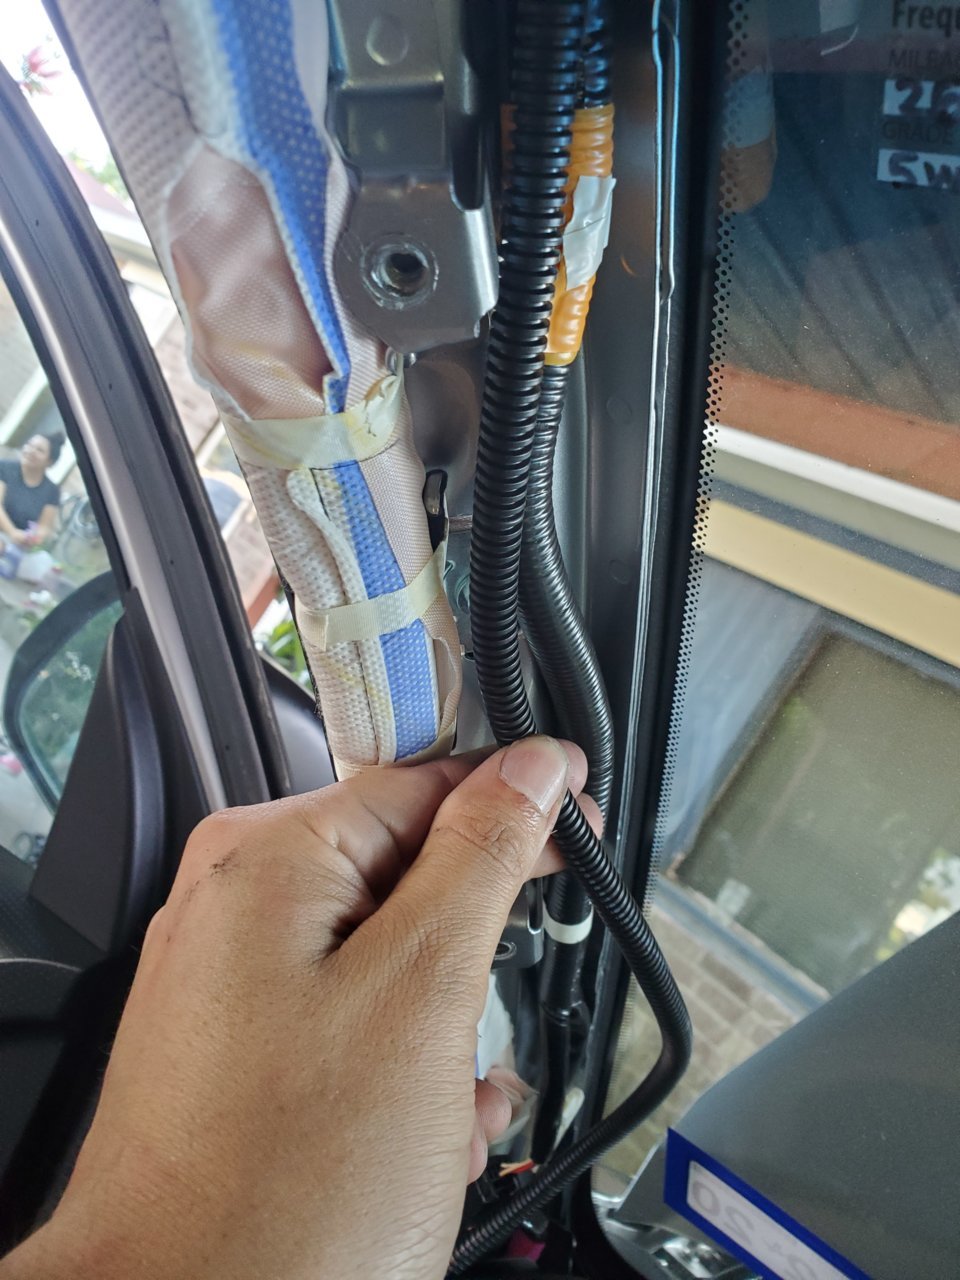
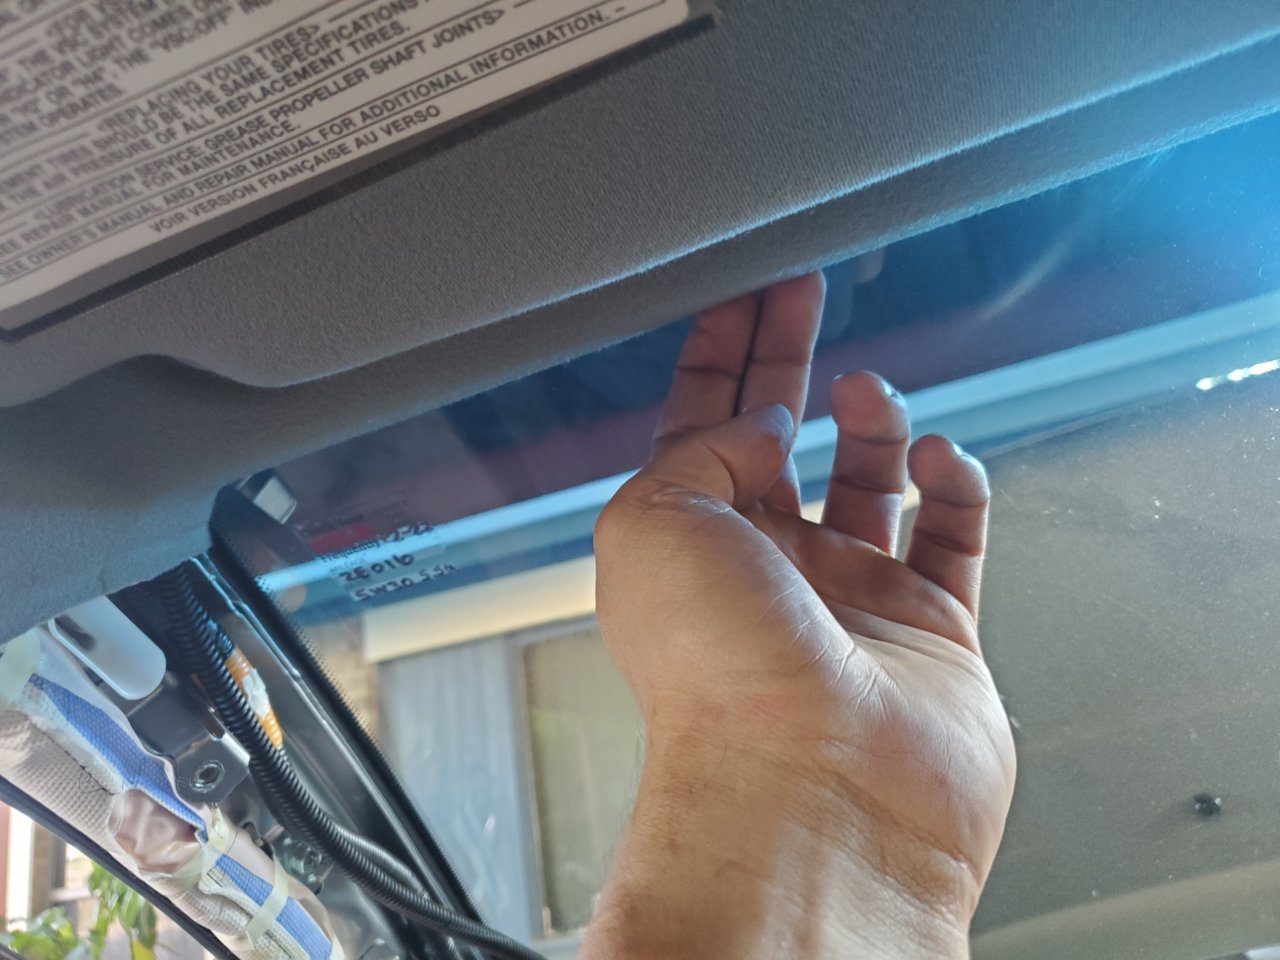
Ran up the headliner:
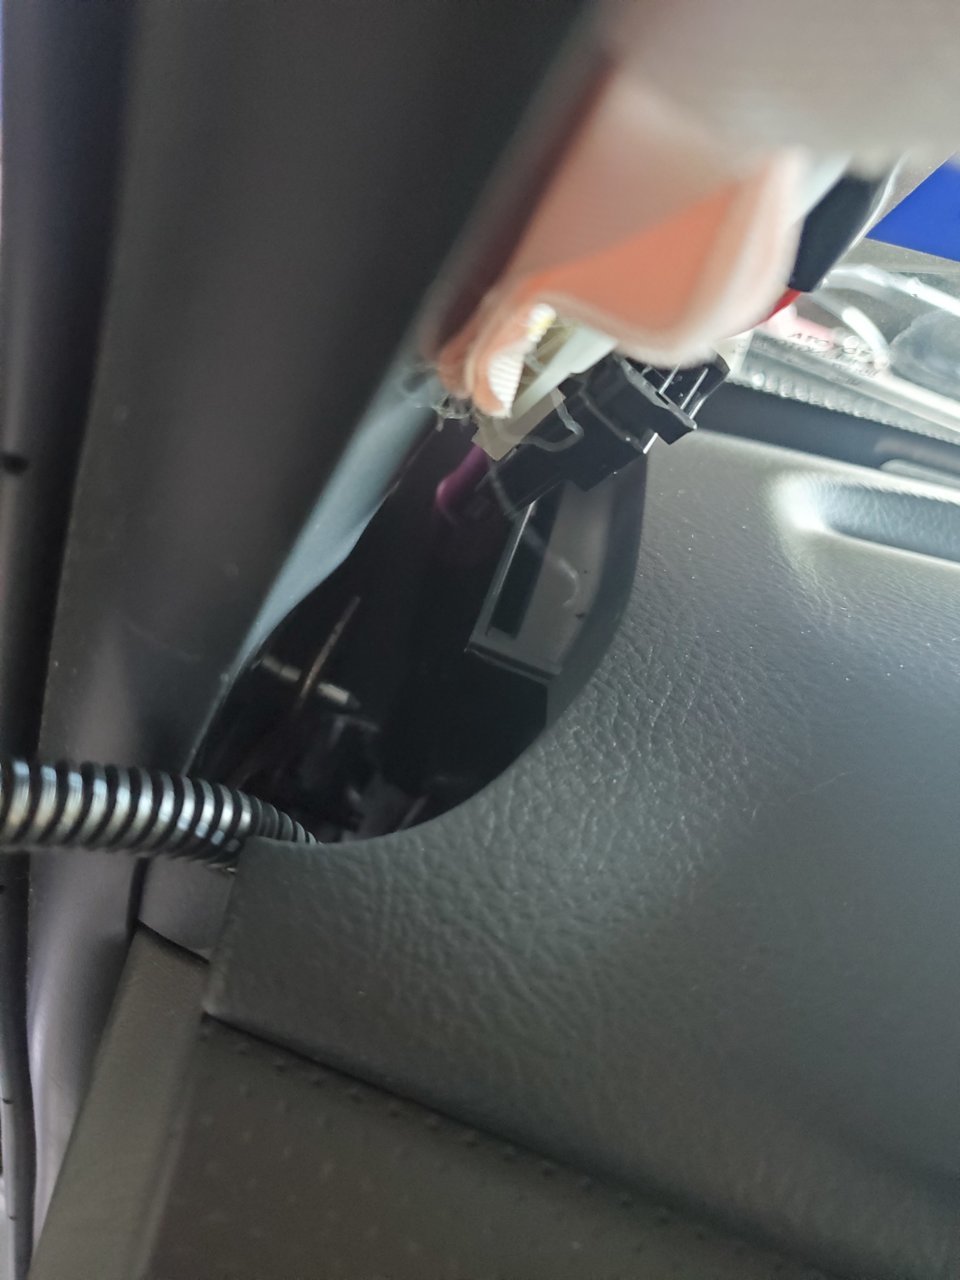
Fished thru the overhead console opening:
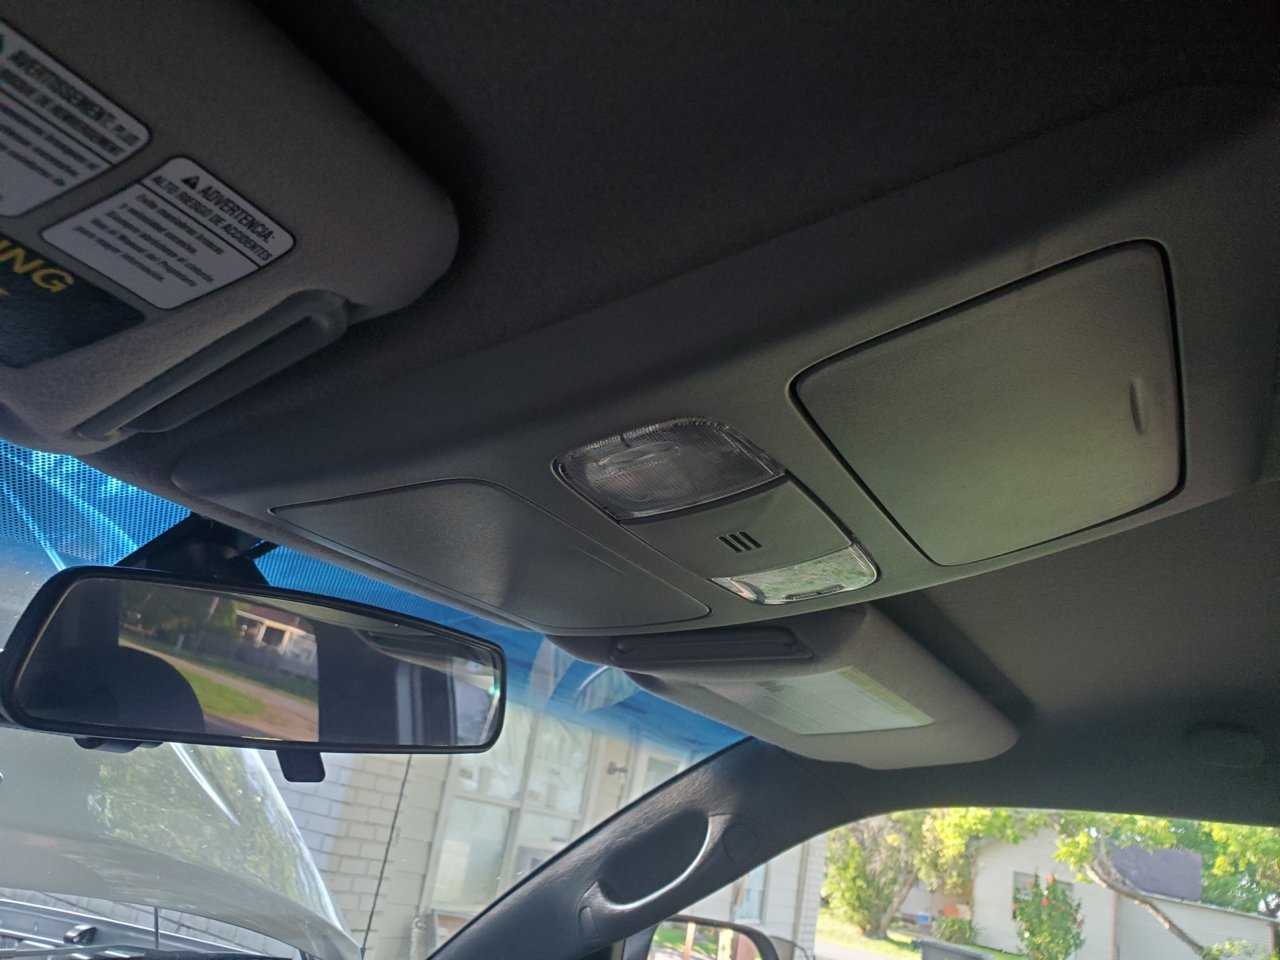
Connected the switch pro and other harnesses, installed overhead console!
Checked for cleareances:
Reinstalled grab handle:
Now to finalize wiring the switchpro:
Black wire went to ground:

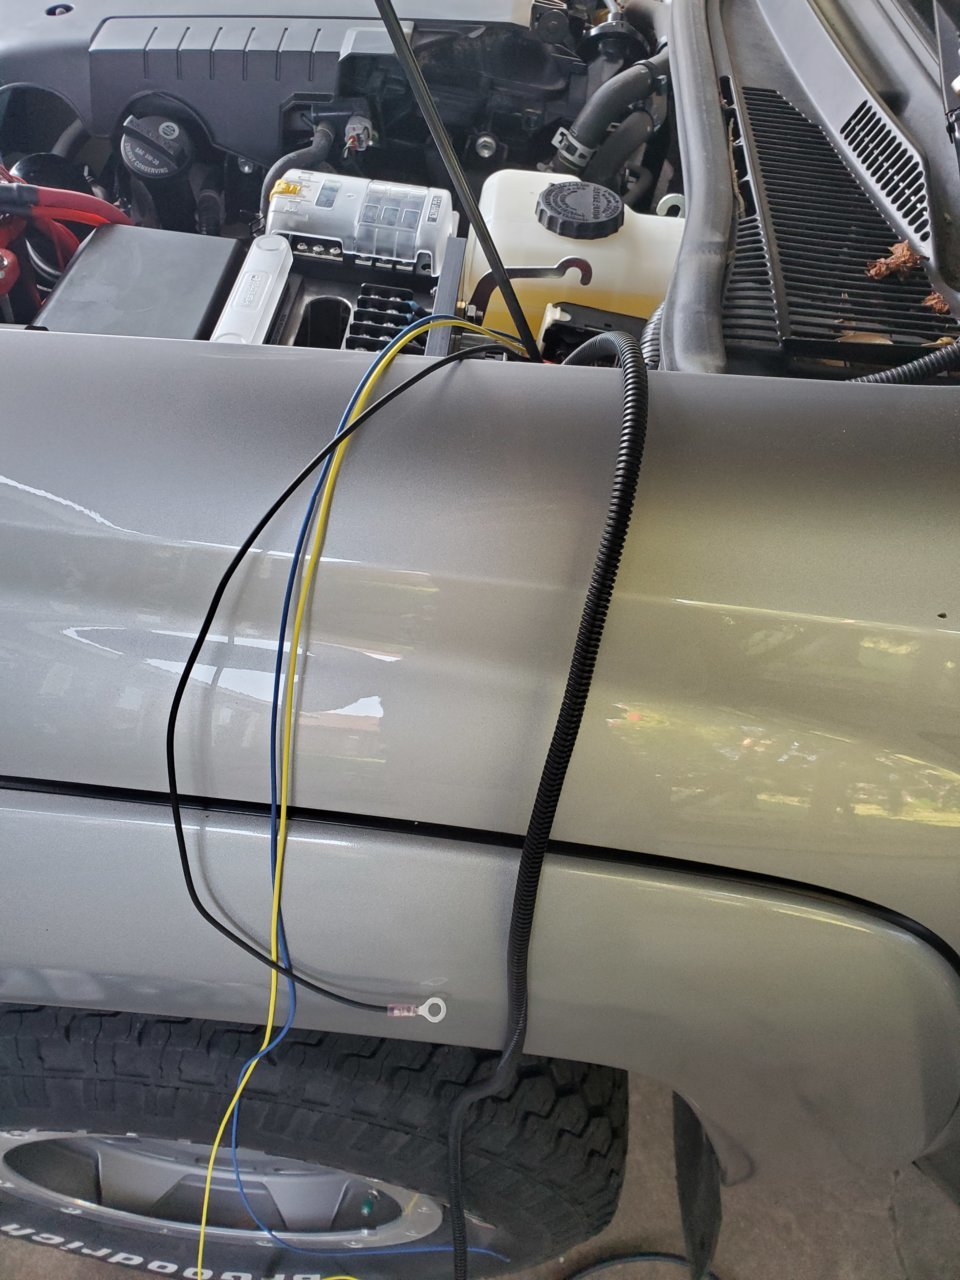
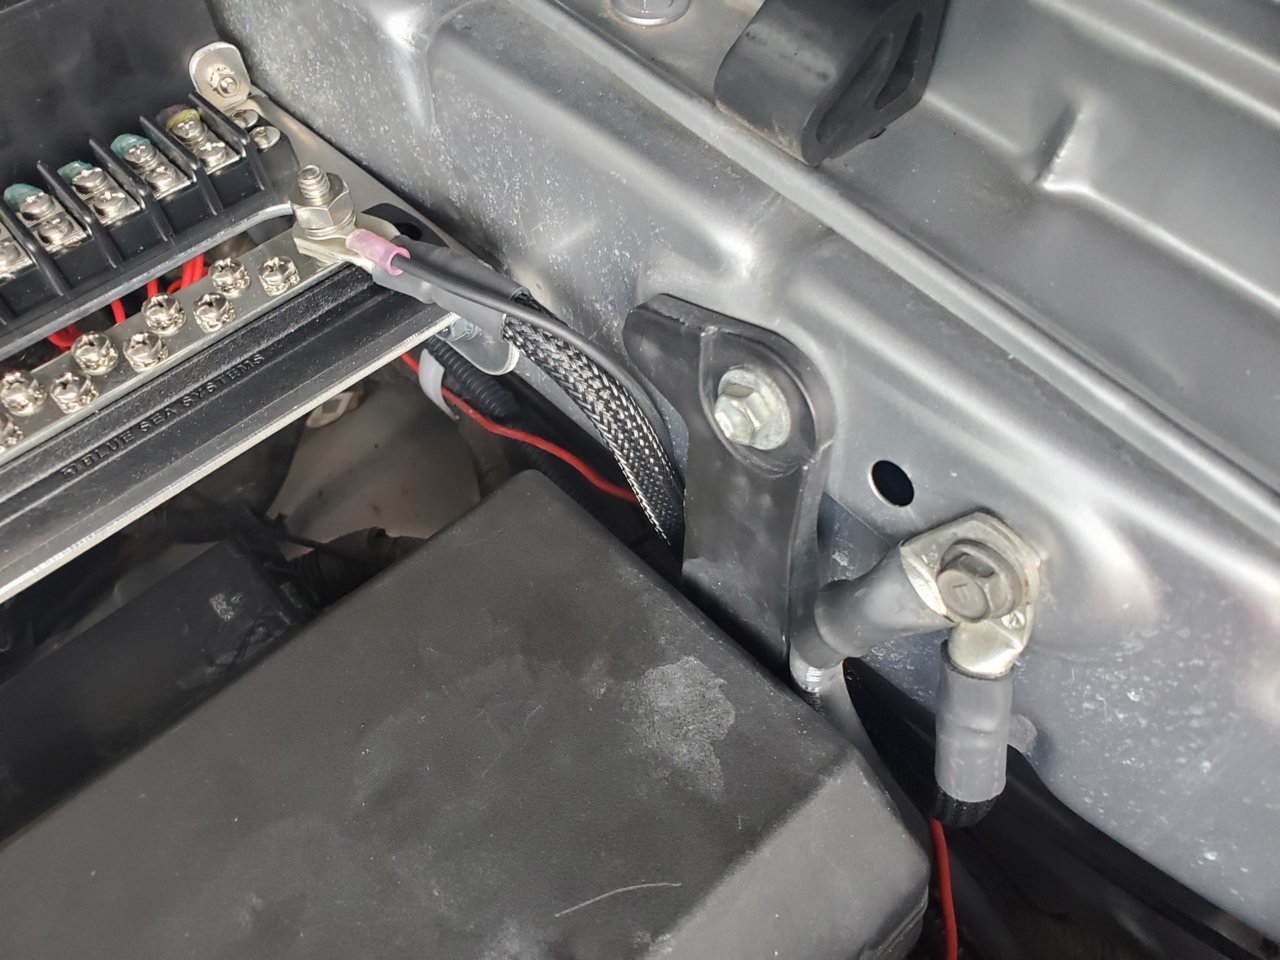
Power Tray grounded to fender:

I then fished the blue/yellow wires into the fuse box:

The main issue with the blue and yellow wire is WHERE to tap them. I used @Coop68 recommendations here:
https://www.tacomaworld.com/threads...mation-discussion.439310/page-3#post-13459606
https://www.tacomaworld.com/threads...ation-discussion.439310/page-18#post-23205487
Pulling this fuse for the blue wire, 10AMP EFI:

and this fuse for the yellow wire, 10AMP "H-LP RH-LO":

Then tapped to those locations with an add a fuse:
Again, using @Coop68 pictures shown in the above two links to aid in what I did.
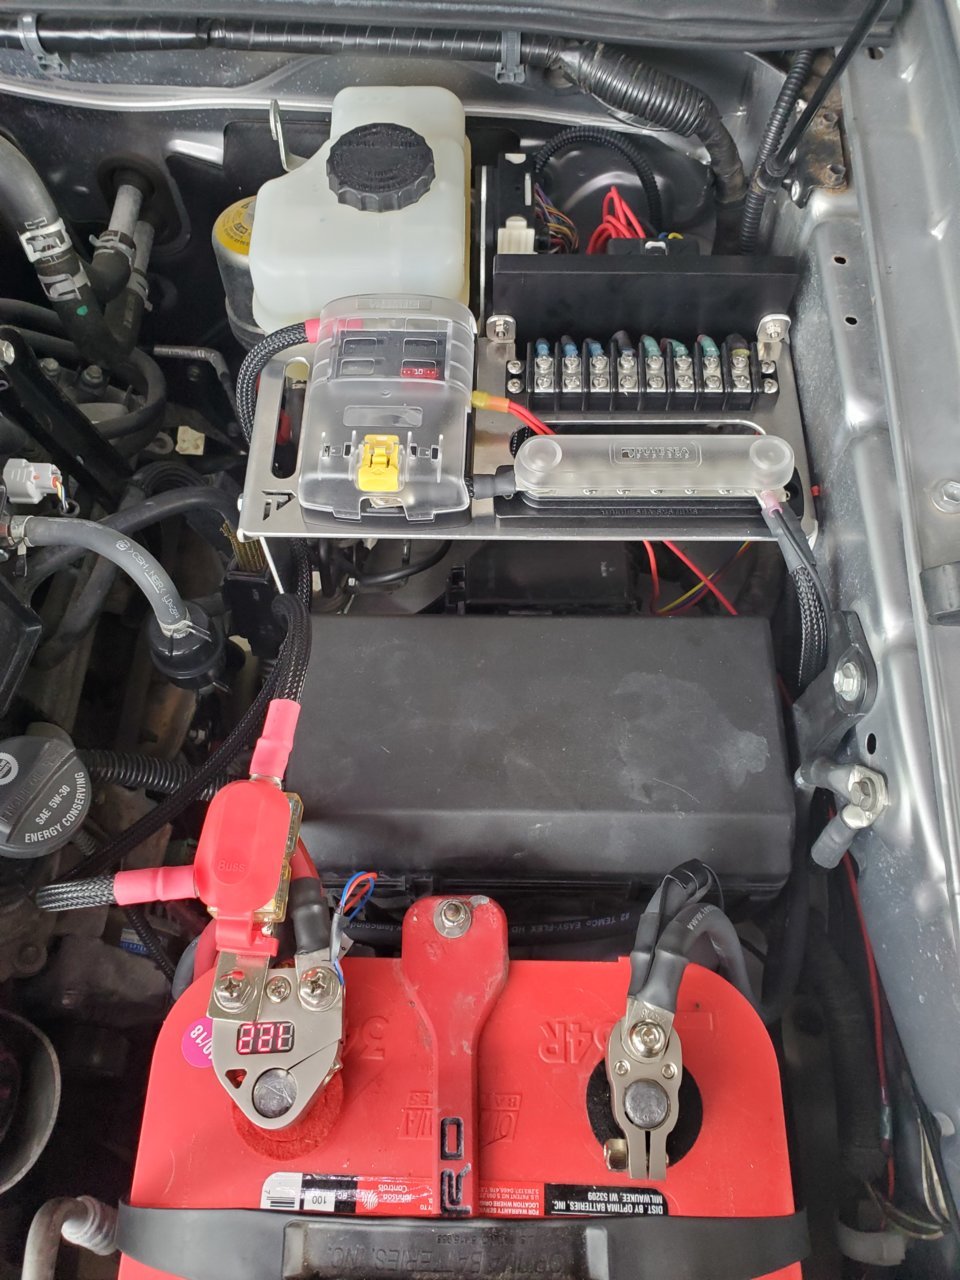
Then I connected the buss bar to the battery terminal and connected the switchpros/blue sea fuse box:
We have power! - @Coop68 did mention that the lighting on the powertray will brighten during high beams, I am okay with that. Since the switchpro will remain hidden most of the time anyways. Here are pictures:
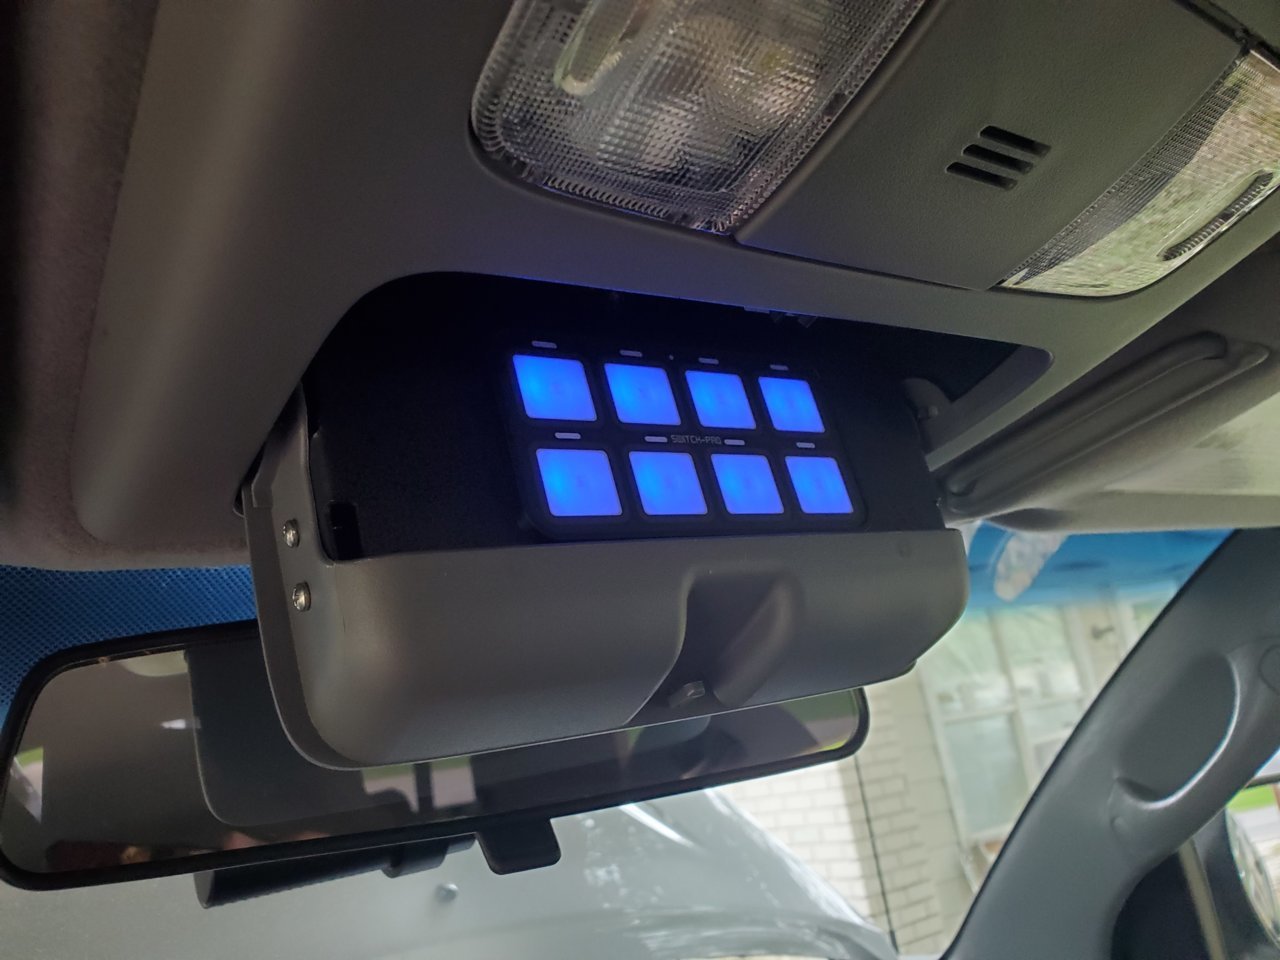
Final pictures:
This writeup will be picture heavy, so multiple posts will probably need to be created.
I purchased the following powertray kit and expedition essentials switch pro bracket:
https://www.powertrays.com/collecti...-powertray-05-current-tacoma-trd-off-road-pro
https://expeditionessentials.com/co...ts/switch-pros-mount-toyota-2nd-gen-2005-2015
A good power station install is vital at the beginning of every build. Pretty much every mod done to a vehicle will include some sort of wiring. I decided to use a switchpro that I had in the garage for a few years and mount it to a powertray and expedition essentials bracket.
That being said, let's start with the meat and potatoes of this install.
First thing was to remove the overhead console.
There is a screw in the rear sunglass holder that needs to be removed:
Once it is removed, grab the console firmly from the front and tug firmly but carefully:
The overhead console is held by these rear claws:
and
These front tabs:
Unplug two wires:
This "abandoned" plug is for a compass/temp mirror if you ever wondered what it's doing up there.
Time for surgery:
Here is our expedition essentials switch pro mount:
The switchpro fits very snug in the mount, love it.
Install switchpro supplied brackets and screws to secure it in place
Once it is in place, I put it in the sunglass holder and played around with the fitment.
Open/Close, make sure that it clears and does not rub any
Now we need to make some templates for these screws:
Use the supplied Expedition Essentials template paper:
I traced each of these ears onto it and located the screw holes:
Cut them out:
I then fit them against the sides of the sunglass holder like this:
You kinda notice when the template lines up with the actual bracket ears. I had to trim the template once or twice to get it right.
Time for some pilot holes:
Perfect!
Thread in screws:
Now time to notch out the back end of the console to allow the pigtail connection:
As always, safety first:
Notched!
Now move on to the actual Power Tray build!
Building the Power Tray is pretty much straighforward, plenty of pictures for reference:
Attach the ground link between the Blue Sea Fuse Box and Bus Bar
Connect the Switchpros wiring and start building the connections!
For this switchpros model, I only need to build the red wiring for now. I zip tied the loom, blue wire, yellow, and black wire just to get them out of the way.
Powertrays will provide the needed connectors!
Pay attention to the wiring notation in the instruction booklet and the back of the plug, this will ensure that you know what goes to what accessory in the future:
Notice 8,16 for switch 8 output? - Those will be crimped together at ONE connector.
These will not be needed, Power Trays has provided the required cables:
I trimmed down the red wires to about 13", this allows plenty of slack for future trims and modifications.
Adding connectors:
Don't tell the wife we are using her blow dryer for shrink wrap:
I am using this soldering iron to melt the connectors and provide a waterproof seal. I am not using the tip, just the side of the ... shaft. The thicker portion of the....shaft:
Sex:
Time to mount the powertray:
It BARELY Clears the hood strut:
See these breathers? - Remove the bracket that holds them:
The existing hole will be used to mount the Power Tray leg as shown:
Installing that tray is a pain in the nalga, but man does it look GREAT!
Now to run the wiring!
Remove the bottom and side kick panels:
The side panel is held by these
Prepare the wiring:
See that grommet? - Run the wiring thru there:
I used a hangar to run it thru the grommet, it was a PAIN:
You can barely see where it comes thru the grommet, sorry for the weird orientation:
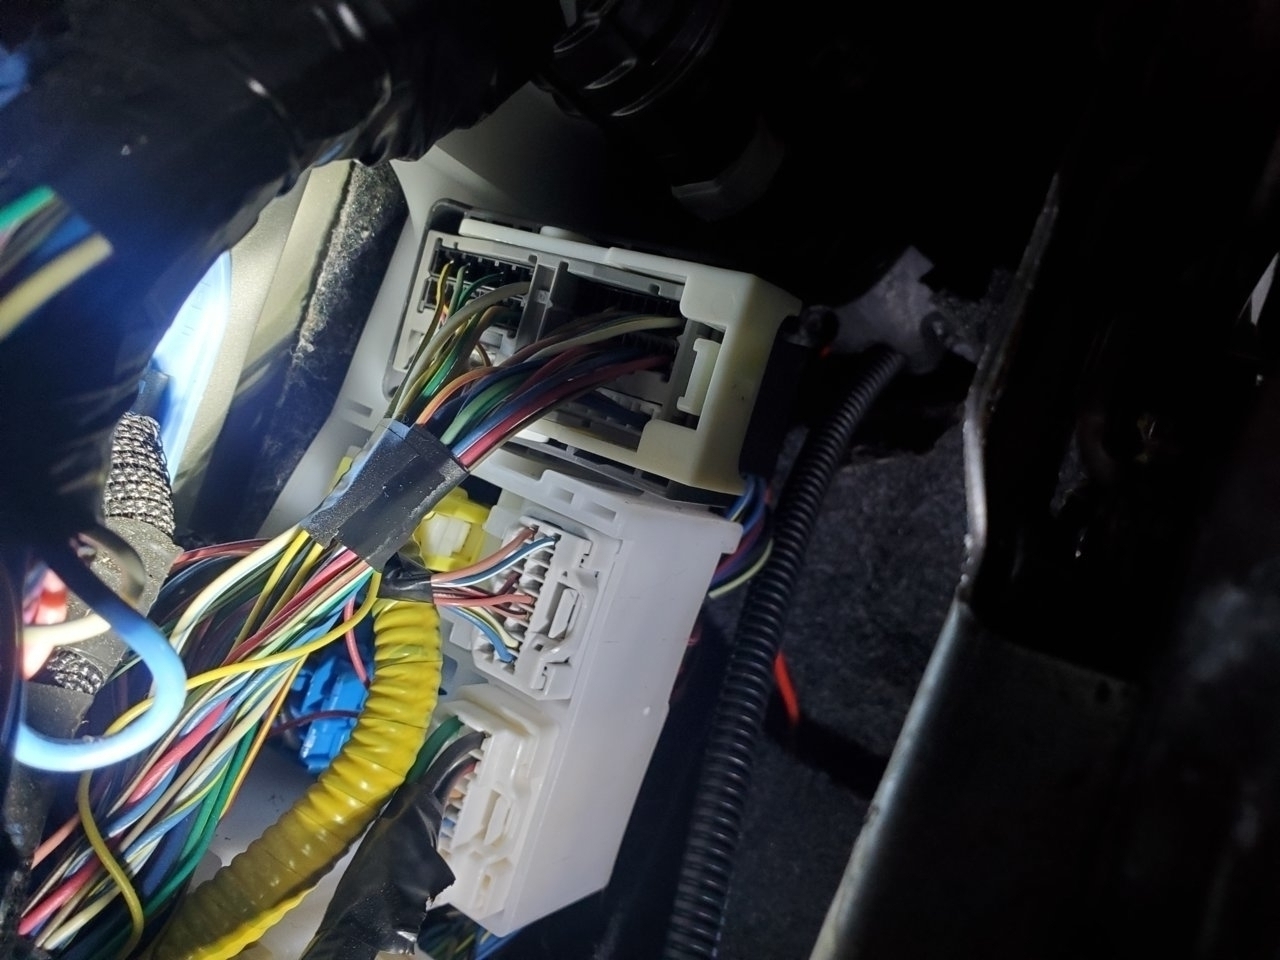
Ran the loom behind all the electrical boxes in the left kick panel area:
Thru this void in the fuse panel area:
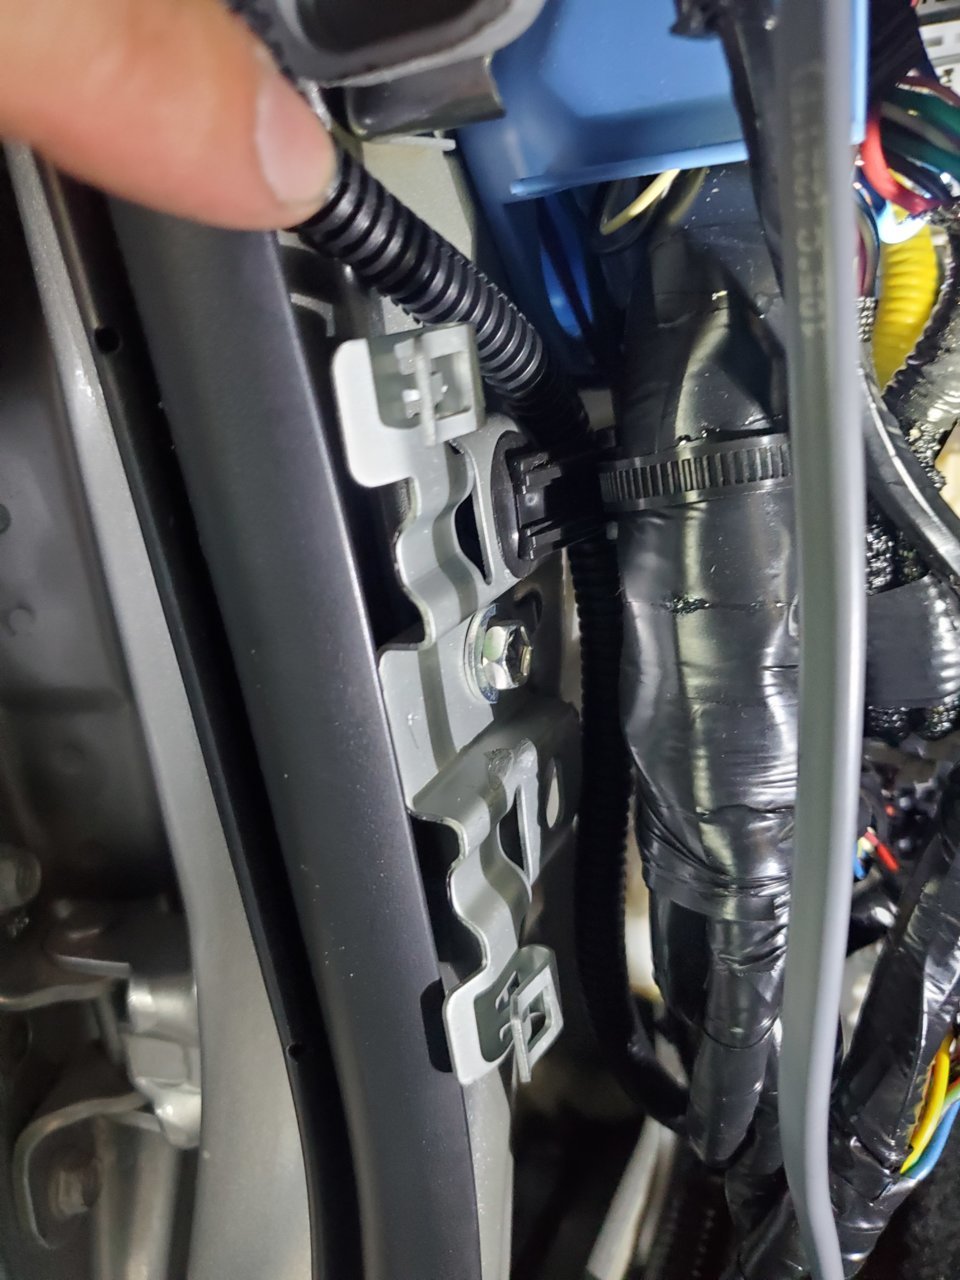
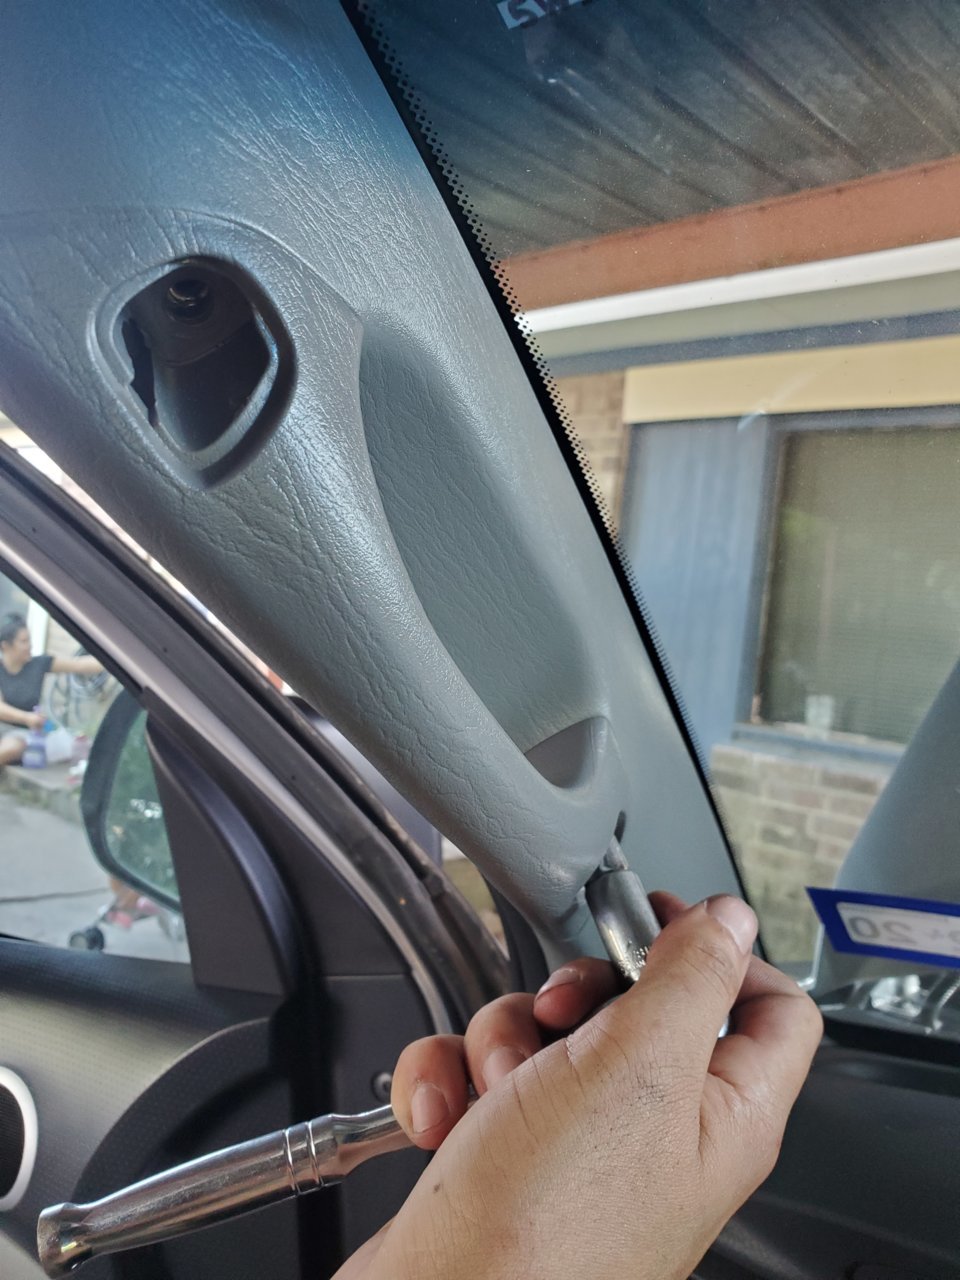
At this point I removed the grab handle:
Pulled the loom thru this hole:
Traced it along an existing loom, I later zip tied both together (pictures not shown)
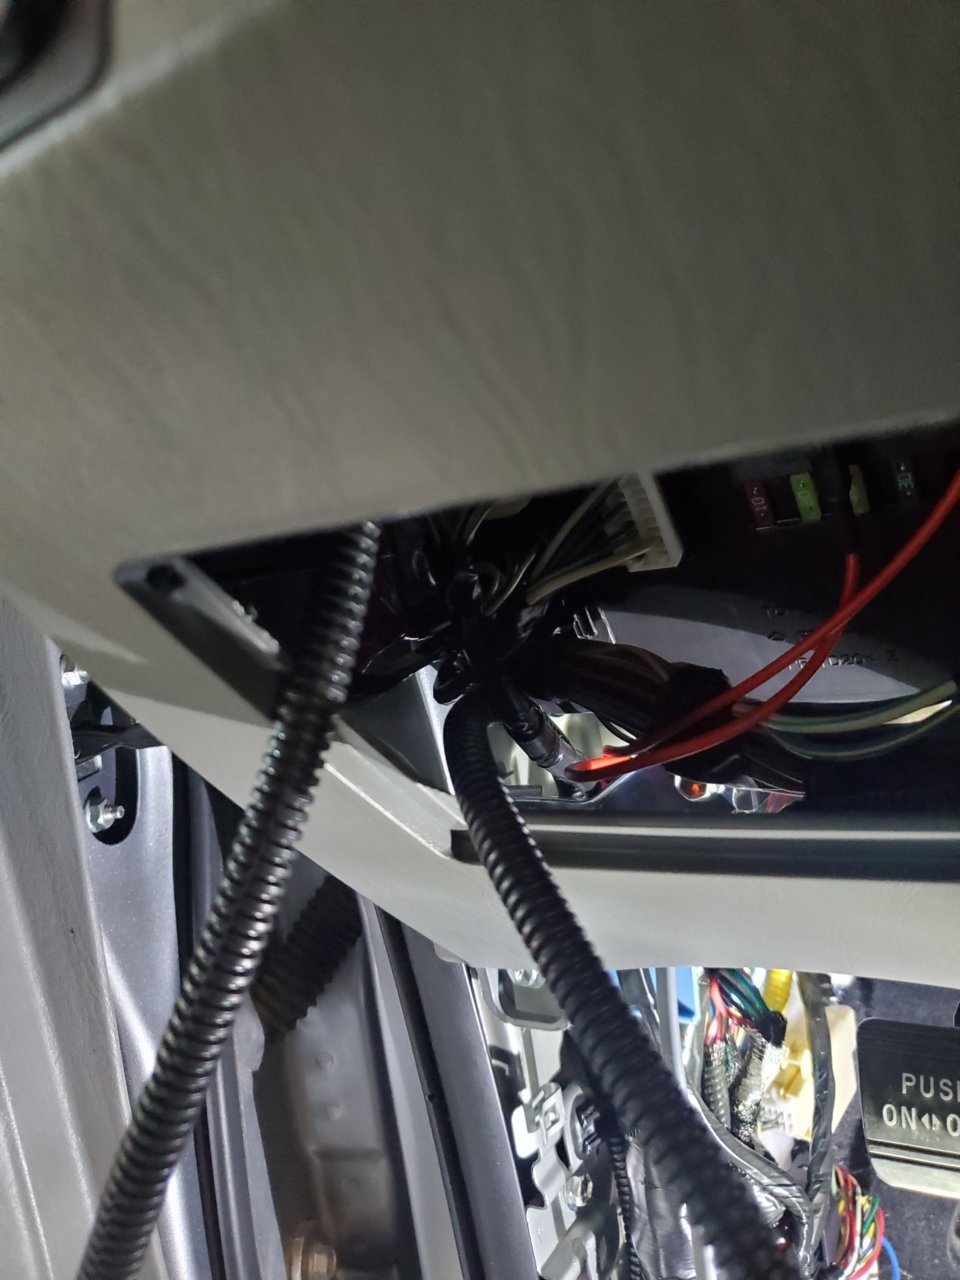
Ran up the headliner:
Fished thru the overhead console opening:
Connected the switch pro and other harnesses, installed overhead console!
Checked for cleareances:
Reinstalled grab handle:
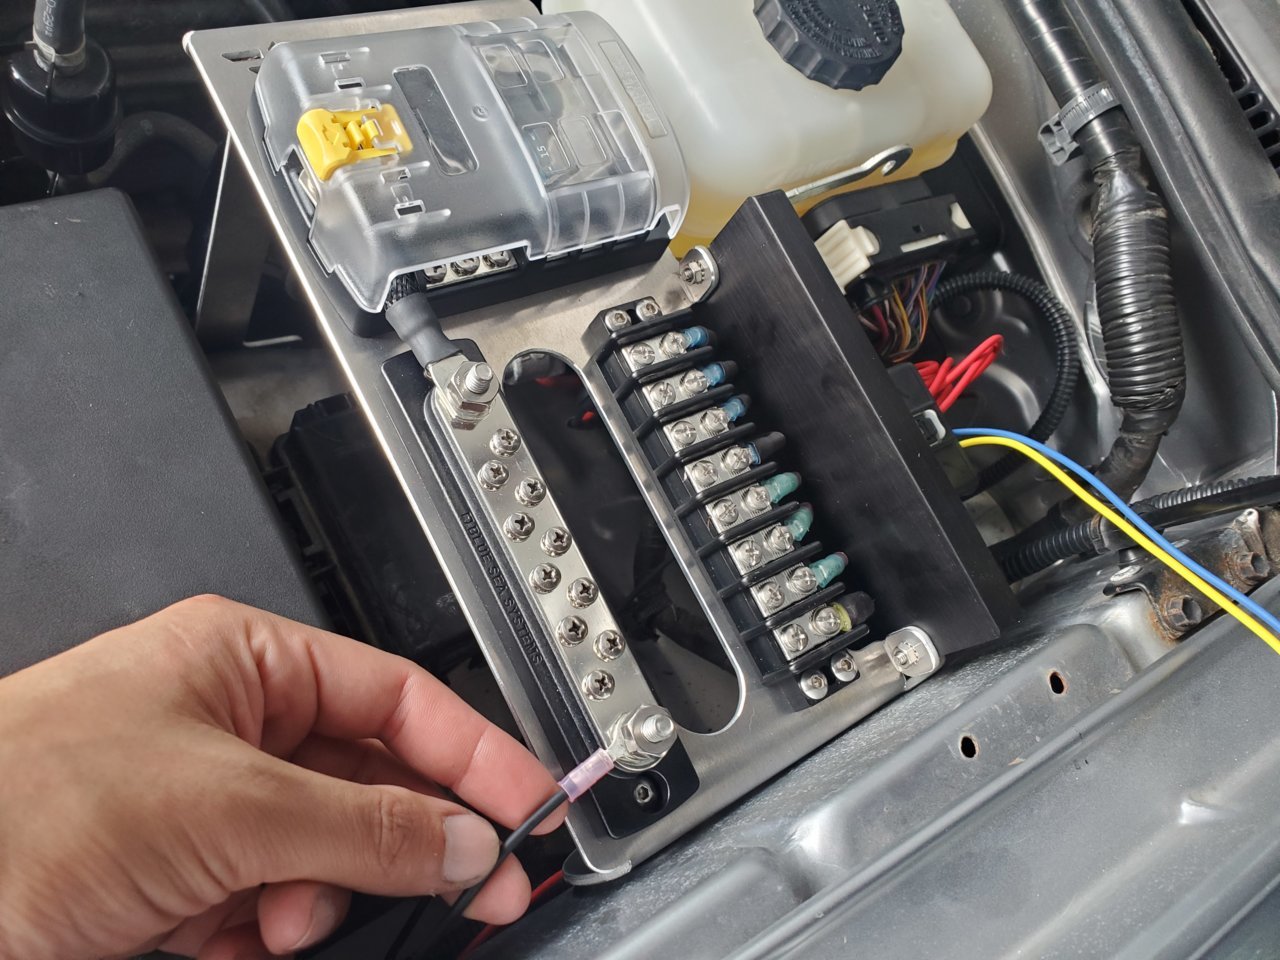
Now to finalize wiring the switchpro:
Black wire went to ground:
Power Tray grounded to fender:
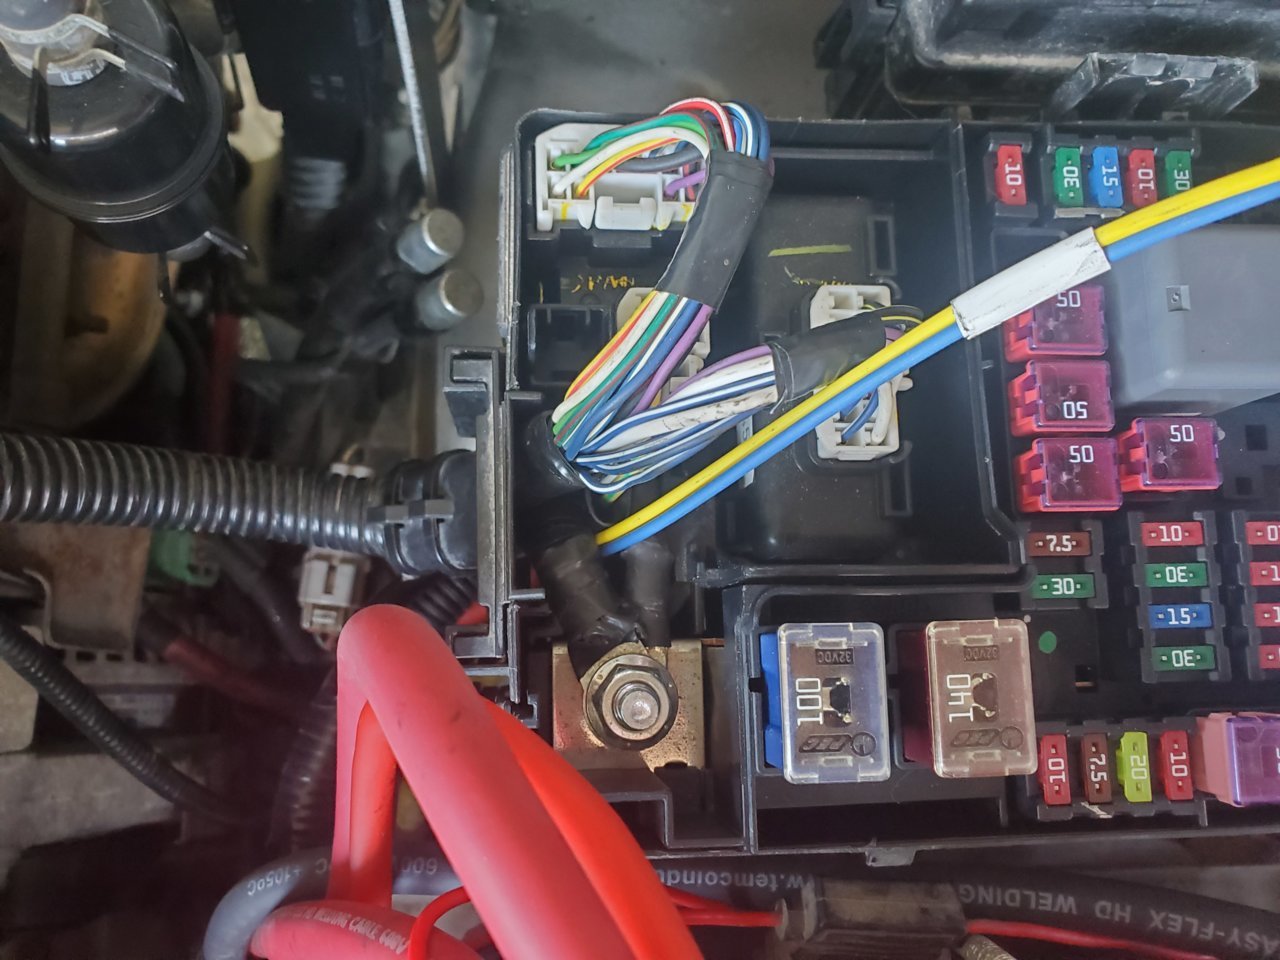
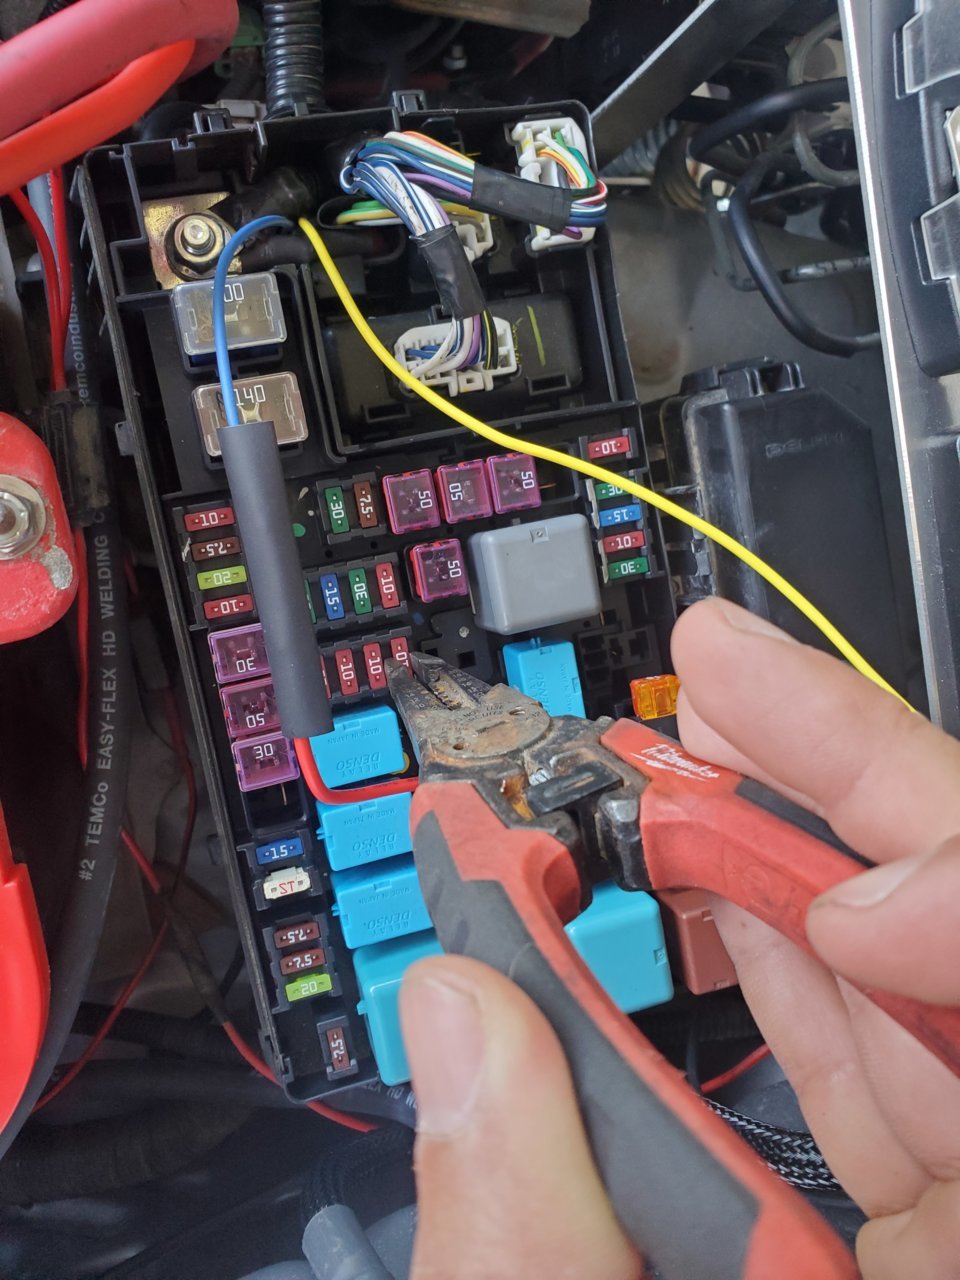
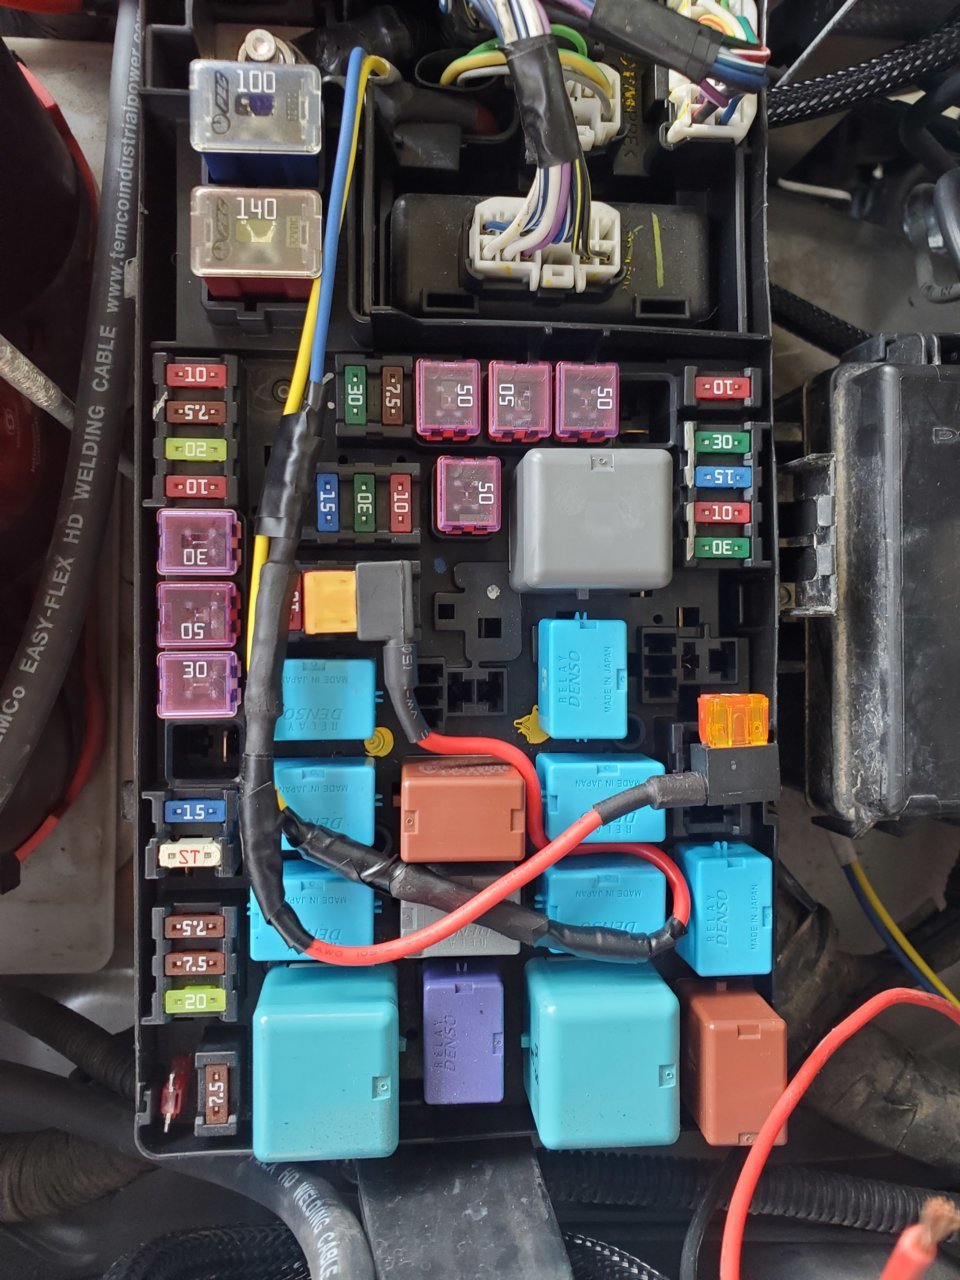
I then fished the blue/yellow wires into the fuse box:
The main issue with the blue and yellow wire is WHERE to tap them. I used @Coop68 recommendations here:
https://www.tacomaworld.com/threads...mation-discussion.439310/page-3#post-13459606
https://www.tacomaworld.com/threads...ation-discussion.439310/page-18#post-23205487
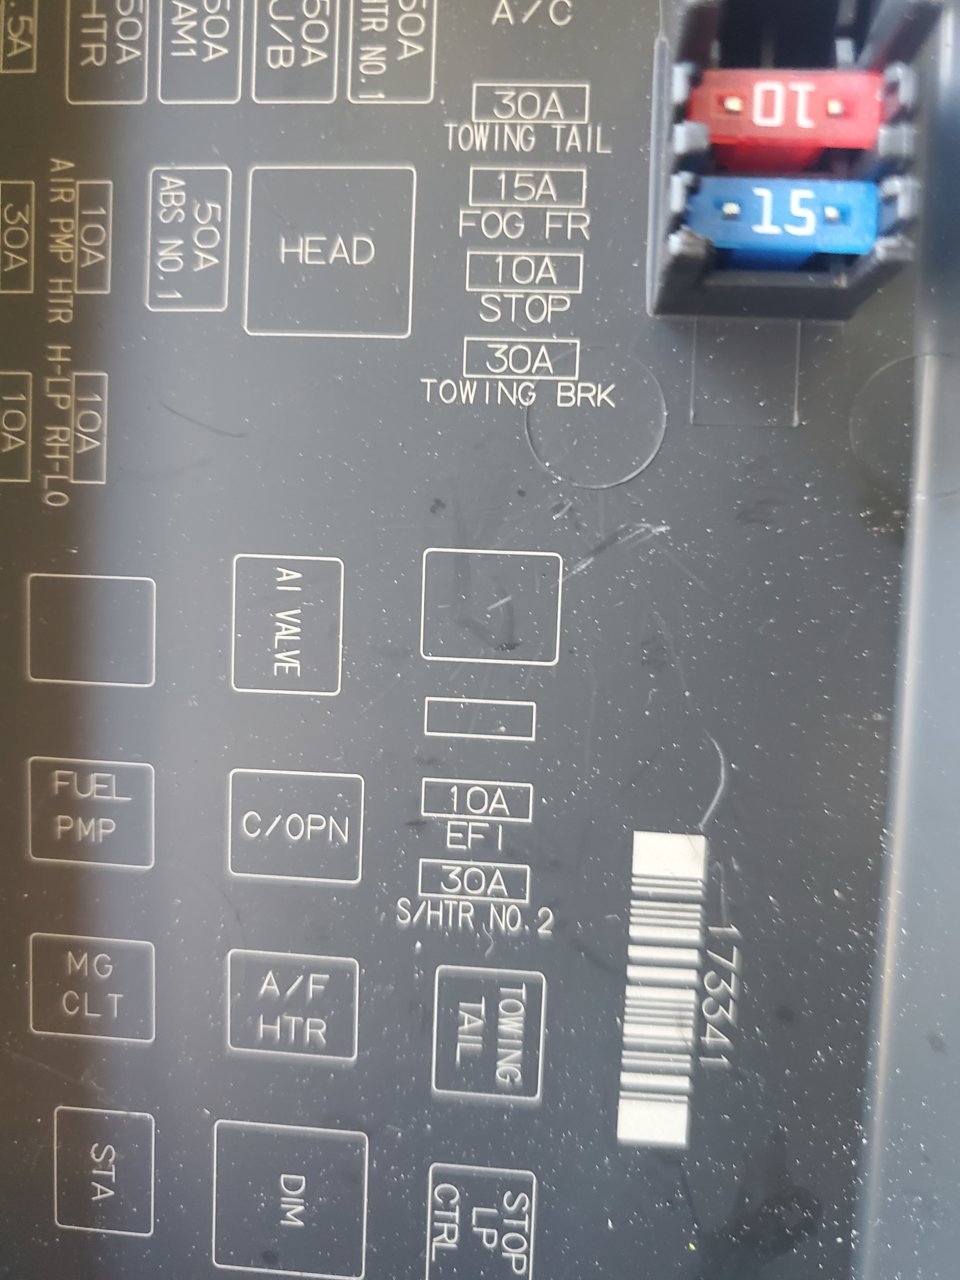
Pulling this fuse for the blue wire, 10AMP EFI:
and this fuse for the yellow wire, 10AMP "H-LP RH-LO":
Then tapped to those locations with an add a fuse:
Again, using @Coop68 pictures shown in the above two links to aid in what I did.
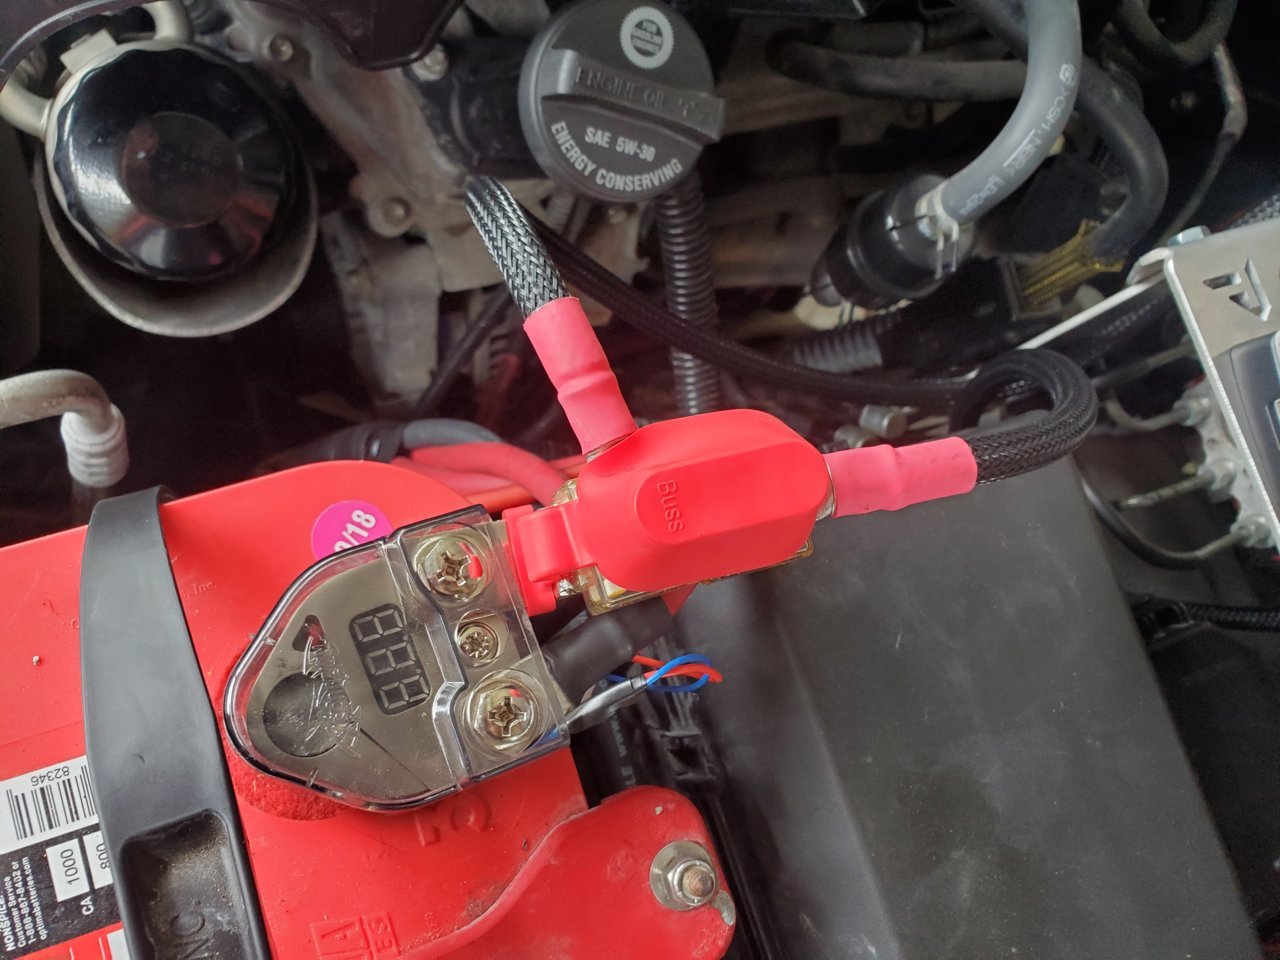
Then I connected the buss bar to the battery terminal and connected the switchpros/blue sea fuse box:
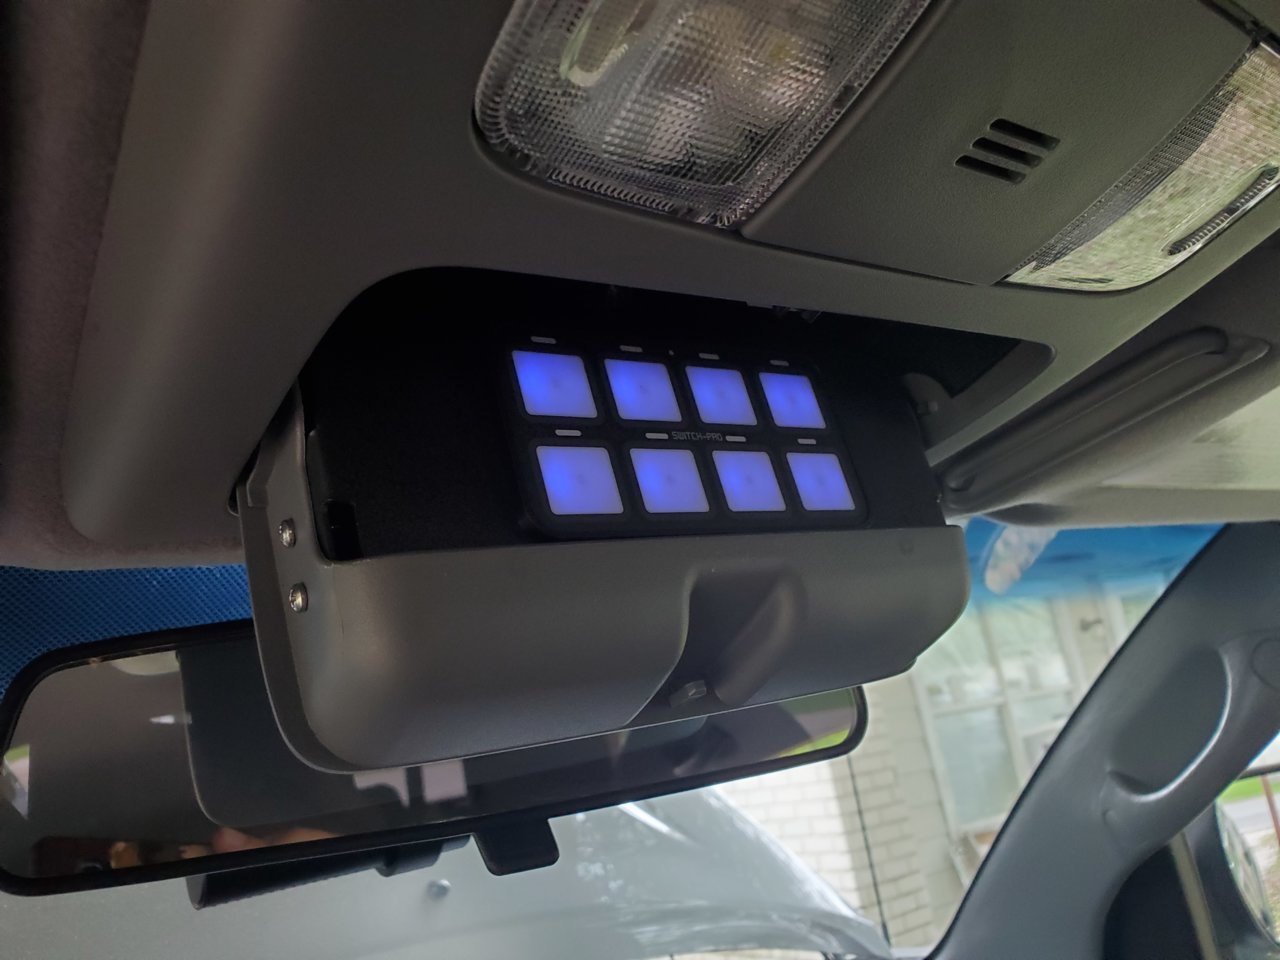
We have power! - @Coop68 did mention that the lighting on the powertray will brighten during high beams, I am okay with that. Since the switchpro will remain hidden most of the time anyways. Here are pictures:
Final pictures: