
You are using an out of date browser. It may not display this or other websites correctly.
You should upgrade or use an alternative browser.
You should upgrade or use an alternative browser.
richard310's 04 Xterra Build and Adventures
- Thread starter richard310
- Start date
Looking good buddy!!
Nice upgrade Richard - you're going to love night wheeling with that
Thanks Scott and Dave. I'm itching to head out after work for testing!


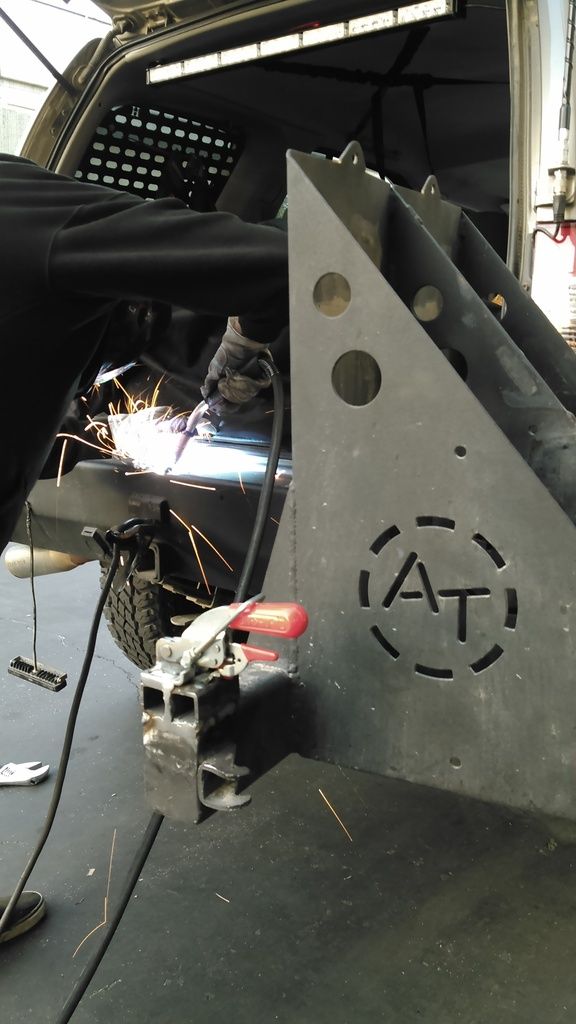
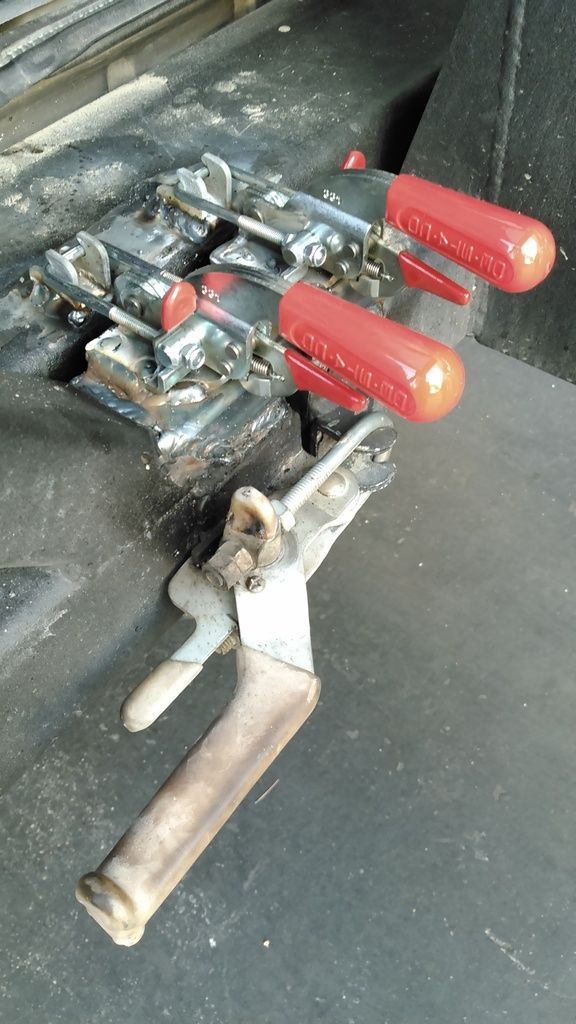
So I finally had a friend at work tack up a quick weld job to replace the silly ratchet tie down holding the spare tire swing out from moving while in motion. I ended up using a double latch system to replace the original single latch. I used the Double Locking Pull Action Toggle Clamp from McMasterCarr rated at 720lbs here, on the end of each swing arm. I was debating of going overkill with the 2000lb rating, but decided it unnecessary and over budget. Using two 1"x1" steel square tubing side by side (couldn't find 1"x2"), we attached the clamps to be on the same level as the bumper and welded them in place. This turned out to be the ticket to eliminate the fore-aft movement of the carrier. I'm quite pleased with the simple design and we'll see how well this system will hold up on trail and over time. If you ask me, this is how the securing of the swing arms should have been done: attach each arm to the bumper, not to itself. The original clamp is still welded in place. I may be grinding that off sometime this week or I may keep it on there as a 2nd level of security, as I haven't decided yet.
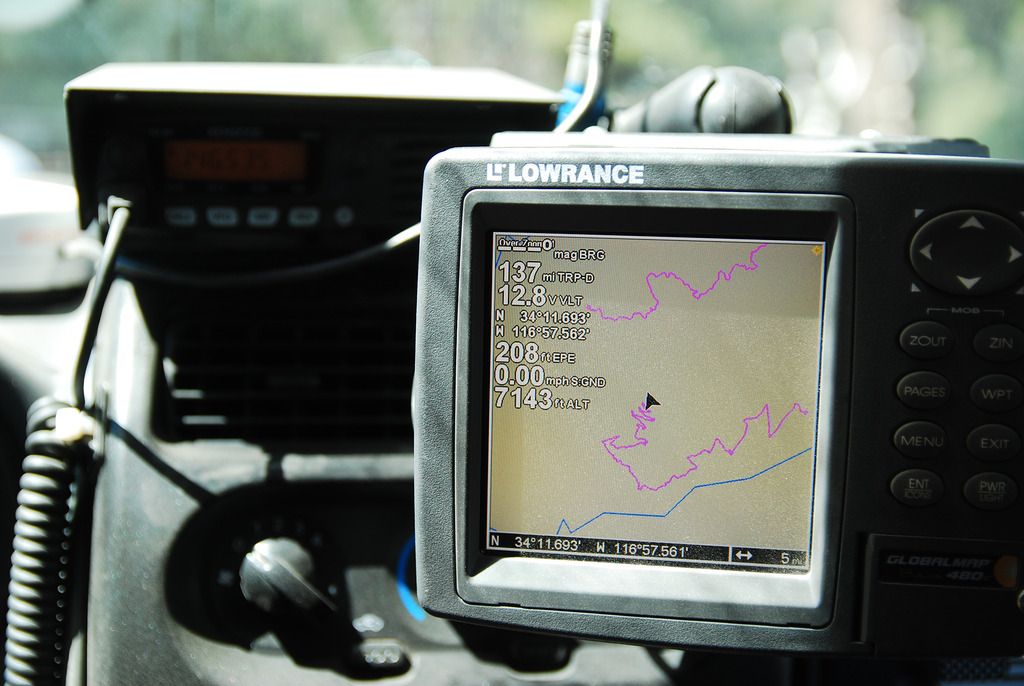
Excuse this silly camera phone quality pictures:
Excuse this silly camera phone quality pictures:


Look's good Richard! You won't have to use the tie down around the roof rack anymore.
Thanks gman. Its definitely a lot better and more secure now!
- - - Updated - - -
Dude, I cruised your thread for a couple hours intermittently at work today, and I only made it through page 1. Nice rig, and I'll be back to finish up, LOL!
Lol. I just noticed how long page 2 is... Woops. Too many pictures and rambling?
Just got the Xterra back from my mechanic. $1400 later, I ended up with a new bank-2 manifold and catalytic converter, 02 sensor, and the supercharged Xterra radiator (thicker than the non-supercharged OEM unit). The manifold/cat ended up being about $500, the radiator about $200, and the rest was in labor. Unbelievable how ridiculously difficult it is to get the bank-2 manifold off just for a silly catalytic converter, which the Xterra has four of. I'm happy the CEL is gone and I can now get the vehicle smogged and registration updated... 
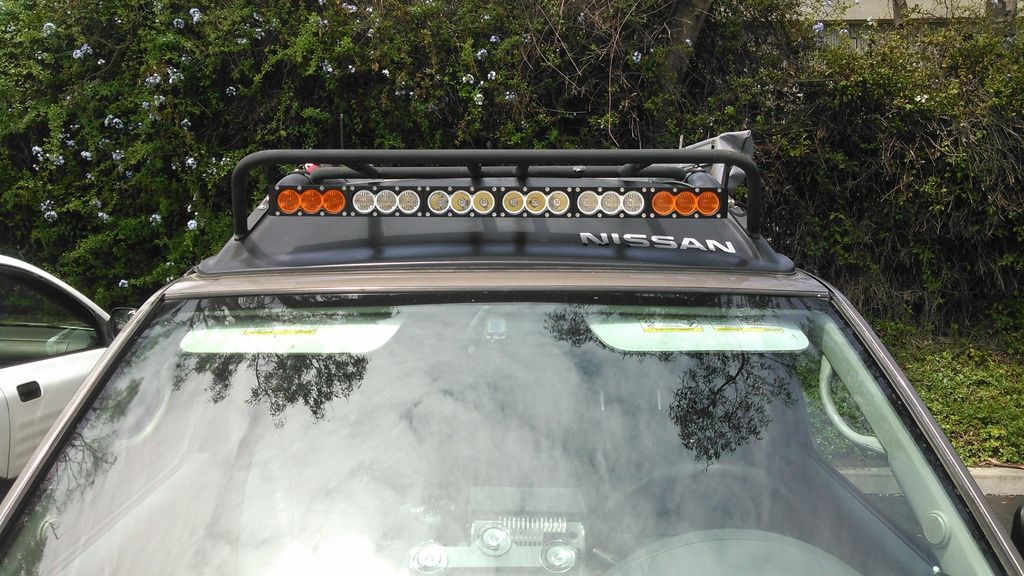
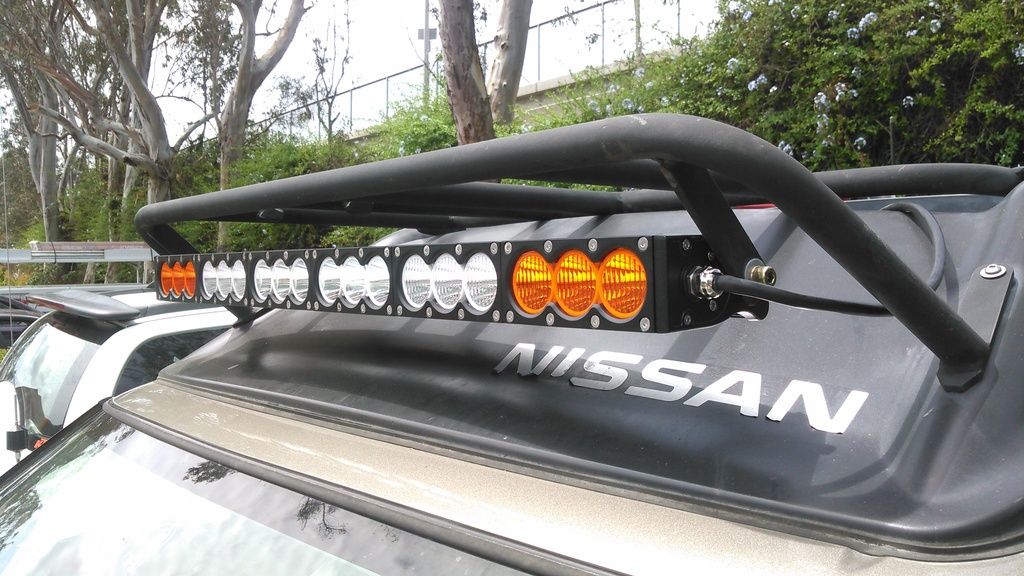
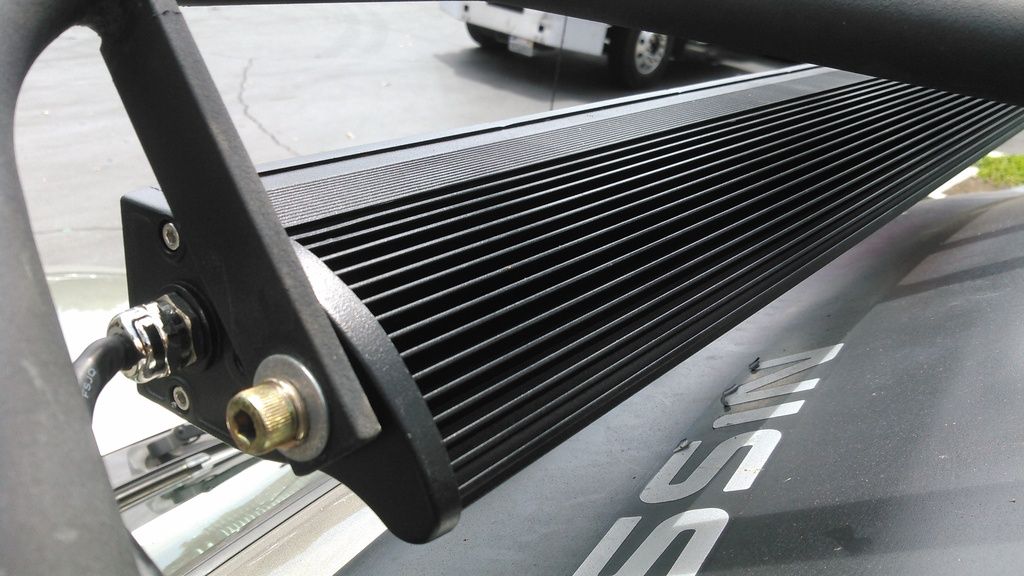
I began looking for a single row LED bar to eliminate the windnoise above the cabin and also have an amber section to soften the sterile white. After browsing Amazon for a bit, I came across a single row, 32-5/8" long, 10W each LED bar. The outer two sections are amber while the inner sections retain the white. It came with some beefier brackets than I've seen on other cheap bars, and some better hardware as well. It's pretty heavy, weighing in at about 10lbs or so but has some very adequate aluminum heat sinks on the back end of it. I'll be taking a few night pictures tonight after I get home.
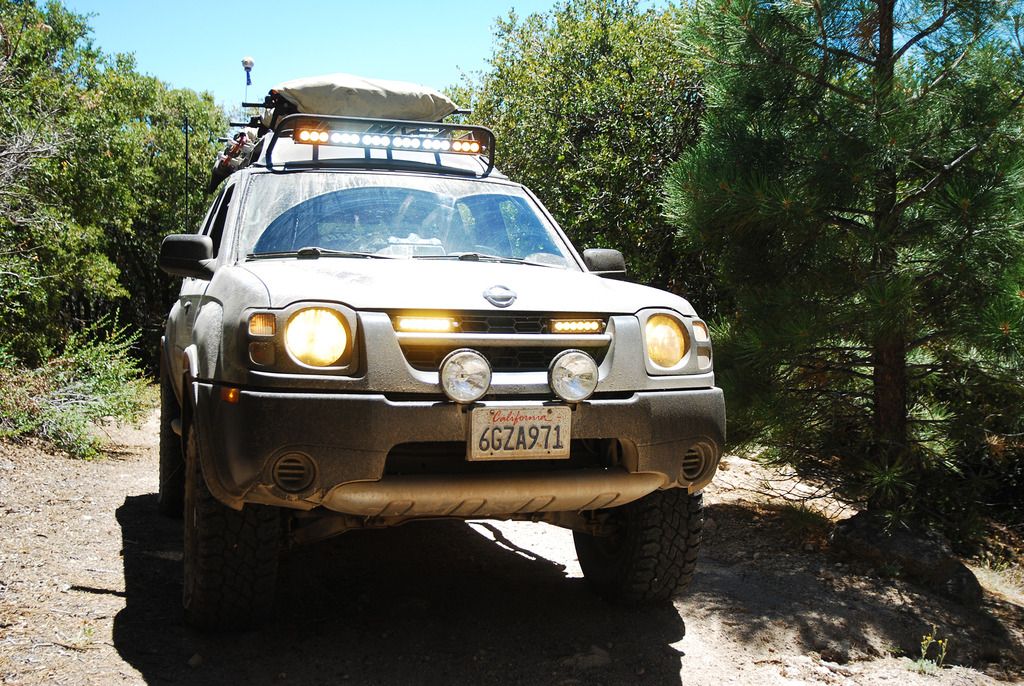
I've also got a set of 6" amber LED bars to replace the bumper mounted HIDs. That will be installed later this week. Those have 5W LEDs each and are a single row as well.
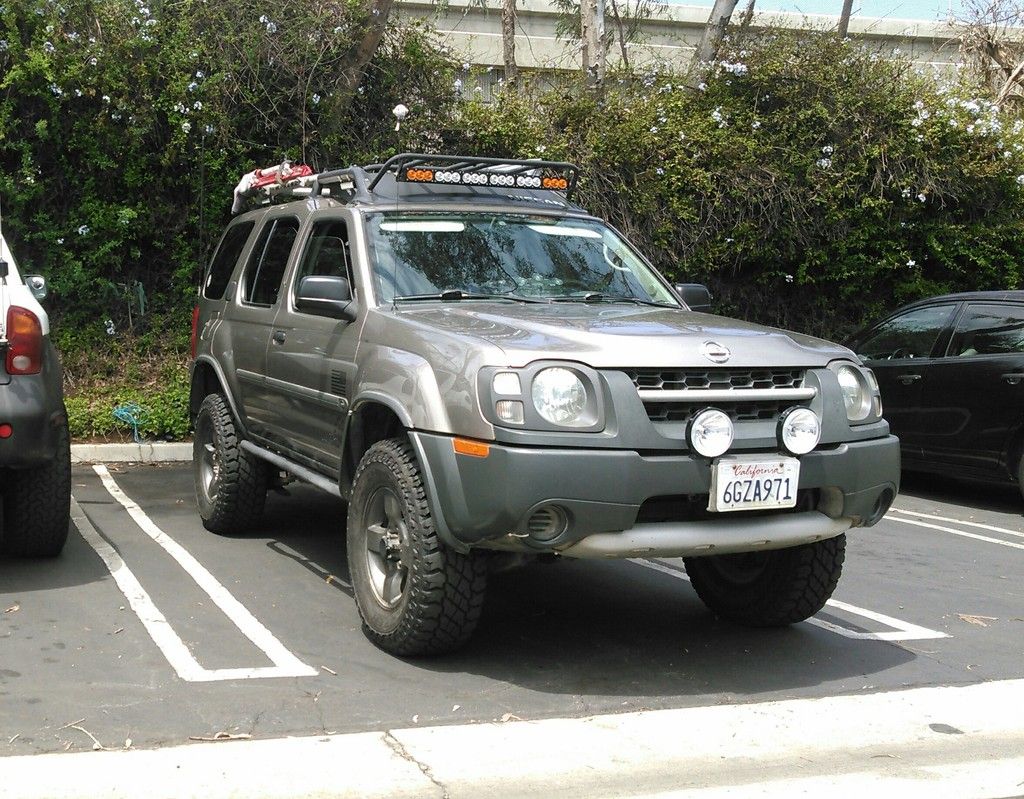
I've also got a set of 6" amber LED bars to replace the bumper mounted HIDs. That will be installed later this week. Those have 5W LEDs each and are a single row as well.


Xpedition Outfitters
Adventurist
Looks good.
Do you happen to have a link for the light bar?I began looking for a single row LED bar to eliminate the windnoise above the cabin and also have an amber section to soften the sterile white. After browsing Amazon for a bit, I came across a single row, 32-5/8" long, 10W each LED bar. The outer two sections are amber while the inner sections retain the white. It came with some beefier brackets than I've seen on other cheap bars, and some better hardware as well. It's pretty heavy, weighing in at about 10lbs or so but has some very adequate aluminum heat sinks on the back end of it. I'll be taking a few night pictures tonight after I get home.
I've also got a set of 6" amber LED bars to replace the bumper mounted HIDs. That will be installed later this week. Those have 5W LEDs each and are a single row as well.
Do you happen to have a link for the light bar?
http://www.amazon.com/gp/product/B00YMMNVBC/ref=ox_sc_act_title_2?ie=UTF8&psc=1&smid=A4U5K5WSMXXOJ
Thank you, looks like it is reasonably priced as well
No problem Cris. It's as China made as it is with the branding named Generic. Looks to be pretty solid so far.
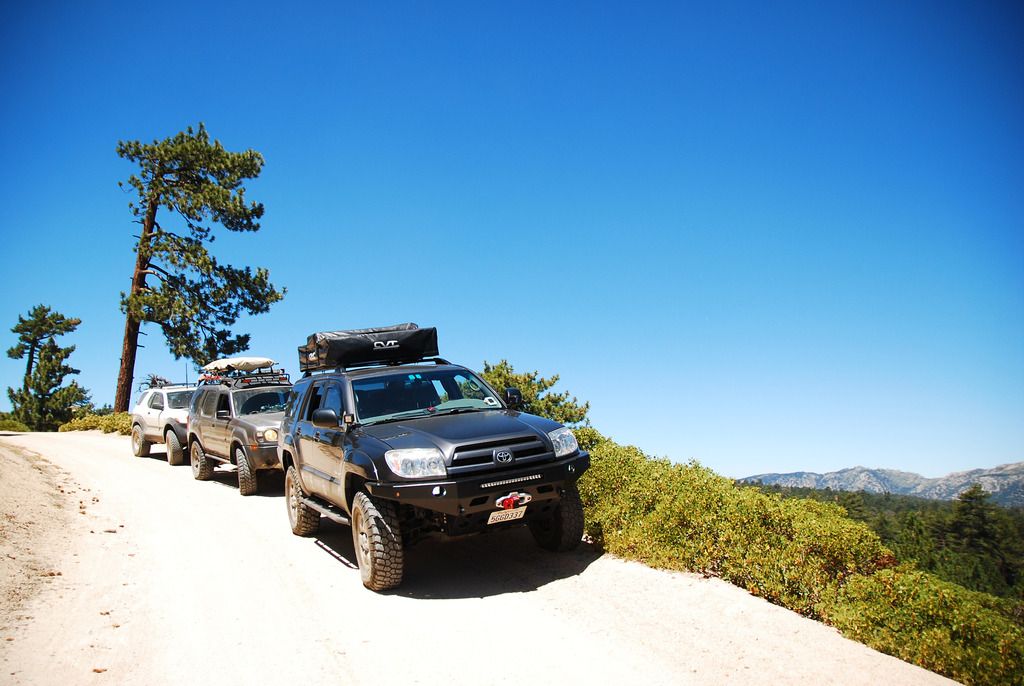
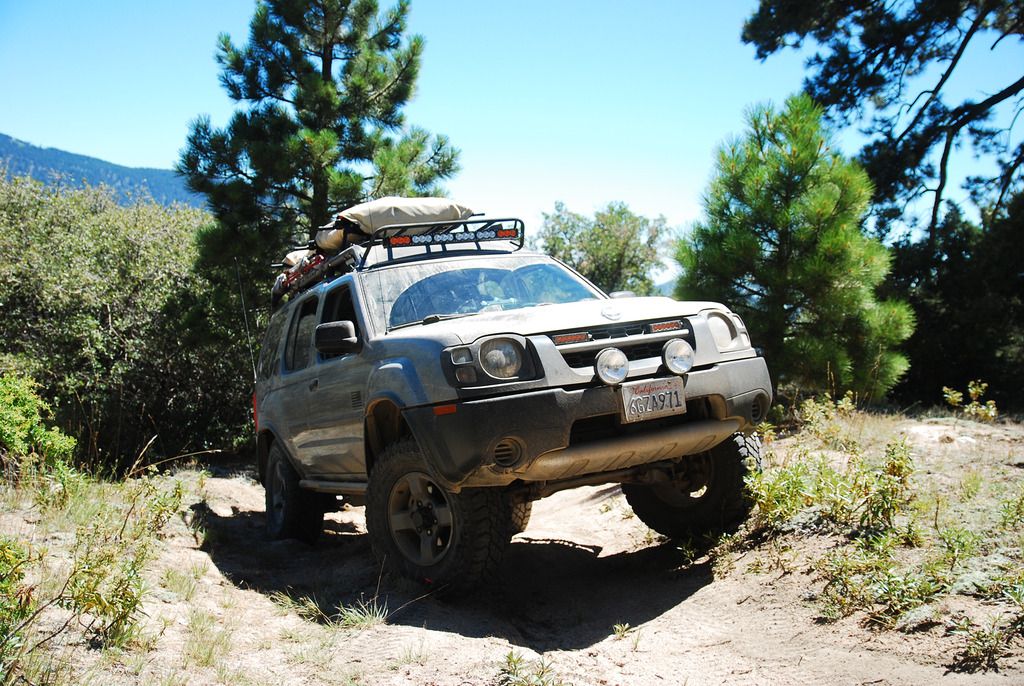
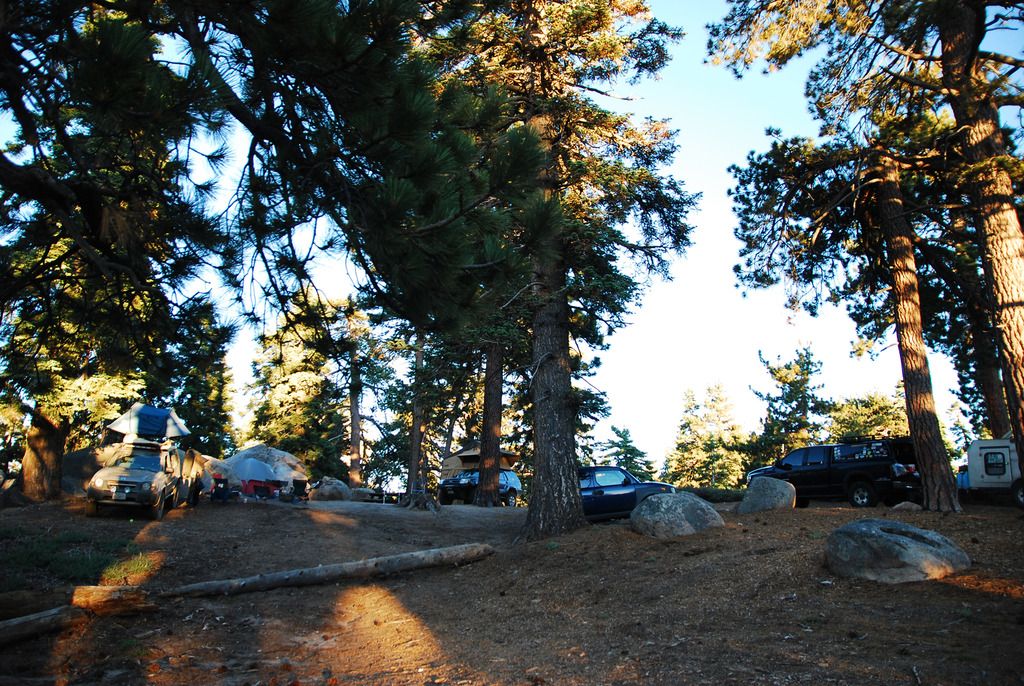
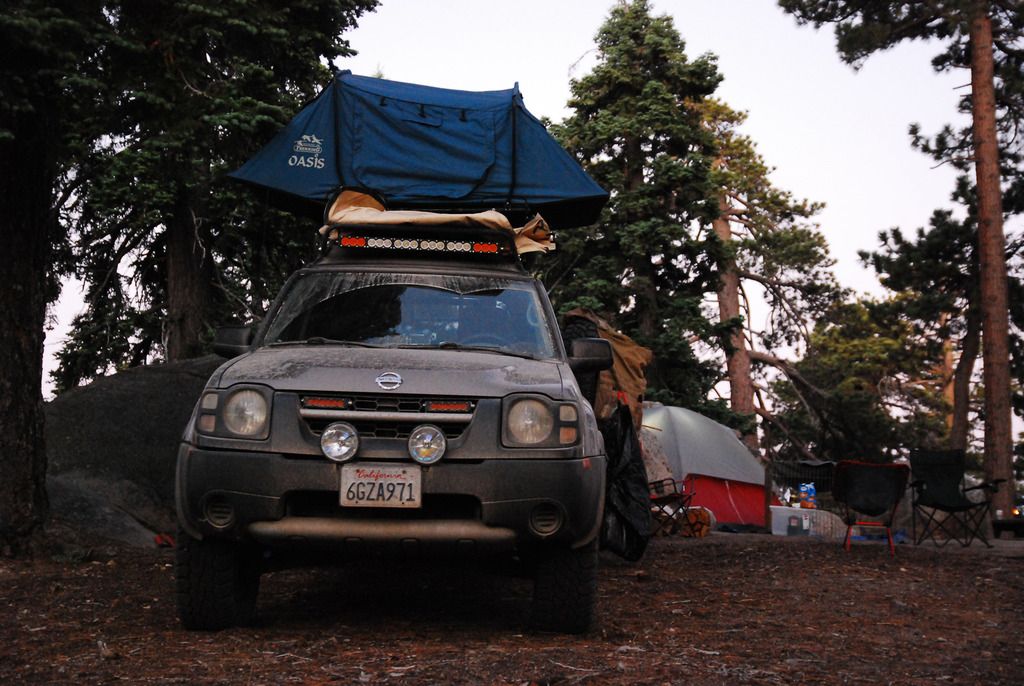
Just a few from last weekend at Big Bear. I didn't take out the camera as much as I just needed a relaxing weekend. We ran Clark's Grade, soaked up a beautiful sunset, had some ice cold filtered beverages, and got to hangout with some great company as always!


So, I started building my rear cargo system.
I'm using 1/2" ply from Home Depot that's been pre-sanded and cut down. There will be two separate units just under the window line, one on each side of the cargo area: One will have a drawer in the bottom, and two flip-top cubbies (one big and one small) up top. The other side will have two drawers and a flip top for top access. I'll be anchoring them down with L-brackets to the hook brackets on the floor and also to the factory side panels. The rear speakers will be moved to the top deck just next to the two cubbies and the 12V plug will be relocated for easier access.
I'll most likely be using carpet of some sort to wrap the entire units to give it a finished OEM look. I may also cut a deck to bridge the two units to create a flat space for better organization if necessary.

Right side:

This side just needs a lower drawer, approx 14" deep, carpet and a speaker cover. I'll most likely line the insides of the cubbies and drawers with a dense padded foam to eliminate interior noise from its contents.
Left Side:

The left side I still have to cut out the rear facing panel for the drawers and carpet the whole unit.
I just recieved the sliders for the drawers from McMaster Carr: Full extension, hold open sliders with an approx 100lb load rating. Flush mounted latches handles and magnets for the flip tops and drawers also obtained. Also left is to fab up some L-Brackets to mount the units to the vehicle itself. I'd say about another week till completion.
Xpedition Outfitters
Adventurist
great upgrade to the rear cargo area.....
great upgrade to the rear cargo area.....
Thanks Raul. I'm hoping it works out to my liking for this upcoming weekend and future trips.