Java's F450 'Rough Road' RV

Insulated the back bath wall. Really only because I needed the scrap!
33616775305_5657130c68_b.jpg


So I could insulate under the water tank!
33576039406_72f054b7c4_b.jpg


Tapped the holes for the tail light panel and used my nifty new wing bolts.
32774277434_65b3489df9_b.jpg


Drops off for easy dumping!
33616784355_5f738fdcf3_b.jpg


bigskypylot;2270229 said:
Looking really good!

Thanks! Its amazing how much time all the little stuff takes now...

Opionion Time!

Thoughts on propane tank right in front of the drive wheels? I found a ASME (permanent mount, DOT approved) tank, Its just slightly longer than I wanted.

It almost fits just right, right here:
33582945946_aa667d42ba_b.jpg


A couple options, say fawk it and it sticks into the wheel well a couple inches. Not ideal, especially is bigger tires are involved in the future. And it will get constantly pelted.

Option 2: Hack the box in front of it up. I could cut enough of it out so the tank would tuck forward, so the back is just flush with the wheel opening.
This kills my dry storage though... I could put a divider back in, but it would never seal that well. Plus I cant weld aluminum. The up side is the stairs eat most of that box anyway, and they are often wet/snowy/messy anyway.

Option 3: BBQ style tank, originally I planned to mount it on the rear door, but it would fit in the space as well if I could find a nice way to mount it...
Tank in question.
32781335854_ea00f3db49_b.jpg


got it to fit in front of the tire, its REALLY tight.....
 
Another weekend in the books. Just a campground this weekend.

32828654164_7f6d685dd1_b.jpg


Spent some time on Sat getting the poop tank done. Made a custom "long elbow" for the vent.
32828649794_8f723f5126_b.jpg


Runs up the back corner and out the wall.
32839817944_57b9a7ec23_b.jpg


Added a cleanout for easy tank rinsing. (Does not work..... unless its a tiny trickle, air is trying to occupy the same area to vent. No good. I got a rinse valve that fits on the dump fitting, works great as my valve is right on the tank)
33542406281_4582638e81_b.jpg


And the clamshell vent over the outlet.
33542408191_8eb5e61641_b.jpg

33542407611_c30e9e57fc_b.jpg


Getting out of the driveway was interesting. Ugh. I need some gravel. (This was before I learned my vacuum system for the 4x4 was not engaging the front axle...)
32869344243_857fa8f6be_b.jpg
 
Pickup up the propane tank. Its big. Bigger than I planned. Its 11.9 gallons or 50lbs, and its half full and really heavy to wrestle under the truck, then to to bench press onto the jack...

But it fits, sideways, barely.
33564369552_5ea4e9374e_b.jpg


Tight on the spring hanger. A little trimming of the gaurd thing and it will slip up a little higher, should have ~1/2" clearance min.
32907058503_d69a3c3407_b.jpg


Took some pics of the frame extension while I was down there. Its welded in, then a doubler is bolted across it.
33591407691_25a66d978f_b.jpg

33564373212_41a5e11be2_b.jpg


My lighting showed up, they don't match... oh well. Mount is taller, covers are different, colors don't match.
32877964684_485505e0e3_b.jpg


So I started on a light bar. Bend attempt #1, fail.
33564375892_587175aa87_b.jpg


Attempt #2, works. Floor jack, two pieces of 2x material, one big *** trailer hitch. Kinked the tube a little but it worked and its a light bar, who cares.
32878400114_7e24587258_b.jpg

33336258770_42ec4eeb42_b.jpg


Also met up with Ward and Annie for a tour of their truck. Its simply awesome. Thanks for sharing your home with me guys!
32877966354_16ec0500af_b.jpg
 
Your build is looking great. I like the departure angle on you buddy's truck. If you are doing any more bending, these are cheap. I see them for $89 at tool sales. I bought one 20 years ago. I have probably used it less than 20 bends, but it is very useful when i do need it.

bender.PNG
 
Your build is looking great. I like the departure angle on you buddy's truck. If you are doing any more bending, these are cheap. I see them for $89 at tool sales. I bought one 20 years ago. I have probably used it less than 20 bends, but it is very useful when i do need it.

View attachment 36891

Thanks, yes his truck is amazing. The entire thing is welded aluminum inside too, cabinets everything.

I plan to cut an angle on the back of mine eventually, I can loose about 8" in height at the back edge. I have a lot less rear overhang though.

That bender would have been handy! I will have to keep an eye out for one eventually.
 
Welding day yesterday. Made brackets to hold the kerosene tank for the heater. Blue was the first can on the spray paint shelf.... You wont see it.
33582012502_8e9f336bb4_b.jpg


Then started on the light bar.
32895634334_c5952dca9b_b.jpg


Then got distracted for a couple hours.... It got dark. Turns out you can fit a headlamp over a welding hood :D
33582010502_e6382ec16b_b.jpg


Tacked up in the driveway.
32895632354_aef9b70444_b.jpg


Welded up. Im going to have a long date with the grinder. I left the mounting tabs a little big as the bar was kinda sloppy in my 'jig'
33353889530_a10c156fb4_b.jpg


08fce0584dc53c380965967c22ed6d1c.jpg


7d2b5bd4eeae473a259c152314673e73.jpg


May have to add some tabs to support the lights, we will see
 
Propane tank is in! My god that was not fun, its tight, like really really tight, cant lift the tank up, it has to be tilted and wiggled into place.... Apologize in advance for crappy pics, its tight. :D

The front side of the tank got through bolted through the floor, its under the fridge, which meant fridge had to come back out. Back side I couldn't do that as it would have been right inside the door. So I made some brackets, they go under the flange on the tank, pickup both bolts, and then bolt sideways through the floor member. Getting all that lined up with the tank in place was interesting.

Brackets with the lovely blue paint
33692214572_328b16e9be_b.jpg


And in place.
33692211122_1d90de6f4c_b.jpg

33692212972_3a23fbb104_b.jpg


Remember it was tight? Its touching the spring hanger.....
33692213322_fb4f0267b1_b.jpg


A little sawzall action and more better. Hopefully that not enough to cause structural issues in the hanger.
33692212102_761dabf8d5_b.jpg


Tucked up nicely, you cant even see it if your not looking. It will get a healthy coat of bed liner next.
33692211312_1e11bcb6bd_b.jpg


Nothing real exciting, but a little more progress. Made up the first battery cable, big thanks to Cascadian for letting me borrow his crimpers! They are sweet. Self adhesive shrink tube is awesome.
33746511631_8e37410b75_b.jpg


New cable let me install the shunt for the Victron battery meter. While I like the RJ45 connections for the meter, damn getting those heads fished through holes sucks!
33719266672_59f10bf202_b.jpg


Gotta install this end still... But it works!
33746510761_b8e42a775c_b.jpg


Its a jungle behind the fridge...

33764299231_8a13fcab00_b.jpg


But the stove works!! (and my phone sucks at pics...)
33852706956_41948b0e47_b.jpg
 
And built a drawer. May have gone overboard with the pocket screws...
33170331123_8df9622a31_b.jpg


Lots of storage there.
33853428341_a96a1fb7d6_b.jpg


A little bit more whenever i get a free minute!

Pantry drawer done
33180727564_dbe7f5ae4d_b.jpg


Battery monitor and T stat mounted.
33180727584_0b67bc937a_b.jpg
 
We look a little large on the ferry :D
33312228493_041a02d2e0_b.jpg

33738732630_9452365e89_b.jpg


Worked on the propane tank some more.

A load of undercoating on it. Thats some nasty ****.
33501890553_3475c1c094_b.jpg


Also got a big rig mud flap, I think it should work well. Gotta do some hacking, but it looks like I can anchor across the top, and at the bottom outside corner to the body.
33501890833_55b5c54573_b.jpg


Then added a deck plate to the back side of the tool box on the passenger side so I can get to the gas valve.
34270974516_d3f466f030_b.jpg

33501891343_7f0072553e_b.jpg


Tried to get to one of our regular spots. Ran into 8-10" of wet sloppy snow that was more than we wanted to try to get through solo.

Oh well. There is a nice quite CG close by
34370444765_e1531132c9_b.jpg


Snow wasn't far off.
33573731693_ab8b0ecd56_b.jpg
 
Found a few hours yesterday between soccer practice, dinner and homework with the kid....

Propane tank mud flap is done, man are those things hard to cut!

34512100546_13b133e91d_b.jpg


Bolted to the body on the outside
34392069522_91a66d5aec_b.jpg


and a piece of cable on the inside. Hopefully this keeps it off the tire. Handy slot/hole was already in the spring hanger, I think it will stay put.
34392067842_e560924216_b.jpg


Finished up the last big wall panel, still lots of trim work, and skinning the door. But this piece keeps the insulation in place and give it a much more complete feel.
33599498393_ea6afa6592_b.jpg


Caulked in the back side, this is kinda a "wet room" skis, ez up sleds etc. That should keep the water from running under the floor into the living space. There is a fair bit of storage back there, but I wish I had made it 1" deeper....
34392067892_15306d8a25_b.jpg

34512099566_91879d977c_b.jpg


Got the inverter mounted, and the hot side cable done. Man everything takes FOREVER! Climb under bed, forget some little piece/tool, climb out, walk to garage, climb back under bed. Repeat ad nauseum.
34392066782_107aa12b6a_b.jpg
 
100W folding panel, looks like they took one of the "flexible" panels and cut it in half. Its very small when folded. It will be paired with a Victron MPPT controller.
34845851875_ffa44eb30d_b.jpg

34036055033_49a77298ed_b.jpg


Charger is wired. Ran a piece of flextite conduit between the tool box on the drivers side and the battery area. This is so I can run my incoming power cable from there. Also ran a pair of 8 gauge wires for the solar hook up. The solar controller will likely be mounted next to the batteries though. The other two glands re for my 2/0 DC power wires.
34459578230_073d859445_b.jpg

34459578660_c742040e6a_b.jpg


And in the box I have about 20' of 20 amp cord, and the two solar wires. Tools and fluids live there too.
34845847625_5d313dde0b_b.jpg


And wires up to the inverter charger.
34459582200_5b98d2bccb_b.jpg


Also started on my 120V breaker box.
34845850585_cdbdceb229_b.jpg


Then it was time for more holes..... Water heater intake/exhaust.
34806573076_7afeb53fe1_b.jpg


I even managed to get the hole from the inside and outside to line up :D
34806576766_f51563f682_b.jpg


Its a concentric vent, intake around the outside, exhaust down the middle. All stainless which is nice.
34806572706_c71f26a825_b.jpg


And all done.
34036064593_b3e740cf4b_b.jpg


And since It was almost 90 yesterday we thought we should give sticker peeling a go! Man it came off so much better than when it was cold out! No more sponsor names, just the number either side now. There was even a second layer of blue on the front!

34845856595_40379a3dcb_b.jpg

34845857985_c835684dce_b.jpg

34682600392_301dce66ea_b.jpg

34806575386_34a33fb349_b.jpg
 
What are your plans for the final color? Are you painting it, keeping the strips, other...?
 
What are your plans for the final color? Are you painting it, keeping the strips, other...?

Eventually I would like to get it re-wrapped. More grey/black/tree outlines etc, but its $$$$$$$ to do nicely. The cab is black and the box is white, which makes peeling it all off problematic.

Its pretty loud as is, but will probably stay that way awhile, its much better without all the graphics, just the 1926 left.
 
Water tank is in, strapped in place, and hopefully stays there. Glad I didn't get a bigger tank, no way I would have gotten the fittings on the end. (30gal has been plenty so far! We use the 2.5 gallon jugs for drinking water, so this is just hands/dishes/shower etc.)

34724587932_85ae83bf32_b.jpg


Water outlet, drain valve on the right will need to go down though the floor.
34887880035_3c5150dc87_b.jpg


And in place, it fit exactly tight against the wall. (and I should have hooked up the drain right then..... I just did it last week finally, had to take everything apart to get my hands back down there.....)
34077332583_2741d110b2_b.jpg


Water heater mounted, the blue can will be the grey tank.
34887878625_fb2fde11f8_b.jpg


I did get the water ran to the other dinette bench and to the valve before the water pump. But that was it. Man its tight and takes forever! All the rest of my pics are blurry....
 
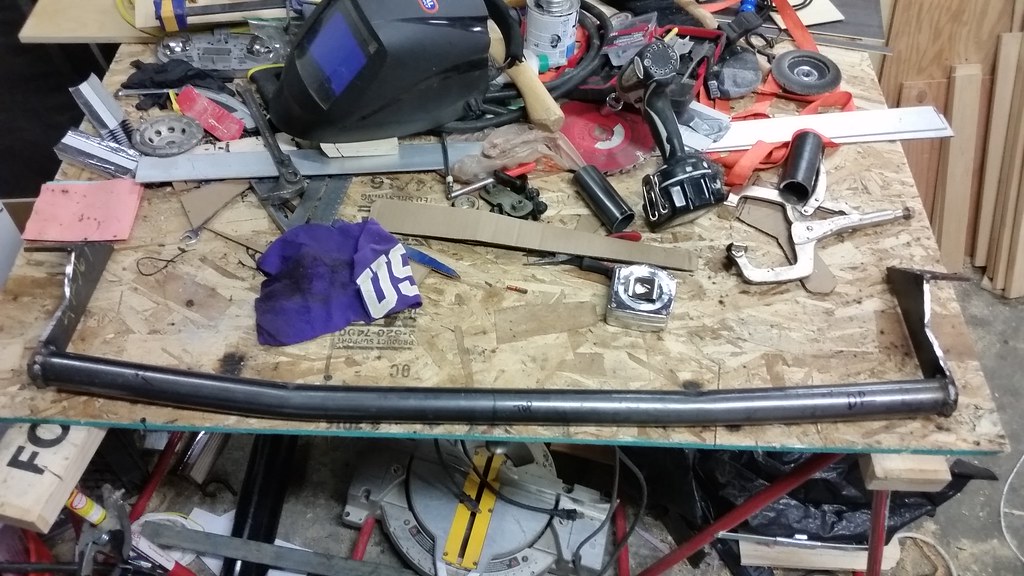
Here is a recap on the thrash that was Friday. Whoever decided I needed to get the water done before we left was a little nuts.... Needless to say, the three hours I had planned for it wasn't enough. Oh well, I dragged my *** out of bed at 6:30 and got to work.

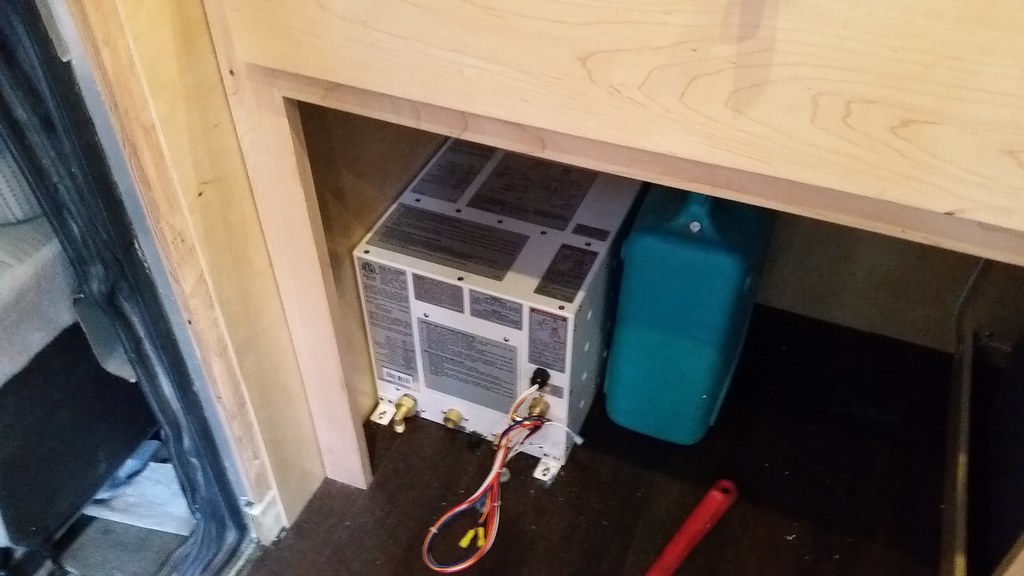
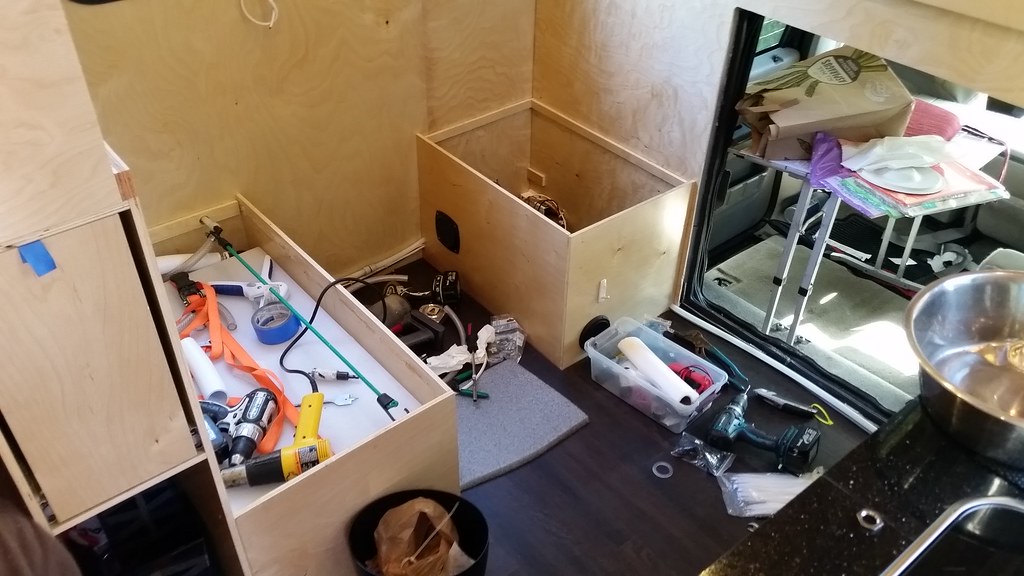
I had to connect the tank to the water heater, both of which were installed at this point, then do all the tank fill side of things, install the water pump, wire all that stuff, and do the grey tank. (yeah typing all that out reminds me three hours were not nearly enough, planned to work 7-10, cleanup and pack and leave at 12)

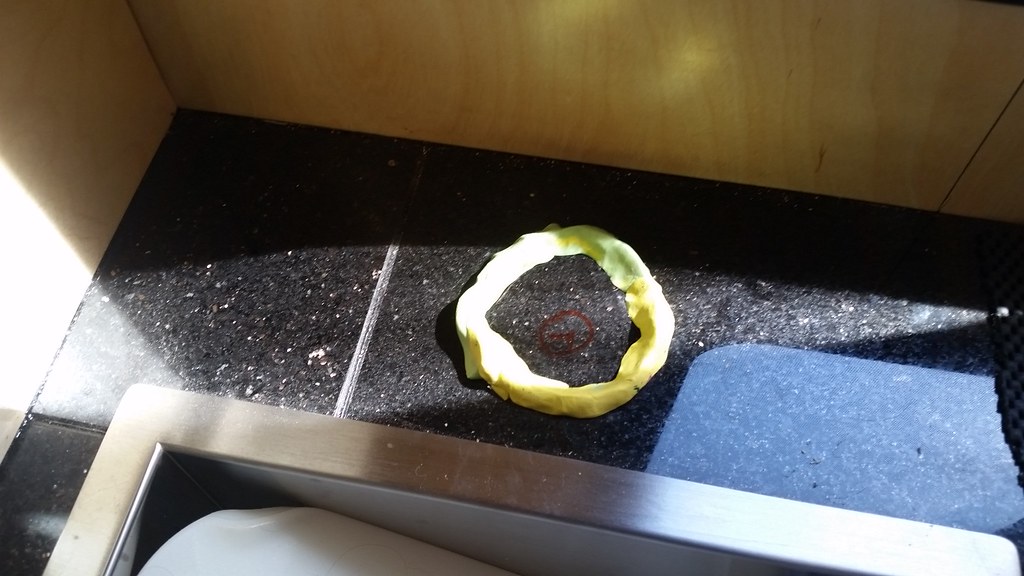
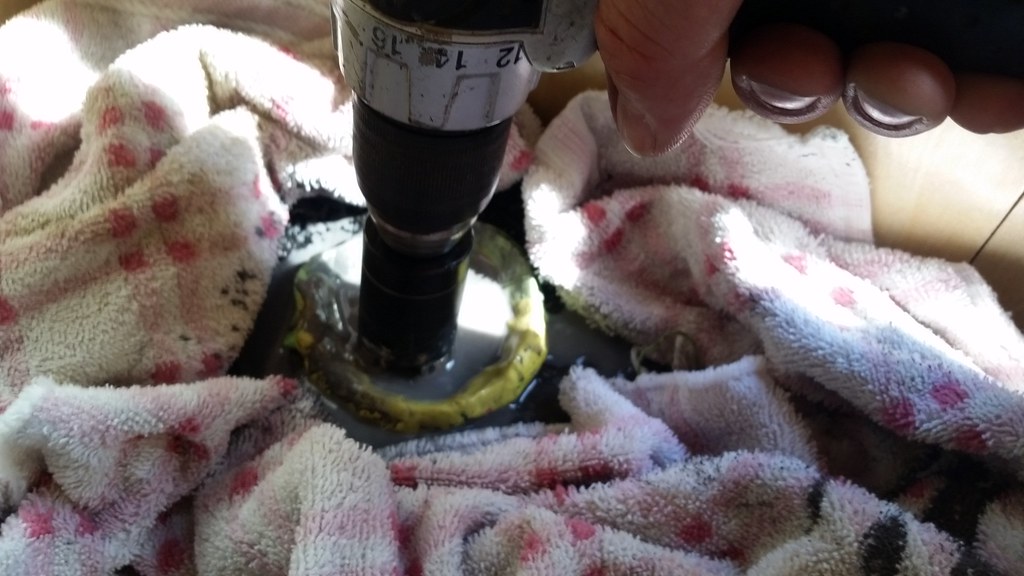
So to start we have to install the faucet. Kids oil based clay works great for making a dam.
34991805555_8da16c562f_b.jpg


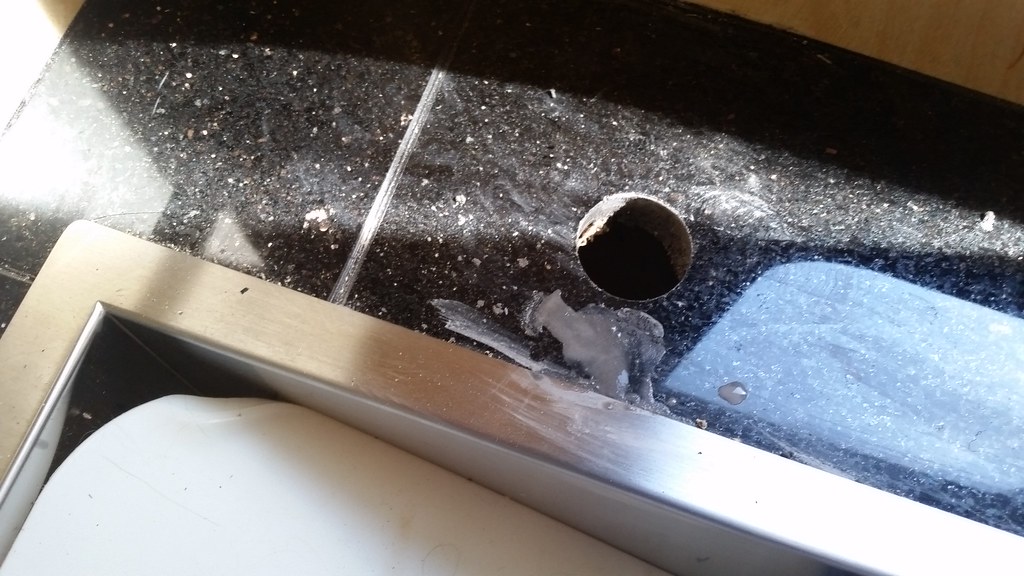
Now you hope and prey you don't break the tile.
34604254000_5c955fa54c_b.jpg


Breathe again....
34604253350_e0869304fe_b.jpg


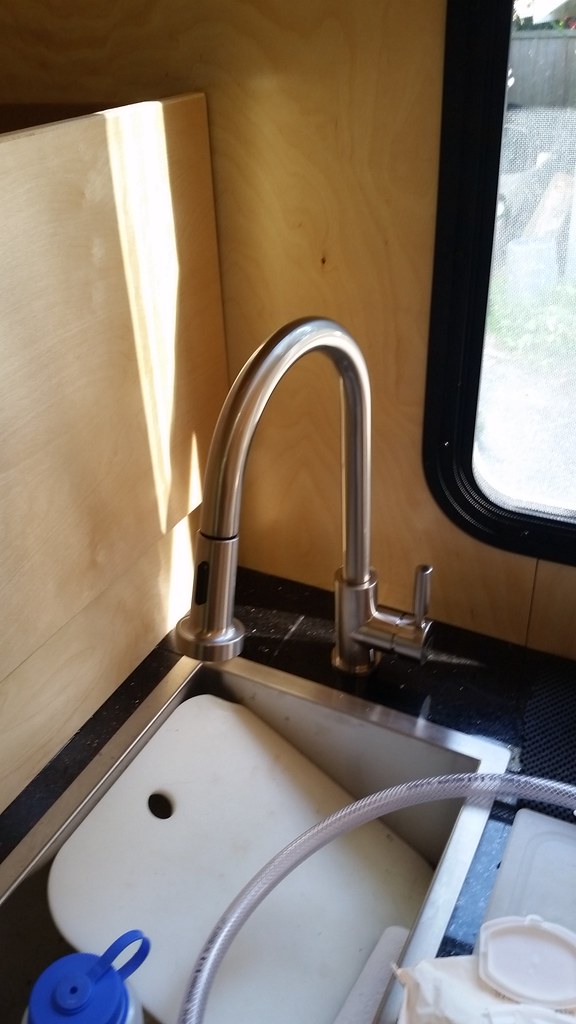
And drop the faucet in. One thing checked off the list.
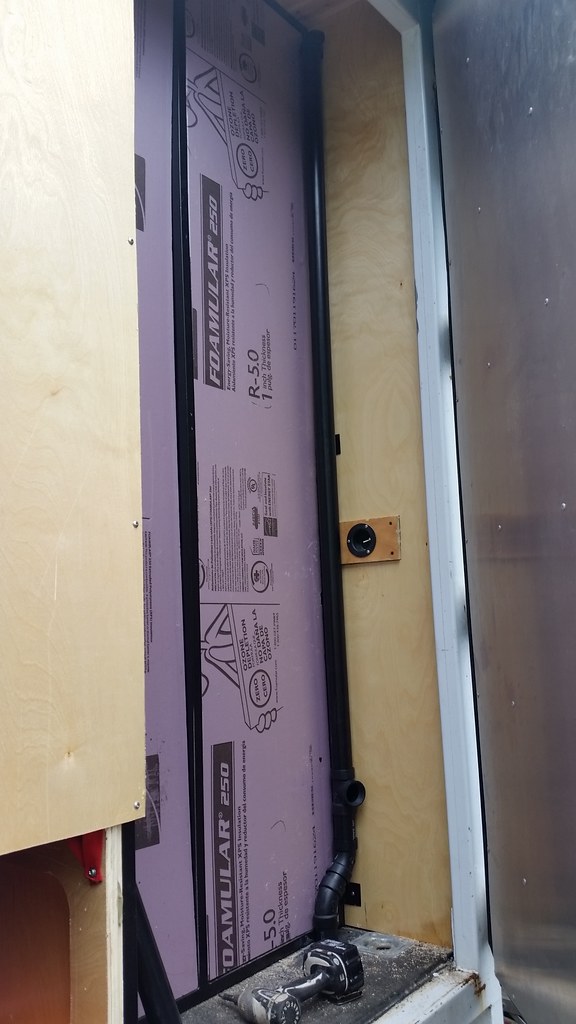
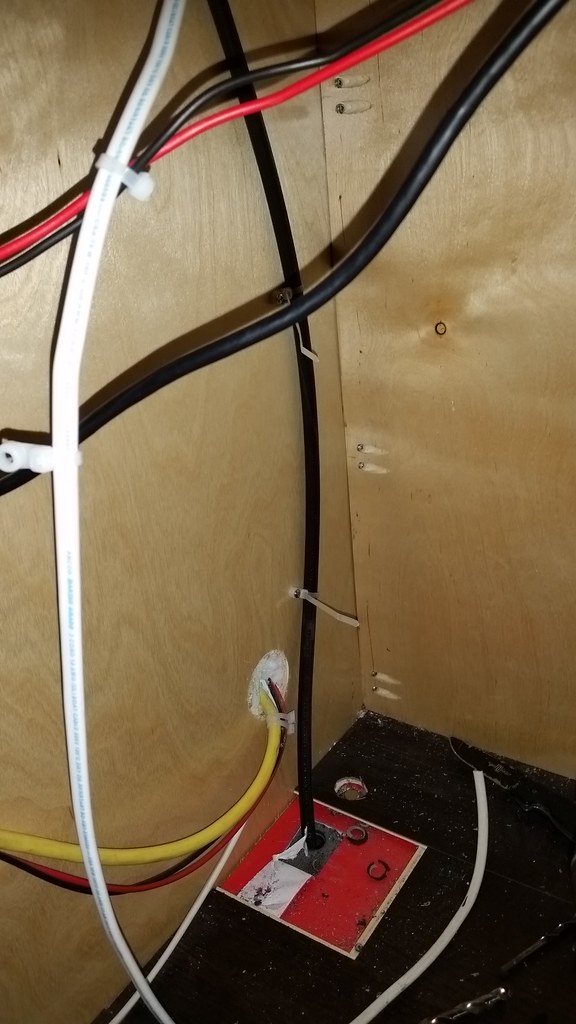
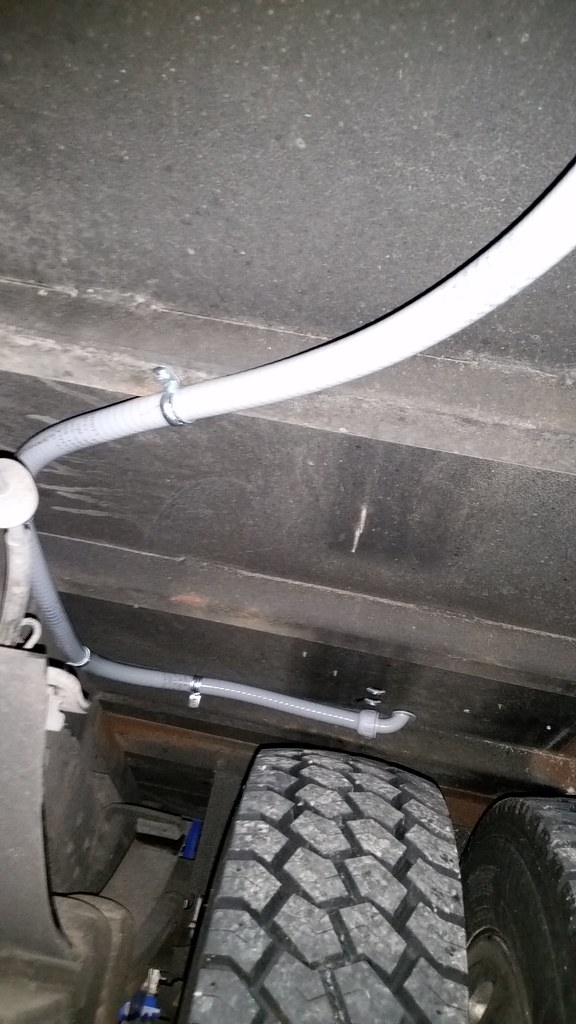
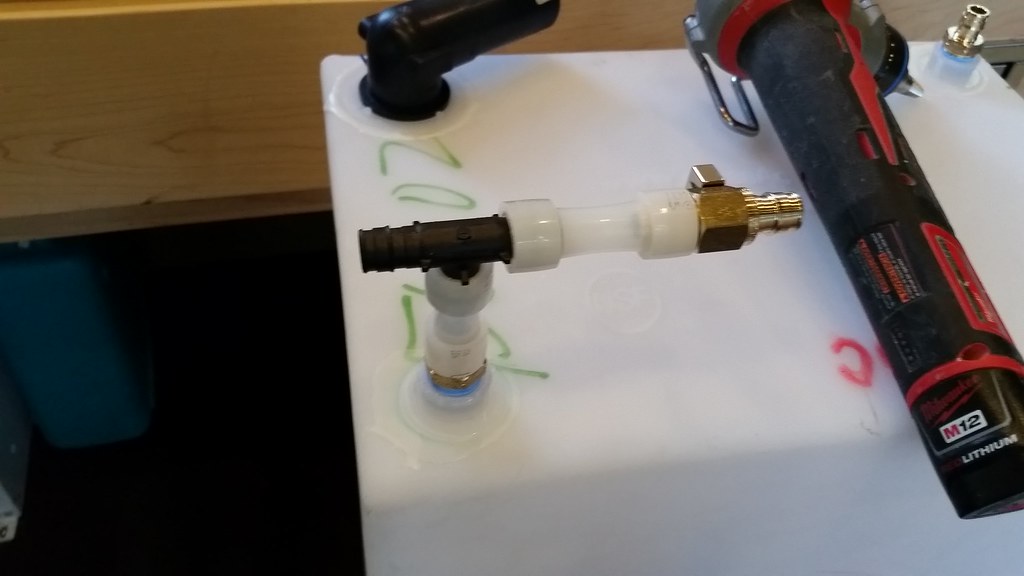
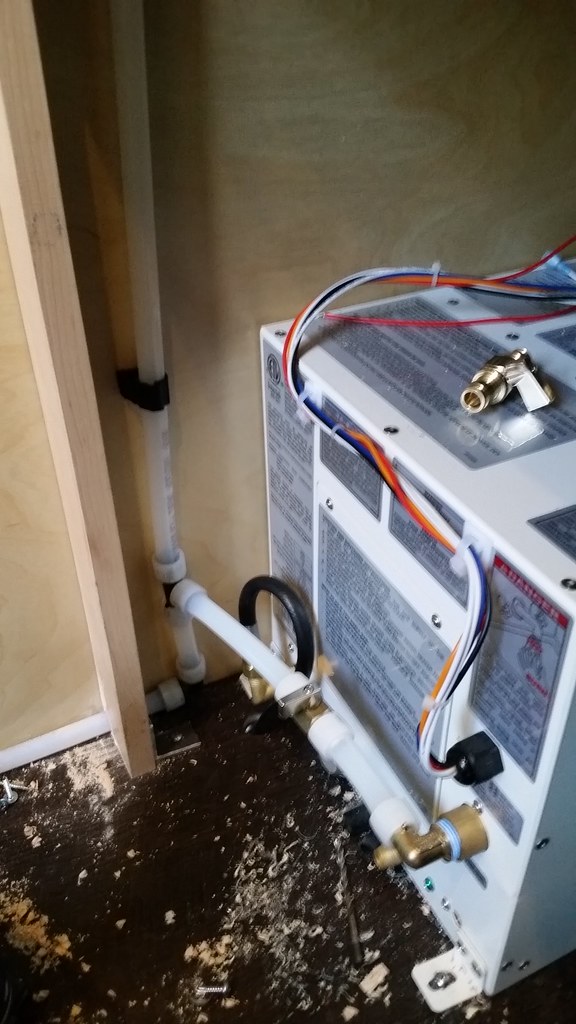
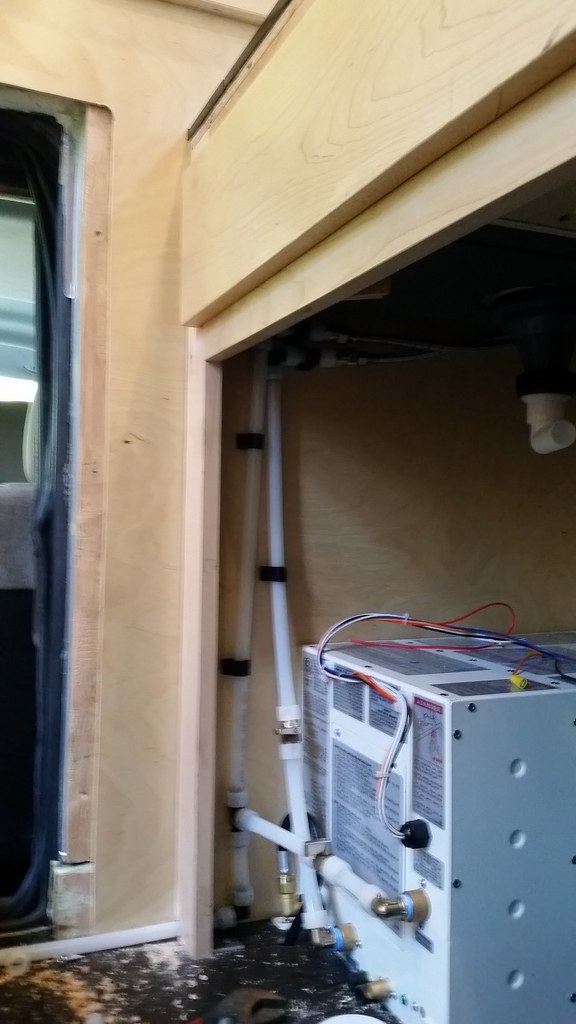
34991803855_f850f6ca53_b.jpg


Run water lines.
34991796975_c6471690f2_b.jpg

34604252280_3b28fd269a_b.jpg

34604251280_ff1269e494_b.jpg


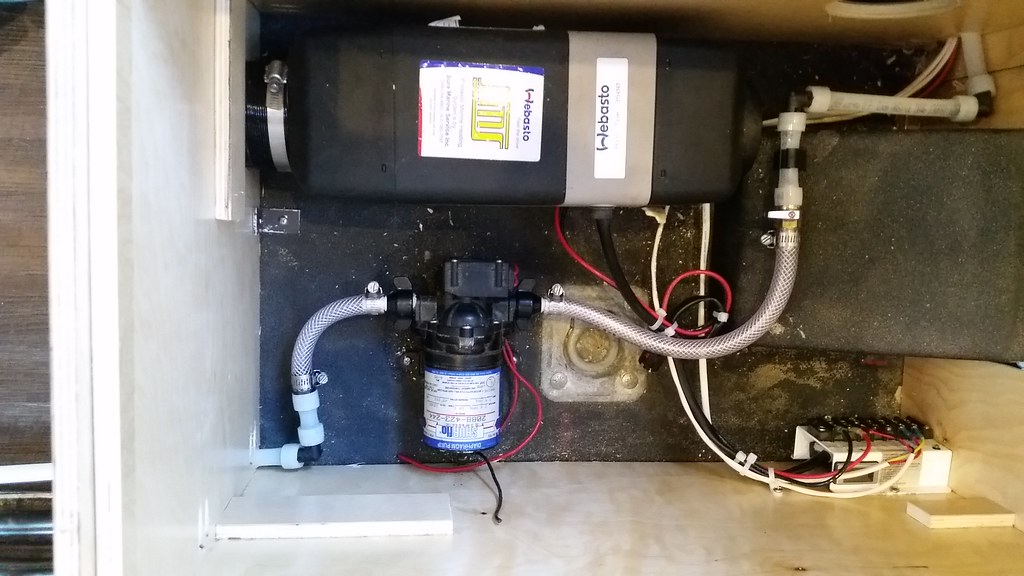
Hook up water pump, used flex here to try to keep noise and vibrations in the lines down.... Pump is god damn loud. Its a used one I have had in my garage for years now.
34828377832_bf366564d4_b.jpg


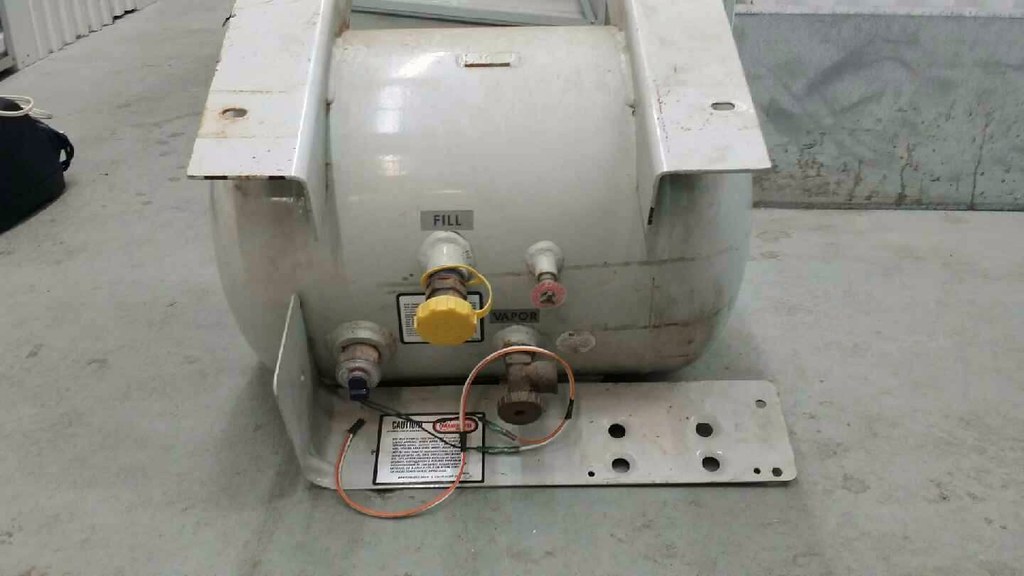
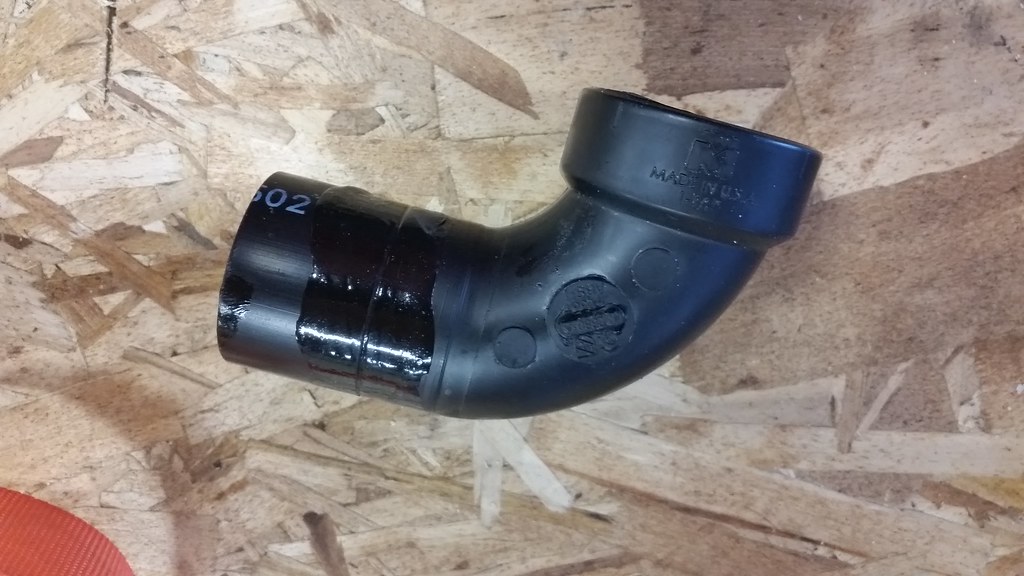
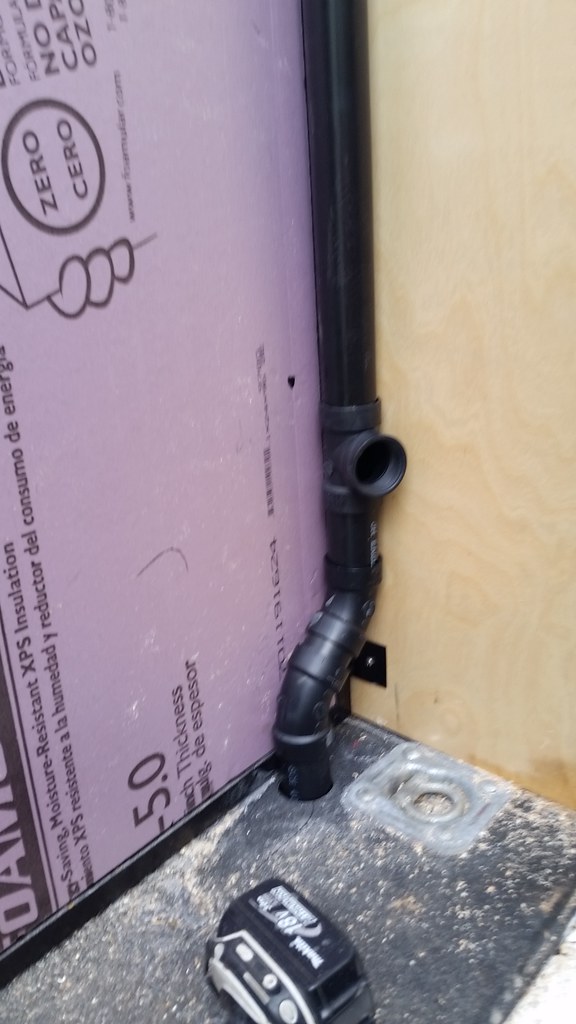
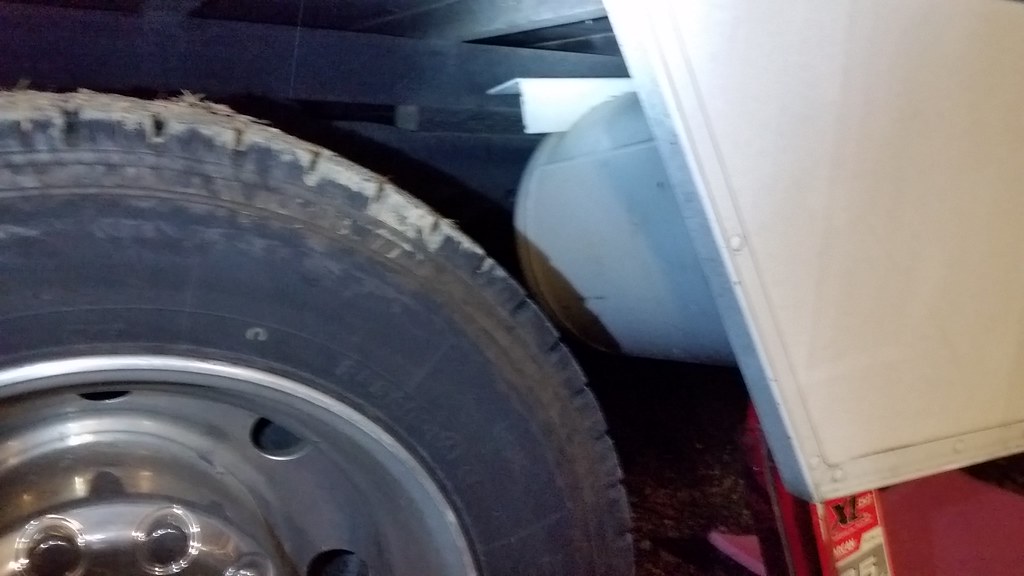
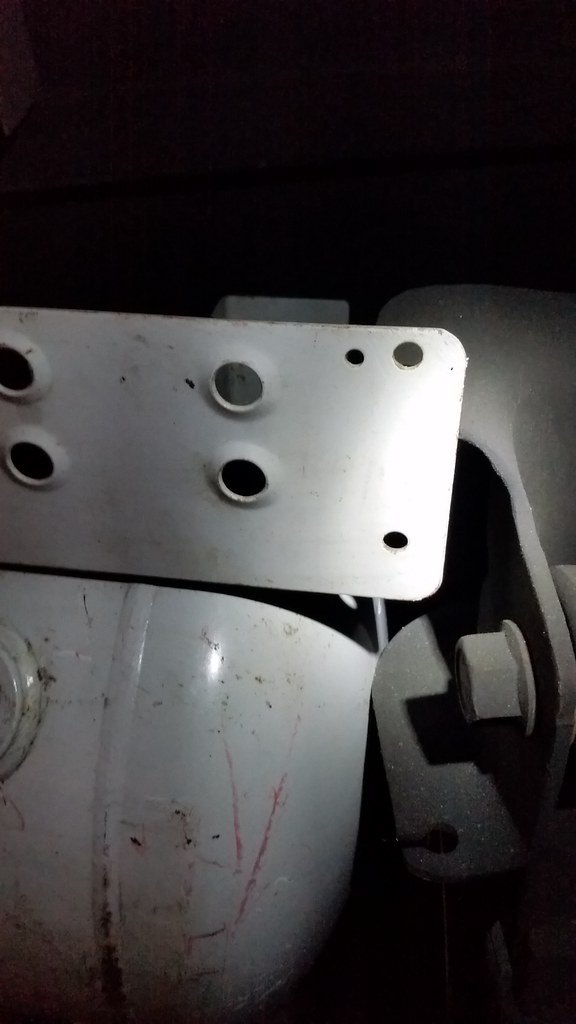
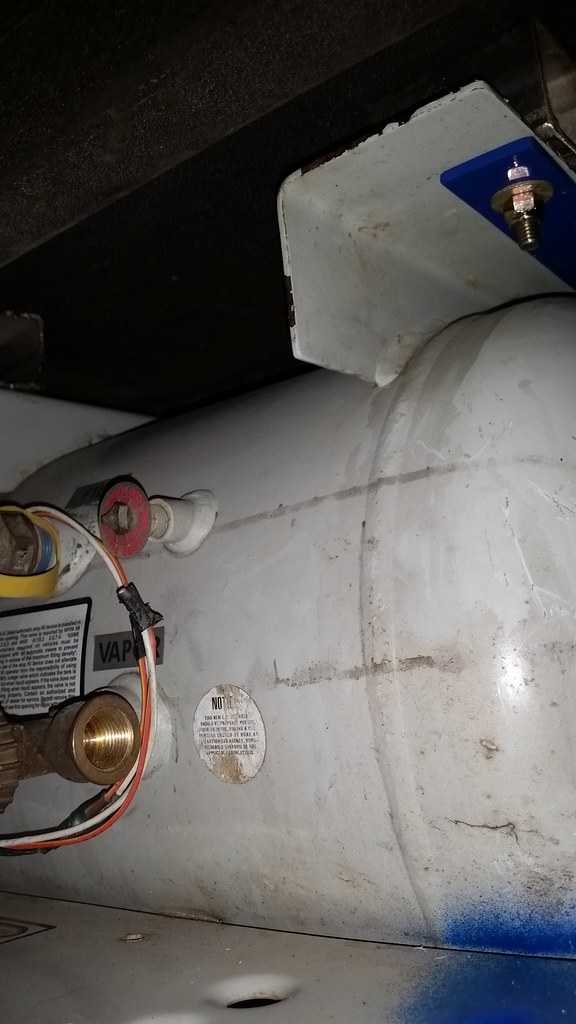
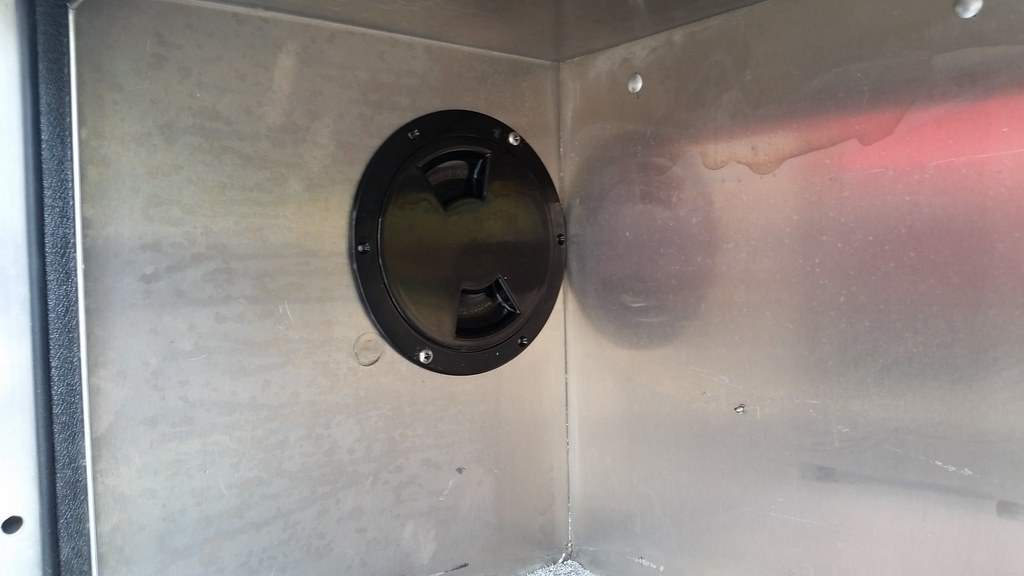
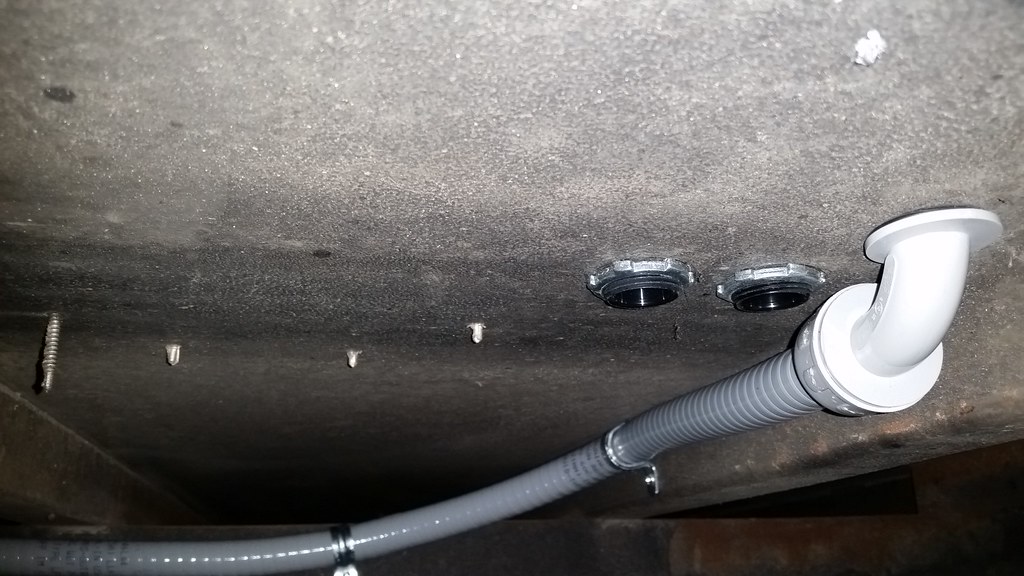
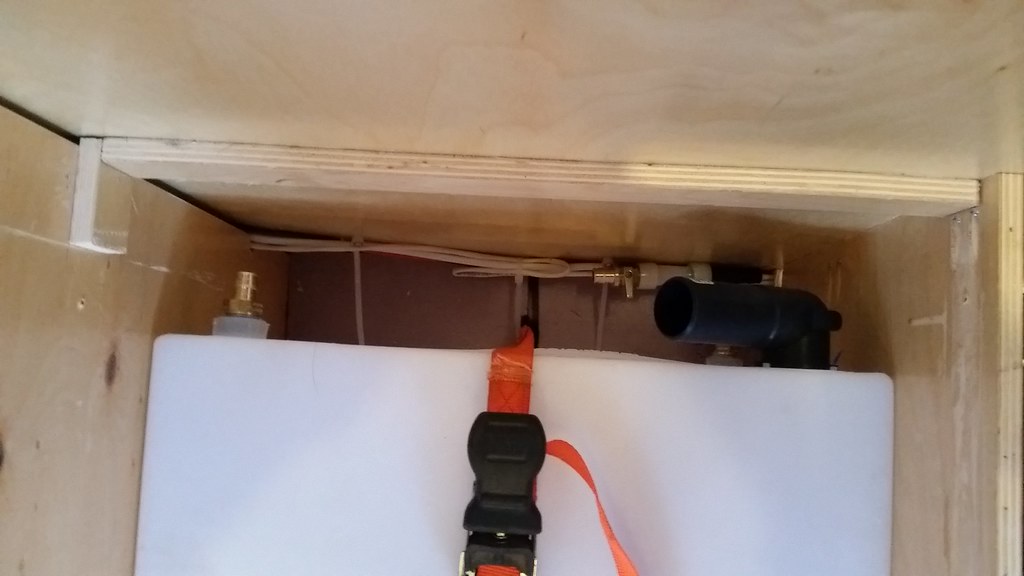
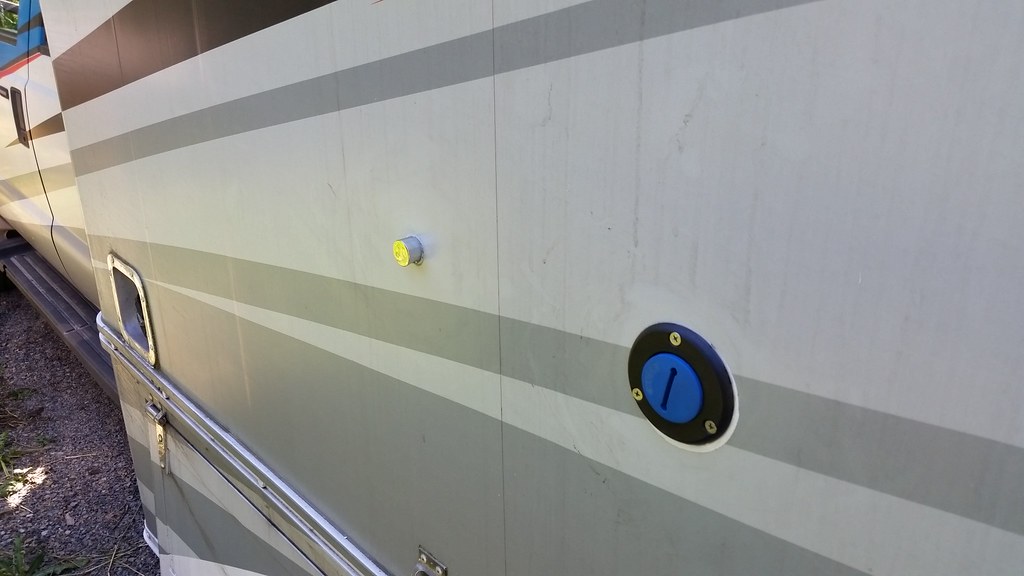
Install fill and vent.
34828372362_562b38bdd1_b.jpg


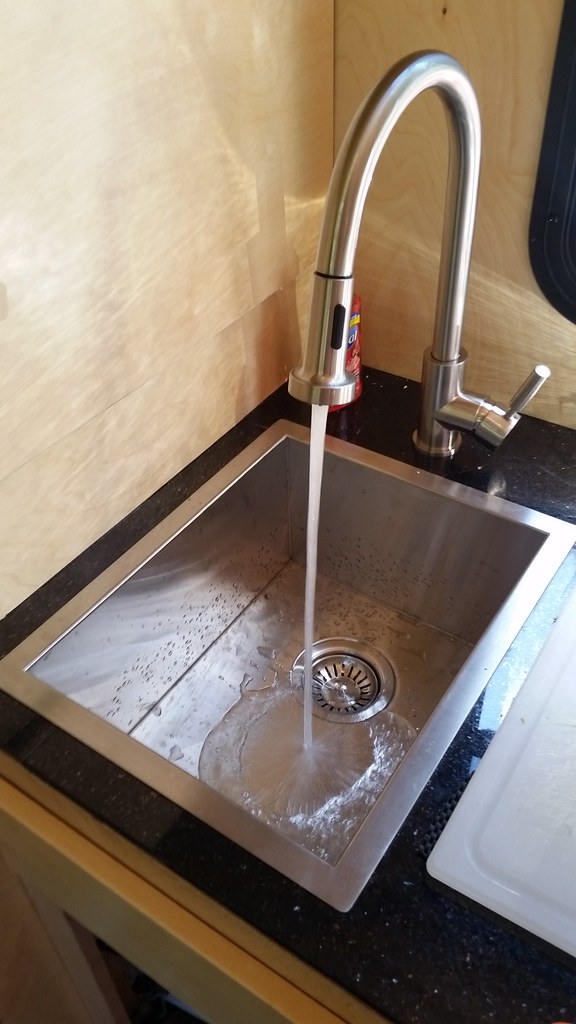
Add water. Chase leaks. I hate threaded fittings!!!! PEX is awesome though.

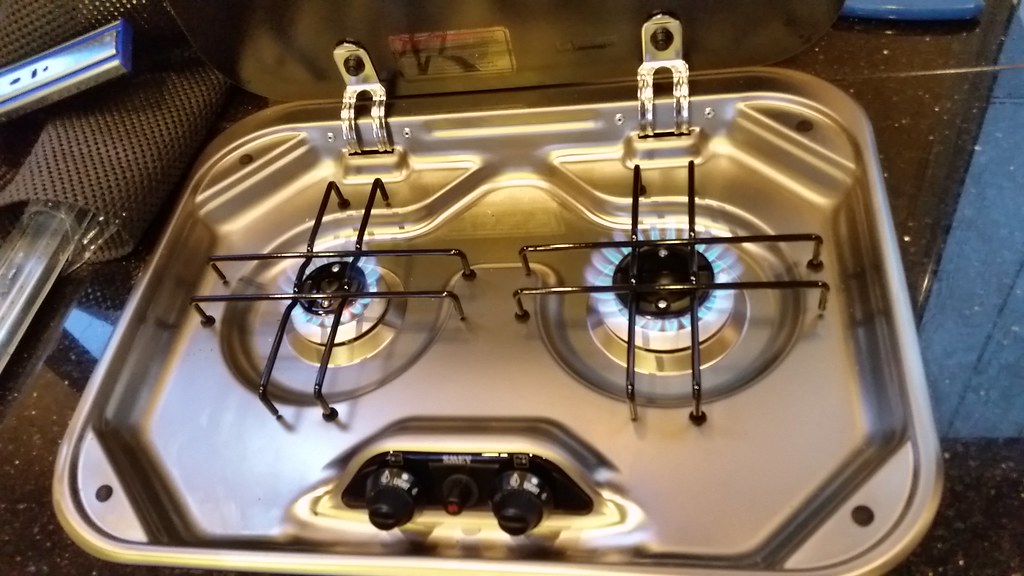
Hot water coming out!
34991792765_53214c183f_b.jpg


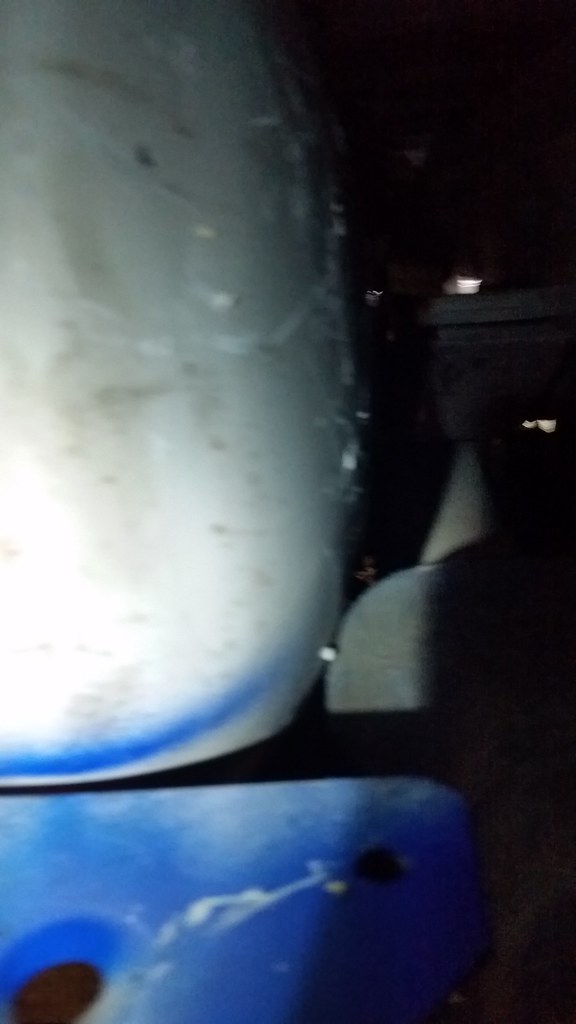
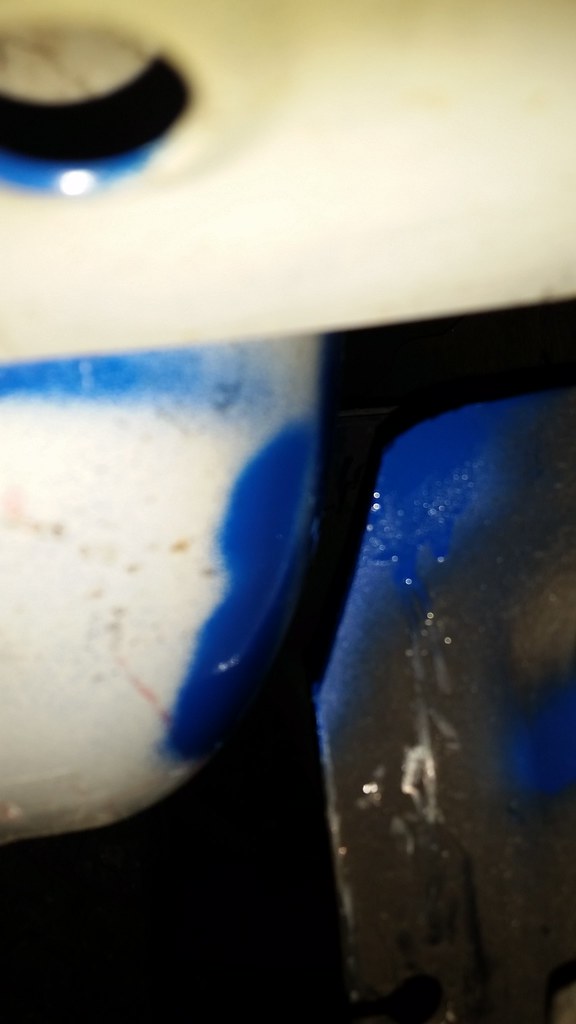
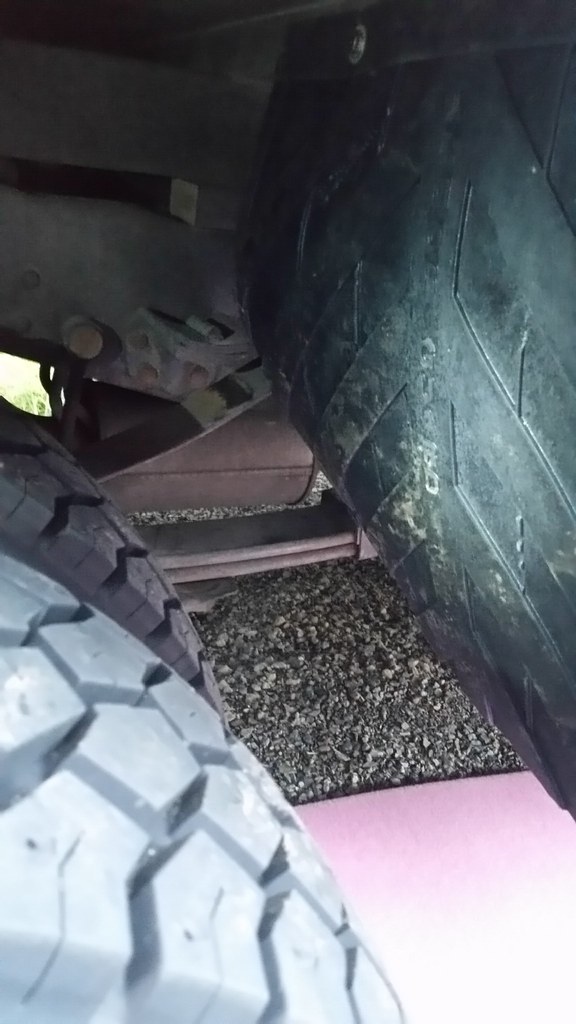
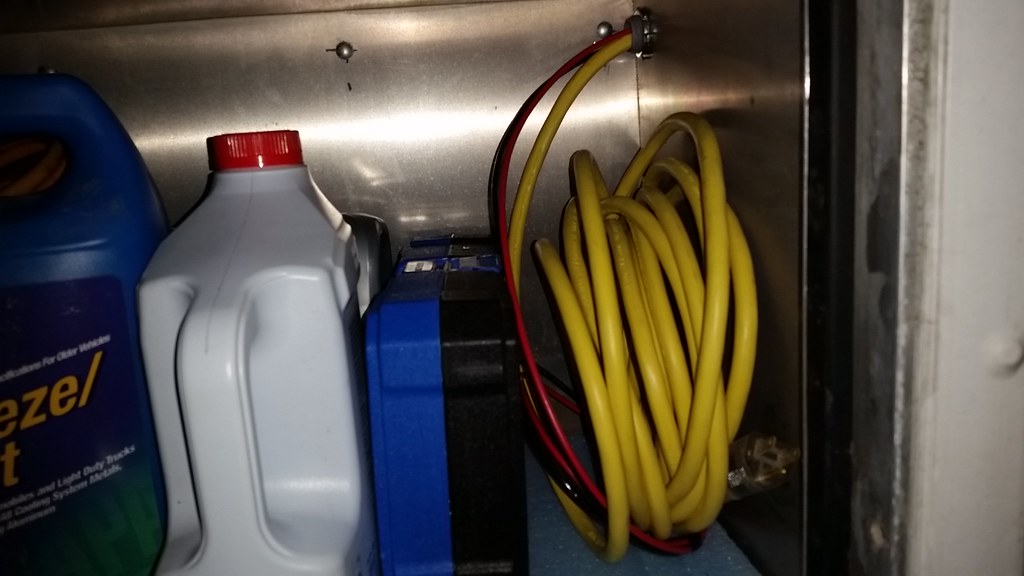
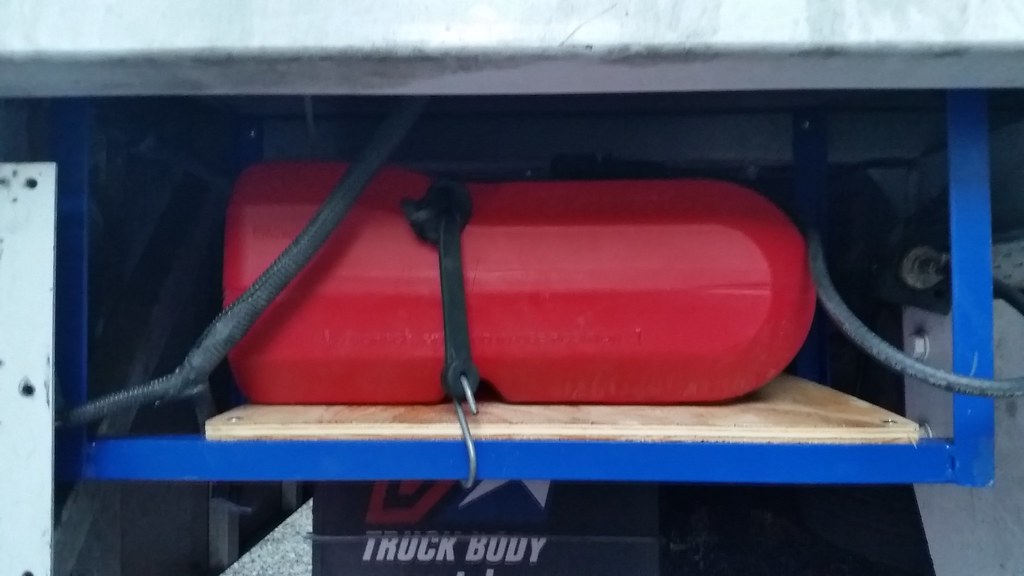
Apparently I took zero pics of the grey tank. Its the blue jug, its a hose barb fitting off the end of the strainer basket, a piece of 1" vinyl tube. Works really well actually.

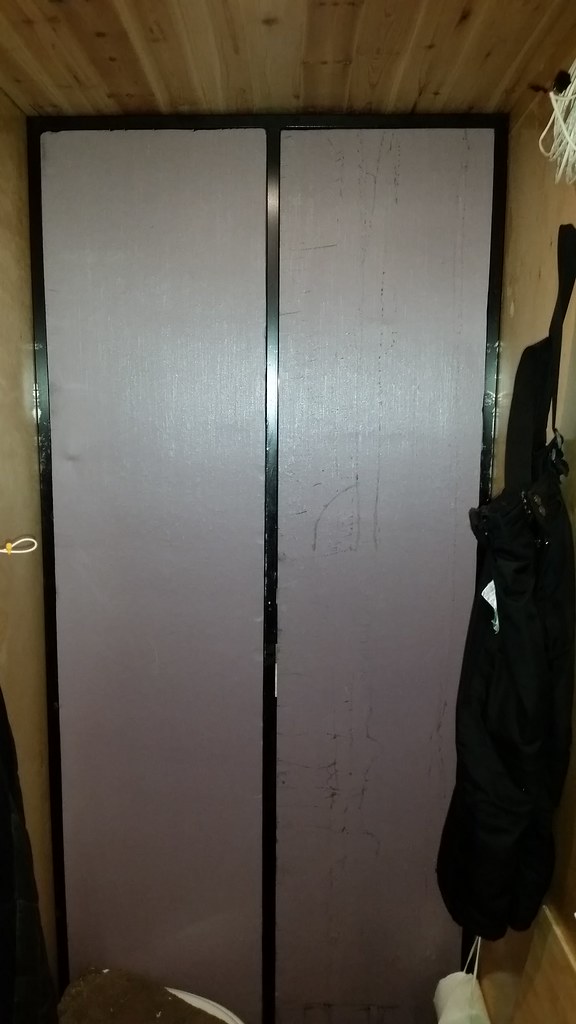
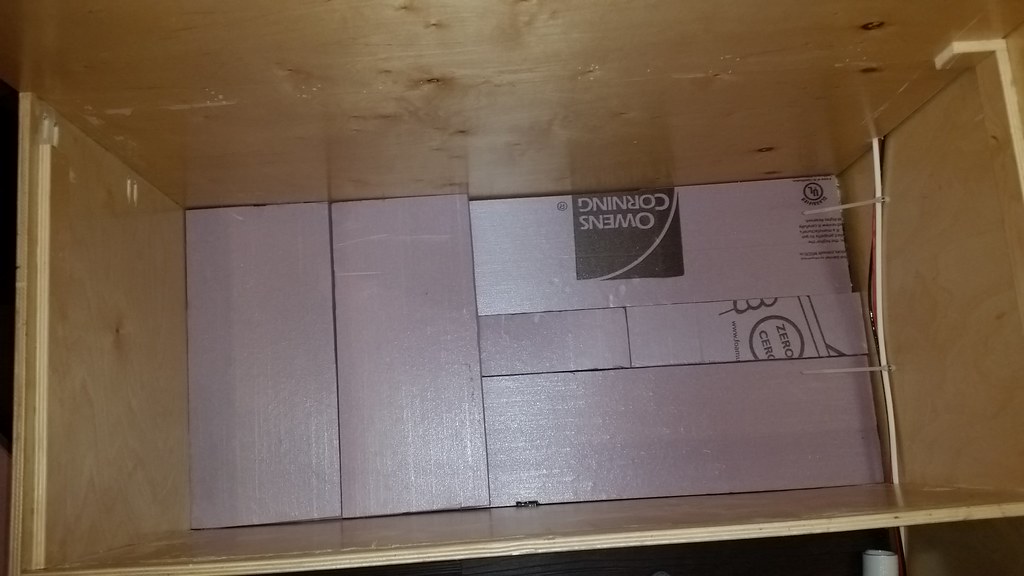
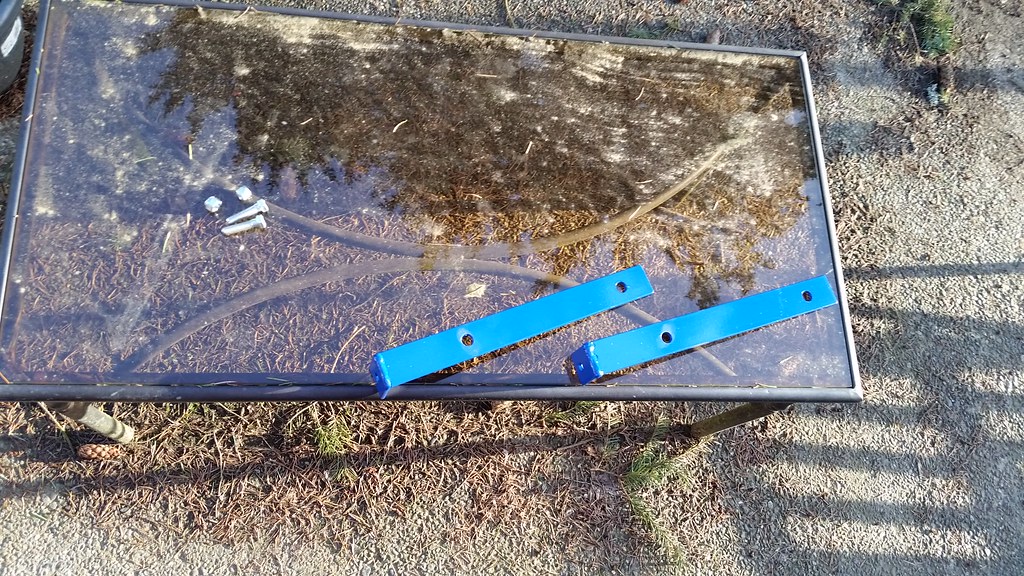
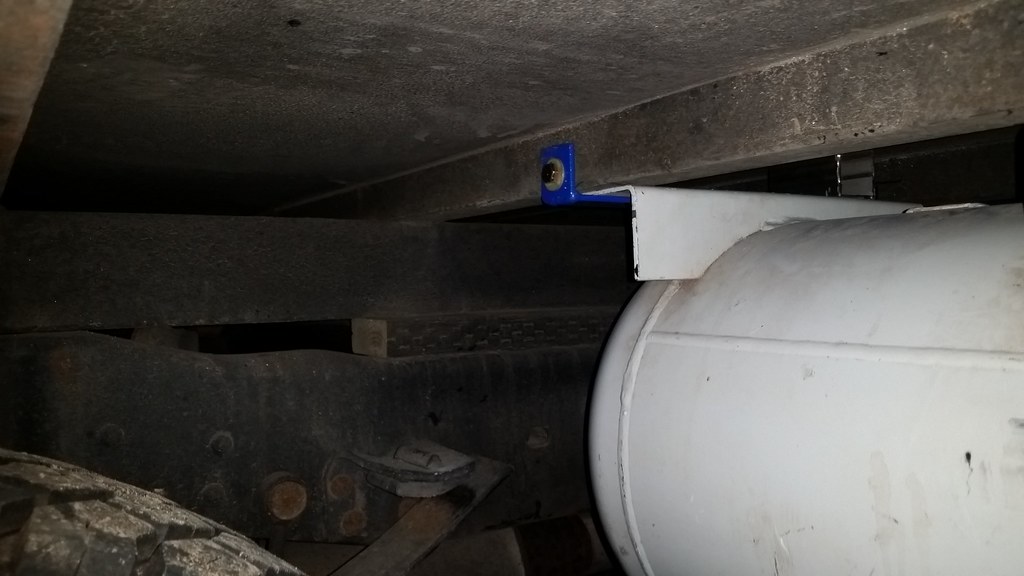
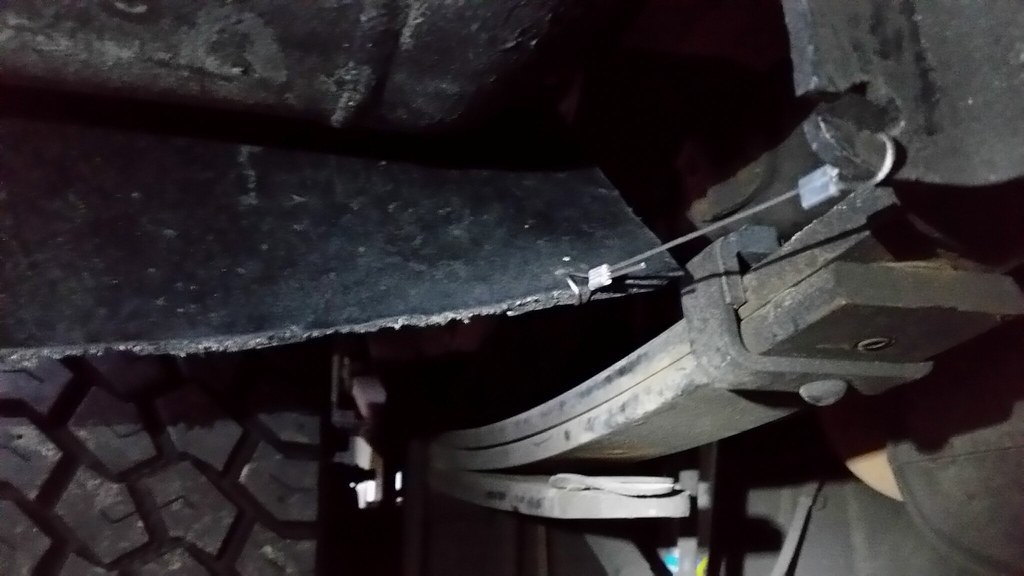
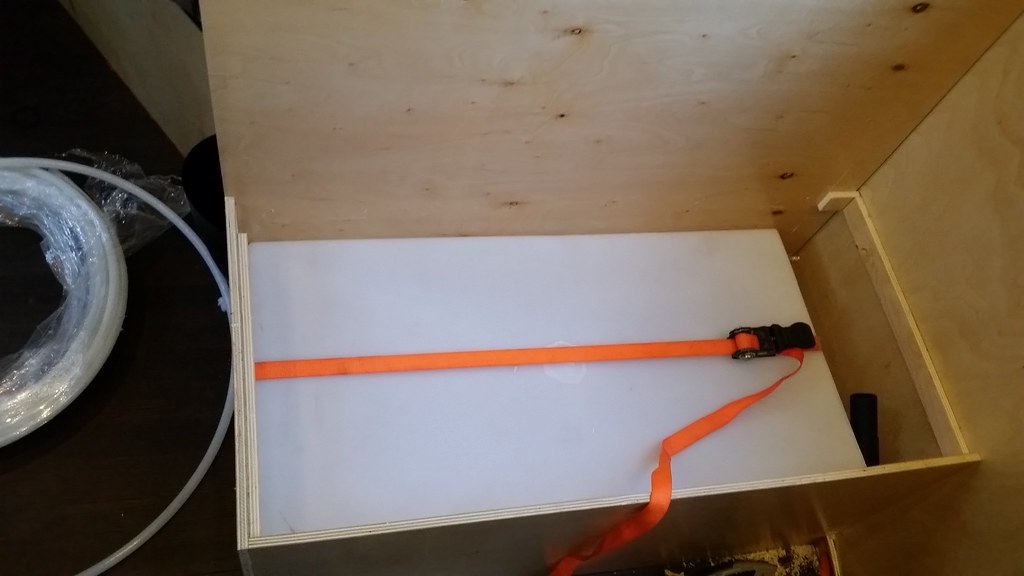
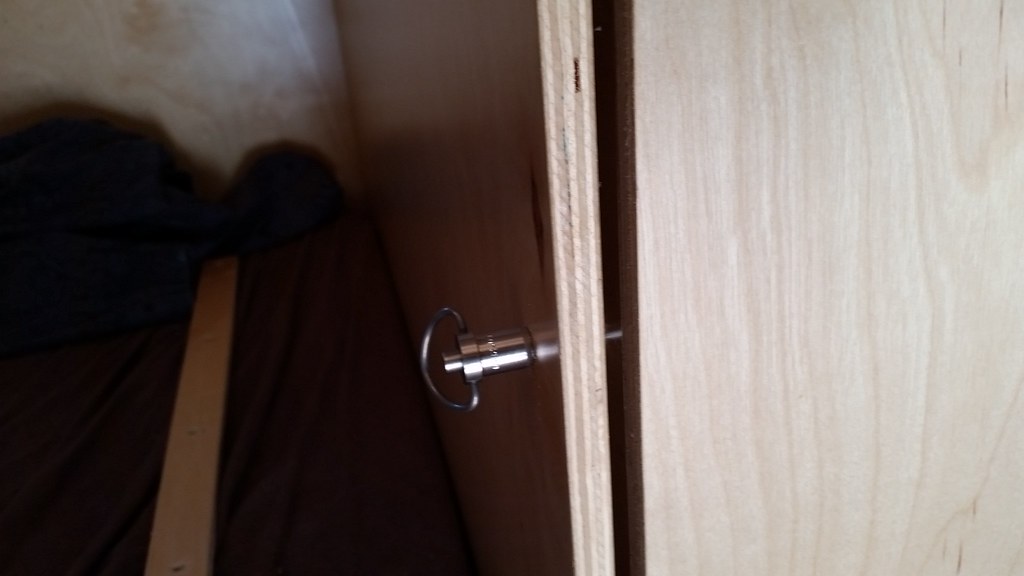
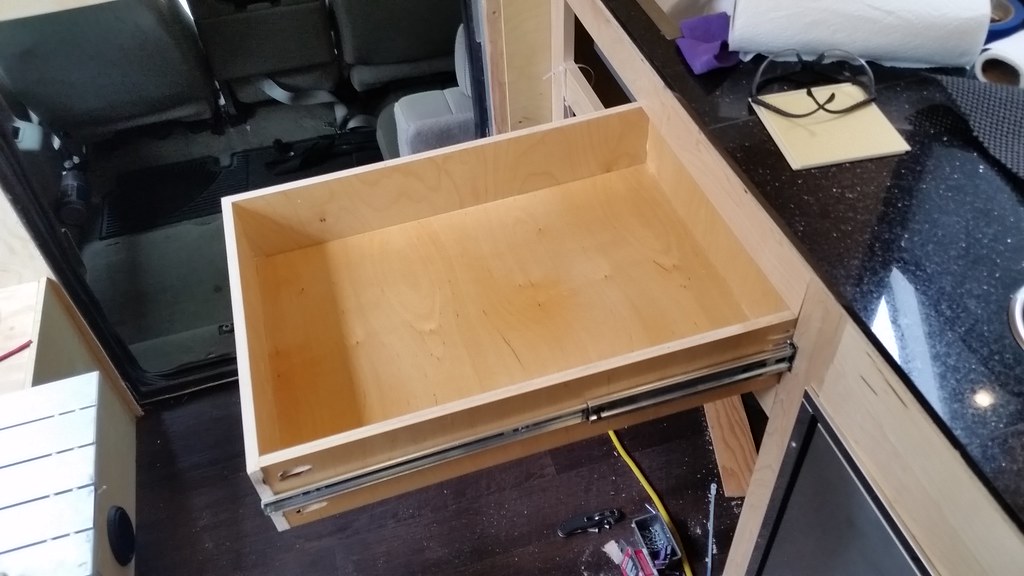
Also made a drawer latch. Drawer holds a lot of stuff and likes to fly open when you turn! Yeah not good. Ball detent pin, drawer stays closed.

34604256500_cfe19a8fcc_b.jpg


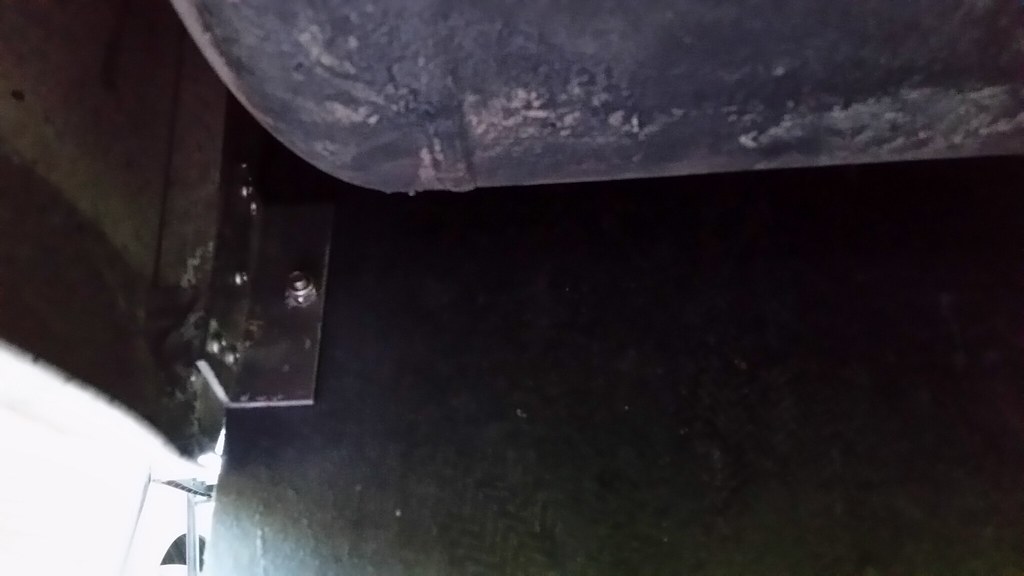
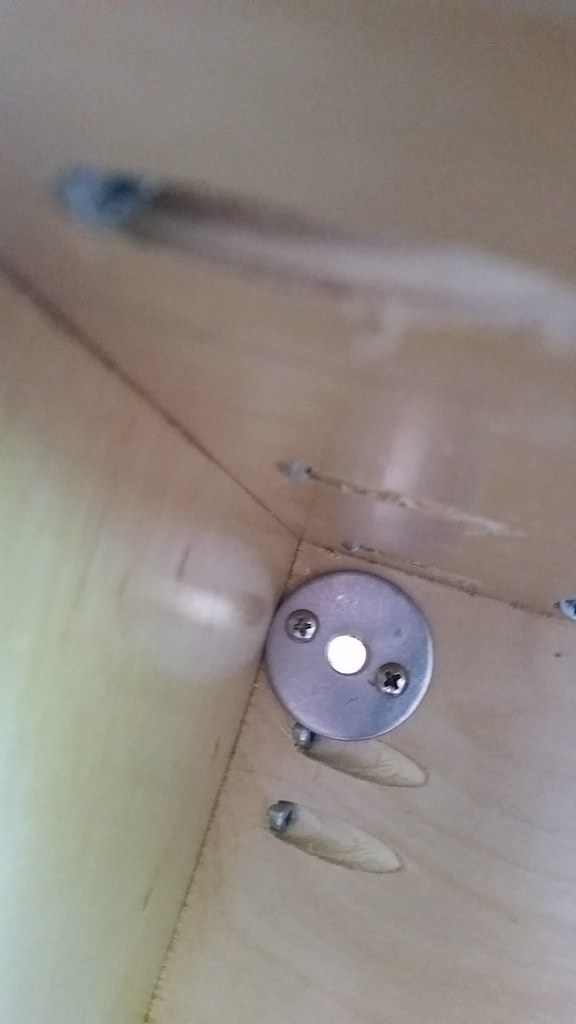
Reinforcement/latch plate on the inside.
34991807605_a691224e83_b.jpg


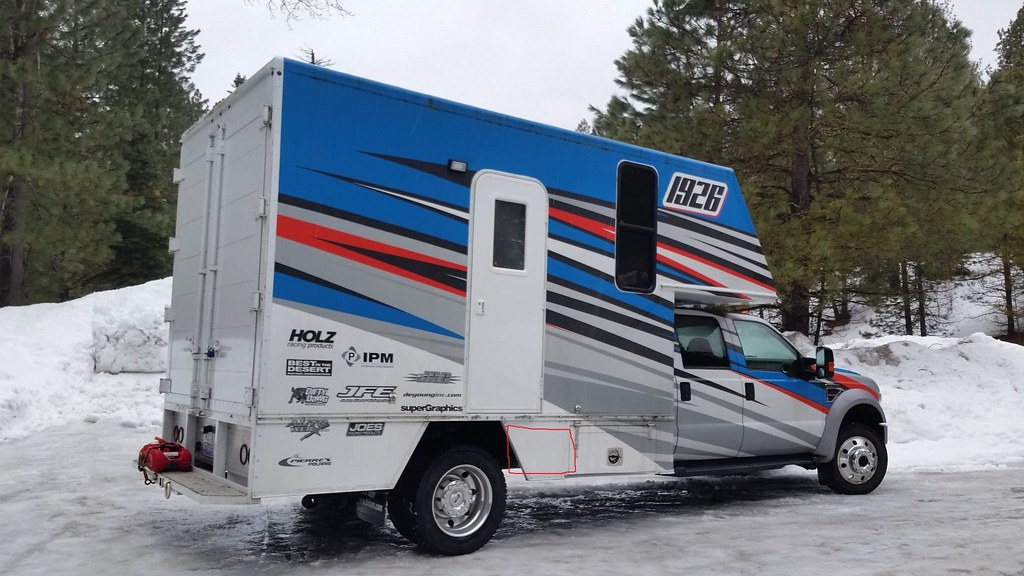
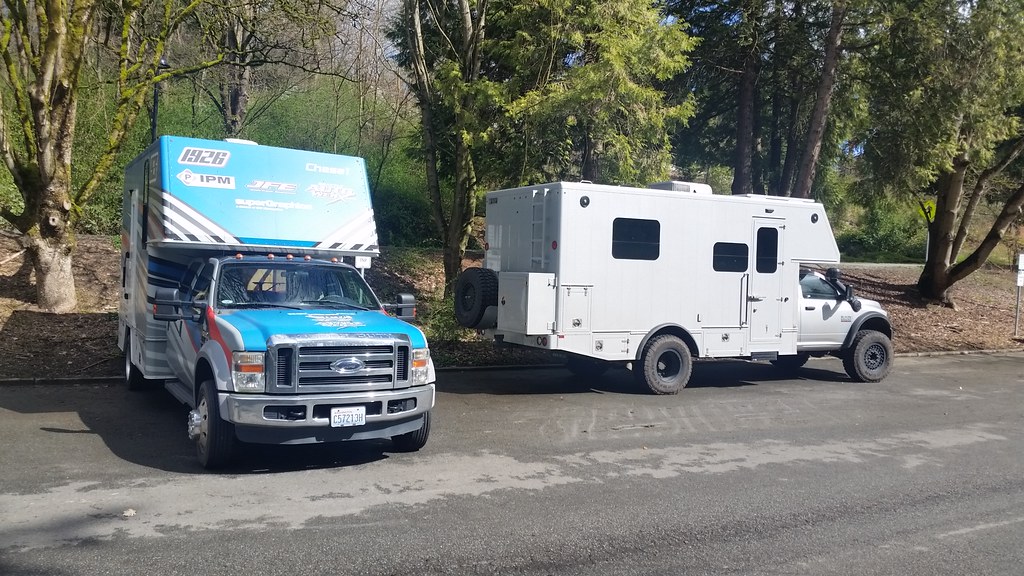
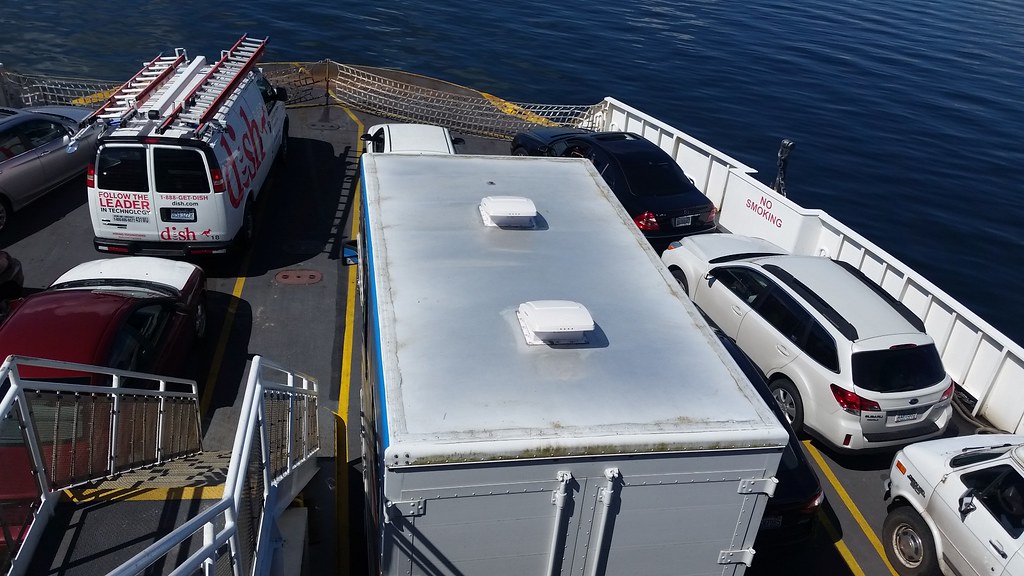
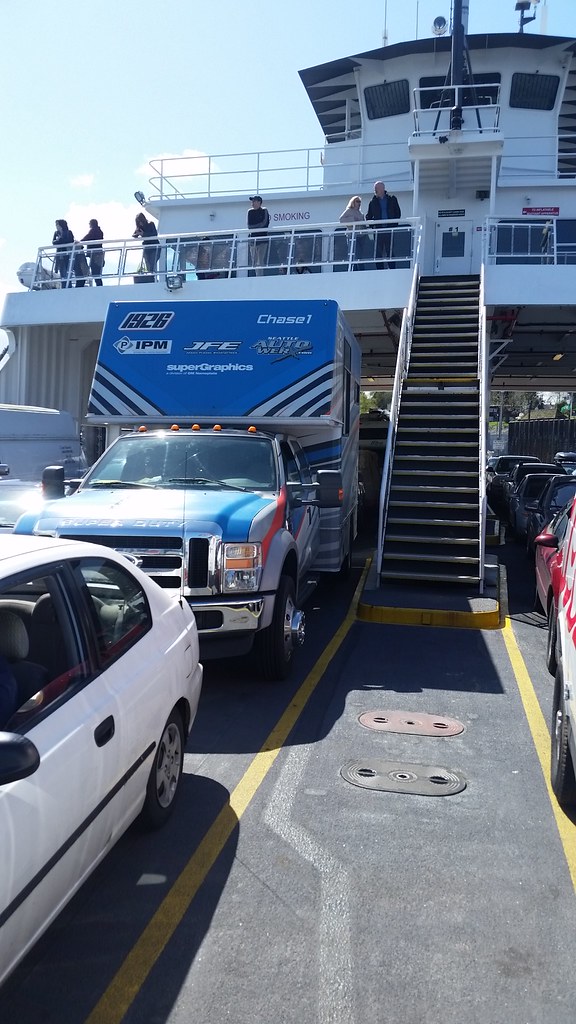
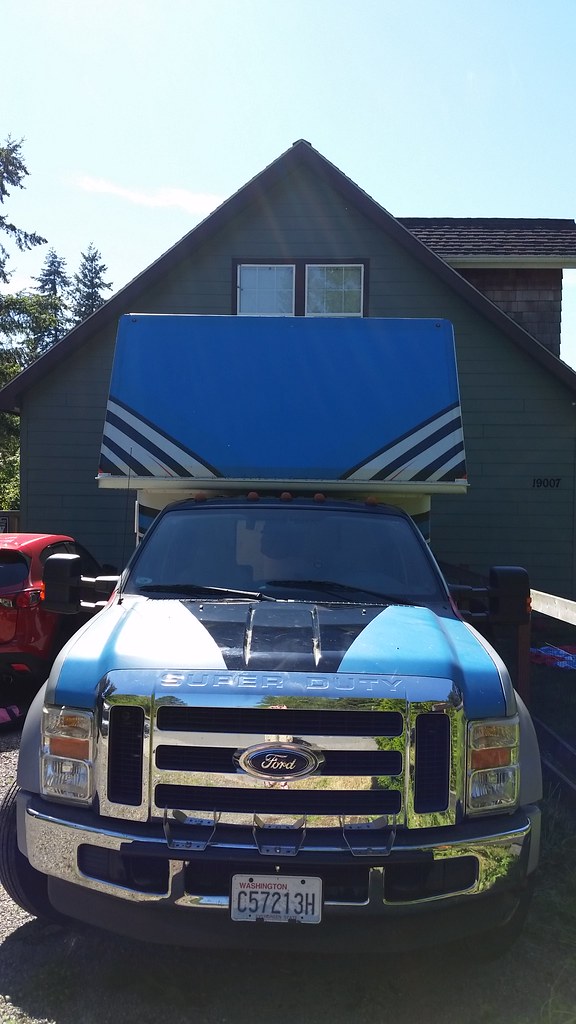
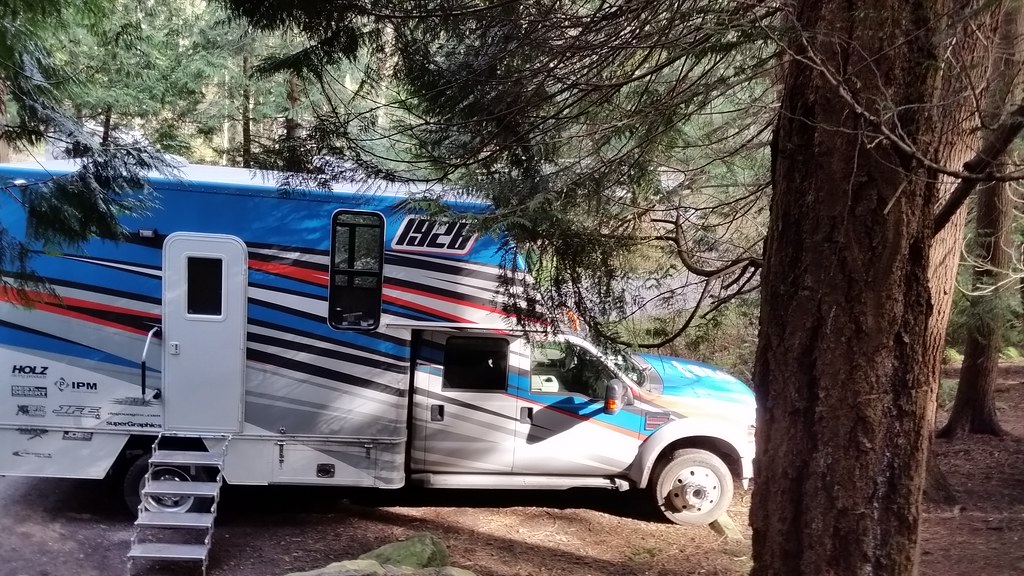
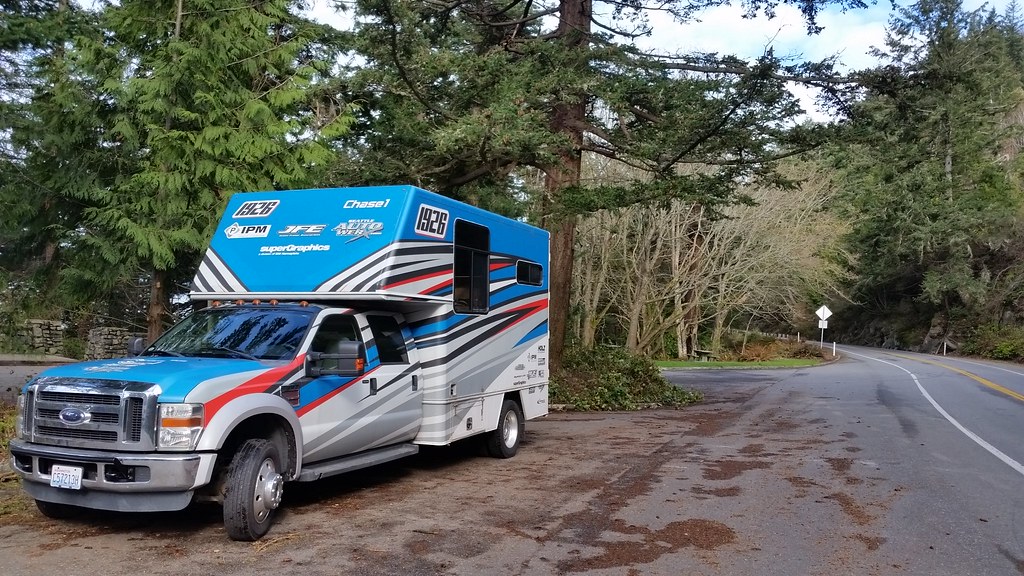
Truck drove great all weekend, towed the boat at 70 no problem.

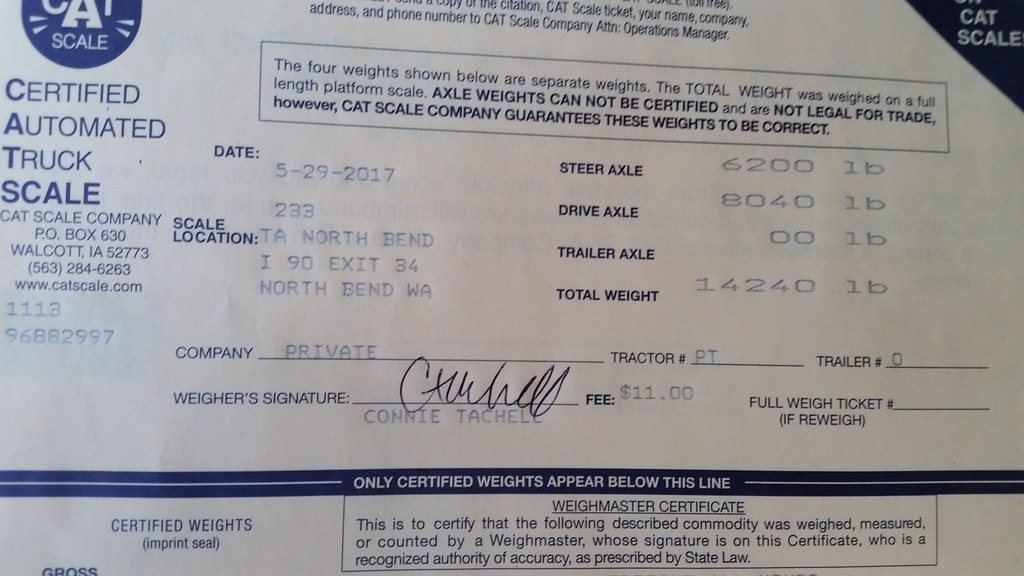
Stopped at the truck stop and got weighed. 3 people, 2 dogs, 1/2 a tank of water, all out stuff for a long weekend.
34991792825_5d993a8aa3_b.jpg
 
Back
Top Bottom