java230
Adventurist
Maybe not what your expecting, but its electric bike time! I think these may be a great option for people who want something to be able to leave a base camp truck set up. Very light, bike with all mods is 42lbs on the dot, Batteries are 10lbs, that makes a pretty light and bike sized addition to a truck.
I have previously had a 250w hub motor in the front wheel of one of my bikes, it was meh, helped a bit on hills and whatnot, but when the batteries died I dumped it (this was years ago, tech has come a long ways!)
This will be my first mid drive. (Mid drive drives the crank, not a motor in the hub of the wheel) I wanted to do a mid for a couple reasons, a big heavy motor in the wheel really beats spokes and rims to death, and a mid can be mounted inside the frame, and you get to have the advantage of using the gears. Most clamp to the bottom bracket somehow and hang down, but I am making mounts for inside the frame.
The motors range from 500 watts to 7500+ if you go crazy. I settle on a DIY oriented kit, with a 3000w motor (if you run it at a full 72V). Running the motor at 52V as planned is ~2080 watts, 2kw = 2.68HP, motot is rated at 100Nm torque, so lets say we take 2/3 of that like the watts, 66Nm = 48ft lbs of torque

The "kit" is a cyclone 3kw kit, its a Taiwanese company that makes them, and its pretty DIY. Basic BB clamp brackets are included, but its up to you to figure it out. I was planning to install in my old hard tail bike, but found a good deal on a older Intense XC frame. I want to mount it inside the frame to keep the ground clearance. This will mostly be a fun commuter bike, but there are lots of good trails around as well.
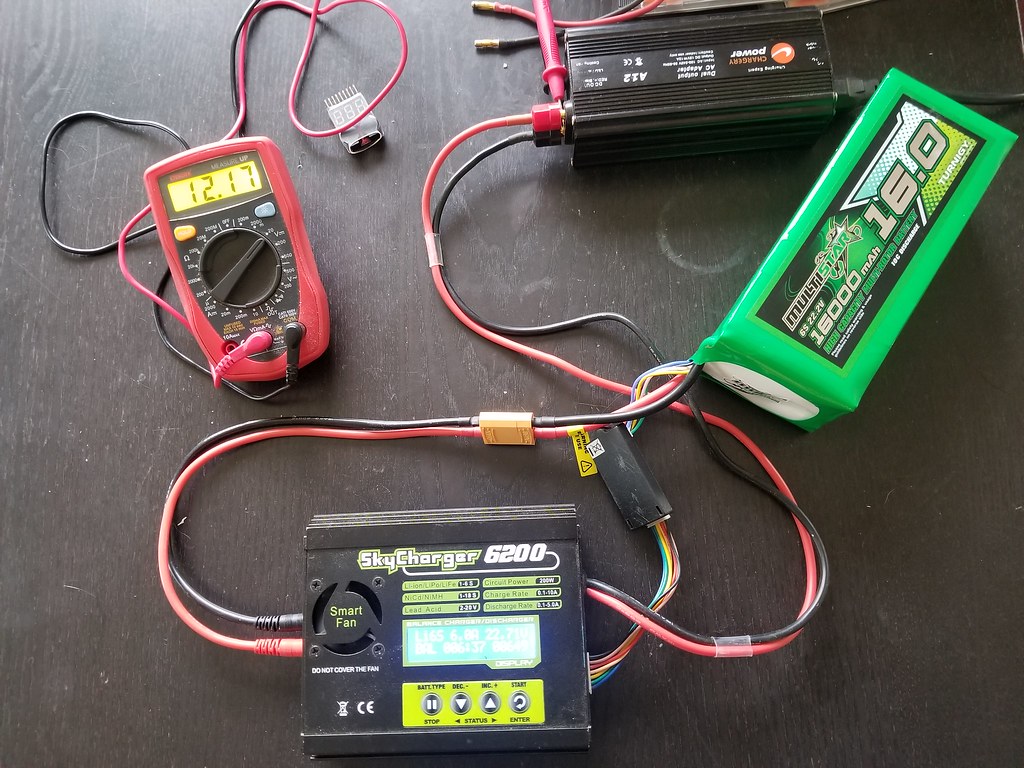
Plan for batteries is Multistar Lipo's, 52V 16ah (I already have a charger etc from RC stuff). My ride to work is 14.4 miles, so hopefully I will have enough to get there easily. I can charge at work as needed. To do this I used 2 4s packs, and one 6s, in series. These will go in a backpack.
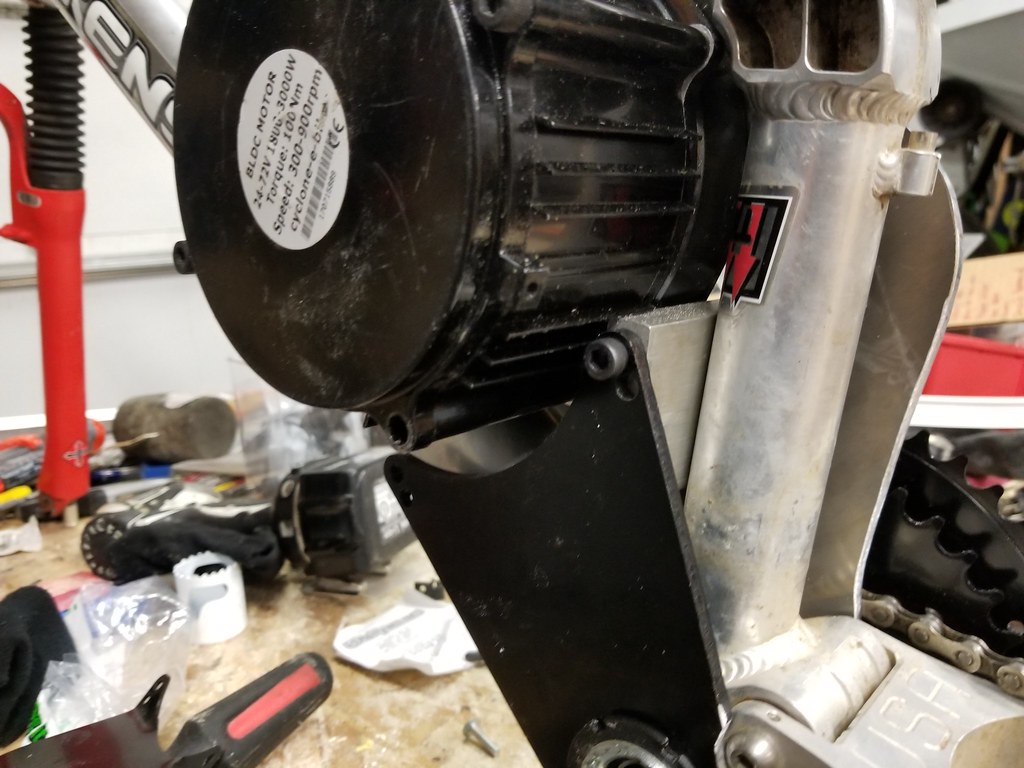
I had the seller measure the frame opening, it looked like I would need to notch it, but it turned out to fit exactly tight between the tubes. Could not have had 1mm less space.
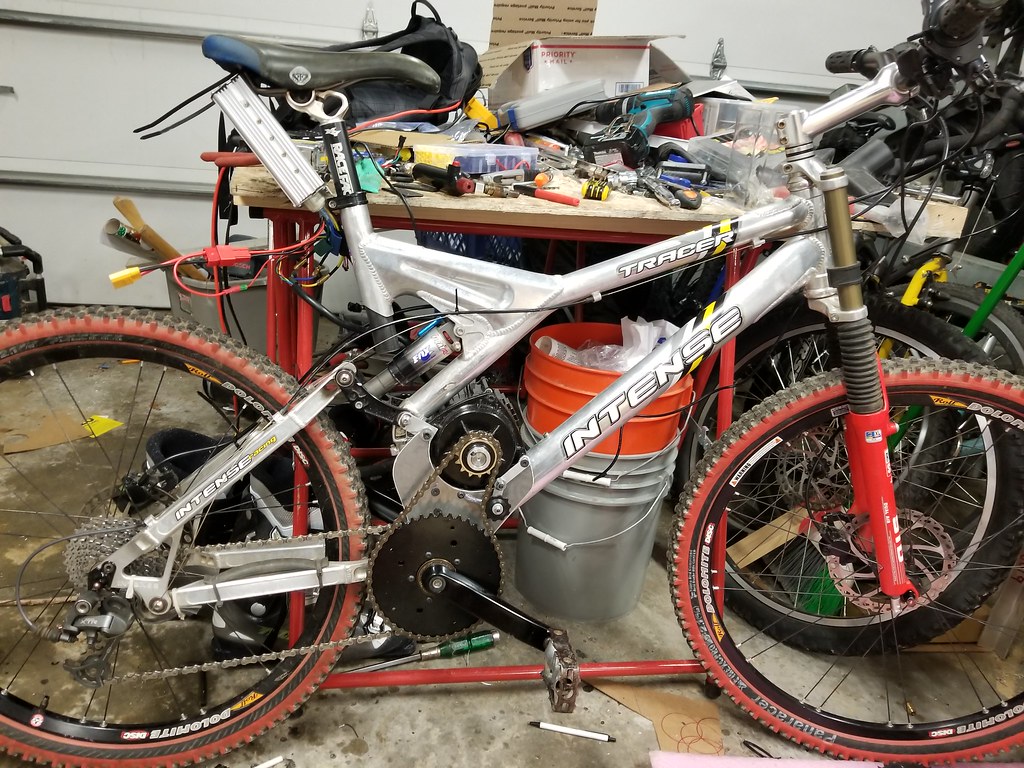
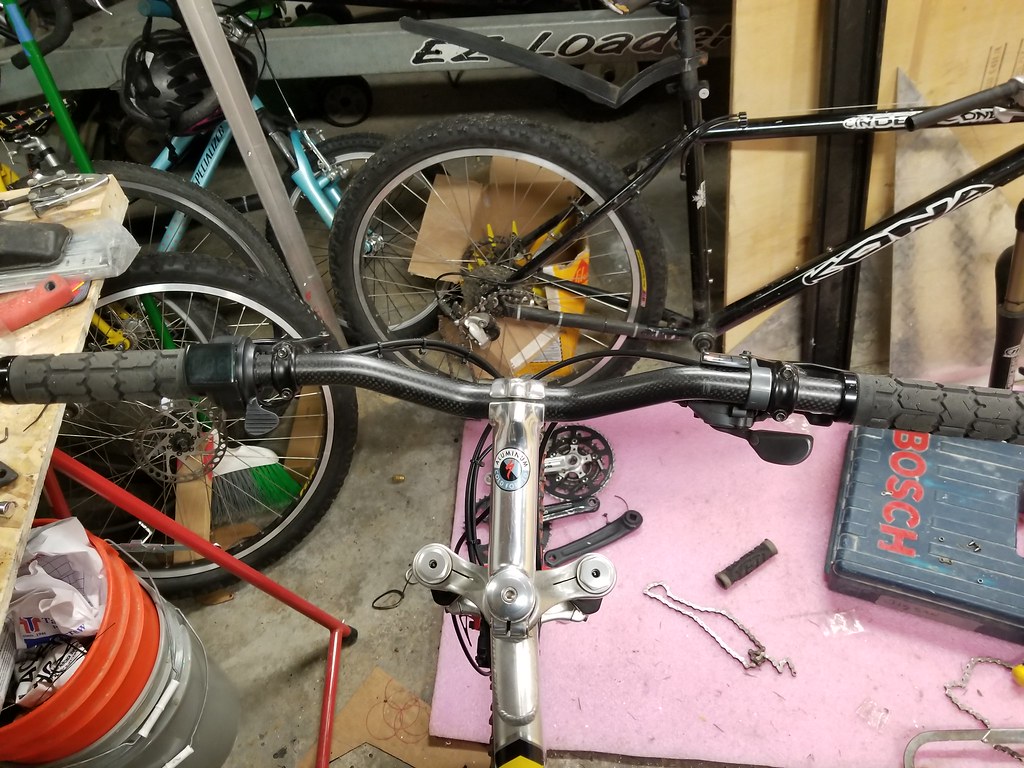
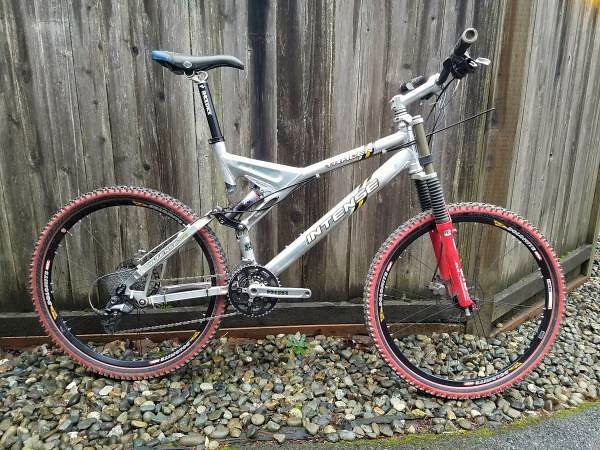
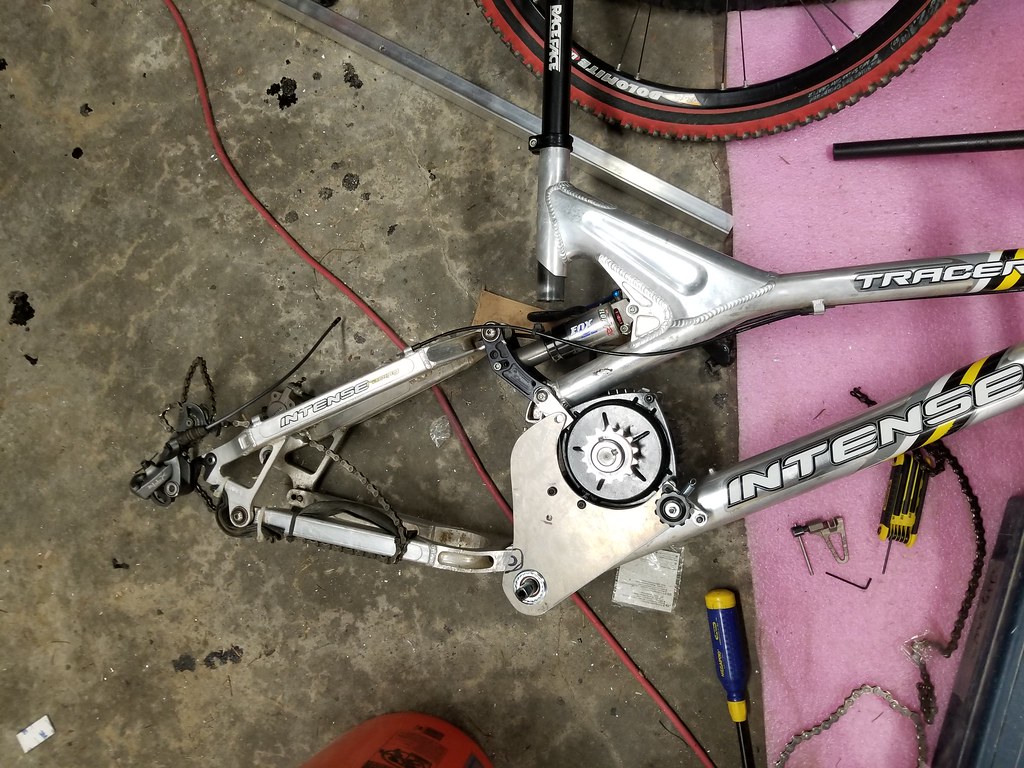
Frame, well a whole bike, but everything needs some love. Brakes are done, need to be rebuilt and bled (I have a new set off another bike I will use), Fork needs a full rebuild. Cables are broken. So really I bought a wheel set, frame and bars, but the price was right. Its a early 2000's Intense Tracer.
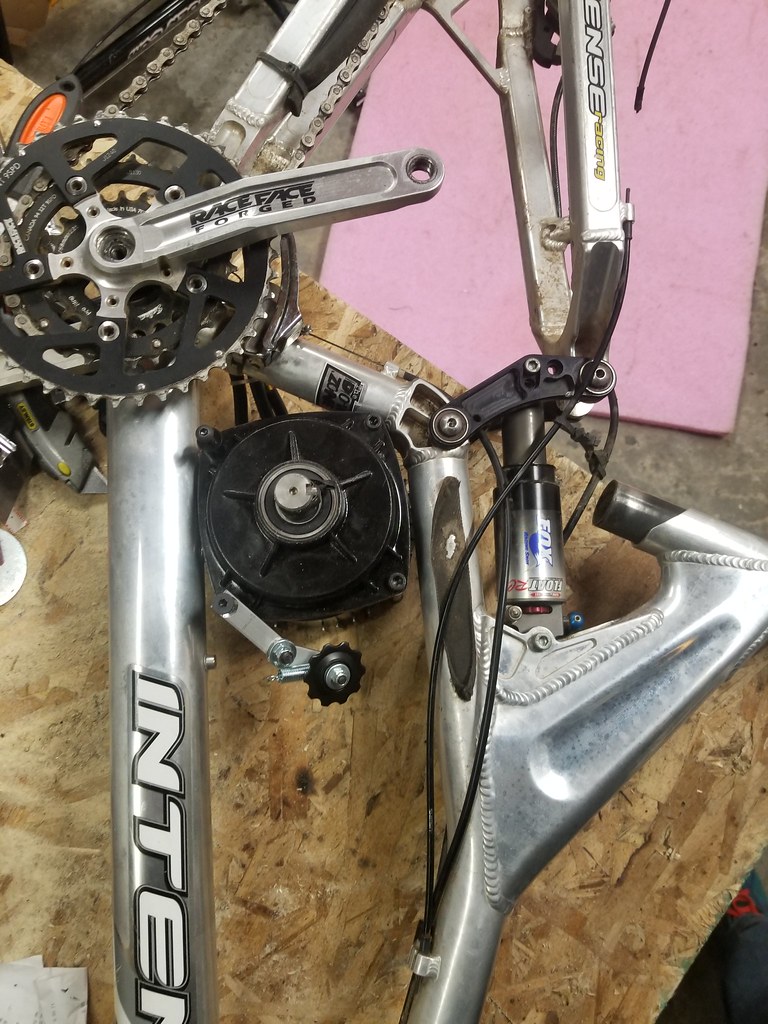
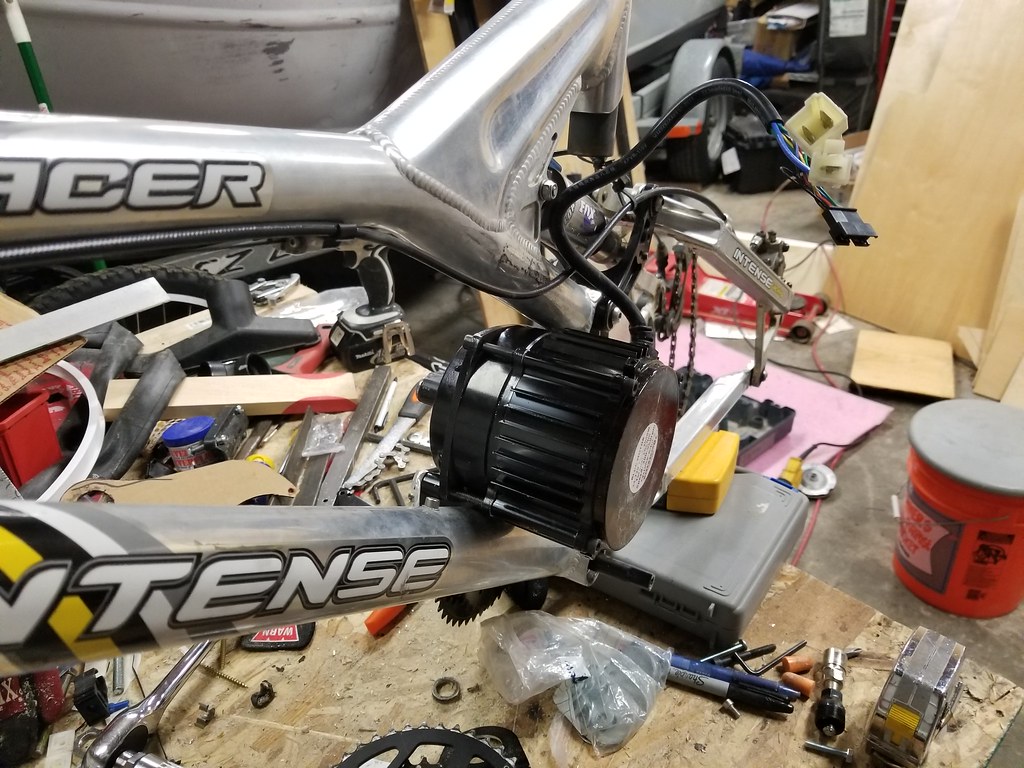
Got the frame home and set it over the motor, I was super happy! It fit, just barely. If it needed to go any further to the drive side it would not have fit.
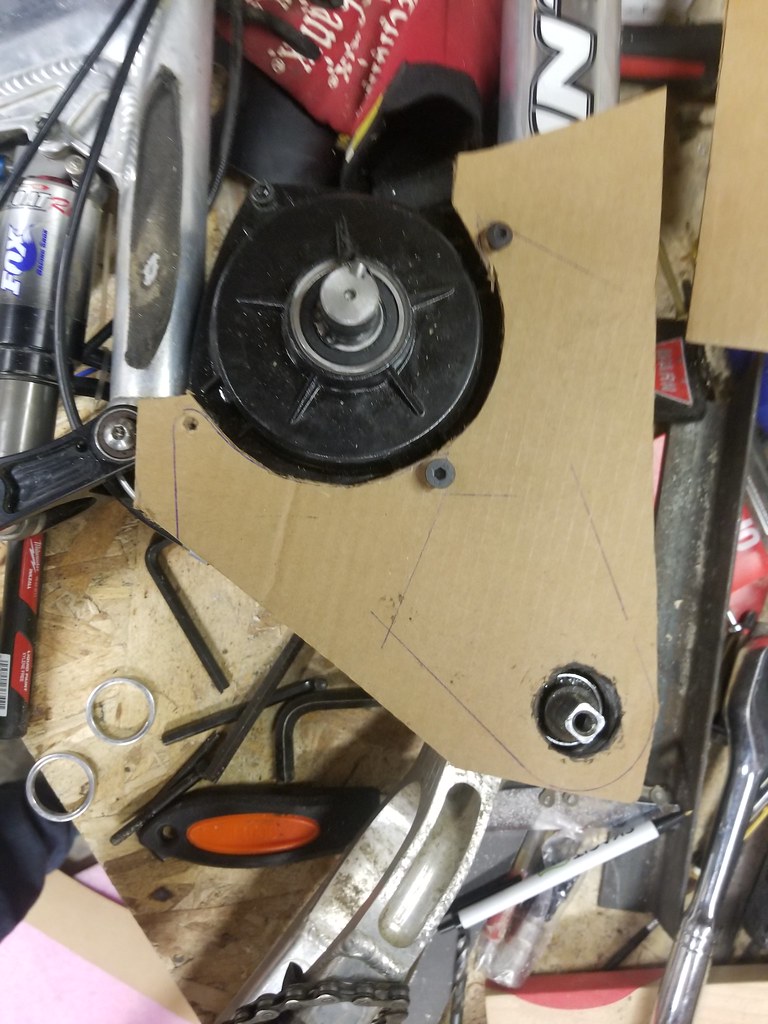
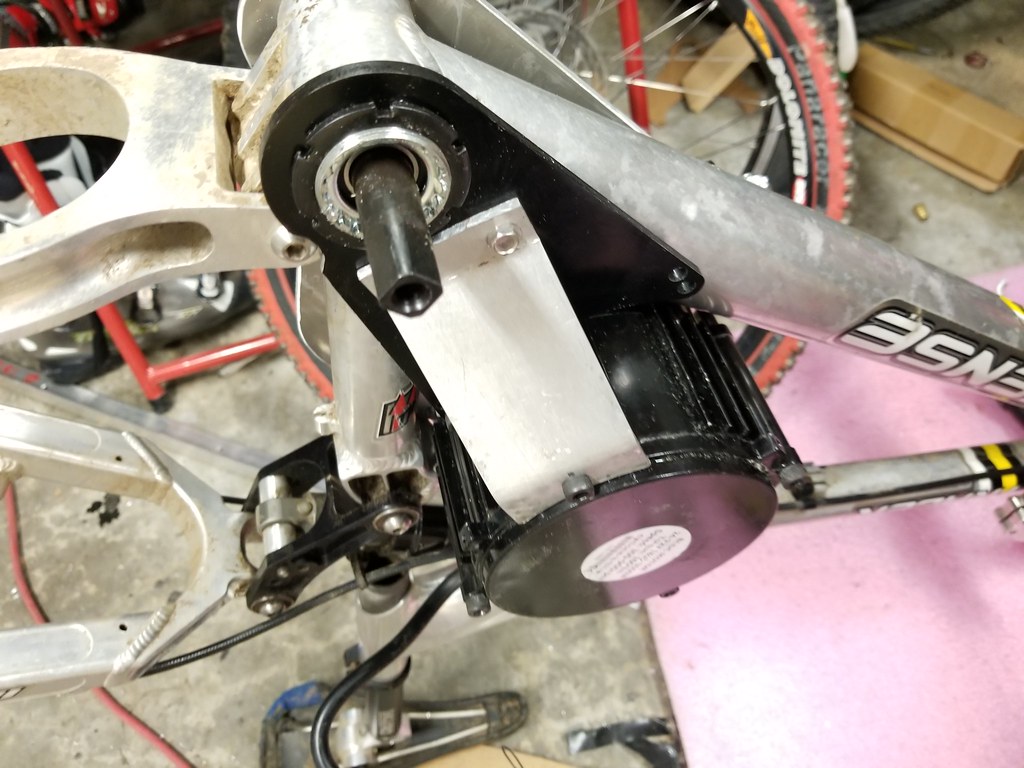
Now to build the mounts. I picked up a sheet of 3/16" aluminum, a bit thicker than the stock mounts. I wanted to use the same style, clamp in with the BB and catch the motor bolts. A little bit of CAD and I have a design. It follows the down tube and catches three of the bolts on the gear side of the cyclone. These mounts need to be pretty sturdy, the motor wants to twist against them when power is applied. The Stock mounts are known to be very flexy.
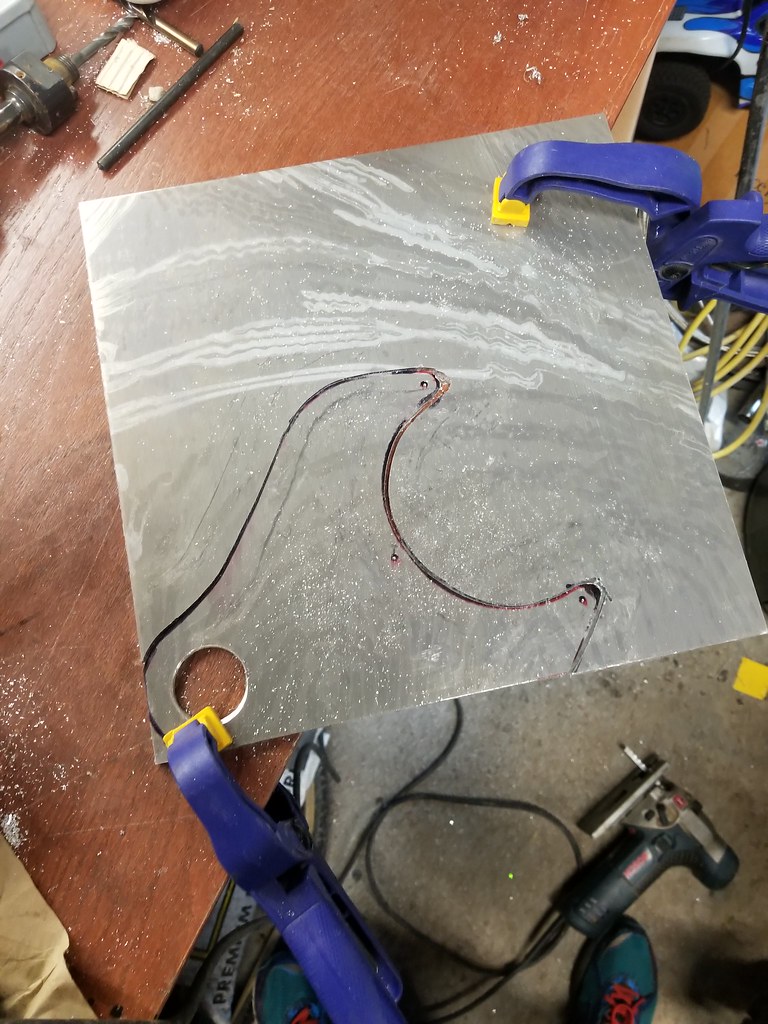
Rough cut with the jig saw (I used 3003 alu for easy cutting)
Two of the three bolt holes are perfect, the top one was off a bit. Not sure exactly why, but sharpie, cardboard and hand drills might be part of it. I think I will be able to oval the hole enough to make it work. Luckily this one will also be tied to the suspension pivot point so I think it will be strong enough. (no the tensioner wont go there)
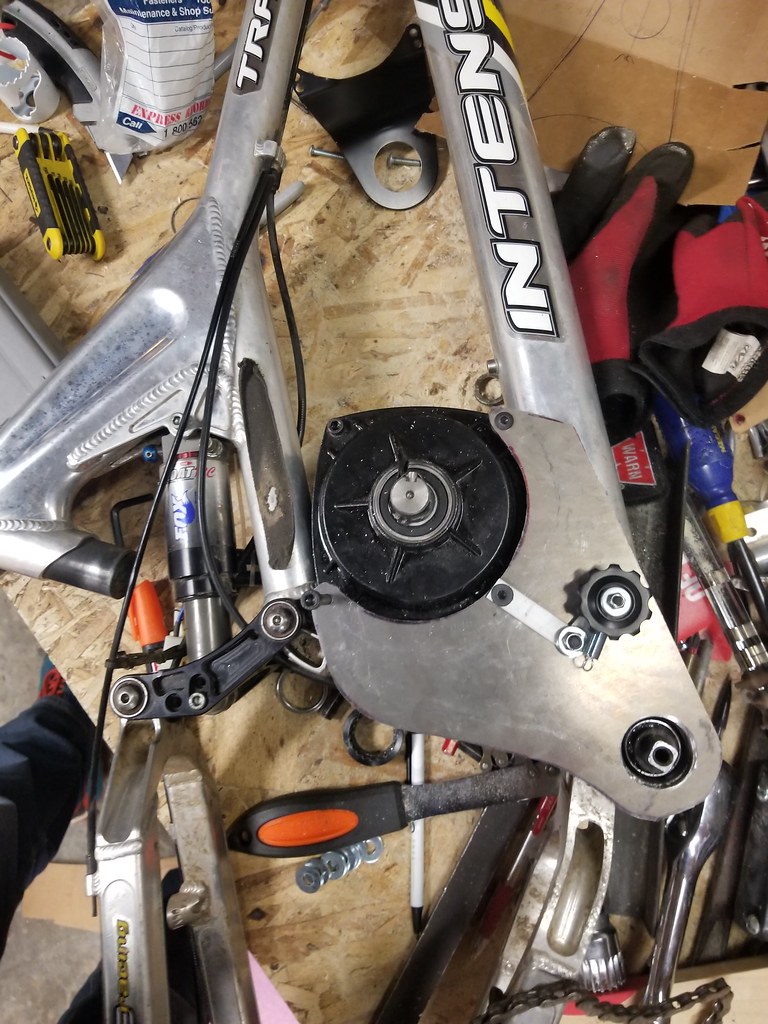
This tab will help the BB not let things rotate and support the upper edge. I was only able to use 1/8" here, but its a short span.
Hanging in place! Now to do the other side.
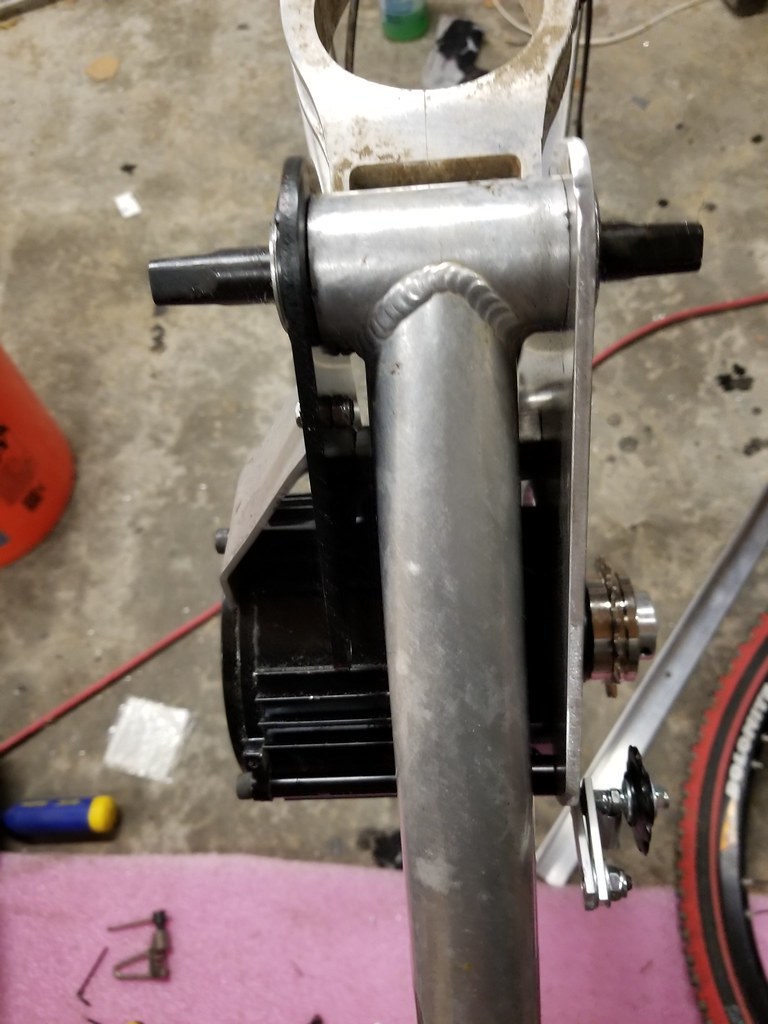
The mount for the other side started with the stock bracket on the BB. I had to notch it a little for the suspension bolt. A piece of aluminum flat bar was cut the same width as the BB, I and drilled and tapped this through both of the mounting plates. It will sandwiching them together, adding a little shear, and also I can clamp around the down tube there if needed.
Drilled and tapped for m6x1, not perfect, but it was all held in place and drilled together by my eyeballs....
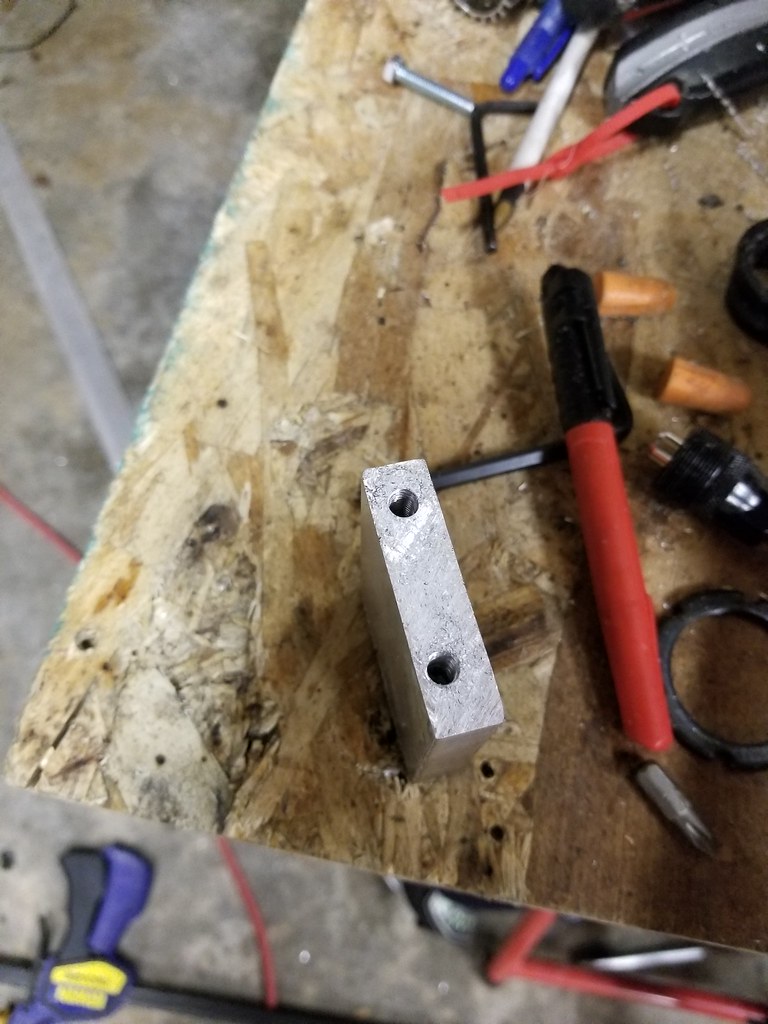
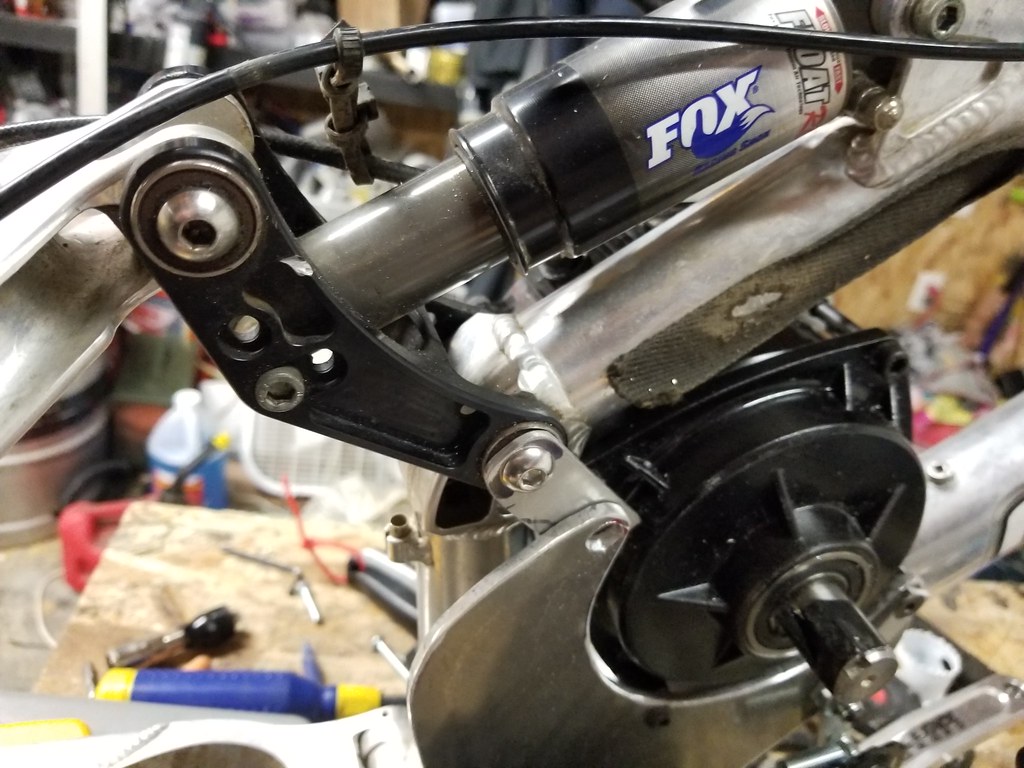
Now the two mounting plates were tied together, I needed to get something to help the motor not rotate under load. Hopefully what I came up with is strong enough, I have never done a mid drive... I used a piece of 1/8"x2" 6061, it catches the lower motor bolt, and then ties into the black plate down near the BB. Two bolts hold it in place down low.
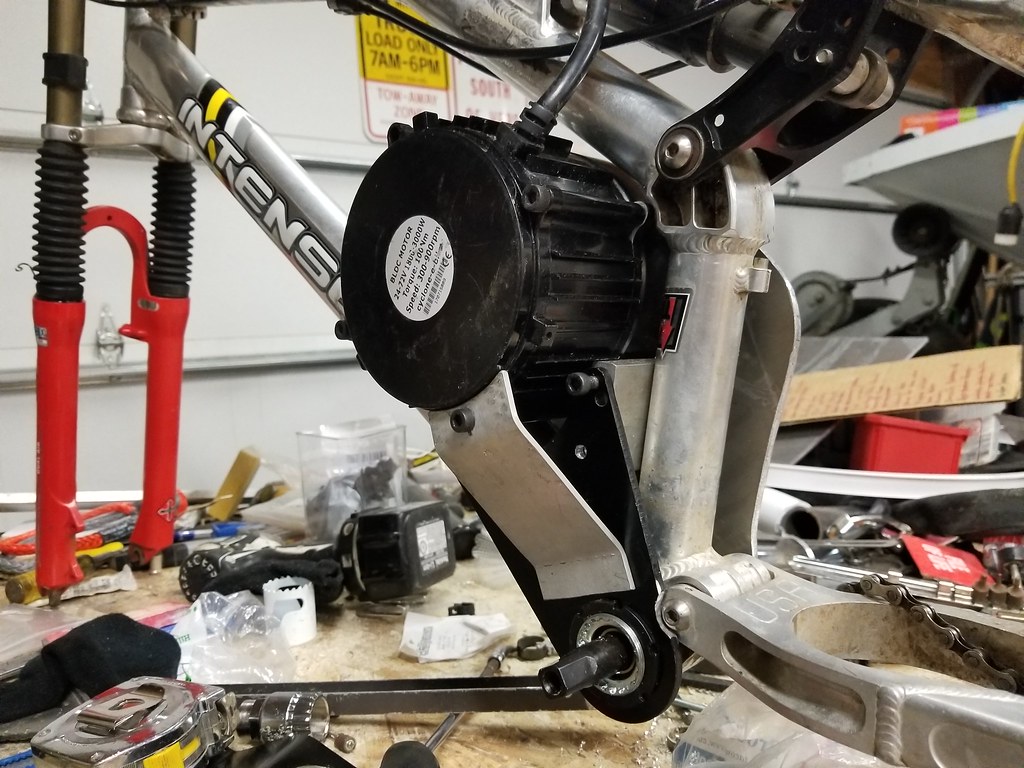
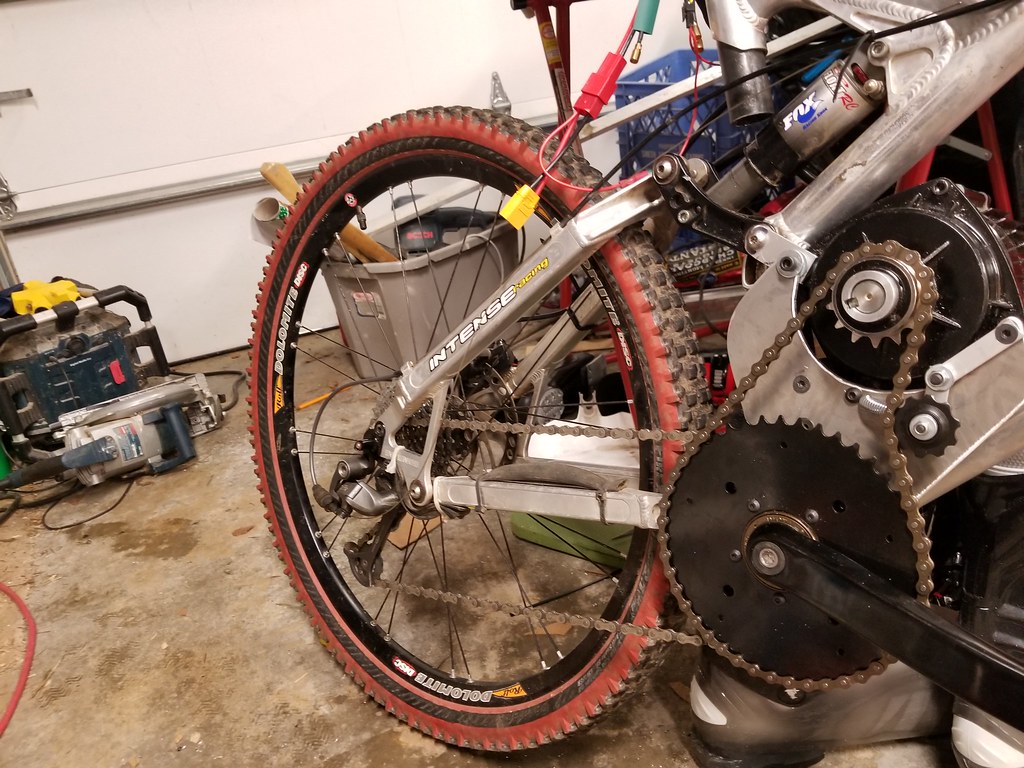
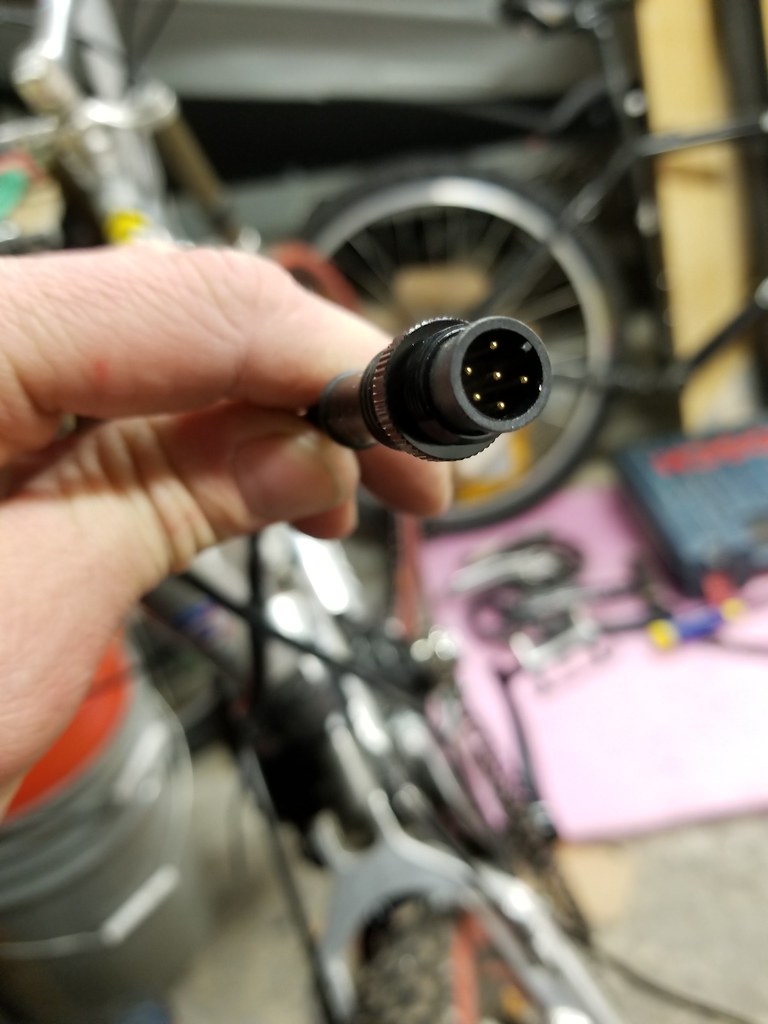
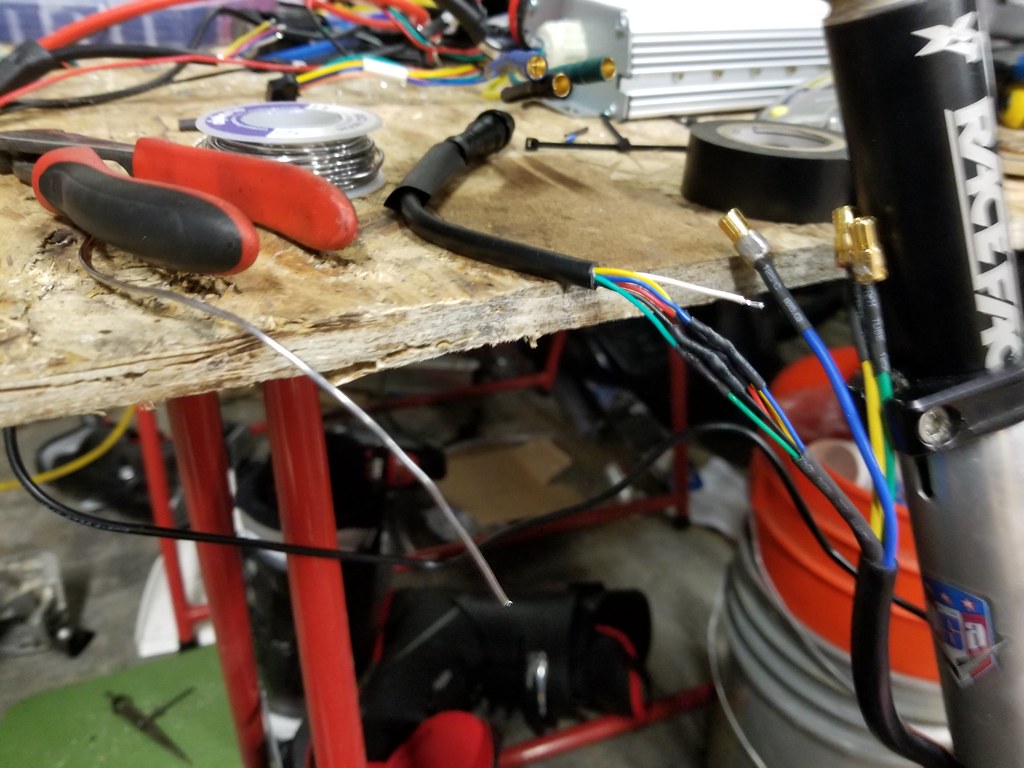
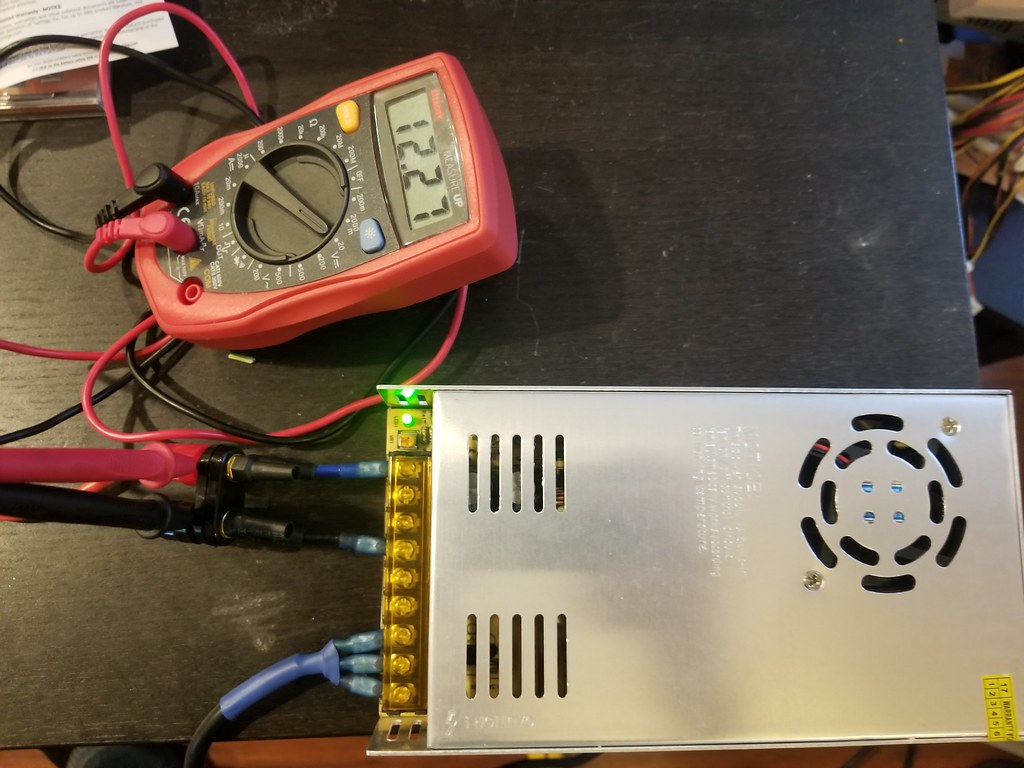
So at the end of the night I have a motor mounted in the frame (ignore the random hardware, I need to run to the hardware supply house and get correct stuff....), I trimmed down the connectors I would not be using off the controller, built the series battery connector, and tested the electrical side.
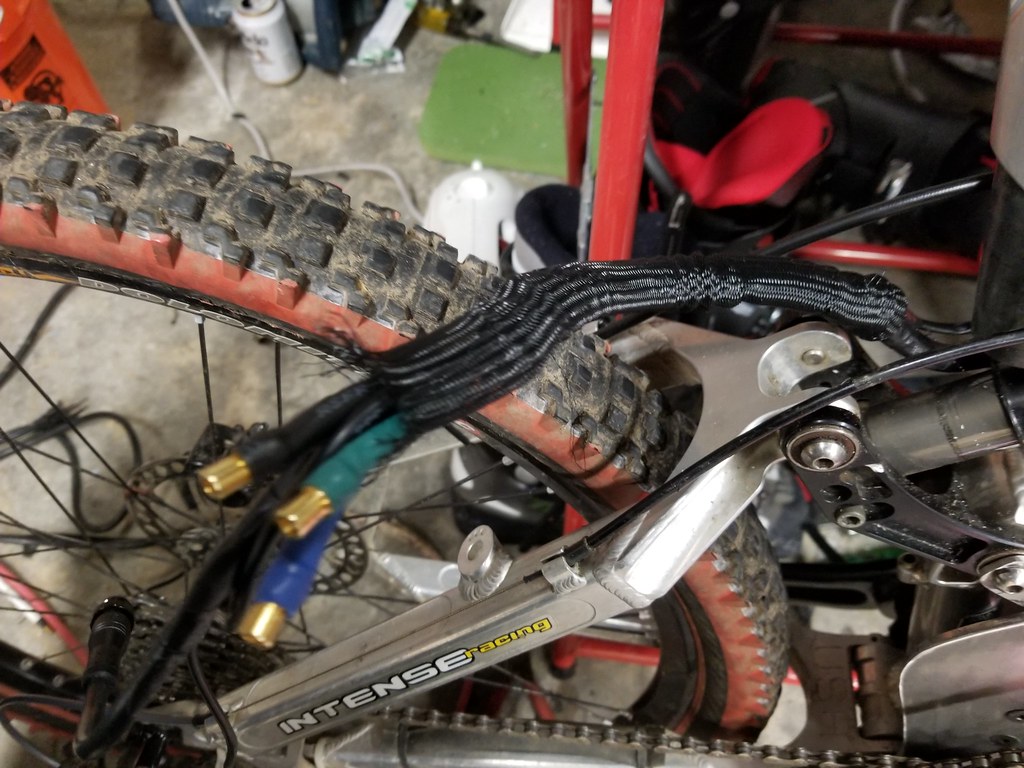
Chain lines are pretty decent, although the drive chain will have a fair bit of slack to take up with the tensioner.
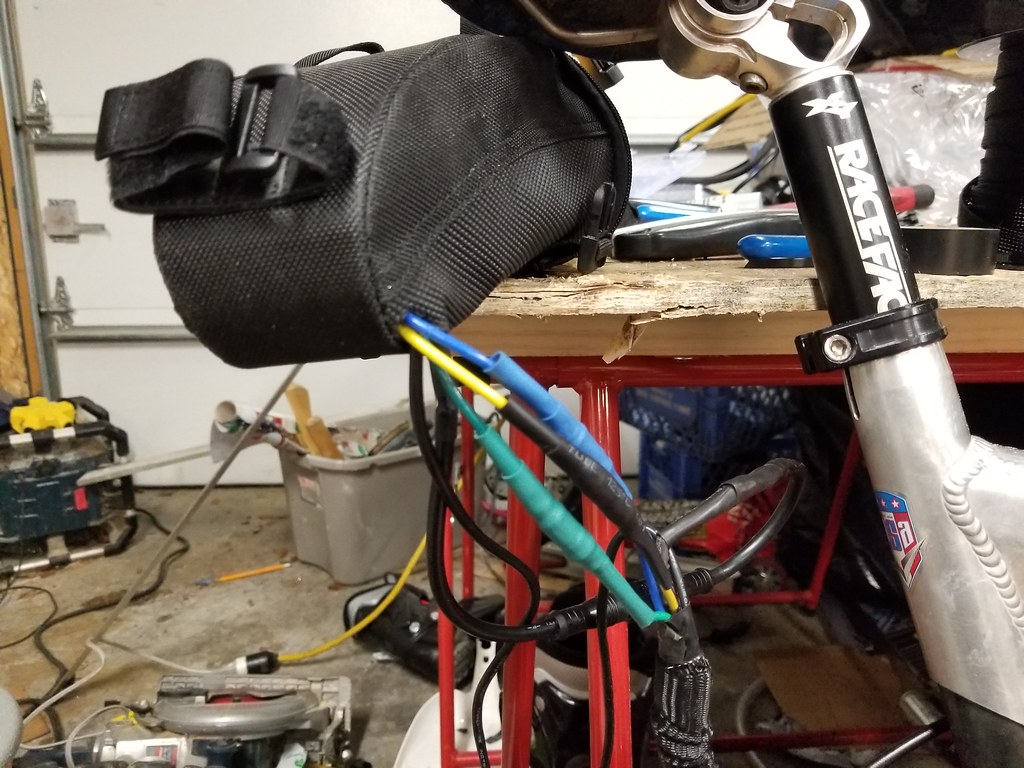
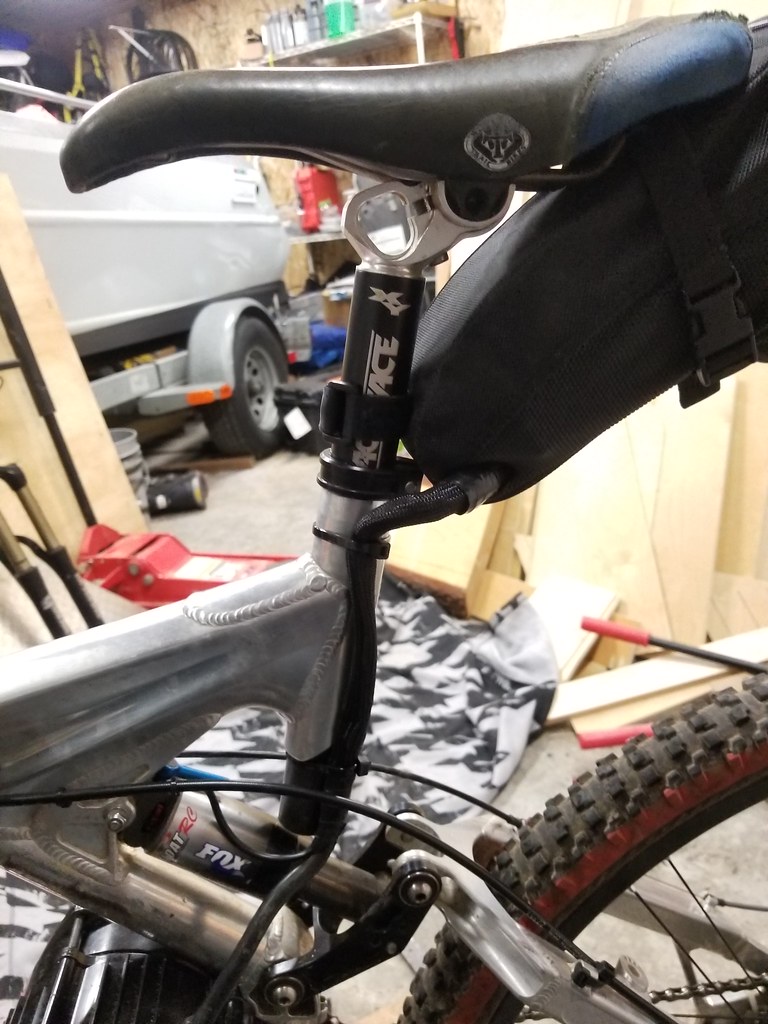
Hopefully tonight I can get the bike side of things fixed up, replace the derailleur cable, swap my brakes over, fill tires etc. Need to figure out where to put the controller too, thinking a saddle bag. Then wire runs, replace the phase wire connectors with 6mm bullets and test ride! (and figure out what to do about the front shock....)
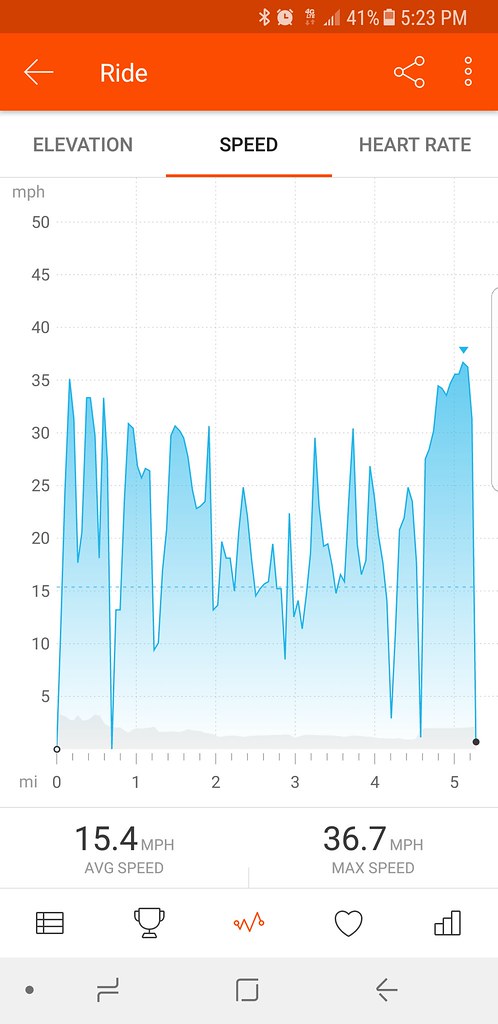
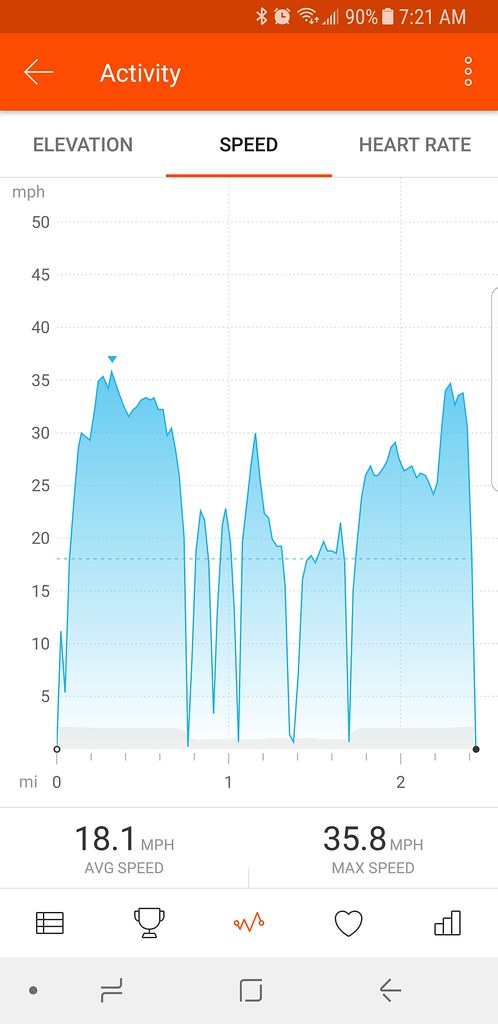
More coming soon. (I did d a test ride at 10pm last night, lets just say it was GOOD)
I have previously had a 250w hub motor in the front wheel of one of my bikes, it was meh, helped a bit on hills and whatnot, but when the batteries died I dumped it (this was years ago, tech has come a long ways!)
This will be my first mid drive. (Mid drive drives the crank, not a motor in the hub of the wheel) I wanted to do a mid for a couple reasons, a big heavy motor in the wheel really beats spokes and rims to death, and a mid can be mounted inside the frame, and you get to have the advantage of using the gears. Most clamp to the bottom bracket somehow and hang down, but I am making mounts for inside the frame.
The motors range from 500 watts to 7500+ if you go crazy. I settle on a DIY oriented kit, with a 3000w motor (if you run it at a full 72V). Running the motor at 52V as planned is ~2080 watts, 2kw = 2.68HP, motot is rated at 100Nm torque, so lets say we take 2/3 of that like the watts, 66Nm = 48ft lbs of torque
The "kit" is a cyclone 3kw kit, its a Taiwanese company that makes them, and its pretty DIY. Basic BB clamp brackets are included, but its up to you to figure it out. I was planning to install in my old hard tail bike, but found a good deal on a older Intense XC frame. I want to mount it inside the frame to keep the ground clearance. This will mostly be a fun commuter bike, but there are lots of good trails around as well.
Plan for batteries is Multistar Lipo's, 52V 16ah (I already have a charger etc from RC stuff). My ride to work is 14.4 miles, so hopefully I will have enough to get there easily. I can charge at work as needed. To do this I used 2 4s packs, and one 6s, in series. These will go in a backpack.
I had the seller measure the frame opening, it looked like I would need to notch it, but it turned out to fit exactly tight between the tubes. Could not have had 1mm less space.
Frame, well a whole bike, but everything needs some love. Brakes are done, need to be rebuilt and bled (I have a new set off another bike I will use), Fork needs a full rebuild. Cables are broken. So really I bought a wheel set, frame and bars, but the price was right. Its a early 2000's Intense Tracer.
Got the frame home and set it over the motor, I was super happy! It fit, just barely. If it needed to go any further to the drive side it would not have fit.
Now to build the mounts. I picked up a sheet of 3/16" aluminum, a bit thicker than the stock mounts. I wanted to use the same style, clamp in with the BB and catch the motor bolts. A little bit of CAD and I have a design. It follows the down tube and catches three of the bolts on the gear side of the cyclone. These mounts need to be pretty sturdy, the motor wants to twist against them when power is applied. The Stock mounts are known to be very flexy.
Rough cut with the jig saw (I used 3003 alu for easy cutting)
Two of the three bolt holes are perfect, the top one was off a bit. Not sure exactly why, but sharpie, cardboard and hand drills might be part of it. I think I will be able to oval the hole enough to make it work. Luckily this one will also be tied to the suspension pivot point so I think it will be strong enough. (no the tensioner wont go there)
This tab will help the BB not let things rotate and support the upper edge. I was only able to use 1/8" here, but its a short span.
Hanging in place! Now to do the other side.
The mount for the other side started with the stock bracket on the BB. I had to notch it a little for the suspension bolt. A piece of aluminum flat bar was cut the same width as the BB, I and drilled and tapped this through both of the mounting plates. It will sandwiching them together, adding a little shear, and also I can clamp around the down tube there if needed.
Drilled and tapped for m6x1, not perfect, but it was all held in place and drilled together by my eyeballs....
Now the two mounting plates were tied together, I needed to get something to help the motor not rotate under load. Hopefully what I came up with is strong enough, I have never done a mid drive... I used a piece of 1/8"x2" 6061, it catches the lower motor bolt, and then ties into the black plate down near the BB. Two bolts hold it in place down low.
So at the end of the night I have a motor mounted in the frame (ignore the random hardware, I need to run to the hardware supply house and get correct stuff....), I trimmed down the connectors I would not be using off the controller, built the series battery connector, and tested the electrical side.
Chain lines are pretty decent, although the drive chain will have a fair bit of slack to take up with the tensioner.
Hopefully tonight I can get the bike side of things fixed up, replace the derailleur cable, swap my brakes over, fill tires etc. Need to figure out where to put the controller too, thinking a saddle bag. Then wire runs, replace the phase wire connectors with 6mm bullets and test ride! (and figure out what to do about the front shock....)
More coming soon. (I did d a test ride at 10pm last night, lets just say it was GOOD)