
ramonortiz55
Adventurist
My 4runner's shifter had too much slack for my liking. I was worried that one day I wouldn't be able to turn on the 4runner or have it release my key from the ignition. So I decided to change the shifter bushings as preventative maintenance.
This writeup also applies for 1st generation tacomas.
Each shifter assembly requires four bushings, here is the part number:
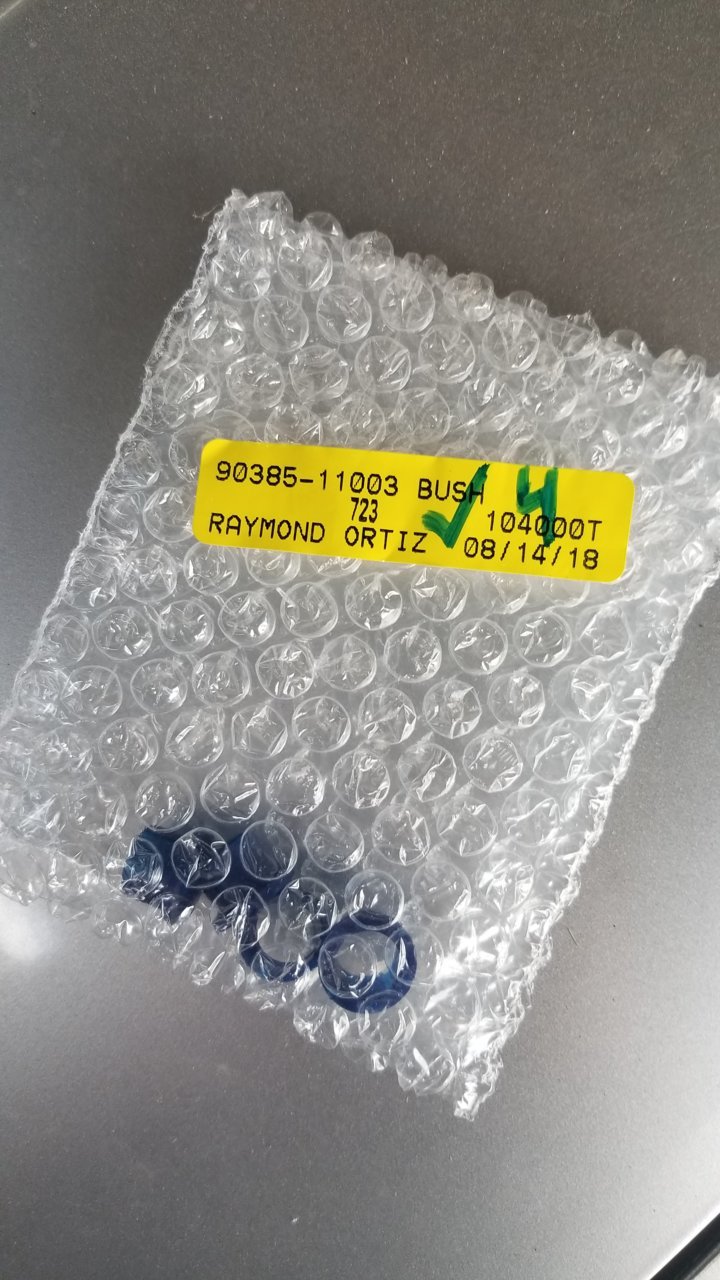
Stare at the center console for 5 minutes. Give it a long mean mug stare.
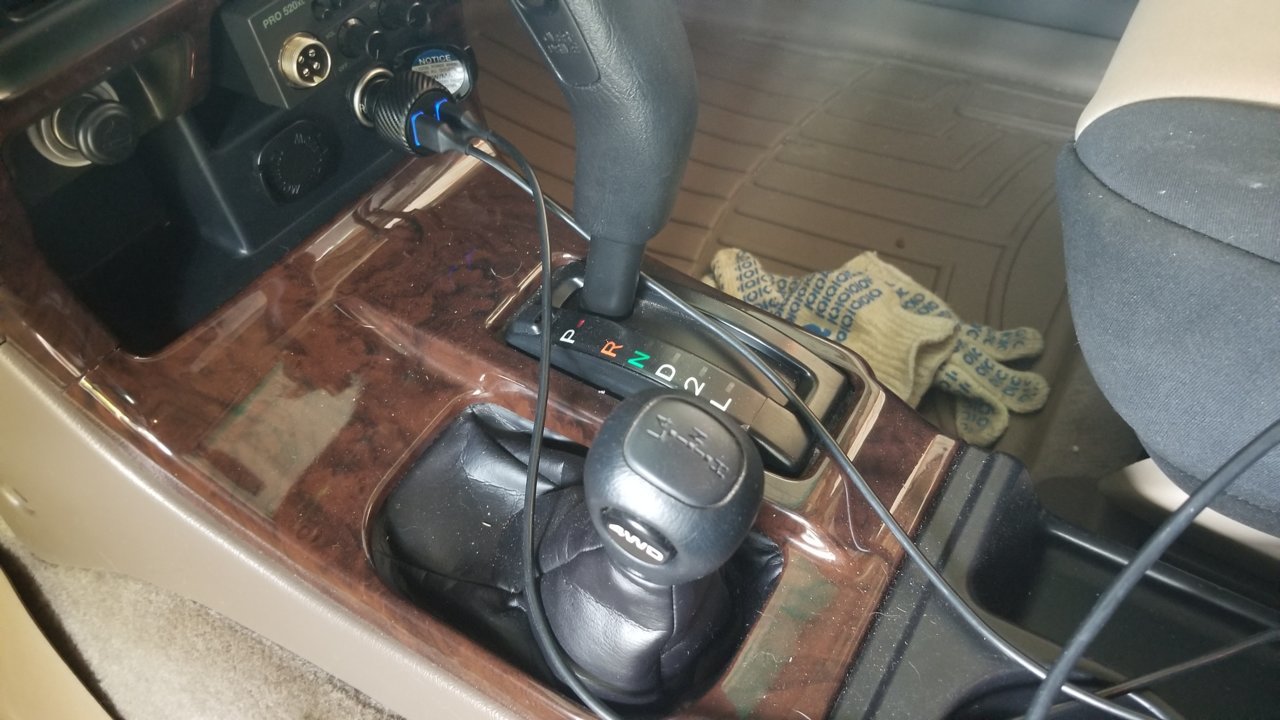
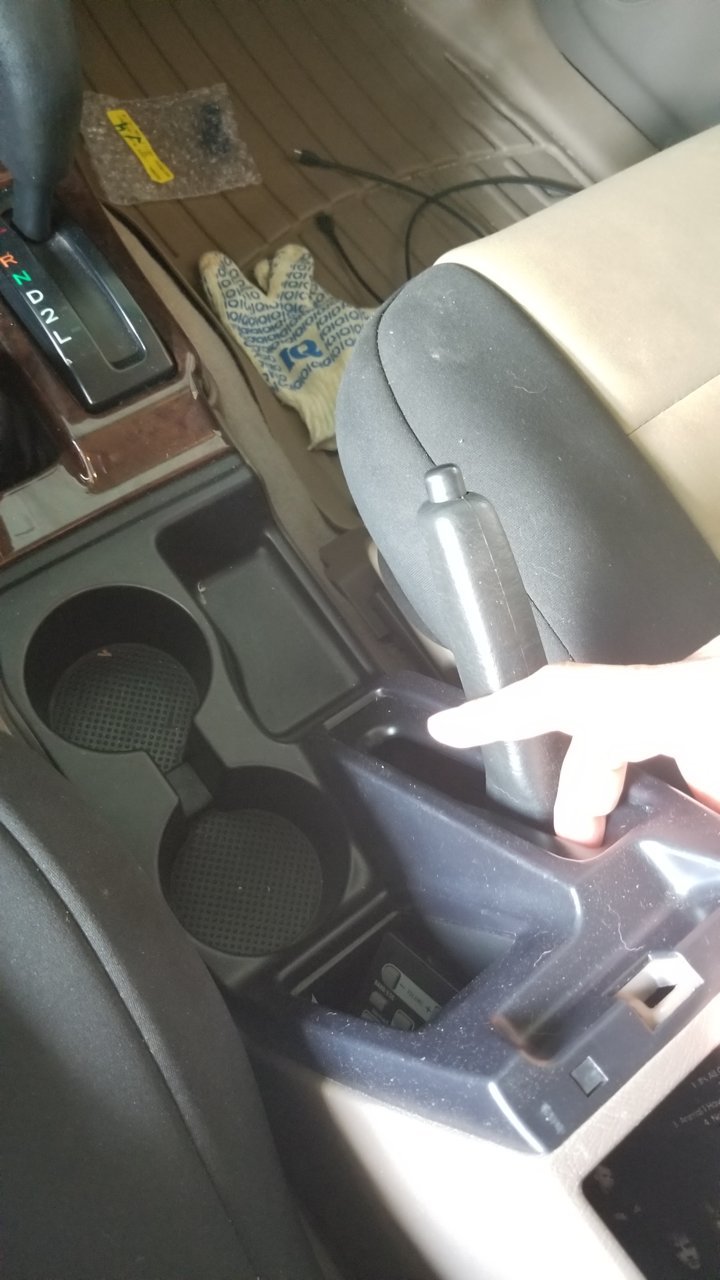
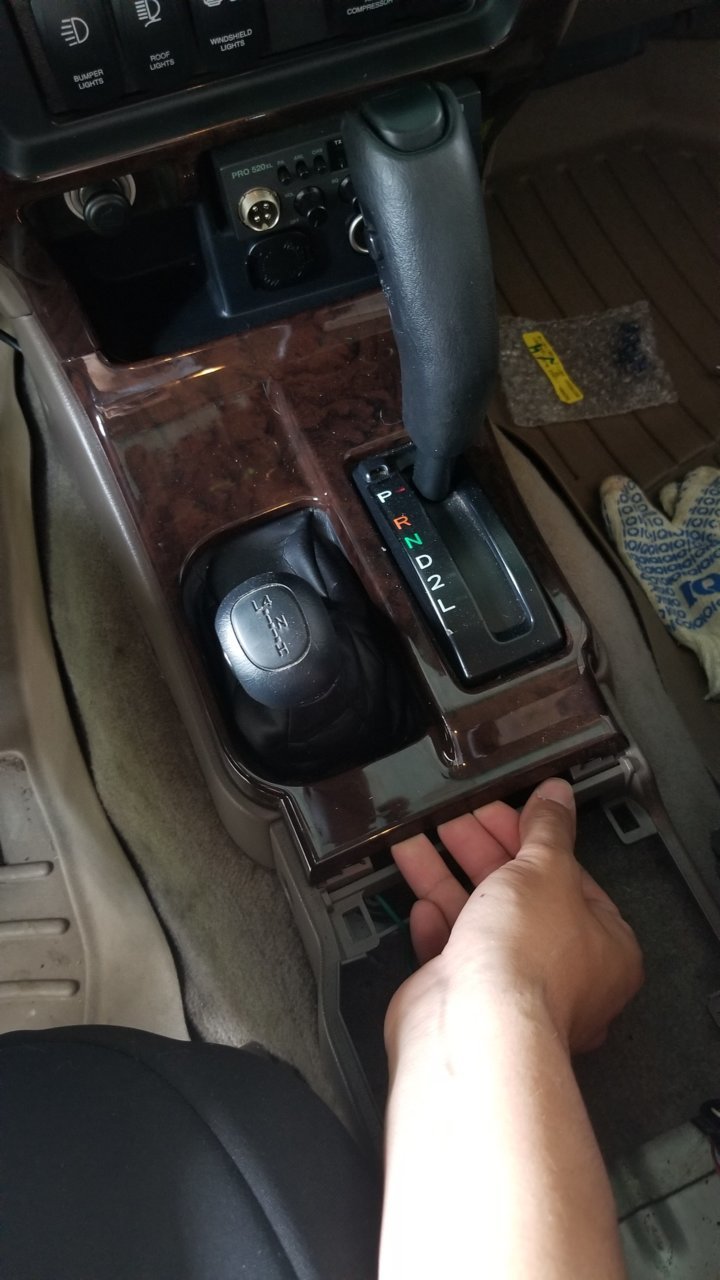
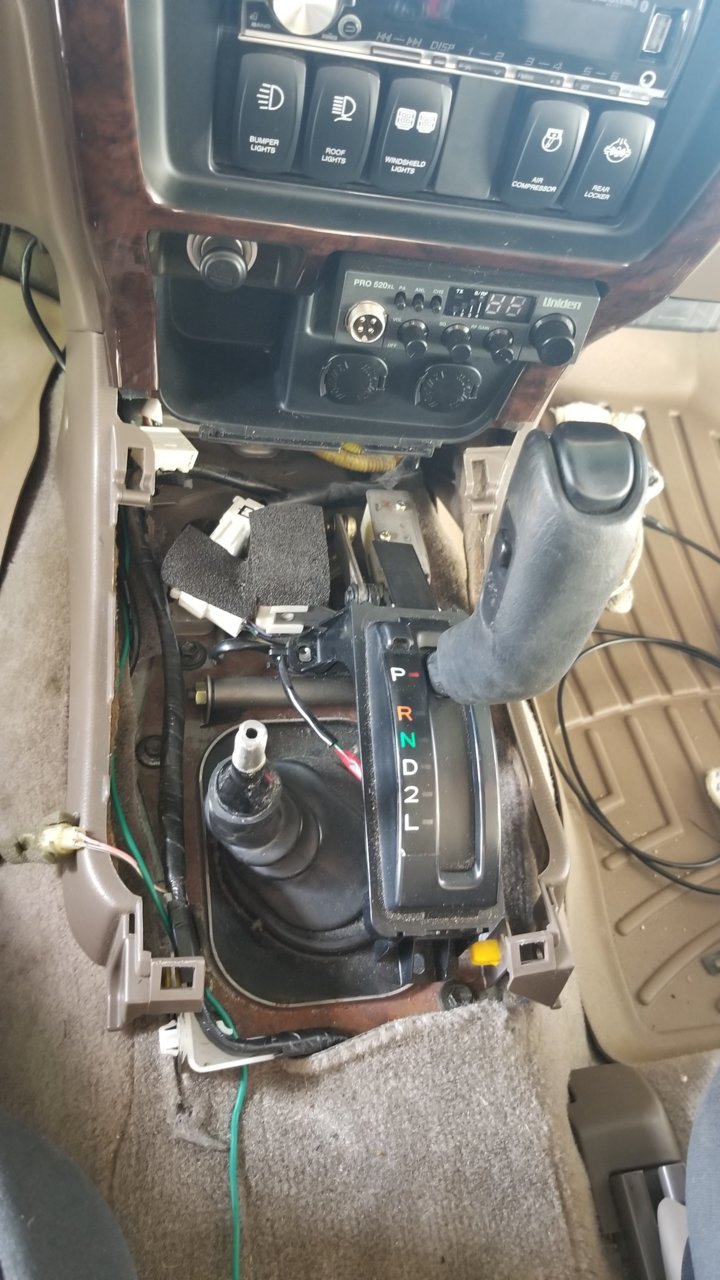
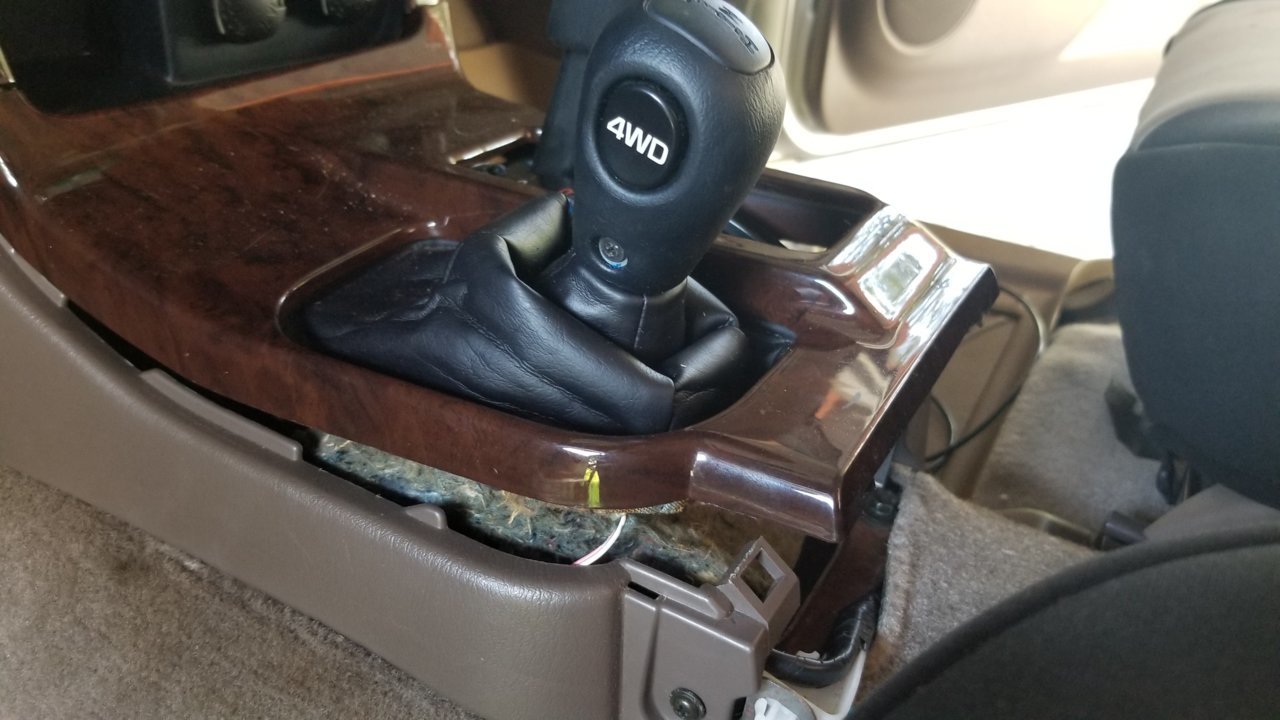
Set hand brake and grab pull out the cup holder:
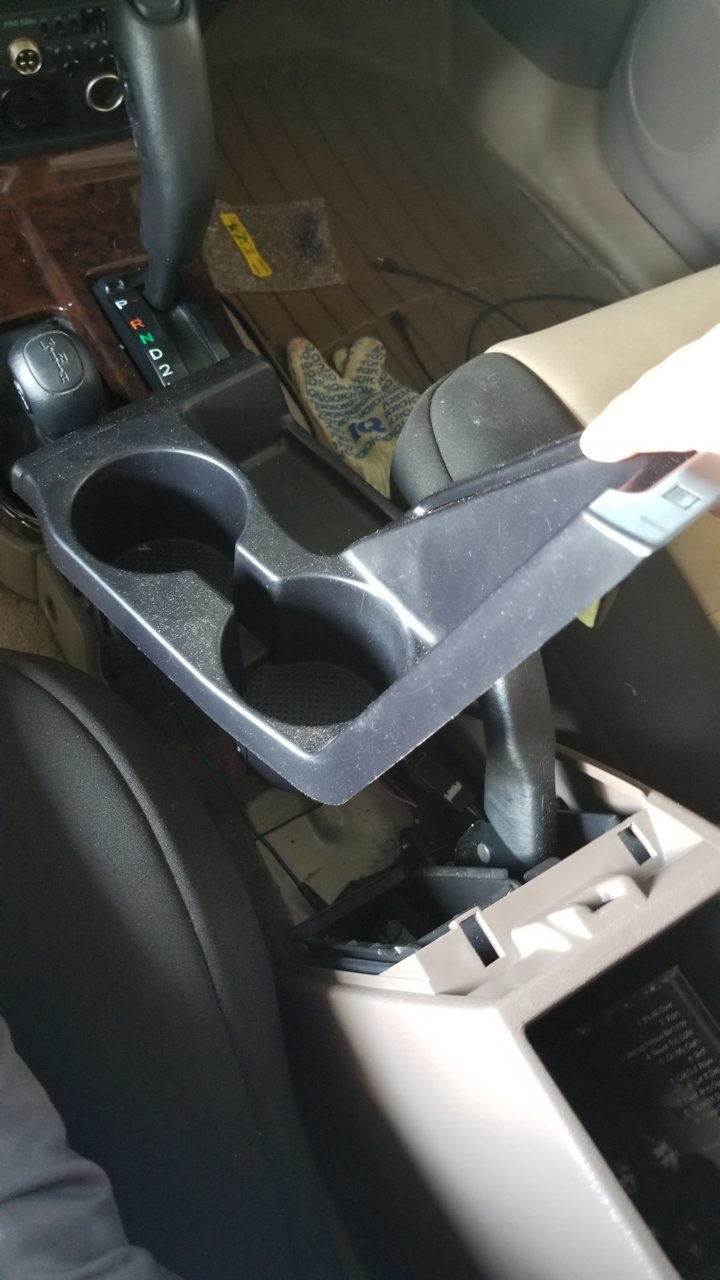
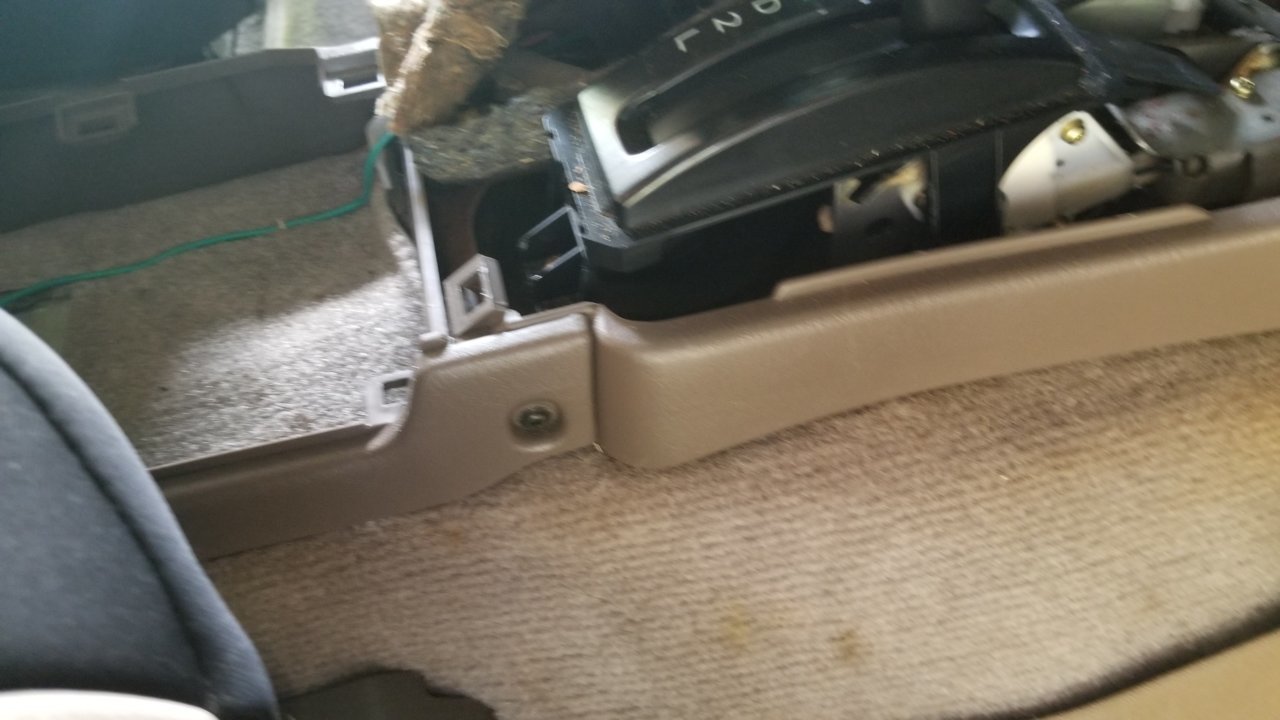
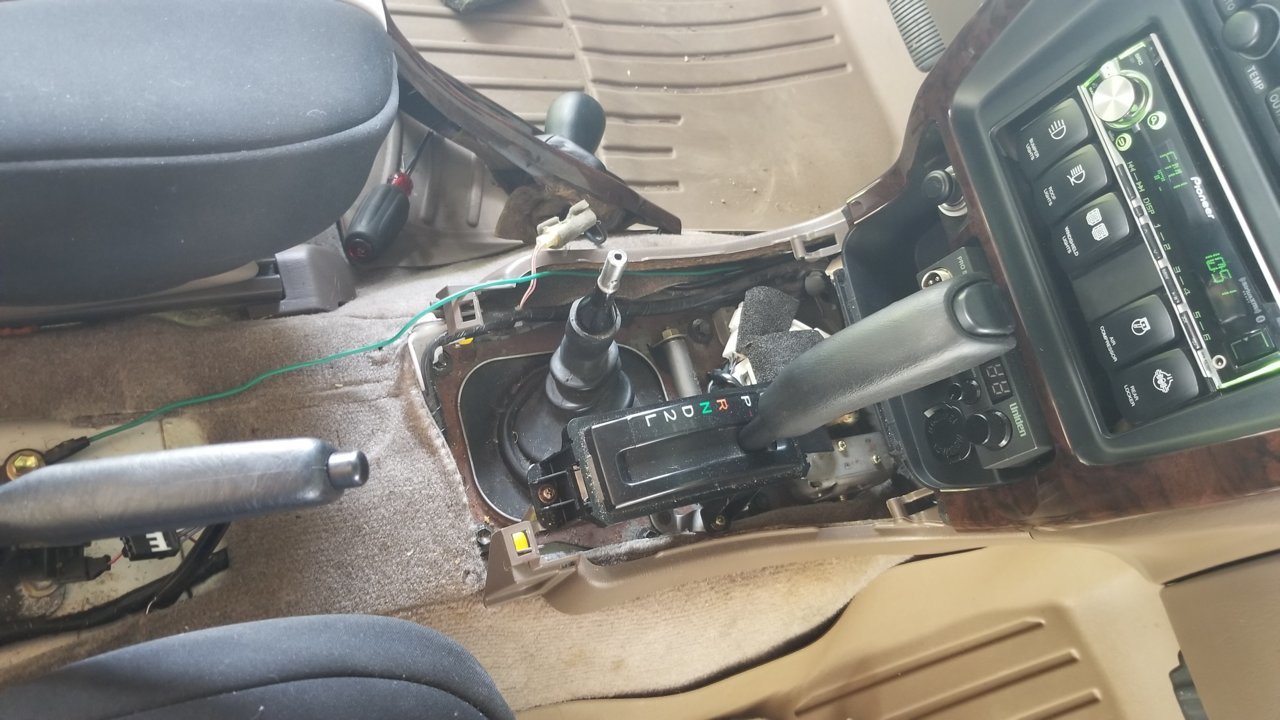
Next pull out the trim around the shifter, simply tug:
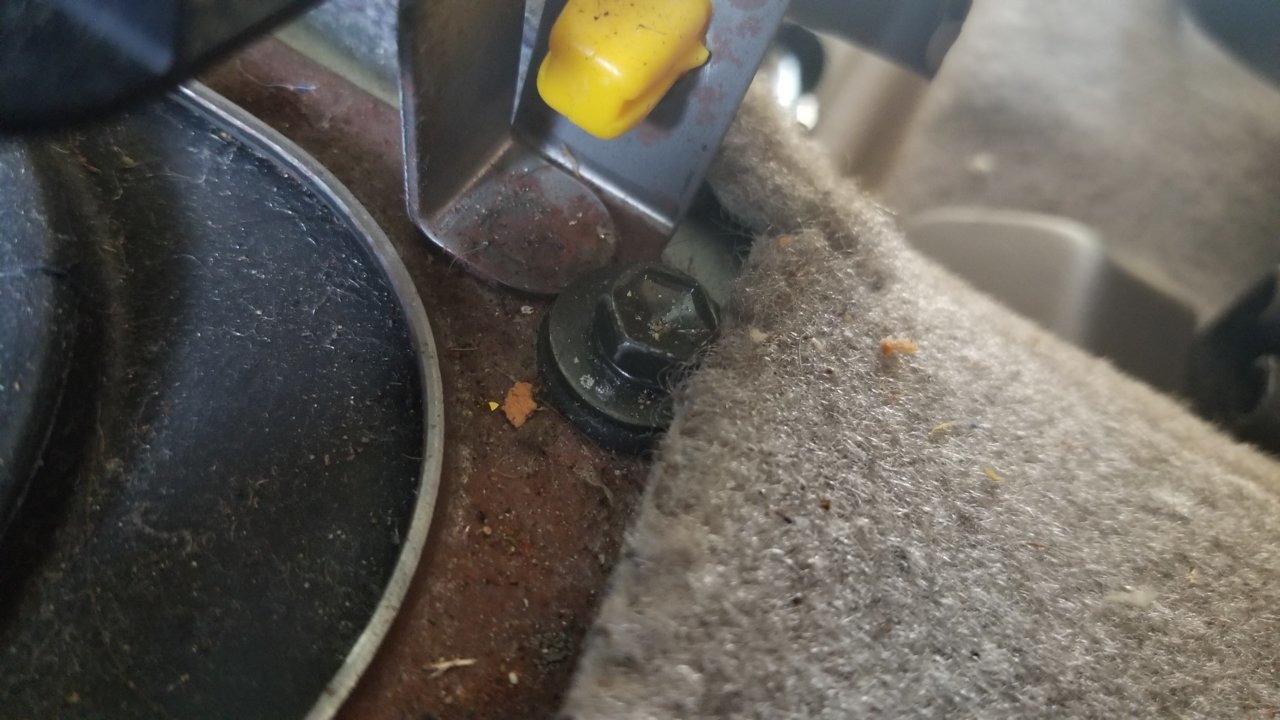
Remove the center console. This is held down by two bolts inside the console:
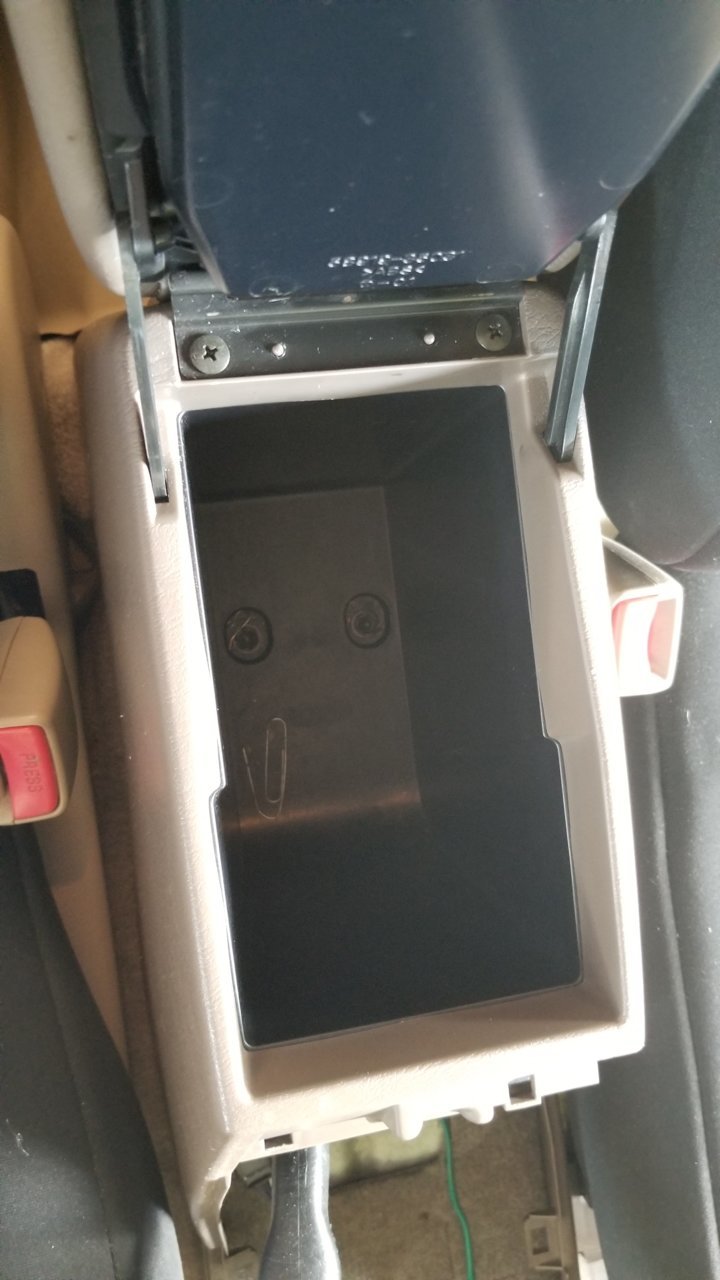
Remove the screw holding the center console to the shifter trim, one each side. This will allow the center console assembly to pull out of the way:
Next remove the 4x4 shifter head, my particular setup is not threaded. Therefore, I remove the set screw and pull the head off carefully.
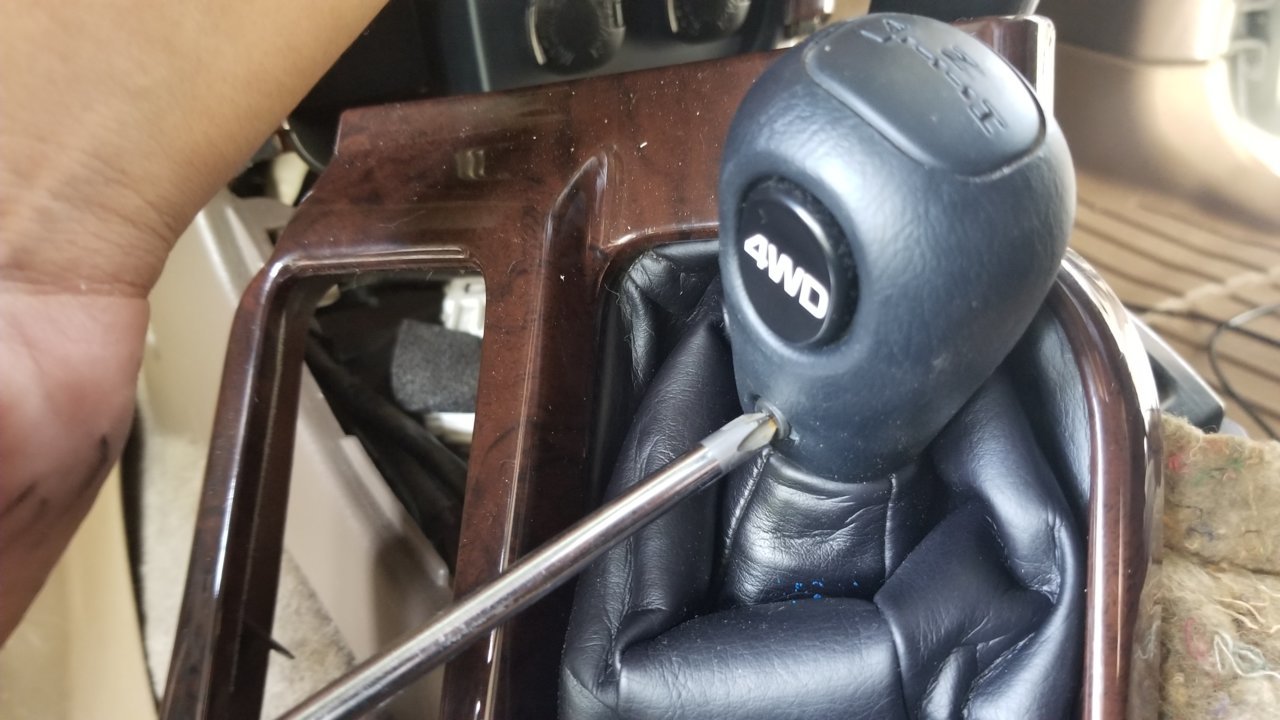
Be very careful not to pull the wiring that leads to the 4x4 shifter (black).
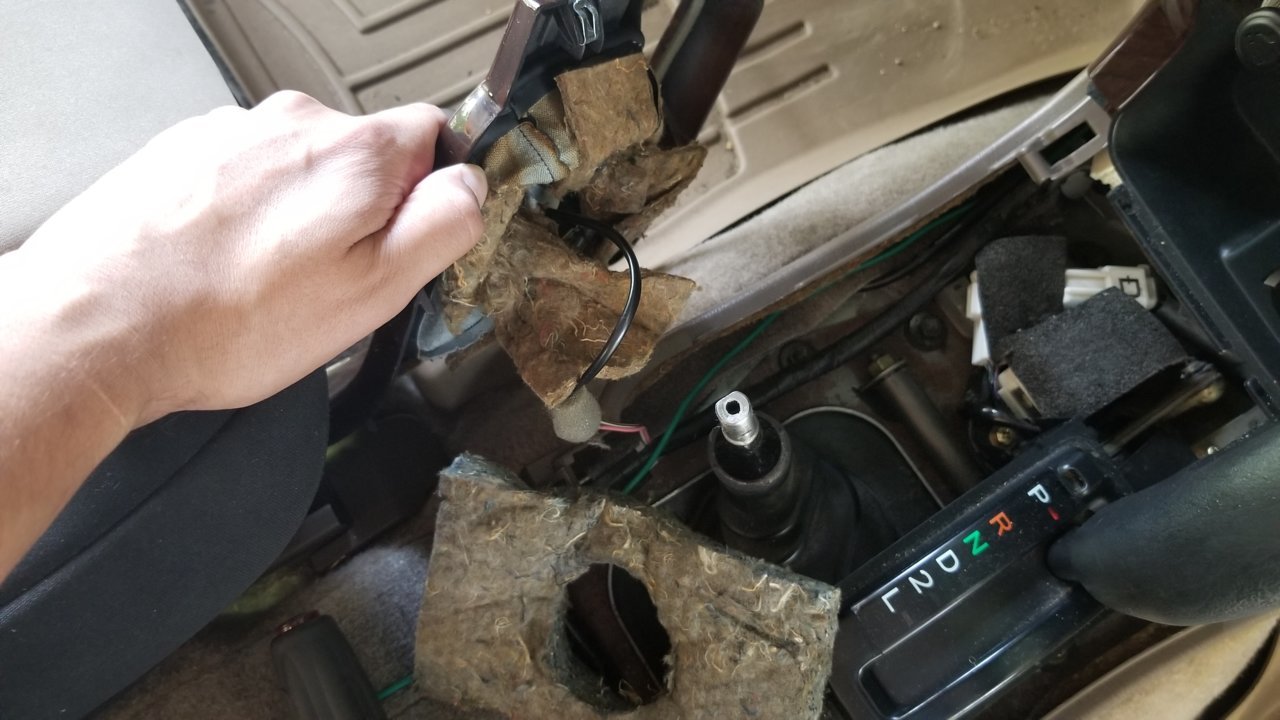
I placed it to the side, did not really disconnect the wiring because I was afraid of messing up the pigtail connection.
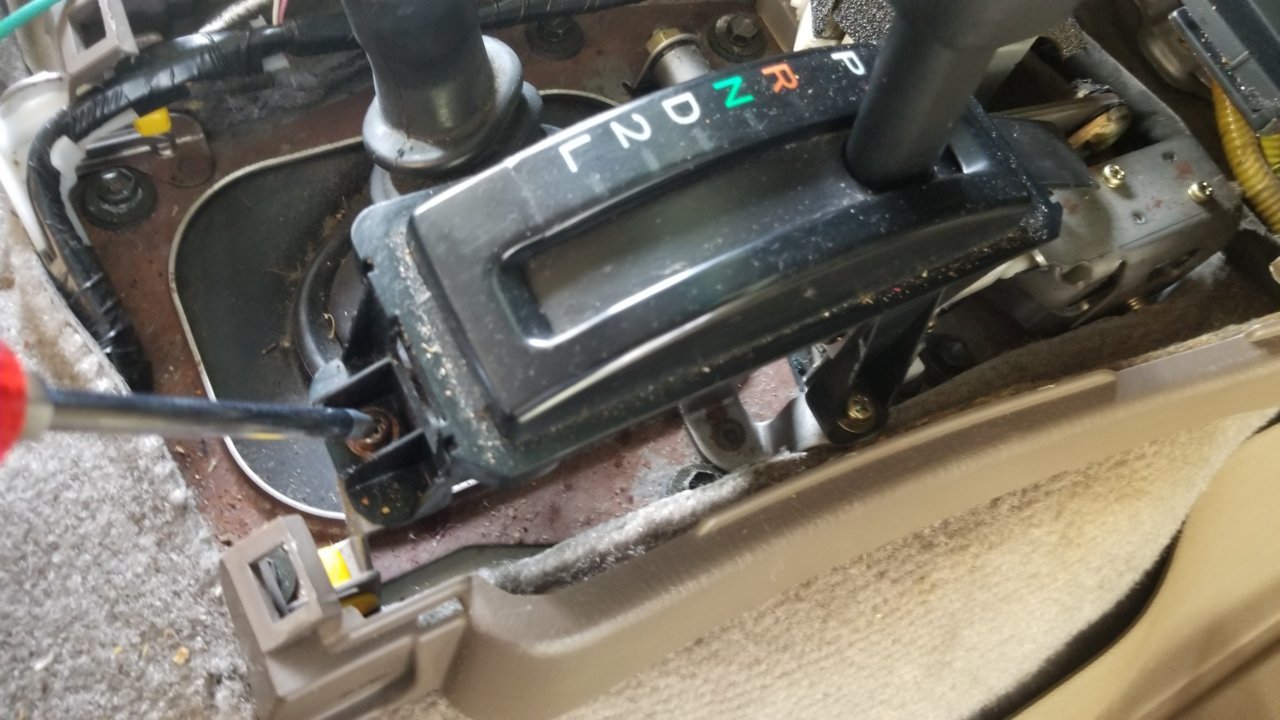
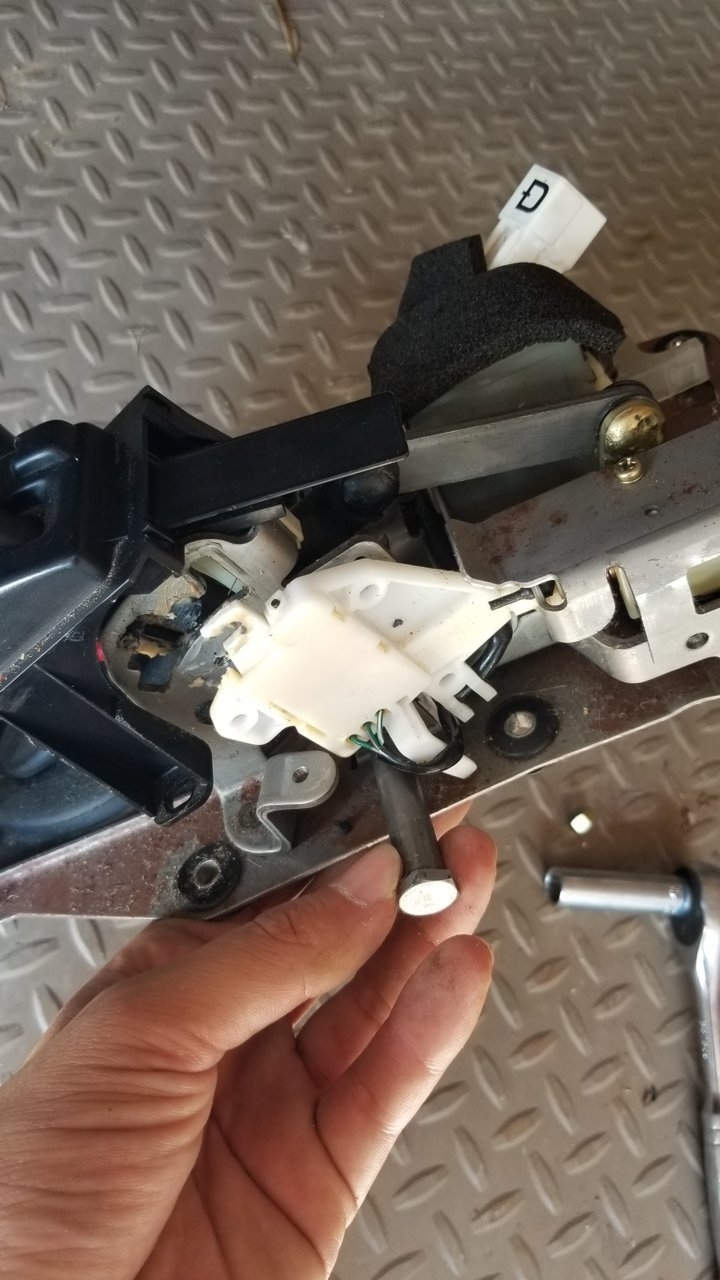
Next I removed three screws that hold the shifter down to the assembly:
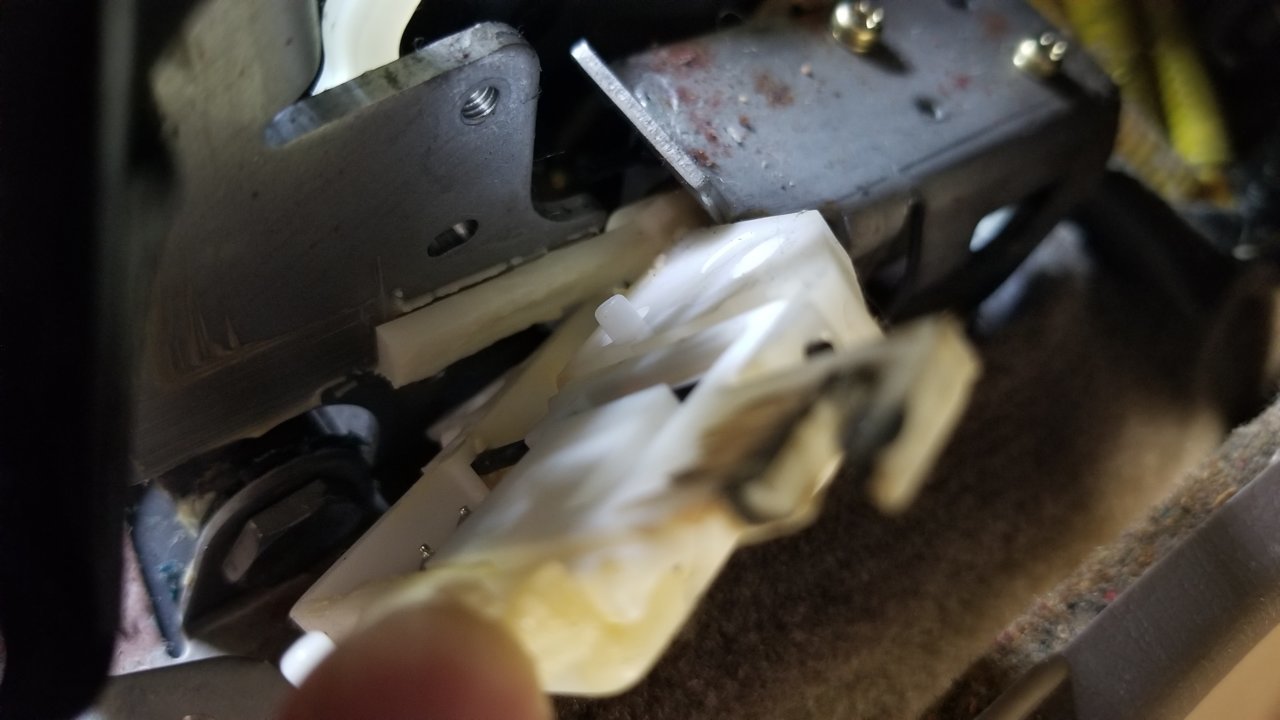
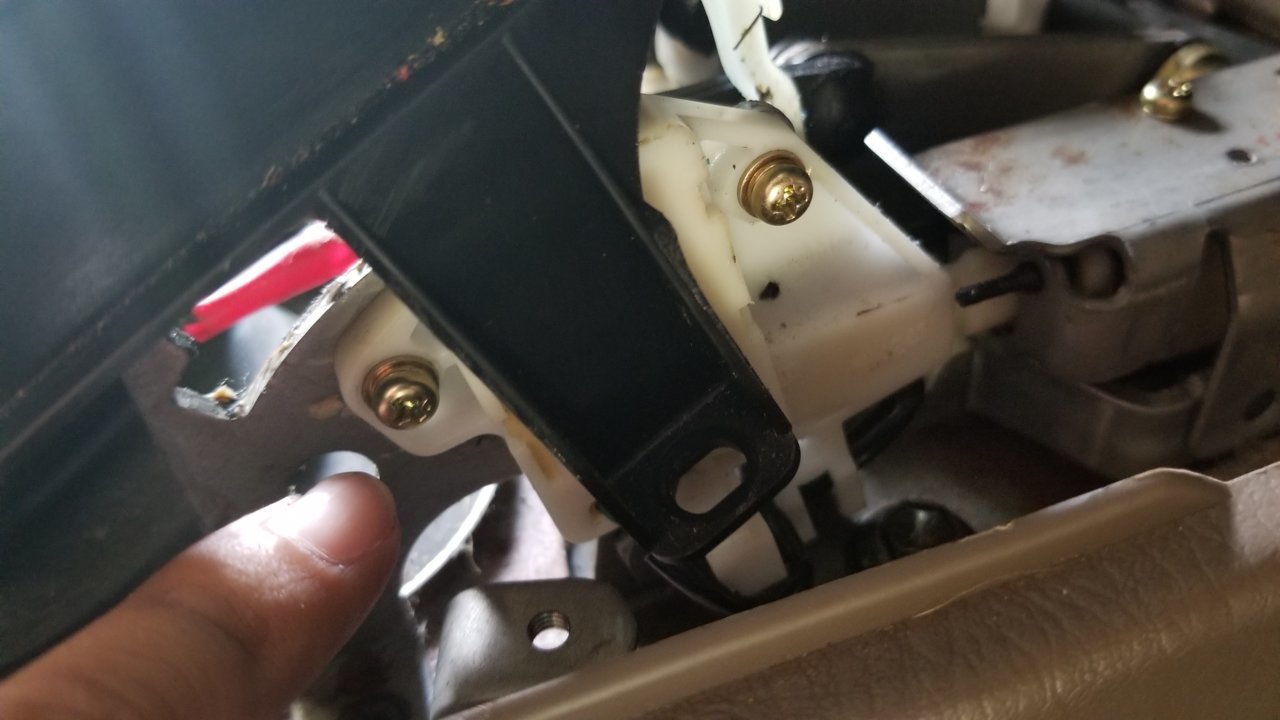
Once removed, it revealed this white device thing:

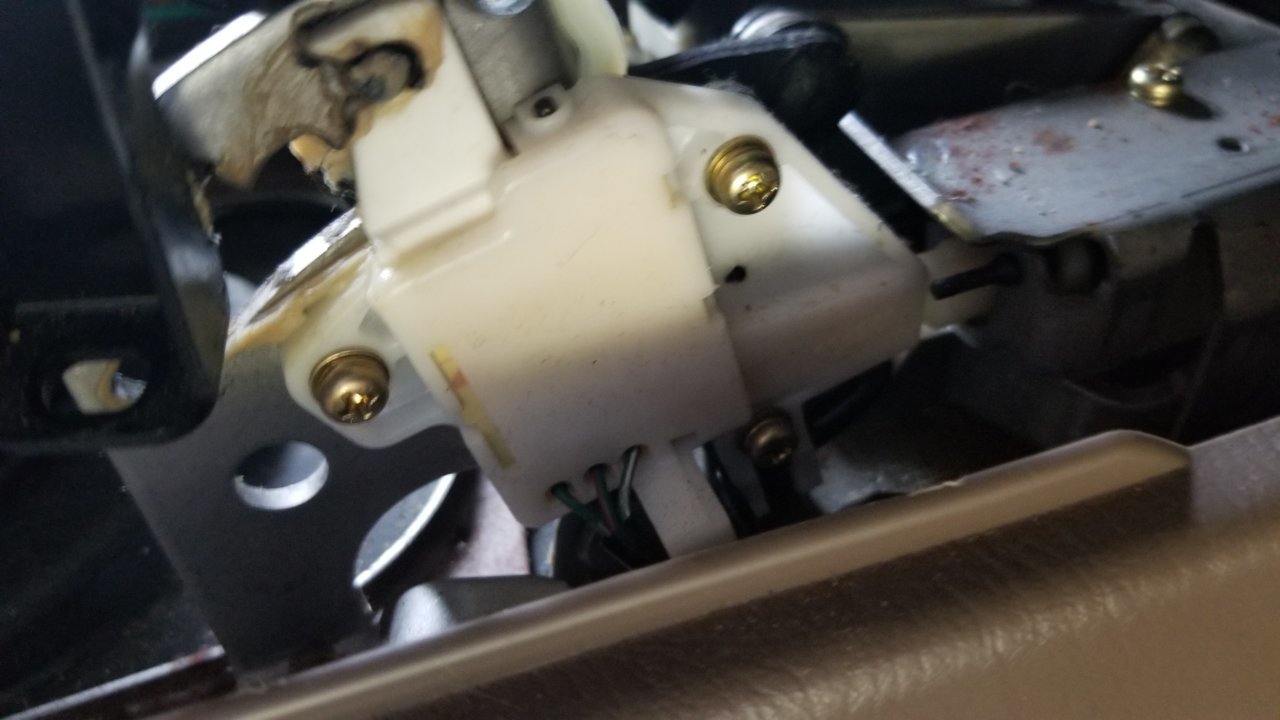
I removed the three screws that held it down. Pay attention to how it is mounted, there is a rectangular piece that goes inside of it. This needs to properly seat within a slot that is built into this device thing:
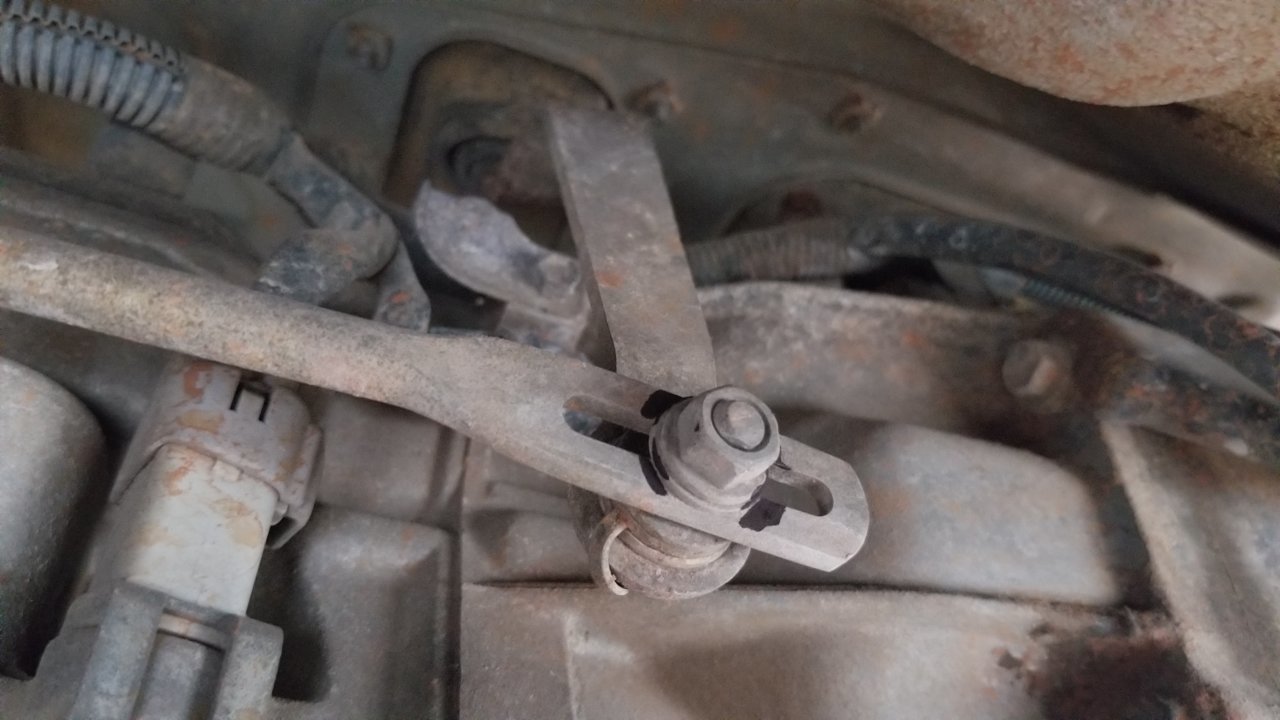
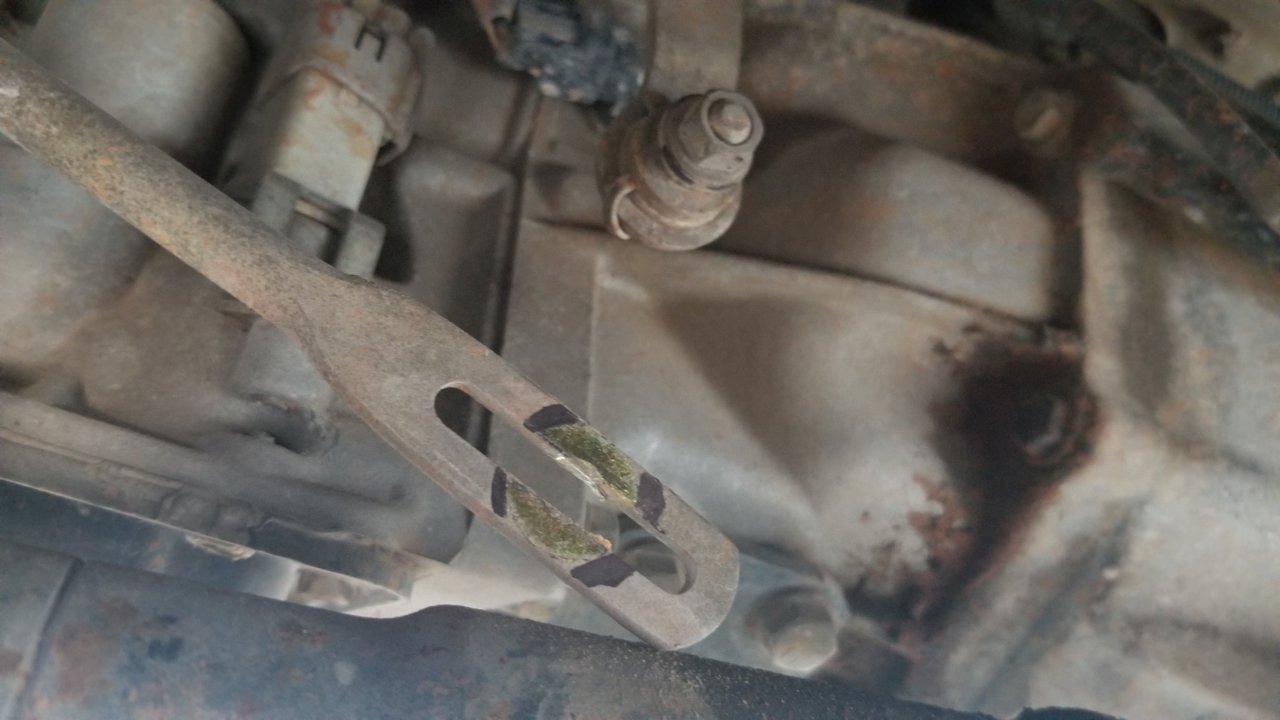
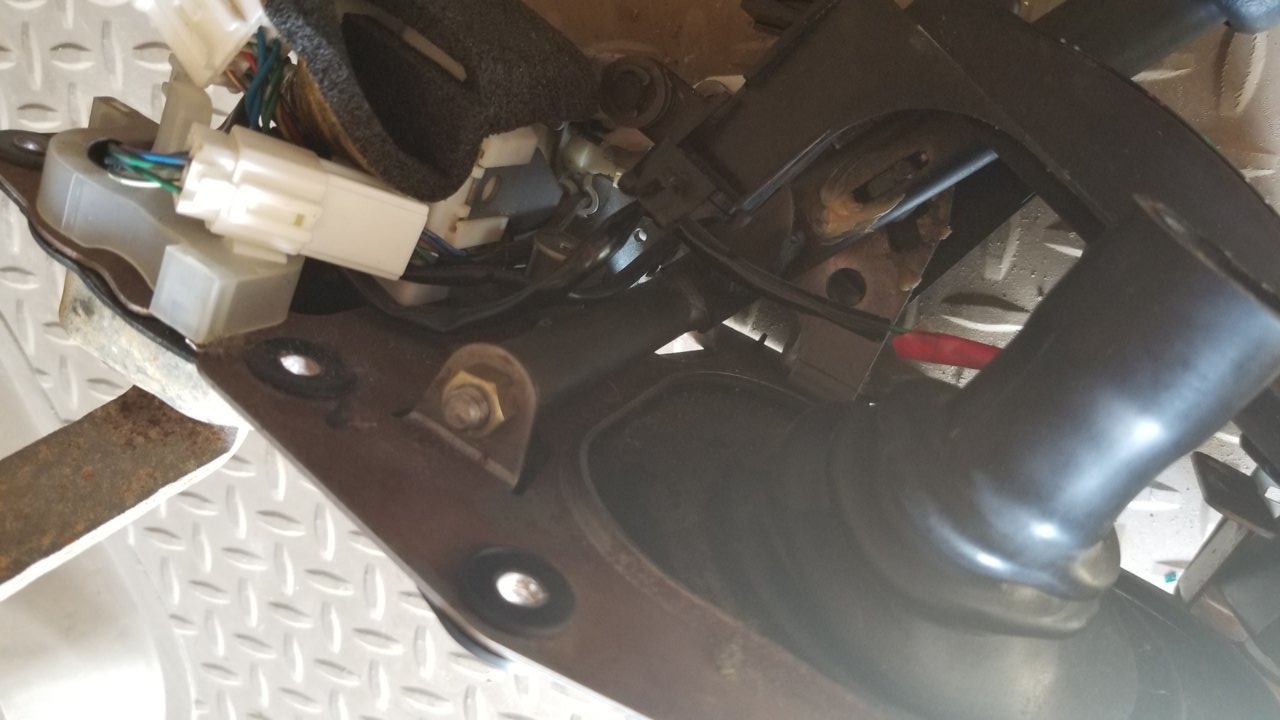
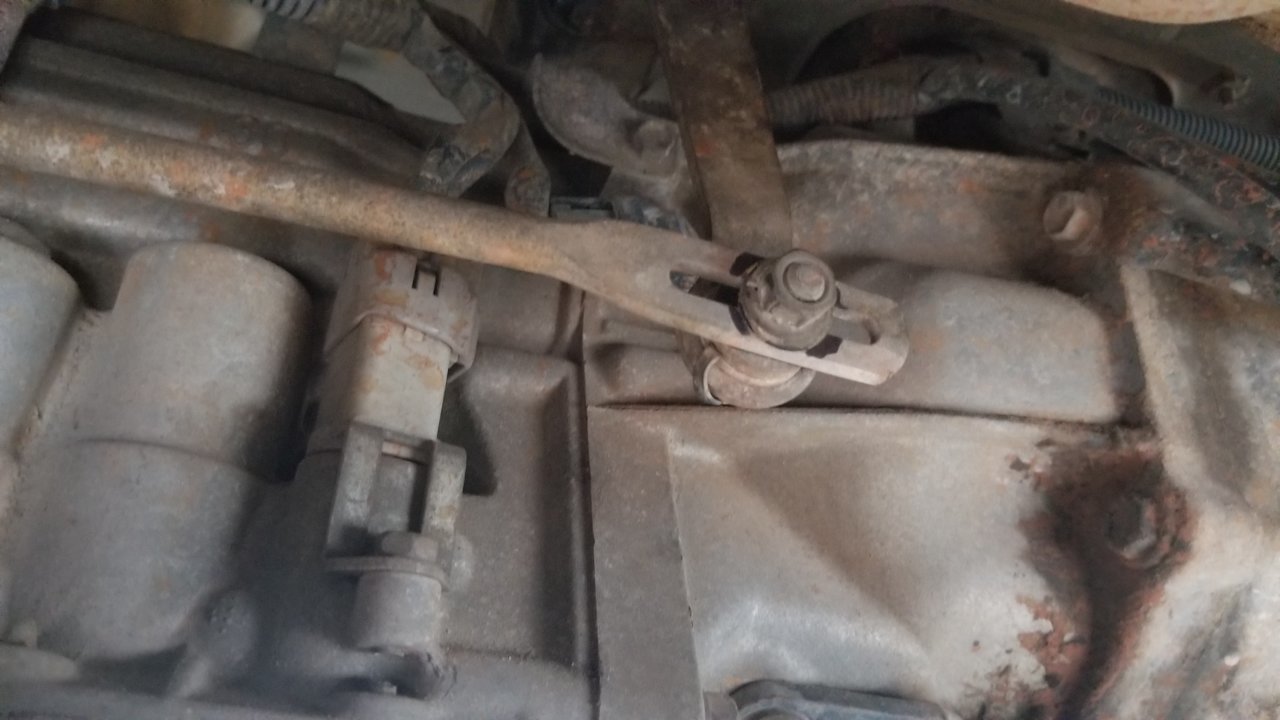
Before continuing, I went under the truck - Driver's side, and I disconnected the shifter from the transmission. Making sure to mark the location where it is bolted along the slot:

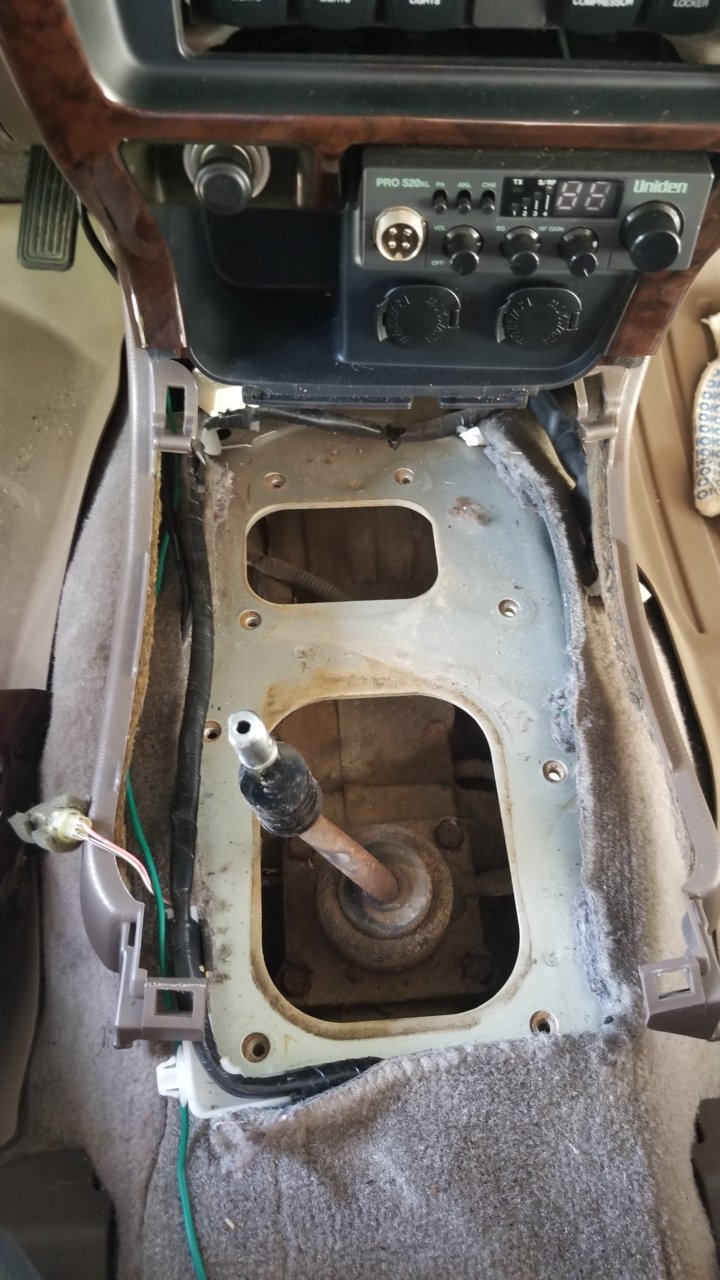
Once that is complete, I went back up to the shifter assembly and removed 8 of these bolts. They are located on the perimeter of the shifter panel against the floorboard:
Disconnected a couple of plugs to allow removal of bolts:

Had to pull the radio bezel off the dash to access one of the bolts:
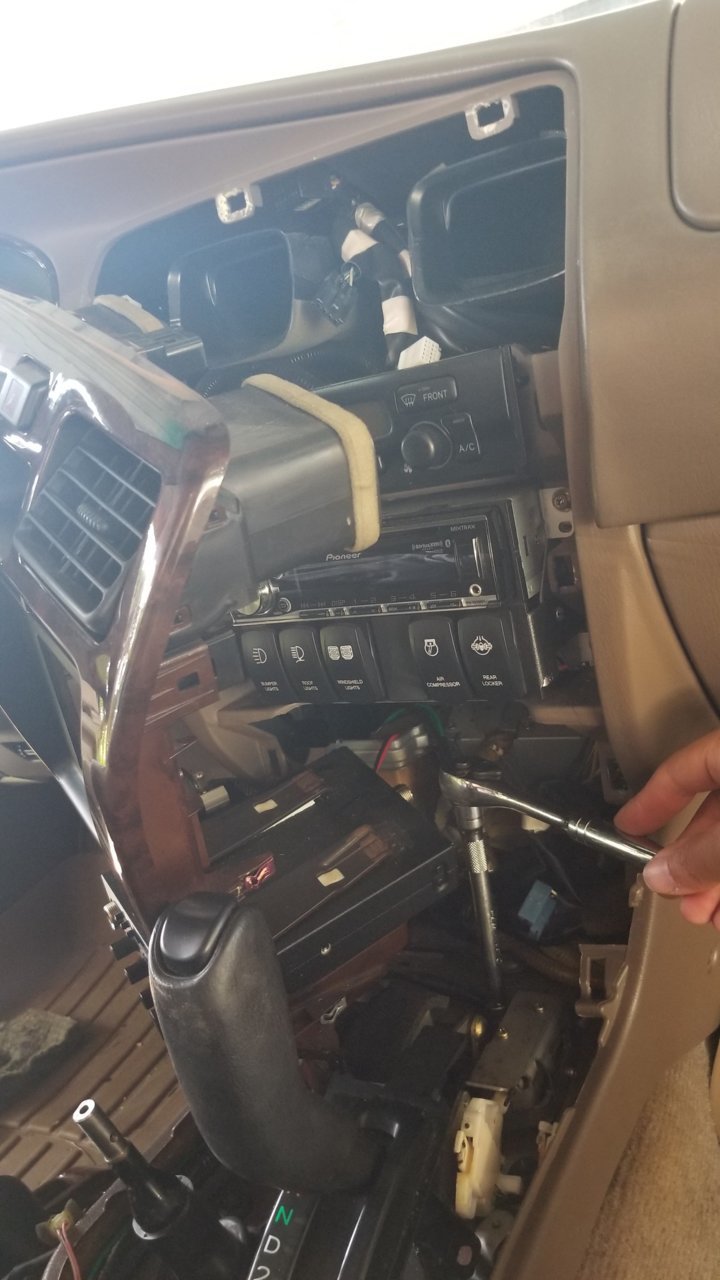
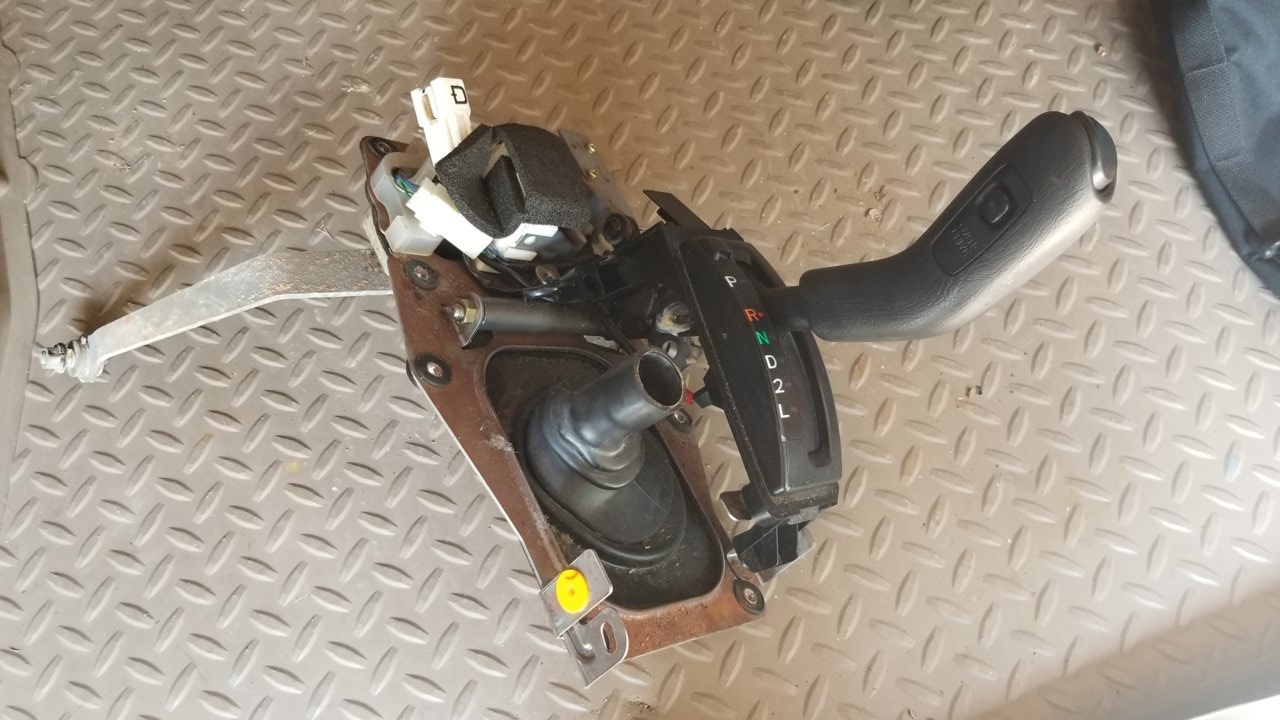
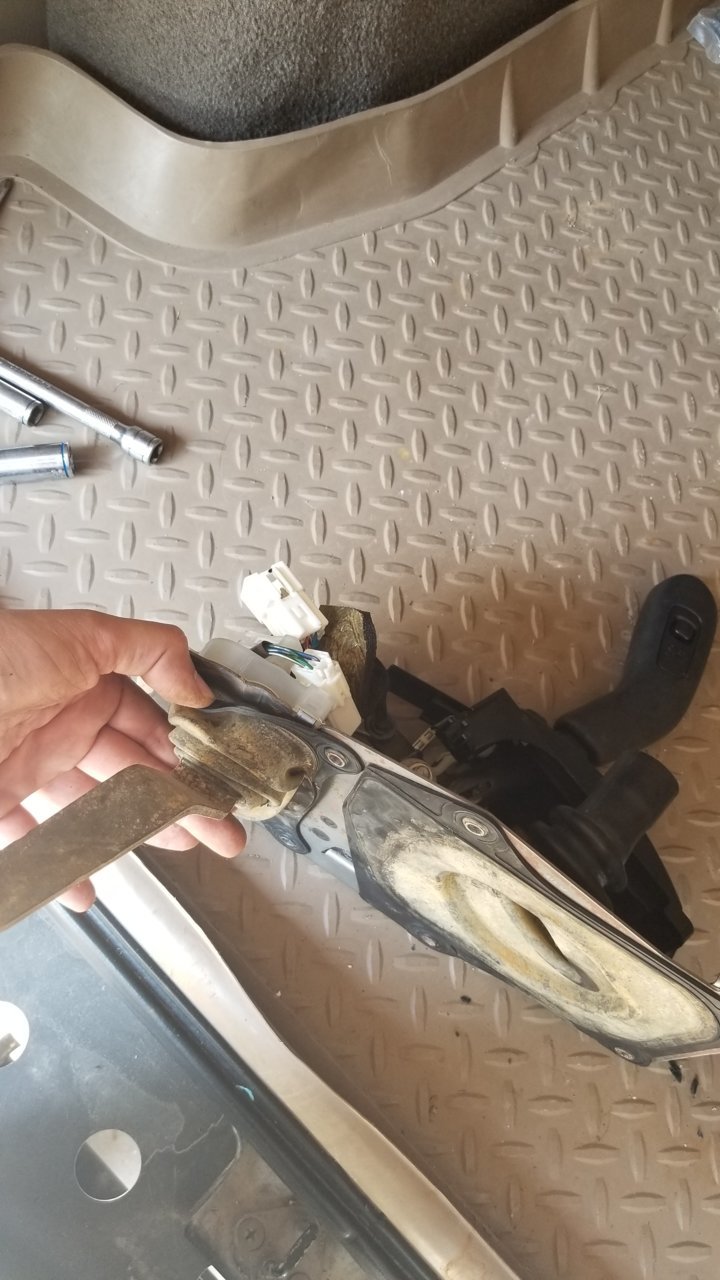
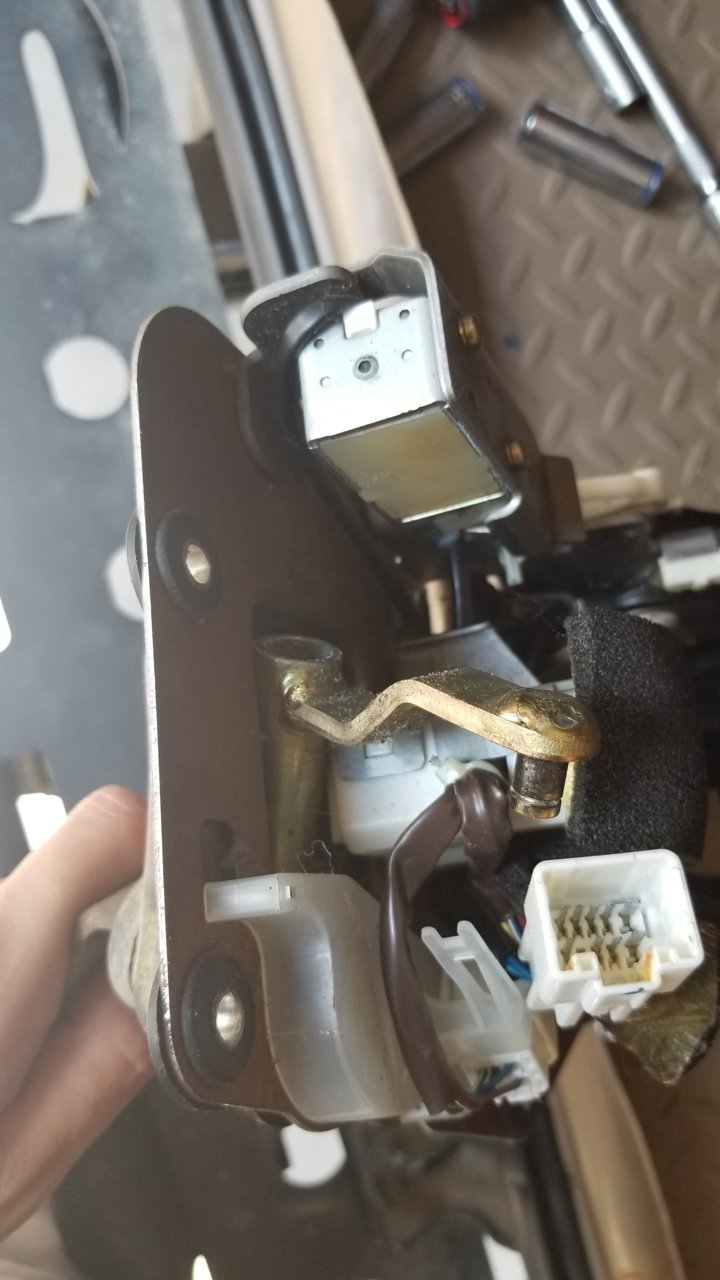
Pull away! - here you can see the location of all 8 bolt holes, for reference.
Now that the shifter assembly is out, stare at it. Show it some attention. Give it love.
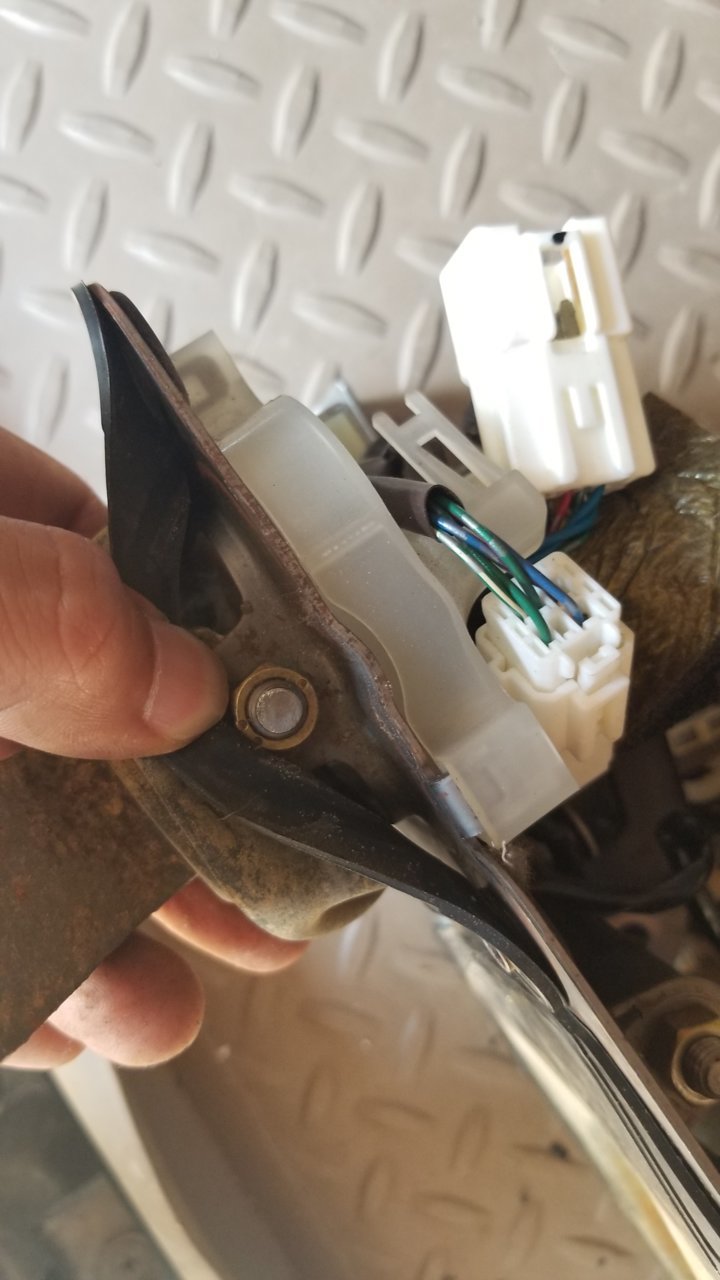
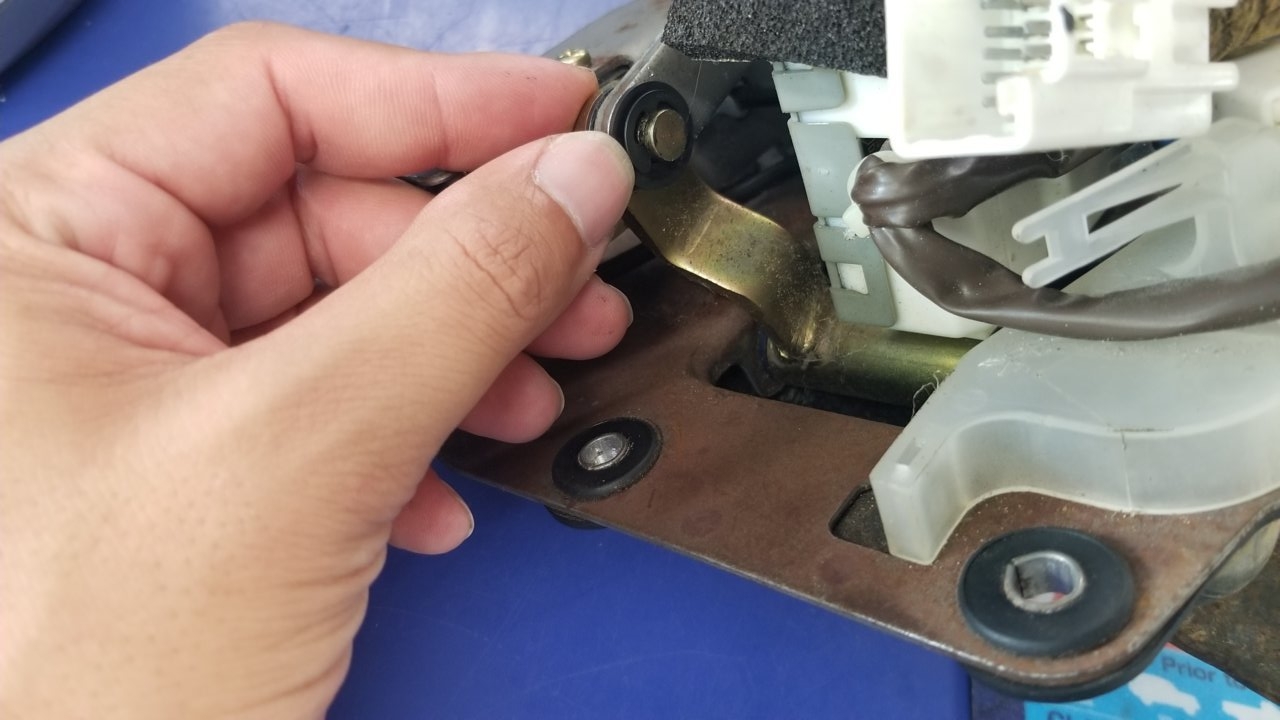
See this nut? Remove it.
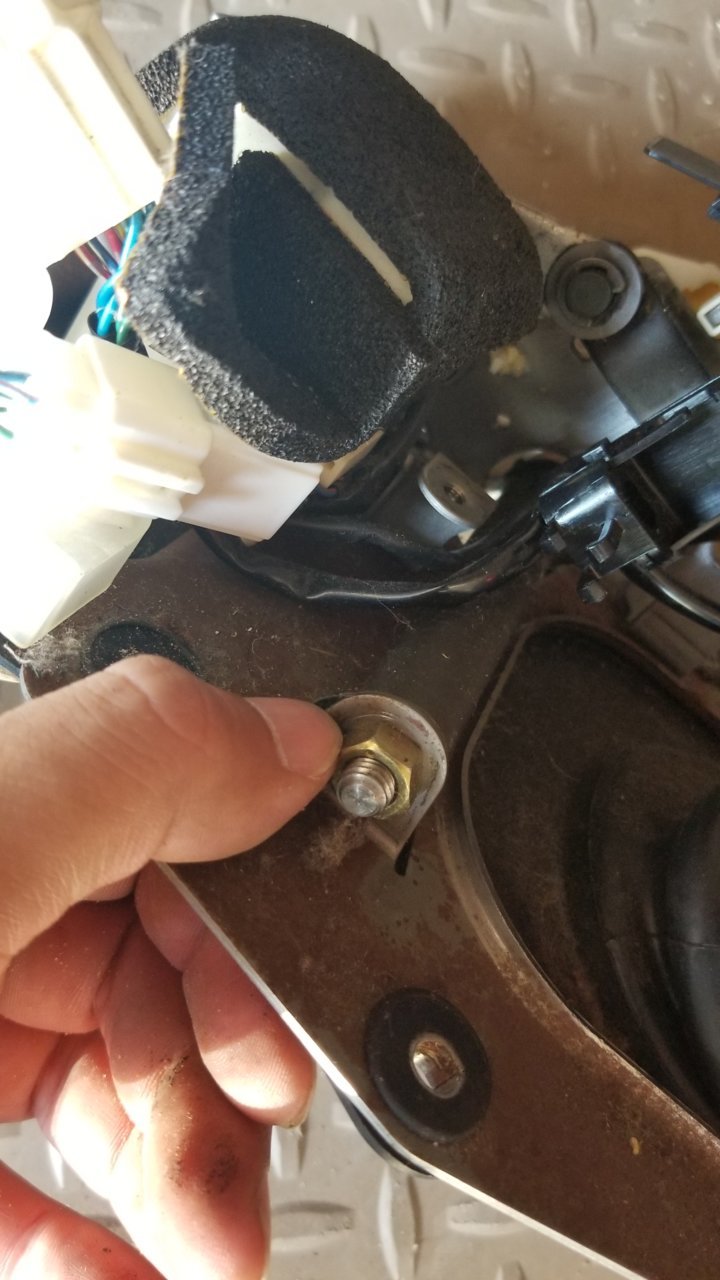
It will release this bolt:
The shifter bushings go in each end of the bolt housing:
Old shifter bushings, rotted away:
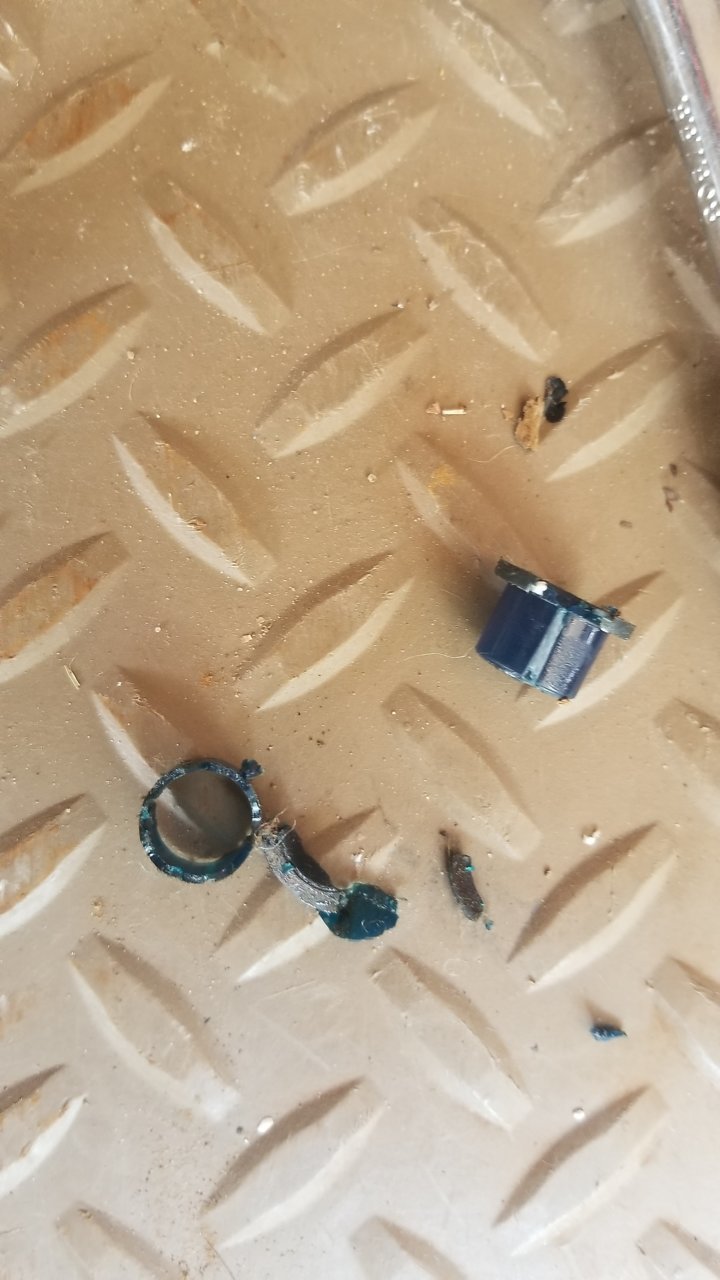
Make sure to clean out any remaining bushing pieces within the bolt housing:
Install bushings and install bolt.
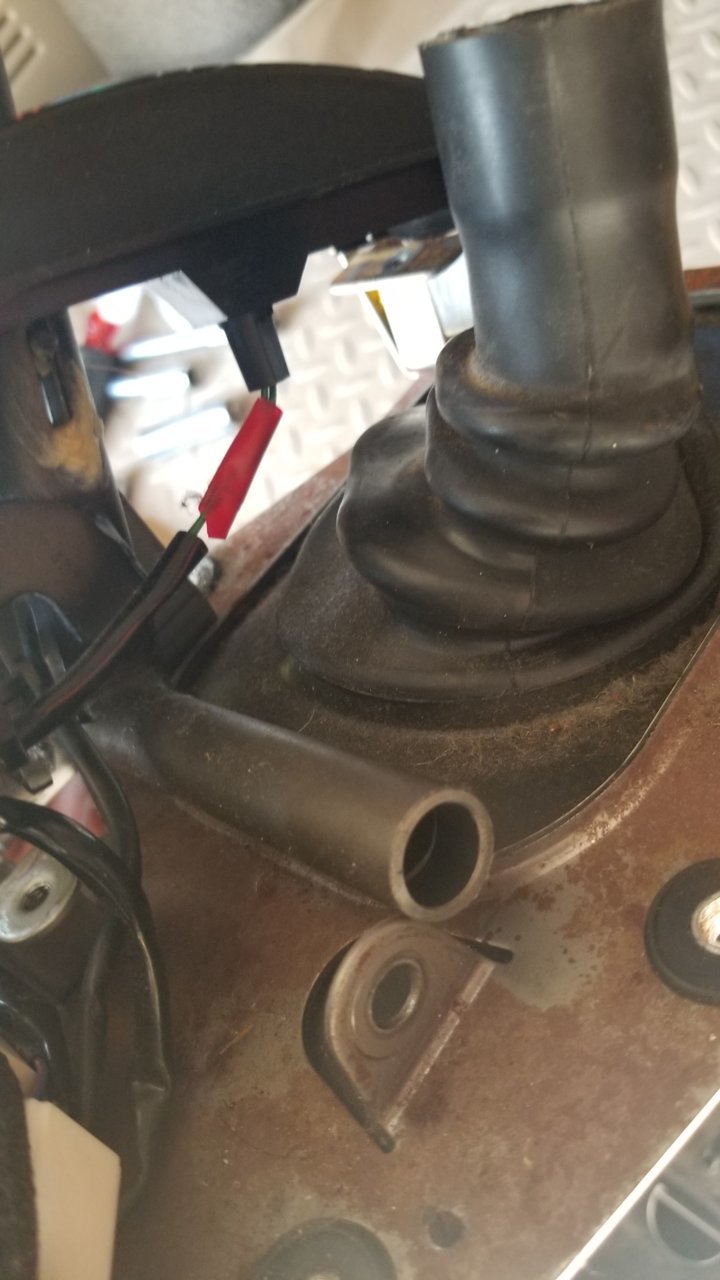
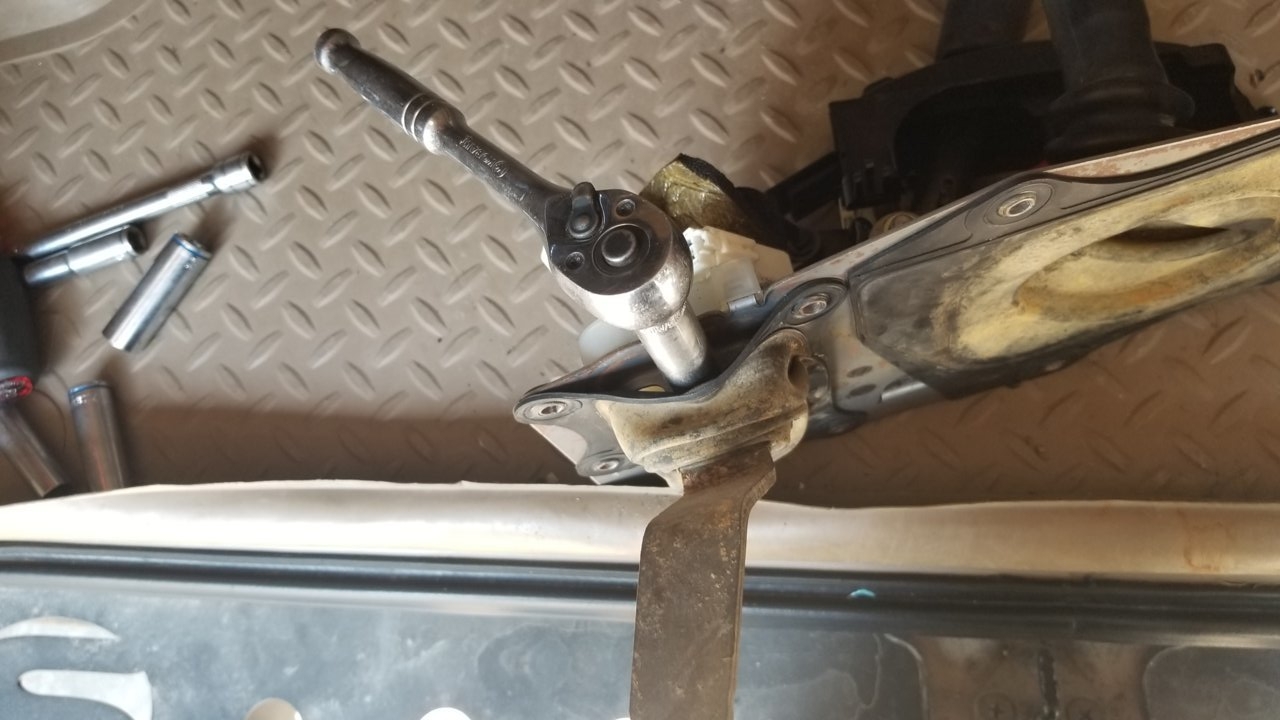
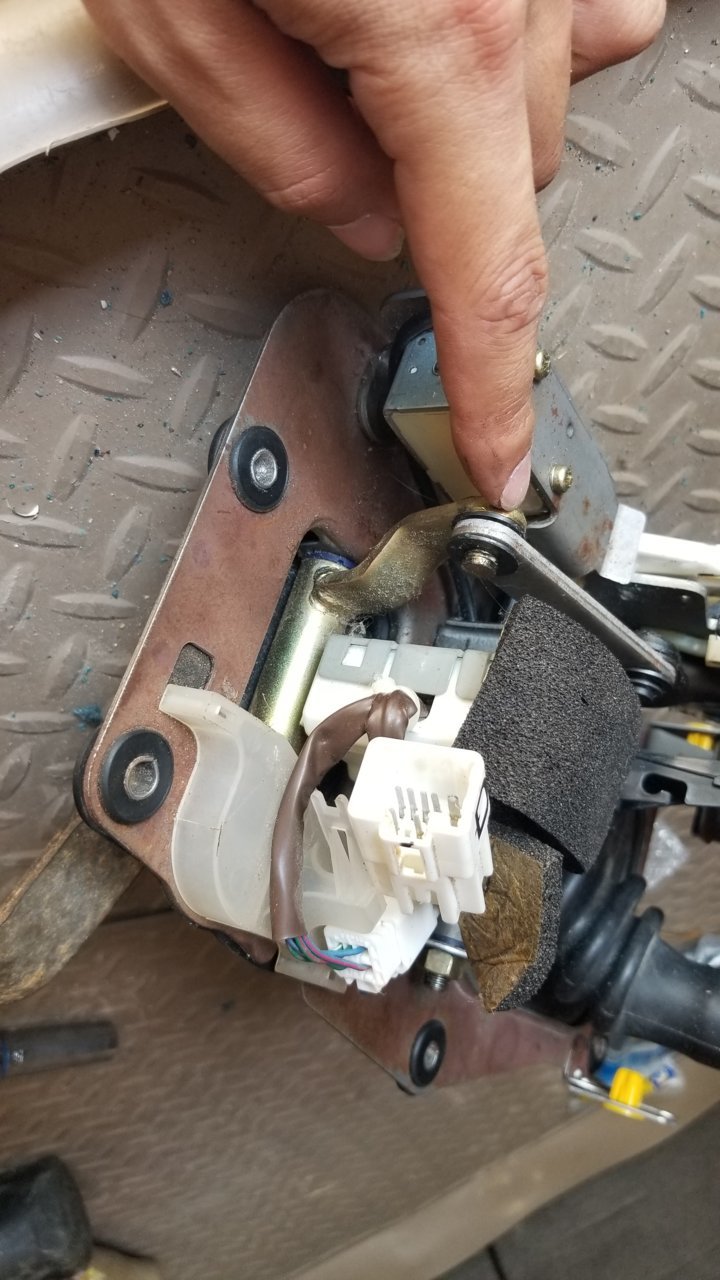
Next, I located the other two bushings, these are in here:
Remove nut and bolt, just like previously done:
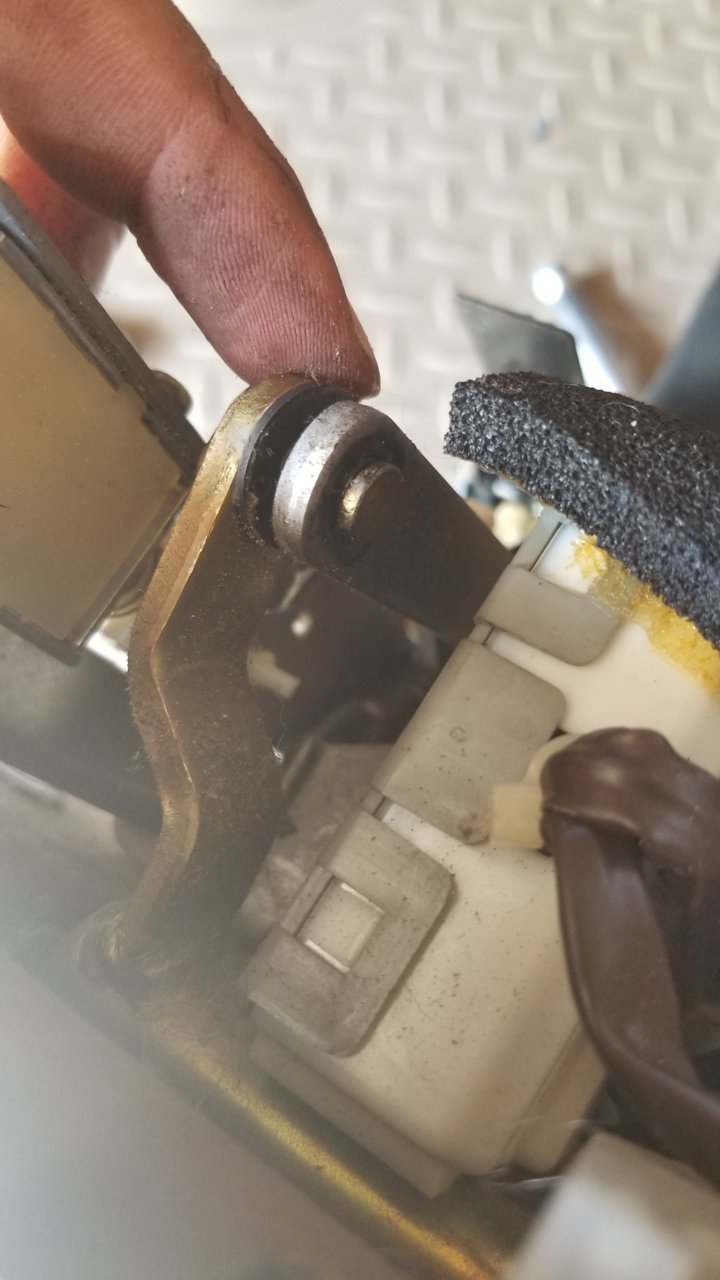
Once the nut and bolt is out, you will need to break the linkage as shown here. This is done by removing a C clip.
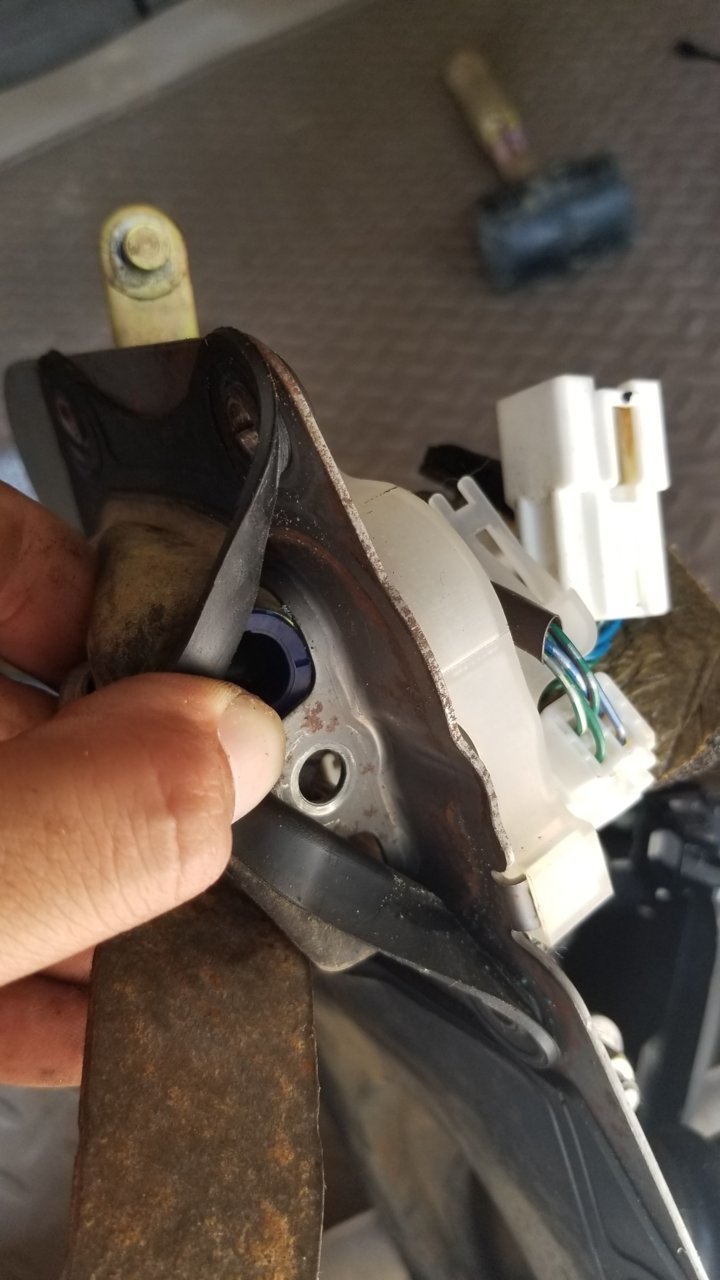
Once the linkage is apart, I wiggled the housing up so I can pull out the old bushings:
Installed the new ones:
Install bolt and nut, reinstall linkage and C clip.
Reinstall into truck:
Reattach rod to transmission:
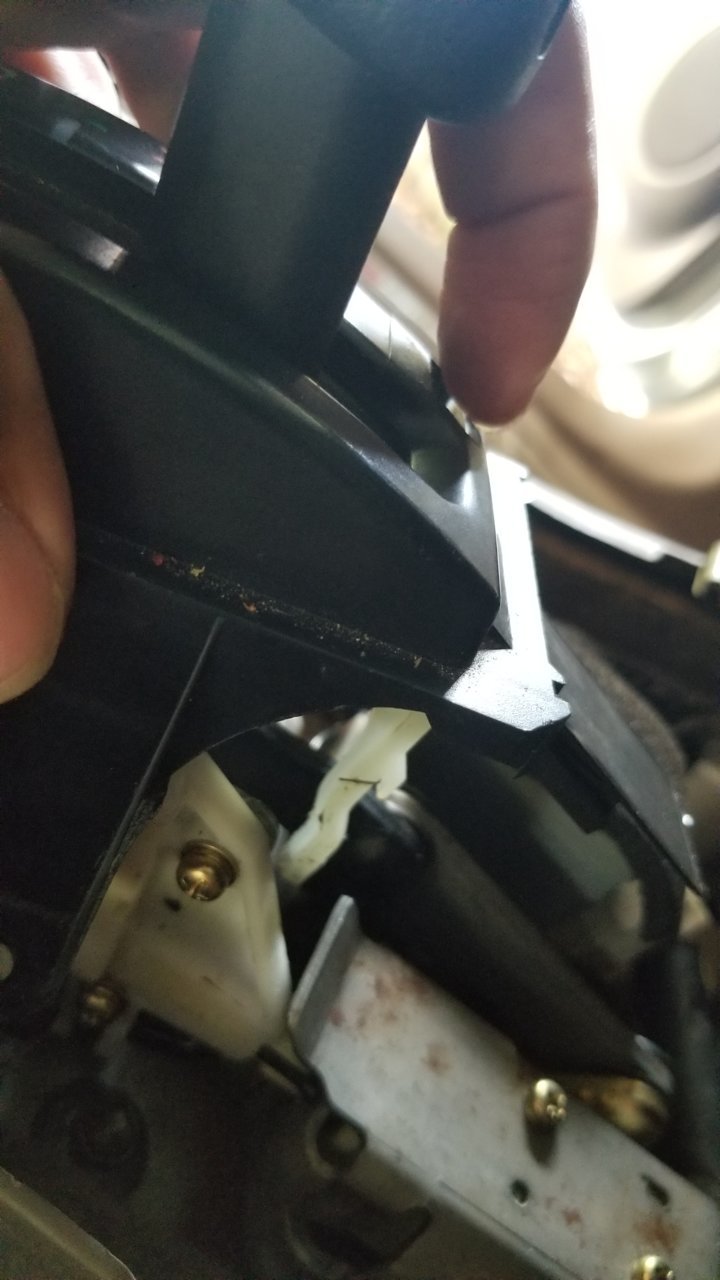
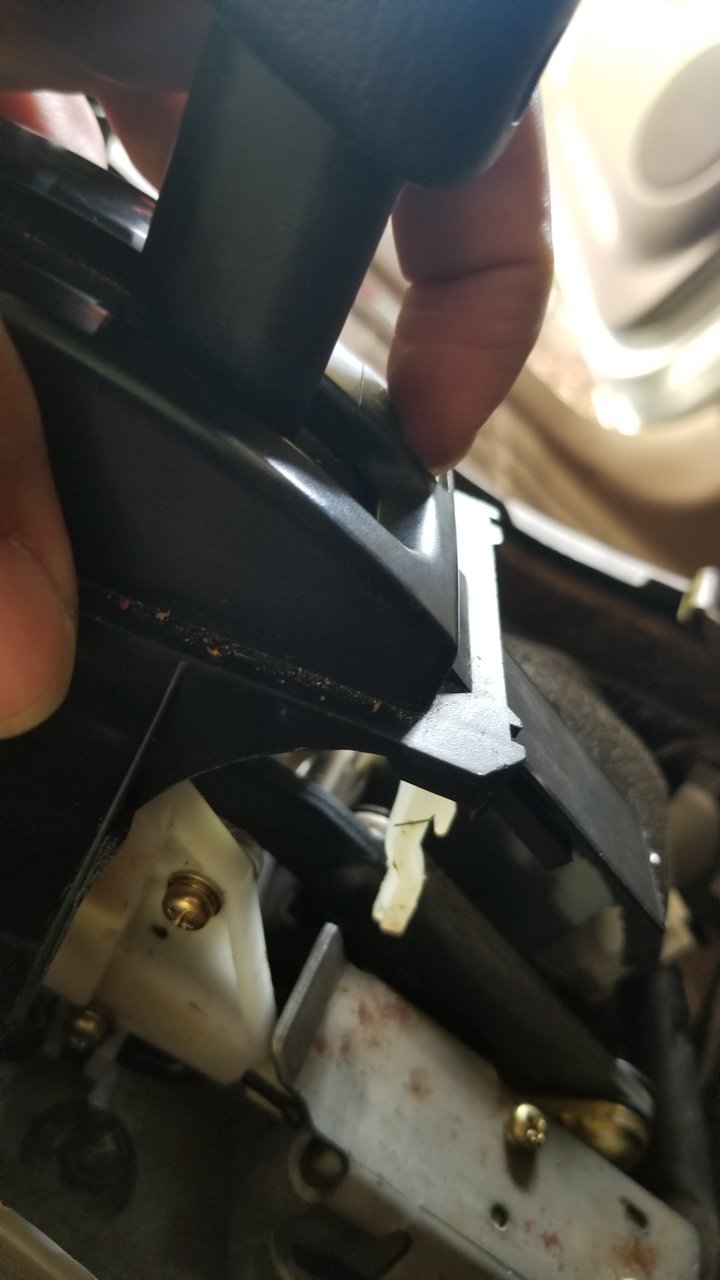
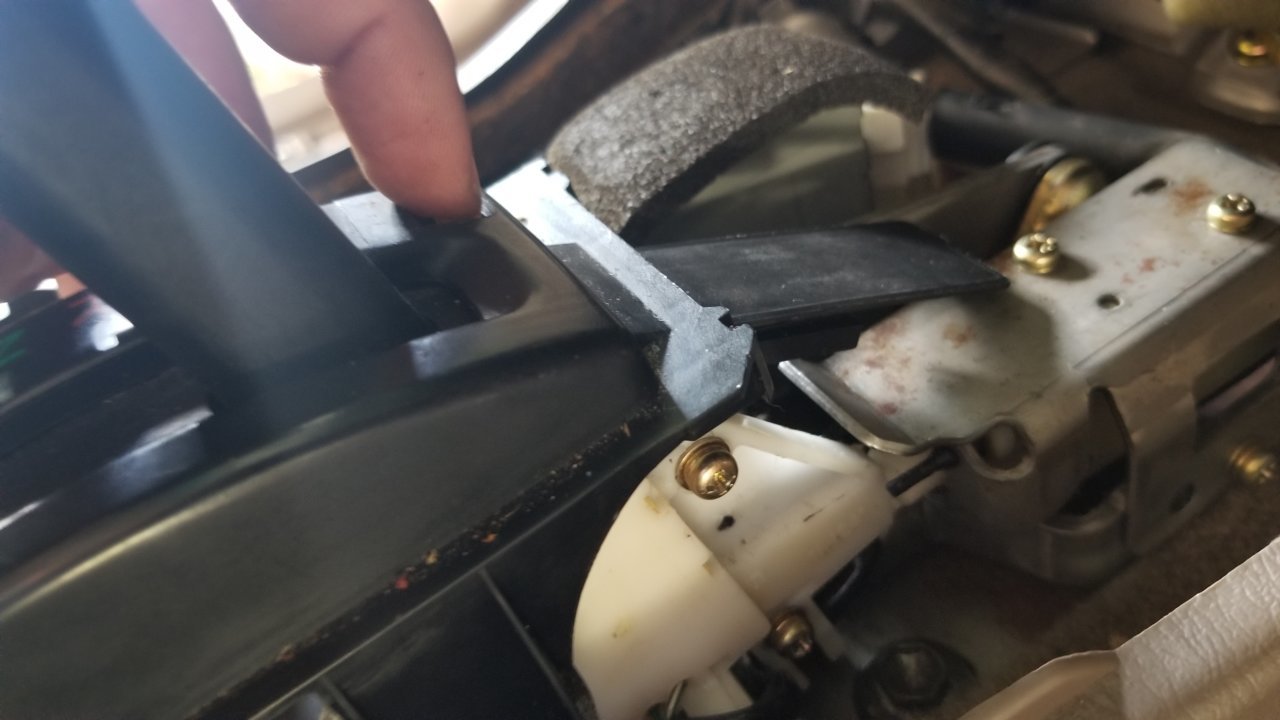
Carefully assemble the white thinga-machig to the shifter. Make sure that the rectangular portion shown in the photo earlier lays within the channel:
See this? - How does it go?
Let's find out:
It directly connected to the emergency shifter release button:
Looks like it toggles when I move the button back and forth, two positions:
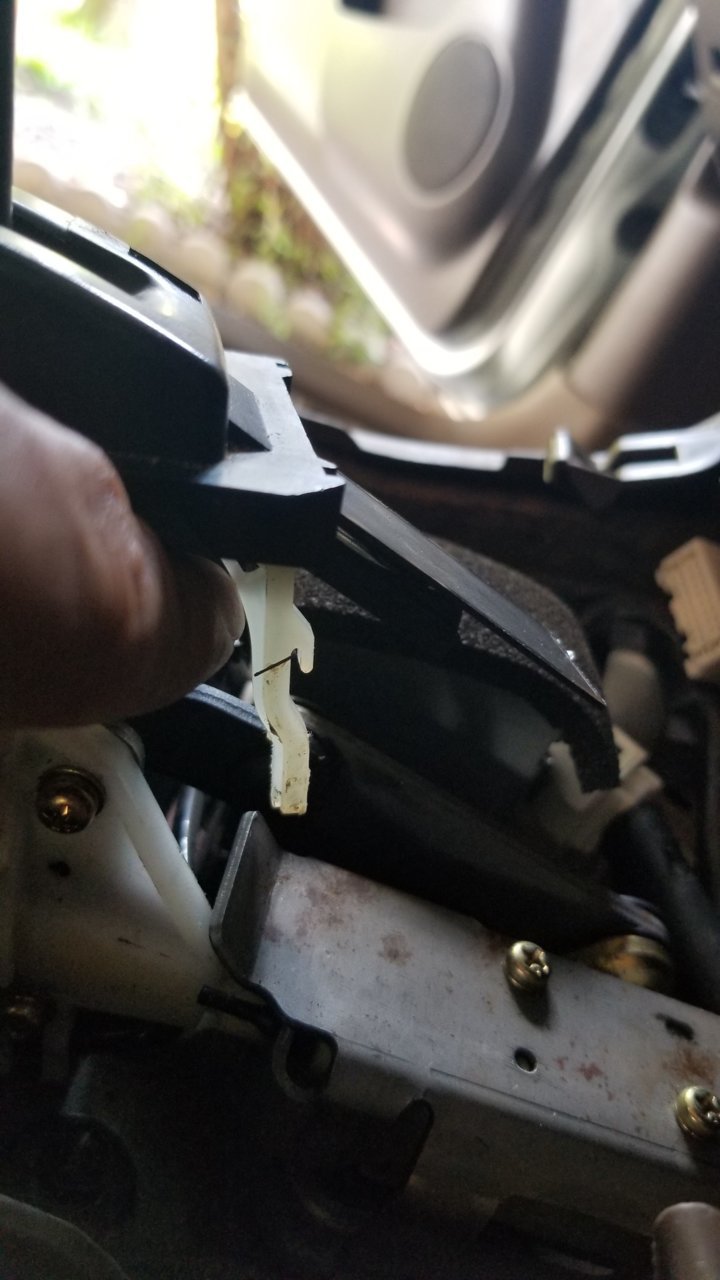
Looking down into the shifter assembly I see this triangular piece of plastic. Lets set it BEHIND this piece.
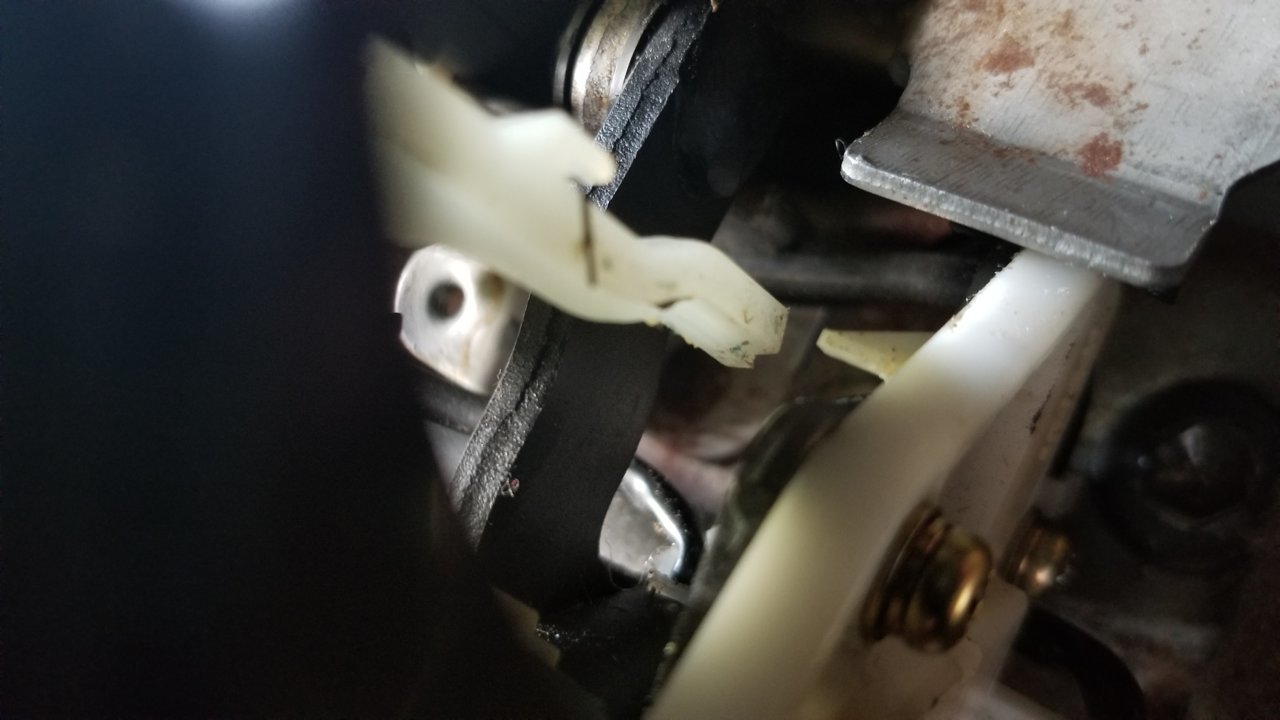
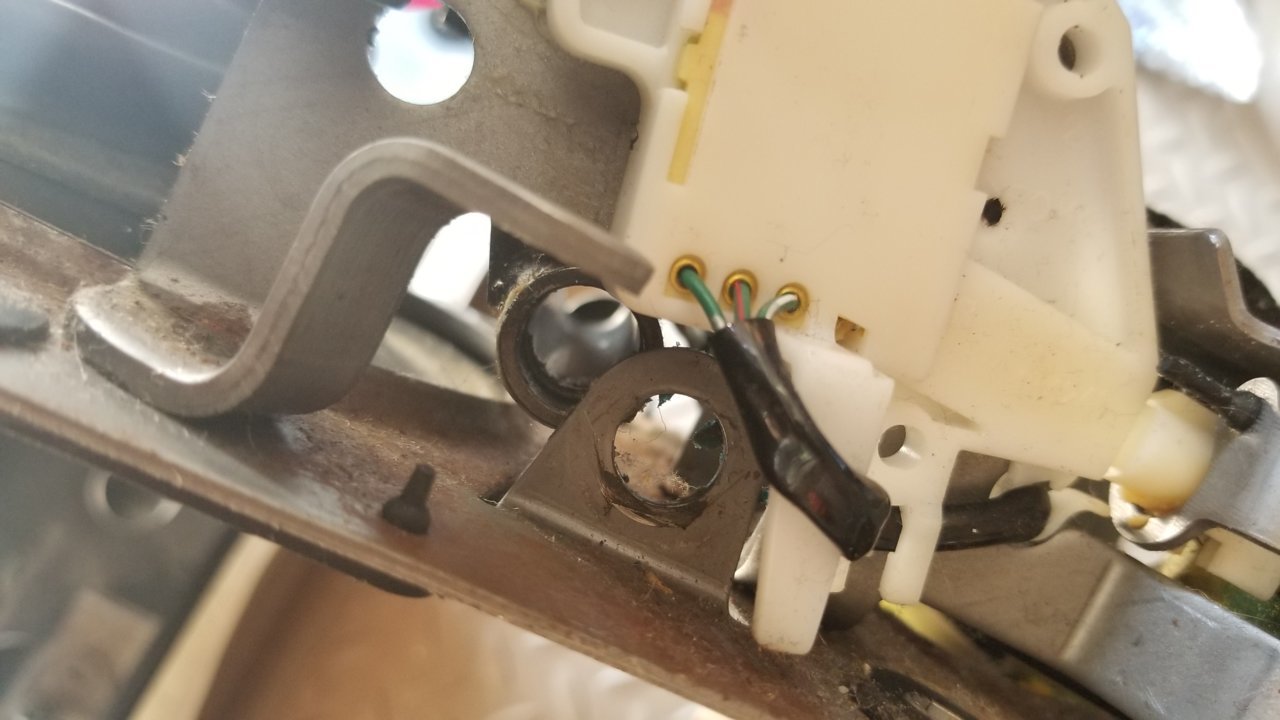
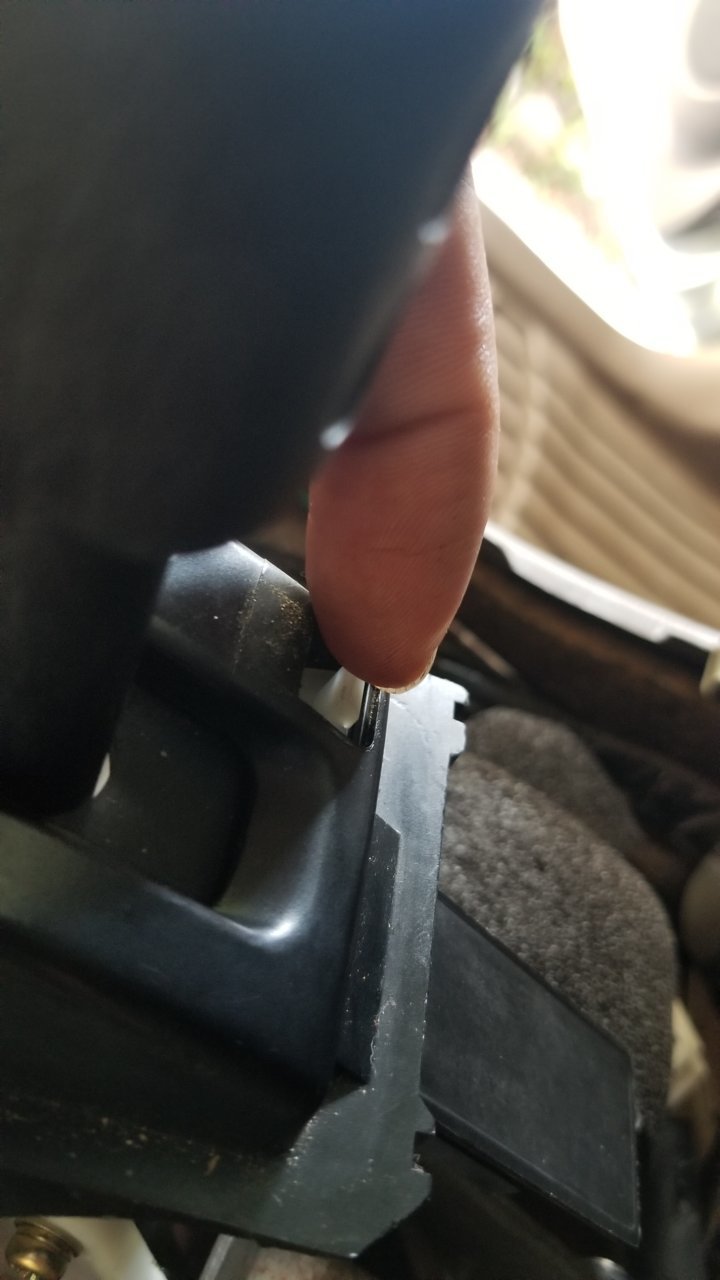
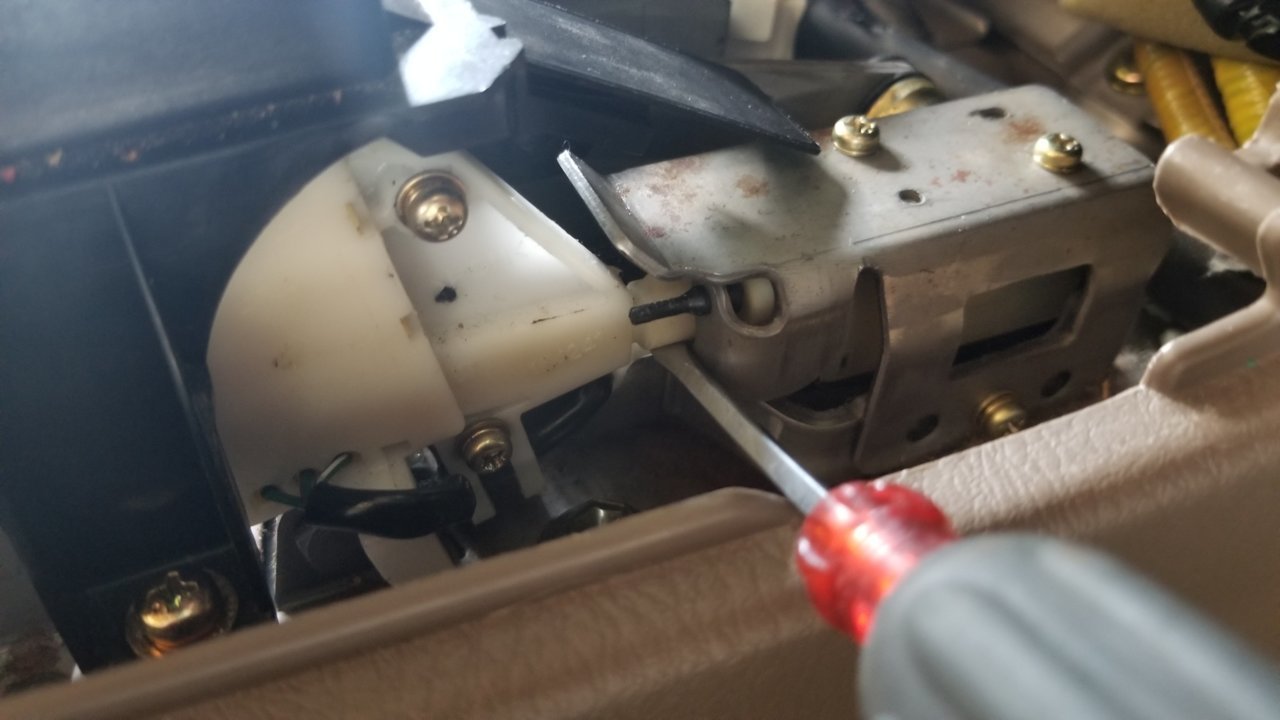
Once it is set, I check for functionality:
See that white plastic cylinder? Its right above the screwdriver tip. Toggle the release button, this white cylinder should move in and out, if installed properly.
Once you confirm functionality, reinstall everything else:
How is the shifter?
Mine is tighter than a frog's arse!
This writeup also applies for 1st generation tacomas.
Each shifter assembly requires four bushings, here is the part number:
Stare at the center console for 5 minutes. Give it a long mean mug stare.
Set hand brake and grab pull out the cup holder:
Next pull out the trim around the shifter, simply tug:
Remove the center console. This is held down by two bolts inside the console:
Remove the screw holding the center console to the shifter trim, one each side. This will allow the center console assembly to pull out of the way:
Next remove the 4x4 shifter head, my particular setup is not threaded. Therefore, I remove the set screw and pull the head off carefully.
Be very careful not to pull the wiring that leads to the 4x4 shifter (black).
I placed it to the side, did not really disconnect the wiring because I was afraid of messing up the pigtail connection.
Next I removed three screws that hold the shifter down to the assembly:
Once removed, it revealed this white device thing:
I removed the three screws that held it down. Pay attention to how it is mounted, there is a rectangular piece that goes inside of it. This needs to properly seat within a slot that is built into this device thing:
Before continuing, I went under the truck - Driver's side, and I disconnected the shifter from the transmission. Making sure to mark the location where it is bolted along the slot:
Once that is complete, I went back up to the shifter assembly and removed 8 of these bolts. They are located on the perimeter of the shifter panel against the floorboard:
Disconnected a couple of plugs to allow removal of bolts:
Had to pull the radio bezel off the dash to access one of the bolts:
Pull away! - here you can see the location of all 8 bolt holes, for reference.
Now that the shifter assembly is out, stare at it. Show it some attention. Give it love.
See this nut? Remove it.
It will release this bolt:
The shifter bushings go in each end of the bolt housing:
Old shifter bushings, rotted away:
Make sure to clean out any remaining bushing pieces within the bolt housing:
Install bushings and install bolt.
Next, I located the other two bushings, these are in here:
Remove nut and bolt, just like previously done:
Once the nut and bolt is out, you will need to break the linkage as shown here. This is done by removing a C clip.
Once the linkage is apart, I wiggled the housing up so I can pull out the old bushings:
Installed the new ones:
Install bolt and nut, reinstall linkage and C clip.
Reinstall into truck:
Reattach rod to transmission:
Carefully assemble the white thinga-machig to the shifter. Make sure that the rectangular portion shown in the photo earlier lays within the channel:
See this? - How does it go?
Let's find out:
It directly connected to the emergency shifter release button:
Looks like it toggles when I move the button back and forth, two positions:
Looking down into the shifter assembly I see this triangular piece of plastic. Lets set it BEHIND this piece.
Once it is set, I check for functionality:
See that white plastic cylinder? Its right above the screwdriver tip. Toggle the release button, this white cylinder should move in and out, if installed properly.
Once you confirm functionality, reinstall everything else:
How is the shifter?
Mine is tighter than a frog's arse!