
ramonortiz55
Adventurist
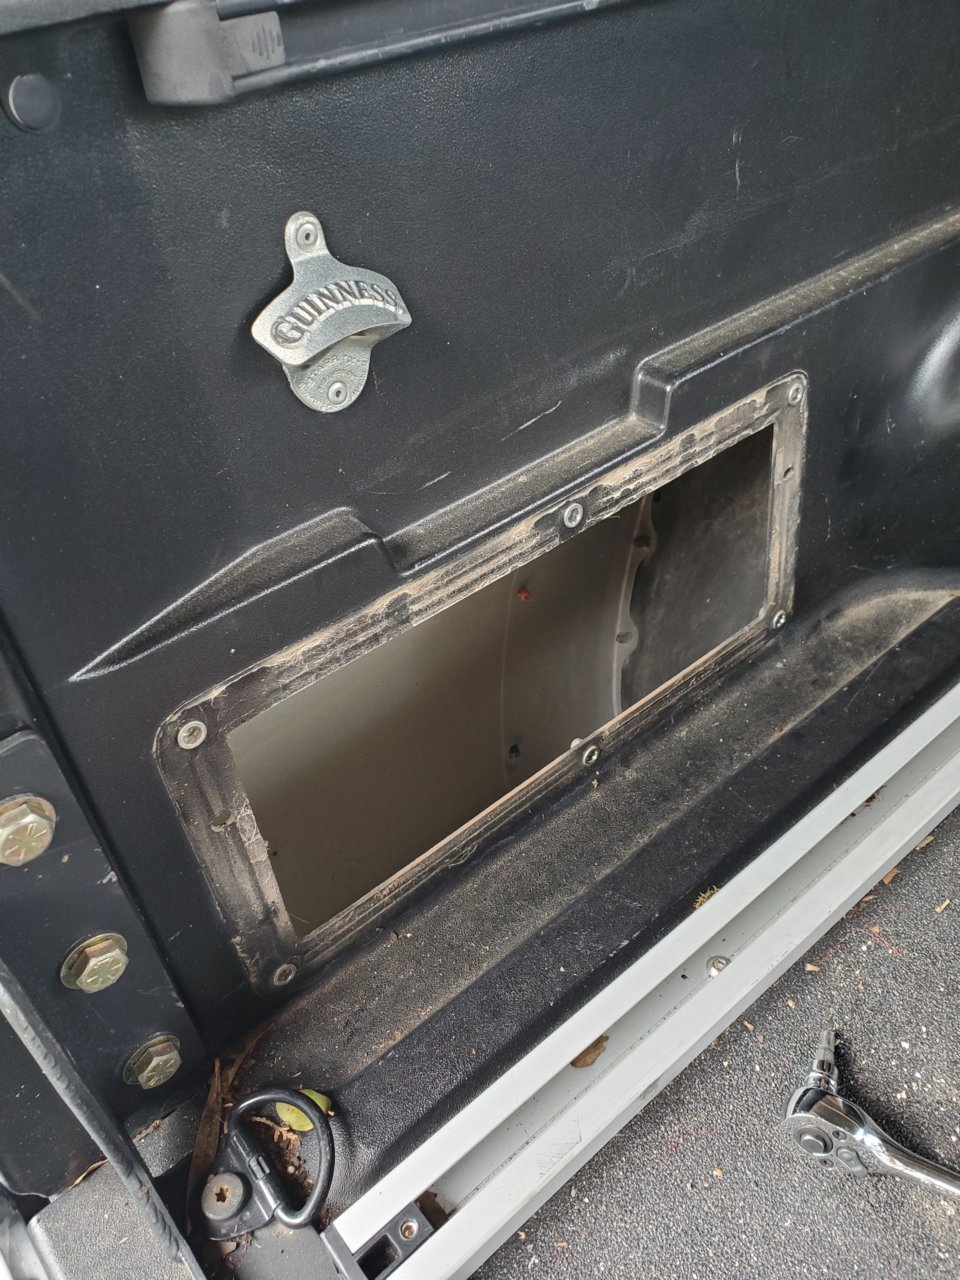
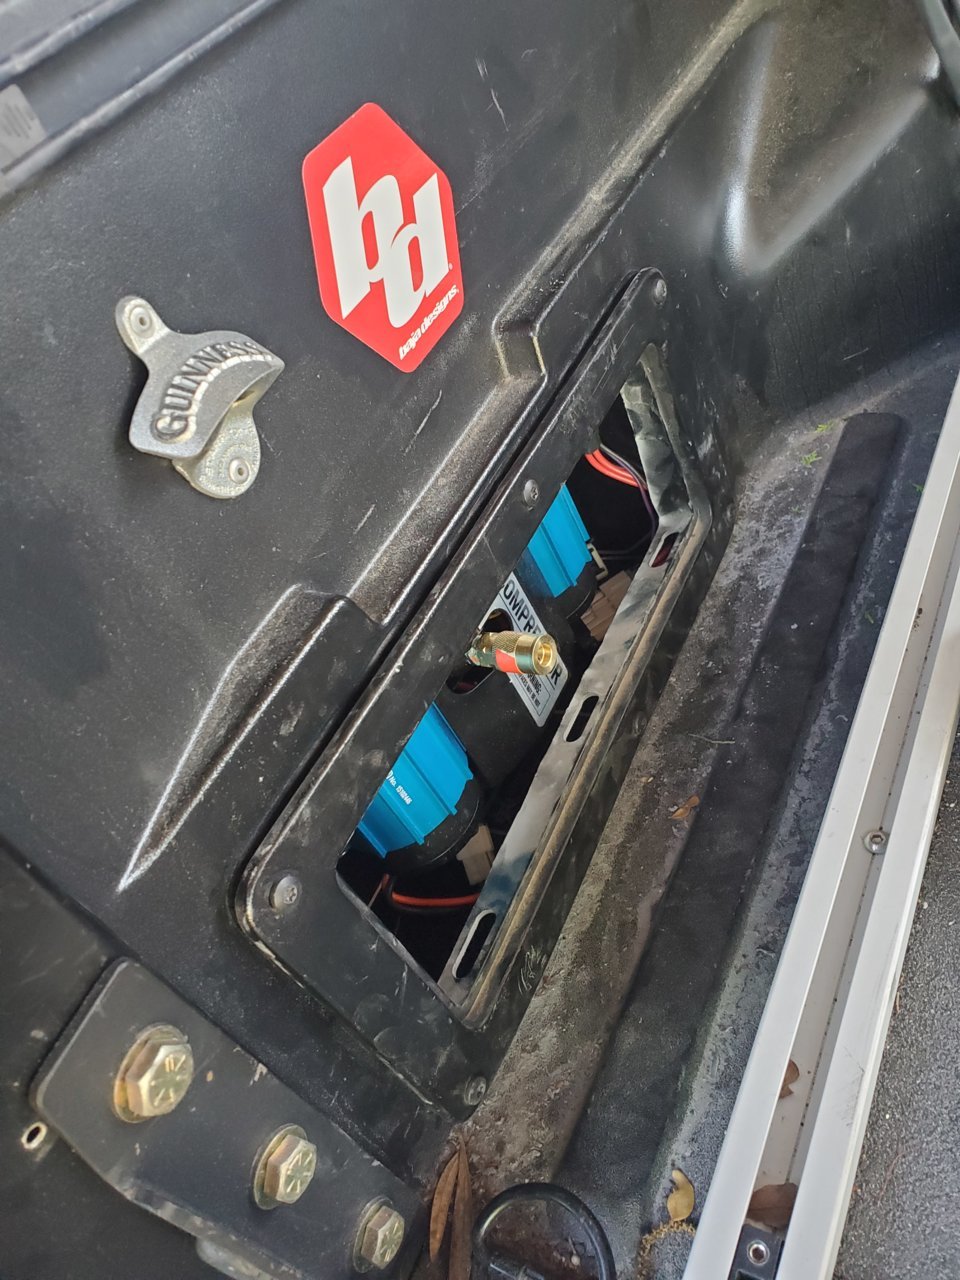
Time to install my Dual ARB Compressor that's been sitting in the garage for about 5 years. I decided to install it in the bud cubbie using an Expedition Essentials bed cubbie mount:

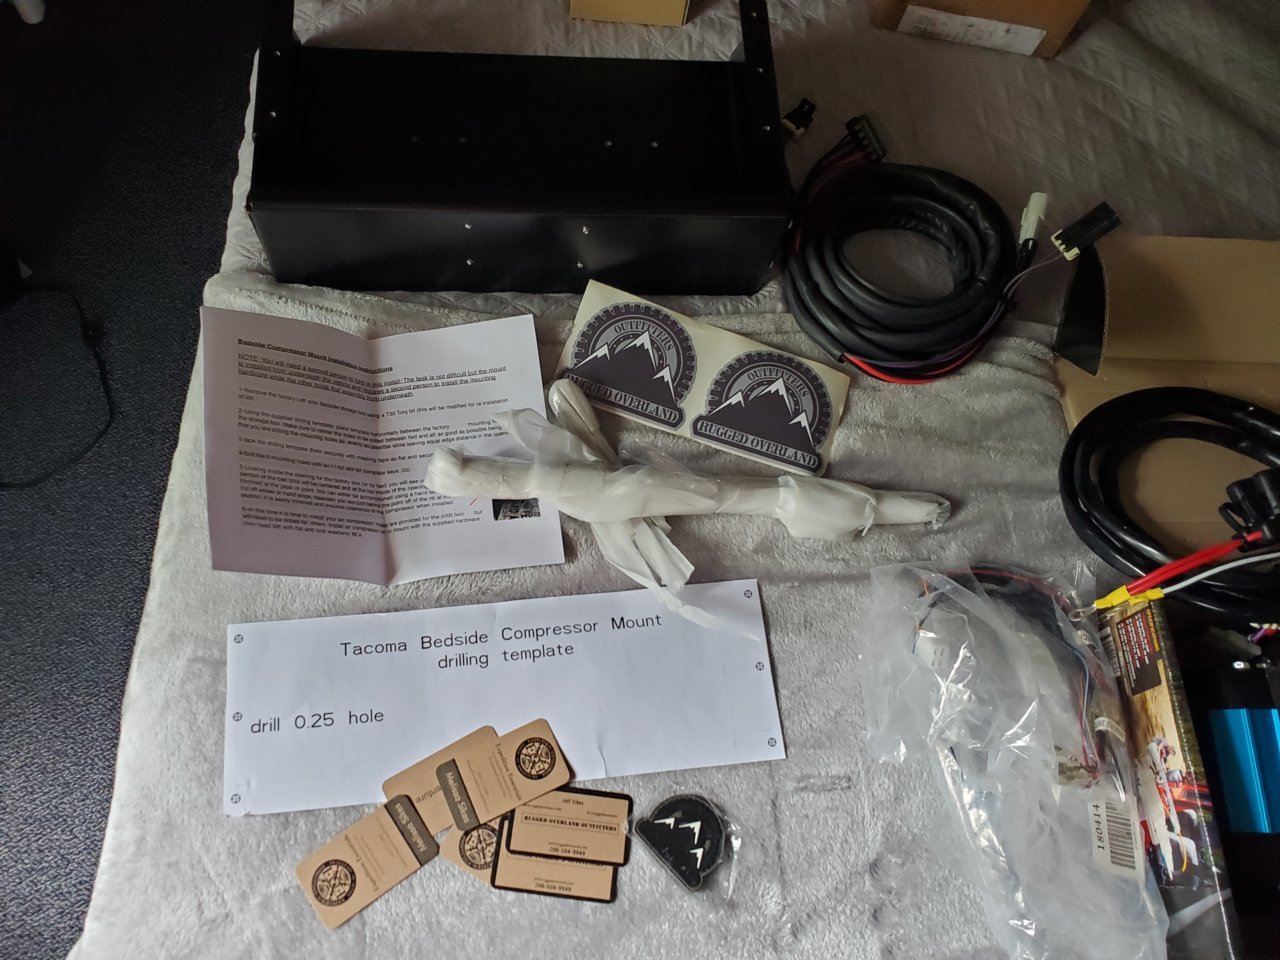
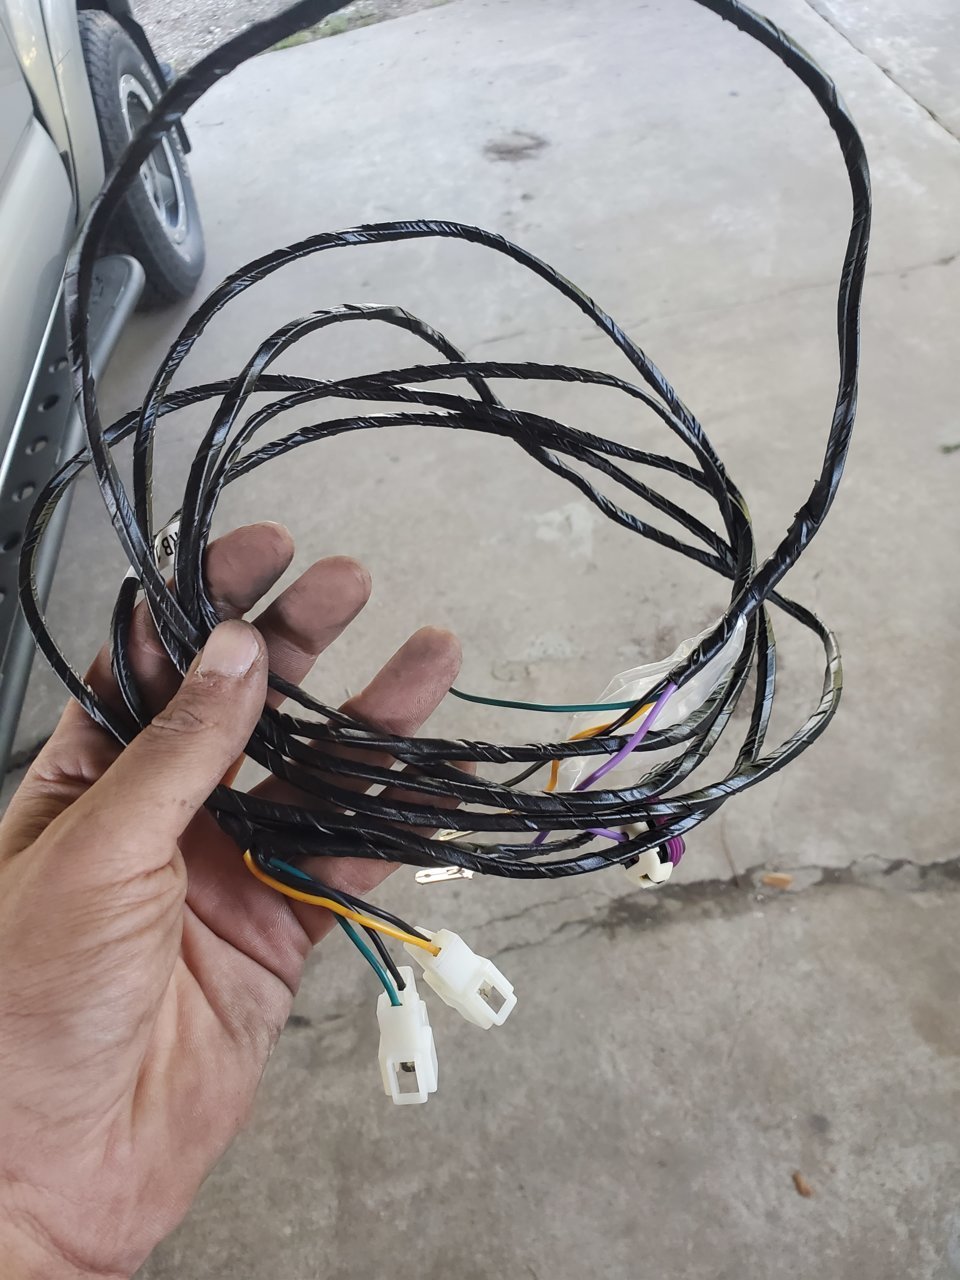
I also ordered the ARB Extension harness from Expedition Essentials - This baby is WELL made!
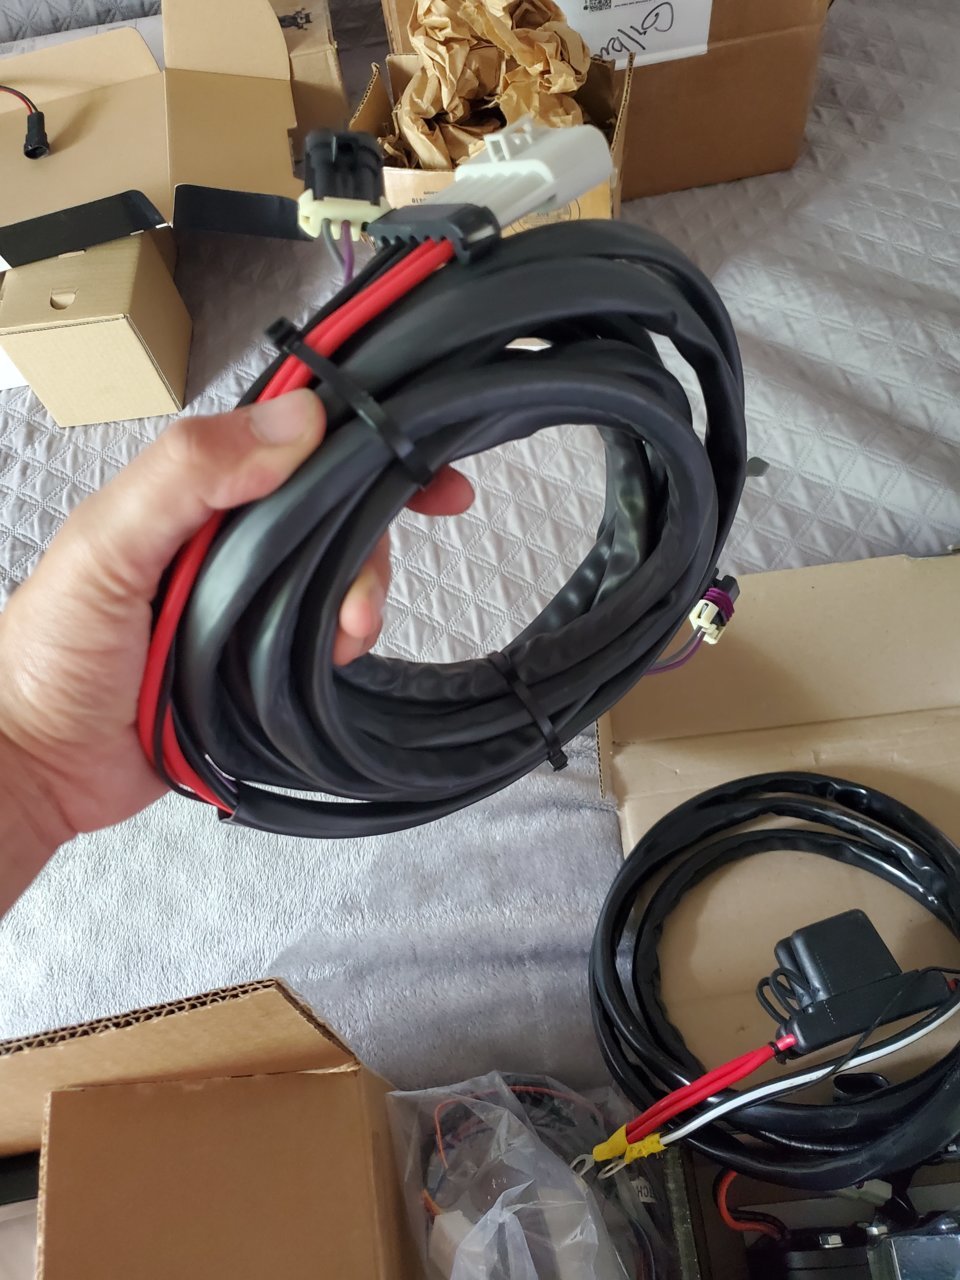
A few things I wanted to point out in the picture below, to keep the reader organized with what wiring is for what. Seeing all the ARB wiring can be intimidating, hopefully this write up clarifies things up a bit.
If you are NOT using the ARB supplied rocker switches, the small wiring harness shown on the bottom left in the plastic baggie will NOT be used.
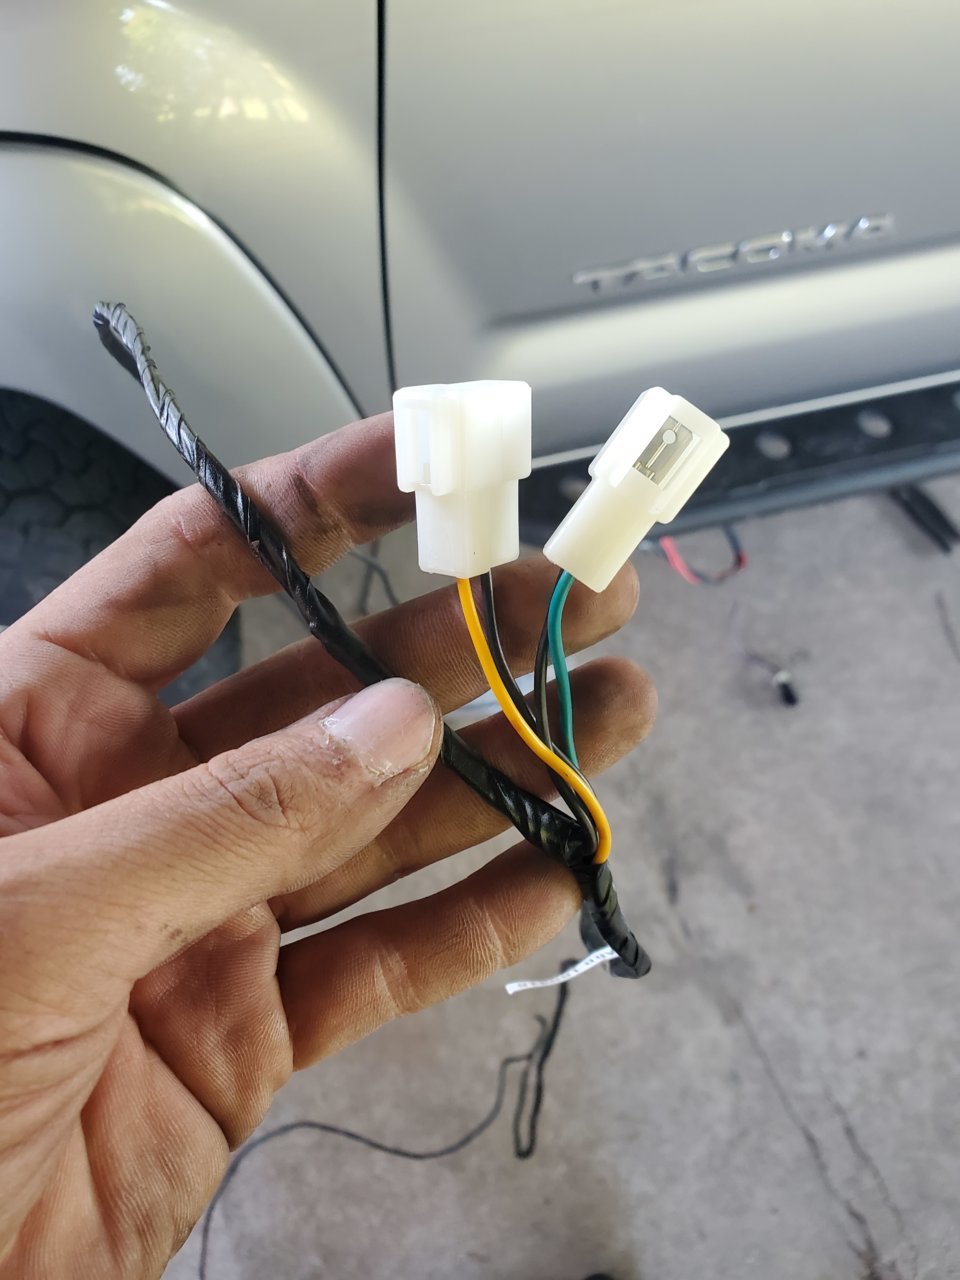
The top left harness is the one provided by Expedition Essentials. It allows wiring to reach from the front of the truck to the bed cubbie with PLENTY of slack. Keep this in mind when running the wiring!
The wiring in the middle with the yellow o rings and two fuses is the ARB provided compressor wiring.
The wiring on the bottom right is the wiring for the lockers and compressor. If you are not going to use a locker, we still need this wiring. I will get to that later.
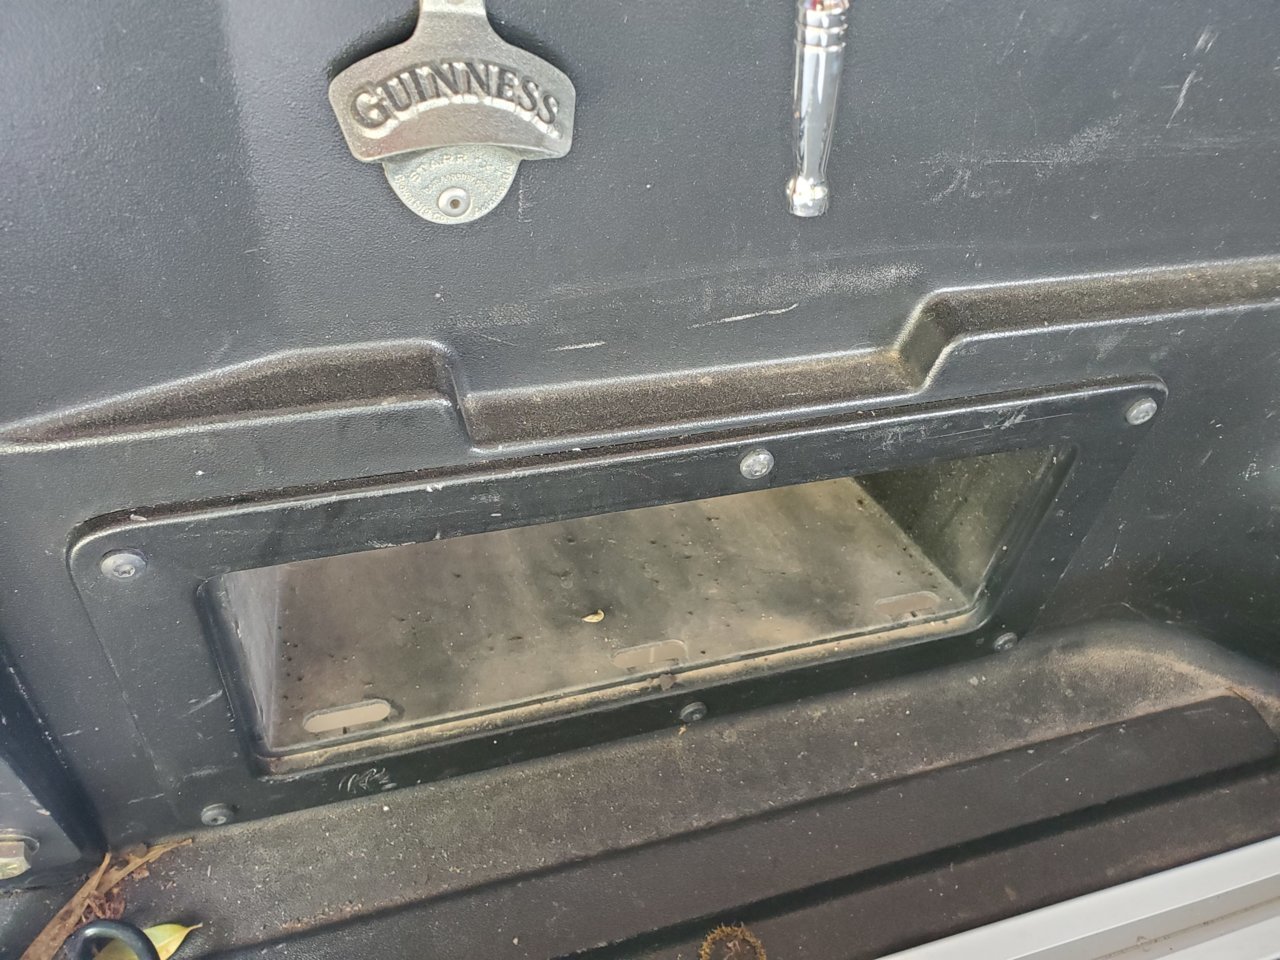
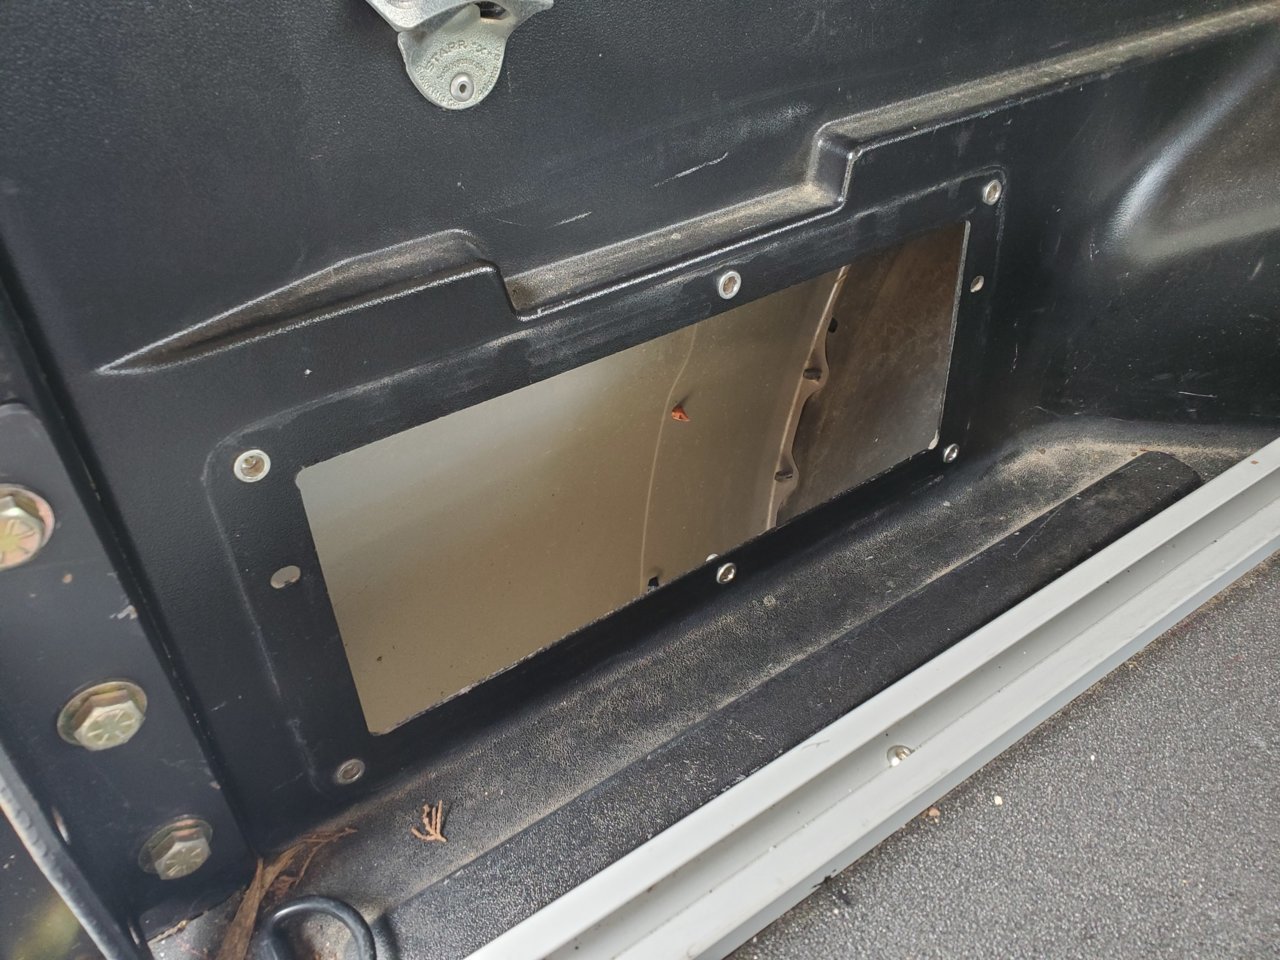
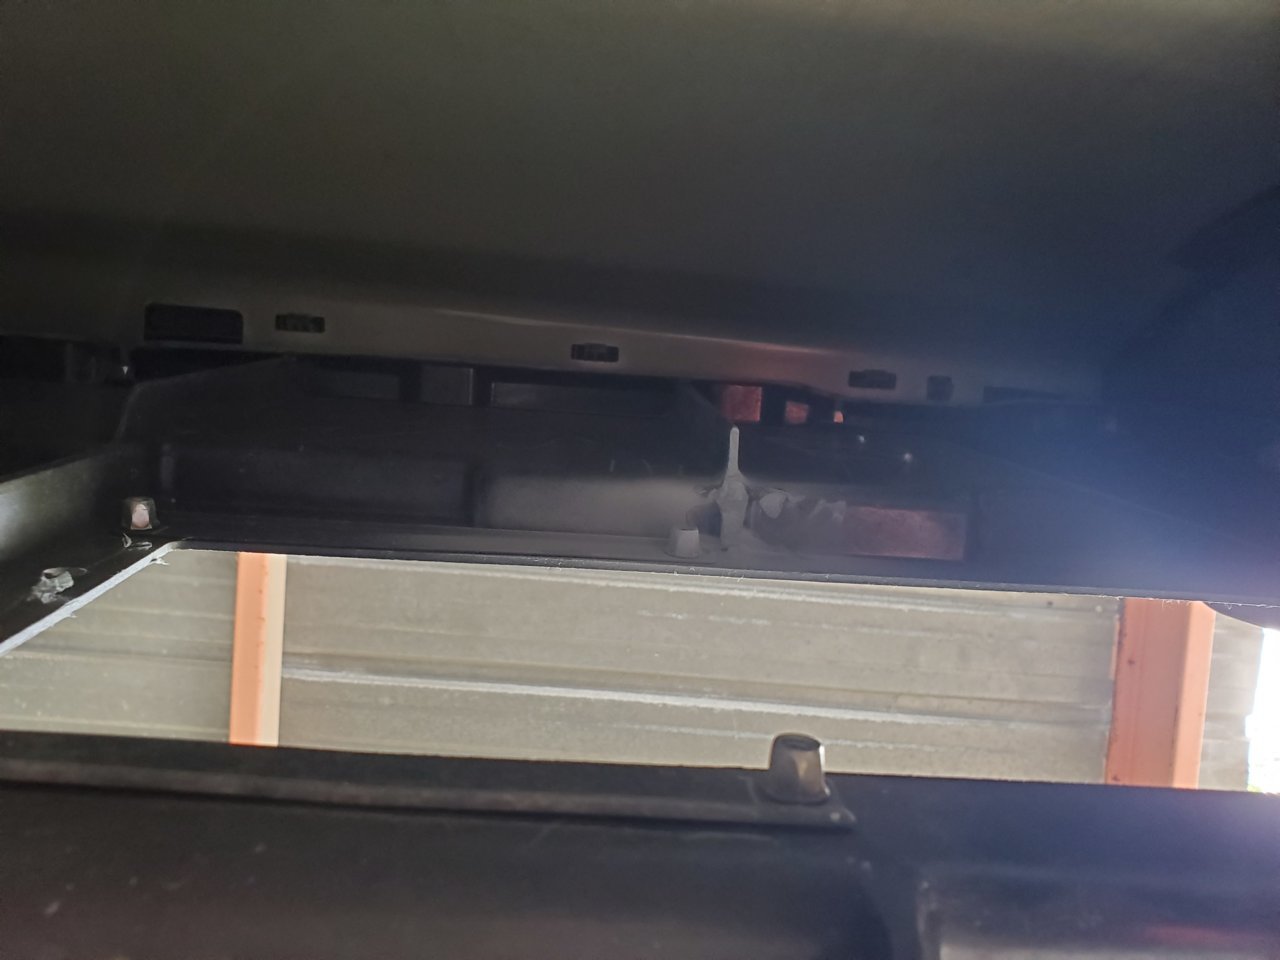
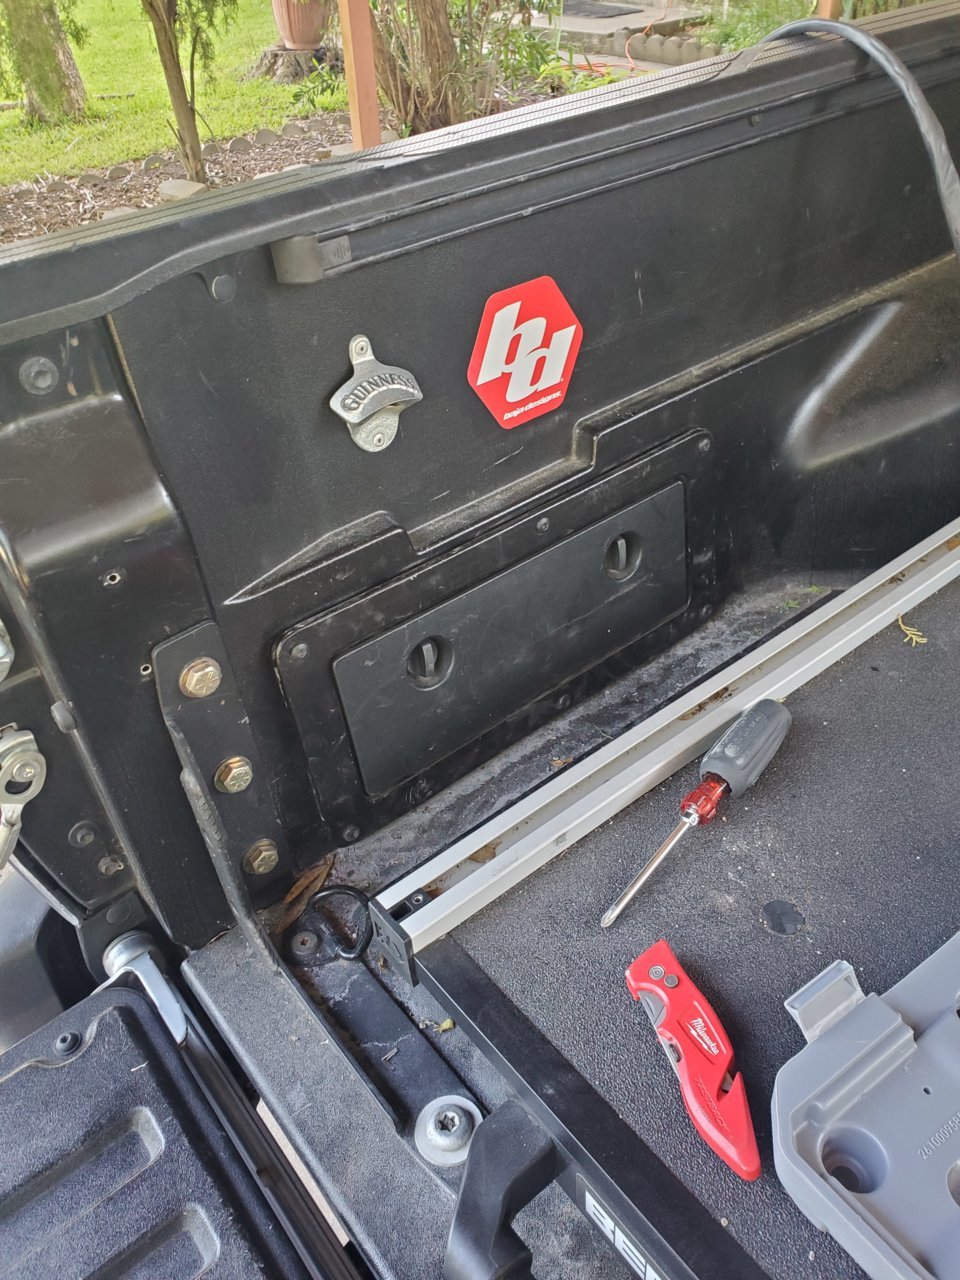
Remove this guy:
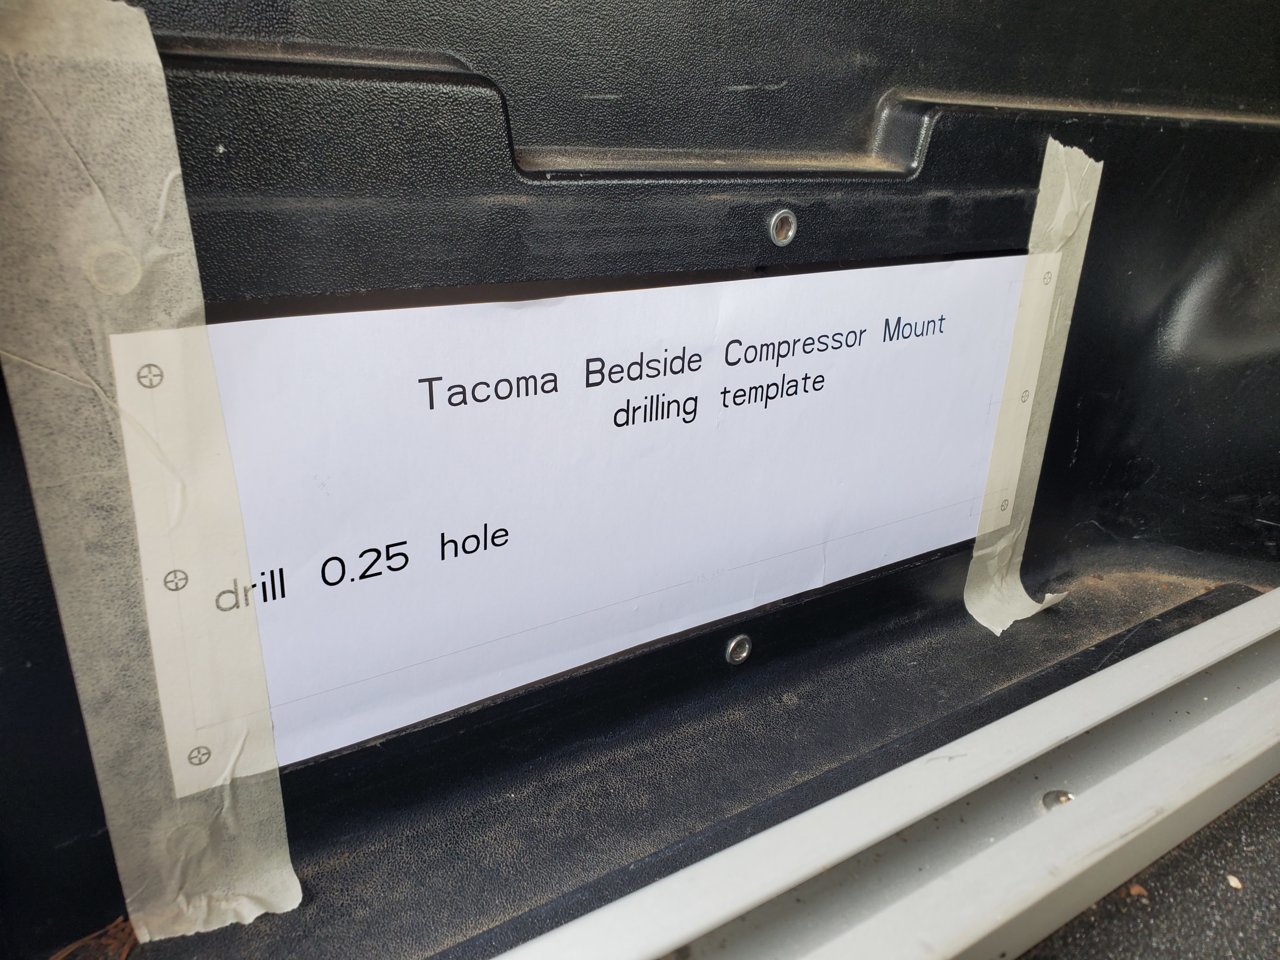
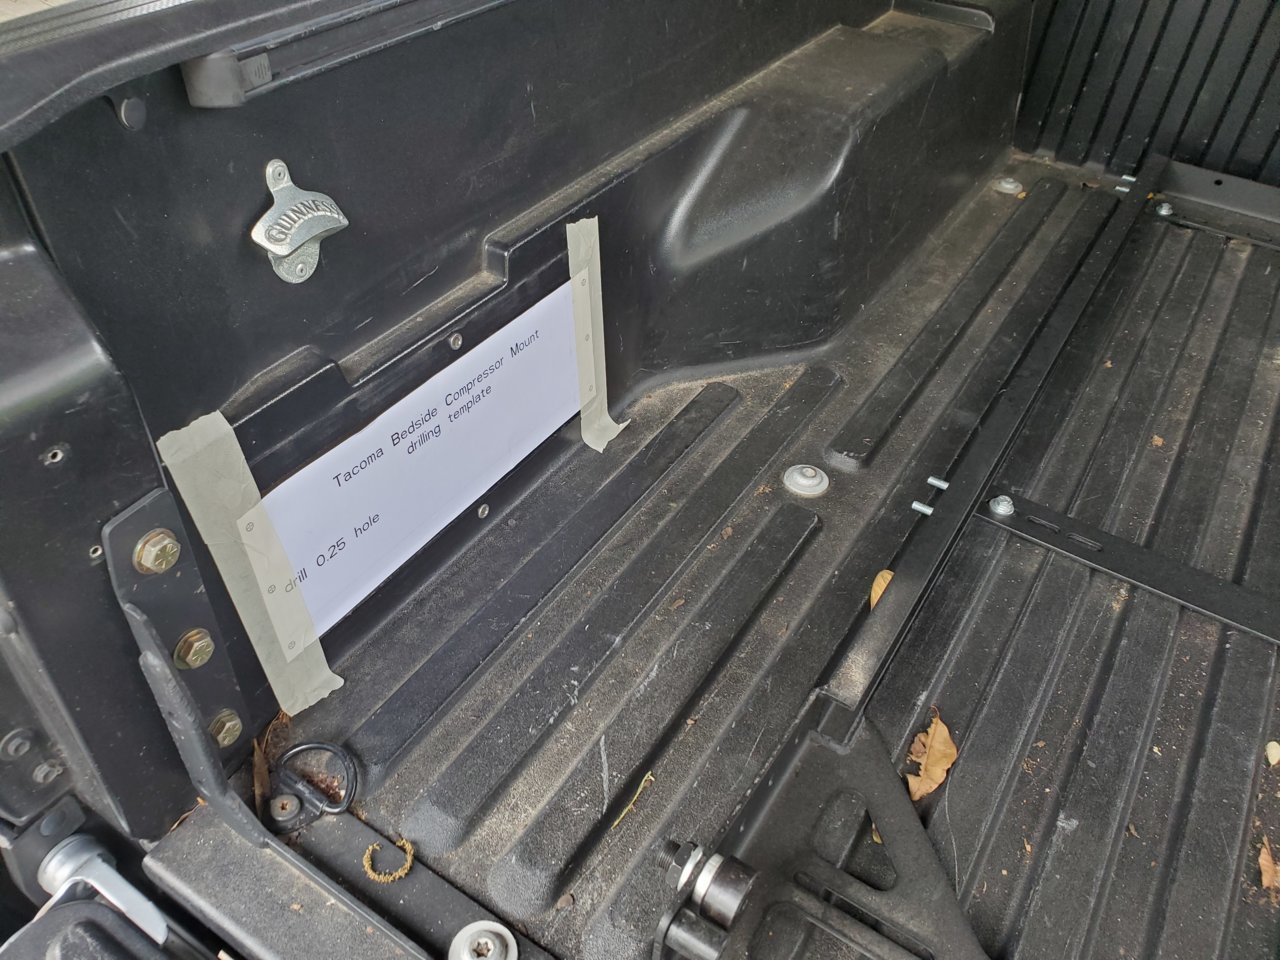
Clean up so the template stays on with tape:
Attach template:
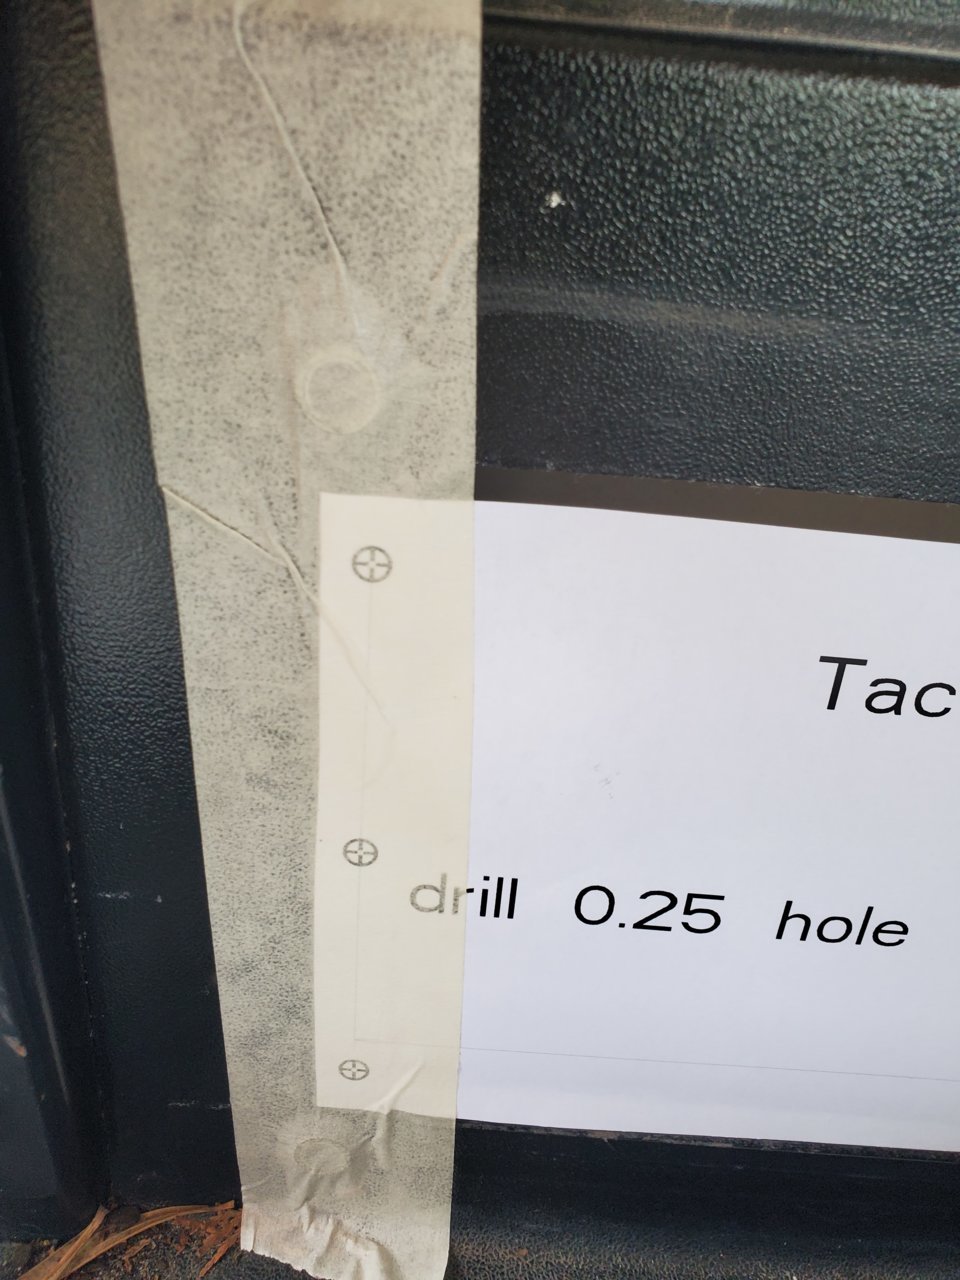
Kinda center it horizontally and vertically between the existing cubbie box holes:
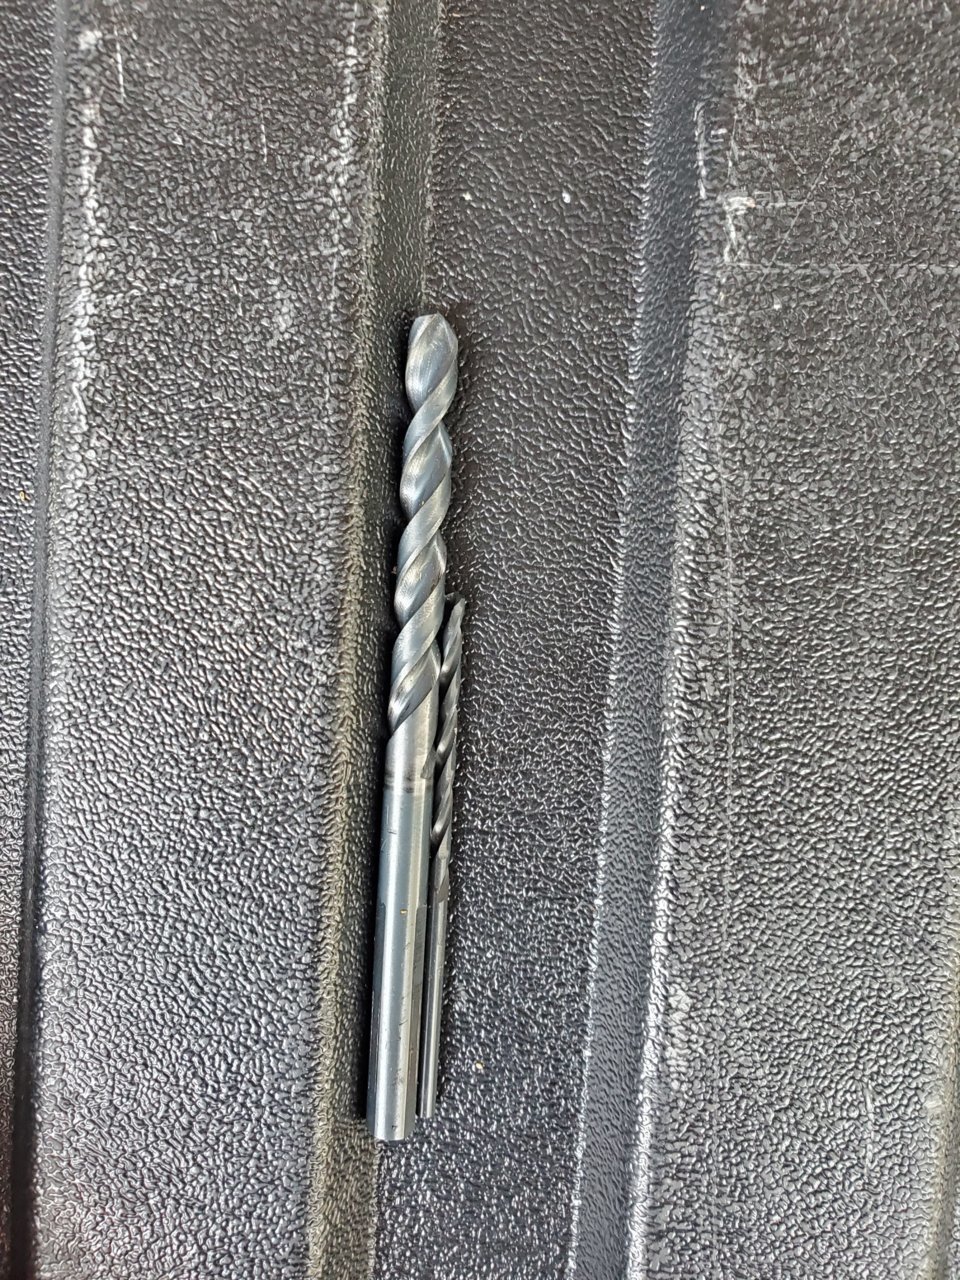
Drill baby drill:
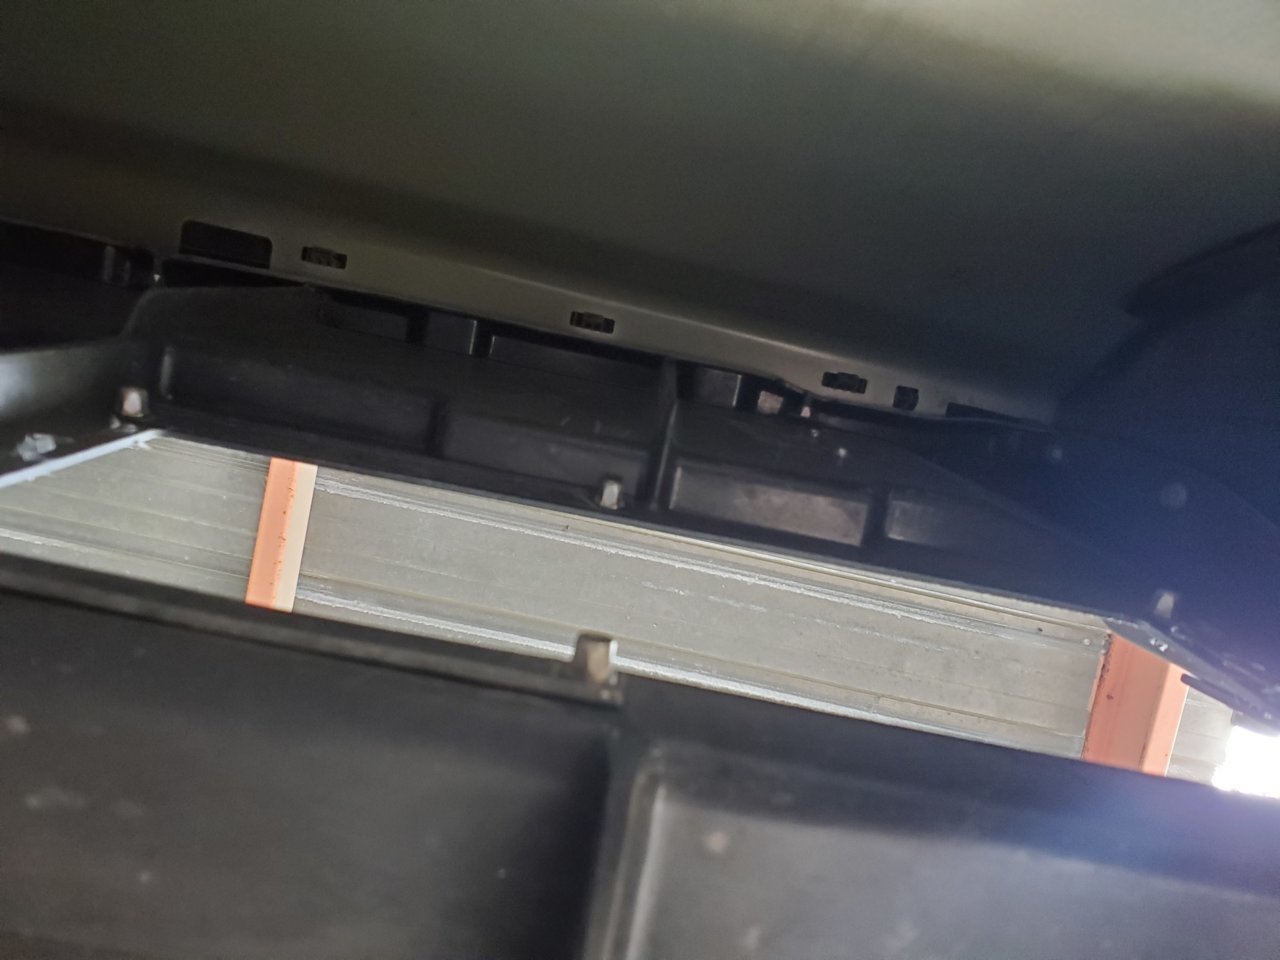
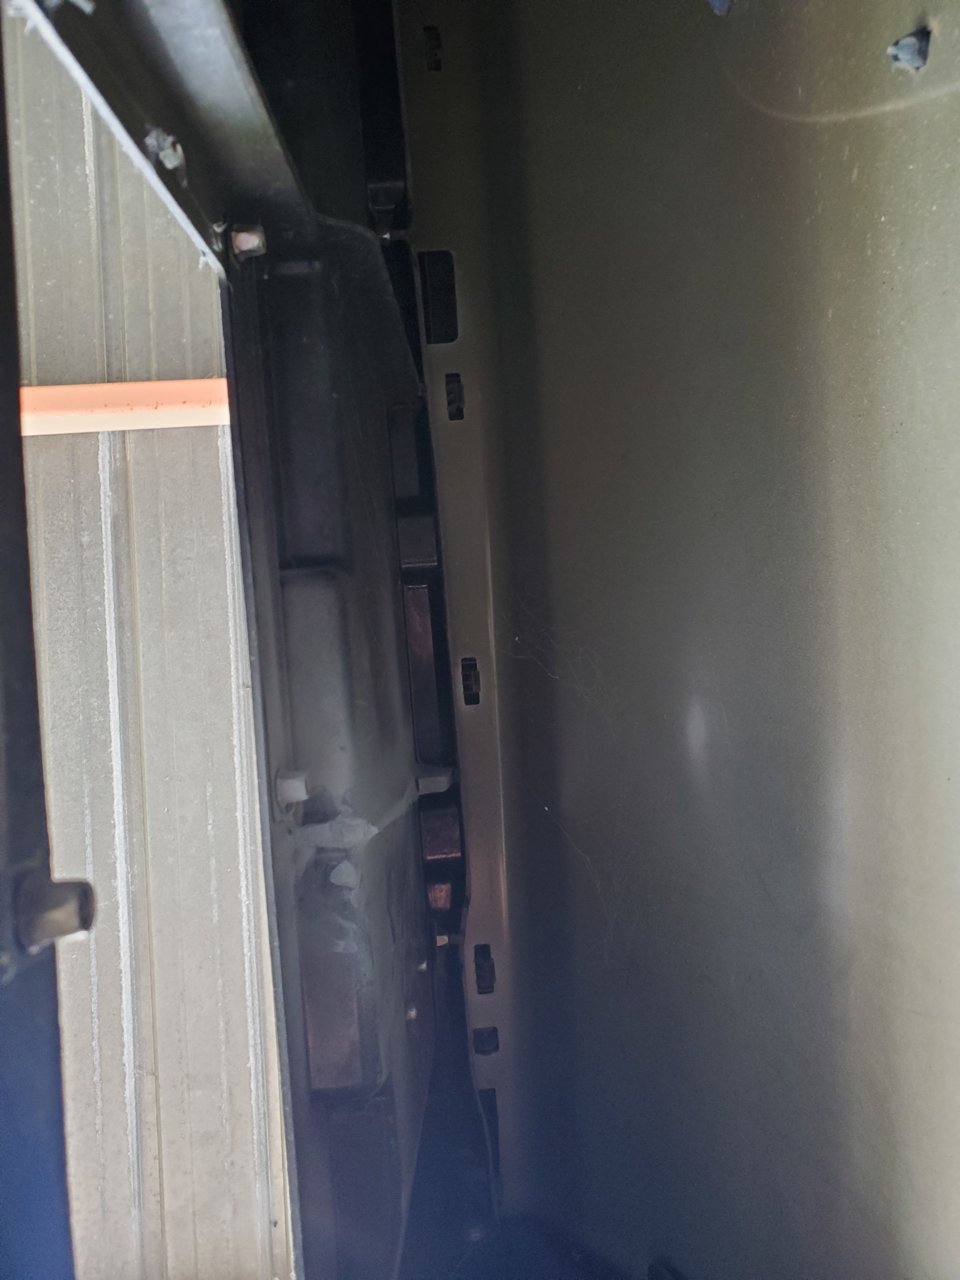
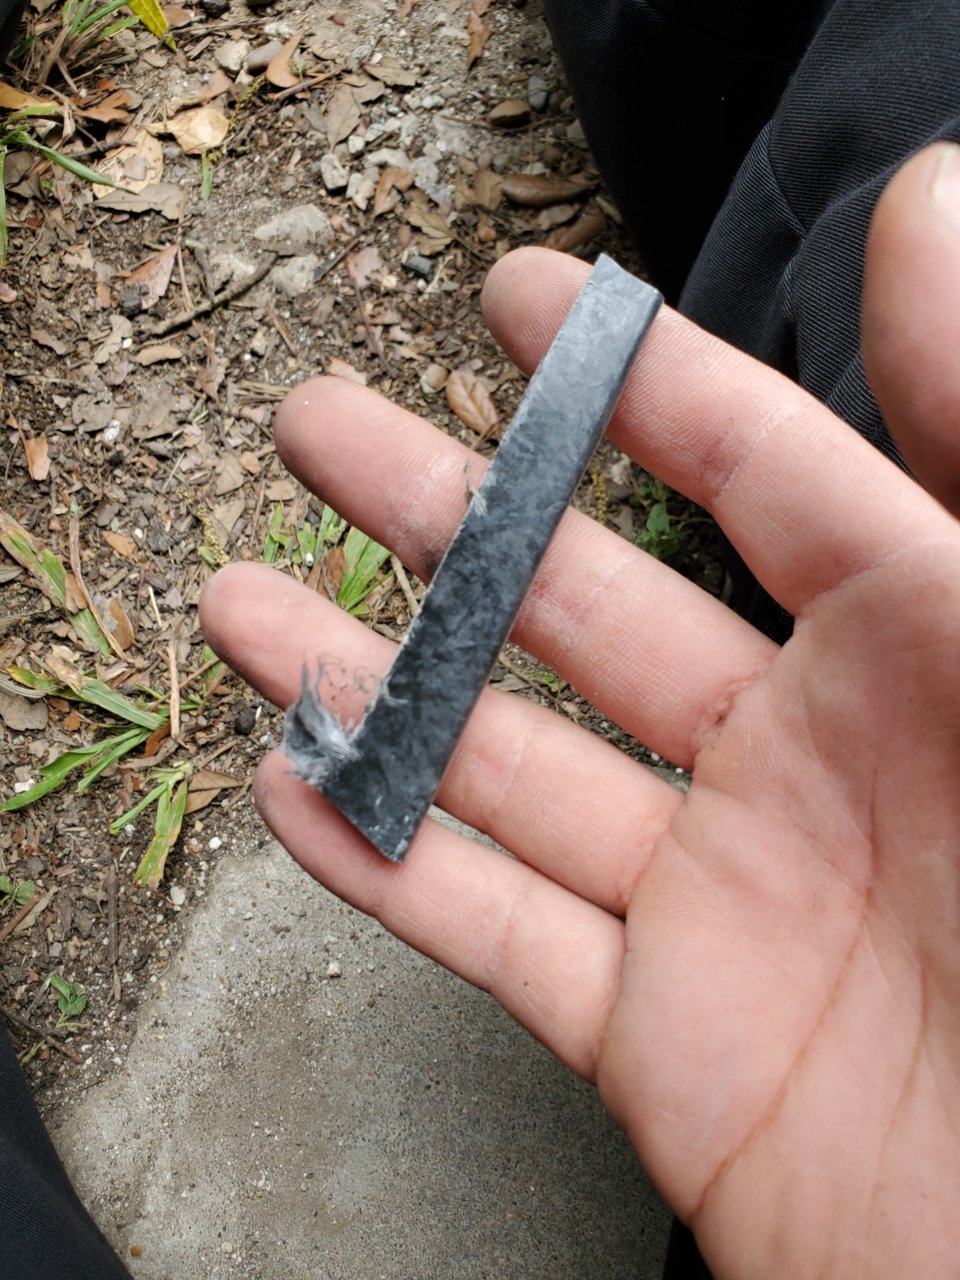
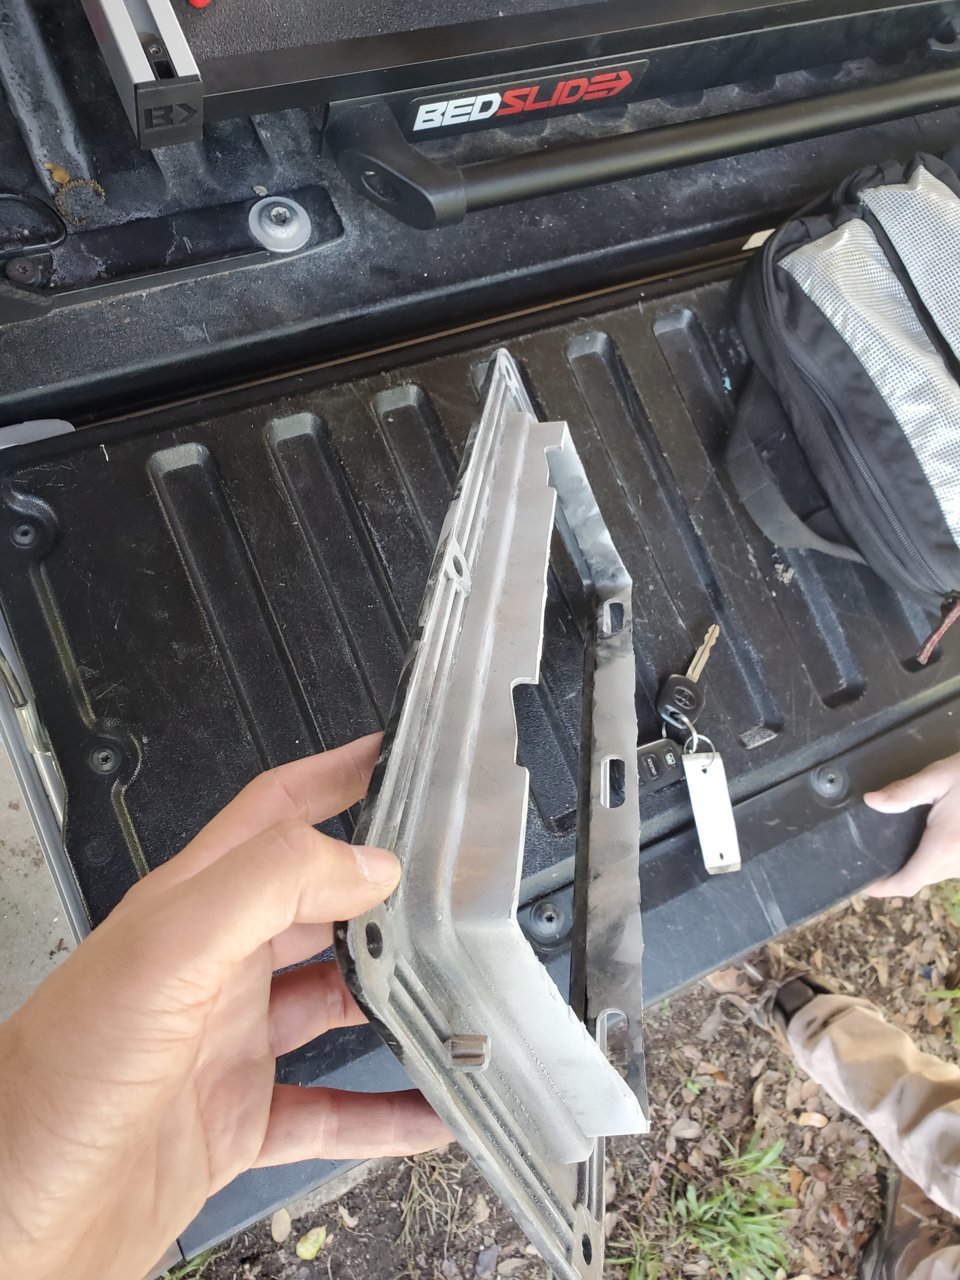
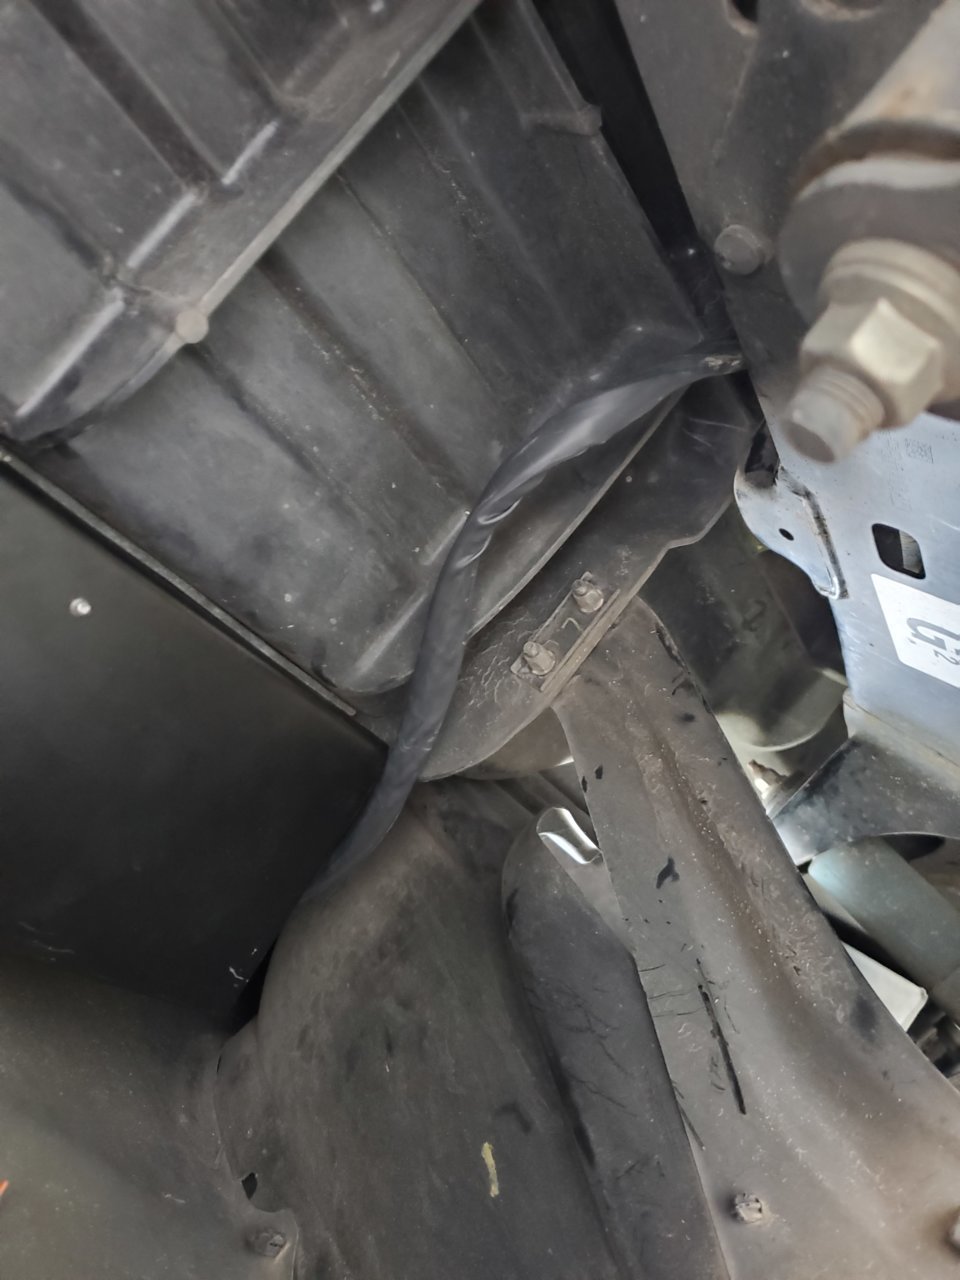
IF you are installing a dual ARB Compressor, take a peek under the truck and behind the cubbie box. See that center rib? Cut it off. I used a saw zall and dremmel:
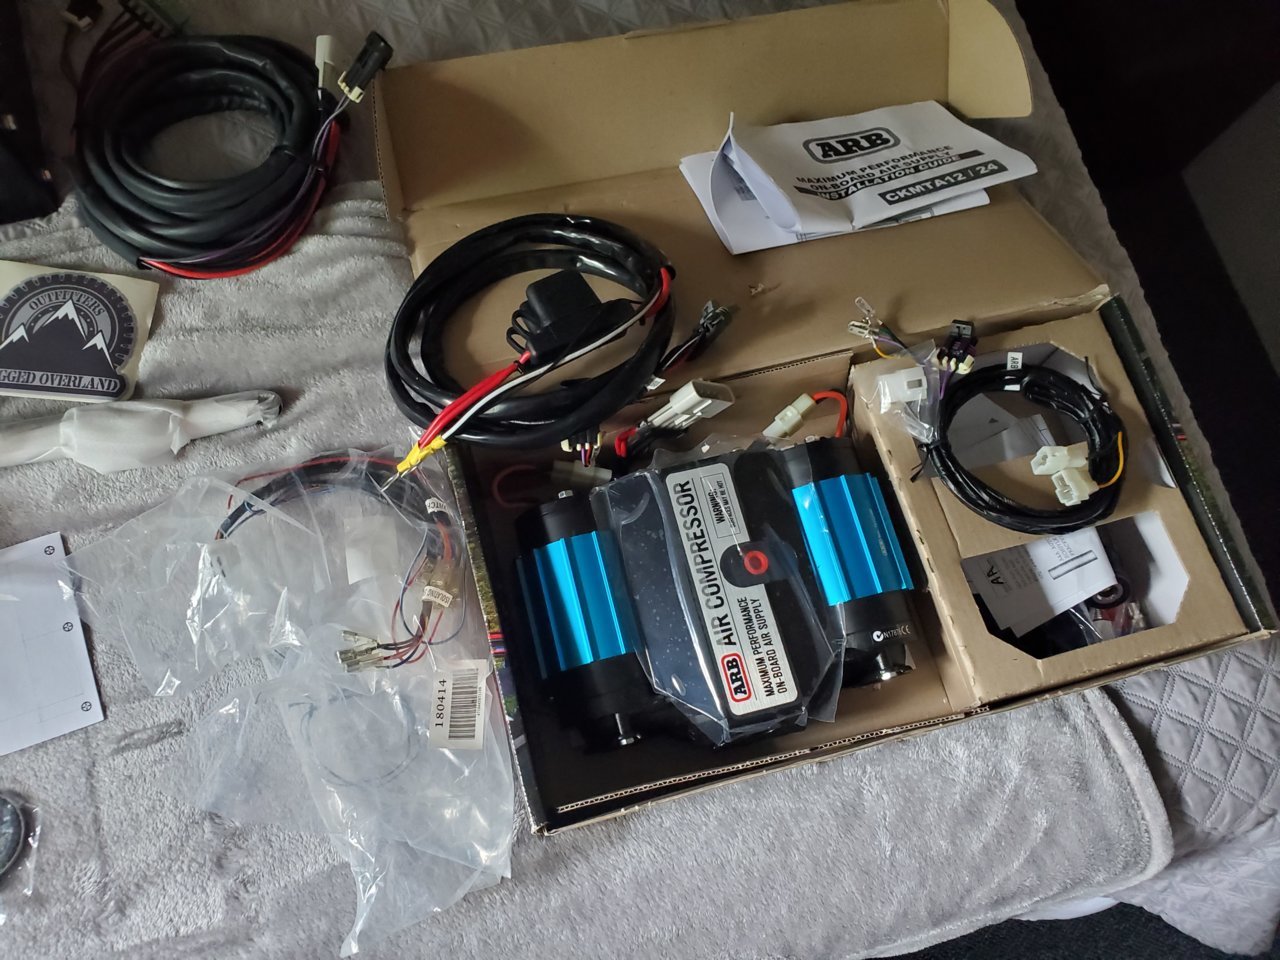
Now time to set the compressor to the mount:
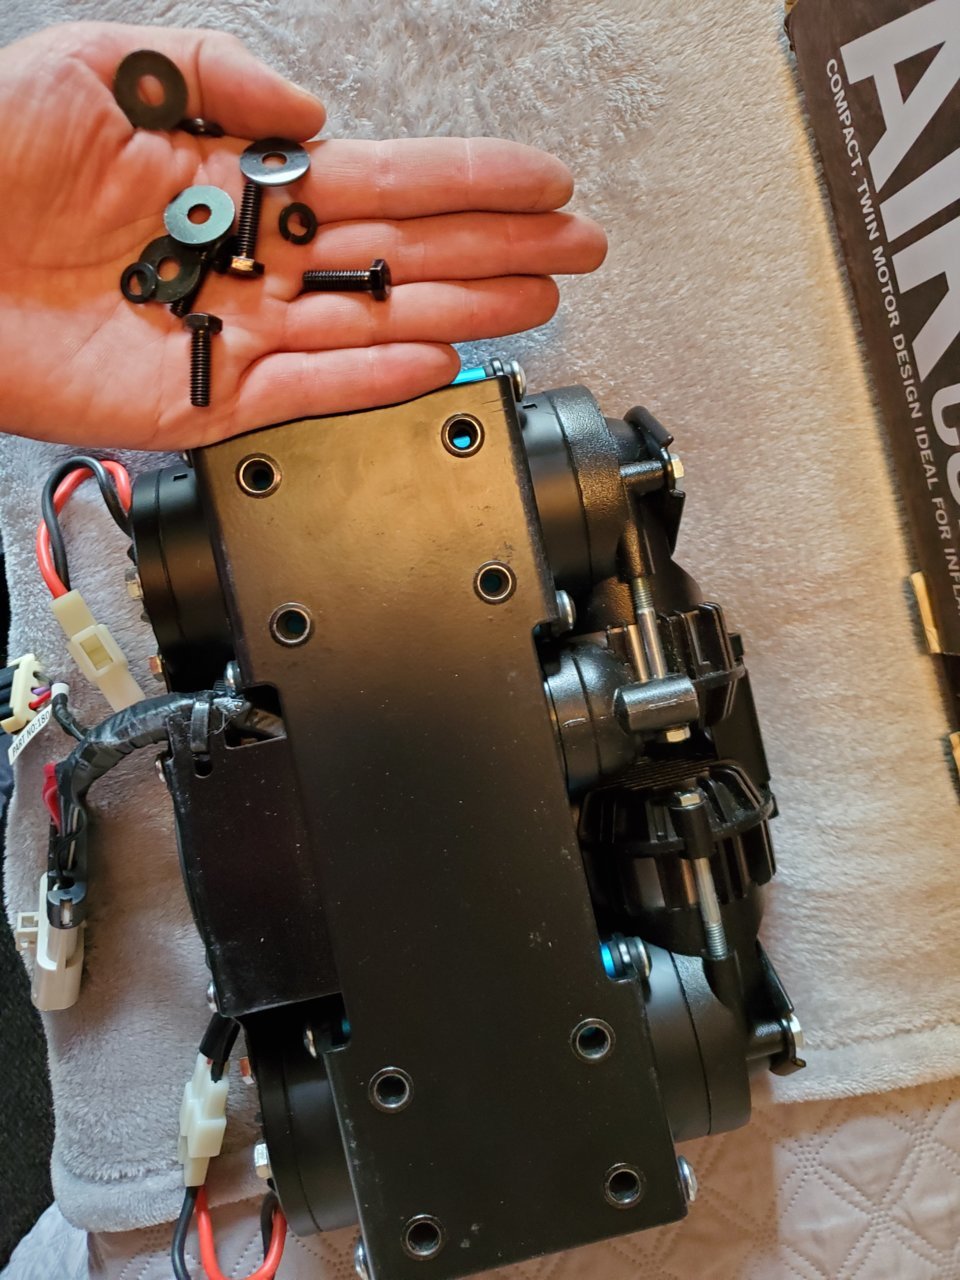

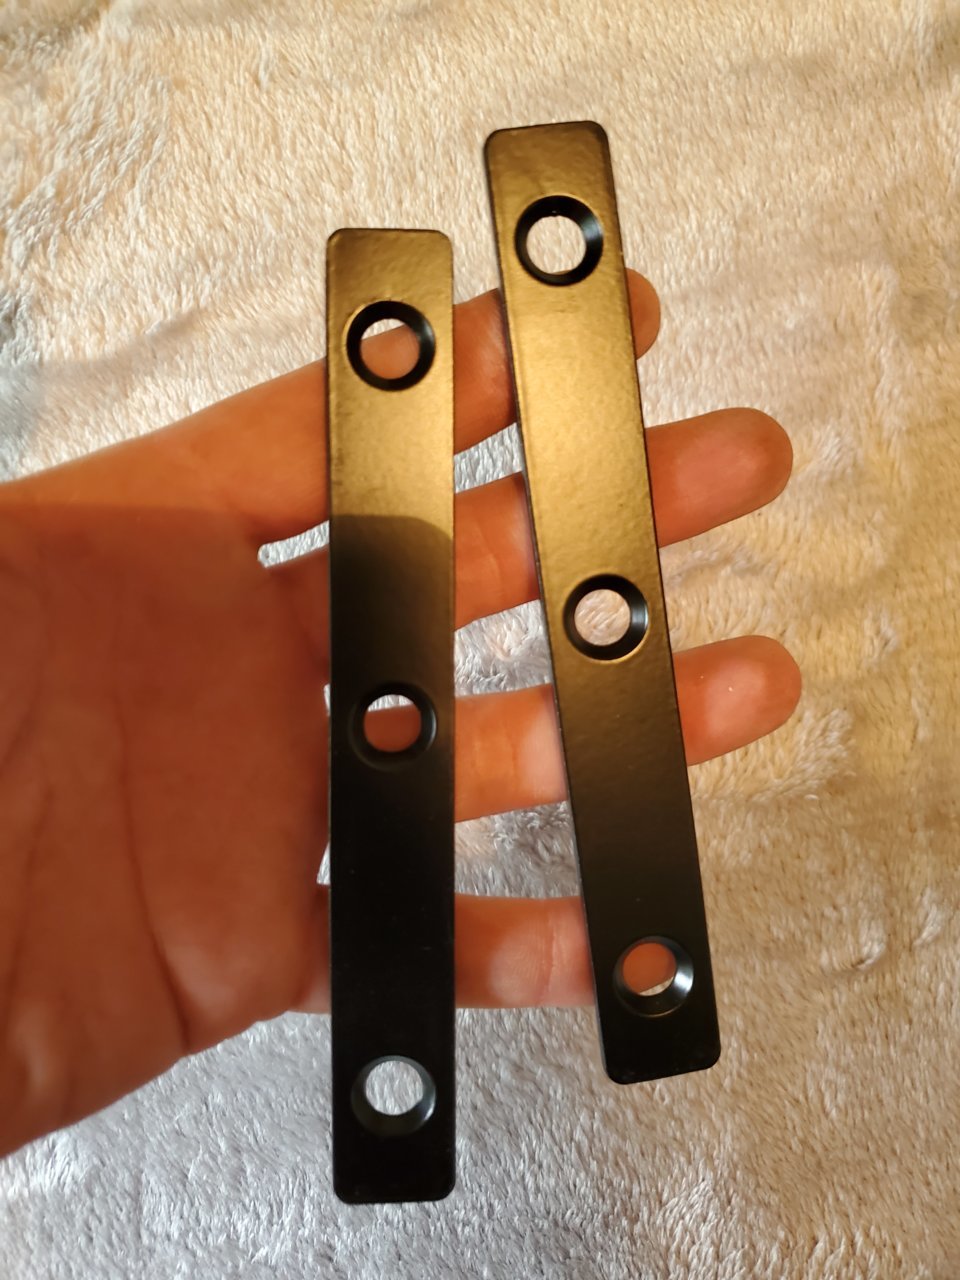
These small brackets sandwich the compressor mount onto the bed:
Using a friend, I set the compressor and mount in. You WILL NEED A FRIEND. It is heavy and hard to reach back there:

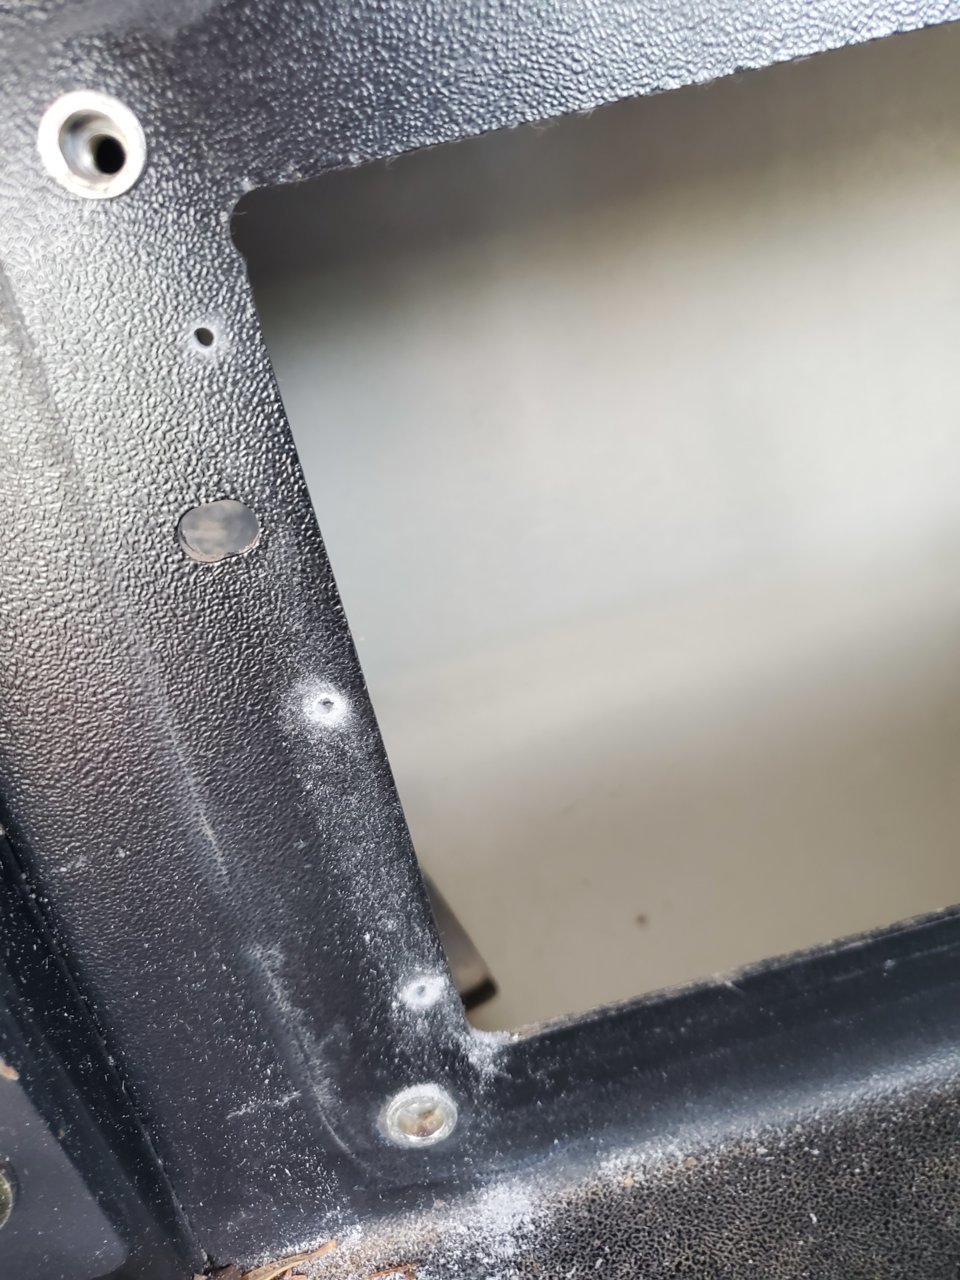
Now, time to modify the cubby box, I measured 3/4" from the inner edge and cut away!


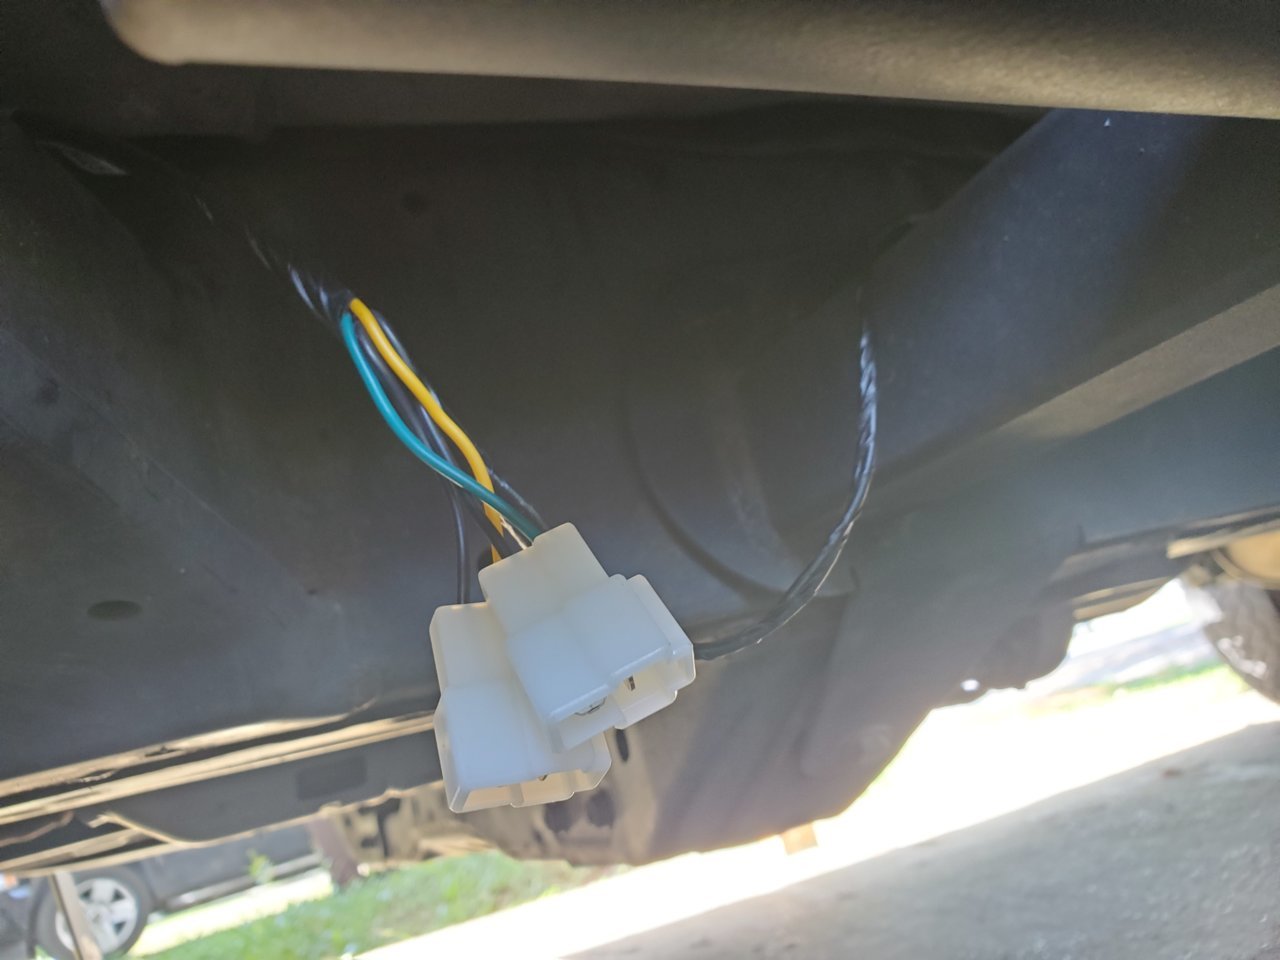
Plug the expedition essentials wiring and run it thru the back of the cubby:

Finalized faceplate:
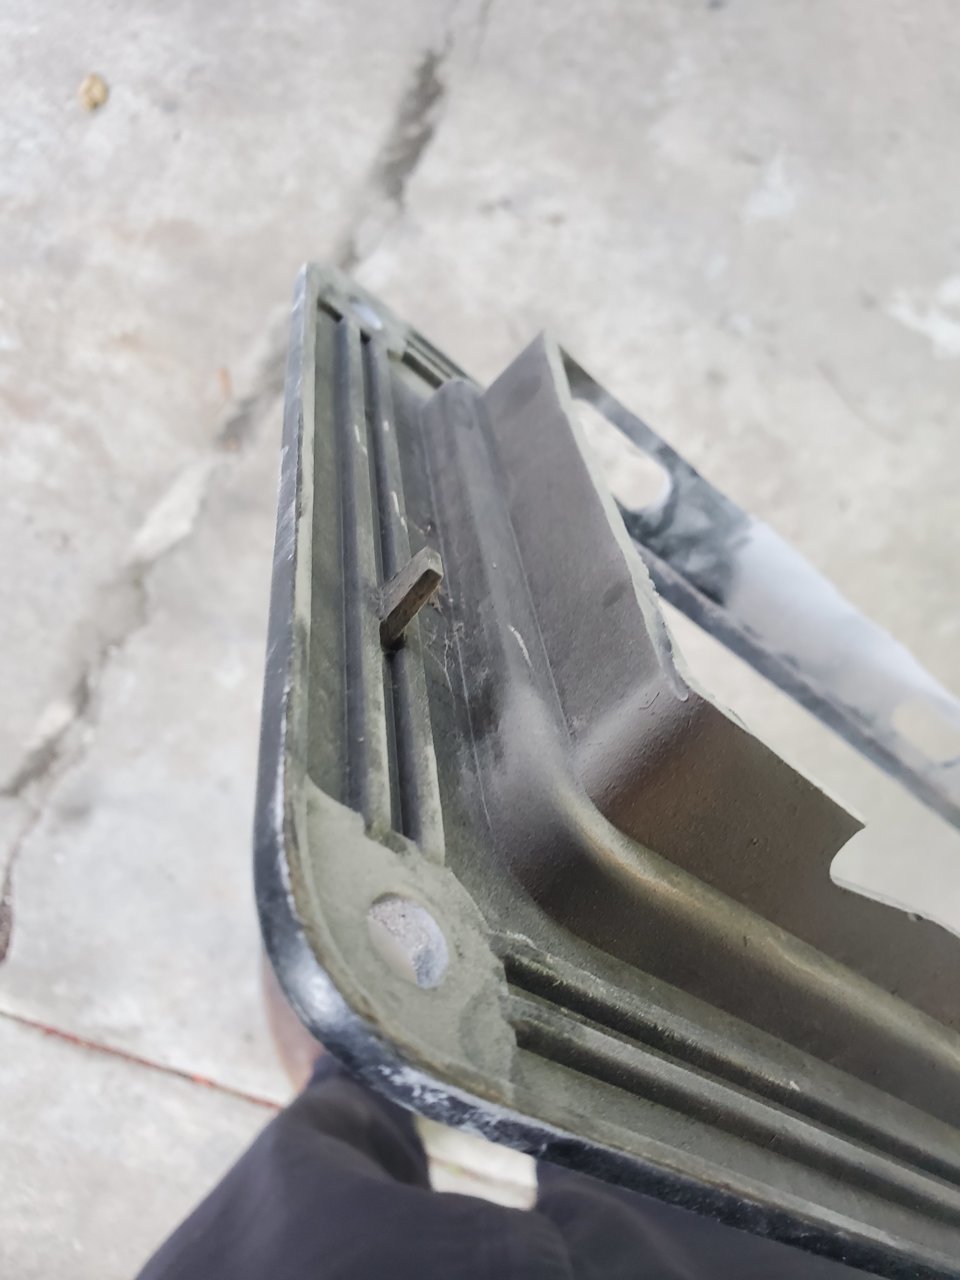
These nubs had to go:
Using the long spacers provided in the Expedition Essentials kit, I installed the faceplate:
Now time to run the extension wiring:

Over the frame using zip ties to secure it:
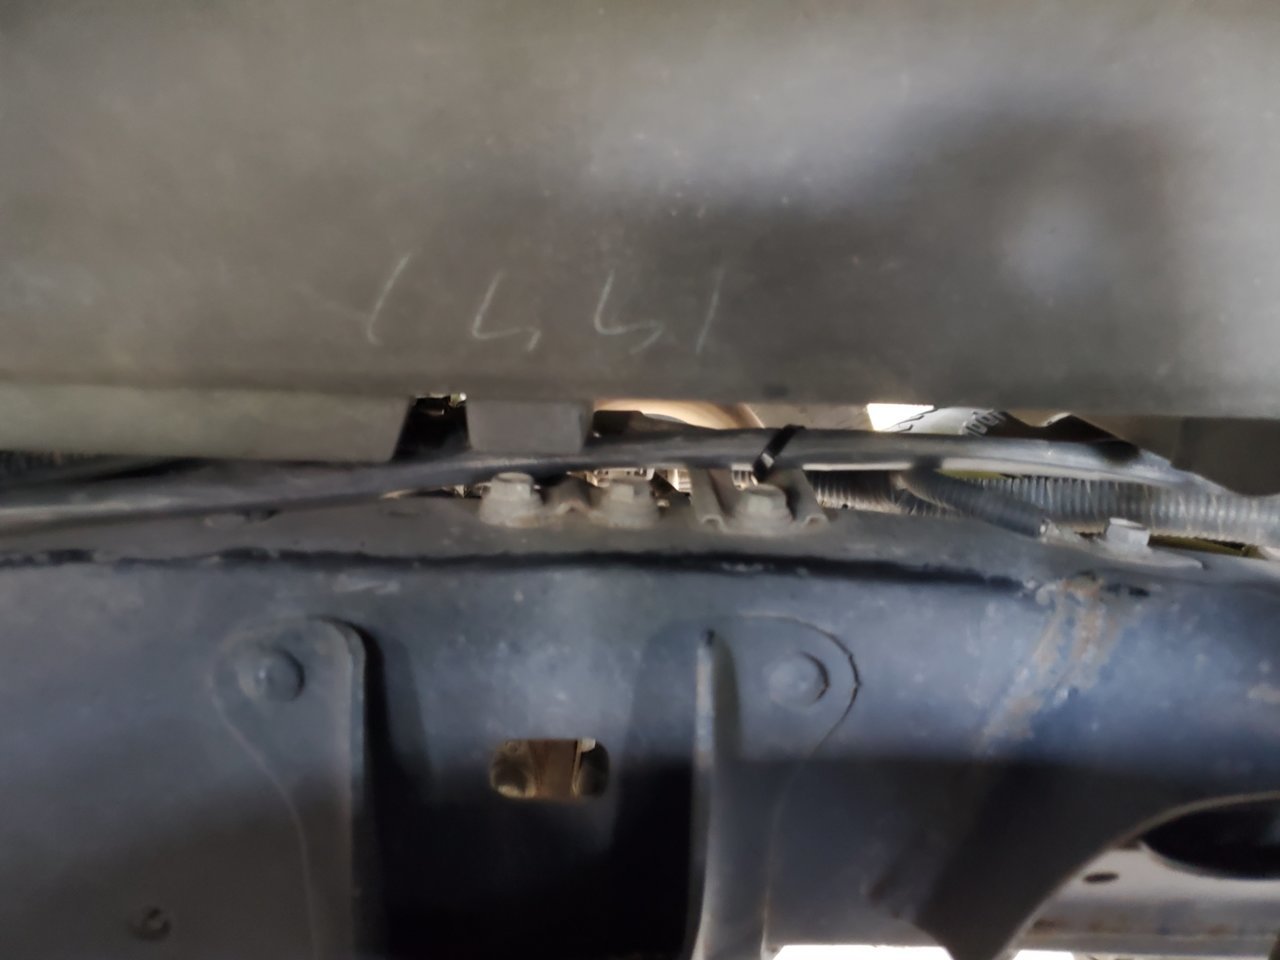
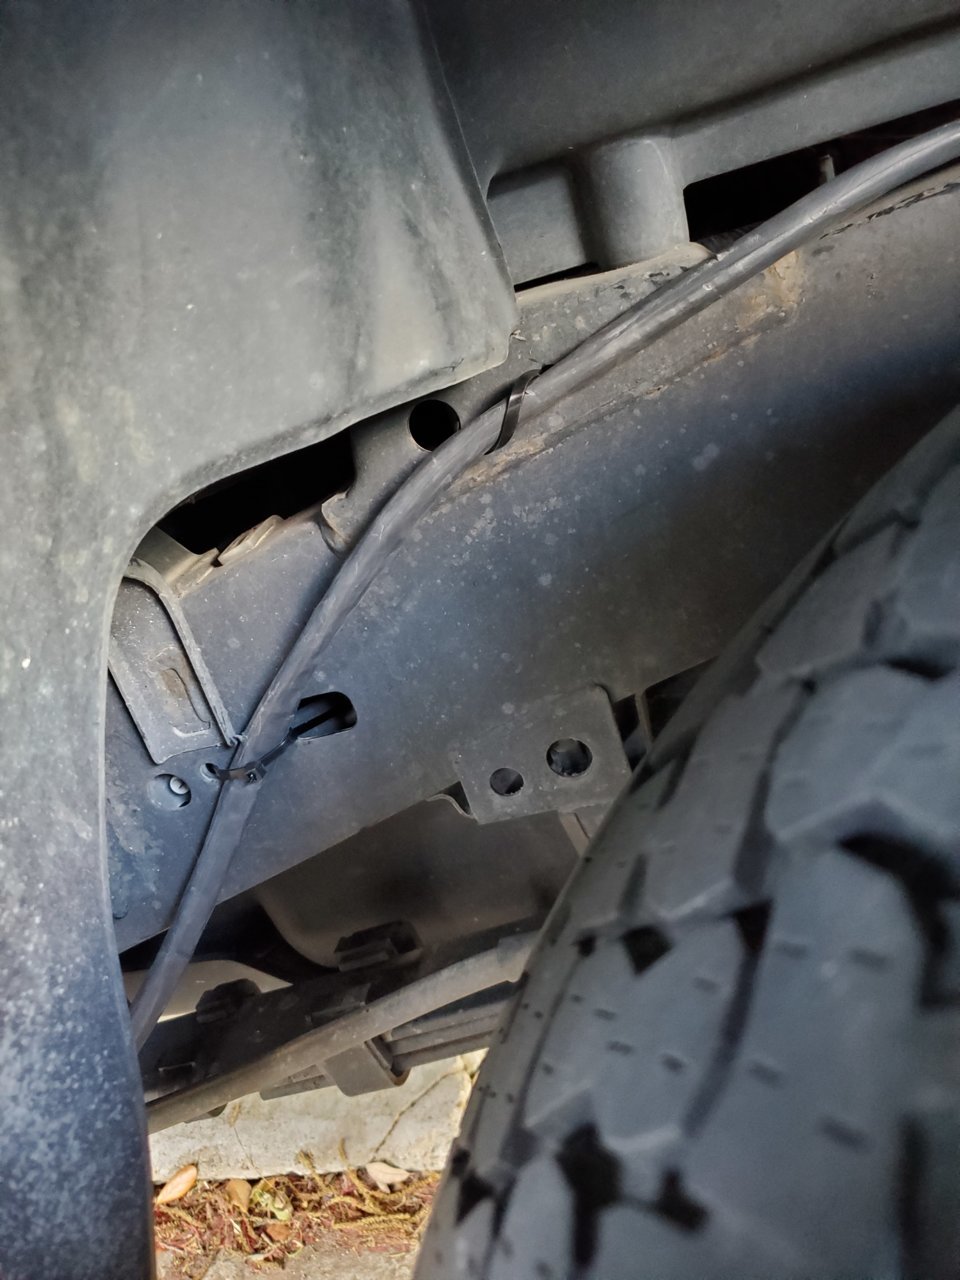
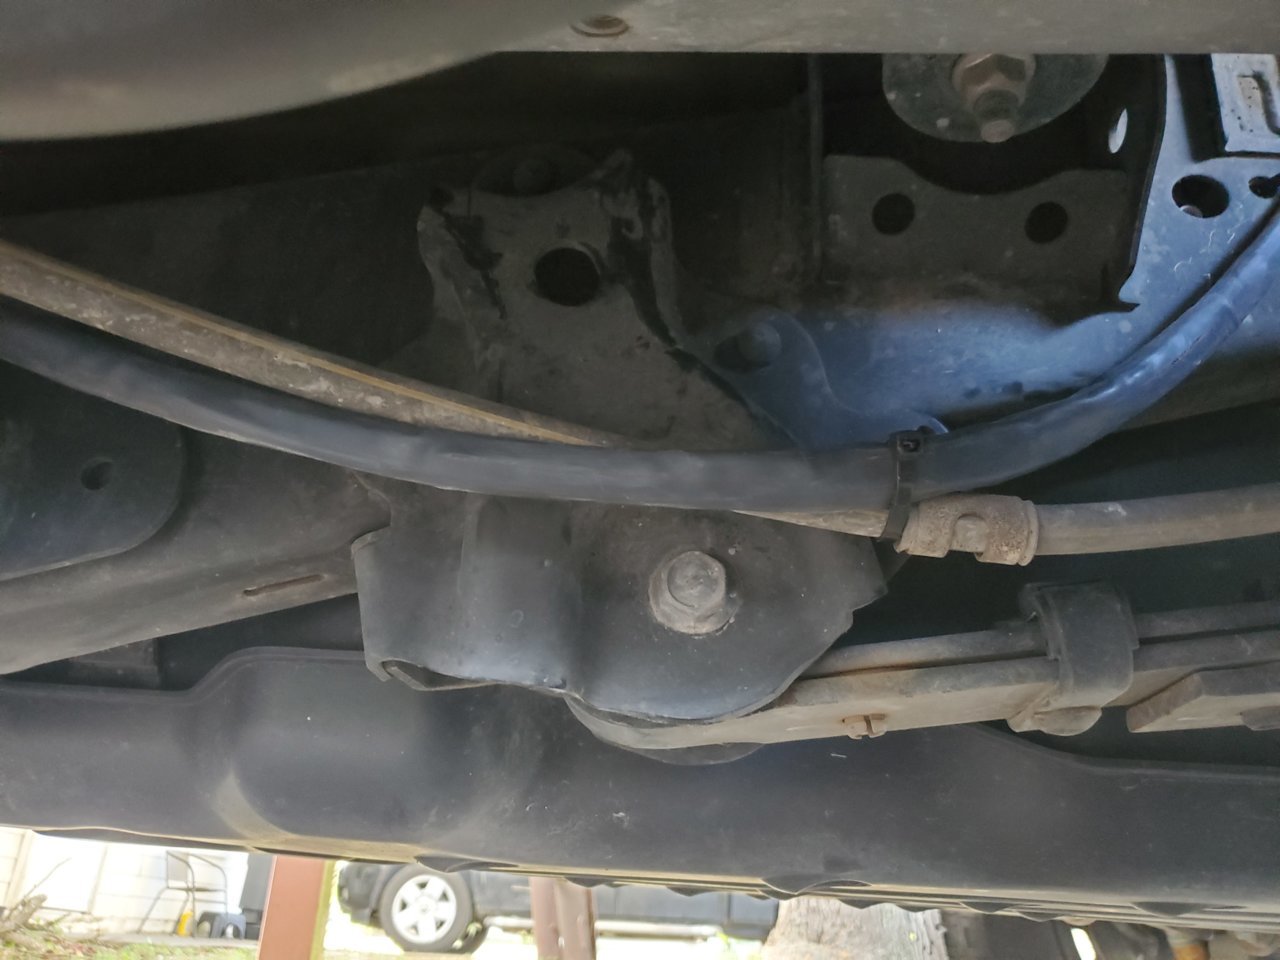
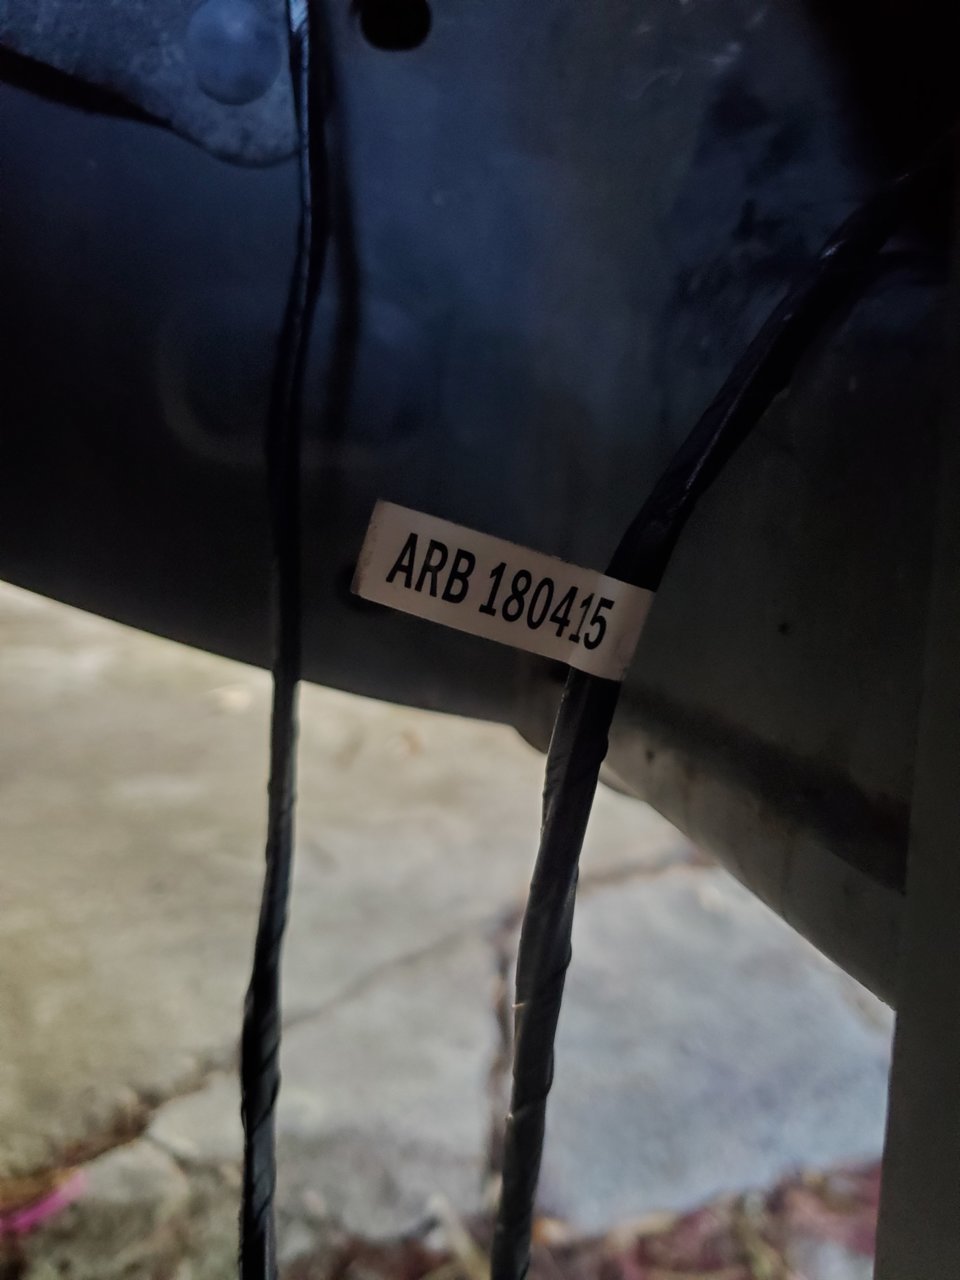
I pushed it back into the INSIDE of the frame here, close to the front driver's side:
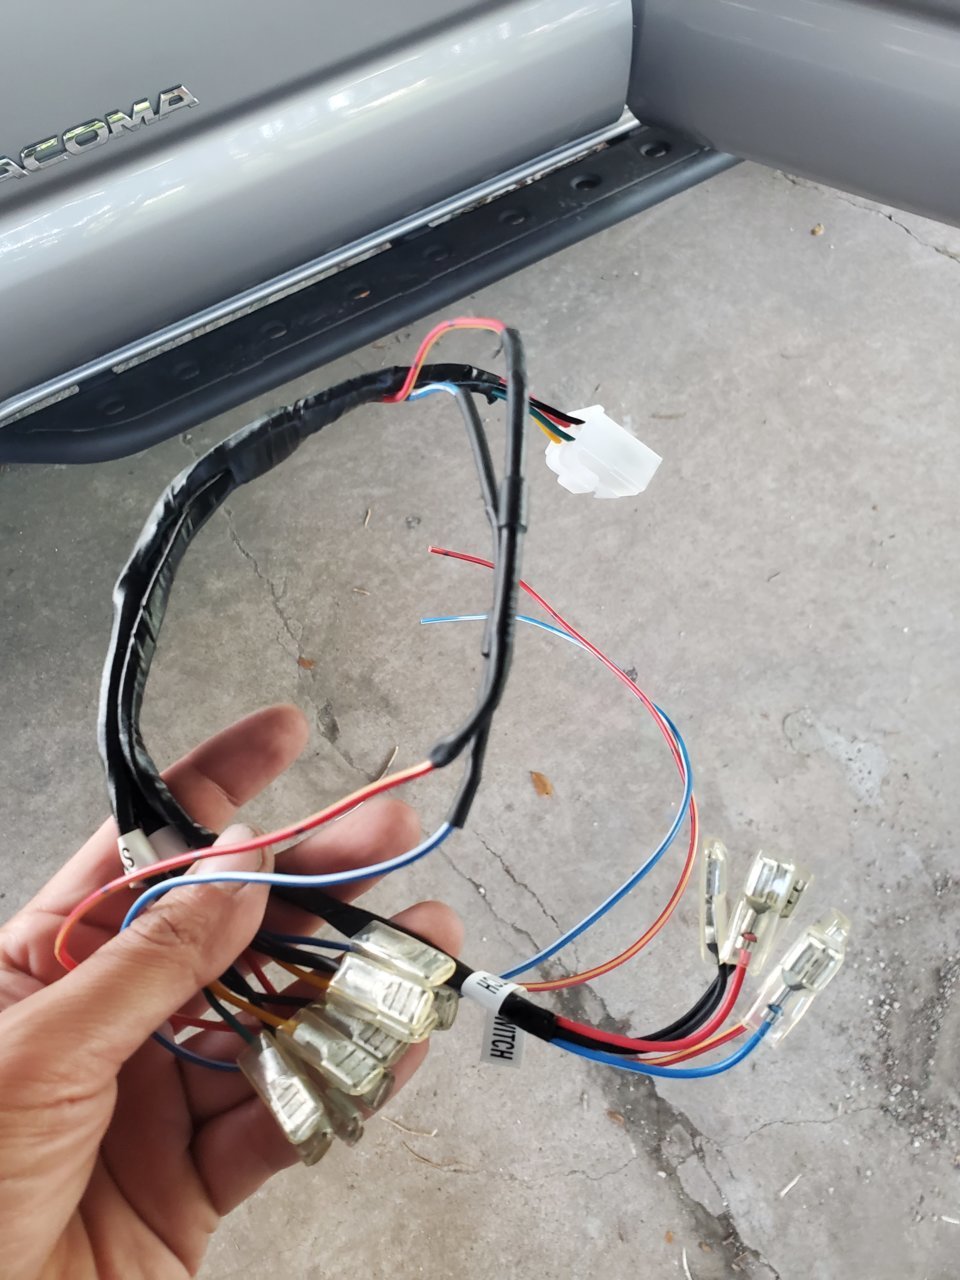
Now let's play with all the other wiring, if we are not using the ARB switches, chunk this one away:
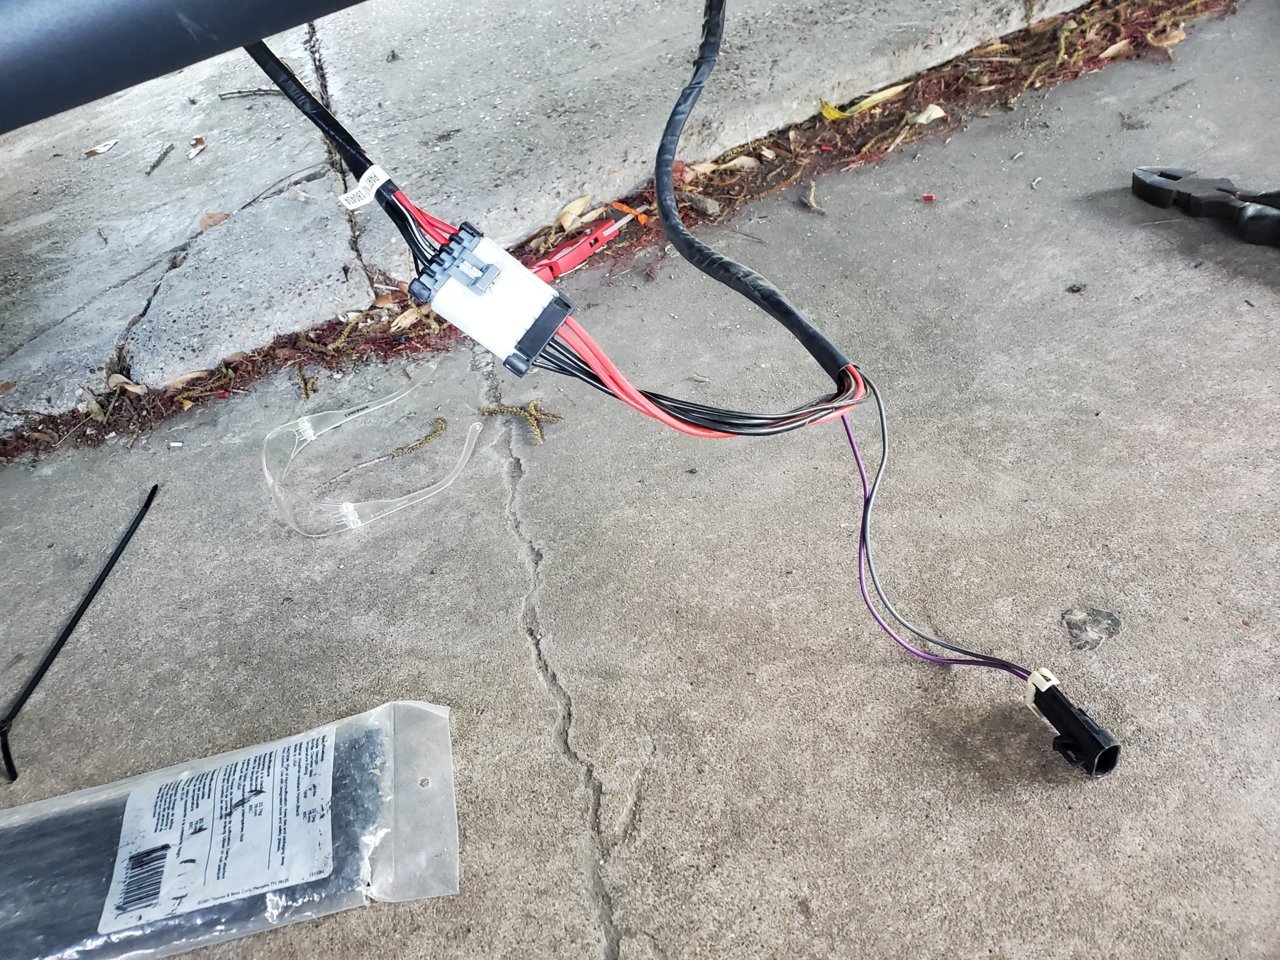
I attached the ARB harness here:
Smaller plug uses this smaller harness:

This end goes to the switchpros:

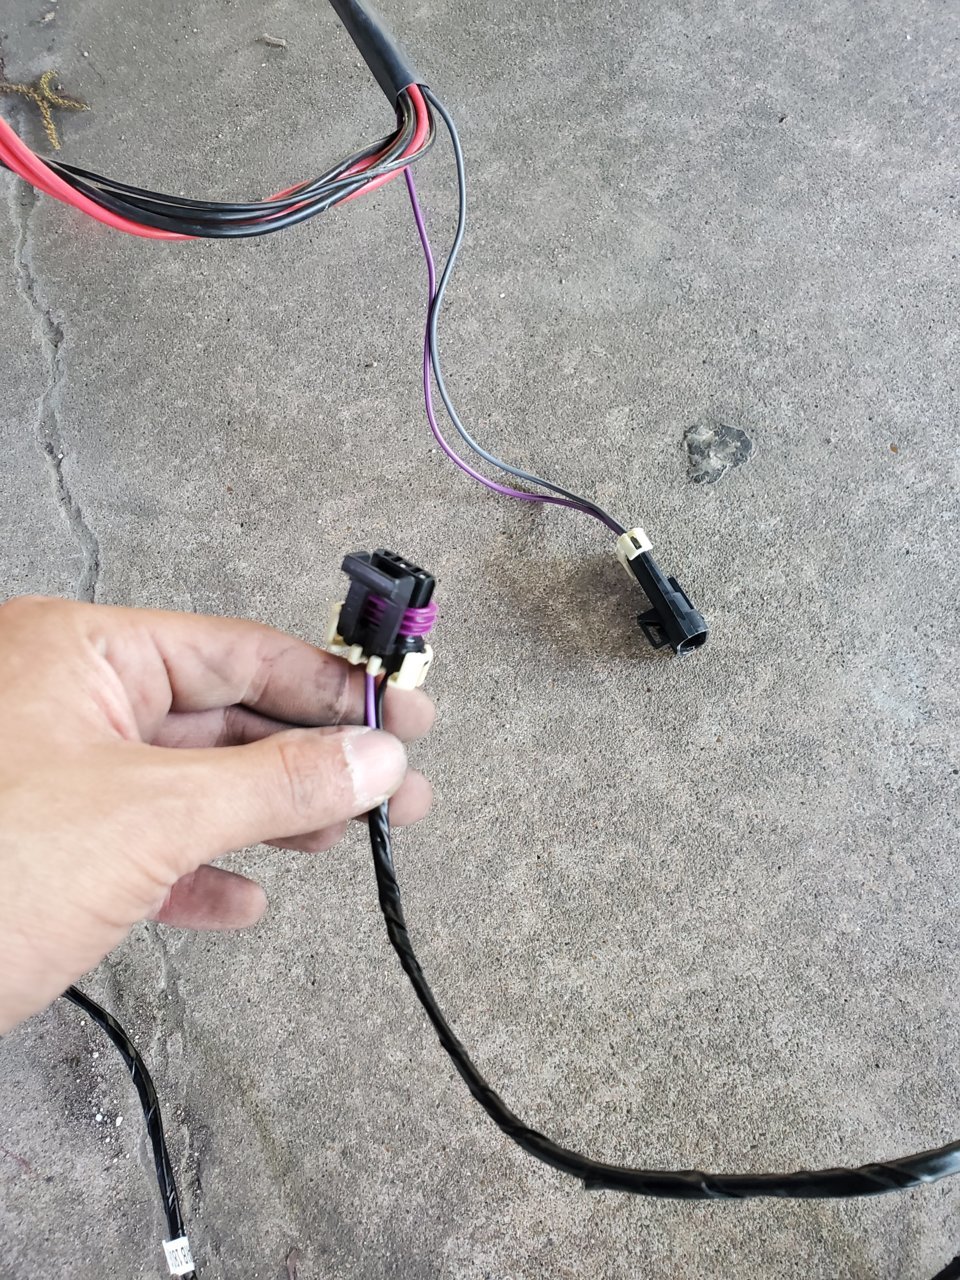
These plugs go to the locker solenoids, since I am not using a locker I could either cut them off and tape the wires separately OR tape them up and keep them on the harness in the event if I ever change my mind:
Plug this end to the extension harness:
Tape or cut these guys off:

For reference if you ever want a replacement harness for the switches:
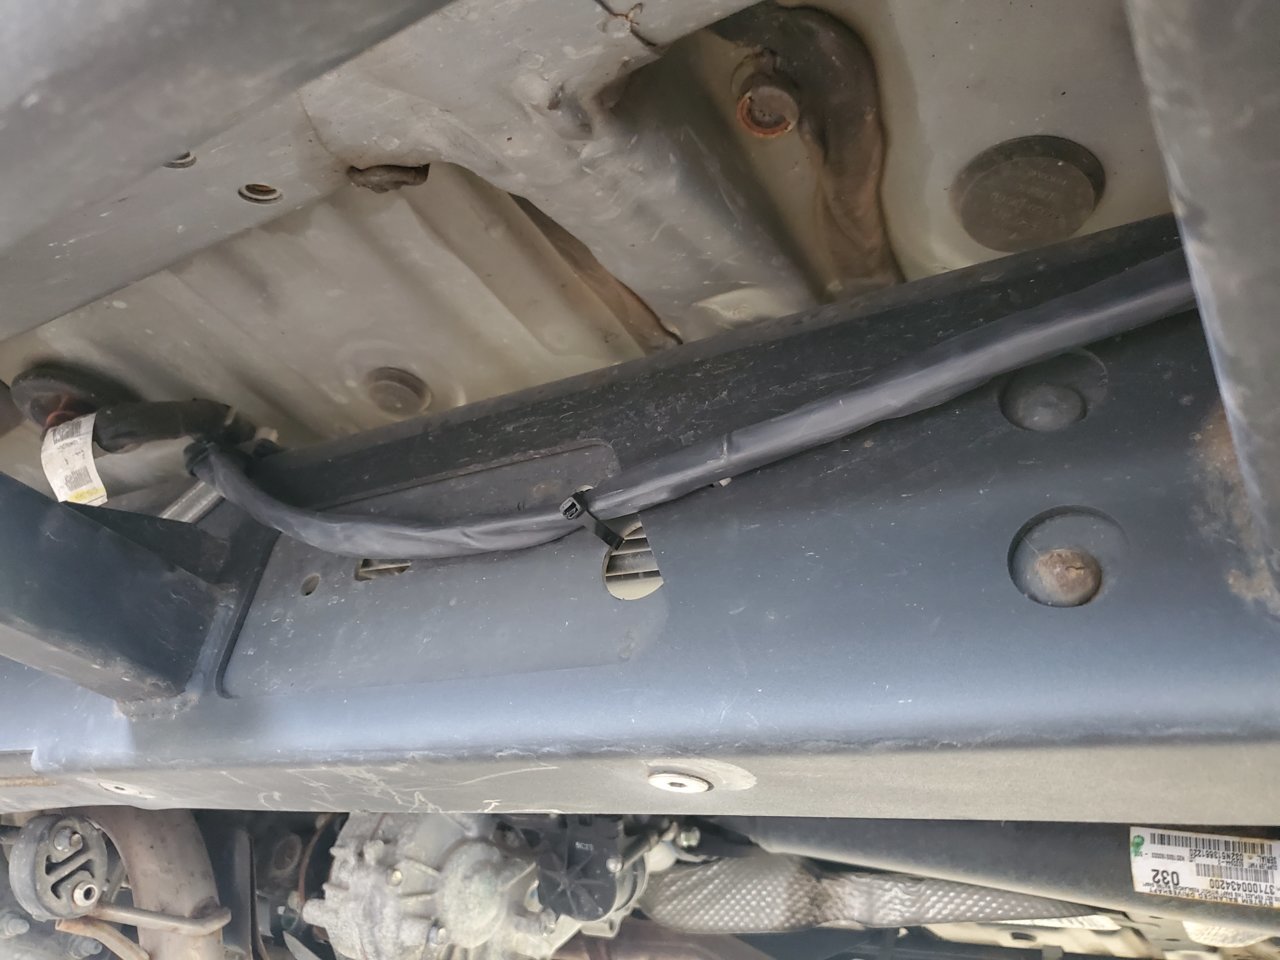
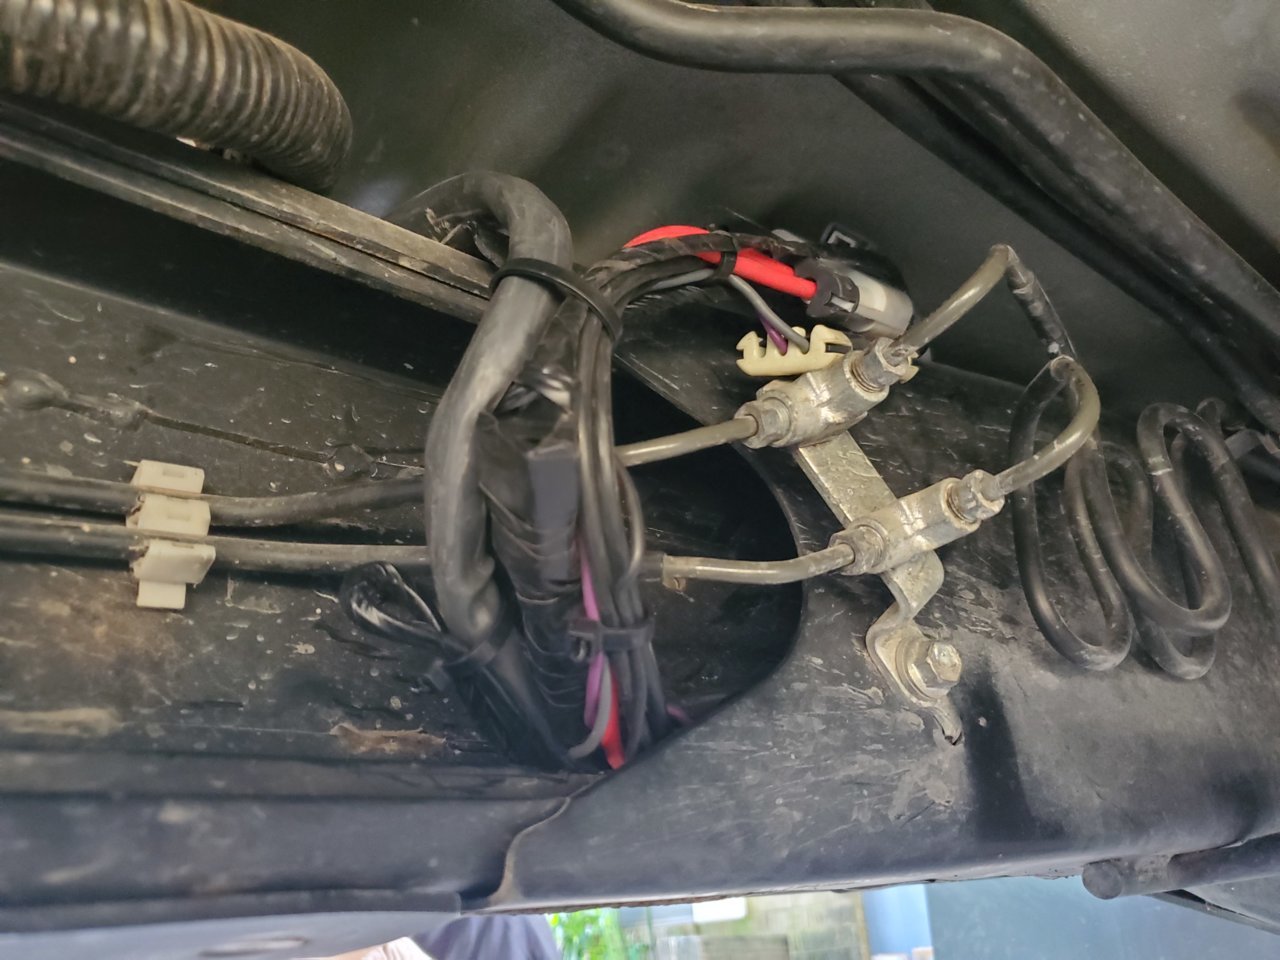
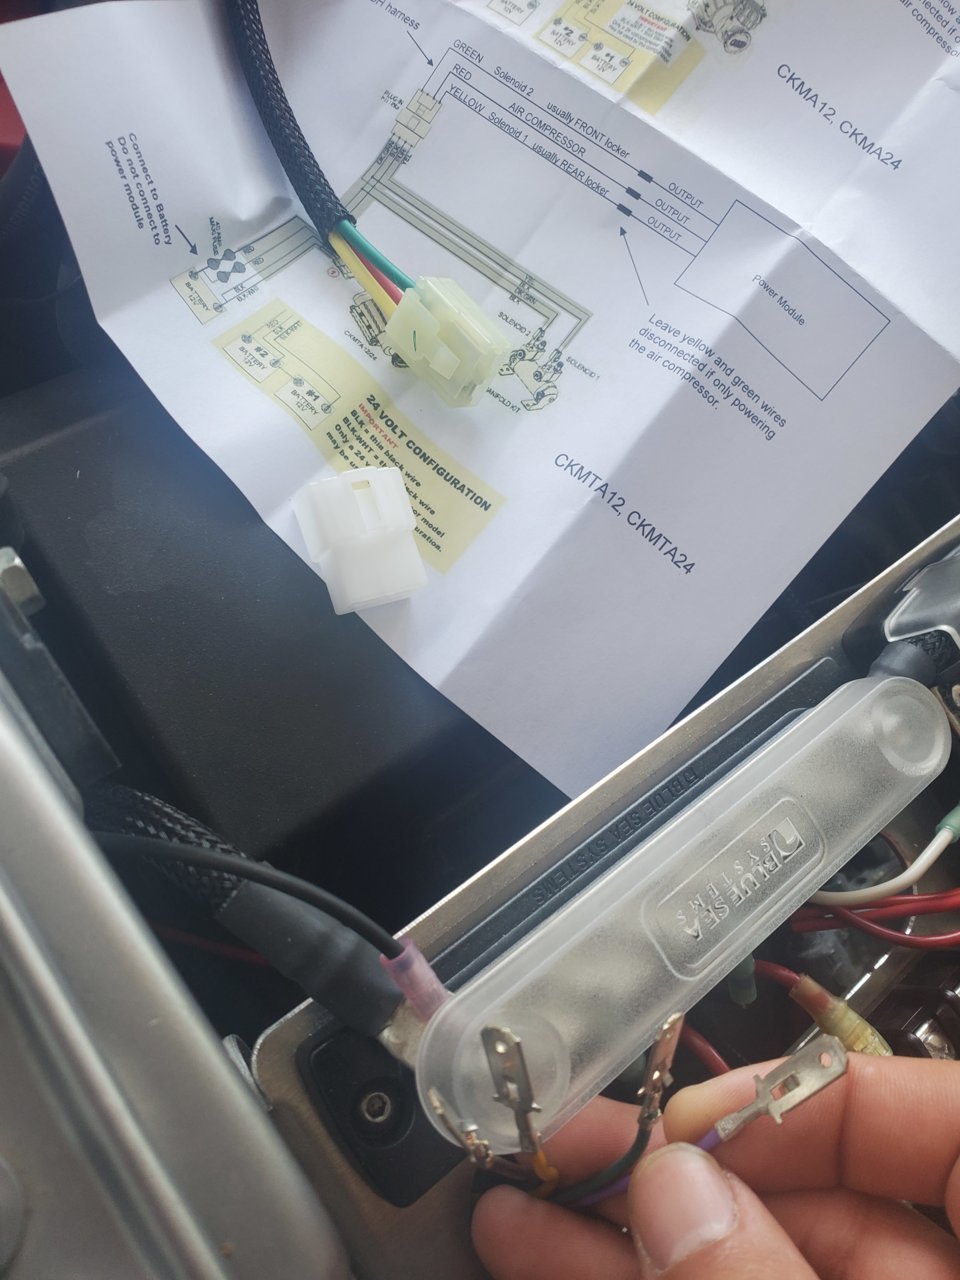
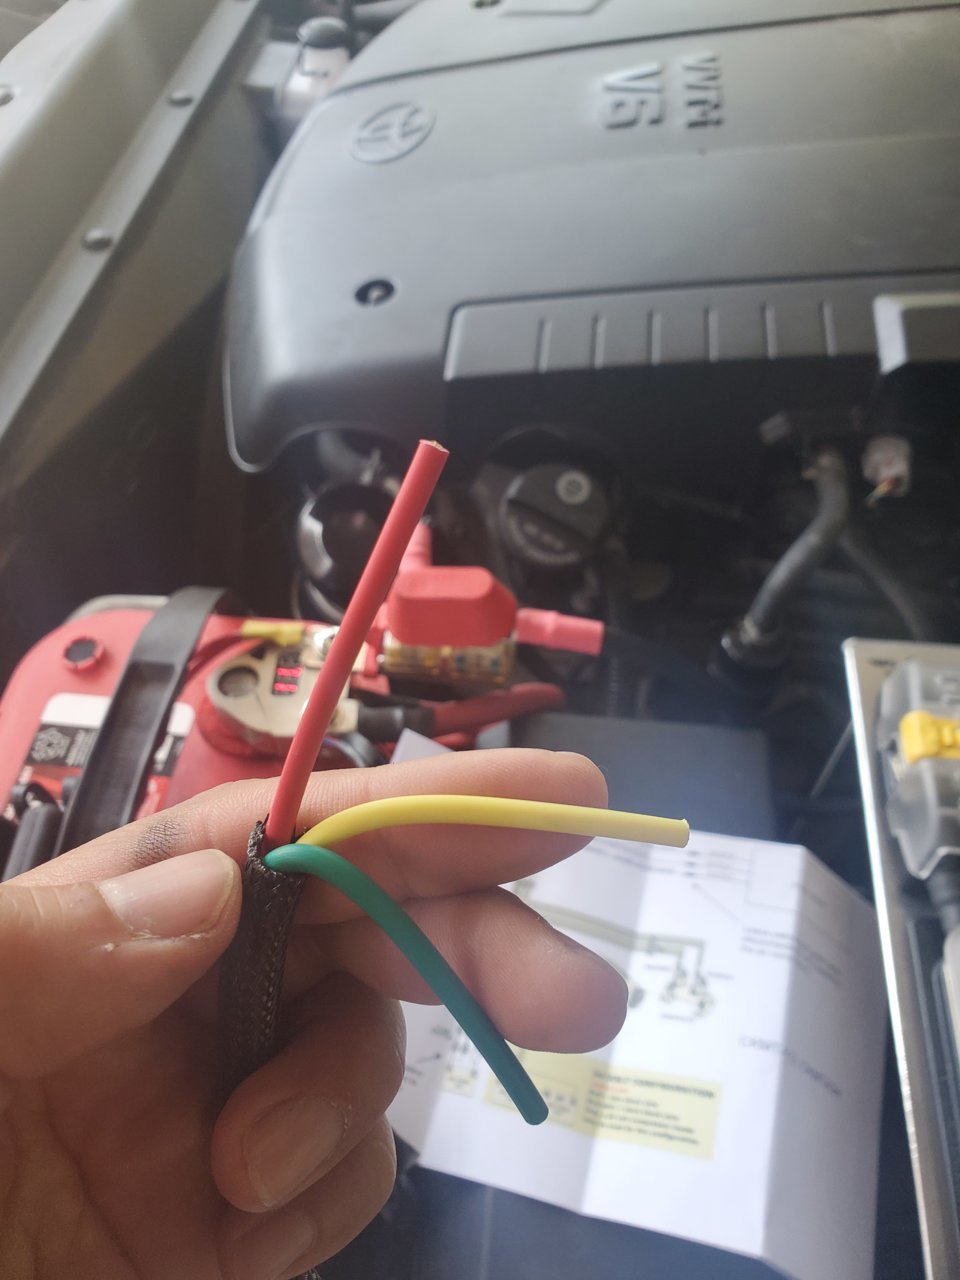
I then ran my wiring into the engine bay, tucking in all the excess into the frame like this:
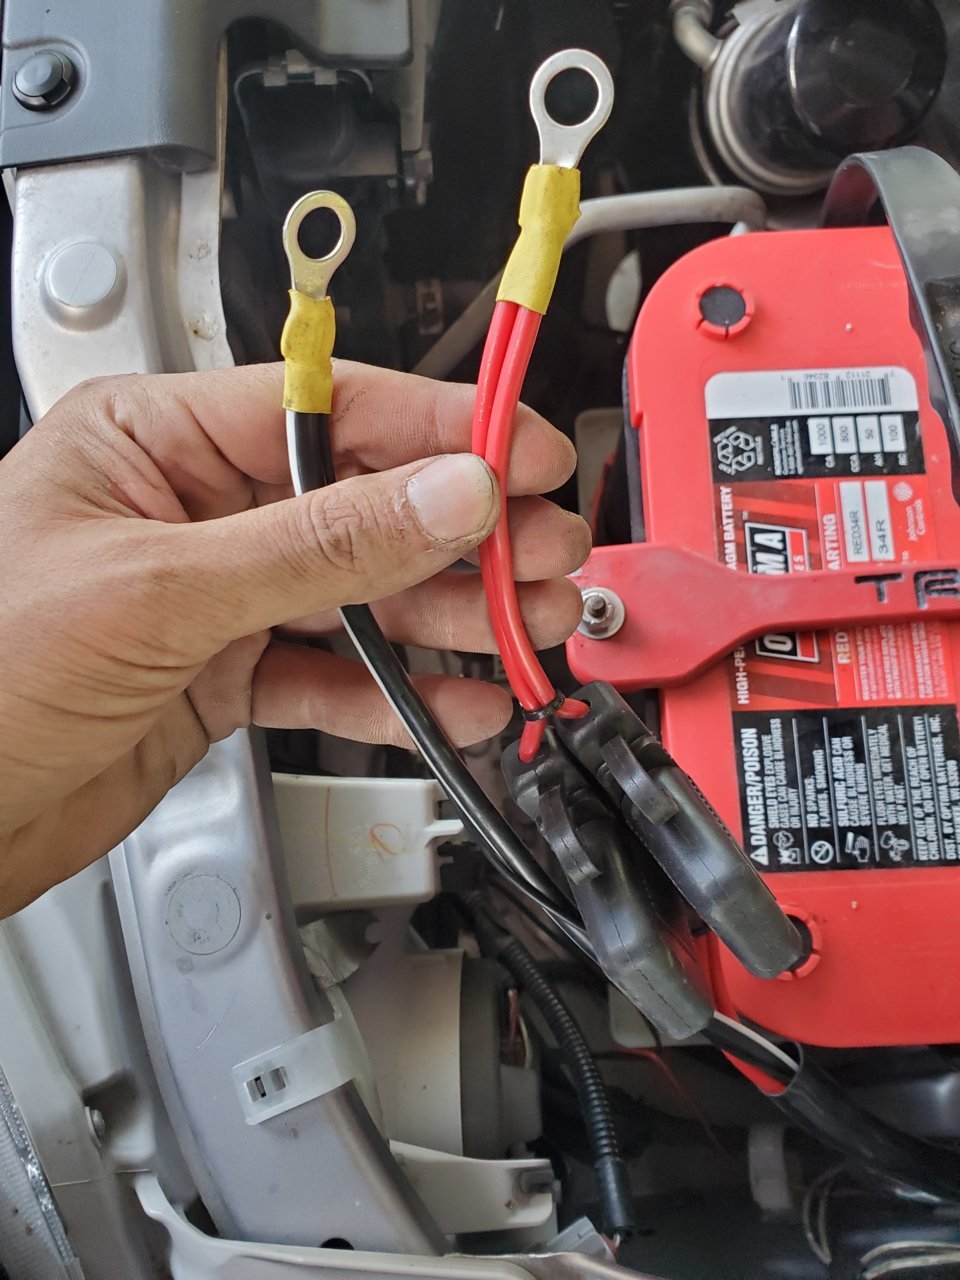
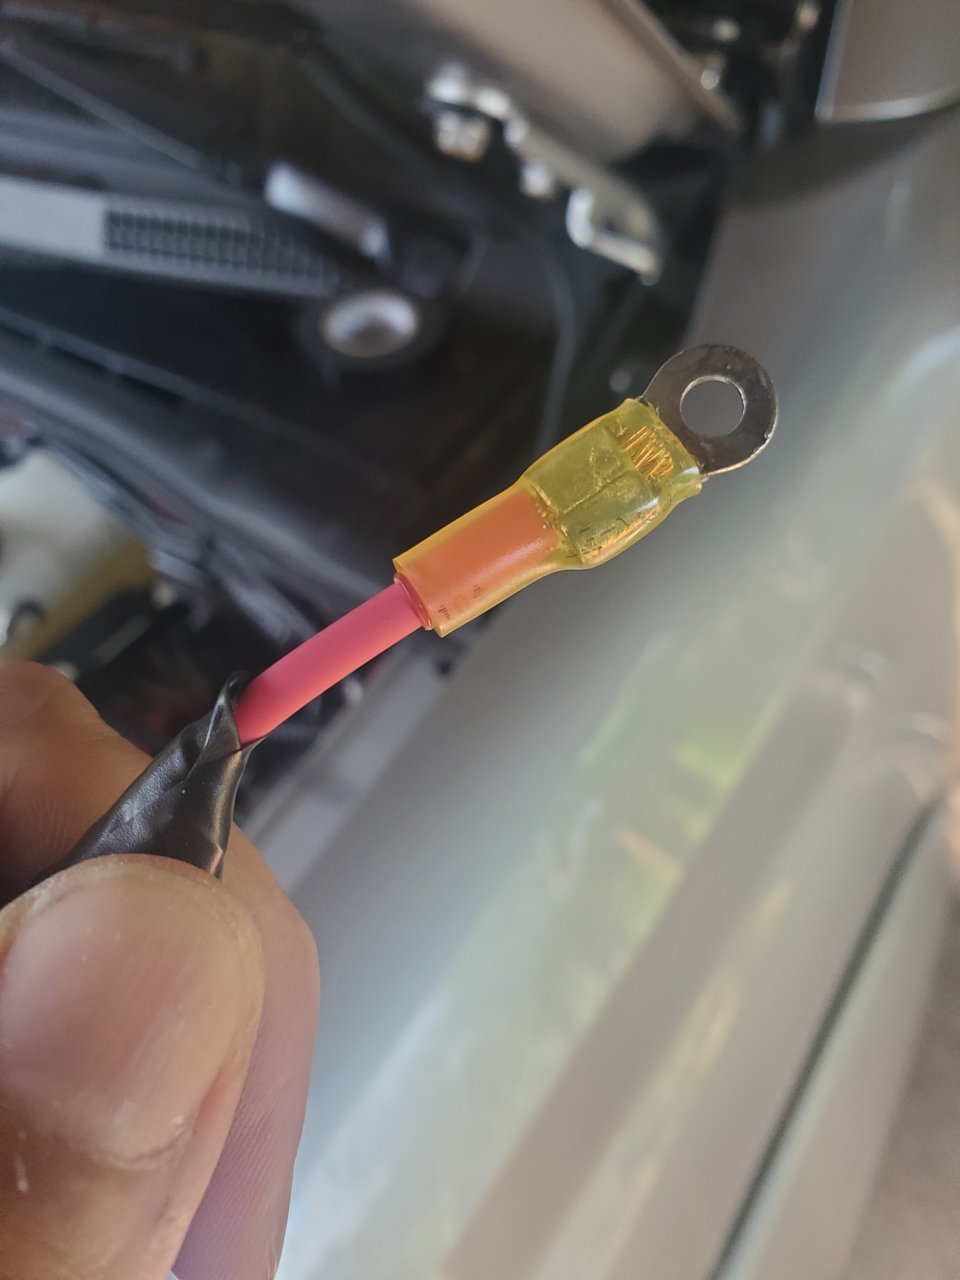
I crimped the ends of the ARB harness together with O rings like this:
How to wire these guys to switchpros?
I bought this guy from Switpros directly. Keep in mind this also works for SPOD.
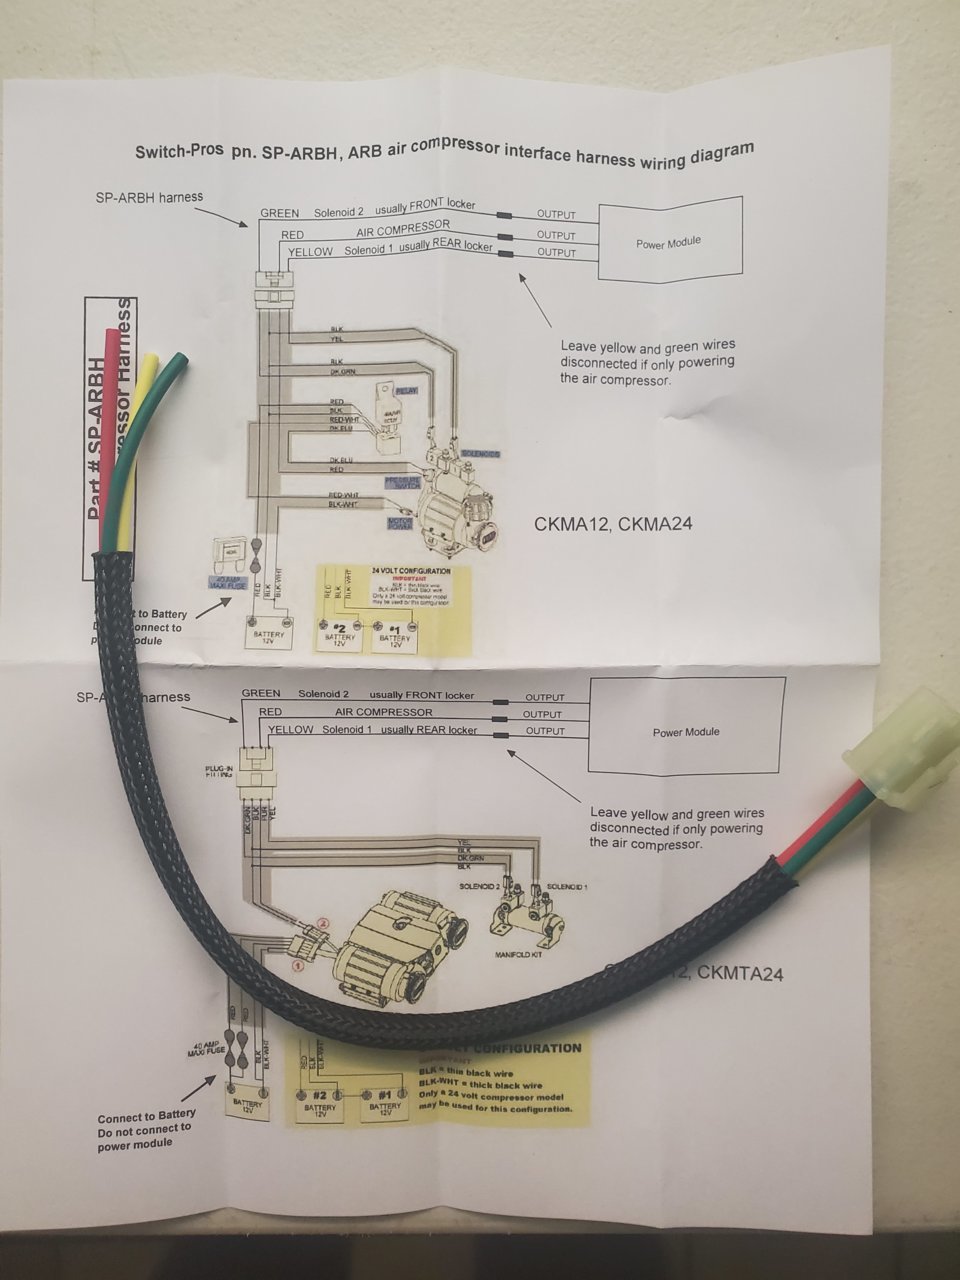
Wiring diagram from Switchpros:

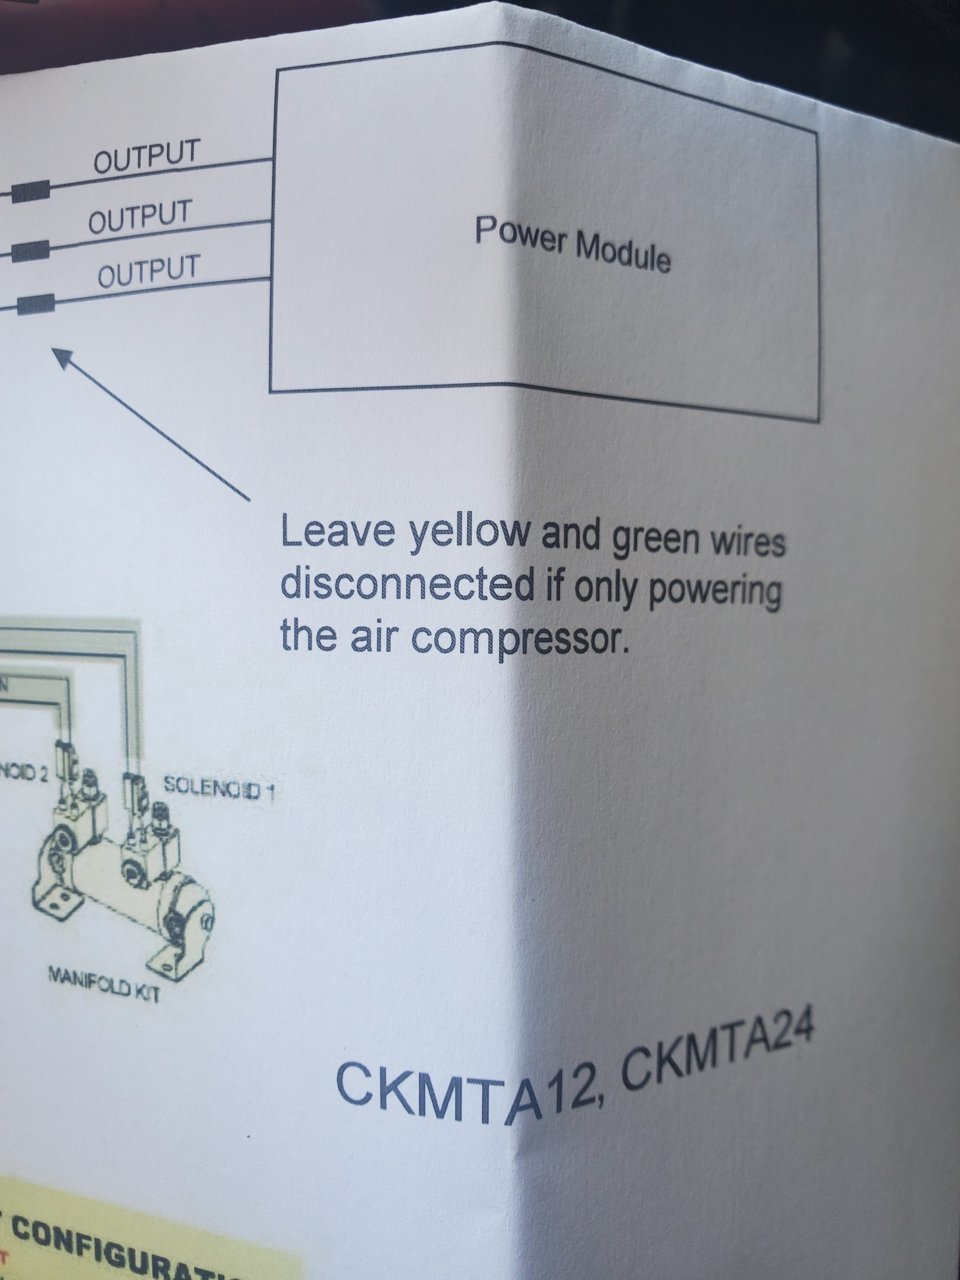
NOTE for people that don't use lockers or want to wire the lockers to switchpros:
Attached the plugs:
Since I have no lockers, I taped these guys back:
Obviously you don't need the switchpros adapter harness, I just didnt want to cut the ARB harness up.
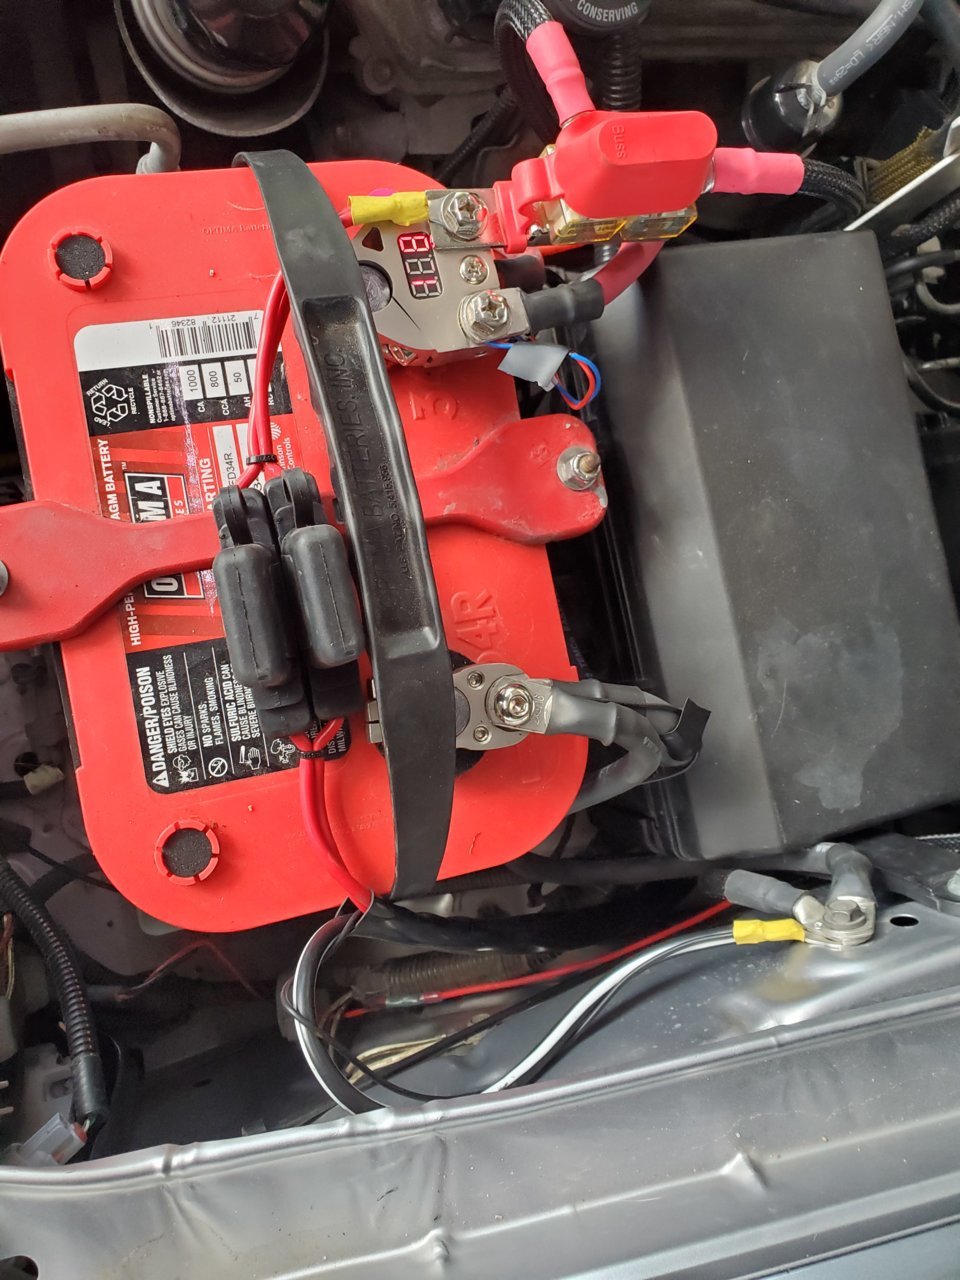
Attached o ring:
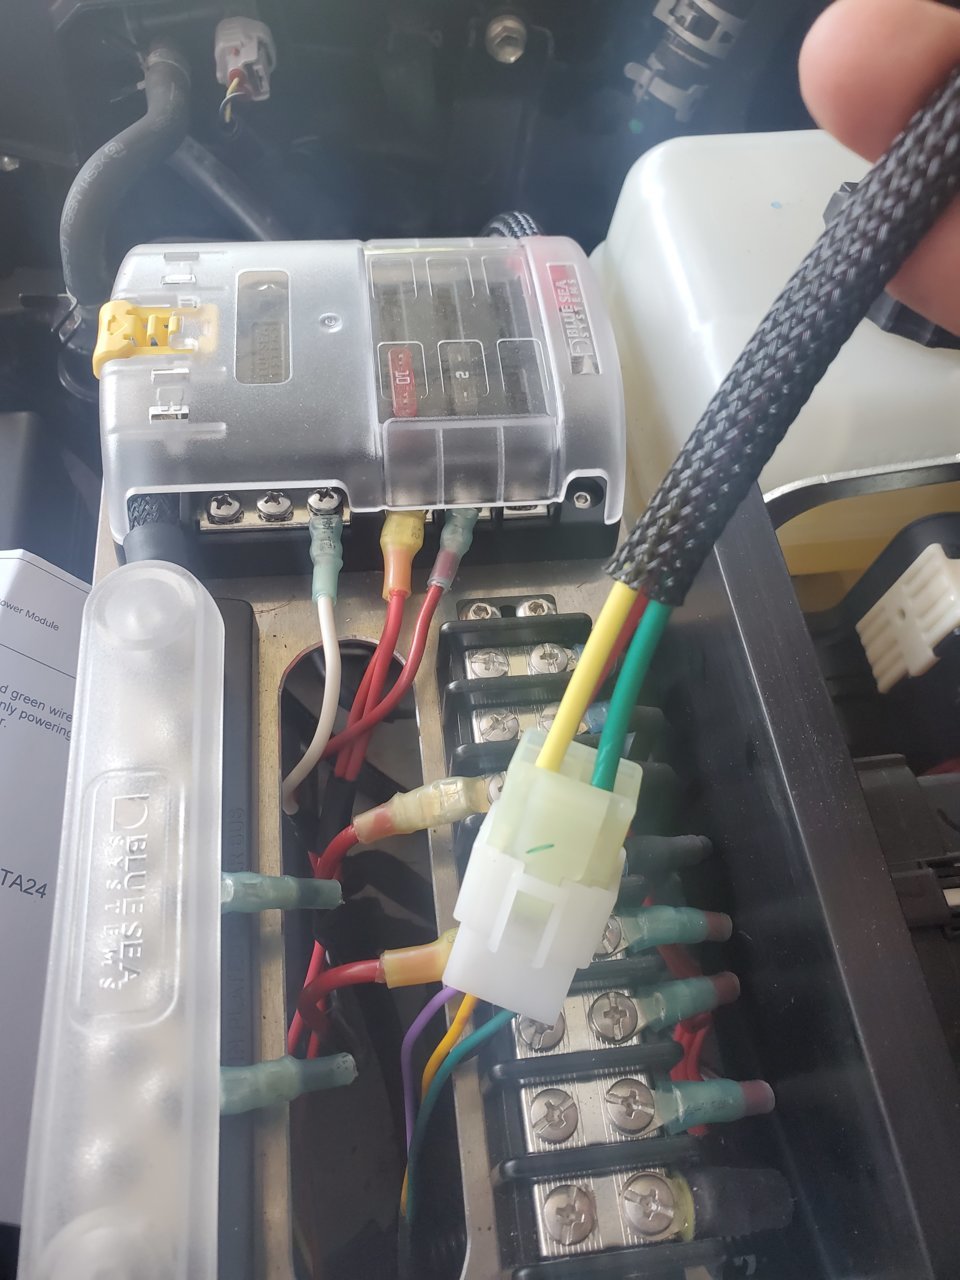
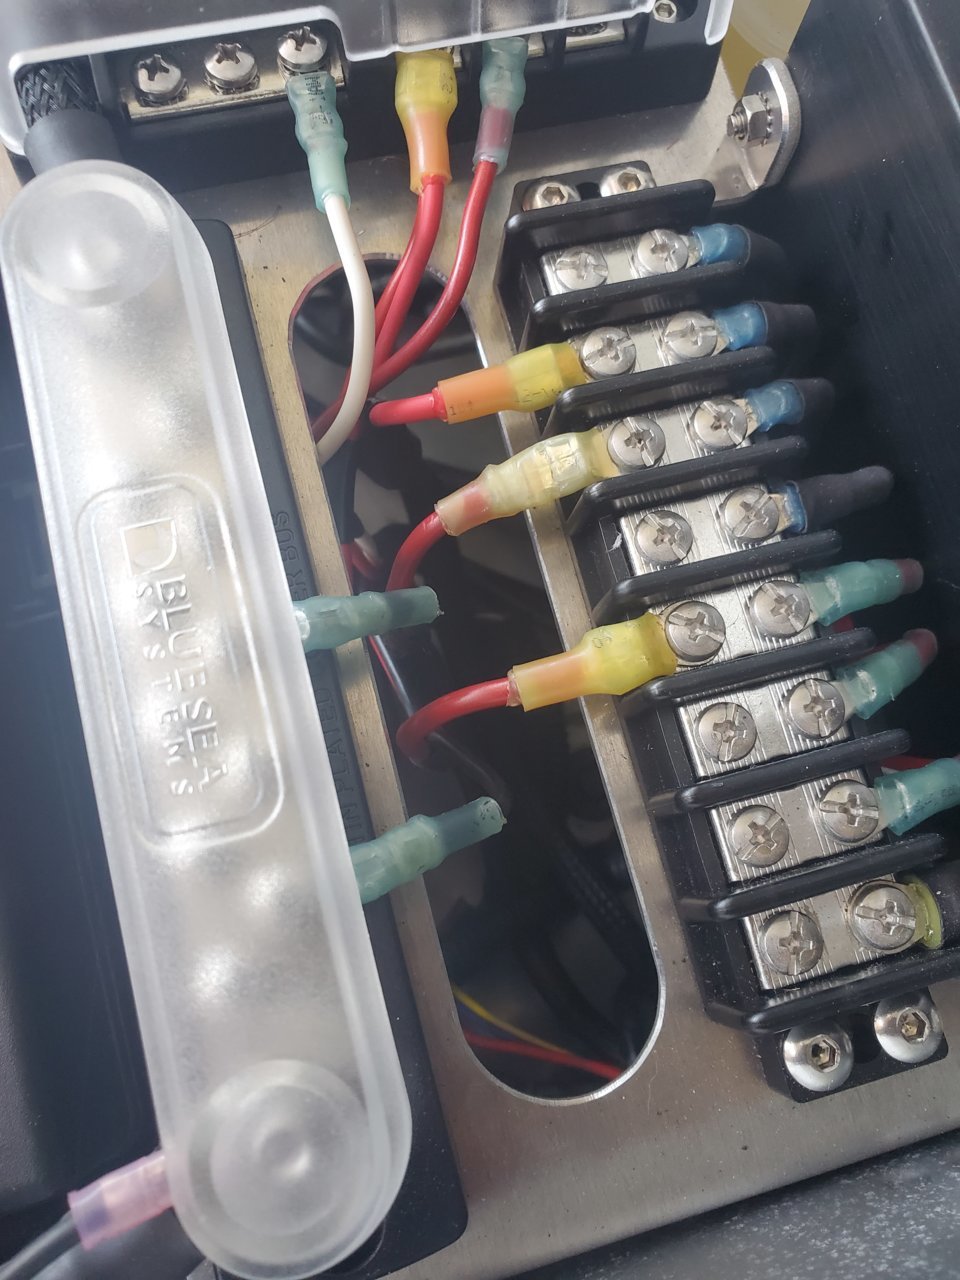
Connected to switchpros:
Done deal!
If anyone has any recommendations, tips, or advice, I am all ears!
I also ordered the ARB Extension harness from Expedition Essentials - This baby is WELL made!
A few things I wanted to point out in the picture below, to keep the reader organized with what wiring is for what. Seeing all the ARB wiring can be intimidating, hopefully this write up clarifies things up a bit.
If you are NOT using the ARB supplied rocker switches, the small wiring harness shown on the bottom left in the plastic baggie will NOT be used.
The top left harness is the one provided by Expedition Essentials. It allows wiring to reach from the front of the truck to the bed cubbie with PLENTY of slack. Keep this in mind when running the wiring!
The wiring in the middle with the yellow o rings and two fuses is the ARB provided compressor wiring.
The wiring on the bottom right is the wiring for the lockers and compressor. If you are not going to use a locker, we still need this wiring. I will get to that later.
Remove this guy:
Clean up so the template stays on with tape:
Attach template:
Kinda center it horizontally and vertically between the existing cubbie box holes:
Drill baby drill:
IF you are installing a dual ARB Compressor, take a peek under the truck and behind the cubbie box. See that center rib? Cut it off. I used a saw zall and dremmel:
Now time to set the compressor to the mount:
These small brackets sandwich the compressor mount onto the bed:
Using a friend, I set the compressor and mount in. You WILL NEED A FRIEND. It is heavy and hard to reach back there:
Now, time to modify the cubby box, I measured 3/4" from the inner edge and cut away!
Plug the expedition essentials wiring and run it thru the back of the cubby:
Finalized faceplate:
These nubs had to go:
Using the long spacers provided in the Expedition Essentials kit, I installed the faceplate:
Now time to run the extension wiring:
Over the frame using zip ties to secure it:
I pushed it back into the INSIDE of the frame here, close to the front driver's side:
Now let's play with all the other wiring, if we are not using the ARB switches, chunk this one away:
I attached the ARB harness here:
Smaller plug uses this smaller harness:
This end goes to the switchpros:
These plugs go to the locker solenoids, since I am not using a locker I could either cut them off and tape the wires separately OR tape them up and keep them on the harness in the event if I ever change my mind:
Plug this end to the extension harness:
Tape or cut these guys off:
For reference if you ever want a replacement harness for the switches:
I then ran my wiring into the engine bay, tucking in all the excess into the frame like this:
I crimped the ends of the ARB harness together with O rings like this:
How to wire these guys to switchpros?
I bought this guy from Switpros directly. Keep in mind this also works for SPOD.
Wiring diagram from Switchpros:
NOTE for people that don't use lockers or want to wire the lockers to switchpros:
Attached the plugs:
Since I have no lockers, I taped these guys back:
Obviously you don't need the switchpros adapter harness, I just didnt want to cut the ARB harness up.
Attached o ring:
Connected to switchpros:
Done deal!
If anyone has any recommendations, tips, or advice, I am all ears!